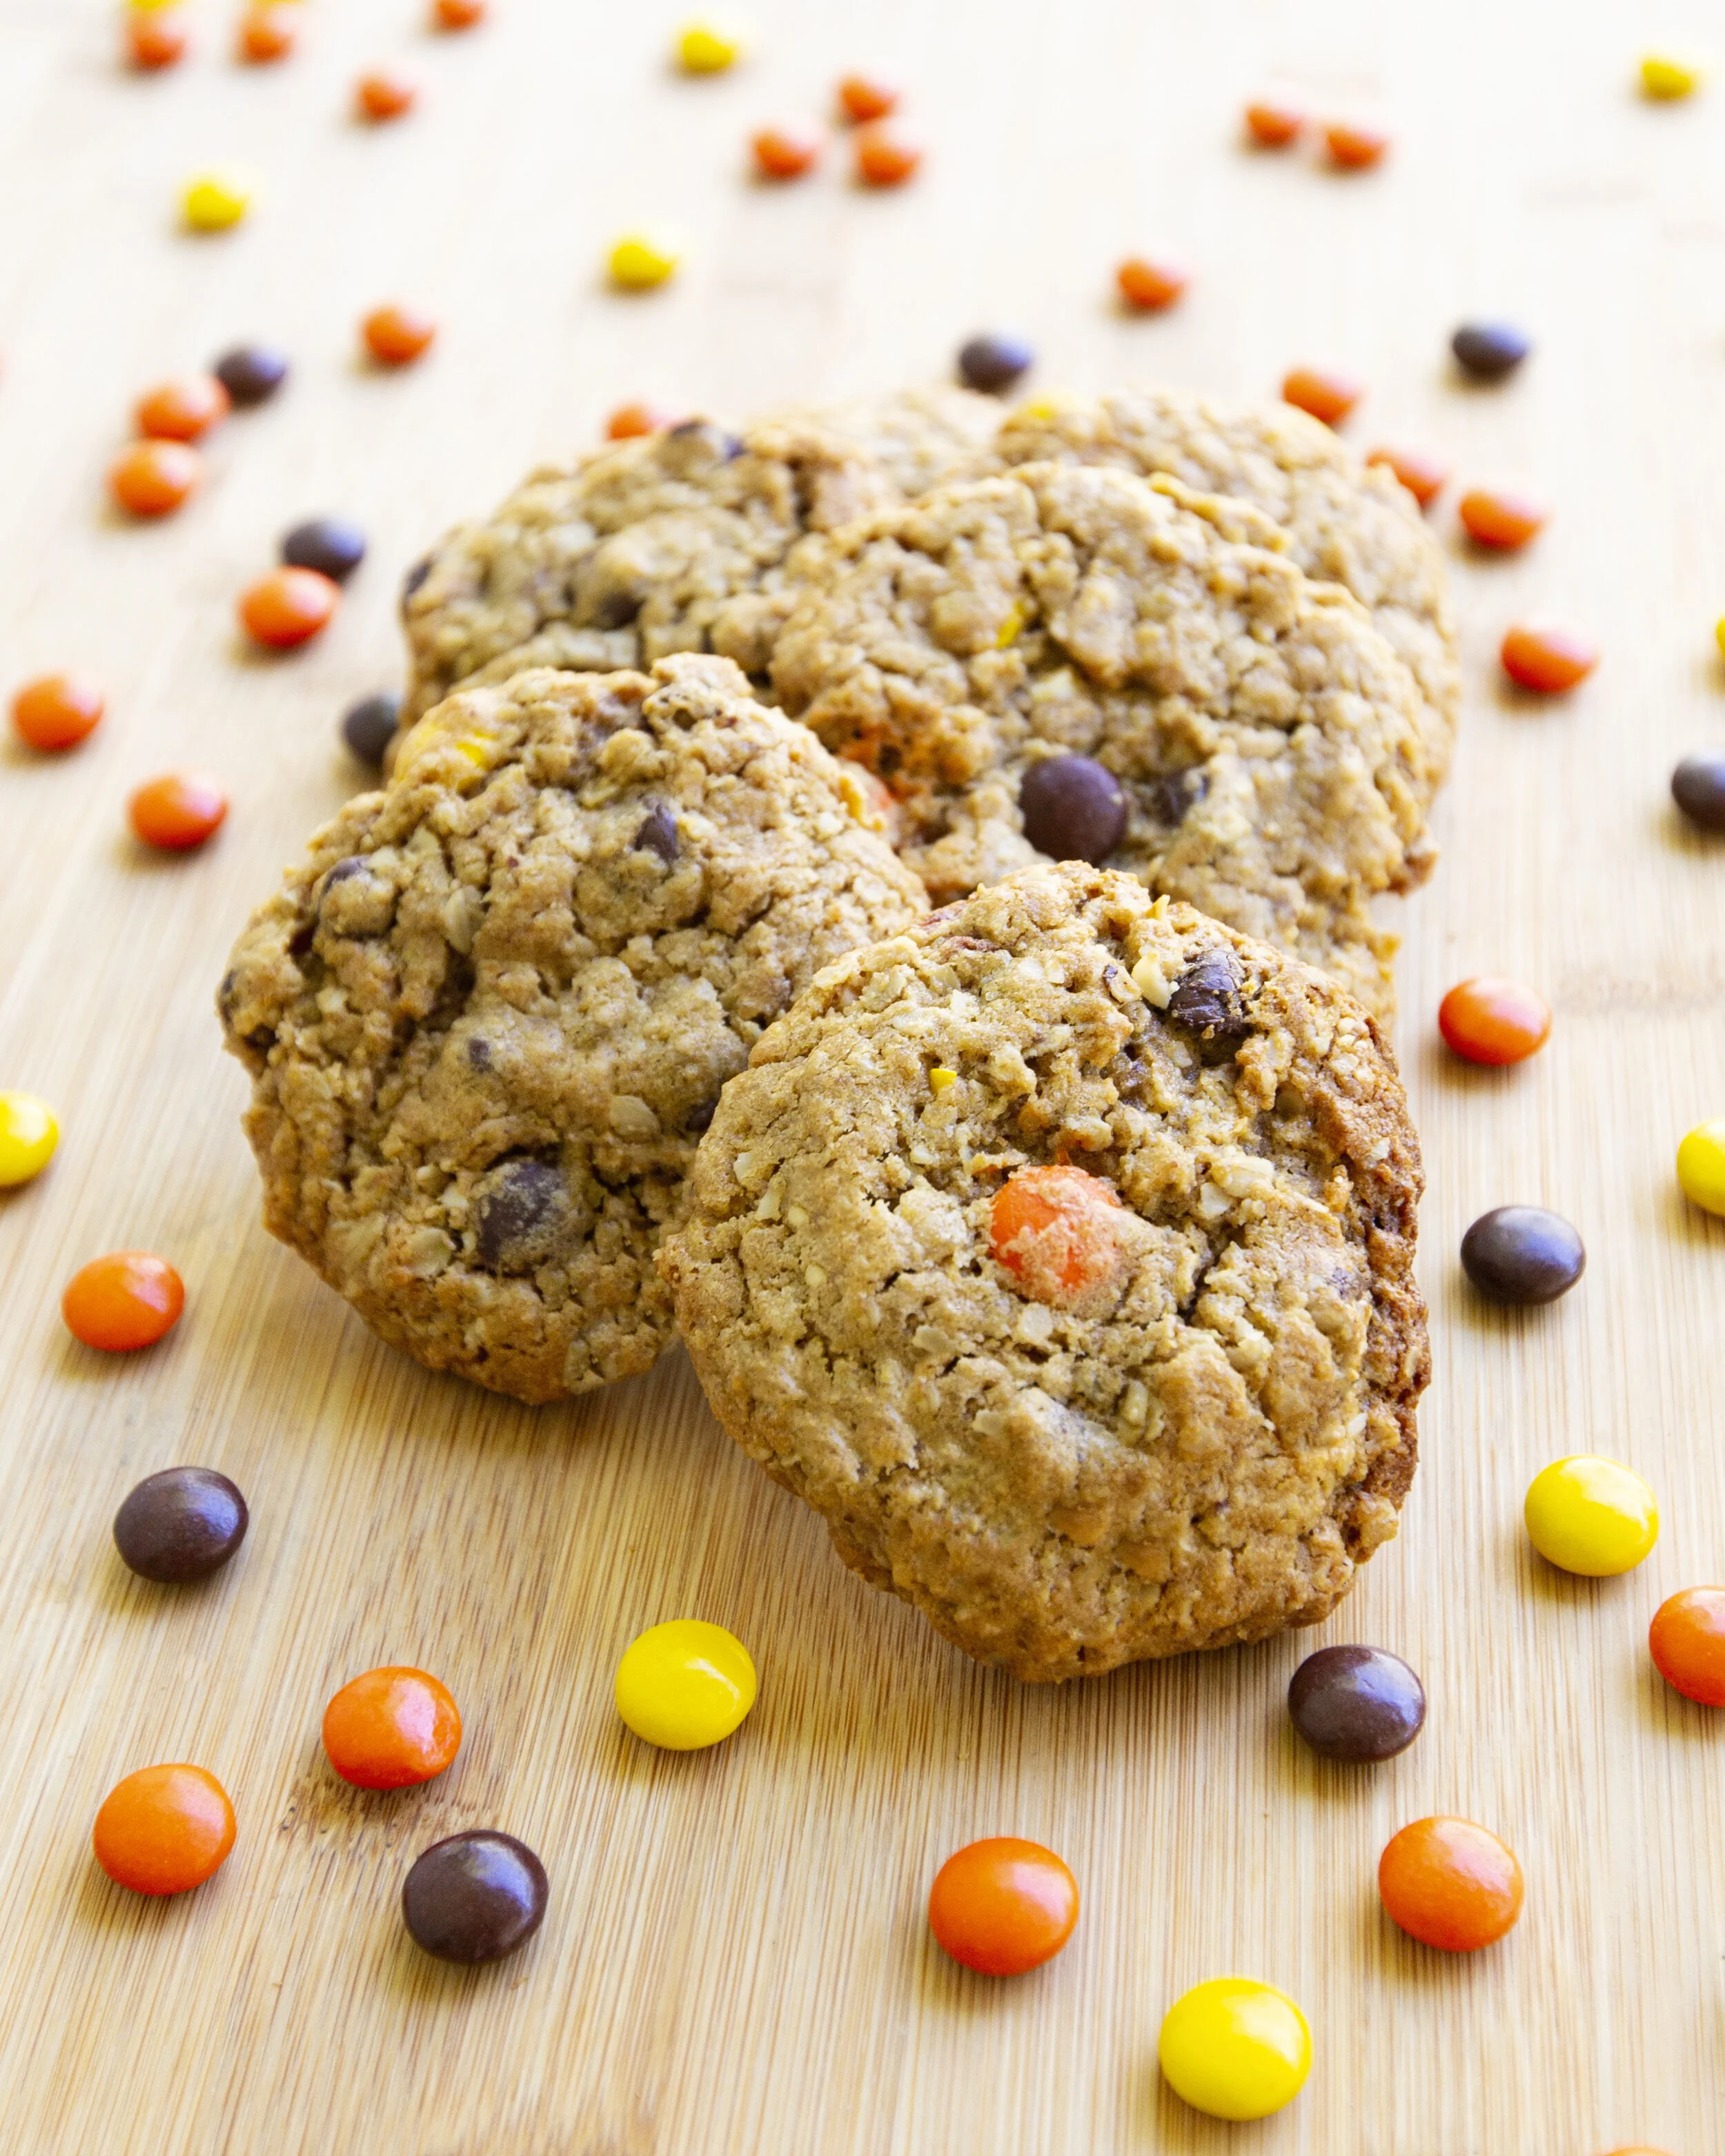
Oatmeal Peanut Butter Reese's Cookies

Looking for a recipe to make you smile? Everyone who has tried these has fallen in love with them. They’re delicious eaten around a camp fire, or make a few for a friend who needs some cheering up. These may be hard to share once you try them, just warning you!

Oatmeal Cookies

RECIPE (ORIGINALLY FOUND HERE):

Ingredients

  • 1/2 cup butter, softened

  • 1 cup brown sugar

  • 1/2 cup creamy peanut butter

  • 1 large egg

  • 2 teaspoons vanilla extract

  • 3/4 cup all-purpose flour

  • 1 teaspoon baking soda

  • 1 teaspoon cornstarch

  • 1/4 teaspoon baking powder

  • 1/4 teaspoon salt

  • 1 1/2 cups quick oats

  • 1/2 cup mini semi-sweet chocolate chips

  • 1 cup REESE’S Pieces or M&M candies

Oatmeal Cookies

Instructions

  1. Preheat oven to 350ºF and line baking sheets with parchment paper and set aside.

  2. In a large bowl, cream together butter, brown sugar, and peanut butter with a hand or stand mixer until light and fluffy, about 3-4 minutes. Mix in the egg and vanilla, scraping down the sides of the bowl as needed.

  3. In a separate bowl, add the flour, baking soda, cornstarch, baking powder, salt, and quick oats; whisk to combine. With the mixer on low speed, slowly add the flour mixture to the wet ingredients and mix until just combined. Stir in the chocolate chips and REESE’S Pieces candies by hand.

  4. Measure out ¼ cup balls of dough and place them on the baking sheets. Bake the cookies for 11-13 minutes, until the edges are just starting to brown and the top still looks slightly undercooked. Remove from the oven and cool for 5 minutes on the baking sheet before moving them to a wire rack to cool completely. Before these have cooled completely, they will be crumbly. I suggest letting them cool completely before tasting.

  5. Store cookies covered at room temperature for up to 1 week. Enjoy!

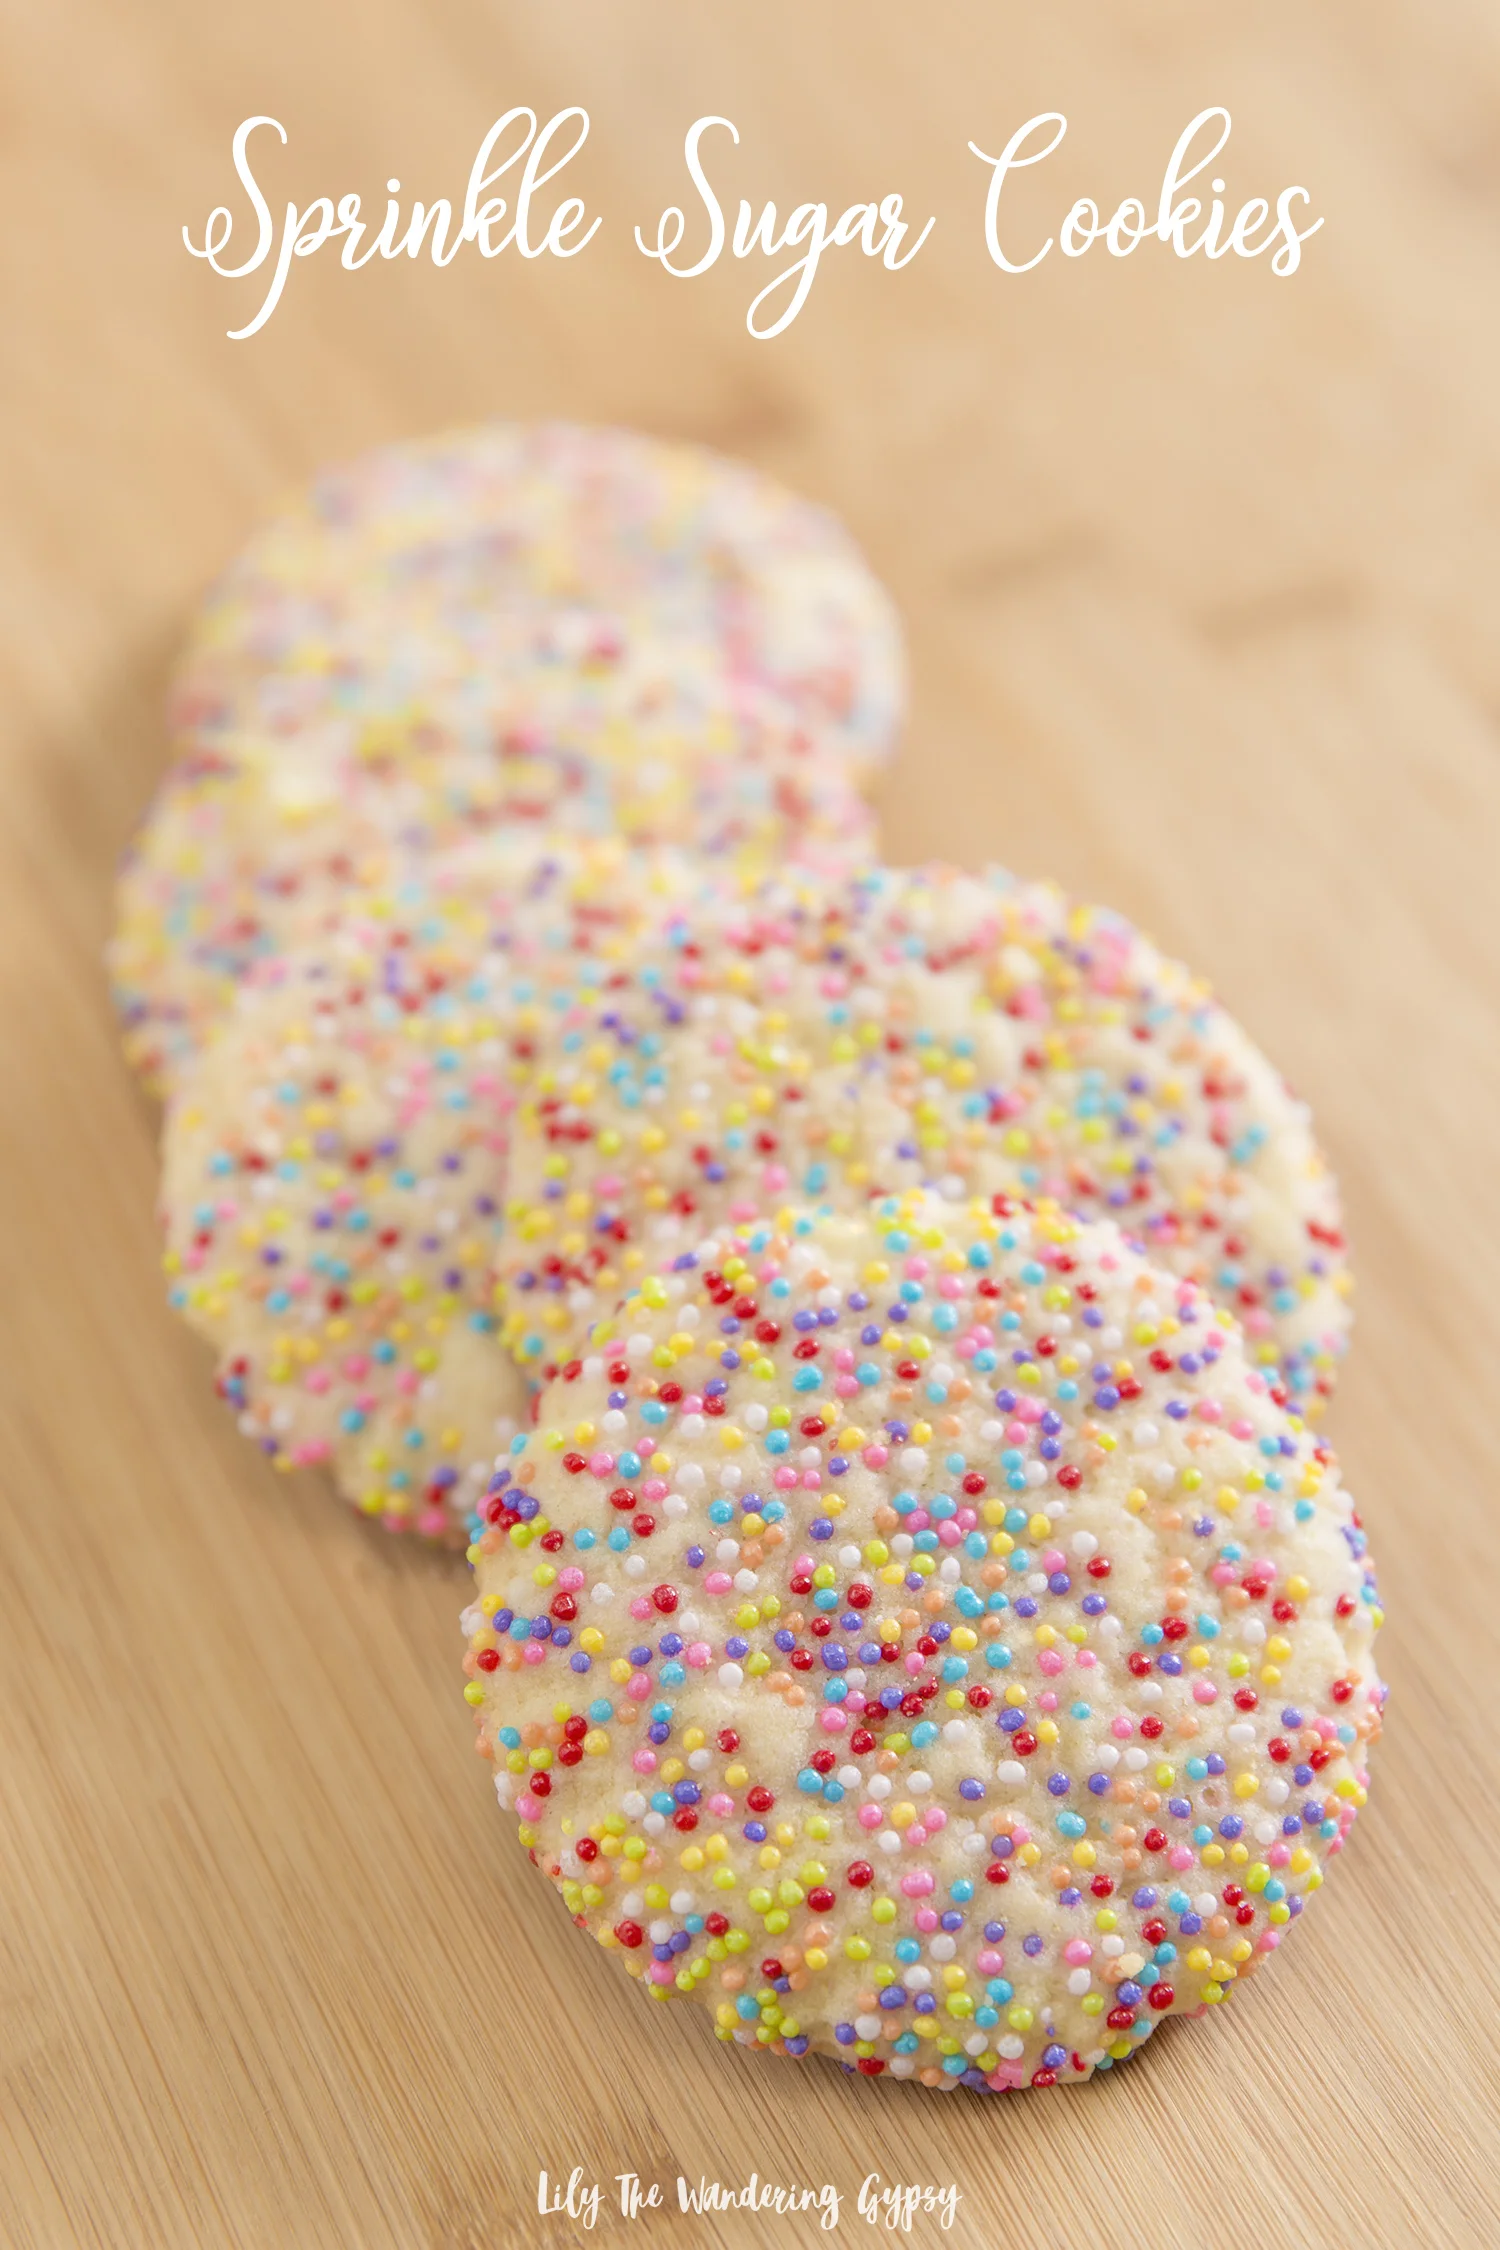
Light + Crispy Sprinkle Sugar Cookie Recipe

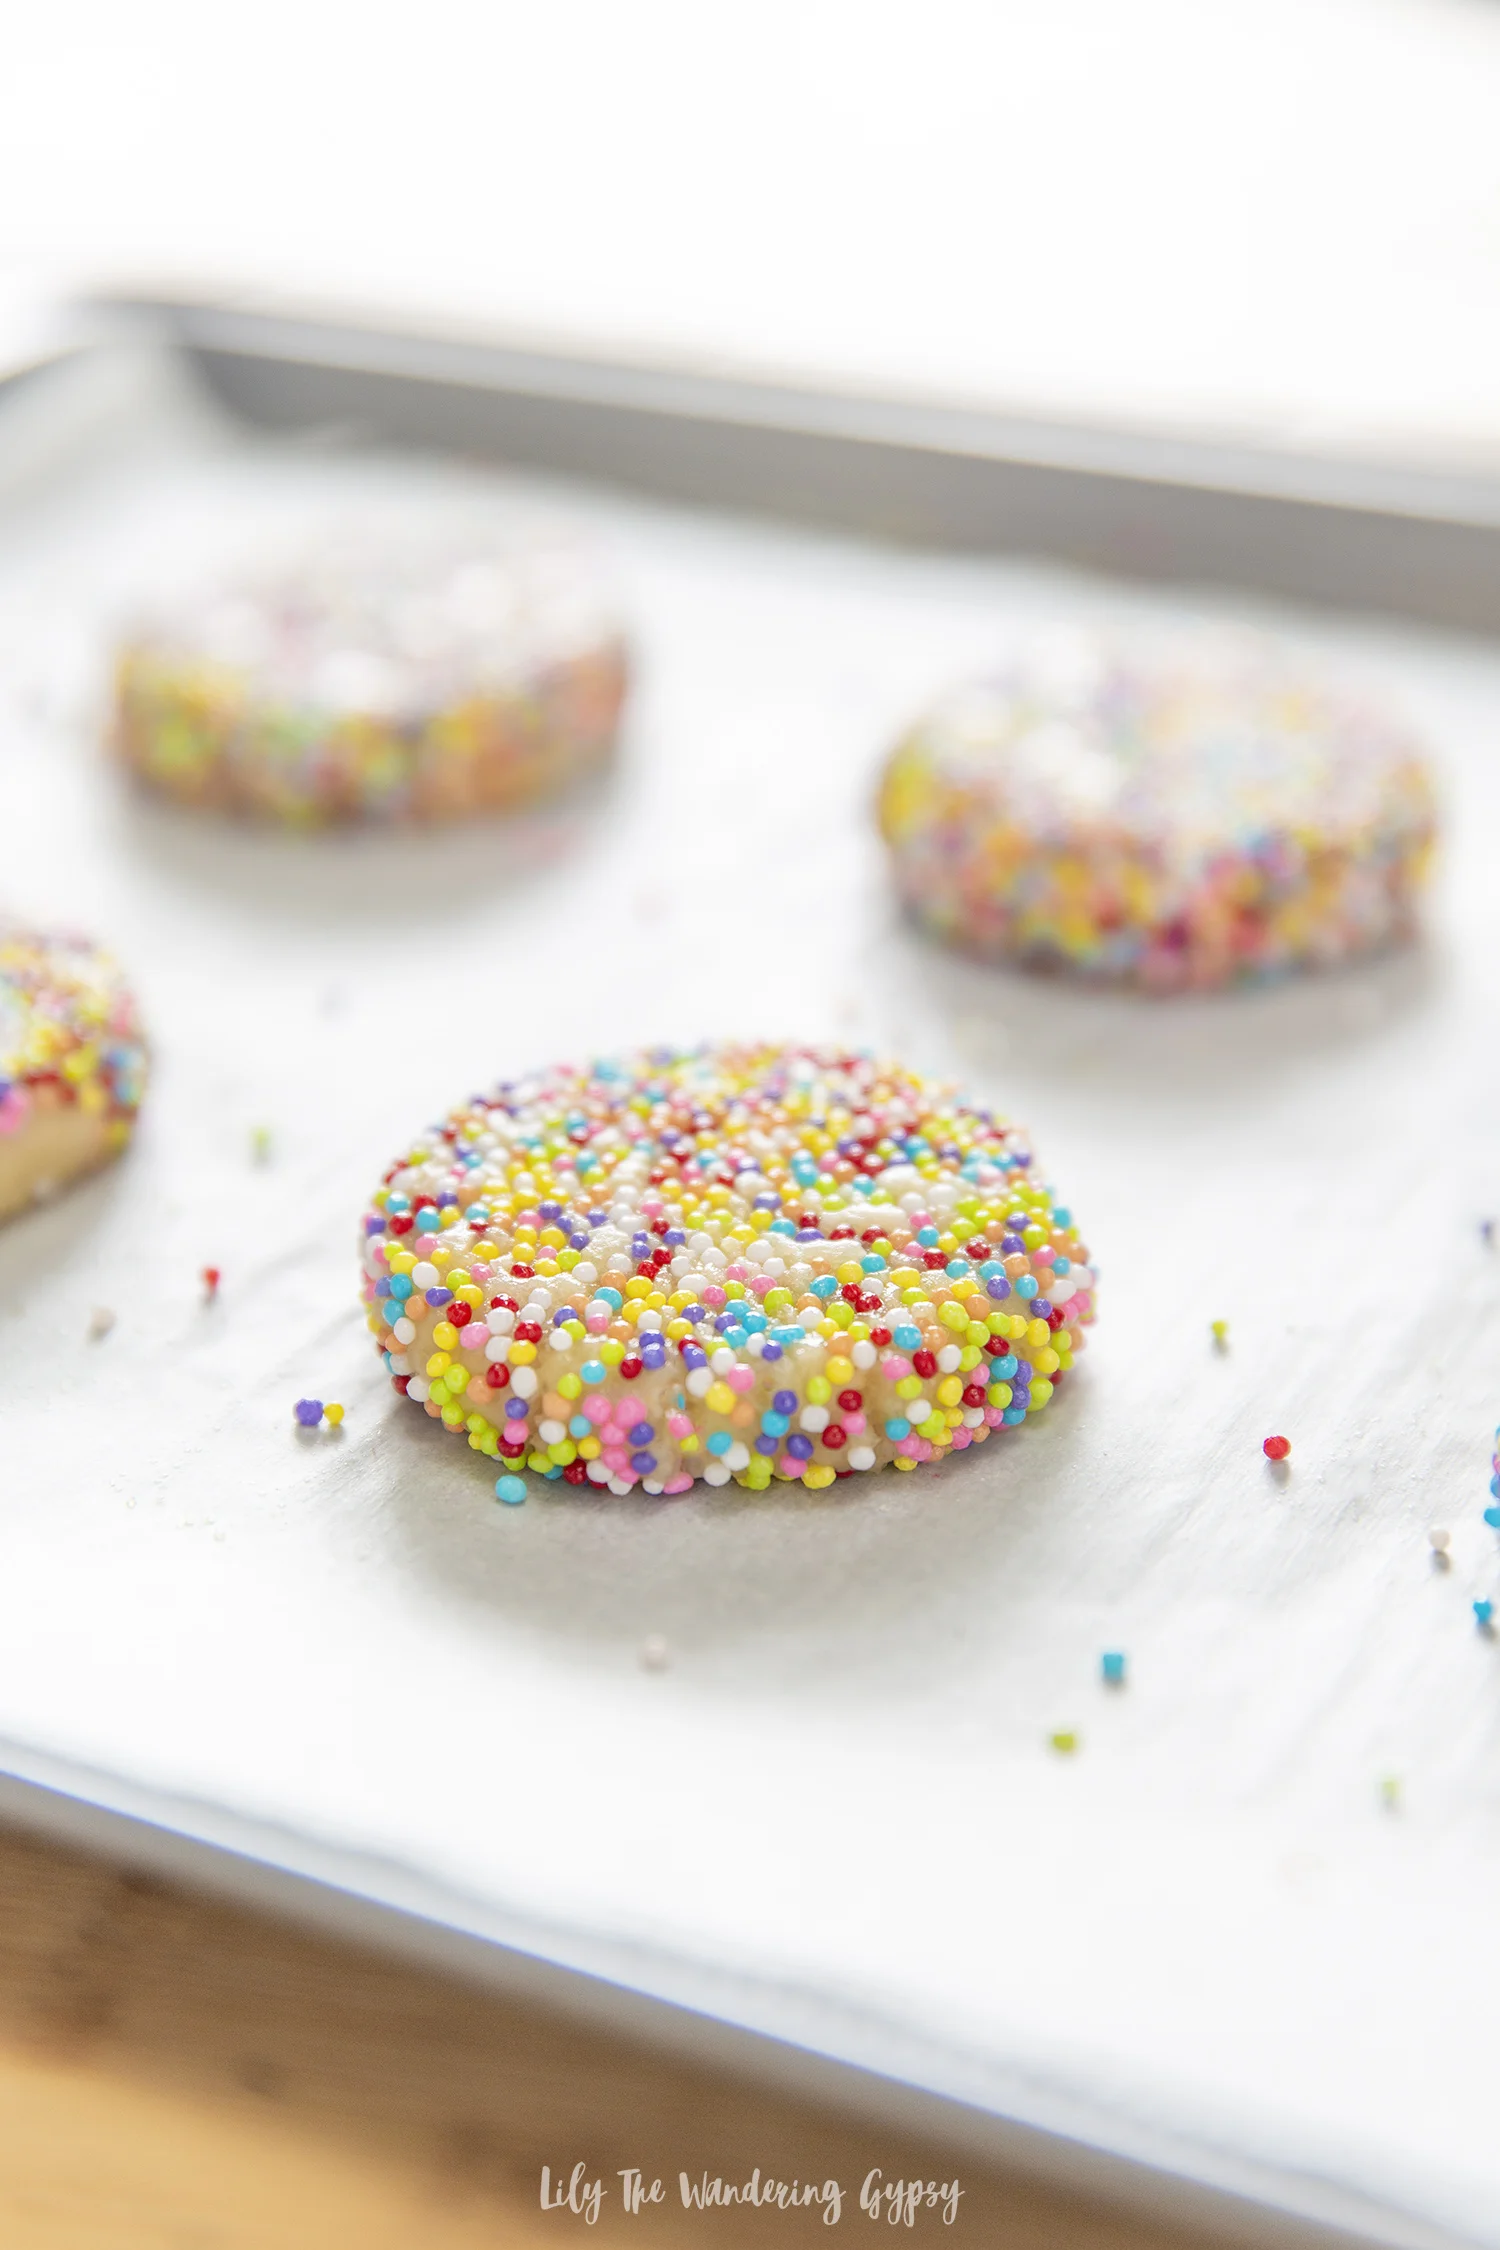
Light, crispy, festive, and delicious cookies you are sure to love! Uncomplicated ingredients and an easy baking process makes these cookies a 10/10 all around! You will love the light, airy crunch that the ingredients offer, and these can be customized to any colors you would like - even holidays or team colors!

INGREDIENTS:

1 c. butter

1 c. vegetable oil

1 cup powdered sugar

1 cup granulated sugar

2 eggs

1 tsp vanilla

4 cups flour (2 cups all purpose flour + 2 self rising flour if you would like)

1 tsp baking soda

1 tsp cream of tartar

1 tsp. salt

ball sprinkles or colorful sanding sugar - almost any sprinkles will do!

baking sheets

parchment paper

INSTRUCTIONS:

1.) Preheat oven to 350 degrees F. Cream butter and sugar until combined

2.) Add vegetable oil + powdered sugar

3.) Add egg + vanilla

4.) Add dry ingredients slowly, blend everything together until fully incorporated.

5.) Pour about 1/4 cup sprinkles into a shallow bowl or dish. Roll dough into 1-1.5” balls, and roll in sprinkles. Coat the dough as much as possible with the sprinkles - you may need to use your fingers to help press sprinkles into dough. Place each ball onto parchment lined baking sheets, and use a glass to flatten the balls a little bit.

6.) Bake 6 cookies per baking sheet for 8-10 minutes each, they will spread a little bit, so this insures the cookies do not touch while baking. Transfer onto cooling rack, and enjoy while still a little warm, or after they have cooled - they will get nice and crunchy! Enjoy.

Merry Christmas! Our Christmas Cookies

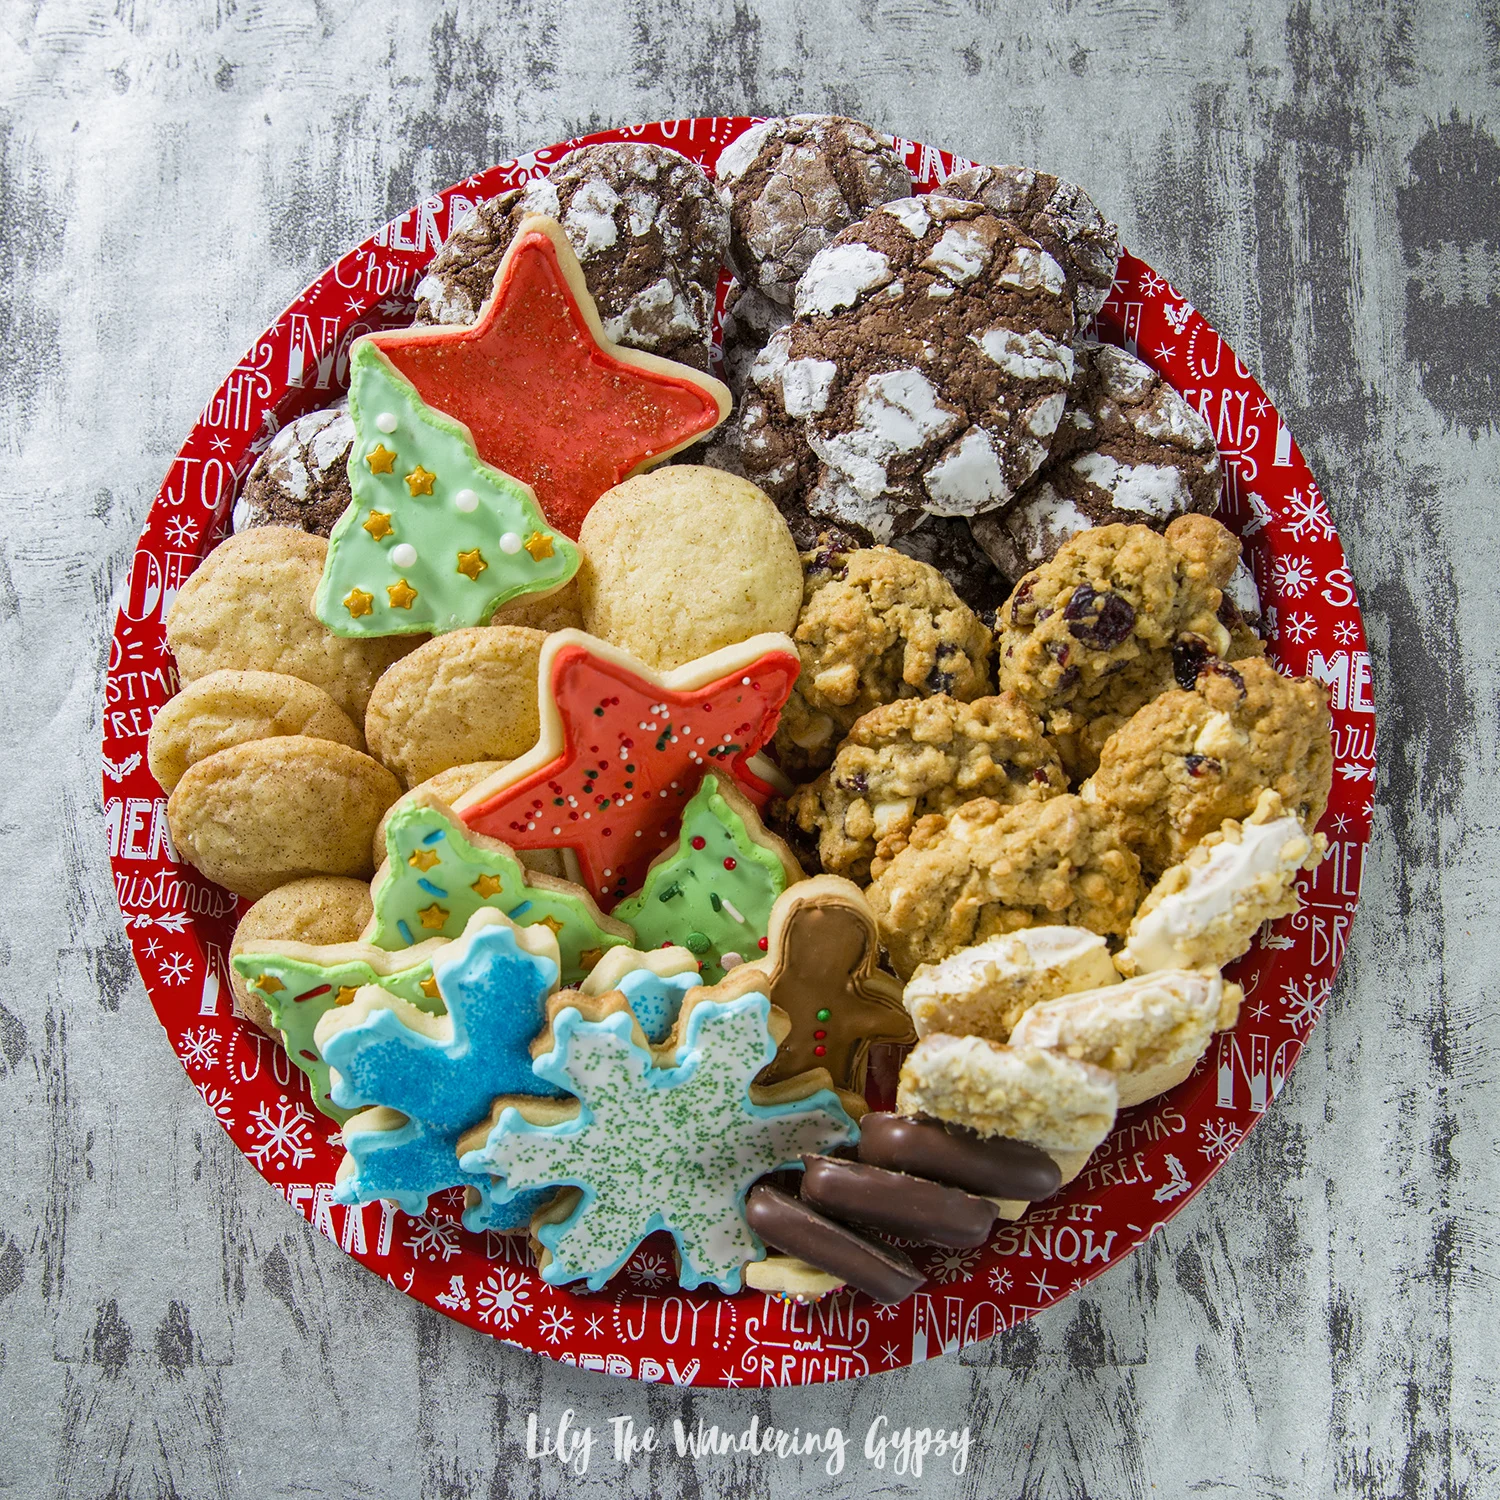
Hello! I hope you’re all having a very merry Christmas! It’s pretty warm out today, so it’s not a white Christmas, but I would always prefer to the cold. I got to participate in a fun cookie baking experience this year. The four of us got to take home TONS of cookies and everything turned out so well. The goal was to make enough cookies so we could all bring cookie platters home and also enjoy a few others along the way. I learned SO much about making the perfect cutout sugar cookies too :)

The cookies we created include:

Cutout Sugar Cookies

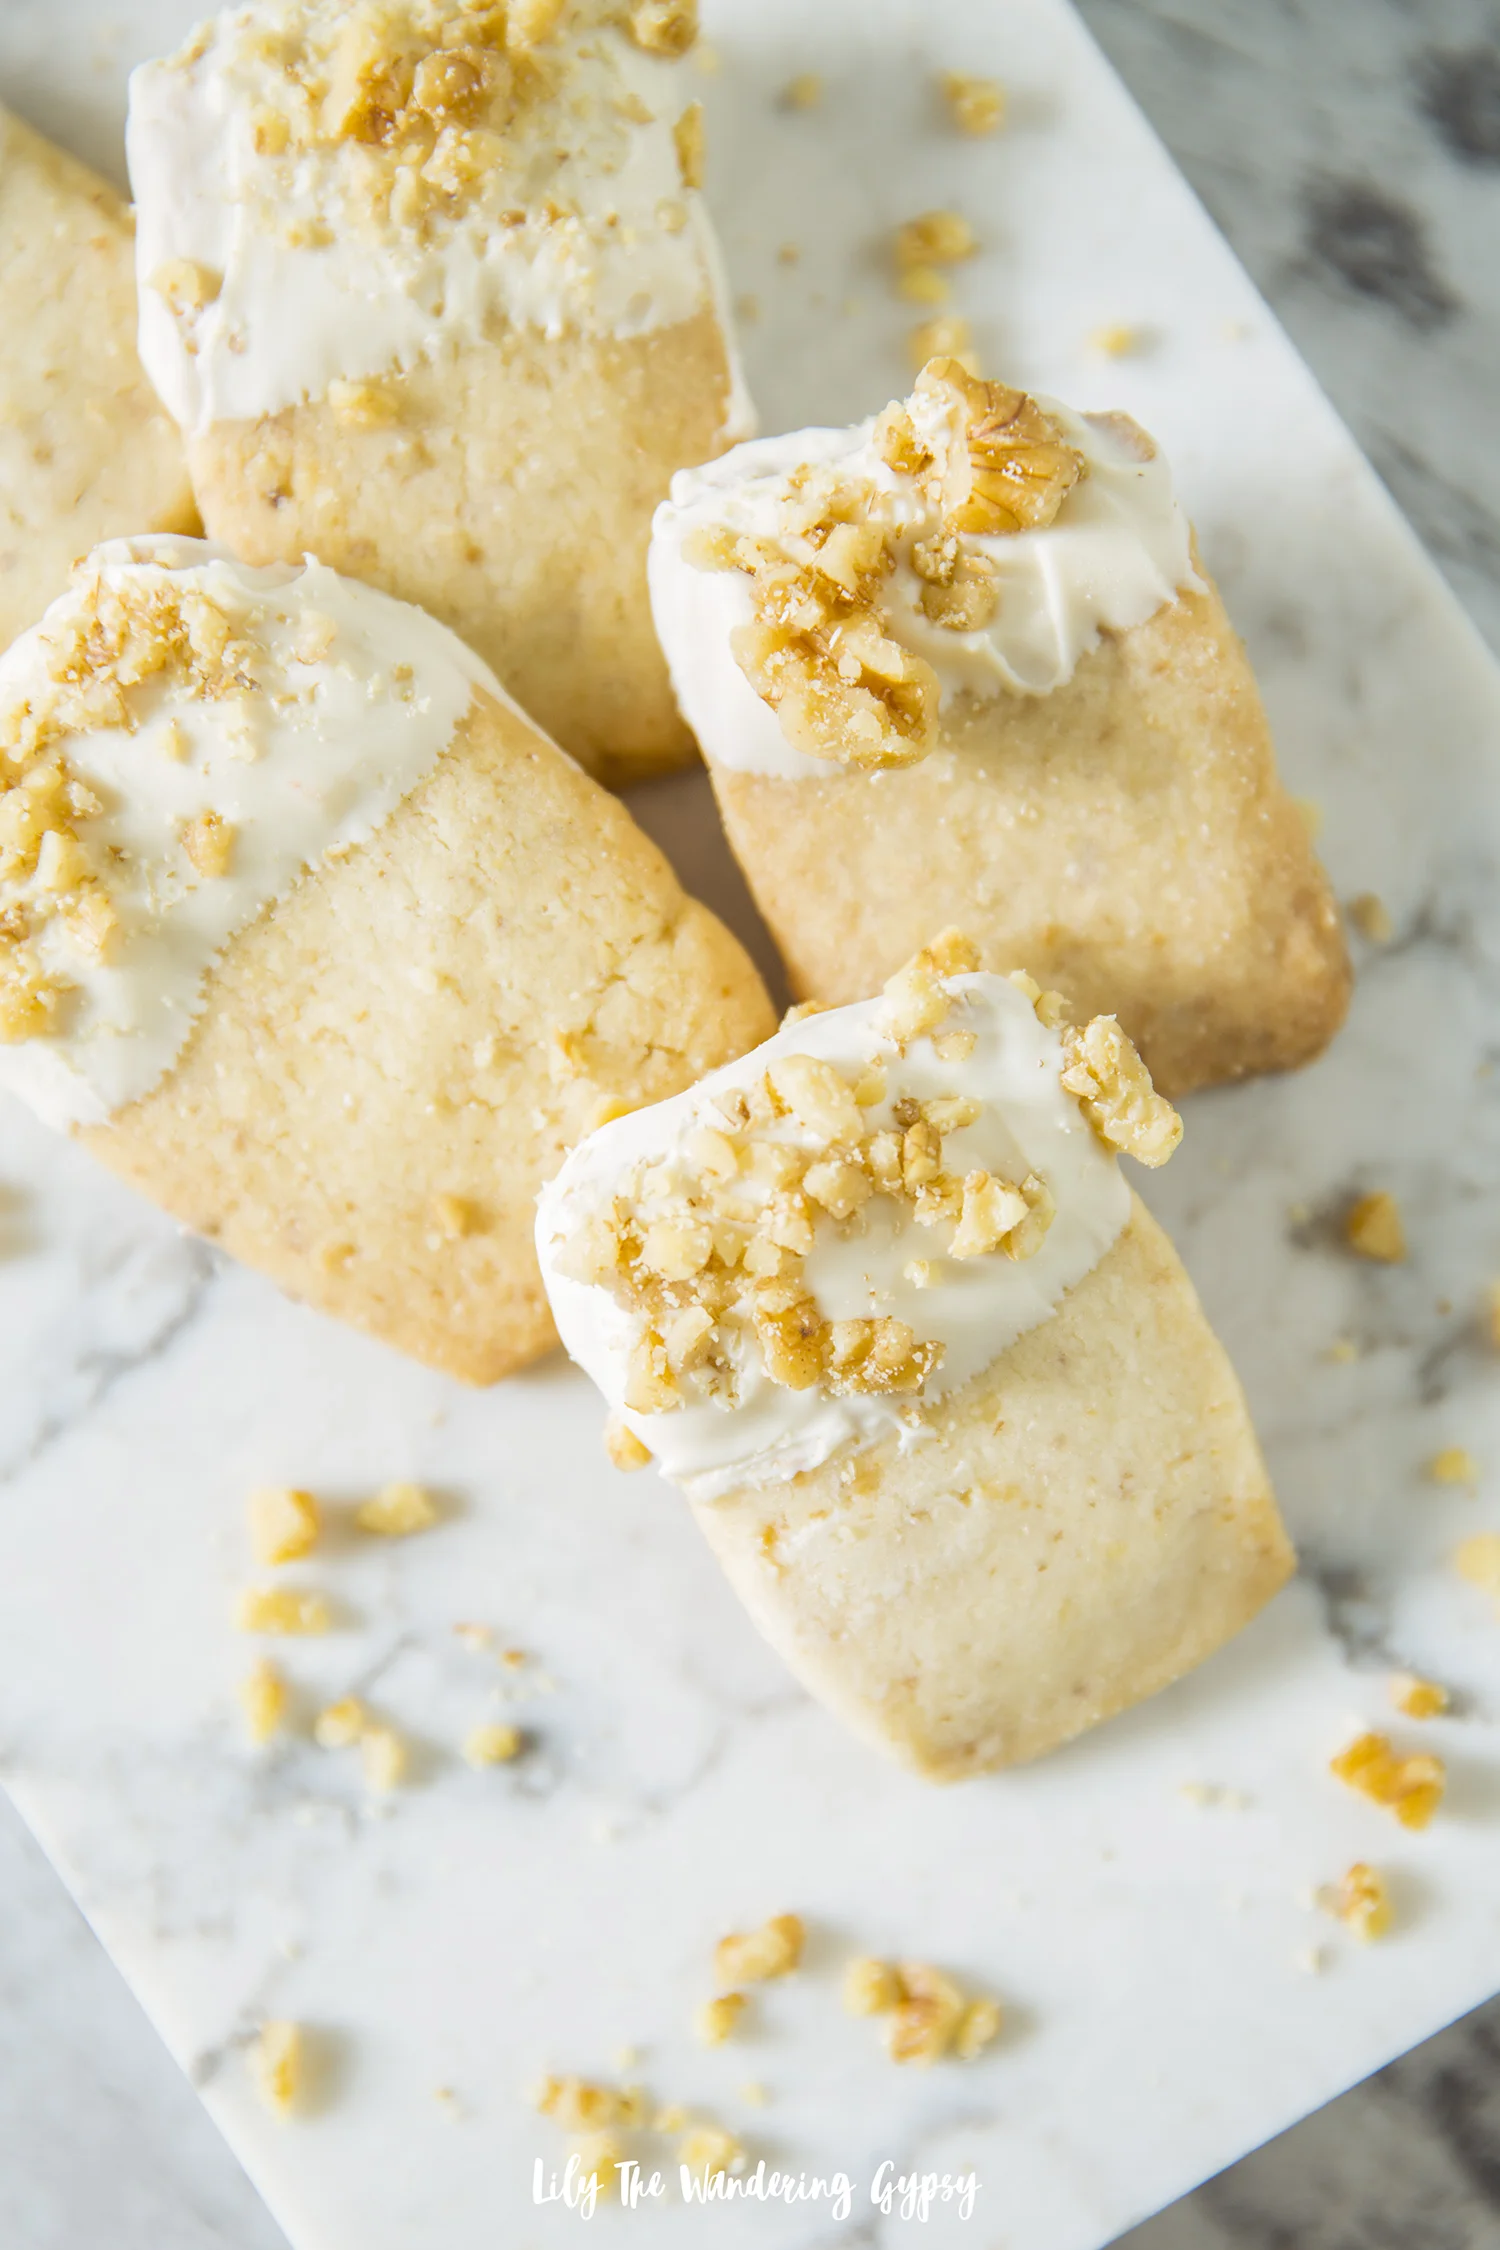
Shortbread Cookies Dipped in White Chocolate and Dark Chocolate

Chocolate Crinkle Cookies

Oatmeal, White Chocolate Craisin Cookies

Snickerdoodles

(Recipes all coming soon!)

Happy Holidays! I hope you all had a wonderful day!

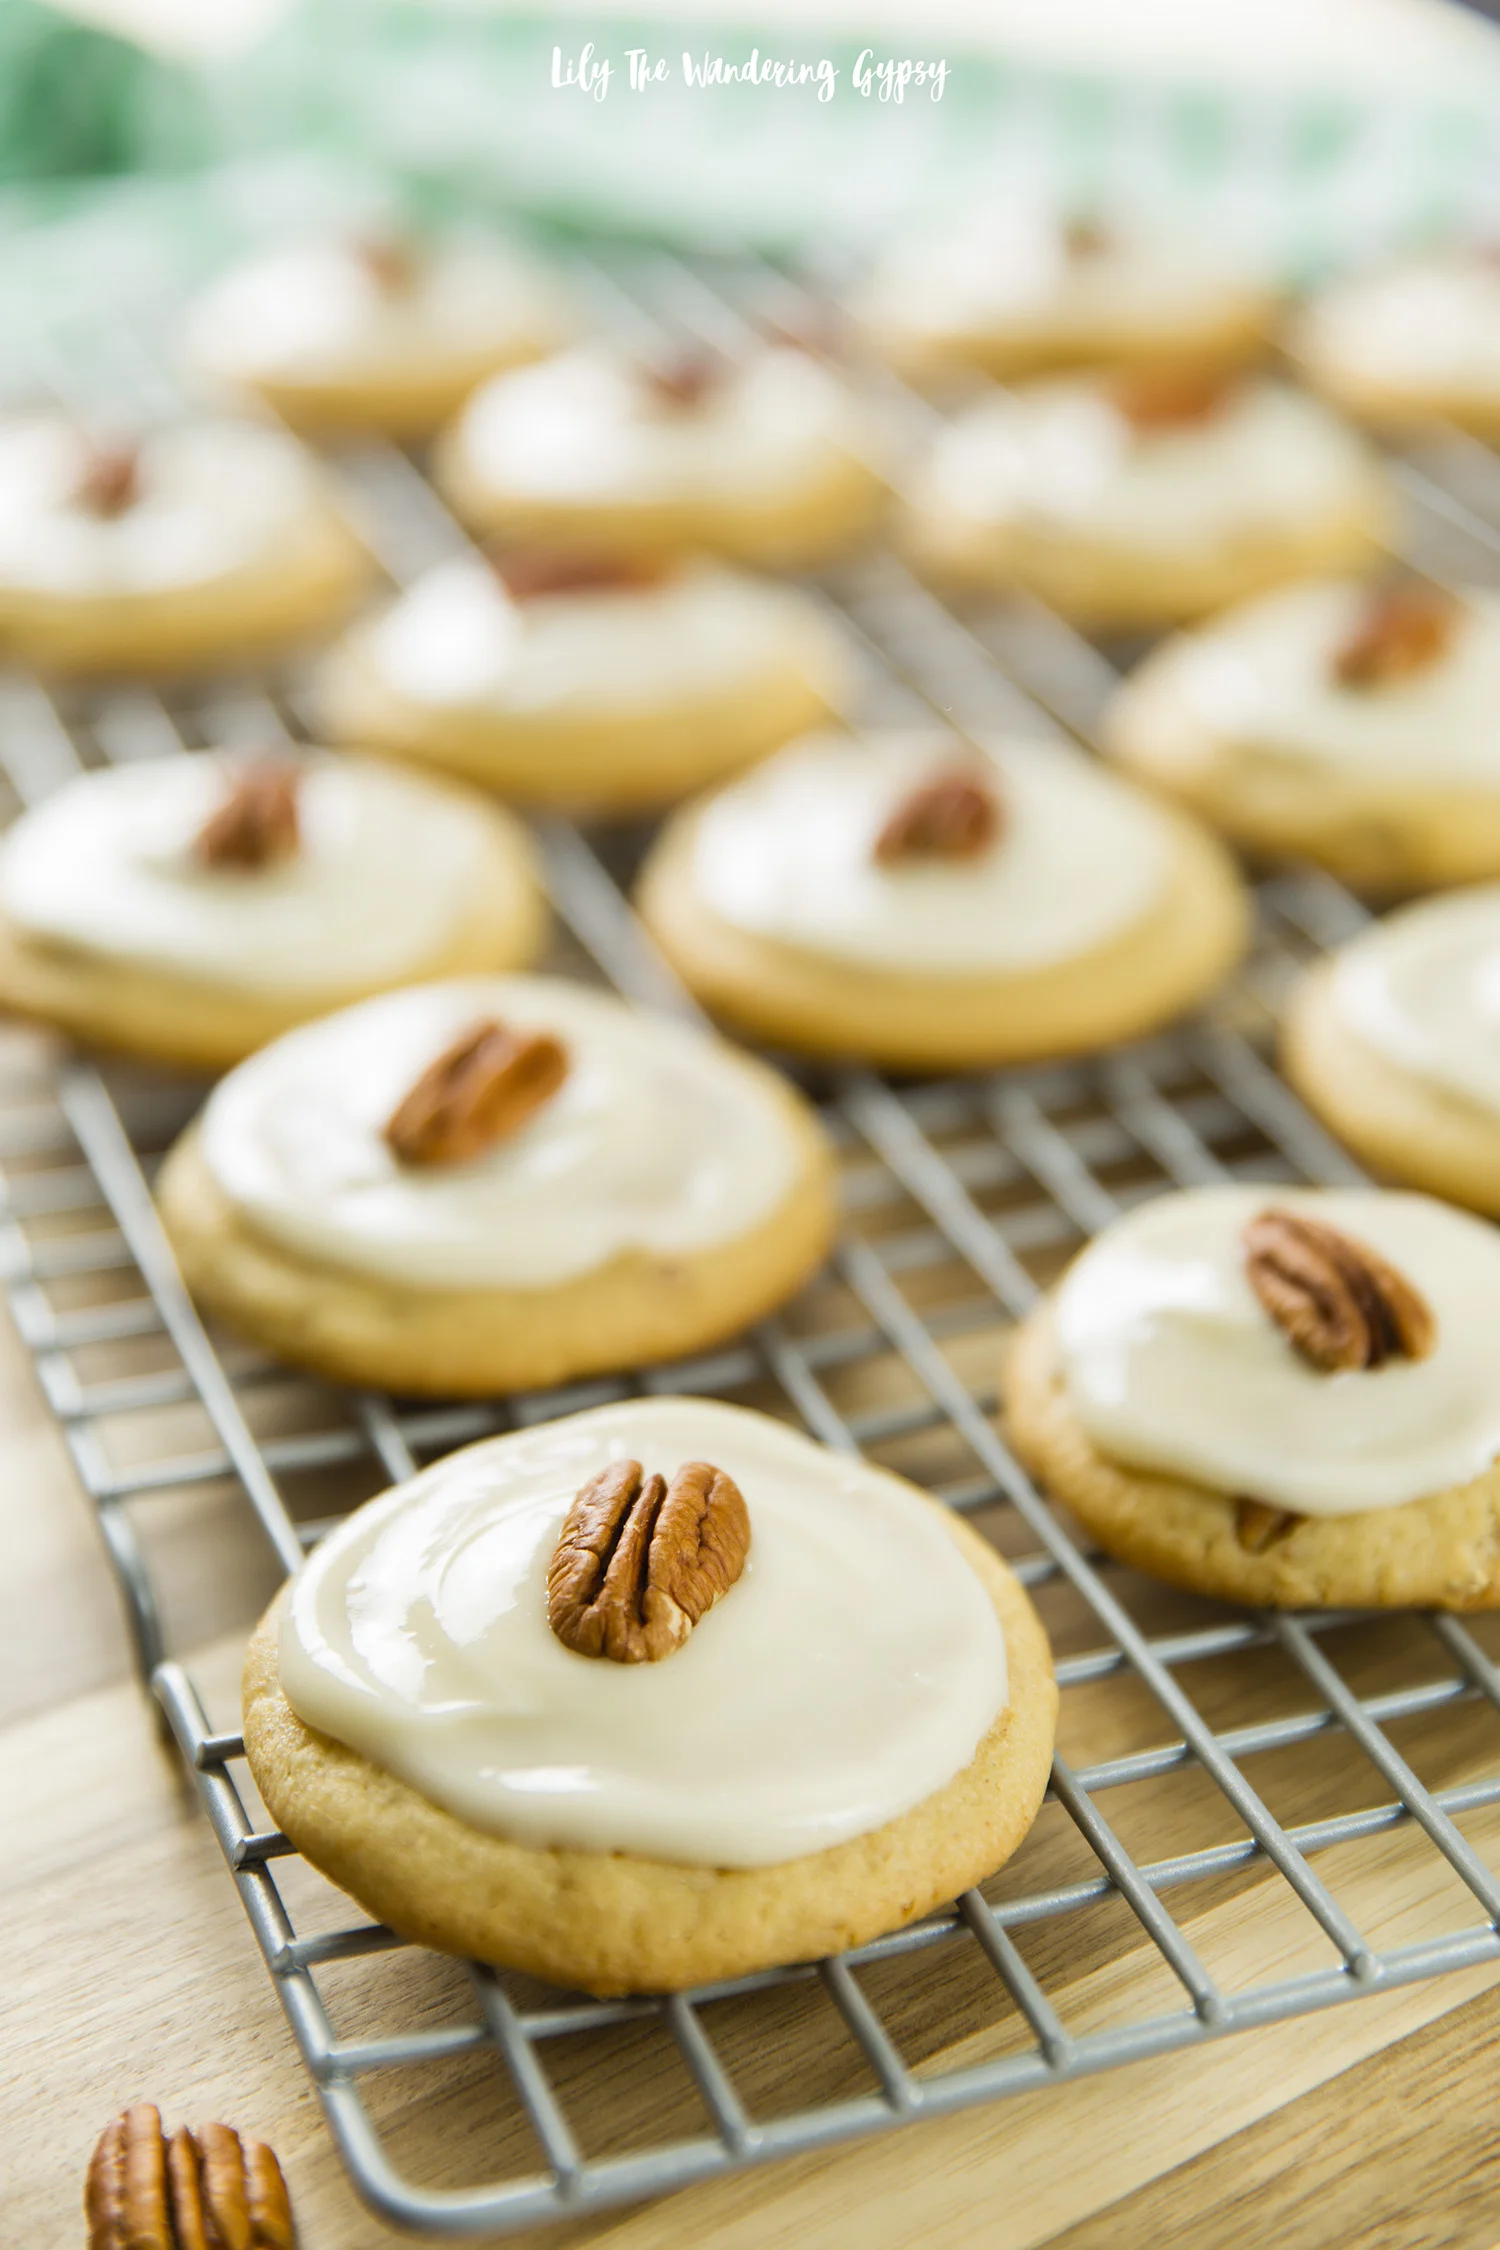
Soft Batch Iced Pecan Cookies Recipe

These Soft Iced Pecan Brown Sugar Cookies are absolutely delightful! They retain so much of their softness and the added pecan on top adds a natural crunch that really makes these cookies incredible. Good luck eating just one!

INGREDIENTS:

(Makes about 20 cookies)

FOR THE COOKIES:

  • 2 cups (283g) all-purpose flour(scoop and level to measure)
  • 1/2 tsp baking soda
  • 1/2 tsp salt
  • 1 cup (226g) unsalted butter, softened
  • 1 cup (210g) packed light brown sugar
  • 1 large egg
  • 1 tsp vanilla extract
  • 1 cup pecans, toasted, cooled and chopped into bits 
  • 20 extra toasted pecans to top cookies (save the pretty ones for the tops)

Note - to toast your pecans, either place them onto a skillet on medium heat for about 6-7 minutes (see below), or bake them in the oven while oven is preheating - check at 5 minutes, then every 2 minutes after so they do not burn! 

FOR THE ICING:

  • 1 tsp vanilla extract
  • 1 1/2 Tbsp cream
  • pinch salt
  • 2 C. powdered sugar (or more for thicker icing)
  • 4 oz (1/2 Cup) cream cheese at room temperature

INSTRUCTIONS

1. Preheat oven to 350 degrees, and in the bowl of a stand mixer, beat butter and sugars until they are light and fluffy. Add egg and vanilla and beat until combined. 

2. Add sifted flour, baking soda, and salt, and beat again until just combined. Lastly, add chopped pecans and stir by hand until incorporated. 

3. Shape 1" round balls of dough, and bake for about 10-12 minutes, until centers of cookies are fully cooked and edges begin to brown. (The tops will not be shiny anymore). Bake closer to ten minutes if you want softer cookies.

4. Meanwhile, make frosting and get ready to decorate cookies. Let cookies cool completely, then use a spoon to layer on a circle of icing. The icing was super smooth and easy to work with. Top each cookie with a pecan right after icing them. Enjoy!

I'm so happy with how these cookies turned out...

Peanut Butter Oatmeal Cookies with Coconut Oil

absolutely LOVE these cookies. The recipe (found here) originally called for shortening, and I used coconut oil. 12 minutes at 350° was just perfect. I also created a Steller Story for this recipe, find it here

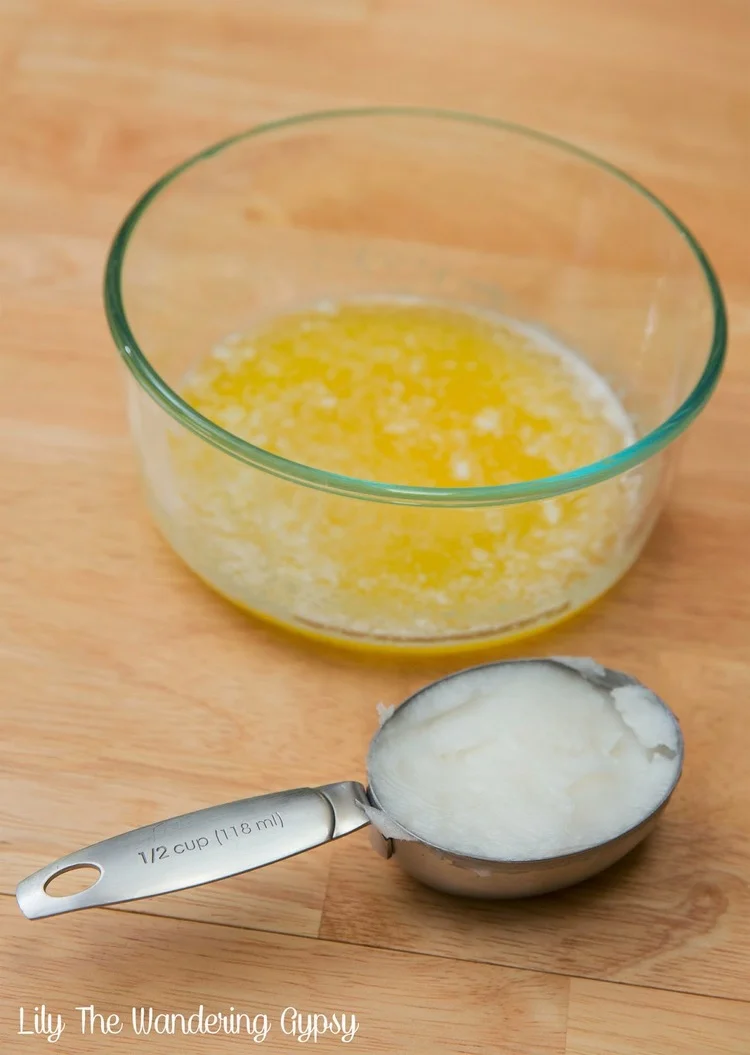
Here's 1/2 Cup melted organic butter + 1/2 Cup Organic Coconut Oil at room temp. 

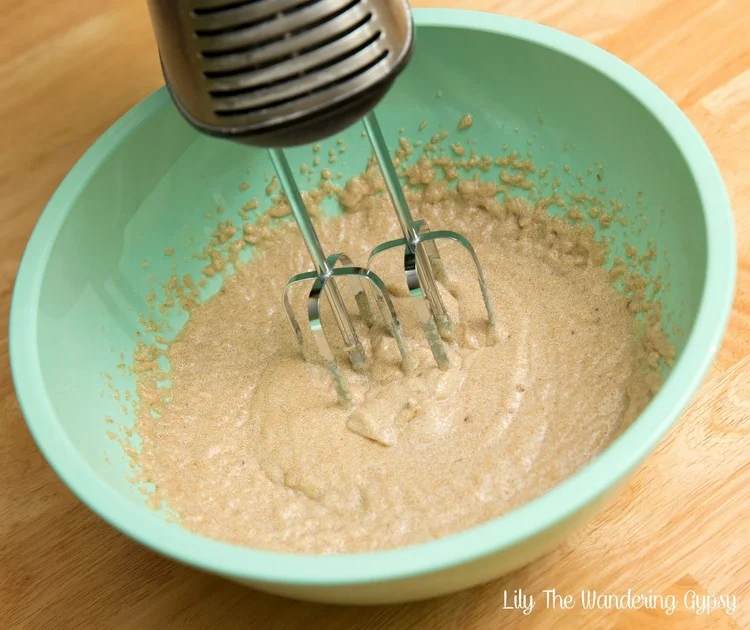
Here's my batter before adding the eggs and dry ingredients. pb cookies

Here's the batter with all the ingredients in it. 

I found that my 1 Tbsp. silicone measuring spoon (similar ones here) is perfect for scooping and shaping this dough! 

You can (optionally) press the dough down with a fork in a criss cross pattern, and sprinkle sugar on top. The cookies will spread a bit more if you do this step. 

After baking for 12 minutes at 350, they should look golden brown like this! If you make these cookies and enjoy them, please comment below. Thanks! 

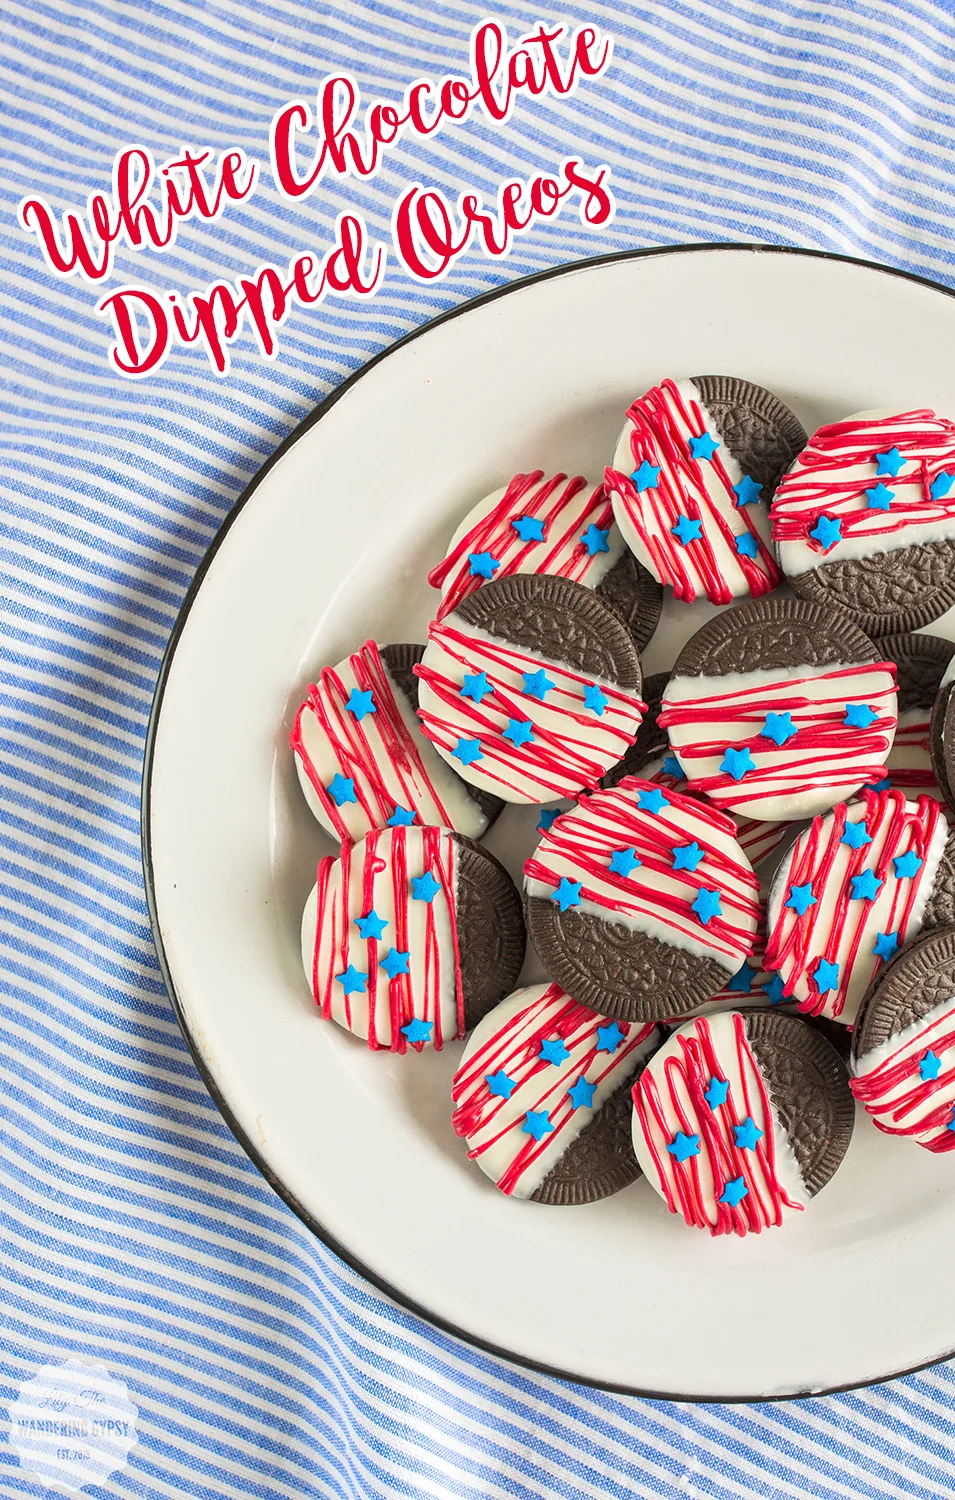
Elegant Chocolate-Dipped Patriotic Oreos

Have you noticed that most candy/chocolate stores offer chocolate-dipped Oreos among their other chocolate bon-bons and other confections? I have always been amazed by this, because they are SO incredibly easy to make. I figure, why not just make some of my own at home! I also wanted an excuse to check out the Oreo Thins that I have been seeing everywhere, so I thought this would be the perfect project!

Without further ado, here are my Elegant White Chocolate-Dipped Oreos, perfect for Labor Day Celebrations, and other times when you just wanna decorate some desserts!

- 1-2 packages of Oreo Thins (find them here)

- Ghirardelli Classic  White Melting Wafers or White Chocolate Chips (find them here)

- Red Food Coloring Gel (this is the set I have) or red candy melts

- Blue Sprinkles (similar here

- Glass jar to dip Oreos into (mine was the 8 oz. size, I believe)

- Skewer Stick

- Parchment Paper


1.) Melt white chocolate in a double boiler method or in the microwave, stirring regularly to make cure it's smooth and fully melted. 

2.) Line a baking sheet with parchment paper.

3.) Transfer a portion the melted white chocolate to a jar that is about as deep as the Oreo Thins are wide. Leave about 1/2" of room from the chocolate to the top of the jar.

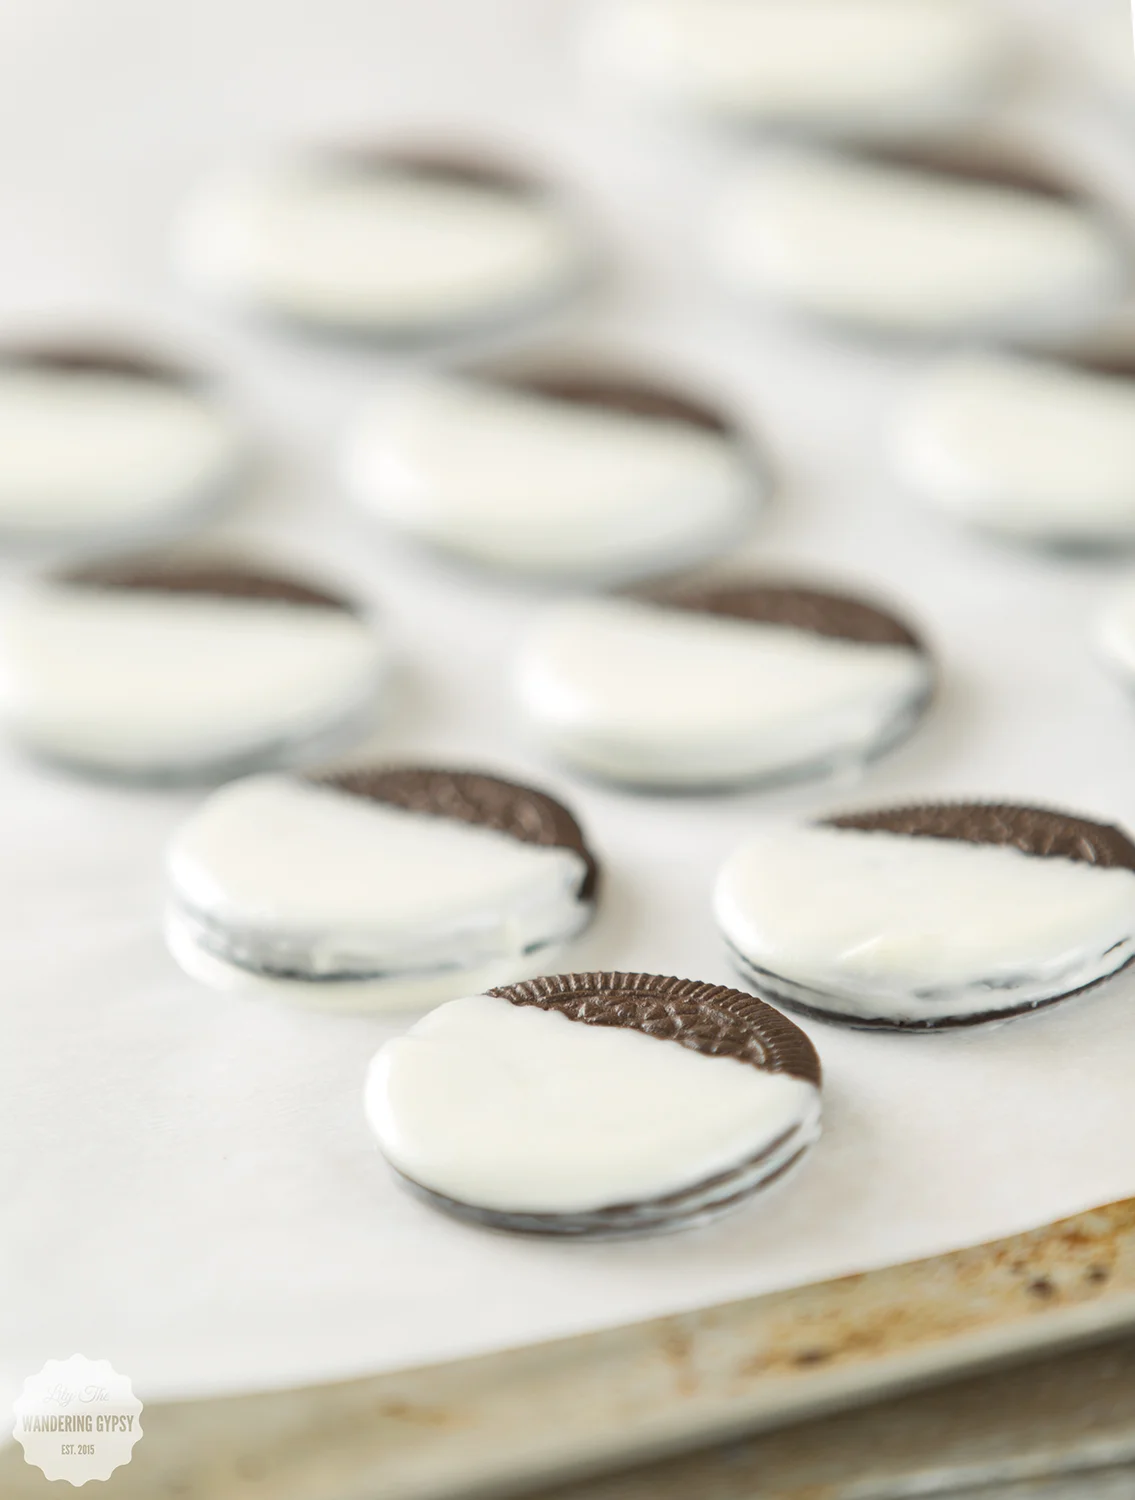
4.) Dip each Oreo Thin into the white chocolate, and dip in little over half way, leaving space at top.

5.) As you pull the cookie out of the jar of white chocolate, use a skewer stick to scrape excess chocolate off the back of the cookie, and around the sides. This is a great tip, that makes your cookies look way better and less gloppy as they dry.

6.) Put each cookie onto the parchment, and let cool completely. 

7.) After you have dipped every cookie, pour more white chocolate into a jar, and add lots of red gel food coloring. This could also be done with red melting wafers. 

8.) Transfer to Ziploc bag, and cut a tiny opening in one corner. ***Working one cookie at a time, add lines of red chocolate, then a few blue start sprinkles to each cookie. Practicing first helps!

9.) Enjoy your cookies! These would be perfect for a party or just enjoying at home!!!

Awesome Sugar Cookies From Scratch!

Sugar cookies are some of my absolute favorite cookies of all time. Especially when there's a little bit of icing and sprinkles on top. Cant beat it! This holiday season, I spent a little bit more time than I usually would, just making cookies from scratch. It was so much fun spending Christmas at home this year (I traveled to see family a couple of days in advance this year). 

Super Tasty Sugar Cookies Recipe

So, these cookies represent new traditions, as well as just plain awesome and tasty treats. 

Super Tasty Sugar Cookies Recipe

INGREDIENTS

3 C. Flour

1/2 tsp baking powder

1/2 tsp salt

2 sticks butter (at room temp or softened - but not melted)

1 1/3 C. sugar

2 eggs

2 tsp vanilla

Cookie Cutters

Super Tasty Sugar Cookies Recipe

INSTRUCTIONS

1.) Mix the three dry ingredients and set aside.

2.) Once butter is softened, beat Butter for about 2 minutes, until fluffy. Add in sugar and mix about 2-3 more minutes. 

3.) Add 1 egg at a time, and vanilla, and beat about 2 more minutes. 

4.) slowly add dry ingredient mixture, and beat until combined and a dough forms.

5.) Wrap in plastic wrap and refrigerate for at least 1 hour (or even overnight is fine).

6.) Once dough has chilled, unwrap, and let the dough sit out to warm up a bit, about 30 minutes - 1 hour. 

7.) Place dough between 2 pieces of paper - parchment on bottom, and waxed paper on top - (making sure to put flour above and below dough). Get two magazines, that are about 1/4" thick, lay them on either side of the dough, but ON TOP of the waxed paper sheet. This will ensure you don't get dough on your magazines! 

8.) Roll out dough to be about 1/4" thick, remove waxed paper from top, and cut out shapes from dough. I used a fork and a spatula to remove excess dough from around shapes. 

9.) Put the shapes onto another cookie sheet or cutting board, and freeze shapes while you cut the next ones.

10.) Re-roll dough again, about 1/4" thick, and cut more shapes. Repeat the process of cutting shapes and freezing them as you go.

11.) Preheat oven to 350 degrees F. Bake shapes, spread out on a cookie sheet, one batch at a time. Make sure to leave lots of room around each shape, just in case they spread out a little bit. If you do all the steps correctly, and take your time, the shapes should stay about the same size, just puff up a bit. 

12.) Use your favorite icing recipe, or I actually used some Funfetti icing, because I love the sprinkle colors :) I added a few drops of blue food coloring to achieve this pretty pastel blue color. Enjoy!!

Super Tasty Sugar Cookies Recipe

Soft Gingerbread Cookies Recipe

I know this post is a few days after Christmas, but I absolutely LOVE how these turned out! I could eat them all at once, but they do have a bit of a stronger taste to them than most of the cookies I make, so I have to pace myself :) These cookies were also a little bit involved, so just a warning! They took us working on them throughout the evening, but it was so fun! And the dough need to chill for about 3 hours, so you could let the dough chill overnight if you want. Original Recipe Found Here. 

Lily The Wandering Gypsy

These hardly need any decorating or icing, they are perfect just the way they are! They were so fun to make, and I have always been so enamored by the beautiful color of gingerbread dough. What a beautiful color! 

That amazing color I'm talking about comes from one of the main ingredients - Molasses! This was our first time ever using this stuff in anything, and it was very easy to use.  I found it at our local Co-Op, for about $5.99, but here is the best price I found online. 

Lily The Wandering Gypsy

INGREDIENTS:

3 cups all-purpose flour
1 teaspoon baking soda
3/4 teaspoon ground cinnamon
3/4 teaspoon ground ginger
1/2 teaspoon ground allspice
1/2 teaspoon ground cloves
1/2 teaspoon salt
1/4 teaspoon freshly milled black pepper
8 tablespoons (1 stick) unsalted butter, at room temperature
1/4 cup vegetable shortening, at room temperature (I used more butter here)
1/2 cup packed light brown sugar
2/3 cup unsulfured molasses
1 large egg

Lily The Wandering Gypsy

INSTRUCTIONS:

Position the racks in the top and bottom thirds of the oven and preheat to 350 degrees F.

Sift the flour, baking soda, cinnamon, ginger, allspice, cloves, salt and pepper through a wire sieve into a medium bowl. Set aside.

In a large bowl, using a hand-held electric mixer at high speed, beat the butter and vegetable shortening until well-combined, about 1 minute. Add the brown sugar and beat until the mixture is light in texture and color, about 2 minutes. Beat in the molasses and egg. Using a wooden spoon, gradually mix in the flour mixture to make a stiff dough. Divide the dough into two thick disks and wrap each disk in plastic wrap. Refrigerate until chilled, about 3 hours. (The dough can be prepared up to 2 days ahead.)

To roll out the cookies, work with one disk at a time, keeping the other disk refrigerated. Remove the dough from the refrigerator and let stand at room temperature until just warm enough to roll out without cracking, about 10 minutes. (If the dough has been chilled for longer than 3 hours, it may need a few more minutes.) Place the dough on a lightly floured work surface and sprinkle the top of the dough with flour. Roll out the dough 1/8 inch thick, being sure that the dough isn't sticking to the work surface (run a long meal spatula or knife under the dough occasionally just to be sure, and dust the surface with more flour, if needed). For softer cookies, roll out slightly thicker. Using cookie cutters, cut out the cookies and transfer to nonstick cookie sheets, placing the cookies 1 inch apart. Gently knead the scraps together and form into another disk. Wrap and chill for 5 minutes before rolling out again to cut out more cookies.

Bake, switching the positions of the cookies from top to bottom and back to front halfway through baking, until the edges of the cookies are set and crisp, 10 to 12 minutes. Cool on the sheets for 2 minutes, then transfer to wire cake racks to cool completely. Decorate with Royal Icing. (The cookies can be prepared up to 1 week ahead, stored in airtight containers at room temperature.)

For The Icing - I only had a tiny bit of powdered sugar. So, I basically mixed a few Tbsp of powdered sugar with a splash of milk and a bit of corn syrup to thicken it up. It was more like a glaze, though. For the decorations, I used three sprinkles as buttons. 

Lily The Wandering Gypsy

Well, I hope you enjoy these cookies! They took a lot of work, but wow, did they turn out well! Enjoy!