Hatfield® Marinated Summer Grilling ~ Fresh Local Veggie Kabob Recipe

This shop has been compensated by Collective Bias, Inc. and its advertiser. All opinions are mine alone. #SummerItUpWithHatfield #GrillingWithHatfield #CollectiveBias

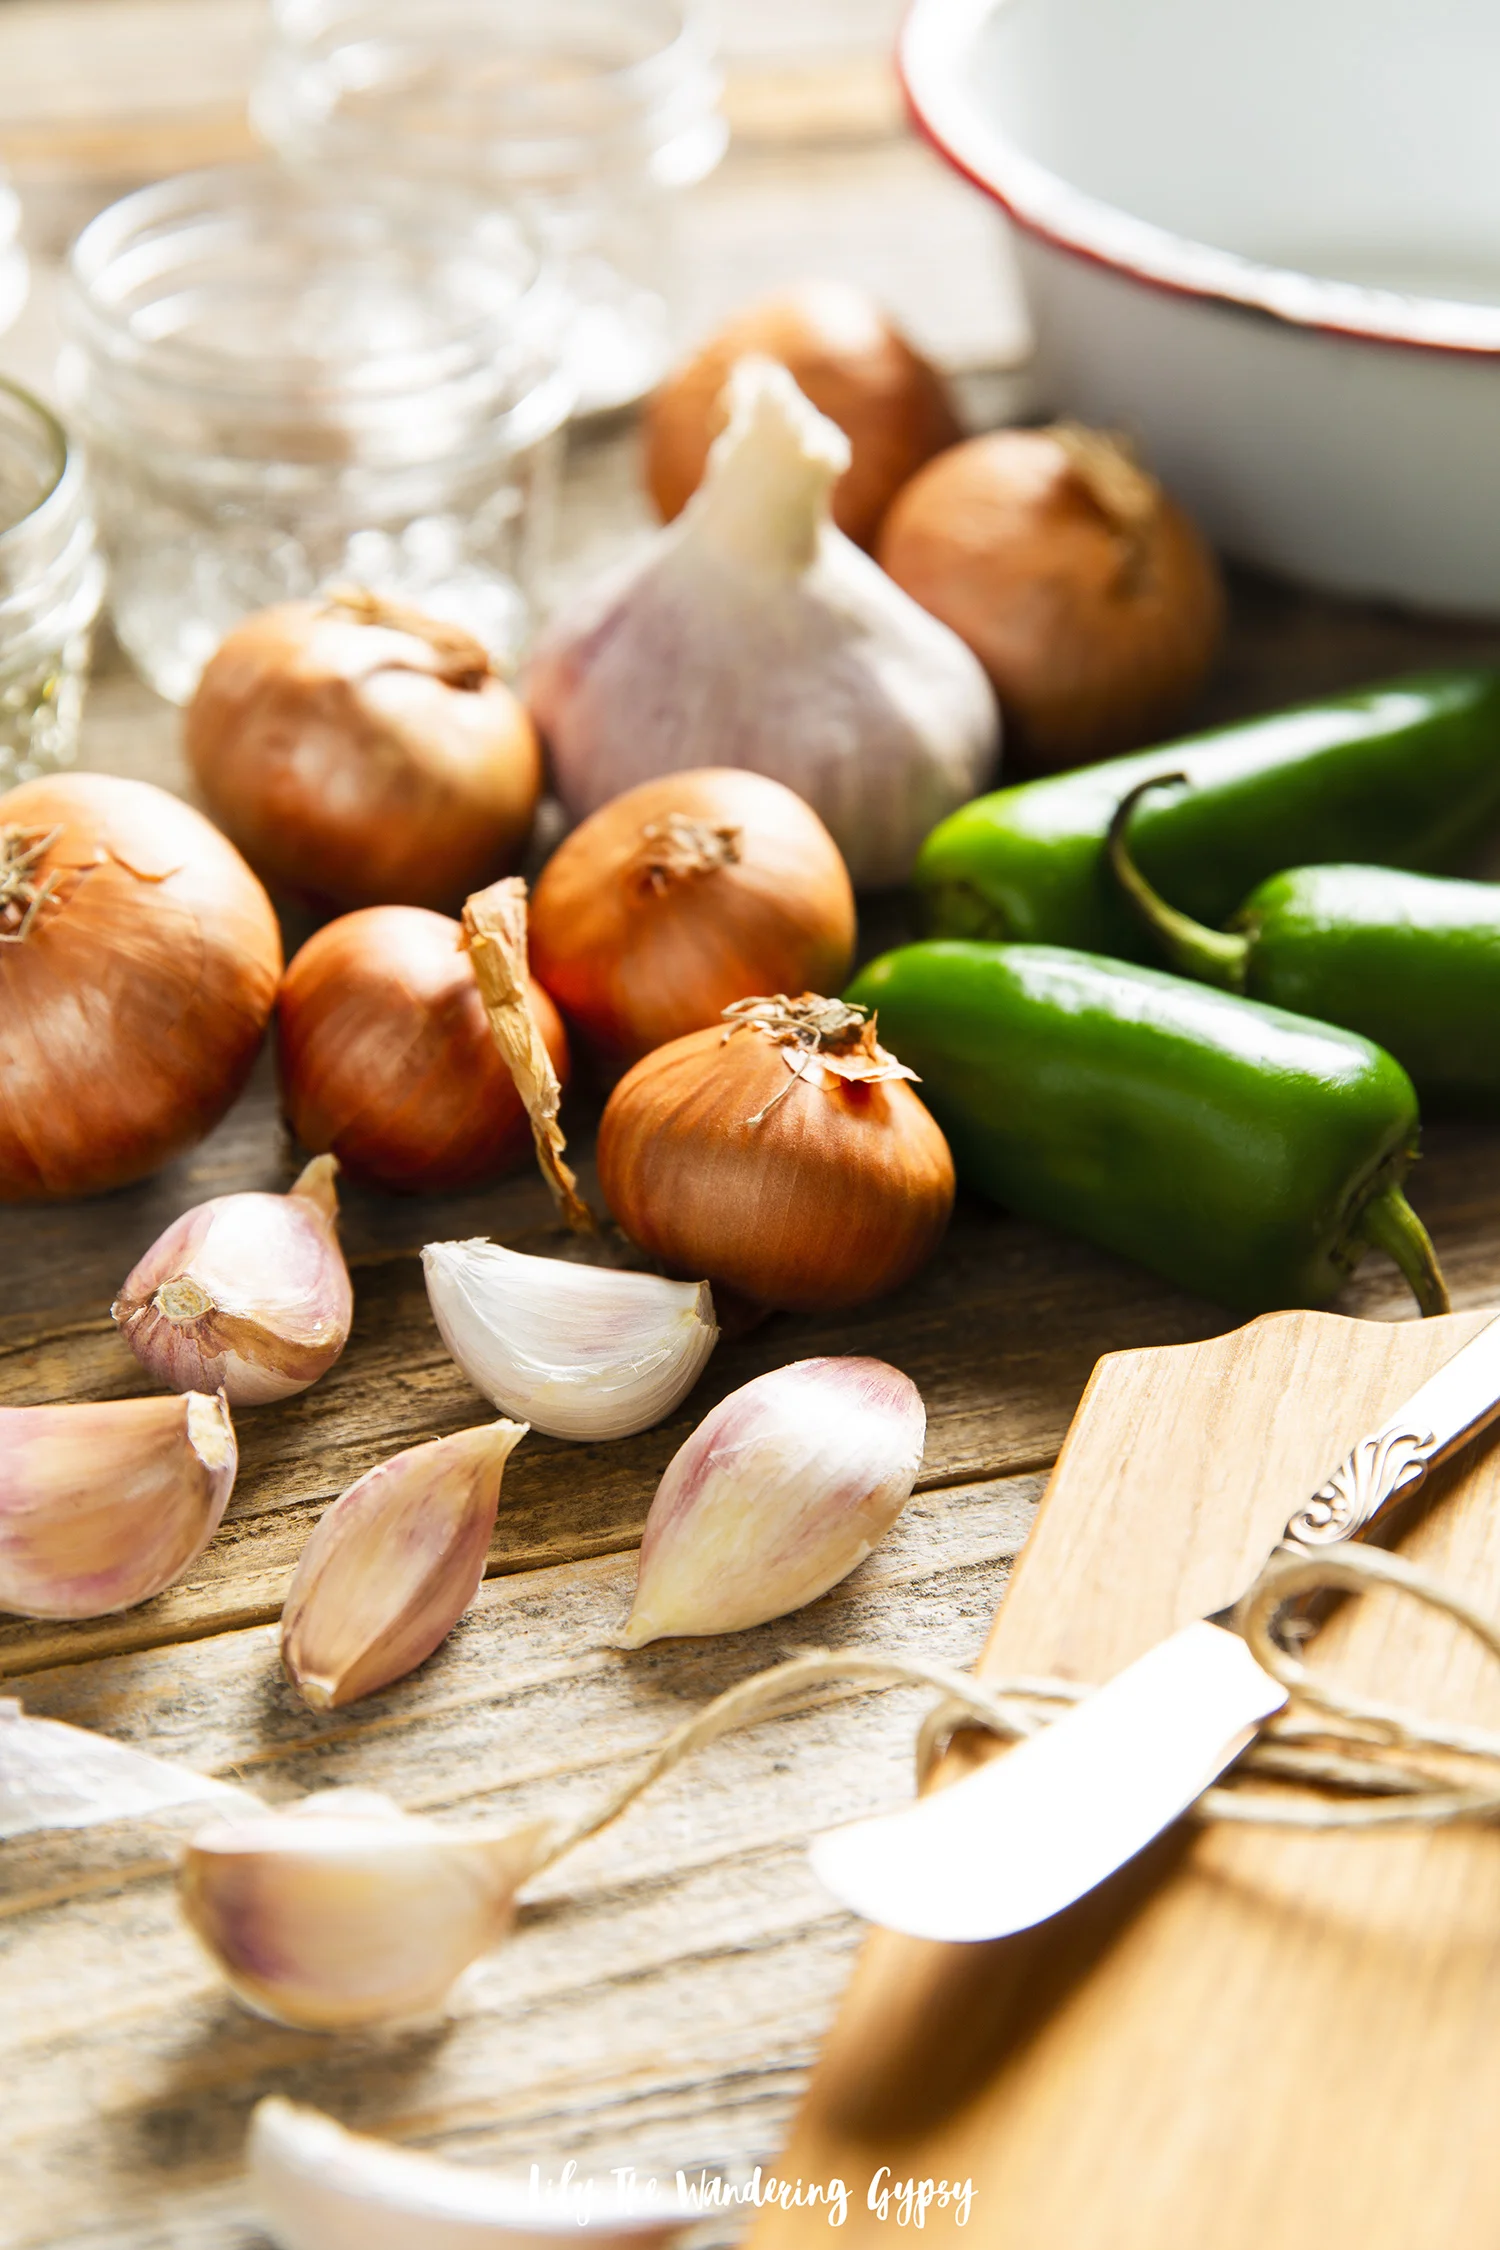
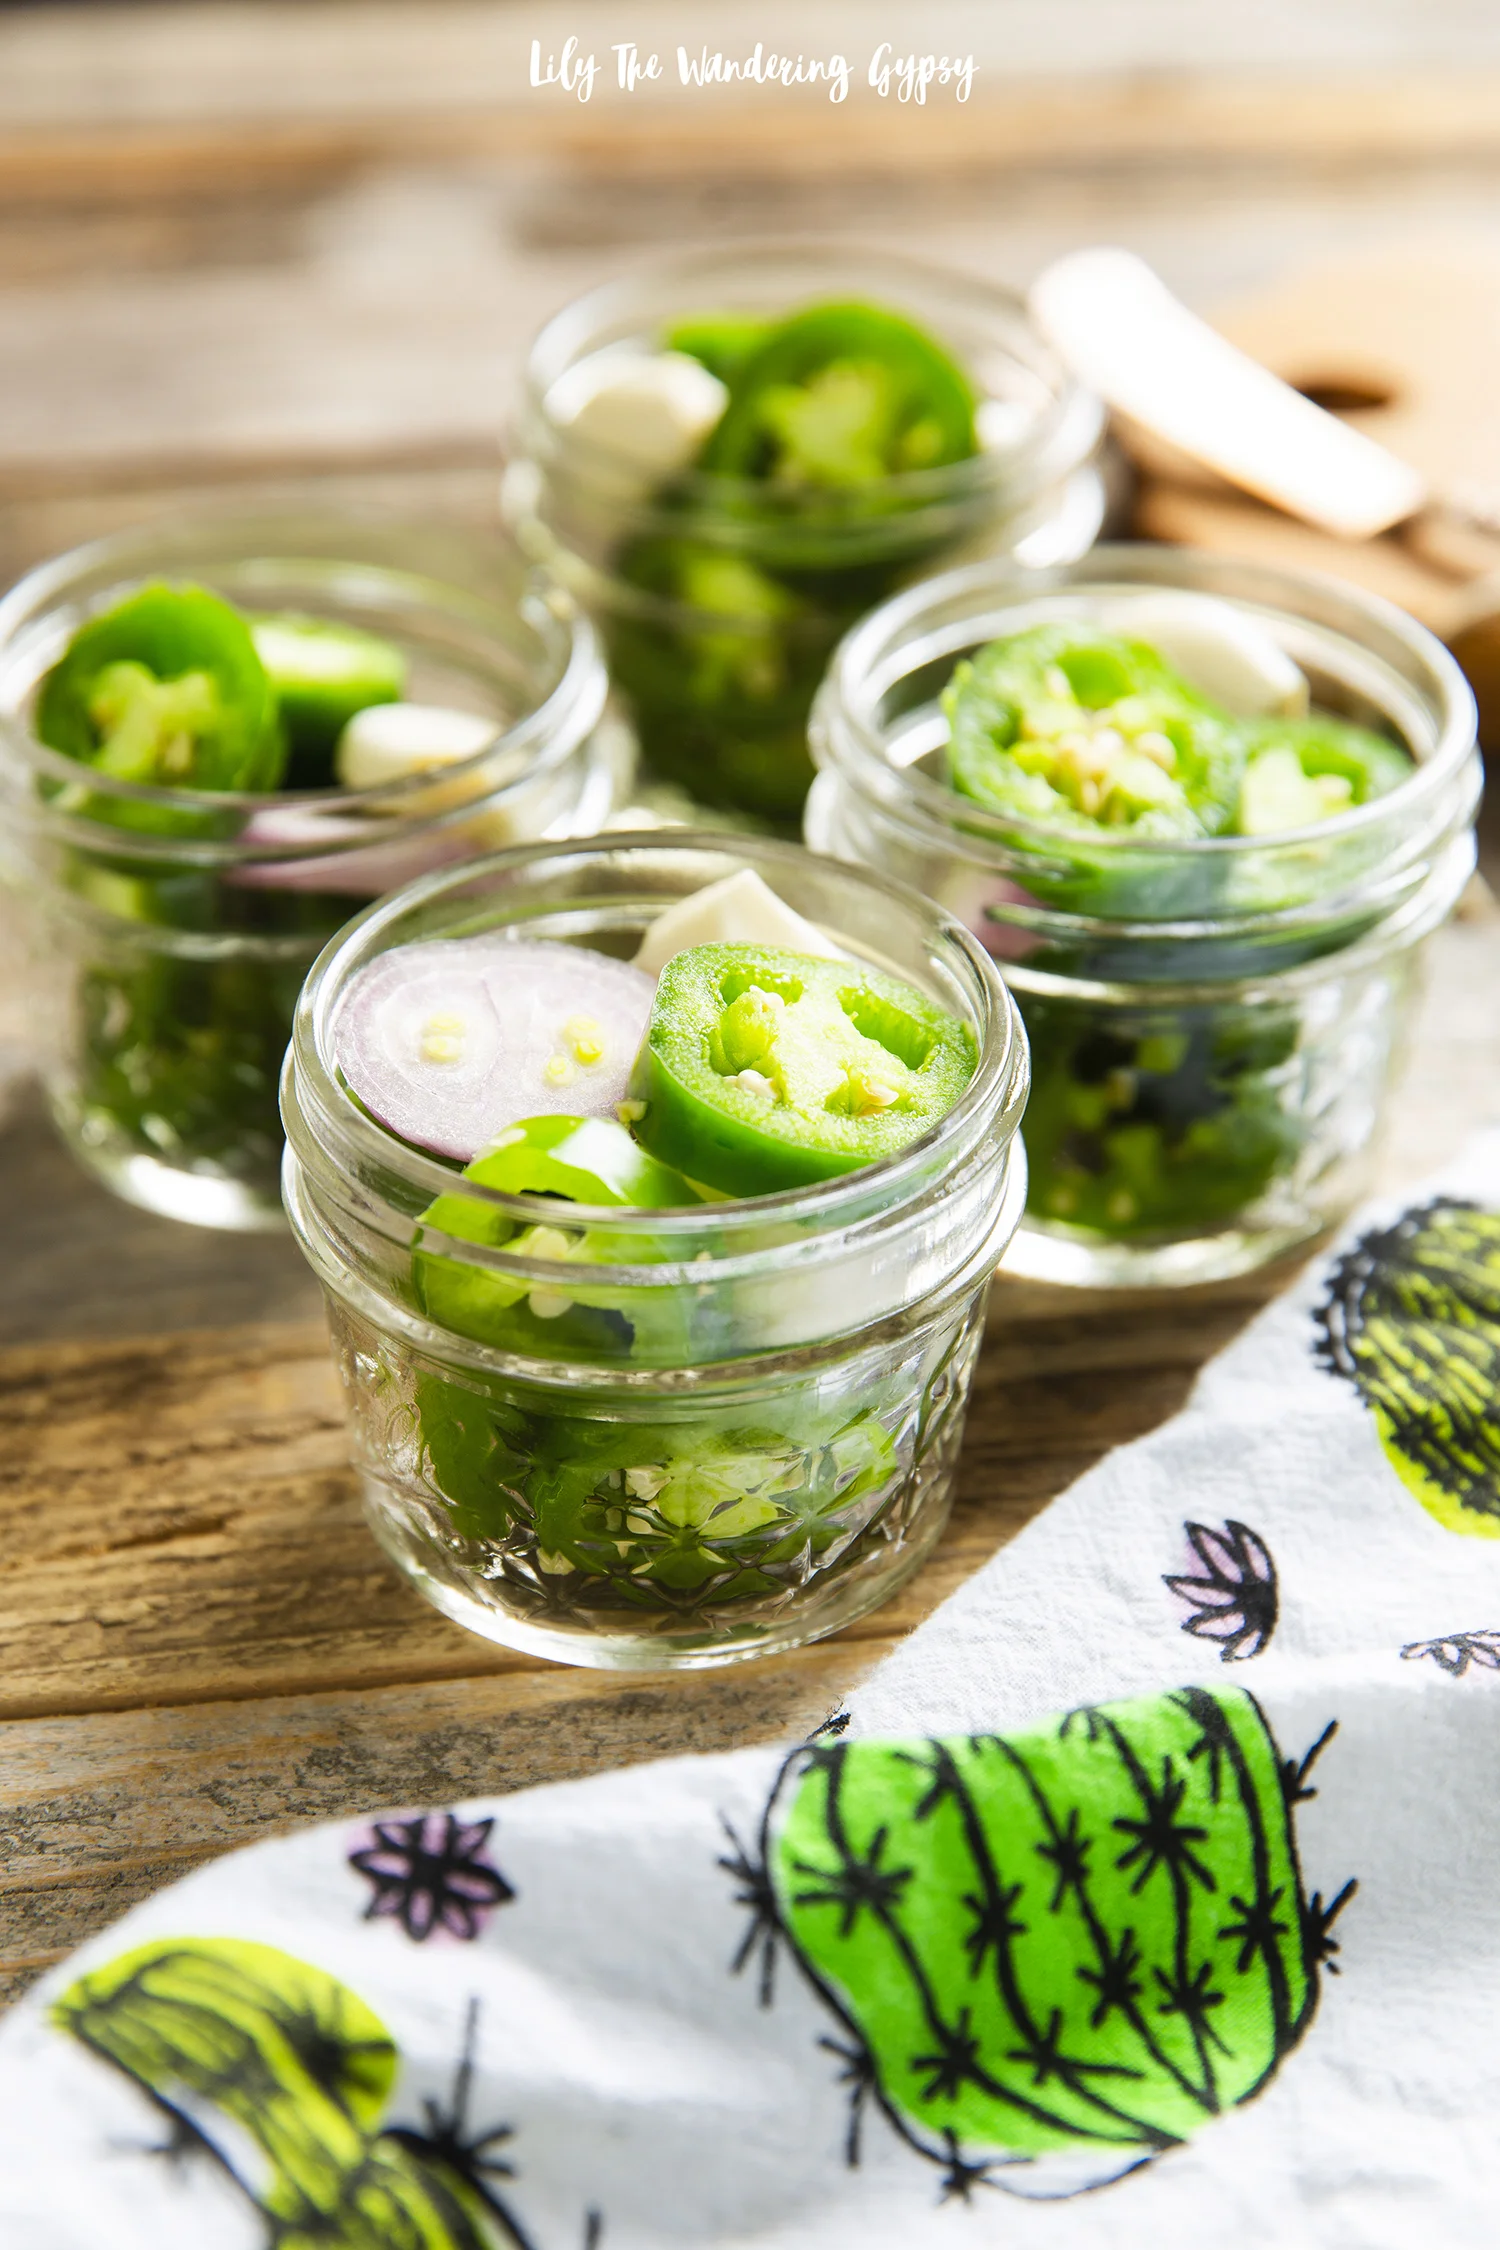
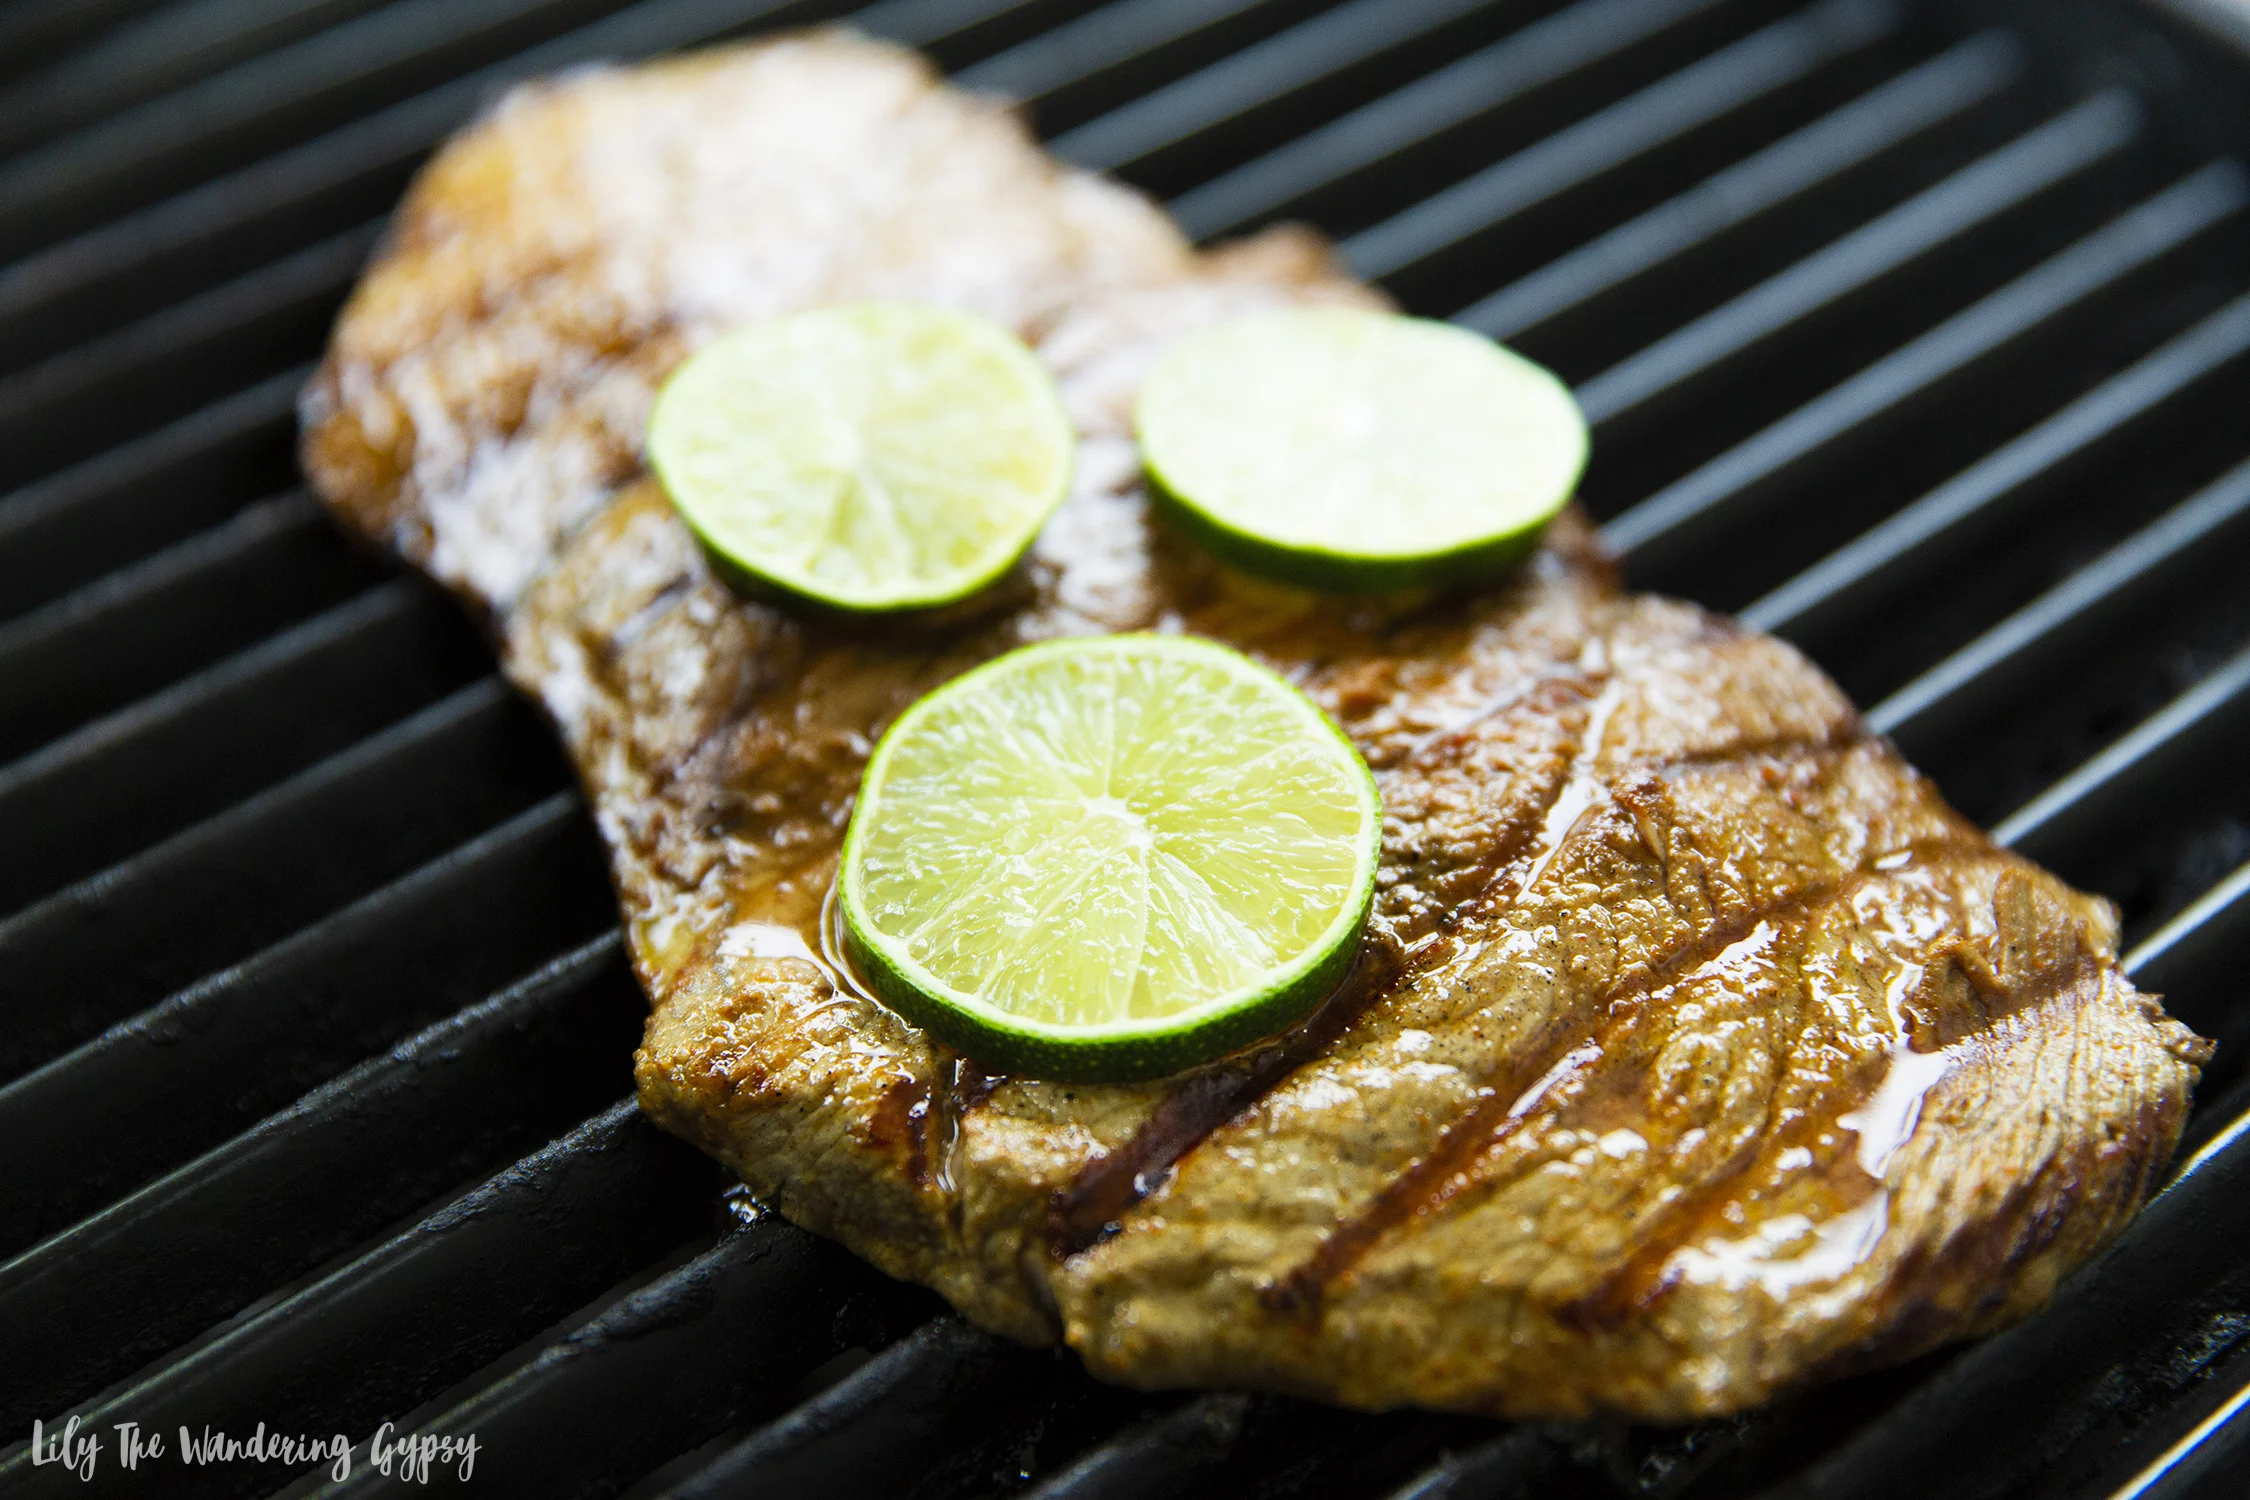
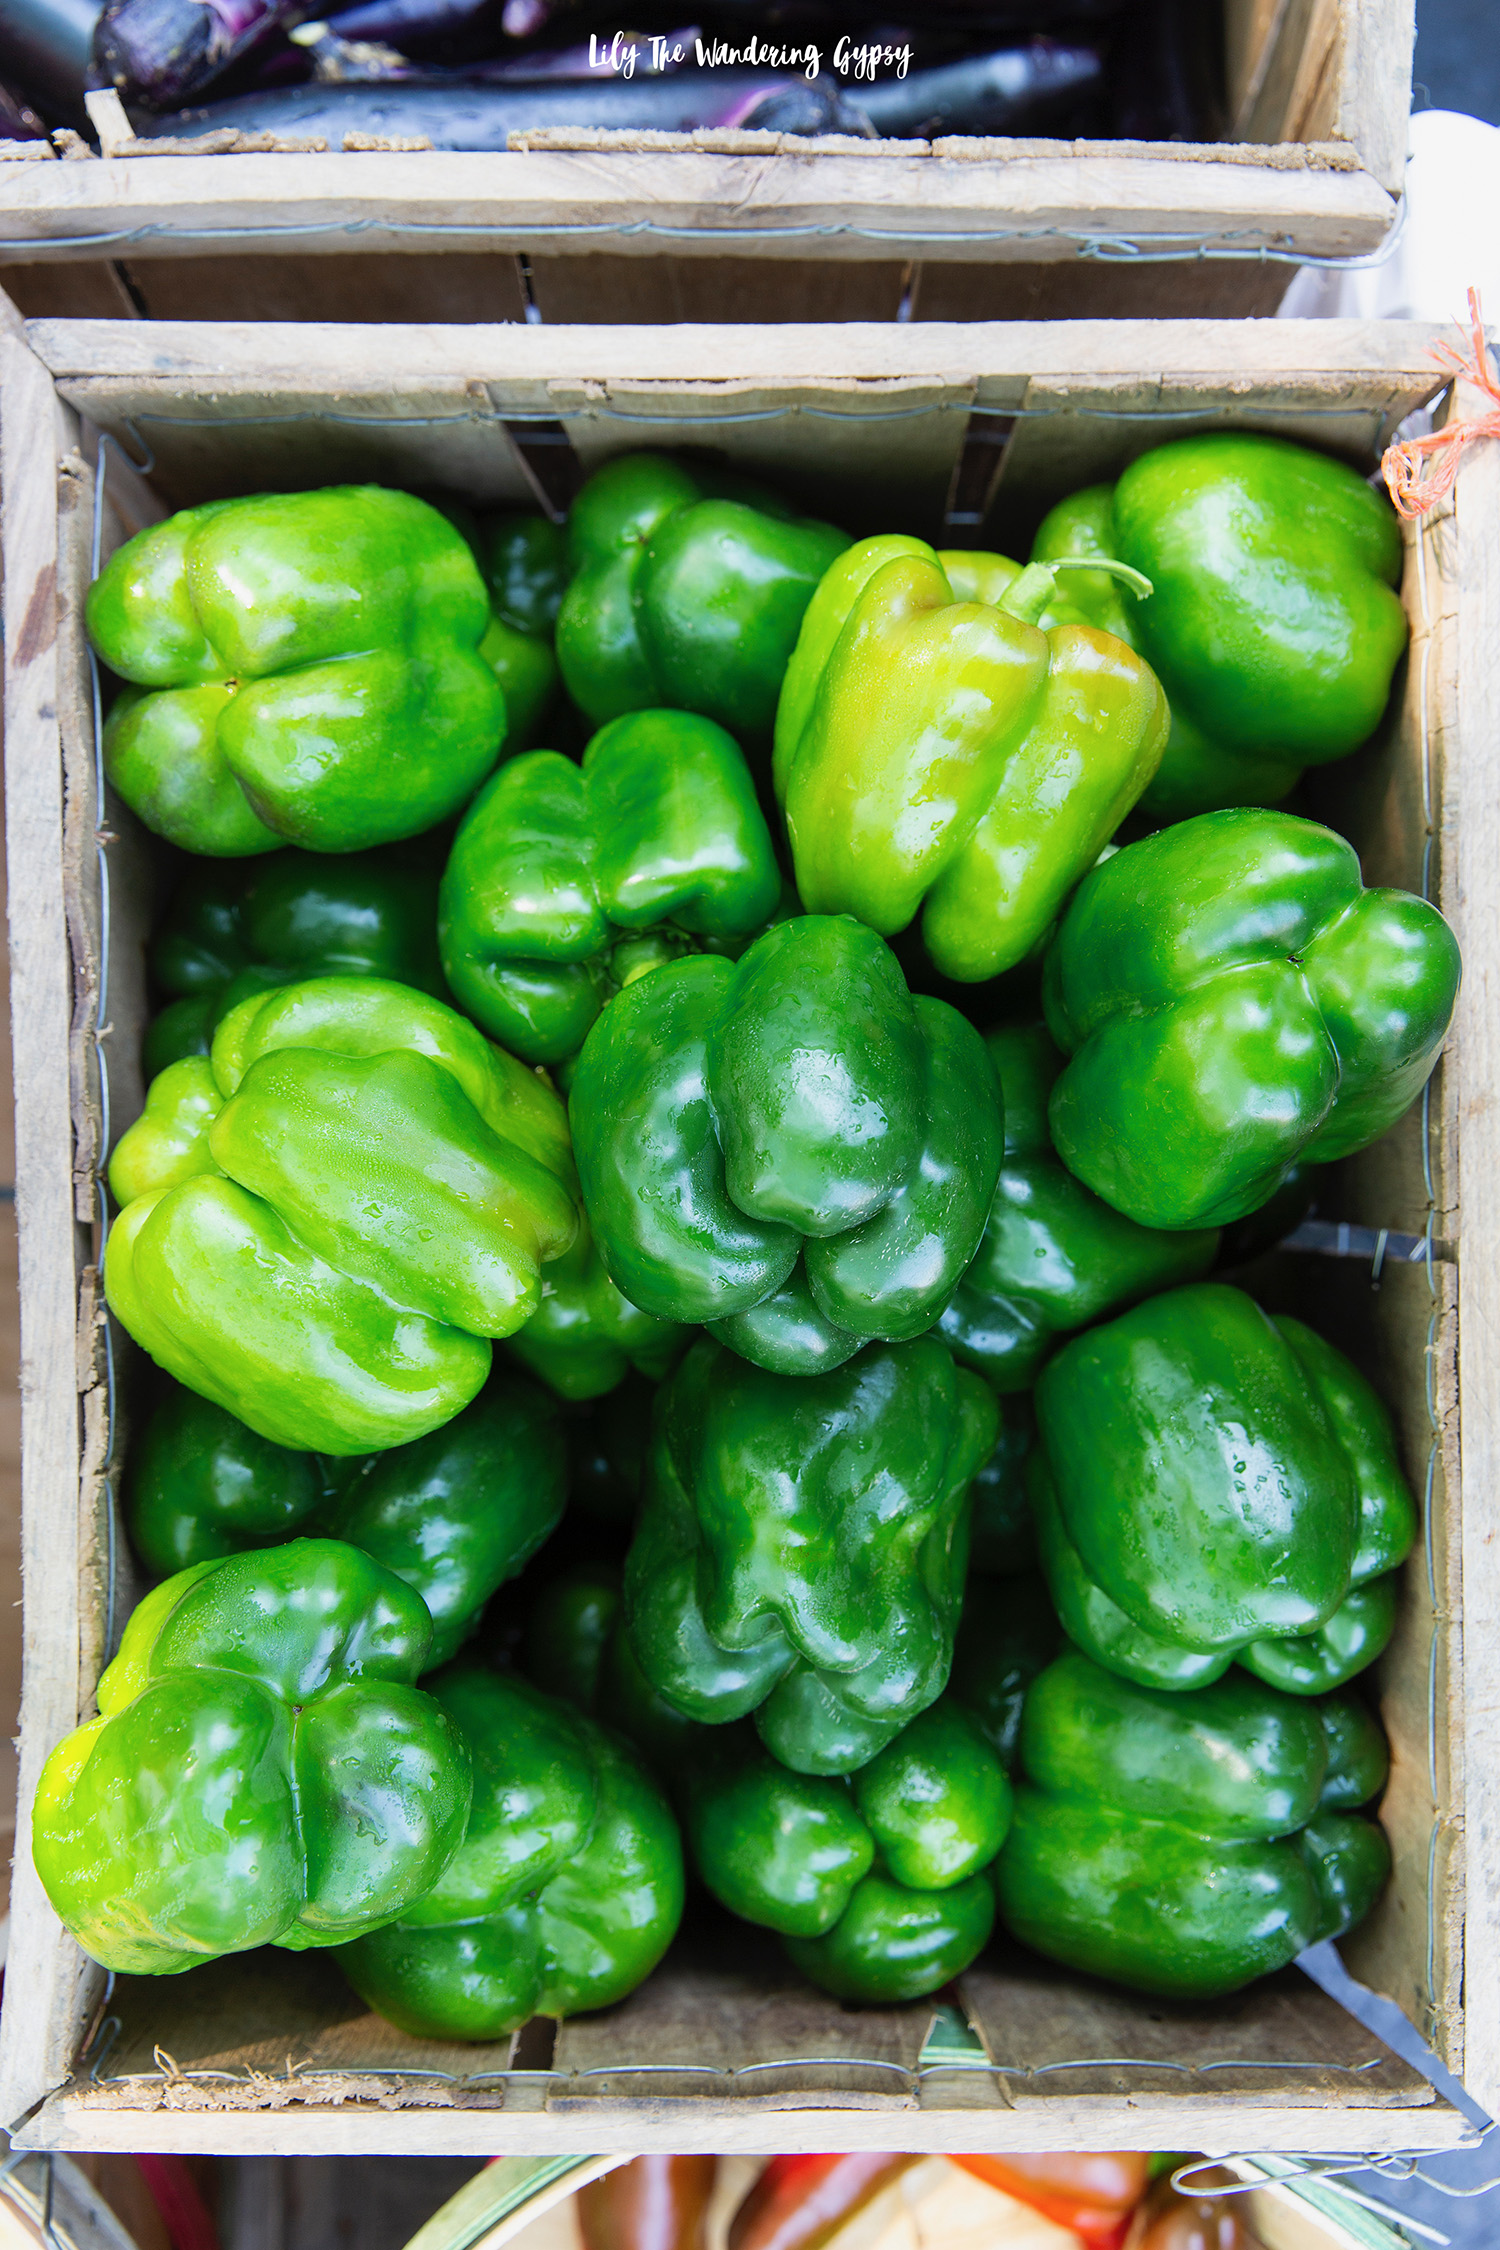
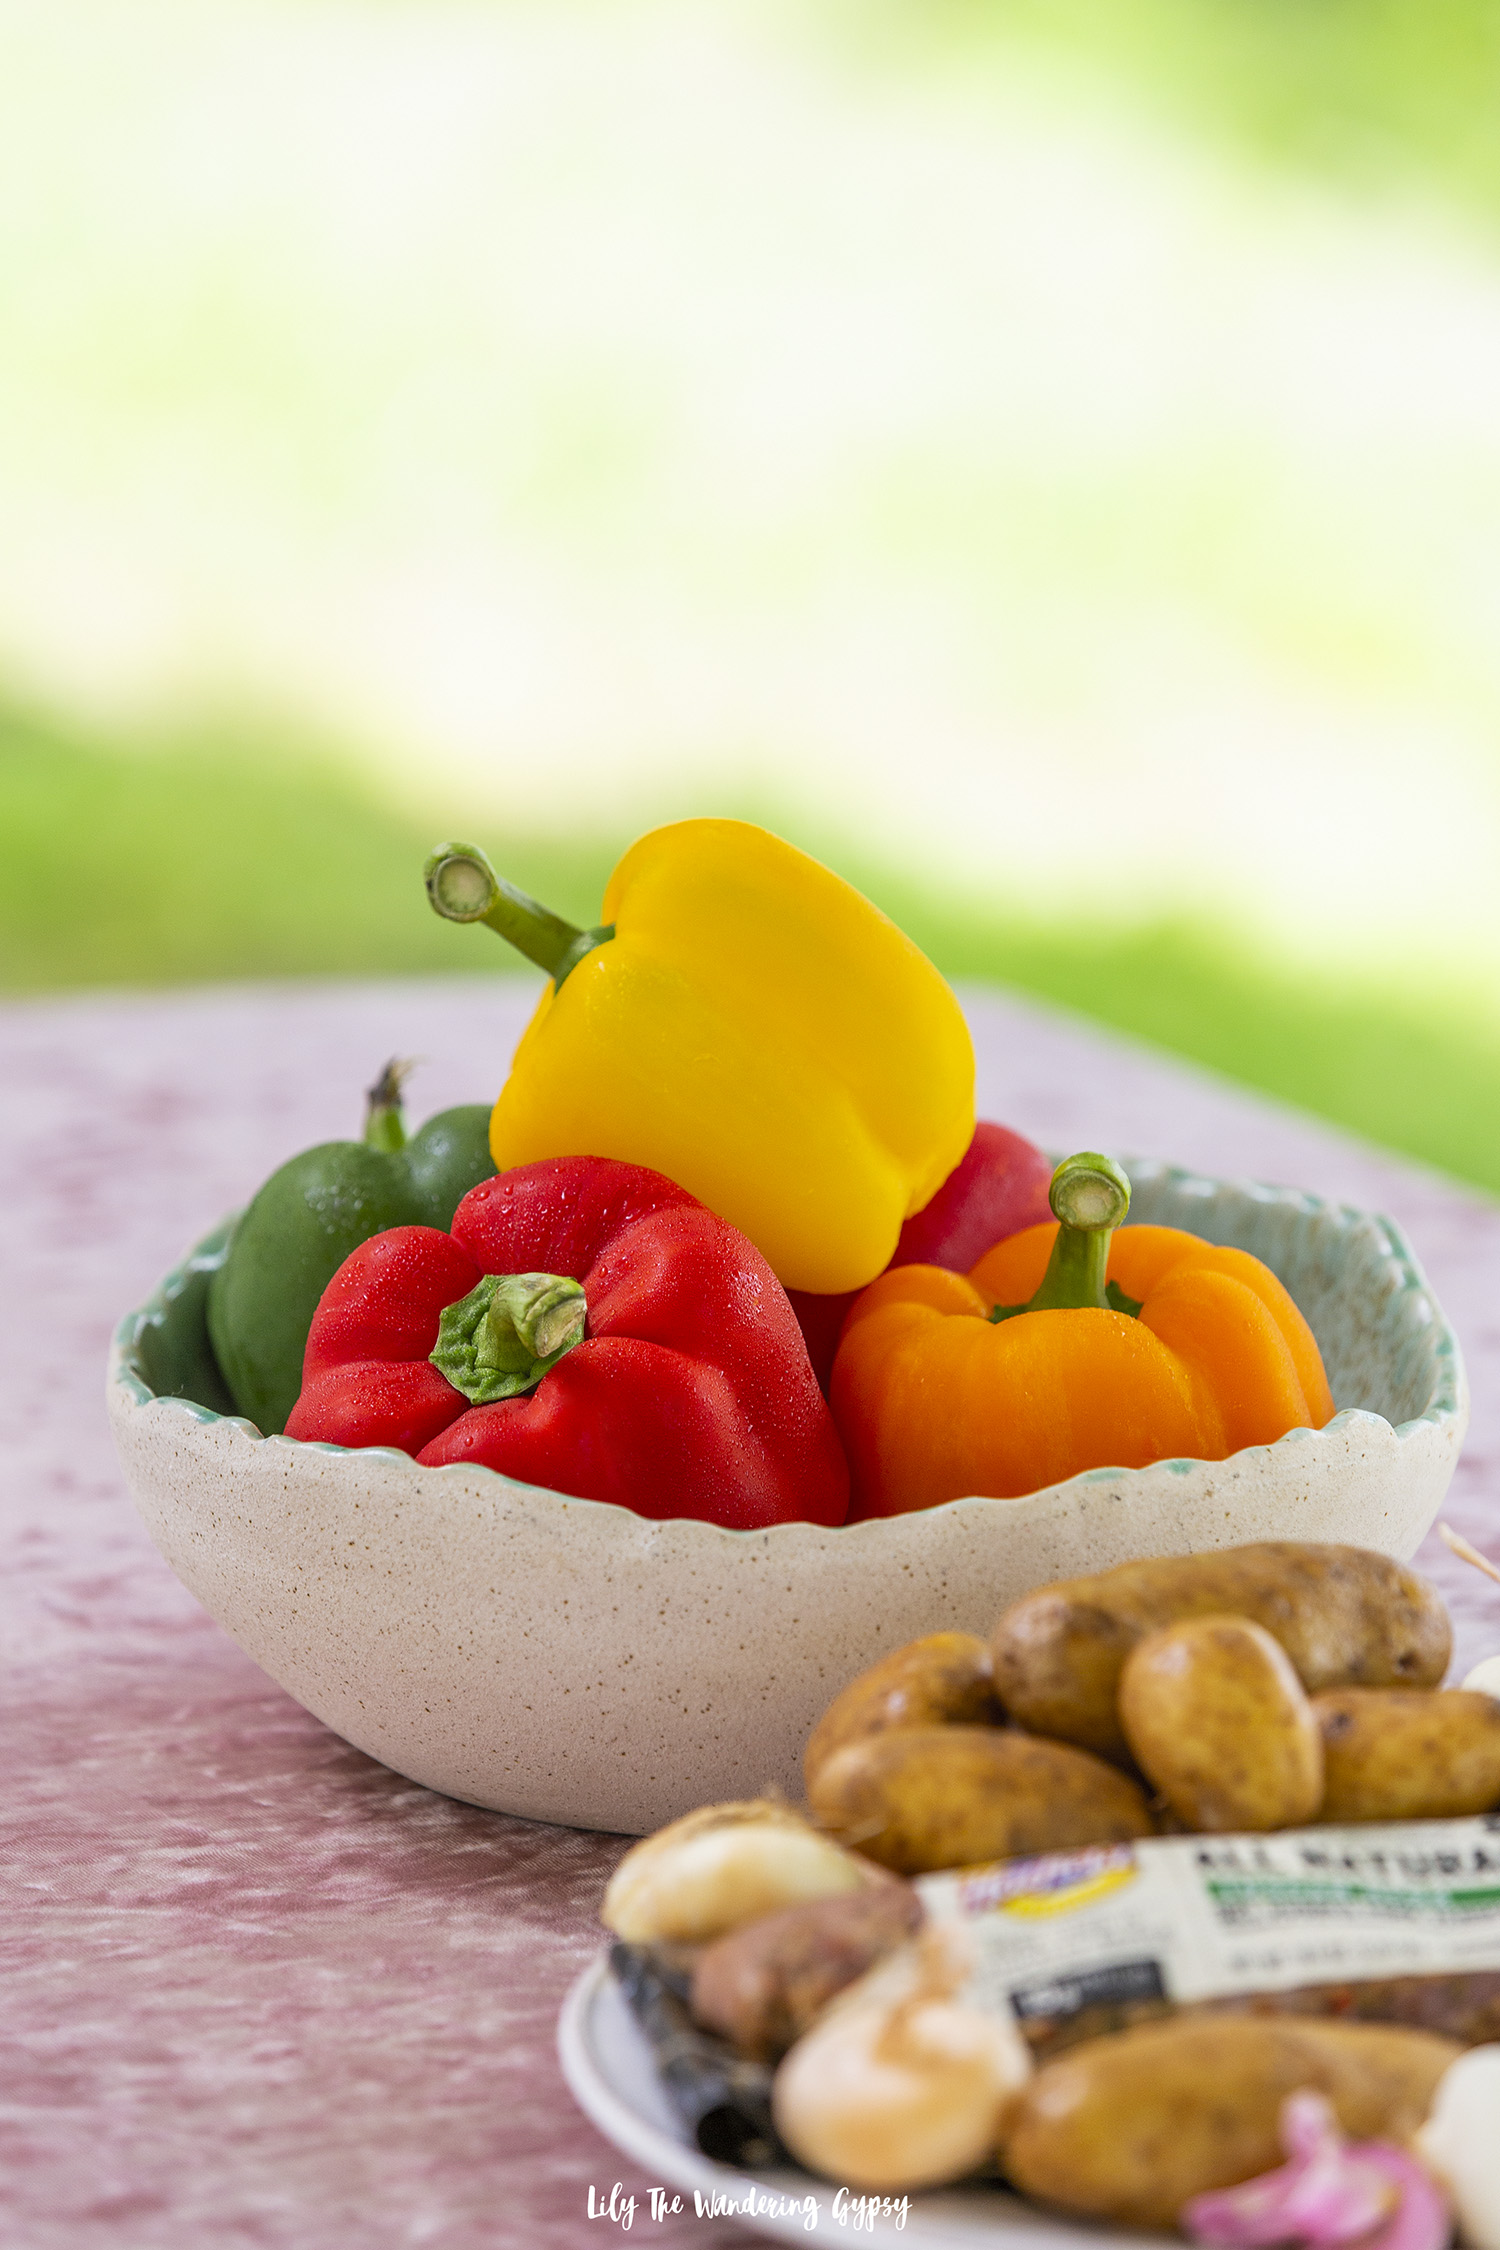
You know those memorable summer meals that make the summer all that much better? Those meals the you and your friends and family talk about all year? Well I believe this is going to be one of those. I was floored with the flavors that the dry rub marinade on the Hatfield® Marinated Pork contained and I am already looking forward to leftovers. I was also able to source peppers from my local farmer’s market!!

Basically, I used the flavors in the Hatfield dry rub marinade to inspire the flavors throughout the entire meal!

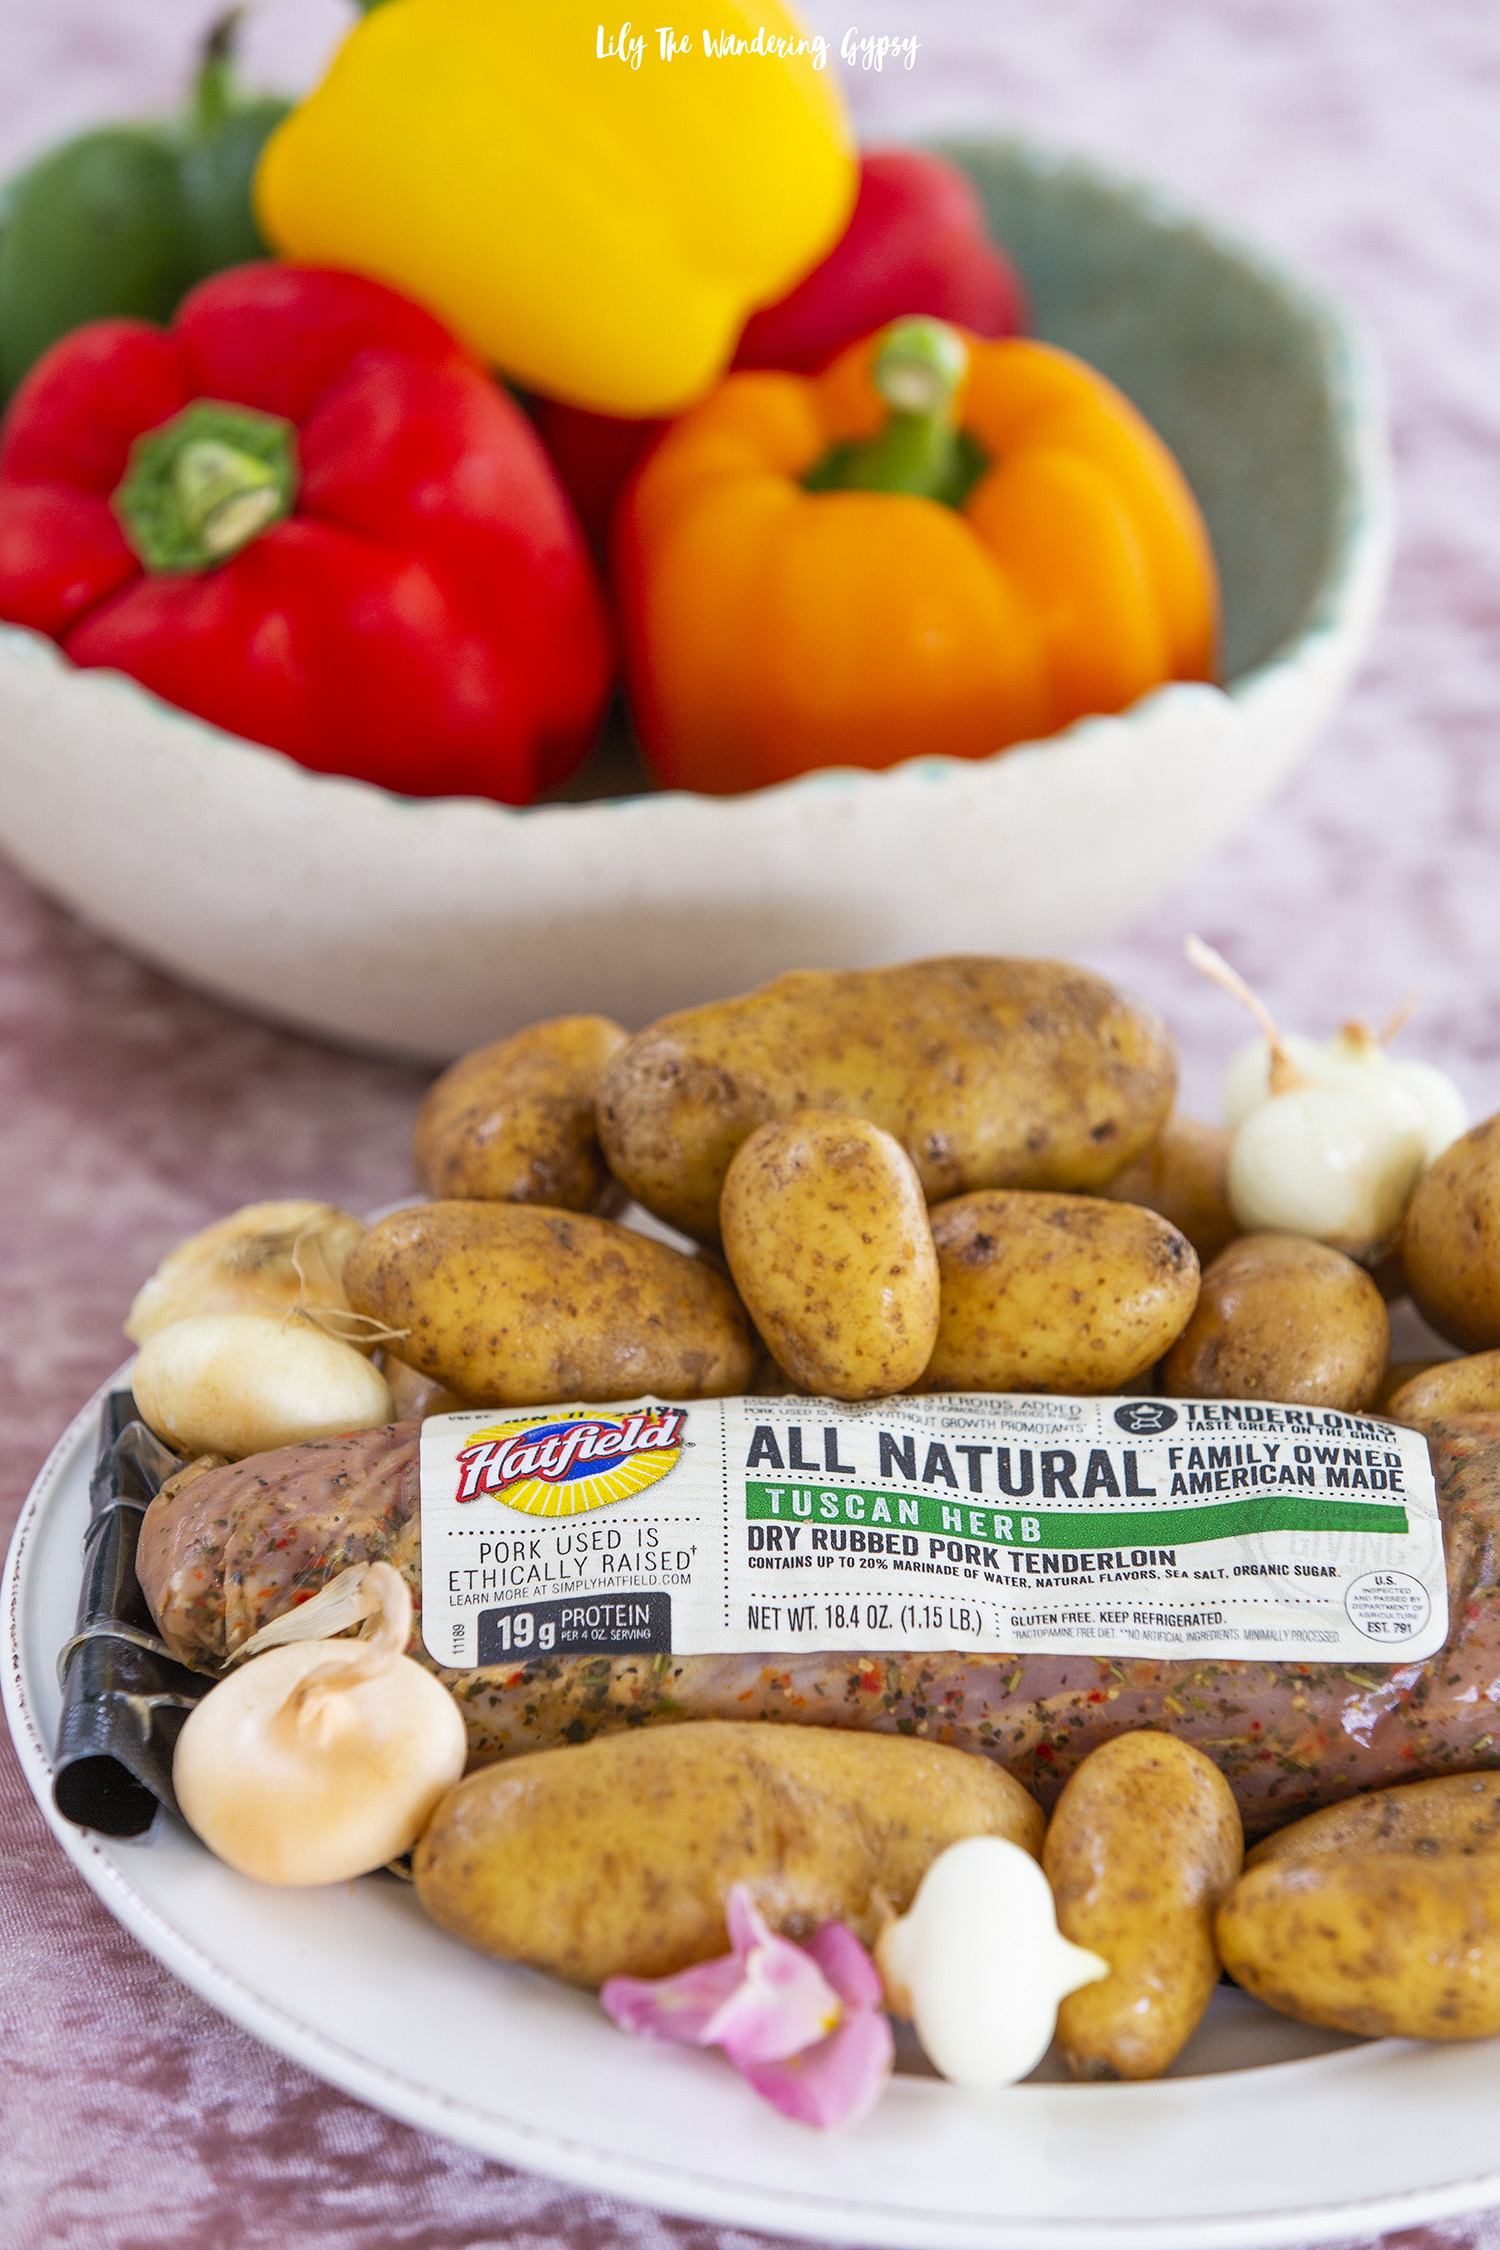
Since this pork tenderloin was already marinated, I hardly had to do any prep work. Generally I like to let any of my ingredients marinate for at least several hours, and the pre-seasoned tenderloin made this meal so easy to prep and create. From their dry rub seasoned tenderloins to their slow-cooker-ready pork roasts, delicious fresh pork makes dinner less about the cooking and more about the family and friends around you. Send them home with leftovers - they’ll thank you!

WHERE TO FIND…

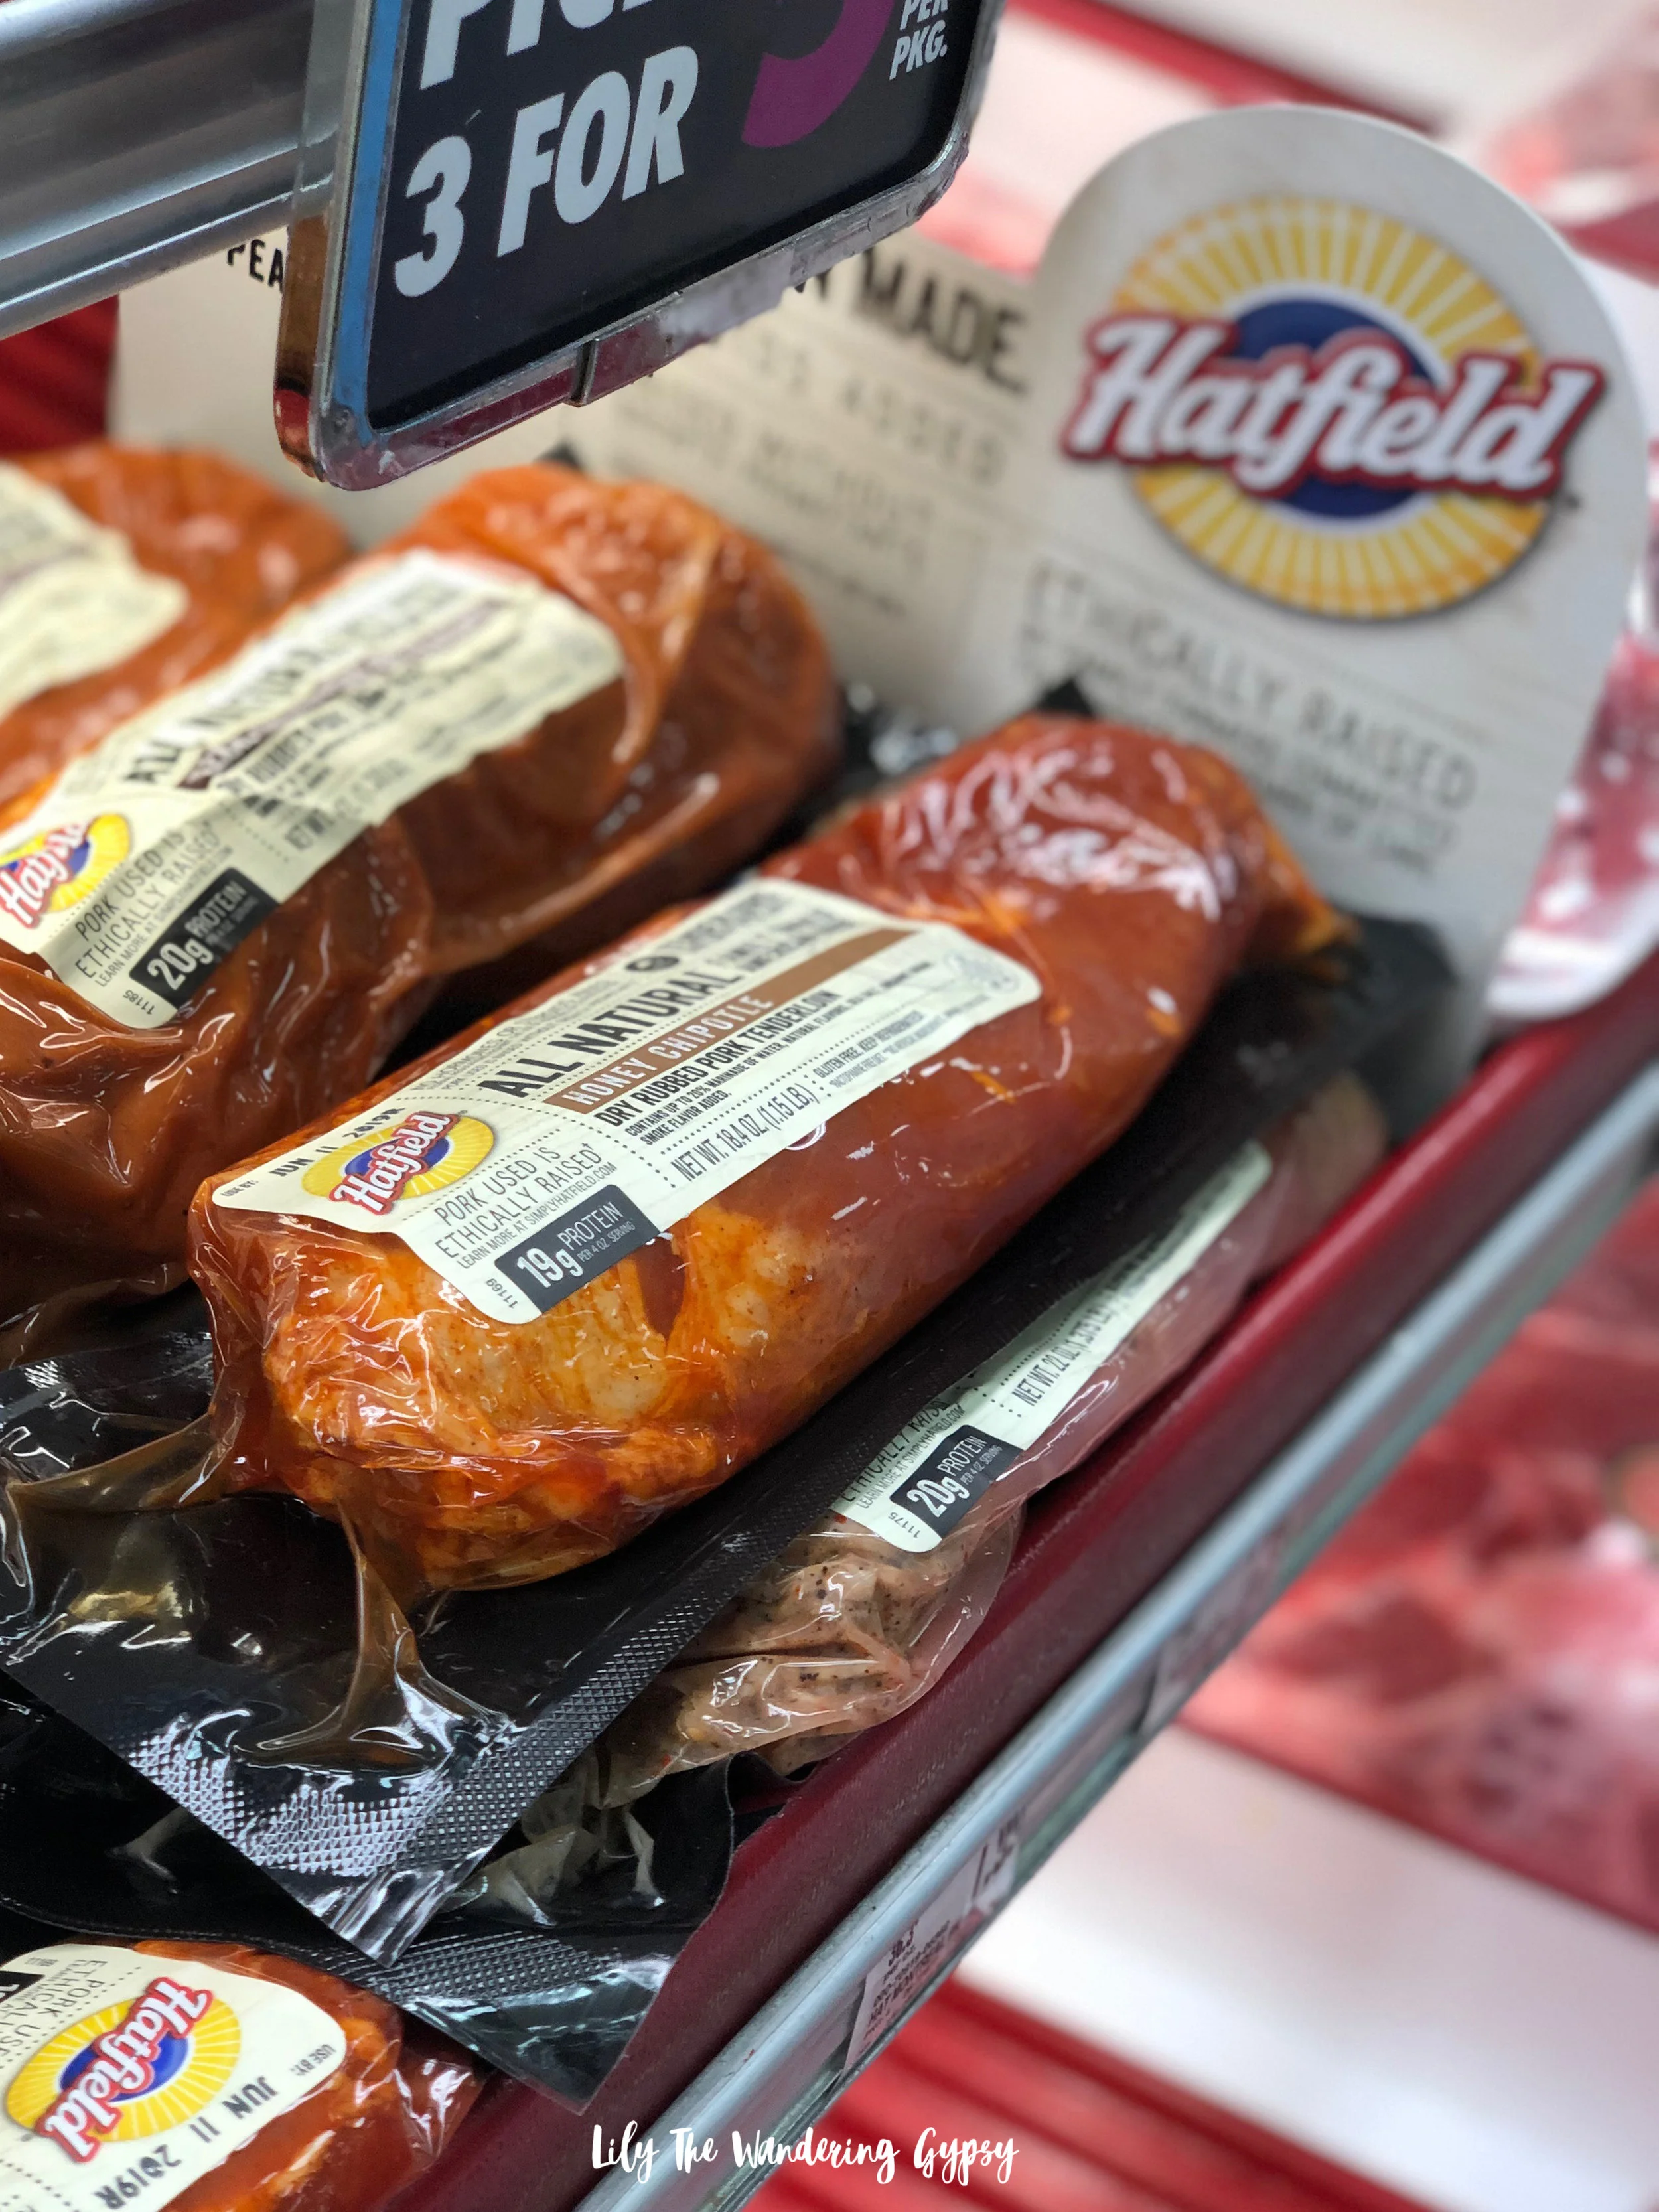
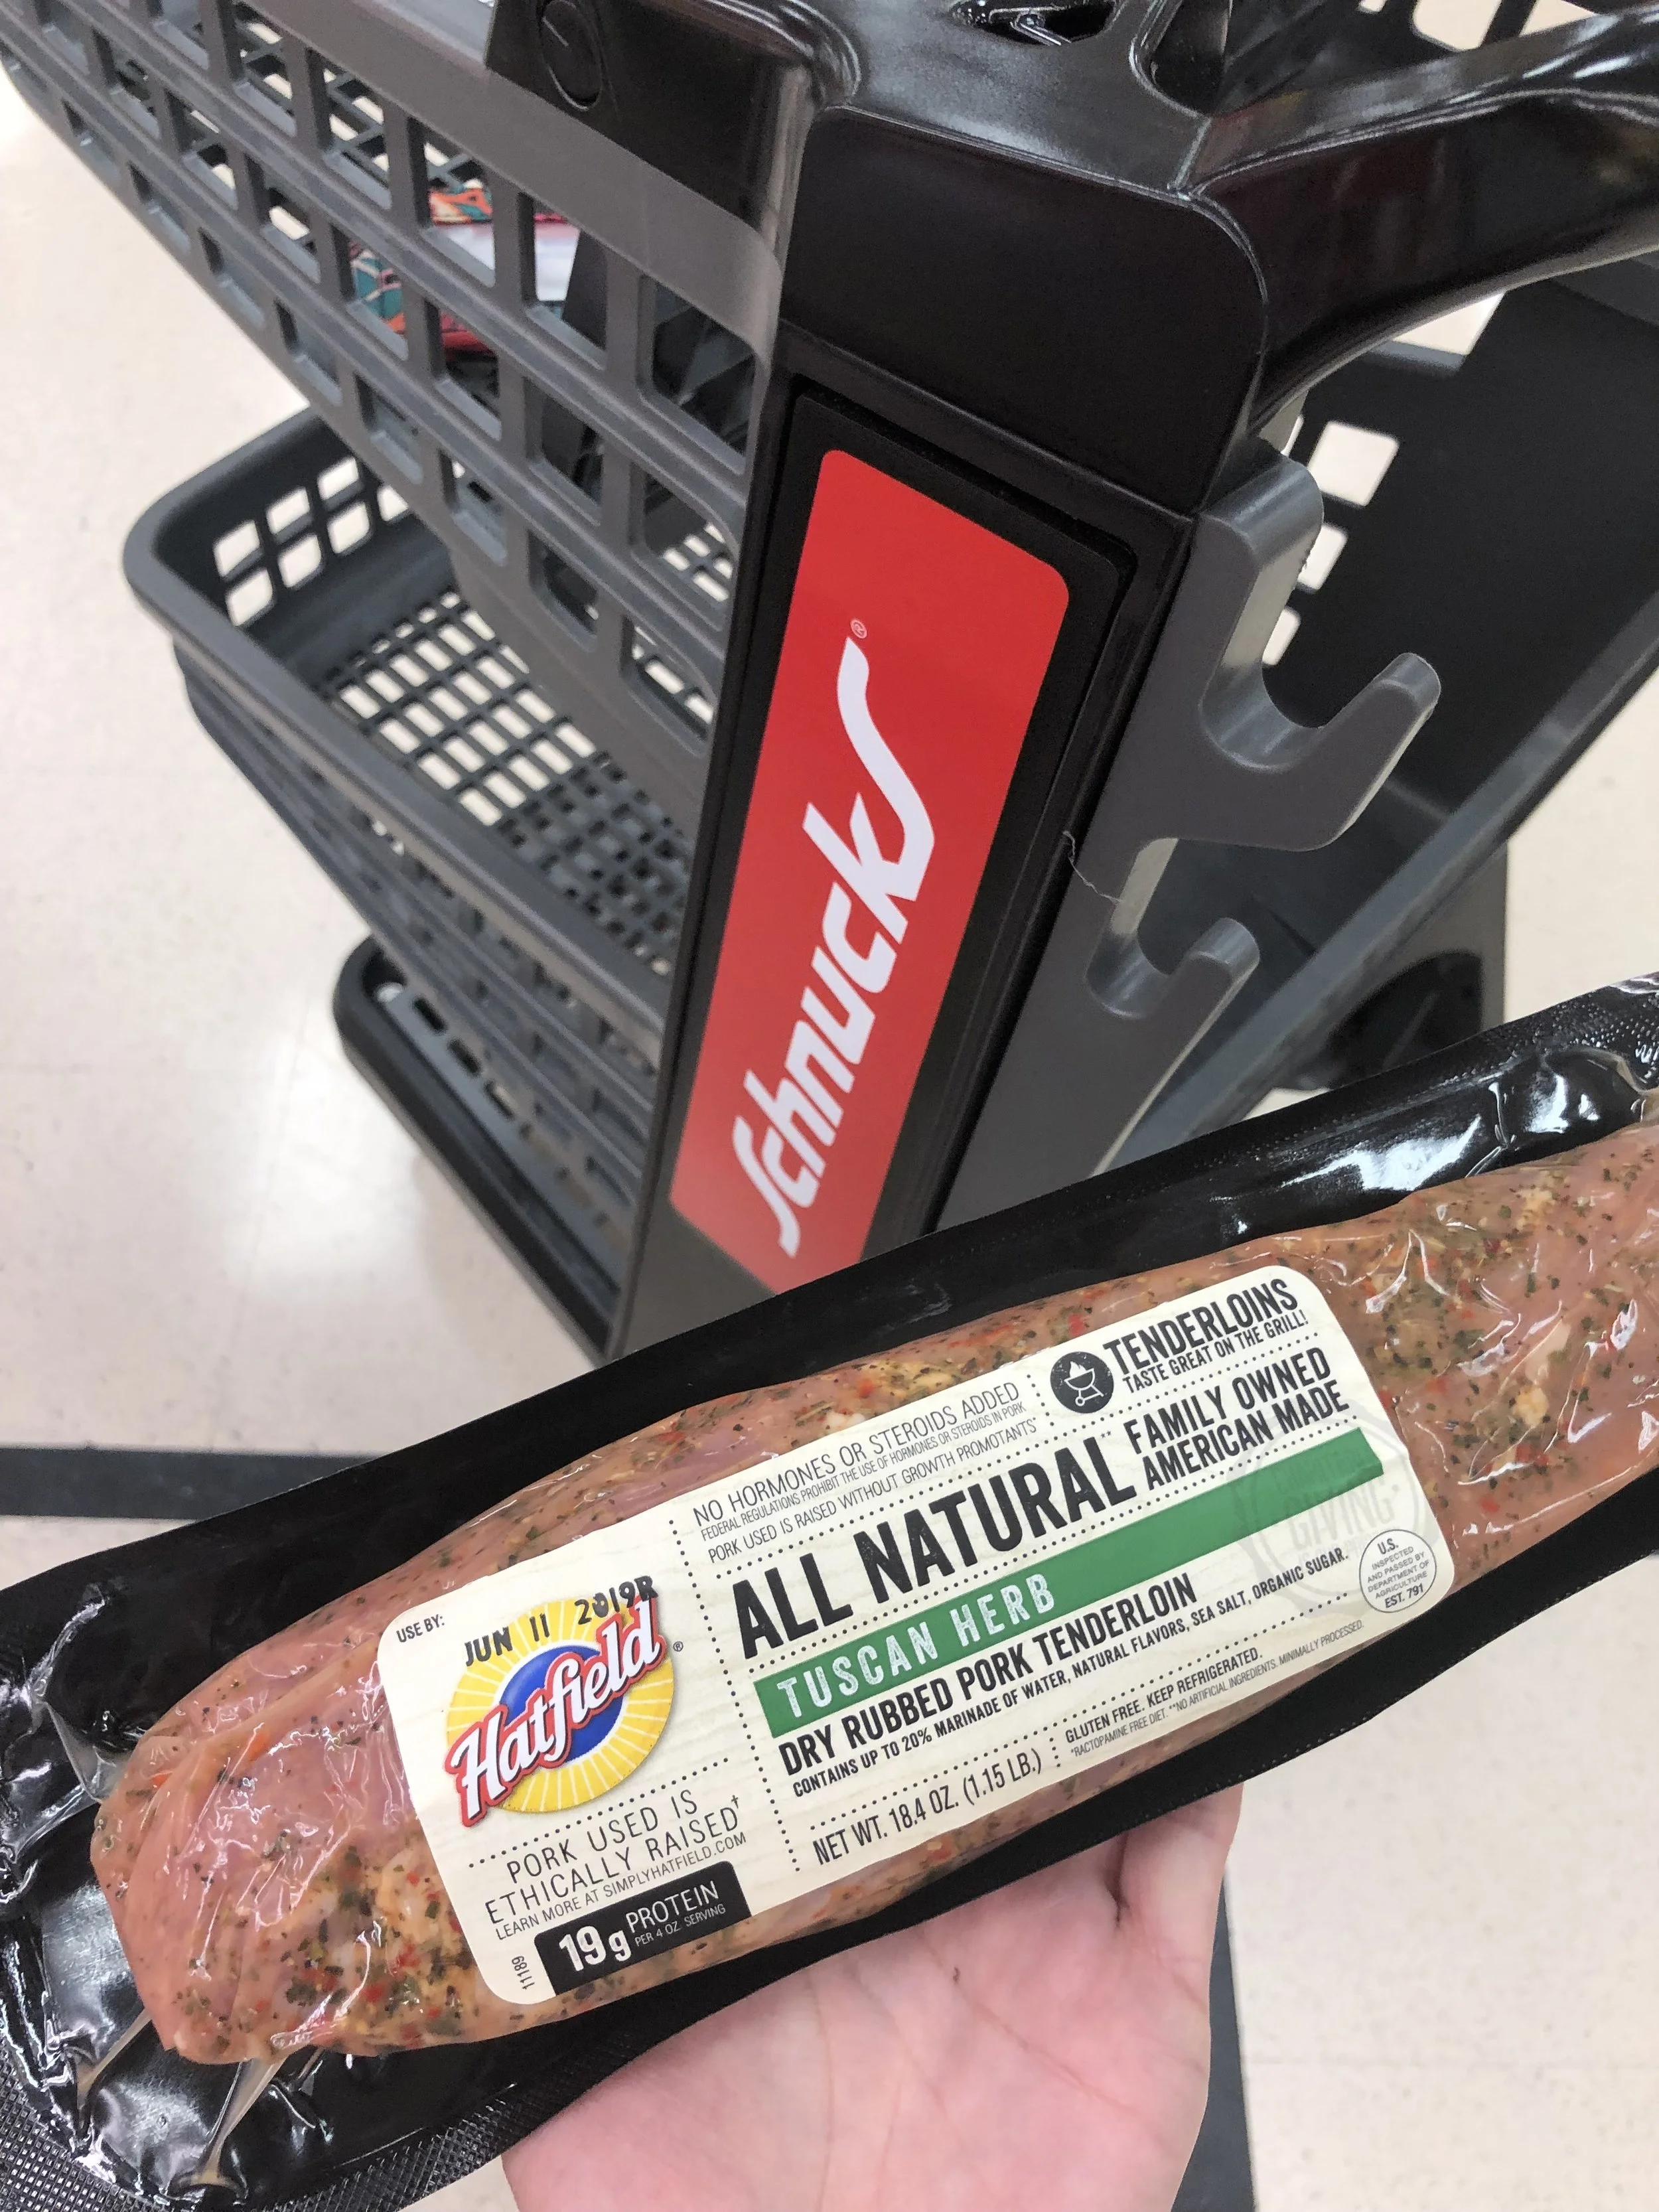
I found my products at my local Schnucks (and at the farmer’s market) and in other parts of the country, you can find them at these retailers: ACME, ShopRite, Giant Carlisle, Stop N Shop, Giant Landover, Supervalu, and Giant Eagle.

VARIETIES INCLUDE:

Hatfield® Marinated Pork Tenderloin

Hatfield® Marinated Pork Loin Filets

Hatfield® Marinated Pork Roasts

Hatfield® Marinated Pork Chops

Hatfield® Marinated Pork Ribs


INGREDIENTS:

1 Hatfield Marinated Pork Tenderloin

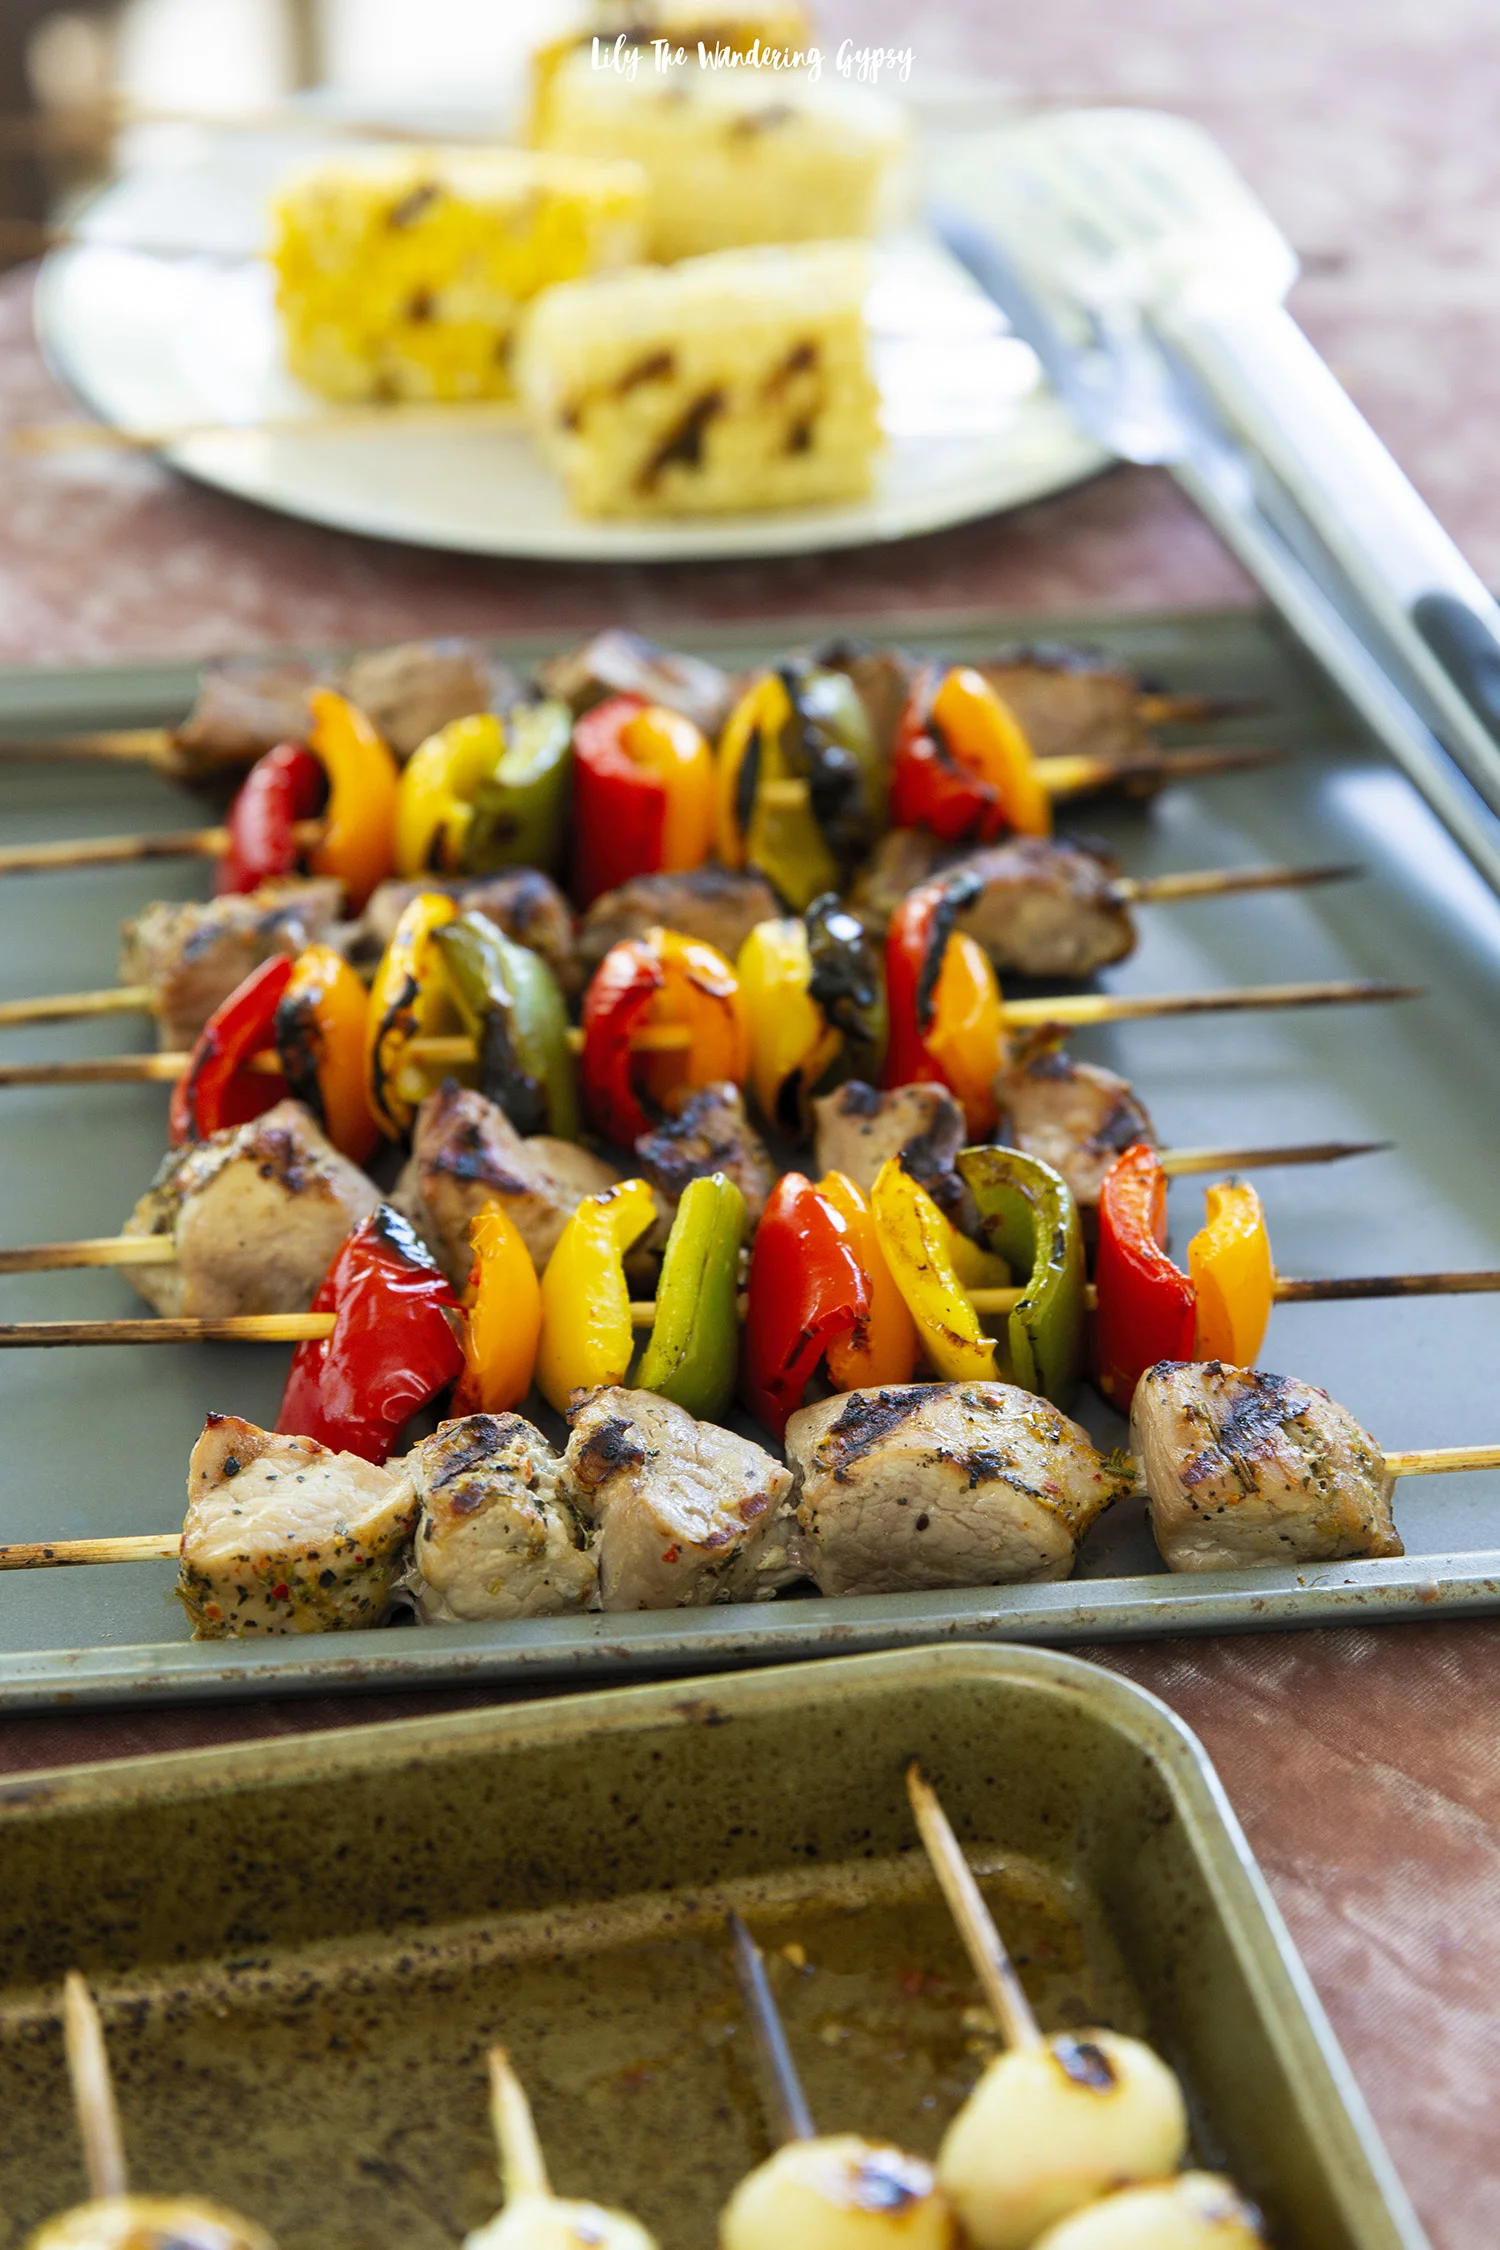
4 Bell Peppers - Cut into 1.5” squares

1 Container Of Pearl Onions - Skins removed

1/4 lb. Mini Potatoes

1/3 c. Italian dressing

Skewer Sticks

INSTRUCTIONS:

1.) Cut peppers into 1.5” squares, and arrange them onto skewer sticks. Set aside on a sheet pan, drizzle lightly with Italian dressing.

2.) Add mini pearl onions to skewer sticks, and set on same sheet pan.

3.) Add mini potatoes to skewers. If some are too large, simply cut them smaller.

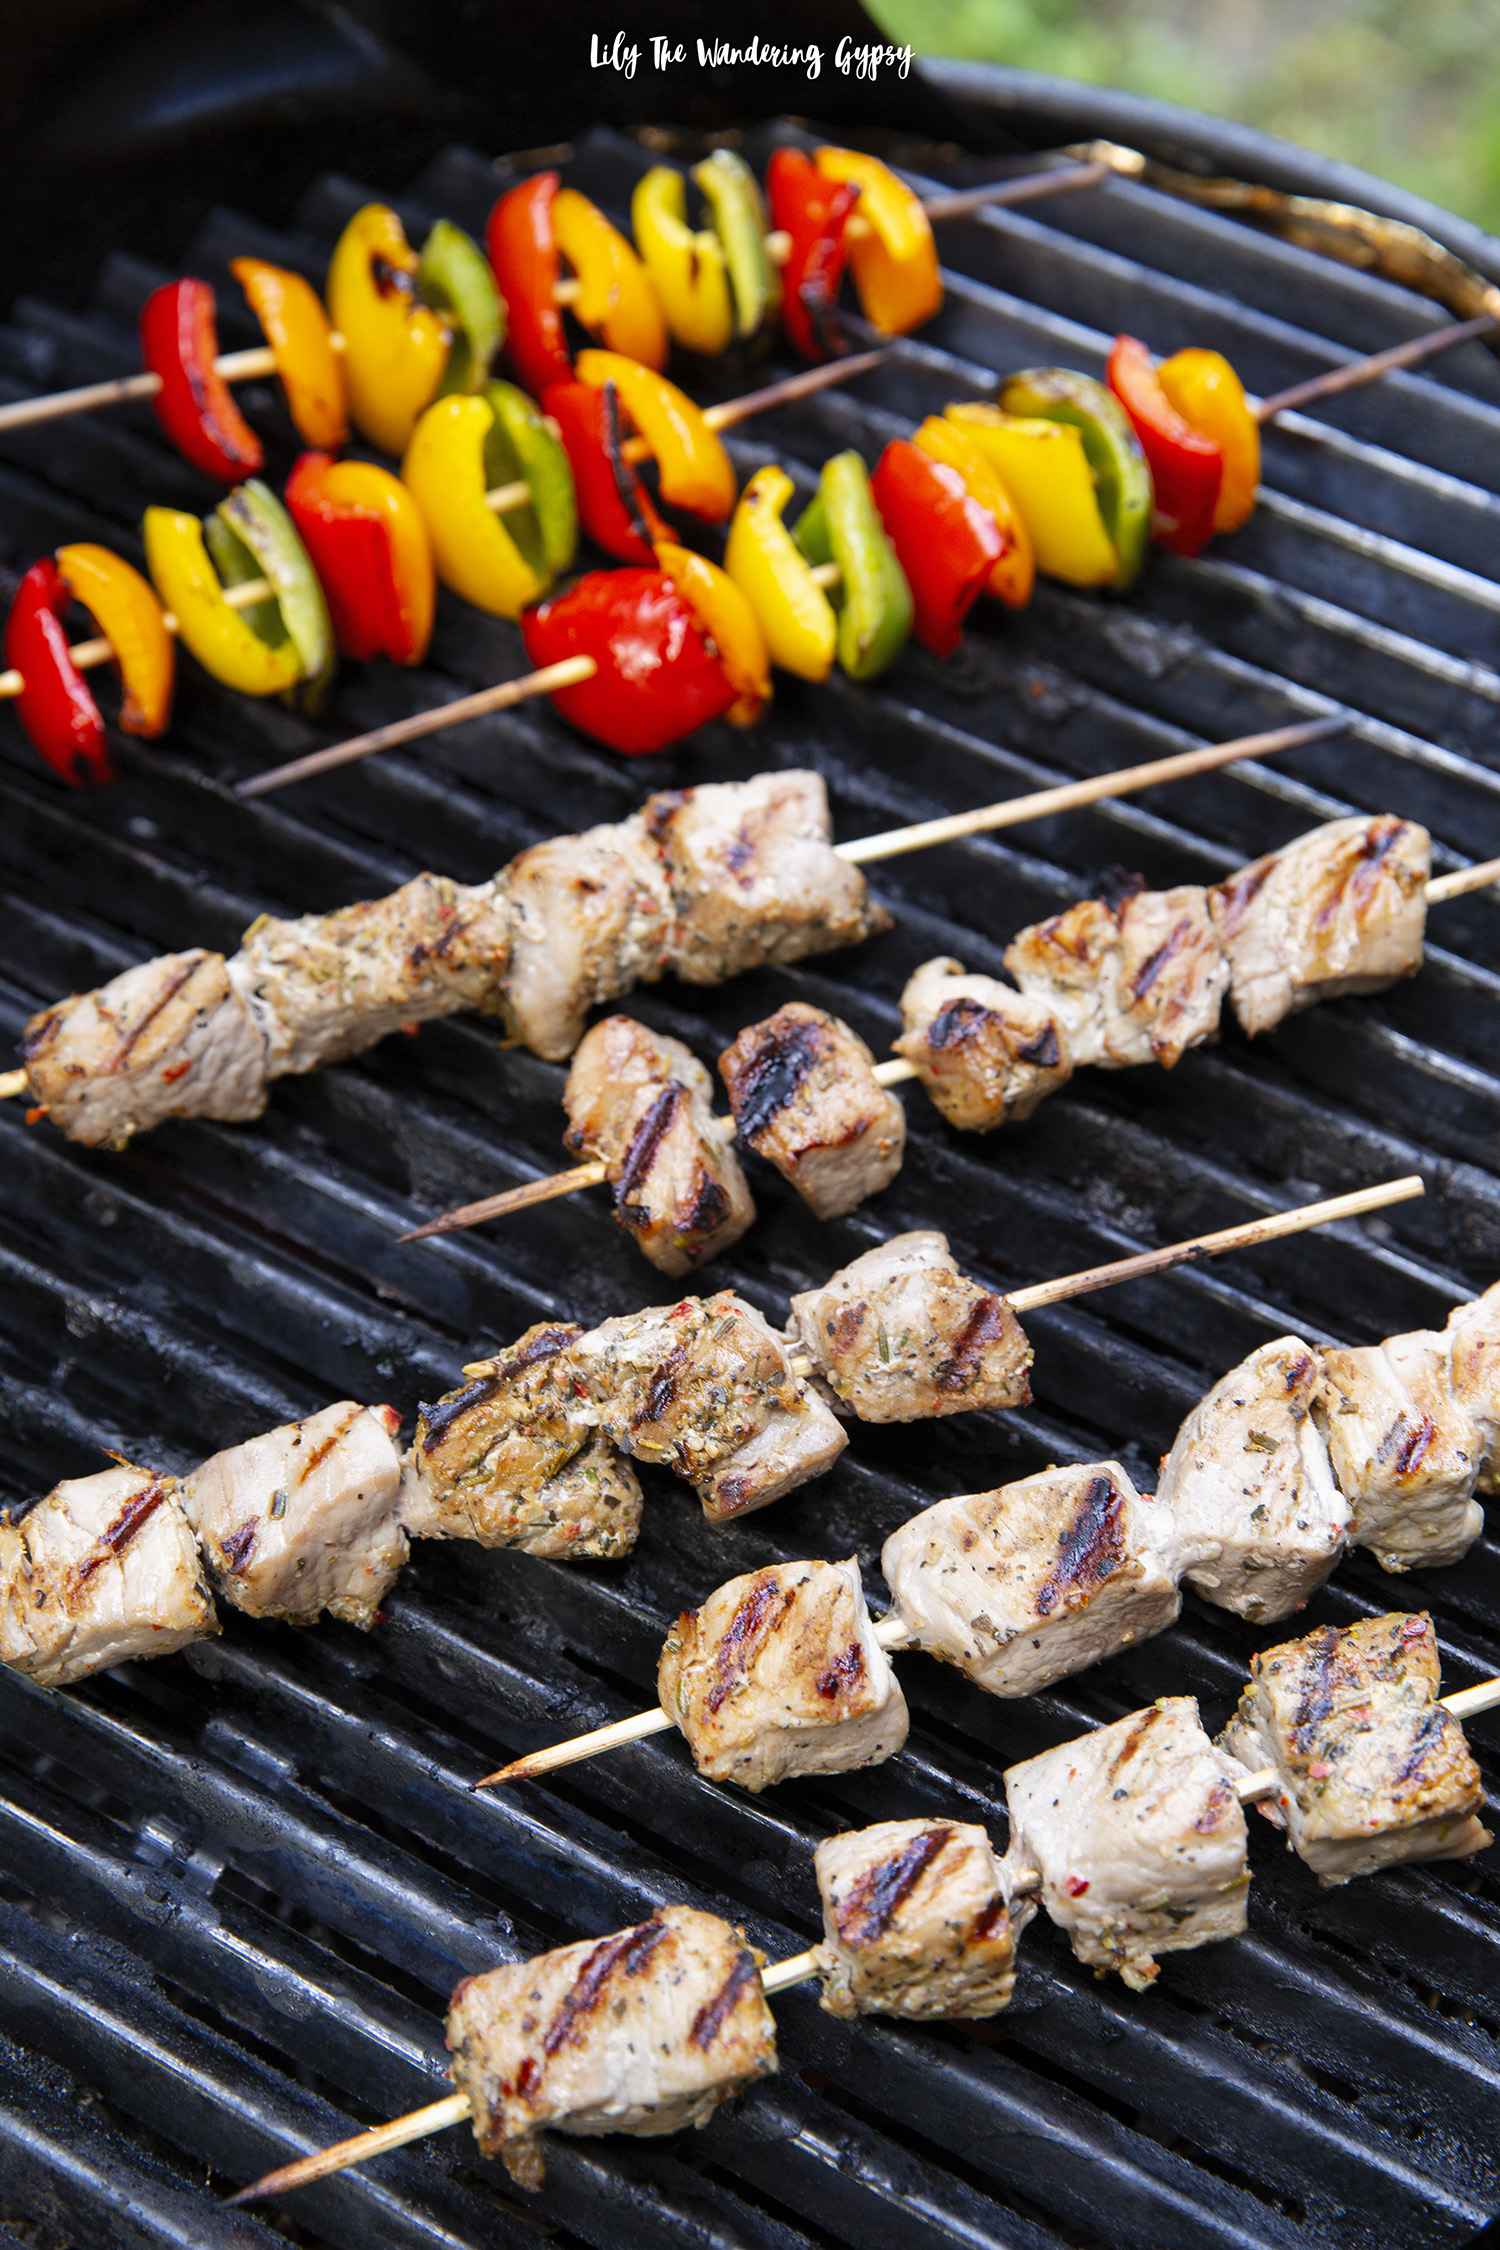
4.) Lastly - to make the pork skewers, remove Hatfield® Marinated Pork onto a cutting board and discard wrapper. Next, cut lengthwise down the entire tenderloin, then cut one more time lengthwise on each side. Next, cut cube shaped pieces and add 5-6 pieces per skewer. Set these pork skewers aside onto a different pan from the veggies.

5.) Time to grill. Spray grill with non-stick spray. Add skewers to grill. Flip skewers with tongs after 4-5 minutes. Always cook pork thoroughly. Enjoy!

FULL OF FLAVOR - JUST IN TIME FOR SUMMER!

CONNECT WITH HATFIELD ON SOCIAL:

TAG THE BRAND WITH: #SummerItUpWithHatfield #SimplyHatfield #GrillingWithHatfield 

Consider incorporating Hatfield marinated ingredients into your summer recipes and taste the delicious and simple difference that makes Hatfield AMAZINGLY great!

The Best Meals Bring Us Together ~ Easy Party Recipes with Idahoan® Steakhouse® Soups

One of my favorite things about cooler weather is that it’s great excuse to get everyone together for a warm, potato soup! Gather your friends and family, and try new Idahoan® Steakhouse® Soups. They will warm you right up. This could also be an amazing Game Day party menu too! Find out how I made a low cost meal for a crowd, and learn a little bit about how Idahoan® soups and other great foods bring us all together!

Thank you Idahoan® Steakhouse® Soups for sponsoring this post. Enjoy the flavorful, slow-cooked taste of restaurant-quality soup at home, in minutes.

I have actually been a fan of the Idahoan® brand for over 15 years! I remember always having it in the cabinet at home, and once I began to make more meals for myself and for my friends around age 18, and as I moved out of my parents’ houses, and began doing grocery shopping of my own, I literally ALWAYS made sure to have several packets of the Idahoan® instant mashed potatoes. I still always have a packet or two on hand, and love always having something yummy pairing it with dinner, usually chicken breasts, green beans, and mashed potatoes. That sounds SO good right now!!

These packets of potatoes literally shaped the way I prepared meals from the very beginning. That’s why I was really honored to be able to create a meal for friends, inspired by Idahoan®, one of the very foods I used to feed some of my first groups of friends once I moved to my own place. To see how their foods are still bringing the most important people in my life together is really heart warming. Making meals for friends is always fun, and it’s a really great way to get people together when we are all so busy.

Idahoan Steakhouse® Soups are available in a variety of delicious flavors, including: Loaded Potato, Creamy Potato, Cheddar Broccoli, and Cheddar Potato.

HOW TO MAKE SOUP FOR A LARGE CROWD OR PARTY

(SERVES 8-10+)

For our group, I mixed three different packets of Idahoan® Steakhouse® Soups together, then added 12 Cups of water (because each packet requires 4 cups of water to make, and that’s it!).

Ingredients:

3 packages of Idahoan® Steakhouse® Soups in any flavor (Learn more about available flavors below)

12 Cups water

2-3 tsp Seasoning Mix of your choice - I used a Greek Seasoning, which added black pepper taste

Optional - 1-2 cups fresh broccoli flowerettes (cut into small, bite-sized pieces

What Toppings To Offer:

(Best displayed in cute bowls with spoons so guests can serve themselves)

Shredded Cheddar Cheese

Soup Crackers

Bacon Bits

Sour Cream

Hot Sauce

This was a VERY cost effective way to feed a large group!

We served up soup and SO many other tasty sides. The cookies were a huge hit! Get the recipe below.

FOR THE DECOR:

I set the table with a slivery grey piece of fabric, then placed a black and white buffalo plaid fabric table runner over the top. I thought this really tied the warm, cozy, inviting feel of the soup into the decor as well. Next, I found the cutest white plastic spoons at the party store, plus some periwinkle colored bowls. While I could have also used glass or ceramic bowls, these worked great! Another fun idea would have been to use coffee mugs for people to eat soup from, and it would be even more casual.

I did however provide cloth napkins for guests, and a few other cute paper and bamboo plates for all those yummy side dishes.

The Best Oatmeal Cookie Recipe - Makes 20 Cookies

These cookies were a huge hit, and finished off the meal nicely. After eating our meal, we sat around the table, reminiscing about fun times we all had together over the past year, and eating oatmeal cookies.

This recipe was found on this inspiring blog, The Comfort of Cooking, here.

Note - I would recommend doubling the below recipe for a crowd.

OLD FASHIONED CHEWY OATMEAL COOKIES

YIELD: Makes 20 cookies

INGREDIENTS:

1 cup (2 sticks) unsalted butter, softened
1 cup granulated sugar
1/2 cup packed brown sugar
1 large egg
2 teaspoons vanilla extract
1 2/3 cups all-purpose flour
1 teaspoon ground cinnamon
3/4 teaspoon baking soda
1/4 teaspoon salt
1/8 teaspoon baking powder
1/8 teaspoon ground nutmeg
1 1/2 cups quick cooking oats

DIRECTIONS:

1.) Preheat oven to 350 degrees F. Line 2 large baking sheets with parchment paper; set aside.

2.) In a large bowl with an electric mixer, beat butter and both sugars until fluffy. Mix in egg and vanilla until well blended. Combine flour, cinnamon, baking soda, salt, baking powder and nutmeg in a bowl. Stir into butter mixture. Gently stir in oats until well blended.

3.) Shape dough into rounded golfball-sized balls (about 2 Tbsp. each). Place on prepared baking sheet (I fit 9 per sheet). Flatten with the bottom of a measuring cup dipped in sugar.

4.) Bake for 8-10 minutes. Let cool on baking sheet 5 minutes before removing to a wire rack to cool completely.

Enjoy!

Spinach Artichoke Dip + Pita Bread Slices (Serves 6-8)

I found this recipe on the Spend With Pennies Blog, here.

PREP TIME 10 minutes

COOK TIME 25 minutes

TOTAL TIME 35 minutes

This is my favorite Spinach Artichoke dip recipe!! It’s easy to make and always a huge hit!

INGREDIENTS:

  • 8 oz cream cheese , softened

  • 2/3 cup sour cream

  • 1/3 cup mayonnaise

  • 2 cloves garlic minced

  • 1 1/2 cups mozzarella cheese divided

  • 1/2 cup fresh shredded parmesan cheese

  • 1/2 cup gruyere cheese

  • 10 oz frozen chopped spinach defrosted and squeezed dry

  • 14 oz marinated artichoke hearts chopped

INSTRUCTIONS:

1.) Preheat oven to 375 degrees F. Cut pitas into 6 pieces each, like pizza slices.

2.) In a bowl combine cream cheese, sour cream, mayonnaise and garlic with a hand mixer until fluffy.

3.) Stir in parmesan cheese, 1 cup mozzarella cheese, gruyere cheese, spinach, and artichokes.

4.) Place into a 9x9 casserole dish (or deep dish pie plate) and top with remaining 1/2 cup mozzarella cheese.

5.) Bake 25-30 minutes or until bubbly and cheese is browned. Carefully remove from oven and serve directly from baking dish when safe to serve.

6.) Meanwhile, bake pita triangles for 5-7 minutes, remove from oven before they are too crunchy, and are still a bit soft but warm.

Enjoy!

What soup flavors will you feature at your next gathering? You could also make a batch of each soup and see what your guests lie best! Lay out all the toppings in matching bowls, and offer guests spoons, napkins, plates, bread, and more! Enjoy!

Have a wonderful day!

Pull Apart Cupcake Cake Recipe

This recipe is PERFECT for parties and holidays, because it's easy to eat! Everyone has their own individual cupcake to share the joy, no need to cut THIS cake. 

We were ecstatic when we learned that we had the opportunity to collaborate with Martha Stewart to promote her baking items at Macy's. It's quite the honor, and several times throughout this process I exclaimed, "I am shooting recipes for Martha Stewart"!!! 

In order to creatively incorporate her Essentials collection into pins that would encourage people to want to learn more, I thought that a sweet treat would obviously be perfect, so I found a fun recipe on marthastewart.com and creates it! Below, you will find that very recipe, and I hope you are inspired by this fun post to make your very own cupcake cake!

MARTHA STEWART RECIPE (originally found here):

Pull-Apart Vanilla-Wafer Cupcake Cake with Berries

Talk about a fun dessert! It looks like a sheet cake on top, but there are actually vanilla-coconut cupcakes underneath the fresh berries and fluffy whipped-cream frosting. It's easy to make and even easier to serve -- no slicing required.

Source: Martha Stewart Living, May 2018

INGREDIENTS

  • 45 vanilla-wafer cookies, pulsed in a food processor until finely ground (1 1/2 cups)
  • 1/2 cup unbleached all-purpose flour
  • 1 teaspoon baking powder
  • 1/4 teaspoon kosher salt
  • 1 stick unsalted butter, softened
  • 3/4 cup granulated sugar
  • 2 large eggs, room temperature
  • 3/4 cup whole milk
  • 1 cup sweetened shredded coconut
  • 1 teaspoon unflavored gelatin
  • 1 cup cold heavy cream
  • 2 tablespoons confectioners' sugar
  • 1/4 teaspoon pure vanilla extract
  • 1 1/2 cups mixed fresh berries, such as blueberries, raspberries, and blackberries

DIRECTIONS

  1. 1. Preheat oven to 350 degrees. Line a standard muffin tin with paper liners. Whisk together cookie crumbs, flour, baking powder, and salt.

  2. 2. Beat butter with granulated sugar on medium speed until pale and fluffy, about 1 minute. Beat in eggs, one at a time. Reduce speed to low and add flour mixture in 3 batches, alternating with milk, beginning and ending with flour mixture and beating until combined after each addition. Fold in coconut.

  3. 3. Divide batter among cups. Bake until cupcakes are golden brown and centers bounce back when gently pressed, 22 to 24 minutes. Let cool completely in tin on a wire rack.

  4. 4. Add 2 tablespoons water to a small saucepan. Sprinkle with gelatin; let stand until thick, about 5 minutes. Gently heat over medium until gelatin has dissolved. Remove from heat; let cool 5 minutes (but don't let it set).

  5. 5. Beat together cream, confectioners' sugar, and vanilla on medium speed until very soft peaks form, 1 to 2 minutes. Add gelatin mixture; beat on medium until stiff peaks form, about 1 minute more.

  6. 6. Remove cupcakes from tin and arrange on a platter in a three-by-four rectangle. Spoon frosting over each row of cupcakes; using an offset spatula, smooth to cover tops, forming a rectangular shape. Refrigerate at least 1 hour and up to 3 hours. Sprinkle with berries before serving.

Two Amazing Recipes for Summer Get-Togethers with Mission® Tortillas

This is a sponsored post written by me on behalf of Mission®. All opinions are entirely my own.

If summer get-togethers make you giddy with joy and excitement, then you’re not alone! I too love brainstorming recipes with friends, then planning, prepping, and preparing the food, then finally getting everyone together to enjoy the bounty. Food always brings people together, and is great shared with old friends and new ones! This summer, I am going to make it my mission to enjoy the company of others over great food as much as possible!

I love how these Mission® Super Soft Flour Tortillas really made my two recipes even better than I could have ever imagined. I have tried all sorts of tortillas, and these are the softest, tastiest ones yet. They were so versatile, and absolutely perfect for my Vegetarian Southwest-Inspired Pinwheels AND for my Grilled Steak Tacos. I always feel like the tortillas make or break a recipe, and I was so happy to find a new favorite. You can use the store locator on the Mission website to find Mission tortillas at stores near you, and find even more delicious recipes as well.

I’m not sure if you’ve ever experienced this, but I am always let down when tortillas kind of get dried out super quickly, then kind of crack when you roll anything out of them (like the pinwheels). Well, these were perfect. They held together super well, and worked amazingly well for this 4 ingredient appetizer!

And, since I wanted to offer lots of delicious toppings for these Grilled Steak Tacos, my first thought was fresh ingredients of course!

I thought it would be so fun to offer guests some handmade pickled jalapeños as party favors. Every time we serve these to guests or bring them to someone’s house, we always get lots of compliments on them.

PICKLED JALAPENOS

(Making 1 day in advance is recommended)

I think it’s time to start sharing them with people, so I filled mini jars with a mixture of fresh ingredients like jalapeño slices, garlic cloves, and mini red onions. Now, it’s time to pickle!

I heated a solution of 1.5 cups white vinegar plus 1 cup water, and 1-2 tbsp salt until the salt has dissolved. Let it cool a bit, then carefully pour the vinegar solution over the ingredients, leaving a little bit of room at the top of the jar so it does not spill out. Place lids back on, and gift as soon as the next day.  

These turned out SO cute, and you could even tie cute ribbons around the jars for an even more festive look.

In addition to the pickled jalapeños, I offered pickled red onions (get my recipe here), plus a guacamole tomatillo sauce and a traditional red salsa too.

The lettuce even came right out of my own garden! This was my first year to try growing lettuce, and while it may be almost at the end of its season, I love treating friends to things I grew!

GRILLED STEAK TACOS

INGREDIENTS:

1/3 cup olive oil

2-3 tbsp soy sauce

2-3 tbsp or more taco seasoning

Juice from 1 lime

1 tsp salt

1-2 lbs flank steak or similar

INSTRUCTIONS:

Simply marinate each pound of steak in 1/3 cup olive oil, 2-3 tbsp soy sauce, 2-3 tbsp or more taco seasoning + the juice from 1 lime + 1 tsp salt for at least 1-2 hours or overnight. Simply grill for 3 or so minutes per side if your steak is thin like mine was. Slice and serve with fresh sides and warmed Mission Super Soft Flour Tortillas (they taste best warmed).

Slice up the steak and set out the toppings, the tacos are ready to eat!!!

SOUTHWEST INSPIRED VEGETARIAN PINWHEELS

I searched for vegetarian pinwheel recipes and hardly found anything! These are so great tasting, and you will never miss the meat.

Ingredients:

1 package Mission® Super Soft Flour Tortillas

Plus 1-2 bunches of cilantro

1 head of green lettuce

To create the sauce:

1 (8 oz.) box of cream cheese, softened

½ cup (or more) taco sauce or red enchilada sauce

½ - 1 cup cream cheese

¼ - ½ tsp salt, optional

INSTRUCTIONS:

1.    Mix all sauce ingredients together, and stir until smooth. I used a hand mixer

2.    Lay one tortilla out onto your work surface, and spread 1.5 -2 tbsp sauce in an even layer on tortilla.

3.    Add a line of cilantro and a line of small pieces of lettuce towards one side of the tortilla, then roll up into an even roll.

4.    Cut in 2” sections, and display on a cute tray. I used cactus pieces from a local market.

Enjoy!


The bottom line - I would definitely recommend Mission Super Soft Flour Tortillas to anyone who loves superior taste and excellent ingredients!

Happy summer, friends!