Pink Halloween Trends

I have noticed some of the most adorable, pink-inspired Halloween ideas recently. Loving this trend!!

Pink Halloween Bark Recipe via A Bubbly Life.

Decorate your mantle for Halloween! Found via BohoFrisco.

Paint pumpkins in pastel pinks and polka dots! Found via SlowMoon.

Have a pink-themed Girl Gang party for Halloween. Found via UniGirlCo.

And, finally, the most popular on Pinterest right now…Halloween Charcuterie Boards via The House of Food.

Hope you have enjoyed these Pink Halloween-Inspired Ideas! Find more Fall-Autumn-Halloween posts by yours truly, here! Let’s connect on Pinterest!

Welcome Home Gift Basket with Hallmark Signature Cards

This shop has been compensated by Collective Bias, Inc. and its advertiser. All opinions are mine alone. #CollectiveBias #HallmarkHolidayMoments


I love the holidays. It's my favorite time of year because it’s the time to spread cheer to those we love and appreciate! I have always loved Hallmark Cards and they have been a part of every holiday since I was born. My grandmother would send Hallmark Cards to me for every single holiday (Christmas, Thanksgiving, Halloween, Easter, and more!), and I have a box of cards and photos that are a memento to my grandma, Pat.


This year's collection of Hallmark Greeting Cards at Walmart is extremely special to me, and I am so happy to be able to think of her as I look back through the cards she sent me. This gets me thinking about how important of a role greeting cards play in our lives. They help us spread a smile, words of kindness, words of consideration, and sometimes words of sympathy. It seems like there is really a card for every occasion now.

I also love how these greeting cards can be almost a gift in themselves, or accompany an amazing gift and put that final special touch on something like a Welcome Home Gift Basket. Above, I absolutely adore the woodland scene that is set! This gift basket I have created would be the perfect welcome home gift for family and friends who are visiting you during the holidays. I actually used the Hallmark Signature Cards as my color inspiration, which helped me tie a few really beautiful items together into one awesome gift. I found nearly everything at Walmart, including a Hallmark Signature Card, a pair of slippers, a fuzzy blanket, a winter candle, gloves, and more!

Perhaps you could create a set of his and hers gift baskets – Hallmark had TONS of cards for men, too, which I just loved. I would probably use colors like reds and blacks, plaids, and a rustic wooden basket for the container. Oh the possibilities!!!

Perhaps a plate of cookies would be inviting to someone who is visiting! I applied white frosting and some gingerbread decorations to traditional sugar cookies.

Hallmark Greeting Cards are incredibly enchanting and sophisticated, and they have such intricate designs. I could tell the designers and artists paid so much attention to every last detail. When I say little detail, I mean itty bitty, teeny tiny little details!

Speaking of gingerbread, this 3D Pop Up Card actually folds up into a little gingerbread house and is also an ornament! It’s really cute and folds up super easily. No glue was required at all!

DEAL ALERT!!!

I saw in-aisle coupons in the store, for buy 2 Hallmark cards, get one free. The other offer is a cute plush Holiday bear for only $3.97 when you purchase 3 Hallmark Cards priced at $1.97 or higher (offers available through 12/25/18 while supplies last). 

There’s also an Ibotta offer:  Earn $1 off a card purchase of $2.97 or more (offer available through 12/25/18 while supplies last)!
Hallmark has a couple of beautiful display at Walmart right now. It’s enchanting browsing all of their beautiful cards in the Holiday aisle, or the greeting card aisle... In this post, I featured two of the cards from Hallmark Signature Cards, and I also found that I loved a lot of the Hallmark Paper Wonder Cards as well. I was drawn more towards their whimsical greeting cards, the ones that made me want to be a kid again, and that had a lot of dimension to them. And, I thought it was fun to add a candle to the gift basket as well. It went so well with all of my colors.

I just love the enchanted woodland scene on this card, and my mom is going to LOVE it! I was so impressed by all of those little details that the layers of paper and glitter make. I actually used this card for some holiday decor inspiration around my home too! 

Hallmark’s latest designs are incredibly inspiring and will make the holidays and other occasions even more special. They are sure to help you continue to share thoughtful and meaningful moments and memories that will last a very long time.

Football Party Ideas + Updated Pigs In A Blanket Recipe

This shop has been compensated by Collective Bias, Inc. and its advertiser, Dr Pepper® and Eckrich®. All opinions are mine alone. #MyMeijerWin

Time to reinvent a classic, well-loved recipe that tastes better than ever! College football season it the perfect time to try out a few new recipes for guests, friends, and family alike! This grown up, more sophisticated version of Pigs In A Blanket will delight guests! Serve with ice cold Dr Pepper® for a pairing with Eckrich® Smoked Sausage, sure to be out of this world delicious! A true crowd-pleaser during your college football celebration - who will YOU be rooting for? 

Check out this mperks offer to save $1 on any TWO (2) Dr Pepper® 6pk 7.5oz cans or 8pk 12 oz bottles at Meijer (while supplies last).

I used one of my favorite ingredients, Eckrich® Smoked Sausage, to make this delicious creation, which would be AMAZING for your next game day or holiday celebration. People rave about these and always ask when I’ll be making more. Read on to learn more about my latest college football celebration, and get the details on how to make your next celebration a success. Our college's colors are maroon and white, so actually Dr Pepper is a fun choice to celebrate locally. PLUS, every single one of my friends is slightly obsessed with Dr Pepper, so offering this refreshment at any of my parties tends to go over well. The smoked sausage worked super well for this project too. 

I thought it was super clever to cut up the smoked sausages for this recipe, compared to using traditional small cocktail weenies. This made for a much better bite! ​

Whenever I begin to plan a design for a college football party, I immediately think of which vintage elements I want to incorporate. For some reason, I associate football with the nostalgia of times (and games) past, PLUS I believe that a vintage style theme and set of decorations will appeal to all age ranges, which I love. If someone who can have a sort of connection to my decor, whether they are actually attending my parties OR viewing the recaps on my blog, it means a lot to me.​

PRINT THE RECIPE:

RIGHT CLICK AND SAVE OR PRINT

GAME DAY PARTY DETAILS: 

To choose your colors, decide what color metallic you like best. I chose gold here, but silver or copper would be your other common choices. The gold accents really catch the light so well, and can make any party décor look more classy. These metallic gold, plastic utensils almost look real, and the gold shimmering tinsel (found in the gift wrap section at a craft store) really made things shimmer. I thought that the gold tinsel reminded me of pom poms!

Next, I used lots of rustic wooden surfaces, and one small vintage crate to get some of the items on the table up at eye level. I love setting up the food and drink table(s) with items being served at different heights. This adds SO much visual interest to the party offerings! This is such a better alternative than simply laying all the food on an uninviting table.Taking a few extra moments to consider the design of your food and refreshment table seems to at least make party setup more exciting on my side as well.

Let people serve themselves by offering Dr Pepper and other drinks in nice containers or a cooler, so you do not have to serve each guest individually. This gives you way more time to enjoy your company rather than stressing out by hosting so much. 

I incorporated football themed cups, plates, and napkins wherever I could! I loved this rather vintage look for the party, with rustic woods, plaid patterns, and even a vintage looking font for the Tailgates and Traditions can carrier, above. In addition to being a cute way to display Dr Pepper at your college football parties, this carrier (or some other fun 6 pack holder) would be perfect to tote your soft drinks to the game or to tailgate.

As soon as I begin to see football related party items in stores. I tend to pick them up. We celebrate all football season long, and so having a lot of different party items on hand makes life a little bit more fun, in my opinion! 

Do you tend to go all out when decorating for football parties / game days, or do you tend to scale things back a bit and just stick to the essentials? Either way, offering guests Dr Pepper and these updated Pigs In A Blanket will make your next get together a win!

I offered guests three different flavors of mustard to compliment the Pigs In A Blanket - I used a traditional yellow one, a creamy dijon, and a stone ground. But, whatever you have will likely work! Just serve the mustards in small glass bowls or anything that spruces up the presentation, and you're set. I definitely consider that a #MyMeijerWin

If I am having a party, I tend to offer lots of dips, making each meal a little bit more unique and delicious. Above, you will see three different mustards that I shared. Simply use whatever you already have in your home, or head to Meijer and take a few minutes to see just how many varieties of mustard there are. I chose a yellow, a stone ground, then a creamy stone ground variety. Whatever mustard(s) you choose, they will pair super well with these Pigs In A Blanket! YUM!!! This celebration and these recipes turned out SO well, and I cannot wait for you to try something this delicious. Enjoy!! 

PIN THIS POST FOR LATER:

FREE Summer Fun + A Cute DIY Gift Idea!

This post is sponsored by Zynga, but the content and opinions expressed here are my own.

Looking for fun and entertaining ways to enjoy the summer? Well I have teamed up with Zynga Words With Friends 2 to help share some fun and easy ways to have fun for FREE. Hey, we can all use a break, right?!

With this fun gift idea + a brand-new version of the Words With Friends app will help entertain everyone this summer. Help create more winning experiences this year, enjoy the thrill of the game.

Learn more about Words with Friends 2 here.

Download the game here (Apple store) or here (Google Play). Brush up on rules here!

You may be familiar with their first WWF game, but this one is a bit more updated and runs SUPER fast on my phone.

I love how you actually stretch your brain capacity and also learn new words. It’s fun for the whole entire family, and even fun with groups of friends too. I feel smarter during and after playing Words With Friends – I always pull out new words in conversations later that day! The game helps me connect with friends (new and old)!

I have met all sorts of new friends through the WWF app! There are always tons of players ready to start or complete a game with us, every time we login. We play ALL the time, and since we are always on the go, it’s something familiar in each place too.

With all of the Double Letter (DL), Triple Letter (TL), Double Word (DW), and Triple Word (TW) spots on the board, you can really gain a lot of points in just a turn or two.

Some of our highest scoring words are: CLOTS, TAXED, and HANDLED!!

DIY SUMMER GIFT IDEA

I know that rock painting has been around for decades, but I thought that a fun way to commemorate our friendship and share the beauty of the river would be to paint our friends’ names on rocks, then spell out their names in a gift. I had so much fun, and the best part of this crafty activity, is that you may already have everything you need – deeming this a FREE project!

MATERIALS:

Smooth River Rocks

Acrylic Craft Paint in White, Coral, Mint, and Raspberry

2-3 Small Craft Paintbrushes

Paper To Cover Work Surface

INSTRUCTIONS:

1.) Head to your local river to collect rocks, find them at a craft or hardware store, or find them anywhere else you like!

2.) Wipe off excess dirt from rocks with damp washcloth.

3.) Paint thick, white letters onto each rock. I used two coats of white paint for each letter. Below, you will see some rocks with two coats of white paint and some rocks in-process with only one coat of white paint.

4.) Paint colorful designs on top of white paint, on each rock.

5.) Give rocks as gift and let recipient spell out their names or secret message once they receive your gift! That’s it, and this project was so fun and easy. What a thoughtful gift.

THE FINISHED PRODUCT:

Luckily, The Words With Friends app is free as well, and while I was painting the rocks, my boyfriend Bobby entertained himself with the Words With Friends app on my new phone.

A SENSE OF CONNECTION:

With the weather being so warm and beautiful right now, it was a lot of fun to gather rocks for this project, then gift such a special and thoughtful memento to my friends. I feel like we are even more connected, just like how we will be able to play WWF from afar and know that we are still connecting and interacting.

Do you play Words With Friends yet? If so, what are some of your best words? Do you play with old friends or new ones?

Have a wonderful rest of the summer! Tag me on Instagram with @happysolez if you make this project, and tag the brand, @wordswithfriends on Instagram and as @wordswfriends on Facebook to show them how you spend time playing!!

Zero Waste Reusable Produce Bags

It seems funny to go through the effort to being reusable bags to the grocery store only to fill them up with plastic bags full of produce. Sometimes, the produce needs to be weighed separately, or sometimes the lettuce might be doused in water, and would get all of your other groceries soaking wet. This is the perfect time to use some reusable cotton drawstring produce bags. 

I created a few adorable, zero waste produce bags recently, and while many or all of them have sold at our local Neighborhood Co-Op, I thought it would be fun to share some of my hand sewn work, as well as encourage others to use something similar. I sewed these out of some thicker decor weight cotton, but stuc with 100% cotton, except for the drawstring closure. 

I used pieces of fabric I already had, washed and dried them, then ironed them. These higher quality brand fabrics always feel so wonderful after they're washed and dried. 

Not that Zero Waste is a super new concept, I have been really trying to use as many reusable containers as I can. This really makes me so much more conscious of how much unnecessary waste and packaging...aka...PLASTIC...that I am consuming and bringing into our home. Believe me, I buy a ton of food and other supplies because of all this food photography, so I try to do my part in helping reduce!

I even created a Zero-Waste Pinterest Board and wanted to share a few of the most inspiring images ever. Check out the board here!

And here, she shows the Zero-Waste shopping in action!

These were so fun to make, and here are a TON of DIY Drawstring Bag tutorials to inspire you to make some as well. Enjoy!

Father's Day Gift Idea - Edible Treats!

A fun and easy way to show Dad you appreciate him this Father's Day! Simply head to the bulk section of your local Co-Op or grocery store, and find small samples of lots of different treats and package them up with custom labels. I actually made a game out of this gift by sticking the names to the INSIDE of the treat containers, so Dad could guess what treat he was trying. He LOVED this delicious and easy Edible Gift and I am sure anyone you make one for will too. 

You can even find sugar free candies and other more natural treats if you want. I provided a great variety of snacks like macadamia nuts, roasted peanuts, chocolate and yogurt covered raisins, all natural chocolate covered Sun Drops, maple almonds, and more. Whatever your dad's taste is, just cater your selection to that.

I used a paper mache box with a lid from a craft store, which made the presentation more professional looking. I found 8 small plastic lidded containers that fit into the box PERFECTLY! I was even able to add some tissue paper as padding, then shipped this gift to my Dad from IL all the way to Arizona and everything arrived safely, luckily!

What will you be giving Dad this year?!

DIY Bottle Koozies + Vegetarian Taco Bowl Recipe

This shop has been compensated by Collective Bias, Inc. and Constellation Brands. All opinions are mine alone. The following content is intended for readers who are 21 or older. #CelebratorySips #CoronaSummer #CollectiveBias

Summer is here and what a better way to celebrate all the hard work you have done this year with a Beer + Craft Night with friends? I’ve been really wanting to make some customized / embellished drink koozies for some time, and when I learned about this amazing opportunity with Corona®, I jumped at the opportunity to celebrate all that Corona embodies - offering a passport to carefree enjoyment and refreshing, delicious refreshments! With a refreshing, smooth taste balanced between heavier European imports and lighter domestic beer, Corona Extra is an even-keeled cerveza with fruity-honey aromas and a touch of malt. The flavor is crisp, clean and well balanced between hops and malt.


What a perfect way to celebrate summer with a snazzy new way to keep your drinks cold and to liven up the party...even if it is a craft night that turns into a party :)


These bottle and can koozies really make a statement. They will also help you identify which beer belongs to each person. For only $3-4 you can make your very own Summer Drink Koozie - keep reading to get the instructions and design ideas!

KOOZIE MATERIALS:

Foam Koozies (found in the foam aisle at a craft store)

Ribbons and trim of various colors

Low temp glue gun

Glue sticks (I used fabric glue sticks)

Cardboard for use as your work surface, or a heat-safe work surface (the glue can get messy!)

KOOZIE INSTRUCTIONS:


  1. Plug in your glue gun and get it ready to use. Cut ribbons and trims to fit around your koozies, leaving a little extra just in case.

  2. Once glue is hot enough, on a heat-safe work surface, add a bit of hot glue to the end of one ribbon, and begin to glue it around the top of the koozie. For the more patterned koozies, I used 4 strips of woven ribbon around. See steps below.

Notice the raw edges of the ribbons, above. We will cover those in the next image, with one more strip of ribbon, glued up the back.

3. For the tassel koozie (below), I glued on my tassel trim first, then covered that with a more tie dyed looking ribbon for a more finished look. See steps below.

4. Feel free to embellish further with stick on jewels and more ribbons - let your creativity run wild! Note - I tried using sticky-backed jewels, but I needed to glue them on, or they would fall off after a short use. Still super cute either way!

FOR THE VEGETARIAN TACO SALADS:

Ingredients:

2 Sweet potatoes (chopped)

2-3 TBSP Olive Oil

2-4 TBSP Mexican Seasoning

1-2 tsp salt

(Other toppings include: lettuce, shredded cheddar, tomatoes, sour cream, guacamole, cilantro, and more!)

Note - this can be made vegan if you use all vegan toppings, like vegan sour cream.

Taco Salad Instructions:


  1. Preheat oven to 375-400 degrees.

  2. Cut sweet potatoes into cubes, and chop onions into small pieces. Place into a mixing bowl, and toss with 1-2 TBSP Olive Oil.

  3. Bake potatoes and onions for 15-20 minutes, then add sliced peppers on top, and bake another 10 minutes or until the ingredients are baked soft enough to enjoy.

  4. To create your bowls, add a bed of lettuce, then top with sweet potatoes, and any other toppings you like. Enjoy with a Corona Extra®!

Have an amazing summer, friends!

PIN IT FOR LATER...

Music Festival Camping Tips with Coleman at Target

This post has been sponsored by Coleman®. All thoughts and opinions are my own.

Happy Memorial Day Week!

This weekend, I am attending the Summer Camp Music Festival and I am so excited. It’s been almost ten years since I first attended, so I am really looking forward to seeing old friends and listening to some live music. (I will share some photos of the event in this post throughout the weekend!!)

It’s important to set up a cute campsite to have as your home base for the weekend, and the NEW Coleman® Dark Room Tent is a great option you might want to consider! Head to Target to find everything you need for all of your upcoming adventures, and save on Coleman products with this Ibotta rebate offer here!

Since music festival season is upon us, I wanted to share some tips and tricks on how to make camping at a music festival even better, beginning with considering your tent.

This tent comes with a convenient carrying bag too!

Head to Target to get inspiration for your upcoming festivals and summer gatherings!

One of the features I find most appealing about the Coleman® Dark Room Tent would be the roomy interior, which is great for holding everything during the festival - plus, being able to change in the tent is priceless! There is more than enough room for us in here.

I love the dark outer fabric (which is considered their Dark Room Technology), that blocks light! Since you will likely be camping around a lot of other people, it’s so sweet that this tent’s rainfly blocks 90% of sunlight so you can sleep in past sunrise. Since a lot of music festivals have festival goers camp in open fields without trees, shade is very important. If your tent gets super hot in the morning the moment the sun shines on it, think of just how HOT you would be when you’re trying to get some good rest before another big festival day. Getting a little extra sleep is really amazing.

This tent is pretty easy to set up. I would recommend at least having two people on the job, but it’s pretty easy to find a friend to help you set up your tent in this situation. There are three poles, two that go into the actual tent, and one pole that gives the rainfly a nice awning, which would reduce any water dripping into your tent.

Speaking of rainy weather, you never know what to expect here in the Midwest, but this tent will keep you nice and dry because of the WeatherTec system, which uses a tub-like floor with welded corners and protected seams.

One of my favorite parts of any camping trip is actually when we get to head to bed. I do love that part of the night where we get to retire into our ultra comfy sleeping bags, cots, and our awesome, sunlight blocking tent.

In addition to awesome camping gear, we have lots of fun ideas of how to decorate our campsite, a few of which are shown throughout the post.

A dream catcher was so adorable and easy to hang, plus it brings that whimsical element into your campsite.

My favorite décor item would probably be adding an extra large sunflower (from a craft store), which I attached with zip ties.

Use 2 white twin sized sheets and zip ties or ribbons to add inviting softness and volume to your tent. I first folded one sheet in half to find the center. I then attached that to the sheets in an arched pattern. I used two sheets, but you could use a few more to get an even more festive and inviting look.

Think of your campsite as a living room of sorts, and try to create a relaxed, comfortable environment for your group, or for friends you might meet at the festival. Use outdoor rugs, tapestries, solar lights and more to personalize your campsite and make it stand out.
 

Prepare for the summer with the Coleman® Dark Room Tent and enjoy!

Revamping My Studio with California Closets X Marie Kondo

Learn more about my home studio renovation and tips on how to create a smart space of your own, inspired by California Closets and Marie Kondo! Schedule your own consultation today!

Thank you California Closets for sponsoring this post. #MarieKondoXCaClosets

I recently had a very inspiring online consultation with Jessica Ballesteros, a very talented Design Consultant for California Closets. She and California Closets recently teamed up with Marie Kondo, the author of "The Life-Changing Magic of Tidying Up" and creator of The KonMari Method. 

I sent Jessica a brief explanation of what I wanted from my space, and she gave me lots of amazing suggestions and explained what one could expect from an in--home consultation, which I will explain further into this post. After that, she inspired me to completely re paint, and then overhaul the closet in my home studio / photo studio space. I am so excited to share my experience and new space with you!

The company's professional design consultants will collaborate with you to create custom designs at a range of styles and budgets.

THE STUDIO

To explain the space a bit better, this is one of our three bedrooms, and we had nice Pergo flooring installed a few years ago, but never got around to painting it. We use the space for our photo studio and any other fun and creative projects we come across.

It's a great size space for our photo studio, and the space basically needs to be kept very neat and tidy because when one project is done, we start the next, The space has to be versatile, and changes depending upon what we are working on. These projects range from food and drink recipes to product photography and home decor projects and more!

BEFORE + AFTER

Below, you can see my studio before the transformation. While it definitely wasn't stuffed to the gills with things (yes, it was at one time), it was not very tidy or inspiring. There are things that had been in this closet for years and years, and I would just keep adding thins to it because I didn't have any place else to put them. That should have indicated to me to get rid of some things, but I never gave myself enough time to really dive into making a more inspiring space.

While I did not install actual pieces from California Closets, I did use their mission to inspire my own design.

WHAT I DID

Painting really did help so much. I chose a light grey color called Filtered Shade from Valspar in an eggshell finish.

I also added a metal shelf to the closet, which holds a lot of weight per shelf. This will be amazing to hold props, my cameras, and anything I am using for current projects. This shelf even now has a few empty spaces that can be utilized in the near future for lots of upcoming projects. 

I also hung my fabric pieces on hangers, which I use for backdrops or as tablecloths in lots of my photos. I like having a smaller selection of fabrics hung, because then it sets the color scheme for lots of my images, making my posts look more coordinated.

I made sure to keep everything in view, without crowding the shelves too much. I was able to easily store the two large camera cases in the closet and this will overall just be great because I will have everything at my fingertips during photoshoots, instead of having to run to different rooms of the house, which does waste time and energy (which never brought me joy).

IN PROCESS / BEHIND THE SCENES

THE KONMARI METHOD

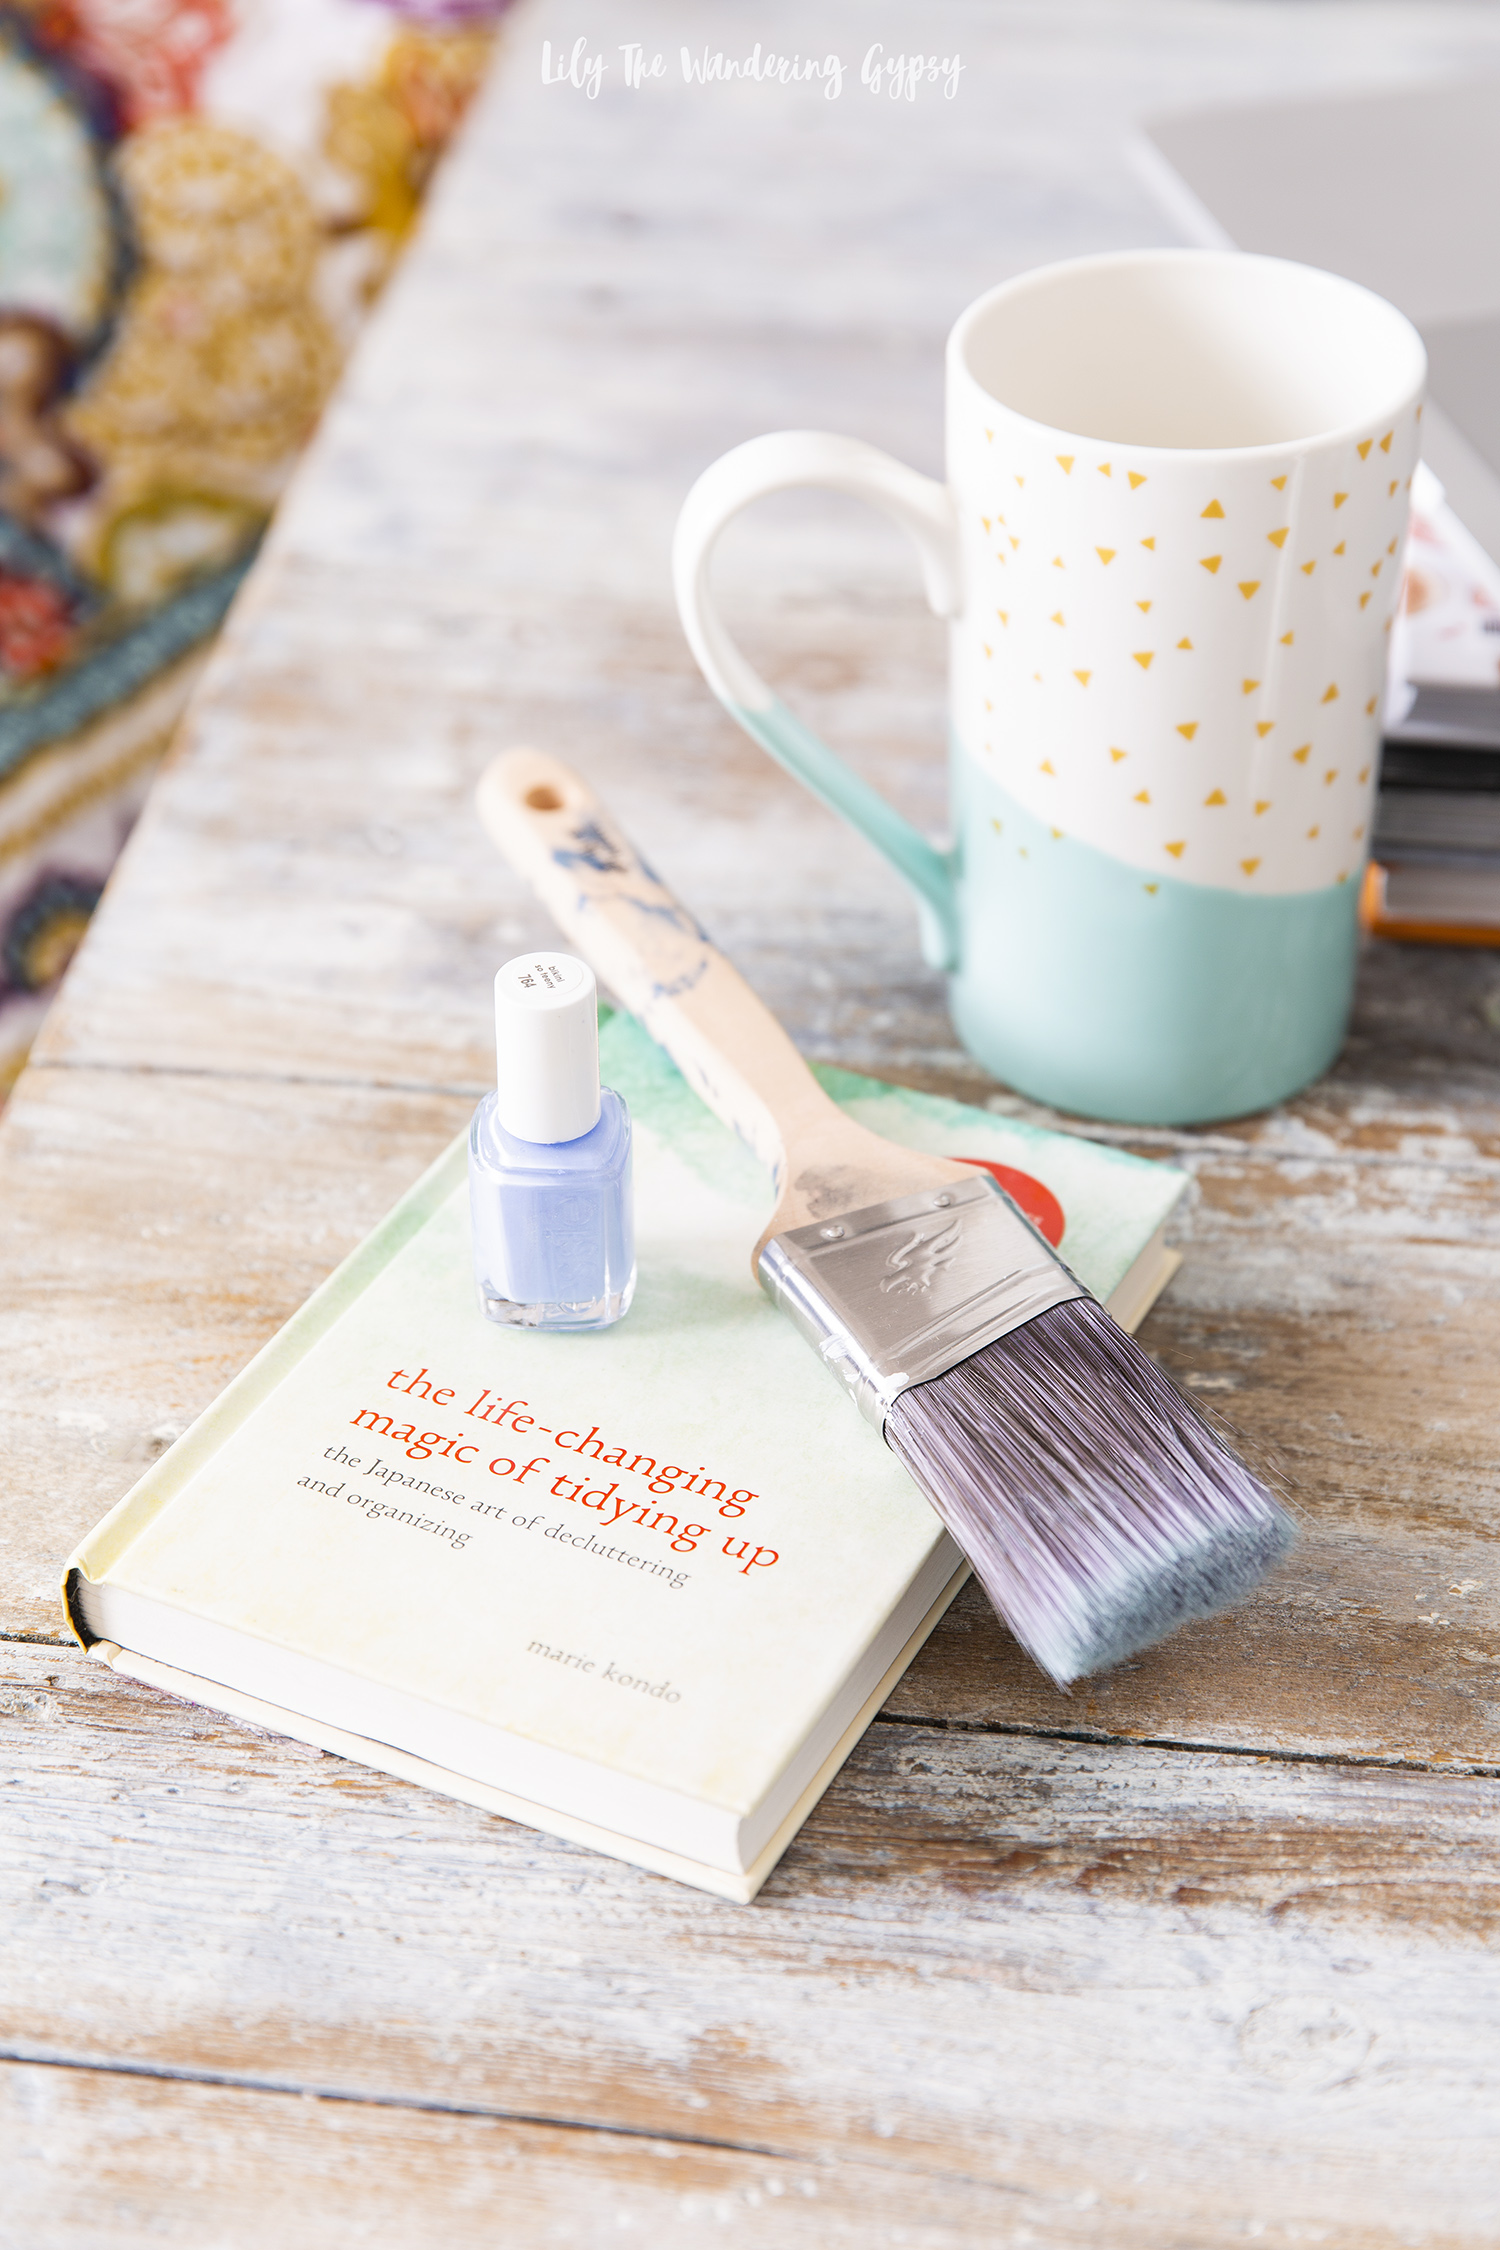
After reading more into the KonMari Method, here are some key points.

Step 1: Decide what you want to get out of your space.

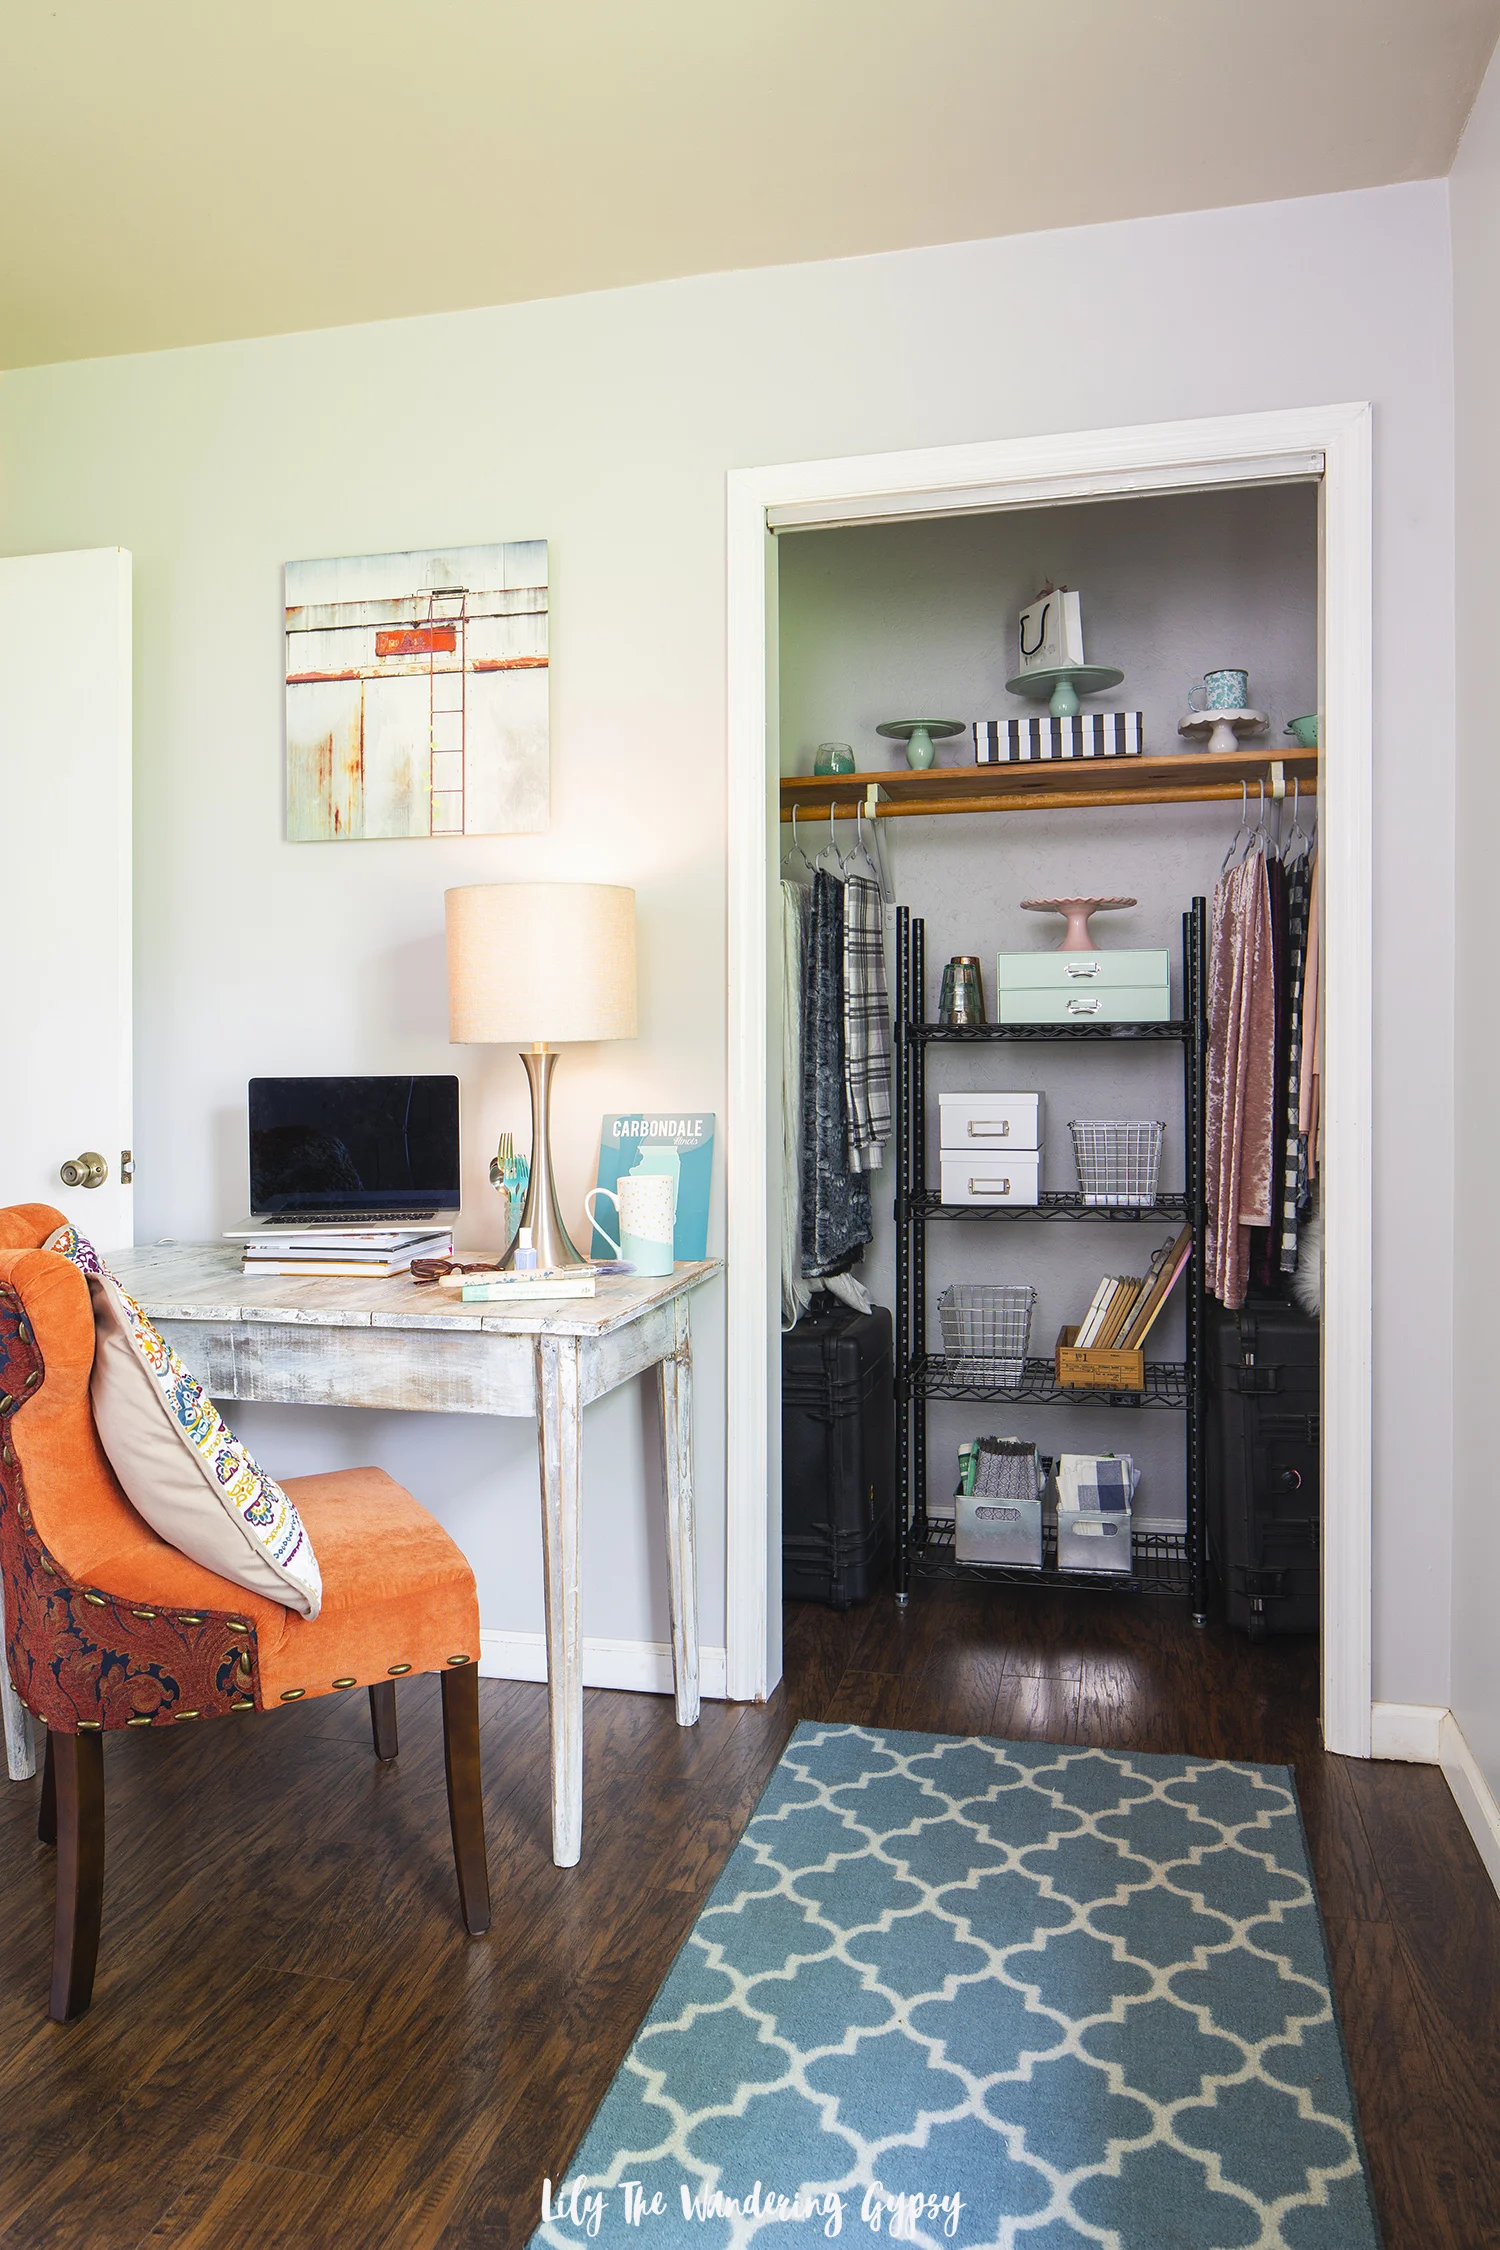
Ask yourself, what is your ideal lifestyle, and how can this space help you attain that? For me, I want to be a professional, very organized lifestyle blogger, and so this closet space needed to help me with that mission.

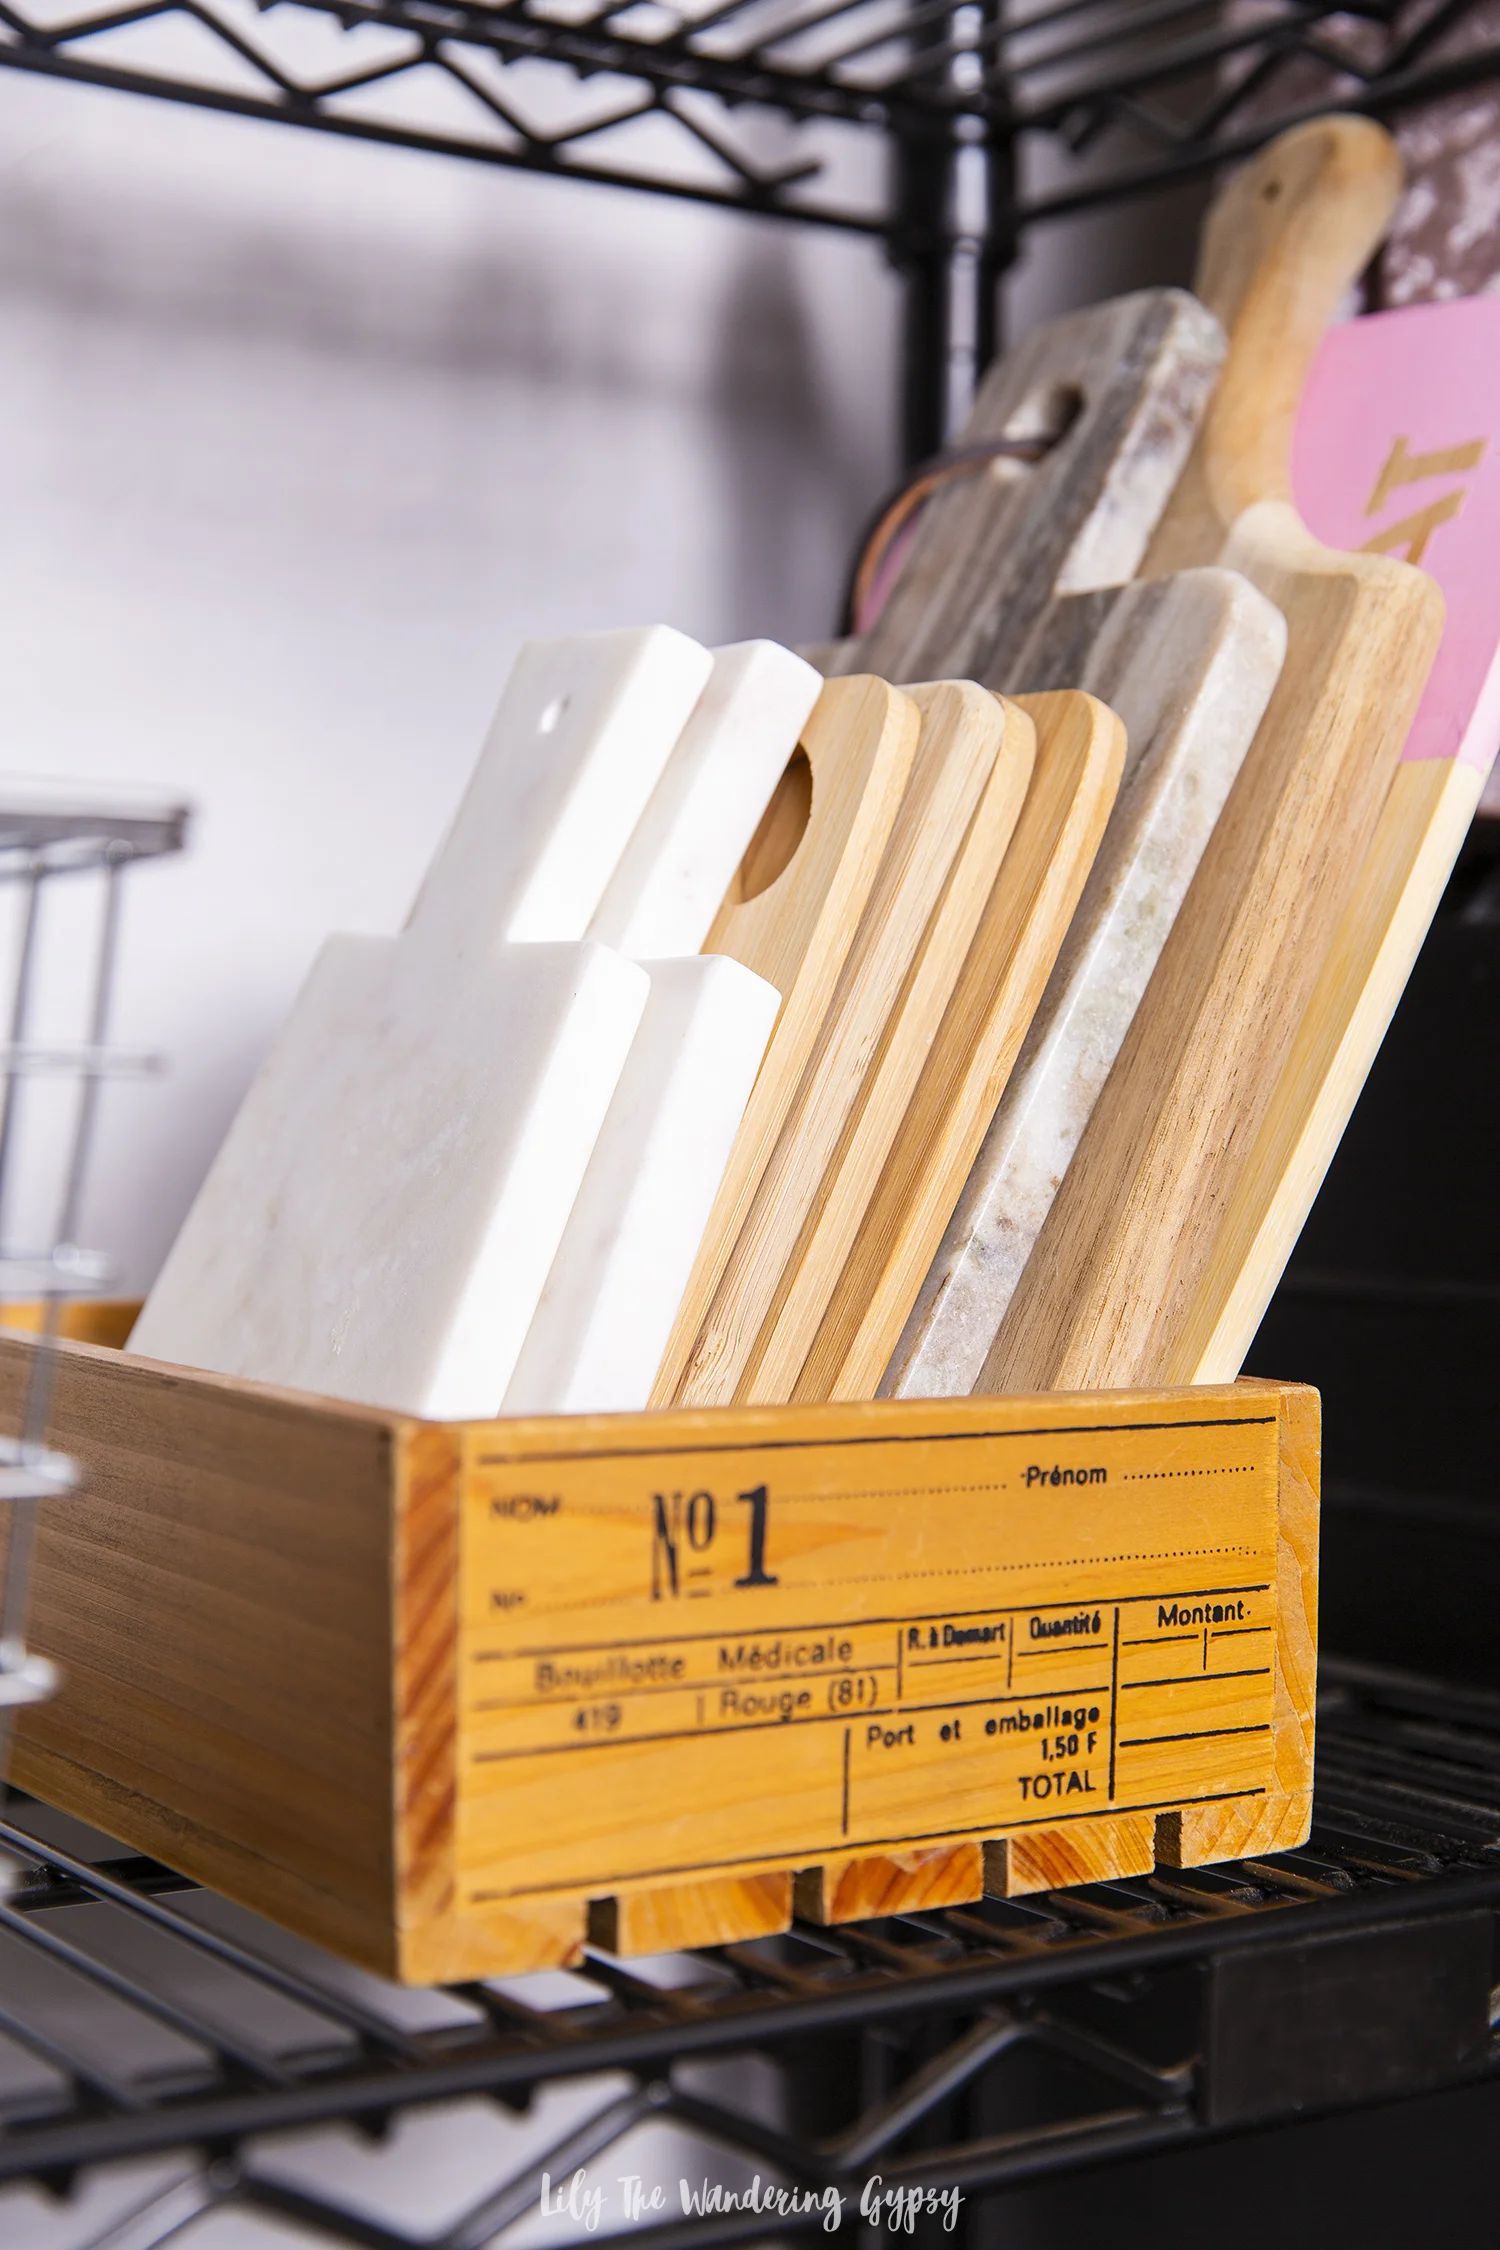
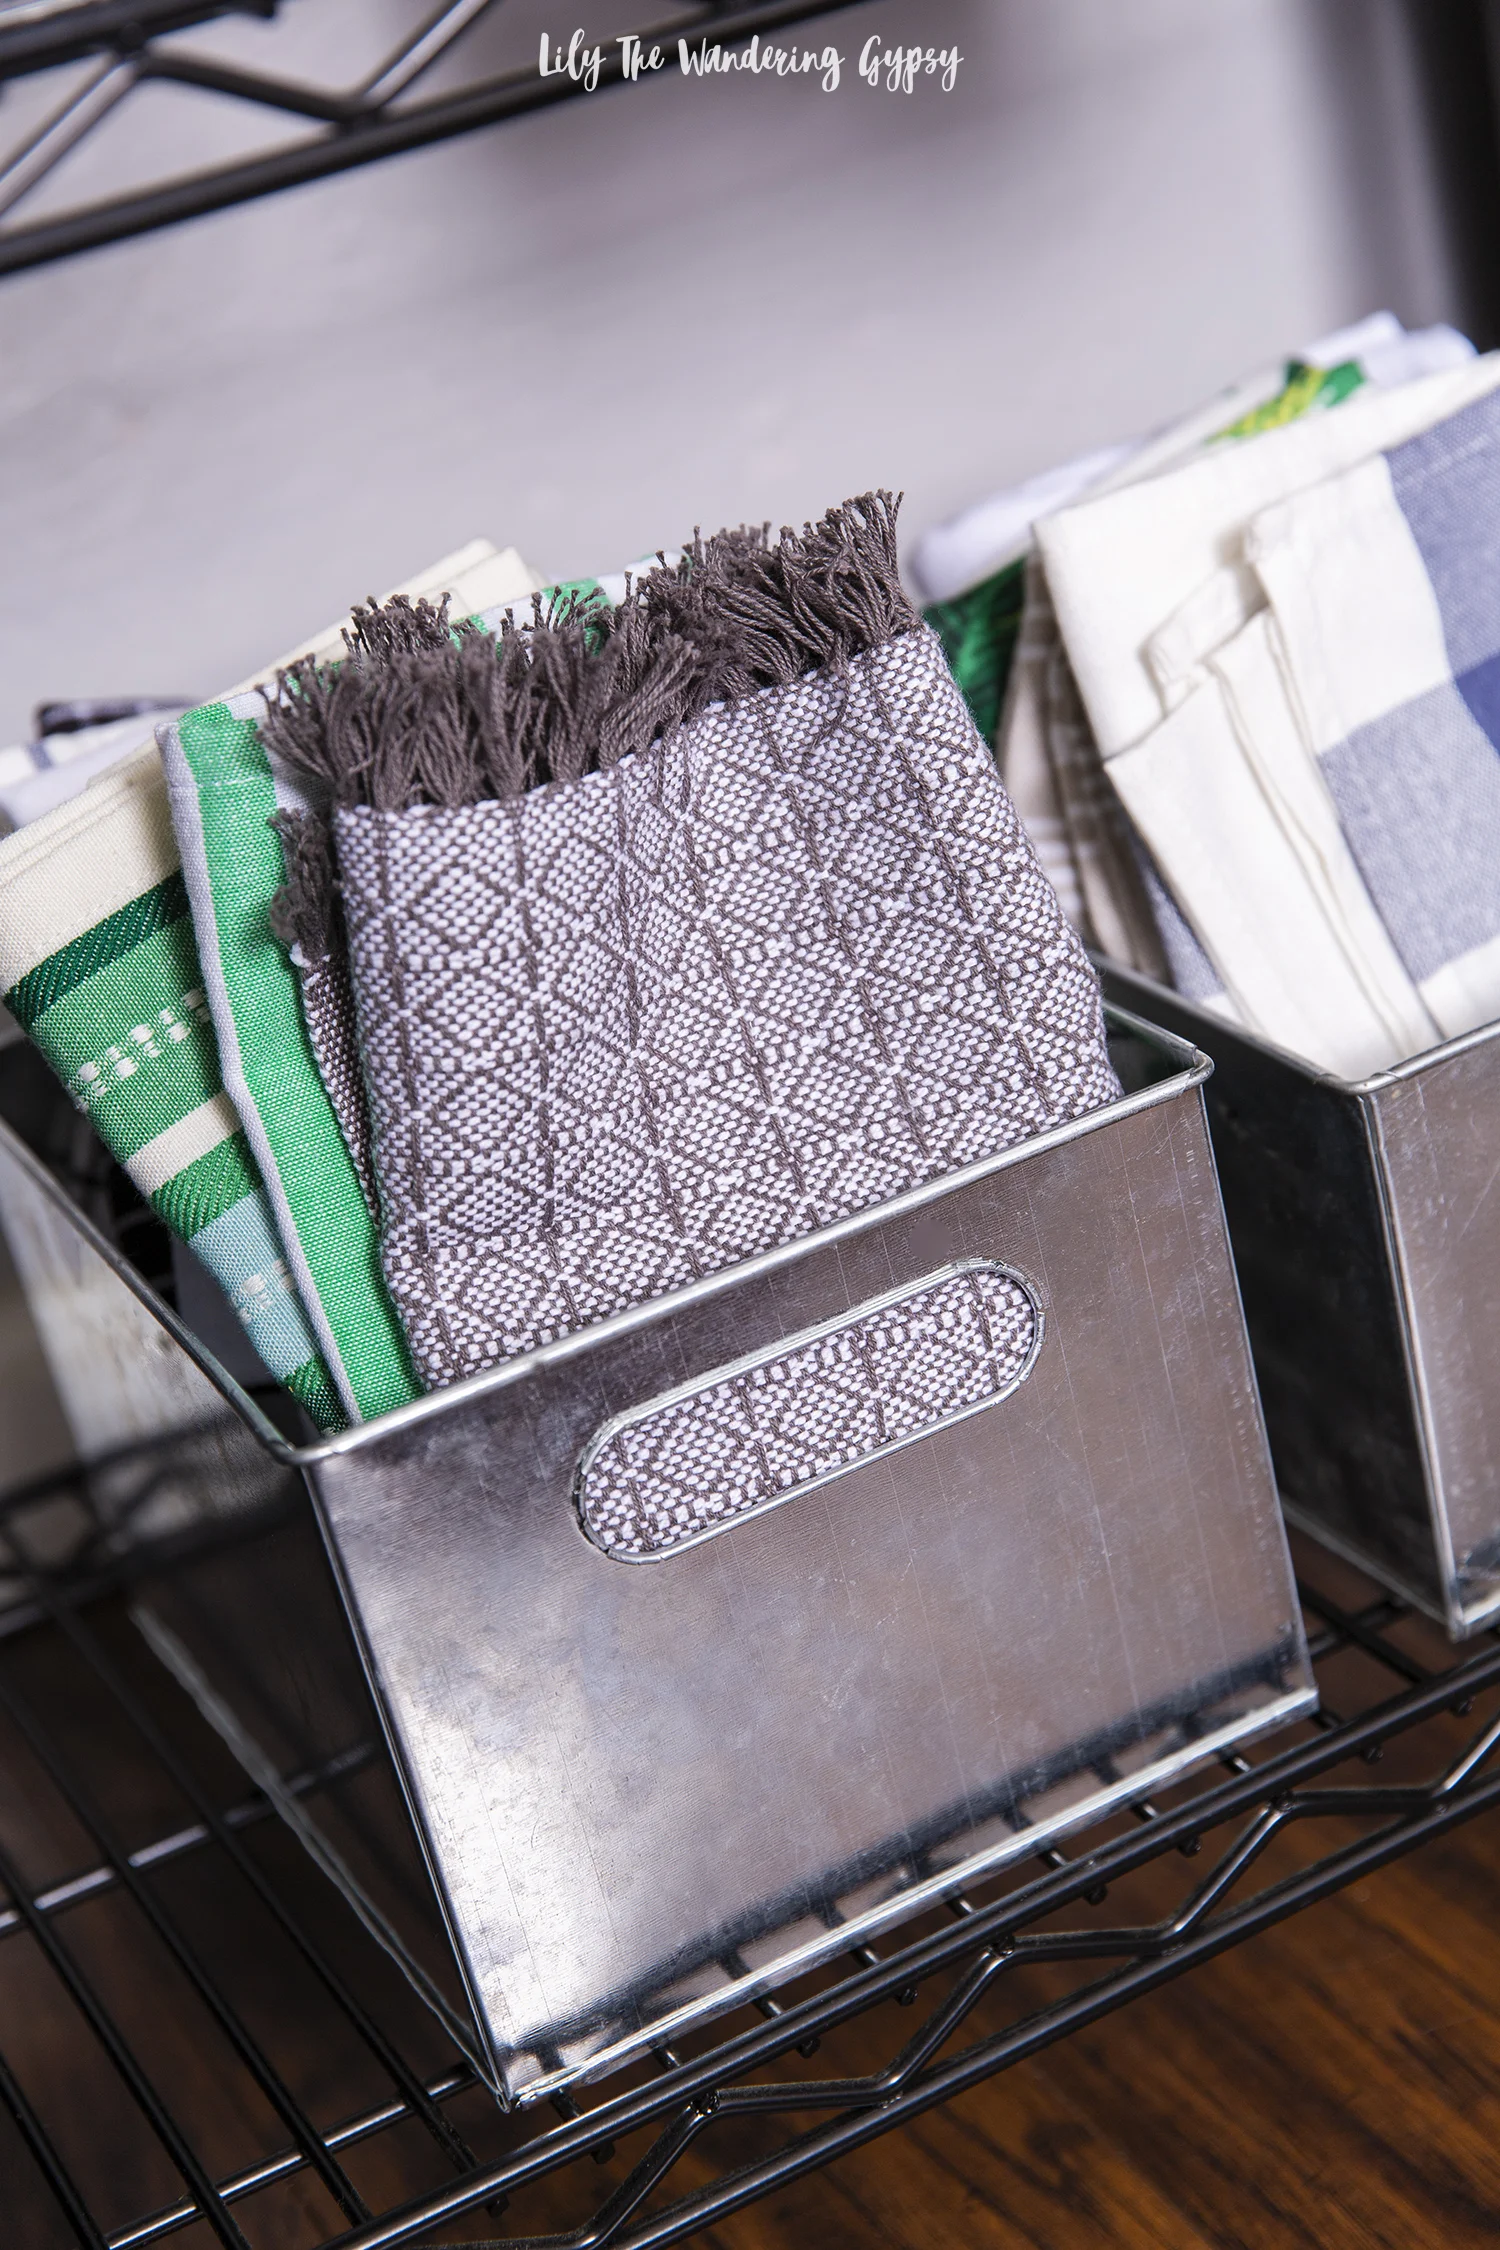
Step 2: Declutter and divide like items into groups

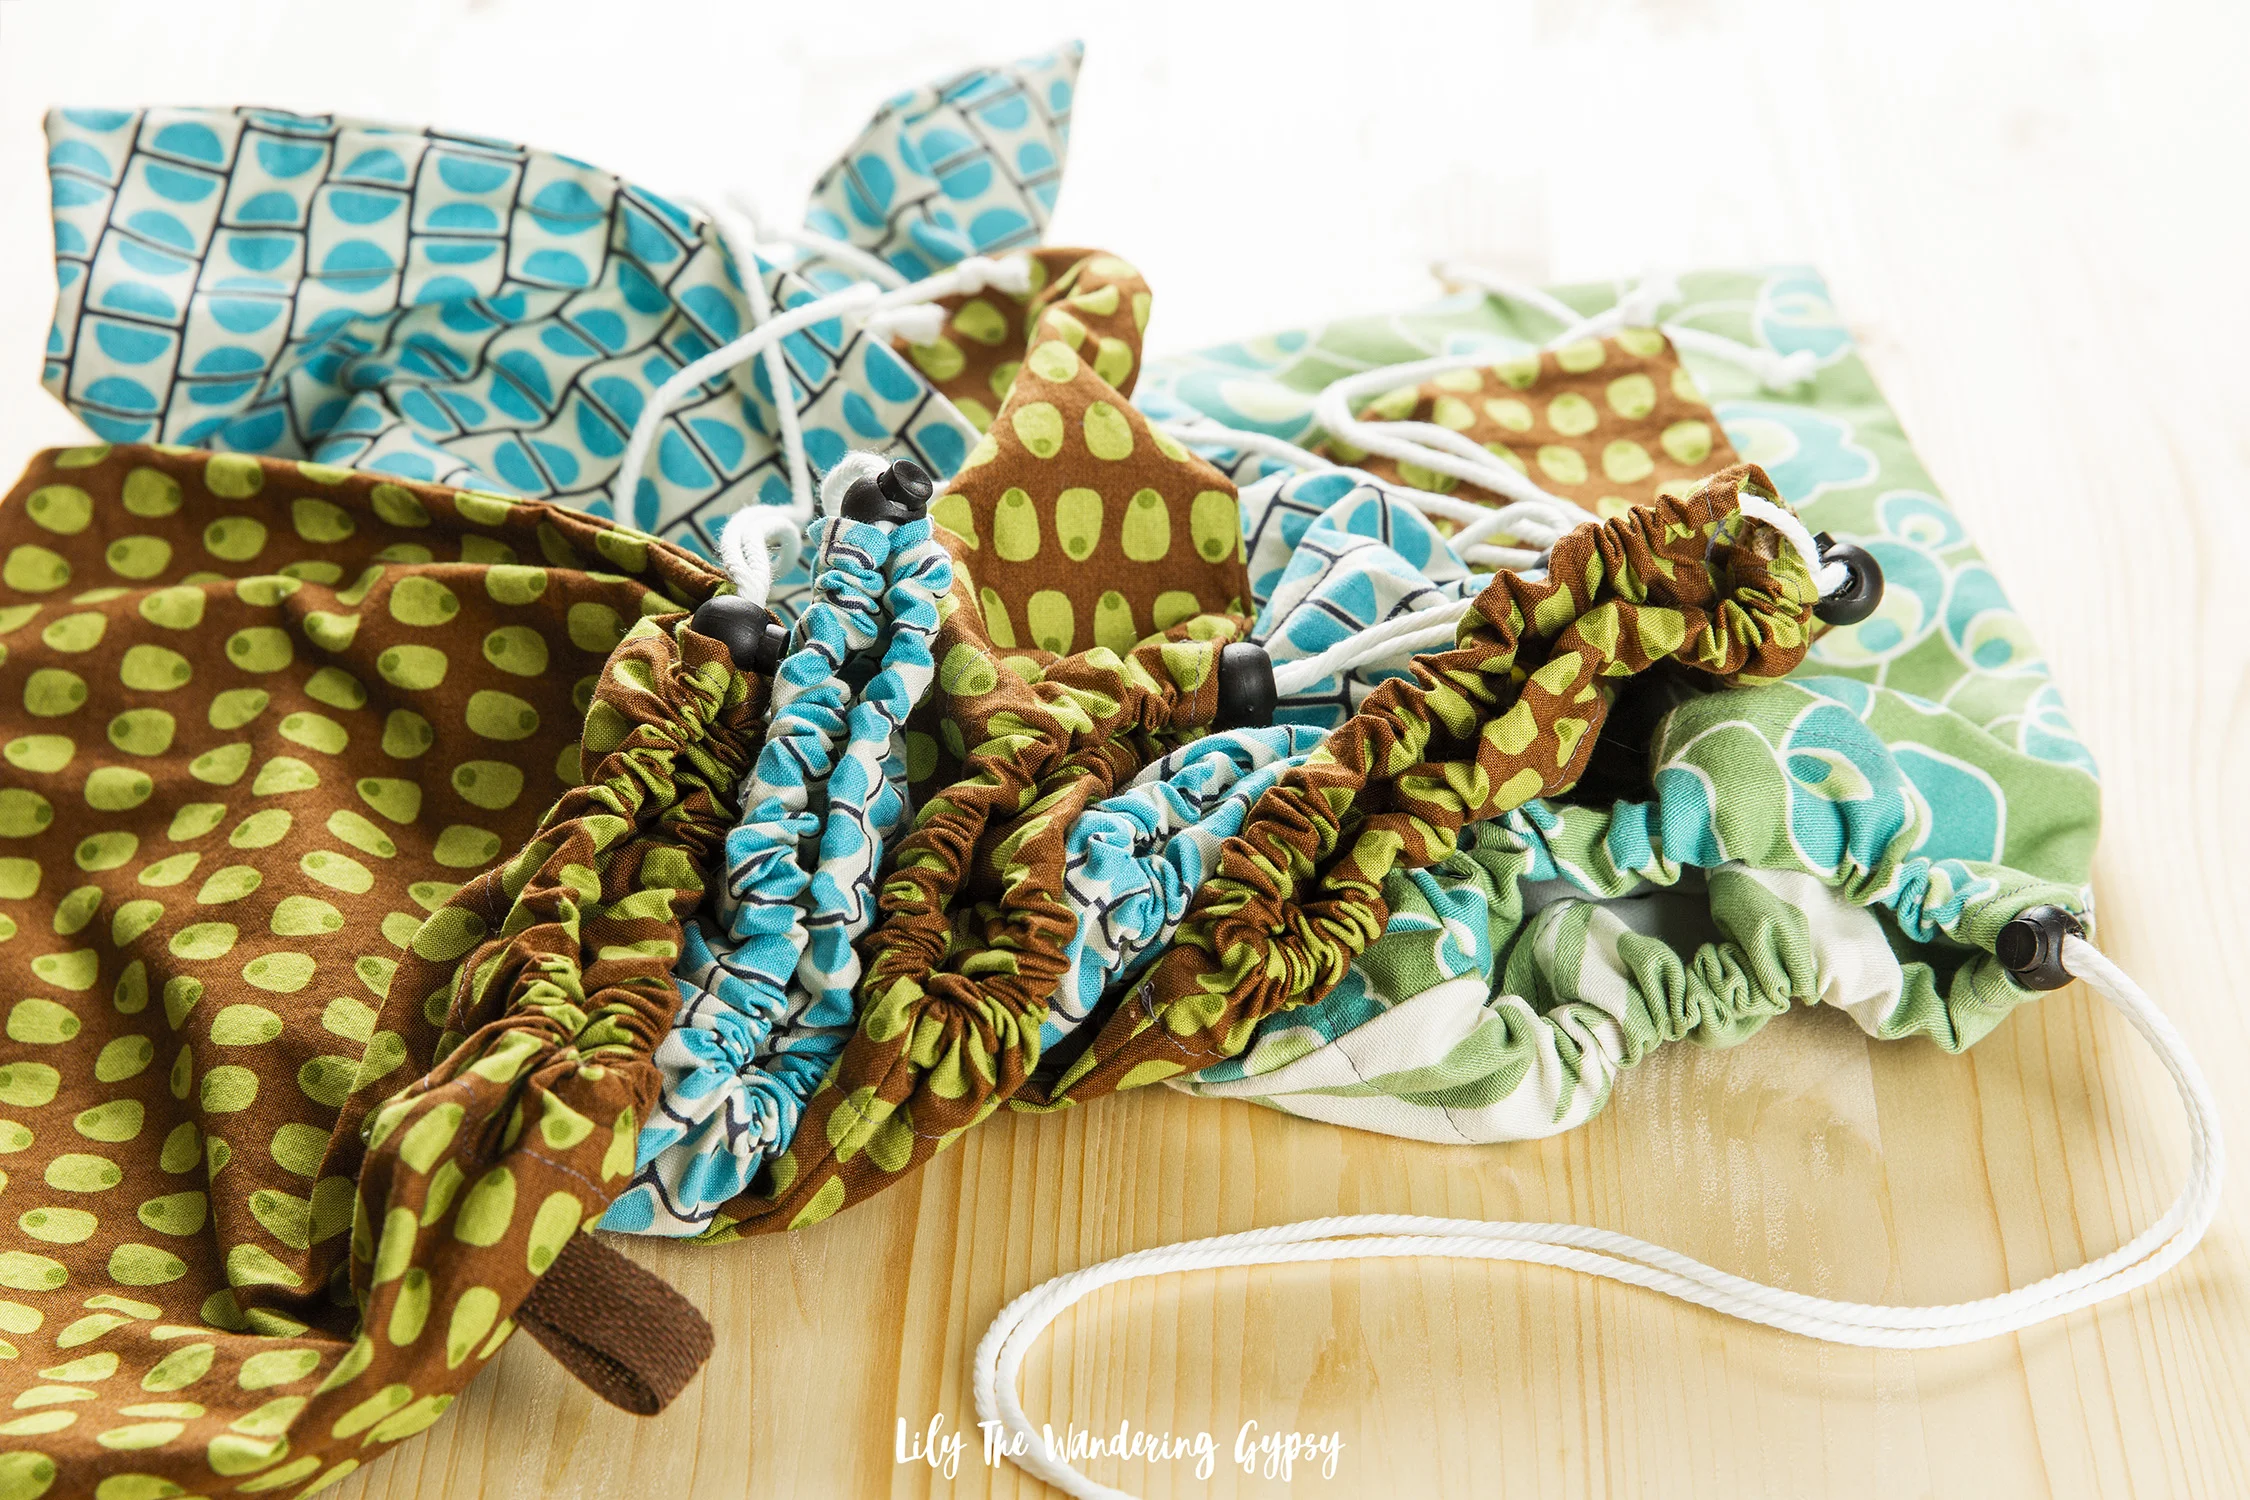
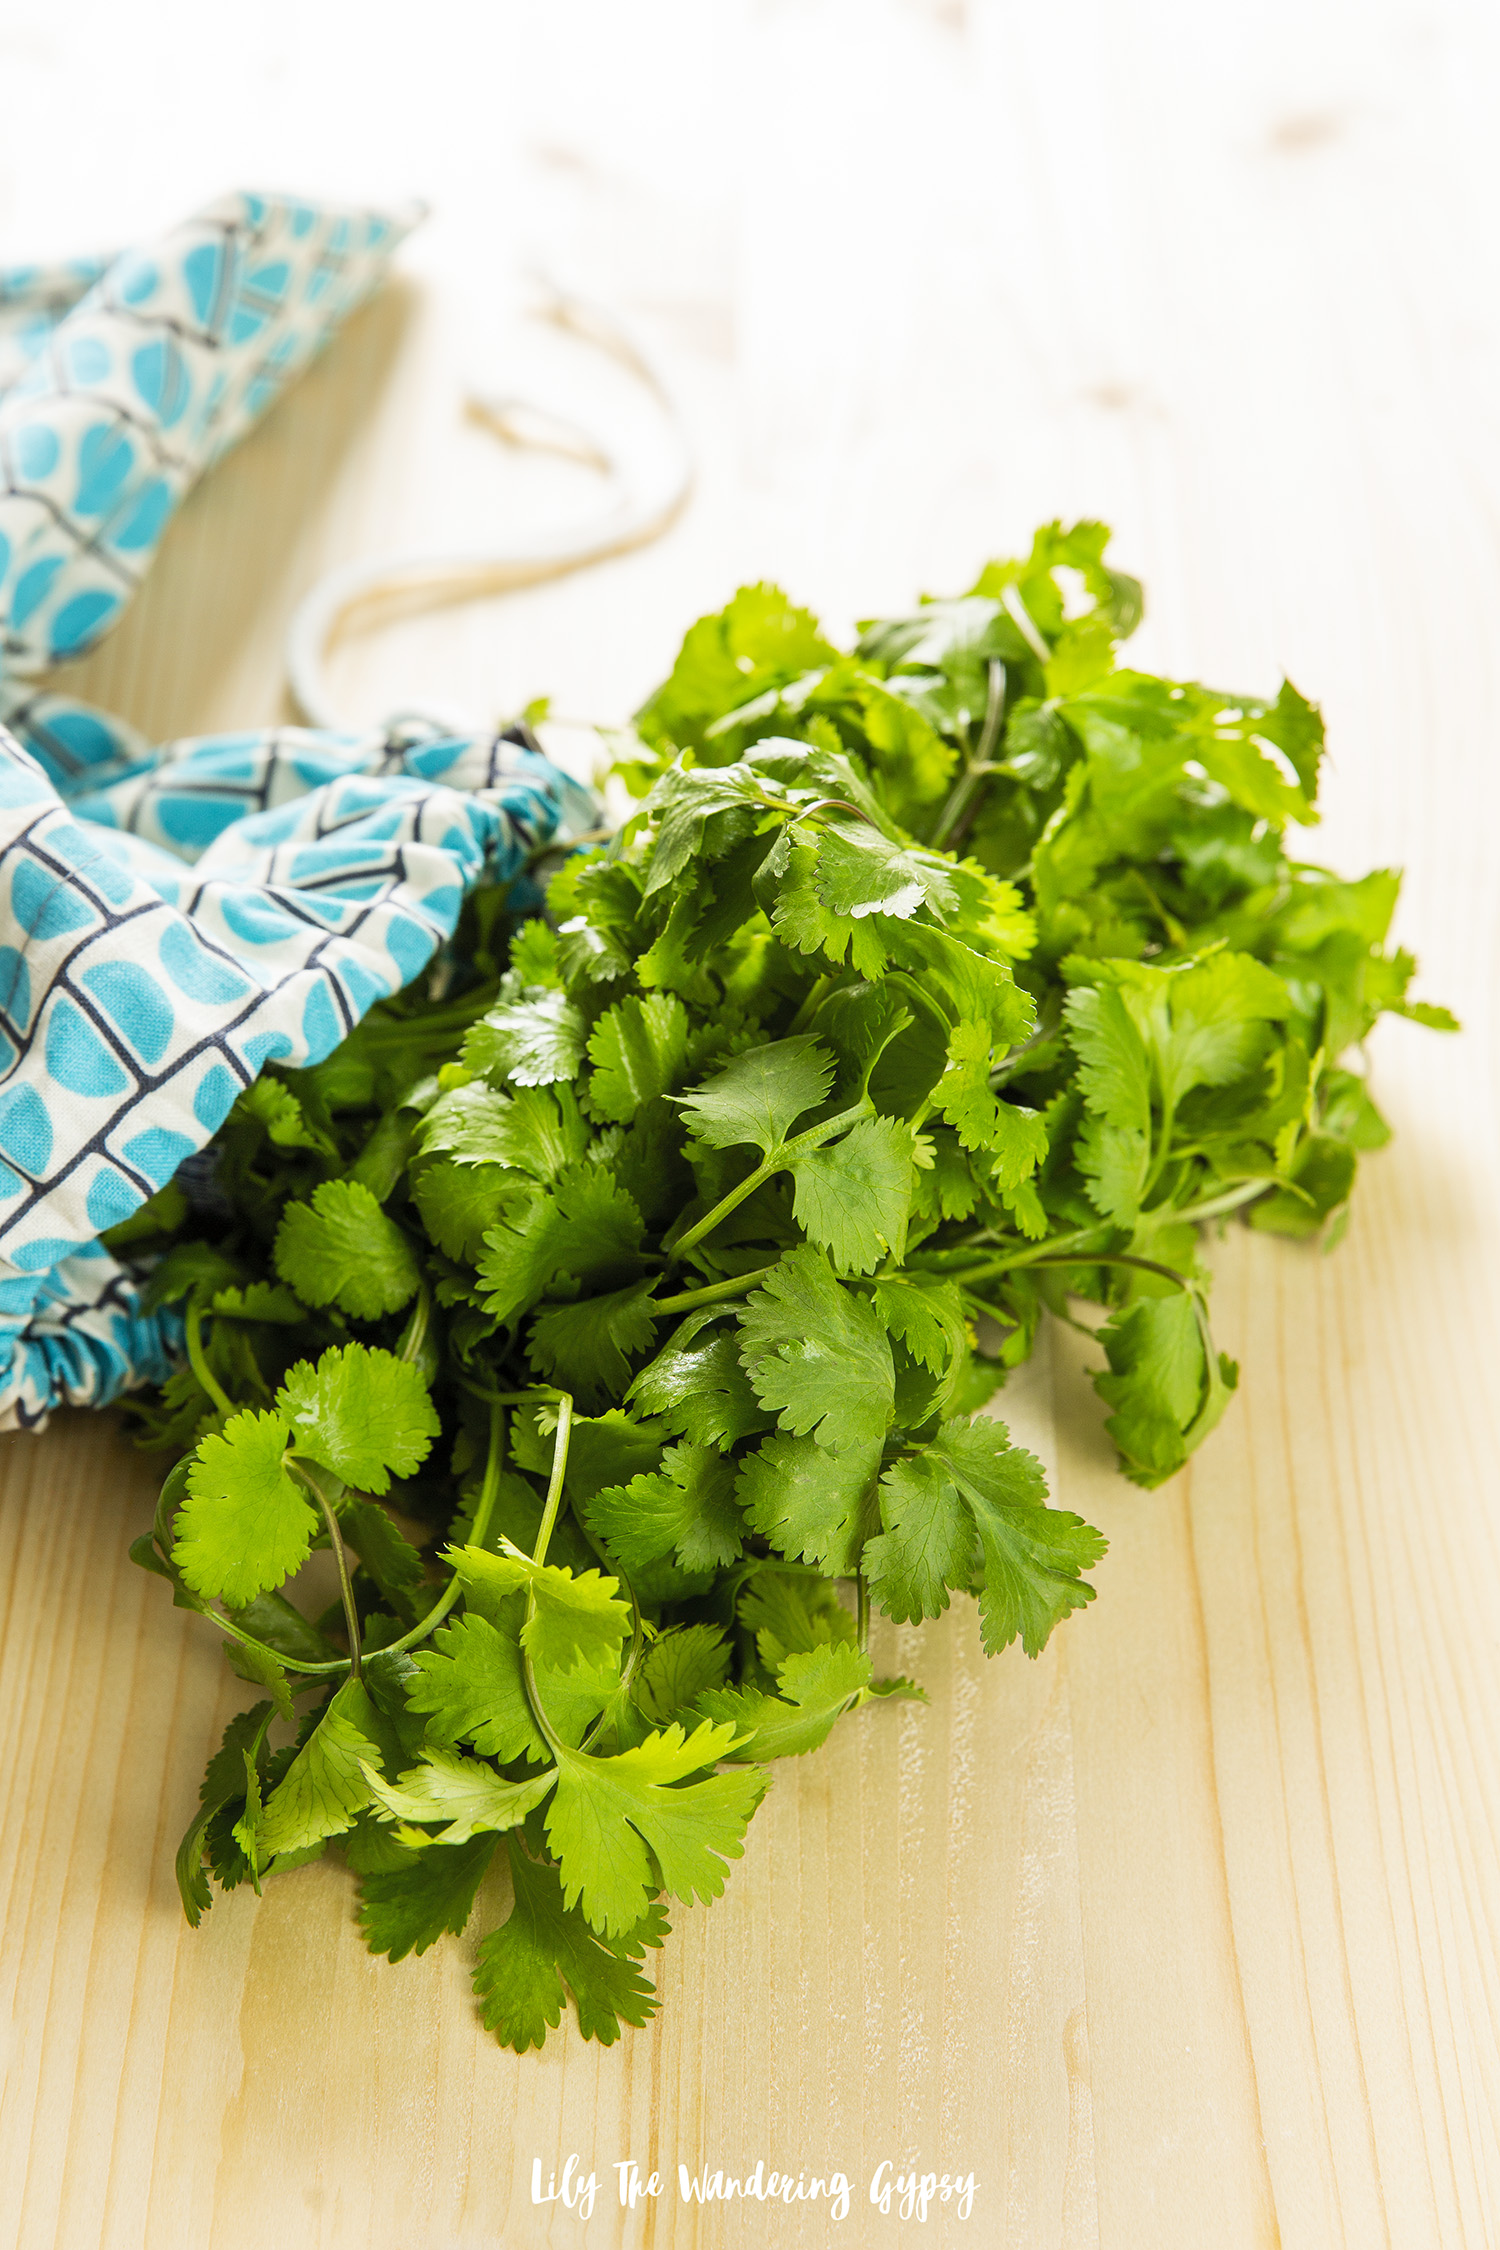
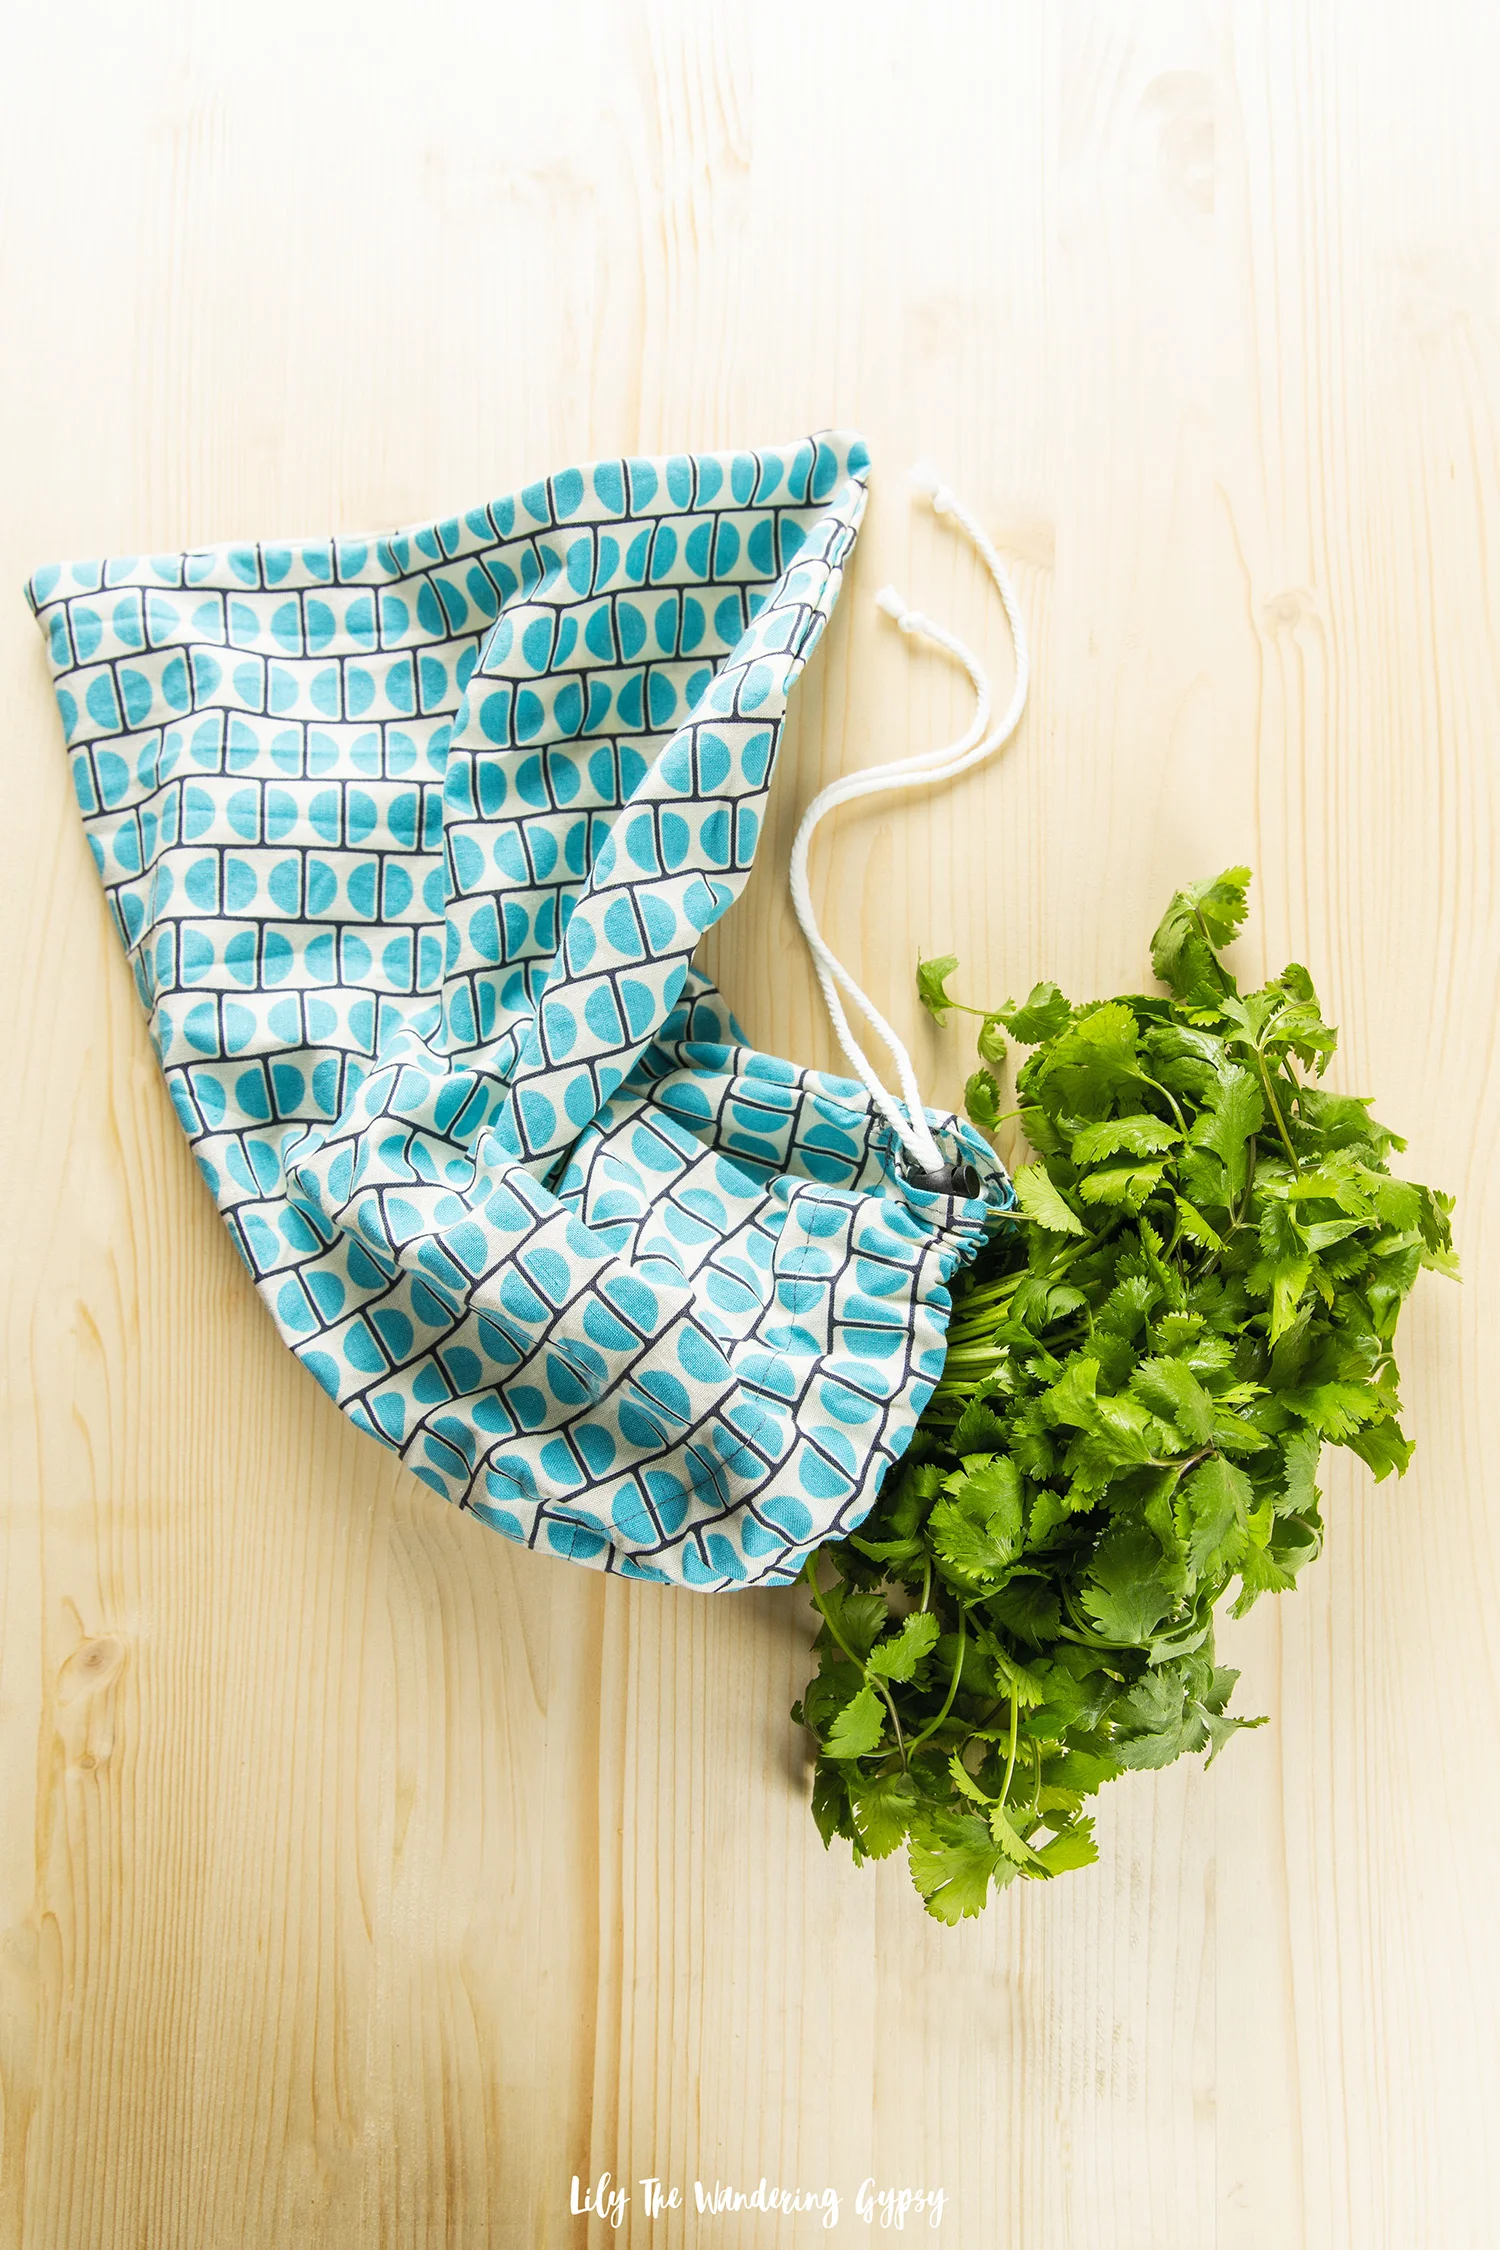
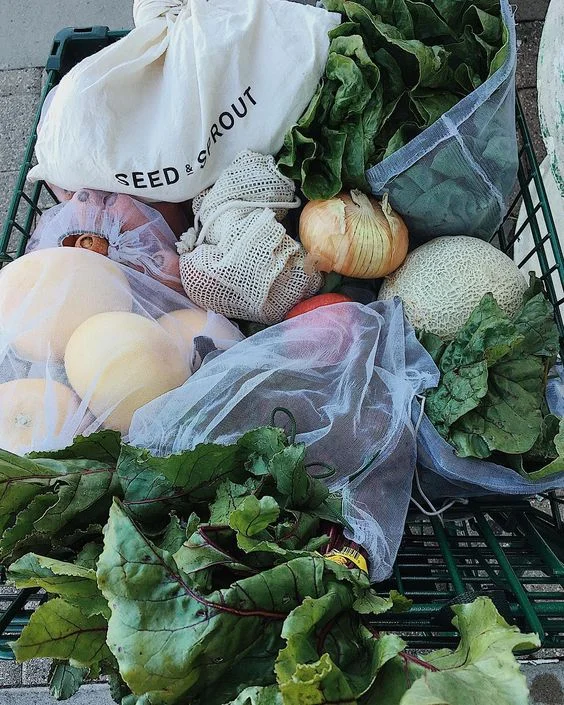
Take everything out of the space and organize it into piles of similar items. If there are certain items that do not actually make you feel happy, or that distract you from your initial goal(s), then it may be time to pass those items along. Then, you will be able to better organize those things that you do need.

Step 3: Decide what "sparks joy".

Marie Kondo explains what it means to spark joy. Ask yourself questions like

- Does the item contribute to making you feel good about yourself, your job, and your space? 

- Will it help you with that particular job?

If not, then time to remove that item from the space and either discard, donate, or recycle it.

Step 4: Say Thank You and Discard (or Donate)

This is probably the most important and hardest of all of the steps. It's important to first realize how much space you even have for things, because if there are things we just never have room for, it may be time to just simply purge things. It can definitely be "scary" getting rid of things that you are so sentimental or that you have had for along time, but if it's something that you never use, or keep moving back and forth without using or having space for, then it may be time to let it go. 

As suggested by Marie Kondo, say a little "thank you" to the items which have served you in the past, and send the items on their way. Discard, recycle, or donate those items which are not fulfilling your mission to "spark joy" in your life, and then give a quickly tidy up or reorganize to the space to now suite your needs better.

For me, I have gotten rid of tons of clothing, old papers, and other photography and food/drink styling related props by asking myself, would I ever really use this again, or is is outdated? Or, is this s timeless piece that I will be able to use again and again?

The Design Consultation with Jessica

As I mentioned, Jessica is a Design Specialist for California Closets, and you can read more about her in the below articles:

https://www.californiaclosets.com/expert-tips-for-displaying-and-organizing-everything-in-your-new-closet/

https://www.californiaclosets.com/blog/whats-your-organizing-style/

She gave me some expert advice, as stated below:

"If you were wanting to try the KonMari method of organizing your office closet you would first start by removing every single item, and I mean everything.  One by one you would hold each item deciding what to keep (things that Spark Joy) and what to get rid of. Then putting everything back in an organized way. Using bins or baskets is always encouraged to help compartmentalize items by category if no drawers are available. Mari Kondo loves using boxes inside boxes to help divide things into categories."

I loved her ideas, and utilized as many as I could.

What an inspiring project this has been! I know that going forward, my new space will be an amazing home studio that inspires me each and every time I see it! 

Learn more about California Closets Here! And again, check out my studio space after the revamp, below!

California Closets has an extensive range of beautiful finishes to choose from, from clean and simple white, to proprietary textures imported from Italy, all of which are environmentally sustainable and California Air Resources Board (CARB) compliant. You can really go wild and create a dream space of your own.

I was selected for this opportunity as a member of CLEVER and the content and opinions expressed here are all my own.

An Elegant Fall Bake Sale {Raise Love for Ronald McDonald House Charities}

Who's ready for Fall? I know I am! The weather has finally cooled down a bit at night here, which means it's time to mix up a few ingredients, get out the decorating materials, and perhaps it's time to get ready to give back by hosting a Fall Bake Sale! If you're here looking for ways to make your baked goods look gorgeous, you're in the right place. 

I'm here today with Ronald McDonald House Charities (RMHC) to share some Creative and Elegant Bake Sale Tips. Selling food is all about the presentation - we eat with our eyes first! In order to make the maximum amount of money from anything you're selling, make it cute and make it approachable! 

CUPCAKE INSTRUCTIONS:

Above, I baked a box of chocolate cake mix into 24 cupcakes, using metal liners.

I then grabbed a quart freezer Ziploc bag and a rosette icing tip. I placed the tip into the corner of the bag, cut a tiny bit of the bag corner off, then taped the icing tip into the hole with electrical tape. This worked pretty well, or feel free to use a pre made piping bag and metal icing tip. 

I then applied a swirl of icing to each cupcake and placed Fall Leaves sprinkles carefully onto each one. I thin they look like a little swirl of leaves on a windy, Fall day!  

CHOCOLATE CHIP COOKIE BARS

Also, shown above, I made a batch of chocolate chip cookie dough, spread it into a baking sheet, and followed the instructions on the packaging for best results. I then cut the cookie bars into squares, and set them on top of a slice of decorative wood and set them on a mint cake stand I got from Target. I love how this display turned out!

Did you know that in 2016, RMHC provided 2.4 million overnight stays to families? And in doing so gave the ability to spend more time with their sick children, to interact with their doctors, and to make important decisions about their children’s care?

Below, you will see the juggling balls that Ronald McDonals House Charities sent me! 

Below, you can see a cute way to offer customers a cute gift bag with a Fall leave glued onto the bag, perfect for gifting that special treat!

Through the Ronald McDonald House and Ronald McDonald Family Room programs, RMHC provides places for families with sick children to stay just steps from the hospitals where they are receiving critical medical care.

Starting a fundraiser is simple and gives the fundraiser the freedom to do whatever it is they love to do to in order to help RMHC reach our goal of providing 12,500 more overnight stays to families of sick children this year.


1.) Always keep gloves and several pairs of tongs on the bake sale table, so you can serve customers their food without touching it. Also, make sure to keep plenty of to-go bags and containers for customers to bring their treats home in. 

2.) Always use rubber gloves while baking the items too.

3.) Presentation! Presentation! Presentation! I loved the use of this light pink crushed velvet tablecloth material! I headed to my local craft store and spent around $8-10 for 1.5 yards of it. I was so happy to incorporate one of the year's trendiest fabrics into my bake sale display! 

4.) Find a unique location like a popular, locally owned clothing boutique to have your bake sale in front of. Make sure people know to enjoy their treats before they head into shop, and food may not be allowed in the store. Office buildings, malls, and even breweries are also amazing location ideas because there is a larger amount of foot traffic.

5.) Spruce up desserts by adding bakery-style details like icing piped with icing tips, and seasonally adorable sprinkles! I also loved adding cupcake toppers, which can be made with toothpicks and scrapbooking paper or even pom poms! They can also be purchased for around $2.00.

6.) Place hand painted price signs at eye level, and make items affordable. Feel free to have a range of prices on the table too. For instance, I thought that .50 cents per mini cupcake, $2.00 per large cupcake, and $1.00 per chocolate chip cookie bar would be appropriate. I really, really wanted to make some caramel apples for this bake sale, and I believe you could get around $4.00 for them! 

7.) Display the charity name for which you are fundraising! I made a hand painted sign for FREE with black paper and white paint to showcase the "Raise Love #forRMHC" campaign info. Shoppers may also want to tag your cause on social media, so that is also what inspired me to create that sign.  

Learn more about starting a fundraiser here, and also get the details on Ronald McDonald House Charities here!

The Best Way To Stay Cool This Summer! Summer Fun With Dr Pepper

This is a sponsored conversation written by me on behalf of Dr Pepper®. The opinions and text are all mine. #PickYourPepper #Walmart

Summer is definitely here, friends! I’m trying to enjoy the outdoors as much as possible before it gets too dreadfully hot and humid here in southern Illinois. Luckily, there are lots of great picnicking areas and lakes available to us here in and around the Shawnee National Forest so we recently headed out to cool down!

I brought the sweetest summer essentials with me too – cold drinks, SPF, and my new 90s-inspired inflatable float :)

There’s nothing like floating in the lake or river while enjoying a cold drink and some fresh air. I always love to bring a big, floppy hat to protect my face and shoulders from excessive sun. Plus my ever-important sunscreen and my favorite shades - that’s about all I ever need to have a good time.

Dr Pepper sent me this float as part of their new Pick Your Pepper campaign with packaging that was made by millennials, for millennials, that I picked up at Walmart. It’s so unique and I was pleasantly surprised at how big the float was once inflated – it held me afloat in the water just fine! It was a little taller than me, so I could lay back and just float. I am excited to use this all summer and next year!

To claim your very own Dr Pepper Shaped Pool Float, or one of their other cute prizes, get the details below.

When you buy any Dr Pepper 6/15-8/15 this summer at Walmart, you can upload your receipt here to get the prize featured in my blog and/or other prizes like:

Spend $5, get a unicorn beverage holder inflatable

Spend $10, get a Walmart e--Gift Card worth $5

Spend $20, get a 6-pack can/bottle holder with ice pack

Spend $40, get a Dr Pepper bottle shaped pool float

I wound up getting almost everything for our day at the lake at my local Walmart! They have lots of cute summer items left, and some are even going on sale – get everything now before it’s gone.

I found everything from this tie dyed beach towel, which I absolutely LOVE, to my Dr Pepper, snacks, bowls to put the snacks into, summer-themed plastic cups, colorful straws, a cute sun hat, flip flops, and my new favorite summer clutch!!  

What are some of your favorite locations to visit during the summer to enjoy the outdoors? Do you tend to stay local, or do you like to drive a few hours to enjoy something even better? Leave a comment below and let me know – we are always on the lookout for travel suggestions!

Also, what are your favorite picnic day snacks to enjoy outside? I went for classic options, and everything paired well together. An ice cold drink always helps the temp cool from inside and out!

This day, we got the most perfect weather ever! A little on the warm side, but the slight, cool breeze really helped keep things feeling great – and luckily kept mosquitoes at bay! It had actually rained earlier in the day, but the clouds cleared just enough to allow us to enjoy the sunset (the best thing in the world to me!). The water was so calm this day.

Now, let’s talk lakeside fashion! I loved this Made You Look Sun Hat from Walmart! Each one of our local stores seems to have a bit of a different selection, so I tried to browse them all for the cutest summer accessories. I also found this pair of mint, crochet-like coverup shorts, near the selection of bathing suits. I also just HAD to grab these donut printed flip flops – after all, it’s summer, right now I’m saying, “I Donut Give A Care” to so many of life’s worries. This great weather is really doing me some good!!!

This "Made You Look" hat is so fun!

In order to offer chilled refreshments on a hot day, I bring a small bag of ice in my cooler, and simply set the drinks into a metal tray. I then dump ice into the tin. The cans chill in about 20 or so minutes, and it’s such a cute presentation! Speaking of presentation, I do love a cute food table display, so I brought out some cute items to the lake with us. I used three tins (one for drinks, one for chips, and one for cookies), two fish-shaped bowls for candies, a wooden box to elevate the drinks, and of course plates and napkins. No utensils were required

Love the three colored tassels on the clutch bag! How adorable for summer!!

Taking a few extra minutes to set up a cute refreshment table really makes a day at the lake even better!

Invite your friends and family out this summer, and connect with them! Create meaningful memories during your summer celebrations that will be cherished forever!

A Memorial Day Party With Balloon Time! Get These Cute Recipes and Decor Ideas!

This is a sponsored conversation written by me on behalf of Balloon Time Helium Tanks. The opinions and text are all mine.

So excited to share this fun post with you today! I am really looking forward to summer, and Memorial Day, to me, is the first big holiday of the summer season. It's a great time of the year to host friends, and why not embrace that red, white, and blue, Patriotic spirit into your party with festive decor and tasty, yet easy to achieve party recipes. I utilized a balloon backdrop, inflated with my Balloon Time Helium Tank, making this whole party setup a very Instagrammable moment!

This party would be adorable for guests of any age, and feel free to add a bit more of your favorite food or drinks for your friends and family to enjoy while we celebrate Memorial Day, and other fun holidays in May and the upcoming summer months.

Tie Dyed Fabric In Indigo and White (See My DIY Here)

Helium-Safe Balloons (I used red, blue, and star-printed latex ones, and 3 holographic mylar ones in star shapes)

Helium Tank (I used one from Balloon Time)

Curling Ribbon included with helium tank

Weights for Balloons (these can be made from just about anything that is somewhat heavy. Or, tape to attach balloons to the back of your table

1.) Get acquainted with your Balloon Time Helium Tank. At first, I had a bit of trouble realizing that there are two steps to working the tank. FIRST, on your helium tab, you will find a green handle, that you turn about 4 times until it won't turn any longer. SECOND, insert your balloon onto the black nozzle, and push down to release the helium into your balloon. I did not realize to do the second part, and thought my tank was empty - oopsies! It was not :)

2.) Fill your three star balloons, and about 5-10 of each of the other colors, red and blue. Adding some white balloons would also be adorable! After filling each balloon, tie about 3-4 feet of ribbon to them, and attach them to your weights, so they won't float away :) I cut each ribbon to be a bit of a different length, so they would have a more layered effect, which I just loved!

3.) Put up your tie dyed back drop behind where your table will go, and then start filling the background with balloons! I started with my stars, then worked out from there, with the other balloons. Put your table in front of that, and begin styling the party!

4.) I love displaying food at different heights on the table, to create lots of visual interest. For this party setup, I used a mixture of wooden crates, galvanized metal boxes,   

5.) Other cute items you might want to offer include patriotic-themed star plates, napkins, cute paper straws, cute sunglasses, and red/white/blue candies in star-shaped glass dishes.  

When I first learned about this project with Balloon Time, I instantly went into research mode. That's how I start every post that I create, so I can learn more about the brands and the products I am about to work with. I also love seeing what other bloggers may have done with and for these brands before, and I was so excited and very honored to be chosen, because Balloon Time has enlisted the DIY and Party Skills of many amazing bloggers that I follow pretty regularly, like Studio DIY, Hostess With The Mostess, A Subtle Revelry, and Confetti Sunshine!

I wanted to put my own spin on this project and include lots of cute dessert ideas, too!

I love these delicious red velvet cupcakes from my local grocery store, which you could use in a pinch, or bake cupcakes from your own favorite recipe. 

WHAT YOU NEED:

Red Velvet Cupcakes, Plastic Wine Glasses, Candies To Decorate

Simply fill glasses 1/3 full with colorful candies. Next, put the cupcake into each glass, and you have an elevated way to enjoy your cupcakes! This makes dessert very easy to carry around, too.

It's funny. The end of May in Illinois can offer gorgeous weather, chilly weather, rainy weather, or just plain HOT weather. Here in Illinois, we just come to enjoy those years when we get good weather for holidays, but it's never 100% for sure that we will even want to be outside. SO, I designed this party for an indoor OR outdoor gathering! 

I found this pack of 6 tiny, plastic dessert bowls at the dollar store, and then, using an ice cream scoop, I added a scoop of cool whip to each bowl. Next, I added one full strawberry to each cup, and then about 6-8 blueberries to one side. These taste SO good, and will be easy for guests to enjoy. Also, I would only recommend making these about 30 minutes before serving, because the strawberries get mushy if you wait much longer. But, I love how these turned out so much! 

Thanks so much for joining me to learn more about my latest party! I hope you have gotten lots of great party ideas too.

See all of the parties I've designed, here!

Enjoy!

This is a sponsored conversation written by me on behalf of Balloon Time. The opinions and text are all mine.

PIN IT FOR LATER:

Reset The Day with Snapple® Takes 2 to Mango™ Tea + A Garden Fresh Bruschetta Recipe

I am so excited about my garden this year. I am growing as many edible ingredients as possible, and here is one recipe for Garden Fresh Bruschetta, using basil from my very own garden! Inspired by the newest flavor of all-natural Snapple, Takes 2 To Mango, here is an all natural recipe and gardening ideas!

Read More