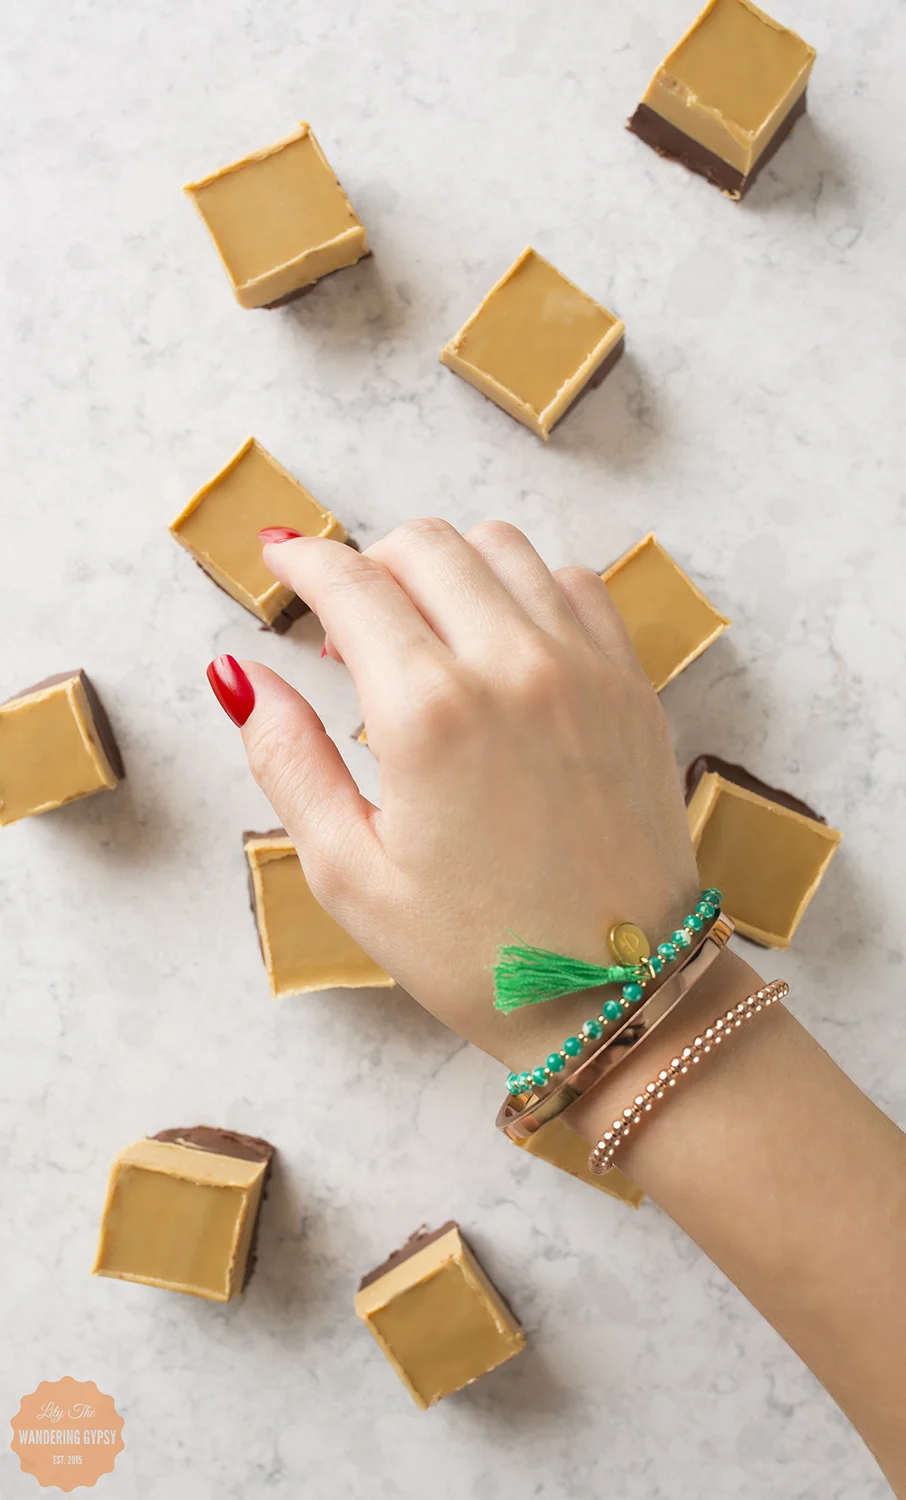
I want to share a couple of things with you today - fudge + jewelry - two of my favorite things! I wanted to share a Peanut Butter Fridge Fudge recipe with you (below), and also share some pretty amazing jewelry with you.
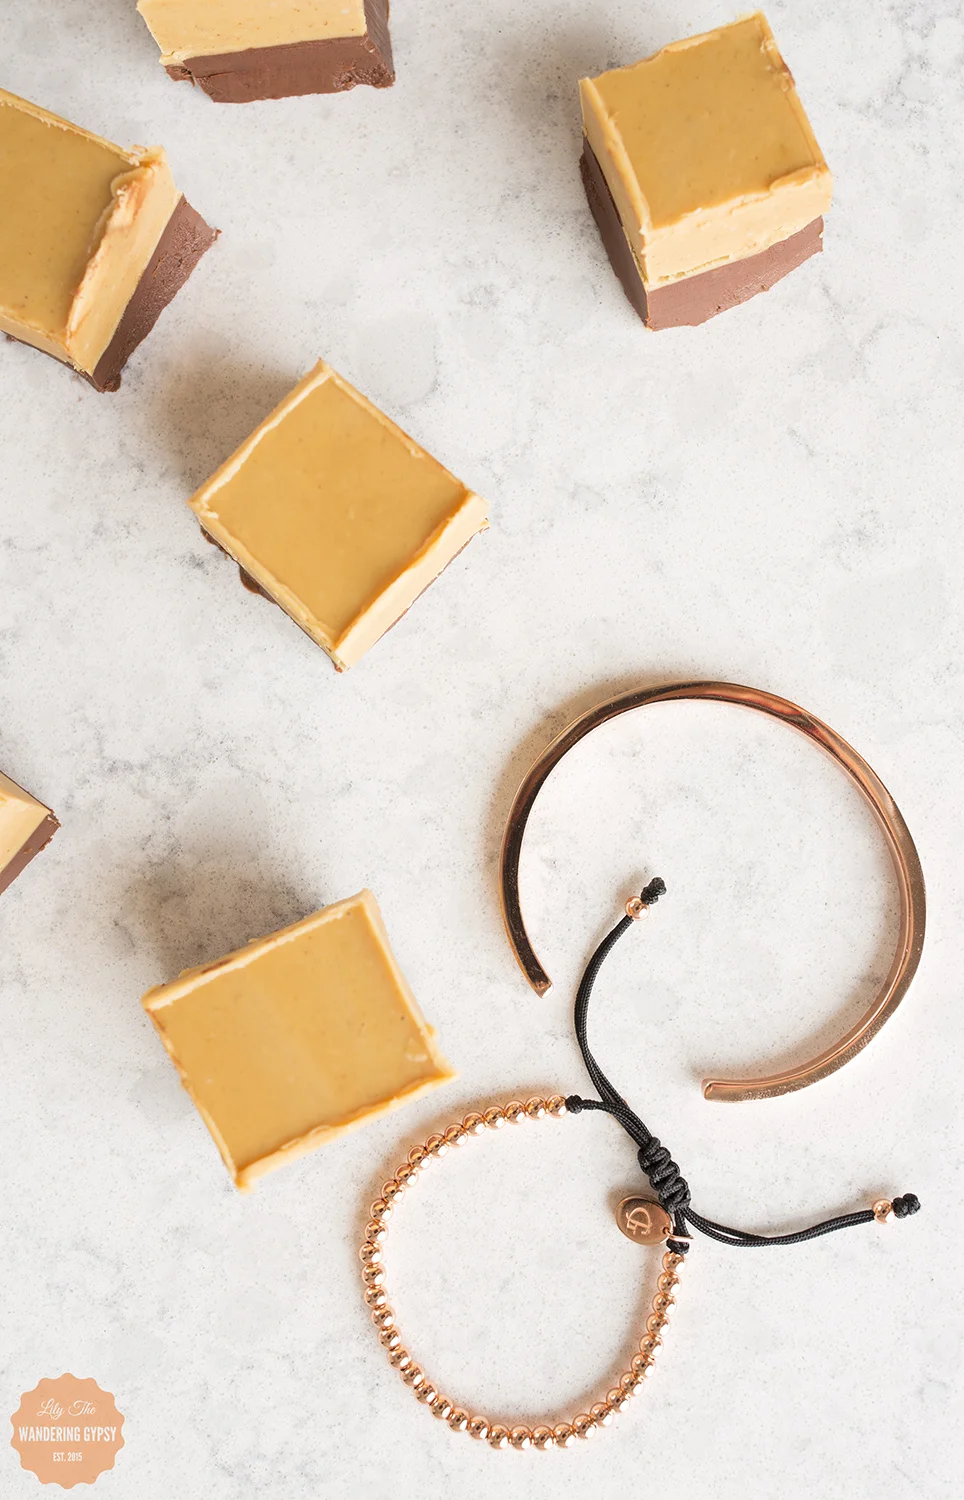
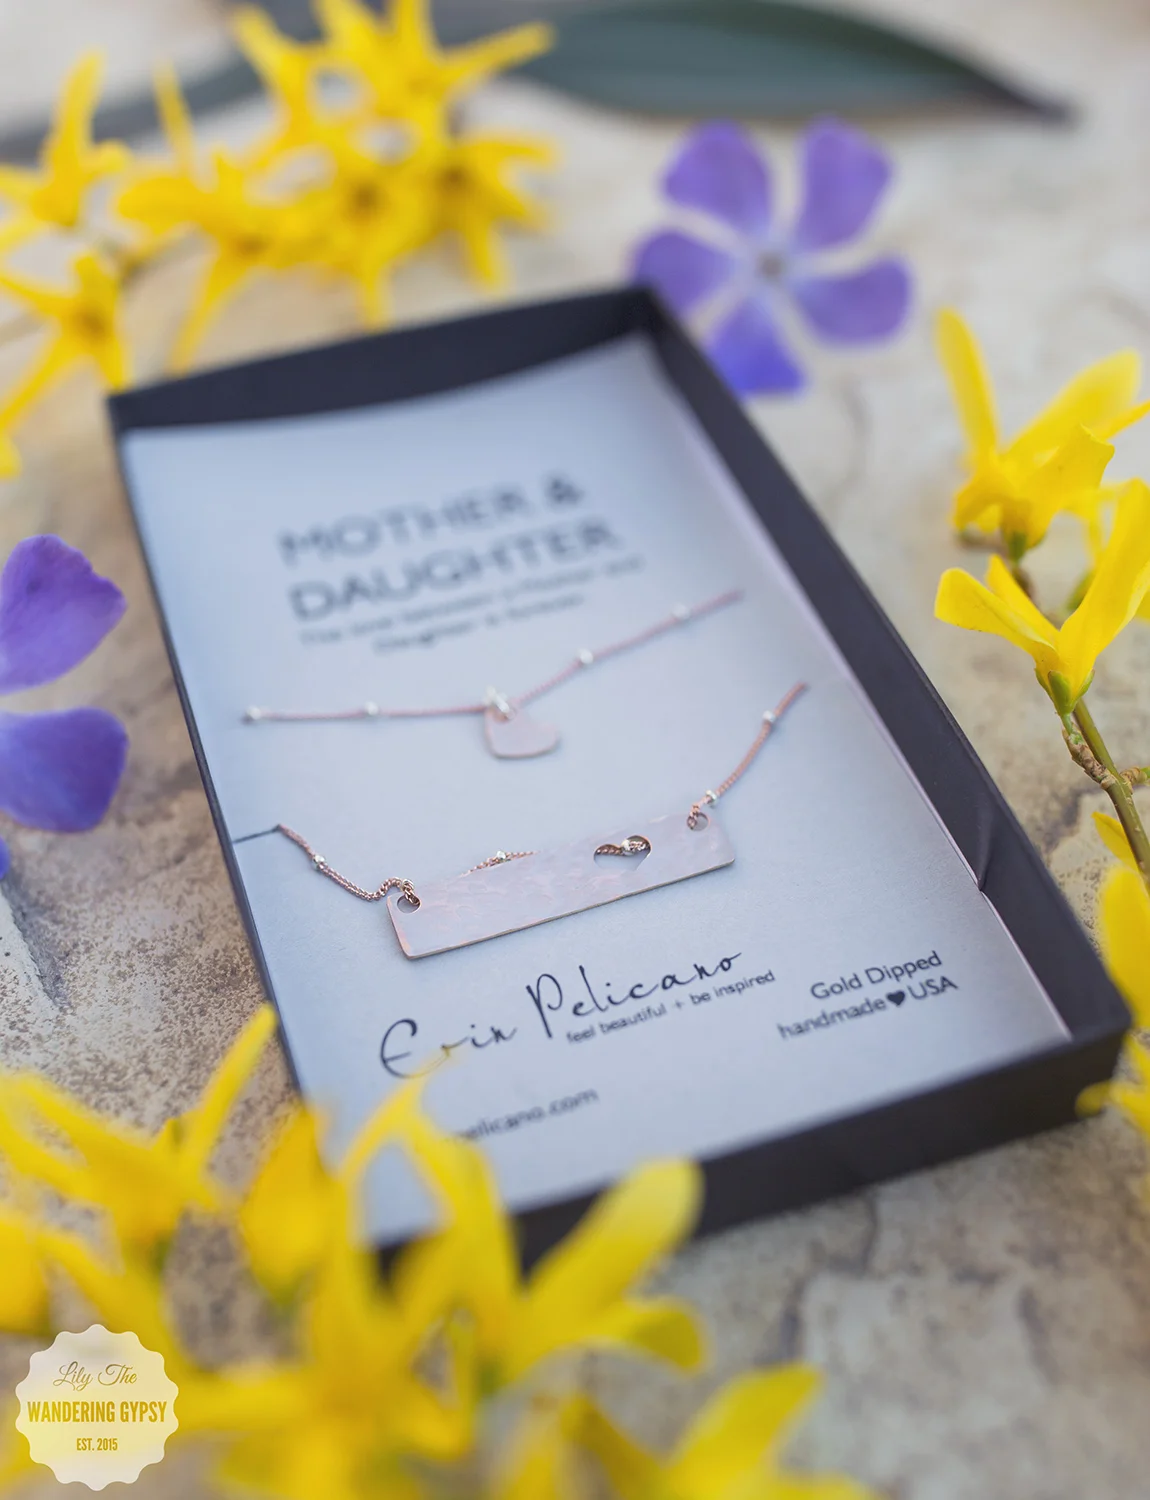
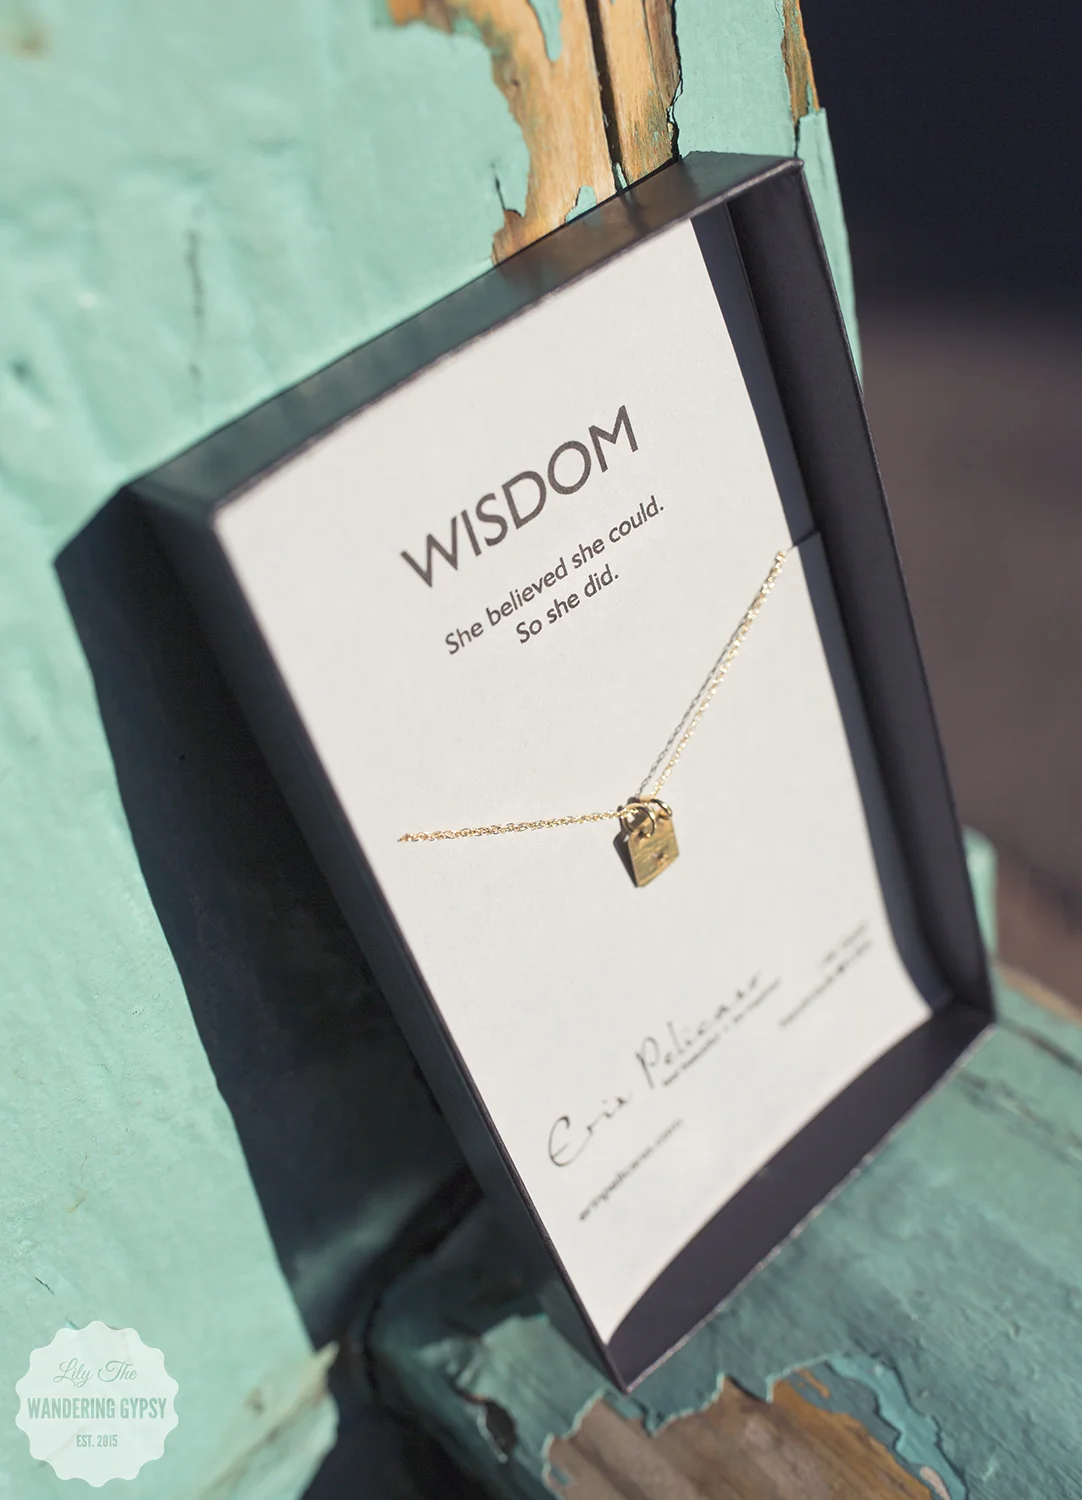
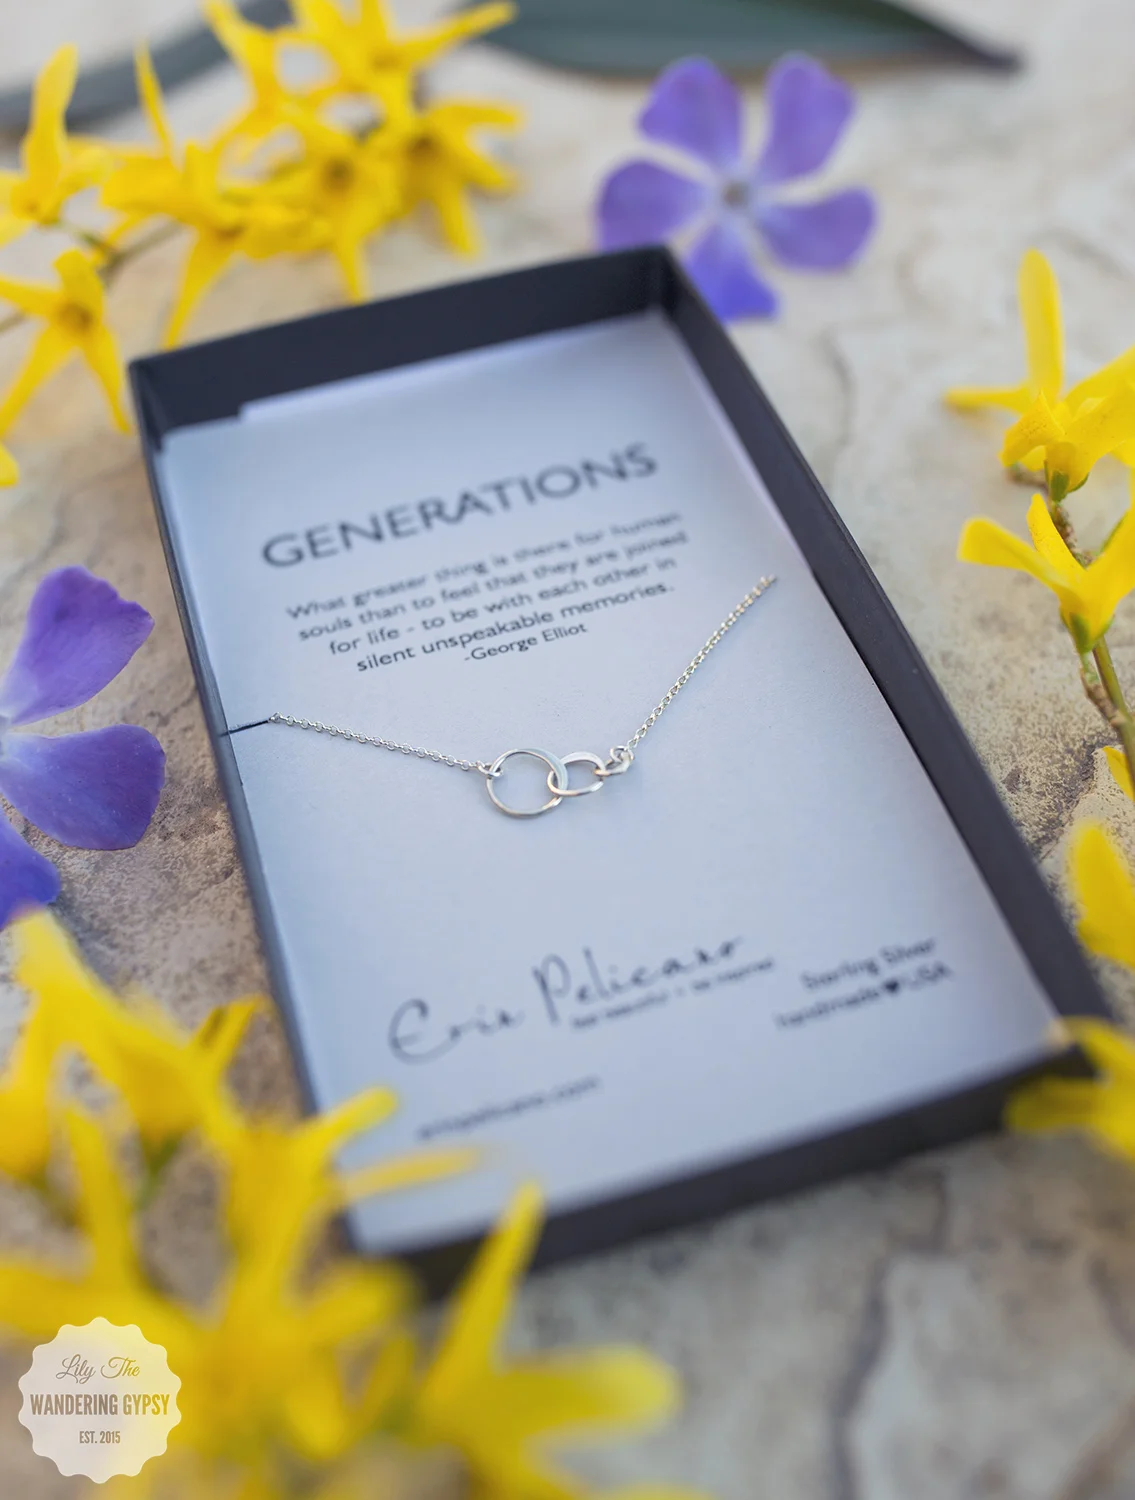
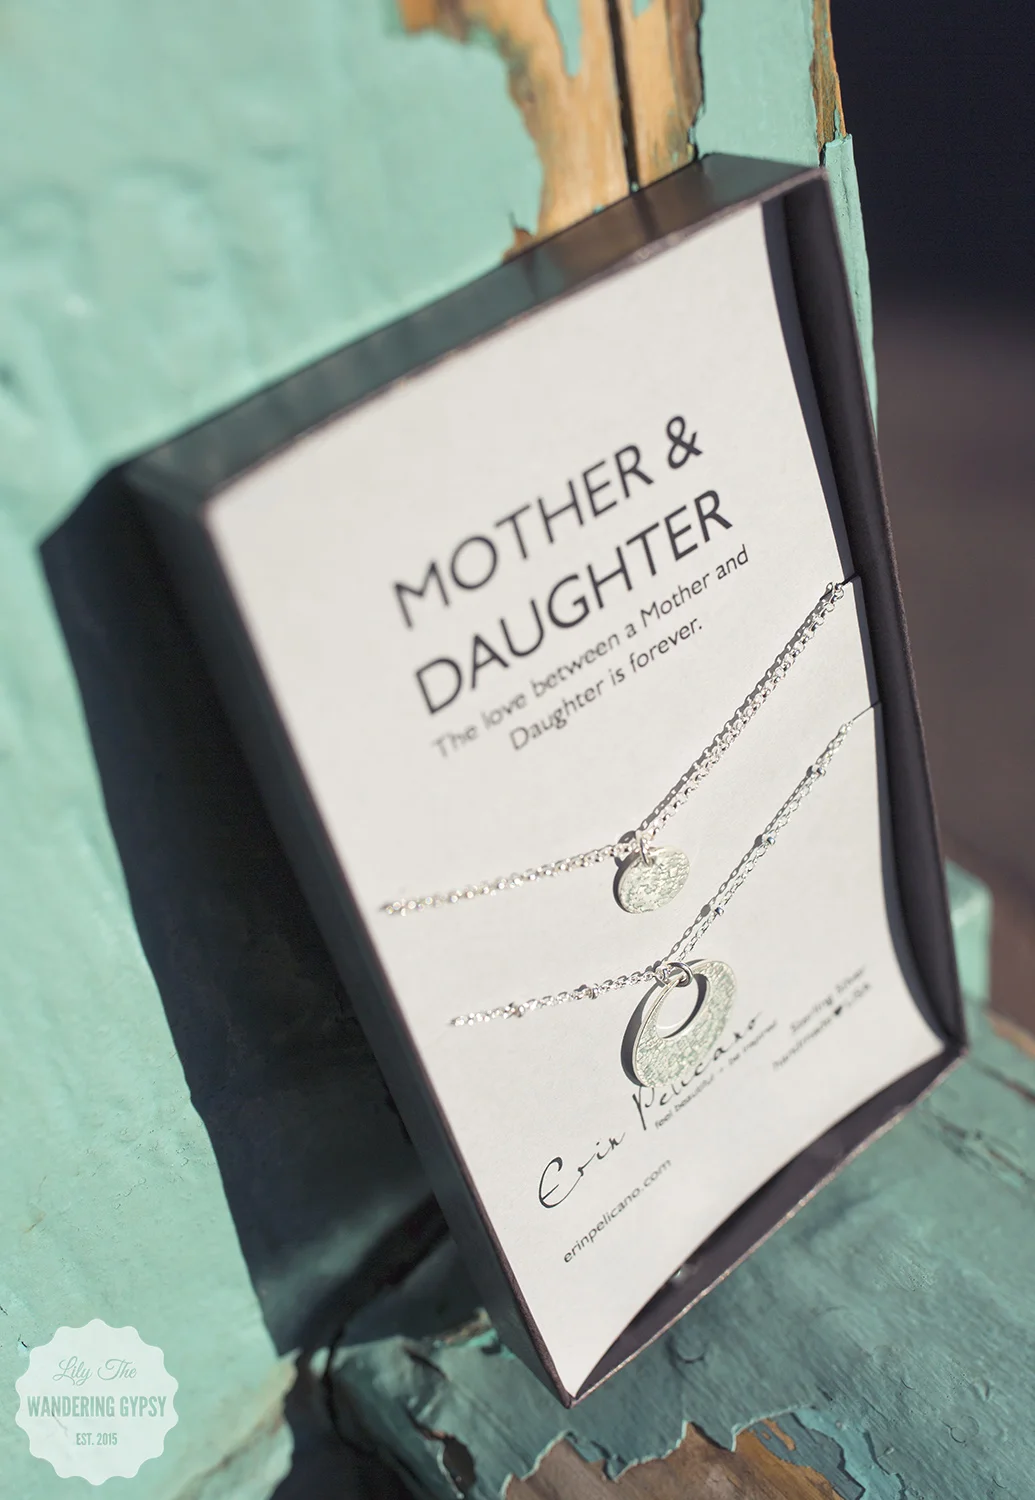
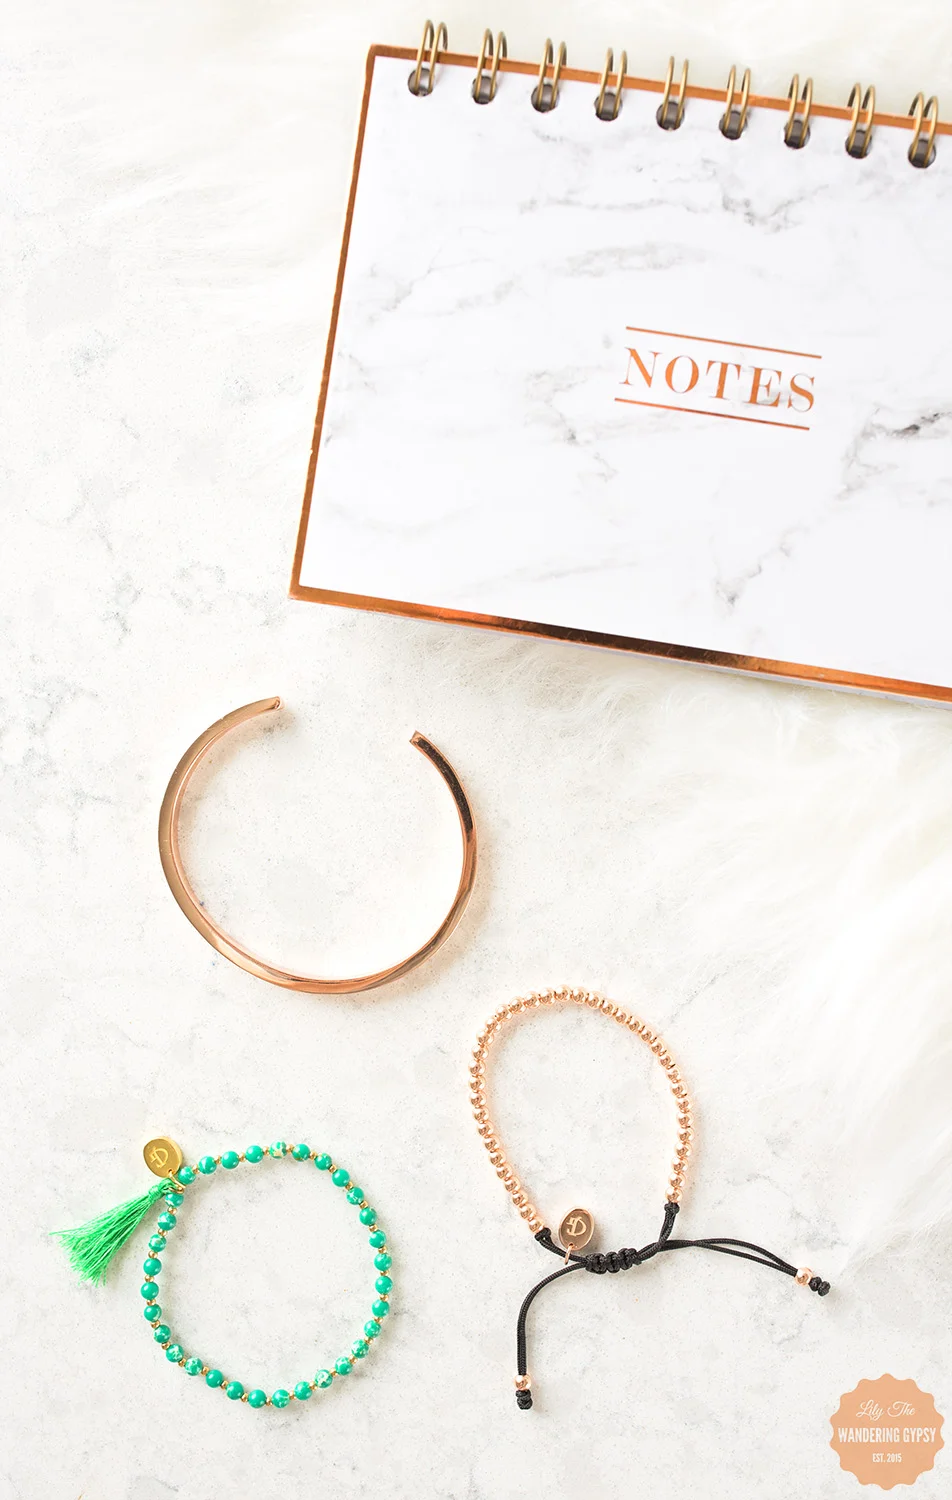
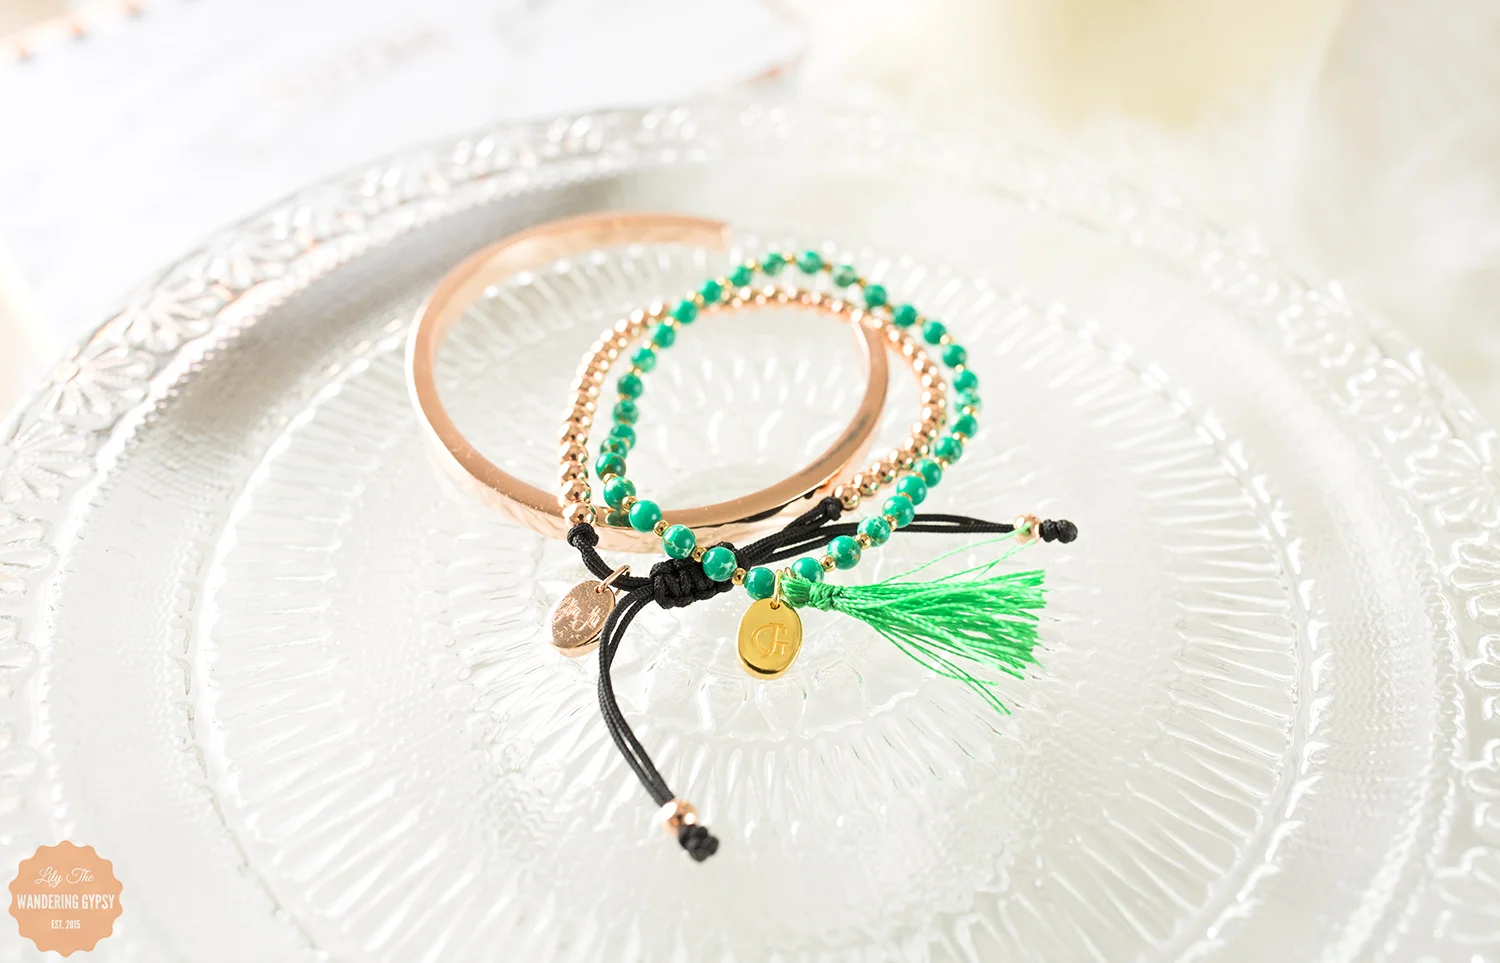
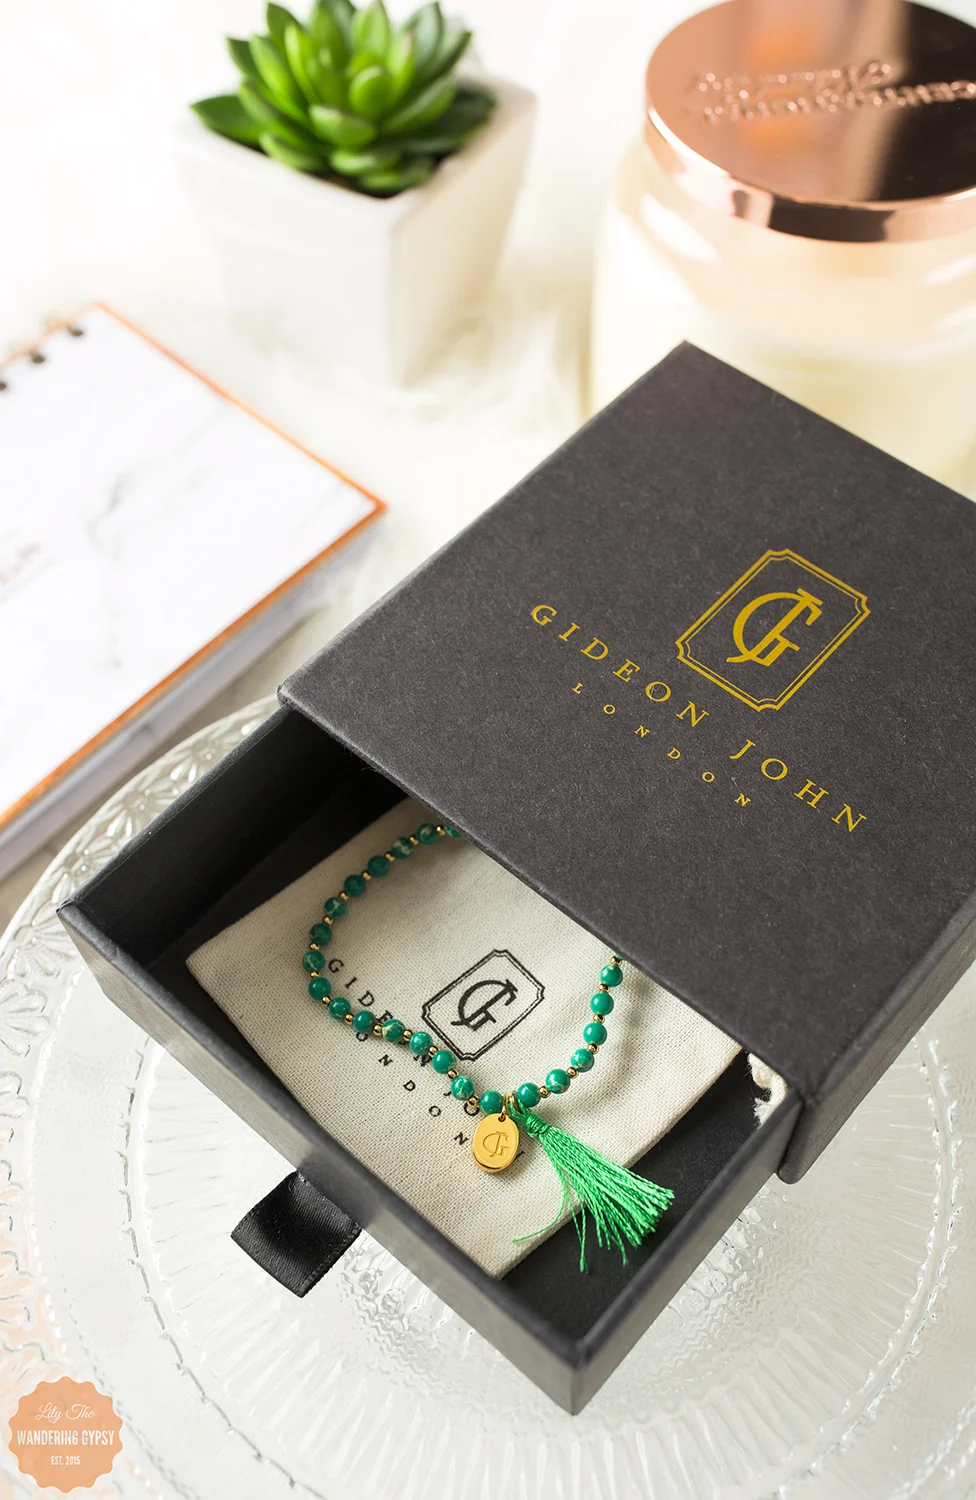
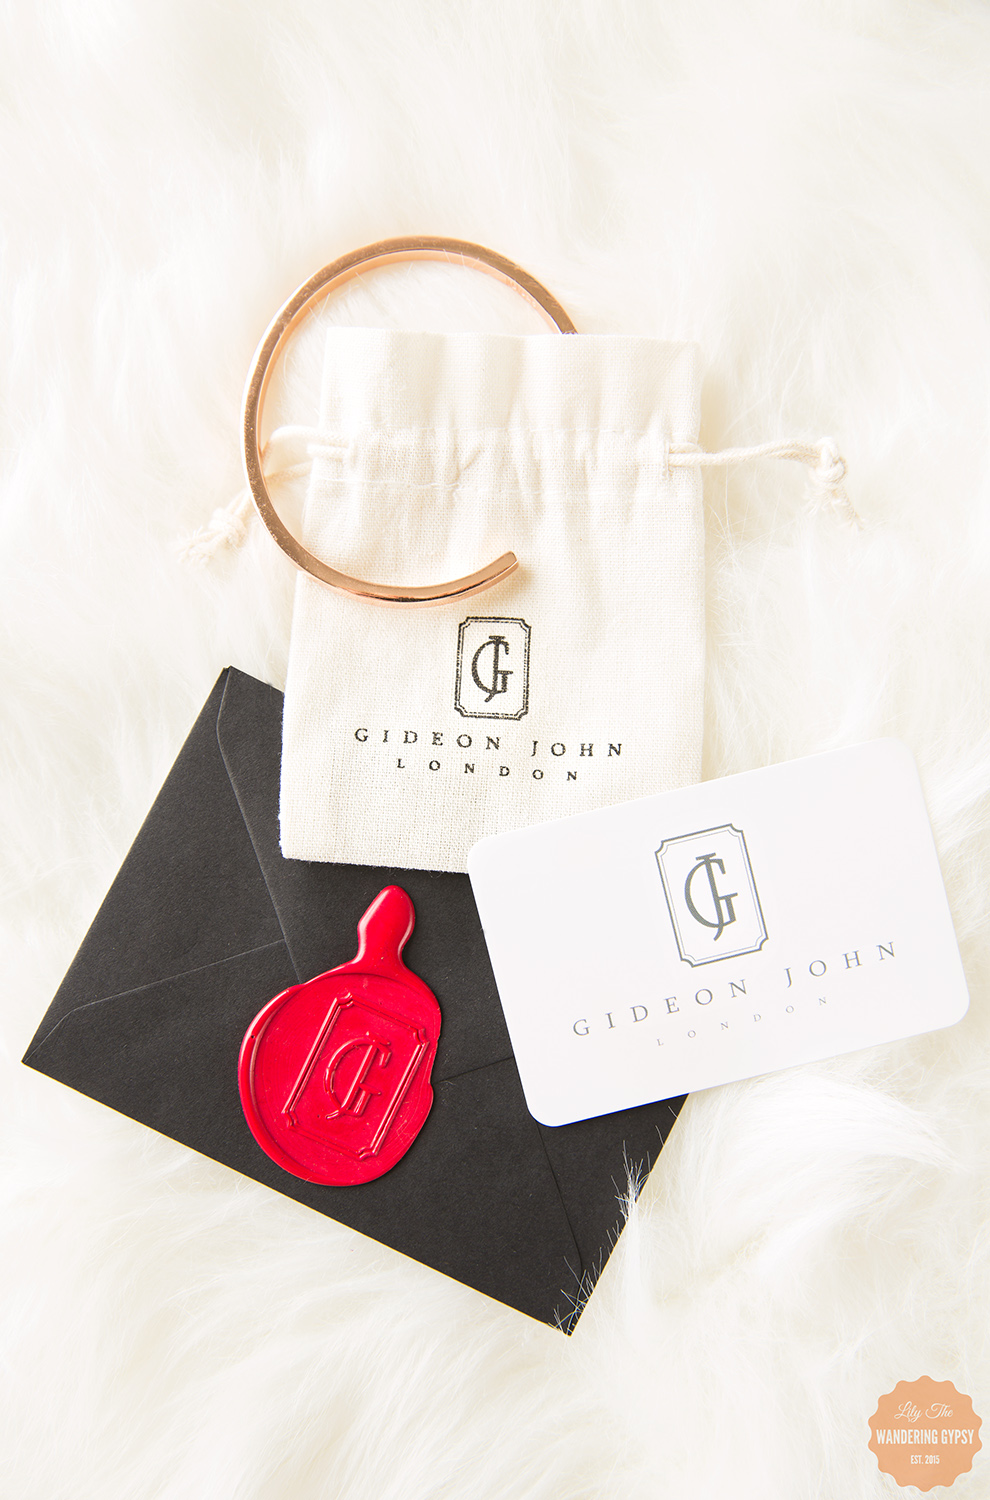
First, the jewelry. Bracelets have always been my go-to jewelry faves. I recently received three absolutely stunning bracelets from Gideon John London, and I could hardly believe my eyes! These bracelets are so well-made, and you can tell that great attention to detail was given, beginning at jewelry design, then into their packaging and presentation. Each bracelet arrives in a personalized black box and a cotton bag, so nothing get scratched during delivery. Even though these traveled all the way from gorgeous London, they looked like someone had hand-delivered them locally!

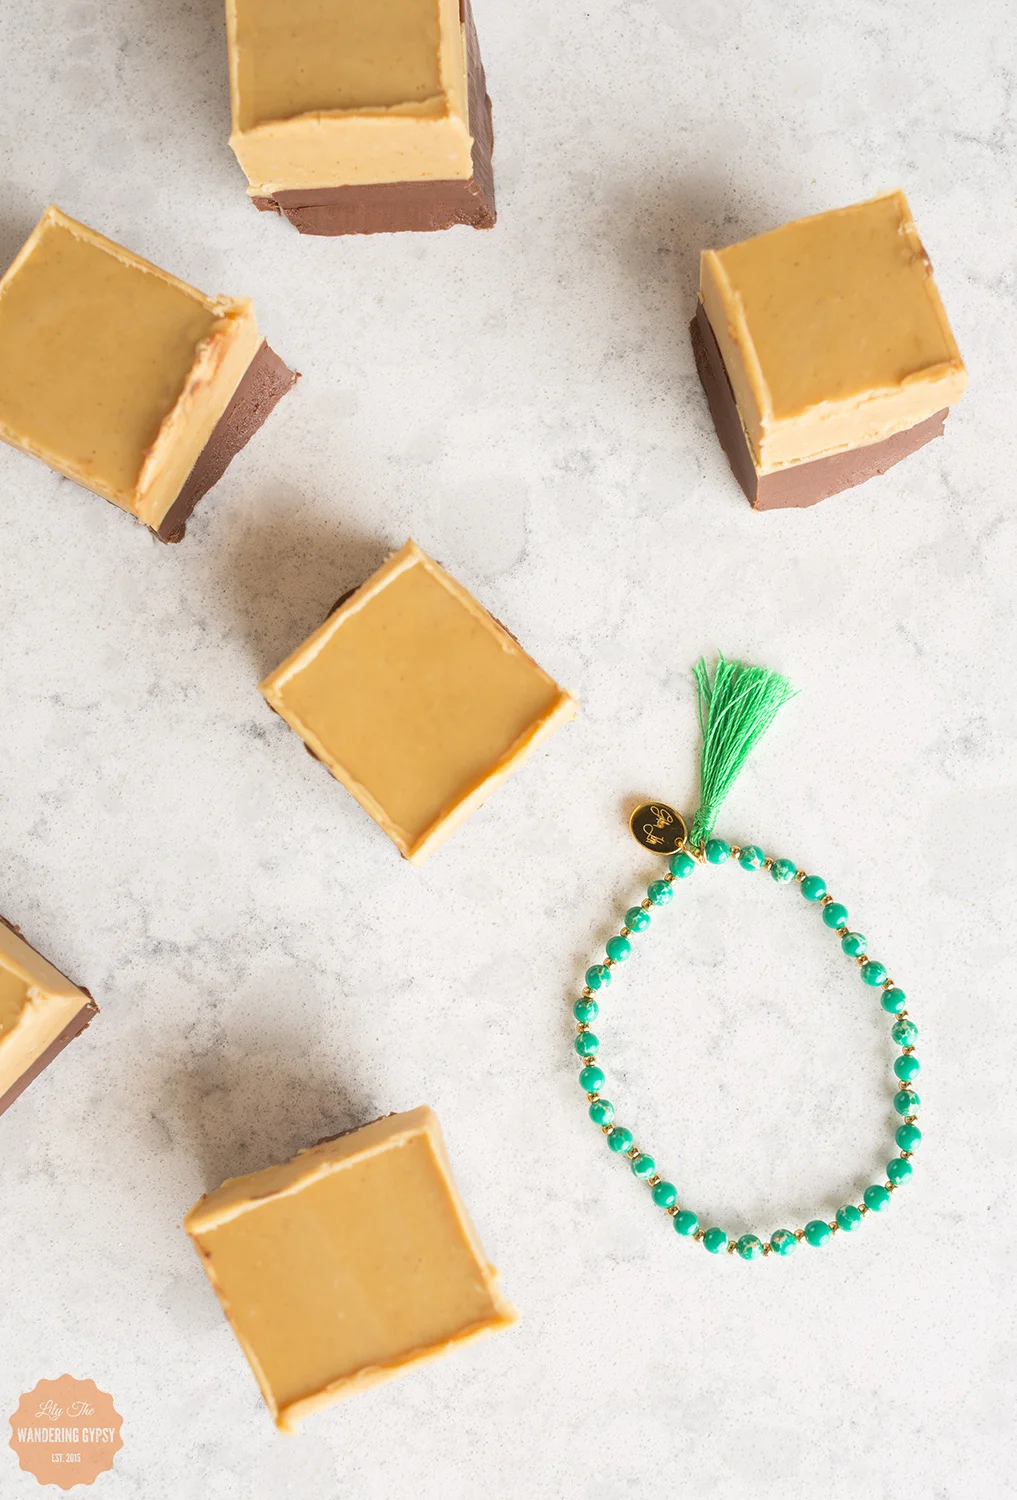
I received three bracelets from Gideon John, and featured them all in this post. Find them here:
Rose Gold Cuff Bracelet / Green Sea Jasper Tasseled Opulence / Rose Gold Lux Beads
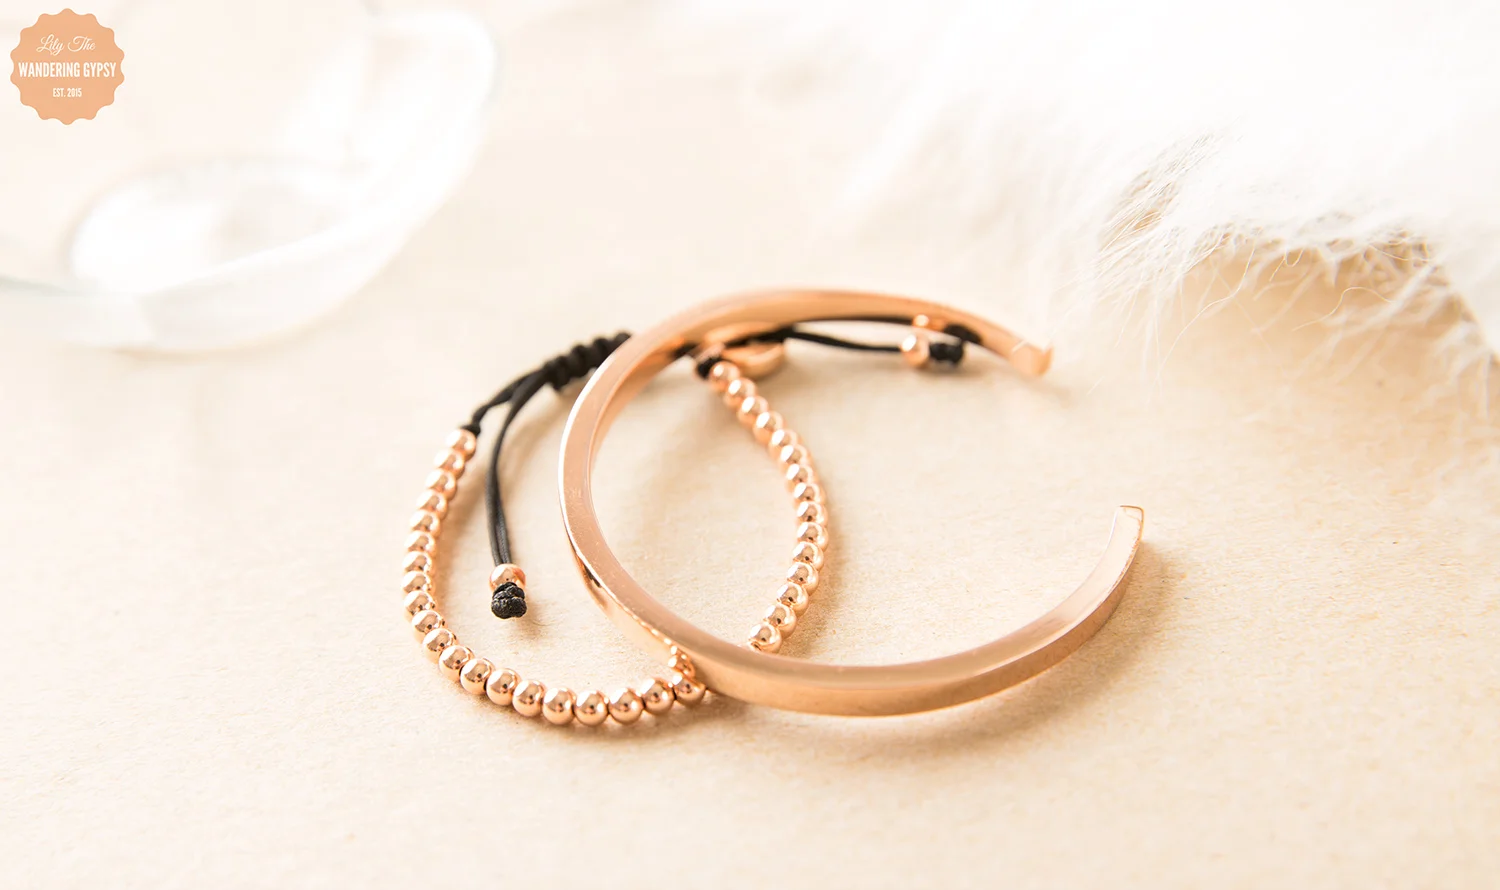
And, although they already had lovely product photography on their website, I was so fortunate to be able to bring these bracelets to life in this styled photoshoot.


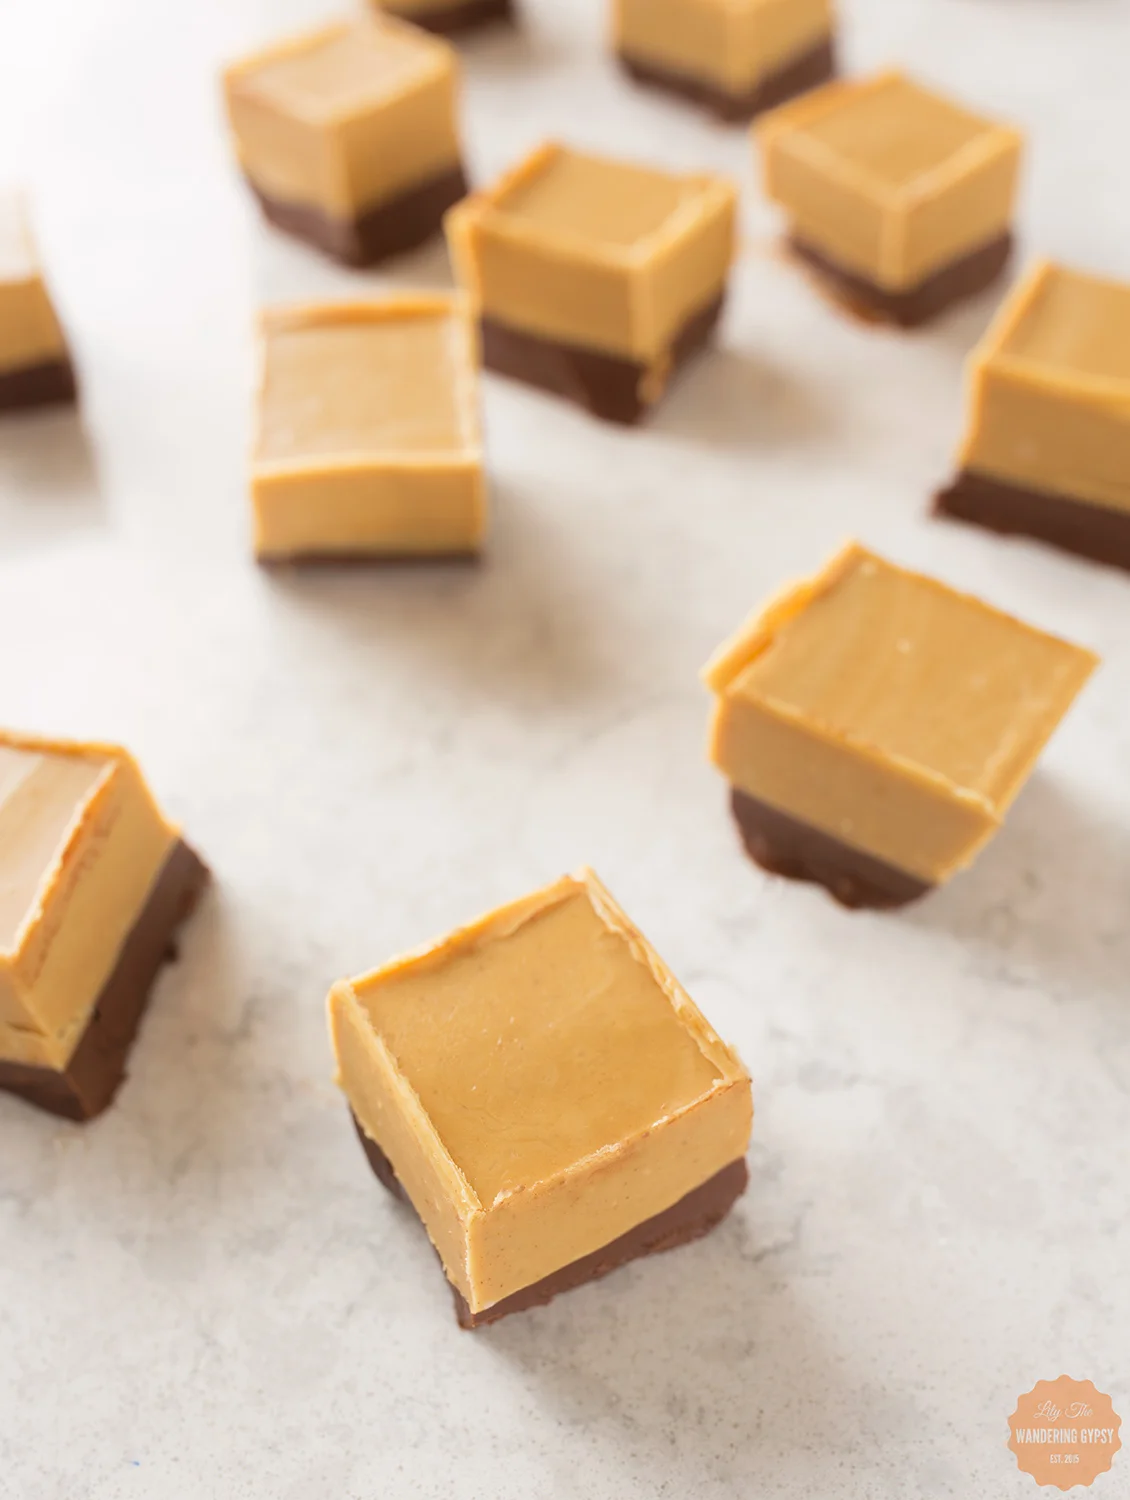
Now, the Fudge!

This yummy treat turned out so well! This recipe has been adapted from the one I found here - the post that inspired my photos!

1 Bag Peanut Butter Baking Chips
1 Bag Chocolate Chips
Coconut Oil
Creamy Peanut Butter
A Pinch of Salt
Glass Container For Fudge
Parchment Paper

1.) You can do each of the two layers in the microwave, or use the double boiler method, like I did. To do the double boiler, fill a sauce pan with about 1 inch of water. Set the glass measuring cup in the saucepan, atop the water, and get turn your burner on medium, to get ready to melt your ingredients.
2.) Prepare water for double boiler method in two different sauce pans. In two heat-safe glass measuring cups (I used my two 2 cup ones), melt 1/4 Cup Coconut Oil, 1 bag of peanut butter ships, a pinch of salt (or a bit more), and 1/2-1 C. Peanut Butter. Feel free to add more Peanut Butter if you want, just until you get a consistency and taste you like. You can also add some powdered sugar to this peanut butter layer if you want. Melt until smooth - make sure you stir frequently!
3.) In the other measuring cup, melt 1/4 C. Coconut Oil, 1and Bag of Chocolate Chips. Melt and continue to stir until smooth.
4.) Optionally spray a bit of non-stick spray into your Pyrex container, and then fit a piece of parchment paper into the Pyrex, allowing two sides a few extra inches to hang over. This makes removing the fudge from the container much easier!
5.) Once chocolate has melted, pour it into the Pyrex. Freeze for about 15 minutes, so it hardens all the way through.

6.) Once that layer has hardened, pour the peanut butter mixture over the chocolate layer, make sure it's smooth, and put it back into the freezer. If you're not in a hurry, you can just let the final layer cool in the fridge.
7.) Once both layers are fully firm, grab a cutting board, pull out the fudge block utilizing the parchment paper, and use a ruler to make straight lines on the top of the fudge if presentation matters. Cut fudge into 1" squares, using a large, sharp knife, and enjoy!!
***Note: This fudge melts pretty fast, so make sure you keep it in the fridge!!! It tastes like peanut butter cups, I just love how this turned out!! You can also use crunchy peanut butter, but I recommend creamy, just because the peanuts could be too hard to eat after being in the freezer or fridge!
What a great no-bake dessert recipe!