Sponsored Post: This post is sponsored by Vanity Planet but the content and opinions expressed here are my own.
#VPbeauty #VPtransformsummer #VanityPlanet

I have had this urge to refresh my routine lately, and I wanted to share a unique product from Vanity Planet, a company that I have loved for some time now. My hair has been a bit lackluster lately. I am not one to use a lot of heat on my hair, and I try to use sulfate free products whenever I can (mainly shampoo and conditioner). I am also one who washes my hair every single day. I have read so much about not doing this every day, but all of that dirt and oil that is in my hair each morning, makes it nearly impossible for me to miss a day of washing, no matter WHAT the experts say!
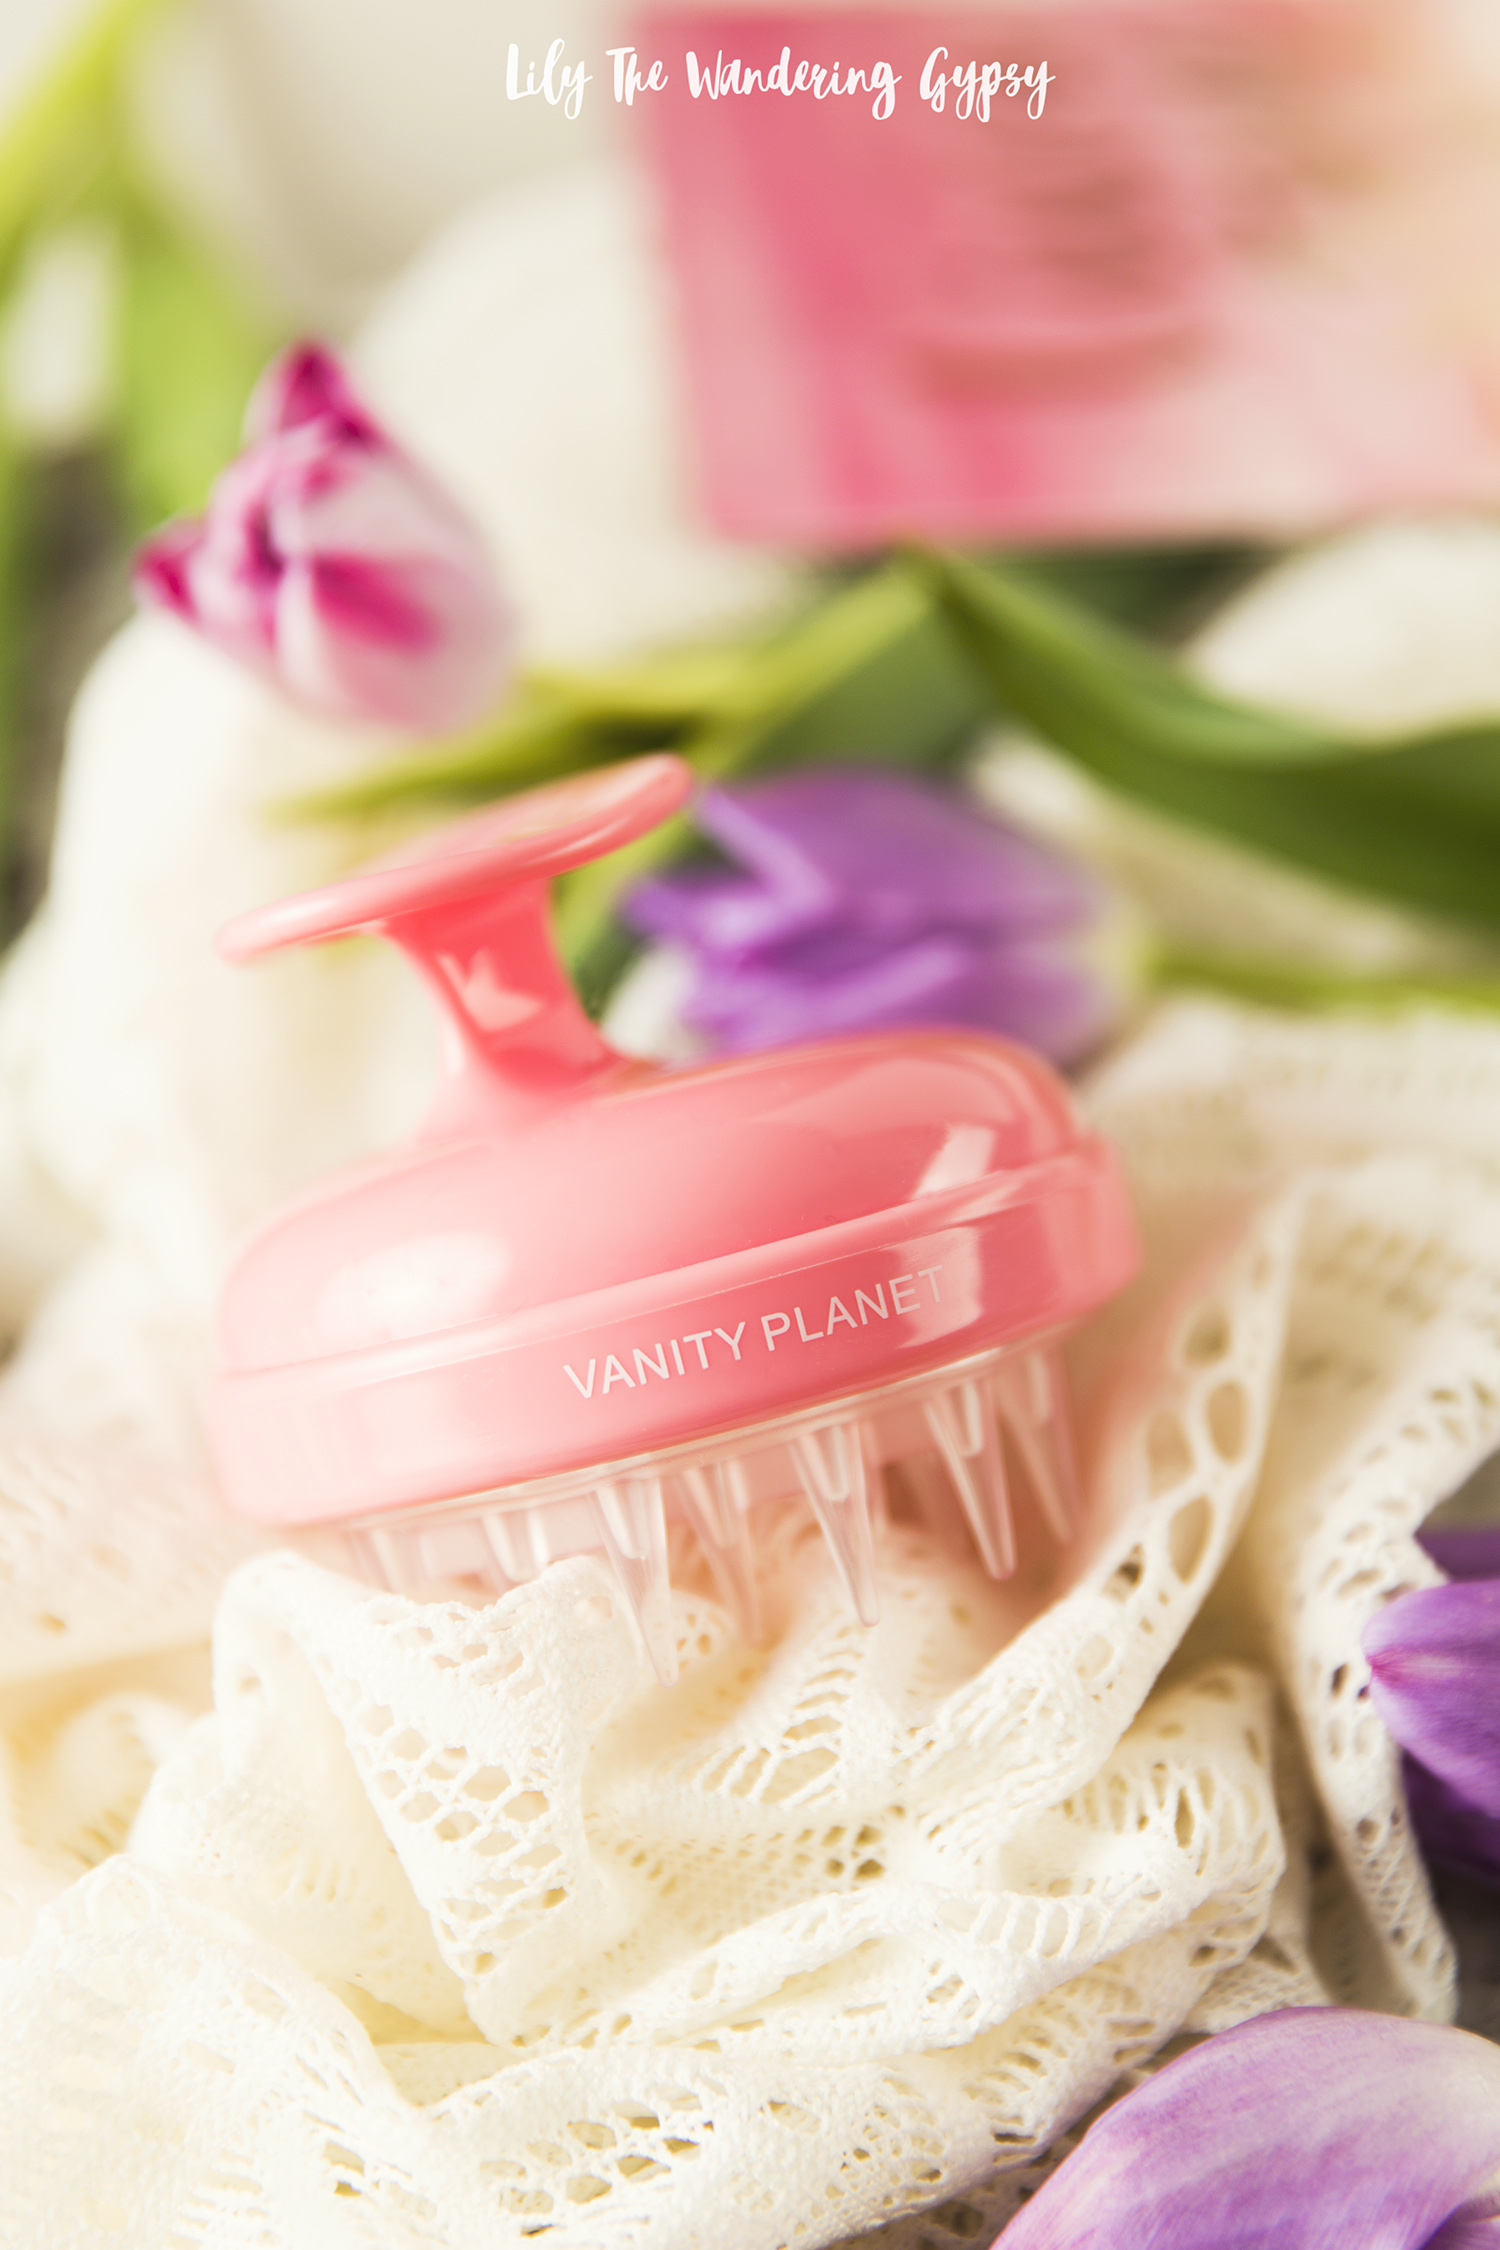
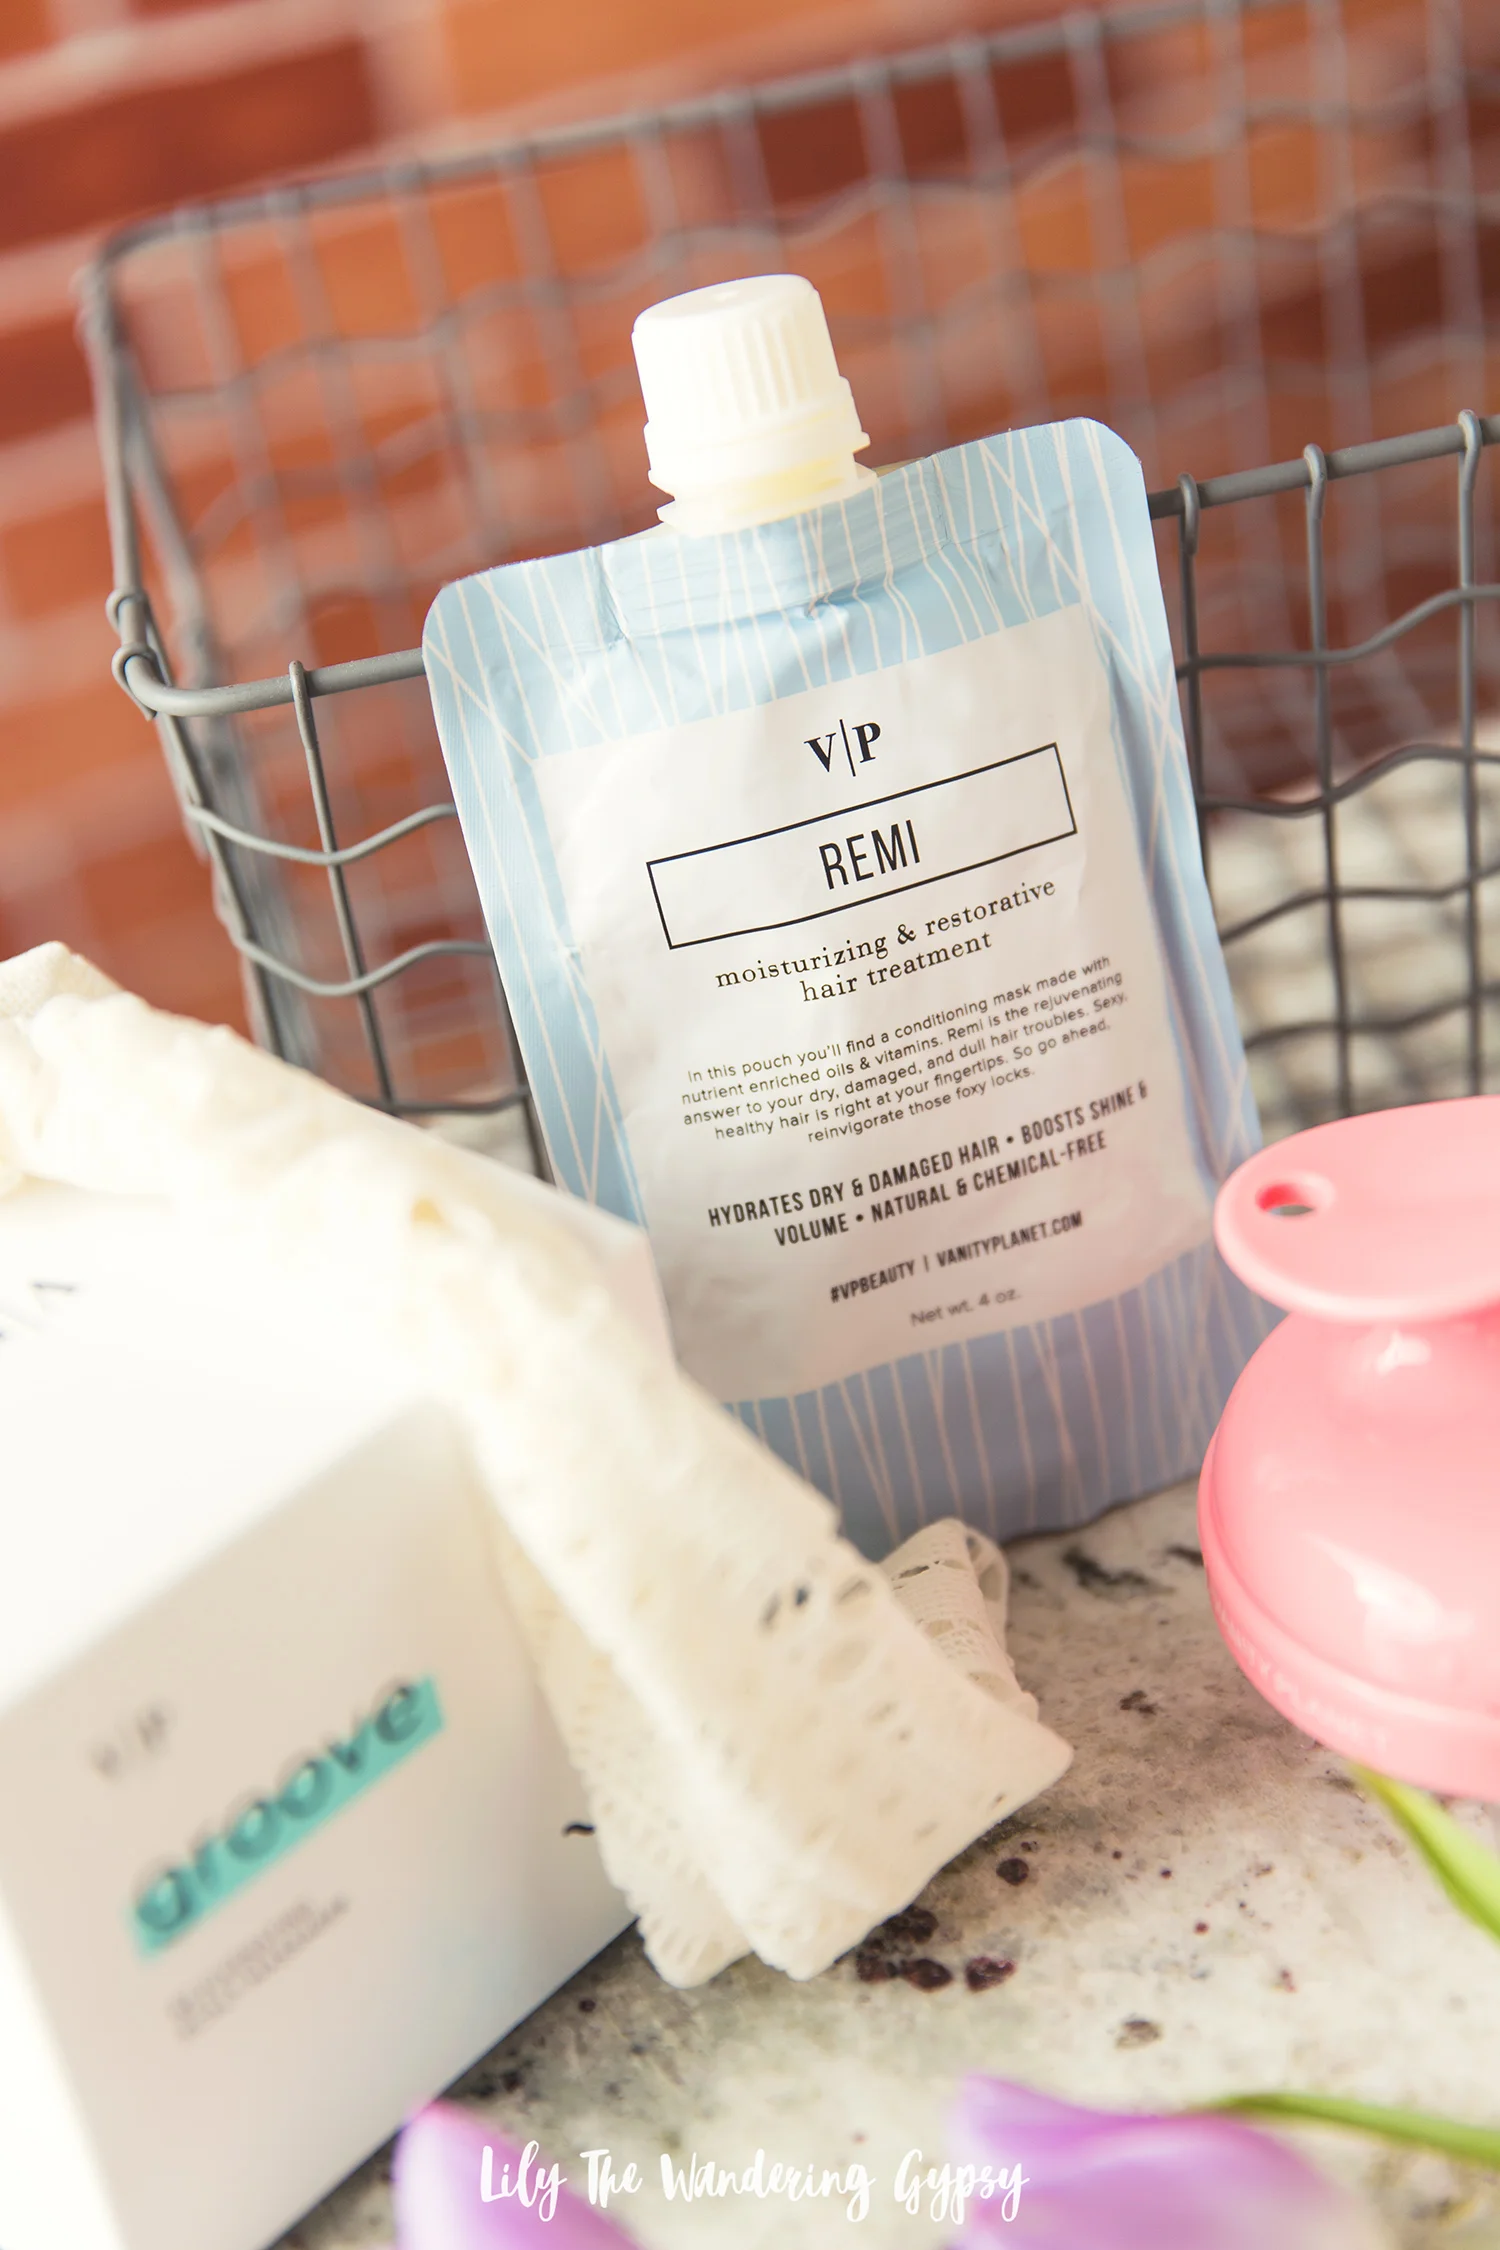
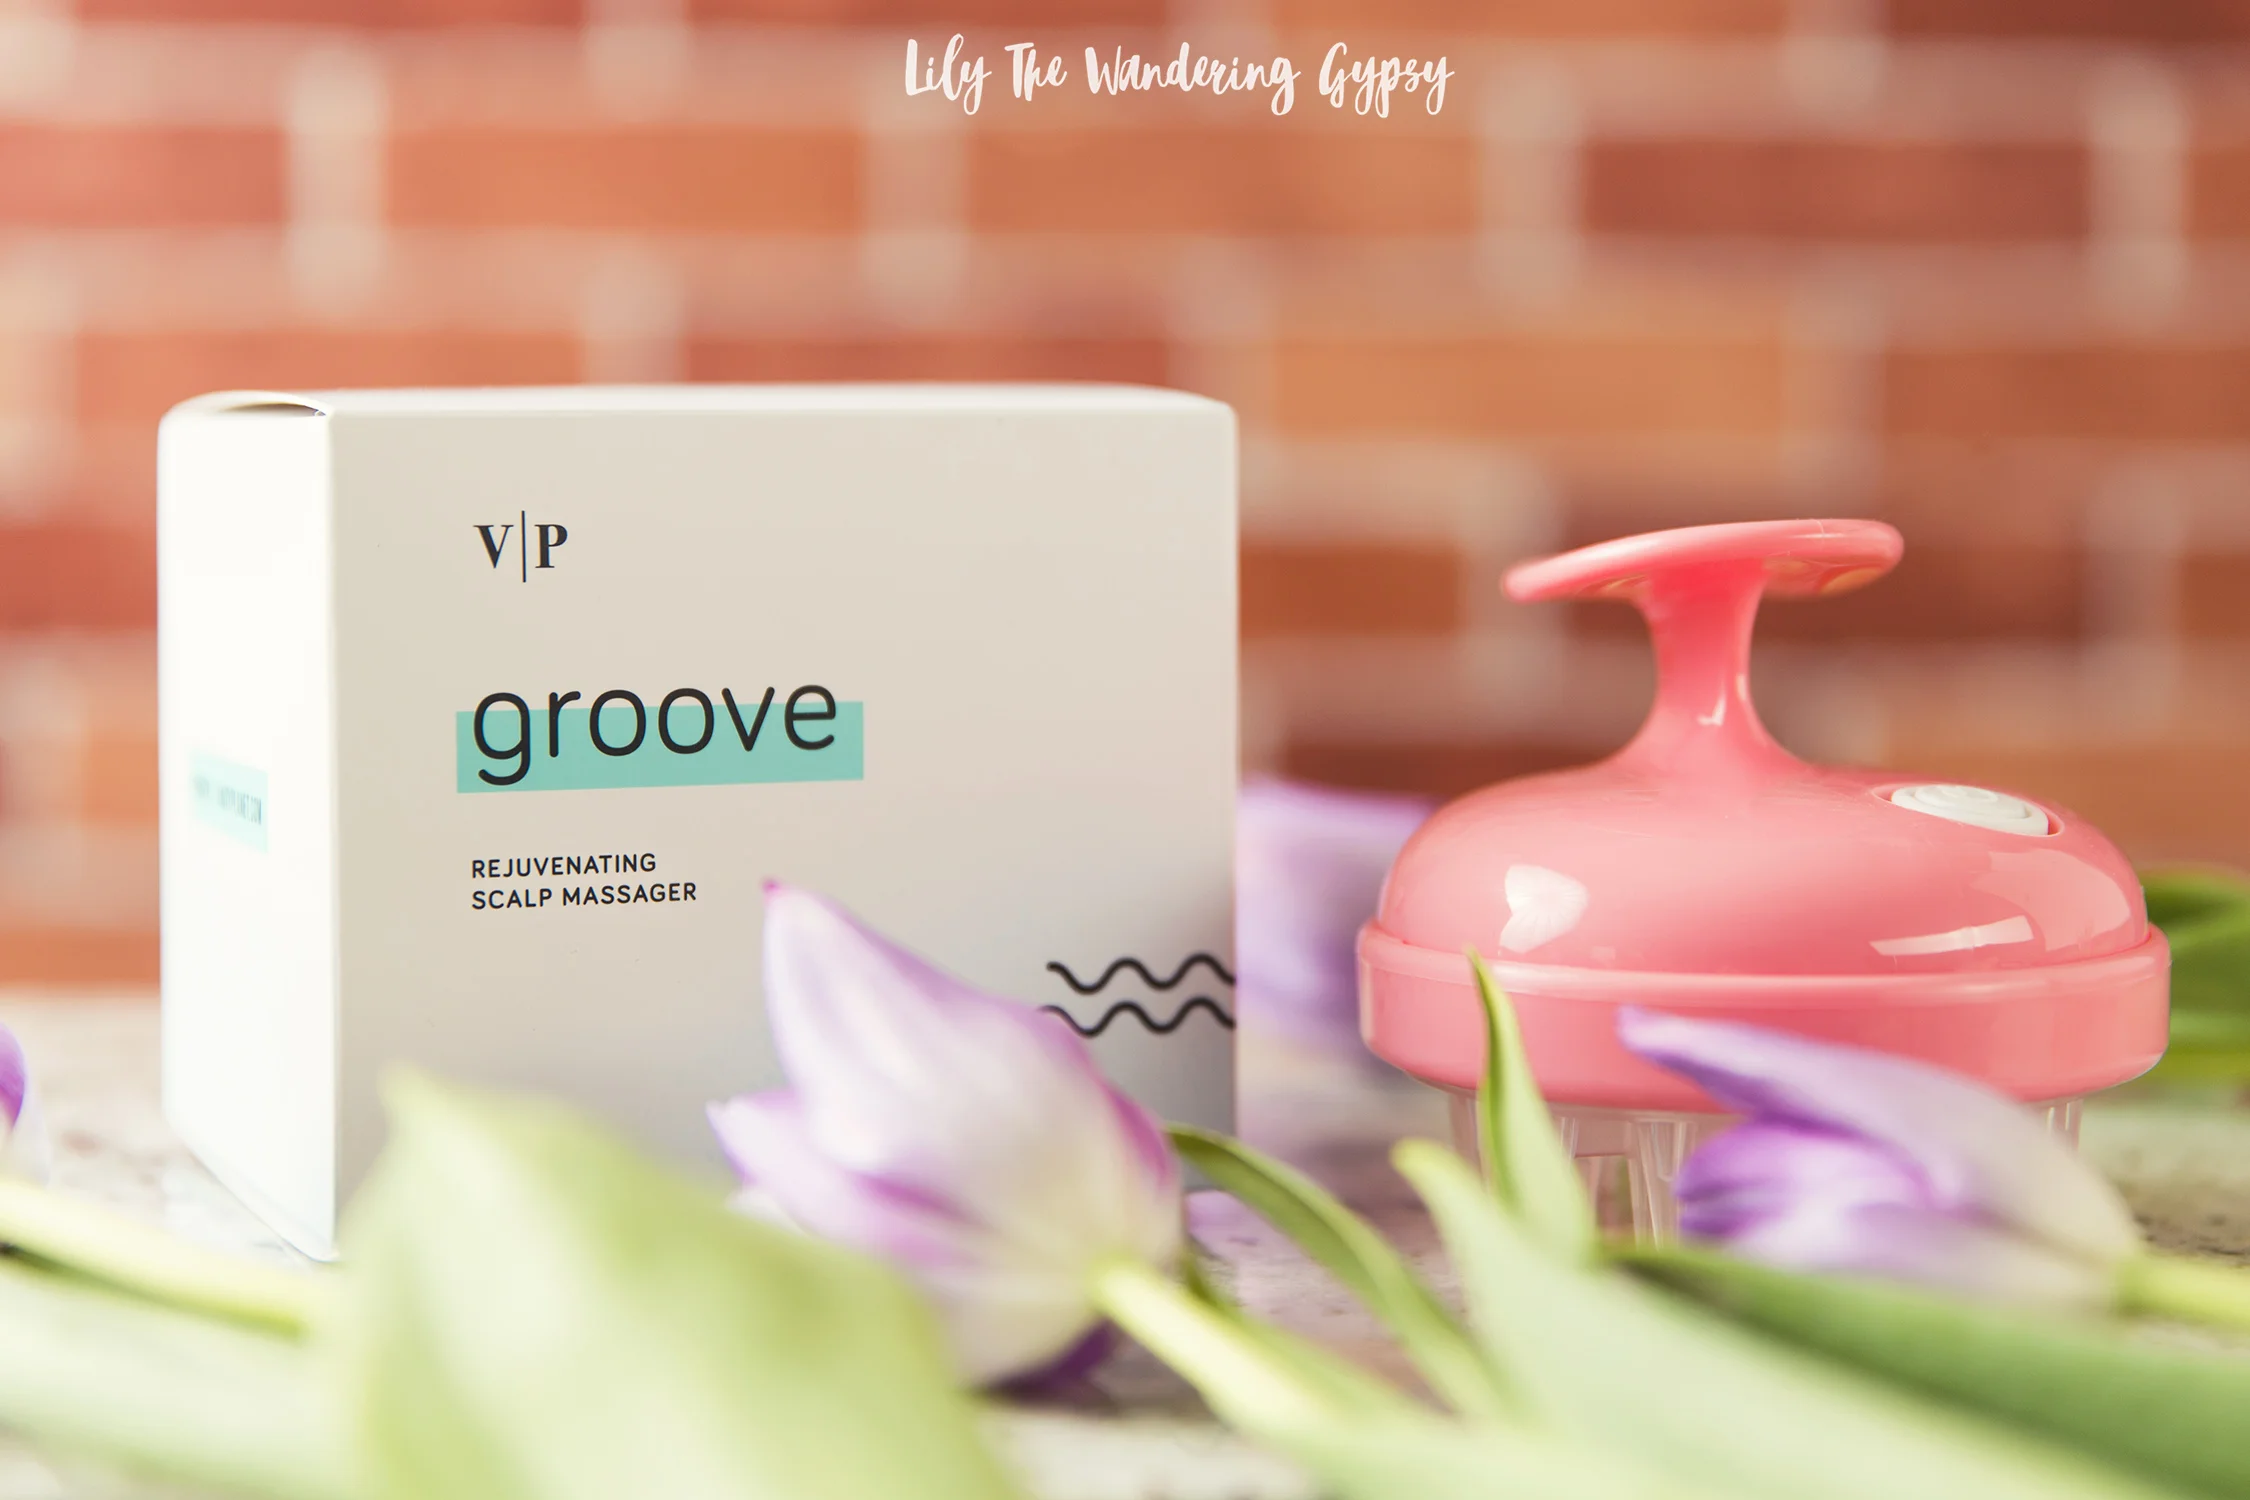
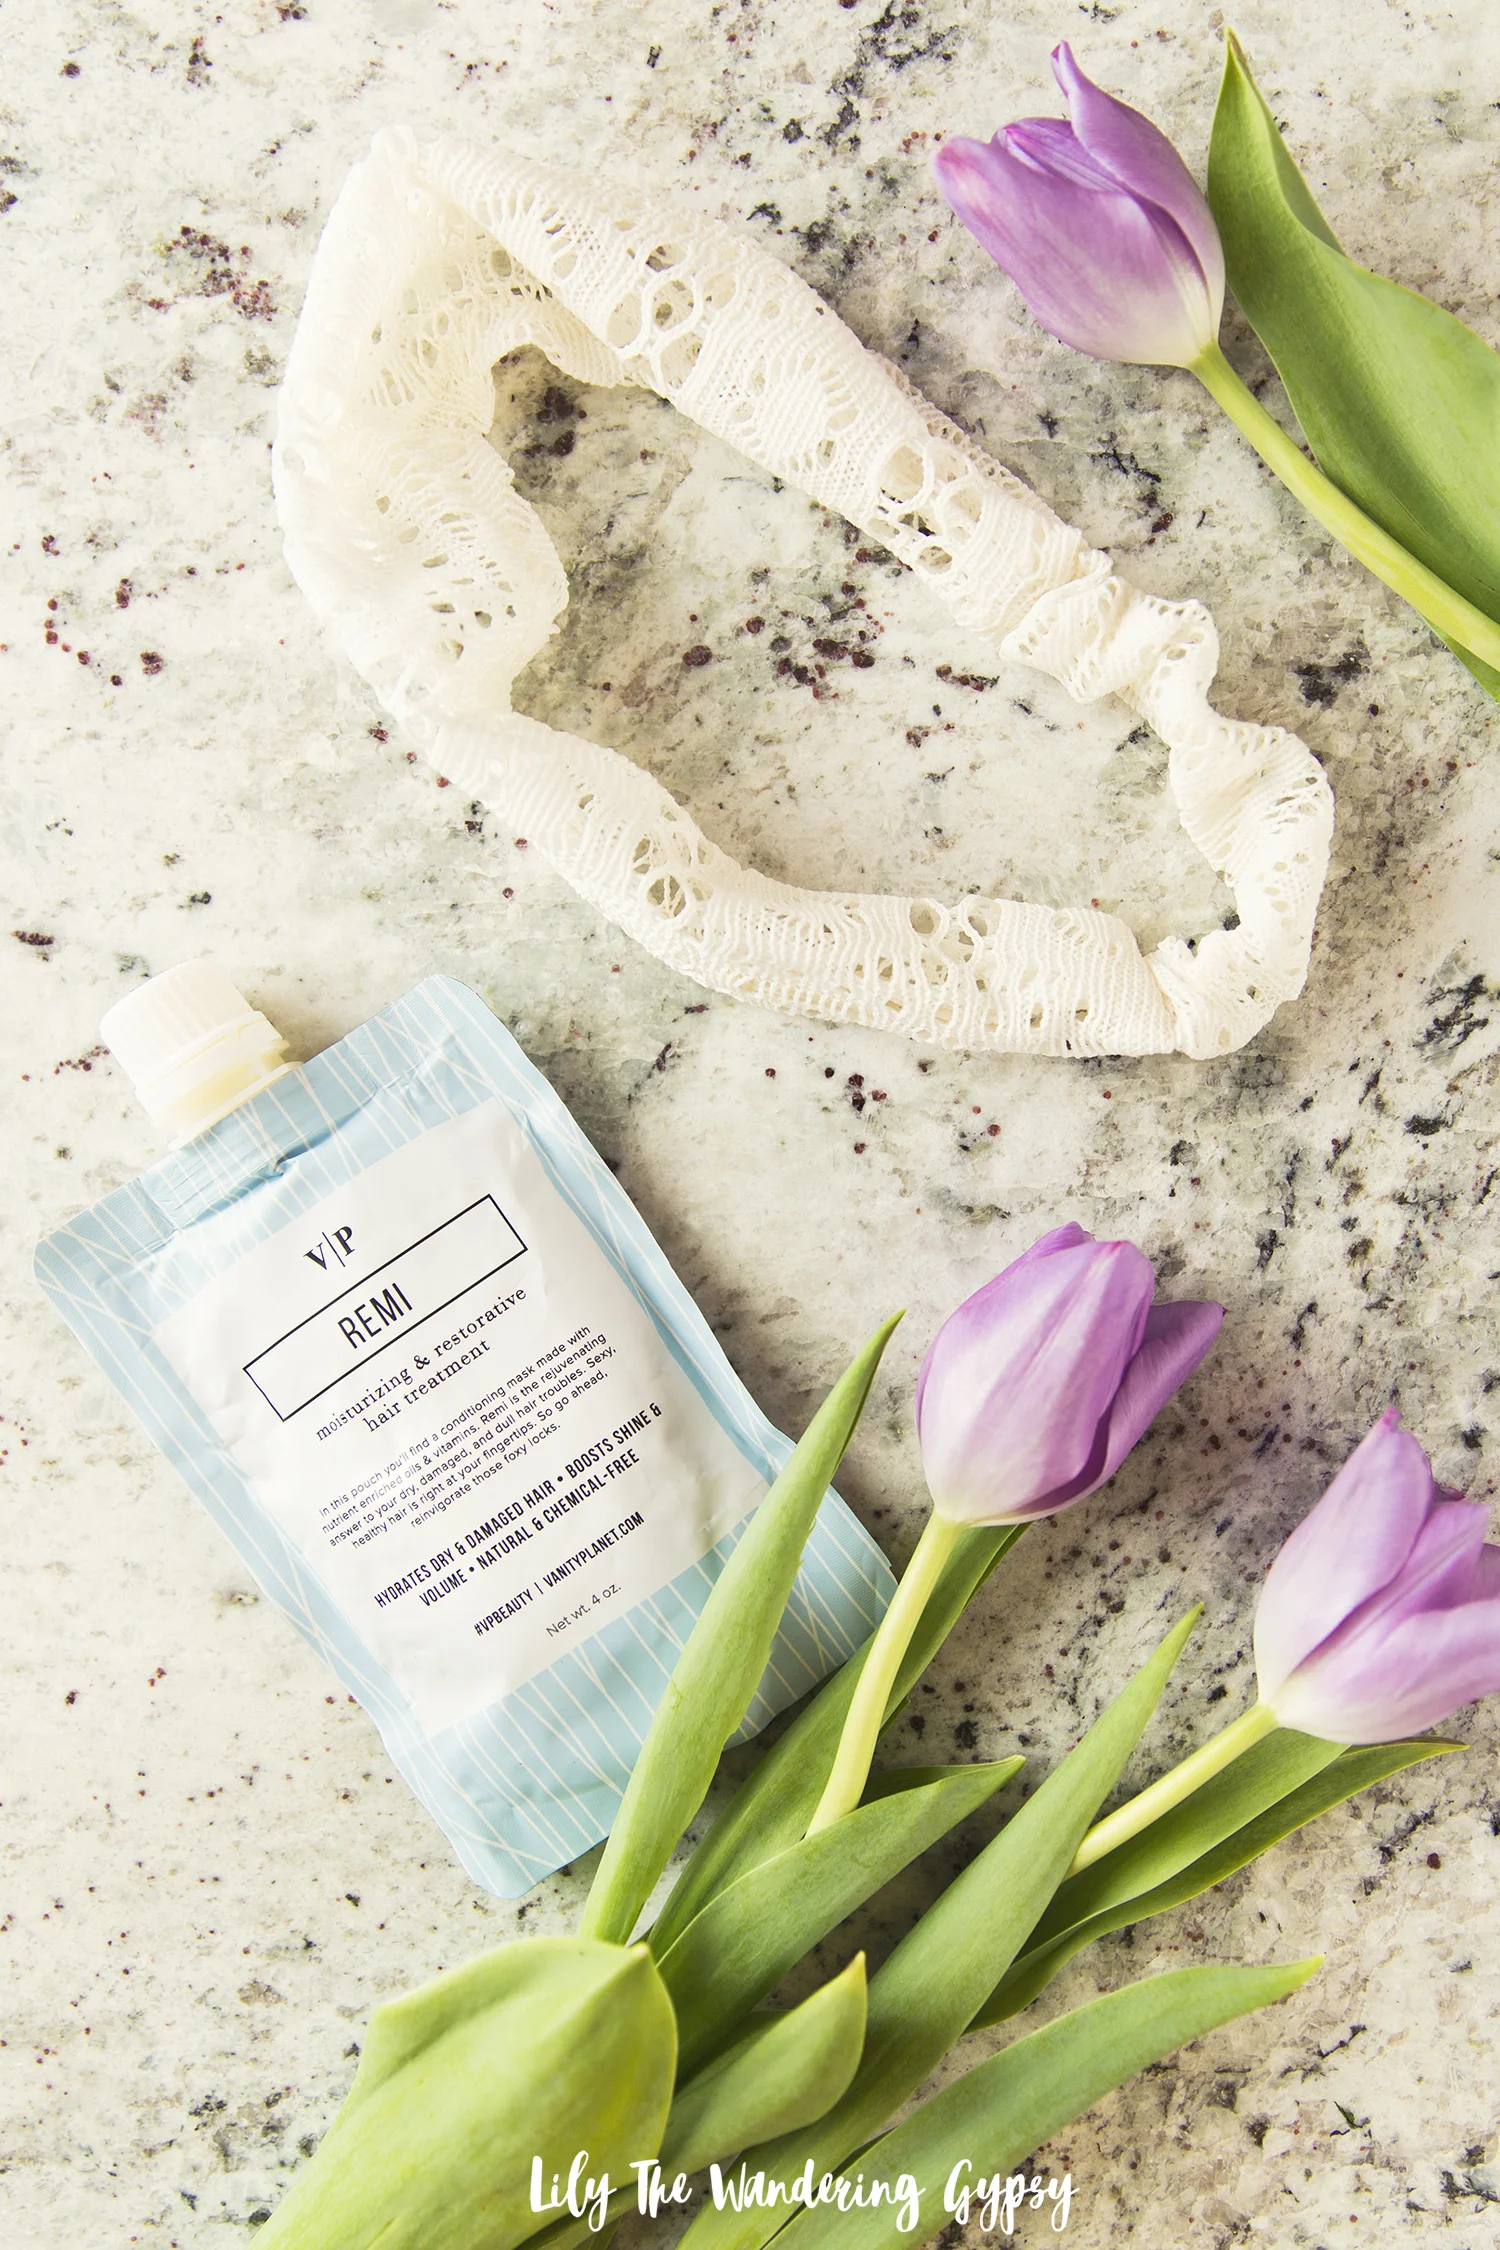
So, I am excited to try out this Moisturizing and Restorative Hair Treatment from Vanity Planet soon. The brand was so kind to send this hair treatment and also a neat product called the Groove (a scalp massager). I will also give this tool a try soon, which is supposed to help lather in the product. I have super long hair, and I am thinking this is going to be a helpful tool for someone with short hair, that would not tangle into it like longer hair could. My mom has short hair, so perhaps this could be a cute Mother's Day gift, too!
Also, I now you're going to love this super easy DIY Sewn Fabric Headband, because a good headband, that fist like a dream is hard to find. They're either too tight for me, or never fit just right. I used this fun Hair Treatment as inspiration for this post. See this awesome, DIY Fabric Headband in the photo, below.
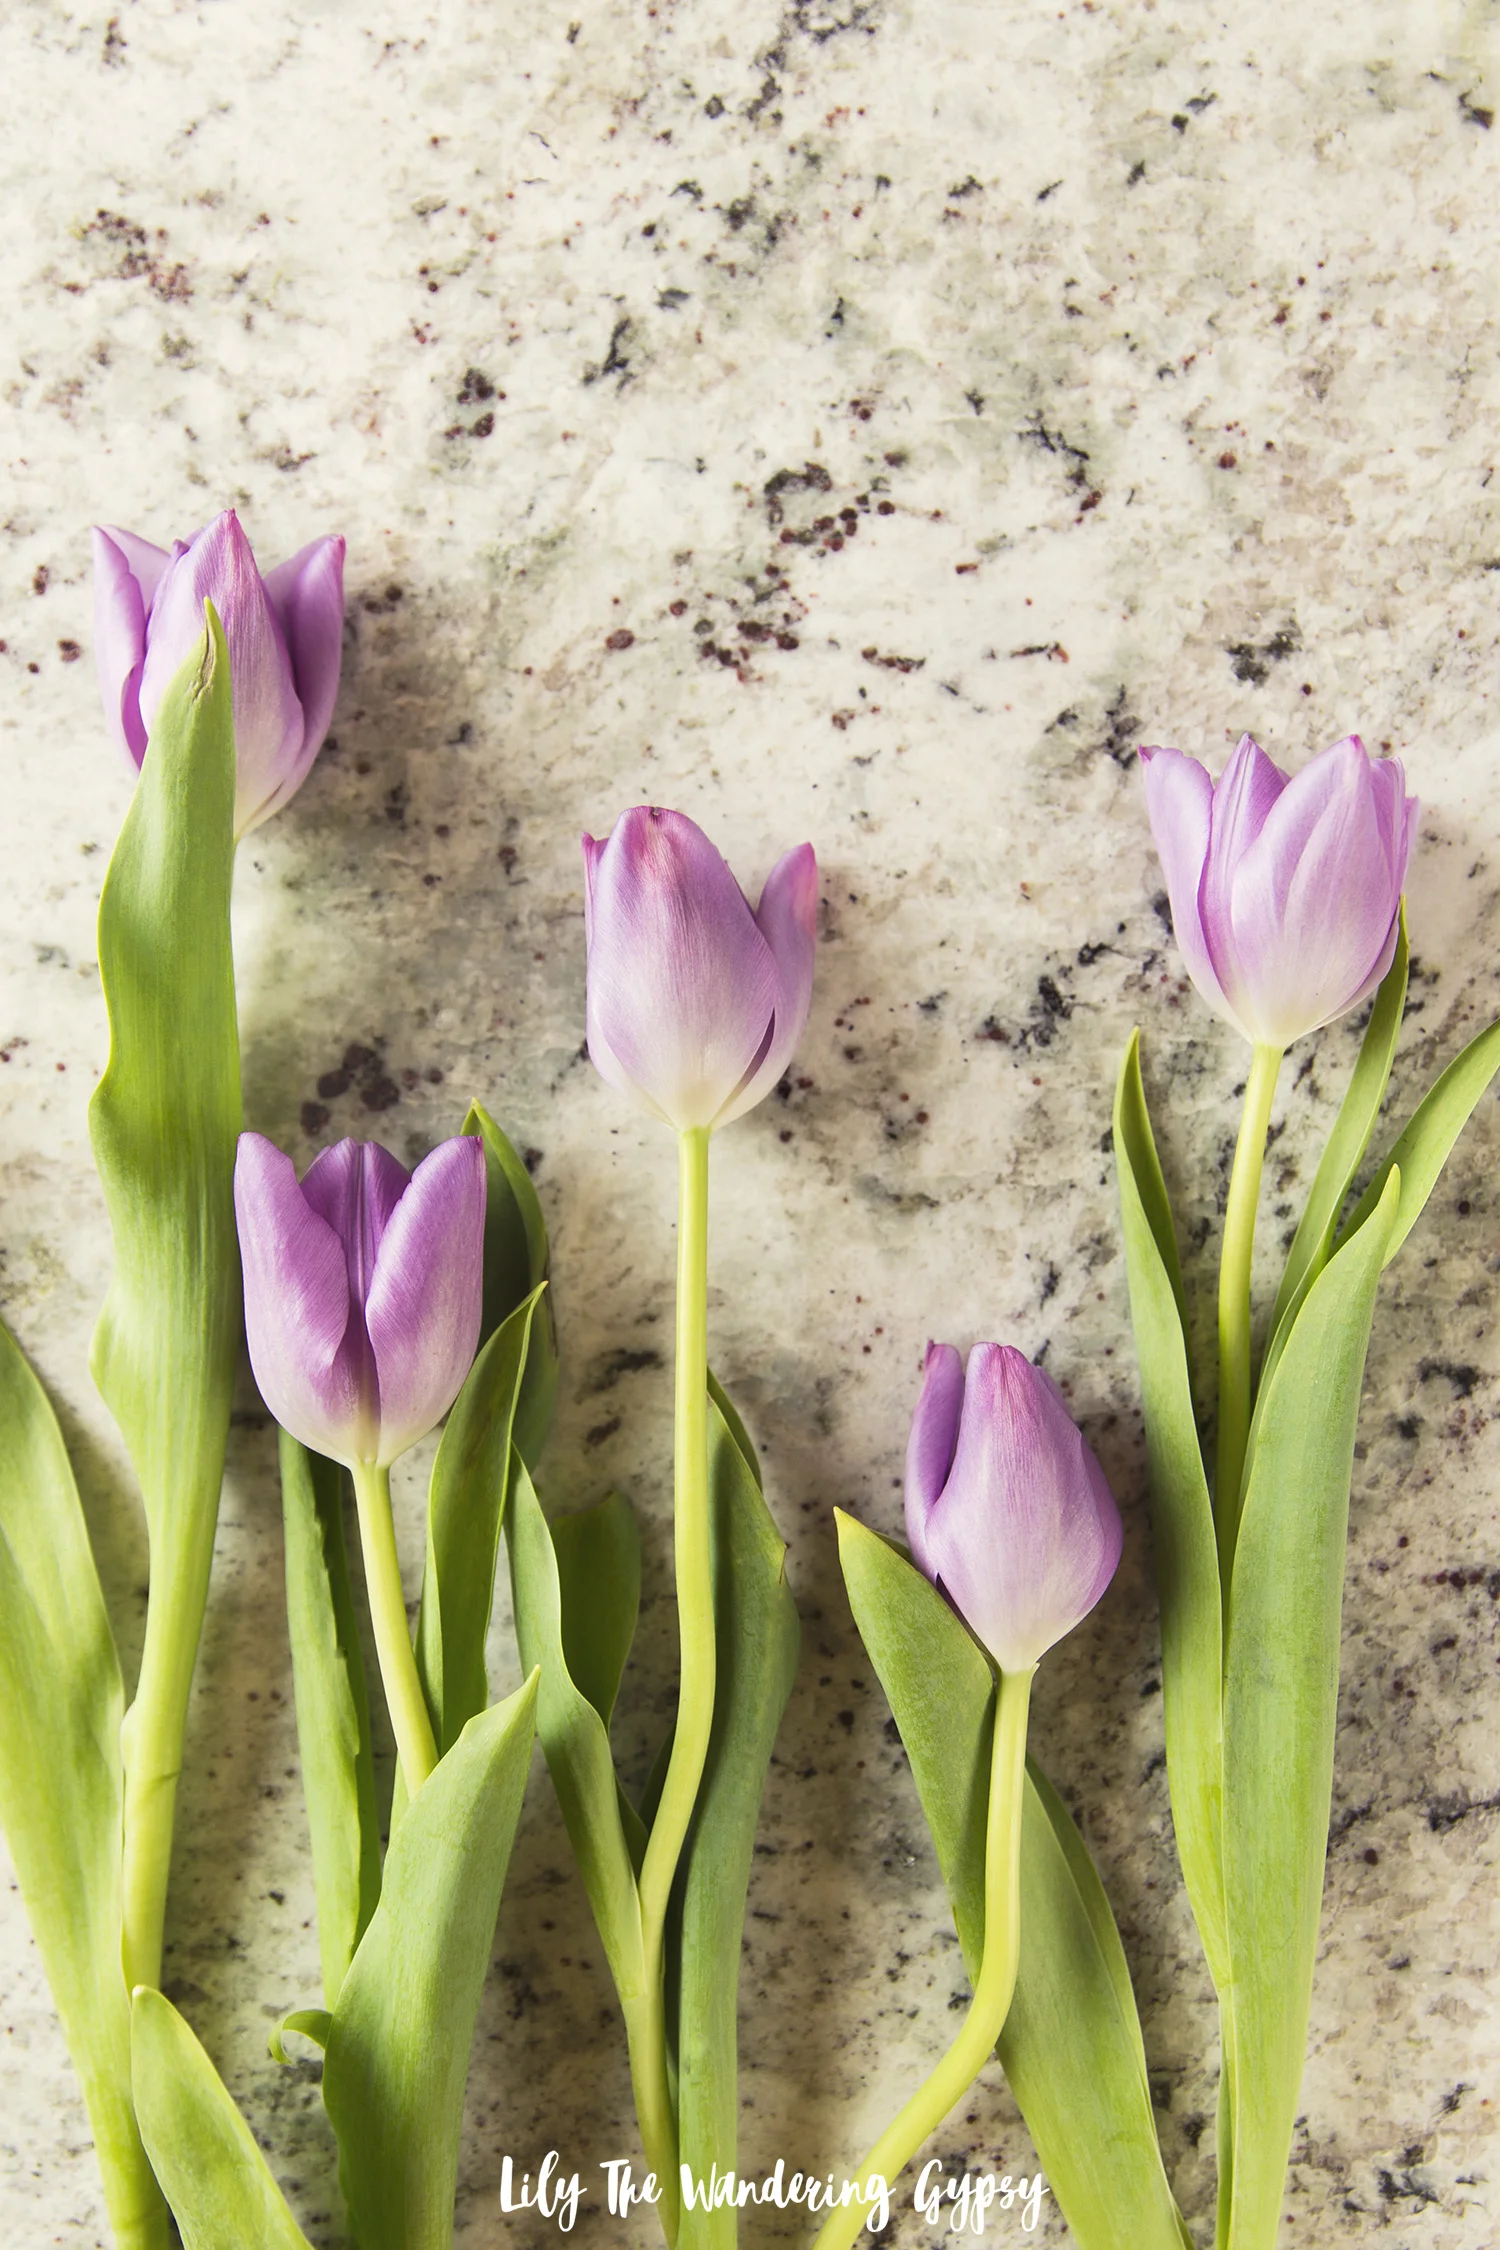
Since it's already graduation season, and it's almost Mother's Day, I thought this would be a super cute, very thoughtful gift idea for a woman in your life!
I love having an army of headbands, just in case I need a cute way to keep my hair where it's supposed to be in the car on a road trip, or perhaps I just want my hair to be extra cute?! It gets so hot and humid here each summer, that my hair does what it wants when the temps rise. Also, I love being able to pull on a headband while I'm washing my face - I can't stand when my hair gets drenched while I'm at the sink!
I also figure that this adorable headband would be amazing for Festival Season! Pair it with jean shorts and a patterned, flowy tank top, or wear it with an adorable dress! Any camping trip would benefit from a cute headband or two.
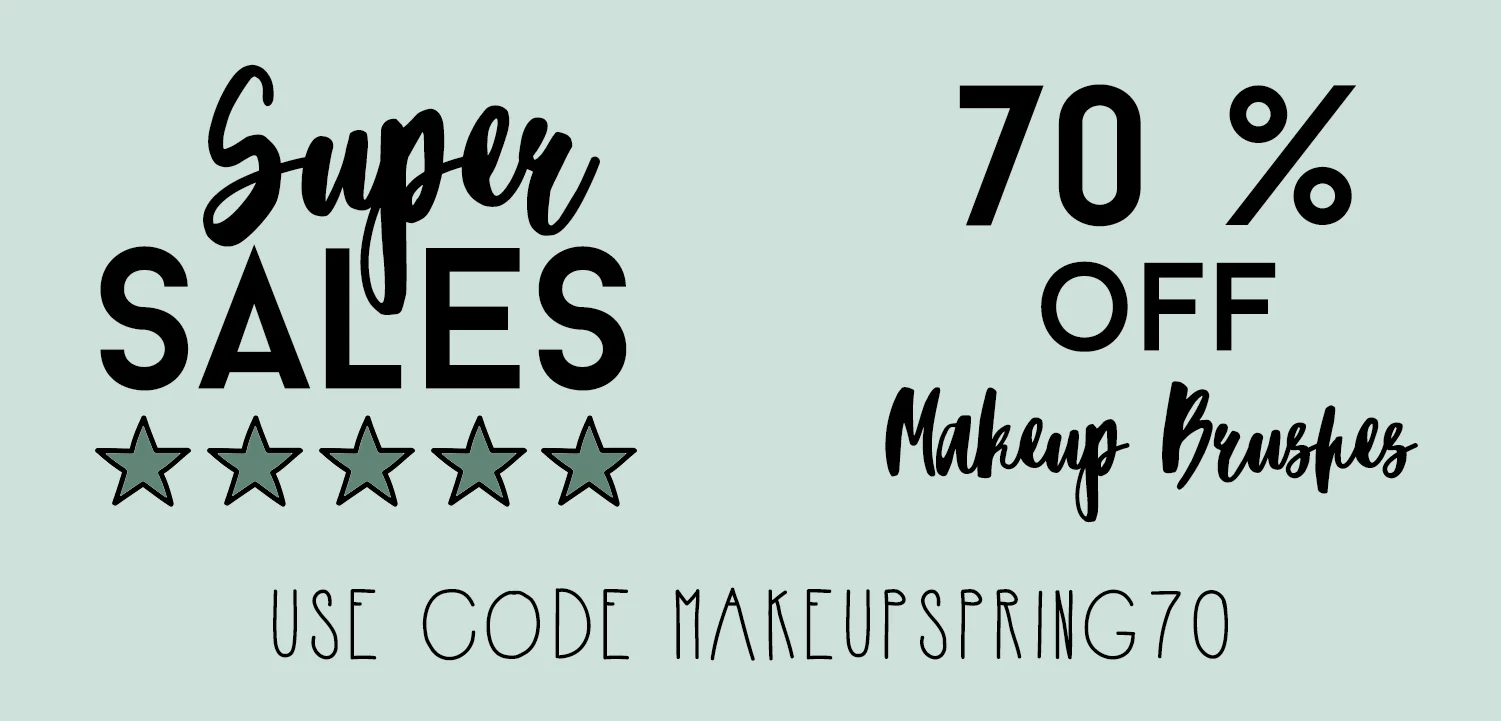
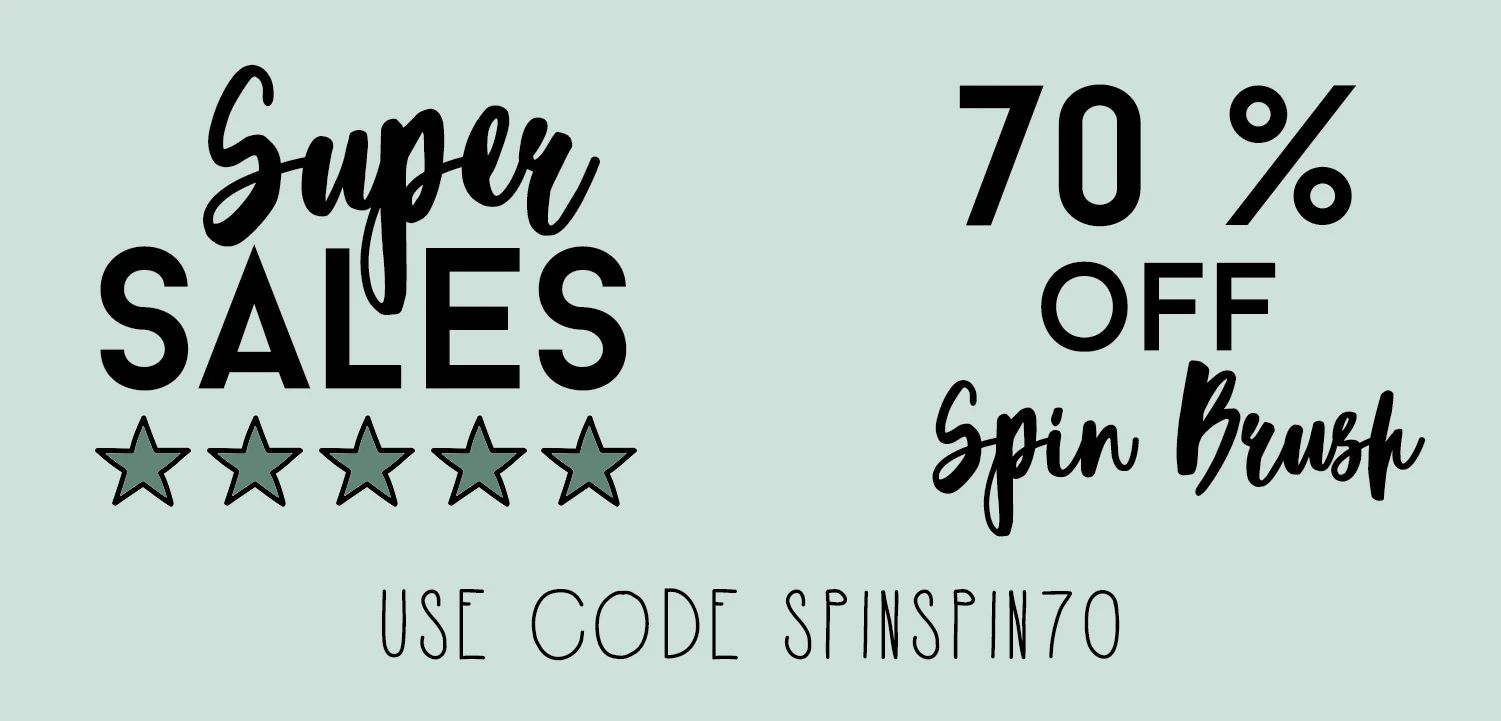
Even better, Vanity Planet has TONS of sales going on right now, on products ranging across categories like 25% Off HAIR PRODUCTS, 70% Off SKINCARE, and 70% Off MAKEUP BRUSHES!


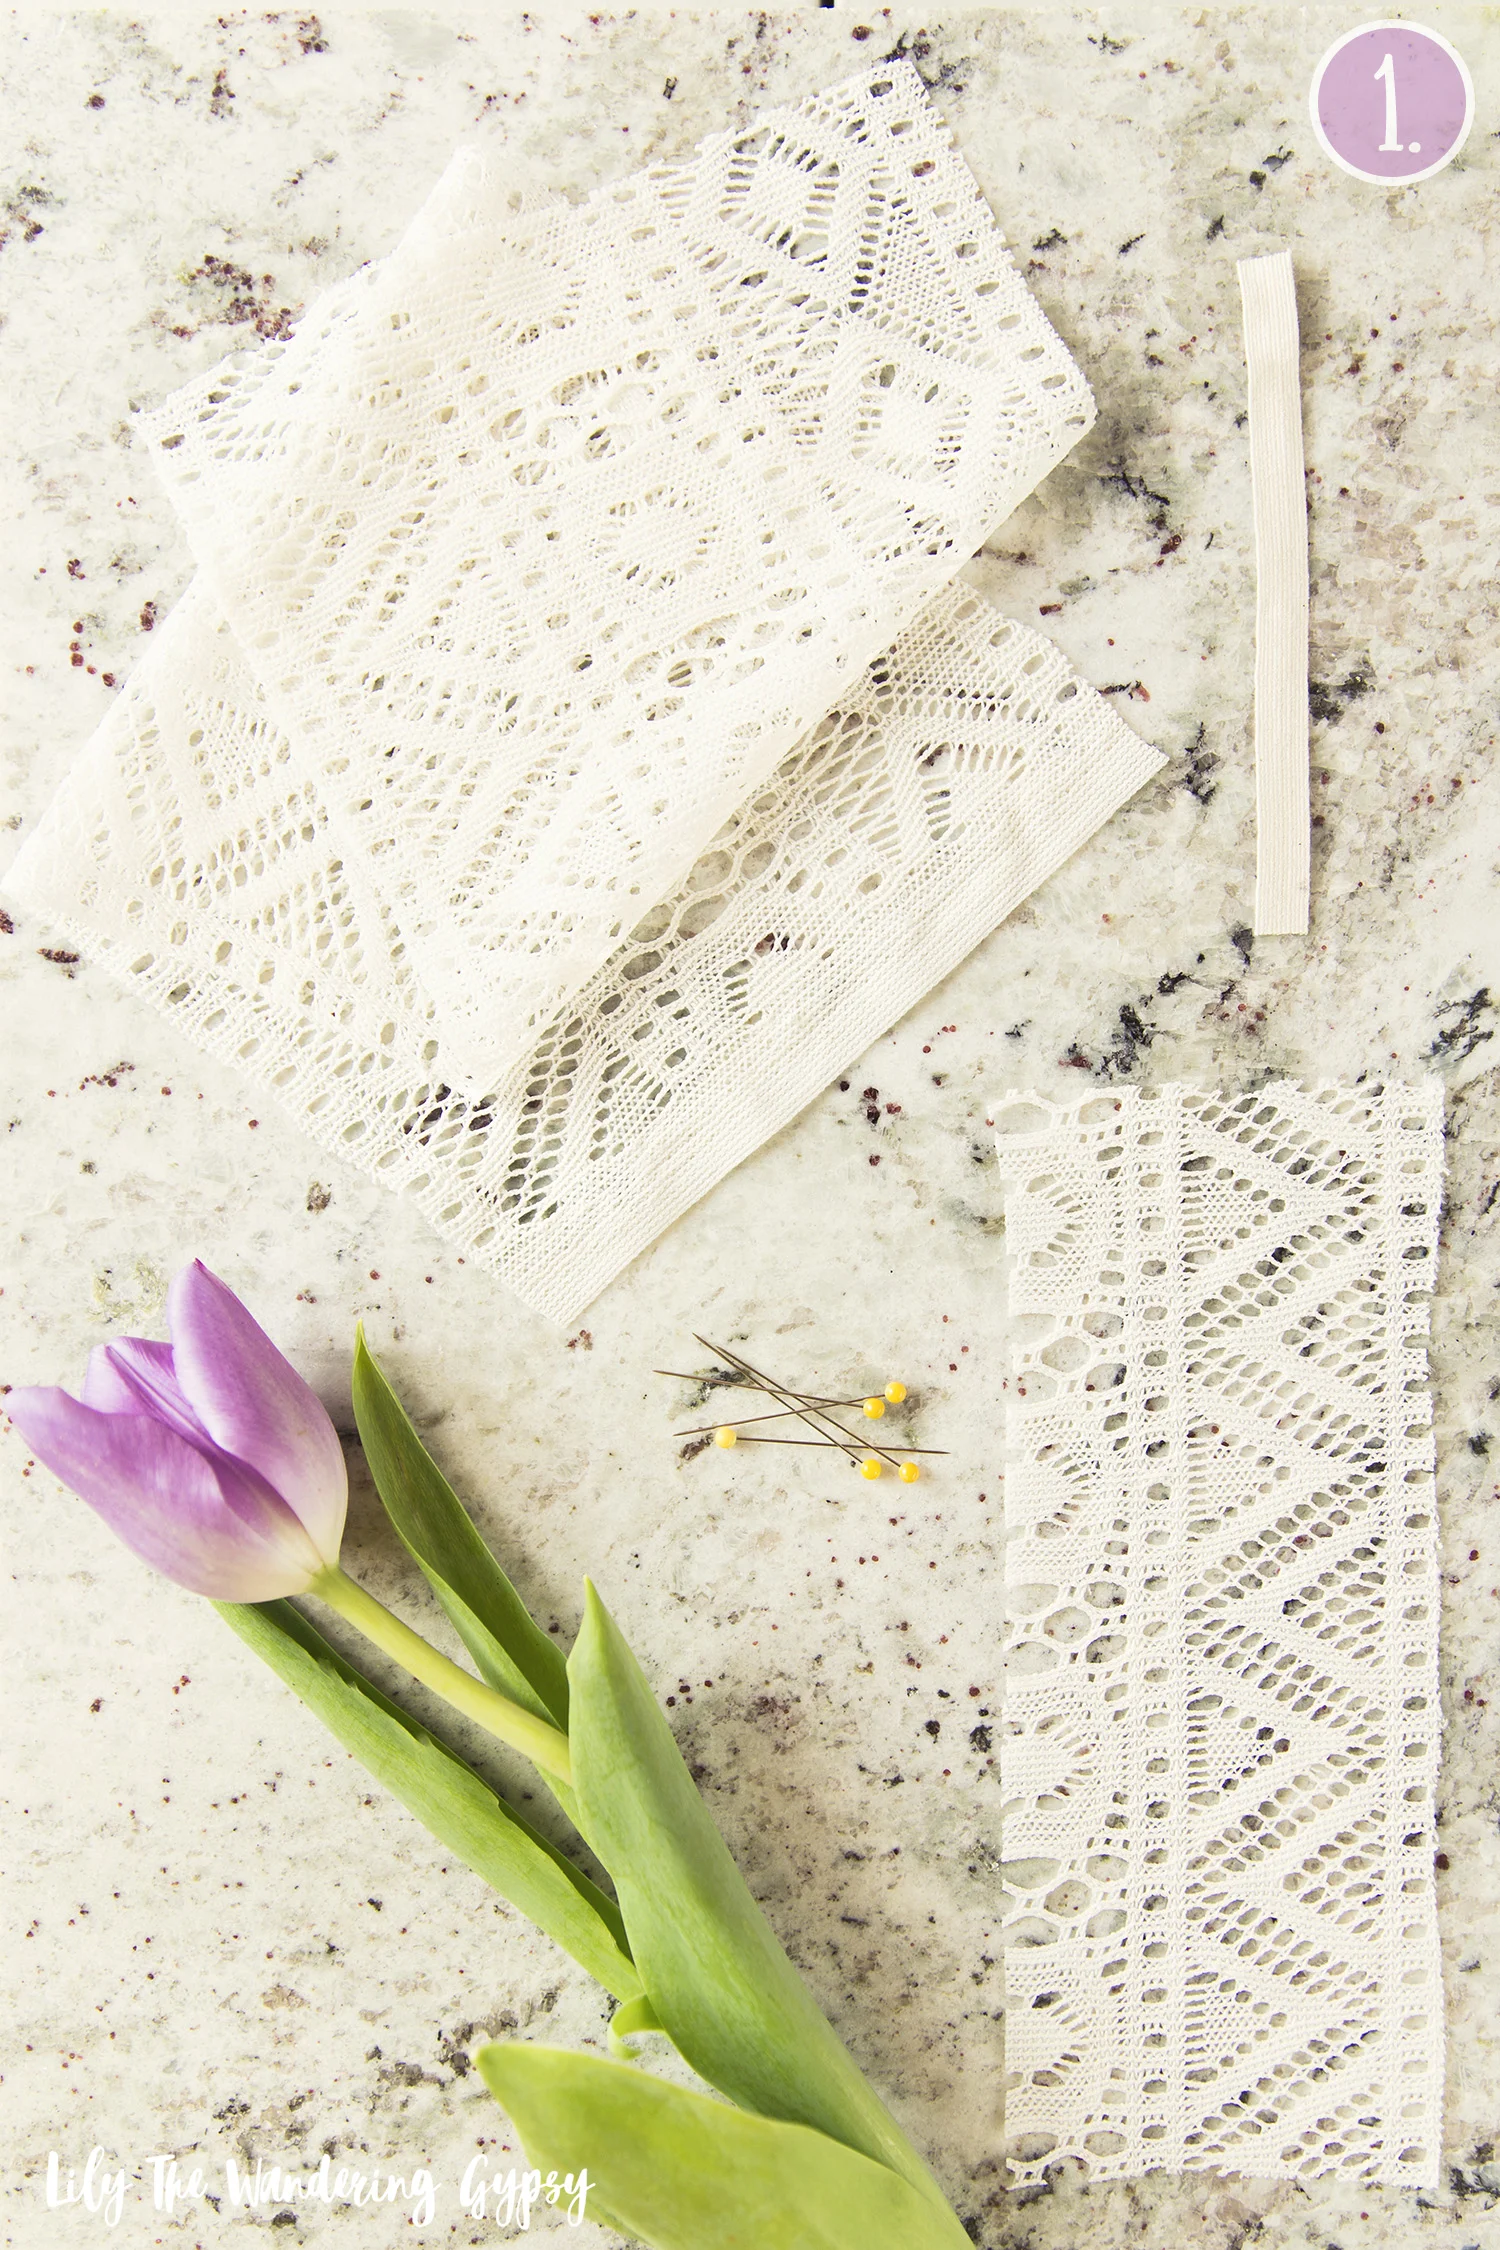
LET"S MAKE A HEADBAND!!
1.) Cut your materials: 1 Piece at 20" x 6.5", 1 piece st 8" x 3" and a piece of elastic at 5". I used a curtain-like material, that I loved so much! But, it was slightly difficult to sew. Instead, feel free to even use an old t-shirt, other jersey knit fabrics, or any sort of lightweight cotton or even seersucker material. I have made LOTS of these headbands in the past, and love each and every one!
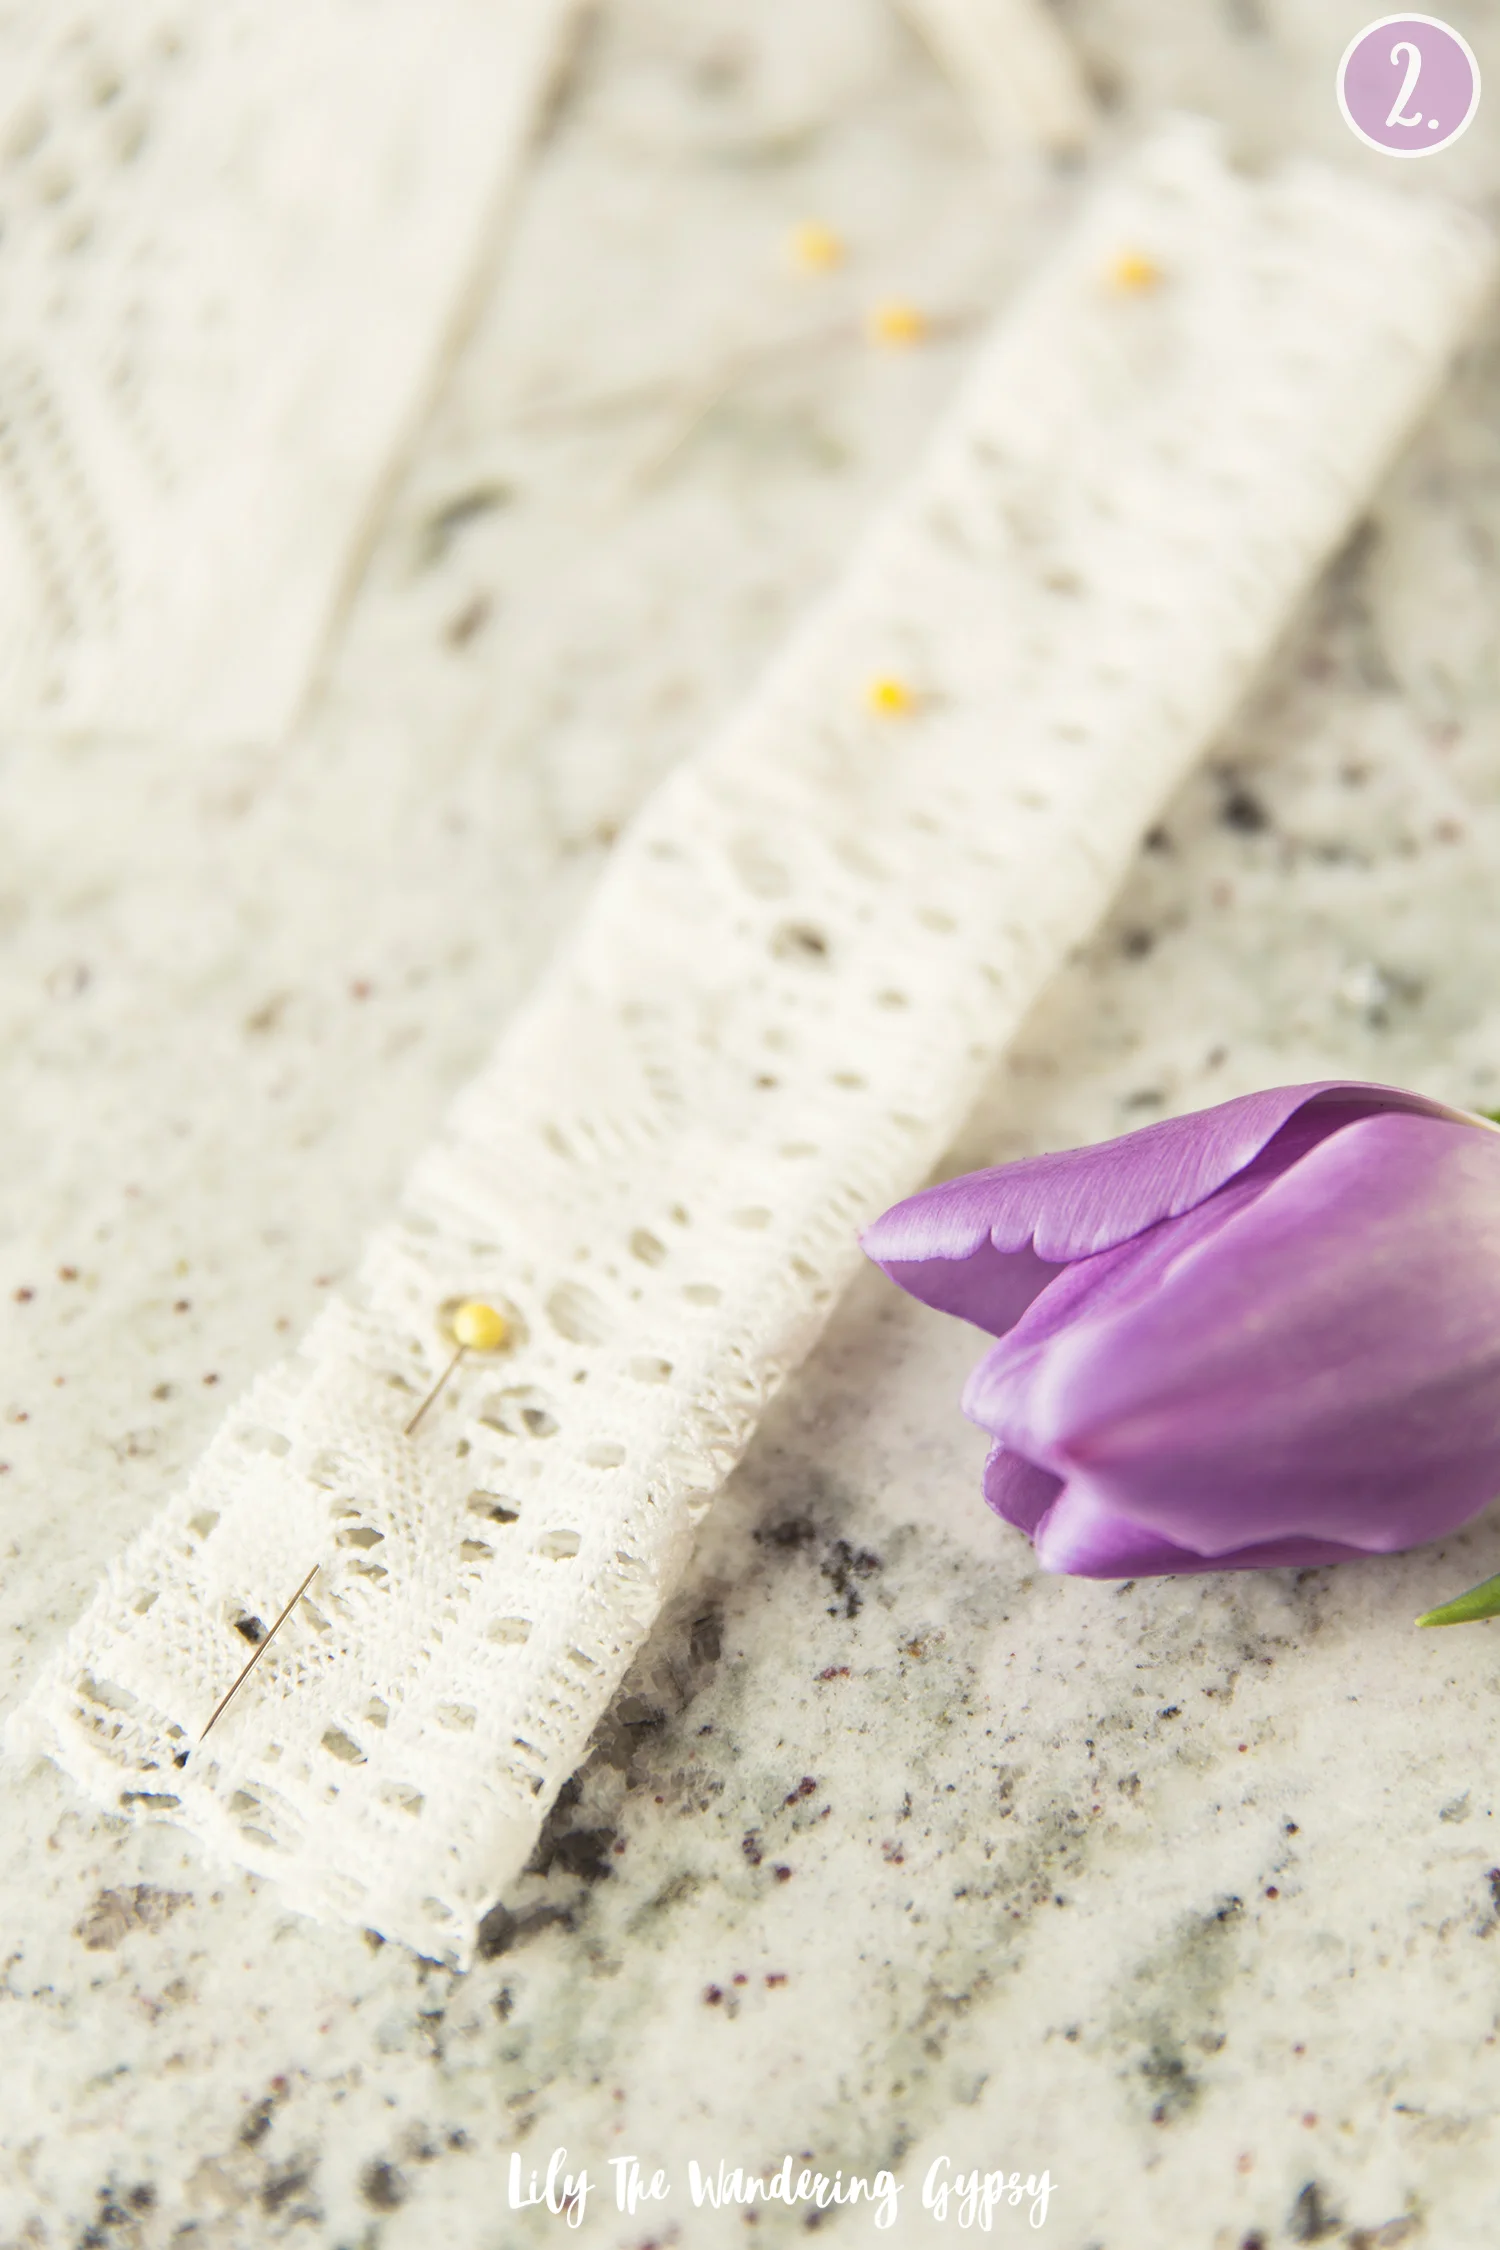
2.) Fold the 8"x3" piece in half, right sides together, and pin lengthwise. Sew this up to create a tube. Turn it right side out. Also, double fold down a small portion of the long sides of the 20" x 6.5" piece to hide raw edges. Use an iron to make flat folds, or just eye it.
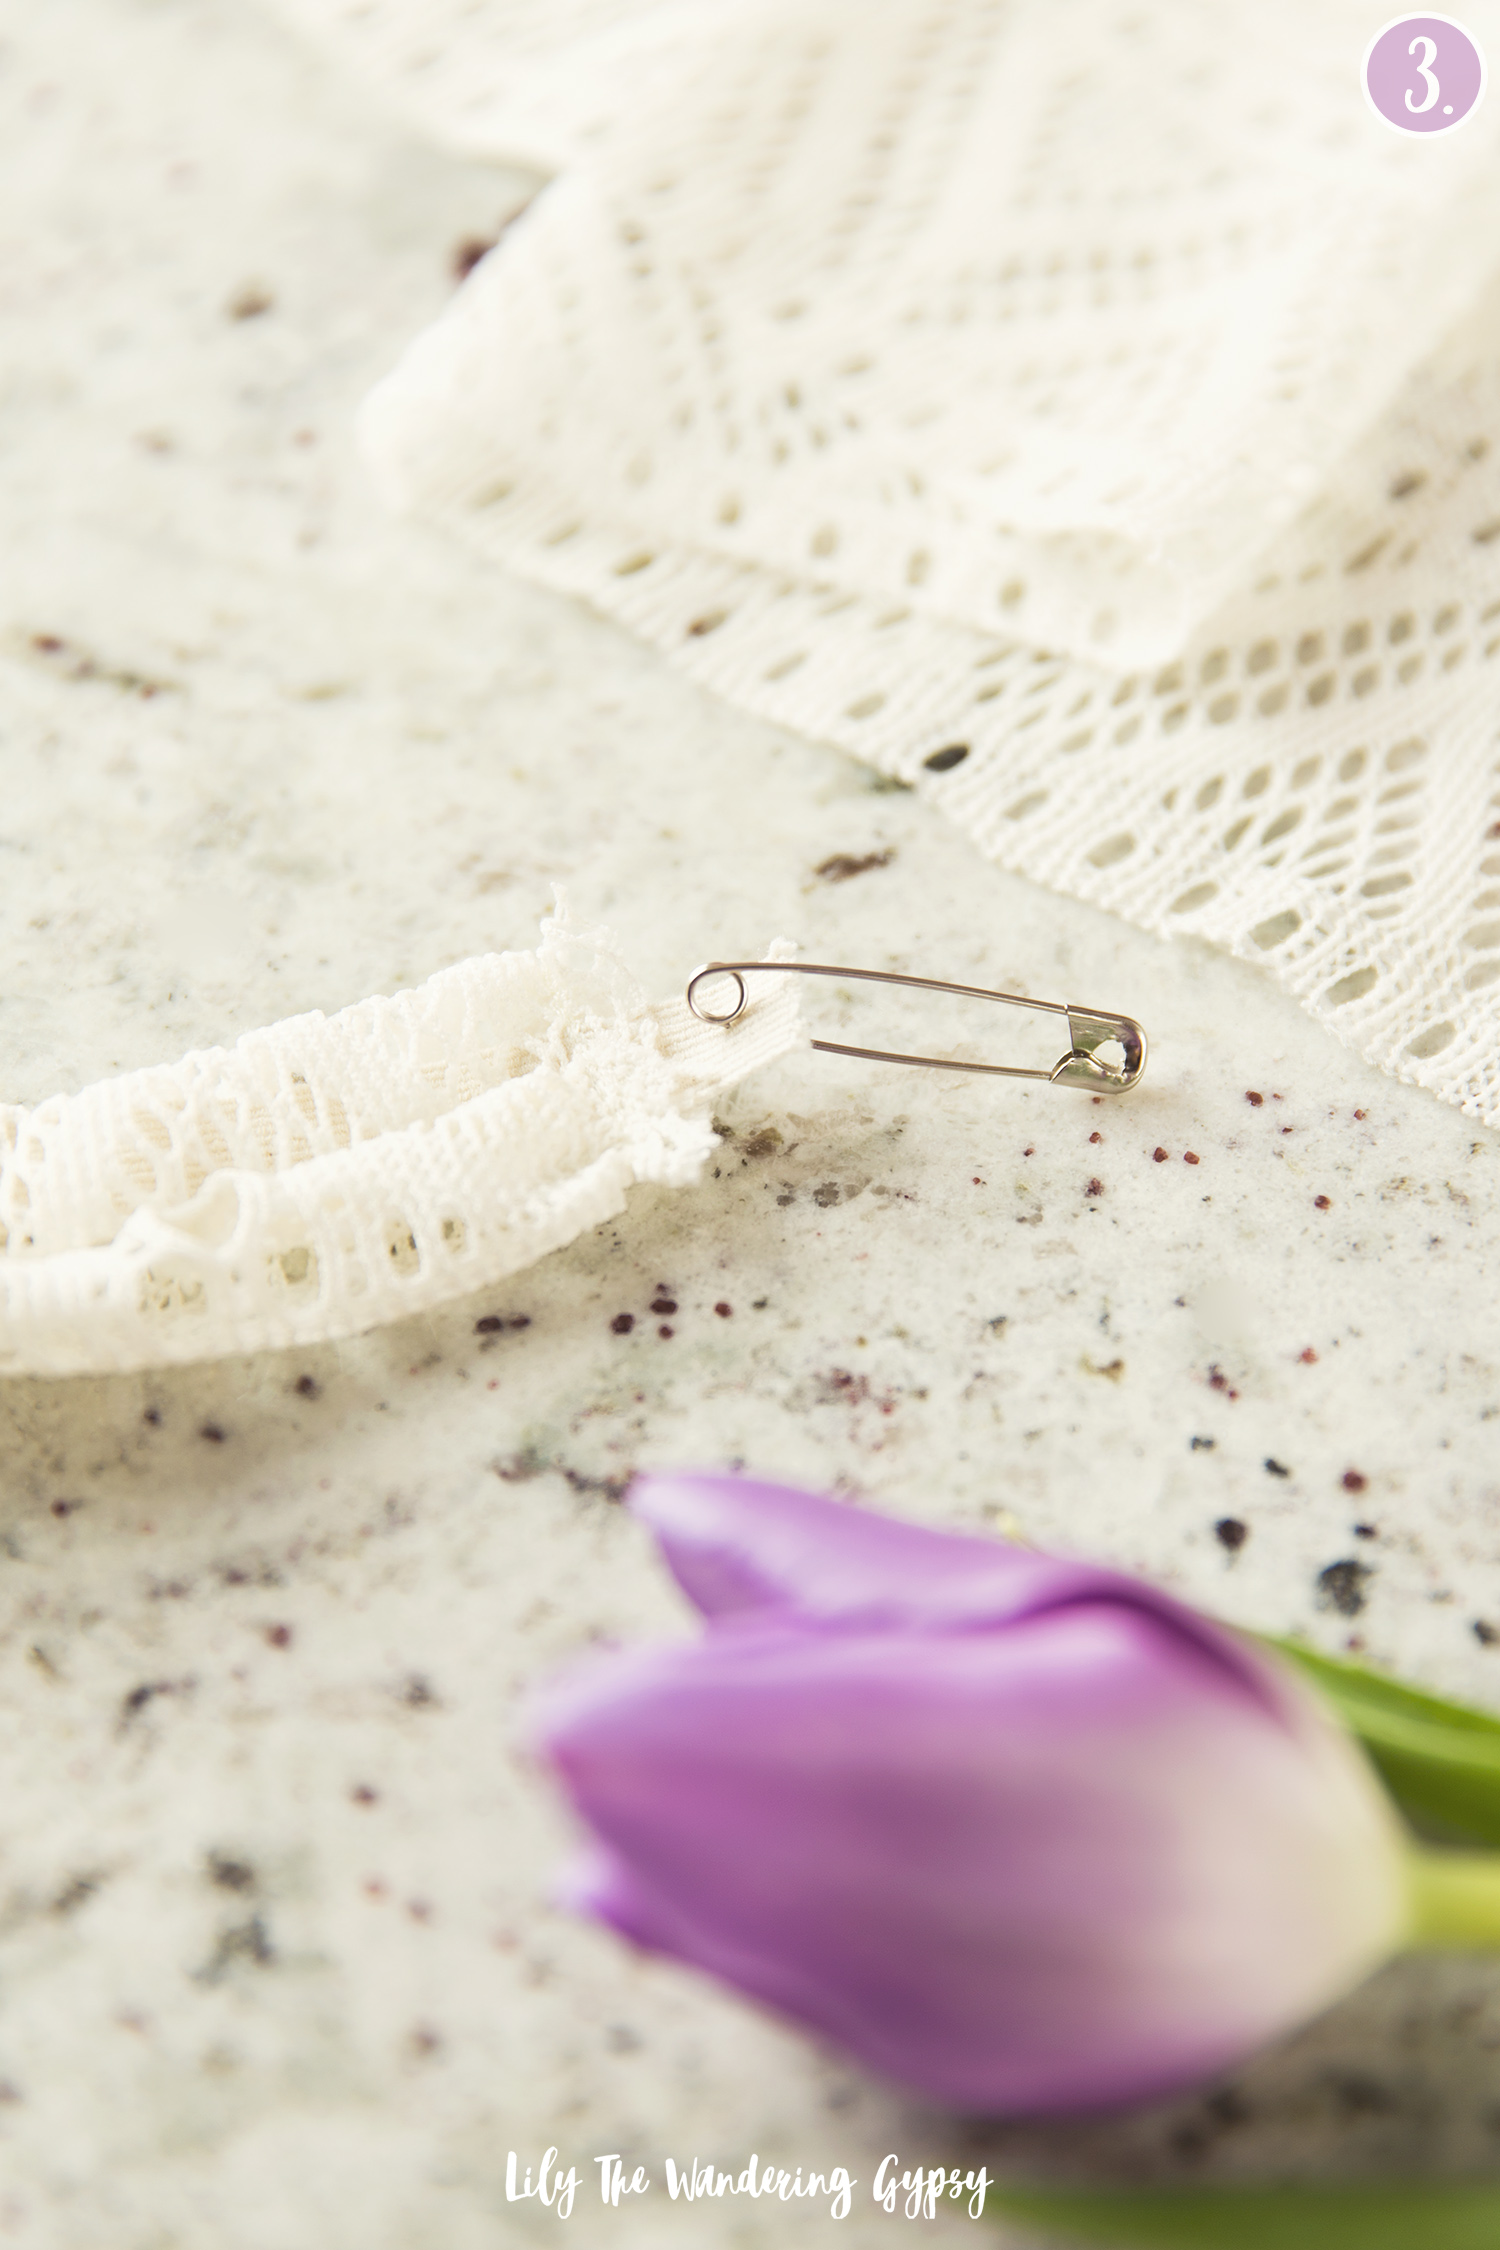
3.) Attach a large safety pin to one end of your elastic, and pull it through the tube you just created. Line the ends of the tube and the elastic up, and sew them together. Next, pull the safety pin all the way through, so the whole safety pin is out of the tubs. This will scrunch the tube a bit. While holding onto the safety pin for resistance, sew the other end of the elastic into the tube (sew across a few times so it's safe). Cut excess elastic and safety pin away and you have a scrunchy tube!
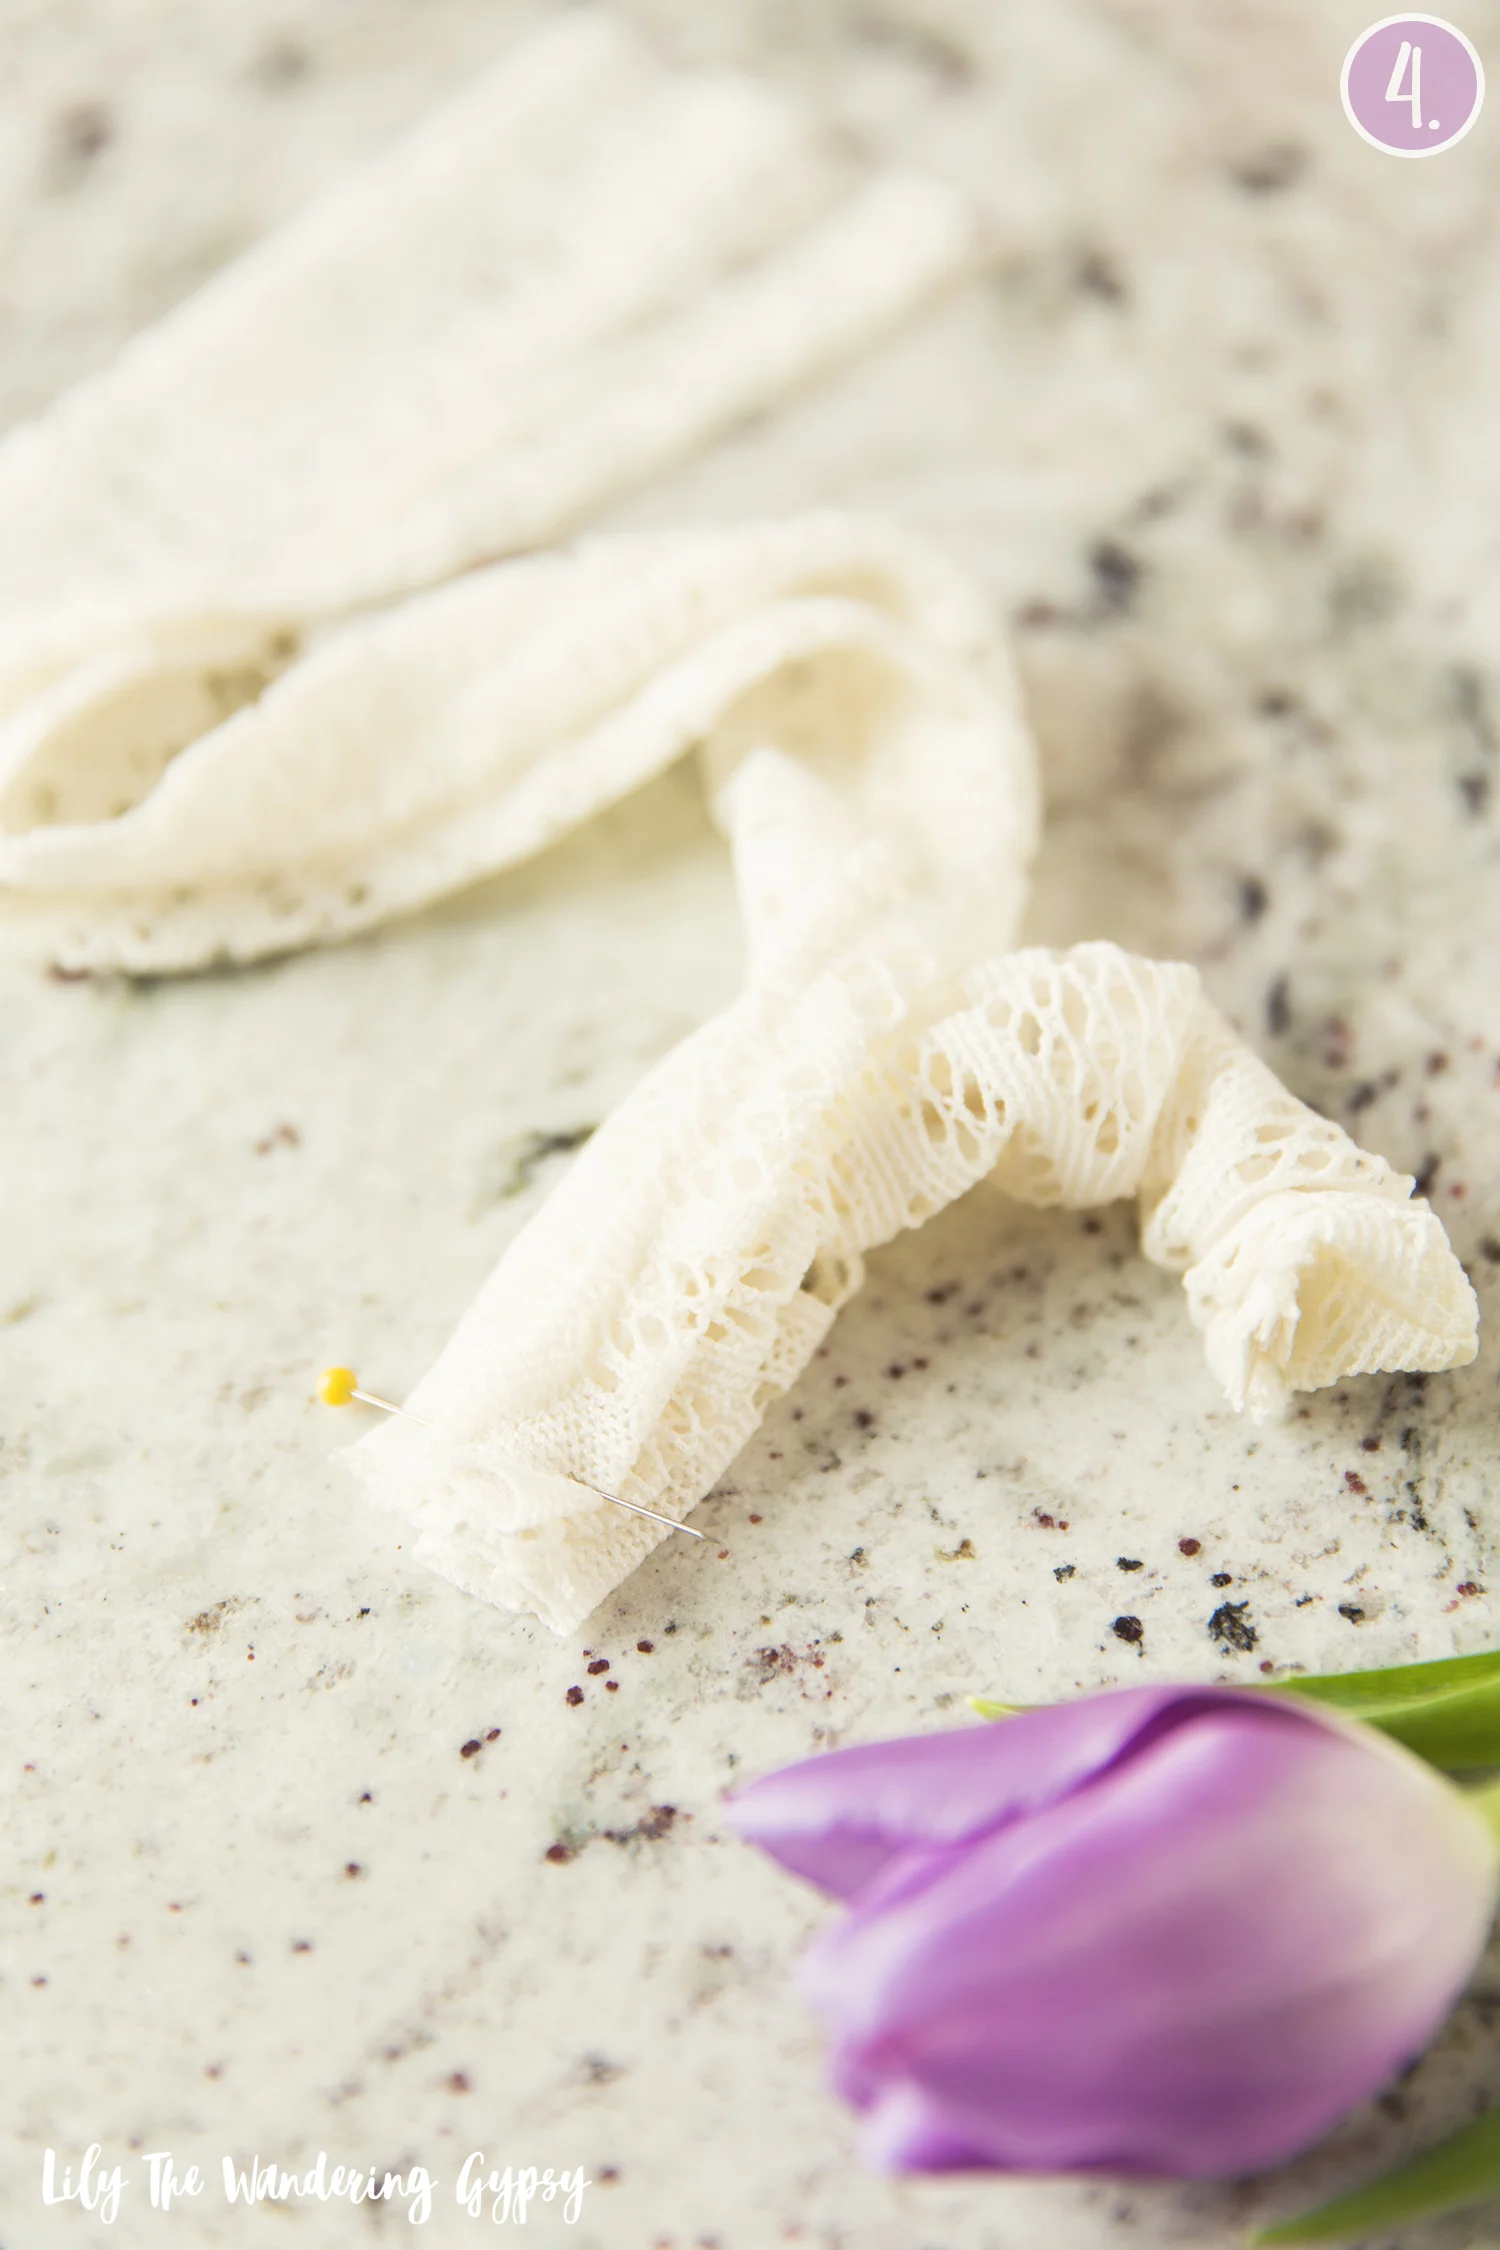
4.) Now, sew the scrunchy tube to the rest of the material. Place the scrunchy tube on top of the longer piece of fabric, right sides together. Place the scrunchy tube about 2/3 of the way into the bigger piece, and use an accordion fold to sandwich the scrunchy tube into the larger piece. Pin and sew across the fabrics to join them. Attach the scrunchy tube to the other side of the big piece of fabric, and again, sandwich the scrunchy tube into the other piece of fabric with an accordion fold. Cut off lose threads and turn right side out. Now, you're done!
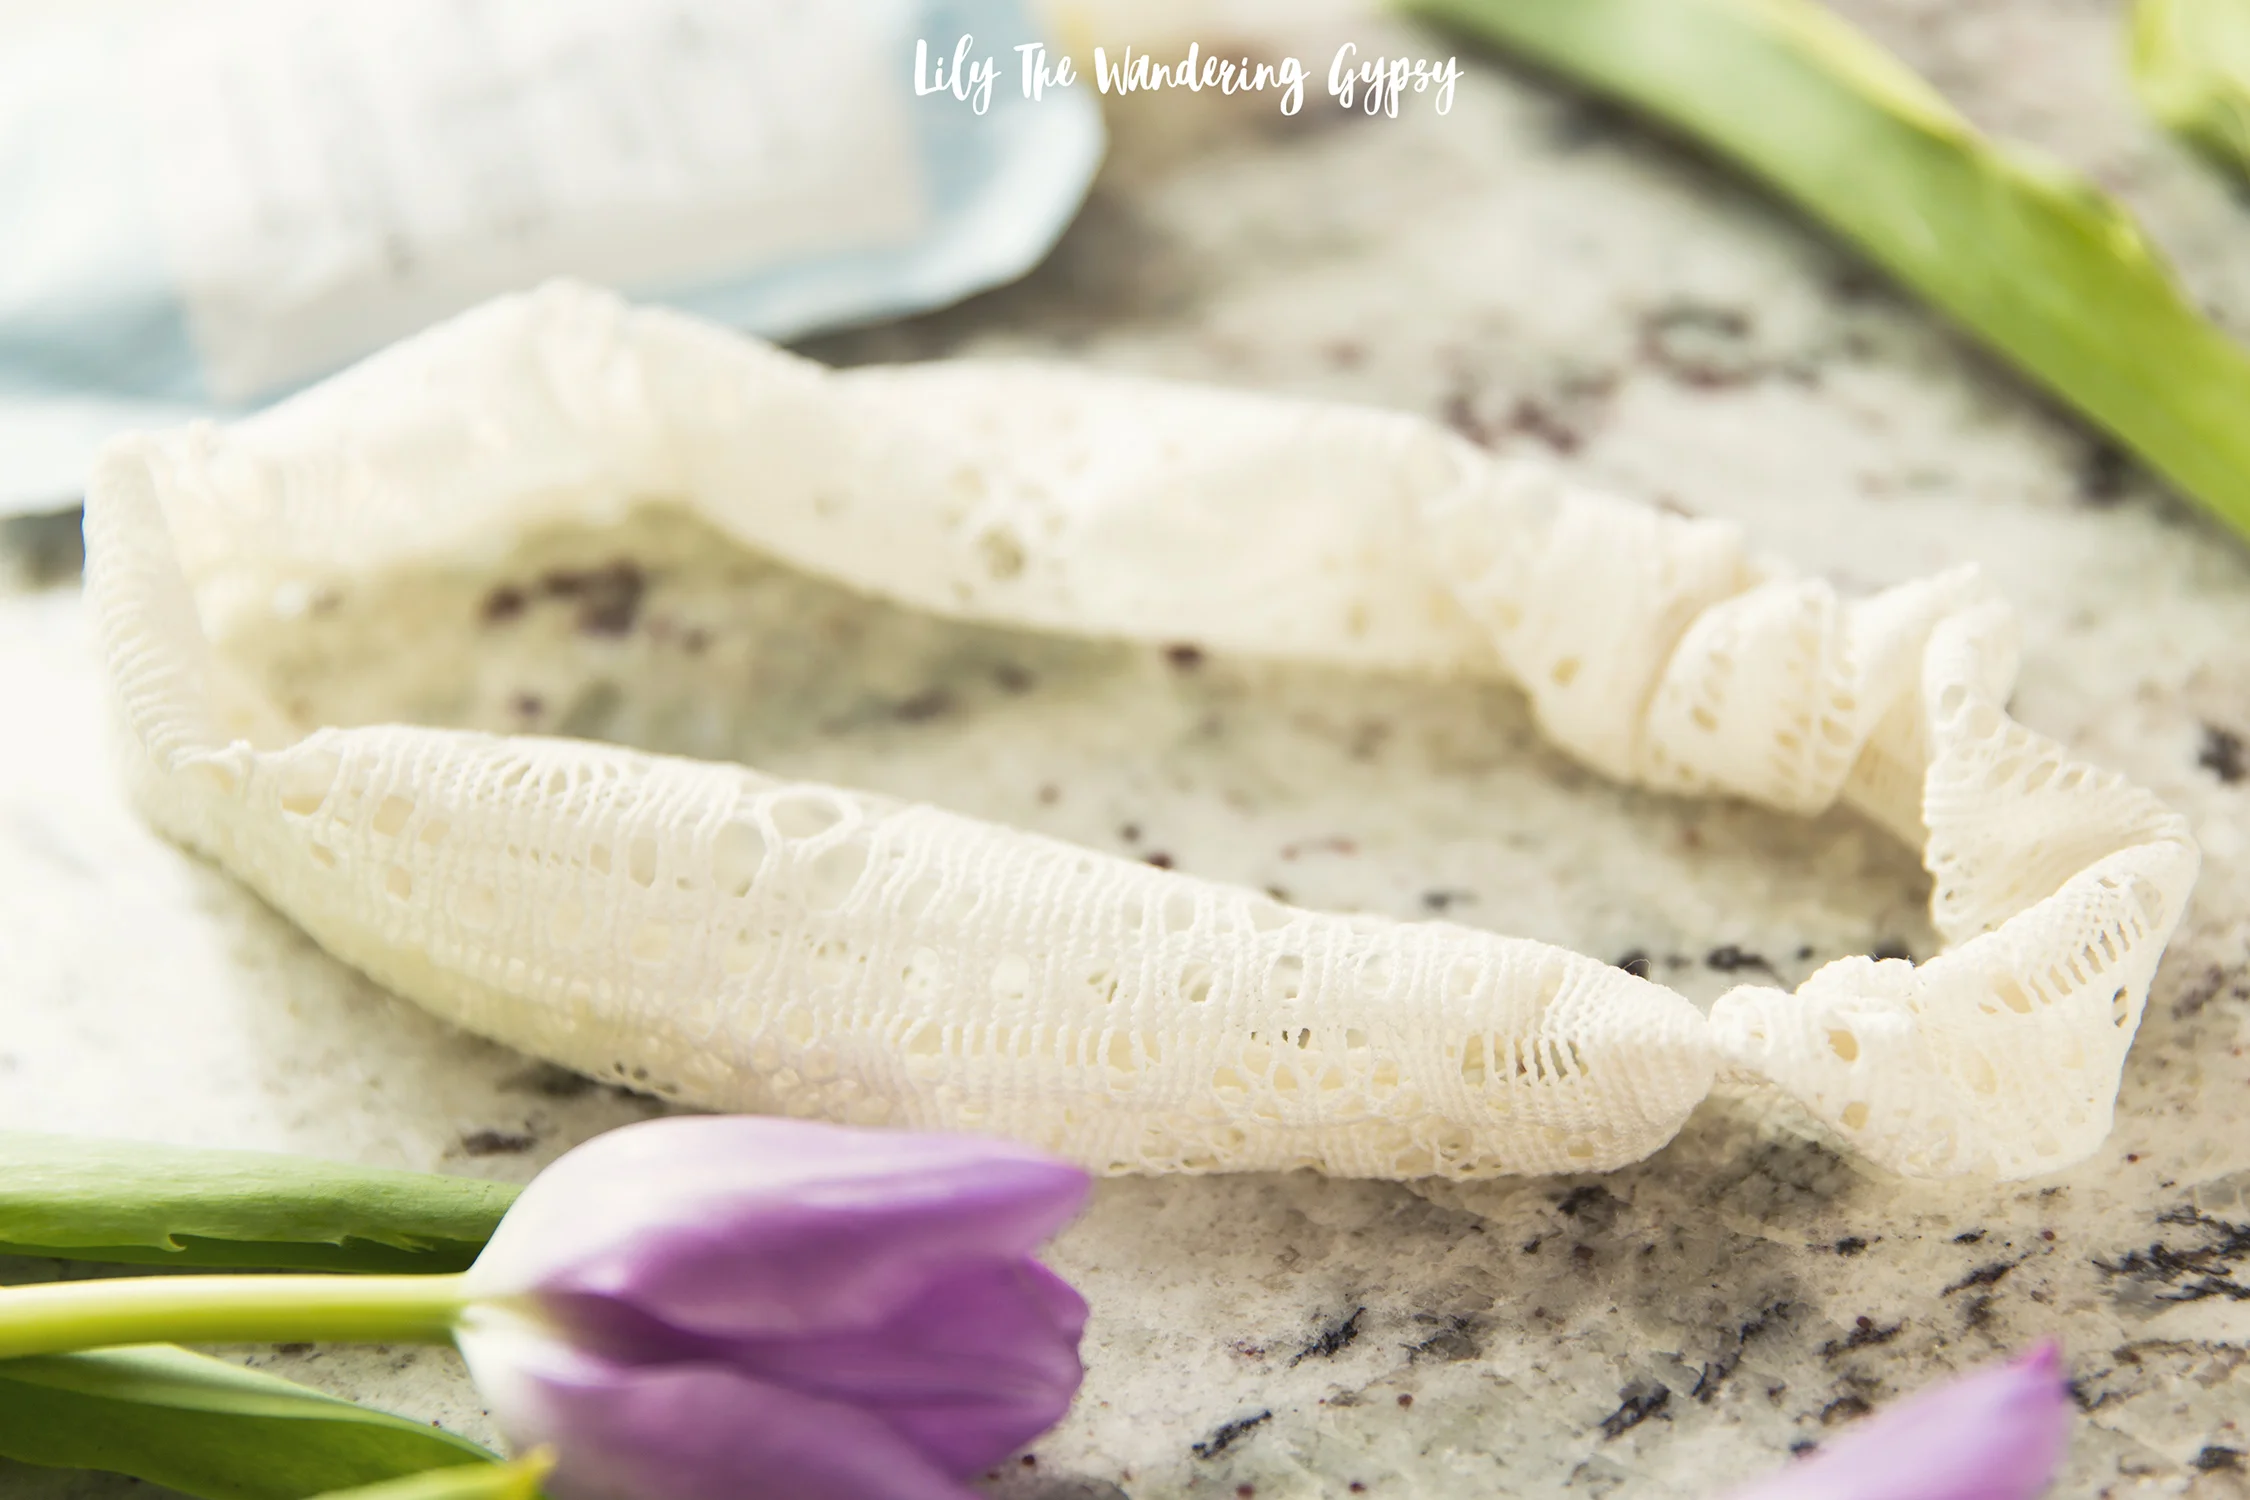
And, there you have it, the cutest headband around!
Also, I love my SpinBrush, that I got last year, It's very effective in getting dirt and oil off your face, as well as all those dead skin cells - perfect for rising summer temps. This is a great travel companion, too! Get 70% Off, by using code SpinSpring70 at checkout.
Also, Vanity Planet is offering a huge selection of new products like this set of Makeup Brushes, which you can try out at 70% off, by using code MakeupSpring70 at checkout, too!