Easy Recipes for Big Game Day Snacking with popchips

This post is sponsored by BabbleBoxx.com on behalf of popchips.

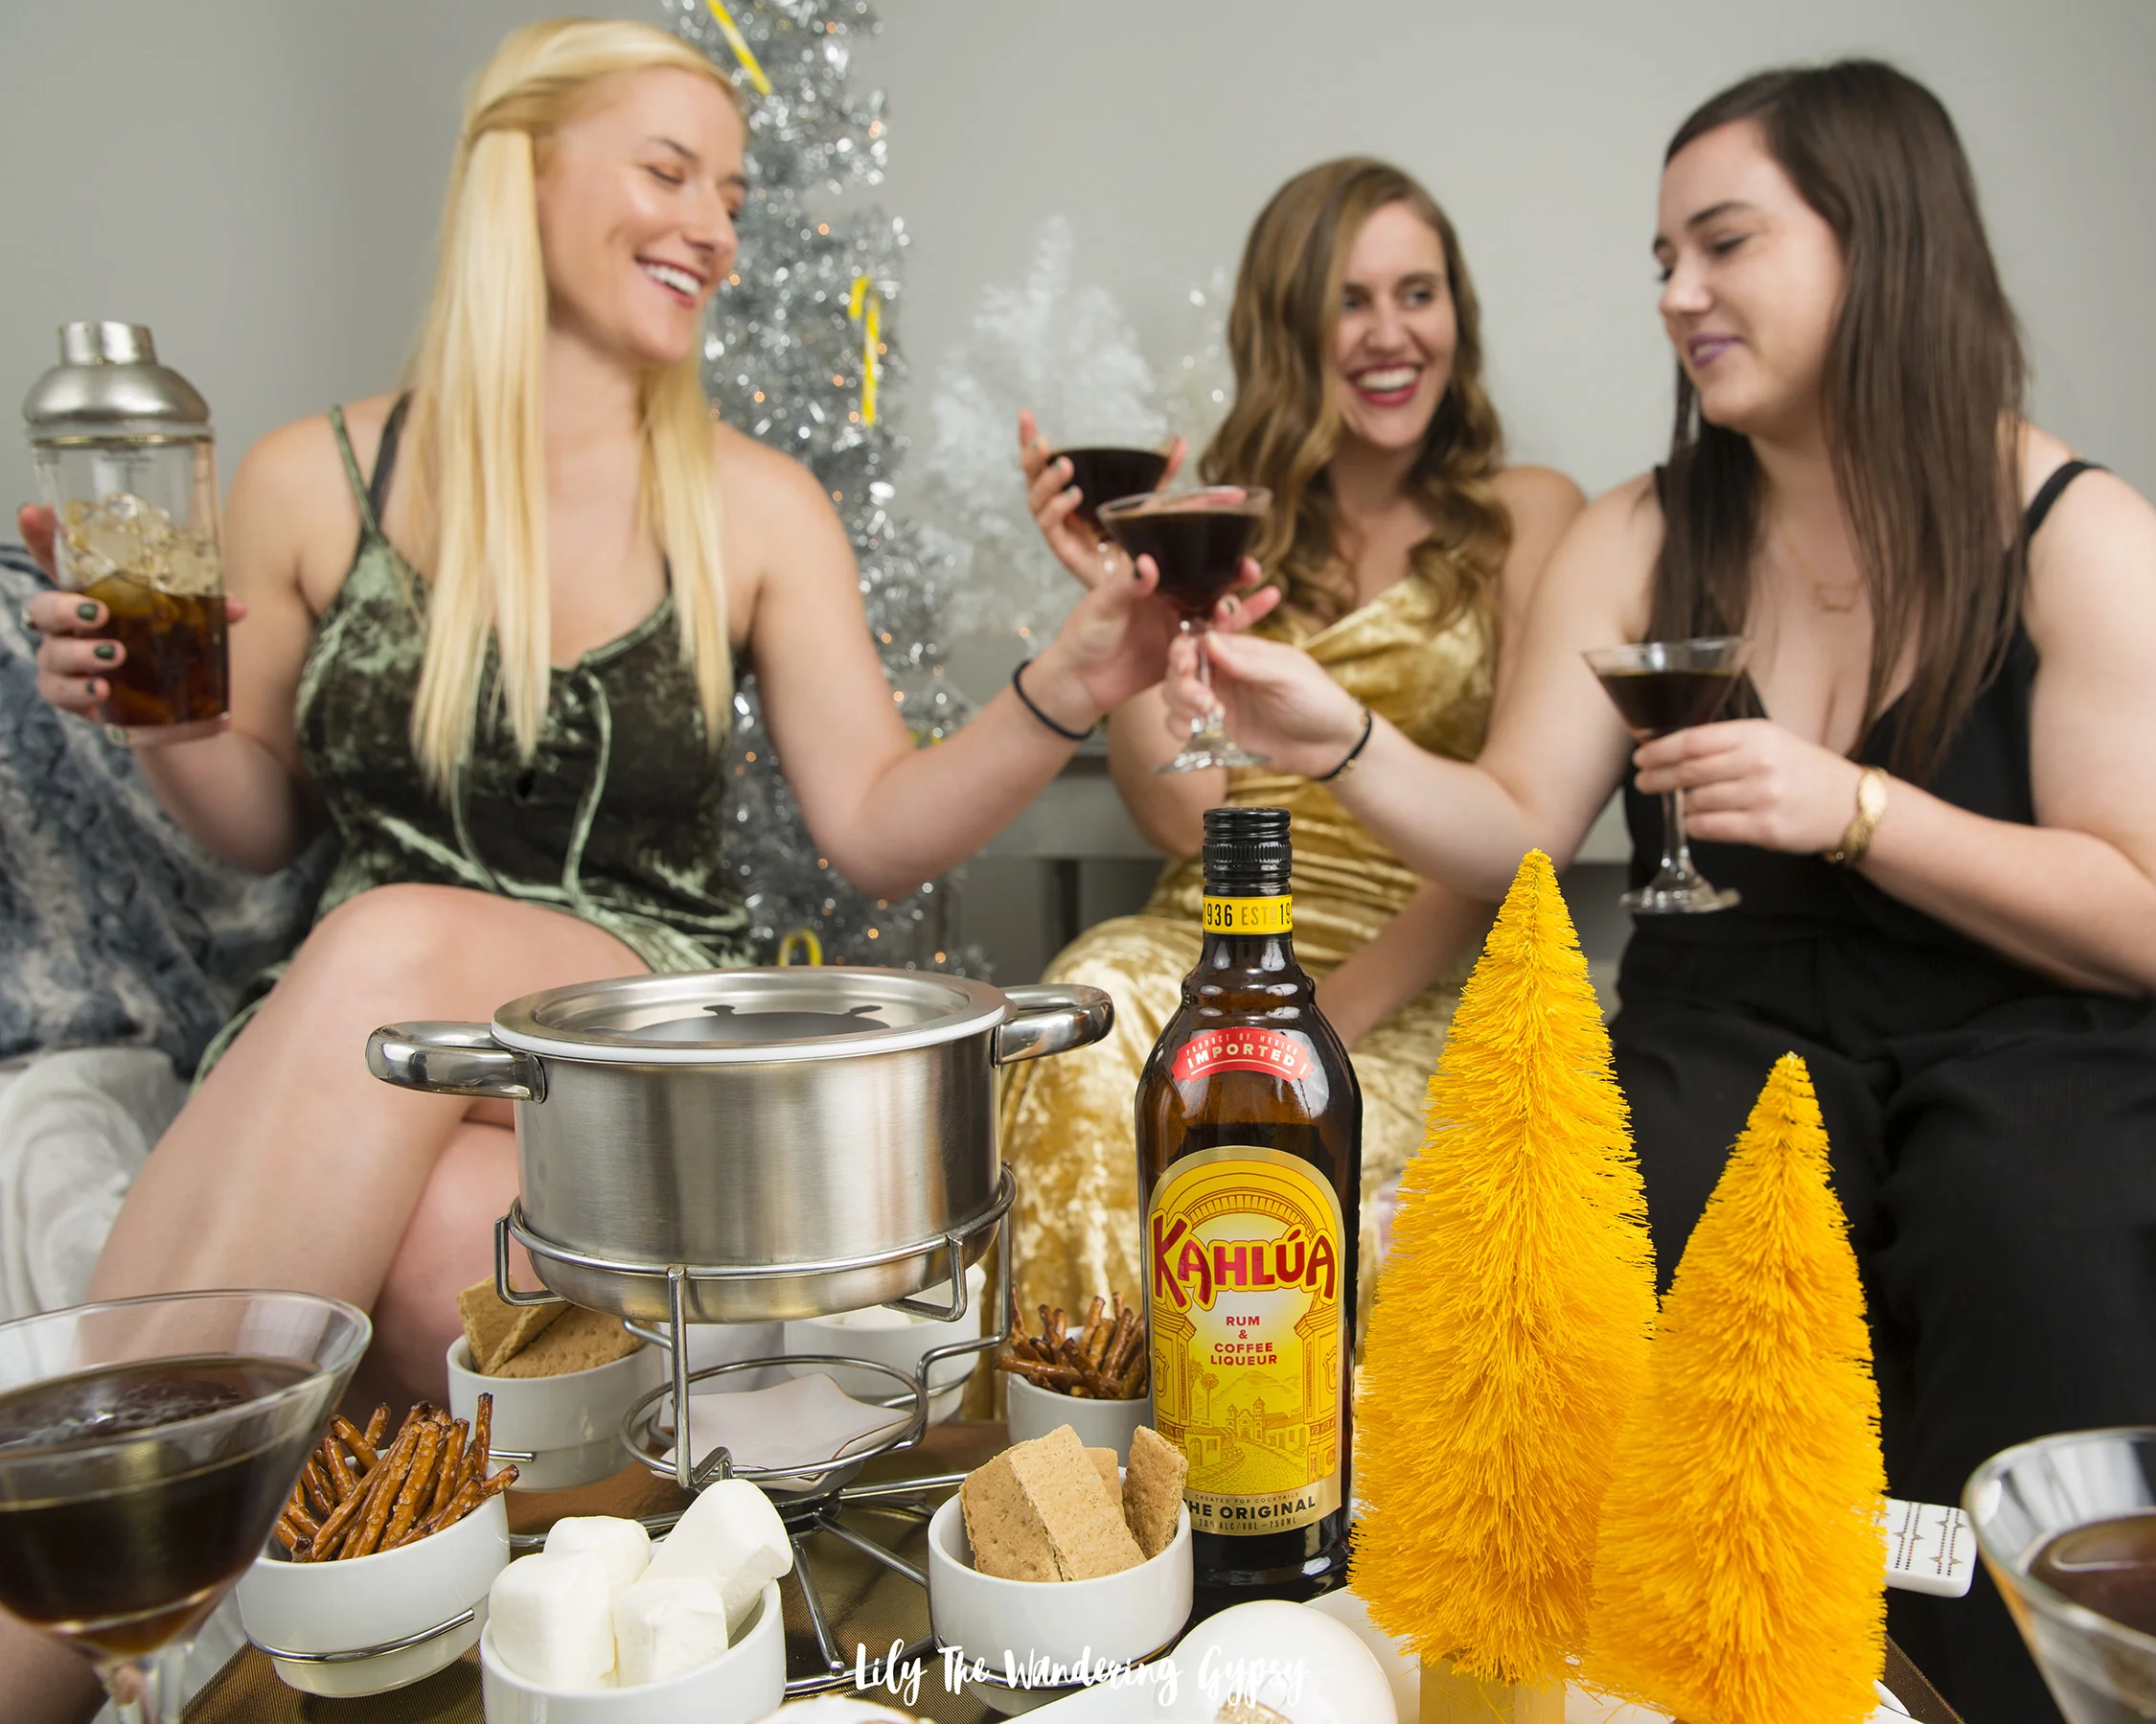
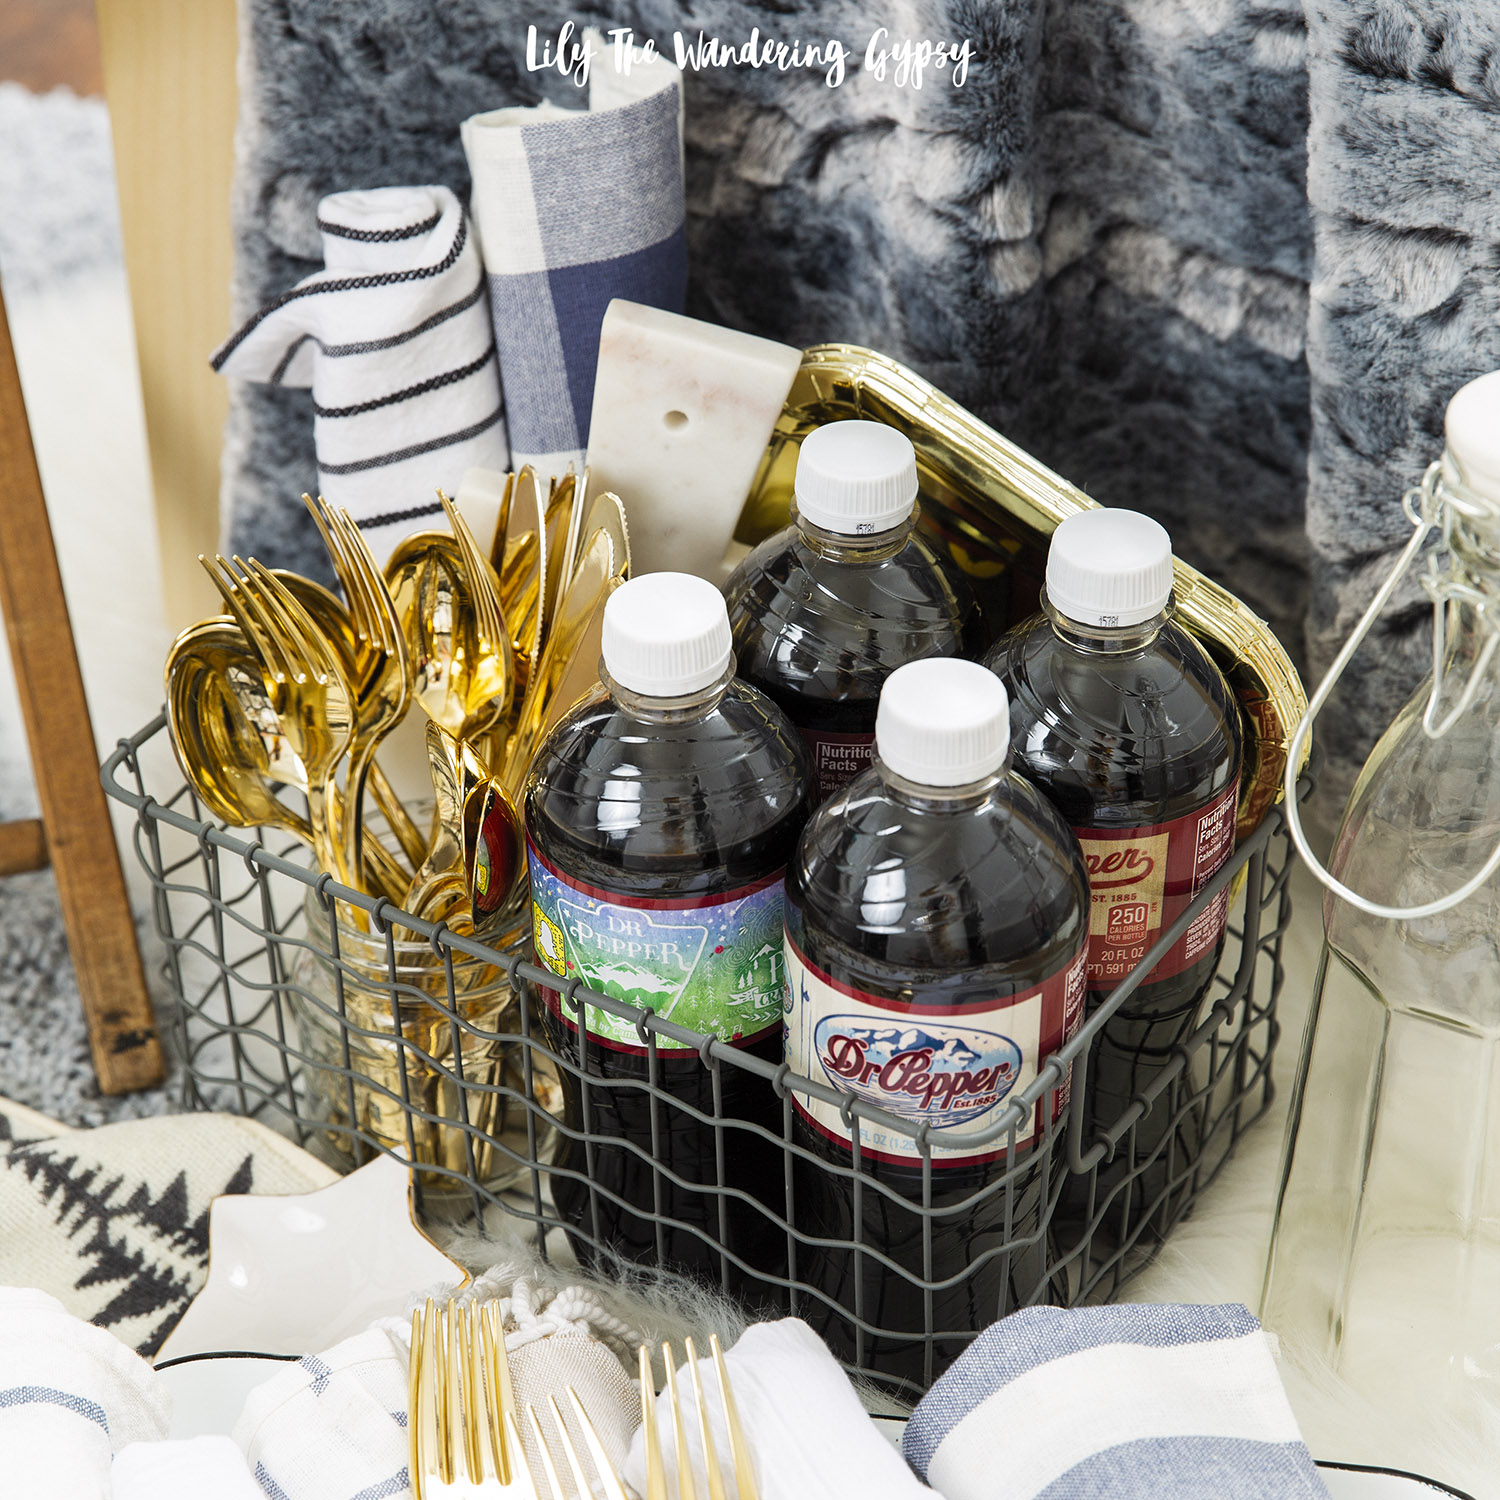
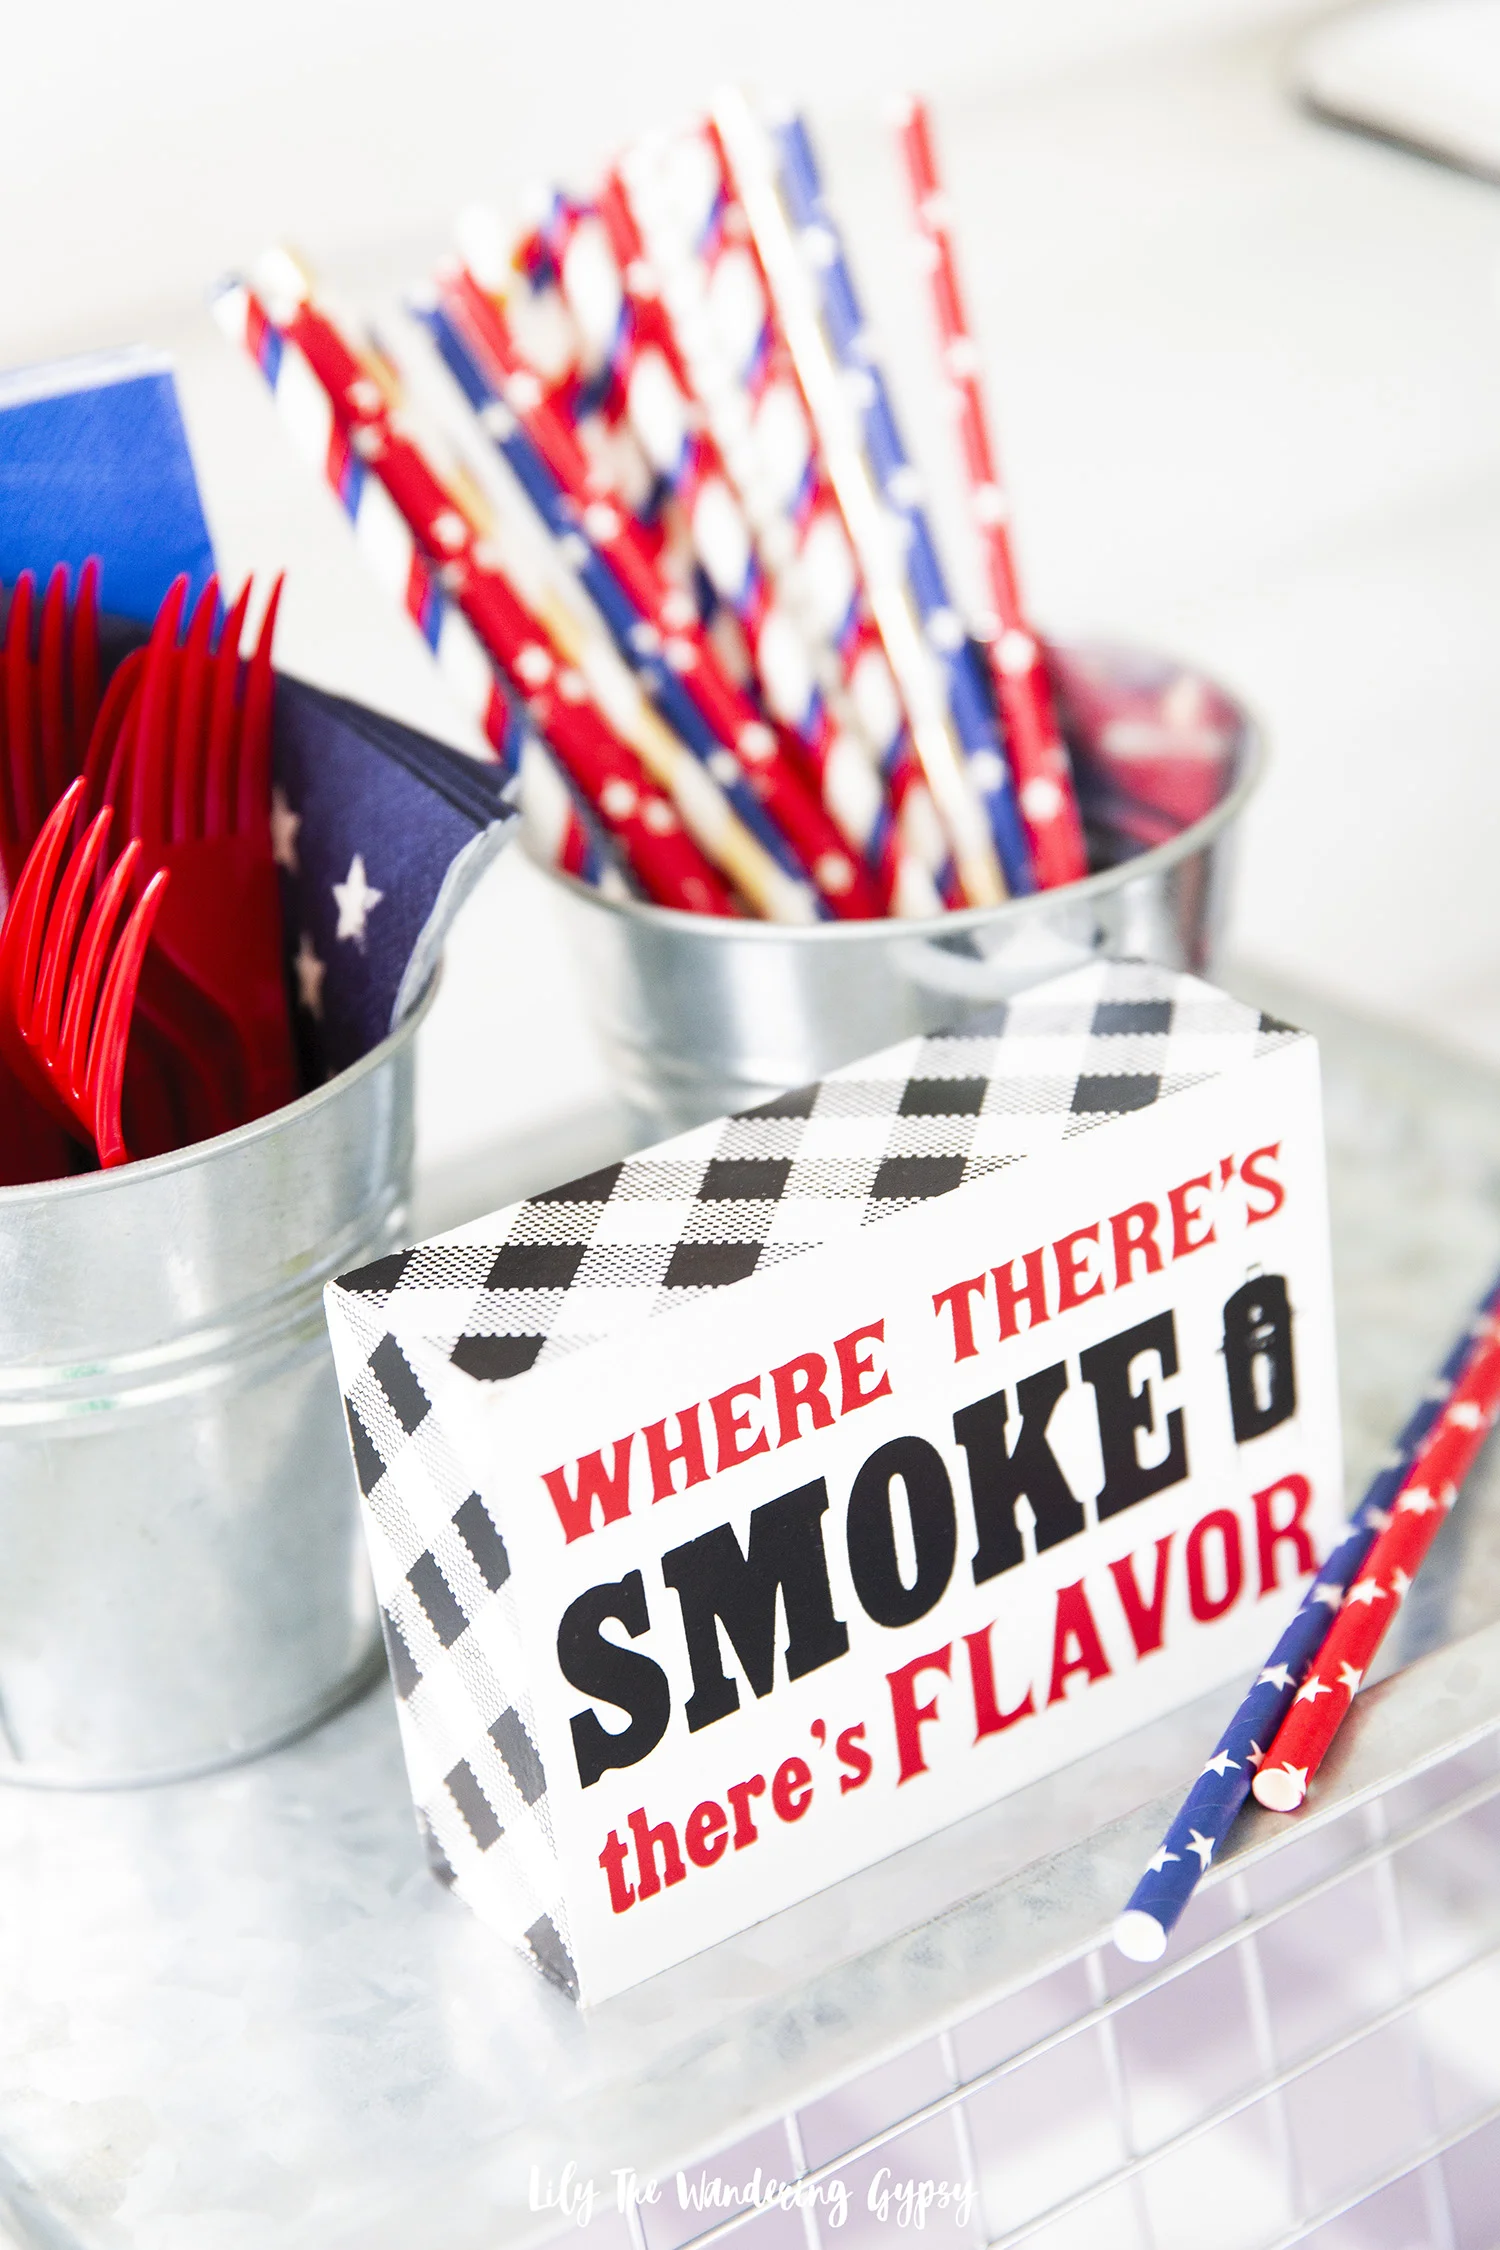
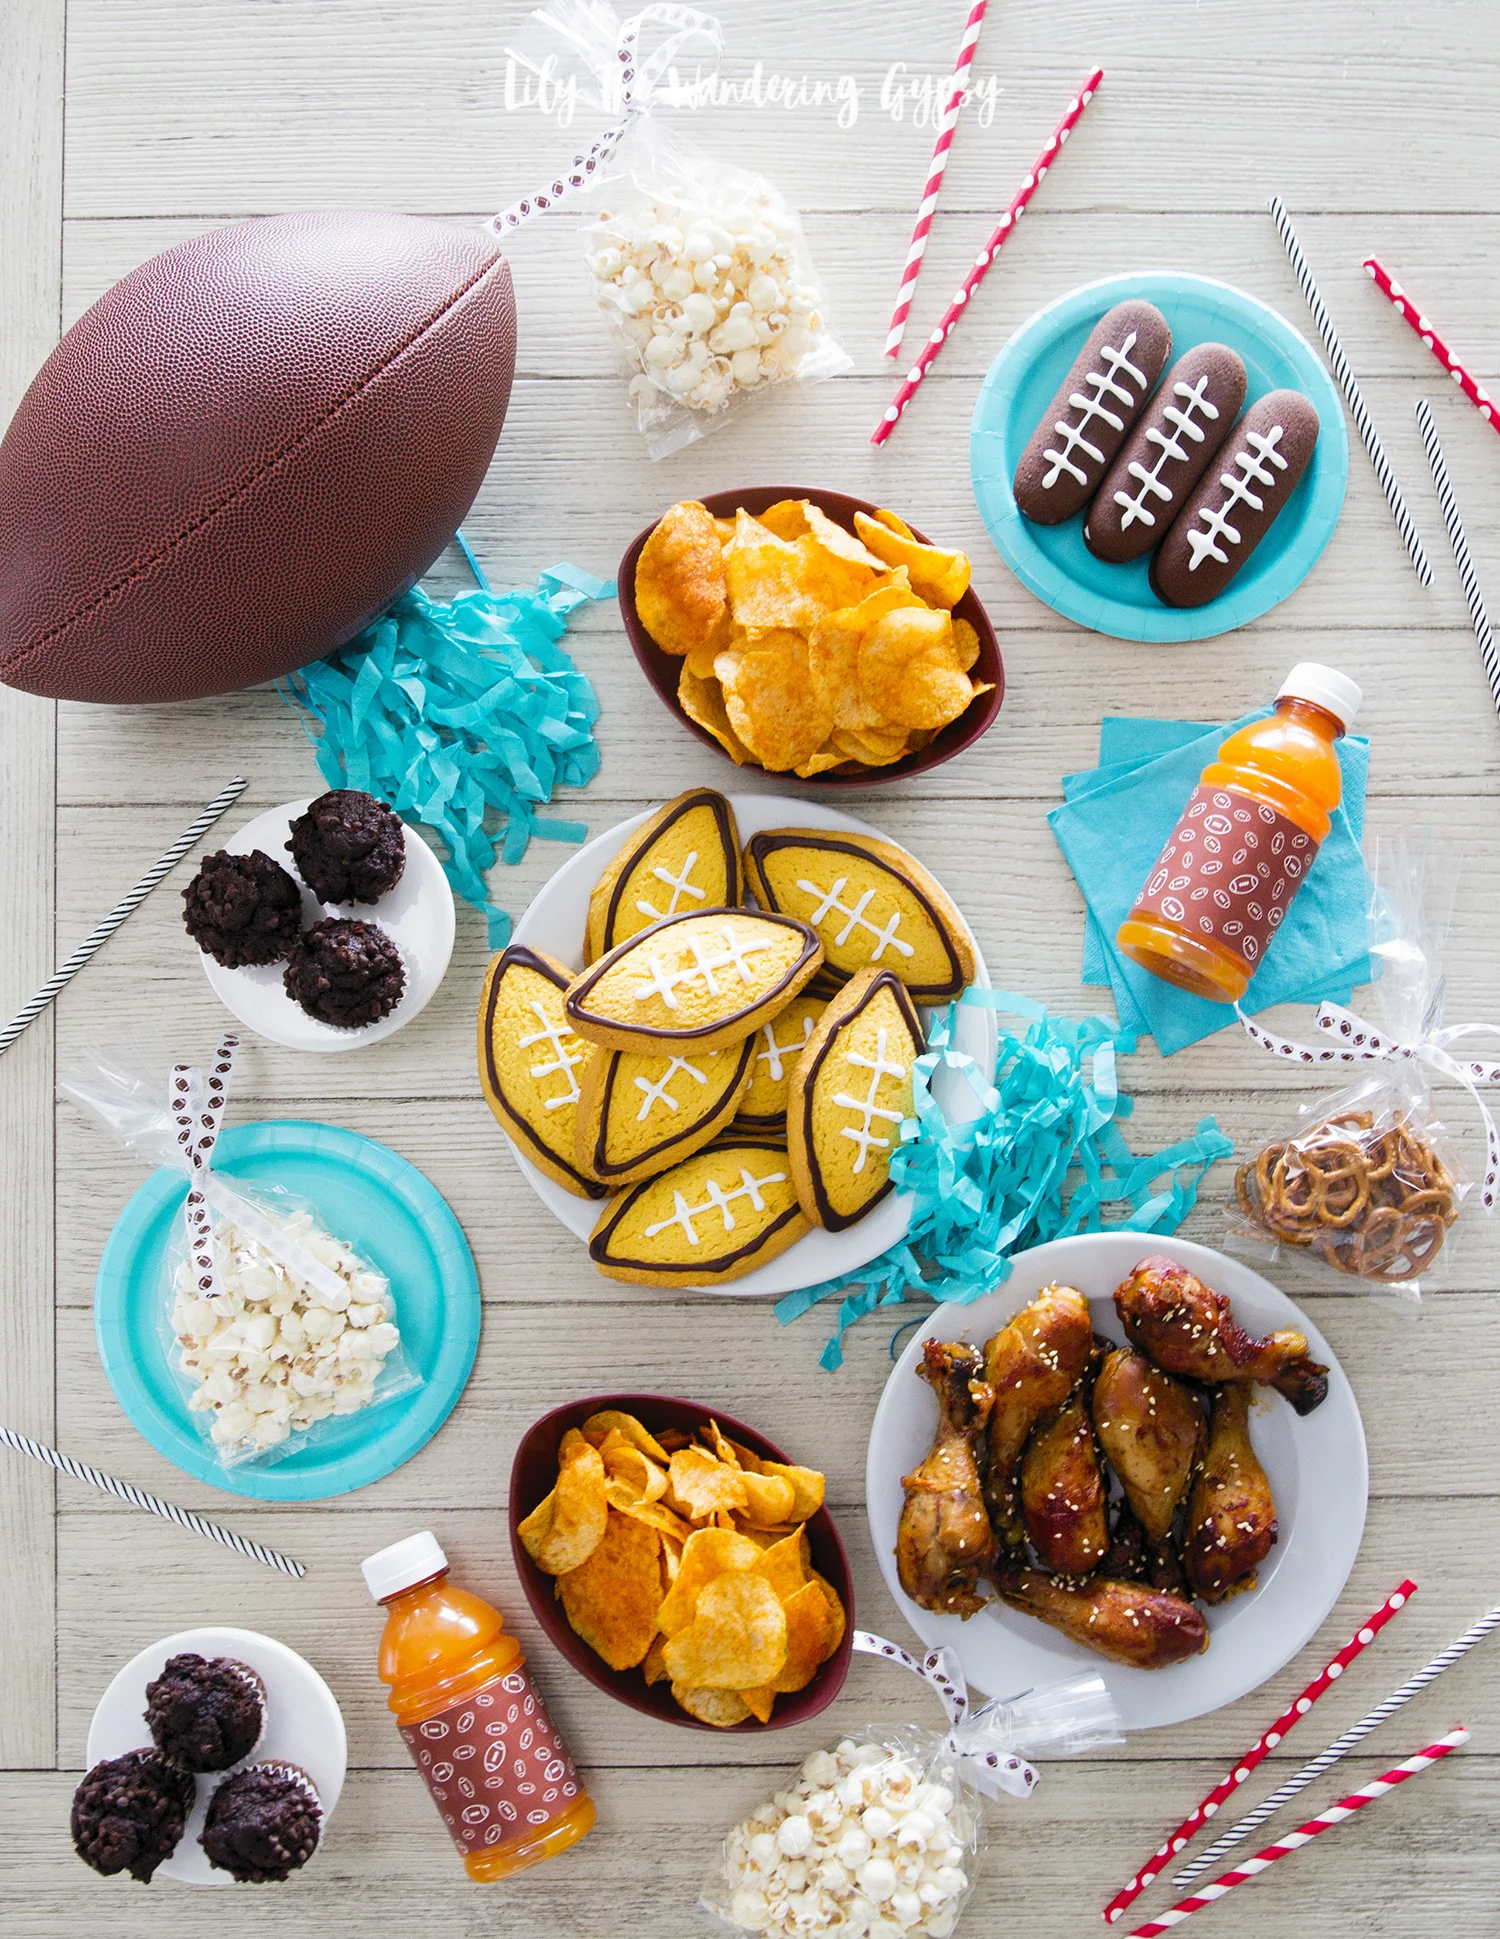
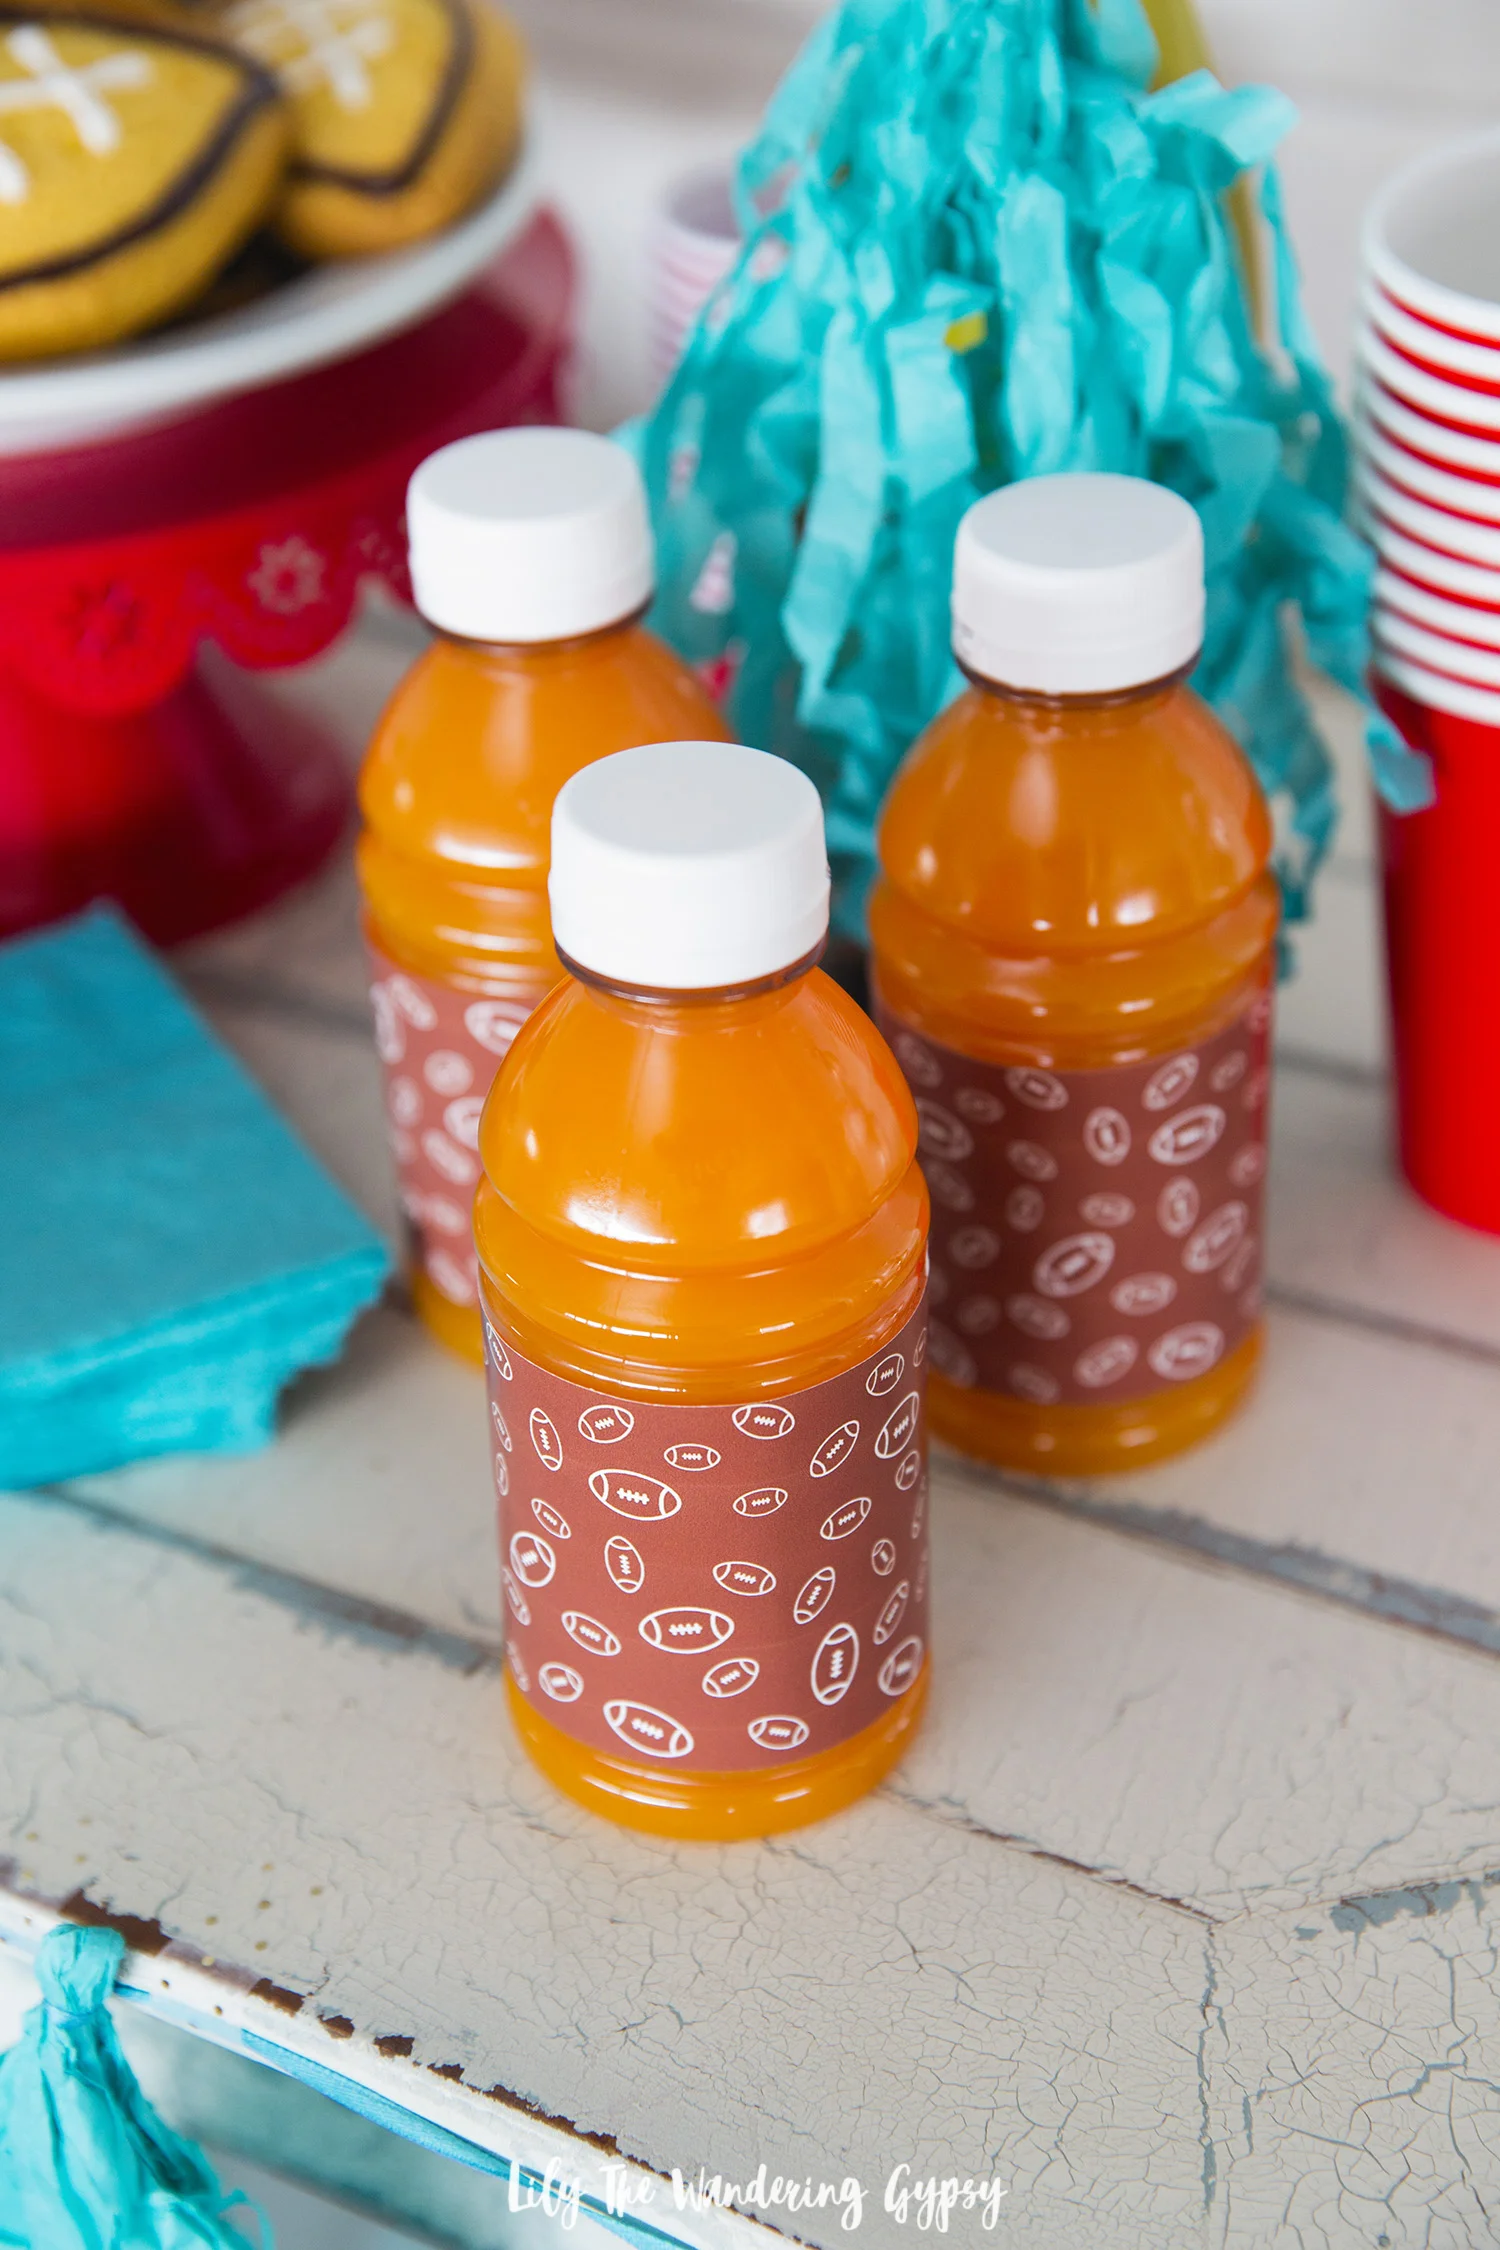
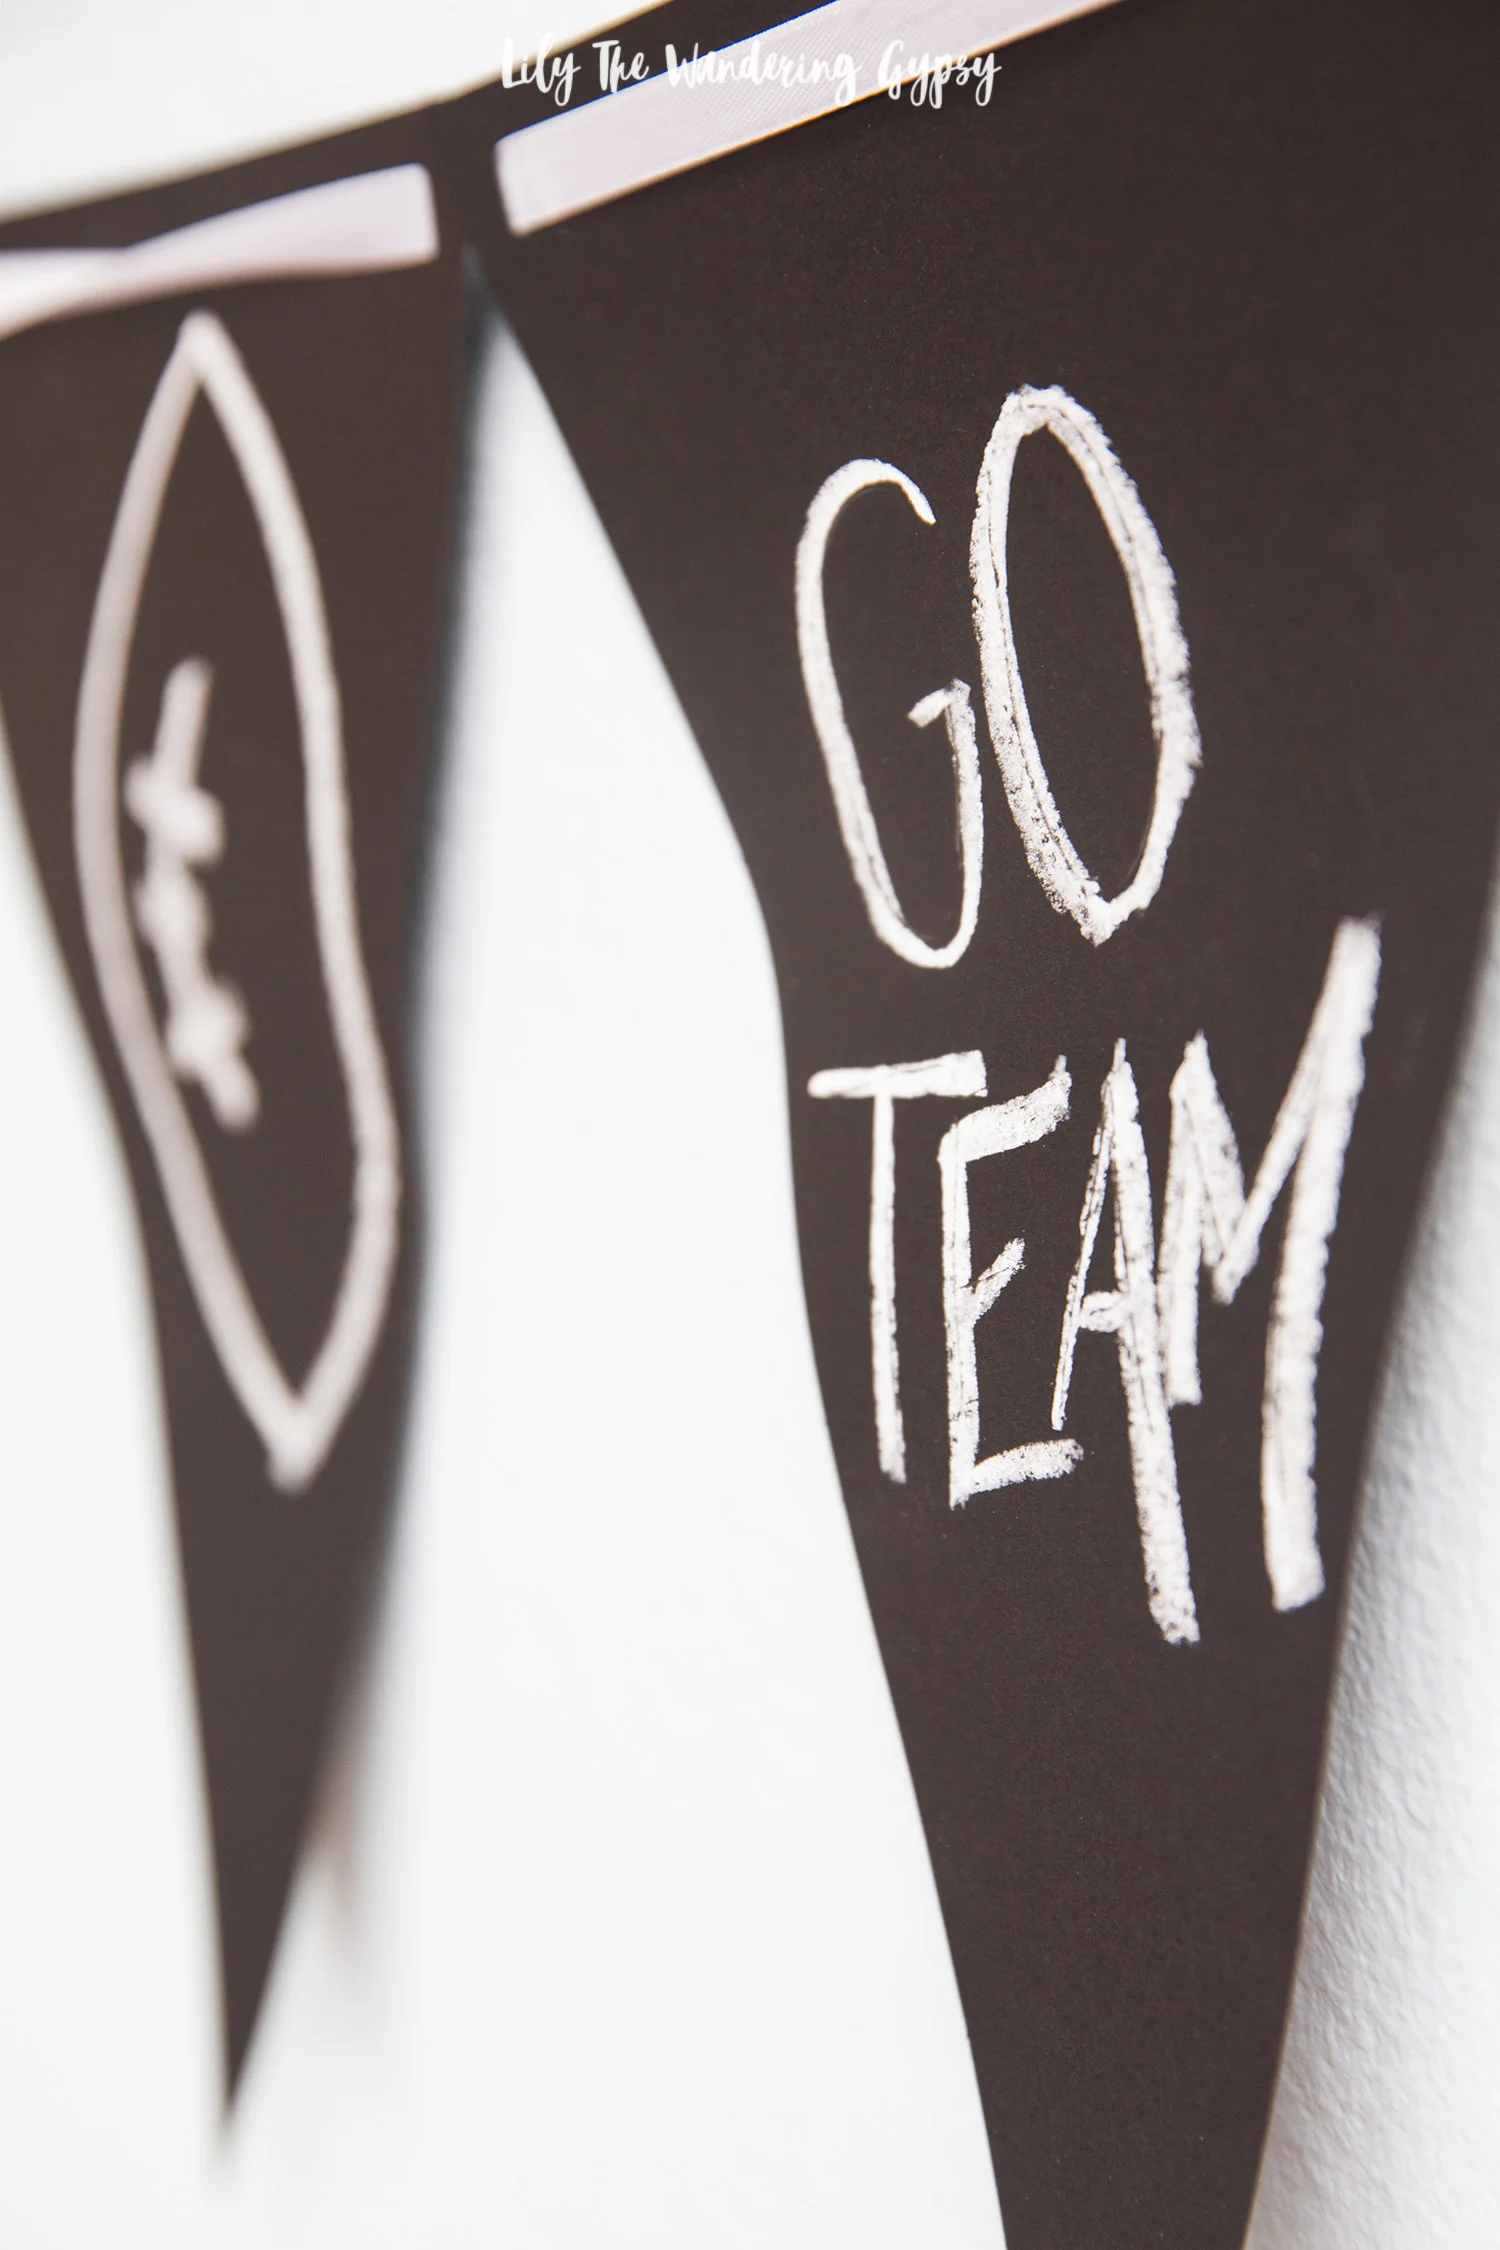
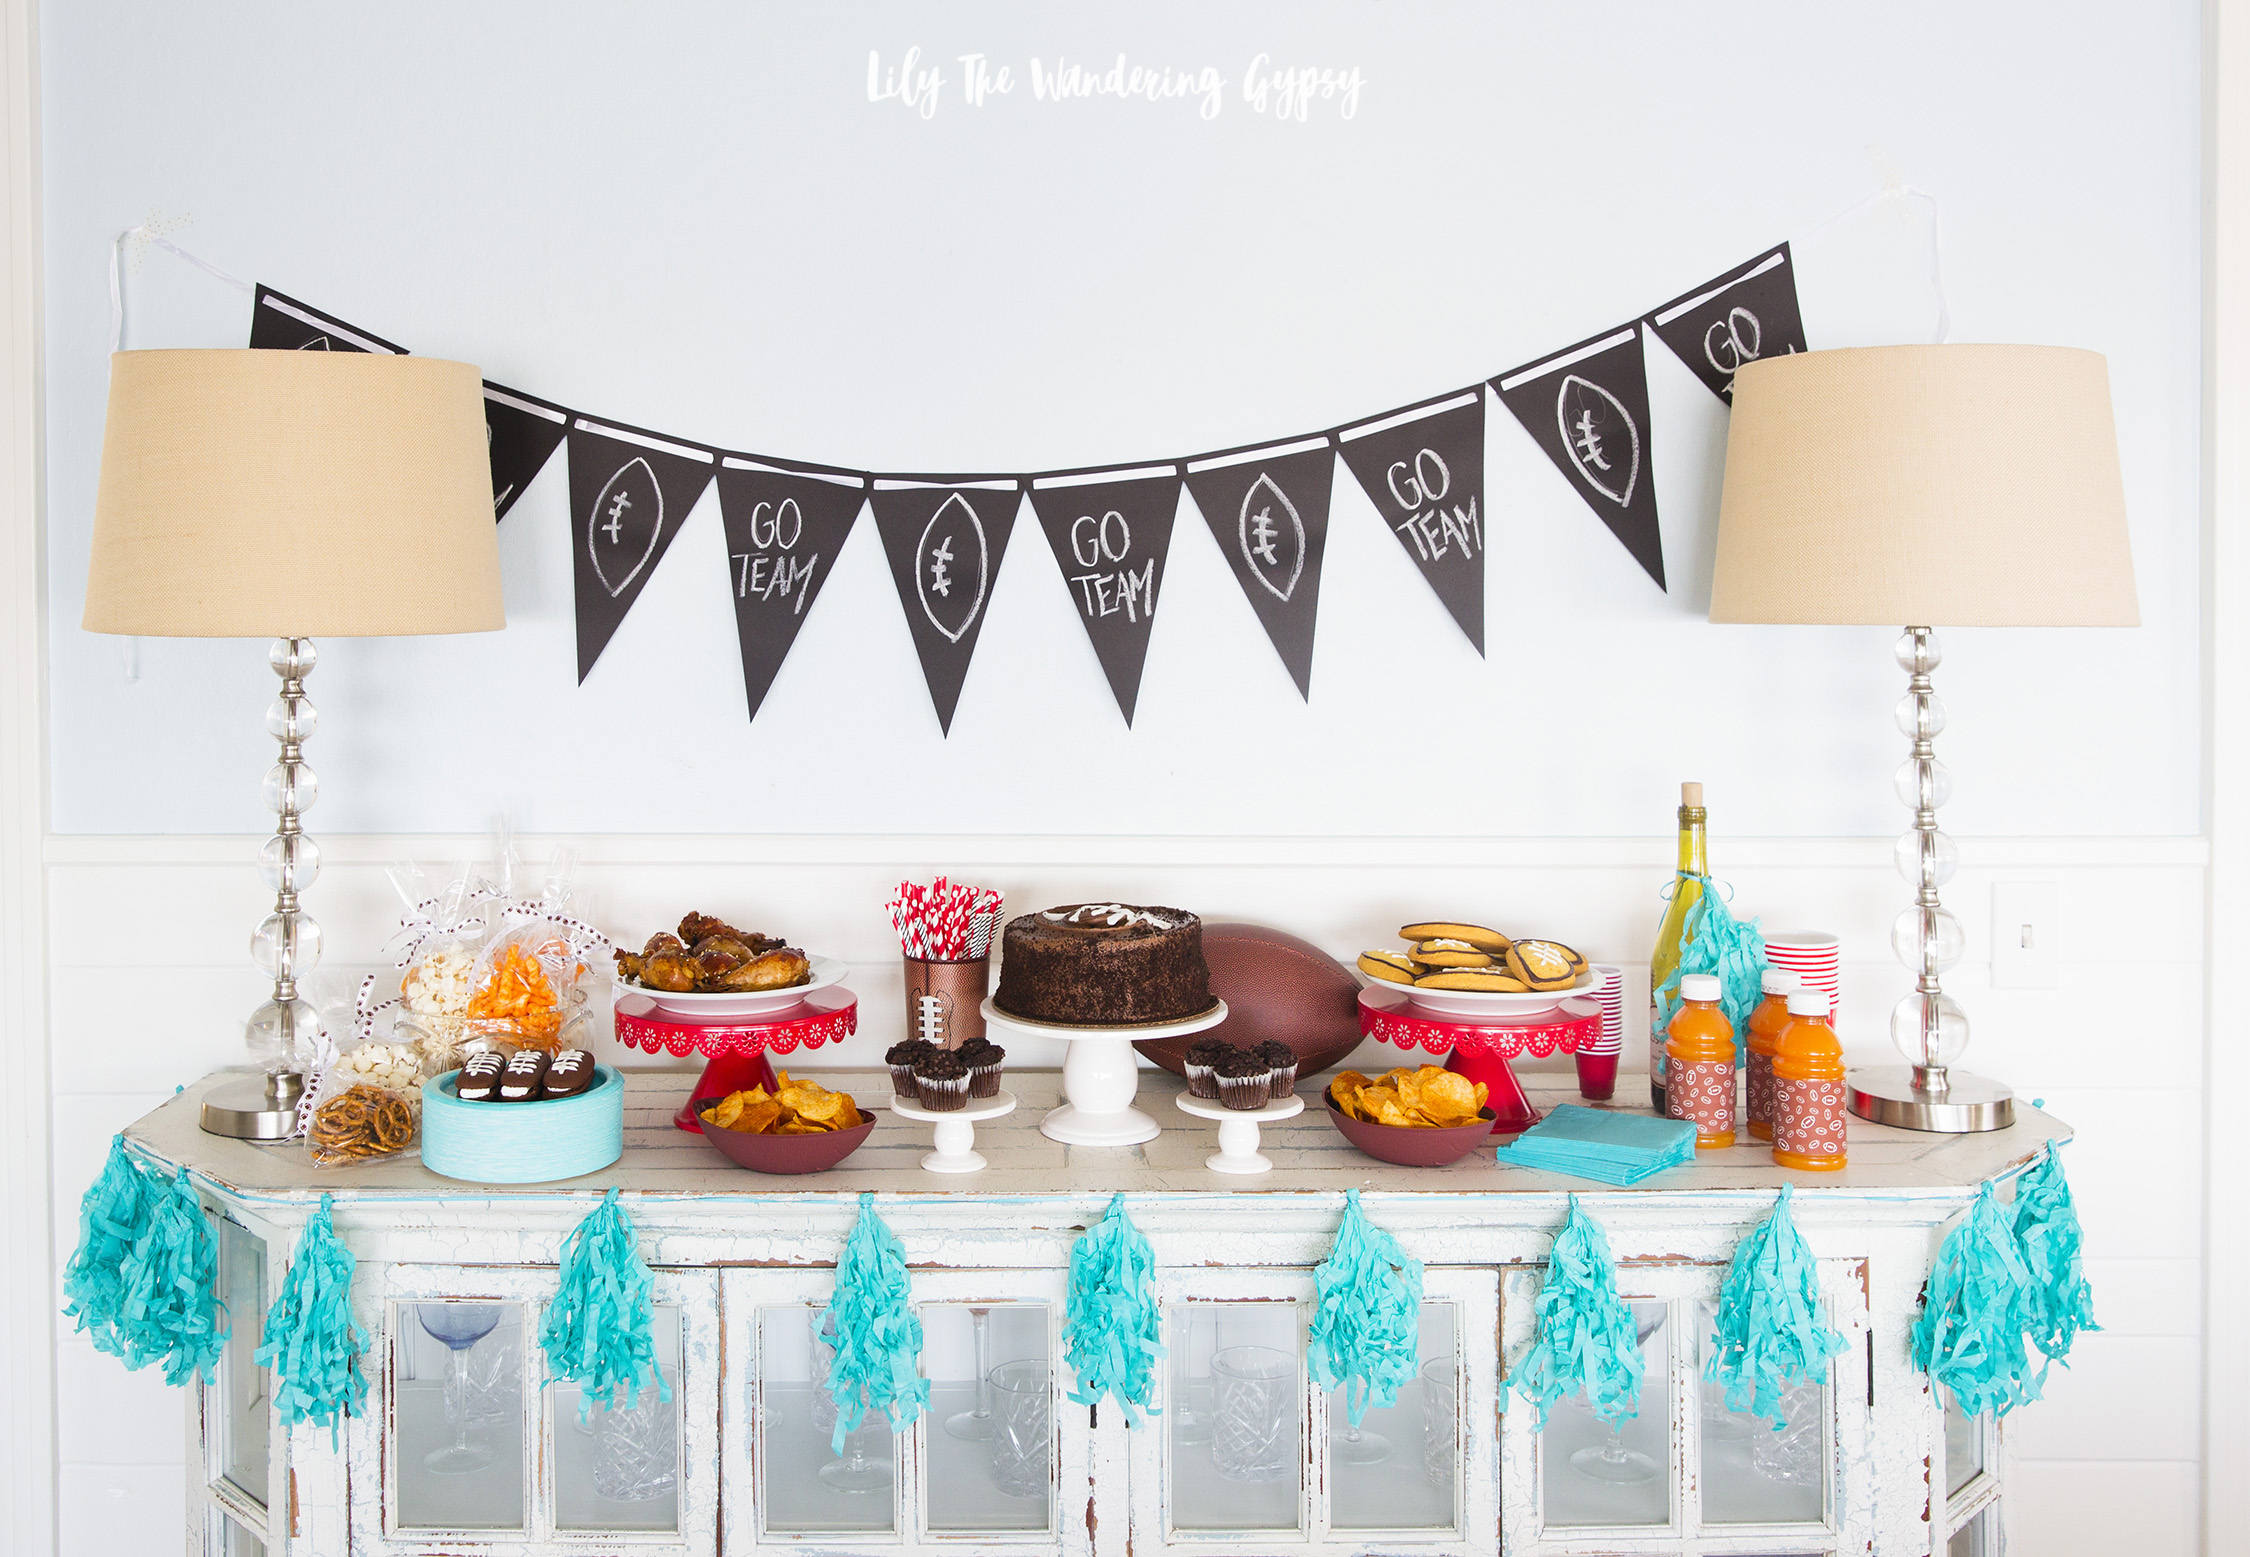
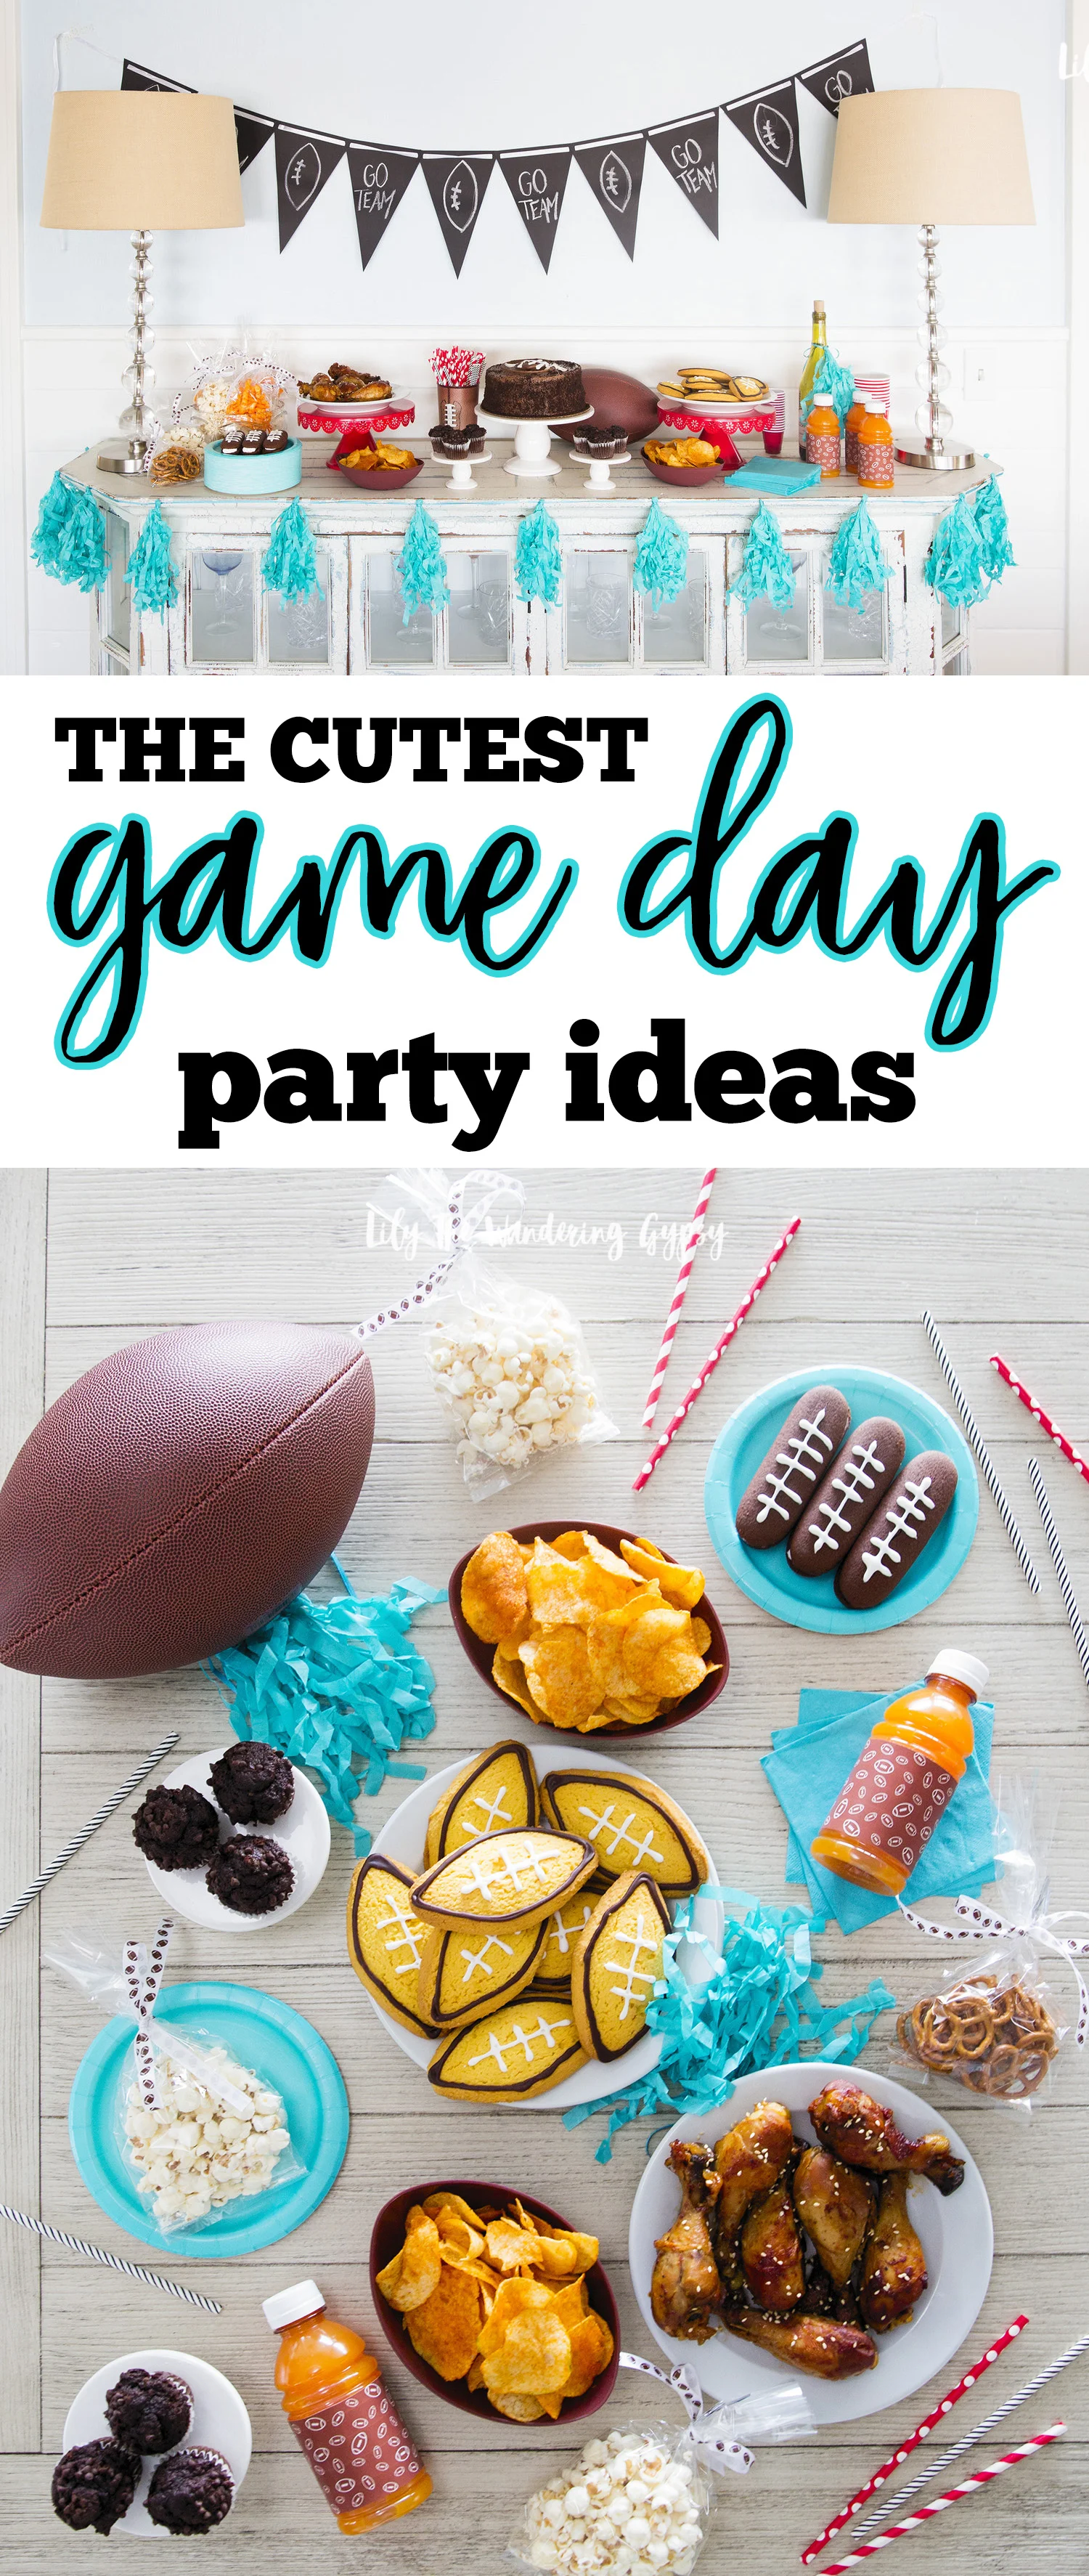
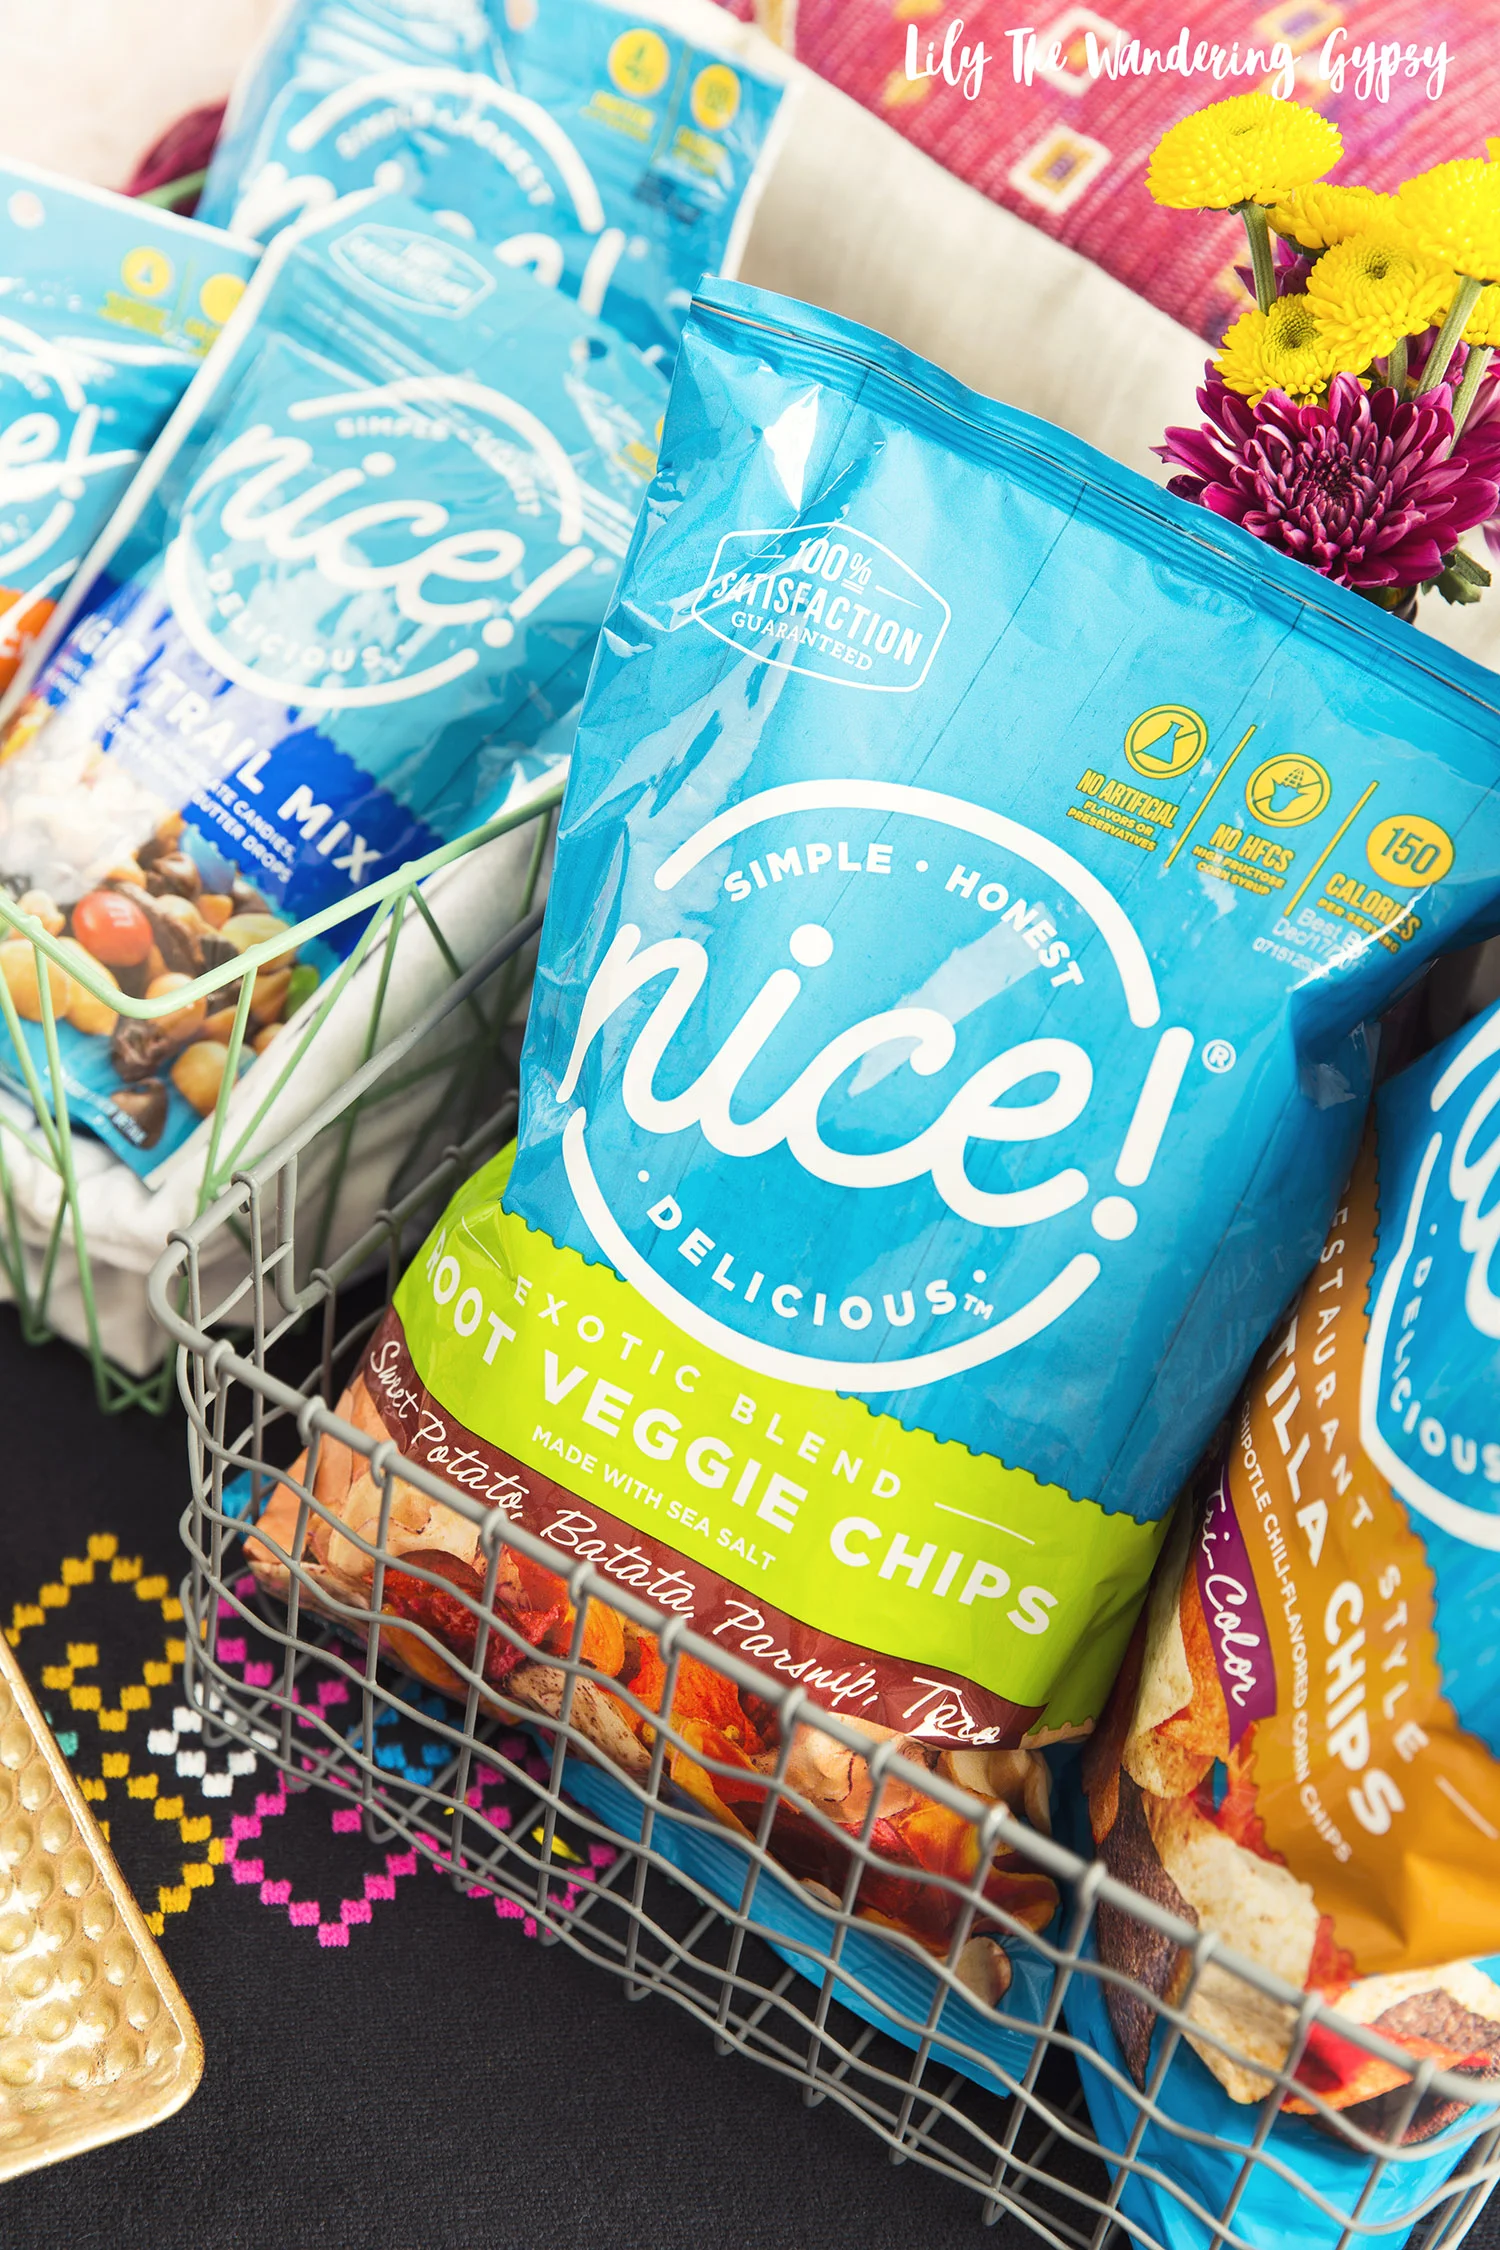
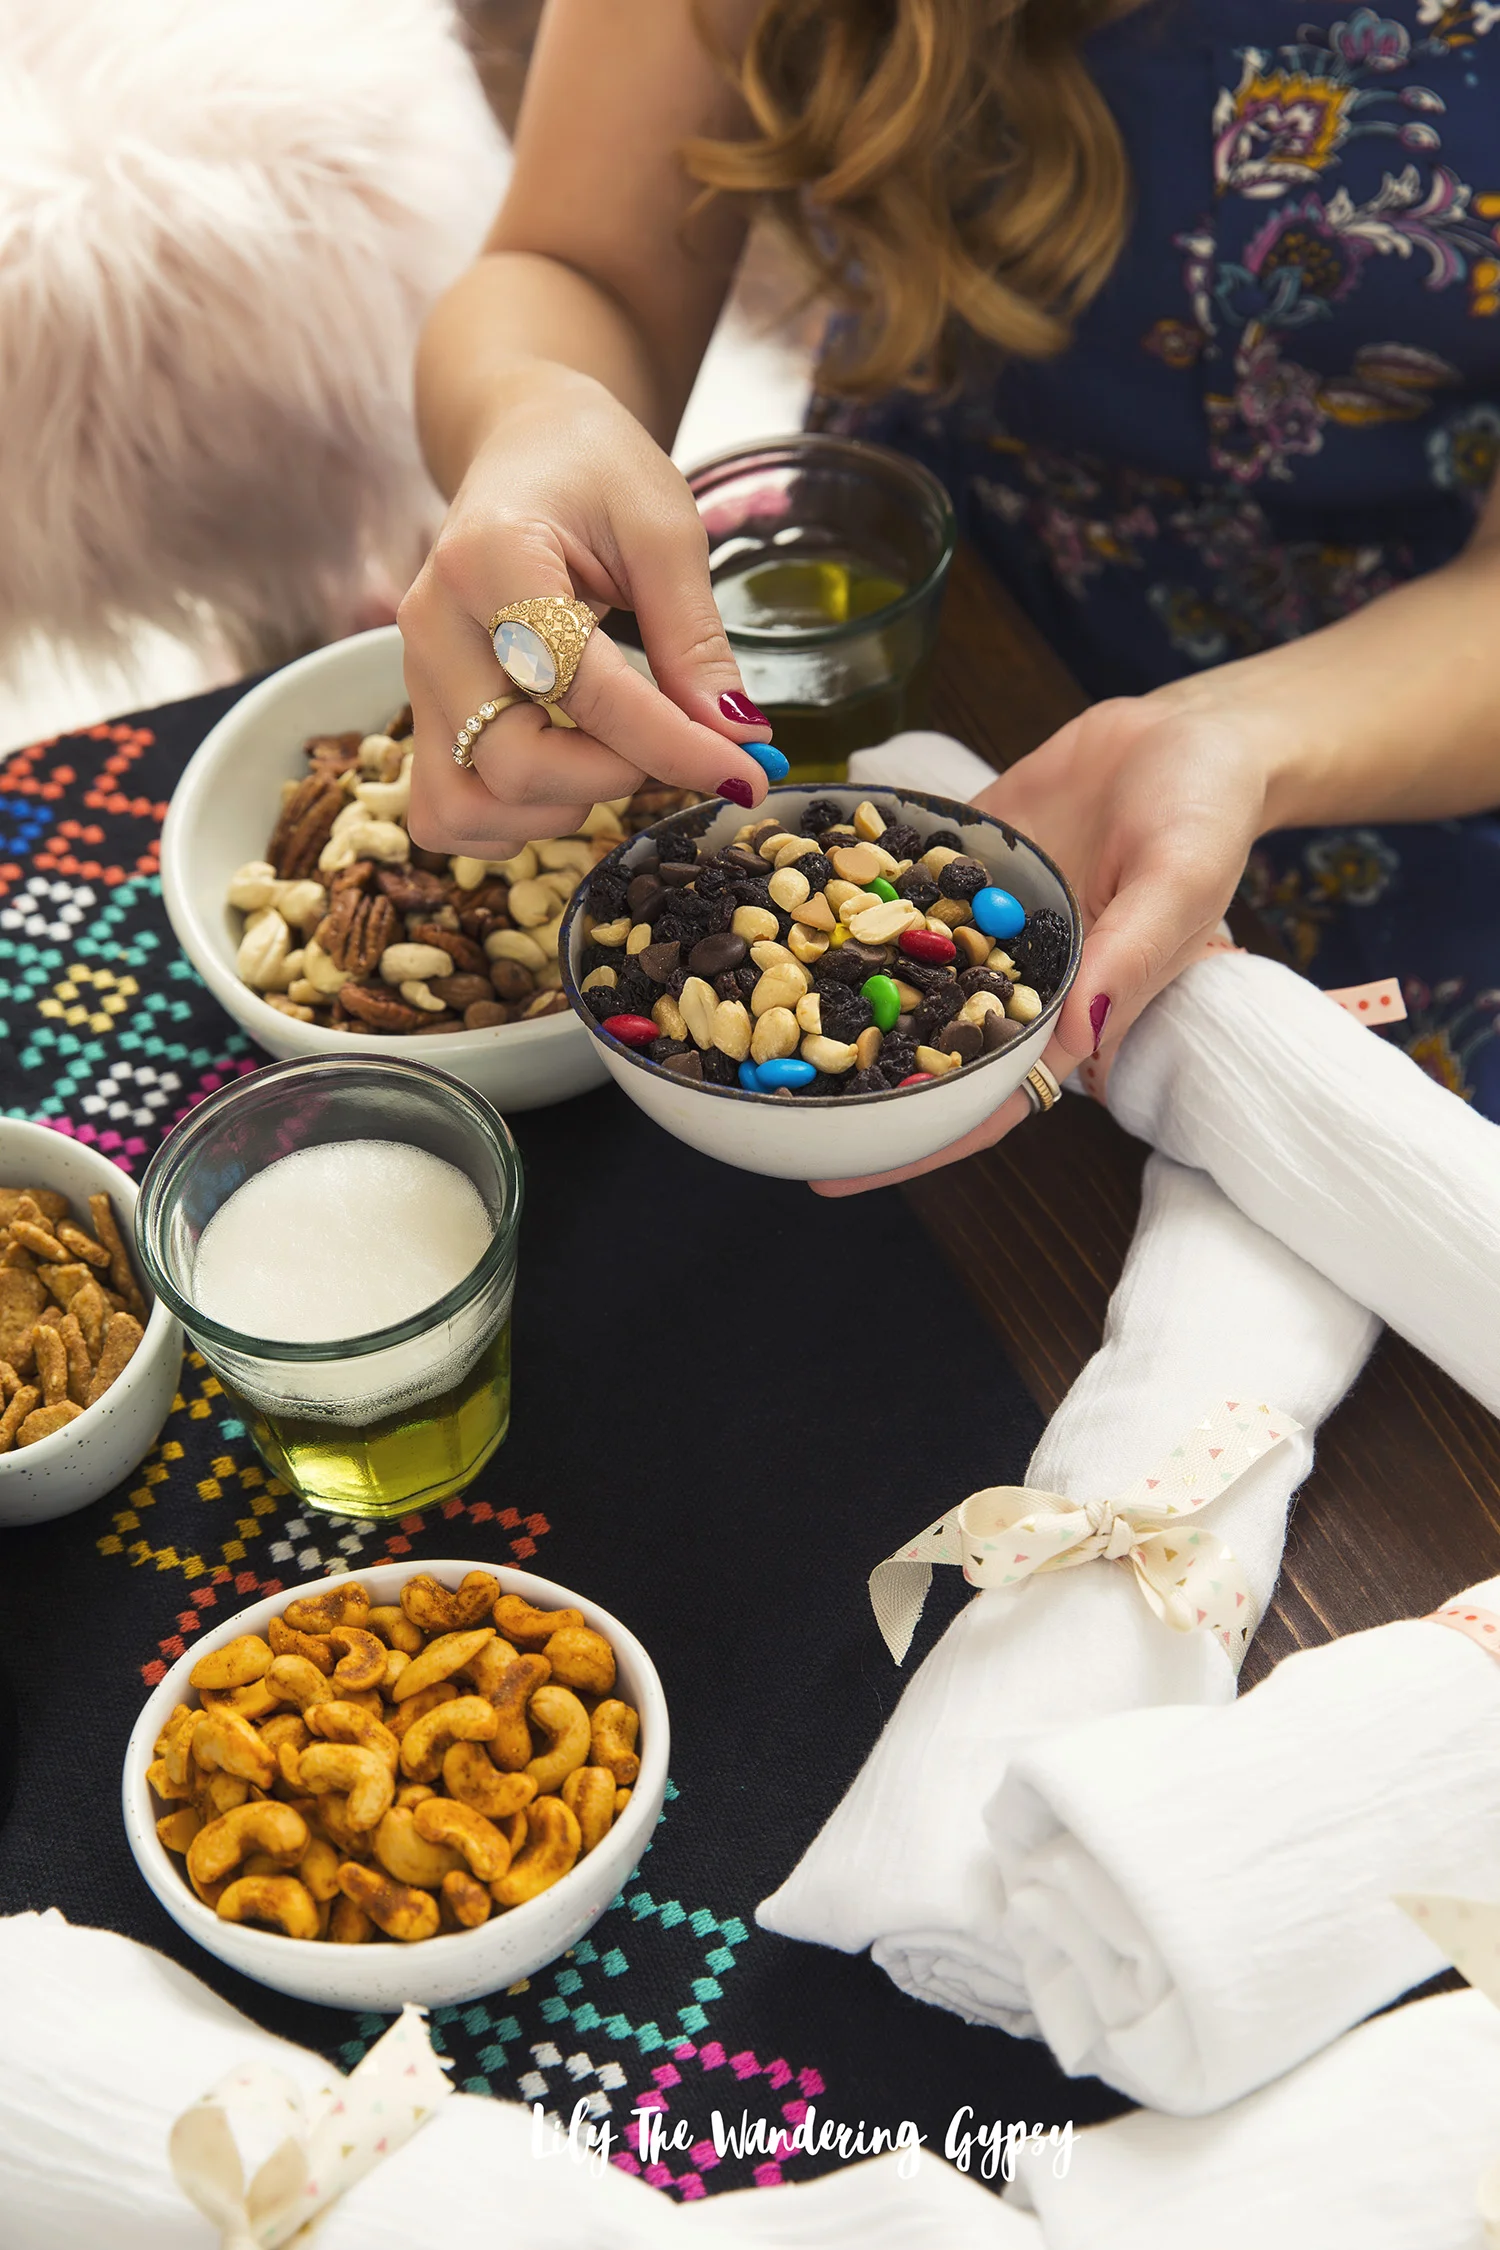
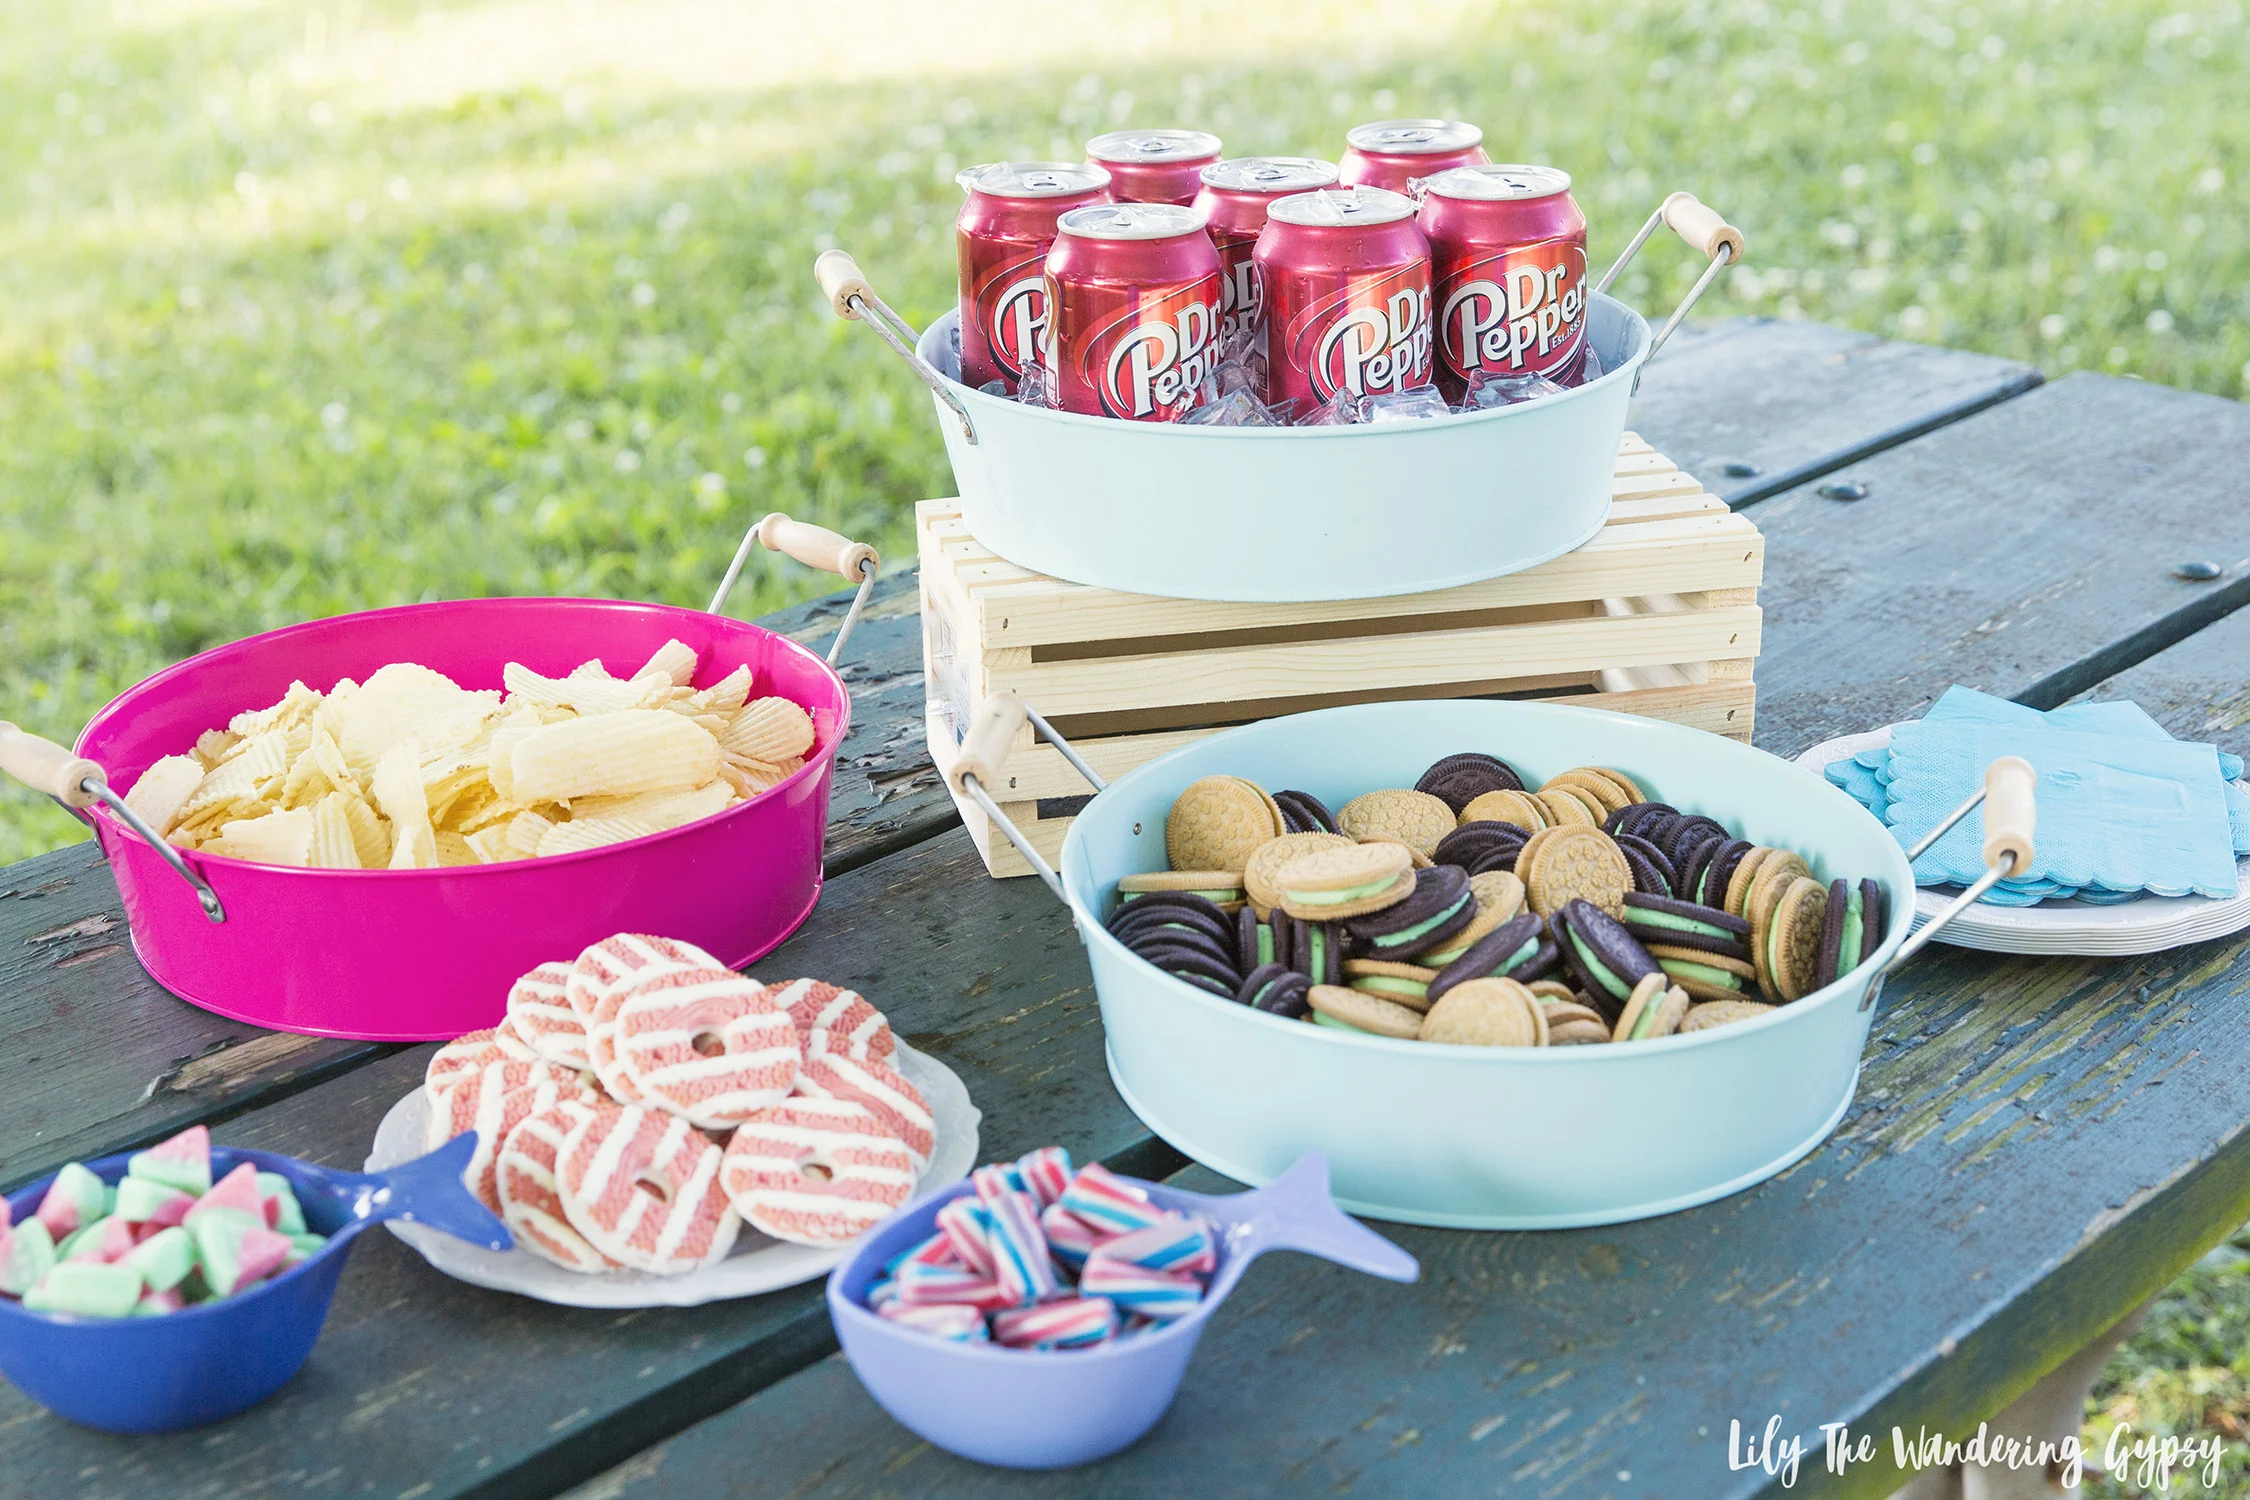
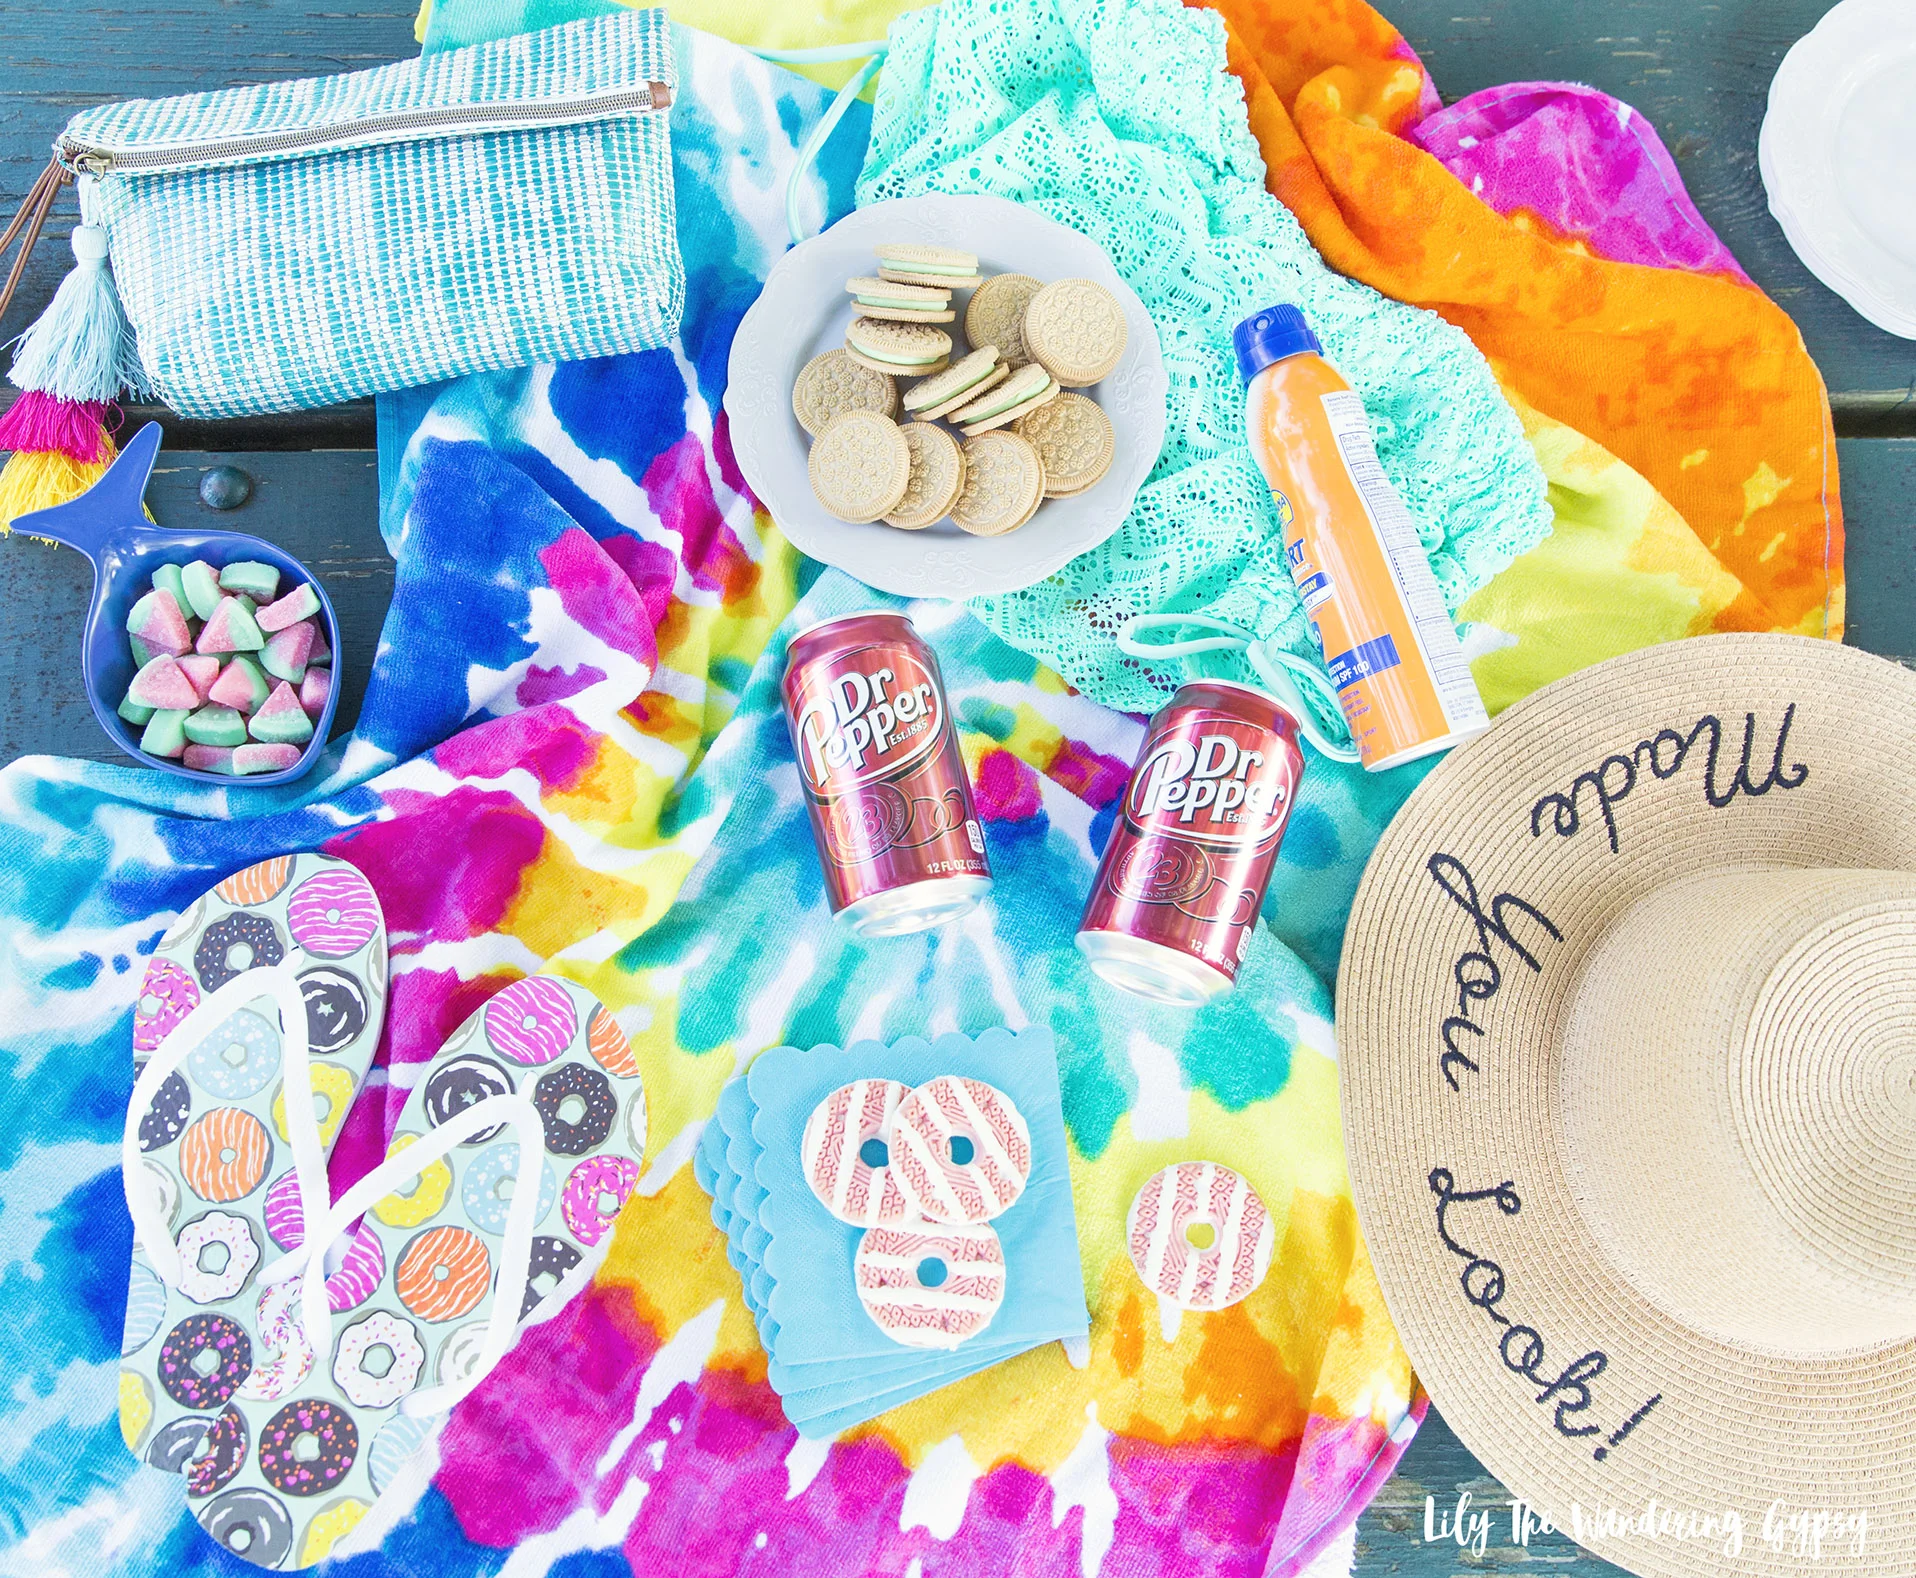
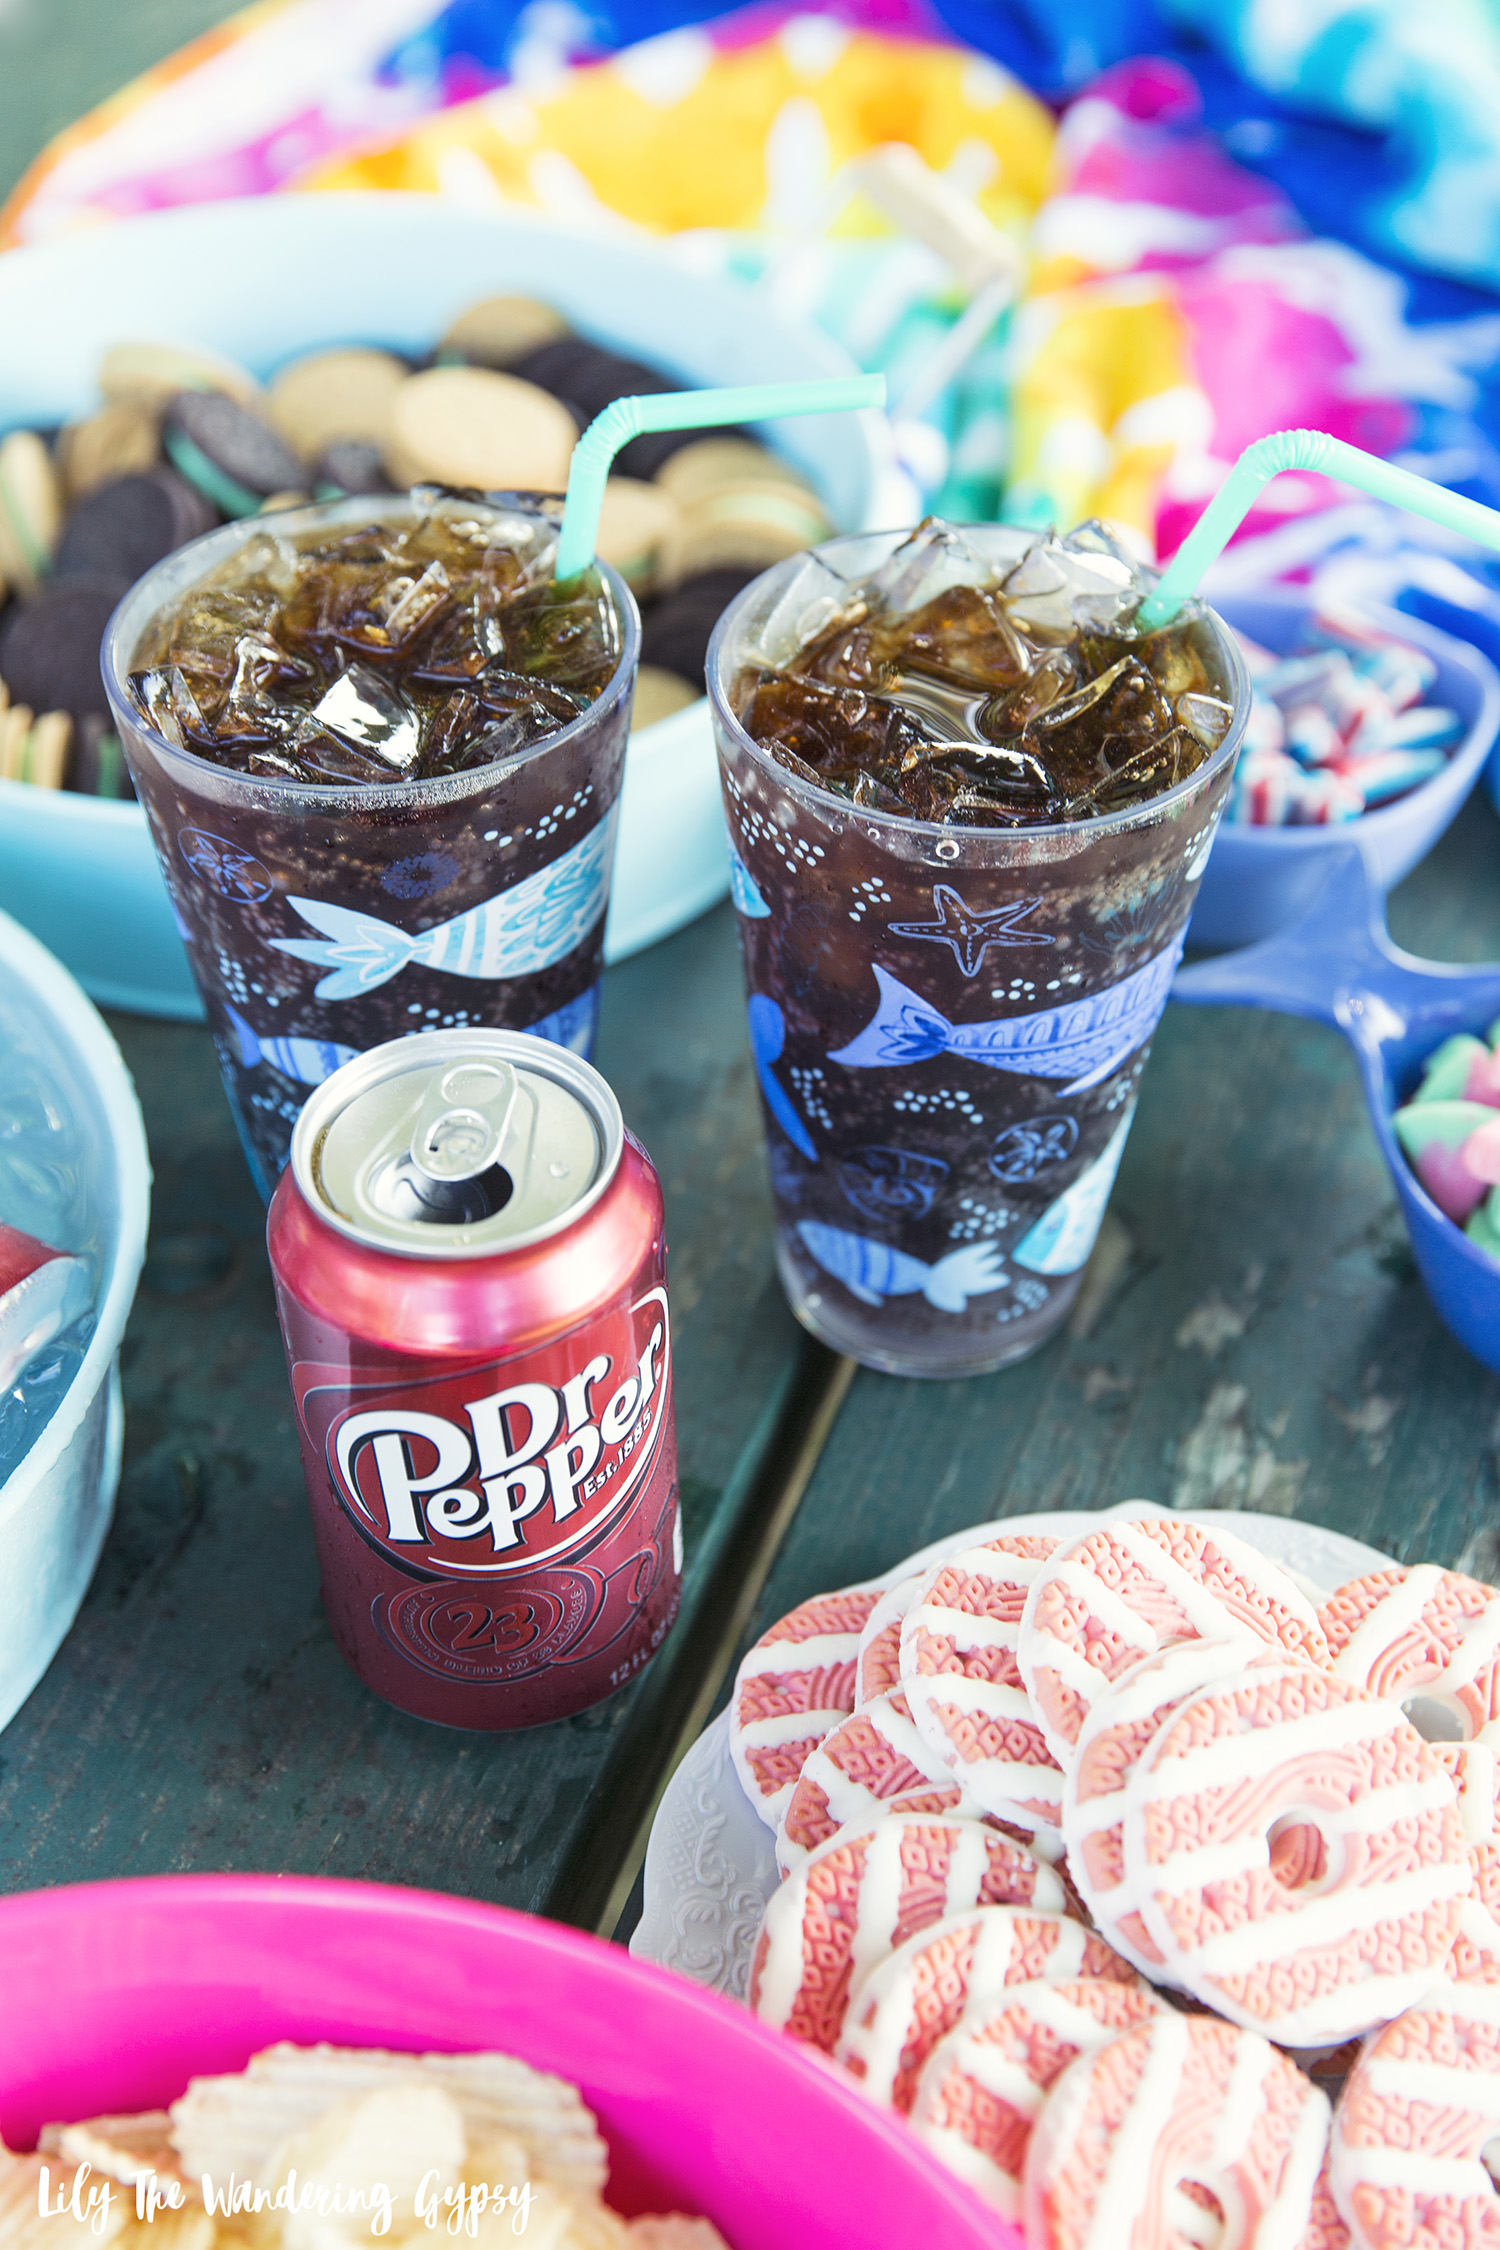
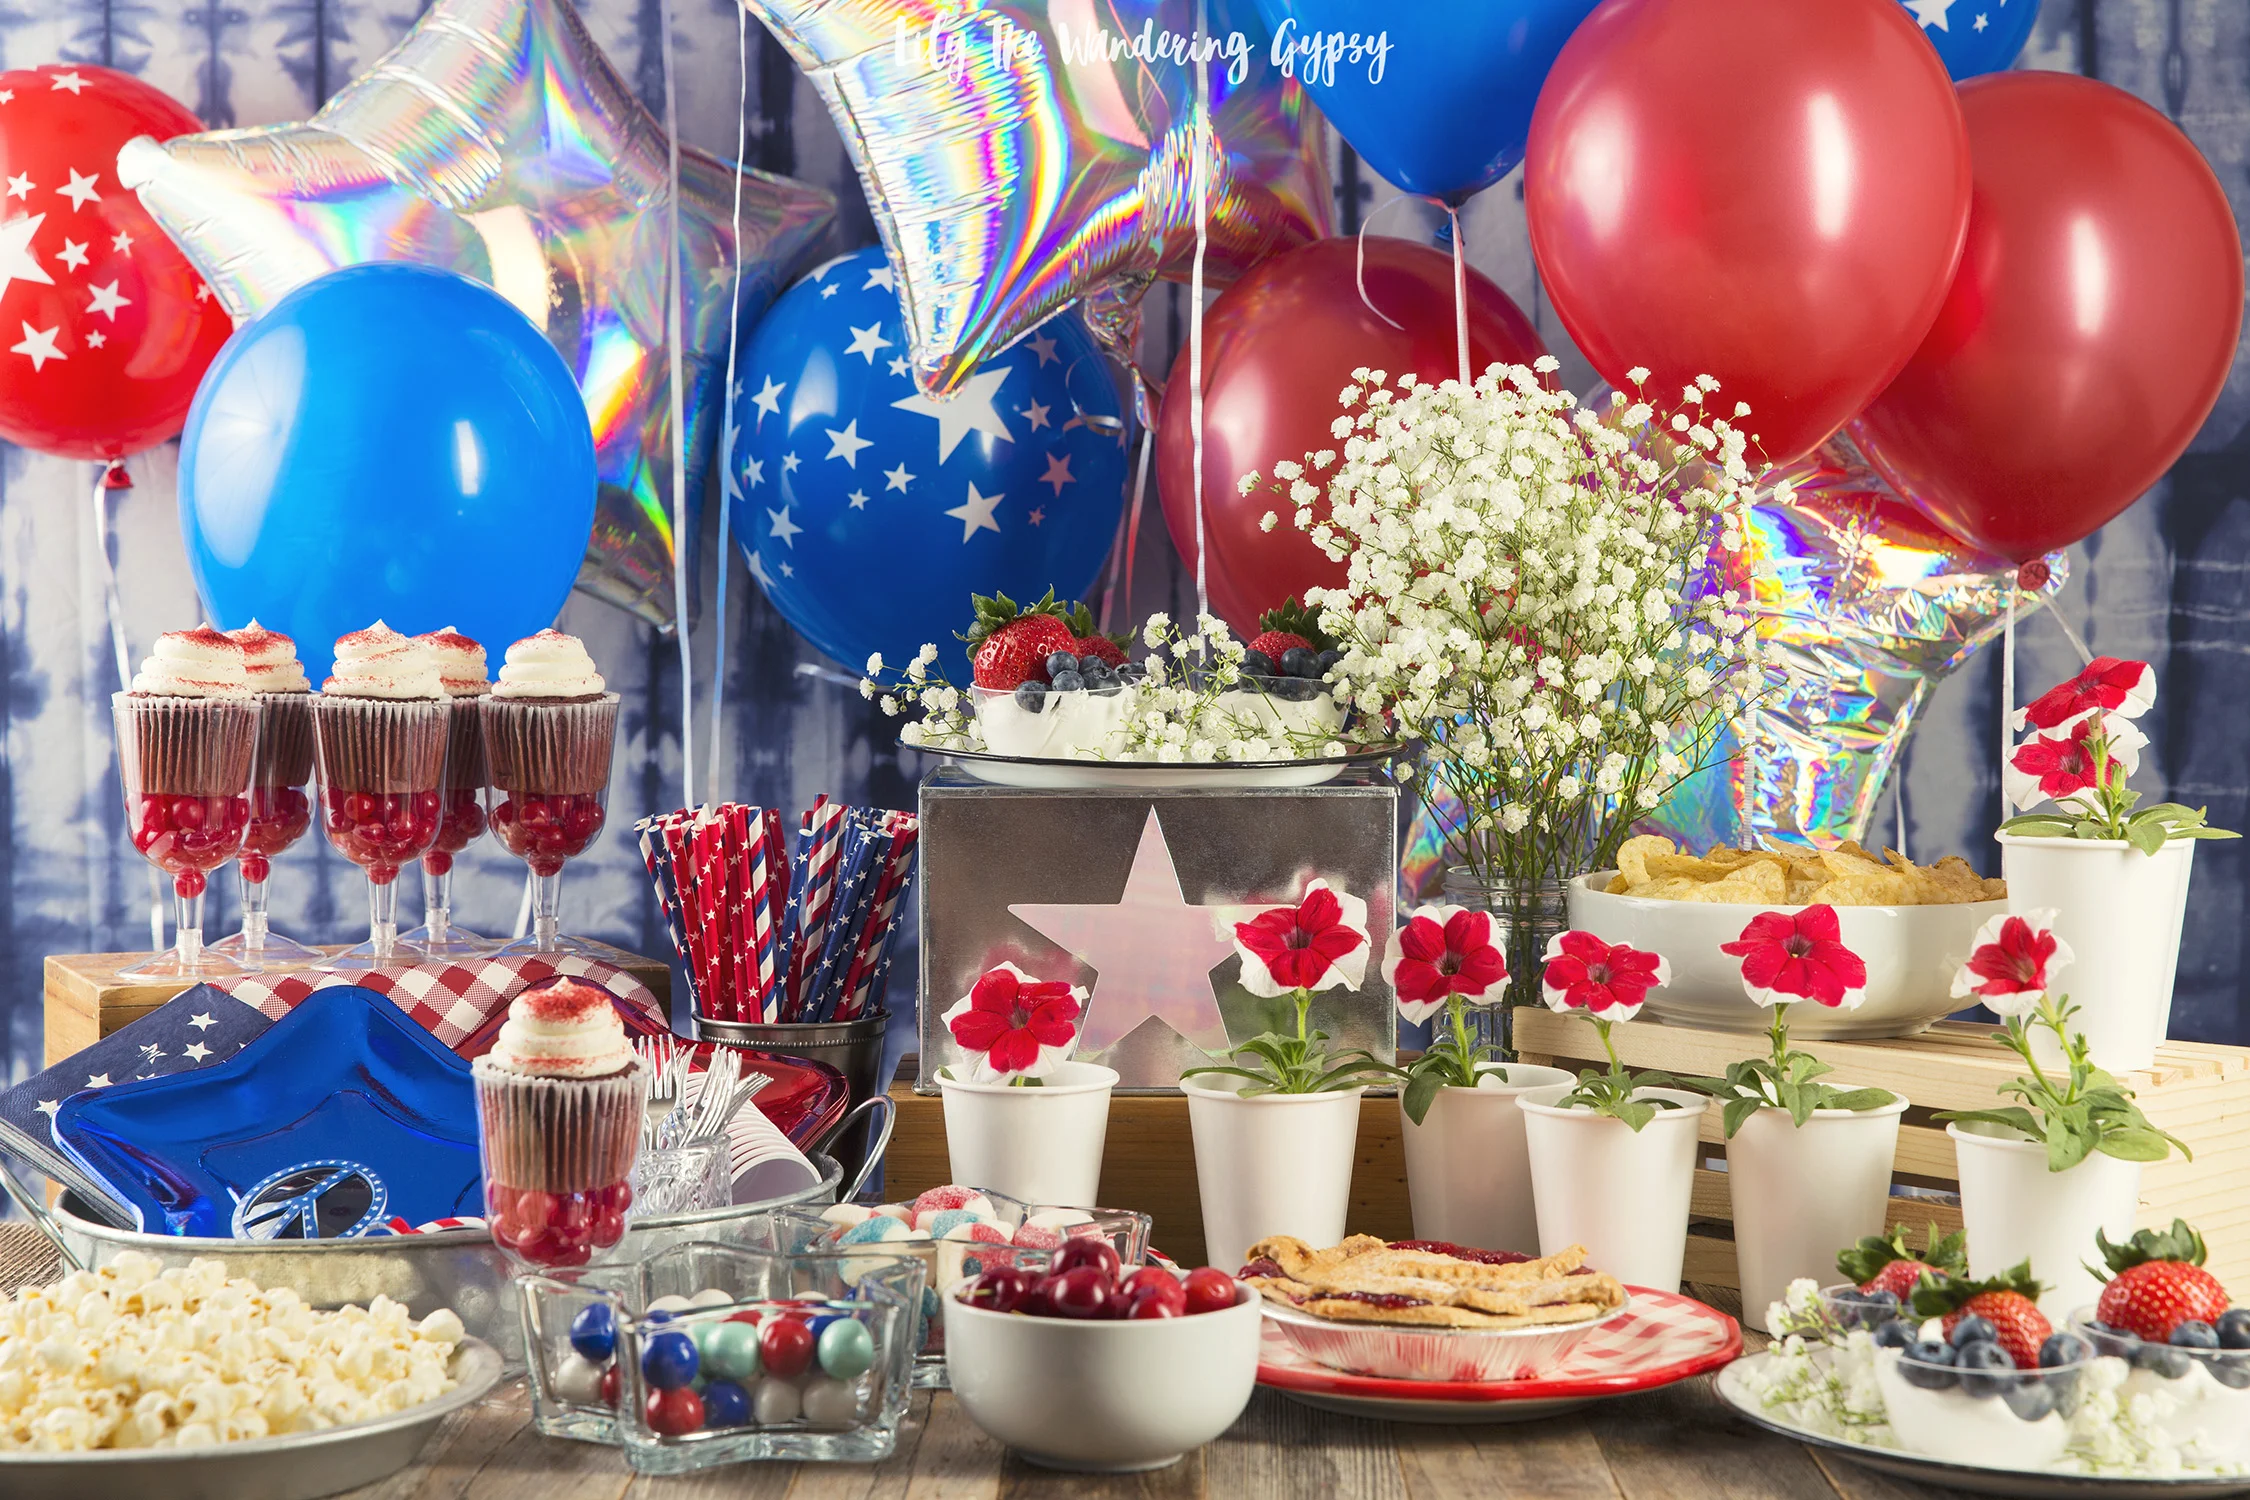
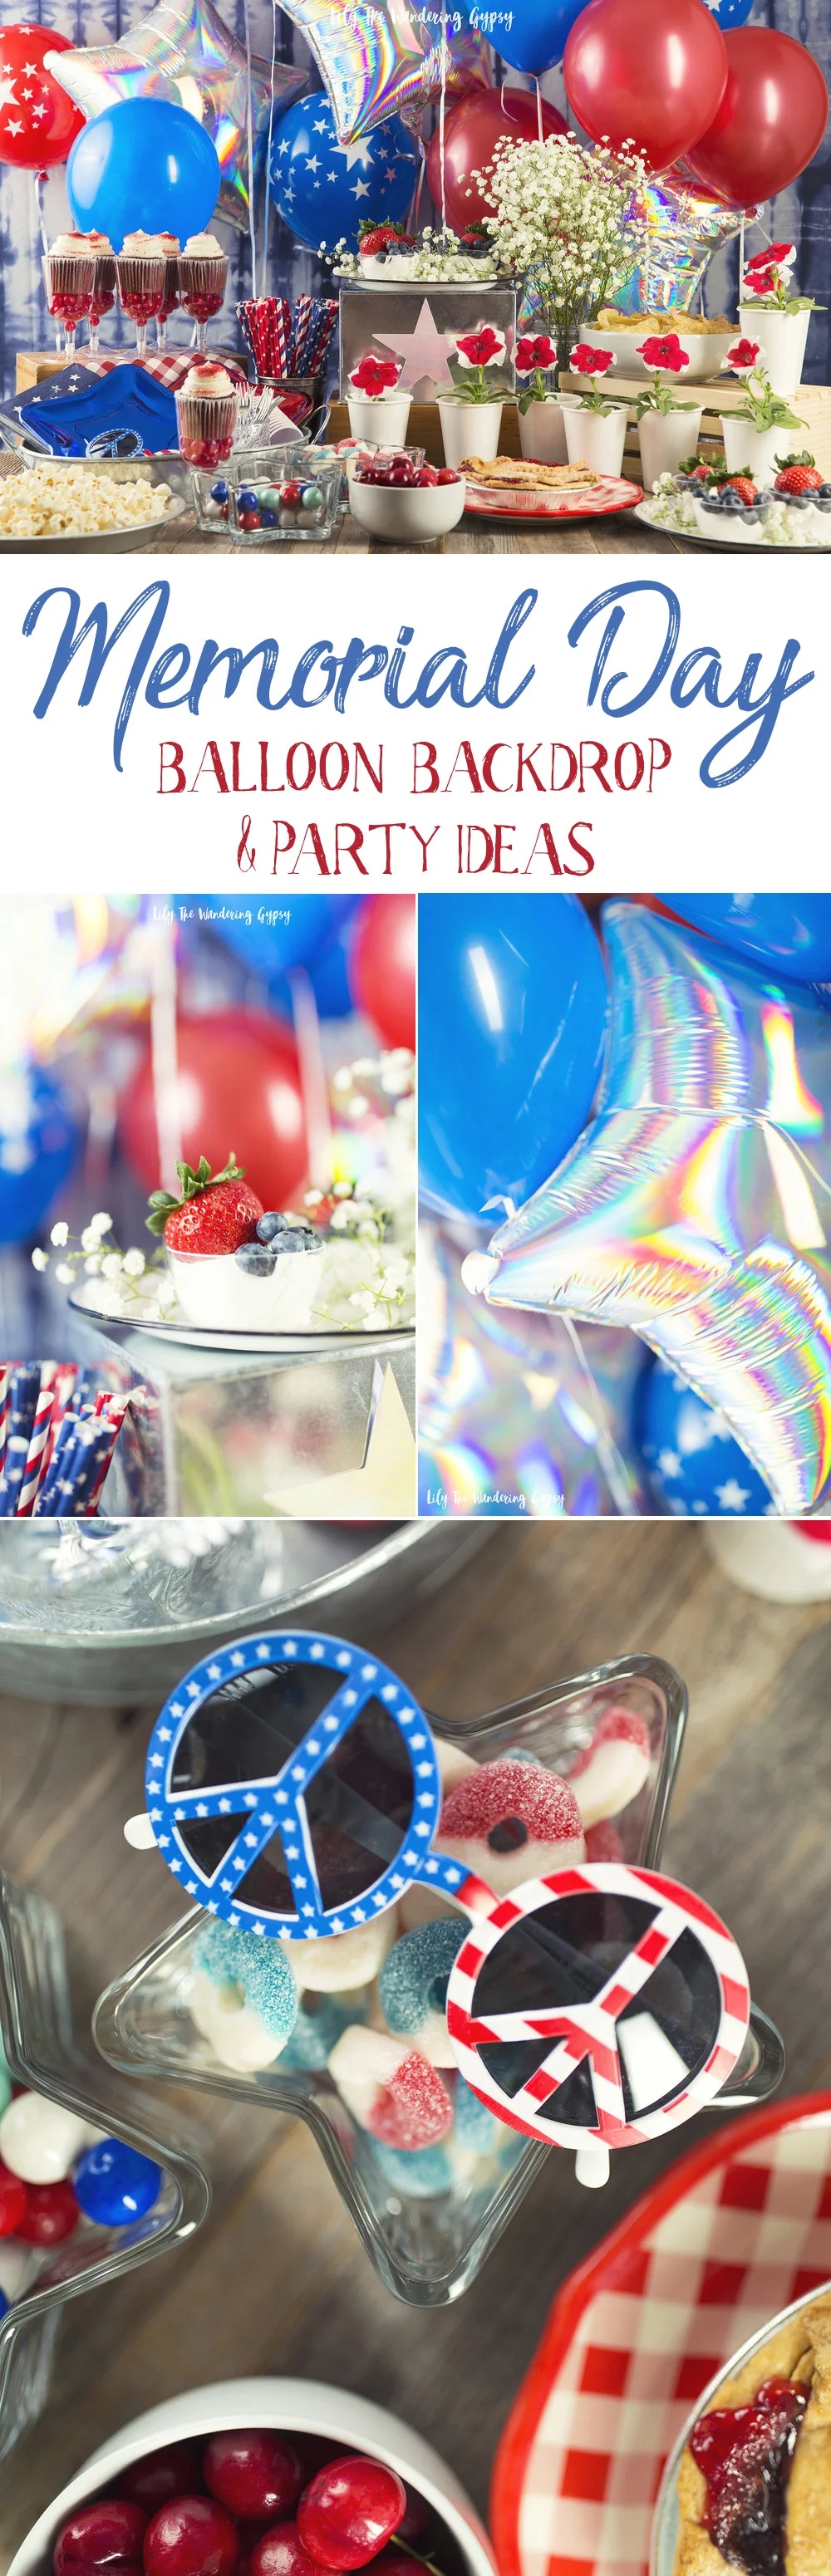
The Big Game is all about what food you put on the party spread so I have teamed up with popchips to share some cute and easy decor ideas, as well as hassle free food ideas for homegating and viewing parties THIS SUNDAY!!! Who are YOU rooting for?

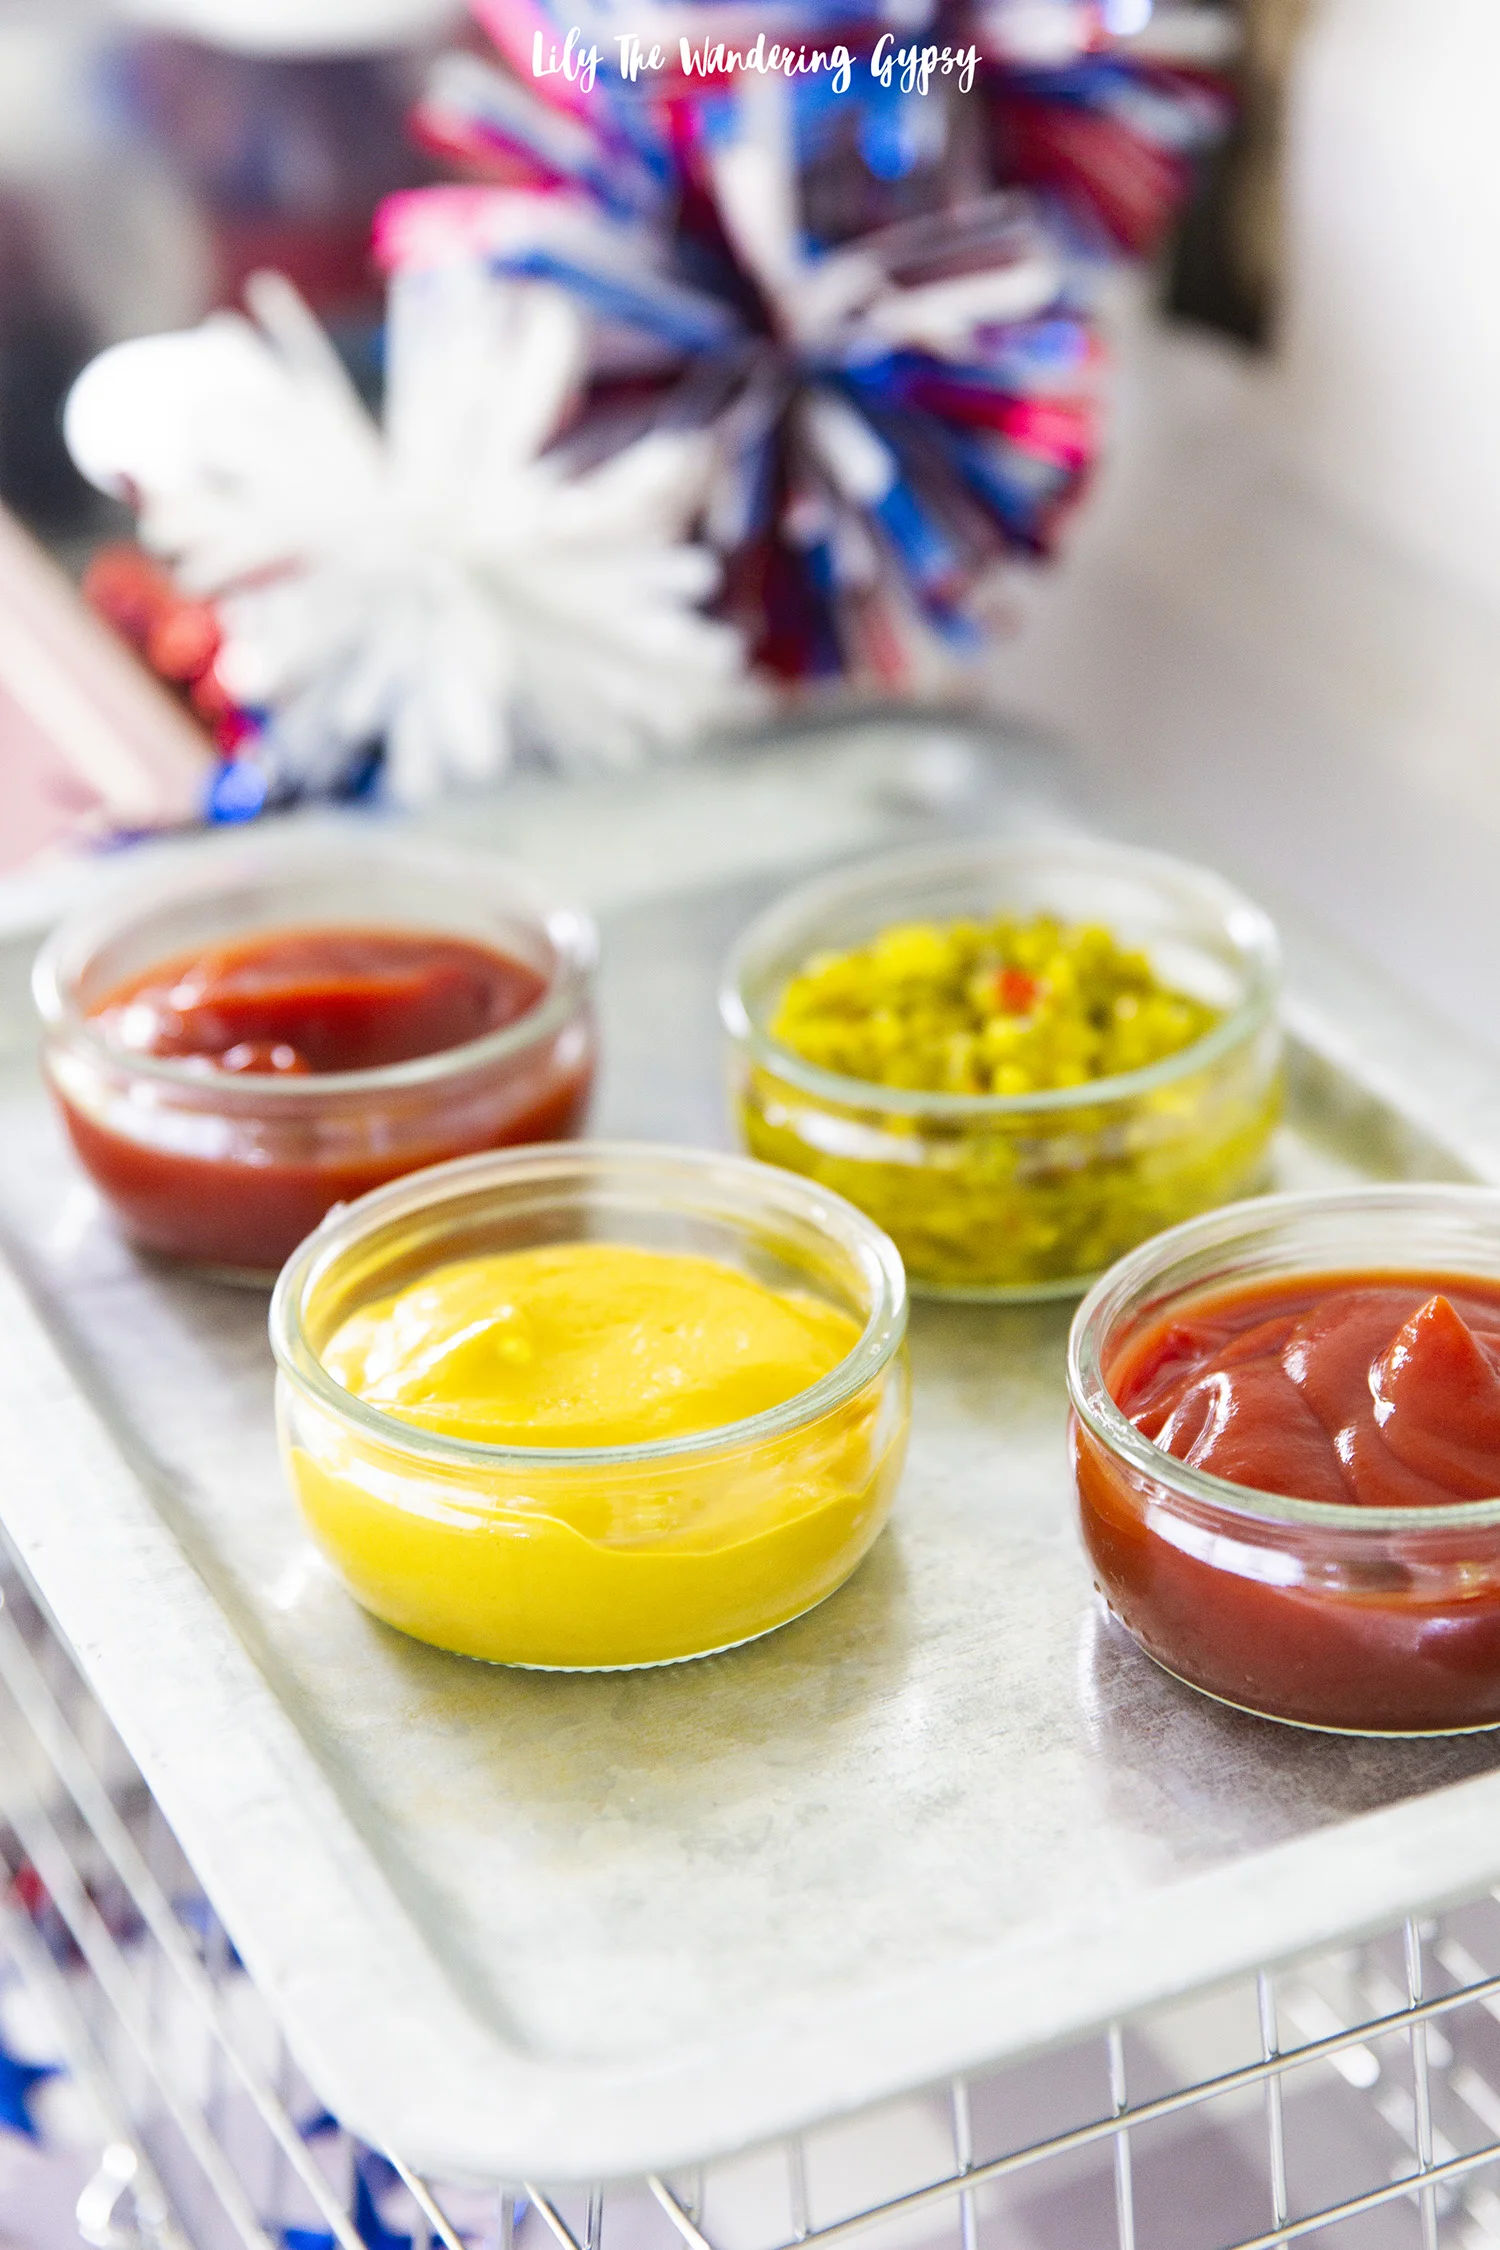
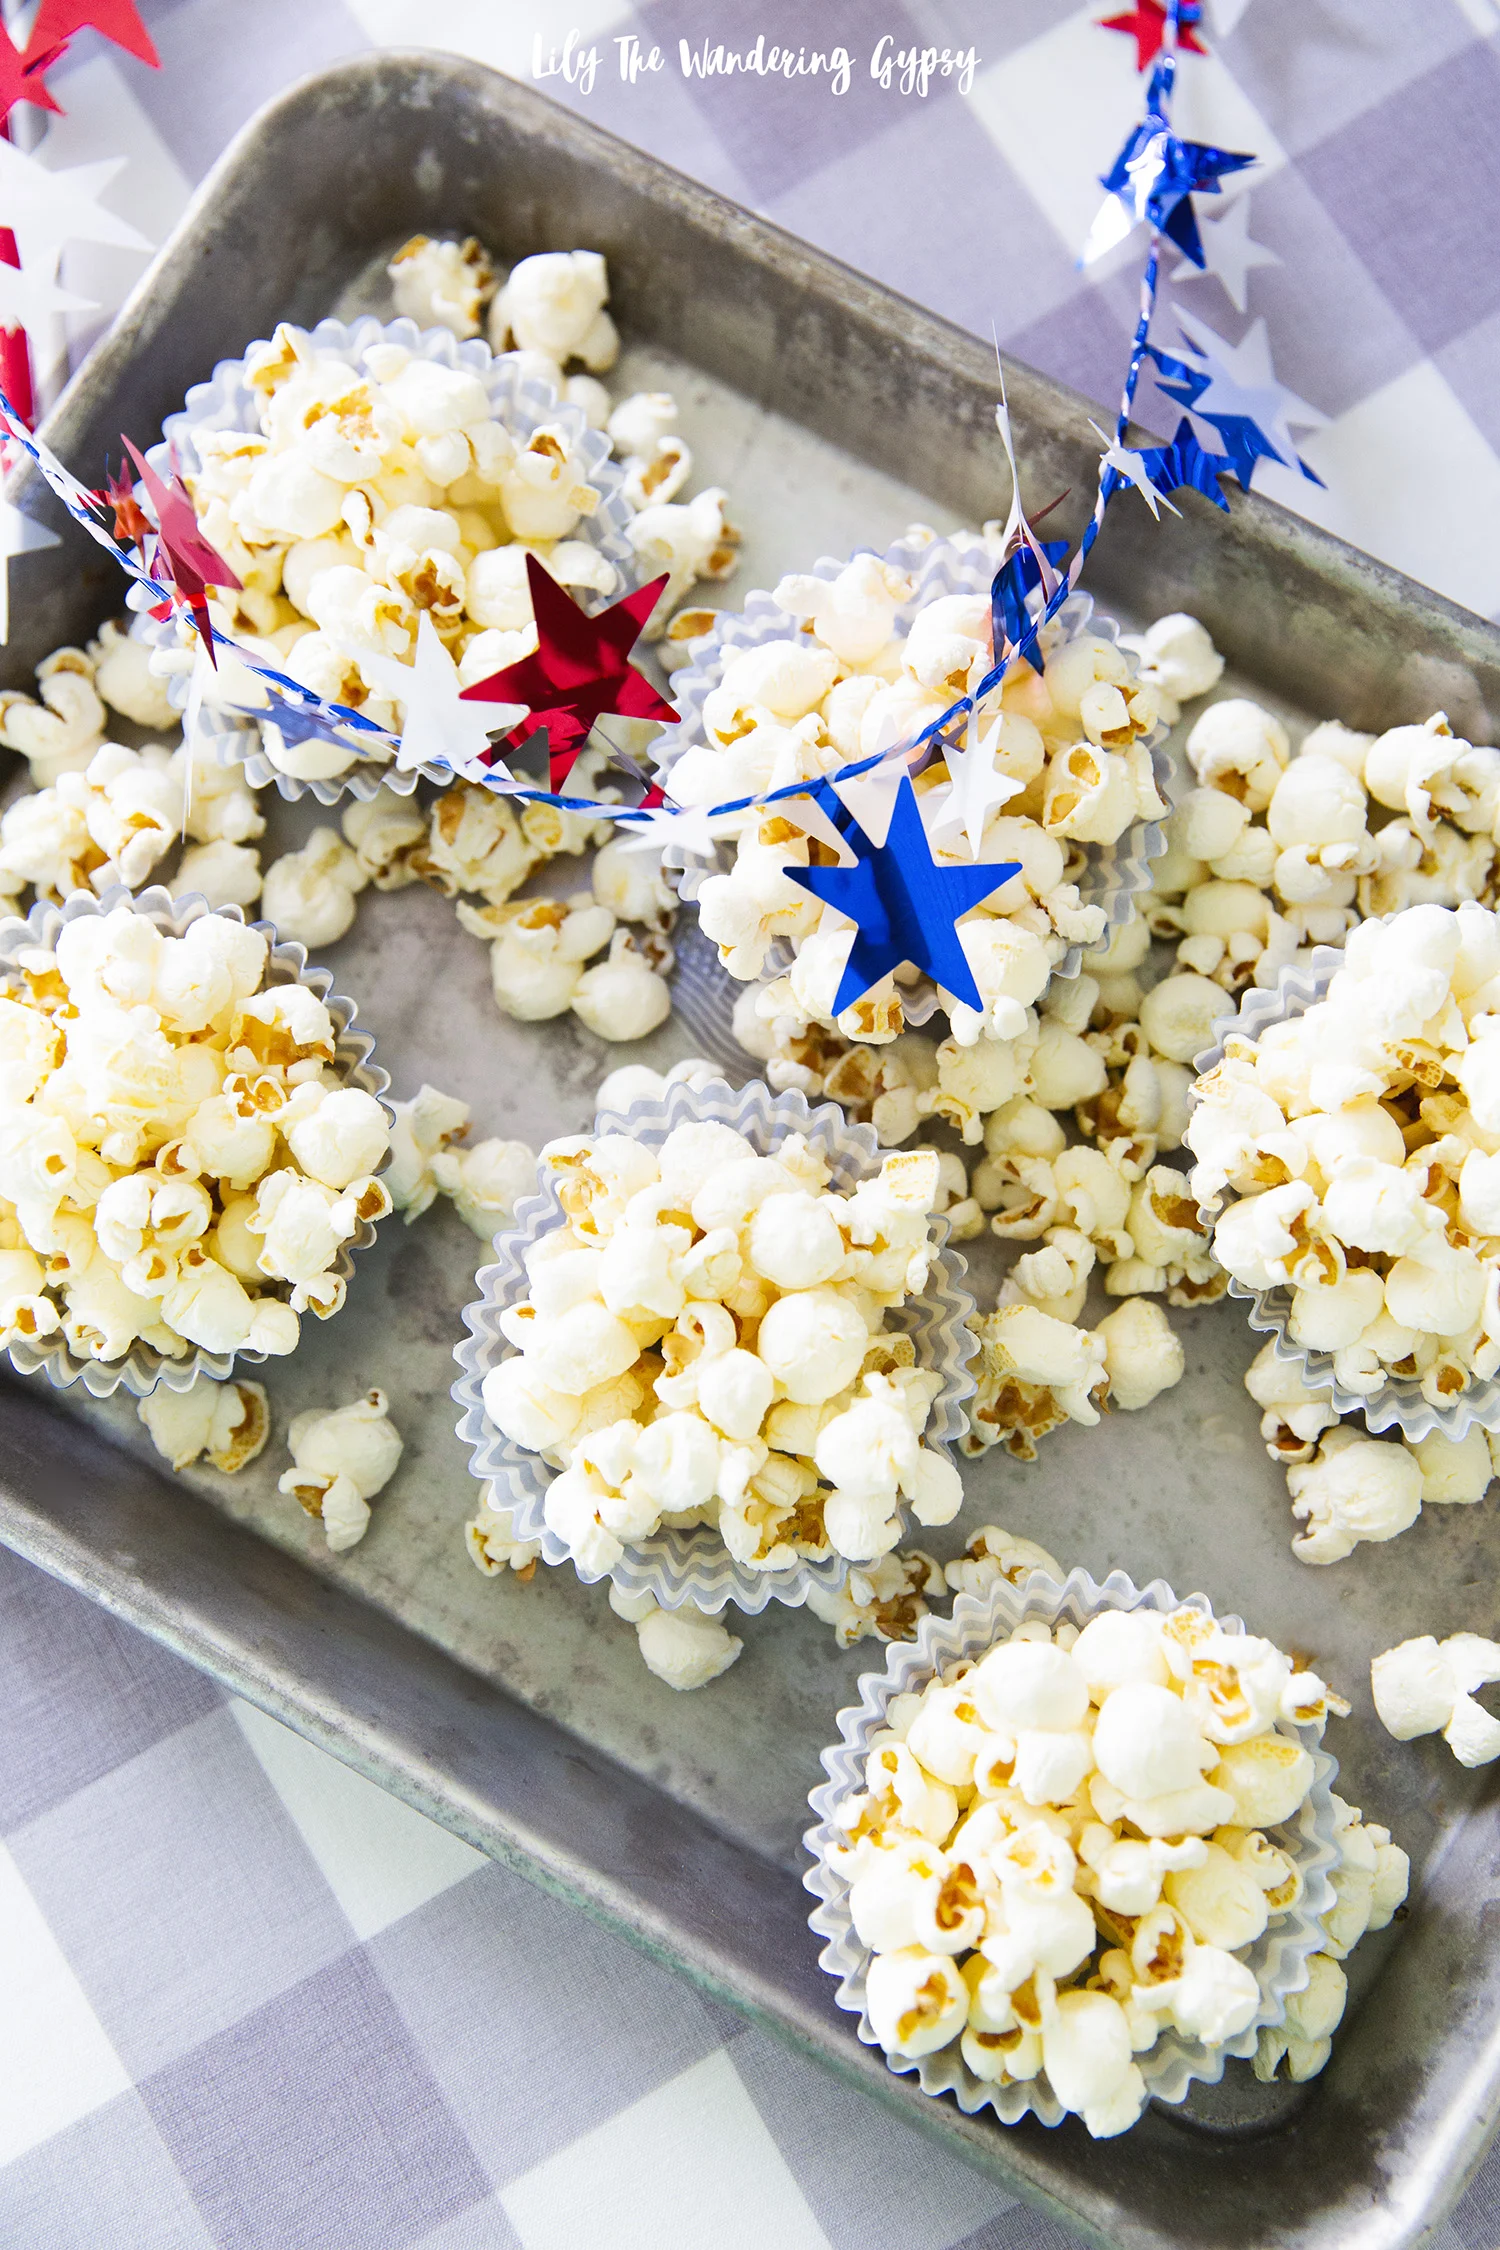
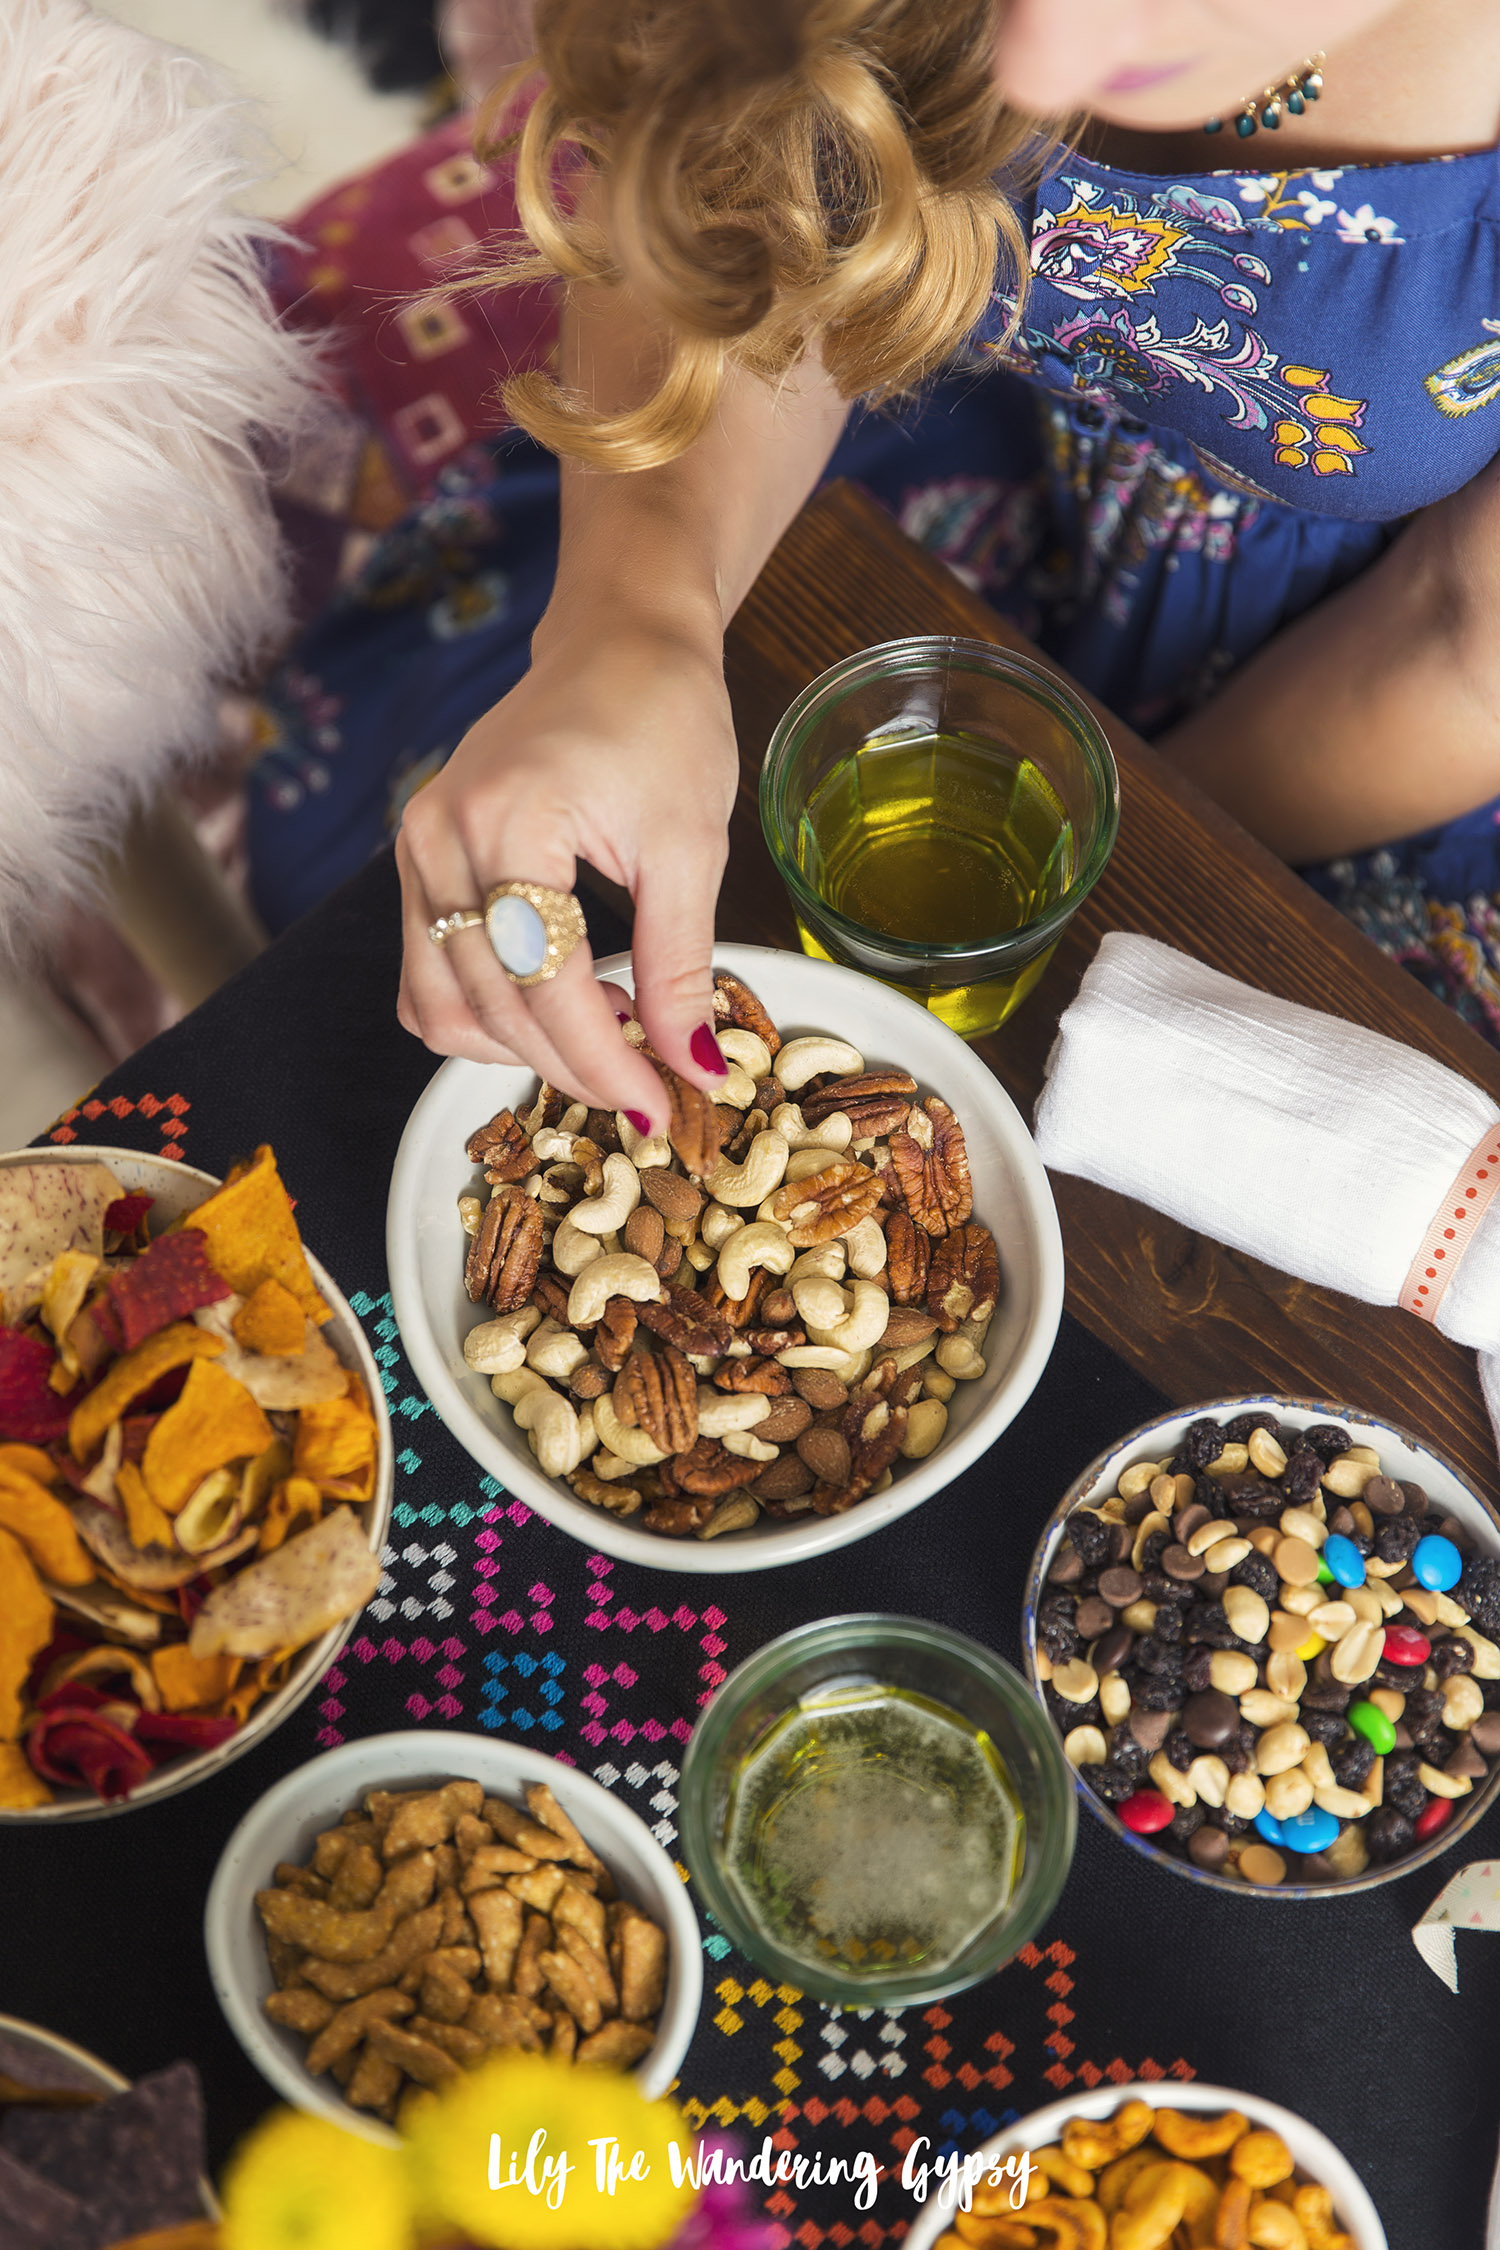
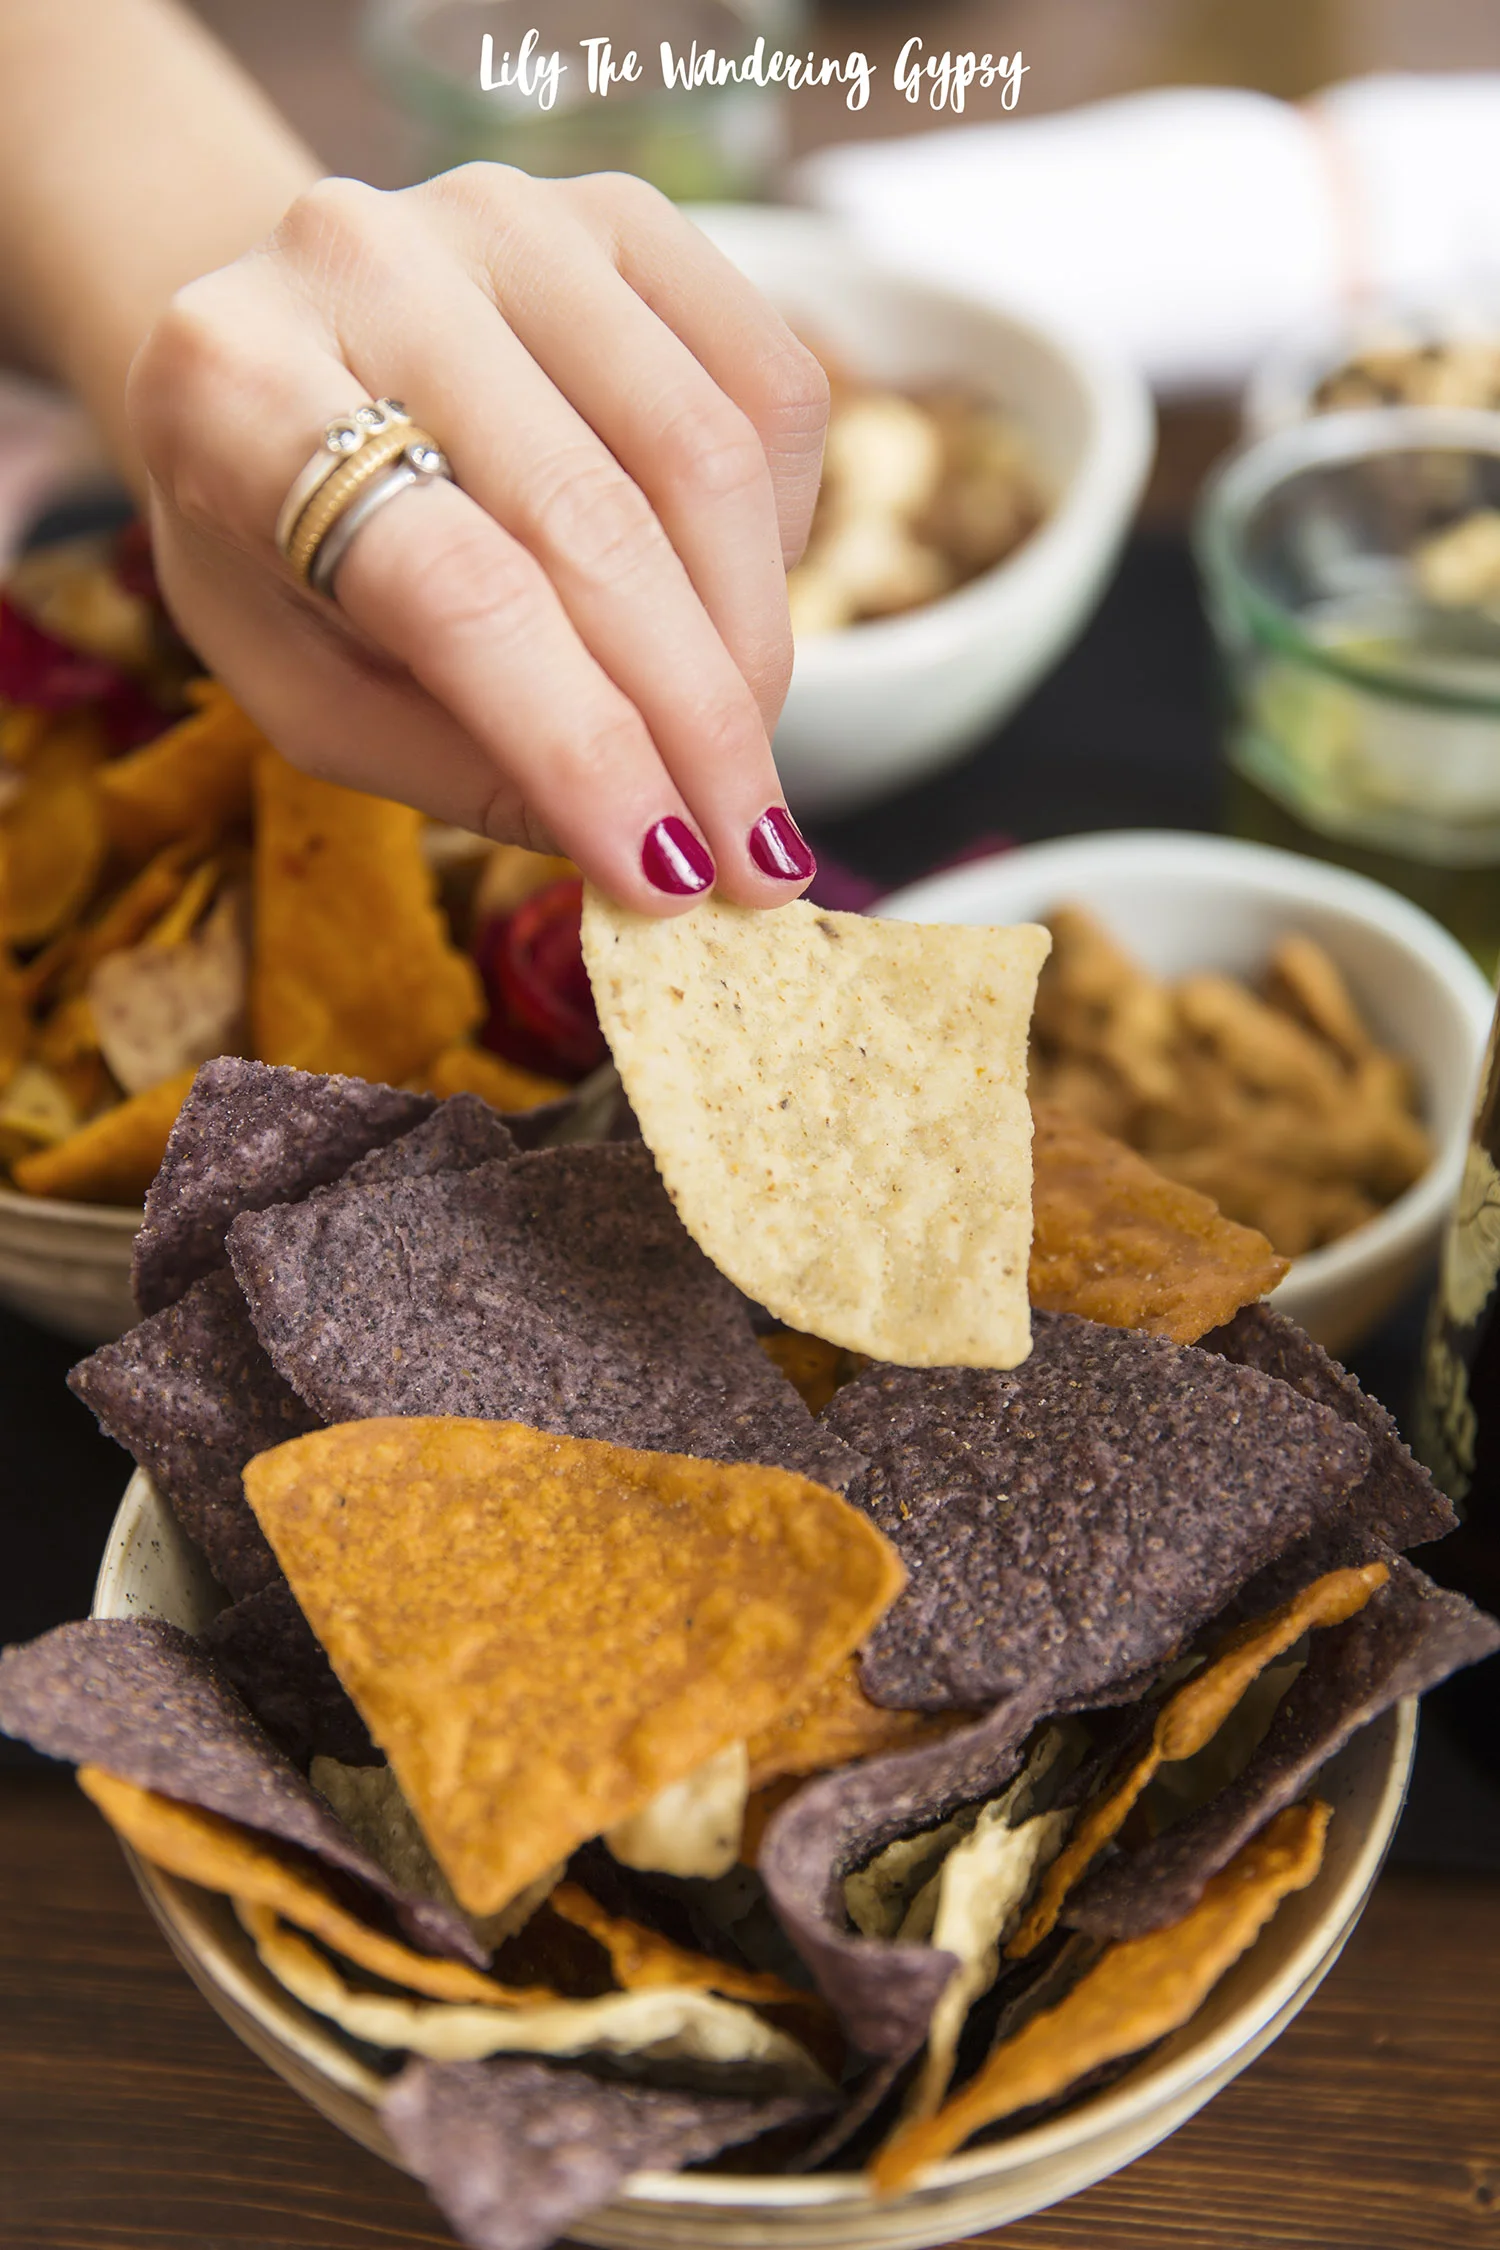
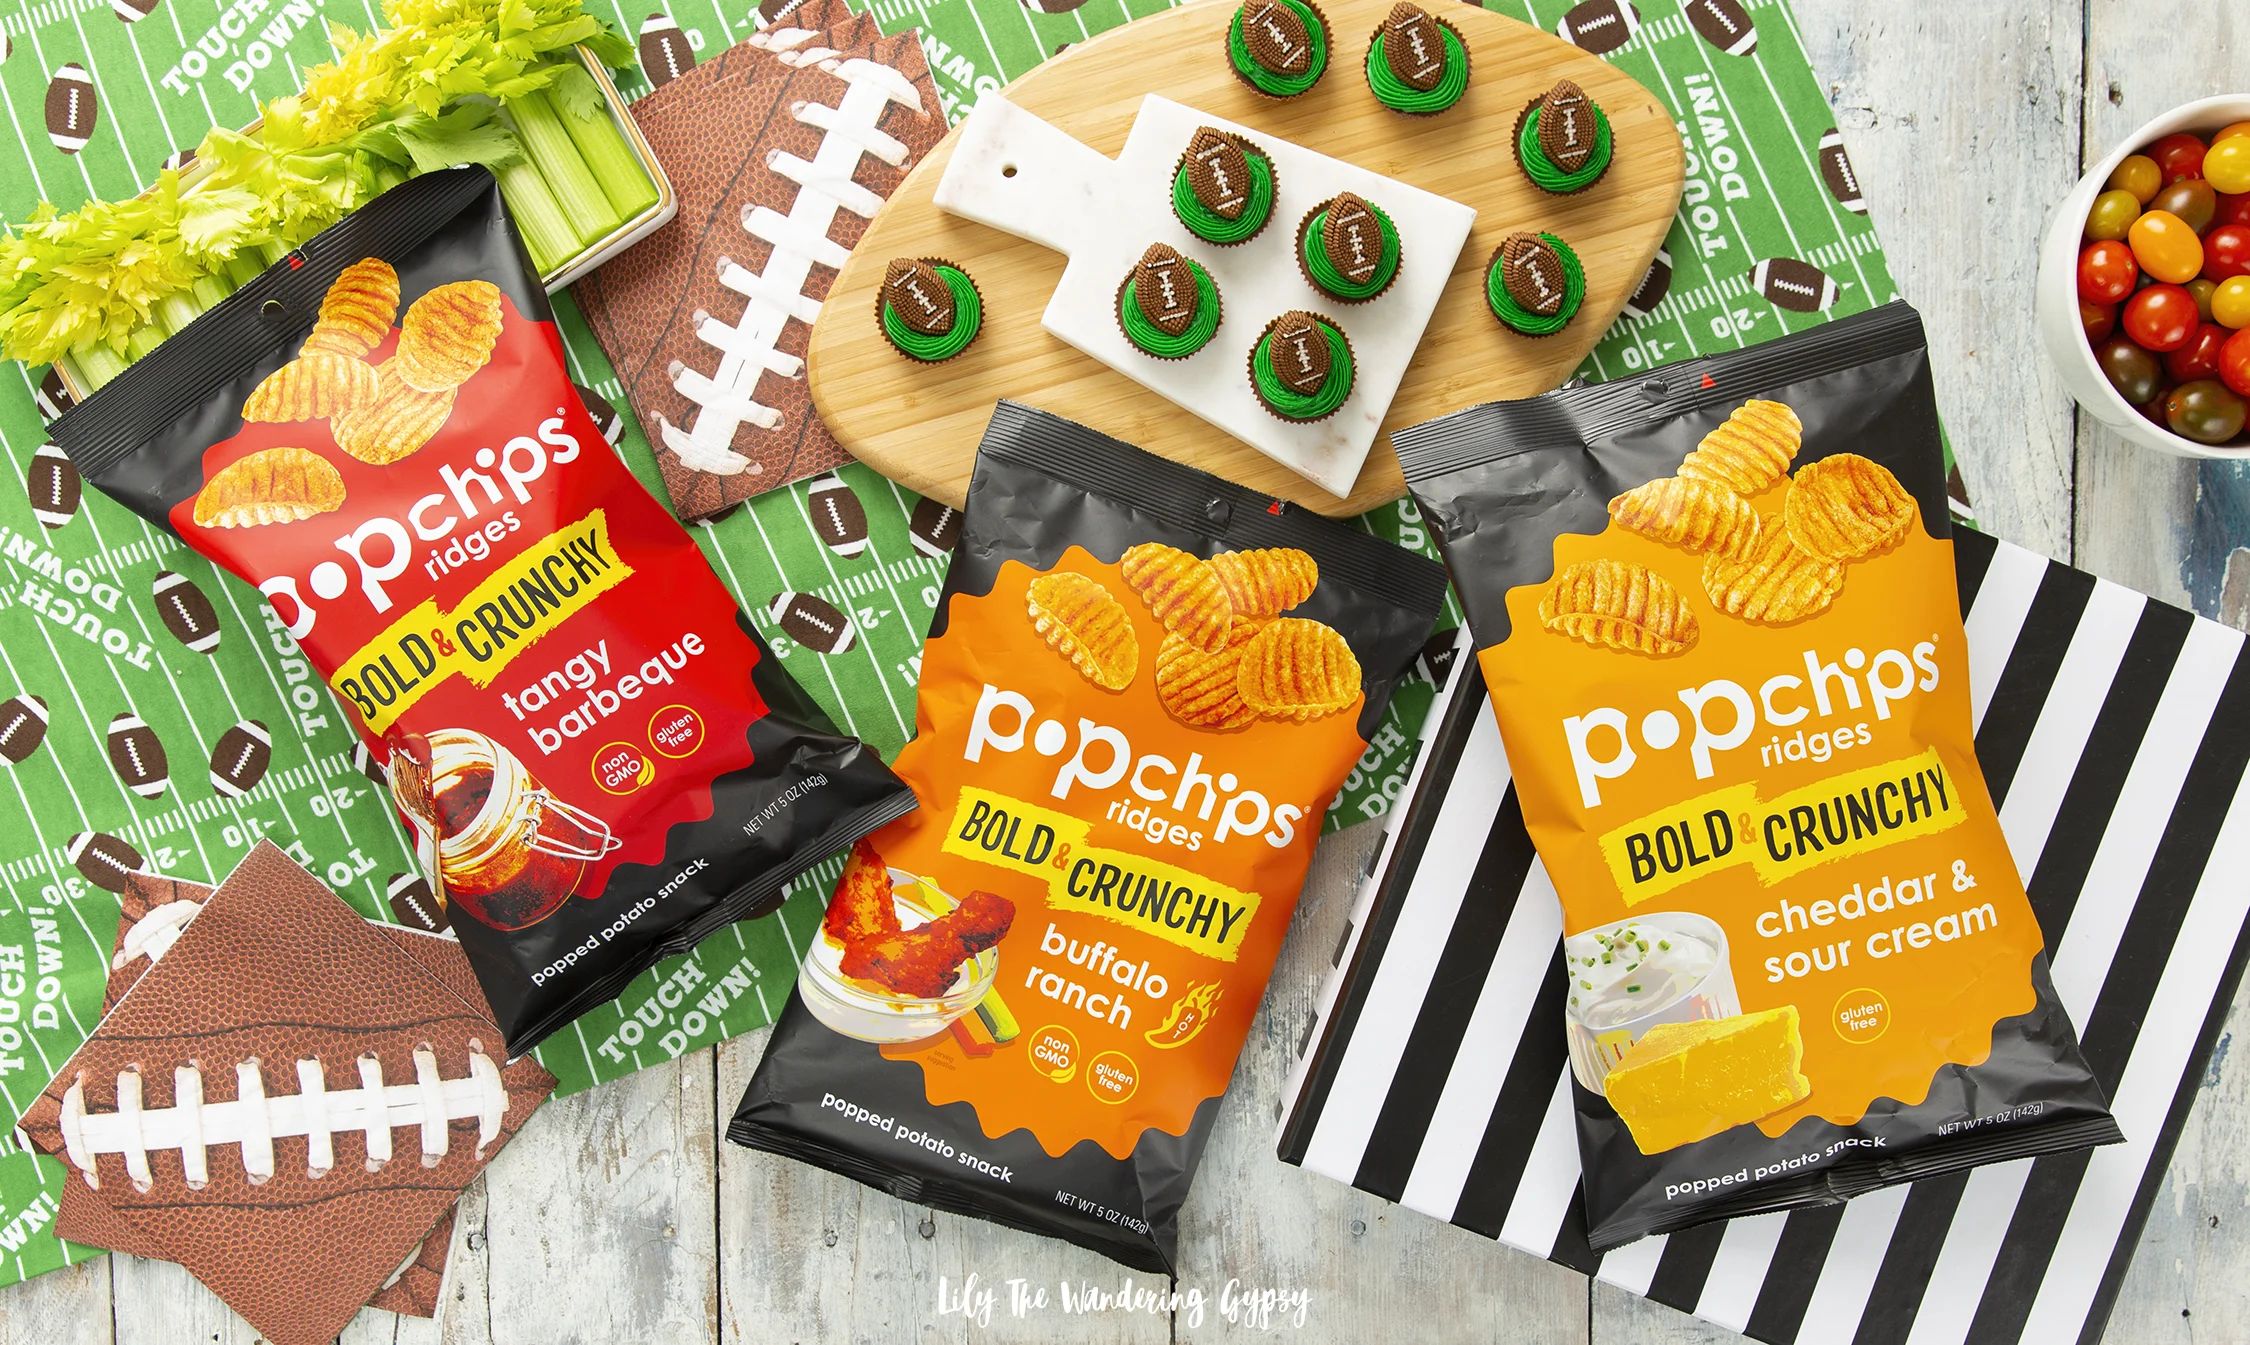
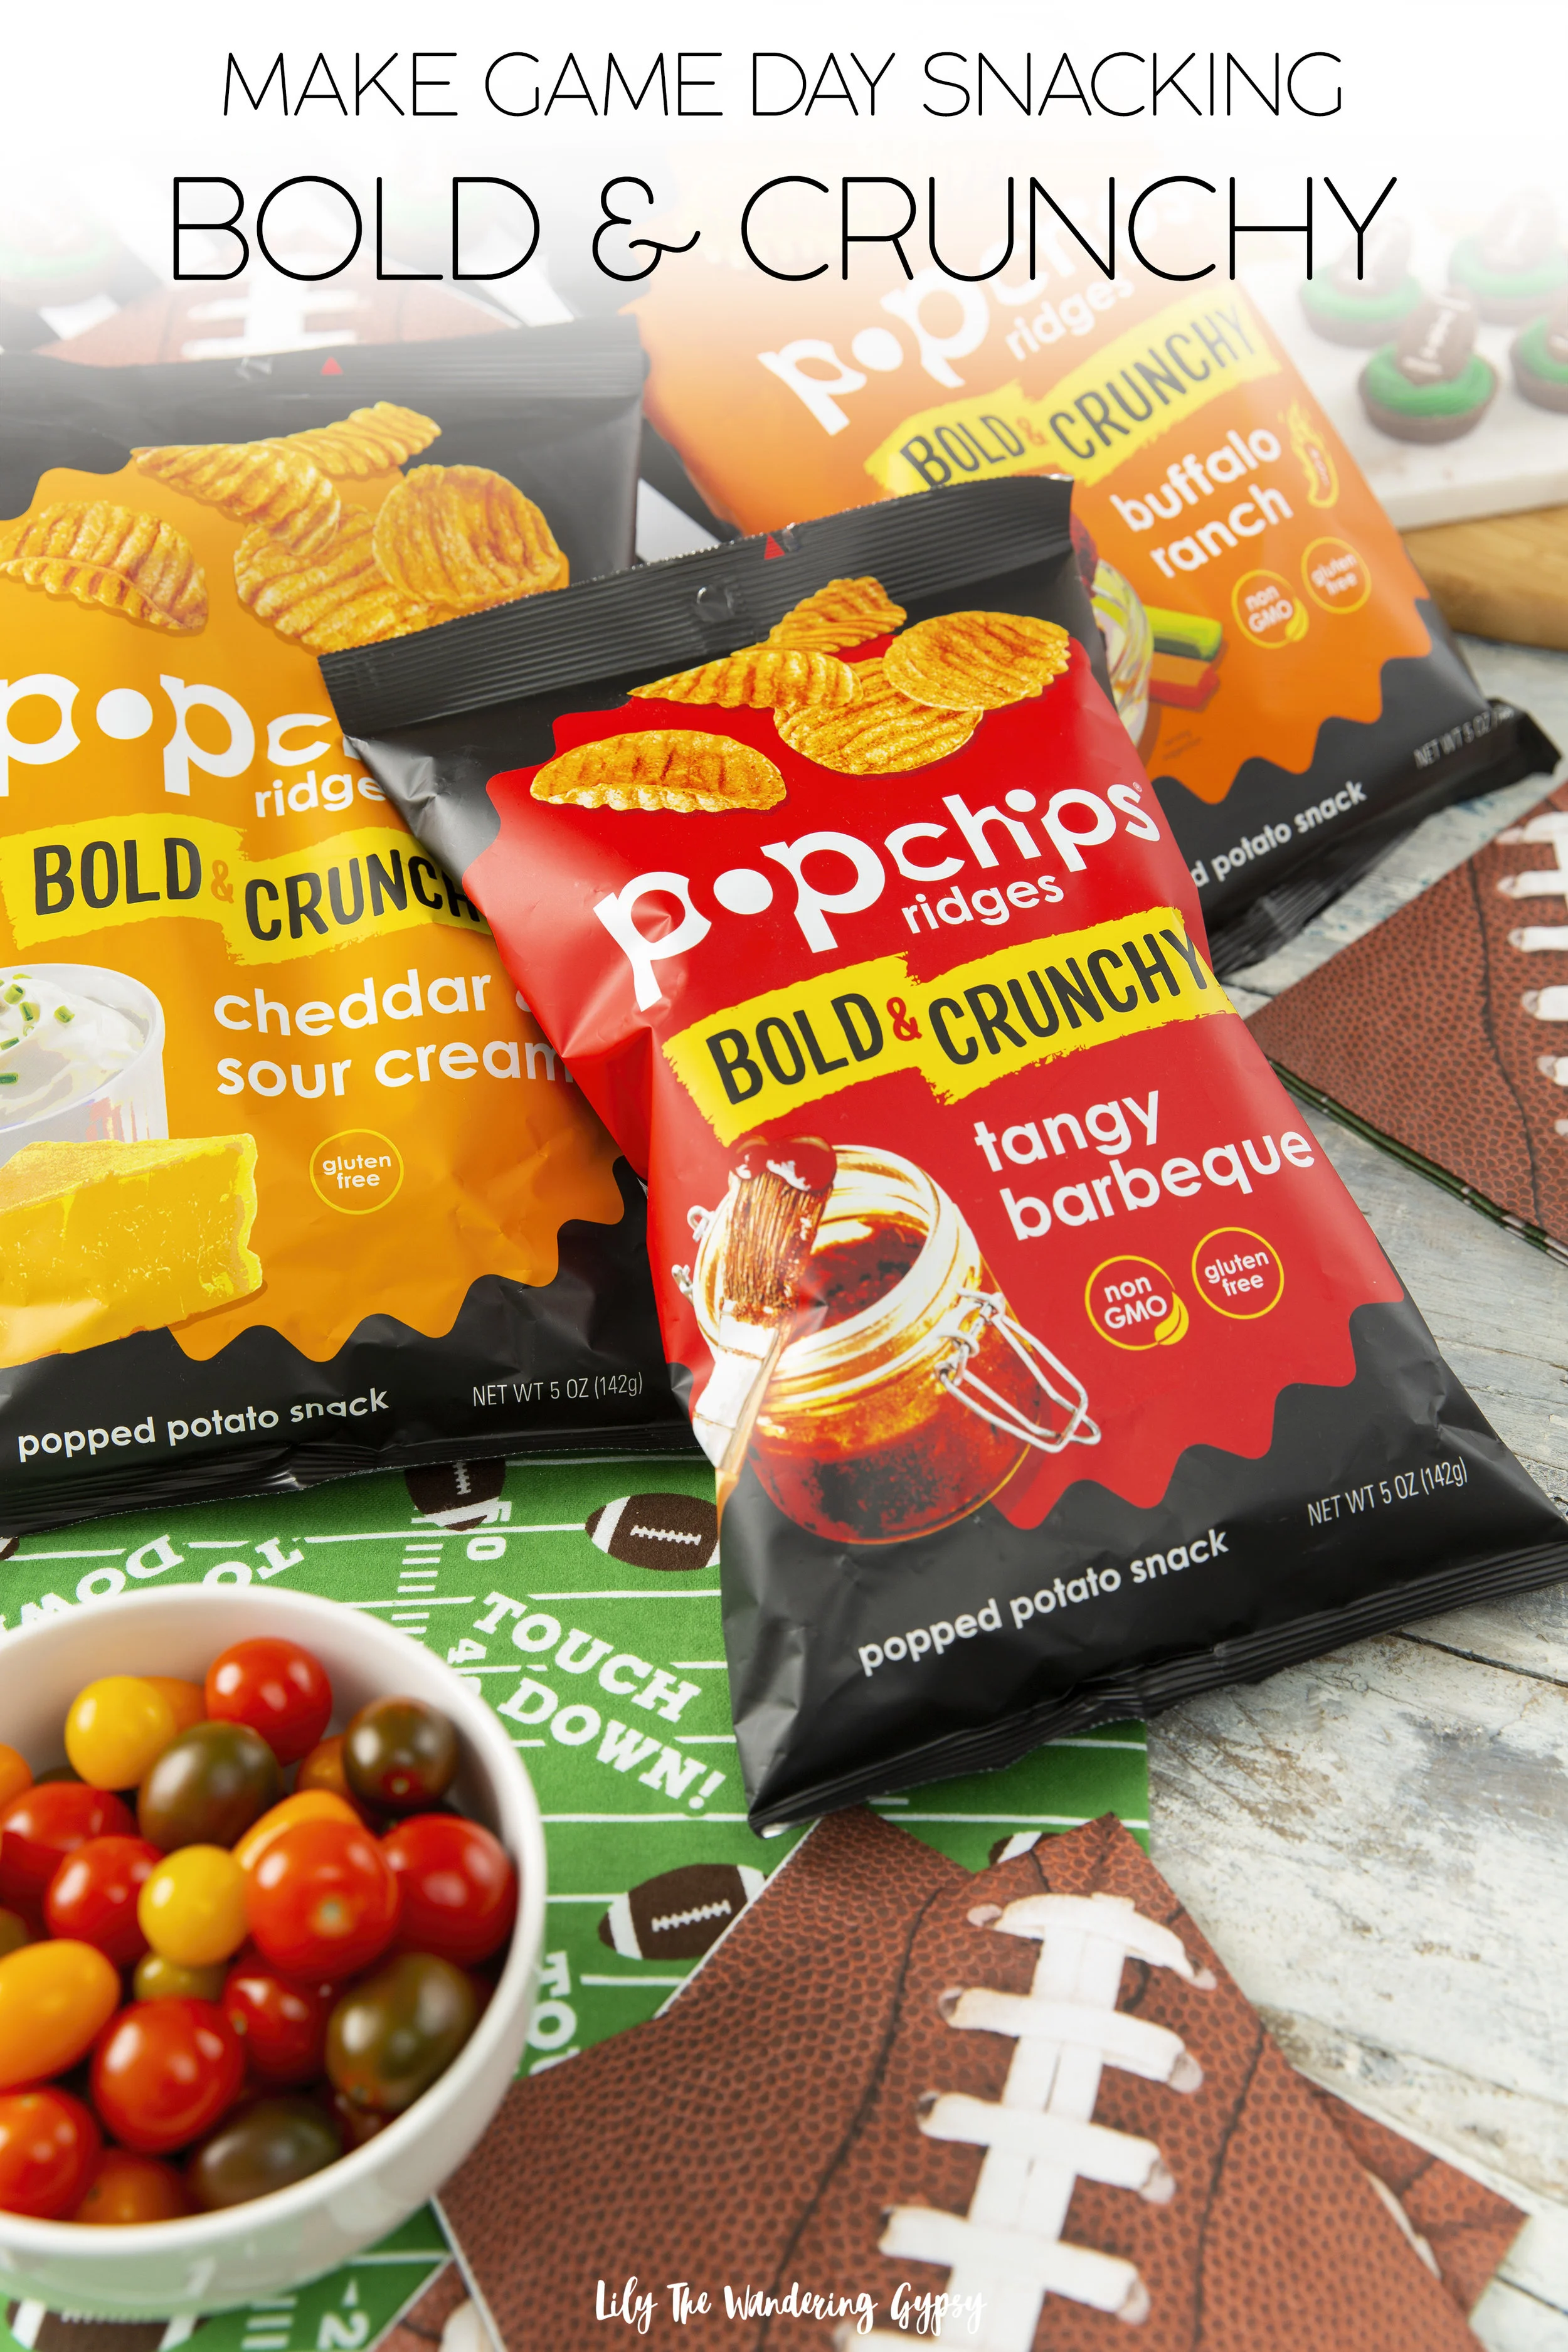
Try all three flavors of the popchips ridges BOLD & CRUNCHY - buffalo ranch, tangy bbq (my fave), and also cheddar and sour cream. I thought it would be amazing to offer guests three different dips to try with their popchips PLUS a fun dessert treat that only took three ingredients. Keep reading to get all of the details!

The best part about all of the treats and snacks I featured in this post, is that all of it was super fun and easy to create myself, with minimal ingredients, and none of this had to be baked! I was even able to make the three dips ahead of time as well as the desserts. Get the recipes below!

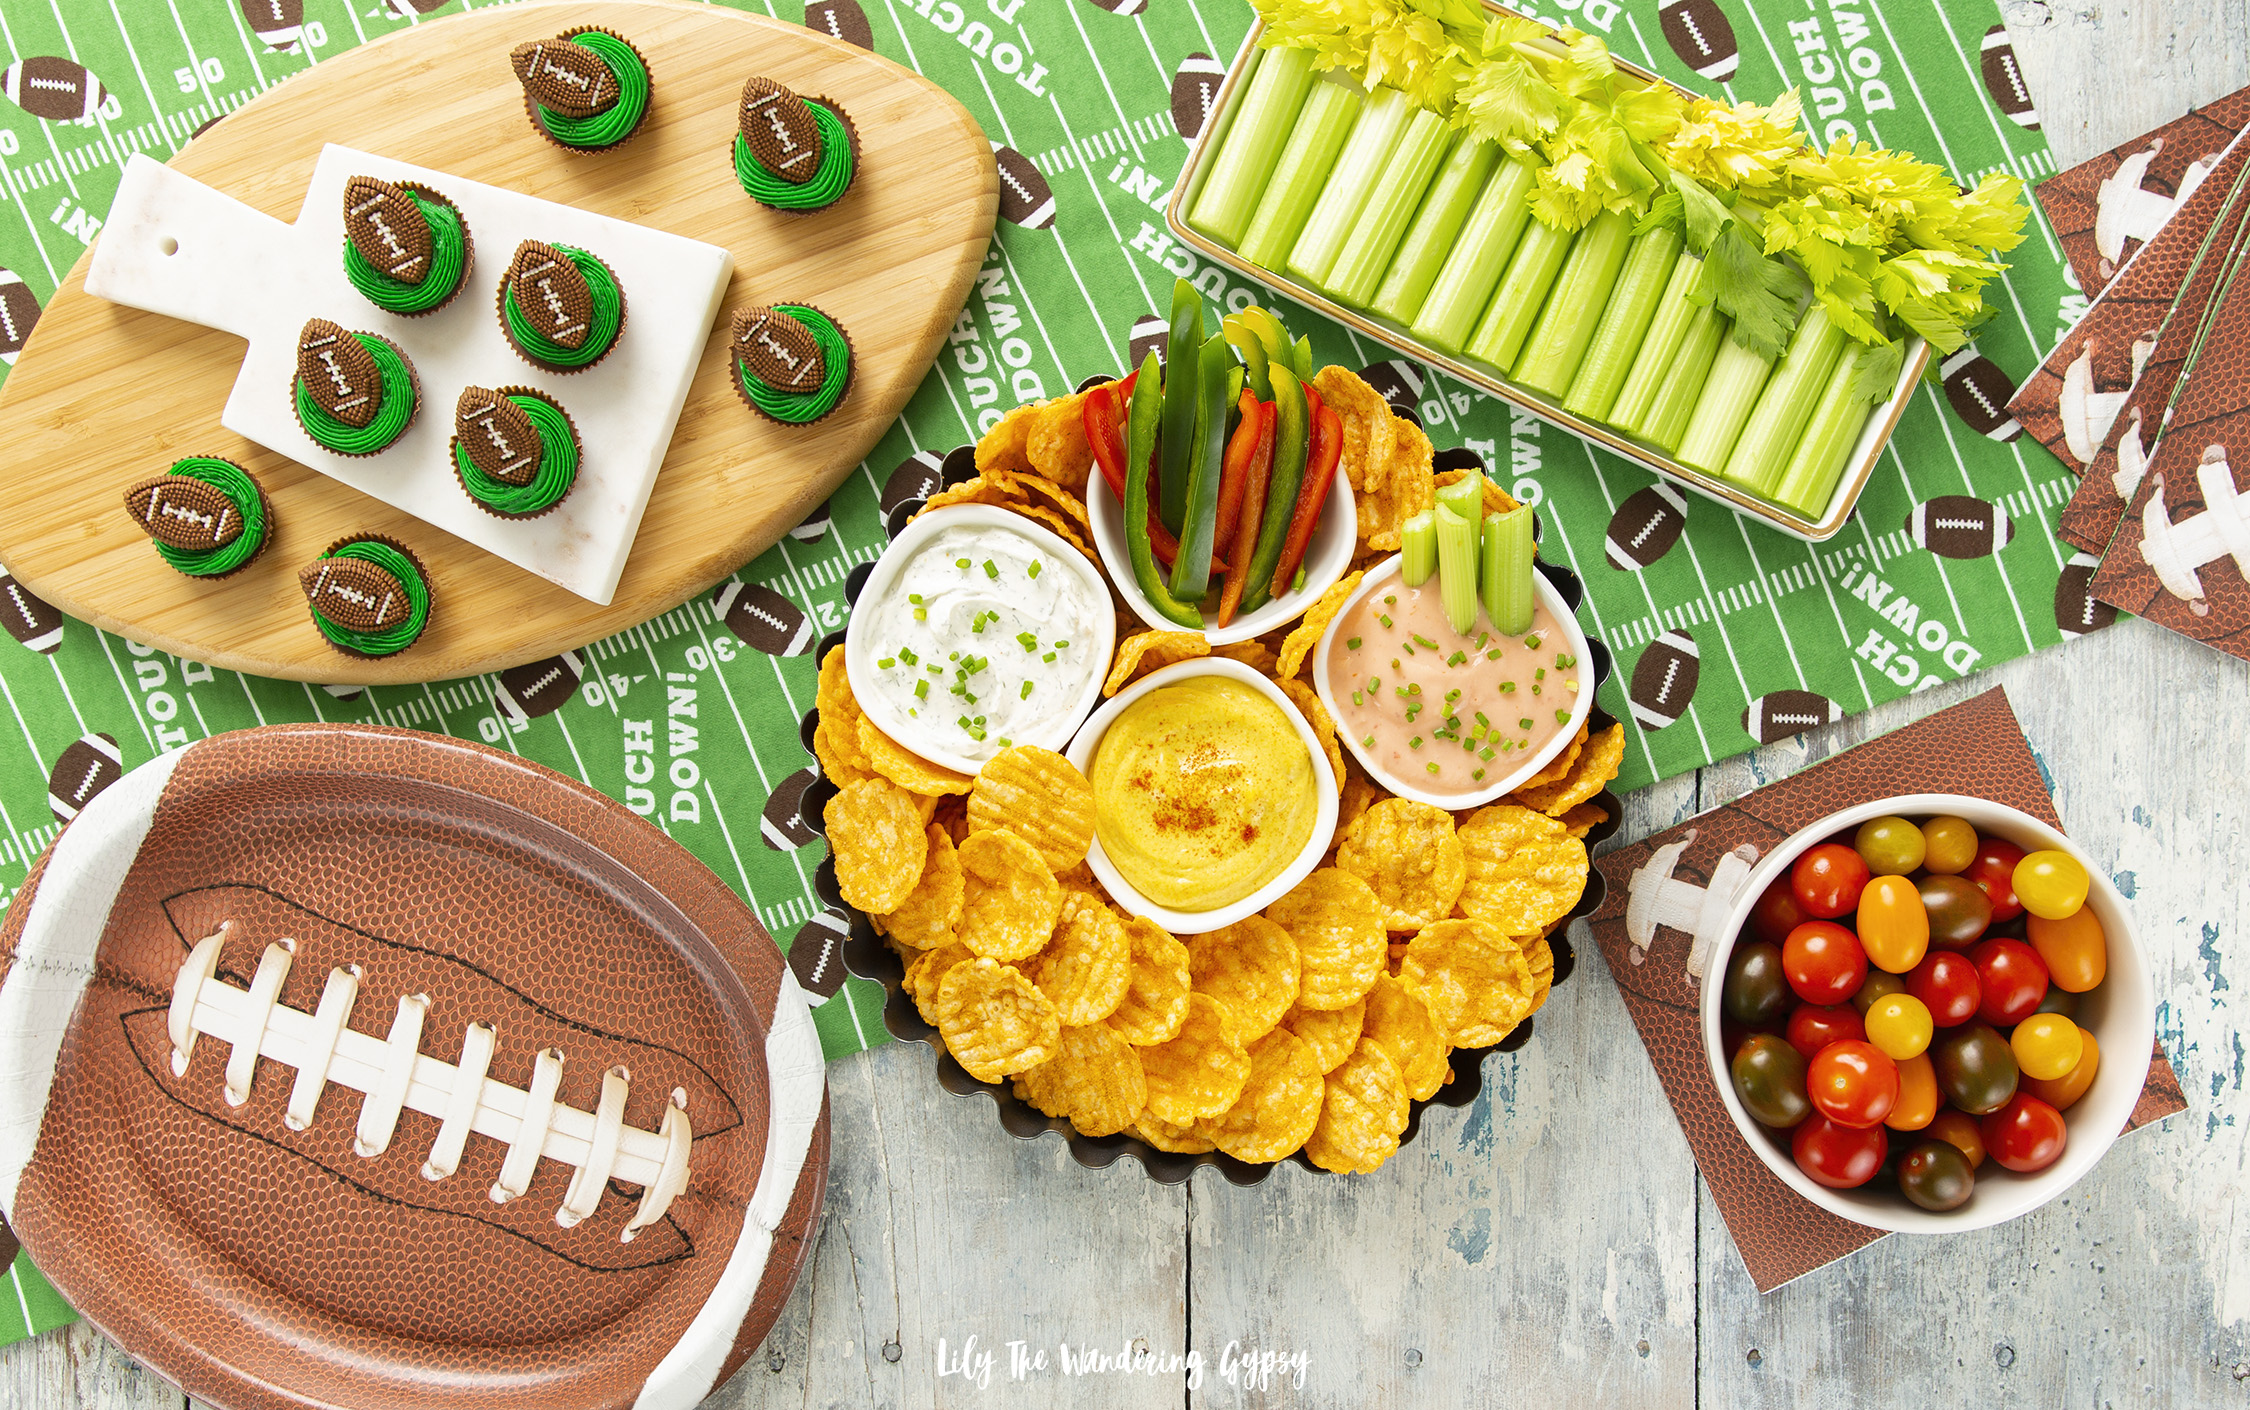
GAME DAY DIP RECIPES

Buffalo Dip - 1 cup sour cream + 1/3 cup (or more) buffalo sauce

The Best Dill Dip Ever - 1 cup sour cream + 2 tsp salt + 2-3 Tbsp dried dill

Mediterranean Dip - 1 cup Greek yogurt + 2-3 tsp turmeric + 1 tsp salt + 2-3 tsp Greek seasoning mix

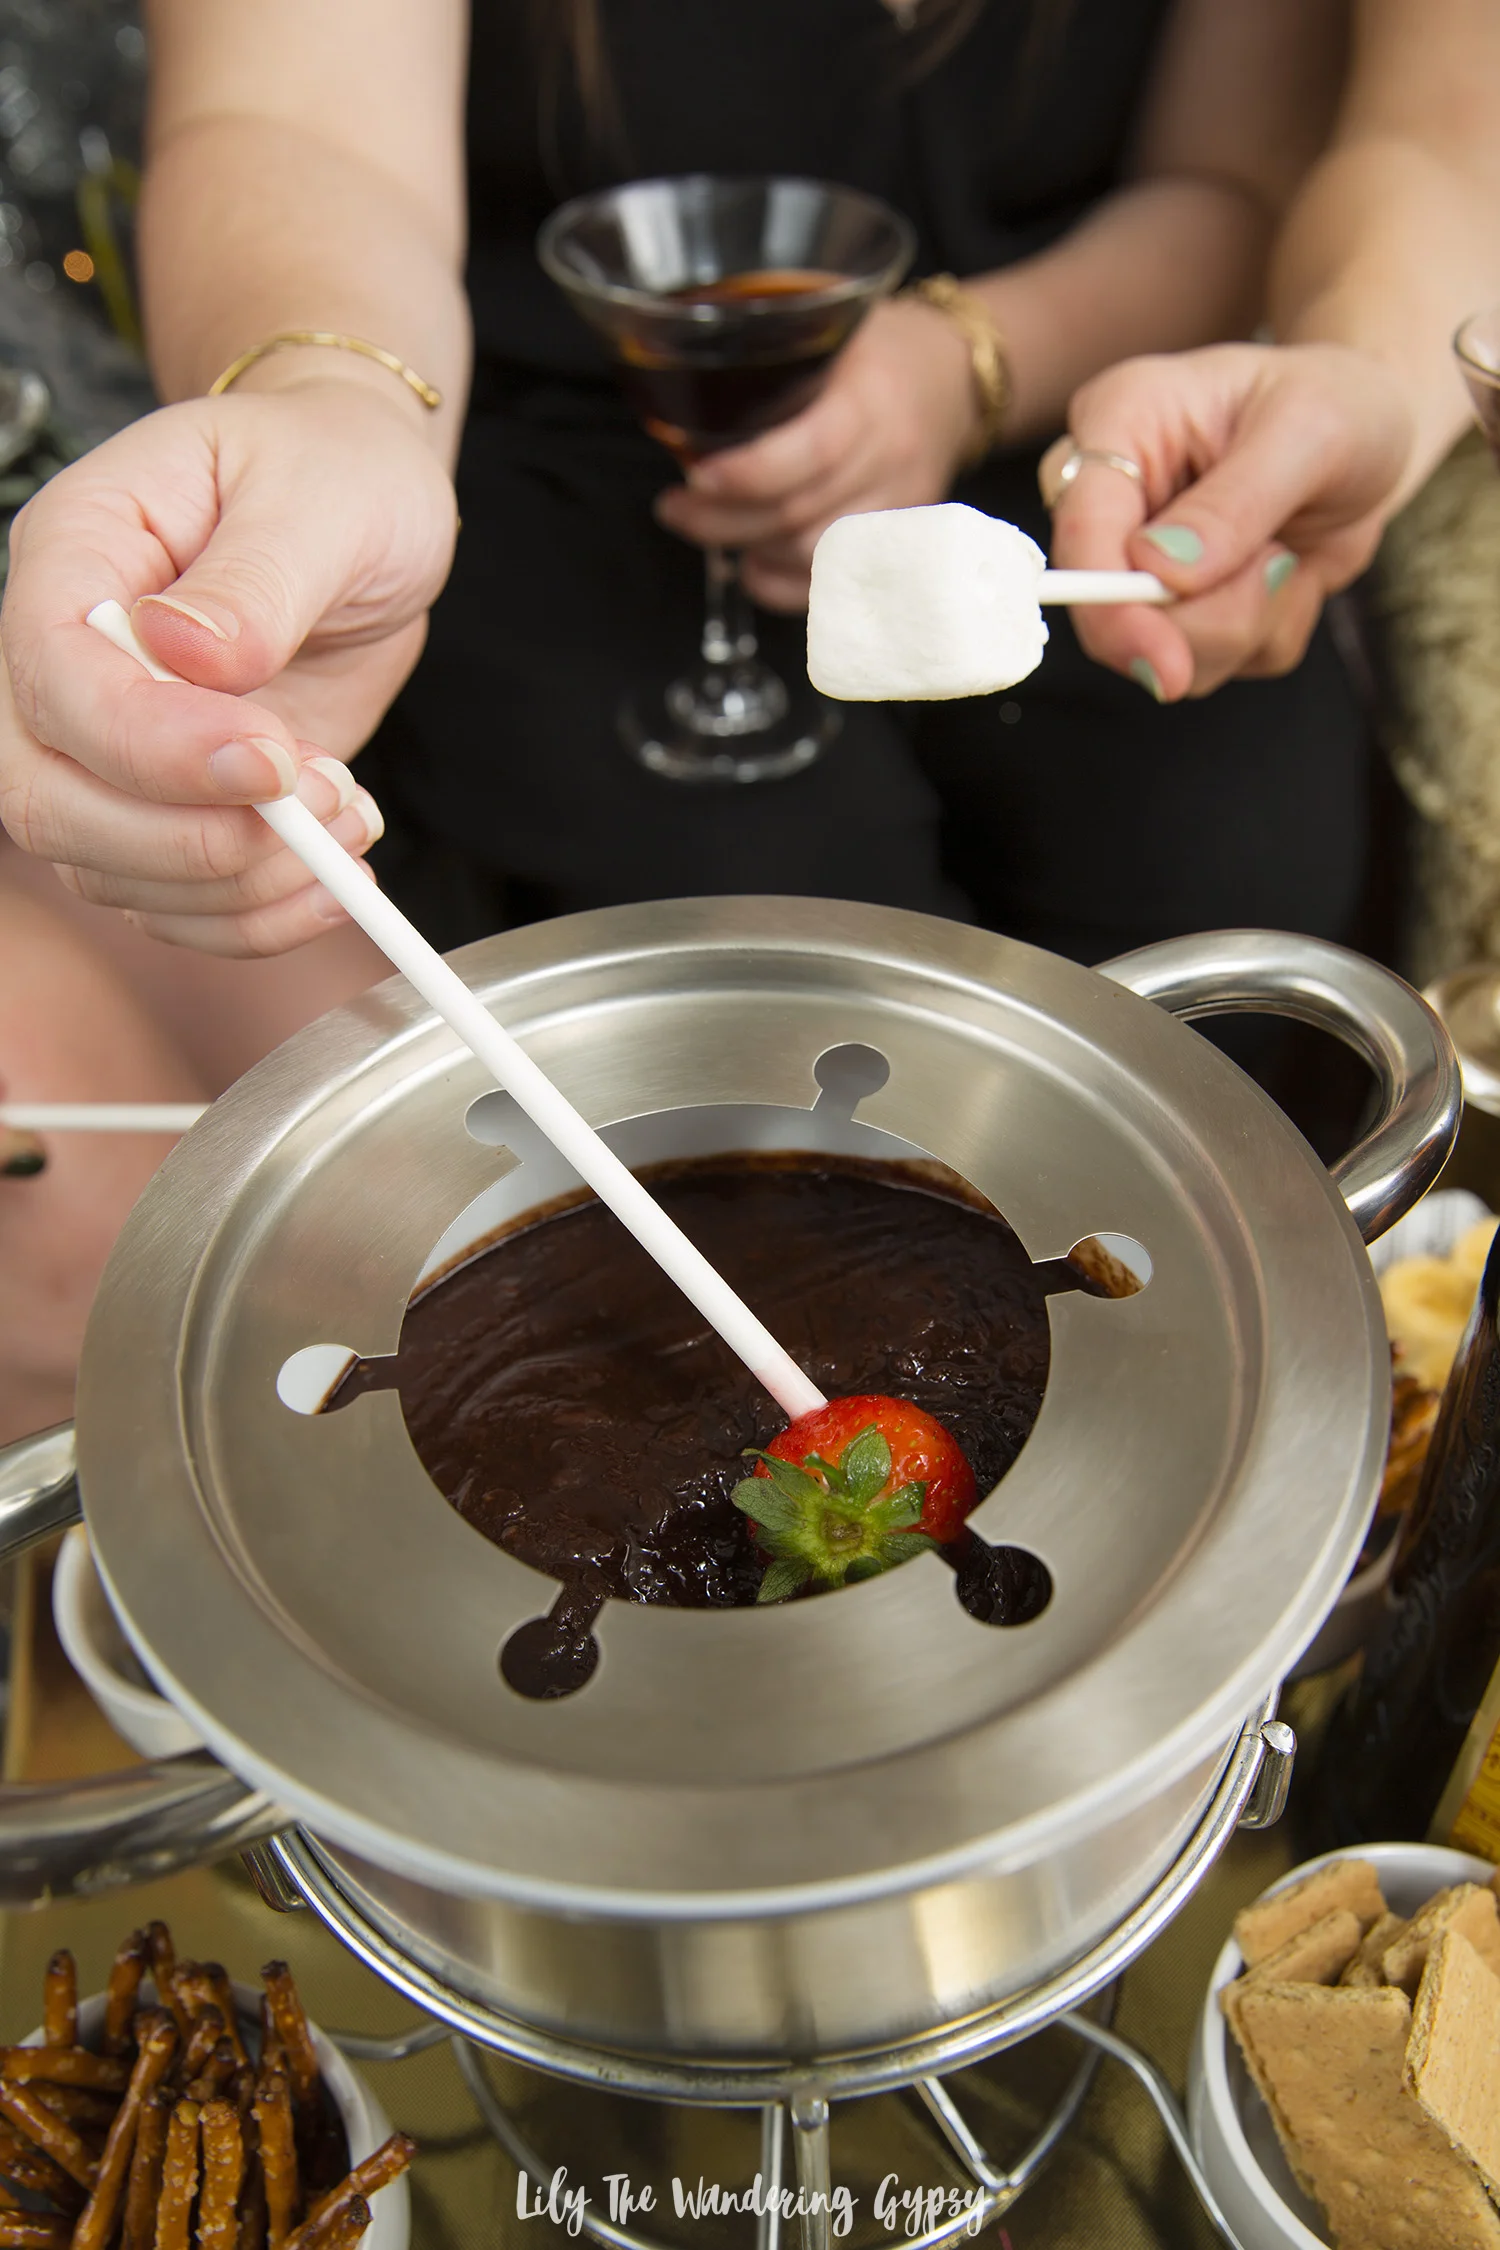
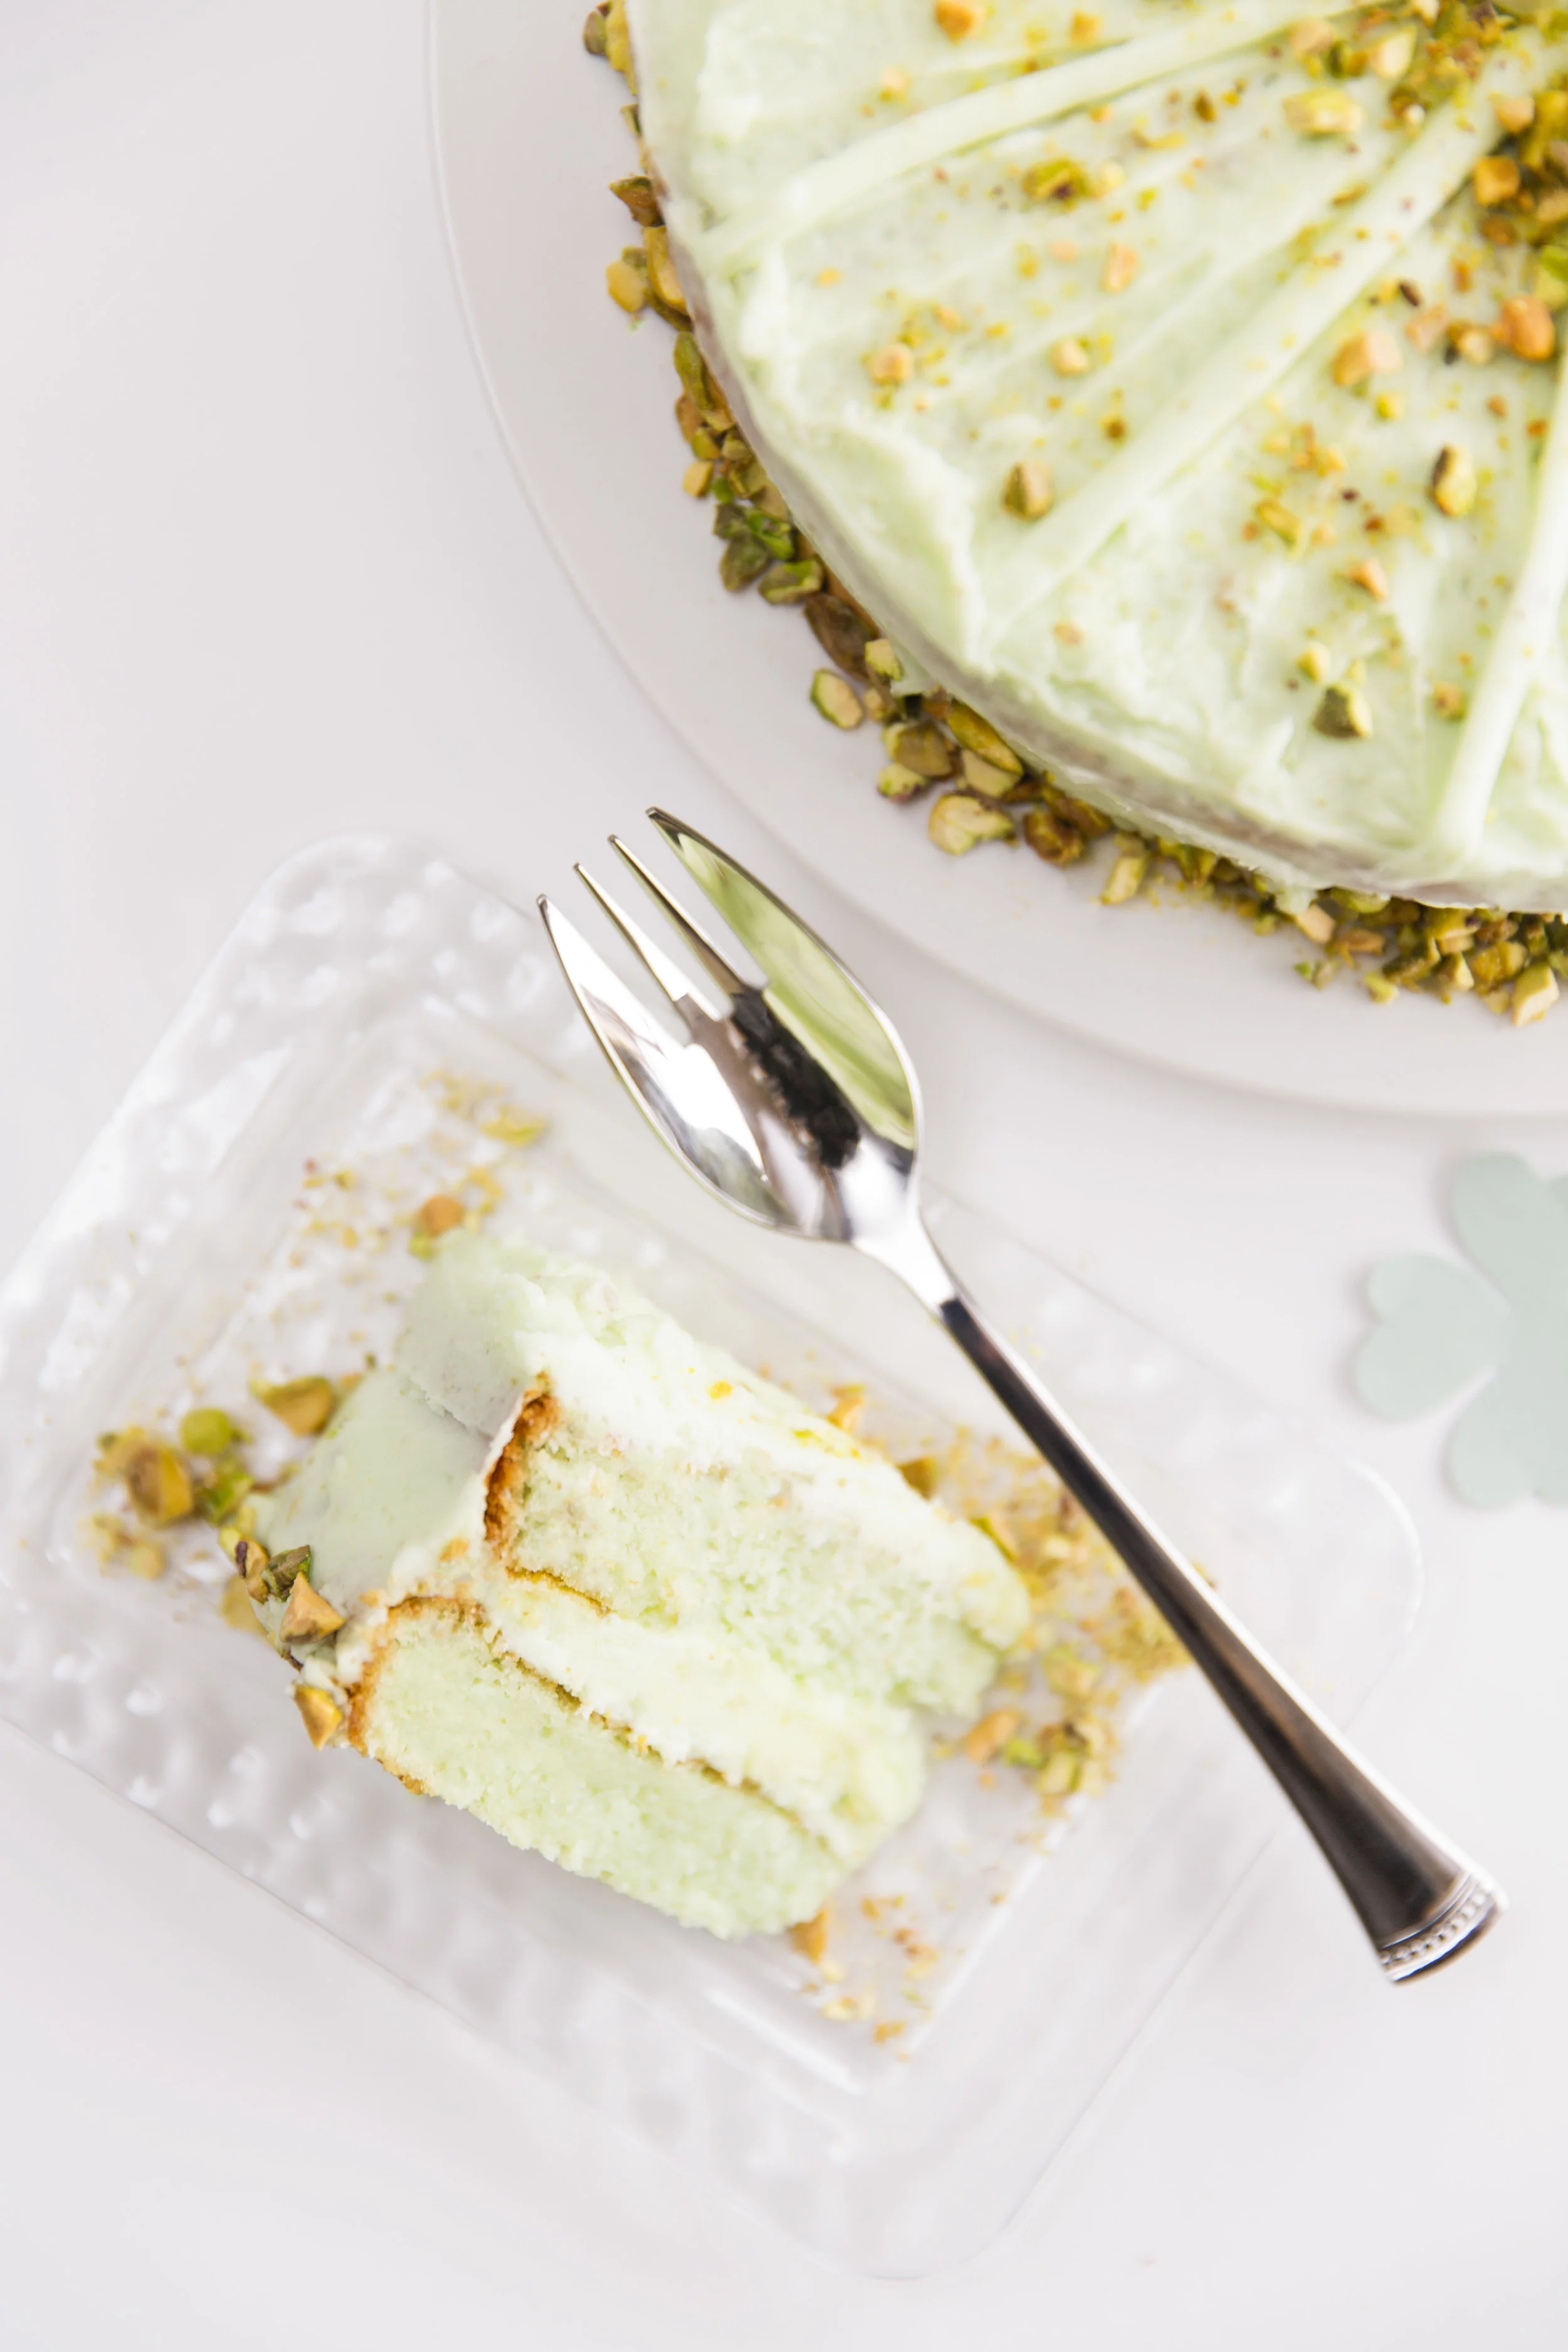
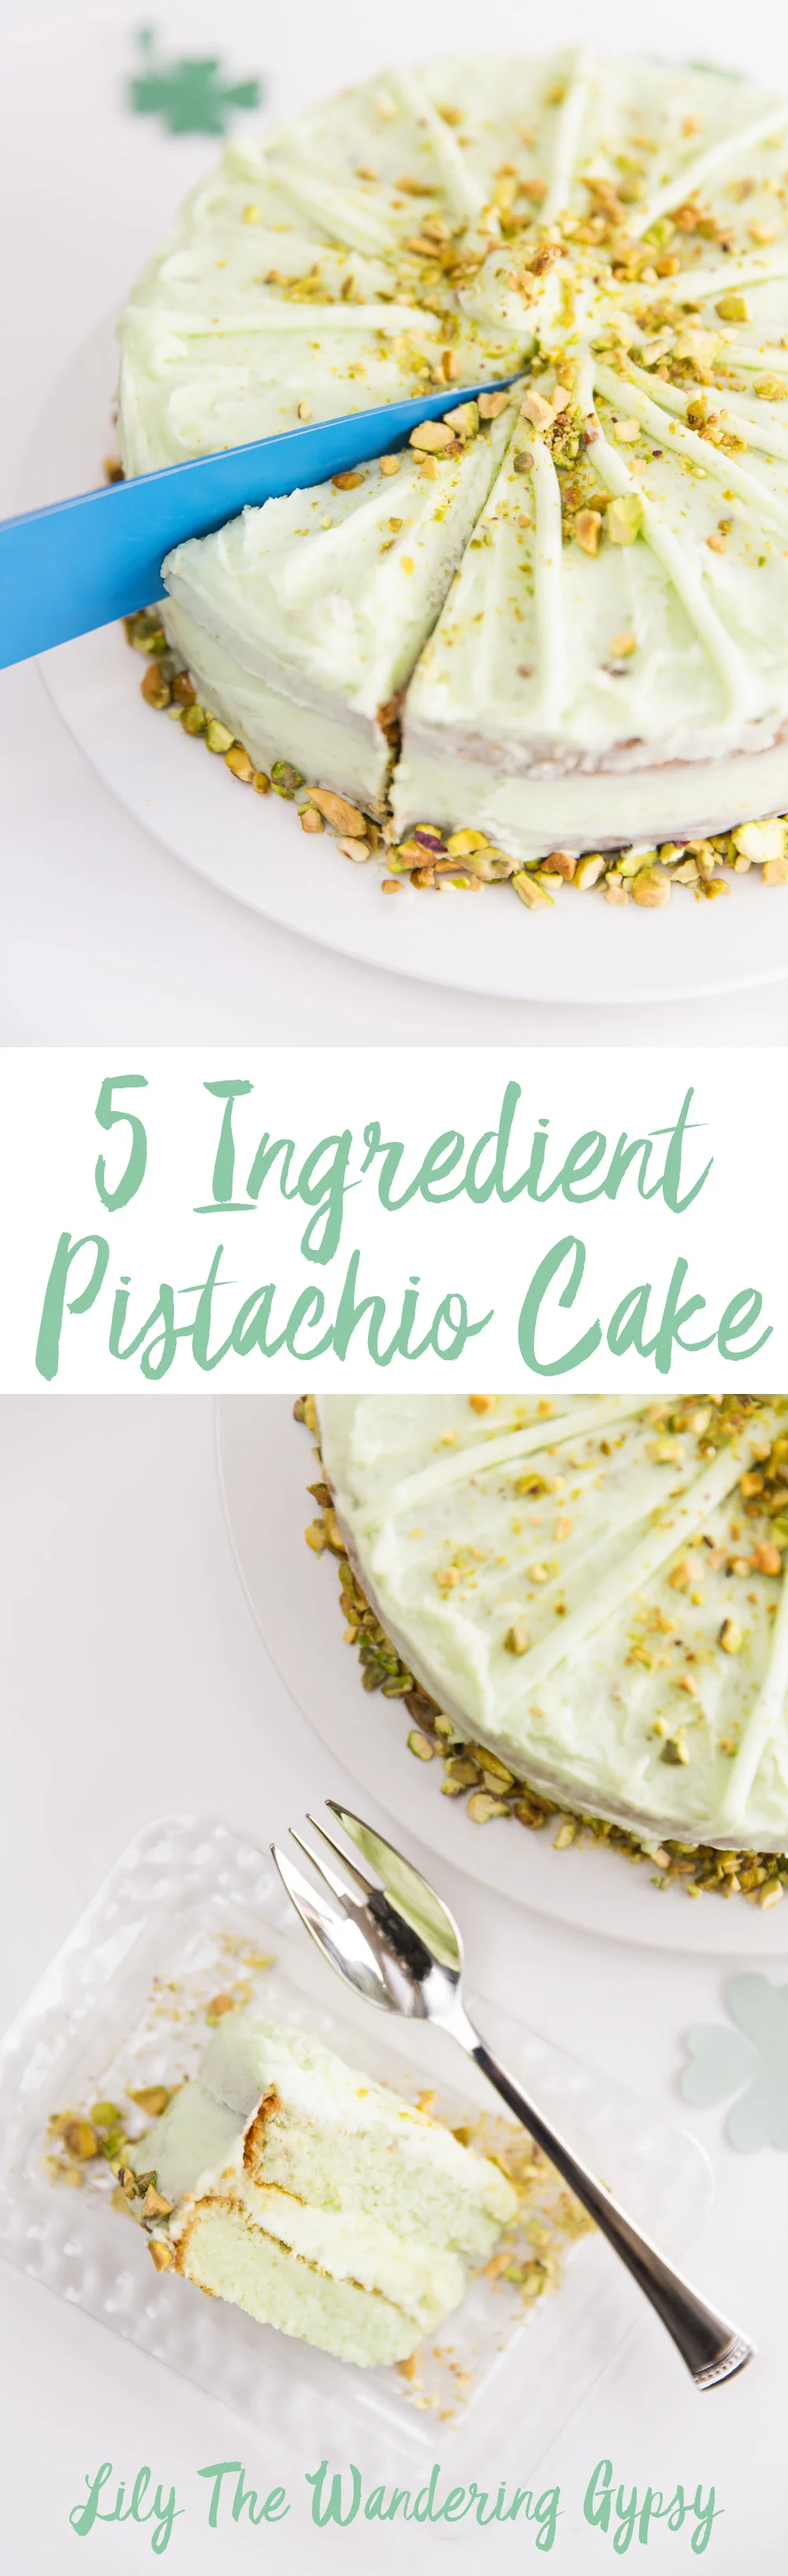
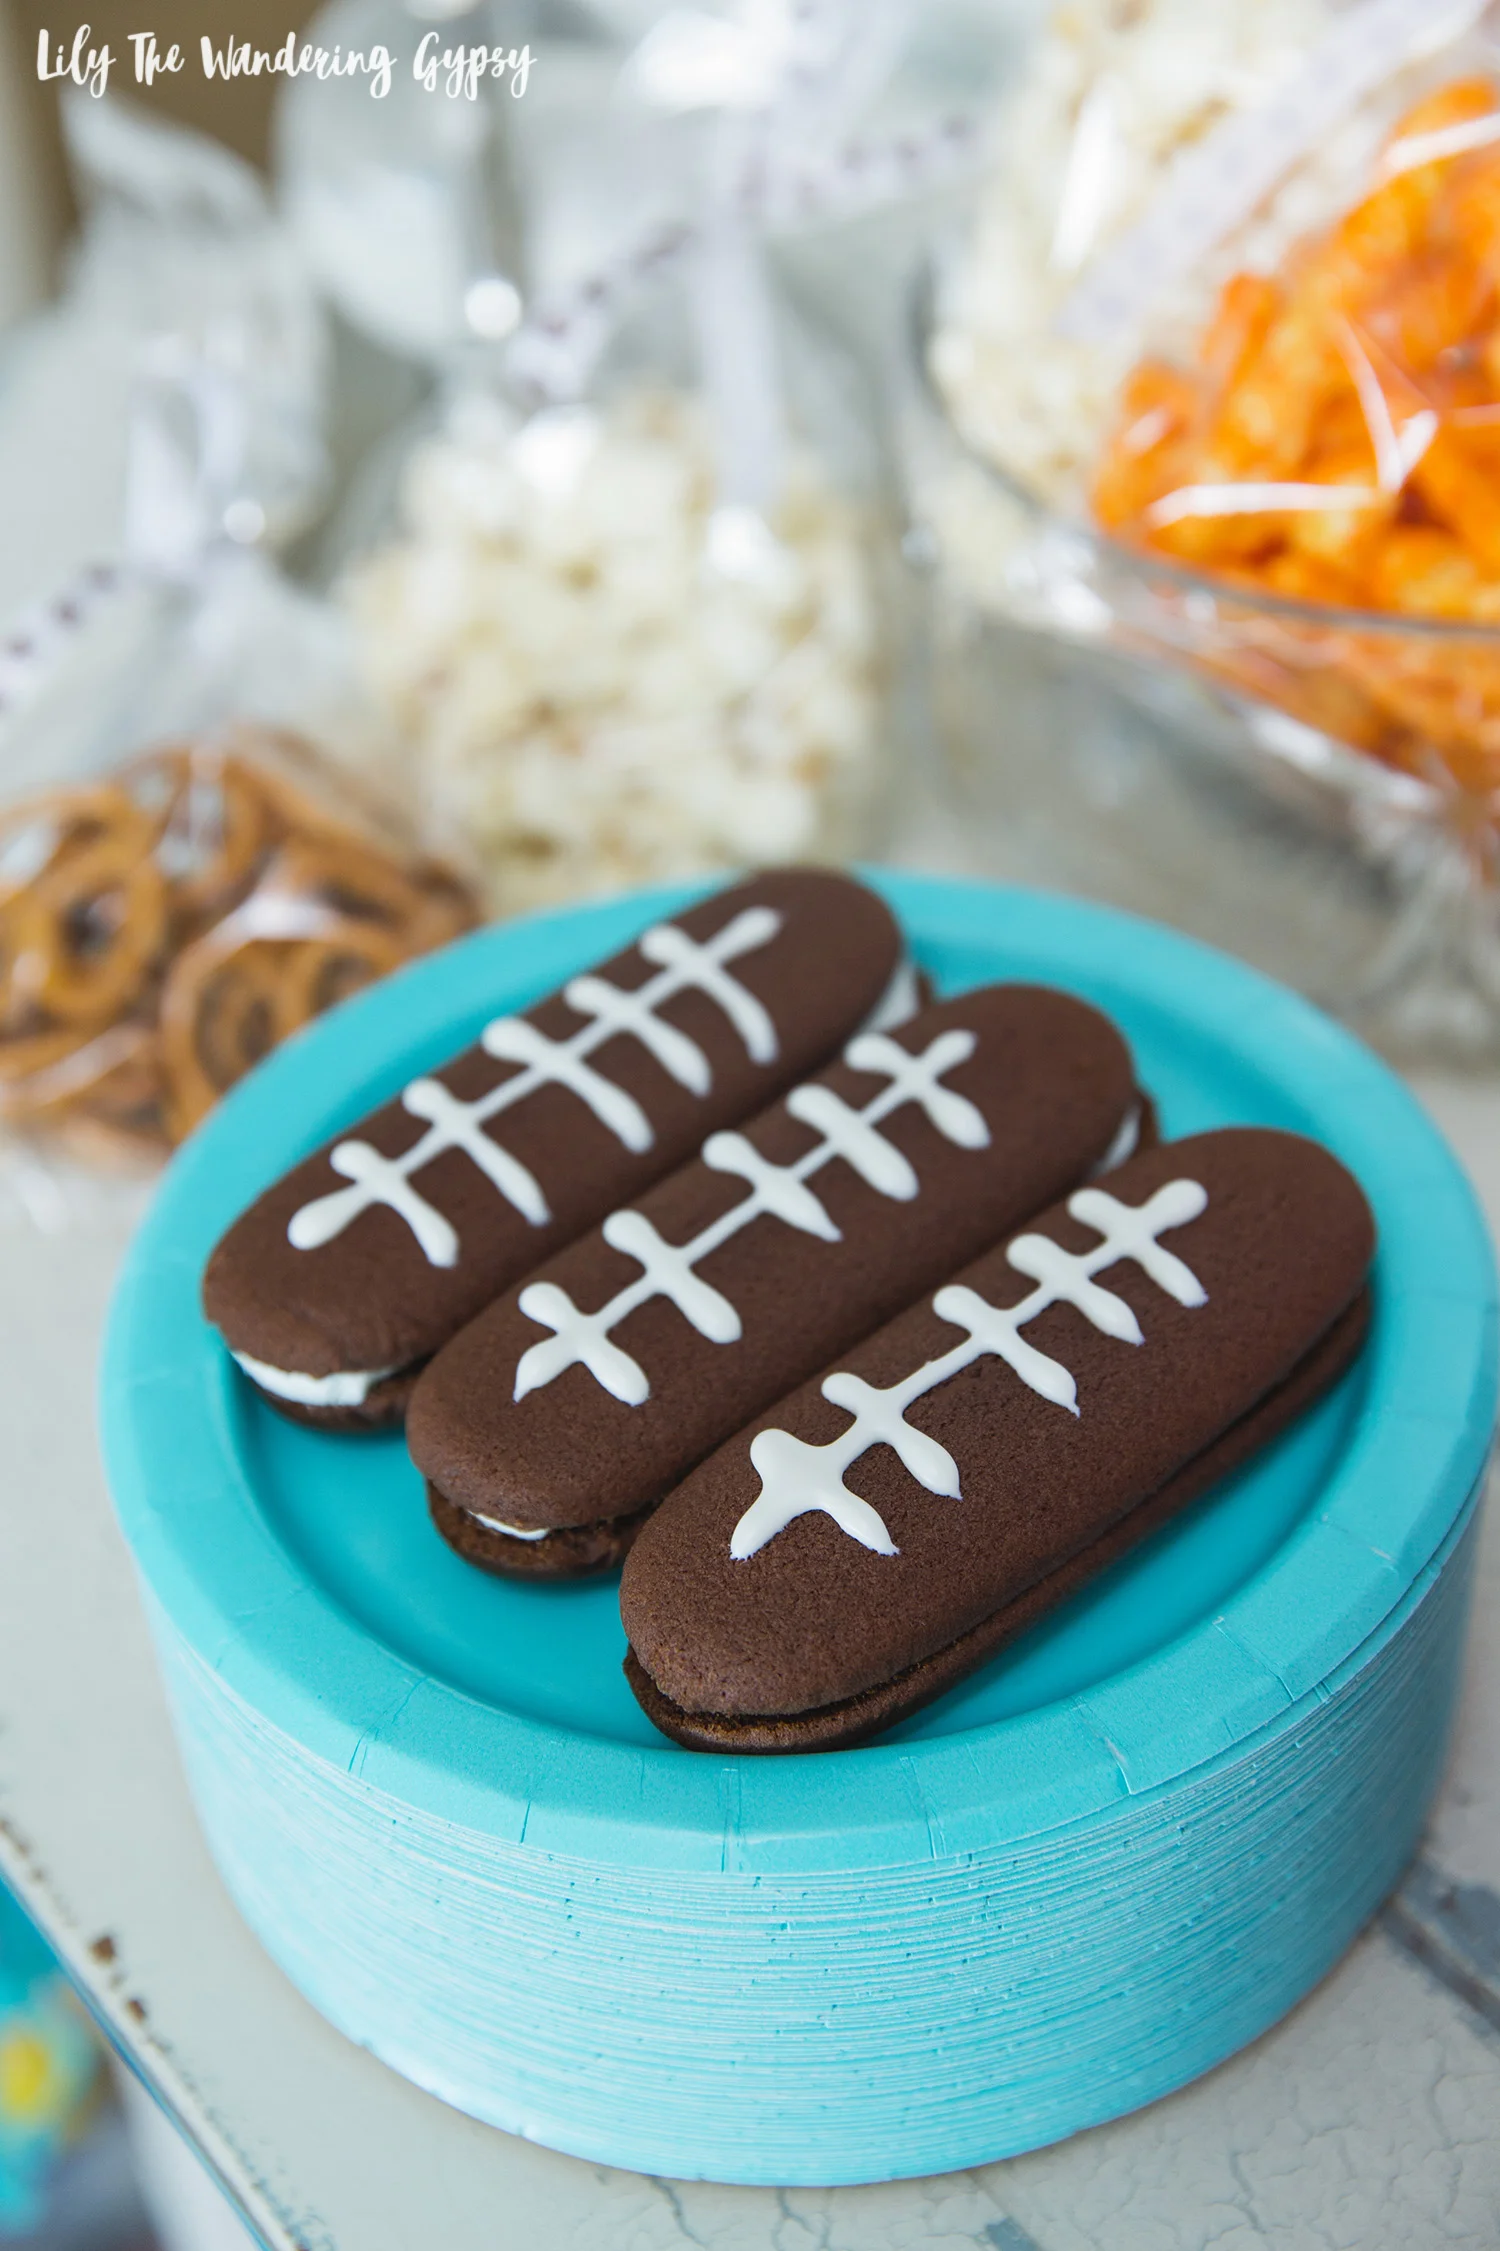
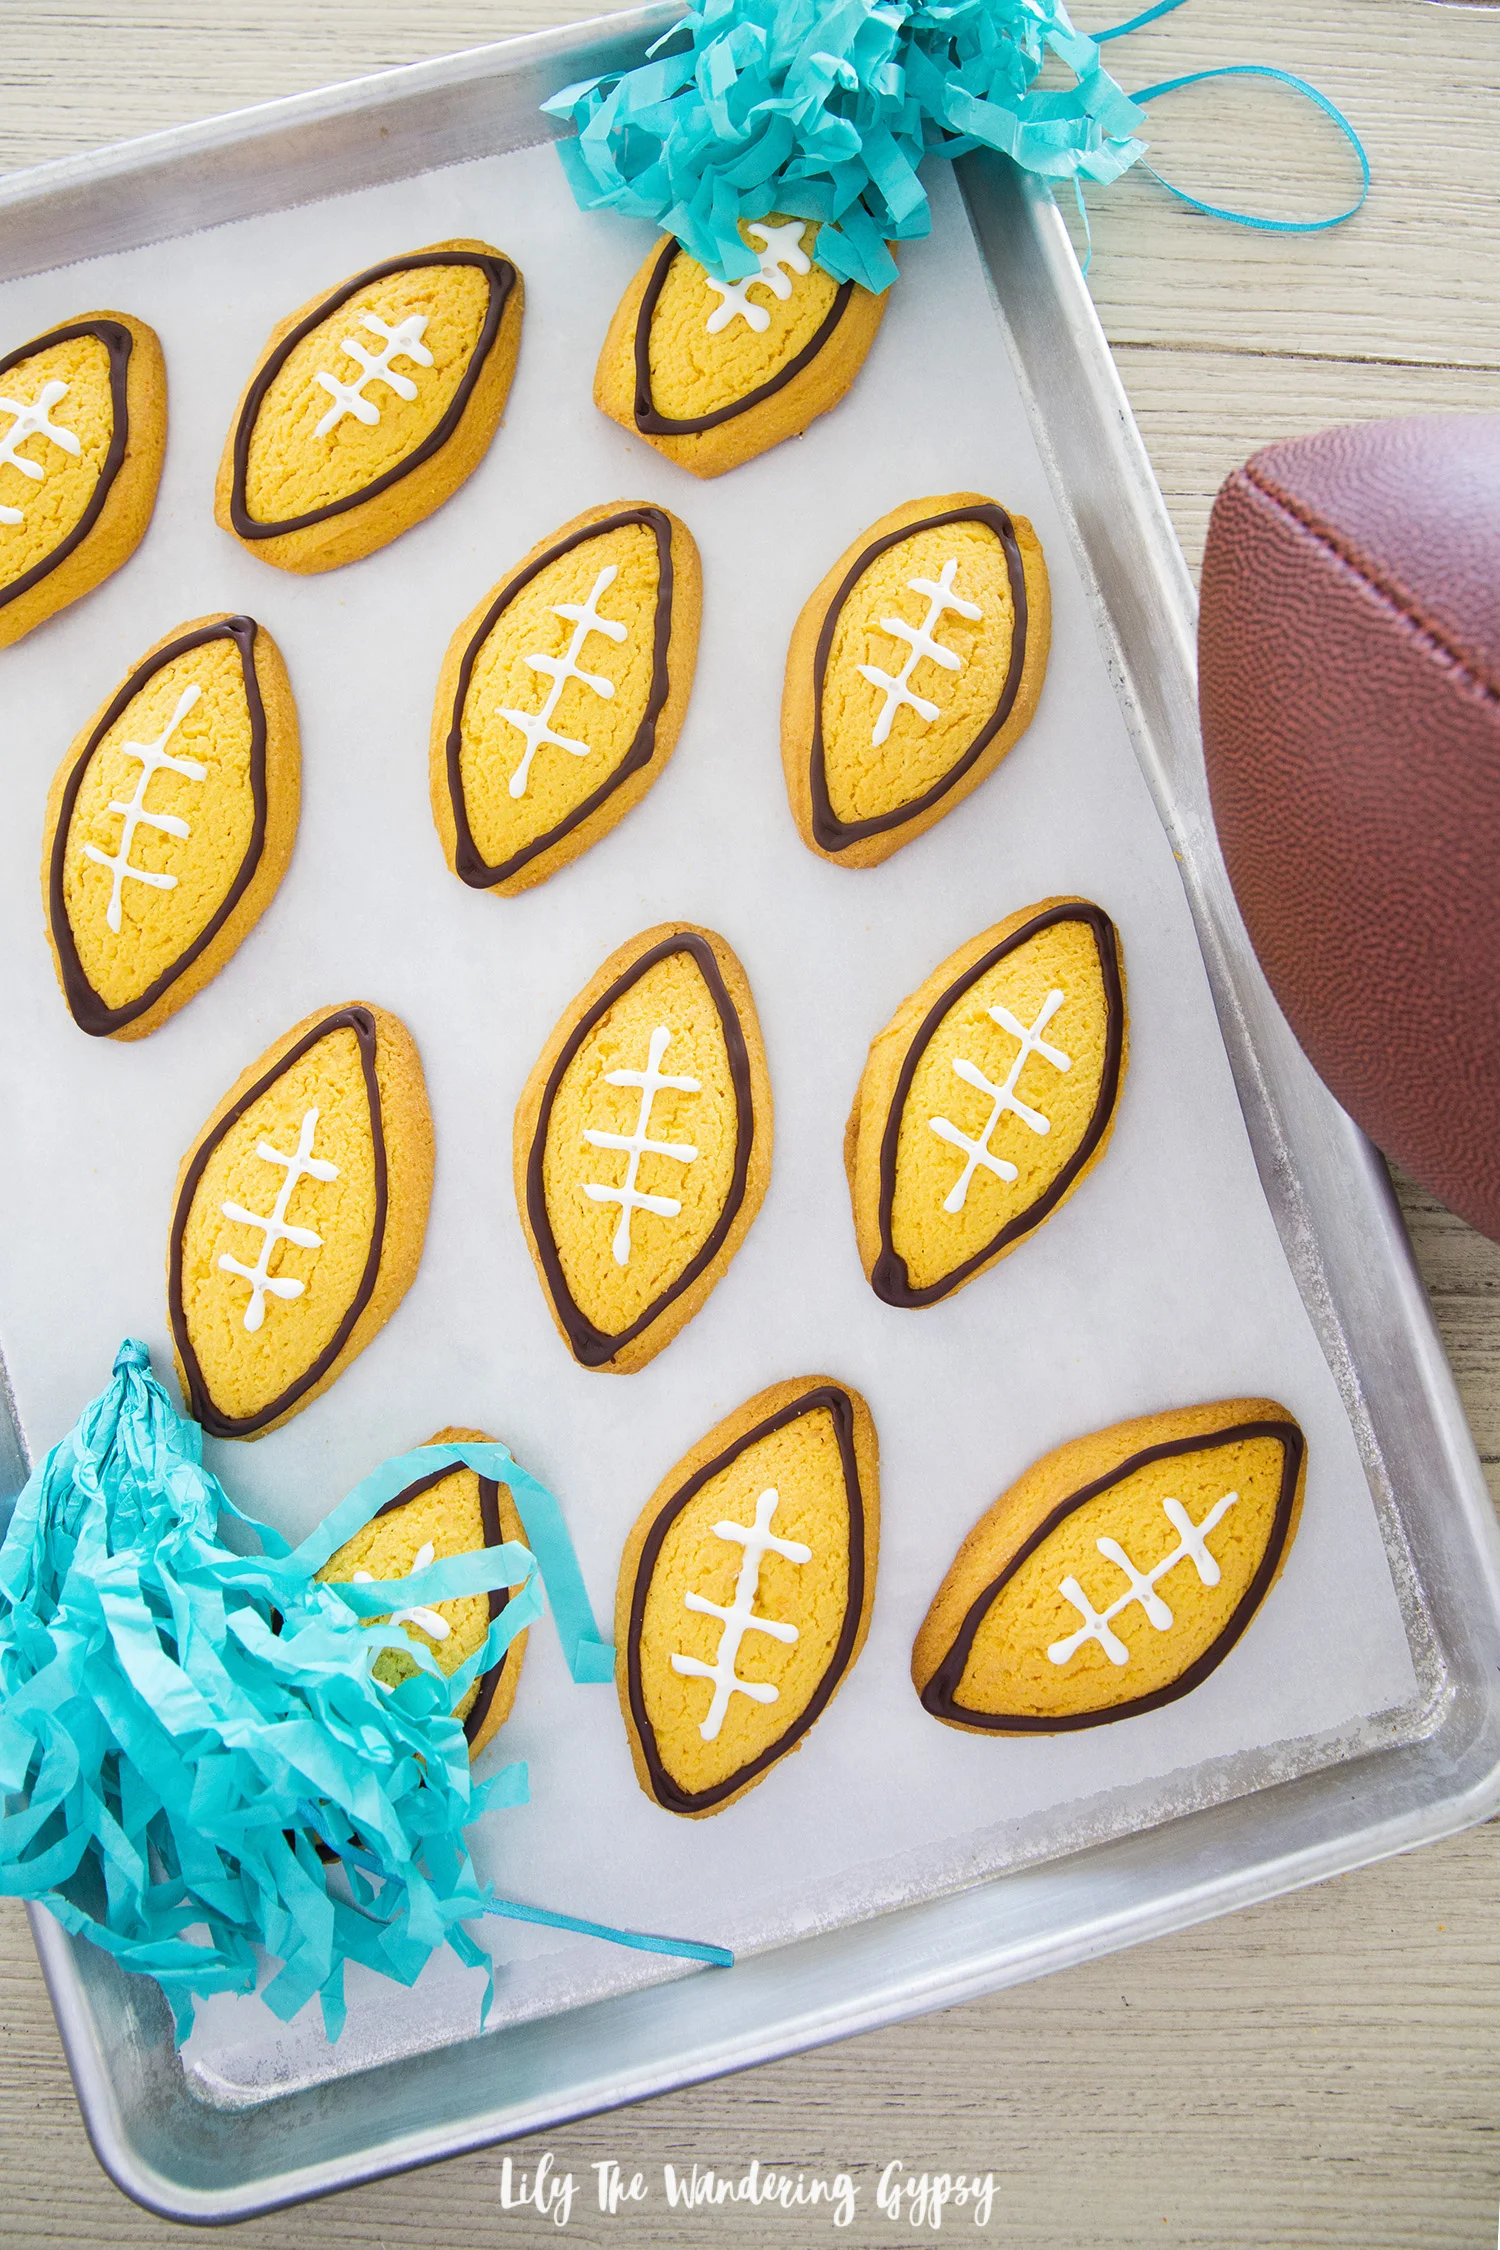
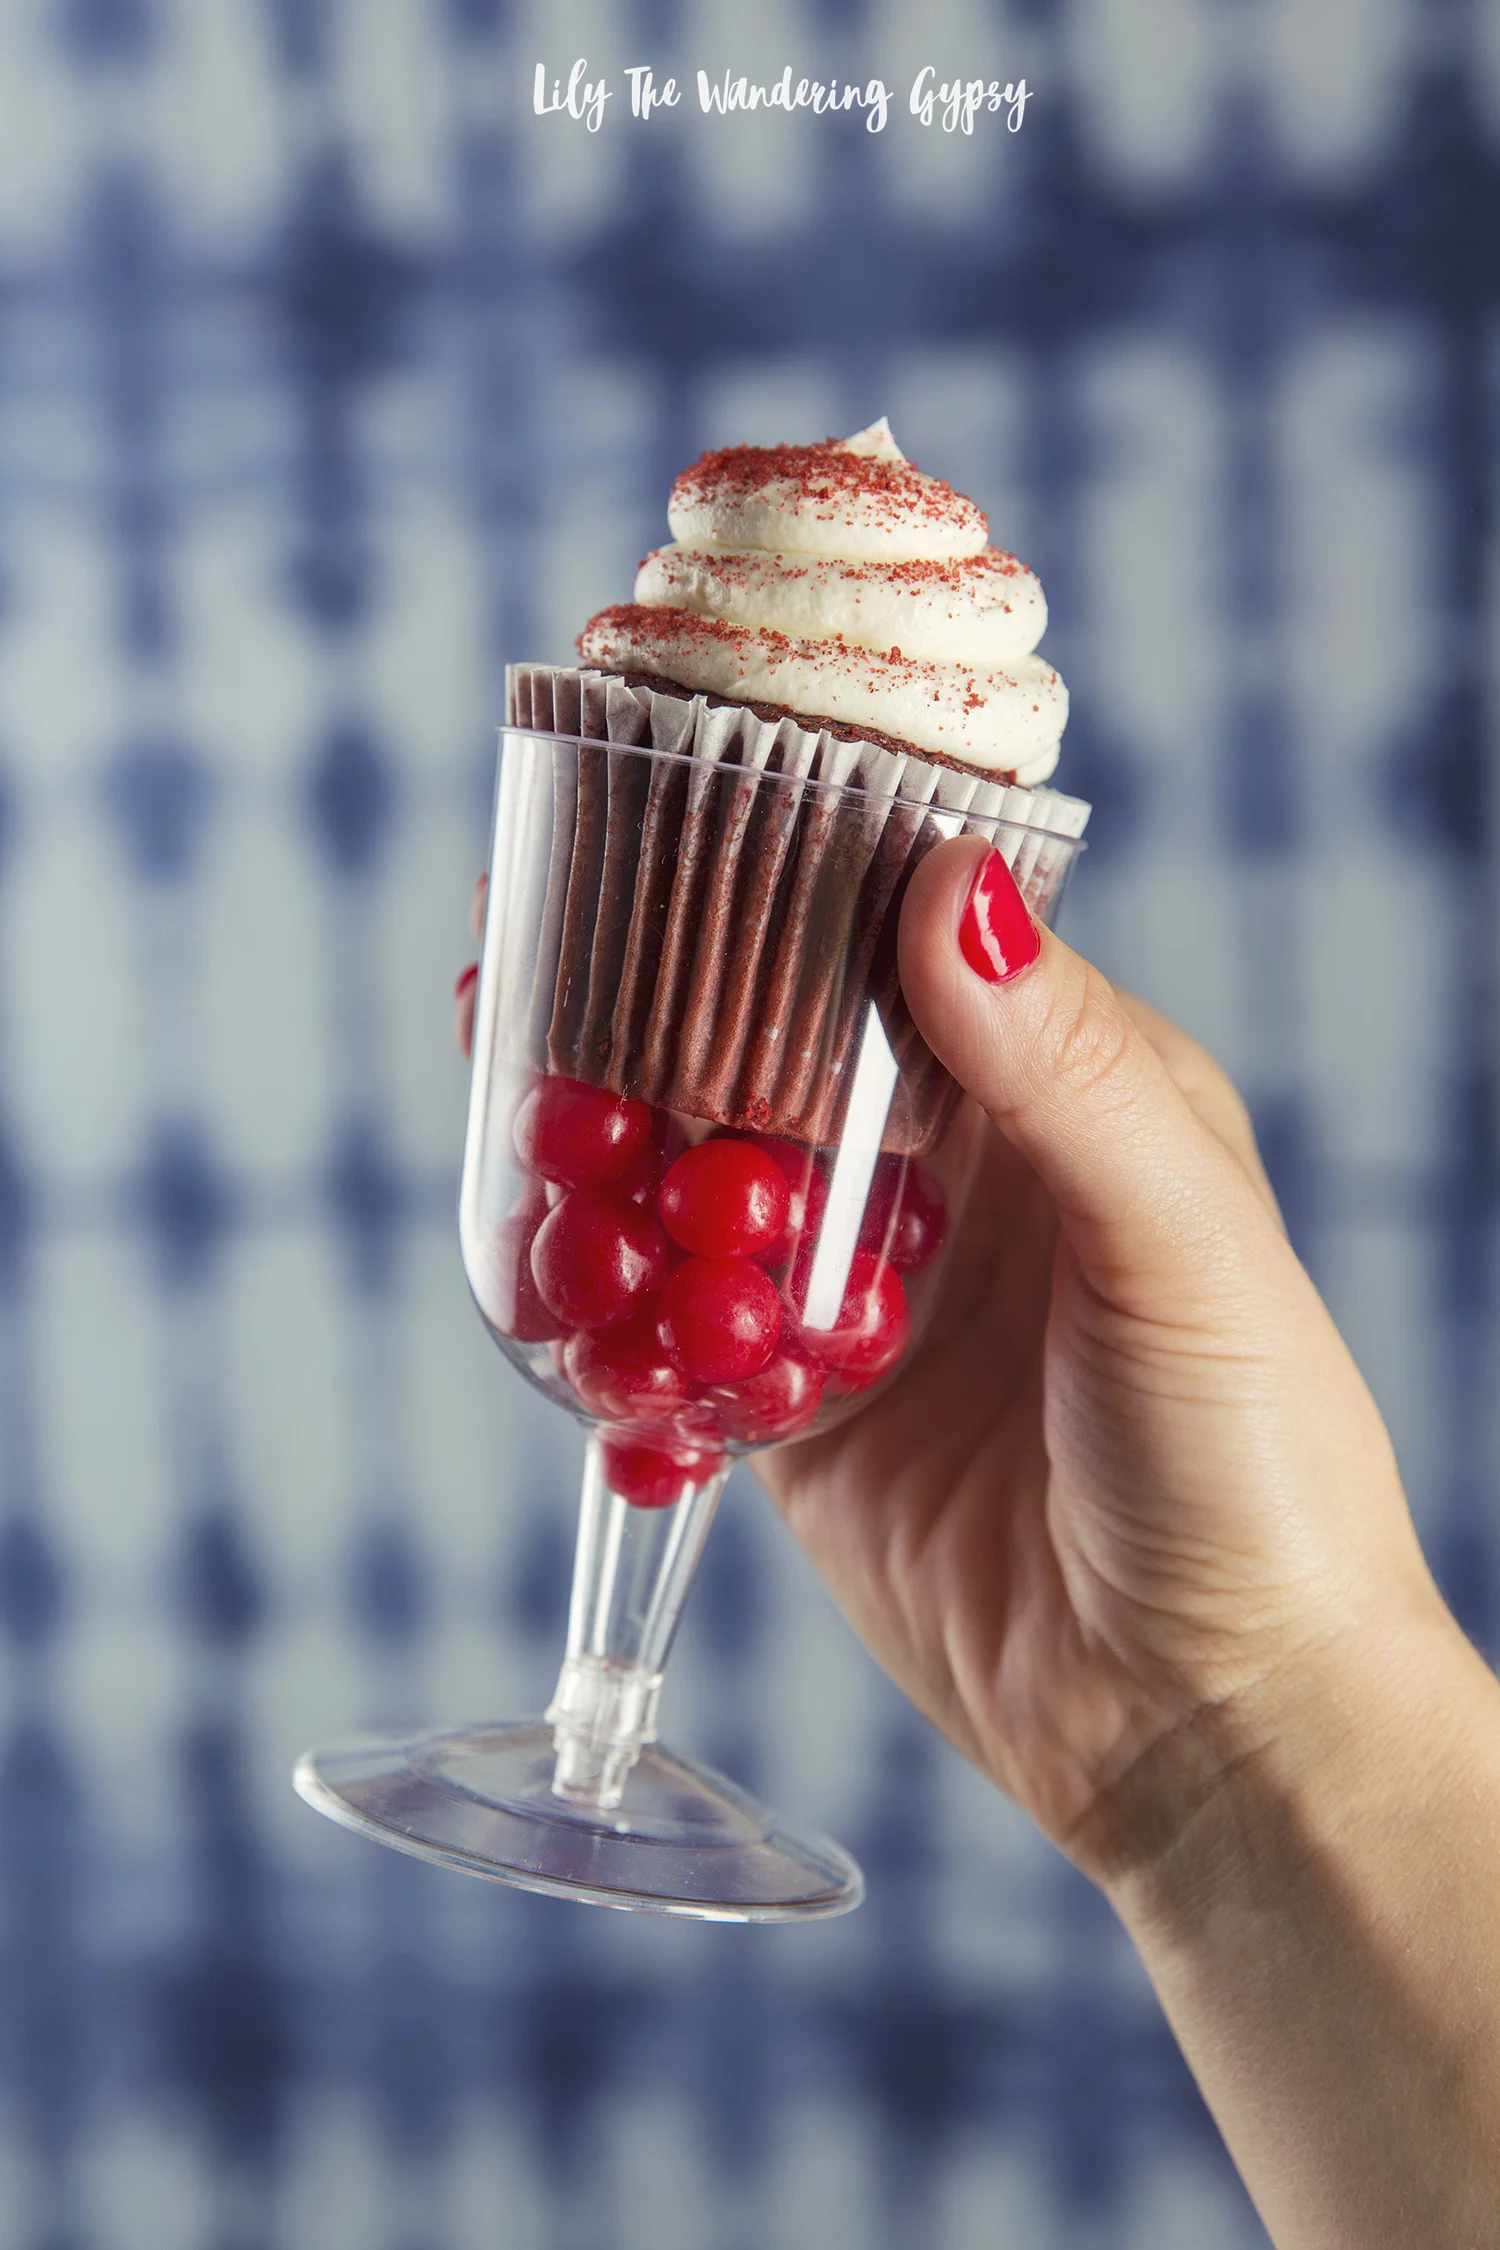
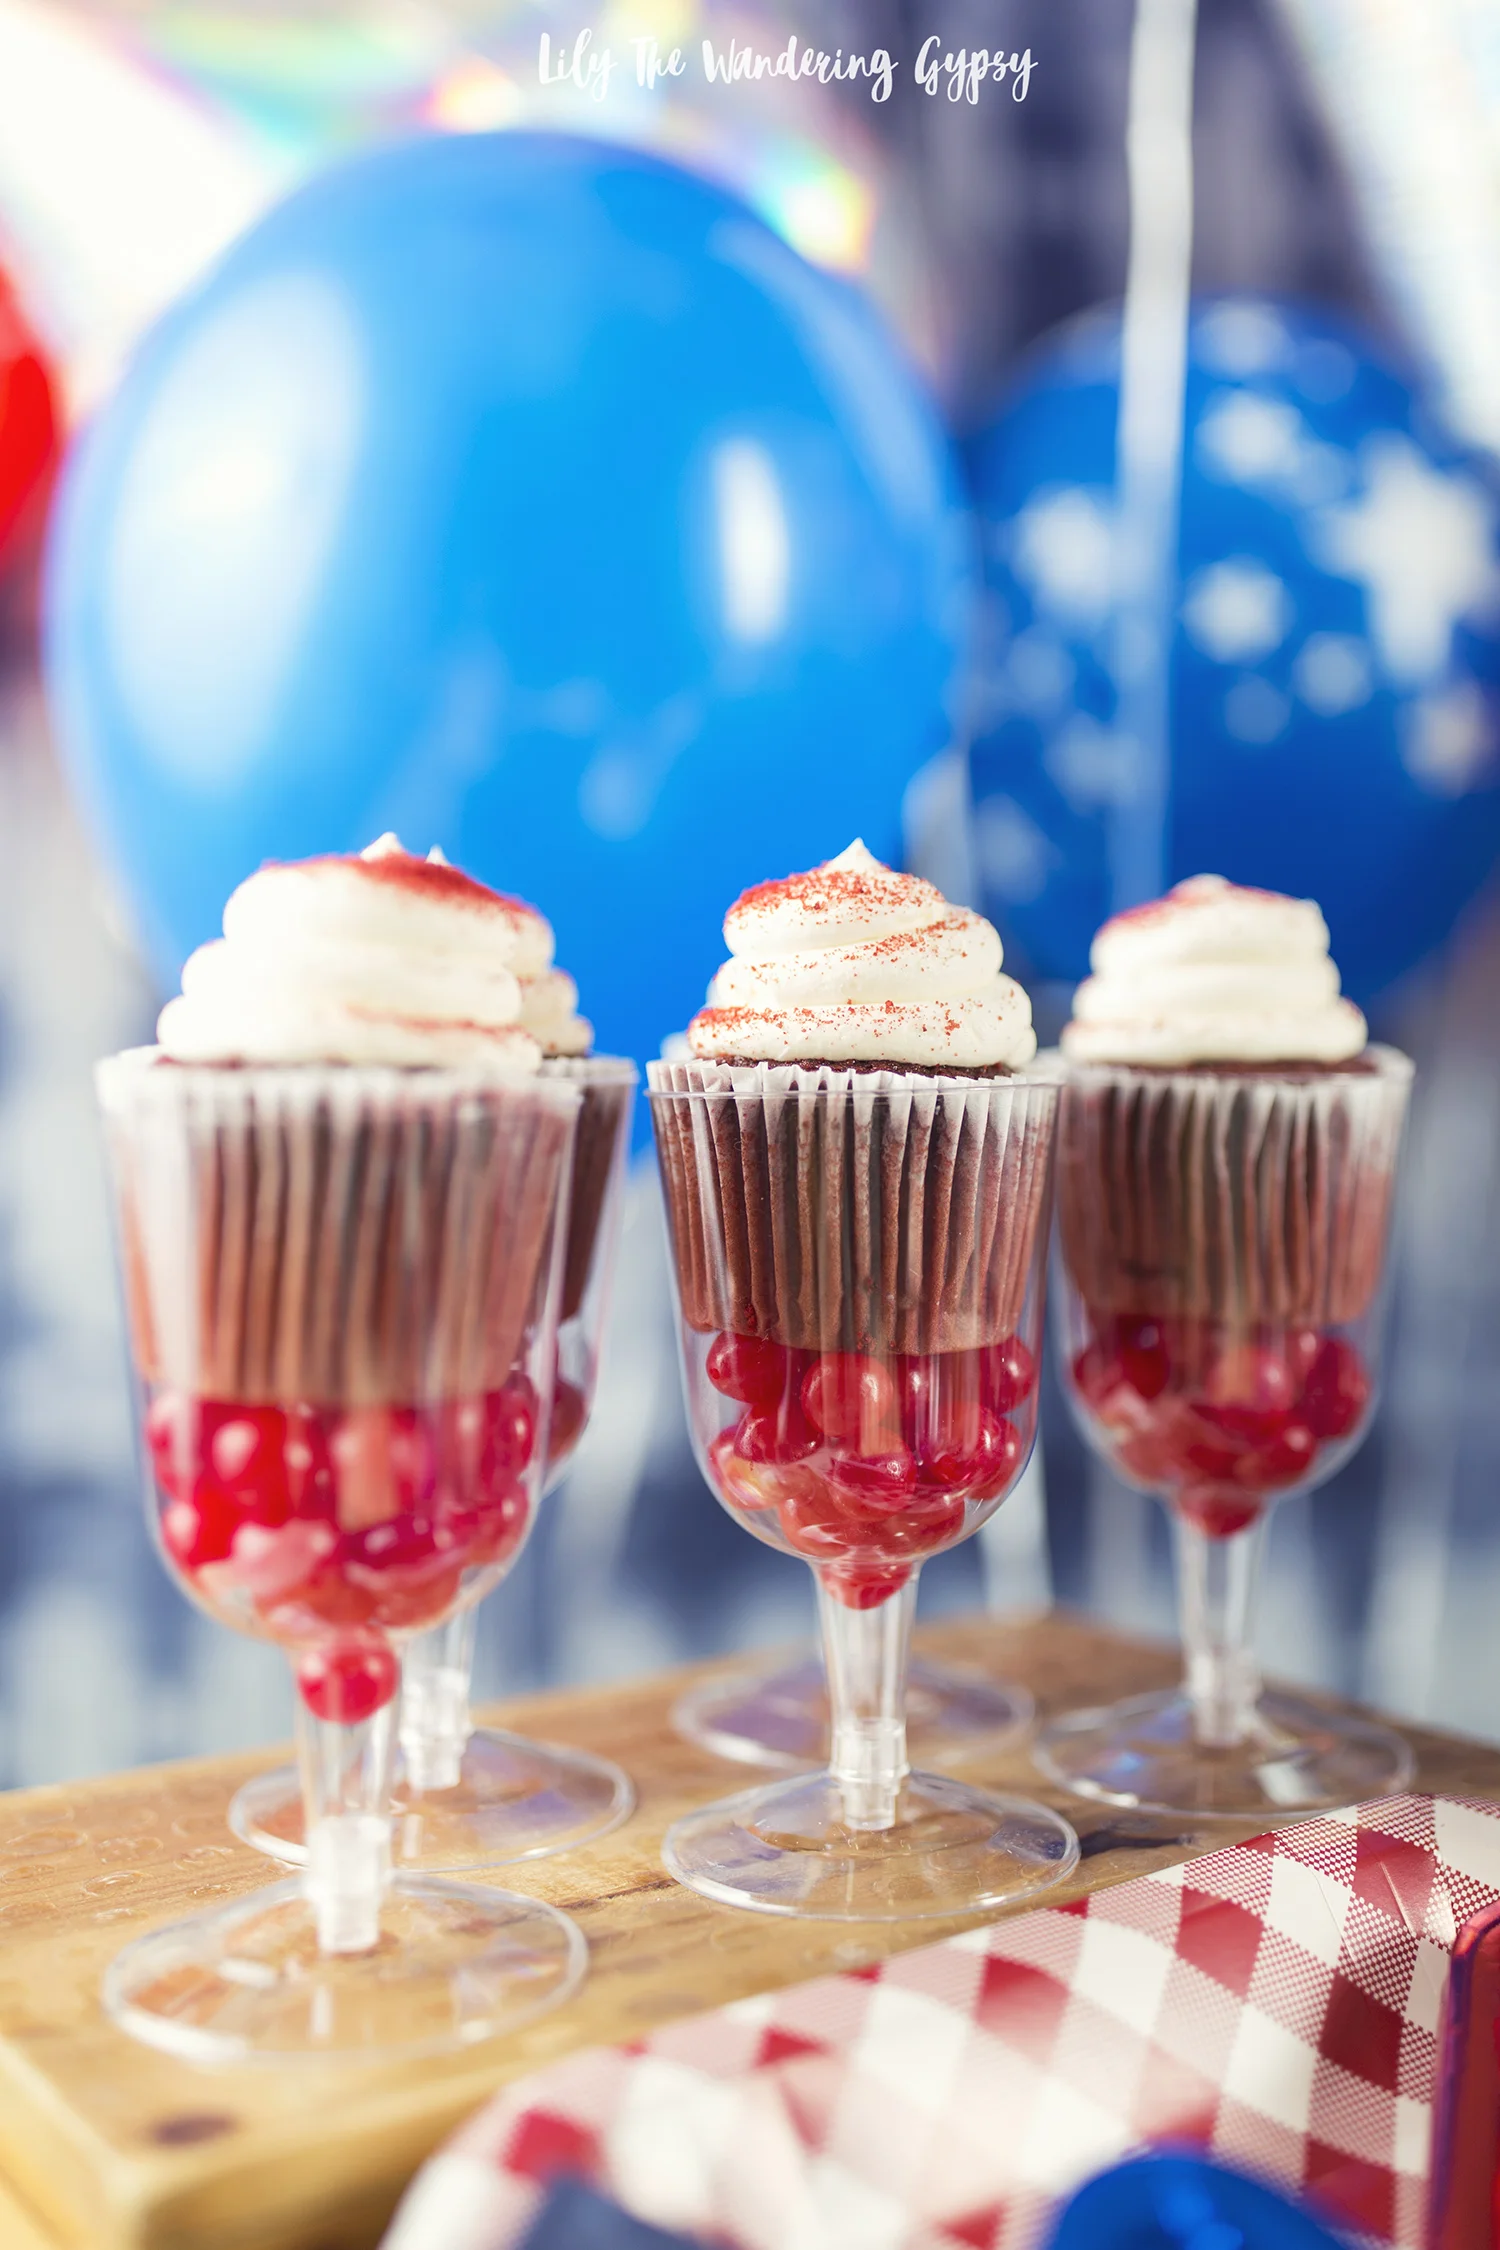
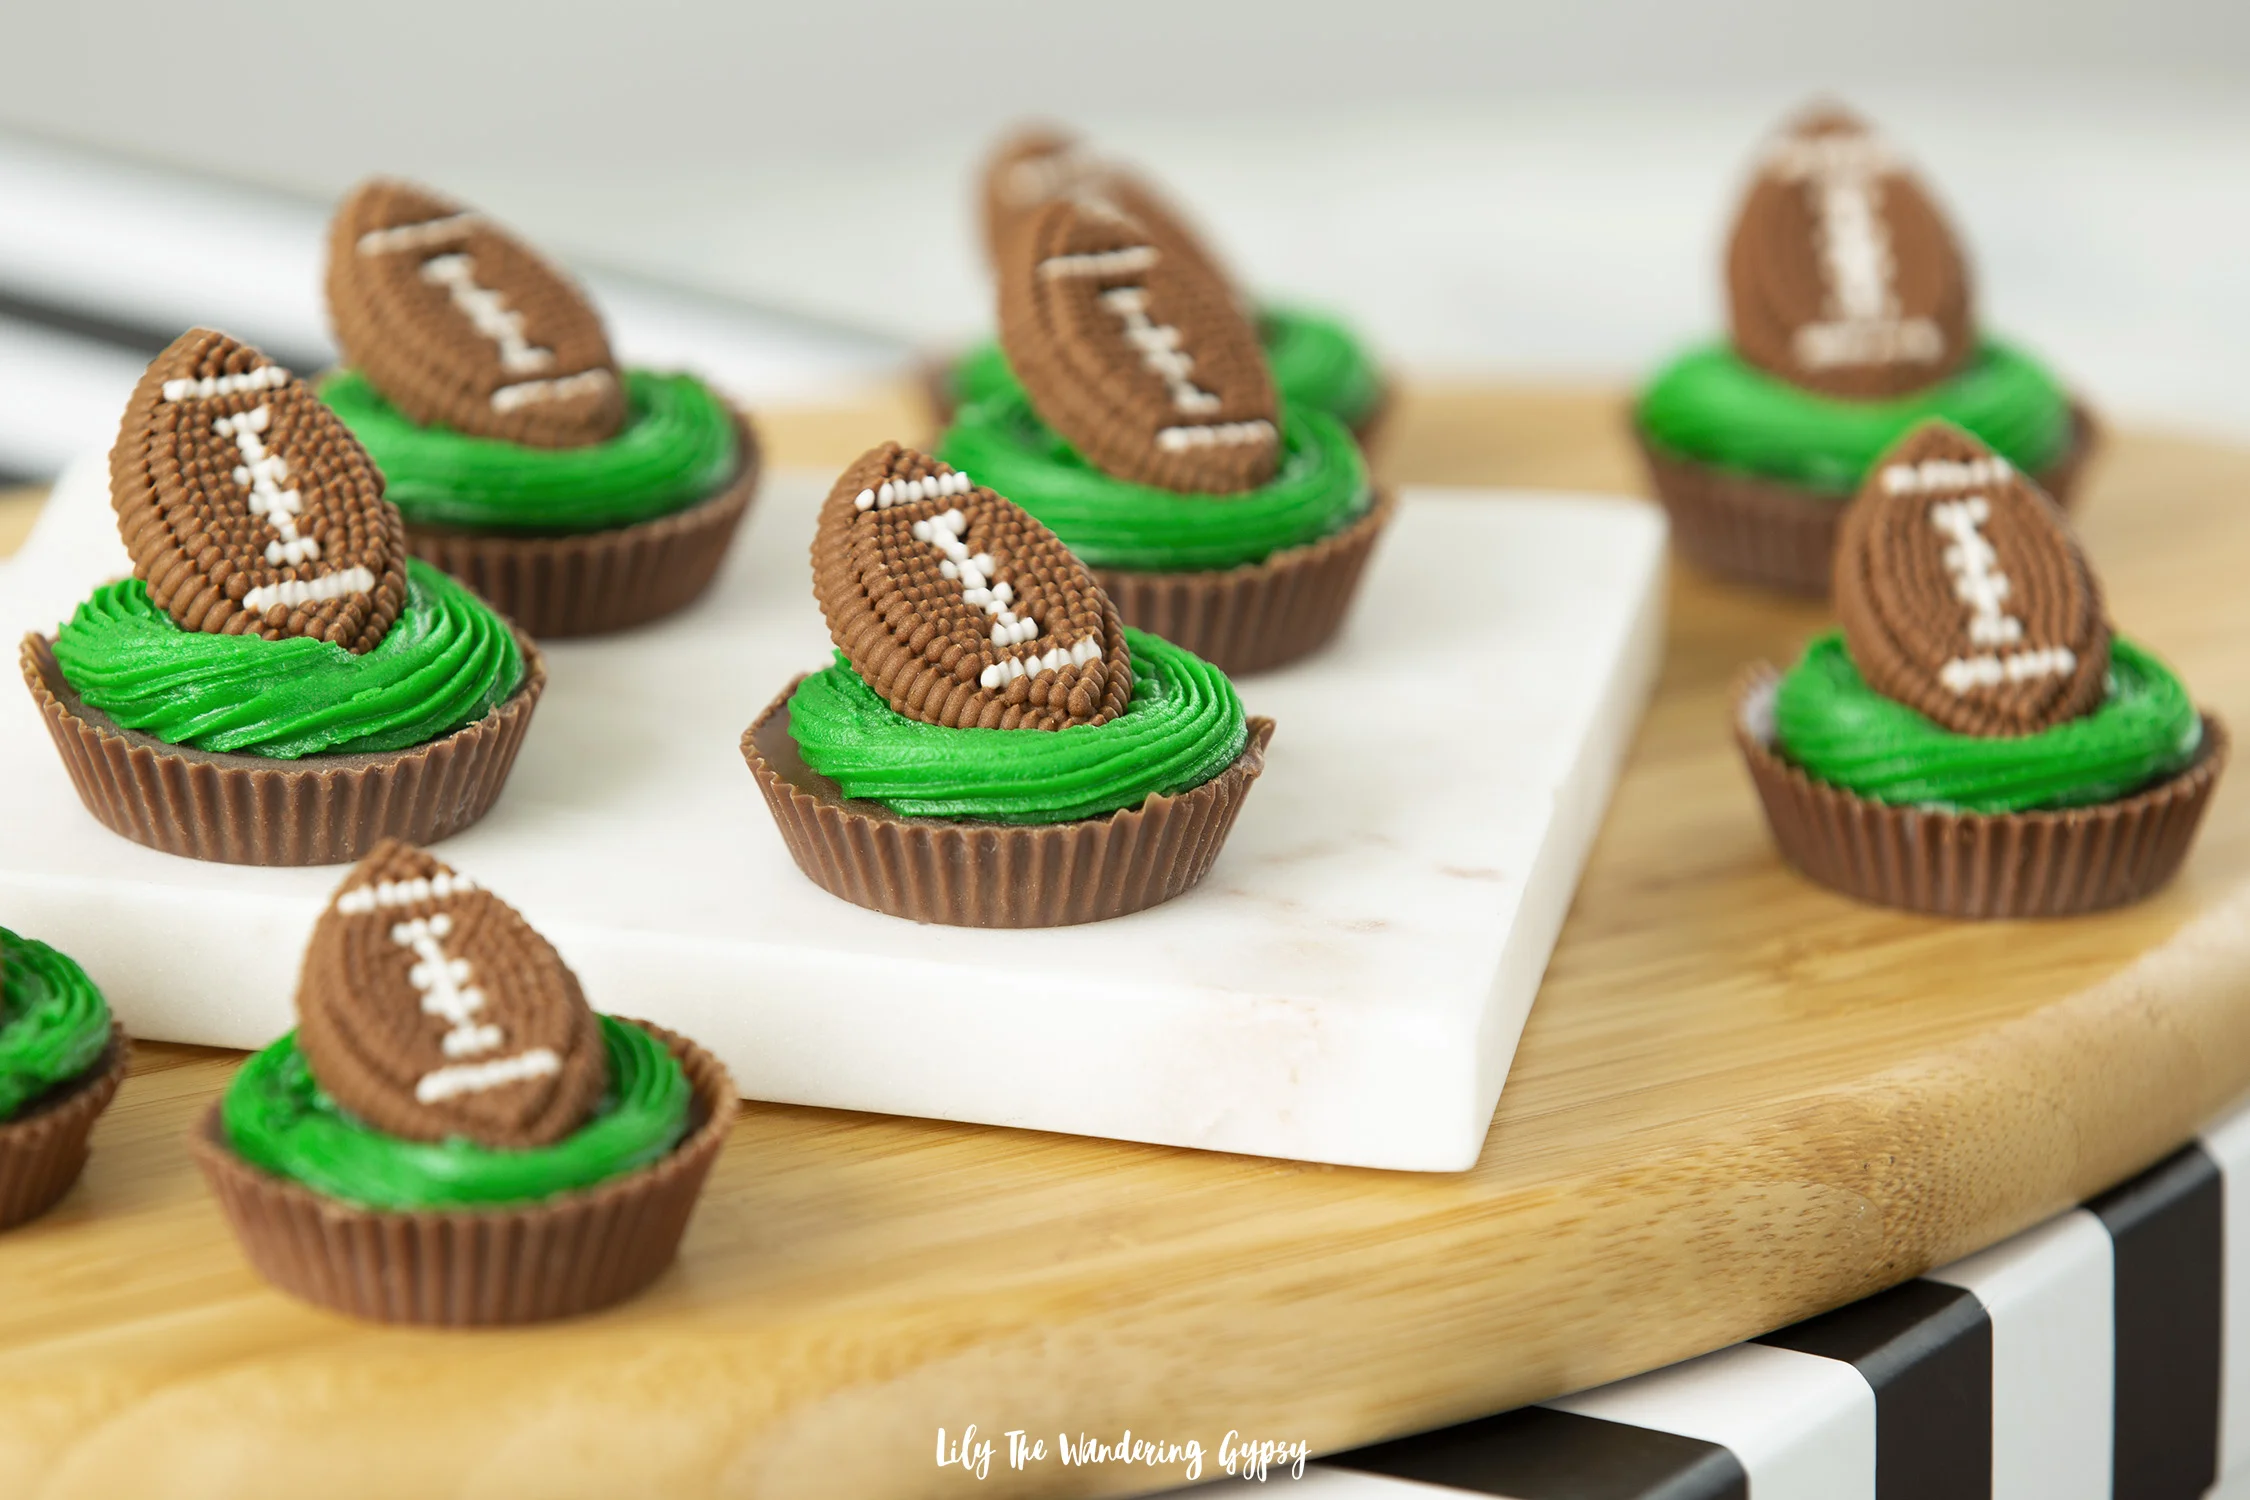
CUTE + EASY FOOTBALL DESSERT IDEA:

Ingredients:

1 squeeze tube of green frosting (pre-made or homemade)

football decorations - I found these at a party store in the baking section

peanut butter cups - I unwrapped these ones myself!

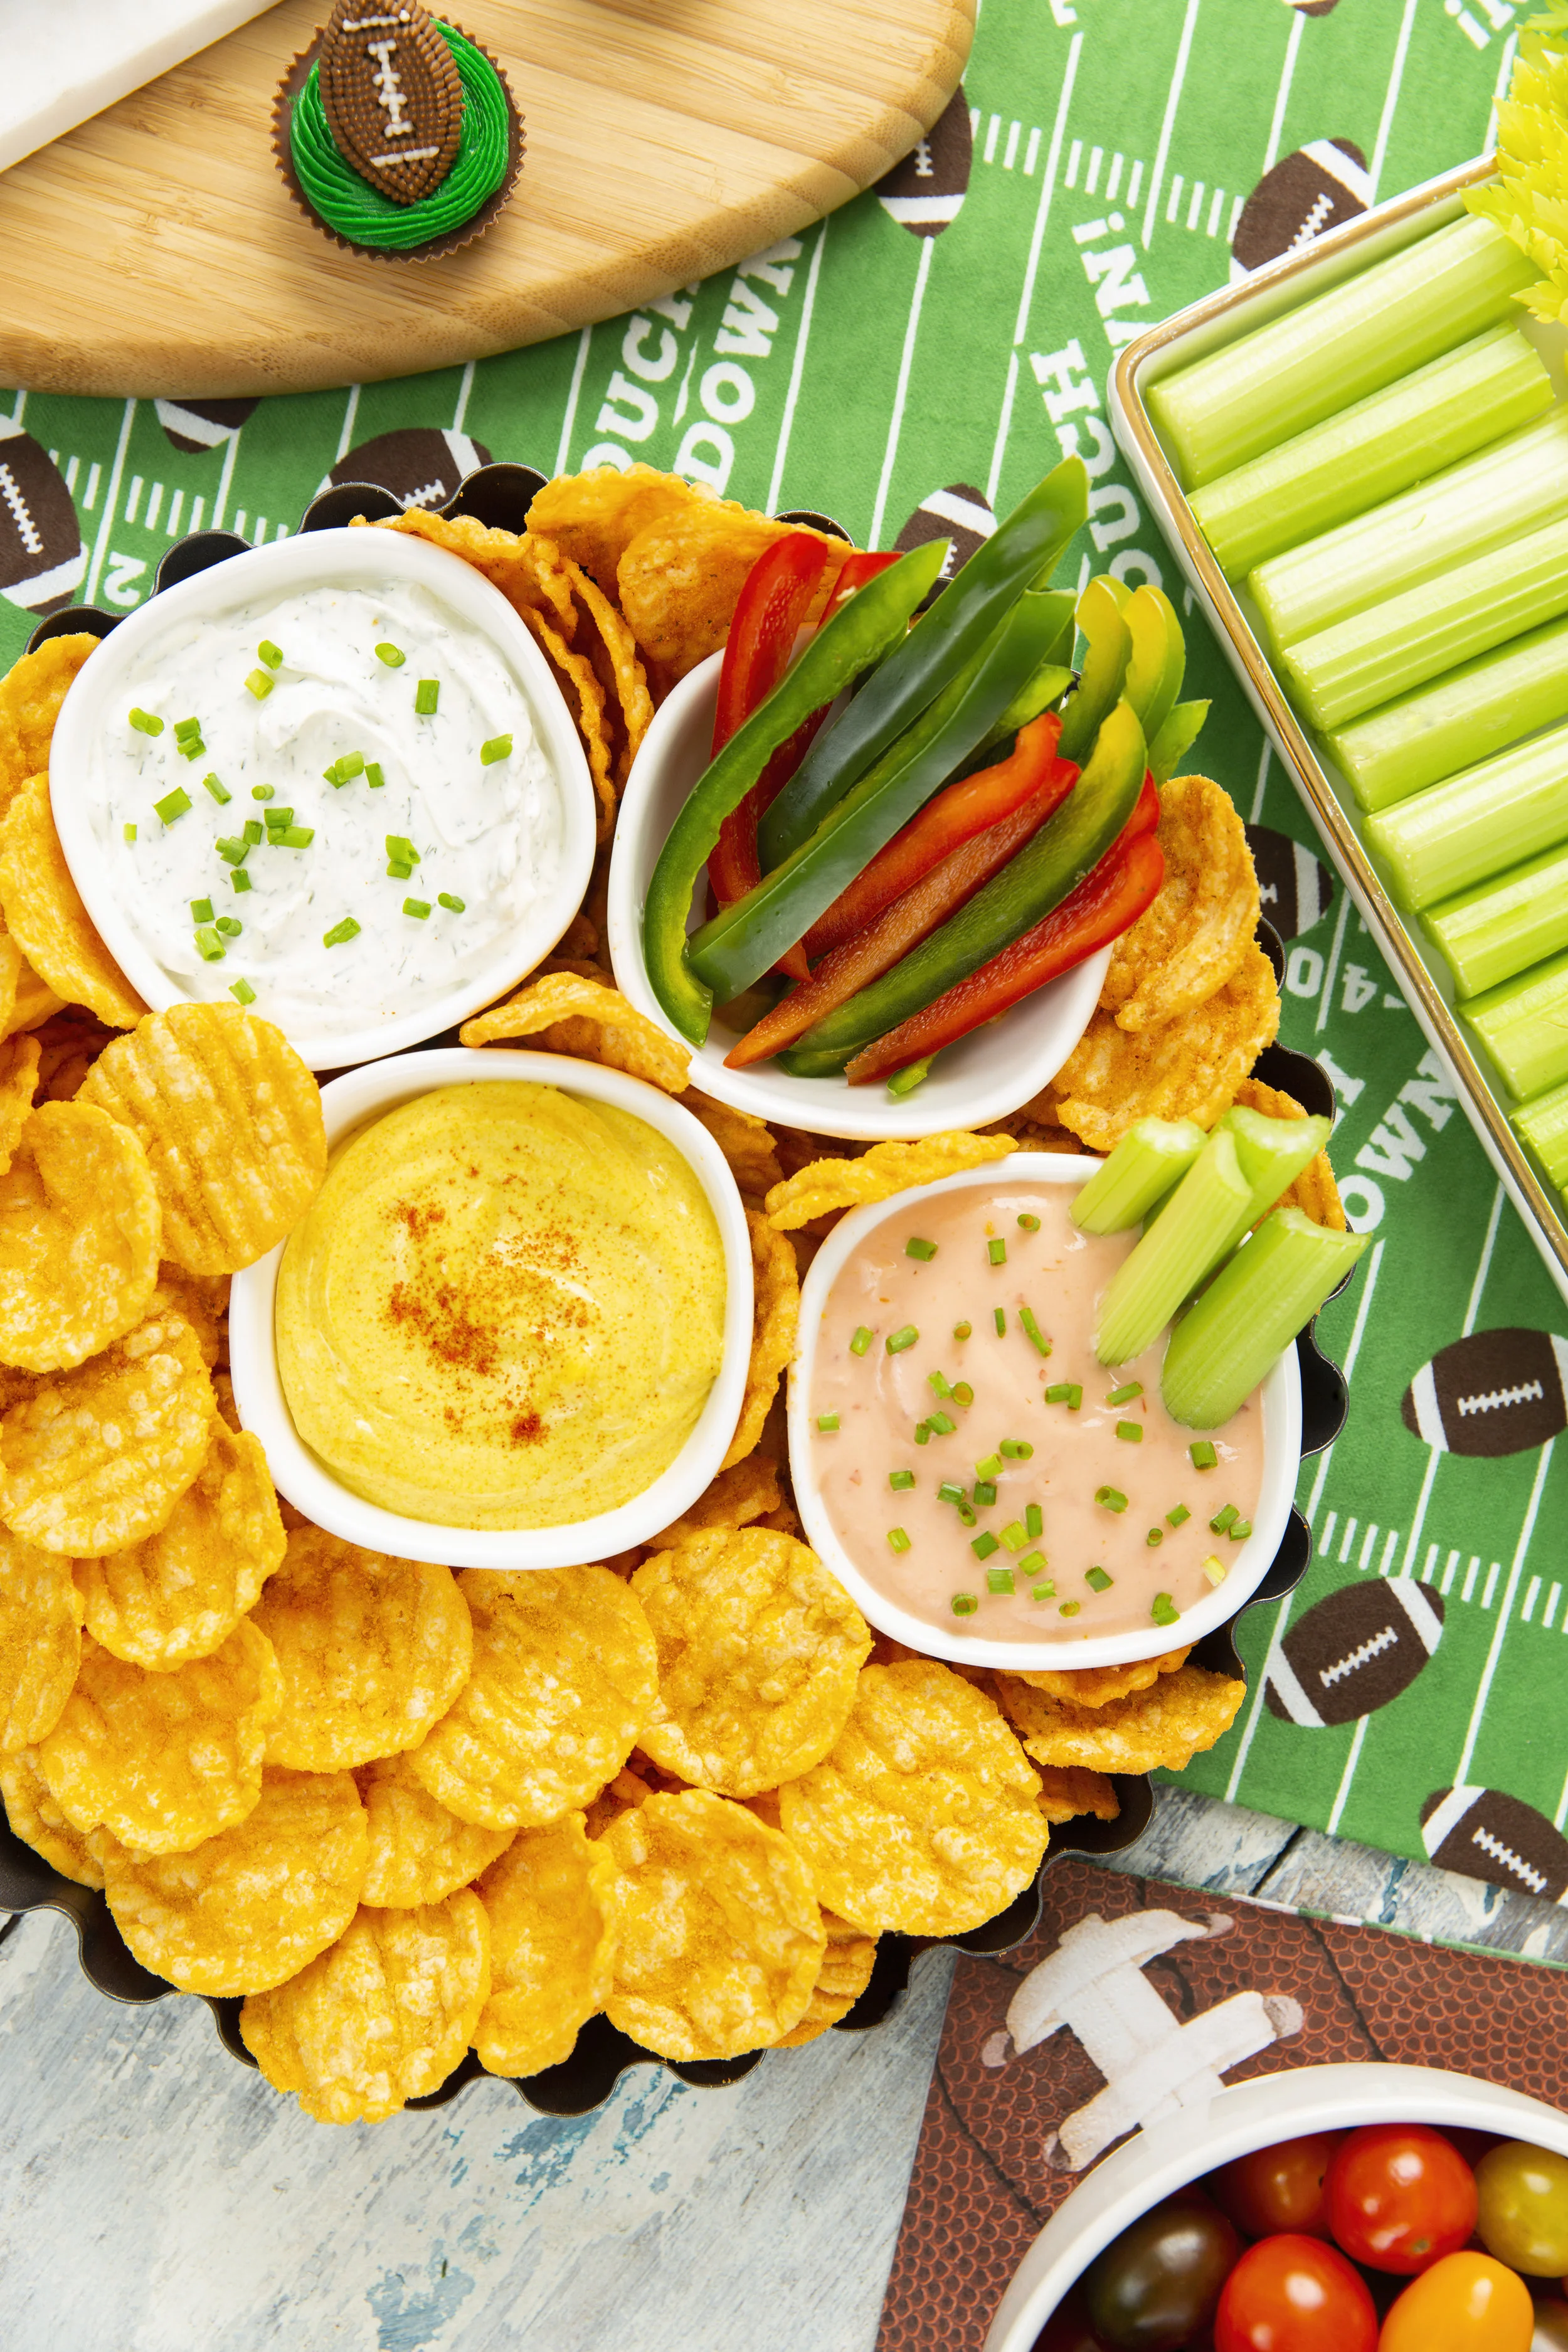
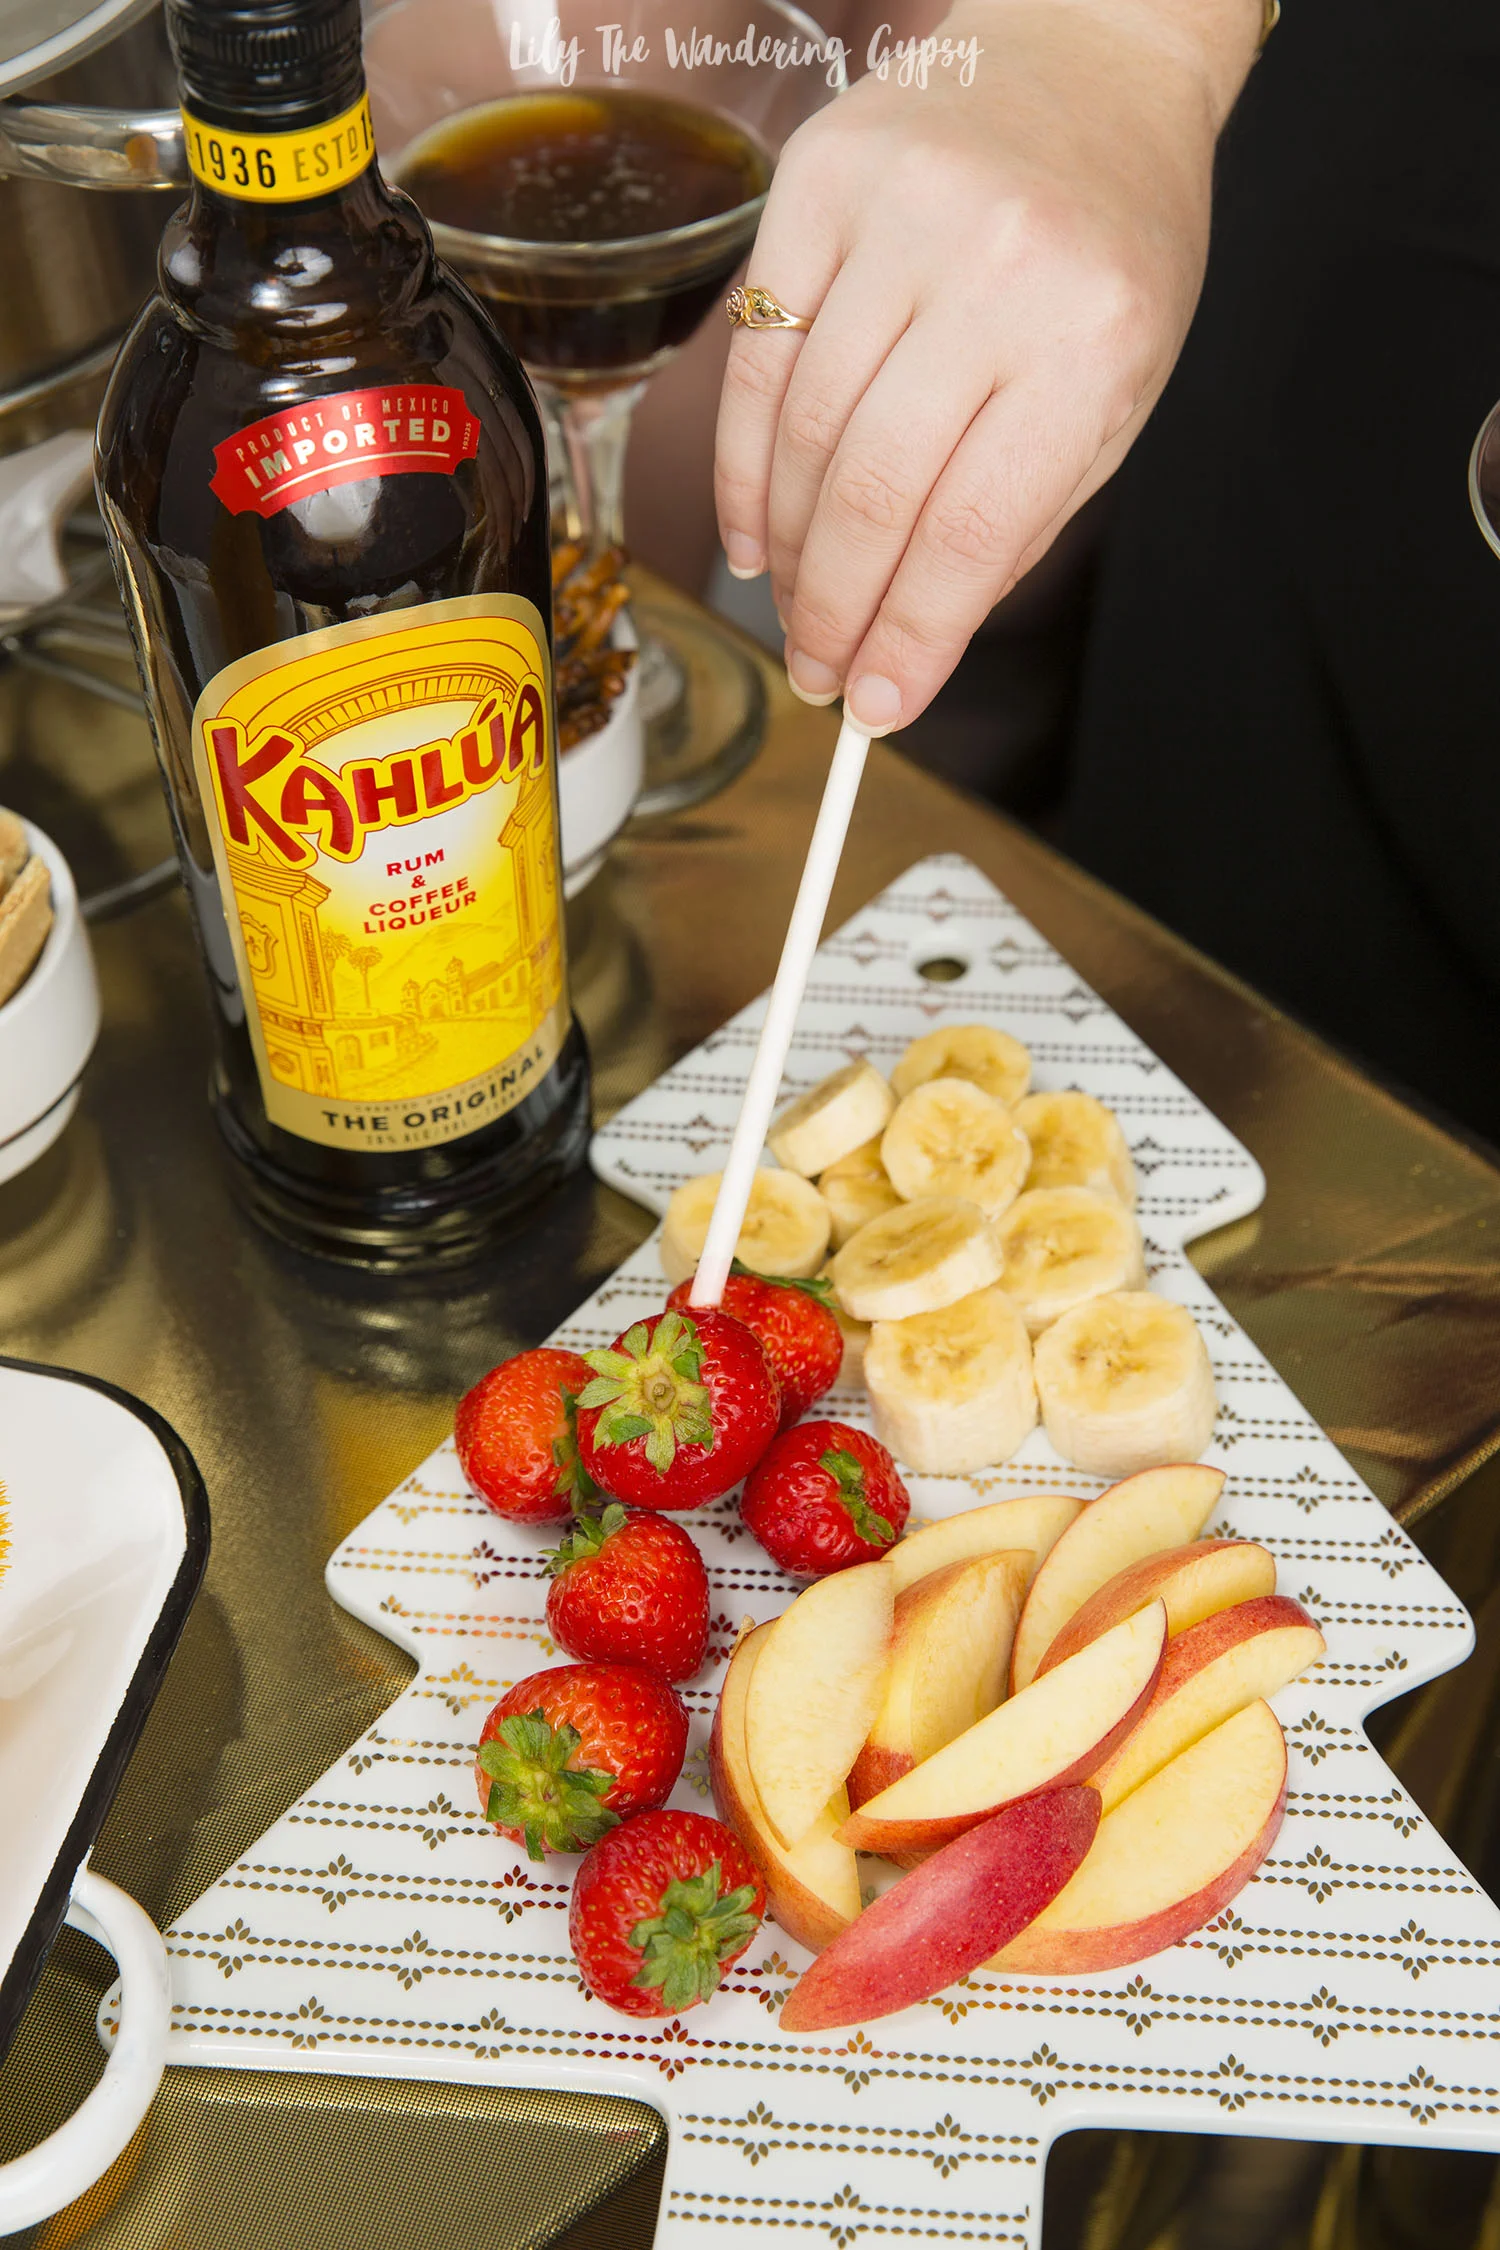
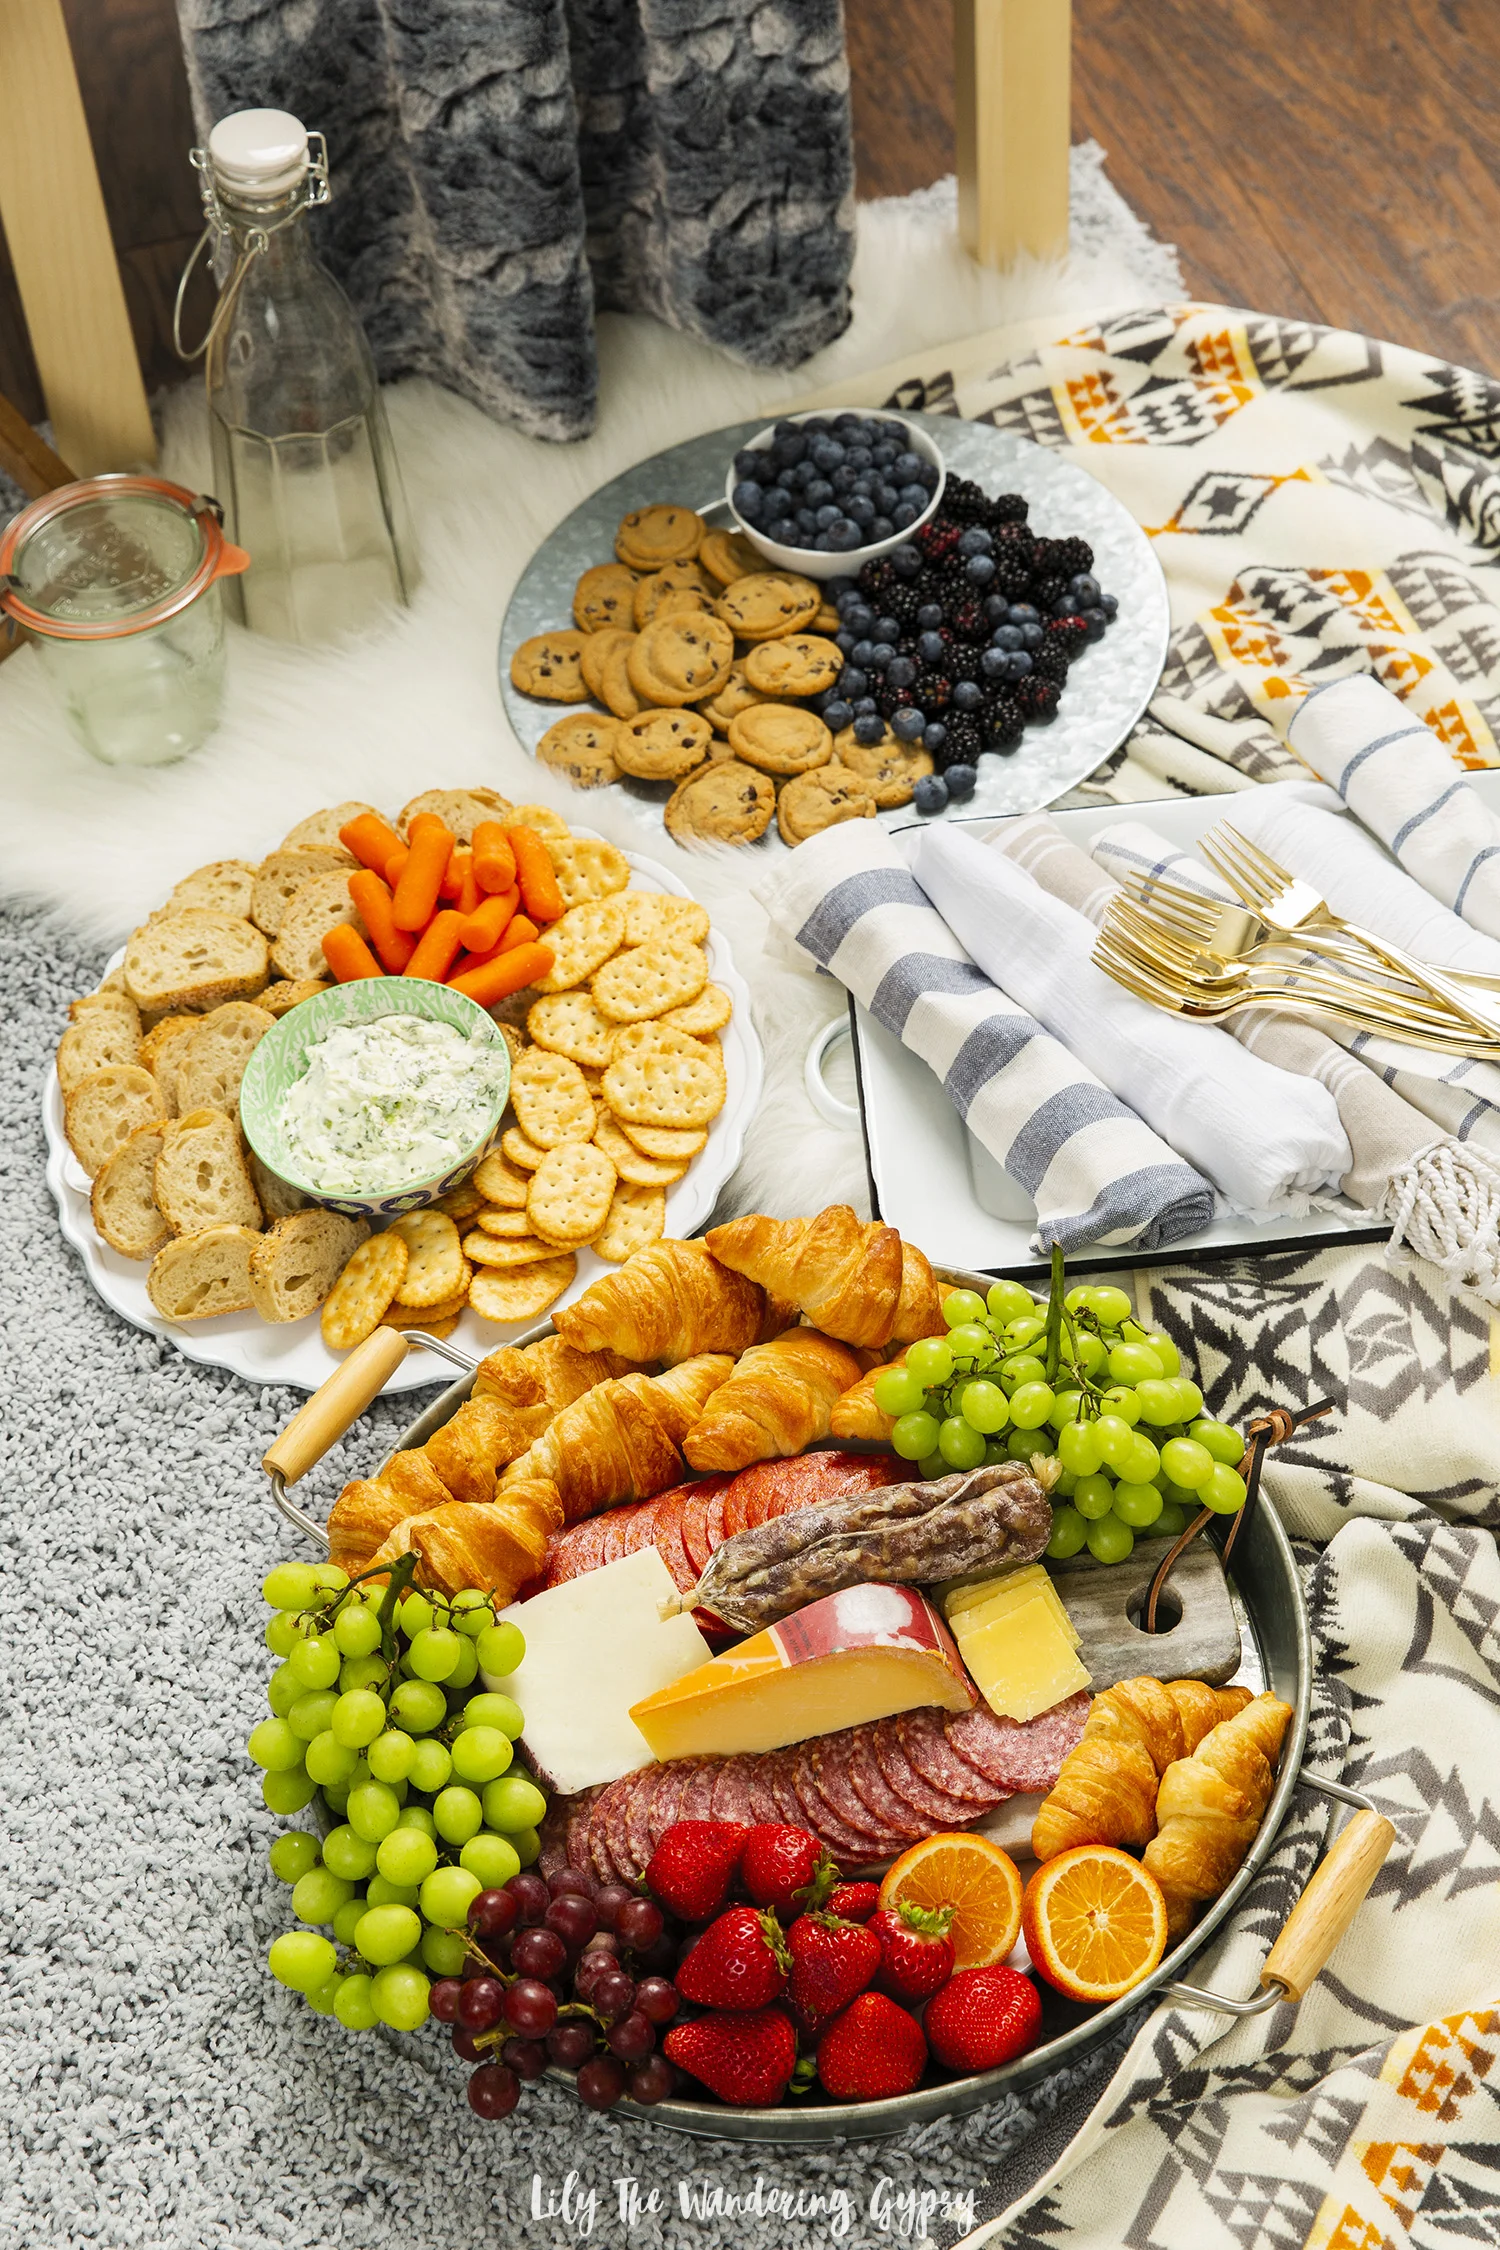
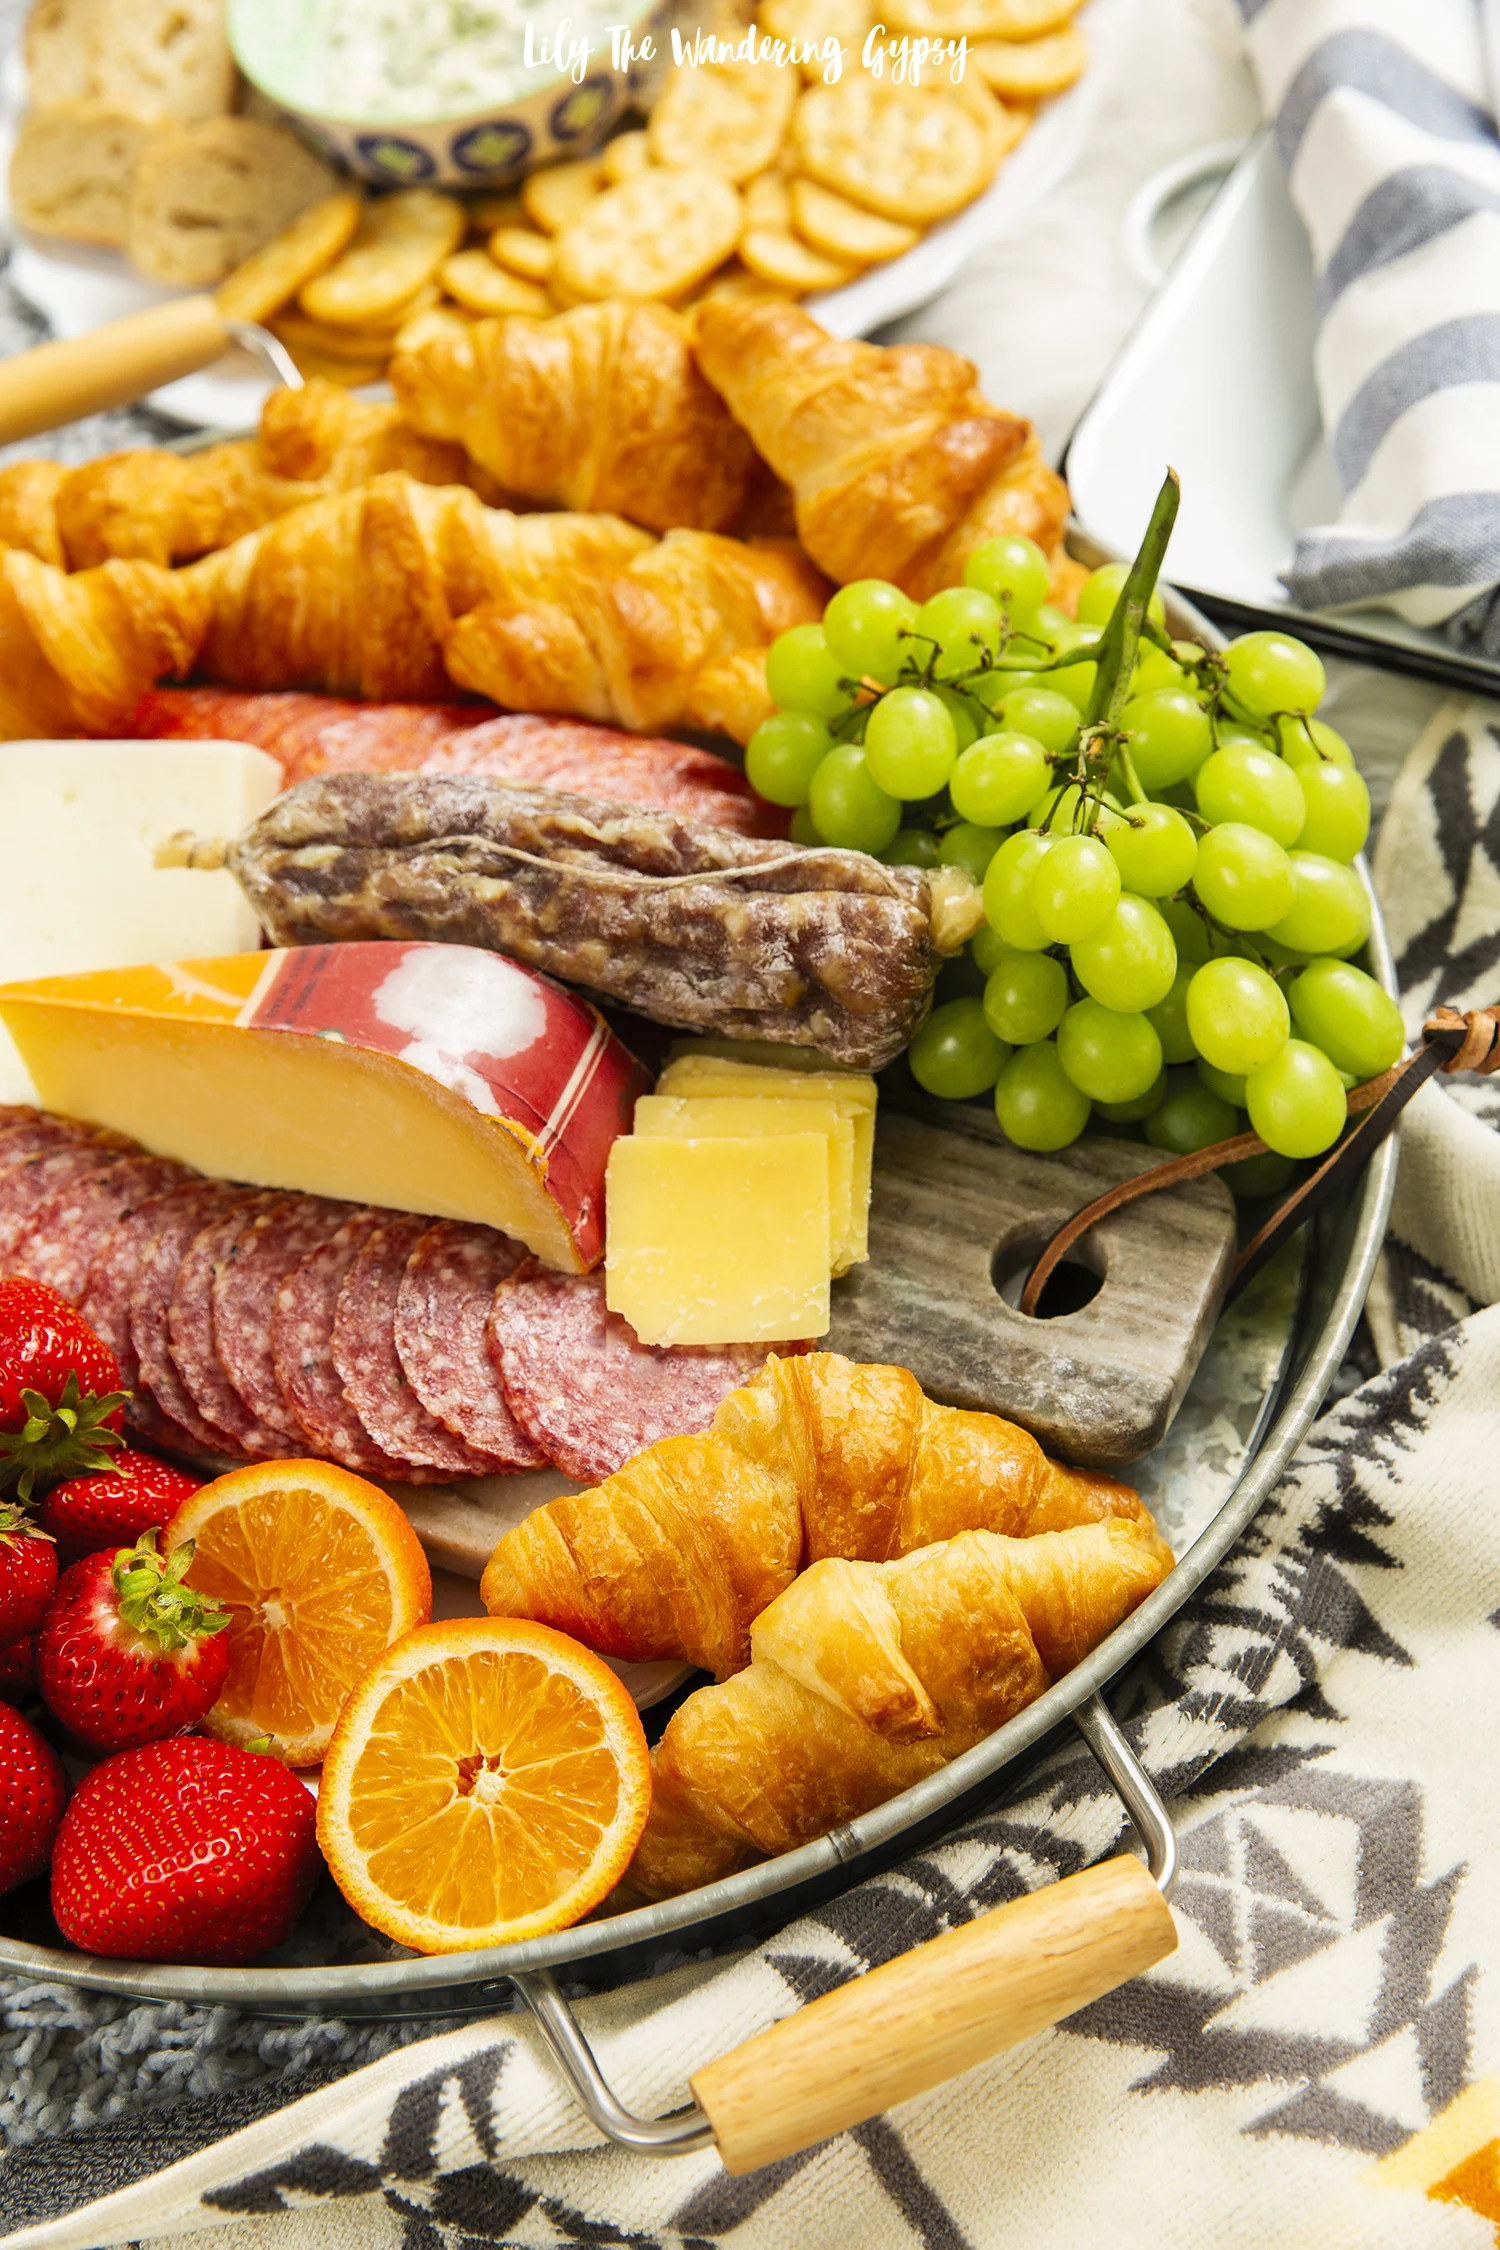
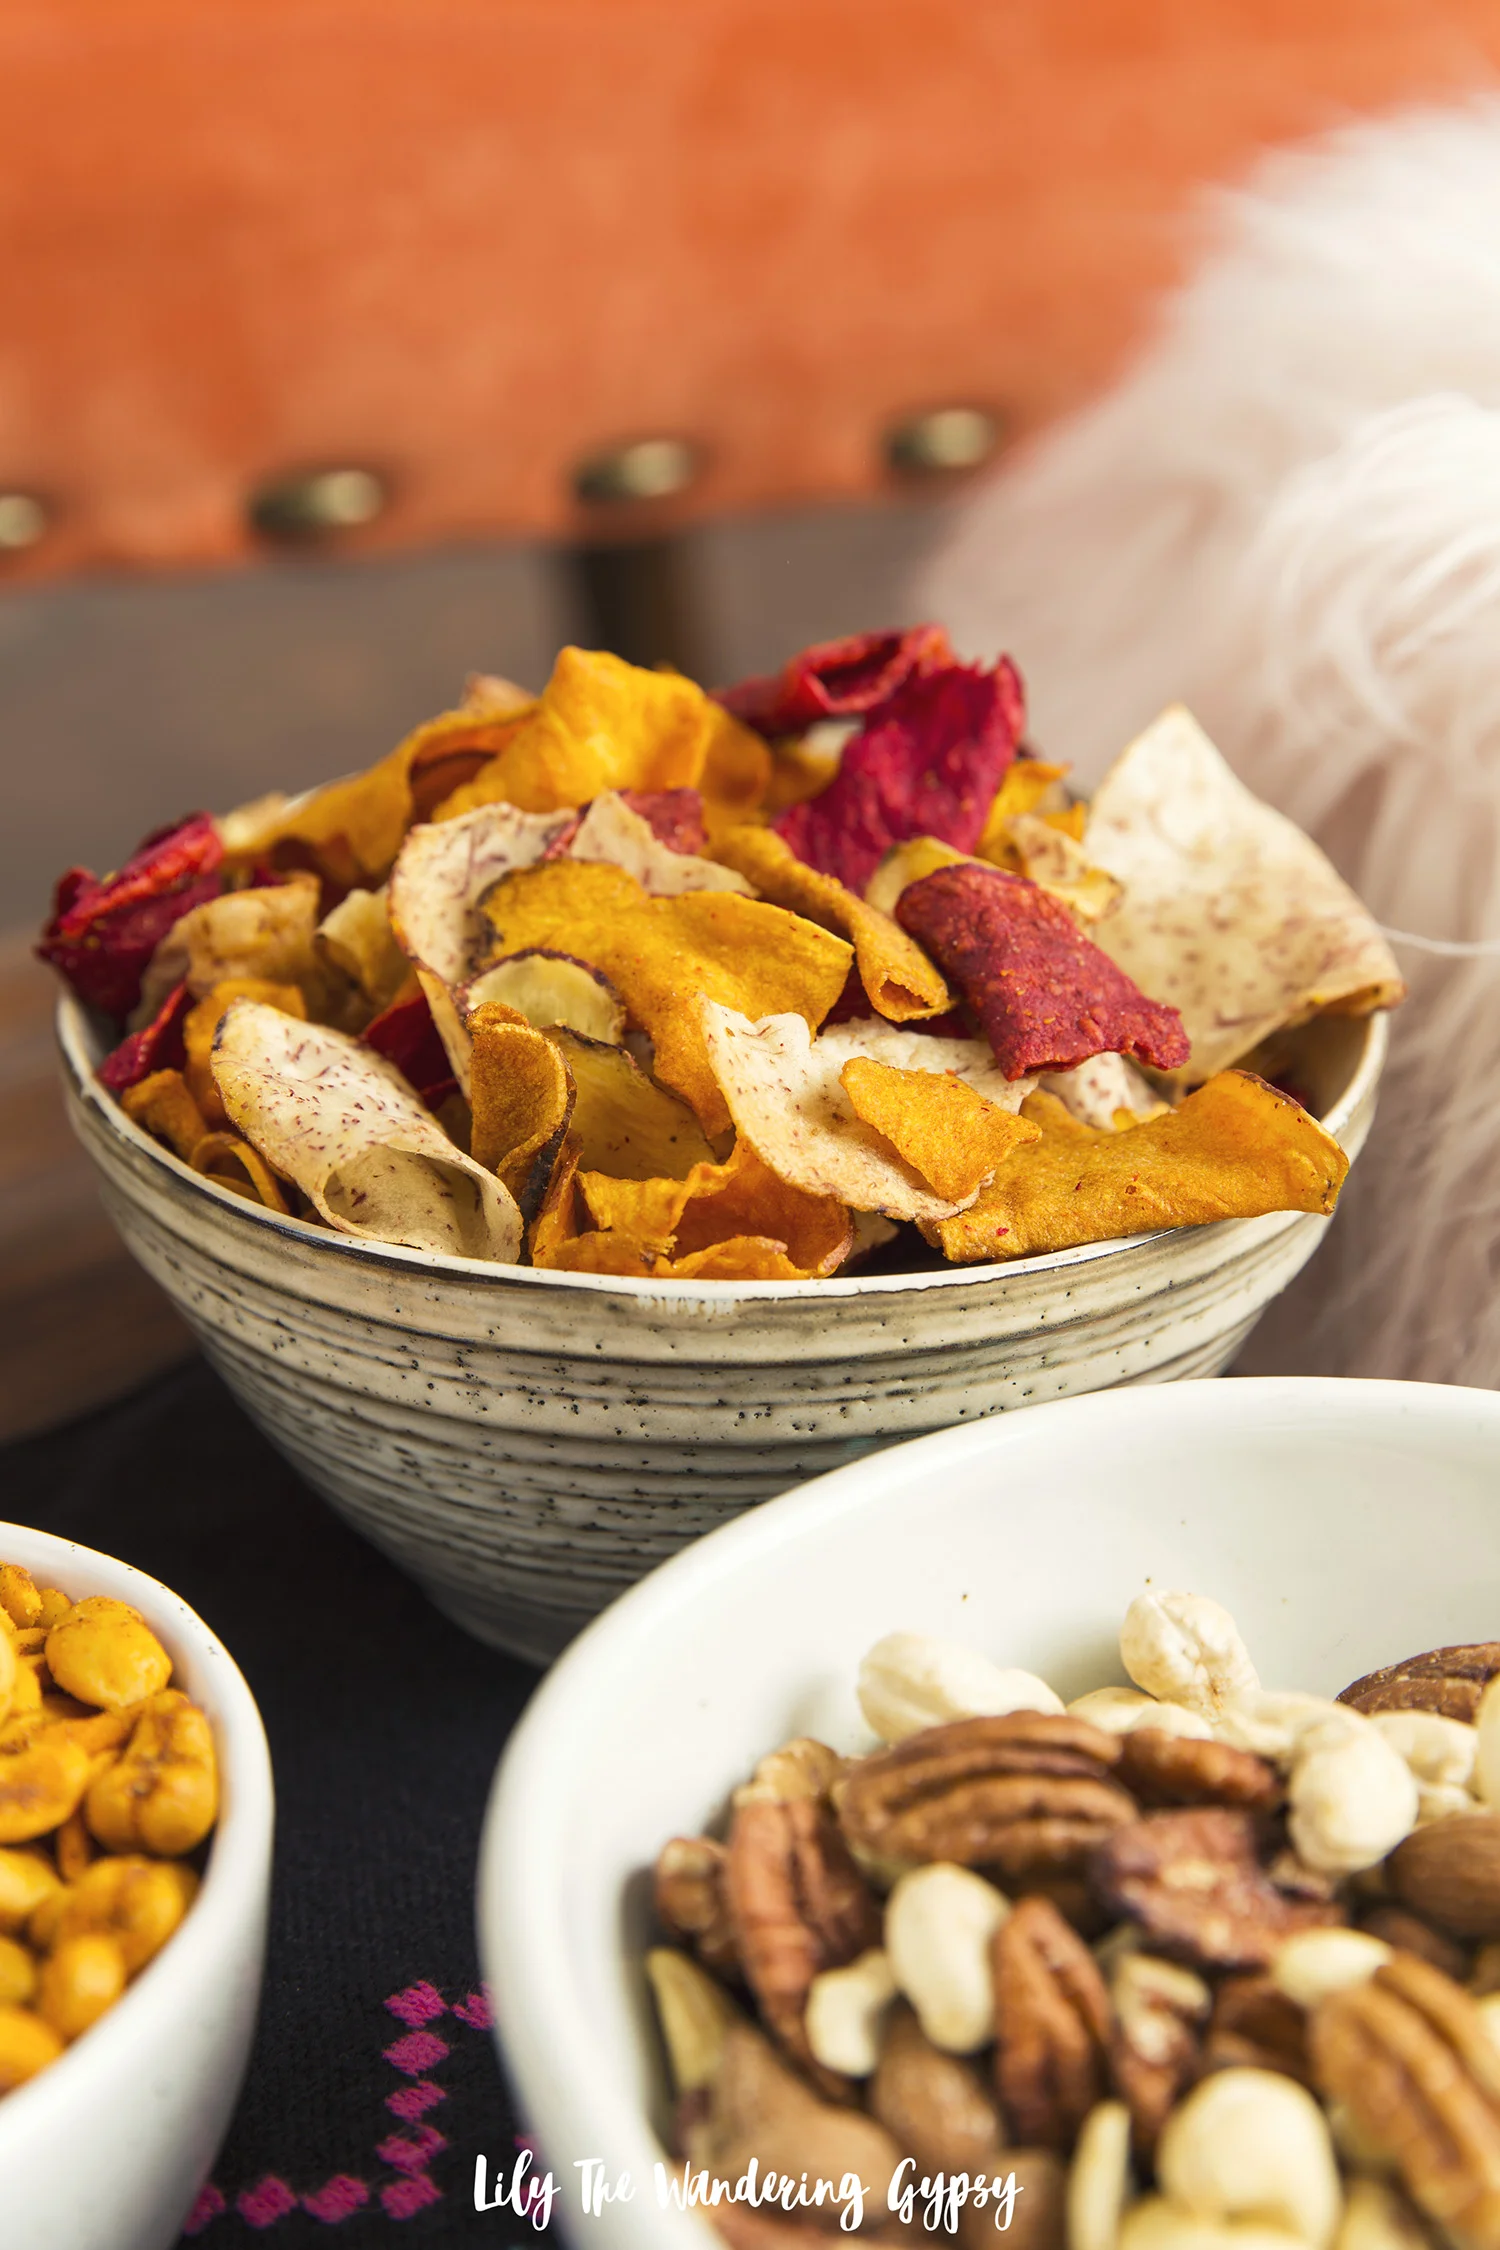
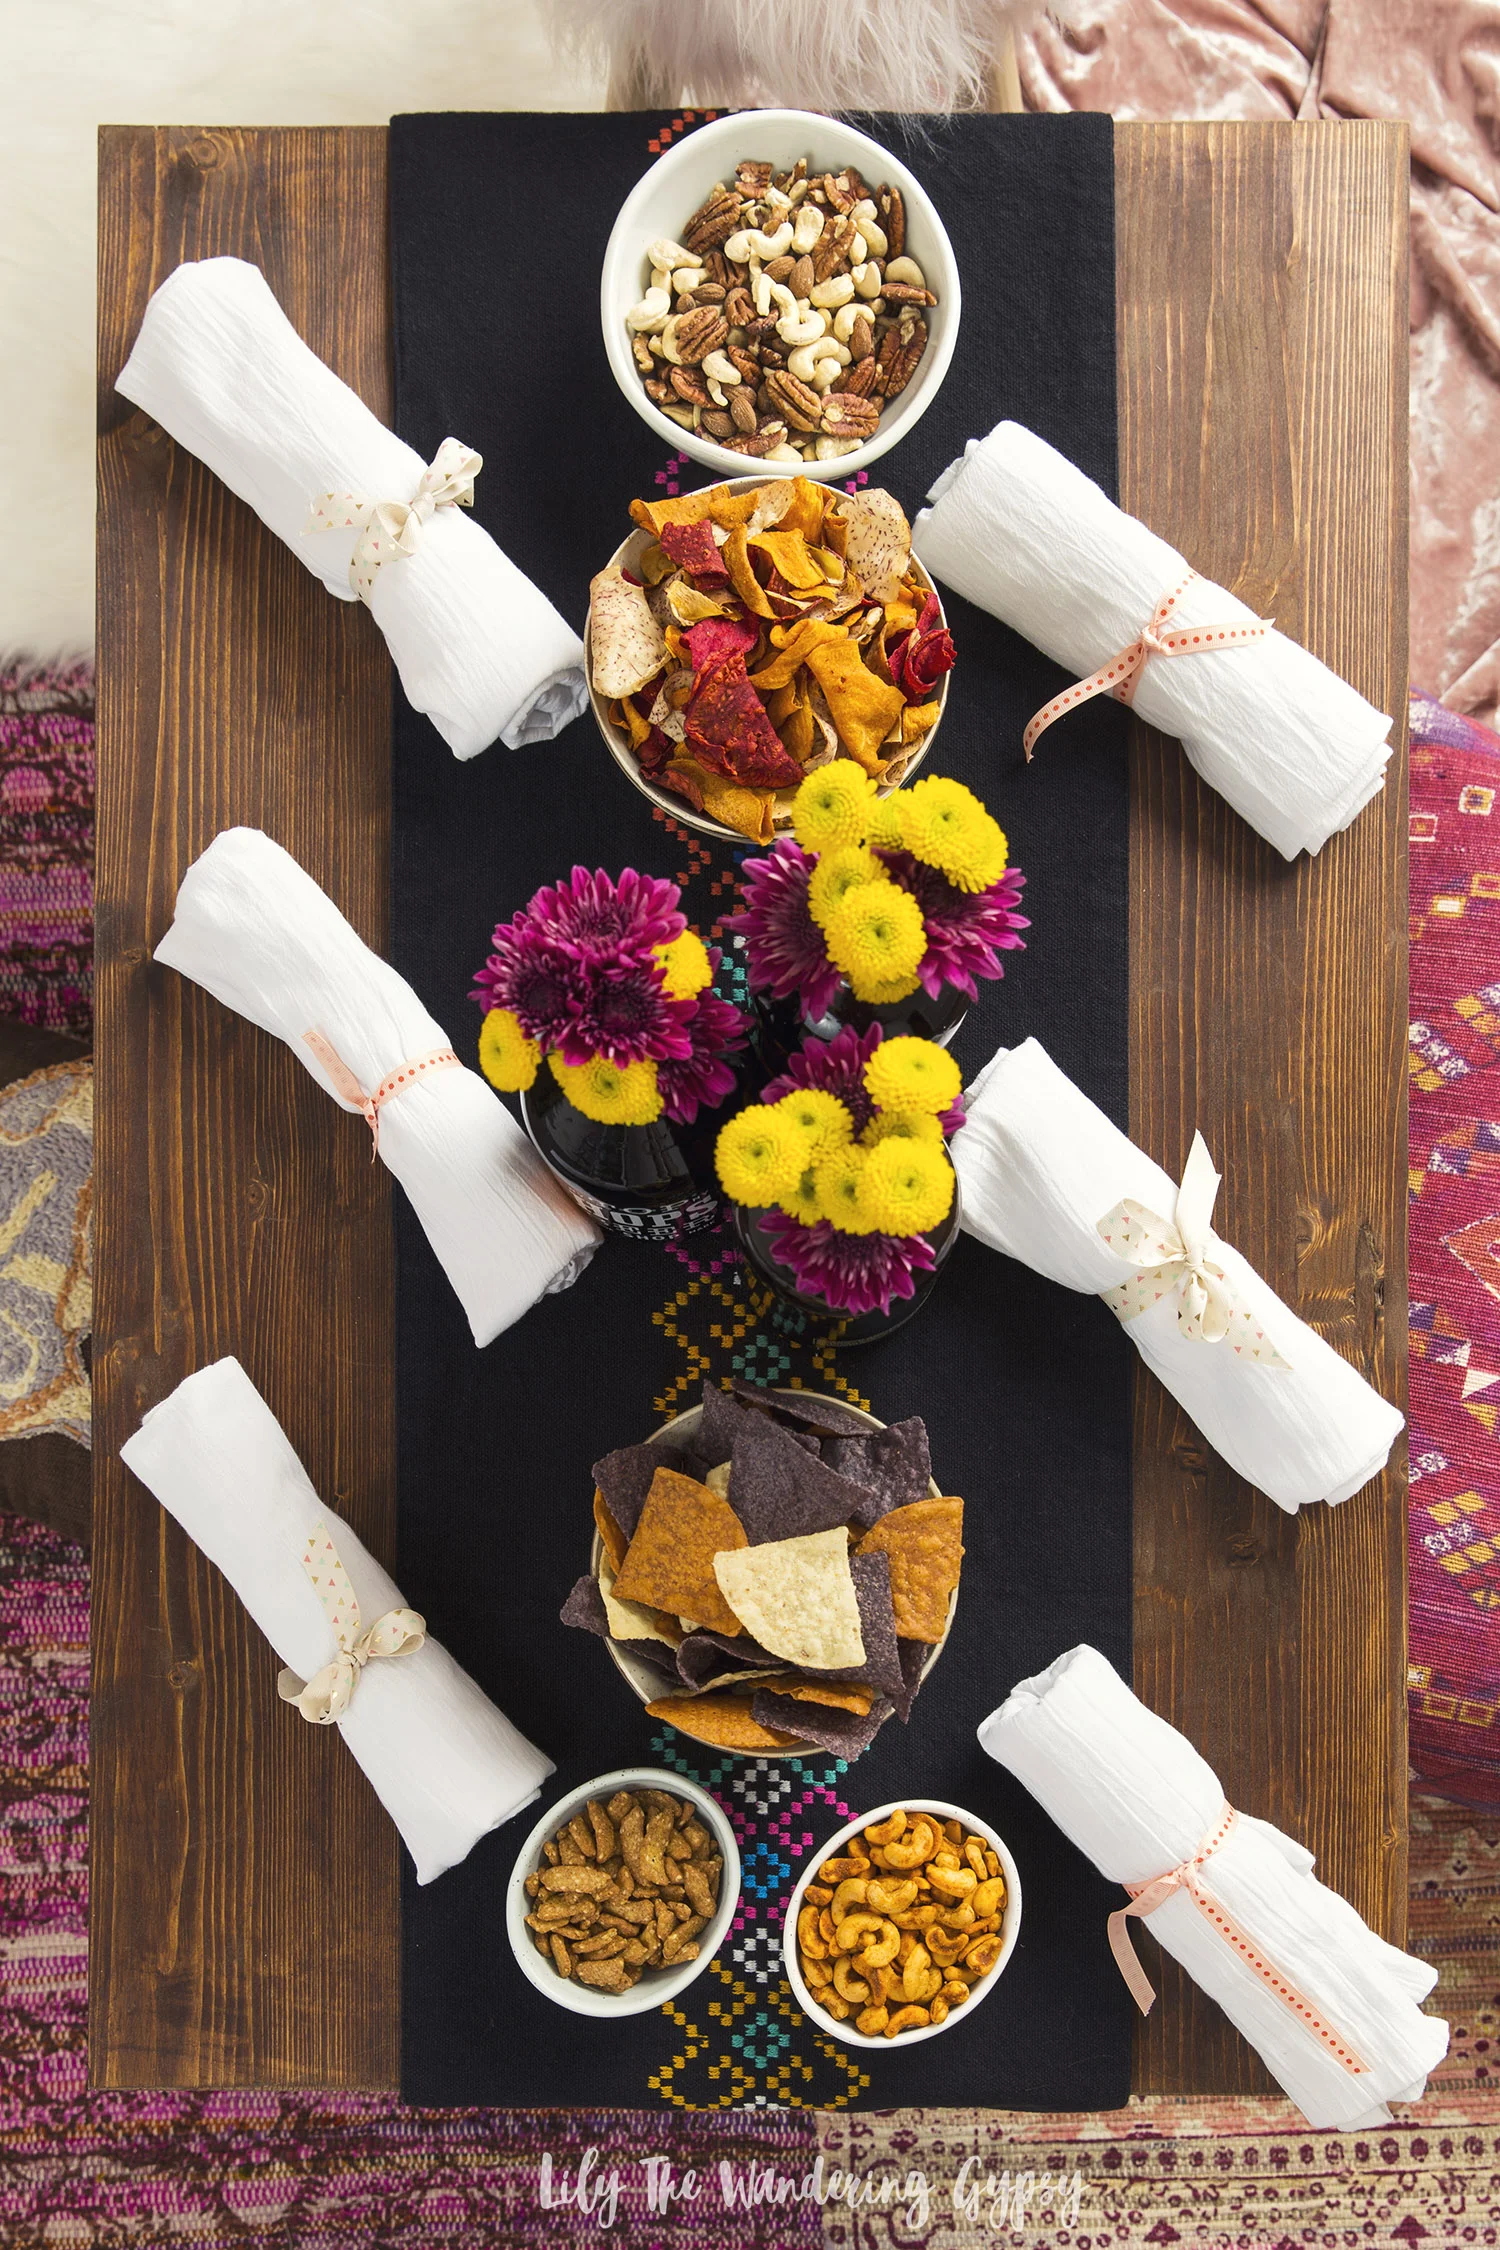
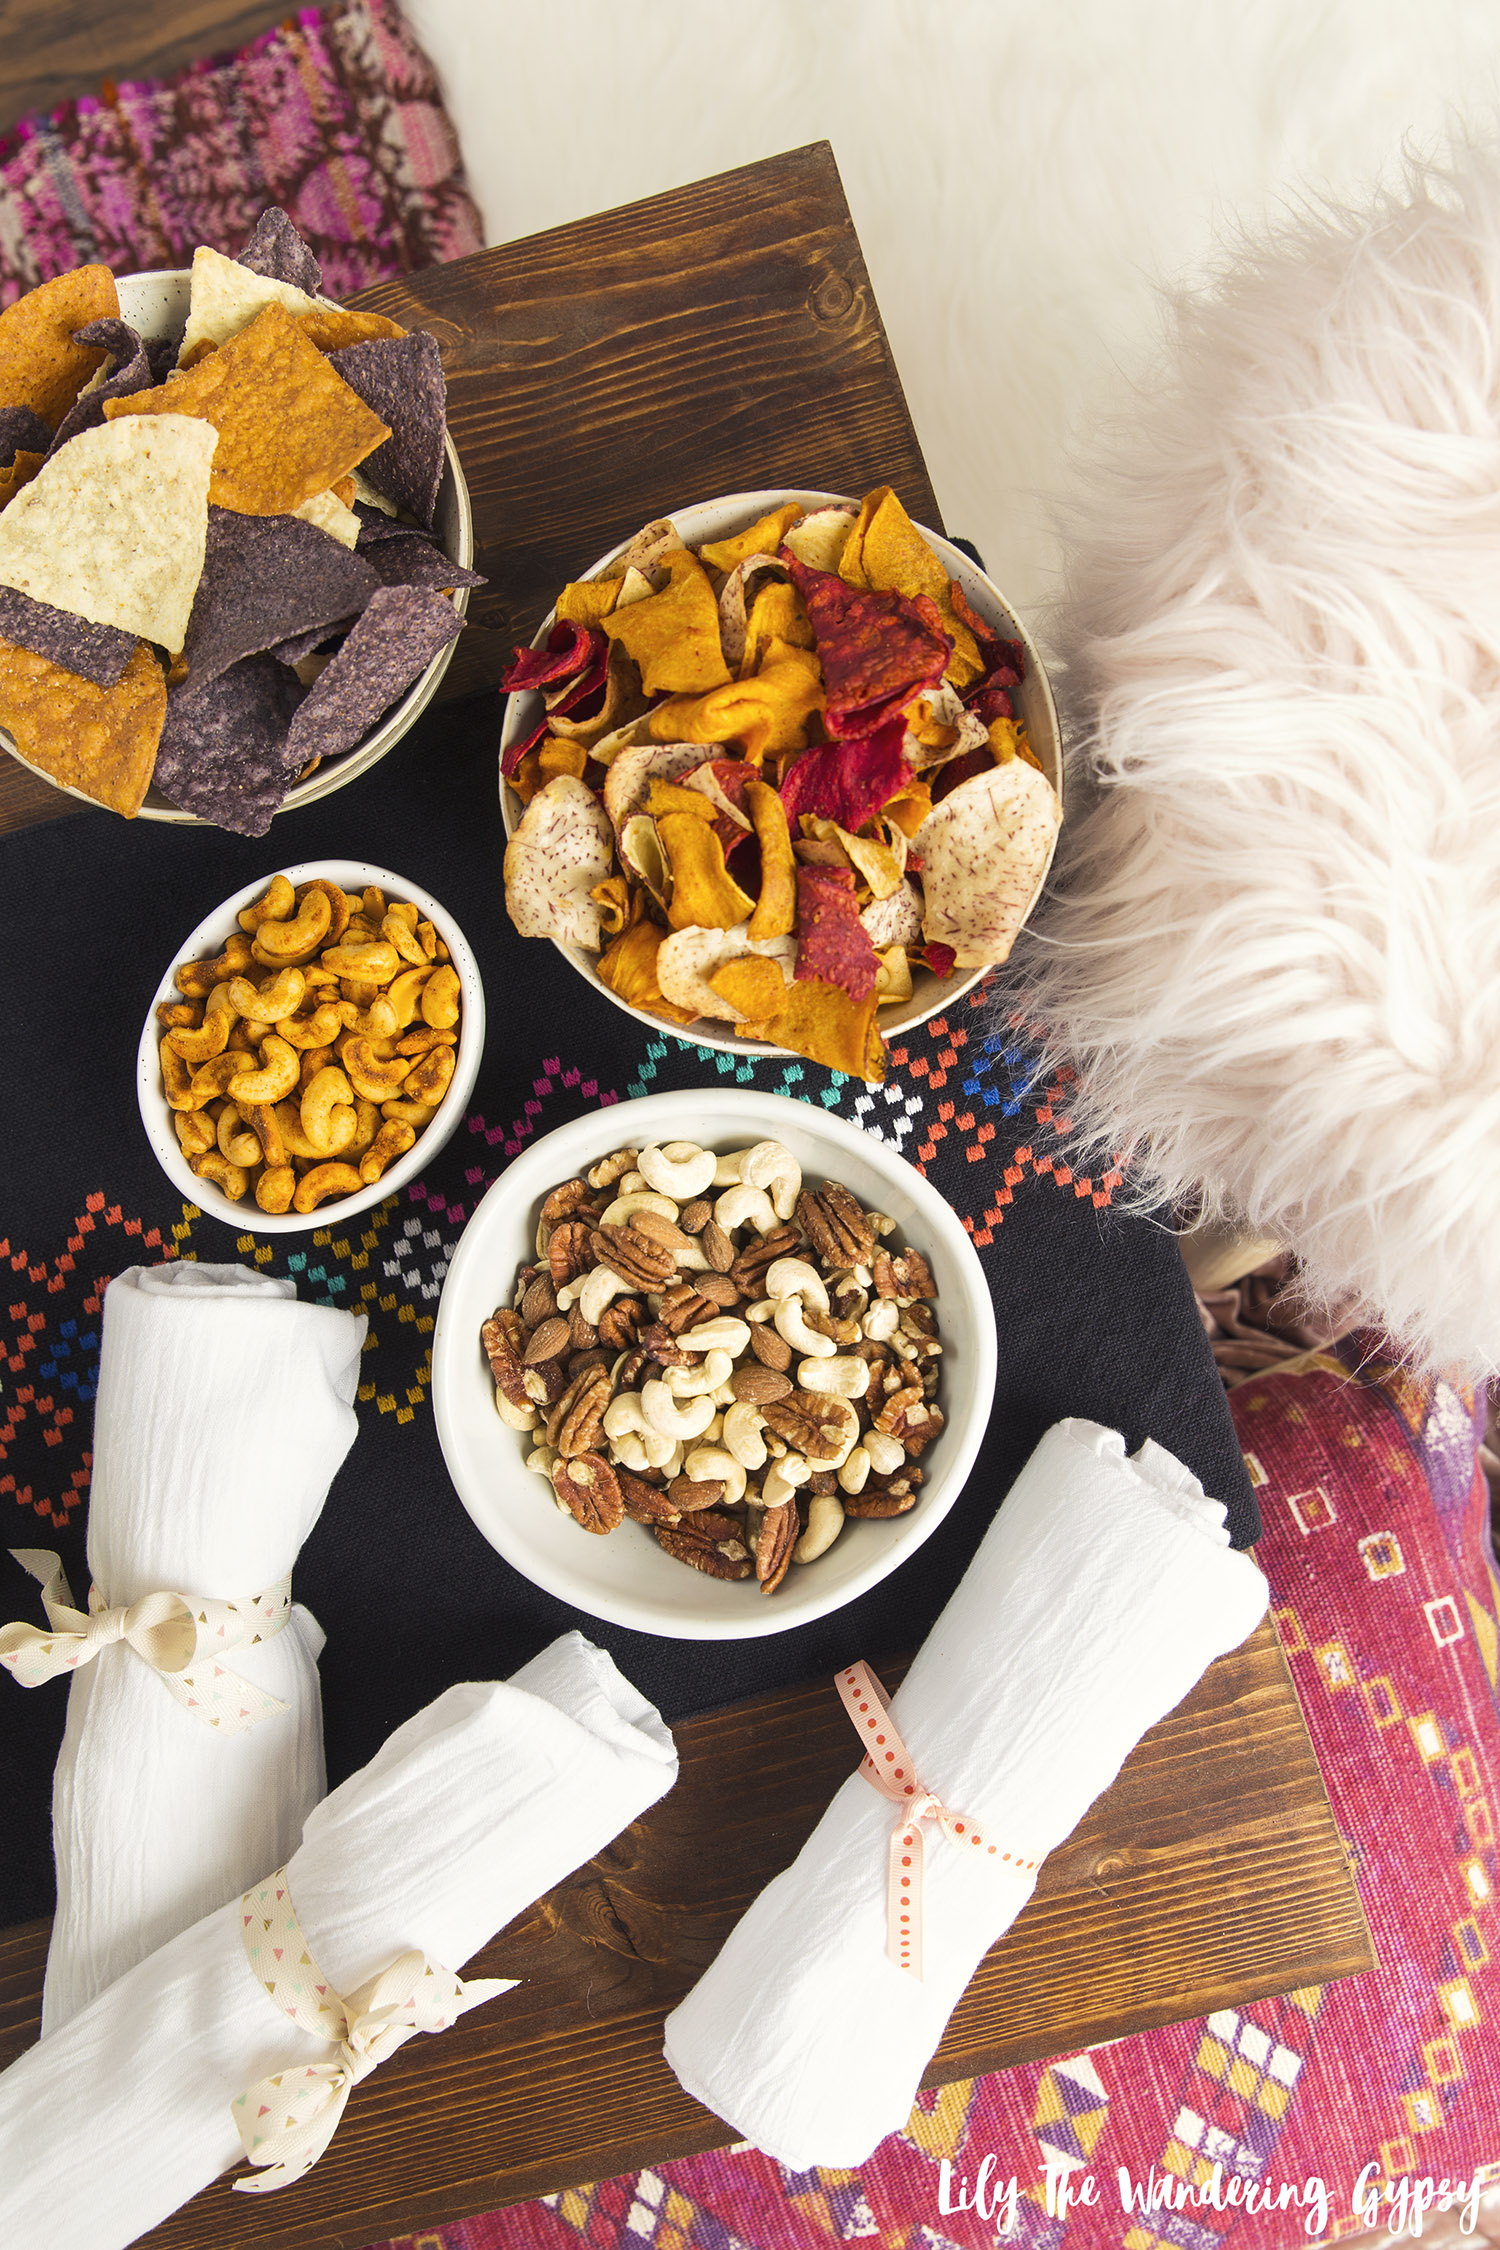
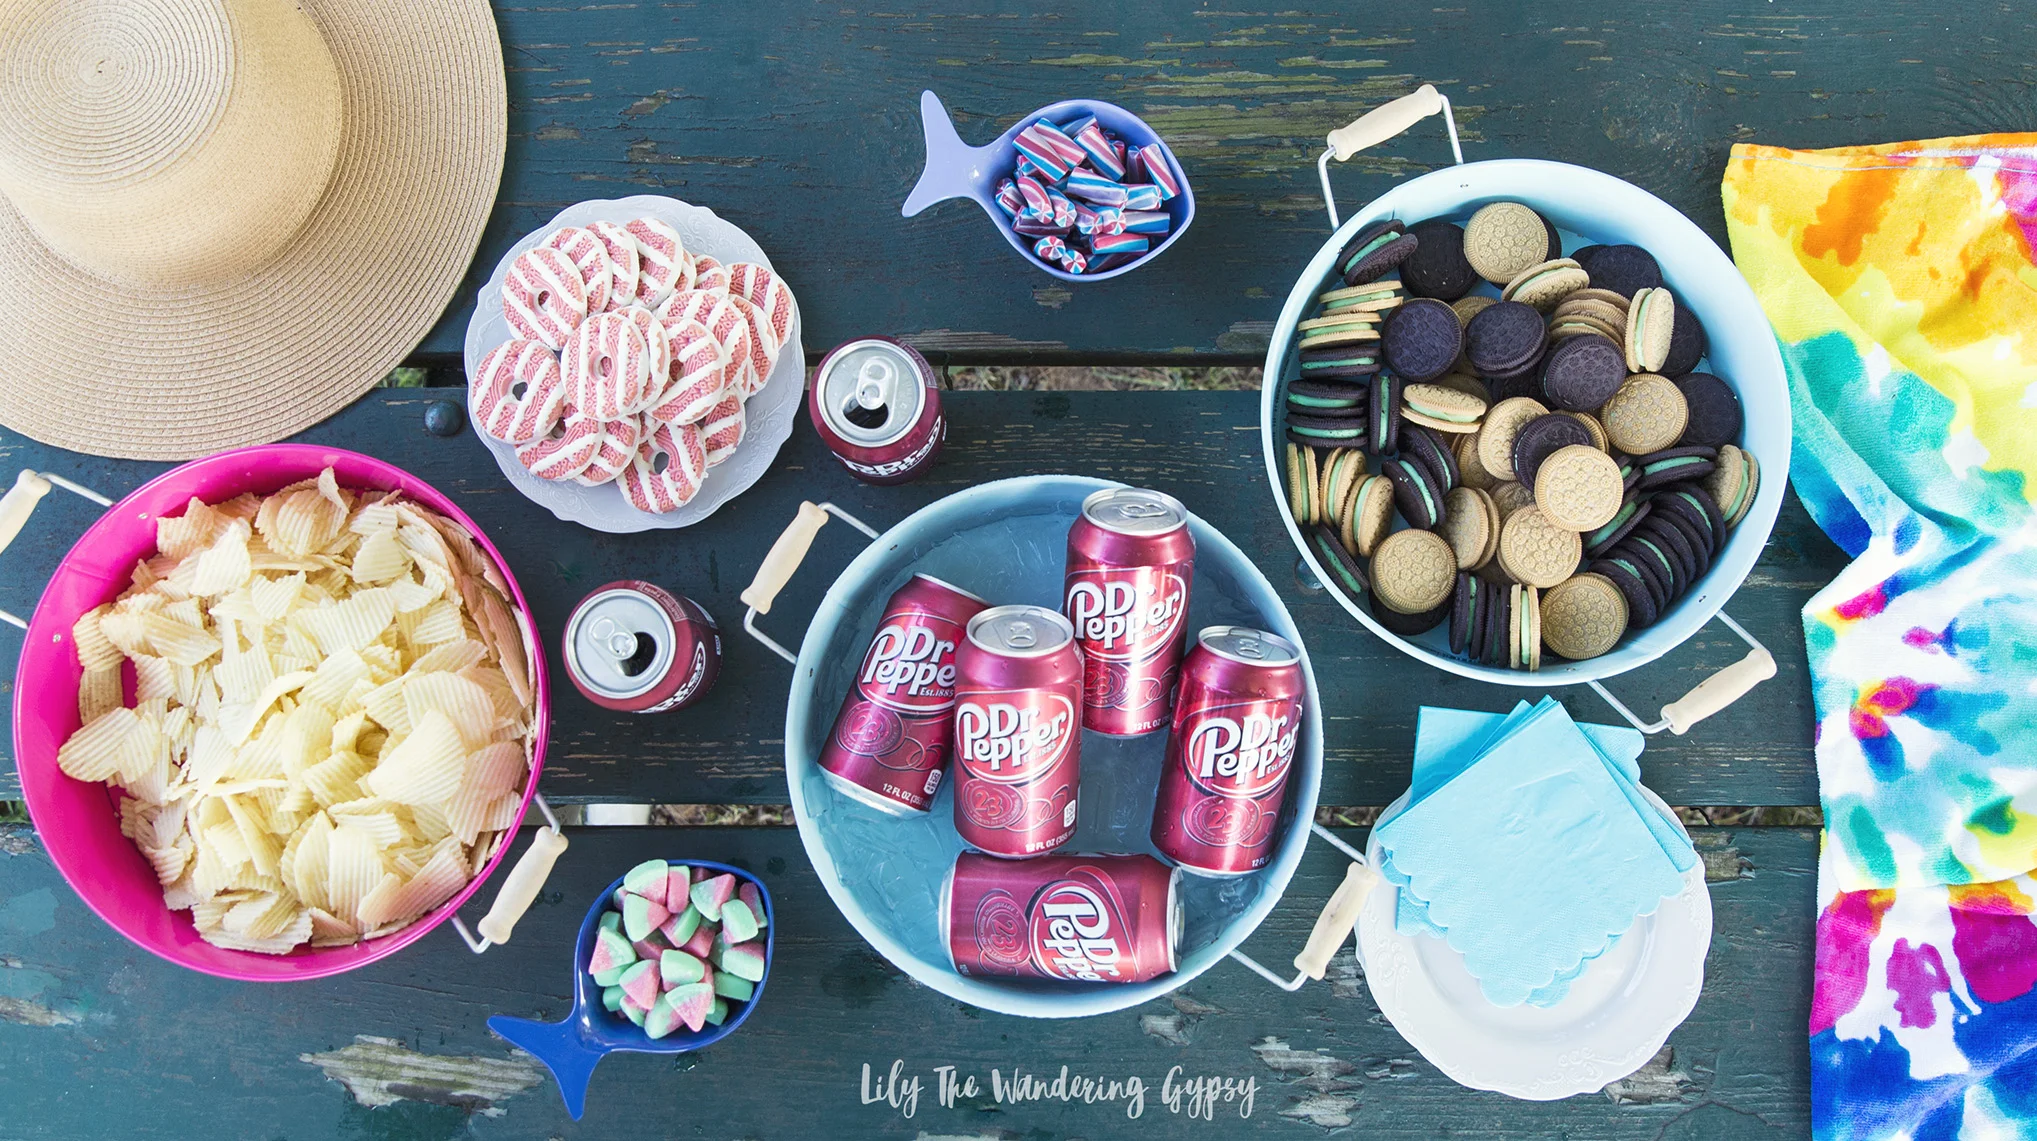
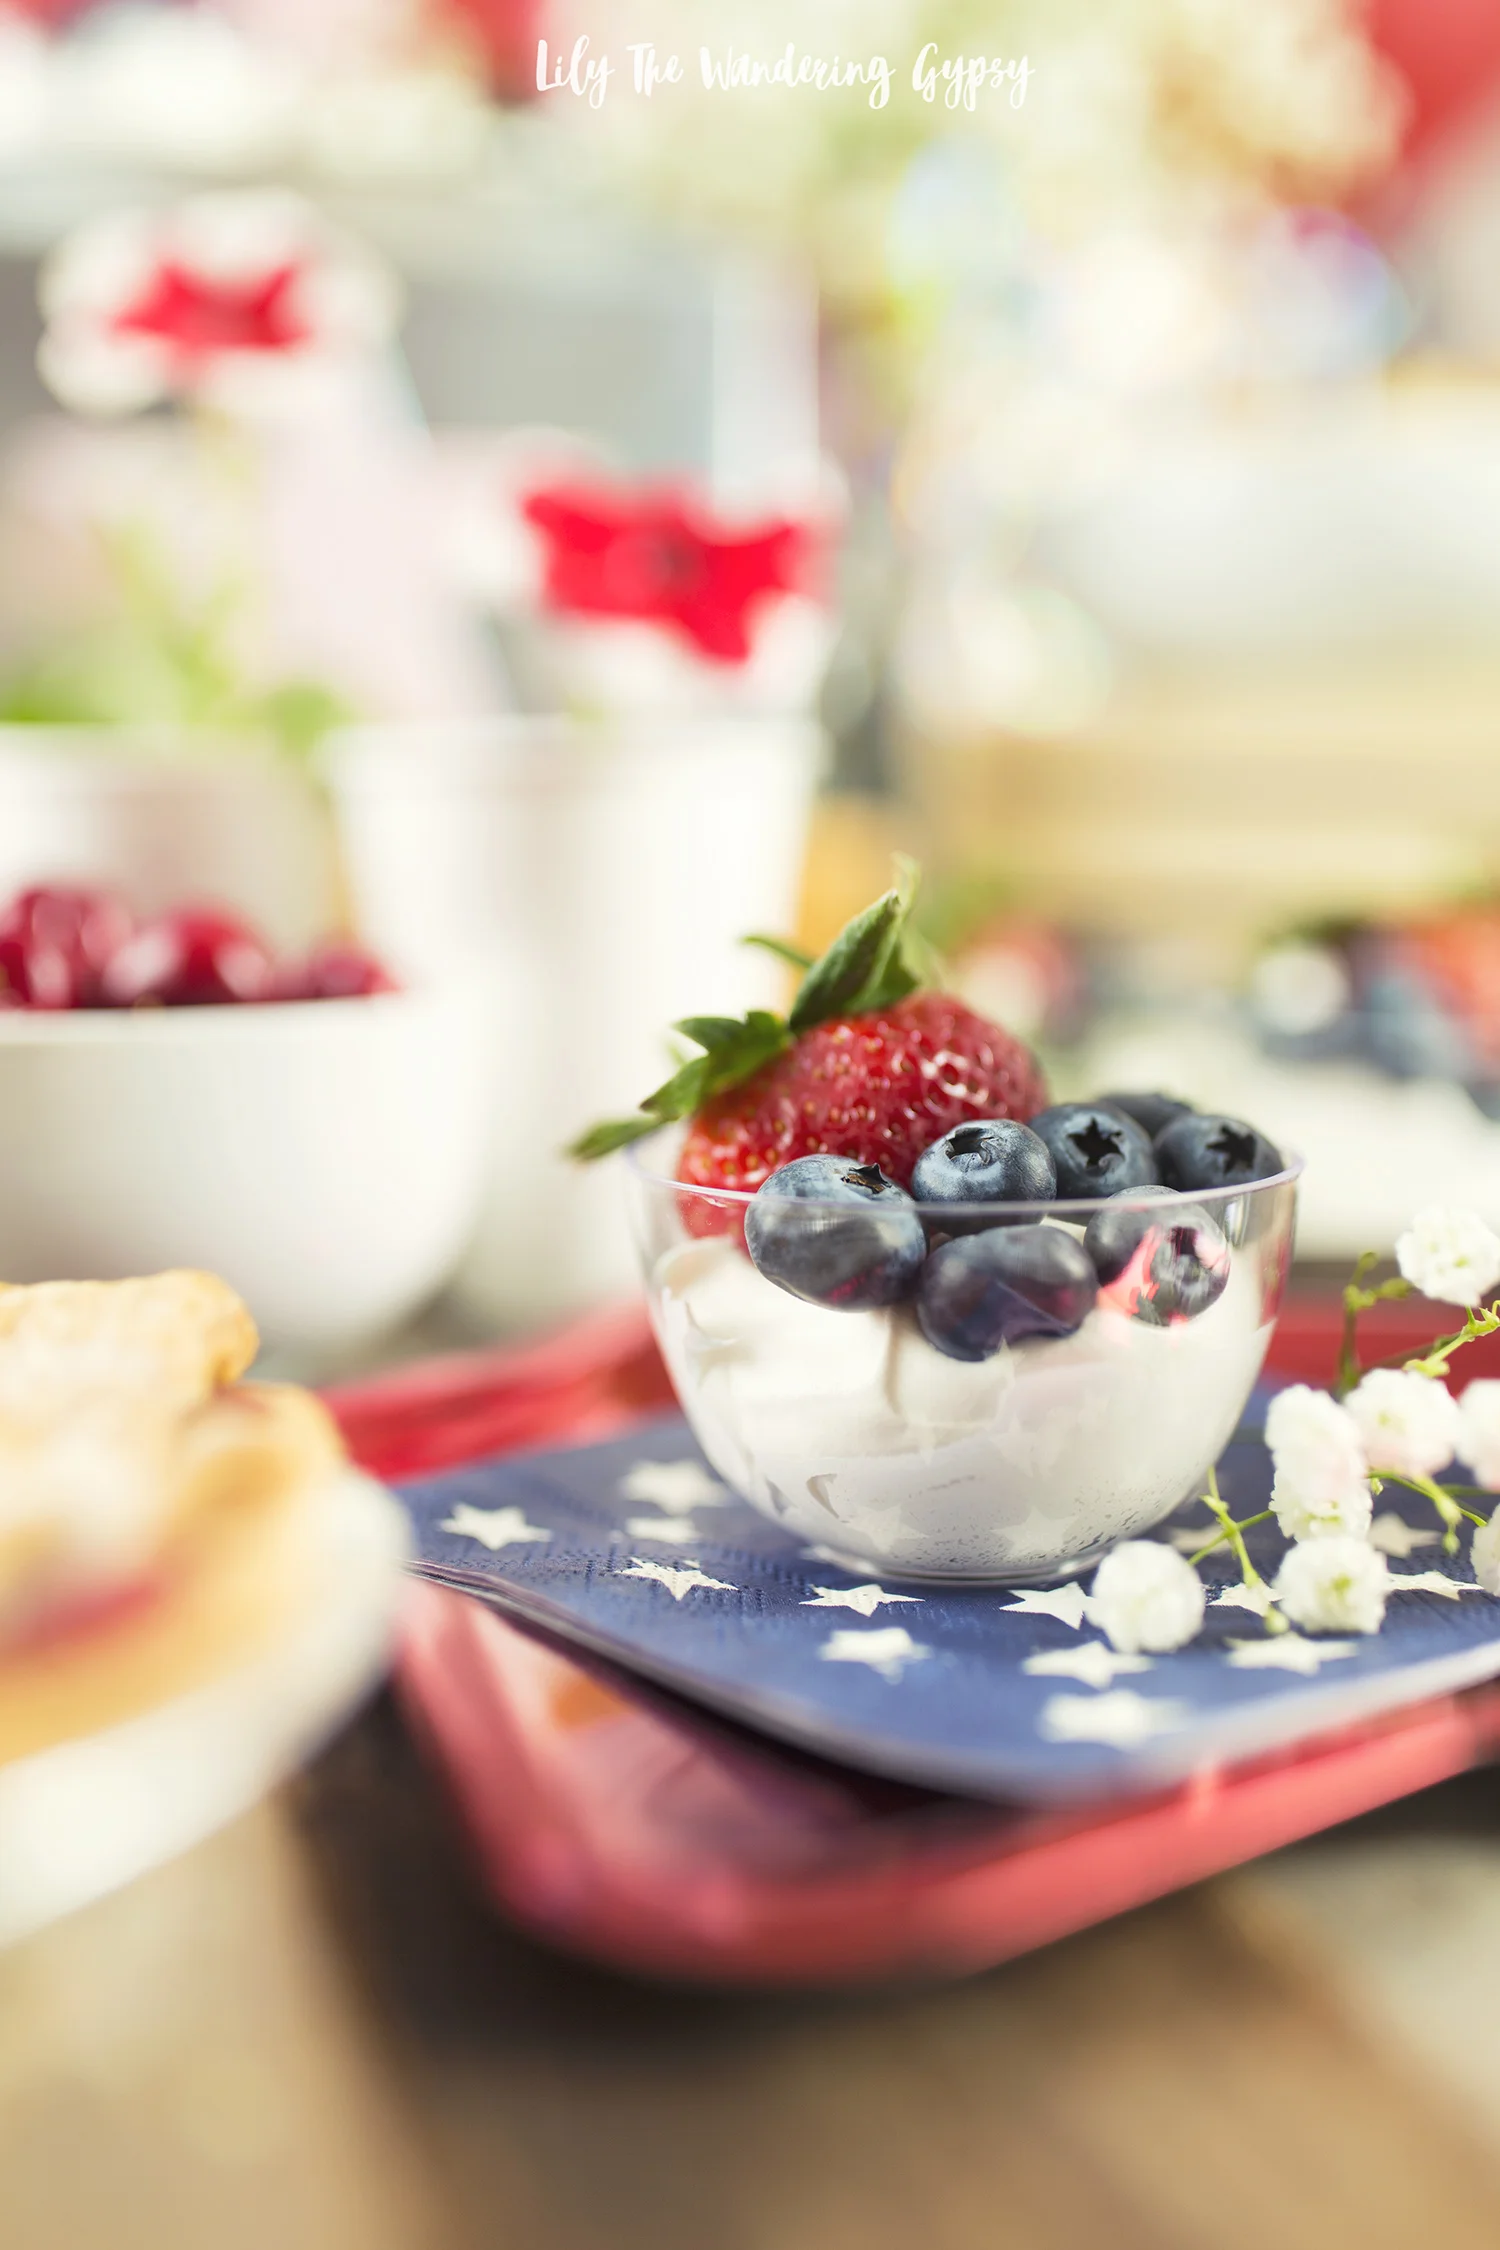
Set out an assortment of popchips ridges chips, all three dips, carrots, celery, mini tomatoes, and any of your other favorite foods. Enjoy your game day celebration!!!

The Best Meals Bring Us Together ~ Easy Party Recipes with Idahoan® Steakhouse® Soups

One of my favorite things about cooler weather is that it’s great excuse to get everyone together for a warm, potato soup! Gather your friends and family, and try new Idahoan® Steakhouse® Soups. They will warm you right up. This could also be an amazing Game Day party menu too! Find out how I made a low cost meal for a crowd, and learn a little bit about how Idahoan® soups and other great foods bring us all together!

Thank you Idahoan® Steakhouse® Soups for sponsoring this post. Enjoy the flavorful, slow-cooked taste of restaurant-quality soup at home, in minutes.

I have actually been a fan of the Idahoan® brand for over 15 years! I remember always having it in the cabinet at home, and once I began to make more meals for myself and for my friends around age 18, and as I moved out of my parents’ houses, and began doing grocery shopping of my own, I literally ALWAYS made sure to have several packets of the Idahoan® instant mashed potatoes. I still always have a packet or two on hand, and love always having something yummy pairing it with dinner, usually chicken breasts, green beans, and mashed potatoes. That sounds SO good right now!!

These packets of potatoes literally shaped the way I prepared meals from the very beginning. That’s why I was really honored to be able to create a meal for friends, inspired by Idahoan®, one of the very foods I used to feed some of my first groups of friends once I moved to my own place. To see how their foods are still bringing the most important people in my life together is really heart warming. Making meals for friends is always fun, and it’s a really great way to get people together when we are all so busy.

Idahoan Steakhouse® Soups are available in a variety of delicious flavors, including: Loaded Potato, Creamy Potato, Cheddar Broccoli, and Cheddar Potato.

HOW TO MAKE SOUP FOR A LARGE CROWD OR PARTY

(SERVES 8-10+)

For our group, I mixed three different packets of Idahoan® Steakhouse® Soups together, then added 12 Cups of water (because each packet requires 4 cups of water to make, and that’s it!).

Ingredients:

3 packages of Idahoan® Steakhouse® Soups in any flavor (Learn more about available flavors below)

12 Cups water

2-3 tsp Seasoning Mix of your choice - I used a Greek Seasoning, which added black pepper taste

Optional - 1-2 cups fresh broccoli flowerettes (cut into small, bite-sized pieces

What Toppings To Offer:

(Best displayed in cute bowls with spoons so guests can serve themselves)

Shredded Cheddar Cheese

Soup Crackers

Bacon Bits

Sour Cream

Hot Sauce

This was a VERY cost effective way to feed a large group!

We served up soup and SO many other tasty sides. The cookies were a huge hit! Get the recipe below.

FOR THE DECOR:

I set the table with a slivery grey piece of fabric, then placed a black and white buffalo plaid fabric table runner over the top. I thought this really tied the warm, cozy, inviting feel of the soup into the decor as well. Next, I found the cutest white plastic spoons at the party store, plus some periwinkle colored bowls. While I could have also used glass or ceramic bowls, these worked great! Another fun idea would have been to use coffee mugs for people to eat soup from, and it would be even more casual.

I did however provide cloth napkins for guests, and a few other cute paper and bamboo plates for all those yummy side dishes.

The Best Oatmeal Cookie Recipe - Makes 20 Cookies

These cookies were a huge hit, and finished off the meal nicely. After eating our meal, we sat around the table, reminiscing about fun times we all had together over the past year, and eating oatmeal cookies.

This recipe was found on this inspiring blog, The Comfort of Cooking, here.

Note - I would recommend doubling the below recipe for a crowd.

OLD FASHIONED CHEWY OATMEAL COOKIES

YIELD: Makes 20 cookies

INGREDIENTS:

1 cup (2 sticks) unsalted butter, softened
1 cup granulated sugar
1/2 cup packed brown sugar
1 large egg
2 teaspoons vanilla extract
1 2/3 cups all-purpose flour
1 teaspoon ground cinnamon
3/4 teaspoon baking soda
1/4 teaspoon salt
1/8 teaspoon baking powder
1/8 teaspoon ground nutmeg
1 1/2 cups quick cooking oats

DIRECTIONS:

1.) Preheat oven to 350 degrees F. Line 2 large baking sheets with parchment paper; set aside.

2.) In a large bowl with an electric mixer, beat butter and both sugars until fluffy. Mix in egg and vanilla until well blended. Combine flour, cinnamon, baking soda, salt, baking powder and nutmeg in a bowl. Stir into butter mixture. Gently stir in oats until well blended.

3.) Shape dough into rounded golfball-sized balls (about 2 Tbsp. each). Place on prepared baking sheet (I fit 9 per sheet). Flatten with the bottom of a measuring cup dipped in sugar.

4.) Bake for 8-10 minutes. Let cool on baking sheet 5 minutes before removing to a wire rack to cool completely.

Enjoy!

Spinach Artichoke Dip + Pita Bread Slices (Serves 6-8)

I found this recipe on the Spend With Pennies Blog, here.

PREP TIME 10 minutes

COOK TIME 25 minutes

TOTAL TIME 35 minutes

This is my favorite Spinach Artichoke dip recipe!! It’s easy to make and always a huge hit!

INGREDIENTS:

  • 8 oz cream cheese , softened

  • 2/3 cup sour cream

  • 1/3 cup mayonnaise

  • 2 cloves garlic minced

  • 1 1/2 cups mozzarella cheese divided

  • 1/2 cup fresh shredded parmesan cheese

  • 1/2 cup gruyere cheese

  • 10 oz frozen chopped spinach defrosted and squeezed dry

  • 14 oz marinated artichoke hearts chopped

INSTRUCTIONS:

1.) Preheat oven to 375 degrees F. Cut pitas into 6 pieces each, like pizza slices.

2.) In a bowl combine cream cheese, sour cream, mayonnaise and garlic with a hand mixer until fluffy.

3.) Stir in parmesan cheese, 1 cup mozzarella cheese, gruyere cheese, spinach, and artichokes.

4.) Place into a 9x9 casserole dish (or deep dish pie plate) and top with remaining 1/2 cup mozzarella cheese.

5.) Bake 25-30 minutes or until bubbly and cheese is browned. Carefully remove from oven and serve directly from baking dish when safe to serve.

6.) Meanwhile, bake pita triangles for 5-7 minutes, remove from oven before they are too crunchy, and are still a bit soft but warm.

Enjoy!

What soup flavors will you feature at your next gathering? You could also make a batch of each soup and see what your guests lie best! Lay out all the toppings in matching bowls, and offer guests spoons, napkins, plates, bread, and more! Enjoy!

Have a wonderful day!

Valentine's Day Party Supplies

So many cute Valentine’s Day (or Galentine’s Day) party supplies and cute recipe ideas, to make your time with loved ones extra special.

We had a huge snow storm today and I am loving the gorgeous shimmering white snow covering everything. Seems like the perfect weekend to stay in and get a few things done around here.

If you’re anything like me, pink and gold are a match made in Heaven! That seems to be a trend for Valentine’s Day 2019 as well, so stock up on items in both the holiday sections, but also in party and home decor!

Disclosure: This post contains affiliate links, where I share items from my brand partners and make a small commission for my time and efforts. Thank you for supporting the retailers who make exquisite merchandise!

Adorable Banners for Valentine’s Day

I really hope you’ve enjoyed this inspiring roundup of Valentine’s Day Party Decor!

Holiday Entertaining Kahlúa Cold Brew Martini Recipe

This shop has been compensated by Kahlúa. All opinions are mine alone. The following content is intended for readers who are 21 or older. #ColdBrewMartini 

The Season To Shine

We had an amazing holiday party recently and enjoyed chocolate fondue AND a crowd pleasing Kalhúa Cold Brew Martini Recipe, featuring the brand’s original liqueur. Kalhúa is easy to find at Target and Walmart and many other retailers! If you enjoy coffee, then this martini is going to quickly become your new favorite cocktail! We all texted each other the day after the party, wishing we could get together again soon and have a few more cocktails together. It was a great night.

With lots of shimmering details, we set the mood with metallic trees, ornaments, gold tinsel, candy canes, velvet fabrics, faux fur, and of course, Kahlúa and chocolate fondue.

We really loved how the Kalhúa Cold Brew Martinis paired so well with both the warm, rich and creamy chocolate of the fondue and the dippable items. We want to also have a cheese fondue for our next get together because it’s such a fun and interactive way to host friends and family, because it’s all self serve, and people can get as creative as they want. Hover over the image below to shop for Kalhúa.

Kahlúa Cold Brew Martini Recipe

This is one of those 1-2-3 cocktail recipes, making it fun and easy to remember!

Ingredients

1 Part Absolut Vodka

2 Parts Kalhúa Original

3 Parts Cold Brew Coffee

Instructions

Ok, you’ll need shaker. Got it? Good. Now fill it with ice. Add one part Absolut Vodka, two parts Kahlúa and 3 parts cold brew coffee. Easy as 1-2-3. Shake the ingredients hard for at least 10 seconds to create a nice foam. Strain into a cocktail glass to get rid of all the small ice chips. Garnish with coffee beans if you would like. Enjoy!

Party + Fondue Details

Before everyone arrived, I prepped the space by lighting my tall, metallic silver tree, and also setting up a few other white and silver one-foot trees. I loved the color scheme, and I believe it would translate for so many of you, as well! With a more neutral and shimmering color scheme, your party decor gives a more timeless, nostalgic, and elegant feel to any event or holiday.

For the fondue, we melted 2 bags of 60% cacao chocolate chips + 2-3 tbsp heavy cream. We dipped in lots of foods we cut up ahead of time like strawberries, marshmallows, apples, graham crackers, and more!

Lower lighting also helps the strands of lights make an even more magical feeling for the evening. I had so much luck finding gold items in the holiday aisles at Target and Walmart and was so inspired by this year’s finds, as well as a few items I already had from years past.

I even found a couple of yellow trees to use in my decor, that closely matched the color of the globally recognized Kahlúa label. It was a great jumping off point and really made everyone smile.


Kahlúa goes great in so many cocktails, not only coffee-based drinks. It’s one of the most versatile liqueurs. It’s perfect for a casual night in, casual night out with friends, and even brunch, too! Sweet and refreshing to the last sip.

By placing cut fruits onto a holiday themed platter, the holiday mood was set instantly. Feel free to create a gorgeous spread of whatever items you want to dip.

Happy holidays, friends! We really hope you enjoy the amazing as well! This #ColdBrewMartini was a huge hit!
BONUS! Looks like we are featured as the VERY TOP POST for this hashtag! Check us out :)

Pull Apart Cupcake Cake Recipe

This recipe is PERFECT for parties and holidays, because it's easy to eat! Everyone has their own individual cupcake to share the joy, no need to cut THIS cake. 

We were ecstatic when we learned that we had the opportunity to collaborate with Martha Stewart to promote her baking items at Macy's. It's quite the honor, and several times throughout this process I exclaimed, "I am shooting recipes for Martha Stewart"!!! 

In order to creatively incorporate her Essentials collection into pins that would encourage people to want to learn more, I thought that a sweet treat would obviously be perfect, so I found a fun recipe on marthastewart.com and creates it! Below, you will find that very recipe, and I hope you are inspired by this fun post to make your very own cupcake cake!

MARTHA STEWART RECIPE (originally found here):

Pull-Apart Vanilla-Wafer Cupcake Cake with Berries

Talk about a fun dessert! It looks like a sheet cake on top, but there are actually vanilla-coconut cupcakes underneath the fresh berries and fluffy whipped-cream frosting. It's easy to make and even easier to serve -- no slicing required.

Source: Martha Stewart Living, May 2018

INGREDIENTS

  • 45 vanilla-wafer cookies, pulsed in a food processor until finely ground (1 1/2 cups)
  • 1/2 cup unbleached all-purpose flour
  • 1 teaspoon baking powder
  • 1/4 teaspoon kosher salt
  • 1 stick unsalted butter, softened
  • 3/4 cup granulated sugar
  • 2 large eggs, room temperature
  • 3/4 cup whole milk
  • 1 cup sweetened shredded coconut
  • 1 teaspoon unflavored gelatin
  • 1 cup cold heavy cream
  • 2 tablespoons confectioners' sugar
  • 1/4 teaspoon pure vanilla extract
  • 1 1/2 cups mixed fresh berries, such as blueberries, raspberries, and blackberries

DIRECTIONS

  1. 1. Preheat oven to 350 degrees. Line a standard muffin tin with paper liners. Whisk together cookie crumbs, flour, baking powder, and salt.

  2. 2. Beat butter with granulated sugar on medium speed until pale and fluffy, about 1 minute. Beat in eggs, one at a time. Reduce speed to low and add flour mixture in 3 batches, alternating with milk, beginning and ending with flour mixture and beating until combined after each addition. Fold in coconut.

  3. 3. Divide batter among cups. Bake until cupcakes are golden brown and centers bounce back when gently pressed, 22 to 24 minutes. Let cool completely in tin on a wire rack.

  4. 4. Add 2 tablespoons water to a small saucepan. Sprinkle with gelatin; let stand until thick, about 5 minutes. Gently heat over medium until gelatin has dissolved. Remove from heat; let cool 5 minutes (but don't let it set).

  5. 5. Beat together cream, confectioners' sugar, and vanilla on medium speed until very soft peaks form, 1 to 2 minutes. Add gelatin mixture; beat on medium until stiff peaks form, about 1 minute more.

  6. 6. Remove cupcakes from tin and arrange on a platter in a three-by-four rectangle. Spoon frosting over each row of cupcakes; using an offset spatula, smooth to cover tops, forming a rectangular shape. Refrigerate at least 1 hour and up to 3 hours. Sprinkle with berries before serving.

Two Amazing Recipes for Summer Get-Togethers with Mission® Tortillas

This is a sponsored post written by me on behalf of Mission®. All opinions are entirely my own.

If summer get-togethers make you giddy with joy and excitement, then you’re not alone! I too love brainstorming recipes with friends, then planning, prepping, and preparing the food, then finally getting everyone together to enjoy the bounty. Food always brings people together, and is great shared with old friends and new ones! This summer, I am going to make it my mission to enjoy the company of others over great food as much as possible!

I love how these Mission® Super Soft Flour Tortillas really made my two recipes even better than I could have ever imagined. I have tried all sorts of tortillas, and these are the softest, tastiest ones yet. They were so versatile, and absolutely perfect for my Vegetarian Southwest-Inspired Pinwheels AND for my Grilled Steak Tacos. I always feel like the tortillas make or break a recipe, and I was so happy to find a new favorite. You can use the store locator on the Mission website to find Mission tortillas at stores near you, and find even more delicious recipes as well.

I’m not sure if you’ve ever experienced this, but I am always let down when tortillas kind of get dried out super quickly, then kind of crack when you roll anything out of them (like the pinwheels). Well, these were perfect. They held together super well, and worked amazingly well for this 4 ingredient appetizer!

And, since I wanted to offer lots of delicious toppings for these Grilled Steak Tacos, my first thought was fresh ingredients of course!

I thought it would be so fun to offer guests some handmade pickled jalapeños as party favors. Every time we serve these to guests or bring them to someone’s house, we always get lots of compliments on them.

PICKLED JALAPENOS

(Making 1 day in advance is recommended)

I think it’s time to start sharing them with people, so I filled mini jars with a mixture of fresh ingredients like jalapeño slices, garlic cloves, and mini red onions. Now, it’s time to pickle!

I heated a solution of 1.5 cups white vinegar plus 1 cup water, and 1-2 tbsp salt until the salt has dissolved. Let it cool a bit, then carefully pour the vinegar solution over the ingredients, leaving a little bit of room at the top of the jar so it does not spill out. Place lids back on, and gift as soon as the next day.  

These turned out SO cute, and you could even tie cute ribbons around the jars for an even more festive look.

In addition to the pickled jalapeños, I offered pickled red onions (get my recipe here), plus a guacamole tomatillo sauce and a traditional red salsa too.

The lettuce even came right out of my own garden! This was my first year to try growing lettuce, and while it may be almost at the end of its season, I love treating friends to things I grew!

GRILLED STEAK TACOS

INGREDIENTS:

1/3 cup olive oil

2-3 tbsp soy sauce

2-3 tbsp or more taco seasoning

Juice from 1 lime

1 tsp salt

1-2 lbs flank steak or similar

INSTRUCTIONS:

Simply marinate each pound of steak in 1/3 cup olive oil, 2-3 tbsp soy sauce, 2-3 tbsp or more taco seasoning + the juice from 1 lime + 1 tsp salt for at least 1-2 hours or overnight. Simply grill for 3 or so minutes per side if your steak is thin like mine was. Slice and serve with fresh sides and warmed Mission Super Soft Flour Tortillas (they taste best warmed).

Slice up the steak and set out the toppings, the tacos are ready to eat!!!

SOUTHWEST INSPIRED VEGETARIAN PINWHEELS

I searched for vegetarian pinwheel recipes and hardly found anything! These are so great tasting, and you will never miss the meat.

Ingredients:

1 package Mission® Super Soft Flour Tortillas

Plus 1-2 bunches of cilantro

1 head of green lettuce

To create the sauce:

1 (8 oz.) box of cream cheese, softened

½ cup (or more) taco sauce or red enchilada sauce

½ - 1 cup cream cheese

¼ - ½ tsp salt, optional

INSTRUCTIONS:

1.    Mix all sauce ingredients together, and stir until smooth. I used a hand mixer

2.    Lay one tortilla out onto your work surface, and spread 1.5 -2 tbsp sauce in an even layer on tortilla.

3.    Add a line of cilantro and a line of small pieces of lettuce towards one side of the tortilla, then roll up into an even roll.

4.    Cut in 2” sections, and display on a cute tray. I used cactus pieces from a local market.

Enjoy!


The bottom line - I would definitely recommend Mission Super Soft Flour Tortillas to anyone who loves superior taste and excellent ingredients!

Happy summer, friends!

Brunch Party - Vegan Avocado and Egg Toast Board

Brunching ain't always easy, but I found a way to make it so :) Try setting up a toast board, where everyone can choose their own toppings! It's such a fun and interactive way to have guests gather around a giant array of great food and drinks! 

If you're a fan of hard boiled eggs, then here is one way to enjoy these protein packed, brunch-worthy hard boiled eggs from Great Day Farms, available at Walmart!

To make this amazing spread, you head to the produce section and grab as many colorful fresh ingredients as you possibly can. Make sure you do stick to a budget, as fresh veggies can sometimes items can weigh a bit more than expected and then ring the bill up quite a bit. I found these amazing heirloom tomatoes for around $2.99 per pound - which made them incredibly reasonable. 

Embrace anything that is in season (via the farmer's market or local grocer), like jalapeños, basil, avocados, red onions, and other delicious vegetarian ingredients. 

This is a great idea for hosting friends who are in town for the weekend, and all have different tastes - this toast board embraces just about everyone!

Also, you could prep these ingredients for lunch at work, or even for a summer picnic. These ingredients are 100% natural, and actually offer energy and so much inspiration for the day ahead. 

By offering fresh, wholesome ingredients to those you love, you can truly help nourish them with a seriously fulfilling meal. Feel free to add sliced turkey or even lox to add a really elegant vibe to this rather upscale meal.

Dr Pepper Pick Your Pepper Summer ~ Indoor Picnic Ideas

While summer is all about enjoying the outdoors, here in southern Illinois / most of the Midwest, the heat and humidity sometimes keep us indoors. I am not incredibly sensitive to the heat, but if you’re having guests over, not everyone is going to enjoy it or even be able to tolerate temps in the 90s, so you could always consider hosting an indoor picnic!

The theme/inspiration for this picnic was a bountiful French picnic that features ice cold Dr Pepper Pick Your Pepper theme bottles (a personal fave), and lots of delicious snacks. Nothing super heavy as far as food, just smaller bites that you and your guests can feast on throughout the evening.

Keep reading to learn more about how you can win fun and festive prizes for Summer.

Each 20 oz. Dr Pepper bottle features over 40 artistic and inspiring labels that contain a Snapchat code on them. To unlock this fun filter, simply open Snapchat, take a photo of the Snapchat logo / code on the side of the bottle, then a little notification will appear, giving you access to the filter. Below, two of my favorite Snapchat filters were outdoors themed.

YOU CAN WIN!

Callout that the fun, unique Pick Your Pepper packaging and how it’s fun, individualized, and designed by millennials, for millennials. Available in stores starting 6/15/18.

Call out the prize reward and drive to  http://bit.ly/2pts8Qo

When you buy Dr Pepper 6/15-8/15 this summer, you can upload your reciept at http://bit.ly/2pts8Qo  to get the prize featured in my blog here and/or other prizes like:

Spend $5 get 5 bottles = Dr Pepper Retro Specs

Spend $10 get 10 bottles = Dr Pepper Copper Lined Mug

Spend $20 get 20 bottles = Dr Pepper Bluetooth Speakers

Spend $30 get 30 bottles = Dr Pepper Pool Float

CHECK OUT THE RETRO SPECS, BELOW…

Scan the Snapchat code on any Dr Pepper Pick Your Pepper to reveal a unique filter you can use! I then save the image and share it wherever you want! Below, two of my favorites!

My boyfriend Bobby and I love being outdoors, so these filters are super cute. He adores fishing, so the Snapchat filter, shown above that says, “Keepin’ It Reel” is perfect for him!

While this particular picnic I hosted for this post was indoors, I loved bringing traditional outdoor picnic elements into the evening with galvanized metal trays to hold food, easy to eat bites of a huge assortment of foods, and even cozy floor pillows, rugs and lightweight picnic blankets. I still love incorporating rustic elements into my events no matter where I host!

There are so many benefits to hosting this picnic indoors - Think of it, no bugs, no heat, and all the food and drinks one can possibly snack on throughout the evening without having to leave the elevated comforts of home. It’s such a fun way to enjoy time with friends or have a date night!

TO SET A COZY SCENE:

I love the idea of reminiscing about days past, where we would put pillows and blankets onto the floor and have a sleepover. Now that I’m older, we don’t really do that anymore, so it’s fun and nostalgic to reminisce and more or less make a soft place on the floor to settle in for the evening! It could be super fun to set this up in the living room, where everything is centrally located. Or, even on a porch!

I also added upscale touches like French-inspired textiles in stripes and plaids of white and blue. I packed some of the 20 oz. bottles of Dr Pepper into a metal “picnic basket”, which was a great way to carry the bottles plus lots of other necessities.

FOR THE FOOD:

I am always drawn to bountiful plates of fruits and other bite sized foods, so this was the perfect opportunity to try my hand at not one but three snack trays!

For one platter, I used a large, round galvanized tray with handles to hold everything. I then placed a white charger plate in there, plus a marble cutting board to hold the meats and cheeses (this was the least messy way to display them), then placed items like croissants, red and green grapes, strawberries, and more.

For another tray, I placed mini chocolate chips, blueberries, and blackberries. For the last tray, I placed a bit of herbed goat cheese dip, sliced baguettes, and crackers to dip into the goat cheese.

I was so happy with how upscale everything looked!

TO SERVE YOUR GUESTS:

I used lightweight linens, gold plates, and gold plastic utensils (that almost looked real!!), which added a bit of shimmer and glitz to the picnic. The gold and white looked really lovely.

It would definitely be fun to host a similar picnic outdoors if you live somewhere the weather is nice all the time! I love this particular color scheme, and I know those party platters would really look great at so many of your summer events.

Connect with Dr Pepper across social media!

Facebook / Twitter / Pinterest /Instagram

PIN IT FOR LATER...

Casual Cookout with Tyson, Ball Park, and Lipton Tea!

This post is sponsored by Lipton, Tyson, and Bimbo but the content and opinions expressed here are my own.

Casual Cookouts are in season!! Bring weeknight (or weekend) dinners outside by making good use of your grill! You can enjoy the long summer nights as you picnic in the yard with your family. From cooking your own Ball Park® Hot Dogs to Tyson® Chicken sandwiches, let everyone join in on the fun and make it a festive family night. Excited to host lots of fun cookouts this year, and here is one to get me started.

BBQ CHICKEN SANDWICHES

Above, the Tyson Frozen Boneless Skinless Chicken Breasts. I used them for chicken sandwiches!

INSTRUCTIONS: Using a grill set to 450-550 degrees, spray non-stick cooking spray and place frozen chicken breasts onto hot grill. Cook for 10 minutes on fist side, season, then flip and grill for another 10-15 minutes, until chicken’s internal temperature is at least 165 degrees F.

Below, the classic Lipton Iced Tea brewed and lightly sweetened.

Condiments can easily be placed in vintage or glass jars or bowls to serve them in a more elegant way – don’t forget to add a spoon into each condiment J

Below, the white chopped onions, pickles, and potato salad, and a cute sign that reads, “Welcome Friends and Family”.

As you might notice, I placed these ingredients onto metal trays at varying heights so they were easier for everyone to reach.

CURBSIDE PICKUP:

 Since summer gets very busy, and I always have a million errands to run at once, I loved being able to use the Walmart Curbside Pickup! I logged in and just placed my order on http://grocery.walmart.com and then stopped by my local store to grab everything!

DÉCOR IDEAS:

For the BBQ party setup, I used a plastic folding table to hold everything, then covered it with a twin white sheet that I ironed. I used a piece of on trend gingham printed cotton in white and grey. I used 1.5 yards and I think that the double layer table covering idea really looked so elegant.


I also really love offering food to guests at different heights, bringing the food and refreshments to eye level. I stuck with more metallic accents like galvanized metal boxes, plus small metal buckets to hold utensils and festive paper napkins. I love the mixture of navy blue and red together, which worked perfectly for this theme.

I also found lots of cute Grilling and BBQ themed signs that were so cute! I am sure that you could simply print some fun quotes off the Internet and frame them if you already have all the supplies on hand.

CONNECT WITH THESE BRANDS ON SOCIAL:

Tyson®

Facebook: @TysonBrand

Twitter: @TysonBrand

Instagram: @TysonBrand

Pinterest: @TysonFoods

Lipton®

Facebook: @LiptonUS

Twitter: @Lipton

Instagram: @Lipton

Ball Park®

Facebook: @BallParkBrand

Instagram: @BallParkBrand

I really hope you’ve enjoyed this post, and I am eager to hear all about what you have planned for summer!

PIN IT FOR LATER...

5 Ingredient Super Moist Pistachio 7UP Layer Cake with Pistachio Frosting Recipe

This shop has been compensated by Collective Bias, Inc. and its advertiser. All opinions are mine alone. #JustAdd7UP

Looking to create a delicious pistachio themed dessert for St. Patrick’s Day and beyond? I have a fun and unique idea for you that looks super elegant but only took a little bit of time to create. This would also make an excellent cake for a birthday, Mother’s Day, Father’s Day, other holiday, or just because! In fact, I will be making another one tomorrow evening for a friend’s birthday and she is SO excited!!

I was honored when 7UP asked me to create something special for a holiday that means everything to me. My late grandmother, Pat, was born on St. Patrick’s Day and was one of my very favorite people in the whole wide world. She taught me lots of her recipes and I use several of them quite regularly, and I think of her all the time. She instilled such amazing values on me, and I love her so very much! So, with her in mind, and the luck of the Irish on my side, I present you with this Super Moist Pistachio 7UP Layer Cake with Pistachio Frosting. It’s quite possibly the MOST delicious creation on Earth!

It’s really quite impressive that the base of this cake contains only 5 ingredients, one of them being a can of 7UP. This versatile ingredient adds a lot of moisture to the cake, and with the homemade frosting on top, the two flavors mesh together just perfectly.

If you like pistachio, then you are going to LOVE this delicious and easy-to-create cake! It turned out very elegantly too, which I was very happy with! I didn’t use any super special decorating tools, which made things even easier.

Luckily, I was able to grab all of my supplies at Walmart (I always love when life is easy!)

CAKE INGREDIENTS:

Serving Size: 8-10, Prep Time: 25 Minutes, Total Time: 1 hour 25 Minutes

1 can 7UP®

1 box of vanilla cake mix

1 (3.4 oz) box of pistachio pudding mix

3 eggs

1 cup Vegetable Oil

FROSTING INGREDIENTS:

1 (3.4 oz) box of pistachio pudding mix

8 oz softened cream cheese

½ cup softened butter (1 stick)

5 Tbsp milk

5-5 ½ cups powdered confectioners sugar

1 Tbsp vanilla or almond extract


INSTRUCTIONS:


  1. To make the cake, preheat oven to 350 degrees F. Grease two 9” round pans with non-stick spray and add a circle of waxed paper or parchment paper to the bottom of each pan. Spray the paper circle, then add a little bit of flour to your pans. Use your fingers to help move the flour around and coat the pans, and knock out any excess flour.

  2. In a large bowl, combine all cake ingredients and mix on medium to high speed for 4 minutes. Scrape sides of mixing bowl at 2 minutes.

3. Using a measuring cup, add half of the batter to each cake round. Bake for 30-35 minutes, or until cake springs back when you press onto it.

4. While the cake is baking, make your icing. In a large mixing bowl, first add pudding mix, then butter, cream cheese, and vanilla or almond extract. Beat with a mixer until smooth.

5. Now, to finish your icing, add powdered confectioner one cup at a time, first folding it in with a spoon, then mixing with your mixer so sugar doesn’t fly everywhere. Lastly, add 4-5 Tbsp of milk to begin to thin your icing. Once it’s at your desired consistency, set aside.

6. Once cakes have completely cooled, remove them from the round pans, remove the paper off of the cakes, and add feel free to even out the tops of the layers very carefully with a sharp knife.

7. Add icing to one layer of the cake, smooth into an even layer, then add the second cake round on top. Lastly, cover the top and sides of the cake with a smooth layer of icing with a silicone spatula. Lastly, feel free to use an icing tip or icing in a zip top bag with the corner cut off to draw more designs and textures to the top of the cake. Finish the cake with pistachio pieces around the sides and sprinkled on top! Enjoy!

If you are lucky enough to create this recipe, I would absolutely LOVE to see what you make! Tag me on Instagram as @happysolez, or share the link in the comments below to let me know how it turned out. And, if you have any questions, leave them below too.

Making Game Day Cleanup A Breeze with Glad ForceFlex Plus Advanced Protection

This post has been sponsored by Glad. All thoughts and opinions are my own.

This football season, make Game Day cleanup a breeze! Glad has a NEW and improved version of their already superior trash bags called Glad ForceFlex Plus Advanced Protection – now available at Target! If you’re looking for a trash bag that will not leak, and will hold ALL of the mess that can accumulate during a Game Day celebration, then Glad can help. Featuring reinforced side seams, RipGuard™ AND LeakGuard™ I am happy to introduce Glad’s Best Bag Ever!

I styled the most gorgeous Game Day party last Sunday, while watching the playoff games, and had so much fun decorating and hosting friends. I used an aqua and red color scheme, but feel free to use your favorite team colors. The Target party aisle provided nearly everything I needed to keep the color scheme looking perfect throughout all of my décor.

Entertaining friends and family can be a bit of a mess afterwards, but I was not at all concerned with cleanup, because I had made a Target run the day before to stock up on everything. From Glad bags to treats and party décor, I was set to host the cutest celebration of the season.

Target had almost everything I needed. I first headed to one of the aisle labeled Trash Bags, and grabbed a box of Glad ForceFlex Plus Advanced Protection trash bags. Next, I perused their party and celebration aisles and their Dollar Spot at the front of the store (my favorite area of Target) and found red and white cake stands, aqua colored paper plates, red cups, clear treat bags, and aqua colored napkins. I thought that a non team-specific color scheme would be fresh and exciting. I also found my juice bottles to cover with paper, and a few other food items as well.

Since these Glad ForceFlex Plus Advanced Protection bags are so new to the market, click any of my images or the graphic below, to buy now! 

I’ve always used some form of Glad ForceFlex trash bags in the past, so I was super pleased to be able to feature such a high quality product in this celebration. I can’t stand when a garbage bag breaks on me, because that’s seriously no fair! I have to take the super full garbage bags all the way outside (let me tell you, we stretch them until they’re FULL at our house – (I call it being conservative, not lazy), and if anything were to get on my clothes from the bag, I get all squeamish. I am sure I’m not alone on this one? So, these Glad ForceFlex Plus Advanced Protection trash bags are always in my house.

Back to the festivities! I also provided some super delicious football-inspired food at this party. I was so happy when I found cookies at a bakery called San Francisco Cookies! They were already shaped like footballs, so I simply outlined them in chocolate decorator icing, and then I drew the football laces with white decorator icing. It was way easier than making them myself and it saved so much time to not bake cookies.

I also found little chocolate creme sandwich cookies and used that same white icing to draw threads on them too.

I always try to incorporate chocolate desserts for football parties because I love how the color of chocolate reminds me of the football itself. So, I offered guests a few more bakery items like a chocolate layer cake (perfect to feature on the middle cake stand), plus mini chocolate muffins with chocolate chips in them.

I made some wings in my crock pot and found an awesome homemade BBQ sauce recipe that contained brown sugar, ketchup, red wine vinegar, stone ground mustard, and soy sauce. When they were ready to serve, I placed them on another cake stand, and sprinkled sesame seeds on top.

I placed football shaped bowls of BBQ potato chips around, and also filled little clear treat bags with snacks like popcorn and pretzels, then tied them up with a twist tie and football printed ribbons. Everyone likes something a little different, so I offer as many flavors as I possibly can!

I always love seeing customized refreshments, so you can remove the original drink wrappers, and simply cut a piece of scrapbooking paper into 2.5” tall strips, and cut them to fit around the bottles. I used a brown and white football printed design!

I also found the cutest “chalkboard” paper bunting that I wrote on with chalk. I used a pencil to sketch out footballs and “GO TEAM” then went back over that with chalk. They turned out so cute!

Thinking about all this food and décor might sound like it makes for a messy house afterwards, but I know thatGlad ForceFlex Plus Advanced Protection trash bags can hold a ton, and won’t leak or rip  – YAY!

I hope I have inspired your next Game Day gathering, and if you share any photos, feel free to leave the link(s) in the comments below! I would LOVE to see how you celebrate and decorate for the big game.

Remember to shop at Target for all of your Game Day and clean up essentials! 

PIN IT FOR LATER...

Vibrant Tropical Fruit Plate

We were extremely fortunate to spend time on Sugarloaf Key in January and February, and in addition to the amazing weather, ocean views, and palm trees everywhere, there are some of the most vibrant and delicious fruits available. Since we got to spend quite a while in the Keys, we got to know some of the neighbors in the neighborhood where our rental house was located, and we were so concerned for everyone during and after the hurricanes. We have touched base with at least one family and they said that no one in the area suffered too much damage, and we were lucky enough to find out that most importantly, everyone was ok. 

I was looking back at a few of our photos from earlier this year, and I even though I have of course been in Fall-Pumpkin-Everything Season lately, I still wanted to share this light and bright Tropical fruit plate with you because I am feeling nostalgic about Florida. 

Organic fruits and veggies at the grocery stores are sky high, but I wanted to embrace the tropical spirit of everything around me, and was super happy to find two awesome fruit stands. 

Keys Homegrown, the fruit stand that was much closer to our rental was located next to Keys Cuisine, unfortunately closed while we were there. I found star fruits, 4 for $1.00 there, plus TONS of amazing other fresh fruits. So sad that place closed!

Next, was Paradise Produce, a much larger and super well organized fruit stand which is luckily still there. They had friendly staff who explained a bit about some of the more exotic and unusual fruits, and their selection was incredible! (The photo below is one I grabbed from their Facebook Page).

Keys Cuisine was definitely one of the best three restaurants out of the Key West area. The other two included the OMG-inducing Bavarian Bakery and Sandwich Shop called Sugarloaf Food Co. The other restaurant was called Bucktooth Rooster and served huge portions of delicious comfort food.

For this fruit plate, I knew I needed a rather large container, and luckily, I found one at the Dollar Tree that held everything extremely well. The plate is made of white plastic, and had a smaller round center part that you would usually use for dip or salsa. I placed the small watermelon bowl into the center and then built my fruit plate around that!

Green Grapes

Red Grapes

Gooseberries (The small round orange fruits)

Kiwi, cut in half into flower shapes (simple tutorial here)

Smaller Watermelon

Papayas (one with seeds removed, and keep seeds in the other for visuals)

Strawberries

Green Apples

Any other fruit yoru heart desires! 

1.) Cut watermelon in half, carefully making sure the cut is smooth. This will become part of your fruit plate display.

2.) Choose the more attractive half of the watermelon and set aside. Cut the other half into cubes, removing the outer skin as you go. With the prettier half of the watermelon, slice around the top with a sharp knife to remove as much of the red part as possible. Then, cut that into cubes. Place hollowed out watermelon half into the center of the tray, and refill it half way full with watermelon cubes. 

3.) Cut kiwi into flower shapes, by very carefully using a pairing knife to press into the kiwi in a zig zag shape all around the entire circumference of the fruit. This is an amazing way to add visual interest to your platter! Be careful to never cut toward your hand.

4.) Lastly, cut apples and any other fruits, and begin to arrange clusters of grapes, papayas, and any other ingredients in your own style and way. This would be amazing also served with fruit dip, but this is an amazing way to encourage guests or your family to eat healthier snacks.

Simply Nice! Revamped Snacking + Boho Decor Ideas For Your Next Party

I was so thankful to be asked by Carusele to participate in the #SimplyNice campaign, sponsored by Walgreens. Although I have been compensated, all opinions are my own.

Hosting a casual and elegant get-together is my favorite way to host friends and family. My friends sure know how to snack, so I always make sure to have extras on hand, too. I have always enjoyed the Nice! Products from Walgreens, and I have been noticing a few ch-ch-ch-changes lately in their packaging and ingredients. They are making a huge effort to offer products that have the best ingredients available. I appreciate this so much, because our local Walgreens is open 24 hours, so a lot of people are depending upon them to offer the very best.

With the recent change in weather, going from extreme heat and humidity down to nearly 70 degrees, I am seriously using any excuse to have friends over. We all love to let our dogs play outside, which somehow makes us hungry – that’s when I know it’s time to bring out the snacks and get ready to feast! I feel good about snacking with the new line of Nice!® products from Walgreens.

I like offering guests a wide range of options, and if you’re looking for baking ingredients, look no further – the Premium Raw Mixed Nuts, shown above, feature unsalted cashews, almonds, pecans, and walnuts. I love the idea of baking fresh items for guests, that way the house smells amazing when they arrive!

HOW TO REVAMP YOUR SNACKING

If you are looking to replace those unhealthy or rather boring snacks, head to the snack aisles at Walgreens and you won't be disappointed. Their snacks all have great flavors that are unique to their products, and IU just love them! I also cannot believe how many organic options they have!

Begin by reading the labels. The new Nice!® packaging, available among many departments in the stores, showcases easy-to-reference icons at the top right of the front of every item. This nutrition info is right there to help you make the best decision for you.

SIMPLE - HONEST - DELICIOUS

Above, their motto and also mine! 

I could not believe how many new items they have available locally, and I’m sure I will start seeing even more soon. In this post, I featured newly packaged options like Magic Trail Mix, Chili Lime Cashews, Sesame Sticks, Tri-Colored Tortilla Chips (note - WITHOUT yucky food coloring like the traditional tri-colored chips I've seen), and Root Veggie Chips shown below. I just love the variety of colors in the last two options!

HOW TO REVAMP YOUR PARTY DÉCOR

If you want to impress guests with snacks AND décor, then I created a cute party look that would fit into my life and hopefully yours. I love the idea of casually sitting on floor pillows, so I found the cutest rugs ever and used them for inspiration! I laid down two woven style rugs, and one furry white rug. I also laid out a piece of this amazing crushed velvet material, which I thought would be cute to tie even more color into the look.

Next, I added some cute pillows – the more the BETTER, so use everything you can find J I love the Bohemian aesthetic, but you could use a more rustic or woodland look for a cozy and inviting theme.

I wanted a low sitting table, and did not exactly have one, so I created one myself! On top of a large wooden crate, I simply added a piece of stained wood I already had. This could be made from just about anything sturdy enough to hold your food and drinks without tipping over. I then laid a table runner across the top.

For the flowers, and if you’re planning a beer + snack tasting night, I thought it would be adorable to fill some brown glass growlers with water and fresh flowers (they traditional come from breweries so you can travel home with their beers). I also love how the brown glass and the color of the flowers really make it look more like Fall up in here!

Another fun way to dress up your party would be to provide guests with reusable, cloth napkins rolled up and wrapped with ribbon. I love the Eco-friendly aspect of this, and guests will love the oversized tea towels for their snacking adventures.

The video below really does a good job of describing the new Walgreens Nice products and makes them very relatable! 

Another fun item I added to the party was a fuzzy, very light pink colored stool. The whimsical nature of it says so much and really compliments everything well.

Hopefully I have given you some insight on how to revamp your snacking and your party décor! For more ideas, visit me on Pinterest or Instagram. Happy snacking, friends!

The Best Way To Stay Cool This Summer! Summer Fun With Dr Pepper

This is a sponsored conversation written by me on behalf of Dr Pepper®. The opinions and text are all mine. #PickYourPepper #Walmart

Summer is definitely here, friends! I’m trying to enjoy the outdoors as much as possible before it gets too dreadfully hot and humid here in southern Illinois. Luckily, there are lots of great picnicking areas and lakes available to us here in and around the Shawnee National Forest so we recently headed out to cool down!

I brought the sweetest summer essentials with me too – cold drinks, SPF, and my new 90s-inspired inflatable float :)

There’s nothing like floating in the lake or river while enjoying a cold drink and some fresh air. I always love to bring a big, floppy hat to protect my face and shoulders from excessive sun. Plus my ever-important sunscreen and my favorite shades - that’s about all I ever need to have a good time.

Dr Pepper sent me this float as part of their new Pick Your Pepper campaign with packaging that was made by millennials, for millennials, that I picked up at Walmart. It’s so unique and I was pleasantly surprised at how big the float was once inflated – it held me afloat in the water just fine! It was a little taller than me, so I could lay back and just float. I am excited to use this all summer and next year!

To claim your very own Dr Pepper Shaped Pool Float, or one of their other cute prizes, get the details below.

When you buy any Dr Pepper 6/15-8/15 this summer at Walmart, you can upload your receipt here to get the prize featured in my blog and/or other prizes like:

Spend $5, get a unicorn beverage holder inflatable

Spend $10, get a Walmart e--Gift Card worth $5

Spend $20, get a 6-pack can/bottle holder with ice pack

Spend $40, get a Dr Pepper bottle shaped pool float

I wound up getting almost everything for our day at the lake at my local Walmart! They have lots of cute summer items left, and some are even going on sale – get everything now before it’s gone.

I found everything from this tie dyed beach towel, which I absolutely LOVE, to my Dr Pepper, snacks, bowls to put the snacks into, summer-themed plastic cups, colorful straws, a cute sun hat, flip flops, and my new favorite summer clutch!!  

What are some of your favorite locations to visit during the summer to enjoy the outdoors? Do you tend to stay local, or do you like to drive a few hours to enjoy something even better? Leave a comment below and let me know – we are always on the lookout for travel suggestions!

Also, what are your favorite picnic day snacks to enjoy outside? I went for classic options, and everything paired well together. An ice cold drink always helps the temp cool from inside and out!

This day, we got the most perfect weather ever! A little on the warm side, but the slight, cool breeze really helped keep things feeling great – and luckily kept mosquitoes at bay! It had actually rained earlier in the day, but the clouds cleared just enough to allow us to enjoy the sunset (the best thing in the world to me!). The water was so calm this day.

Now, let’s talk lakeside fashion! I loved this Made You Look Sun Hat from Walmart! Each one of our local stores seems to have a bit of a different selection, so I tried to browse them all for the cutest summer accessories. I also found this pair of mint, crochet-like coverup shorts, near the selection of bathing suits. I also just HAD to grab these donut printed flip flops – after all, it’s summer, right now I’m saying, “I Donut Give A Care” to so many of life’s worries. This great weather is really doing me some good!!!

This "Made You Look" hat is so fun!

In order to offer chilled refreshments on a hot day, I bring a small bag of ice in my cooler, and simply set the drinks into a metal tray. I then dump ice into the tin. The cans chill in about 20 or so minutes, and it’s such a cute presentation! Speaking of presentation, I do love a cute food table display, so I brought out some cute items to the lake with us. I used three tins (one for drinks, one for chips, and one for cookies), two fish-shaped bowls for candies, a wooden box to elevate the drinks, and of course plates and napkins. No utensils were required

Love the three colored tassels on the clutch bag! How adorable for summer!!

Taking a few extra minutes to set up a cute refreshment table really makes a day at the lake even better!

Invite your friends and family out this summer, and connect with them! Create meaningful memories during your summer celebrations that will be cherished forever!

A Memorial Day Party With Balloon Time! Get These Cute Recipes and Decor Ideas!

This is a sponsored conversation written by me on behalf of Balloon Time Helium Tanks. The opinions and text are all mine.

So excited to share this fun post with you today! I am really looking forward to summer, and Memorial Day, to me, is the first big holiday of the summer season. It's a great time of the year to host friends, and why not embrace that red, white, and blue, Patriotic spirit into your party with festive decor and tasty, yet easy to achieve party recipes. I utilized a balloon backdrop, inflated with my Balloon Time Helium Tank, making this whole party setup a very Instagrammable moment!

This party would be adorable for guests of any age, and feel free to add a bit more of your favorite food or drinks for your friends and family to enjoy while we celebrate Memorial Day, and other fun holidays in May and the upcoming summer months.

Tie Dyed Fabric In Indigo and White (See My DIY Here)

Helium-Safe Balloons (I used red, blue, and star-printed latex ones, and 3 holographic mylar ones in star shapes)

Helium Tank (I used one from Balloon Time)

Curling Ribbon included with helium tank

Weights for Balloons (these can be made from just about anything that is somewhat heavy. Or, tape to attach balloons to the back of your table

1.) Get acquainted with your Balloon Time Helium Tank. At first, I had a bit of trouble realizing that there are two steps to working the tank. FIRST, on your helium tab, you will find a green handle, that you turn about 4 times until it won't turn any longer. SECOND, insert your balloon onto the black nozzle, and push down to release the helium into your balloon. I did not realize to do the second part, and thought my tank was empty - oopsies! It was not :)

2.) Fill your three star balloons, and about 5-10 of each of the other colors, red and blue. Adding some white balloons would also be adorable! After filling each balloon, tie about 3-4 feet of ribbon to them, and attach them to your weights, so they won't float away :) I cut each ribbon to be a bit of a different length, so they would have a more layered effect, which I just loved!

3.) Put up your tie dyed back drop behind where your table will go, and then start filling the background with balloons! I started with my stars, then worked out from there, with the other balloons. Put your table in front of that, and begin styling the party!

4.) I love displaying food at different heights on the table, to create lots of visual interest. For this party setup, I used a mixture of wooden crates, galvanized metal boxes,   

5.) Other cute items you might want to offer include patriotic-themed star plates, napkins, cute paper straws, cute sunglasses, and red/white/blue candies in star-shaped glass dishes.  

When I first learned about this project with Balloon Time, I instantly went into research mode. That's how I start every post that I create, so I can learn more about the brands and the products I am about to work with. I also love seeing what other bloggers may have done with and for these brands before, and I was so excited and very honored to be chosen, because Balloon Time has enlisted the DIY and Party Skills of many amazing bloggers that I follow pretty regularly, like Studio DIY, Hostess With The Mostess, A Subtle Revelry, and Confetti Sunshine!

I wanted to put my own spin on this project and include lots of cute dessert ideas, too!

I love these delicious red velvet cupcakes from my local grocery store, which you could use in a pinch, or bake cupcakes from your own favorite recipe. 

WHAT YOU NEED:

Red Velvet Cupcakes, Plastic Wine Glasses, Candies To Decorate

Simply fill glasses 1/3 full with colorful candies. Next, put the cupcake into each glass, and you have an elevated way to enjoy your cupcakes! This makes dessert very easy to carry around, too.

It's funny. The end of May in Illinois can offer gorgeous weather, chilly weather, rainy weather, or just plain HOT weather. Here in Illinois, we just come to enjoy those years when we get good weather for holidays, but it's never 100% for sure that we will even want to be outside. SO, I designed this party for an indoor OR outdoor gathering! 

I found this pack of 6 tiny, plastic dessert bowls at the dollar store, and then, using an ice cream scoop, I added a scoop of cool whip to each bowl. Next, I added one full strawberry to each cup, and then about 6-8 blueberries to one side. These taste SO good, and will be easy for guests to enjoy. Also, I would only recommend making these about 30 minutes before serving, because the strawberries get mushy if you wait much longer. But, I love how these turned out so much! 

Thanks so much for joining me to learn more about my latest party! I hope you have gotten lots of great party ideas too.

See all of the parties I've designed, here!

Enjoy!

This is a sponsored conversation written by me on behalf of Balloon Time. The opinions and text are all mine.

PIN IT FOR LATER: