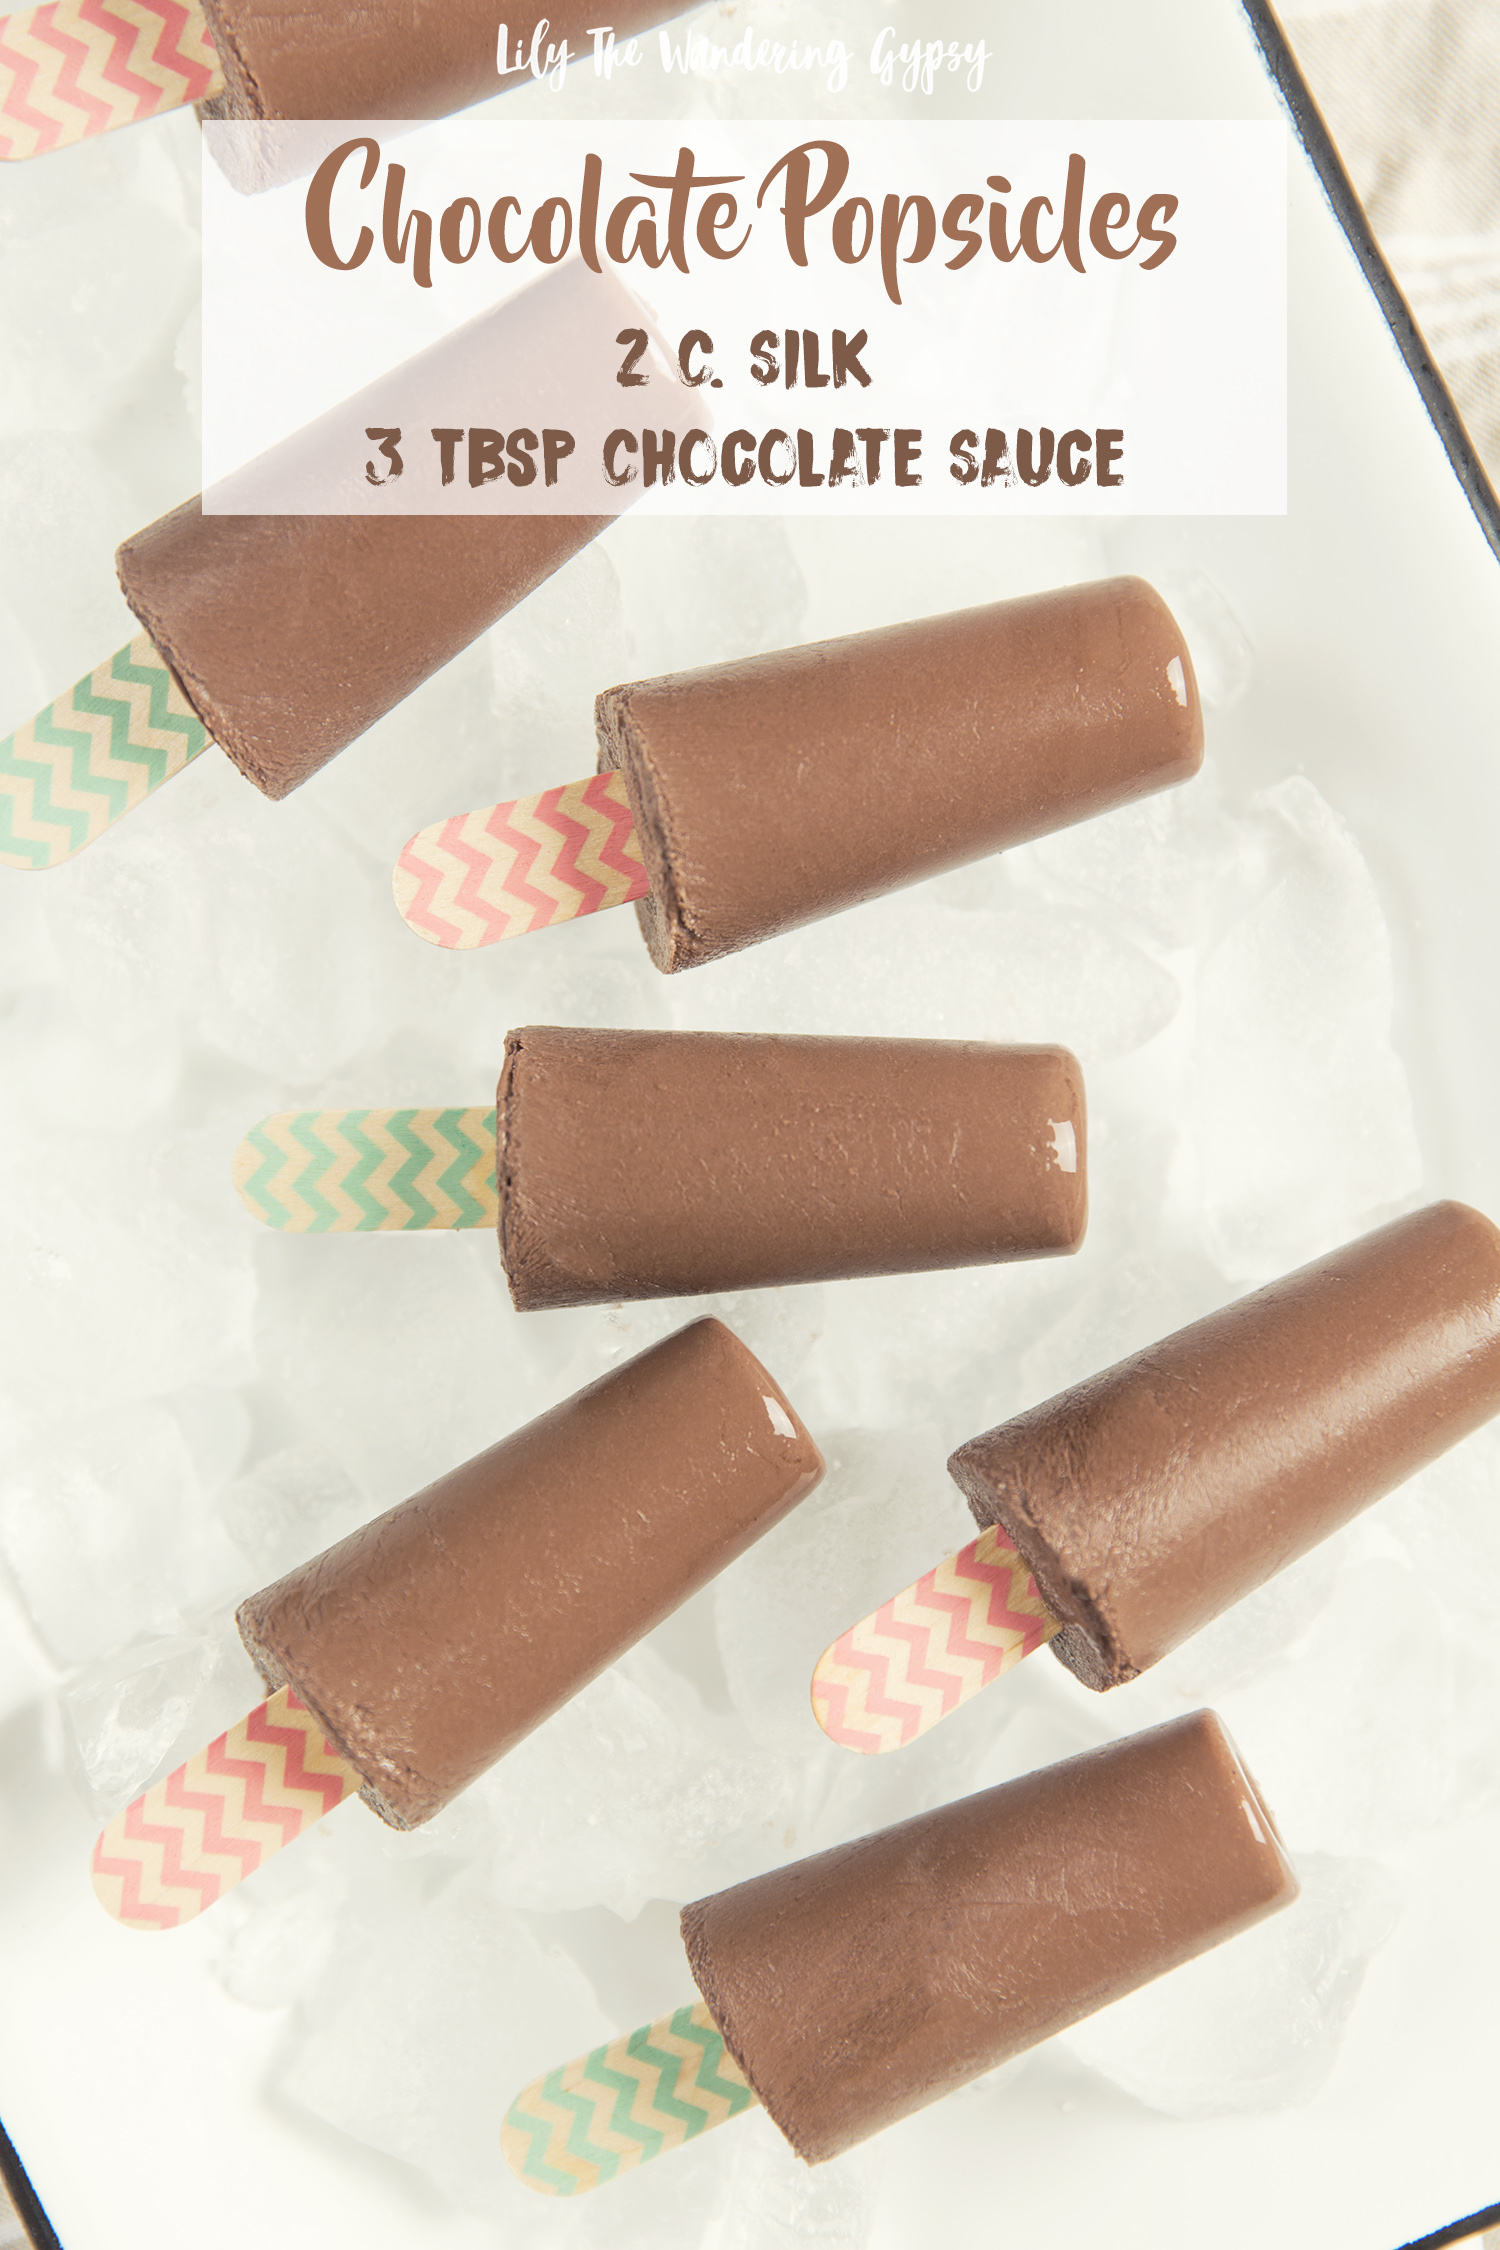
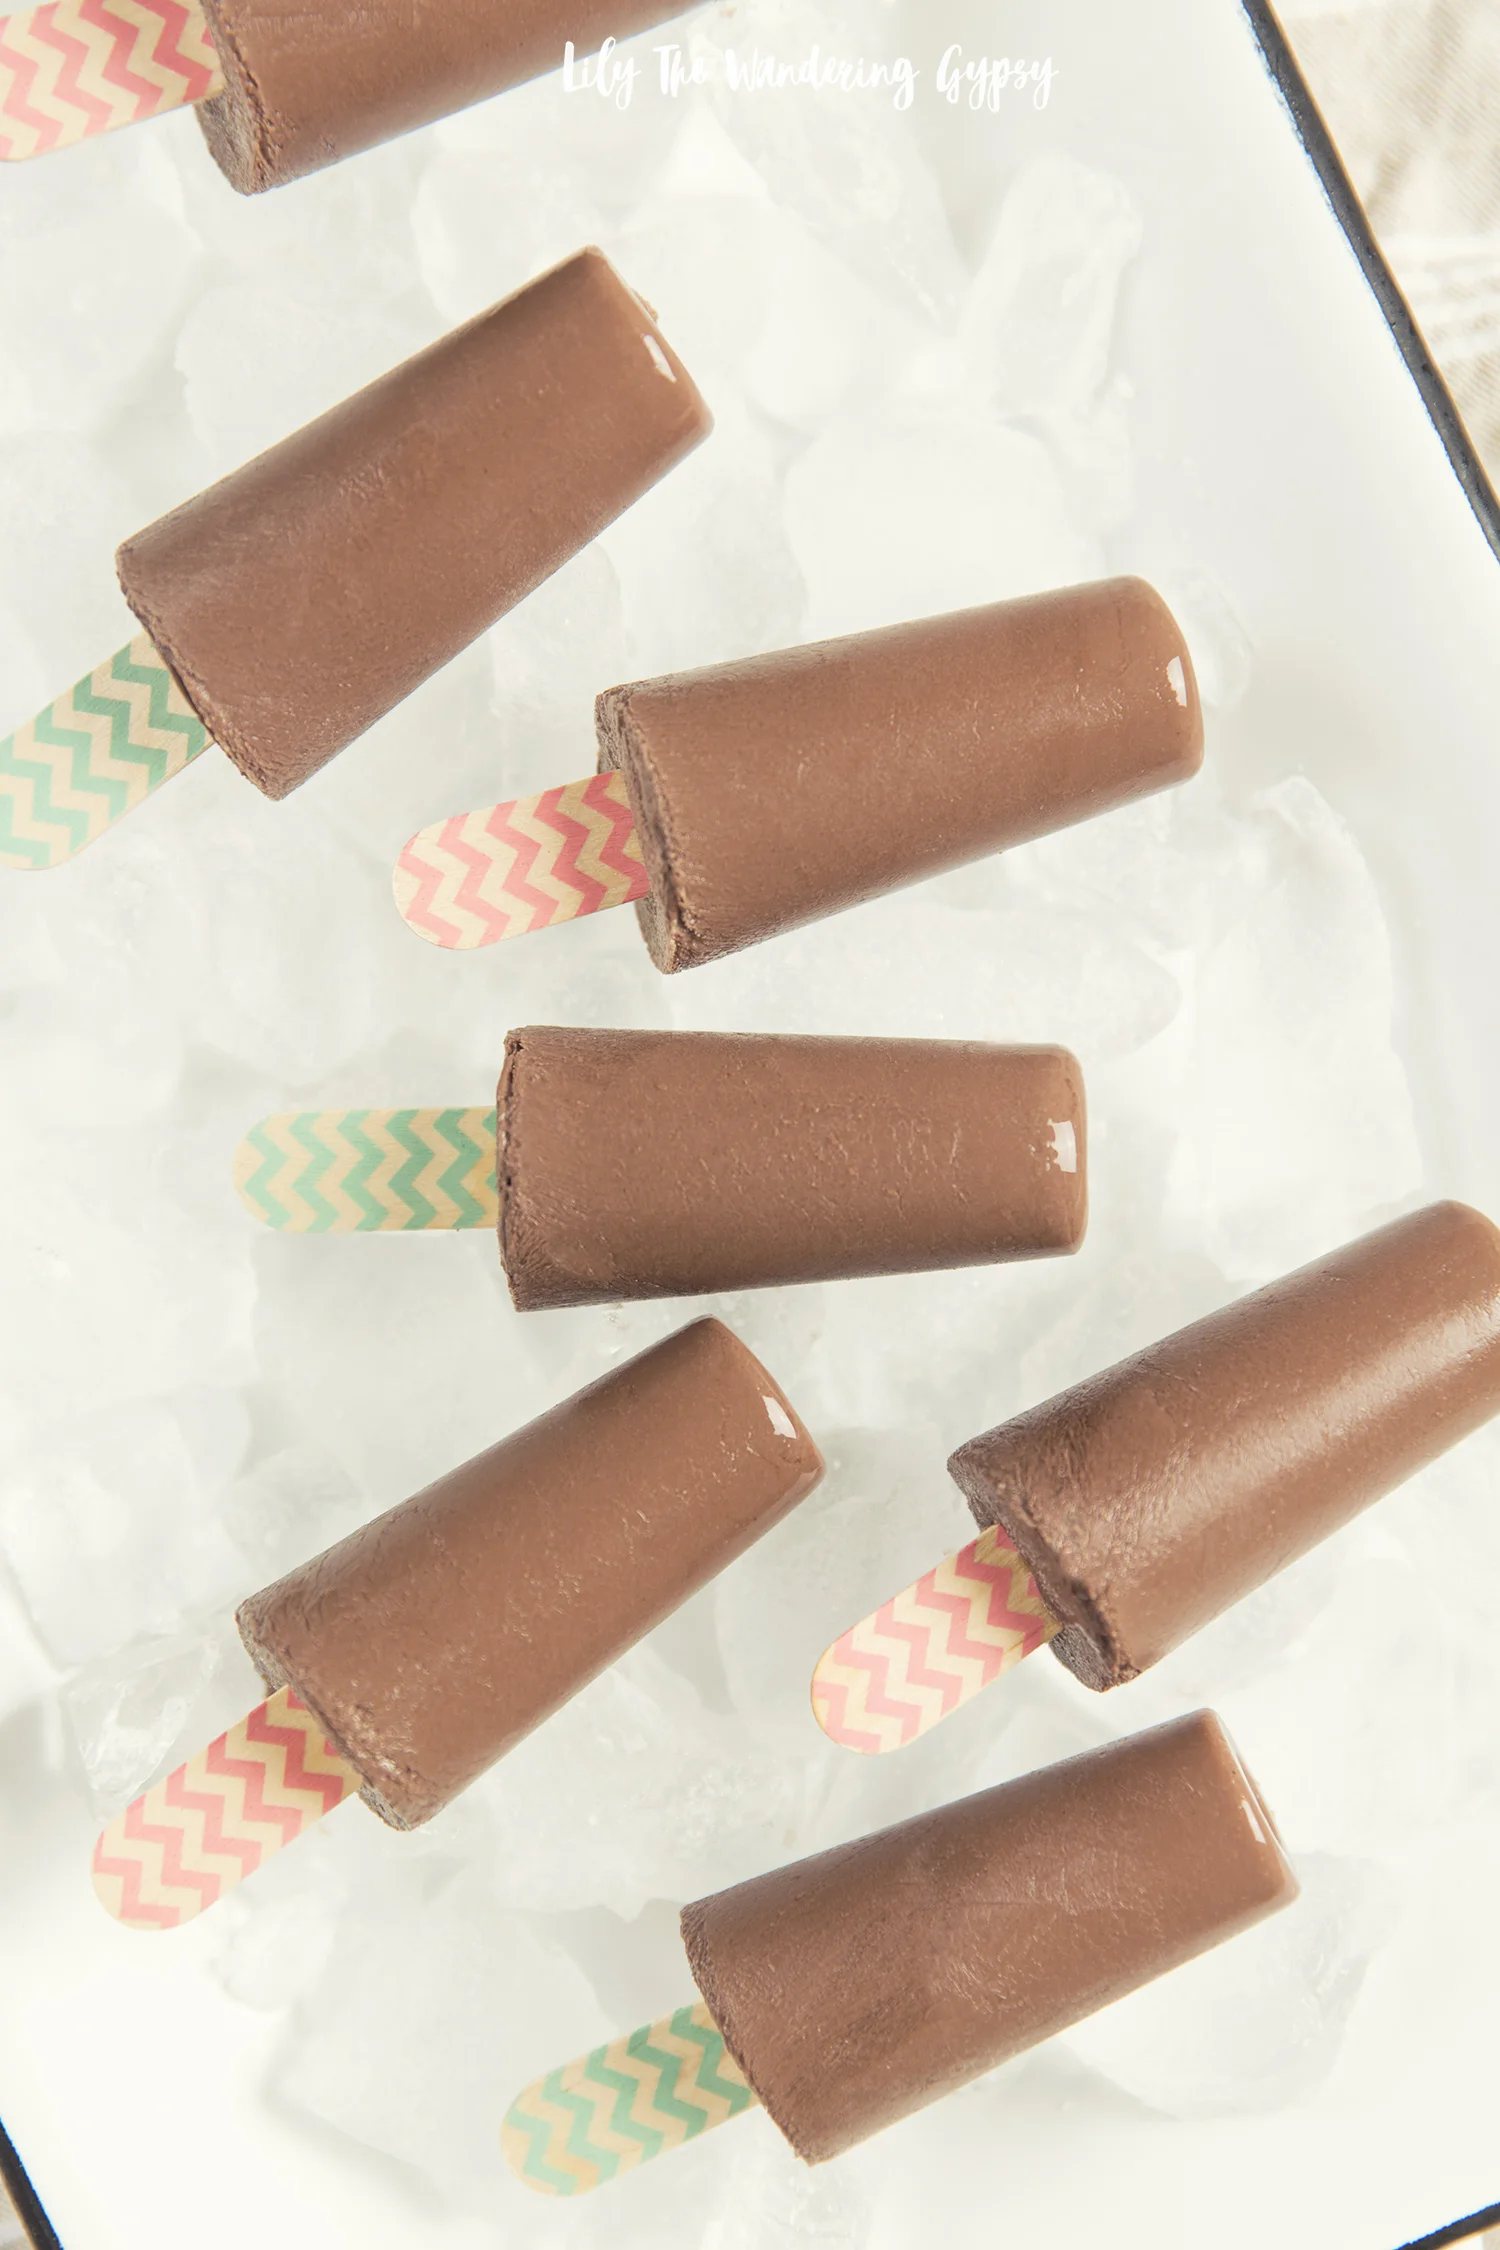
If you're in need of a treat that will not only cool you down, but satisfy your sweet tooth, check this out! These pops can be made with just TWO ingredients, or you can go ahead and make them even better after they're frozen and top them with chocolate sauce and mint chocolate chips. The coconut flavor also really comes through in the Almond and Coconut "Milk", which I think tastes absolutely wonderful with the chocolate.
Note - these can be made Sugar Free or Low Sugar!
Just use sugar free chocolate syrup and make sure your almond milk is unsweetened.


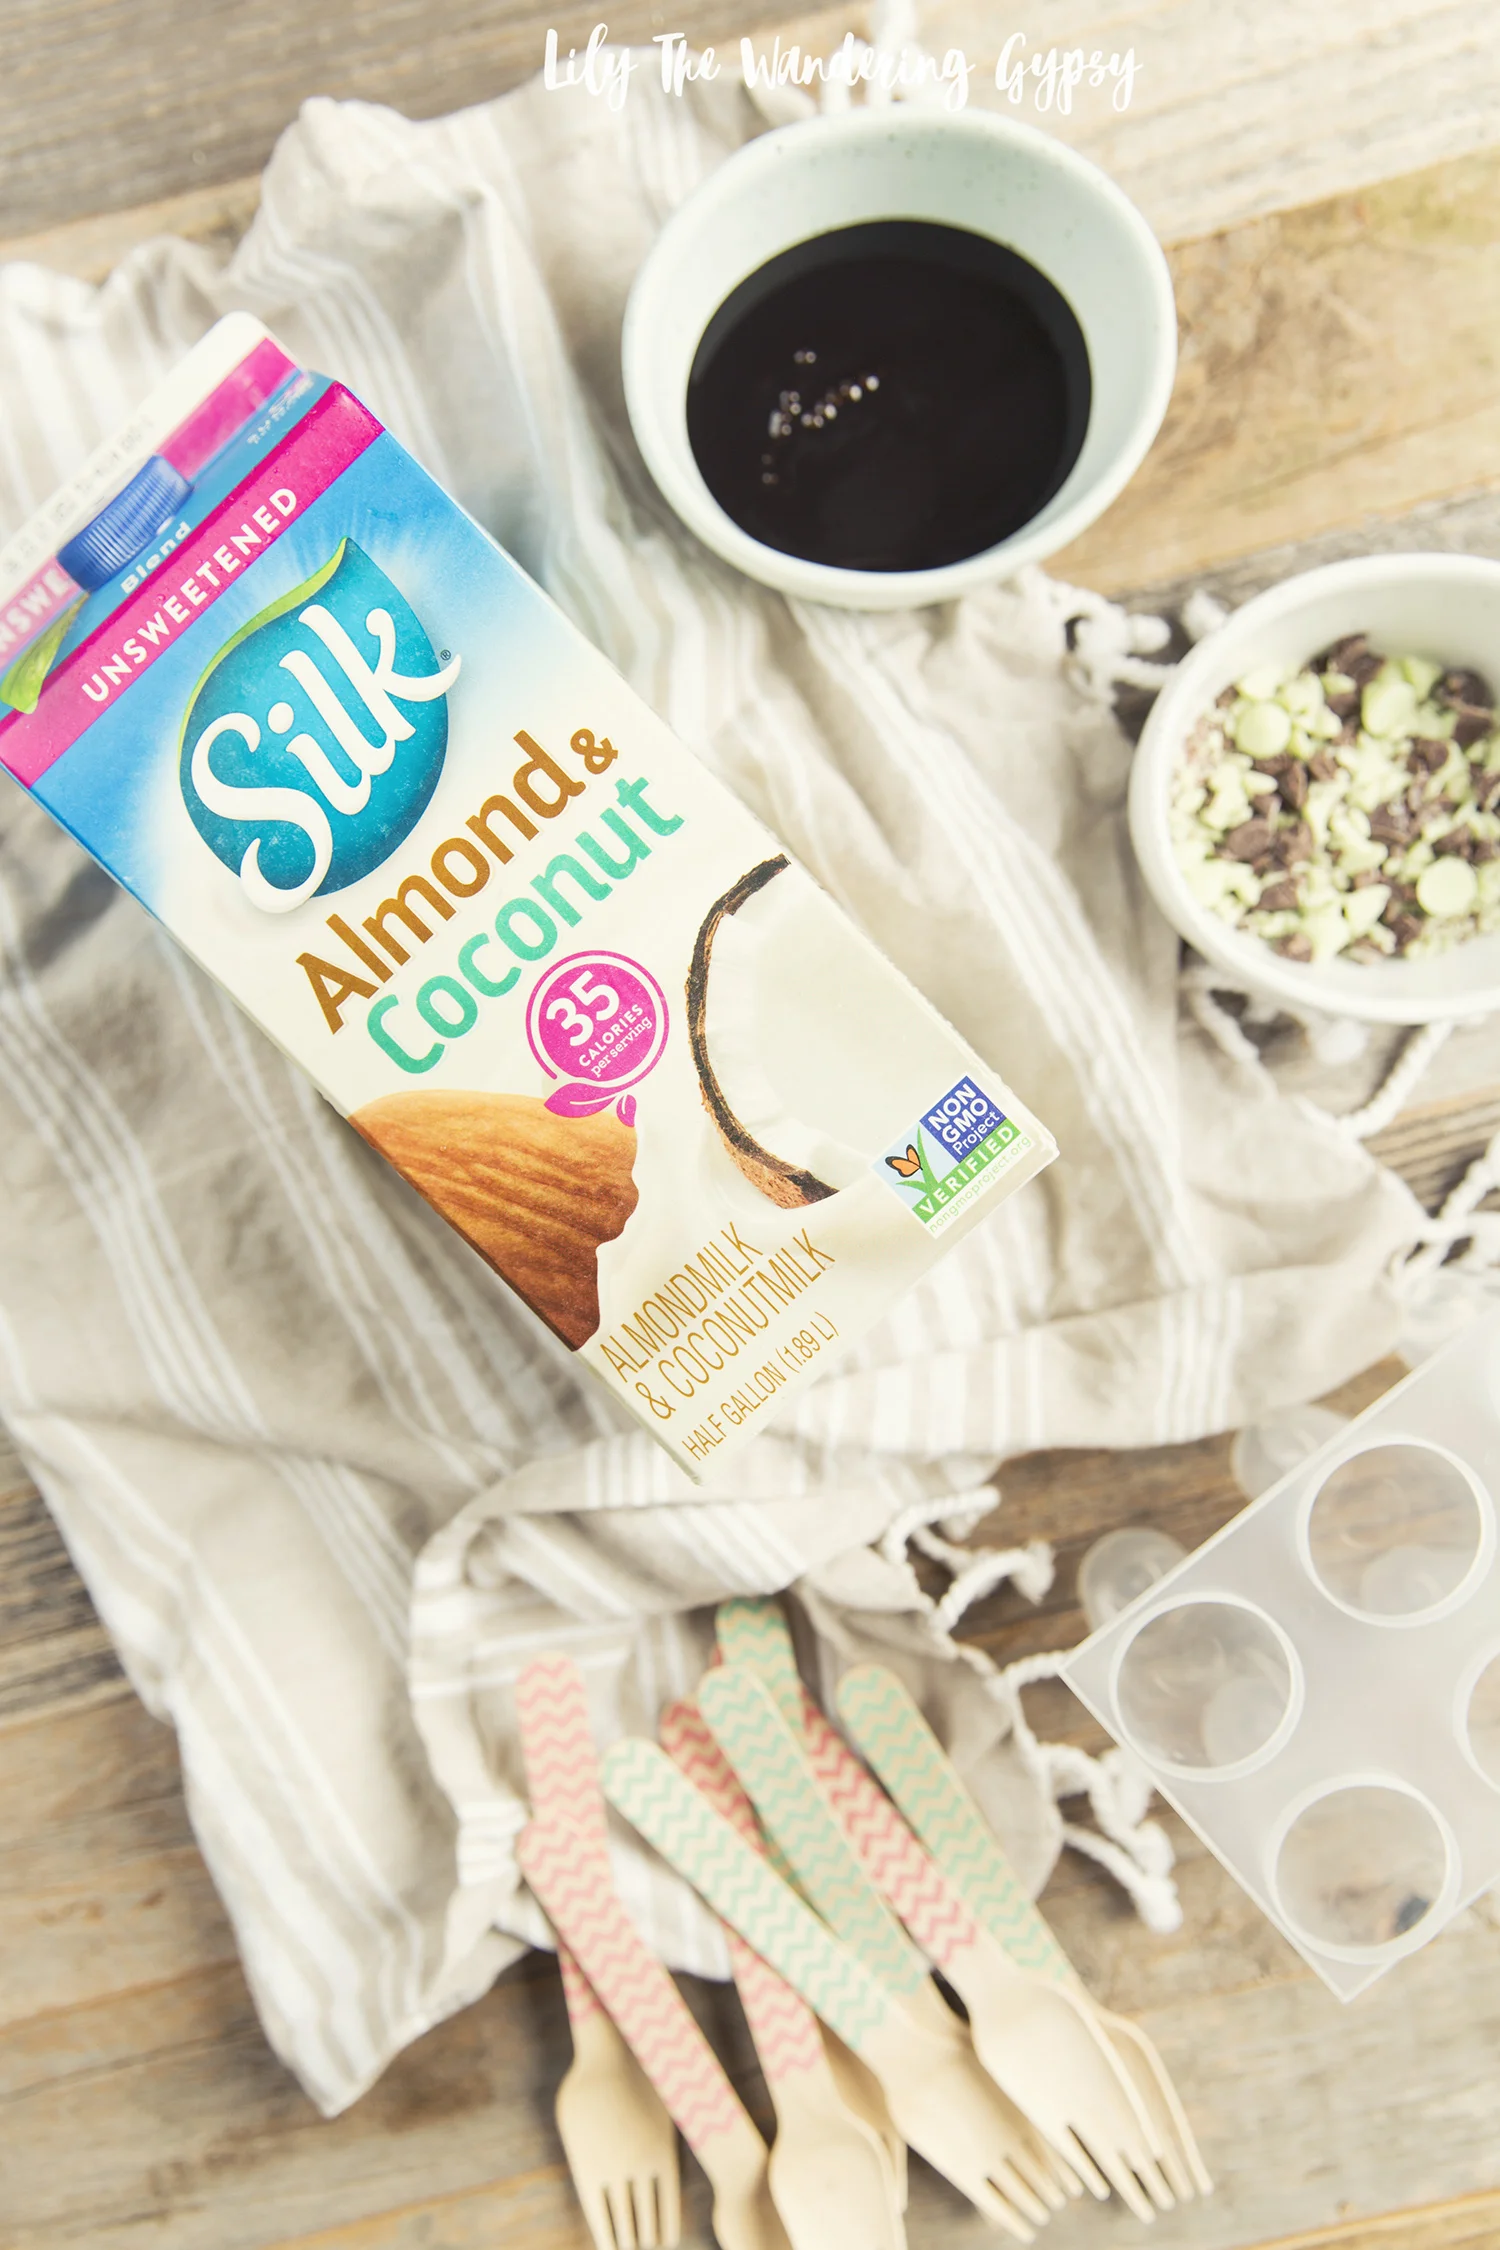
2 C. Almond Milk of any variety - Unsweetened or Sweetened is also up to you.
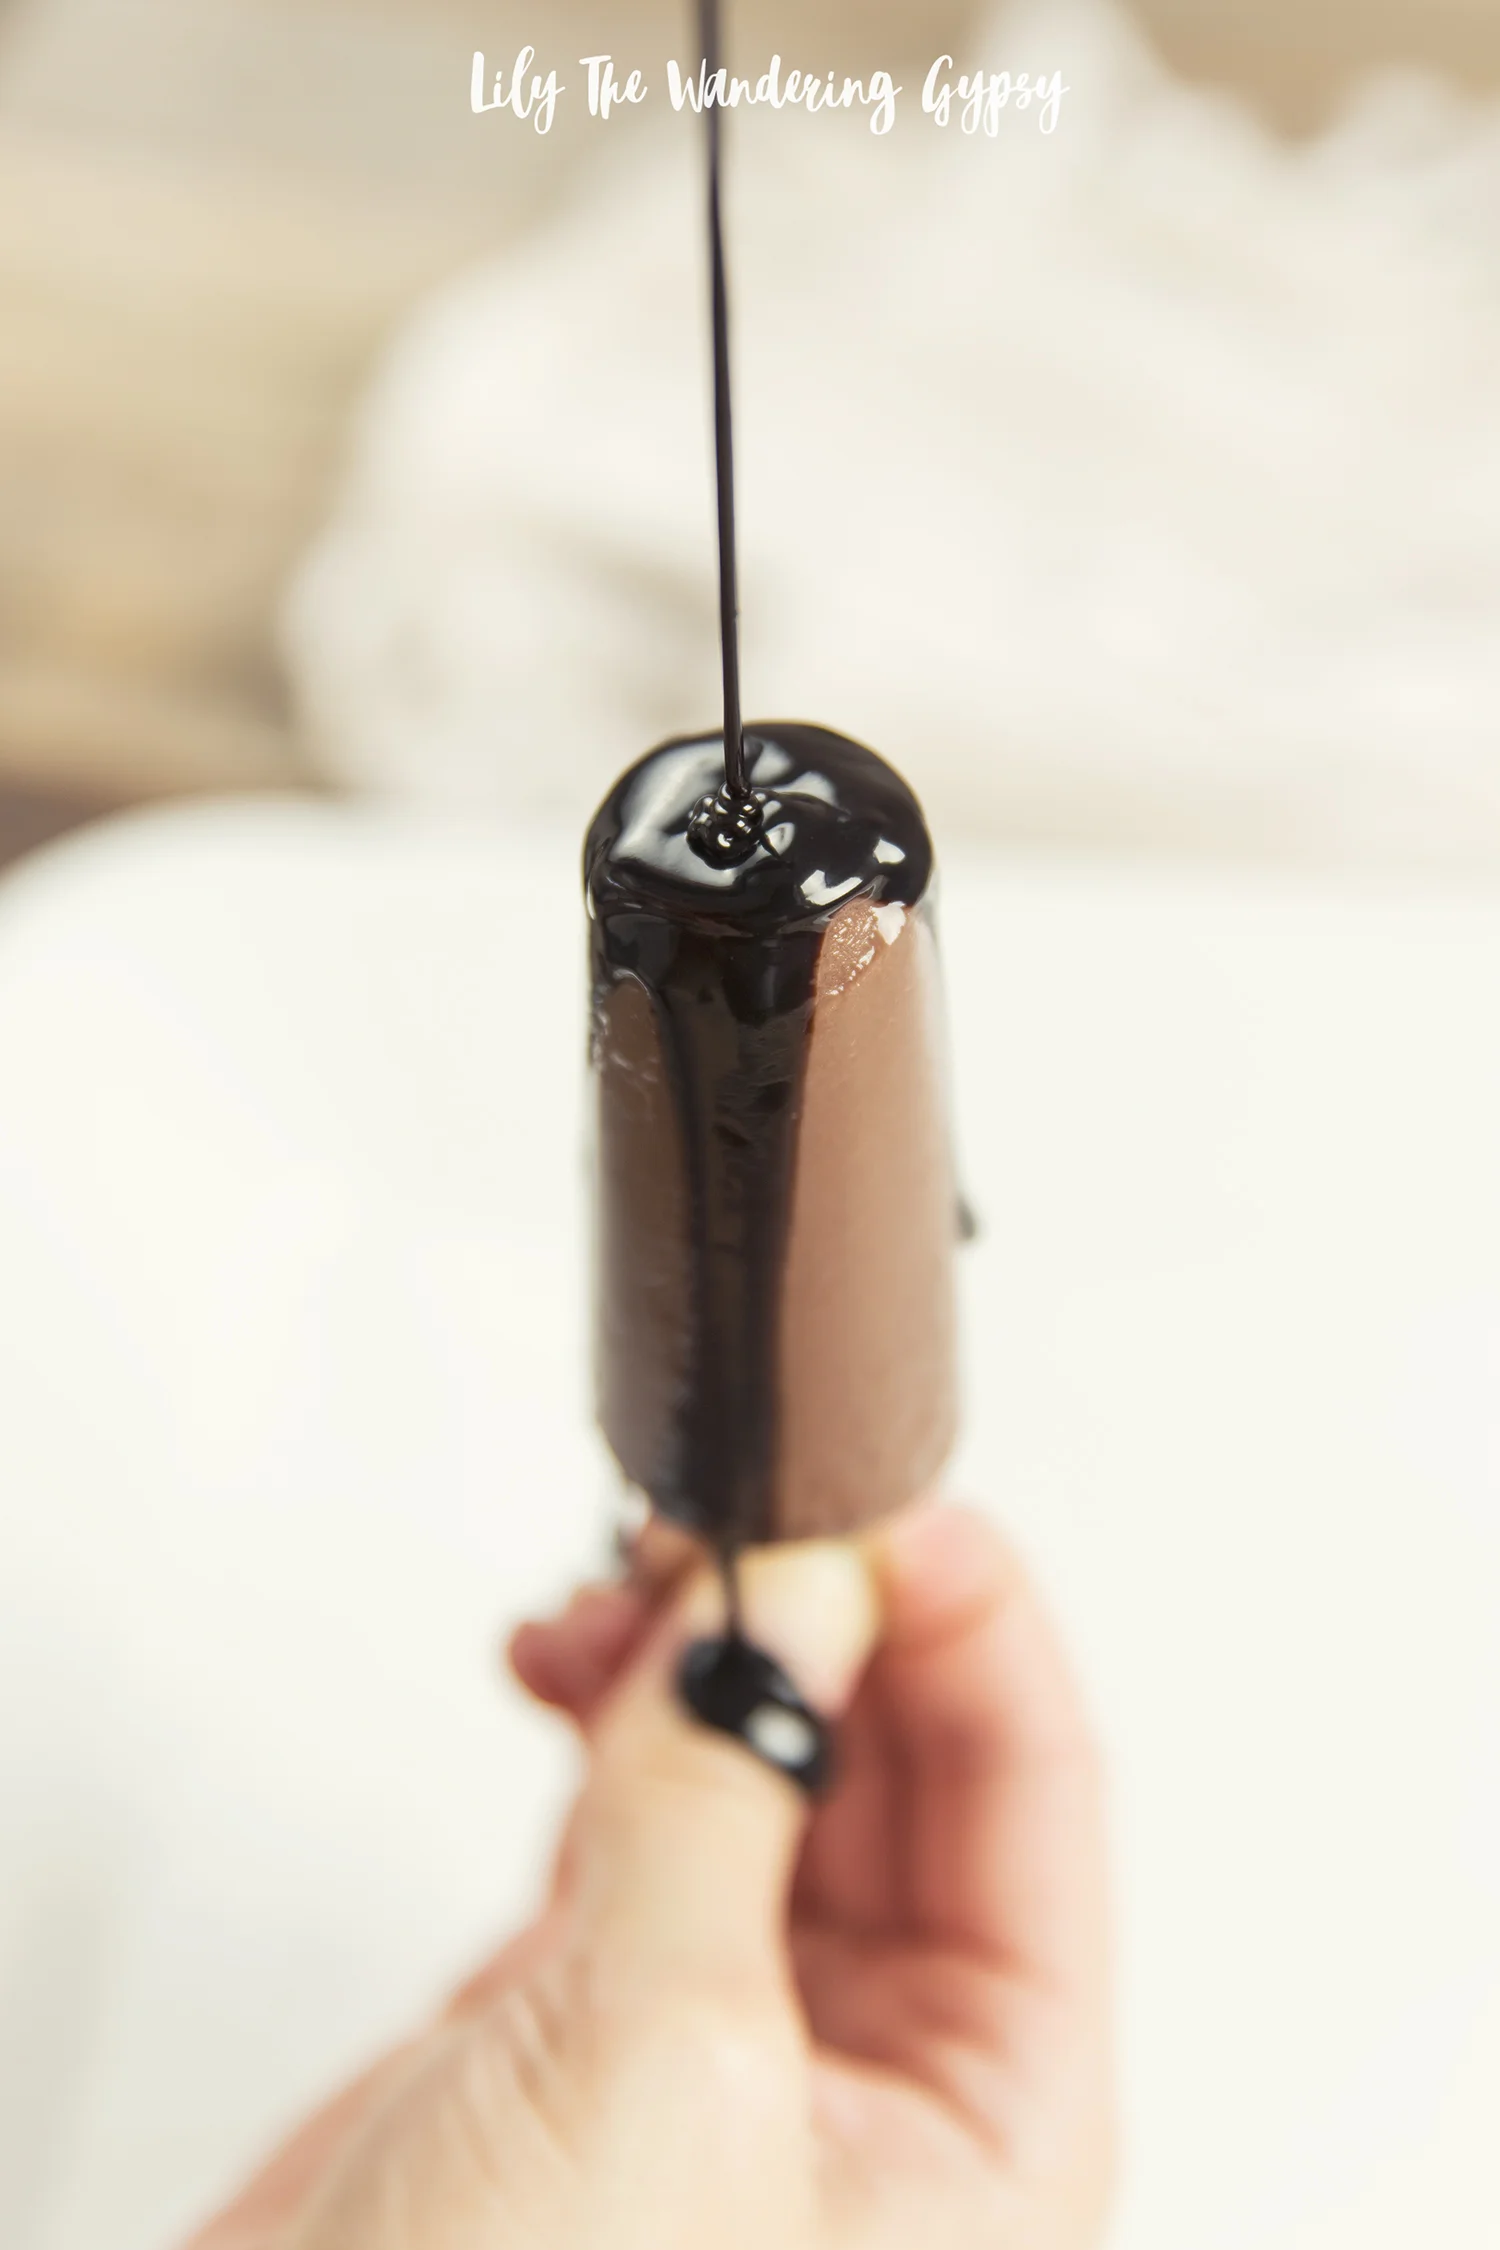
3-4 Tbsp. Chocolate Sauce - I used a "special dark" chocolate syrup, and it was great. Use what you have, or go treat yourself to something fancy :)
Optional Toppings - more chocolate sauce and chopped up minty chocolate chips or any chocolate bars/chips. I chopped up the minty chocolate chips with a knife, and they added a nice bit of extra crunch to the treats.
Popsicle Mold
Wooden spoons or forks to use for your popsicle sticks. Or, use regular popsicle sticks.

This almond & coconut milk is delicious!

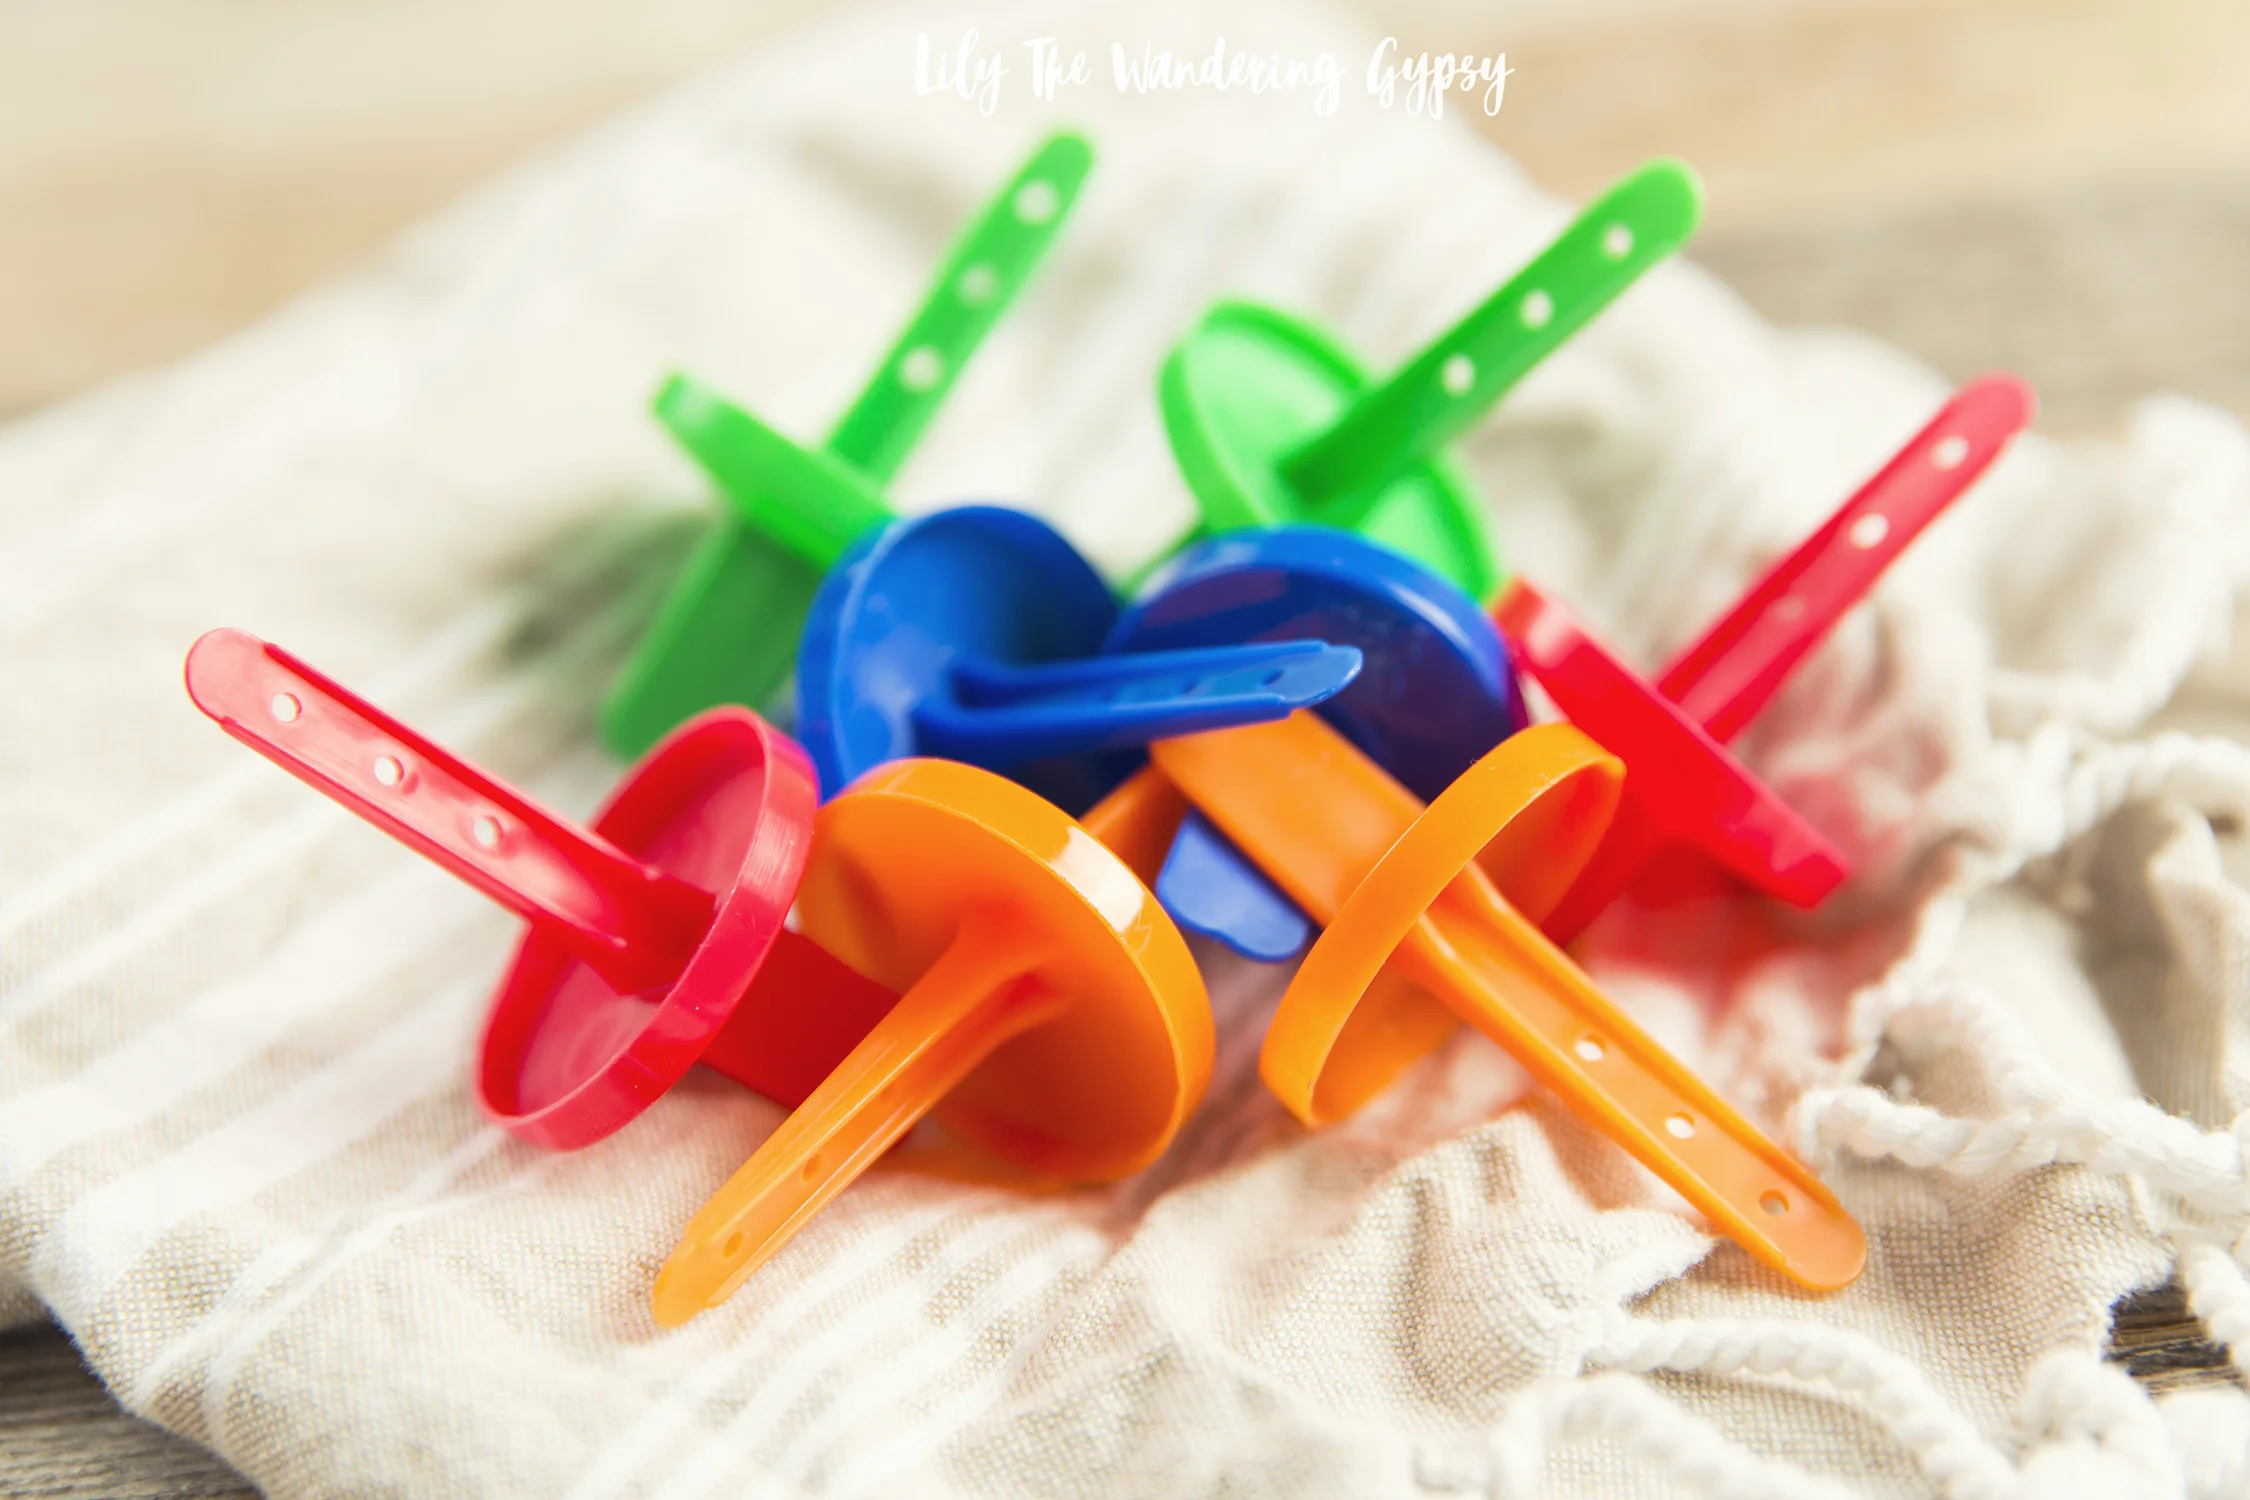
1.) Best Tip Ever - remove those ugly plastic pop handles from your mold. This will make a huge difference in the look of your popsicles when you're done. (See below).
2.) Find your wooden handles. I cut the ends off of some wooden spoons I already had, and was very pleased with how they looked! If you're using wider popsicle molds, you would not even have to remove the fork part. Since the wood is so thin, I just used my kitchen scissors to cut them, and it was super easy. Below, you can see what the forks looked like before I cut them.

3.) Measure your popsicle molds. Fill one of the reservoirs to just below the top, then pour that into a measuring cup. Mine measured 1/4 C. each, so I needed a little over 2 Cups of liquid.

4.) Fill every part of your mold with the chocolate mixture. Make sure to leave a bit of room at the top so they don't overflow when you add your sticks. Put into freezer WITHOUT STICKS for about 80 minutes / an hour and 20 minutes.

5.) Before the pops are not yet completely frozen (around the 80 minute mark), gently break the frozen top layer of the liquid with each popsicle stick, and the sticks should go in very easily, and stand up straight. If not, freeze them a bit longer, and then add your sticks.

6.) Freezer Overnight and the next day, or at least 3-4 hours later, they're ready to enjoy! Eat them like this, they are super tasty. OR, for more flavor, pour some chocolate syrup over the pops, add some chopped minty chocolate chips, and ENJOY!!! They taste so good, and they're a delicious snack that is much better for you than many store bought treats.
TIP - To easily remove your pops, simply let them sit out for 10-15 minutes, or run warm (not hot) water over the bottom part of the mold and spin the pops to remove.