I am sure we all have that special friend or family member who loves chocolate and deserves a little treat this holiday season1 Everyone who has had the pleasure of trying these new #GodiaGCubes has absolutely LOVED them and cannot wait to have more. I am so honored to have had the chance to help promote these delicious G Cubes for GODIVA! Here are a few of the cutest and most incredible gift ideas for the Chocolate Lover in your life!

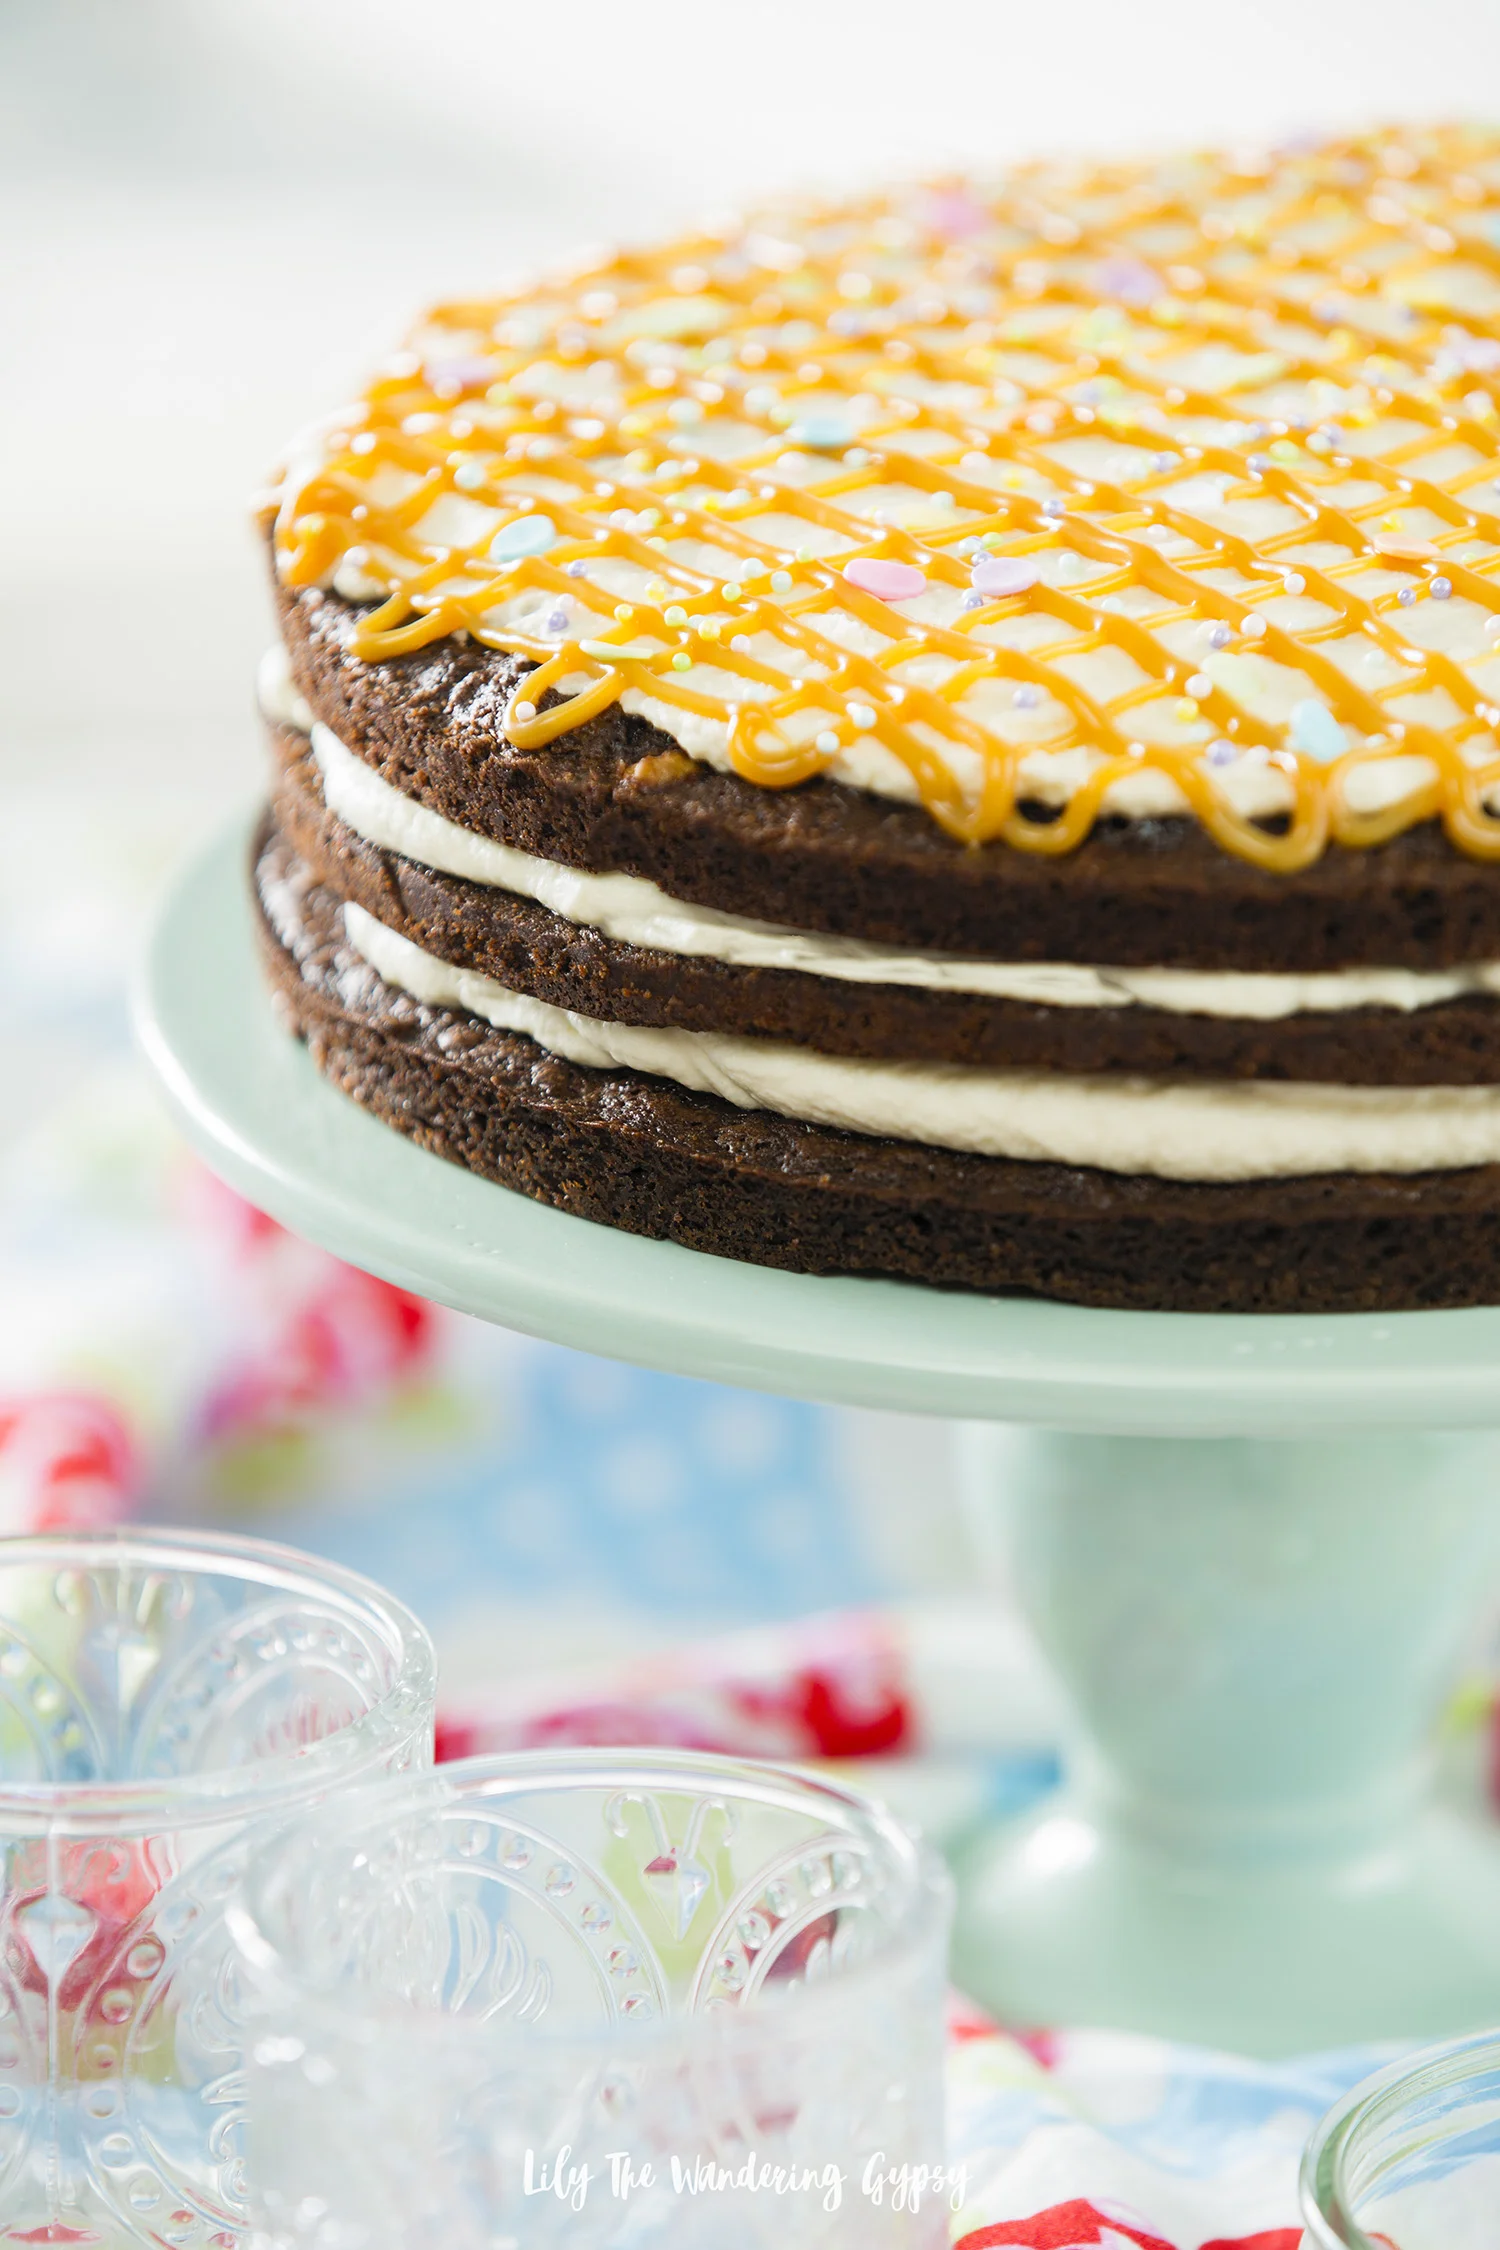
Easy Caramel Brownie Layer Cake
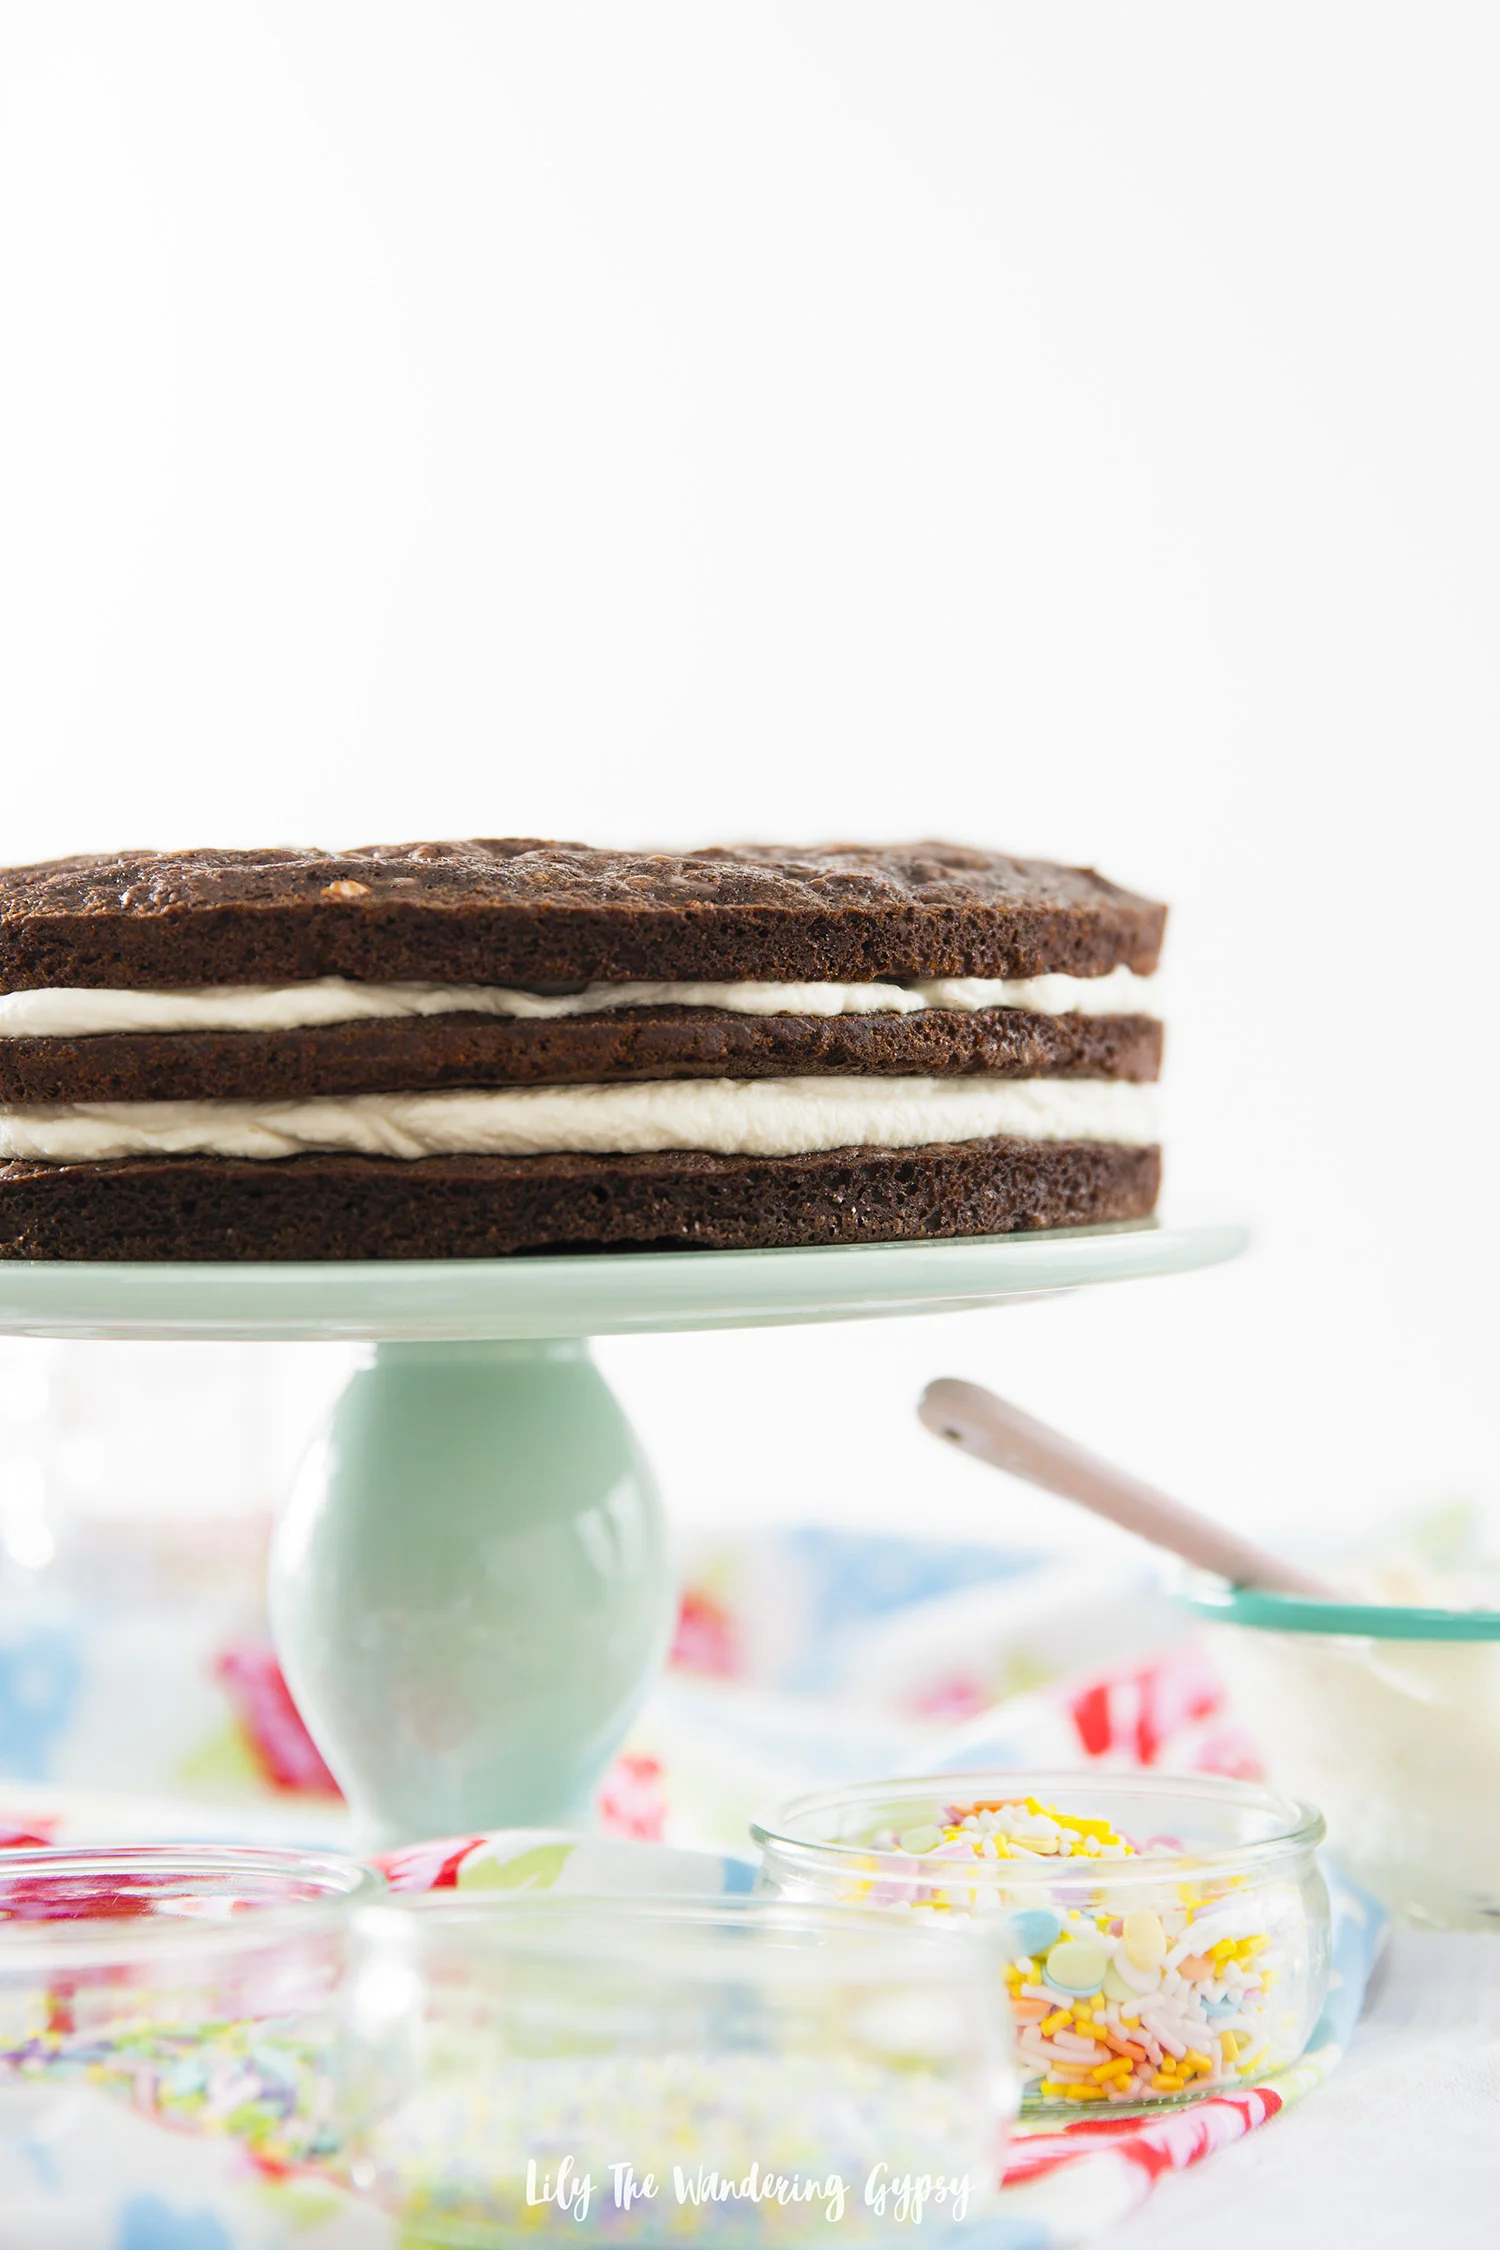
If you are a fan of layers upon layers of chocolate brownies, homemade whipped cream, and caramel, then this is definitely the cake for you! Although it looks so elegant, it really is pretty easy. This dessert allows us to think beyond the traditional chocolate cake, and make your next dessert rich, decadent, and delicious! When I made this dessert for a potluck, people raved about it. It was so delicious once the whipped cream layers sat with the brownie layers, because the sides stay a bit crunchy, and the inside portion of the cake moisten up and form more of a fudgy and cake-like consistency all at the same time, that’s out of this world! Hope you enjoy.
INGREDIENTS:
*Note - Amazon Affiliate Links have been provided if available
For The Whipped Cream:
1 pint heavy whipping cream
1/3-1/2 C. sugar
2 tsp vanilla
1/2 tsp vanilla bean powder - optional
For The Brownies:
2 boxes of brownie mix (I used Ghirardelli caramel turtle brownie mix, and instead of mixing the caramel into the brownies to bake, I decorated the top pf the cake with it!)
Brownie ingredients (eggs, oil, and water)
3 round baking sheets - I found mine for about $1 each at Walmart!
Caramel Sauce if not included in Brownie boxes you use.
INSTRUCTIONS:
1.) Preheat oven to 375 degrees. On parchment paper, trace your circular baking dish three times. Cut those three paper circles out and set aside. Spray three circular baking pans with Pam, then place the circular paper pieces into the baking pans and spray a little bit more to coat paper.
2.) Mix up 2 boxes of your favorite brownie mix and pour into three prepared circular baking pans. Bake the three circle pans for 15-20 minutes, check to see if they are done by inserting a toothpick to see if they are done.
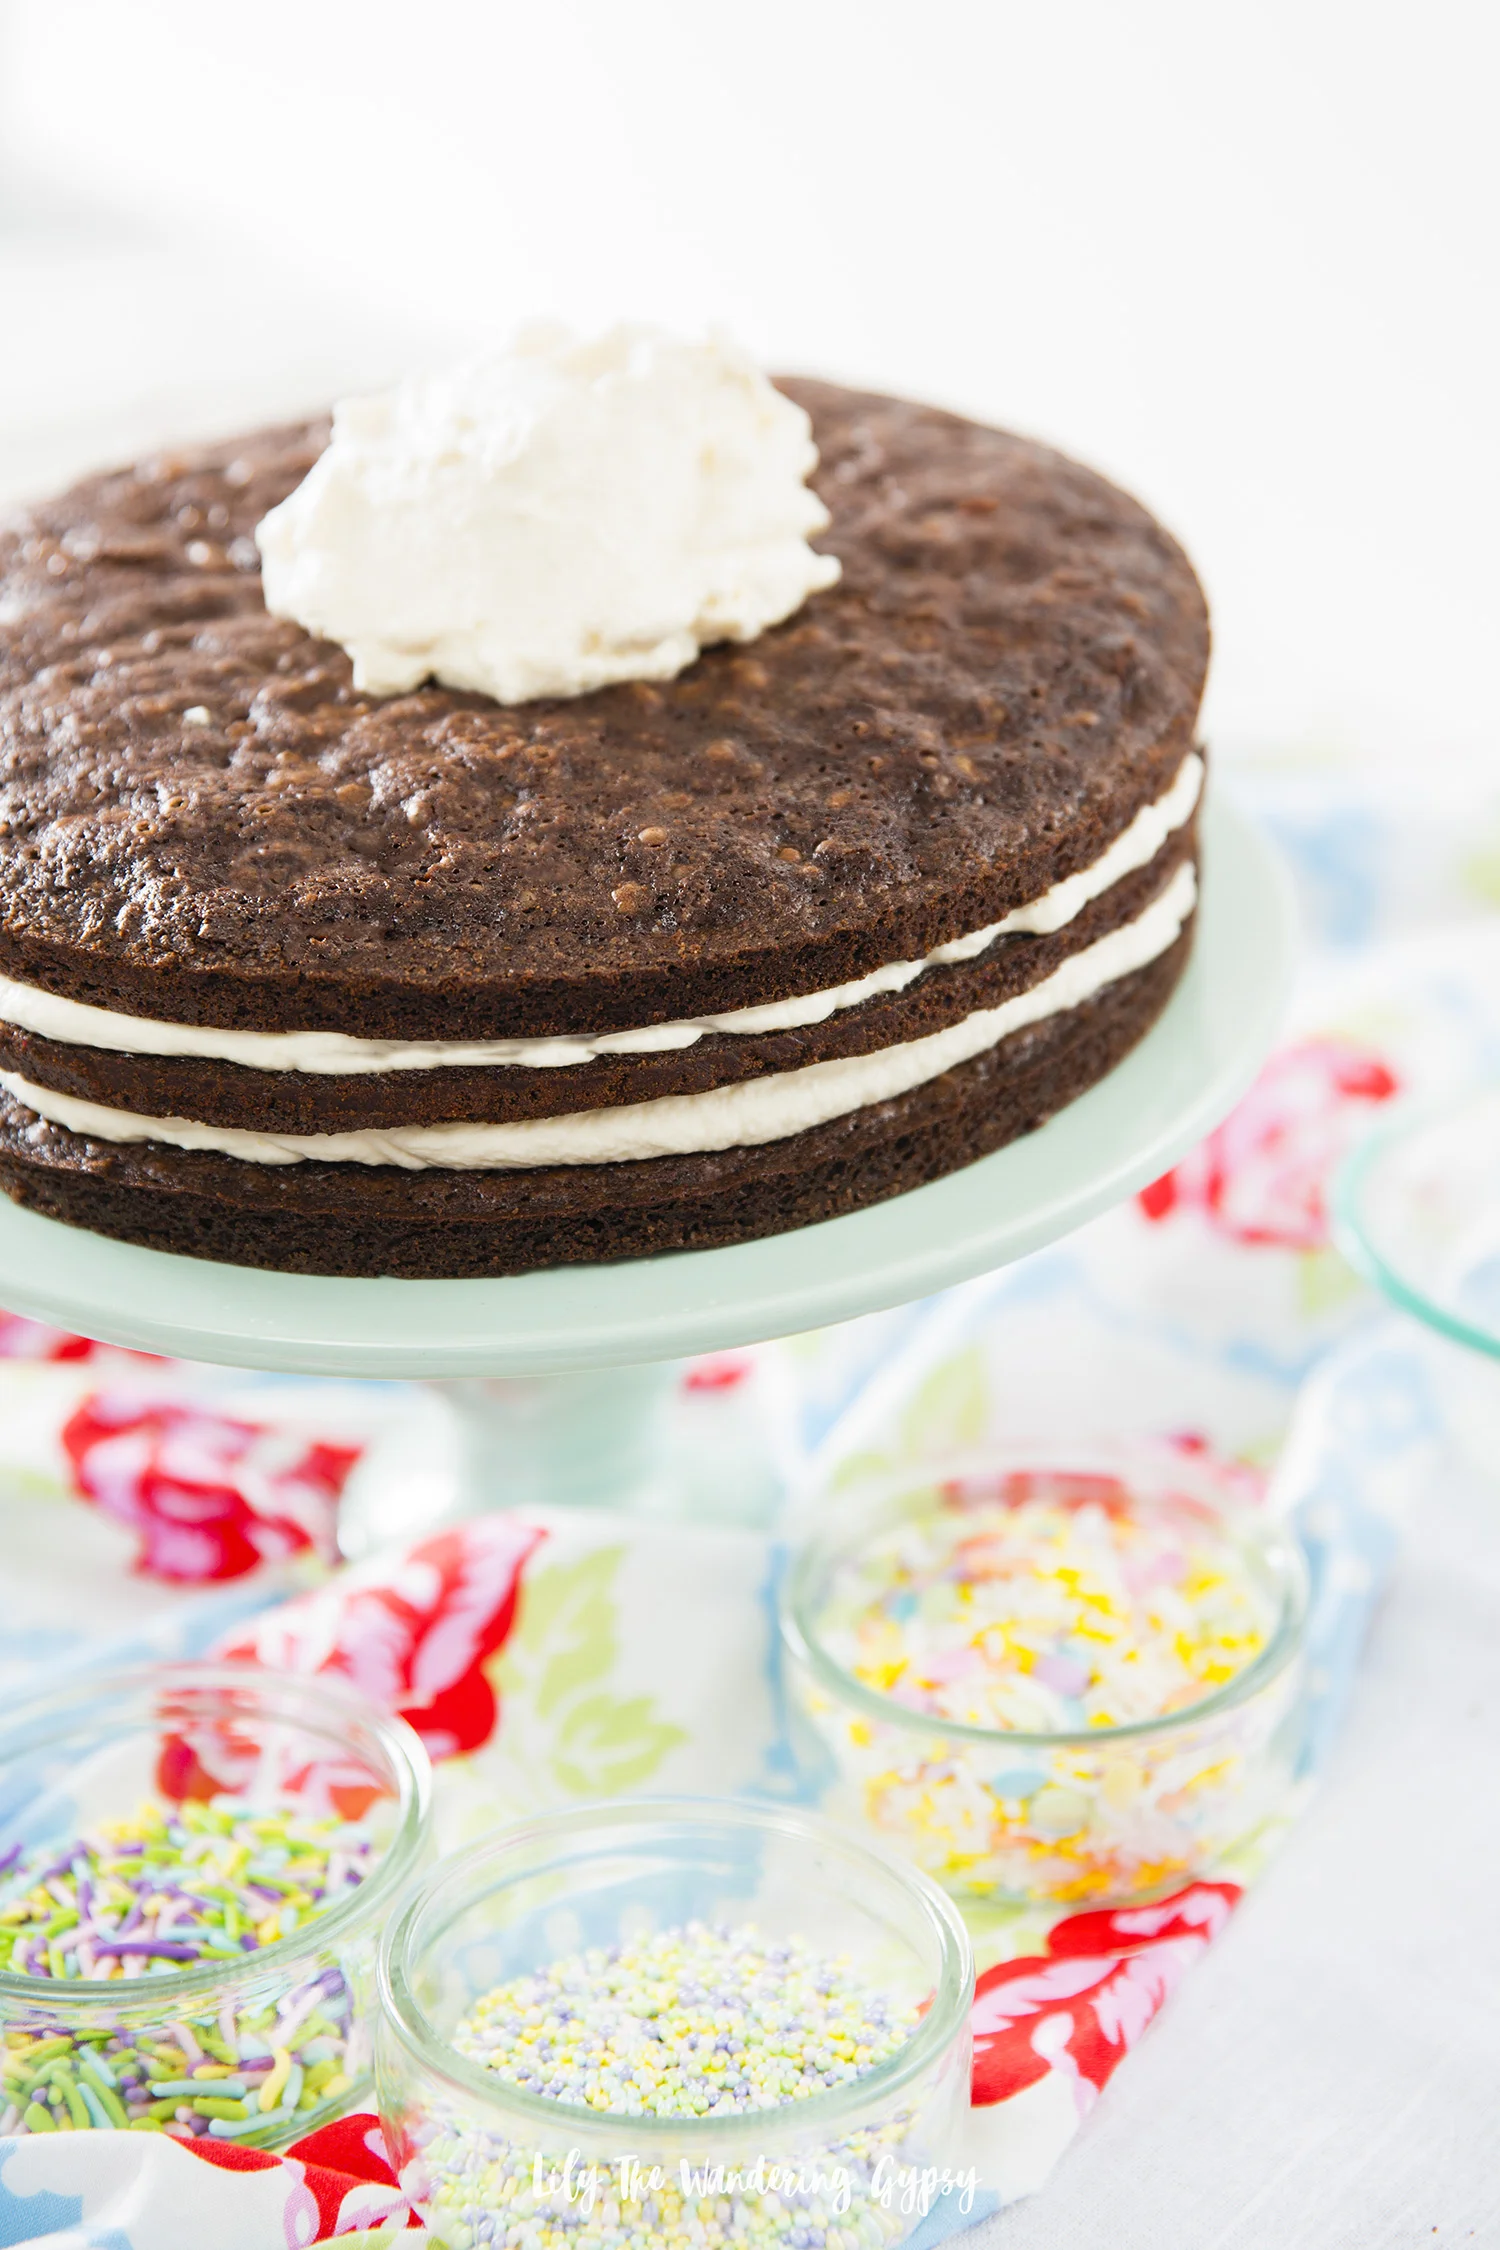
3.) To make your homemade whipped cream, in a stand mixer, add 1 pint of heavy whipping cream + 1/3-1/2 C. sugar + 1-2tsp vanilla. I also love using vanilla bean powder to add little black flecks and more vanilla flavor to my whipped cream. Whip for 2-4 minutes on high, until stiff peaks form. Just keep mixing, it may seem like an eternity, but is so worth it! Do not over beat the cream, or it will begin to resemble butter, and not be very fluffy.
4.) Now, it’s time to “layer up”! I have shown all of my layering steps below, so you basically layer up: brownies and whipped cream until you get to the top layer. Make sure to make the top layer of whipped cream as smooth as possible. But, no need to stress about being perfect - this cake is a naked cake and is pretty rustic anyway, so the more homemade it looks, the better!


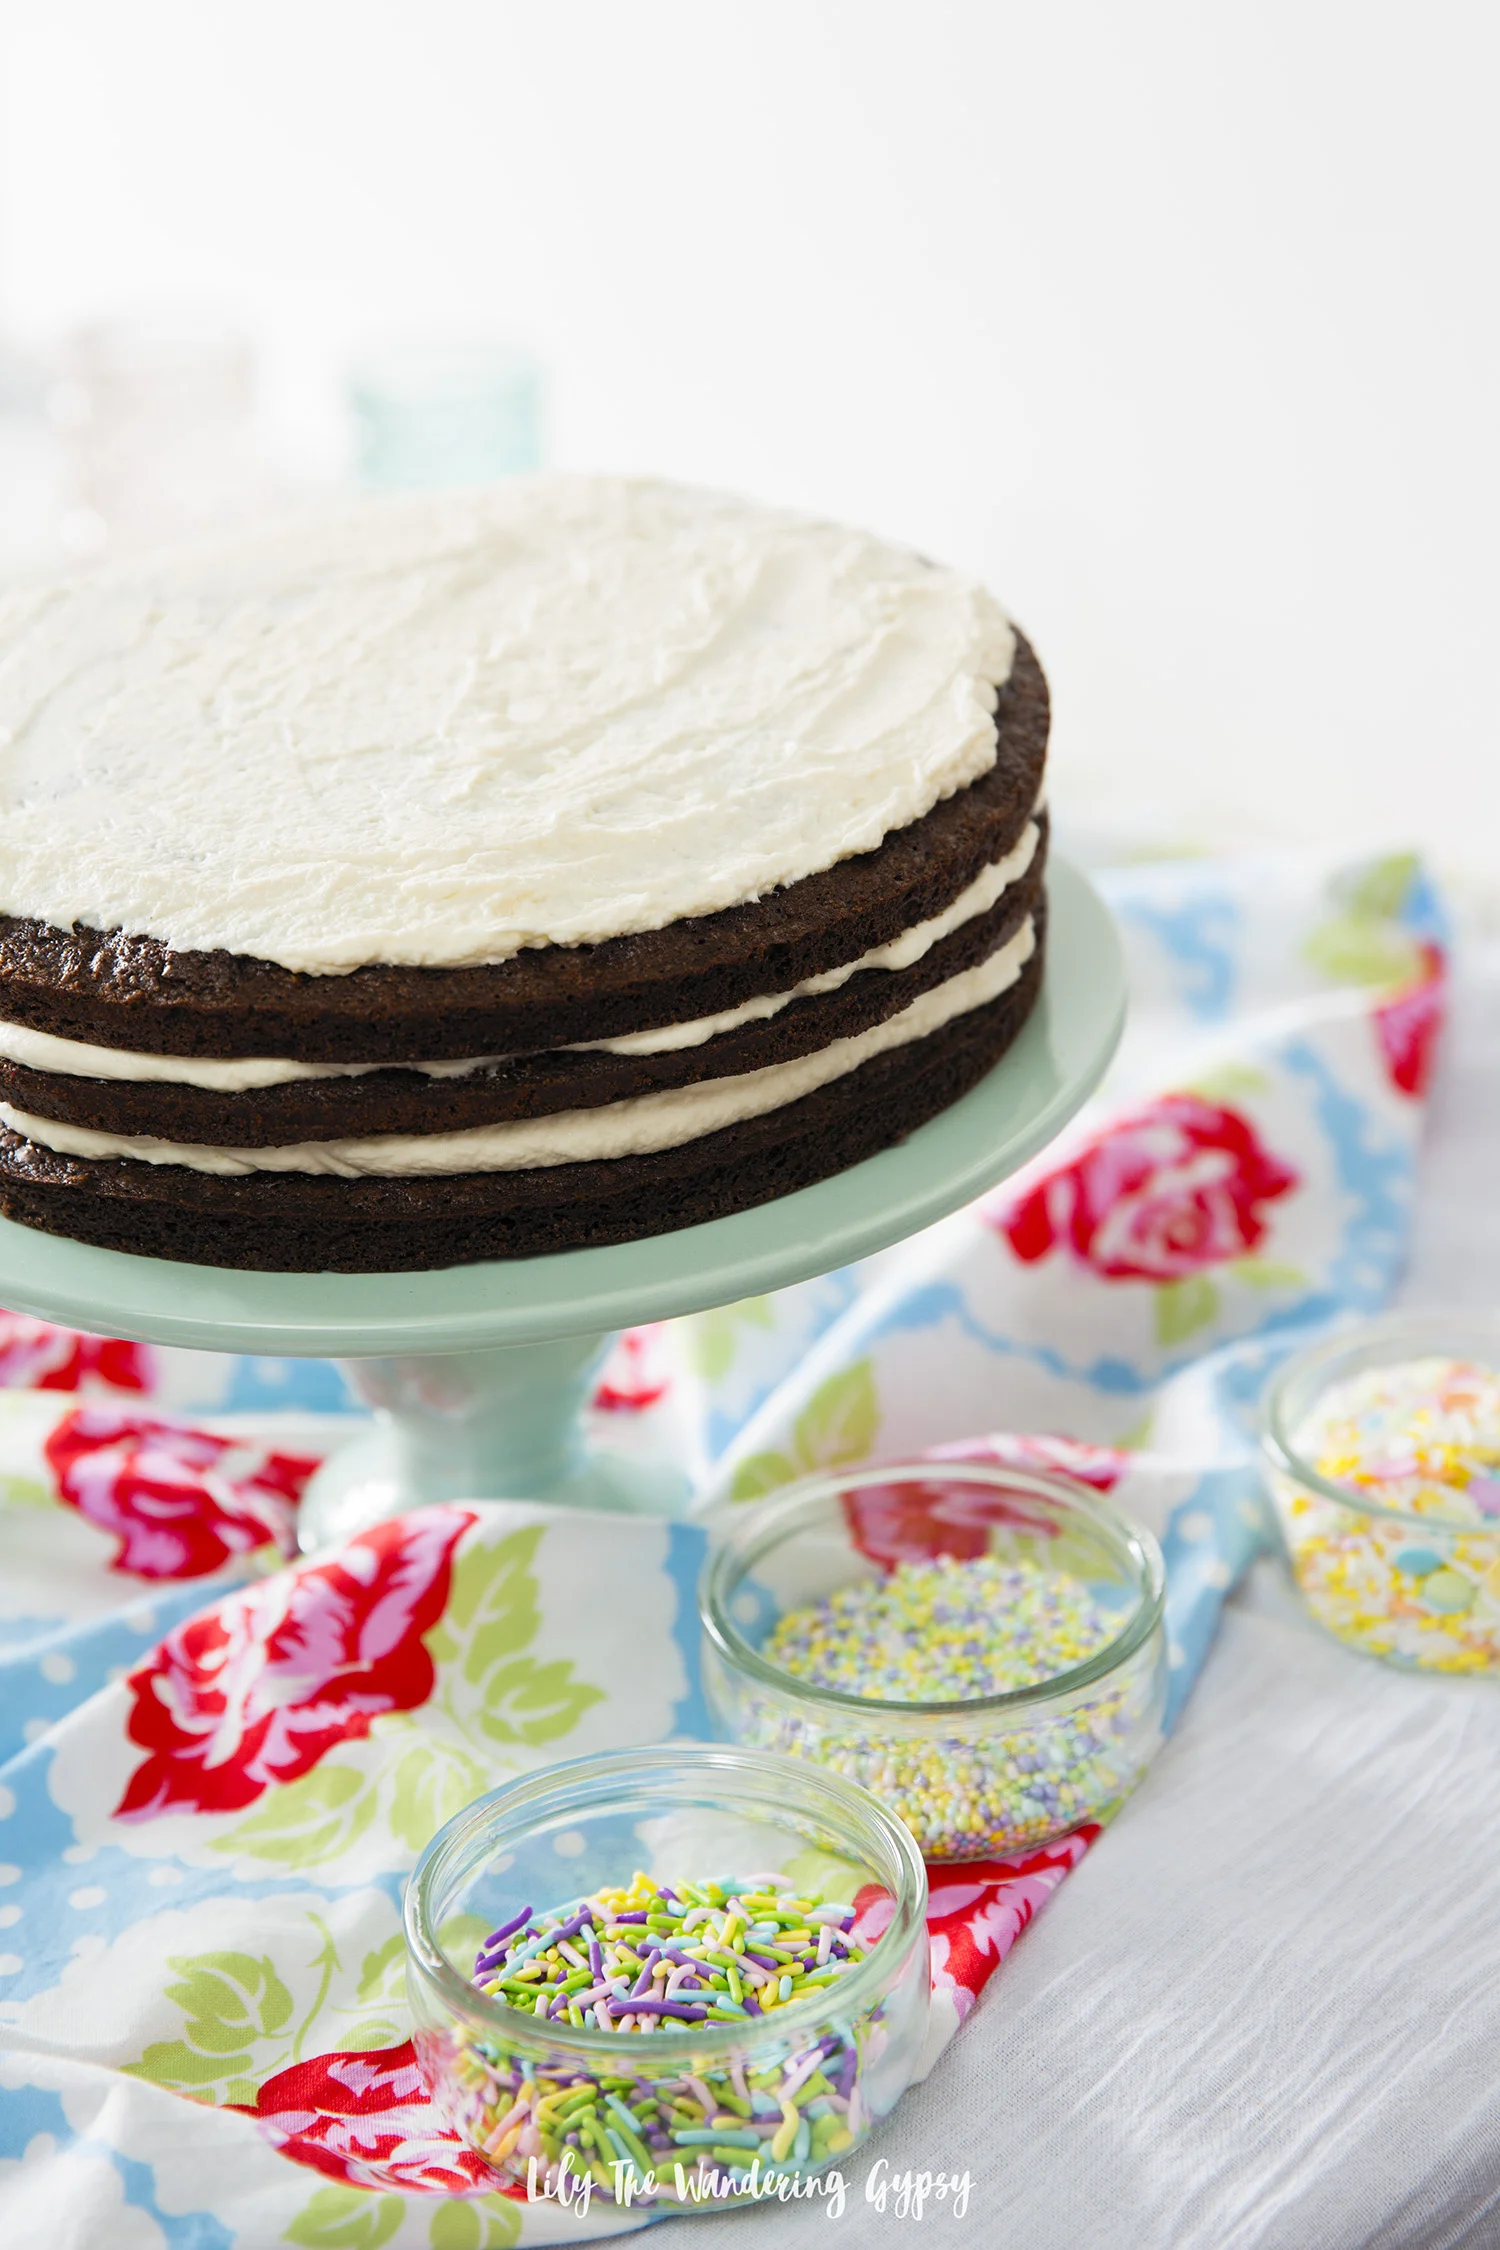
5.) To decorate the top: I used caramel sauce in a squeeze tube that worked perfectly to decorate. I basically just made a continuous line of caramel vertically across the entire cake, then crossed that again with caramel lines horizontally. I rotated the cake as I worked, which was great. Add sprinkles and enjoy!


THIS CAKE ROCKS! HOPE YOU ENJOY!
If you wind up making this recipe or any other recipes, please tag me on Instagram with @happysolez! Thanks!!
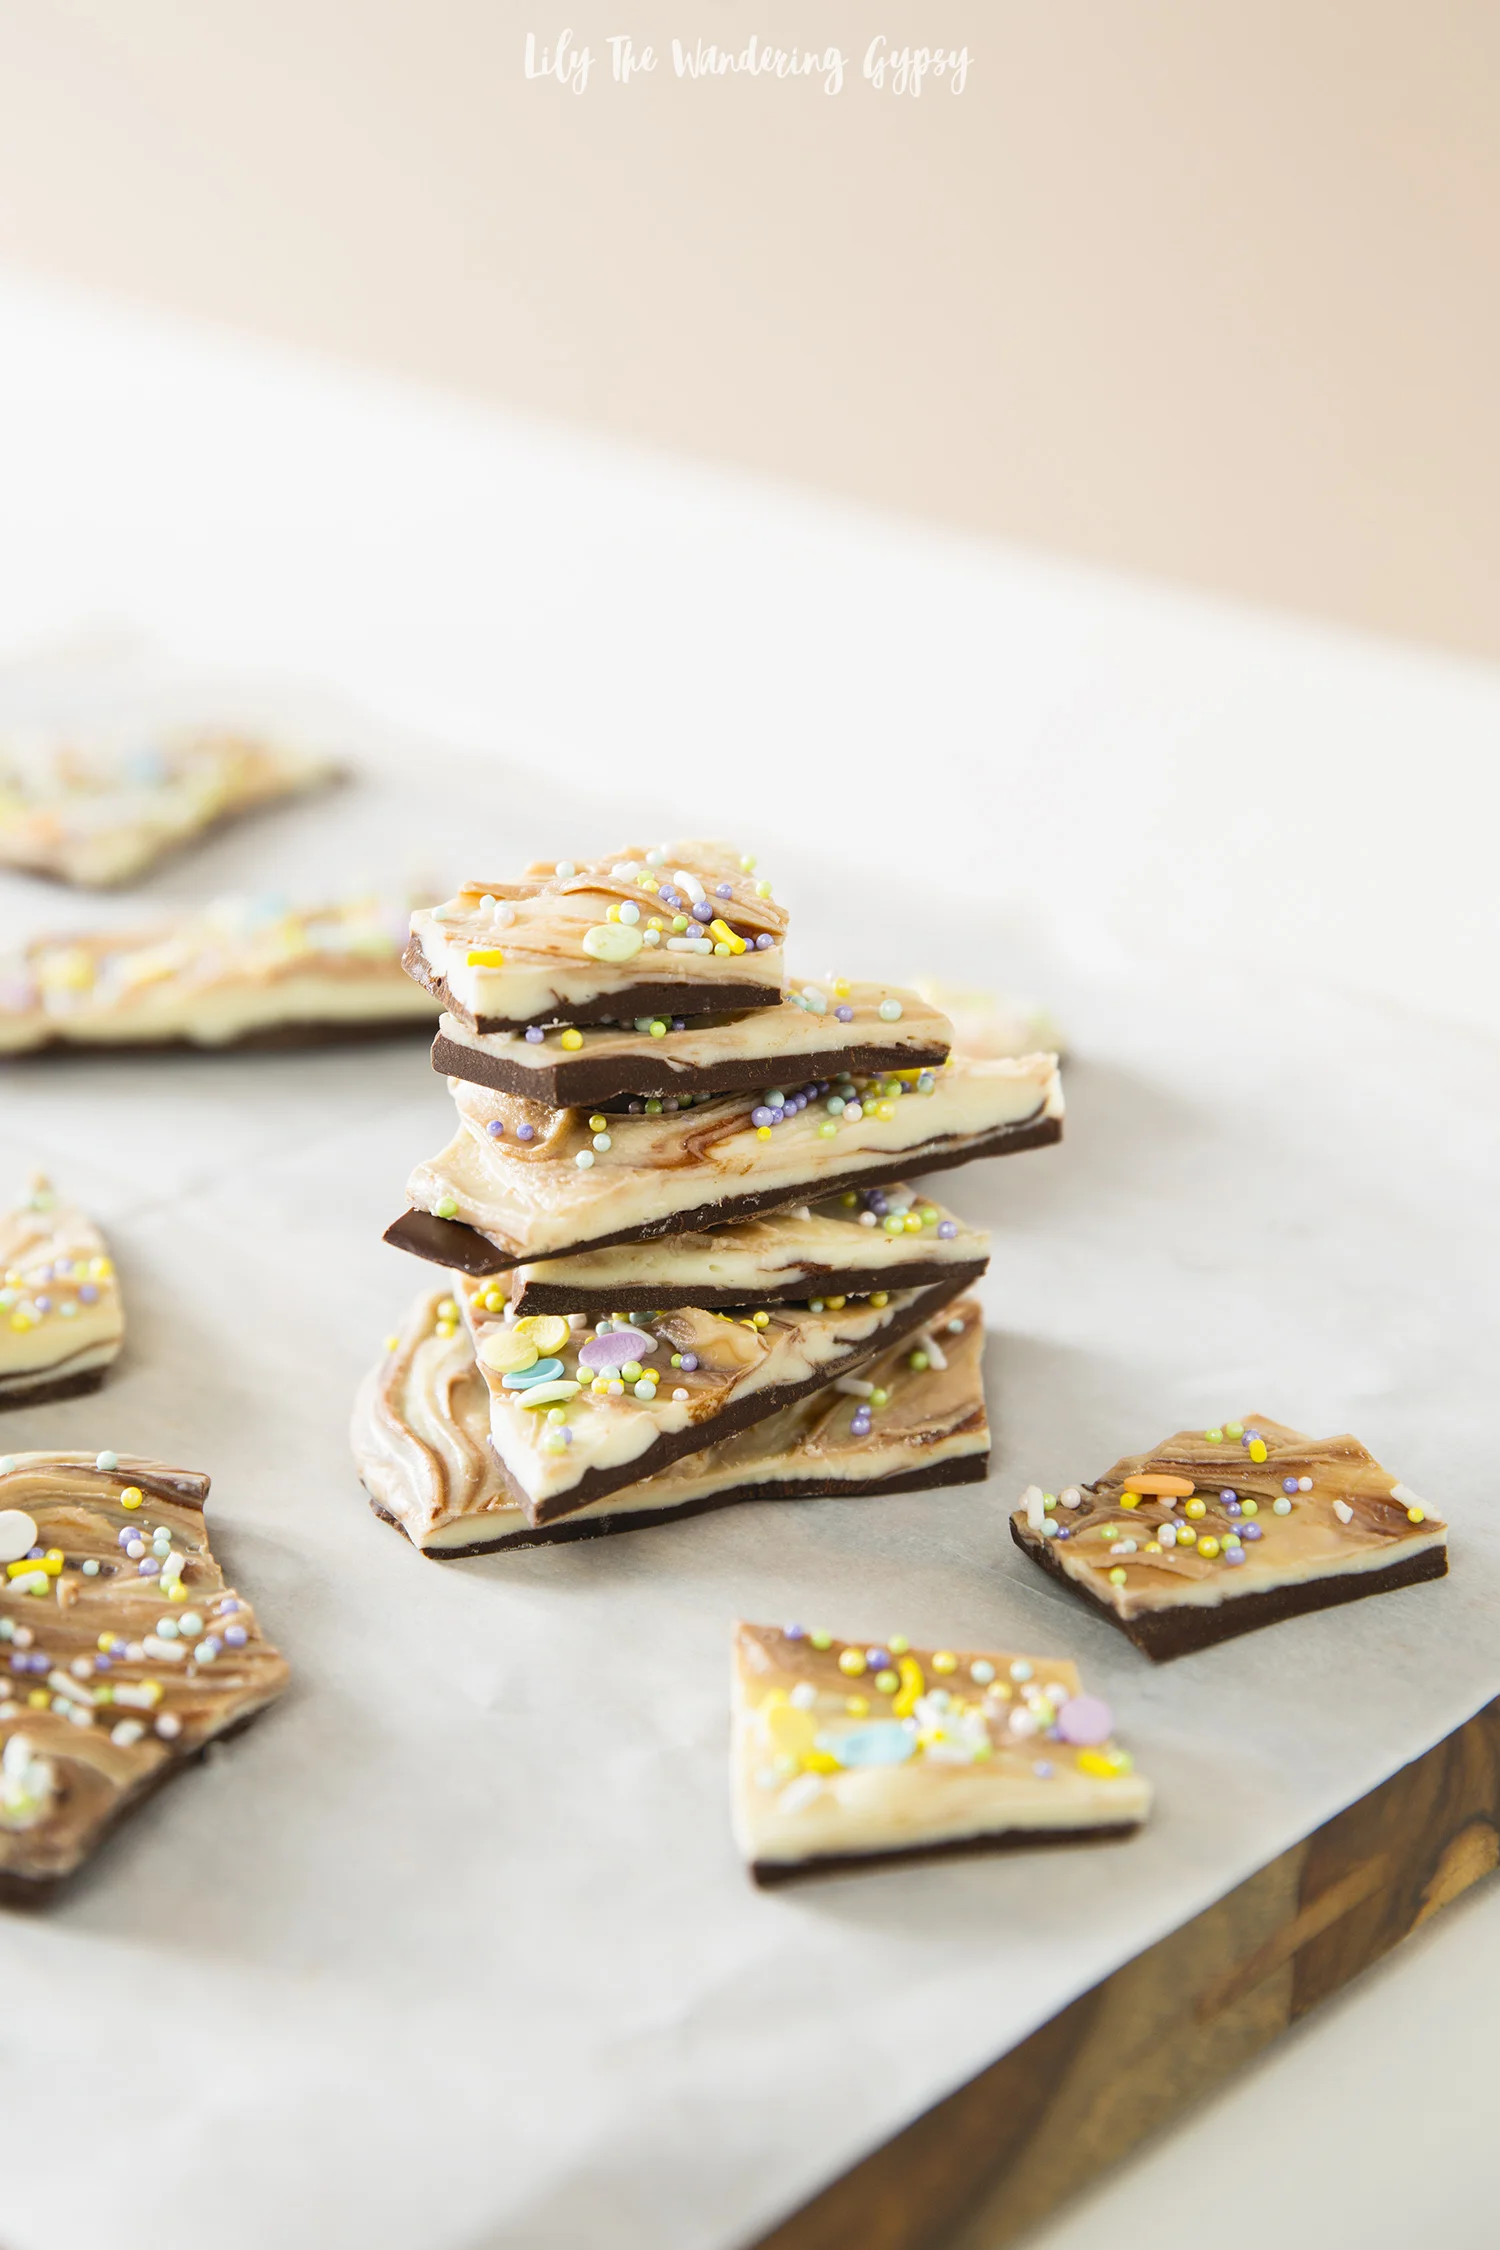
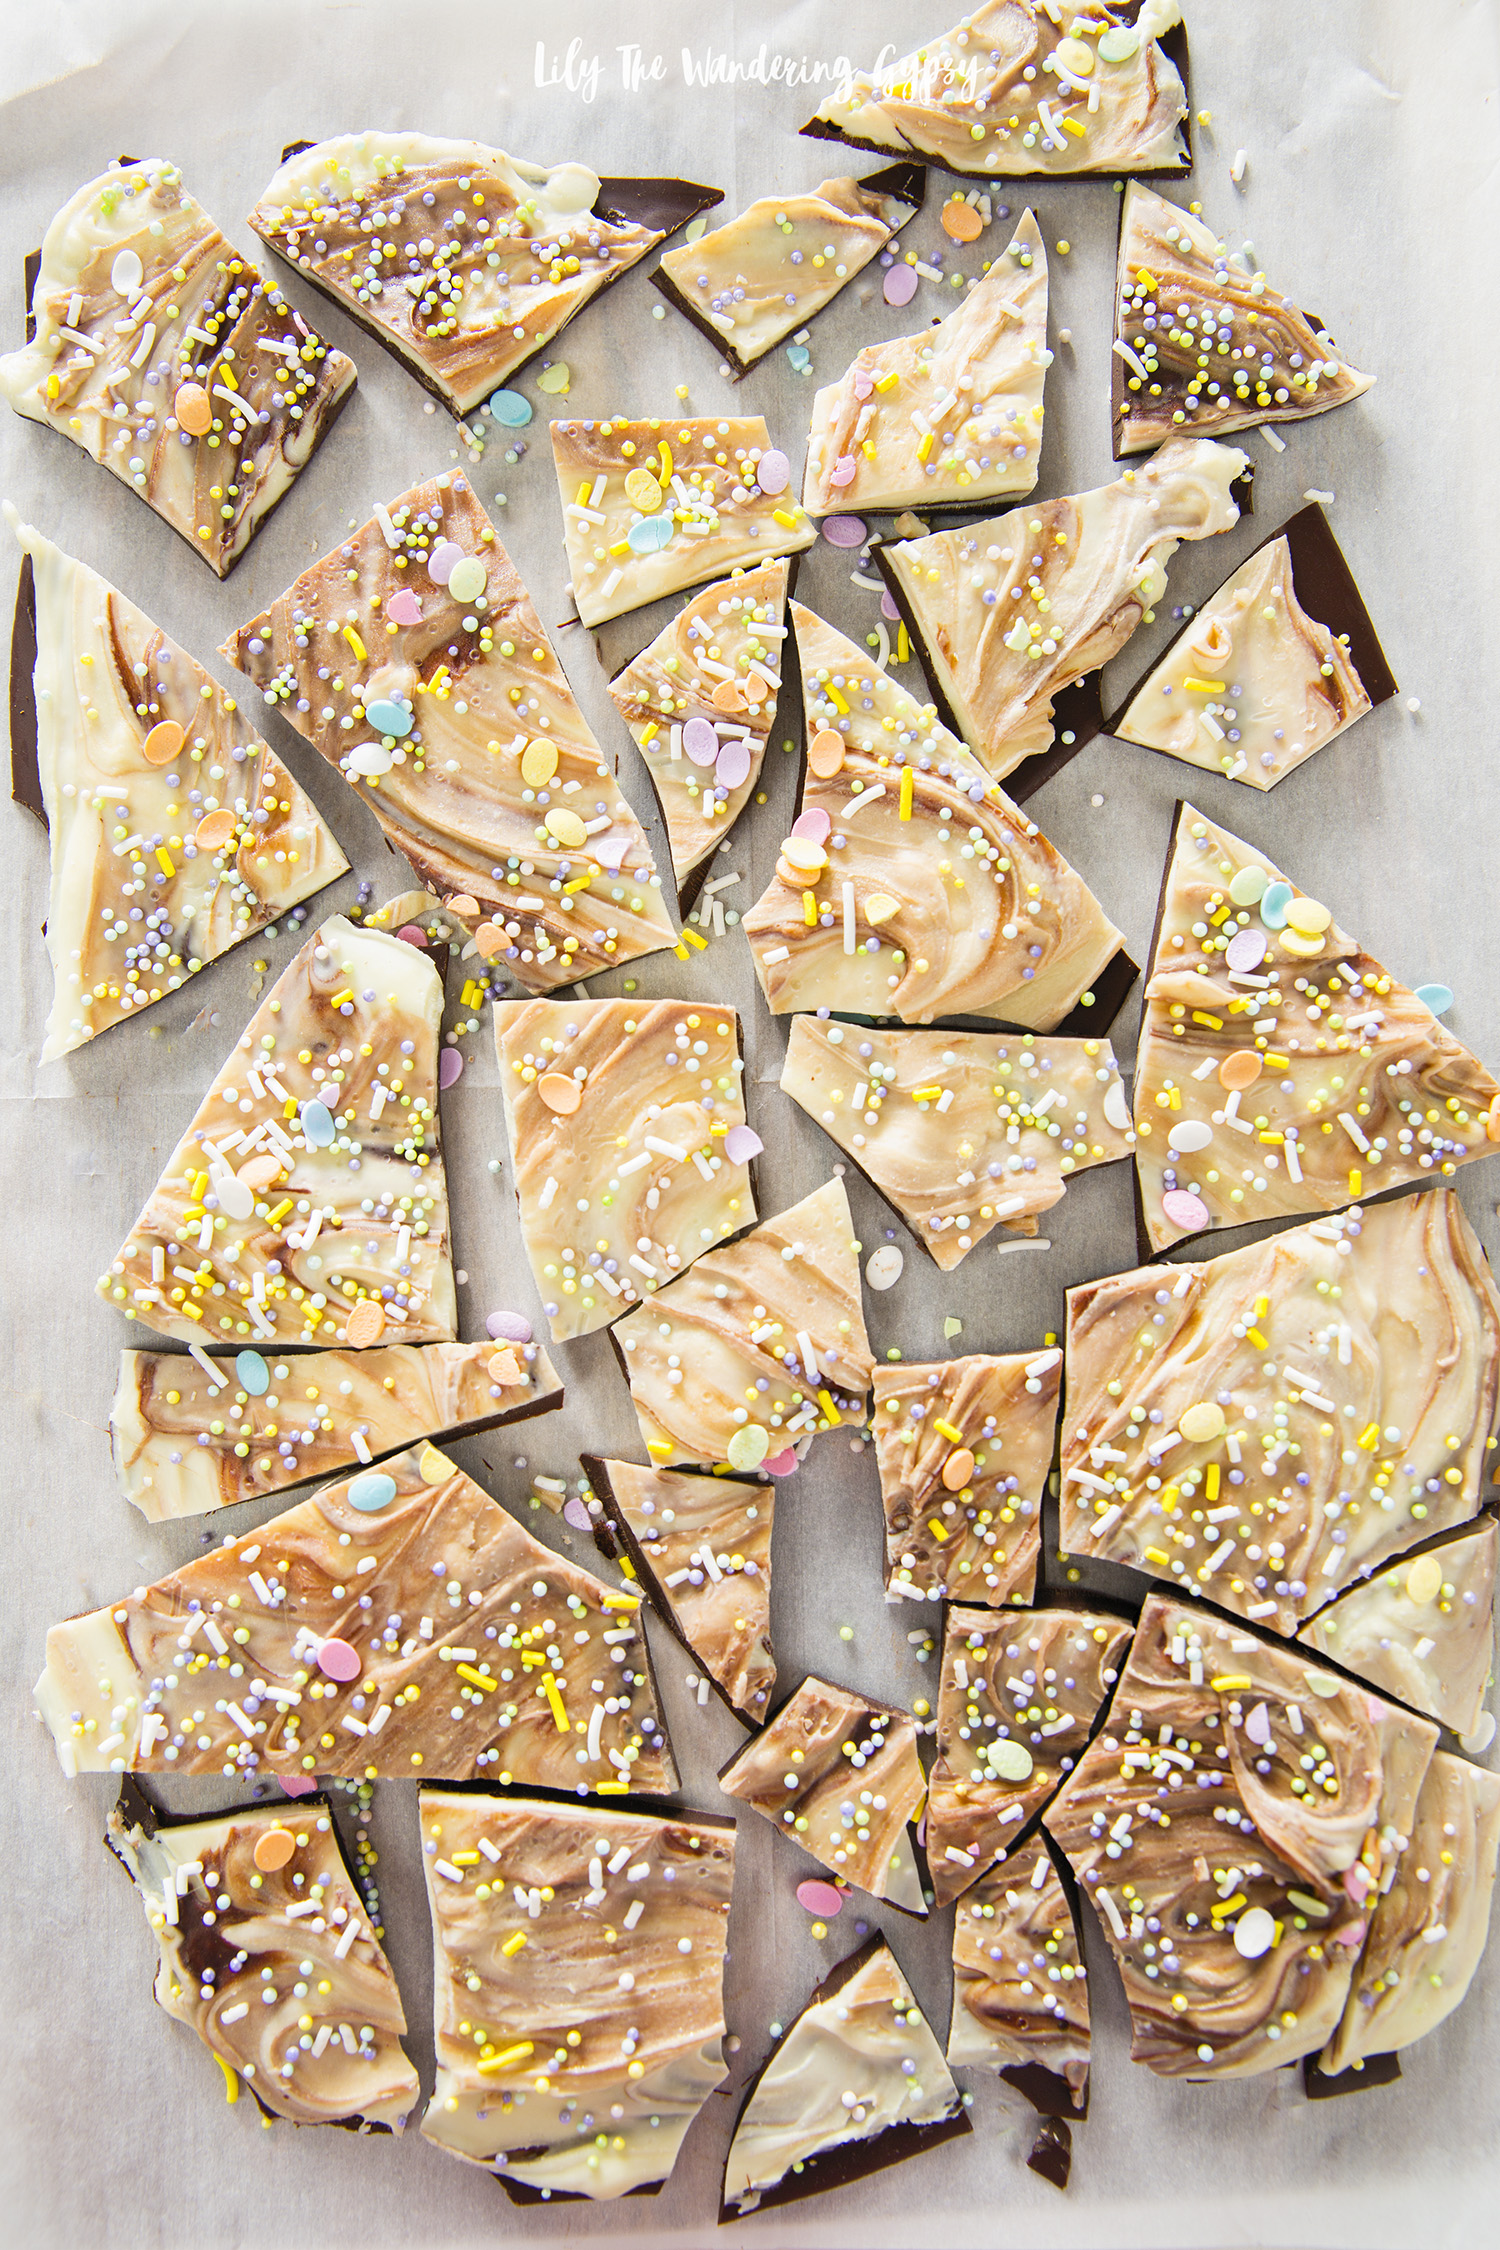
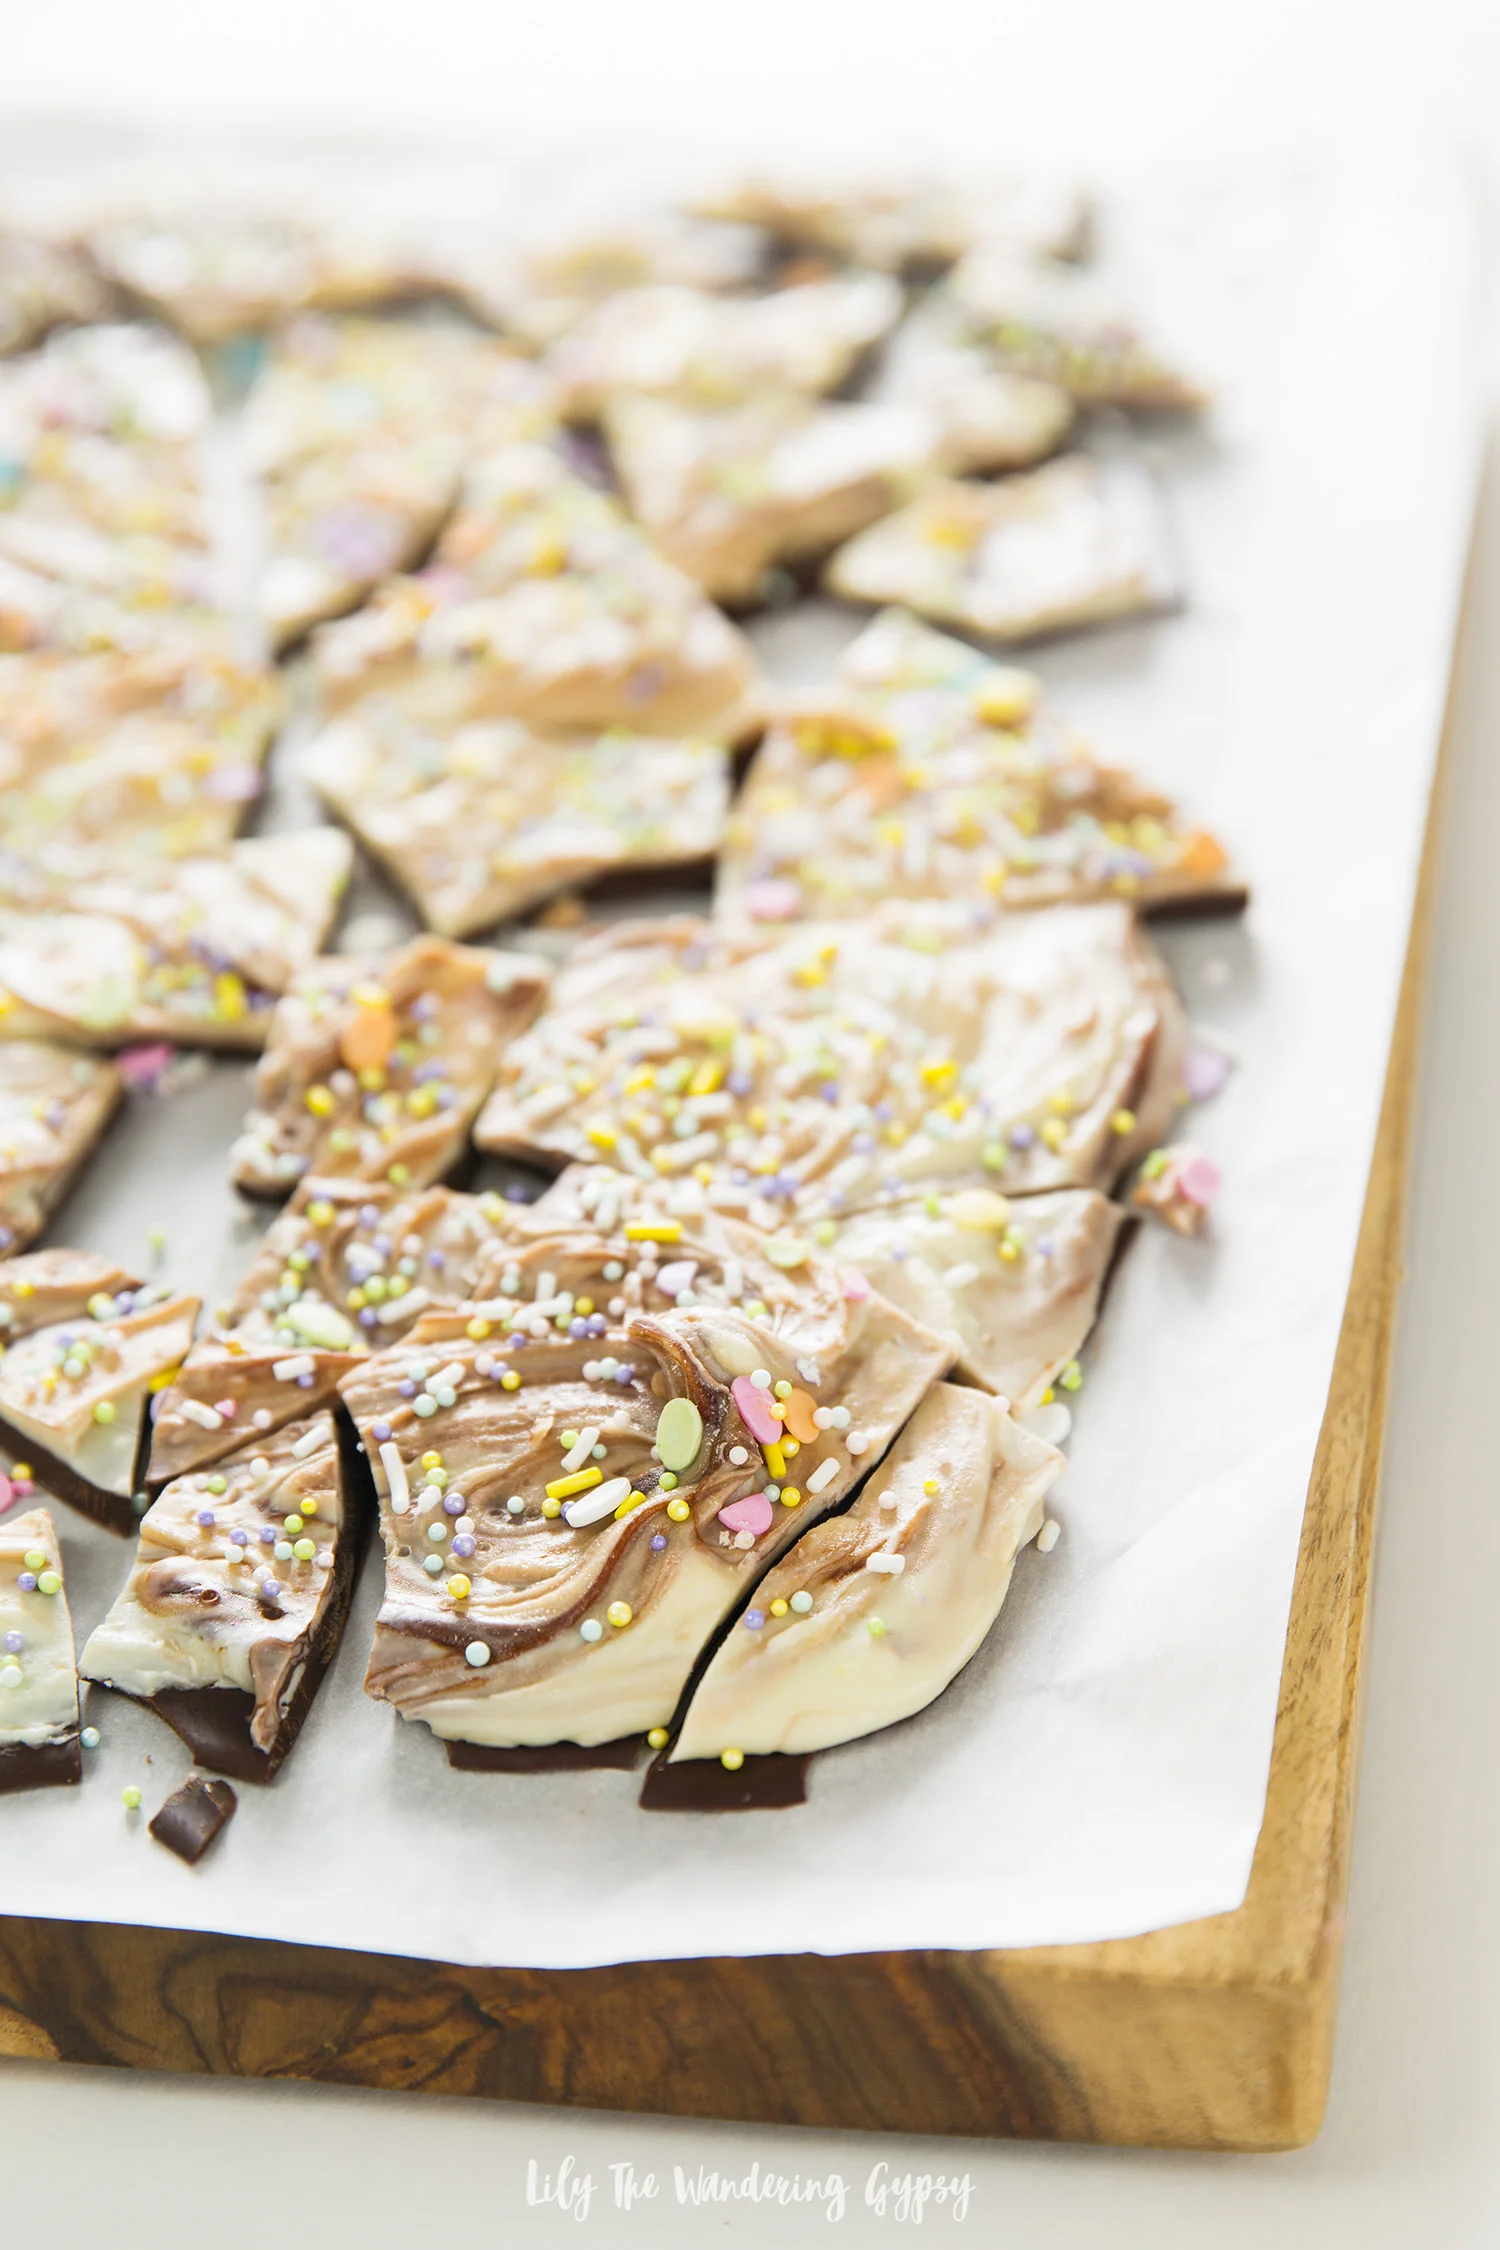
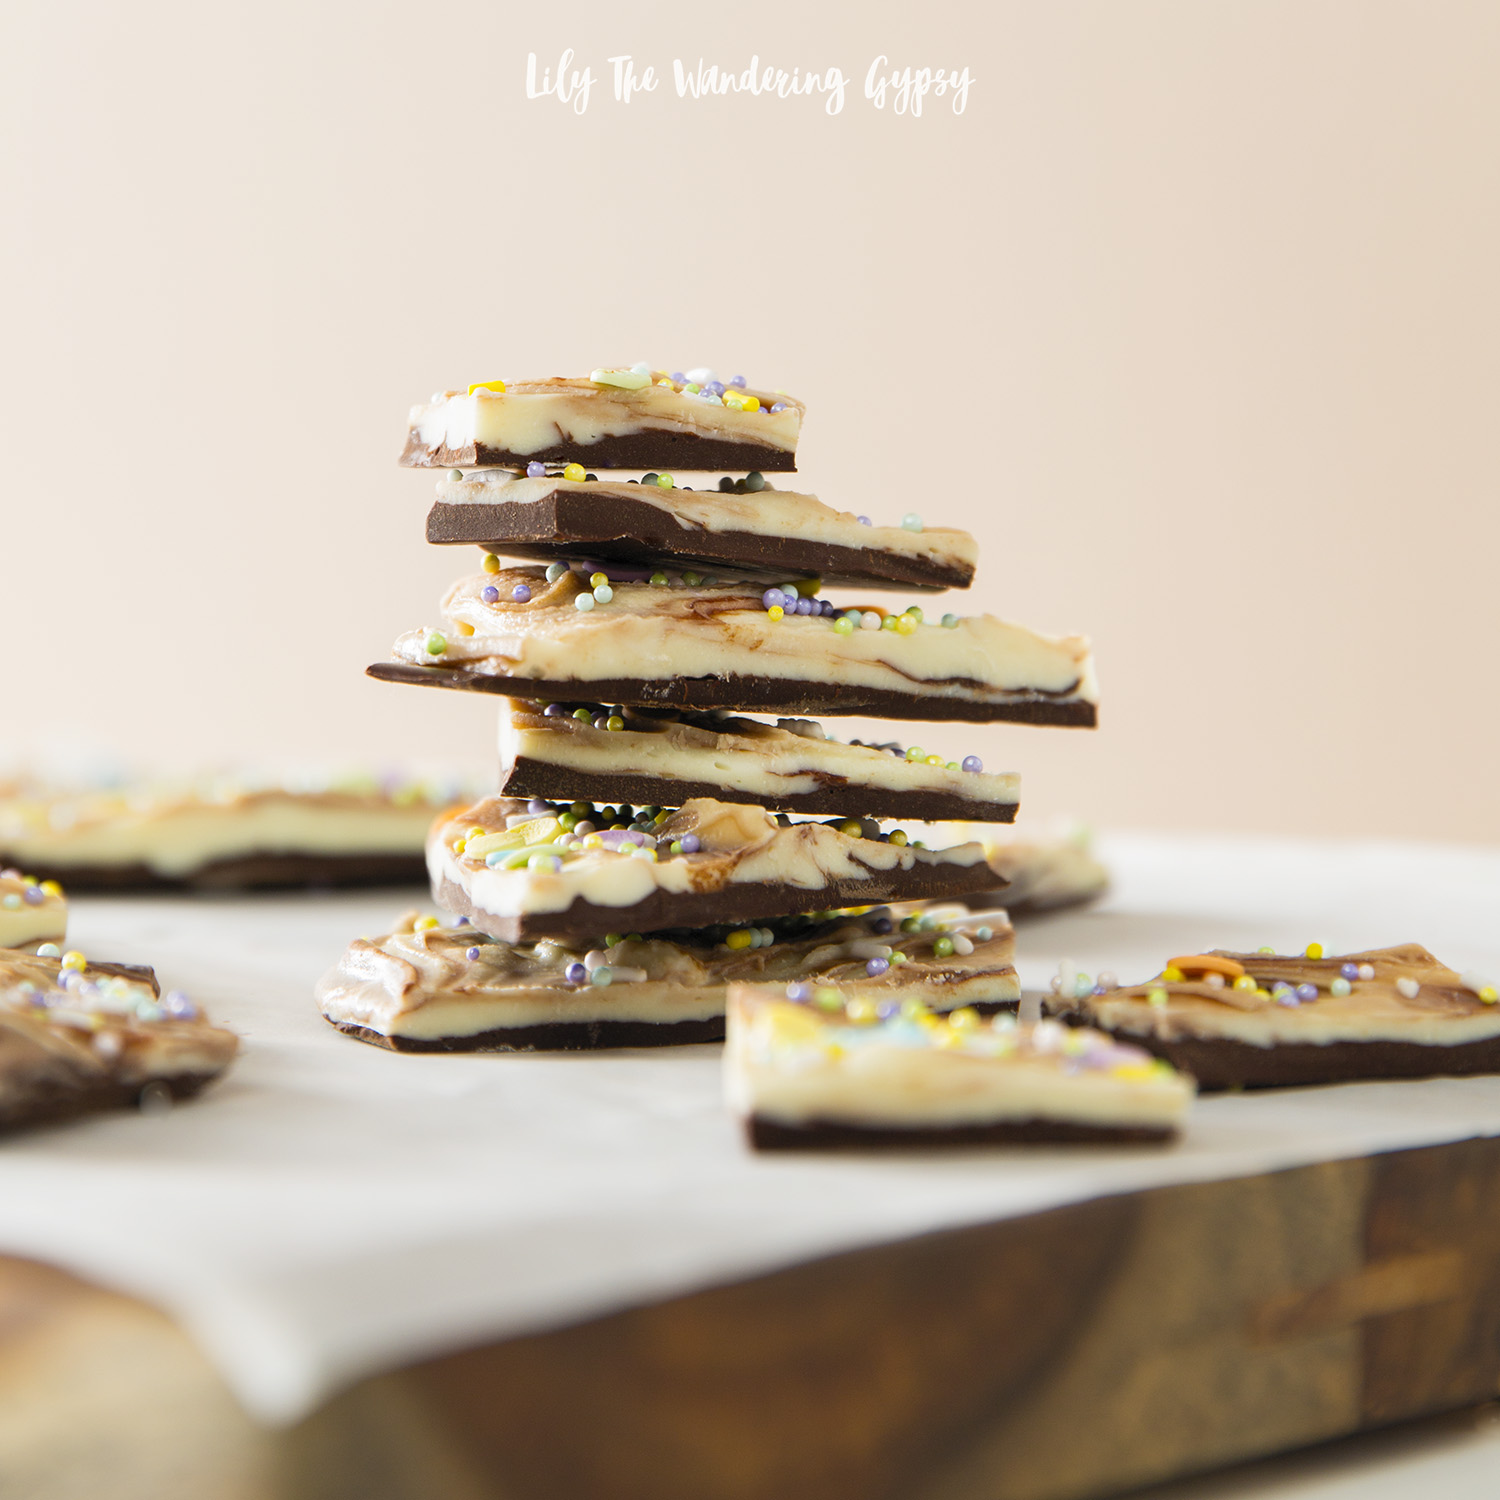
Festive Chocolate Bark Recipe
A deliciously sweet and festive treat that only takes a few minutes to create! You will absolutely love how great the flavors of the white chocolate and dark chocolate meld together to satisfy your sweet tooth. Customize the colors and decorations to suit your holiday, team colors, or other special occasions!
INGREDENTS:
1 bag of dark chocolate chips (I used a darker chocolate from Ghiradelli)
1 bag of white chocolate chips (I like Ghiradelli white melting wafers)
Sprinkles of your choice (At least 3 Tablespoons or more)
INSTRUCTIONS:
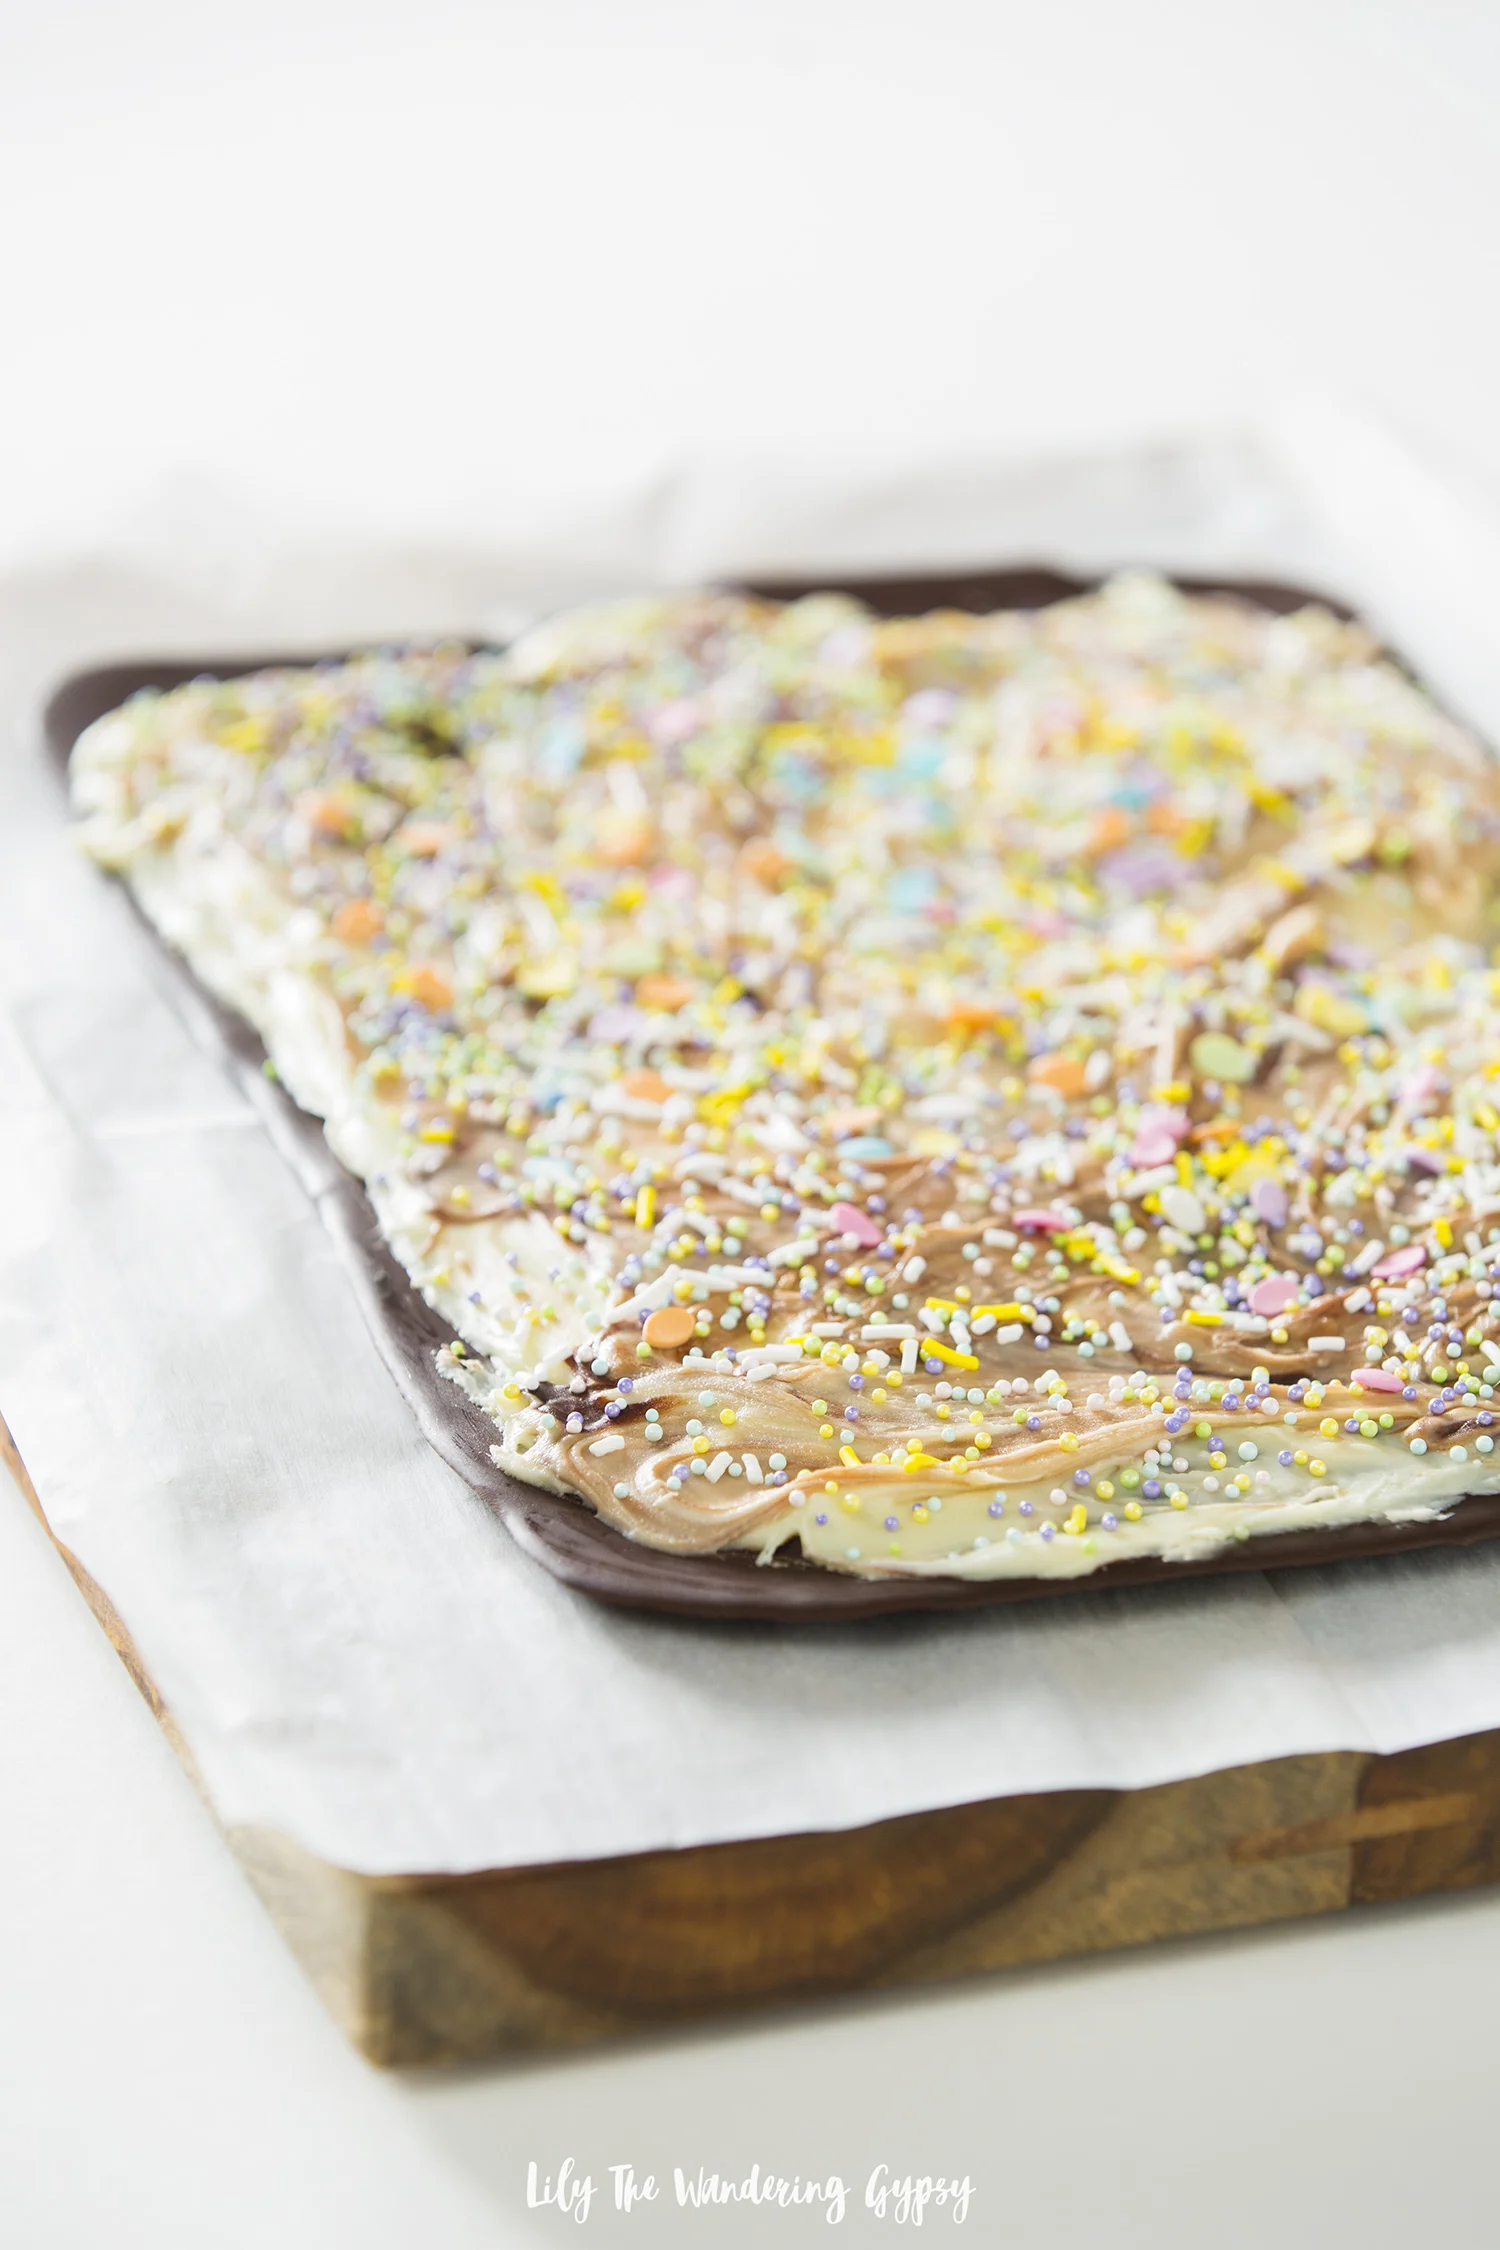
Melt dark chocolate either in the microwave or a double boiler. Line a baking sheet with parchment paper and pour chocolate on. You can smooth it with a spatula to the thickness you desire. Stick in the freeze for 20 minutes.
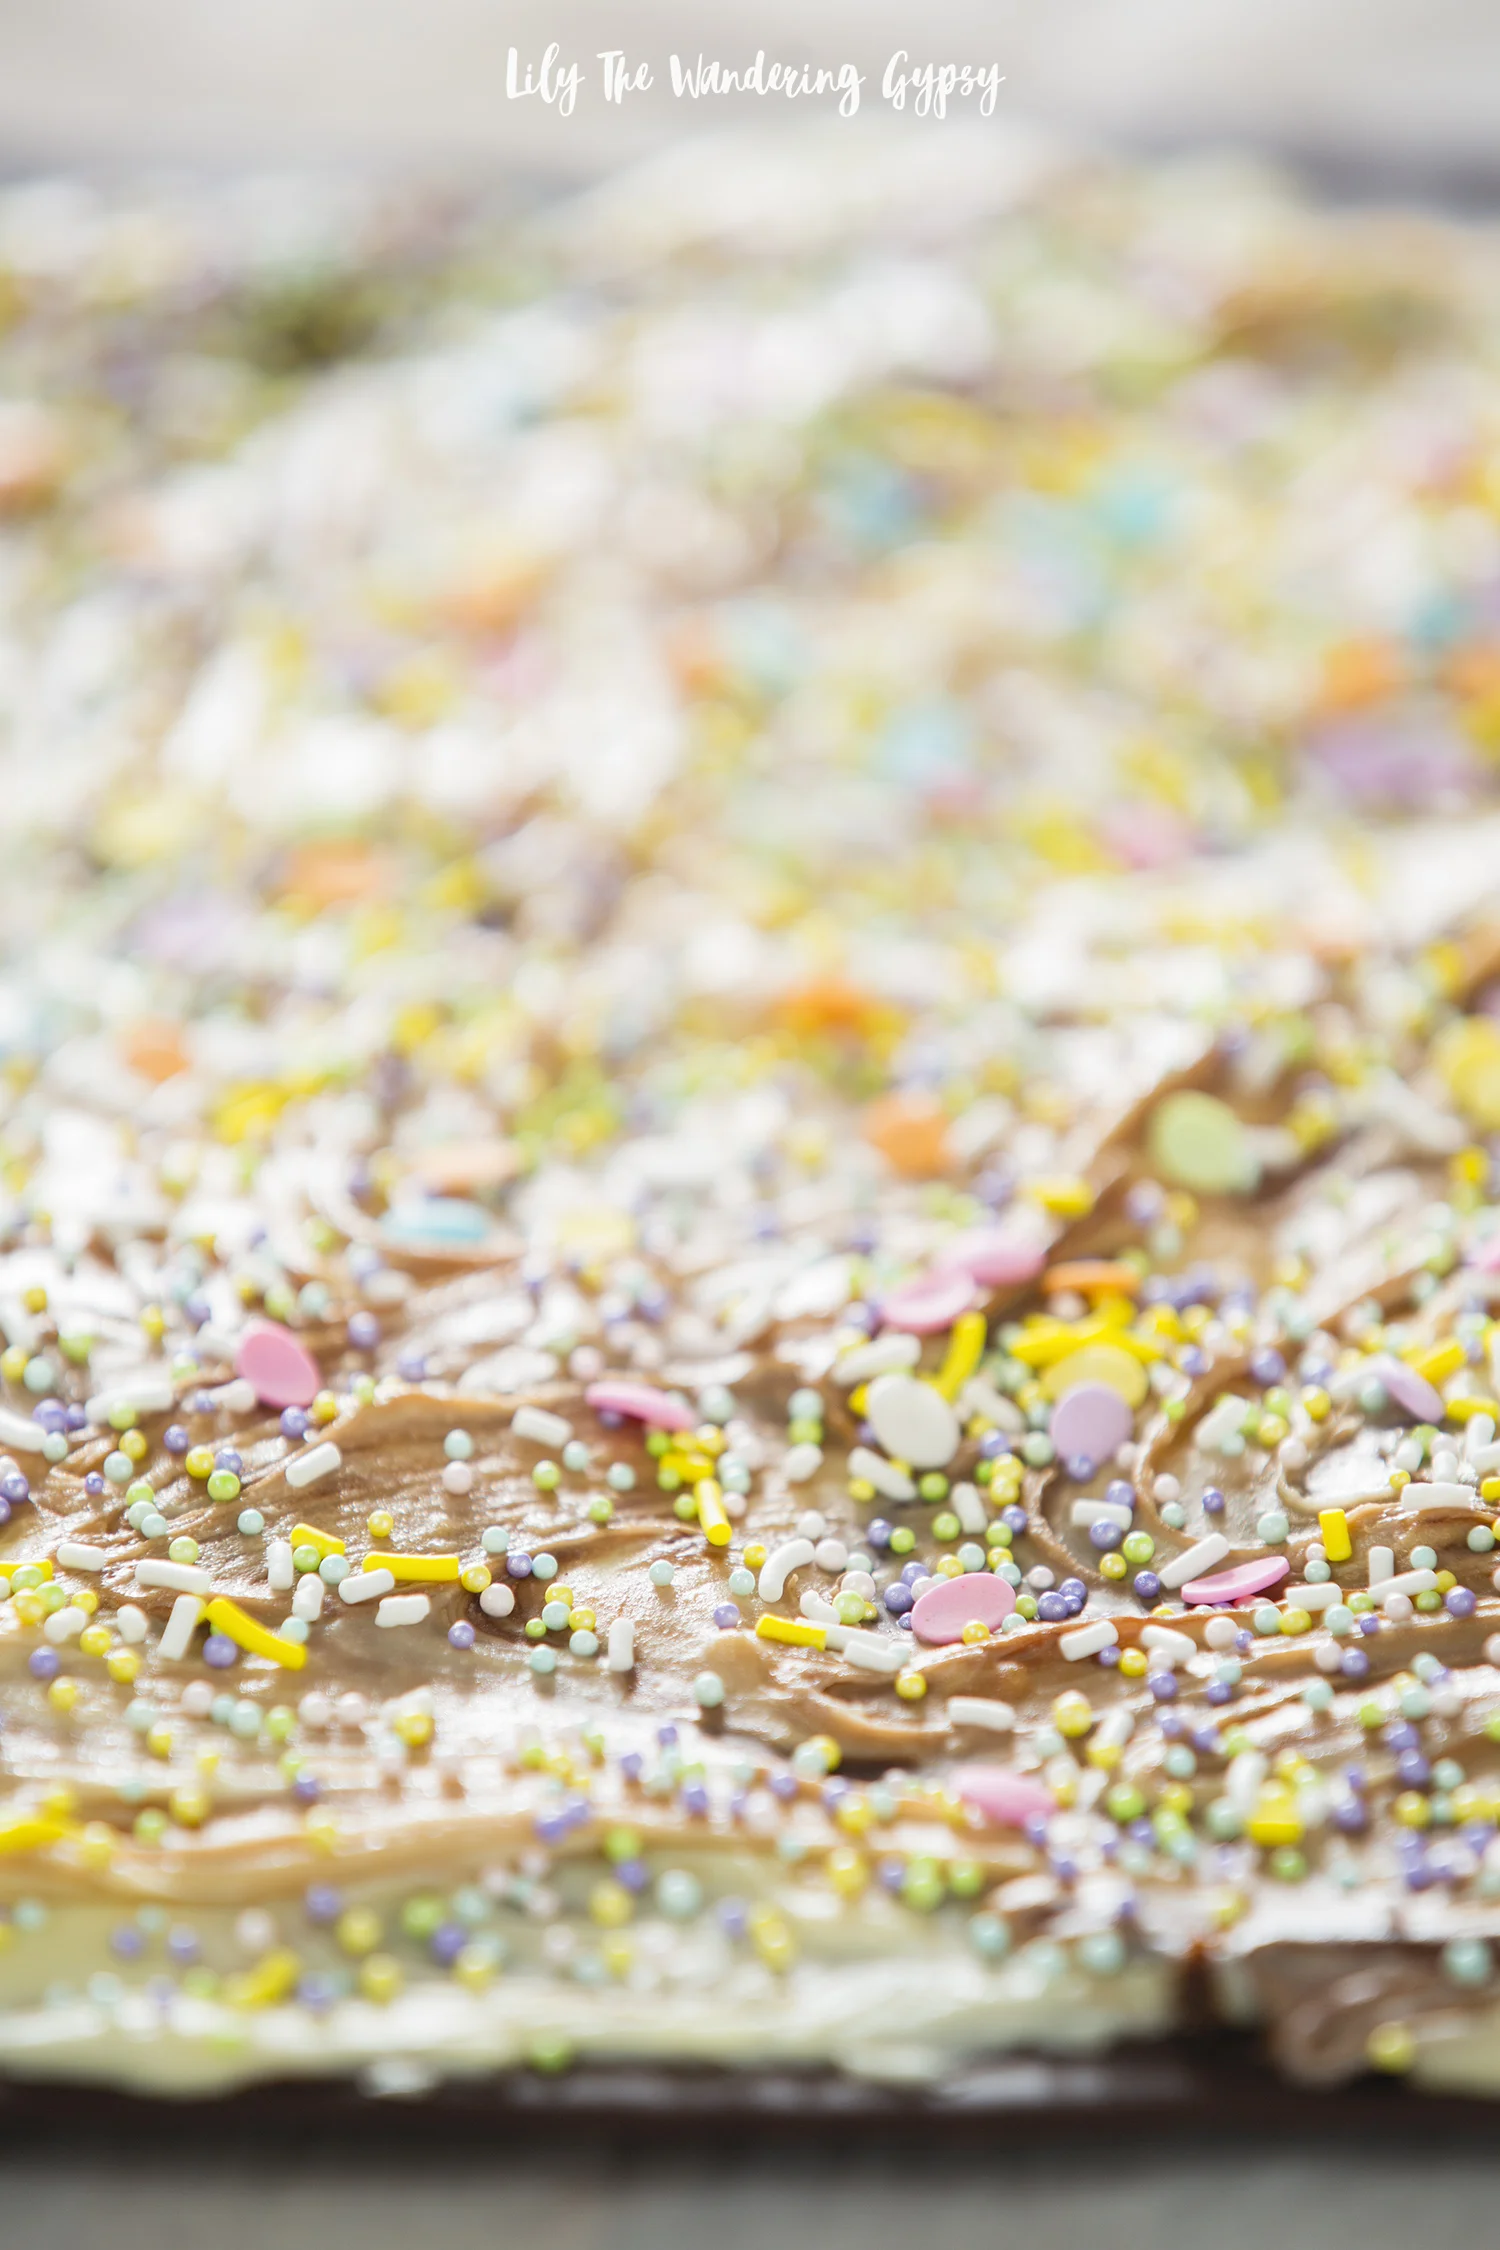
Melt while chocolate. Let it set for 3 full minutes (or at least until it slightly thickens). Remove baking sheet with chocolate from the freezer and immediately pour white chocolate on top. Sprinkle on sprinkles. Freeze for 20 minutes.
Once set, break into pieces with your hands (or rubber gloves). Keep refrigerated.
The Ultimate Chocolate Charcuterie Board
The ultimate party dessert!
Read MoreDairy Free Dark Chocolate, Coconut, and Almond Popsicles Recipe
I am so happy with this delicious recipe! If you like chocolate flavor accompanied by almond and coconut, you're going to love this one. This recipe can even be made sugar free or low sugar, and contains only 2 ingredients, customize it however you want.
Read MoreGame Day Milkshakes Recipe!
Enjoy these tasty milkshakes on game day, or any day!
Read MoreFavorite Pins Of The Week (And One Simple Pinterest Tip That Will Increase Your Numbers)
Check out some of my favorite pins of the week, and get lots of beautiful inspiration. Also, I have a very important Pinterest tip for you, that will help increase your repin numbers.
Read MoreSuper Easy Chocolate Waffles Recipe
Are you a chocoholic? So much so, that you may be the type to want chocolate for breakfast, lunch, and dinner? Well here is an idea for you! These chocolate waffles are pretty easy because you make them from Chocolate Cake Mix!

INGREDIENTS:
1 box Betty Crocker™ SuperMoist™ cake mix (any flavor)
1 1/3 cups water
1/3 cup vegetable oil
3 eggs


INSTRUCTIONS:
Heat your waffle iron to medium-high heat. Mix all ingredients, and once the waffle iron is warm enough, pour the batter into the waffle iron. Don't overload the batter into the machine, it will seep out the sides and create a big mess!
Add a drizzle of your favorite white icing (I used the decorator icing in the tube for this thinner line). I also added some fresh raspberries and little dollop of cool whip!

Feel free to add some chocolate syrup, if you need more chocolate! Enjoy!
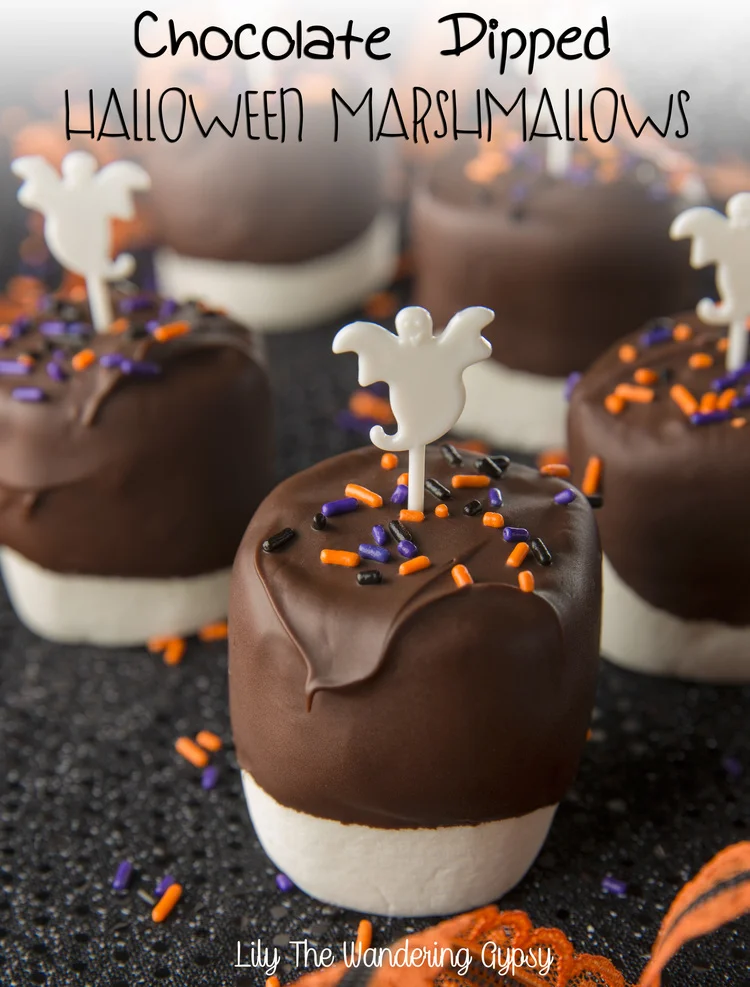
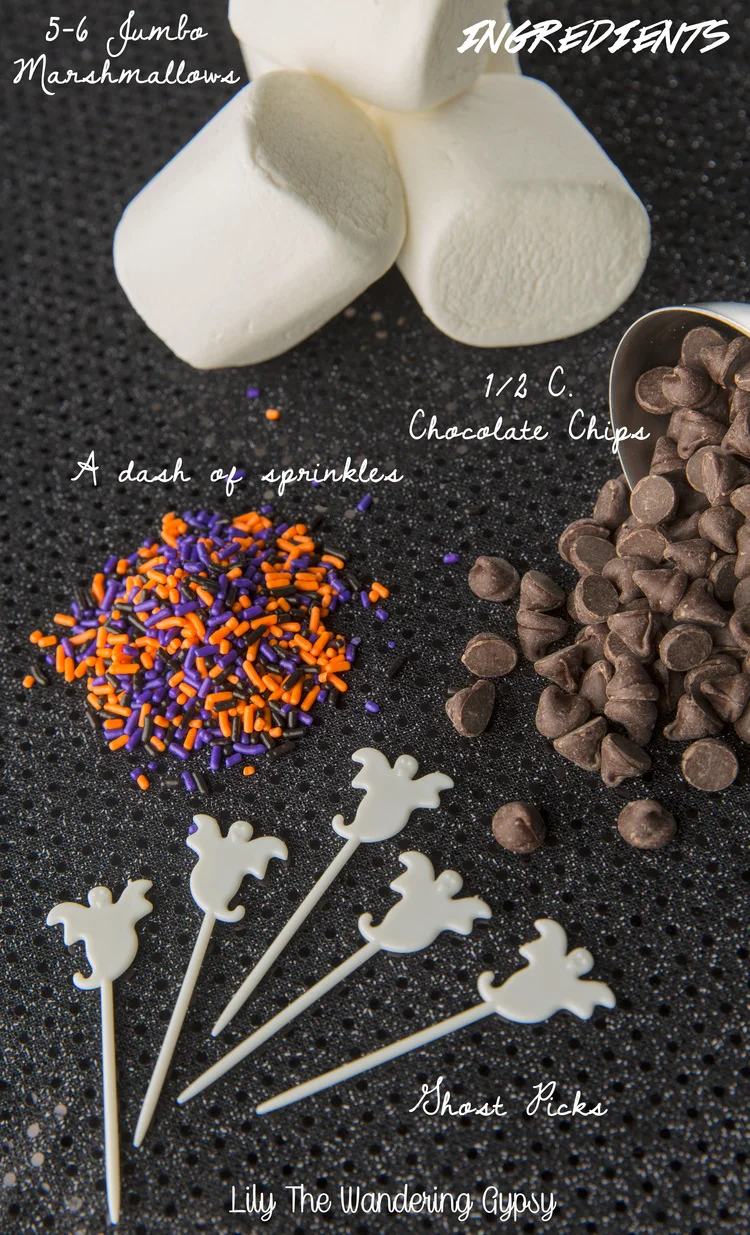
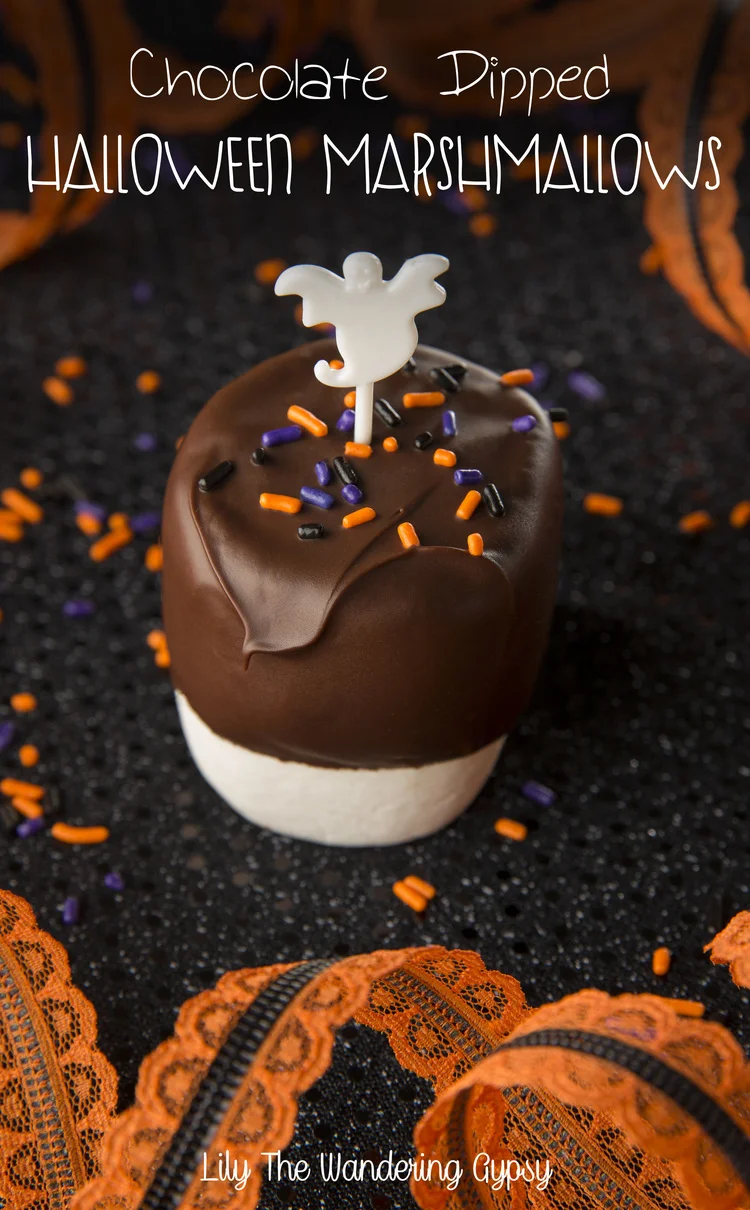
Chocolate Dipped Halloween Marshmallows


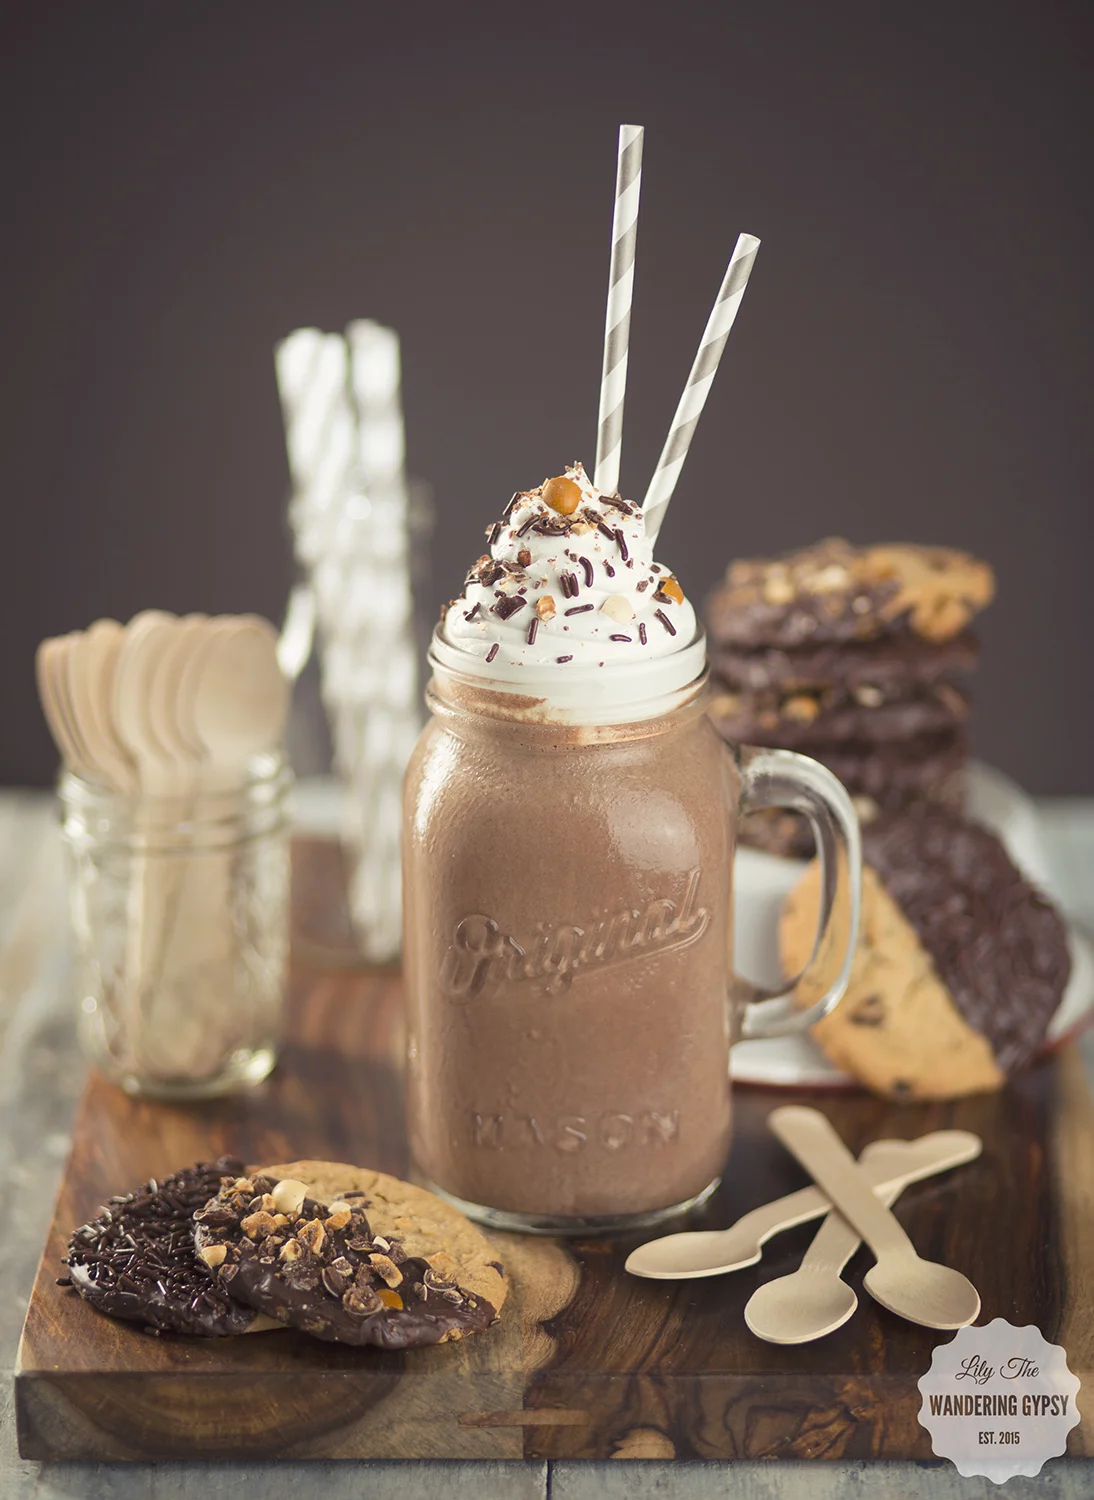
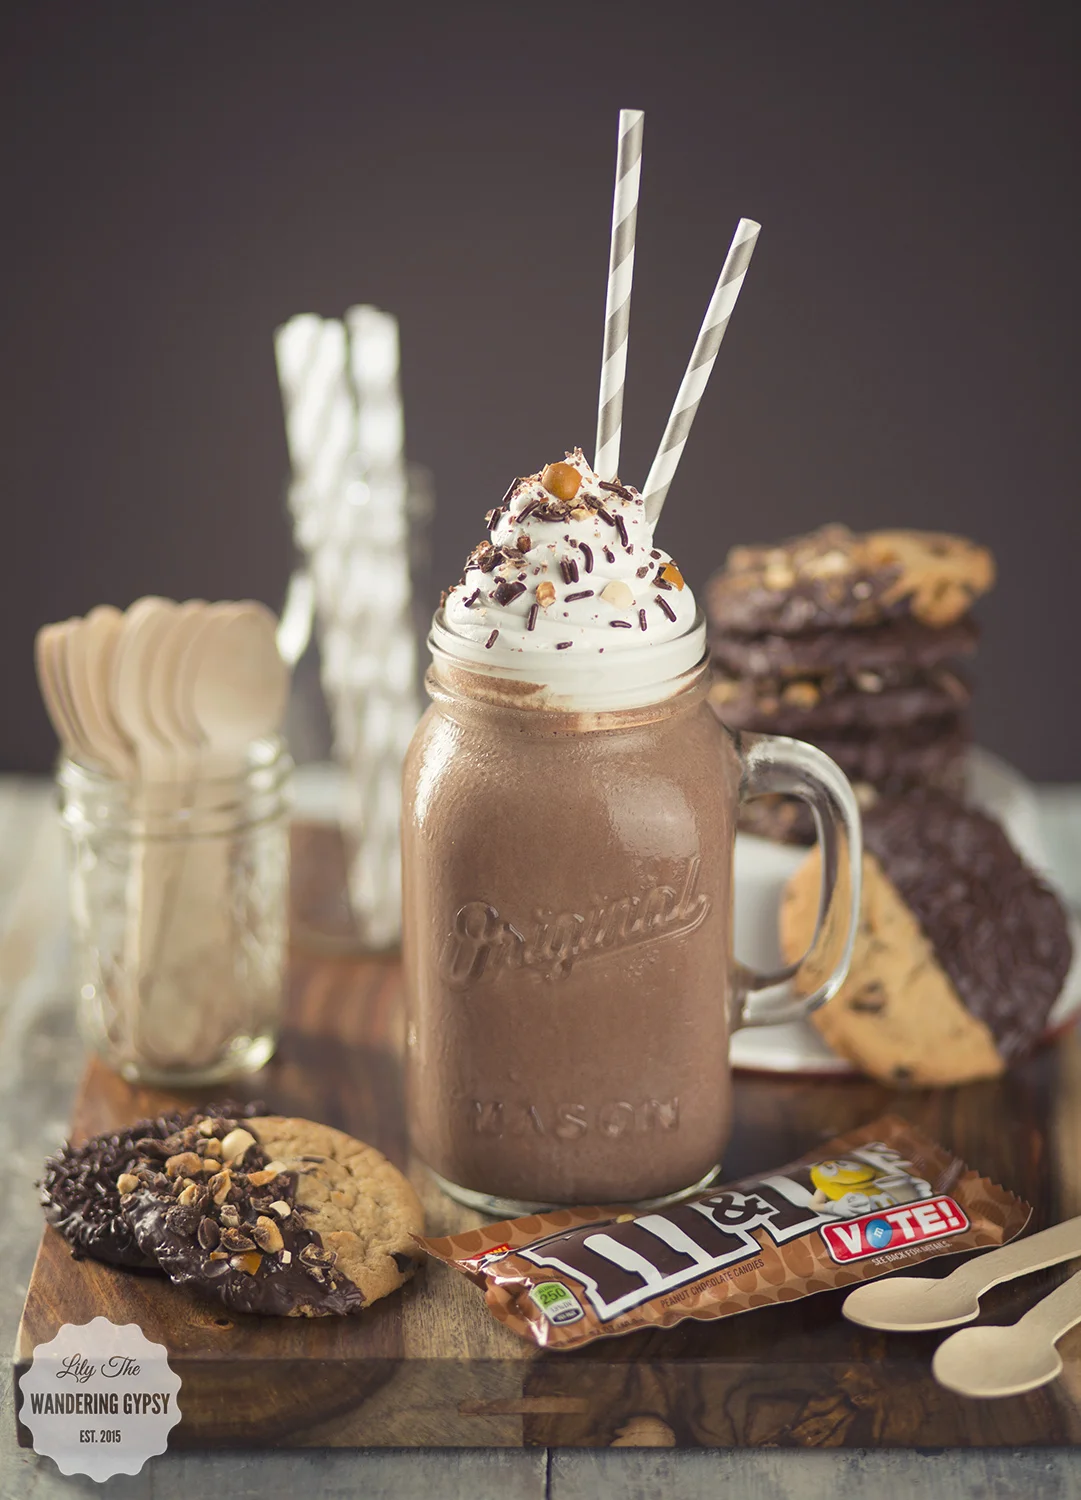
Milkshakes Inspired By M&M’s® New Flavors!
It's that time of year again when ice cream sounds good in just about any form. Check out these amazing milkshakes, inspired by M&M's® flavors! This shop has been compensated by Collective Bias, Inc. and its advertiser. All opinions are mine alone. #MMSFlavorVote #Walmart #CollectiveBias.
Here's How It Works.
You can help choose the next flavor of M&M's®!!!

- Throughout the voting period of March 1 to June 17, you can purchase and taste each of the new flavors for yourself, and then cast your vote, once a day until June 17.
- Once you cast your vote for your favorite new M&M's® Peanut flavor, you are entered for the chance to win $100,000 and earn the title of the official M&M's® Taste Tester. The winner will be announced in August, along with the winner of the 'Flavor Vote,' which will remain on retailer shelves nationwide.
- Vote for your favorite flavor using the hashtag #MMSFlavorVote across social media!
Be sure to visit the M&M's® Flavor Vote page on Facebook to vote for your favorite flavor!
Find The Flavors Here:
M&M's® Coffee Nut
M&M's® Chili Nut
M&M's® Honey Nut
Note: The jars used in these recipes hold a bit over 4 Cups each, so all recipes are formatted to these jars.
THE CHOCOLATE MOCHA SHAKE - INSPIRED BY M&M’s® COFFEE NUT
Ingredients:
M&M’s® Coffee Nut Flavor
2 1/2 -3 C. Chocolate Ice Cream
1/2 C. Cool Whip
1 C. Coffee of any sort (Mine was pre-packaged)
1 Packet of Hot Chocolate Mix (Optional)
Dash of Milk - Optional
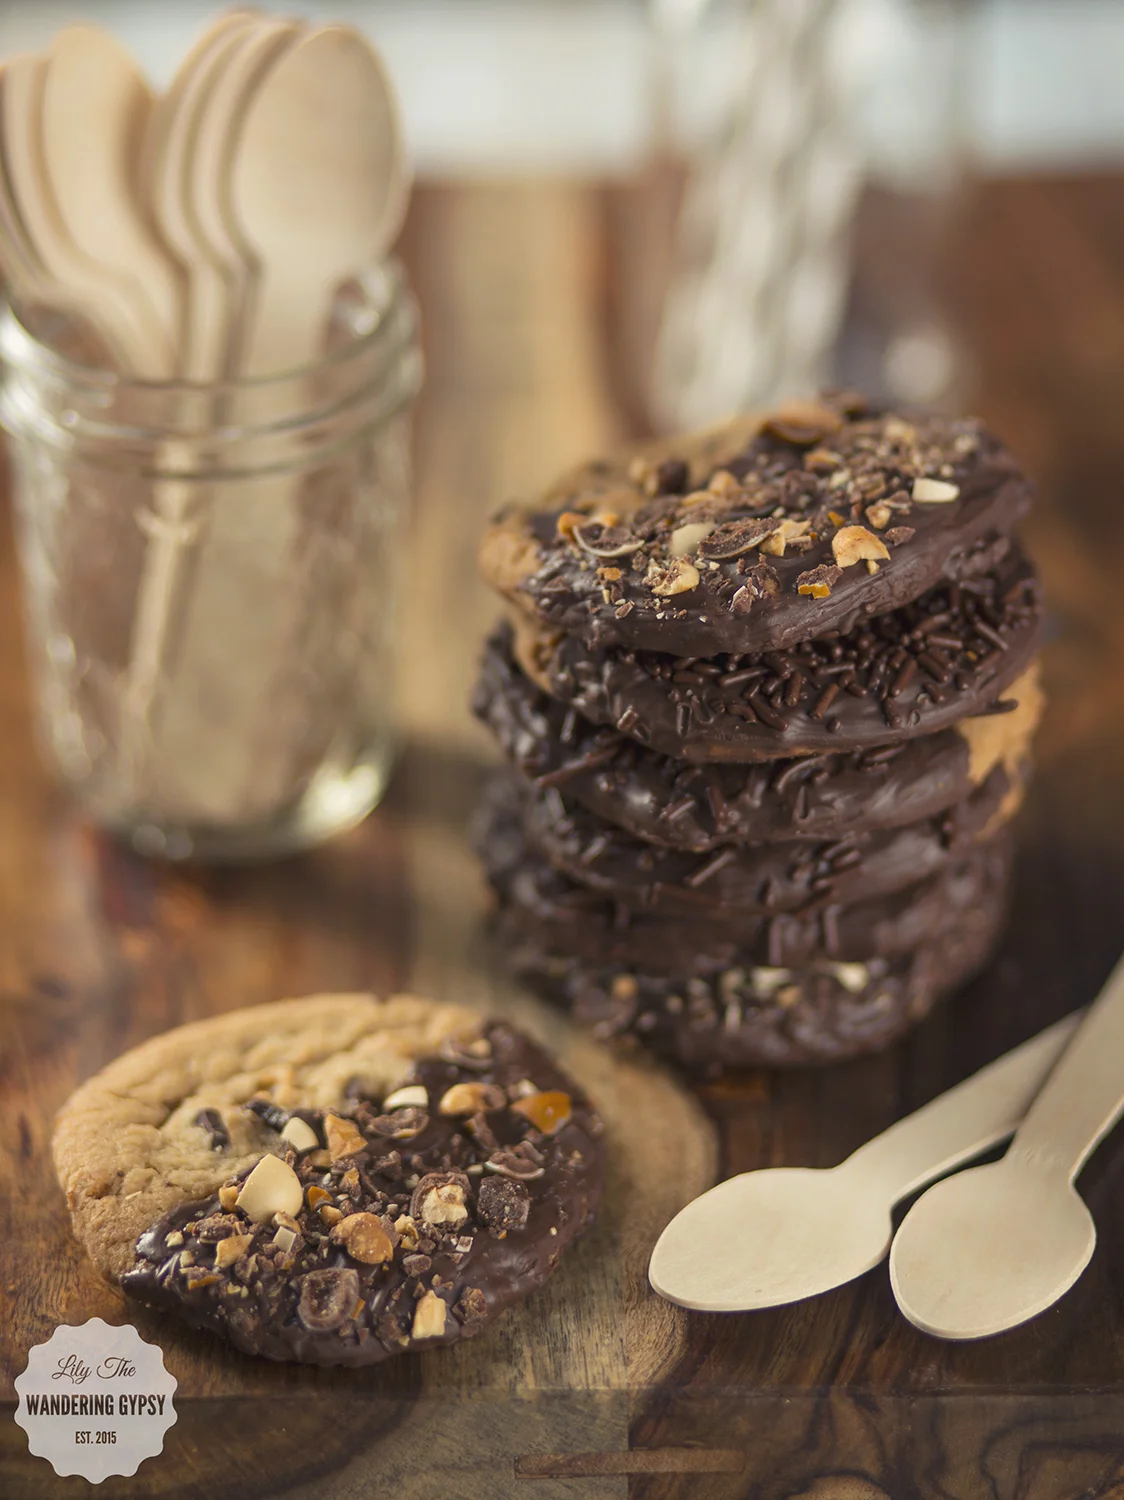

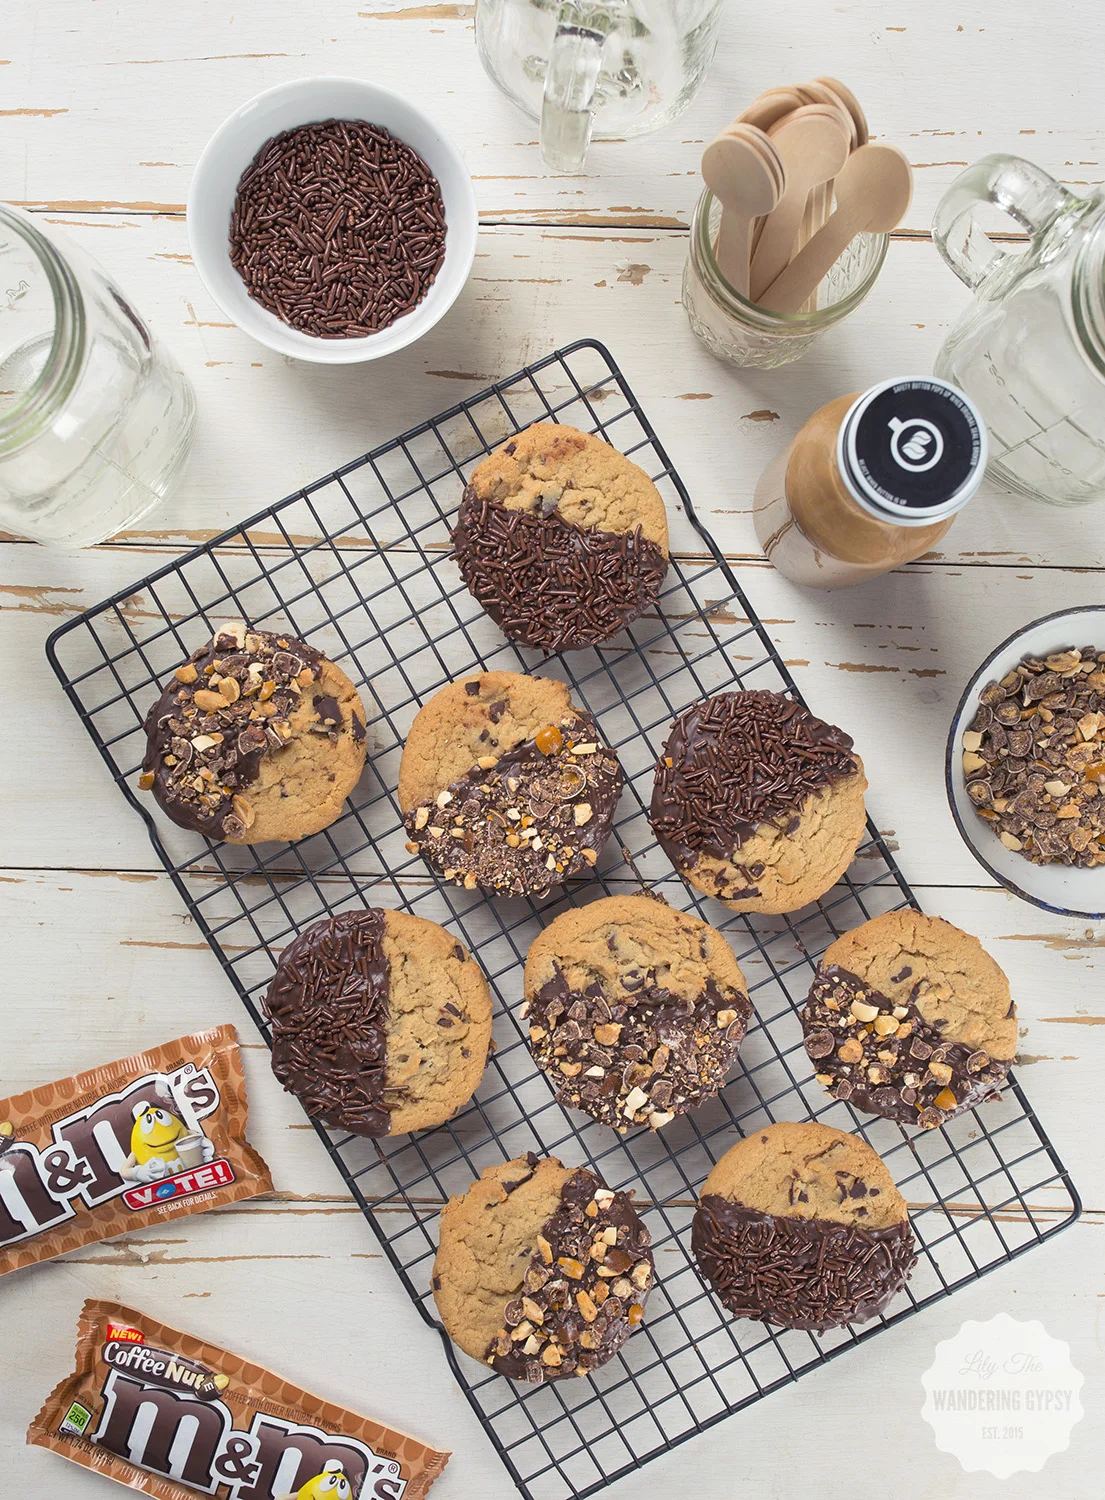
FOR THE COOKIES...
Ingredients:
Pre Made or Home Made Chocolate Chip Cookies
Melting Chocolate + Brush To Spread It Onto Cookies
Instructions:
These are so easy! Simply melt chocolate in a double boiler or microwave until smooth. Carefully brush chocolate onto half of the front of each cookie.
In a zip top bag, use a rolling pin to crunch up some of the M&M’s® Coffee Flavor candies. Top half of your cookies with M&M’s® Coffee Nut candy pieces, or chocolate sprinkles. They stick super well to the chocolate. Let cool, and eat separately, or add to your milkshake.
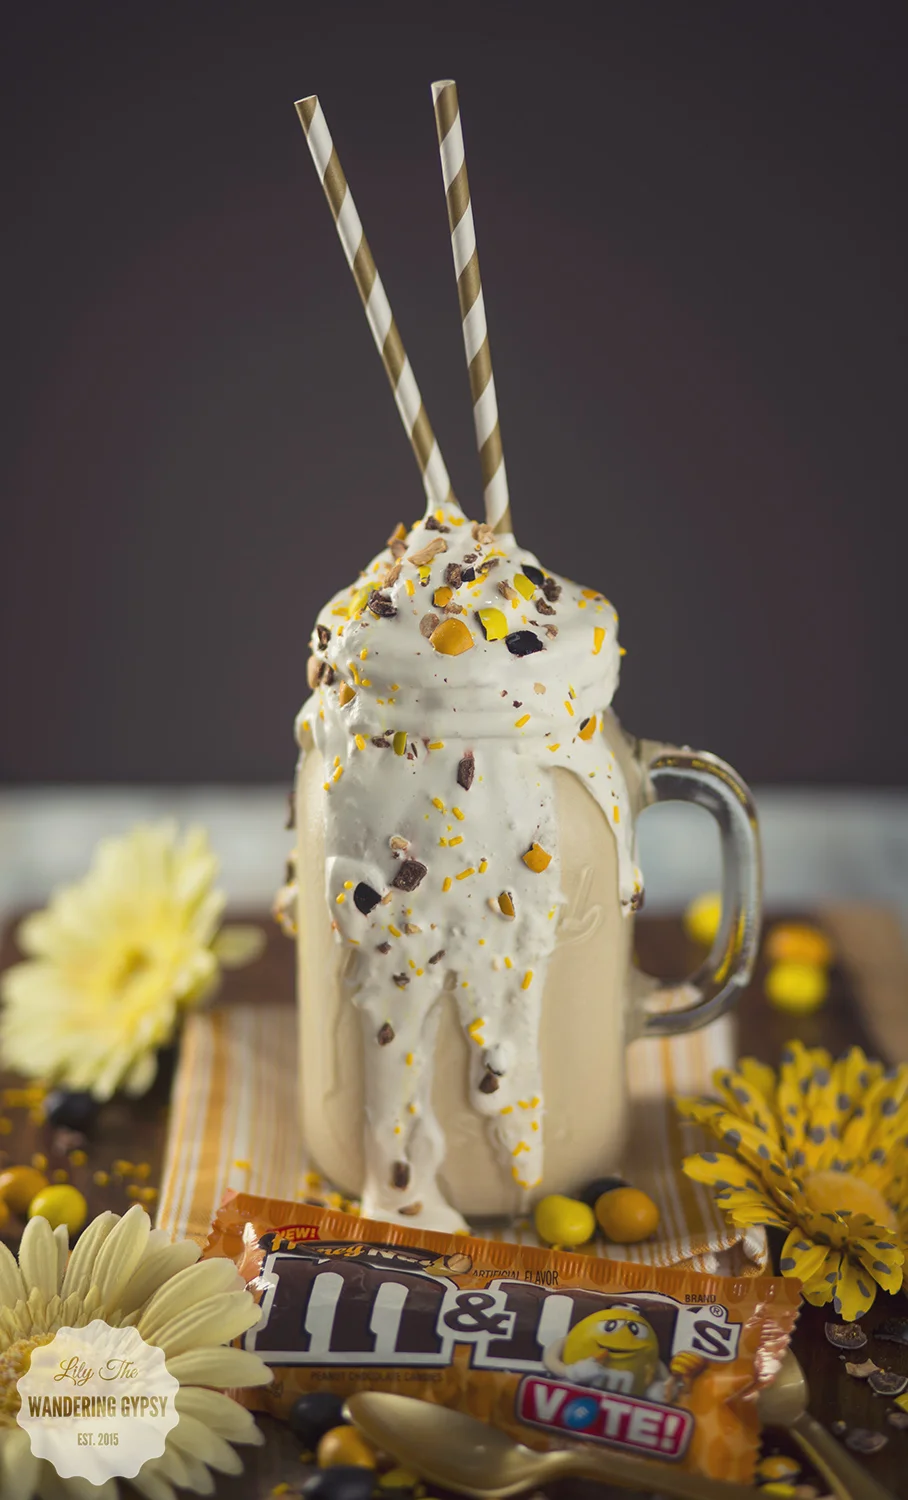
THE HONEY NUT PEANUT BUTTER SHAKE - INSPIRED BY M&M’s® HONEY NUT
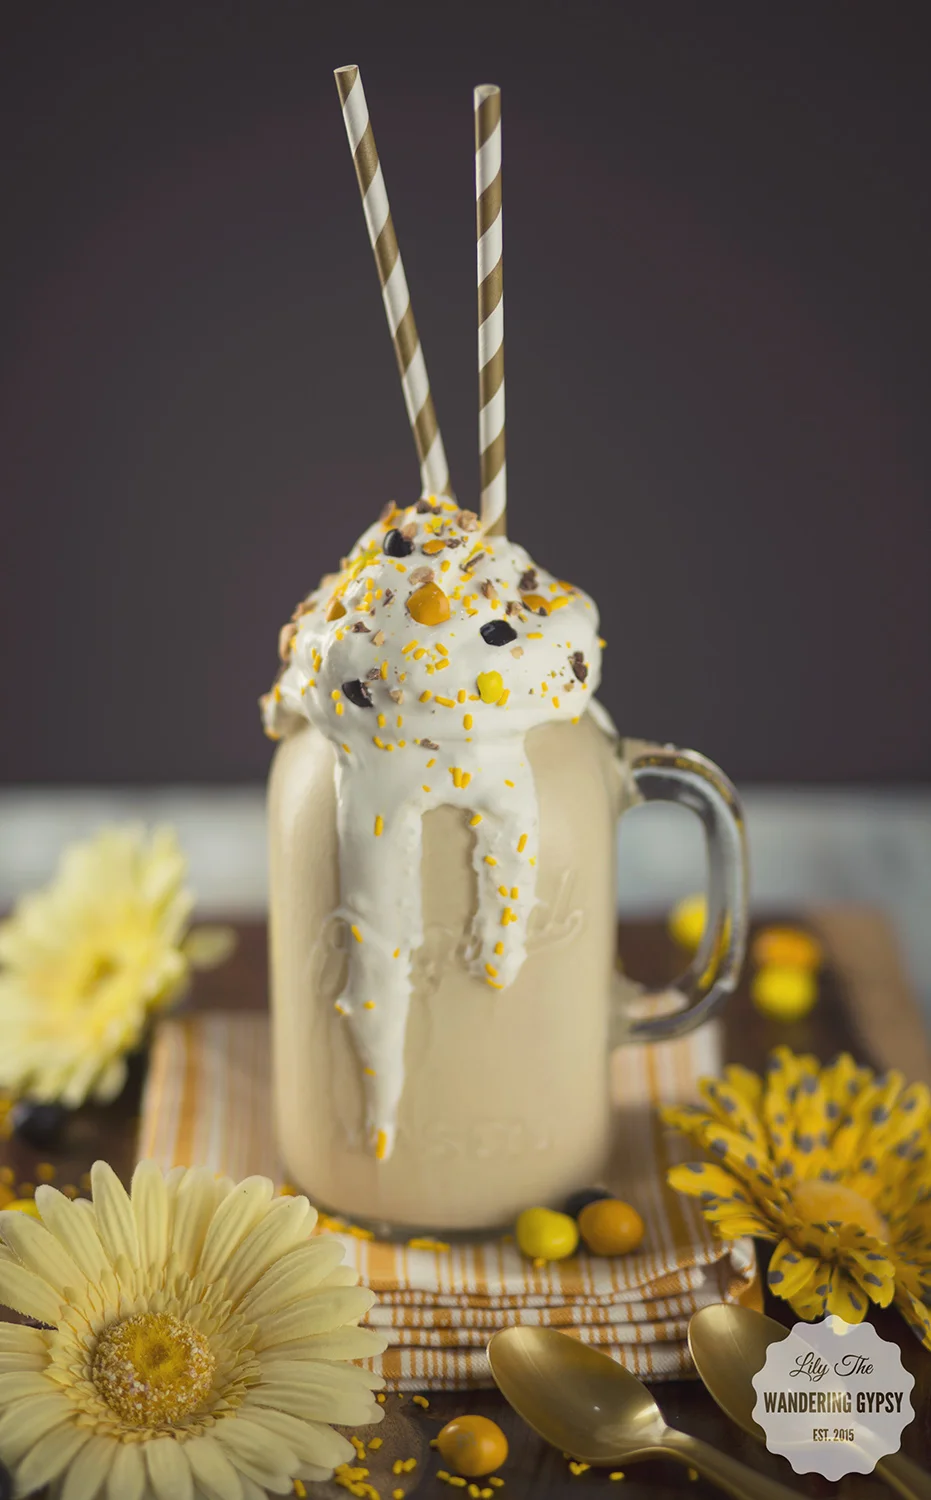
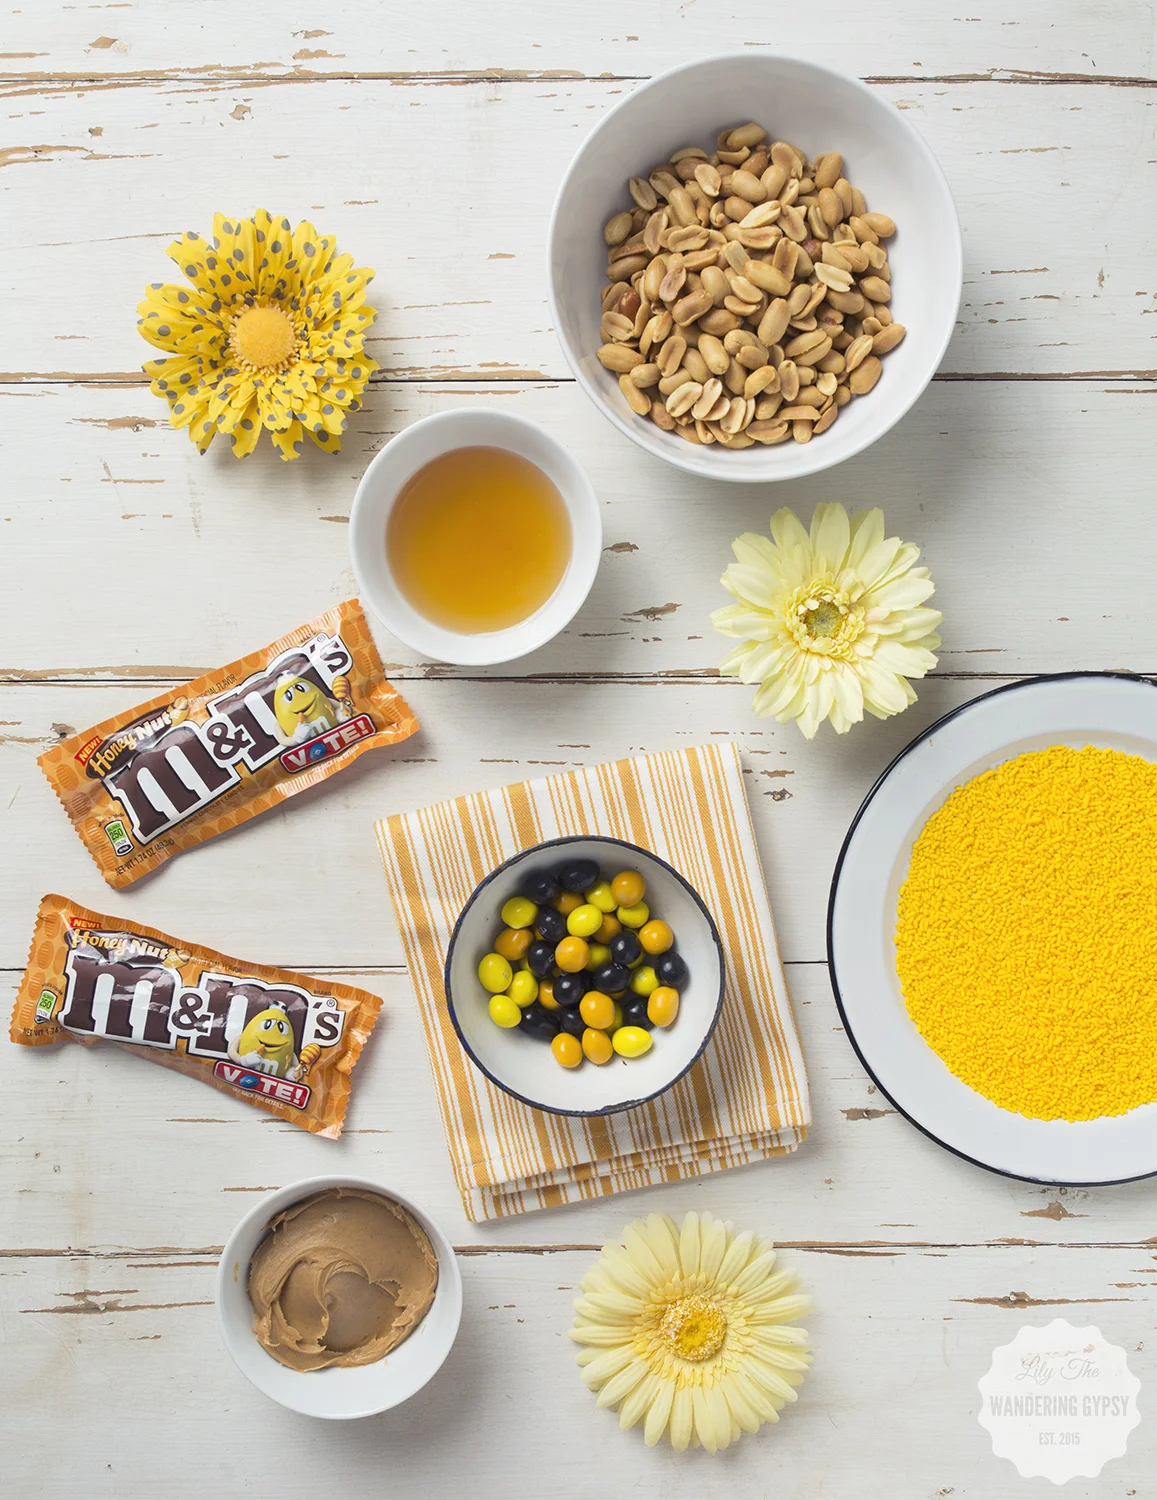
Ingredients:
M&M’s® Honey Nut Flavor
2 - 2 1/2 C. Vanilla Ice Cream
1/2 C. Peanut Butter
1 1/4 C. Milk
1 C. Cool Whip (And more for on top)
1 -2 Tbsp Honey (depending on how strong you want the flavor)
Yellow Sprinkles
Get ready, this tastes amazing!!

Instructions:
Blend ice cream, peanut butter, milk, honey, and Cool Whip together until smooth. Add M&M’s® Honey Nut Flavor either as whole pieces, or crushed up into smaller pieces. Stir with a spoon.
Pour into a large glass, and top with whipped cream, yellow sprinkles, and crushed up M&M’s® Honey Nut.
This one wound up being my absolute favorite!! Enjoy!!
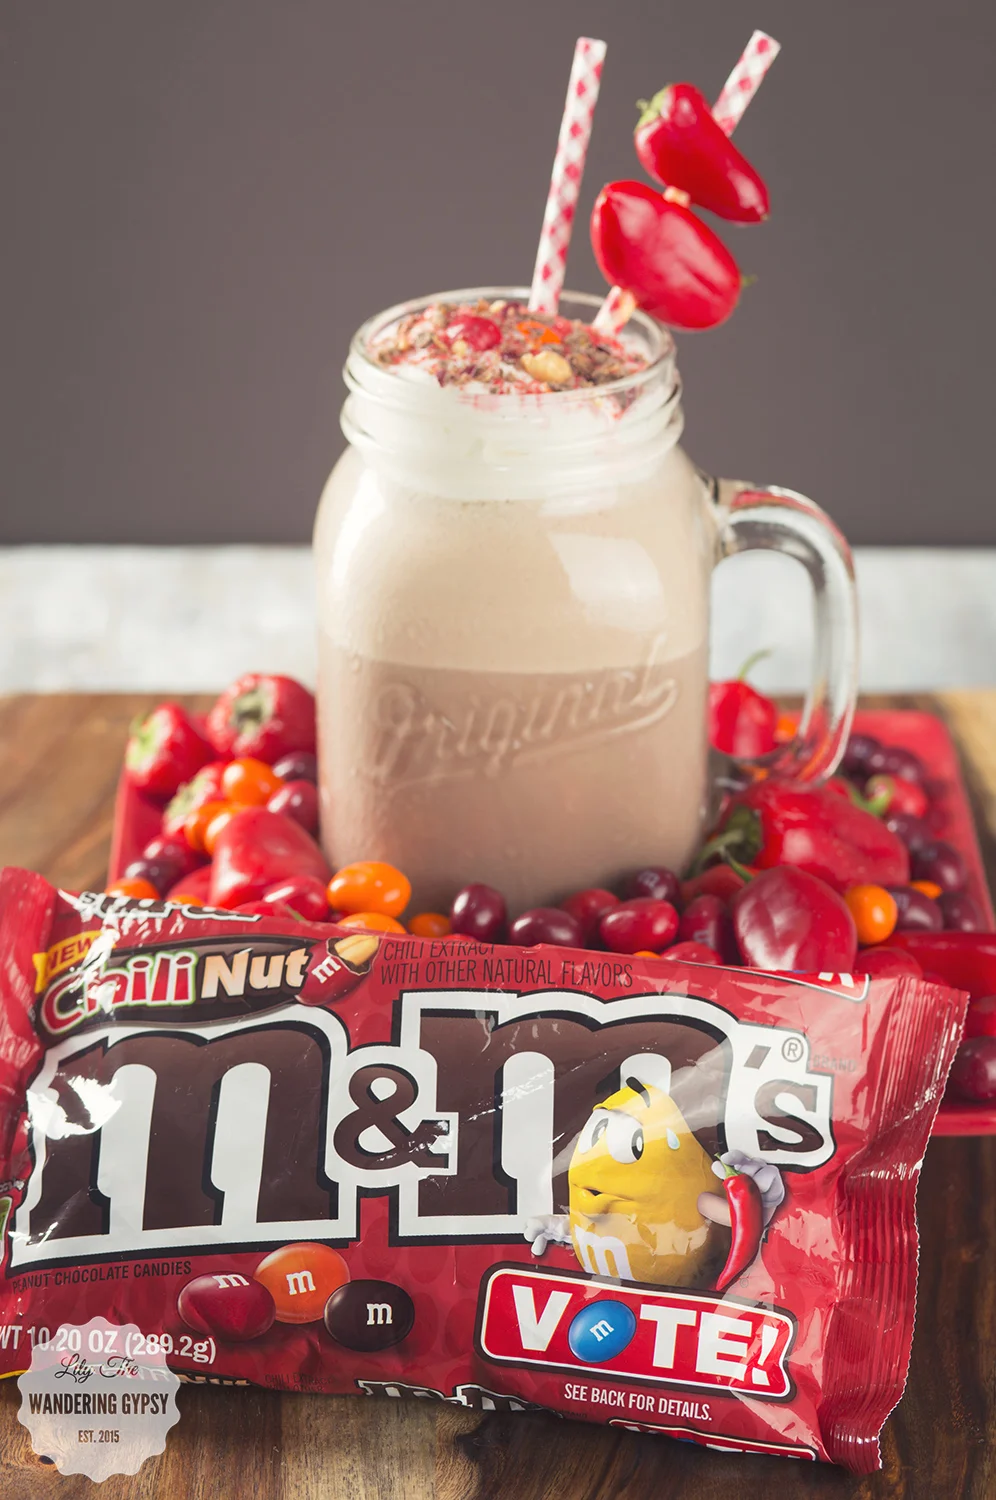
THE CHILI CHOCO SHAKE - INSPIRED BY M&M’s® CHILI NUT
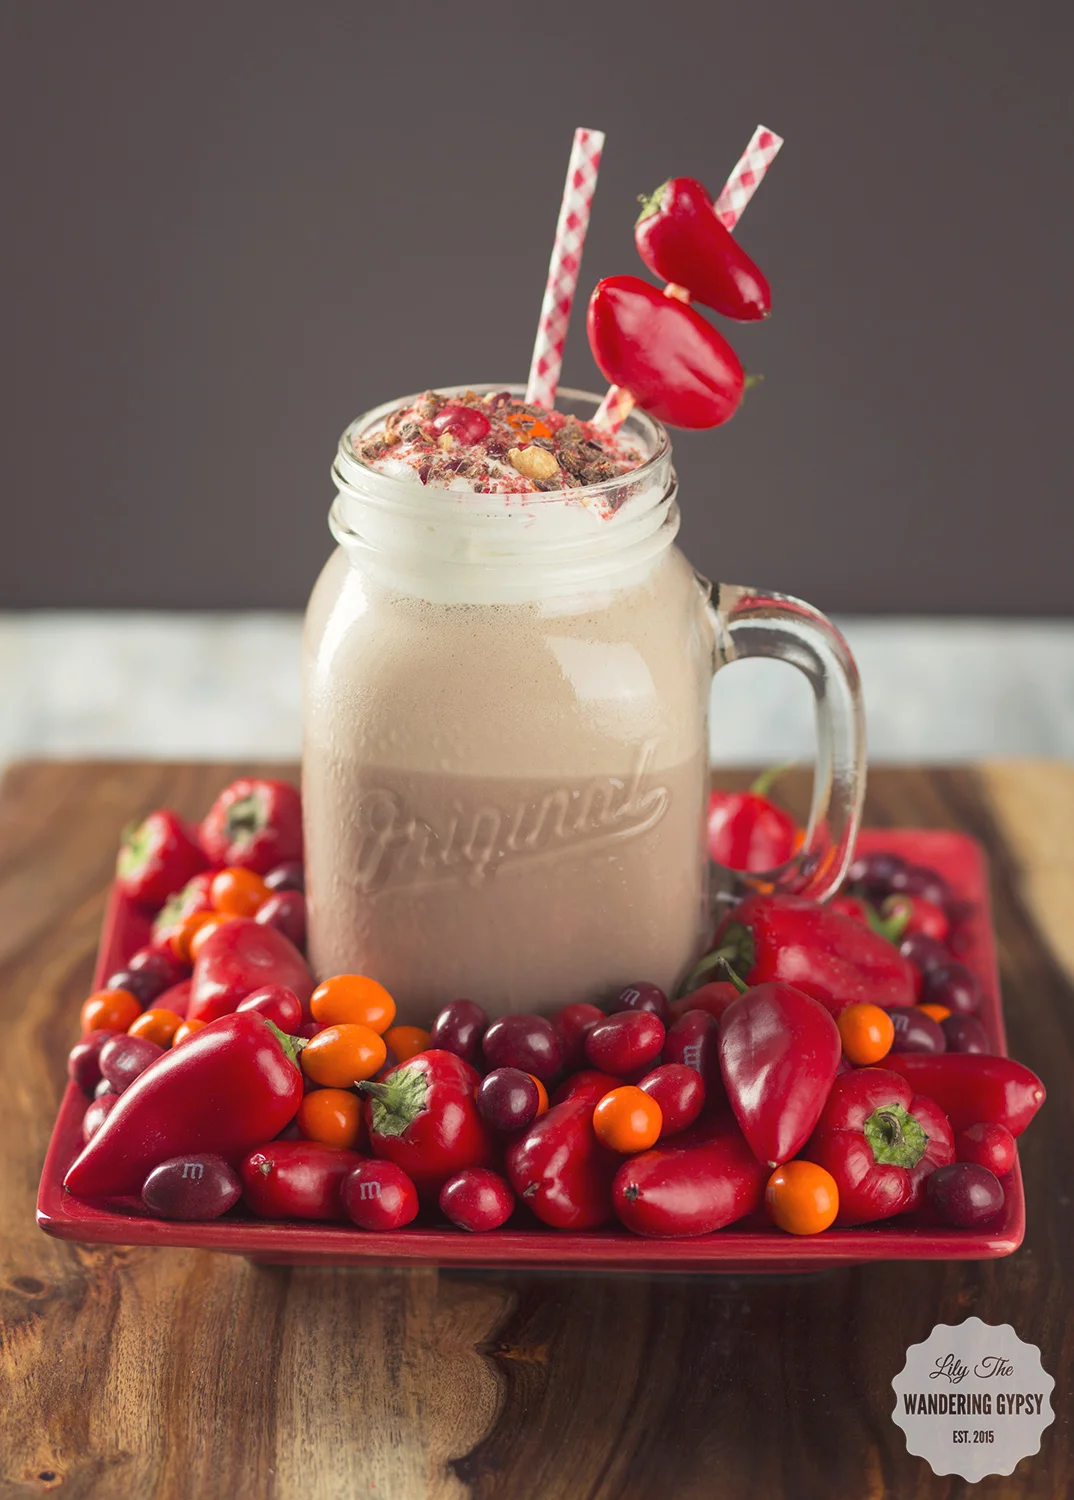
Ingredients:
M&M’s® Chili Nut
3 C. Chocolate Ice Cream
1 C. Milk
Red Sprinkles
Red Chilis For Garnish - Optional
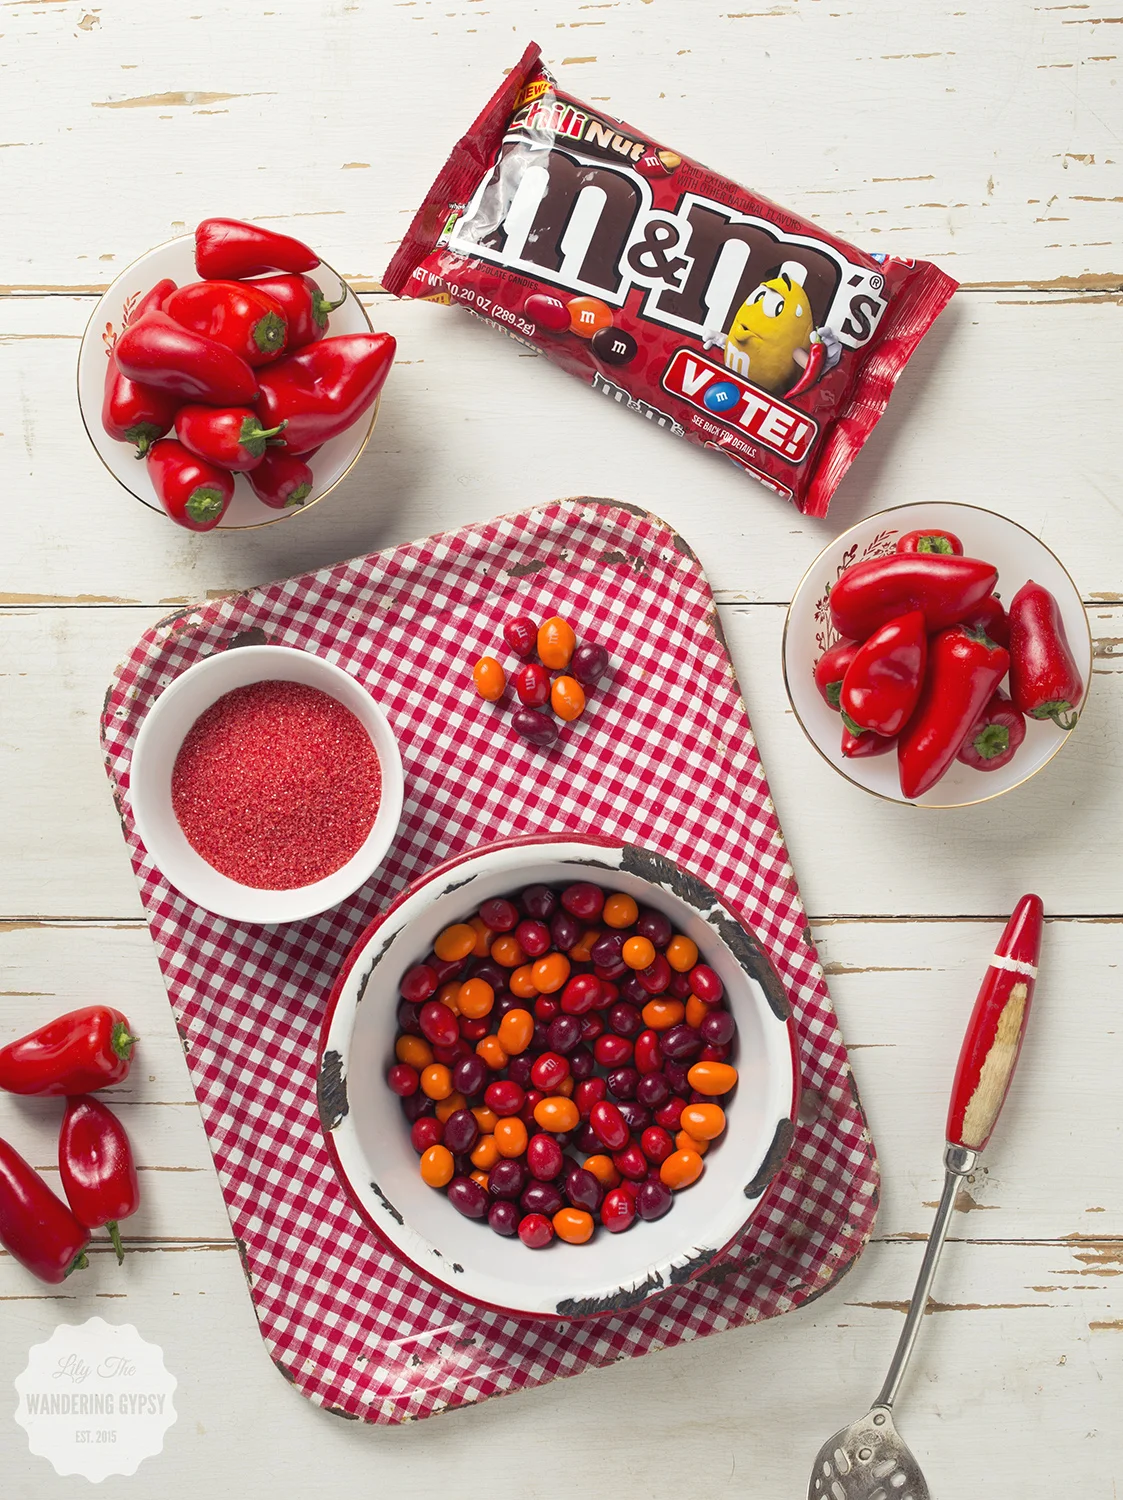
Luckily I got some of the last of the new flavor M&Ms at Walmart! Looks like just about everyone in town wanted a piece of the voting action!
My local stores were almost sold out, but I found them near the front of the store by the registers.


Instructions:
Mix together chocolate ice cream, milk, and Cool Whip until smooth. Feel free to add a dash of Cayenne pepper for some heat if you want. Also, add some M&M’s® Chili Nut candies, and mix with a spoon.
Pour the mixture into a jar, and top with whipped cream, M&M’s® Chili Nut candies, and red sprinkles.
To create a fun garnish, take two red chilis (I used ones that weren't spicy, because these candies have some heat), and poke holes in them to make room for the straw to pass through. Love how these turned out!
Thanks so much for checking out these fun recipes, inspired by M&M’s® new flavors!

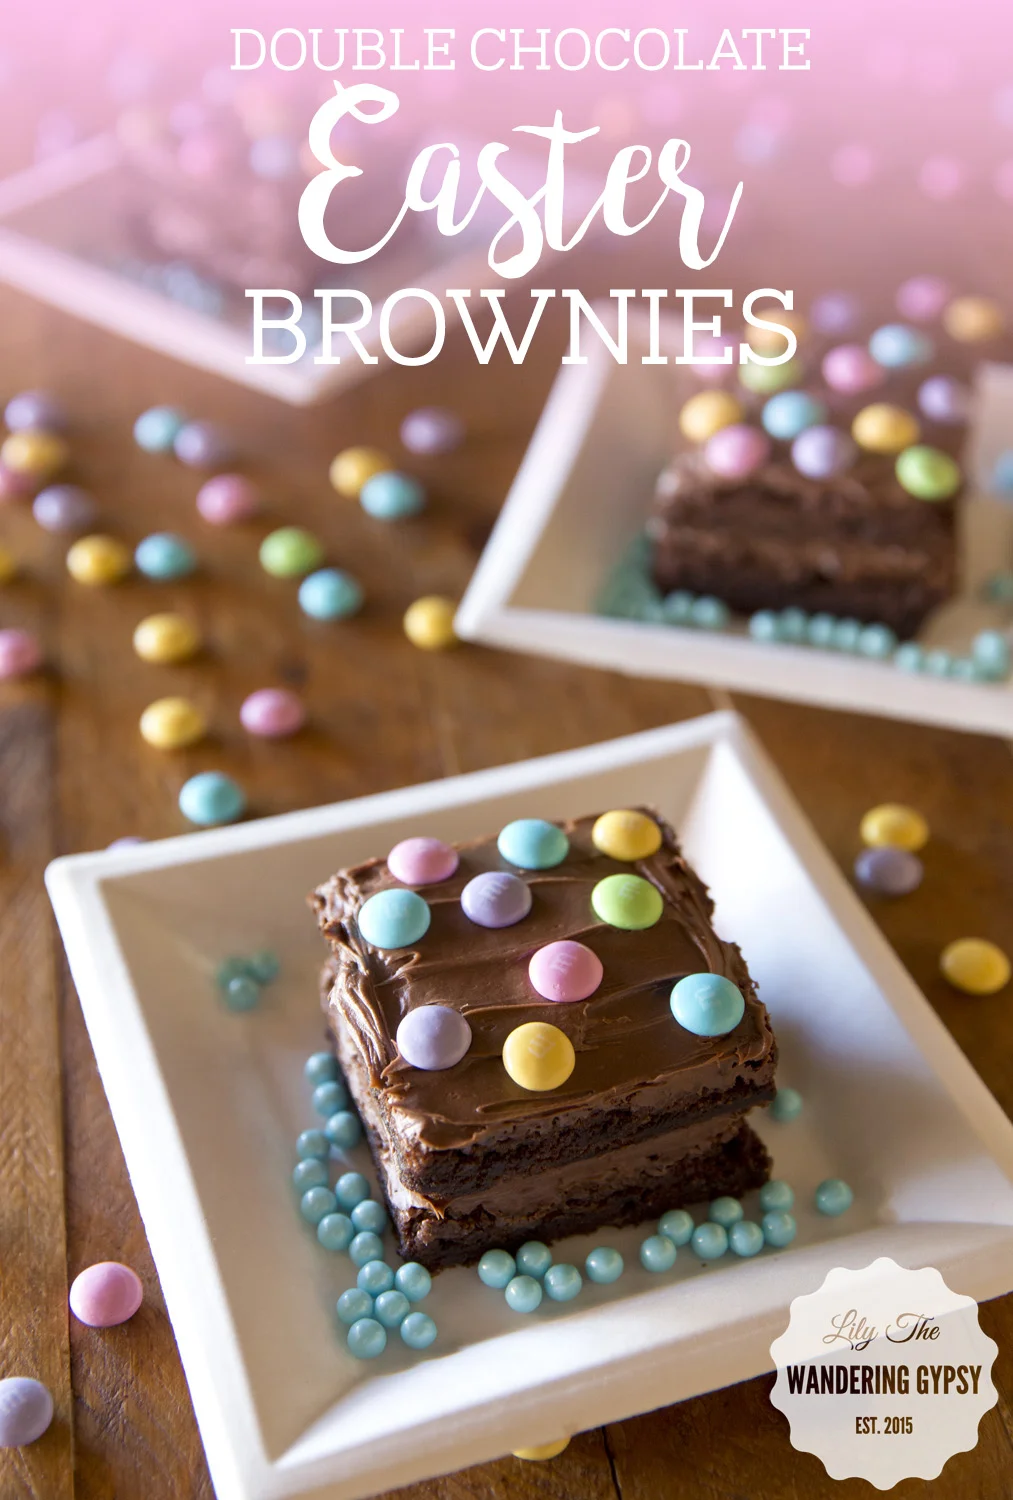
Double Layer Easter Brownies Recipe
Today was the first day of Spring, and Easter is right around the corner. I created this fun and (very) easy Easter dessert that will be a big hit. I love how chocolatey these are, and if you're craving something sweet, these will be exactly what you need.
I wanted to share this recipe, because they turned out beautifully, but required only a few ingredients.
WHAT YOU NEED:
Box of brownie mix (9"x13" size)
Chocolate Icing
Eggs, Water, Oil for brownie mix
MnM's Candies or similar (I used the Spring color mix, but any holiday colors would do!)
THAT'S IT!!!
INSTRUCTIONS:
Bake brownies as per instructions on box. Remove from oven, and once cooled completely, cut into squares that are roughly 3"x3".
Lay out the squares, and put a dollop of icing on half of them, leaving the prettiest ones without icing, to be put on top.
Place the top layer brownies on the iced brownies. Ice the top brownies, add candies, and you're done! Simple as that :) Enjoy!
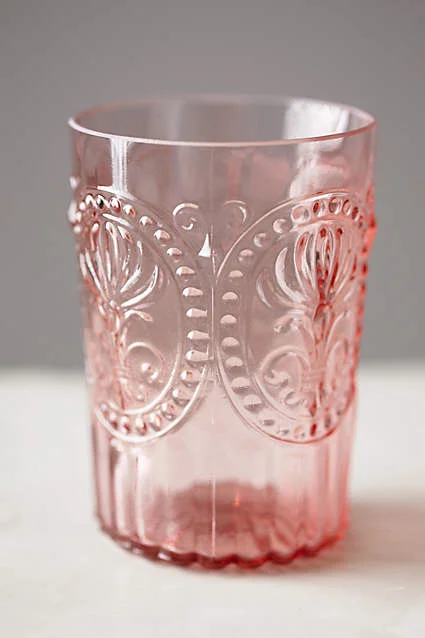
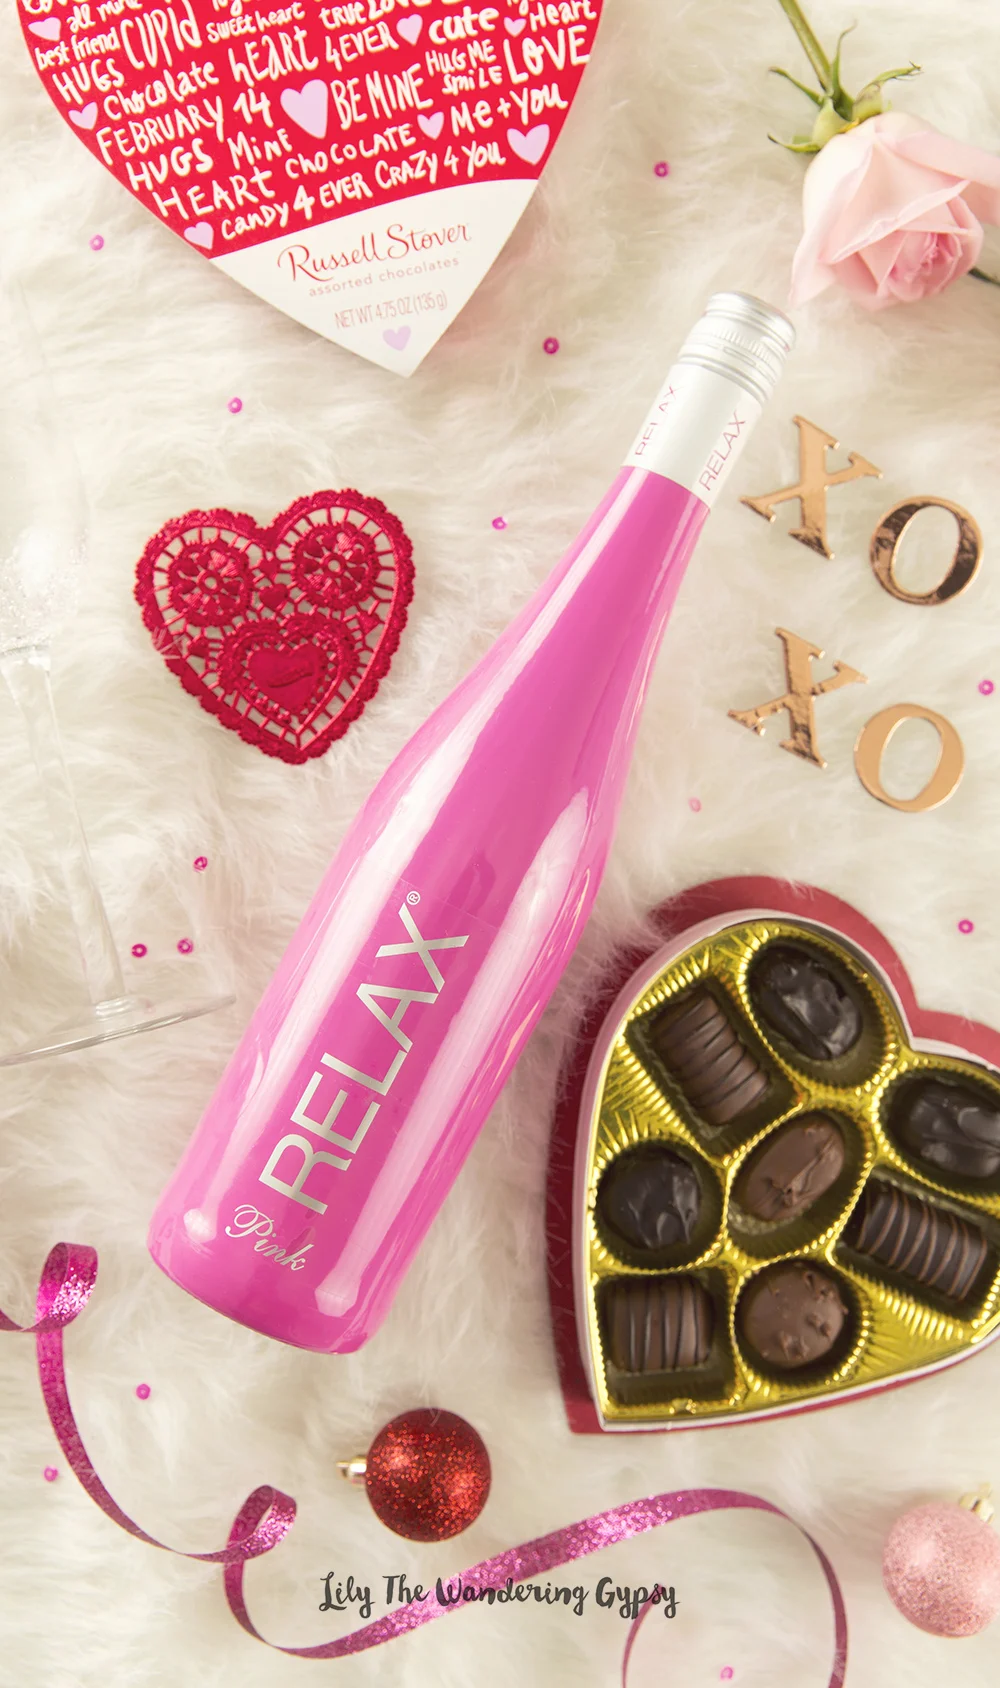
Yes Way Rosé
Valentine's Day is fast approaching and I think this Rosé wine would be perfect for a fancy date night. Drink something pink and you will be a happy woman! Rosé is a type of wine that incorporates some of the color from the grape skins, but not enough to qualify it as a red wine. It may be the oldest known type of wine.

Check out these adorable glasses in rose, lilac, and clear! They would be perfect for rosé!


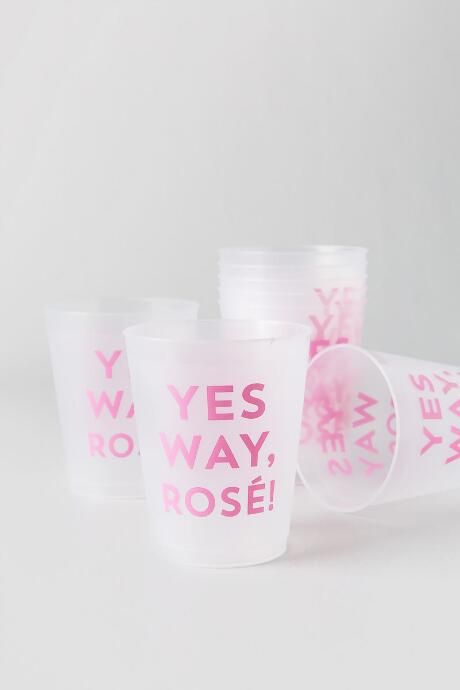

A cute and comfy crewneck sweatshirt - perfect for wearing while drinking wine.

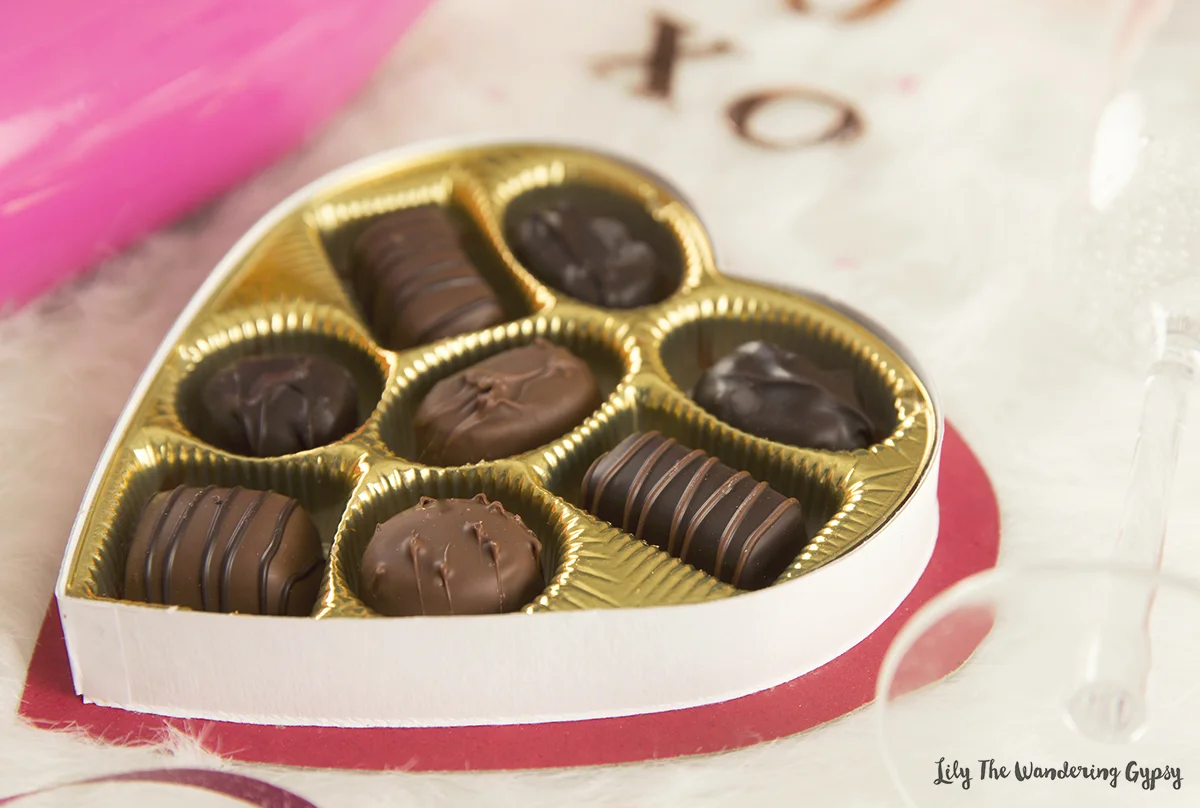
A Box Of Chocolates Is Always A Good Idea...
Have any fun plans for Valentine's Day? Love Rosé? Let me know in the comments below :)

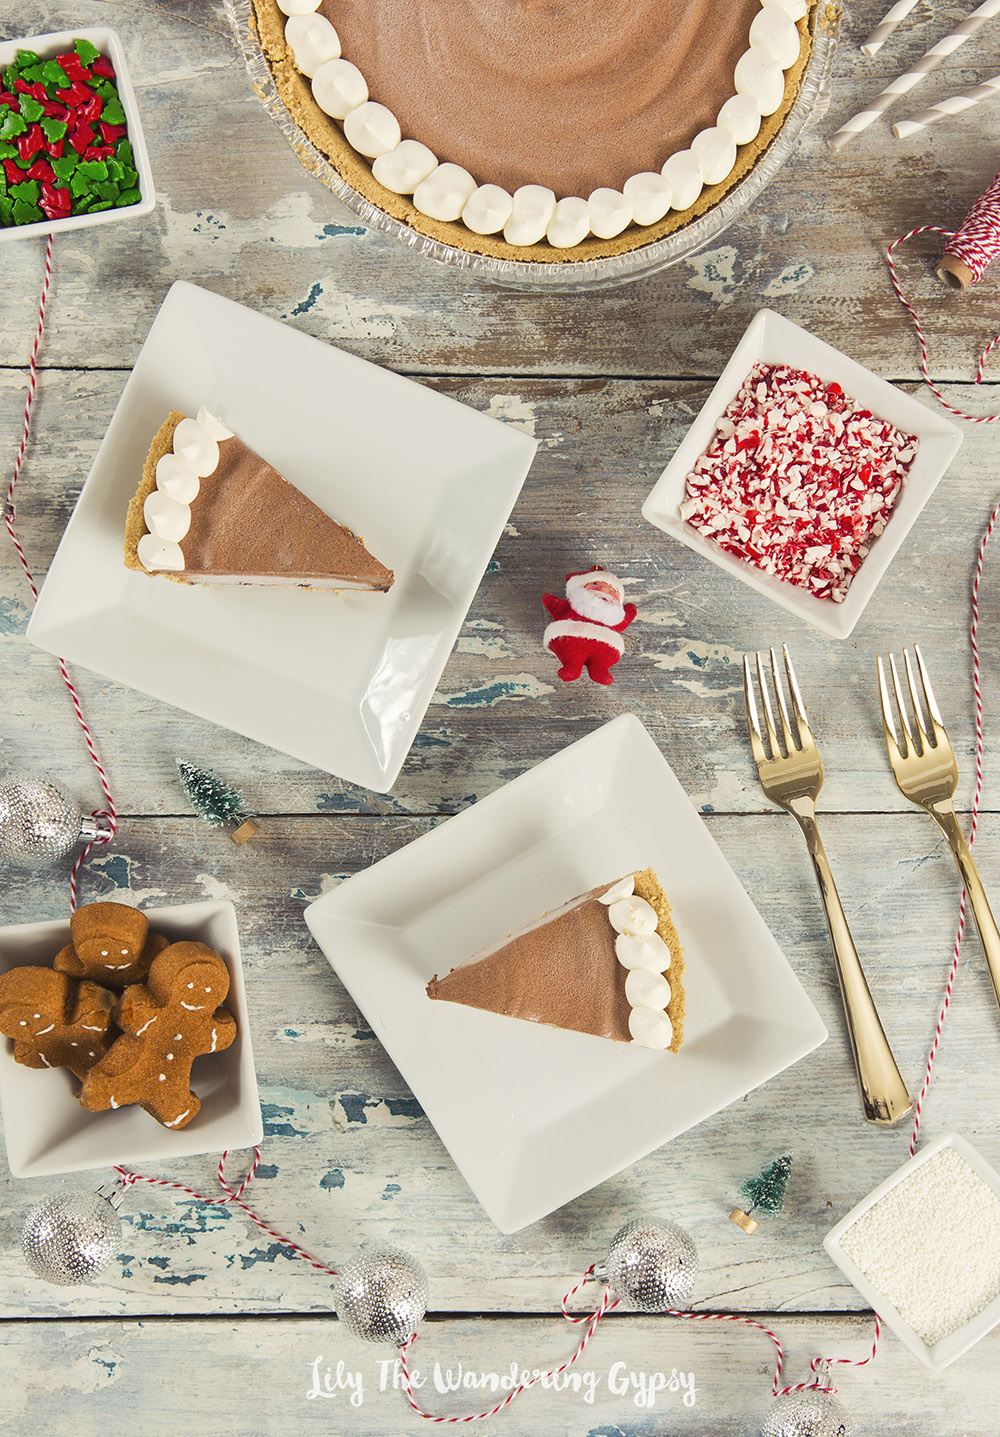
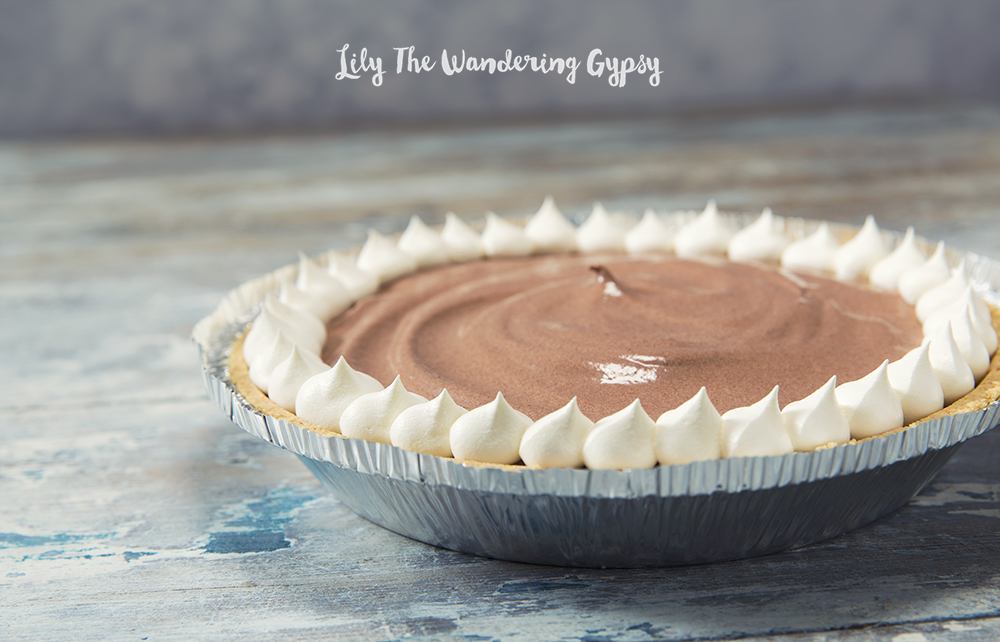
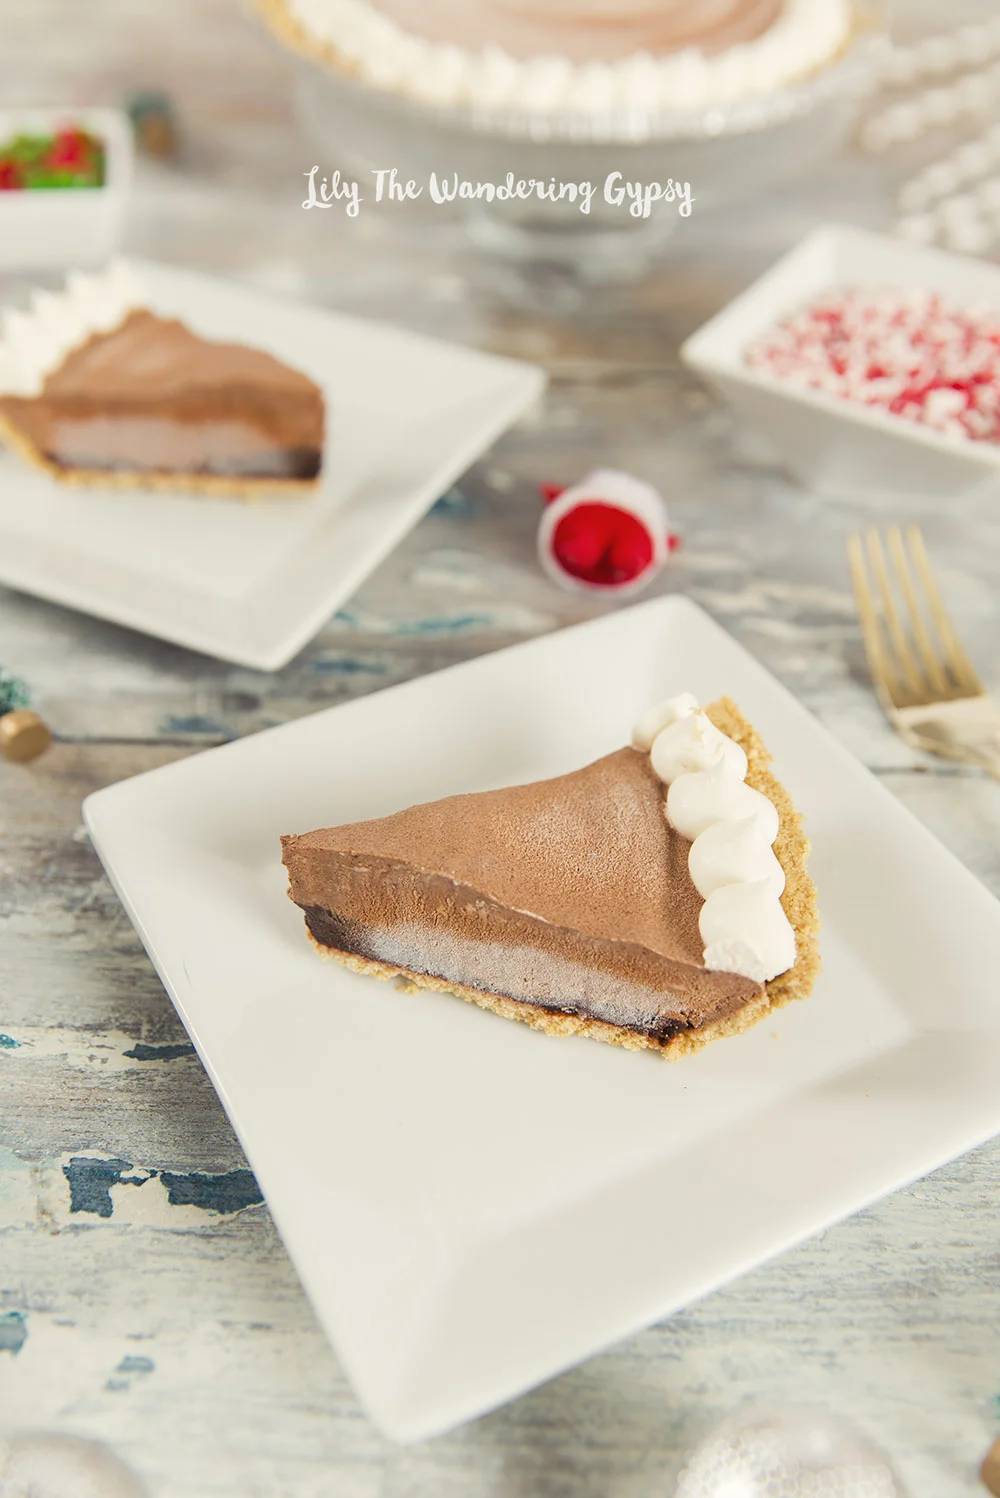
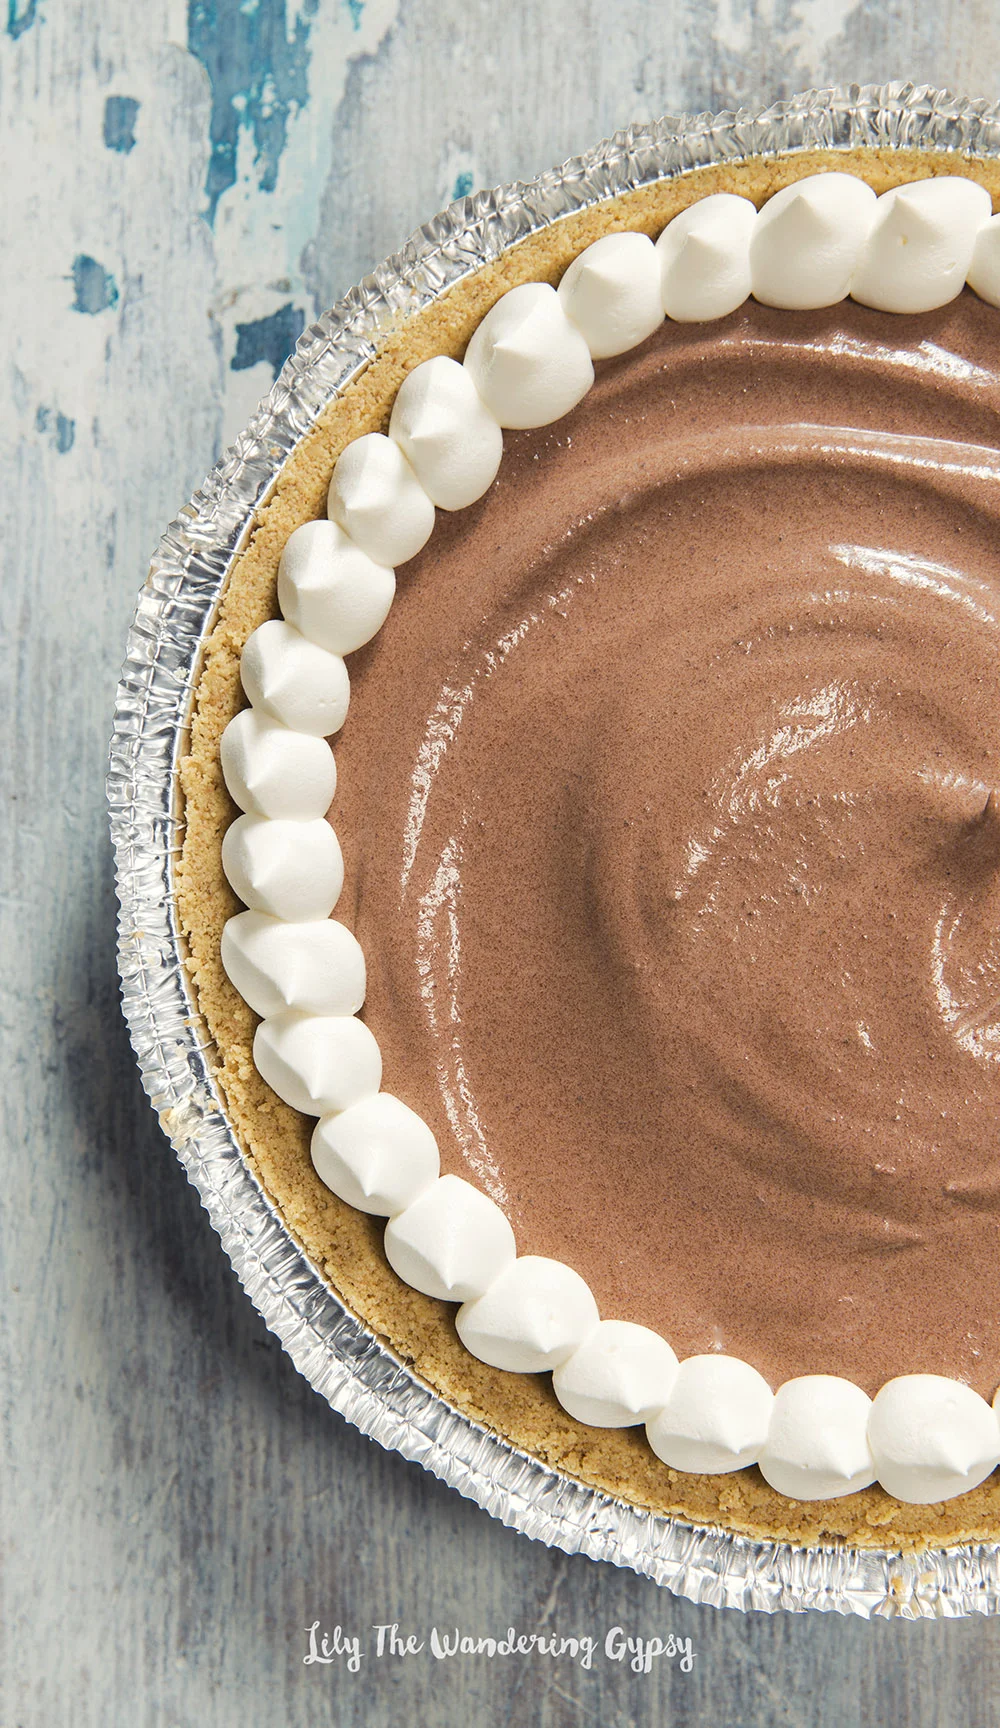
Frozen Hot Chocolate Pie Recipe
I am writing this as I eat a piece of this magical pie! I love how it turned out, and now I have a chocolatey treat for days to come. The best part is that this pie was incredibly easy to make, and the ingredients cost less than $5!

INGREDIENTS:
1 Pie Crust, Cool Whip, Chocolate Pudding (Instant), Milk
INSTRUCTIONS:
Mix 2 Cups milk into pudding and stir, Let sit for about 5 minutes.
Add 1 Cup of the Chocolate Pudding into the bottom of the pie crust, and smooth out.
Mix 1 Cup Cool Whip into the rest of the pudding and stir until well combined. Add this mixture to the pie crust and smooth out.
Now, put some of the extra Cool Whip into a small Ziploc bag and cut end off. Practice first, but dollop little dots of Cool Whip around the edges of the pie. Feel free to decorate with sprinkles for a more festive look! Freeze for 1 hour, and slice yourself some chocolate pie! If you freeze it overnight, it will be more the consistency of a pudding pop. So good either way! Enjoy!!!
Ooey Gooey Marshmallow Cones
Bonfire season is in full swing! I have a yummy treat that just about anyone will enjoy! You can either make these over a campfire, or even in your oven at home, suer easily. This recipe was featured on the Missouri Department of Tourism Blog! So honored to collaborate with them!

INGREDIENTS:
Hershey's Candy Bars (roughly 1 candy bar per cone or a bit less)
Mini Marshmallows
Waffle Cones (store bought works perfectly)
Foil
CHECK OUT MY MISSOURI DEPARTMENT OF TOURISM PORTFOLIO HERE.
INSTRUCTIONS:
1.) Break the Hershey's Bar into pieces, and set aside.
2.) Take one cone in your hand, and fill the bottom 1/3 with mini marshmallows. Add a couple of pieces of chocolate, then more marshmallows. Once you get towards the top, fill the rest of the way with marshmallows, then put a few more pieces of chocolate on top.
3.) TO HEAT: Wrap the whole cone (and luscious filling) in a couple of layers of foil. Place near campfire (not directly on the flame - you're just trying to melt the filling.), for about 8-10 minutes, being extremely careful to remove from the embers/coals. Once cooled a bit, unwrap the foil and behold the most wonderful thing you can eat while you're camping!
- If you want to easily make these in the oven, fill the cones with marshmallows and chocolate as described above, and wrap in foil. Preheat the oven to 300 degrees, place each foil-wrapped cone in a heat-safe coffee mug (ceramic go glass only). Make sure the pointy end of the cone is facing downward into the mug. Bake for about 7 minutes, carefully remove from the oven, and once cooled, unwrap foil to see if everything has melted enough. Enjoy!!!


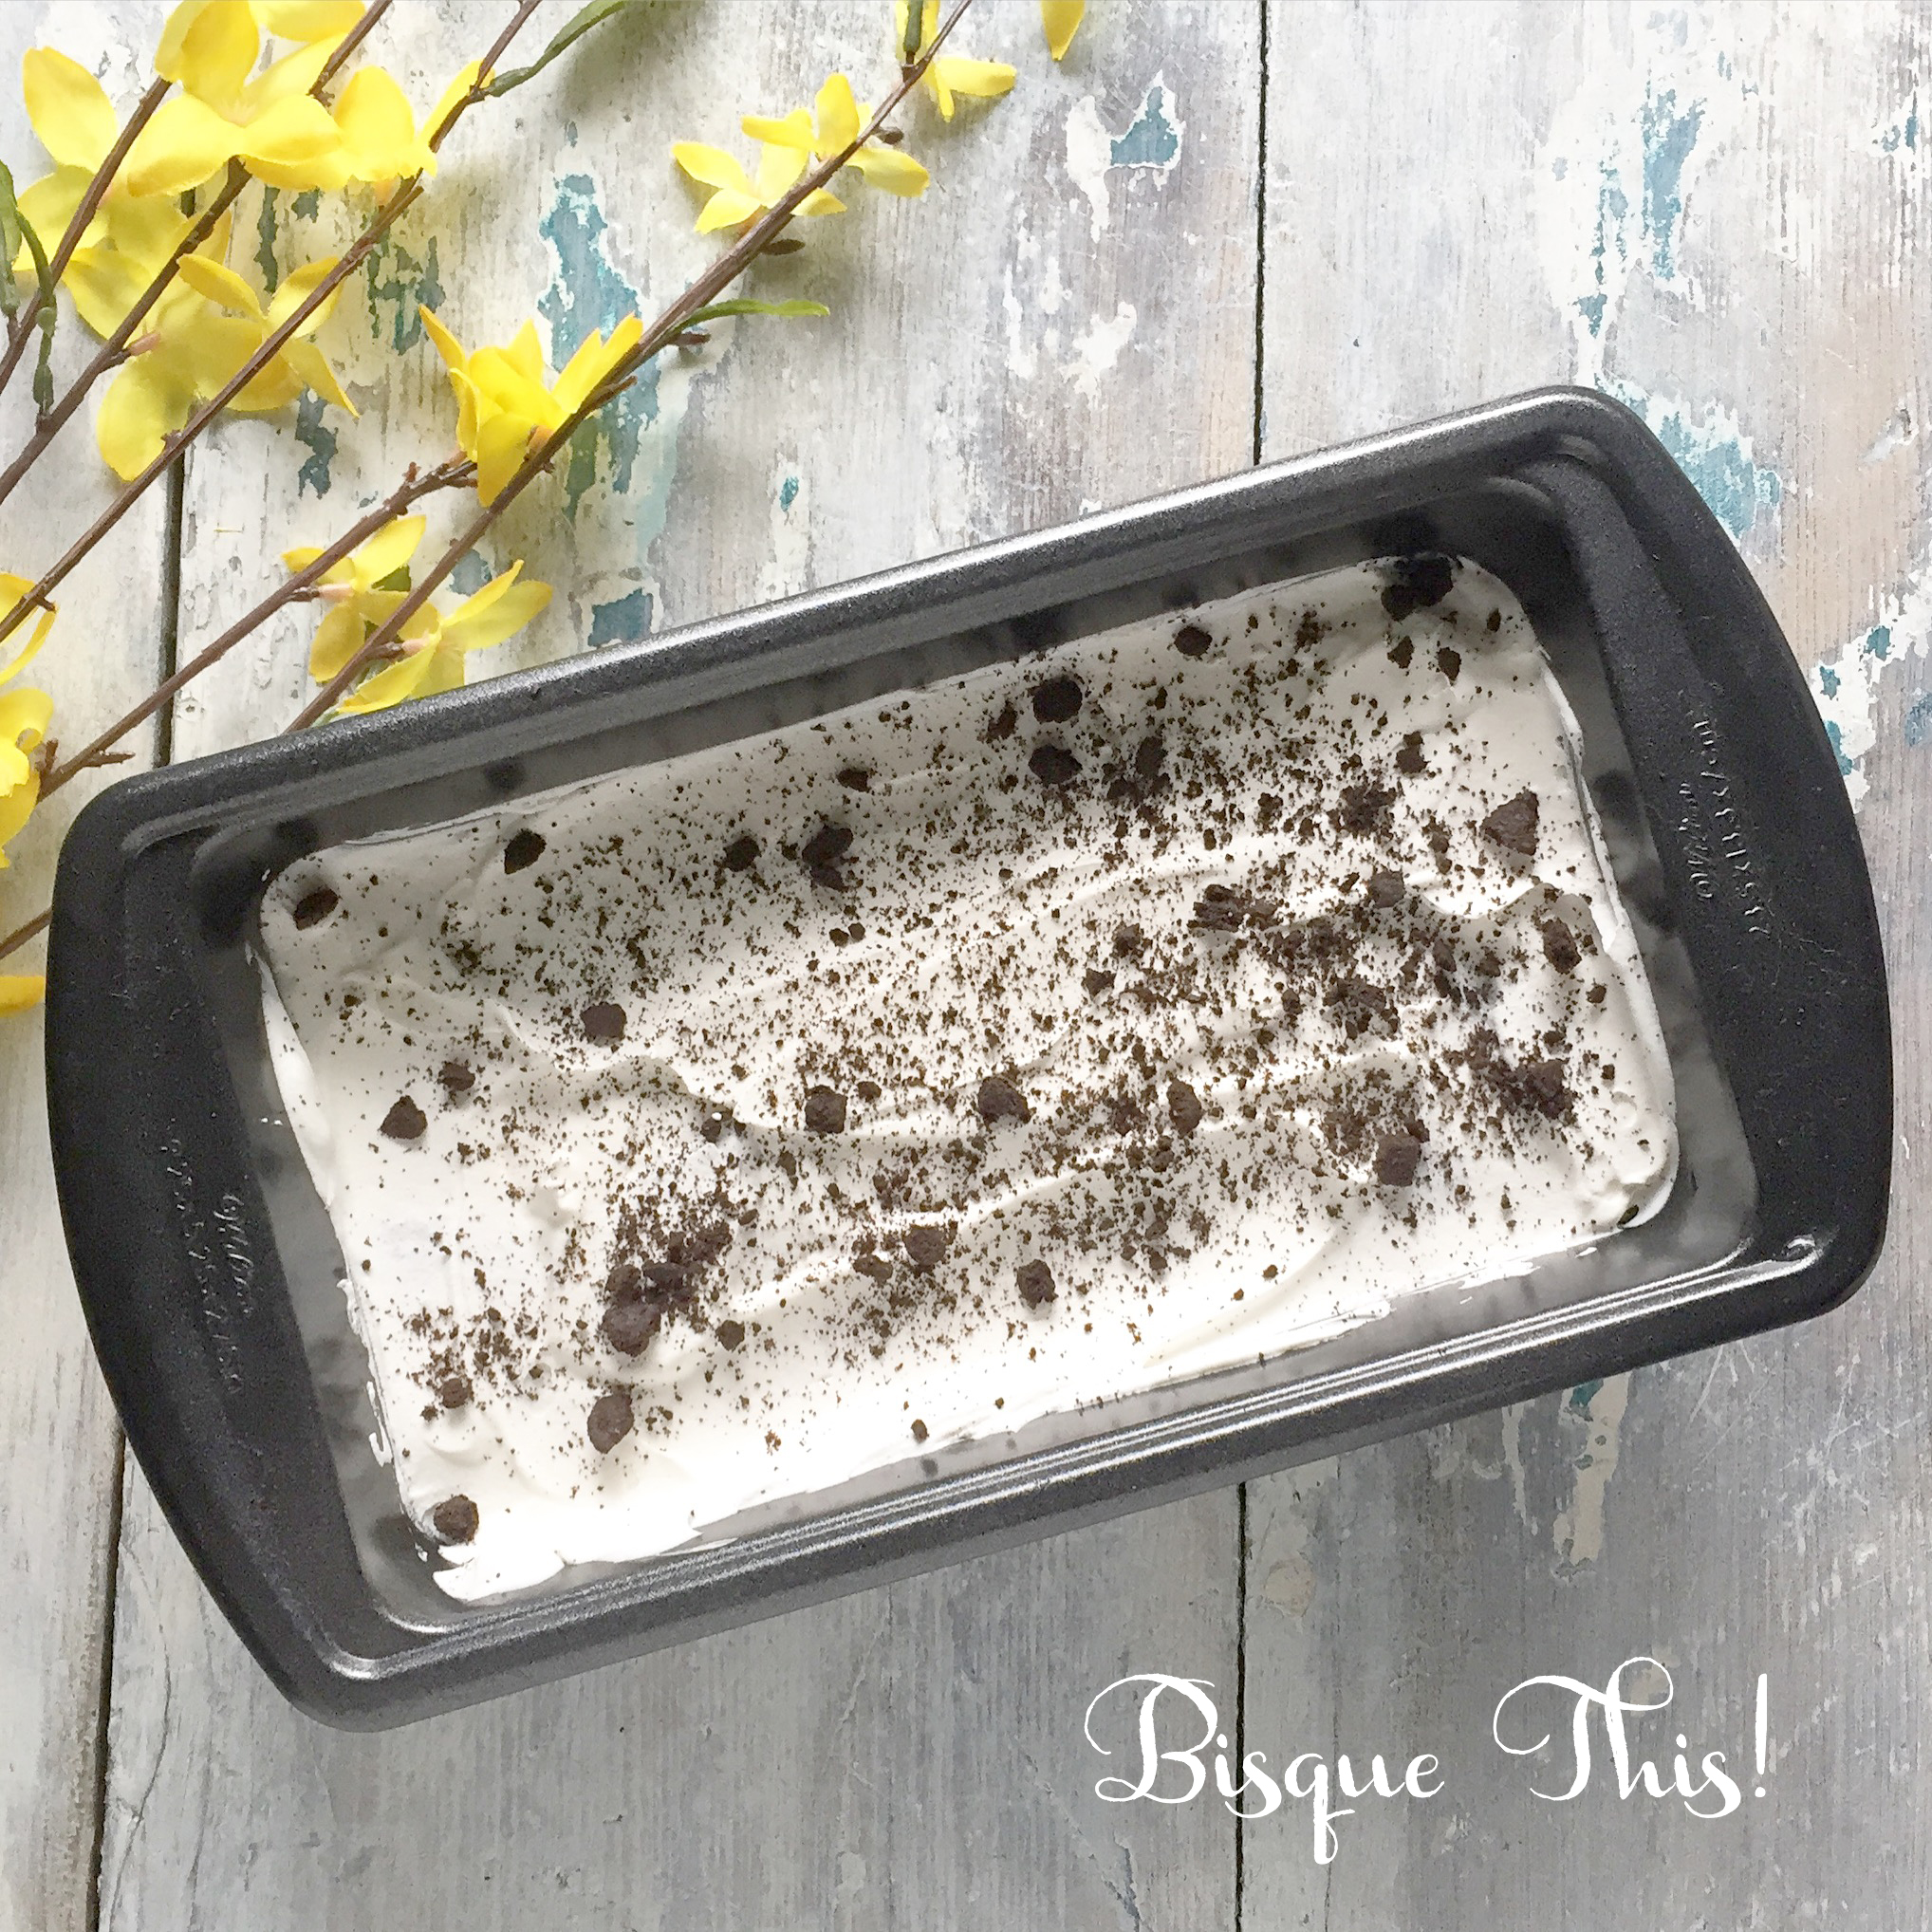
Super Easy 2-Ingredient Ice Box Cake
Yum! This no-bake cake turned out so well! My grandma used to make this for me every time I visited. She didn't cook or bake very often, but I remember when she made this, and her famous meatballs, and they were both some of my favorites EVER!
I always loved it and finally made some myself. This cake is great to make on a warmer day, because you don't even have to turn on the oven. It only requires 2 ingredients, Chocolate Wafers, and Cool Whip, so that's an added bonus as well! Check out my food blog, Bisque This! for this recipe and lots more!
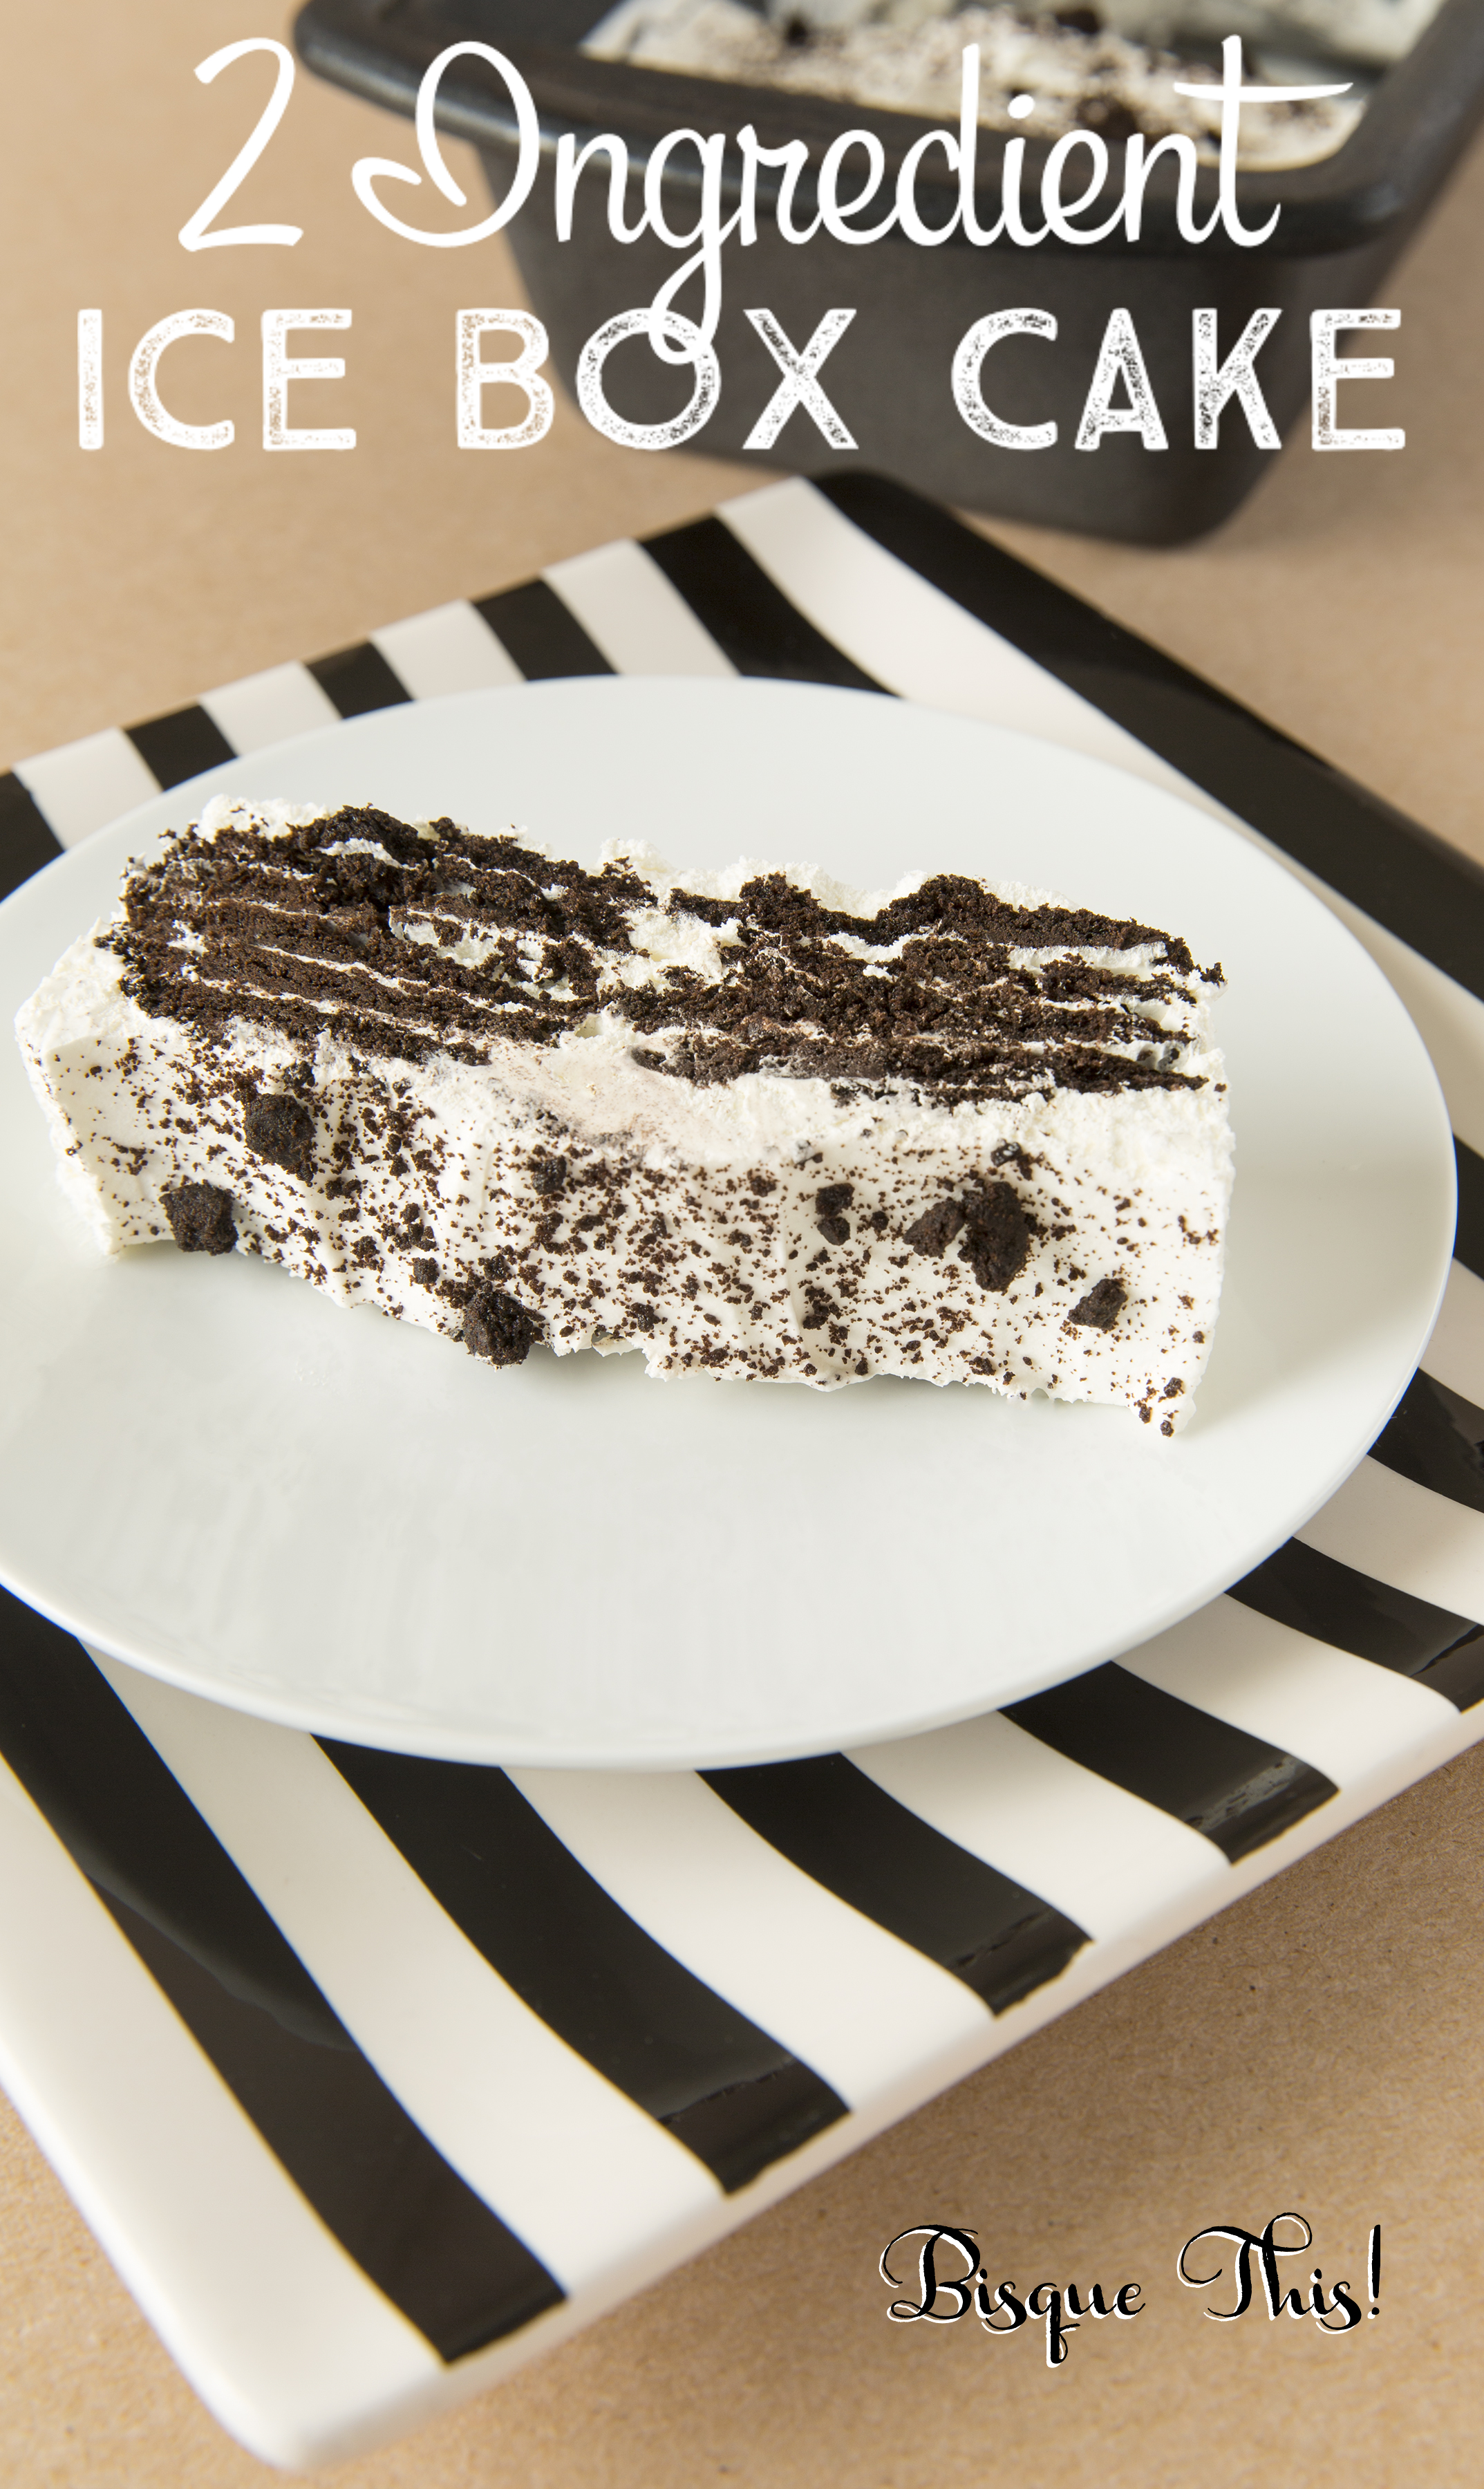
It's super simple! Grab a loaf tin and your 2 simple ingredients. First, spread 2-3 Tbsp of Cool Whip on the bottom of the tin evenly. Then, add a layer of chocolate wafers. They fit perfectly with 2 across. At the short side of the tin, a whole cookie wouldn't fit, so I added some cookies that were already broken in half.
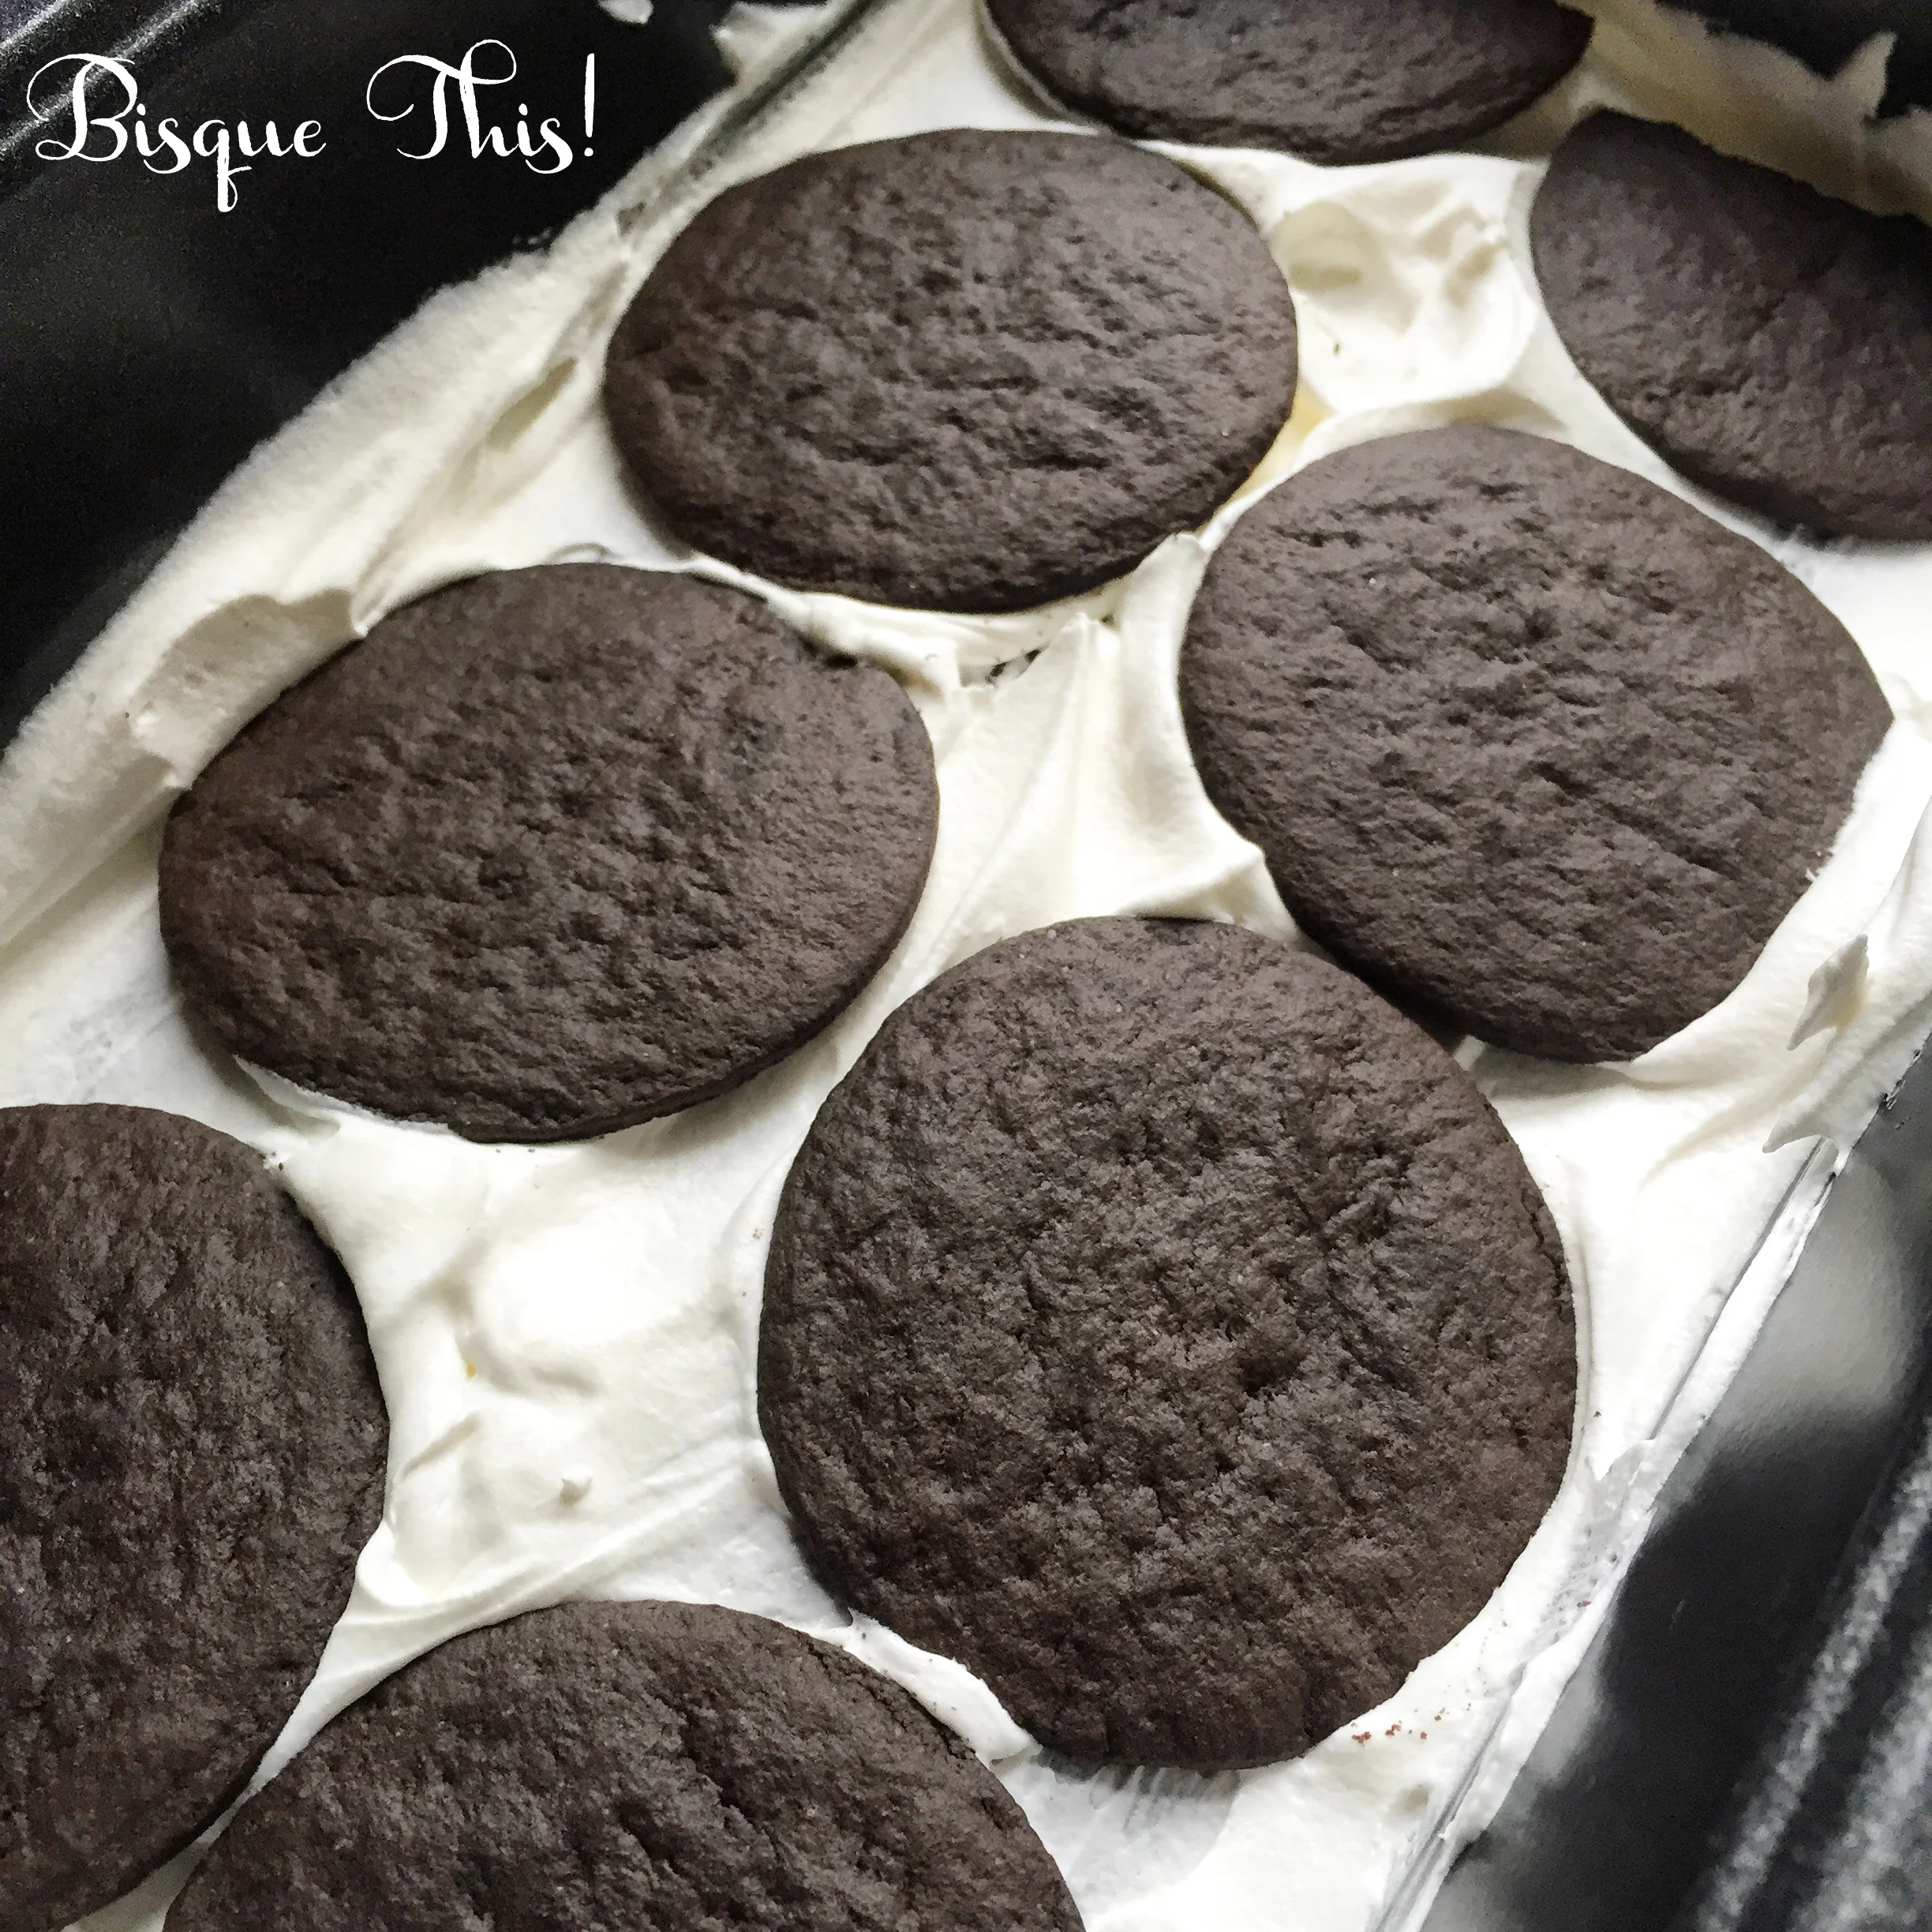
Keep layering the Cool Whip and Chocolate Wafers until you are out of ingredients. I liked when the layers of Cool Whip were thicker, but whatever you wind up doing will be great! I also crushed up some of the broken cookies (in my fingers) and lightly sprinkled them on top of the cake for a bit of added cuteness!
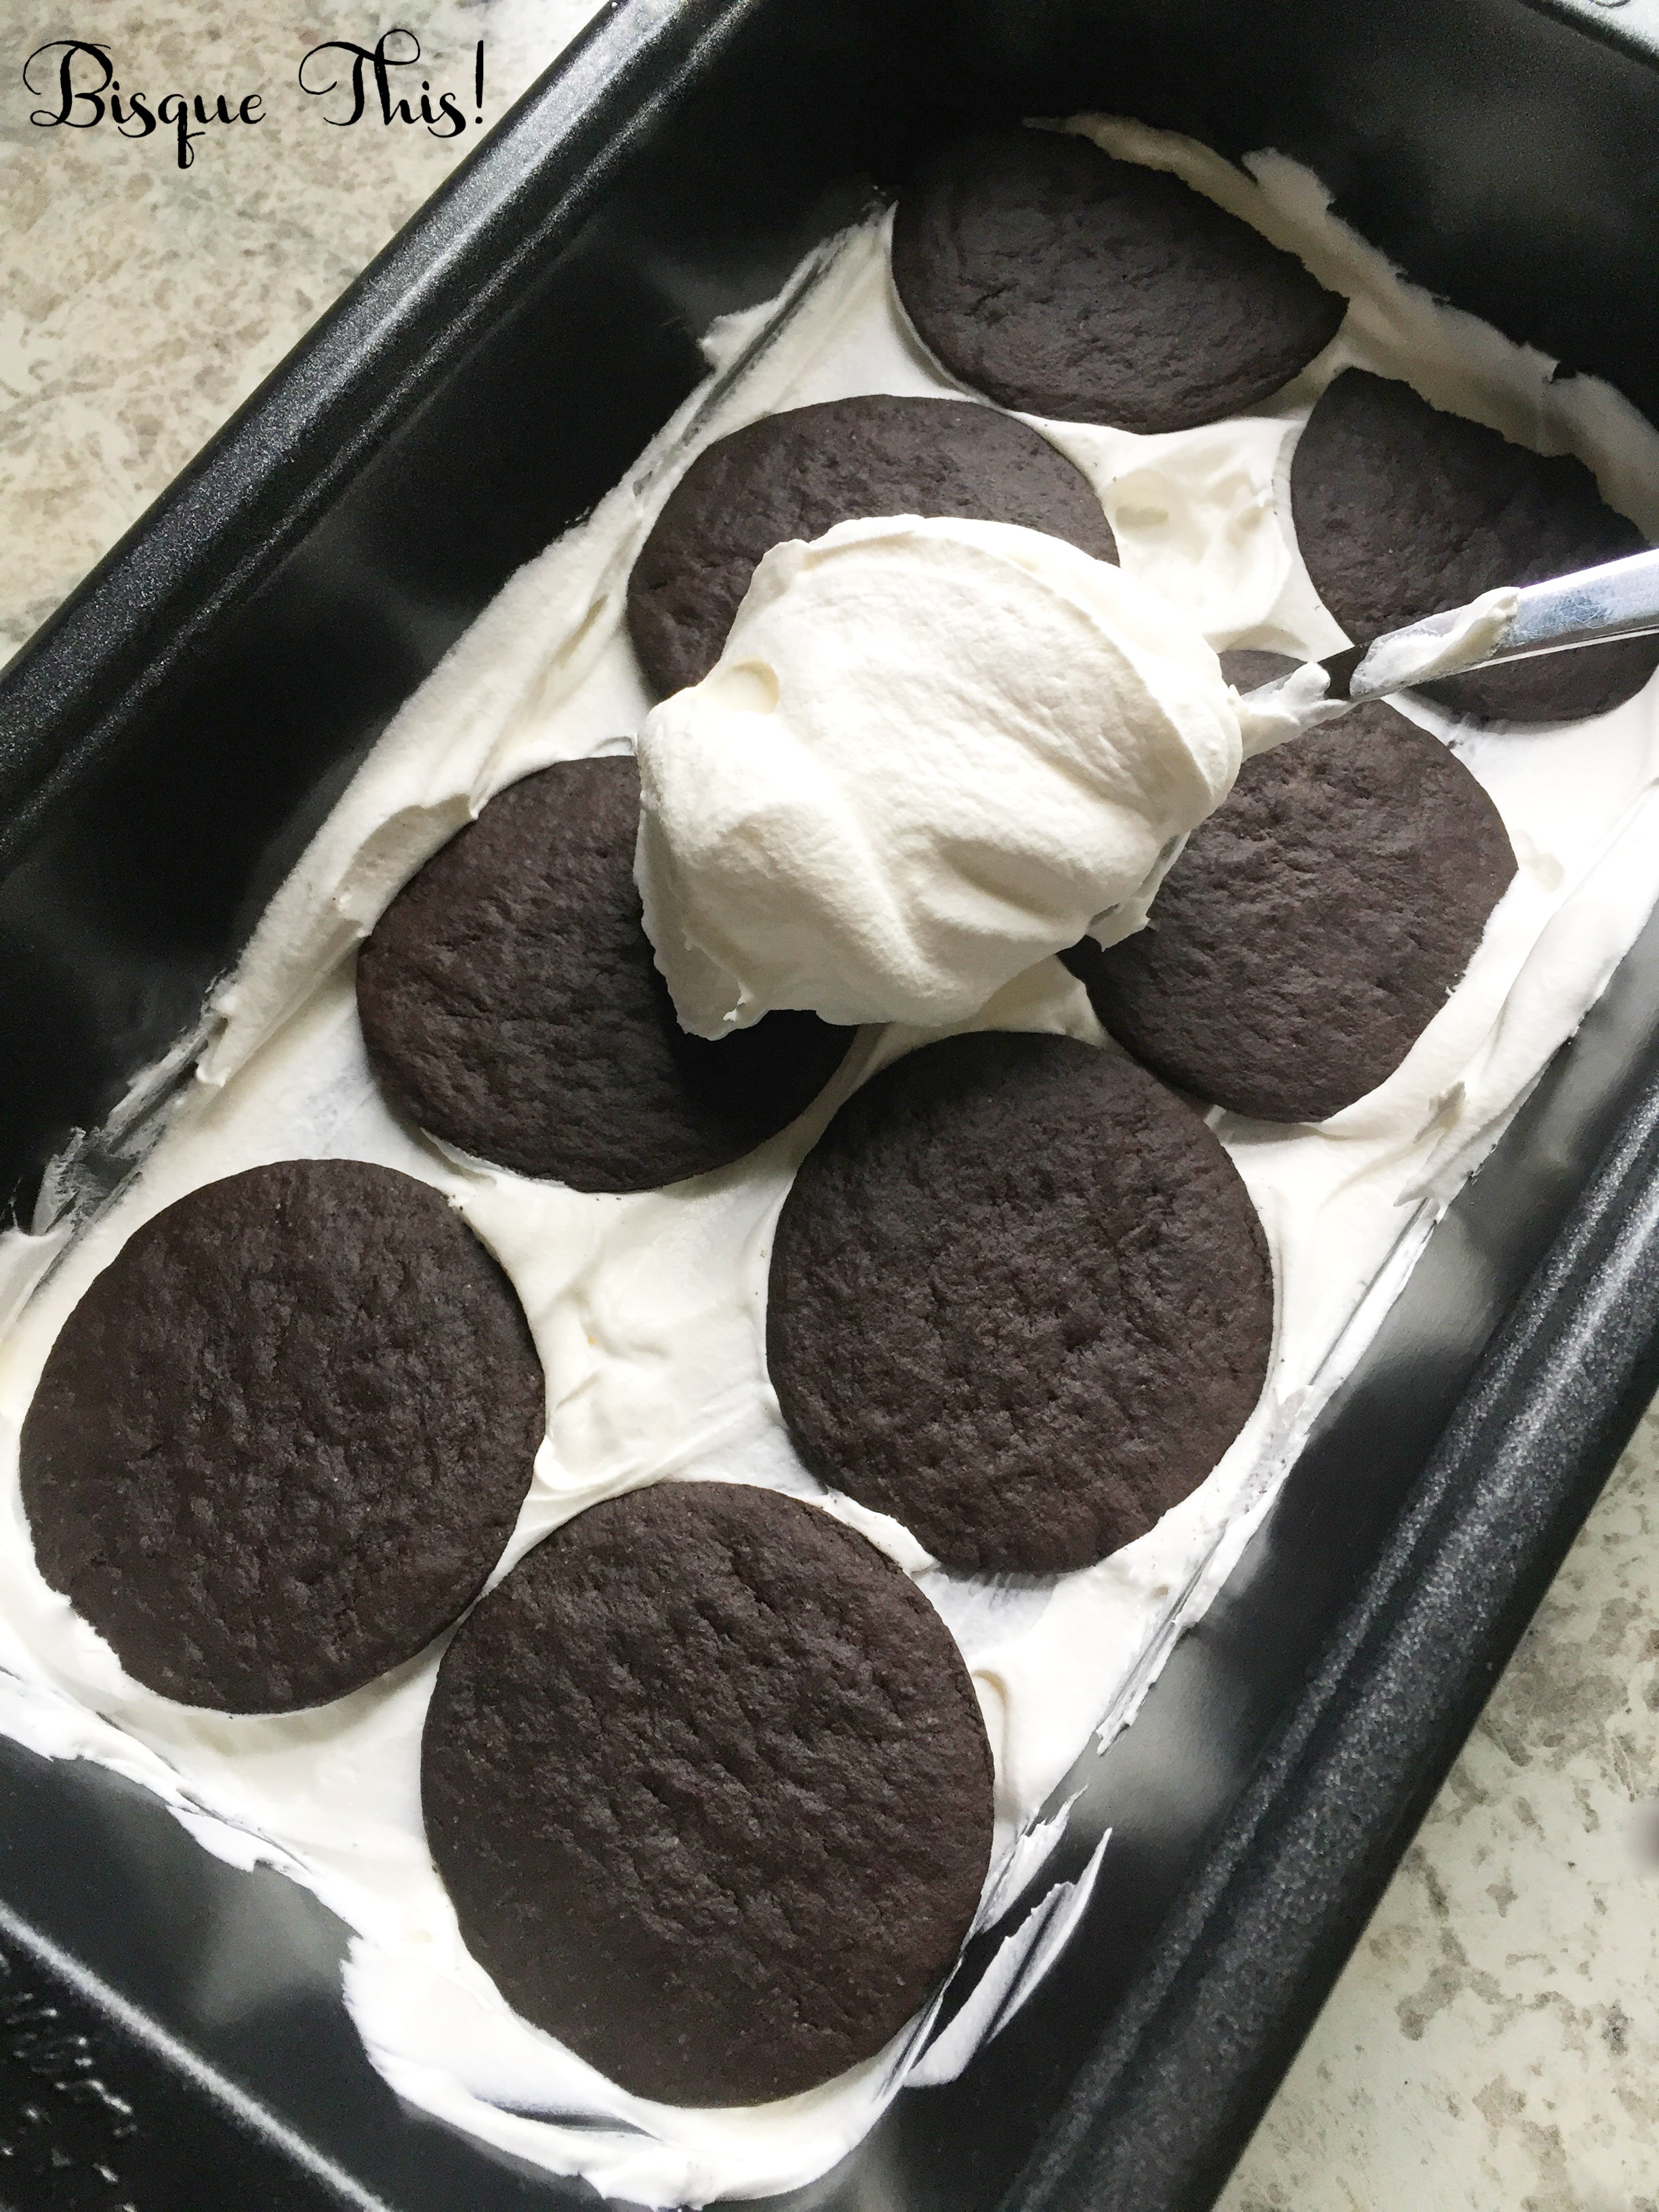
Pop the "cake" into the fridge or freezer, and let it combine over night. Voila! You have an incredibly easy, no-bake Cookies and Cream Ice Box Cake! I initially let this sit in the fridge overnight, but froze it to take photos of it. I tried it both ways, and liked it frozen a lot better.