This shop has been compensated by Collective Bias, Inc. and Hallmark Brands. All opinions are mine alone. #HallmarkForMom #CollectiveBias
I'm so honored to have gotten the chance to create some gorgeous Mother's Day Gifts, inspired by the woman in my life who loves gardening almost as much as her three children. On her days off work, or during any spare time she has, most likely you can find her in the yard, pulling weeds, or planting something she got from someone in her garden club. She has such a green thumb, and these beautiful, Garden-Themed Mother's Day gift ideas are inspired by her!
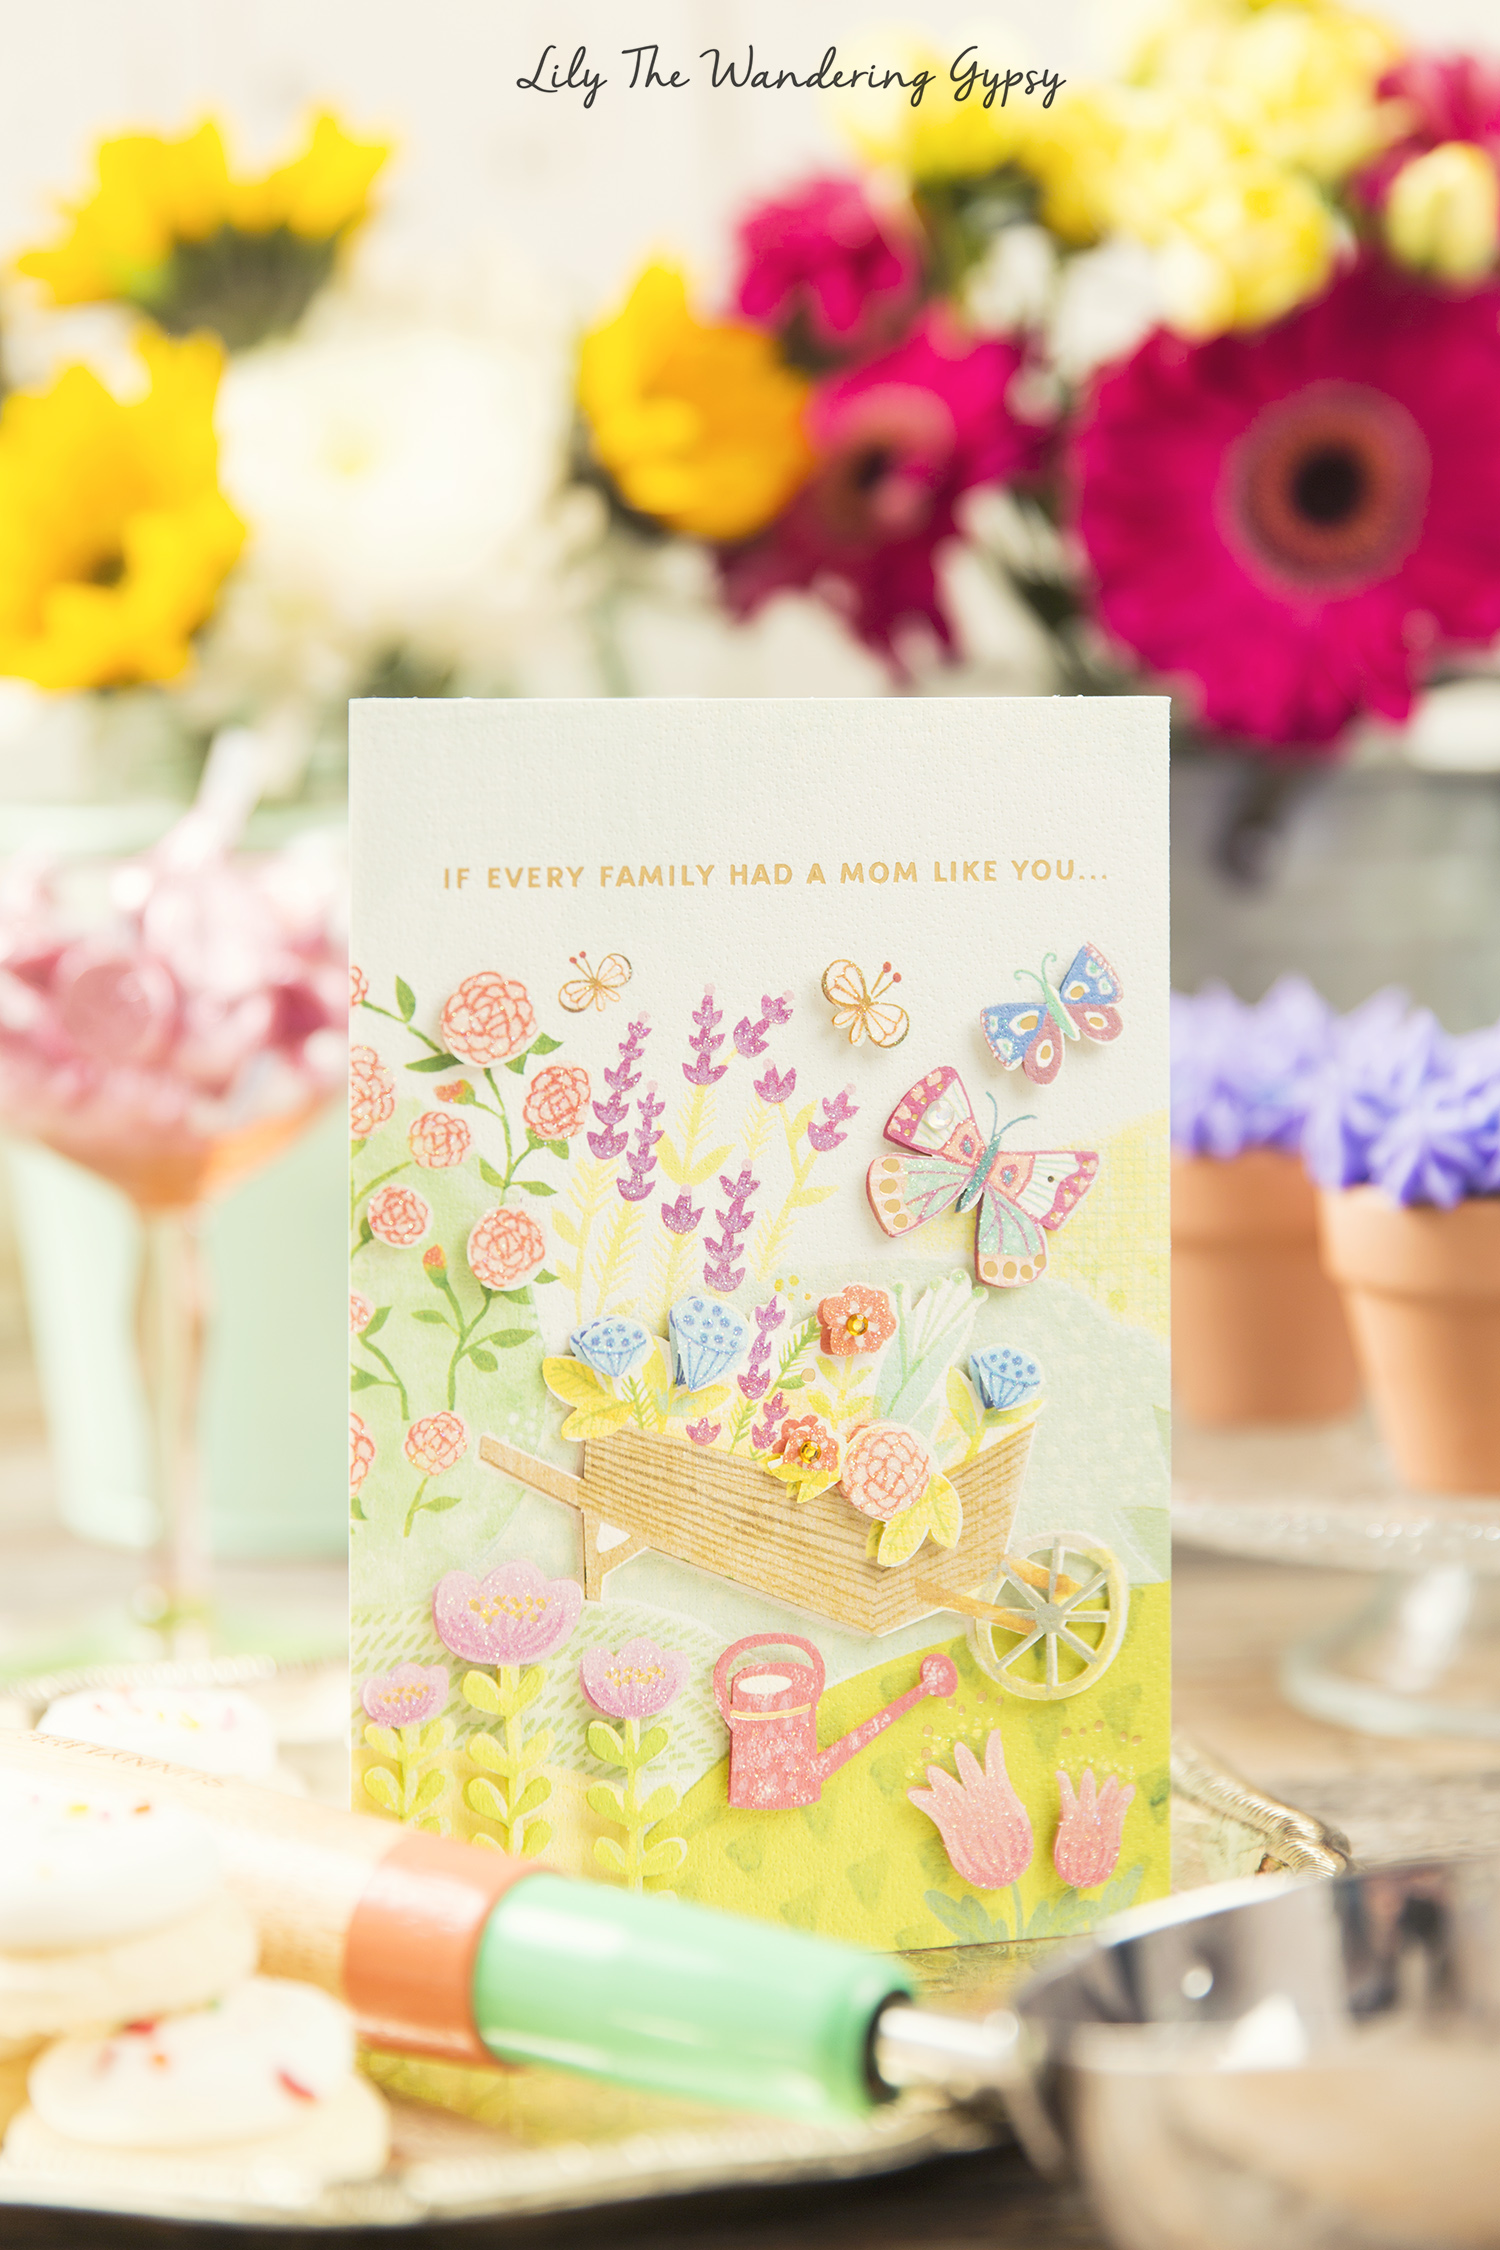
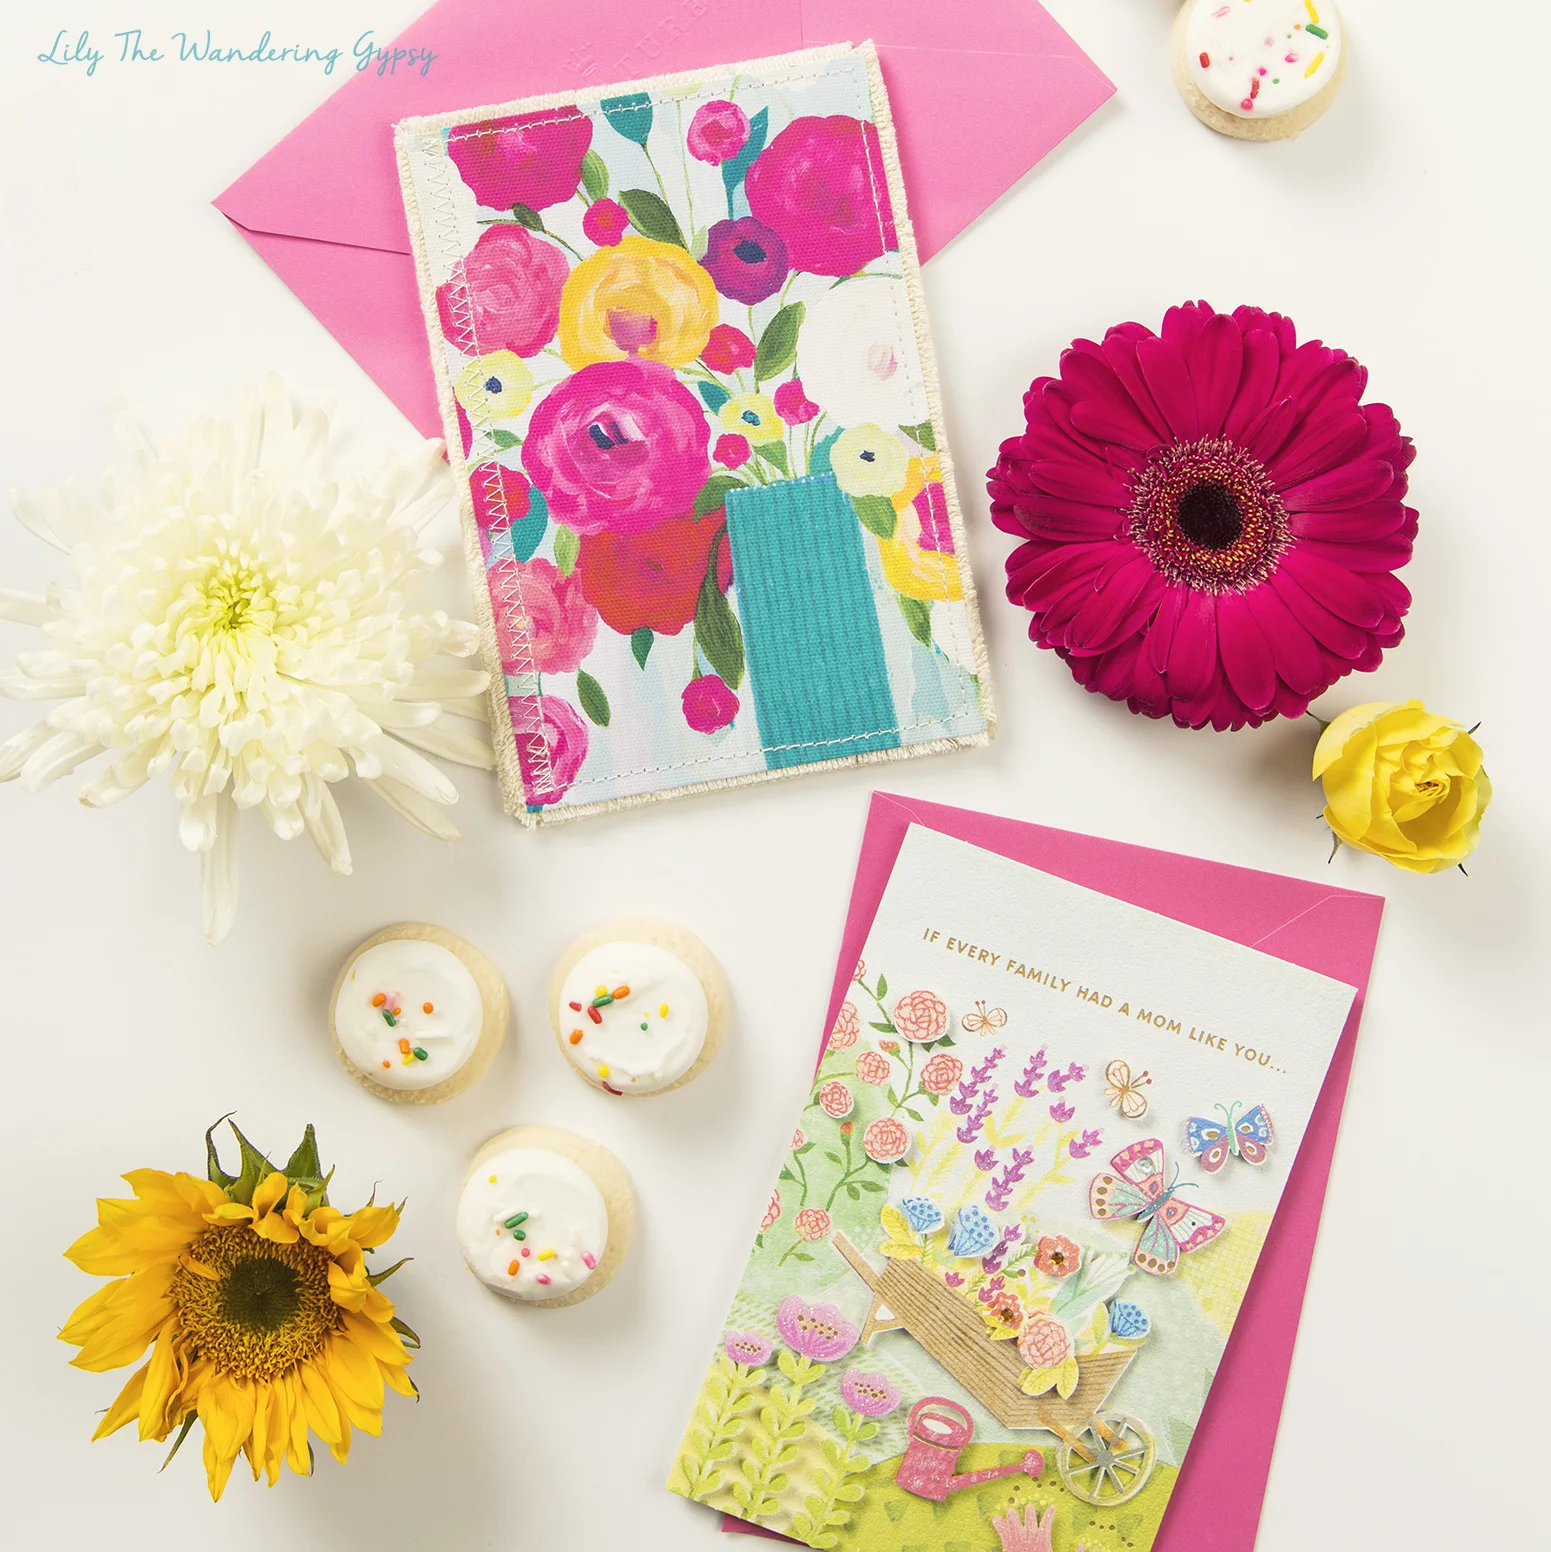
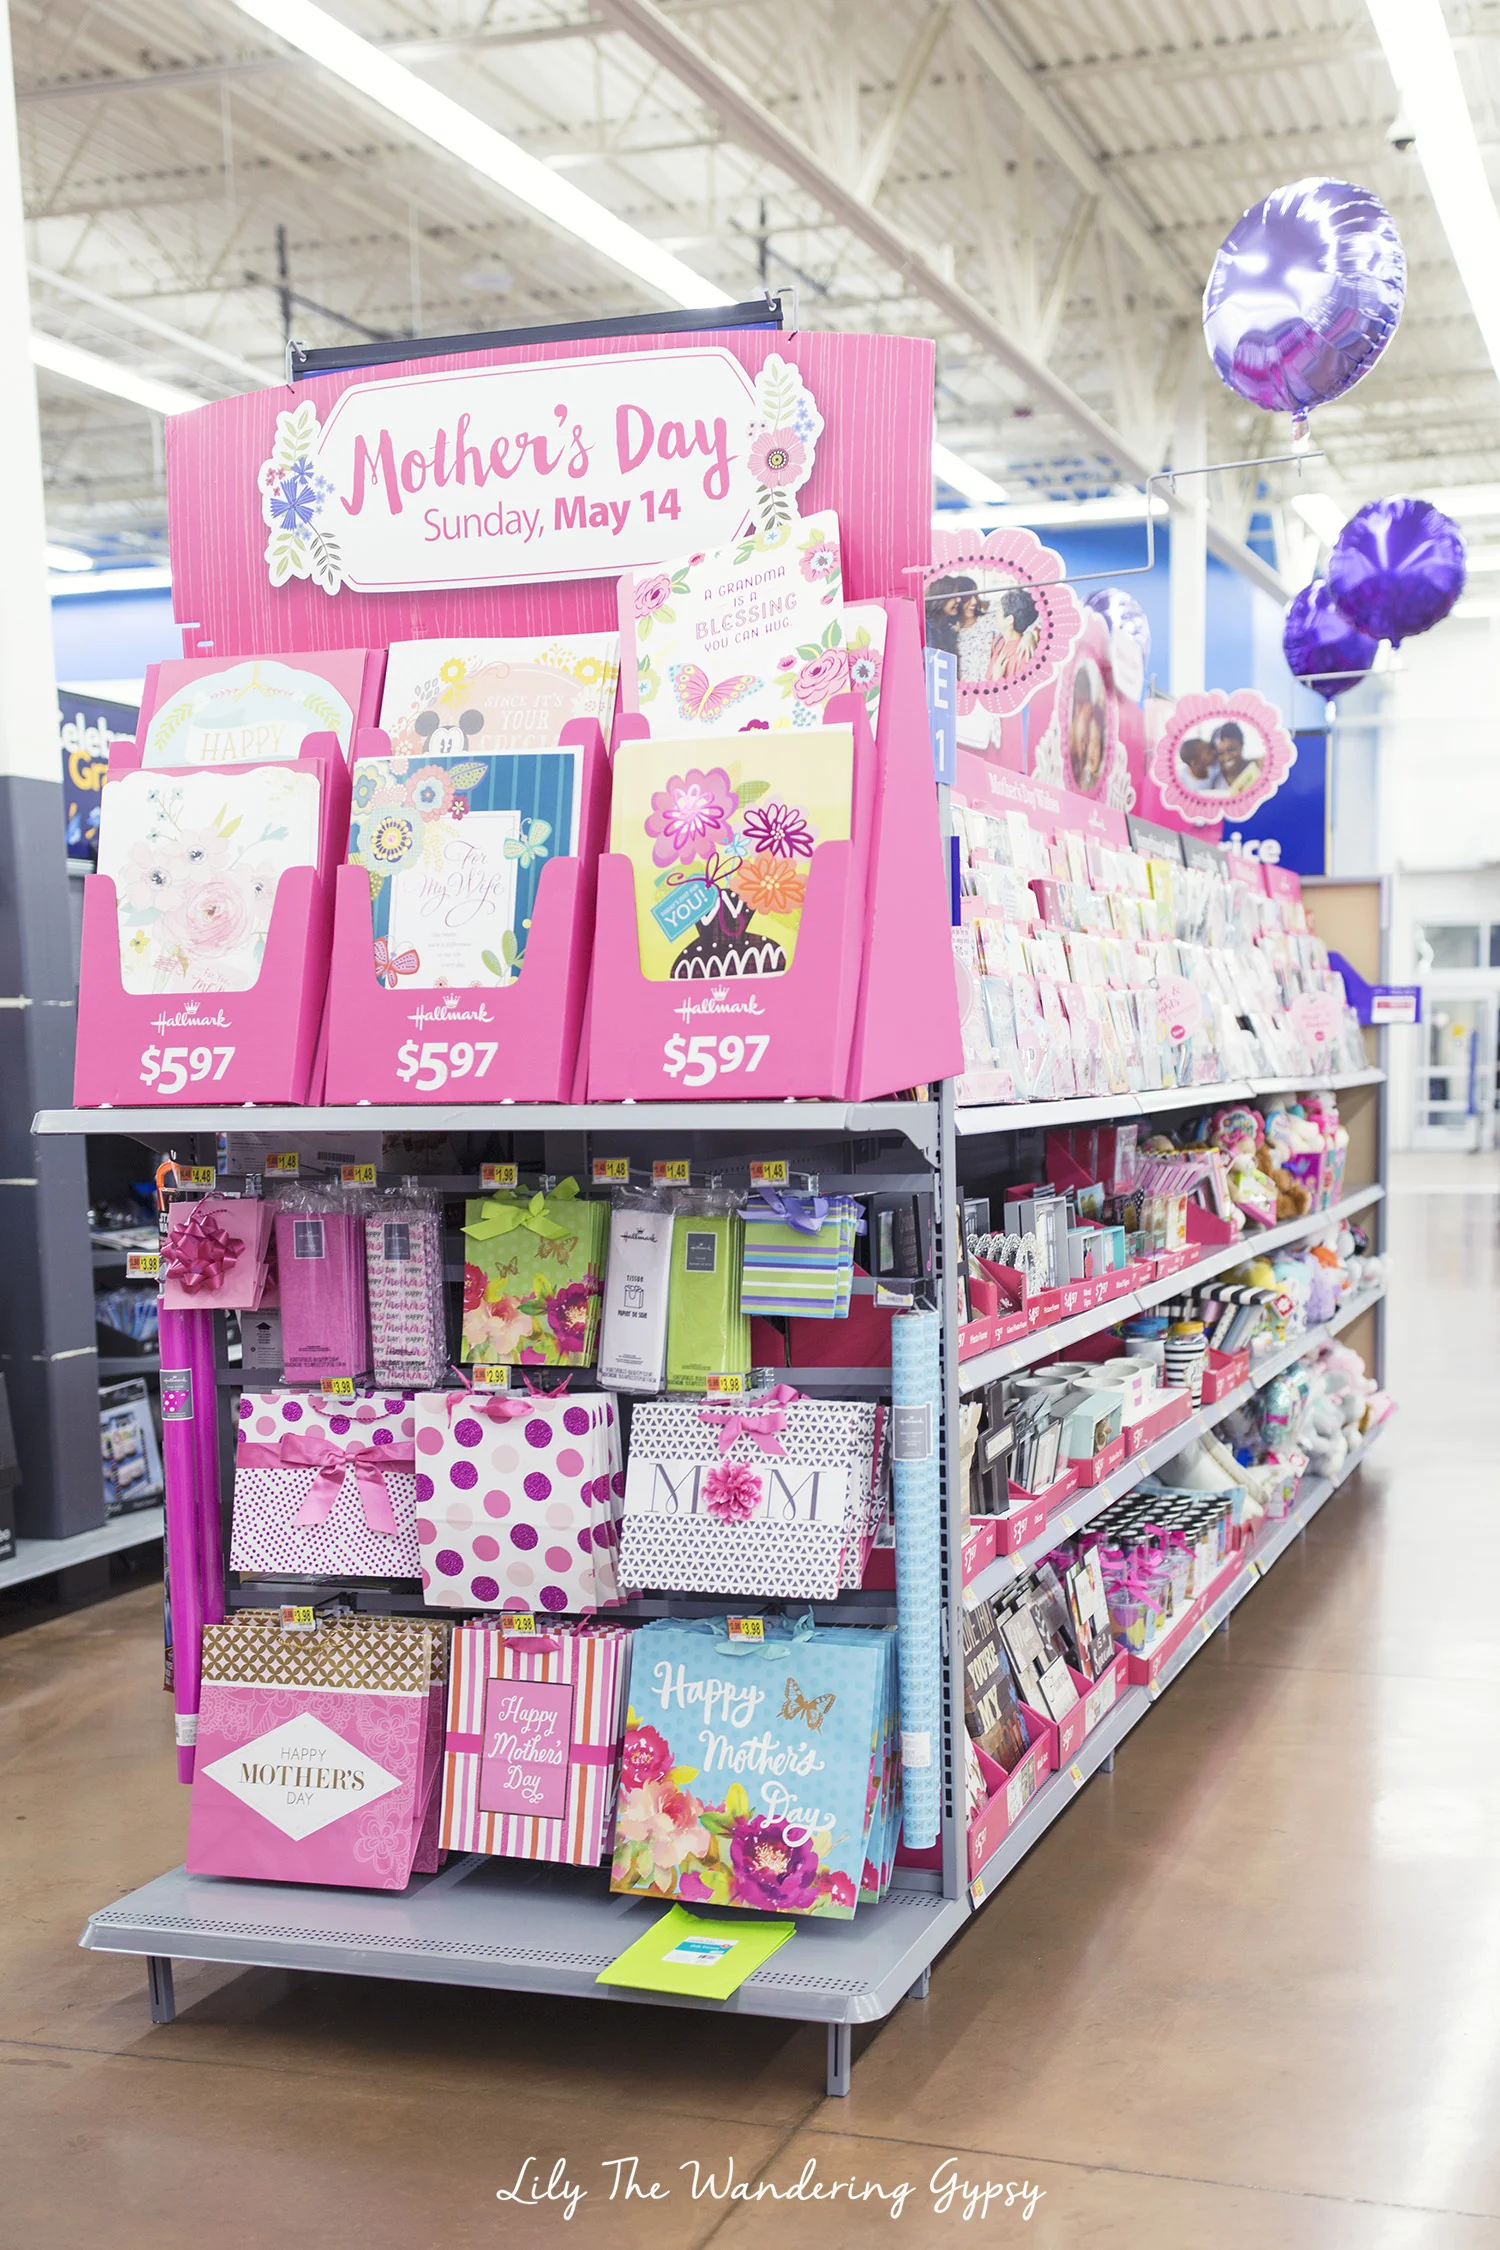
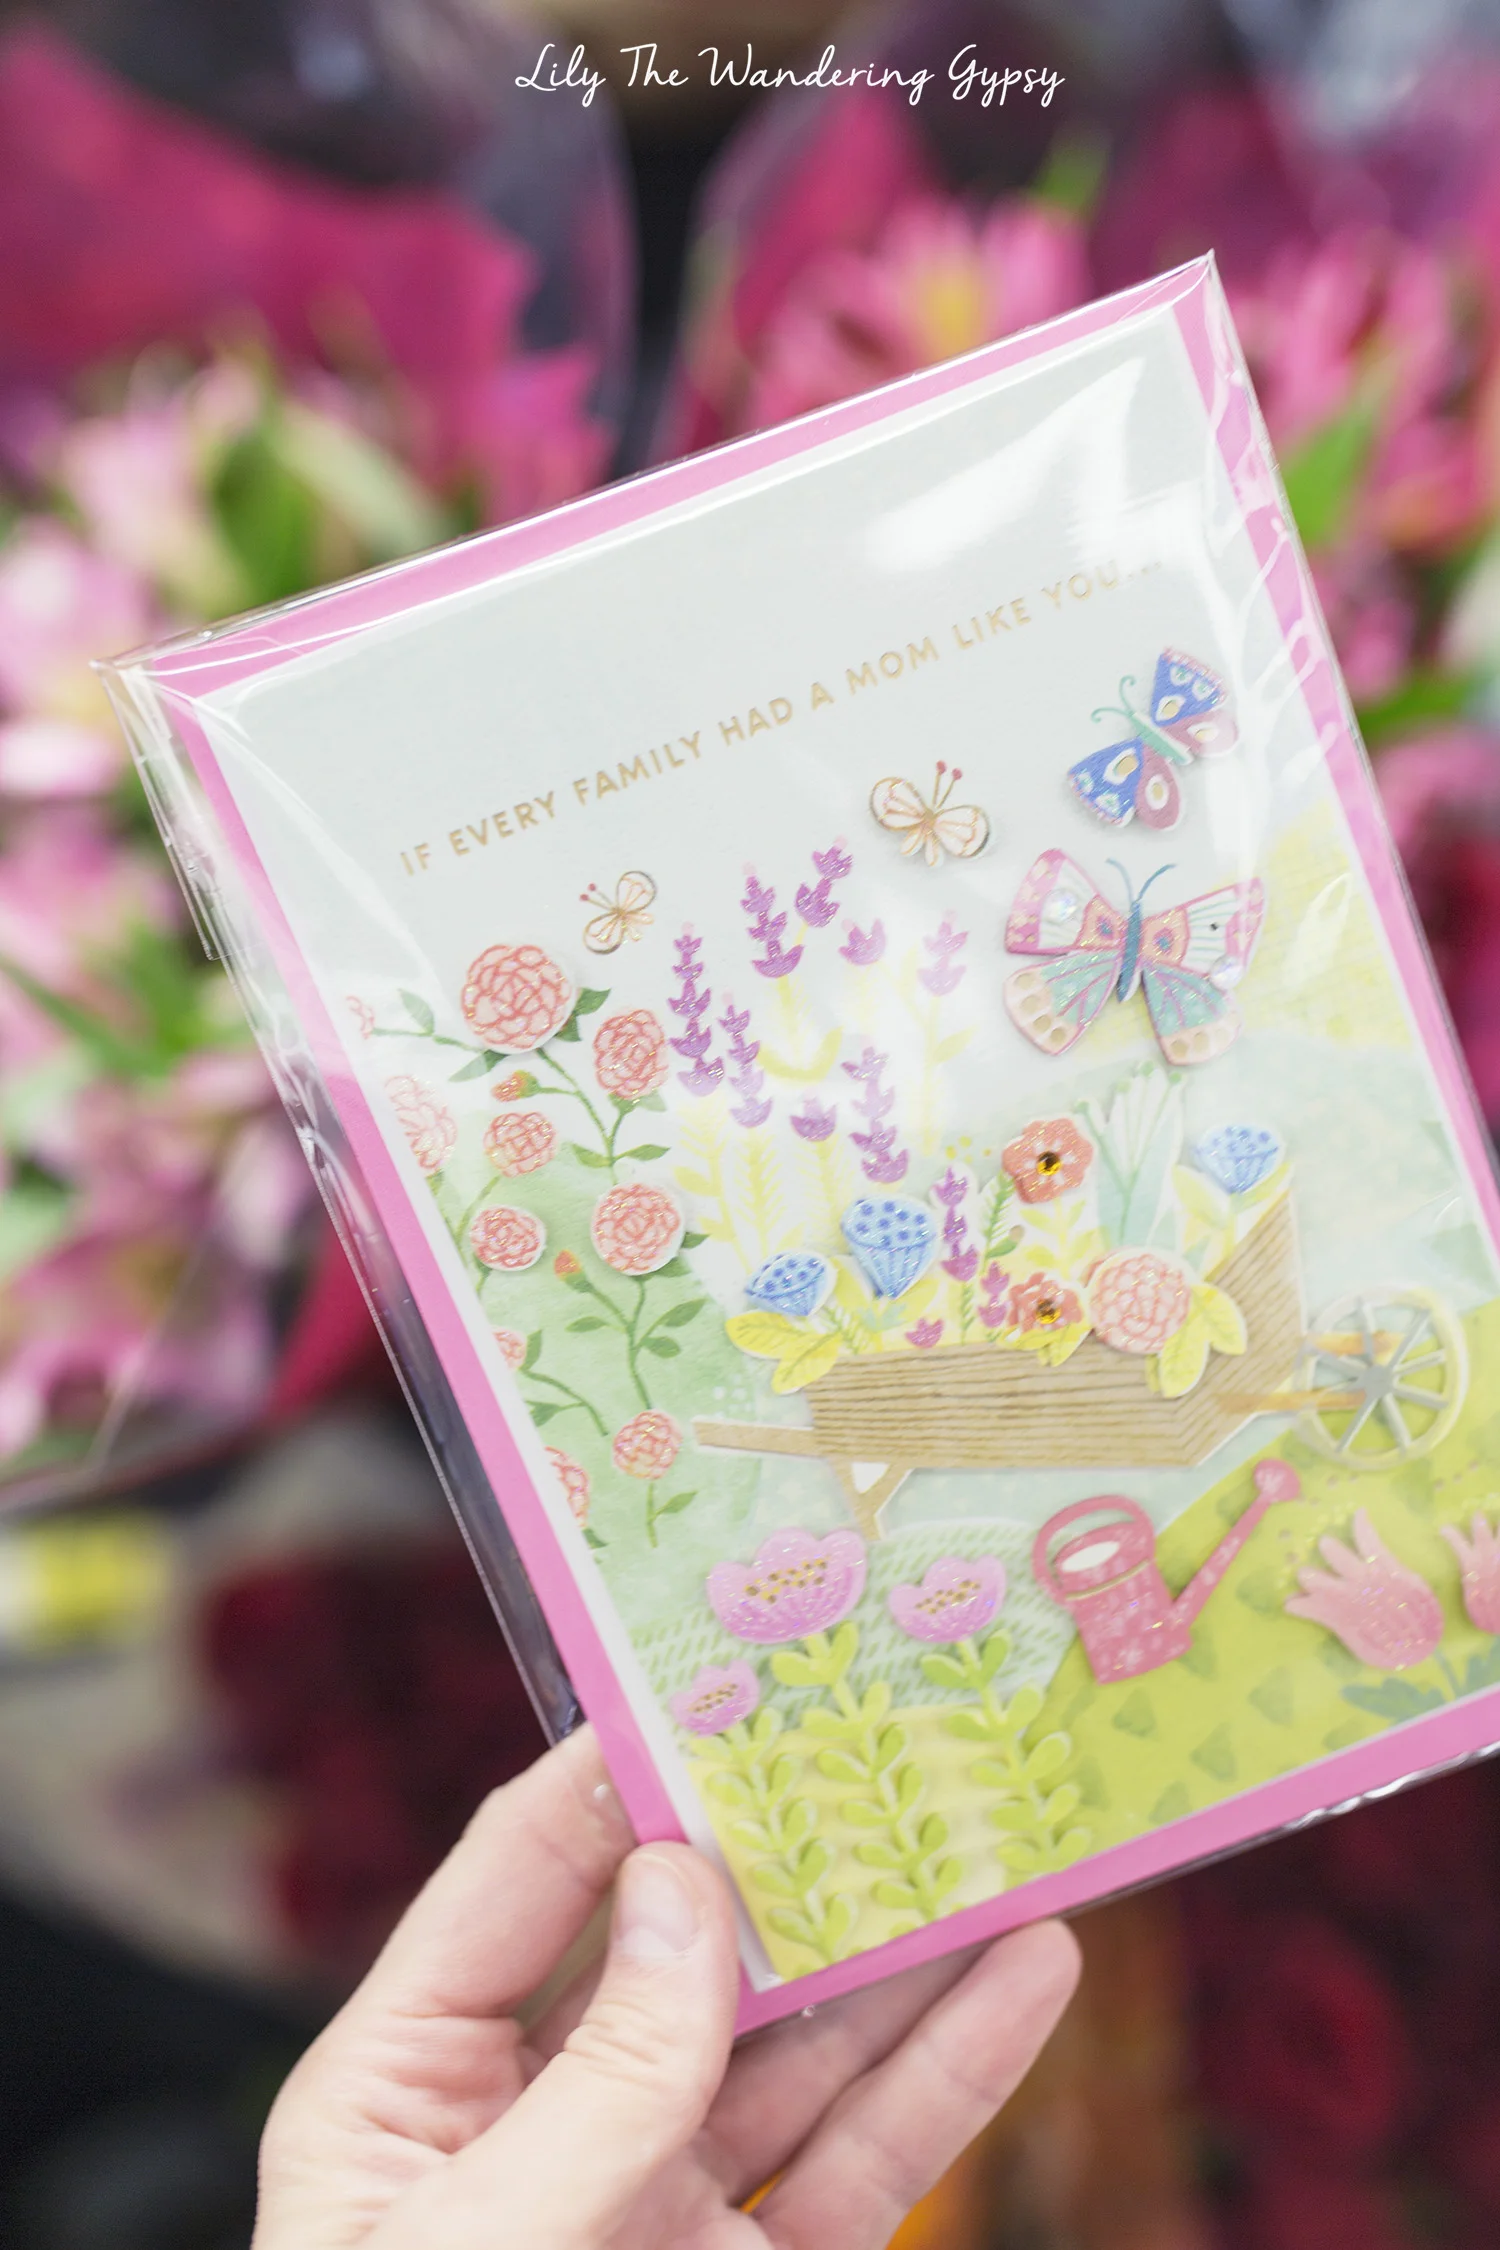
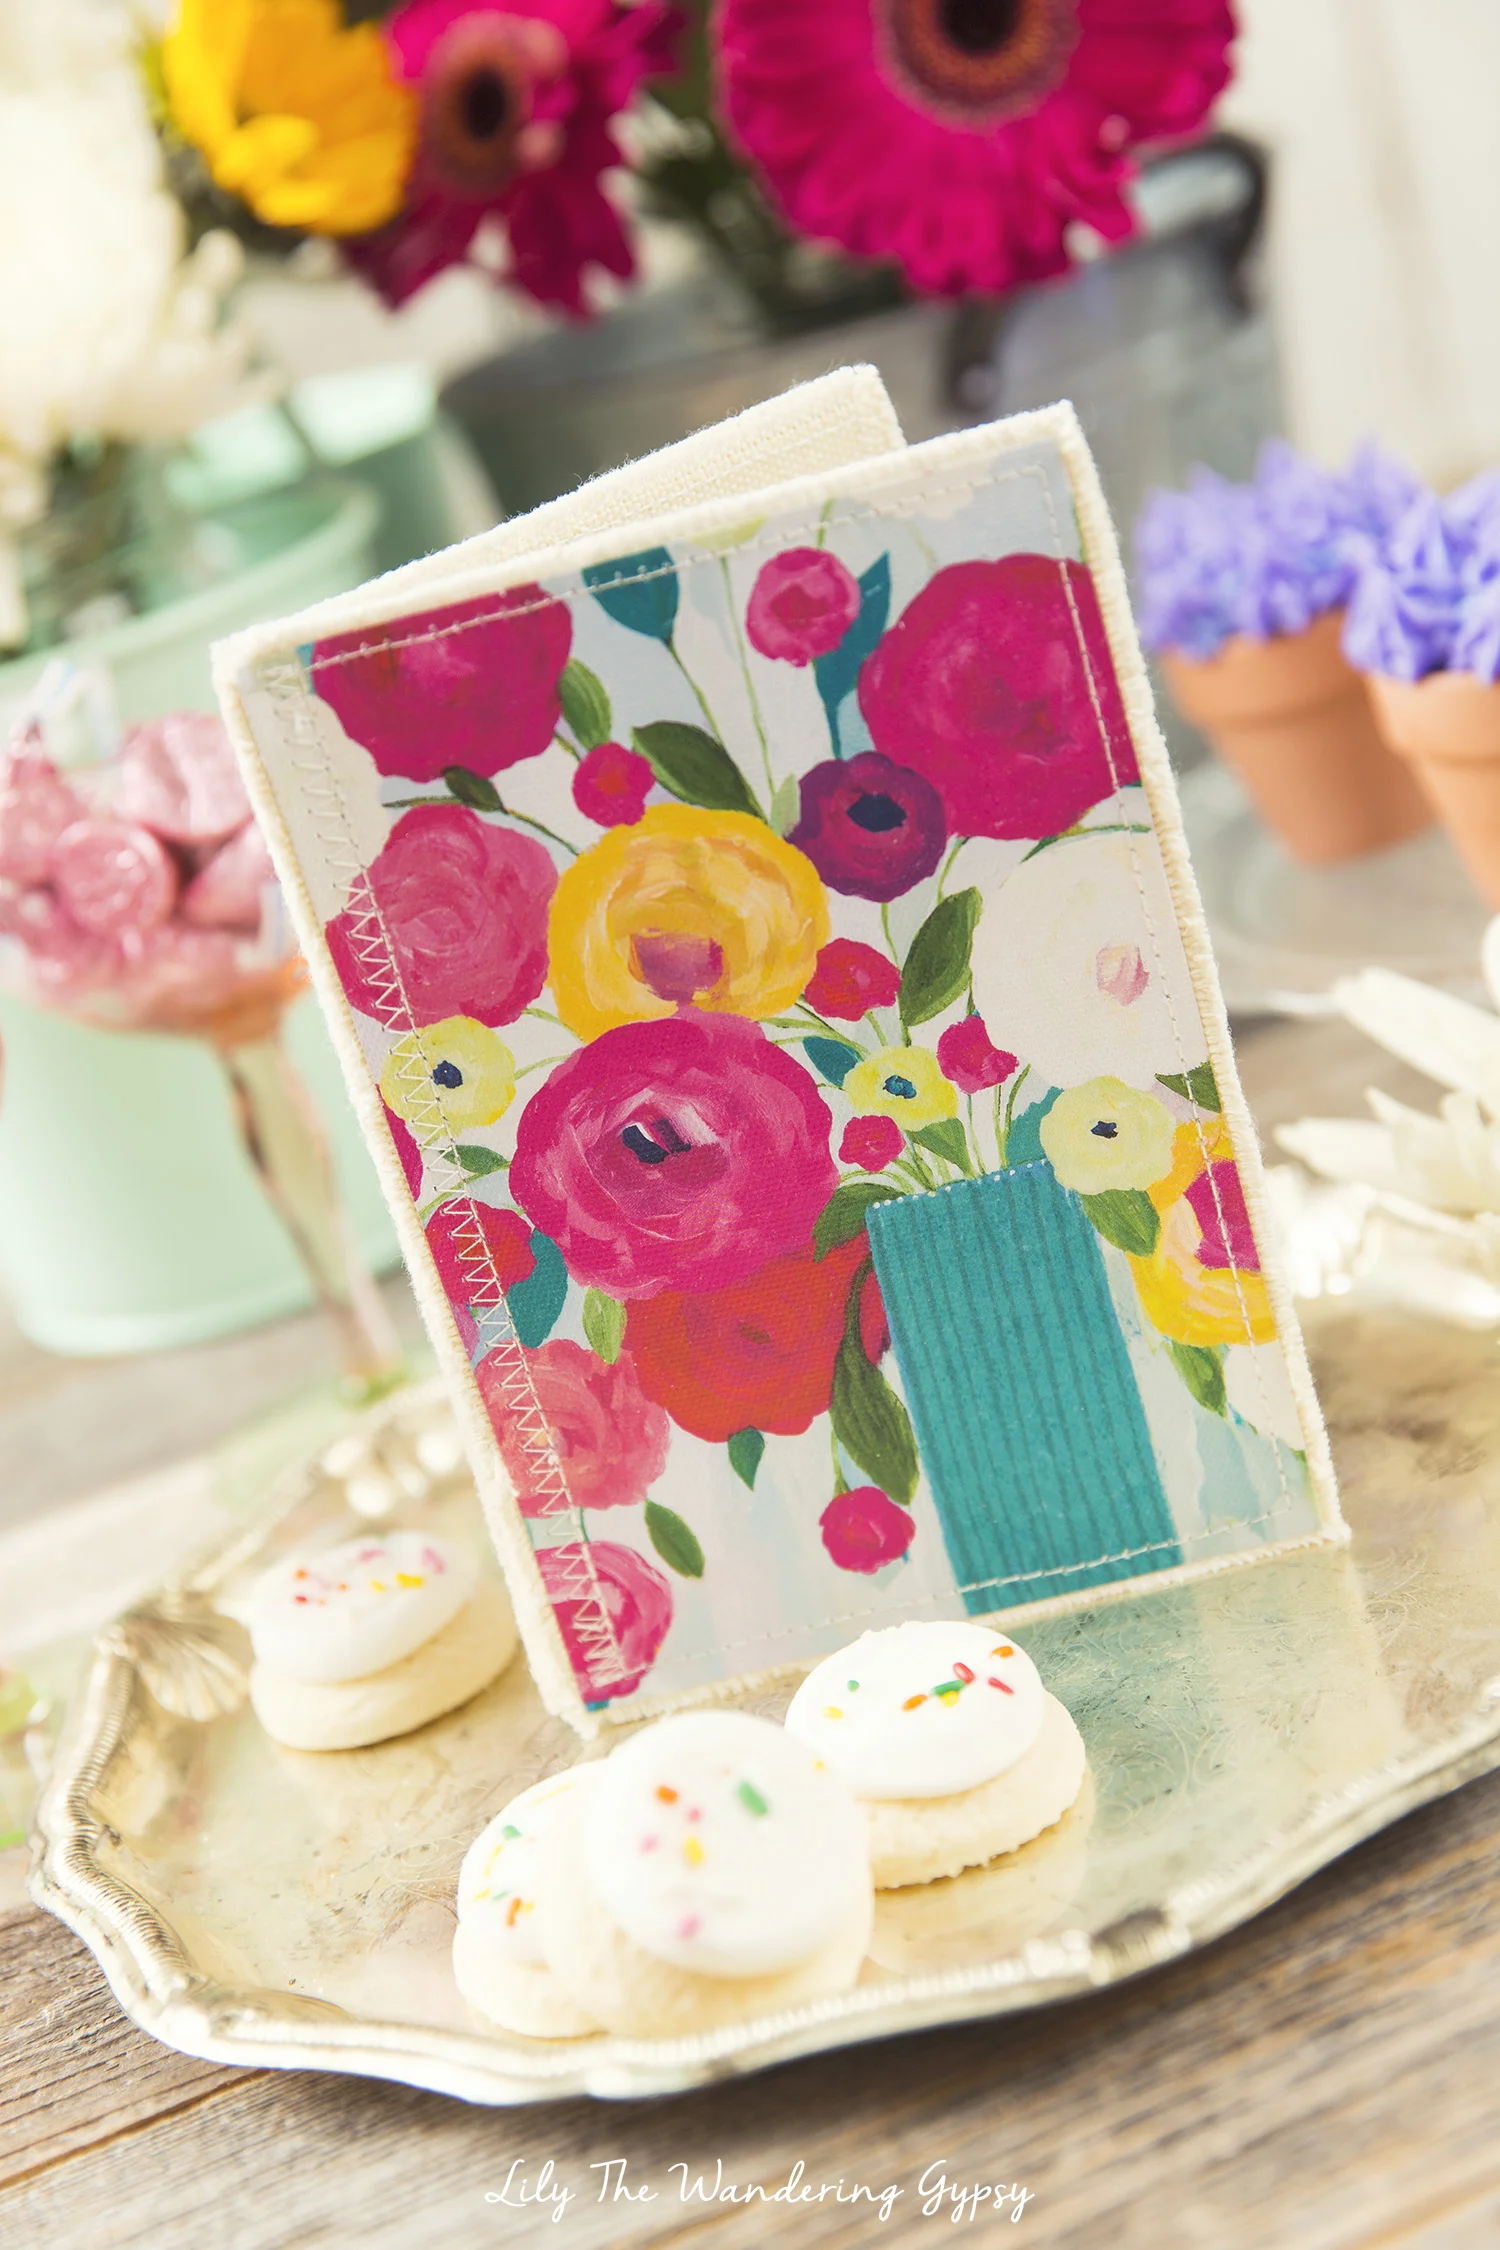
Hallmark Signature Mother's Day cards are the perfect way to show your mom or a mom in your life that you love them. I know several moms in my life, 3 to be exact, who would all LOVE the wide variety of styles available at Walmart. I was so happy to find some floral and gardening-themed cards, as well as lots more that I saw while shopping. The more abstracted floral card I got is beautiful, and looks as though it was painted onto canvas and stitched together with a sewing machine! It's very cute.
Check out the Hallmark Social Hub Here.
And, to get even more inspiration, visit this page and get $1.00 off with Ibotta.
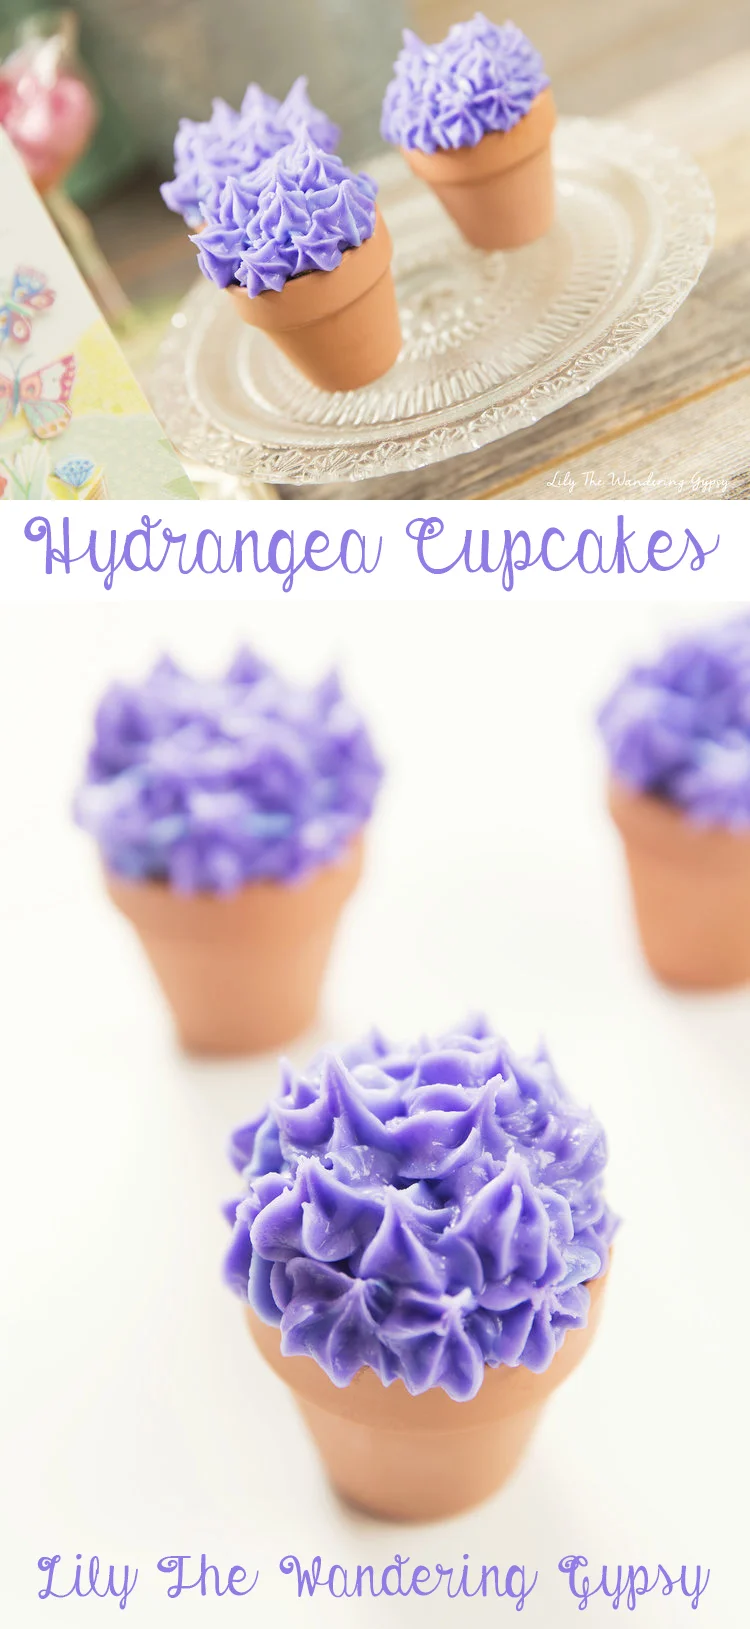
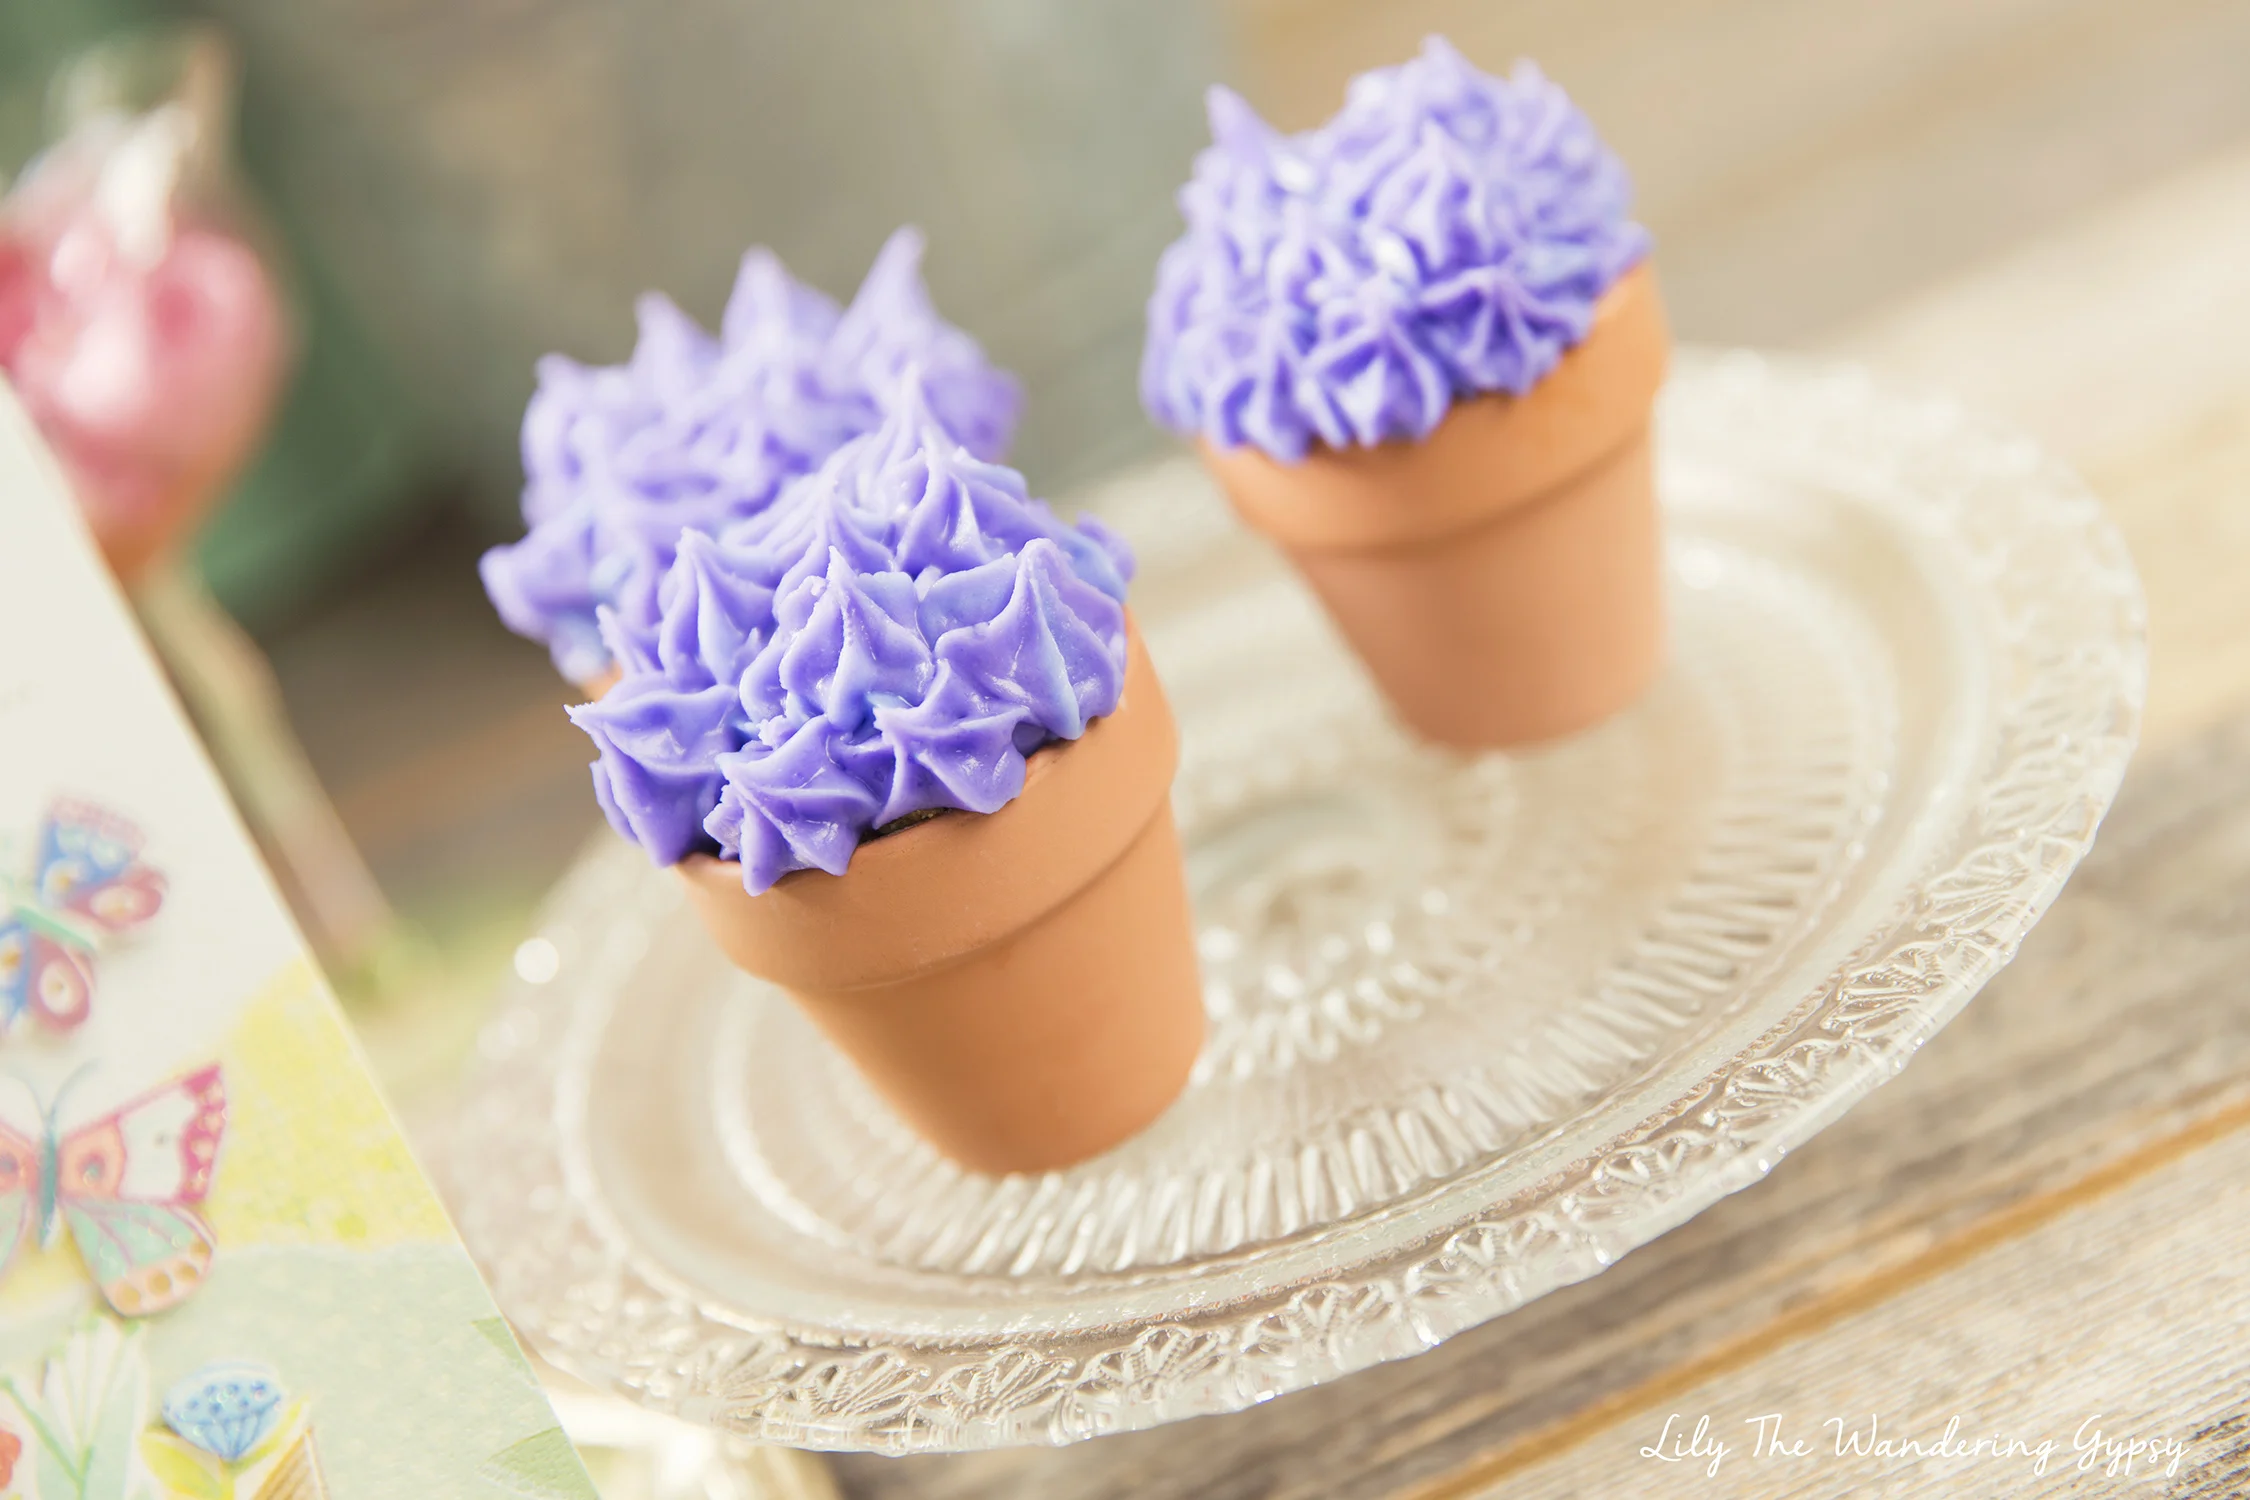
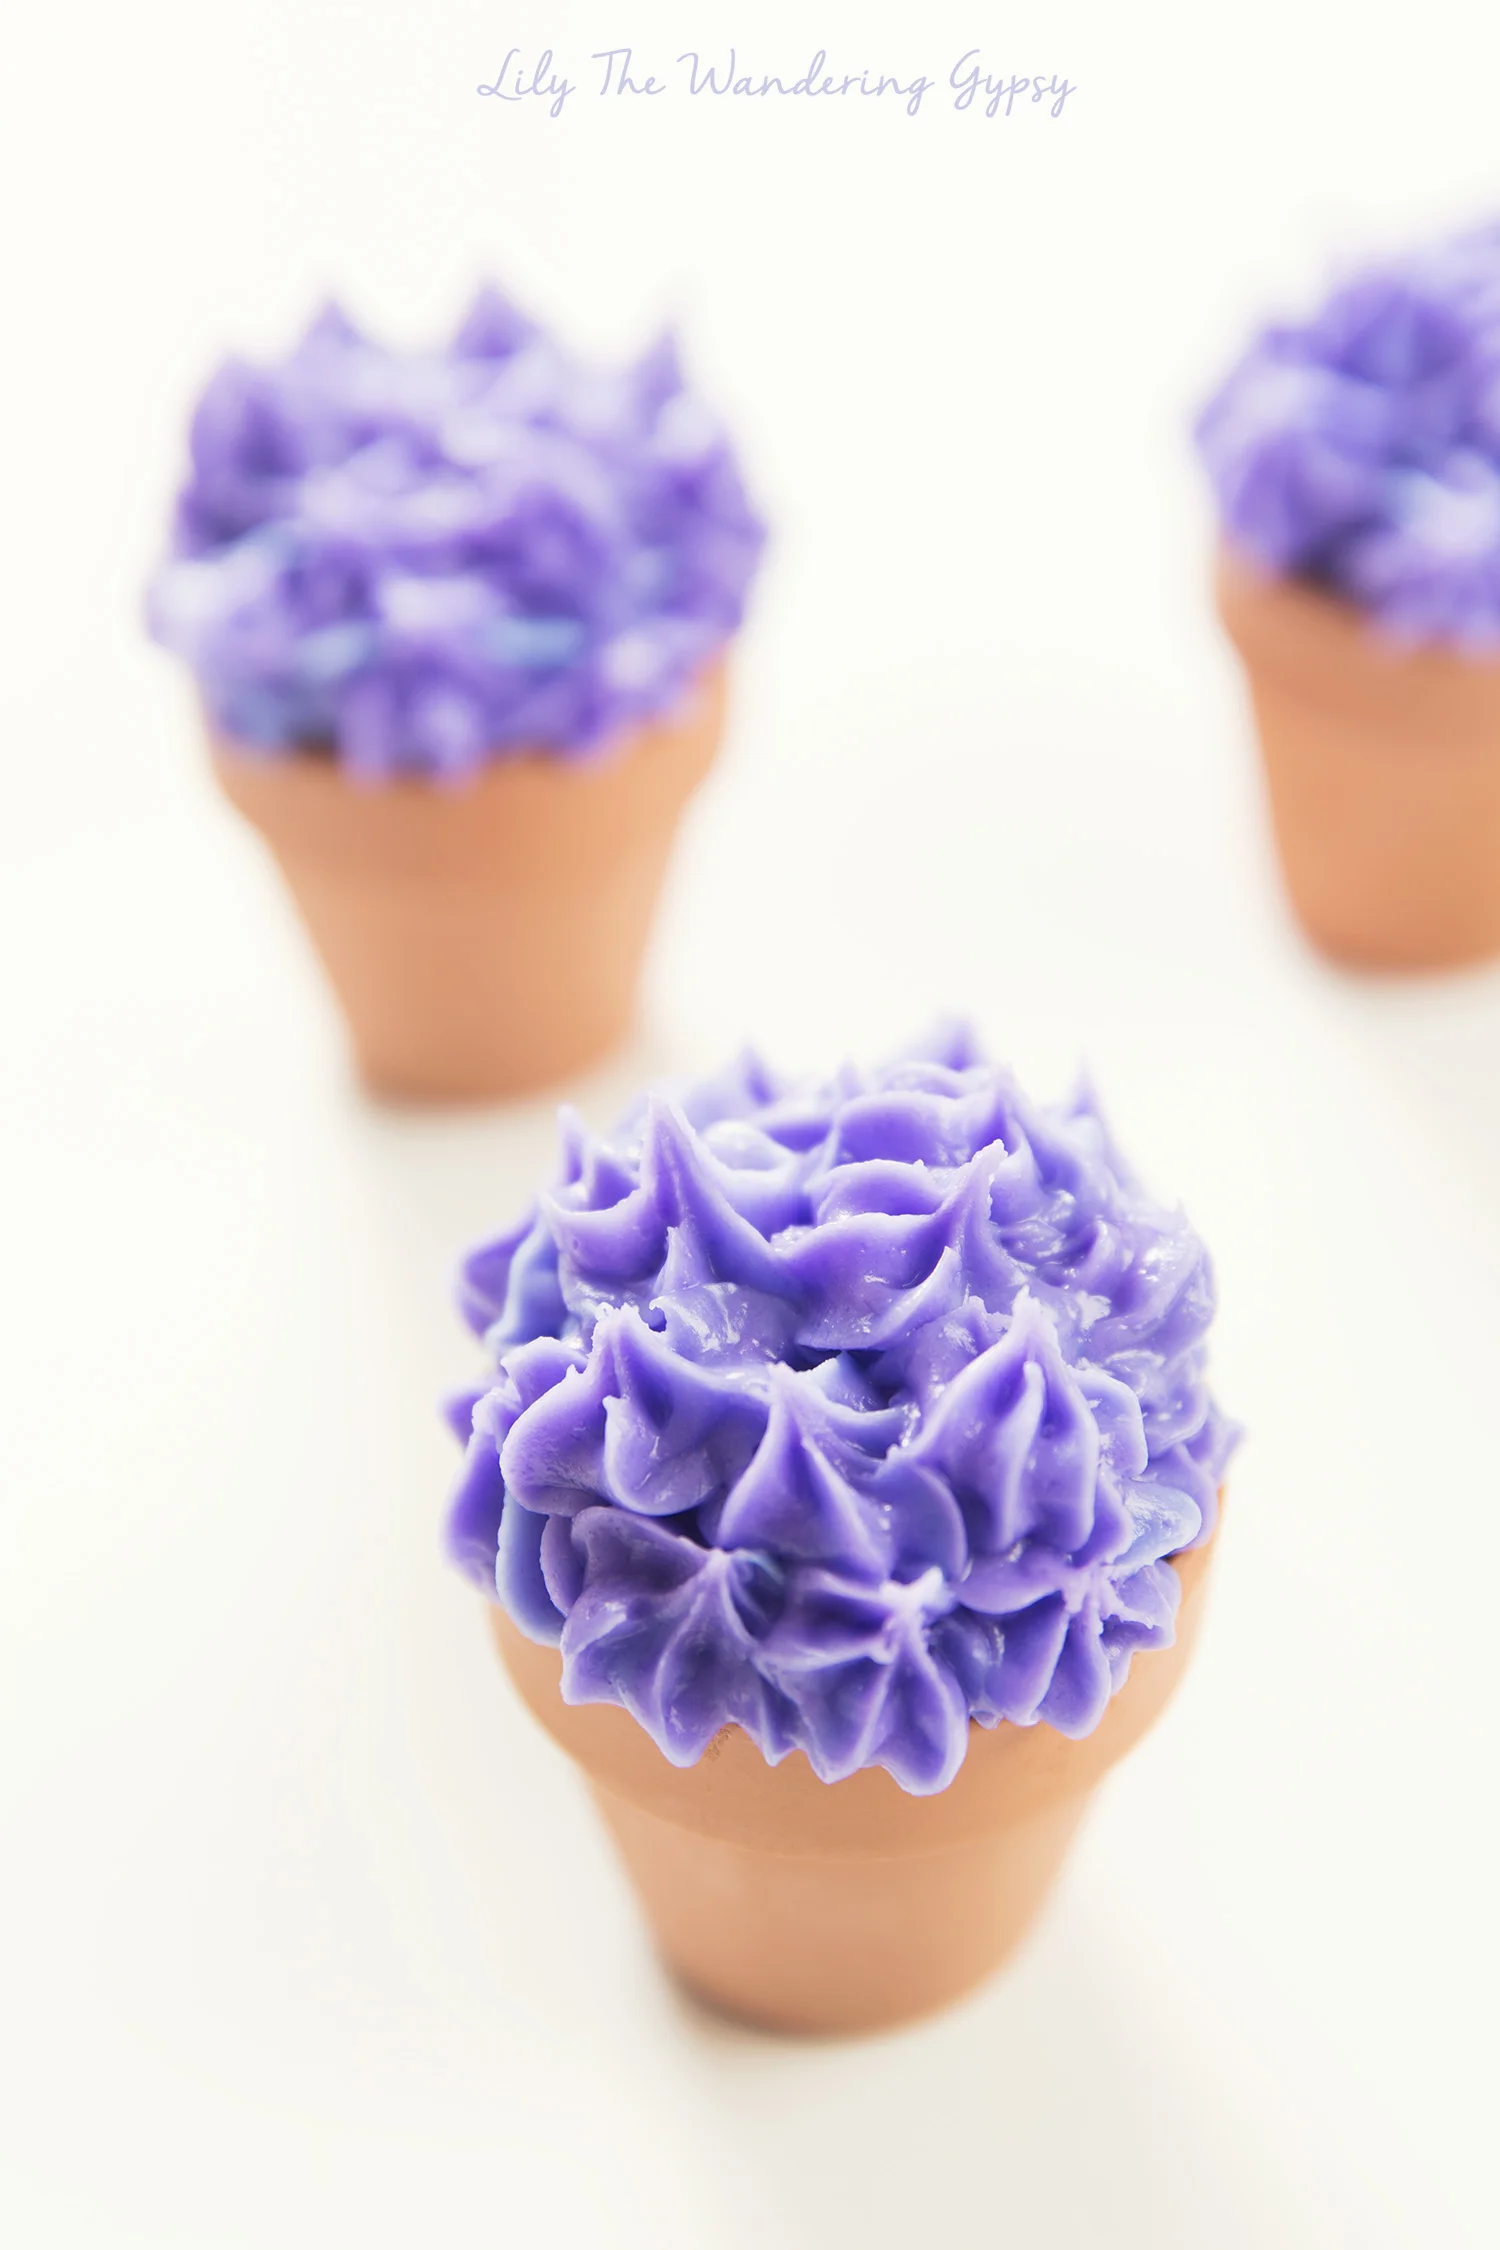
ADORABLE FLOWER CUPCAKES
For this adorable little DIY project, I found these itty-bitty terra cotta pots at Walmart for about 37 cents each. I then filled them with a tiny bit of cake batter and used a tube of Violet-colored decorator icing in the prettiest shade of flower-petal purple ever. You can get about 4-5 cupcakes per package of icing if you use it similarly to these.
Make sure your icing tube contains a flower-shaped tip, it made these cupcakes really look great. I just used dollops of icing, placed all around the top of the little cupcake flower pot. Mom is going to LOVE these!!!
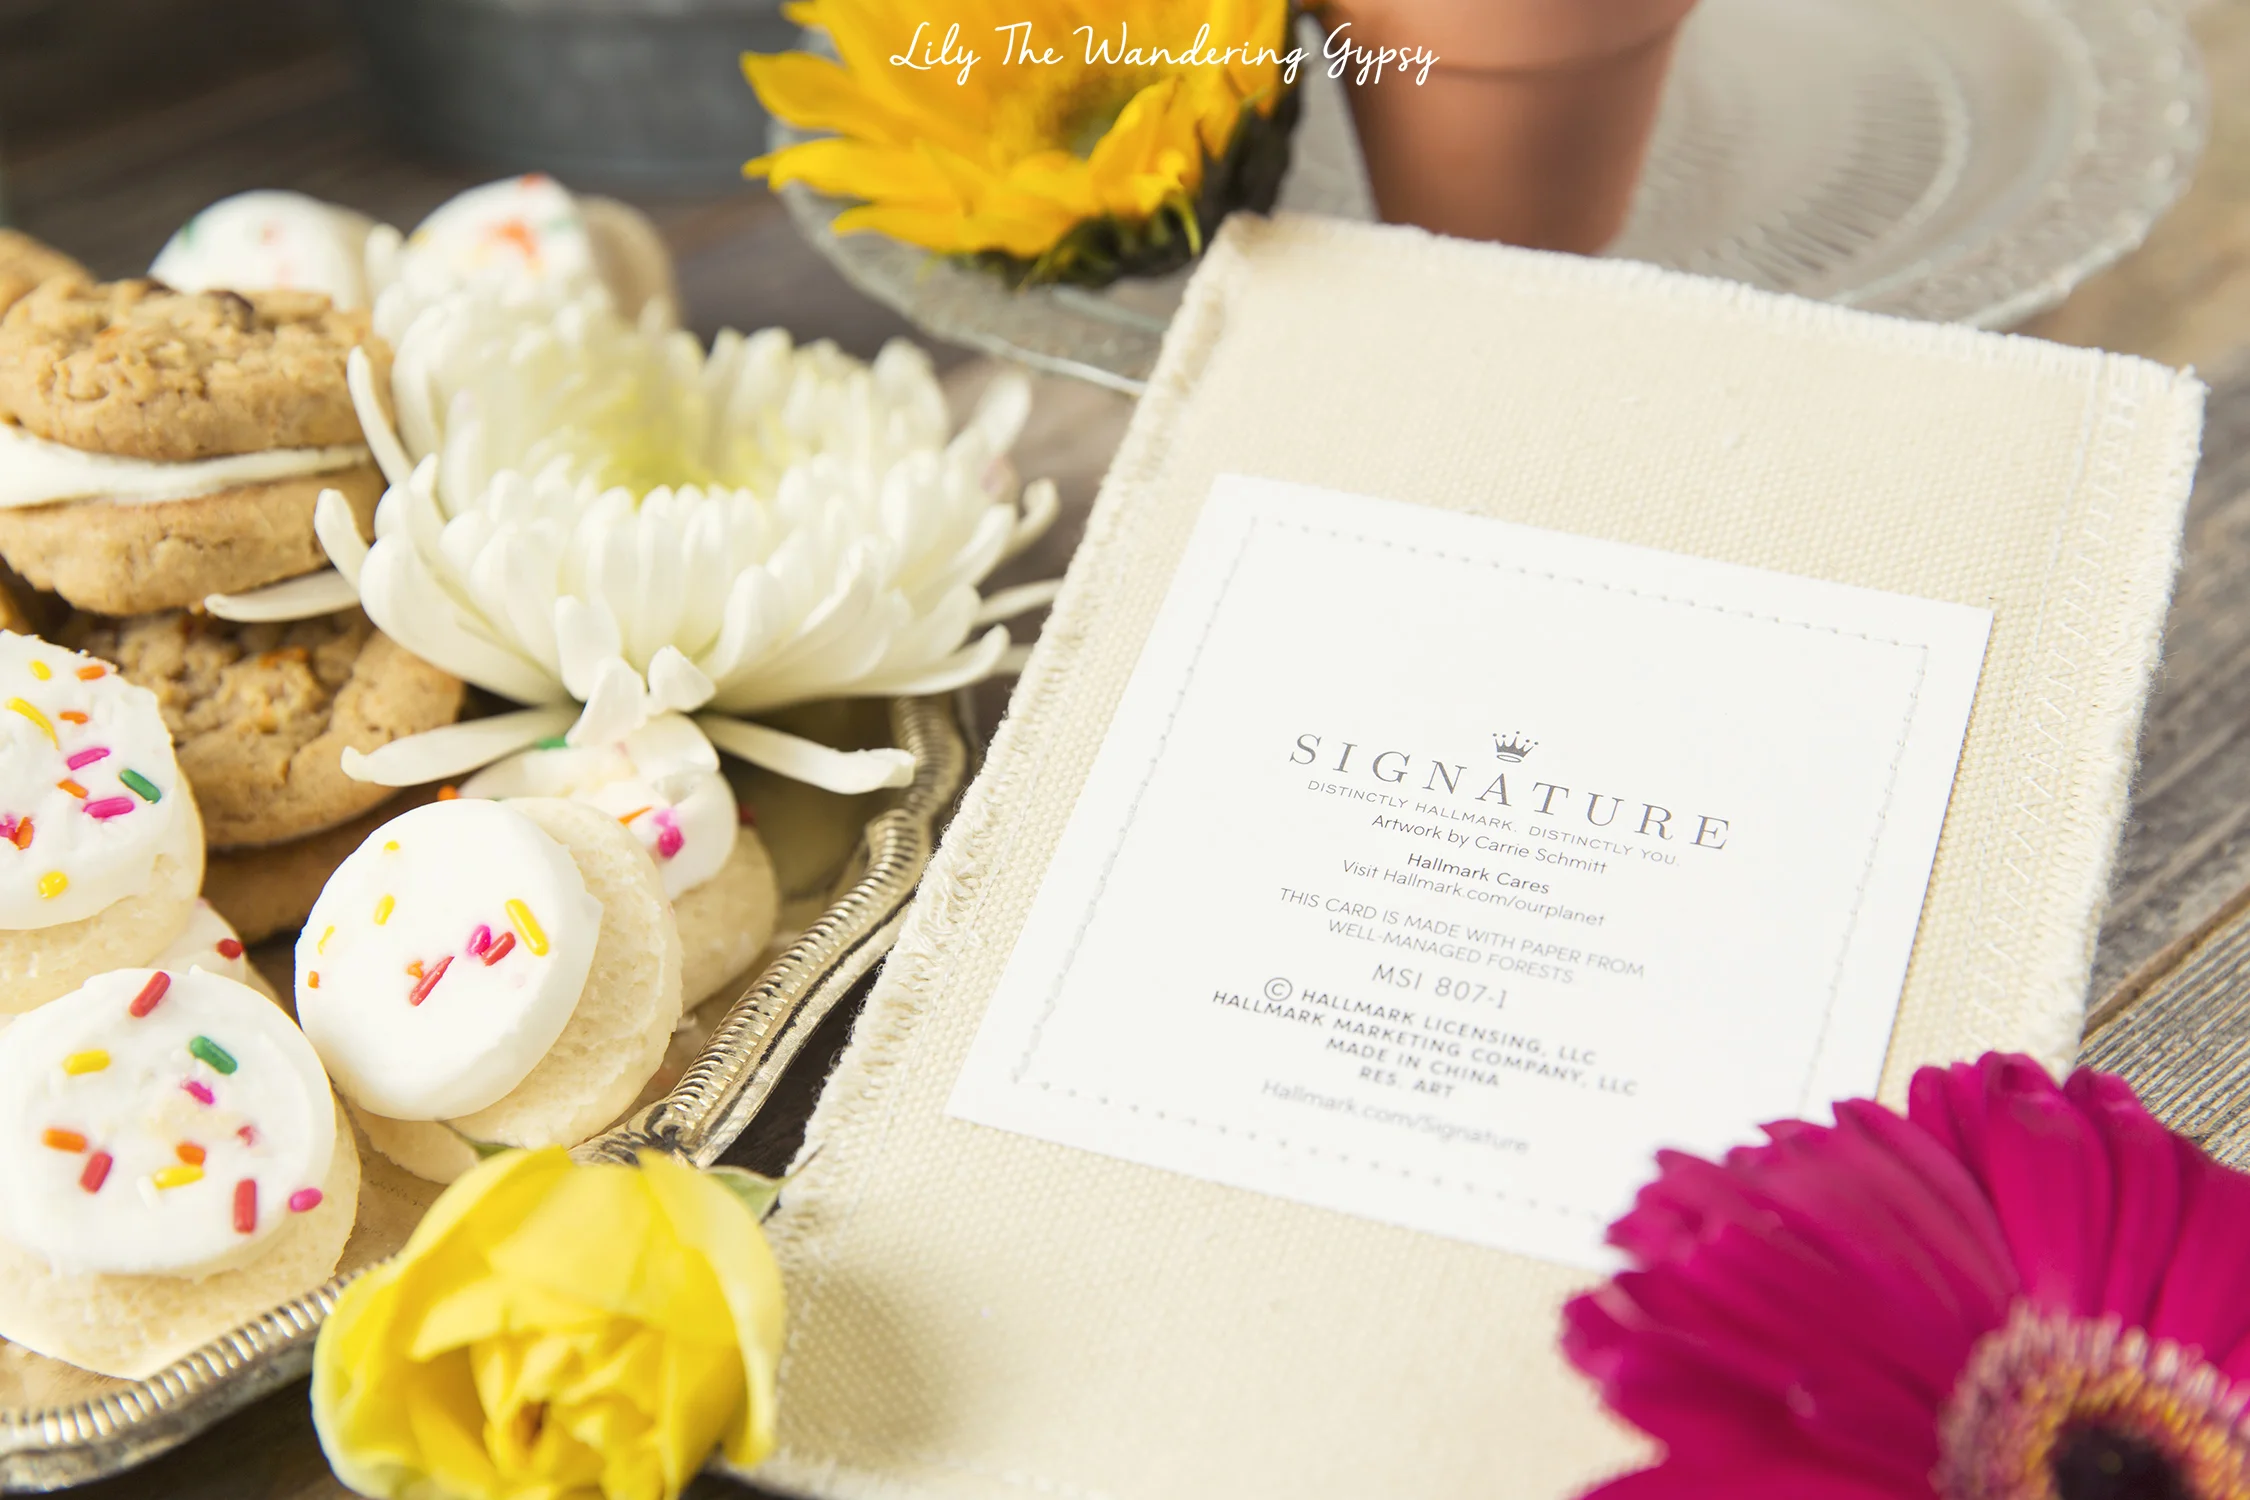
Below, you will see the canvas fabric card, a bit closer up. So much time and attention to detail goes into these Hallmark Signature cards.
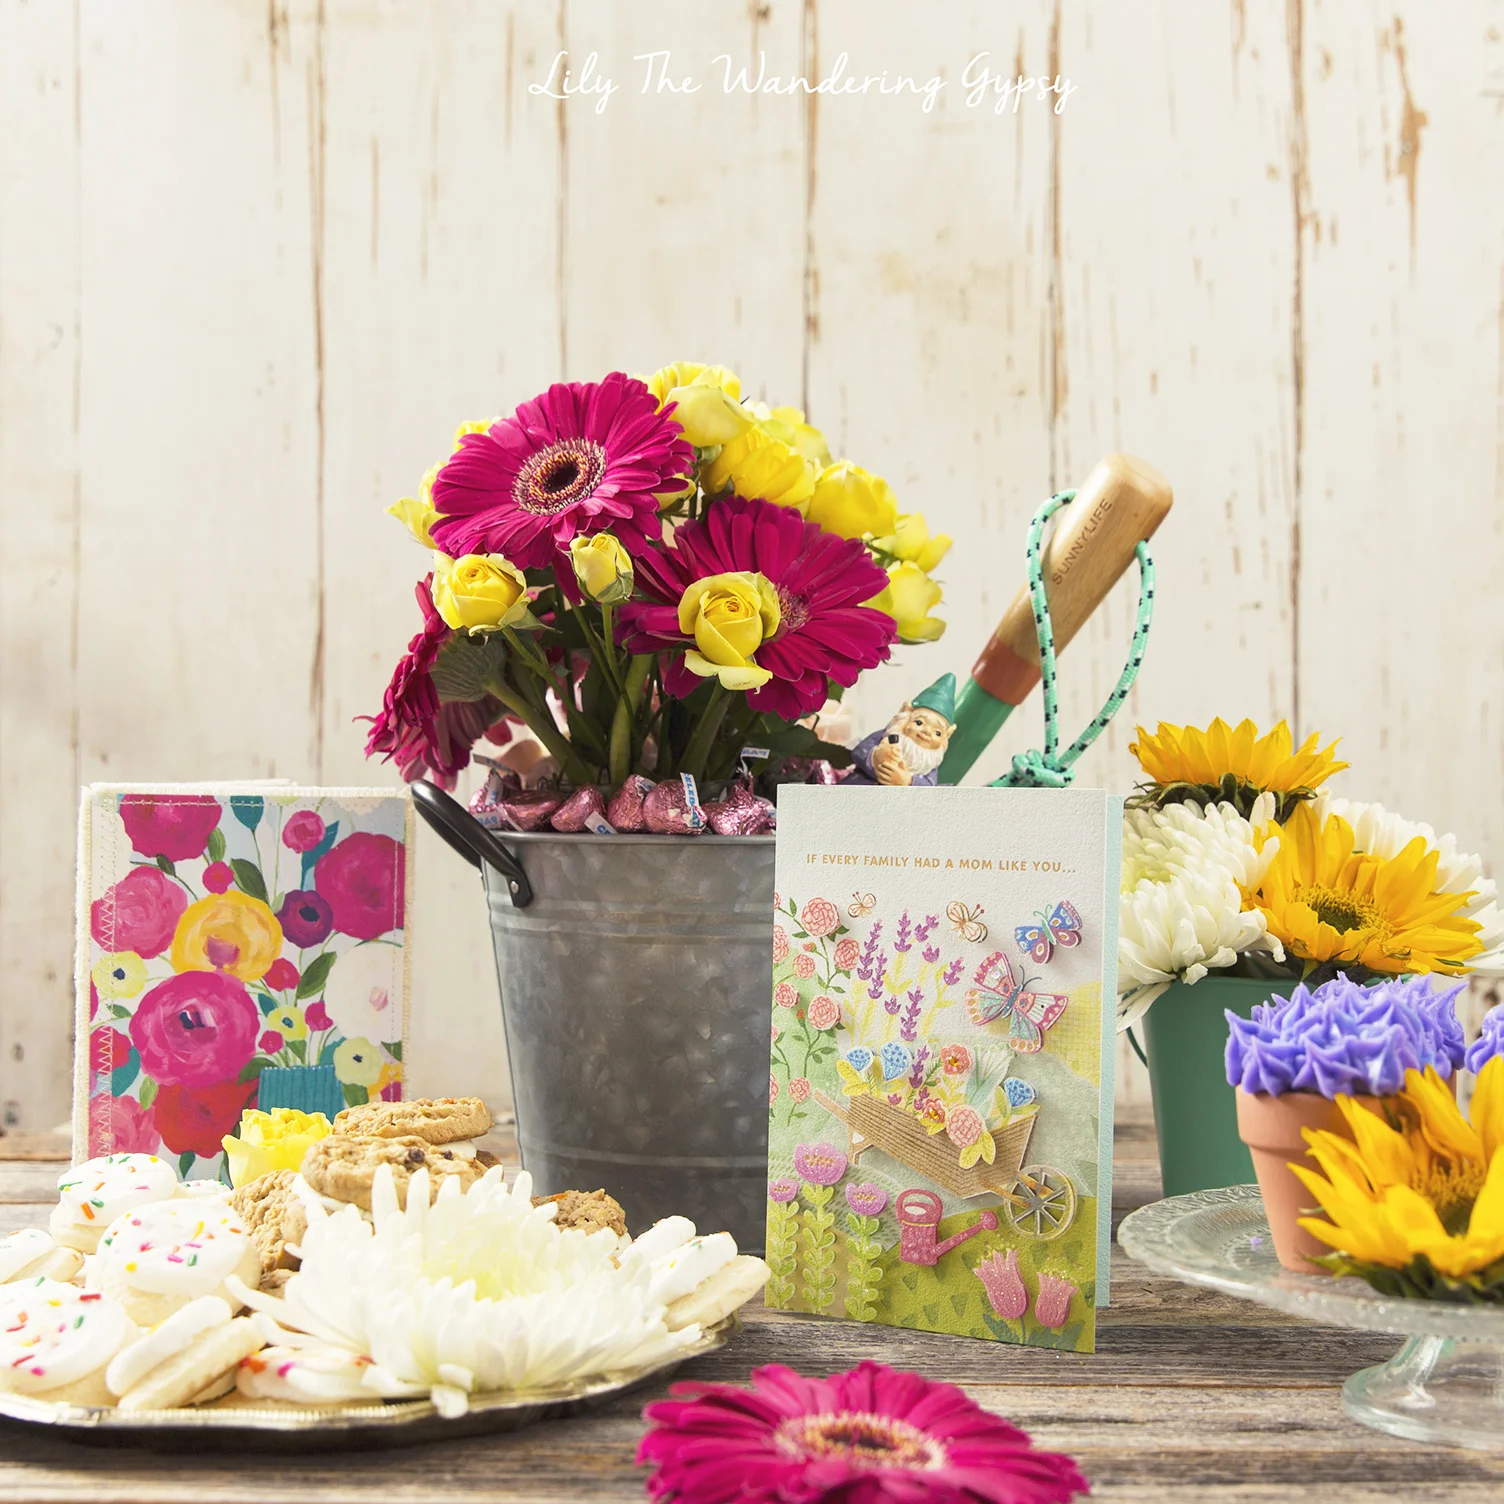
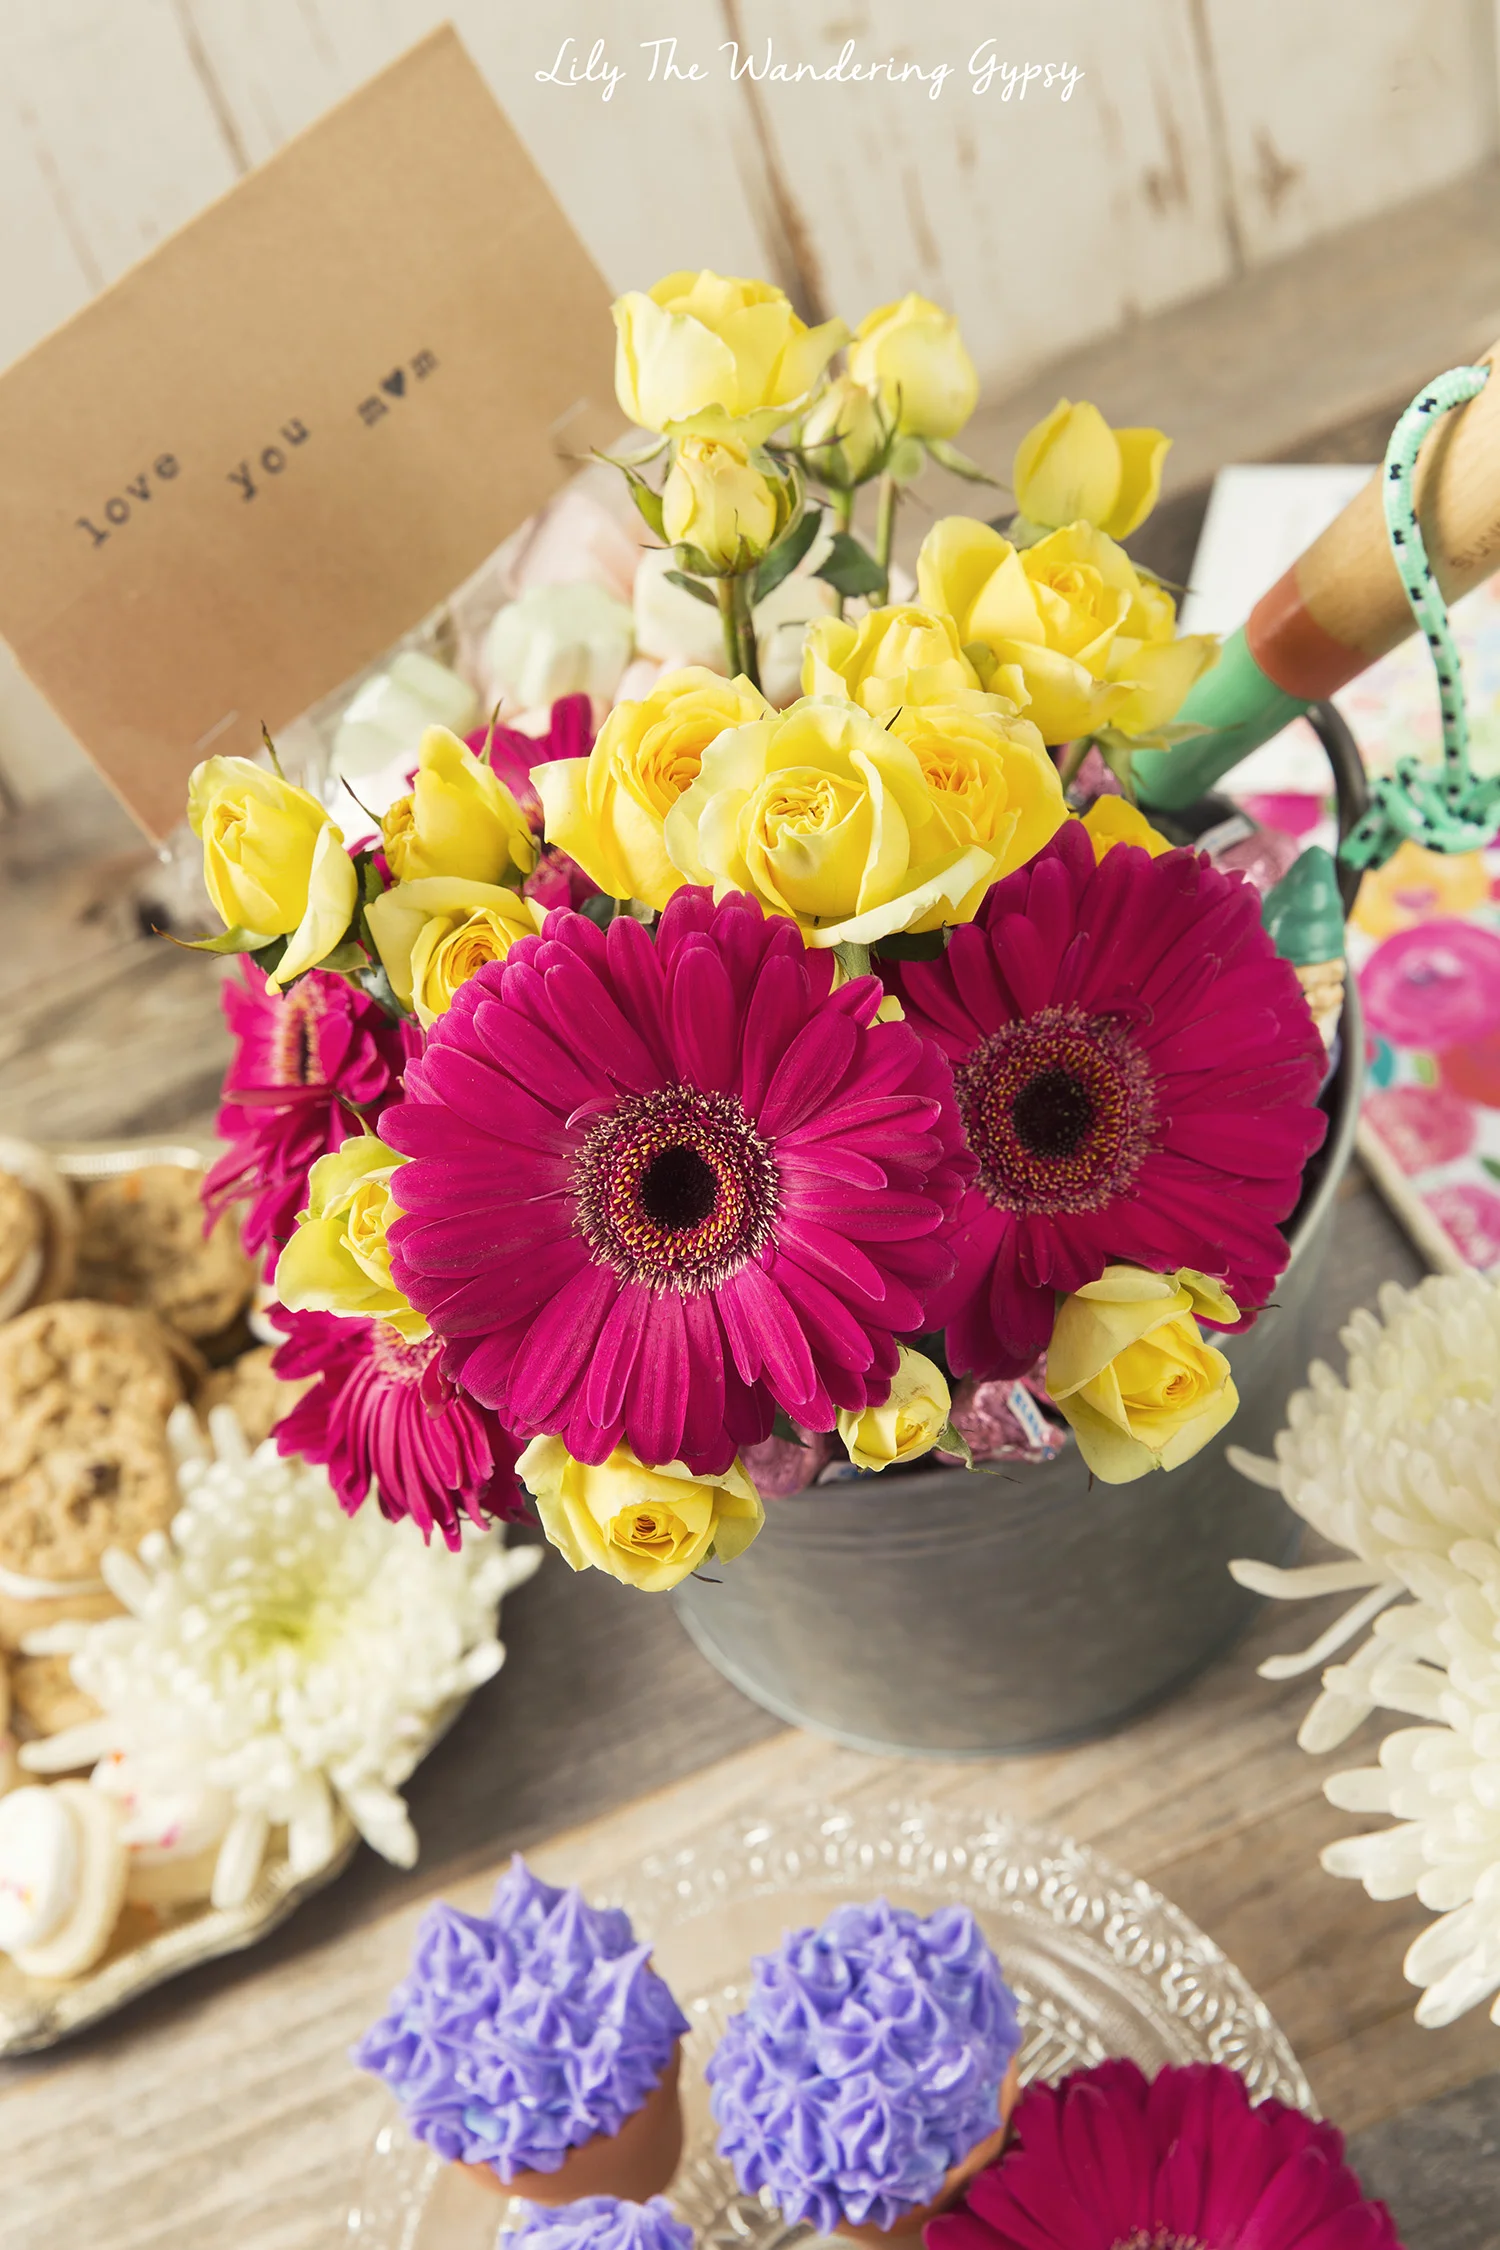
A GARDEN THEMED GIFT BASKET
Surprise Mom with gifts she can use for years to come, and some which can be enjoyed right away. What this Gift Basket Contains:
- Galvanized Bucket for the container
- High End Hand Shovel (and any other nicer gardening items you can find - gloves would be perfect)
- A Bouquet of Fresh Flowers For Inside the bucket (I used 4 of the smaller bouquets in this post)
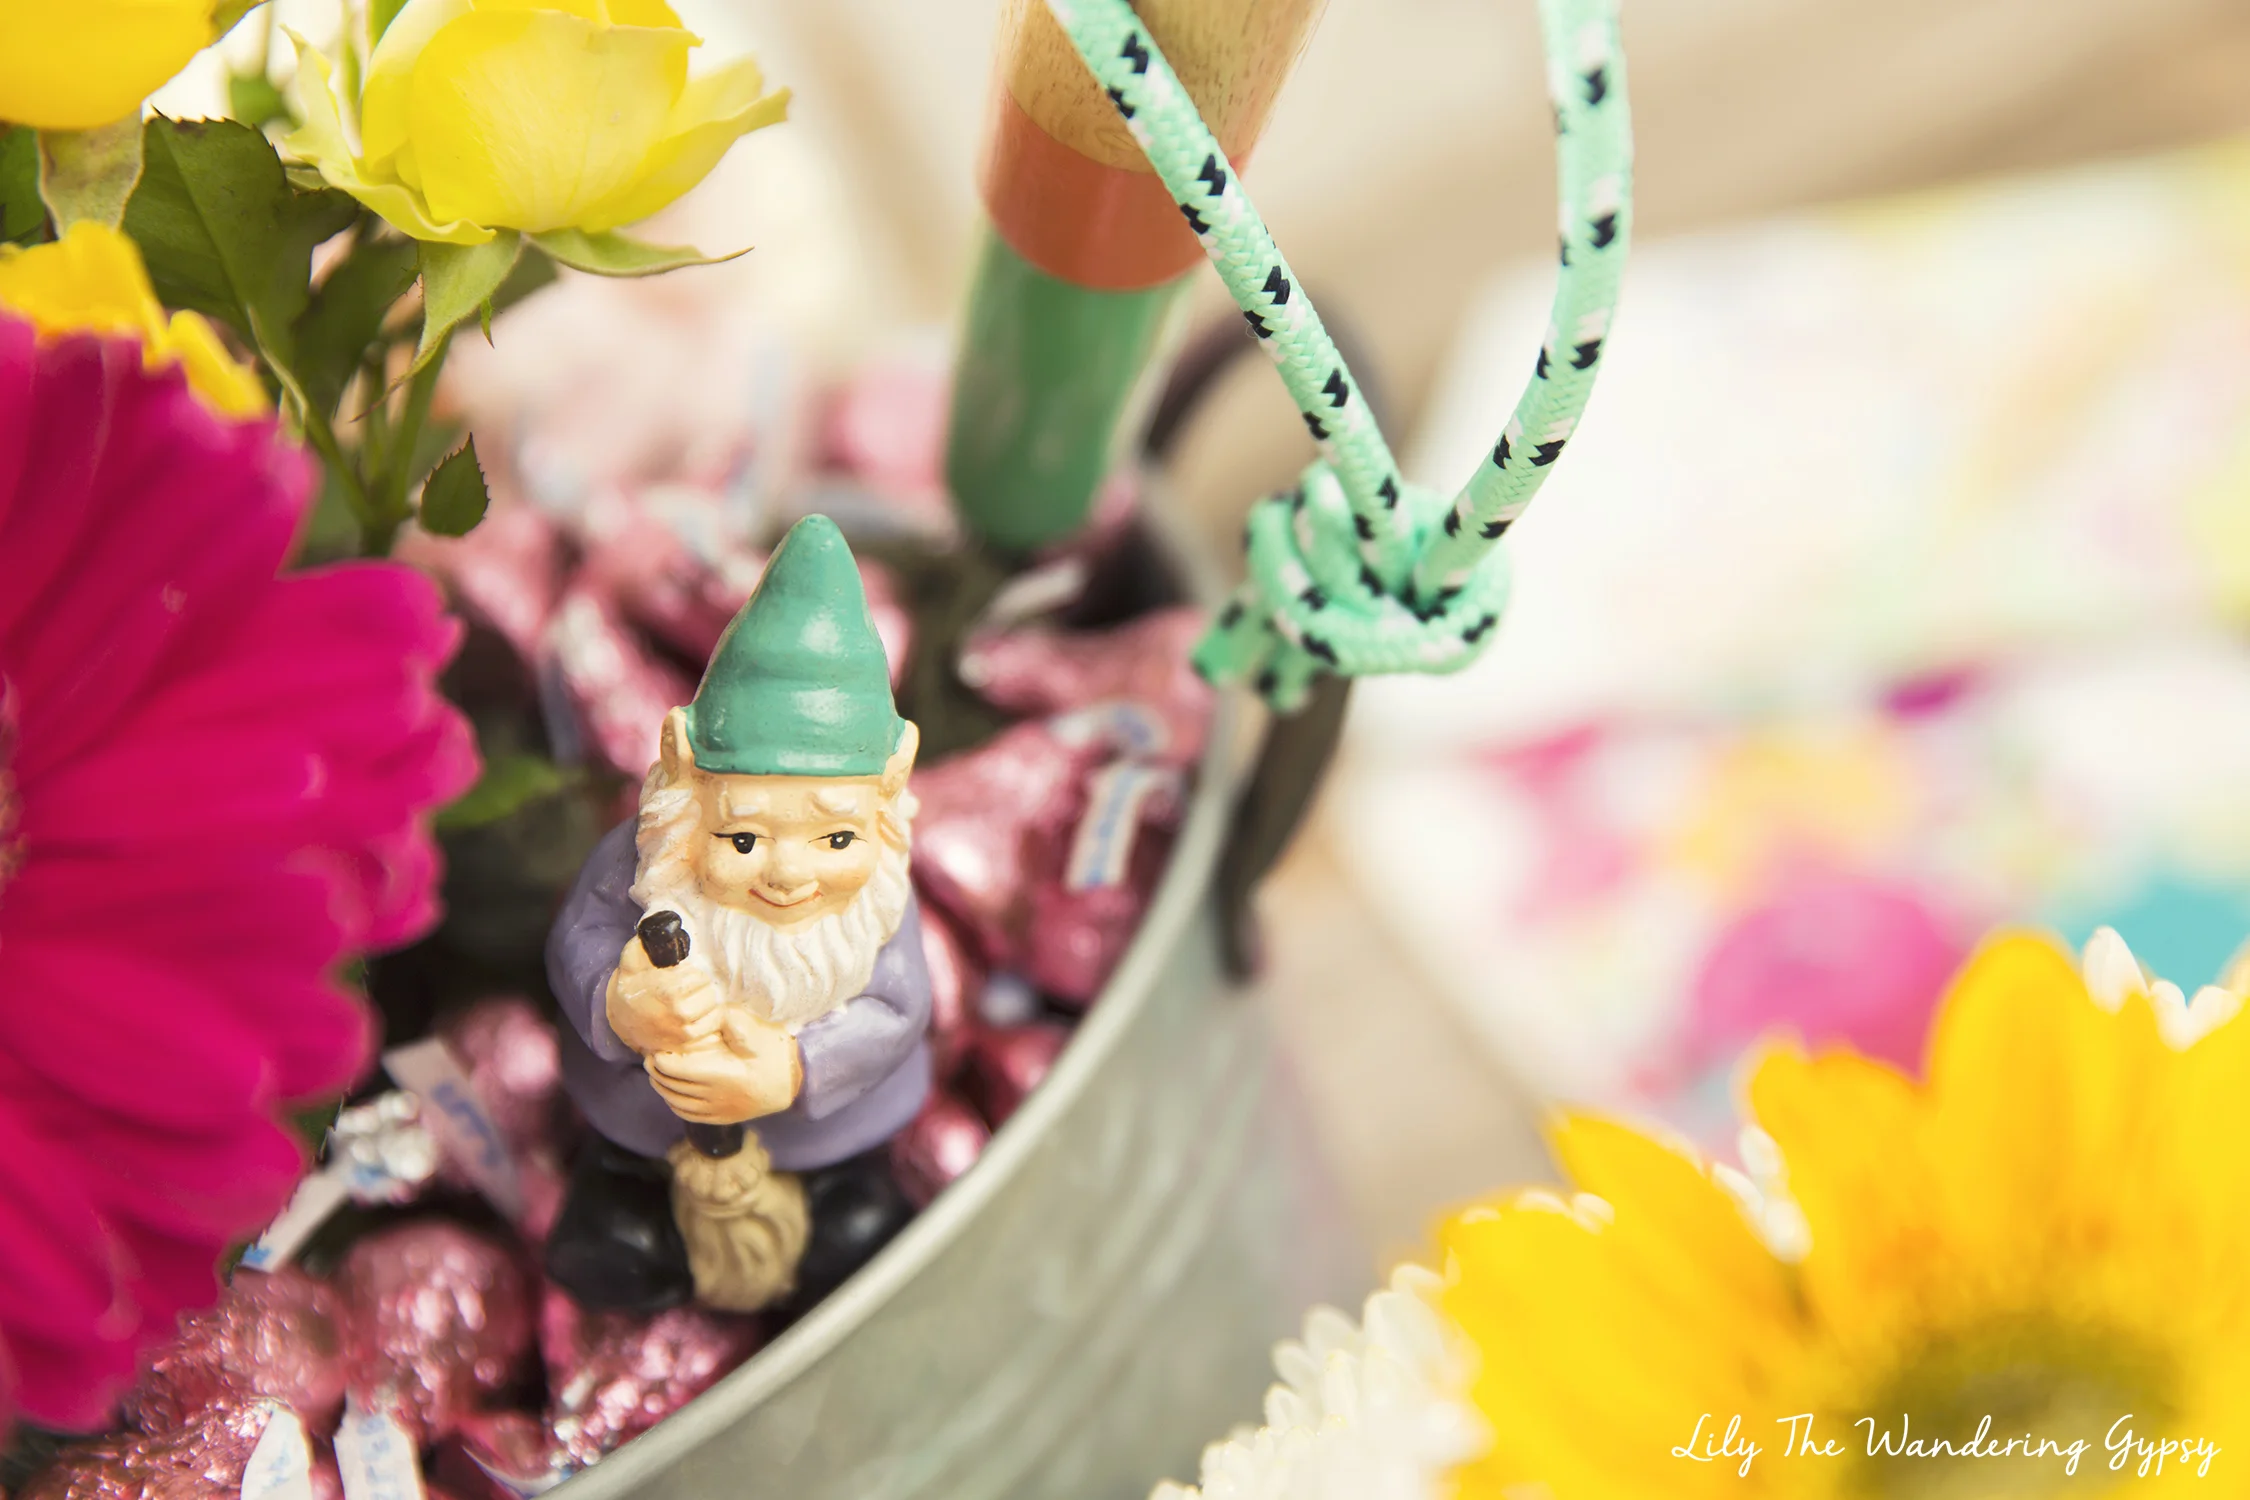
A Garden Gnome Figurine
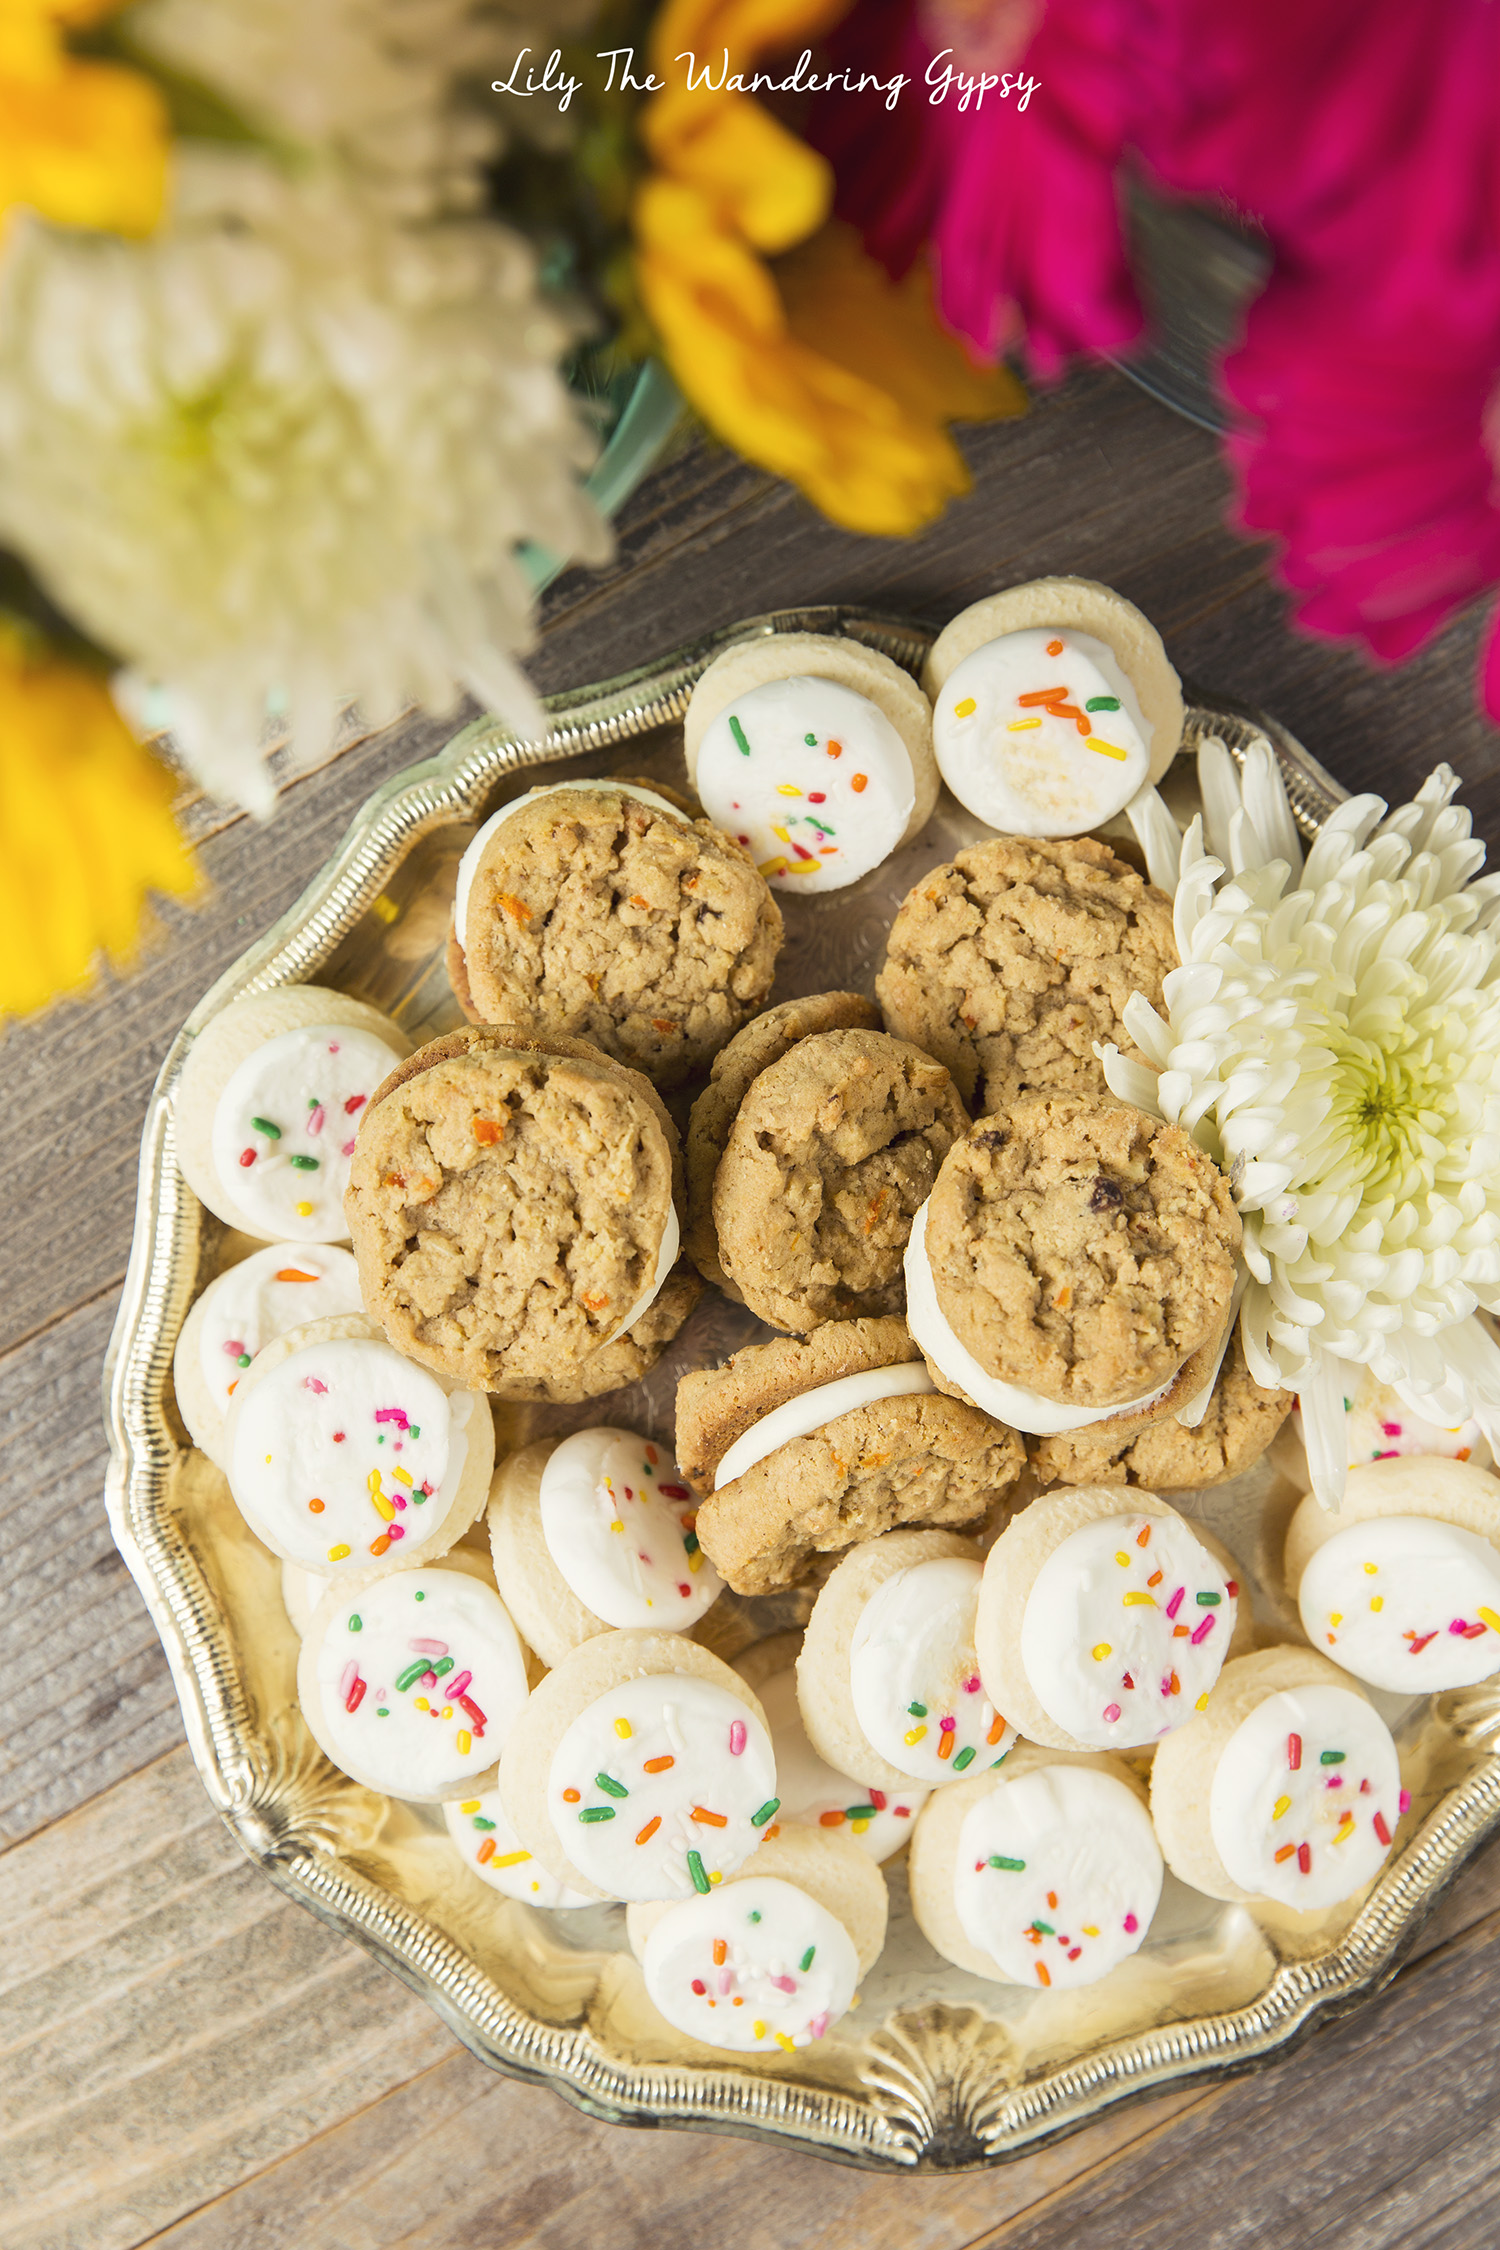
Chocolate Kisses (I always see these in the greeting card section and HAD to include some)
- Glass vase or jar to hold fresh flowers, and water
- Tissue paper or dish towels to put inside of bucket
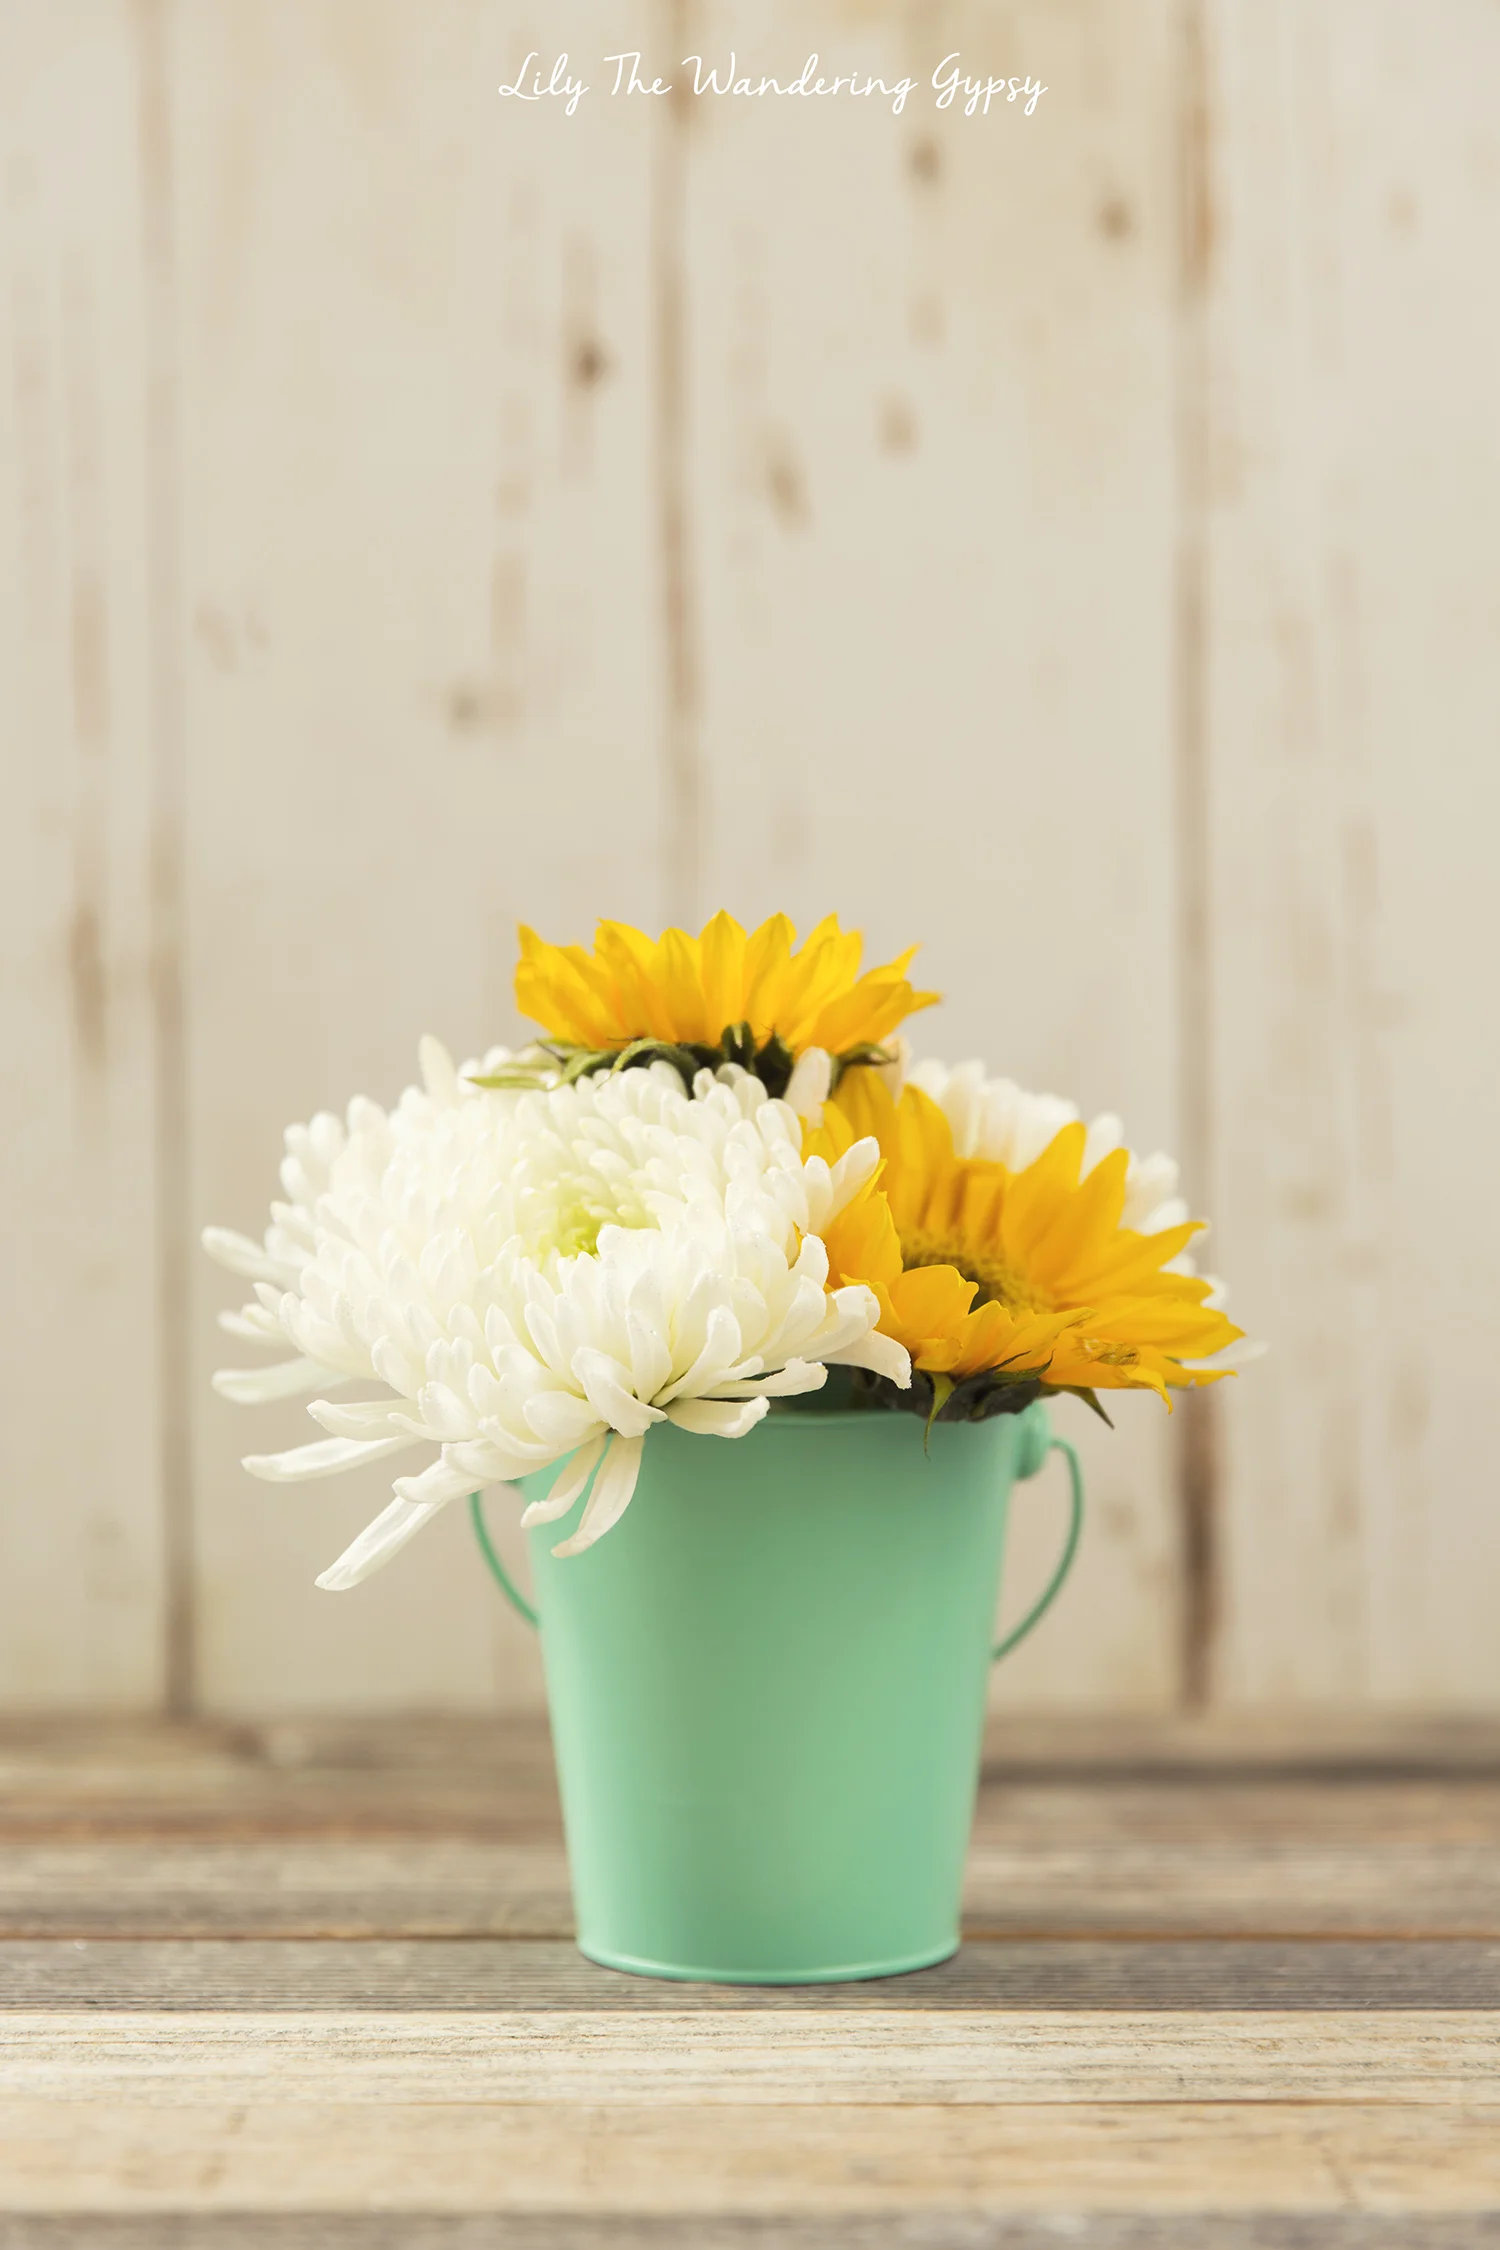
- Additionally, a smaller bouquet of fresh flowers in a mint metal bucket for an additional gift.
- Cute greeting cards from Hallmark
CREATING YOUR GIFT FOR MOM
1.) The idea behind my design is basically to make this look like a bouquet. Cut fresh flower stems so they are just 1-3" above the height of your jar. Fill jar with water, add flower food, and place blooms into the jar, making sure the colors are mixed up well in your bouquet.
2.) Place the jar/flower vase in the center of the bucket. Add tissue paper or towels around the vase so it is secure.
3.) Add taller items to the back, like shovels and other fun gardening tools.
4.) Fill the rest of the metal bucket with her favorite candy or treats, plus anything else that mom should have on her special day! This added SO much to my gift basket. Also add your garden gnome now. That's about it!
Just remember, your mom will most likely love whatever you give her, so just have fun with it.
HAND STAMPED TREAT BAGS
This project was so fun and I thought it added another element of gift giving. I already had my materials, which included: Paper Lunch Sacks, clear plastic treat bags, a traditional stapler, letter stamps, and a stamp pad.
Simply, turn your bag so the opening is at the bottom, and stamp your message onto what is now the top 1/3 of the paper bag. Carefully cut the message part off from the rest of the bag, creating a shorter paper bag. Fill plastic bag with treats, then fold over the top a few times. Insert the plastic bag into the paper bag, and using a stapler, attach the pieces together.