This post was sponsored by Keurig Dr Pepper. All thoughts and opinions are my own. Must be 21 or older to consume alcohol. Please drink responsibly. #SipSipHooray
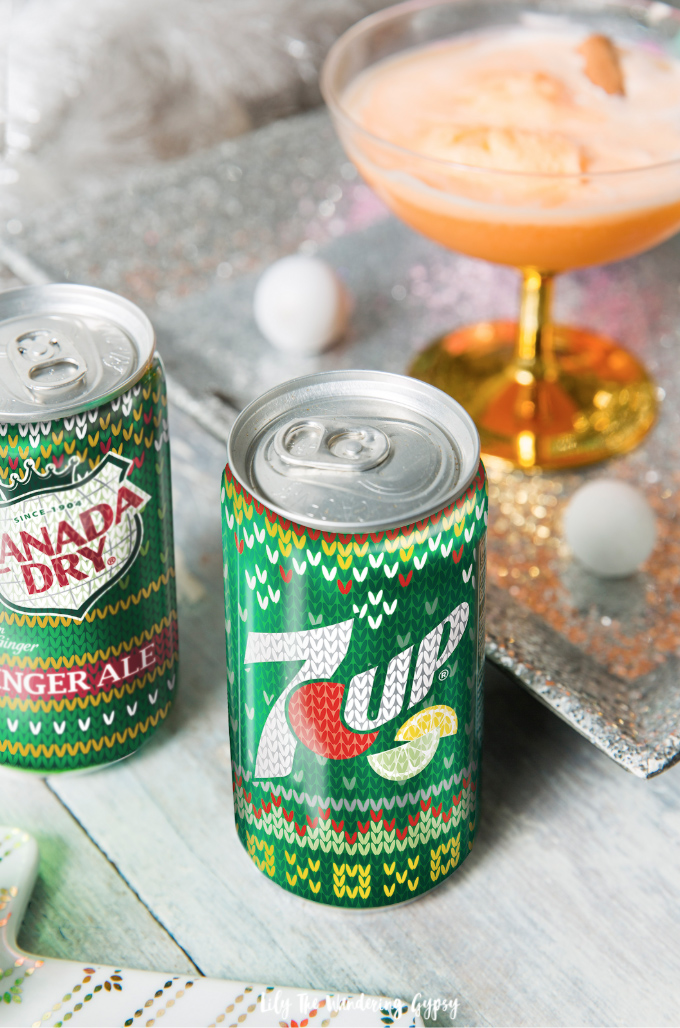
So excited to share a drink recipe AND a fun candy-making recipe that you’re definitely going to want to incorporate into your next holiday gathering. Show your friends and family just how much you care about them by making this year’s festivities extra Glitz N Glam too. Let’s raise a glass to this fun time of year and get to celebrating! I am so excited to share two fun holiday recipes that both incorporate 7UP and Canada Dry Ginger Ale, and I know you’re going to be so inspired to visit Target and incorporate some of these ideas into your next shindig!
If you are someone who believes it’s not a great party without some sort of theme and décor, then you are just like me. I love everything to coordinate and look polished and put together, but I don’t want to spend a ton of time working on setup when I could be prepping food and drinks instead. This décor idea is simple and very easy to recreate, and can be very good for your party budget as well.
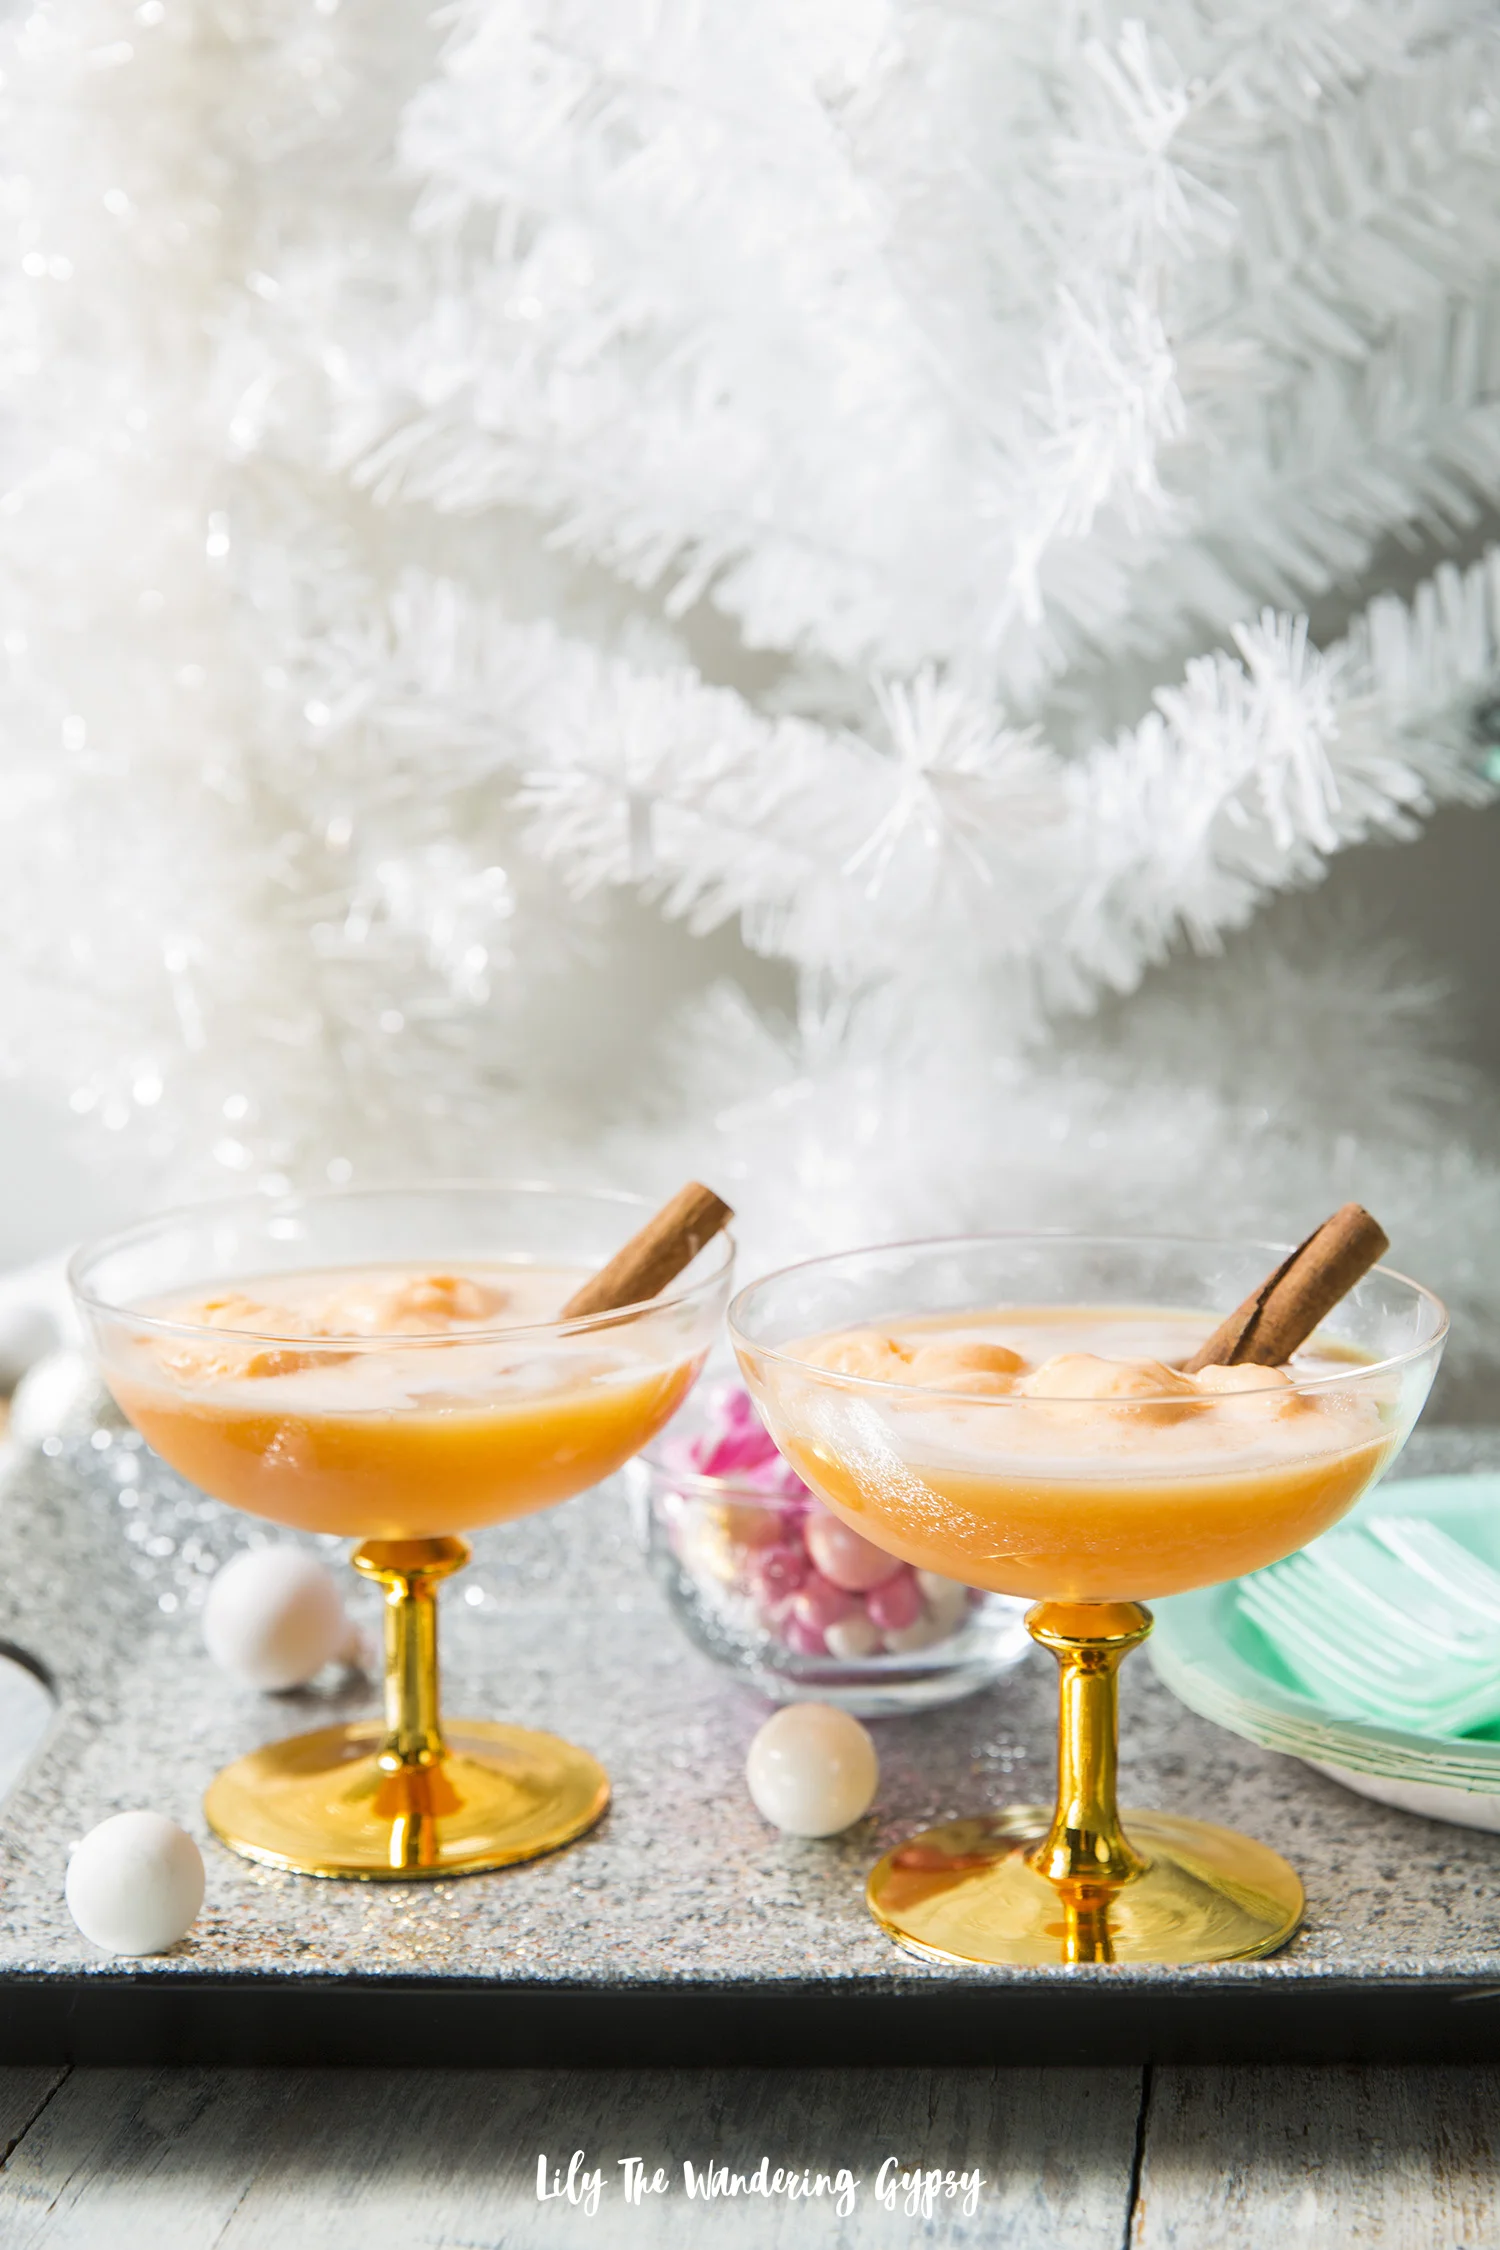
The holidays are the absolute perfect time to go a little more on the sparkly, glitzy, and glam-inspired look. After years of styling parties for my blog, and for my friends, and family, I really know what works and what is not so much worth the trouble. For instance, I used a backdrop décor theme of white and silver, and made sure the overall color scheme reads shimmering winter, which allows the food and drinks to be the star of your party. Any time I can incorporate metallics into a party theme, I do it because a bit of shimmer really classes things up, and makes the party feel even more special! This sort of color scheme is also great because silver and white are colors that are pretty readily available at most craft stores and can even be found year round!
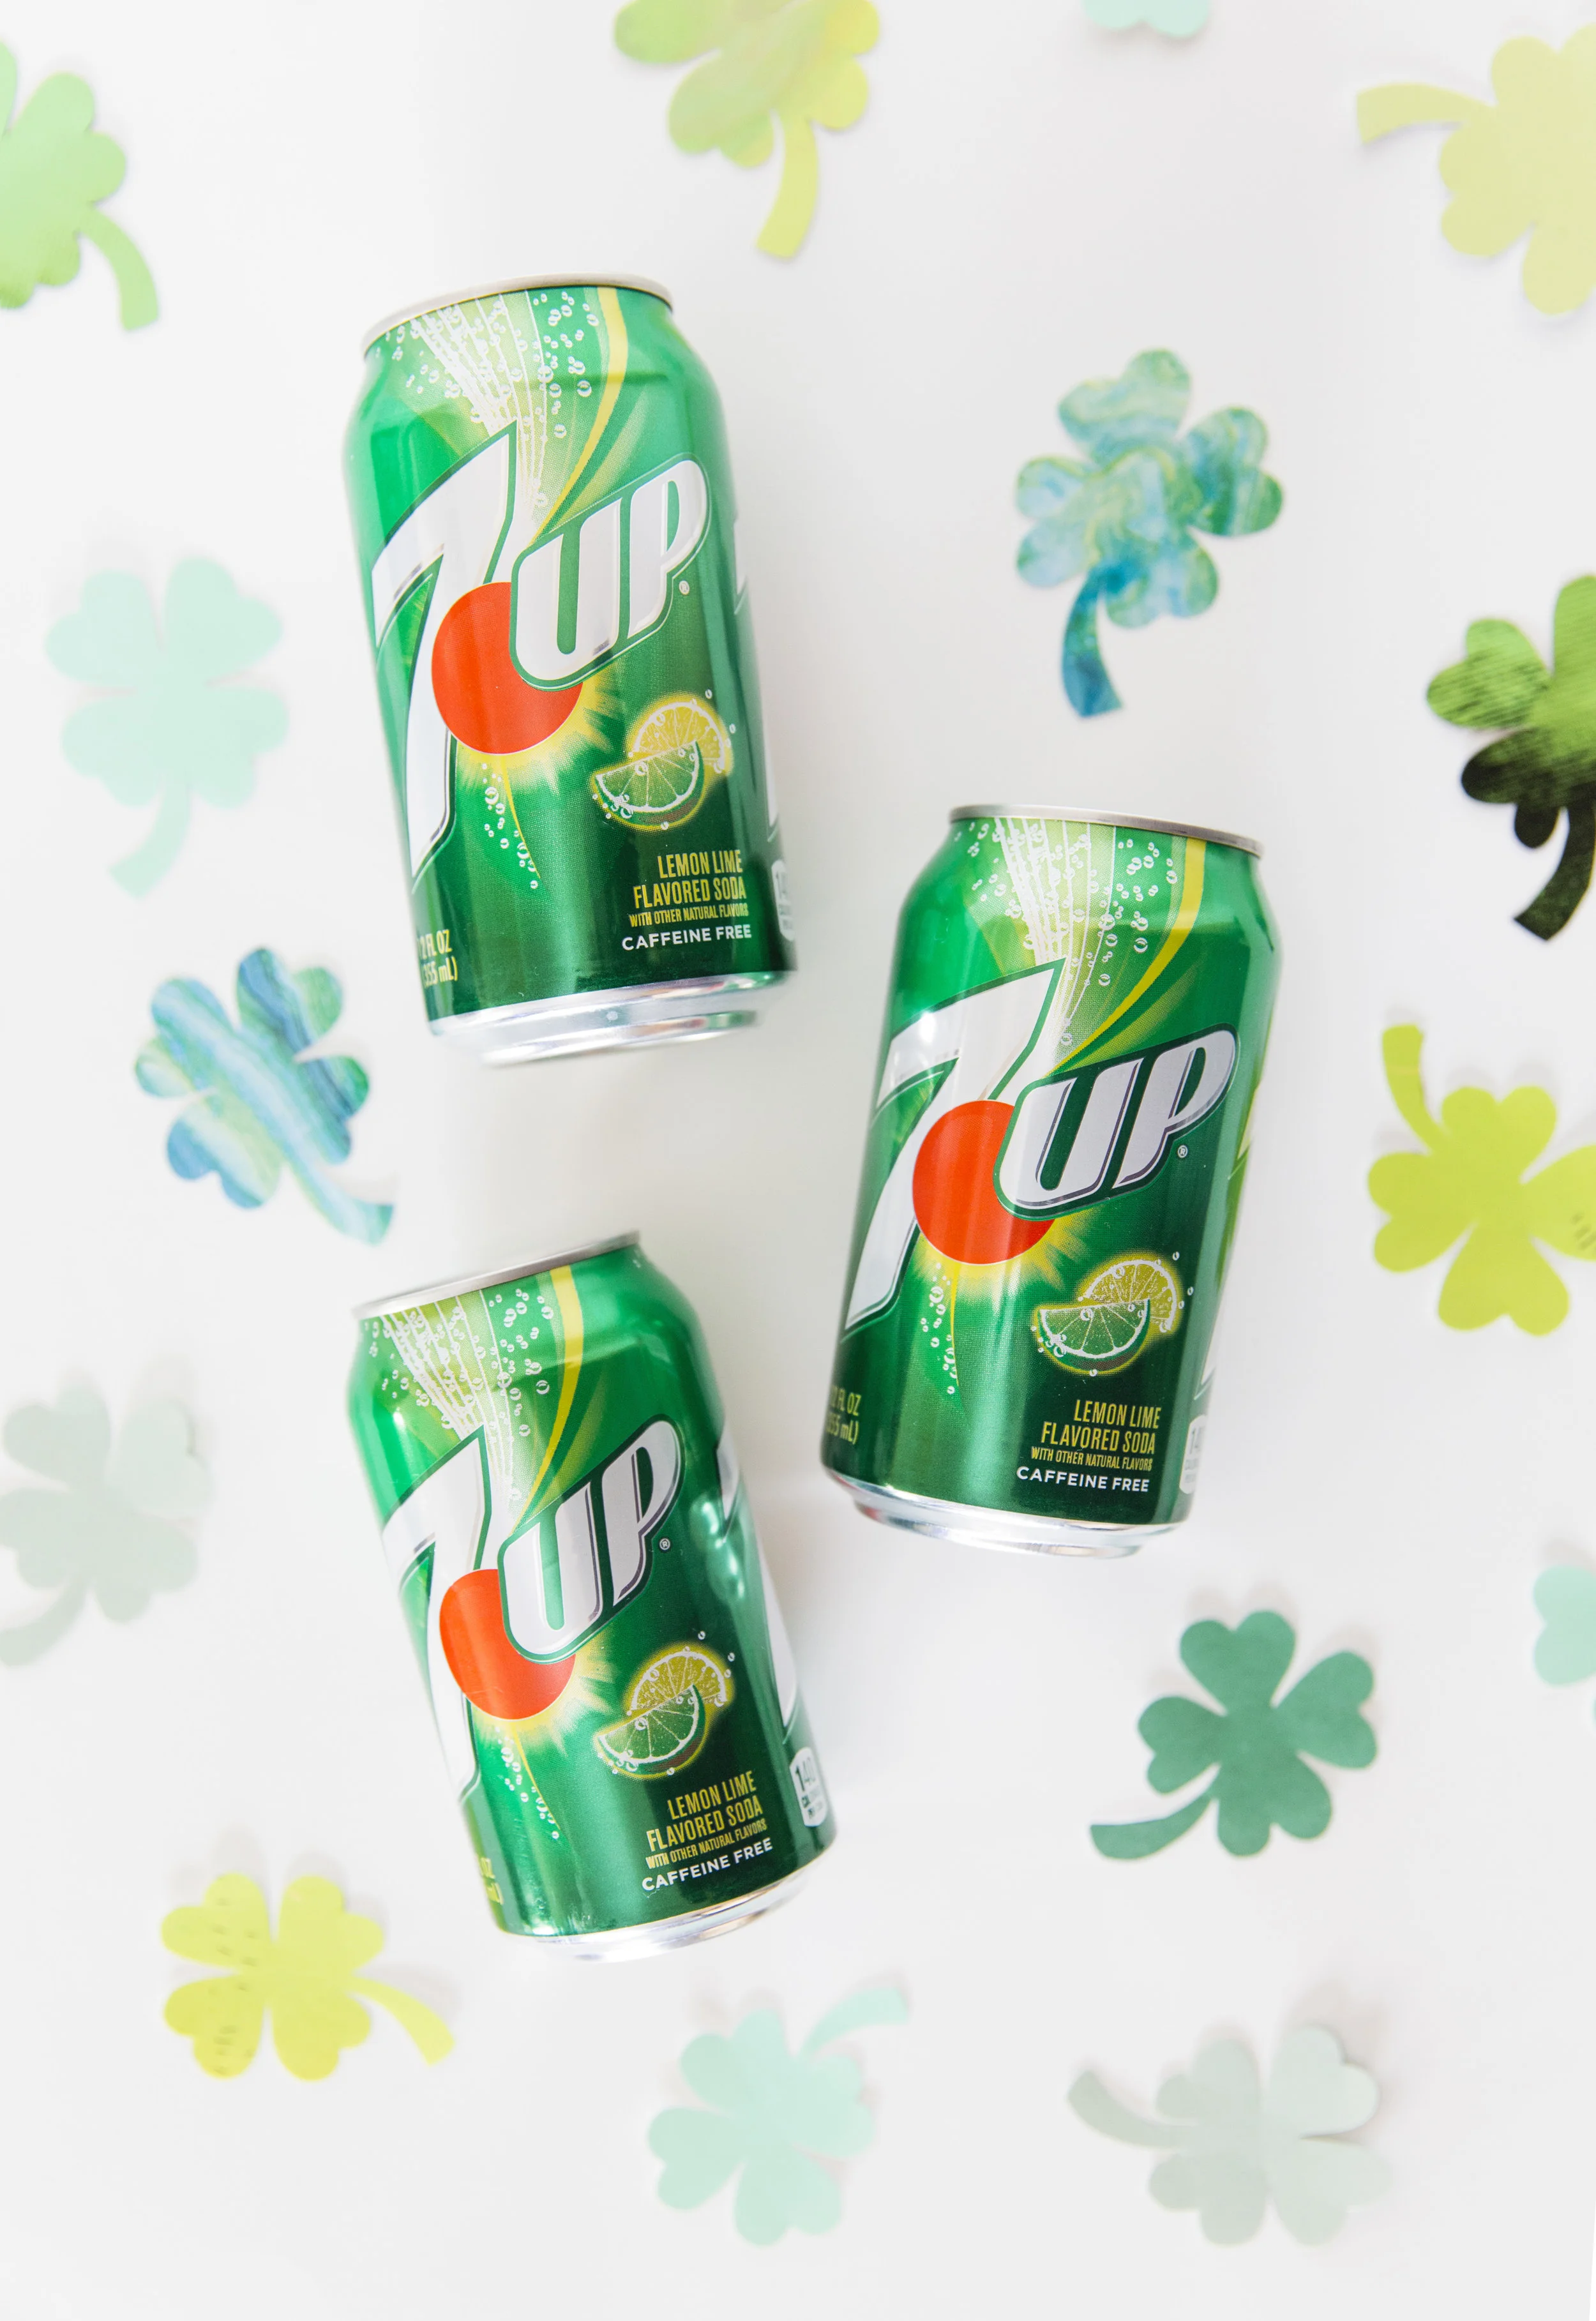
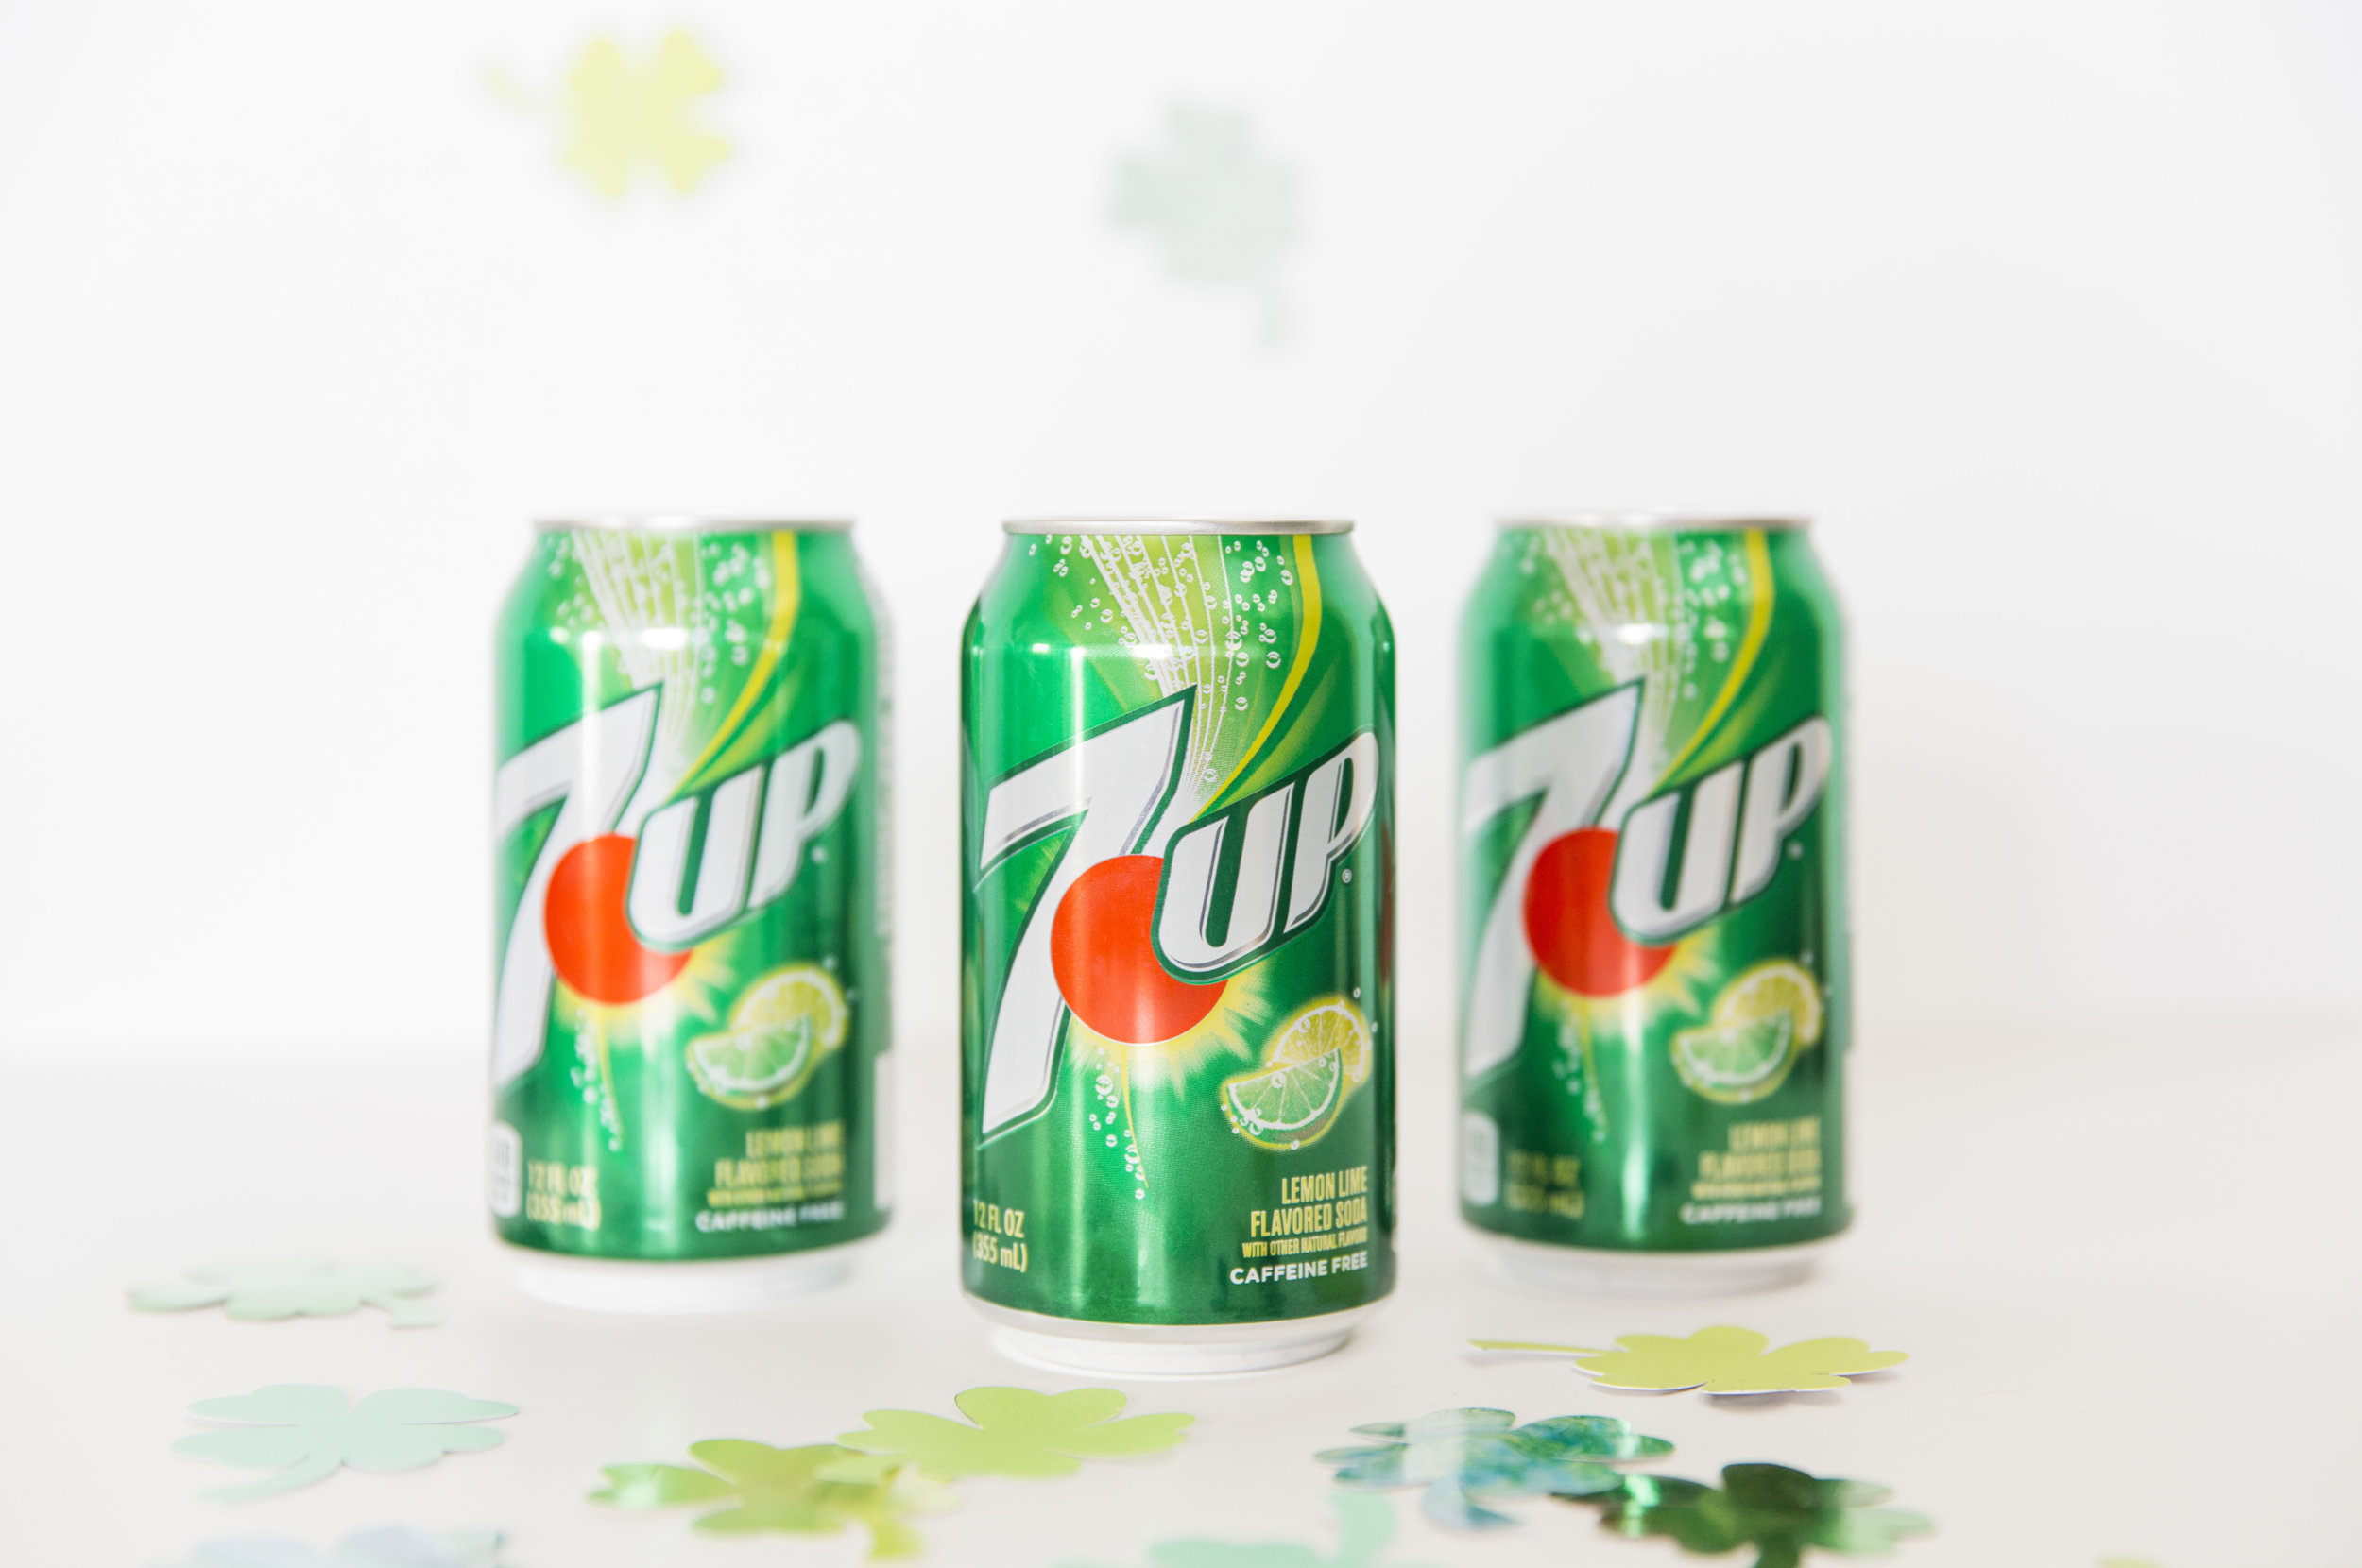
Luckily, I was able to find most of my ingredients and party supplies at Target, my FAVORITE place to get inspired for parties and holidays! I love walking their home décor, food, and party aisles to get ideas for upcoming events and parties. They seem to have just about everything and more. You can sSave on Canada Dry and 7UP with Cartwheel, now in the Target app.

I also love how silver and white portray a very classic and elegant look, which makes it incredibly versatile for all ages!
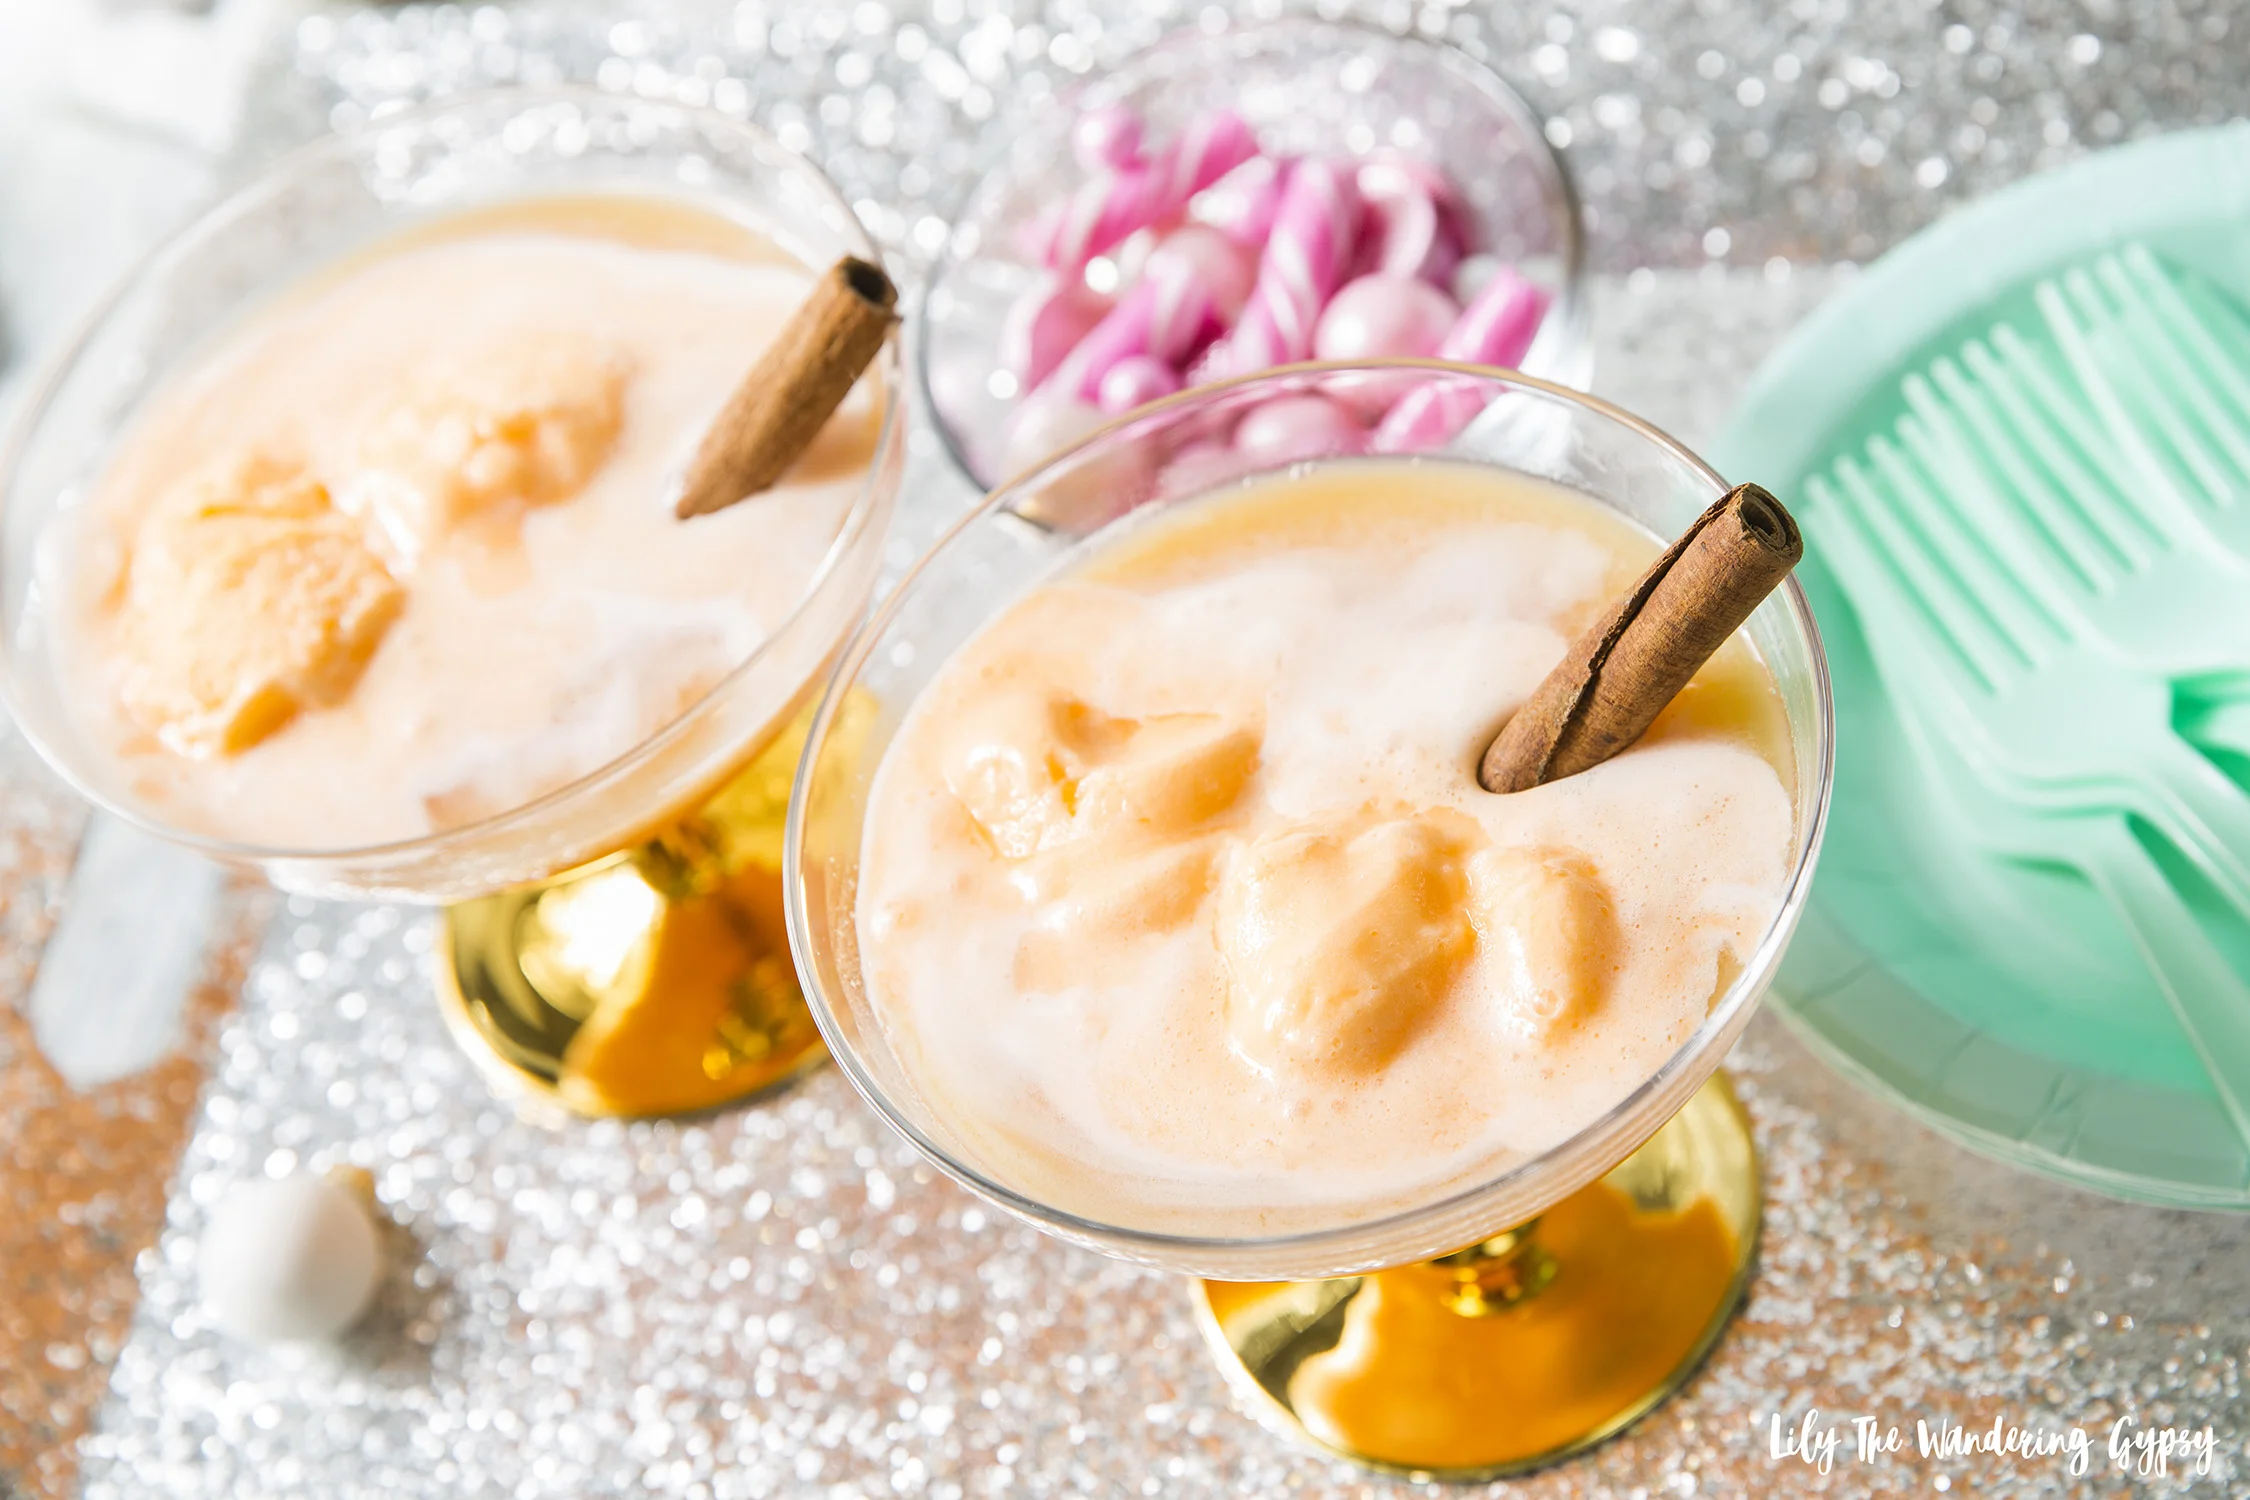
This drink I created, the Orange Spice Punch, is PERFECT for those who love a flavor that is a little more tart with sweet undertones. Also, using a cinnamon stick for garnish was neat because you could stir the drink with it, then the cinnamon taste and aroma was in the drink too.
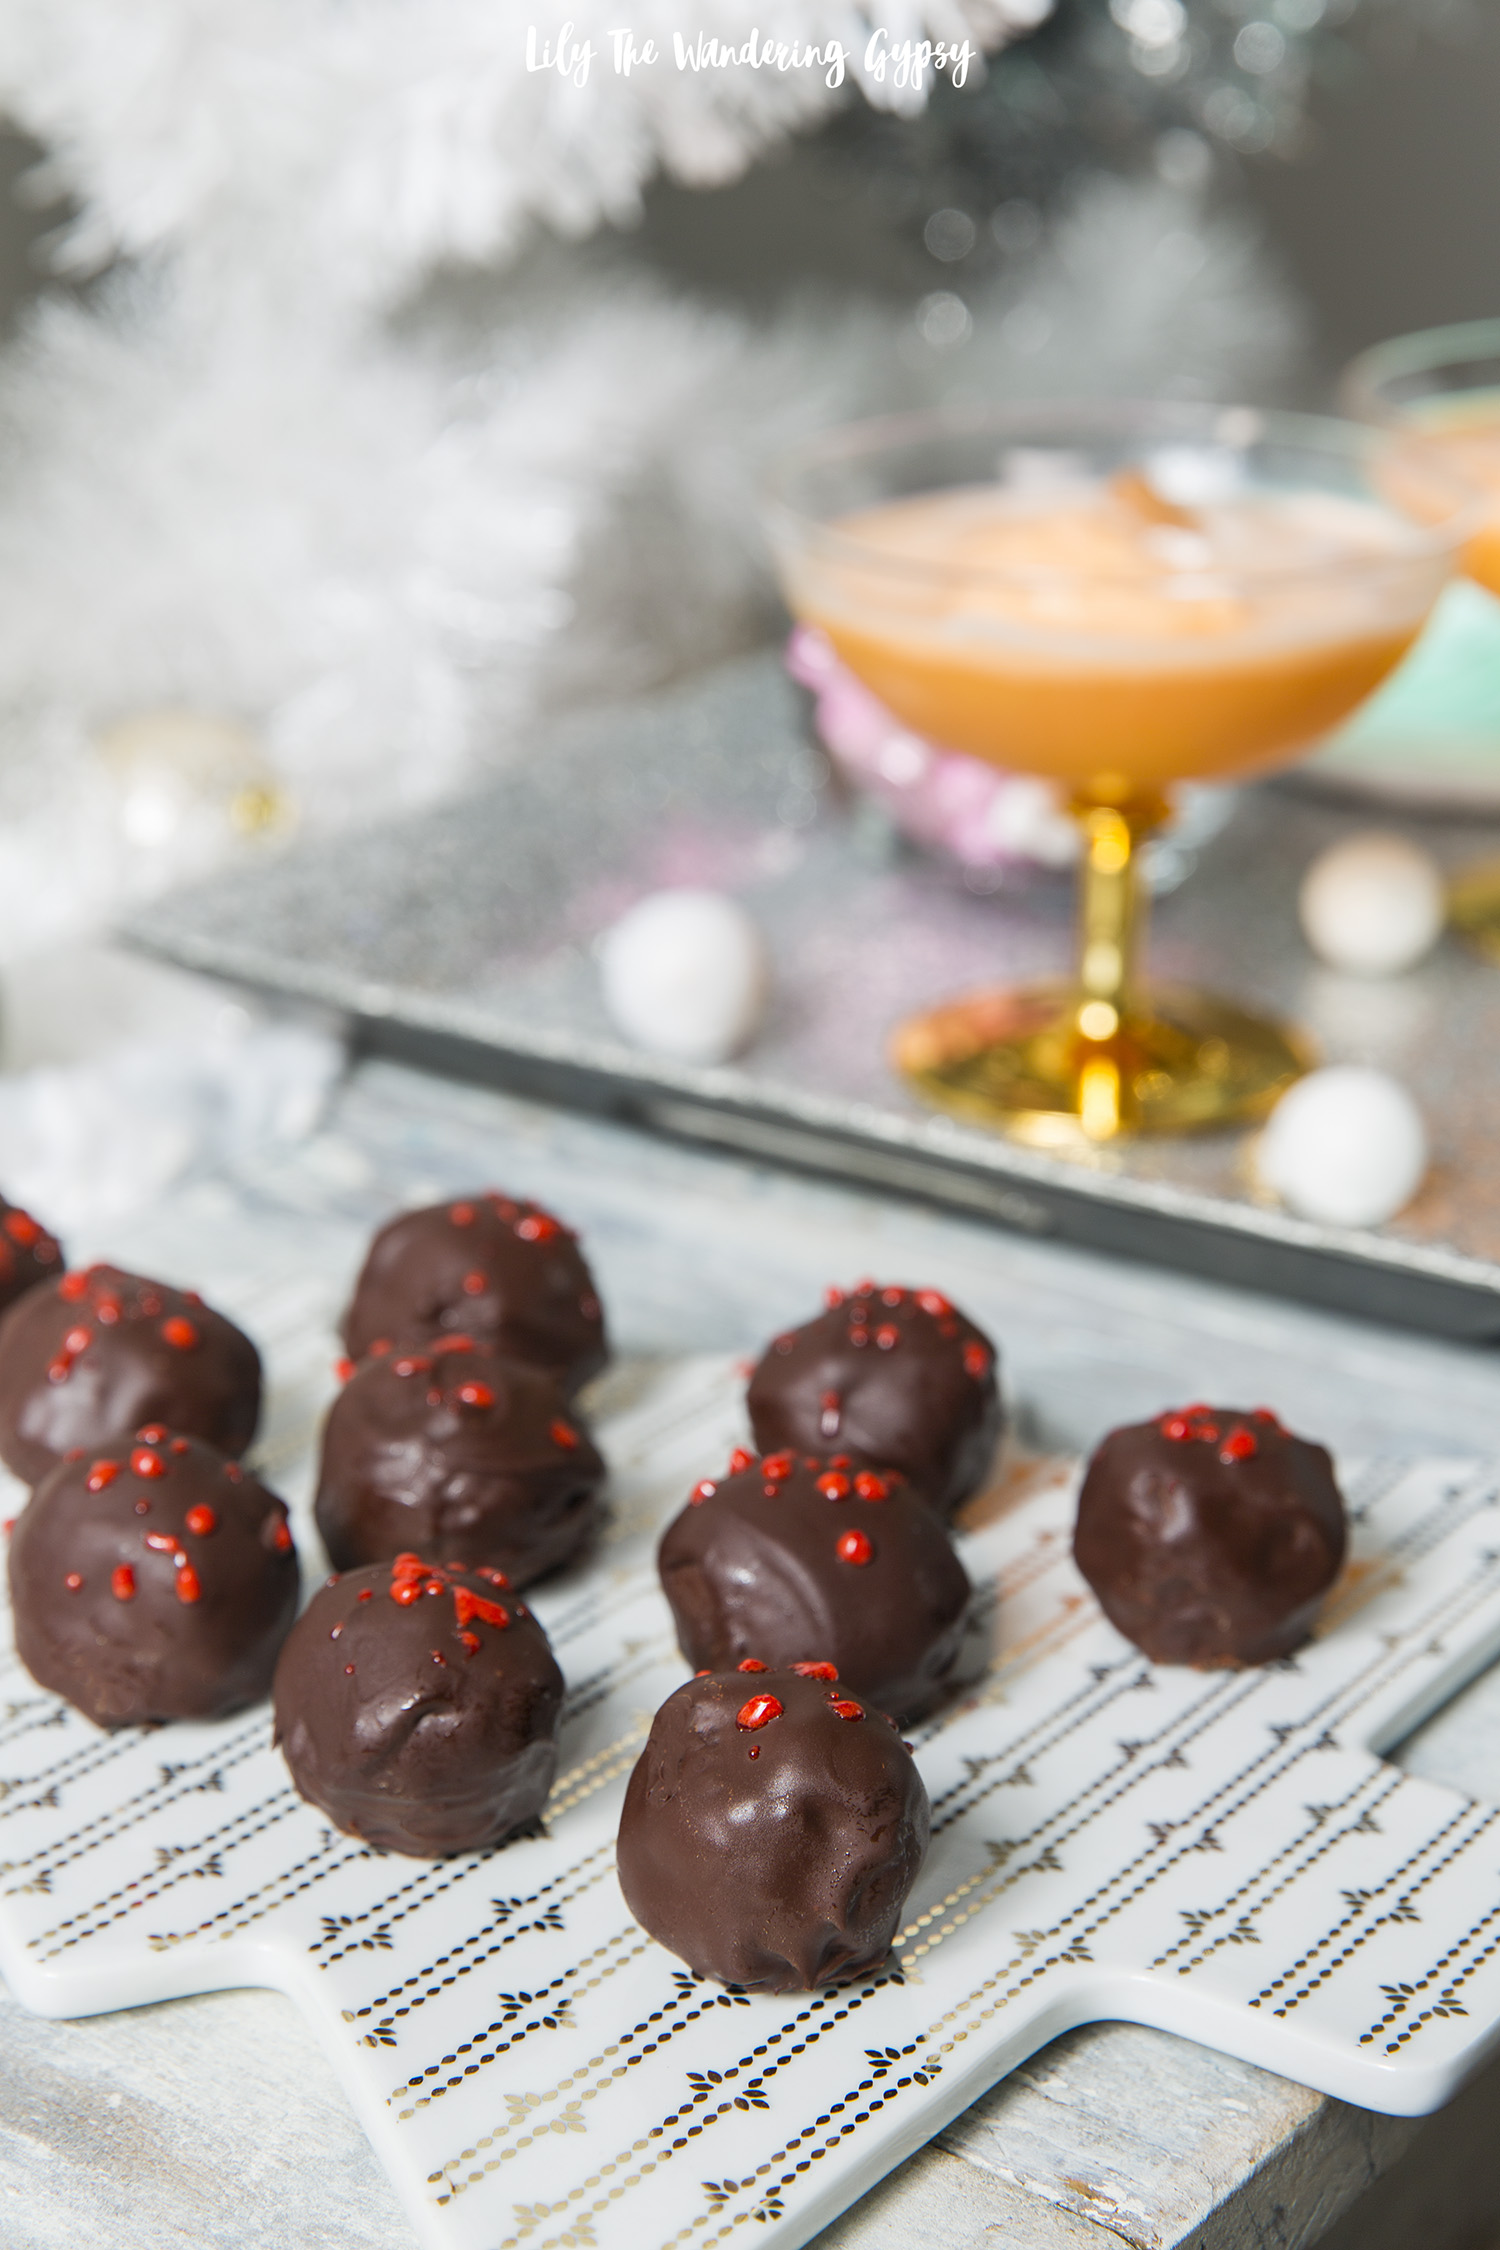
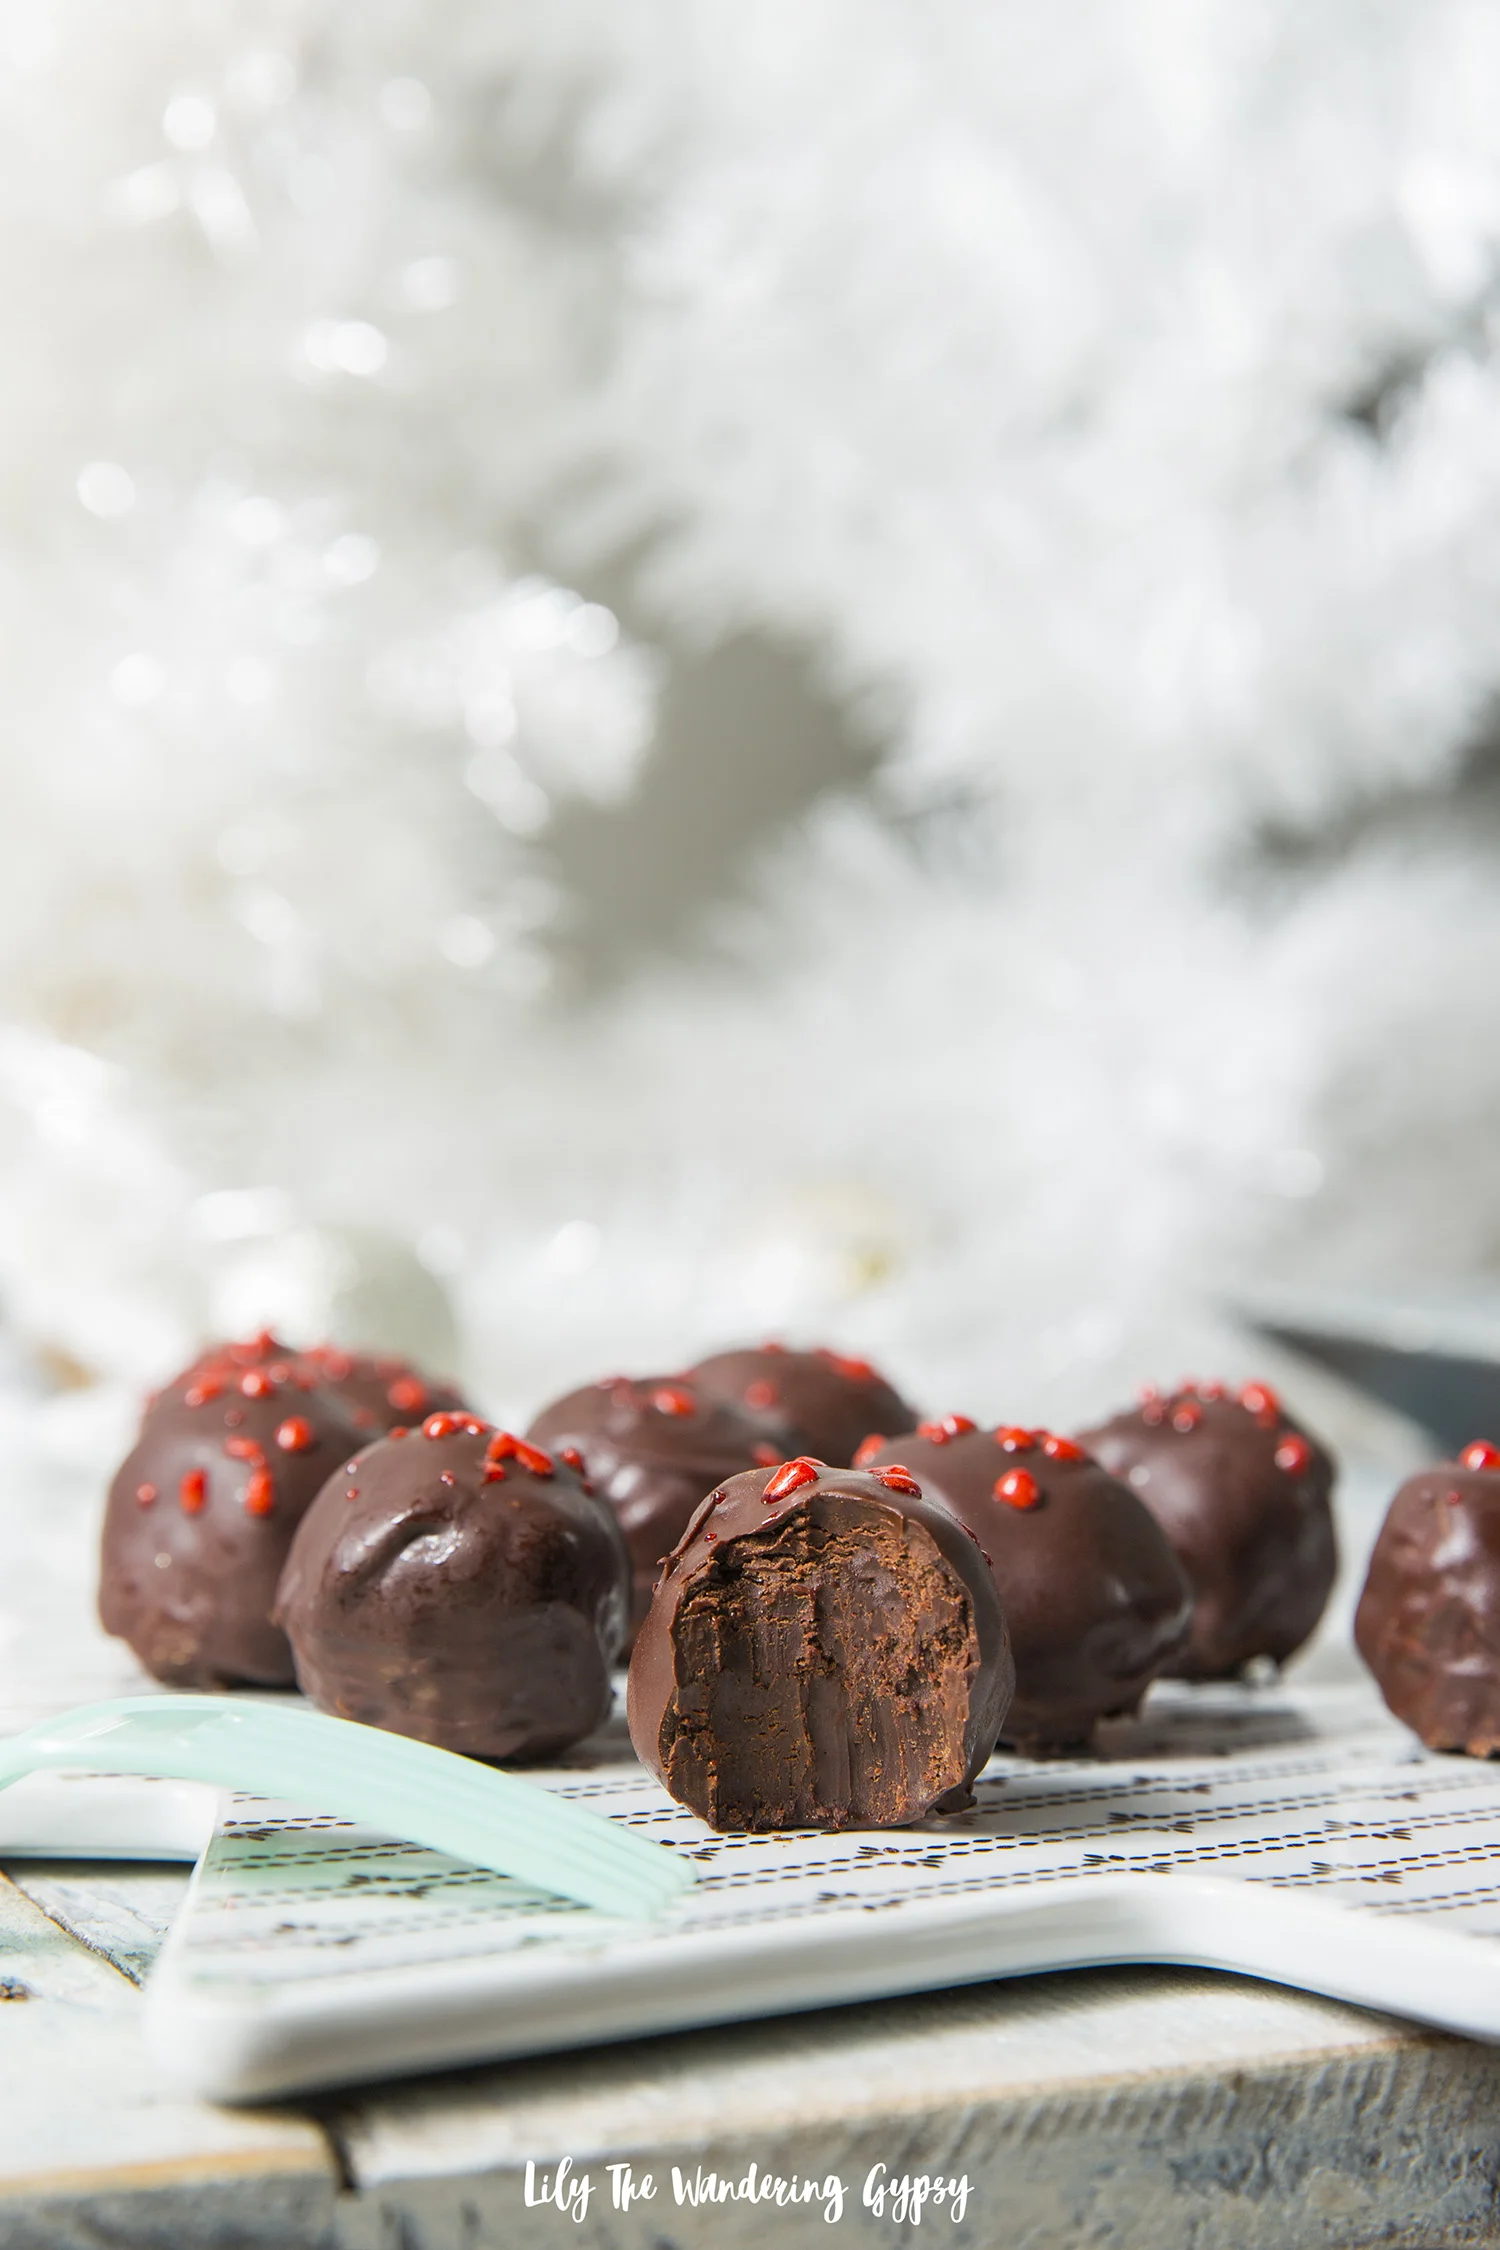
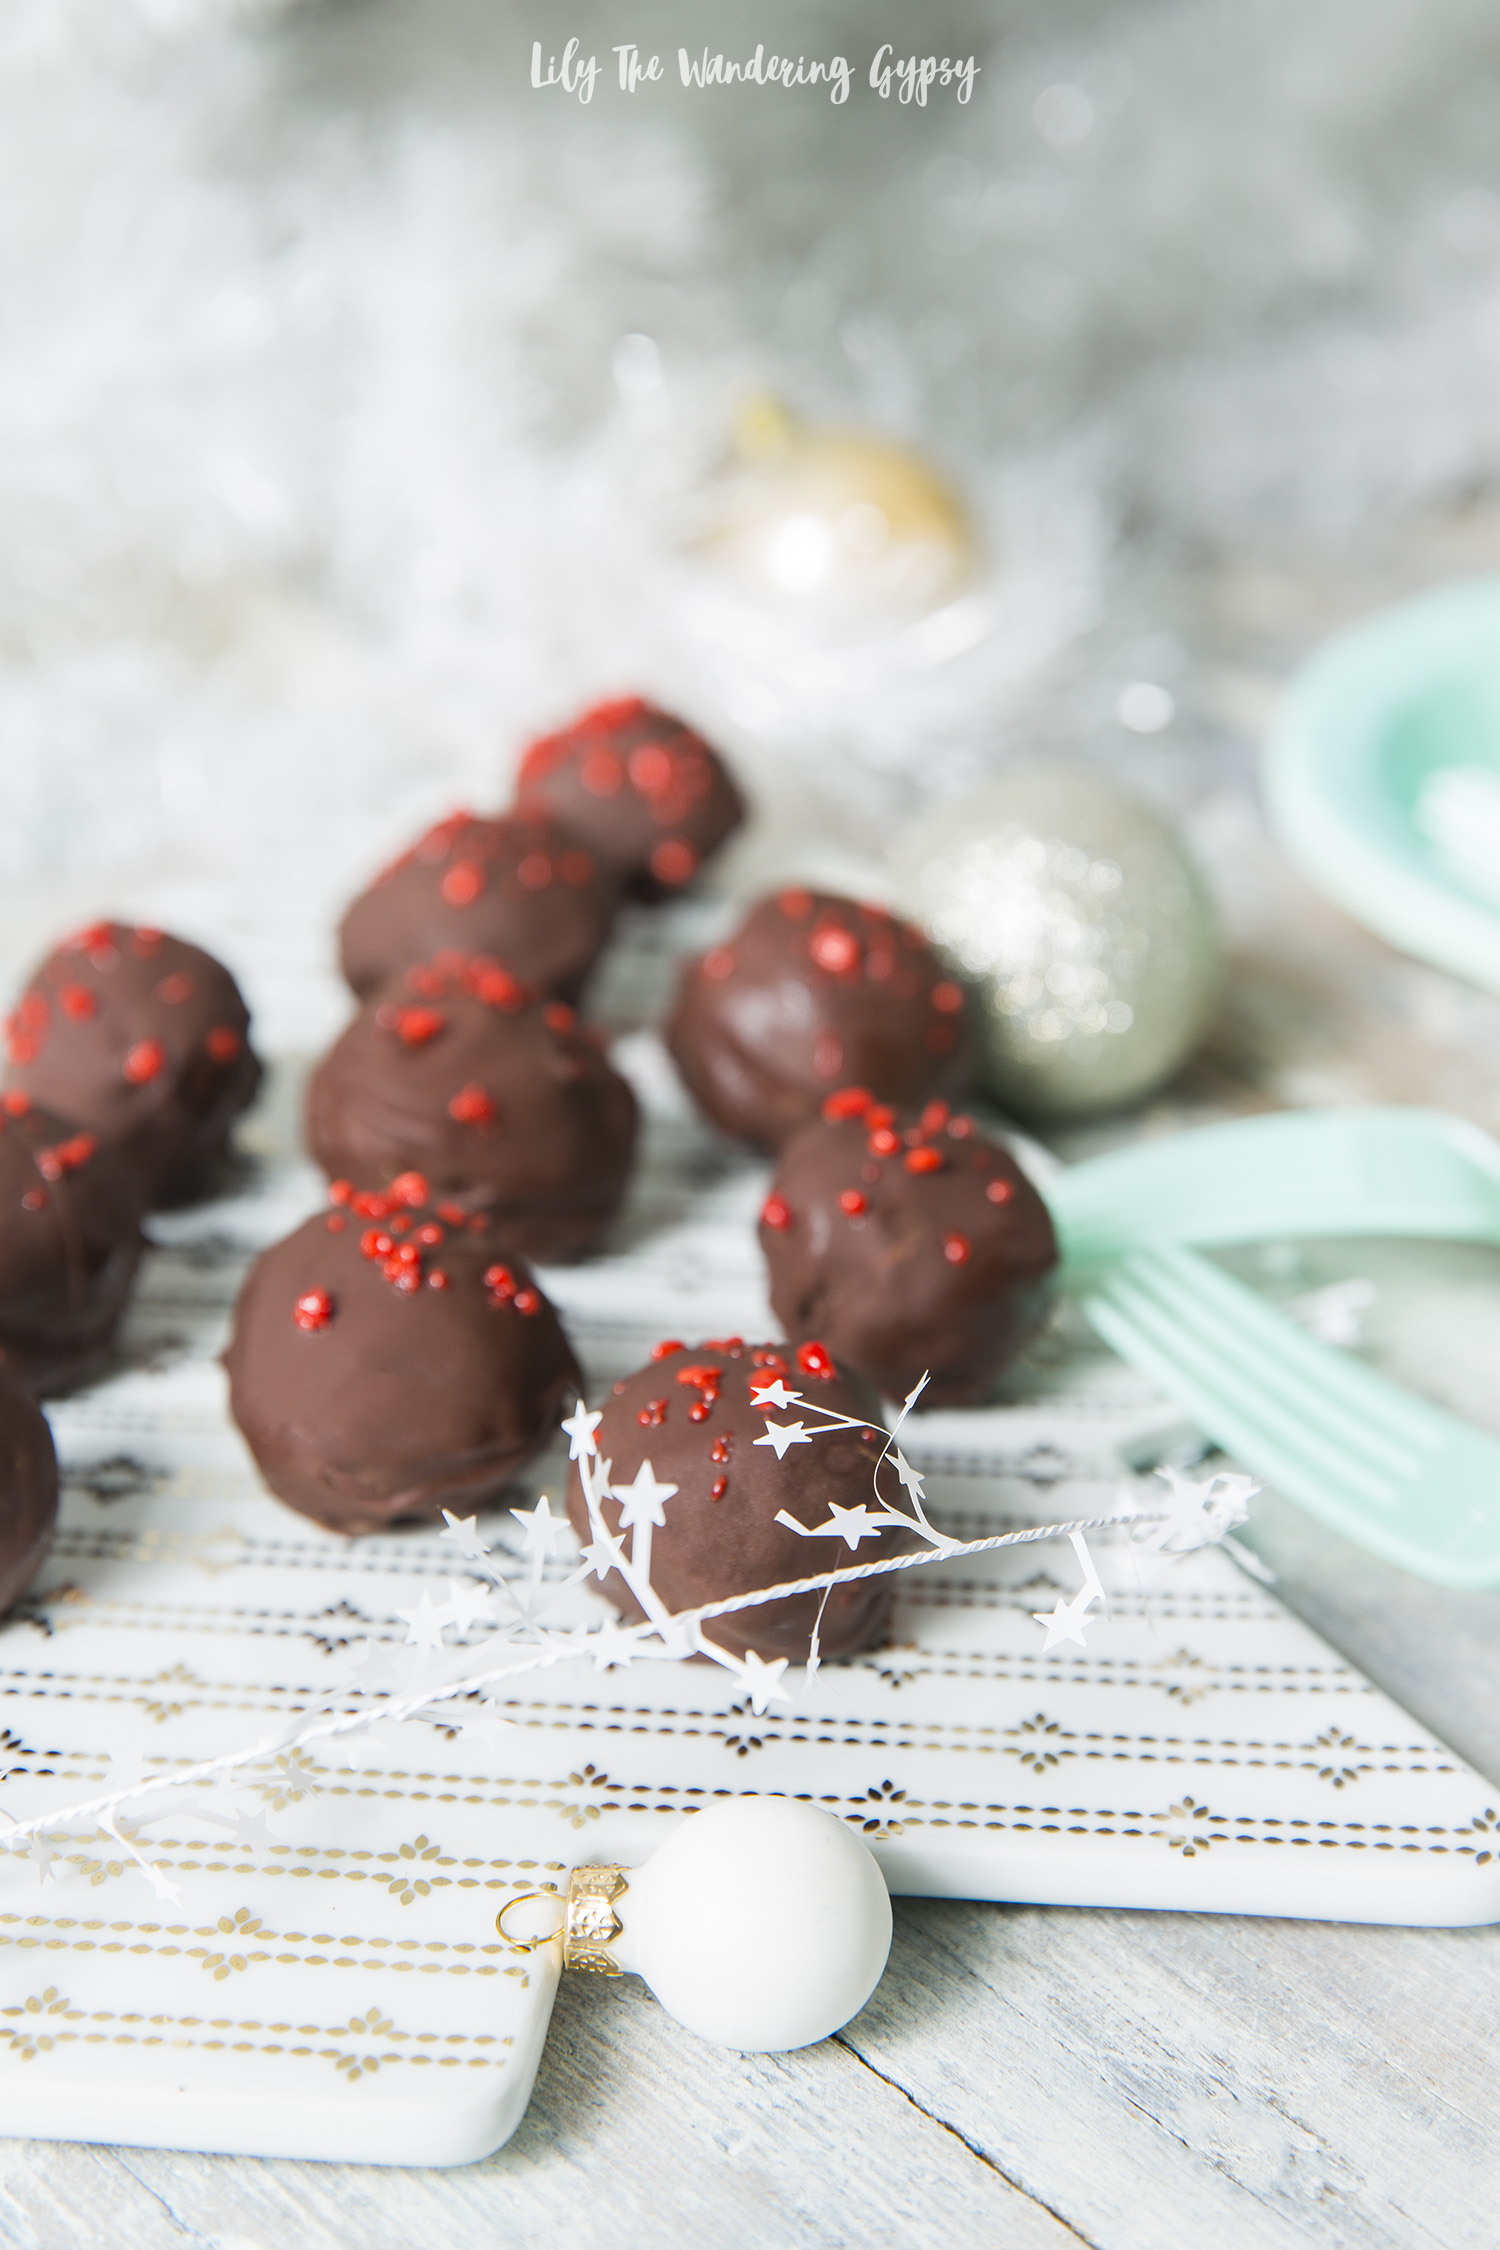
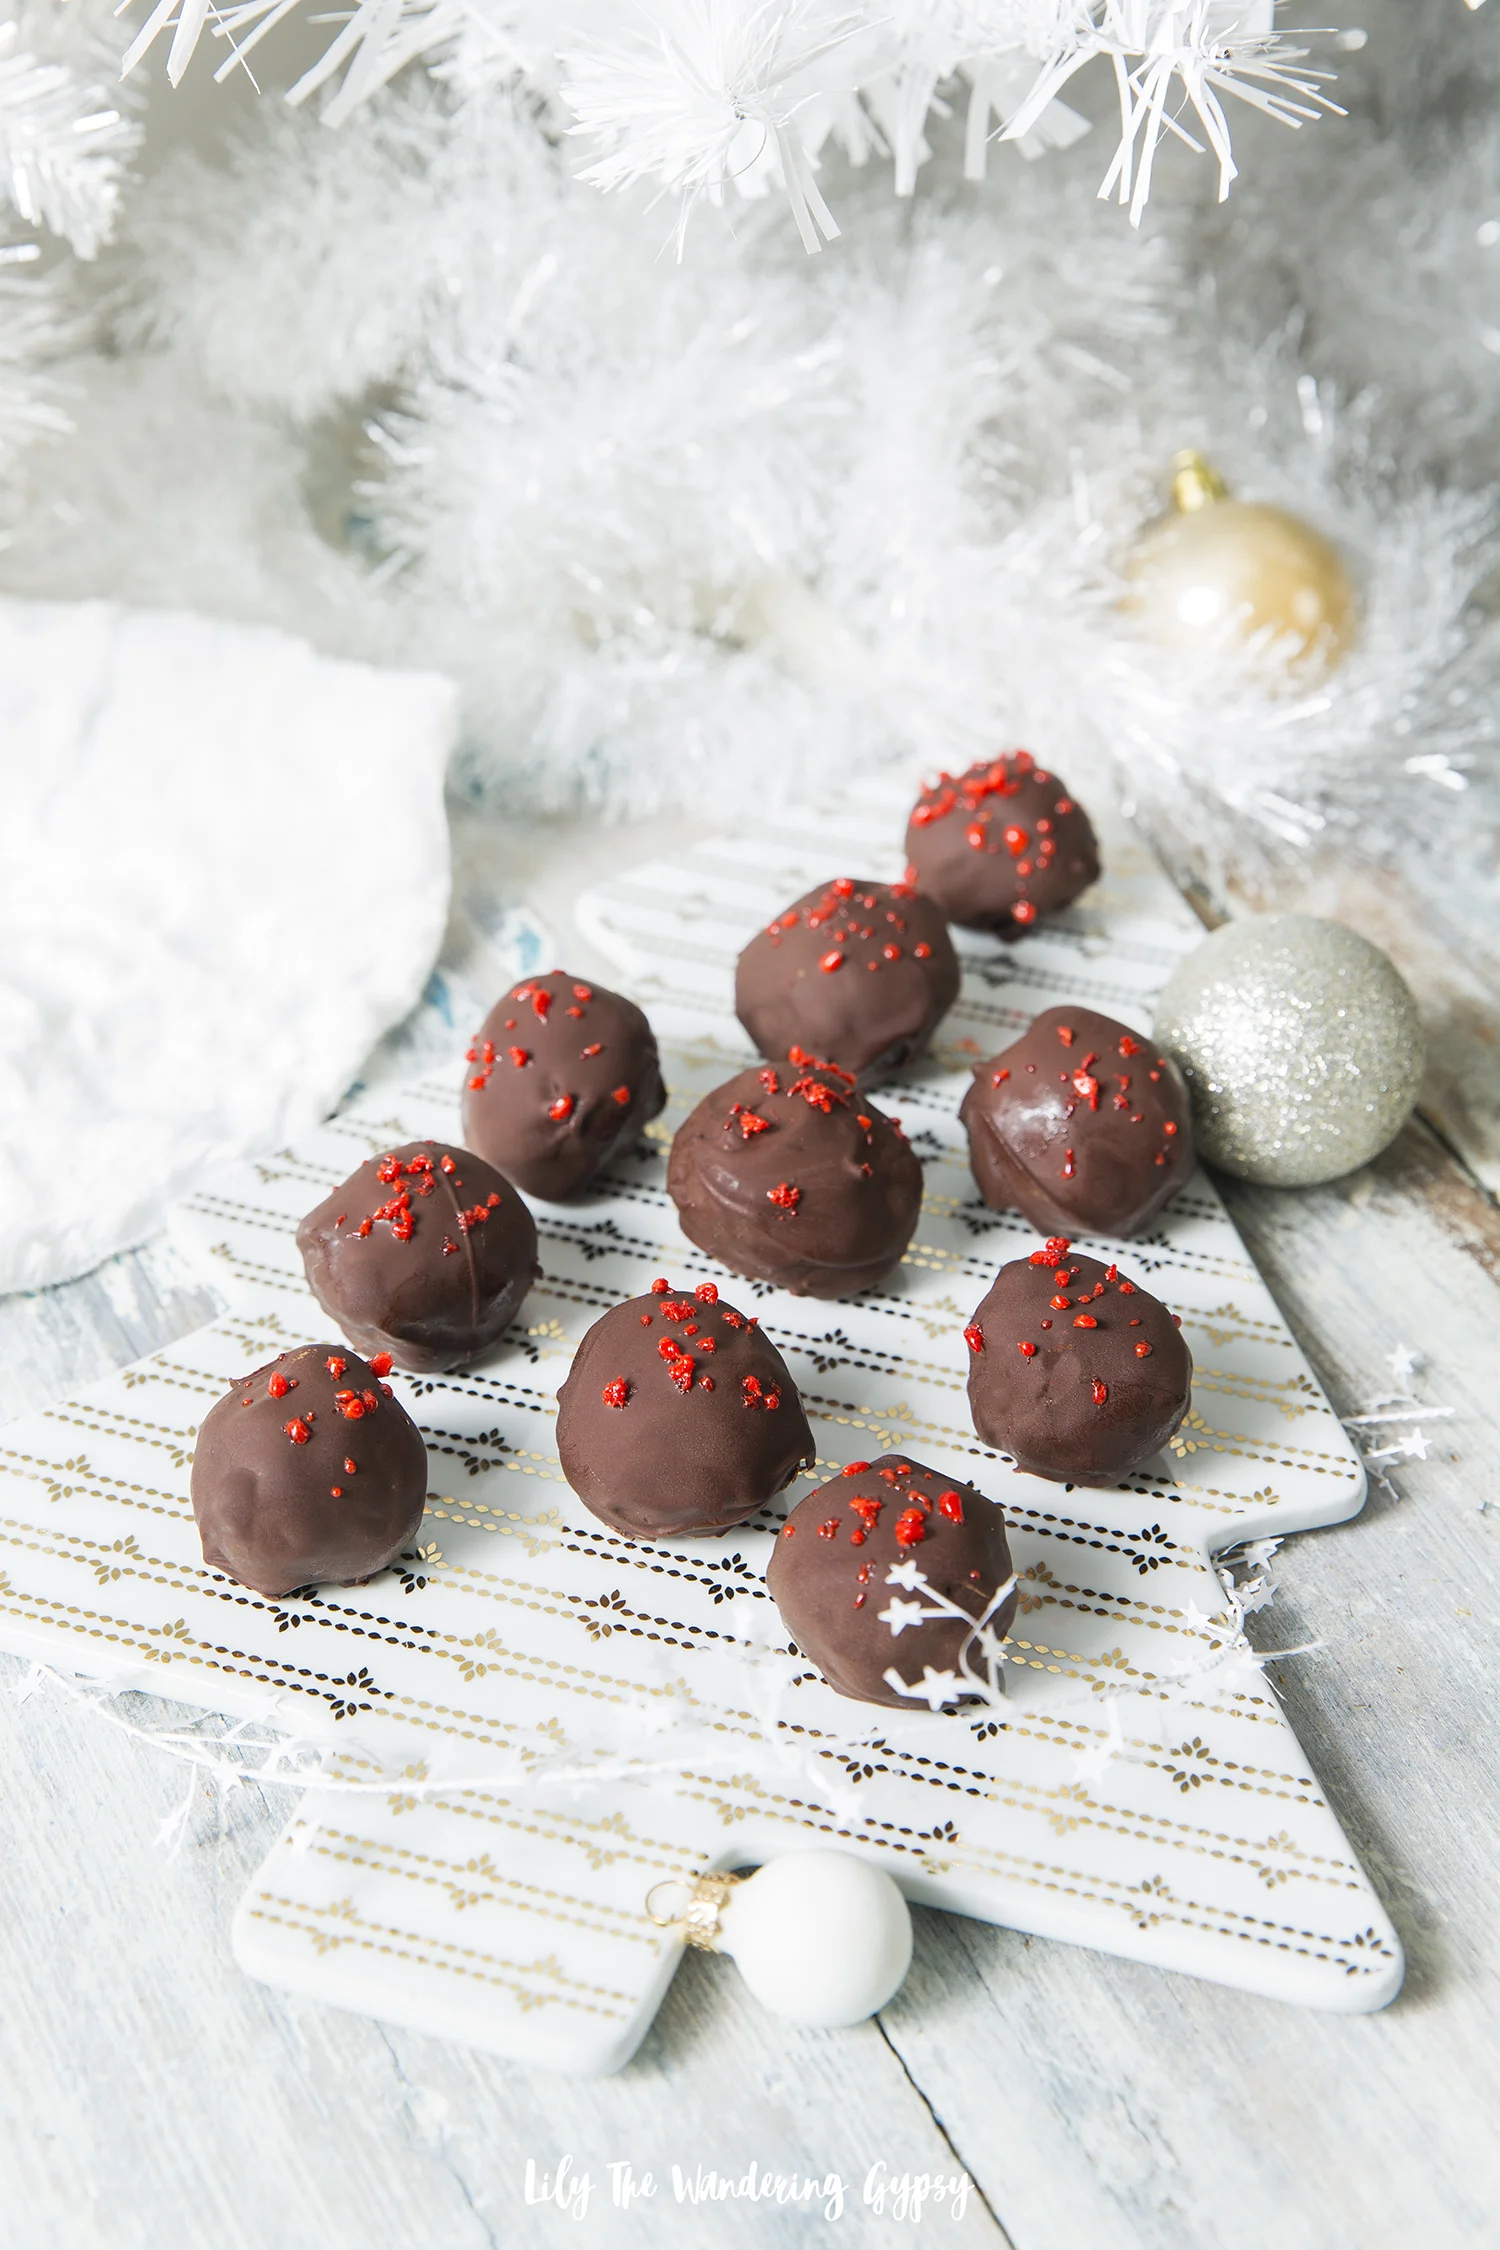
Also, orange and dark chocolate are a delicious pairing, so making these chocolate truffles with a darker chocolate was a really good idea. The 60% cacao chocolate chips really tasted amazing to use as the base of the chocolates.
7UP ORANGE SPICE PUNCH
INGREDIENTS
1 qt. orange sherbet
2 L. 7UP®
12 oz. Canada Dry® Ginger Ale
6 oz. orange juice
6 oz. cranberry juice
1 cup Canadian whiskey (optional)
Lemon, lime, and orange slices; cinnamon sticks; and pumpkin spice, for garnish
Prep Time: 4 minutes
Ready In: 6 minutes
Serving Size: 30 people
DIRECTIONS
Add everything except for sherbet into a one-gallon punch bowl.
Float scoops of sherbet on top.
Let sherbet soften in the punch for a few minutes before serving.
Garnish with lemon, lime, and orange slices, cinnamon sticks, and a touch of pumpkin spice.
Please drink responsibly.
Best served in something extra fancy!
7UP FIRECRACKER CANDY TRUFFLES
(RECIPE FOUND HERE)
INGREDIENTS
· POPPER CANDY
· Confectioners’ sugar for dusting
· 1 cup granulated sugar
· 2 tbsp. light corn syrup
· 1/4 cup 7UP®
· 1 tbsp. baking soda
· 1-2 tsp. citric acid (optional, adds flavor)
· Pink food coloring
· TRUFFLES
· 1-2/3 cups heavy cream
· 1 bag of chocolate chips (good quality 60% cacao), chopped + 6 oz. more for coating truffles (I used 1.5 bags of chocolate chips altogether)
· Pinch of salt (I used large grain salt, it worked super well)
· 1/2 tsp. ground cinnamon (optional)
· 3/4 tsp. cayenne (optional)
· 1/2 tsp. chili powder (optional)
Prep Time: 15 minutes
Ready In: 2 hours 15 minutes
Serving Size: 10-12 people
DIRECTIONS
· POPPER CANDY
· Prepare a baking sheet with parchment and dust with confectioners’ sugar.
· Place granulated sugar, corn syrup, and 7UP® in a pot, whisking to combine. Bring mixture to a boil, and cook until a temperature of 300° is achieved. Watch your temp, or this can burn relatively easily.
· Remove from heat, and stir in baking soda, (optional) citric acid, and food coloring of your choice. The citric acid just adds flavor, which is super tart. So, if you would prefer to just have a sweet topping, do not include the citric acid.
· Pour onto prepared baking sheet, sprinkle with remaining citric acid, and set aside to cool while preparing truffles.
· TRUFFLES
· To make the truffles, bring cream to a simmer in a shallow saucepan.
· Place chocolate in a shallow bowl, and pour warm cream over chocolate.
· Let stand for 10 minutes.
· Stir with a rubber spatula until chocolate mixture is smooth.
· Season with a pinch of salt, ground cinnamon, and cayenne.
· Pour into a shallow baking dish, and chill in refrigerator until firm. This step was a bit tricky, but I found that spreading the chocolate in a pretty thin layer worked best and was the fastest.
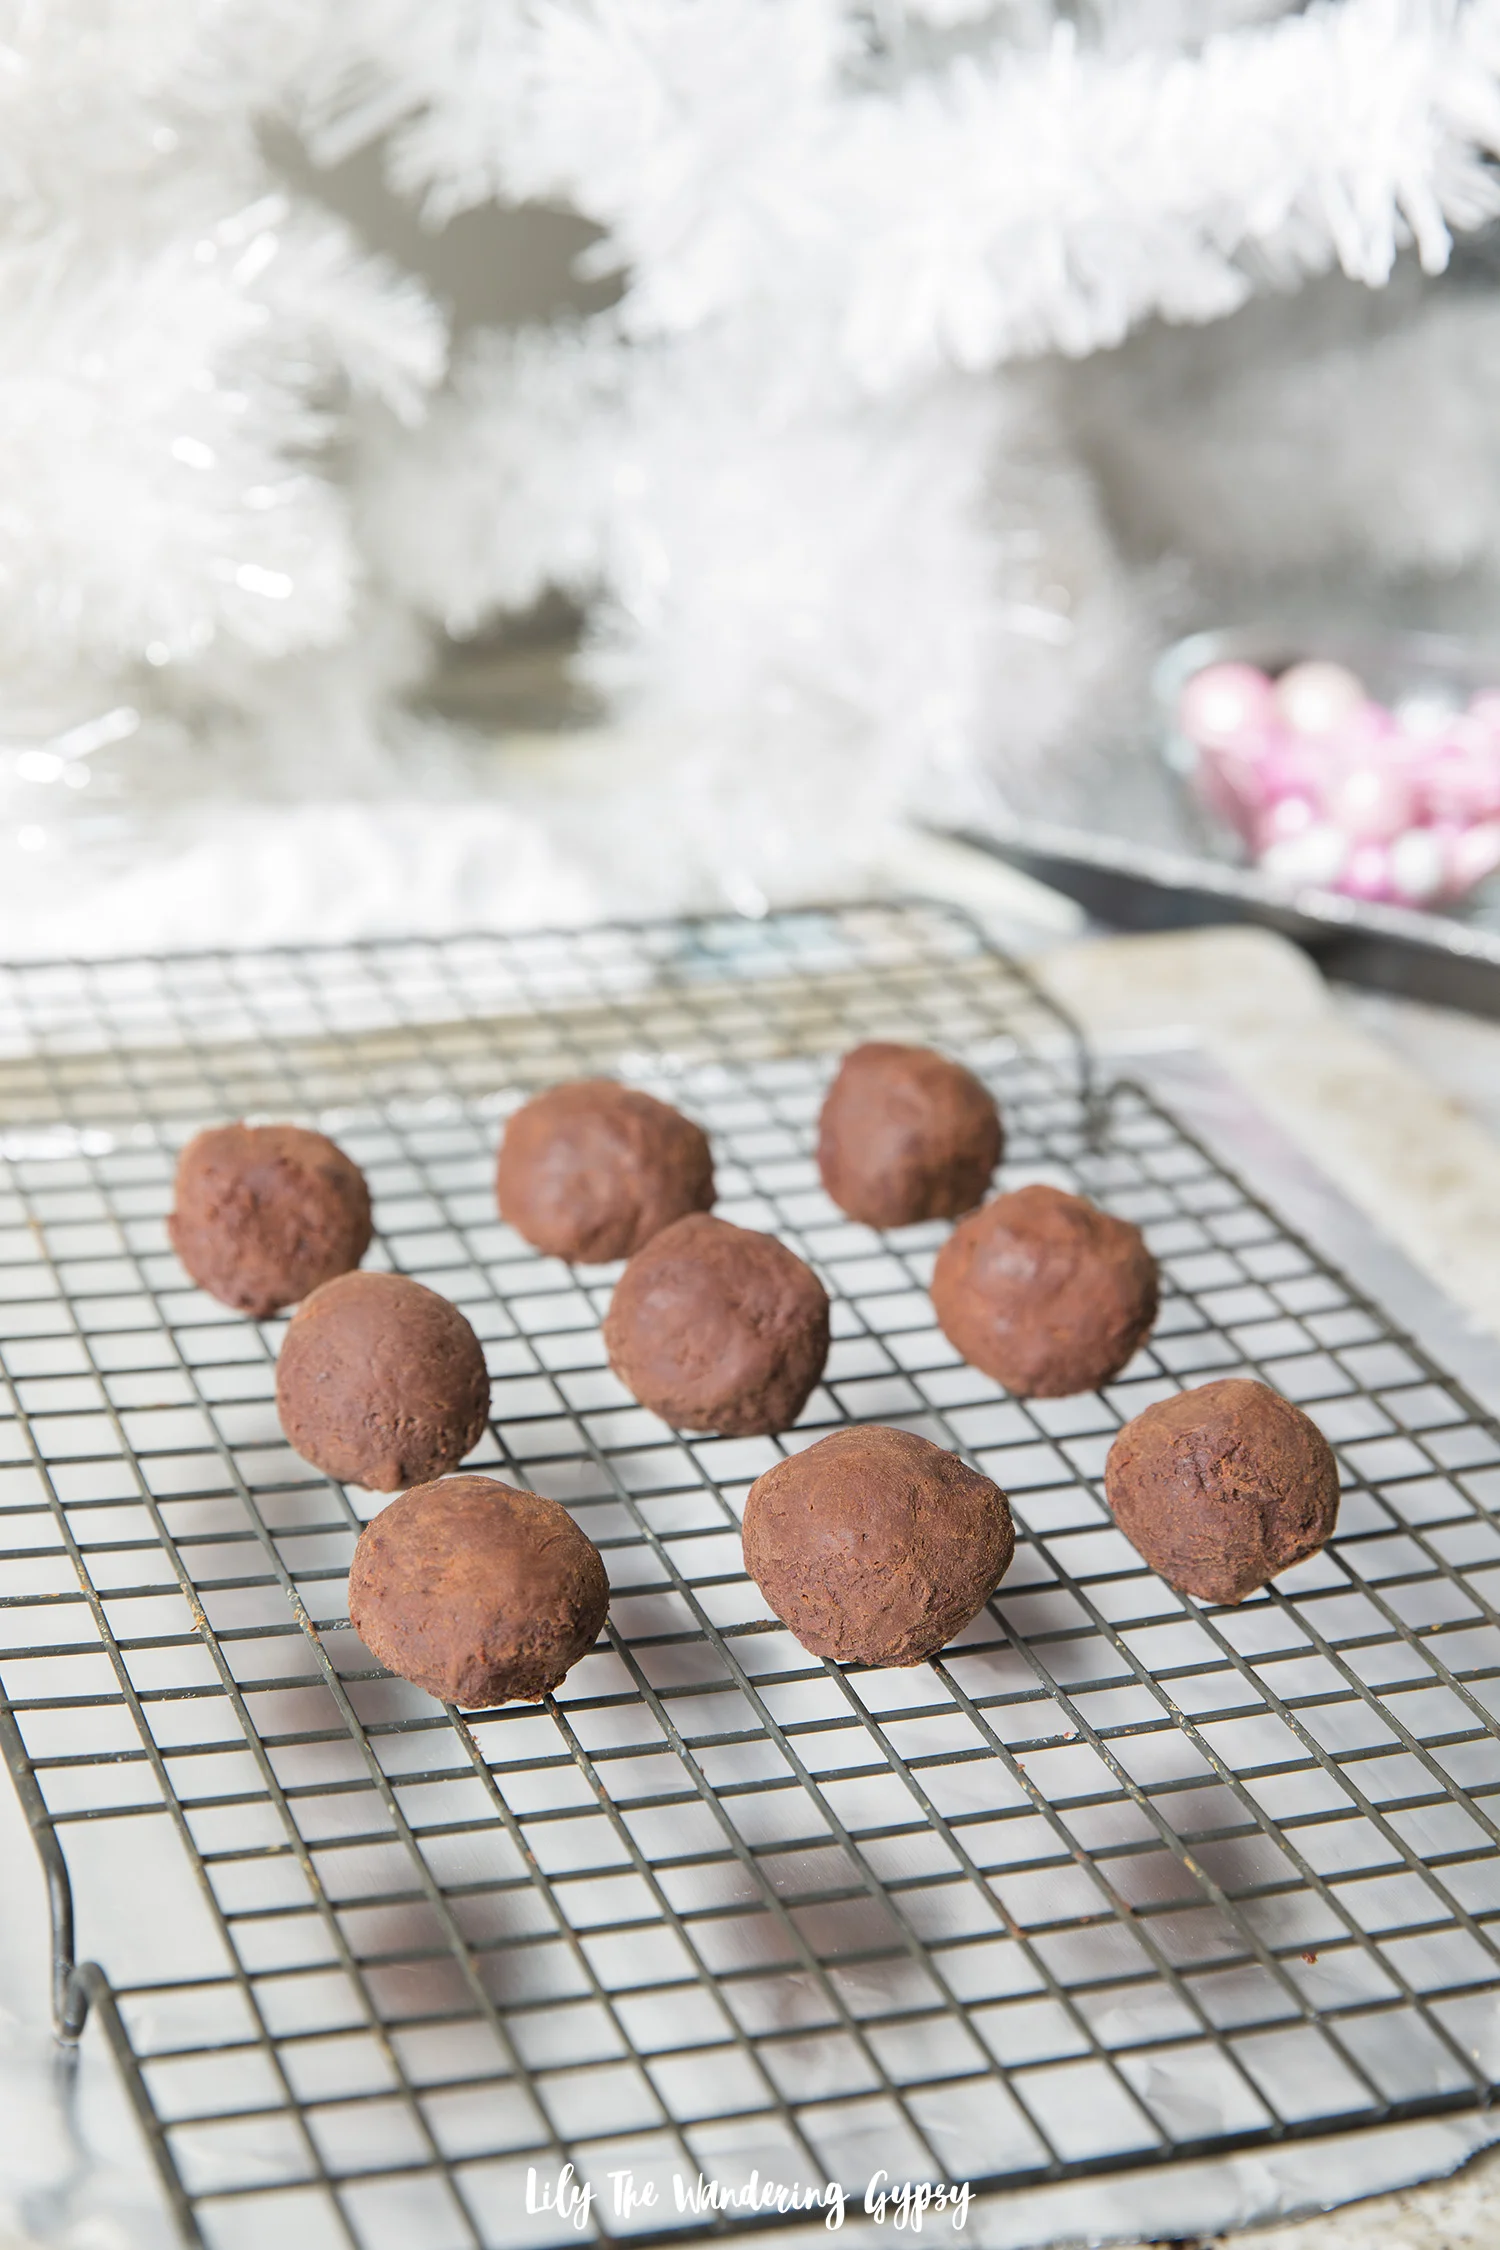
· To form truffles, scoop with a small ice cream scoop, melon baller, or kitchen spoon and roll into a balls. Feel free to re-freeze chocolate if it’s not firm enough to make the balls. Note – this step was a bit tricky. At first, the chocolate was way too soft to form balls from. I also had the chocolate freeze completely, because I left them in the freezer too long. Just check on the chocolate ganache at 15 minutes, then every 5 minutes after that.
· Place truffles in freezer to firm up again before covering with more chocolate. Below, you can see an image of the chocolate balls after they have been frozen for about 20 minutes.
· Once popper candy is cooled and hard, place in a large resealable bag and break up into pieces with a rolling pin or mallet.
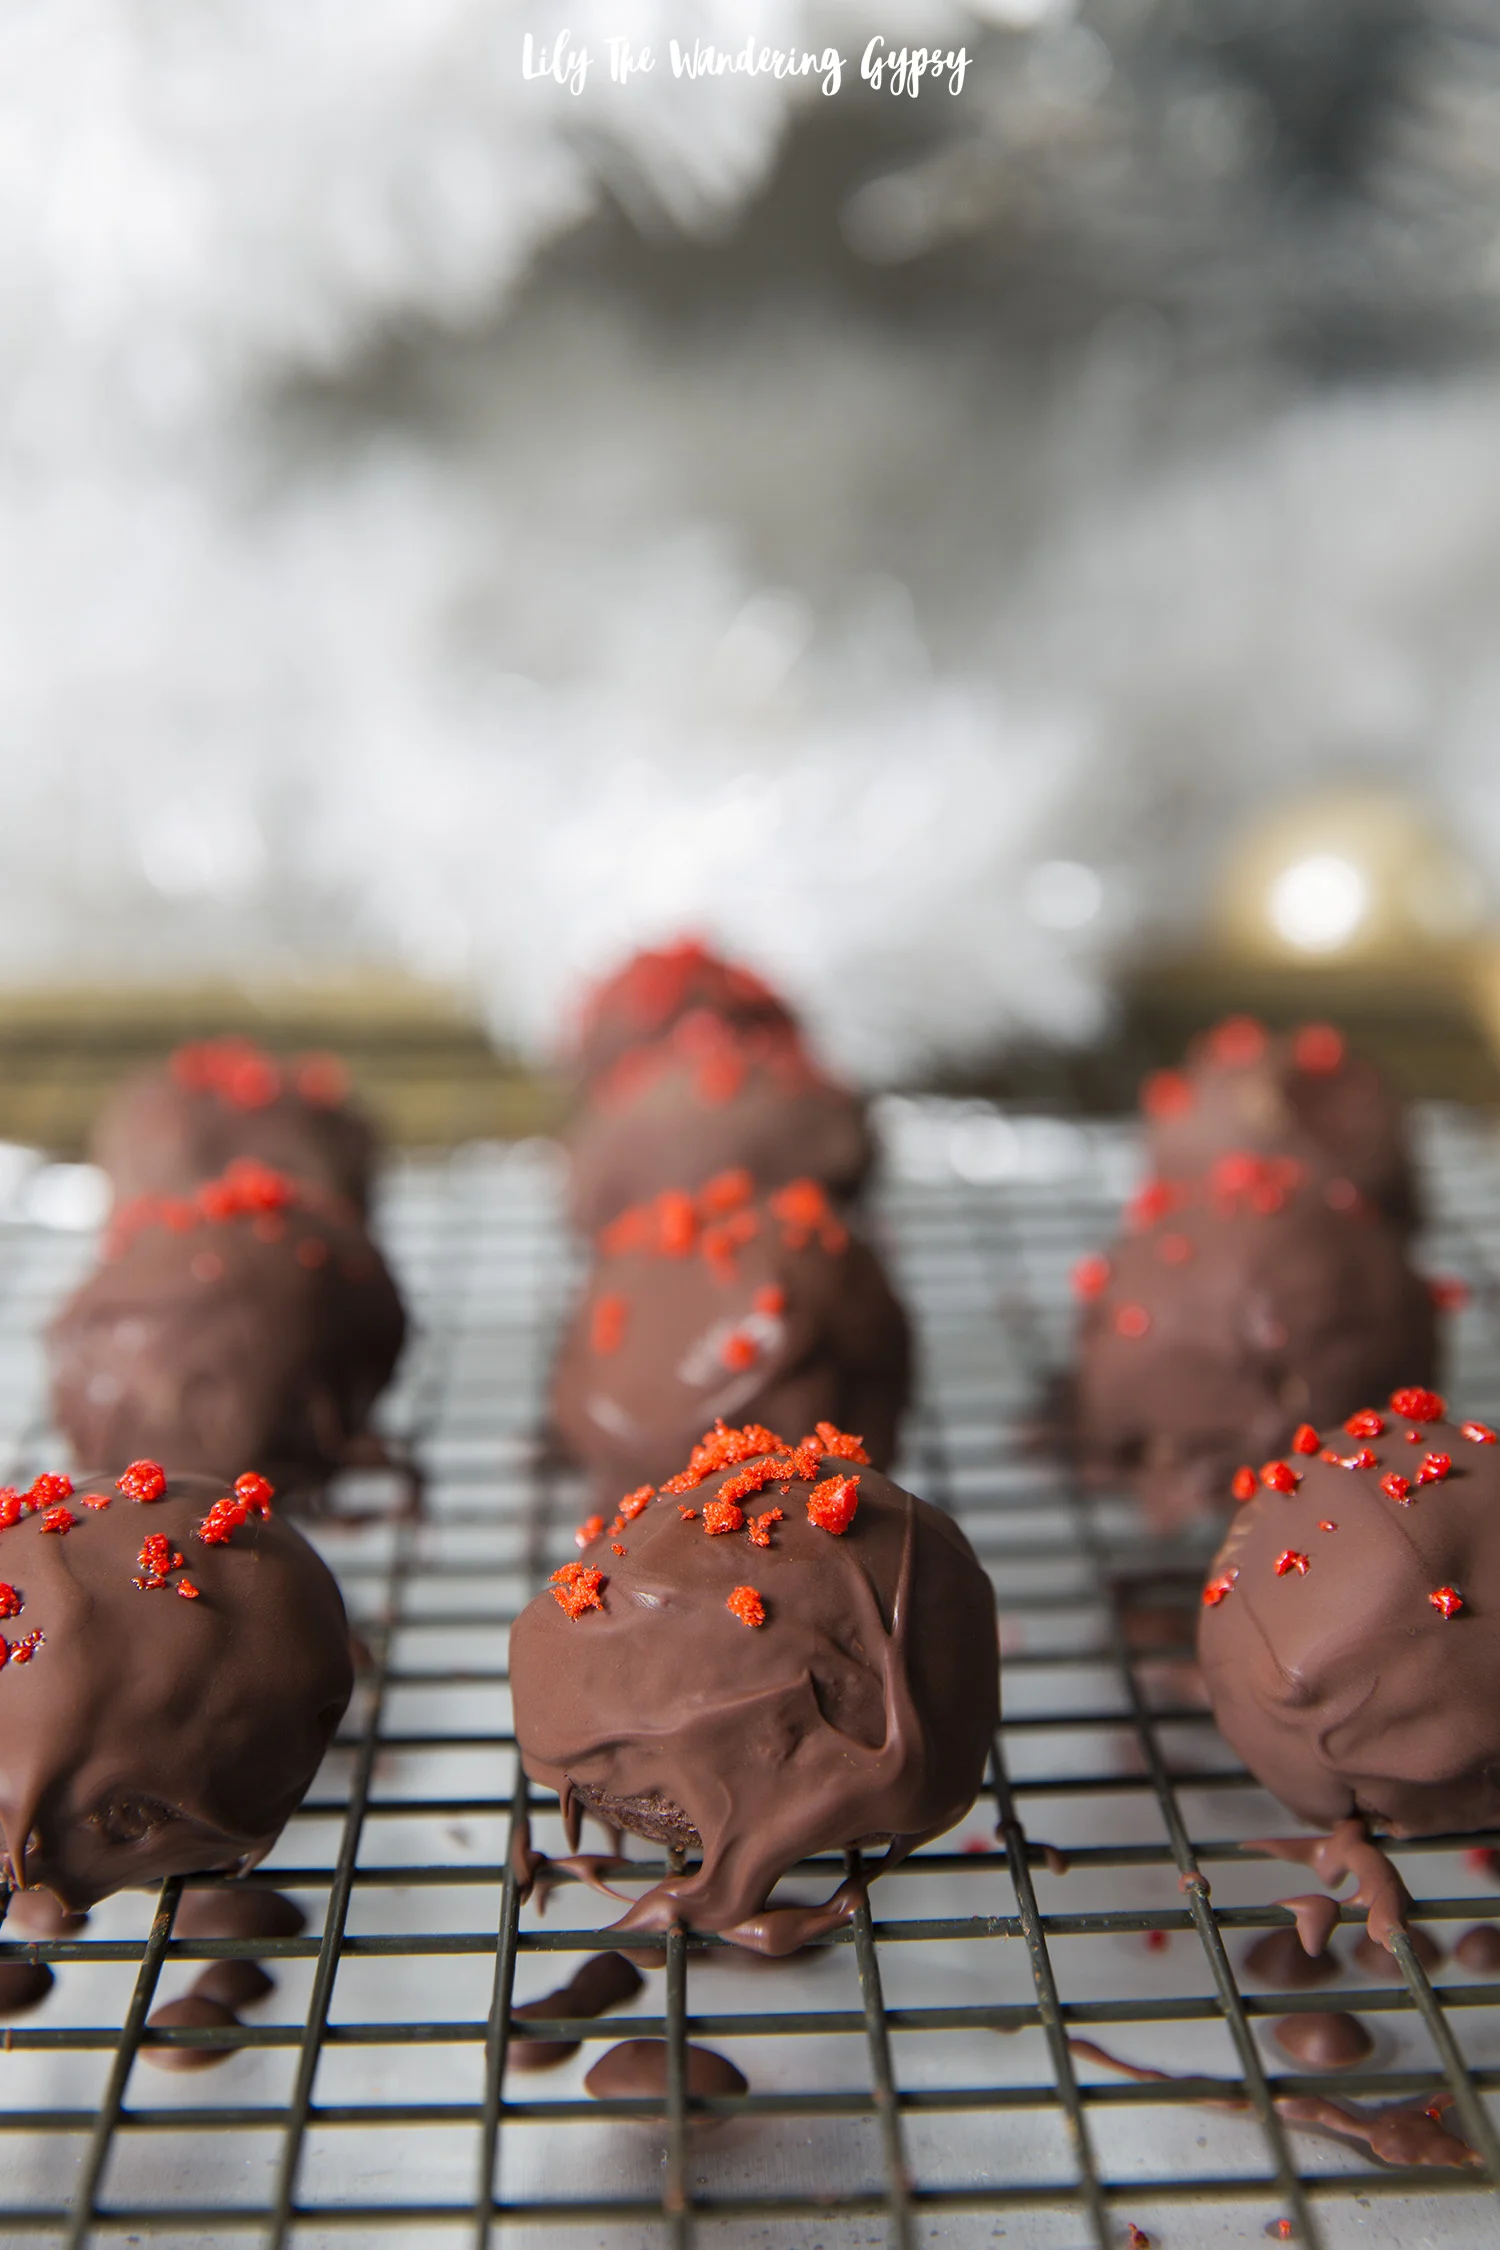
· Cover chilled truffles with melted chocolate, and then sprinkle with popper candy…“pop” one in your mouth and enjoy!
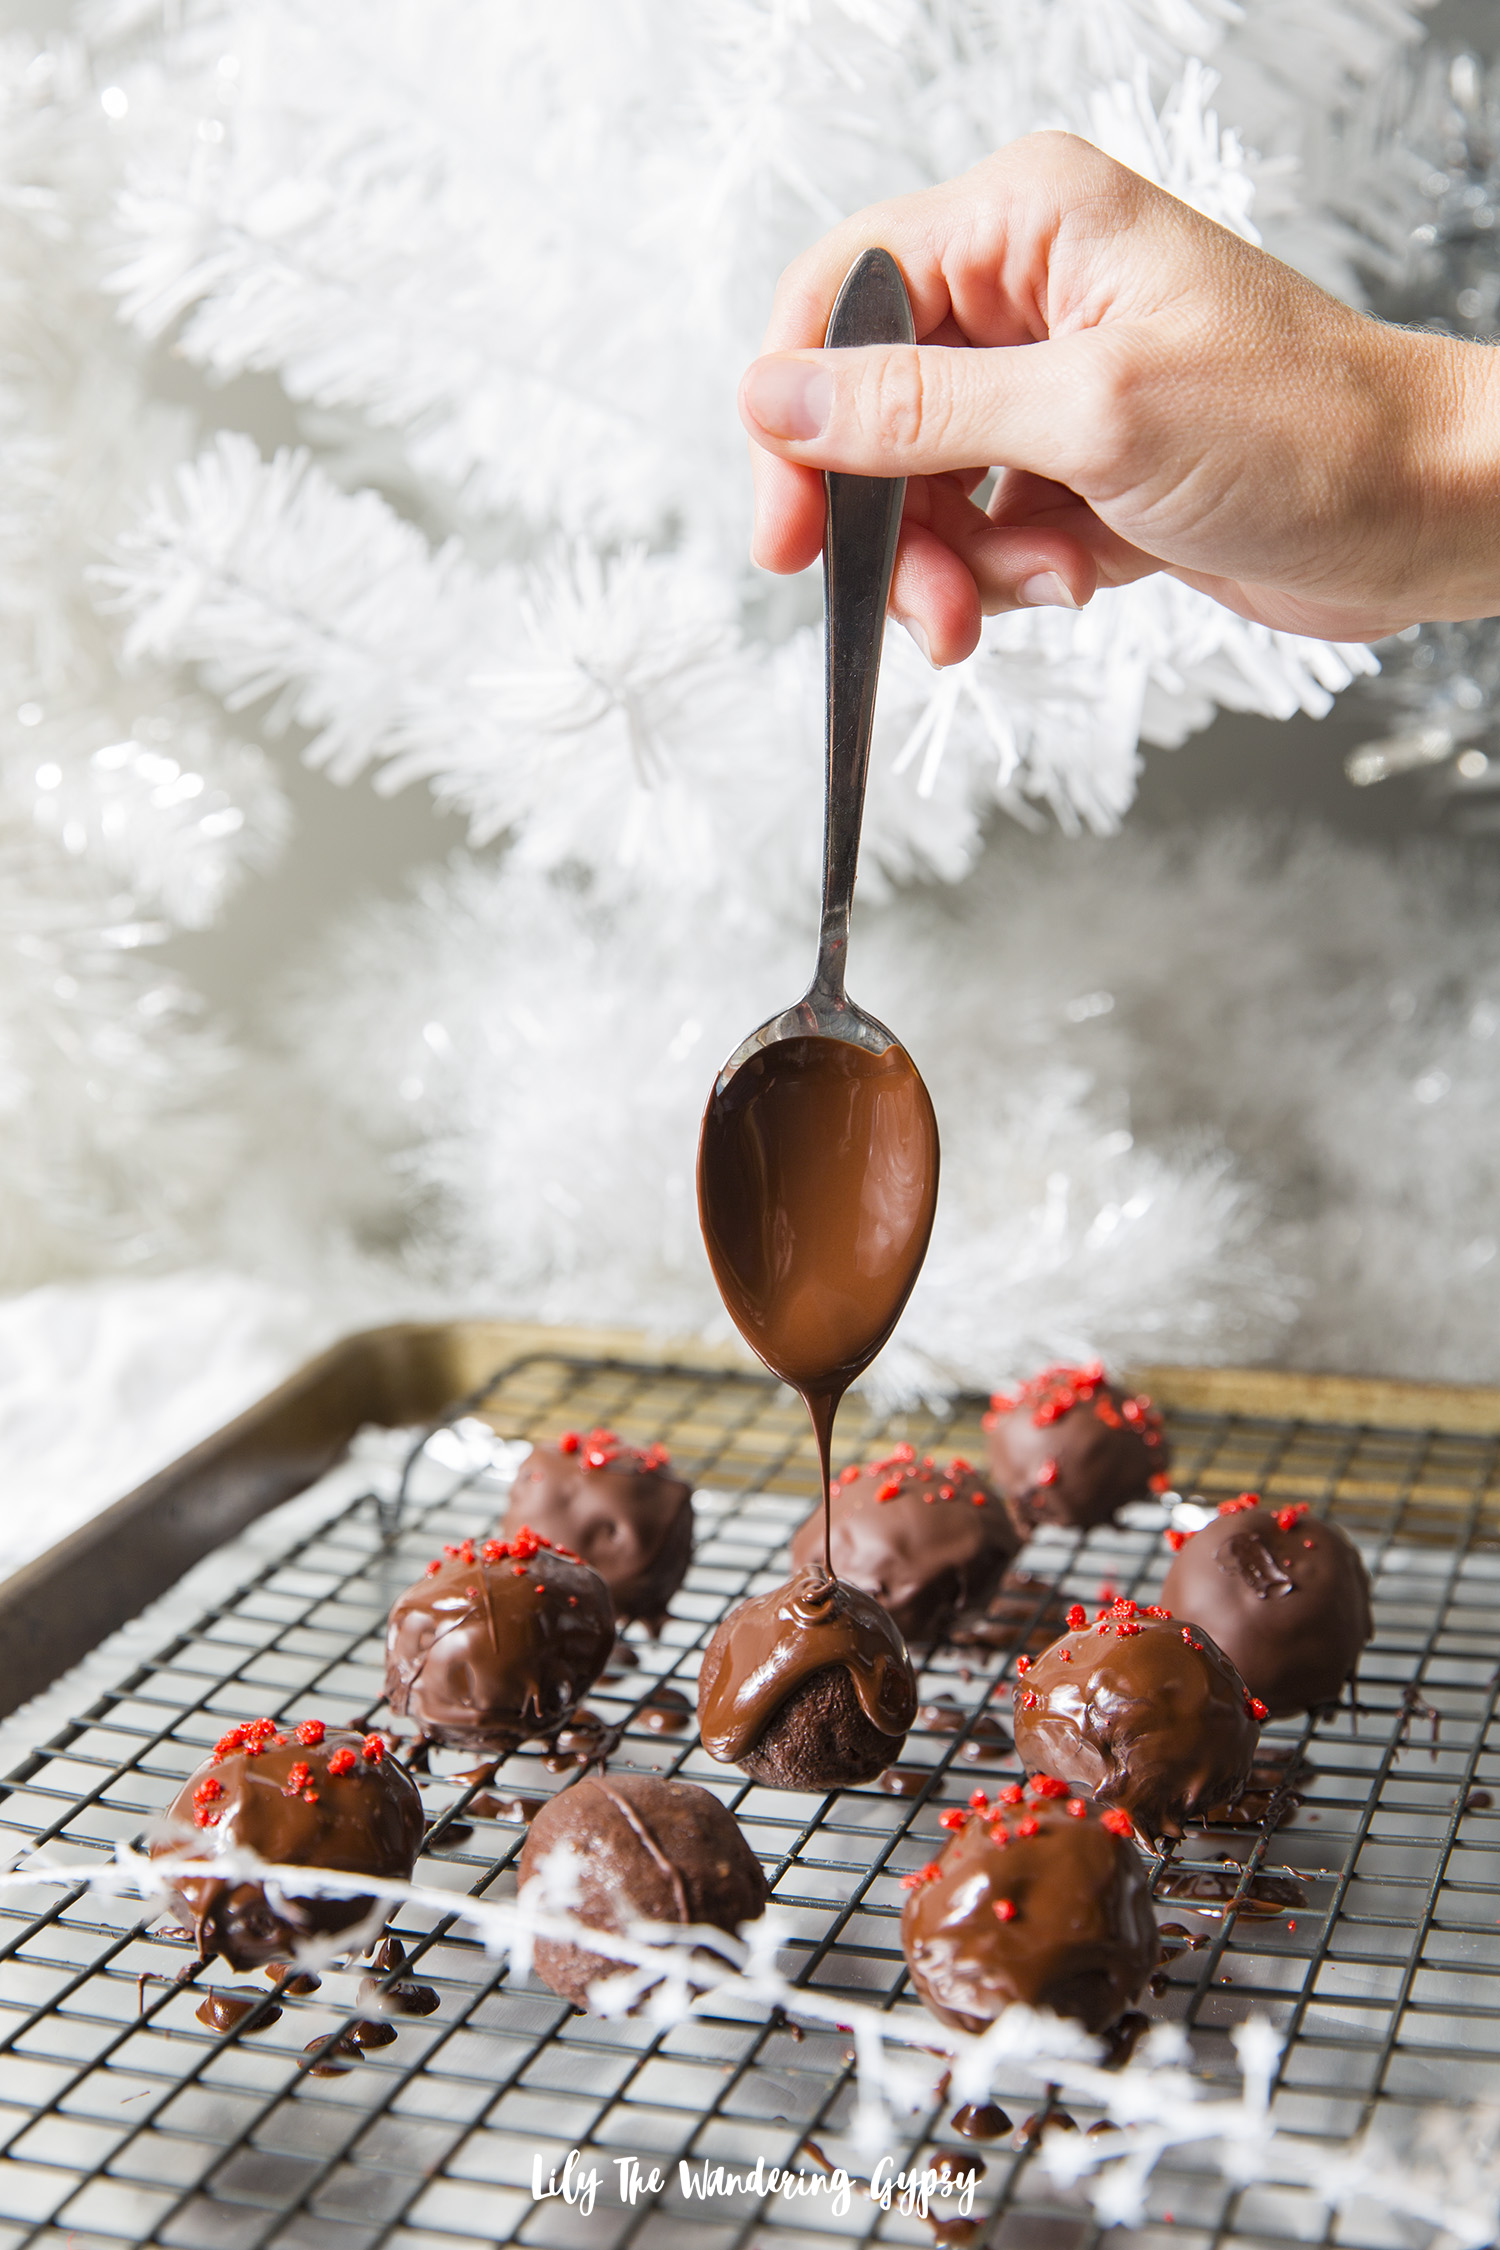
Above, you can see how I covered the truffles in melted chocolate – it was really fun, and I ate SO much chocolate in the process, LOL!
TIP
· Keep in refrigerator, and be aware that popping candy need to be used quickly because of its delicate nature. Enjoy!
You can find more recipe inspiration at 7UP.com.
Setting up a Glitz N Glam holiday party is easy if you stick to these fun décor ideas, as well as offer guests food and drinks that they cannot resist! What is your favorite color scheme and recipe ideas for your holiday parties?
#SipSipHooray