Gove your guests the option to choose whatever drink ingredients they want! Also, learn some cute ways to decorate your drink station for The Big Game {Super Bowl Sunday}
Read MoreNo Bake Cheesecake Recipe For The Gal On The Go With ZonePerfect® Bars (With Vegan Filling)
I have an absolutely incredible recipe for you today! This shop has been compensated by CollectiveBias, Inc. on behalf of its advertiser, ZonePerfect. #SnackandRally #CollectiveBias
I wanted to share this recipe because it is a wonderfully healthy snack option for those of you who are always on the go. The little bit of time you spend creating this recipe during your down time, will save you tons of time in the morning. Or, that time of day when you're having to multi task, or when you are in a hurry and can't even spare two minutes to make a meal to eat. Life doesn't slow down because you are tired or hungry.
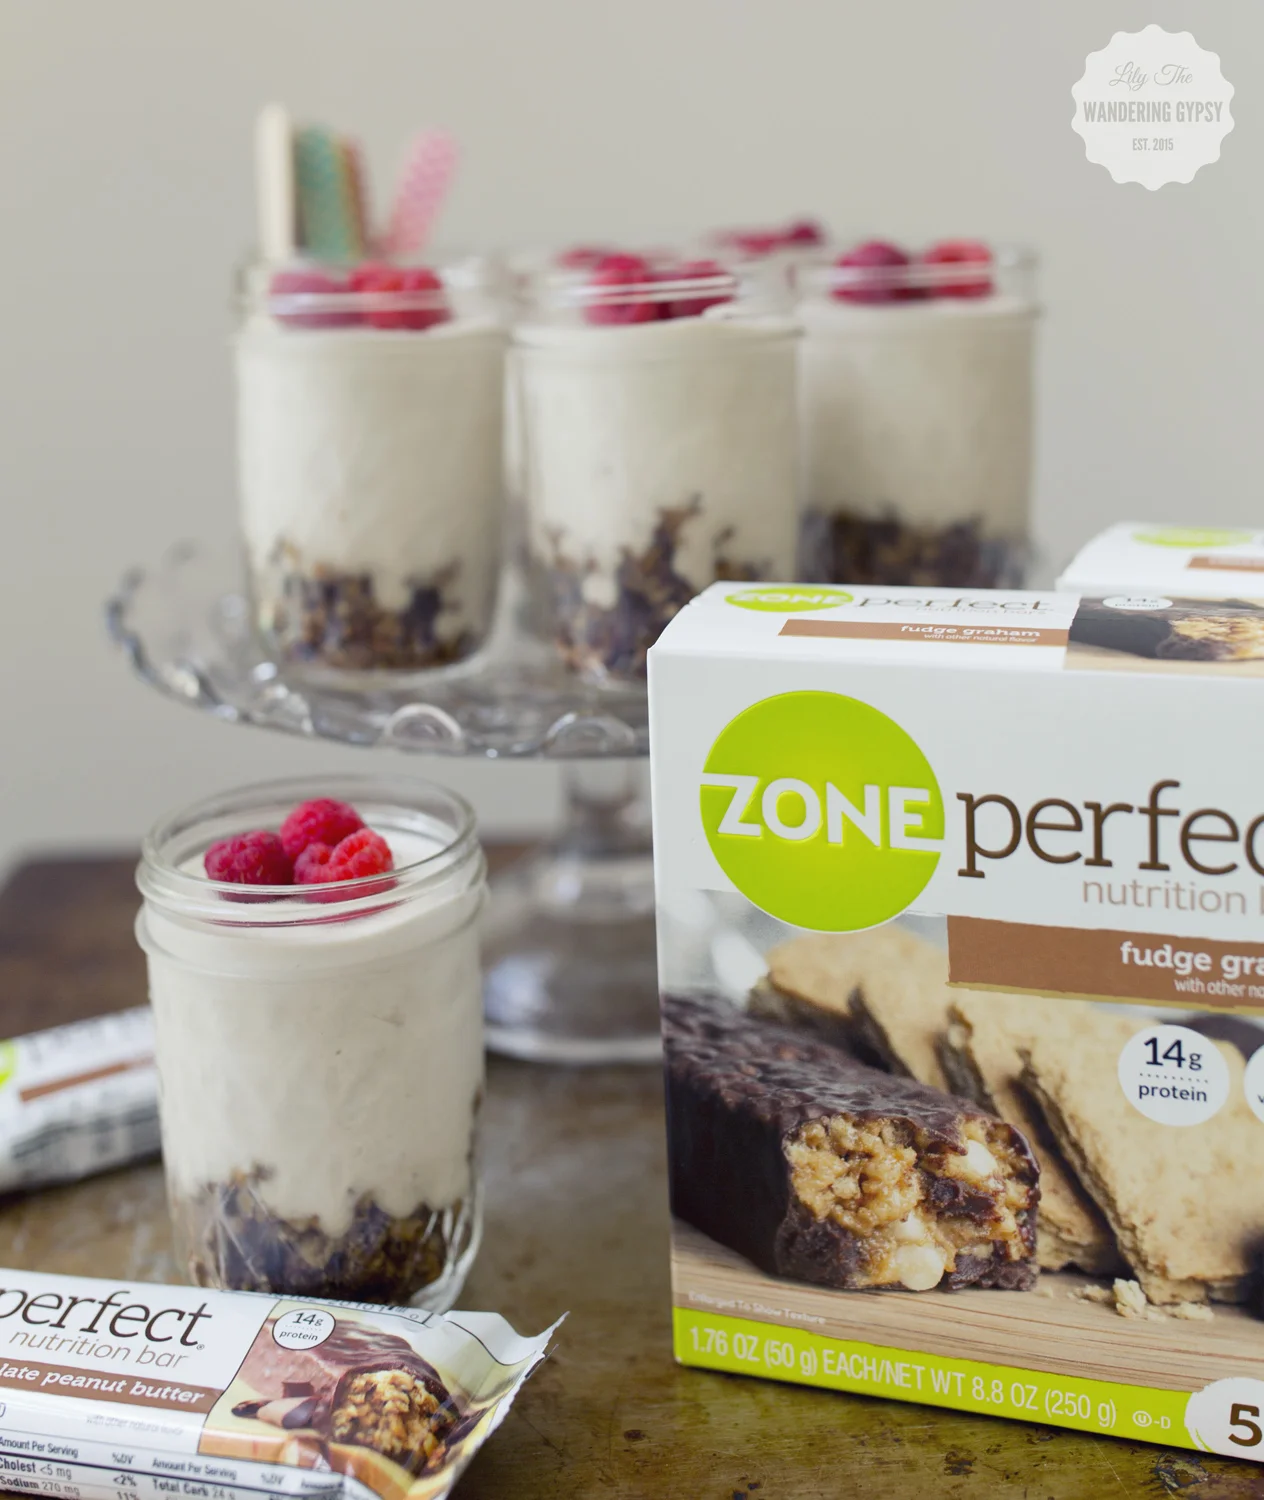
This was my first time making Vegan Cheesecake Filling and they turned out incredibly well!! The crust is made from ZonePerfect® Bars, and the chocolatey,peanut buttery, and graham cracker flavored bars added such a nice crunch and sweetness to this recipe. Note - The ZonePerfect® Bars are not vegan, so only the filling is actually vegan. Sorry for any confusion I may have created by calling the original recipe I shared, completely vegan.
ZonePerfect® Bars offer a snacking option that is rewarding, satisfying, and nutritious, and actually taste amazing! These bars give you the 2nd, and even 3rd wind that you need to have the vitality and energy that you need for busy days or nights. They satisfy cravings, are convenient, and leave you feeling happy to knowing that you just got your chocolate (or sweet) fix, but in reality have eaten something that contains no less that 10 grams of protein in each bar. They are also a good source of fiber, and offer versatility of flavor and balance. Let's make some No Bake Cheesecakes!

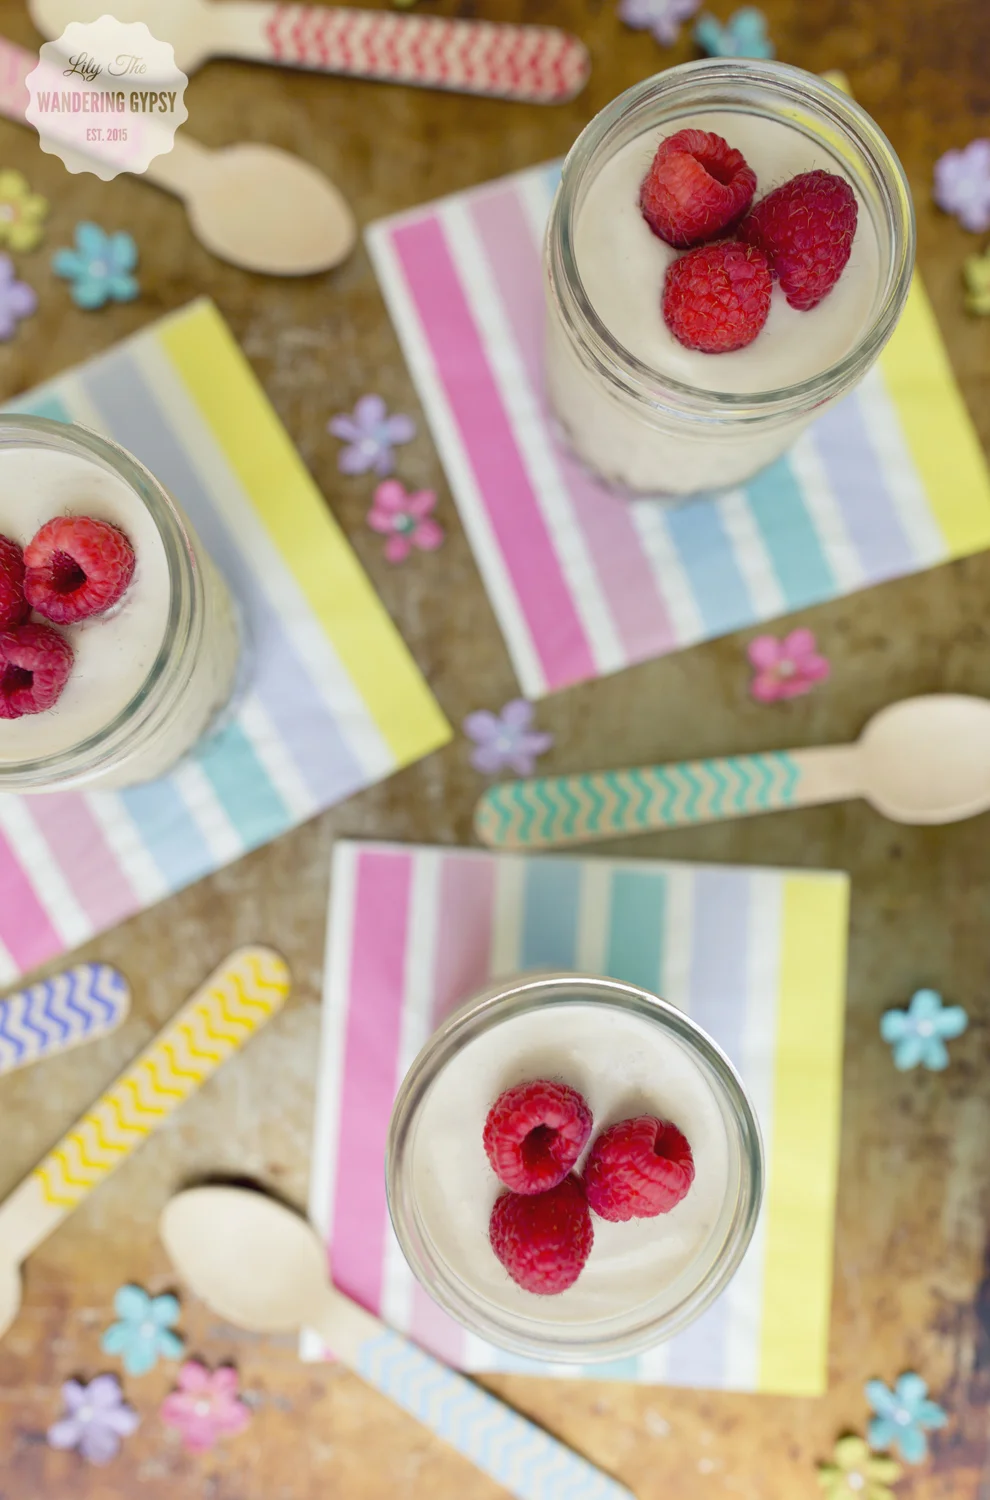
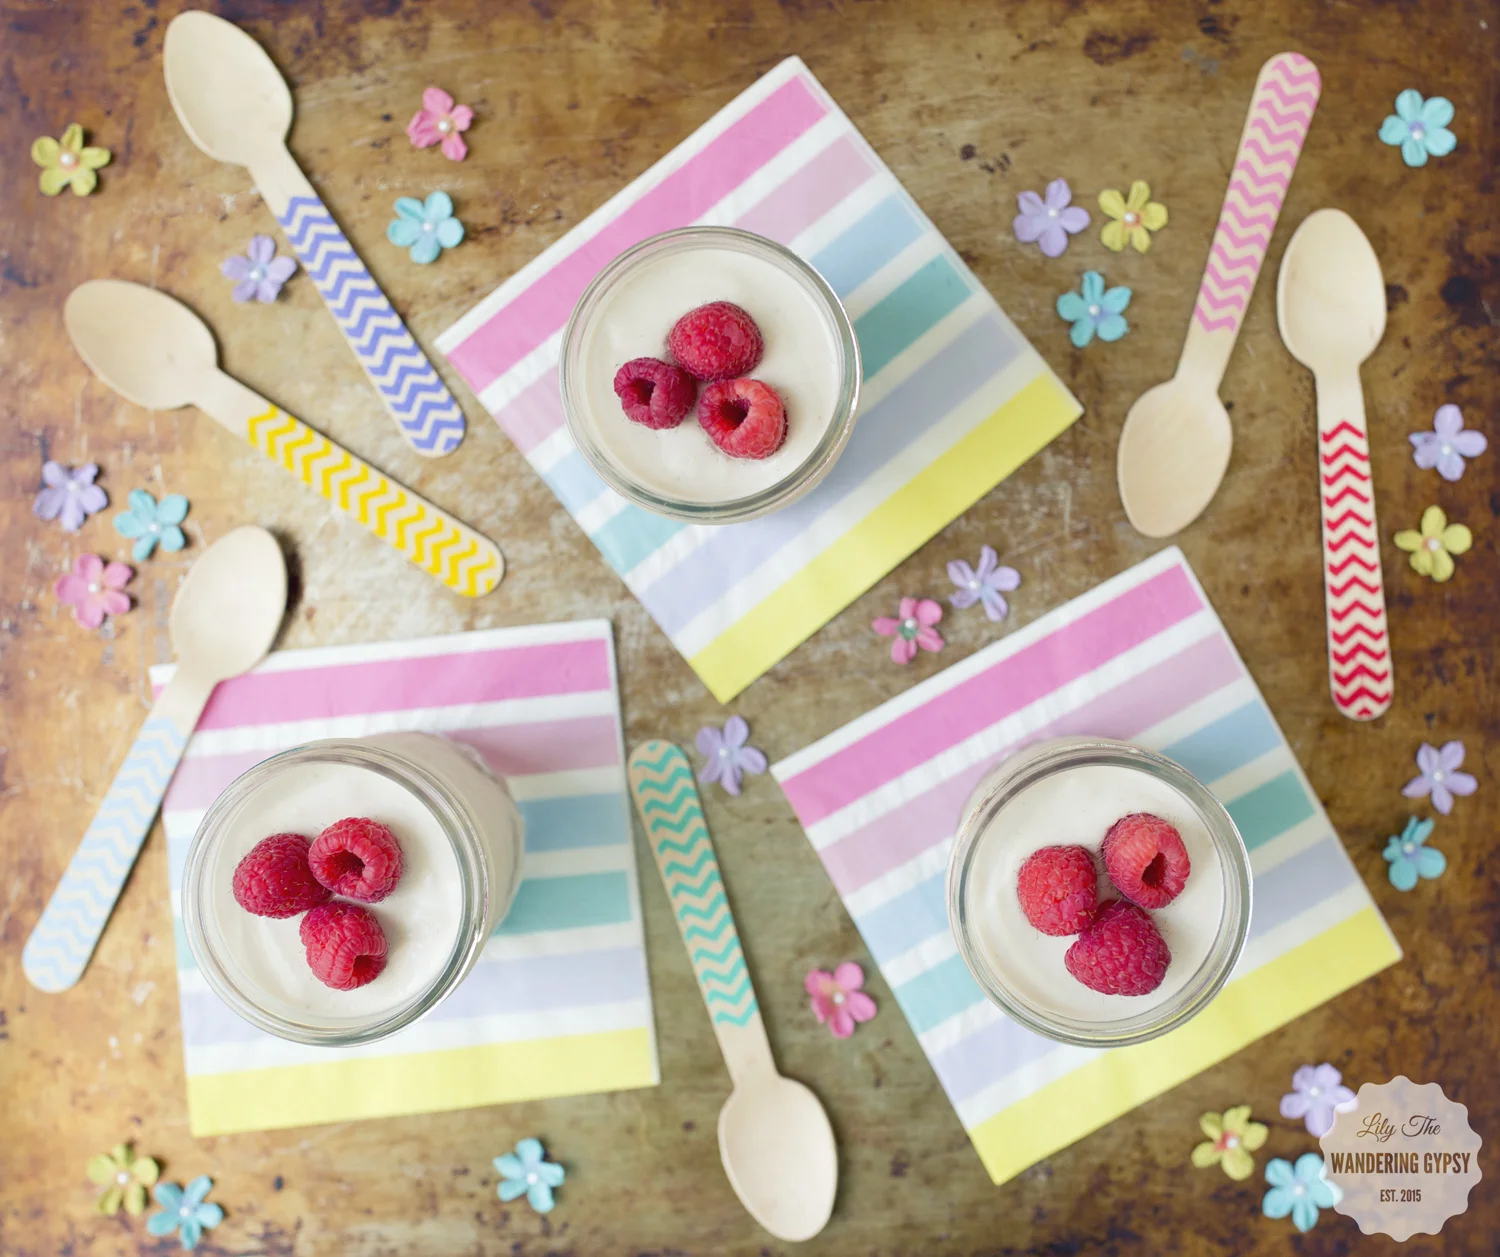
Everyone who ate them raved about them, and couldn't get enough of them. I love the fact that I put them in individual jars, so that you can even grab one as a quick meal on your way out the door, or if you're anything like me, eat them as you're rushing around the house, doing a million things before you have to leave. I am definitely one of those people who tries to literally start a project a half hour before leaving the house, on top of the things I need to already do to get myself ready and out the door. By utilizing recipes like this one, you can easily fit these into your lifestyle and be more efficient.
*Note - To make this recipe, you must soak the cashews for a few hours, so make sure you do this ahead of time!!
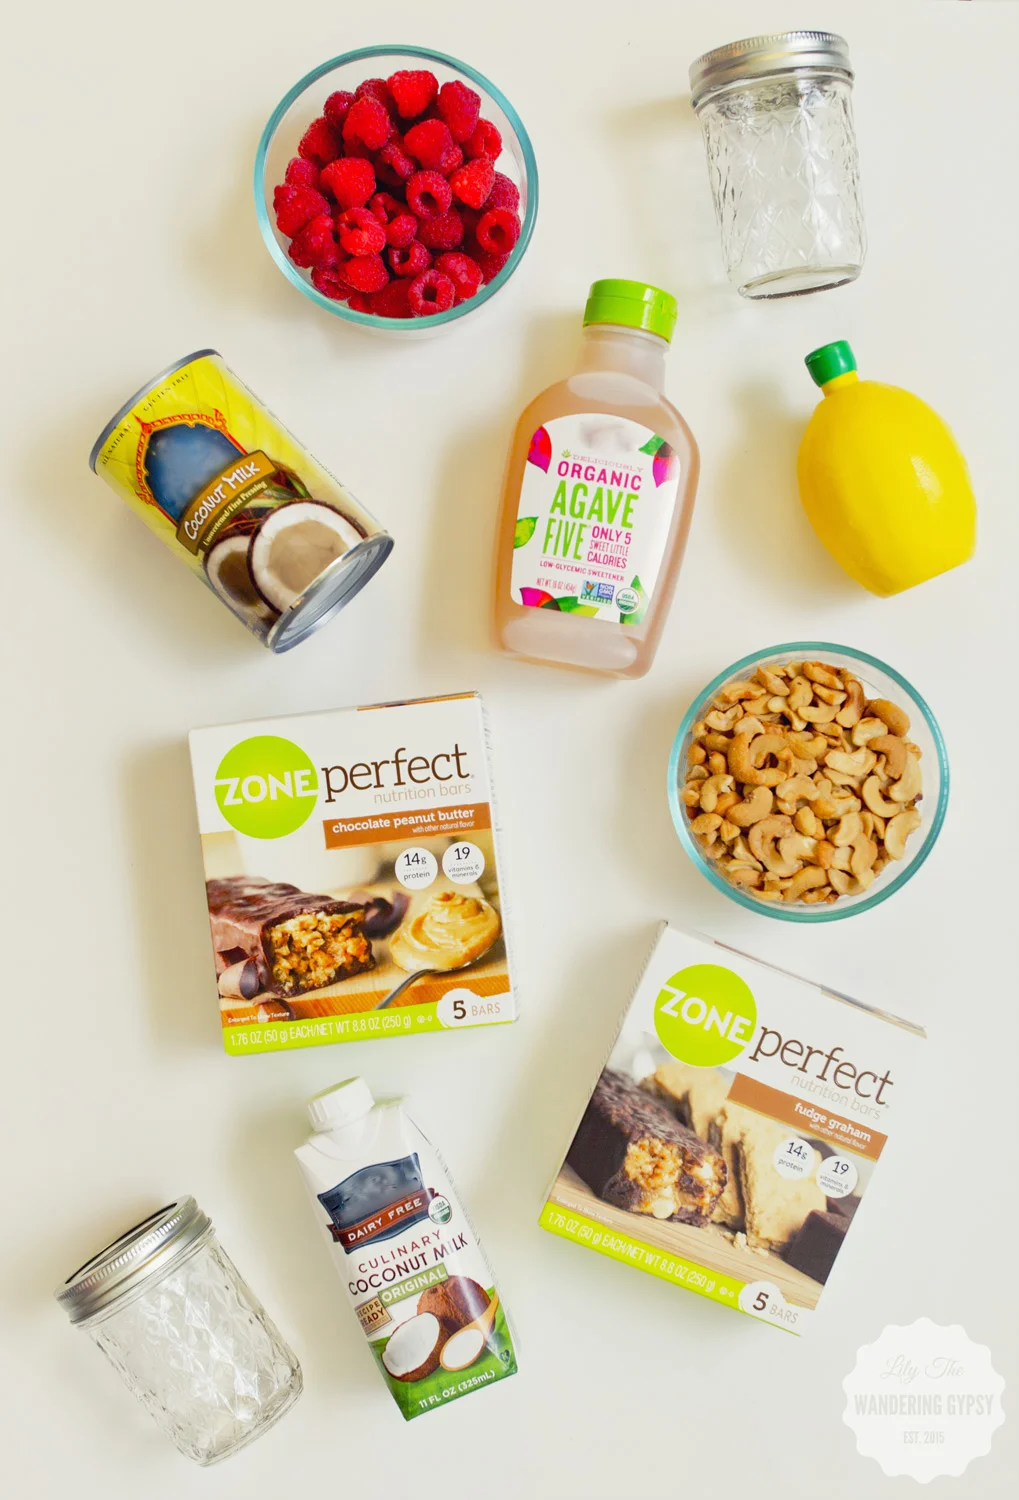
INGREDIENTS FOR ABOUT 8 JARS:
- ZonePerfect® Bars in Chocolate Peanut Butter and Fudge Graham
- 1 (10 oz) Can of Cashew Pieces (I used a can of salted cashews, and they worked very well. The salt goes away completely when you soak your cashews).
- 1 Can Of Coconut Milk
- 1 (11 Fl. oz) Culinary Coconut Milk (It was more of a liquid consistency than that in the can)
- Organic Agave Nectar (Any type will do)
- Lemon juice for taste (optional)
- Raspberries and other fresh fruit of your choice
OTHER MATERIALS:
- Small Jars
- Blender (for filling)
- Food Processor (for crust)
- Long spoon to scrape ingredients from blender
- Sharp knife to prepare crust
You're in luck! Save up to $4 when you buy two boxes in the ZonePerfect® Bundle Pack.
Shop Online For ZonePerfect® Bars Here.
Find More Ideas For Recipes & Ideas Here.
Shop Online For ZonePerfect® Bars Here.
Find More Ideas For Recipes & Ideas Here.

I found all of these ingredients at Walmart, which made this project easier. Look for ZonePerfect® Bars near the pharmacy area, by the nutritional bars and other healthy items.
MAKE THE VEGAN FILLING:
1.) Begin by soaking the cashews in water for 3-4 hours. I made sure to use a container with a lid, so it didn't spill. I could not believe how soft the cashews got in this short amount of time. Check the cashews to see if they are soft, and when they're ready, drain out all of the water with a strainer. None of the salt will be left.
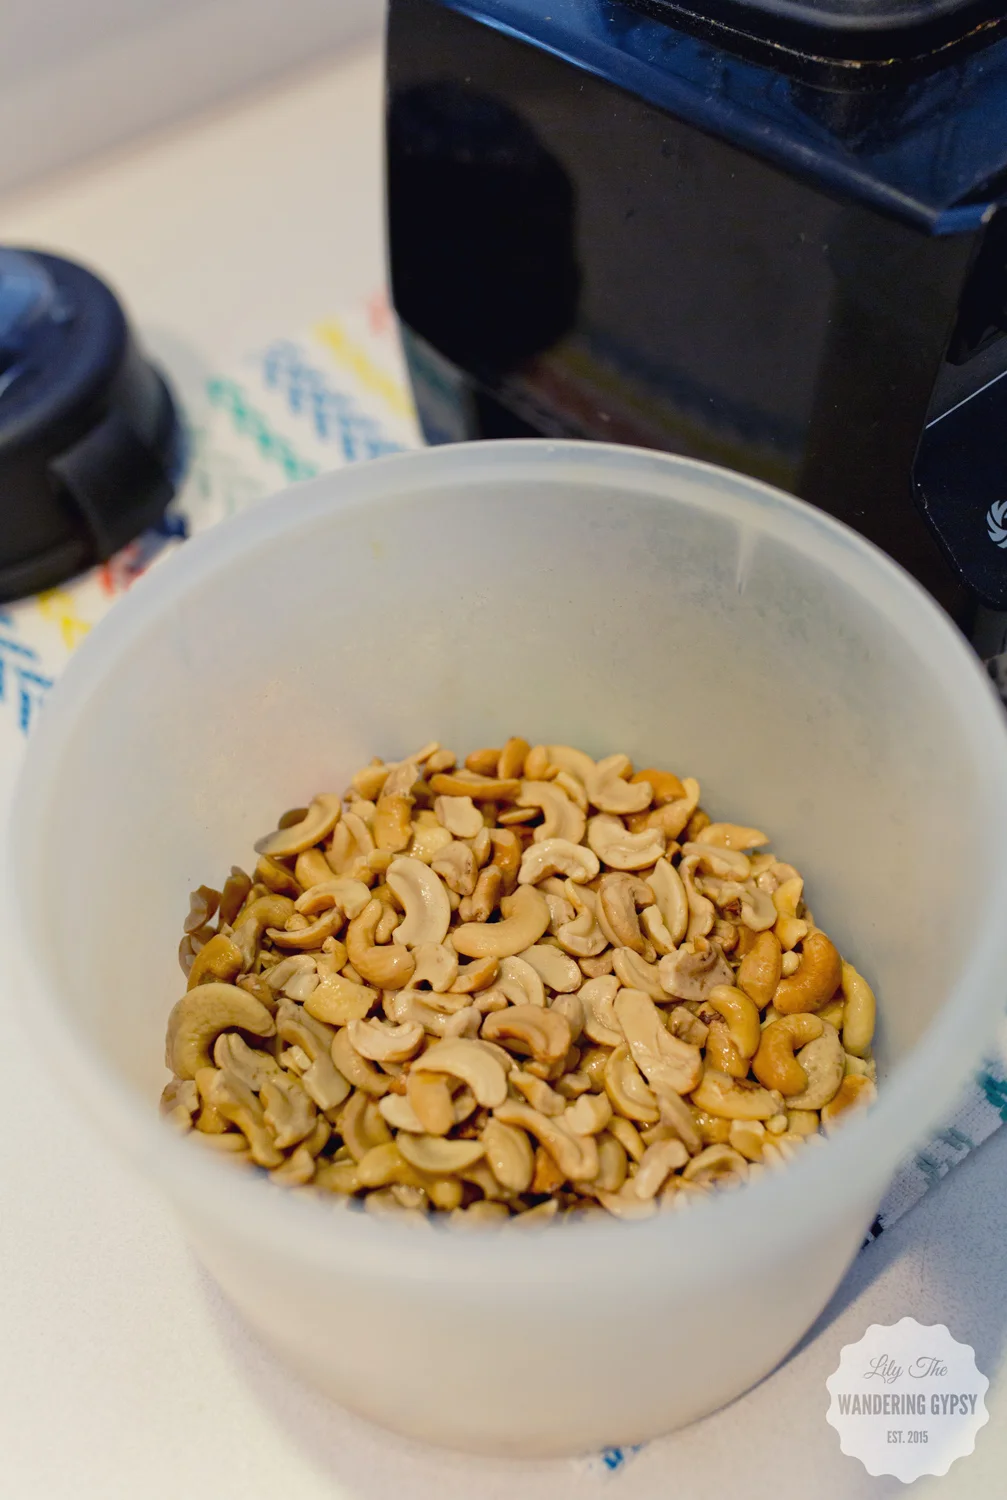
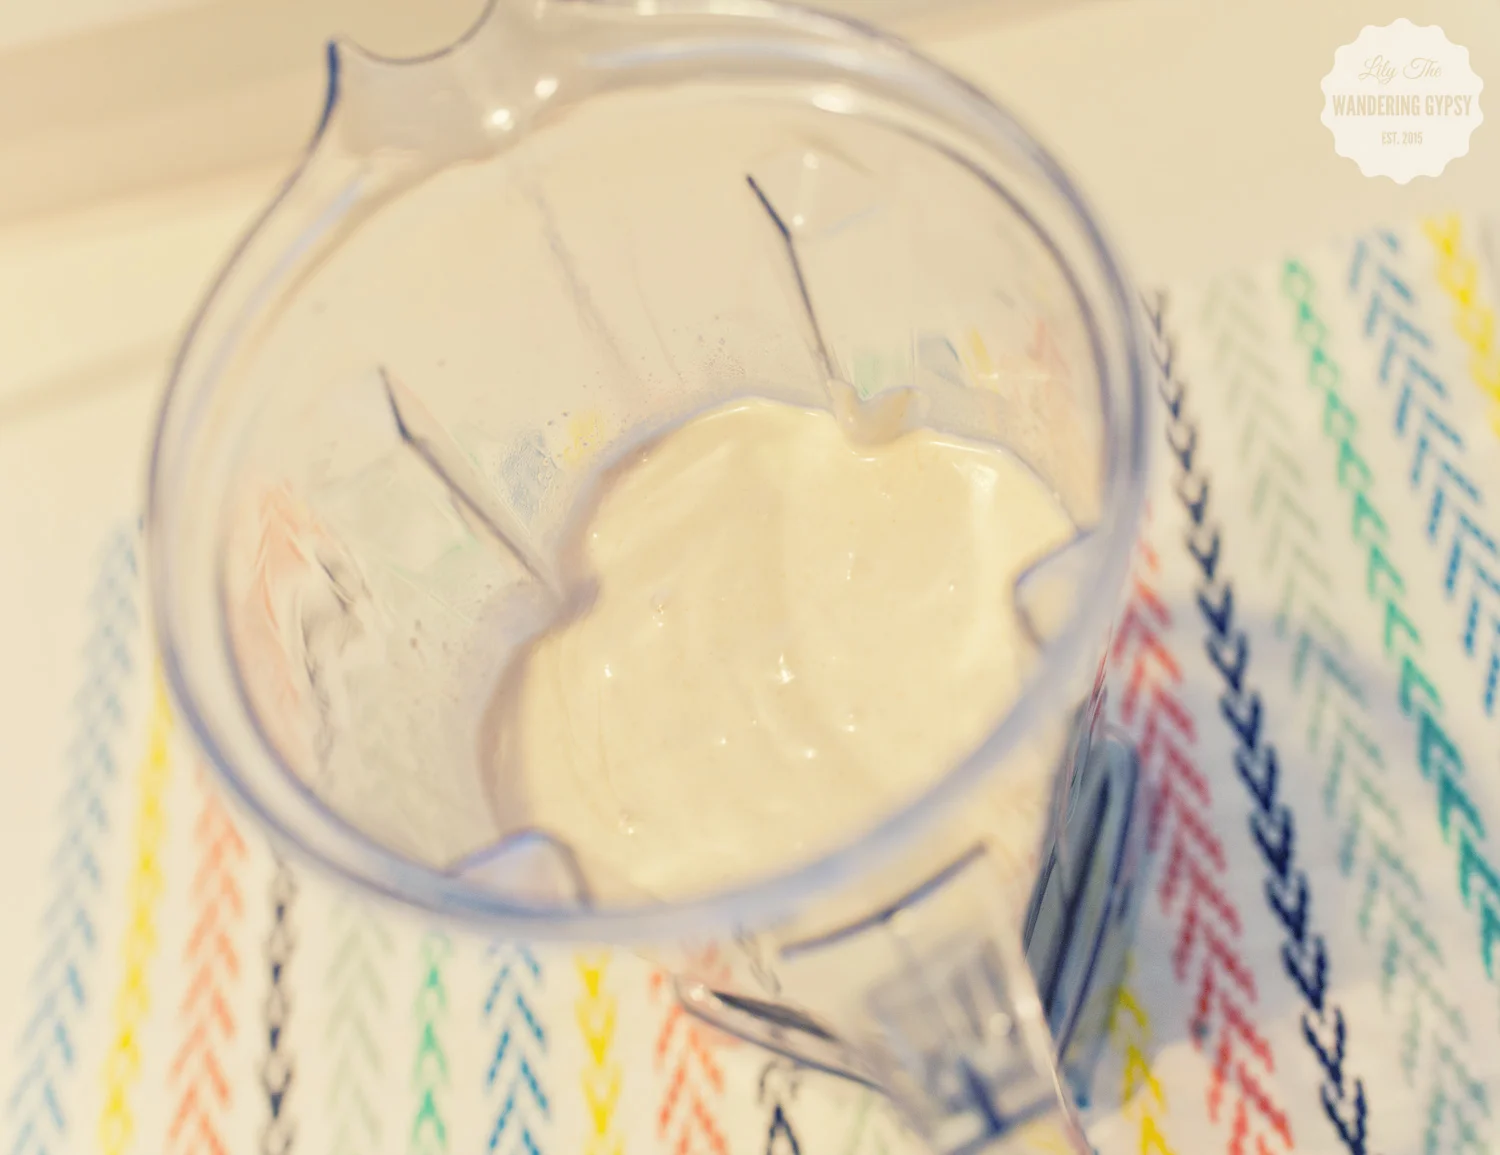
2.) In a blender, add all of the cashews, and the more "liquid" coconut milk. Blend until smooth (see photo below).
Next, add the can of coconut milk. When I first added it, I was concerned that the mixture would turn out watery (because there was a clear liquid in the can), but when I blended everything up, it was perfect!
Add your agave sweetener one or two squirt at a time. Taste the mixture and keep adding agave until you think it's sweet enough. Depending on what type of agave you get, you may not need much at all. The stye I got (in the photo of ingredients), was not very strong or sweet, so I added a few squirts and it tasted perfect!
MAKE THE ZonePerfect® CRUST:
Note - Crust is not vegan, sorry for any confusion!
100% Vegan Crust would contain 1 Cup pitted dates + 1 cup raw walnuts - bended in a food processor). But, this ZonePerfect® tasted absolutely incredible!!!
3.) Unwrap about 5-6 bars, or as many as will fit into your food processor.

4.) Chop the ZonePerfect® Bars as small as you can with your knife, and put the pieces into the food processor. At first, I only chopped the bars into quarters, and they did not process well. I took them back out, and chopped them up a lot more, and they were absolutely perfect. ZonePerfect® one might say :)

6.) Blend/Process the ZonePerfect® bars as much as you can. Look at that beautiful crust!!!

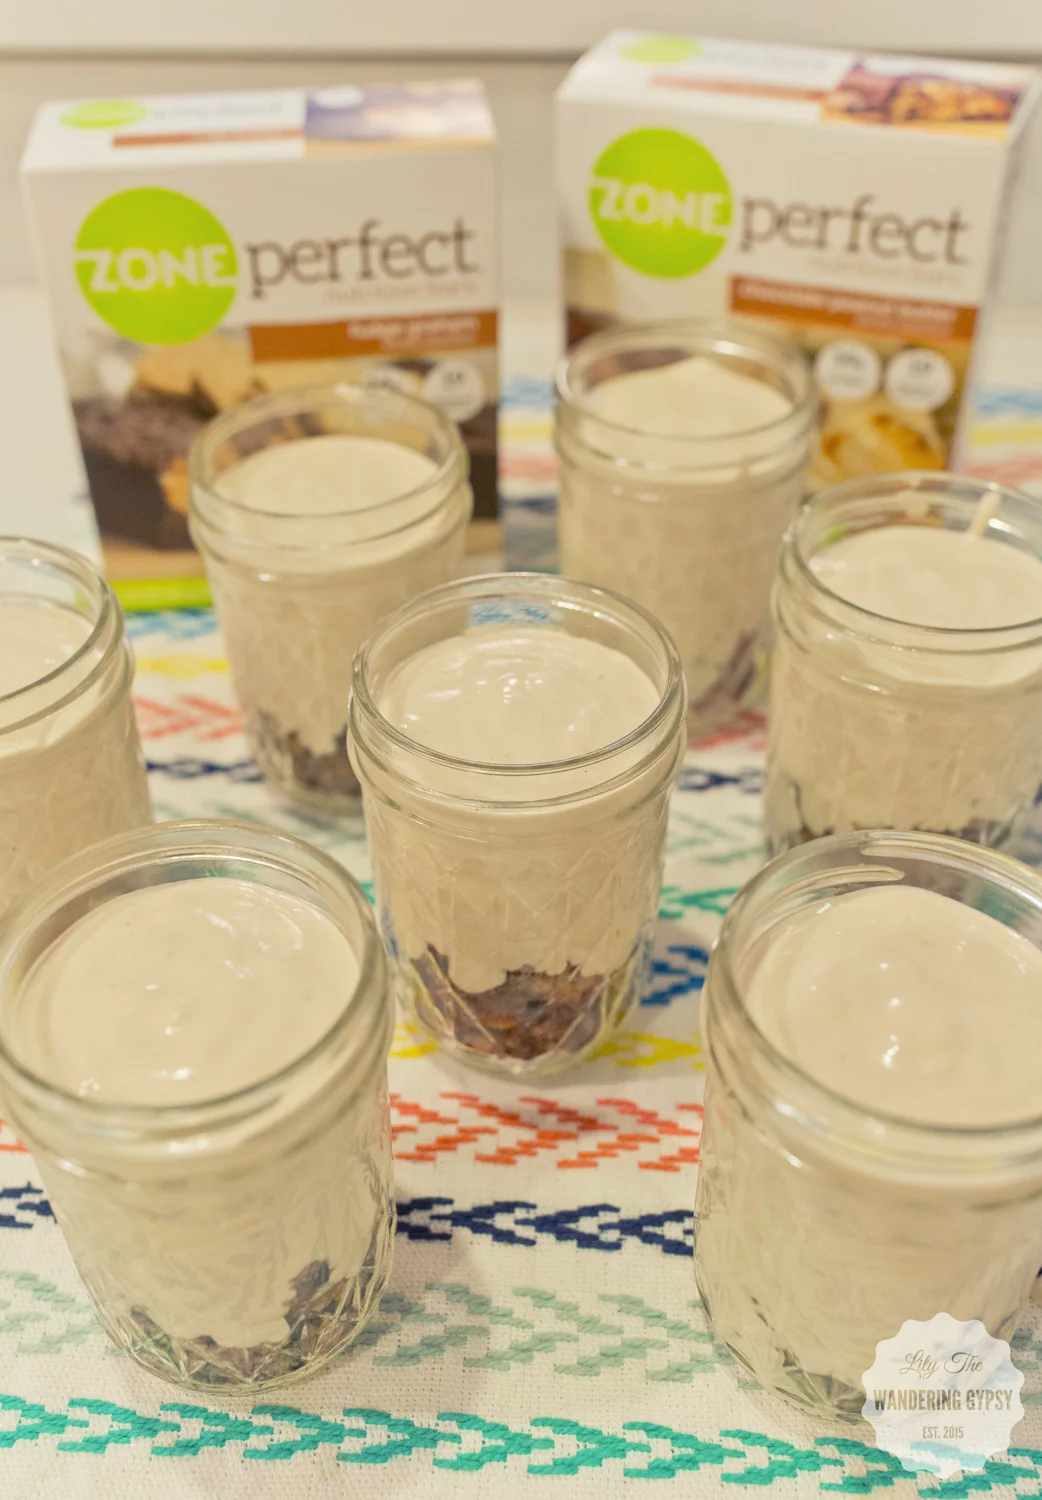
7.) Put the ZonePerfect® crust into the jars, and press the materials down as much as you can. I just divided the Zone Perfect crust evenly between the jars.

8.) Pour the vegan "cheesecake" filling into the jars, and fill pretty close to the top.

9.) Now, put the lids onto the jars, and put them into the fridge for a few hours, or overnight. This will help them set up, and the filling tastes so much better if it is cold!
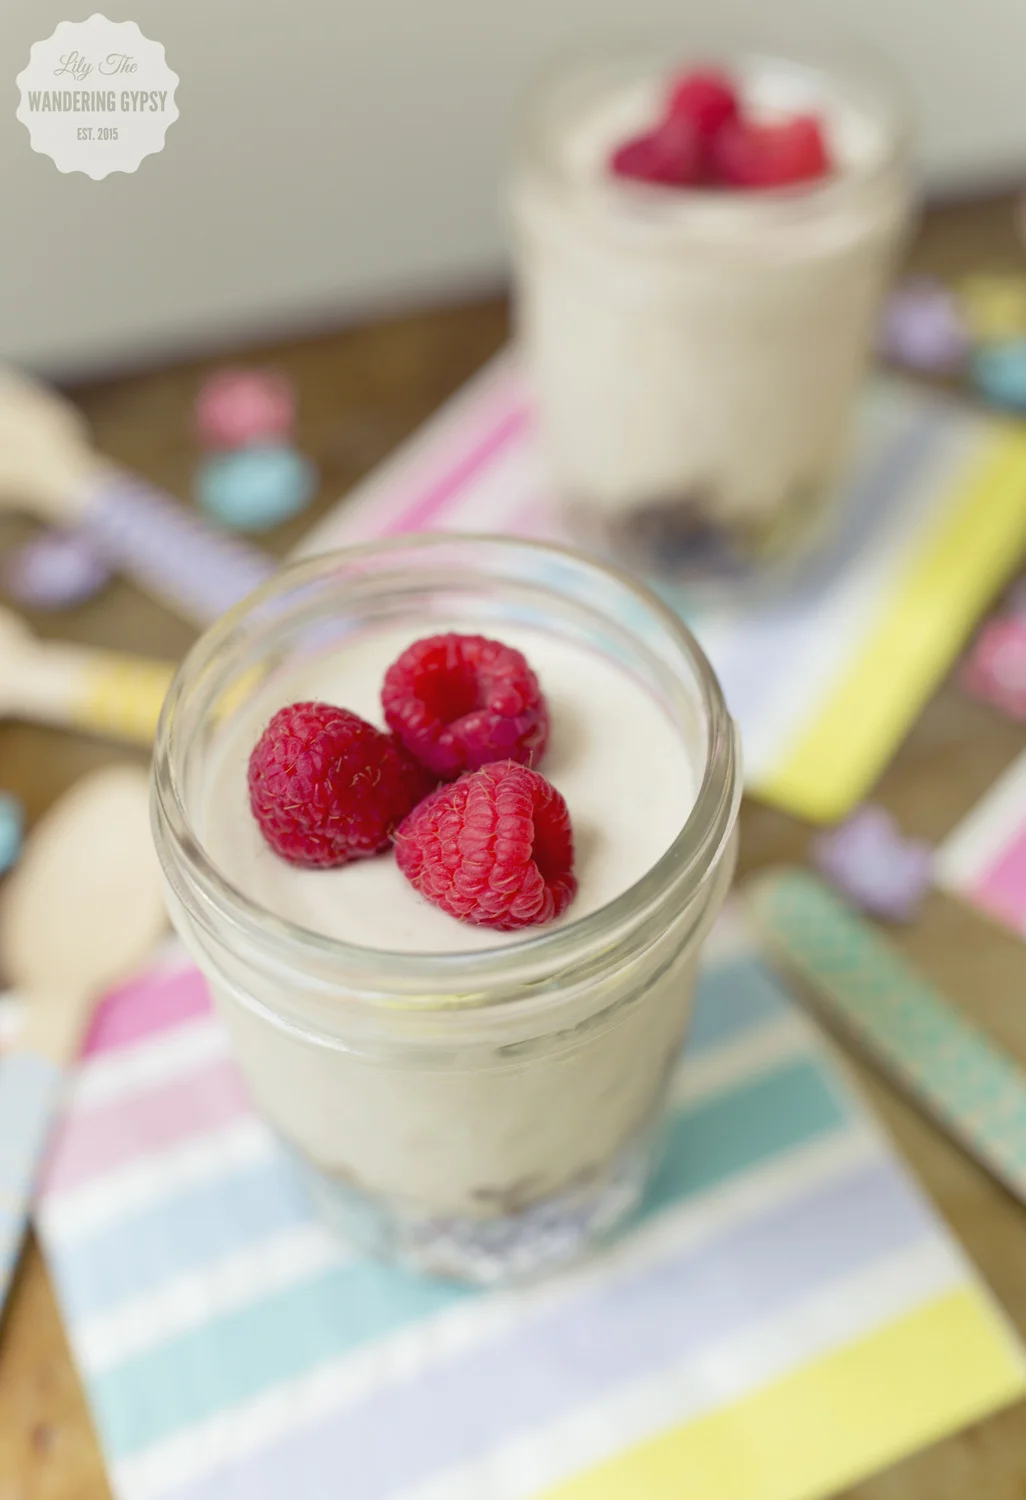
10.) After they have chilled for a bit, take them out and top them with fresh fruit! I enjoyed scooping the ZonePerfect® crust and mixing it into the "cheesecake". It added a nice chocolatey sweetness that made these amazing for an On The Go Snack, whether it was breakfast, a snack, or a light meal. They're very filling and had a lovely hint of cashews and coconuts.

Thanks so much for taking a look at my recipes!! Have you ever eaten or created a vegan cheesecake filling or something like this recipe? Comment below and let me know. Take care!

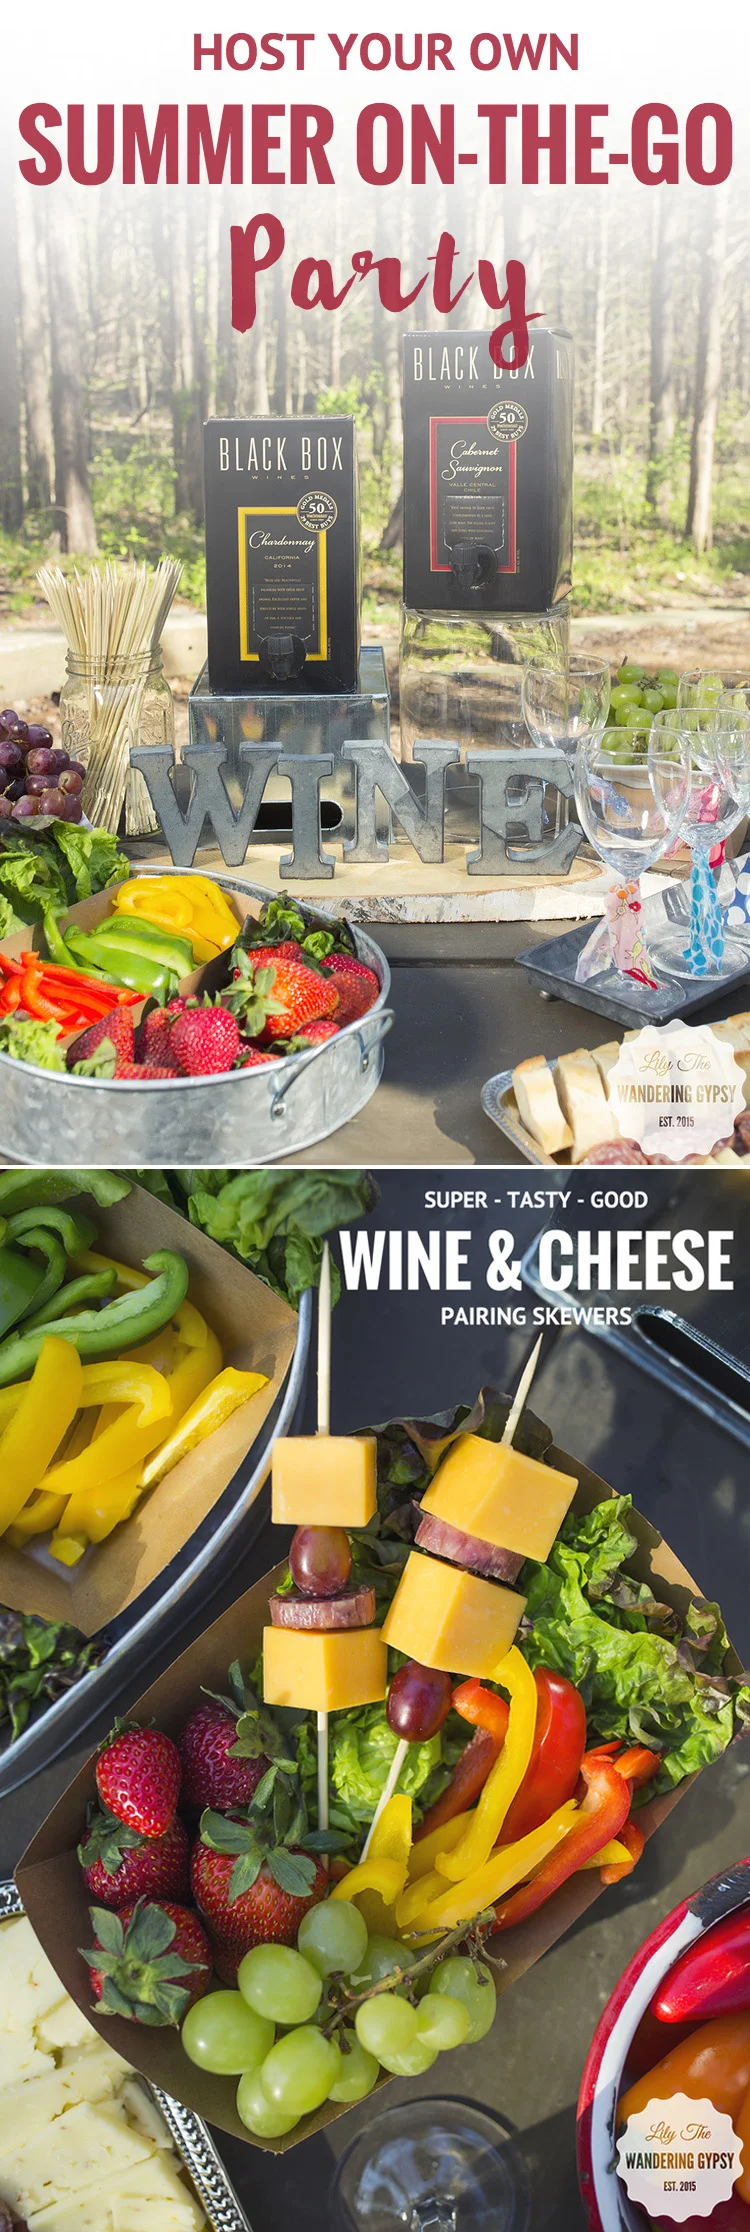
Summer On-The-Go & Entertaining With Black Box Wines! - Plus 2 DIY Wine Party Tutorials
This shop has been compensated by Collective Bias, Inc. and its advertiser. All opinions are mine alone. #BlackBoxSummer #CollectiveBias The following content is intended for readers who are 21 or older.
I would like to share some adorable DIY party ideas for a cute summer party on-the-go with you today! Black Box Wines are the perfect summer party pal, because they are extremely portable. Black Box Wines are amazing for a camping party, that is a little bit more upscale. Why not add a little wine-tasting to your camp out!
Be sure to visit the Simple Entertaining Social Hub for more details about ways to entertain this summer.
These wines are eco-friendly, because the bag and box are recyclable! Black Box Wines taste good, and they are about half the price of bottled wines. Also, they can stay fresh up to 6 weeks, and contain 750 ml - the equivalent of 4 bottles. Imagine trying to carry 4 bottles of wine, which is way more to juggle than this one awesome box of tasty goodness! 50 gold Metals for quality can't be wrong!
A SUMMER PARTY RECIPE - WINE & CHEESE PAIRING SKEWERS
I love the idea of a wine and cheese party, but if guests can carry the appetizers around, it prevents anyone from being left out, or everyone having to hover over one plate of food. Instead, offer guests skewers, and a plentiful plate of meats and cheeses, and let them decide what they want! I also like the idea of having grapes and as many fresh fruits and veggies as possible. I liked using these cardboard food containers I got at a craft store. They hold so much, and are coated to avoid any messes.

Cut up salami, summer sausage, and various cheeses and let guests use skewers to create their own Wine & Cheese Pairing Skewers!!

Let your guests choose their own adventure, and add whatever type of meats and cheeses they want! Less food will be wasted with this method, which saves money.
 Be sure to visit the Simple Entertaining Social Hub for more details about ways to entertain this summer.
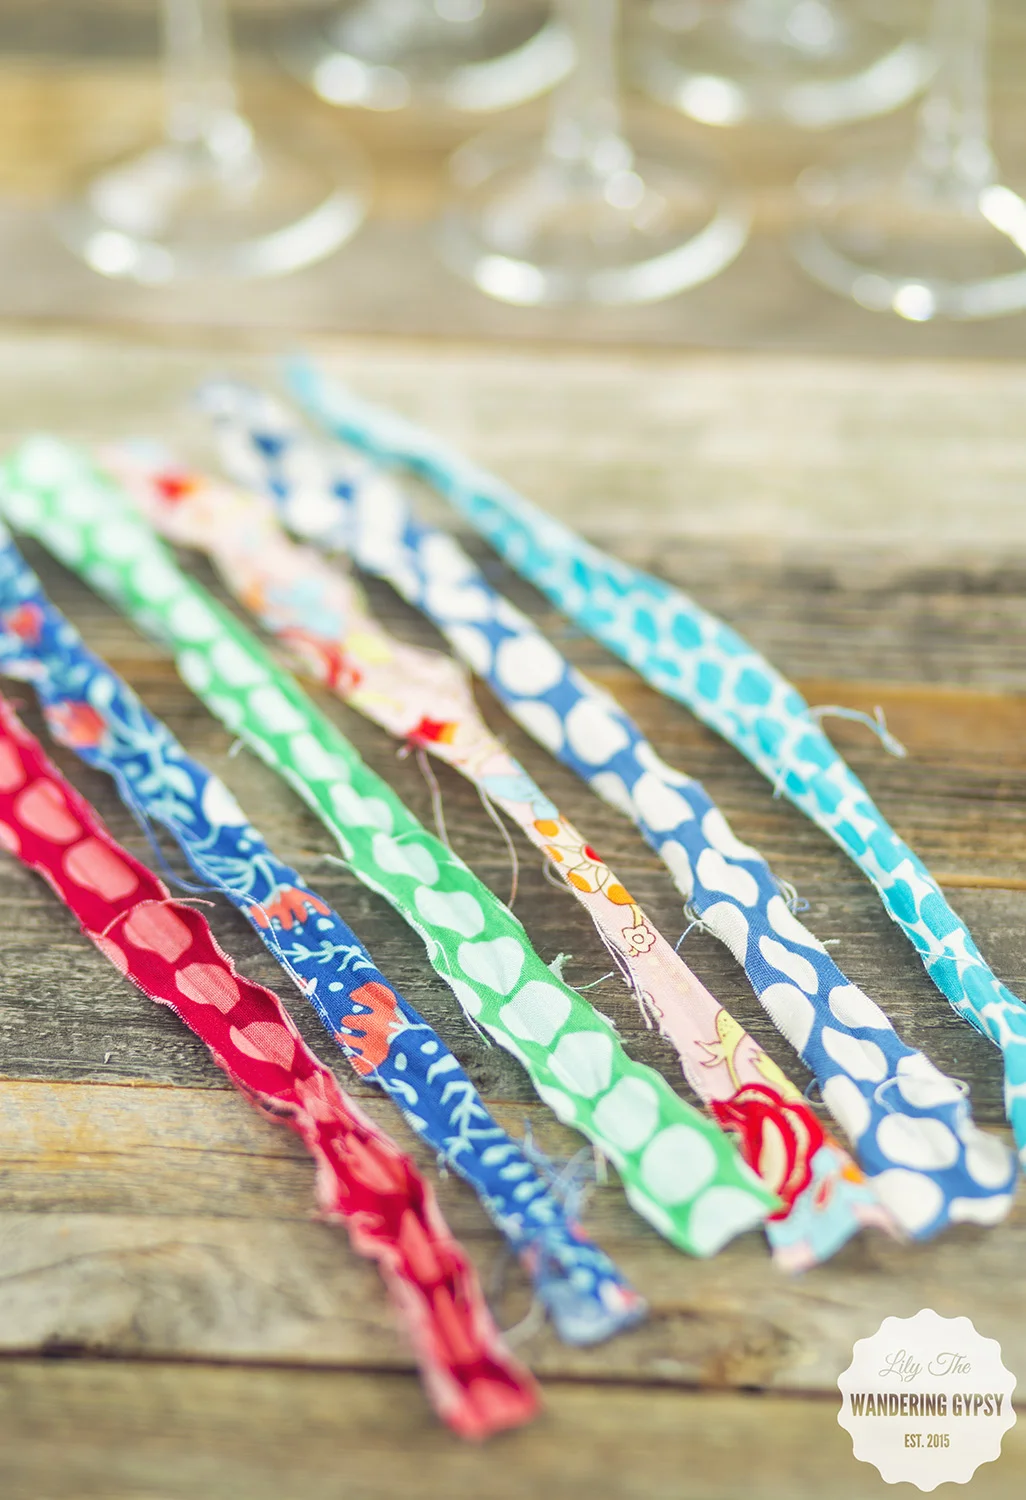
FABRIC WINE GLASS MARKERS

INSTRUCTIONS:
1.) These are super simple and can be made for FREE! Just cut your fabric strips that are 12" long x 1" wide. I just freehanded these, but a rotary cutter could always be used.
2.) Now, to get the rough edges on the fabric pieces, pull them and stretch them as much as possible. Keep pulling from both ends until you get a more frayed look.
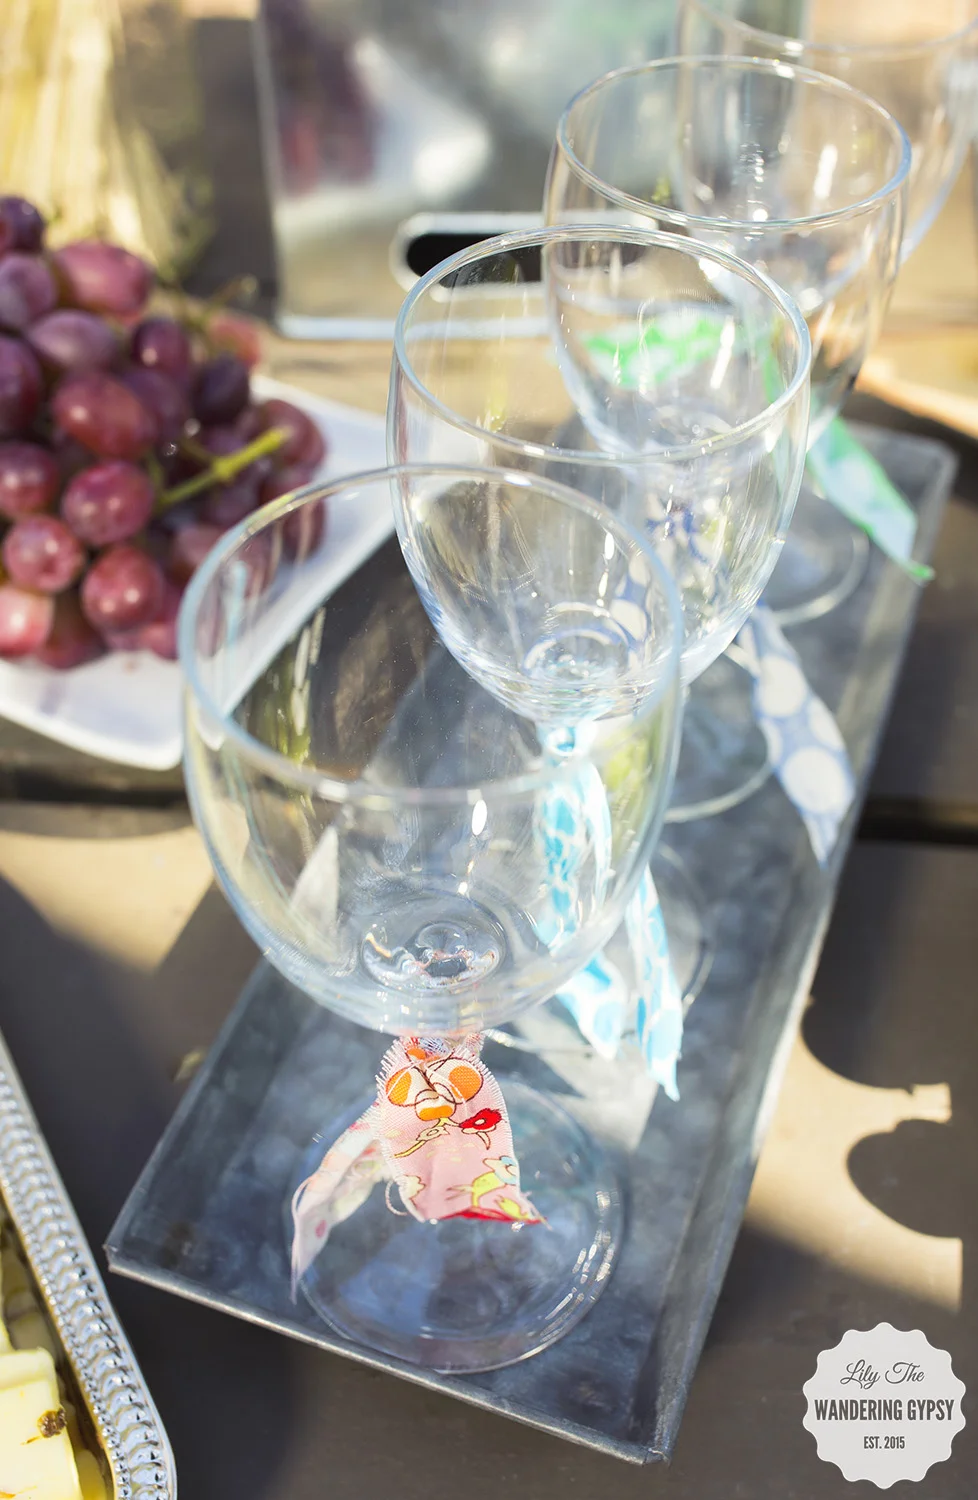
3.) Tie the distressed fabric strips around the top of the wine glass stem, and double knot.
4.) I found that cutting about 1" off of each of the long ends at a diagonal was best. That's it!
WINE PARTY TIP!
To ensure guests can reach the boxes of wine, elevate them onto something like a glass vase or metal box. This also adds visual interest to your party table.
DIY WINE SIGN TUTORIAL
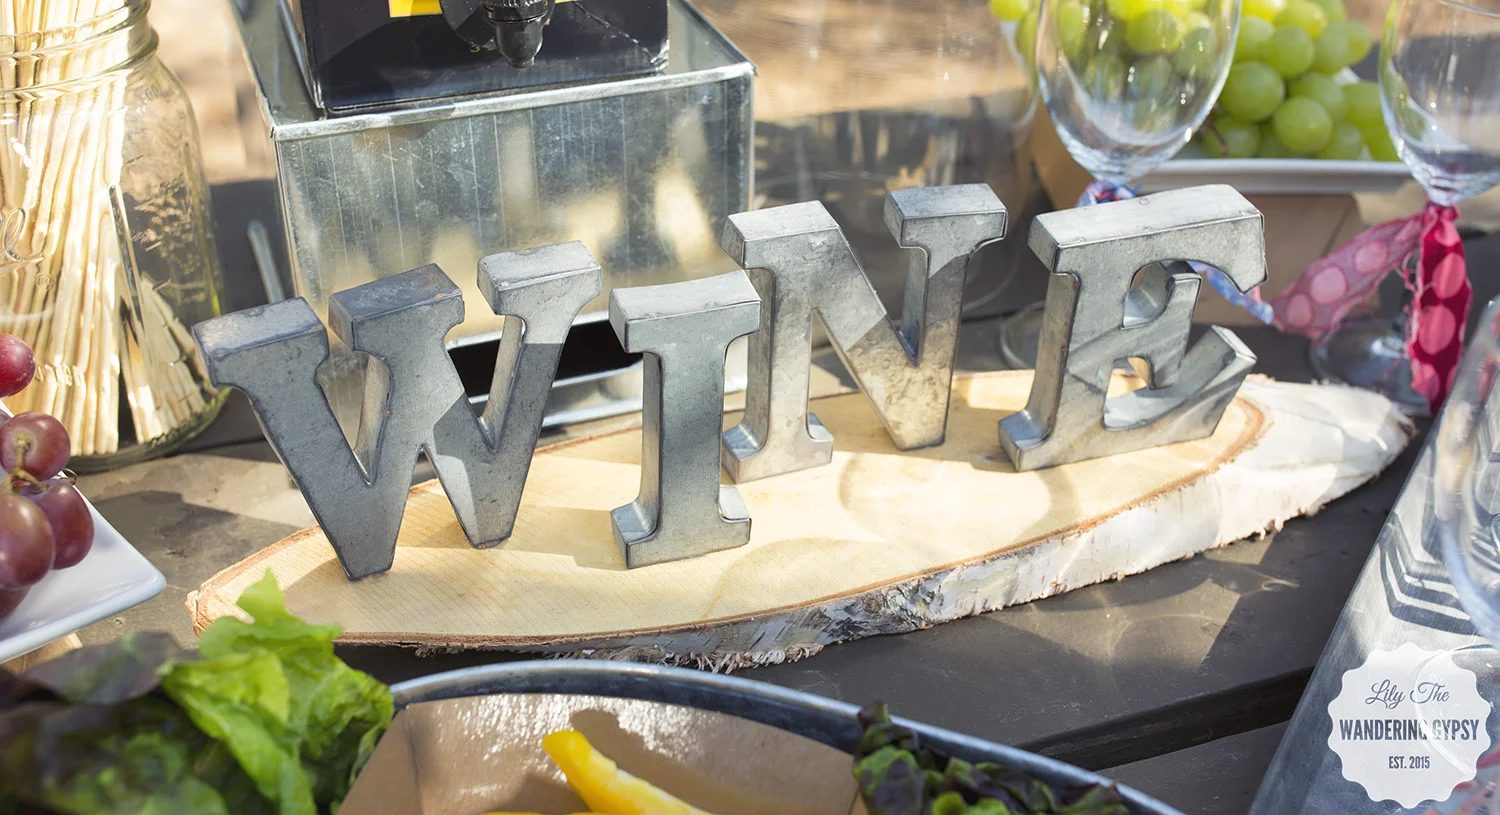
This little project came together so well! It was one of the easiest party decor projects ever.
WHAT YOU NEED:

All you need is a few materials and about 15 minutes, and you can make this cute DIY Wine Sign! Perfect for summer parties On-The-Go!
4 Galvanized letters - found at a fabric store, Birch Round (or Rectangle) - found at that same fabric store, and a hot glue gun with glue. Super Glue / Krazy glue did NOT work at all, just a warning :)
1.) Plug in your glue gun, and begin to do a sample placement of your letters onto the birch round. This birch round actually has a twine hanger attached, but you can cut it off.
2.) I found that the best way to securely attach the letters was to mark where each letter went with a dot of pencil, then apply hot glue and quickly re-attach your letters.
3.) Glue all letters in place and you are DONE! This project only took about 15 minutes!


For a wonderful Summer On-The-Go party, consider providing your guests with Black Box Wines! Enjoy!