Winnie The Pooh Mini Bear Sandwiches

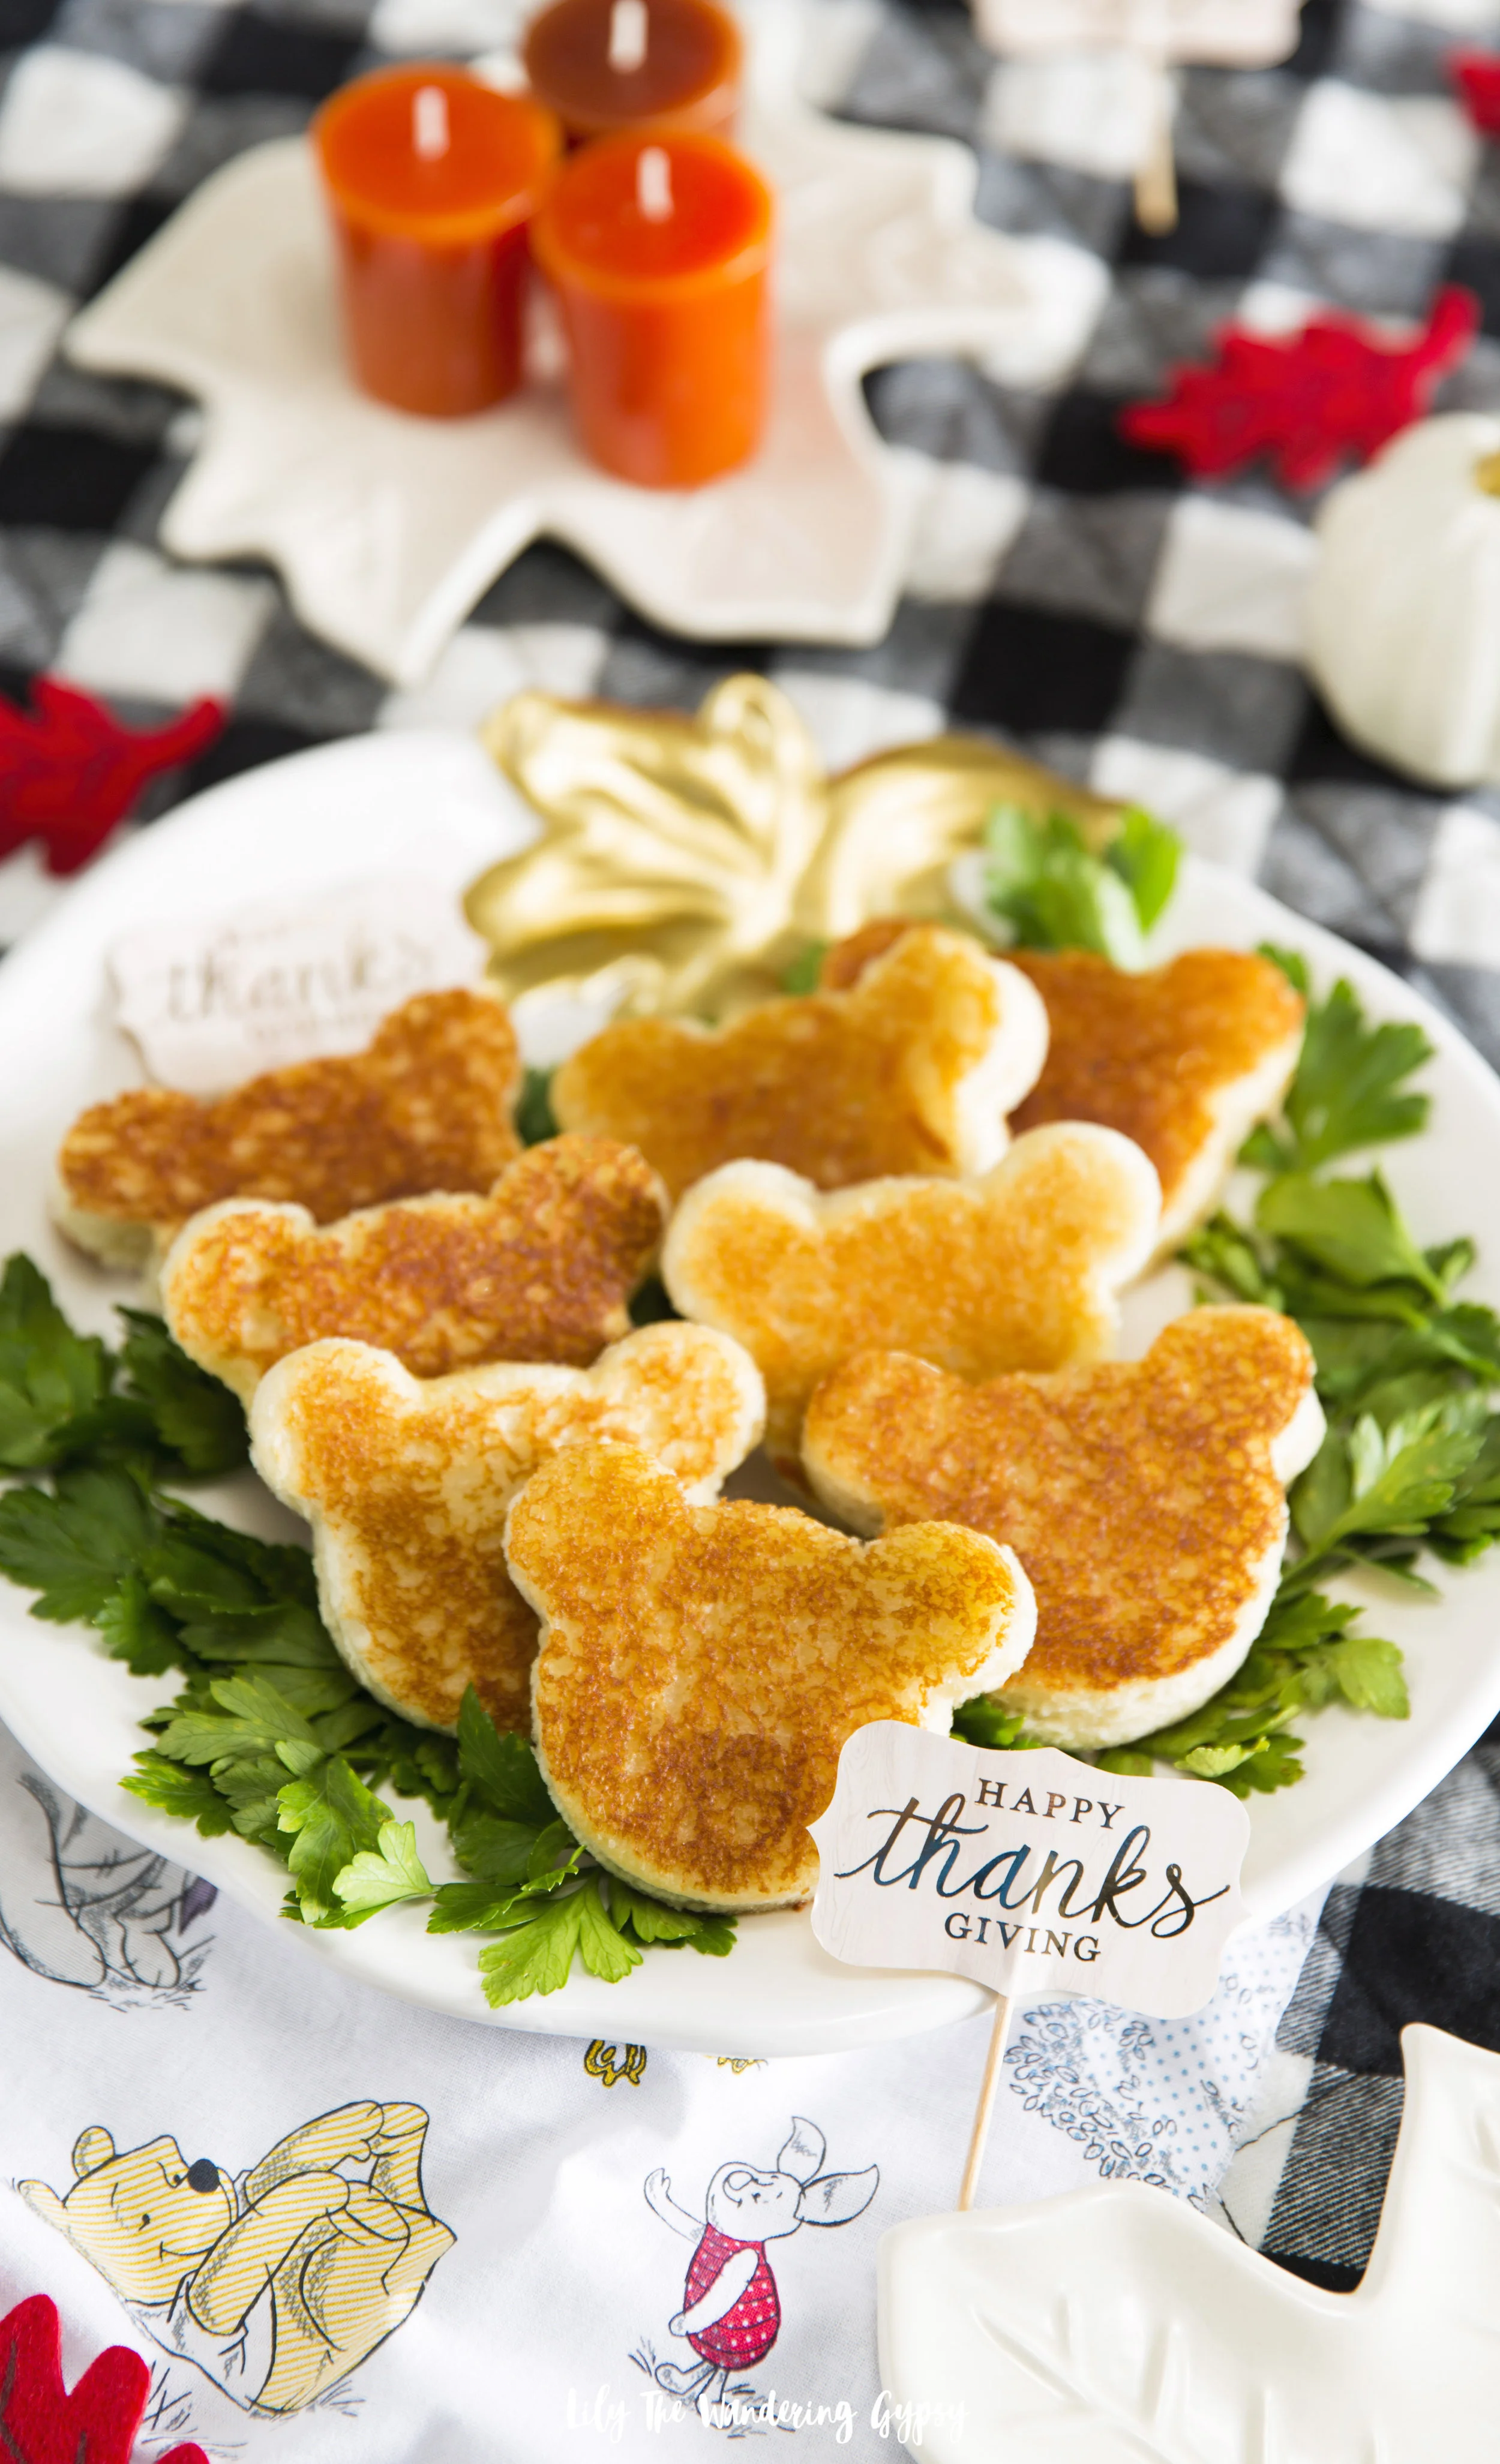
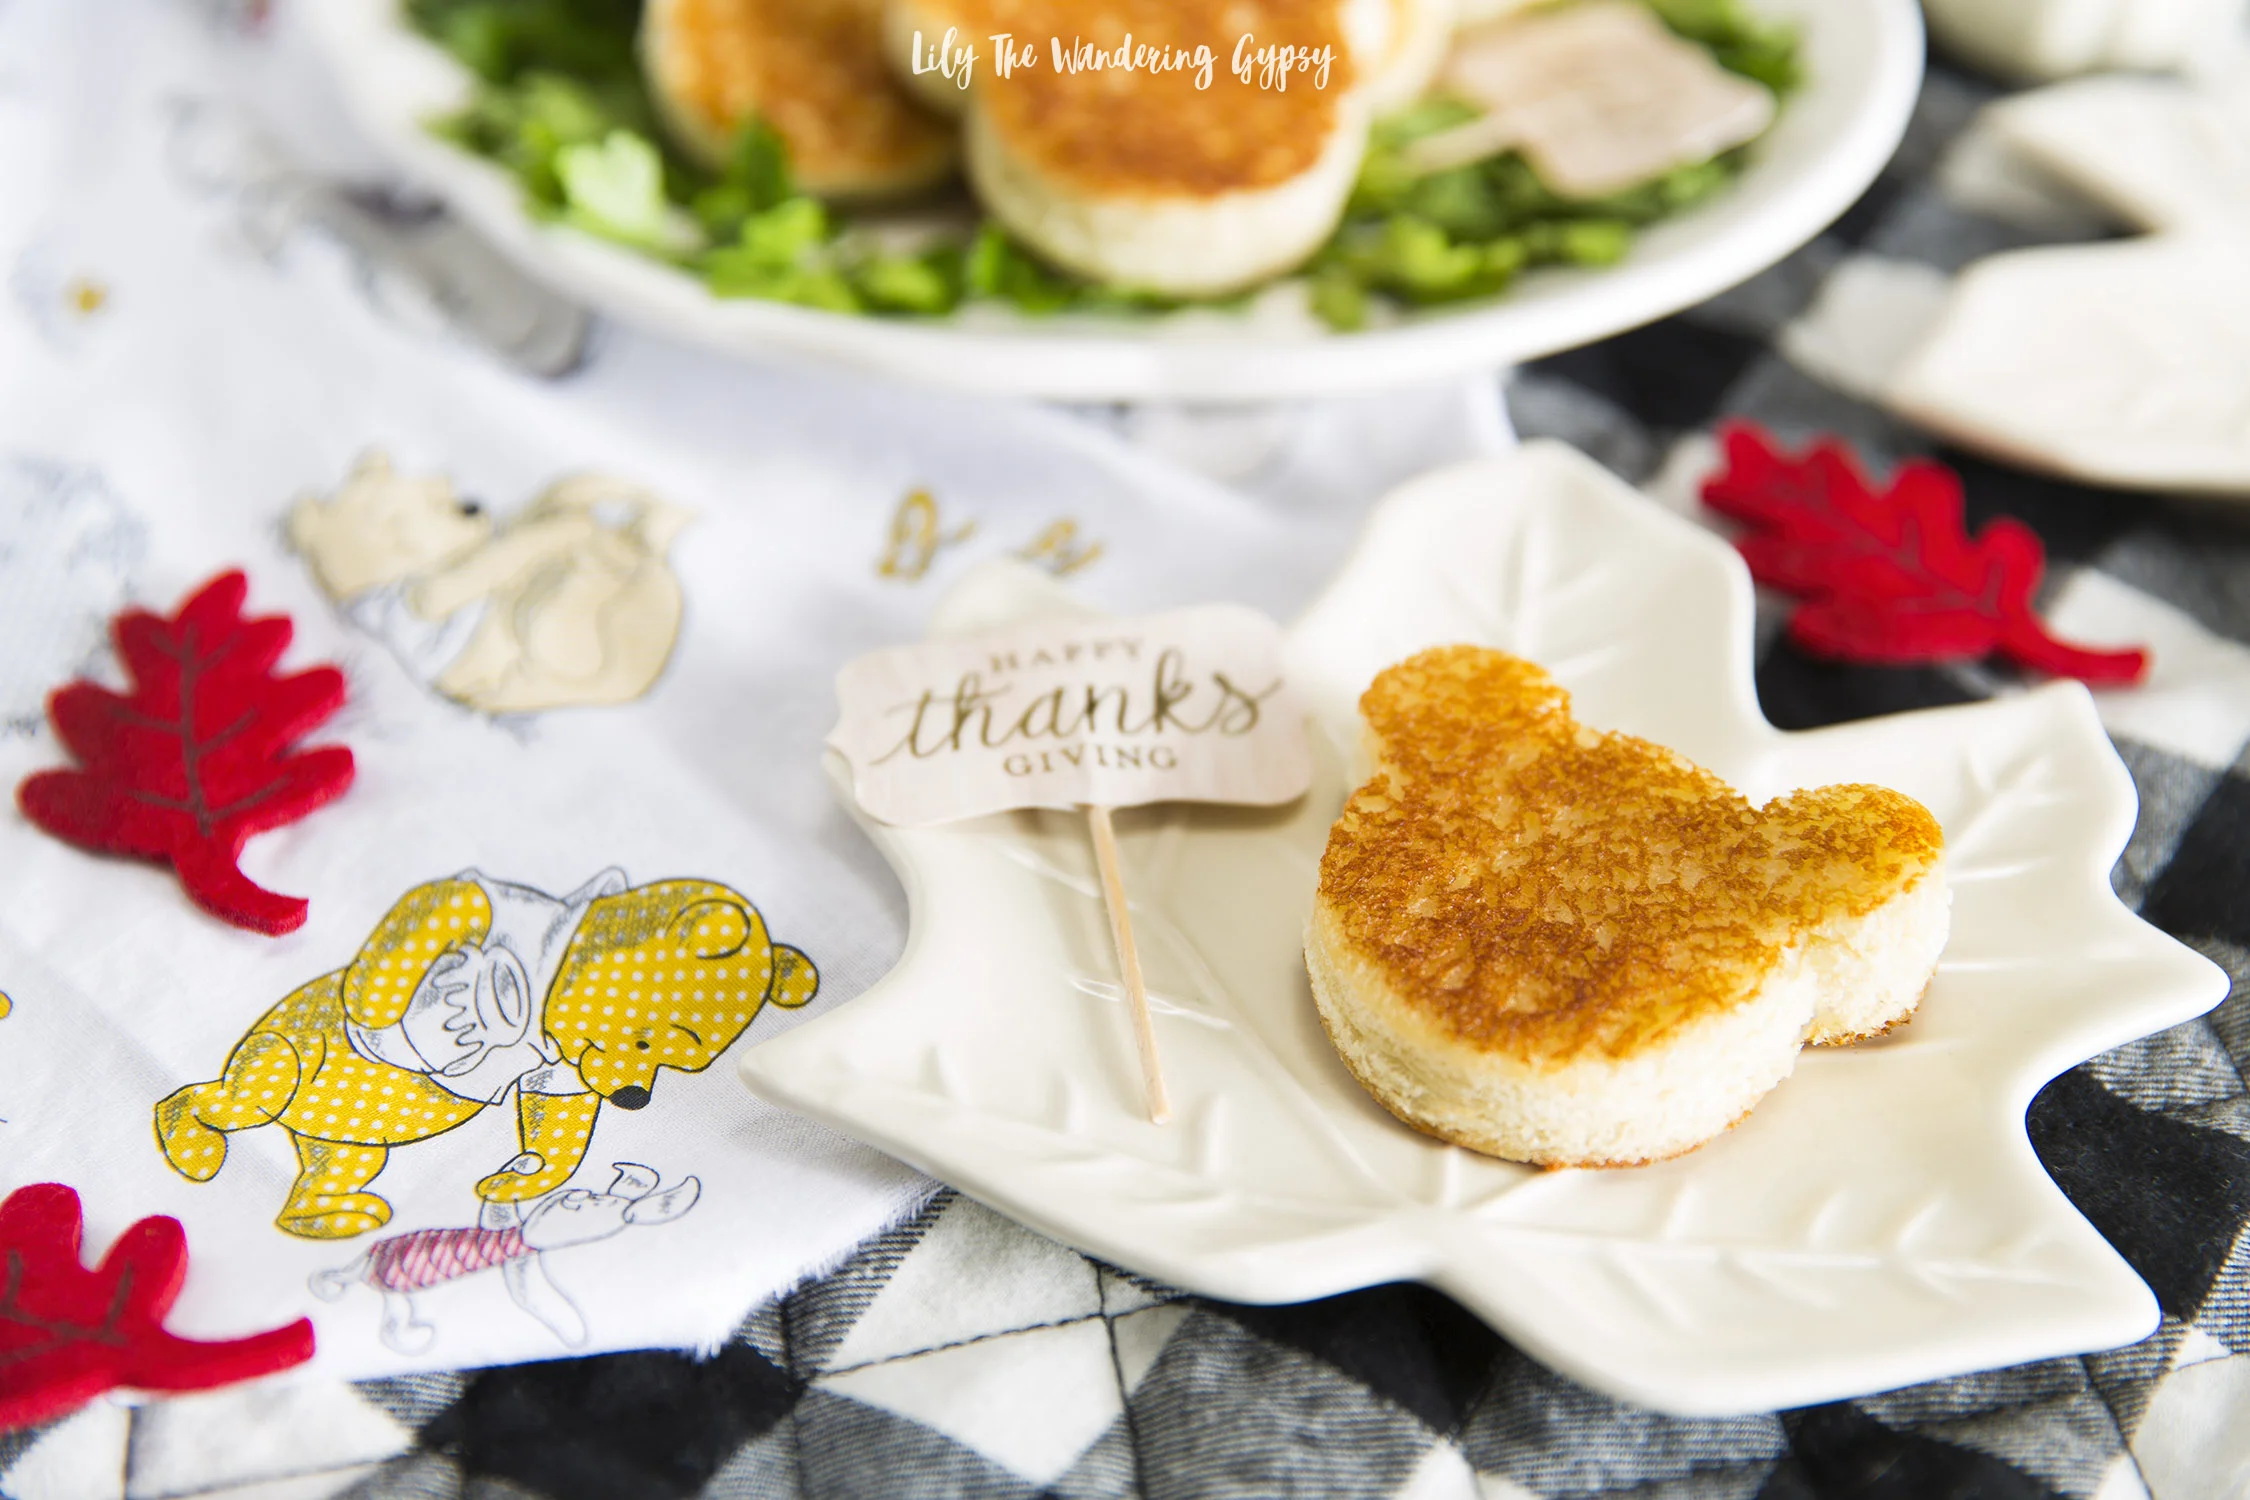
These little mini grilled cheese sandwiches are inspired by Disney’s new movie, Christopher Robin. I found these to be incredibly fun and easy to make and can even be partially prepped ahead of time if you will be making a lot of them for a crowd. #WisdomByPooh

INGREDIENTS (makes 10 sandwiches)

  • 20 pieces of sliced bread

  • cookie cutter in your favorite shape

  • up to 2 cups shredded cheddar cheese

  • butter spread or my favorite dairy free option, Earth Balance

  • skillet

INSTRUCTIONS:

1.) Simply use a cookie cutter to cut shapes from your favorite sliced bread. Those can be cut out up to one day in advance, then stored in an air tight bag.

2.) Heat skillet over medium heat, and add butter to each piece of bread, set aside.

3.) When skillet is hot, add as many pieces of bread as you can, butter side down. Sprinkle approximately 1 TBSP of shredded cheese per piece of bread. To avoid a mess, try to make sure the cheese stays on the bread, rather than getting it all over the skillet to burn.

4.) Place other pieces of buttered bread shapes on top, and let the cheese melt. Use a spatula to VERY CAREFULLY flip over the sandwiches to then heat the other side evenly, until cheese has melted.

5.) serve on a cute platter and enjoy!

I styled these in a Thanksgiving theme, but they would be amazing for just about any holiday. I thought they would be amazing for little ones, to tide them over as the full meal is being made. These could be a fun way to get picky eaters to try something new also.

Winnie The Pooh + Christopher Robinson Inspired Recipe

Enjoy family movie nights? If you are a lover of all things Winnie The Pooh, then this Pooh Approved Snack Mix and DIY Hunny Pot are exactly what you could to make! Perfect for family movie nights, because sometimes doing nothing leads to the very best of something! Simply mix up teddy bear shaped crackers and other health-conscious snacks to please the entire family!

My heart is overwhelmed by this fun opportunity I had to create this recipe and one more for WINNIE THE POOH and DISNEY and HELLO SOCIETY!!!!!

2 Ingredient Fall Apple Dip Recipe

Yum! Fall is right around the corner and I have an amazing recipe for you! Everyone loves this amazing dessert, and I know you will too. My al time favorite Fall flavor would have to be caramel apple. The mix of those sweet tart green apples meld so perfectly with the salted caramel sauce and the tangy bite of the cream cheese adds an upscale flavor to this dish, which I hope you enjoy!

INGREDIENTS:

1 (8 oz.) Block of Cream Cheese

1/3 - 1/2 of a jar of salted caramel sauce (we love the Smucker's Simple Delight Salted Caramel)

2-3 apples, sliced (we used green and red, any flavor will do!)

INSTRUCTIONS:

1.) Open the block of cream cheese, and place it onto a plate, and pour LOTS of caramel over the top of the cream cheese.

2.) Chop apples and place beside dip. Enjoy!

Valentine's Day - Adorable Heart Shaped Rice Krispy Treats

If you're looking for a stunning yet easy way to create theseAdorable Heart Shaped Rice Krispy Treats, you have come to the right place! I've been envisioning making these for a few weeks now, ever since I started seeing the Valentine's Day baking supplies at stores for the season. They only contain around 6 ingredients/materials, and prep work is also pretty minimal! 

INGREDIENTS/MATERIALS:

Pink colored Wilton or other candy melts (similar here)

Lollipop Sticks (found here)

6 Cups Rice Krispies Cereal

4 Cups mini marshmallows

Red Food Coloring

Colorful Sprinkles

Silicone Heart Shaped Candy mold from Walmart (similar here)

INSTRUCTIONS (MAKES 6):

1.) Begin making Rice Krispy treats. In a no-stick pot or pan, melt butter and marshmallows until smooth. Add 4-5 drops of red food coloring until the marshmallow mixture is desired color (a darker pink). Now add 1/4 -1/2 C. sprinkles and stir again. Lastly, add Rice Krispies and stir until combined!

2.) During the rice krispy treat making process, melt half the bag of pink candy melts in a microwave safe bowl until smooth. 

3.) Using a large tablespoon, spoon equal amounts of melted candy melts into the heart shaped molds, filling them 1/4 full.

4.) Once candy melts have set for 1-2 minutes but before they are completely hardened, fill the rest of the heart molds with ooey gooey Rice Krispy treats. Press down into mold so they are flat on top.

5.) Once everything has hardened, remove from molds. If the pink candy toppings have separated from the Krispies, simply melt 4-5 more candy melts and attach them back together with a spoon full of melted candy.

6.) Lastly, optionally insert lollipop sticks into the heart krispies (they go in VERY easily). Enjoy!

Think of how cute these would be to gift in a big "bouquet" for Valentine's Day! You could wrap them in small celophane treat bags and tie them up with festive ribbons too.