
Here are links to some of the supplies I loved using during our recent bathroom makeover project. I have learned that it's best to get yourself the best tools you can afford. No use in spending tons of time on a project and then having your tools hold you back! Also, check out some of my favorite in-process shots, below.
Shower Curtain in "Clipped Floral - White" from Threshold - LOVE how this bright, white shower curtain really freshens up the loo of the room, and adds a bright, white element to the bathroom. I have always wanted a white shower curtain, so I chose to put this one in the guest bathroom, which does not get used every day. I definitely needed a clear, plastic curtain behind this one.
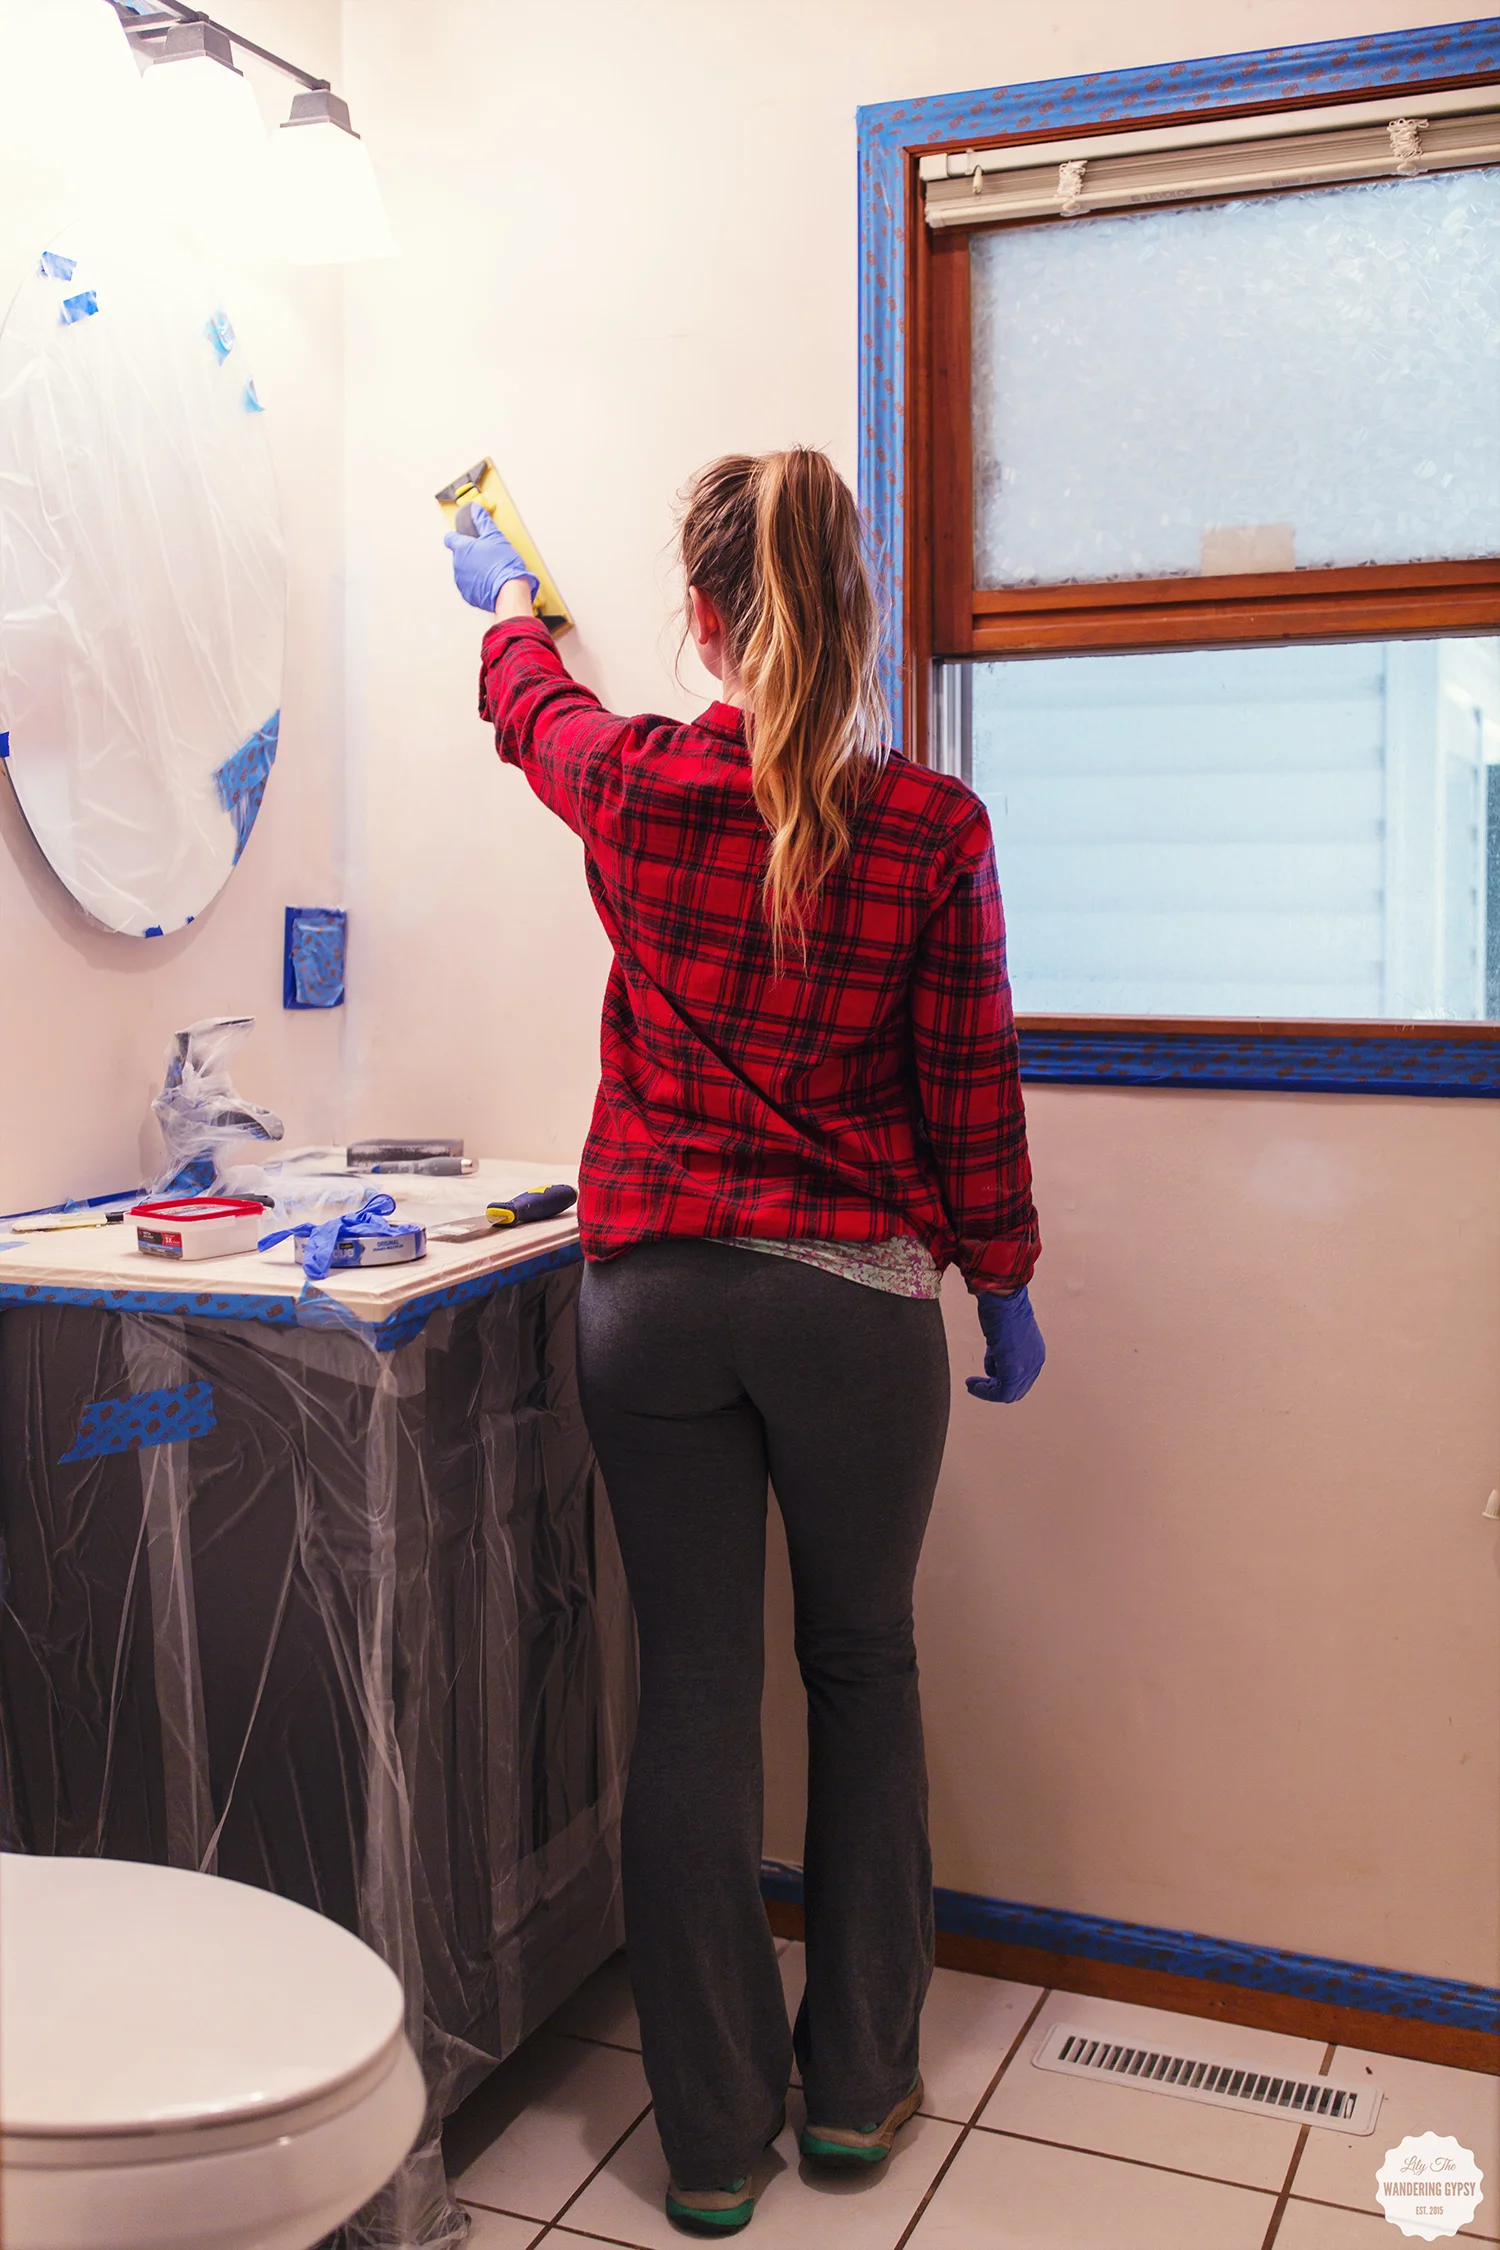
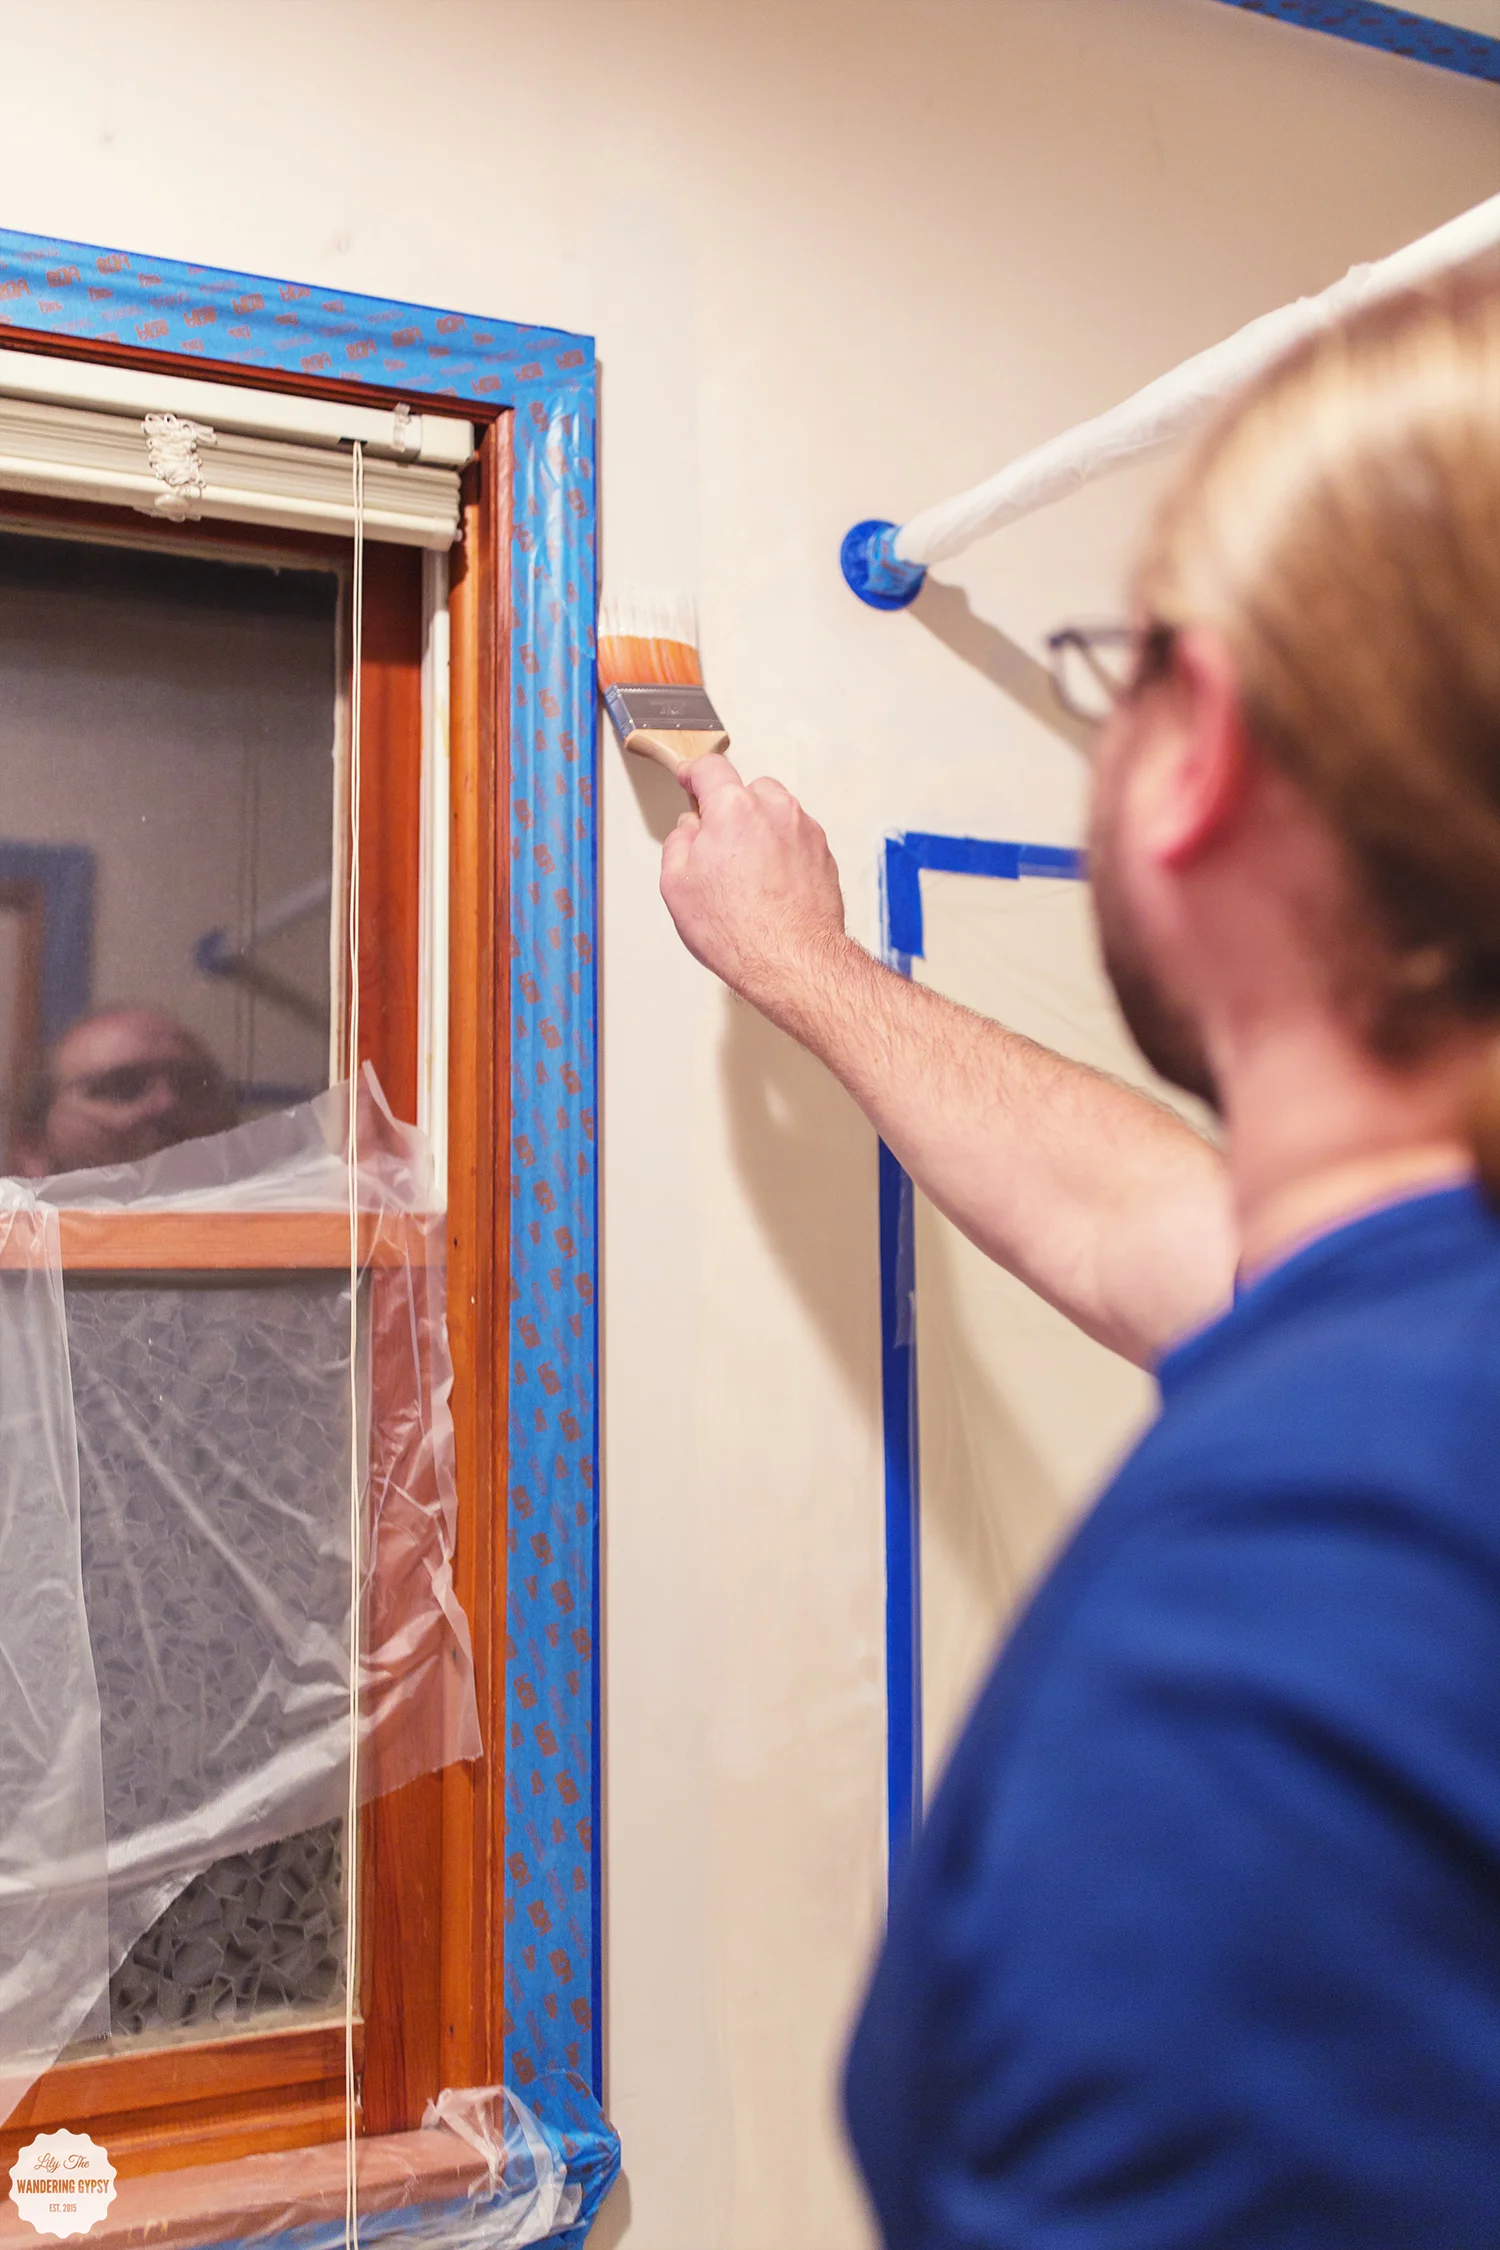
Scotch Blue Edge Lock Painter's Tape #2080EL (Delicate Surface) - Hands down the best tape either Bobby or I have ever used. We used the thicker version, and it was so nice and easy to apply to the edges of walls and trim, and once the paint was sufficiently dry, this paint left a nice, clean edge! I loved this product, and am heading out to get more today! Read on to learn about more of the tools I loved.

Here's How The Bathroom Turned Out! Click the two below images to enlarge them.

3M Patch Primer - This product was super nice, and it was really easy to work with. It went on incredibly smooth, and dried overnight, to where I could sand and paint it the next day.
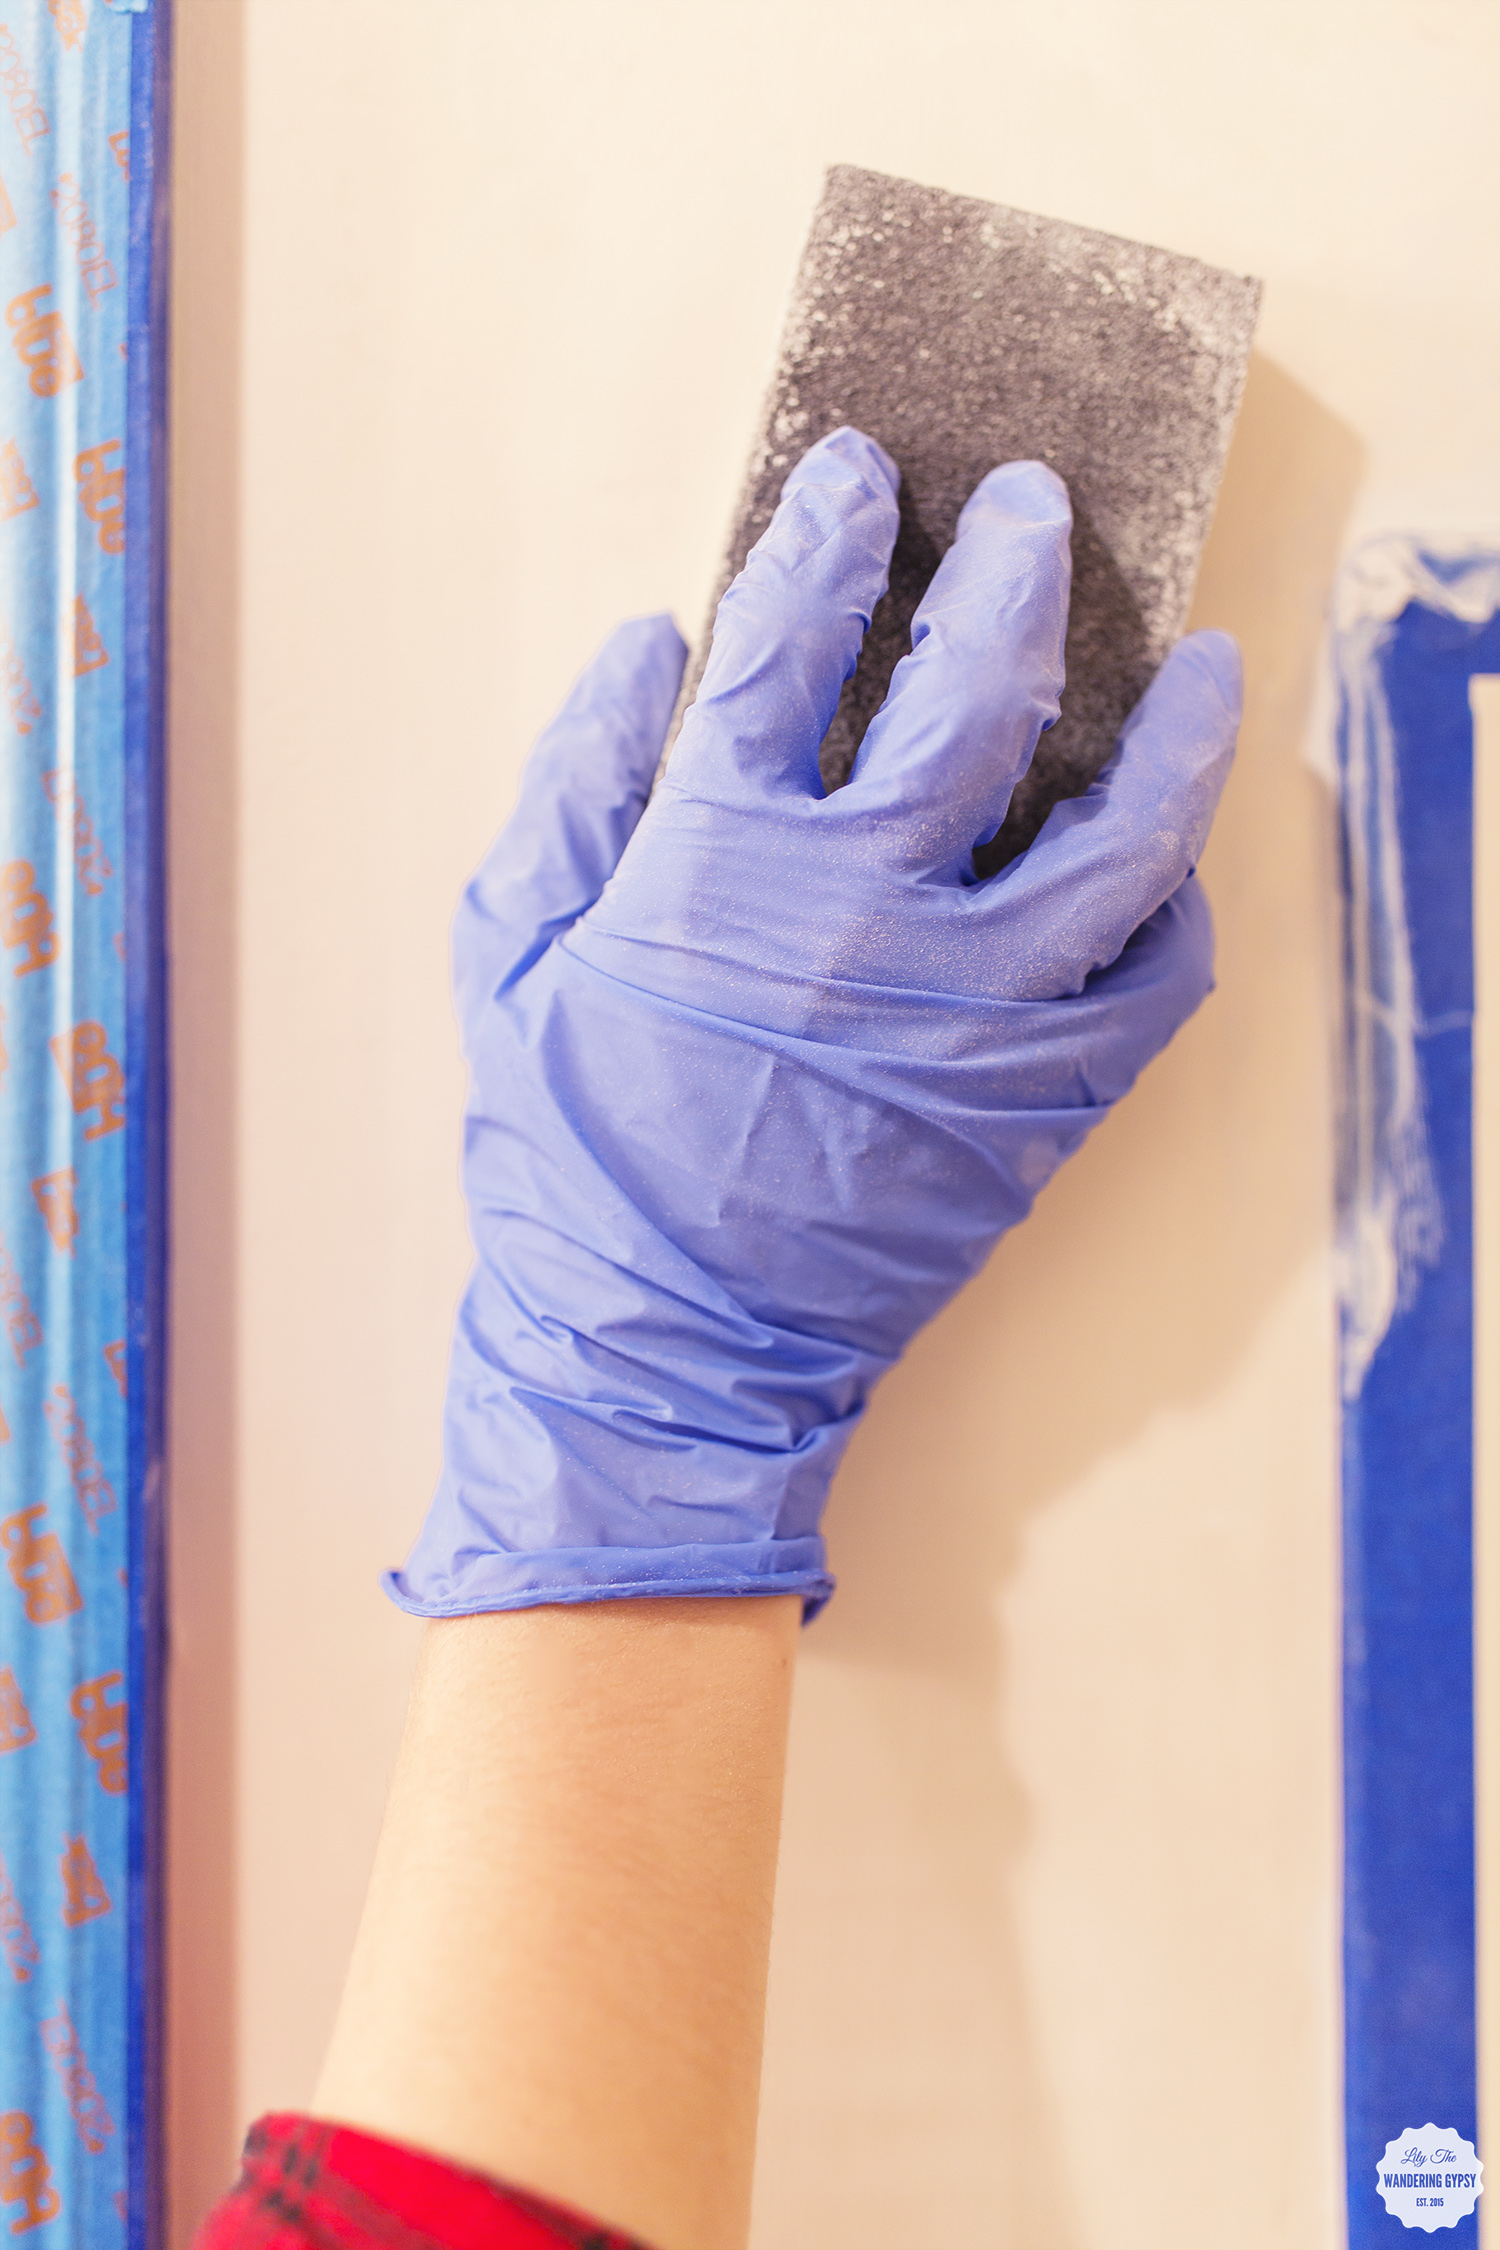
3M Hand Sander - this was much better than the first sander I bought. This was relatively ergonomic and held the sandpaper on very tightly (unlike the one I mentioned before).
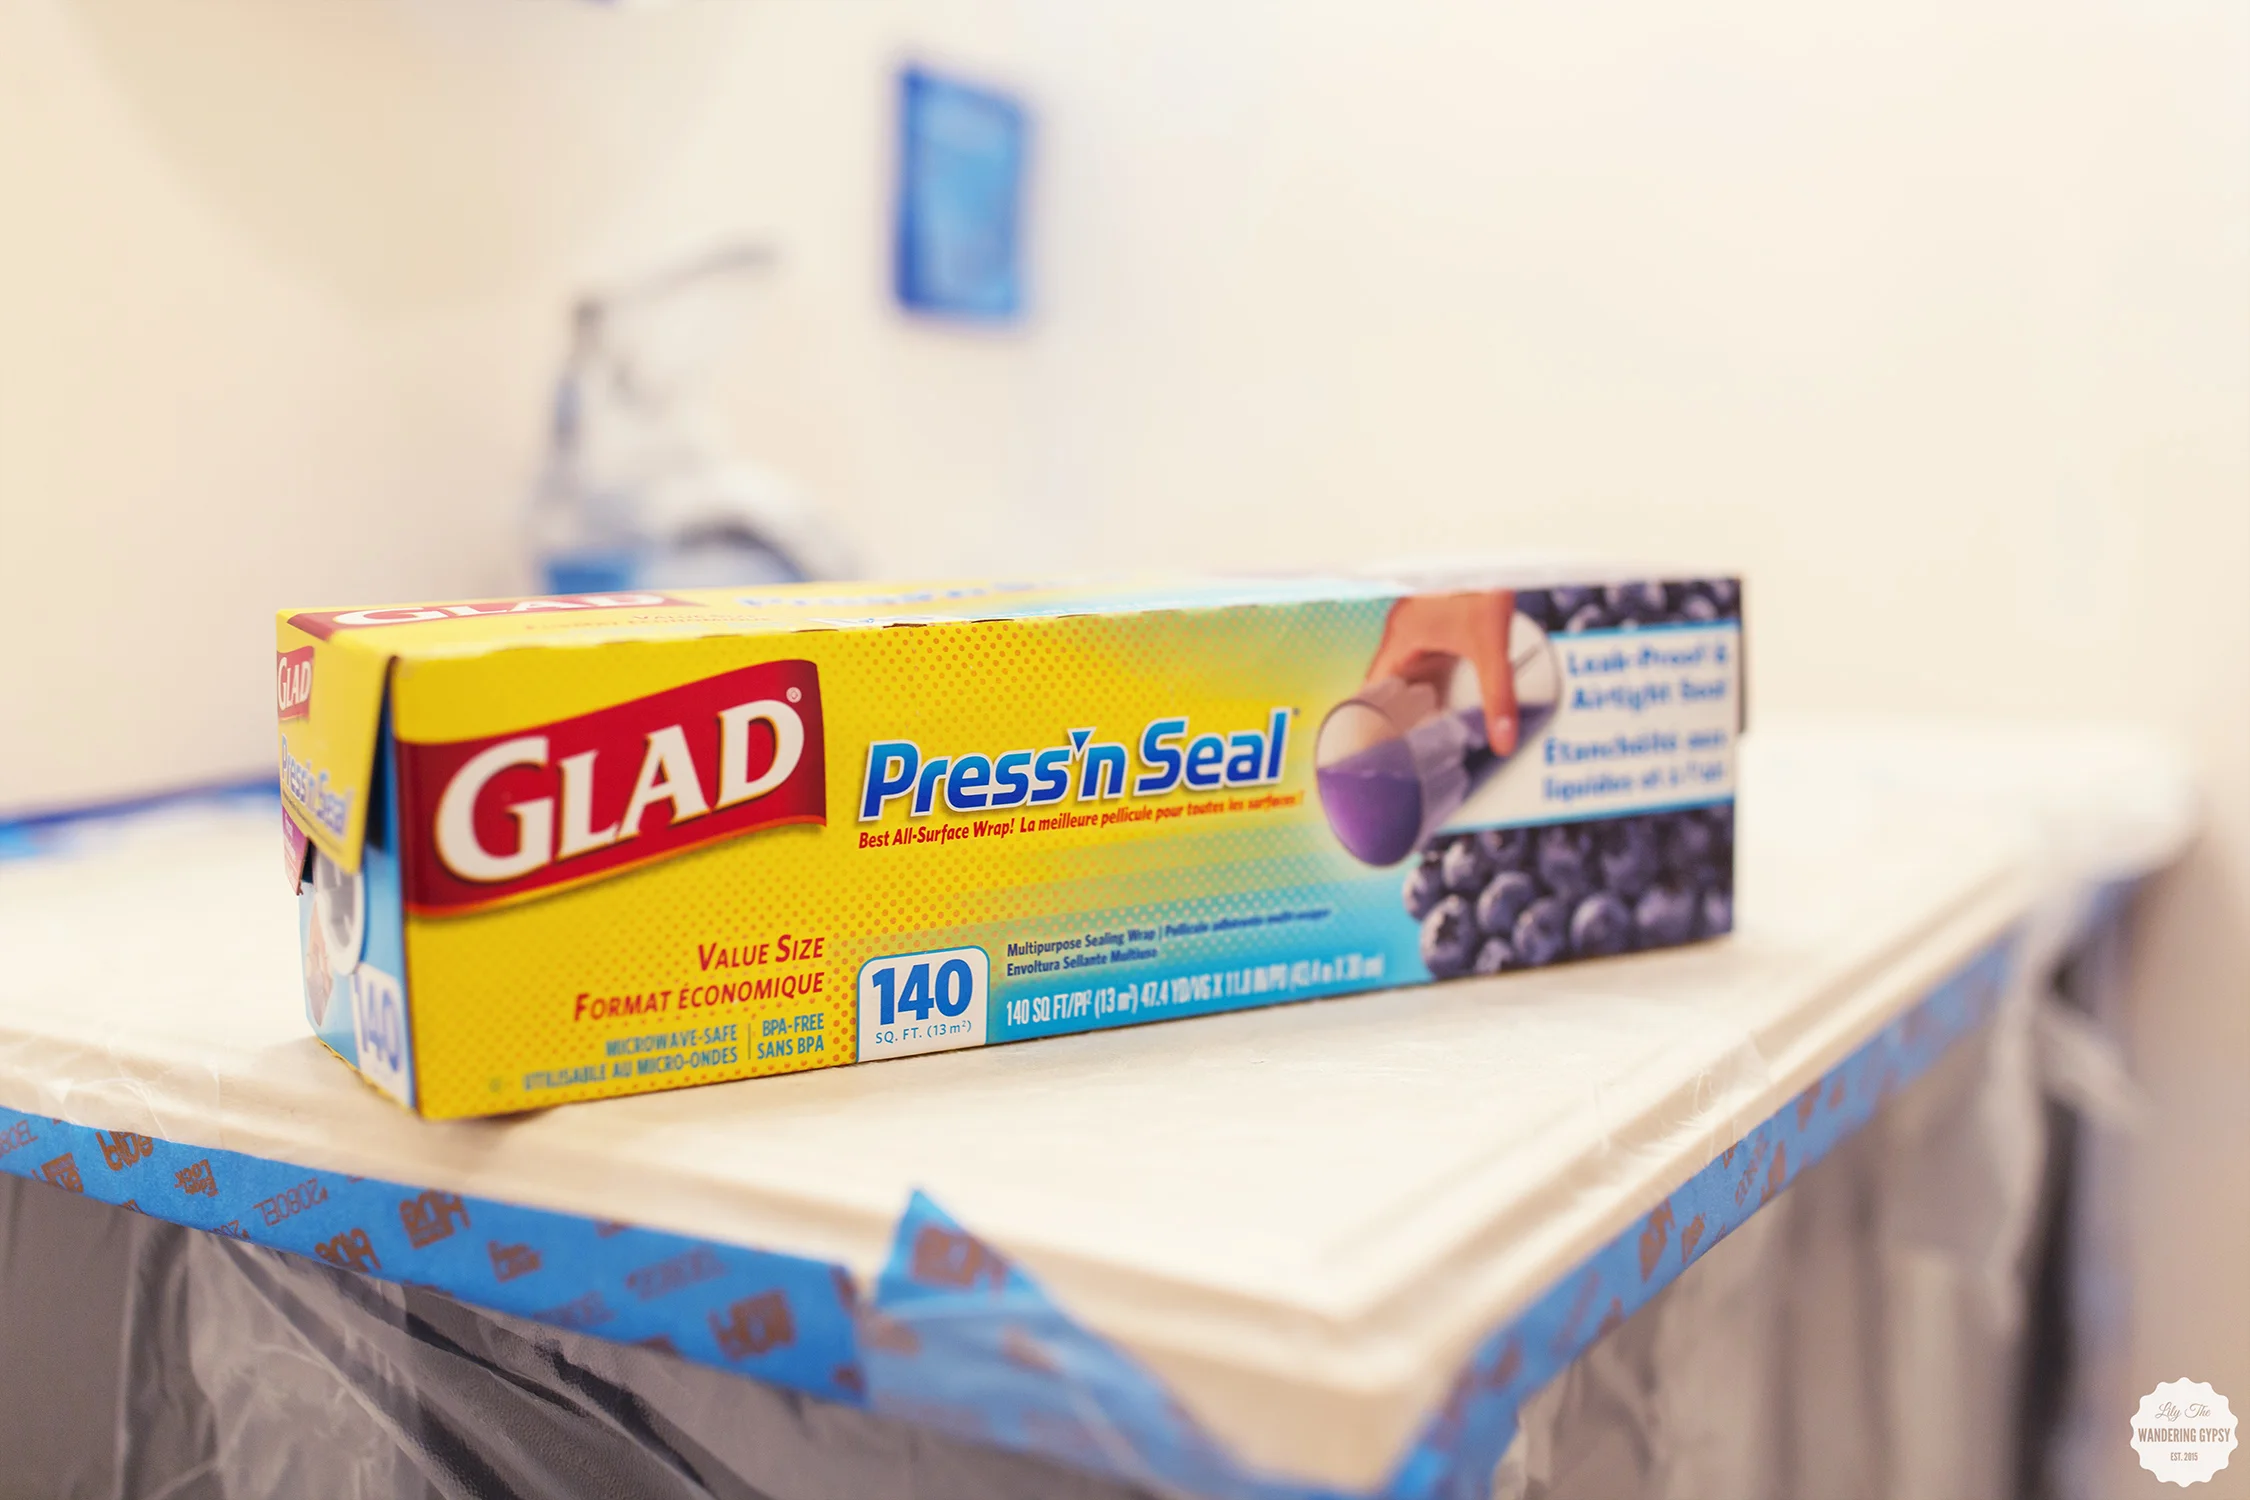
Glad Press'n Seal - this product was an absolute lifesaver! I covered almost every surface with it, and it stuck like a dream, with just minimal stickiness. it only left a bit of a residue on places like parts of the tub (that I stood on a lot to reach higher surfaces), and the counter top. I luckily was able to use a bit of goo-gone, a scrubber brush, and then followed with Lysol, and it mostly came clean. I especially liked using this product on rounded surfaces like my shower head, faucets, and various light fixtures.

Porter was a great helper throughout the process!
3M (180-Grit) Sandpaper Sheets - super nice and durable! We actually cut these sheets down with our kitchen scissors so they would fit onto the sander, but this way was more cost effective than the smaller sheets that are pre-cut to fit. I only had to use about one full sheet on this whole bathroom!
Futura Toilet Paper Holder - this was actually my only option when replacing our existing holder, and it's a bit unusual to install, but overall not too difficult.
Rubber Gloves - I did every step except for the taping portion of this project with rubber gloves on. My hands got SO dry if I sanded any of the plaster without gloves, so I was happy to have some on hand.
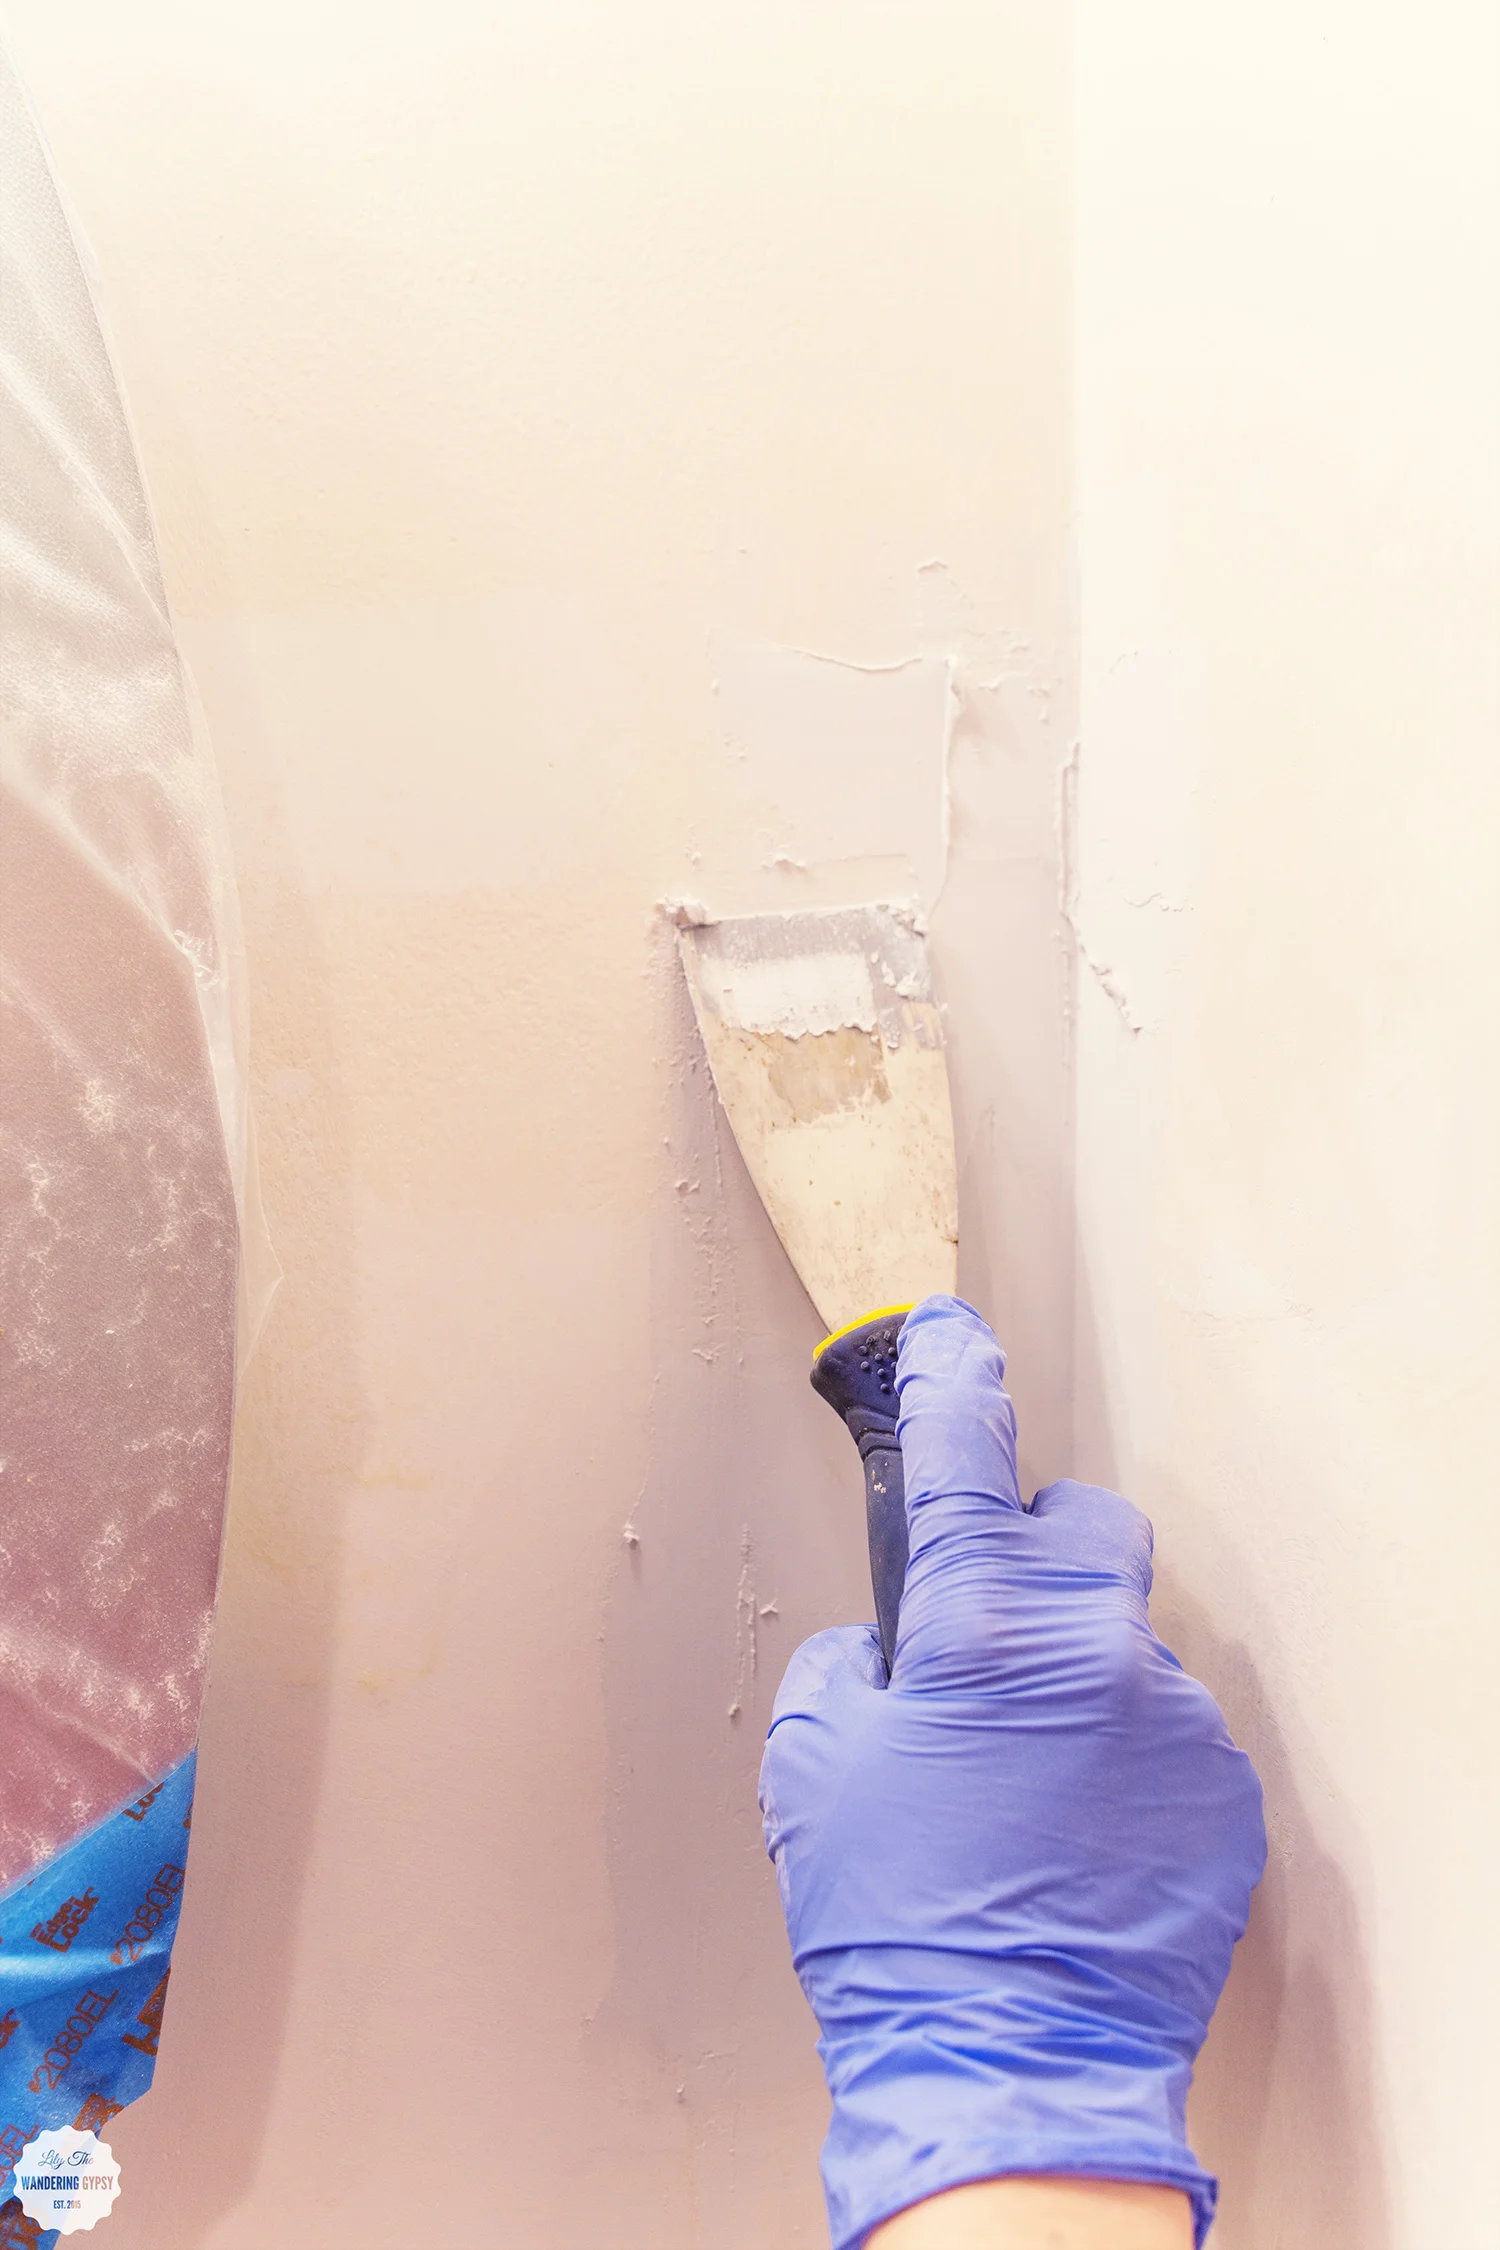
Putty Knife - this was awesome - it helped me spread the putty/spackle so easily during this "fun" corner rebuild! Originally there was tape under the paint, ruffling up and looking all terribly. SO, we decided it was best to just build it up with putty - Look how well I did, in the photo below! (I originally bought this one, here, but it was too stiff and didn't have enough give to get the putty/spackle into a thin enough coat for my project - I just grabbed something used to scrape paint instead of spread putty).
My favorite technique for the corner rebuild was to tear off some of the ruffled tape to expose the drywall. Next, I filled in what I could with putty, and smoothed it as much as possible. I also smoothed putty out and around the corner (heading towards the mirror), and also skim-coated the walls around the corner. This worked super well!
Sanding, sanding, and more sanding...

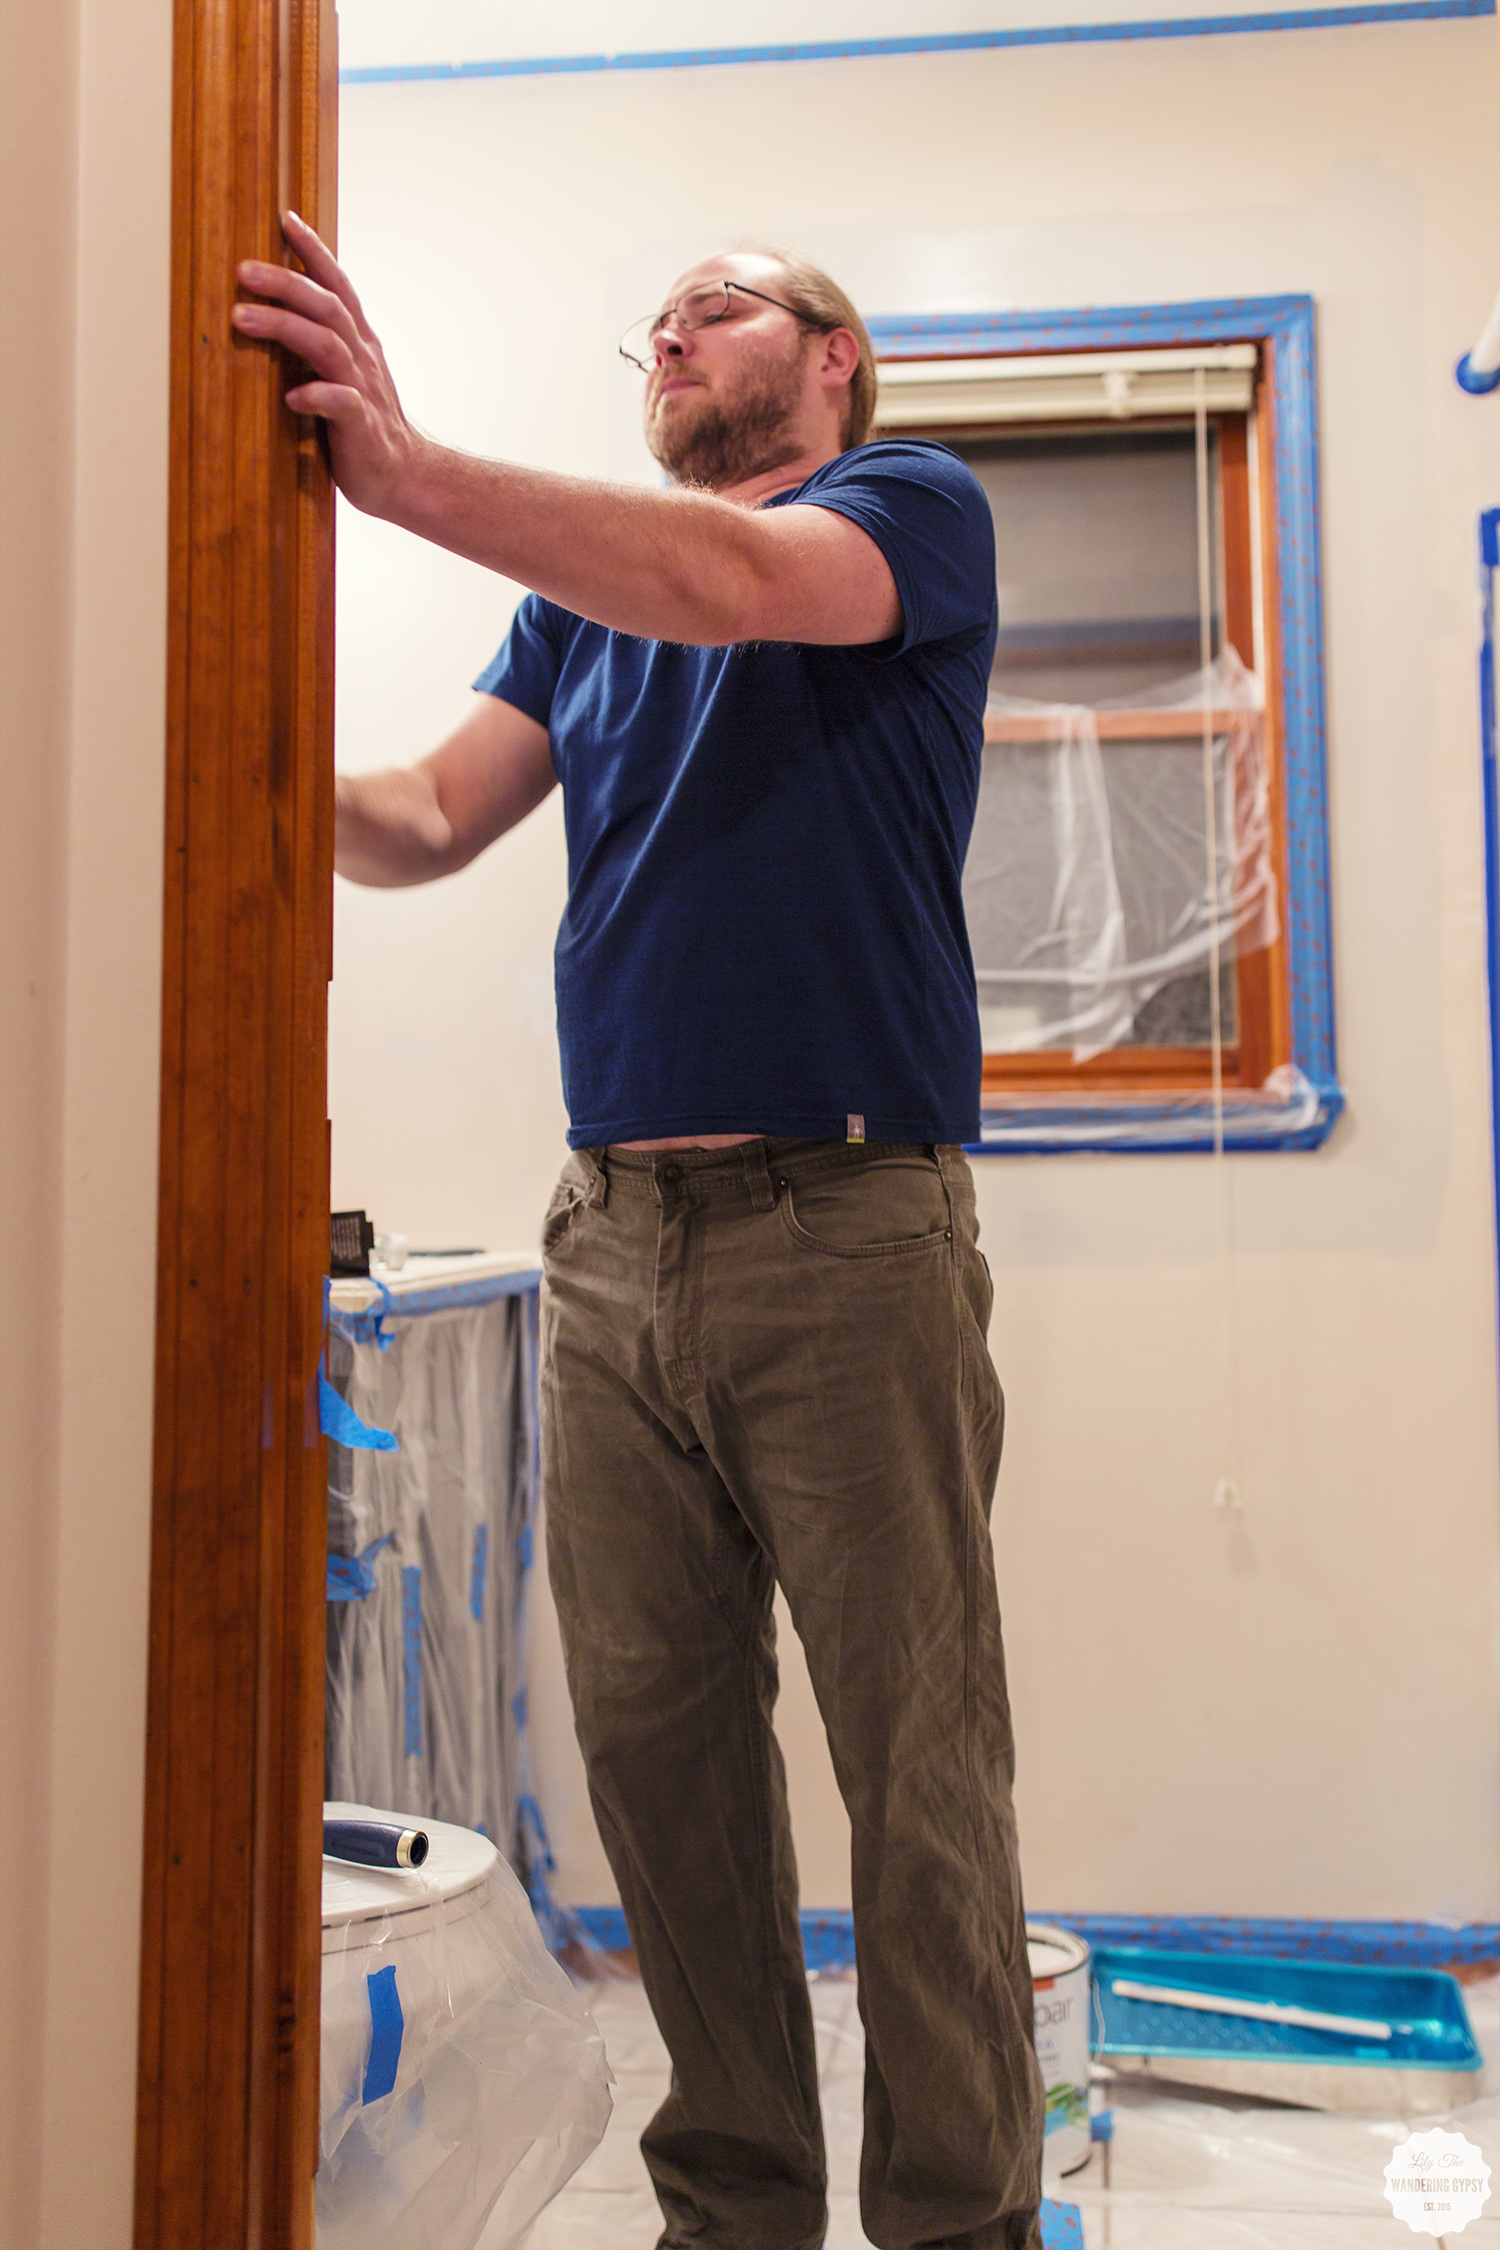
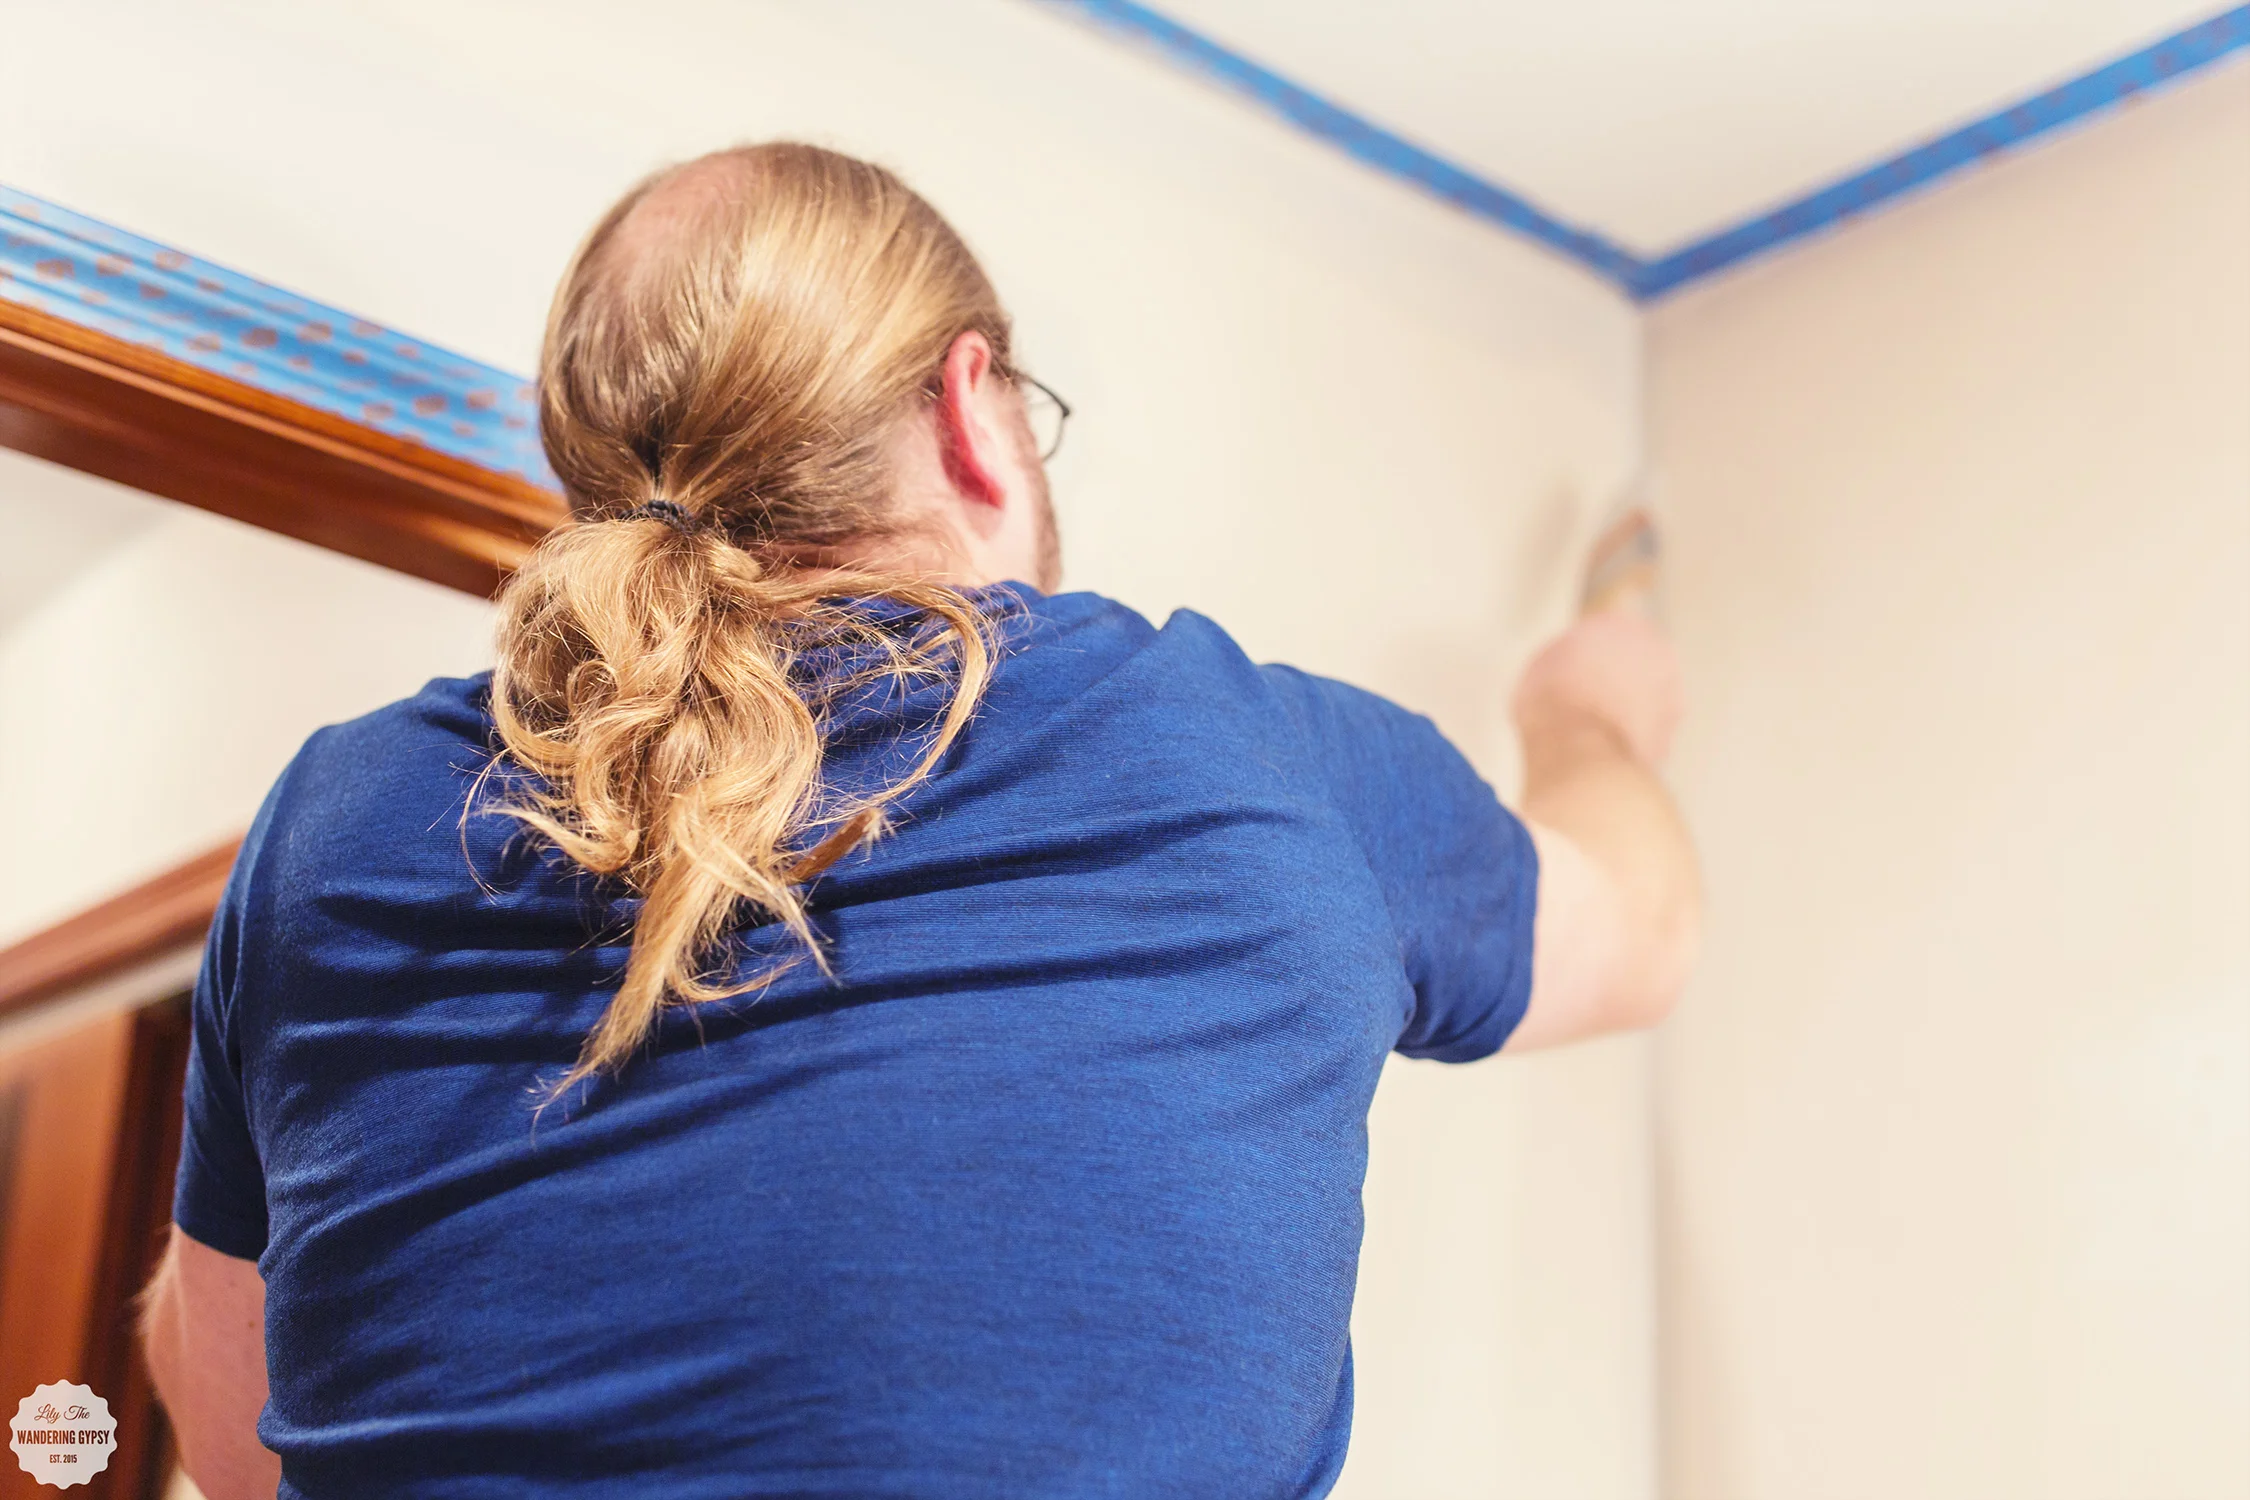
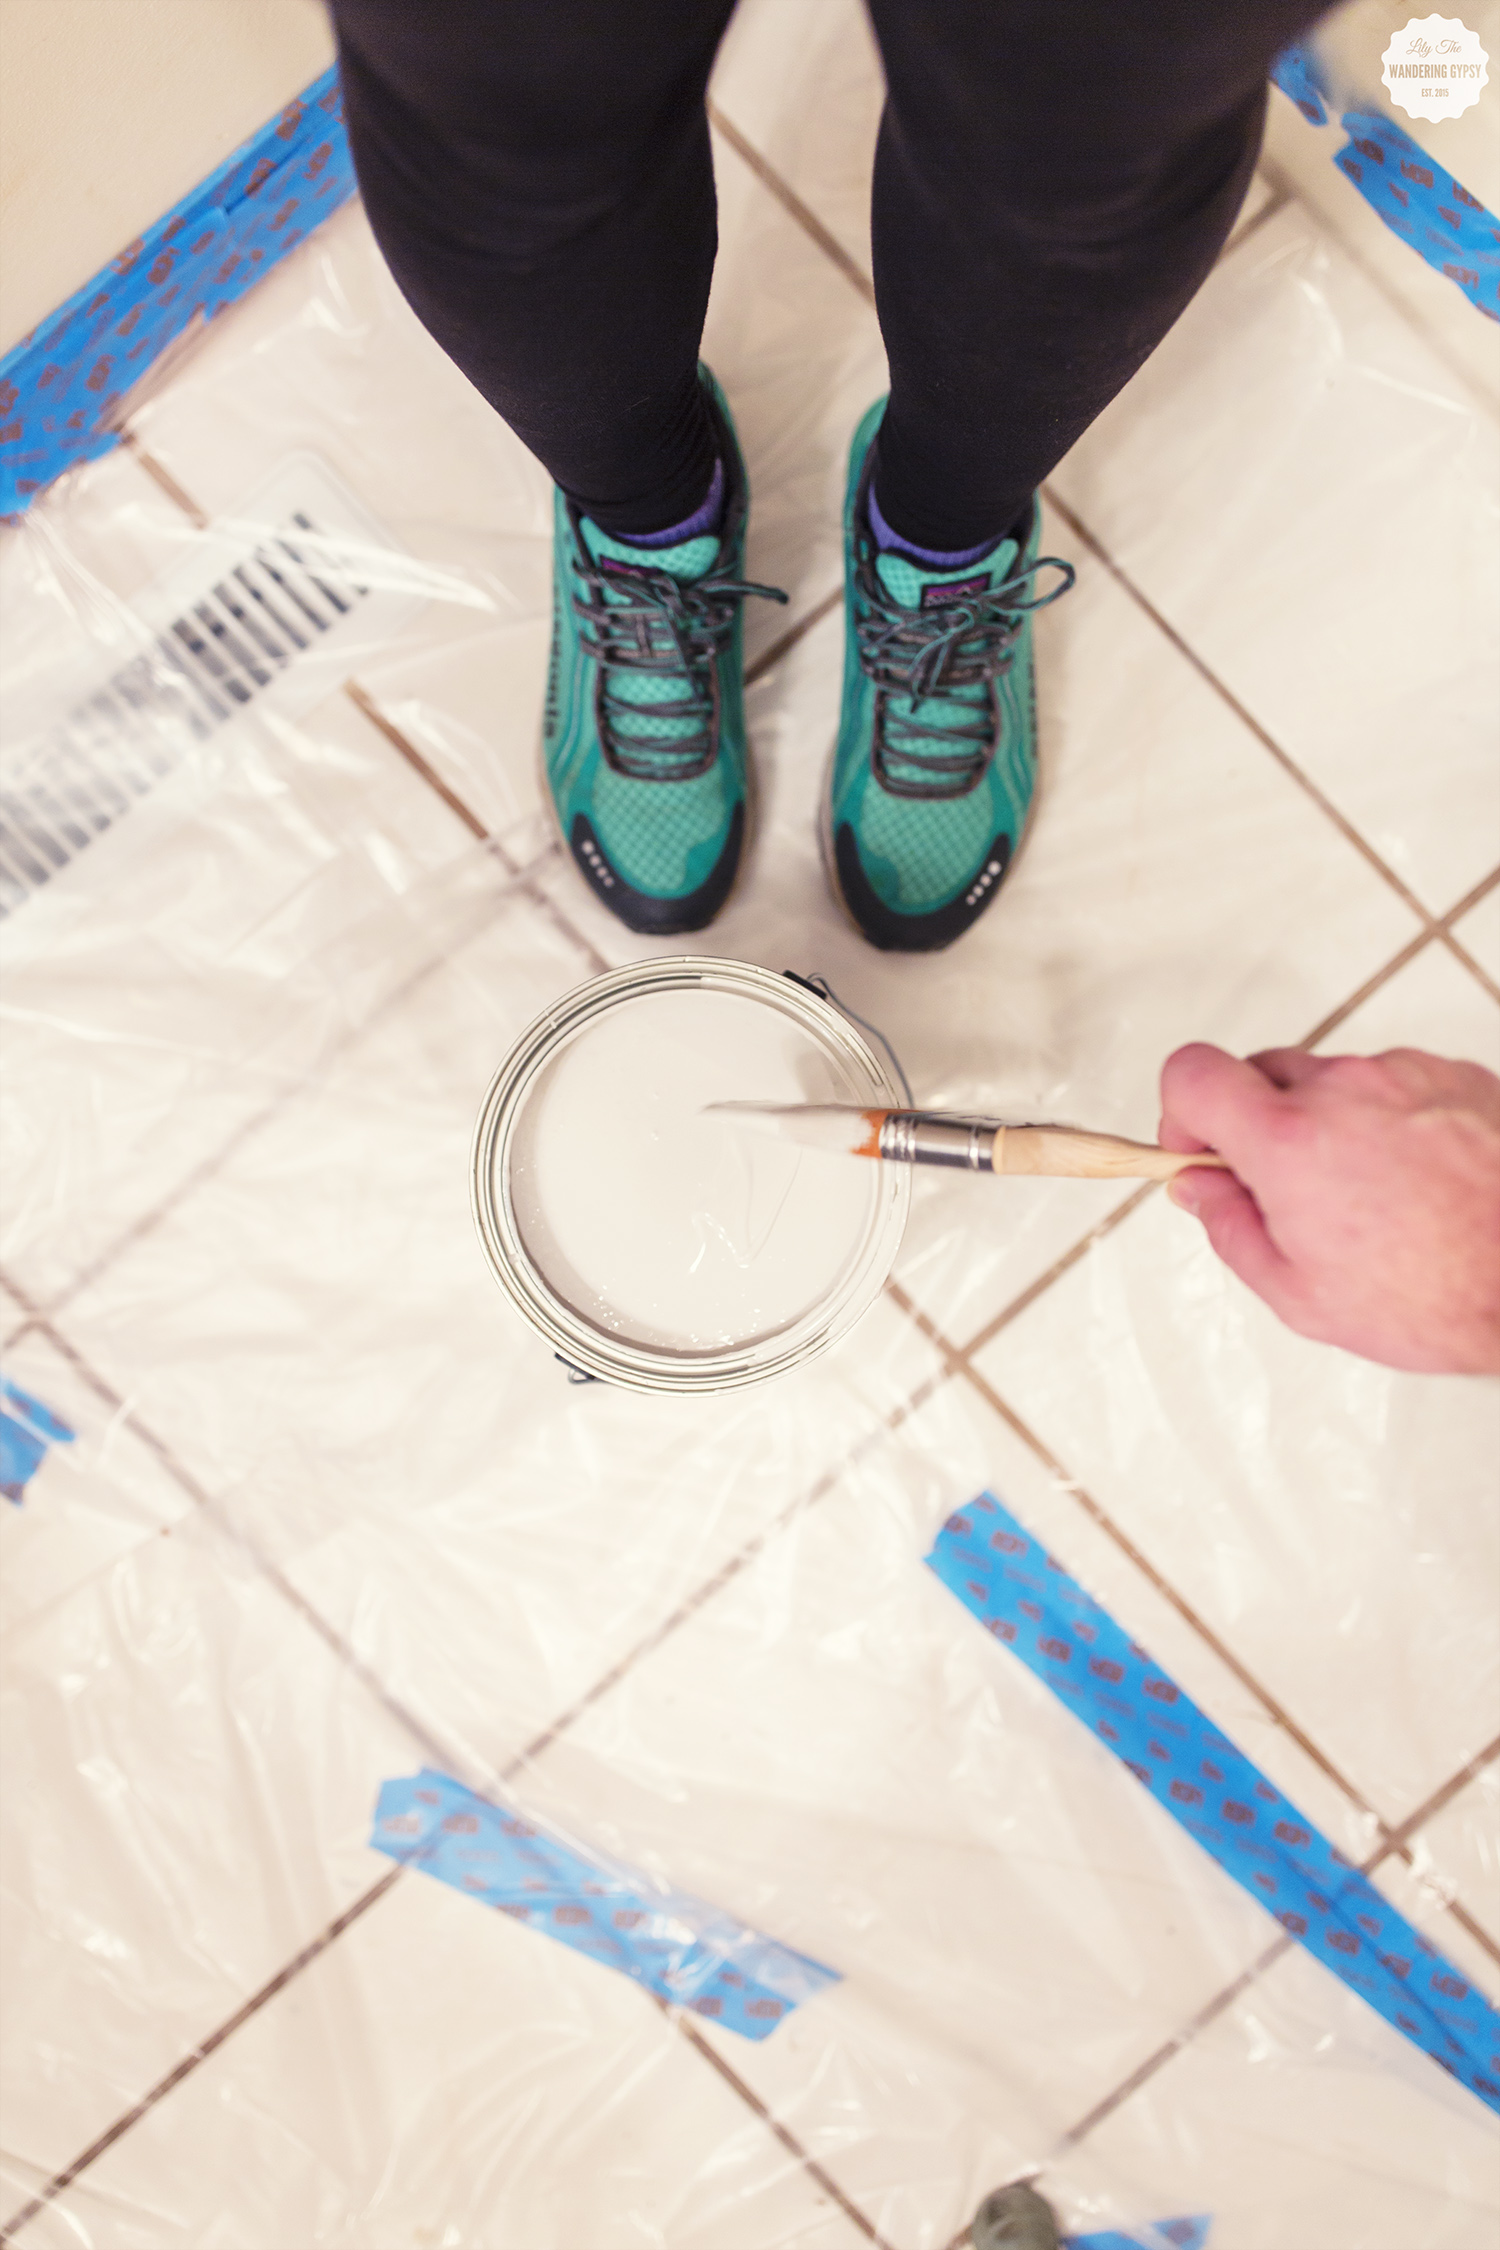
After all the sanding was done, I vacuumed everywhere and then we started PAINTING!! Bobby did the majority of the painting, which was great after all that pre work I did.
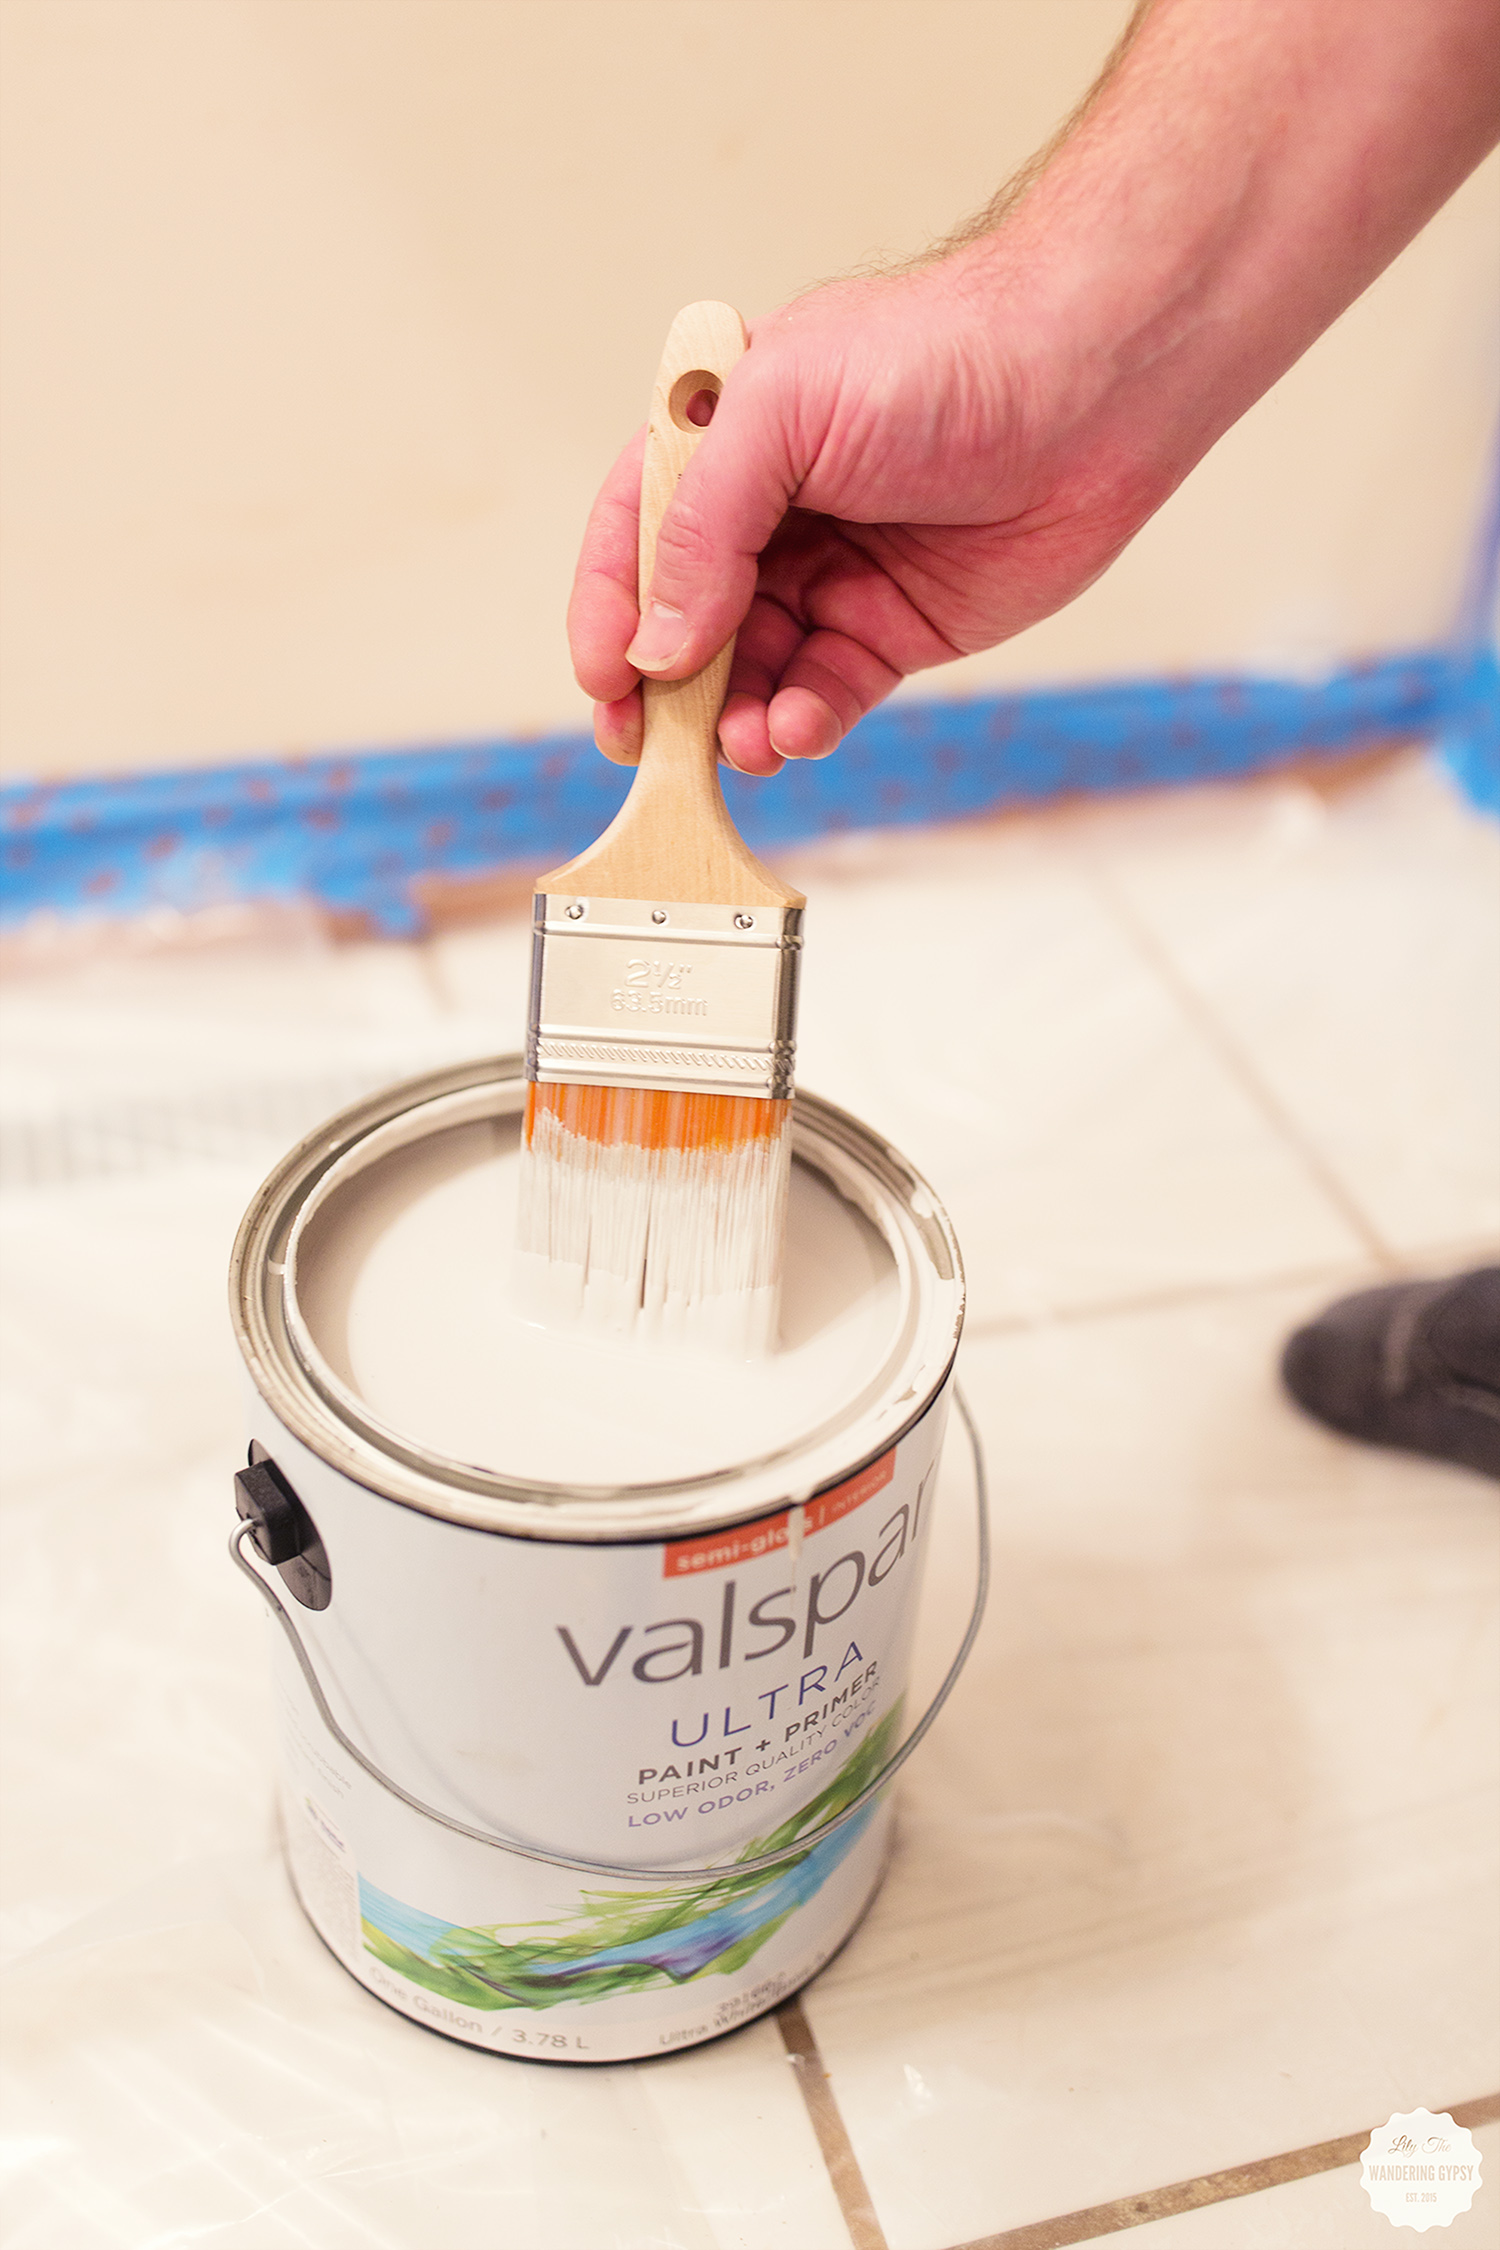
Valspar Semi-Gloss Interior Paint + Primer - this paint was awesome! It definitely took two coats to cover over that seemingly light paint from before, which had such a pinky undertone - we thought we would have to do three coats but were so glad we only had to wait until the second coat dried! Whew! I have always trusted this paint brand, and this particular one hardly smelled like paint AT ALL! We did keep the windows open during as many steps of the project as possibly just in case.
And, that's about it! We are already looking forward to painting another space in our house after Thanksgiving, so look for more snaps of the upcoming remodeling projects!