Learn how to make this summer's hottest DIY idea!
Read MoreDIY Stamped Terra Cotta Coasters - Inspired By The New Brita Stream Pitcher
Learn how to create these unique and on-trend coasters. Make them as a gift, or make some for yourself!
Read MoreGame Day Milkshakes Recipe!
Enjoy these tasty milkshakes on game day, or any day!
Read MoreRed Nosed Reindeer Crispy Rice Treats Recipe
Just in time for Christmas, these adorable treats are so fun, whimsical, and easy for all ages!
Read MoreAdorable DIY Holiday Decor Tutorial - FA LA LA Bunting
For a decor item that can cost upwards of $15-20, this one costs less than $2!!! Learn how to make one today.
Read MoreMy Favorite Supplies For Painting + Remodeling
Learn more about what products I loved using for our recent bathroom makeover! We had so much fun, and are extremely happy with our new space.
Read MoreCustomize A Gift In Less Than 10 Seconds
Love to customize gifts? Here's an idea to spruce up a non-perishable food item in less than 10 seconds.
Read MoreHow To Host A Clothing Swap Party!
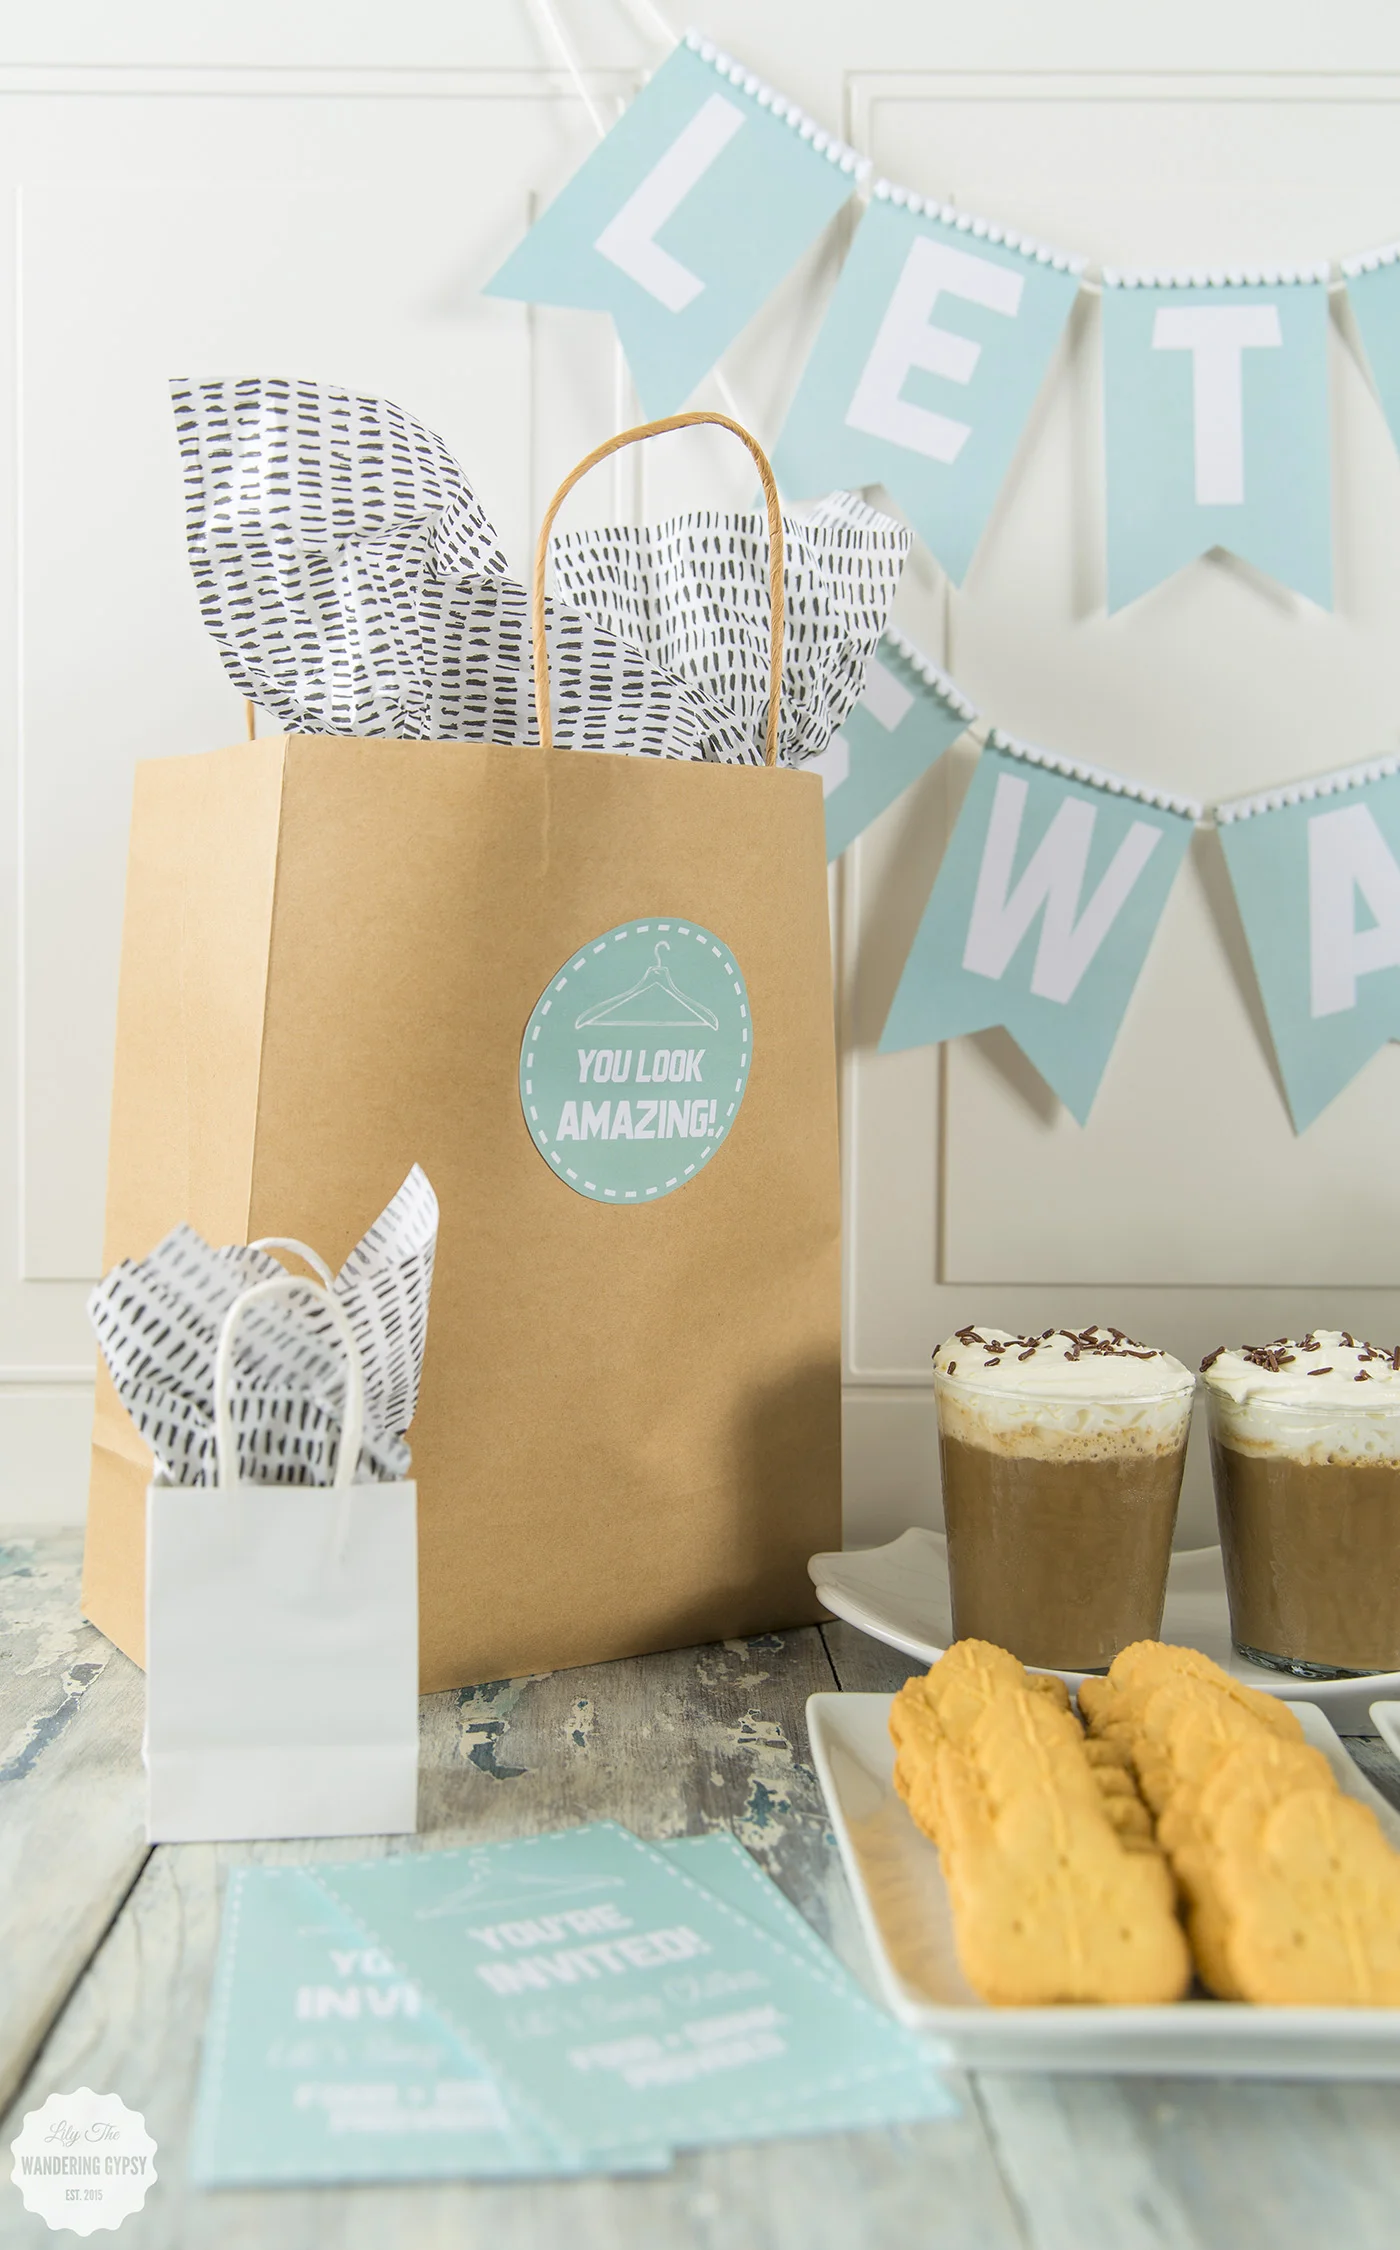
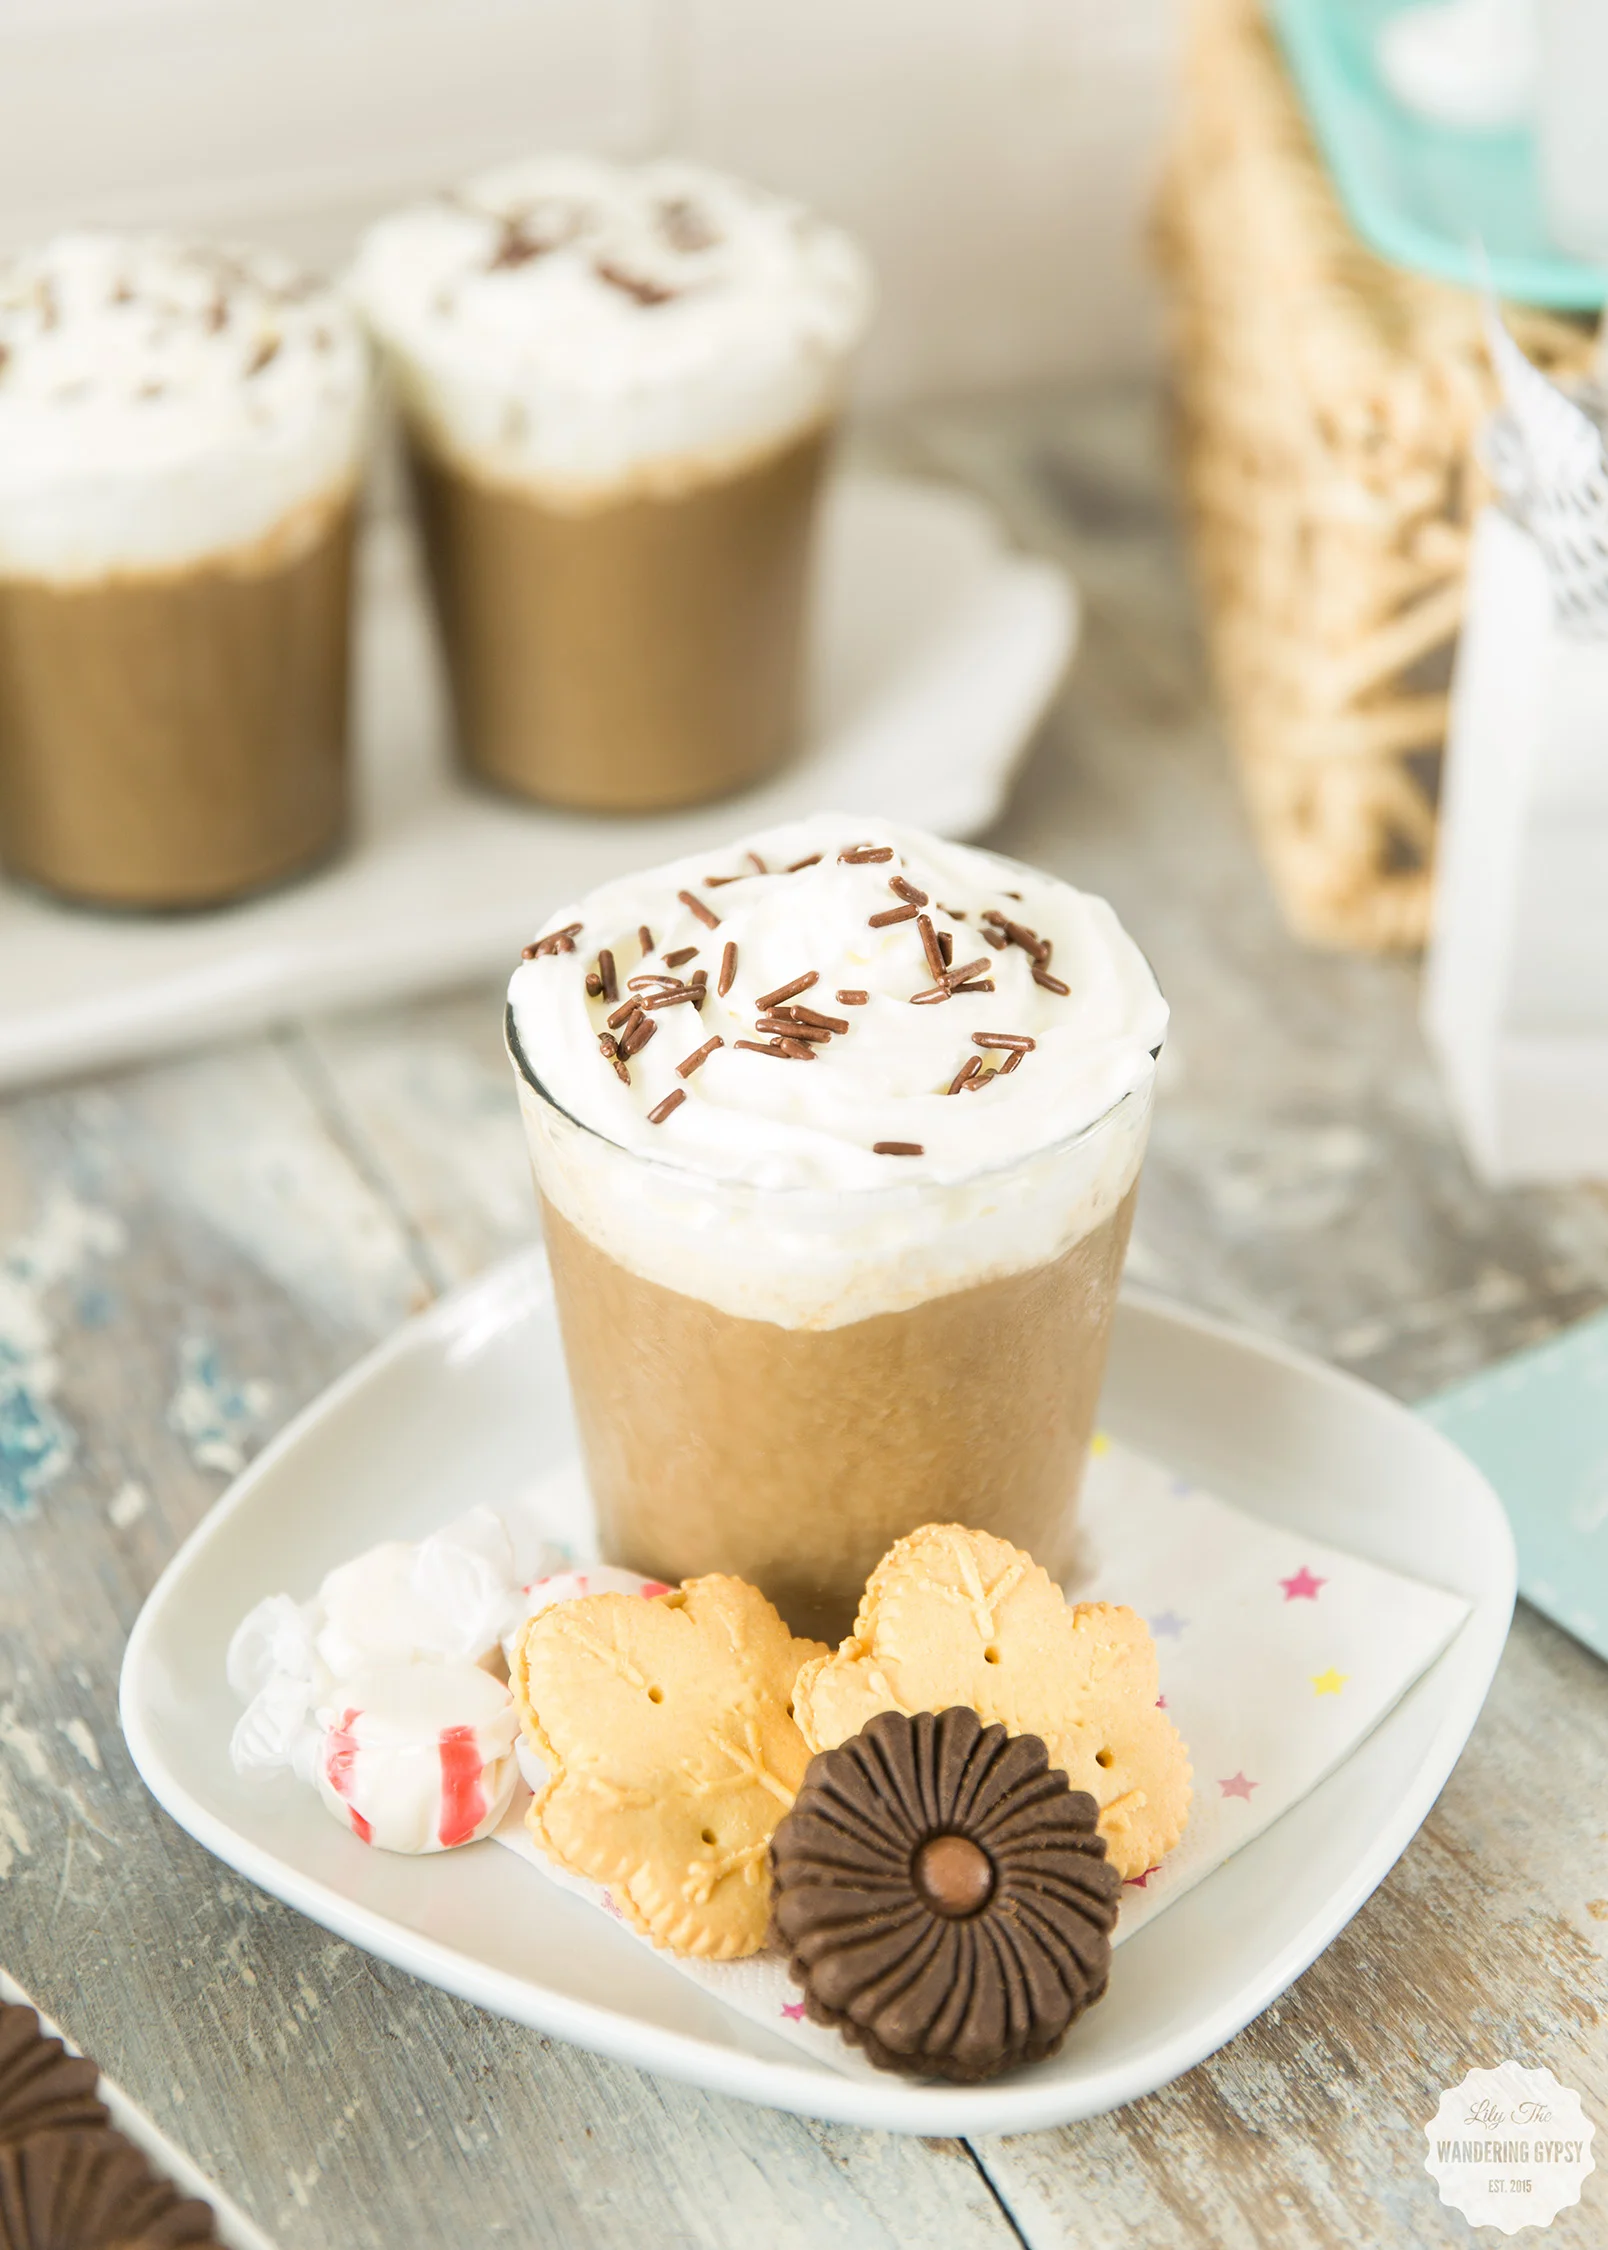
I'm super excited to bring you this fun idea! Since Fall is my favorite season, and it's definitely a fun time to transition into Fall garb, now is a great time to host a Clothing Swap Party with friends and family members. Have some of your favorite ladies over and serve some tasty coffee drinks and provide lots of snacks. This would be an amazingly fun way to spend an afternoon or evening with those who you enjoy spending time with.

HERE'S HOW:
1.) Gather any clothes you are willing to part with. I love this swap party idea, because I tend to be able to pass along much nicer items if I have a friend in mind.
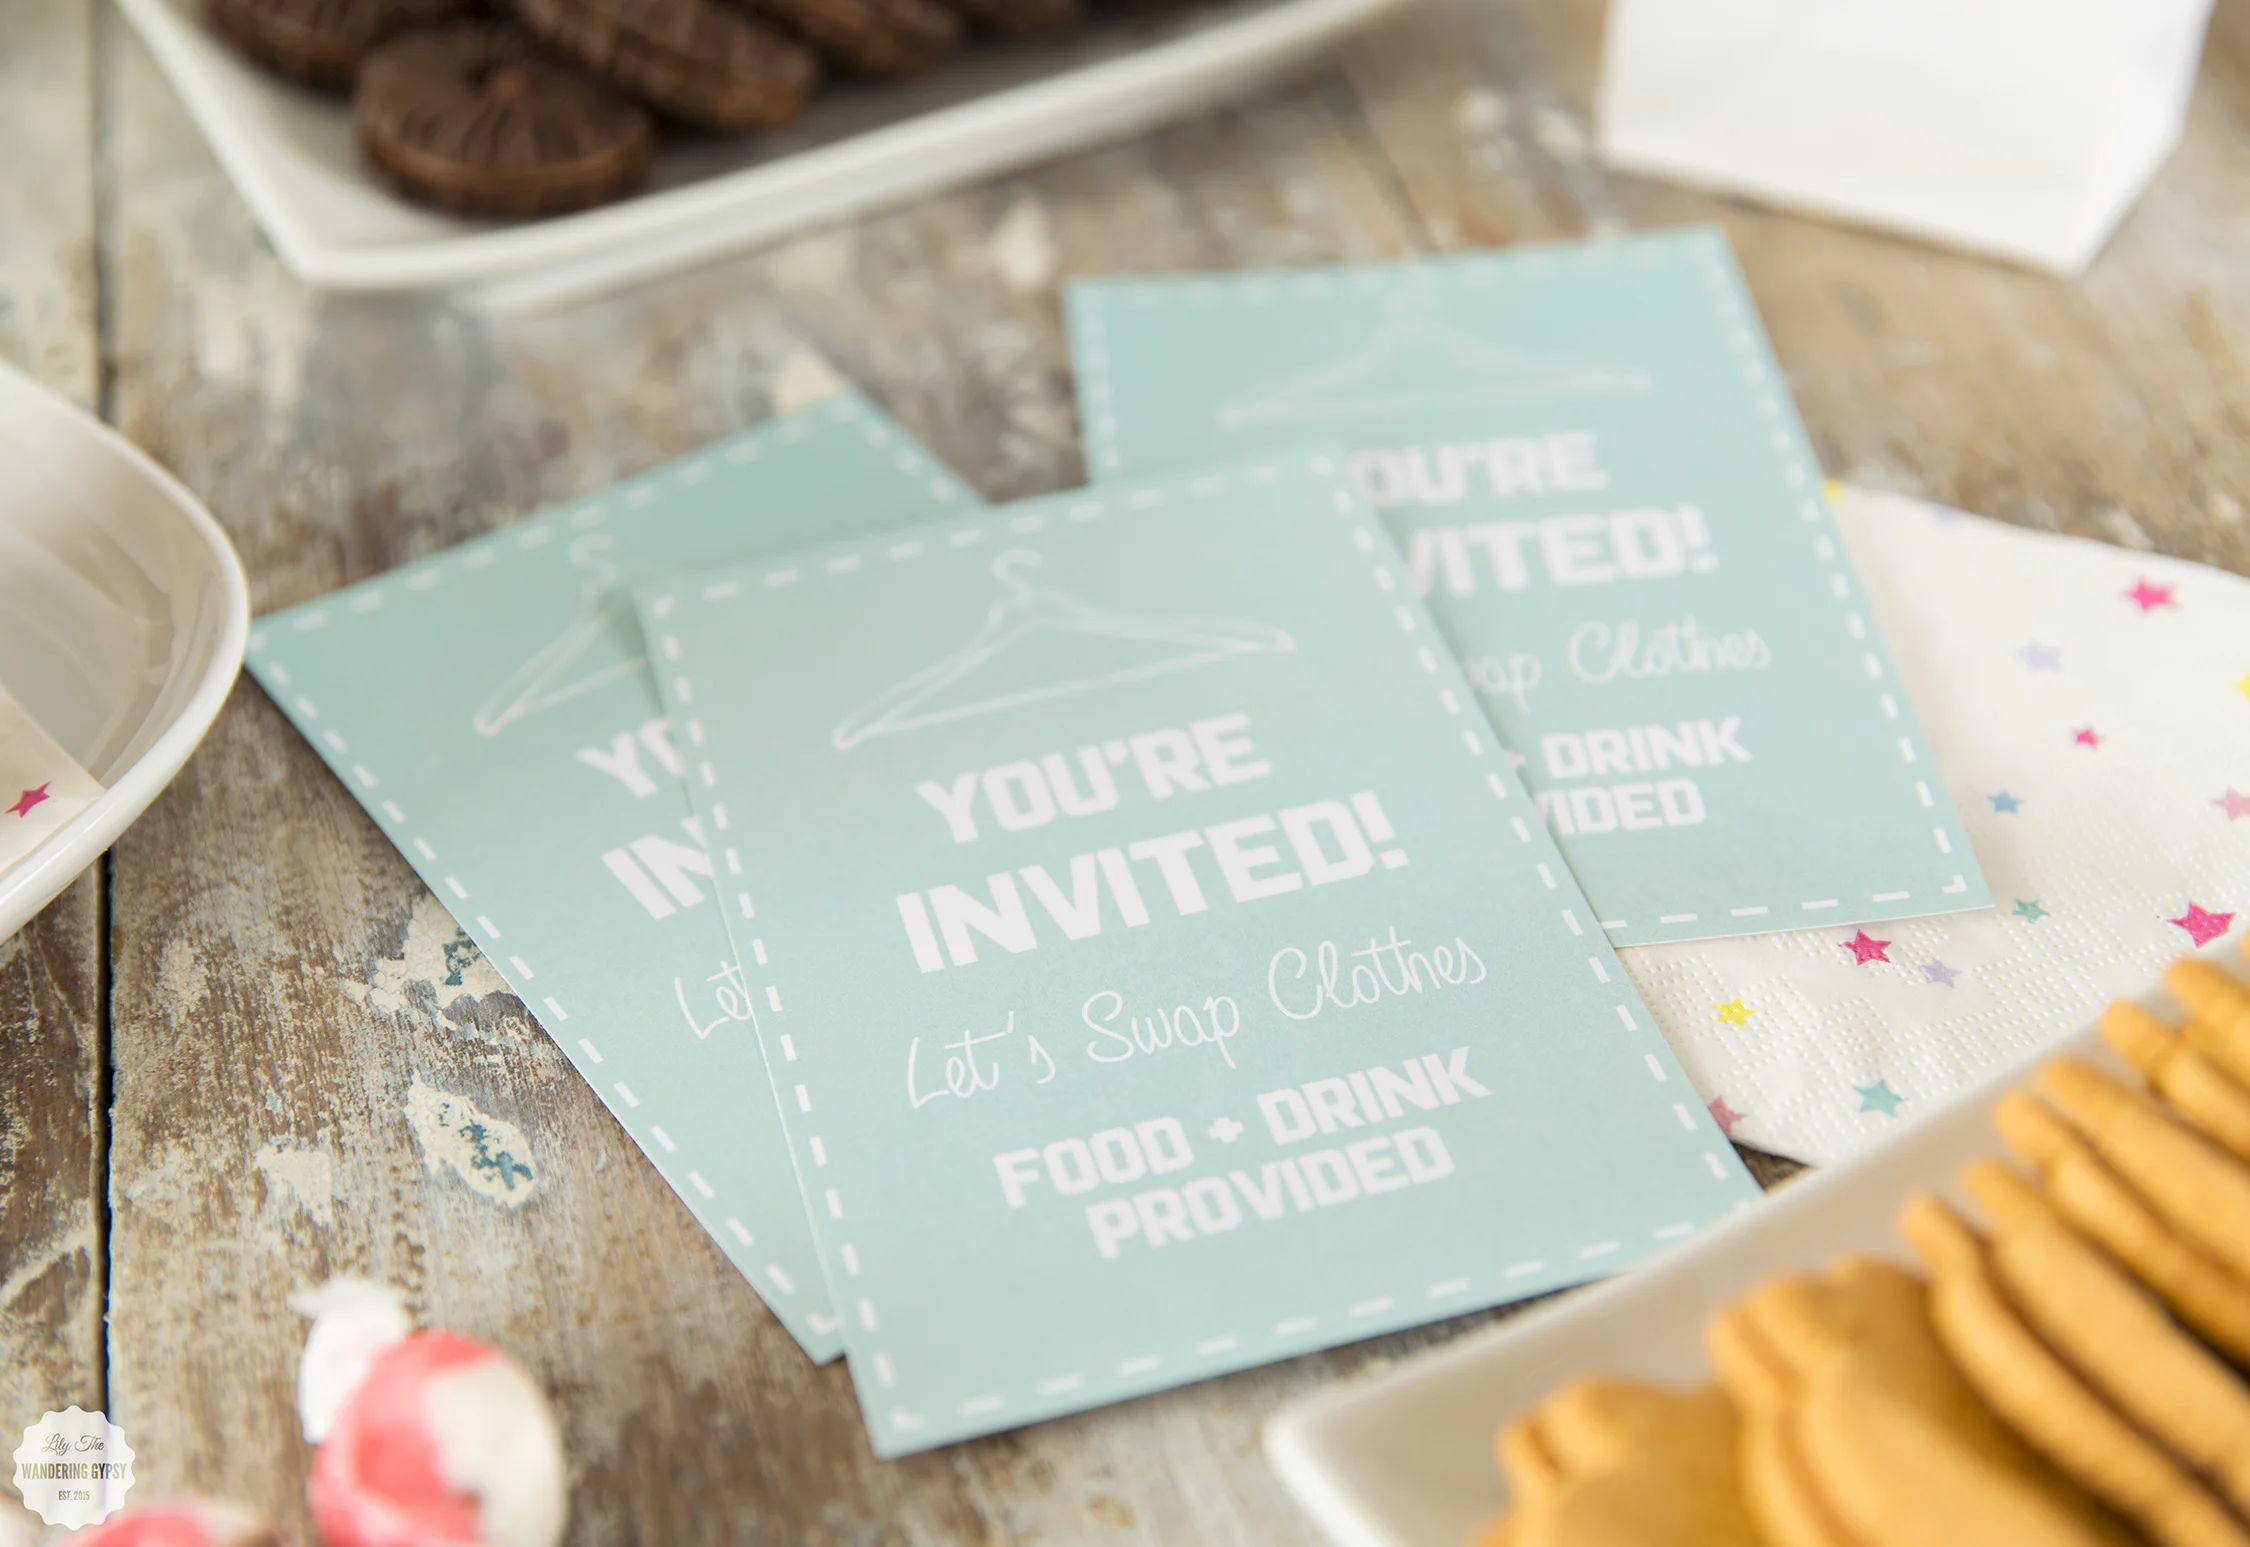
2.) Send an invite or e-vite to friends, using this graphic. Feel free to save or even screenshot the image, and just send it to anyone who you want to invite.
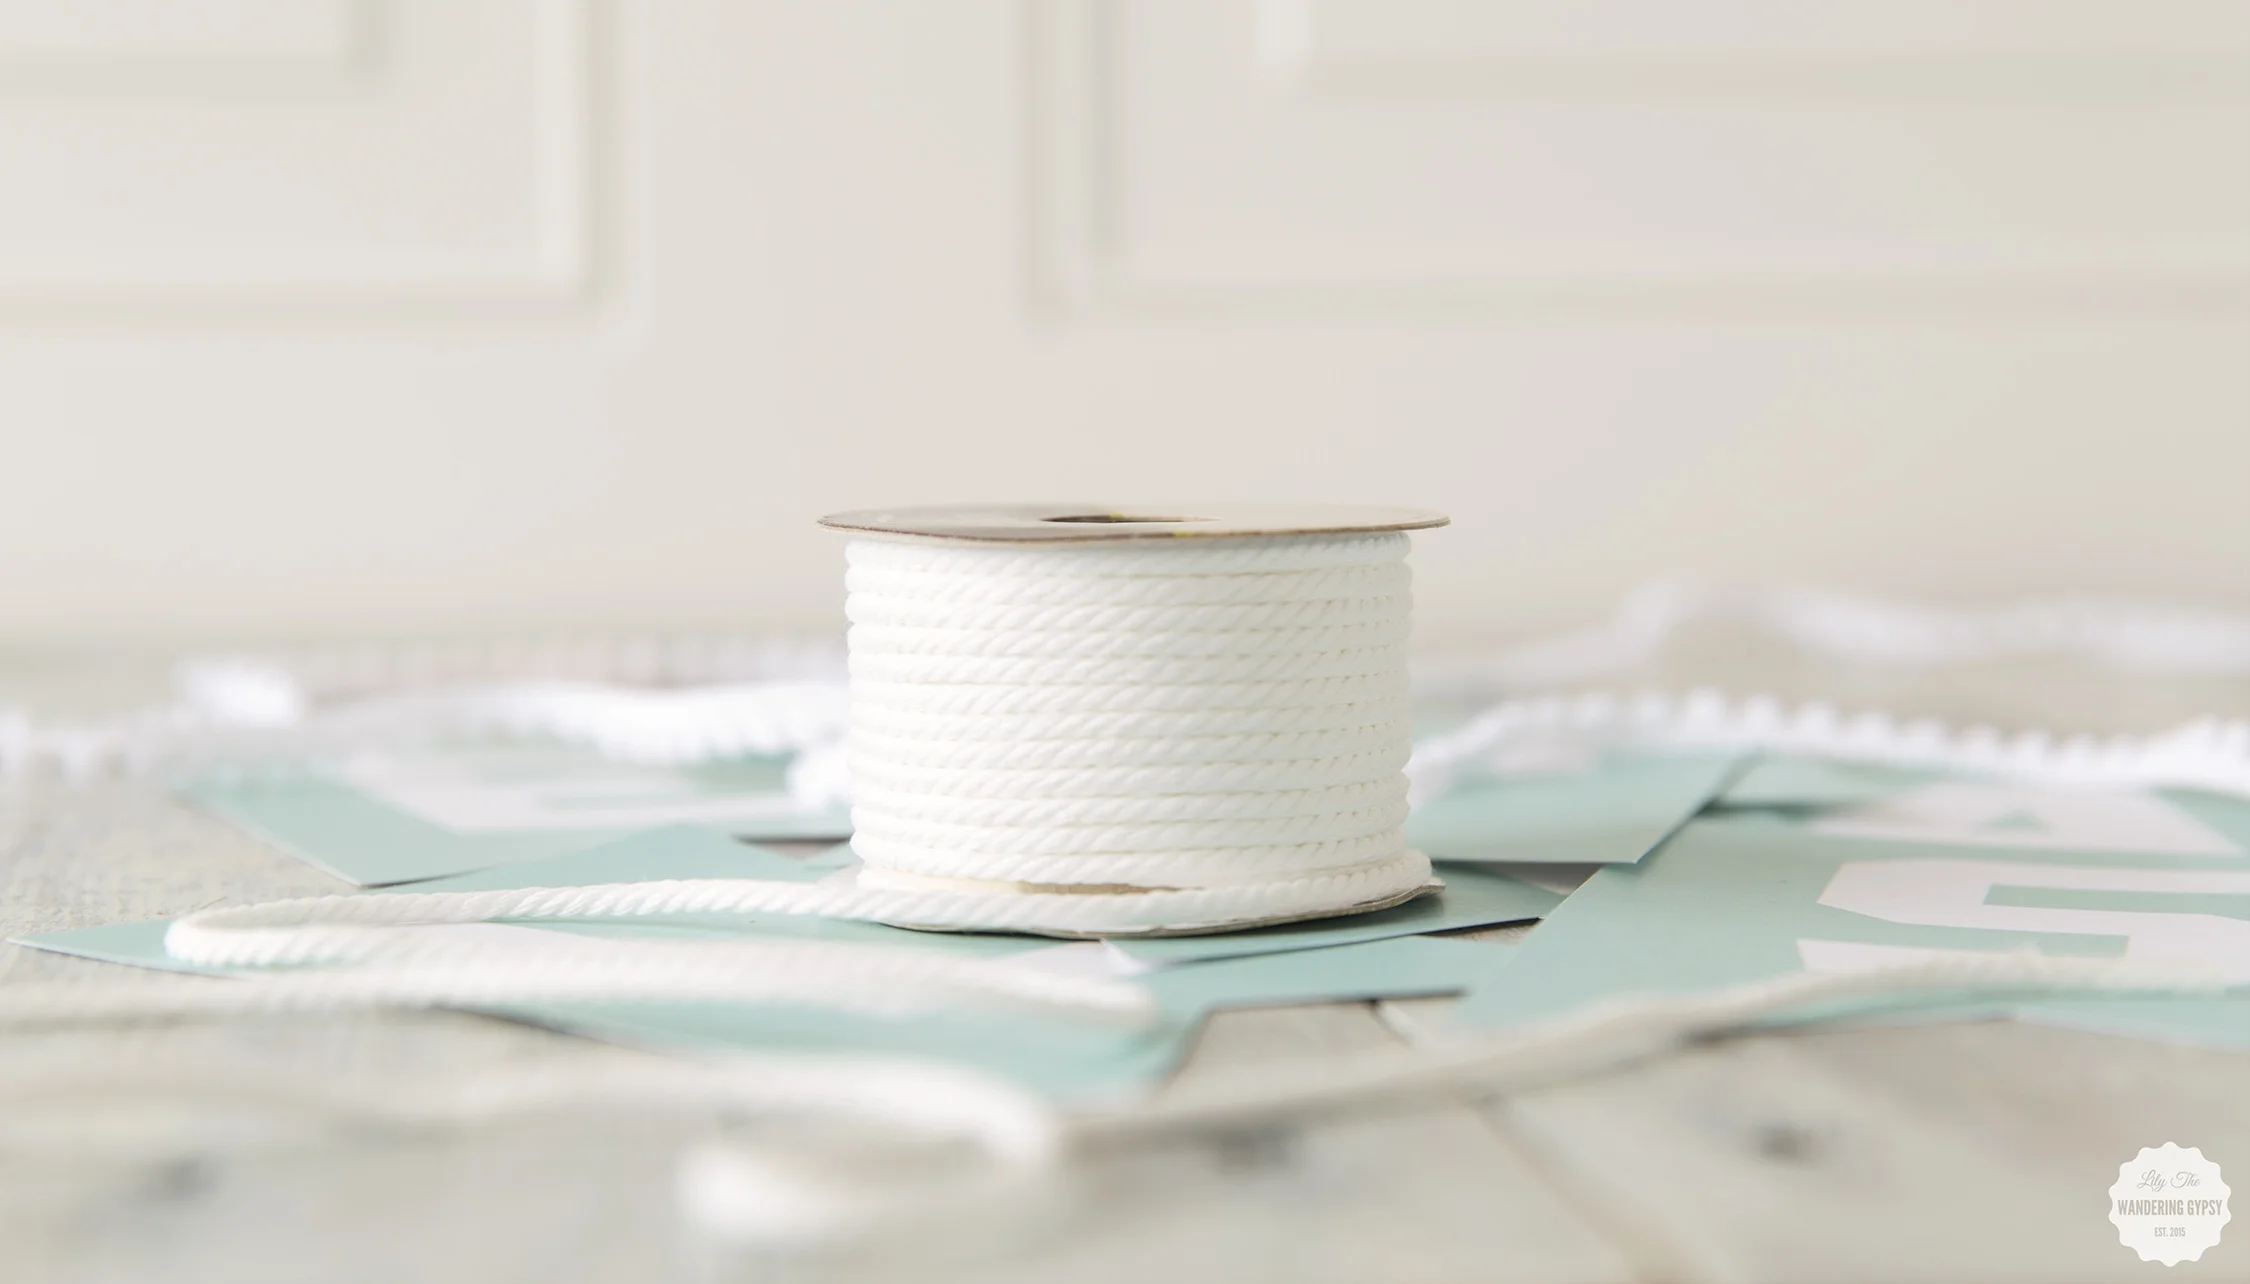
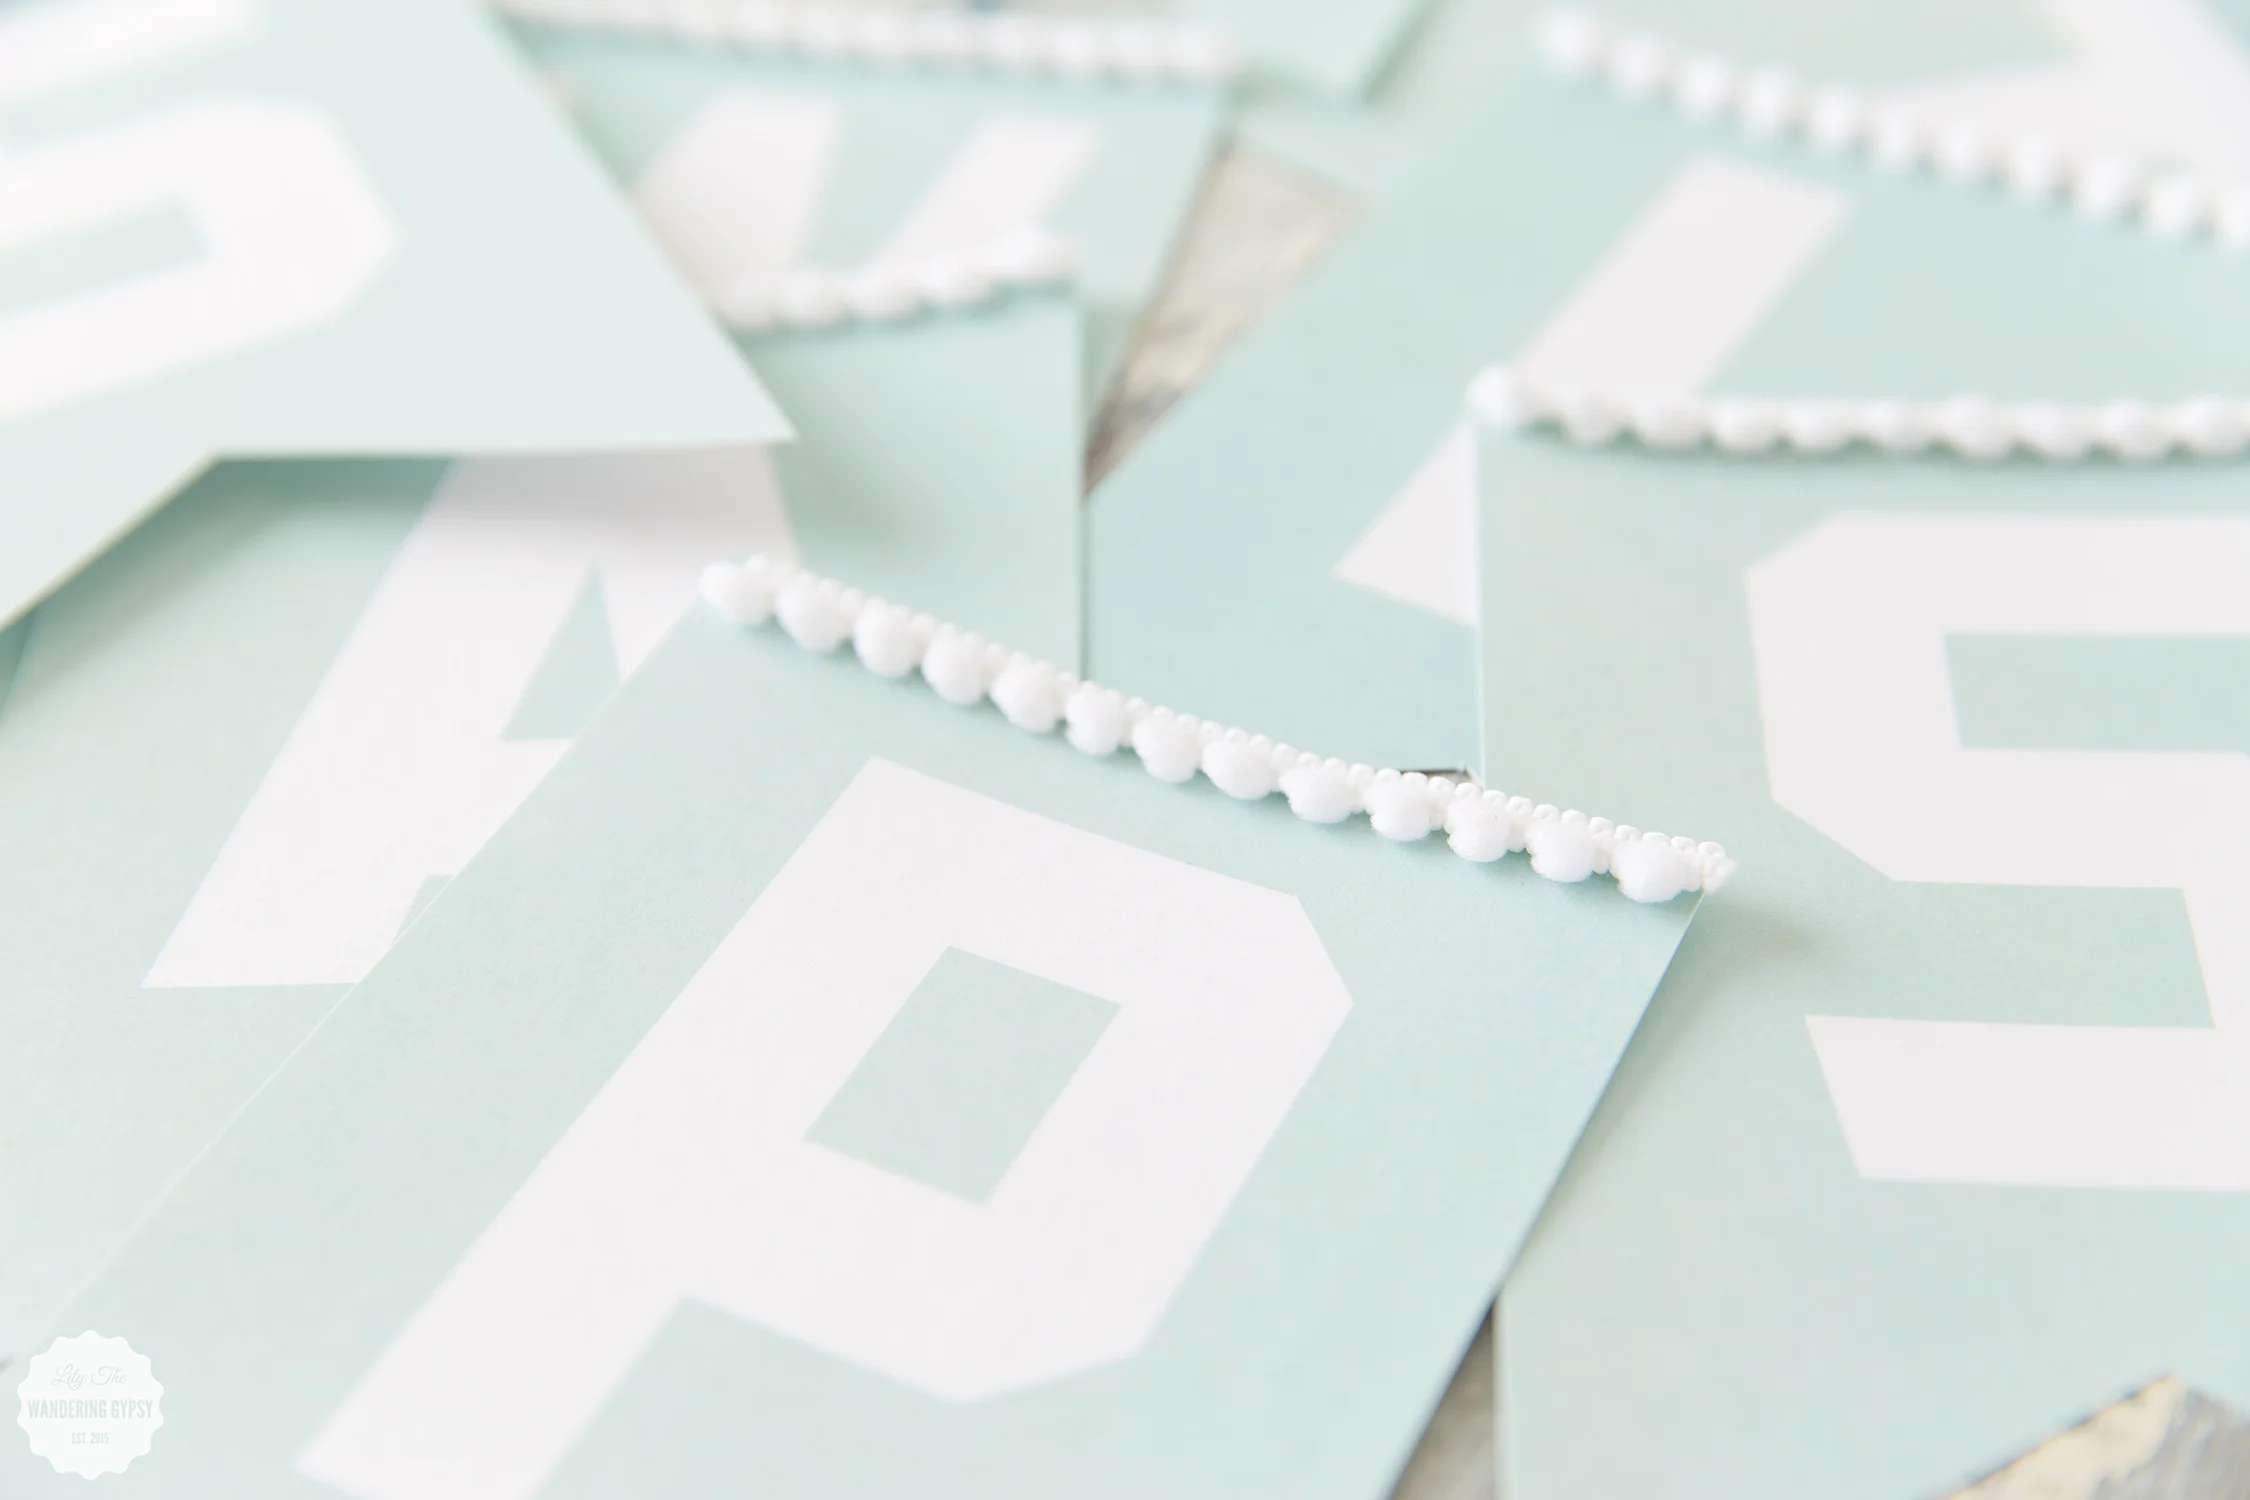
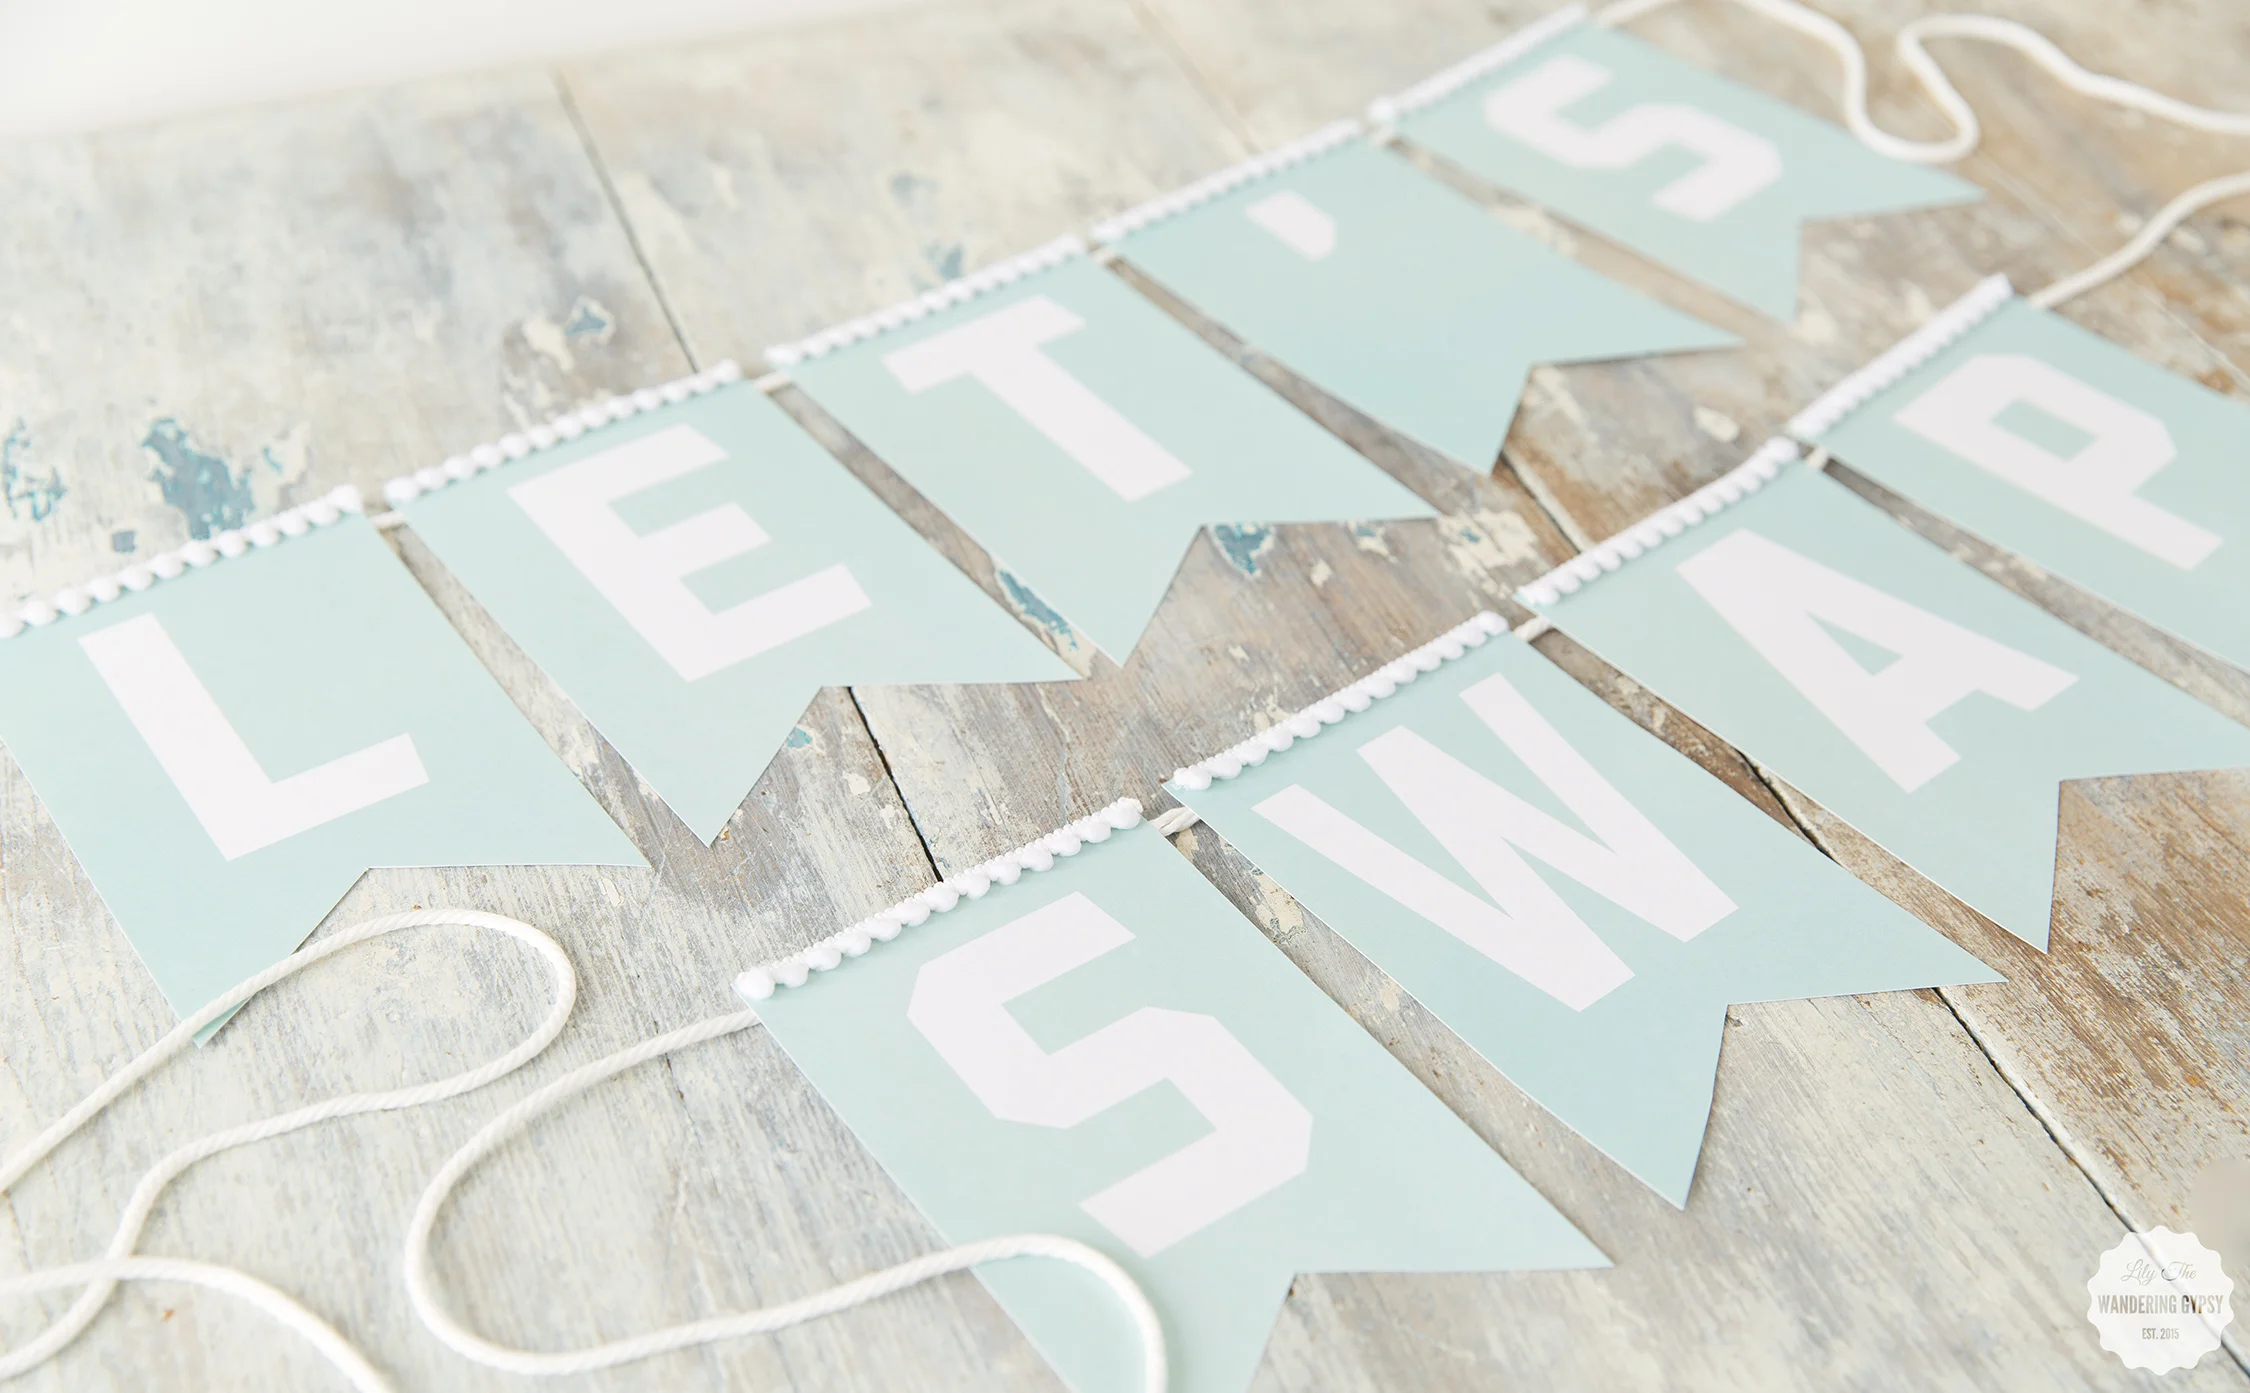
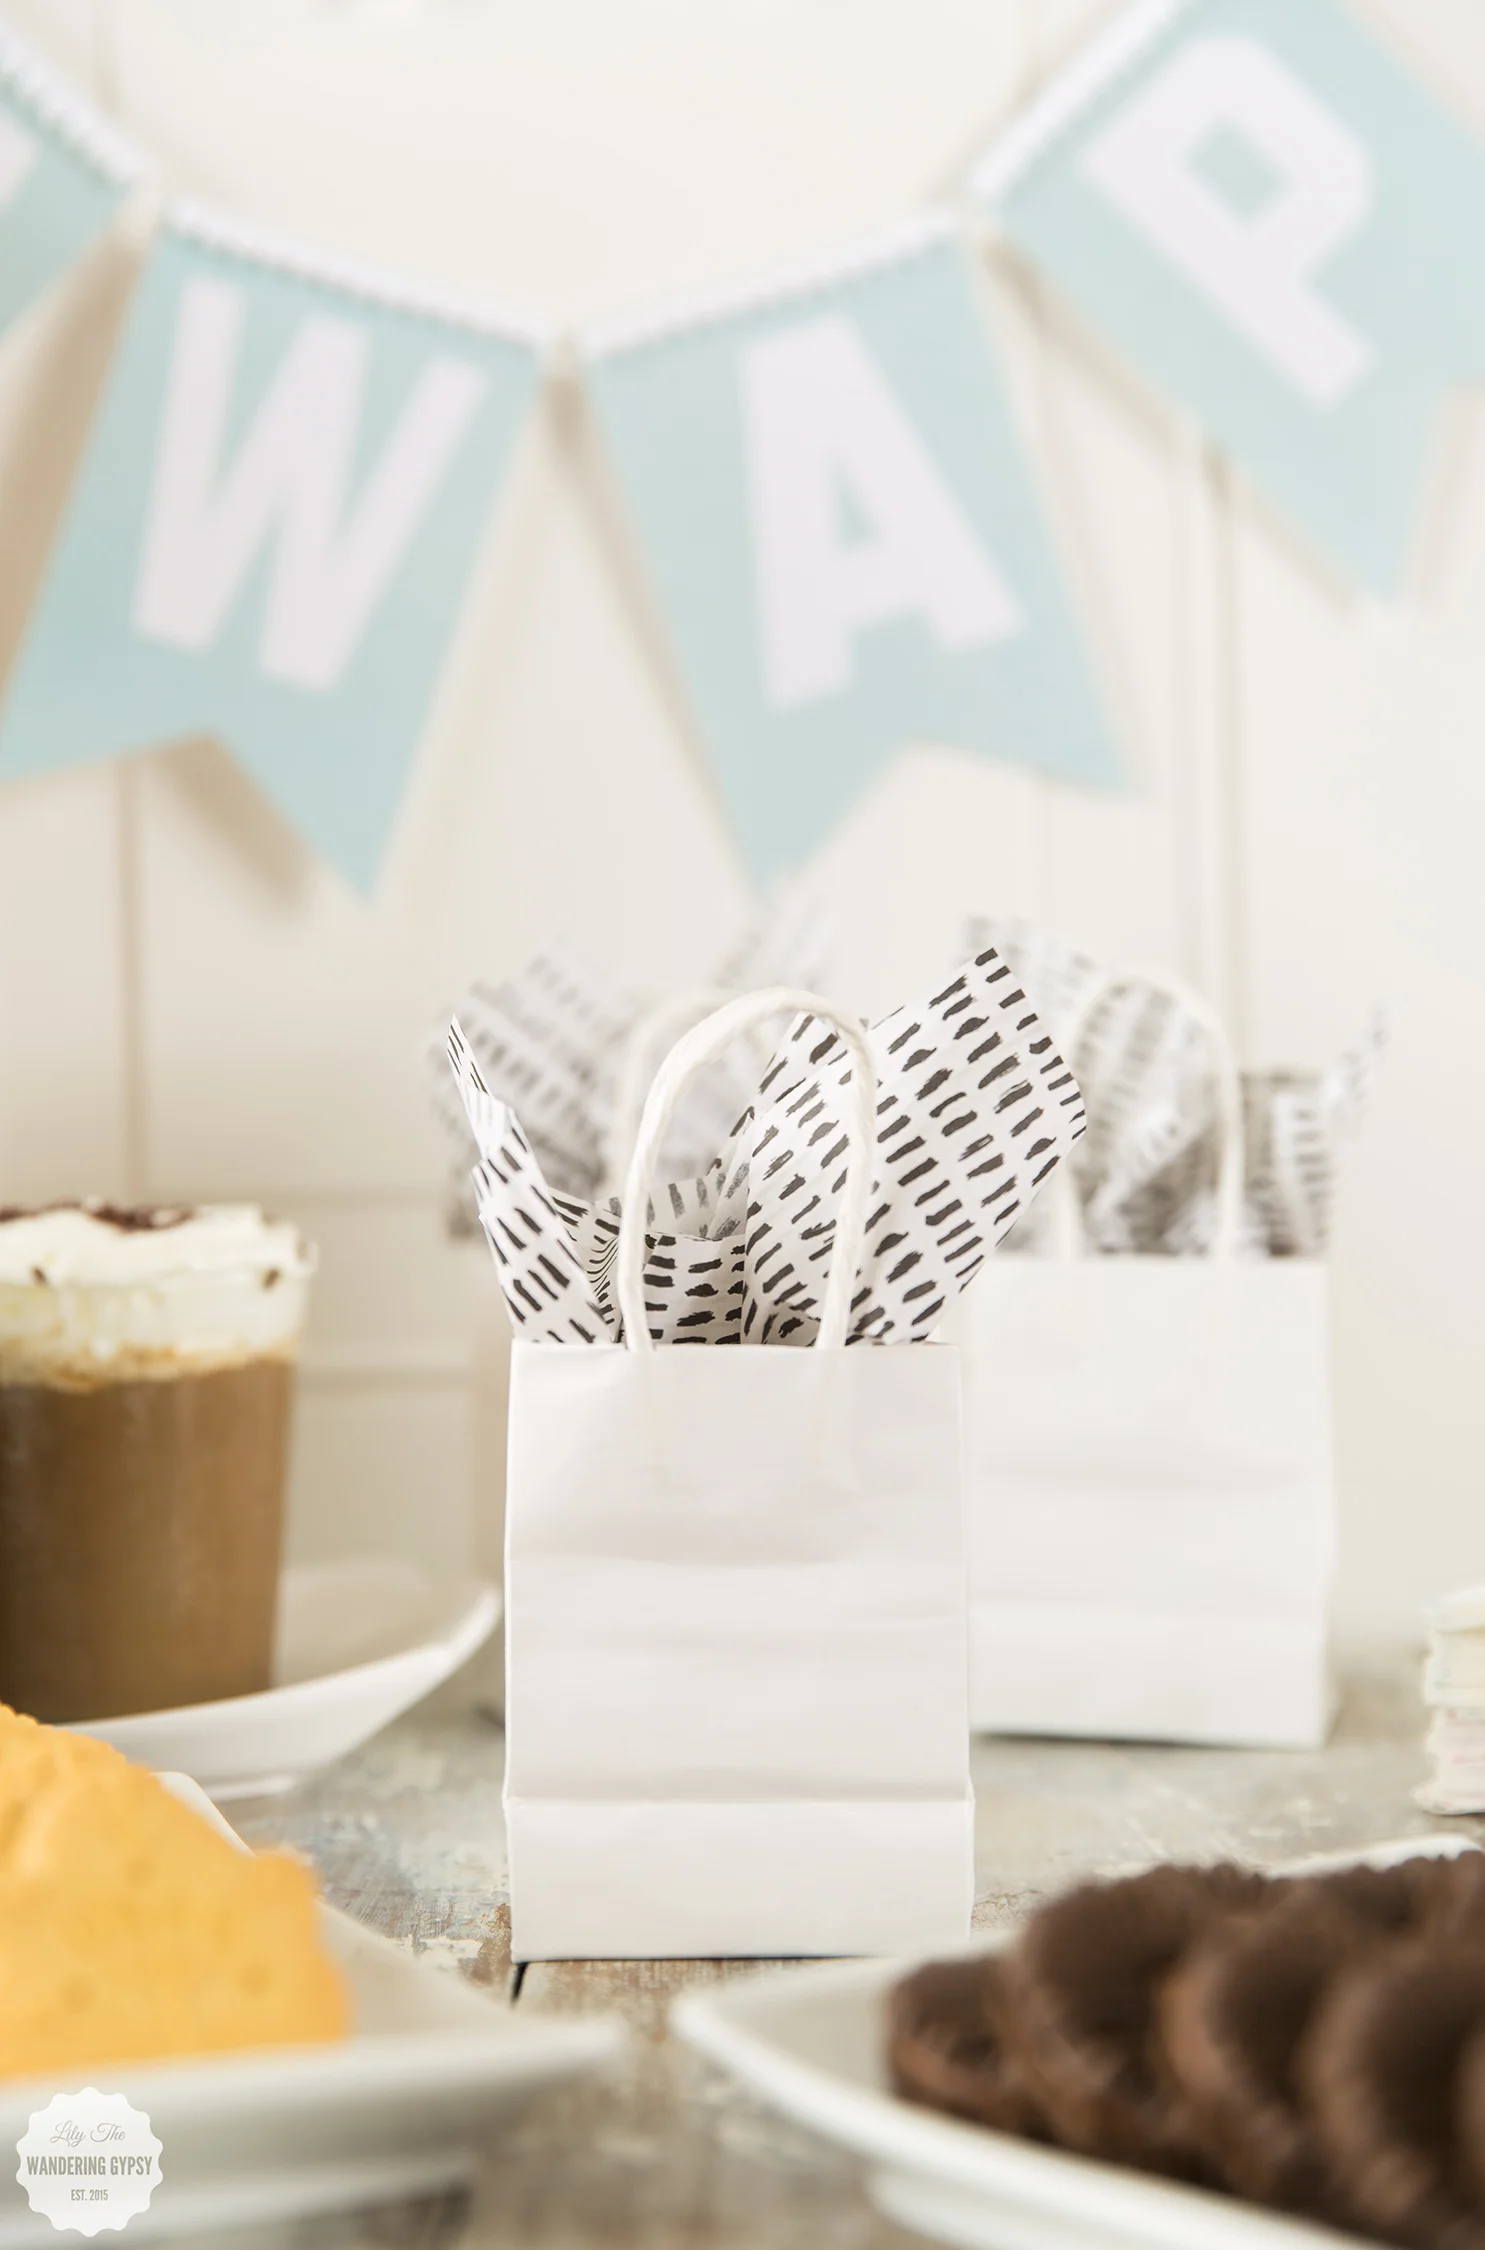
3.) To Make The Banner: Print the 5 pages of provided files (below) in color, and cut out each letter. I used a paper cutter and a pair of scissors. Glue ribbon or decorative pom pom trim to the top of each letter flag, and then tape a length of rope to the back of the letters. Tape to the wall behind your party table - I just love how this turned out!
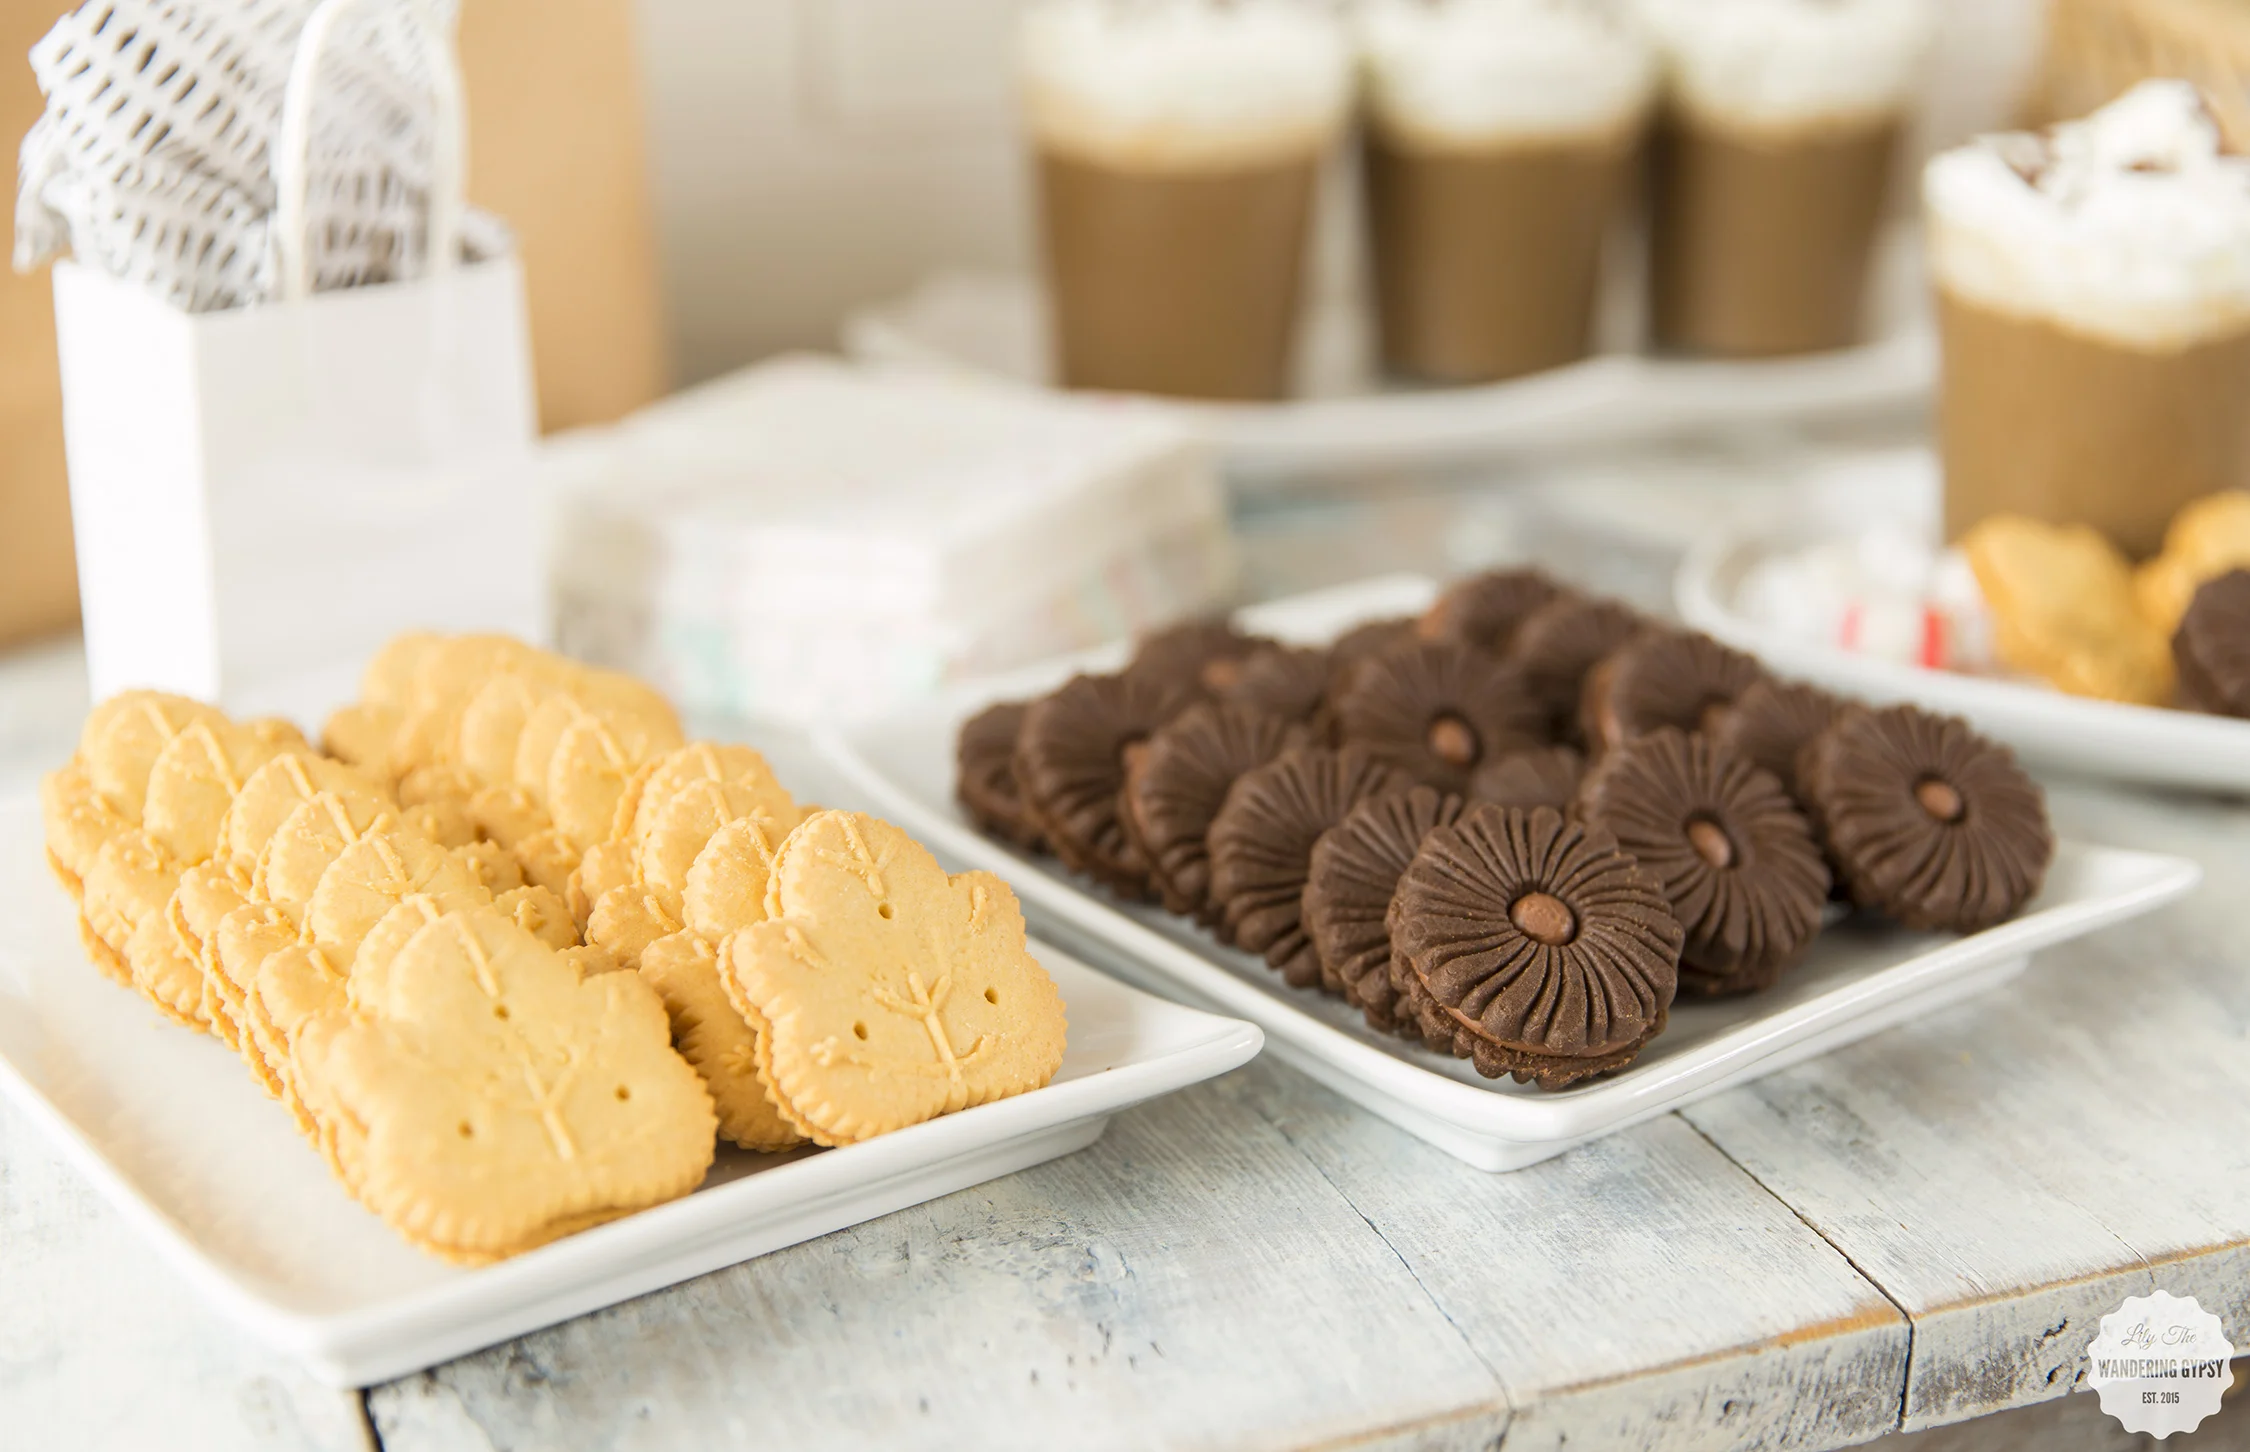
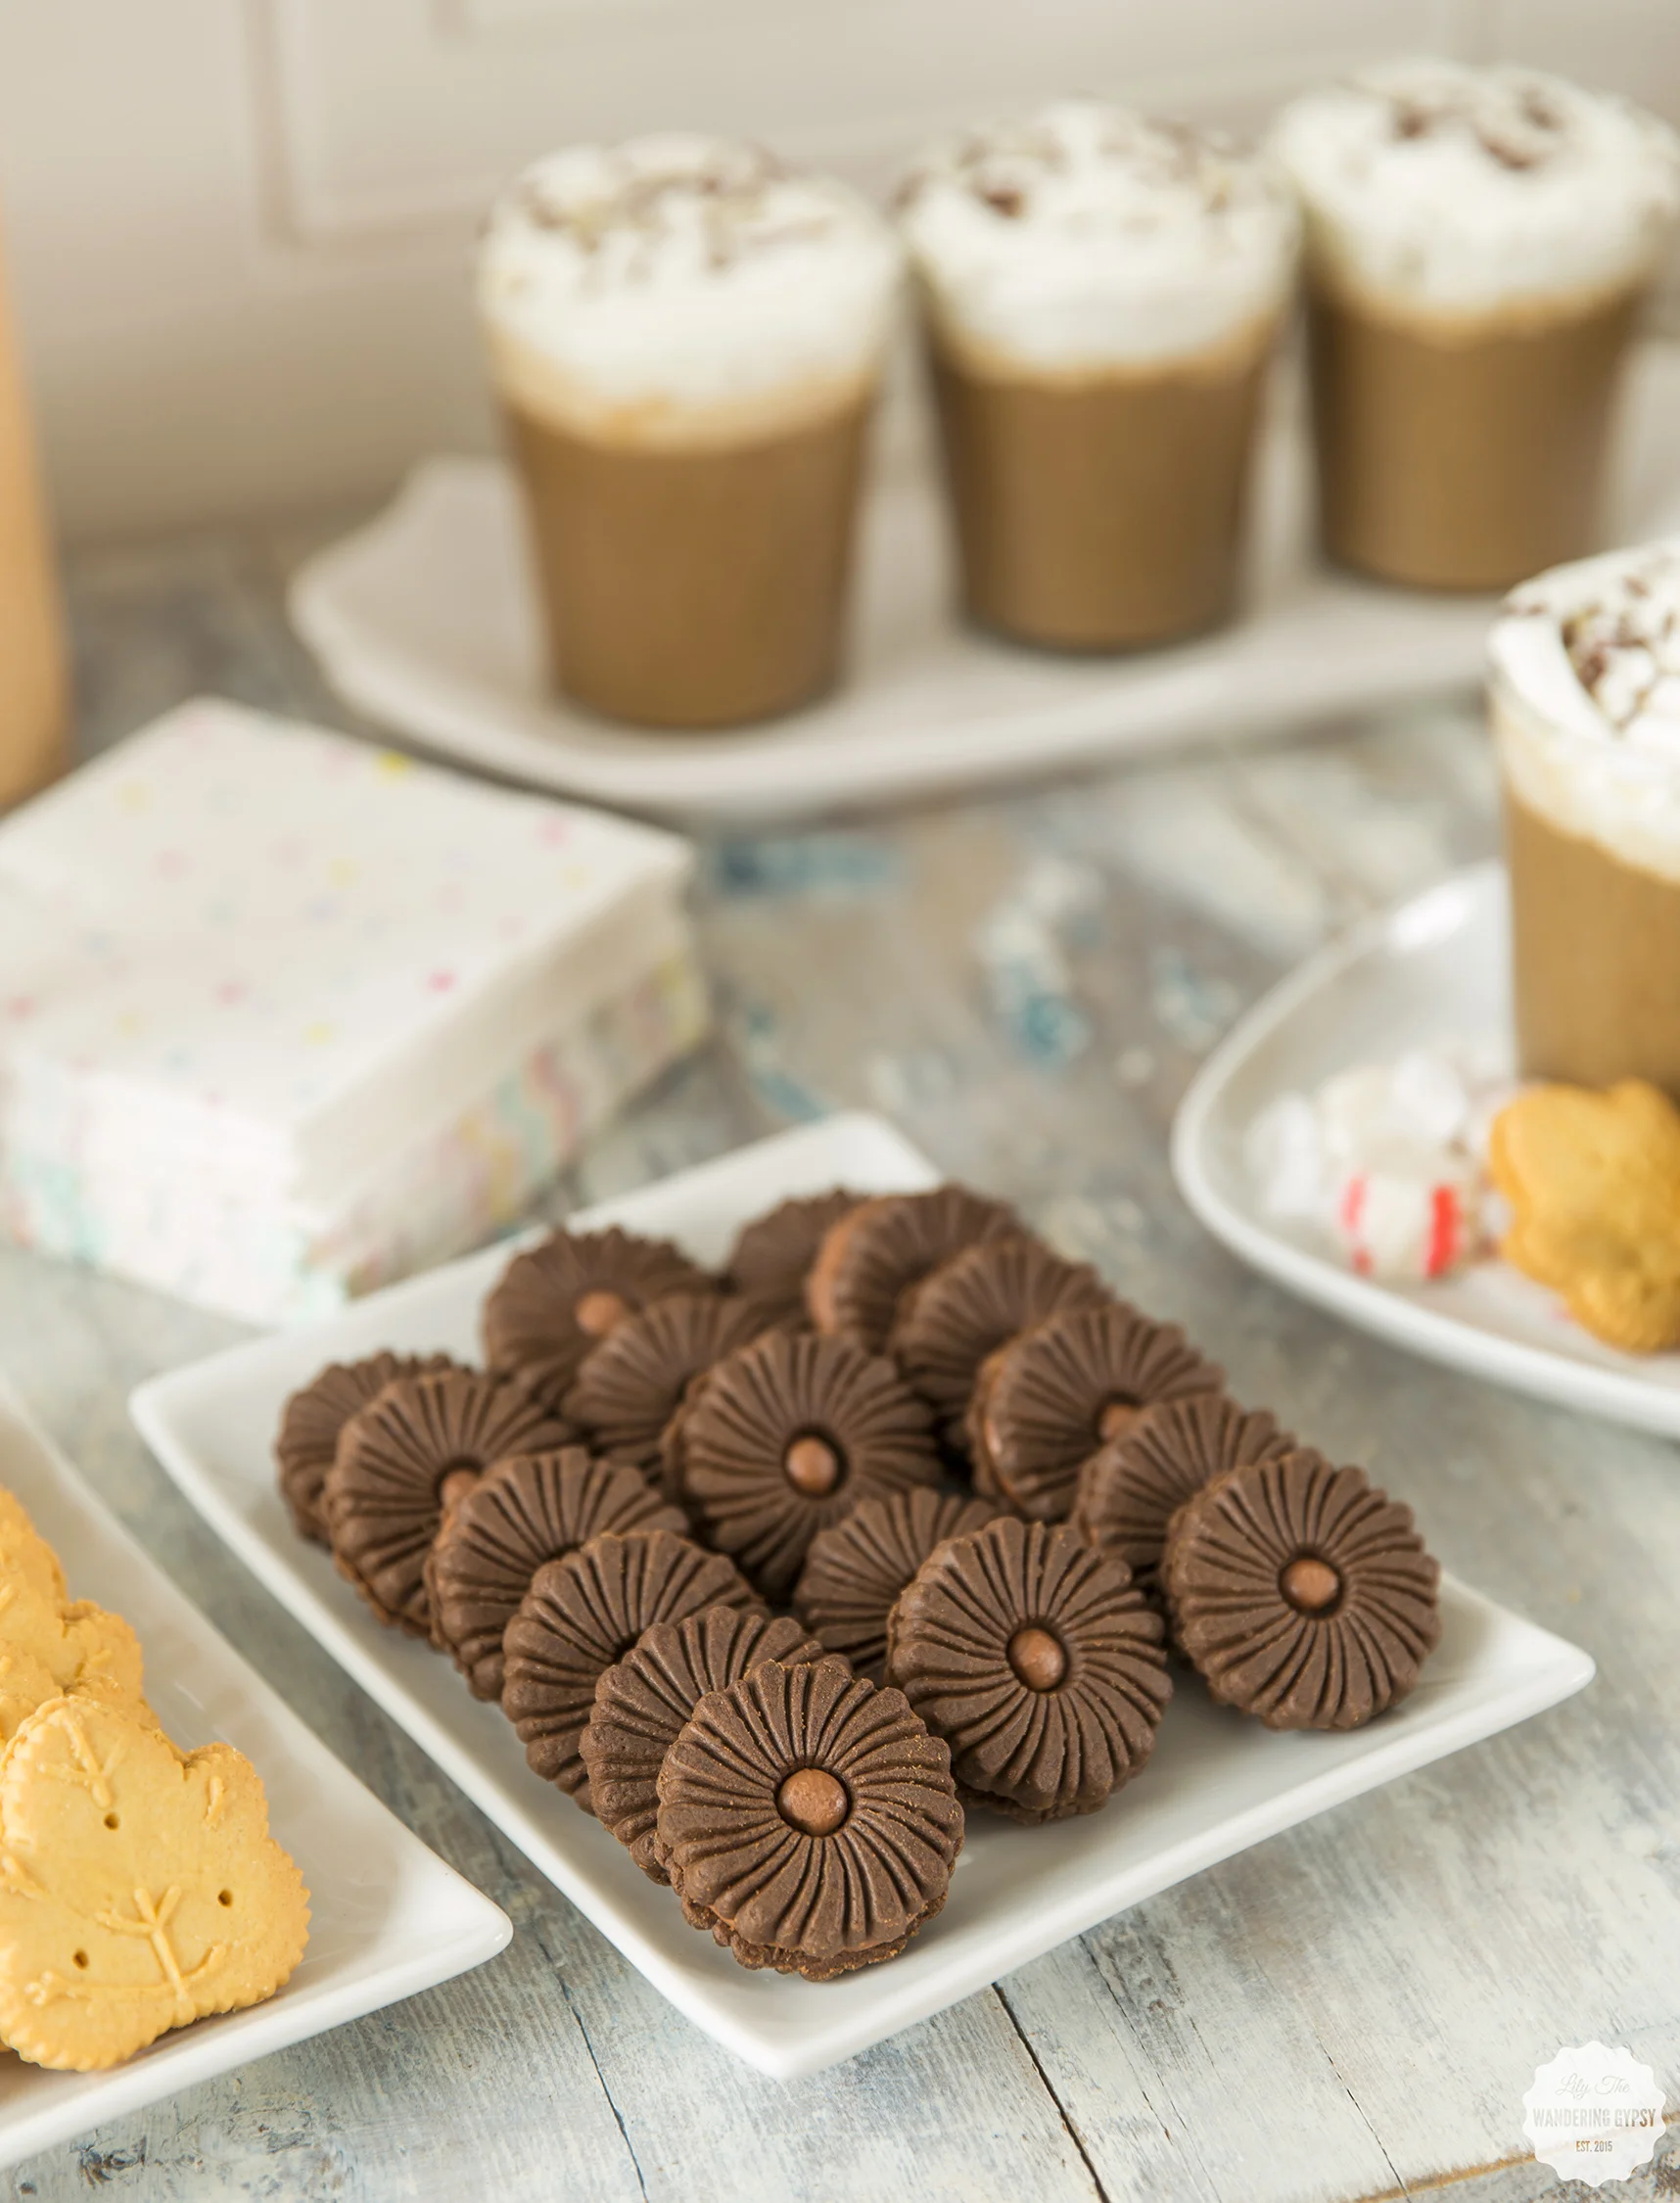
4.) Next, gather up food and drinks. I chose to provide some chocolate cookies, maple cookies, other snacks, AND iced coffee drinks! Feel free to use whatever you want here - the sky is the limit!
PARTY DECOR PRINTABLES:
Print each of these 5 pages once, in color on card stock. Save these images to your computer then print at home or at a copy shop. This costs less than $5 to print on traditional 8.5 x11" card stock.
Page 1
Page 2
Page 4
Page 3
Page 5
MAKING THE BUNTING
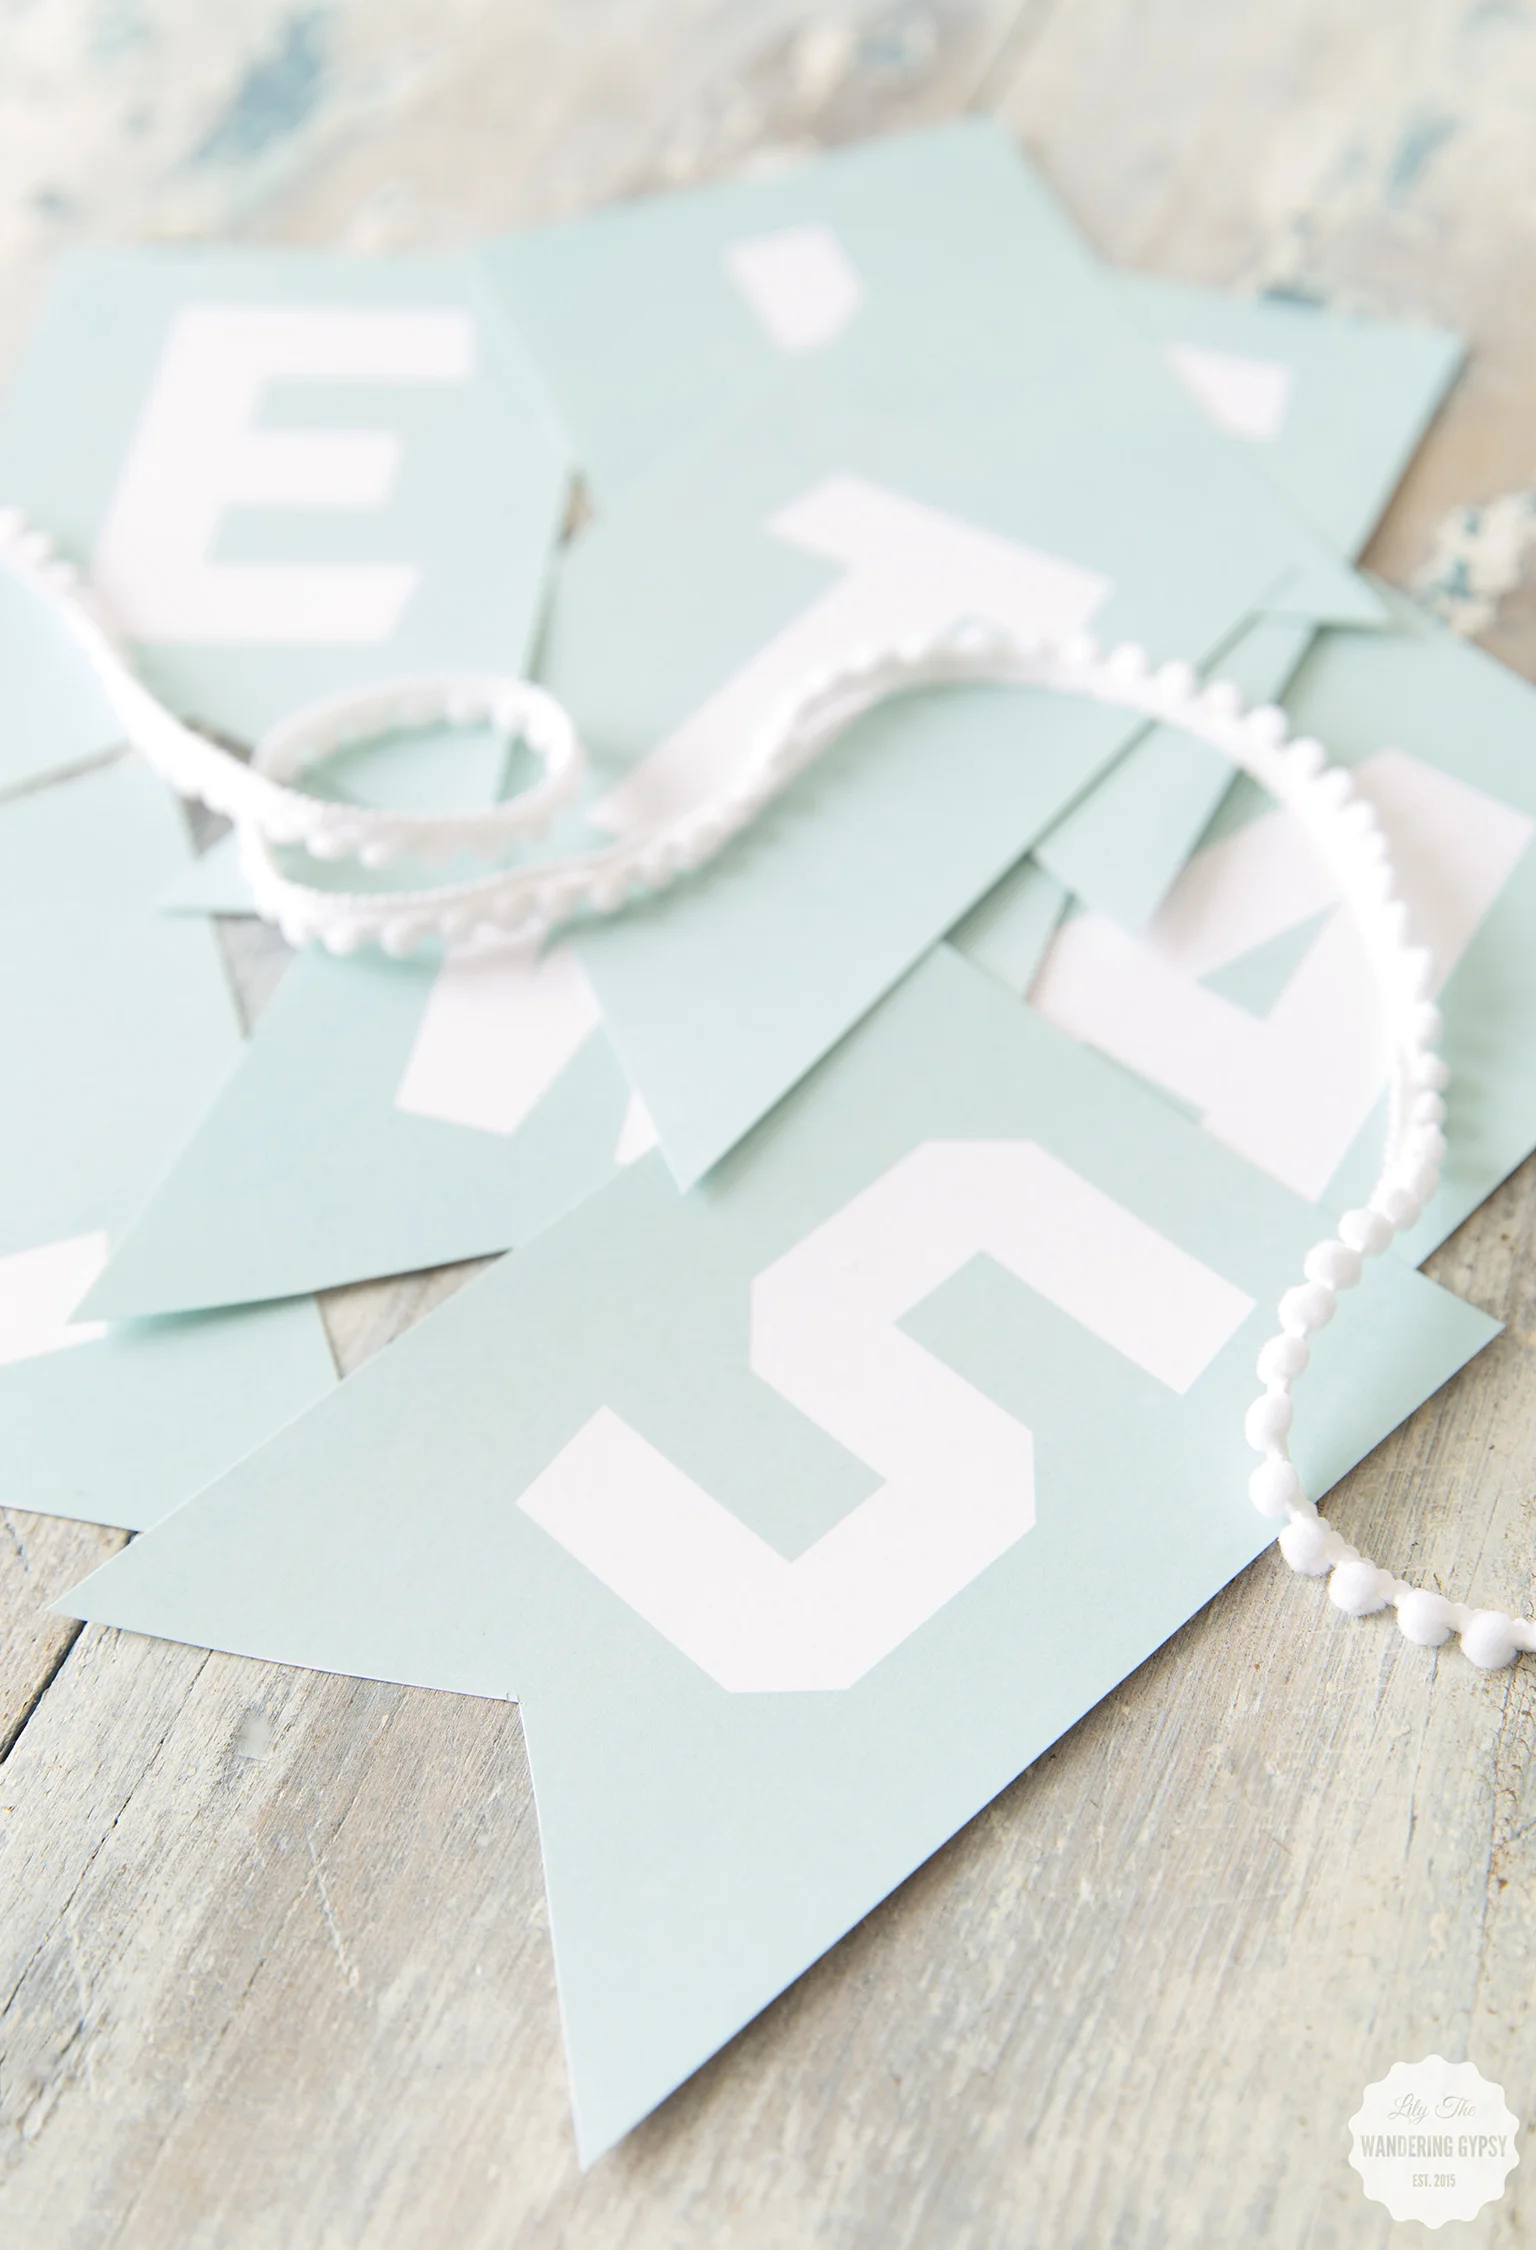
I love the how cute these letter flags looked with the pom pom ribbon trim on top.

SWAPPING CLOTHES...
When everyone arrives, have them place their clothes on a table or in a corner of your room. I would suggest mixing everyone's clothes together, then basically sorting everything by type (pants, dresses, shirts, etc) so it's more of an anonymous way to select new clothes.
I thought it would be fun to greet guests with this beautiful party tablescape, then after people have grabbed their snacks and coffee, pile the table with everyone's clothes. You can of course let people spread out in your living room or a guest bedroom, and have everyone sit in comfy chairs and on floor pillows. This way, guests can have a comfy seat while swapping out for friends' clothes.


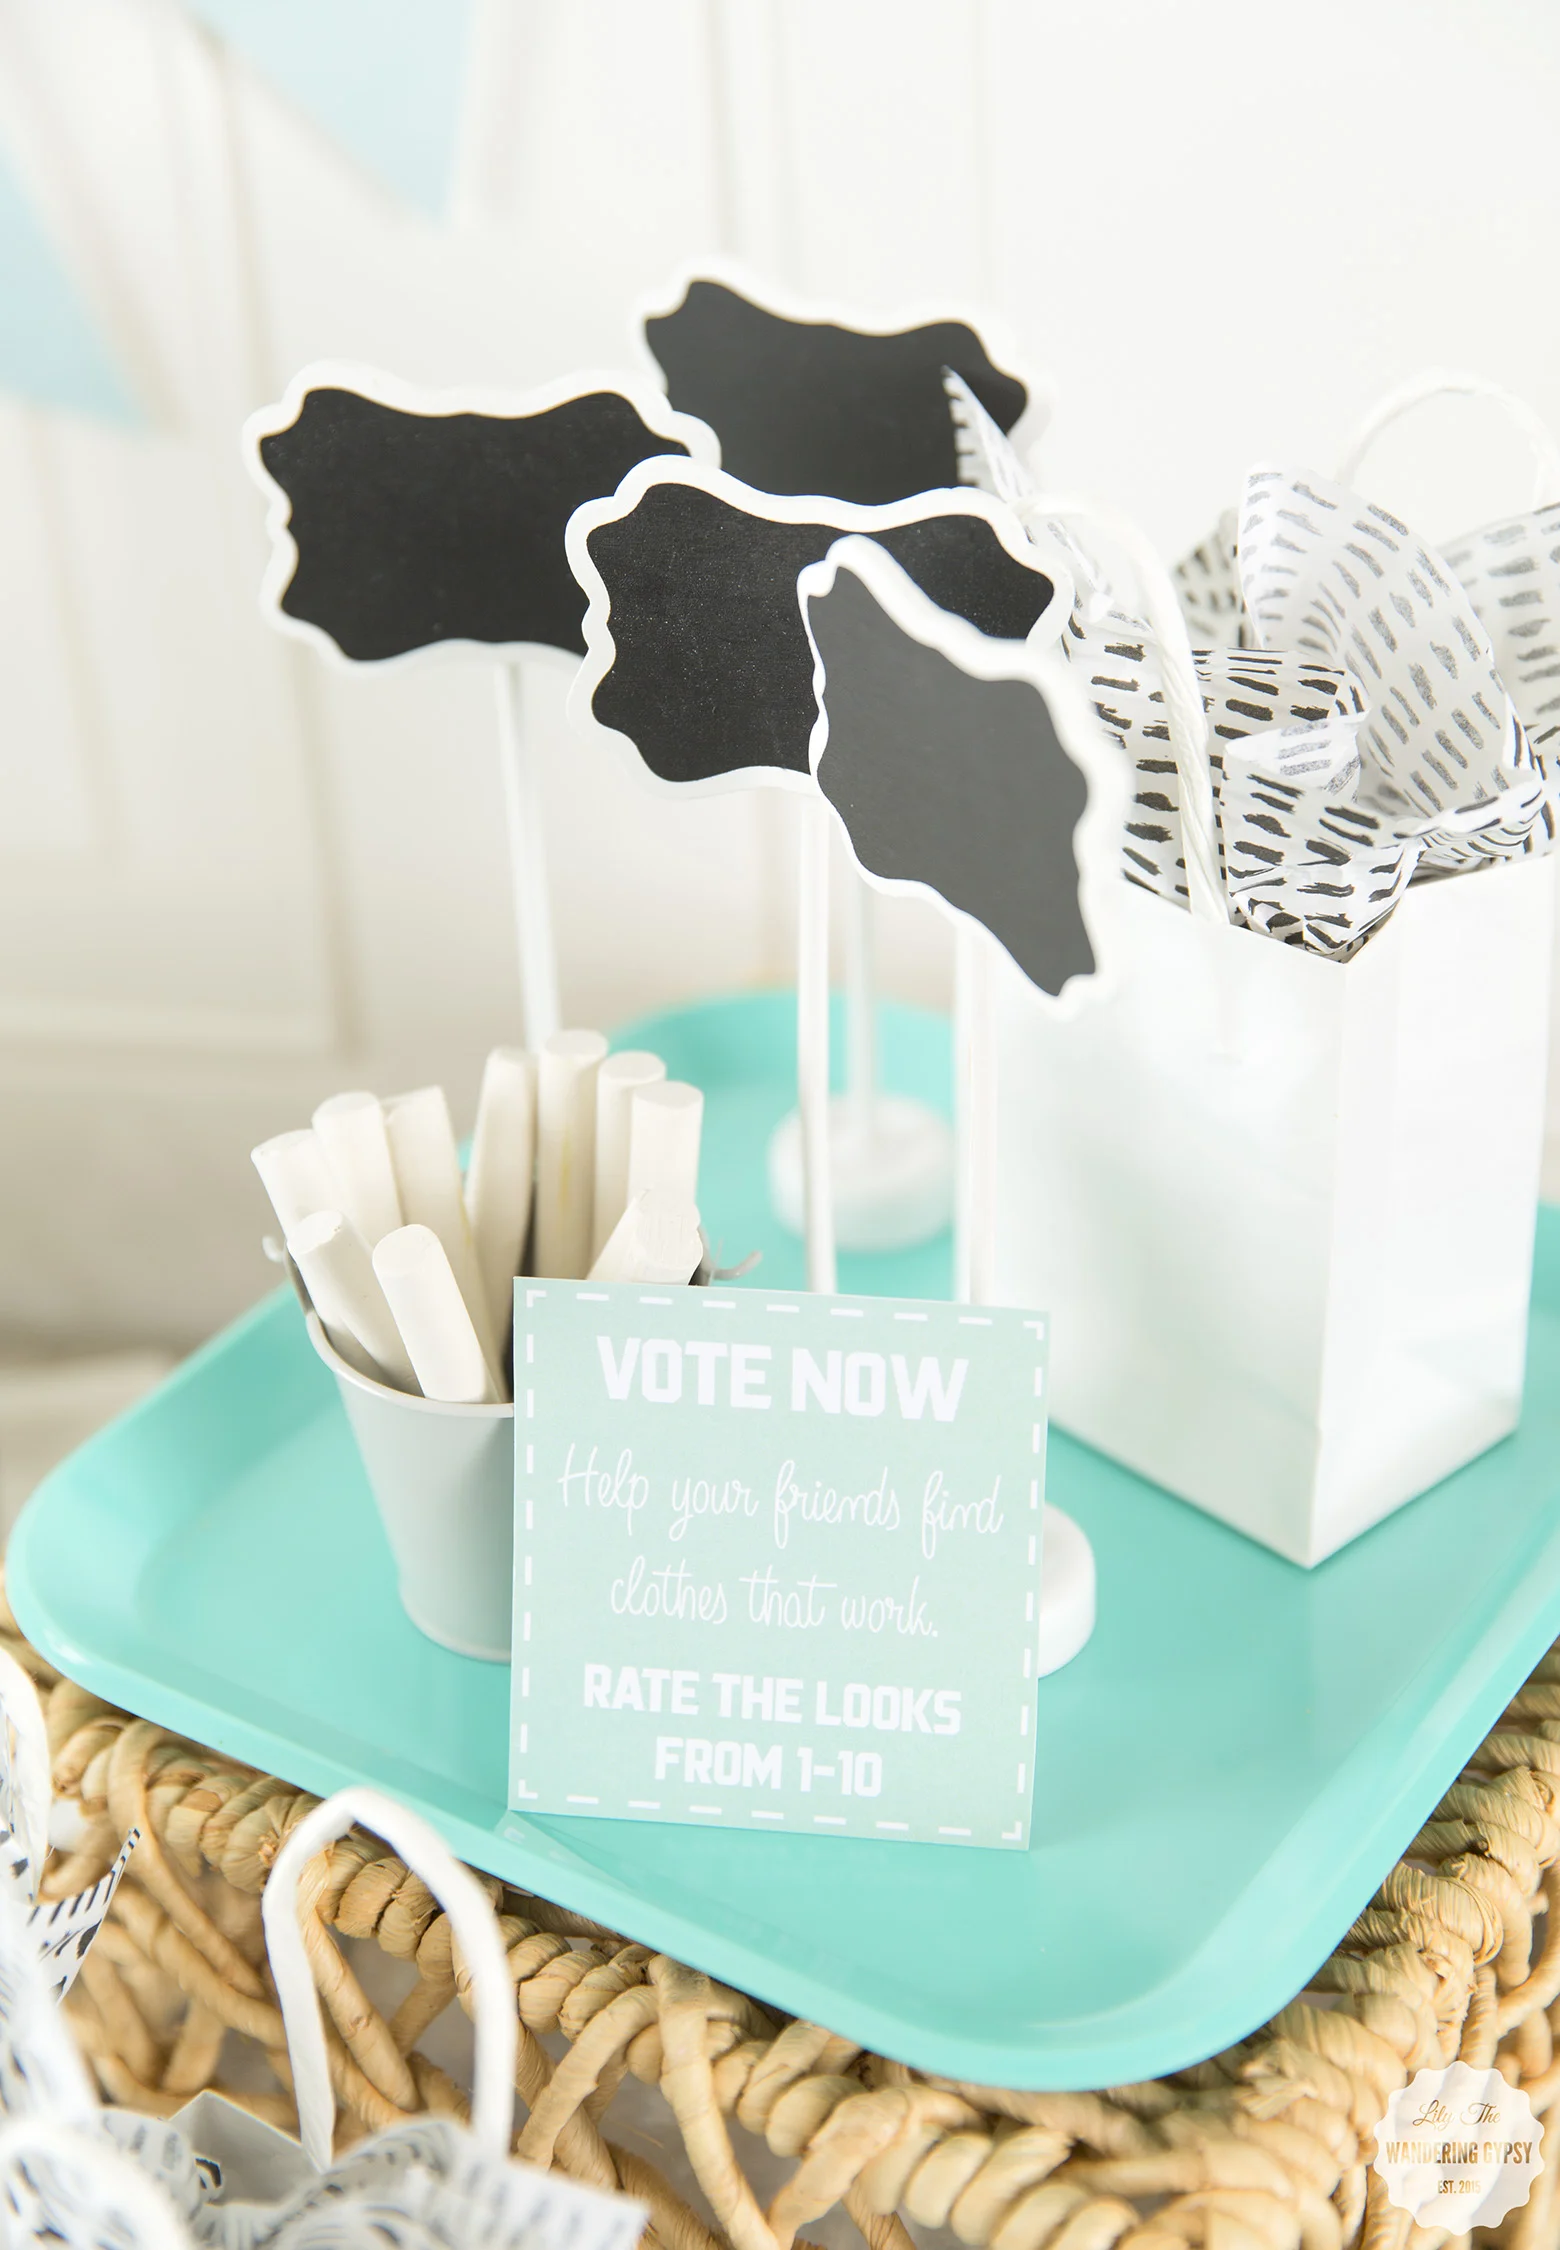
RATE THE LOOKS:
I thought it would be so fun to let guests rate each other's new clothes they have chosen. By writing a 1-10 on the chalkboard signs, you can help your friends decide whether the clothing they chose honestly looks good or not. Kind of like scoring at the Olympics, ya know?!
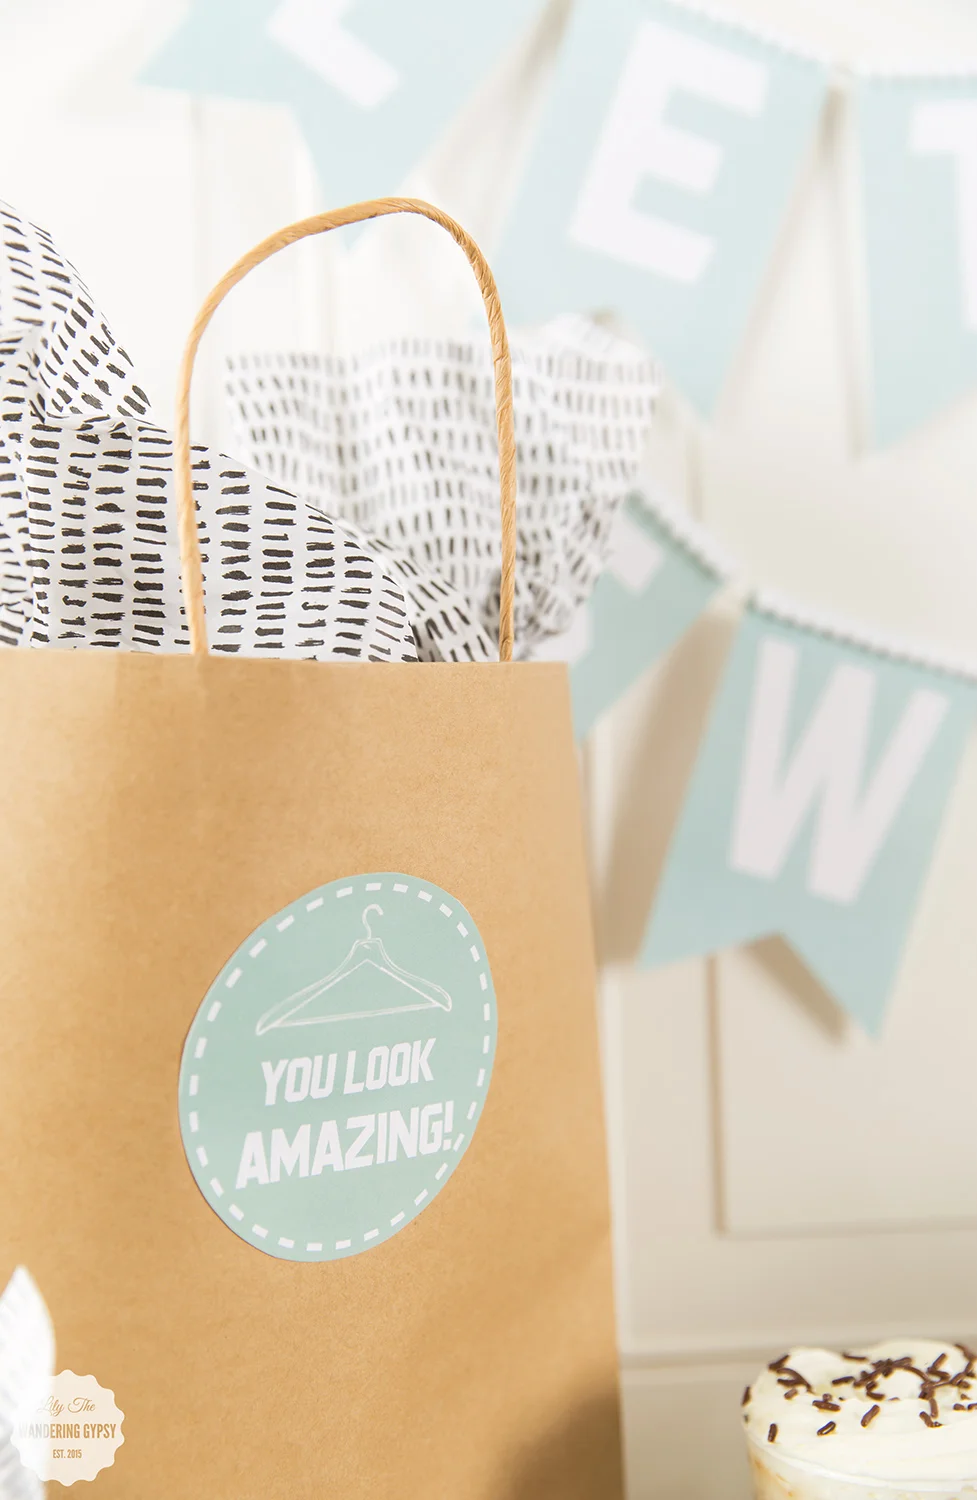
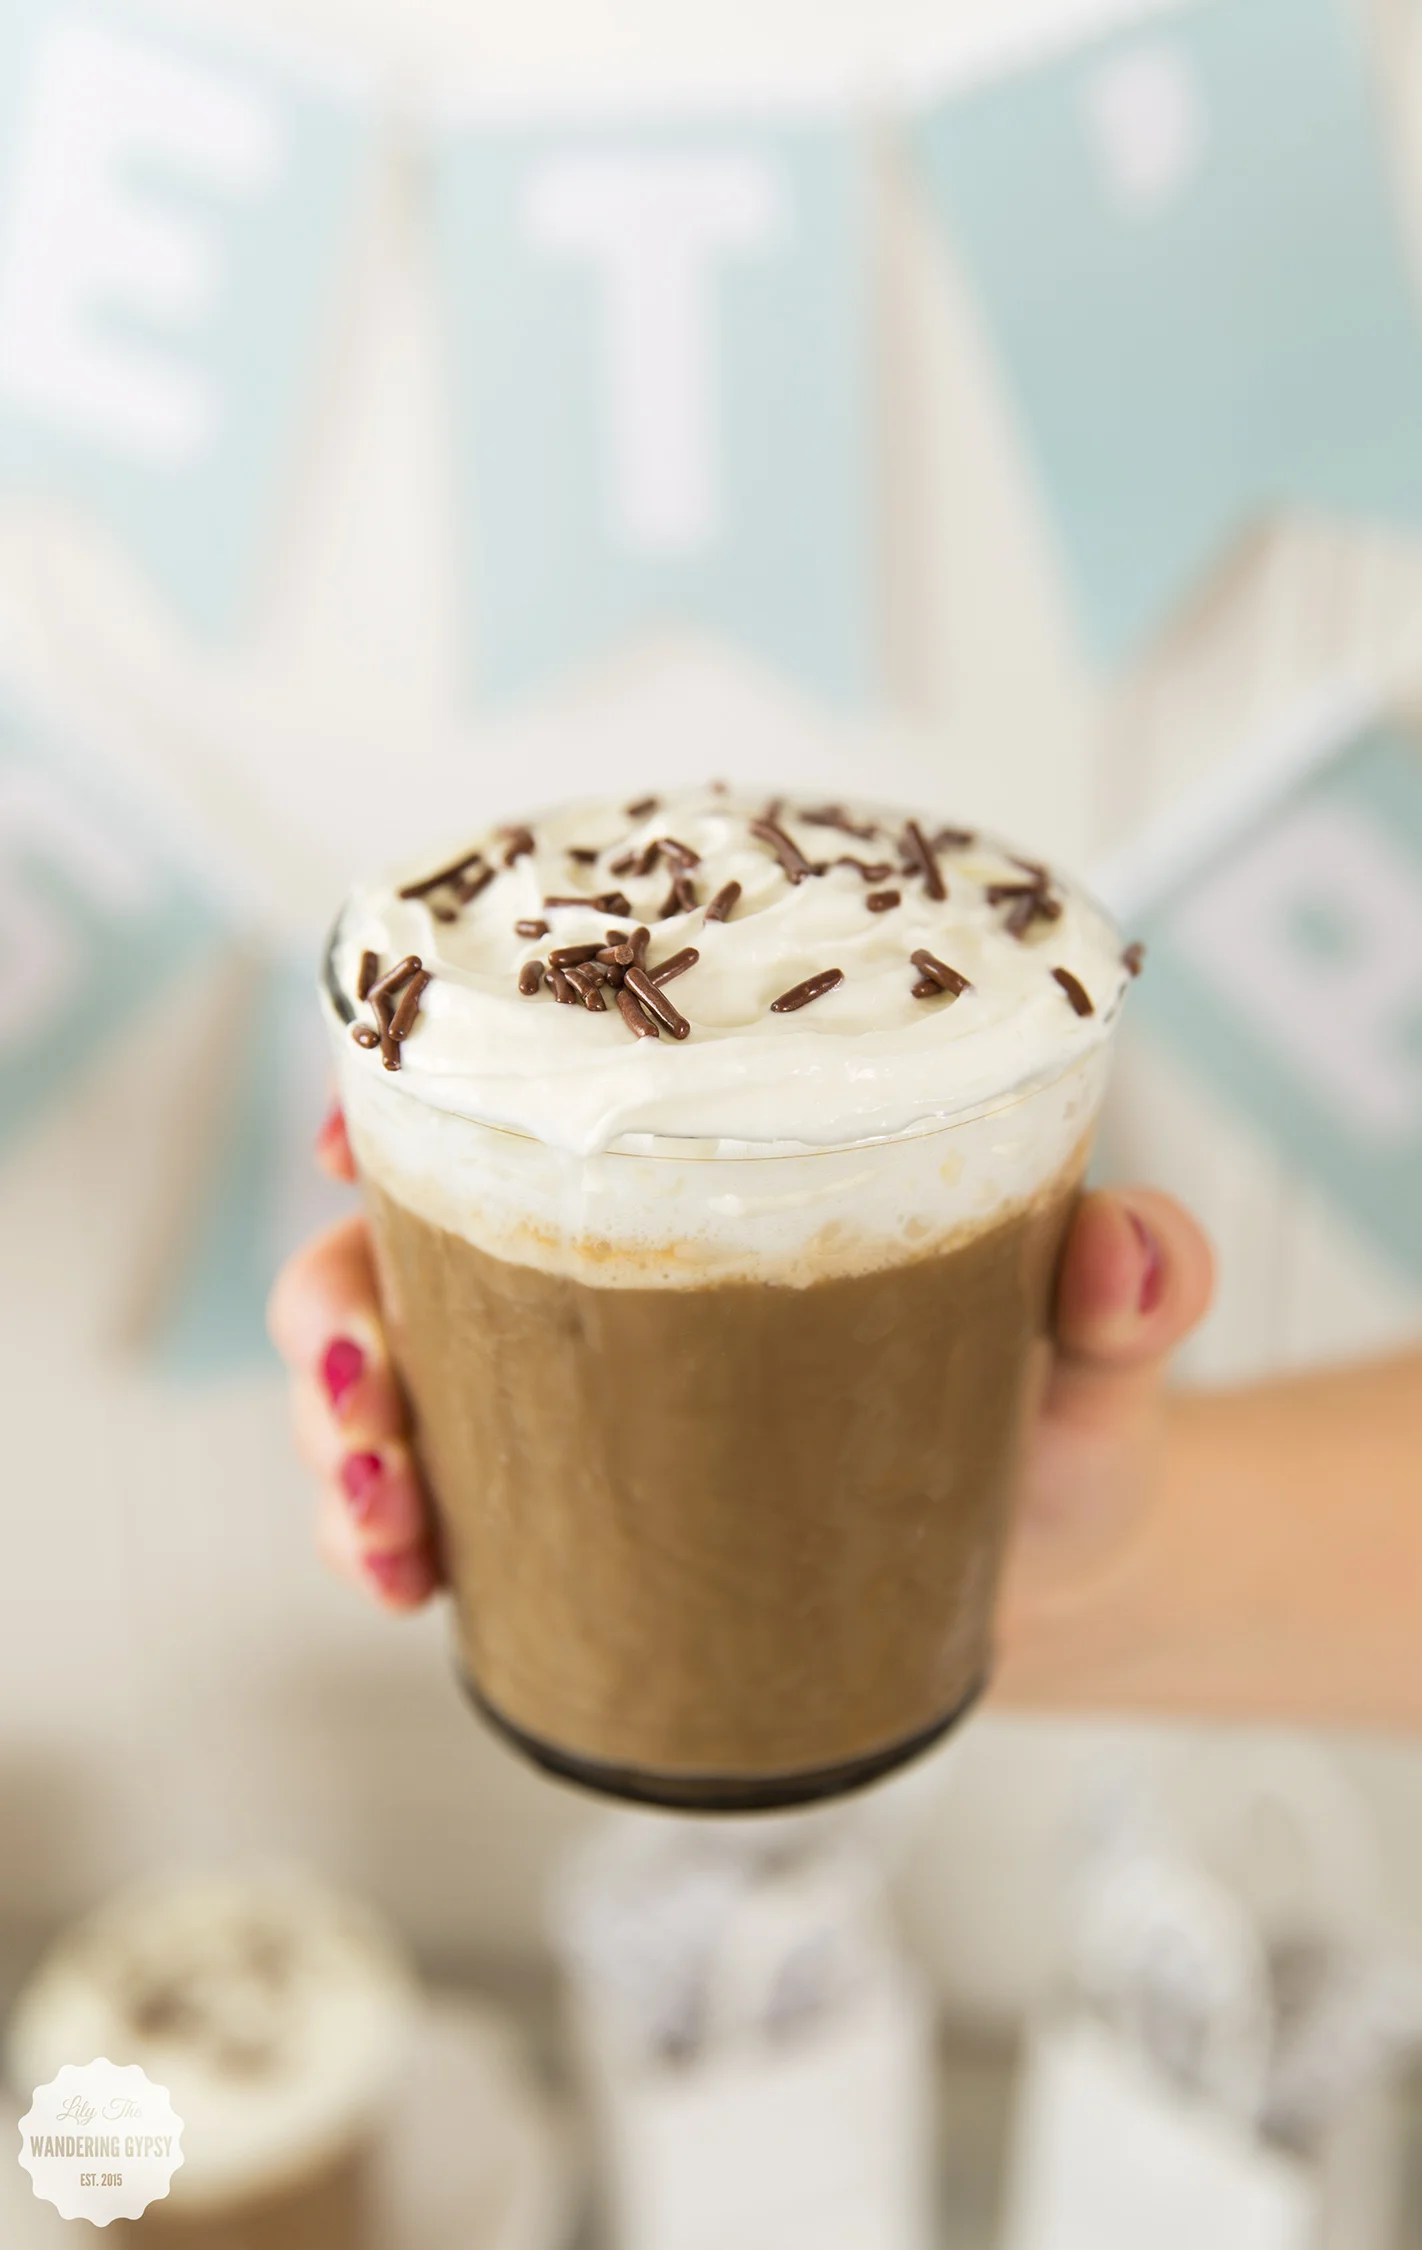
An extremely easy refreshment is pre-made iced coffee from the grocer store, topped with whipped cream and chocolate sprinkles.
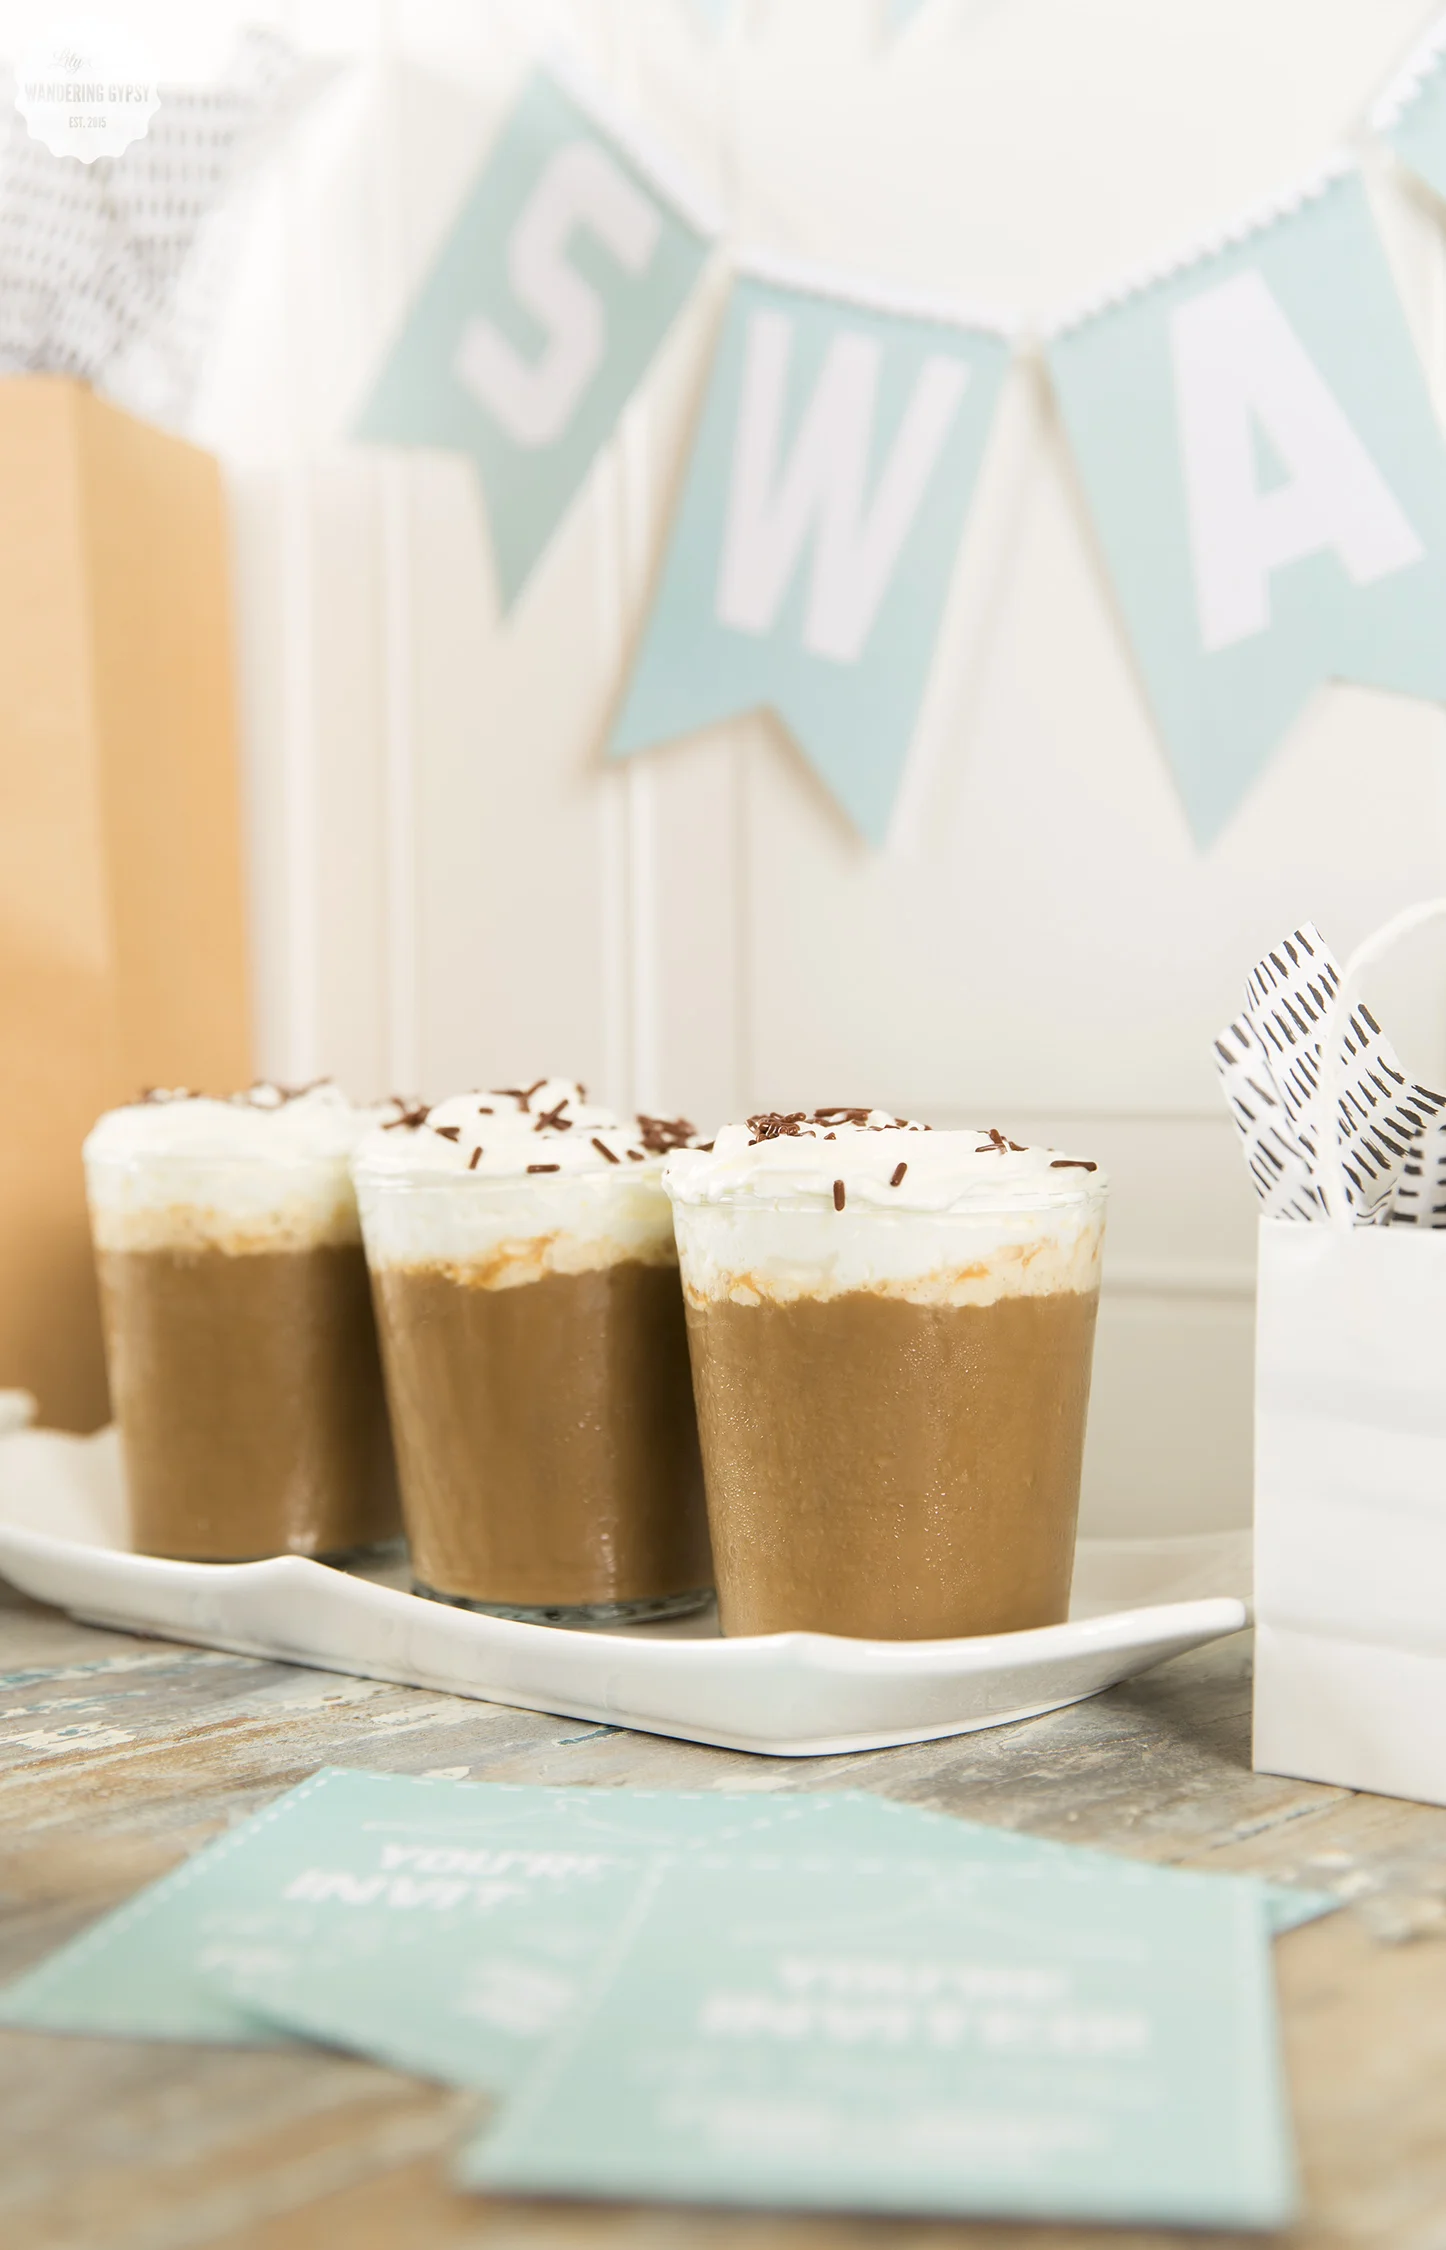

I also decorated with smaller paper shopping bags and adorable tissue paper!

A Peanut Butter Chocolate Fudge Recipe + Stunning Bracelets from Gideon John
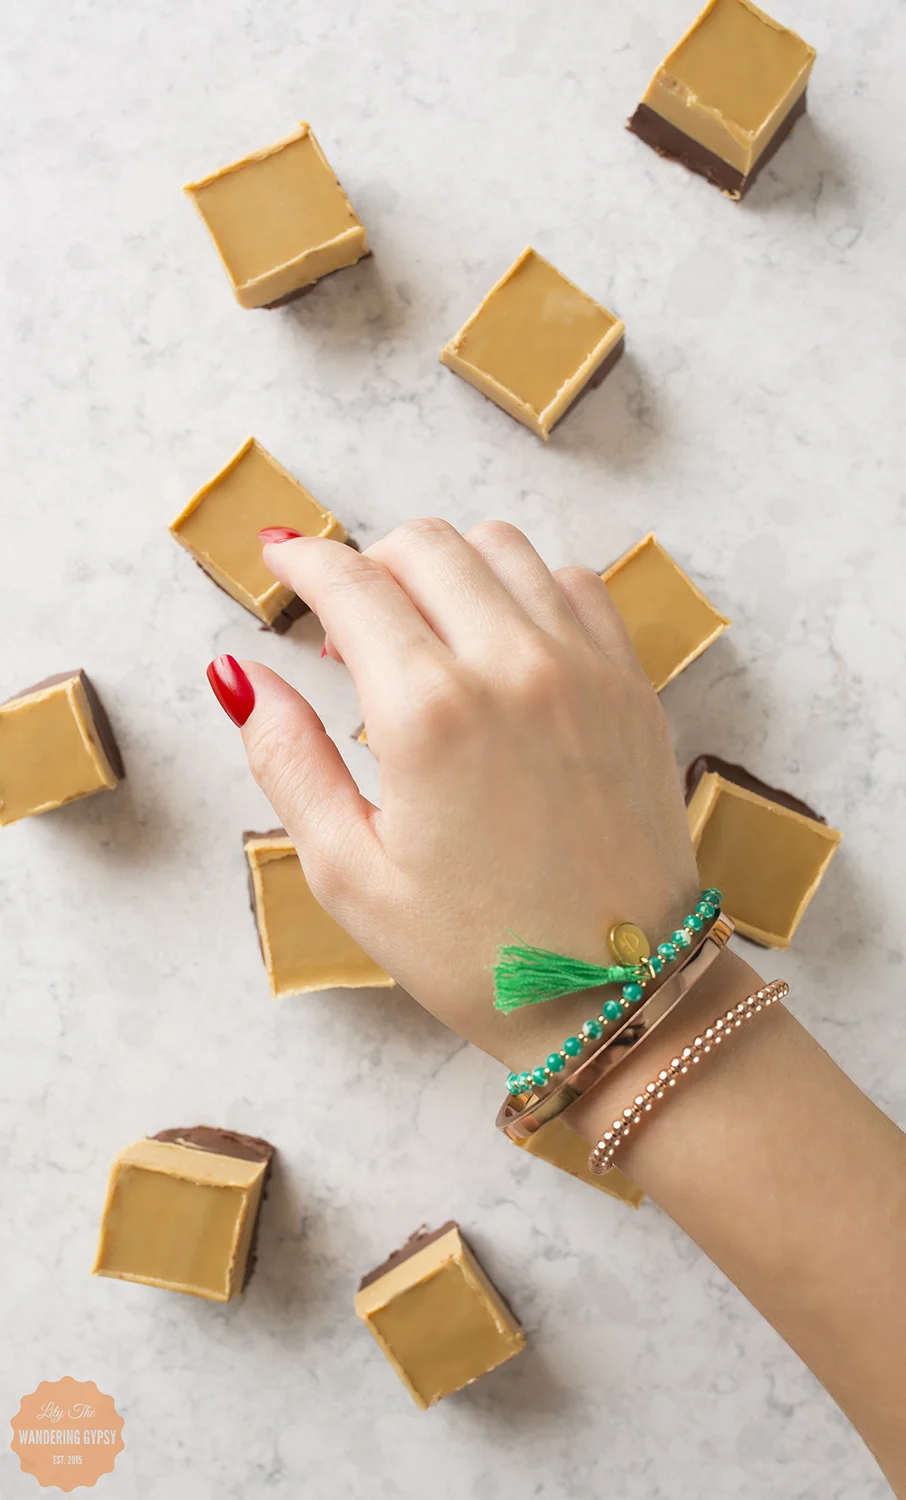
I want to share a couple of things with you today - fudge + jewelry - two of my favorite things! I wanted to share a Peanut Butter Fridge Fudge recipe with you (below), and also share some pretty amazing jewelry with you.
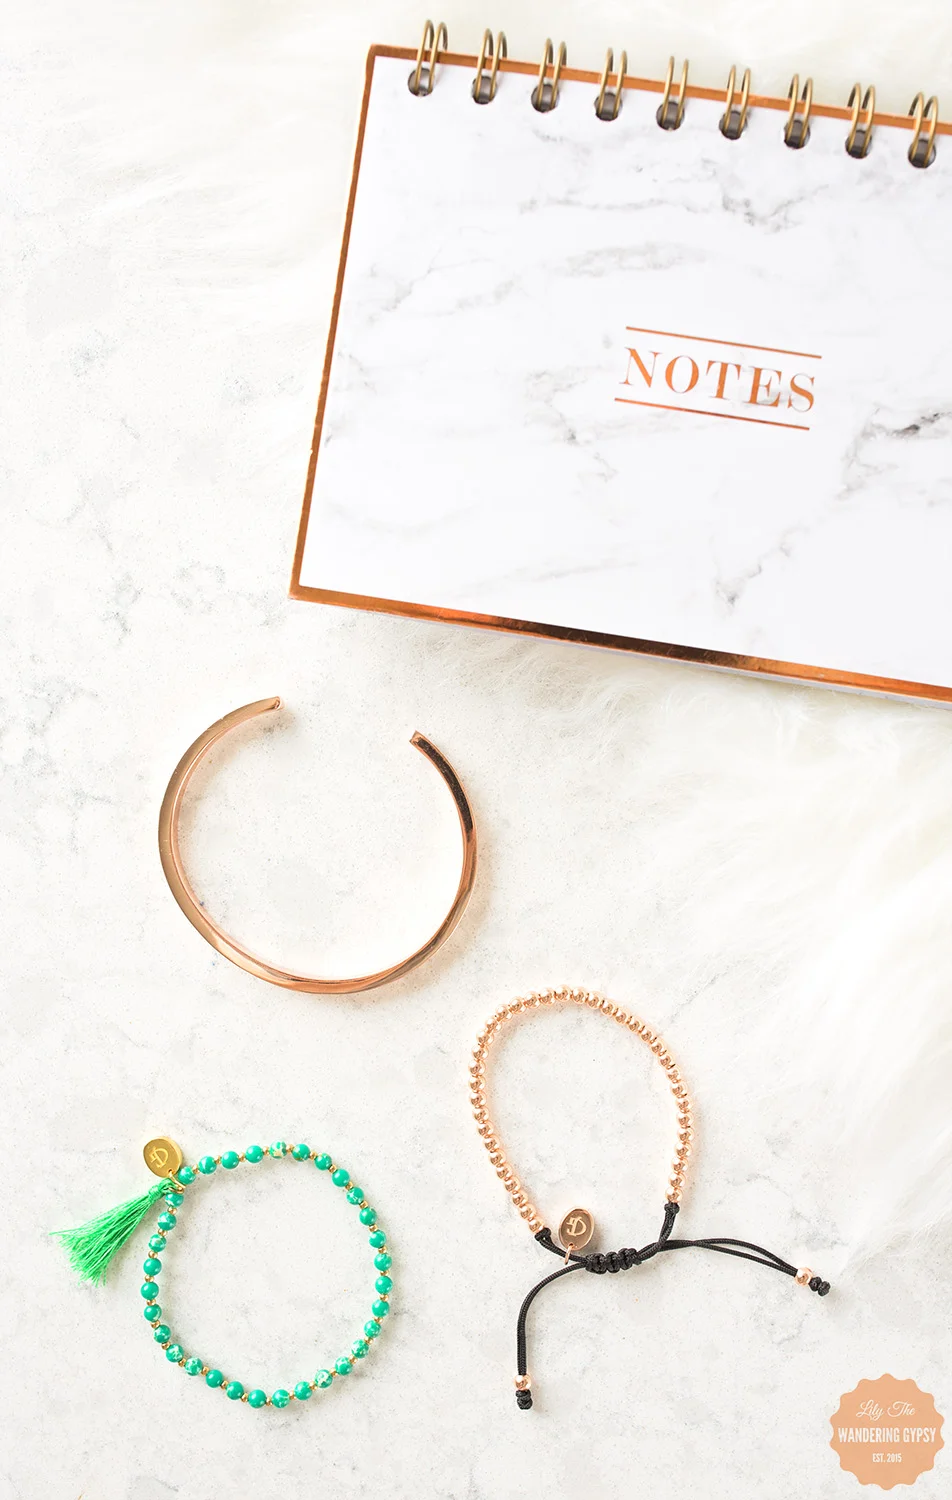
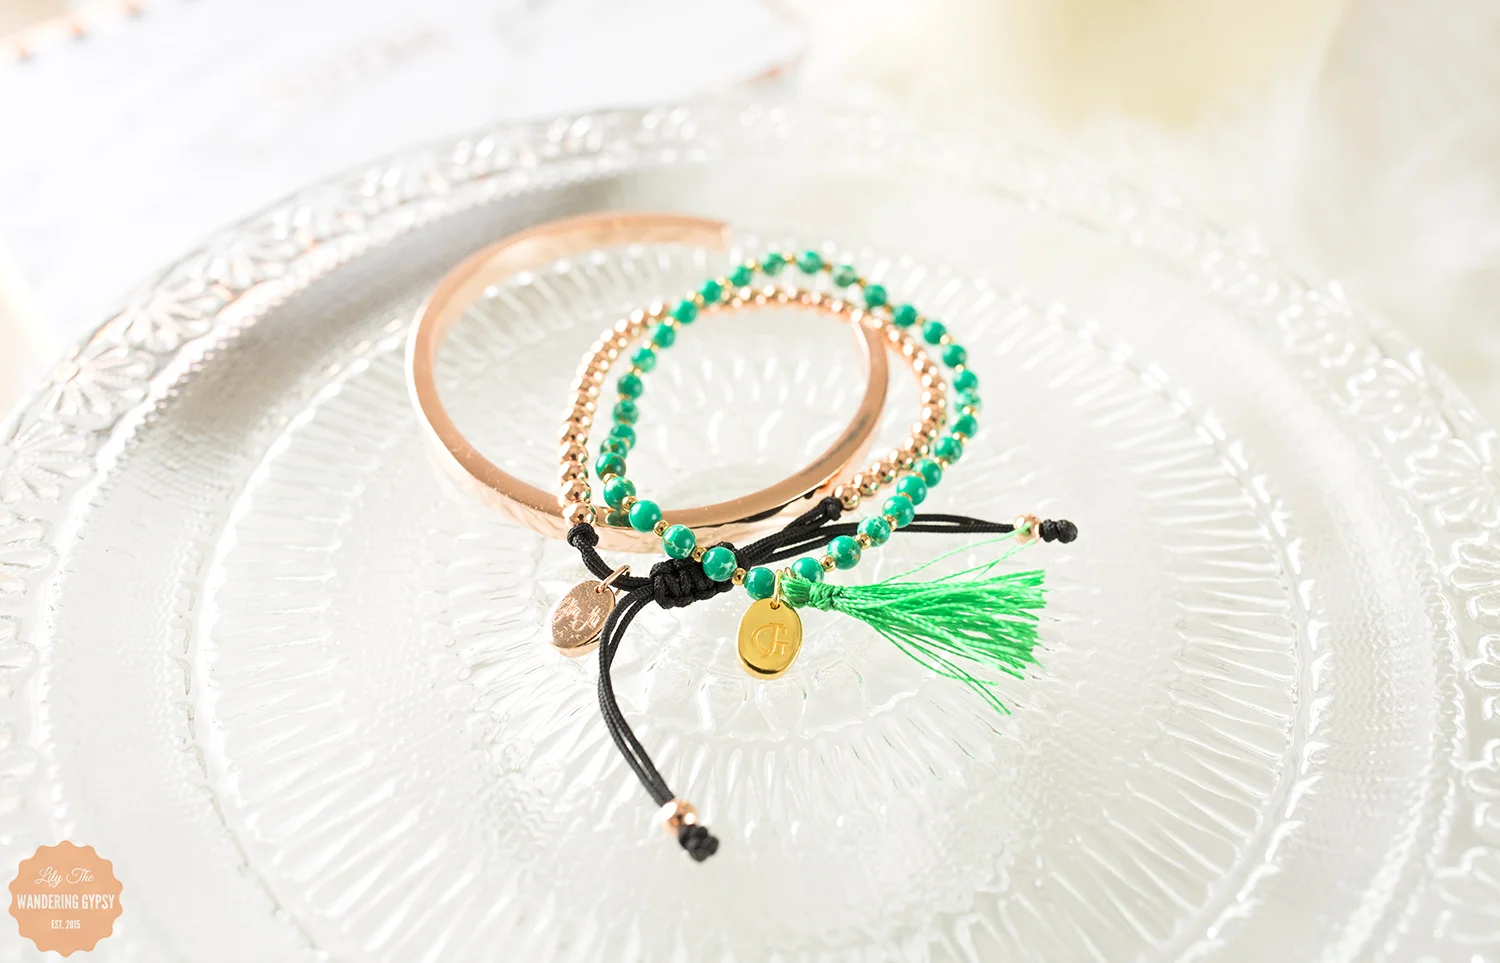
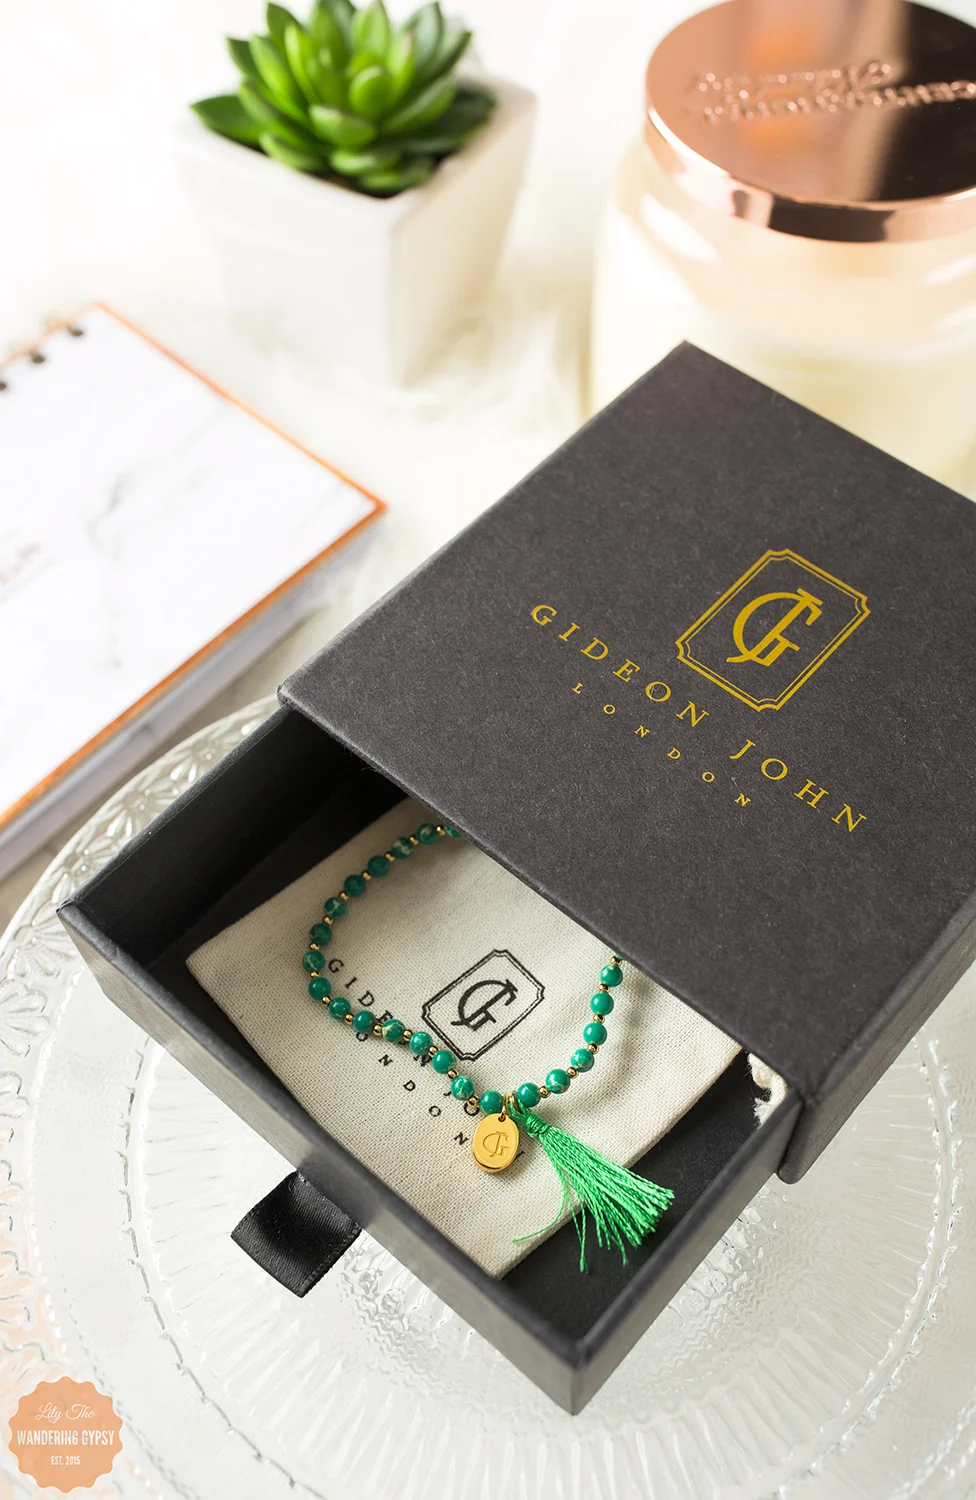
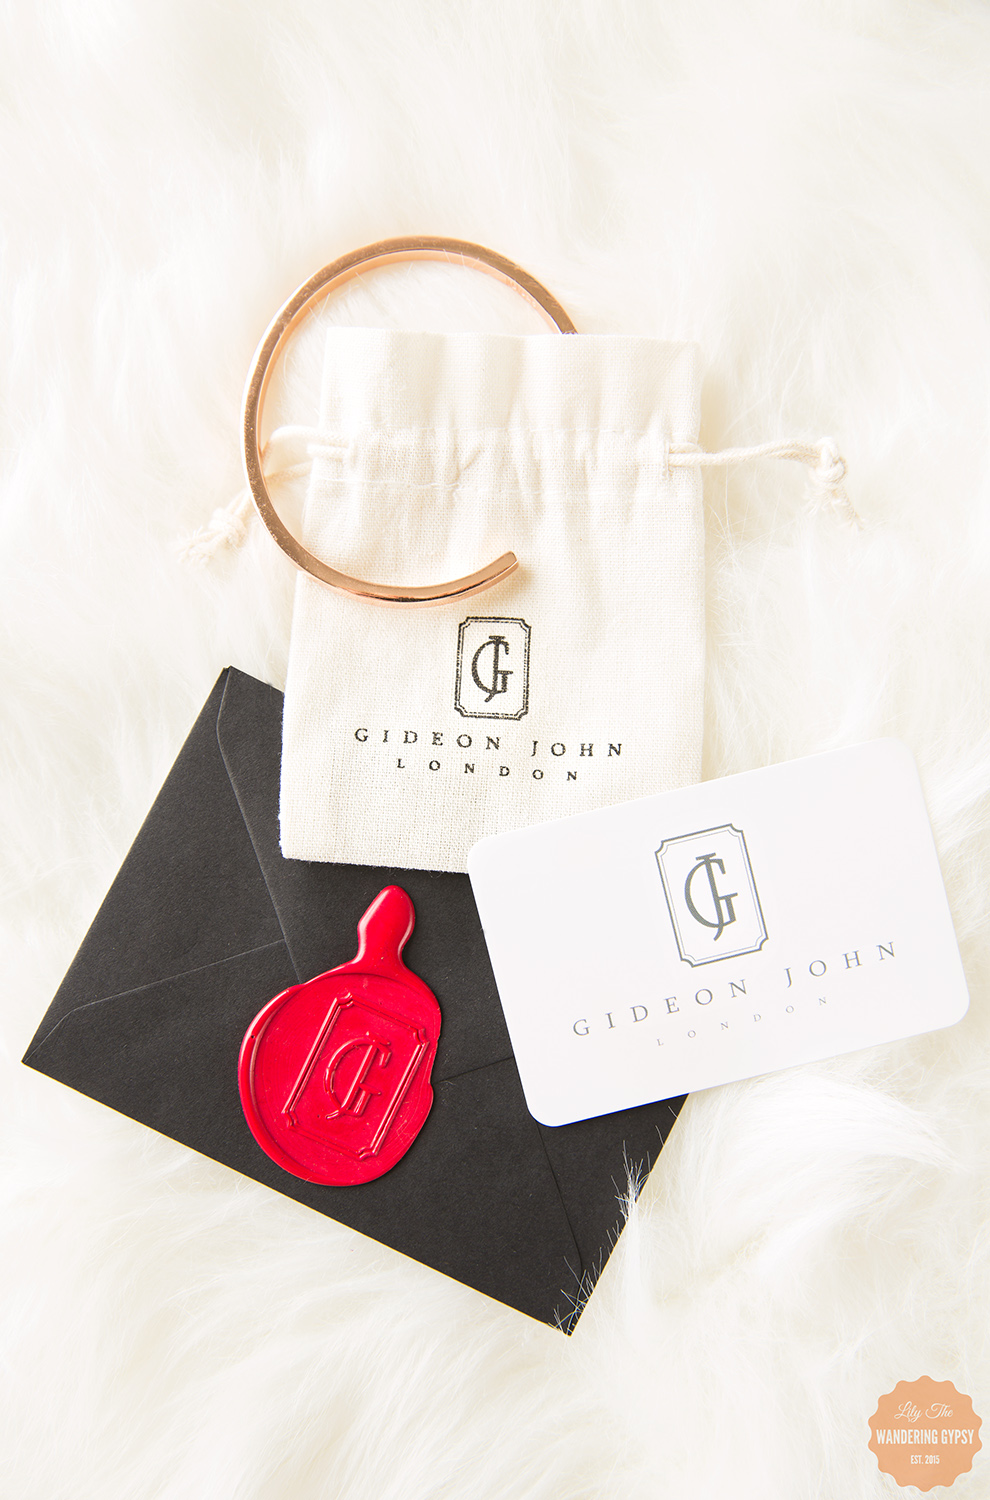
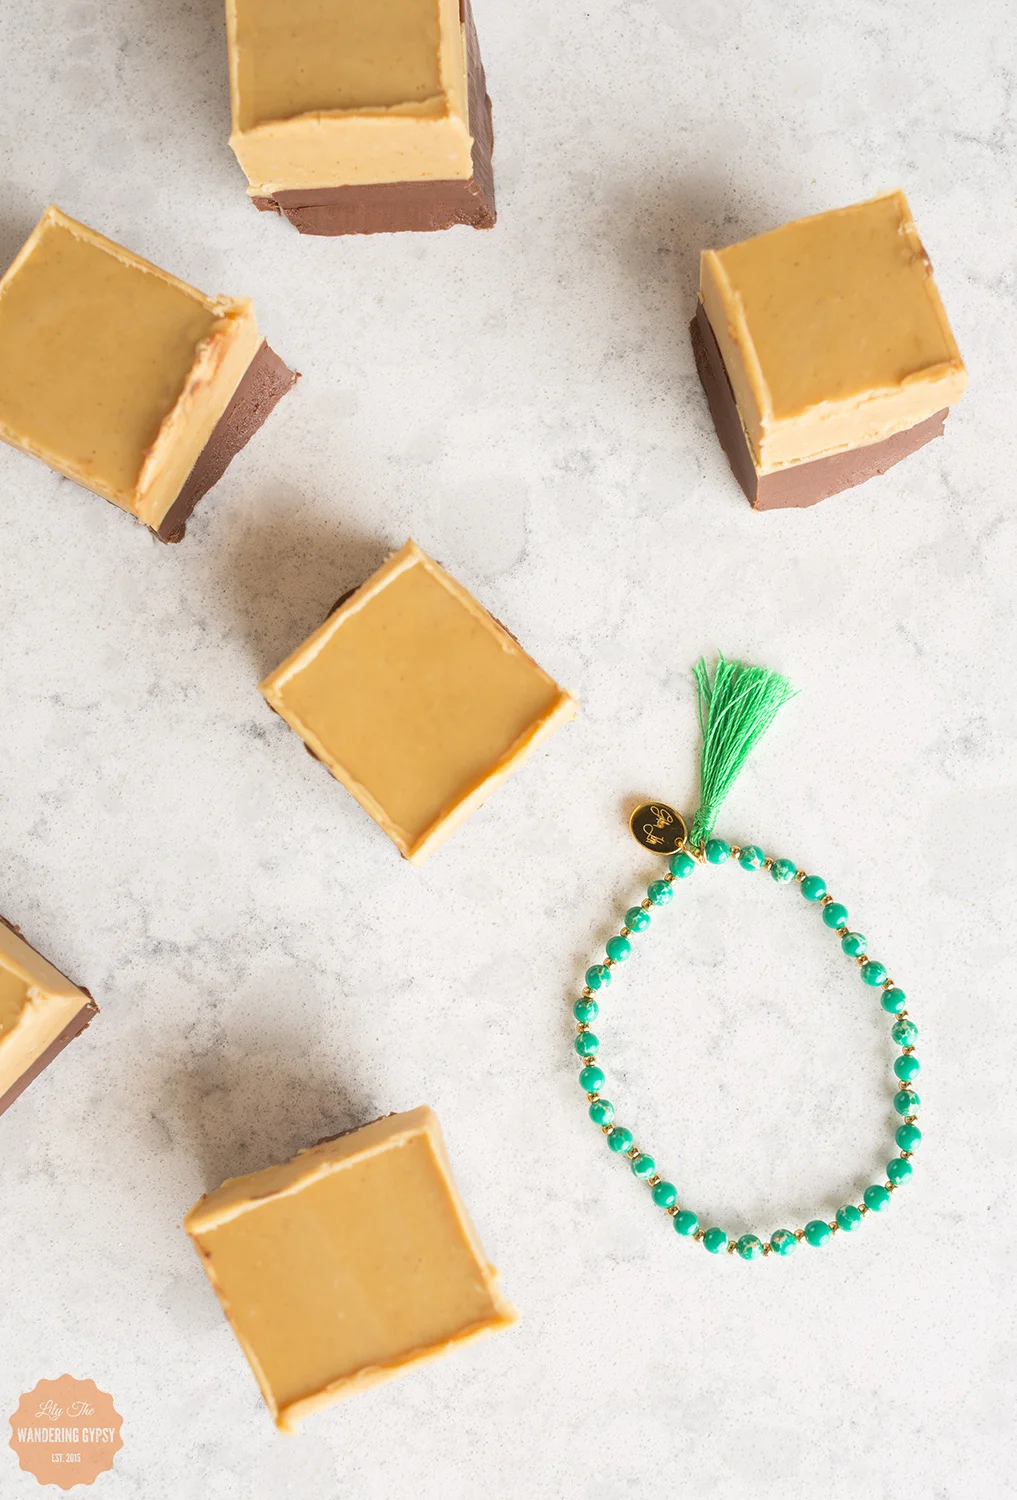
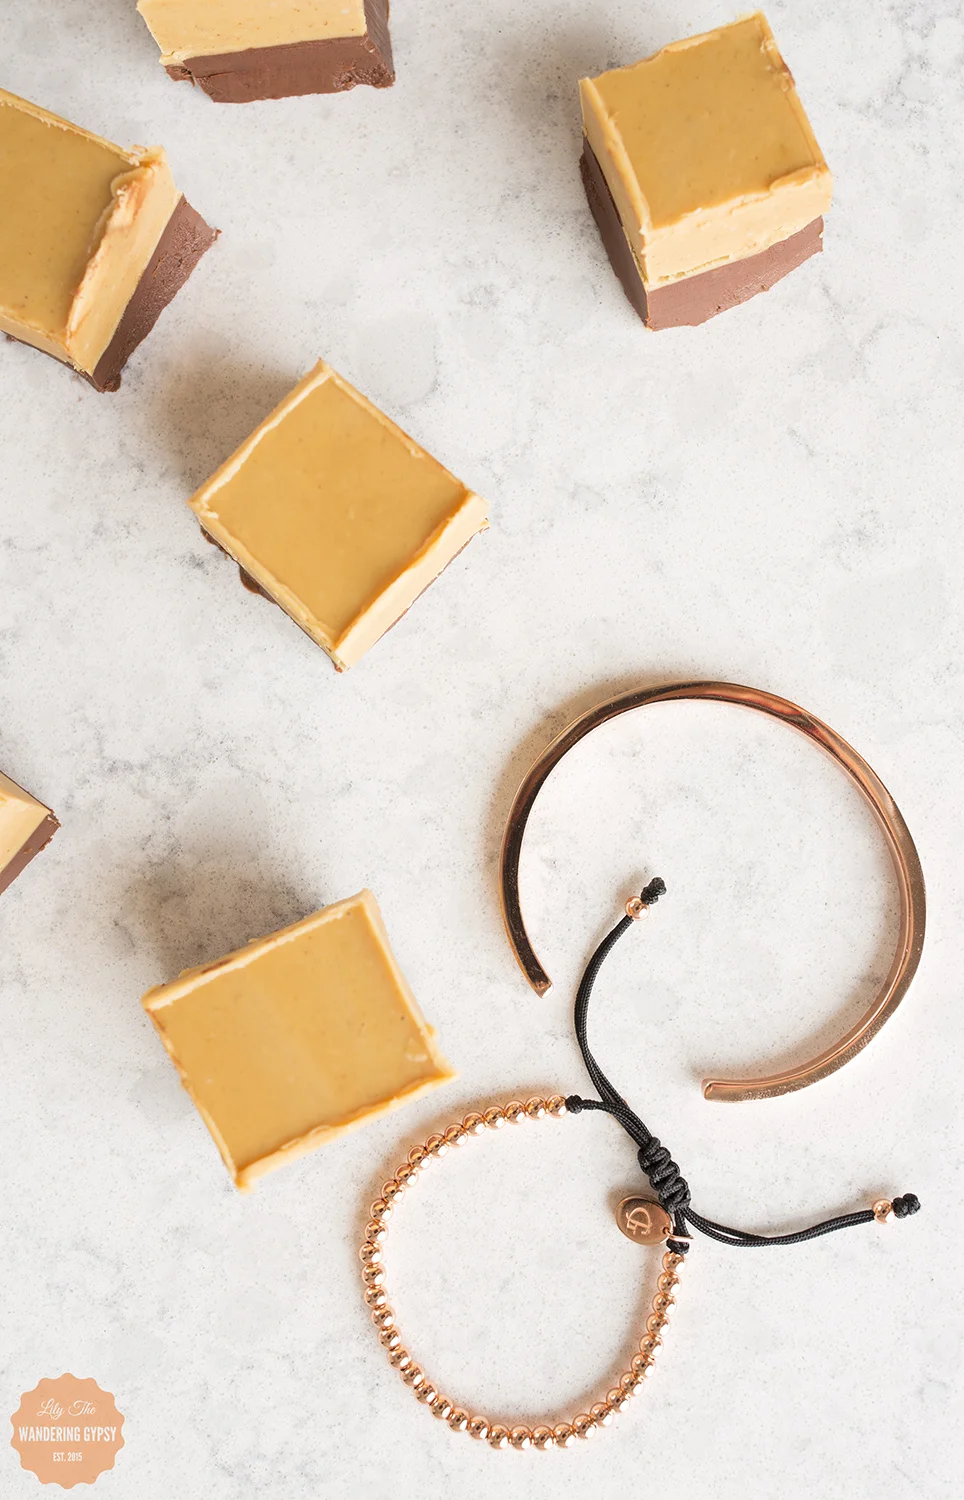
First, the jewelry. Bracelets have always been my go-to jewelry faves. I recently received three absolutely stunning bracelets from Gideon John London, and I could hardly believe my eyes! These bracelets are so well-made, and you can tell that great attention to detail was given, beginning at jewelry design, then into their packaging and presentation. Each bracelet arrives in a personalized black box and a cotton bag, so nothing get scratched during delivery. Even though these traveled all the way from gorgeous London, they looked like someone had hand-delivered them locally!

I received three bracelets from Gideon John, and featured them all in this post. Find them here:
Rose Gold Cuff Bracelet / Green Sea Jasper Tasseled Opulence / Rose Gold Lux Beads
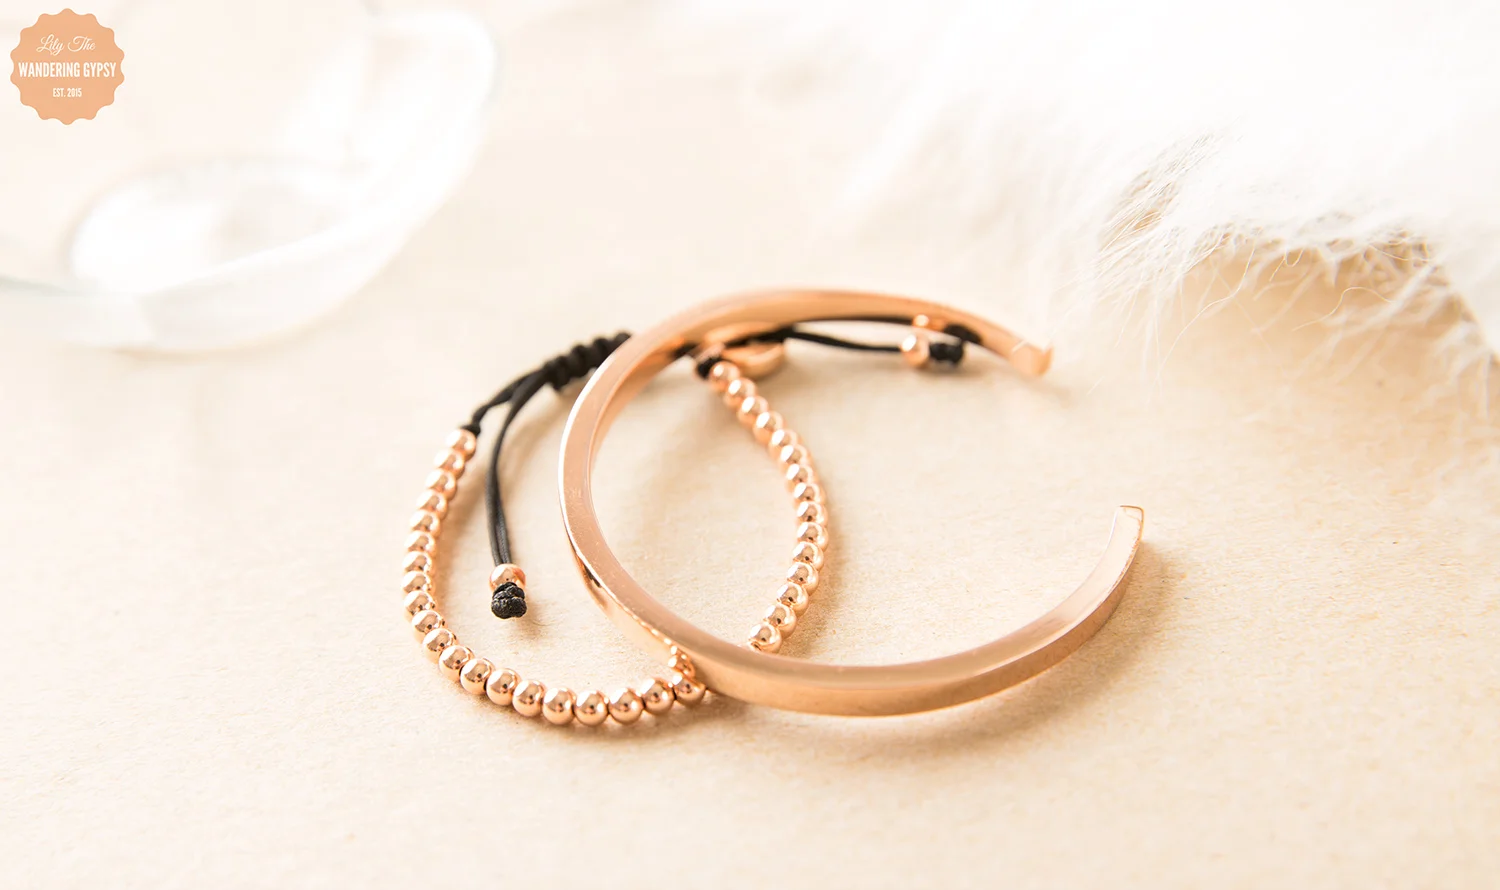
And, although they already had lovely product photography on their website, I was so fortunate to be able to bring these bracelets to life in this styled photoshoot.


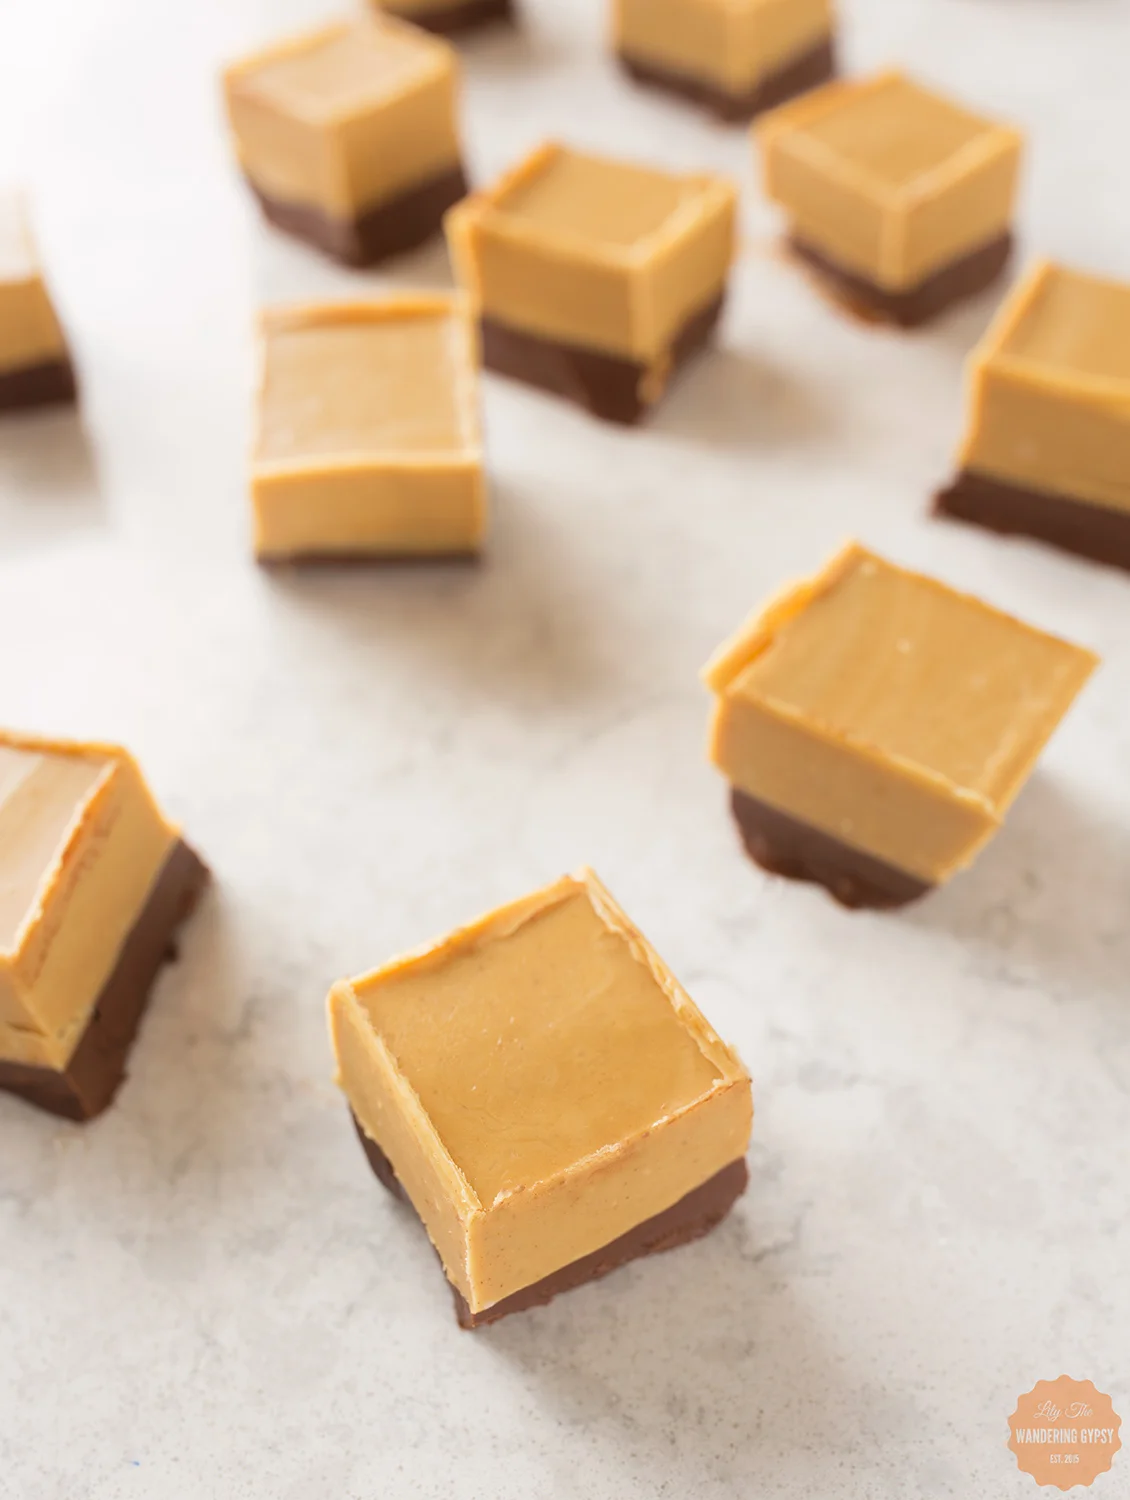
Now, the Fudge!

This yummy treat turned out so well! This recipe has been adapted from the one I found here - the post that inspired my photos!

1 Bag Peanut Butter Baking Chips
1 Bag Chocolate Chips
Coconut Oil
Creamy Peanut Butter
A Pinch of Salt
Glass Container For Fudge
Parchment Paper

1.) You can do each of the two layers in the microwave, or use the double boiler method, like I did. To do the double boiler, fill a sauce pan with about 1 inch of water. Set the glass measuring cup in the saucepan, atop the water, and get turn your burner on medium, to get ready to melt your ingredients.
2.) Prepare water for double boiler method in two different sauce pans. In two heat-safe glass measuring cups (I used my two 2 cup ones), melt 1/4 Cup Coconut Oil, 1 bag of peanut butter ships, a pinch of salt (or a bit more), and 1/2-1 C. Peanut Butter. Feel free to add more Peanut Butter if you want, just until you get a consistency and taste you like. You can also add some powdered sugar to this peanut butter layer if you want. Melt until smooth - make sure you stir frequently!
3.) In the other measuring cup, melt 1/4 C. Coconut Oil, 1and Bag of Chocolate Chips. Melt and continue to stir until smooth.
4.) Optionally spray a bit of non-stick spray into your Pyrex container, and then fit a piece of parchment paper into the Pyrex, allowing two sides a few extra inches to hang over. This makes removing the fudge from the container much easier!
5.) Once chocolate has melted, pour it into the Pyrex. Freeze for about 15 minutes, so it hardens all the way through.

6.) Once that layer has hardened, pour the peanut butter mixture over the chocolate layer, make sure it's smooth, and put it back into the freezer. If you're not in a hurry, you can just let the final layer cool in the fridge.
7.) Once both layers are fully firm, grab a cutting board, pull out the fudge block utilizing the parchment paper, and use a ruler to make straight lines on the top of the fudge if presentation matters. Cut fudge into 1" squares, using a large, sharp knife, and enjoy!!
***Note: This fudge melts pretty fast, so make sure you keep it in the fridge!!! It tastes like peanut butter cups, I just love how this turned out!! You can also use crunchy peanut butter, but I recommend creamy, just because the peanuts could be too hard to eat after being in the freezer or fridge!
What a great no-bake dessert recipe!

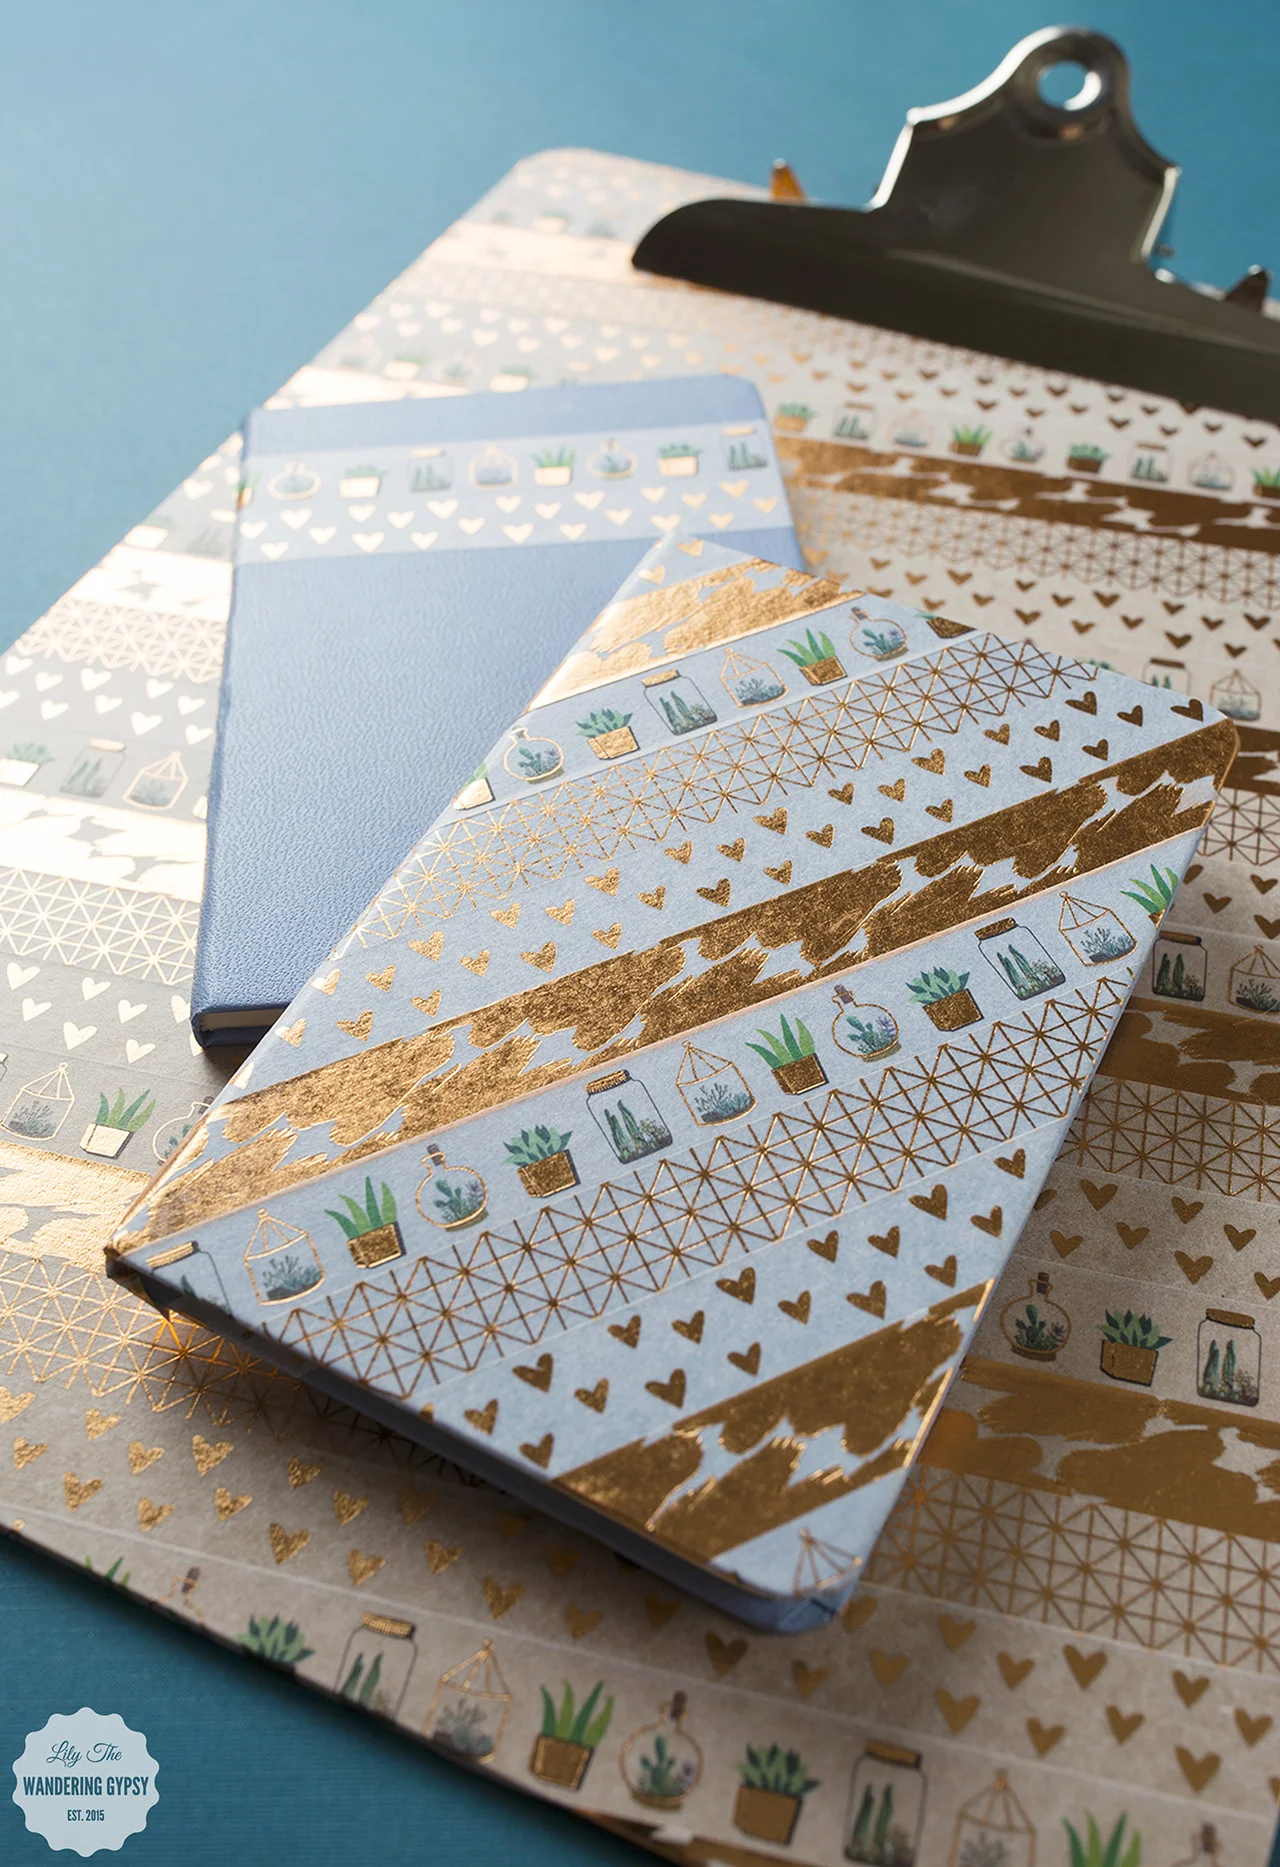
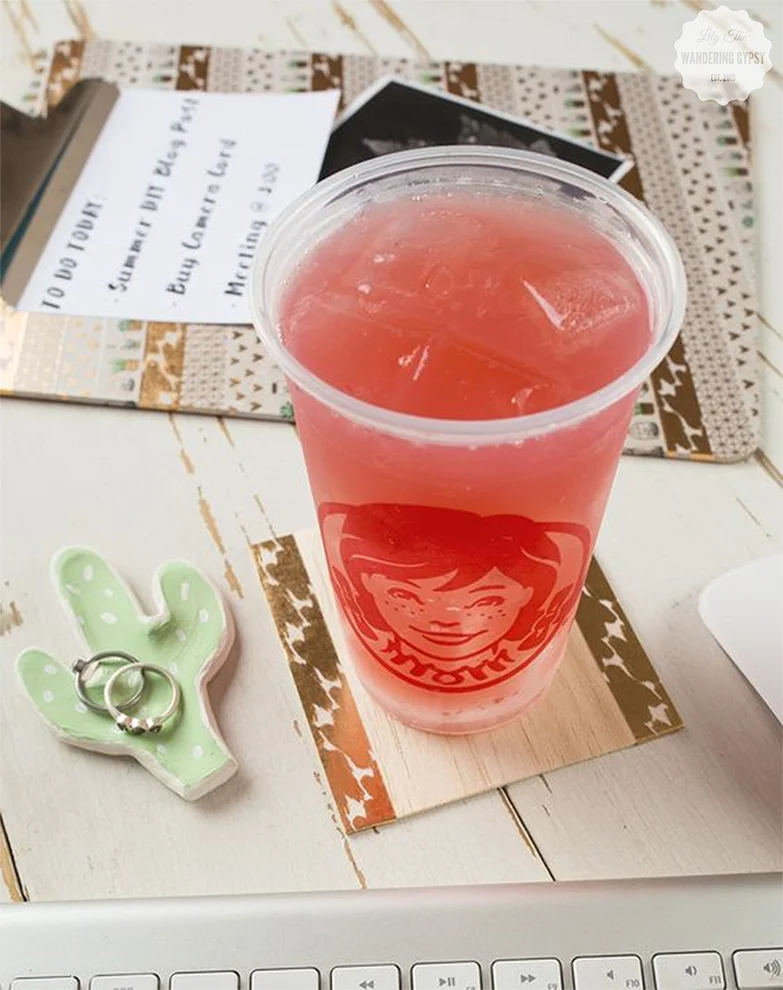
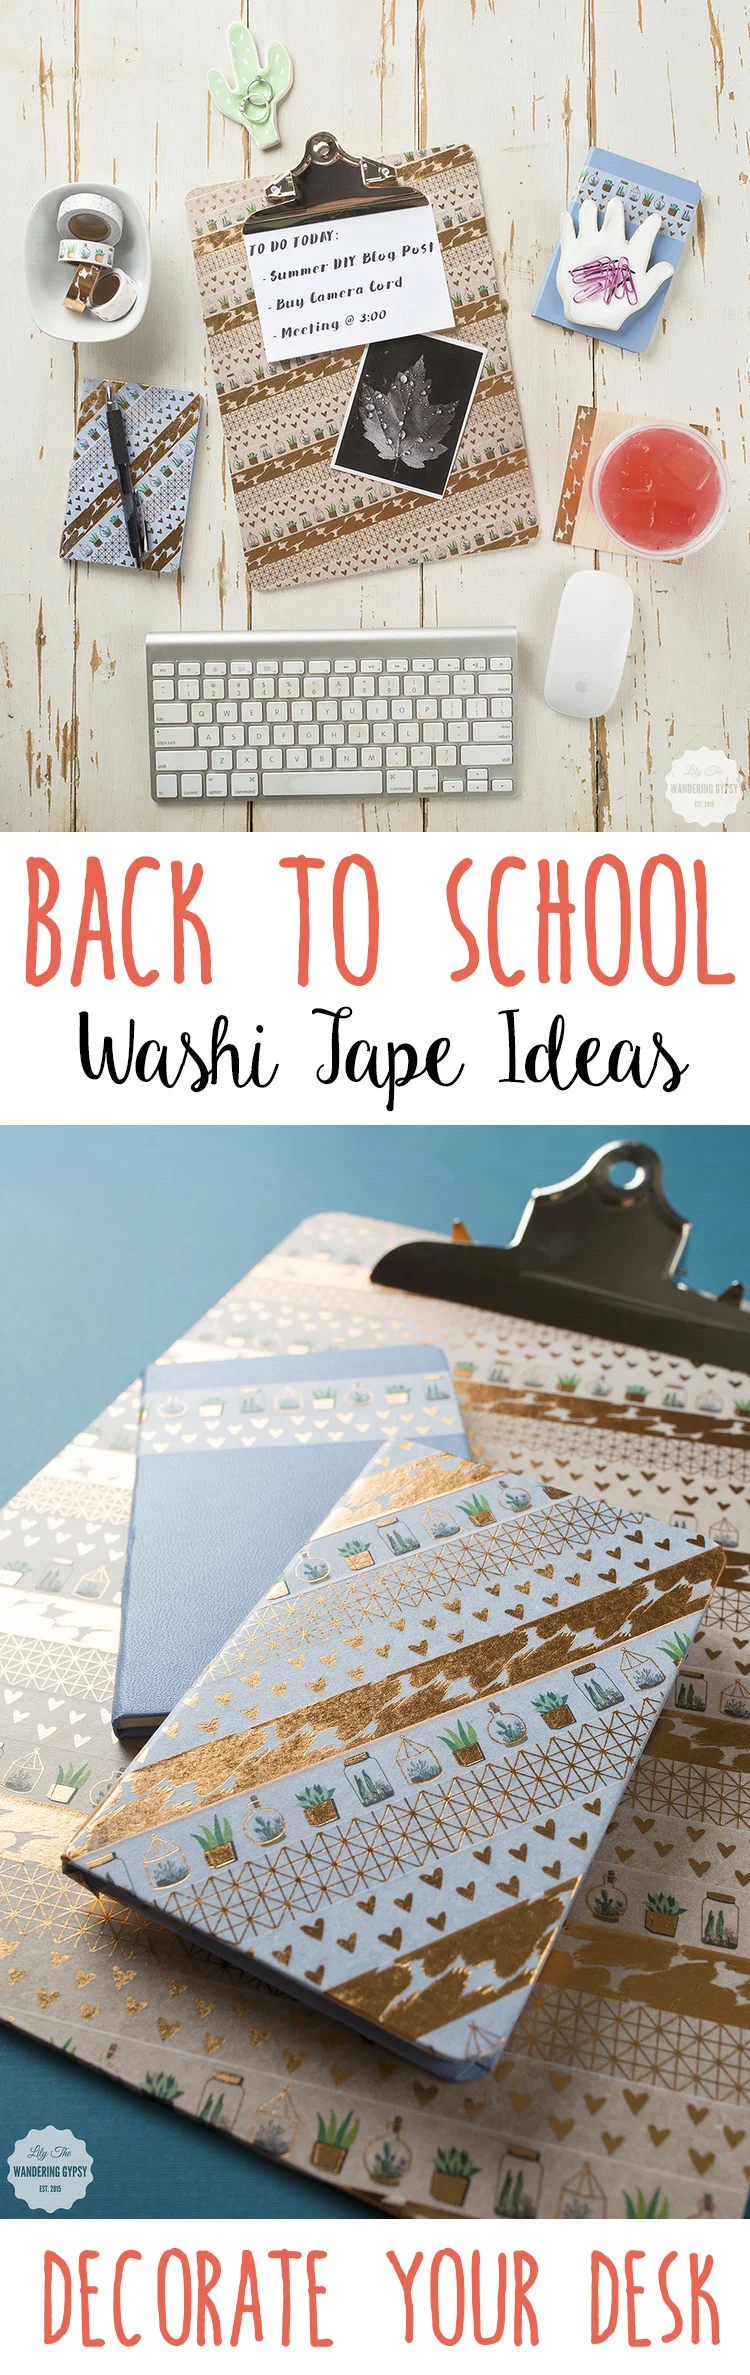
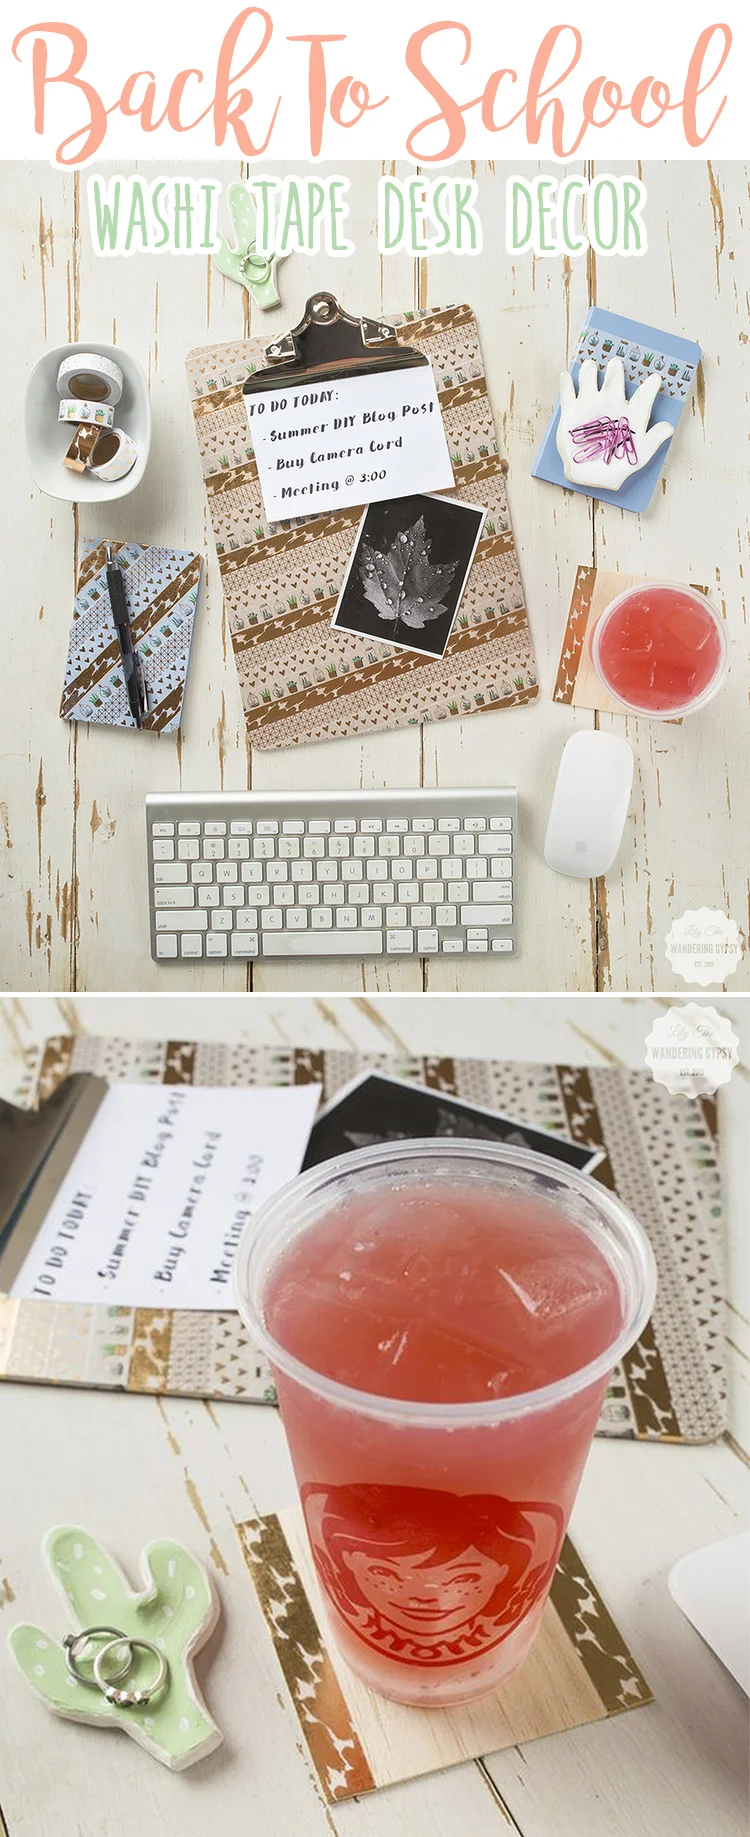
DIY Summer Fun - Washi Tape Everything!
Washi Tape is here to stay, and I absolutely love it! This tape sticks to SO many surfaces, and creates an instant pop of color and a bit of whimsy to anything you adhere it to.
Below, you will find a few items that I covered, to show you how easy it is to update just about anything on your desk and around your home!
I created these photos for a fun campaign that I helped share for Wendy's Blackberry Lemonade. I loved creating this DIY project for such a well-known brand!
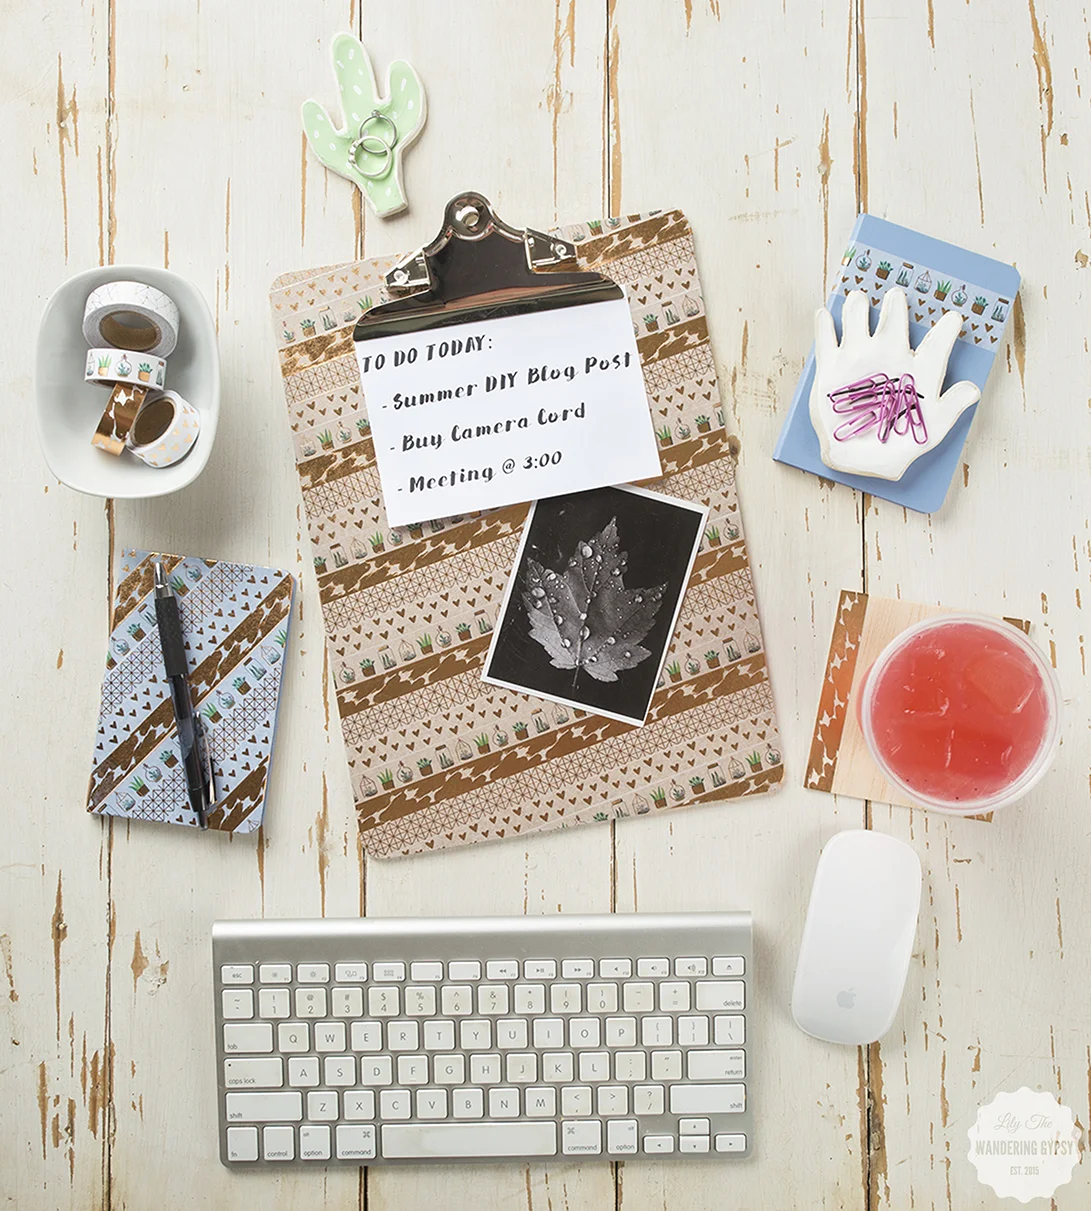
I covered an assortment of items, including: A clip board, wooden utensils, blank journals, and paper gift bags! Seriously, this project was SO fun!!!


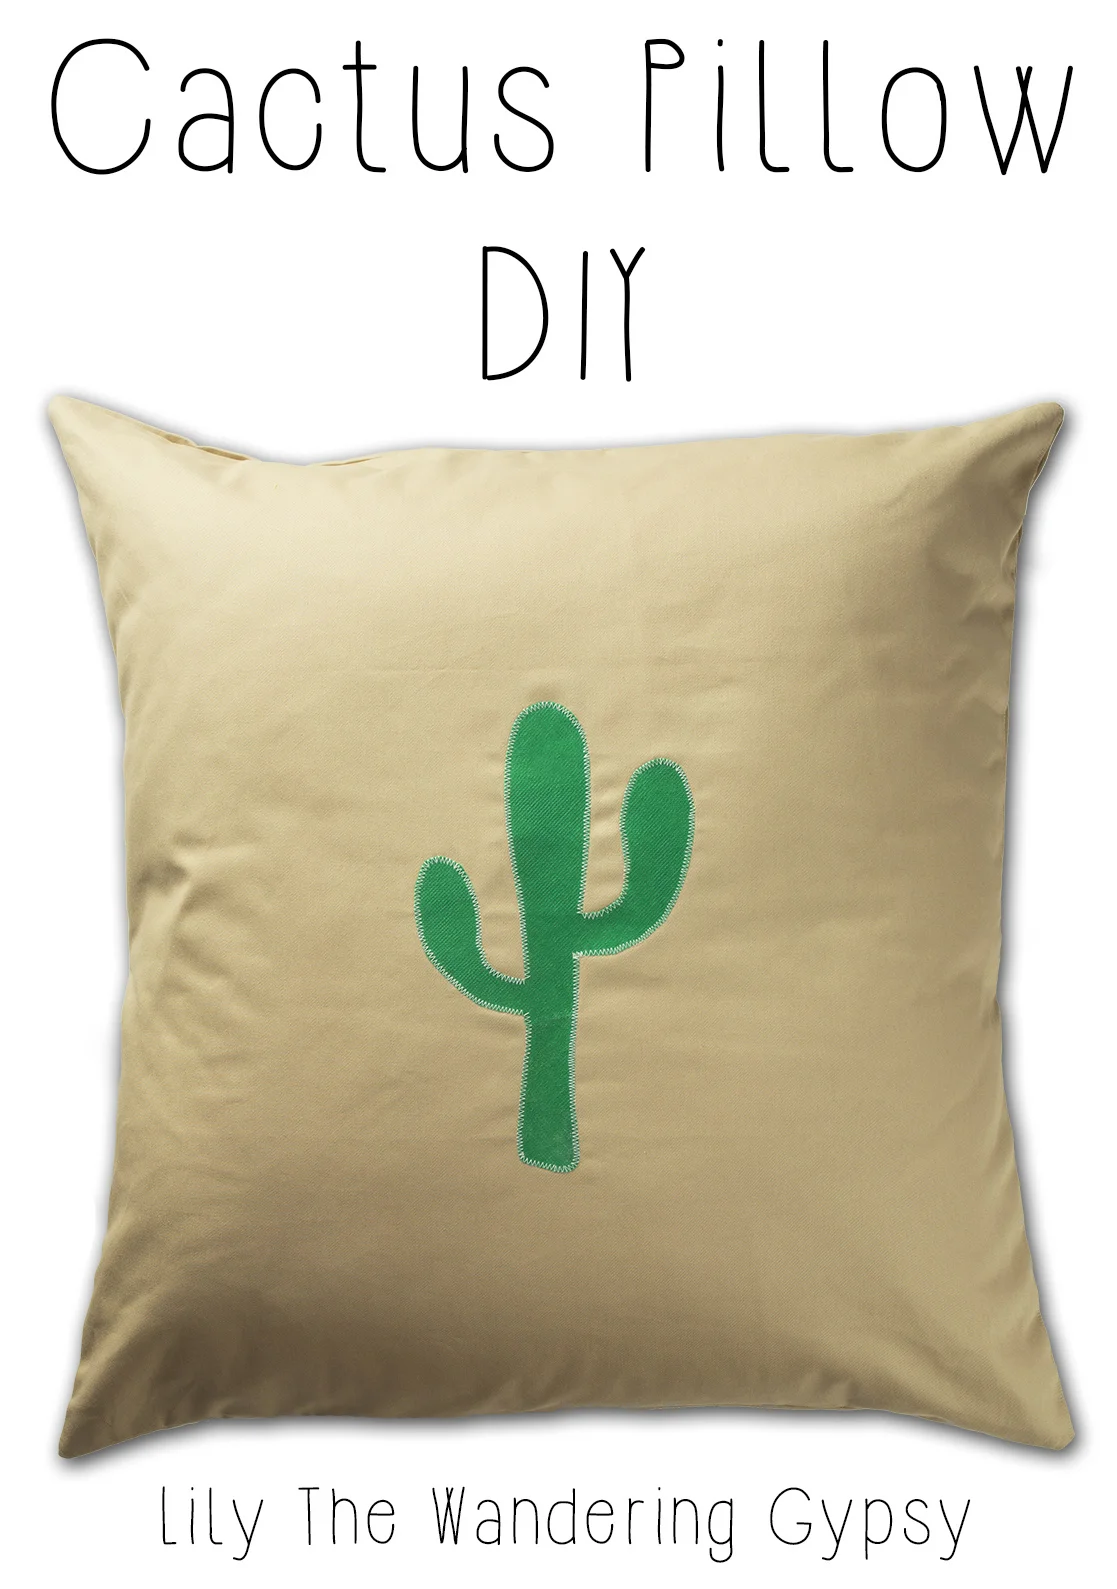
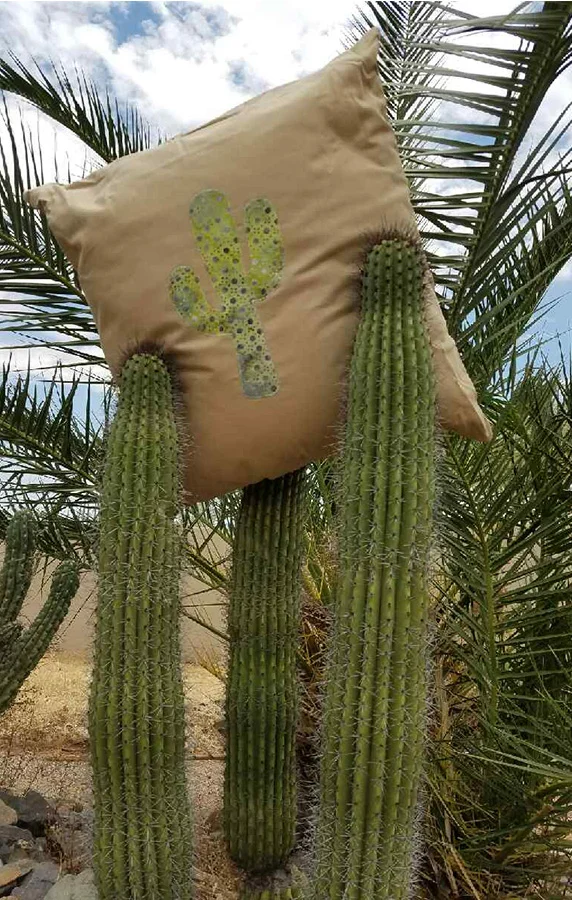
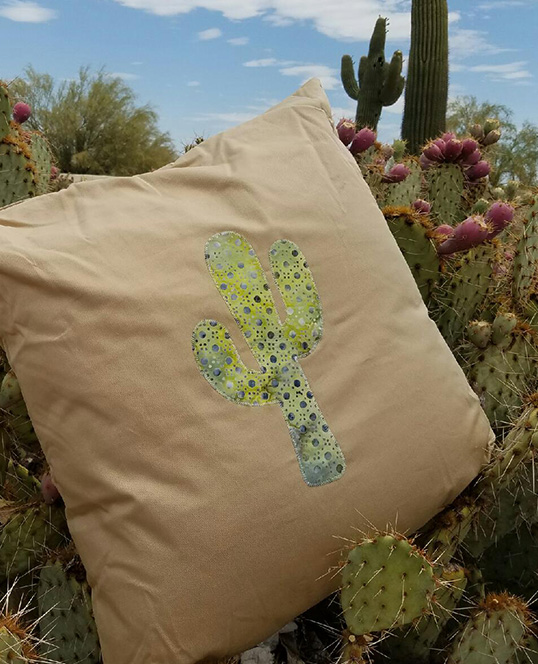
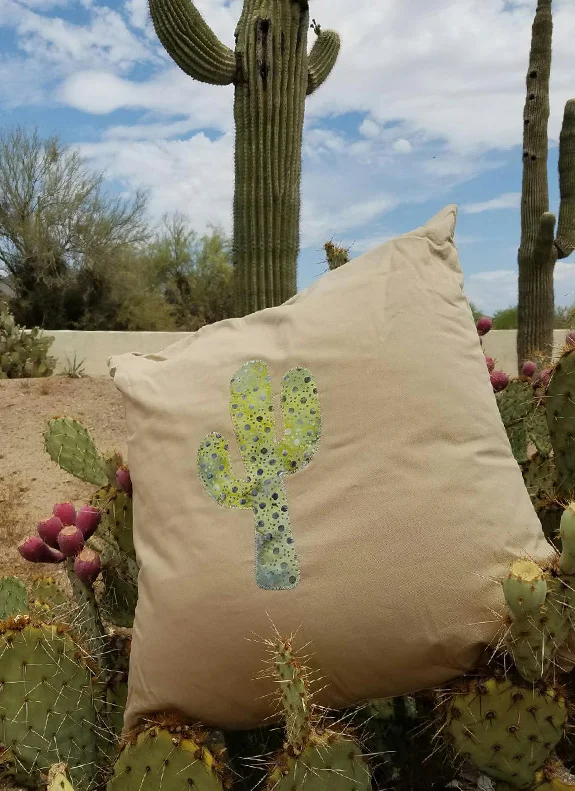
Cactus Pillow DIY
This is an amazingly awesome DIY project! Perfect to make for yourself, or to give to someone else. In this tutorial, I used a pillow form from an existing pillow (which was cheaper than buying a pillow insert by itself! I got a pillow that was on super sale at Hobby Lobby - I thought that was pretty great!
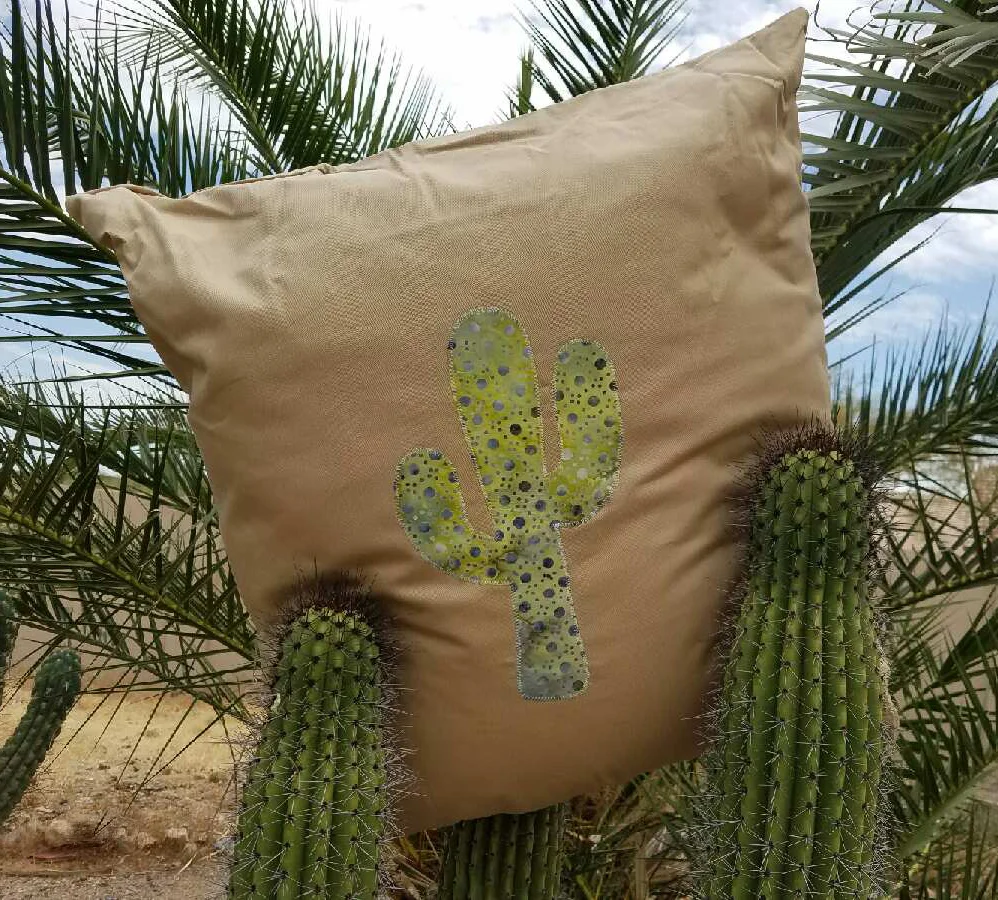
My Step Mom was kind enough to take photos of a similar pillow, that I sent to my dad for Father's Day
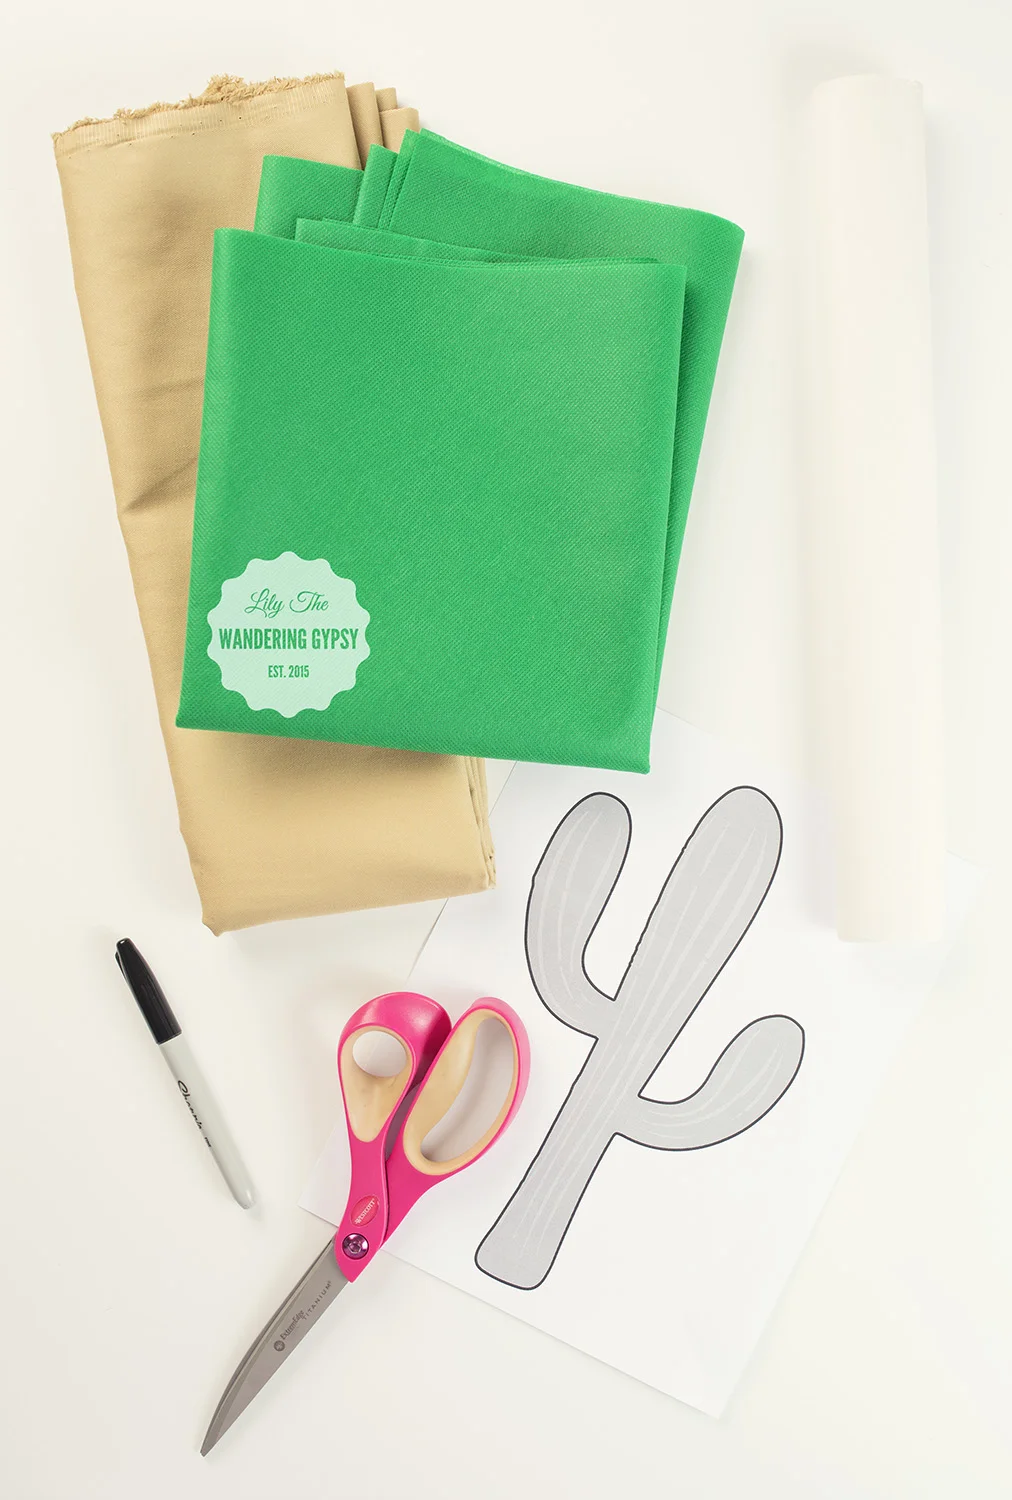
MATERIALS NEEDED:
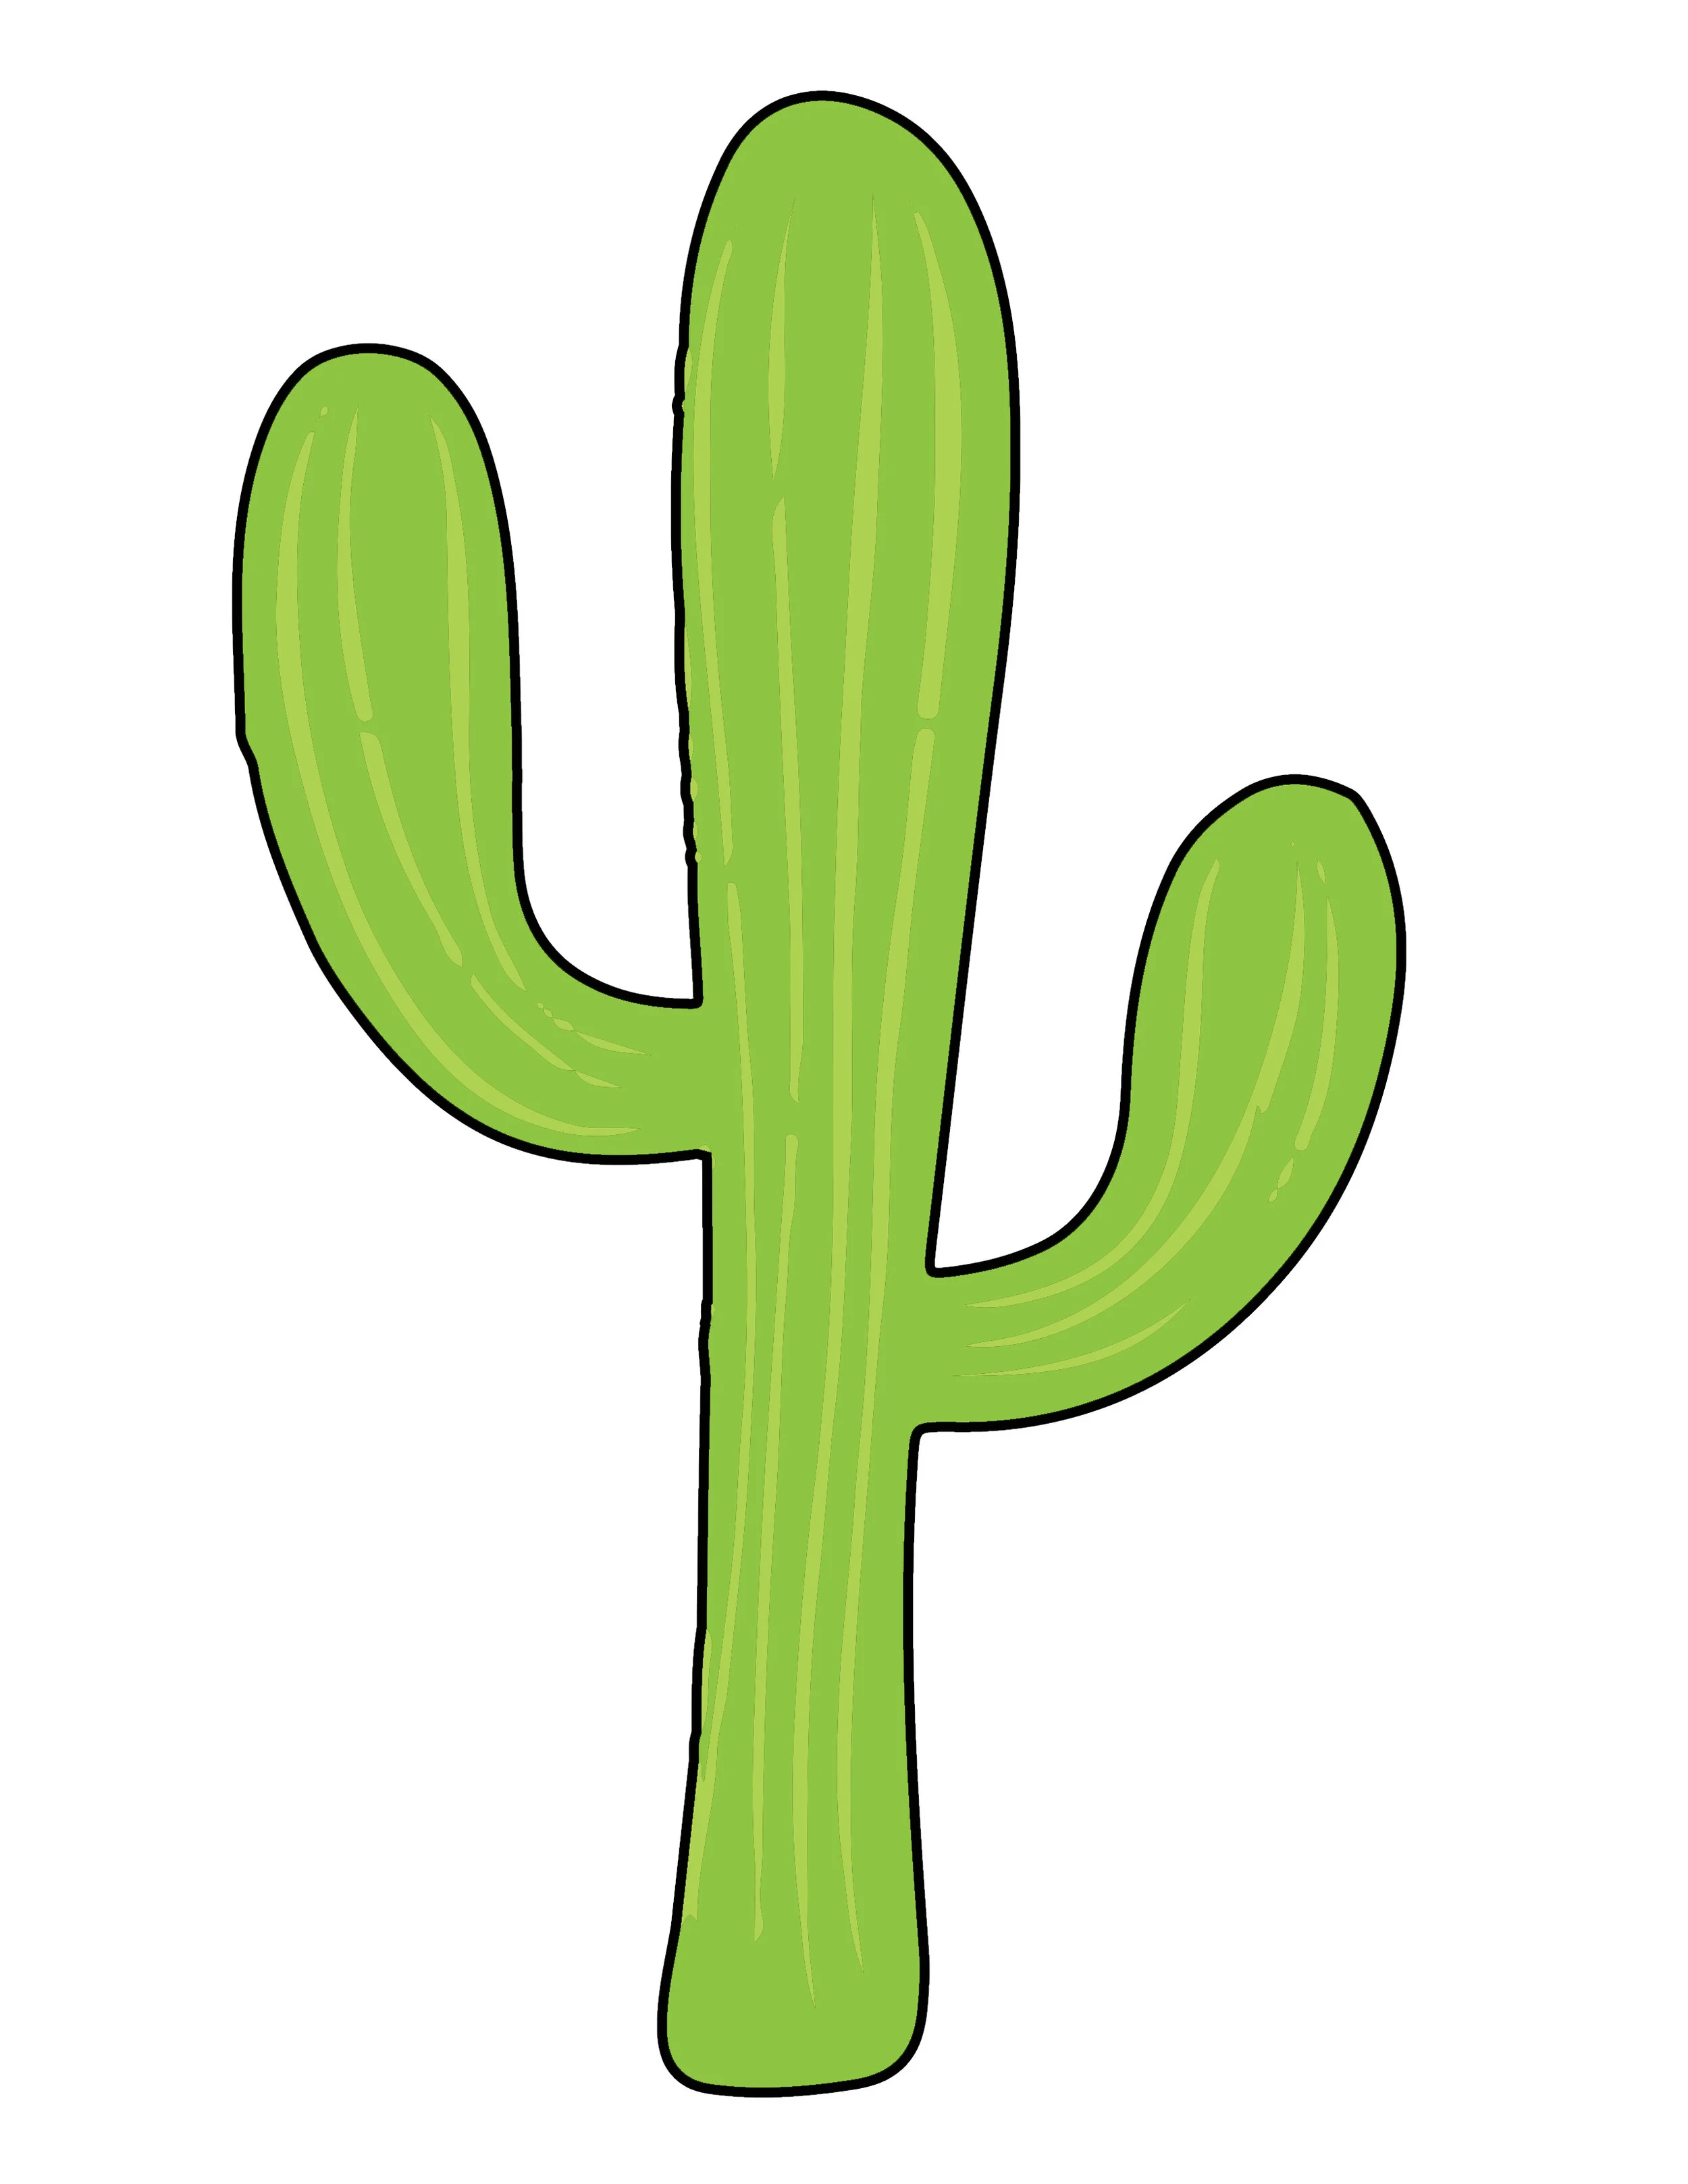
Right click this image to save it, then print at 100%.
- Pillow Form
- Solid Tan Canvas (or similar) material That will cover your pillow 1.5 times (I will explain below)
- Green Cotton Fabric (for cactus) - Note - Only 100% Cotton Material works, because you will be ironing it.
- Fusible Webbing (the only kind I would EVER suggest would be Heat N Bond Lite Iron-On Adhesive. It's hard to see, but it's the paper-like material in the top right of the image, right.
- Iron + Ironong Board
- Sewing Machine, Thread, Scissors
- Printed out image of cactus, right.
INSTRUCTIONS:
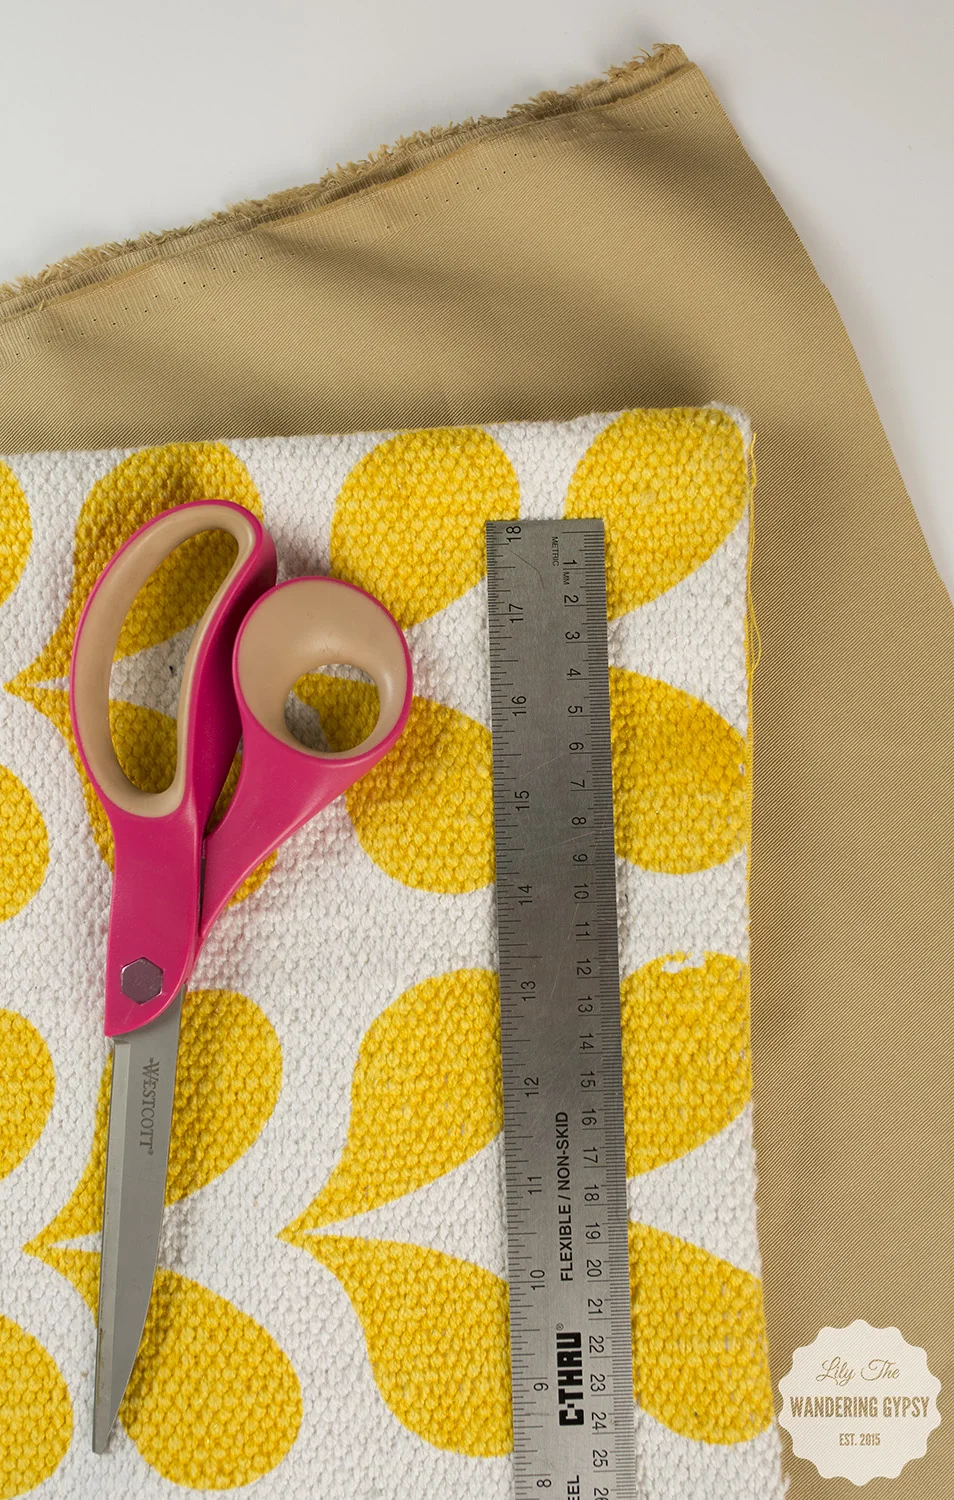
1.) Iron canvas material if needed. Remove pillow case from pillow form, and lay it down onto the canvas fabric. Cut one piece the exact same shape as the pillow case - this will be the front of your pillow. Alternately, measure your pillow form, and use those measurements instead.
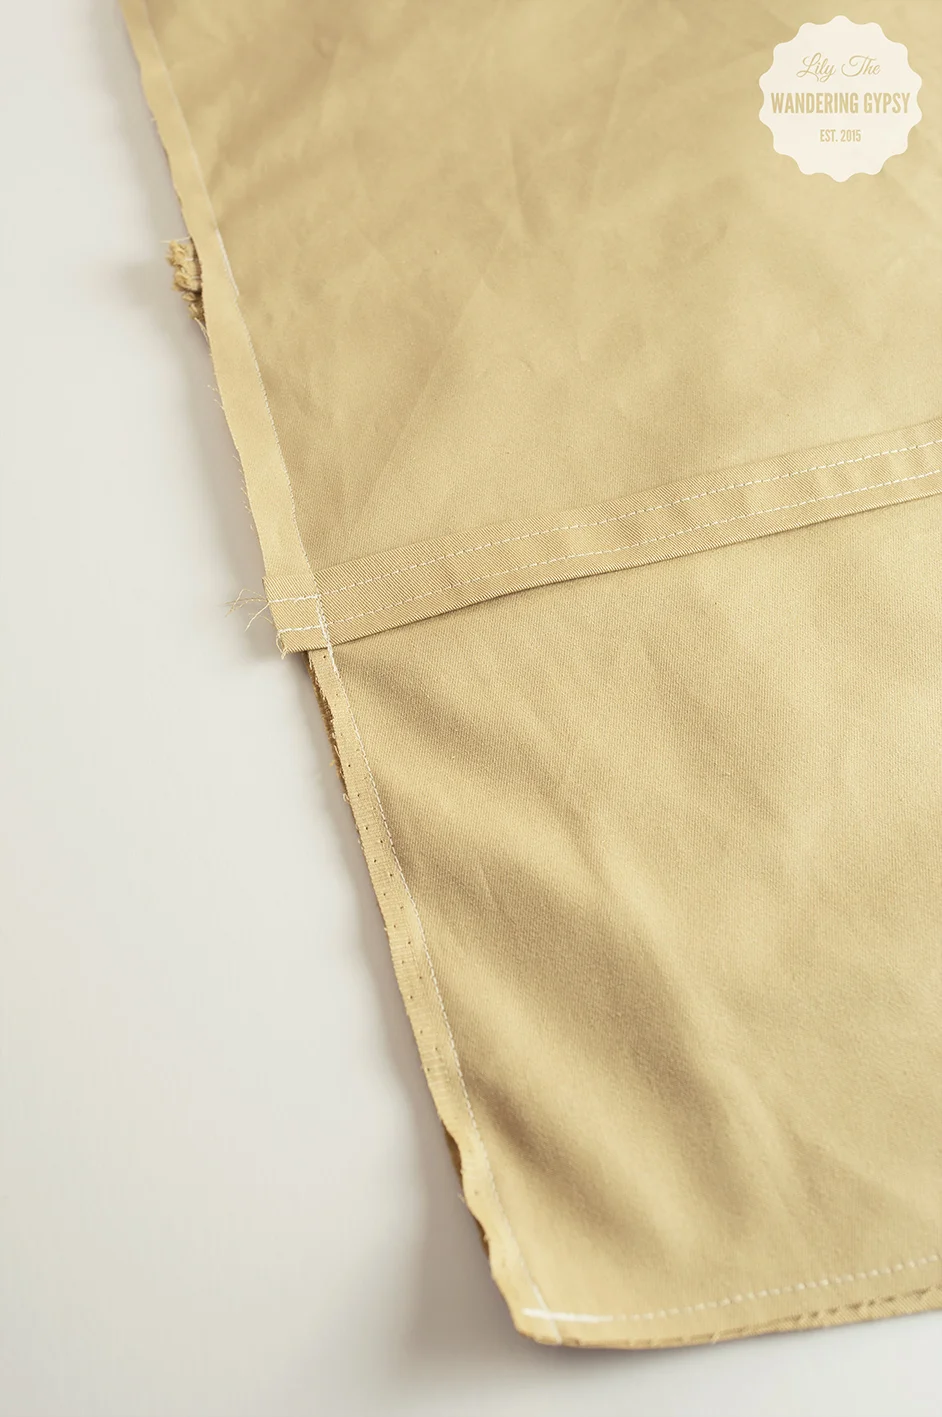
- Next, to cut the back part of the pillow, you need two pieces to create the envelope flaps.
- Using the same width as the front piece, cut a second piece of fabric about 1.5 times the length of the front piece. For instance - if my front piece measured 10" x 10", my second fabric piece would measure 10" x 15".
- Cut the long piece into two pieces, a bit off center, so one piece is longer then the other by a few inches.
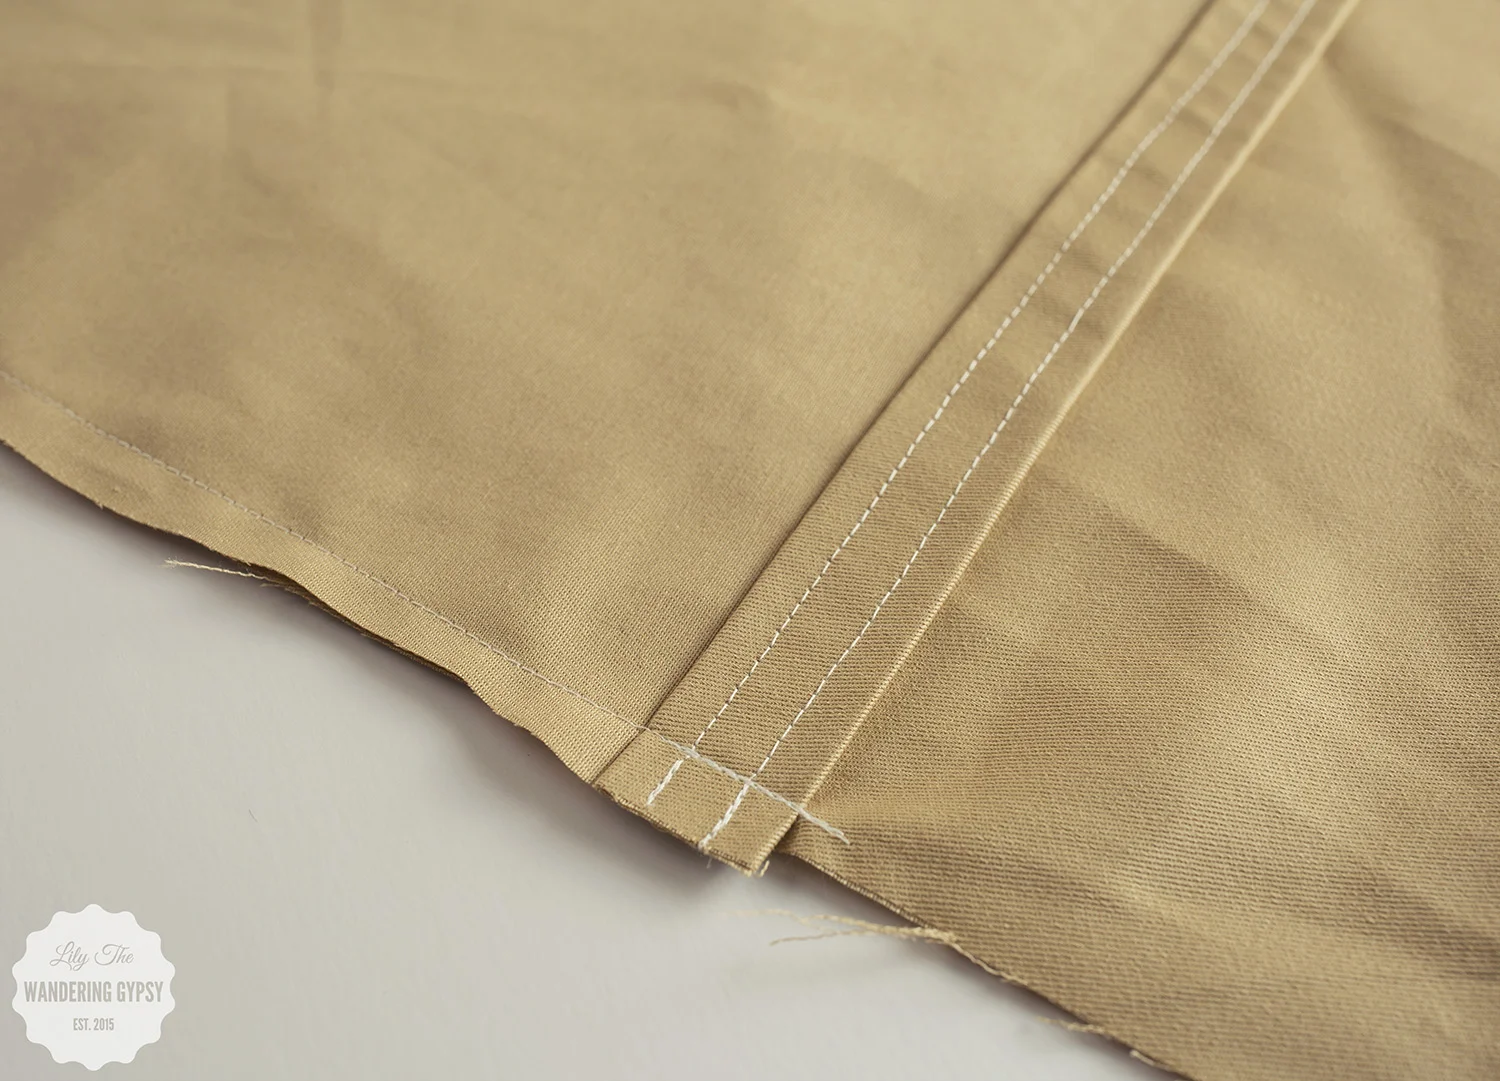
2.) Next, you will create a nice hem line for the two back pieces. With an iron, fold down one edge of each piece (going horizontally), over twice. This will create a nice finished edge. Sew the hem line down a couple of times to secure it. Iron again, if you want.

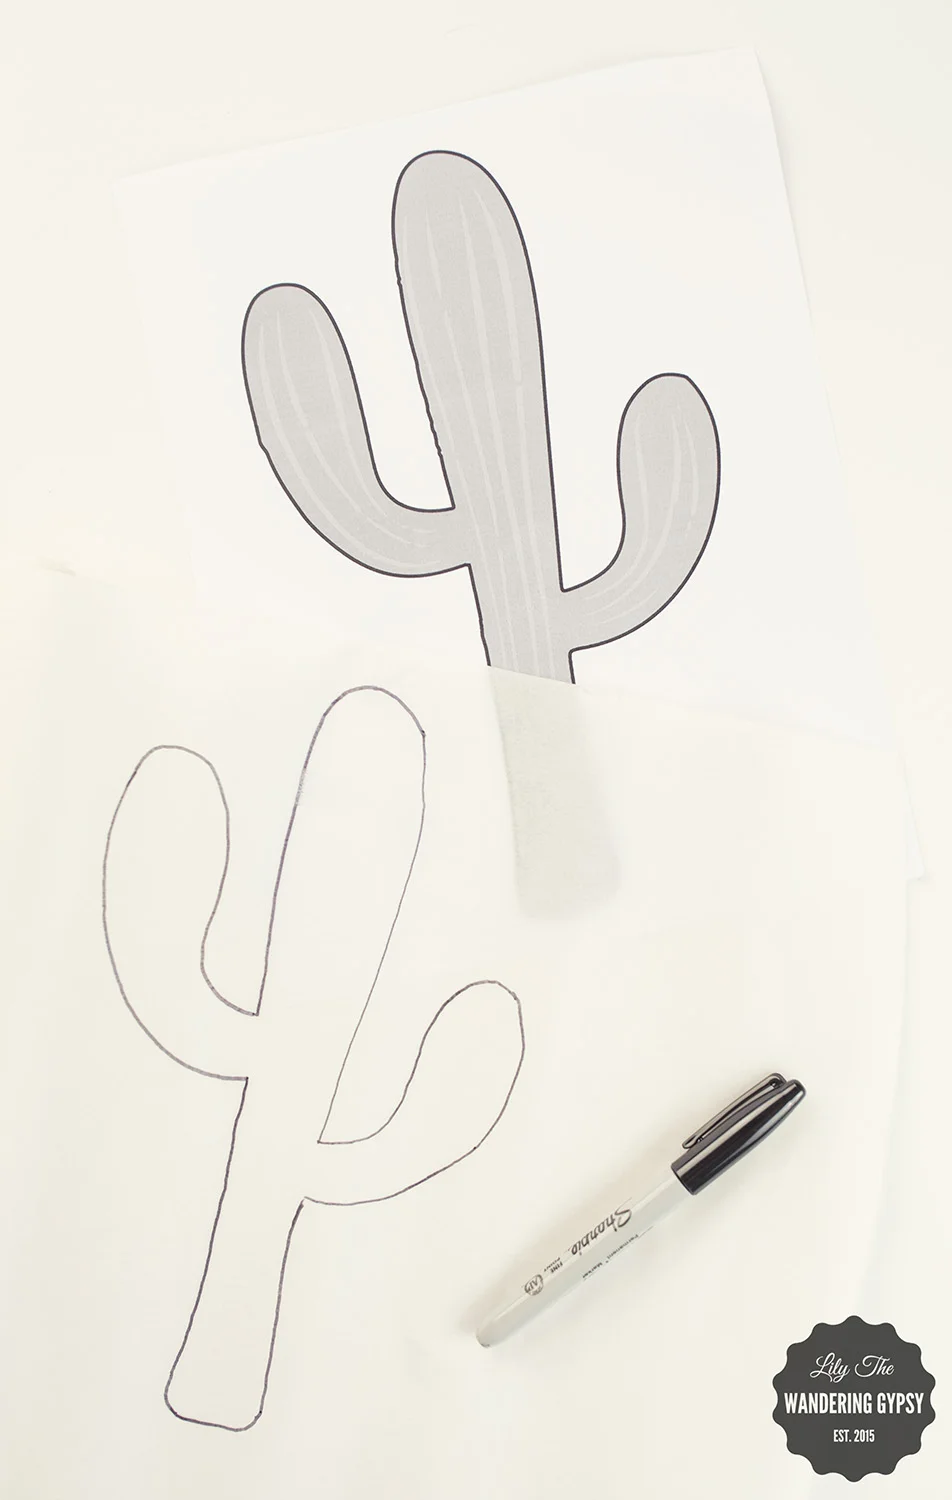
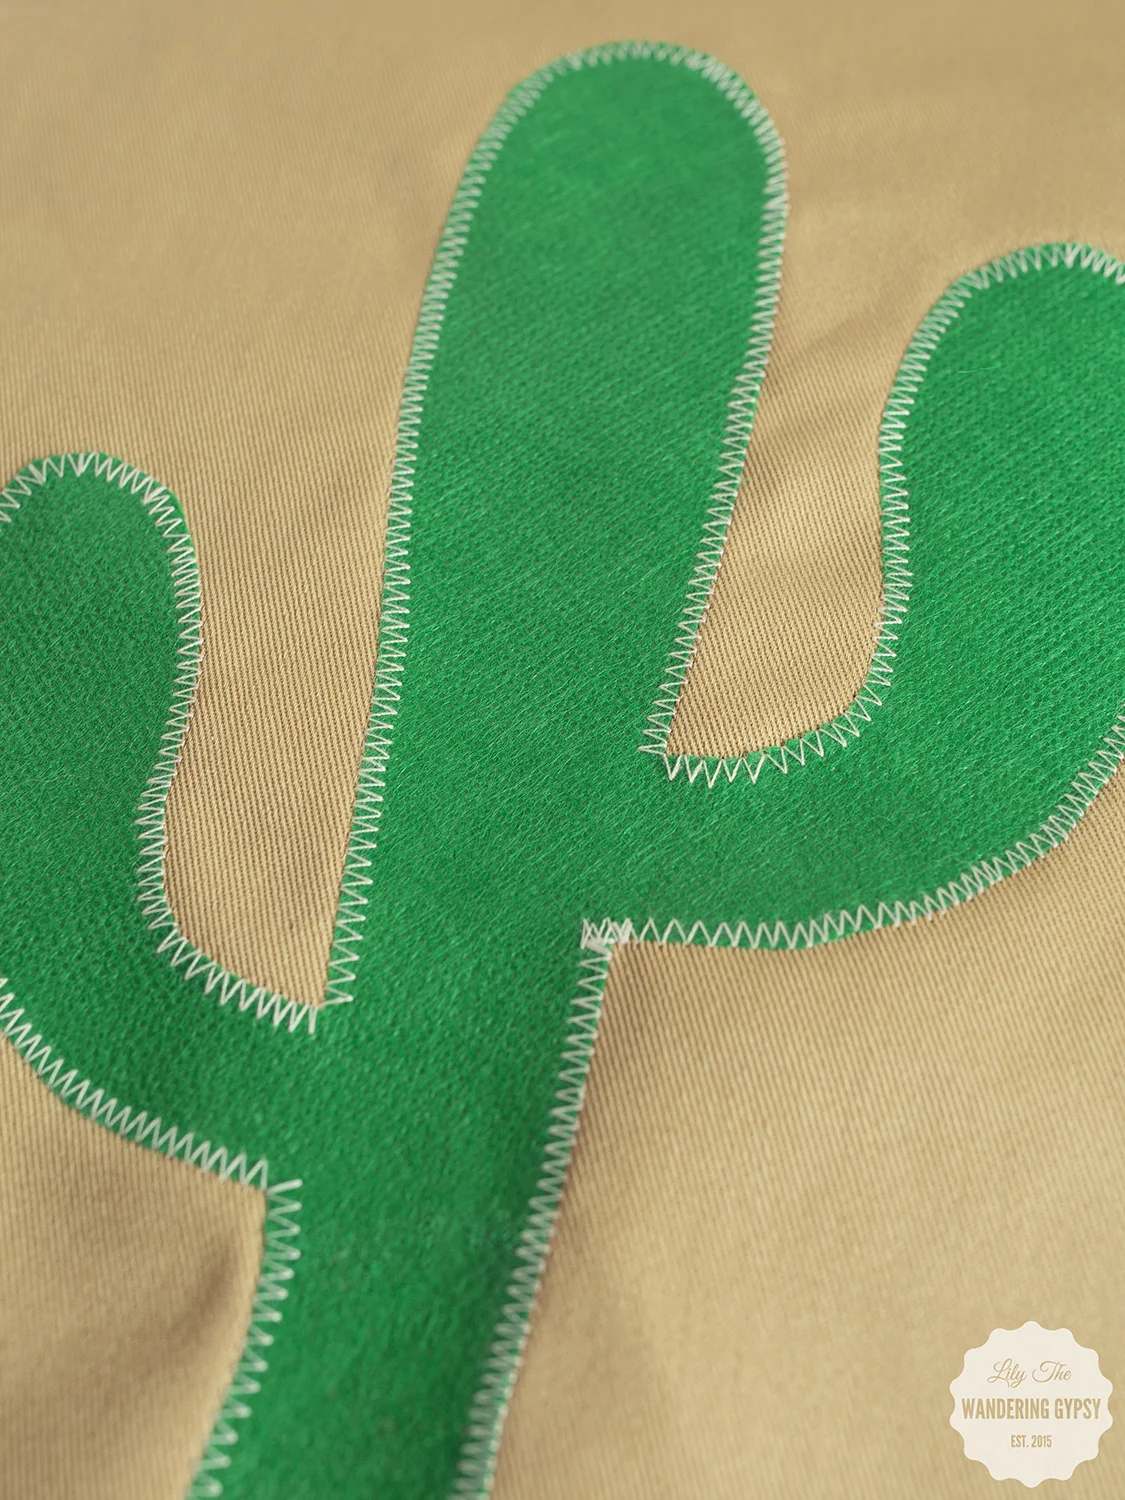
3.) Now, let's make an applique!!
- Trace the cactus shape onto the paper/smooth side of the fusible webbing material with a permanent marker.
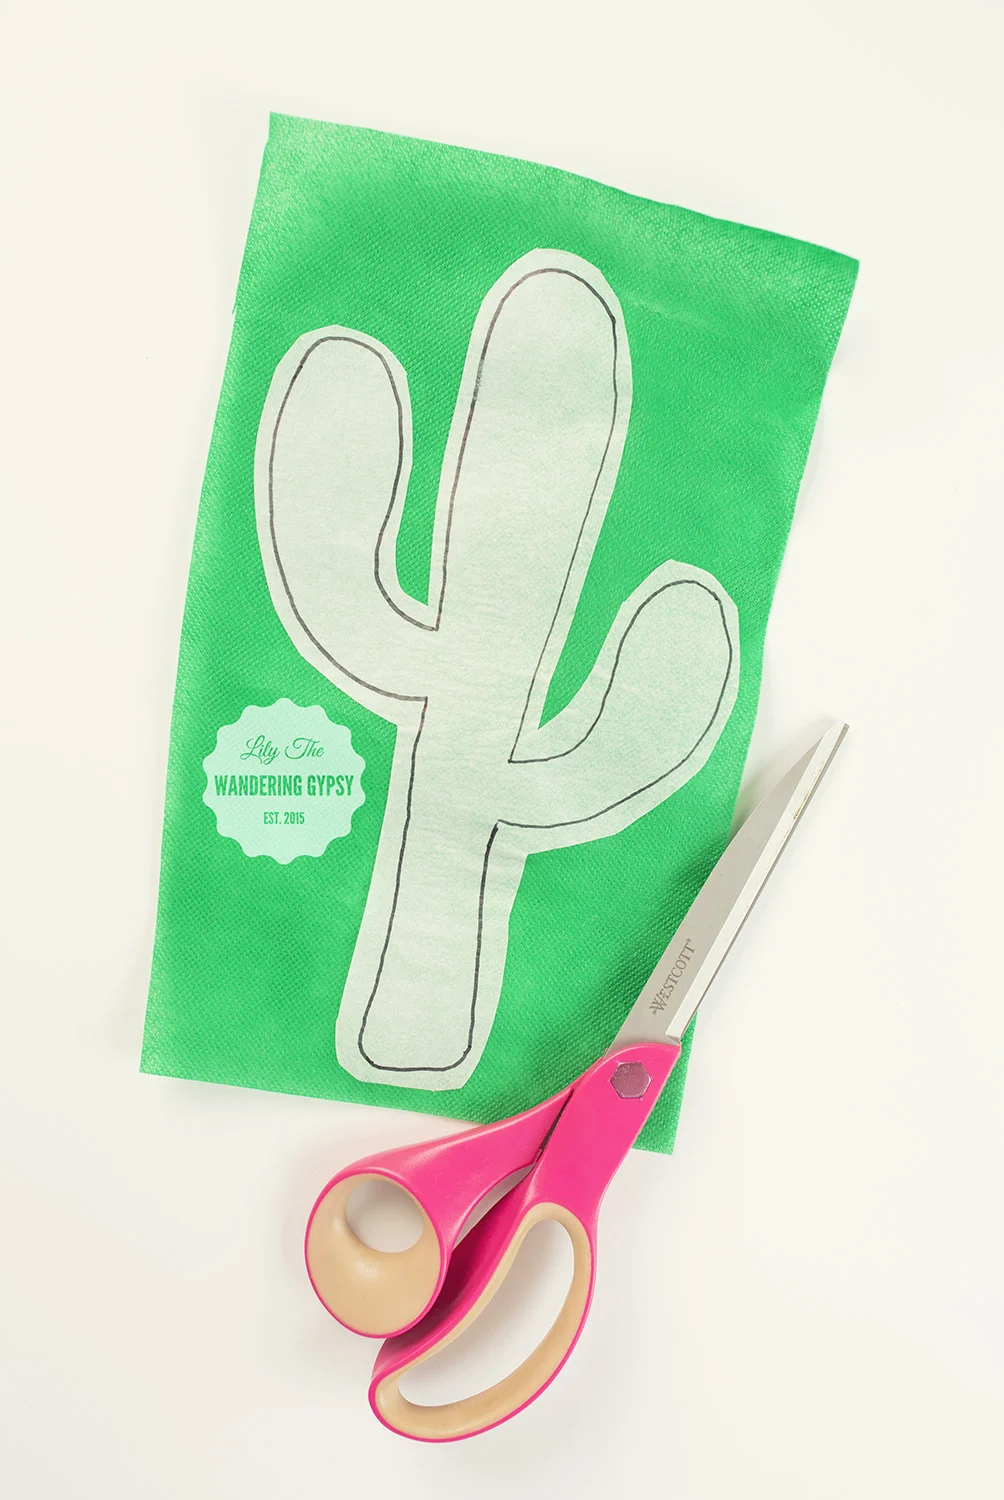
- Cut out the cactus shape you drew, and iron it onto the green fabric. Like I mentioned before, only 100% cotton can be used for this! The green material I chose wound up being 10% polyester and got stuck to my iron, and melted! No fun!
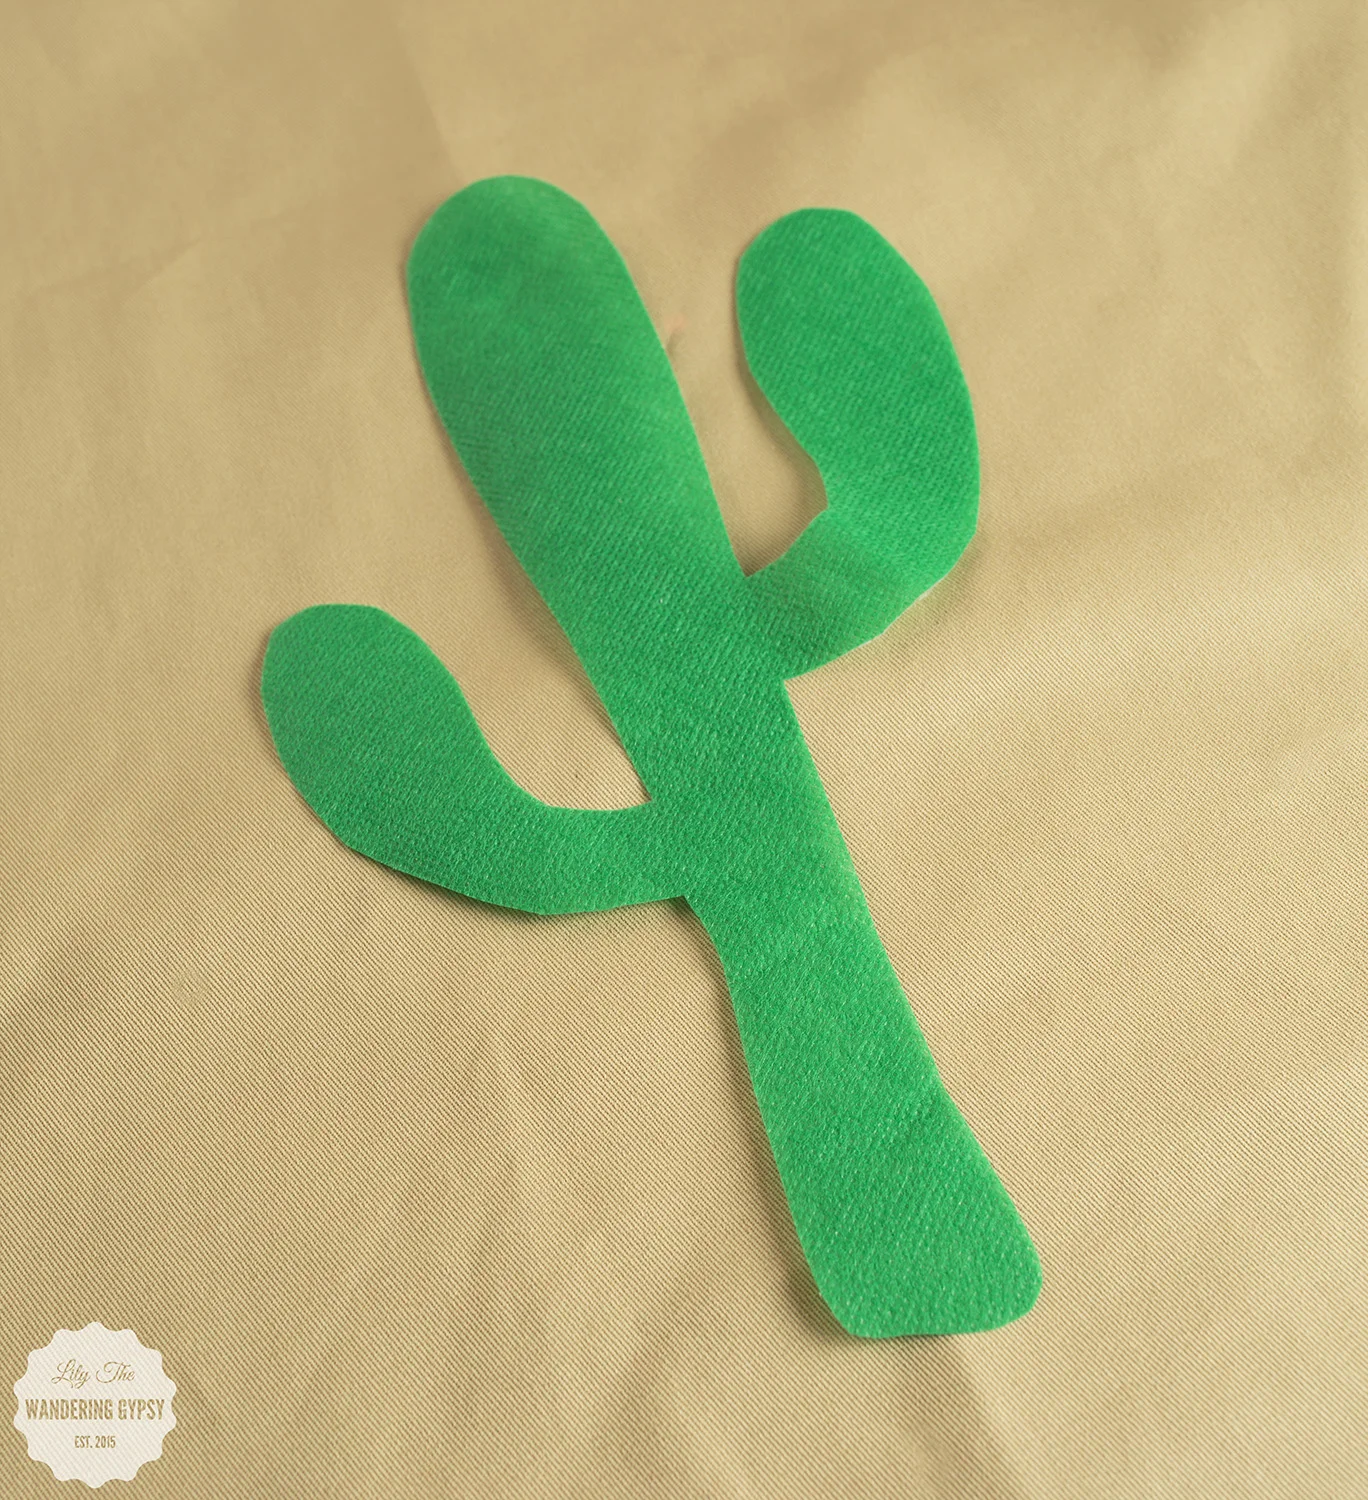
- Cut out the cactus shape you ironed onto the green fabric, and peel the paper backing off of the shape. One trick I use, is to slightly score the paper backing, to start the "peeling" process :)
4.) Time to iron on the cactus. Fold the front piece of tan material in half and then half again, to find the center. Use this to line up your cactus shape. Then, iron the shape onto the front of the fabric. Iron the whole piece of fabric, and get ready to sew on the applique!
5.) Using a zig zag stitch or a straight stitch, sew all around the cactus shape. Tie any loose thread ends on the back side of the fabric.

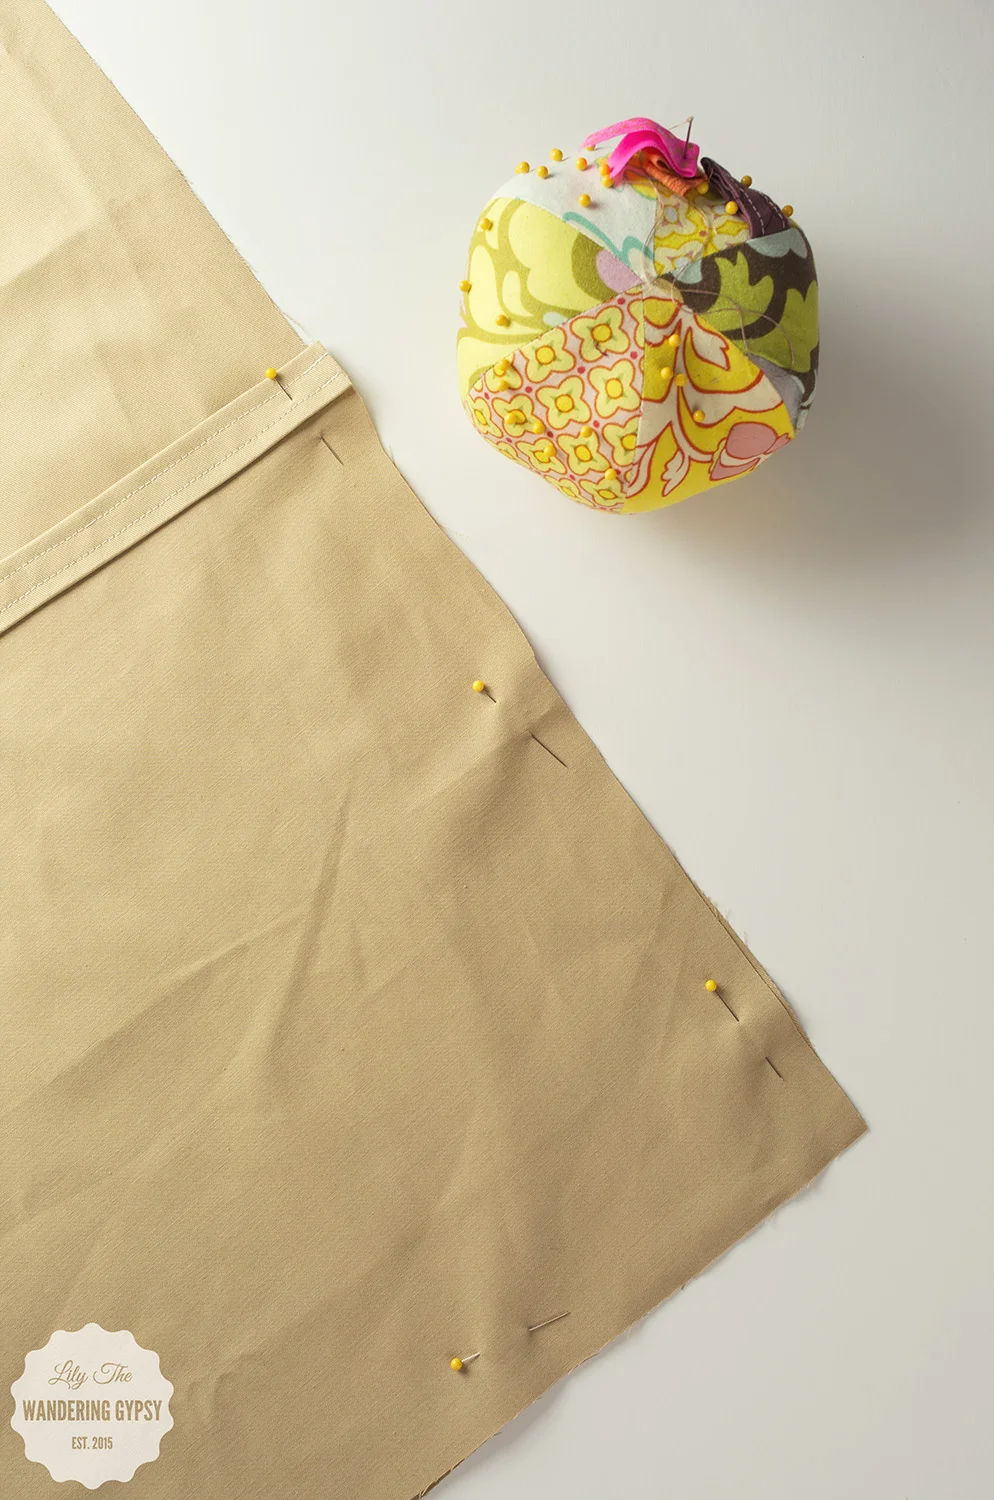
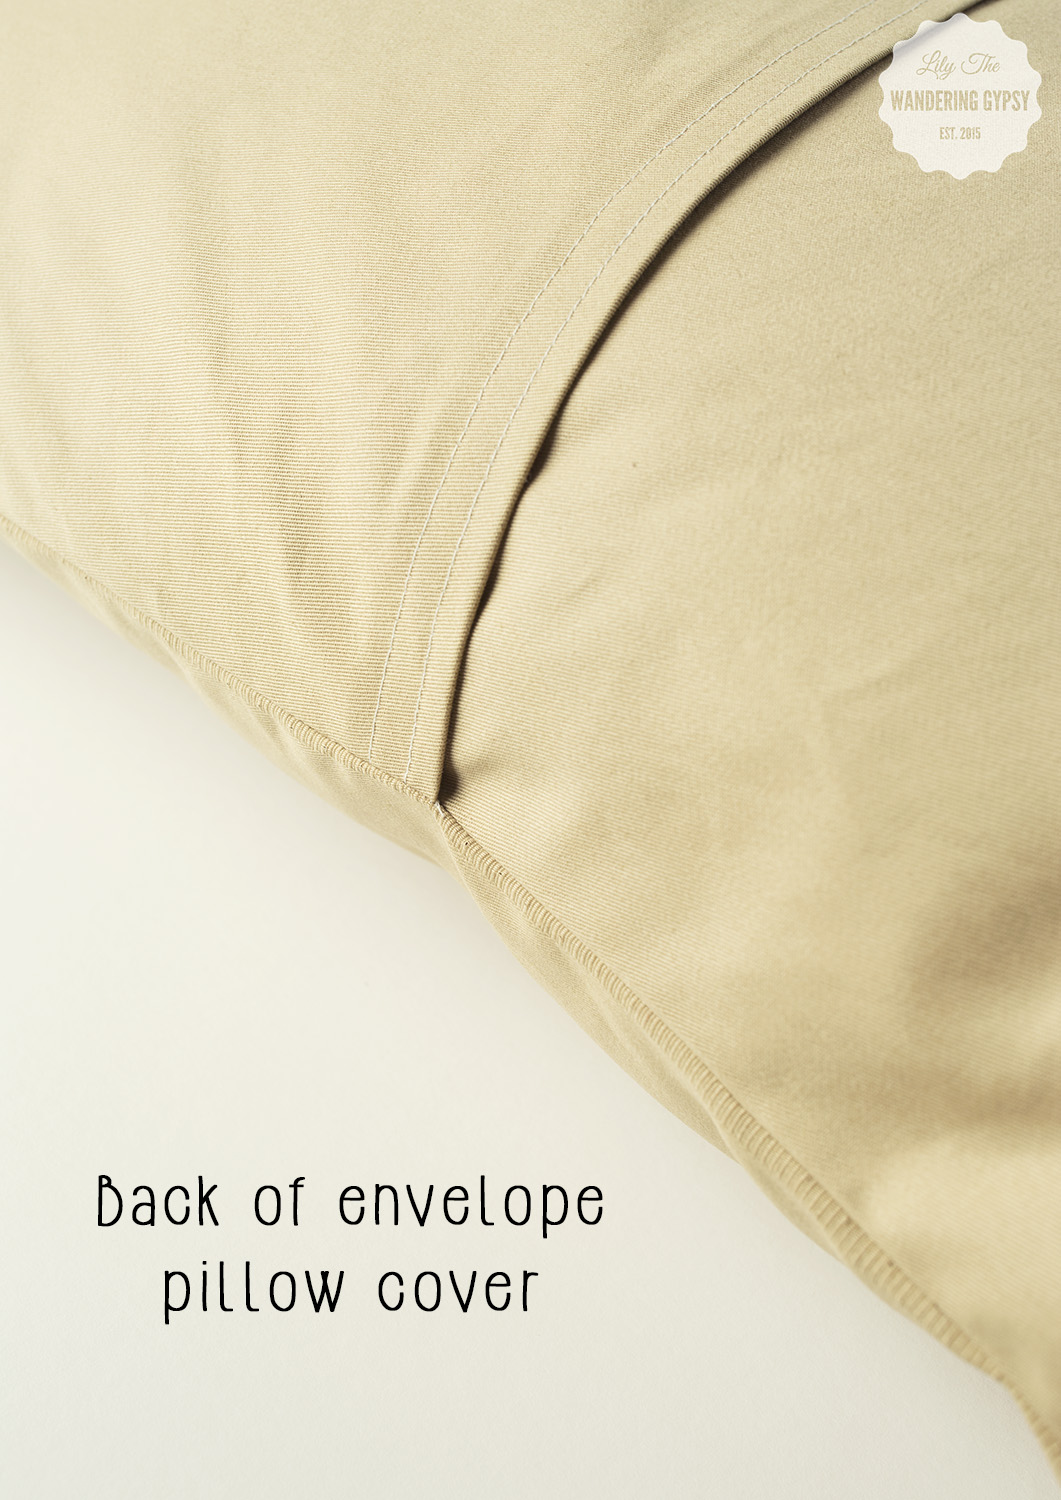
6.) Time to sew and construct the pillow case! This is such a great way to make a pillow case - it's removable and washable, too!
- Pin the shorter back piece with the hem line going horizontally in the middle. Pin the front panel and the first back section together - right sides together. Pin, and sew around the edges. Clip loose threads.
7.) Now, pin the longer back piece up to the ones you just sewed. Line raw edges up, and again, pin and sew around the edges
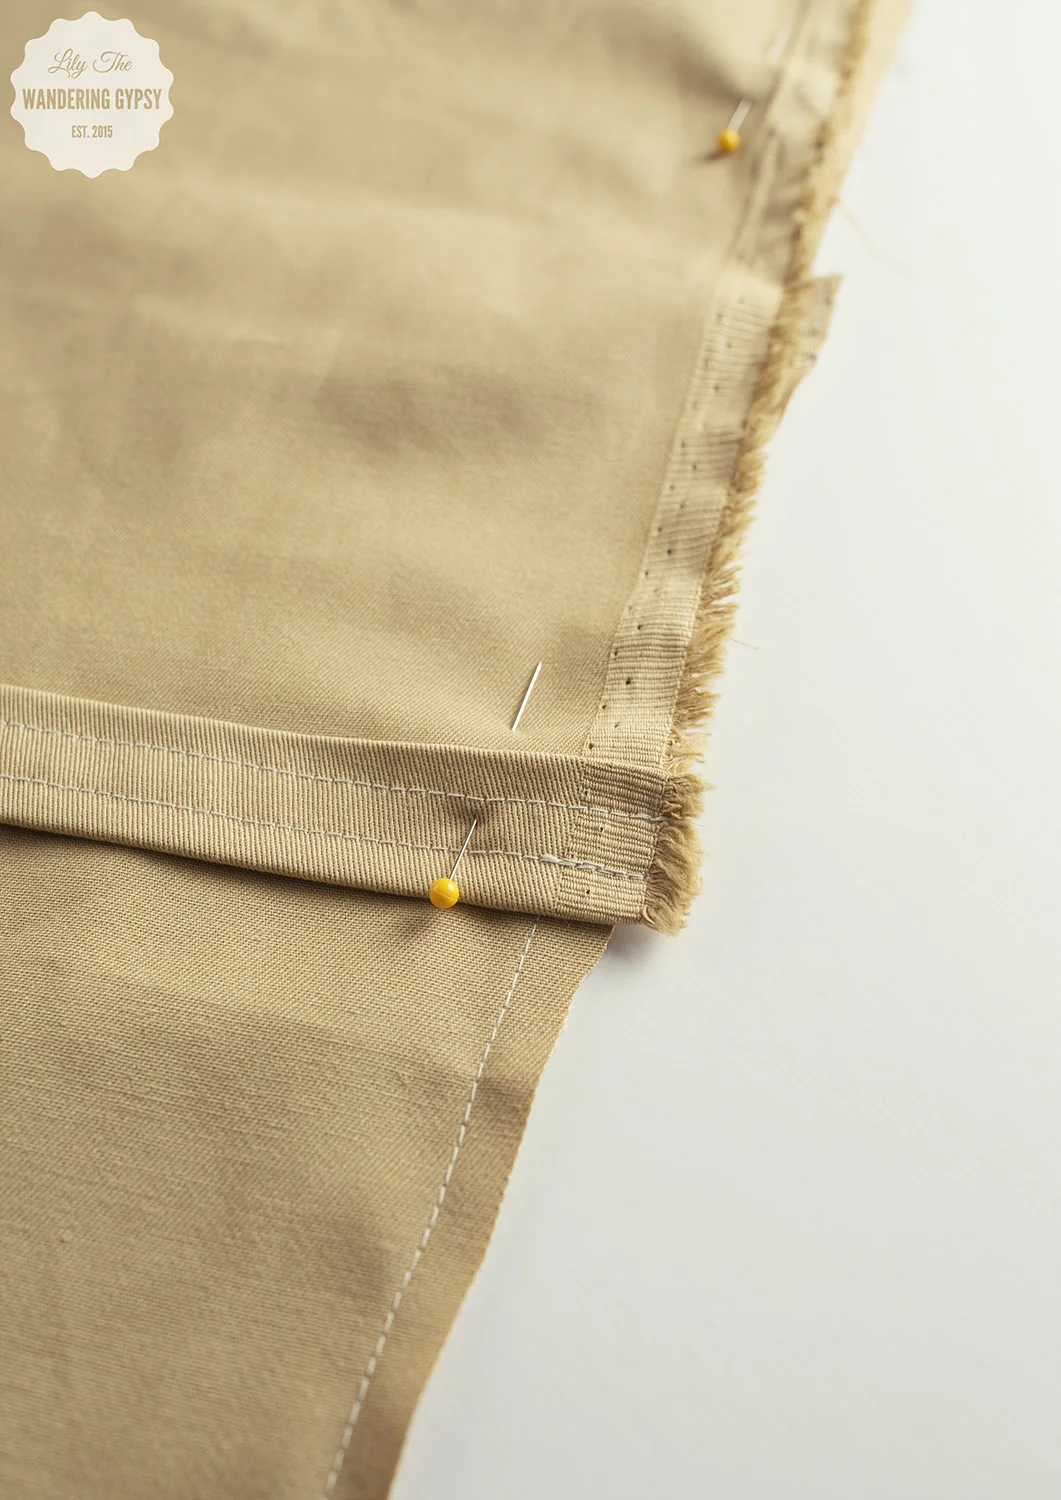
8.) Trim any excess fabric around the edges, and turn your pillow right side out. Iron, if you want, and you're DONE!!!

I hope you enjoyed this tutorial! If you wind up making one of your own, please link to it in the comments below! Happy Sewing, friends!!


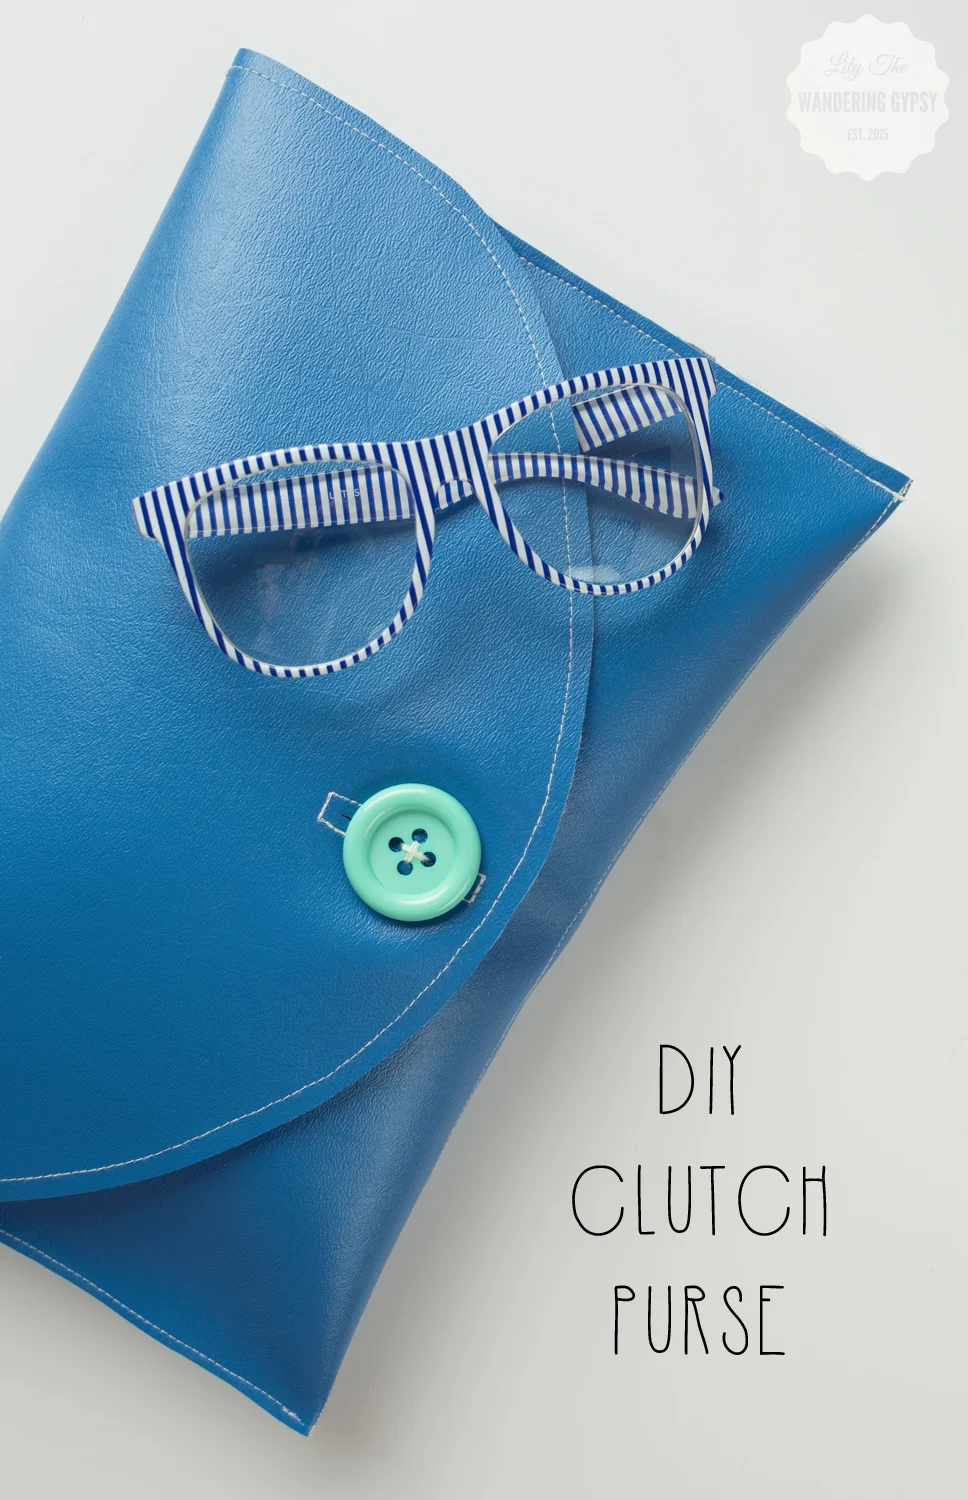
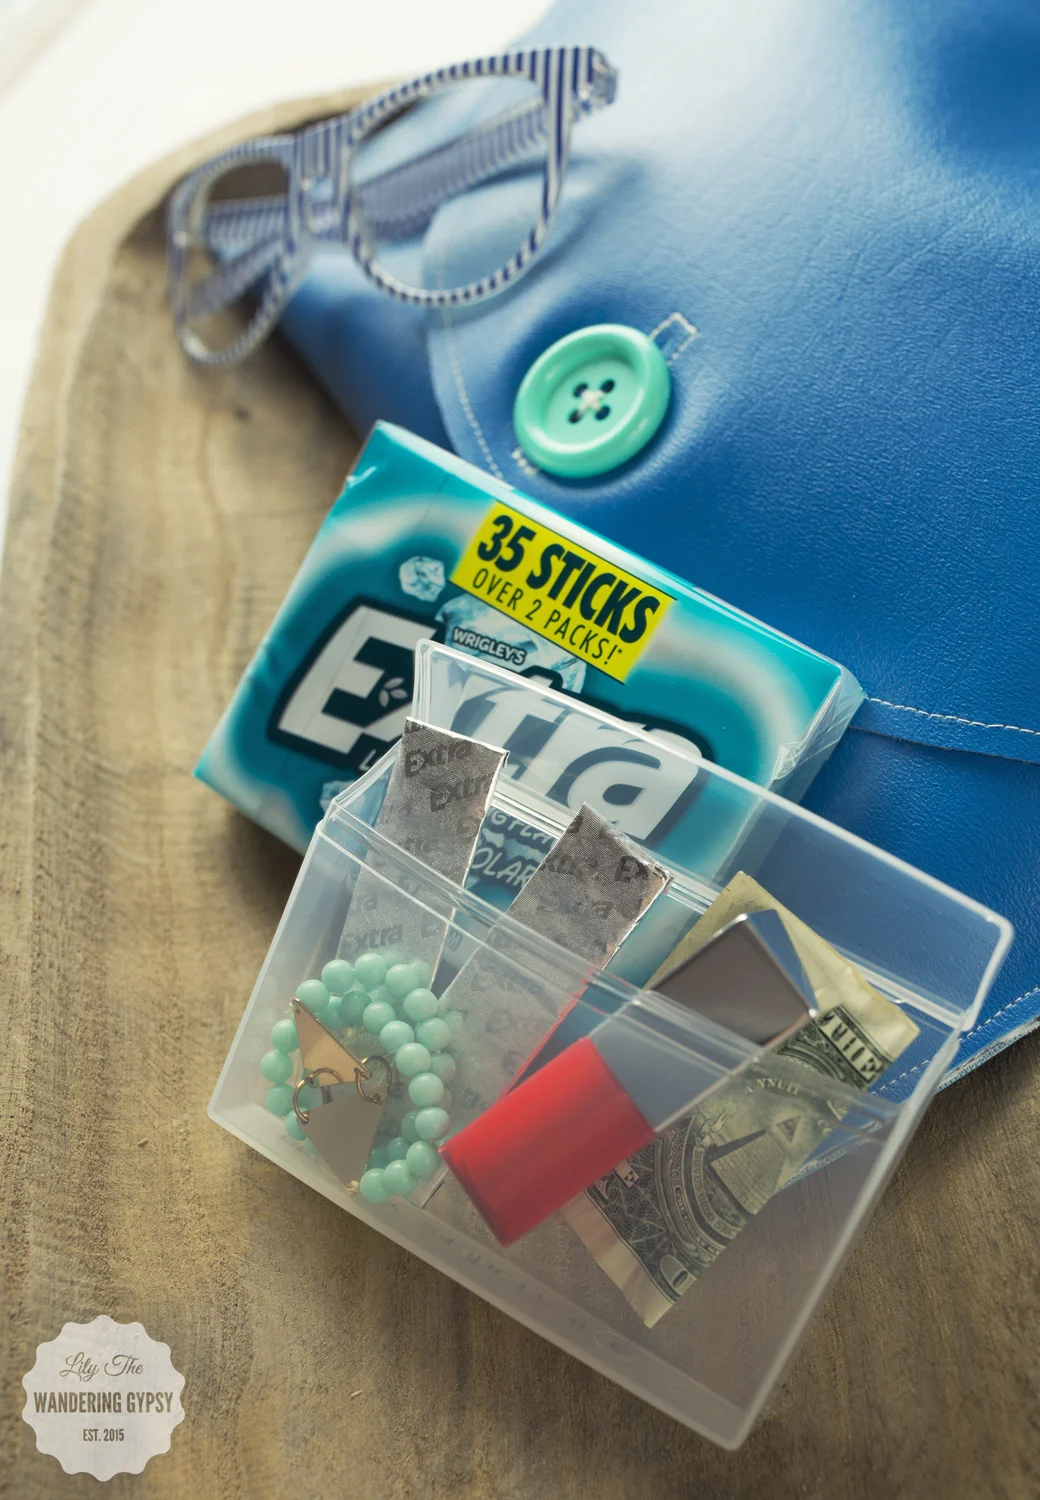
DIY Summer Clutch Purse - 20 Minutes Or Less "Give Extra, Get Extra"
I have an absolutely incredible DIY project for you today! Here is a fun way to spruce up your summer wardrobe. This shop has been compensated by CollectiveBias, Inc. on behalf of its advertiser. All opinions and ideas are my own. #GIVEEXTRAGETEXTRA #Walgreens #CollectiveBias

I always have this problem - I have a great outfit picked out to wear to visit friends or family, and am happy with my jewelry, then I have NO purse to match my outfit! Sure, I have my every day purse, that would work, but I always want something a bit more suited for the occasion.
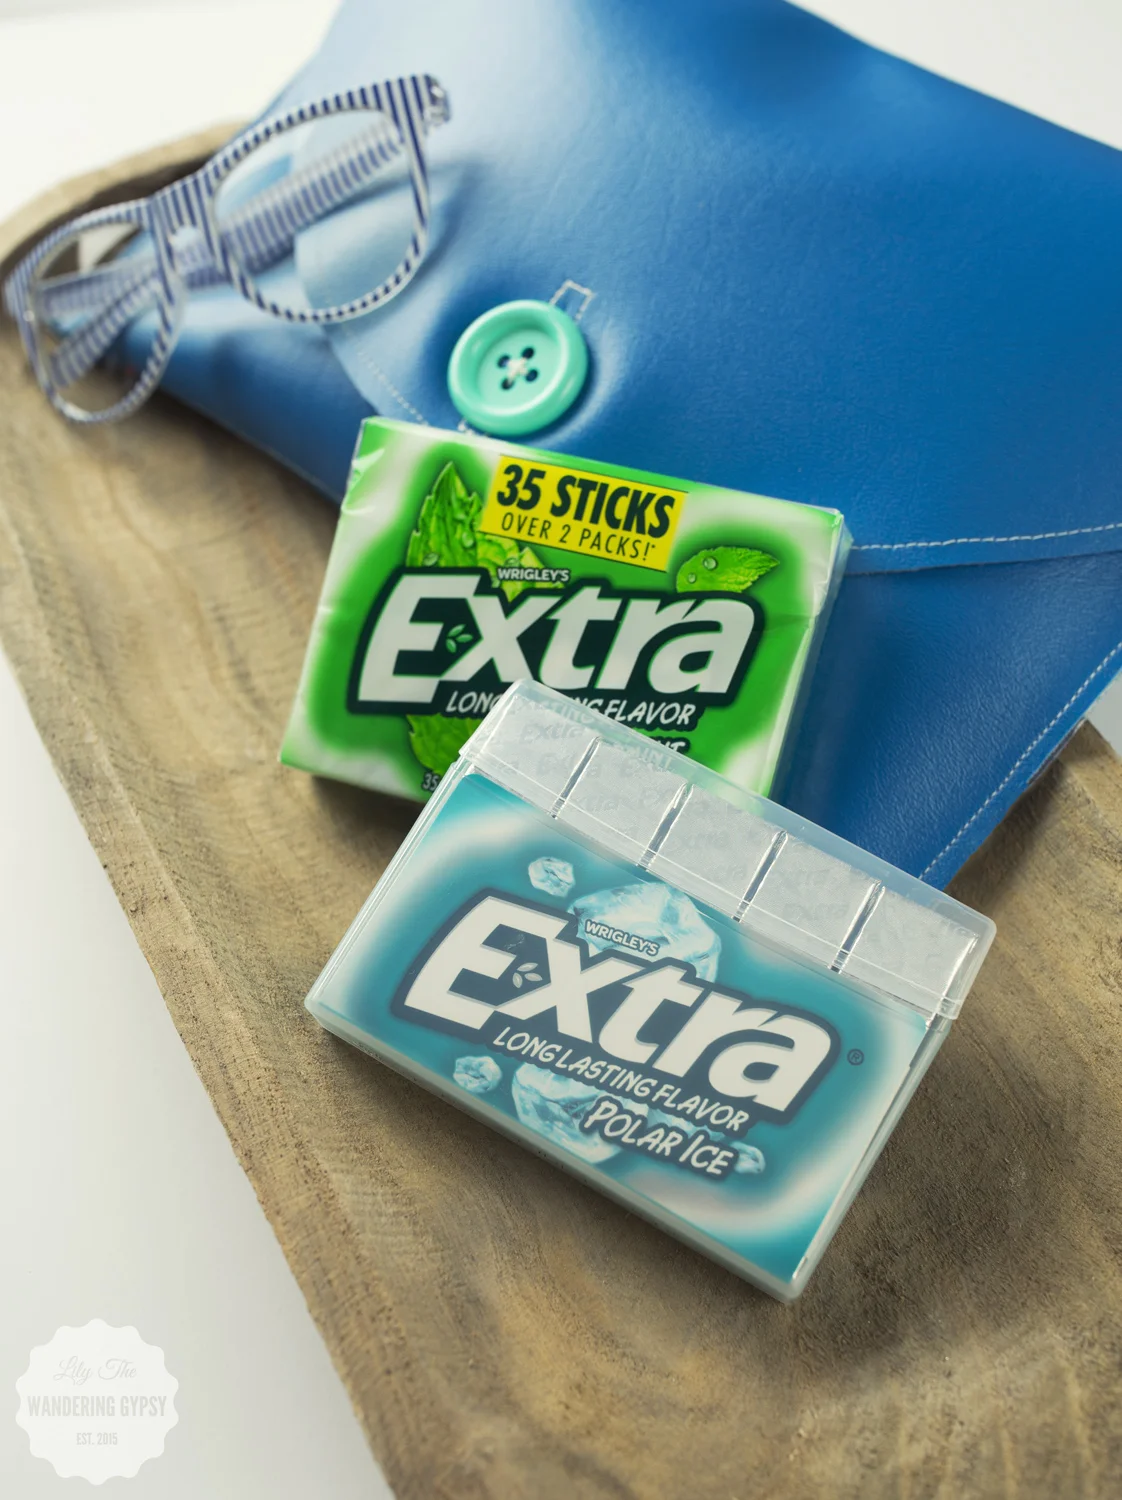
It's always a good idea to bring along a pack of gum with you for a night out, so your breath is fresh! Fun Fact - these new Extra® 35-stick packs have lots of gum to supply your friends as well. You never know what conversation or new friend you could make by sharing a stick of gum with someone!! By simply giving Extra, you may get Extra!
So, here is one way to solve the problem. Sew yourself a quick and easy clutch purse, that takes less than 20 minutes! If you have never, ever sewn before, it could of course take you a tiny bit longer. But, I am very happy with how quickly this project came together!
The Flavors Featured In This Post Include:
Extra® Gum Spearmint
Extra® Gum Polar Ice®

MATERIALS:
- 1/3 yard of vinyl (found in the home decor area of the JoAnn's)
- 1/3 yard of flannel or felt
- Scissors
- 2 small binder clips
- Sewing Machine with Needle and Thread
- Glue Stick
- Hand Sewing Needle and Thread
- Button For Closure
INSTRUCTIONS:
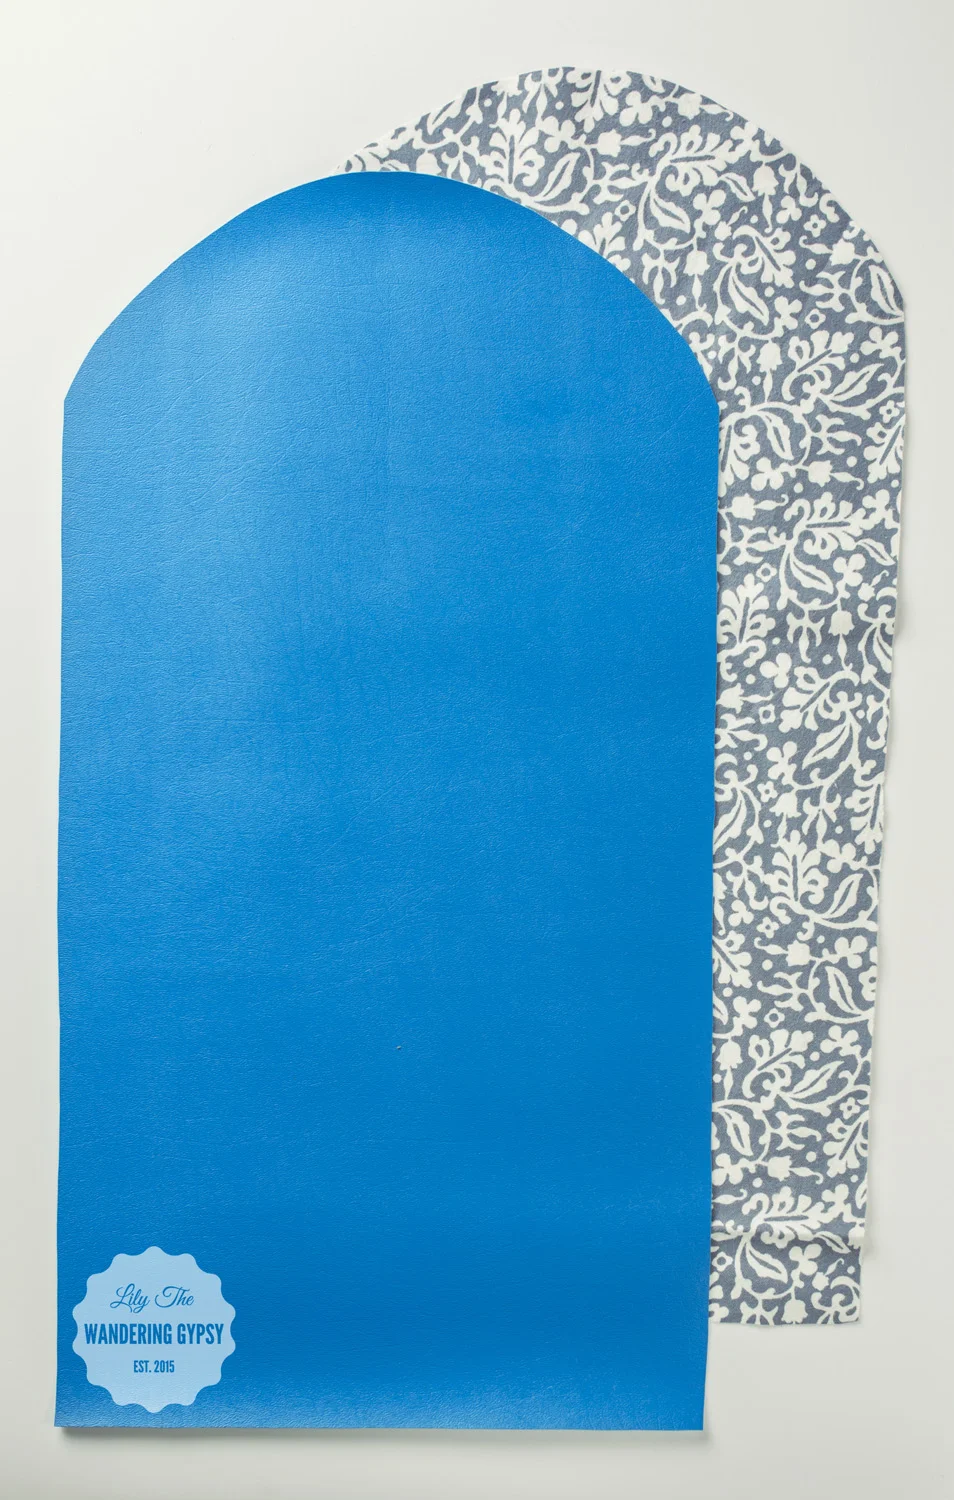
1.) Cut 1 piece of vinyl and 1 piece of flannel.
* Each piece should be roughly 12" across, and 30" tall.
* To round the top pieces, I folded them each in half lengthwise, and created a rounded edge.
2.) Using a glue stick, carefully glue both pieces together so they line up as well as possible.
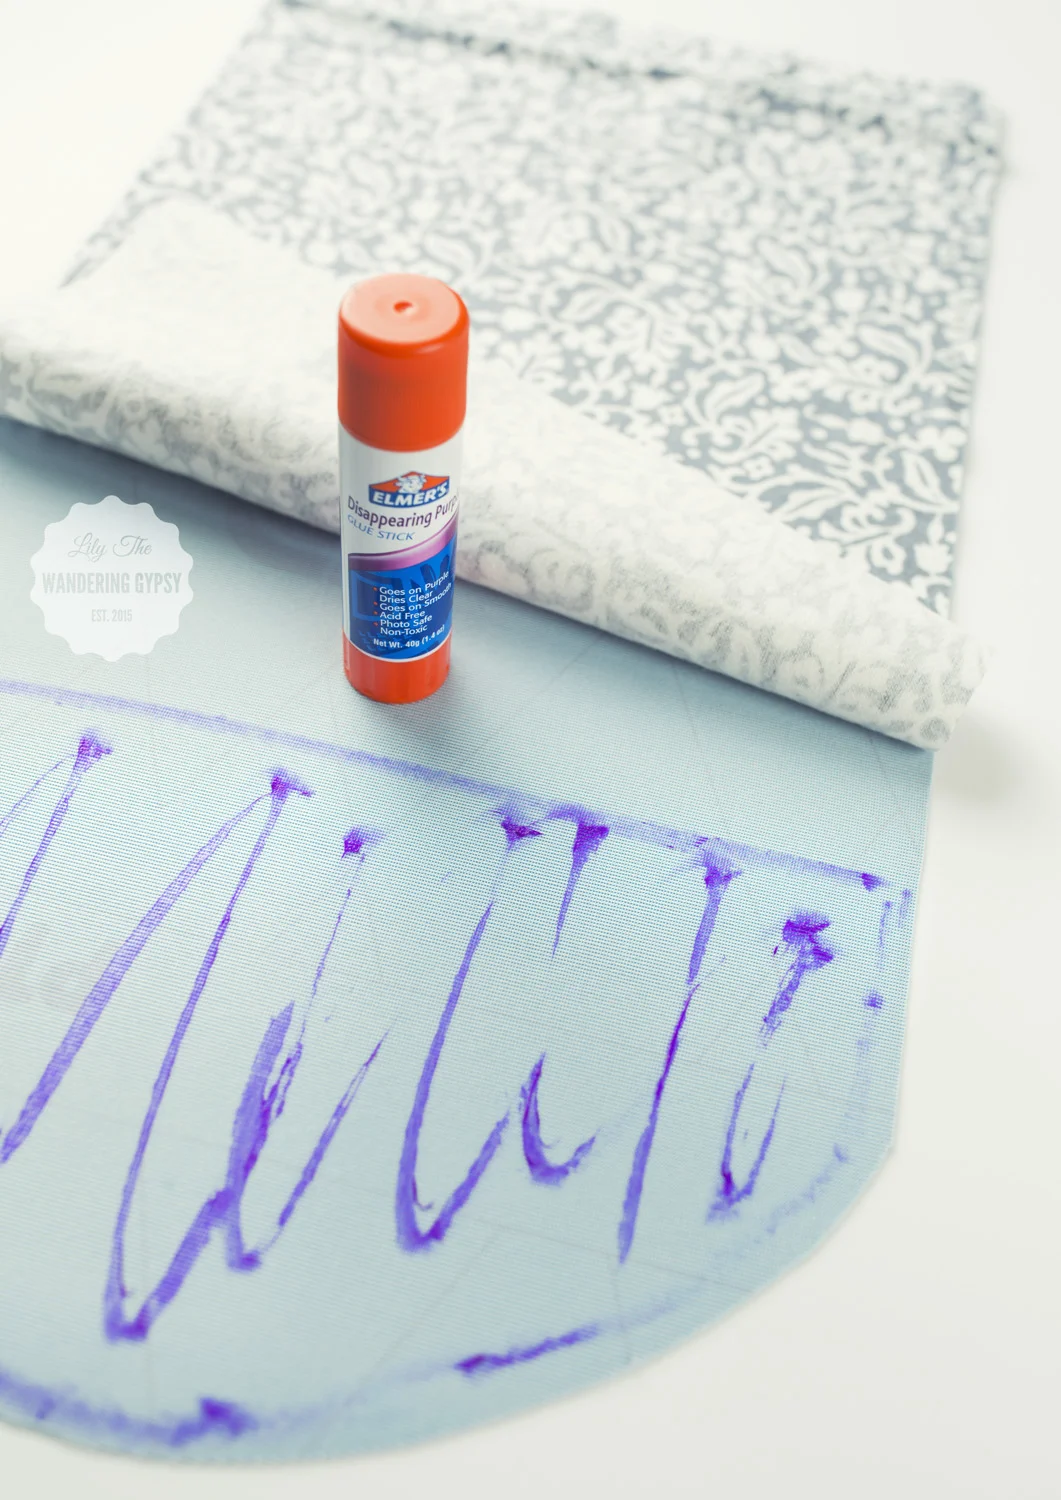
3.) Measure roughly 10" from the straight edge of the pieces, and sew a straight line across, to create a crease, where the bottom of the clutch will fold up.
4.) Fold up the flat edge to create an envelope shape, and sew all the way around the outside edges of the materials. I keep the edge of the presser foot right against the right edge of the fabrics. Double stitch where the pieces meet, see below.
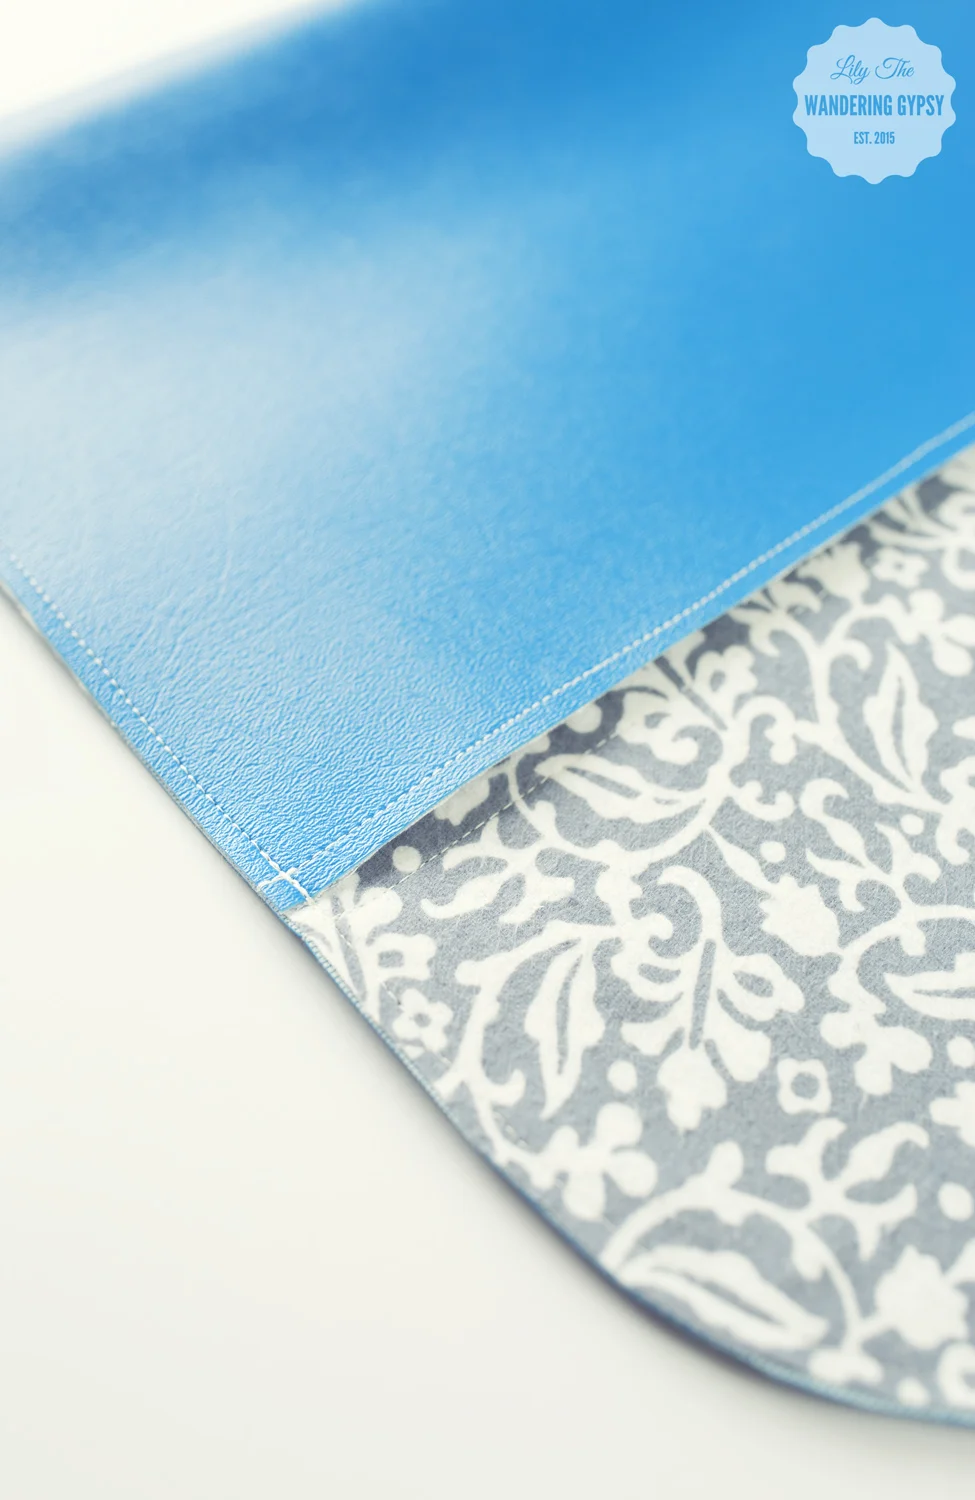
5.) Sew along the open edge of the clutch to add yet another crease, on the flap part of the material.
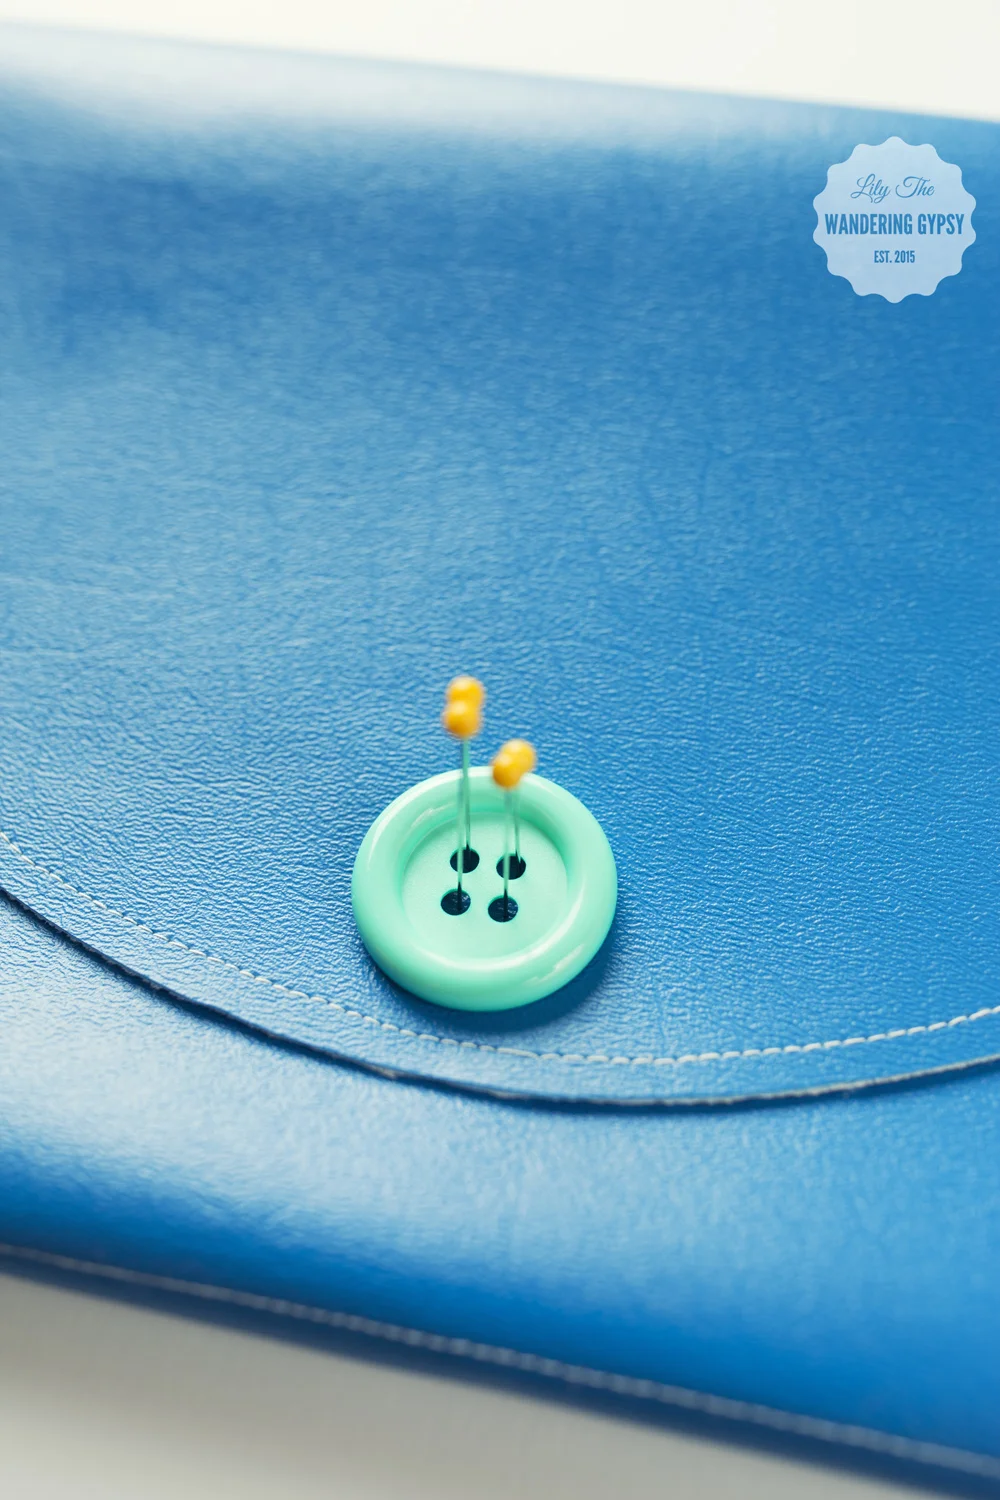
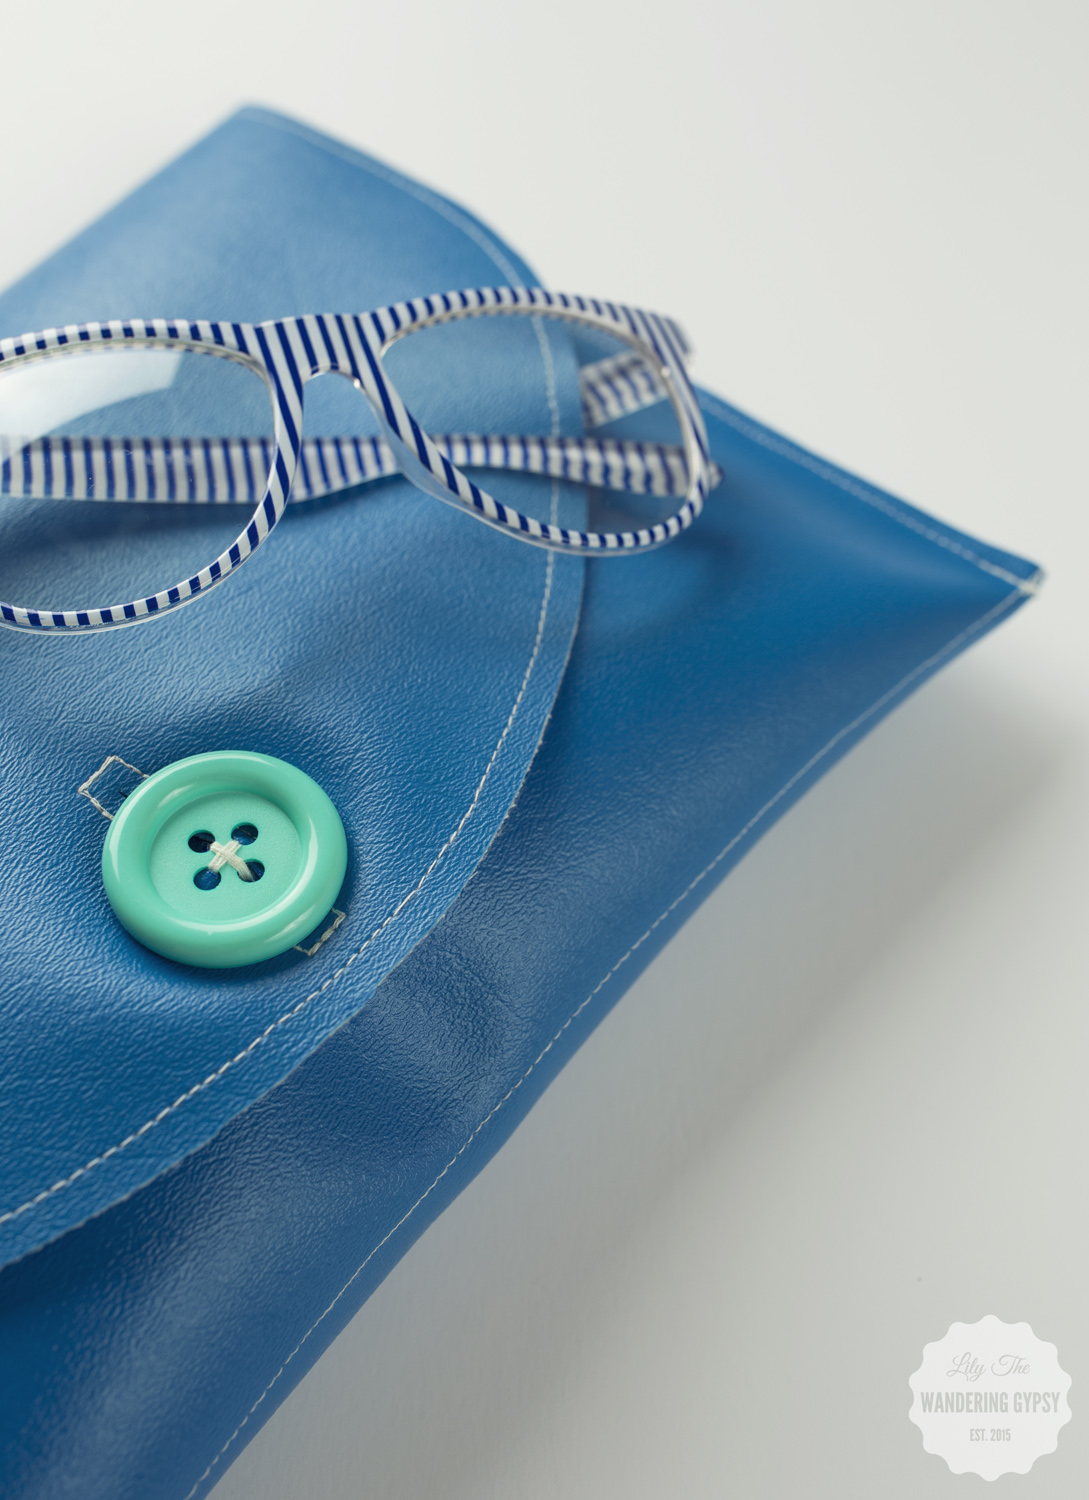
6.) To mark where your button should go, place it onto the flap, and push sewing pins through the layers. This will transfer 4 dots to the layer beneath, which will tell you where to sew your button. Mark the 4 holes with a permanent marker, and sew the button onto the purse.
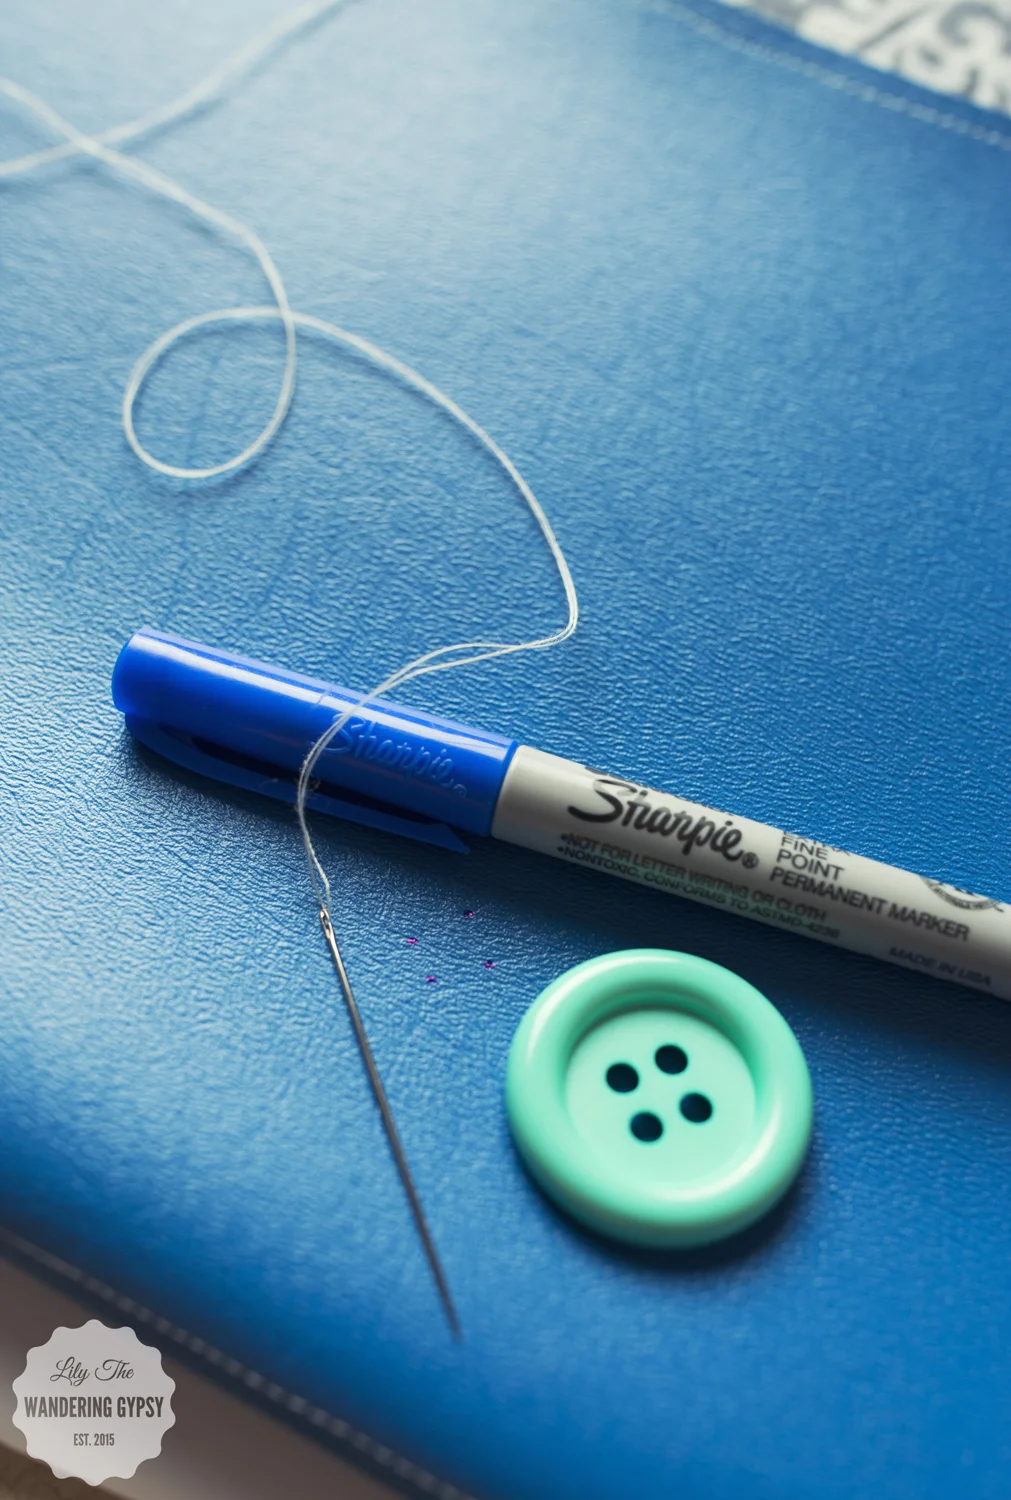
7.) Sew on your button very securely!

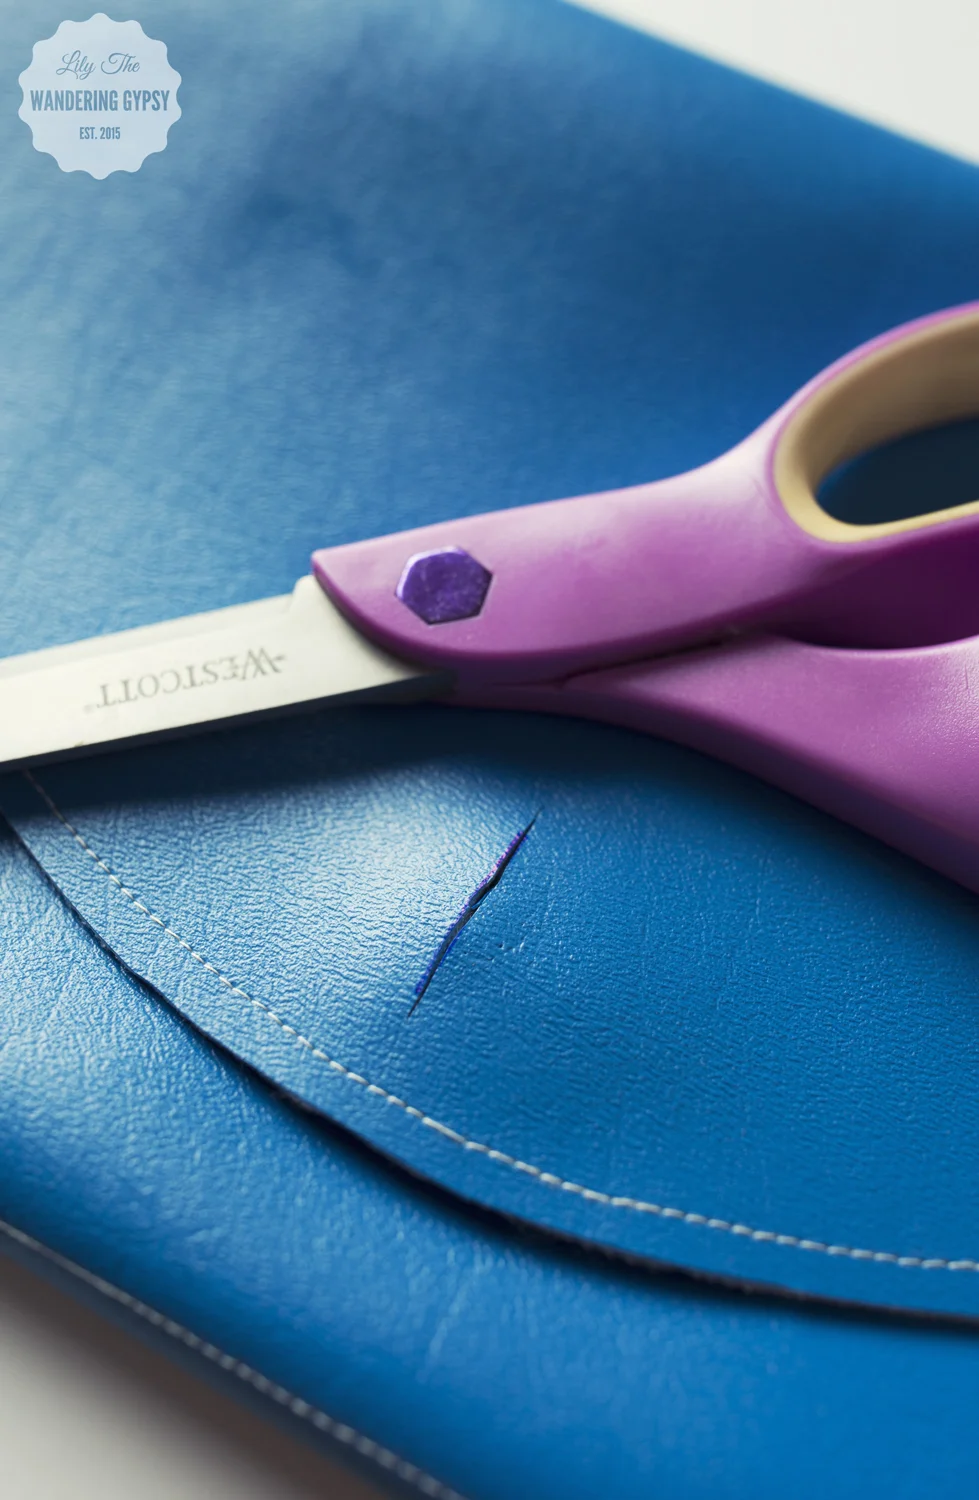
8.) Make your button hole. Here's a tip - fold the flap over the button you just sewed on. Mark how long the button is, and then clip a hole the proper length. Test this out, to make sure the button fits through the button hole without any resistance, but is not too large where it won't hold.
* Sew around the button hole a couple of times, and snip any loose threads.
9.) That's it! Get ready to fill your new clutch purse with some essentials like gum, lipstick, lotion, and other goodies, and you're ready to go!

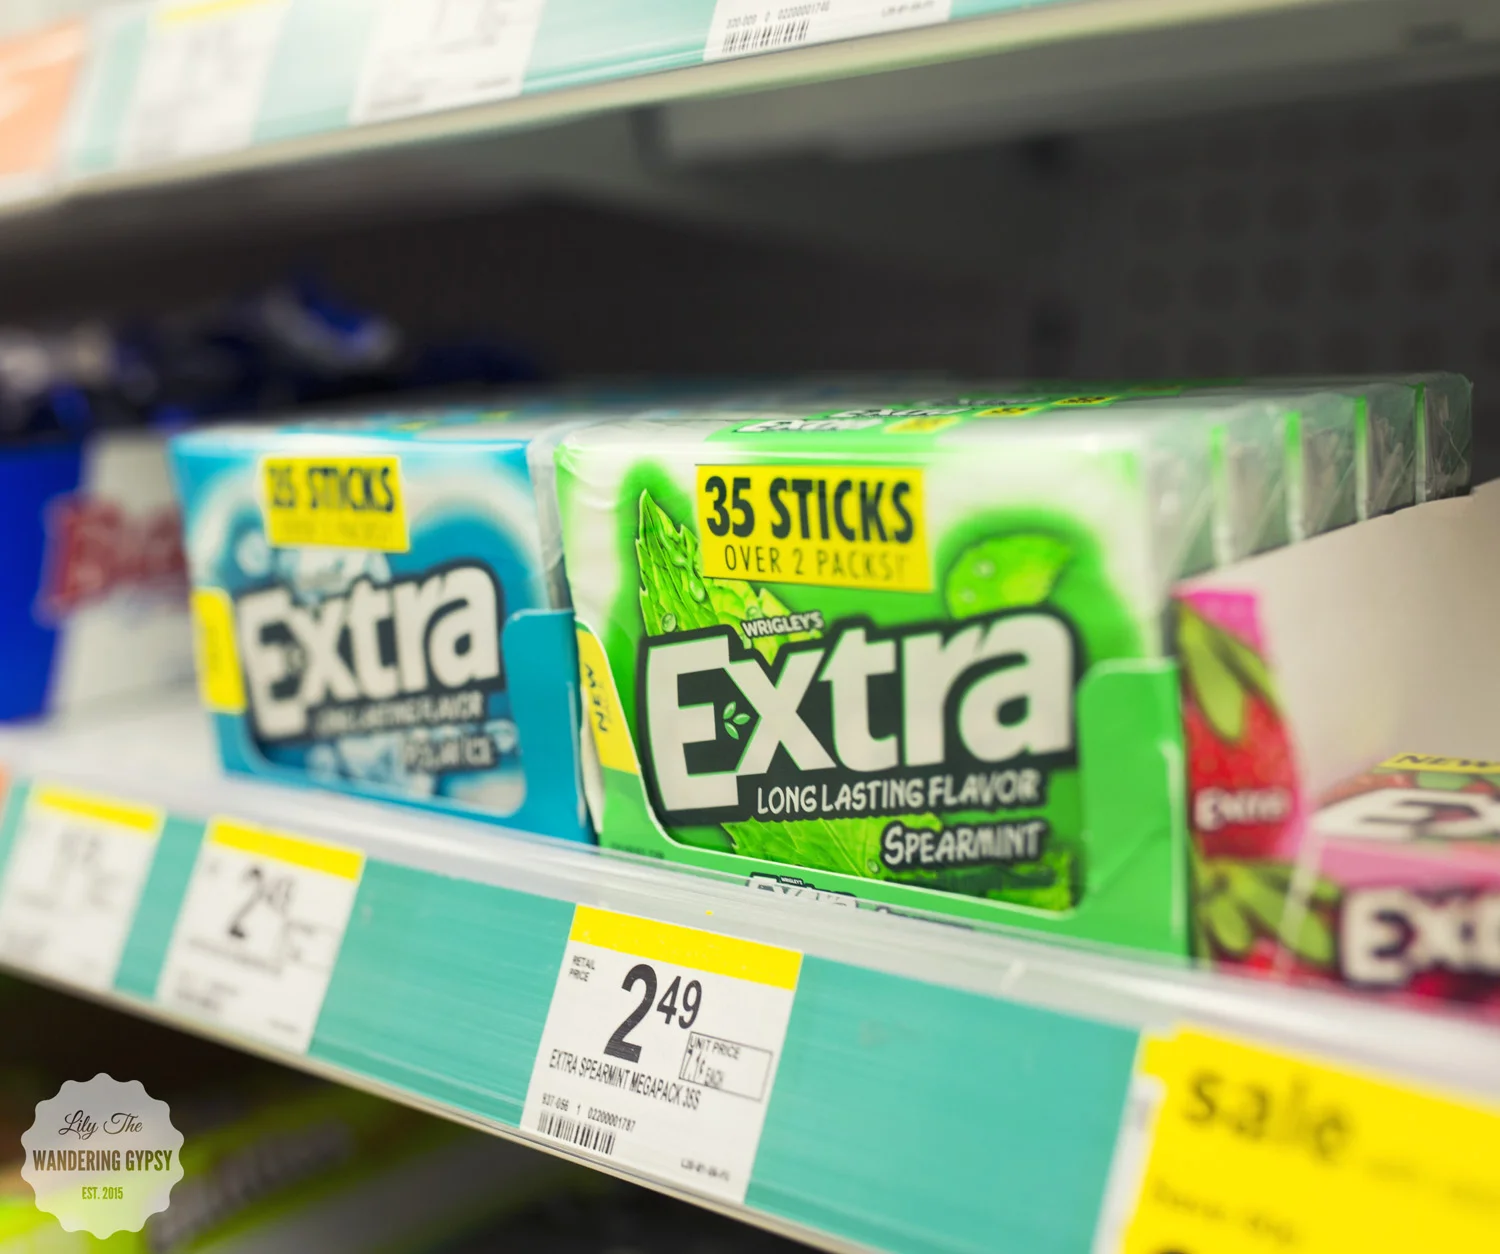


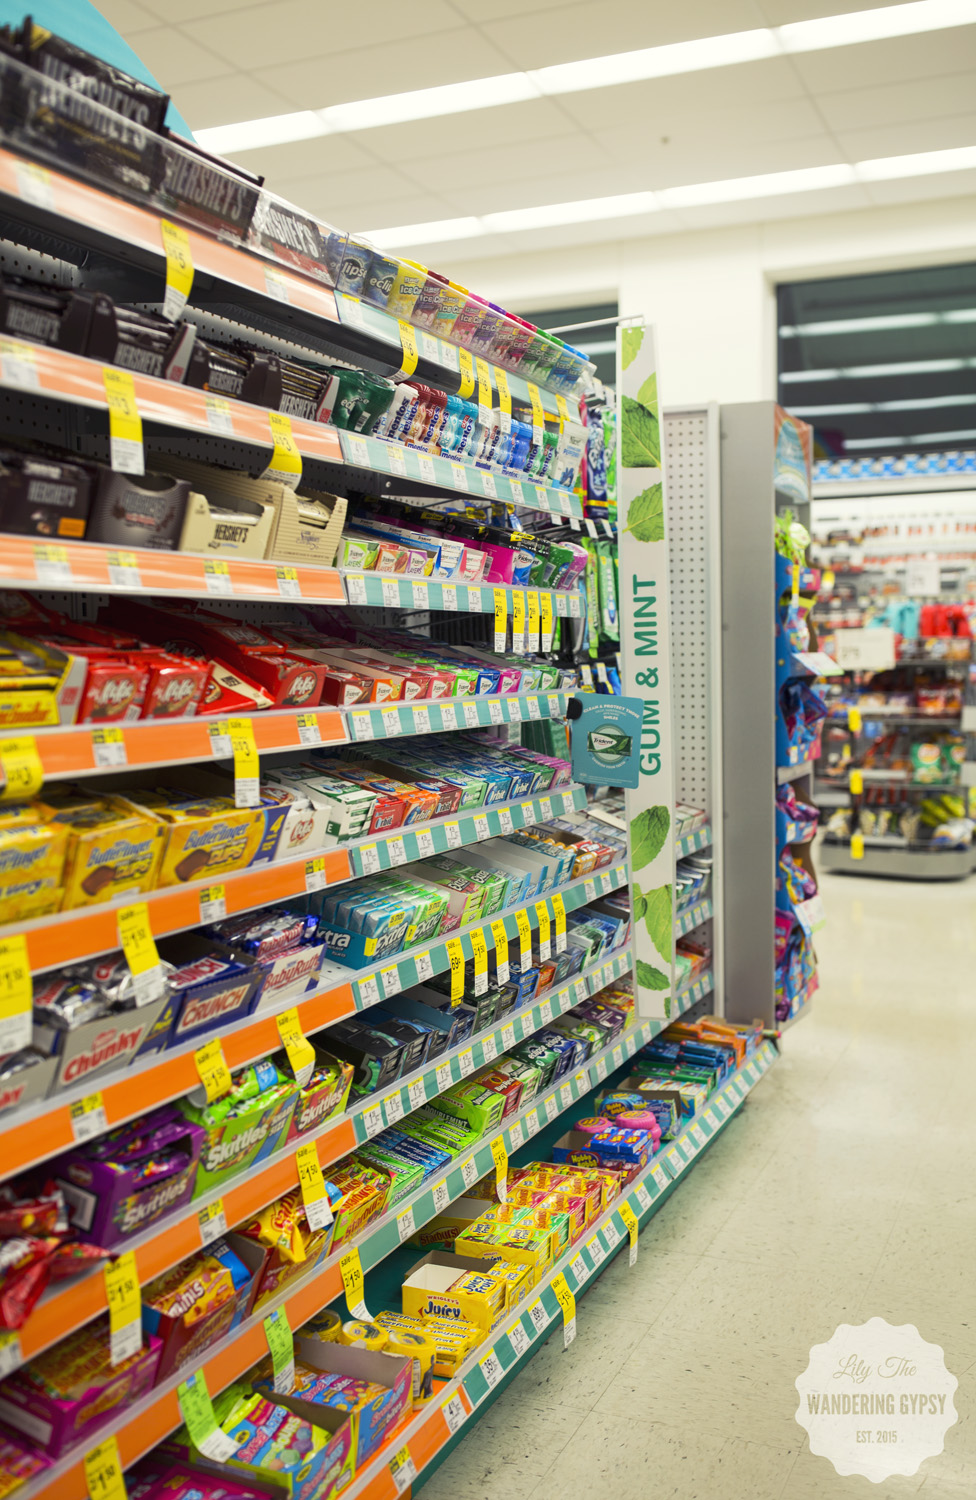
Extra® Gum 35-stick packages at Walgreens have more gum than you may be used to seeing! The case is super durable, and can actually be reused or recycled after you are done with the gum (see the image below). These larger stick packages ensure that you will run out of gum less often, and there is more gum to go around!

DIY Summer Fun - Cookie Cutter Jewelry & Trinket Trays
I recently collaborated with Wendy's to create several Summer Inspired DIY Projects! Throughout the next week or so, I will be sharing instructions to all 5 projects! This project in particular, was inspired by a blog post I found on the Aww, Sam Blog. * Note - this project is kind of messy, so lots of paper towels were needed!!!! So excited to present you with these Cookie Cutter Trinket Trays! Enjoy :)
MATERIALS:
- Air Dry Clay (2 smaller packages will do)
- Cookie Cutters - I got mine here (for 99 cents each!). I got a cactus, hand, lips, pineapple, and teepee.
- CeramCoat Paint in green, white, red, tan, black, and yellow
- Clear Poly waterproof paint-on coating, optional.
- Clay sculpting tools (I found these ones for $2.47 near the clay supplies at Hobby Lobby)
- Water in a small dish to use for smoothing clay with your fingers
- Waxed Paper and Tape to keep surface clean
- 2 Paint Brushes for larger areas, and then one for finer detailed lines
- Paint clean up supplies like water and paper towels
INSTRUCTIONS:
- Prep your work surface. On a smooth, dry table, tape down a piece of parchment paper that will cover the surface well.
- Open your clay, and grab a hand full of clay.
- Roll clay into a smooth ball, and then place it onto the waxed paper. press the clay down with the lid of the clay container, until it is less than 1/2 thick. Alternatively, you can place a second piece of waxed paper on top of the clay, and use your hand and/or a rolling pin to flatten the clay.
- Once flattened, press one shape at a time out of the clay, and carefully remove the clay from the cutter. I wound up using a clay tool to help with the hand space and the top of the pineapple shape.
- Next, you need to flatten and smooth out the clay shape. I did this by setting the clay shape onto the waxed paper, and then using water on my finger tips to smooth the edges. If you wanted raised edges, apply more pressure to the center, and less around the edges. I used a clay tool to kind of give the teepee dish a ridge around the sides.
- Also, you can use a plate and paper straws to shape the sides of the clay while it dries.
- Let dry for at least 3-5 hours, or ideally overnight. I didn't have that much time, so I painted them after about 5 hours and the paint seems to have stuck very well!
- I just LOVE how these turned out! Remember, check back soon to see what other summer DIY projects I have for you! Have a happy and creative summer :)
- A special thanks to Wendy's for inspiring me to create this project! Check out their Blackberry Lemonade ASAP, it's good!!!
- Find more summer DIY Ideas On My Blog and On My DIY Pinterest Board.

Another Adorable Gift Basket With Erin Pelicano Jewelry
I hope you enjoyed my previous gift basket post, here. I had so much fun putting that basket together, that I created yet a second gift basket. These are so perfect for Mother's Day (and for gifting at just about any time of the year). The reason why I like the style of this gift basket so much, is because after you gift this beautiful creation, someone can then use the basket as store in a closet, bathroom, pantry, and more.
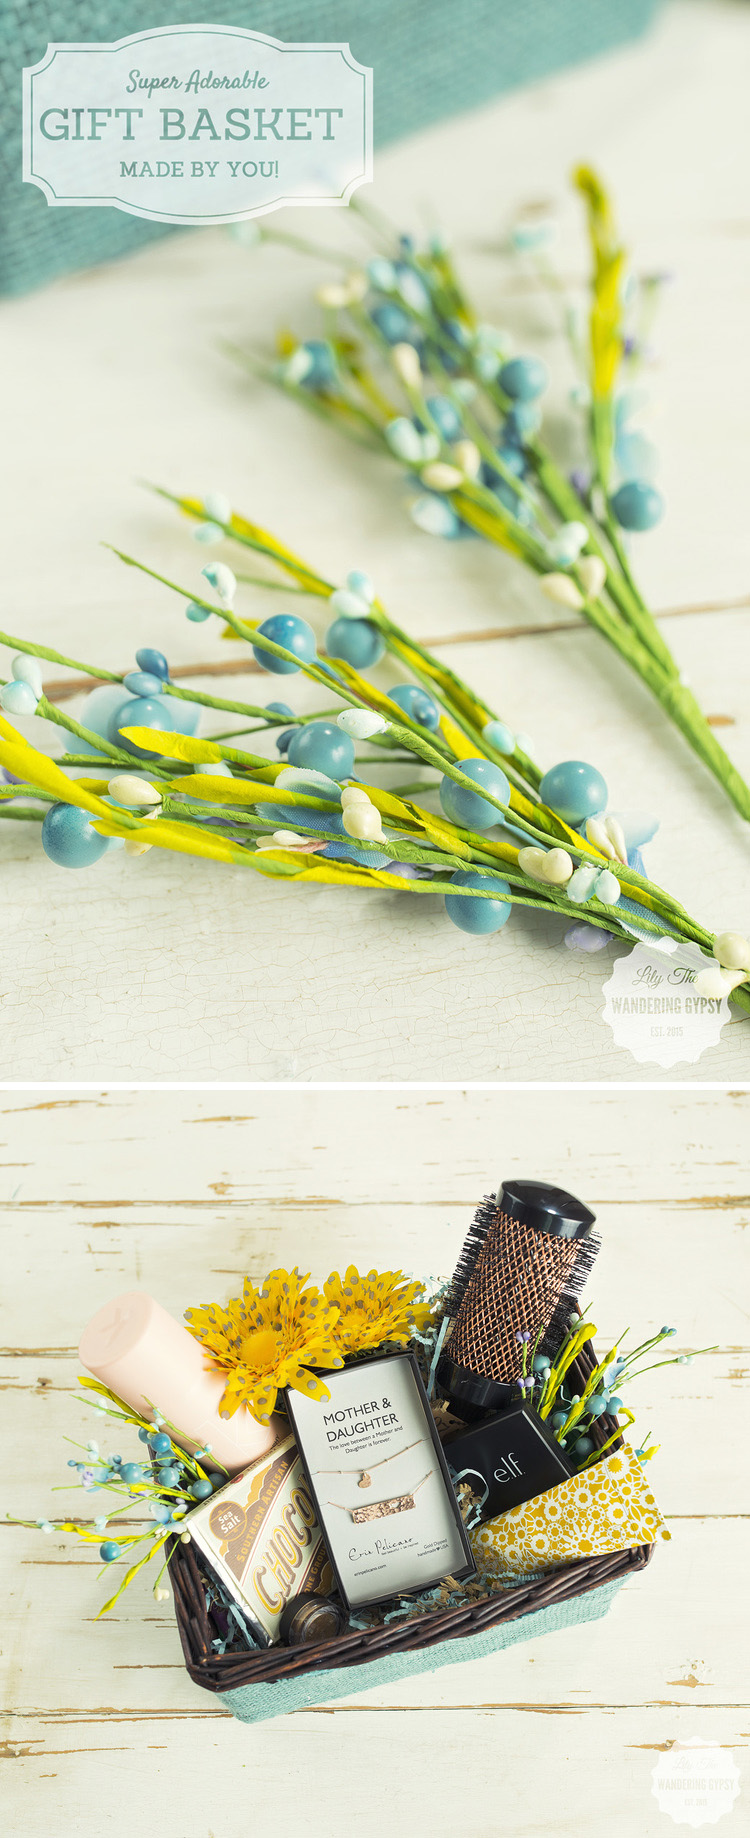
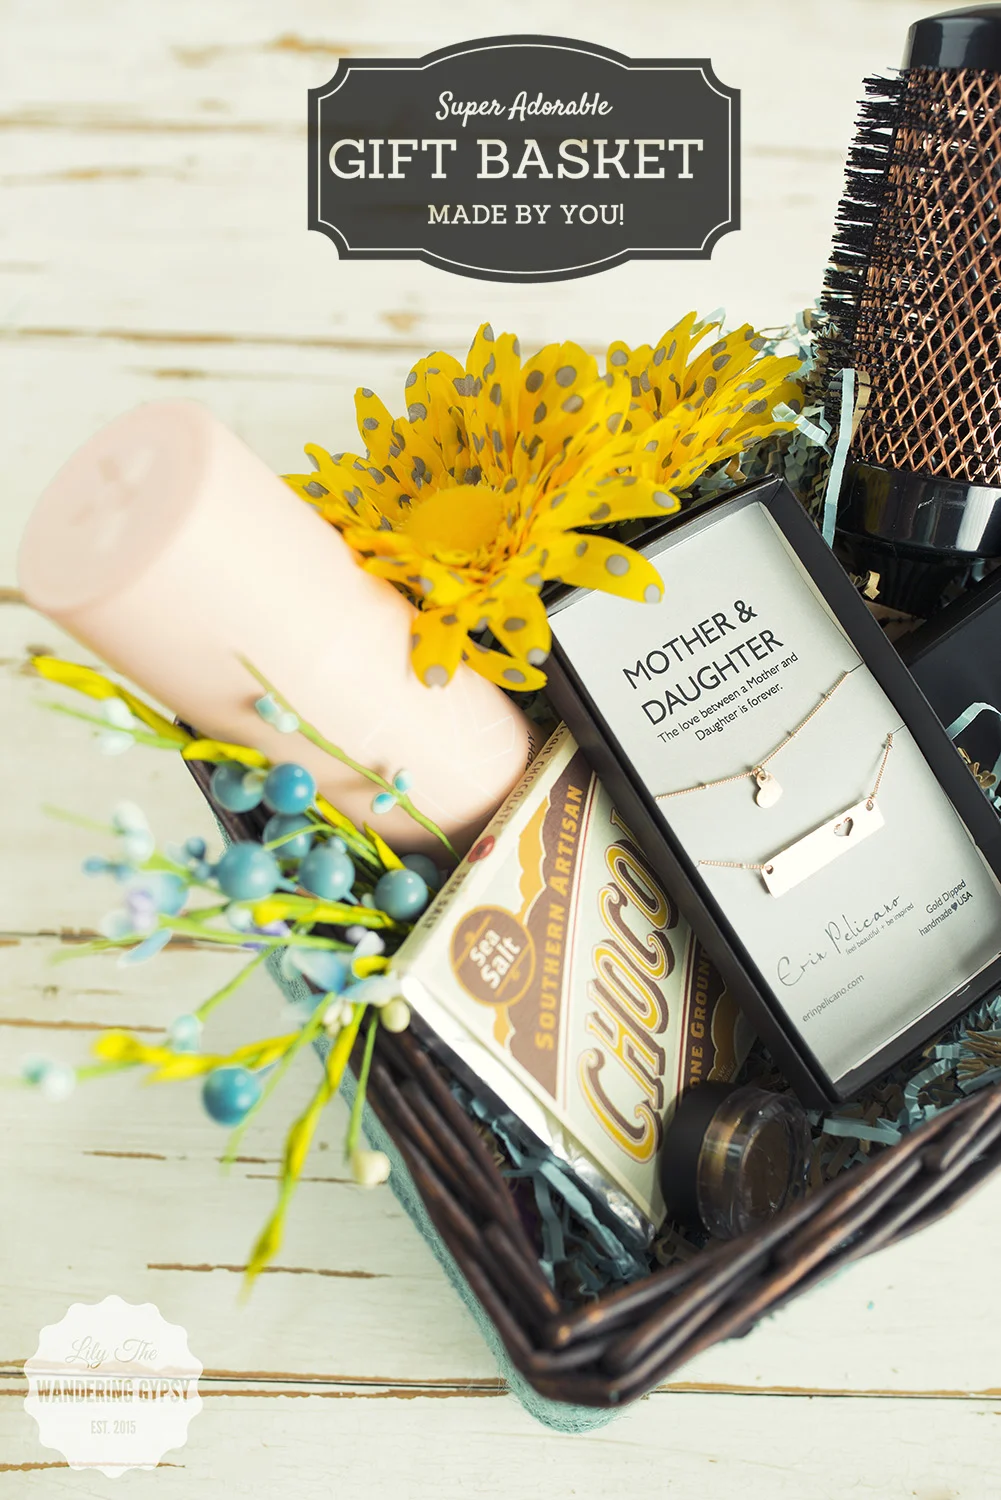
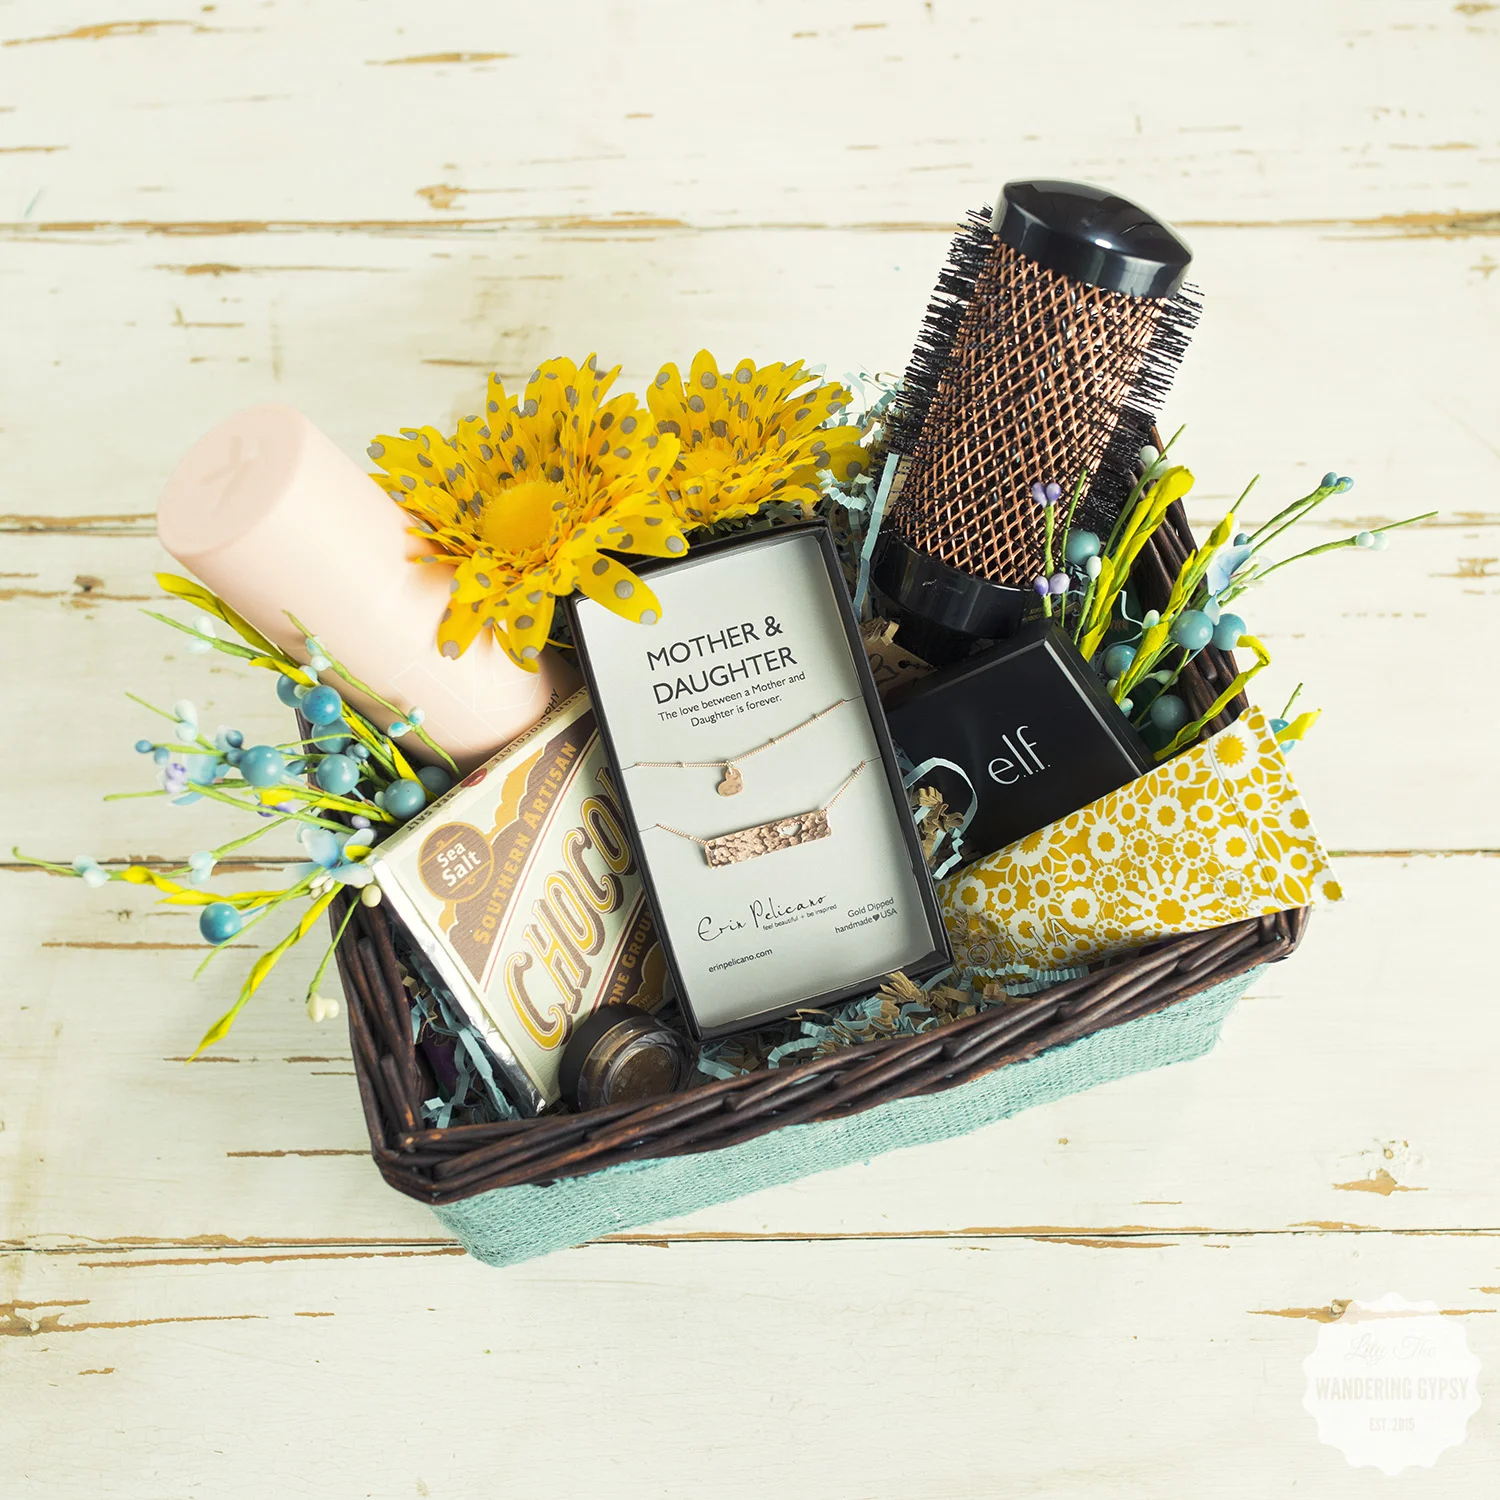
GIFTS FOR SOMEONE SPECIAL
The items in this gift basket include: Mother & Daughter Necklace by Erin Pelicano, White Petals & Rice Flower Lotion by Lollia, 3" Copper Thermal Round Brush by 1907 by FROMM , Doo.Over Dry Shampoo by Kevin Murphy, Eye Palette and Eyeshadow by e.l.f., and the Sea Salt Southern Artisan Chocolate by Olive and Sinclair Chocolate. Read more about this chocolate in my previous post about Chocolate + Cashmere, here.
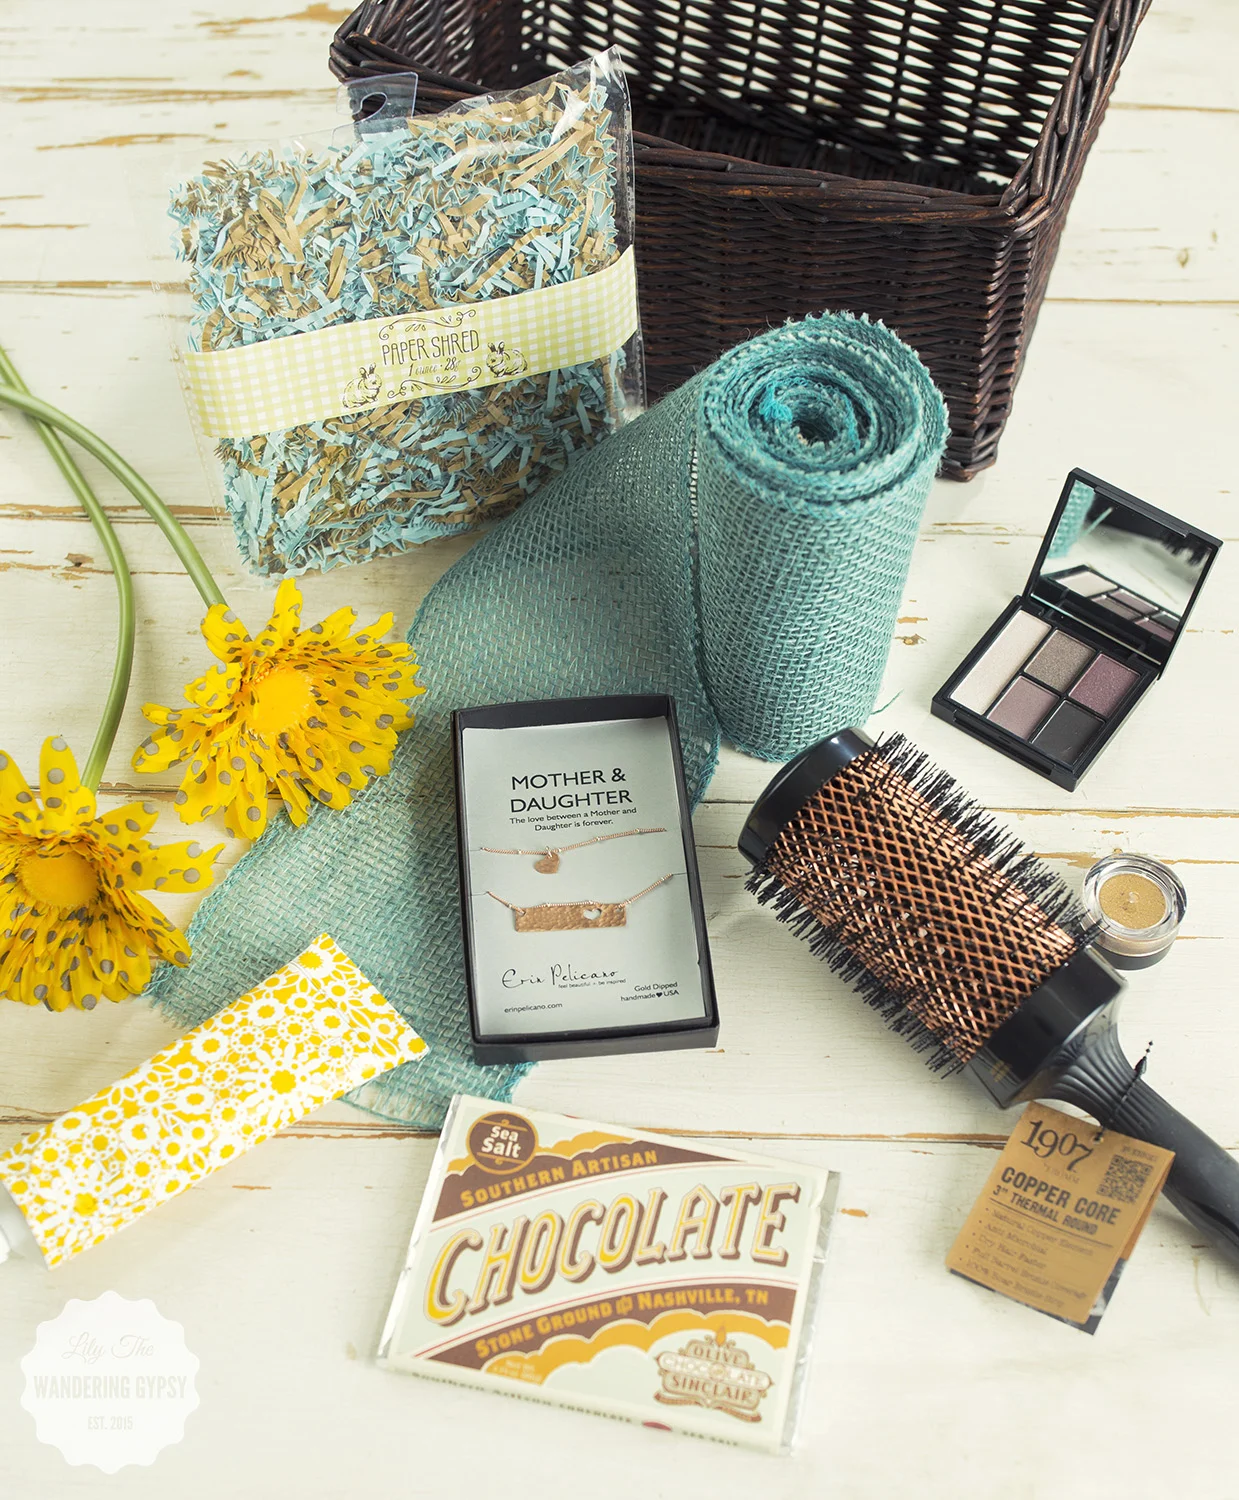
MATERIALS:
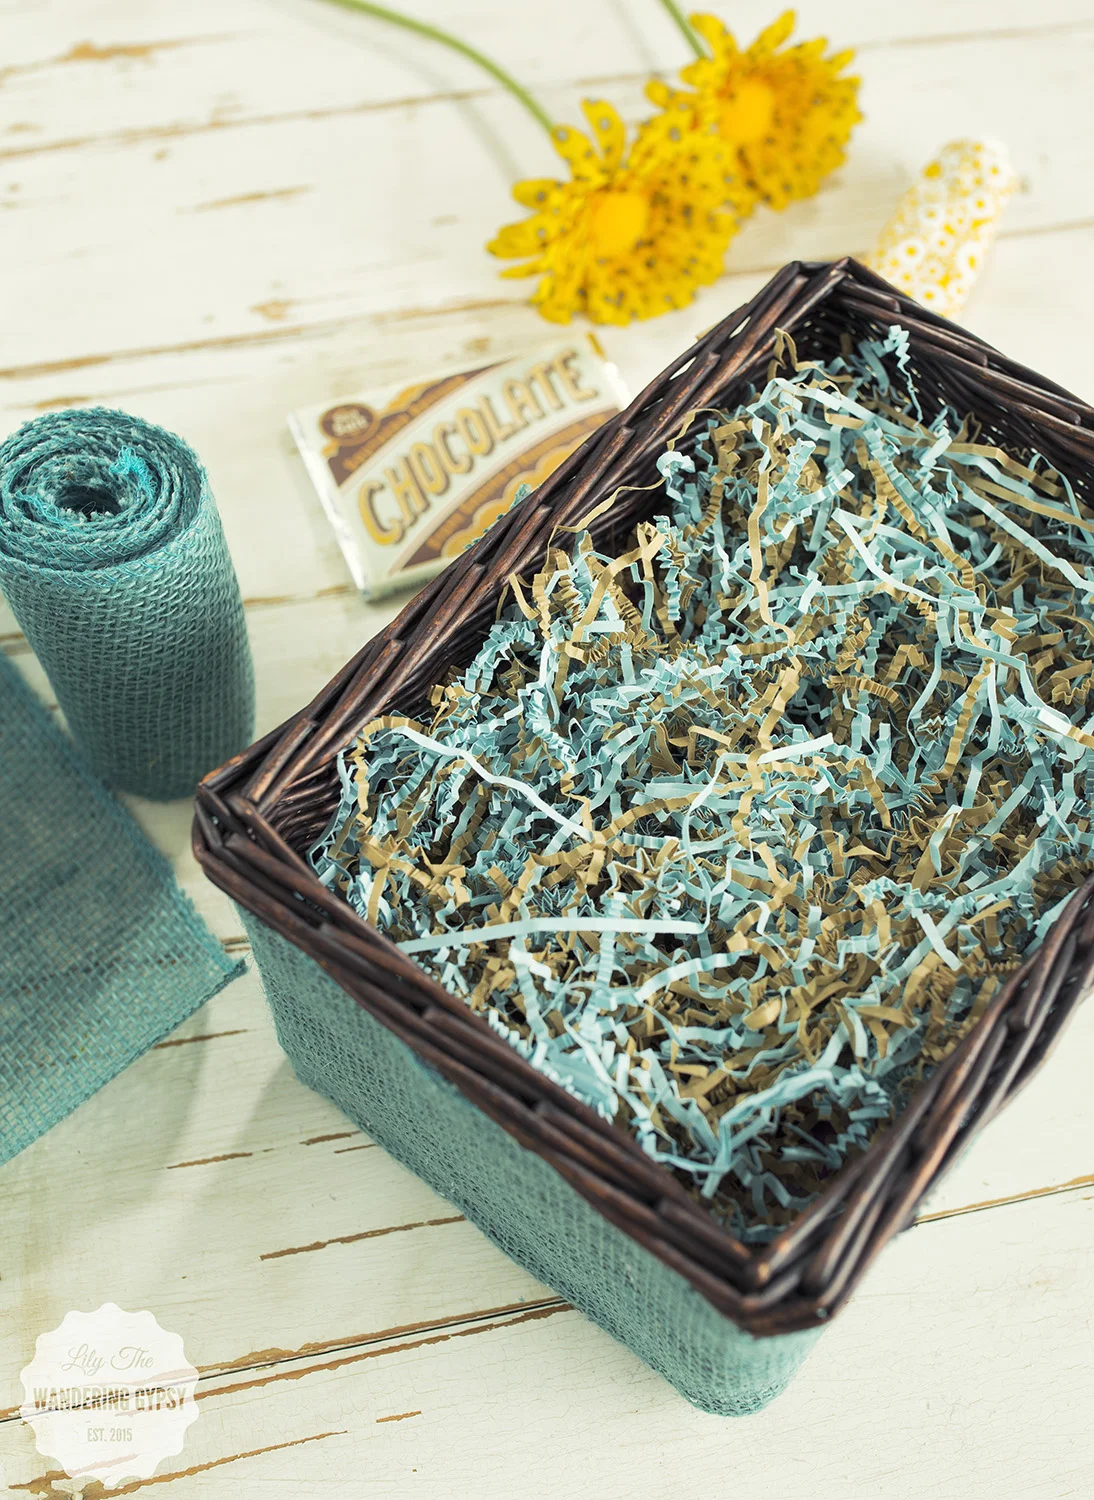
1 Wicker Basket
1 Roll of ribbon to wrap around the basket (not wired)
Hot Glue Gun + Glue (I used about 12 sticks, so it takes a lot)
2-3 Silk Flower Heads
Tissue Paper
Paper Crinkles
Fun Goodies To Fill Basket
INSTRUCTIONS:
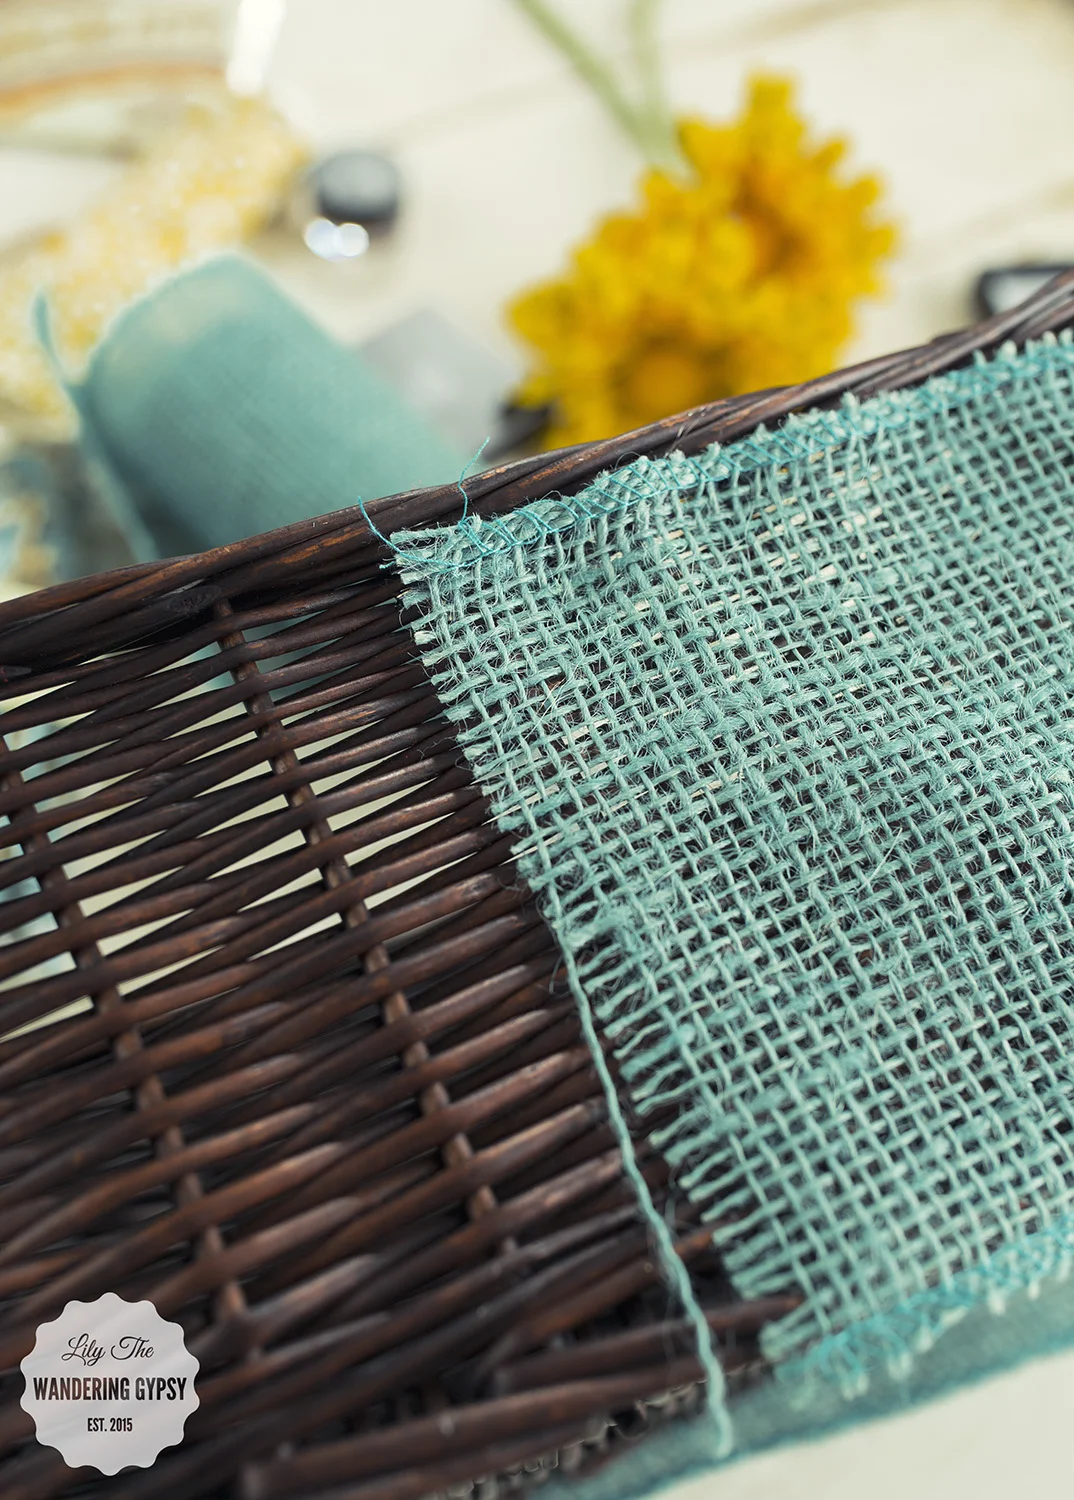
1.) Cut a piece of ribbon, long enough to wrap around the basket and overlap about 3" in back.
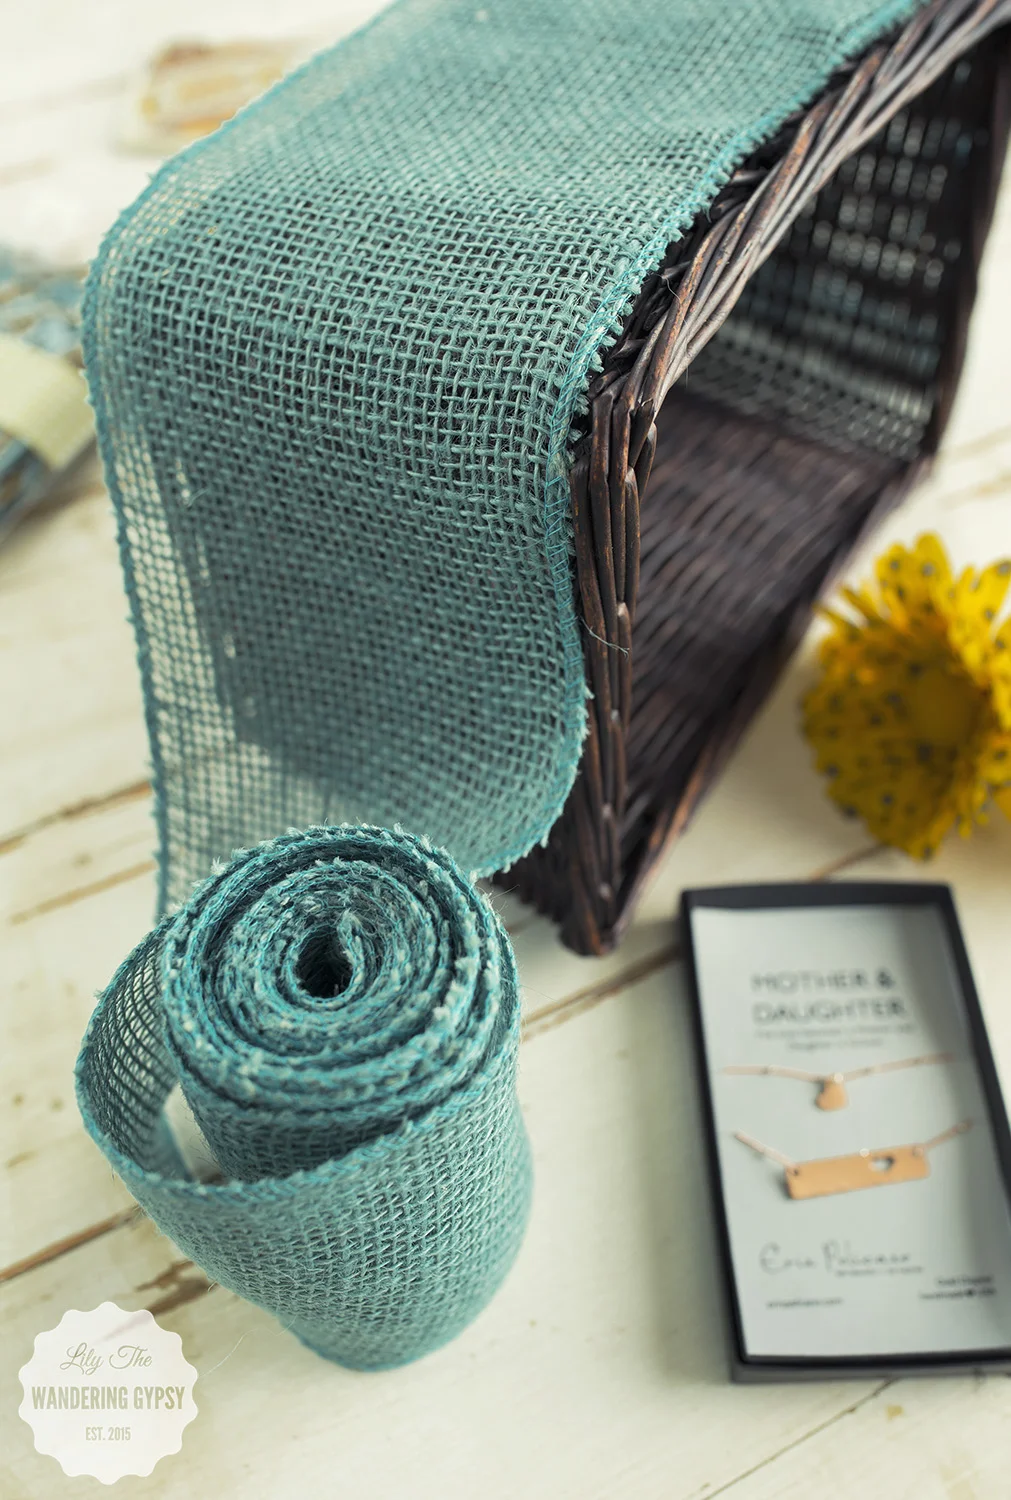
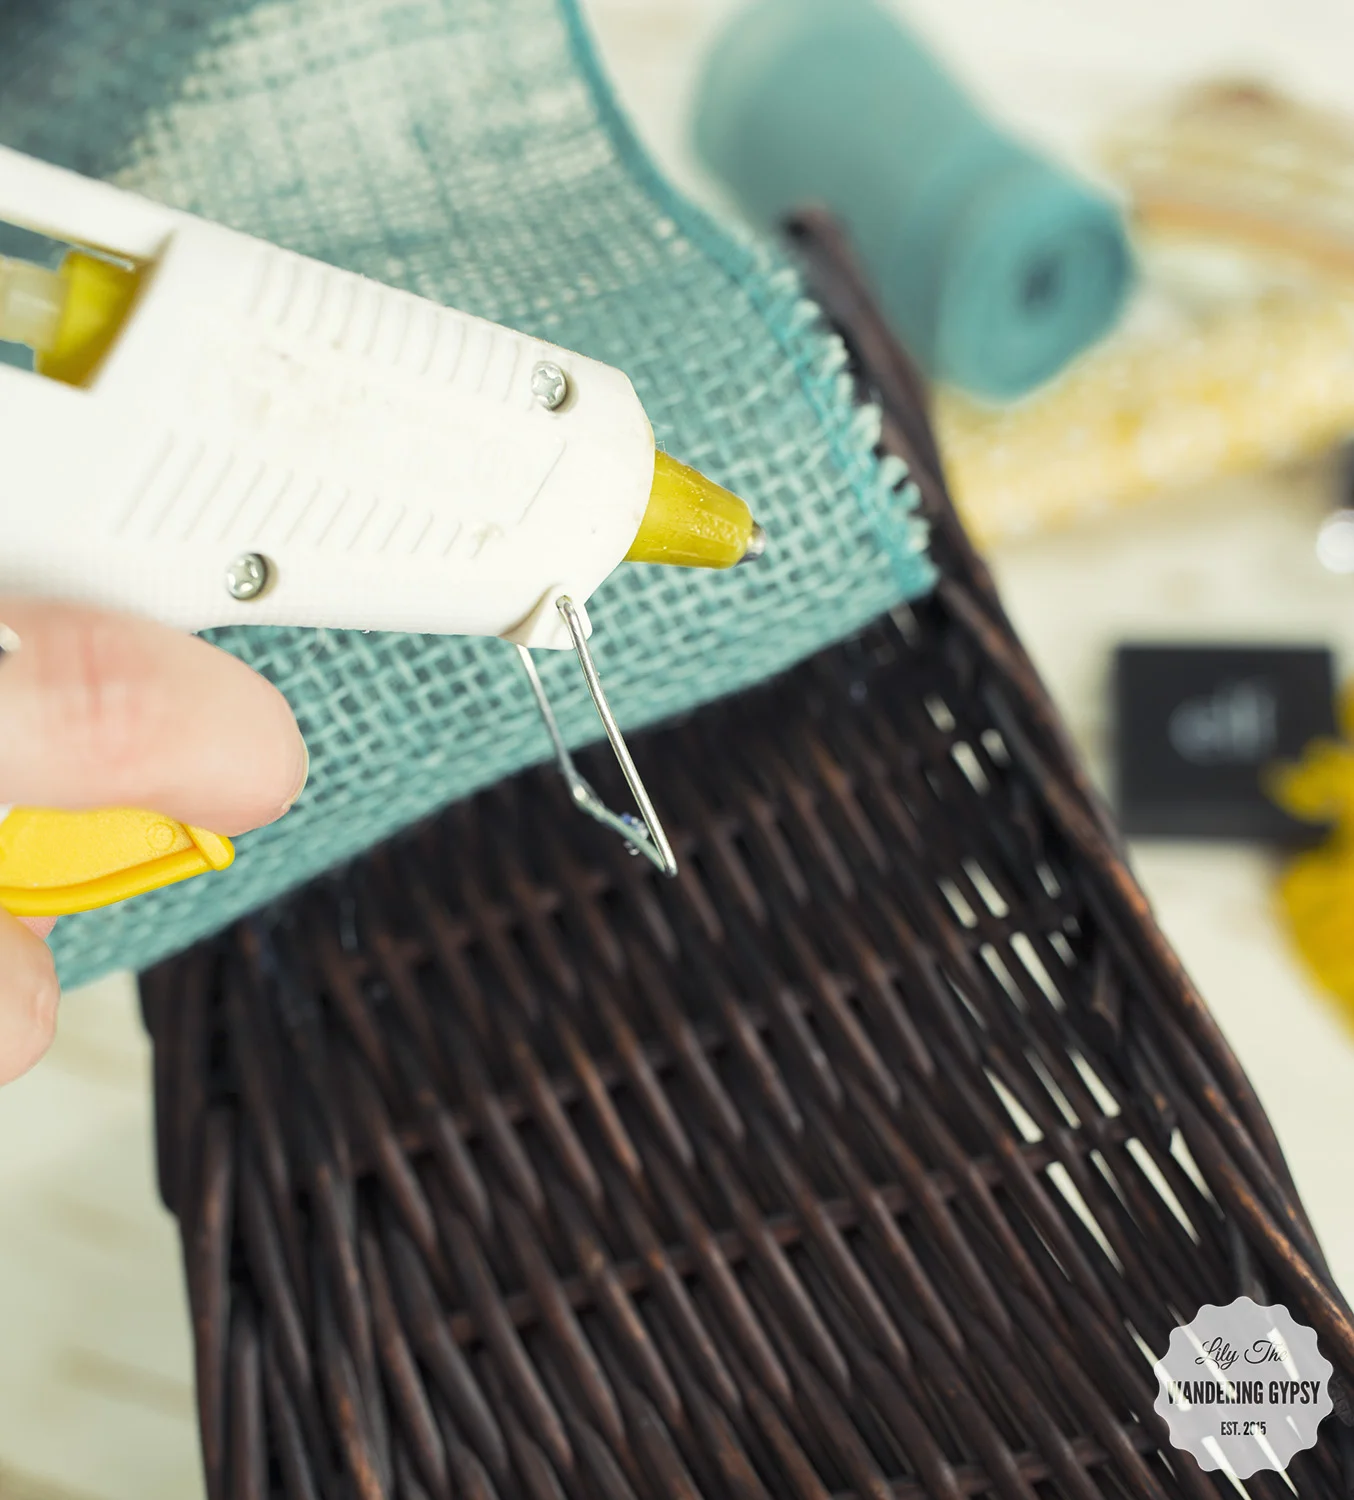
2.) Glue the ribbon to the basket. I was pleasantly surprised at how easy it was to work with this burlap ribbon roll. It just seemed to mold to the shape of the basket so well. Starting at the back of the basket, glue the top of the ribbon and the cut end of the ribbon to the basket. Continue to wrap the ribbon around, and glue it/secure it every few inches. I glued up the basket where the vertical basket pieces were.
Gotta love that glue gun :)
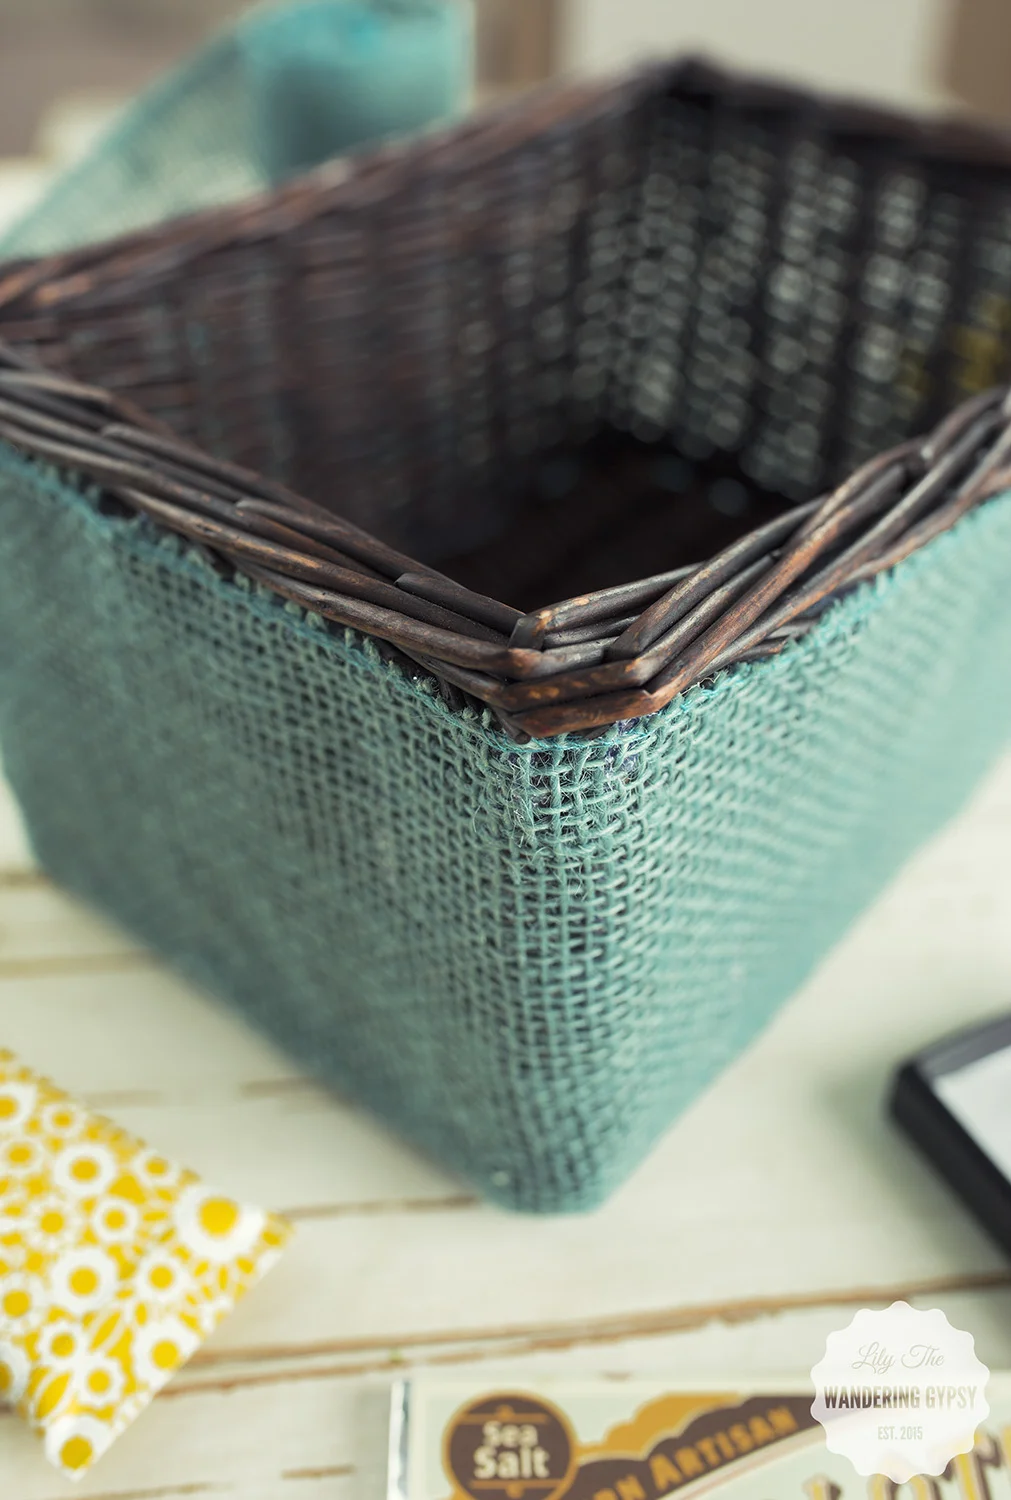
3.) When you have glued the ribbon all the way around the basket, make sure the ribbon is attached well throughout the entire basket. Feel free to touch up any spots that may be loose. Fold the remaining cut end of ribbon over, to make sure loose edges are not showing. Then, glue that in place. Yay! The "hard part" is done.
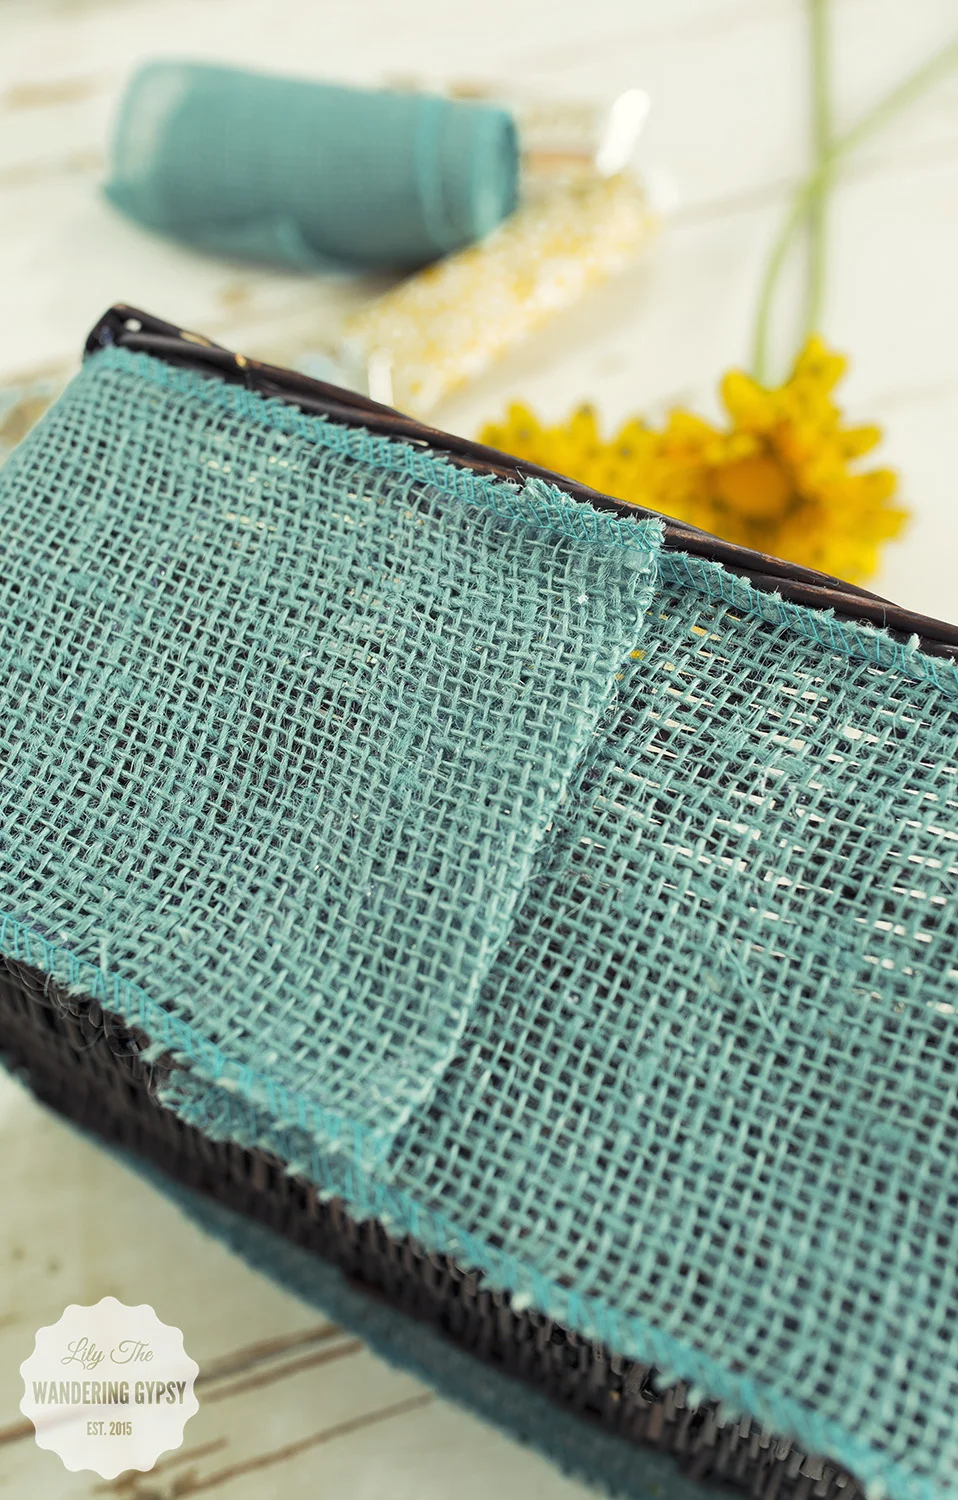
Here is what your gift basket should look like...(below)

4.) Now, fill the bottom half of the basket with tissue paper.

5.) Then, add your paper crinkles. They should mold to the shape of the basket pretty well. These were from Target for $1.00 - I just love the color combo!
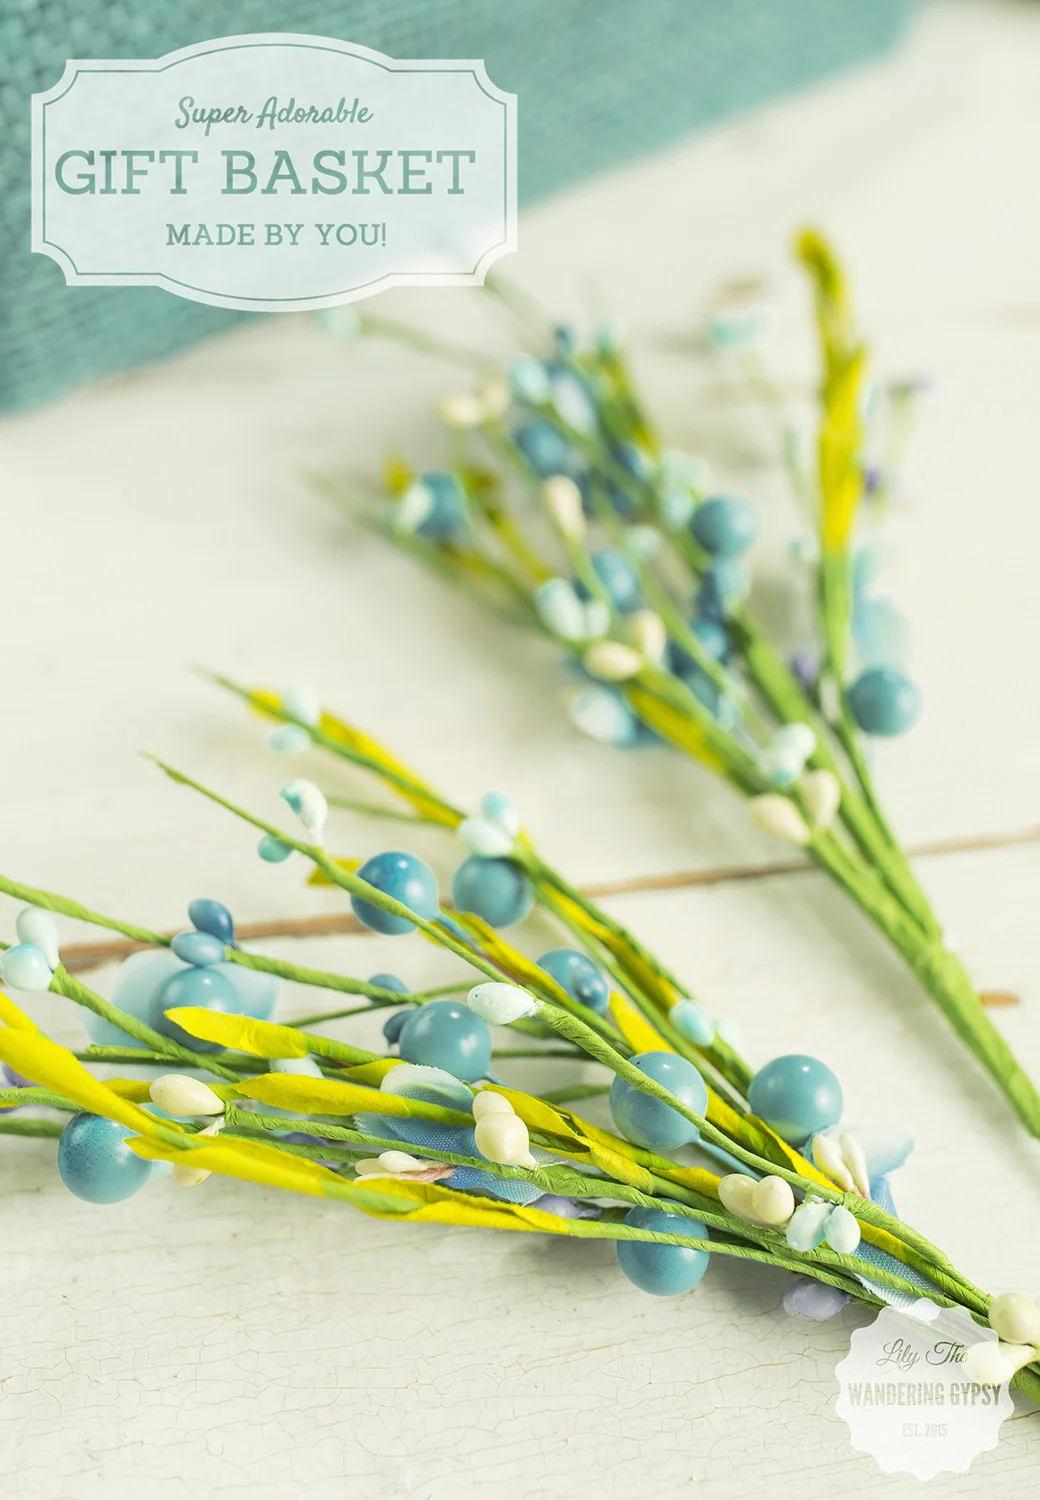
I wanted to make this cute gift basket like a floral arrangement of sorts, and I found these adorable berries (below), that really were the absolute perfect colors. So, it made me really happy to find these at JoAnn's during their recent Daffodil Dash sales :)


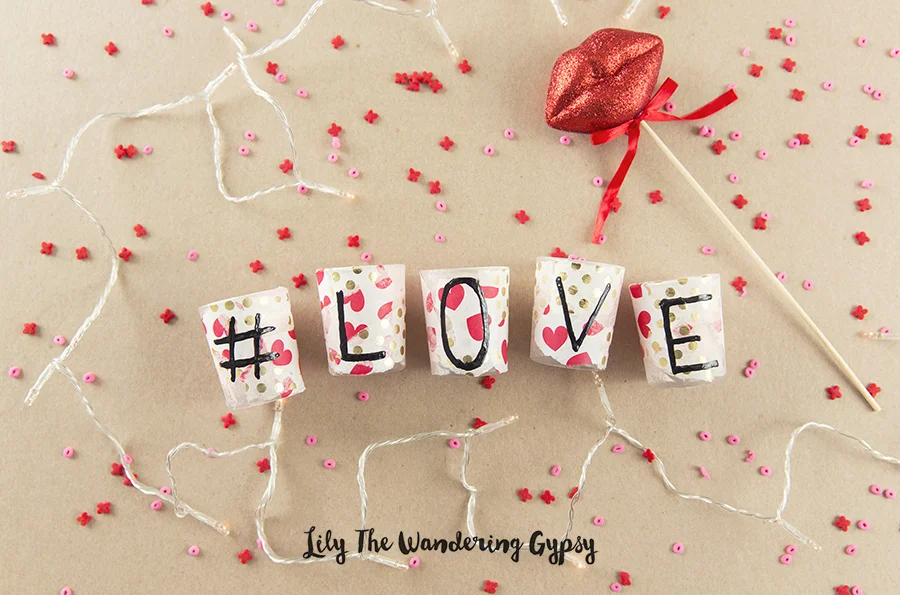
#LOVE Candles DIY Tutorial
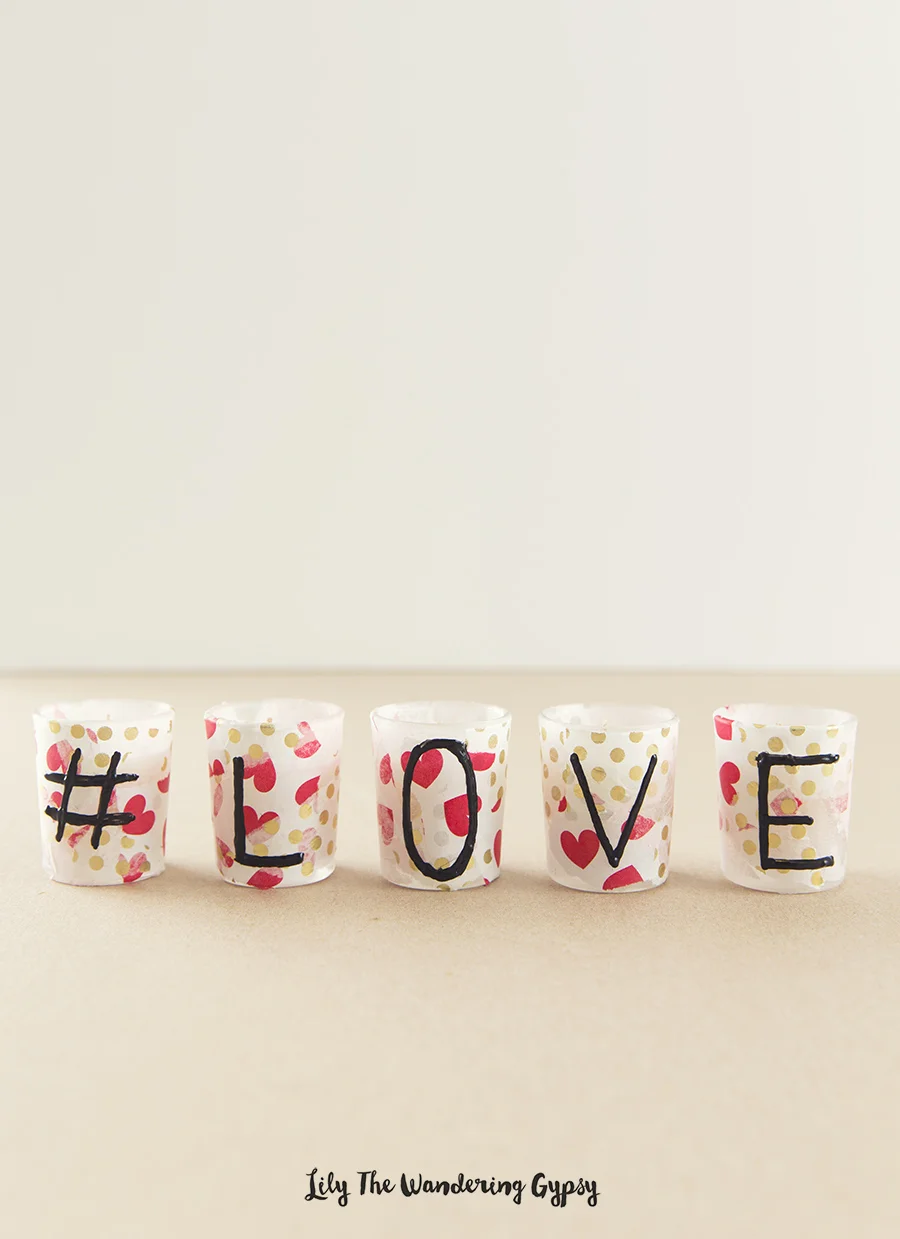
Happy Valentine's Day! I have this adorable project idea that will last you long after the holiday is over. These #LOVE candles make such an adorable gift idea, and I can't believe how cute these are!
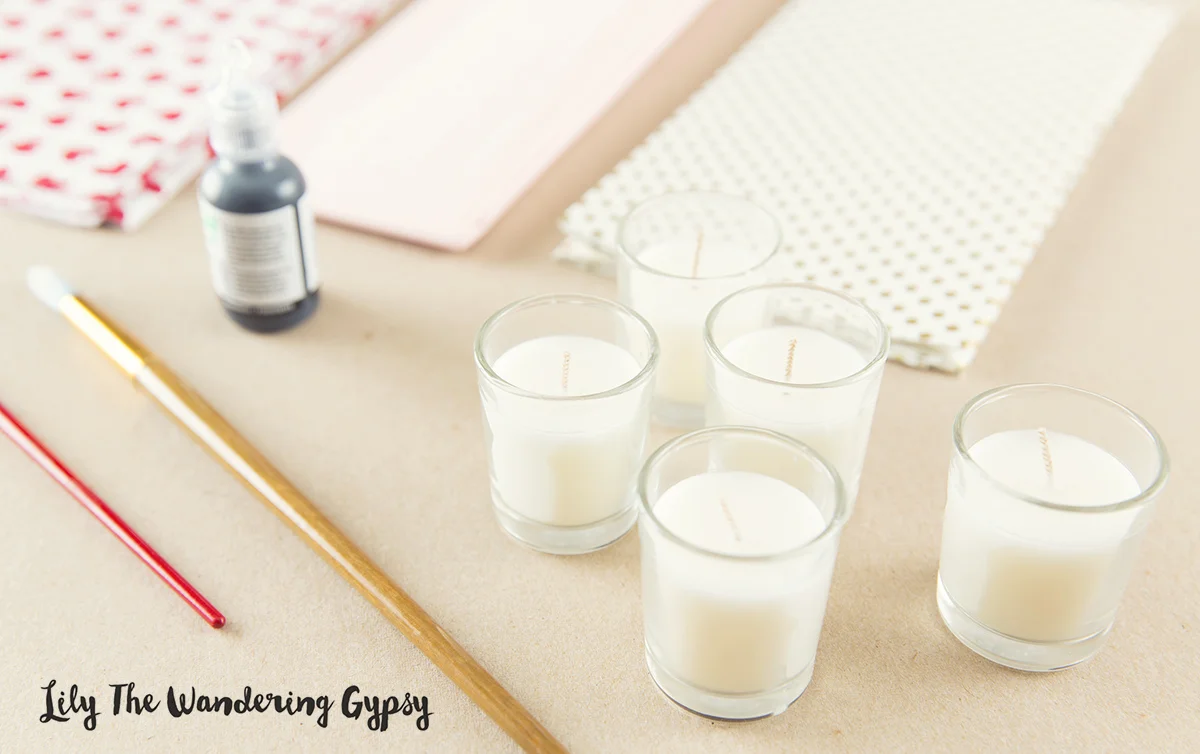
MATERIALS:
- 5 glass votive candles with wax in them
- various colors of festive tissue paper
- Mod Podge
- Paint Brushes & A Pencil
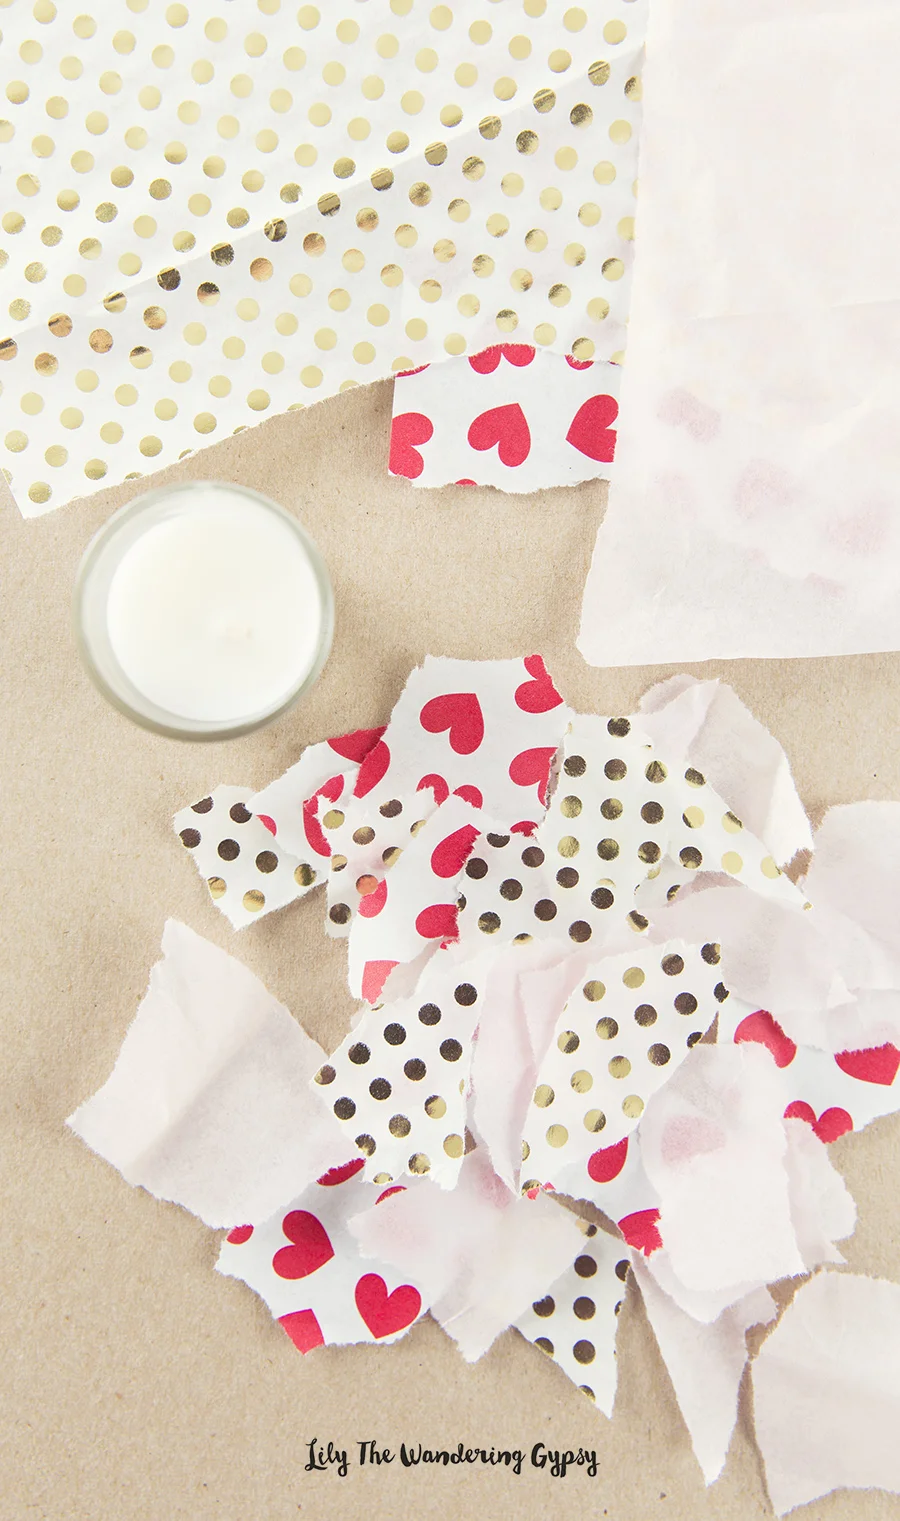
Paint a bit of the Mod Podge onto your first votive candle, and begin alternating paper pieces.
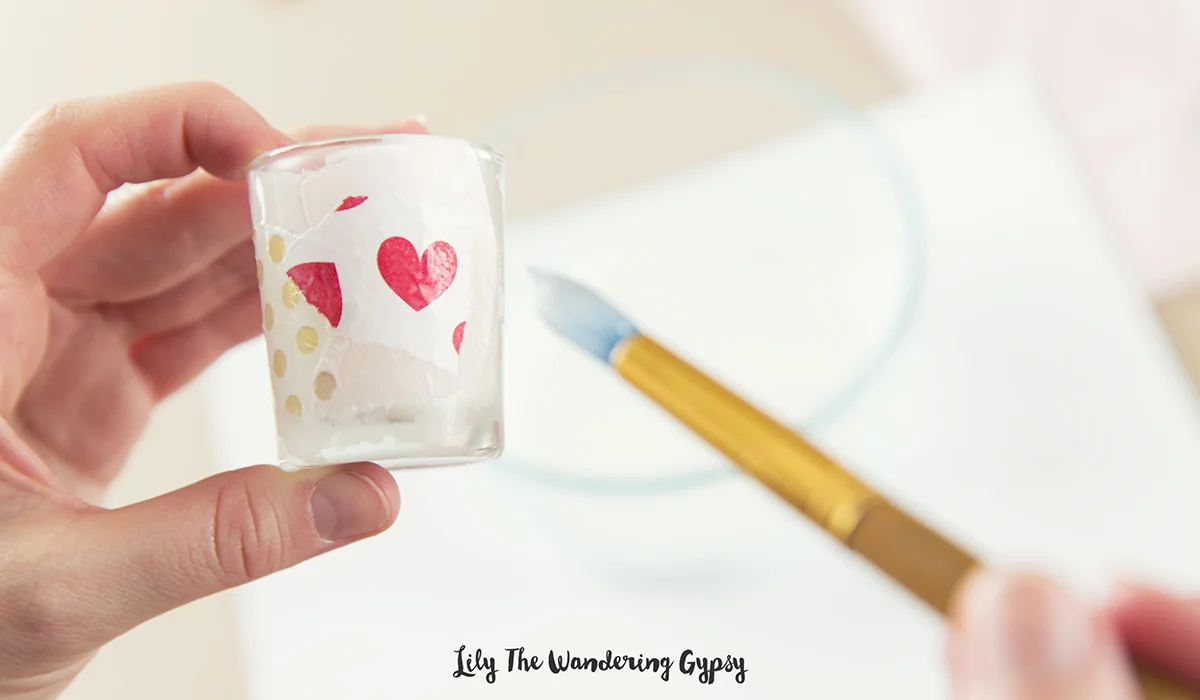
Brush more Mod Podge over top of the tissue paper for a smooth finish.
Repeat this with each votive candle, covering every side of the candles. Let these dry for a few hours, or overnight on a piece of white scrap paper. These may stick a little bit, so white paper worked best.
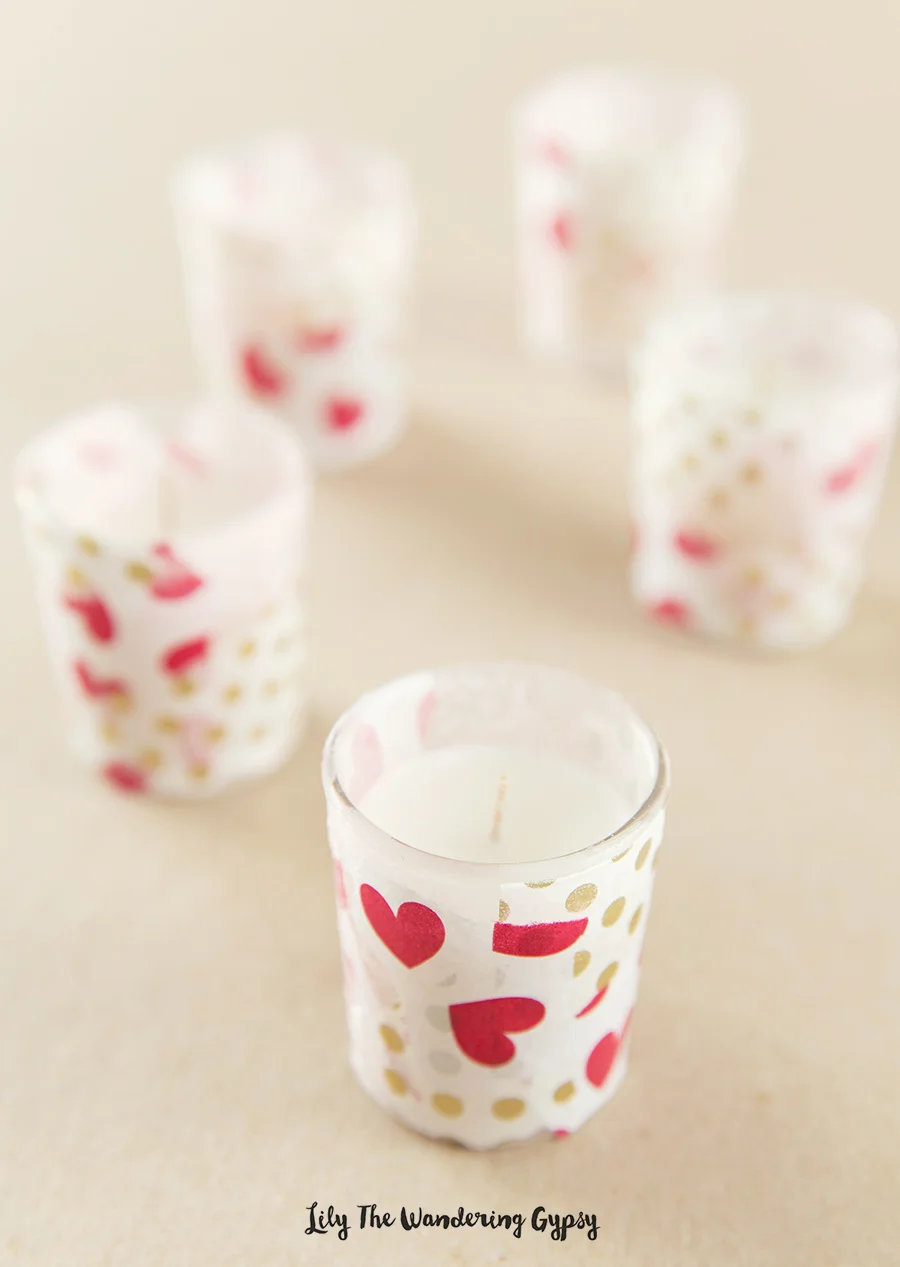
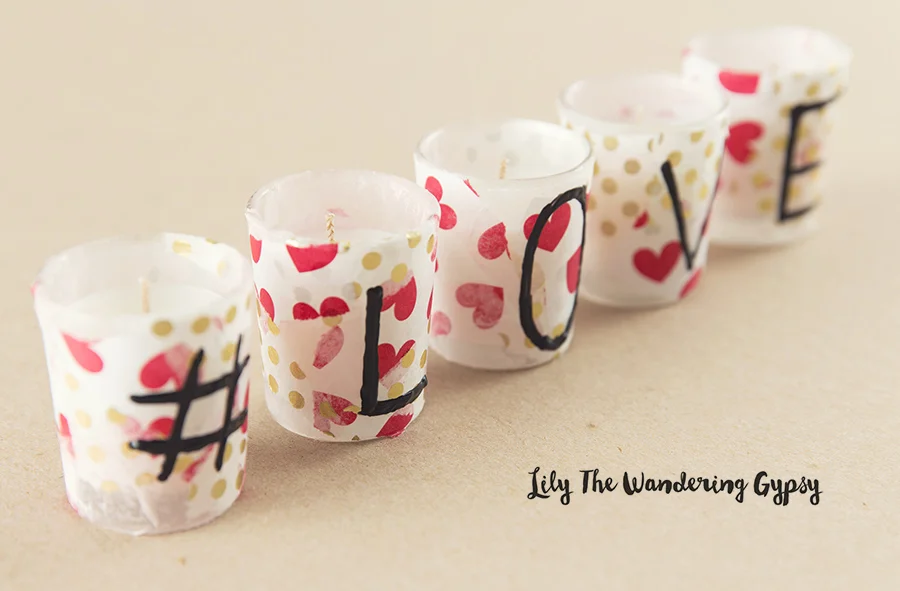
Now, you can stop here, or you can customize the candles with your message of #LOVE :)
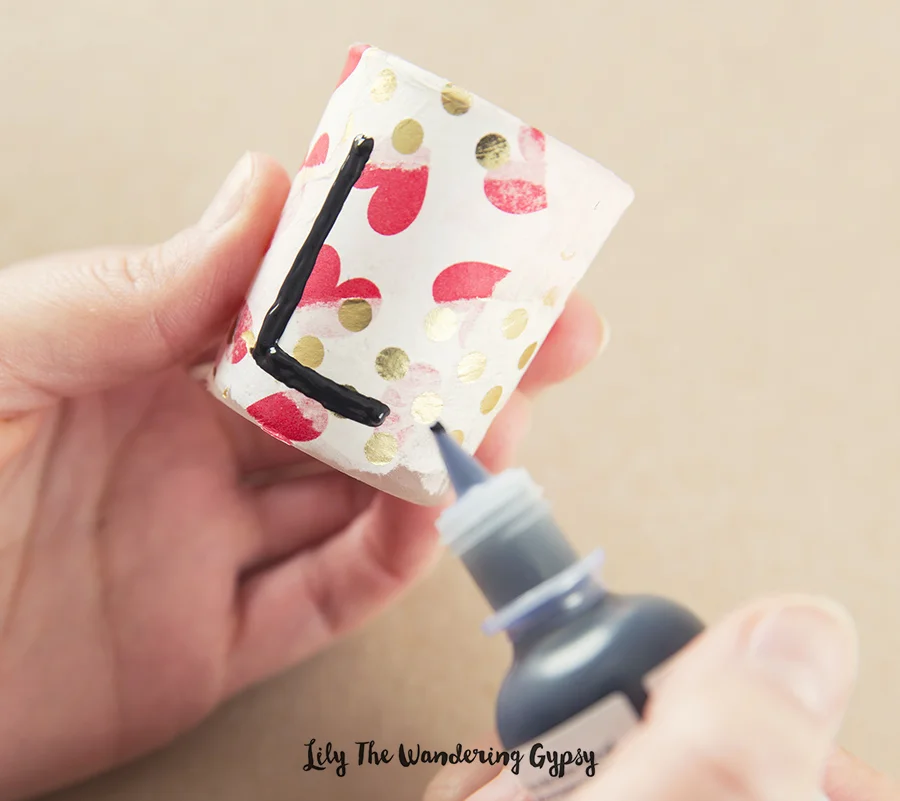
*** Draw your letters onto the votives with pencil first!!!
And then paint over the pencil with black puffy paint. Carefully go back over the edges so they are smooth.
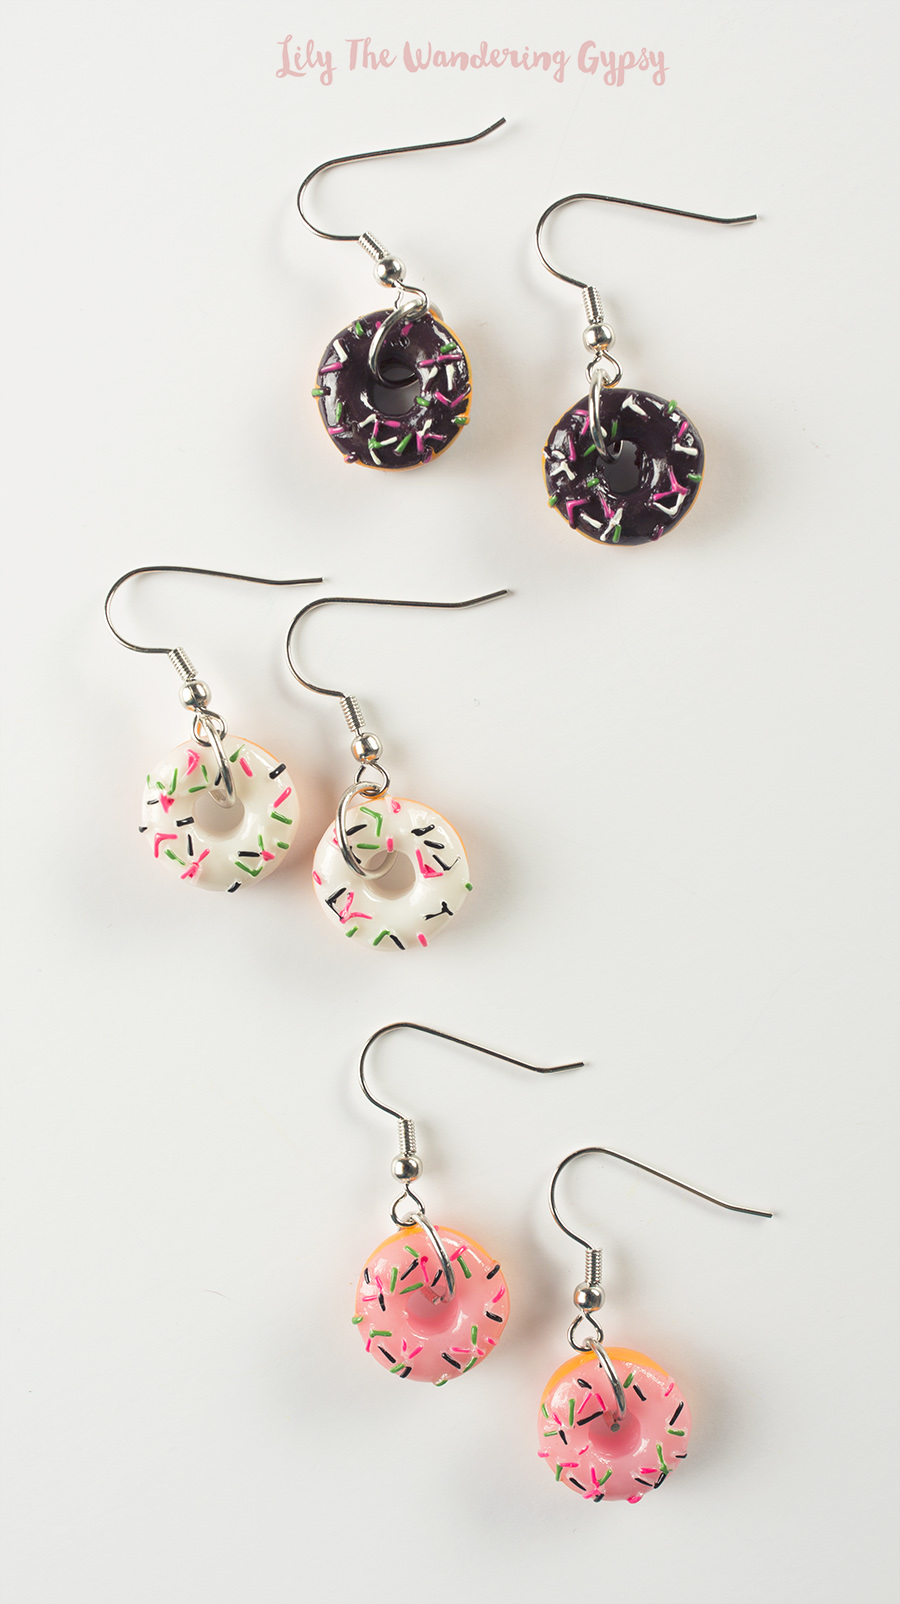
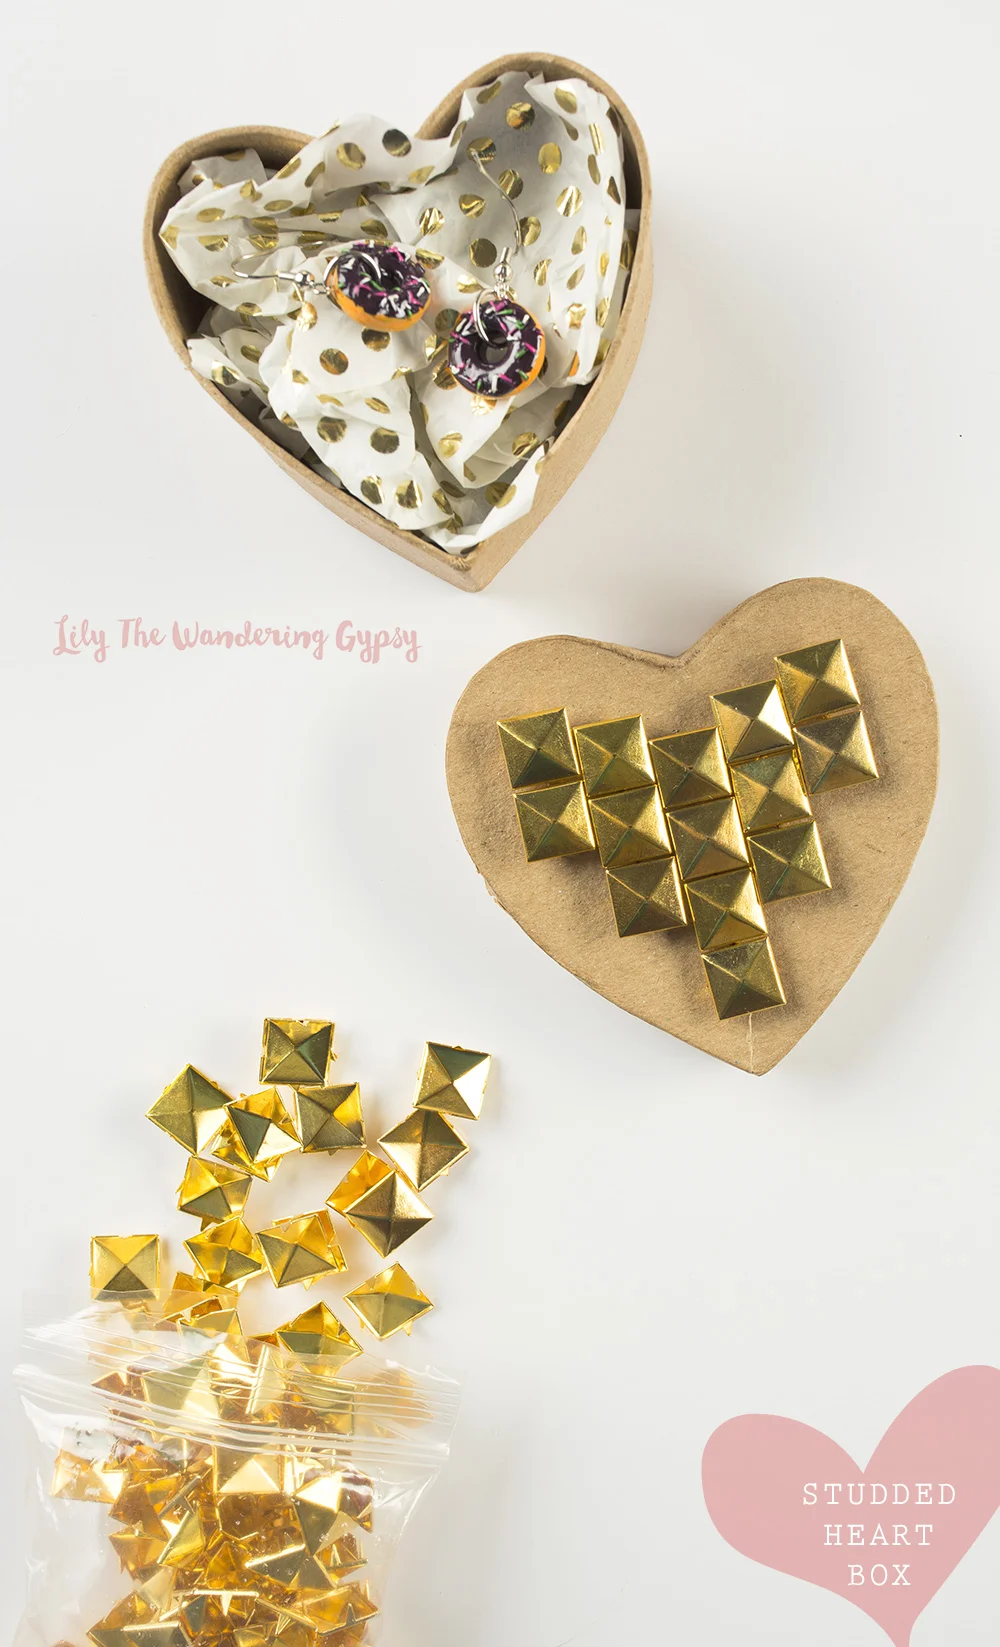
Itty Bitty Donuts + A Gift Box DIY
I have been wanting to make these Donut Earrings for the longest time, and I figured that Valentine's Day was the perfect day to share them!
MATERIALS:
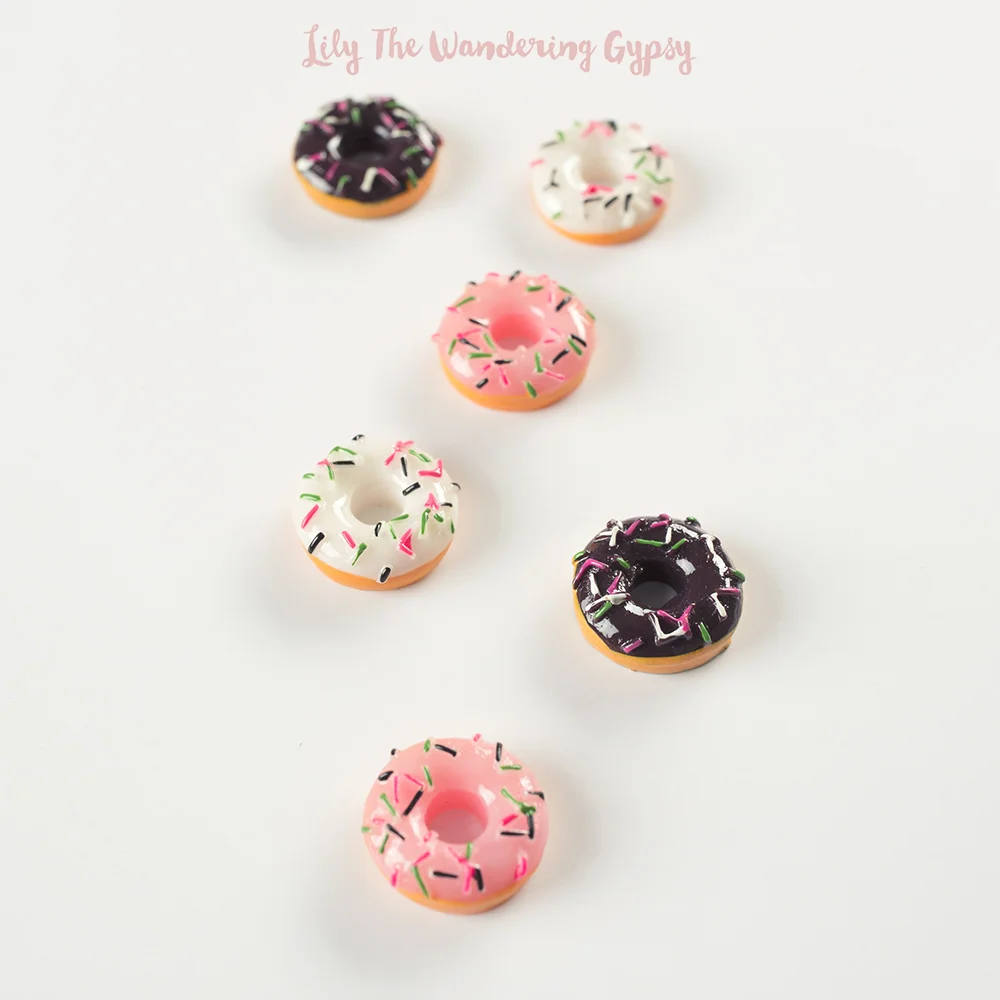
- Mini Donuts From Dollhouse Section
- Jump Rings (Size =
- Matching Earring Hooks
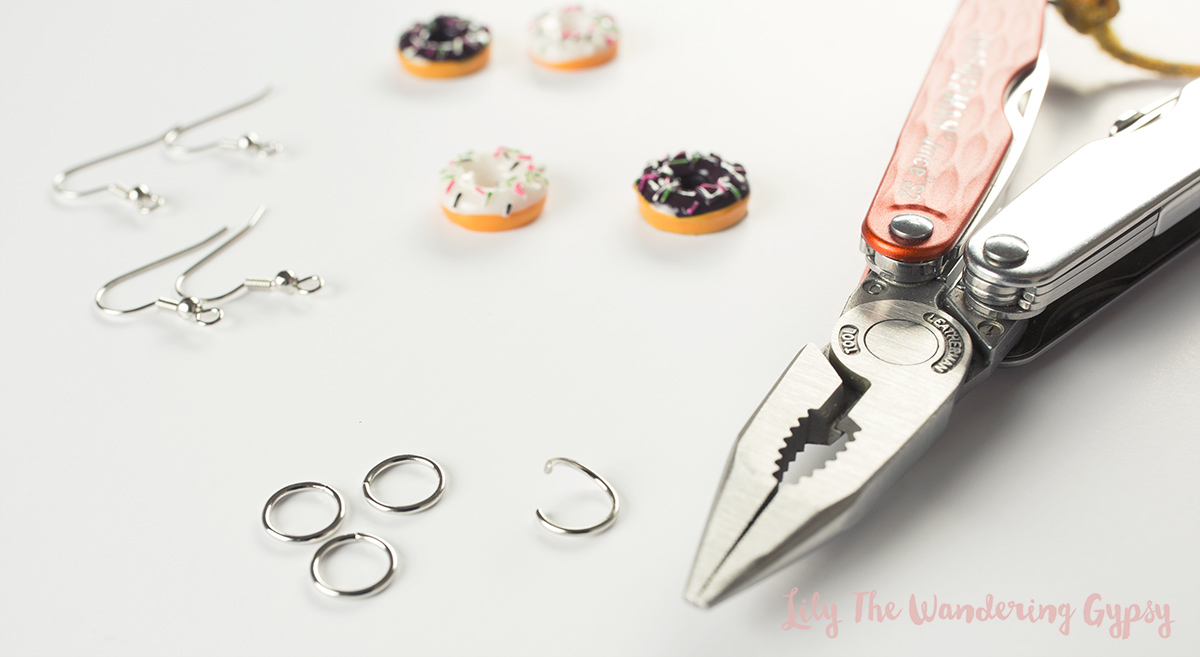
- Pliers

READY THE DONUTS
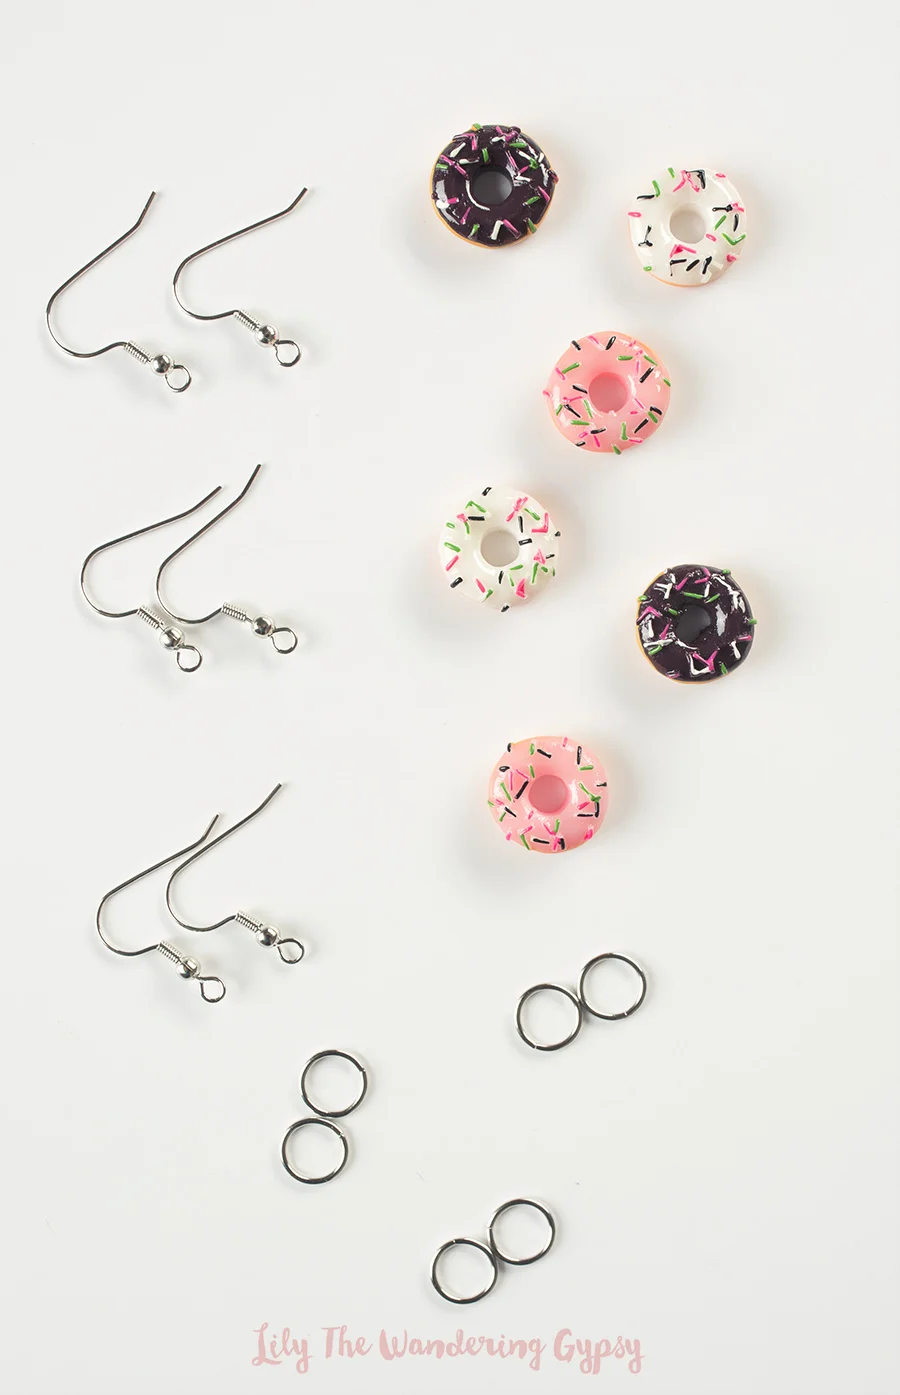
OPEN THE JUMP RINGS
Take your pliers, and rather than opening the jump rings wider, just twist them up. This helps them go back together better in the end. Open them wide enough to fit around the donuts.
Close the Jump Rings around the donuts, and make sure they are secure. That's it!
AND YOU HAVE DONUT EARRINGS!

A GIFT BOX DIY
- I also had this cute paper mache box that was heart shaped, so I stuck some studs into the top of the box, added some tissue, and put the Donut Earrings inside! How cute :)

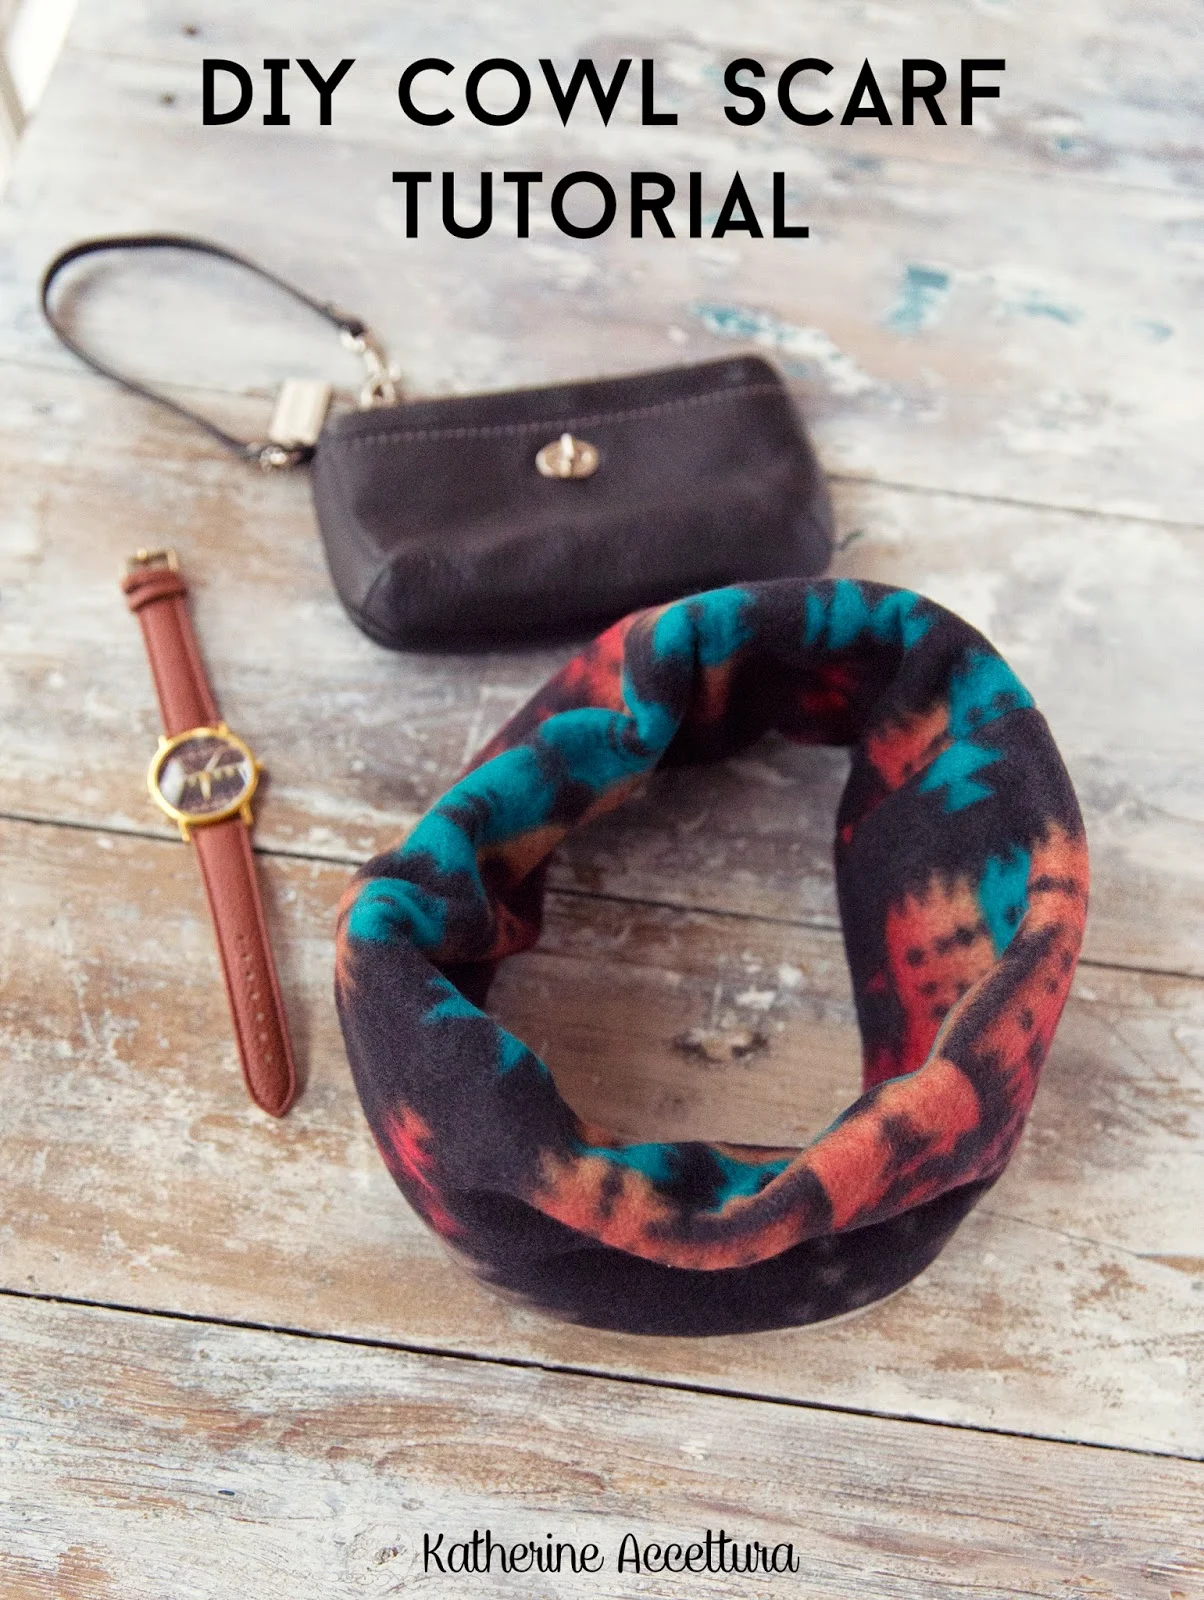
How To Make A Cowl Scarf - Fun & Easy!
Let's face it, it is COLD as heck out there and having warm layers make it a little bit easier to endure. When I created this Cowl Scarf tutorial, I envisioned someone riding their bike to and from work or school, without any protection from the cold on their face. Well, this double layer fleece cowl scarf is lightweight but still blocks that wind pretty well, and looks super stylish! You can just keep wearing it to work or school, and even looks cute a little bit more dressed up! Enjoy :)
MATERIALS
2 Pieces of Fleece (10" x 30"), Sewing Pins, Sharp Scissors, Sewing Machine, Thread.
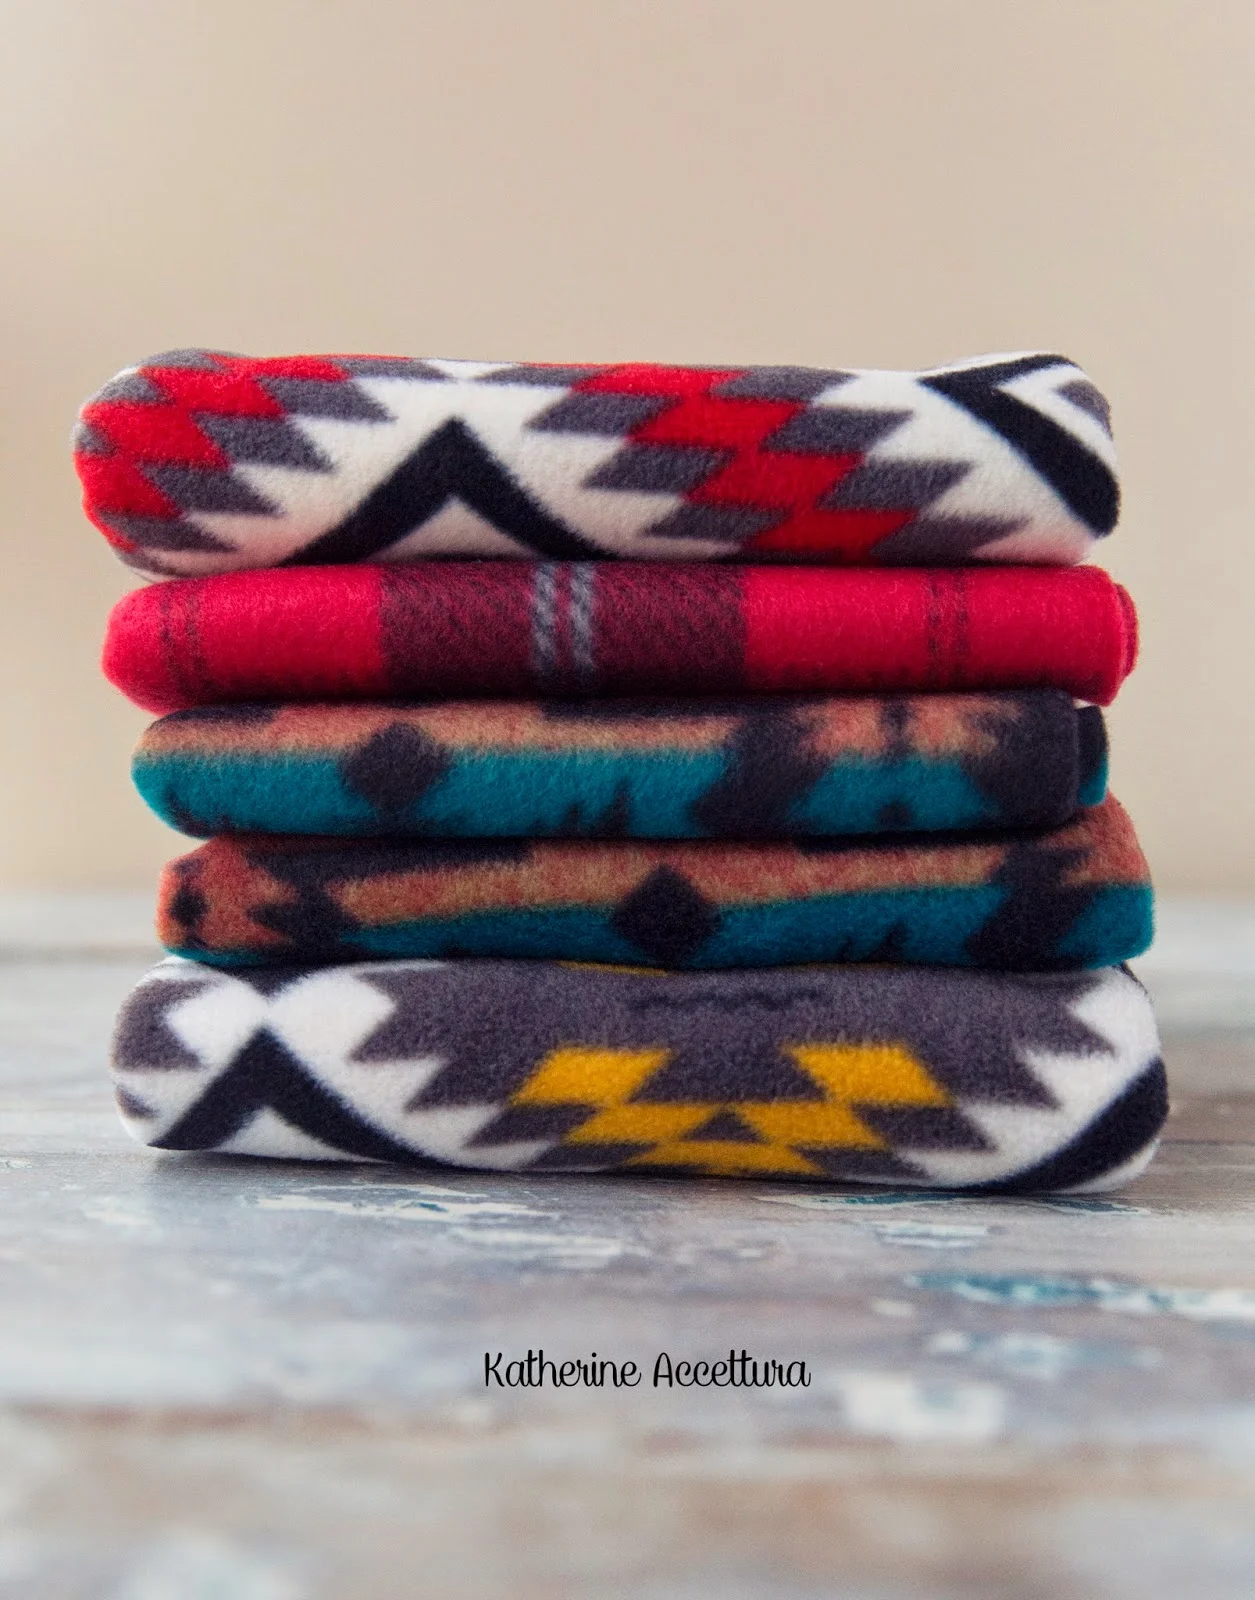
Choose your fleece fabrics! Hobby Lobby had some lovely fleece prints, and I know JoAnn's does too.

Pin up both long sides.
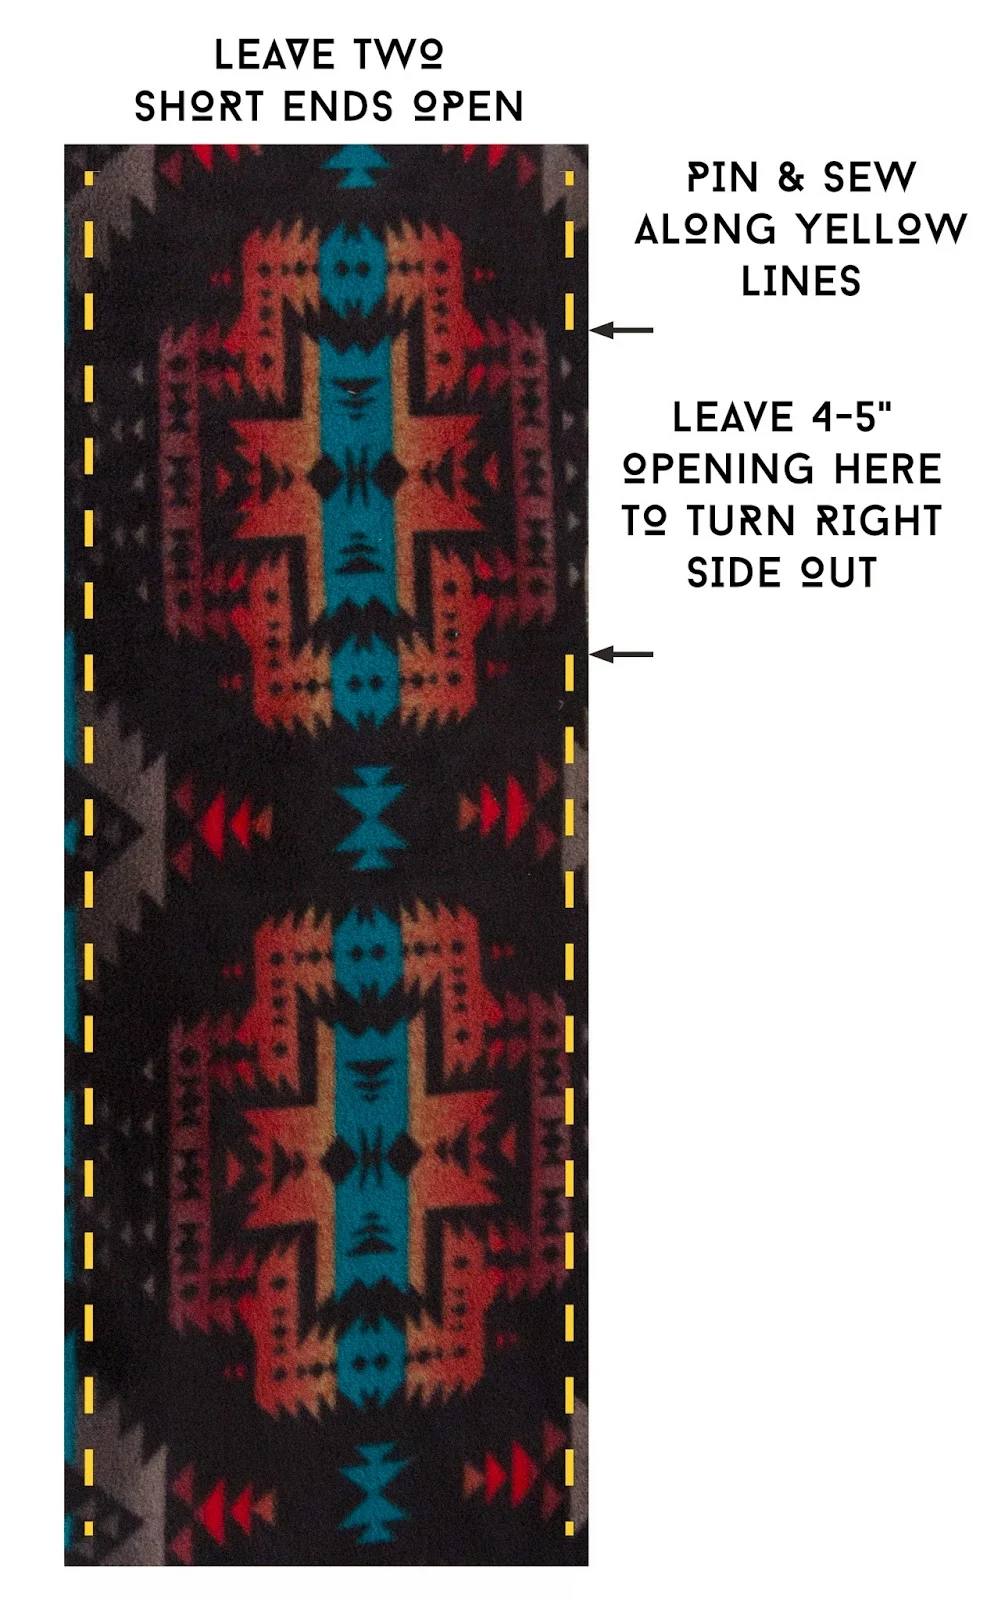
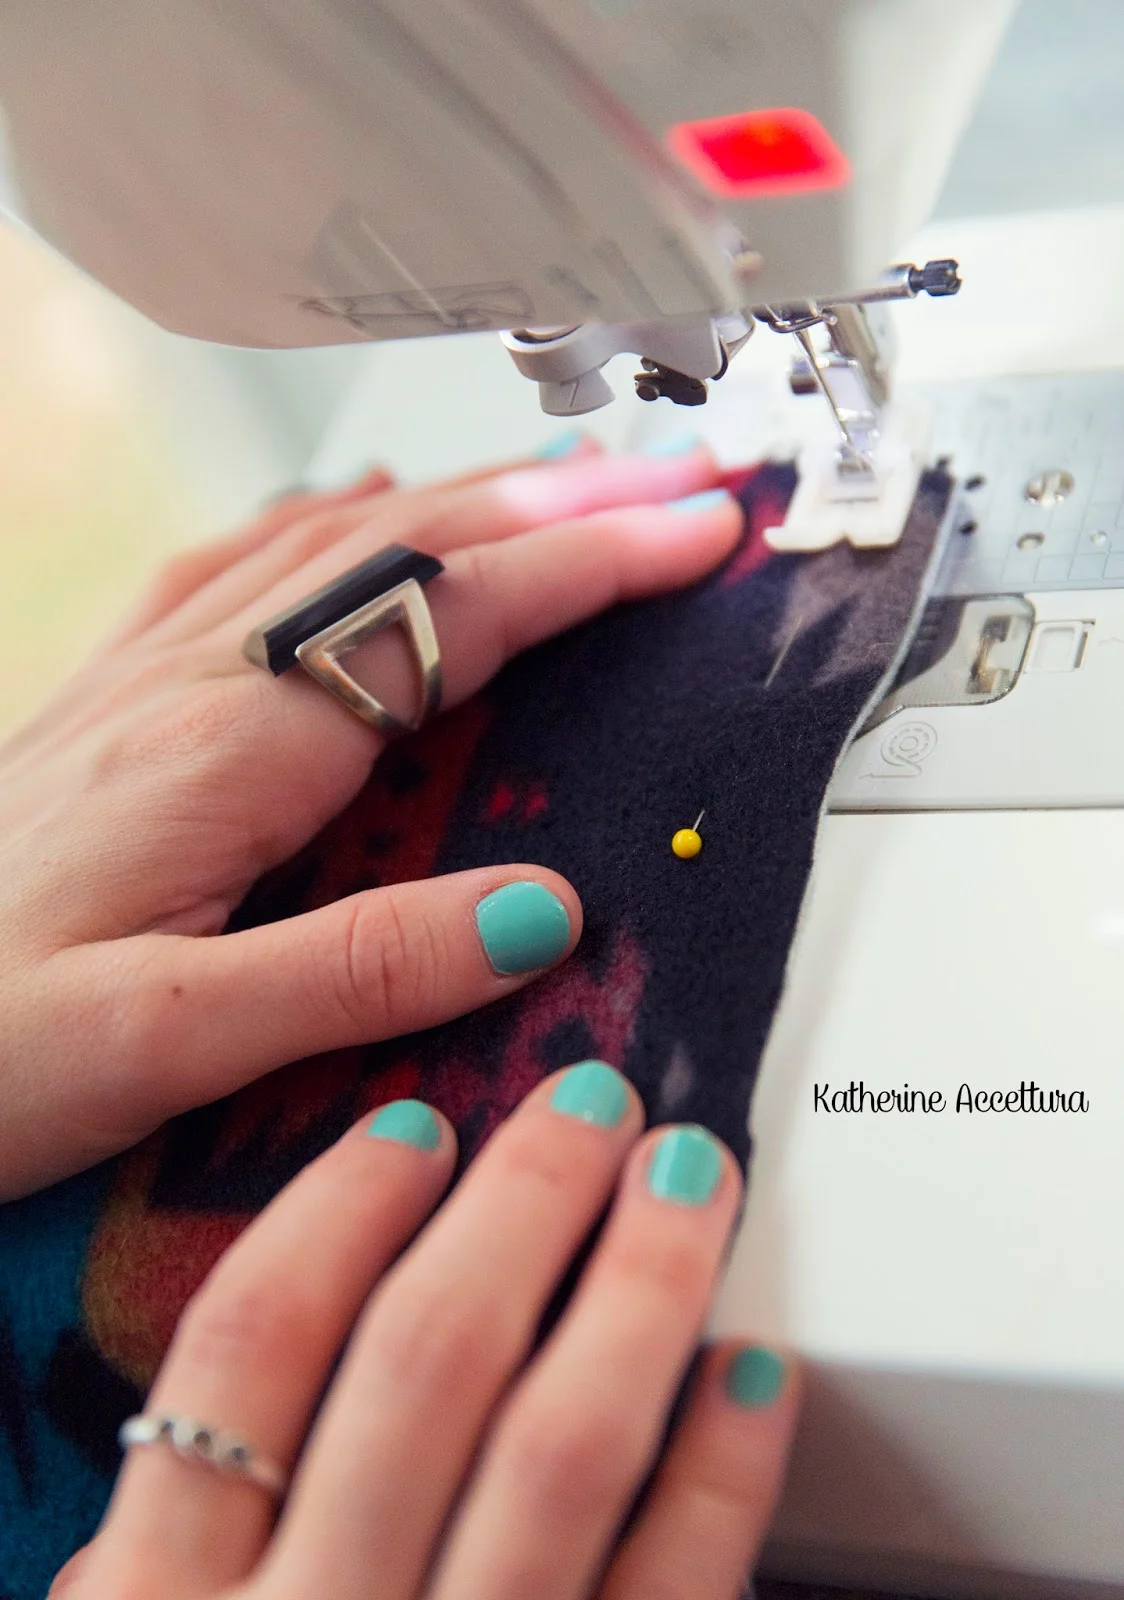
Sew up the sides, leaving a hole in one of the longer sides to turn the cowl right side out.
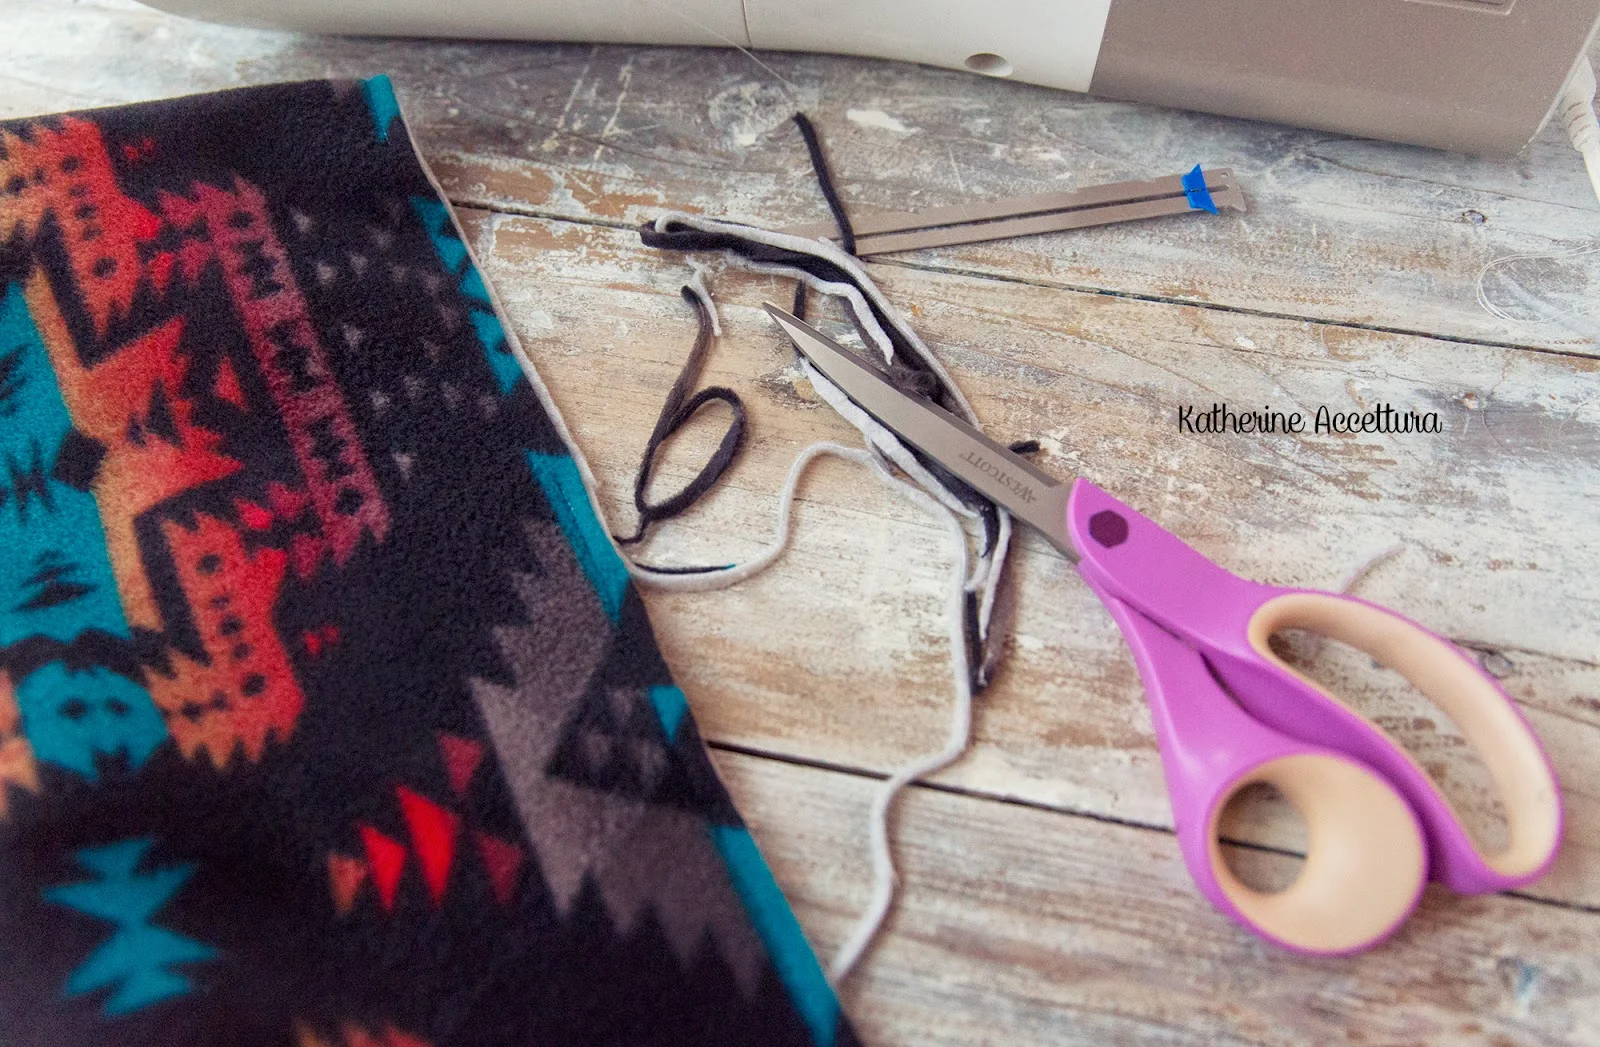
Trim off excess seam allowance.
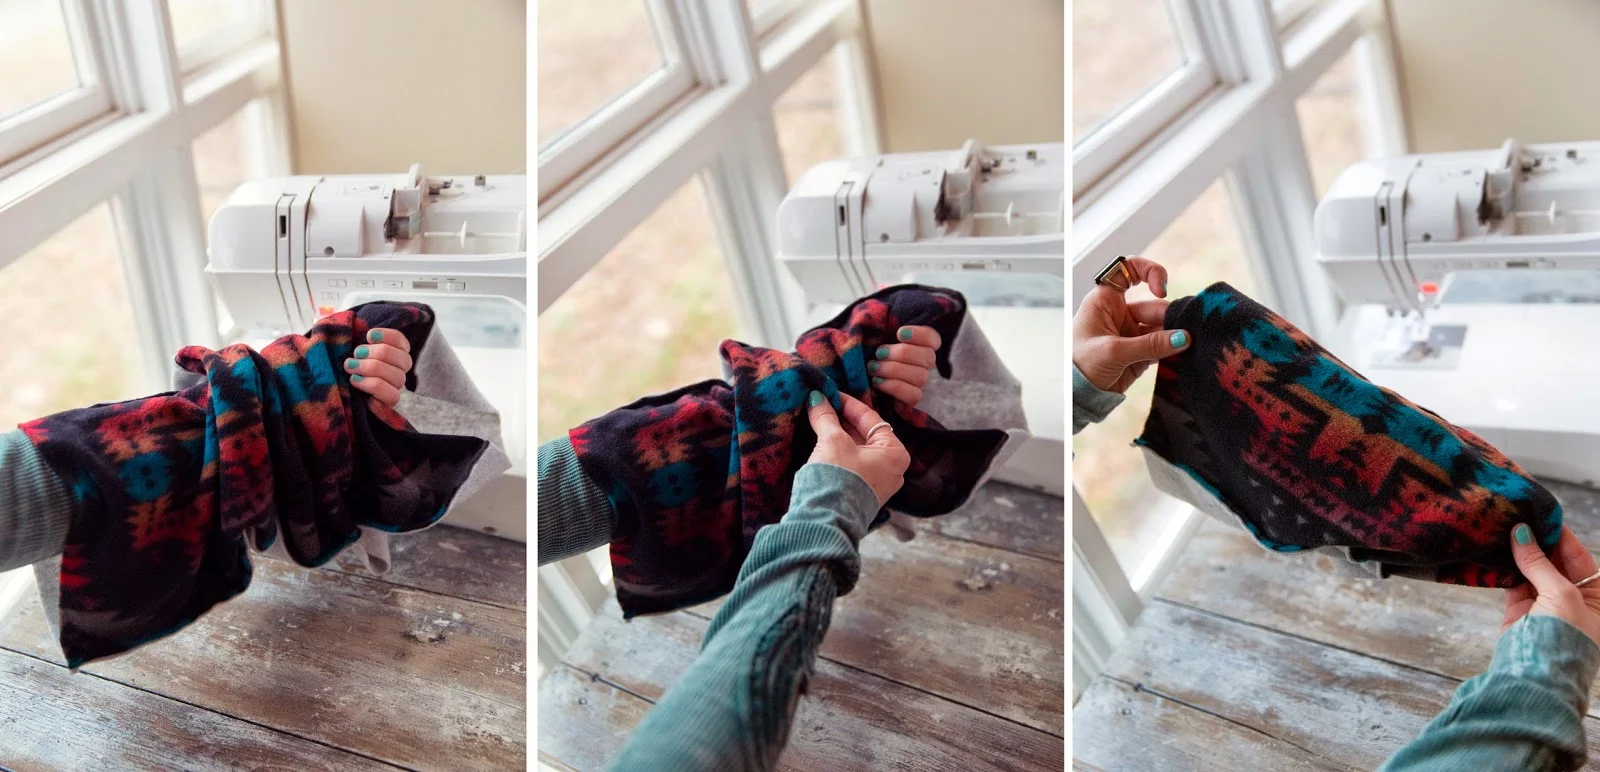
Put your arm through the tube, and pull both short sides together, inside out.
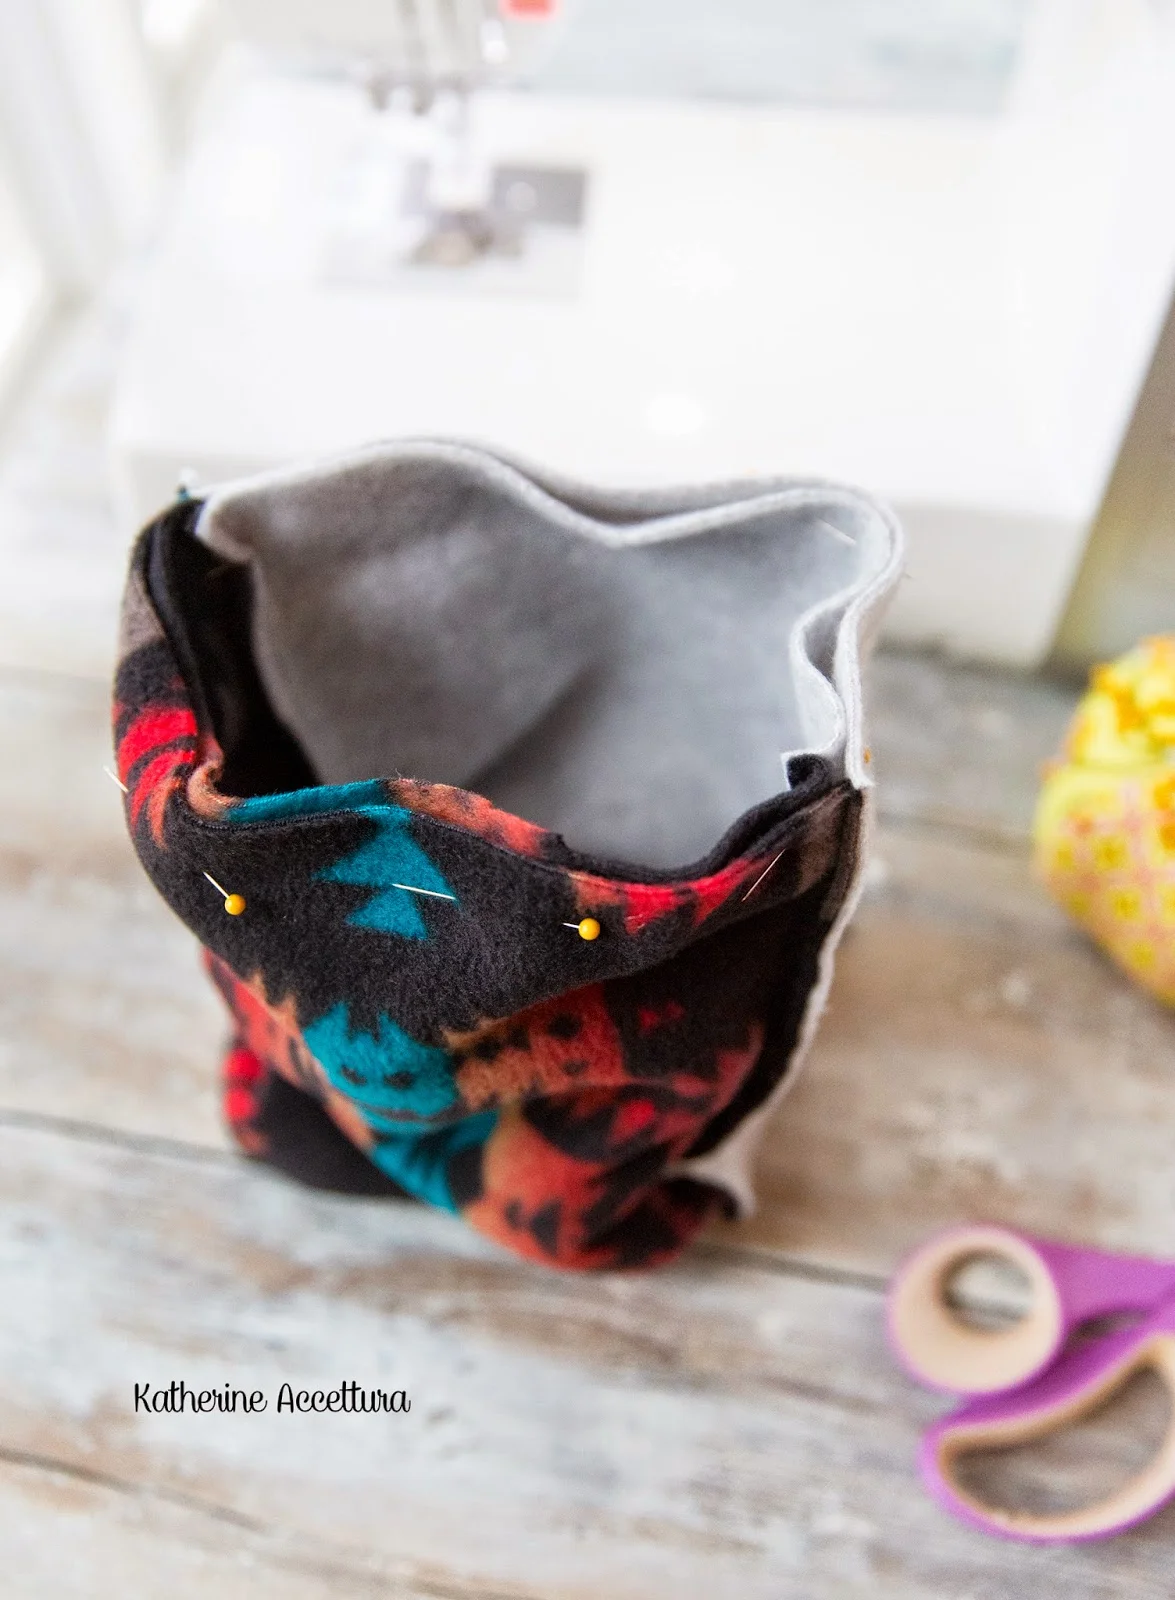
Pin the short sides together in a tubular shape.

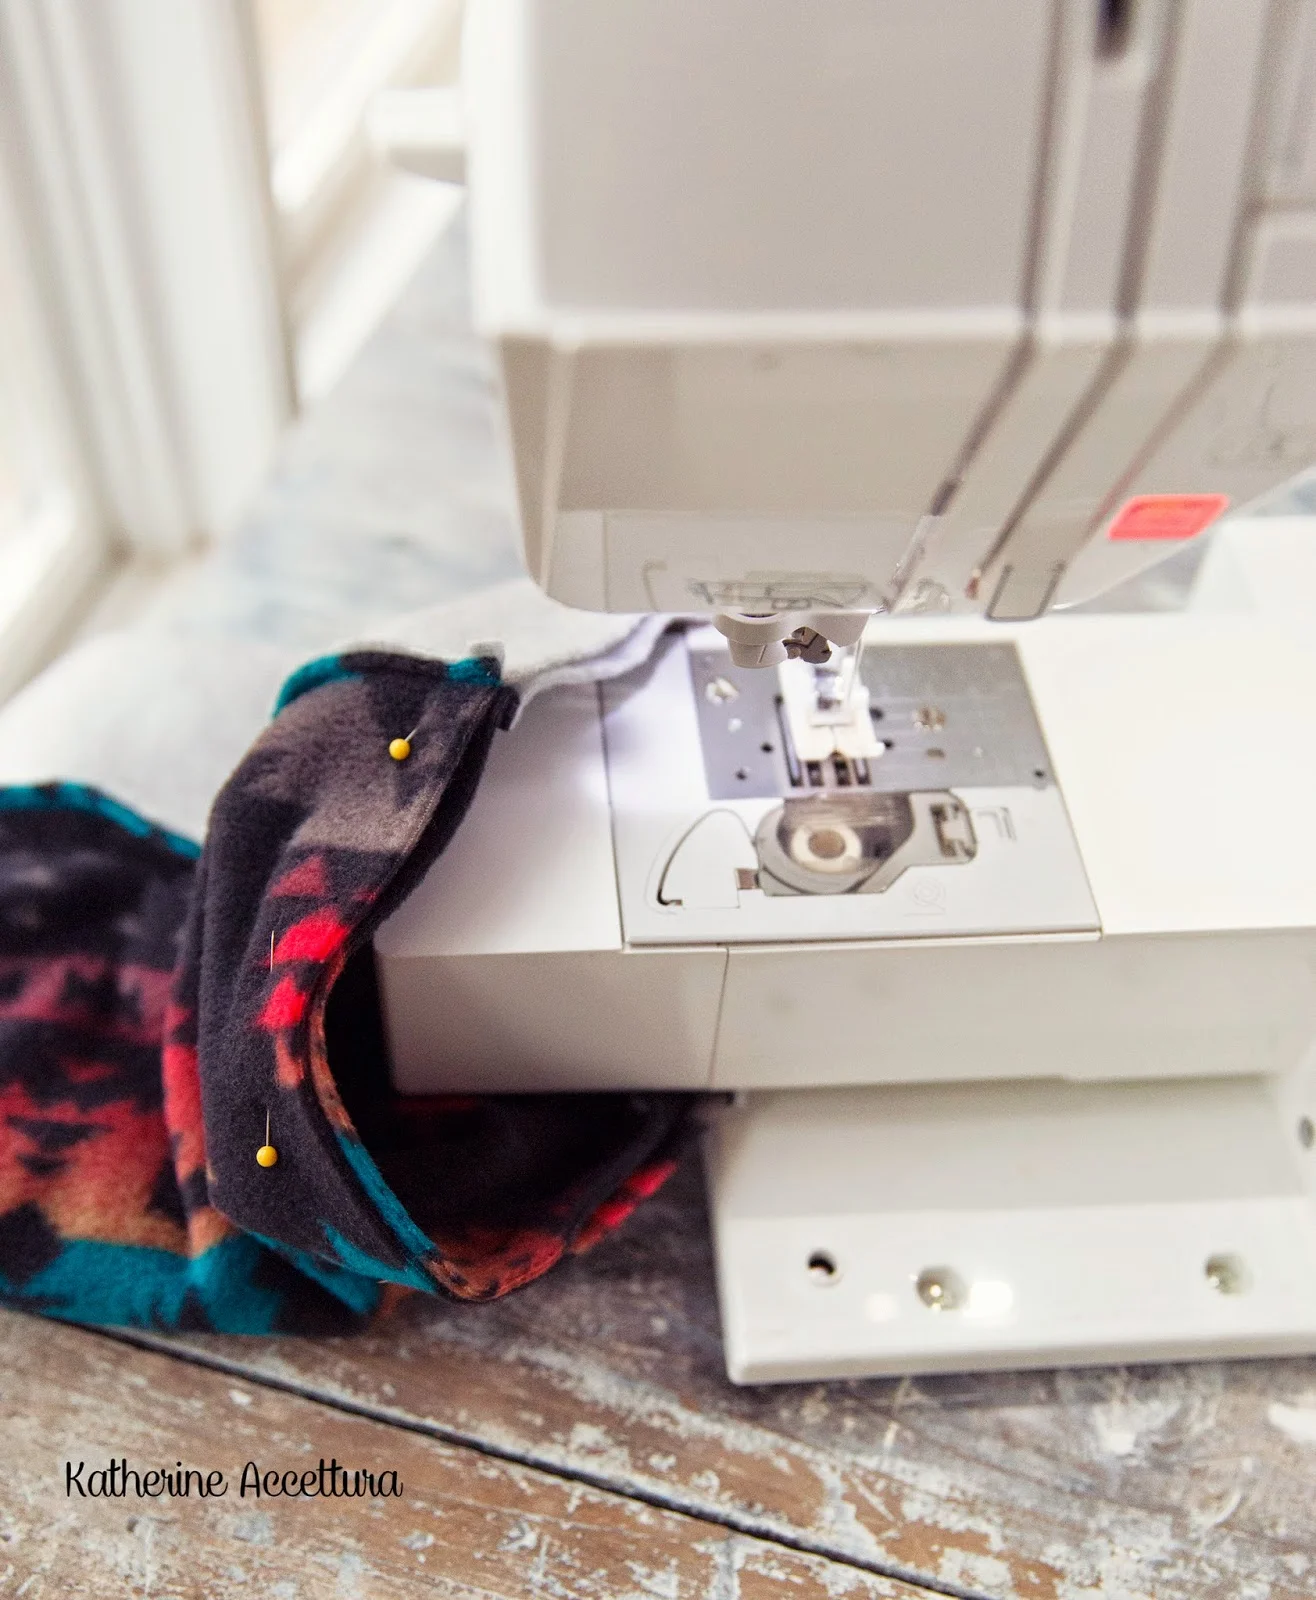
Sew up the short sides, in a tube shape. I was able to remove a part of my sewing machine that allowed me to slide the tube onto the machine easier.
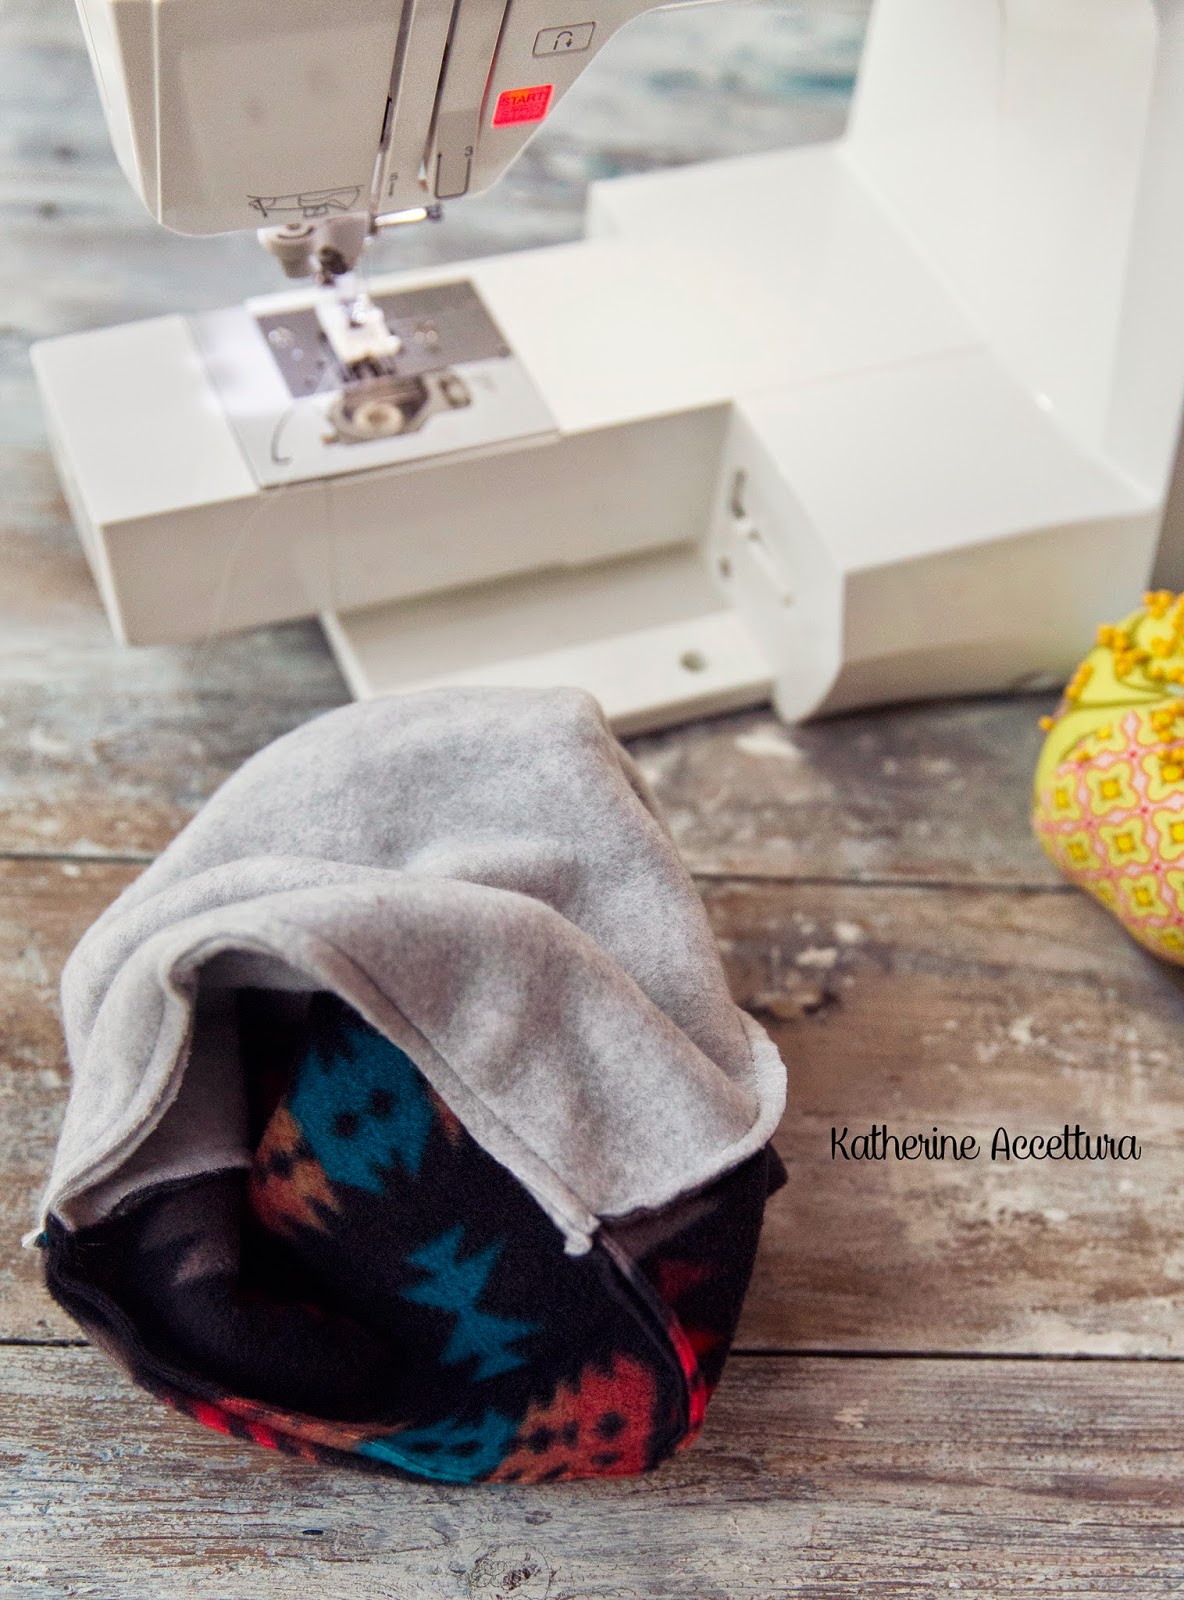
Here is the tube, sewn up on the short sides.
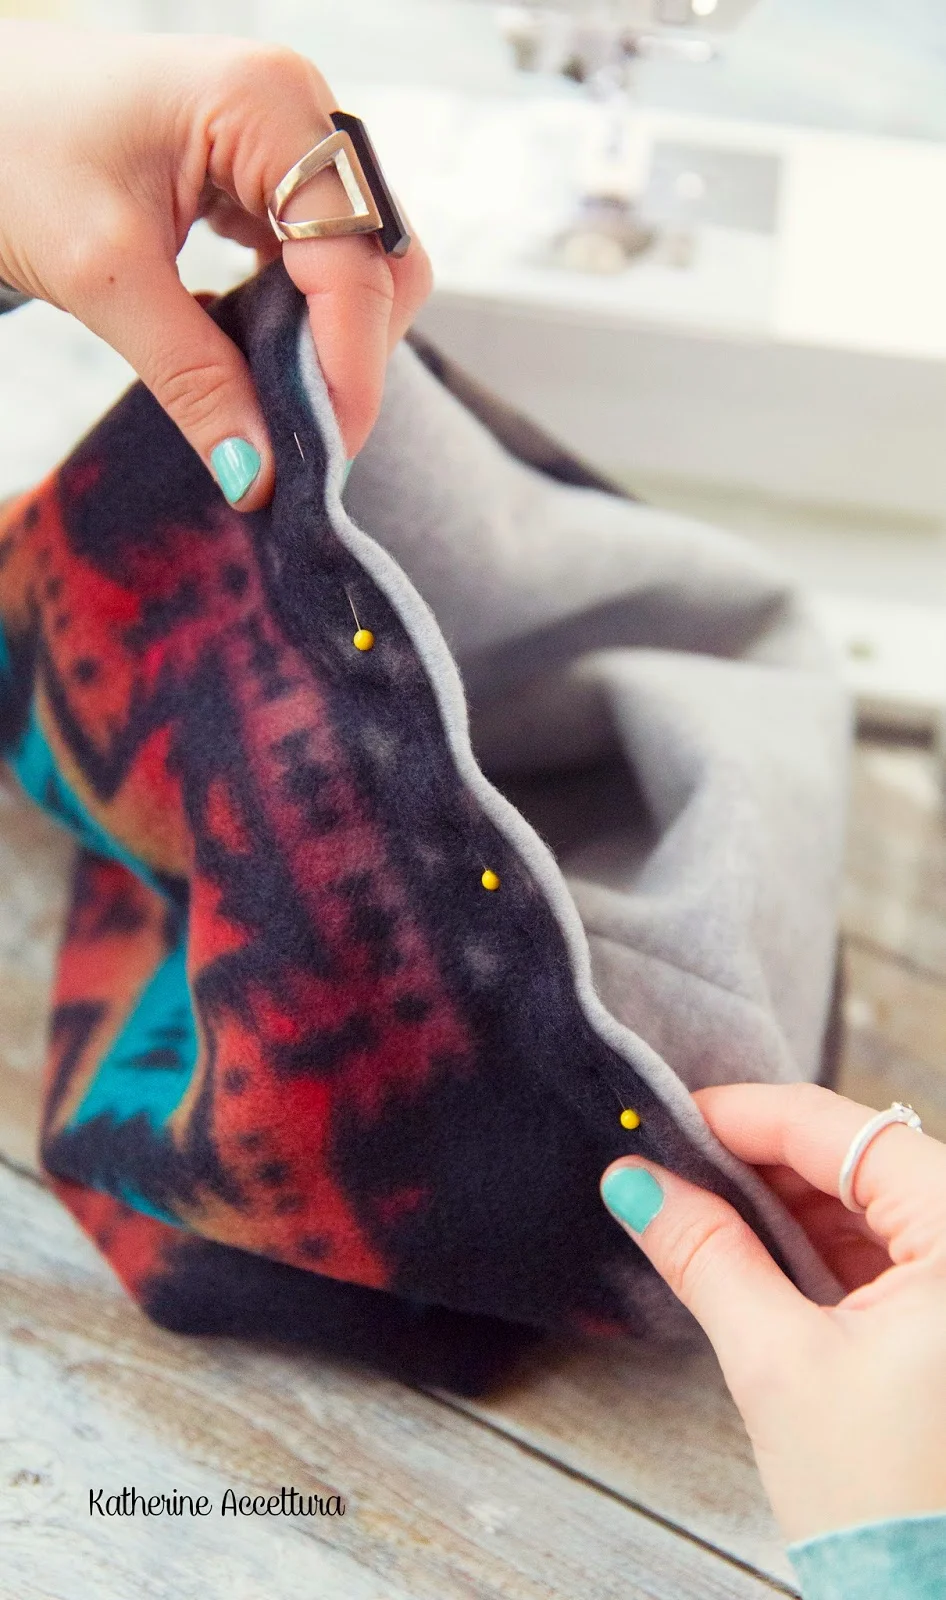
Flip the scarf right sides out, through the hole on the long sides, and pin the hole up. You're getting ready to sew the final stitches!
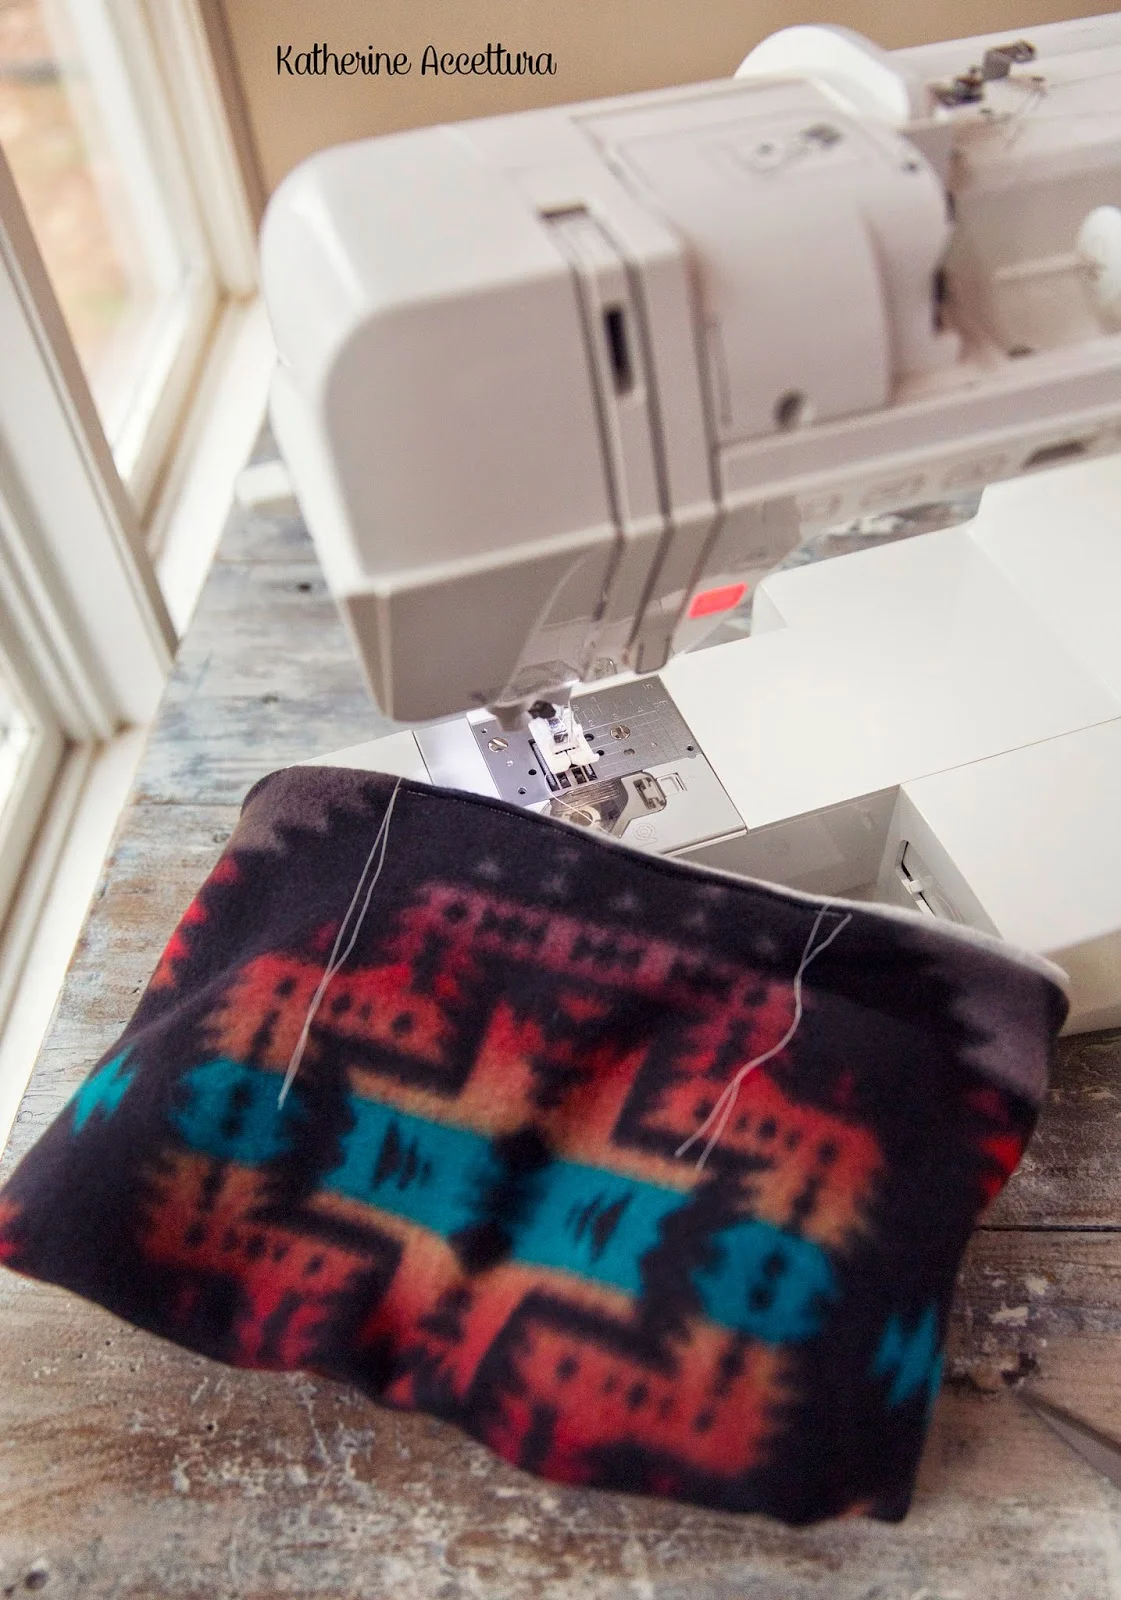
Here is what the final stitches look like! Trim extra threads, and you're DONE!


Check Out My DIY Page!
I just created a new page that helps you find all of my DIY projects in one place. I had so much fun going back through all of the fun projects I had created in 2015, and thinking about all of the great things I want to make, design, and share in 2016. If you have any requests, or ideas for me, just comment below! Happy Crafting!!

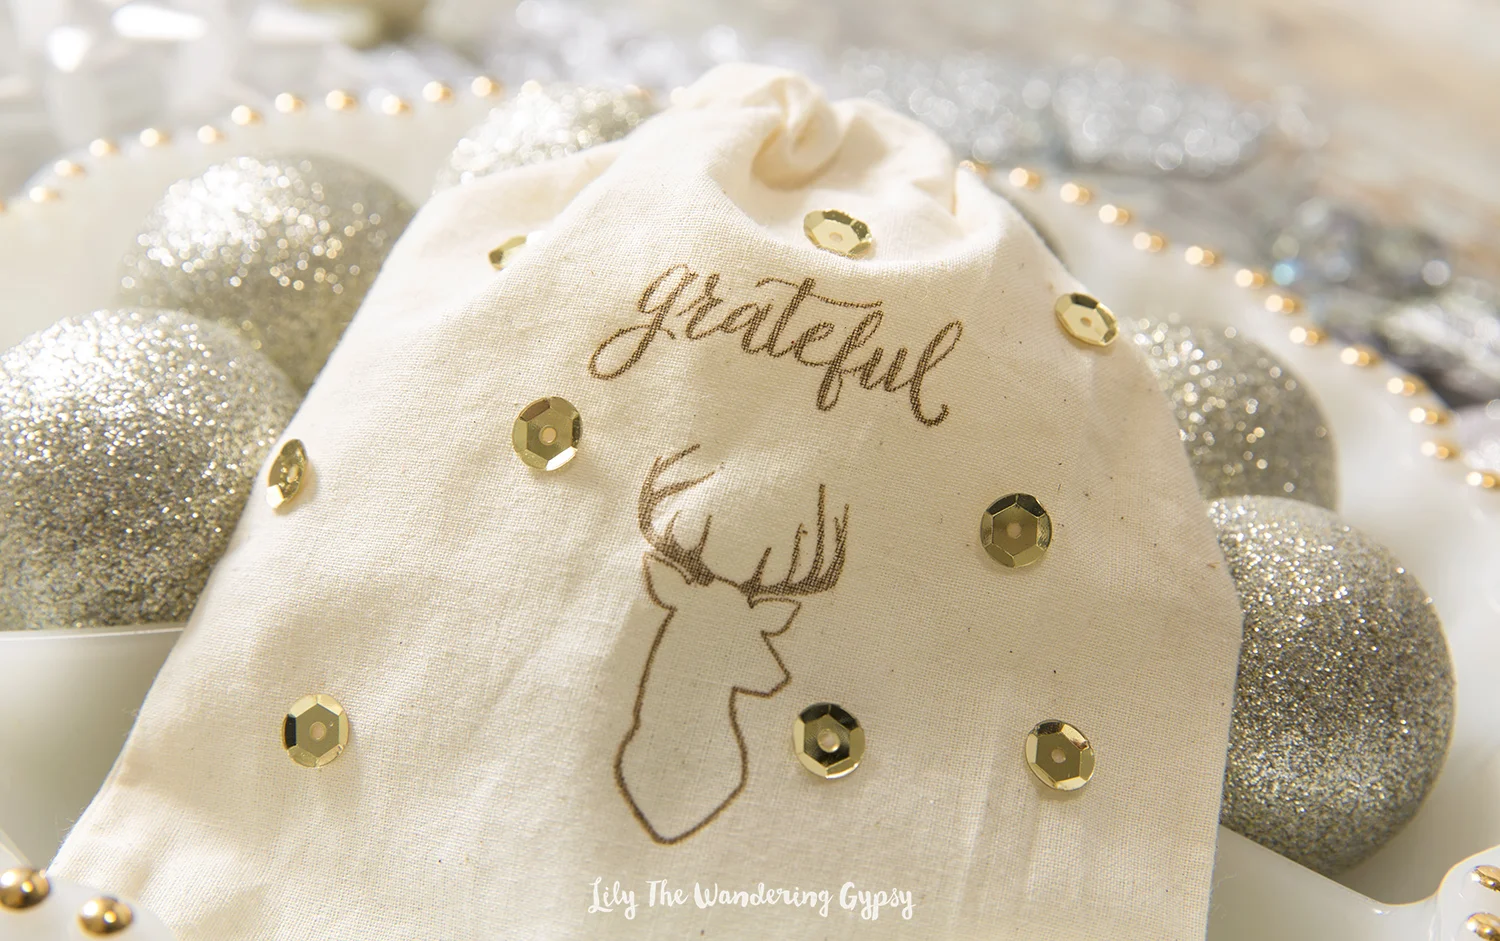
DIY Cotton Gift Bags
Check out my cute tutorial, to learn how to make some pretty adorable little gift bags. You can personalize any gift in minutes with these gift bags.
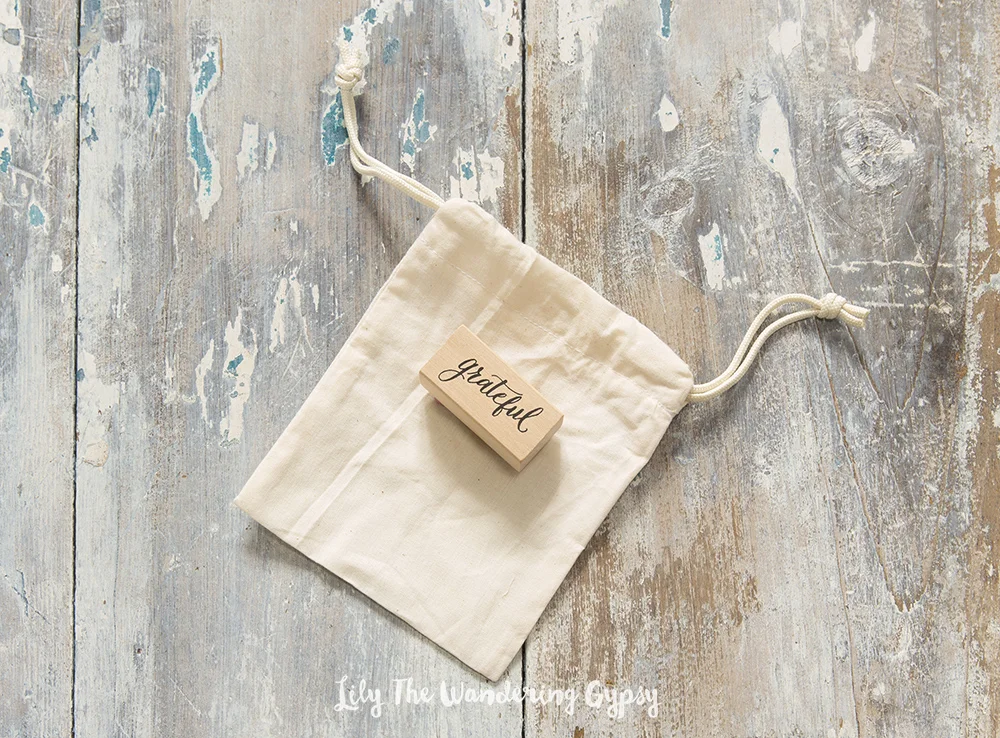
MATERIALS:
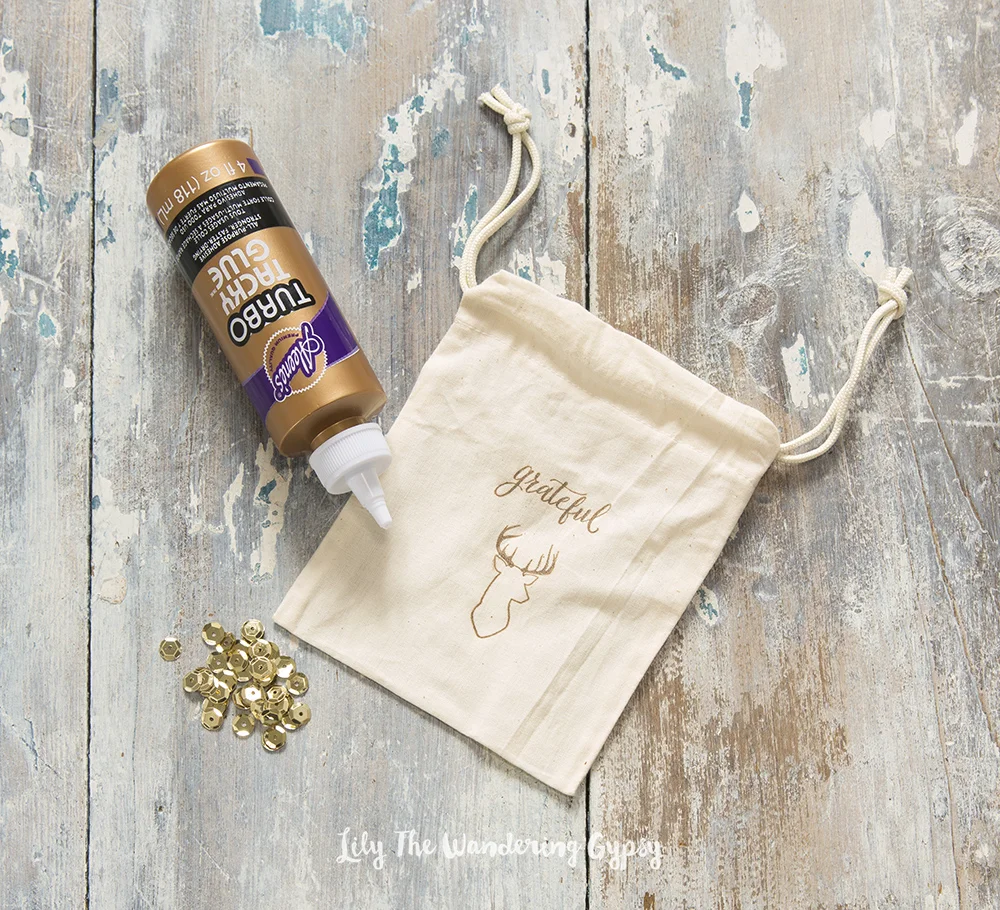
Cotton Gift Bags, Rubber Stamps, Ink Pad, Glue (Either Tacky Glue or Fabric Glue), Sequins

First, I recommend stamping onto a piece of paper before you stamp onto your gift bag, to make sure the design looks good. But, basically just figure out where you want your stamp to go, and carefully apply the inked stamp to your cotton bag. Press pretty hard, and make sure to not double over your design.

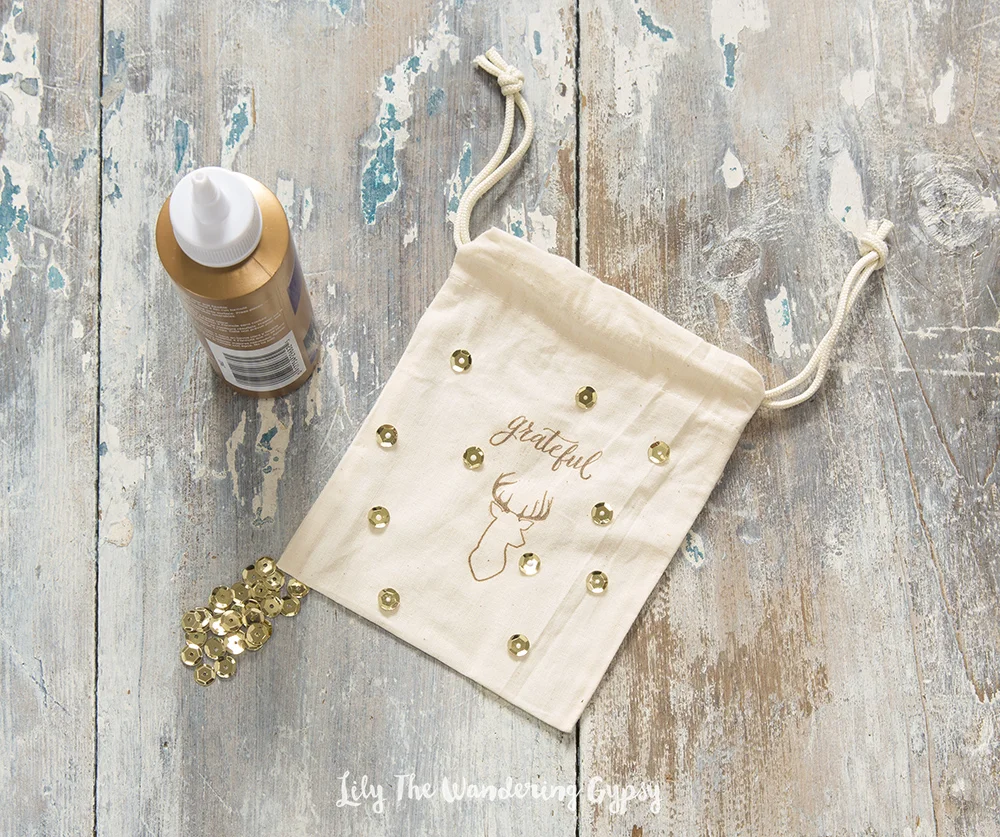
Now, gather your glue and sequins, and make dots of glue all over the front of the gift bag.
And, make sure to let the gift bag dry for a few hours, before giving this to anyone.

A Special Treat For Your Furry Friends! Organic Pumpkin Oatmeal Dog Treats Recipe
These treats were a real hit with my little Chocolate Lab, Cabbie. We always try to make sure we only give our dog the very best. Whether it be food, we give her Solid Gold Barking At The Moon, or what treats she gets, it is always the best we can possibly get. I was checking out different dog treat recipes, and came across this one. I love how it has only all-natural ingredients and does not contain chicken broth, salt, or sugar - these were much more mild for her tummy.

Cabbie helped me with EVERY step of this project. She absolutely loves these treats!

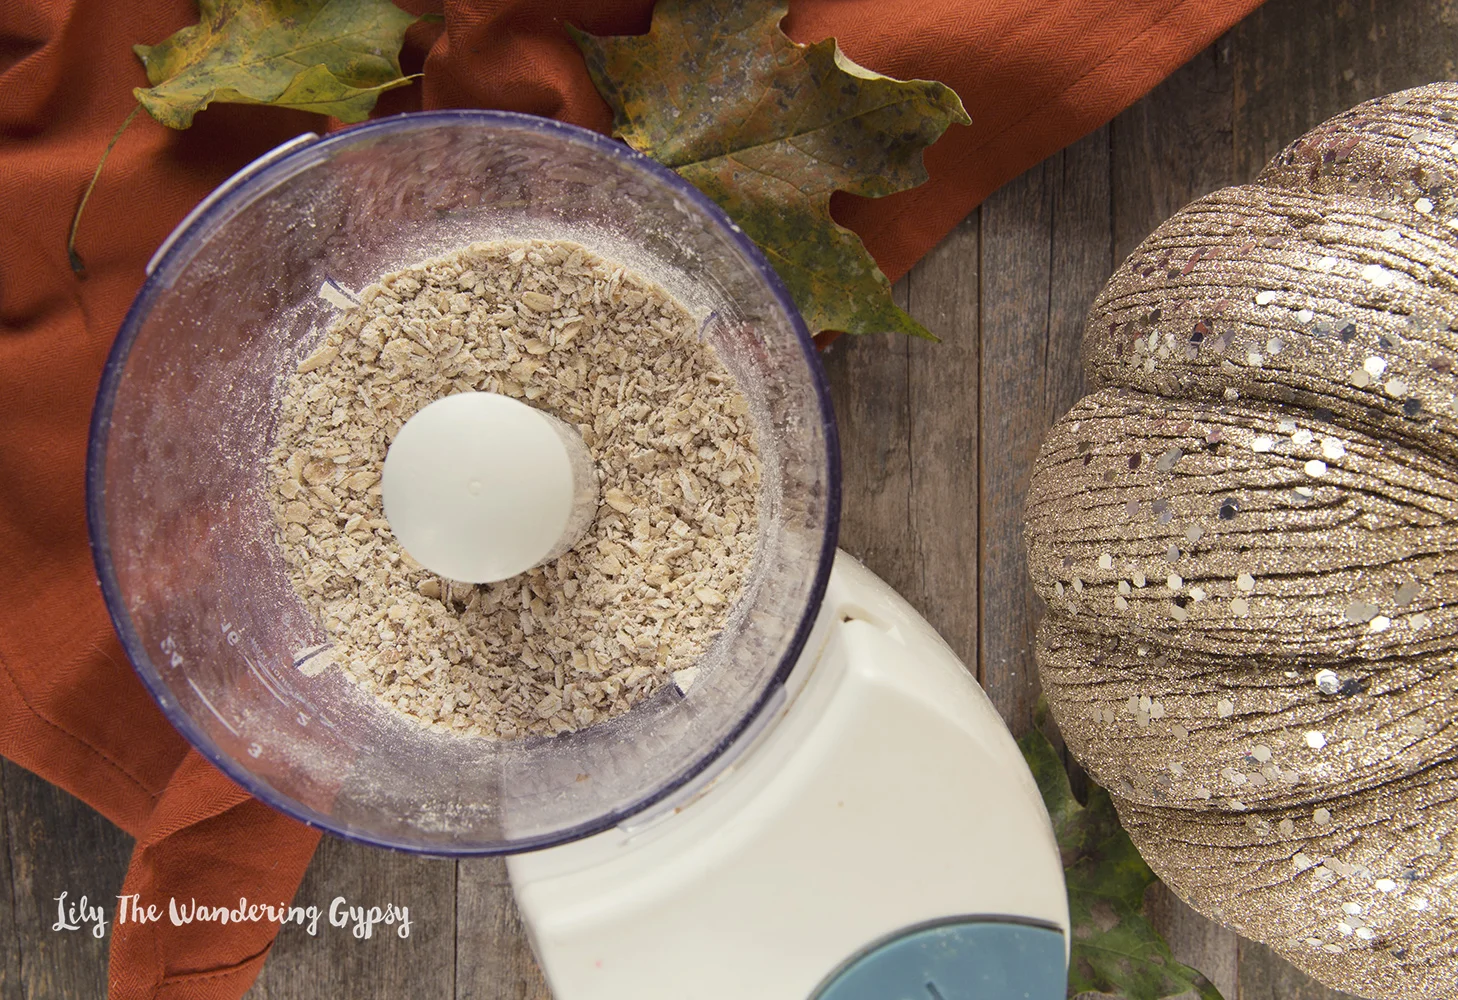
INGREDIENTS:
- 3 cups oats
- ½ cup peanut butter
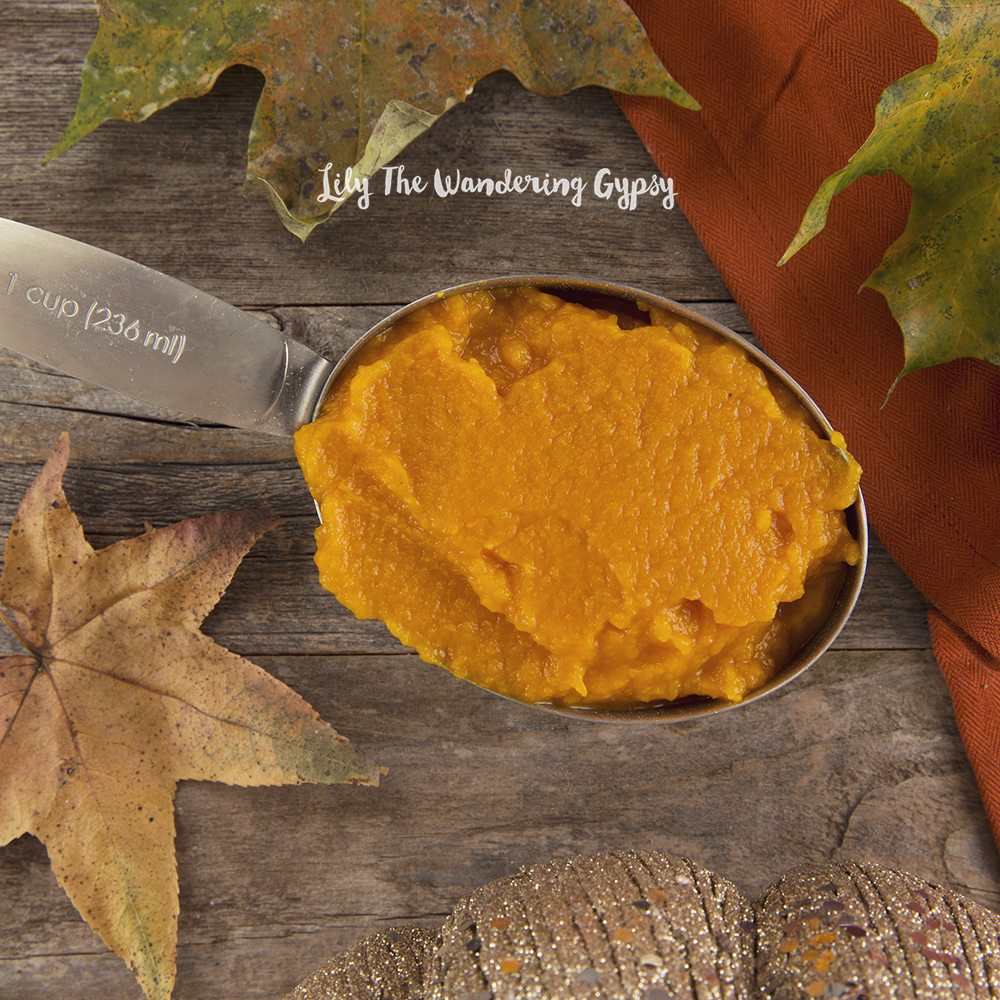
- 1 cup pumpkin puree
- 1 teaspoon cinnamon
- 1 teaspoon baking powder
- 2 eggs
INSTRUCTIONS:
- Place the oatmeal into a food processor and pulse it until it's not so coarse, but it doesn't need to be a fine as flour.
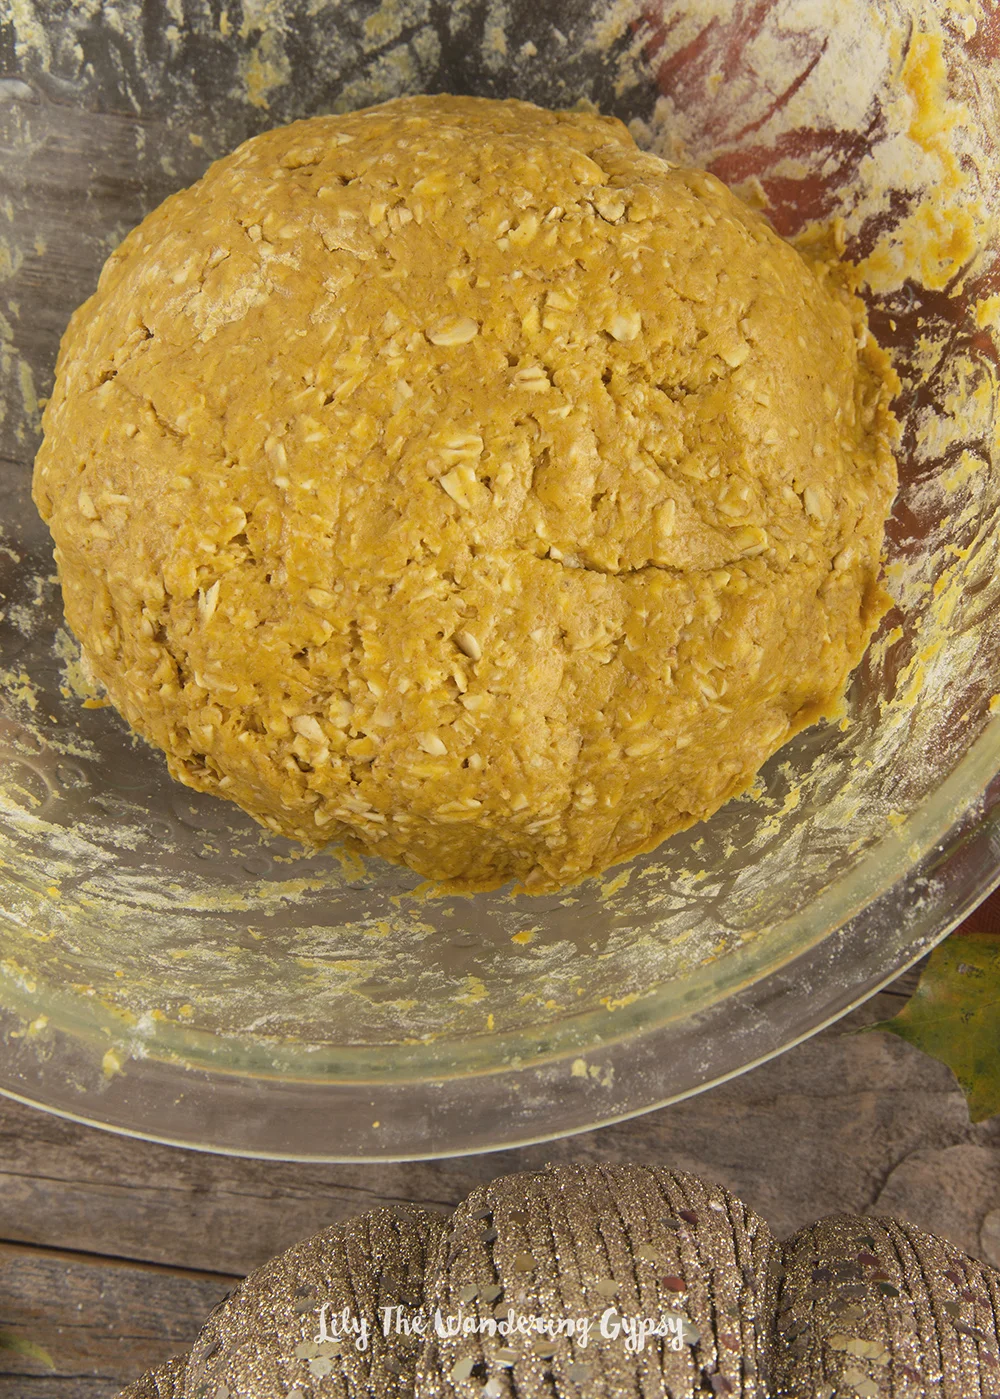
- Add oatmeal, pumpkin, peanut butter cinnamon baking powder and eggs to bowl on mixer and blend on medium until it's all mixed.
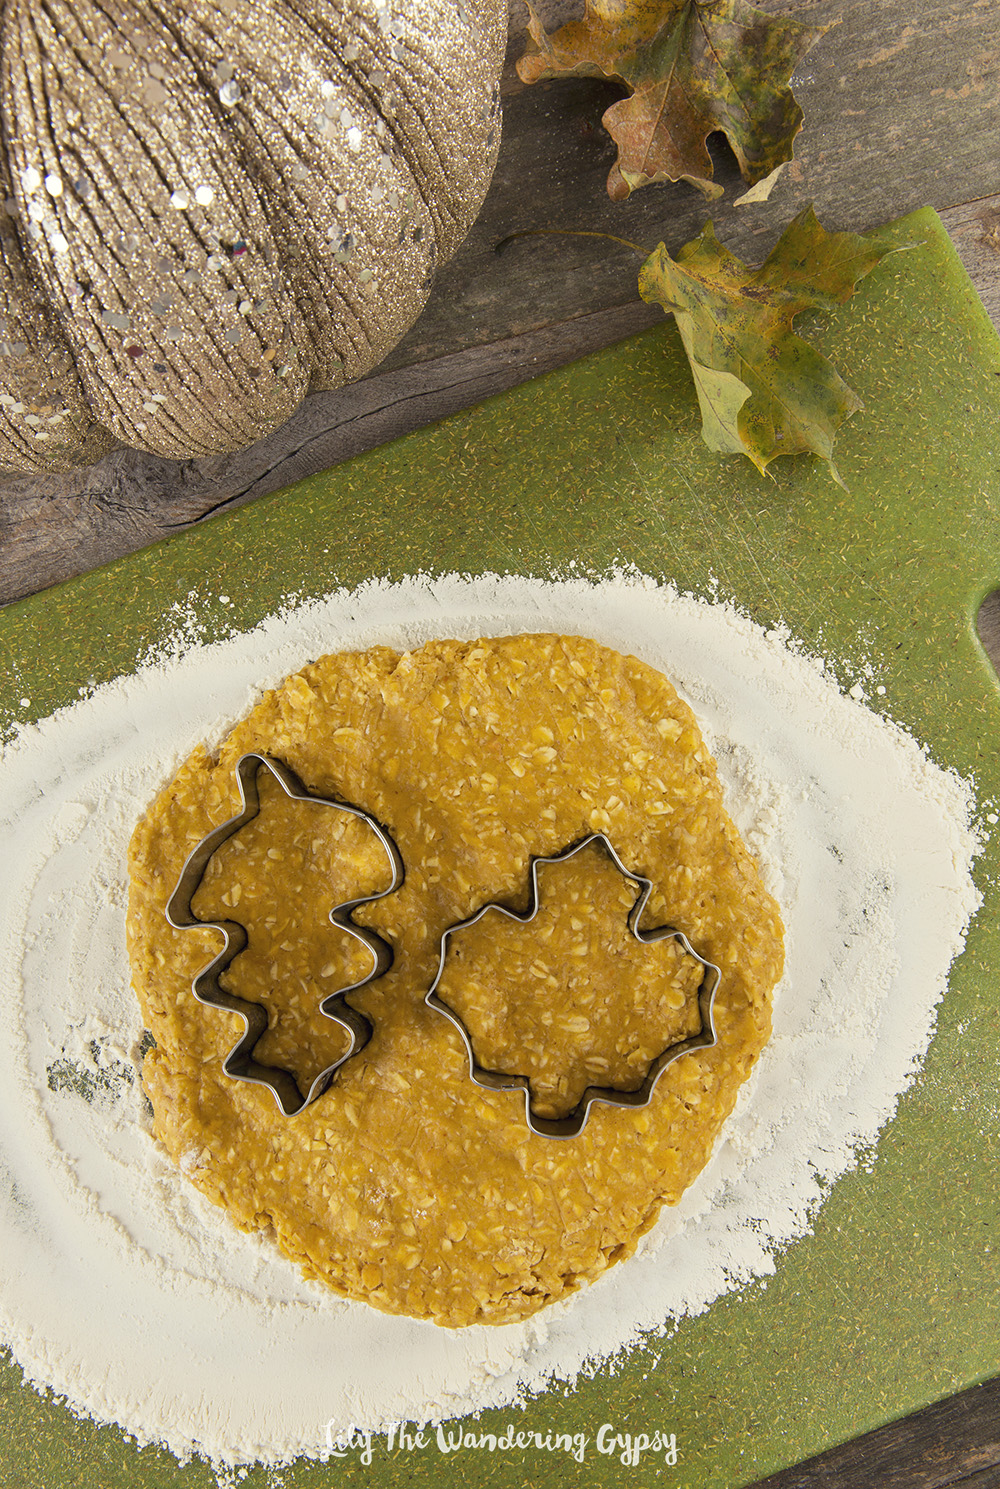
- Roll out with a little flour and cut with cookie cutters.
- Bake at 375 degrees for 15-20 minutes.
- Cool on rack until completely cooled.
- Place in airtight container to keep them fresh, or in the freezer. I keep them in the freezer, they don't freeze solid as there is little liquid. This is important!!!