Festive Chocolate Bark Recipe

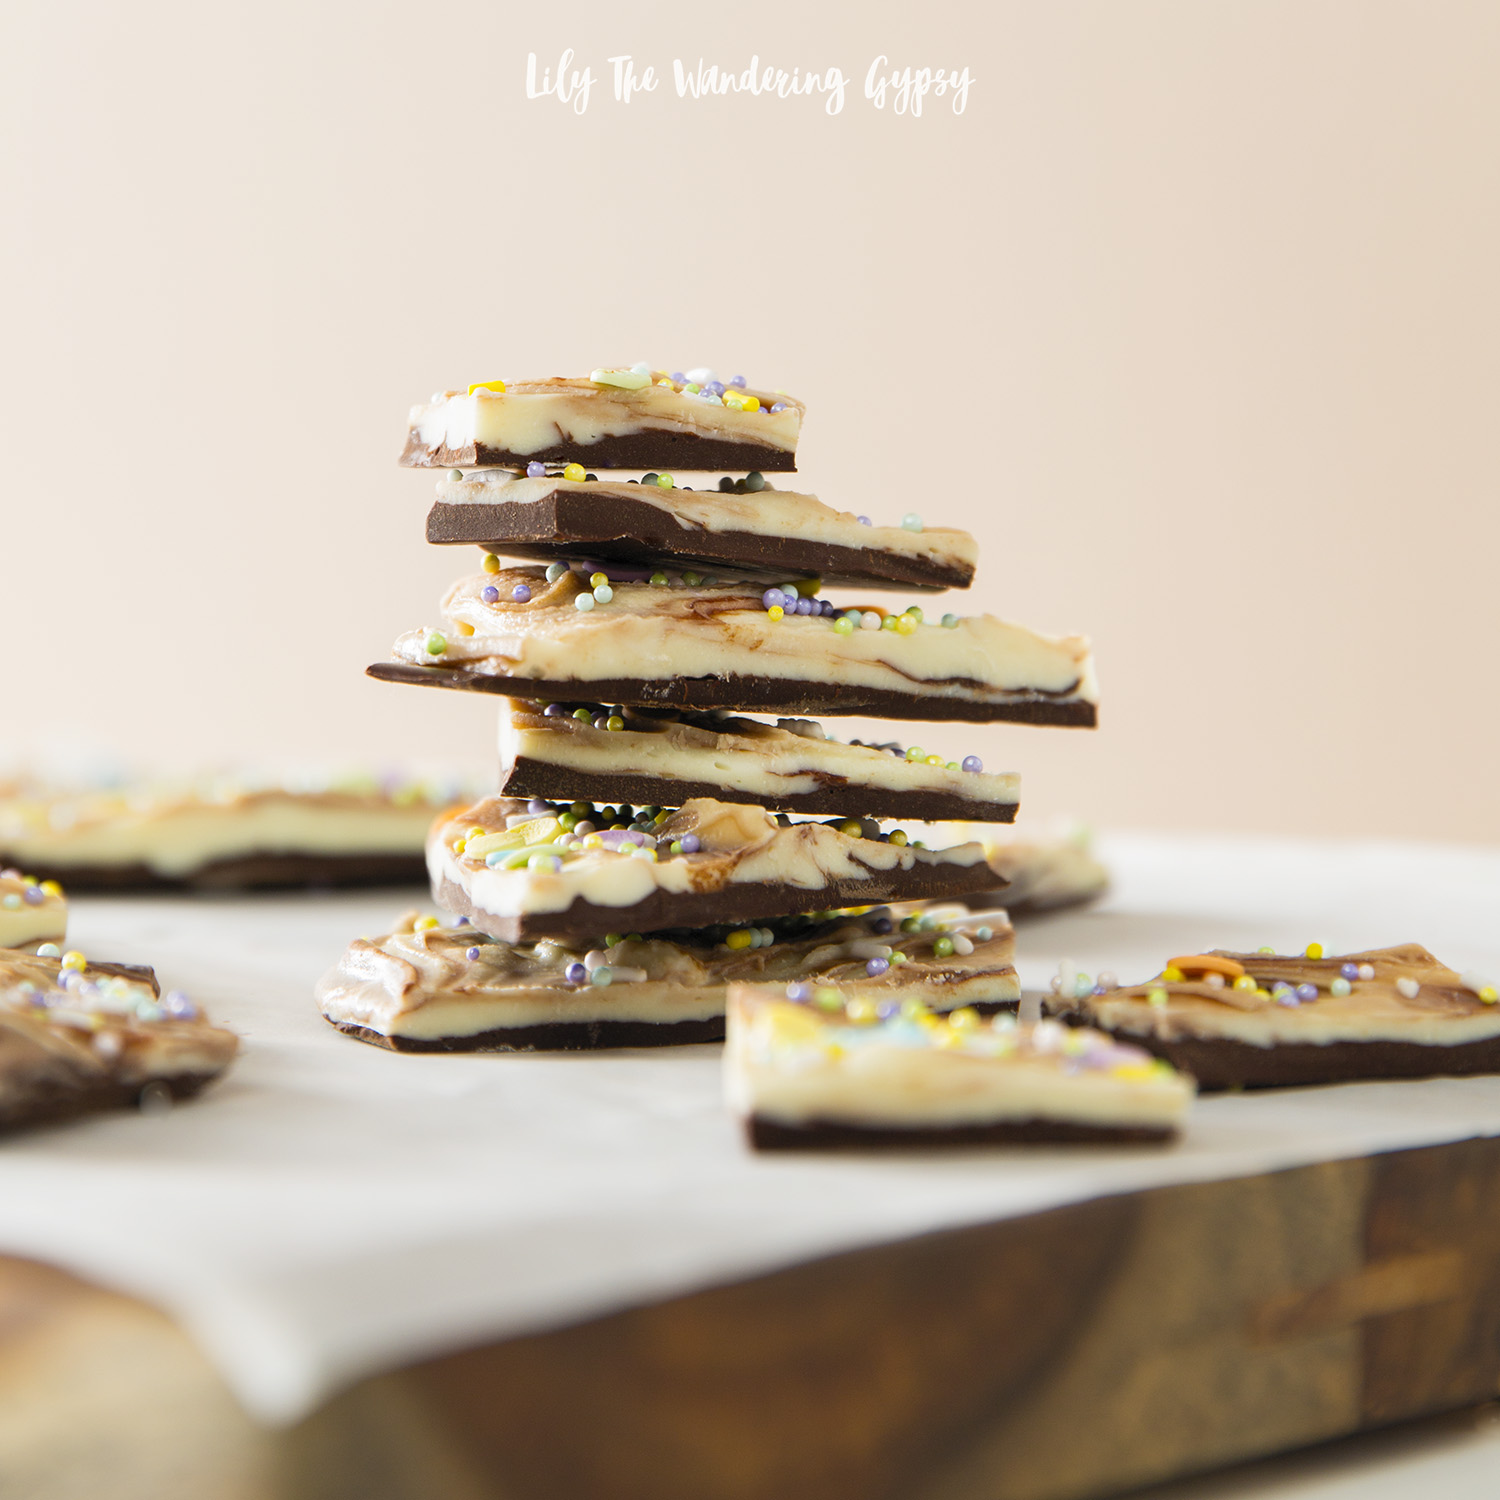
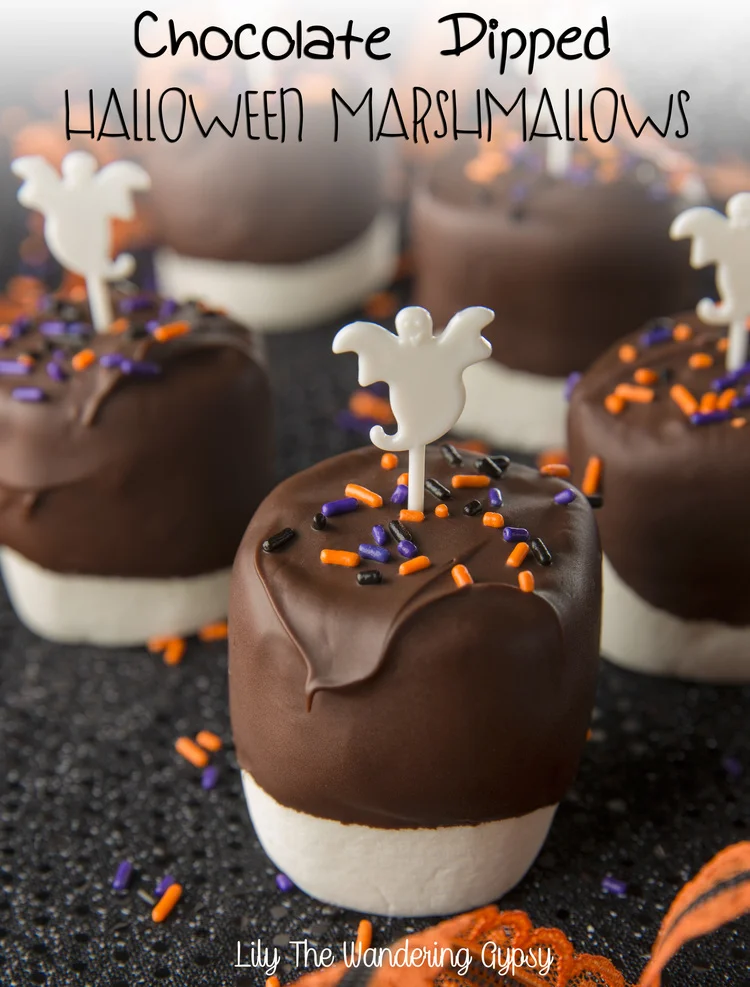
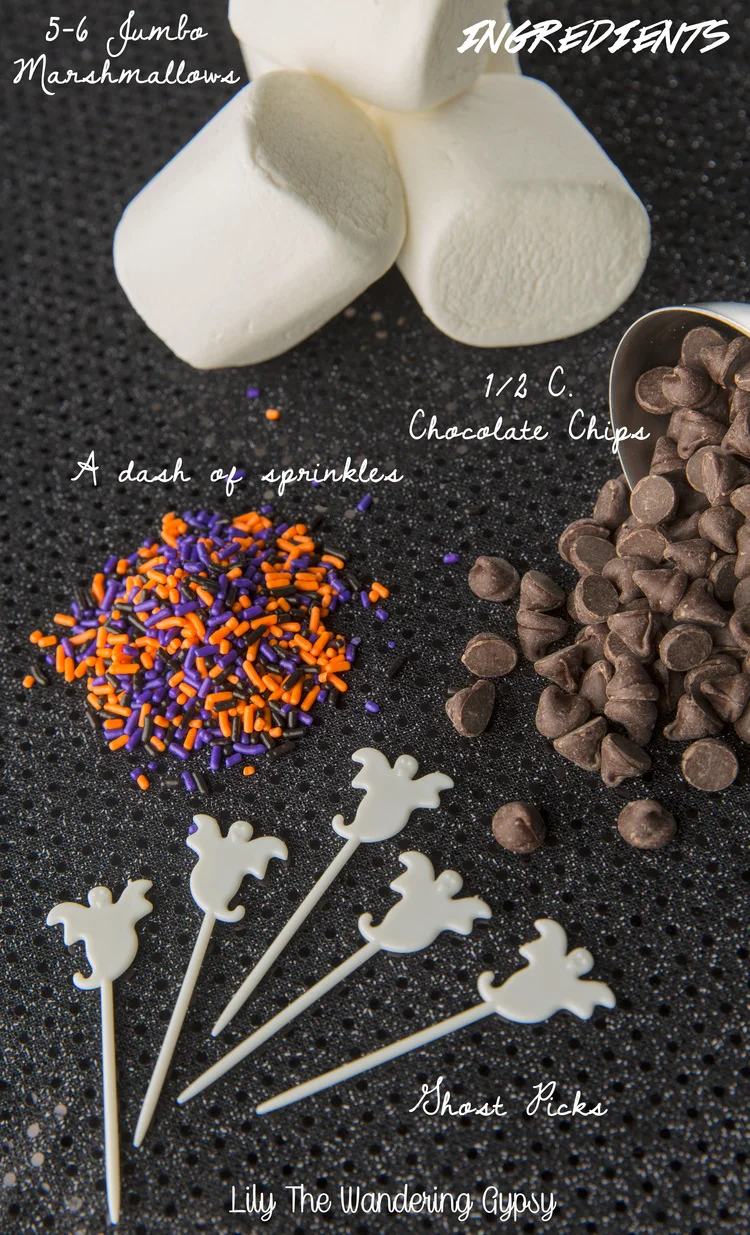
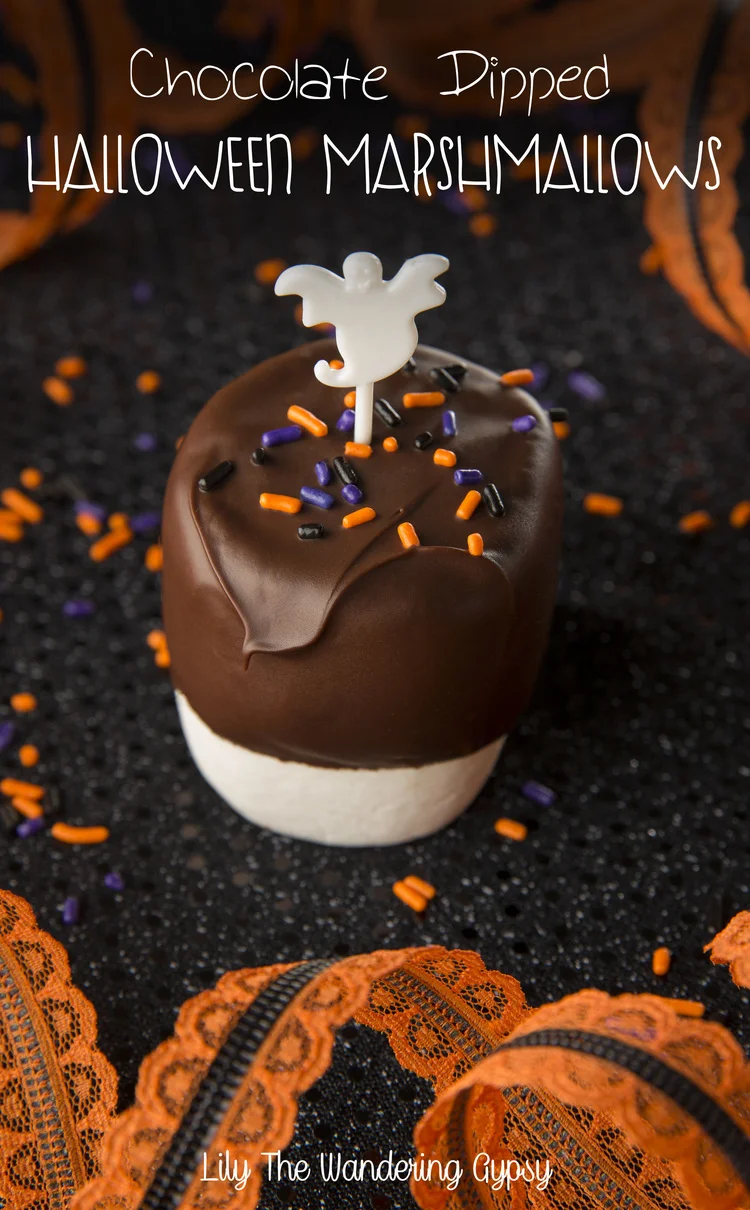
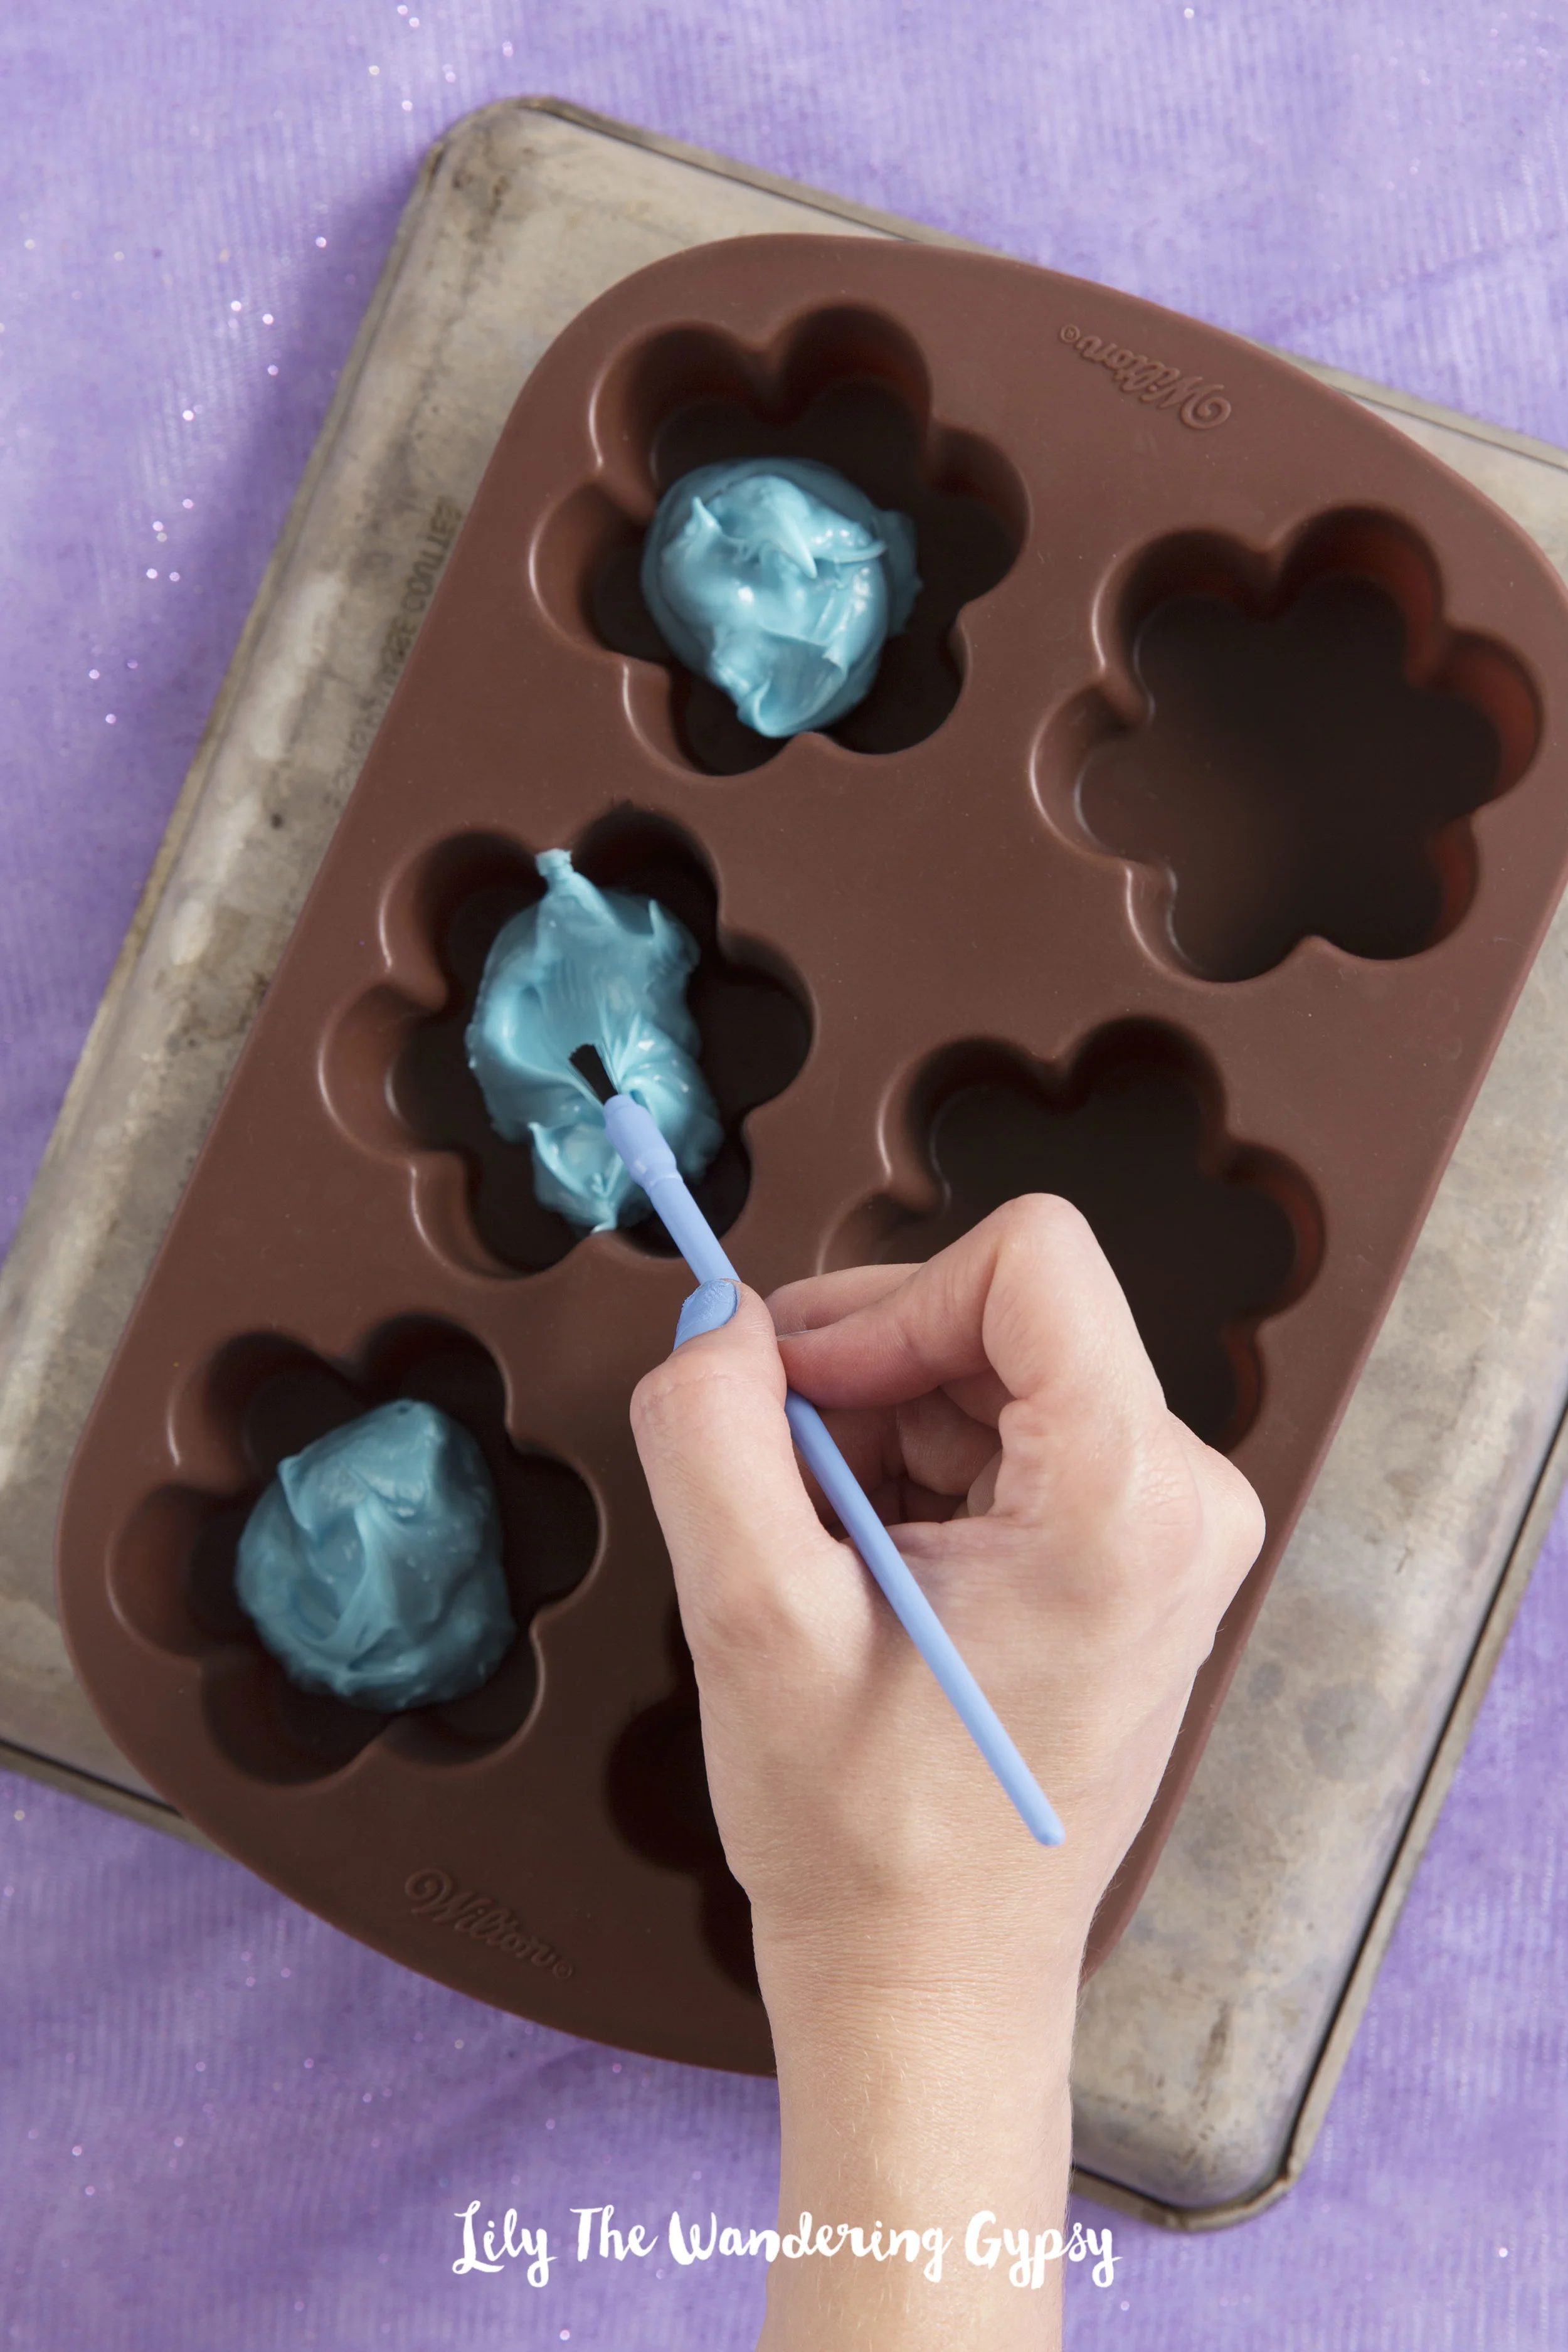
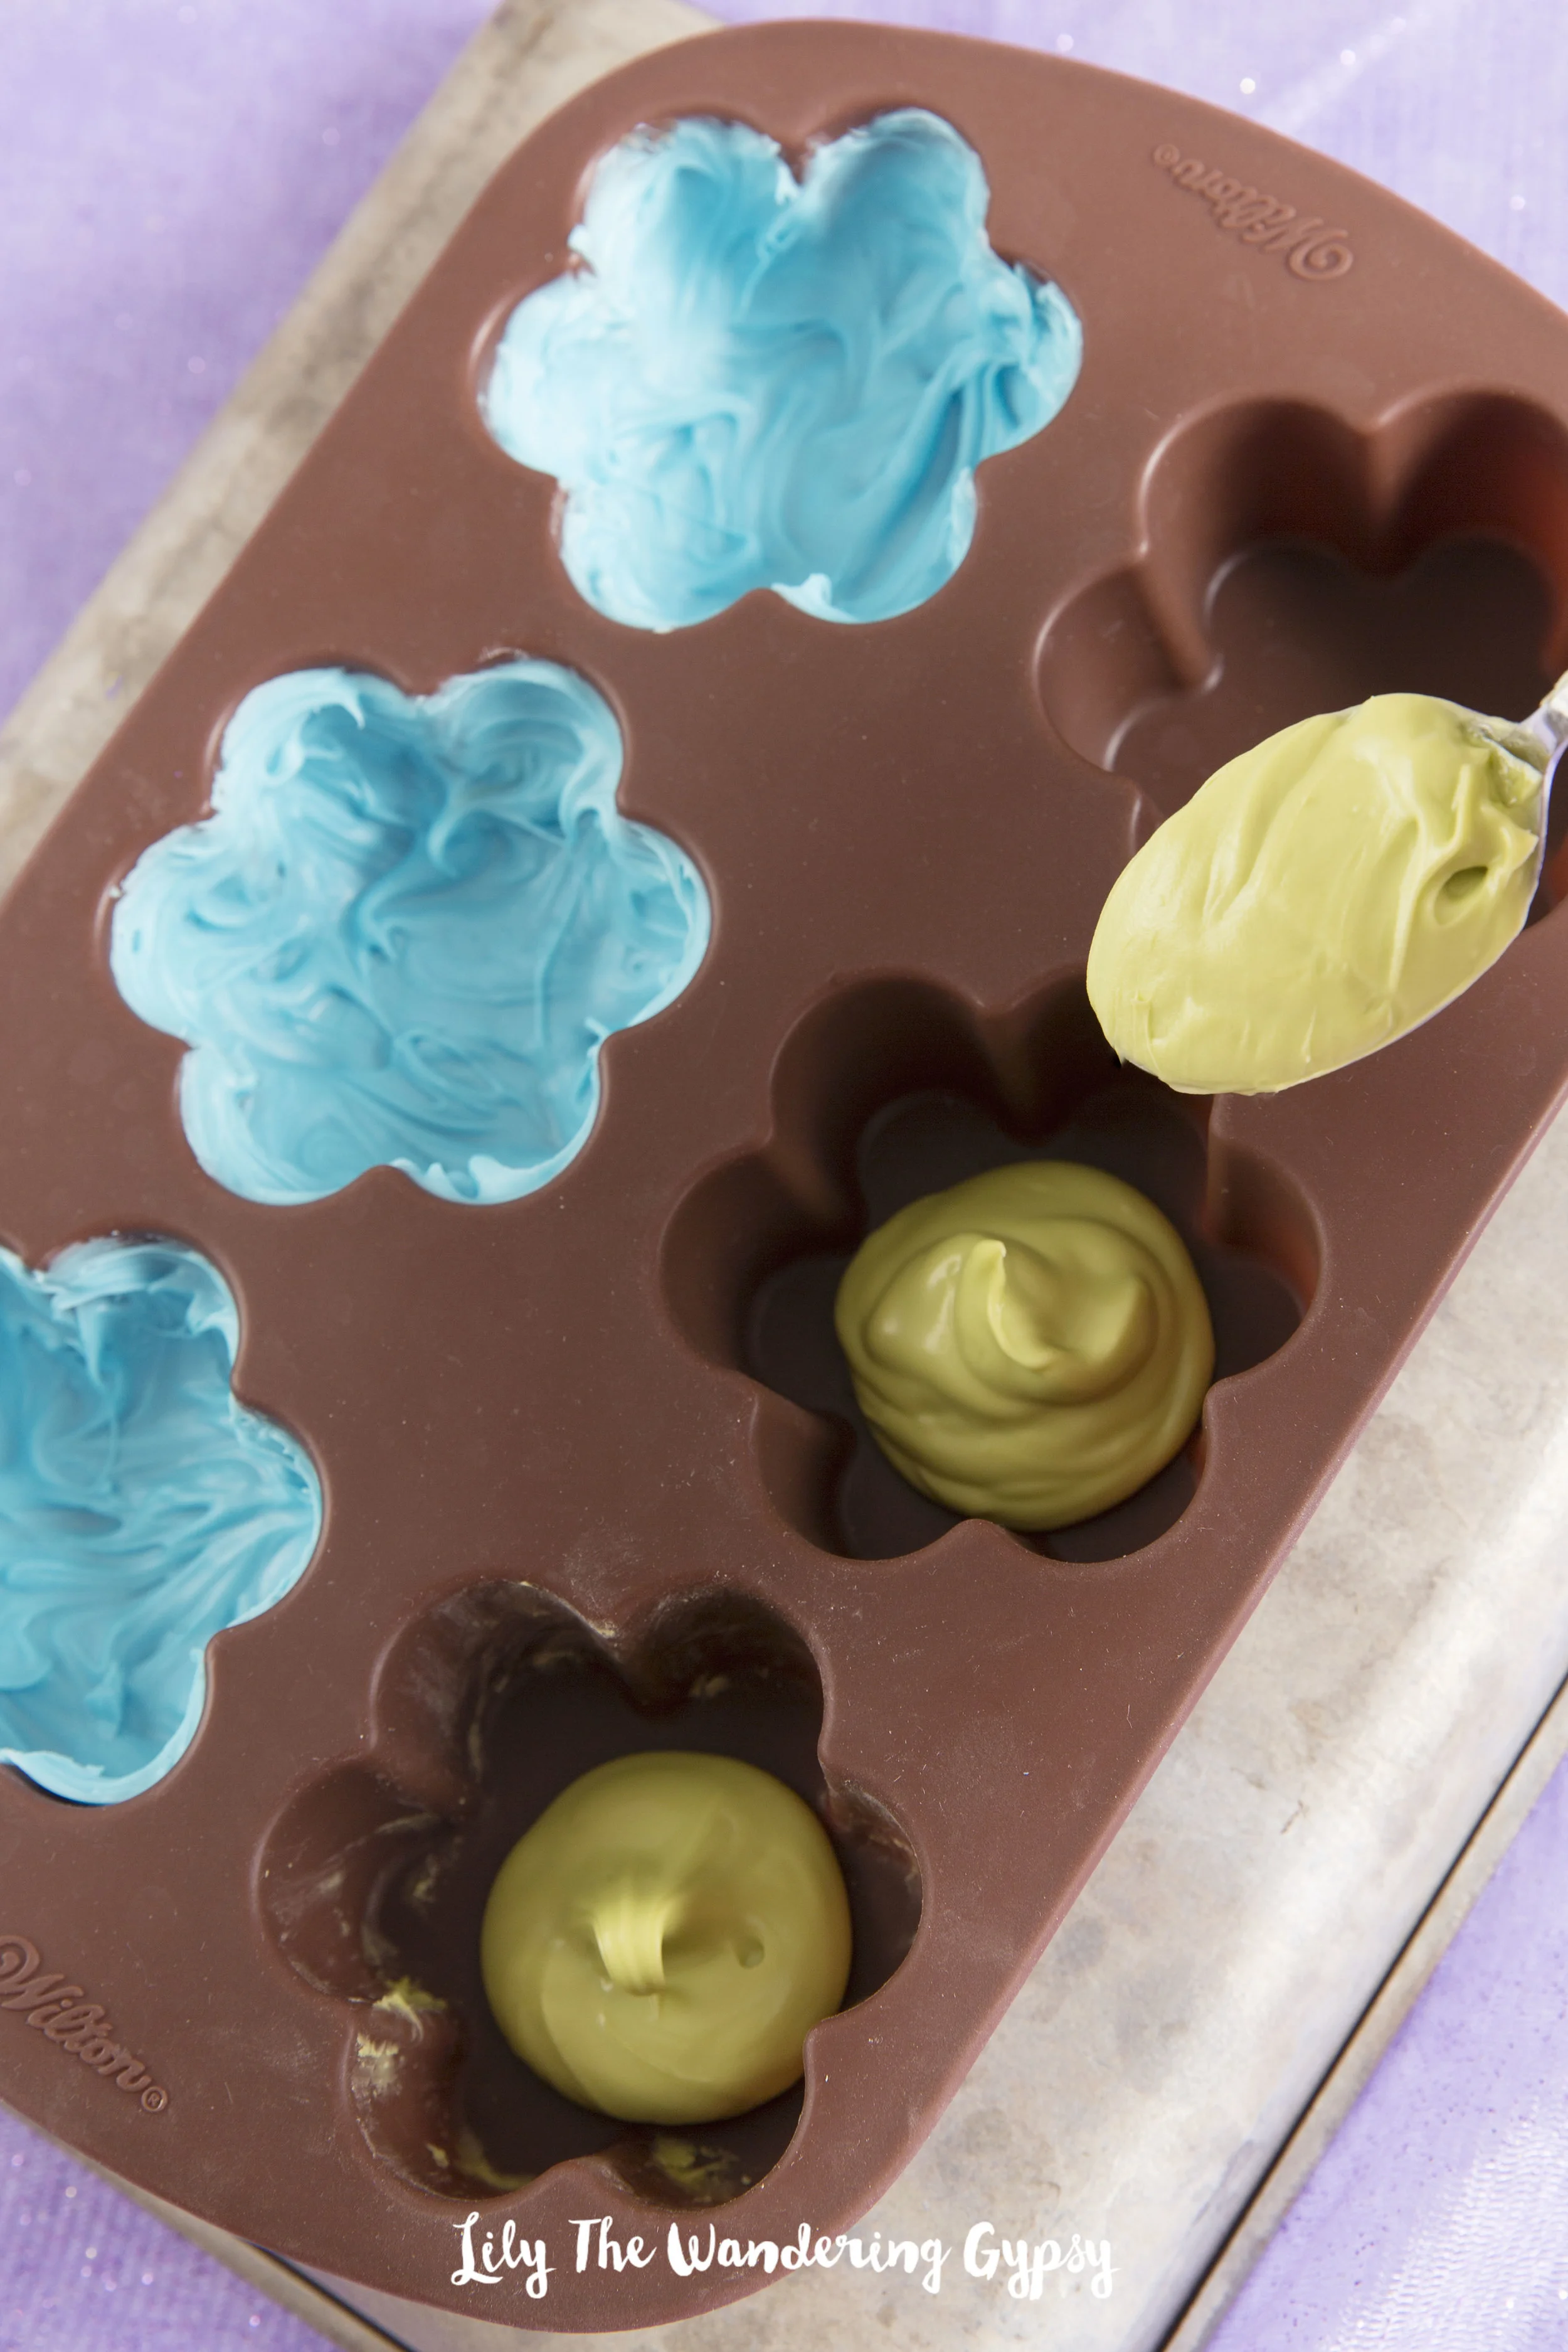
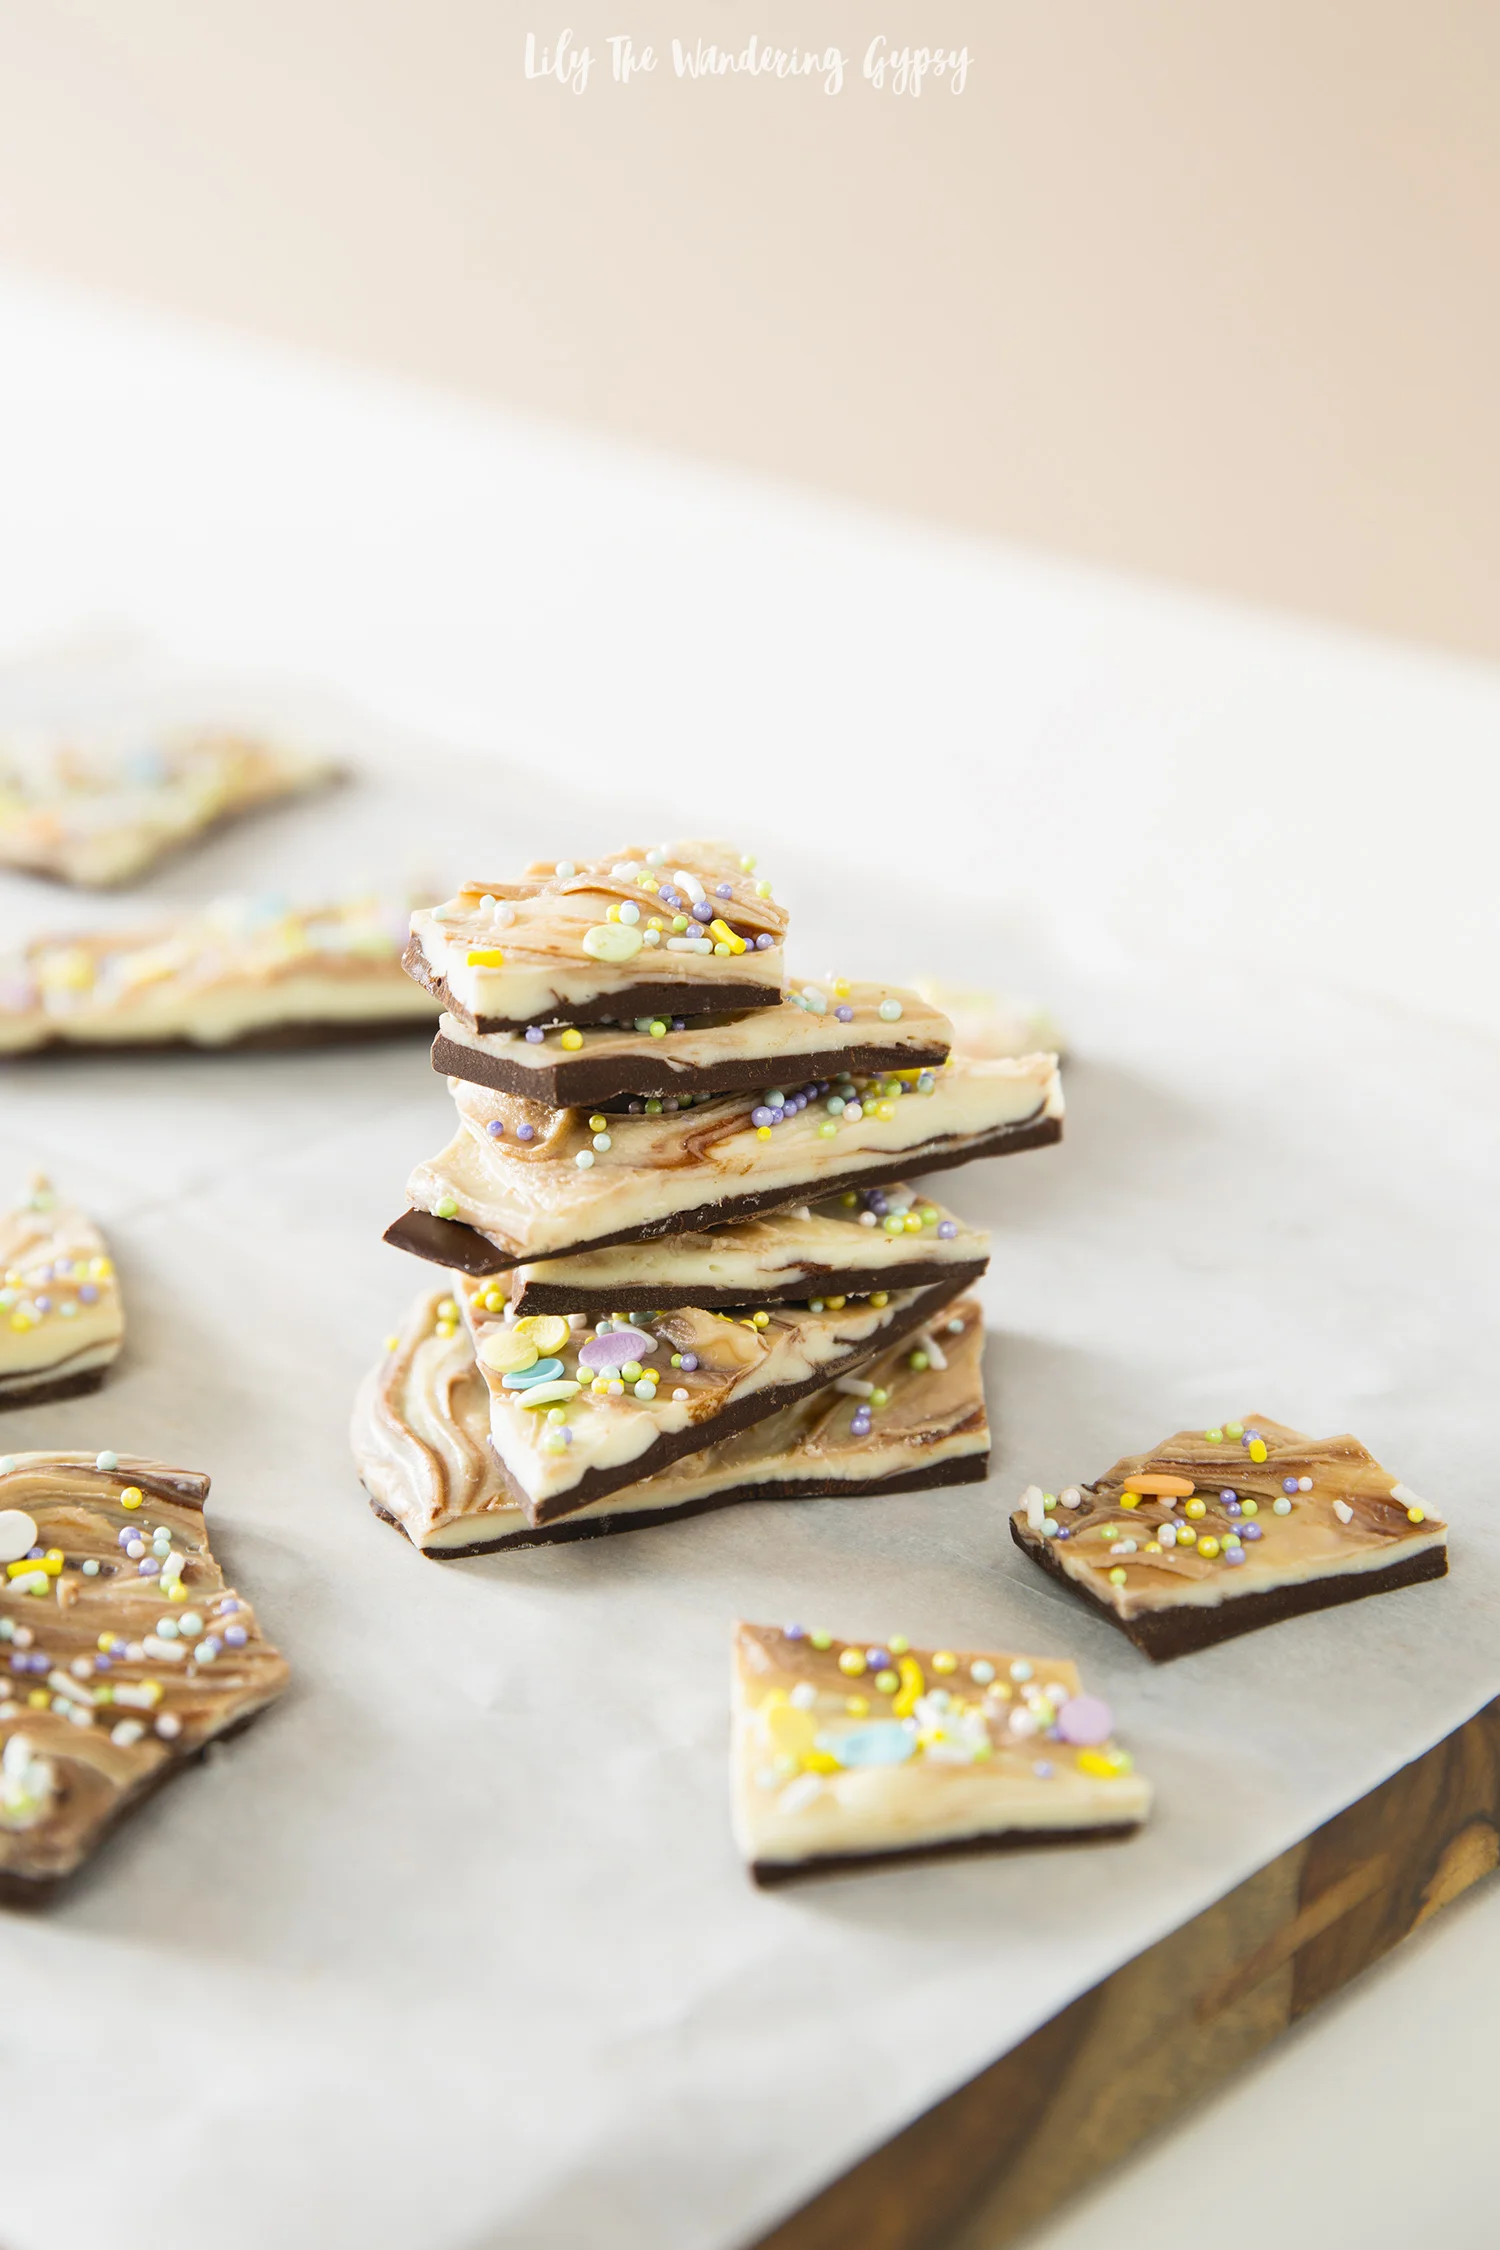
A deliciously sweet and festive treat that only takes a few minutes to create! You will absolutely love how great the flavors of the white chocolate and dark chocolate meld together to satisfy your sweet tooth. Customize the colors and decorations to suit your holiday, team colors, or other special occasions!

INGREDENTS:

1 bag of dark chocolate chips (I used a darker chocolate from Ghiradelli)

1 bag of white chocolate chips (I like Ghiradelli white melting wafers) 

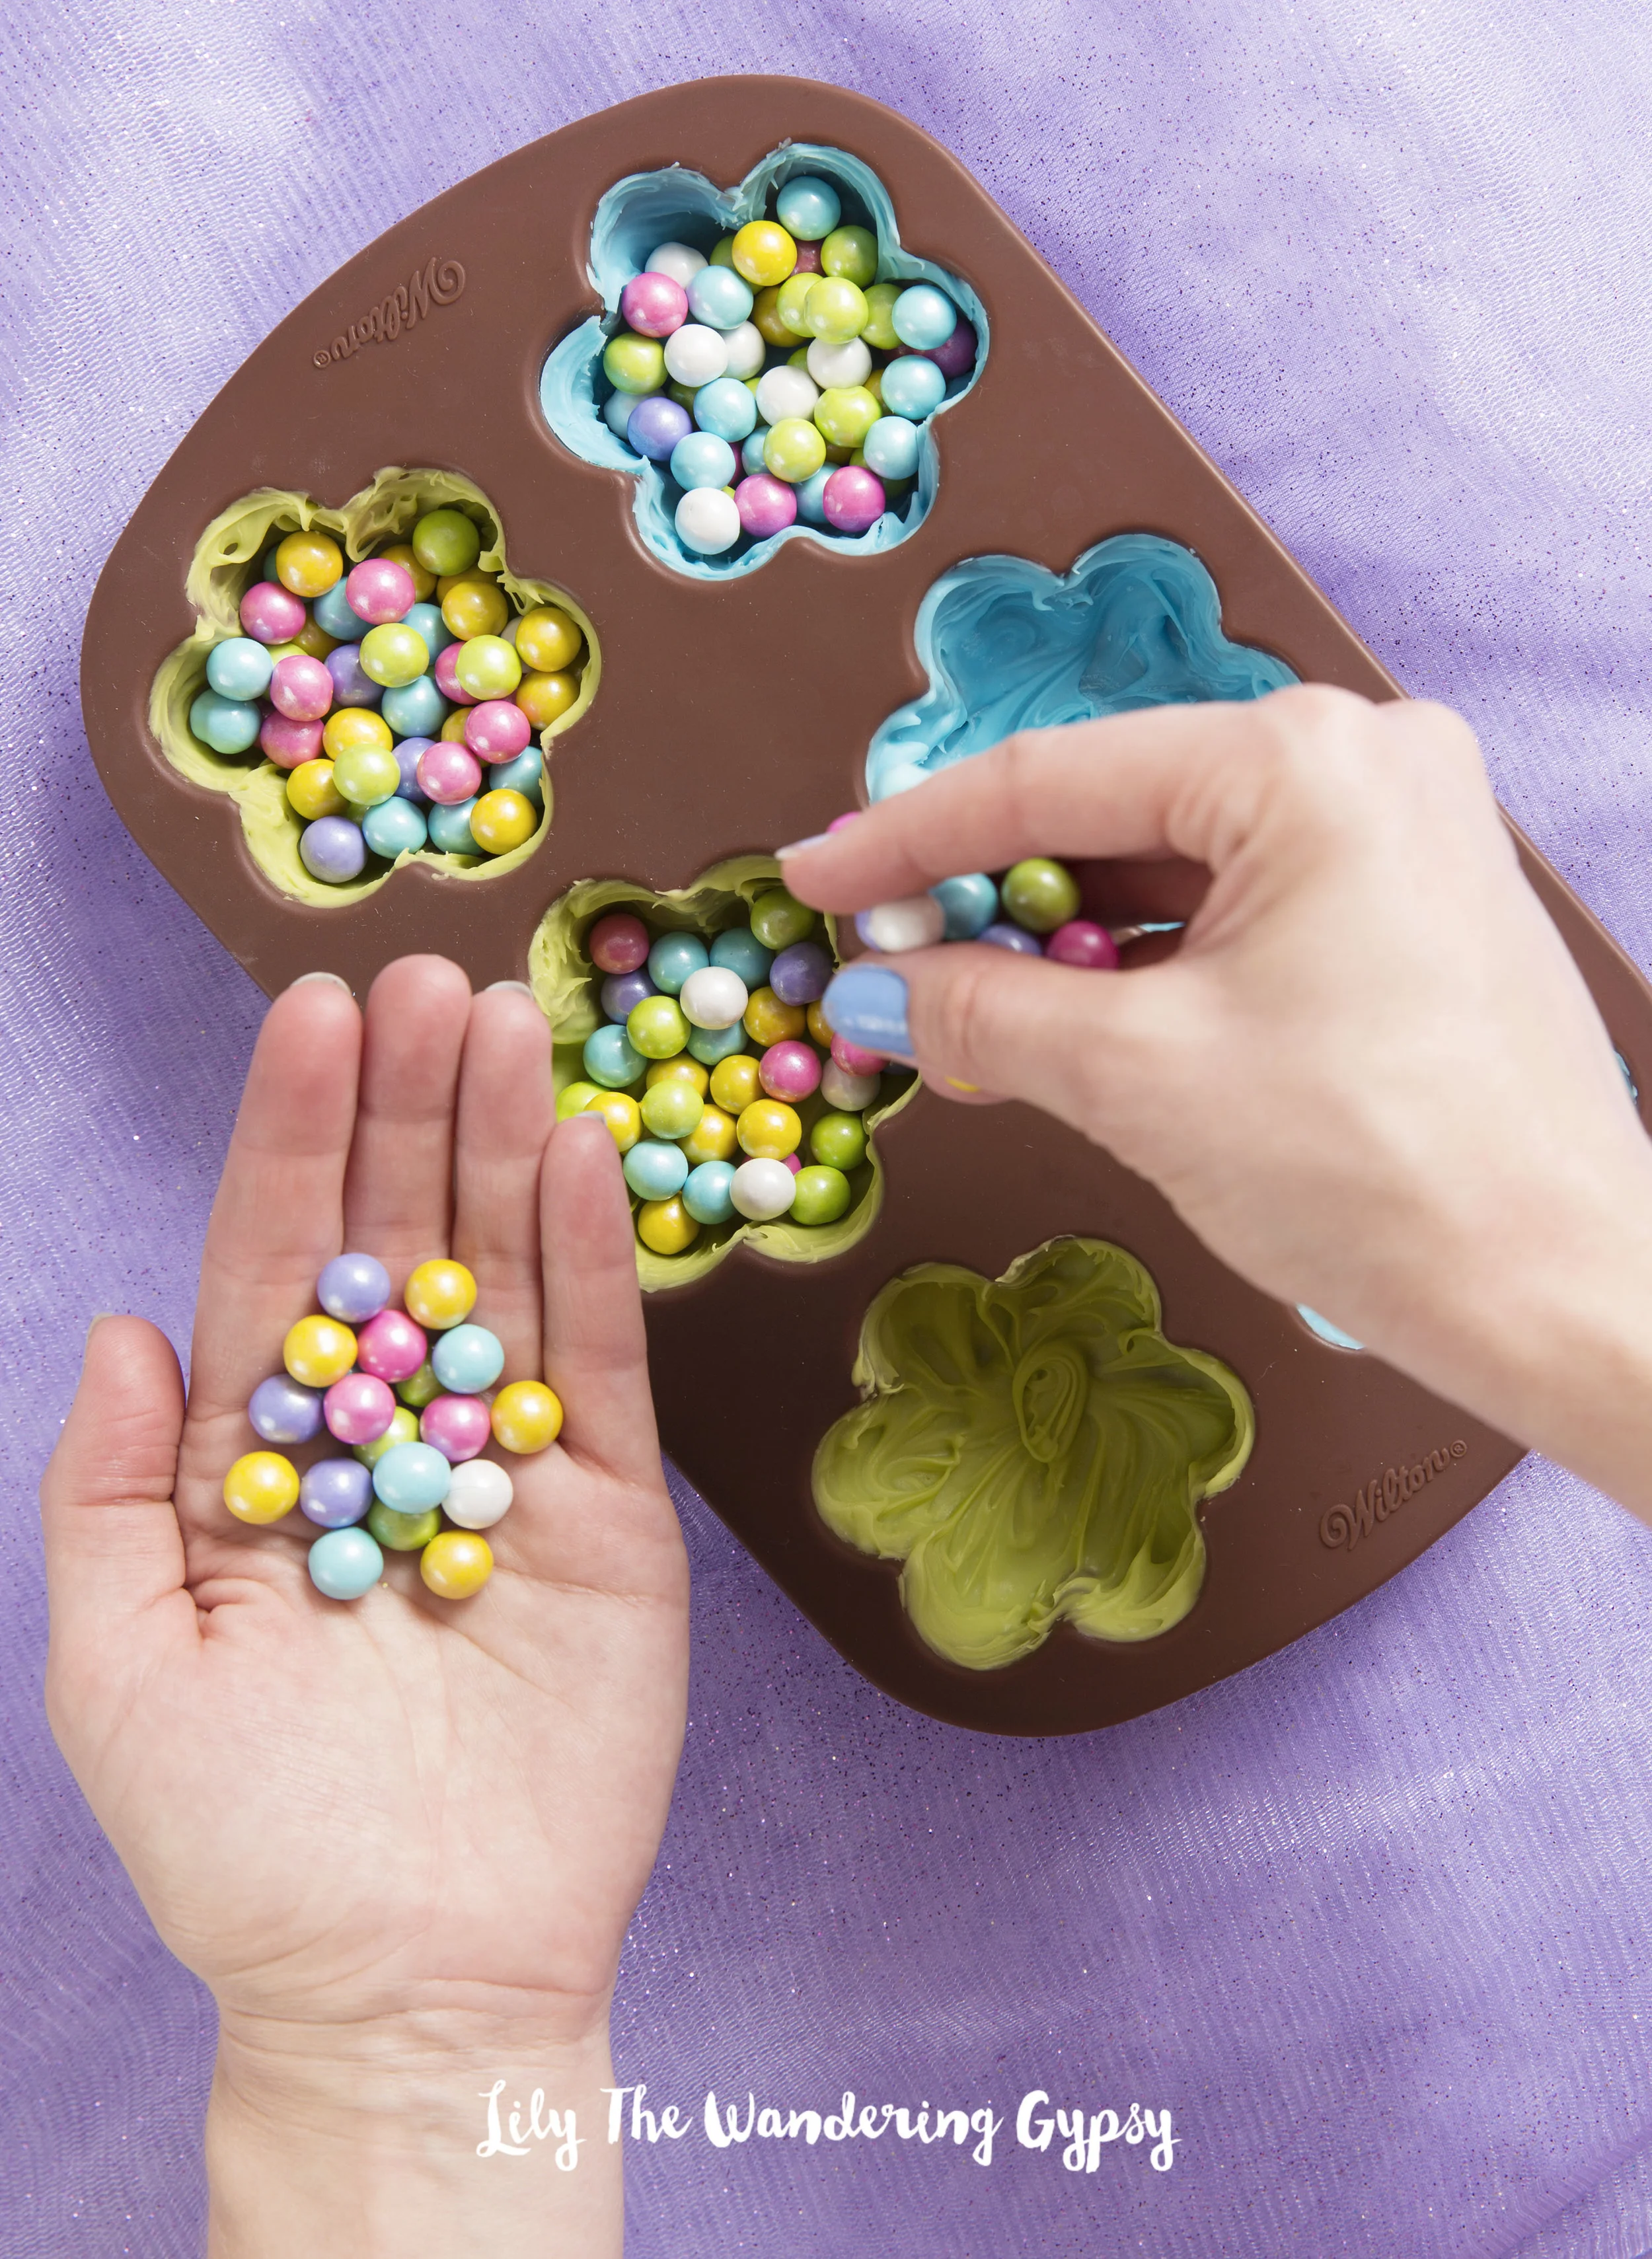
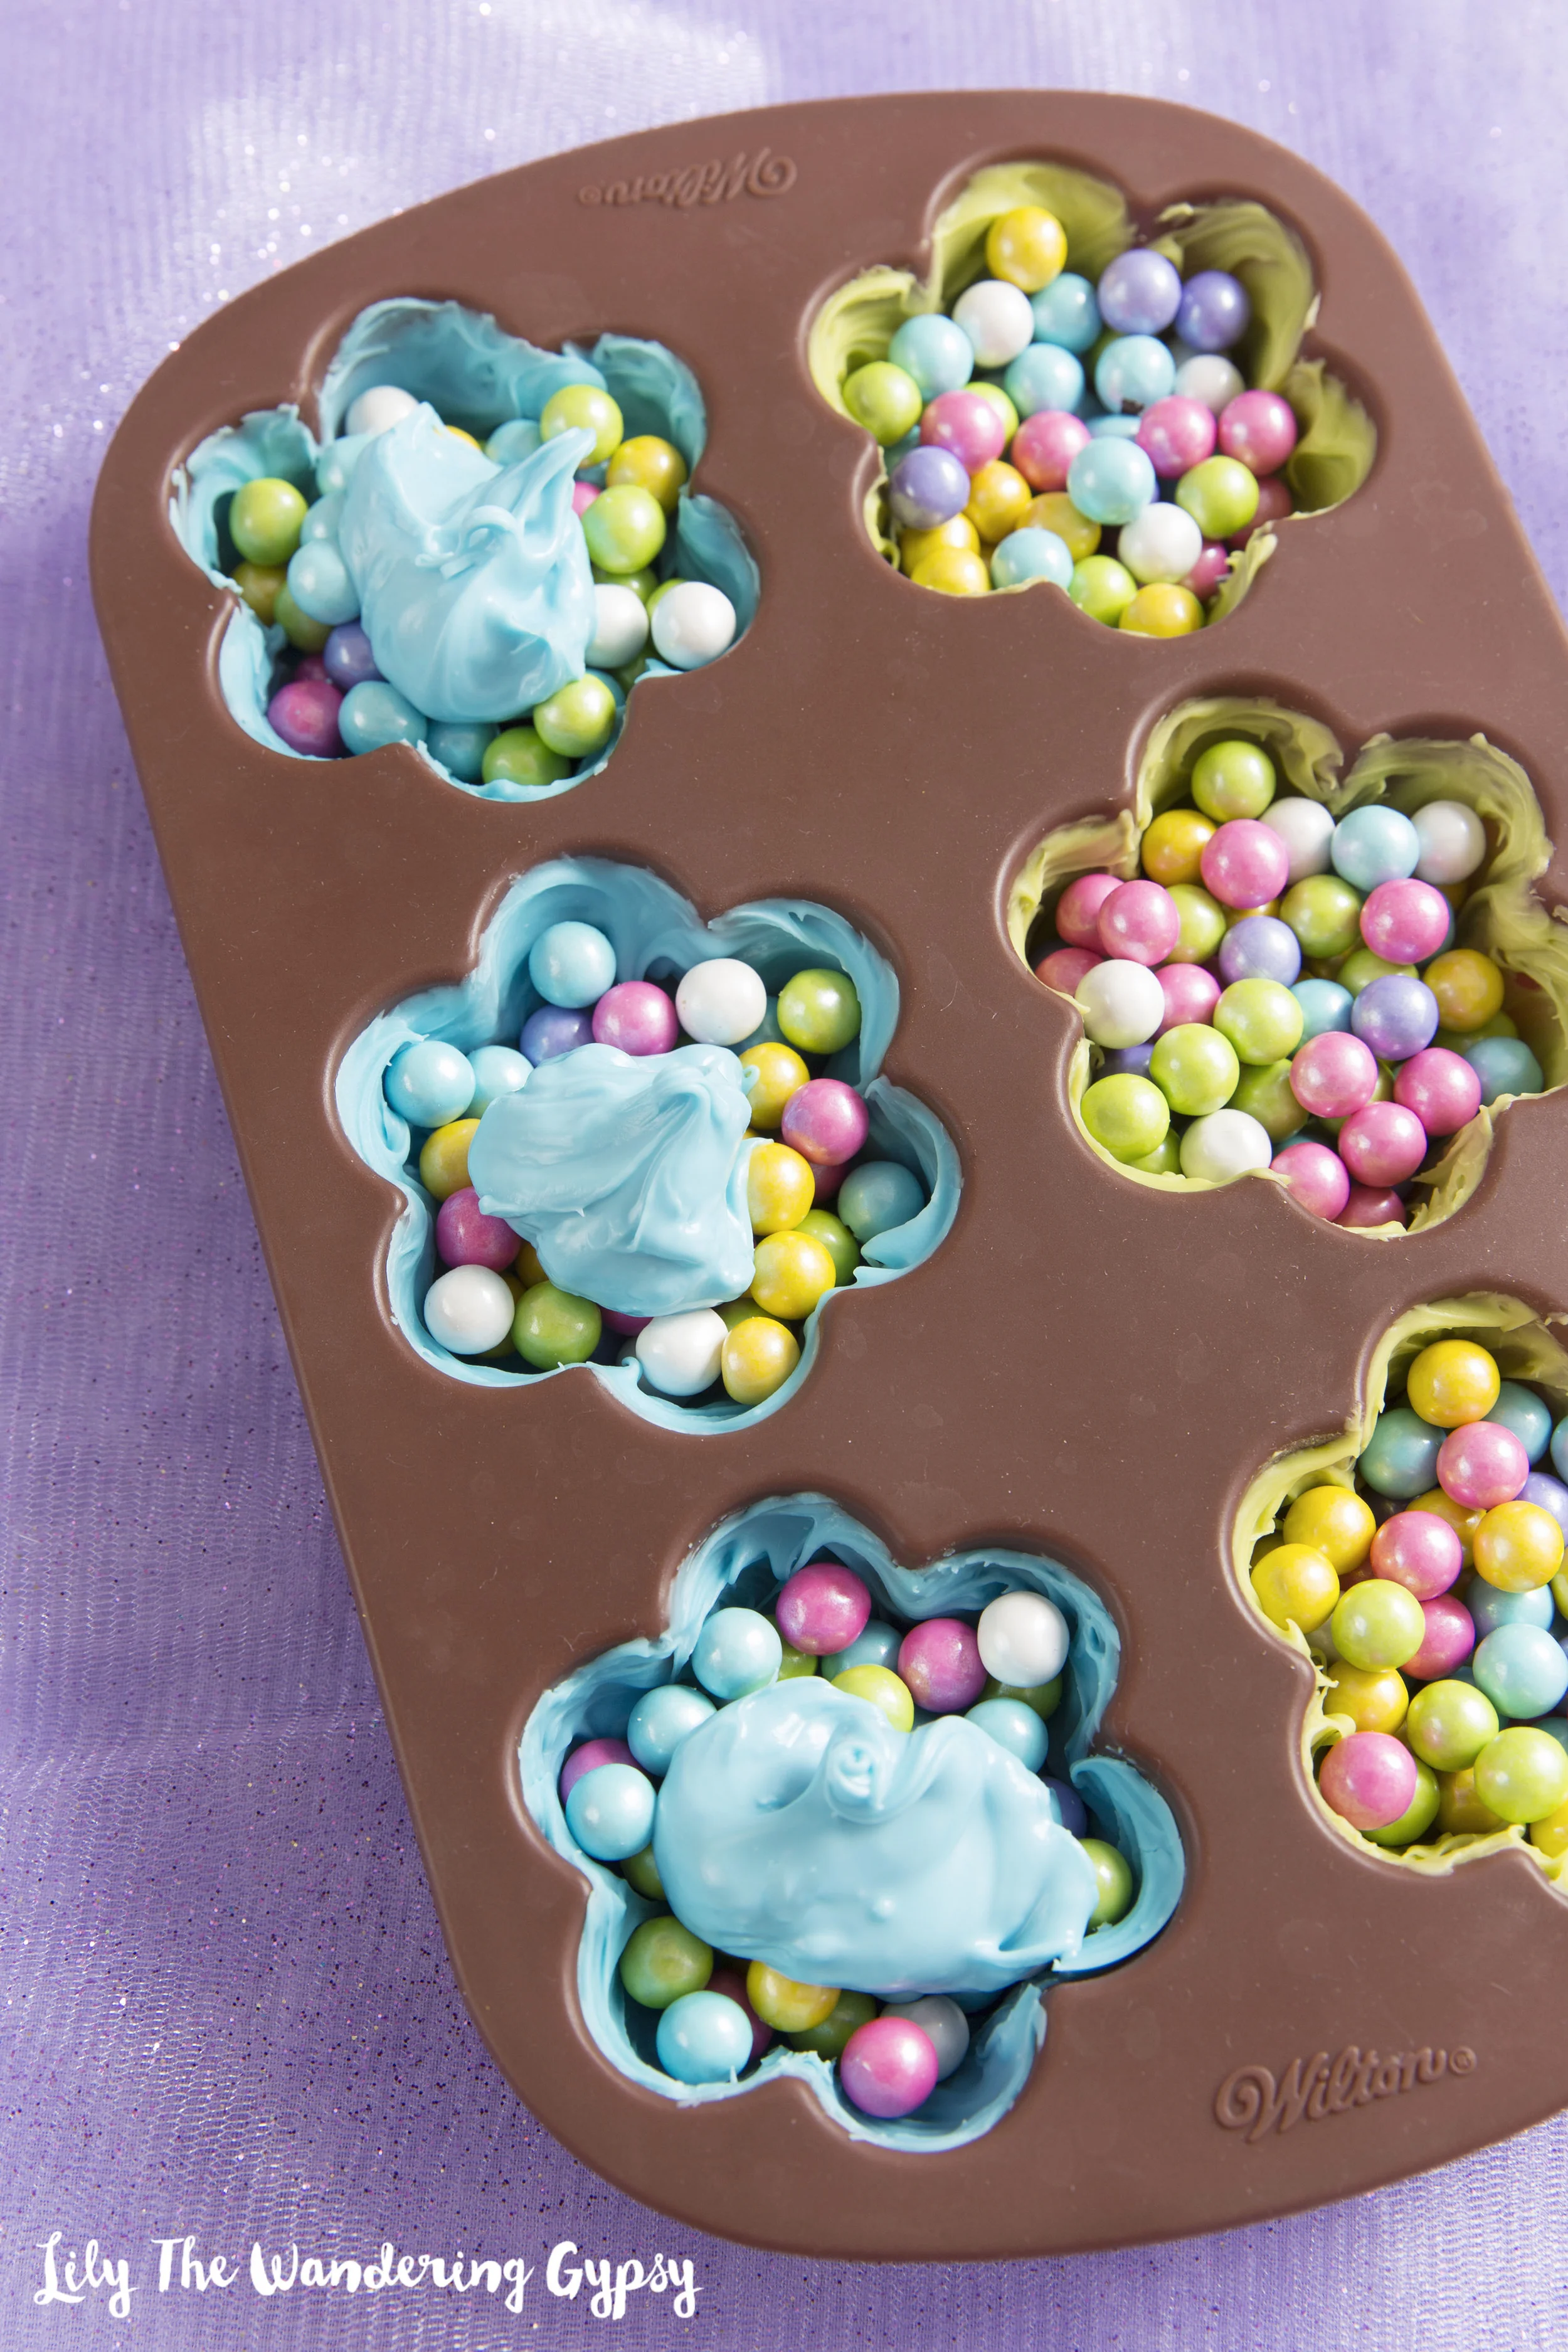
Sprinkles of your choice (At least 3 Tablespoons or more)

INSTRUCTIONS:

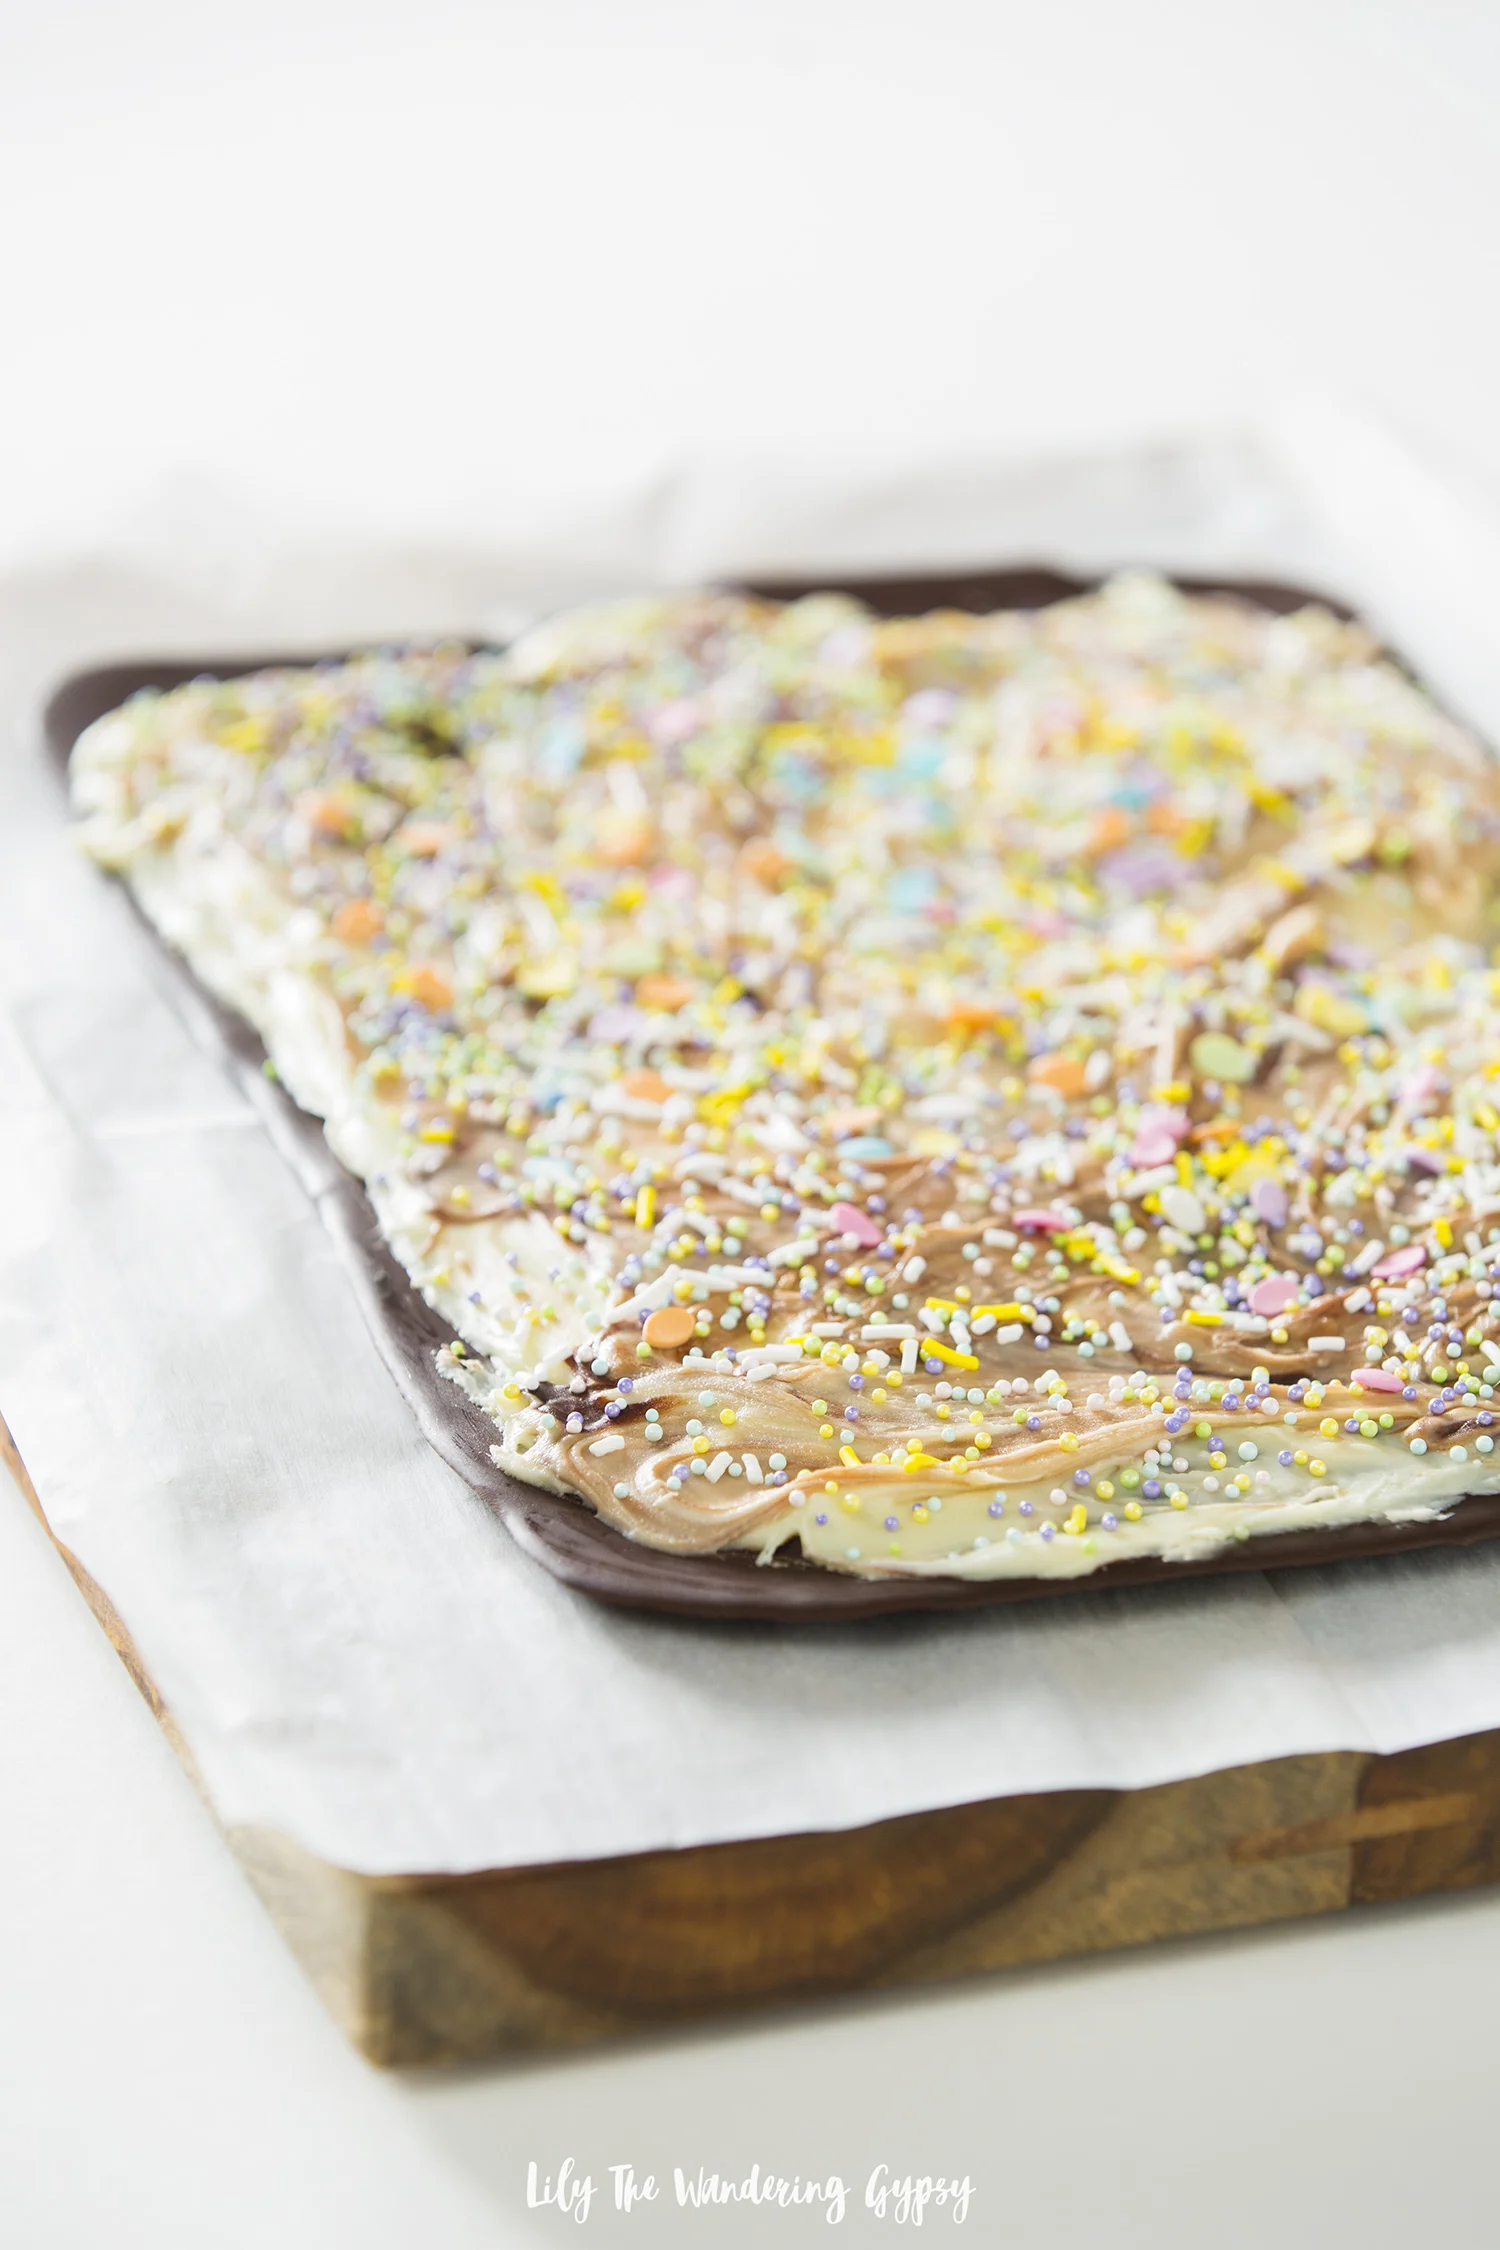
Melt dark chocolate either in the microwave or a double boiler. Line a baking sheet with parchment paper and pour chocolate on. You can smooth it with a spatula to the thickness you desire. Stick in the freeze for 20 minutes.

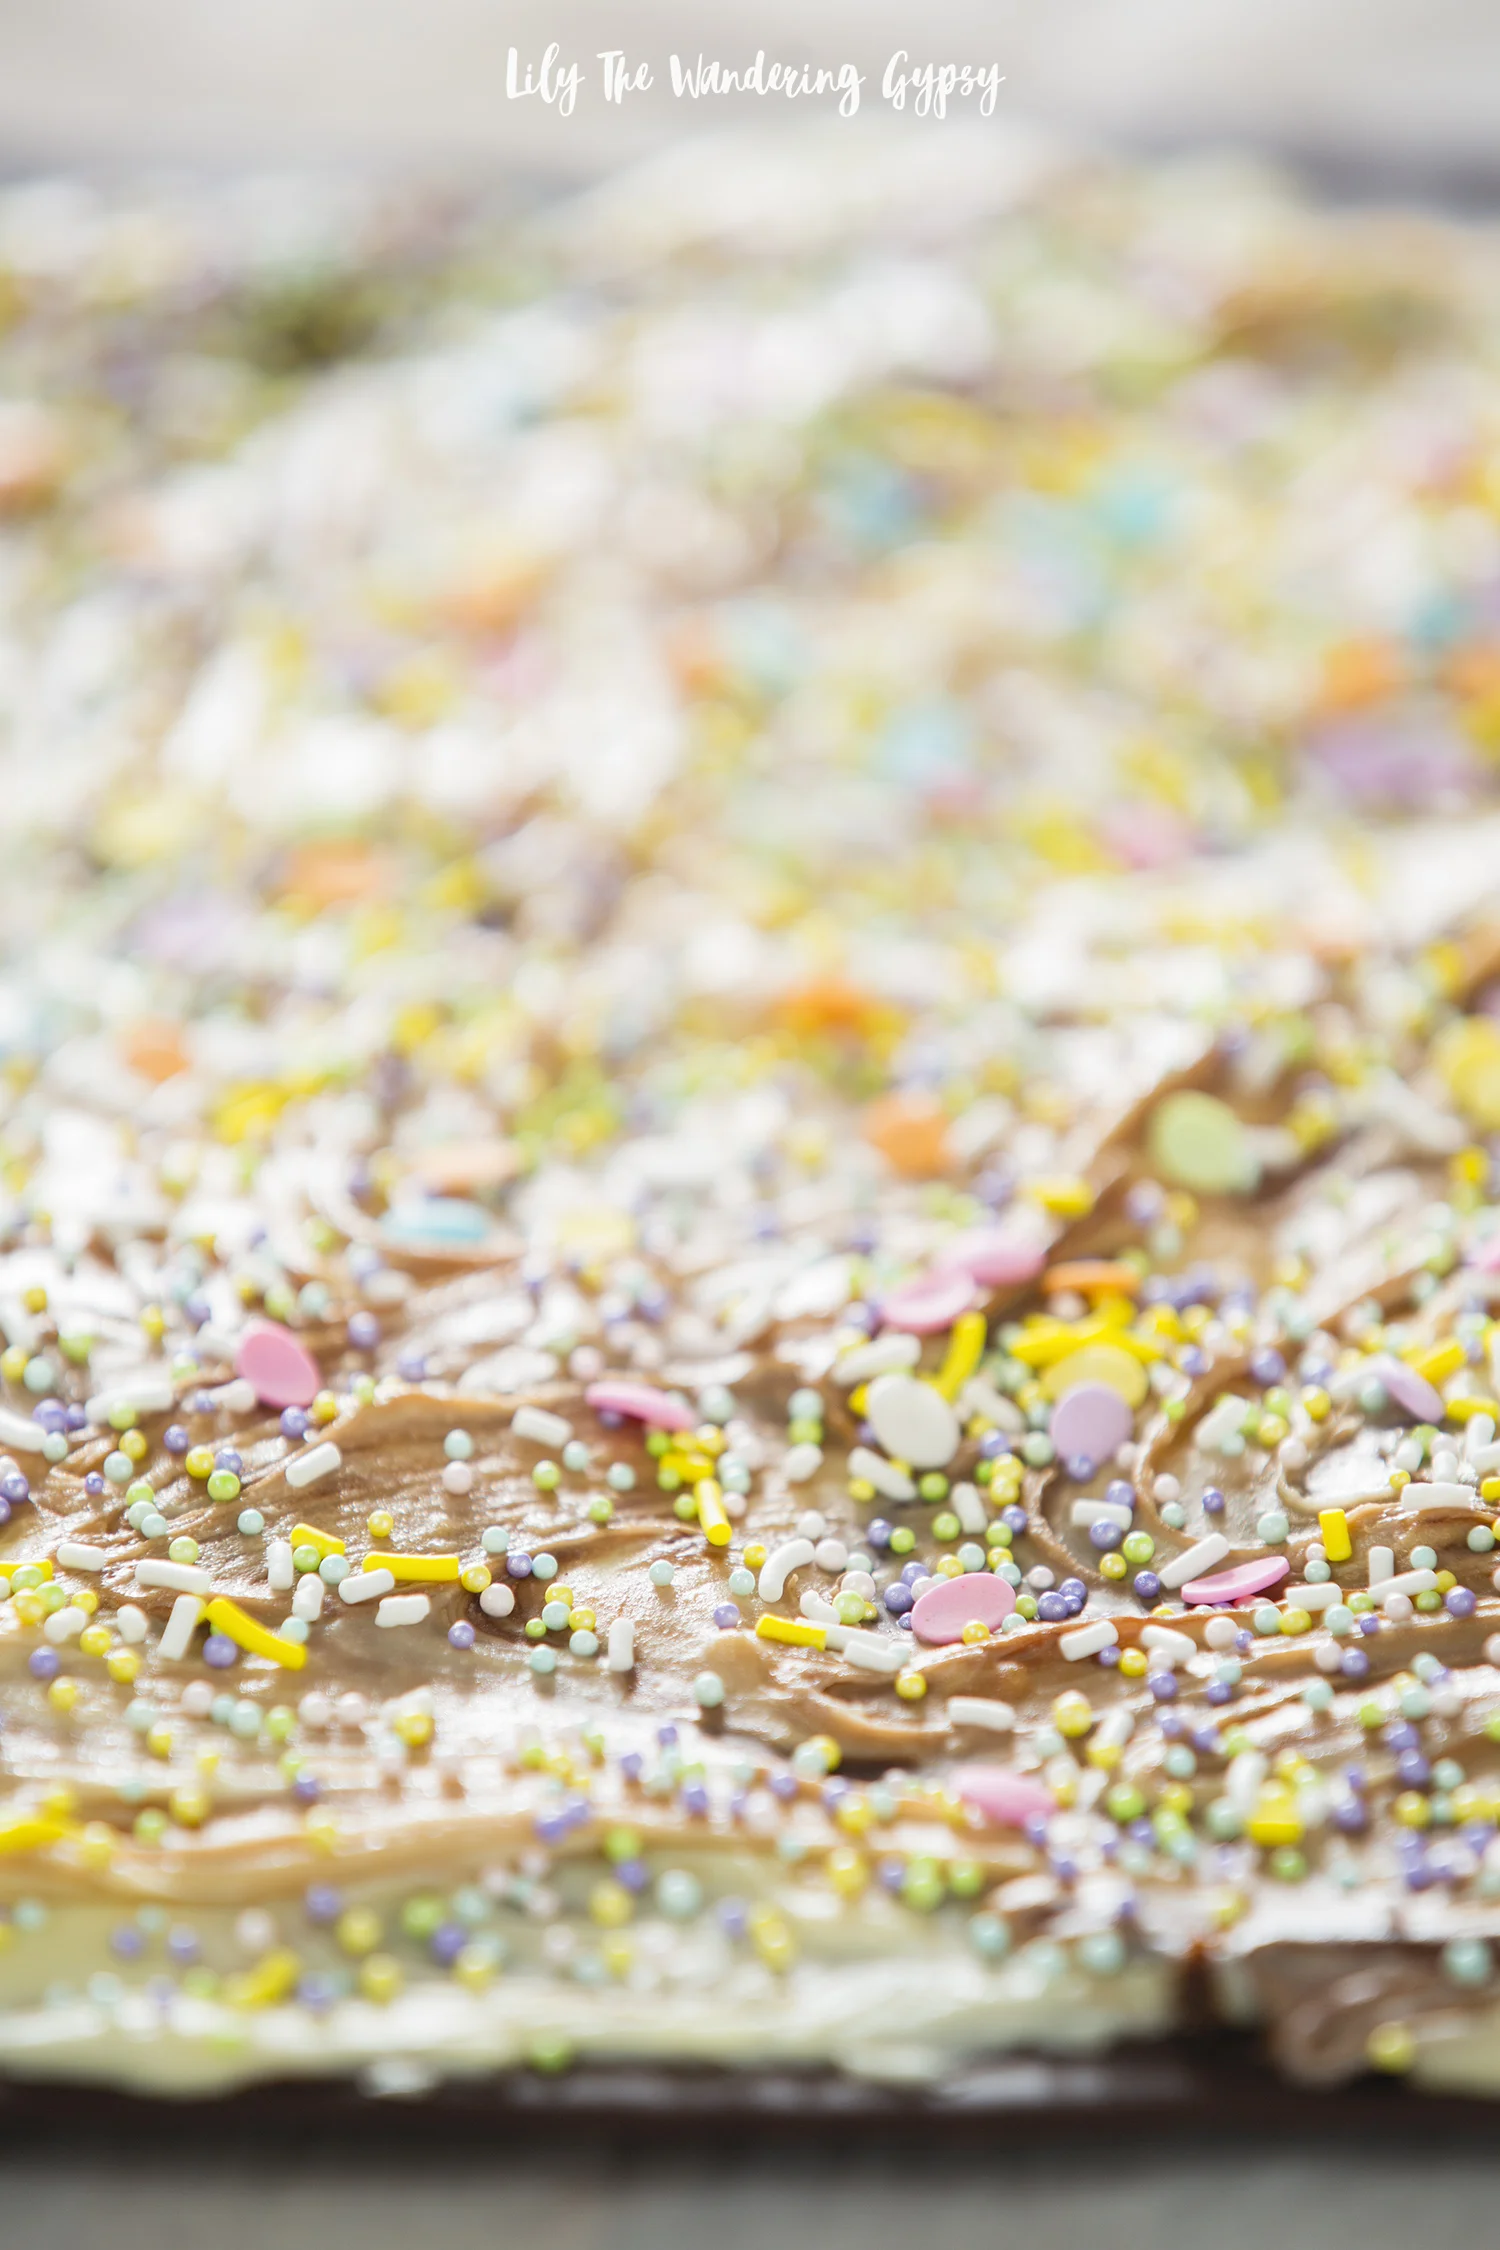
Melt while chocolate.  Let it set for 3 full minutes (or at least until it slightly thickens). Remove baking sheet with chocolate from the freezer and immediately pour white chocolate on top. Sprinkle on sprinkles. Freeze for 20 minutes.

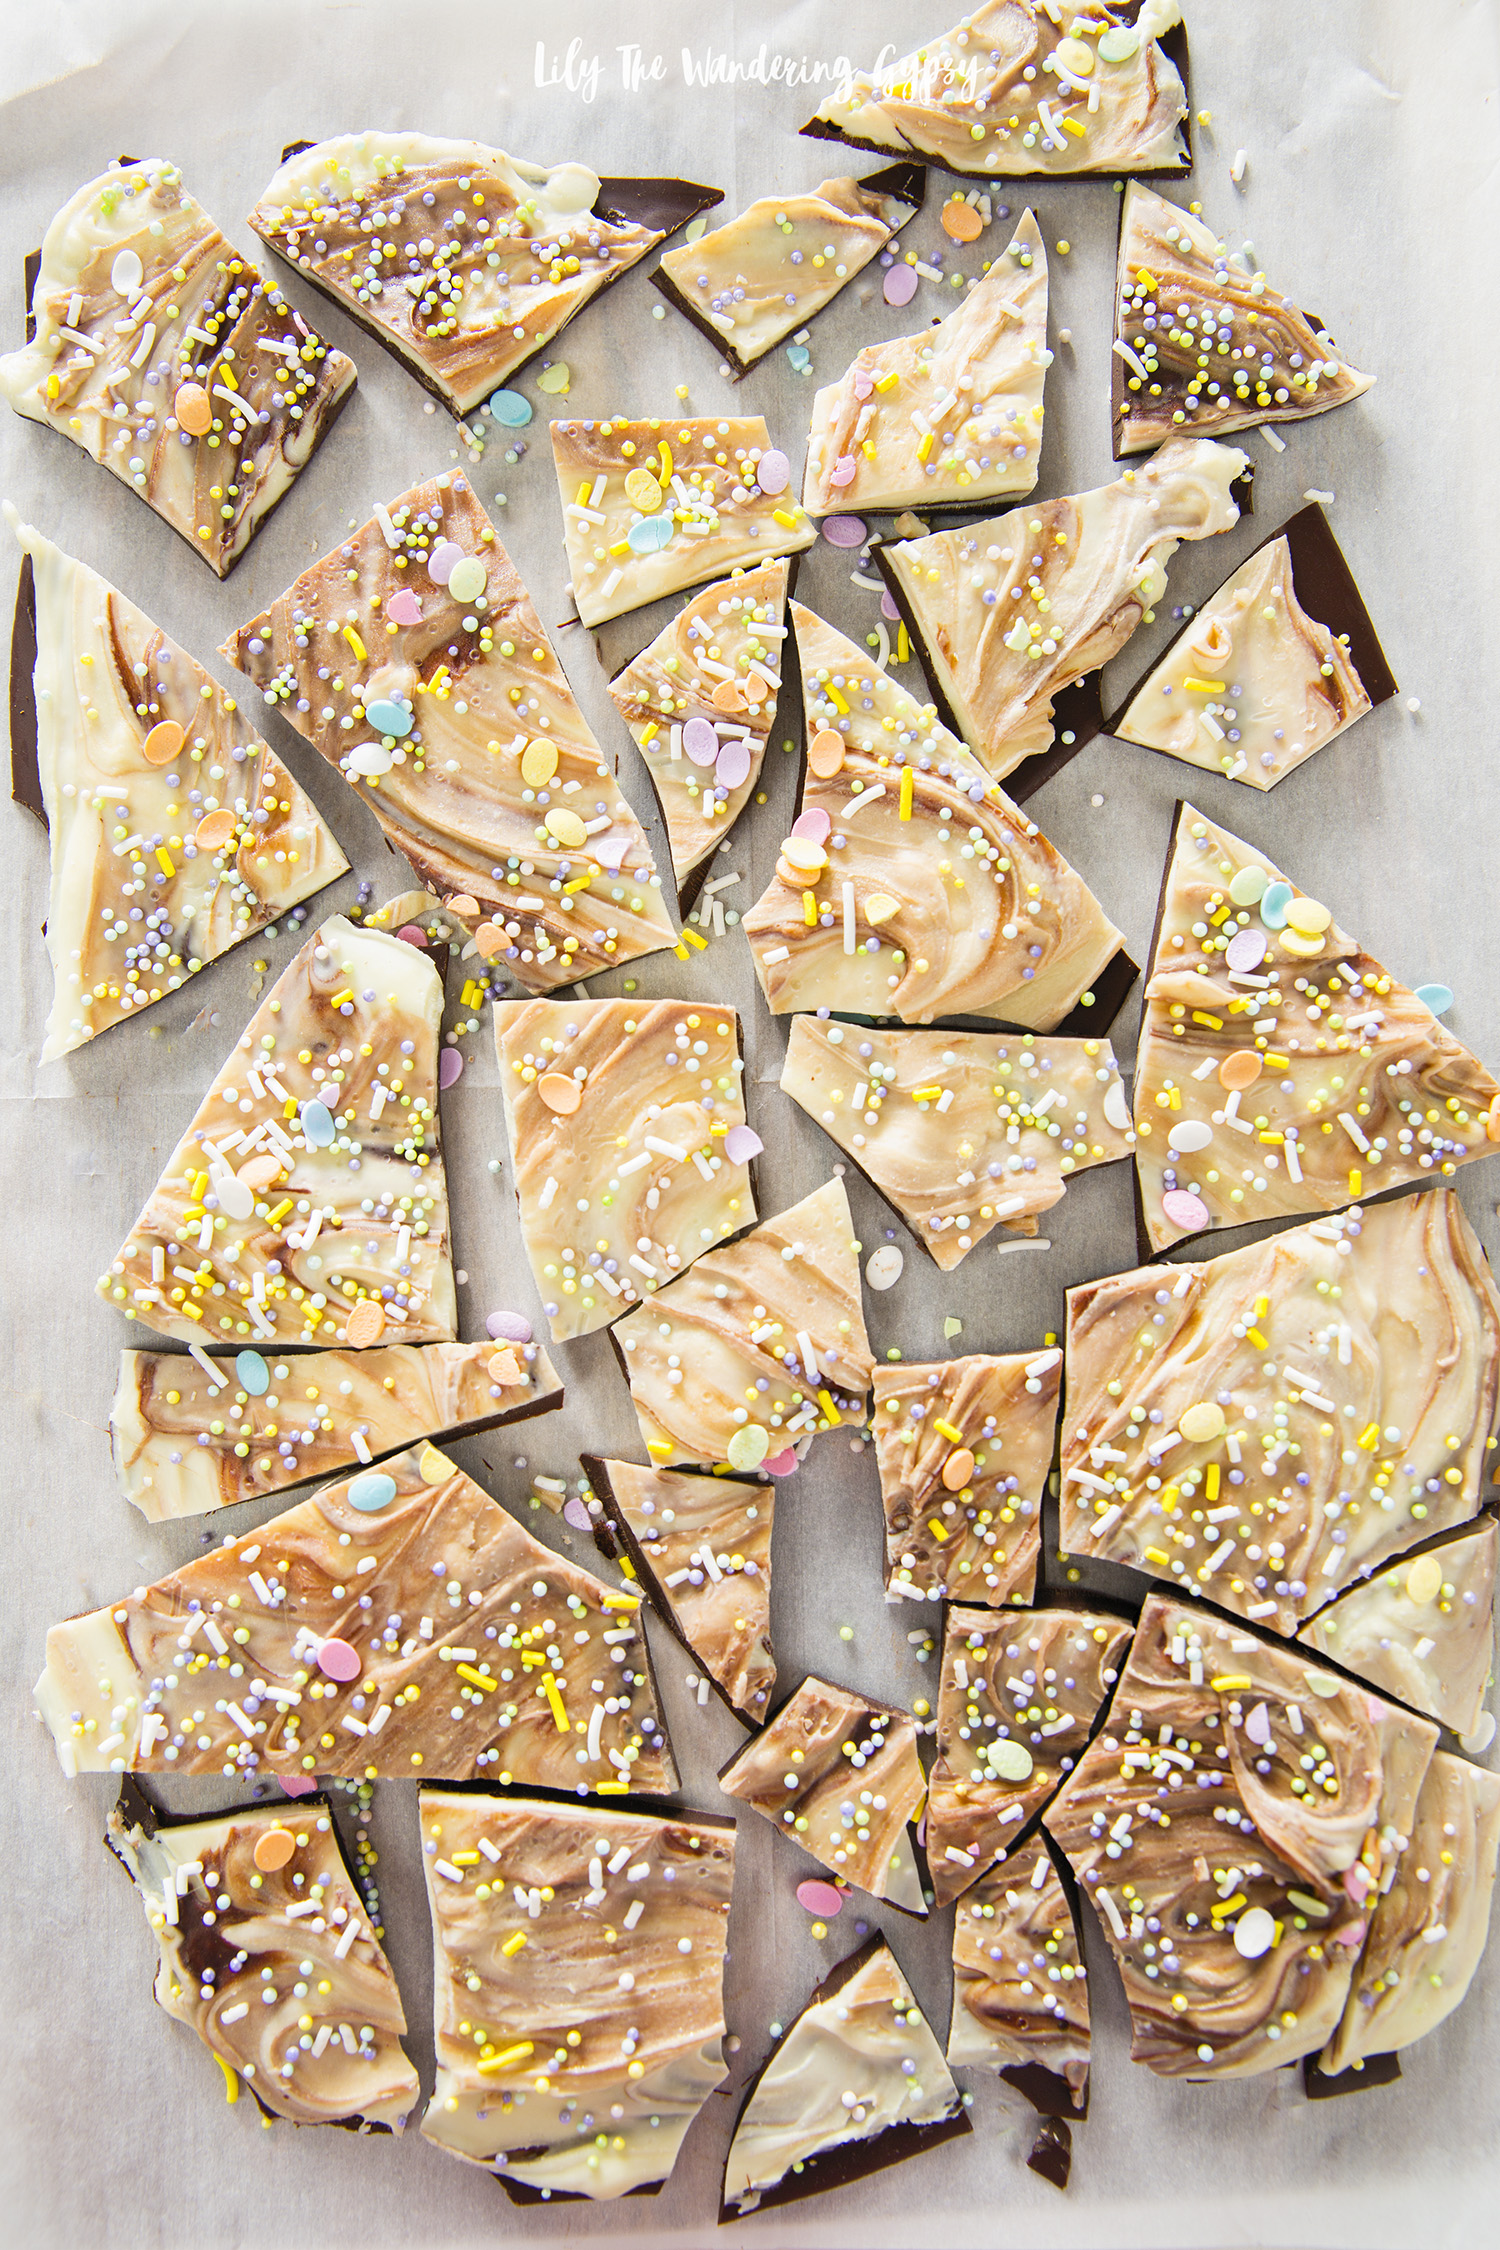
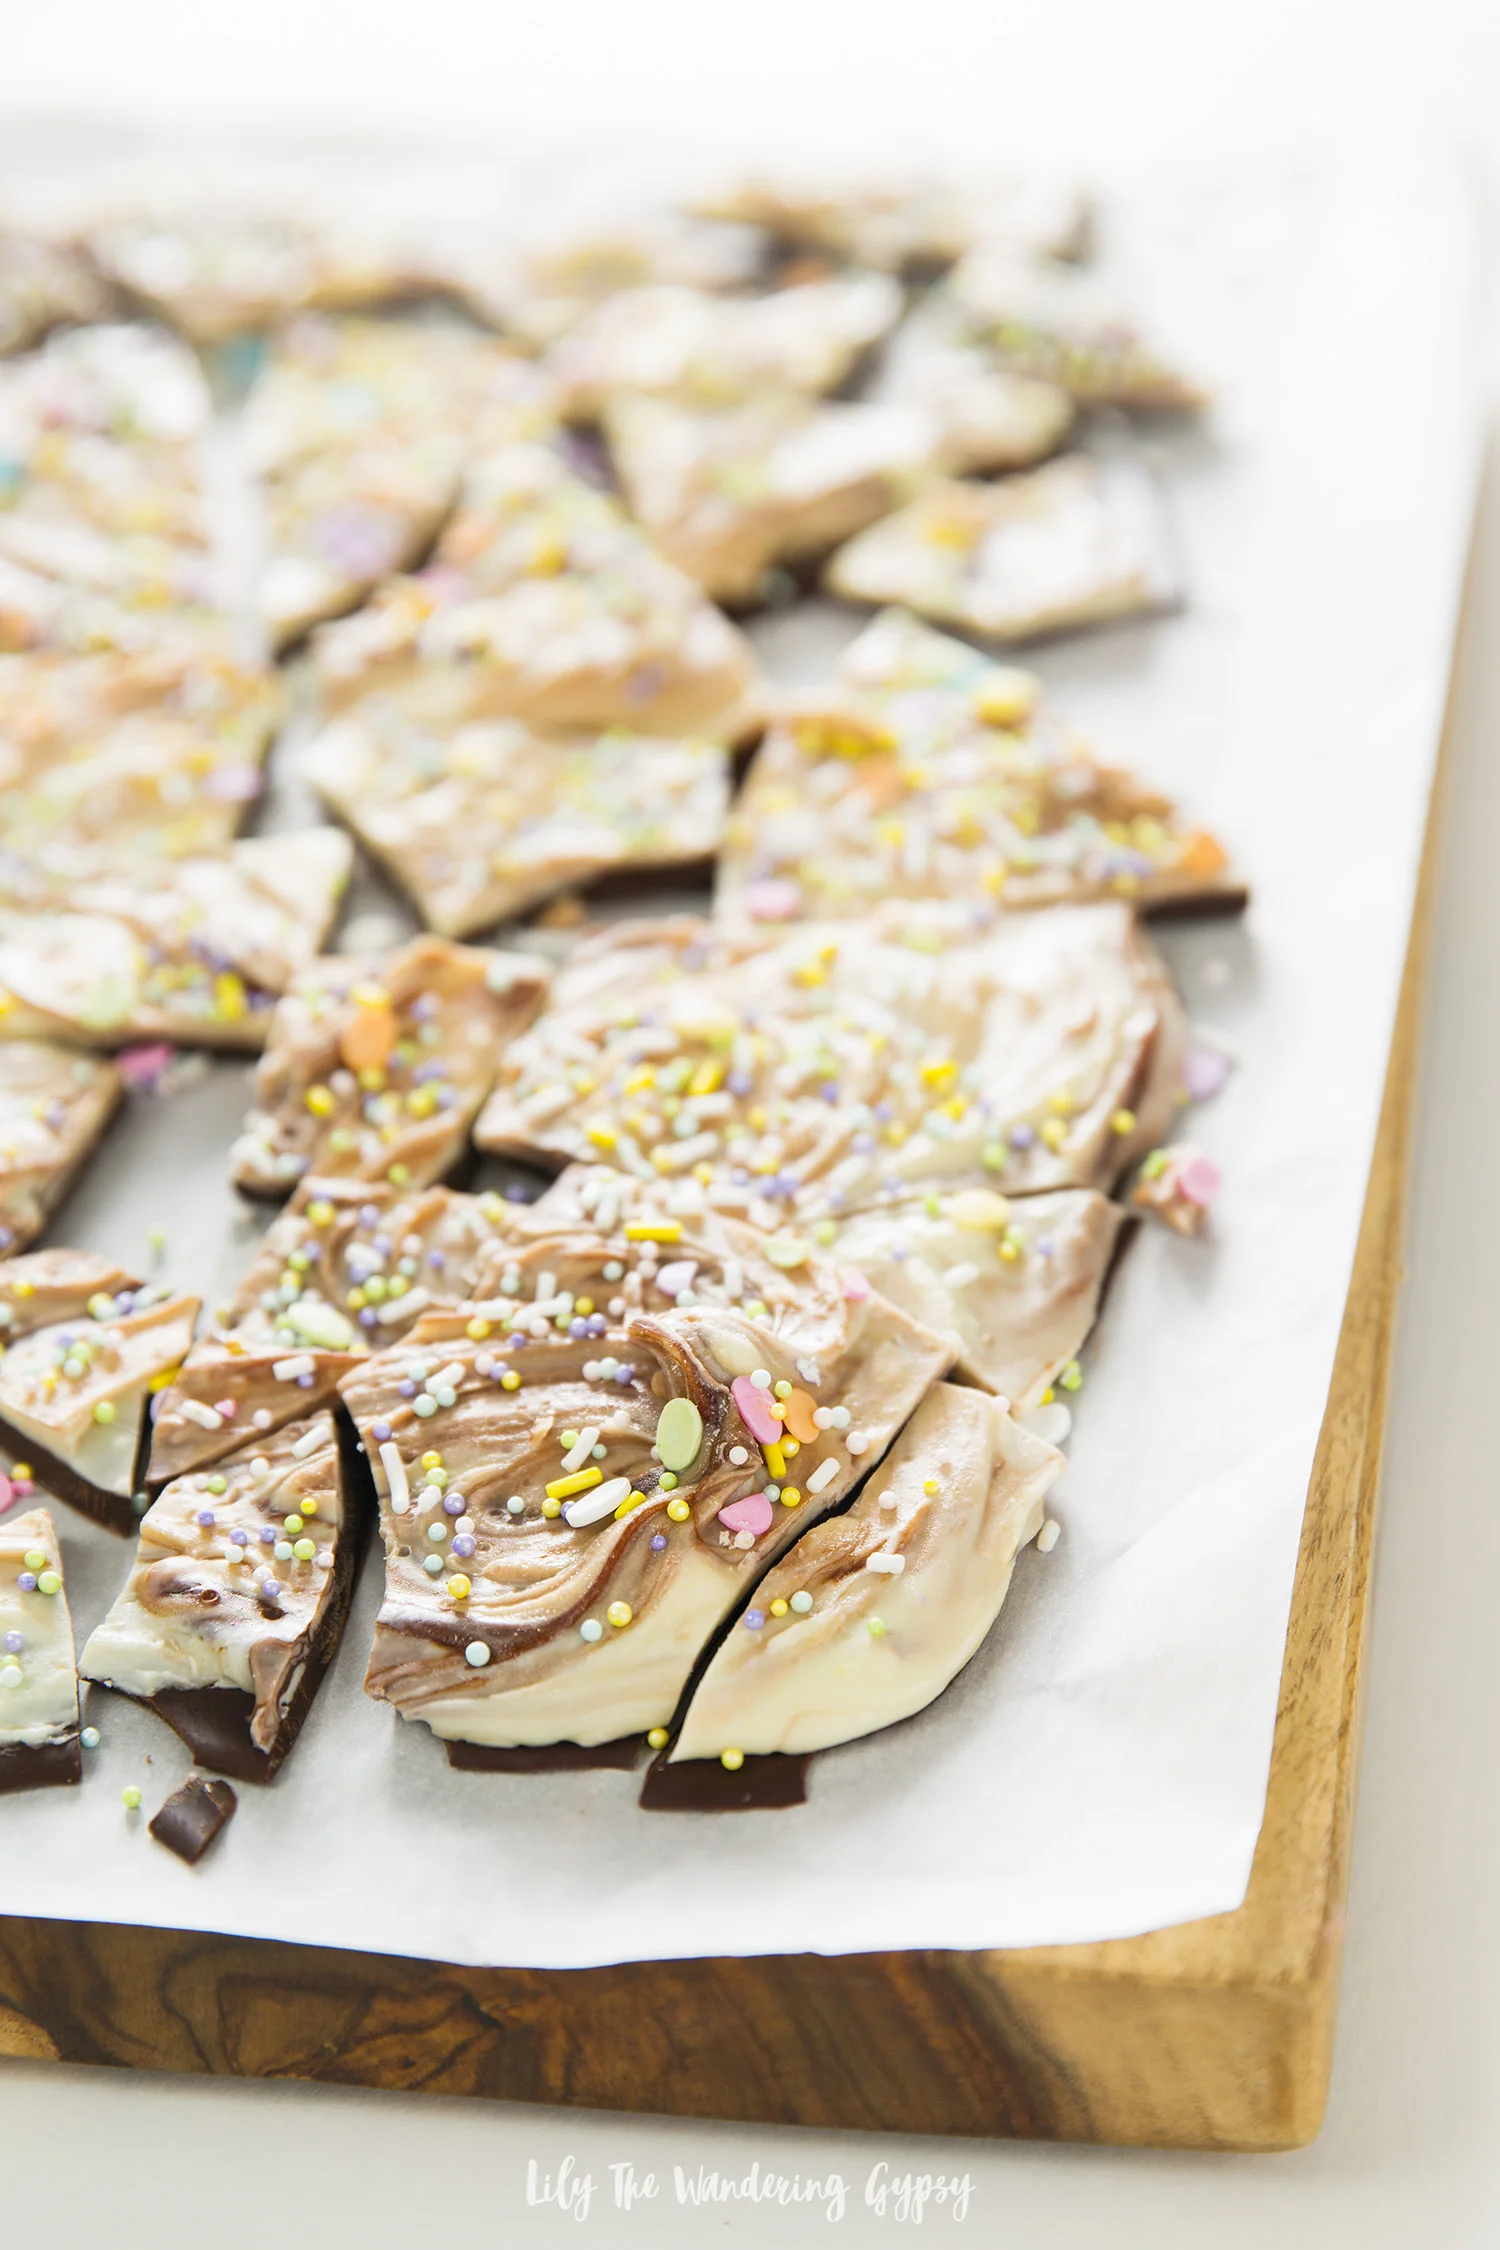
Once set, break into pieces with your hands (or rubber gloves). Keep refrigerated.

Olympics Inspired - Candy Flavored Vodkas!

I had a blast creating these 5 flavored vodkas, inspired by the 2016 Olympics! With 5 different types of candy, I created 5 festive flavors of infused vodka, and then created a cute label for the Vodka I used. 

Here is how I got the 5 flavors/colors. Note, I did use a teeny bit of food coloring in the black and green flavors, but the other colors turned out so vibrant. All you have to do is to divide 1-2 bottles of unflavored vodka into 5 jars with lids. In order to really infuse the alcohol, keep these in the fridge overnight, if you can. The longer you wait, the better! I also recommend using as much candy in the jar as you can.

BLUE: Blue Jolly Ranchers - BLACK: Black Licorice + Black Food Dye - RED: Cherry Jolly Ranchers - YELLOW: Lemon Heads - GREEN: Green Apple Jolly Ranchers + Lime Green Food Coloring

You could of course customize these fun flavors and colors for college or pro sports teams, holidays, and more! Let me know if you wind up making these, I'd love to see what you create. 

Also, I grabbed this amazingly tasty Sugar Saucer Cookie from Longbranch Cafe, my favorite restaurant in Carbondale! 

And, if you were wondering how I created the label on the bottle, I found 8.5" x 11" sticker paper at a local print shop, and printed a label I created in InDesign. I found the fonts on dafont.com - love that site! Go Team!!!

How To Make Blooming Candies

I had so much fun creating this project! I was inspired by summer, and all the pretty flowers that are blooming right now! For this recipe, I used silicone brownie molds, so I could fill them with tons of candy. I also used Blue and Vibrant Green Candy Melts. My filler candies were Sixlets, found here. See the list of ingredients below...and have FUN! You can make these in just about any color combo, for special events, holidays, and sporting events. 

How To Make Blooming Candies!

HERE'S HOW YOU MAKE THEM...

You only need a few simple ingredients! Some Sixlets Candies, candy melts, and a candy mould.  

You only need a few simple ingredients! Some Sixlets Candies, candy melts, and a candy mould.  

INGREDIENTS (Click Names To Buy)

Vibrant Green Candy Melts - Blue Candy Melts - Filler Candies - Wilton Paintbrushes, Candy/Brownie Molds

1.) Melt your candy melts in 2 separate containers, either in the microwave or in a double boiler method, which I did. I found that using a 2 cup Pyrex measuring cup, which held one package of candy melts worked great! Fill a small saucepan with 2-3 inches of water, and pour your melts into the measuring cup. Insert cup into water, heat water over medium of high heat and stir melts frequently until smooth. (See photo below for tips)...

How To Make Blooming Candies!
Texture Test (above) - The blue one looks right, but NOT the green one! If your melts form more of a paste than a smooth and satiny texture, try again. 

Texture Test (above) - The blue one looks right, but NOT the green one! If your melts form more of a paste than a smooth and satiny texture, try again. 

MY BIGGEST TIP WOULD BE...USE A PAINTBRUSH!!!

2.) Using a paintbrush to spread the candy molds was a priceless tip! The brush gives you way more control than a knife or spoon. This step took a while, but was definitely fun. I searched around just about every craft store for these brushes, and f…

2.) Using a paintbrush to spread the candy molds was a priceless tip! The brush gives you way more control than a knife or spoon. This step took a while, but was definitely fun. I searched around just about every craft store for these brushes, and finally found them at JoAnns! I originally searched for cheap kids' paintbrushes, and found nothing. Luckily I persisted :) 

3.) See how I spread the blue candy melts into the molds with a paintbrush, and am about to spread the green candies next. I added about double this amount (that you see in green) to fill the mold at first. After you fill the molds, pop the candies …

3.) See how I spread the blue candy melts into the molds with a paintbrush, and am about to spread the green candies next. I added about double this amount (that you see in green) to fill the mold at first. After you fill the molds, pop the candies into the freezer for about 5 minutes. 

4.) Now, fill the candy shells with Candies, almost to the very top. 

4.) Now, fill the candy shells with Candies, almost to the very top. 

5.) Add a dollop of candy melts on top of your fillers candies, and use the paintbrush to smooth the dollop out, and to create a seal, so the candies stay inside the melts. Throw them back into the freezer, and wait about 30 minutes (or longer), so …

5.) Add a dollop of candy melts on top of your fillers candies, and use the paintbrush to smooth the dollop out, and to create a seal, so the candies stay inside the melts. Throw them back into the freezer, and wait about 30 minutes (or longer), so that everything hardens and seals. 

These are so cute!!!

These are so cute!!!

6.) Here is what it looked like after I smoothed the last part of the candy melts over the molds, to close in the Sixlets. Use your brush to make a pretty swirl pattern on the candies if you wish. 

6.) Here is what it looked like after I smoothed the last part of the candy melts over the molds, to close in the Sixlets. Use your brush to make a pretty swirl pattern on the candies if you wish. 

7.) Here is what your (almost finished) candies will look like after being in the freezer overnight. You don't have to leave them in this long (2 hours will do), but after all the work I did on this project, I was more than happy to leave these…

7.) Here is what your (almost finished) candies will look like after being in the freezer overnight. You don't have to leave them in this long (2 hours will do), but after all the work I did on this project, I was more than happy to leave these babies in the freezer overnight, and enjoy them the next day :)

8.) Using a pair of rubber or cotton gloves, carefully peel the mold away from your Blooming Candies. The gloves help prevent finger prints all over your candies. Aren't they adorable? The next photo shows how you open them...

8.) Using a pair of rubber or cotton gloves, carefully peel the mold away from your Blooming Candies. The gloves help prevent finger prints all over your candies. Aren't they adorable? The next photo shows how you open them...

Now you can reveal your surprise candy inside! Just use a sharp kitchen knife, and (very carefully), cut into the candy as if you are cutting a slice of cake. 

Now you can reveal your surprise candy inside! Just use a sharp kitchen knife, and (very carefully), cut into the candy as if you are cutting a slice of cake. 

Blooming Candies

Pinterest  //  Facebook  //  Instagram  //  She's So Chic Blog  //  Twitter  //  Polyvore

Gourmet Candy Hearts - Made At Home - Makes A Great Gift!

I had so much fun creating these heart chocolates. I made them in several varieties, and I am going to tell you how each one turned out! I used the highest-quality ingredients, mostly from the baking aisle and craft stores (for the heart mold and sprinkles). These turned out great! 

Gourmet Candy Hearts

GOURMET HEART CANDIES - AT HOME 

Gourmet Candy Hearts

Silicone Heart Mold 

Ghirardelli Chocolate Chips 

Ghirardelli White Chocolate Melting Chips 

Andes Mint Baking Pieces  

Chopped Walnuts 

Heath Baking Pieces 

 Festive Sprinkles

*Note - do not use almond bark or candy melts for this method*

For best results, use a spoon to place toppings into mold. 

Also - place heart mold onto a baking sheet or cutting board to transport them into the freezer. 


These would be the perfect Valentine's Day gift for someone who loves sweets but is hard to shop for! These aren't super expensive to make, like some seasonal recipes are, either! 

5DA_4056.jpg

MY TOPPINGS TIPS

Heath - make sure to only use a light, single layer of these or they won't all stick to the chocolate.

Andes - My favorite! Fill with Andes about 1/3 of the way.

Sprinkles - Look best on white chocolate, rather than milk.

Chopped Walnuts - Use only a light layer, similar to Heath.

Larger Sprinkles - use a single layer for best results.

*The prettiest ones were the little nonpareils (tiny ball sprinkles) in a single layer*


Now, melt the chocolate! I used a double boiler method (explained here - but do not add any butter). I used a shallow, medium pot and filled it about 1/3 of the way with water. I placed two 2 Cup Pyrex measuring cups in the water for a double boiler. Melt 1 package each of the milk chocolate and white chocolate in separate cups. Slowly melt the chocolates, and stir frequently. They should be smooth and move easily. 

Gourmet Candy Hearts

Once your melted chocolate is smooth, remove the cups with an oven mitt, and place them onto a towel near your work space. Get a little bit of chocolate onto a spoon, and begin adding milk chocolate to half of the hearts. Then, white chocolate to the other hearts. Be careful not to get chocolate everywhere, so your end result is prettier.

Gourmet Candy Hearts

Here they are after being in the freezer for less than an hour! Make sure they are completely cooled and hardened before you move them. One of my favorite parts was removing the fresh chocolates from the molds and seeing my creations! I liked most all of them, and think they would look adorable packaged up all cute for Valentine's Day, Mother's Day, Birthdays, and more! 

Gourmet Candy Hearts