Carbondale Farmer's Market

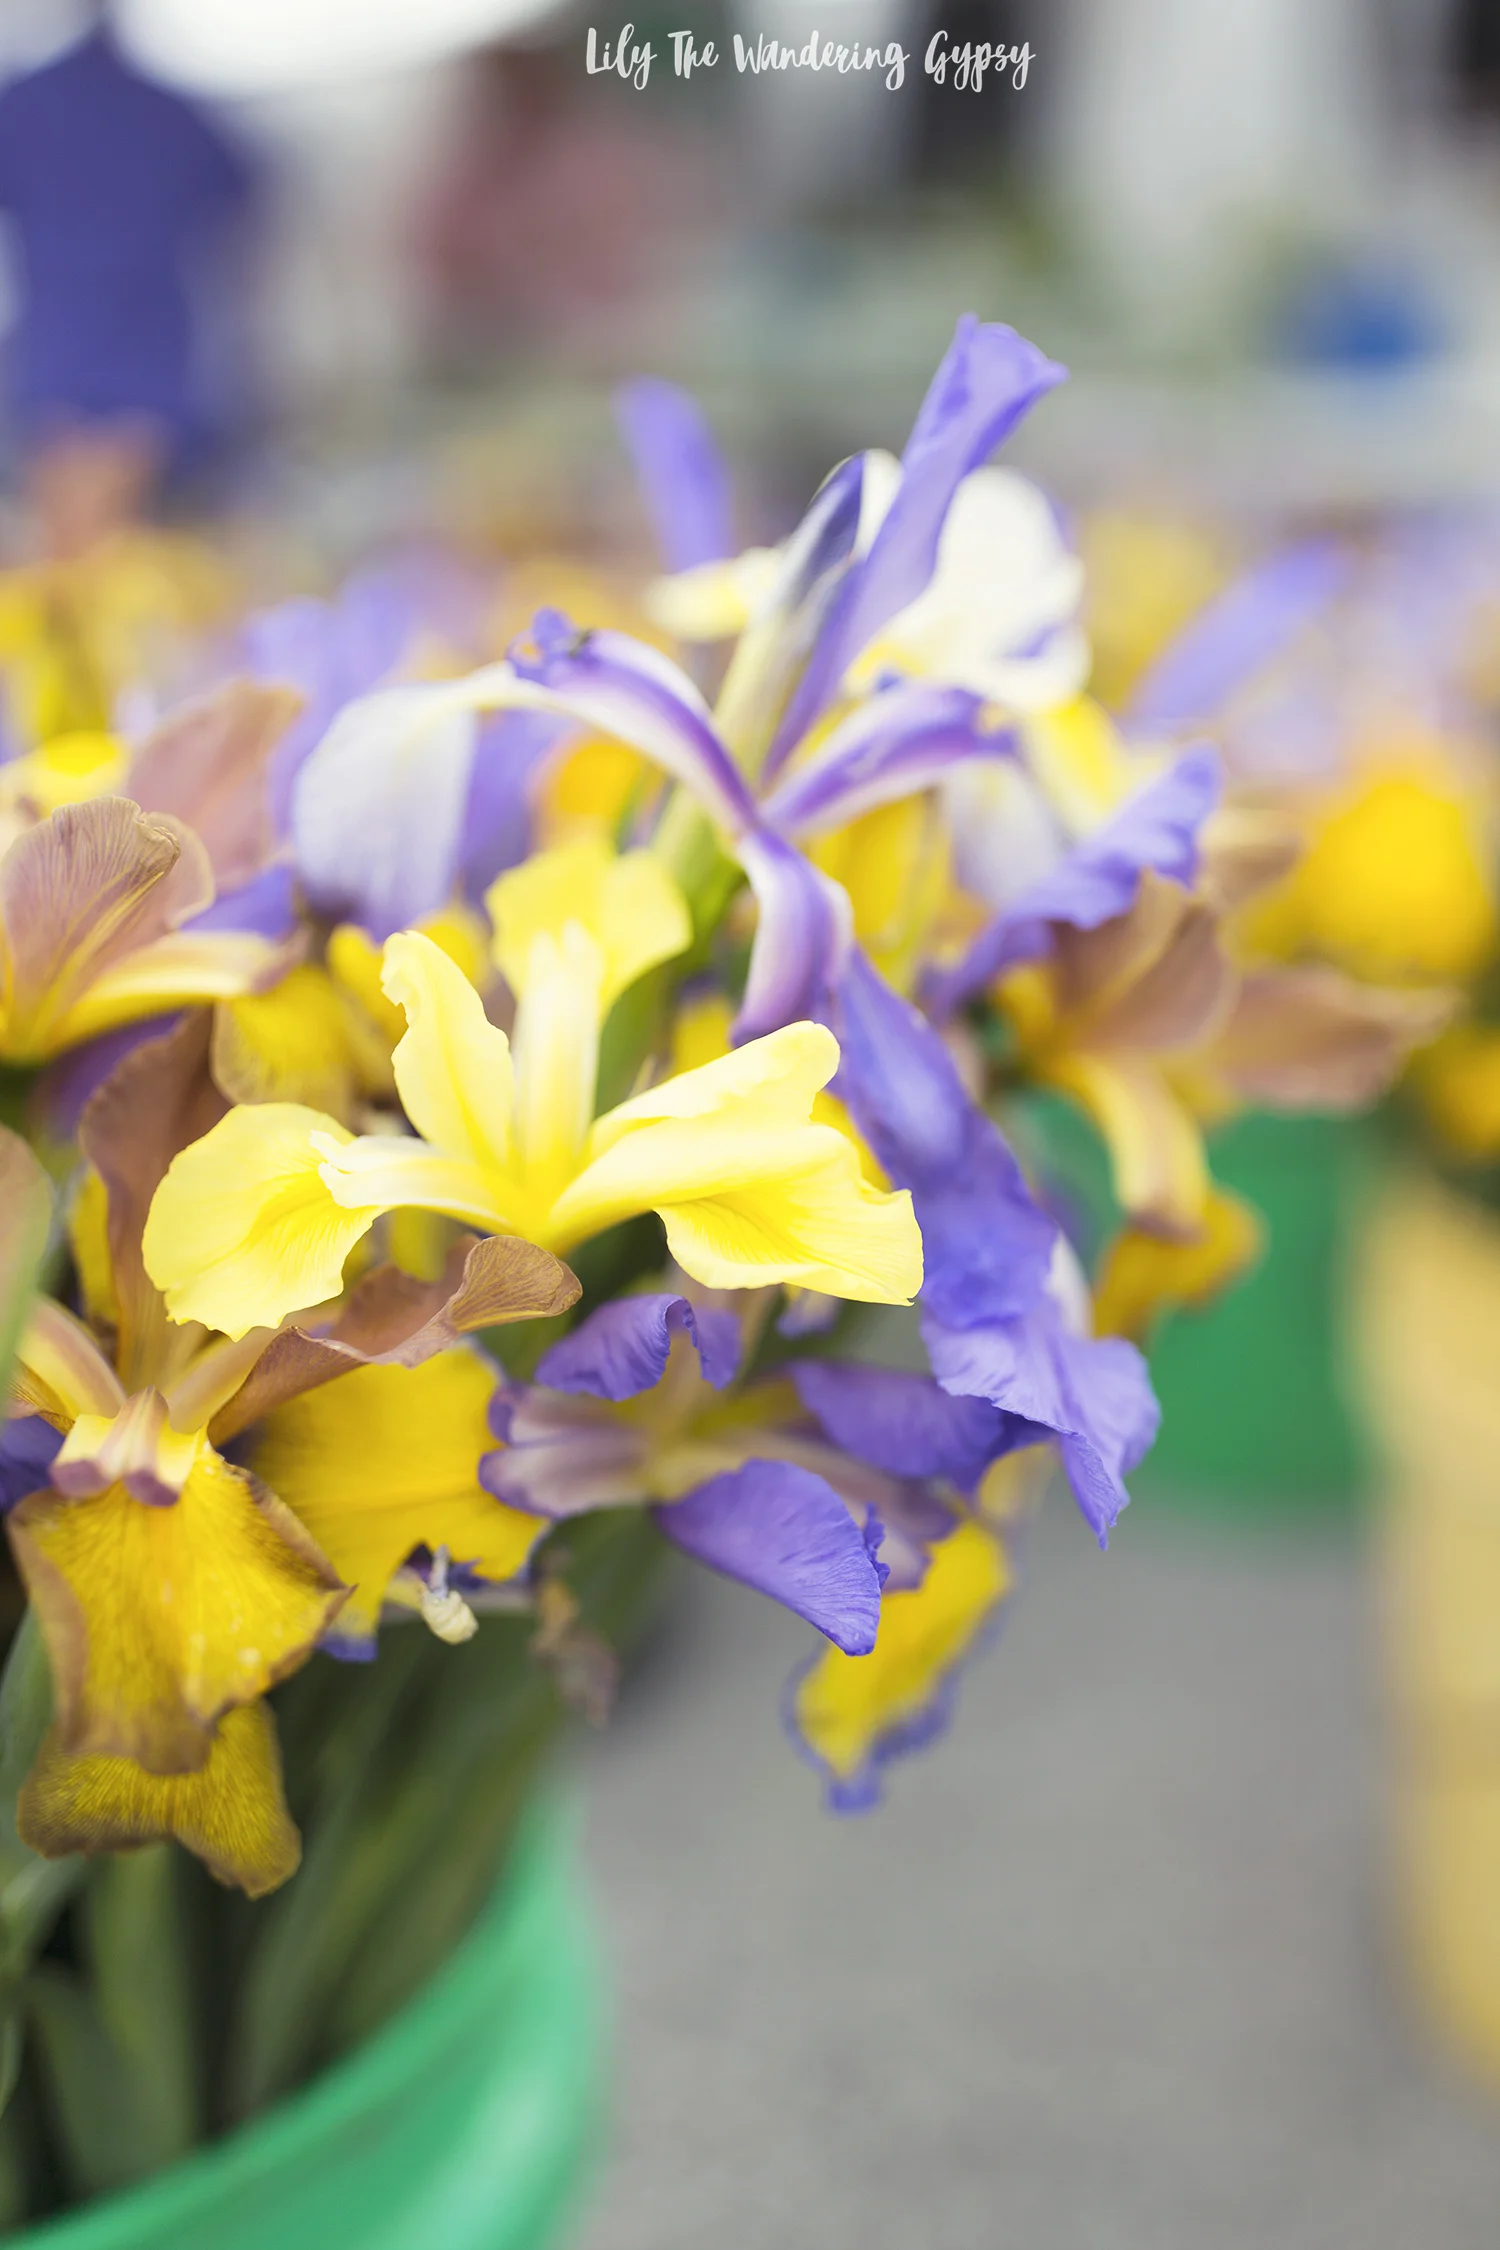
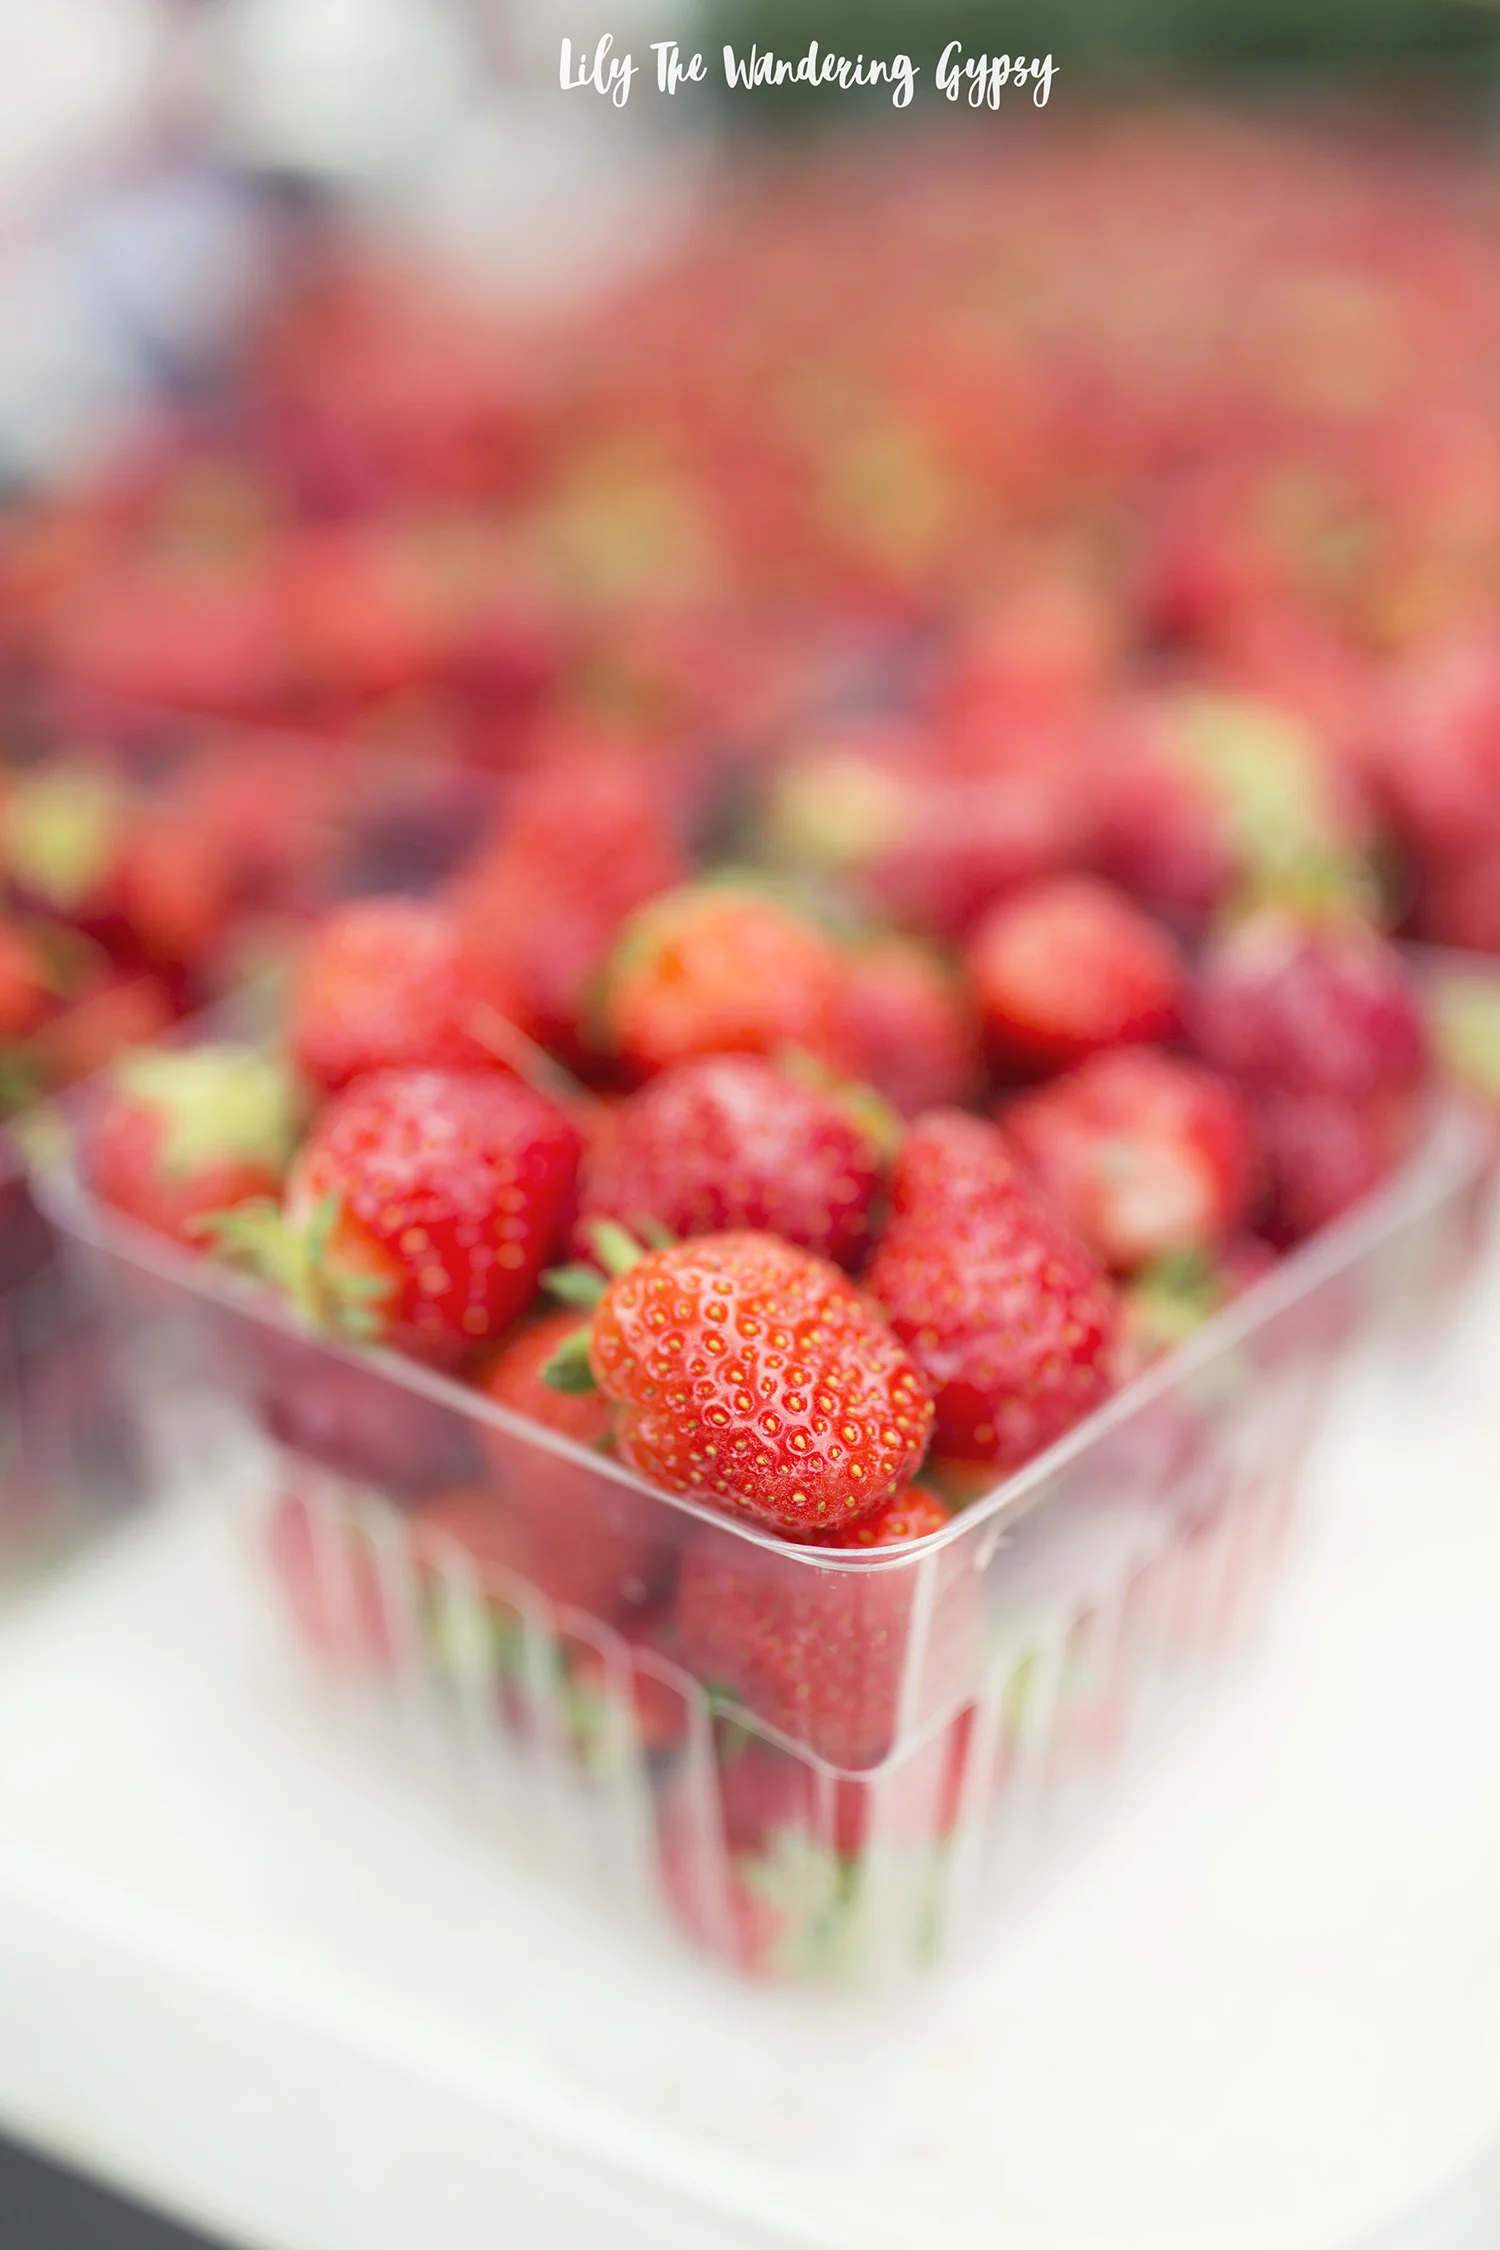
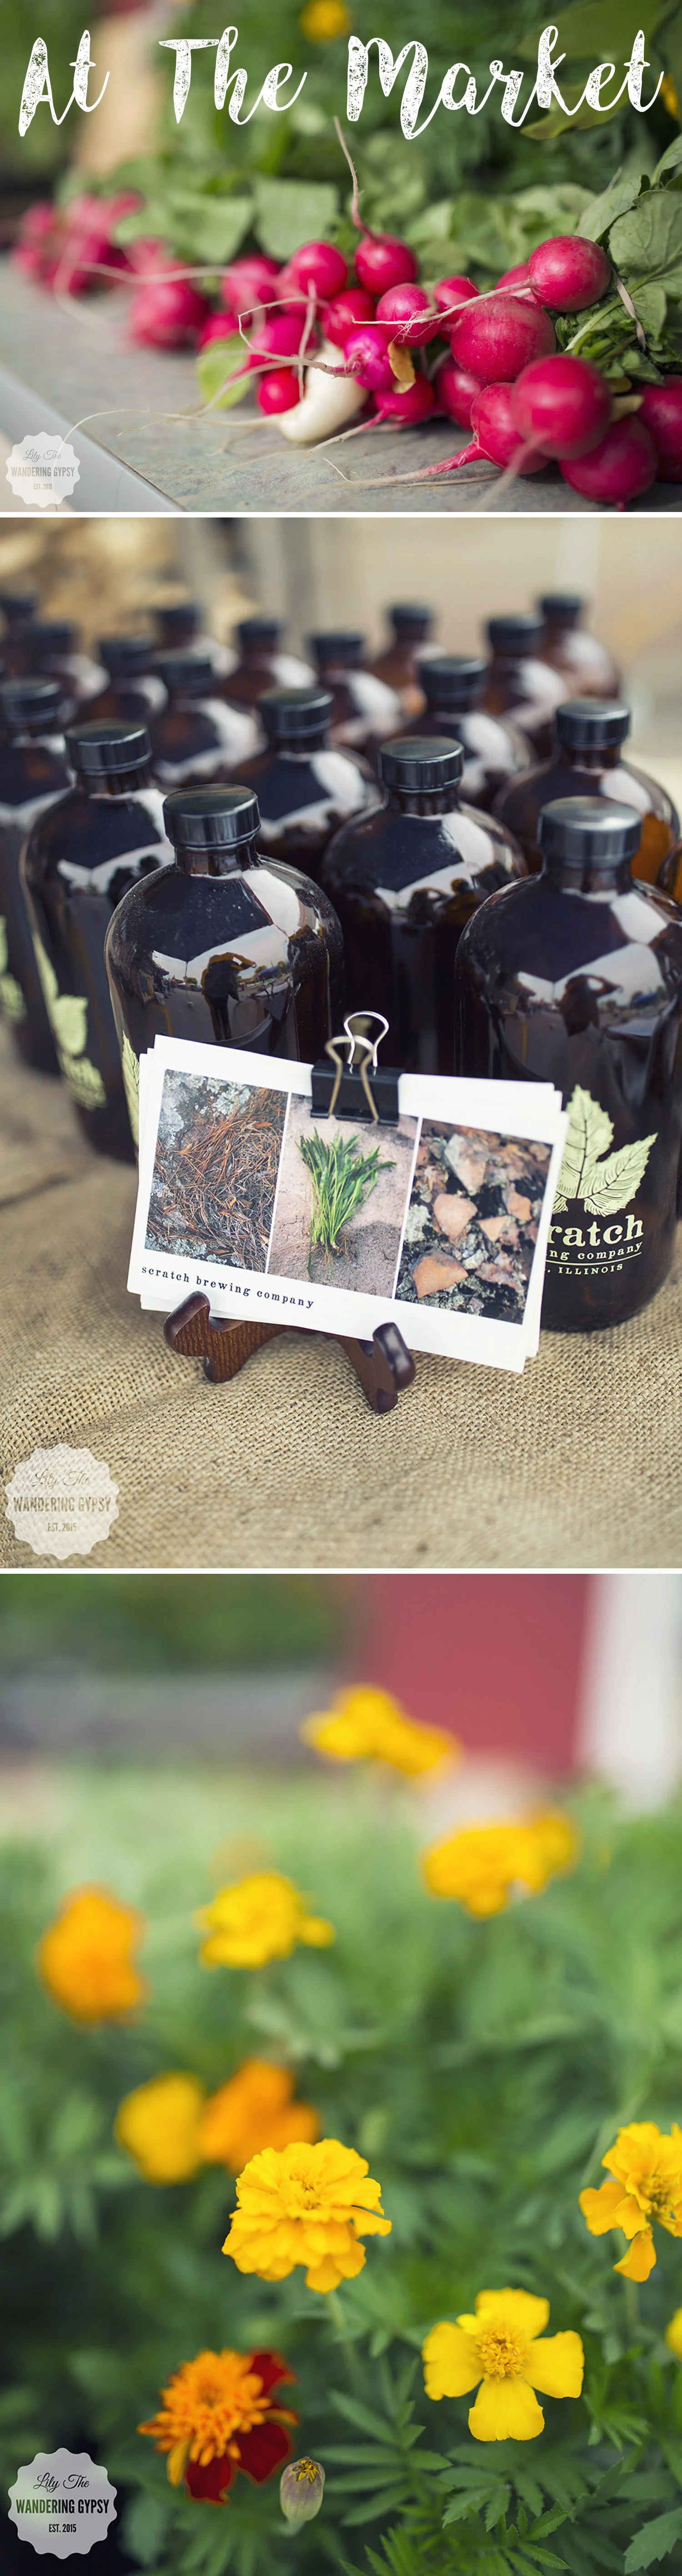
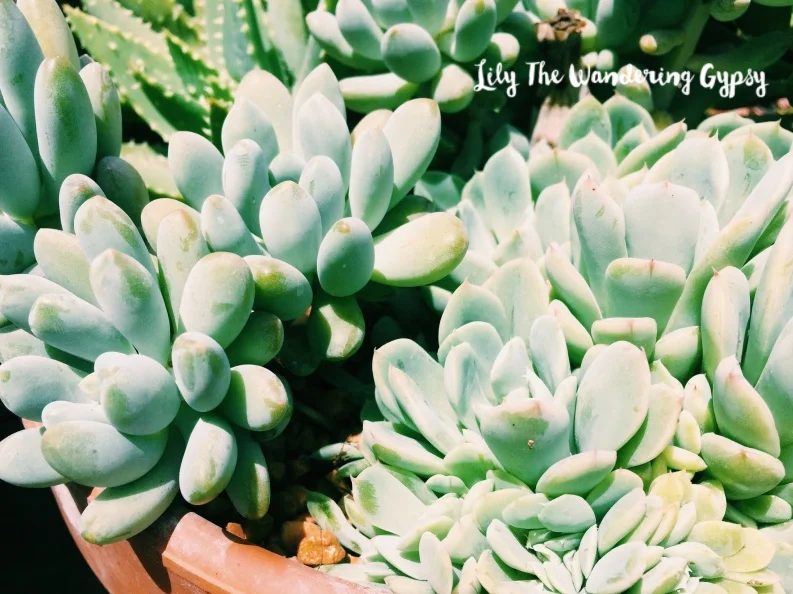
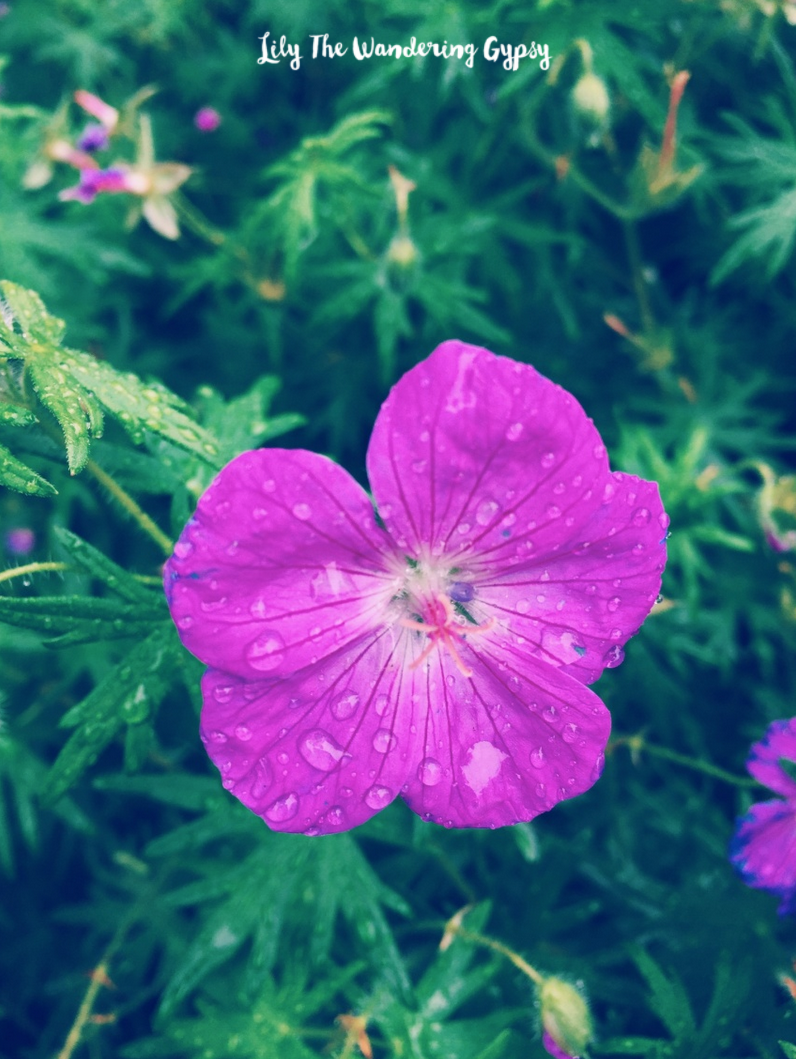
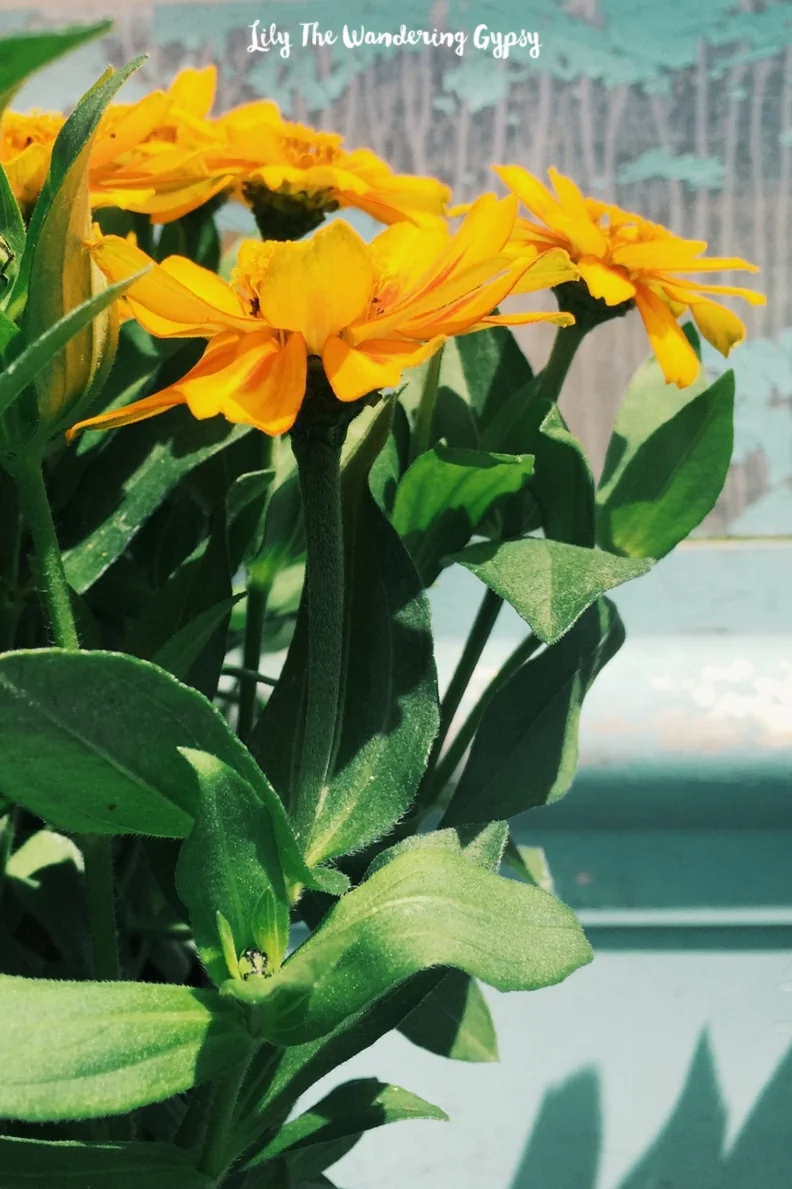
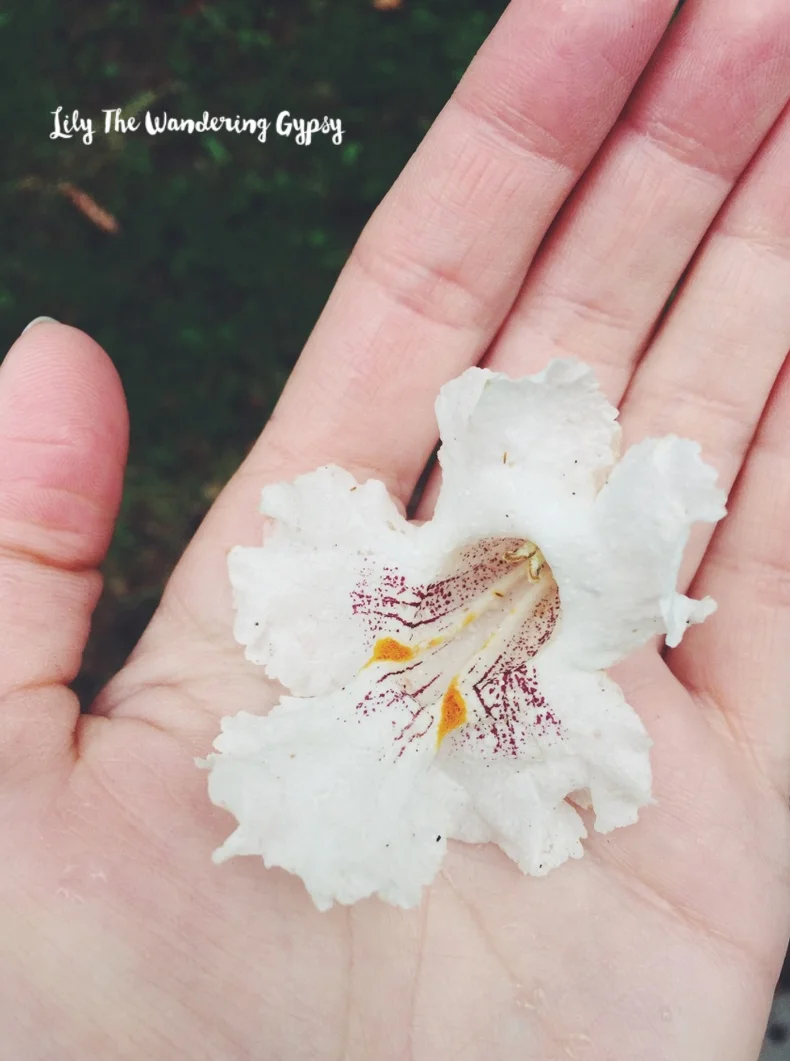
We are so fortunate to have such a vibrant Farmer's Market for still being in s pretty small city. I shot these photos in late May. It's interesting how some produce is only available a week or two, and I am sure even a few weeks later, the market looks completely different. It's definitely my goal to visit the market as many times as possible this year, especially before those mornings are a balmy 95 degrees with a very high % of humidity. 

Also, this year, our weather has just been kind of odd, so I believe that growing seasons for early growing produce was severely shortened and stunted. But, now, the weather has gotten a lot warmer, it's not raining excessively, and the sun is definitely shining and feeding all of those plants! 

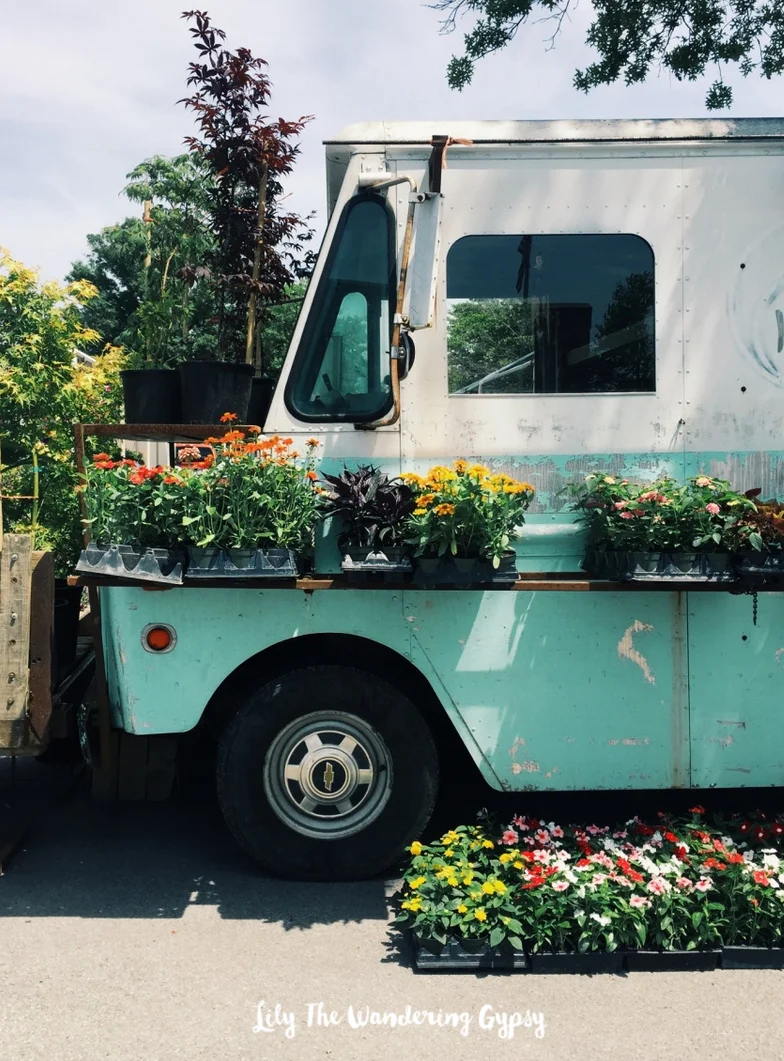
Here is a sneak peek of the Market, I will share lots more photos later. 

Peanut Butter + Yogurt "Smoothie" Bowl

I was recently challenged to create something containing a certain cinnamon-flavored peanut butter. I tried the stuff, and it was kind of interesting. I have never imagined a combo like this, and it was pretty good. But, I also had it in my mind to create something like a smoothie bowl that was topped with all sorts of tasty and nourishing things like pumpkin seeds, granola, crushed peanuts, and a few other things. I also love those smoothie bowls I see that have edible flowers on top, and this recipe was the perfect opportunity to "scout" my neighborhood for marigolds to top the smoothie bowl with. 

HOW TO MAKE IT:

1.) For the base: Mix 2 parts vanilla yogurt to 1 part cinnamon (or any flavor) creamy peanut butter. Make sure everything is combined well. Pour into bowl and smooth top with spoon. 

2.) Top with your favorite trail mix (I used a mix of pumpkin seeds, raisins, and sunflower seeds). I also crushed up some peanuts and then sprinkled those in the center, then also added a handful of granola. Lastly. I topped the smoothie bowl with marigolds, for a cute touch of edible flowers. That's it, enjoy! Have fun with your food :)

For the marigolds, I actually looked at 3 different places, and the only flower really available right now is mums. They're all looking gorgeous as ever, but when we visited local farms a couple of weeks ago (post coming soon...), I saw lots of marigolds. I guess it's way too late into the year to find marigolds at any stores, so thankfully as I was driving home, I saw marigolds out of the corner of my eye! I hope the people who grew them don't mind I borrowed just a few :)

Bluegrass + The Farmer's Market

I have written about the new Carbondale Community Farmer's Market before, but this week, I was so inspired by the live music that Hey Honey played! I created this fun video to showcase how vibrant this market is, so check it out here, or on my YouTube channel! 

Visit the Carbondale Community Farmer's Market every Wednesday from 3-6 pm, next to the Town Square Market, at the 200 block of Washington Street in Carbondale, IL. You will have access to seasonal produce, meat, eggs, bread, hand crafted sodas, sandwiches, baked goods, and more. You can even pick up some dinner at the market from Longbranch Cafe (I had the most amazing Sloppy Joes this week), and you can bring something home to snack on, or use for your meals throughout the rest of the week. I always like visiting each and every booth to see what's in season! 

Hope you can stop by the market soon! 

How To Make Blooming Candies

I had so much fun creating this project! I was inspired by summer, and all the pretty flowers that are blooming right now! For this recipe, I used silicone brownie molds, so I could fill them with tons of candy. I also used Blue and Vibrant Green Candy Melts. My filler candies were Sixlets, found here. See the list of ingredients below...and have FUN! You can make these in just about any color combo, for special events, holidays, and sporting events. 

How To Make Blooming Candies!

HERE'S HOW YOU MAKE THEM...

You only need a few simple ingredients! Some Sixlets Candies, candy melts, and a candy mould.  

You only need a few simple ingredients! Some Sixlets Candies, candy melts, and a candy mould.  

INGREDIENTS (Click Names To Buy)

Vibrant Green Candy Melts - Blue Candy Melts - Filler Candies - Wilton Paintbrushes, Candy/Brownie Molds

1.) Melt your candy melts in 2 separate containers, either in the microwave or in a double boiler method, which I did. I found that using a 2 cup Pyrex measuring cup, which held one package of candy melts worked great! Fill a small saucepan with 2-3 inches of water, and pour your melts into the measuring cup. Insert cup into water, heat water over medium of high heat and stir melts frequently until smooth. (See photo below for tips)...

How To Make Blooming Candies!
Texture Test (above) - The blue one looks right, but NOT the green one! If your melts form more of a paste than a smooth and satiny texture, try again. 

Texture Test (above) - The blue one looks right, but NOT the green one! If your melts form more of a paste than a smooth and satiny texture, try again. 

MY BIGGEST TIP WOULD BE...USE A PAINTBRUSH!!!

2.) Using a paintbrush to spread the candy molds was a priceless tip! The brush gives you way more control than a knife or spoon. This step took a while, but was definitely fun. I searched around just about every craft store for these brushes, and f…

2.) Using a paintbrush to spread the candy molds was a priceless tip! The brush gives you way more control than a knife or spoon. This step took a while, but was definitely fun. I searched around just about every craft store for these brushes, and finally found them at JoAnns! I originally searched for cheap kids' paintbrushes, and found nothing. Luckily I persisted :) 

3.) See how I spread the blue candy melts into the molds with a paintbrush, and am about to spread the green candies next. I added about double this amount (that you see in green) to fill the mold at first. After you fill the molds, pop the candies …

3.) See how I spread the blue candy melts into the molds with a paintbrush, and am about to spread the green candies next. I added about double this amount (that you see in green) to fill the mold at first. After you fill the molds, pop the candies into the freezer for about 5 minutes. 

4.) Now, fill the candy shells with Candies, almost to the very top. 

4.) Now, fill the candy shells with Candies, almost to the very top. 

5.) Add a dollop of candy melts on top of your fillers candies, and use the paintbrush to smooth the dollop out, and to create a seal, so the candies stay inside the melts. Throw them back into the freezer, and wait about 30 minutes (or longer), so …

5.) Add a dollop of candy melts on top of your fillers candies, and use the paintbrush to smooth the dollop out, and to create a seal, so the candies stay inside the melts. Throw them back into the freezer, and wait about 30 minutes (or longer), so that everything hardens and seals. 

These are so cute!!!

These are so cute!!!

6.) Here is what it looked like after I smoothed the last part of the candy melts over the molds, to close in the Sixlets. Use your brush to make a pretty swirl pattern on the candies if you wish. 

6.) Here is what it looked like after I smoothed the last part of the candy melts over the molds, to close in the Sixlets. Use your brush to make a pretty swirl pattern on the candies if you wish. 

7.) Here is what your (almost finished) candies will look like after being in the freezer overnight. You don't have to leave them in this long (2 hours will do), but after all the work I did on this project, I was more than happy to leave these…

7.) Here is what your (almost finished) candies will look like after being in the freezer overnight. You don't have to leave them in this long (2 hours will do), but after all the work I did on this project, I was more than happy to leave these babies in the freezer overnight, and enjoy them the next day :)

8.) Using a pair of rubber or cotton gloves, carefully peel the mold away from your Blooming Candies. The gloves help prevent finger prints all over your candies. Aren't they adorable? The next photo shows how you open them...

8.) Using a pair of rubber or cotton gloves, carefully peel the mold away from your Blooming Candies. The gloves help prevent finger prints all over your candies. Aren't they adorable? The next photo shows how you open them...

Now you can reveal your surprise candy inside! Just use a sharp kitchen knife, and (very carefully), cut into the candy as if you are cutting a slice of cake. 

Now you can reveal your surprise candy inside! Just use a sharp kitchen knife, and (very carefully), cut into the candy as if you are cutting a slice of cake. 

Blooming Candies

Pinterest  //  Facebook  //  Instagram  //  She's So Chic Blog  //  Twitter  //  Polyvore

Summer Fun!

I recently tried White Cheddar Skinny Pop, and Hubert's Raspberry Lemonade and I am in love!! They're actually a good combo for summer! I would definitely take this to the park or beach for a summer picnic. The flowers are from my new, favorite place near Carbondale, Chautauqua Bend Flower Farm

I also love this blanket by Domain, it's super soft and perfect for summer. I grabbed this bag from Sole Society a while back, and it has held up really great.

Those sandals, though! My favorite part of all of this is the Sam Edelman Studded Asbury Sandals. They're comfortable, very chic, and look amazing with everything I have paired them with so far. 

This popcorn is addicting! 

This popcorn is addicting! 

What are your summer picnic essentials? 

Pinterest  //  Facebook  //  Instagram  //  She's So Chic Blog  //  Twitter

My Week In Images

The weather has gotten much warmer (and way more humid) in the past 2 weeks here in southern Illinois. I also found a new way to share my photos! I finally figured out the VSCO app, and now I absolutely LOVE the filters they offer! There are a few really good ones, and I like how they don't just make your photos look dark and flat, like some of the Instagram filters. You can also save these images to your cameraroll on your phone, and upload them via Instagram. Check out my photos here! 

Head on over to my VSCO page to see more!

Pinterest  //  Facebook  //  Twitter  //  Instagram  //  She's So Chic