
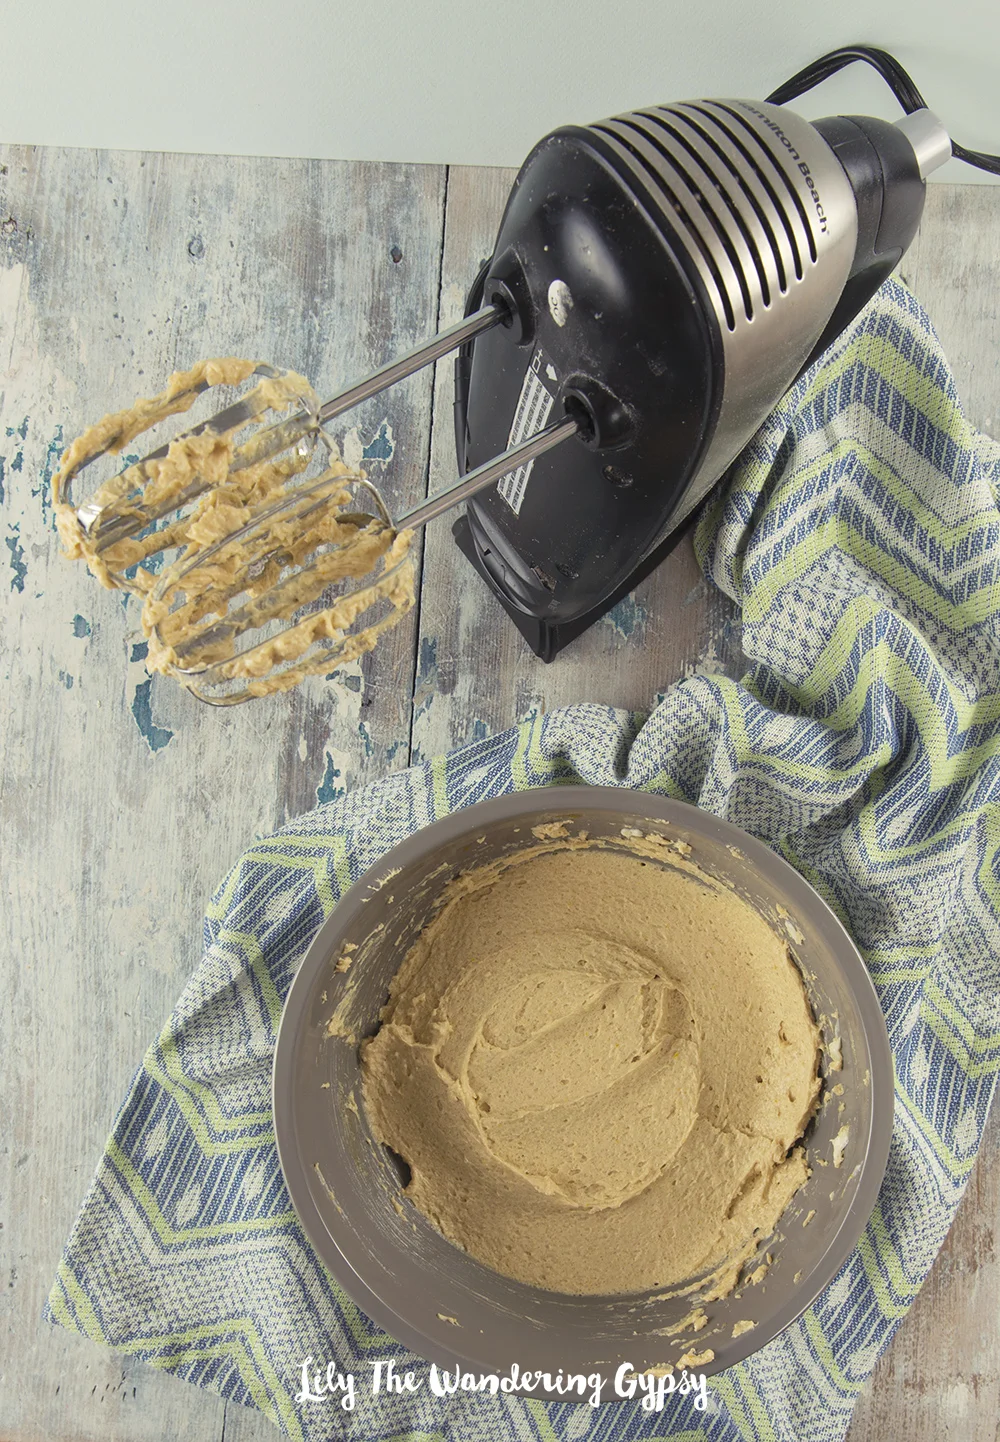
What a beautiful surprise! A fellow blogger sent me a beautiful gift from eBay, and what perfect timing! Now I can finish up all of my holiday baking in time, and love how this new mixer looks in my kitchen!
Read MoreMALIN + GOETZ - love this product line!
A New York based apothecary and lab specializing in natural, cruelty free product. Learn more about these exceptional products and learn more here.
Read MoreAnthropologie Favorites ~ And They're All On Sale!
For this post, I wanted to share some of my favorite SALE items from Anthropologie. They have such incredible goodies, and I am sure you deserve something new since you've worked so hard this year!
Read MoreGifts For The Creative Woman
Here are some gift ideas she would love! If you need a gift for someone that loves to create beautiful projects and may be an entrepreneur, she may need some new goodies to help her career. Check out this post to get some gifting inspirations.
Read MoreDog Treats In A Jar Gifts + Puppy Potty Training Tips with Stainmaster
If this chilly weather has inspired the inner baker in you, why not make a little something for your furry friends too? Better yet, make something for those people in your lives who are parents to fur babies - I have a fun gift idea for them!
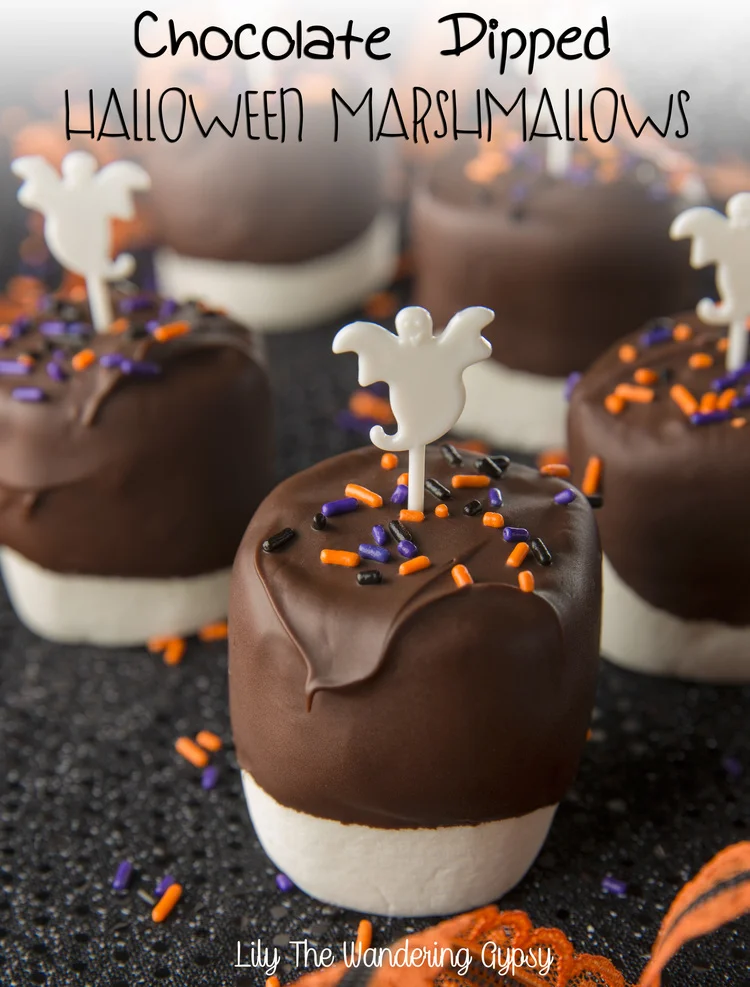
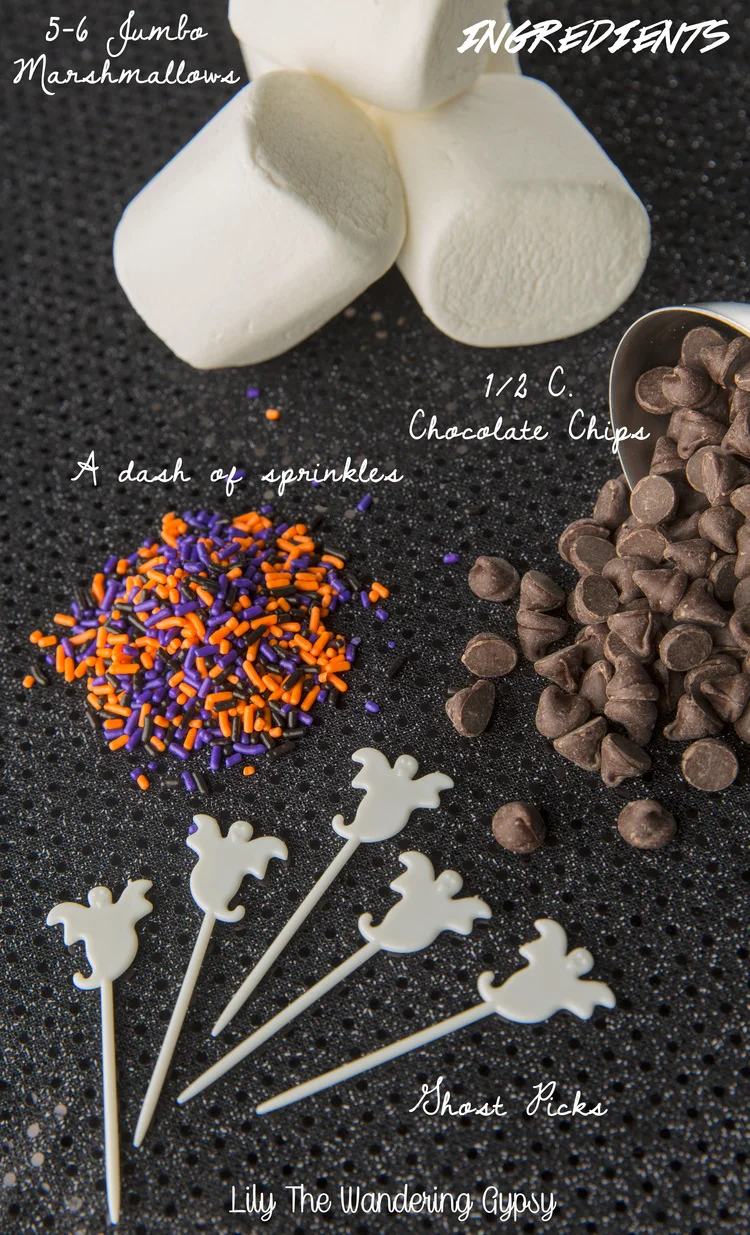
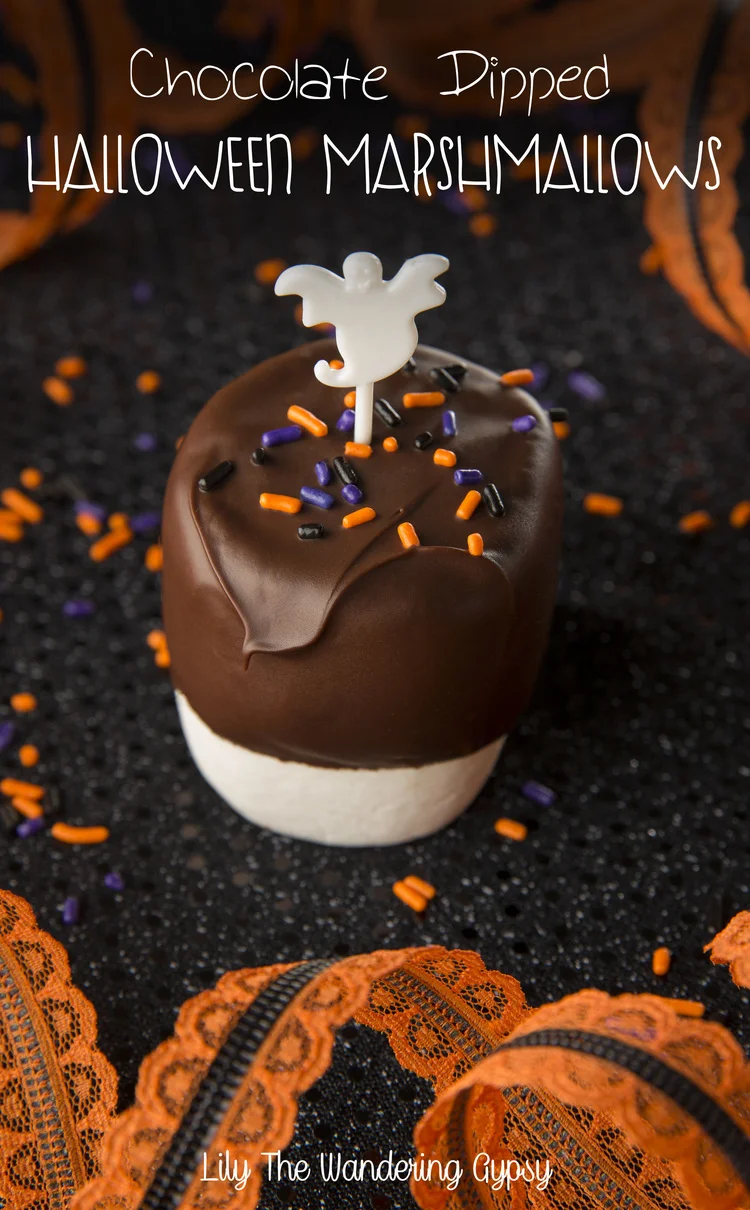
Read MoreChocolate Dipped Halloween Marshmallows


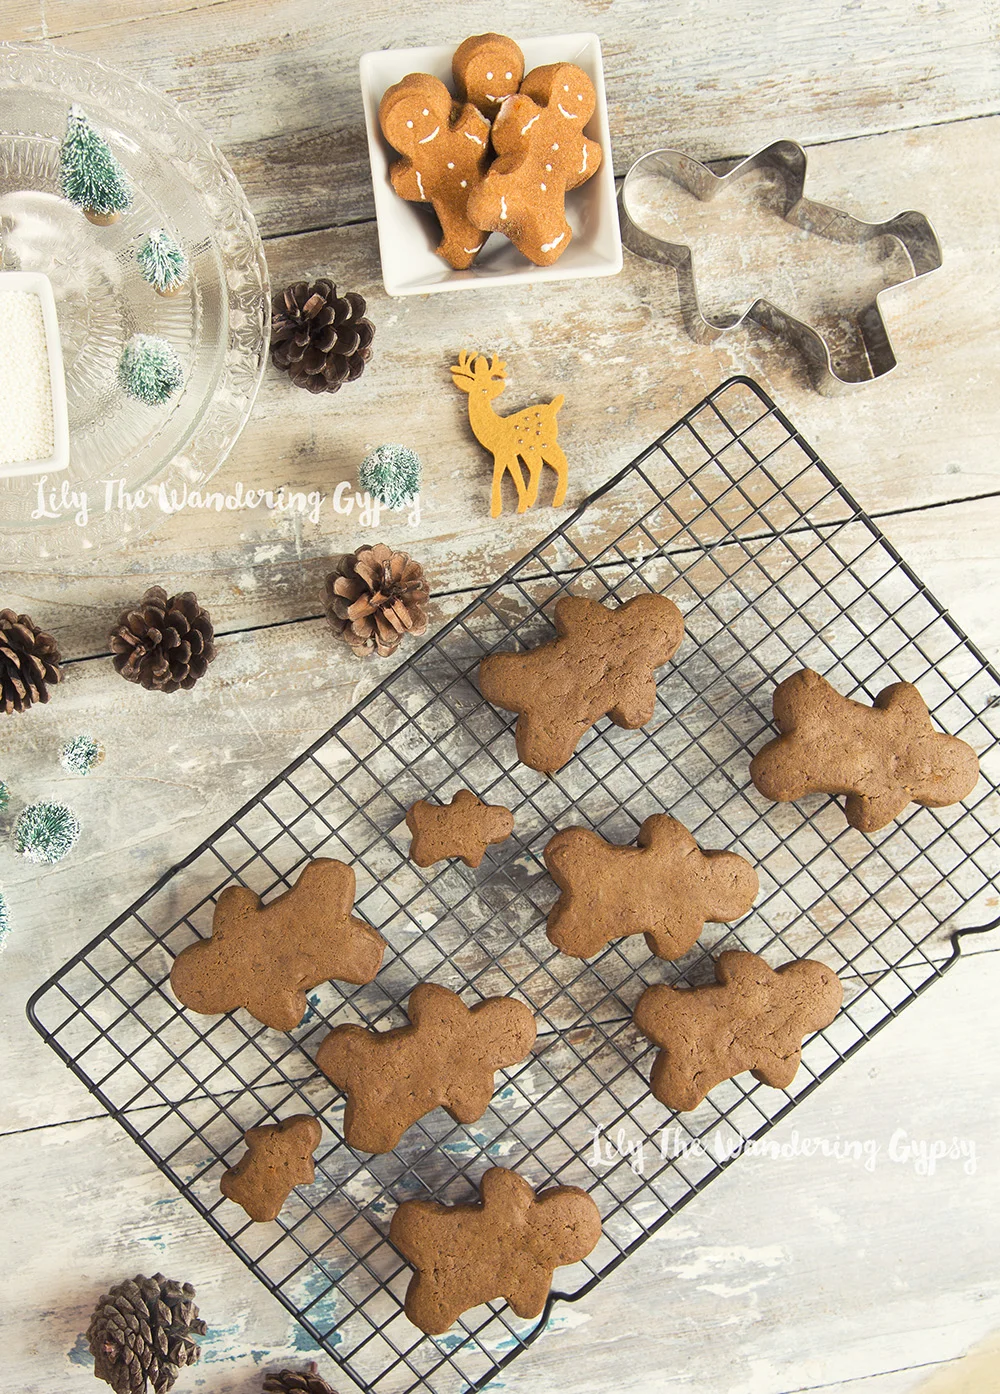
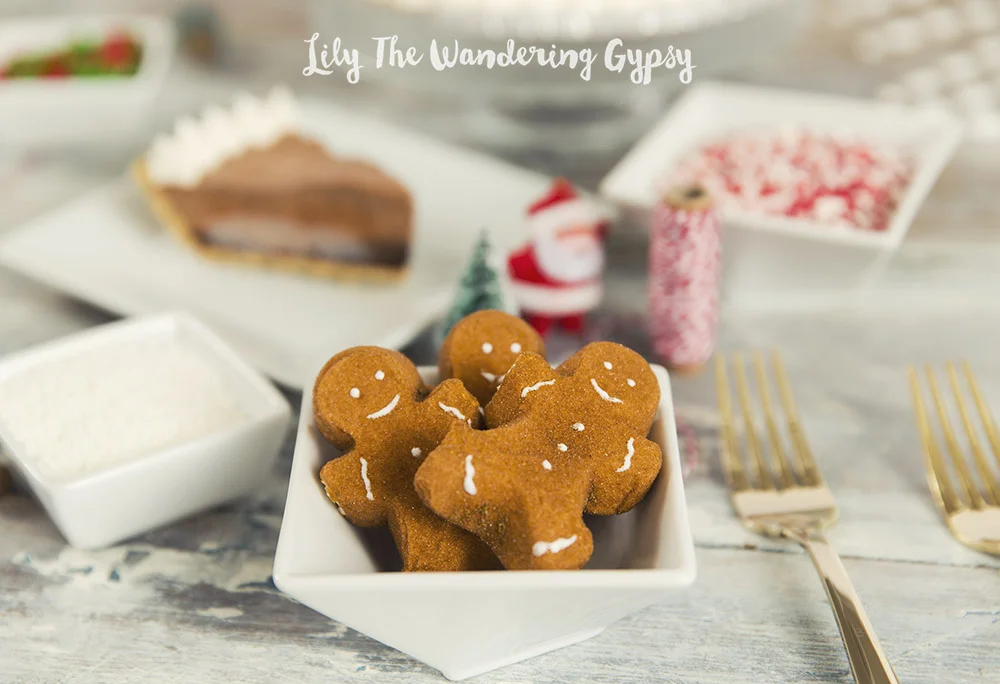
Soft Gingerbread Cookies Recipe
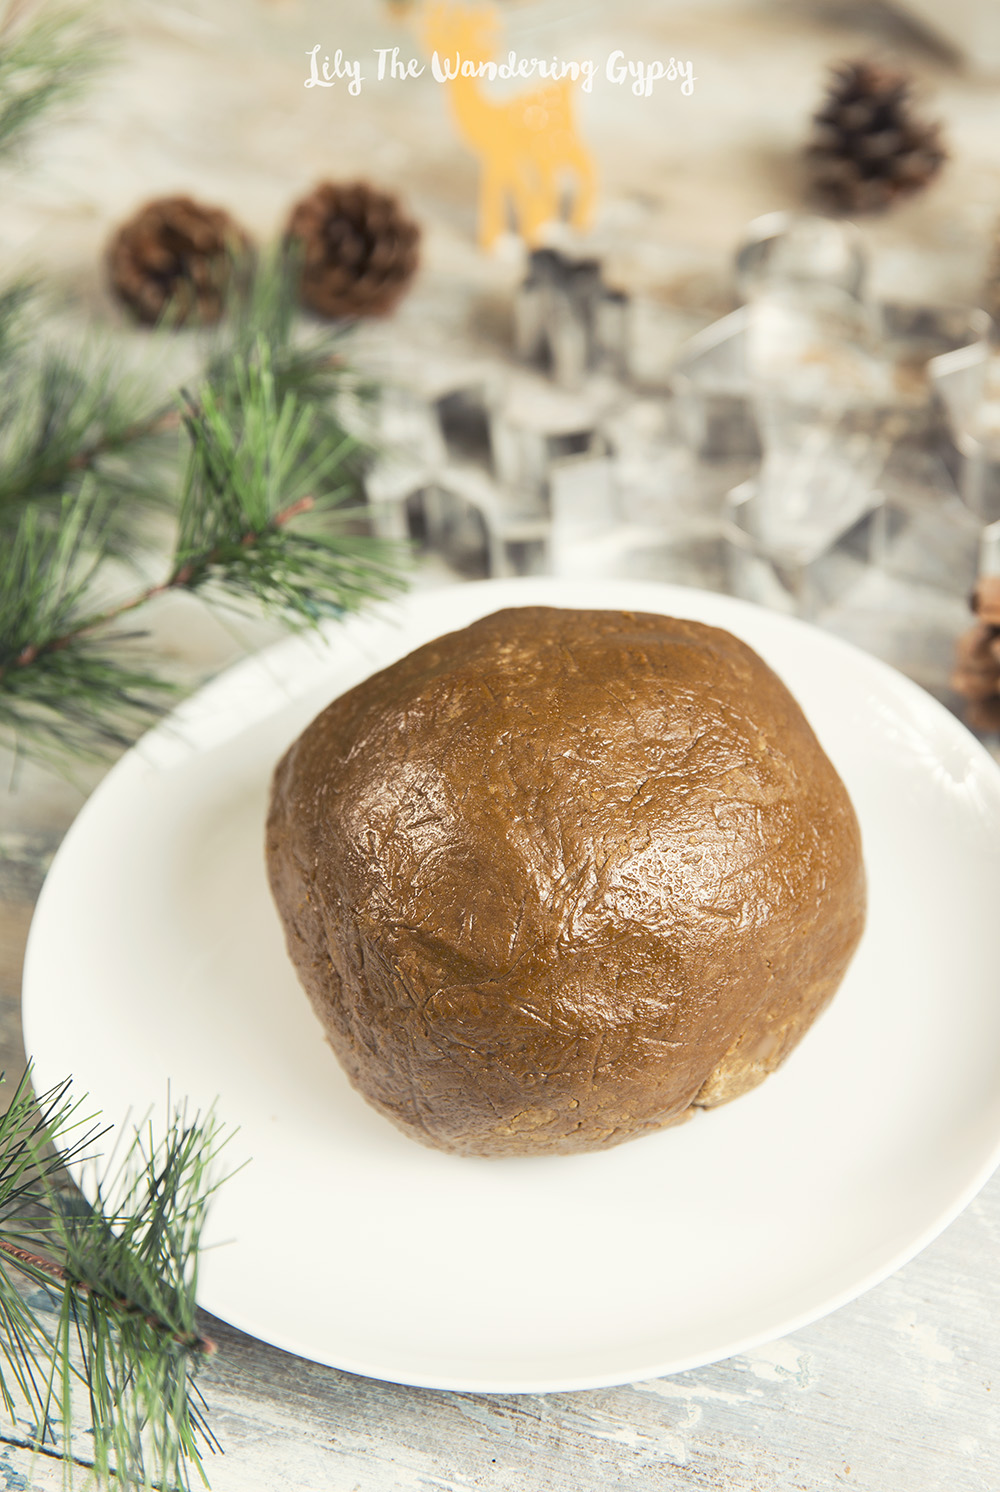
I know this post is a few days after Christmas, but I absolutely LOVE how these turned out! I could eat them all at once, but they do have a bit of a stronger taste to them than most of the cookies I make, so I have to pace myself :) These cookies were also a little bit involved, so just a warning! They took us working on them throughout the evening, but it was so fun! And the dough need to chill for about 3 hours, so you could let the dough chill overnight if you want. Original Recipe Found Here.

These hardly need any decorating or icing, they are perfect just the way they are! They were so fun to make, and I have always been so enamored by the beautiful color of gingerbread dough. What a beautiful color!
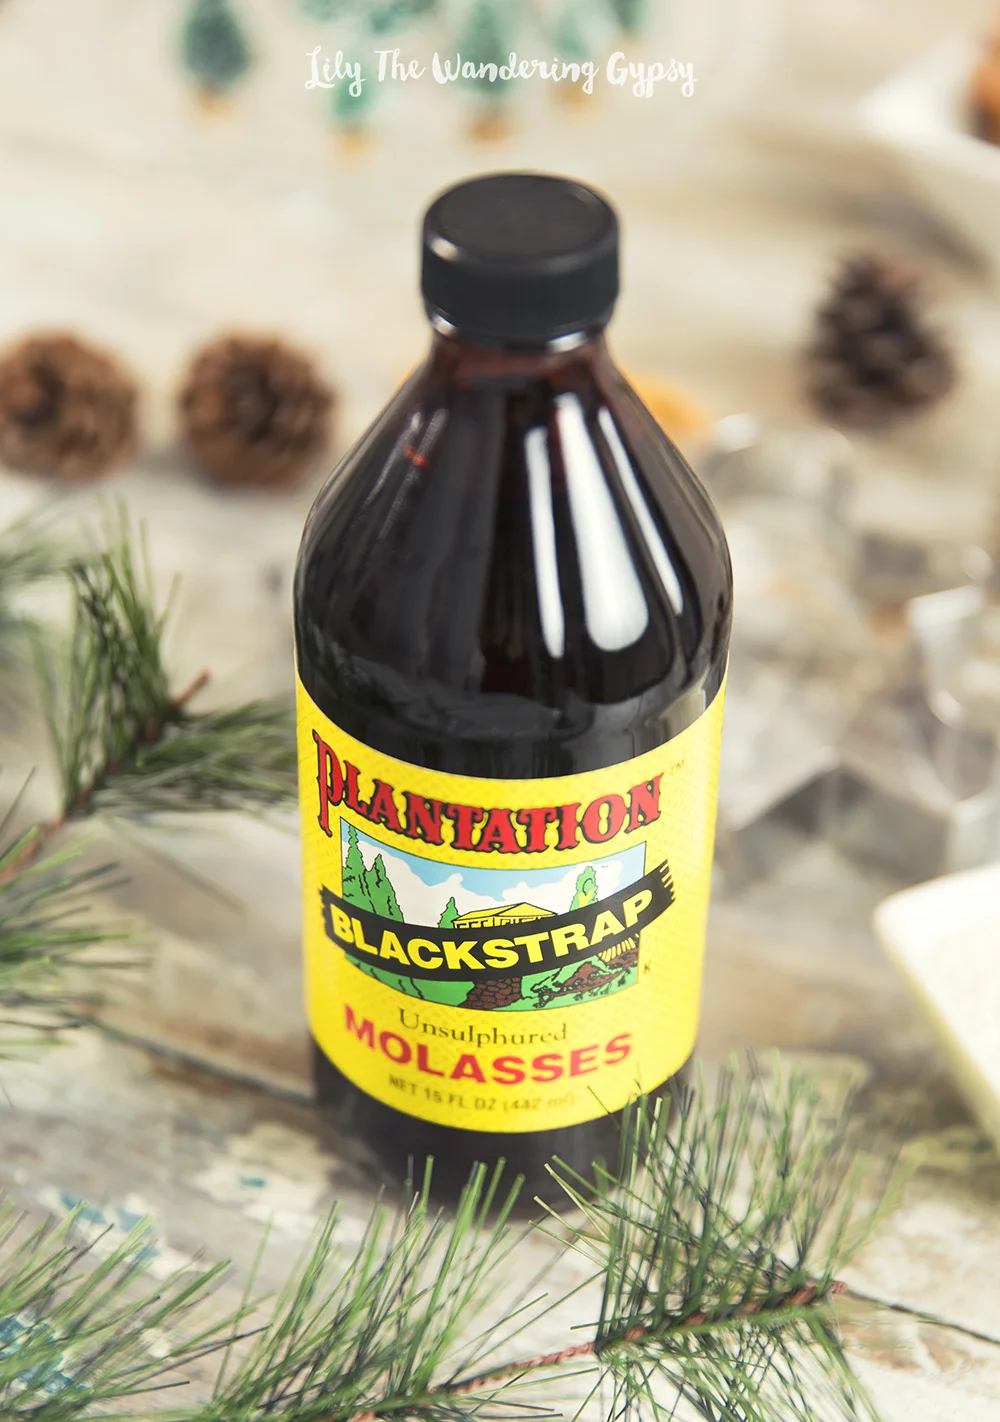
That amazing color I'm talking about comes from one of the main ingredients - Molasses! This was our first time ever using this stuff in anything, and it was very easy to use. I found it at our local Co-Op, for about $5.99, but here is the best price I found online.
INGREDIENTS:
3 cups all-purpose flour
1 teaspoon baking soda
3/4 teaspoon ground cinnamon
3/4 teaspoon ground ginger
1/2 teaspoon ground allspice
1/2 teaspoon ground cloves
1/2 teaspoon salt
1/4 teaspoon freshly milled black pepper
8 tablespoons (1 stick) unsalted butter, at room temperature
1/4 cup vegetable shortening, at room temperature (I used more butter here)
1/2 cup packed light brown sugar
2/3 cup unsulfured molasses
1 large egg

INSTRUCTIONS:
Position the racks in the top and bottom thirds of the oven and preheat to 350 degrees F.
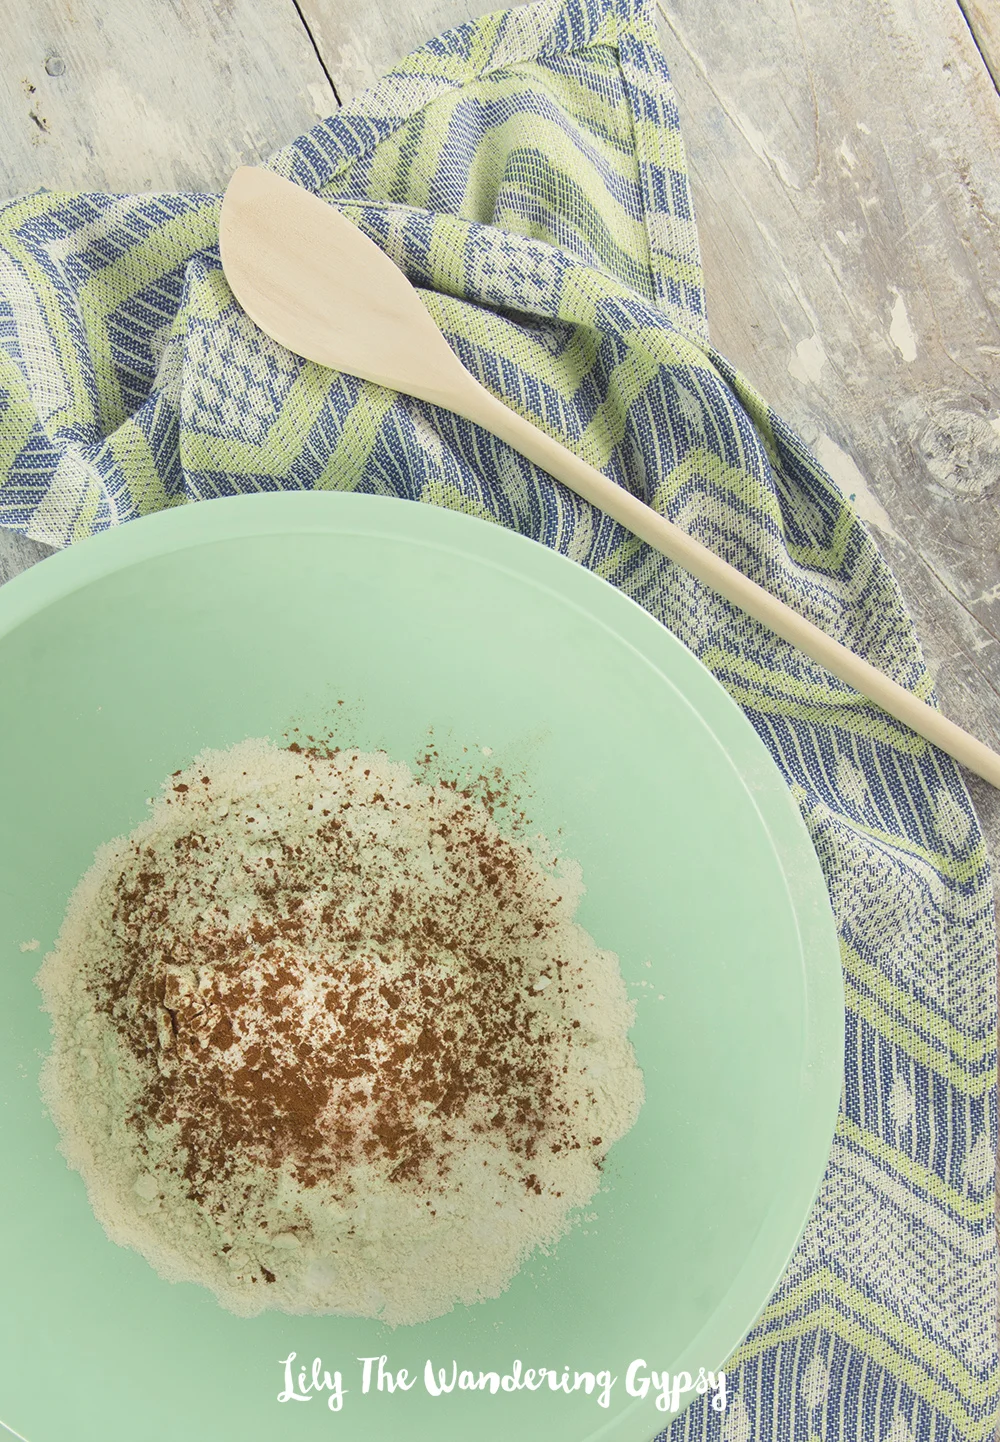
Sift the flour, baking soda, cinnamon, ginger, allspice, cloves, salt and pepper through a wire sieve into a medium bowl. Set aside.
In a large bowl, using a hand-held electric mixer at high speed, beat the butter and vegetable shortening until well-combined, about 1 minute. Add the brown sugar and beat until the mixture is light in texture and color, about 2 minutes. Beat in the molasses and egg. Using a wooden spoon, gradually mix in the flour mixture to make a stiff dough. Divide the dough into two thick disks and wrap each disk in plastic wrap. Refrigerate until chilled, about 3 hours. (The dough can be prepared up to 2 days ahead.)
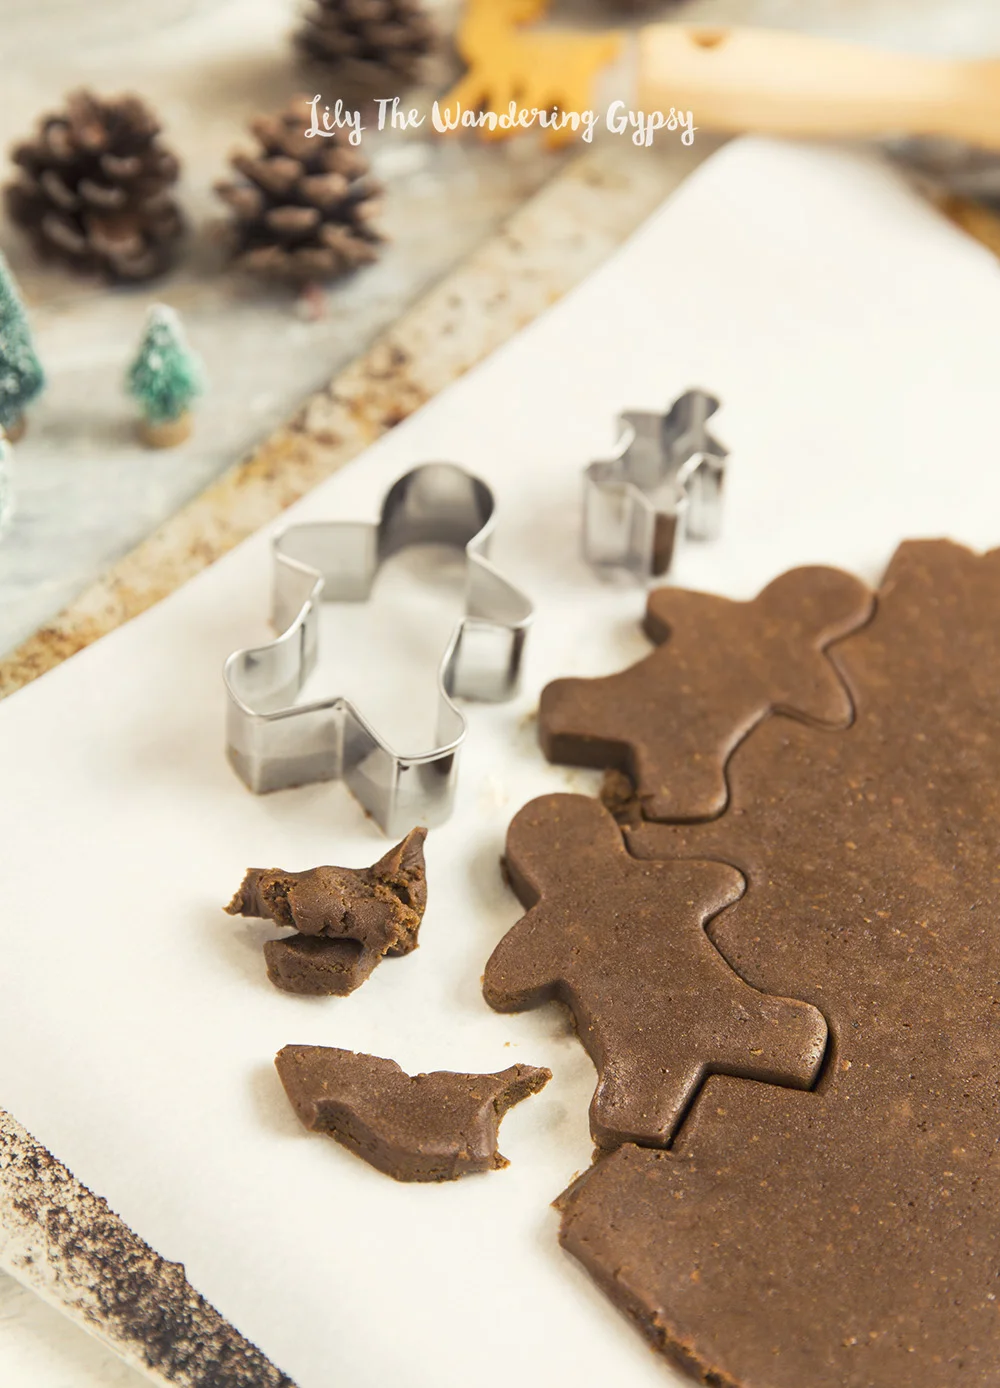
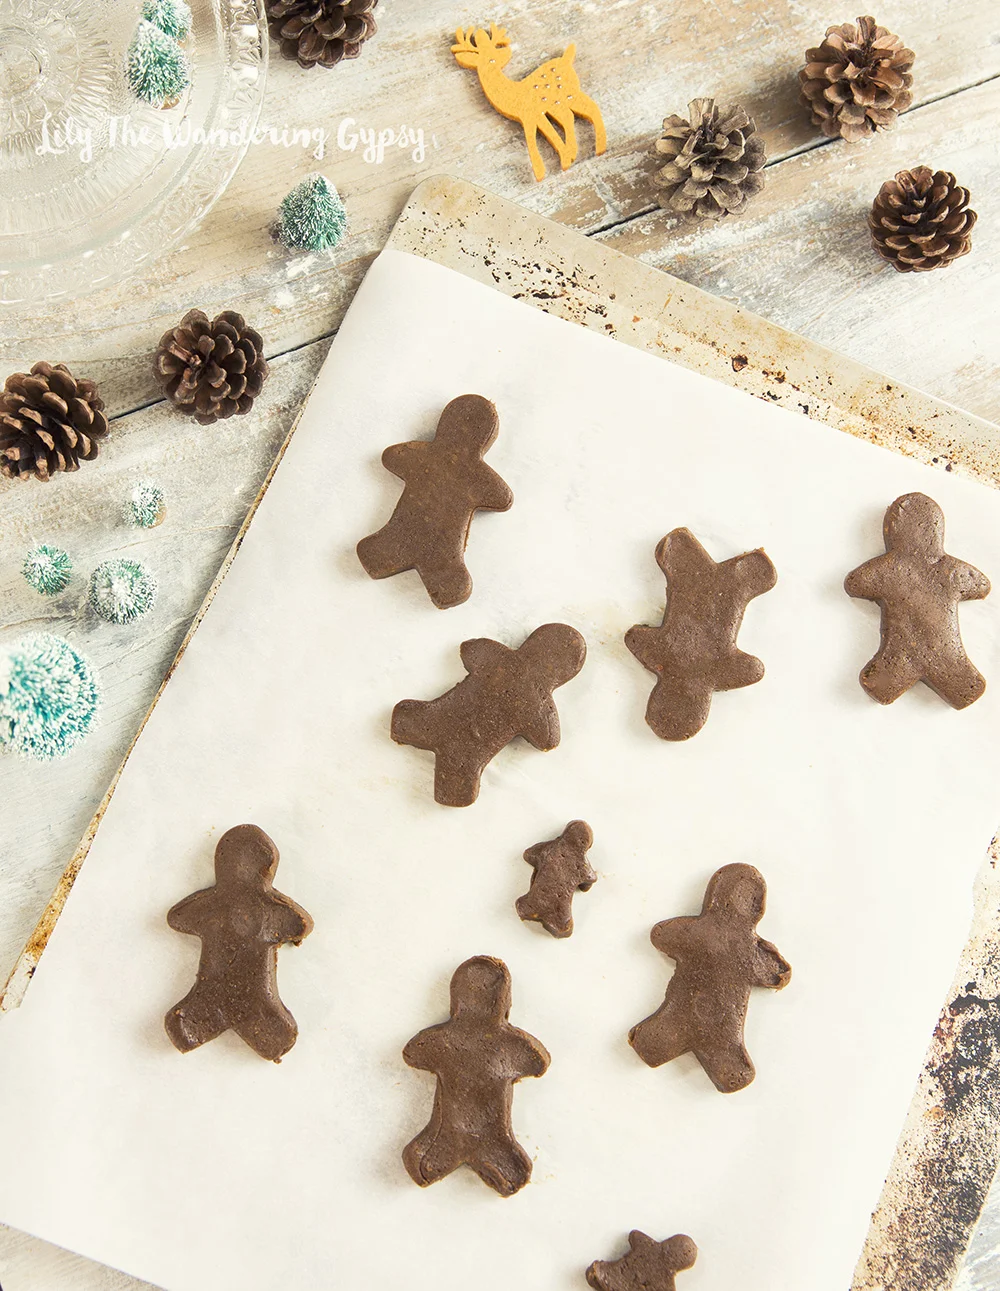
To roll out the cookies, work with one disk at a time, keeping the other disk refrigerated. Remove the dough from the refrigerator and let stand at room temperature until just warm enough to roll out without cracking, about 10 minutes. (If the dough has been chilled for longer than 3 hours, it may need a few more minutes.) Place the dough on a lightly floured work surface and sprinkle the top of the dough with flour. Roll out the dough 1/8 inch thick, being sure that the dough isn't sticking to the work surface (run a long meal spatula or knife under the dough occasionally just to be sure, and dust the surface with more flour, if needed). For softer cookies, roll out slightly thicker. Using cookie cutters, cut out the cookies and transfer to nonstick cookie sheets, placing the cookies 1 inch apart. Gently knead the scraps together and form into another disk. Wrap and chill for 5 minutes before rolling out again to cut out more cookies.
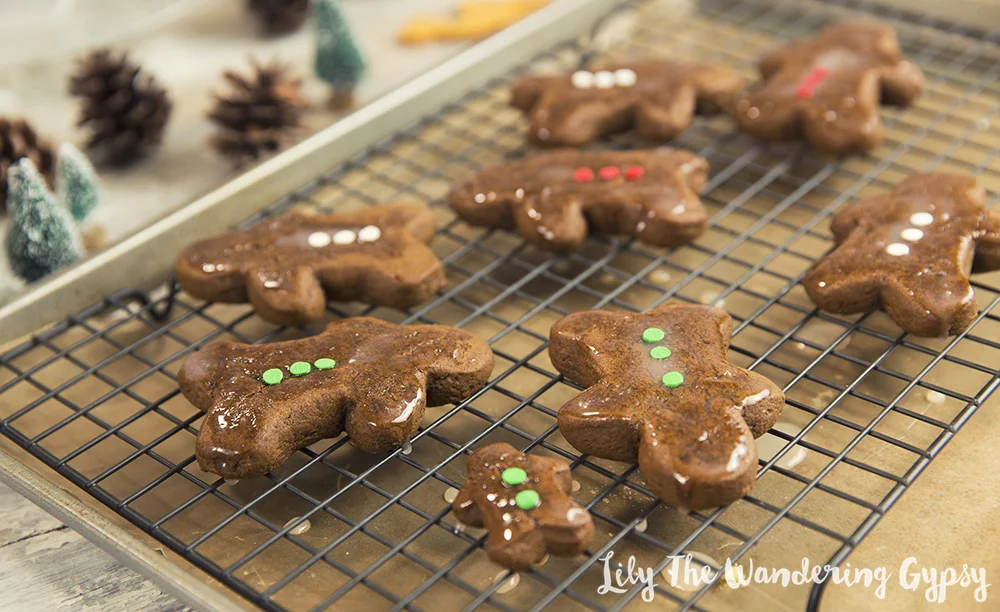
Bake, switching the positions of the cookies from top to bottom and back to front halfway through baking, until the edges of the cookies are set and crisp, 10 to 12 minutes. Cool on the sheets for 2 minutes, then transfer to wire cake racks to cool completely. Decorate with Royal Icing. (The cookies can be prepared up to 1 week ahead, stored in airtight containers at room temperature.)
For The Icing - I only had a tiny bit of powdered sugar. So, I basically mixed a few Tbsp of powdered sugar with a splash of milk and a bit of corn syrup to thicken it up. It was more like a glaze, though. For the decorations, I used three sprinkles as buttons.
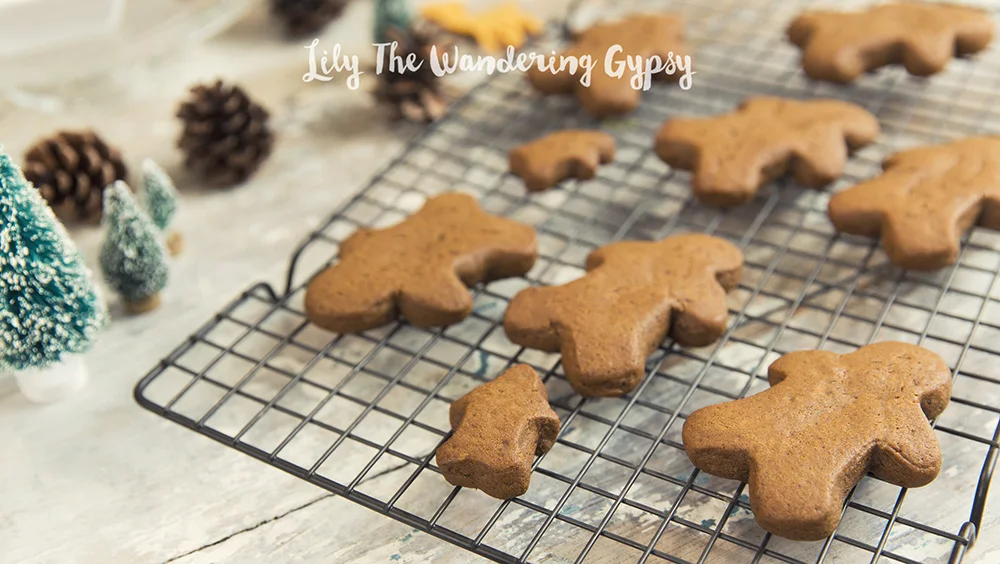

Well, I hope you enjoy these cookies! They took a lot of work, but wow, did they turn out well! Enjoy!

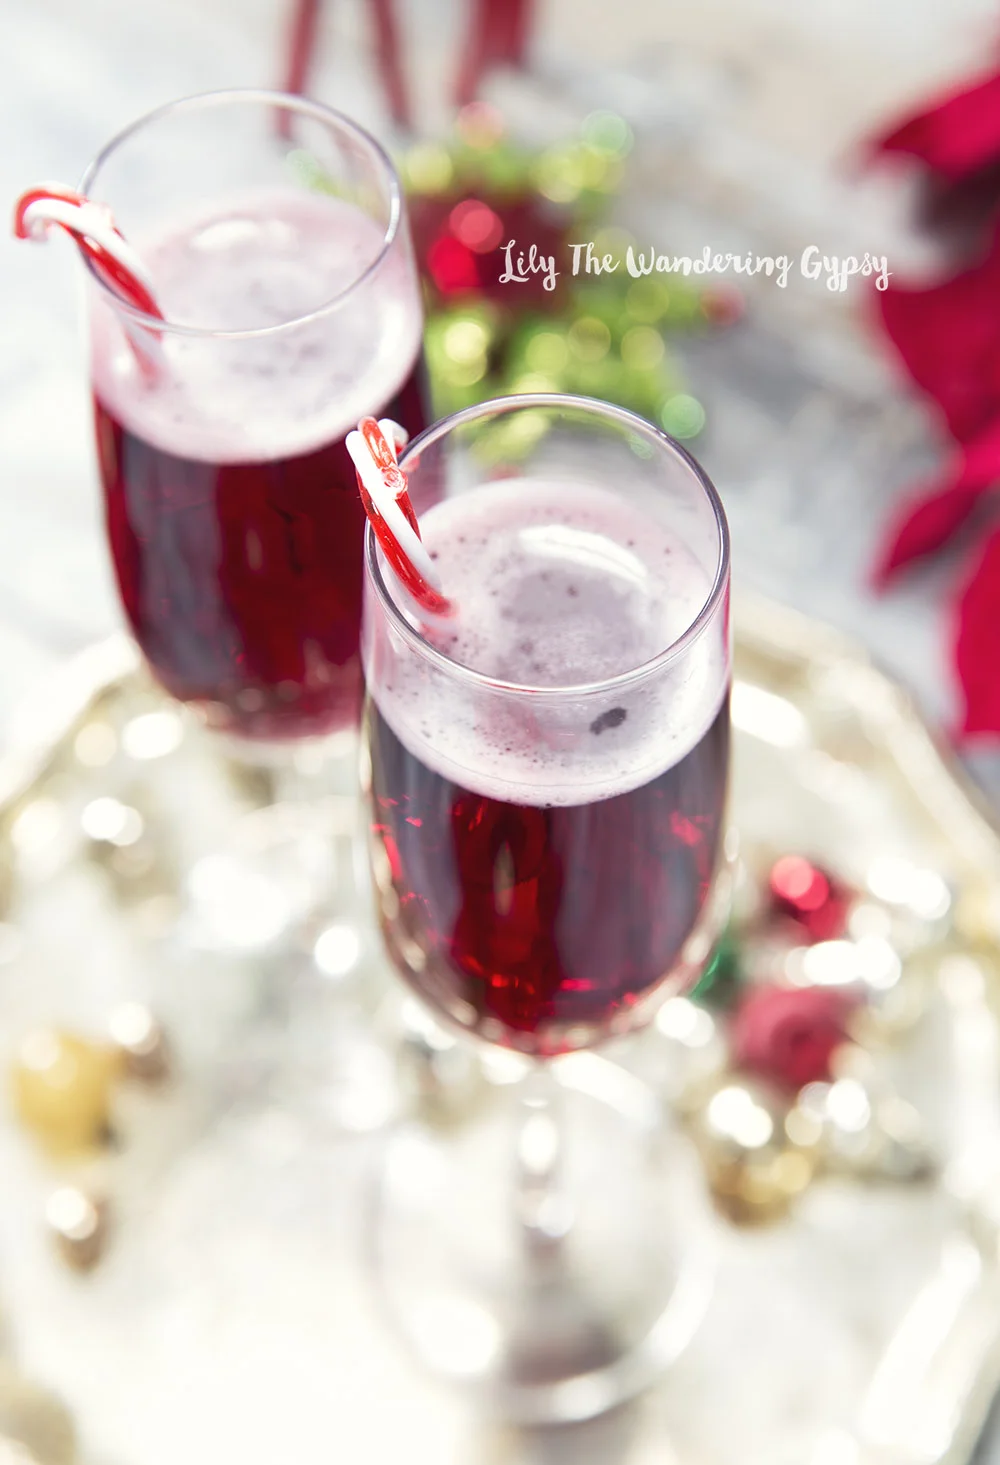
Red Cocktail Recipes
I wanted to share a few cocktail recipes with you today in honor of the holidays!
NAUGHTY ROUDOLPH
1/4 cup Mario cherries, pretzels, 1 C. Ginger Ale, 2 Cups Ice, 3 oz. Vanilla Vodka
HOLIDAY SANGRIA
Cut up fruit (Apple, Orange, and Strawberries). Mix 1/2 C. Brandy, 1 Bottle Dry Red Table Wine, 1/4 Cup Sugar, and 1/4 C. Water. Add cut up fruit and enjoy!
STRAWBERRY HOLIDAY PUNCH
Mix together Equal Parts Ginger Ale and Cranberry Juice. Next, add a few scoops of raspberry sorbet, and some fresh raspberries, and optional alcohol. Enjoy!
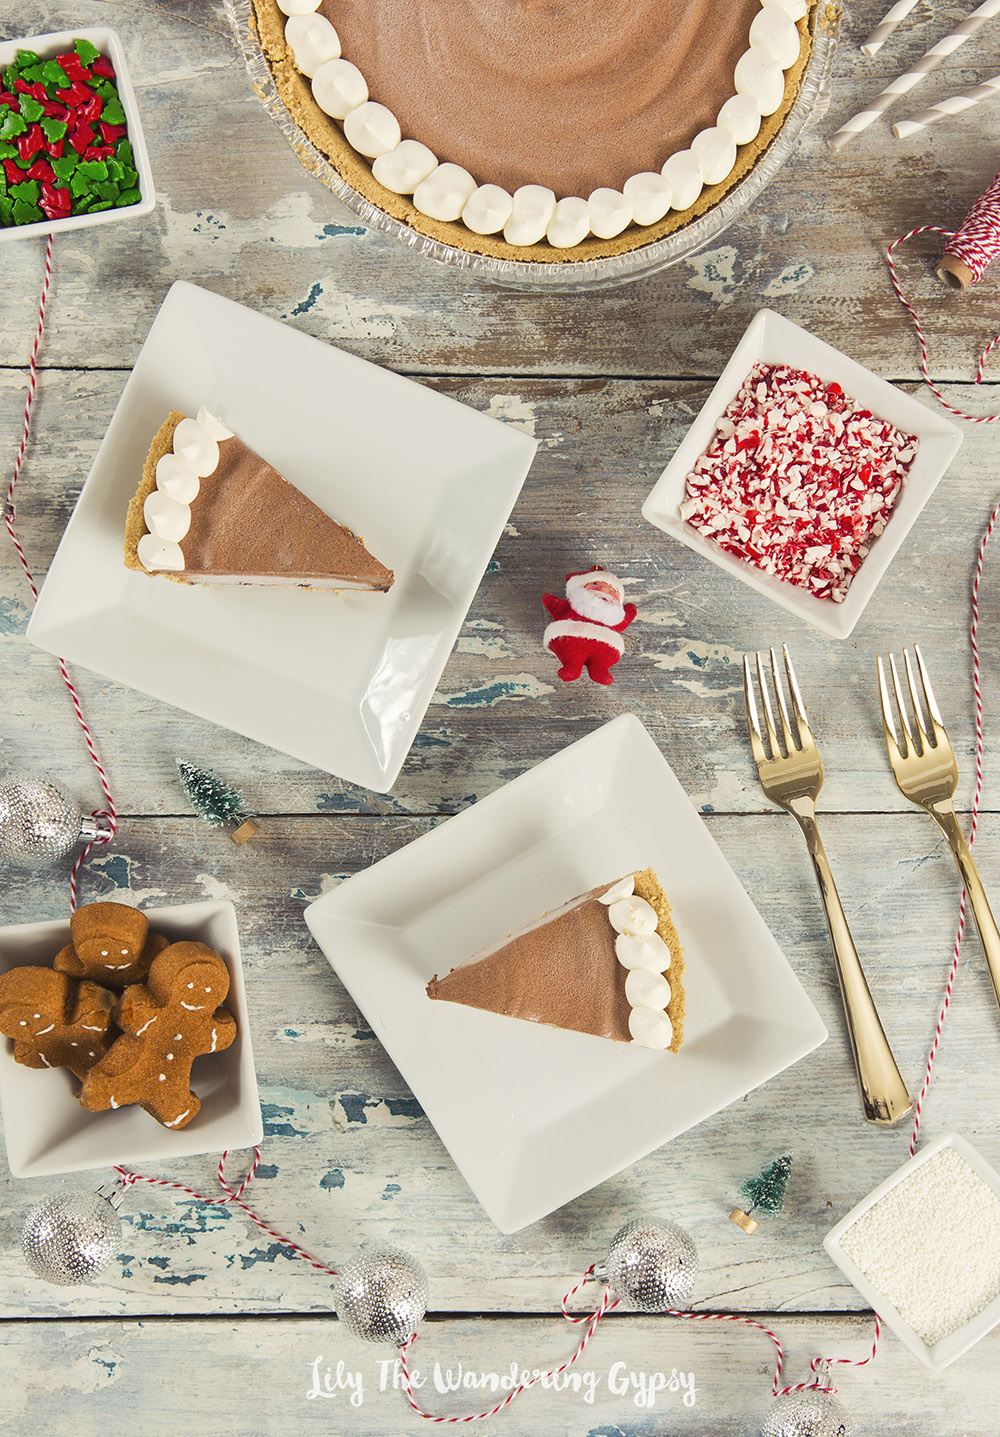
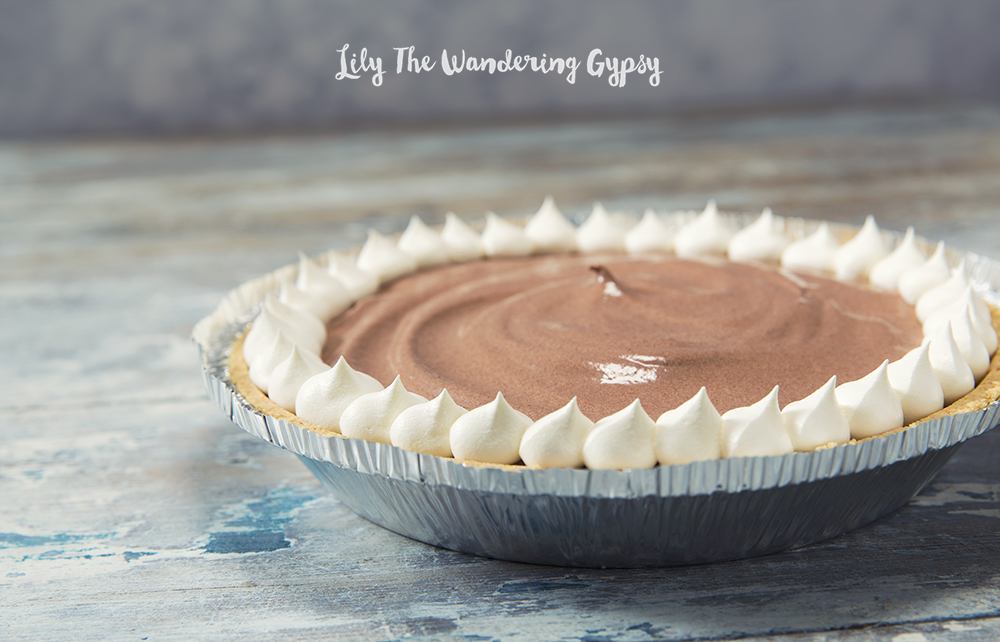
Frozen Hot Chocolate Pie Recipe
I am writing this as I eat a piece of this magical pie! I love how it turned out, and now I have a chocolatey treat for days to come. The best part is that this pie was incredibly easy to make, and the ingredients cost less than $5!

INGREDIENTS:
1 Pie Crust, Cool Whip, Chocolate Pudding (Instant), Milk
INSTRUCTIONS:
Mix 2 Cups milk into pudding and stir, Let sit for about 5 minutes.
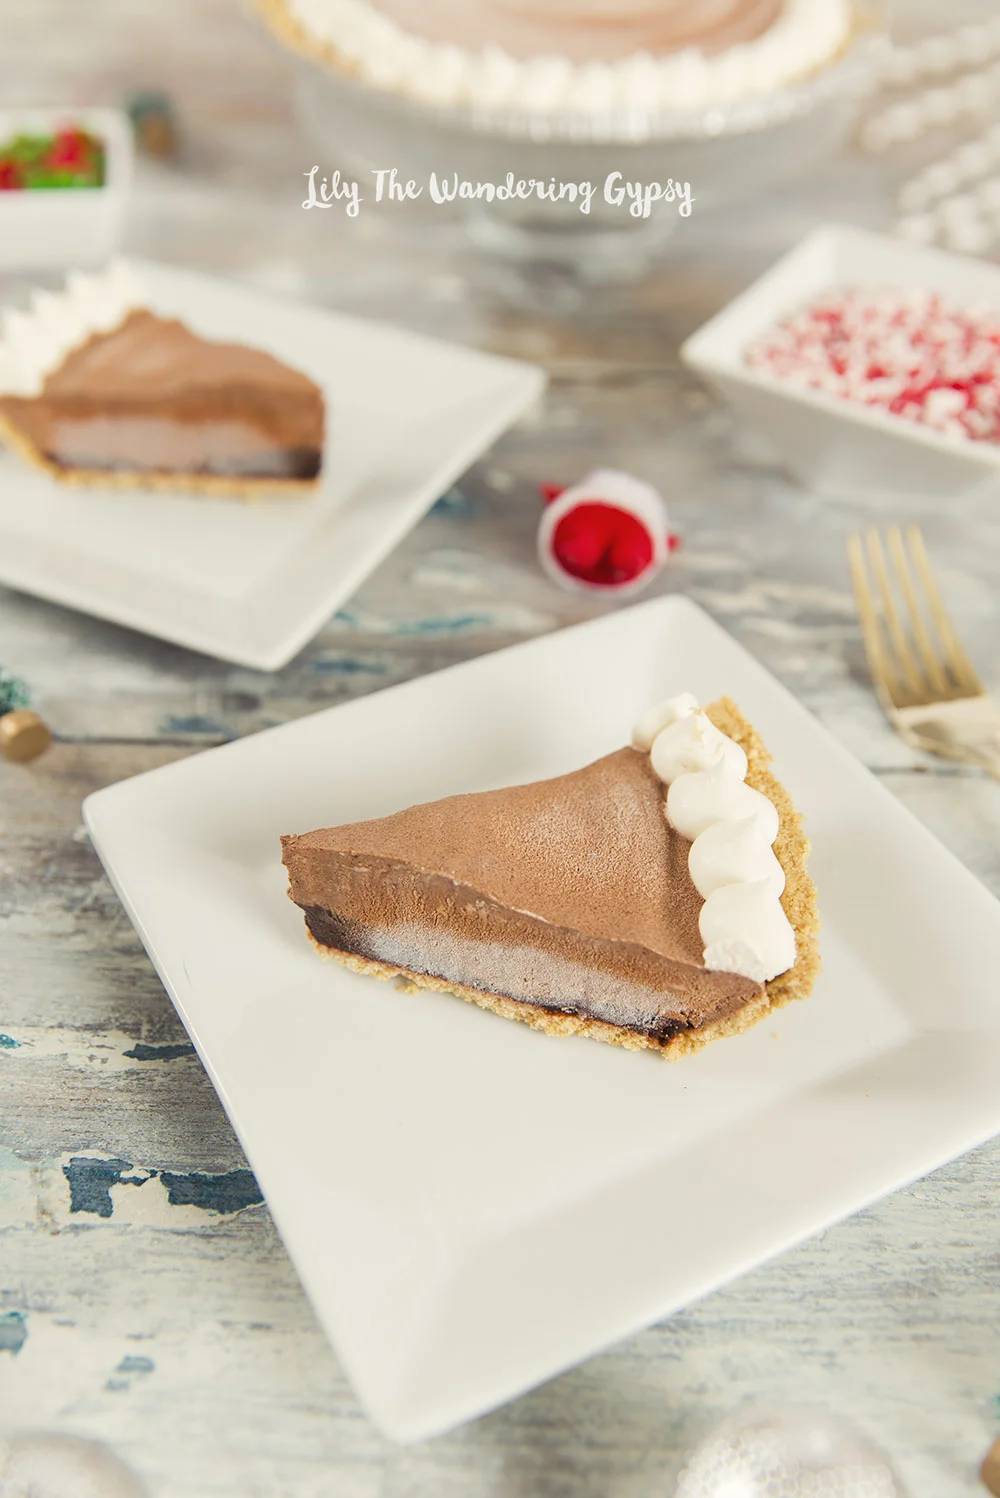
Add 1 Cup of the Chocolate Pudding into the bottom of the pie crust, and smooth out.
Mix 1 Cup Cool Whip into the rest of the pudding and stir until well combined. Add this mixture to the pie crust and smooth out.
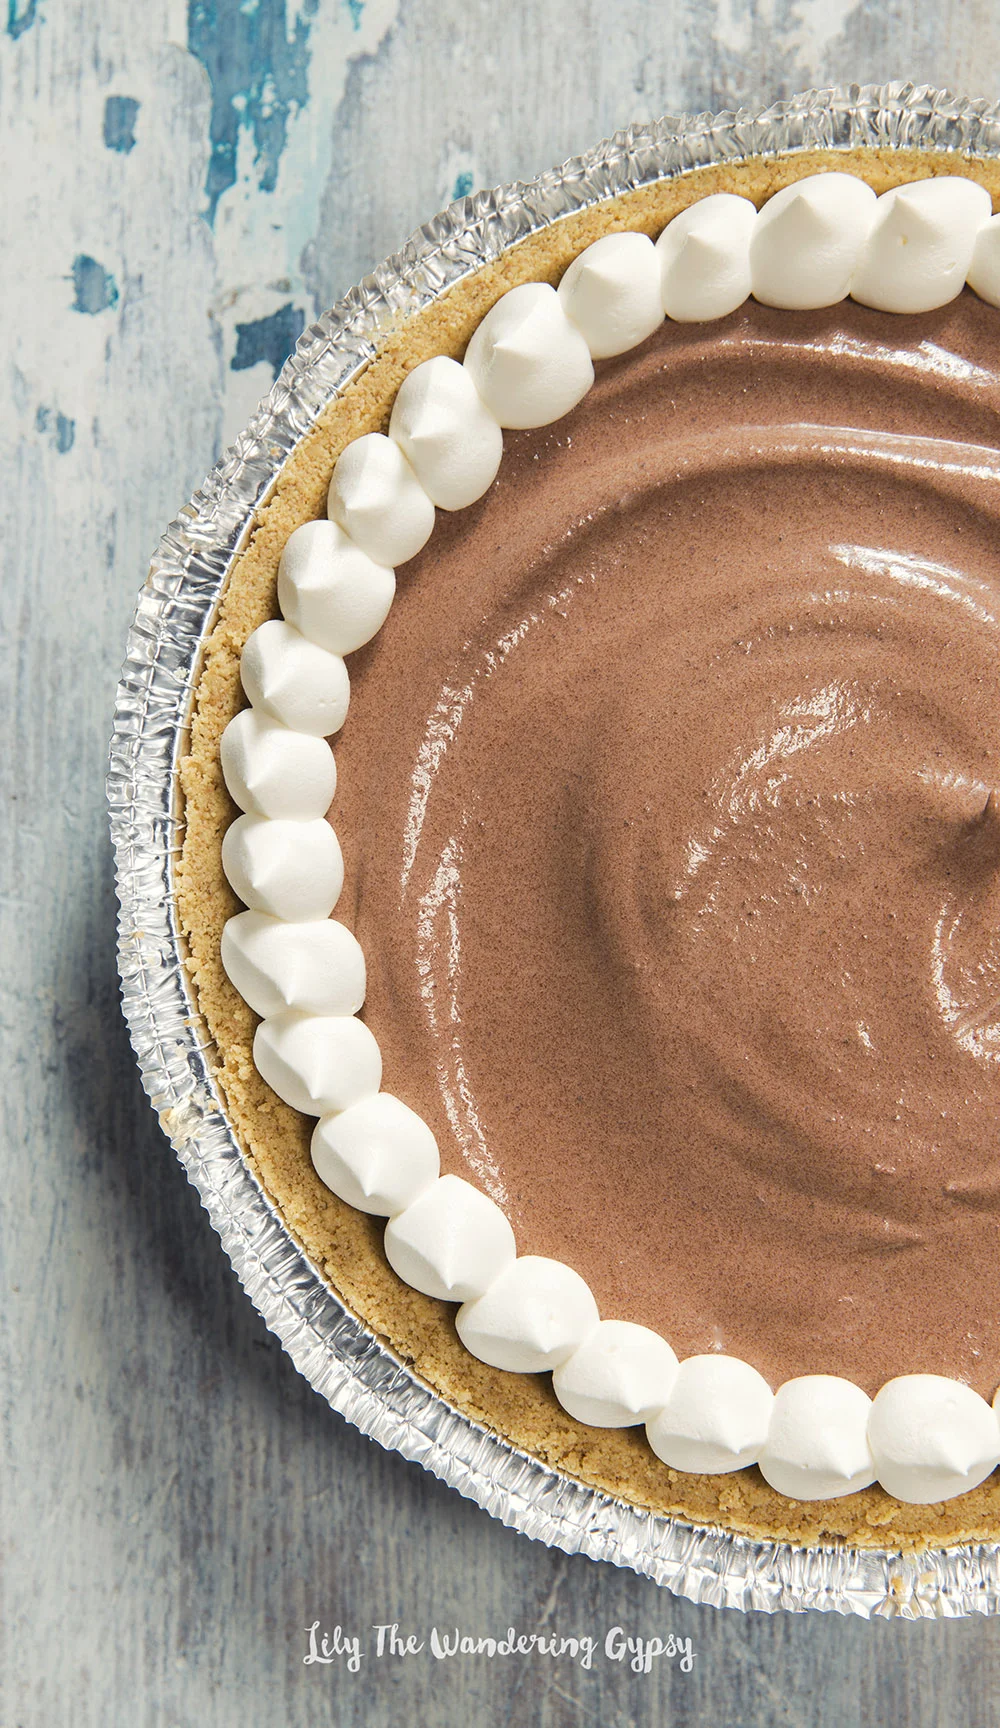
Now, put some of the extra Cool Whip into a small Ziploc bag and cut end off. Practice first, but dollop little dots of Cool Whip around the edges of the pie. Feel free to decorate with sprinkles for a more festive look! Freeze for 1 hour, and slice yourself some chocolate pie! If you freeze it overnight, it will be more the consistency of a pudding pop. So good either way! Enjoy!!!
Celebrate The Holidays With Nature Hills Nursery
I love my newest addition to my plant family! This Colorado Blue Spruce is just the right size, and I am going to plant it after the holidays. See, I'm the type of person who despises seeing live-cut Christmas trees on the curb less than a week after Christmas. It almost makes me cringe, knowing that the tree could have just been taken home with the roots in tact, in hopes of planting a tree in your yard or in a nearby park or nature preserve.
These cute mini trees from Nature Hills Nursery would really make a wonderful gift! The Quart Sized Blue Spruce, pictured below, can be found here.
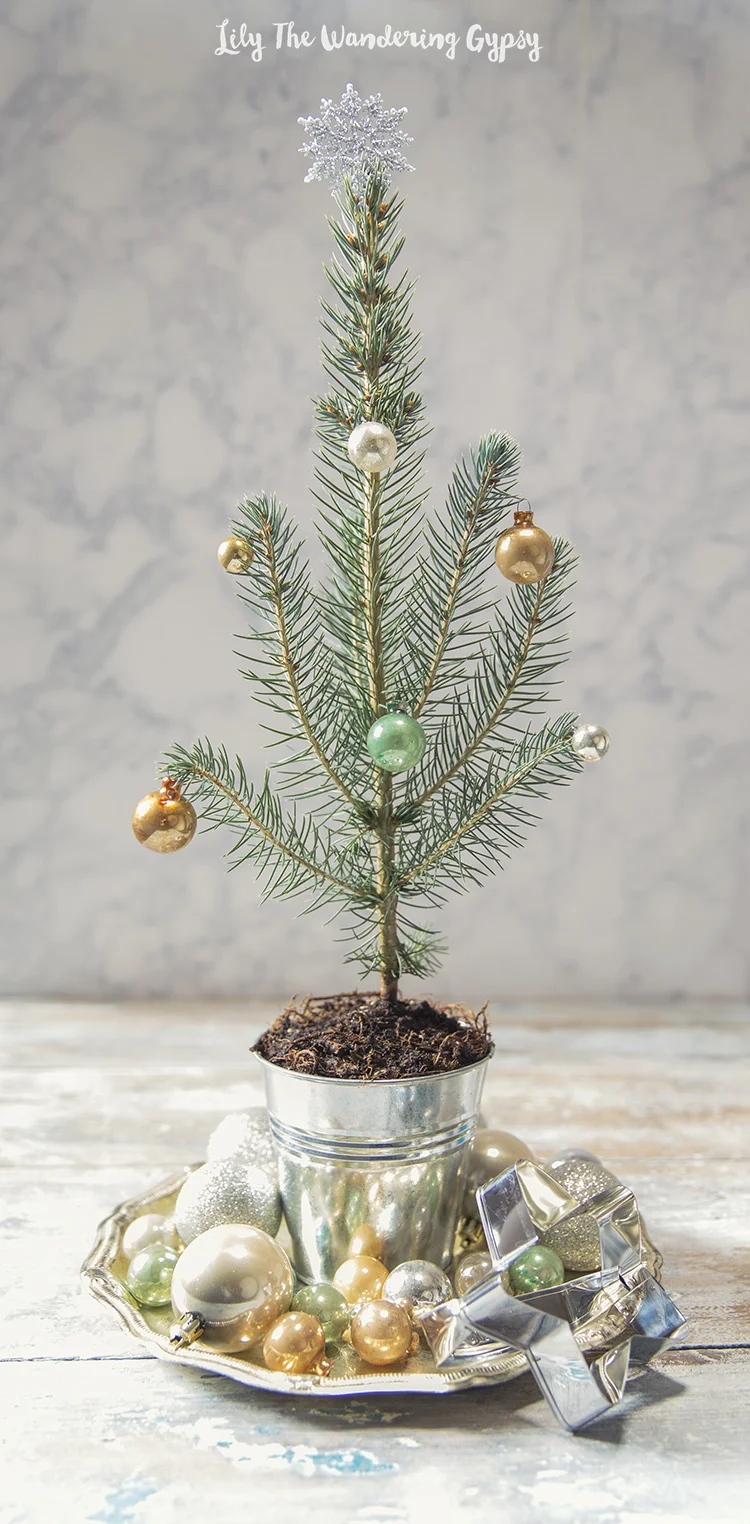
And, here is a cute way to display your mini tree - I found this amazing silver serving tray at an antique shop and absolutely LOVE it! Place the tree in a galvanized metal bucket, set the tree onto the silver tray, and place as many vintage ornaments as you can onto the tray. I love how everything looks so classic and sparkles so beautifully! I also put a star-shaped cookie cutter by the silver tray for an extra bit of whimsy!

DIY Bloggers Who Are Rocking The Holidays
I am constantly inspired by those bloggers who are always making new things, on a daily basis! I do hope to become one of those women some day soon, I am working on it as a major New Year's Resolution. None of these images are mine, but they are some of my current inspirations! If I have missed any super amazing bloggers, please comment below with a link. Thanks!

Fall For DIY - Star Tree Topper

DesignLoveFest - Wooden Beaded Garland
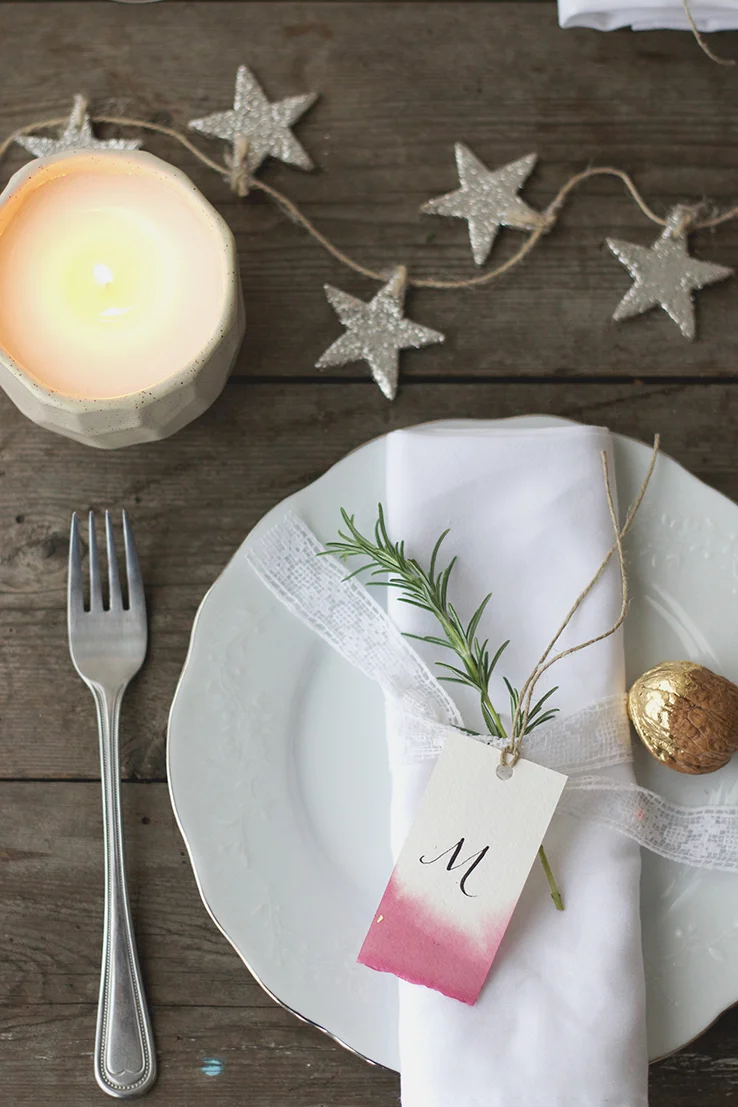
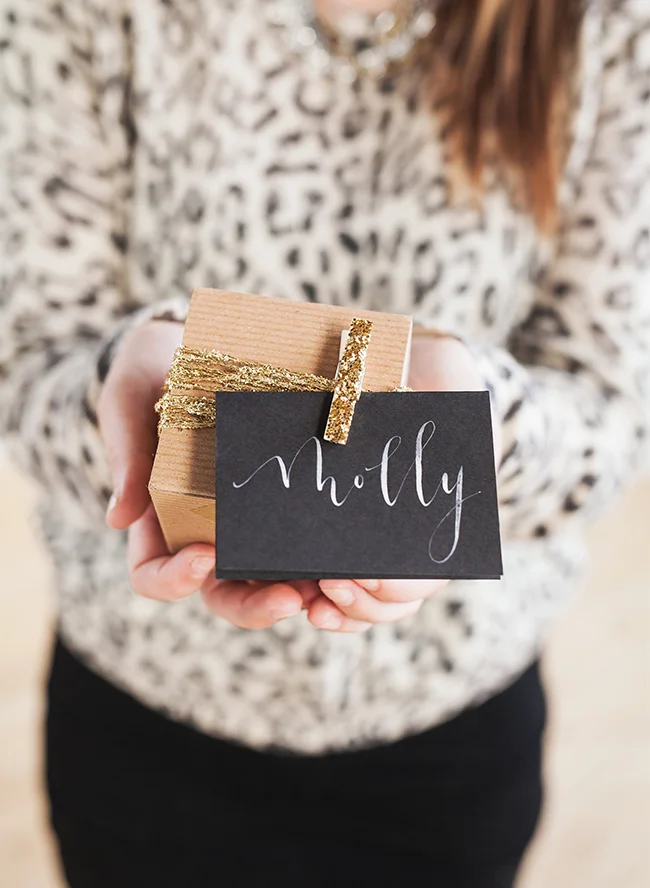
West Elm Blog - Beet Dyed Name Tags
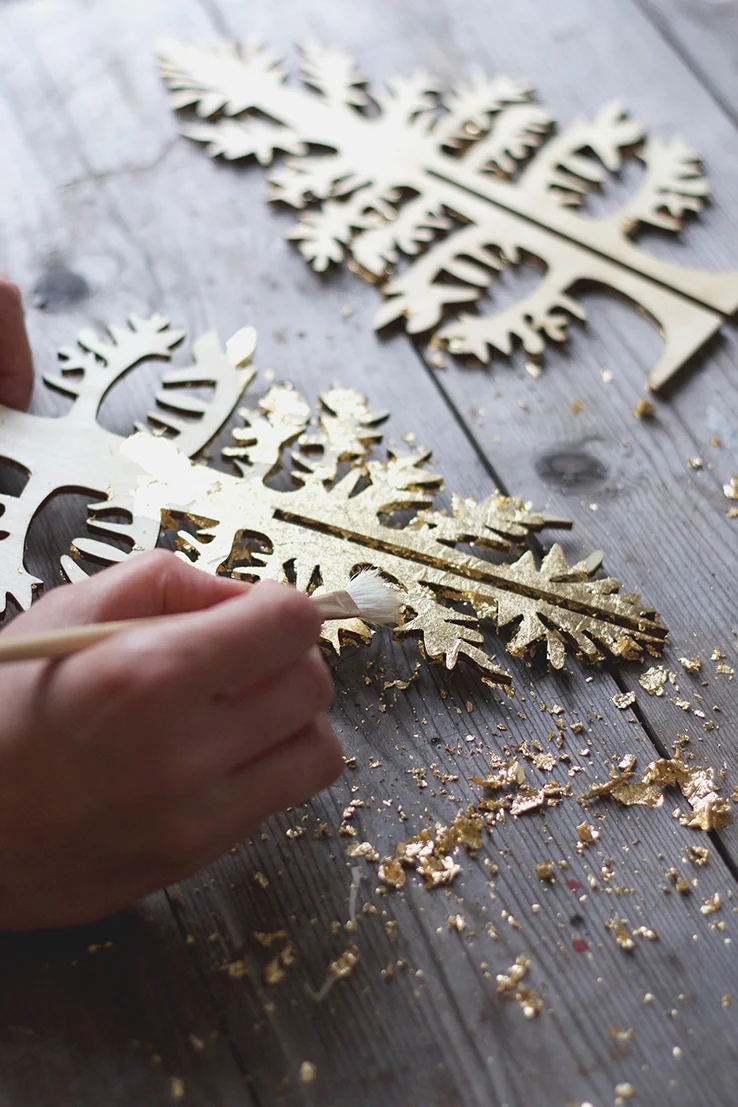
West Elm Blog - Gold Leaf Trees
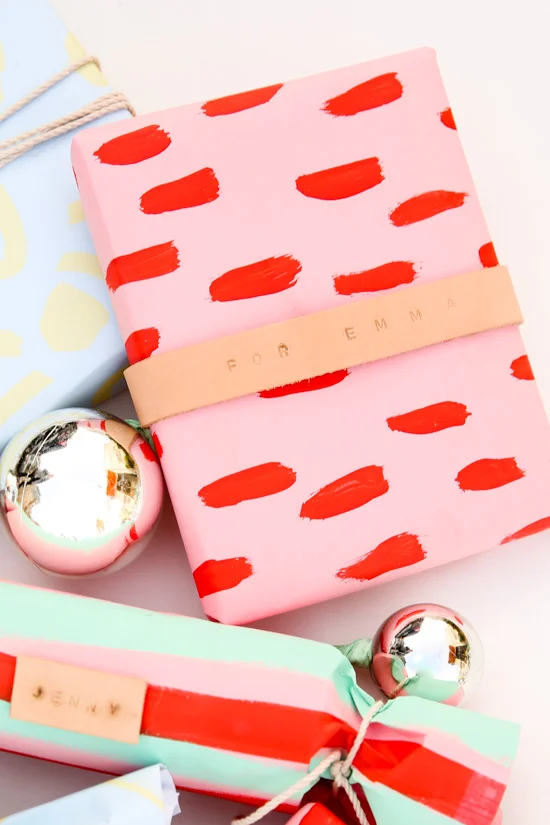
Paper N Stitch - Gift Wrap Tutorial
Inspired By This - Gift Wrap Ideas

Subtle Revelry - Confetti Gift Wrap Party

PoppyTalk - DIY Dog Treats + Cute Gift Tags

Minted - DIY Serving Tray

50 Gift Ideas
I have some wonderful gift ideas for you. These items will be the ideal gift for any of the ladies in your life, young or old!


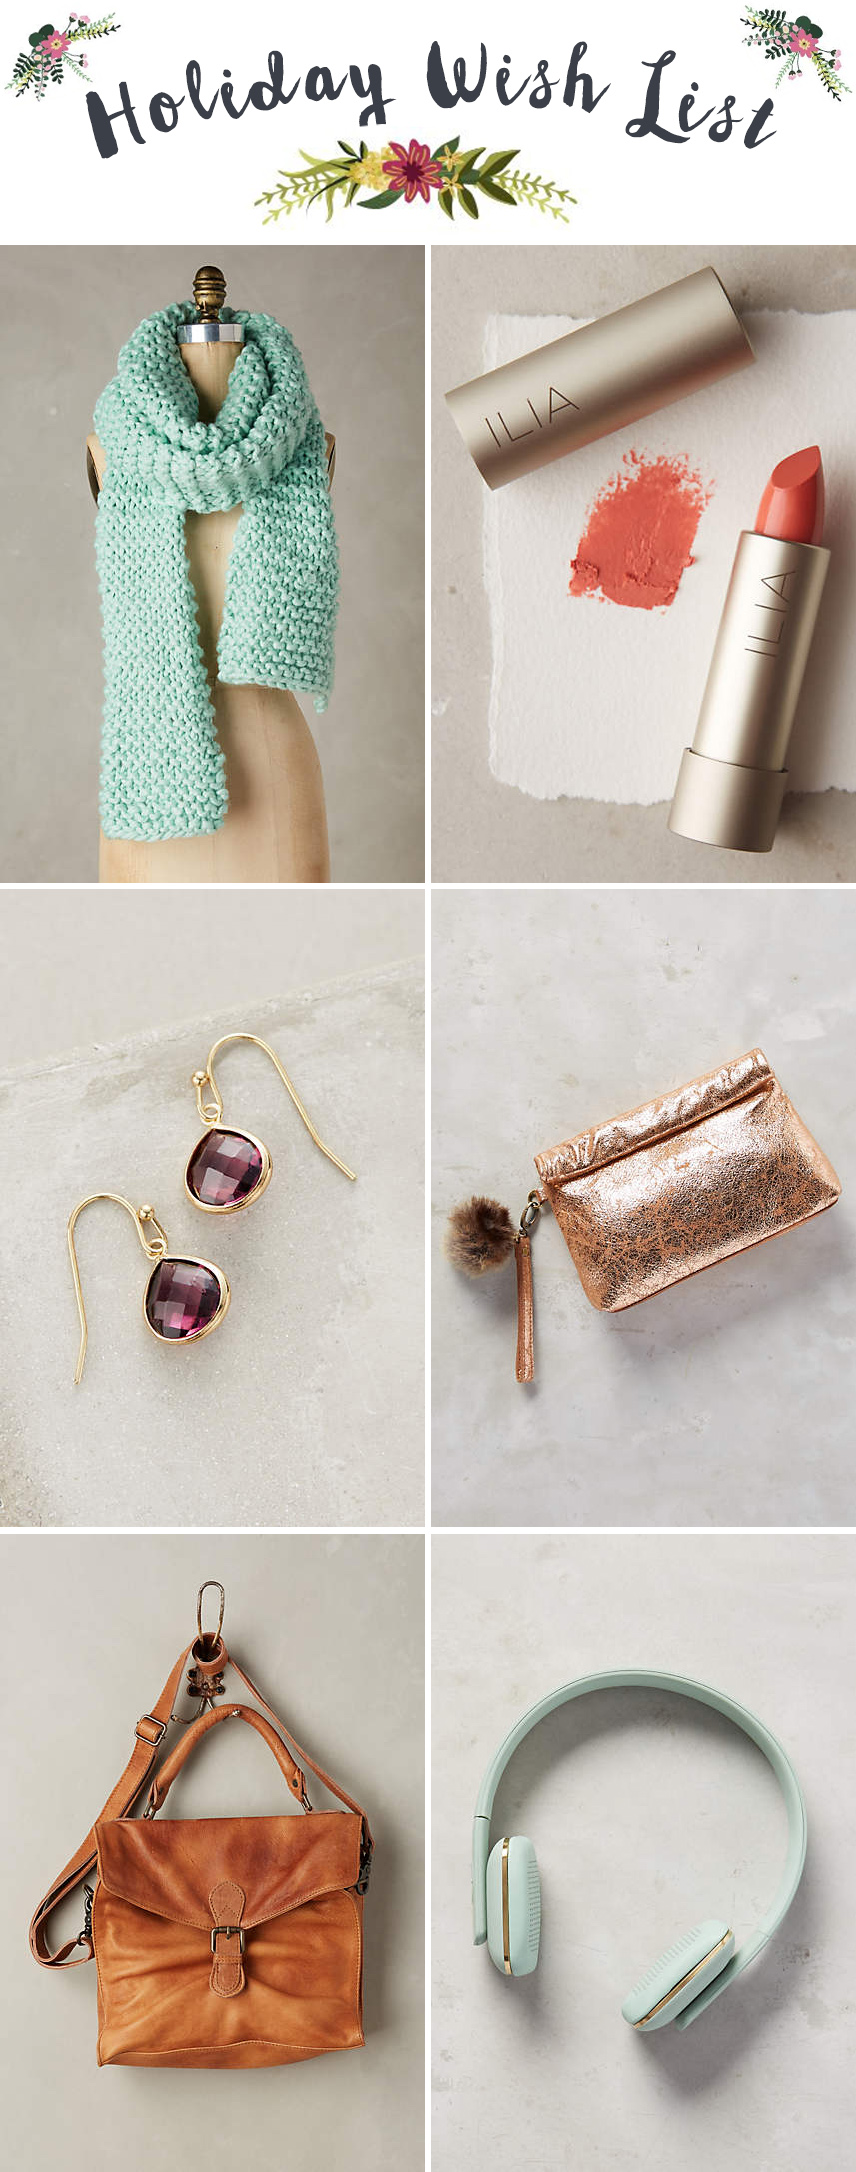
Happy Holidays!!!
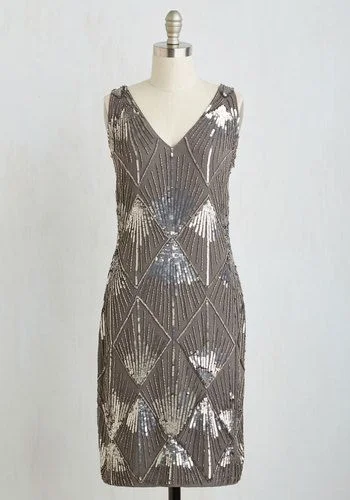
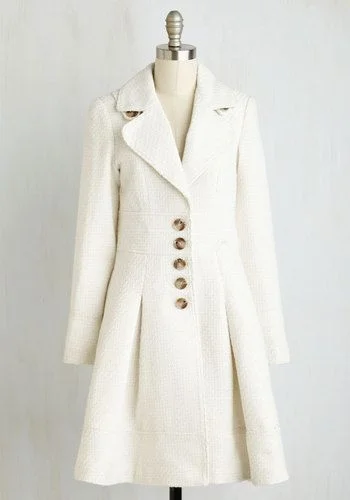
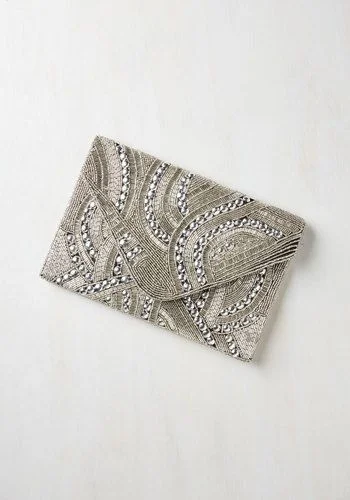
Party Dresses + Shoes
Of course, it's that time of year, when there are so many special occasions and excuses to dress up! I found a few ideas from ModCloth, that I hope will inspire you to sparkle a little brighter this year! And, since it is chilly out, I added a few warmer options for you, some adorable jackets!


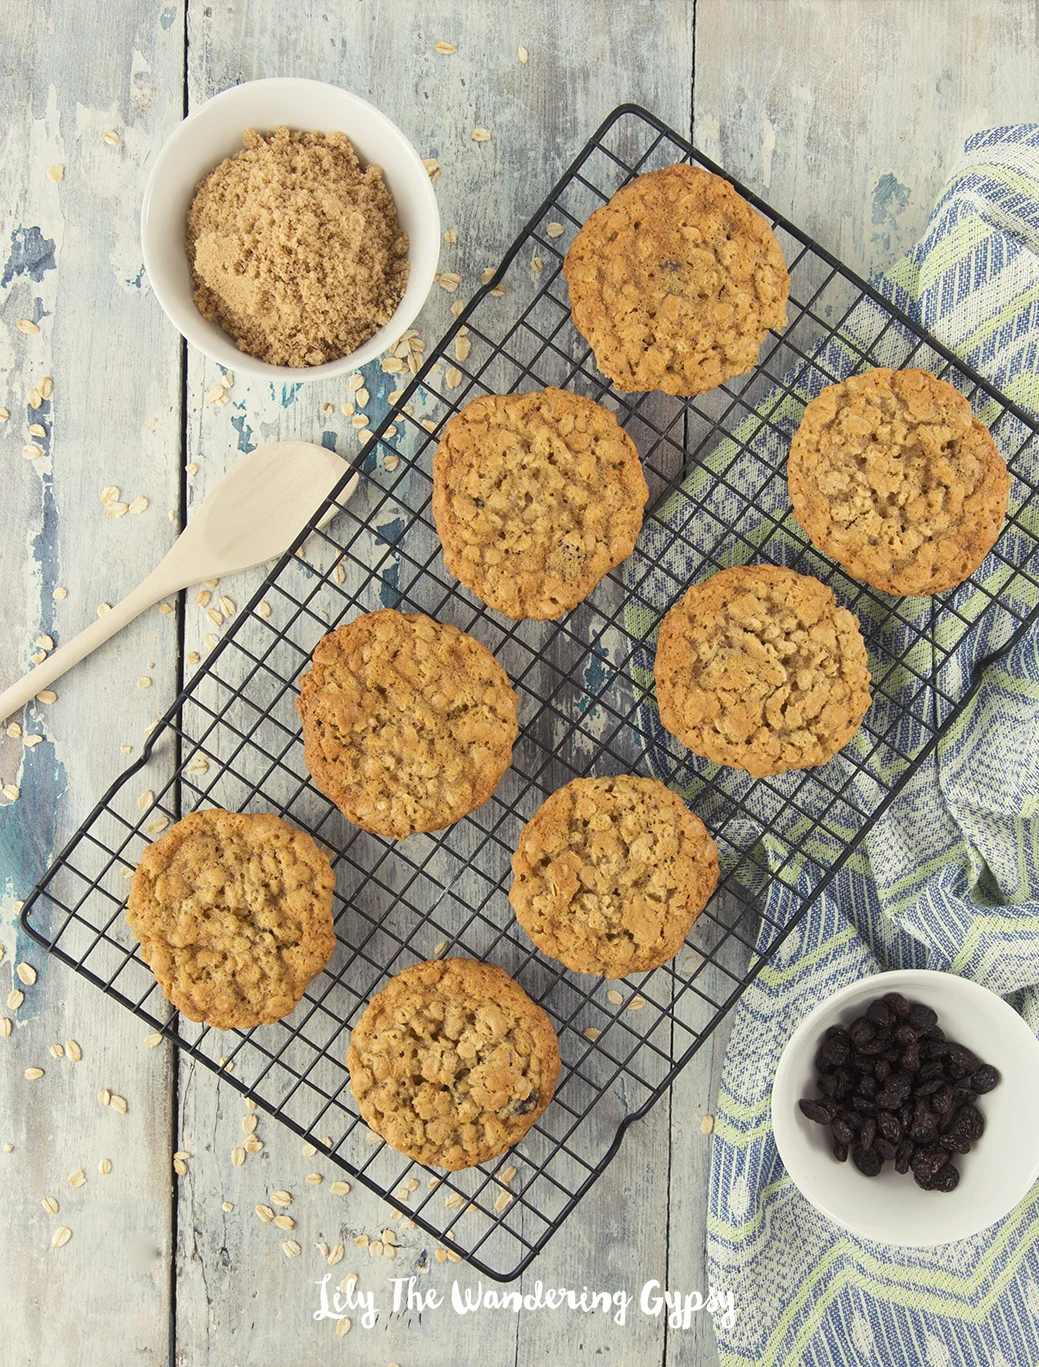
Amazing Oatmeal Raisin Cookies Recipe
These cookies tasted beyond good, and made the house smell like a cookie candle :) I wanted to share some of my favorite ingredients, so you can make your Oatmeal Raisin cookies the very best ever!
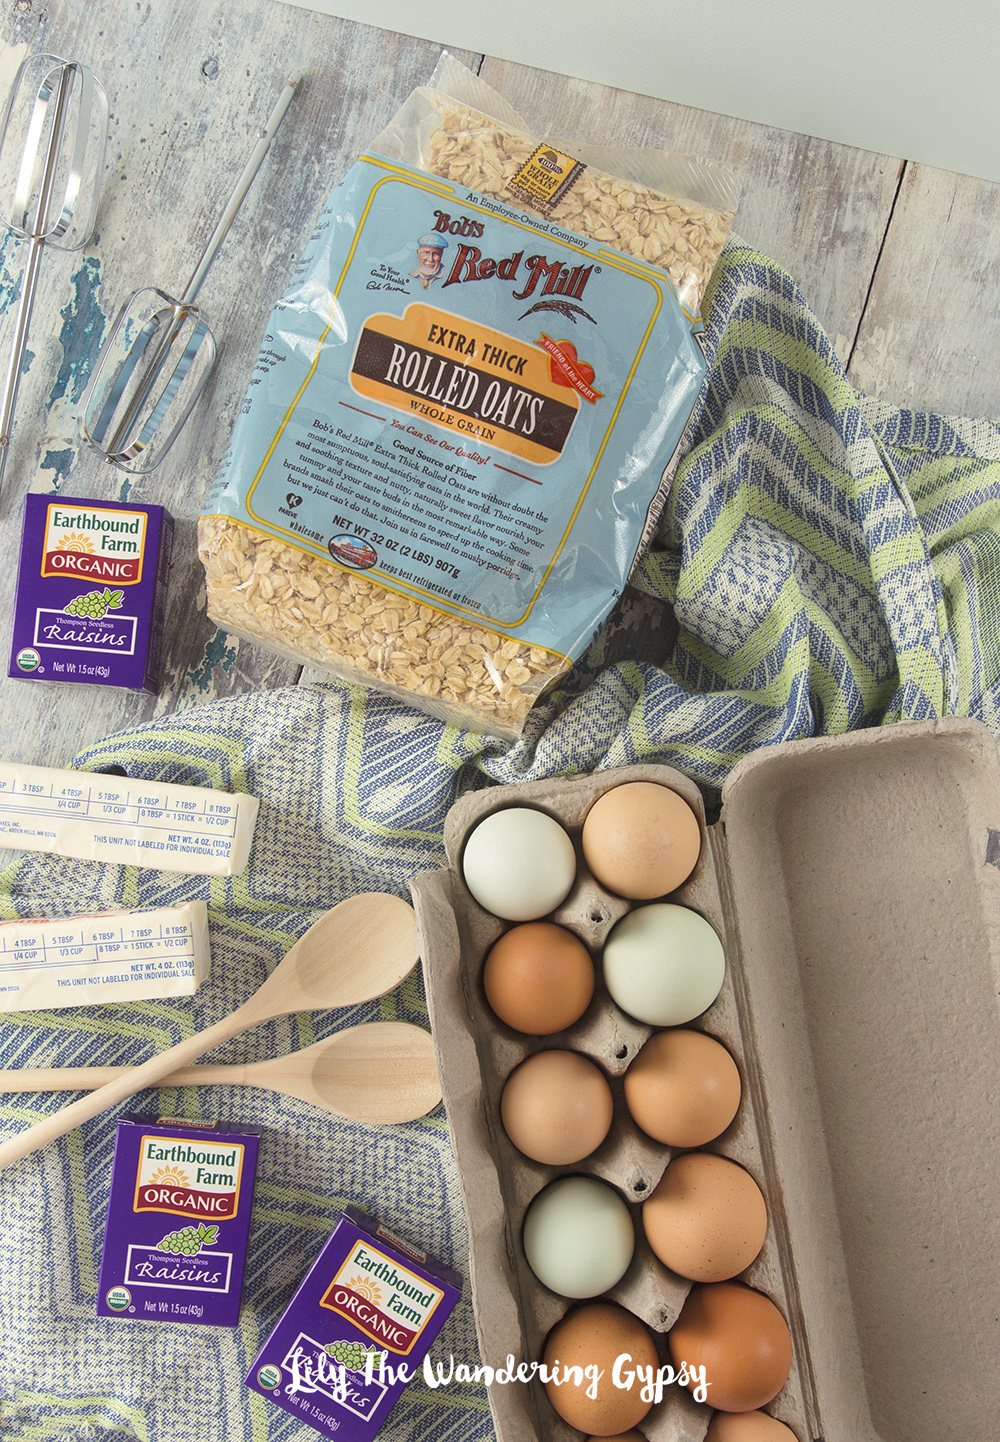
INGREDIENTS (WET):
- 1 cup unsalted butter, softened
- 1 cup sugar
- 1 cup dark brown sugar, firmly packed
- 2 large eggs
- 2 teaspoons vanilla
INGREDIENTS (DRY):
- 2 cups all-purpose flour
- 1 teaspoon baking soda
- 1 teaspoon baking powder
- 1 teaspoon
- 3 cups oats (not instant)
- 1 1⁄2 cups raisins (I used 2 small boxes)
INSTRUCTIONS:
- Preheat oven to 350°.
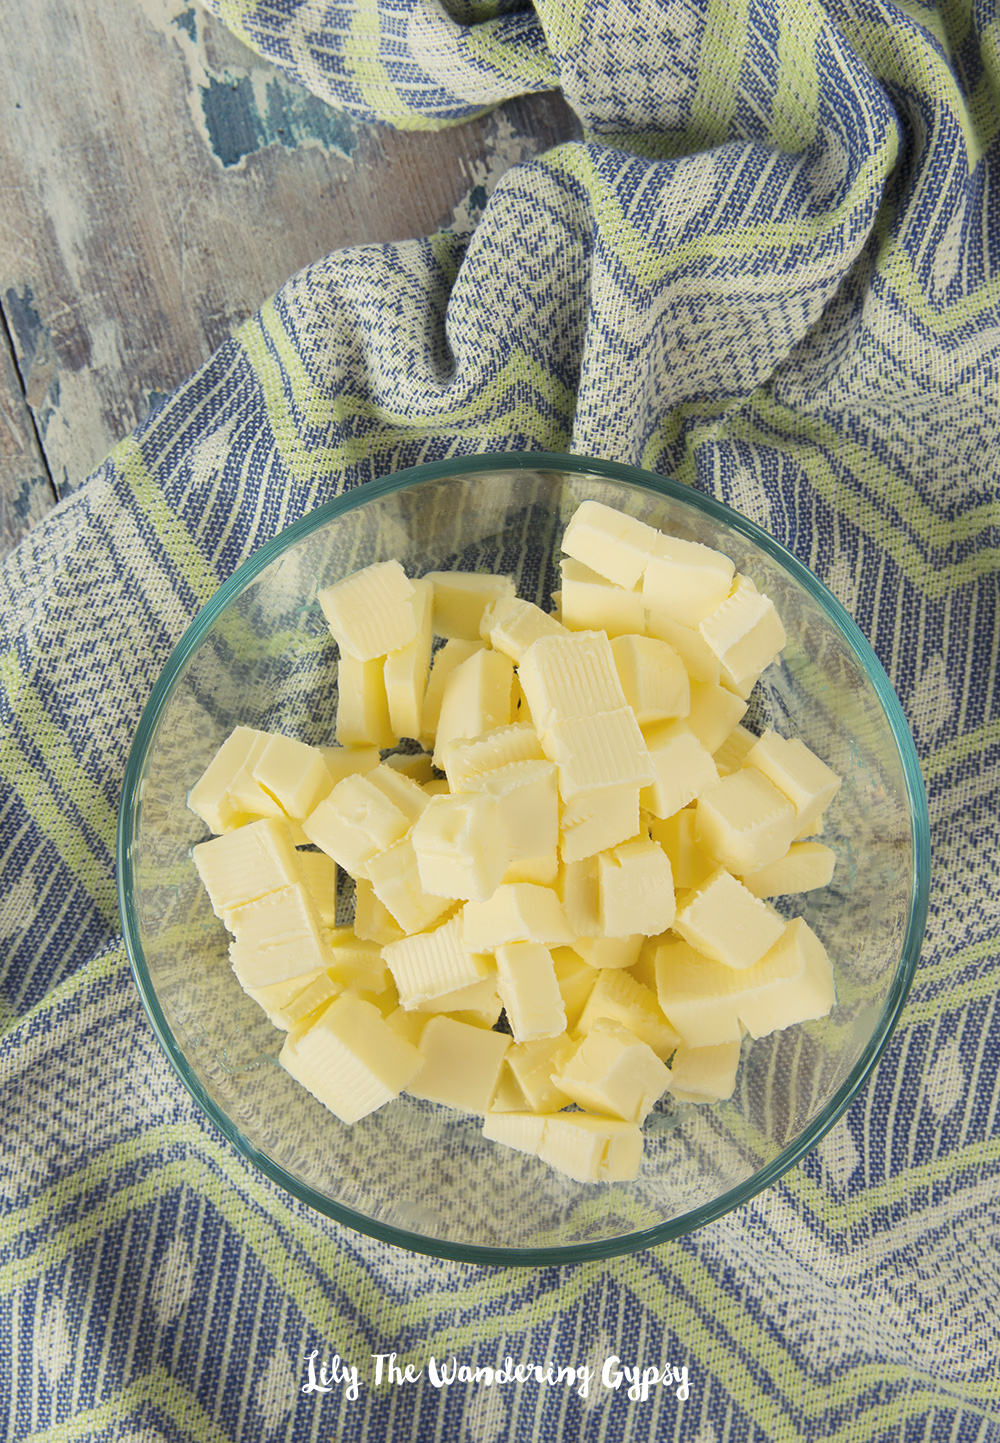
- Melt butter in heat safe container.
- Whisk dry ingredients; set aside.
- Combine wet ingredients with a hand mixer on low.
- To cream, increase speed to high and beat until fluffy and the color lightens.
- Stir the flour mixture into the creamed mixture until no flour is visible.
- (Over mixing develops the gluten, making a tough cookie.) Now add the oats and raisins; stir to incorporate.
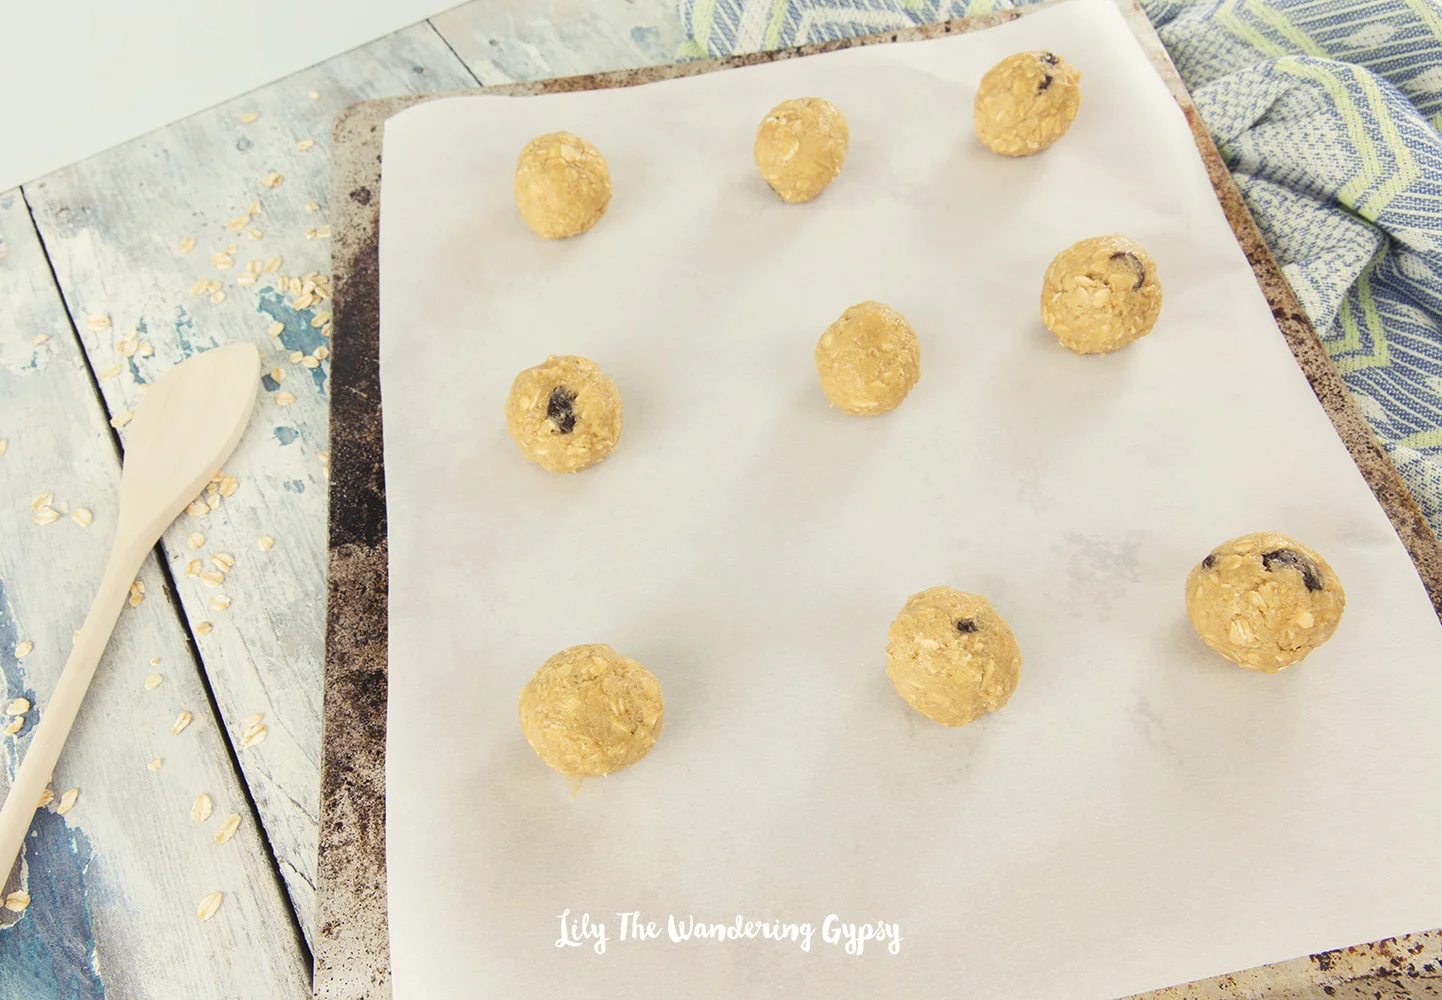
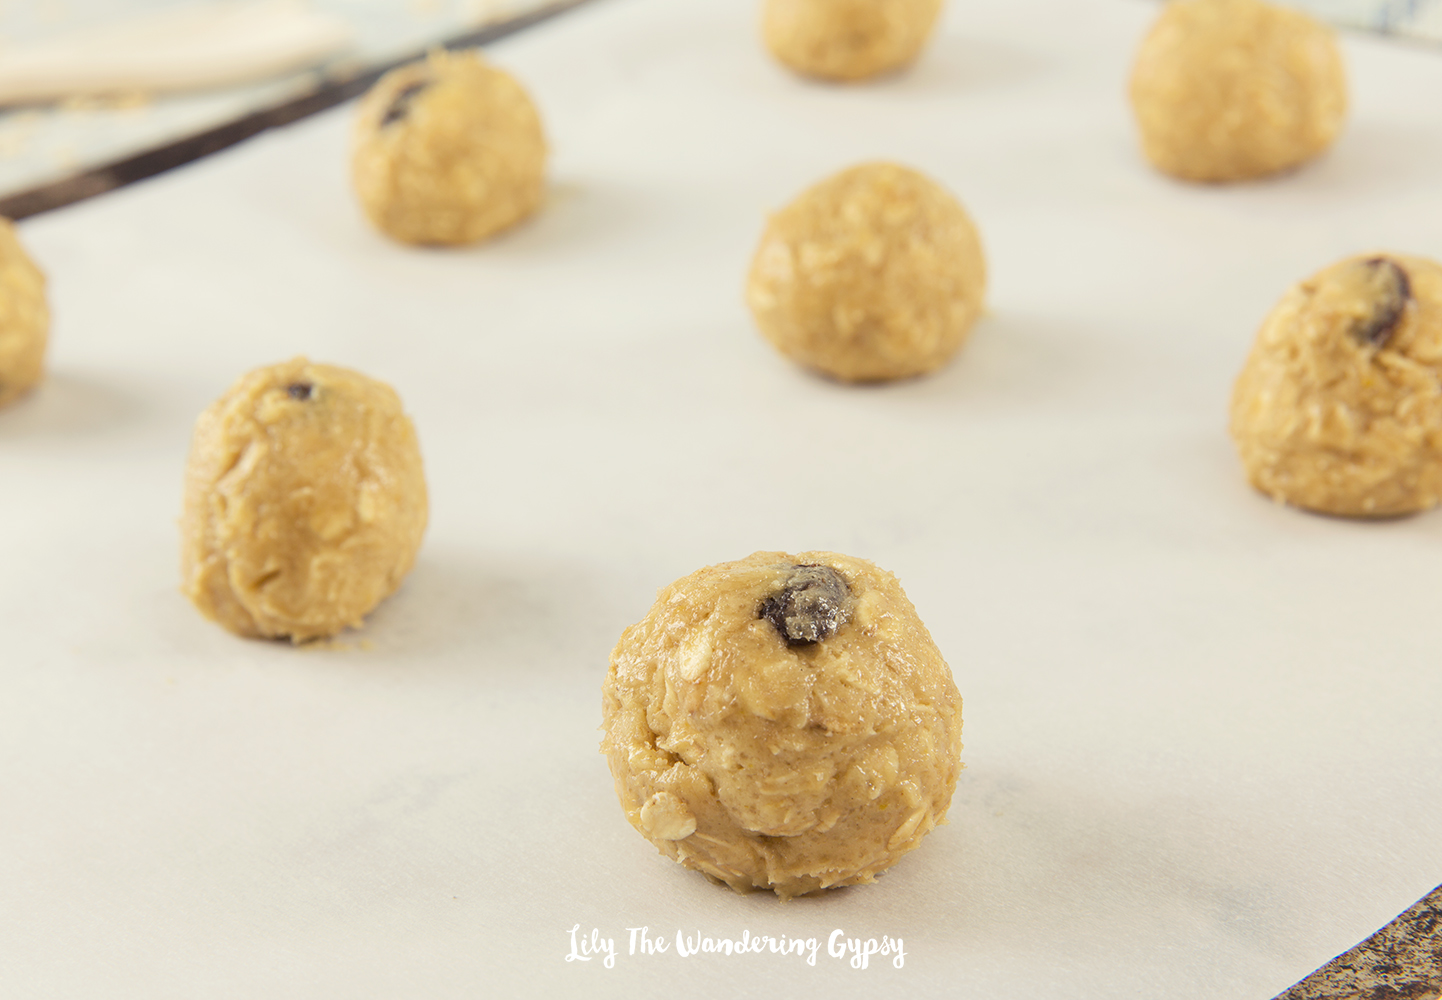
- Use a silicone Tablespoon measuring spoon, and scoop out dough
- Drop 2-inches apart onto baking sheet sprayed with nonstick spray.
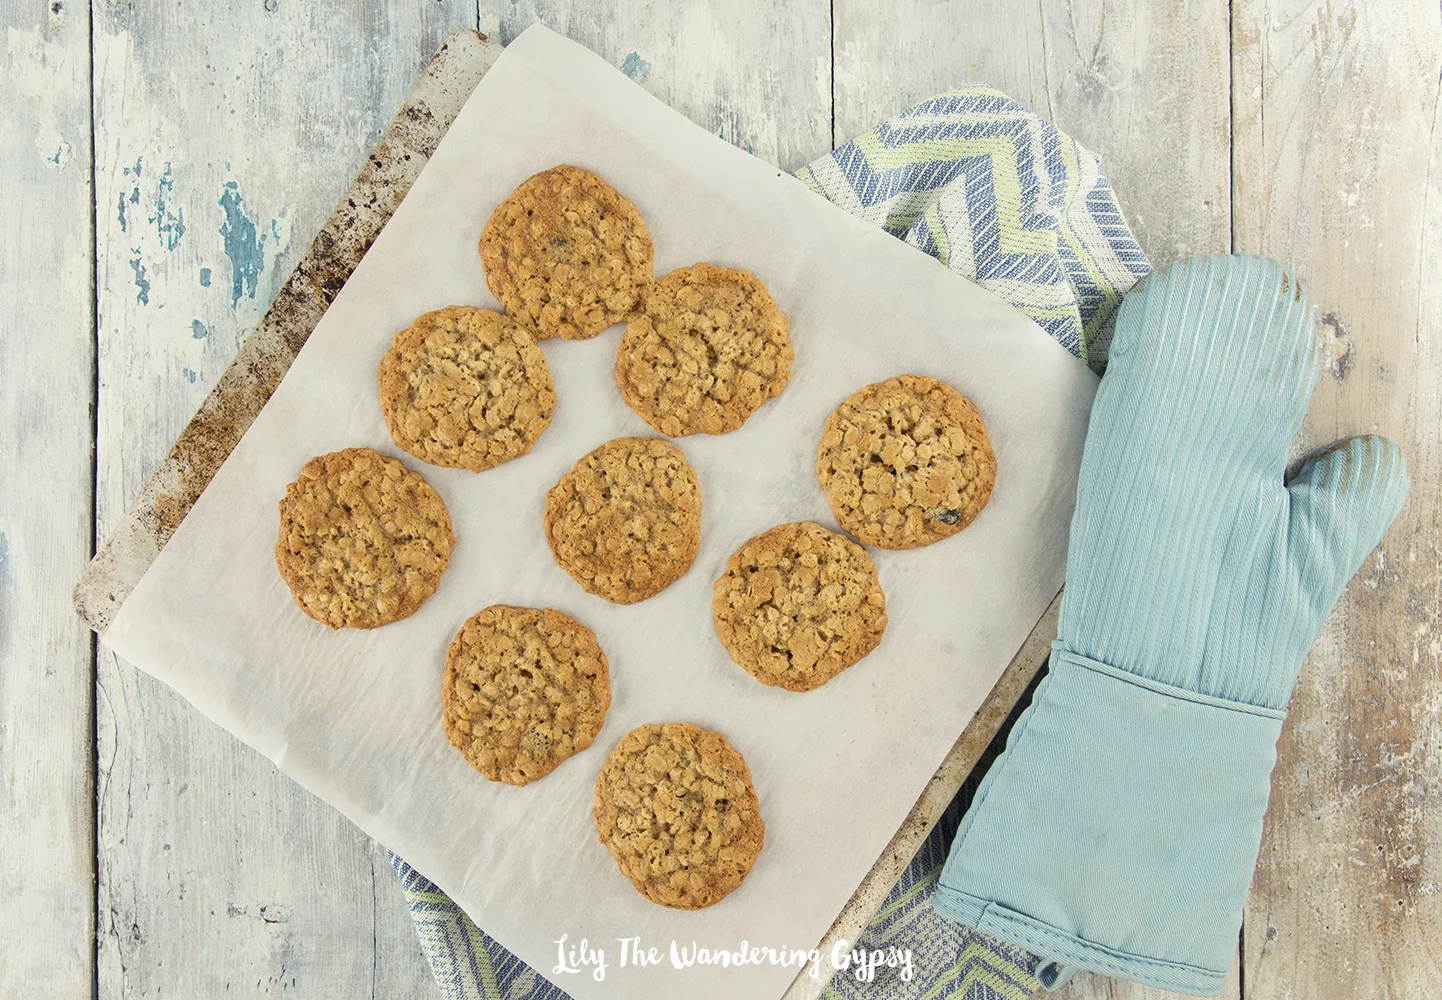
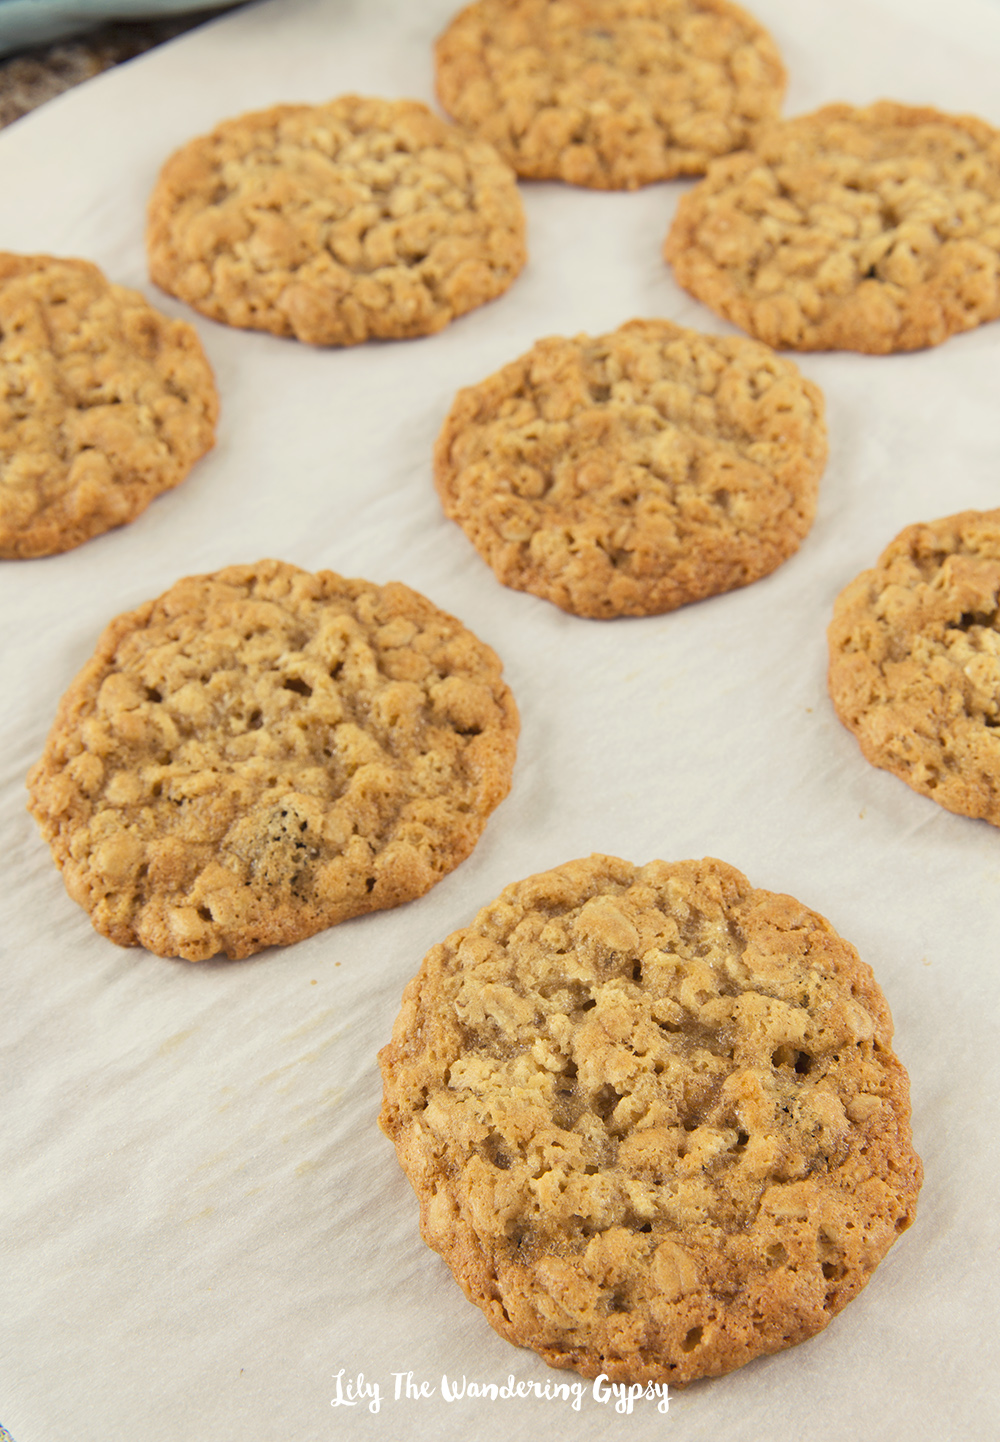
- Bake 11-13 minutes (on center rack), until golden, but still moist beneath cracks on top.
- Remove from oven; let cookies sit on baking sheet for 2 minutes before transferring to a wire rack to cool.

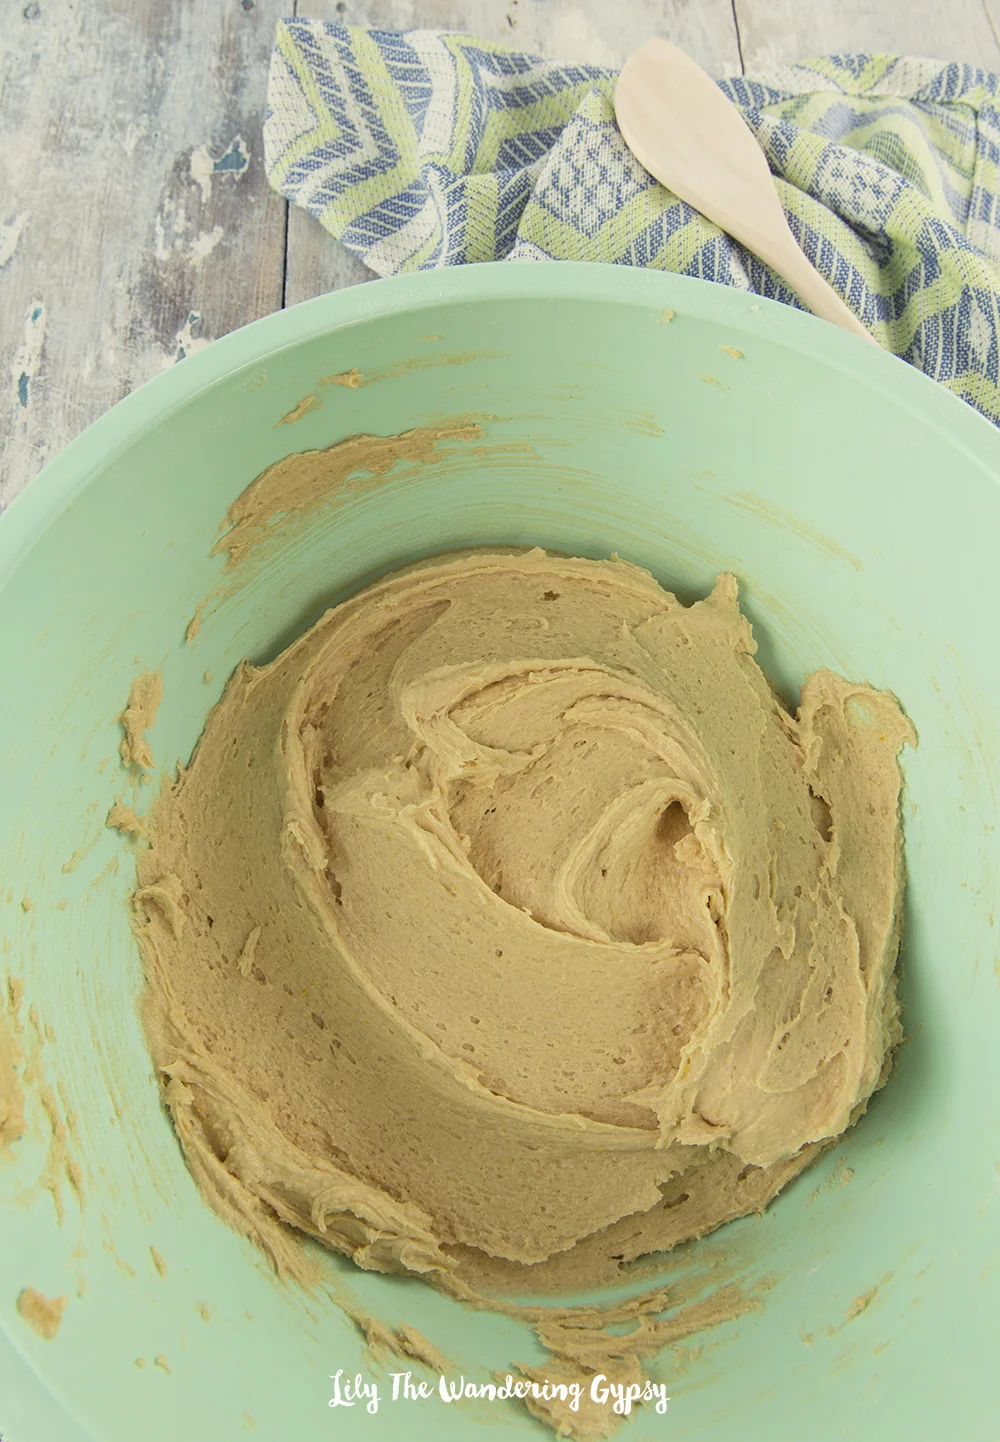
Awesome Oatmeal Cookies! YUM! - The melted butter and the sugar, eggs, and both sugars.
Here is the cookie dough before the dry ingredients are added.

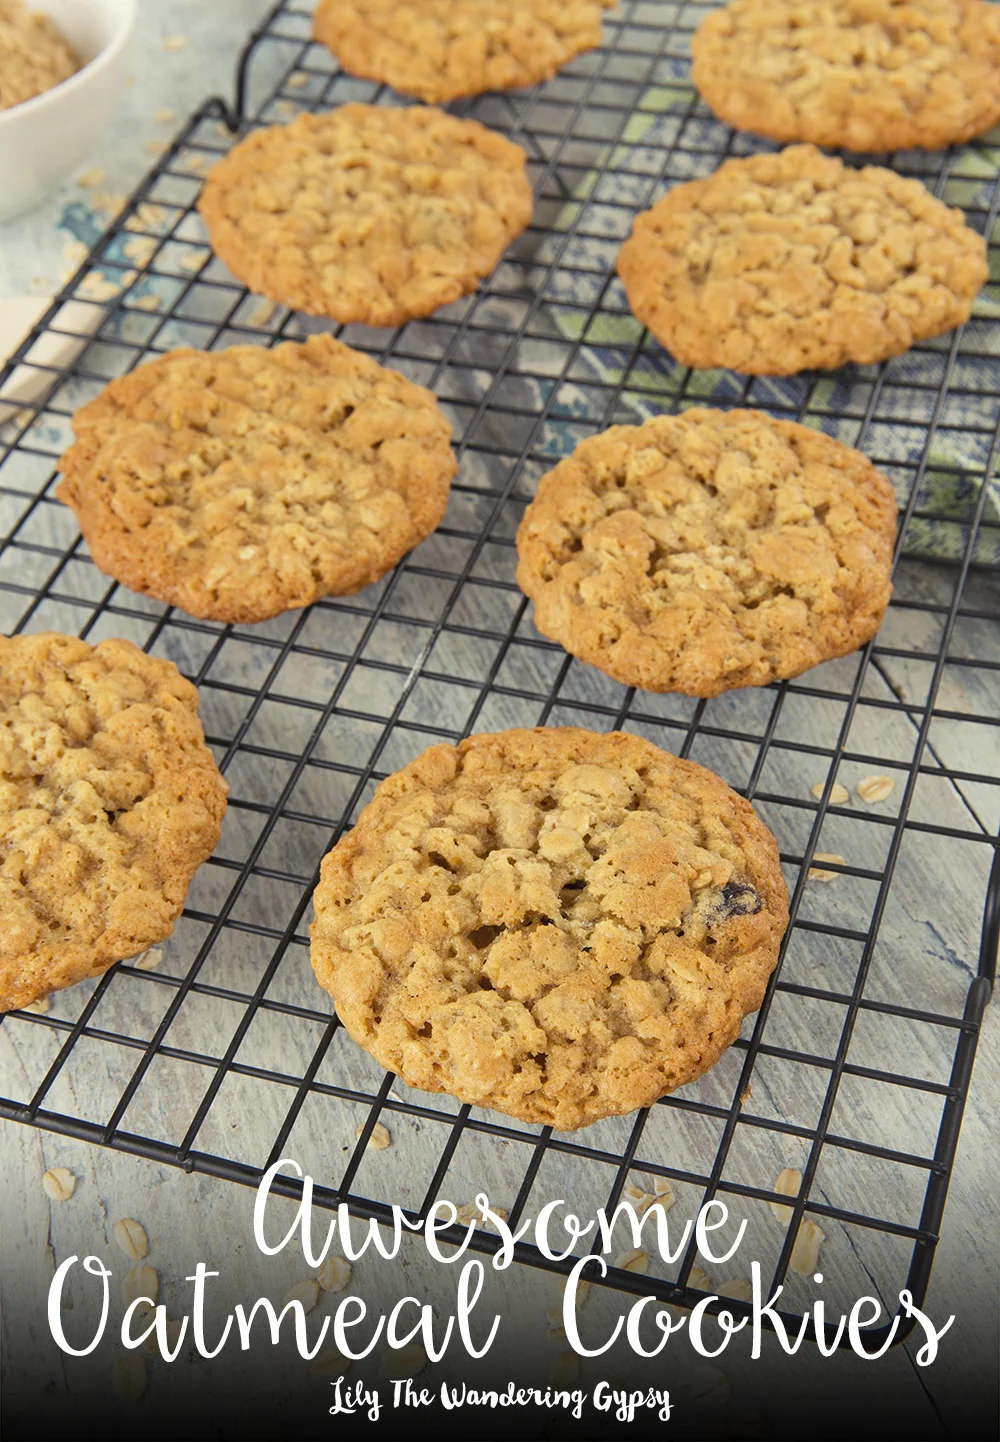
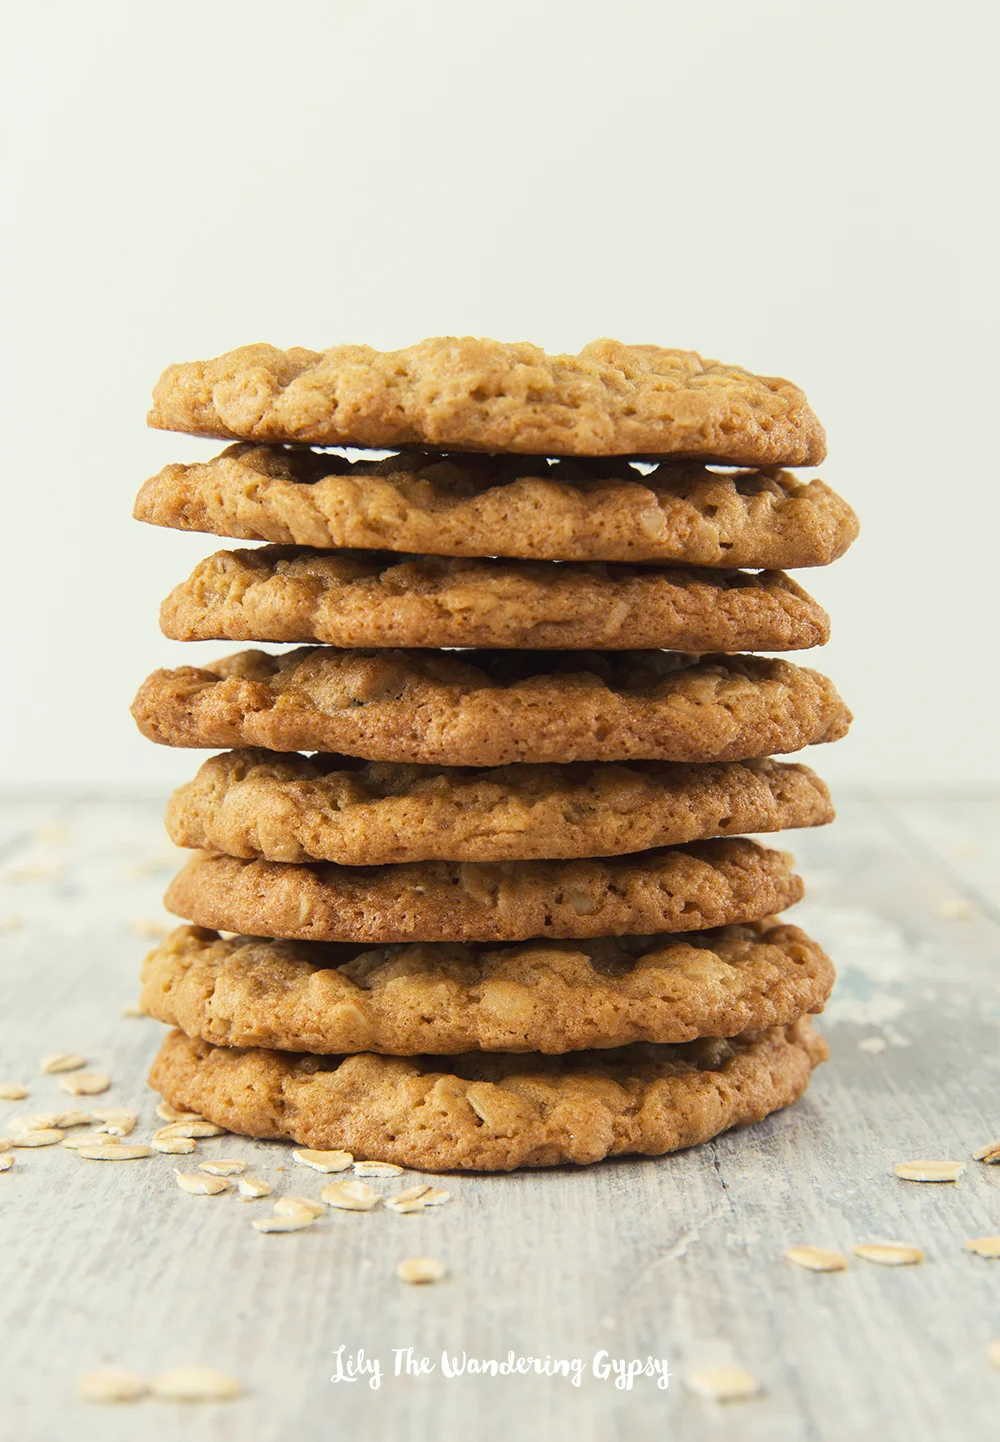
I hope you have enjoyed my process of creating some incredible Oatmeal Raisin Cookies! If you make some, I'd love to see them! Put your link below in the comments!

#UNselfie with Old Navy for #GivingTuesday
I am hoping to spread the message of giving back this holiday season! It is extremely important to think of those who are less fortunate this holiday season. My favorite charity in Carbondale, IL is The Women's Center. They are incredibly wonderful and help women and children in our community. So, this month, I will be helping spread the message of giving.

DECEMBER 1-7, 2015: Snap an #Unselfie and share how you plan to give back this holiday season, written on a sign of some sort. Get creative! Tag @OldNavy and Old Navy will donate $1 to the Boys & Girls Clubs of America, up to $25,000. Add #GivingTuesday and #UNselfie to your post to share!
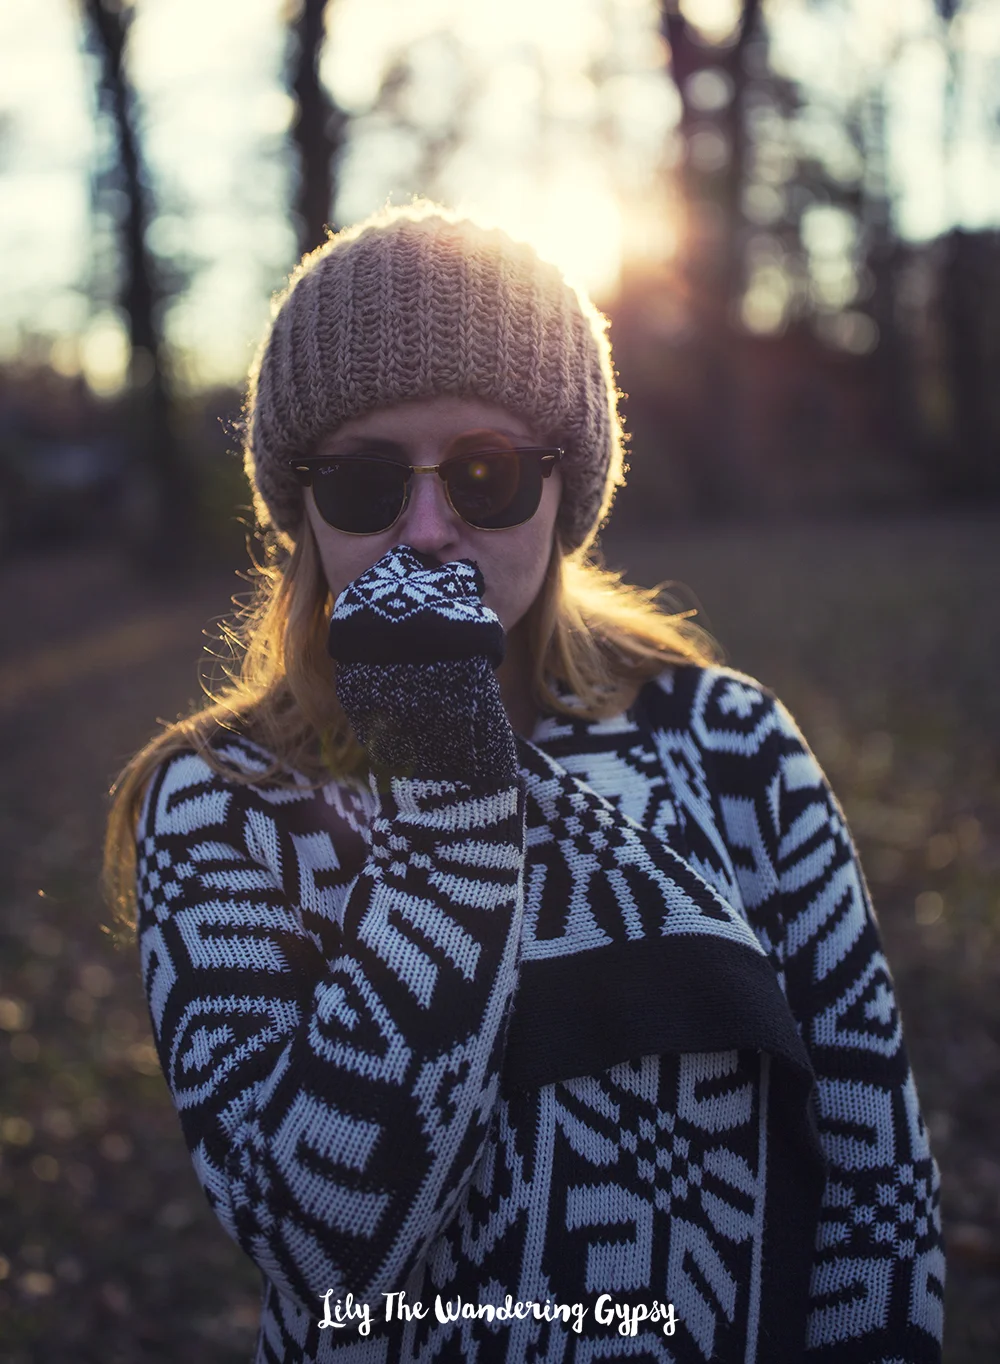
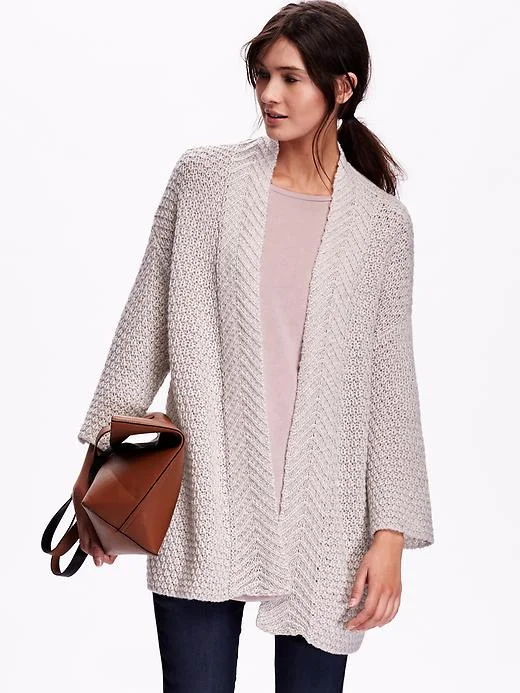
And, since we are on the topic of Old Navy, I thought this Black and White Sweater was appropriate for the photos as well! I got this one last year, around the holidays, but I wanted to share some other open front cardigans with you.


If you wind up participating, please post a link below to let me see what you came up with! I cannot wait to see how you guys are giving back this year. Remember, post your #UNselfie by Dec. 7, 2015.
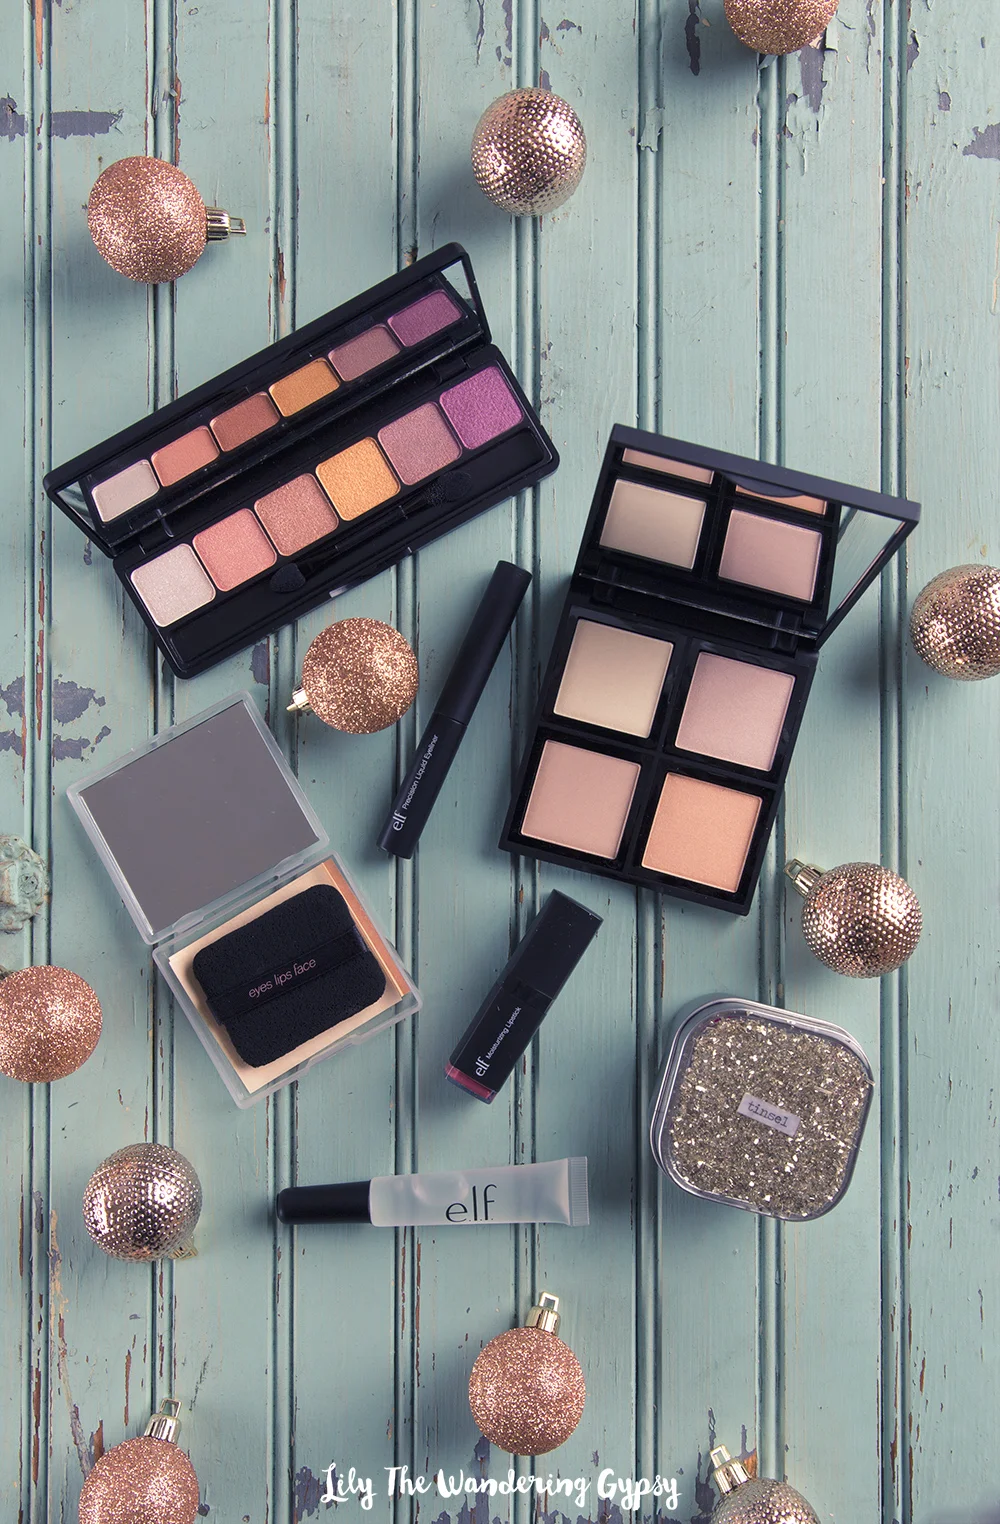
e.l.f. Cosmetics #PlayBeautifully
I have used e.l.f. cosmetics for a long time, I love their price point, and the packaging is always so attractive! So, I wanted to share a few of their newest goodies from e.l.f. to inspire you to #PlayBeautifully! I also encourage you to check out @elfcosmetics on Instagram to see what they are up to!
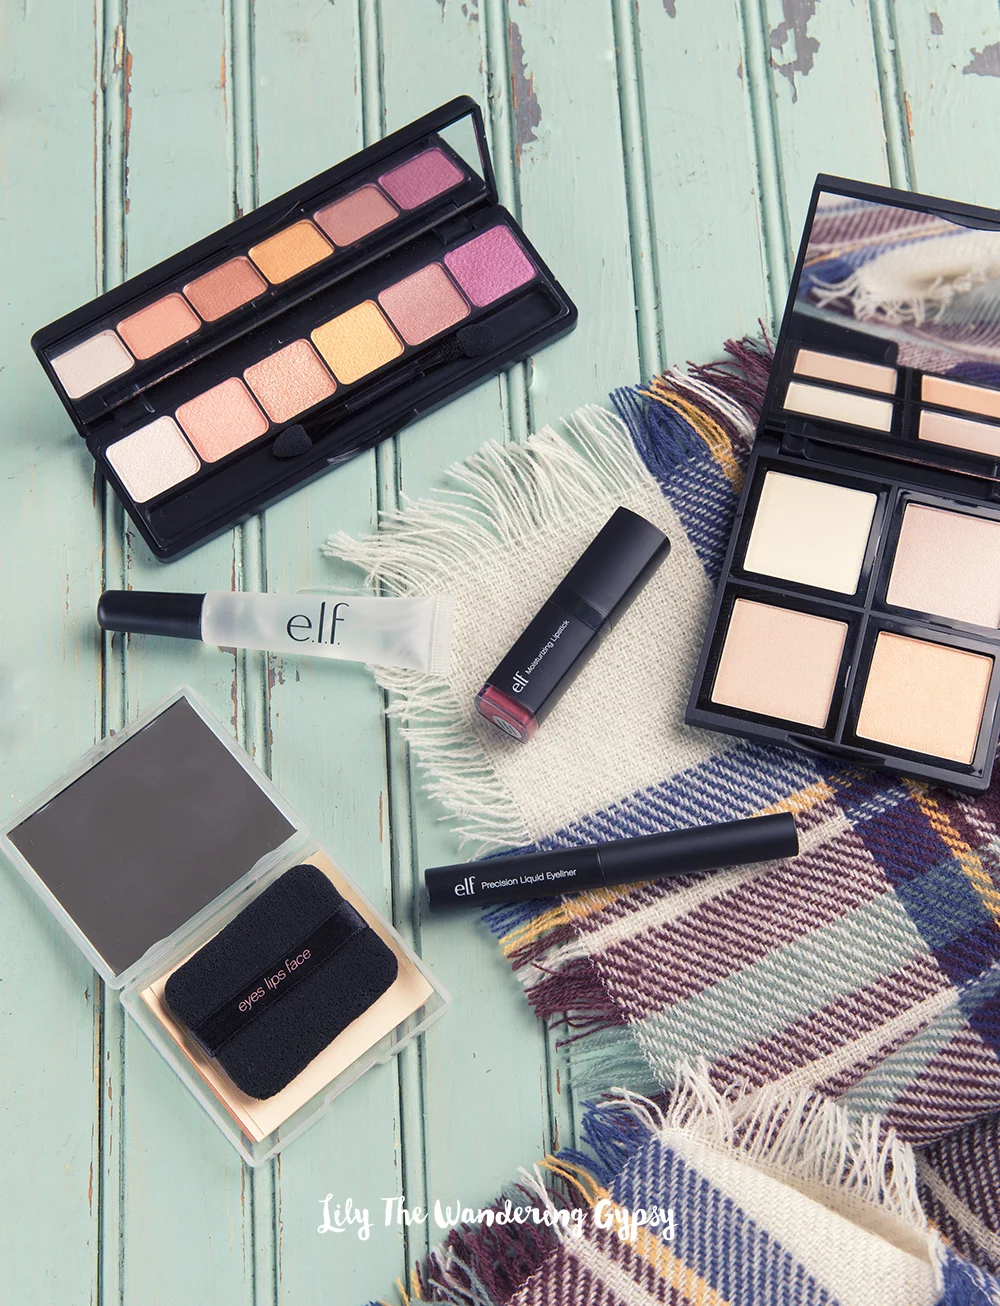
So, the makeup pictured is as follows (all products from e.l.f.). I absolutely LOVE the Moisturizing Lipstick. The shade is also incredibly versatile, and has a very natural look to it. It was definitely moisturizing, which is hard to find most of the time. I think I will be picking up as many of these lipsticks as I can hold in my little hands next time I go to Target :)
Moisturizing Lipstick in Marsala Blush ($3), Kiss It Goodbye Lip Color Remover ($3), Prism Eyeshadow in Sunset ($10), Precision Liquid Eyeliner ($3), On The Spot Blotting Papers ($5), and the Illuminating Palette ($6).

I'm loving this moisturizing lipstick from e.l.f. in Marsala Blush.

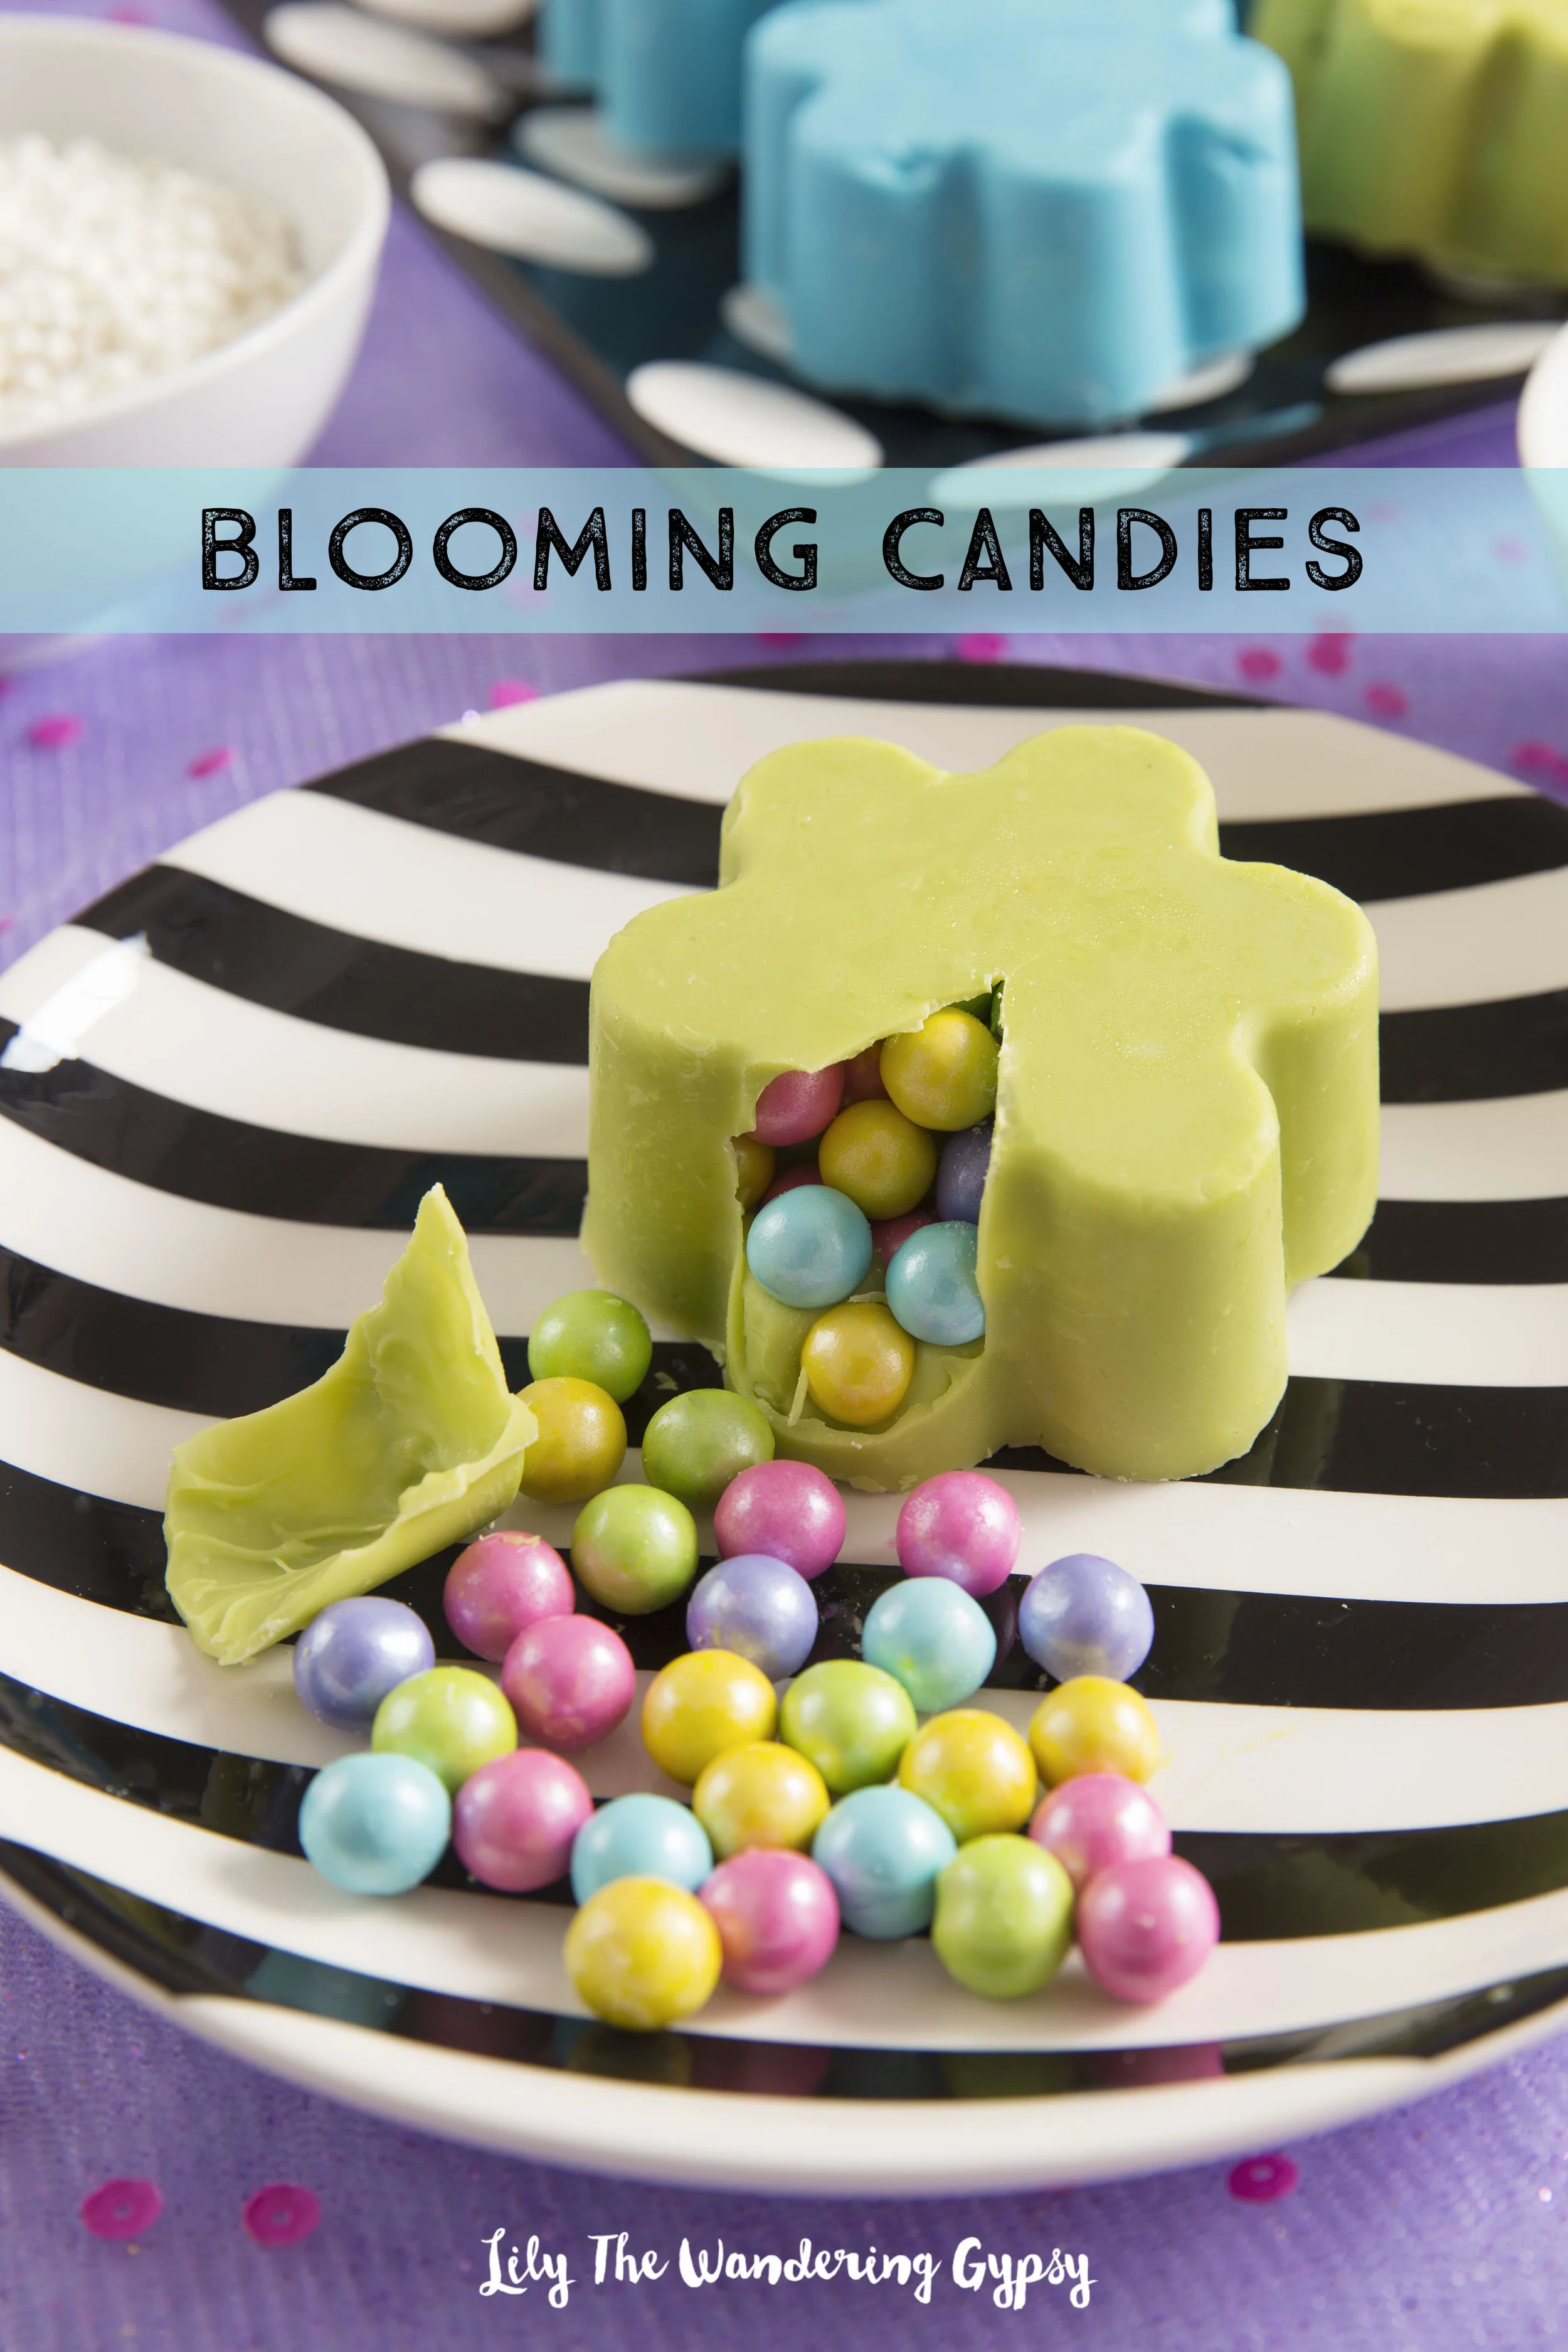
How To Make Blooming Candies
I had so much fun creating this project! I was inspired by summer, and all the pretty flowers that are blooming right now! For this recipe, I used silicone brownie molds, so I could fill them with tons of candy. I also used Blue and Vibrant Green Candy Melts. My filler candies were Sixlets, found here. See the list of ingredients below...and have FUN! You can make these in just about any color combo, for special events, holidays, and sporting events.
HERE'S HOW YOU MAKE THEM...

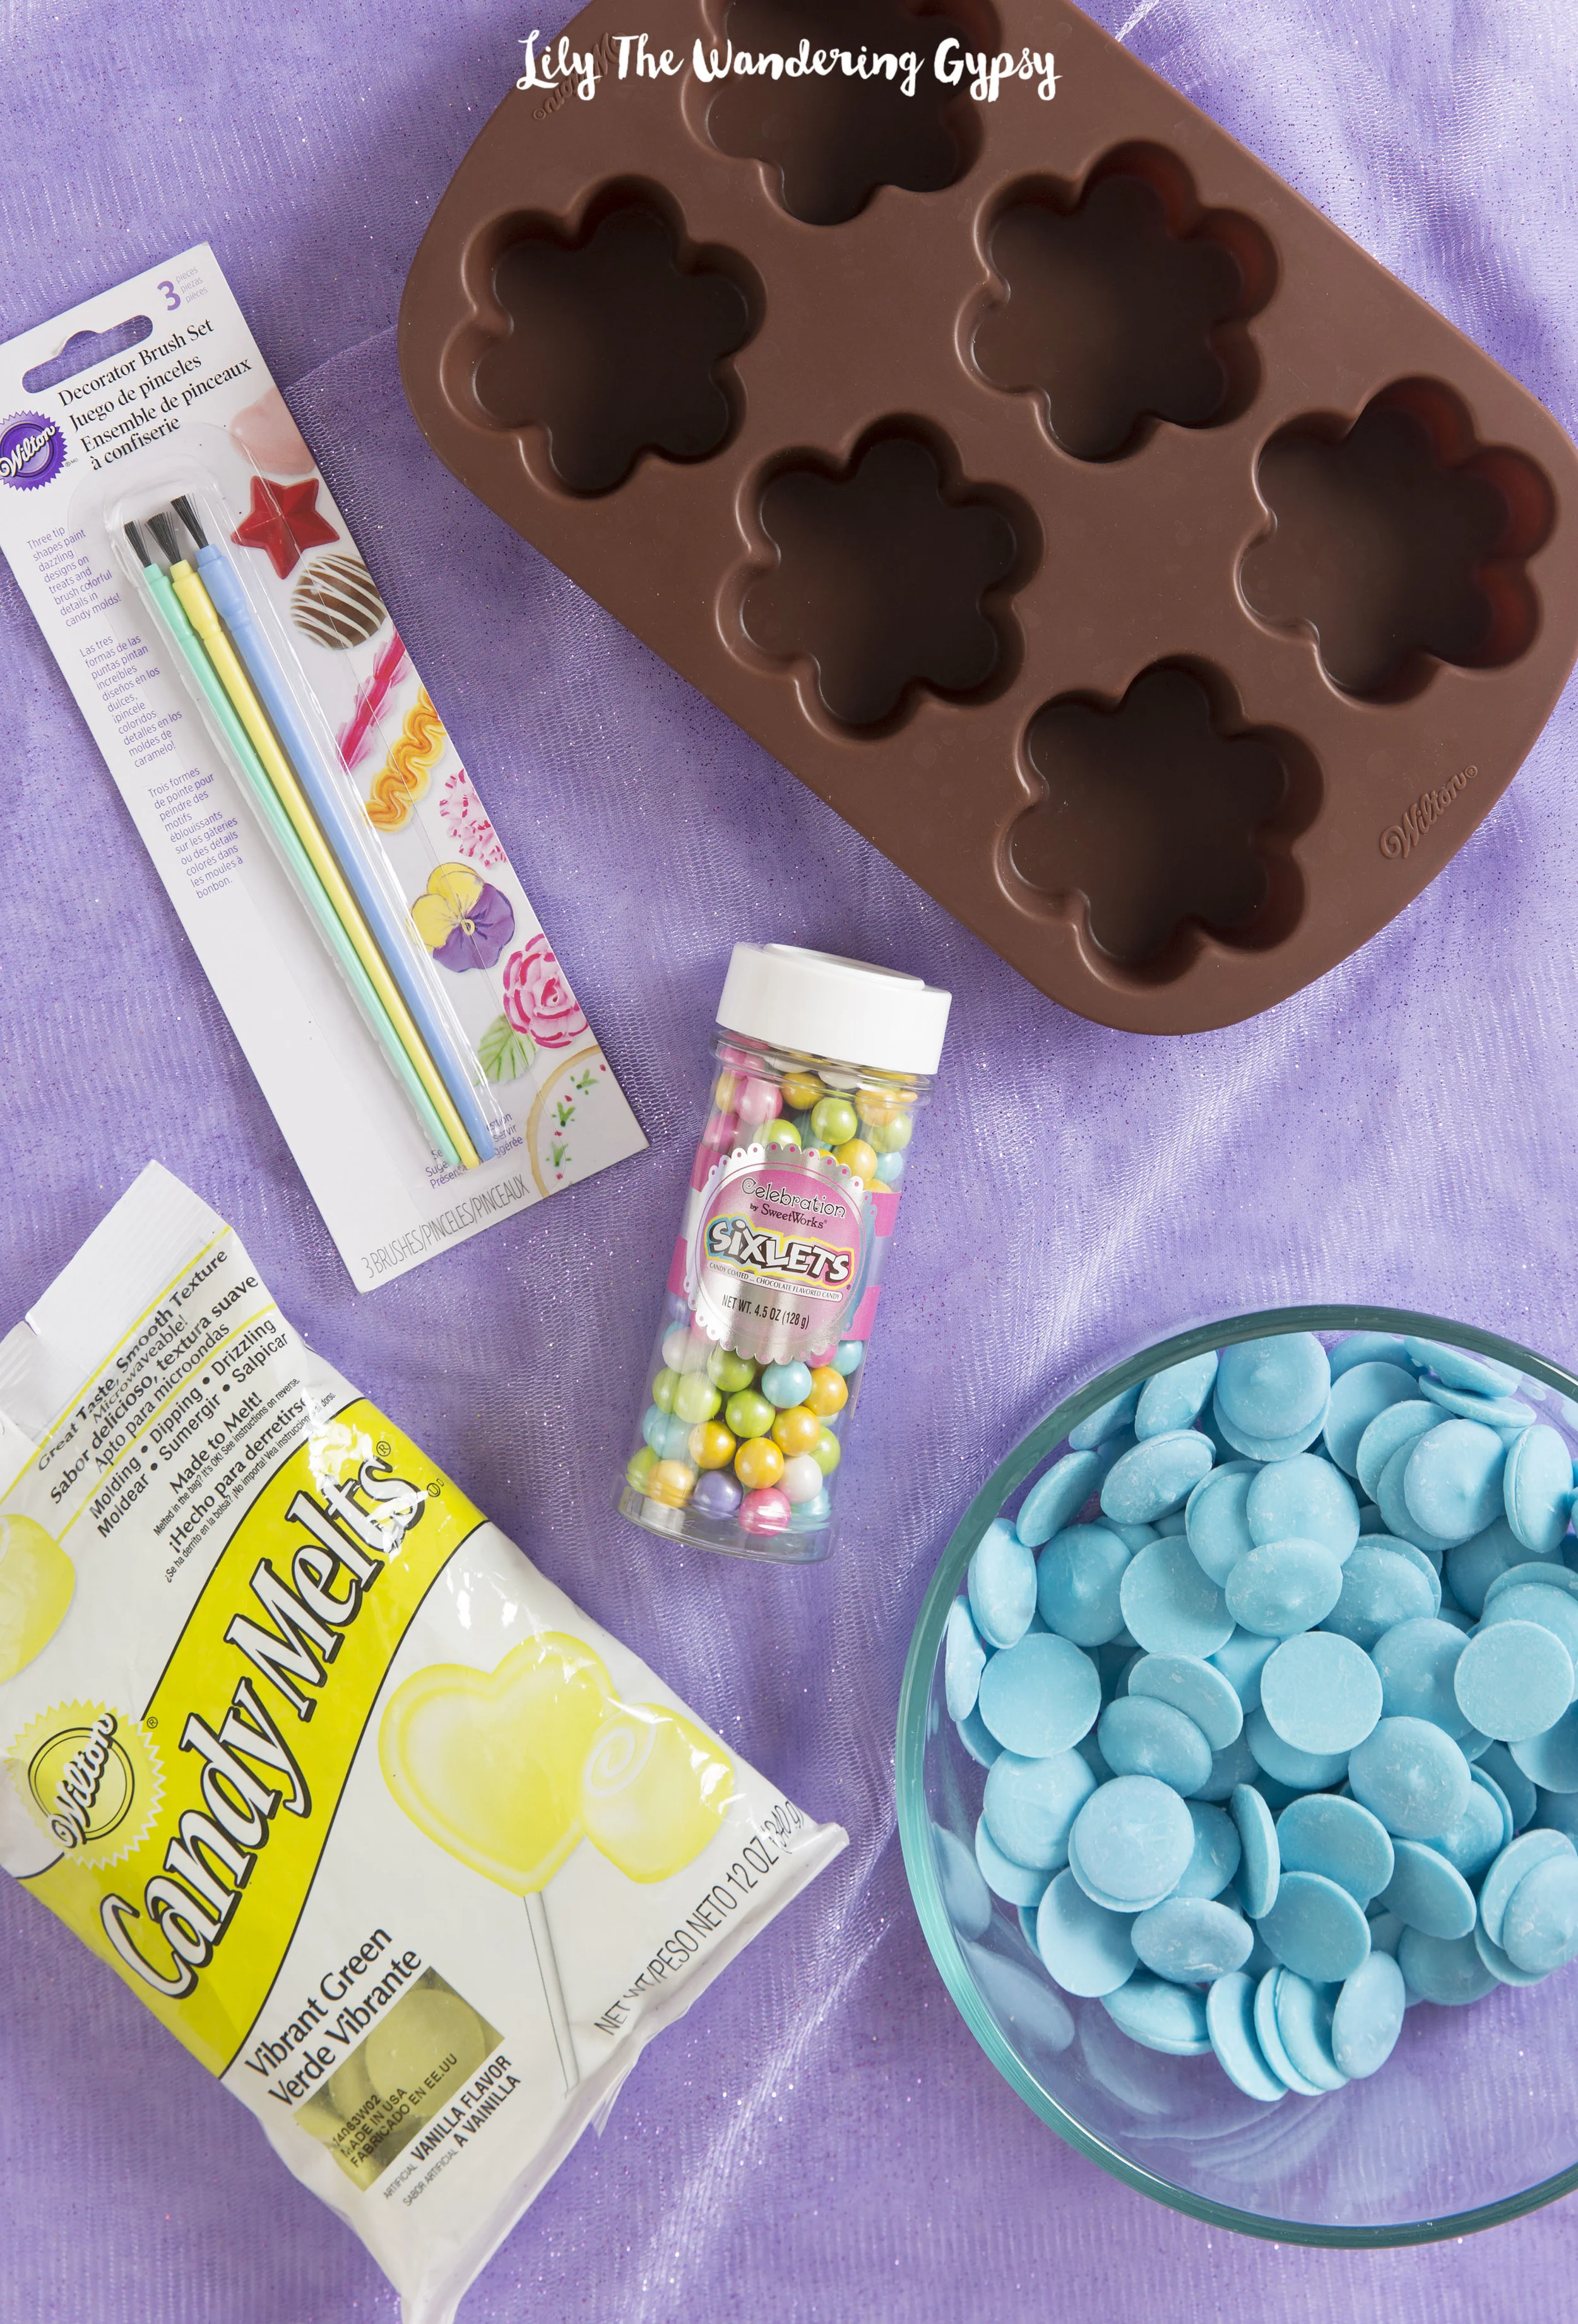
You only need a few simple ingredients! Some Sixlets Candies, candy melts, and a candy mould.
INGREDIENTS (Click Names To Buy)
Vibrant Green Candy Melts - Blue Candy Melts - Filler Candies - Wilton Paintbrushes, Candy/Brownie Molds
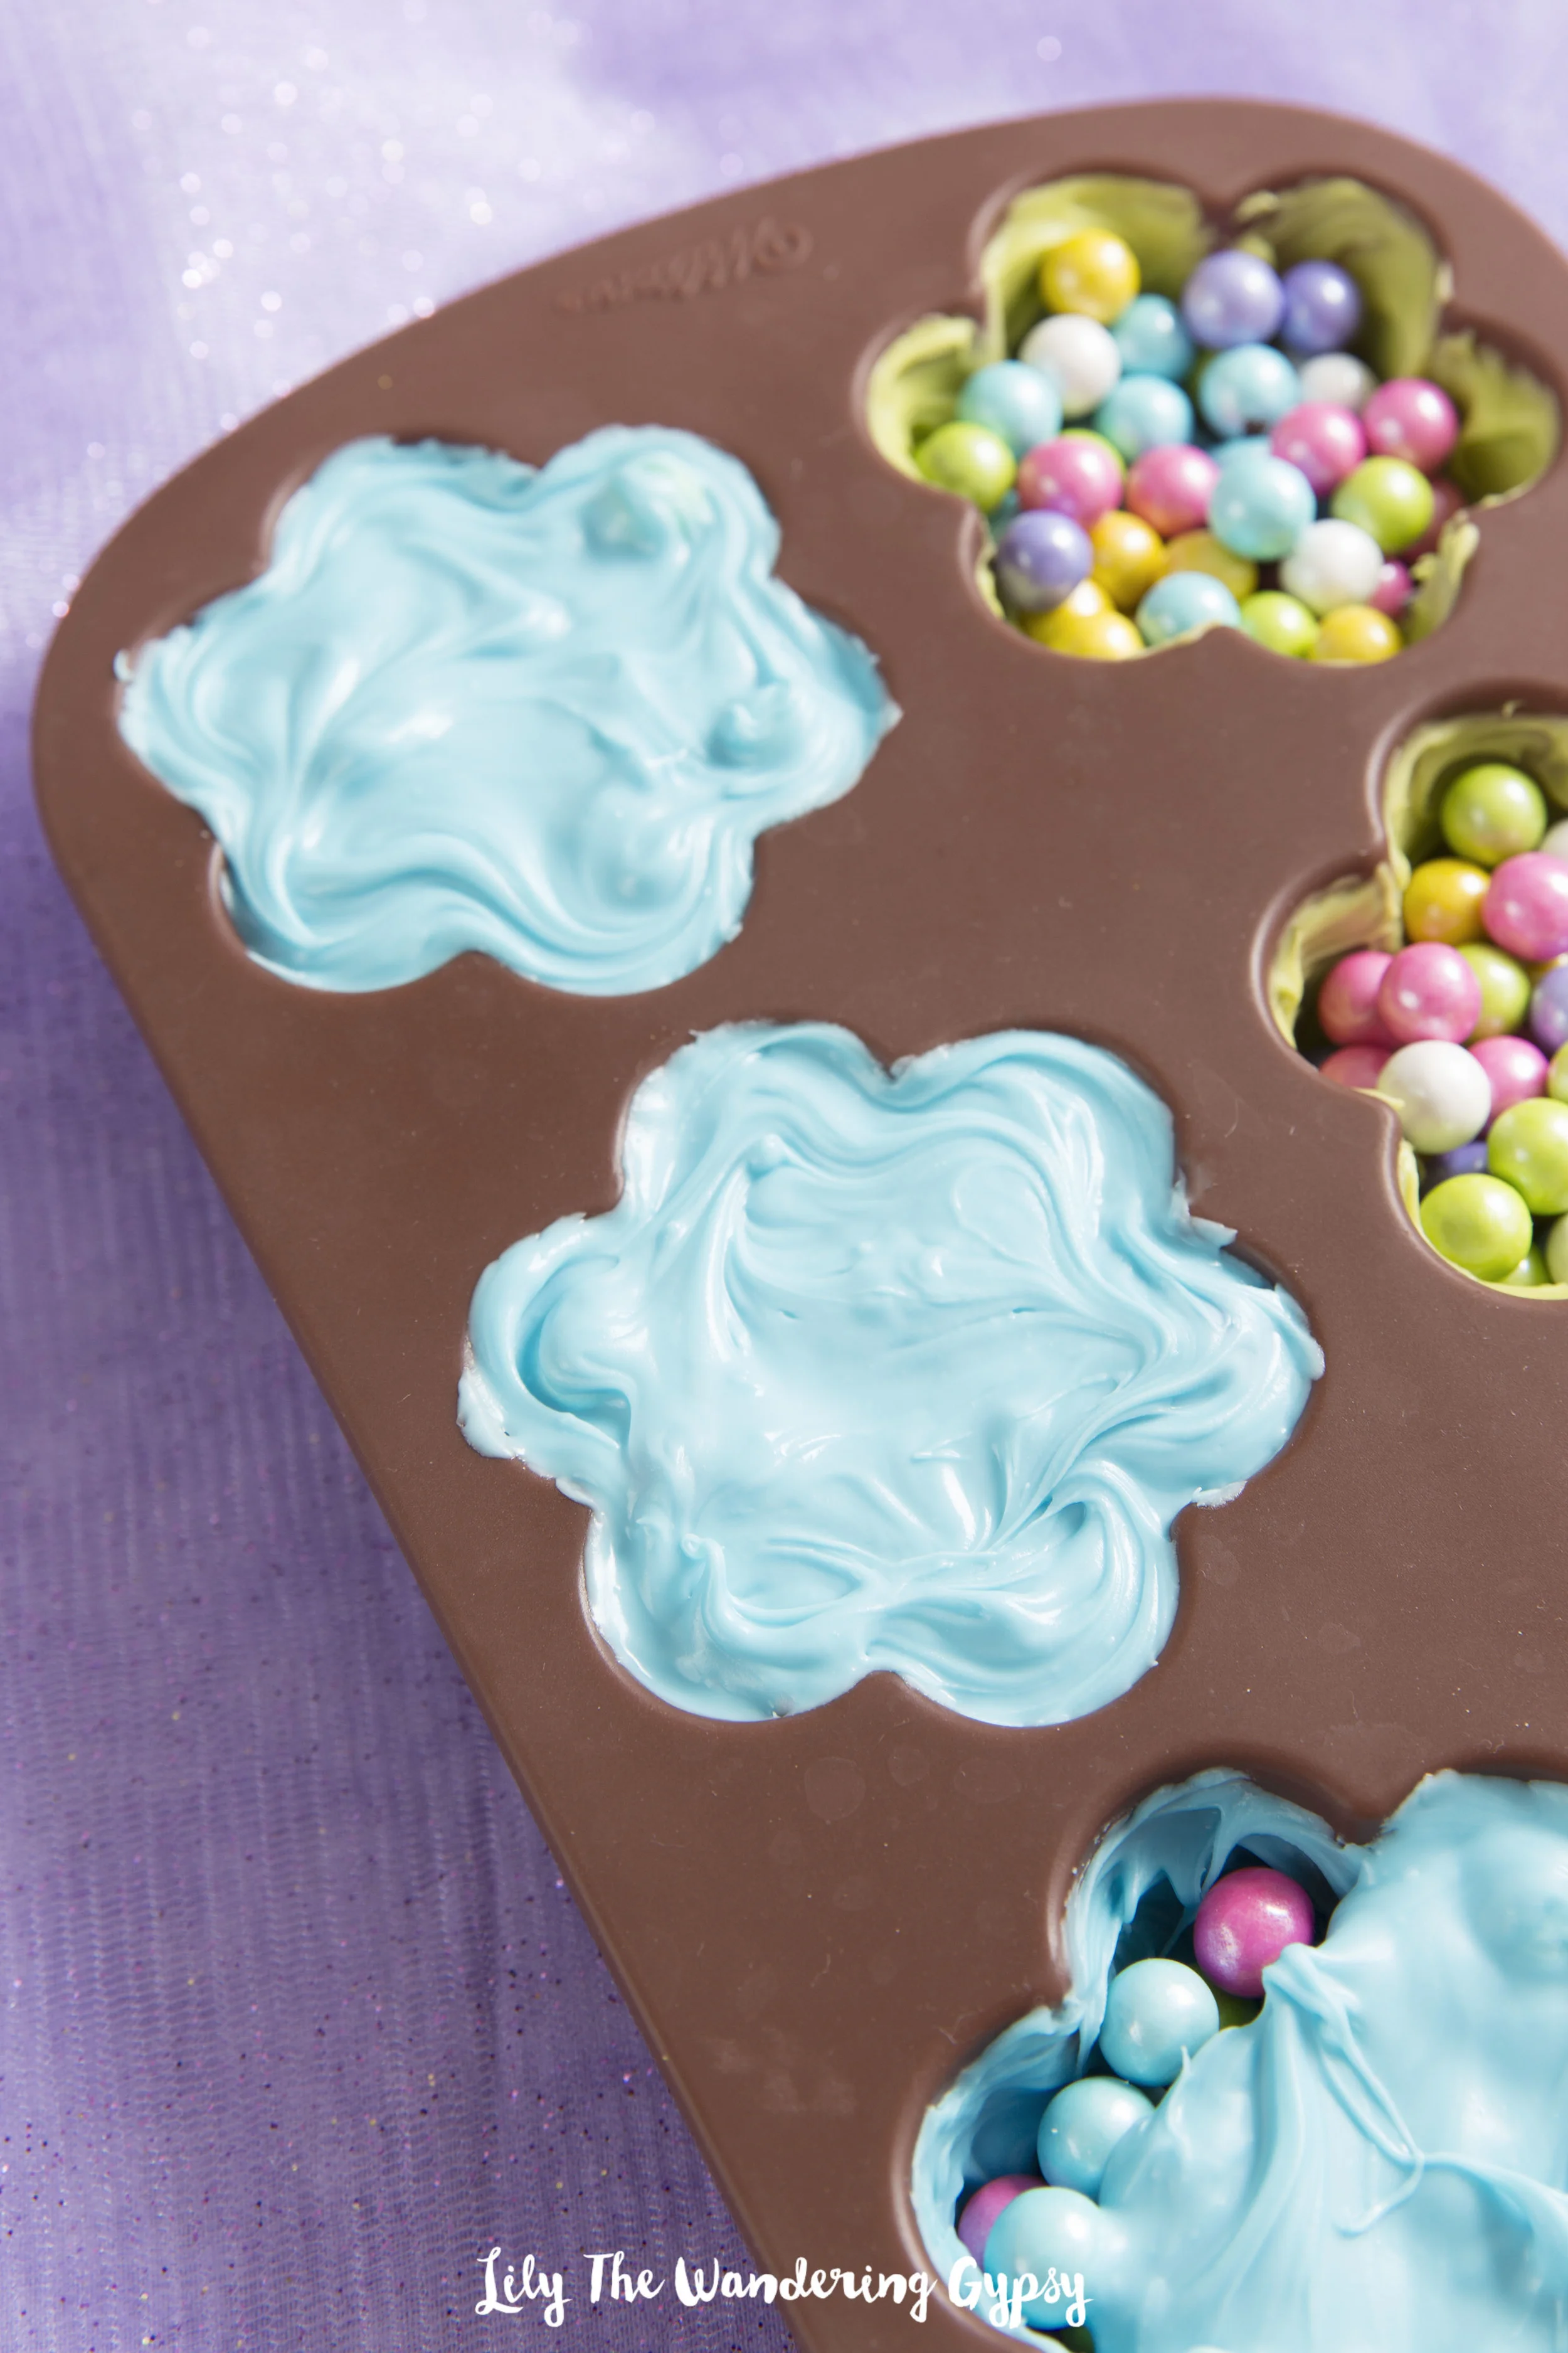
1.) Melt your candy melts in 2 separate containers, either in the microwave or in a double boiler method, which I did. I found that using a 2 cup Pyrex measuring cup, which held one package of candy melts worked great! Fill a small saucepan with 2-3 inches of water, and pour your melts into the measuring cup. Insert cup into water, heat water over medium of high heat and stir melts frequently until smooth. (See photo below for tips)...

Texture Test (above) - The blue one looks right, but NOT the green one! If your melts form more of a paste than a smooth and satiny texture, try again.
MY BIGGEST TIP WOULD BE...USE A PAINTBRUSH!!!
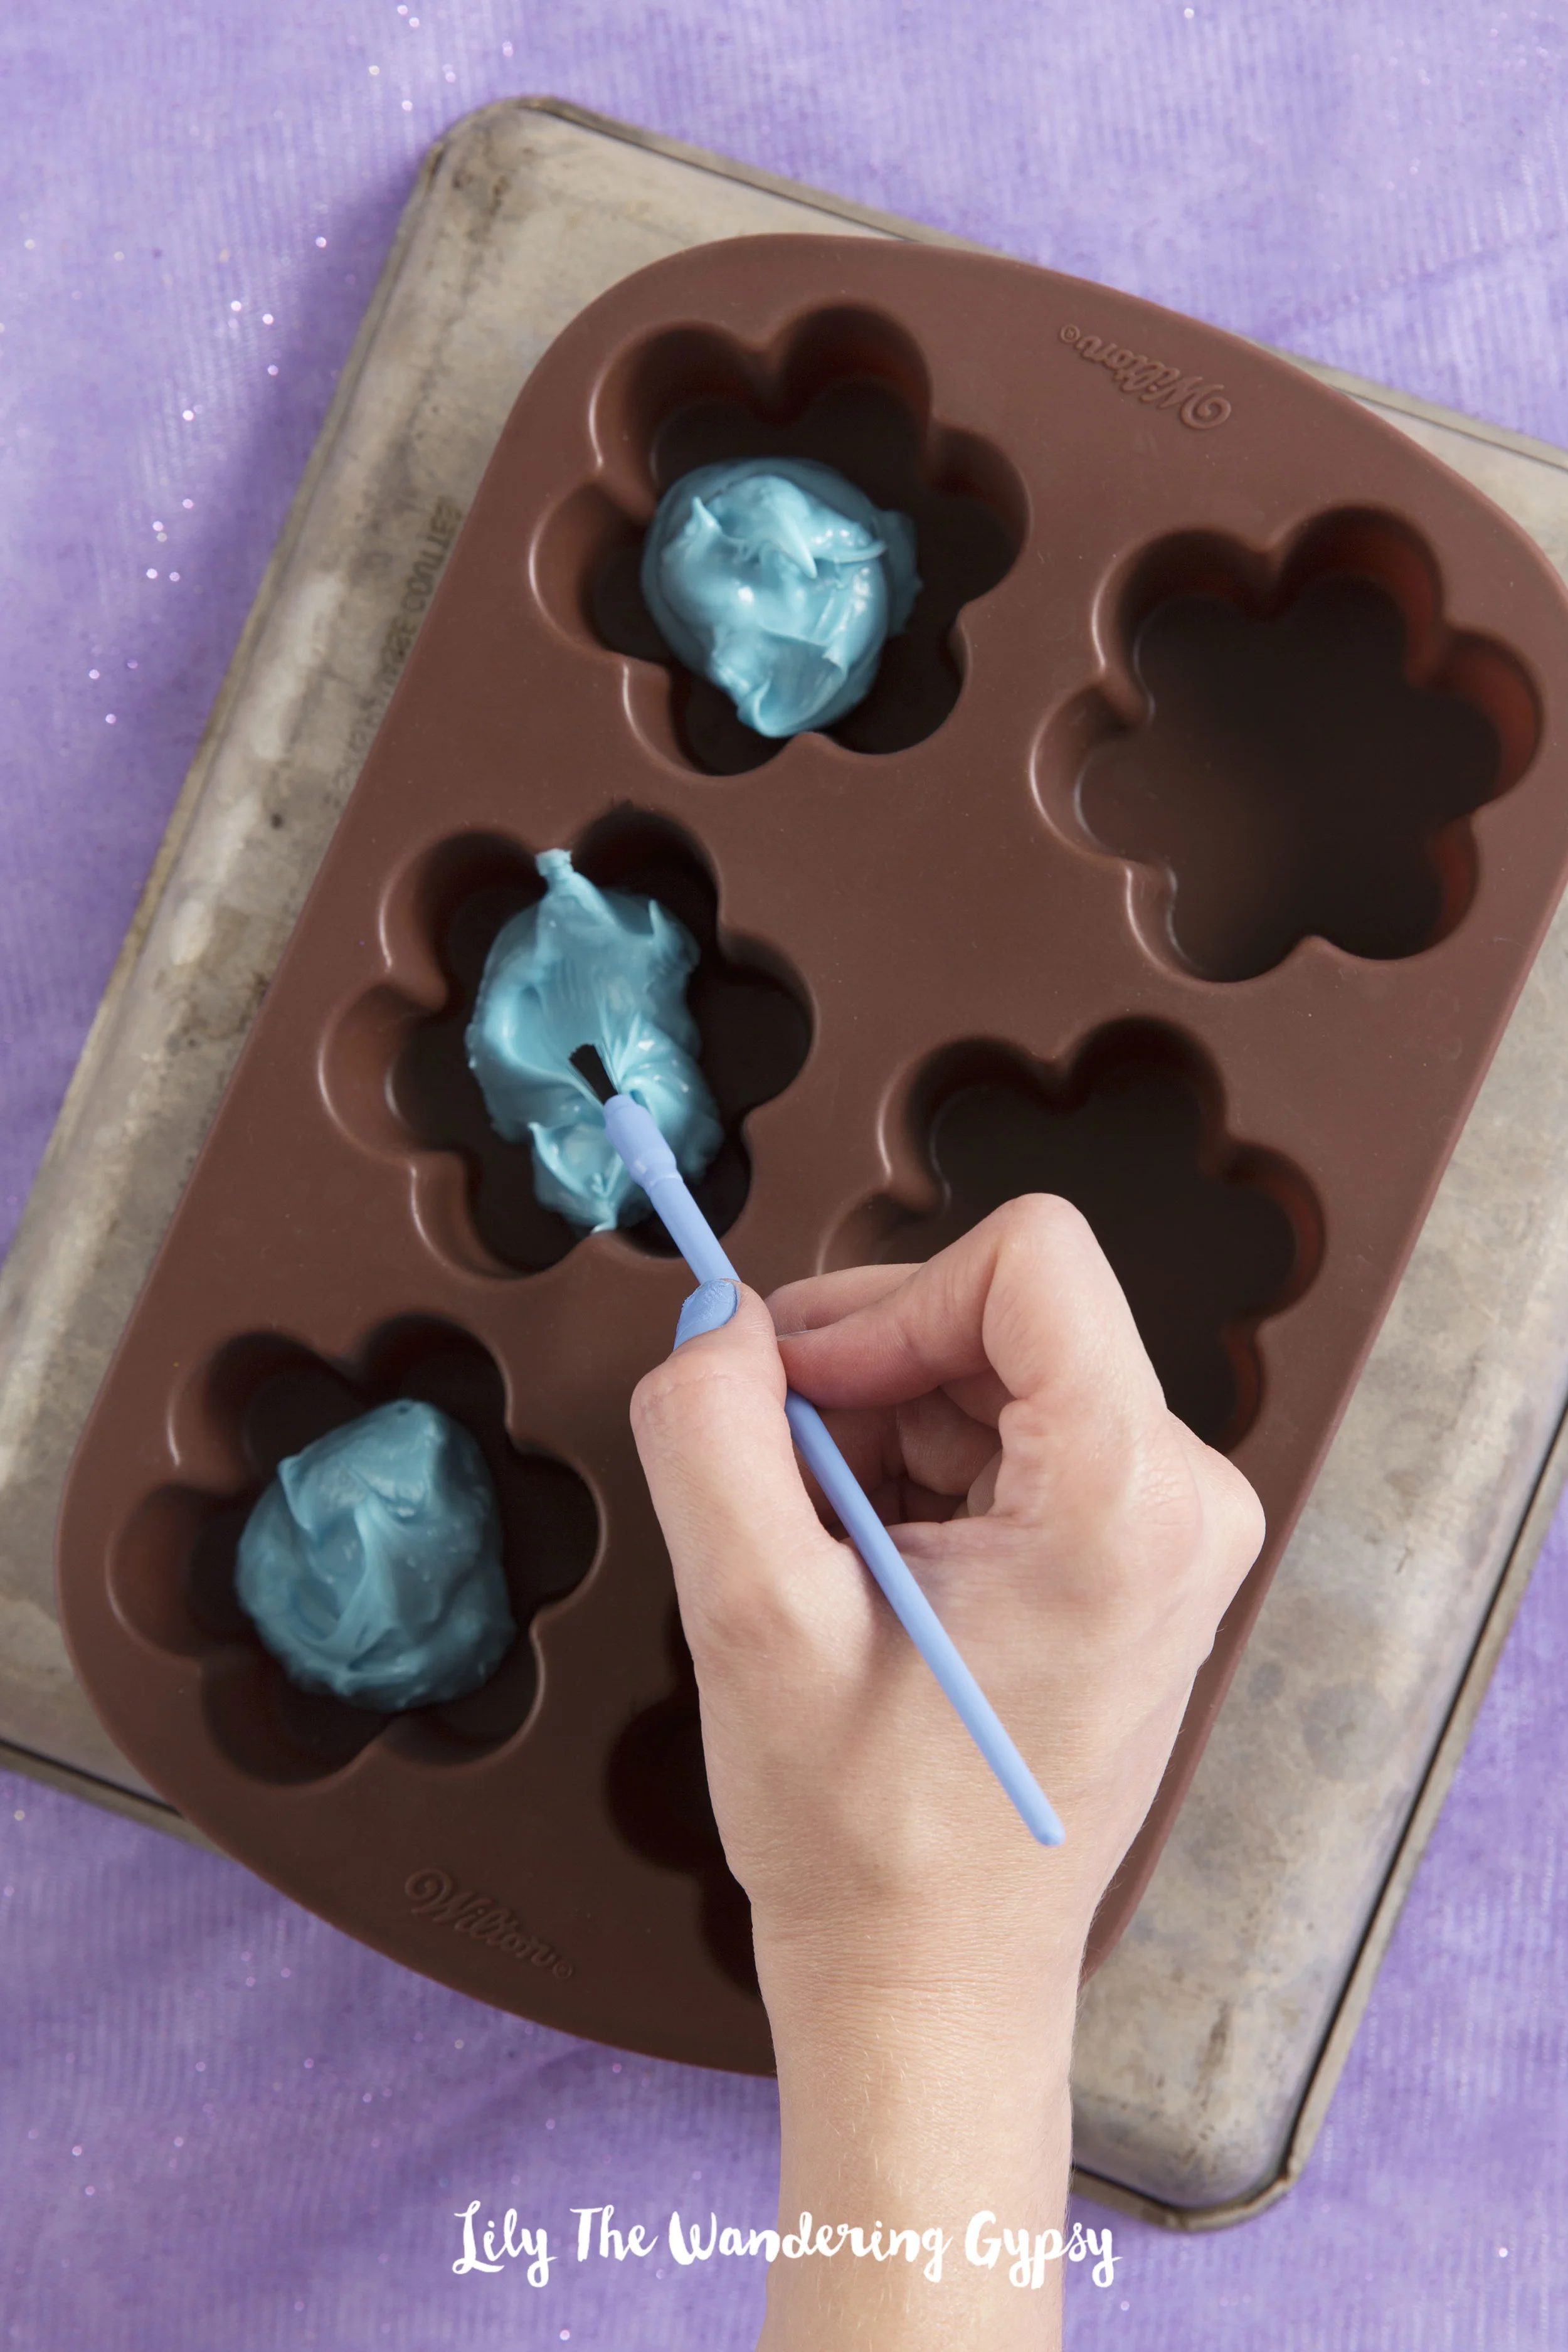
2.) Using a paintbrush to spread the candy molds was a priceless tip! The brush gives you way more control than a knife or spoon. This step took a while, but was definitely fun. I searched around just about every craft store for these brushes, and finally found them at JoAnns! I originally searched for cheap kids' paintbrushes, and found nothing. Luckily I persisted :)
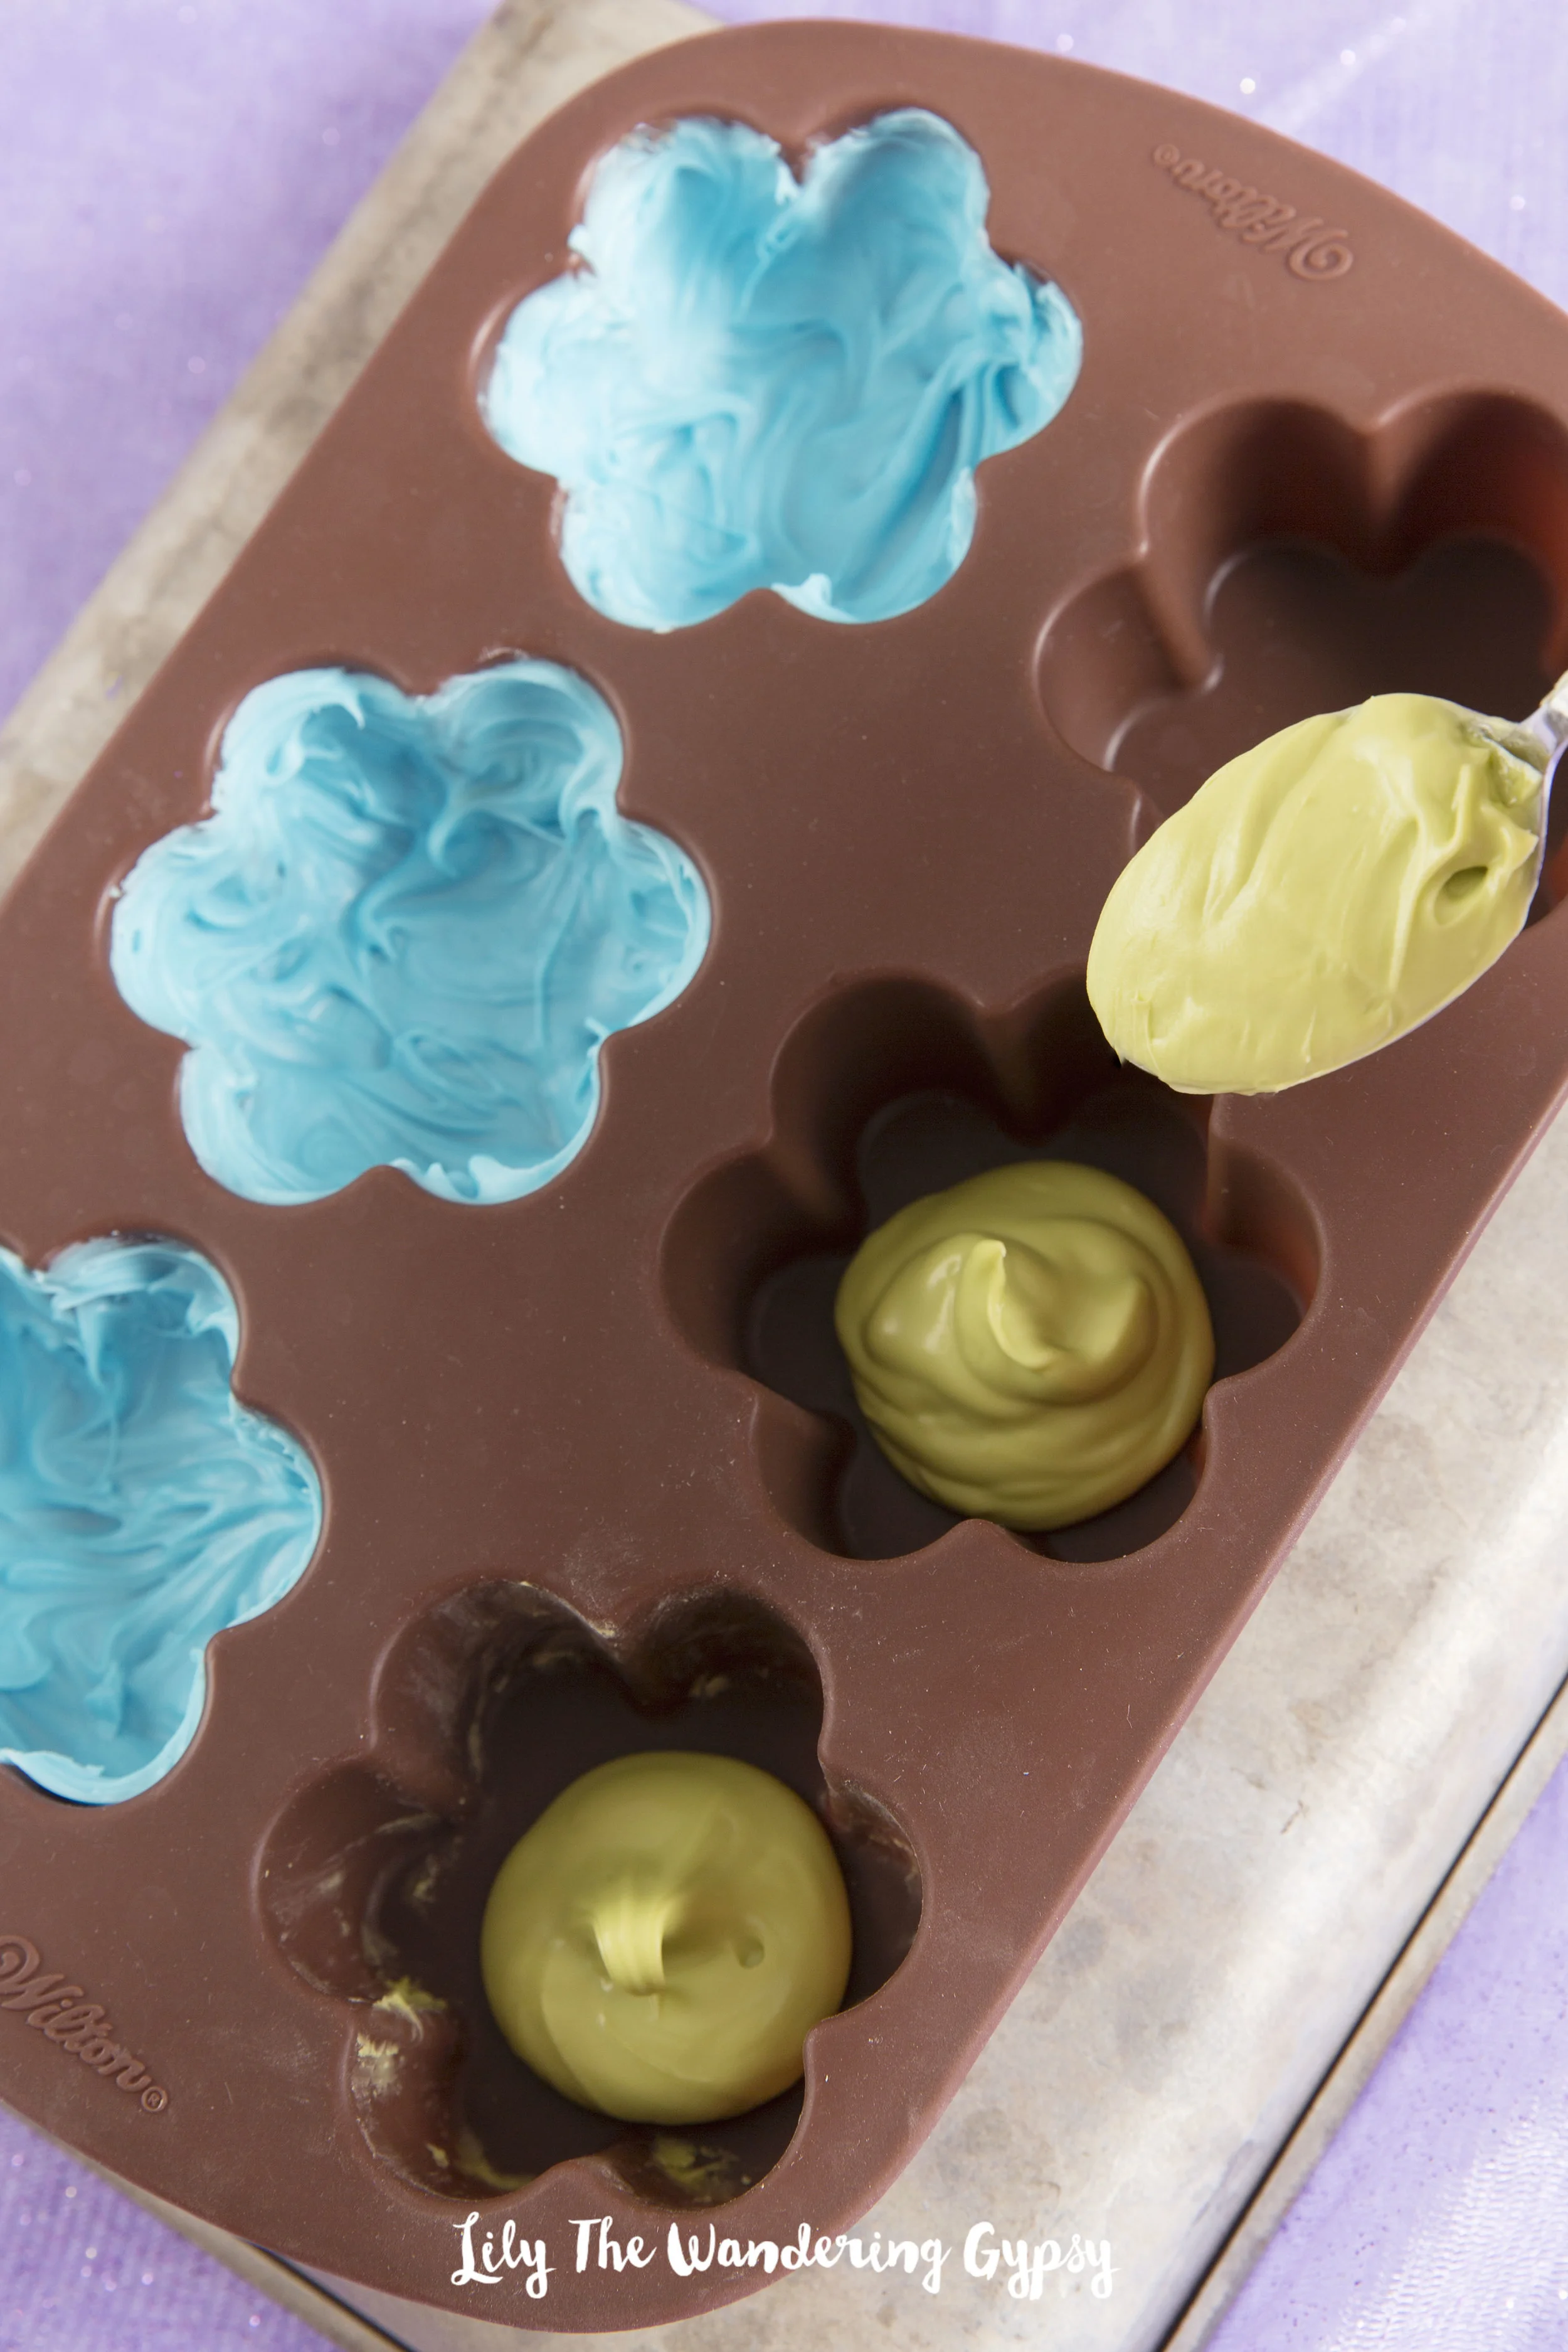
3.) See how I spread the blue candy melts into the molds with a paintbrush, and am about to spread the green candies next. I added about double this amount (that you see in green) to fill the mold at first. After you fill the molds, pop the candies into the freezer for about 5 minutes.
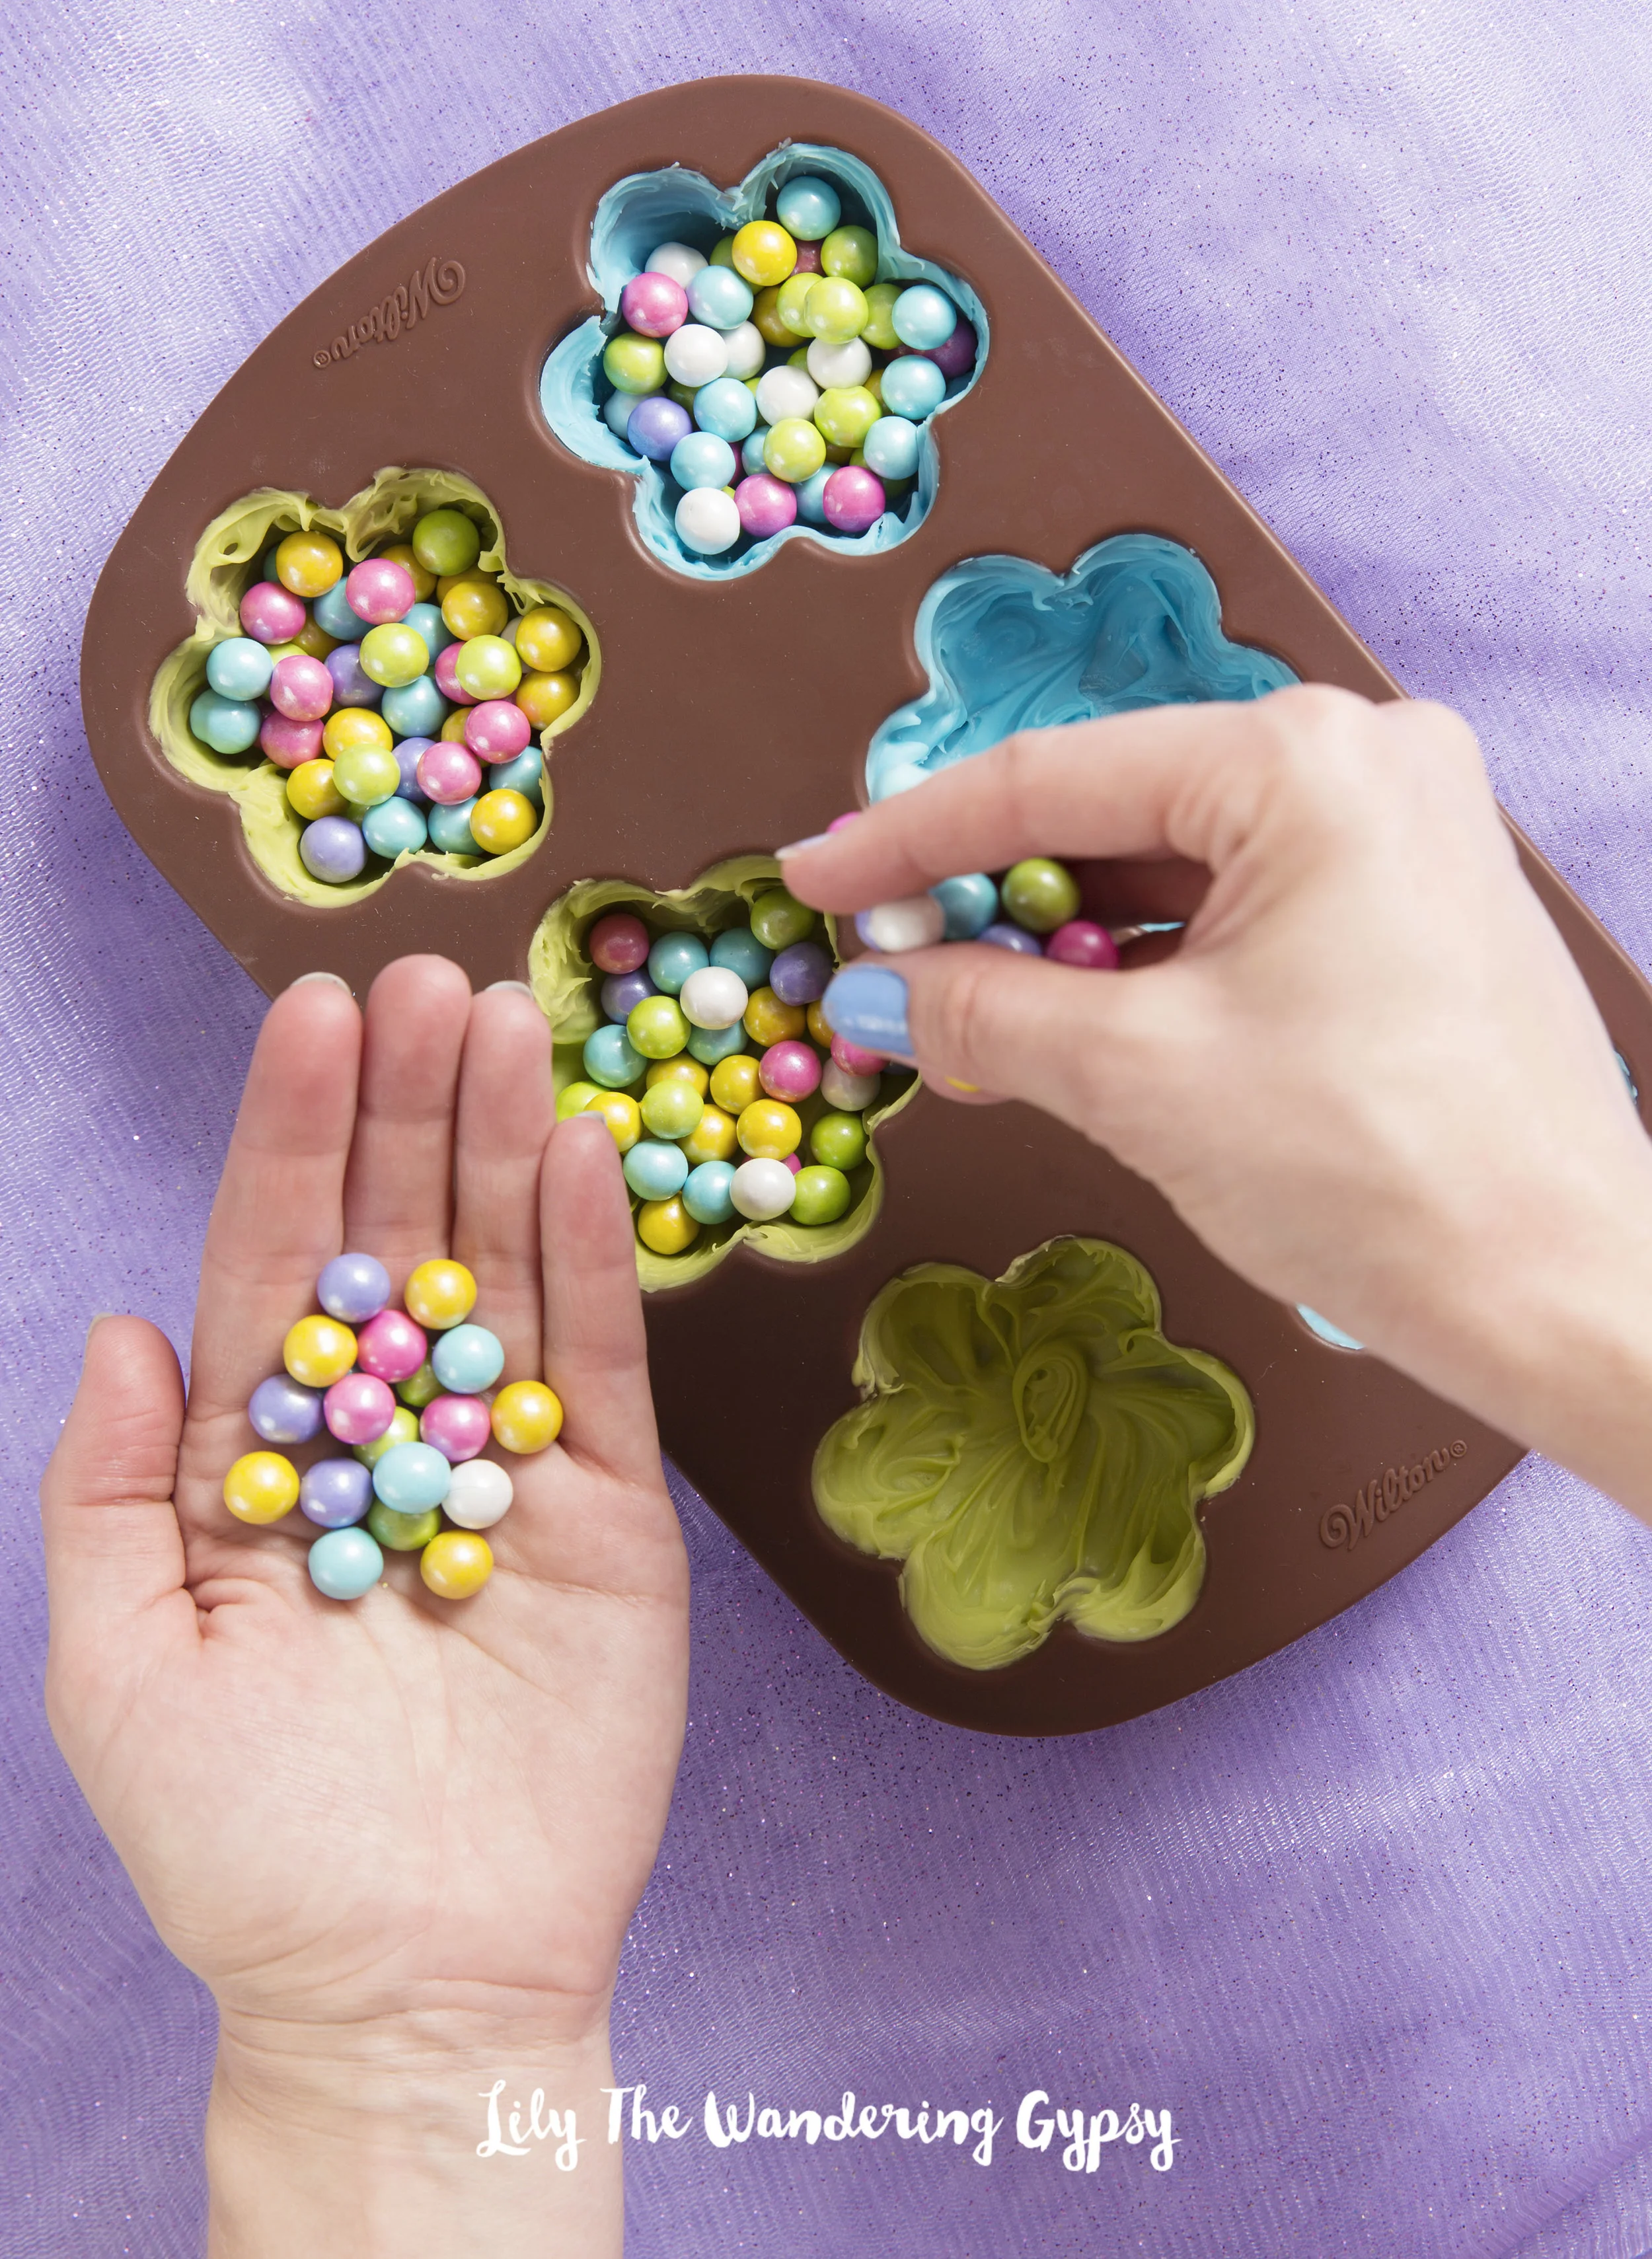
4.) Now, fill the candy shells with Candies, almost to the very top.
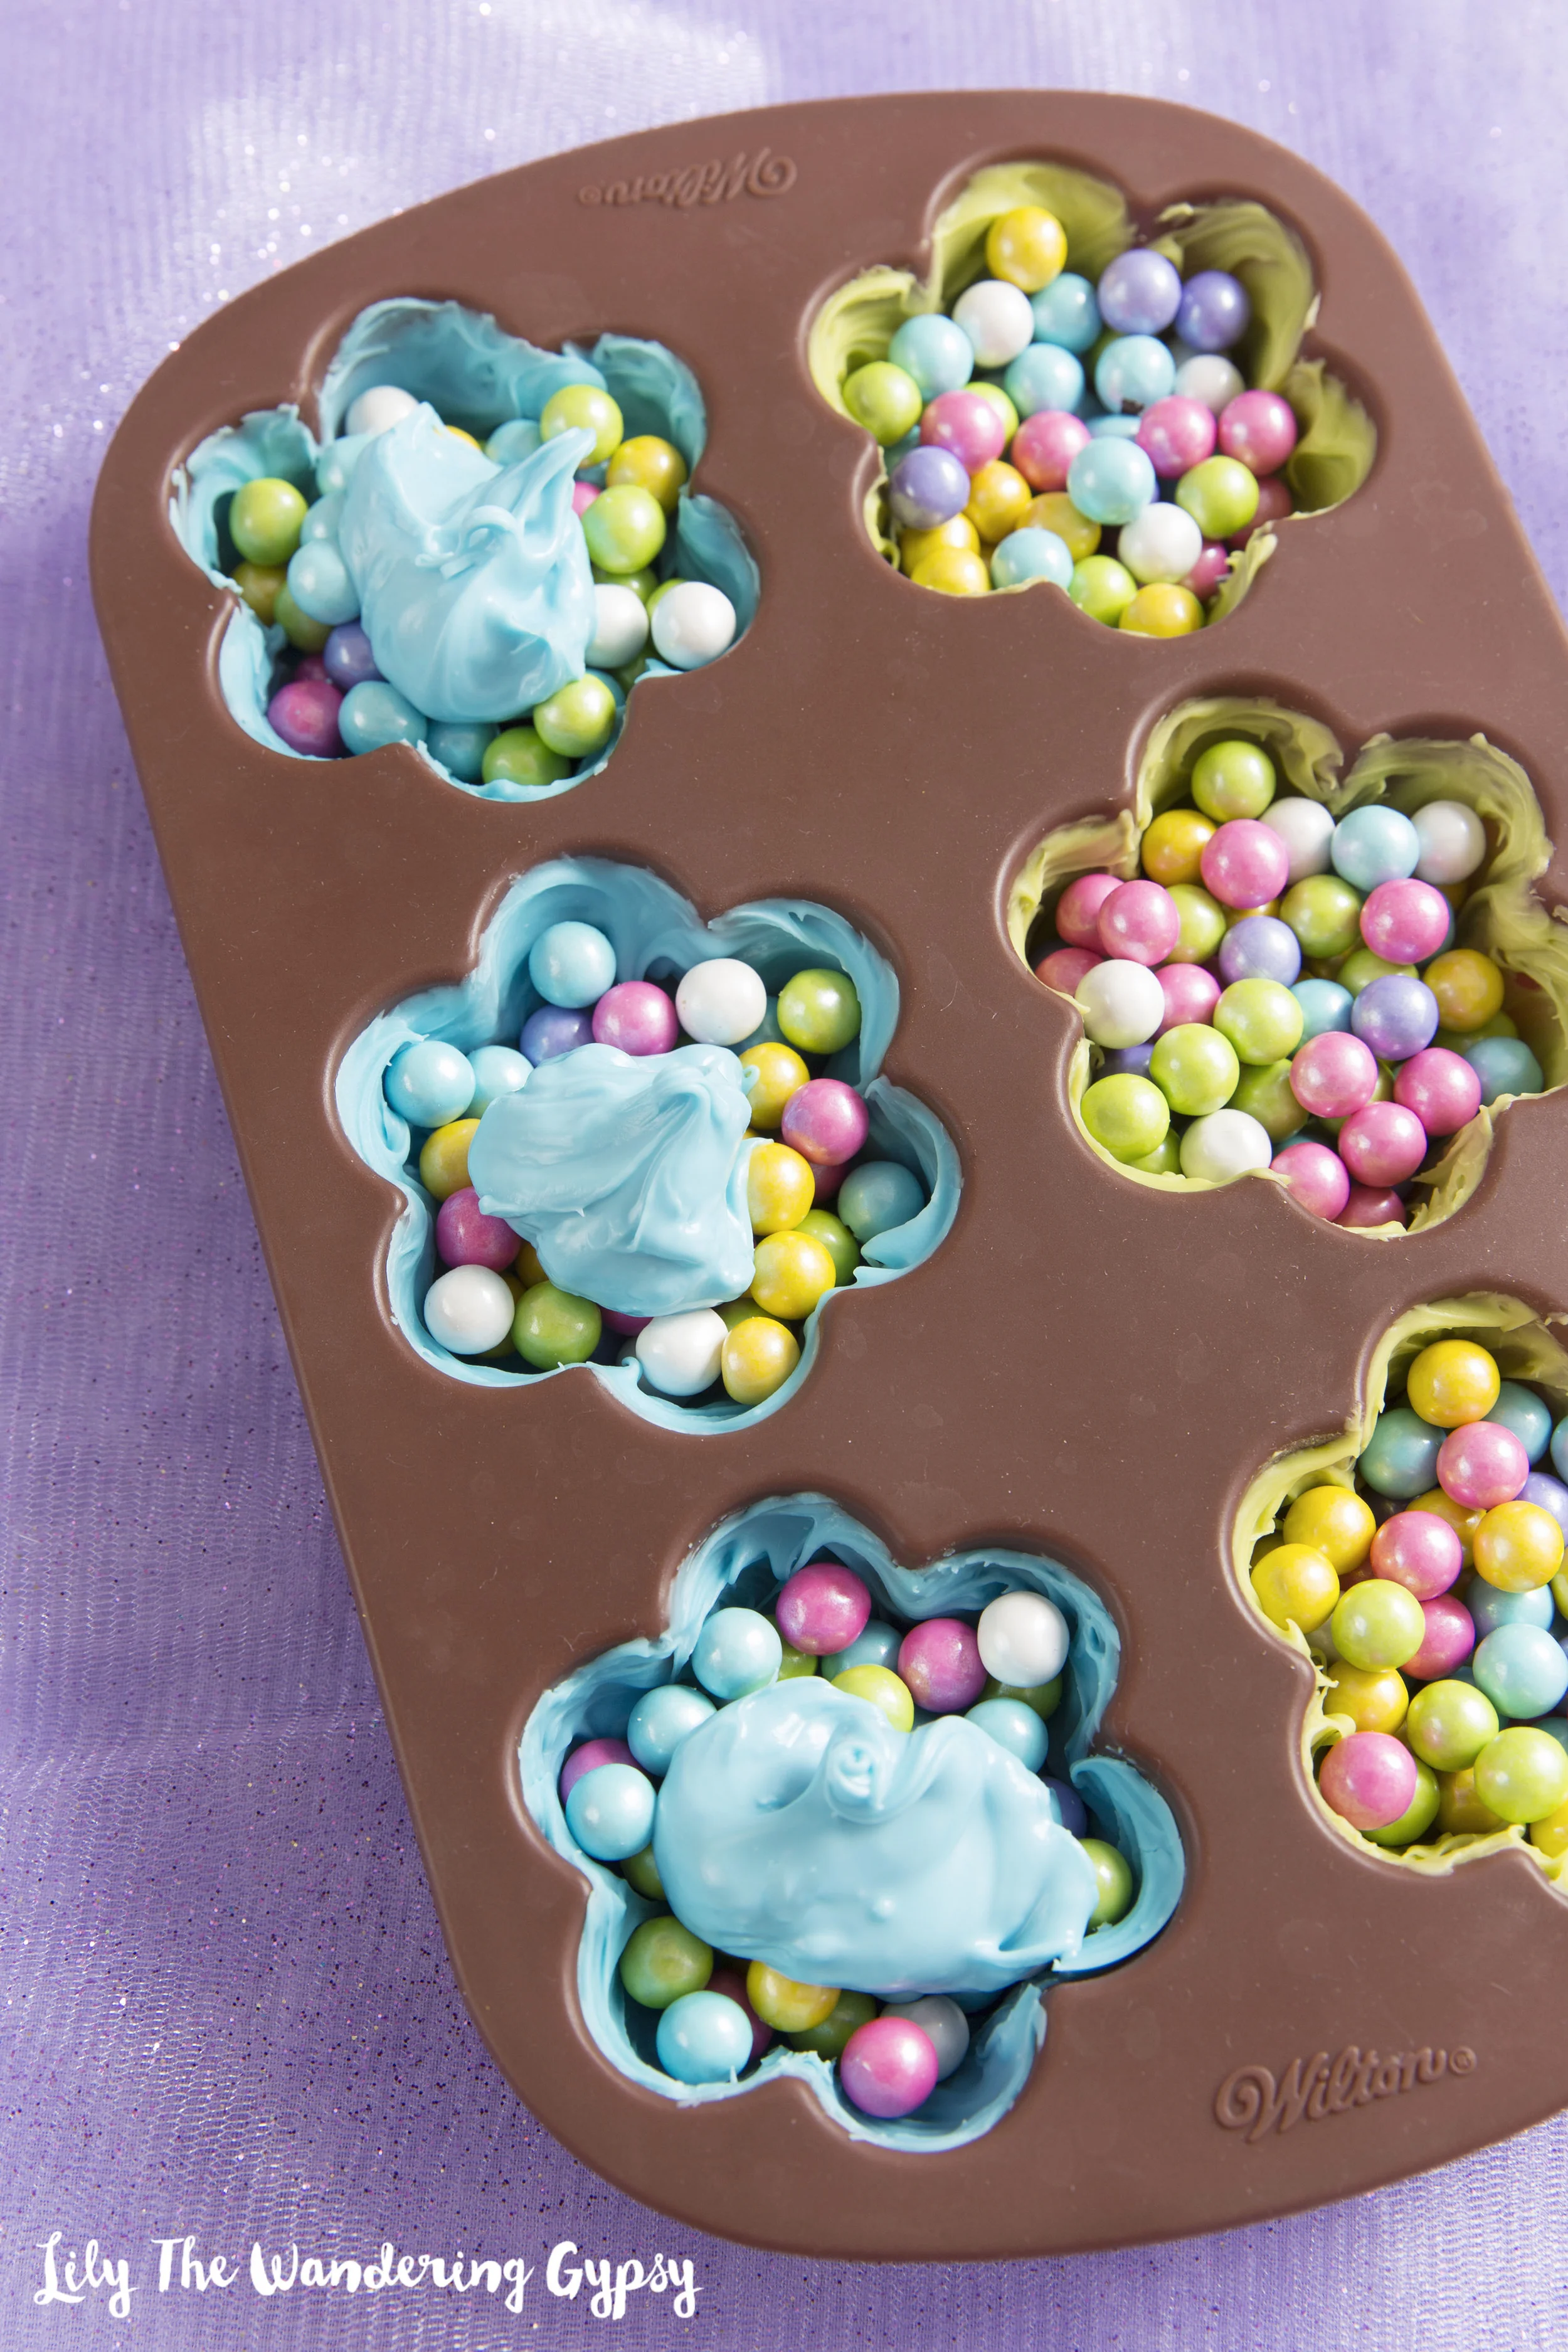
5.) Add a dollop of candy melts on top of your fillers candies, and use the paintbrush to smooth the dollop out, and to create a seal, so the candies stay inside the melts. Throw them back into the freezer, and wait about 30 minutes (or longer), so that everything hardens and seals.
These are so cute!!!
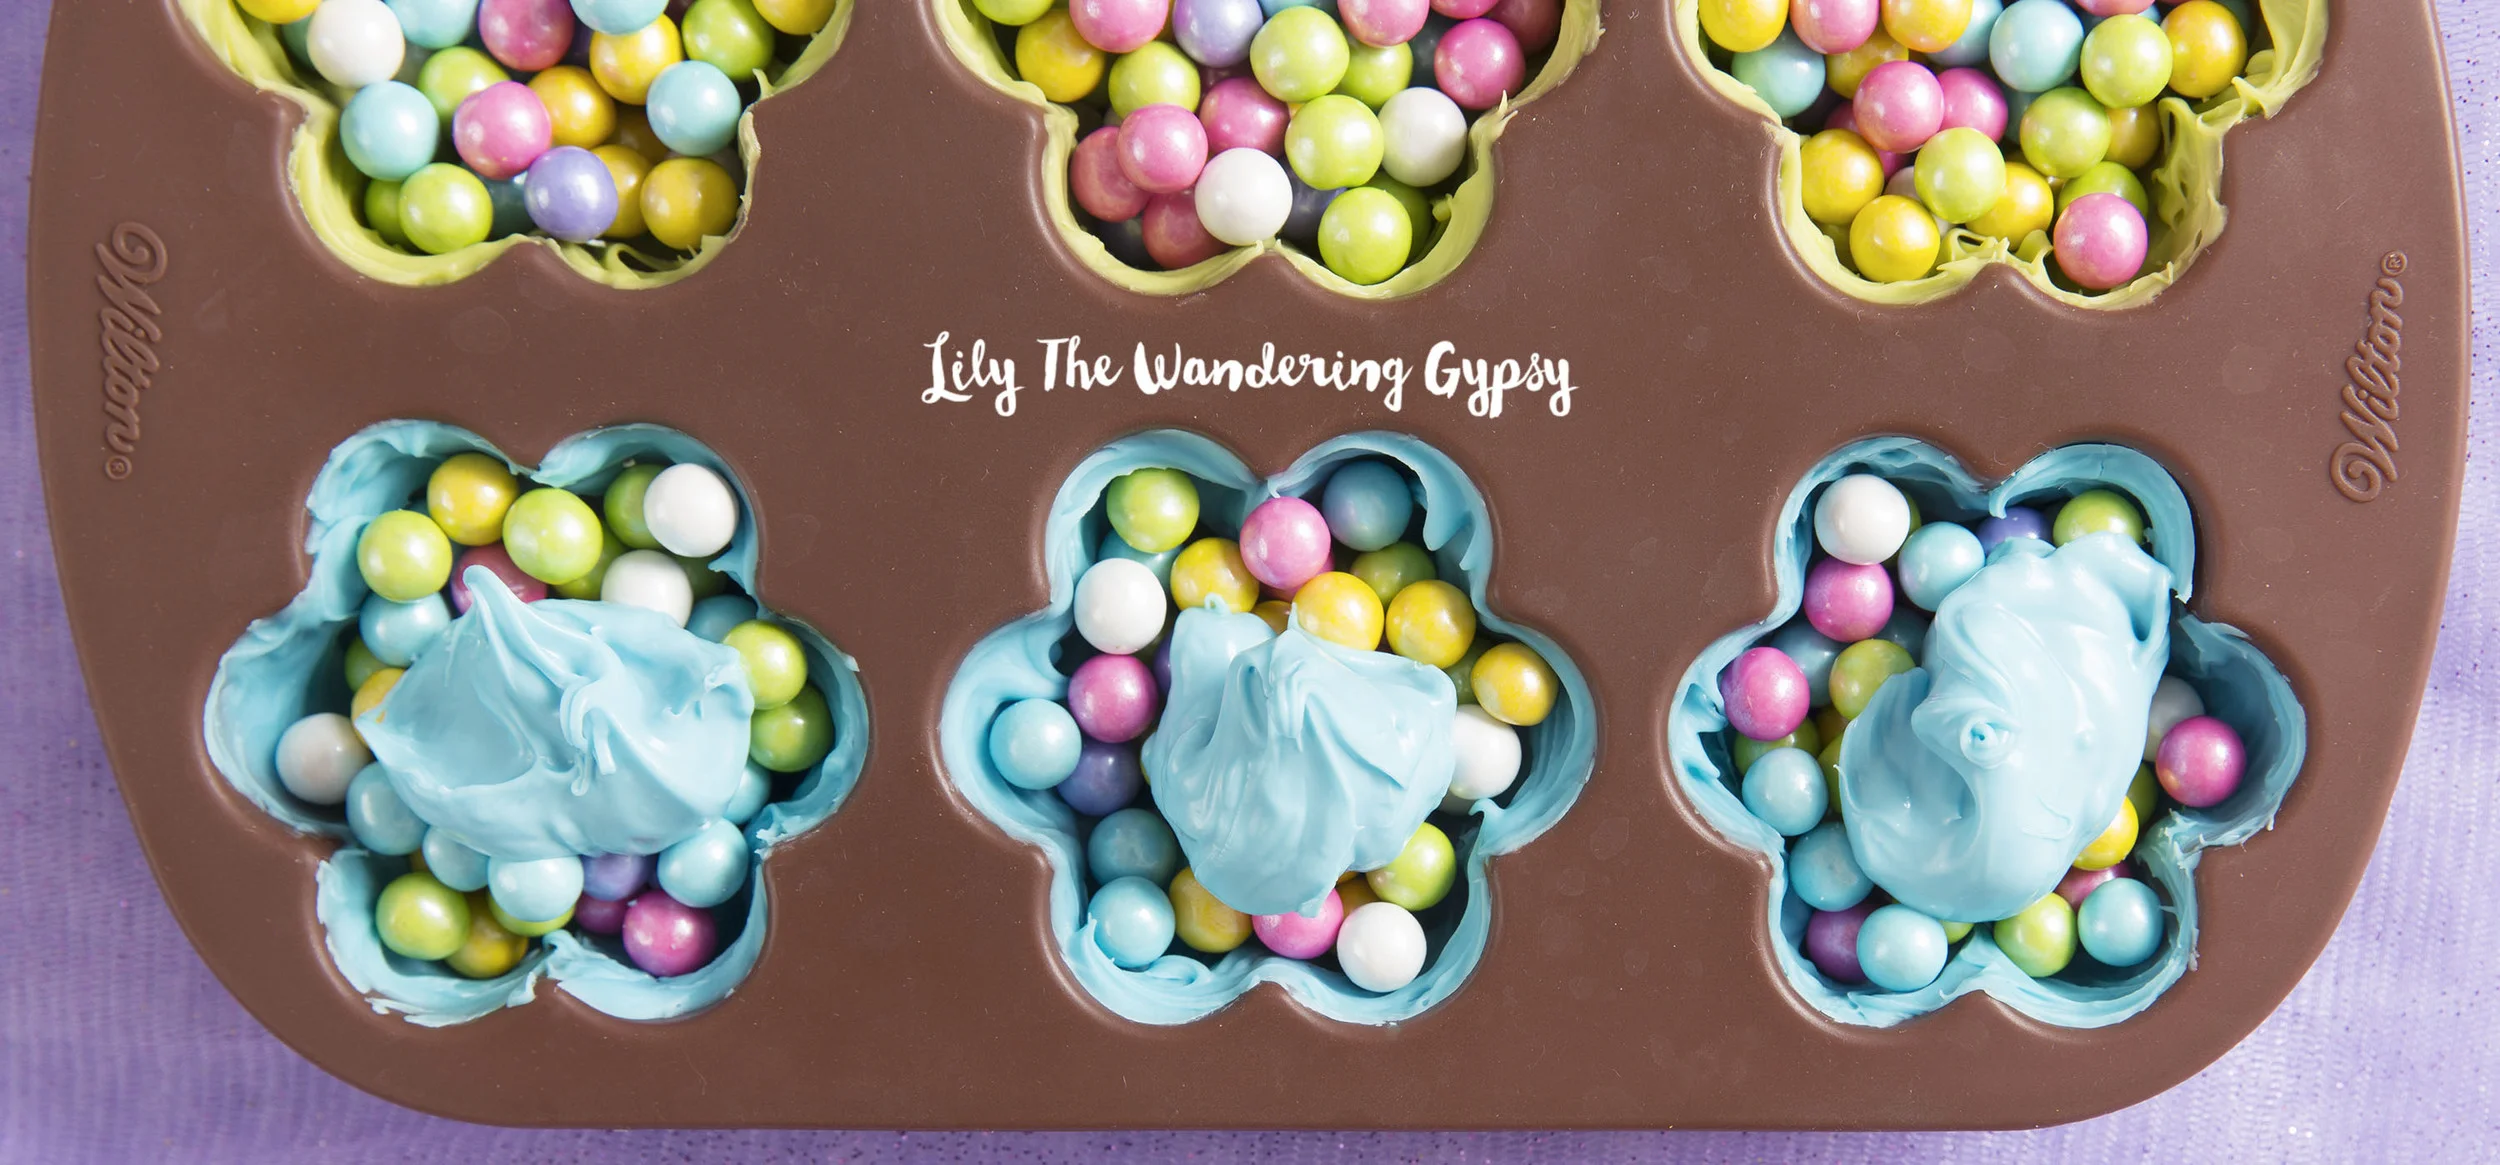
6.) Here is what it looked like after I smoothed the last part of the candy melts over the molds, to close in the Sixlets. Use your brush to make a pretty swirl pattern on the candies if you wish.

7.) Here is what your (almost finished) candies will look like after being in the freezer overnight. You don't have to leave them in this long (2 hours will do), but after all the work I did on this project, I was more than happy to leave these babies in the freezer overnight, and enjoy them the next day :)
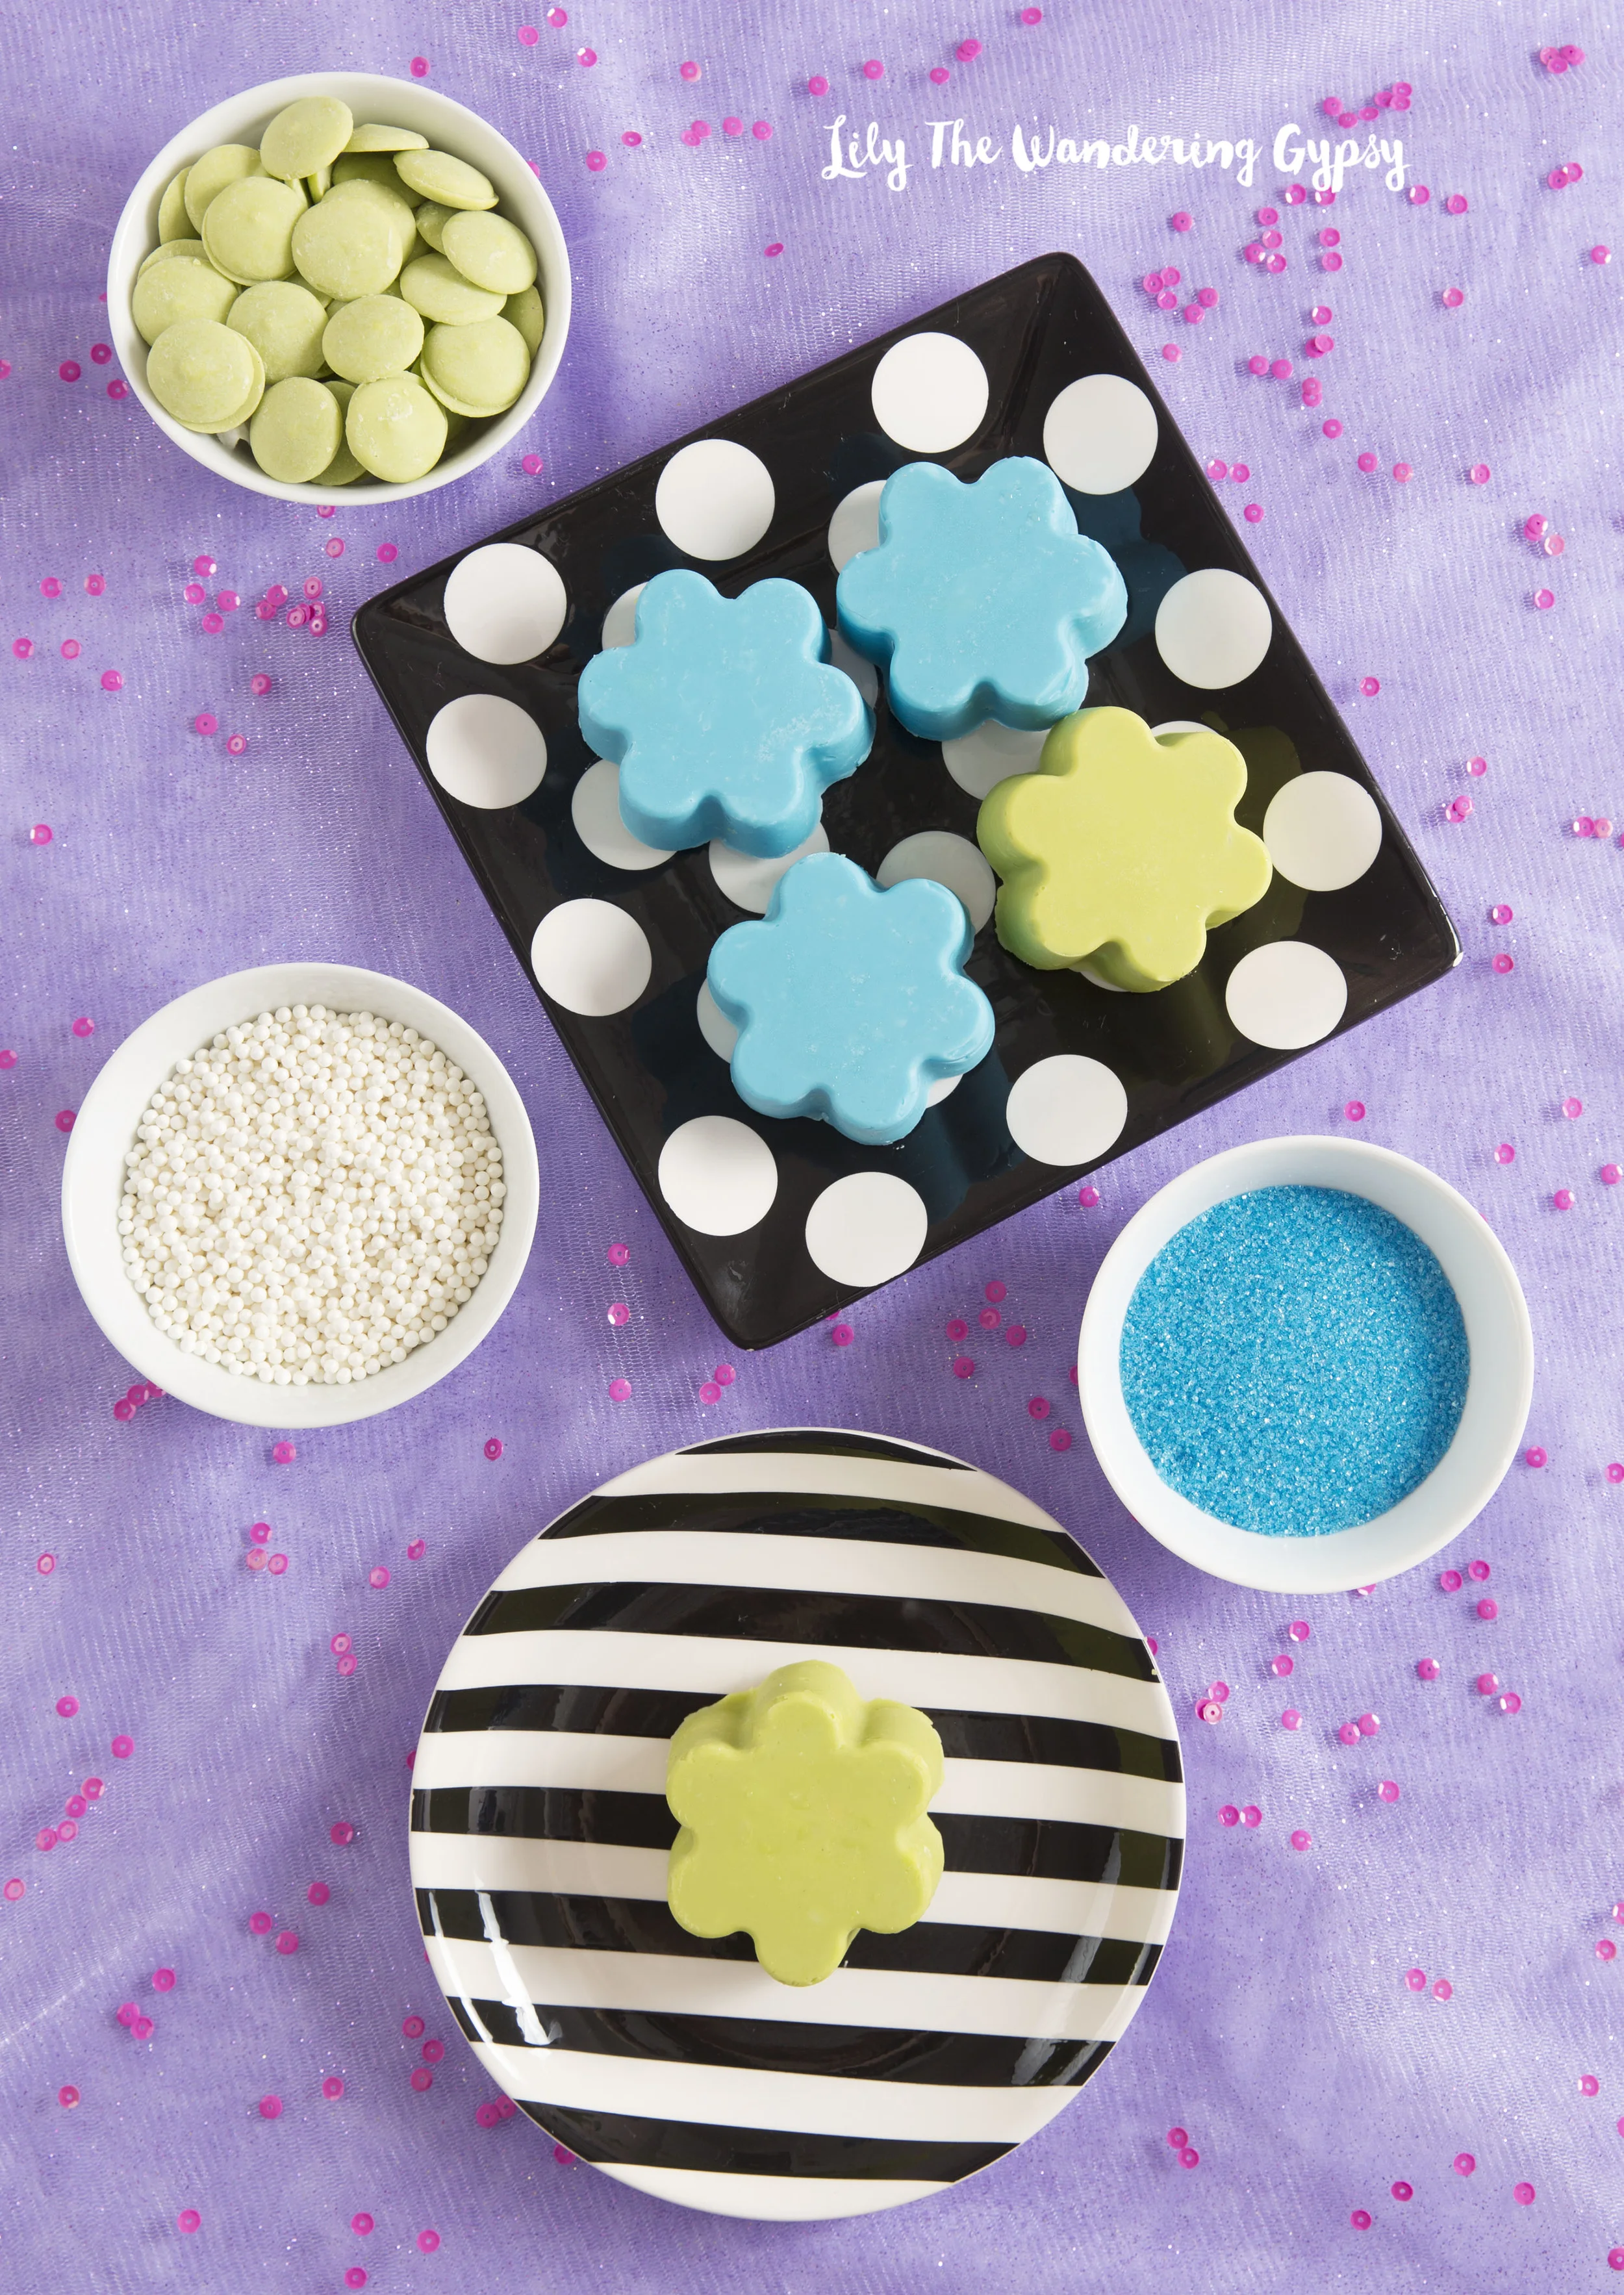
8.) Using a pair of rubber or cotton gloves, carefully peel the mold away from your Blooming Candies. The gloves help prevent finger prints all over your candies. Aren't they adorable? The next photo shows how you open them...

Now you can reveal your surprise candy inside! Just use a sharp kitchen knife, and (very carefully), cut into the candy as if you are cutting a slice of cake.

