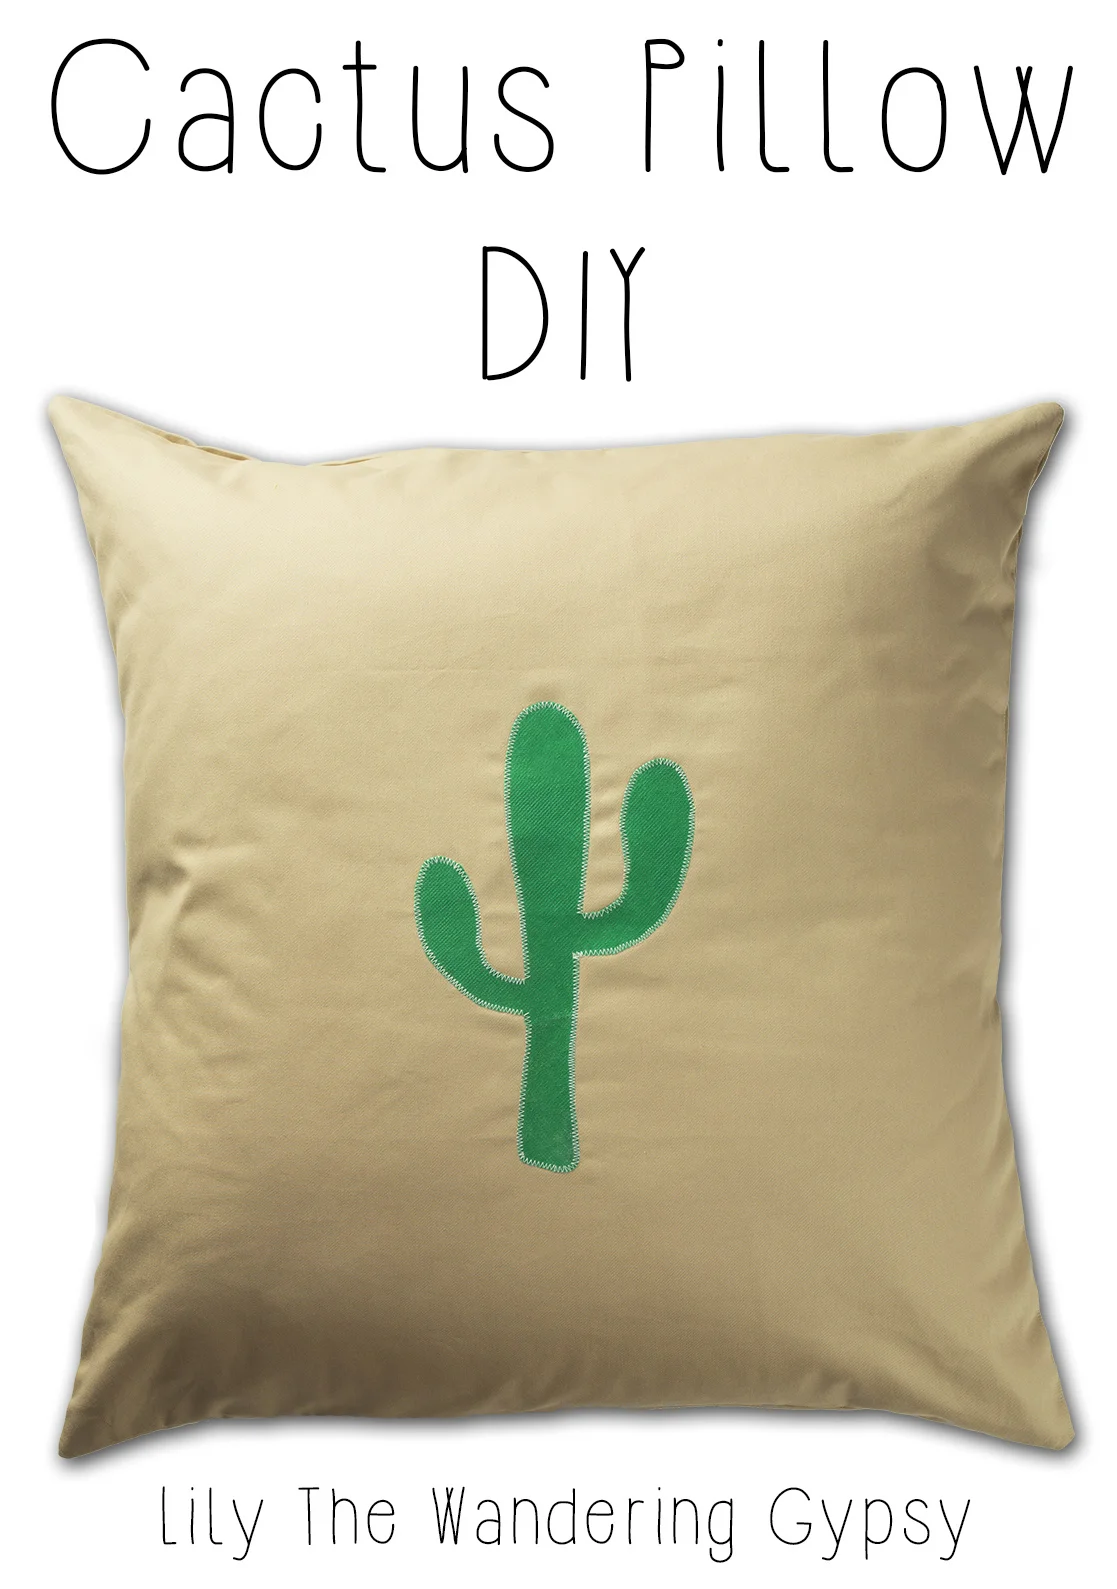
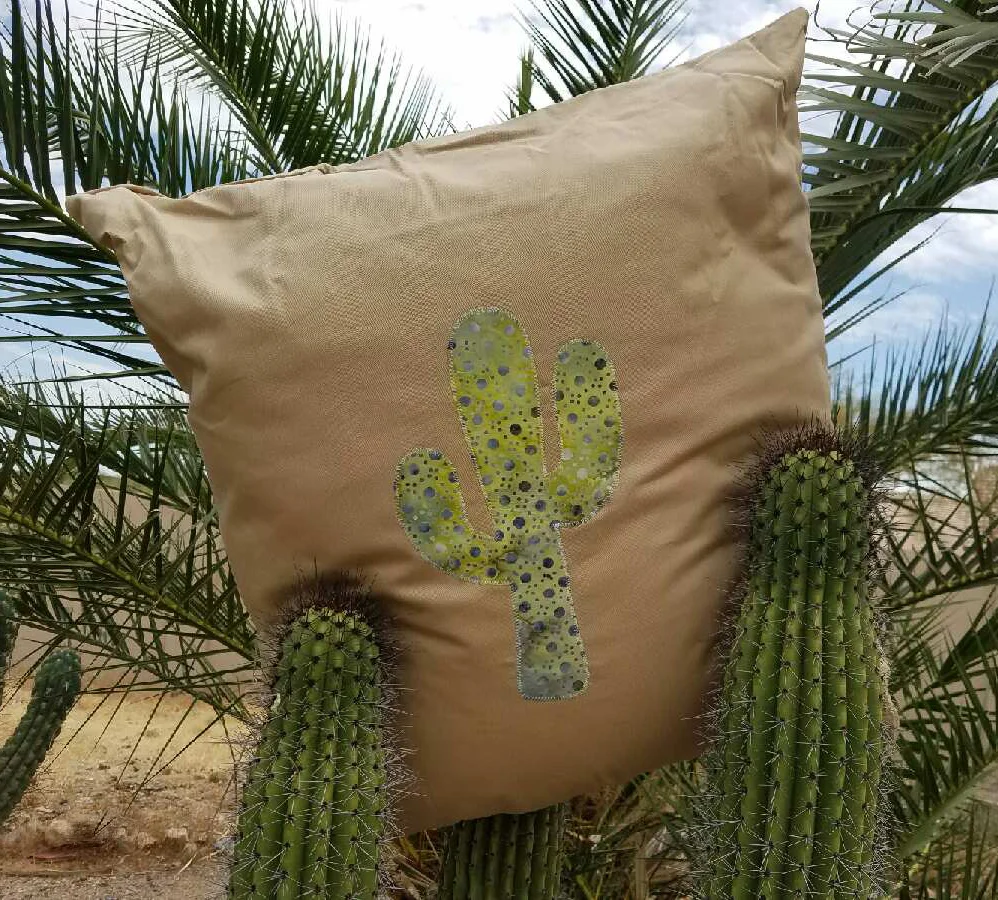
This is an amazingly awesome DIY project! Perfect to make for yourself, or to give to someone else. In this tutorial, I used a pillow form from an existing pillow (which was cheaper than buying a pillow insert by itself! I got a pillow that was on super sale at Hobby Lobby - I thought that was pretty great!
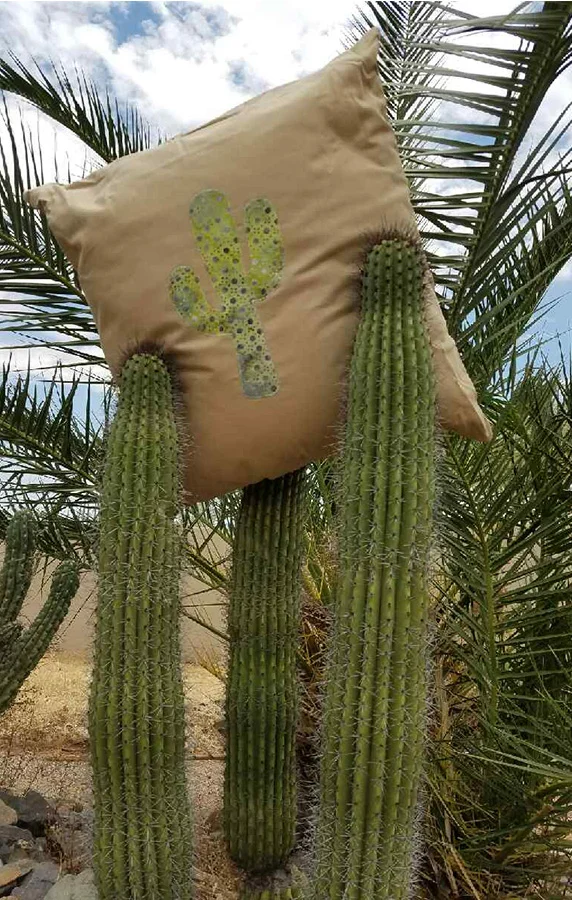
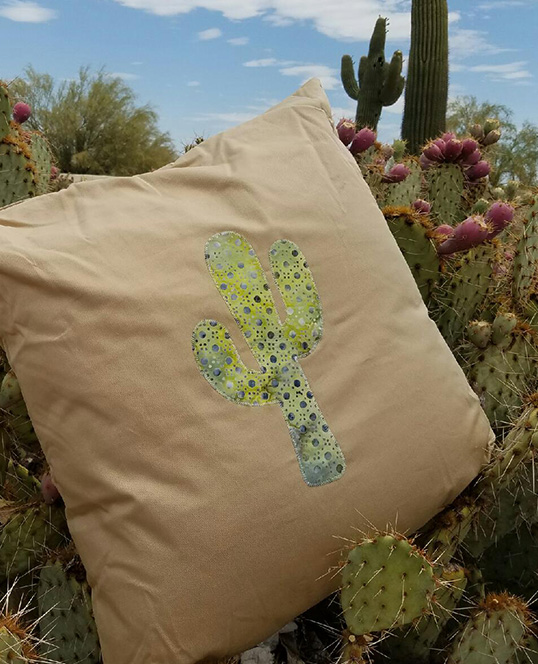
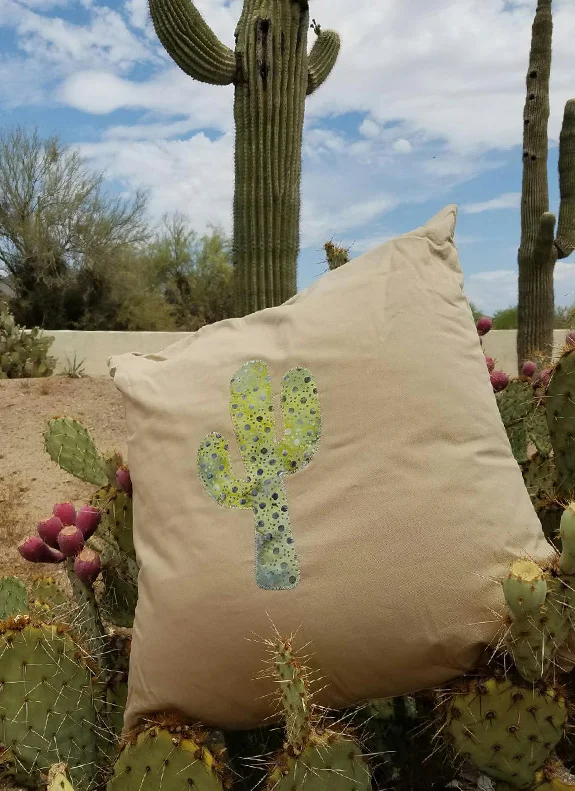
My Step Mom was kind enough to take photos of a similar pillow, that I sent to my dad for Father's Day
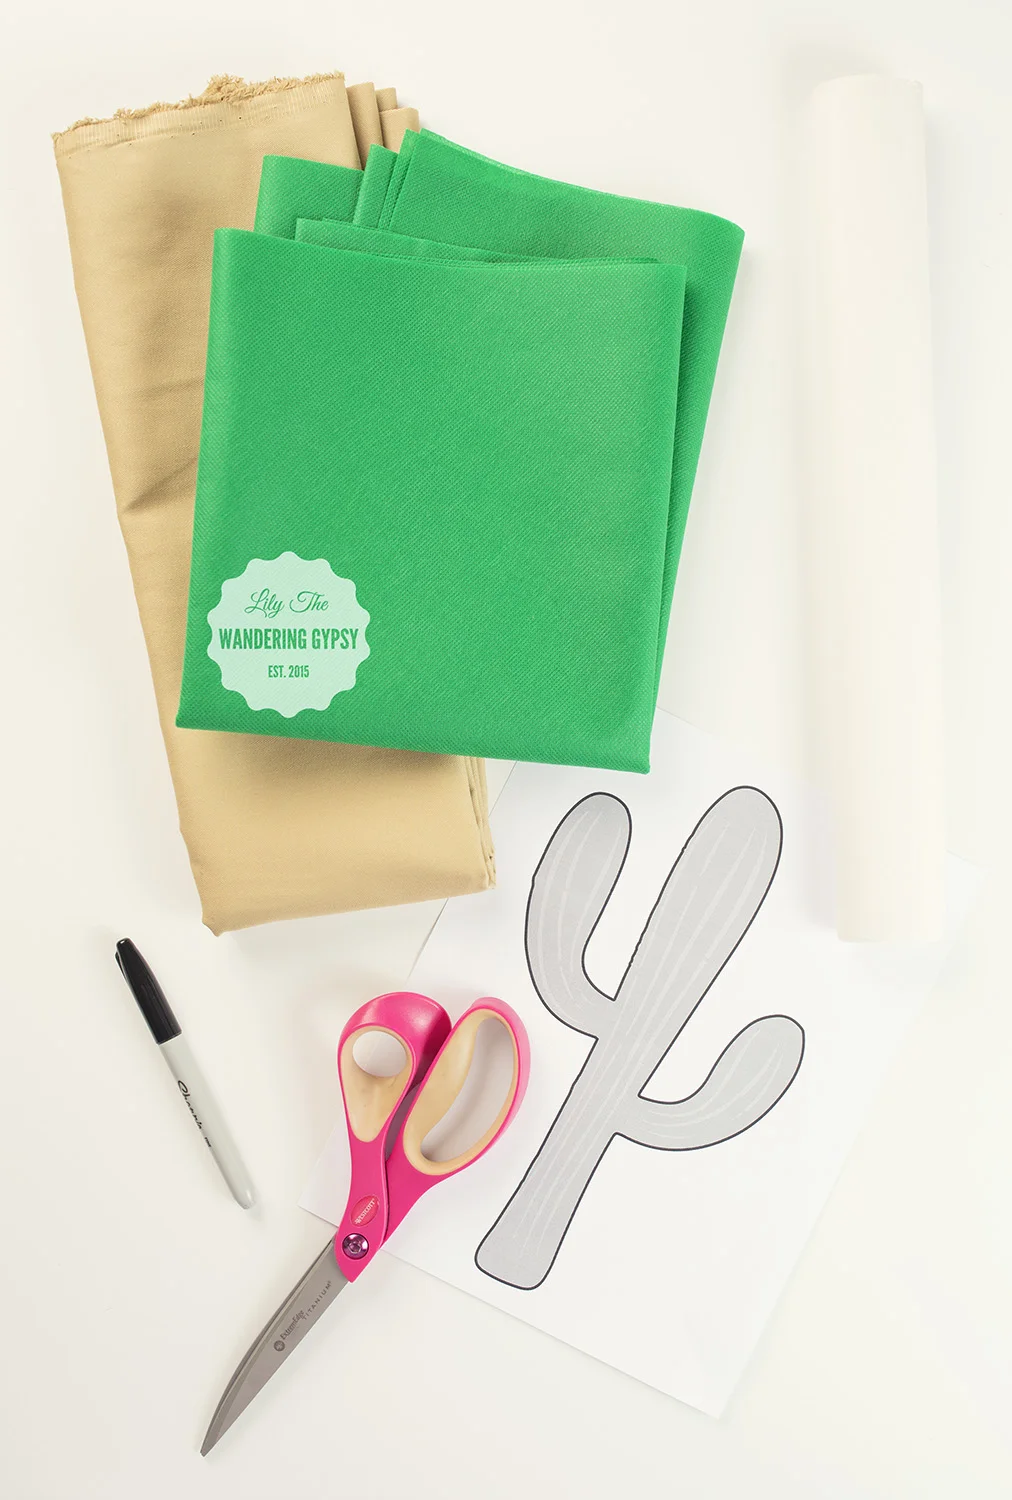
MATERIALS NEEDED:
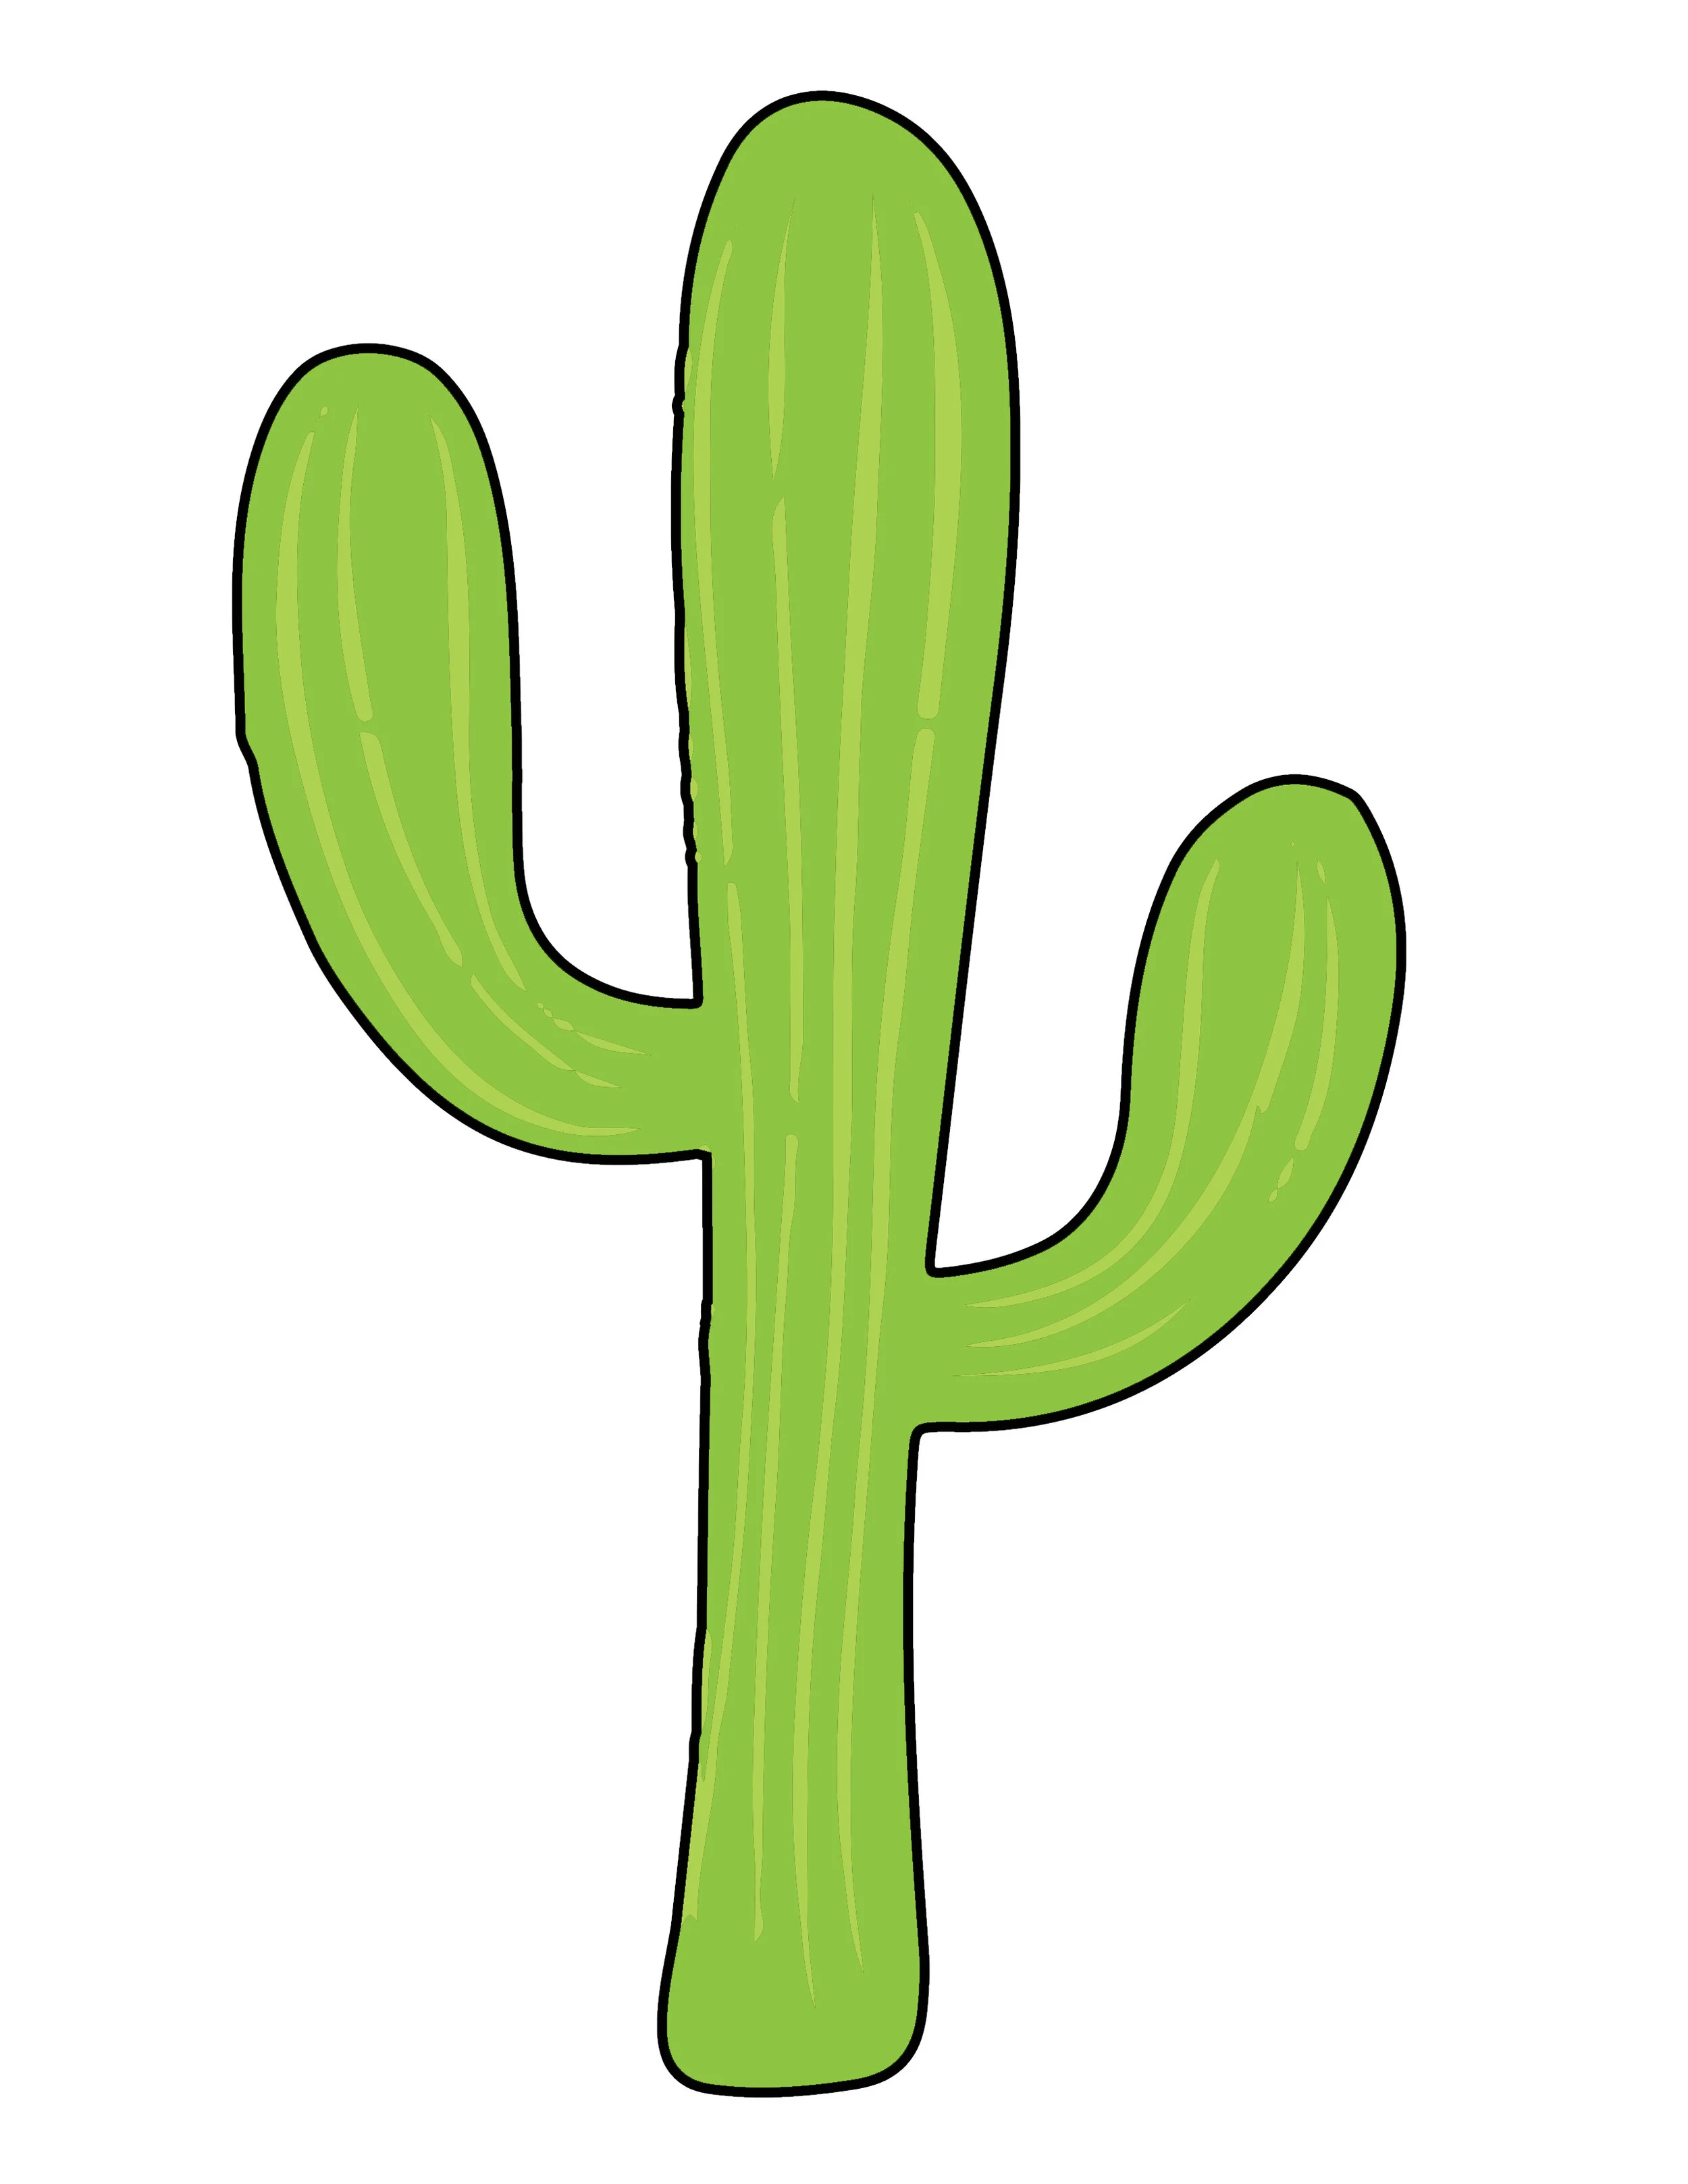
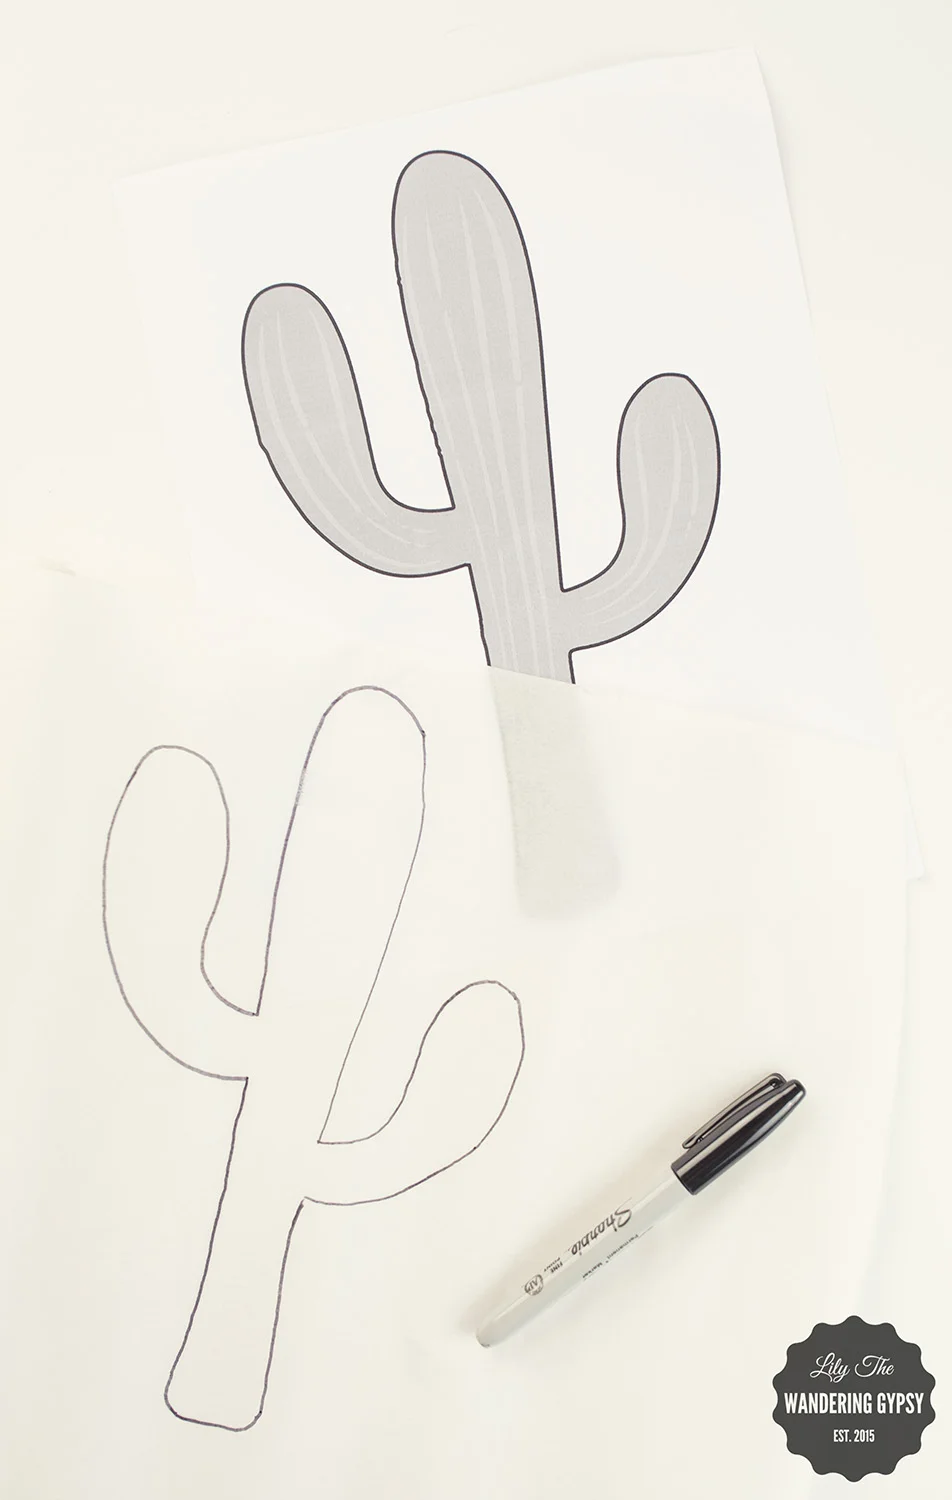
Right click this image to save it, then print at 100%.
- Pillow Form
- Solid Tan Canvas (or similar) material That will cover your pillow 1.5 times (I will explain below)
- Green Cotton Fabric (for cactus) - Note - Only 100% Cotton Material works, because you will be ironing it.
- Fusible Webbing (the only kind I would EVER suggest would be Heat N Bond Lite Iron-On Adhesive. It's hard to see, but it's the paper-like material in the top right of the image, right.
- Iron + Ironong Board
- Sewing Machine, Thread, Scissors
- Printed out image of cactus, right.
INSTRUCTIONS:
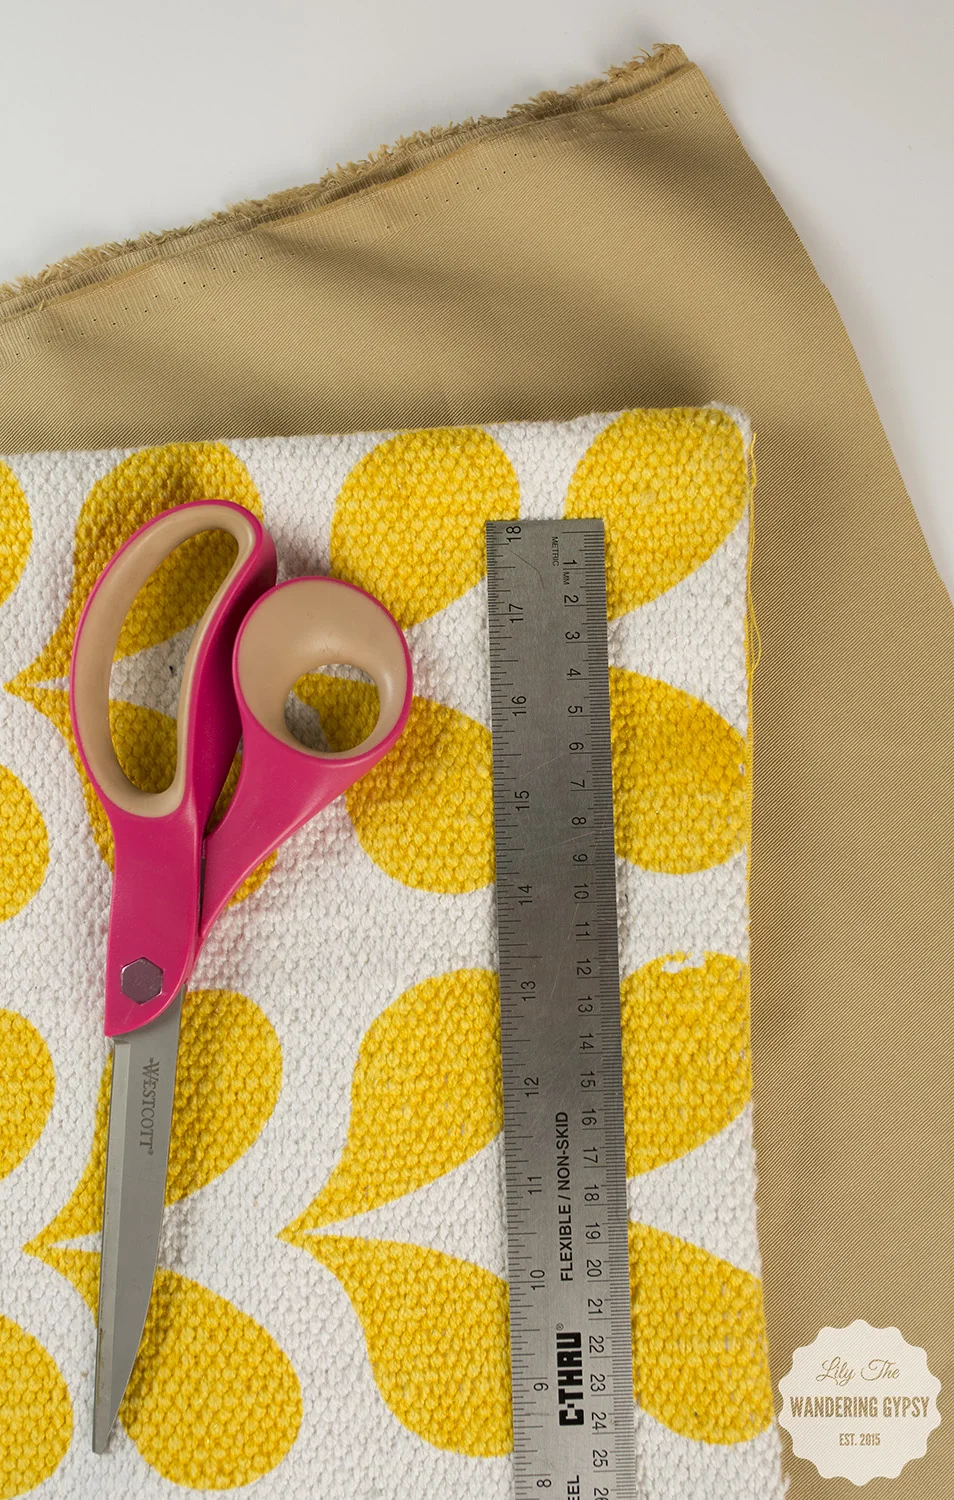
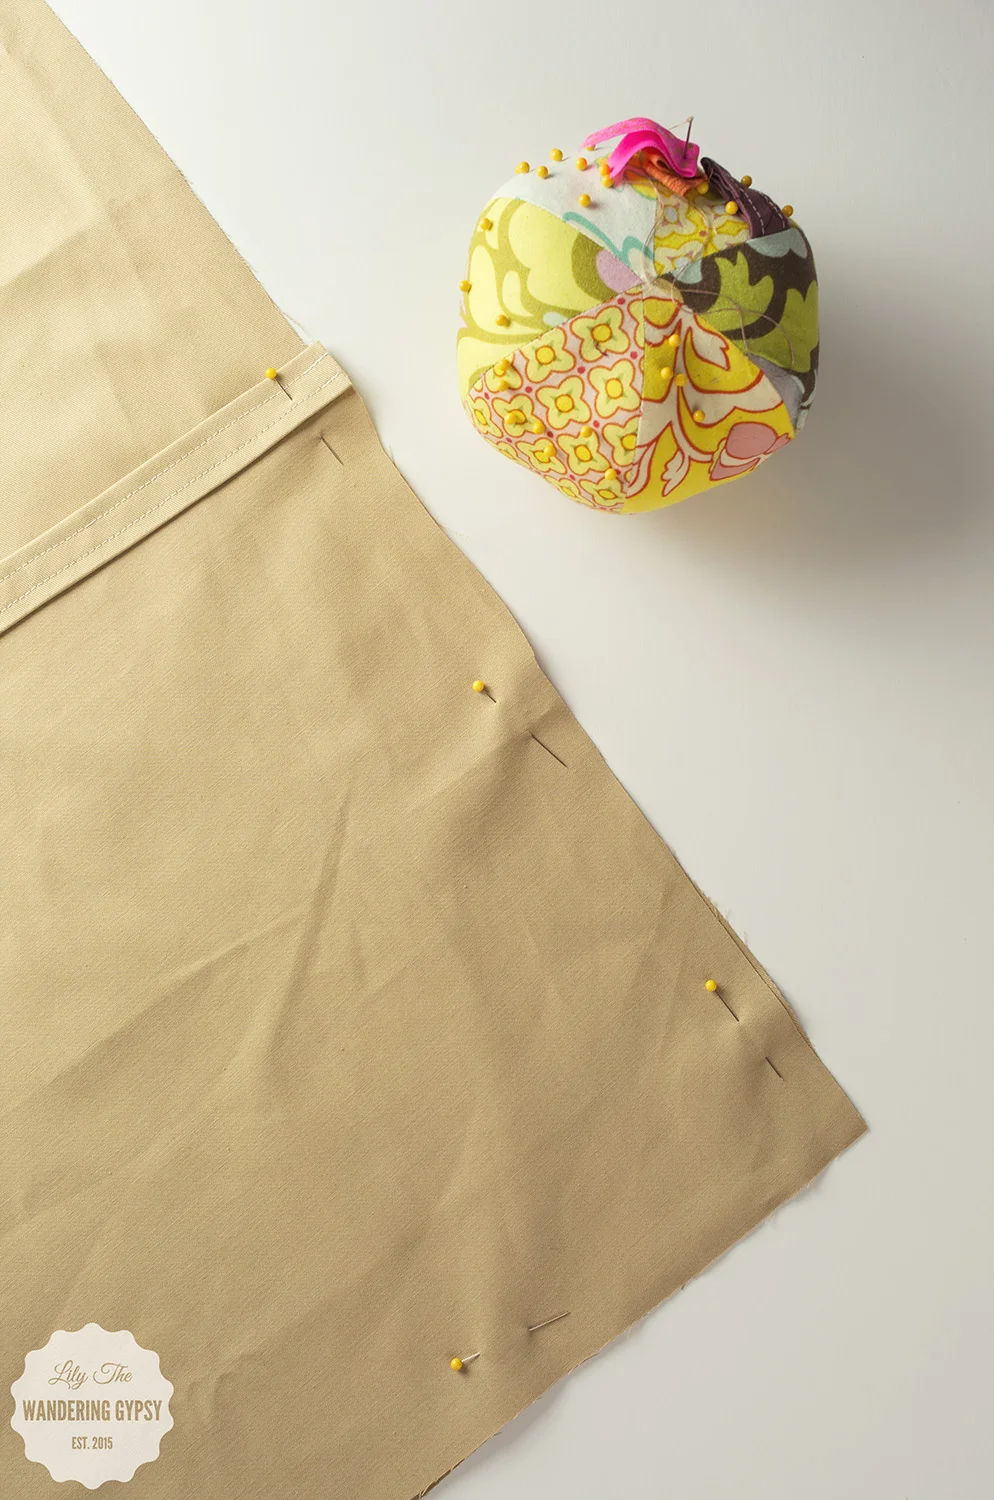
1.) Iron canvas material if needed. Remove pillow case from pillow form, and lay it down onto the canvas fabric. Cut one piece the exact same shape as the pillow case - this will be the front of your pillow. Alternately, measure your pillow form, and use those measurements instead.
- Next, to cut the back part of the pillow, you need two pieces to create the envelope flaps.
- Using the same width as the front piece, cut a second piece of fabric about 1.5 times the length of the front piece. For instance - if my front piece measured 10" x 10", my second fabric piece would measure 10" x 15".
- Cut the long piece into two pieces, a bit off center, so one piece is longer then the other by a few inches.
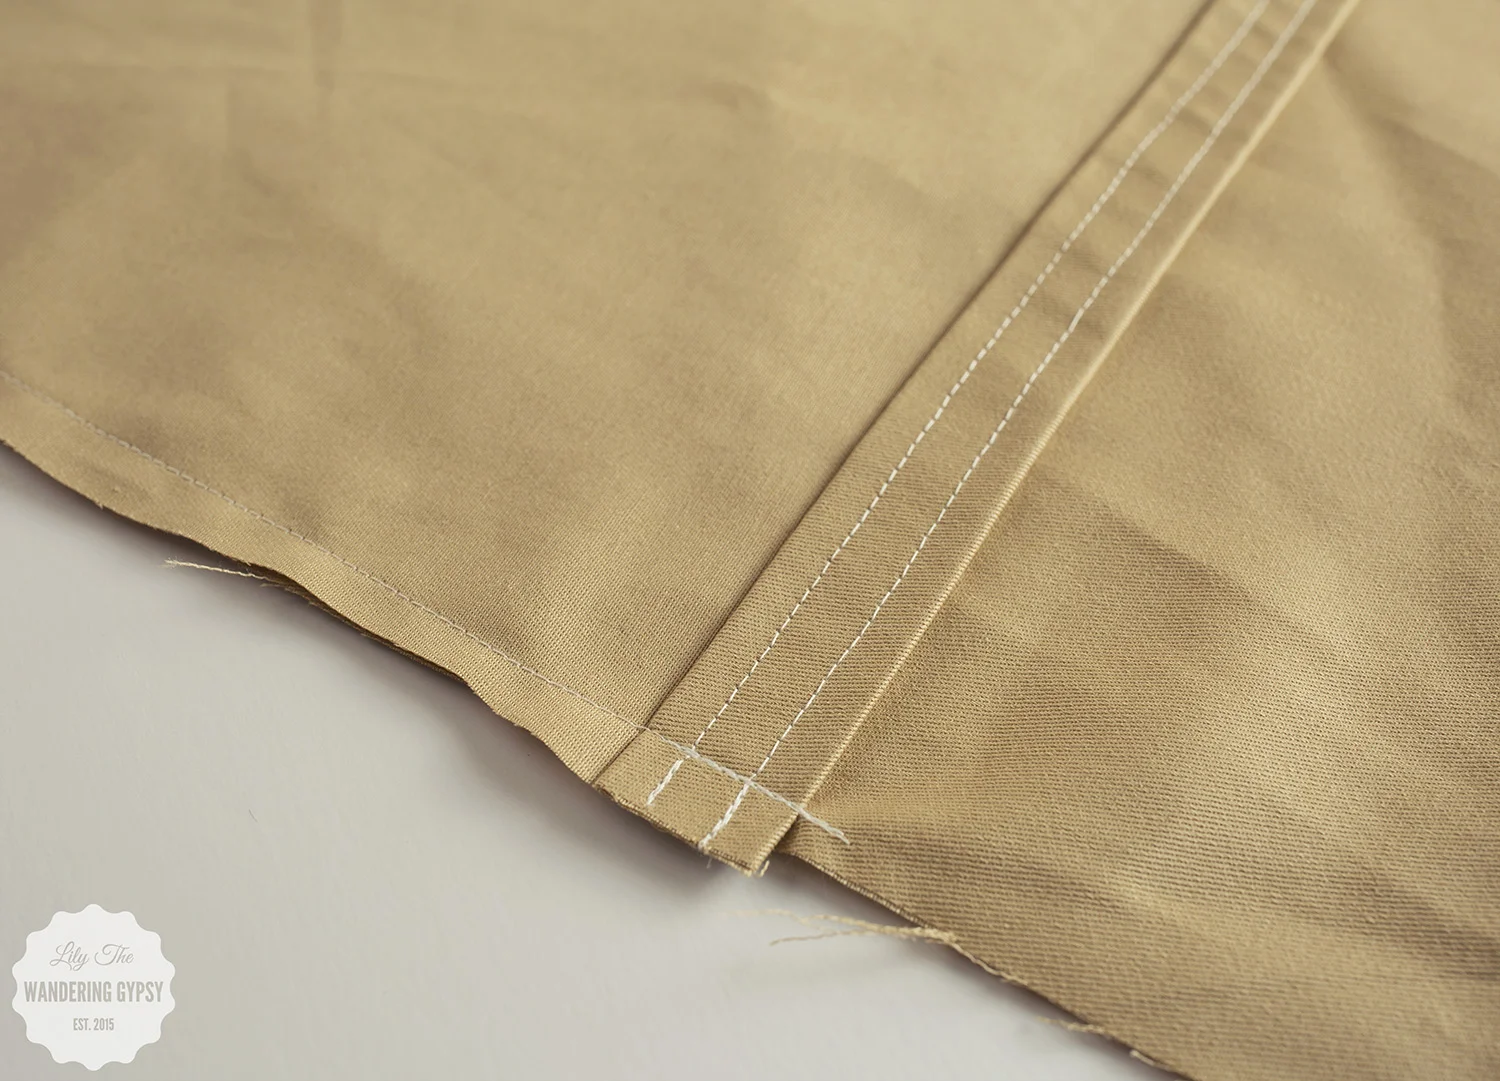
2.) Next, you will create a nice hem line for the two back pieces. With an iron, fold down one edge of each piece (going horizontally), over twice. This will create a nice finished edge. Sew the hem line down a couple of times to secure it. Iron again, if you want.

3.) Now, let's make an applique!!
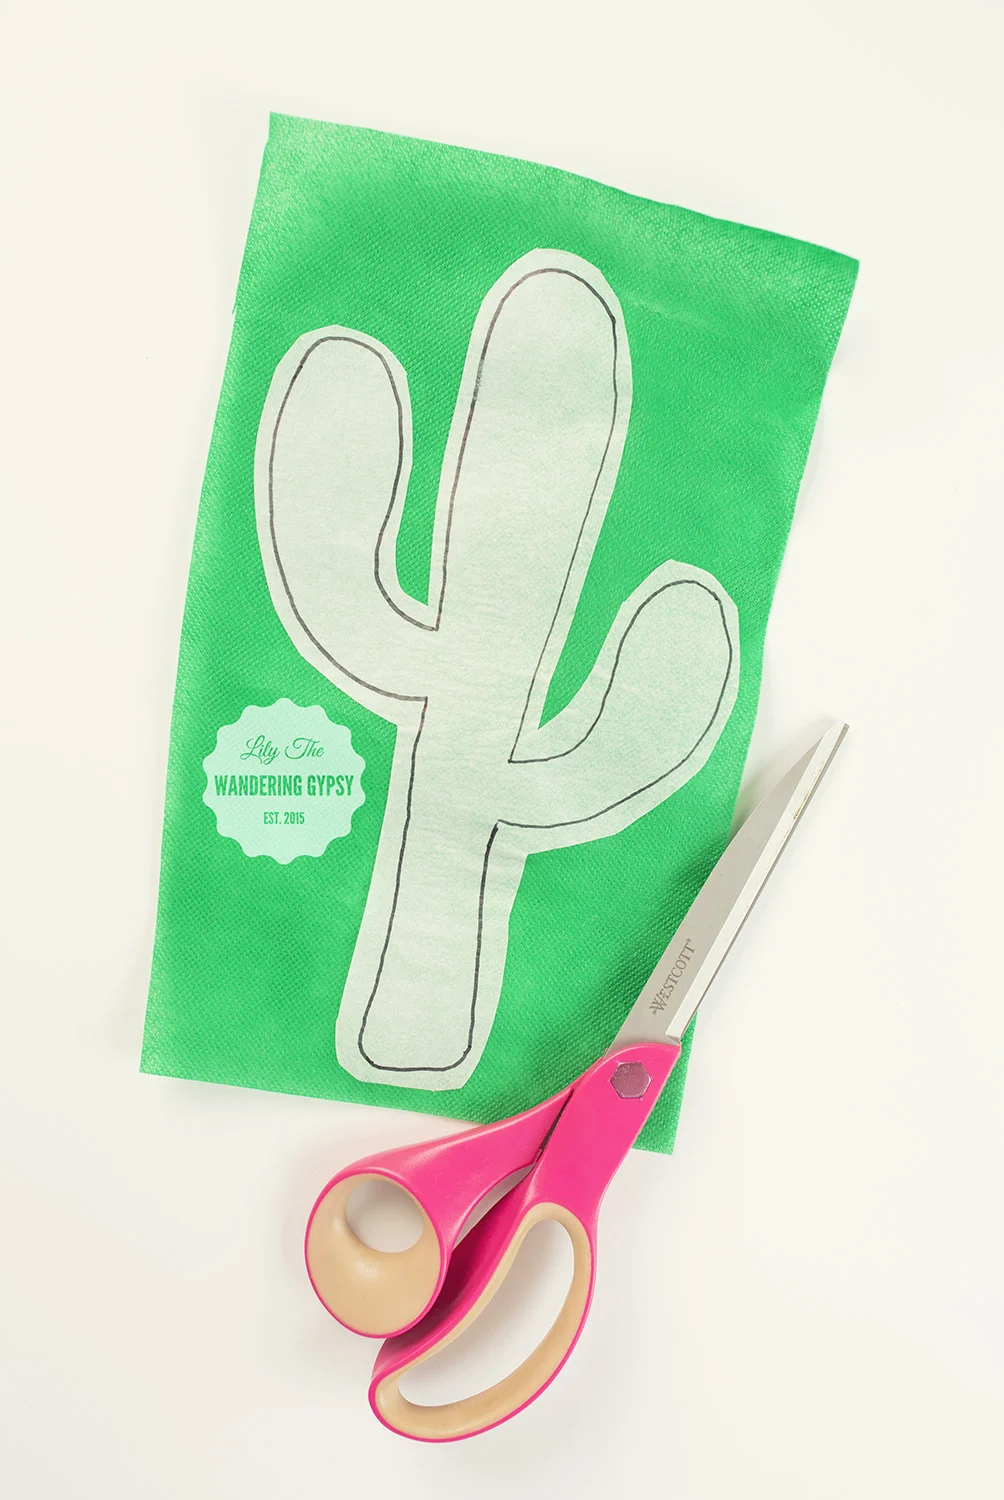
- Trace the cactus shape onto the paper/smooth side of the fusible webbing material with a permanent marker.
- Cut out the cactus shape you drew, and iron it onto the green fabric. Like I mentioned before, only 100% cotton can be used for this! The green material I chose wound up being 10% polyester and got stuck to my iron, and melted! No fun!
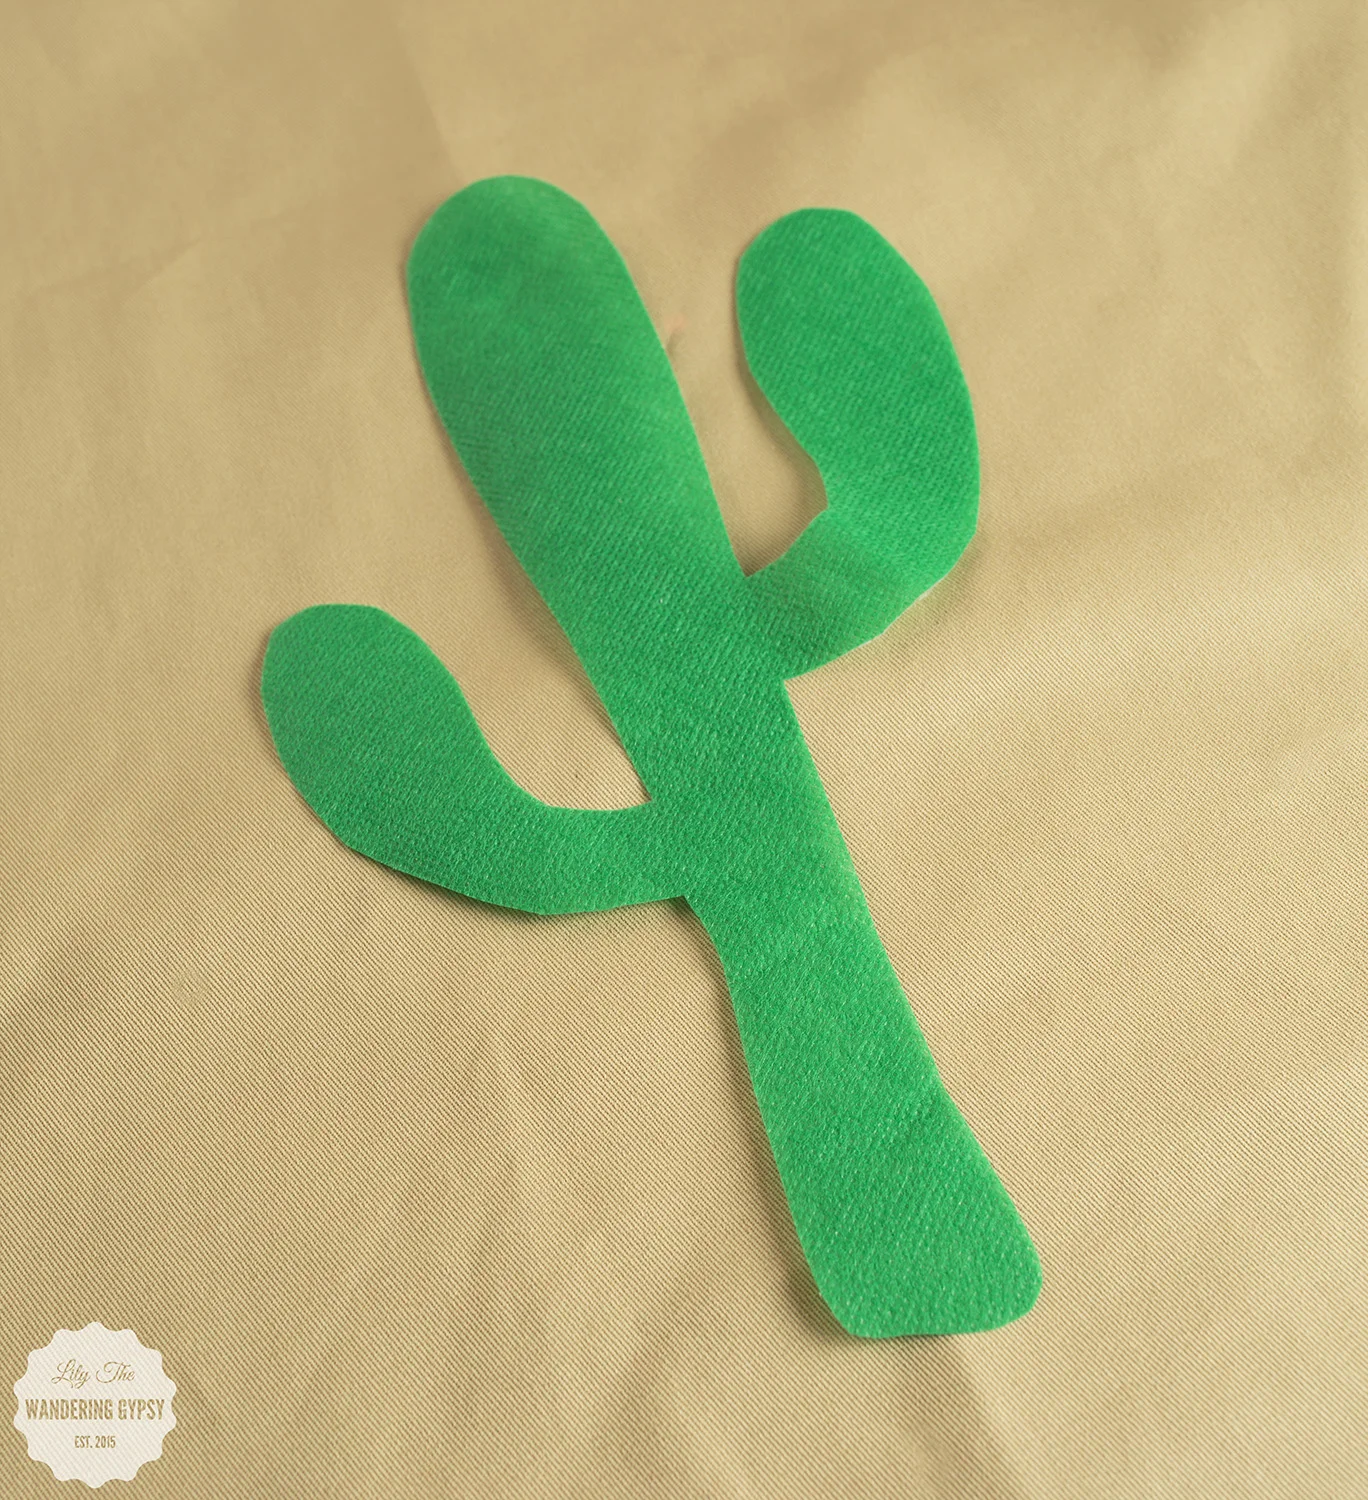
- Cut out the cactus shape you ironed onto the green fabric, and peel the paper backing off of the shape. One trick I use, is to slightly score the paper backing, to start the "peeling" process :)
4.) Time to iron on the cactus. Fold the front piece of tan material in half and then half again, to find the center. Use this to line up your cactus shape. Then, iron the shape onto the front of the fabric. Iron the whole piece of fabric, and get ready to sew on the applique!
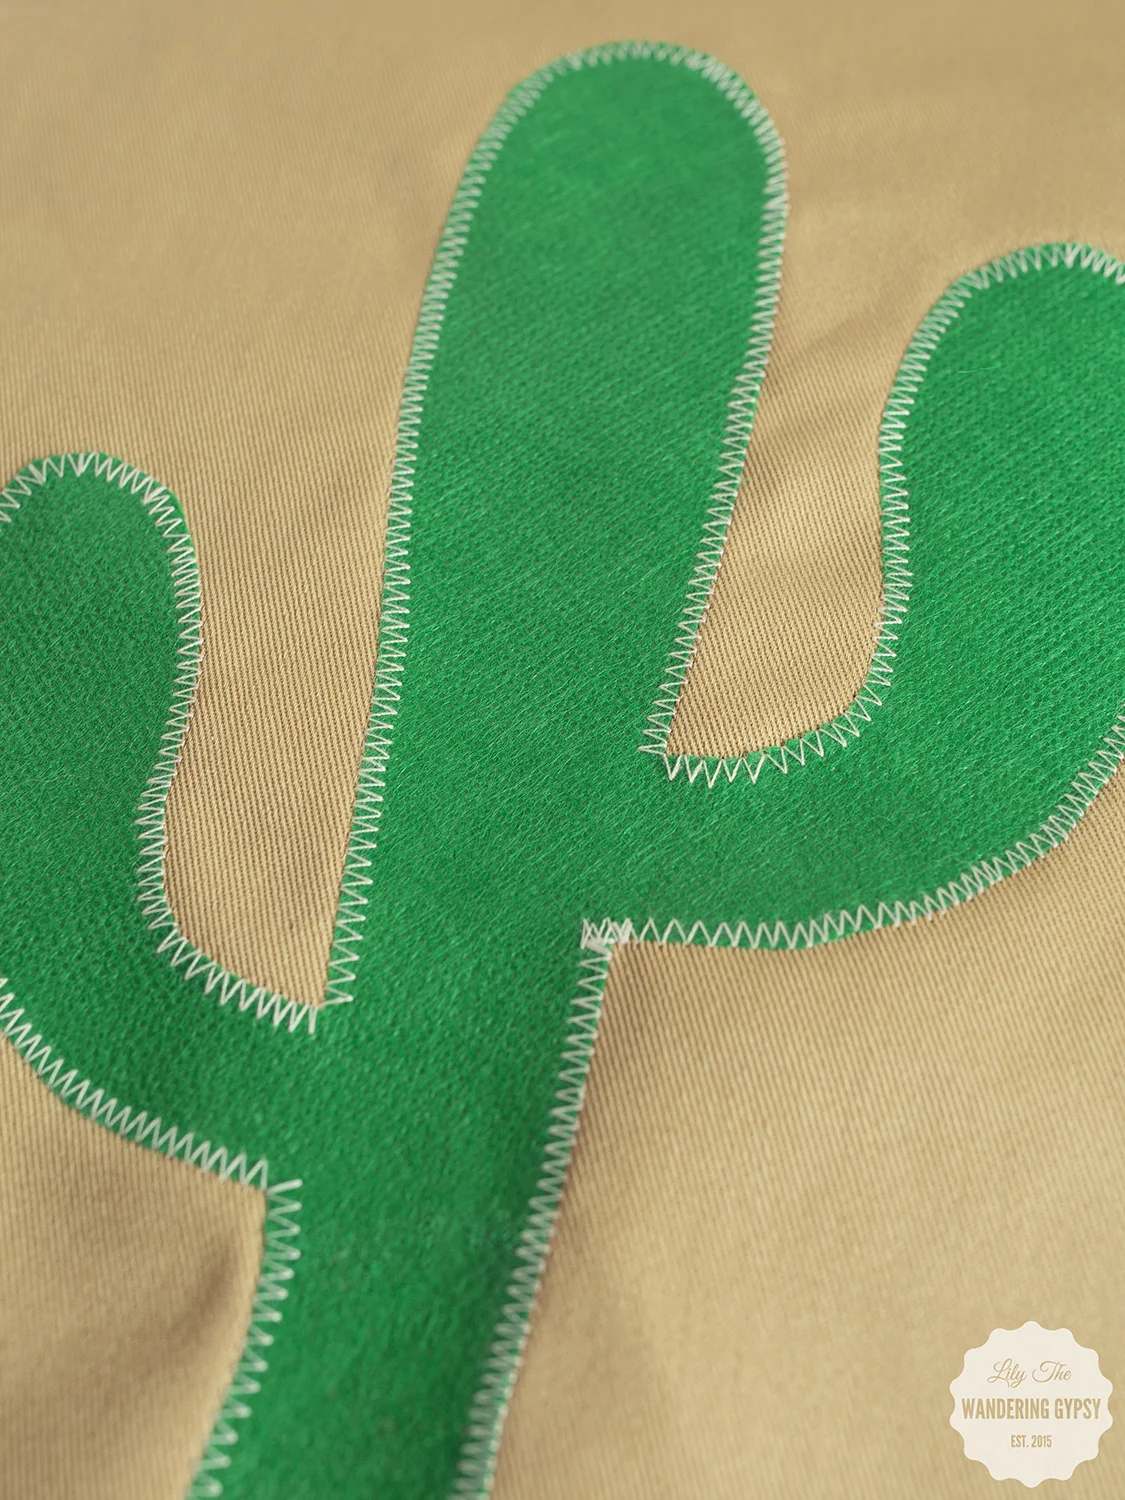
5.) Using a zig zag stitch or a straight stitch, sew all around the cactus shape. Tie any loose thread ends on the back side of the fabric.

6.) Time to sew and construct the pillow case! This is such a great way to make a pillow case - it's removable and washable, too!
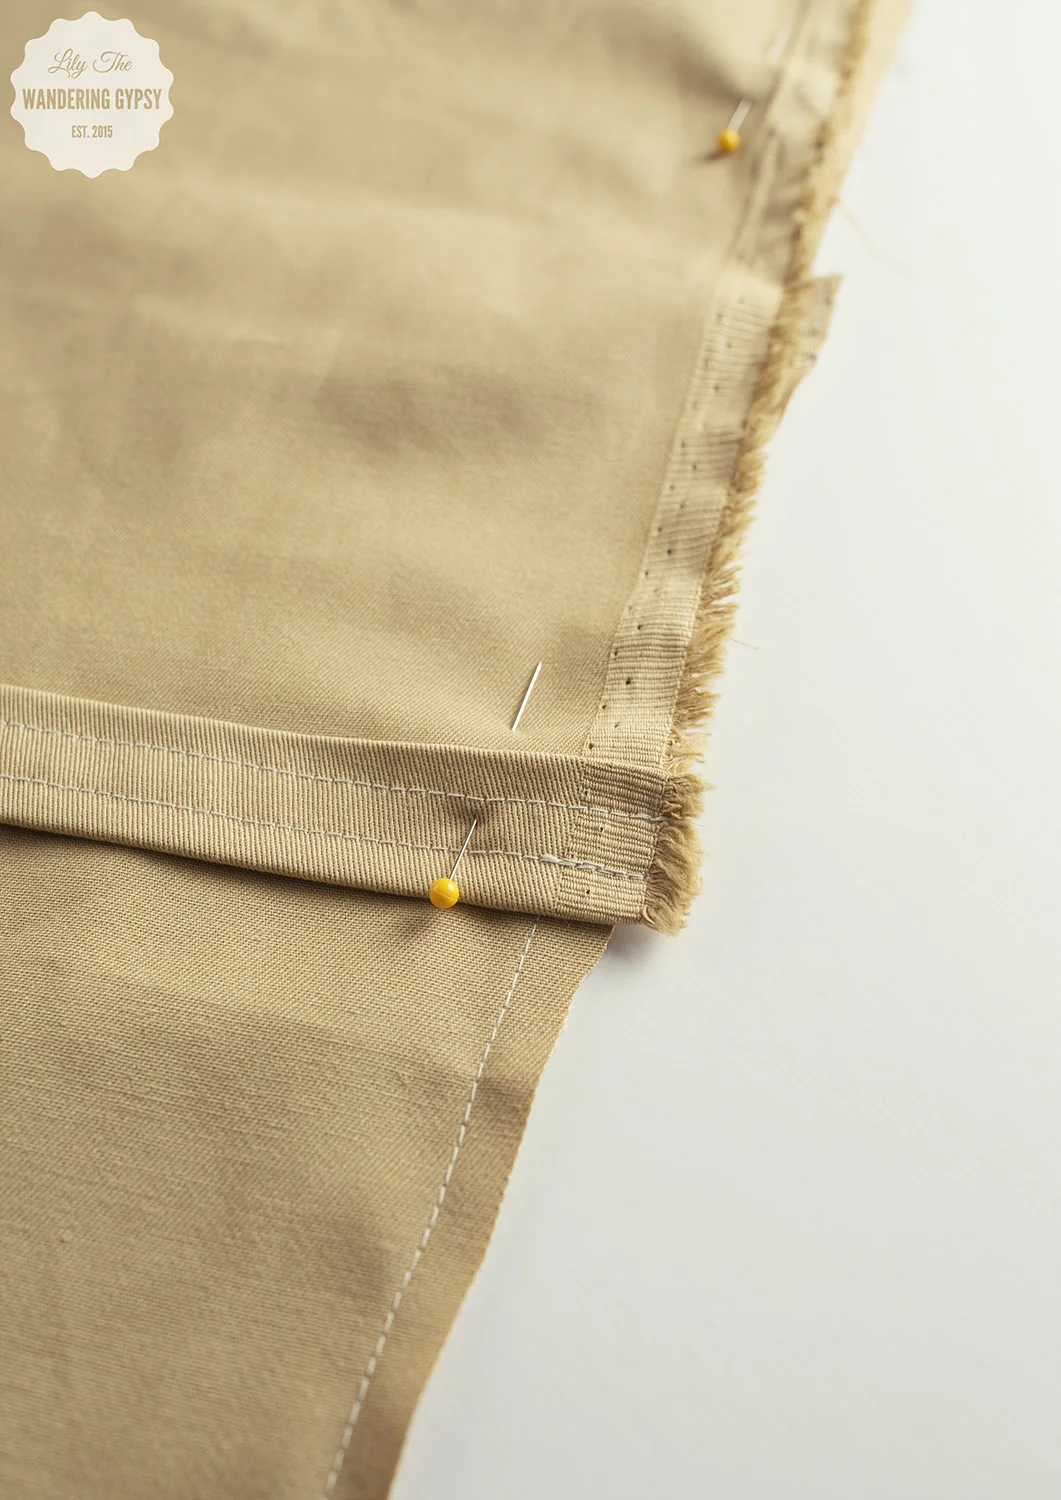
- Pin the shorter back piece with the hem line going horizontally in the middle. Pin the front panel and the first back section together - right sides together. Pin, and sew around the edges. Clip loose threads.
7.) Now, pin the longer back piece up to the ones you just sewed. Line raw edges up, and again, pin and sew around the edges
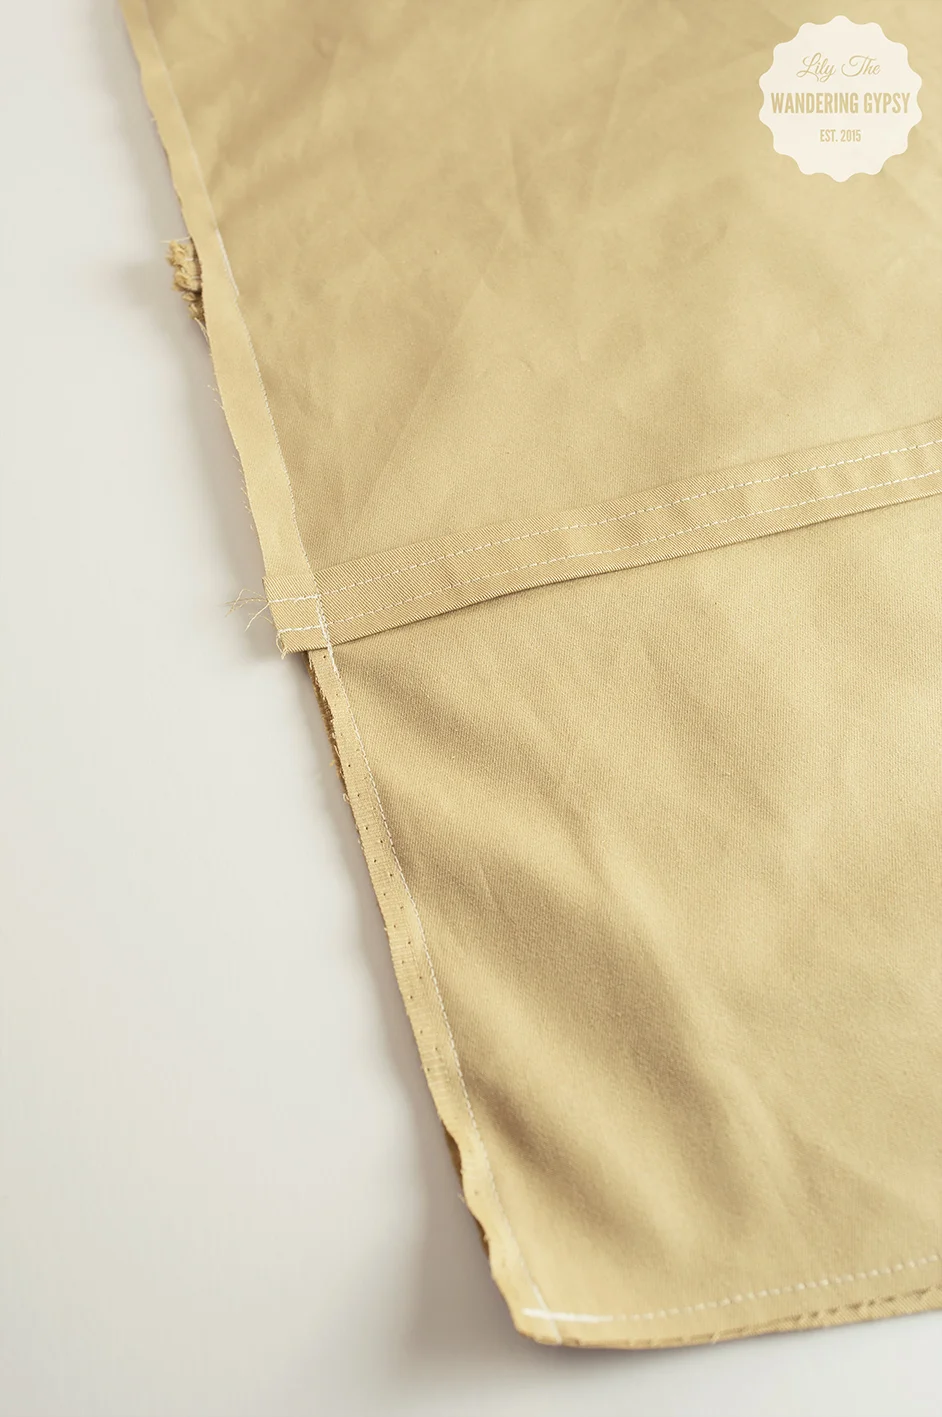
8.) Trim any excess fabric around the edges, and turn your pillow right side out. Iron, if you want, and you're DONE!!!

I hope you enjoyed this tutorial! If you wind up making one of your own, please link to it in the comments below! Happy Sewing, friends!!