Hey friends! I am having a SUPER SUMMER SALE on my entire ETSY shop, which can be found here. Most items are under $10, making everything more than 50% OFF per item!! Click any of the images to be taken to my Etsy shop with all the current listings. Thanks for checking out my page!

Morel Mushroom Caps - NOW ONLY $10.

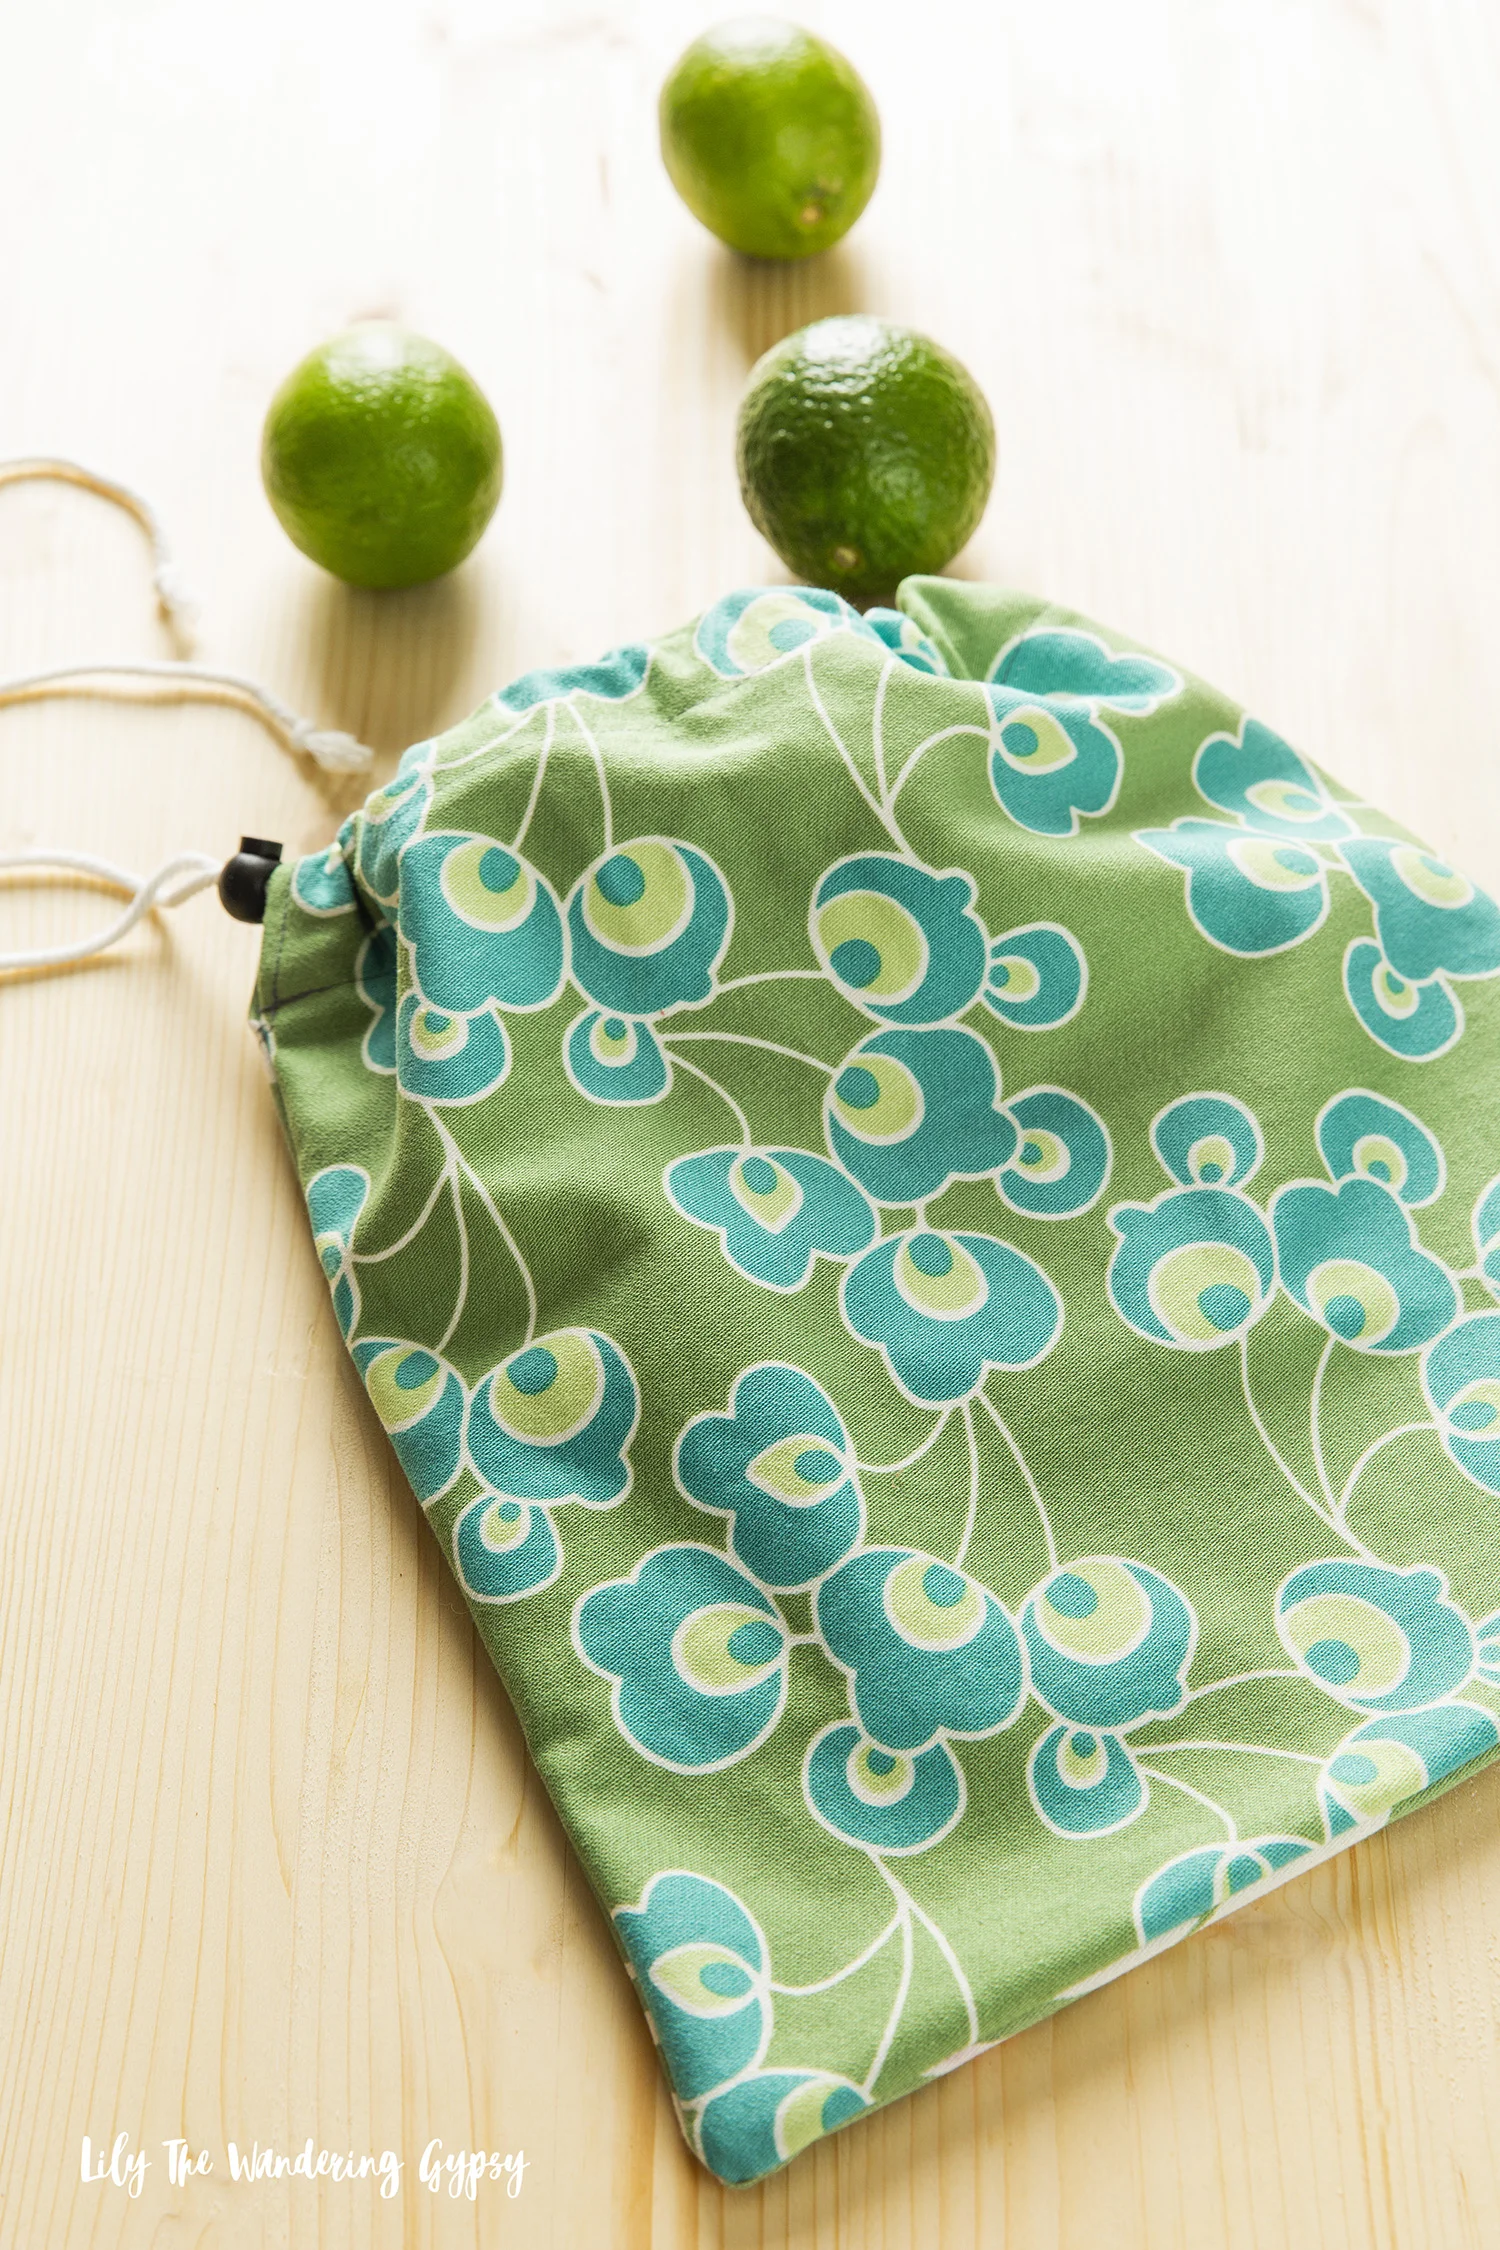
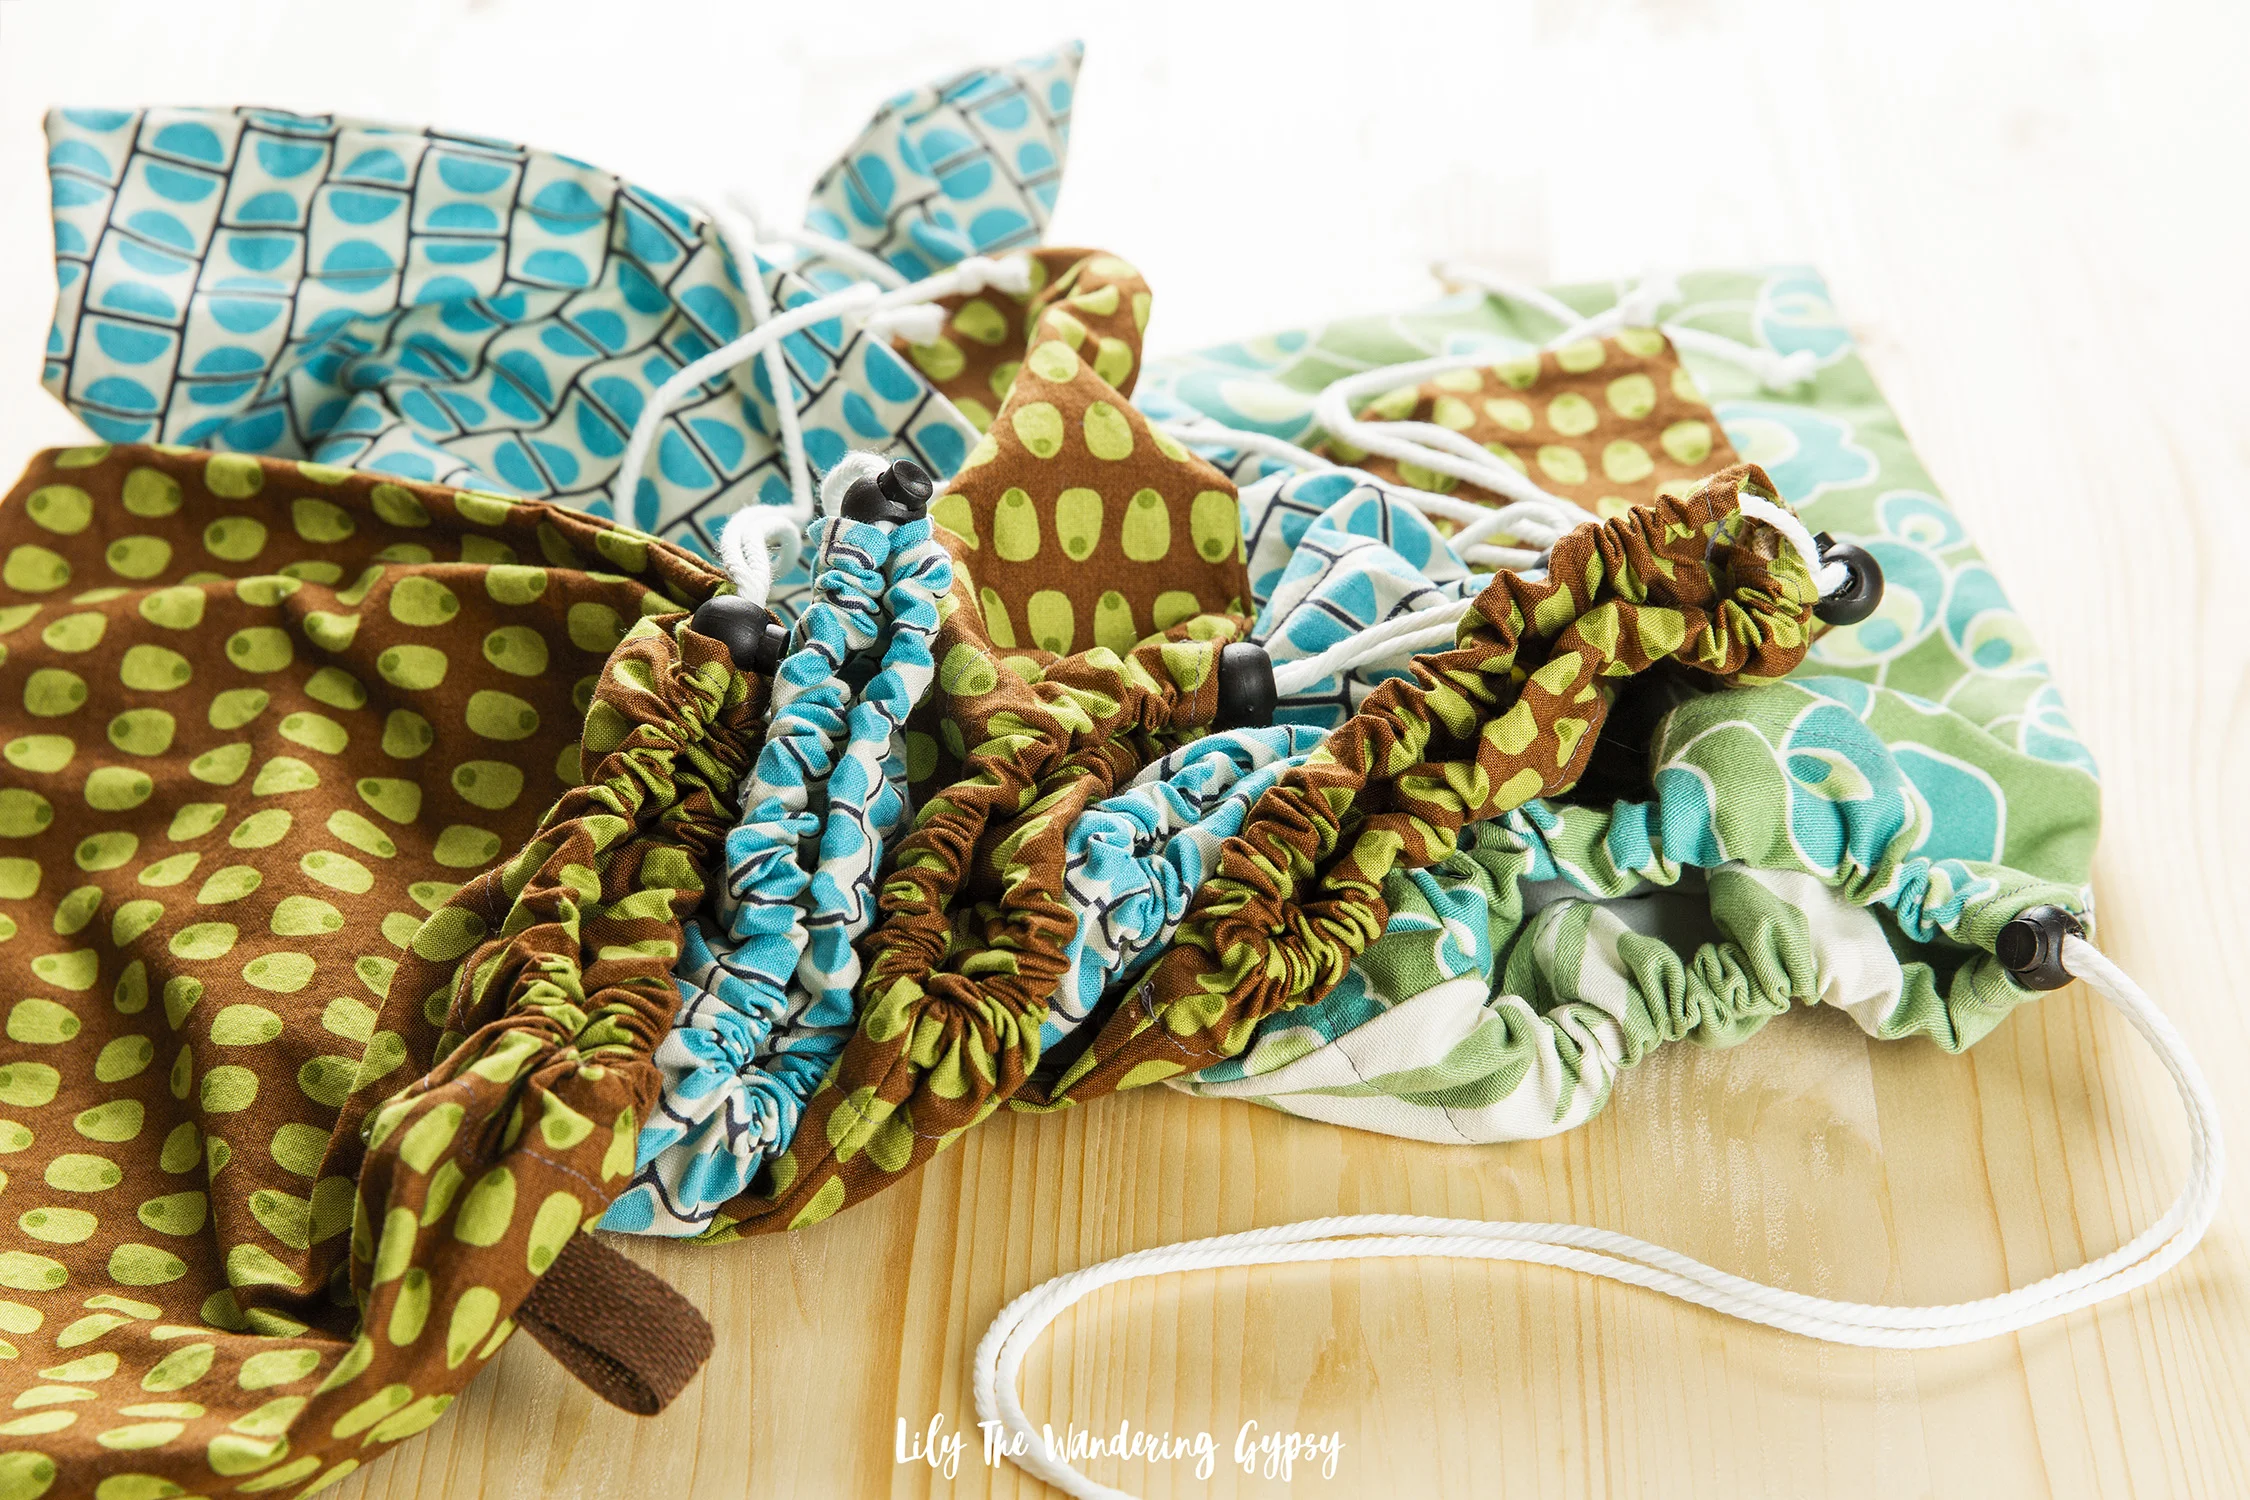
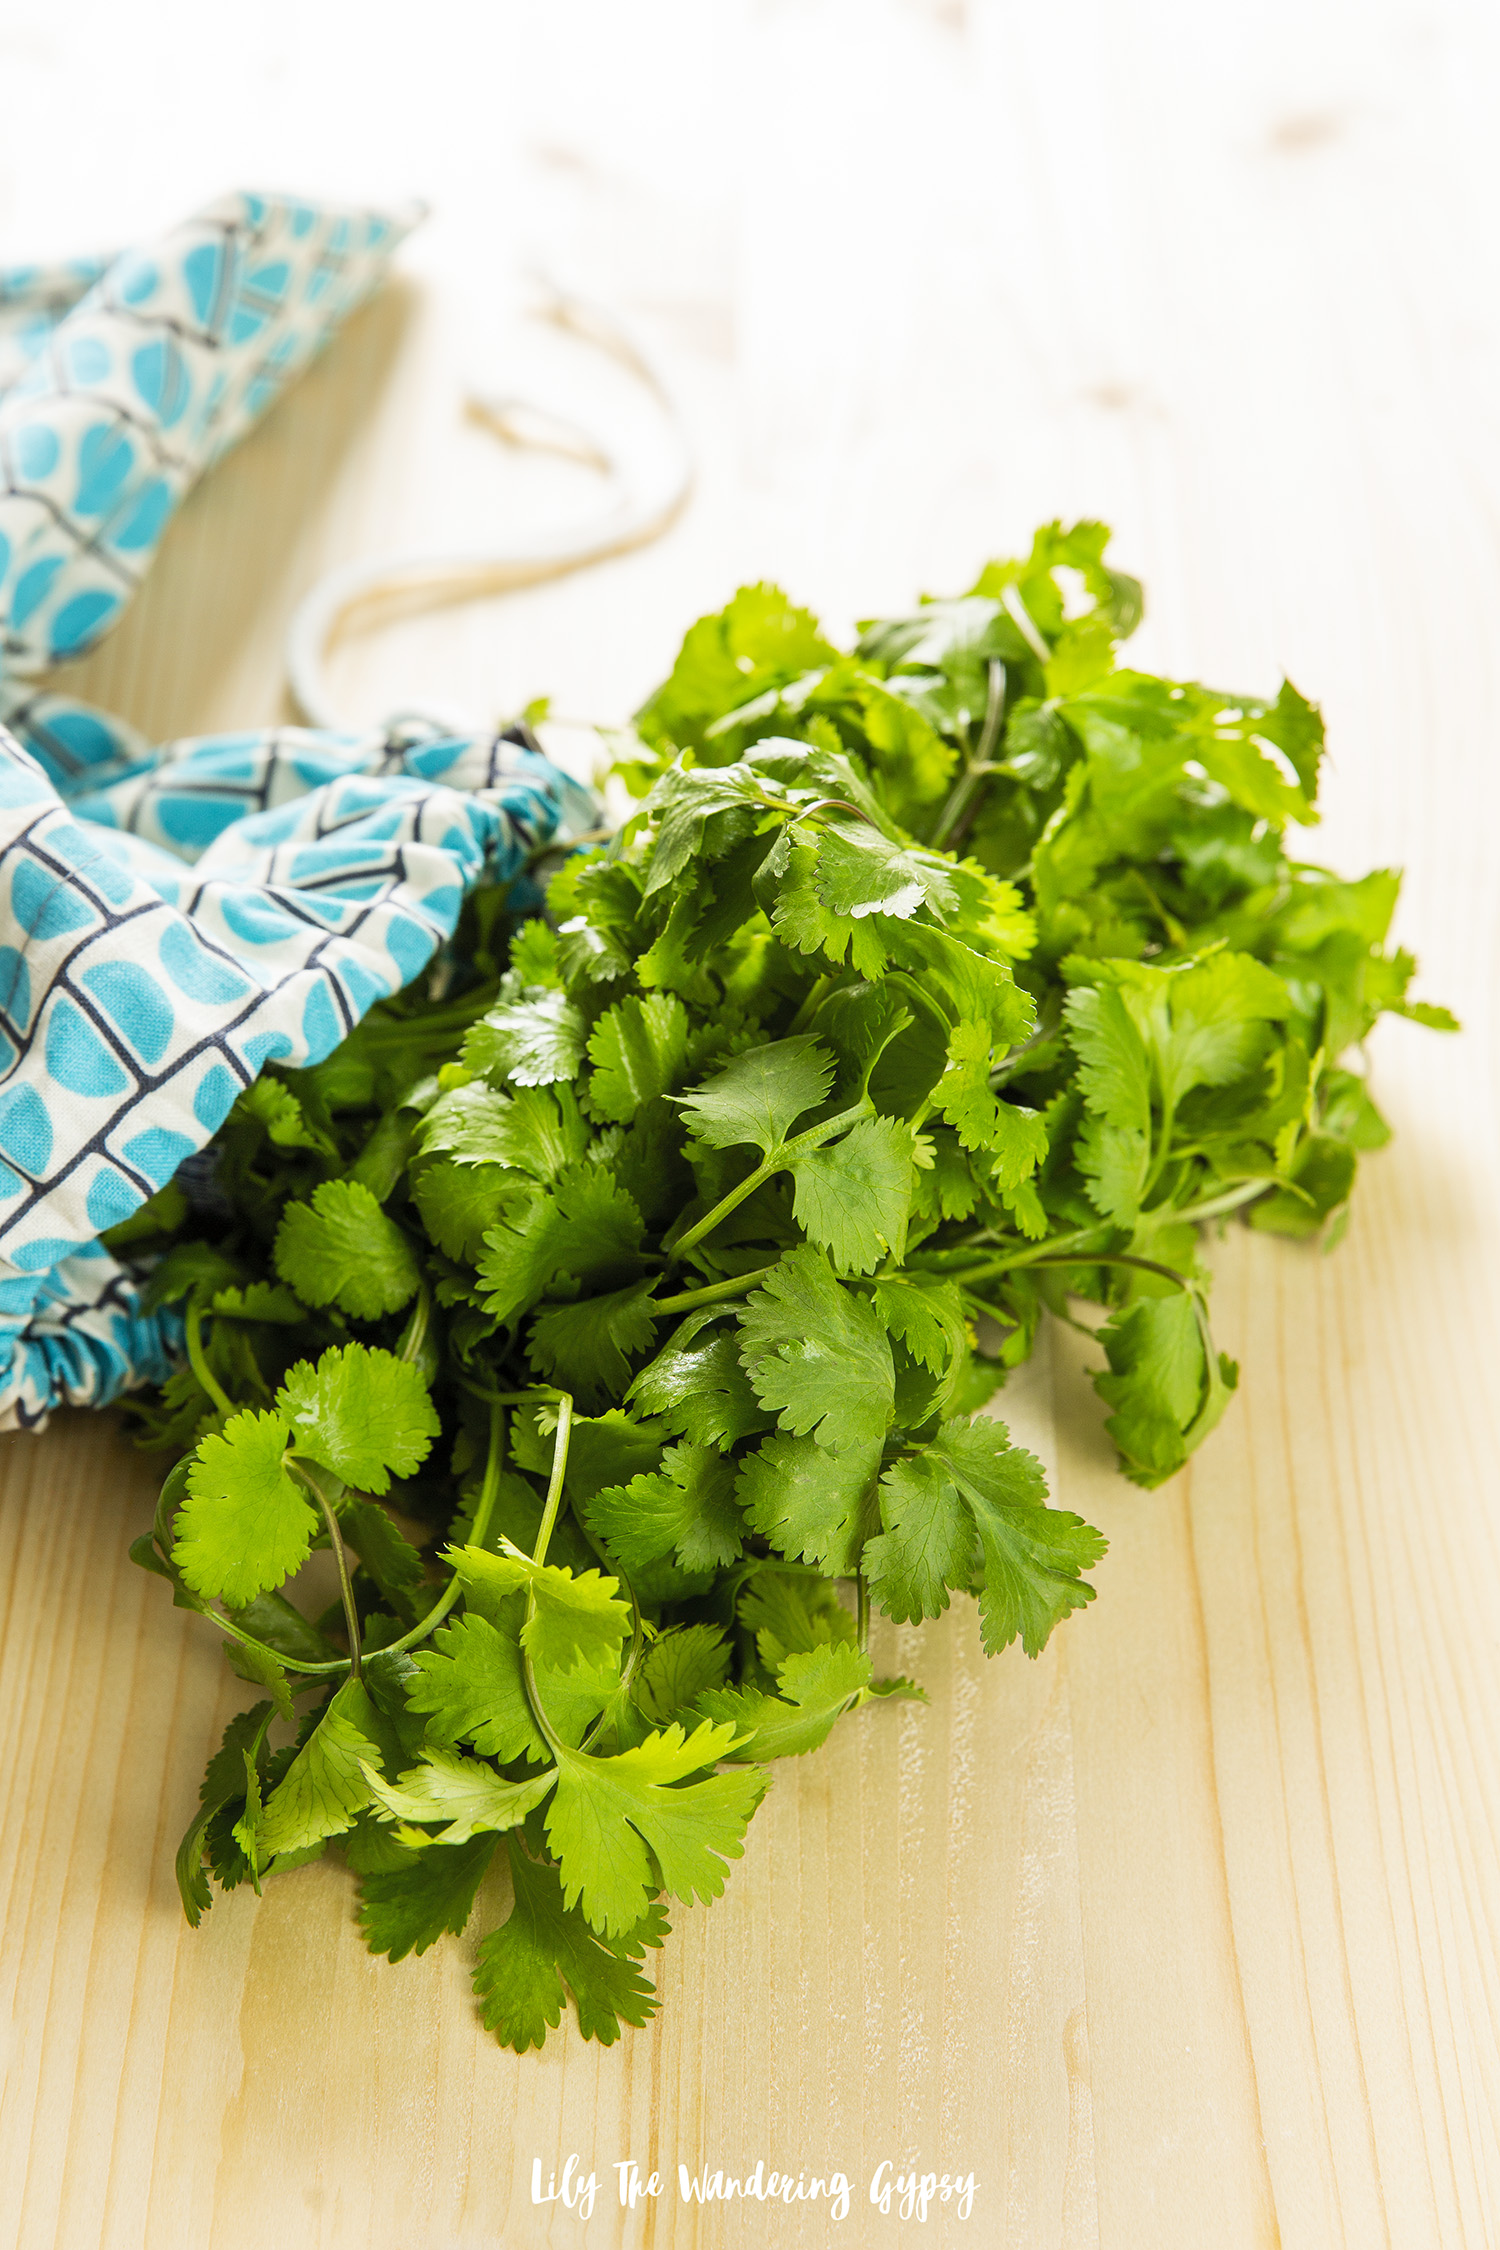
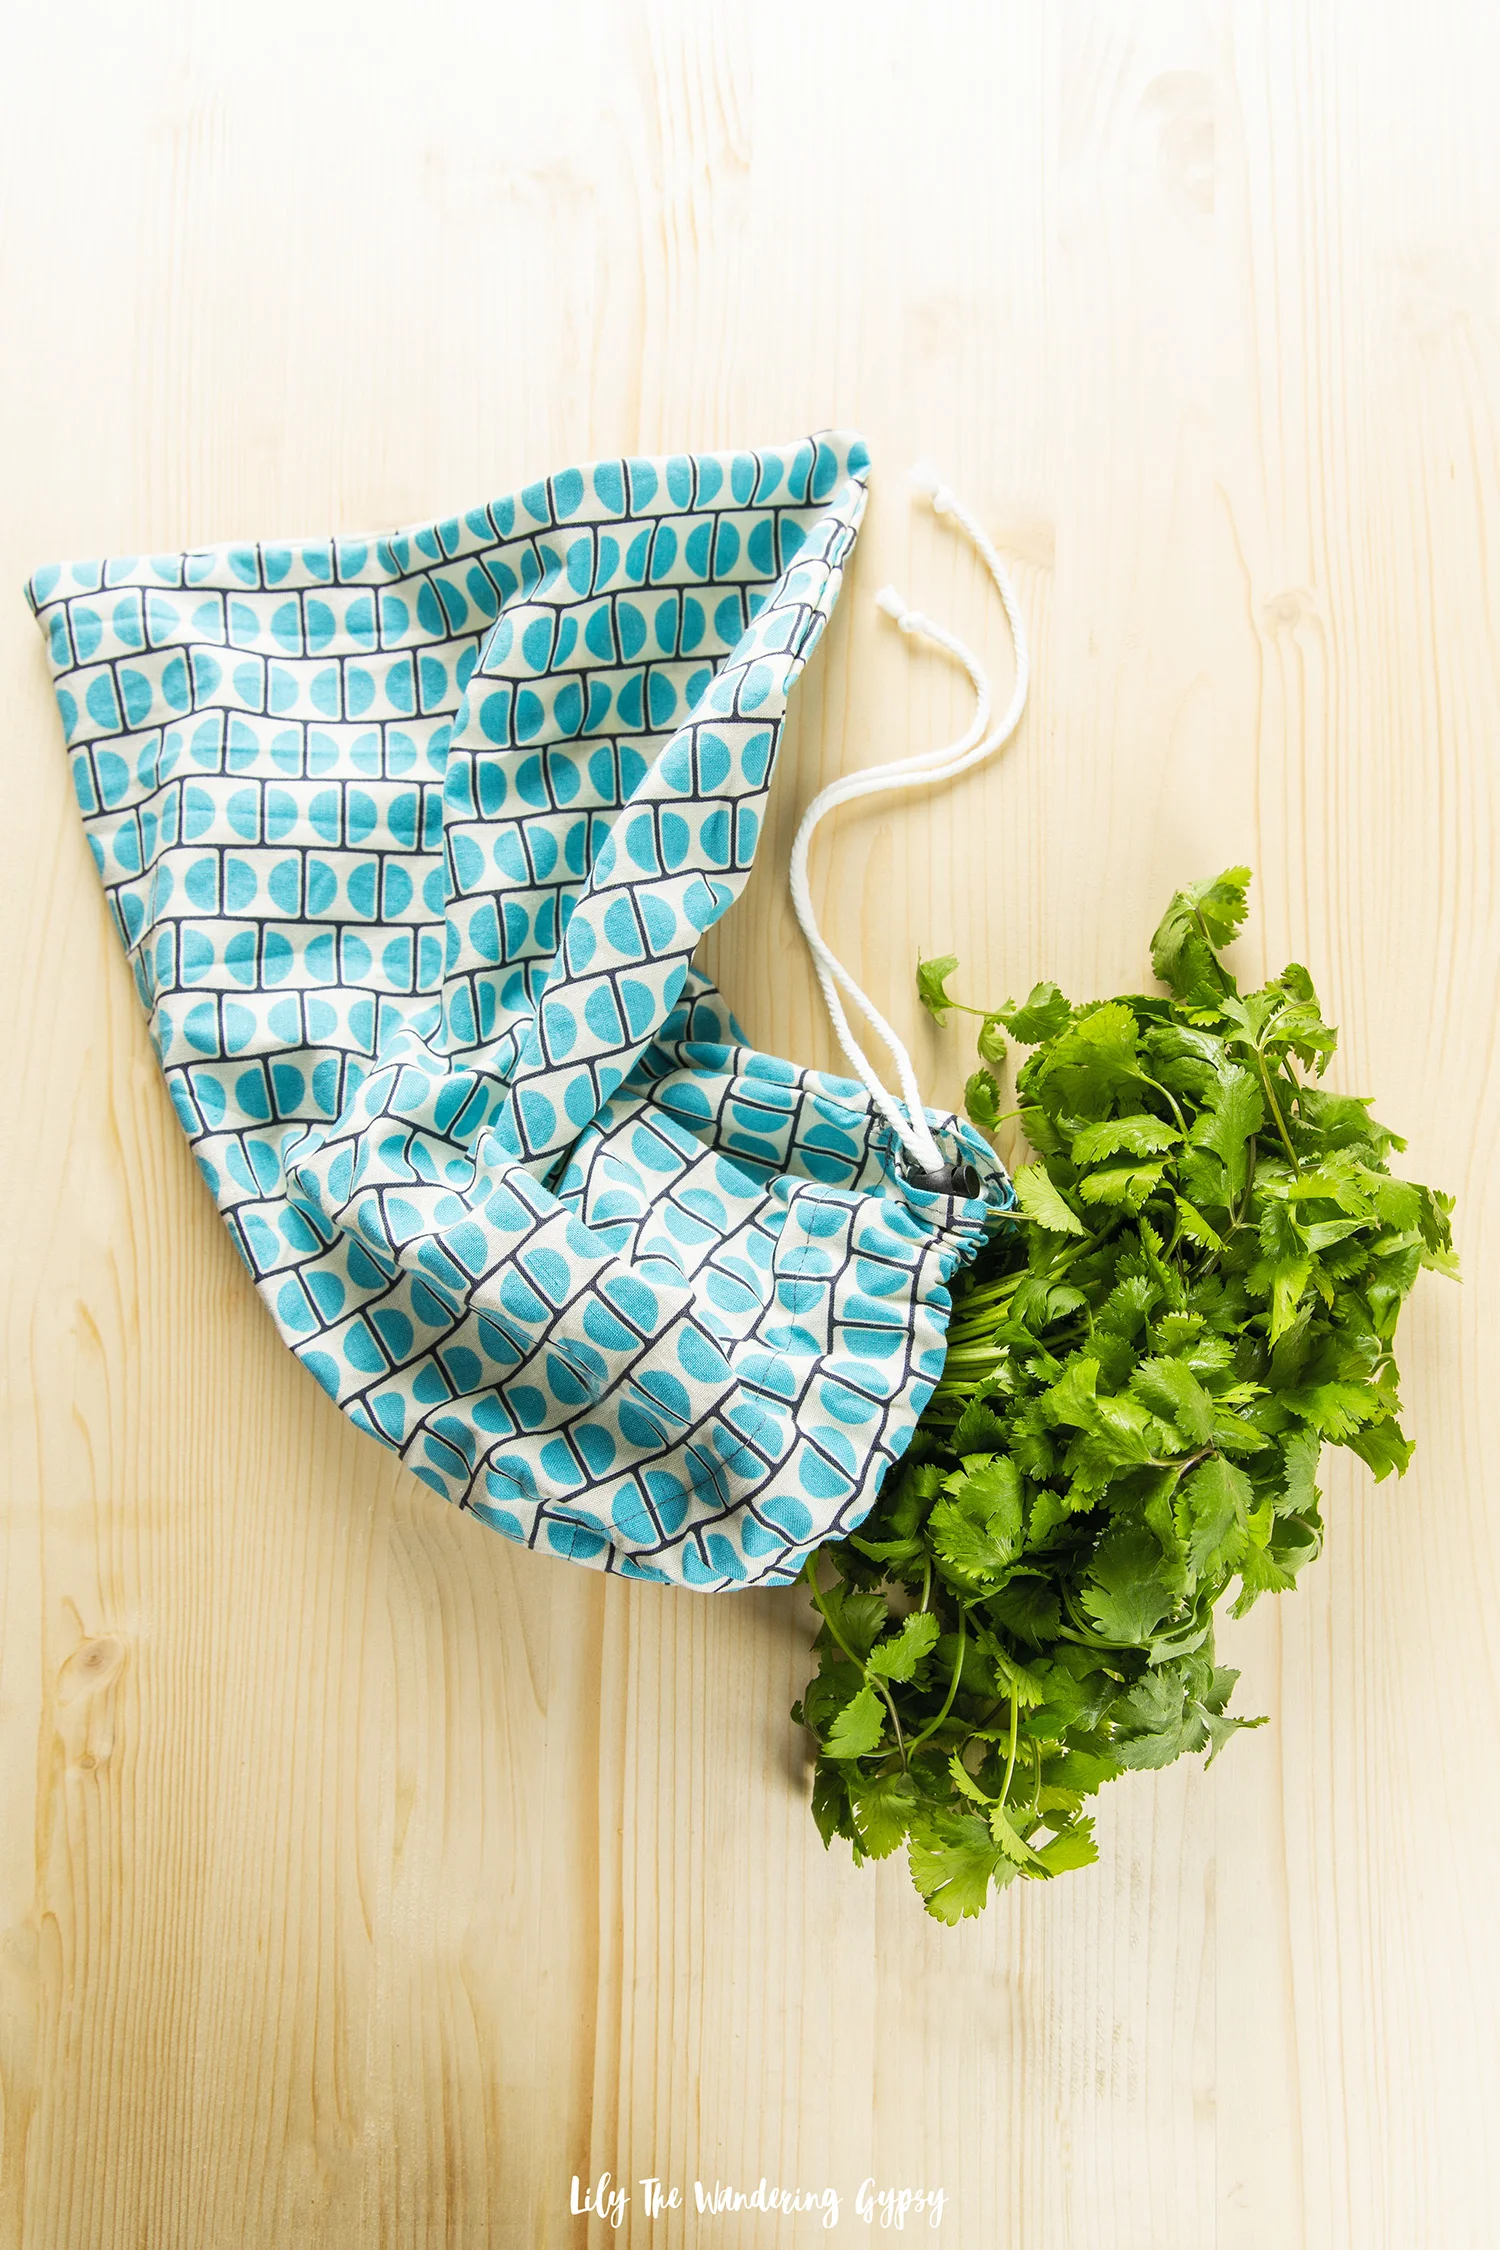
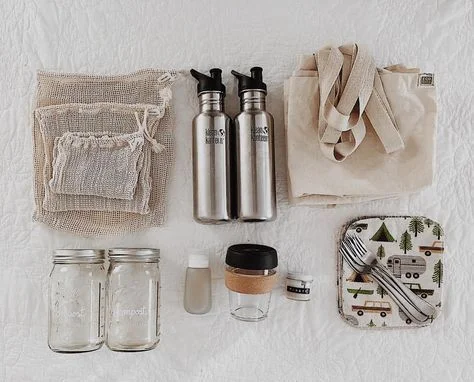
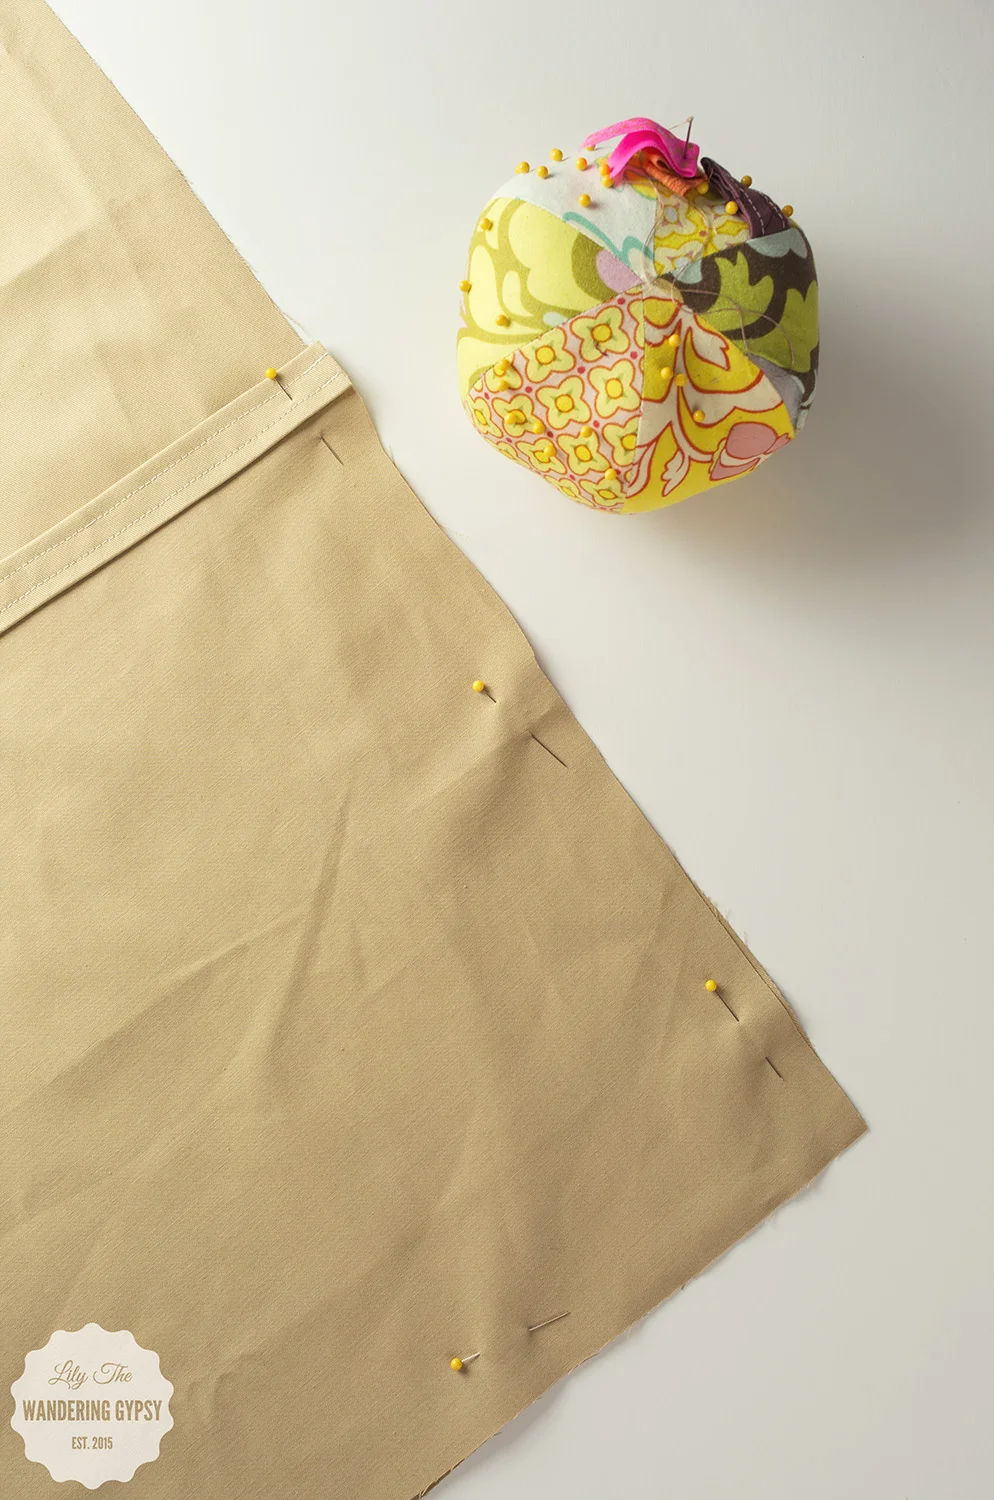
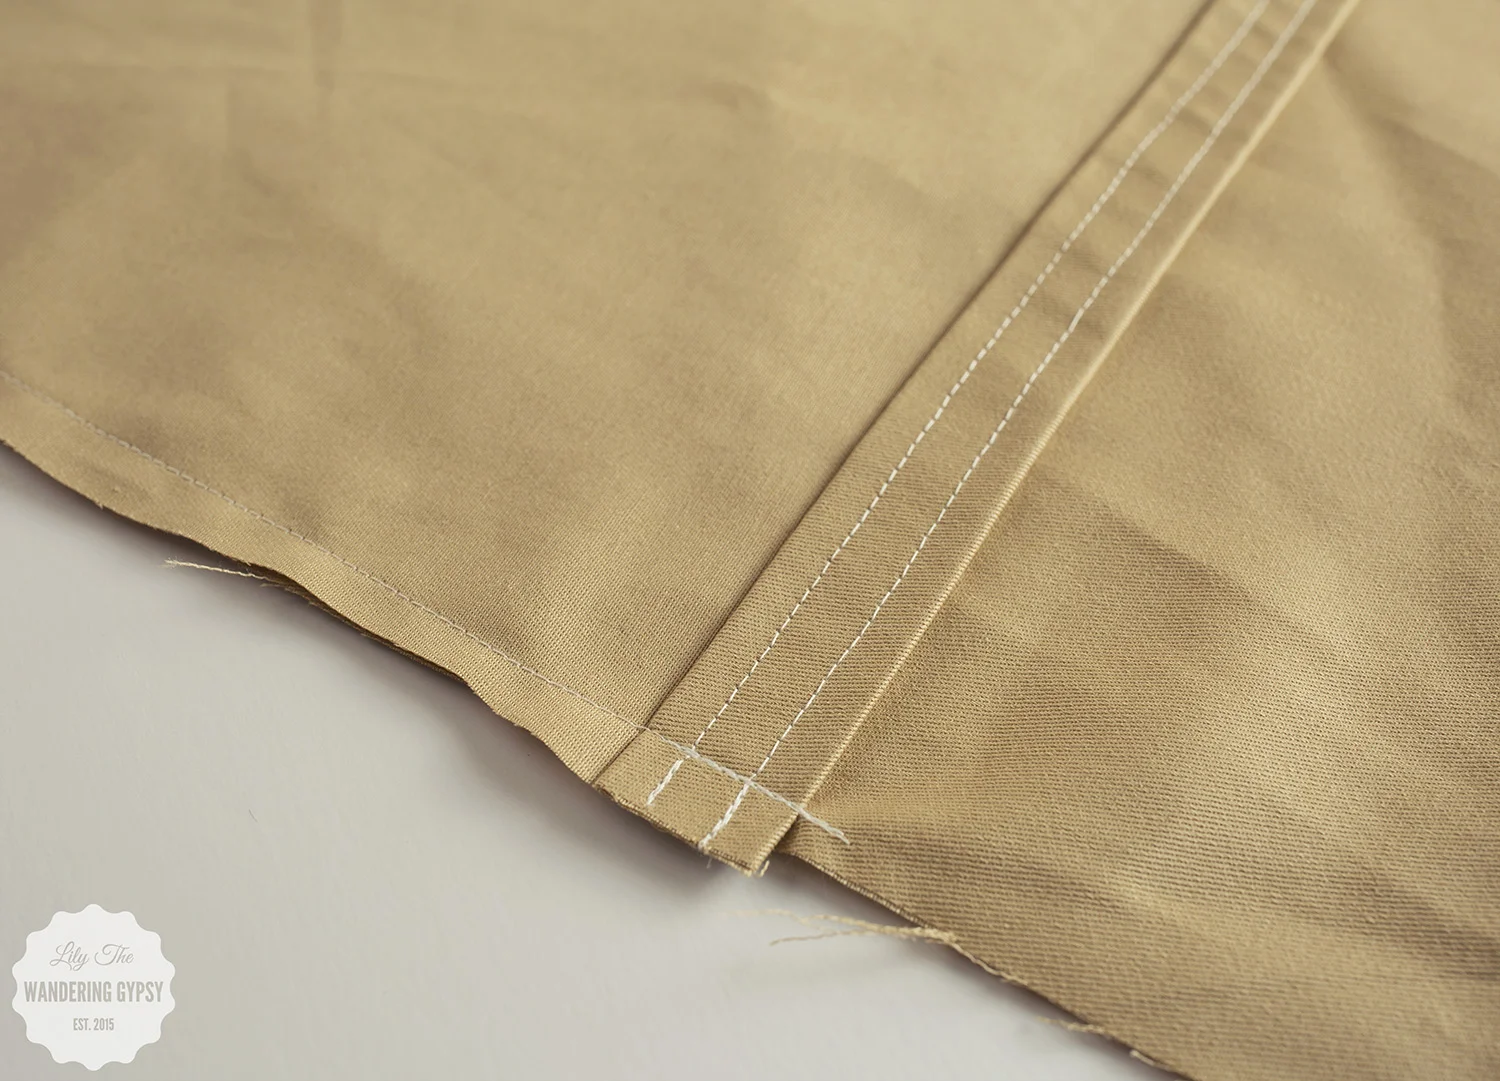
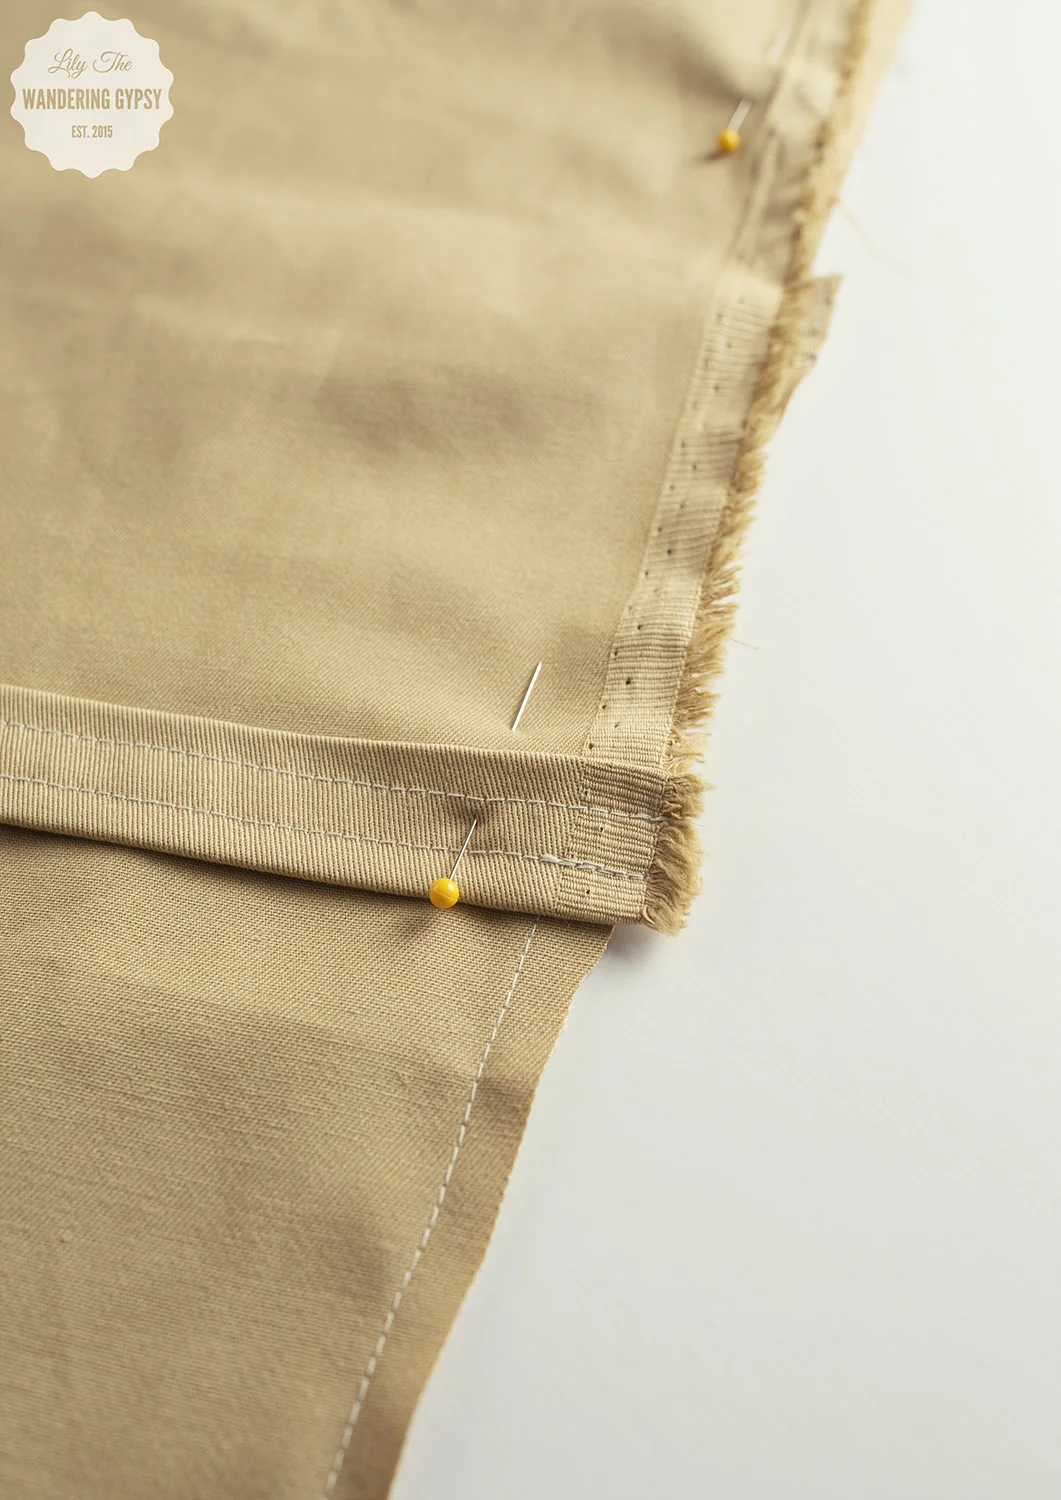
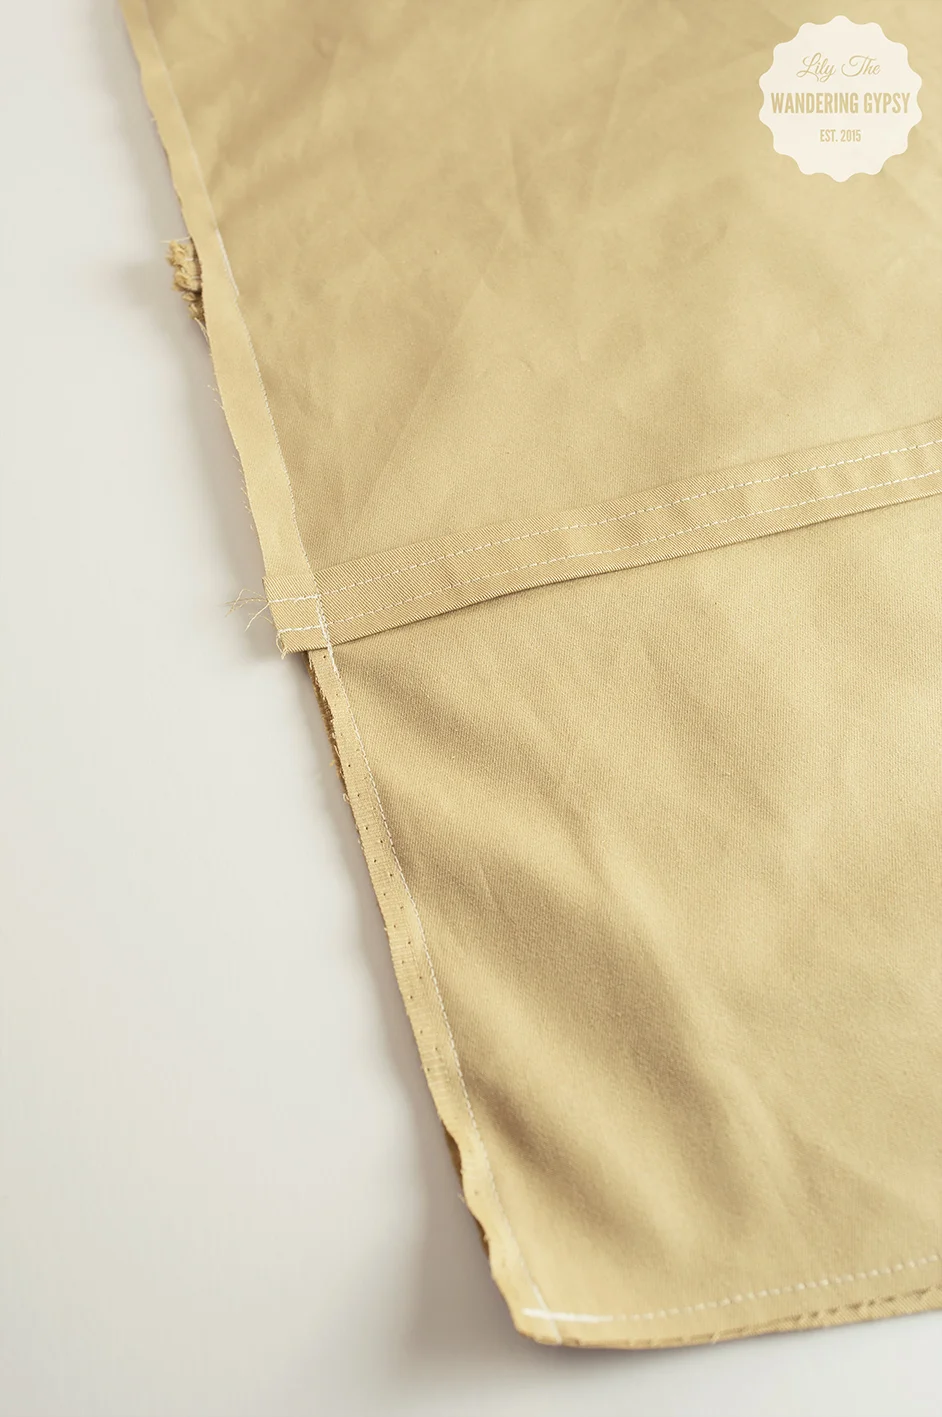
Hand Sewn Cotton Market Tote Bag - NOW ONLY $15.

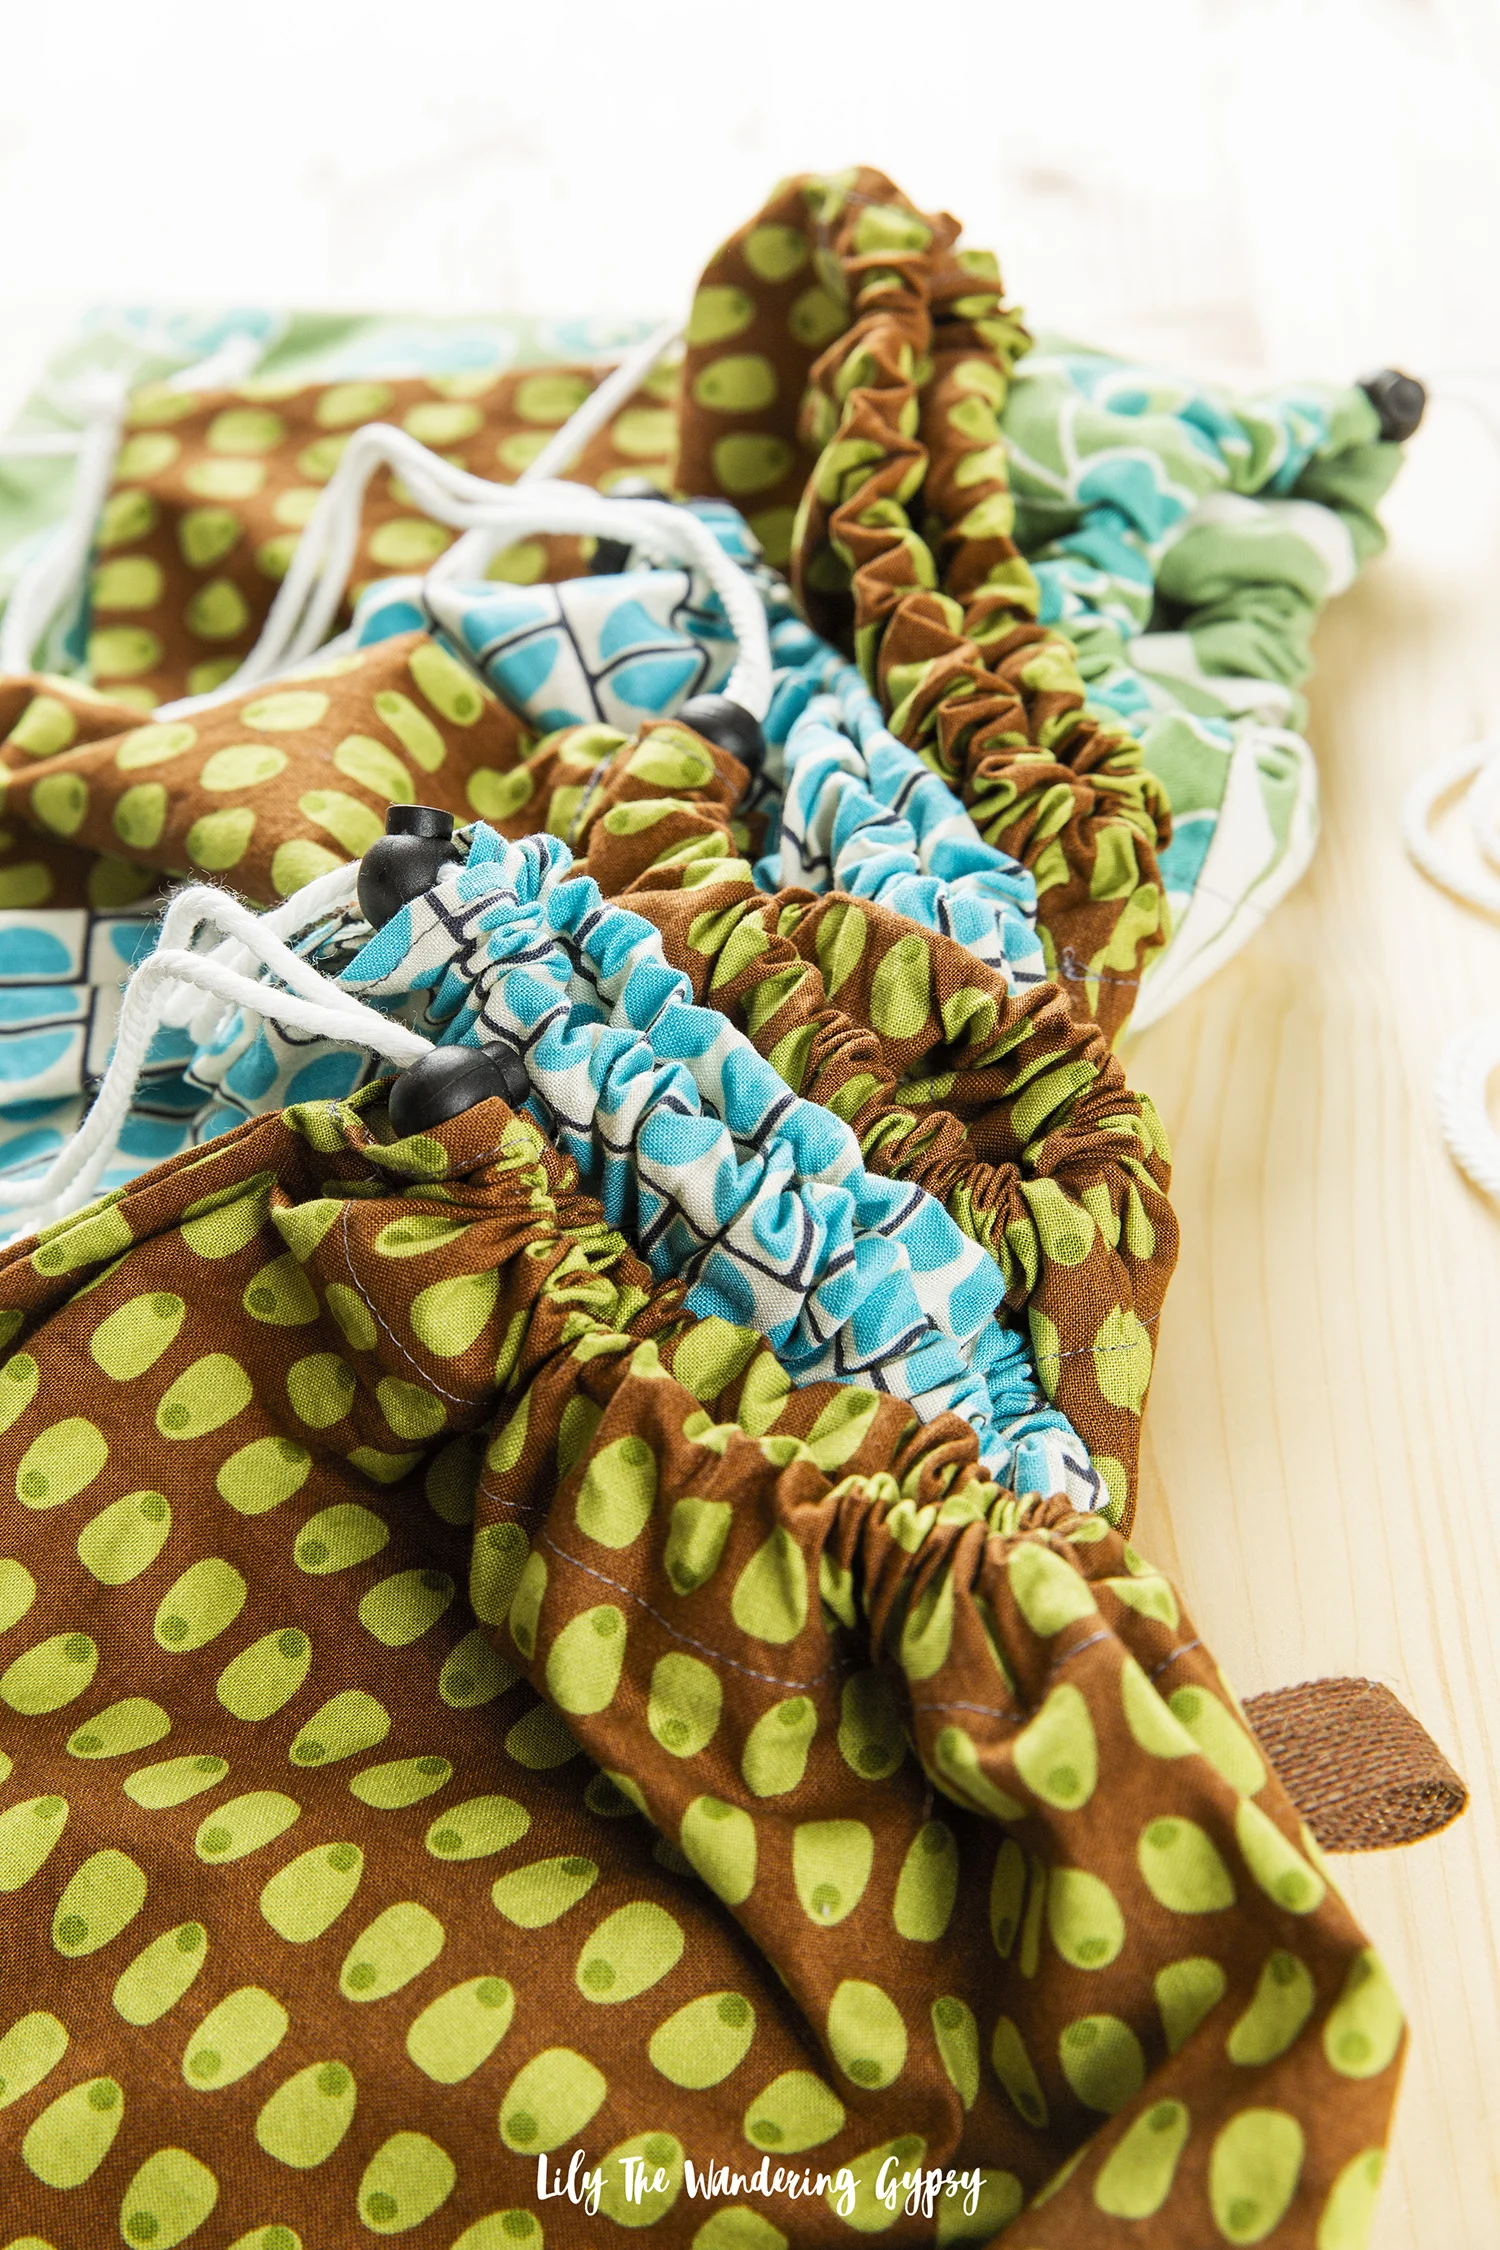
Boho Hand Dyed Embellished Bandanas - ONLY $5!!!

Leaf Shirt - ONLY $10.


Morel Caps - Now ONLY $10 each.

Morel Mushroom Cap in Camo - Only $10, ONLY ONE LEFT!!


100% Cotton, Hand Sewn Market Tote Bag - ONLY $15!

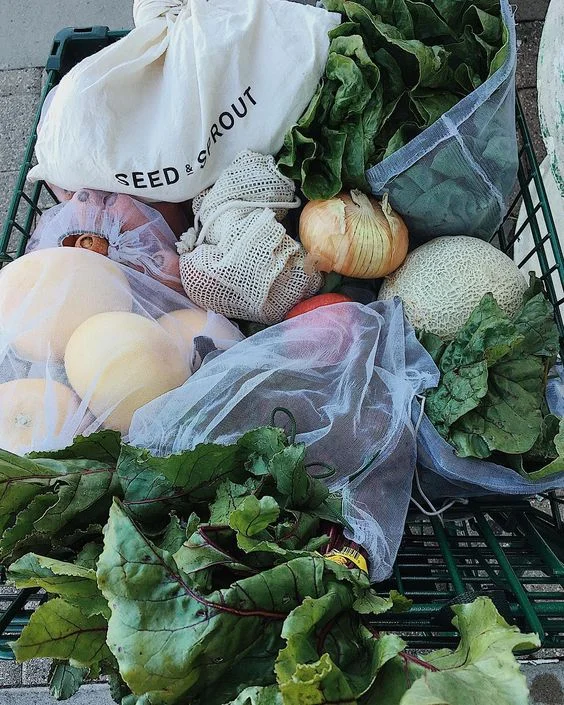
Vintage Veggies Grocery Market Tote Bag - 100% Hand Sewn, 100% Cotton! NOW ONLY $15.