
What a beautiful surprise! A fellow blogger sent me a beautiful gift from eBay, and what perfect timing! Now I can finish up all of my holiday baking in time, and love how this new mixer looks in my kitchen!
Read MoreDIY Summer Fun - Cookie Cutter Jewelry & Trinket Trays
I recently collaborated with Wendy's to create several Summer Inspired DIY Projects! Throughout the next week or so, I will be sharing instructions to all 5 projects! This project in particular, was inspired by a blog post I found on the Aww, Sam Blog. * Note - this project is kind of messy, so lots of paper towels were needed!!!! So excited to present you with these Cookie Cutter Trinket Trays! Enjoy :)
MATERIALS:
- Air Dry Clay (2 smaller packages will do)
- Cookie Cutters - I got mine here (for 99 cents each!). I got a cactus, hand, lips, pineapple, and teepee.
- CeramCoat Paint in green, white, red, tan, black, and yellow
- Clear Poly waterproof paint-on coating, optional.
- Clay sculpting tools (I found these ones for $2.47 near the clay supplies at Hobby Lobby)
- Water in a small dish to use for smoothing clay with your fingers
- Waxed Paper and Tape to keep surface clean
- 2 Paint Brushes for larger areas, and then one for finer detailed lines
- Paint clean up supplies like water and paper towels
INSTRUCTIONS:
- Prep your work surface. On a smooth, dry table, tape down a piece of parchment paper that will cover the surface well.
- Open your clay, and grab a hand full of clay.
- Roll clay into a smooth ball, and then place it onto the waxed paper. press the clay down with the lid of the clay container, until it is less than 1/2 thick. Alternatively, you can place a second piece of waxed paper on top of the clay, and use your hand and/or a rolling pin to flatten the clay.
- Once flattened, press one shape at a time out of the clay, and carefully remove the clay from the cutter. I wound up using a clay tool to help with the hand space and the top of the pineapple shape.
- Next, you need to flatten and smooth out the clay shape. I did this by setting the clay shape onto the waxed paper, and then using water on my finger tips to smooth the edges. If you wanted raised edges, apply more pressure to the center, and less around the edges. I used a clay tool to kind of give the teepee dish a ridge around the sides.
- Also, you can use a plate and paper straws to shape the sides of the clay while it dries.
- Let dry for at least 3-5 hours, or ideally overnight. I didn't have that much time, so I painted them after about 5 hours and the paint seems to have stuck very well!
- I just LOVE how these turned out! Remember, check back soon to see what other summer DIY projects I have for you! Have a happy and creative summer :)
- A special thanks to Wendy's for inspiring me to create this project! Check out their Blackberry Lemonade ASAP, it's good!!!
- Find more summer DIY Ideas On My Blog and On My DIY Pinterest Board.

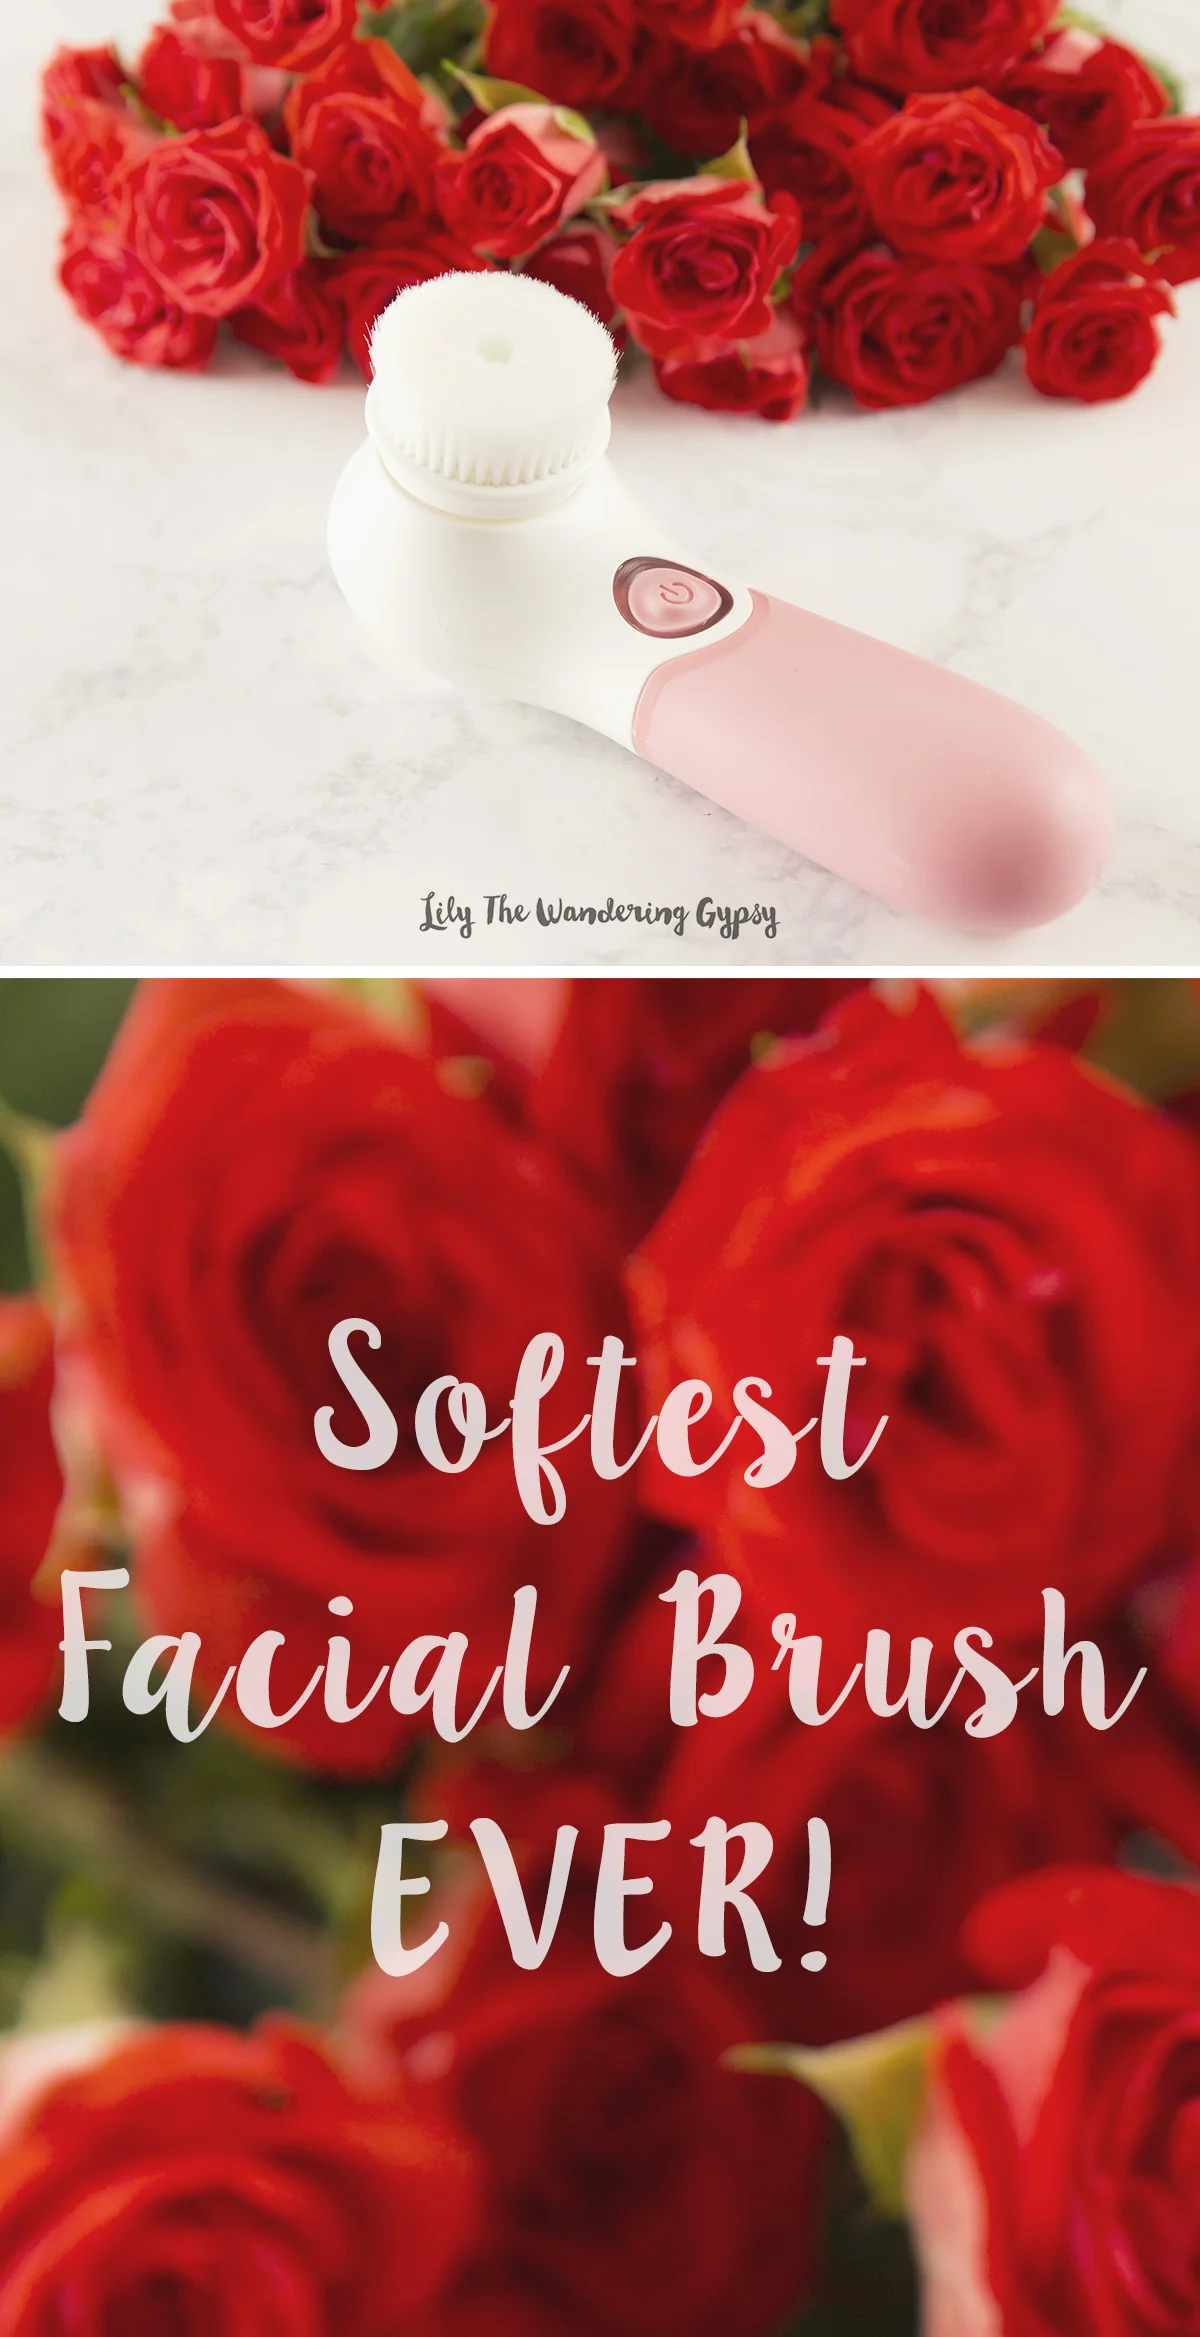
Vanity Planet - Pure Spin Facial Brush
I cannot even describe just how soft this facial brush is! So soft that I would even feel safe using it on skin near my eyes and my most sensitive skin! My face feels extremely soft after using this brush, and I am super happy to be able to include it in my newest face washing routine. I aways use this facial brush with my new favorite face wash, Cetaphil.
And, this facial brush is only $30!! SHOP HERE NOW.
You still have time to order these before Valentine's Day! {Or even hint to someone that this would be a great last-minute Valentine's Day present} - And, there are three color options, and I think the black and white version would be great as a Guy Gift!
I like that they provide THREE color options!


So, if you are looking into refreshing and improving your facial care routine, check out the Vanity Planet brushes, here!
