Hassle-Free Holiday Meal Ideas + Veggie Foil Packets with Del Monte

This post has been sponsored by Del Monte Foods, Inc. All thoughts and opinions are my own.

Each year, I seem to love the holidays more and more. To me, I love any excuse to

make delicious food and have friends and family over. So I thought it would be

fun to share an easy meal idea and show you just how easy this meal was. I

thought it turned out very elegant, and everything was literally devoured

pretty quickly.

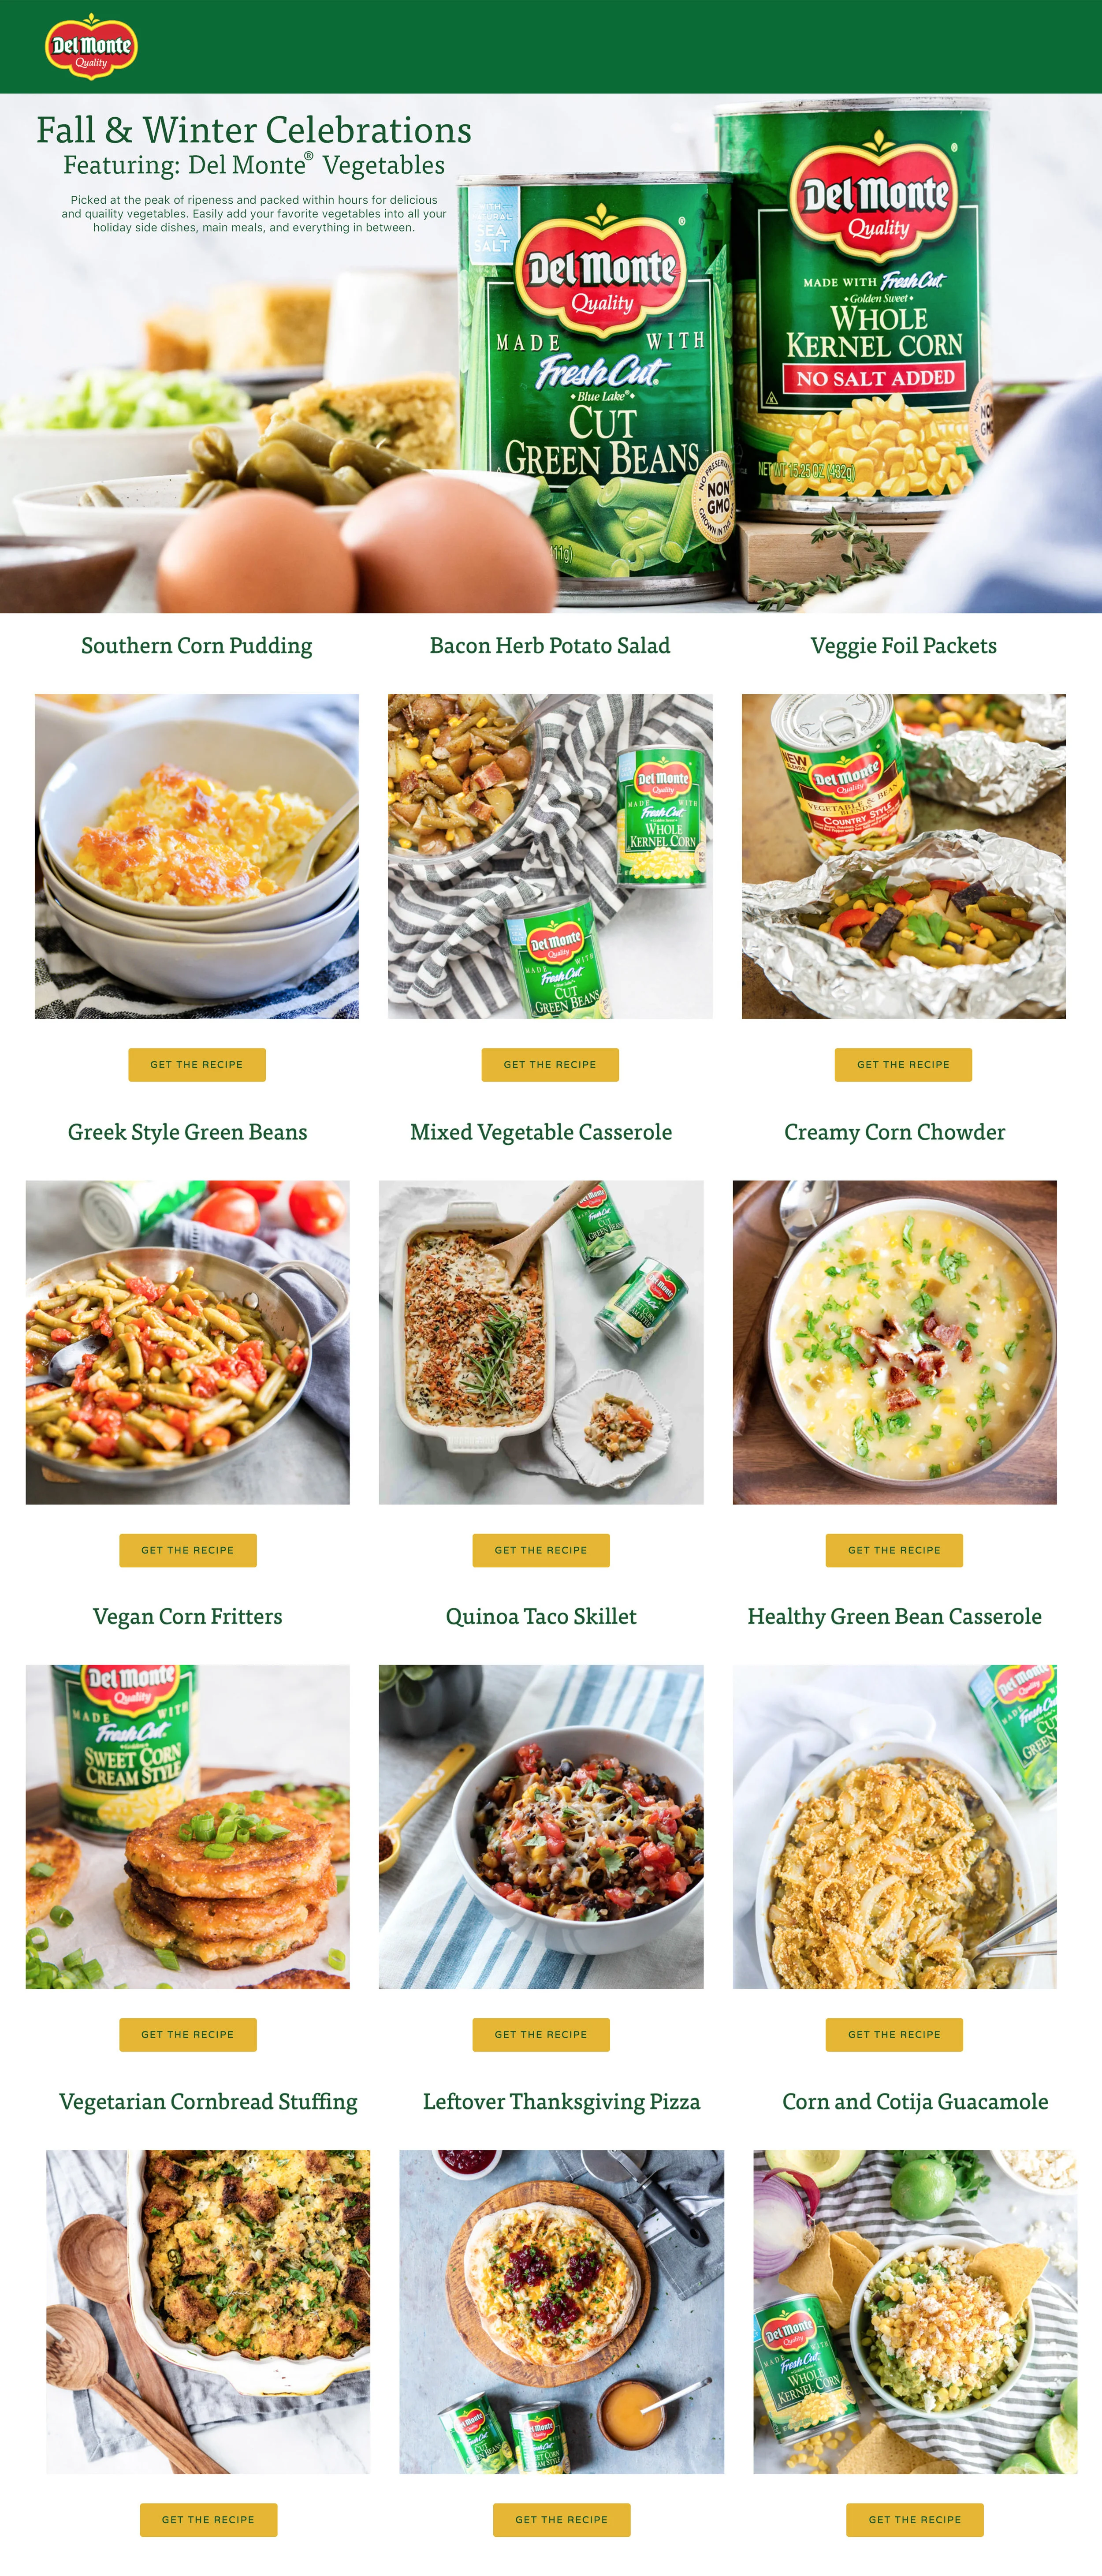
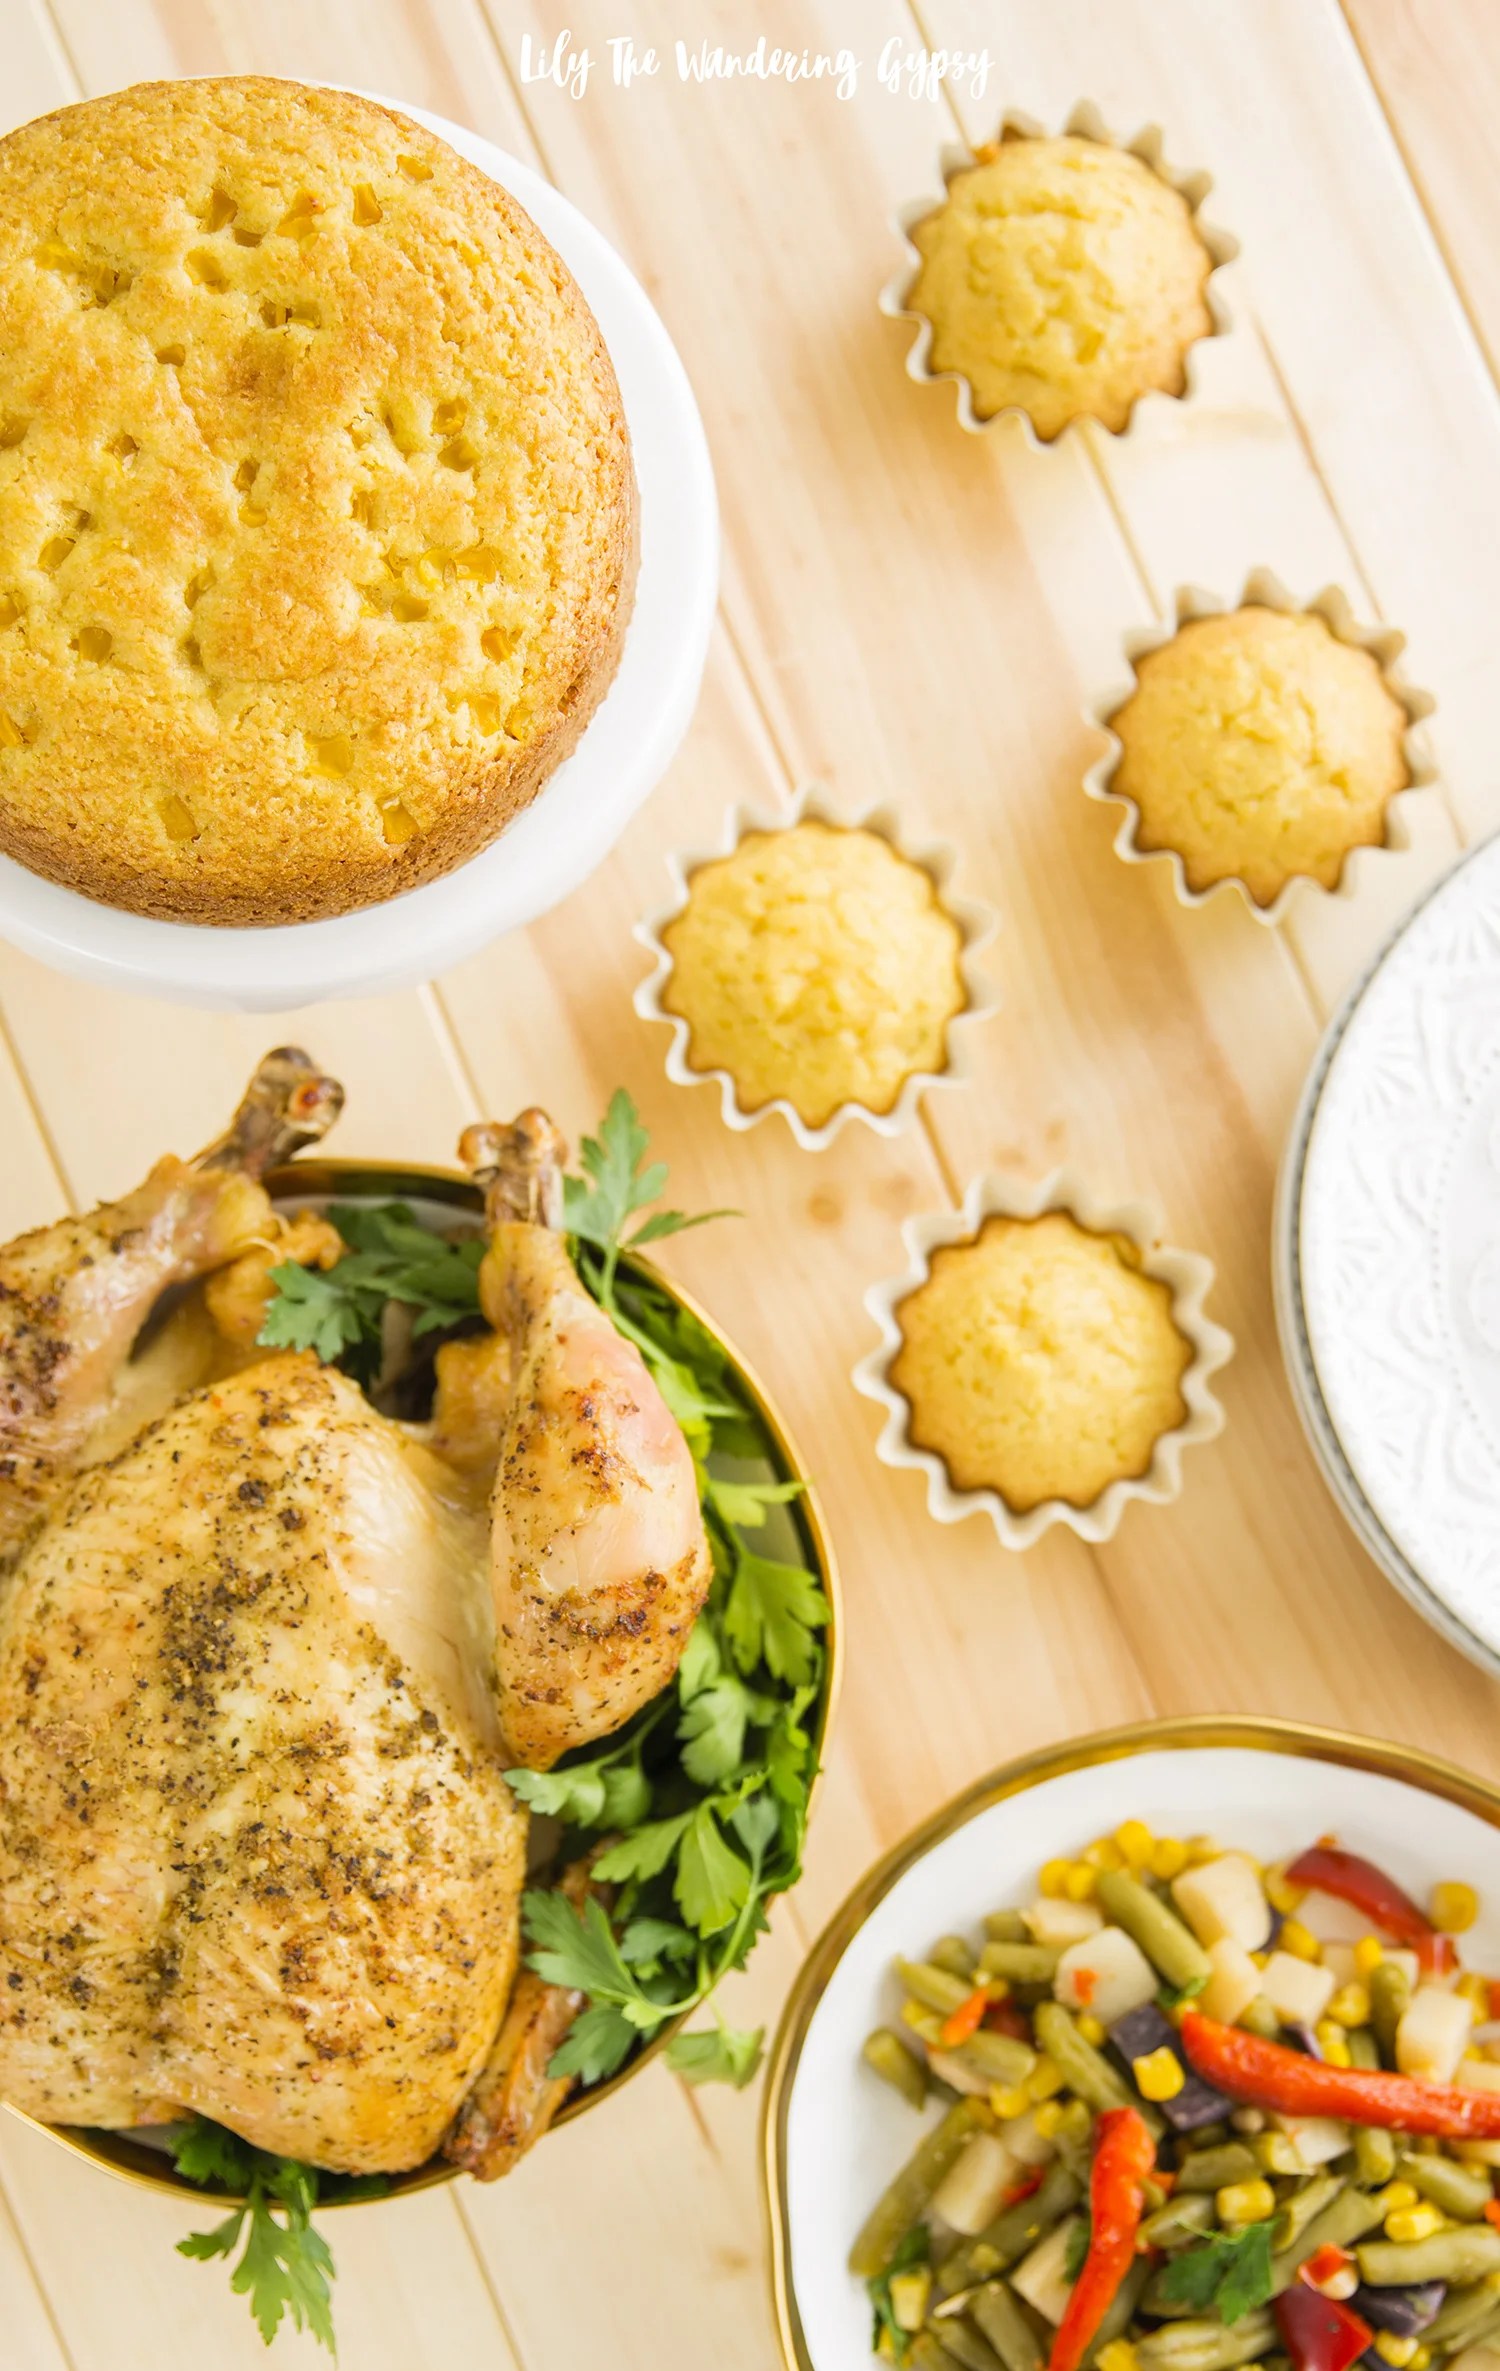
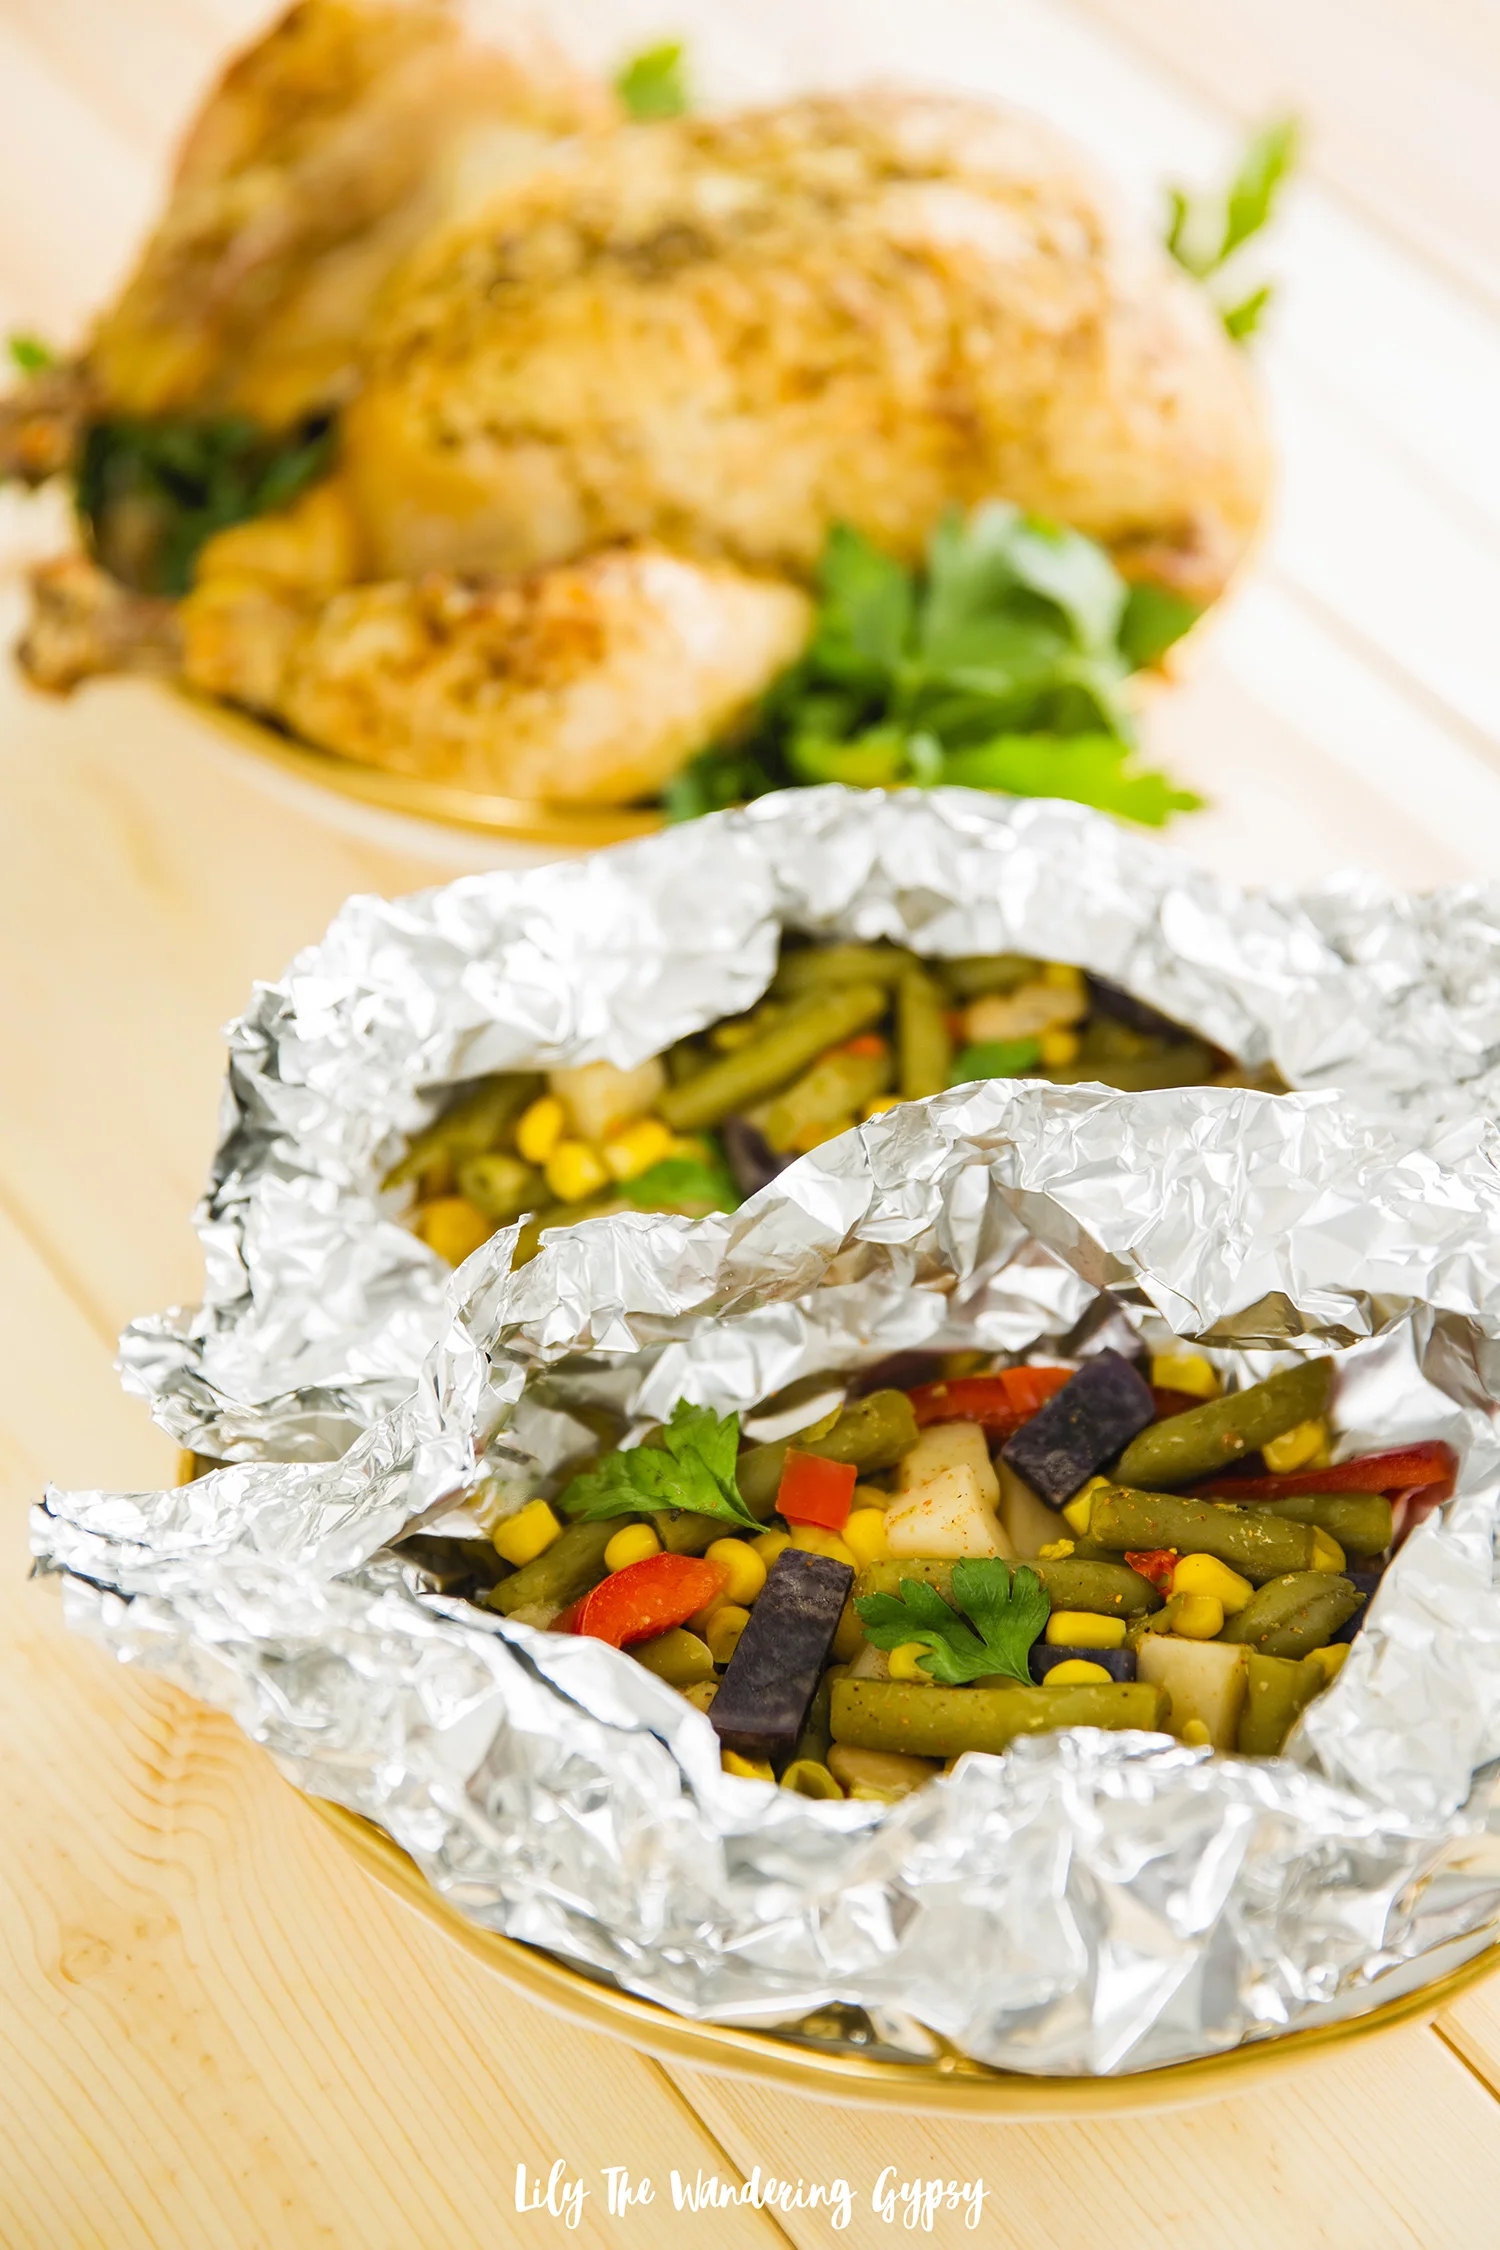
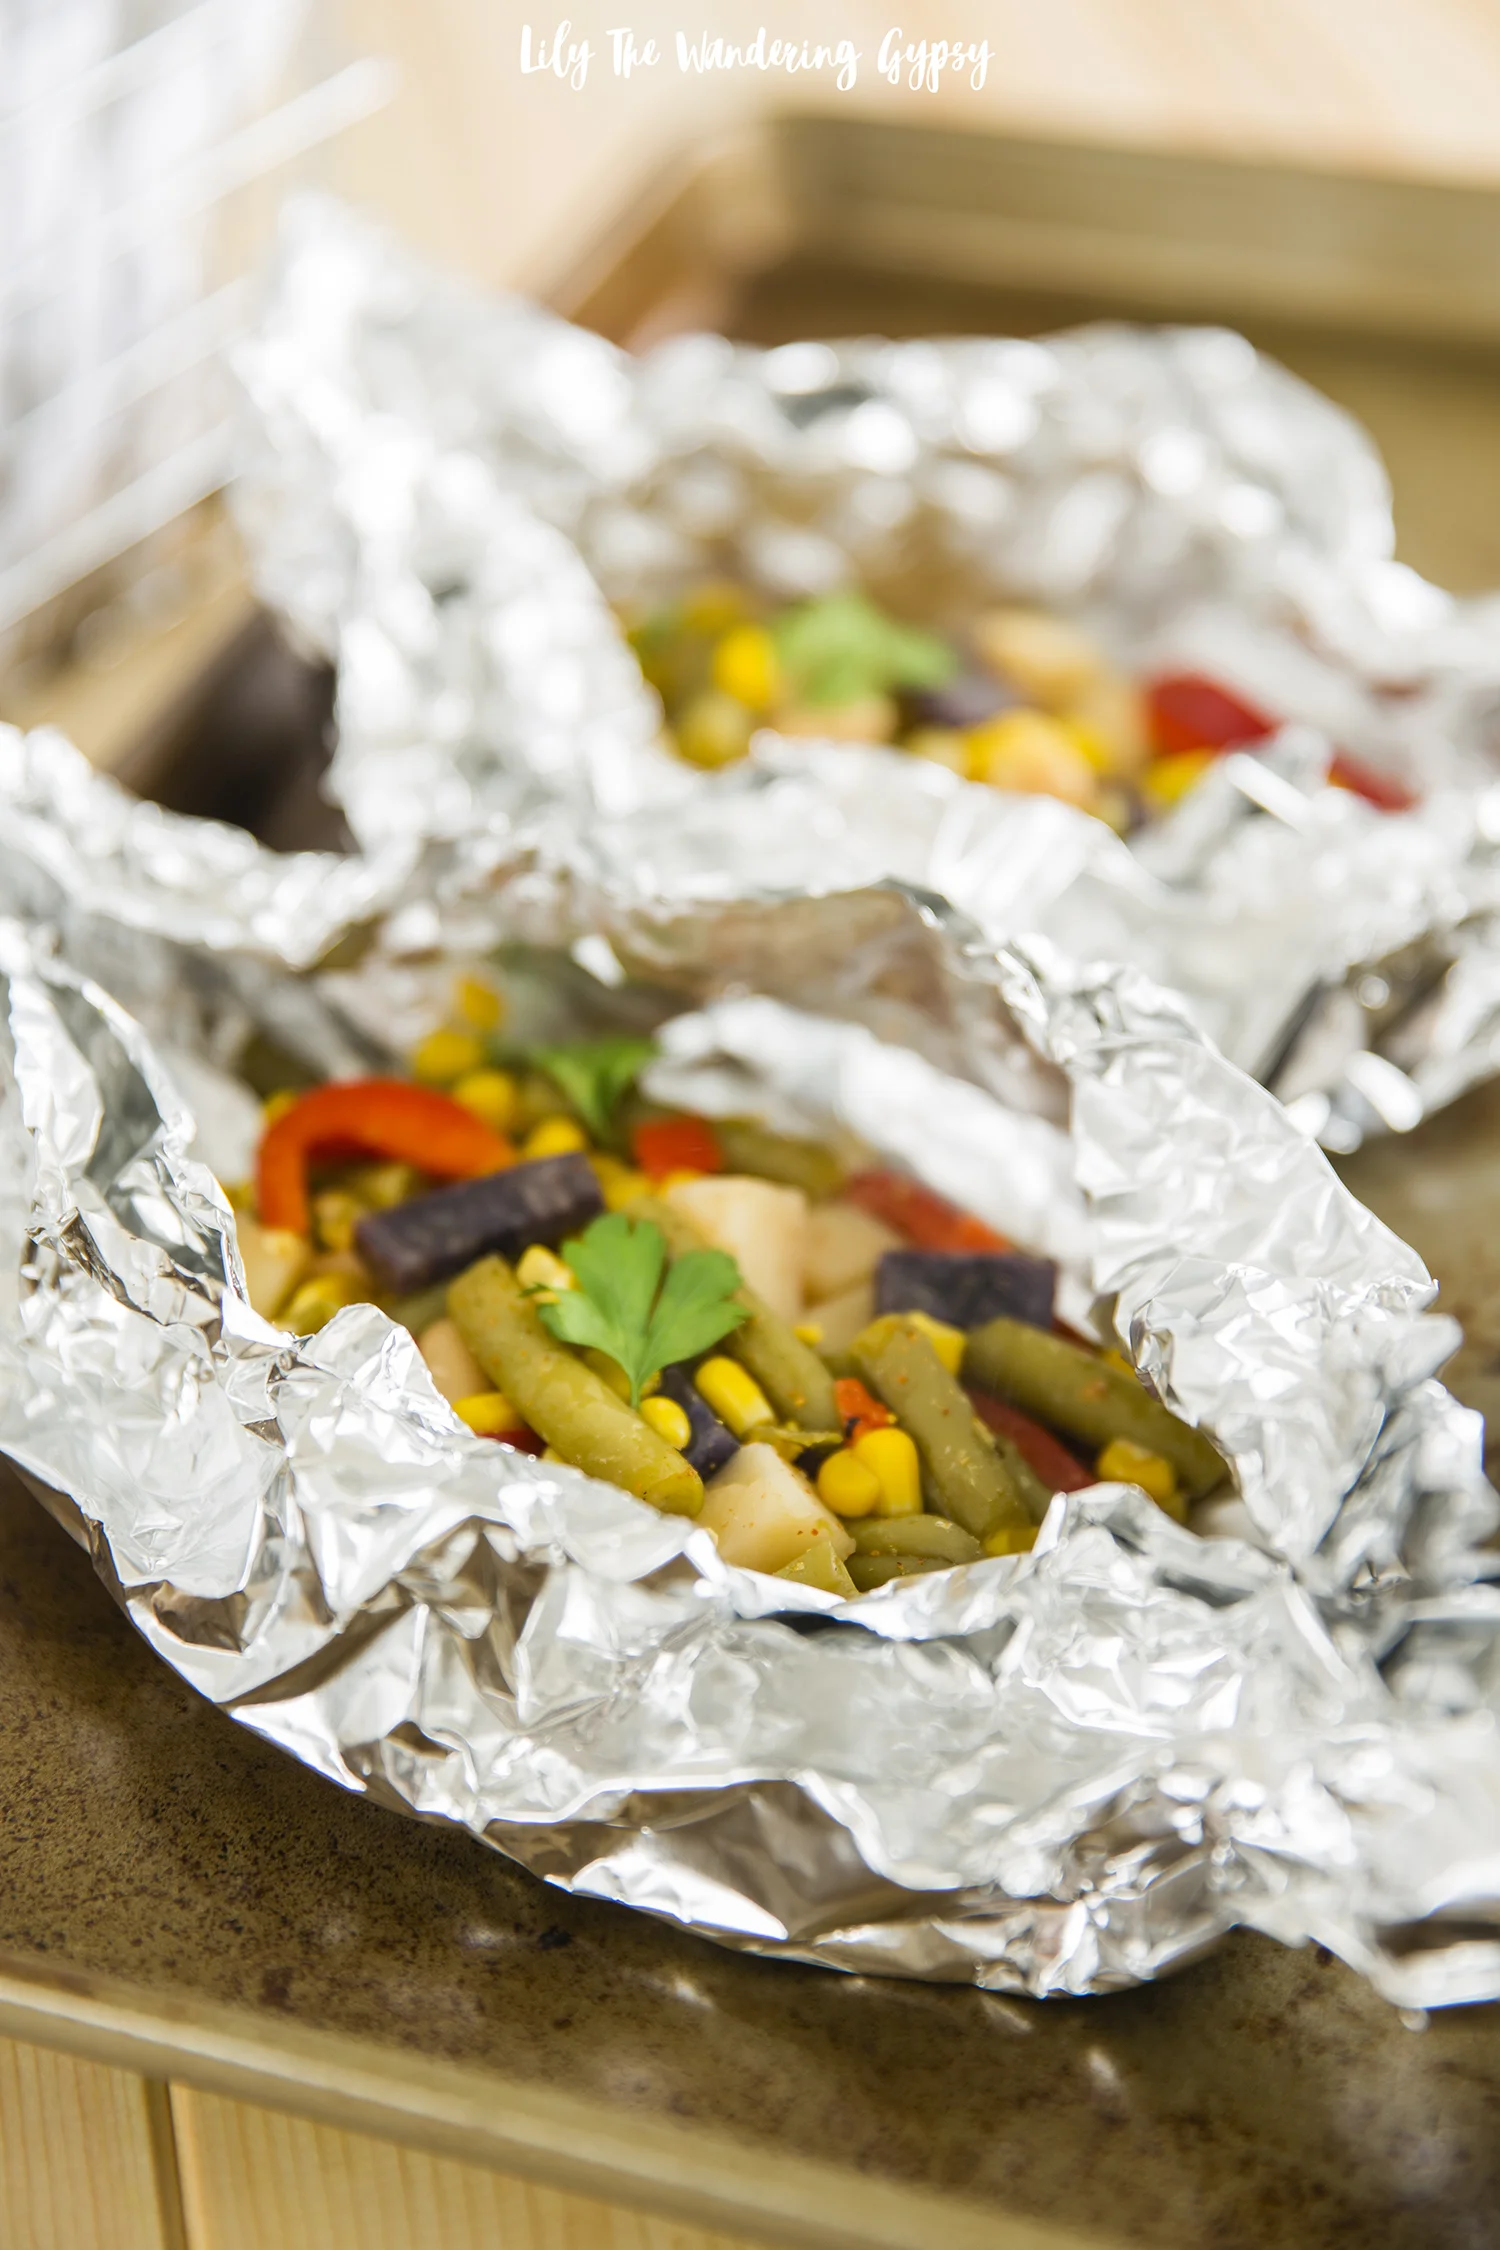
These Veggie Foil Packets are a great vegetarian dinner alternative or side dish. These foil packets are so familiar to most people (think campfire dinners) but by adding more unique and colorful ingredients, these veggie packets can be taken to the next level and even enjoyed at a holiday dinner as a side dish! Simply put, these foil packets contain an array of ingredients like potatoes, carrots, garlic, onions, fresh herbs like parsley and oregano, and of course the Del Monte mixed veggies and green beans. Also, if you are put in the position when you need to offer a few vegetarian side dishes during the holidays, the veggie packets and the cornbread would be amazing.

Del Monte is my number one brand for everything canned during the holidays and during every month of the year. You can find them at your nearest retailer using this store locator. This could be a cute meal for Friendsgiving, for a fall or holiday date night, or something special for a smaller crowd during the holidays.

Visit Del Monte’s website to check out TONS more holiday recipes, here!

Ingredients: (Serves 3-4)

 VEGGIE FOIL PACKETS:

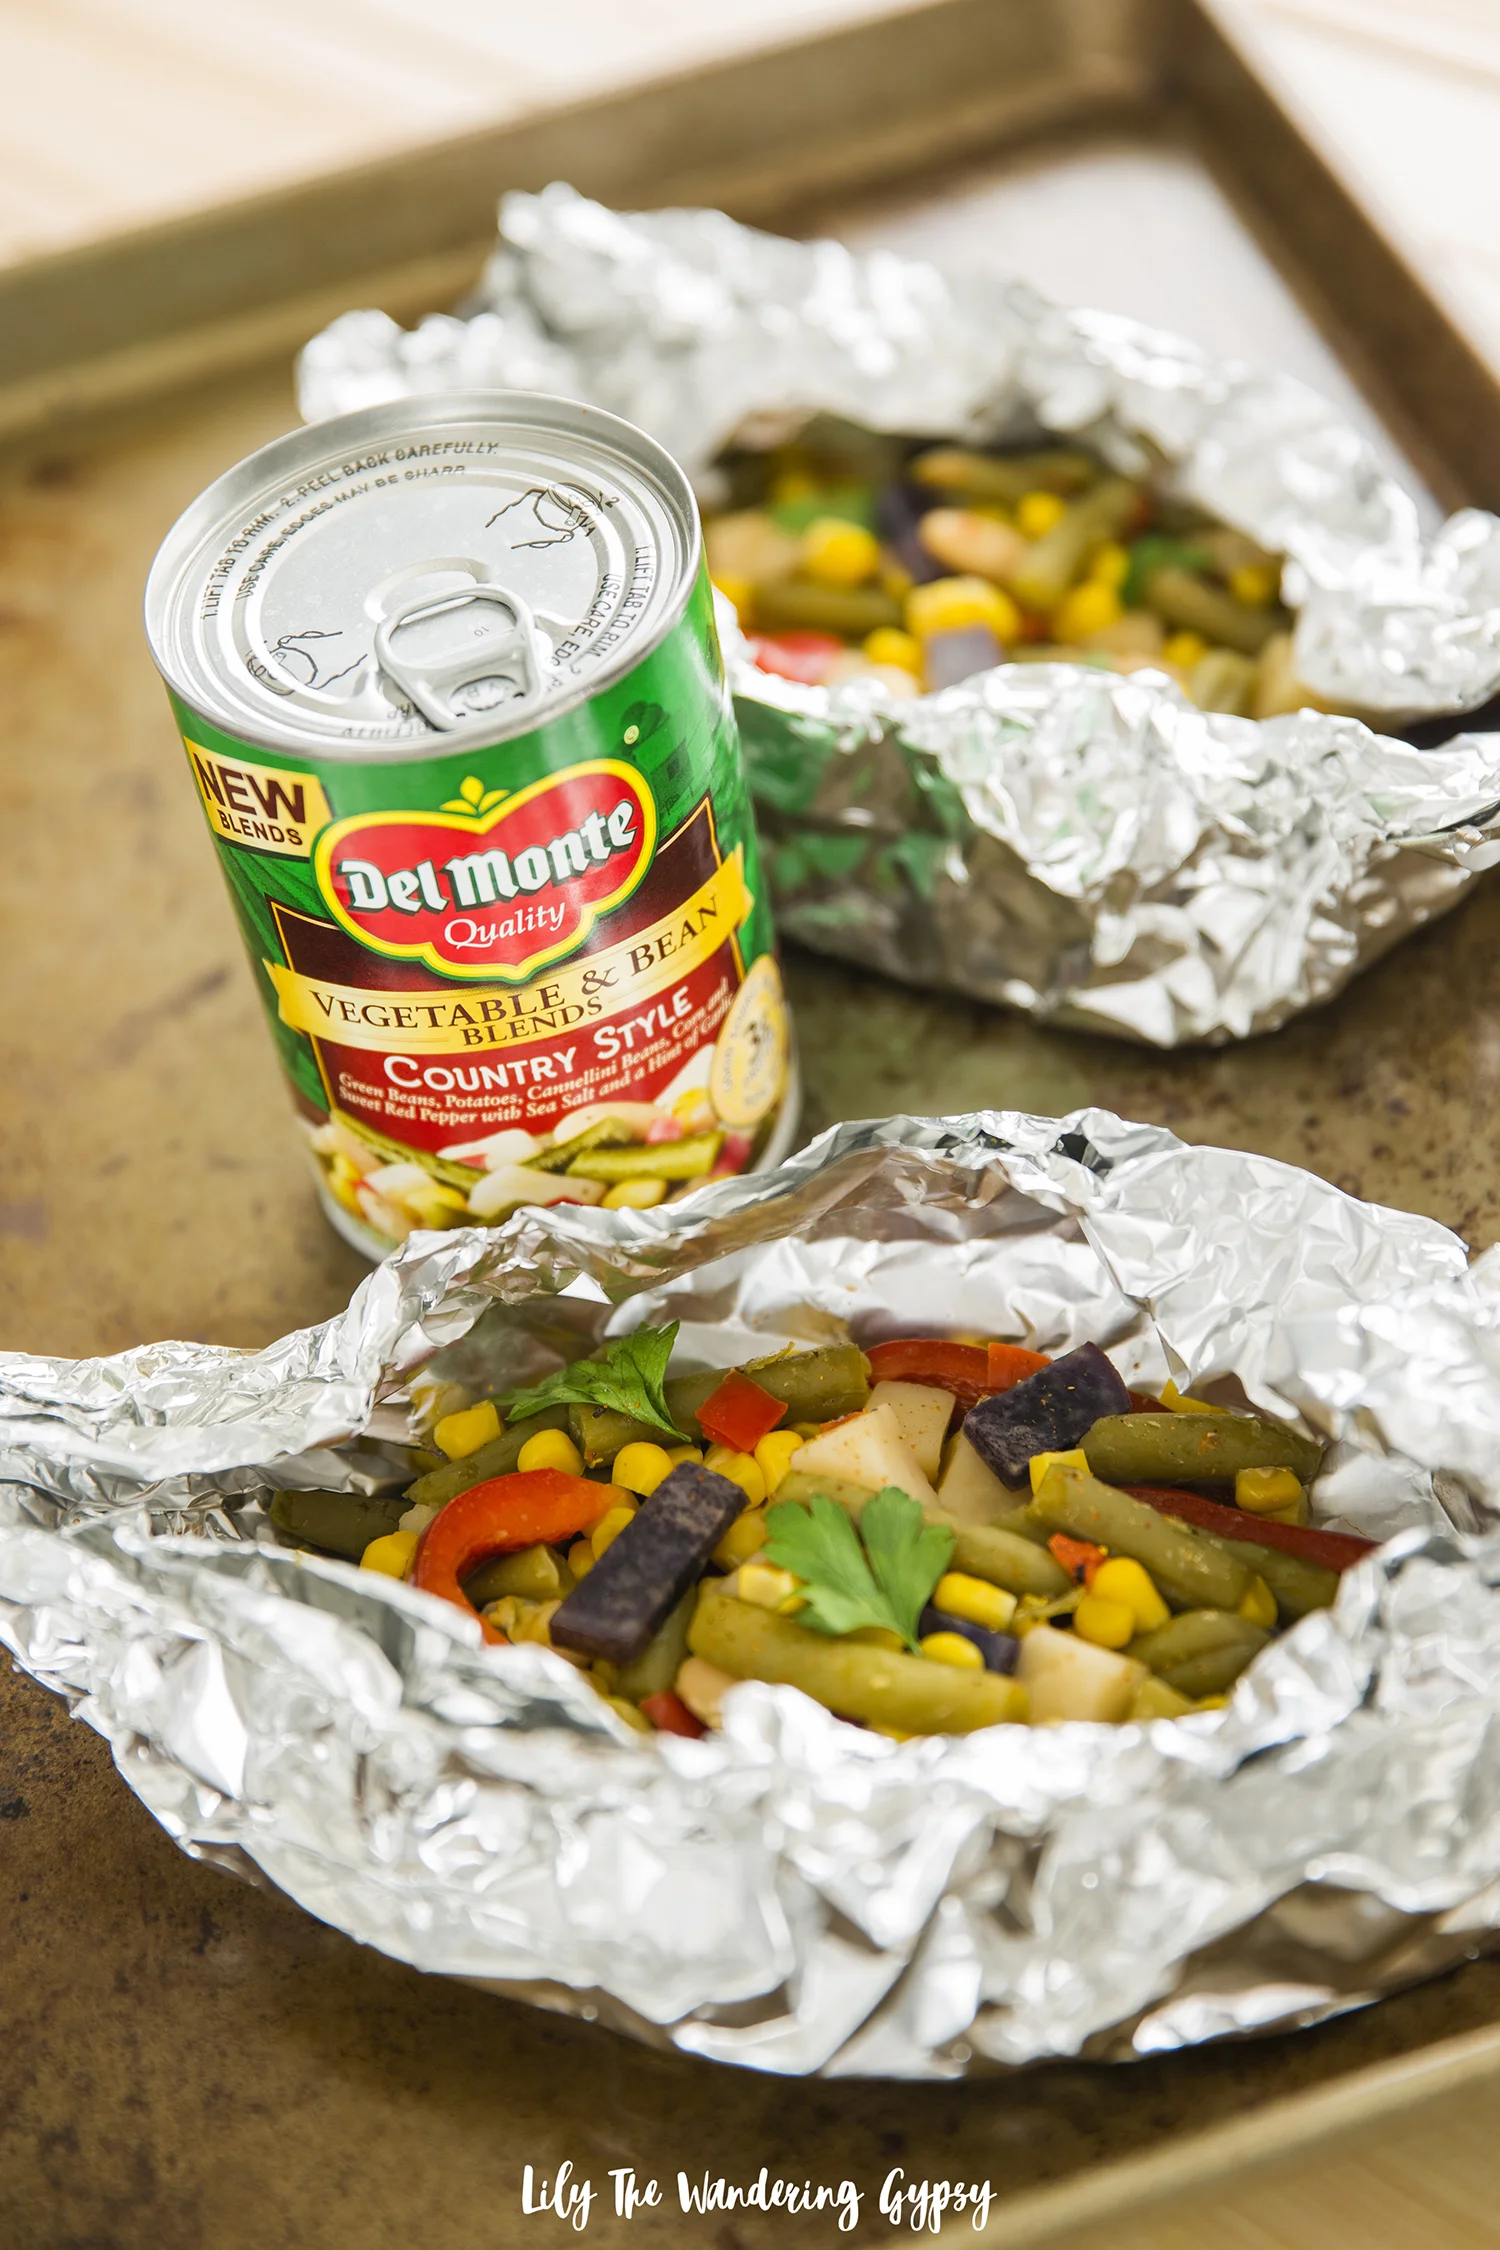
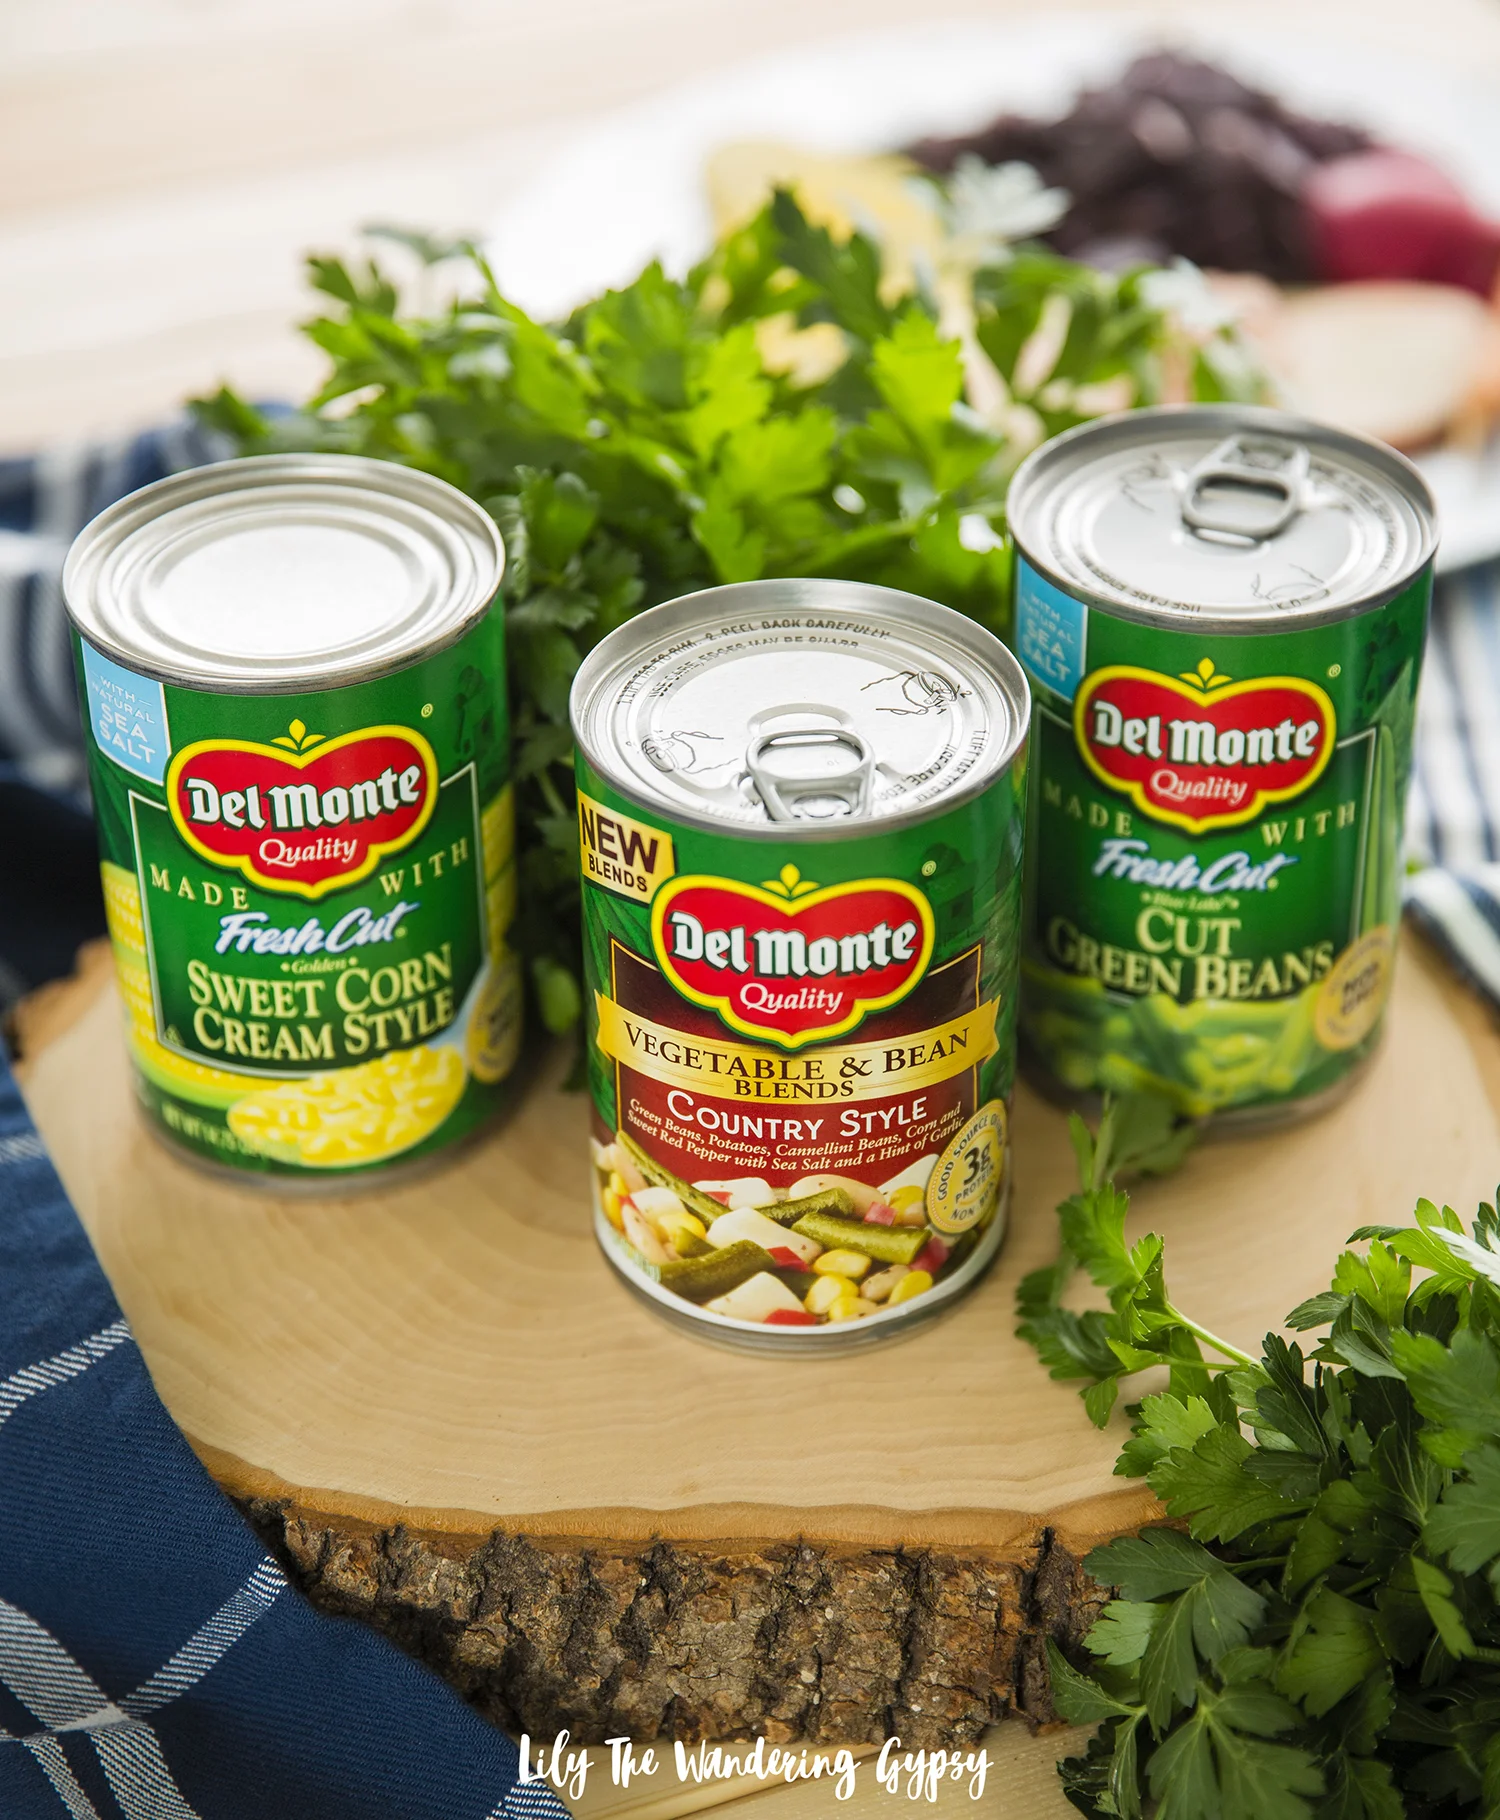
1-2 Cans Del Monte® Vegetable & Bean Blends Country Style

1-2 Cans Del Monte® Blue Lake® Cut Green Beans

4-6 pieces of foil (8”-10” squares) – 2 pieces per packet 

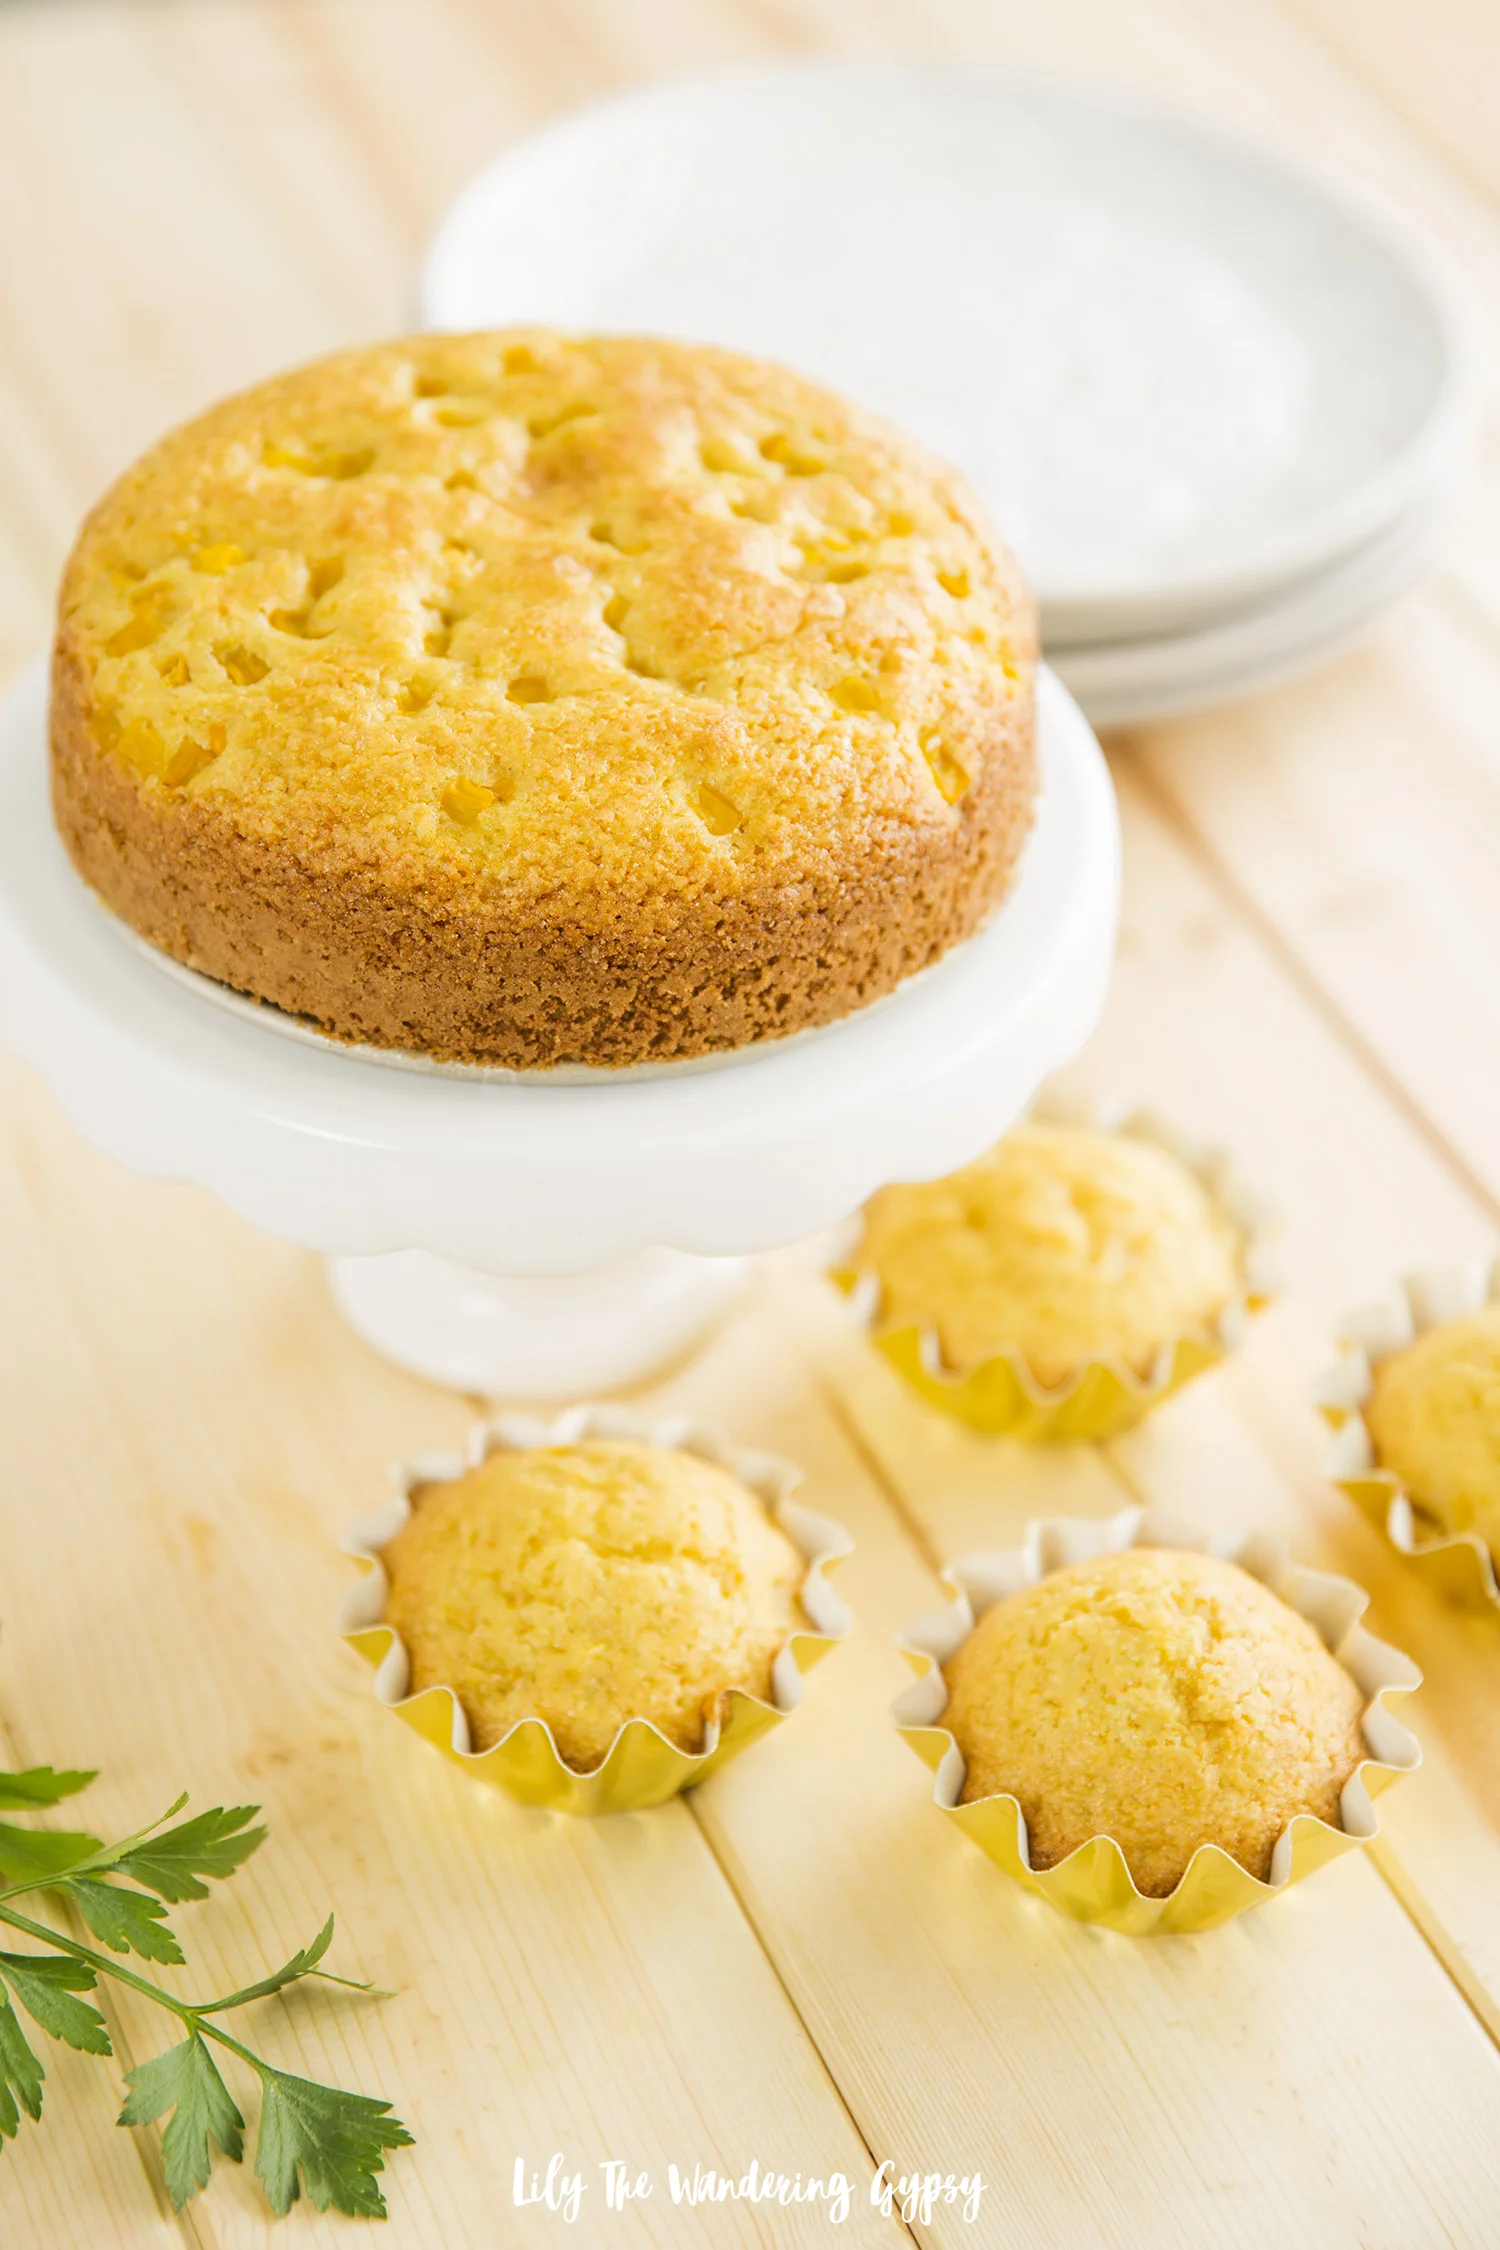
CREAMED CORN CORNBREAD CAKE + MUFFINS:

1 package cornbread muffin or cake mix (I used one 15 oz. box but you can also use two 8 oz boxes as well!)

1 egg

1/3 c. oil

1 Cup Del Monte® Cream Style Golden Sweet Corn

½ - 1 c. milk

Muffin tin

Cupcake liners 

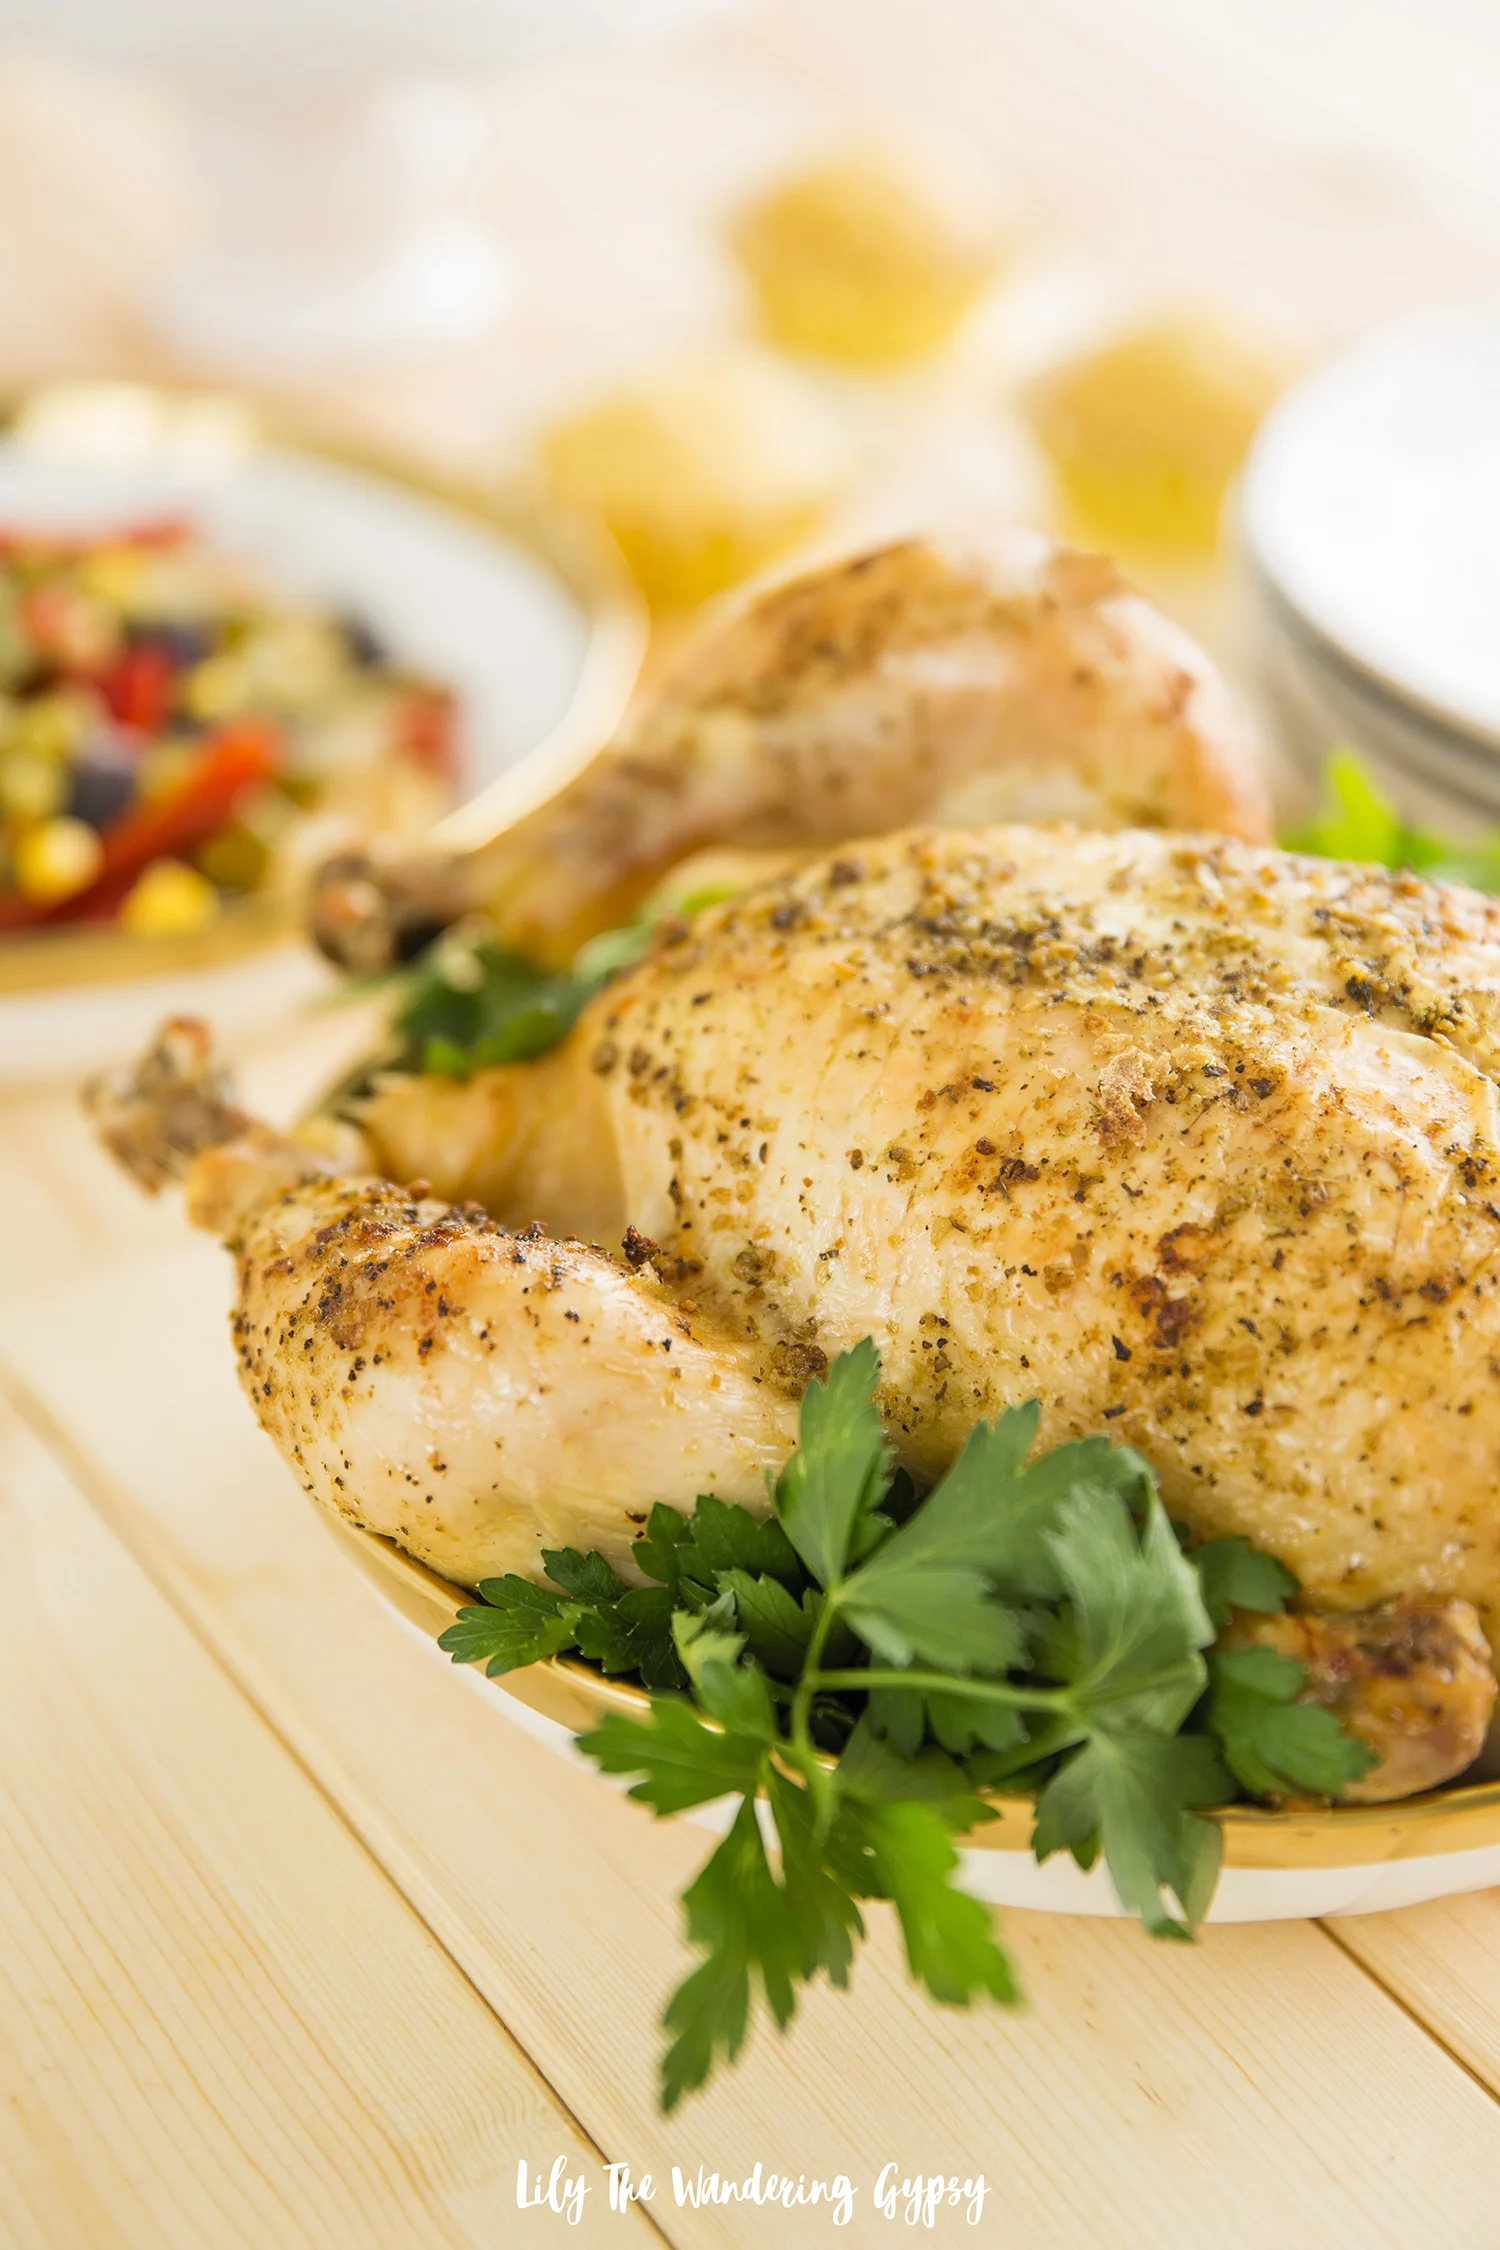
WHOLE YOUNG CHICKEN:

1 whole chicken (organic when possible)

2 Tbsp olive oil

1-2 tsp salt

1-2 Tbsp seasoning (I used Greek seasoning, but use anything you would like)

Brush to apply olive oil (optional)

Parsley for garnish 

Instructions:

1.) Preheat oven to 375 degrees and prepare chicken. Place chicken onto a rimmed baking sheet and begin to brush olive oil over chicken. I basically drizzled the oil onto the chicken and then brushed it over. Next, I simply sprinkled seasoning all over the chicken. Cover with foil and bake for at least 1.5 hours. At a little over an hour, I carefully uncovered the chicken, then placed it back into the oven to finish baking. Make sure the breast is not pink anymore. A note on the chicken: there was a lot of juice in the cake pan from the chicken cooking. Be careful not to spill this juice or it may hurt you. Be very careful when handling this pan.

2.) Mid way through cooking chicken, prep for the veggie packets. Strain both cans of Del Monte veggies and divide them equally between 2 or 3 foil packets, To make the packets, simply place two sheets of foil on a baking tray, place veggies in the middle, then season with 1-2 tsp of your favorite seasoning mix and salt if needed. Fold two side of the foil inward, then twist the ends to keep everything inside. Place onto sheet pan and bake for 12-15 minutes or until steaming. Carefully open the packets as the steam can hurt you.

3.) Mix up cornbread ingredients and prepare pan. For my spring form pan, I sprayed it with cooking spray then lightly coated the pan in flour. Fill the springform pan about halfway full then pour the rest of the batter, cover with foil, and bake for approximately 20-25 minutes with foil covering until the last 10-15 mins. Pour the batter into the cupcake cups and bake muffins at 375F for about 15-18 minutes. The springform pan is not necessary, it just made for a wonderful presentation! Feel free to use any size or shape of square or round dish you have.

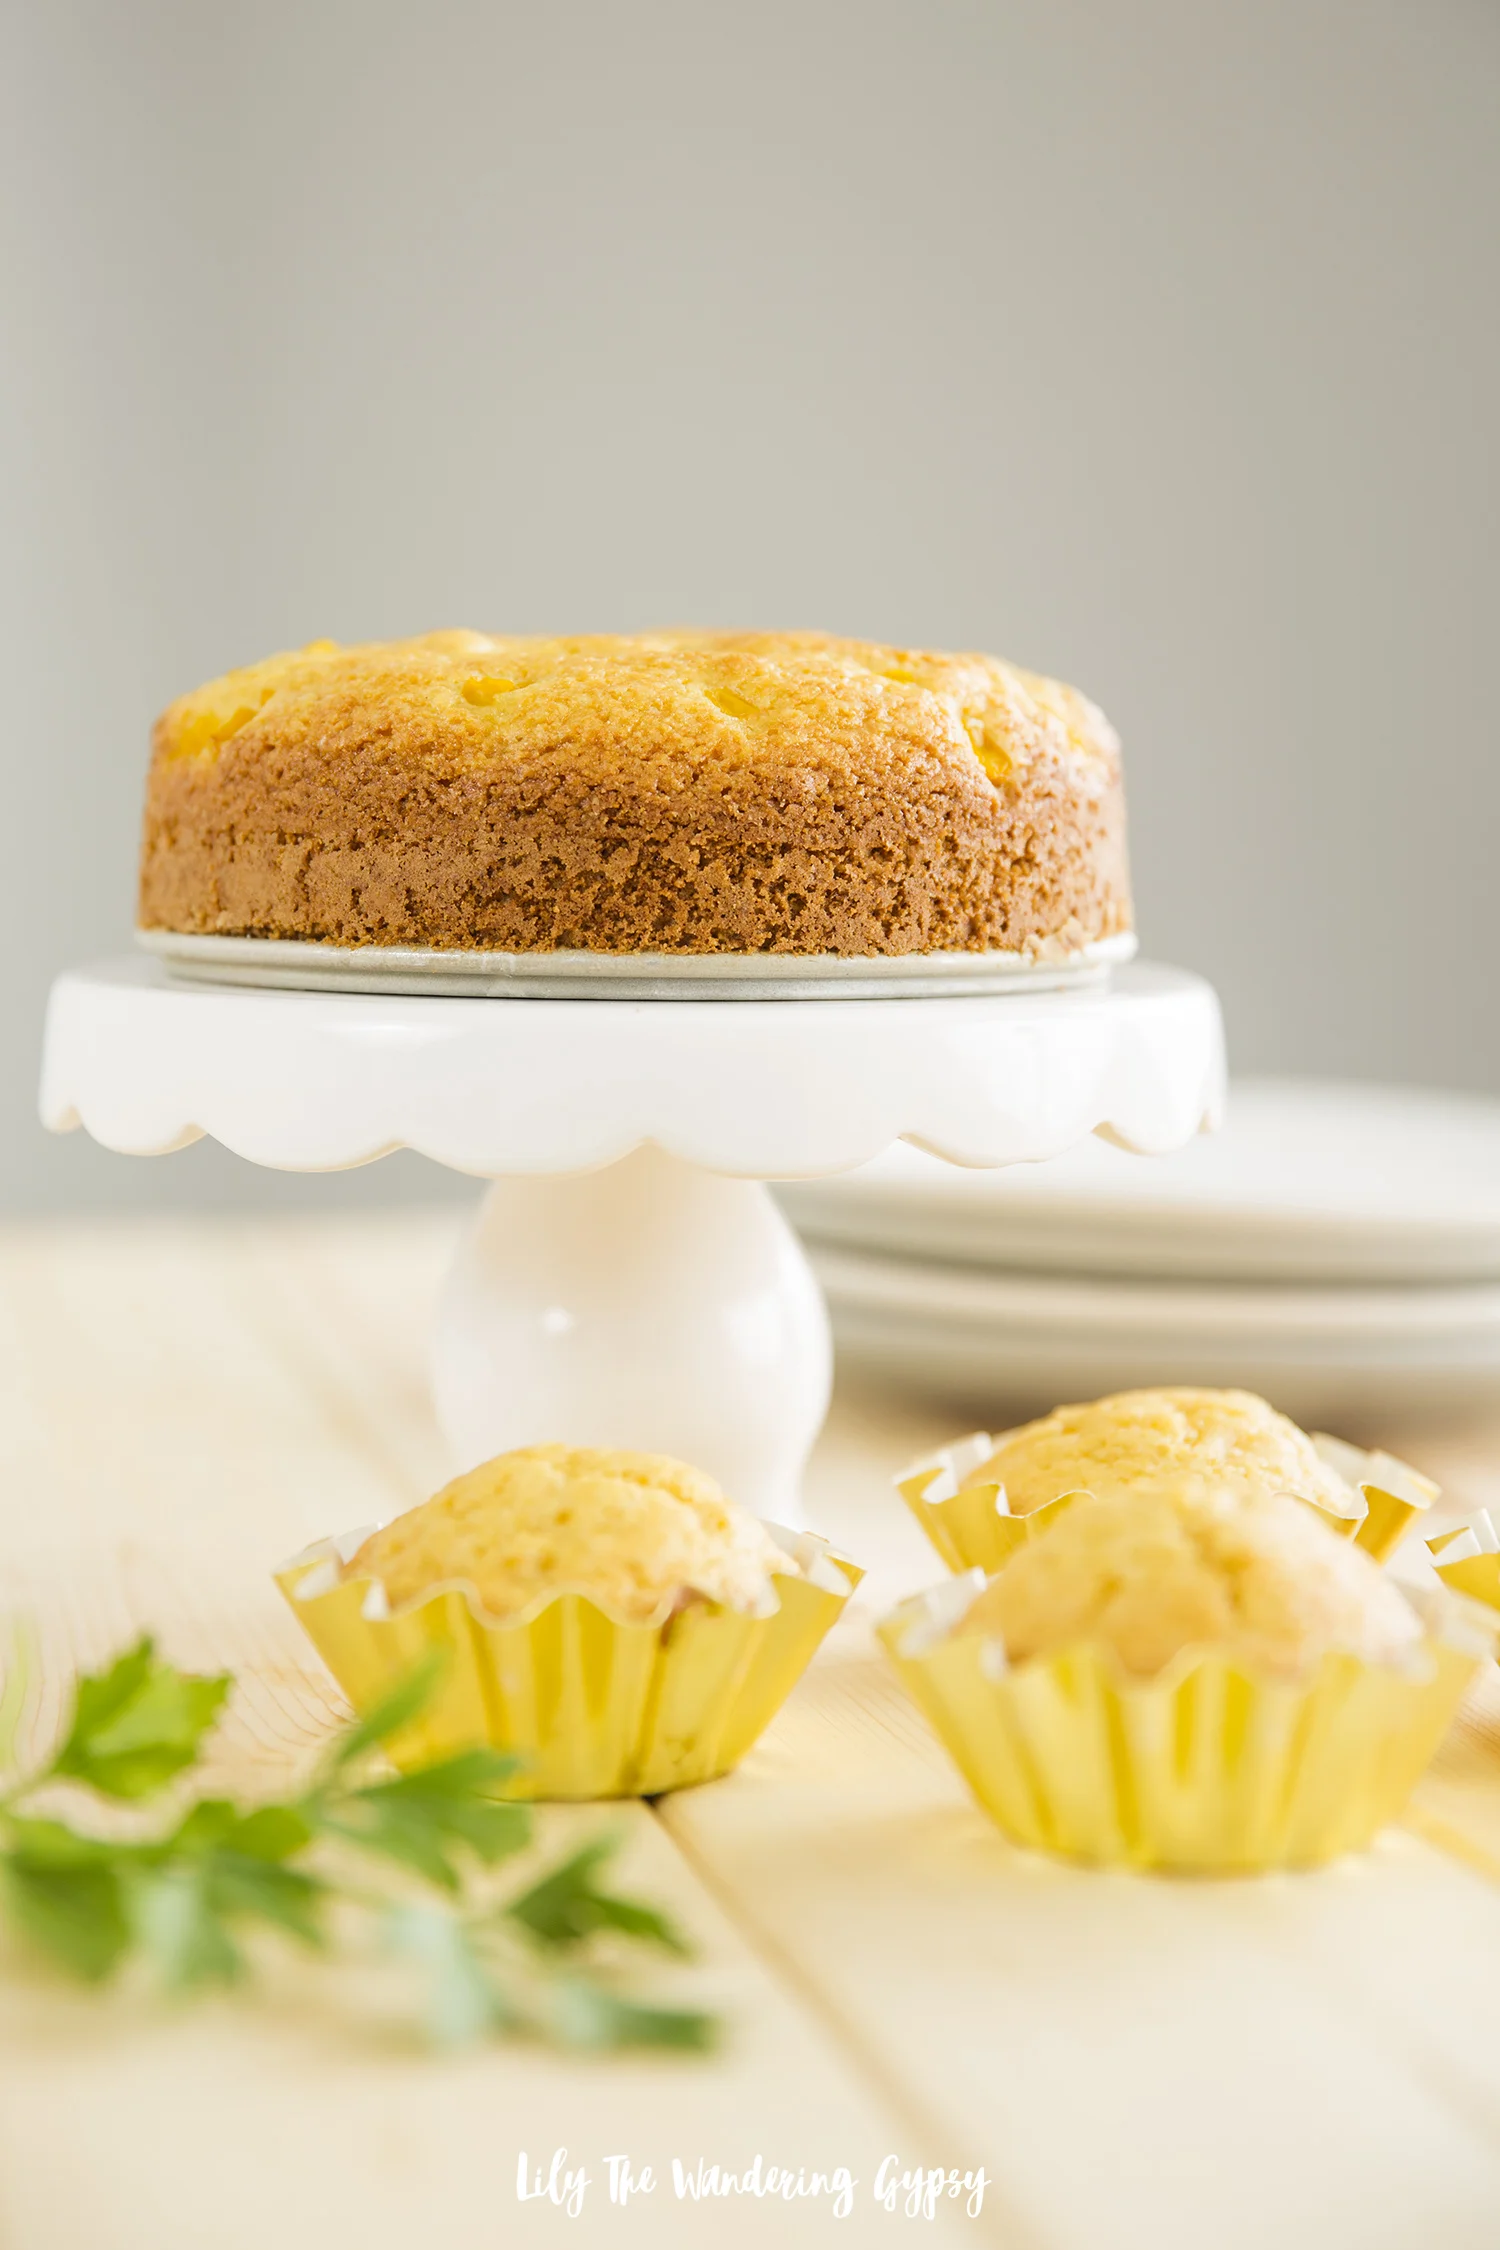
4.) To serve, place chicken into shallow serving bowl or platter and garnish with parsley. Also, feel free to place cornbread cake onto a cake stand or on a cute dish with a spatula for serving. Lastly, either have guests grab veggies from a serving bowl or straight from the packets!

Cleanup was super easy with this whole process. If you do not want to cook a whole chicken, you can use chicken drumsticks, thighs, or even chicken breasts. I say this because it can take up to 2 hours for the chicken to be fully cooked if the bird is 4 pounds like mine was.

I absolutely LOVED the green beans and the other vegetables in the new Mixed Veggies collection. I actually liked the vegetables more than any other part of this meal, and my friends also raved about each and every part. I had so much fun treating a few of my favorite people to an exceptionally thoughtful dinner during the holidays, which can be a super hectic time when people may forget to eat a “real meal”.

What are your favorite vegetarian side dishes to serve during the holidays?

Look out for these mixed veggies from the brand:

Del Monte® Vegetable & Bean Blends California Style

Del Monte® Vegetable & Bean Blends Classic Style

Del Monte® Vegetable & Bean Blends Country Style

Del Monte® Vegetable & Bean Blends Mexican Style

Connect with Del Monte on social and show off your recipes, too!

LEARN ABOUT MORE BLOGGERS’ RECIPES HERE!

Mummy Wrapped Jalapeño Poppers

Looking for an eye-catching appetizer that people will love for Halloween? These Mummy Wrapped Jalapeño Poppers are delightfully spooky and you’re going to love them. And, bonus points because these can be made vegetarian or with bacon in the filling - it’s up to YOU!

INGREDIENTS (MAKES ABOUT 20-24 poppers)

1 (8oz.) block of cream cheese

1-1.5 cups shredded cheddar cheese

2-3 Tbsp seasoning - I like Ranch or Mexican seasoning for these

1-2 packages of pizza crust (the thinner the better - I used Wewalka Bistro Crust)

Candy eyes at least 40 pieces (I like these ones)

Baking sheet (I love these Air Bake ones)

Parchment paper - (only suggested if you are not using a baking rack)

Baking rack - optional (similar here and here)

INSTRUCTIONS:

1.) Slice top 1/3 of each pepper off, lengthwise. Carefully remove seeds and other inside material with the back of a kitchen spoon or similar tool. I tend to use rubber gloves when making these, so my hands do not catch any of the spiciness of the peppers.

2.) Using a small spoon to add filling to peppers, or place your filling ingredients into a plastic bag and cut the end off to use to pipe the filling into the peppers for a more polished look. Wipe off excess filling that may have gotten on the edges or the tops.

3.) Cut pizza dough into the thinnest strips you can. I use the dough as cold as possible, or almost frozen so it cuts well and also holds the shape of the strips well. Next, wrap small strips of dough around filled peppers in a “mummy sort of way”. I left room for the eye area, and after they baked I placed candy eyes to give them a good personality + spooky look.

4.) Bake at 350-375 degrees F for 10-15+ minutes on a metal baking sheet, covered in parchment paper. These baked pretty quickly and I just LOVE how they turned out!

Add the candy eyes to the mummy poppers! While poppers are still warm, take two candy eyes in your fingers, and place them on the “mummy face” both nest to each other at once, so they are both looking/pointing in the right direction. You can have a lot of fun with these, and I would love them to be a part of your Halloween celebrations and festivities! Enjoy! Happy Haunting!

Rustic Apple Pie Pizza Recipe + Why I love Fall Baking

This is a sponsored post written by me on behalf of Oregon Chai®. The opinions and text are all mine. #OregonChaiMeTime 

Wow! Have I got an incredible recipe for you today. It embodies the fall spirit, and includes a dessert “pizza!” This delicious and unique recipe is rustic, sweet, and crunchy; an amazing pairing with a nice, warm Oregon Chai® Tea Latte! Make this amazing dessert for your next gathering, dinner with friends and family, or even for a potluck. This dessert will vanish before you know it.

To me, baking is one of the best ways to spend “me time.” I tend to find myself baking the most once the weather cools down, when I have a bit of free time, or even when too many days have passed since I created something delicious.  Any day that includes chai tea and some me time is a GOOD DAY!

I wasn’t always able to bake freely though. Before we got our new furnace this summer, the house would get WAY too hot (83 degrees +) when I turned on the oven, and so it was nearly impossible to justify baking when the house would not cool down from it. I made so many no-bake meals, or even used our awesome toaster oven to try to make complete meals, small casseroles, and even side dishes – baking cookies, pies, or brownies really doesn’t go well in the toaster oven.

I didn’t even realize how strong of a connection I had to baking, until I had limited use of the oven, and realized how sad I was when I looked through Pinterest and saw all of those recipes that I could not even attempt. I now bake every few days (or more) and I am so happy about how cool our house stays finally. Thank goodness for good air conditioning, LOL!

I also tend to LOVE sweet desserts and dishes, so this one is just perfect for me. If you like desserts that are on the more savory or less sweet side of life, then you can majorly reduce the amount of sugar I have suggested. Either way, you’re going to love this apple pie pizza.

Pizza is such a familiar comfort food, and when I had a slice of this Apple Pie Pizza, it took me back to eating some of the best thin crust pizza ever, combined with one of my favorite fall desserts ever.

Since we are surrounded by apple orchards here in southern Illinois, using apples in my recipe came as a very natural solution to eating more local ingredients!

This rustic recipe is crunchy around the edges from this crispy crunchy dough, sweet, tart from the apples, buttery from the dough, and the egg wash and cinnamon sugar topping makes the most excellent crunch when you bite into it.

Perfect for enjoying on a chilly fall day or evening! I was extremely happy with how this recipe turned out, and I know you will be too. I used an organic pie crust from the store, and it held the shape of the lattice just perfectly.

By cutting the lattice into smaller, ½” strips, I was able to make a very intricate pattern on top of this Apple Pie Pizza. Feel free to also cut the strips into 1” pieces to make life much easier! The ½” strips were not incredibly hard to work with, just a little more time consuming. But, patience always pays off when you’re baking.

RECIPE

INGREDIENTS:

1 package refrigerated pie crust (2 per package)

2 apples, I used green apples

4-5 Tbsp.  sugar

1 tsp. cinnamon

1/8 tsp. nutmeg

1 egg, whisked for egg wash

4-6 Tbsp. water in a small bowl to use to attach pie dough together

Round or Rectangular baking sheet

Parchment paper

Oregon Chai Tea Latte Concentrate to enjoy while baking!


INSTRUCTIONS:

1.) Chop 2 apples into tiny pieces and coat with 1 ½ - 2 Tbsp. sugar, ½ tsp. cinnamon, and 1/8 tsp. nutmeg.

2.) Unroll both pie crusts onto a work surface covered in parchment paper. Optional: use a rolling pin to smooth out any creases.

3.) Use a ruler to mark every ½” or 1” on one pie crust. Also, use the ruler and a sharp knife to impress even lines and cut strips from the pie crust. Set aside.

4.) Spread an even layer of apples onto the other pie crust.

5.) Weave dough strips over apples, first laying half of the strips vertically, then weaving the horizontal pieces in next. Feel free to use a little bit of water in each place where the dough strips overlap. Brush top crust with egg wash.

6.) Once done weaving, sprinkle on a mixture of 2 Tbsp. sugar + ½ tsp cinnamon, and bake for 15-20 minutes at 375 degrees F. Slice like a pizza and enjoy! We cut the finished Apple Pie Pizza with a sharp knife, but you could also use a pizza cutter!

Make sure to also grab your Ibotta offer here for 75 cents off any 1 Oregon Chai product at Walmart (9/26/18 – 11/30/18, or until supplies last).

Stock up now! This tea is so delicious you will want to incorporate it into your every day routines and serve it to anyone who visits you.

I was able to easily order the Oregon Chai Tea Latte Concentrate (32 oz.) on Walmart.com using their super easy Online Grocery Pickup service!

Below, you will see how easy it was to search for all of the available Oregon Chai products at Walmart. I spent around $12 to create this entire recipe, and since the Chai Tea was under $4.00 I saved SO much compared to going to a coffee shop for an overpriced drink.

After I went to the checkout page, I simply chose “Pickup” for FREE (see below)! No shipping charges at all, which saved me around $6.00. YAY!! I love a good deal.

The taste of this Oregon Chai Tea was rich, smooth, and has those amazing chai spices that I can’t get enough of. I like to add macadamia milk to my chai tea, instead of traditional dairy milk, and my body loves me for it! What a delicious way to get a little pick-me-up during baking or during any other time of the day.

Once my order was ready, I was able to run by my local Walmart and easily grab the tea in the pickup area. Super easy since I had so many errands to run that day.

Has your local Walmart installed an Online Grocery Pickup station yet? Ours JUST remodeled, and I had an extremely easy experience, let me walk you through it/ 

1.) Visit the Walmart Online Grocery Pickup station and scan the barcode given in your email.

You can also just wait outside and call the phone number on the pickup area. They will bring everything right out to you!

Like I said, baking helps me de-stress and helps me continue to be creative, so after getting a ton of things checked off the to-do list, I relaxed for a bit, then got to baking.

I hope you have an absolutely splendid fall, and please comment below to let me know if you tried making this recipe! This would be so fun with kids, and would be a fun holiday baking activity. Enjoy!