Vegan Game Day Appetizers with Gardein

Super excited for #FootballSeason with @gardein! Here is a delicious #vegetarian #football #party #appetizer that will please fans. These #plantbased Gardein Meatless Meatballs are great baked in the oven, then finished off in your favorite sauce in a skillet in the oven. They also have a range of other products like chicken fingers and chicken strips which we have thoroughly enjoyed all season long.

The brand was so kind to send me an assortment of their meatless appetizers

#GardeinGameDay #IC #appetizer #meatlessmonday #footballparty #recipe #heresmyfood #meatless

Flyway Family Mushroom Farm - Makanda, IL

I met Mike and Jess at the Carbondale Farmer’s Market years ago, and they are some of my favorite people to this day. They sell their incredible, gourmet mushrooms at the market every Saturday throughout the entire season from April - November. You can also find their mushrooms at various local restaurants, grocery stores like The Neighborhood Co-Op, and at the Urbana, IL Market.

Connect With Flyway Family Farm on Facebook and Instagram!

I recently had the honor of capturing some of their current offerings. They have a Chef’s Mix, which contained some of each. These pink oyster mushrooms were so incredible in a mixed veggie skillet we made recently while camping.

Last year, we also created a really incredible post for Martha Stewart, featuring several of the Flyway Family Farm mushrooms, which I also found at the Farmer’s Market.

Looking for a delicious marinated mushroom recipe? They can be made ahead of time, and enjoyed for up to five days.

TRY THESE RECIPES

Sheet Pan Spicy Roasted Brussels and Rainbow Veggies Recipe

This post was sponsored by Colman’s, all opinions are my own.

A delicious and health-forward vegan recipe that makes eating your vegetables easy AND delicious. Colman’s Mustard Glazed Brussels Sprouts and Roasted Vegetables make an amazing holiday side dish, snack, or even dinner idea. Colman’s dry mustard does have some heat and spice to it, but it’s a very nice, subtle warming flavor which I just love.

Flavors of mustard grace the outer edges of a wide array of vegetables, in every color and crunch level –you’re going to love these veggies! The mustard flavor also paired exceptionally well with the other marinade ingredients like honey and soy sauce.

Plus, these vegetables make a very elegant dinner or side dish, and go very well with lots of different refreshments. I just love how pretty the Brussels sprouts are when they are cut open. They are like mini cabbages, and while they do have a stronger and sometimes more acquired taste than other vegetables, they are said to be high in vitamins, minerals, and antioxidants. The more vegetables one can incorporate into their diets, the happier their bodies might be. While everyone is of course different, I love treating my friends and family to healthier meal options.

I always love creating plant-based meals that offers a new alternative to dinner or a side dish. Impress just about anyone (even if they are “newbies” to or unsure about Brussels sprouts, these are definitely a crowd pleaser.

By incorporating Colman’s dry and wet mustards into the glaze for these vegetables, I absolutely LOVED the new, unique flavors that came through from baking the ingredients with such a great marinade. If you can imagine a potato or egg salad containing mustard, that is where I got the idea that potatoes, Brussels sprouts, and so many other veggies would pair perfectly with the Colman’s mustards.

Colman’s has been creating mustards since 1814, using time-honored traditions and the highest quality ingredients.

INGREDIENTS (Serves 4-5):

Marinade:

2 Tbsp Colman’s Dry Mustard

2-3 Tbsp Colman’s Wet Mustard

1/3 C. Olive Oil or more, to ensure all veggies are fully coated at the end

2-3 tsp. seasoned salt

1 Tbsp balsamic vinegar

2 Tbsp honey

Suggested Vegetables:

2 Cups Brussels Sprouts (cut into halves, and cut some into quarters)

½ -1 C. thinly sliced Russet potatoes

½ C. sweet potatoes – chopped into small pieces

½ C. yellow zucchini

½ C. green zucchini

¼ C. corn – from cob or canned

1 head of garlic

INSTRUCTIONS:

1.) Prep all veggies, and cover sheet tray(s) with foil, Spray with non stick spray and preheat oven to 400 degrees. Carefully cut off top of garlic head. Set aside.

2.) In a medium to large mixing bowl, mix up all marinade then add veggies to mixing bowl. Use tongs to coat all vegetables, then transfer all veggies to sheet pan(s). To create the garlic head, simply cut off the top of the garlic to expose the cut tops of each clove, while still leaving the rest of the head in tact.

3.) Bake 20 minutes covered with foil, then CAREFULLY remove foil (there will be lots of steam, which can burn someone easily). Bake 10-15 more minutes, and then remove from oven. Transfer to serving tray or large bowl, OR transfer into plastic containers to give to busy families during the holidays. Enjoy!

Here are a few more images of the finished veggies and head of garlic. Definitely recommended!

Have an amazing holiday! And enjoy this delicious, health-forward dish today!

Check out Colman’s Dry and Wet Mustards today, and spice up just about any savory dish you can imagine!

Hassle-Free Holiday Meal Ideas + Veggie Foil Packets with Del Monte

This post has been sponsored by Del Monte Foods, Inc. All thoughts and opinions are my own.

Each year, I seem to love the holidays more and more. To me, I love any excuse to

make delicious food and have friends and family over. So I thought it would be

fun to share an easy meal idea and show you just how easy this meal was. I

thought it turned out very elegant, and everything was literally devoured

pretty quickly.

These Veggie Foil Packets are a great vegetarian dinner alternative or side dish. These foil packets are so familiar to most people (think campfire dinners) but by adding more unique and colorful ingredients, these veggie packets can be taken to the next level and even enjoyed at a holiday dinner as a side dish! Simply put, these foil packets contain an array of ingredients like potatoes, carrots, garlic, onions, fresh herbs like parsley and oregano, and of course the Del Monte mixed veggies and green beans. Also, if you are put in the position when you need to offer a few vegetarian side dishes during the holidays, the veggie packets and the cornbread would be amazing.

Del Monte is my number one brand for everything canned during the holidays and during every month of the year. You can find them at your nearest retailer using this store locator. This could be a cute meal for Friendsgiving, for a fall or holiday date night, or something special for a smaller crowd during the holidays.

Visit Del Monte’s website to check out TONS more holiday recipes, here!

Ingredients: (Serves 3-4)

 VEGGIE FOIL PACKETS:

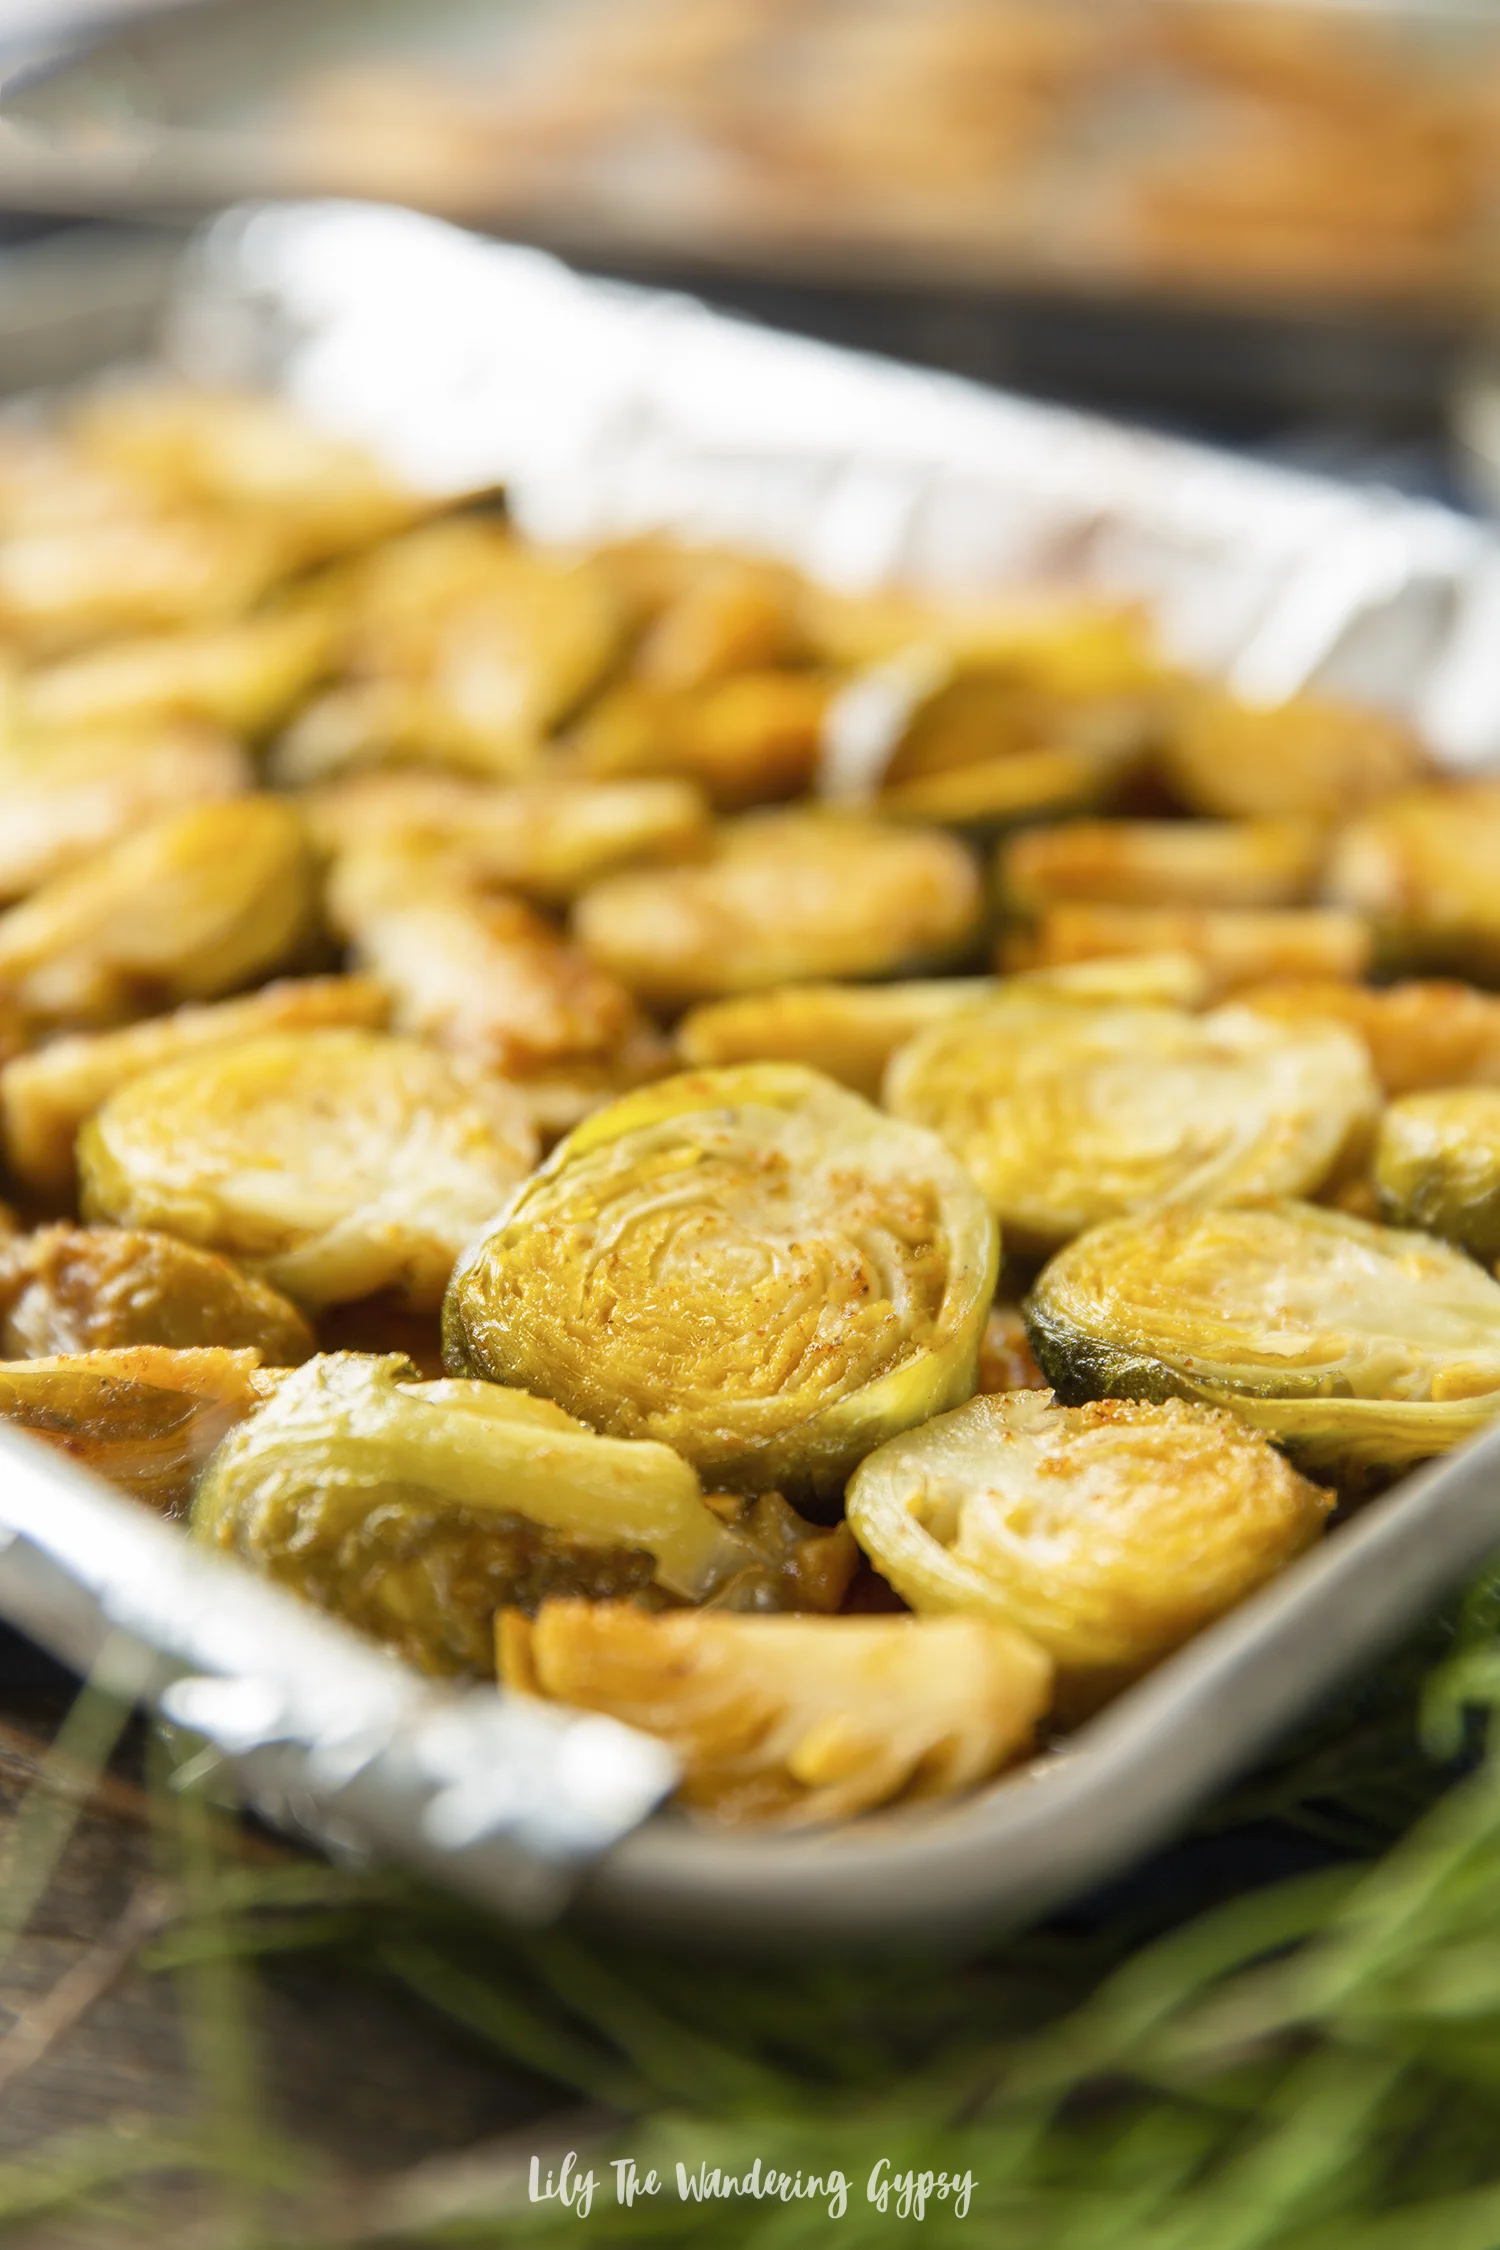
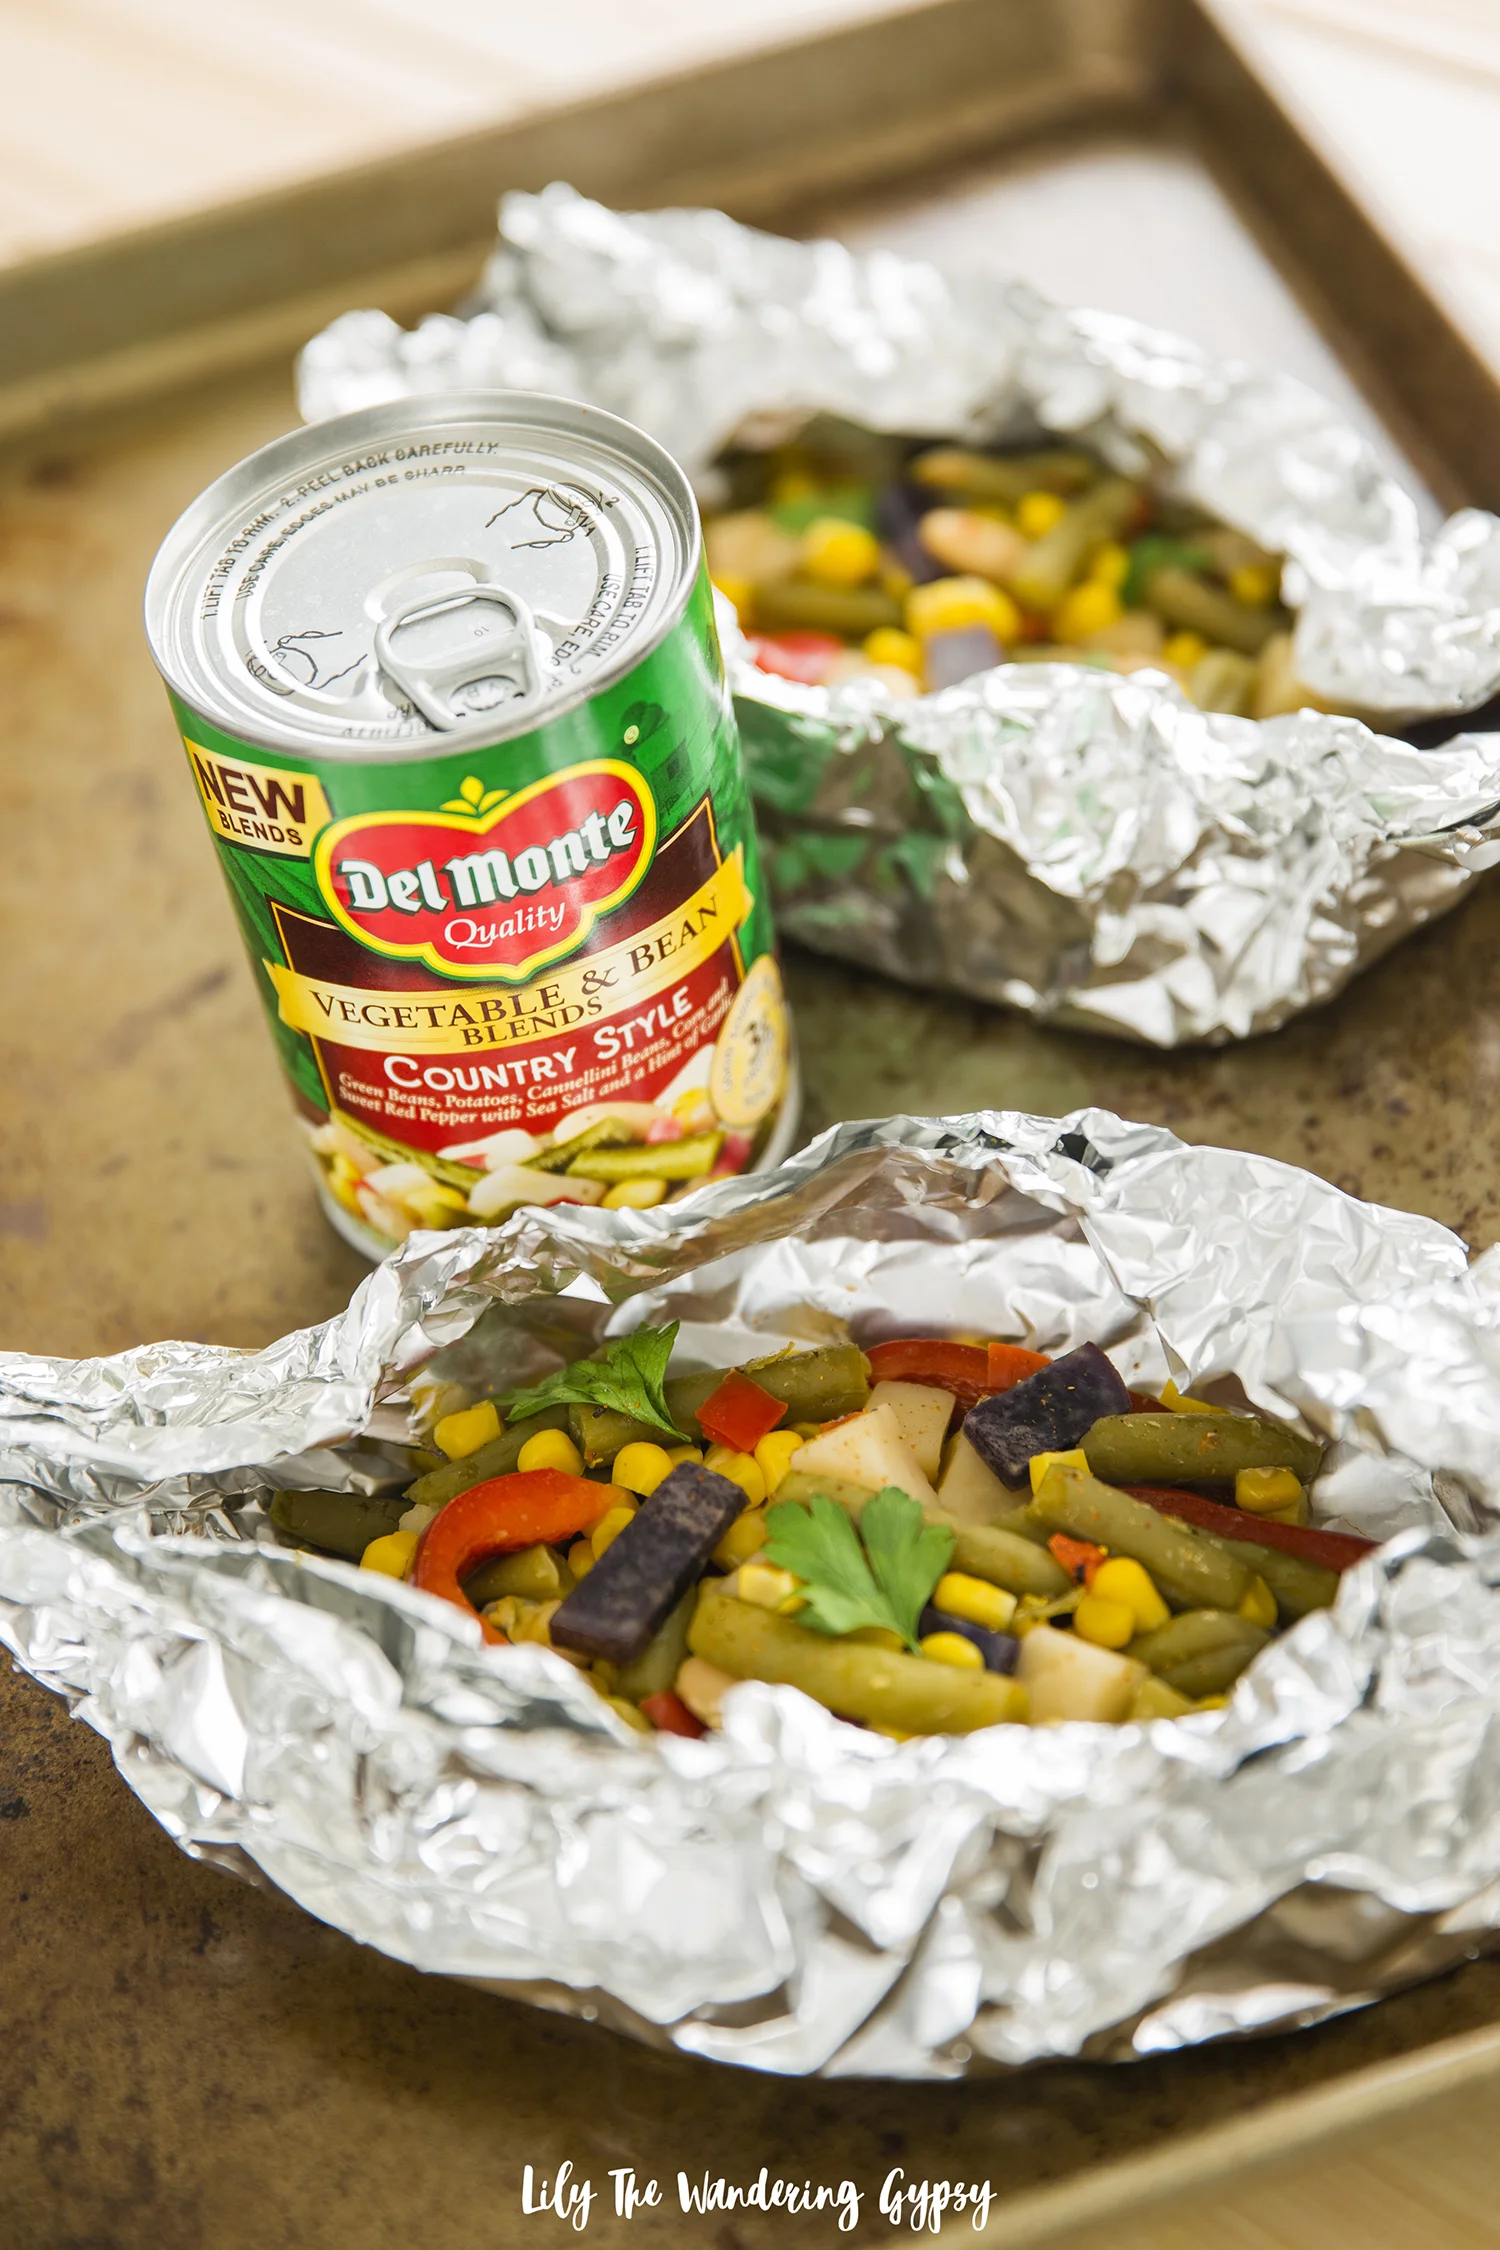
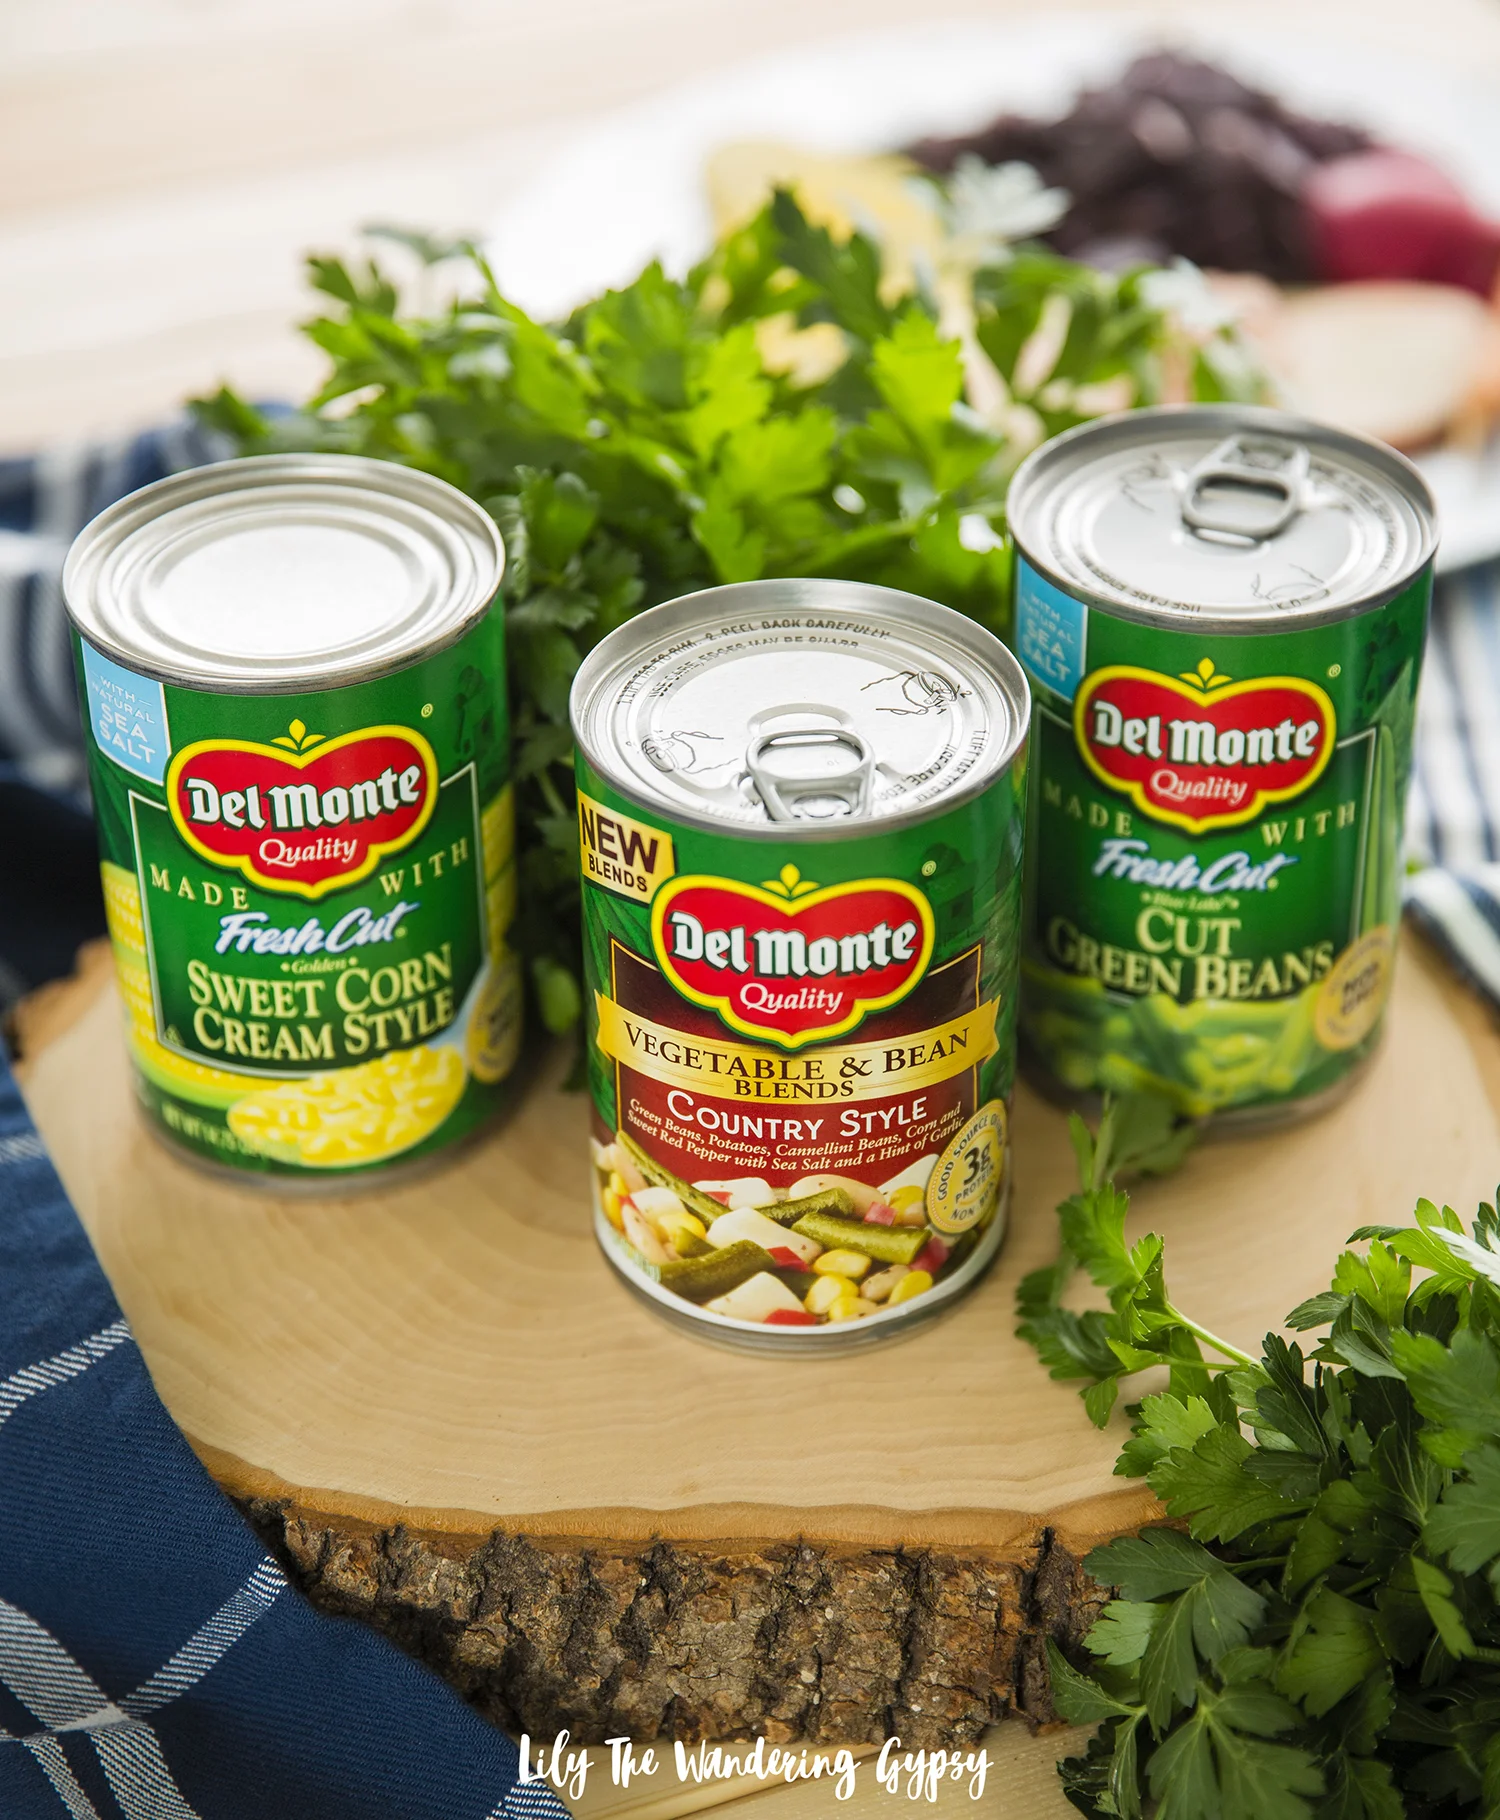
1-2 Cans Del Monte® Vegetable & Bean Blends Country Style

1-2 Cans Del Monte® Blue Lake® Cut Green Beans

4-6 pieces of foil (8”-10” squares) – 2 pieces per packet 

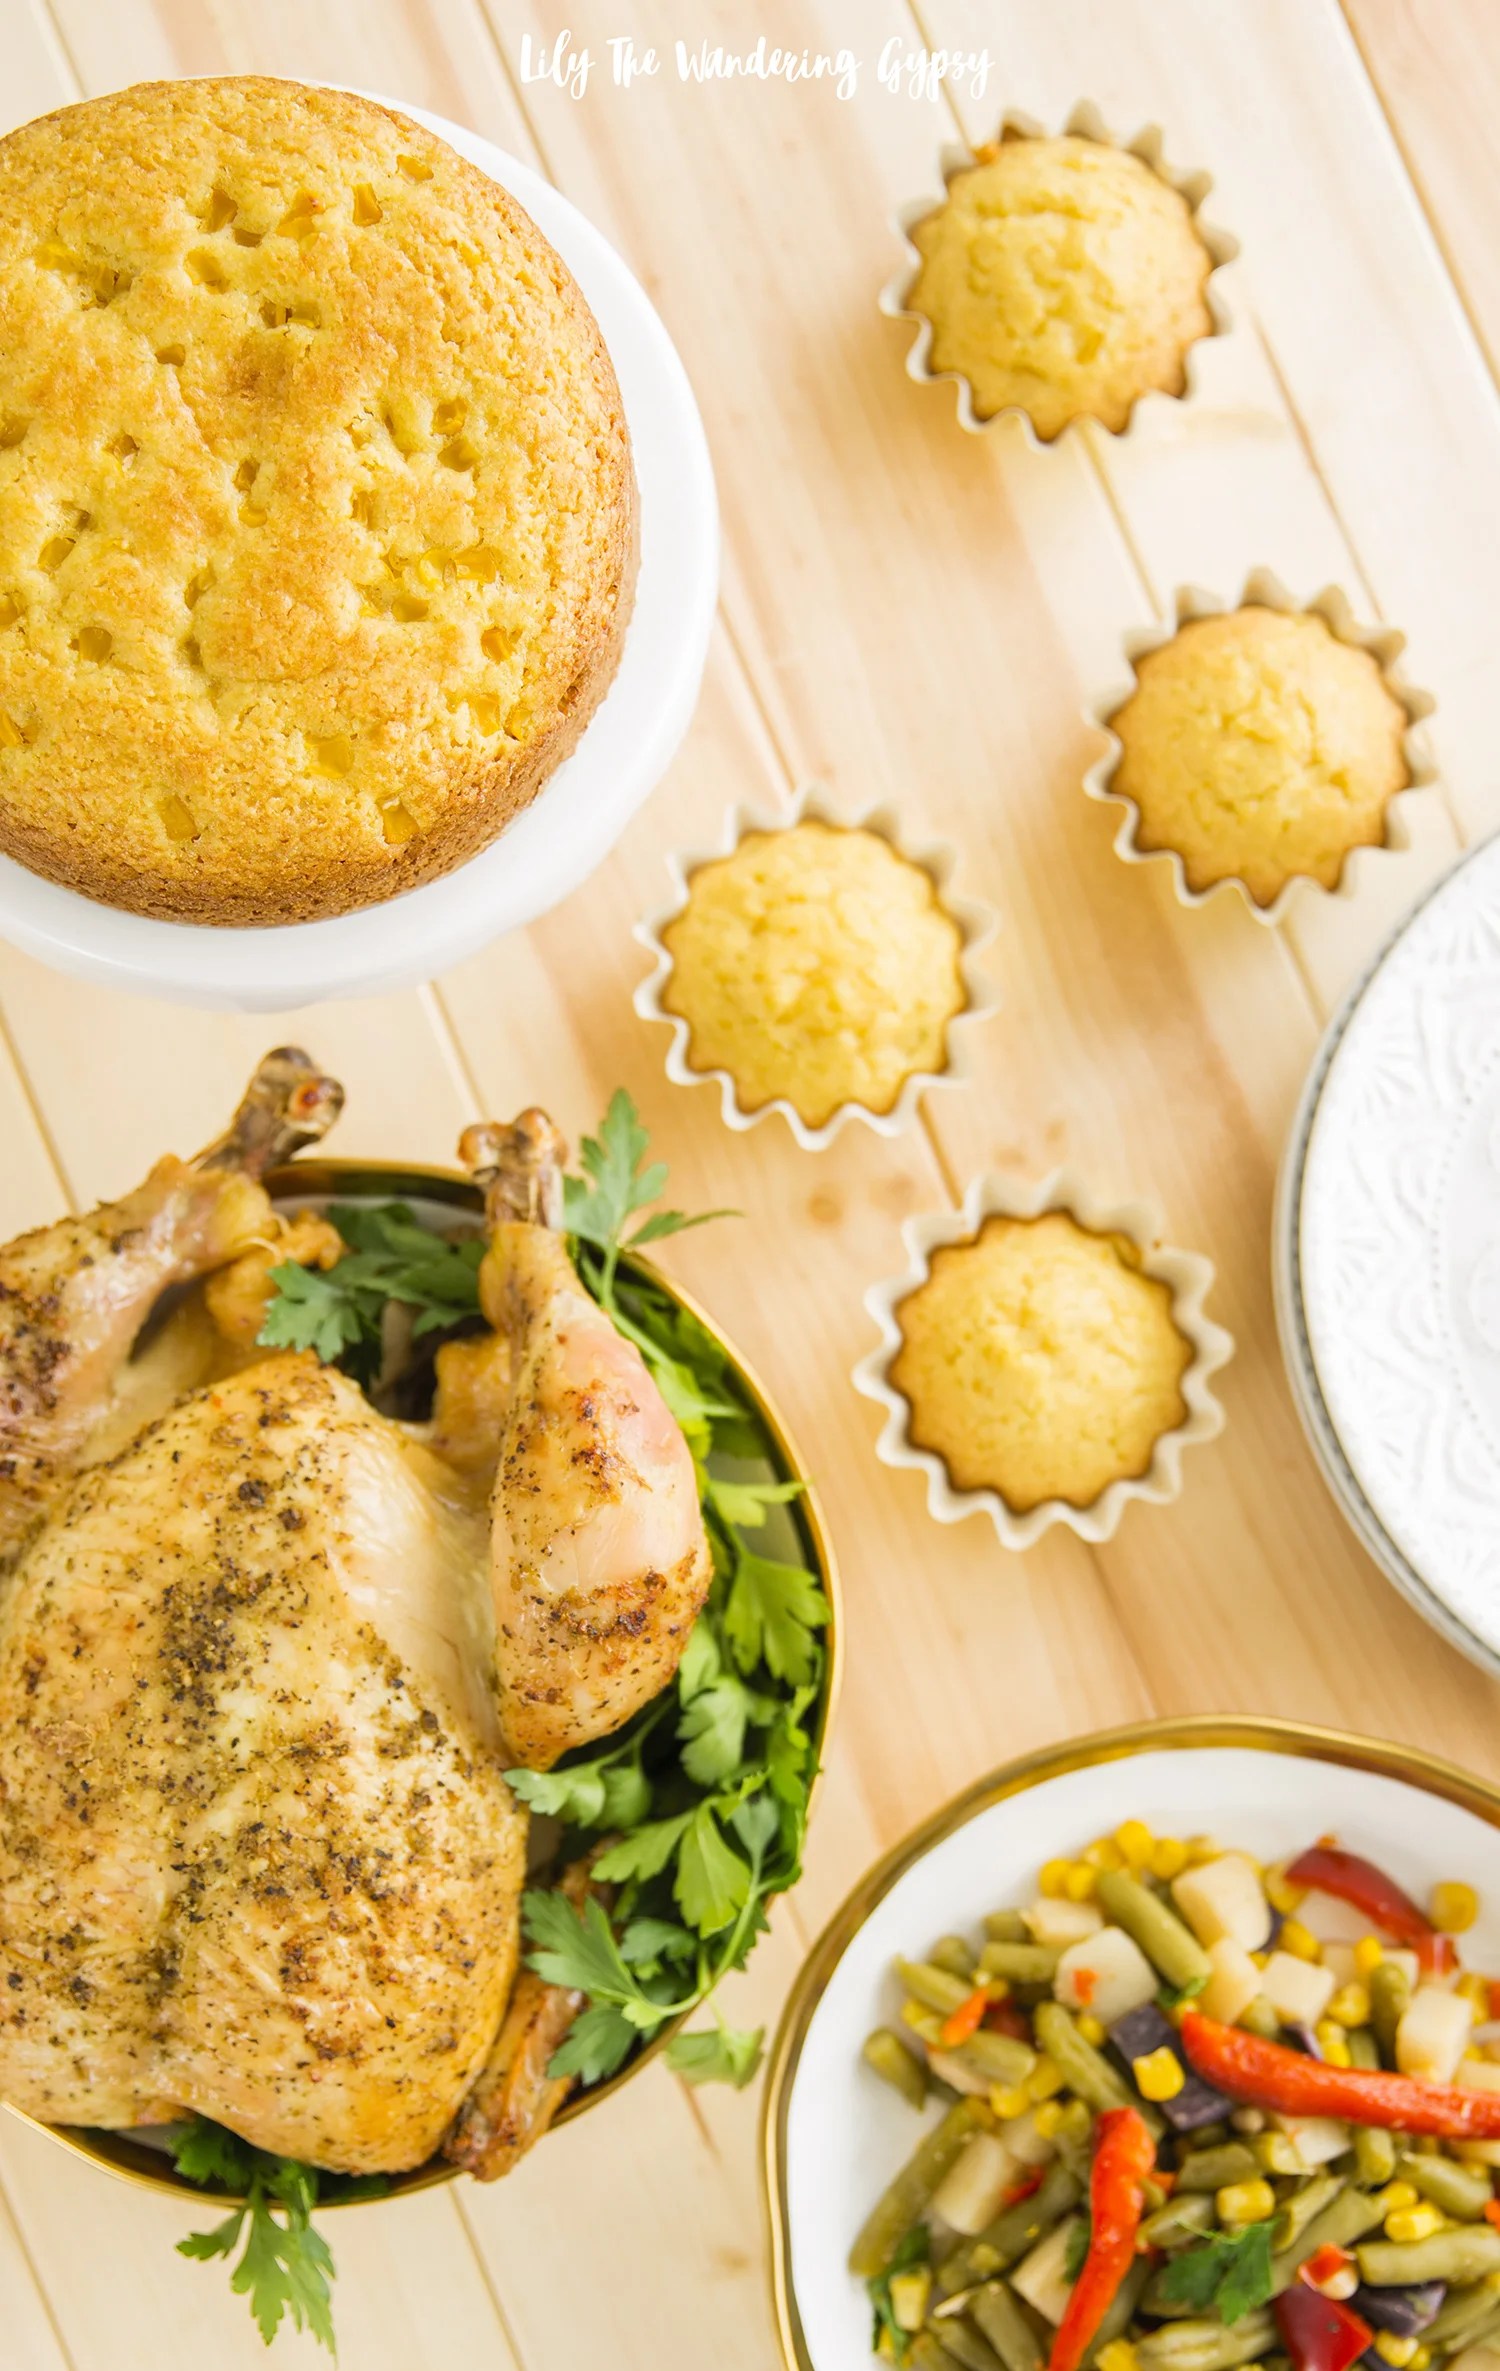
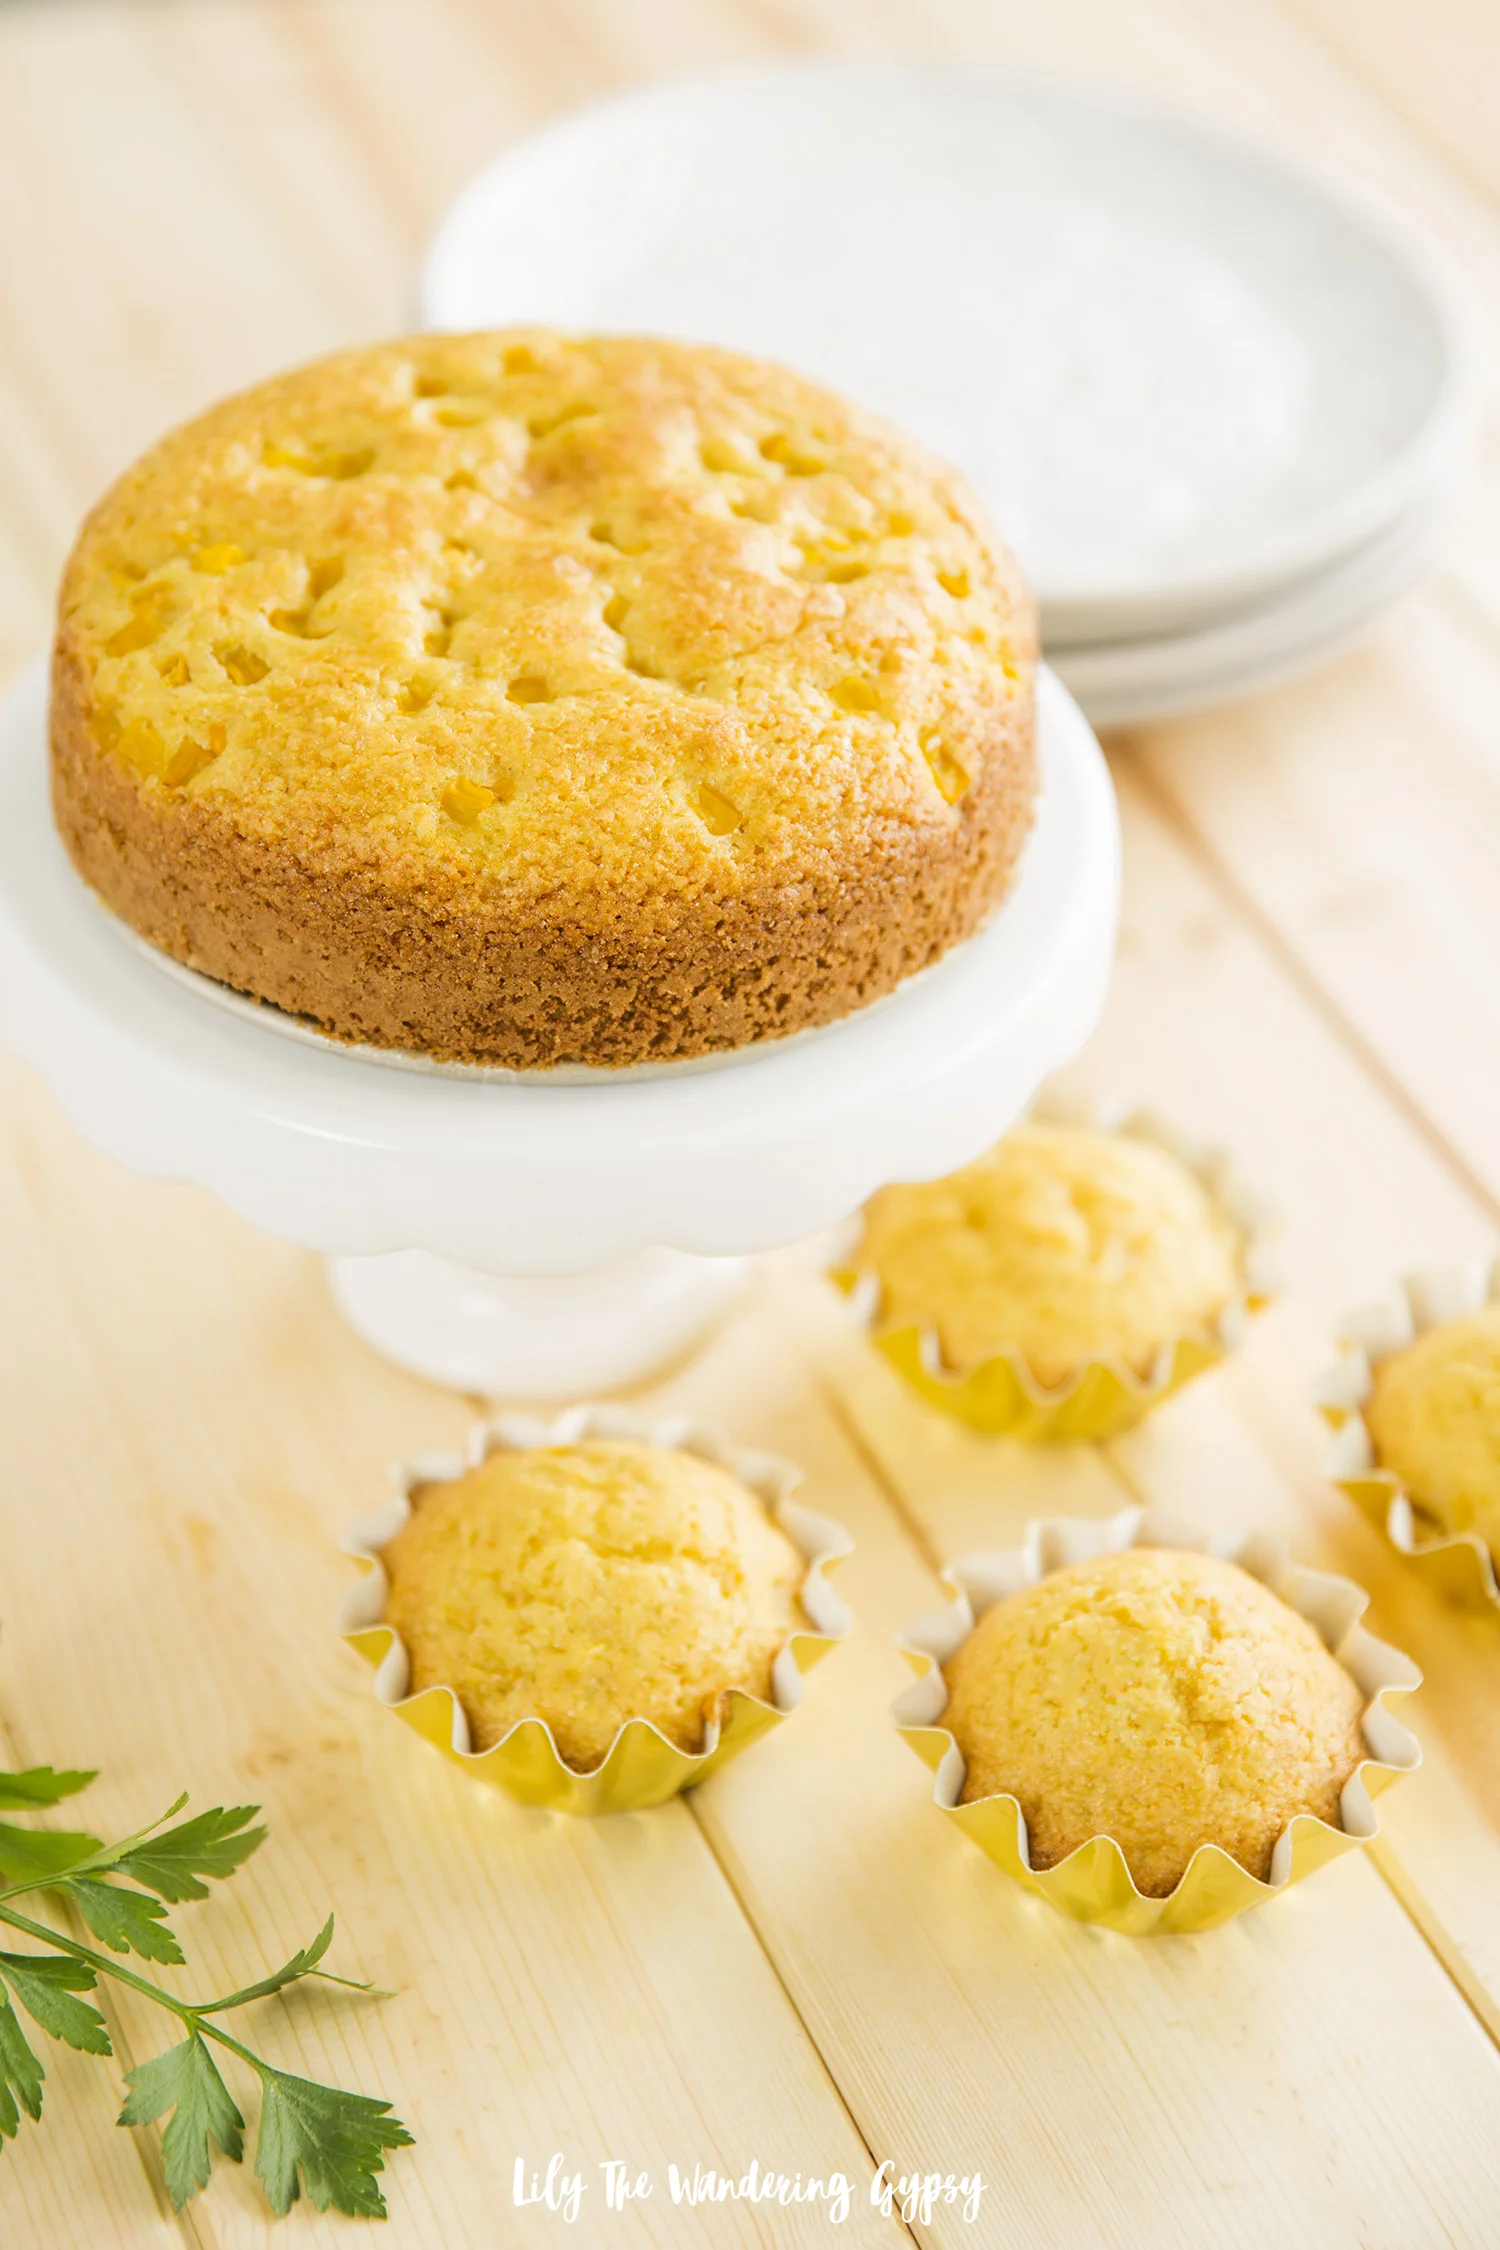
CREAMED CORN CORNBREAD CAKE + MUFFINS:

1 package cornbread muffin or cake mix (I used one 15 oz. box but you can also use two 8 oz boxes as well!)

1 egg

1/3 c. oil

1 Cup Del Monte® Cream Style Golden Sweet Corn

½ - 1 c. milk

Muffin tin

Cupcake liners 

WHOLE YOUNG CHICKEN:

1 whole chicken (organic when possible)

2 Tbsp olive oil

1-2 tsp salt

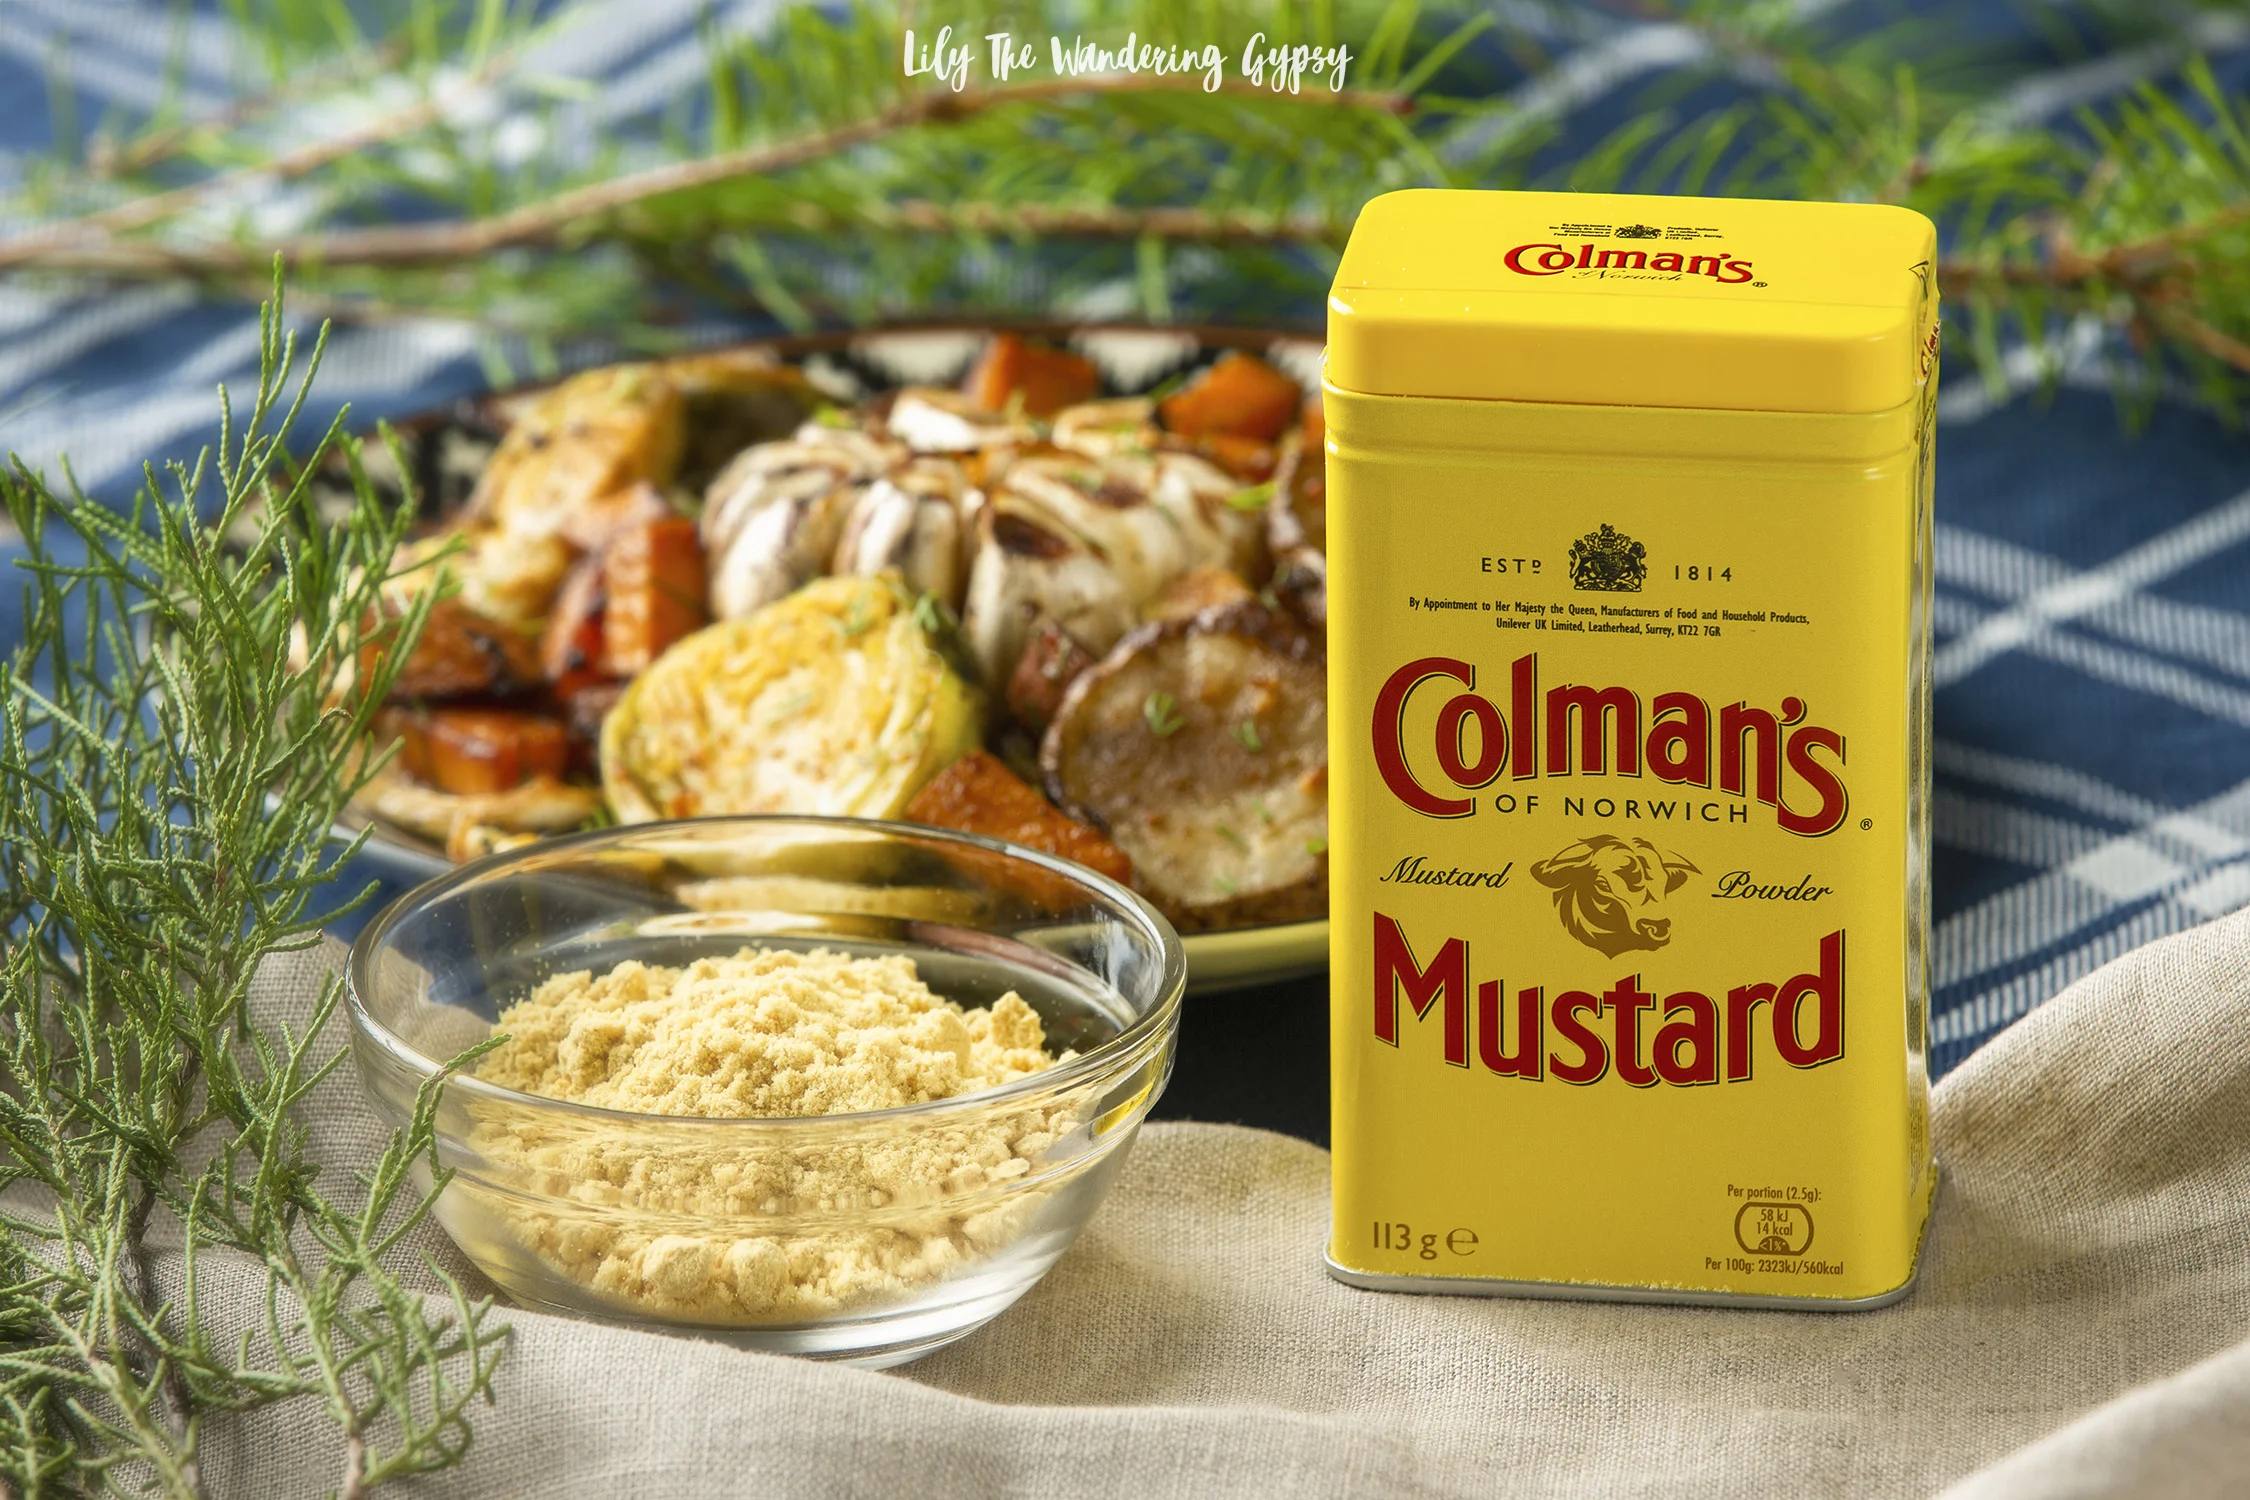
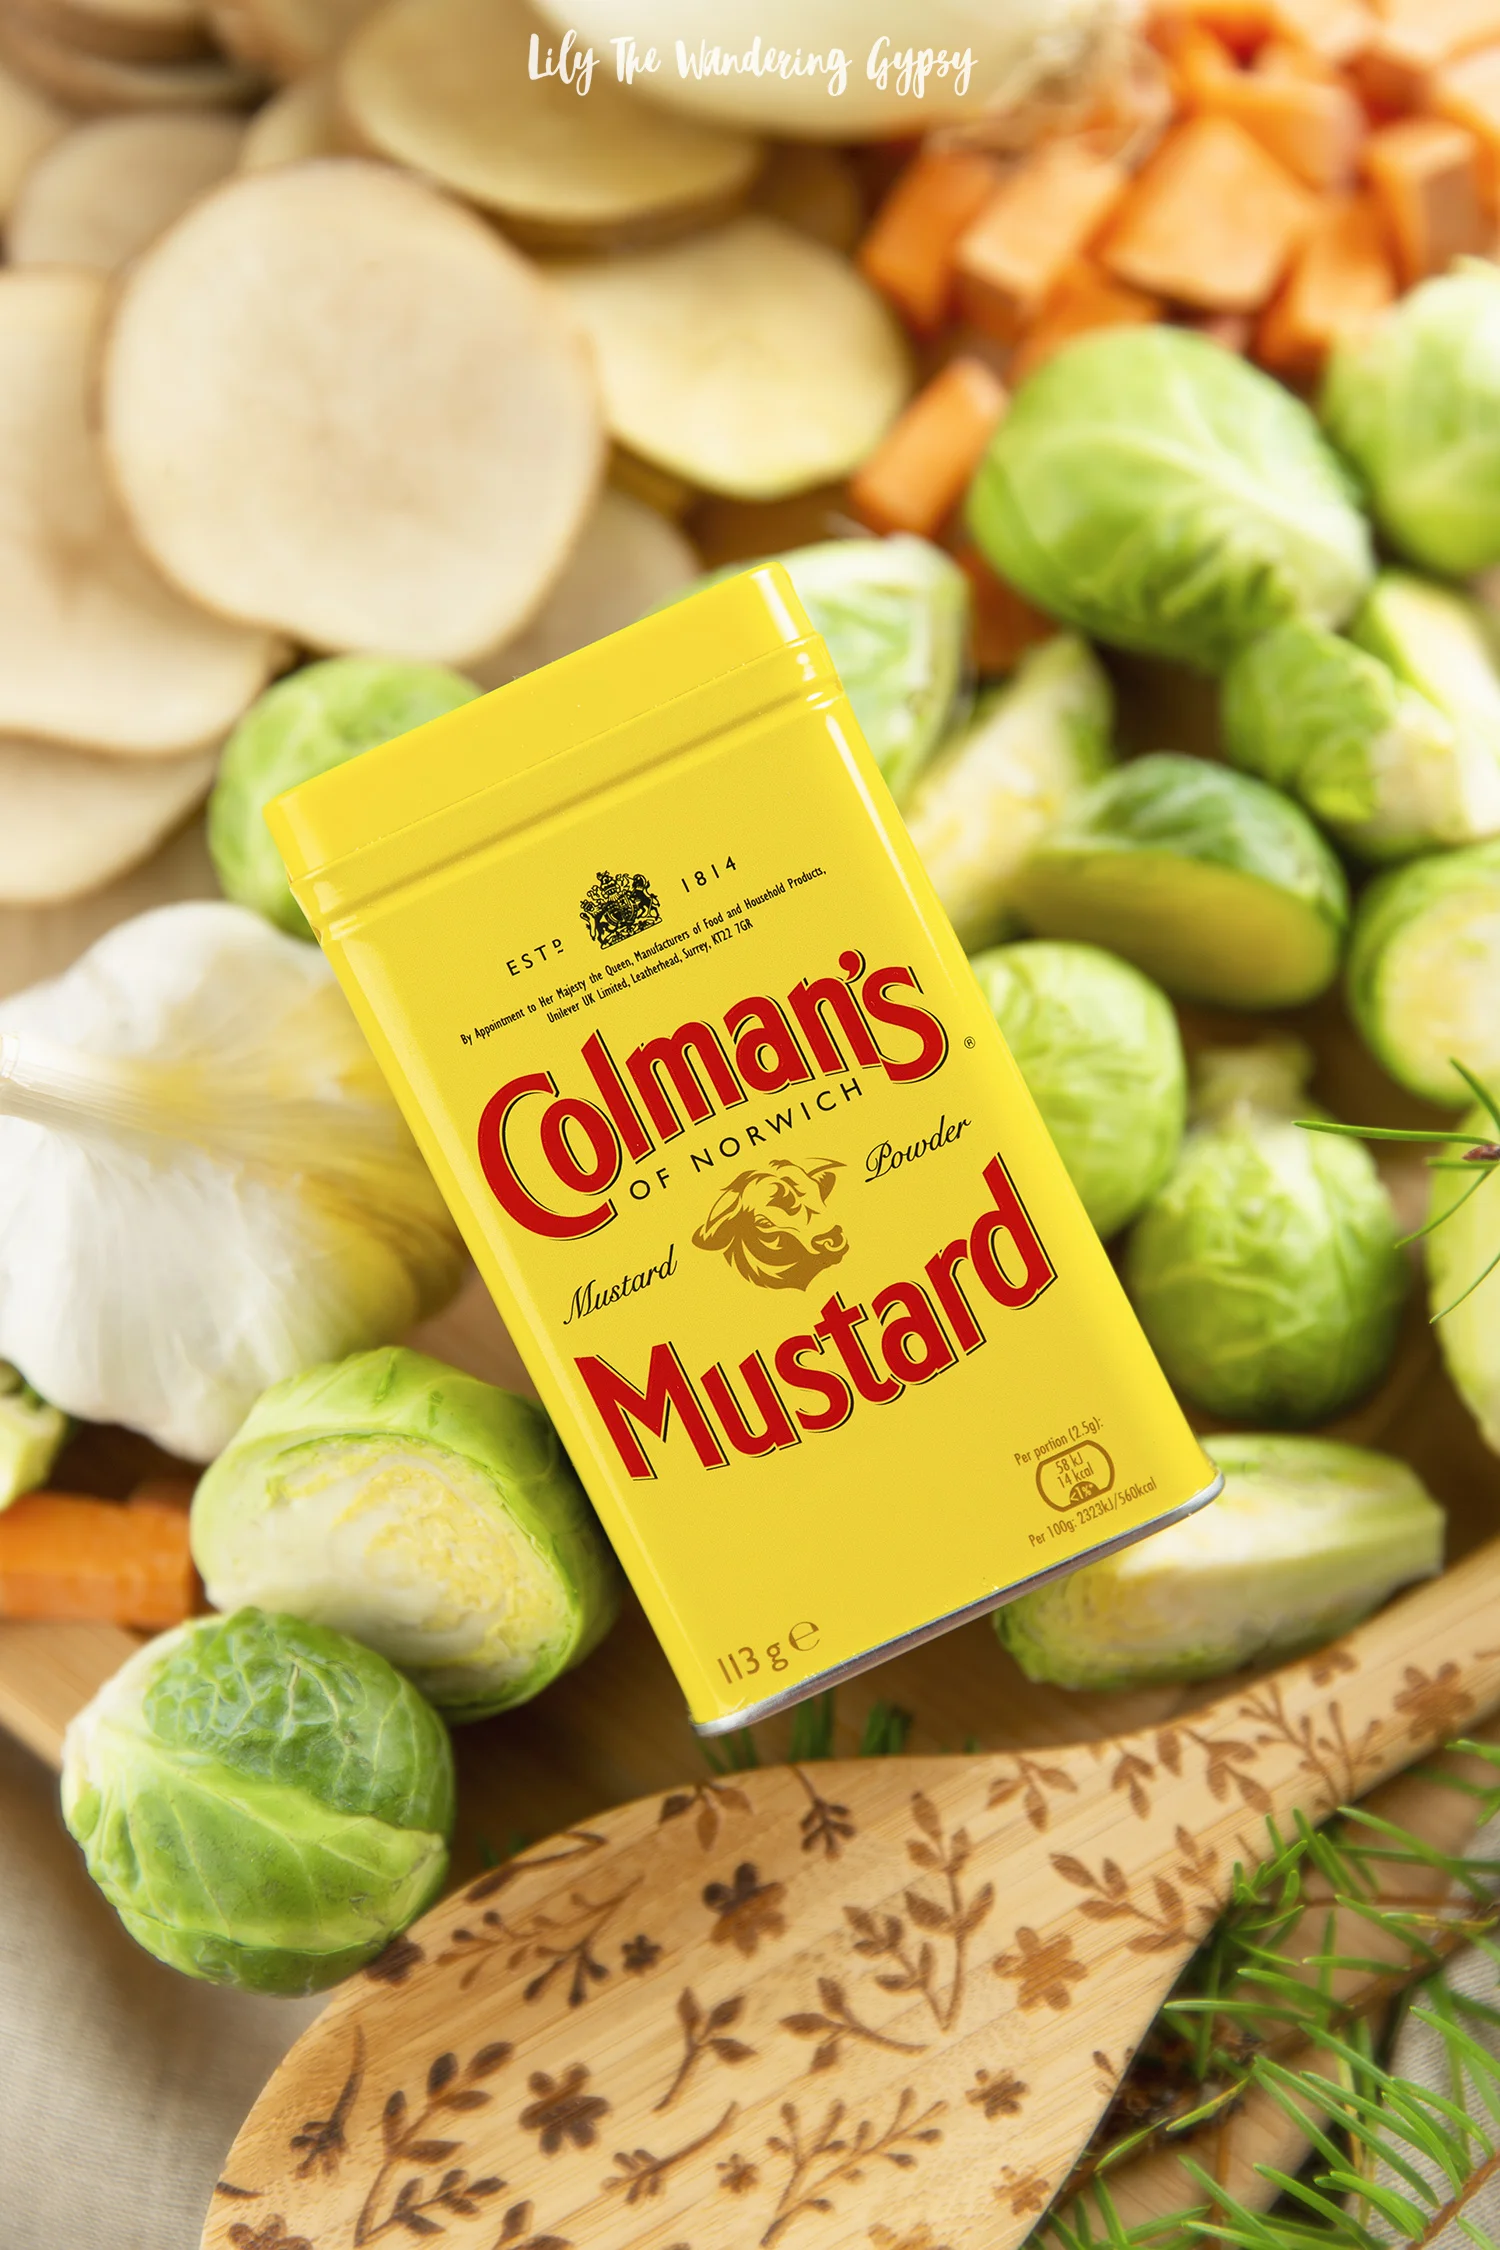
1-2 Tbsp seasoning (I used Greek seasoning, but use anything you would like)

Brush to apply olive oil (optional)

Parsley for garnish 

Instructions:

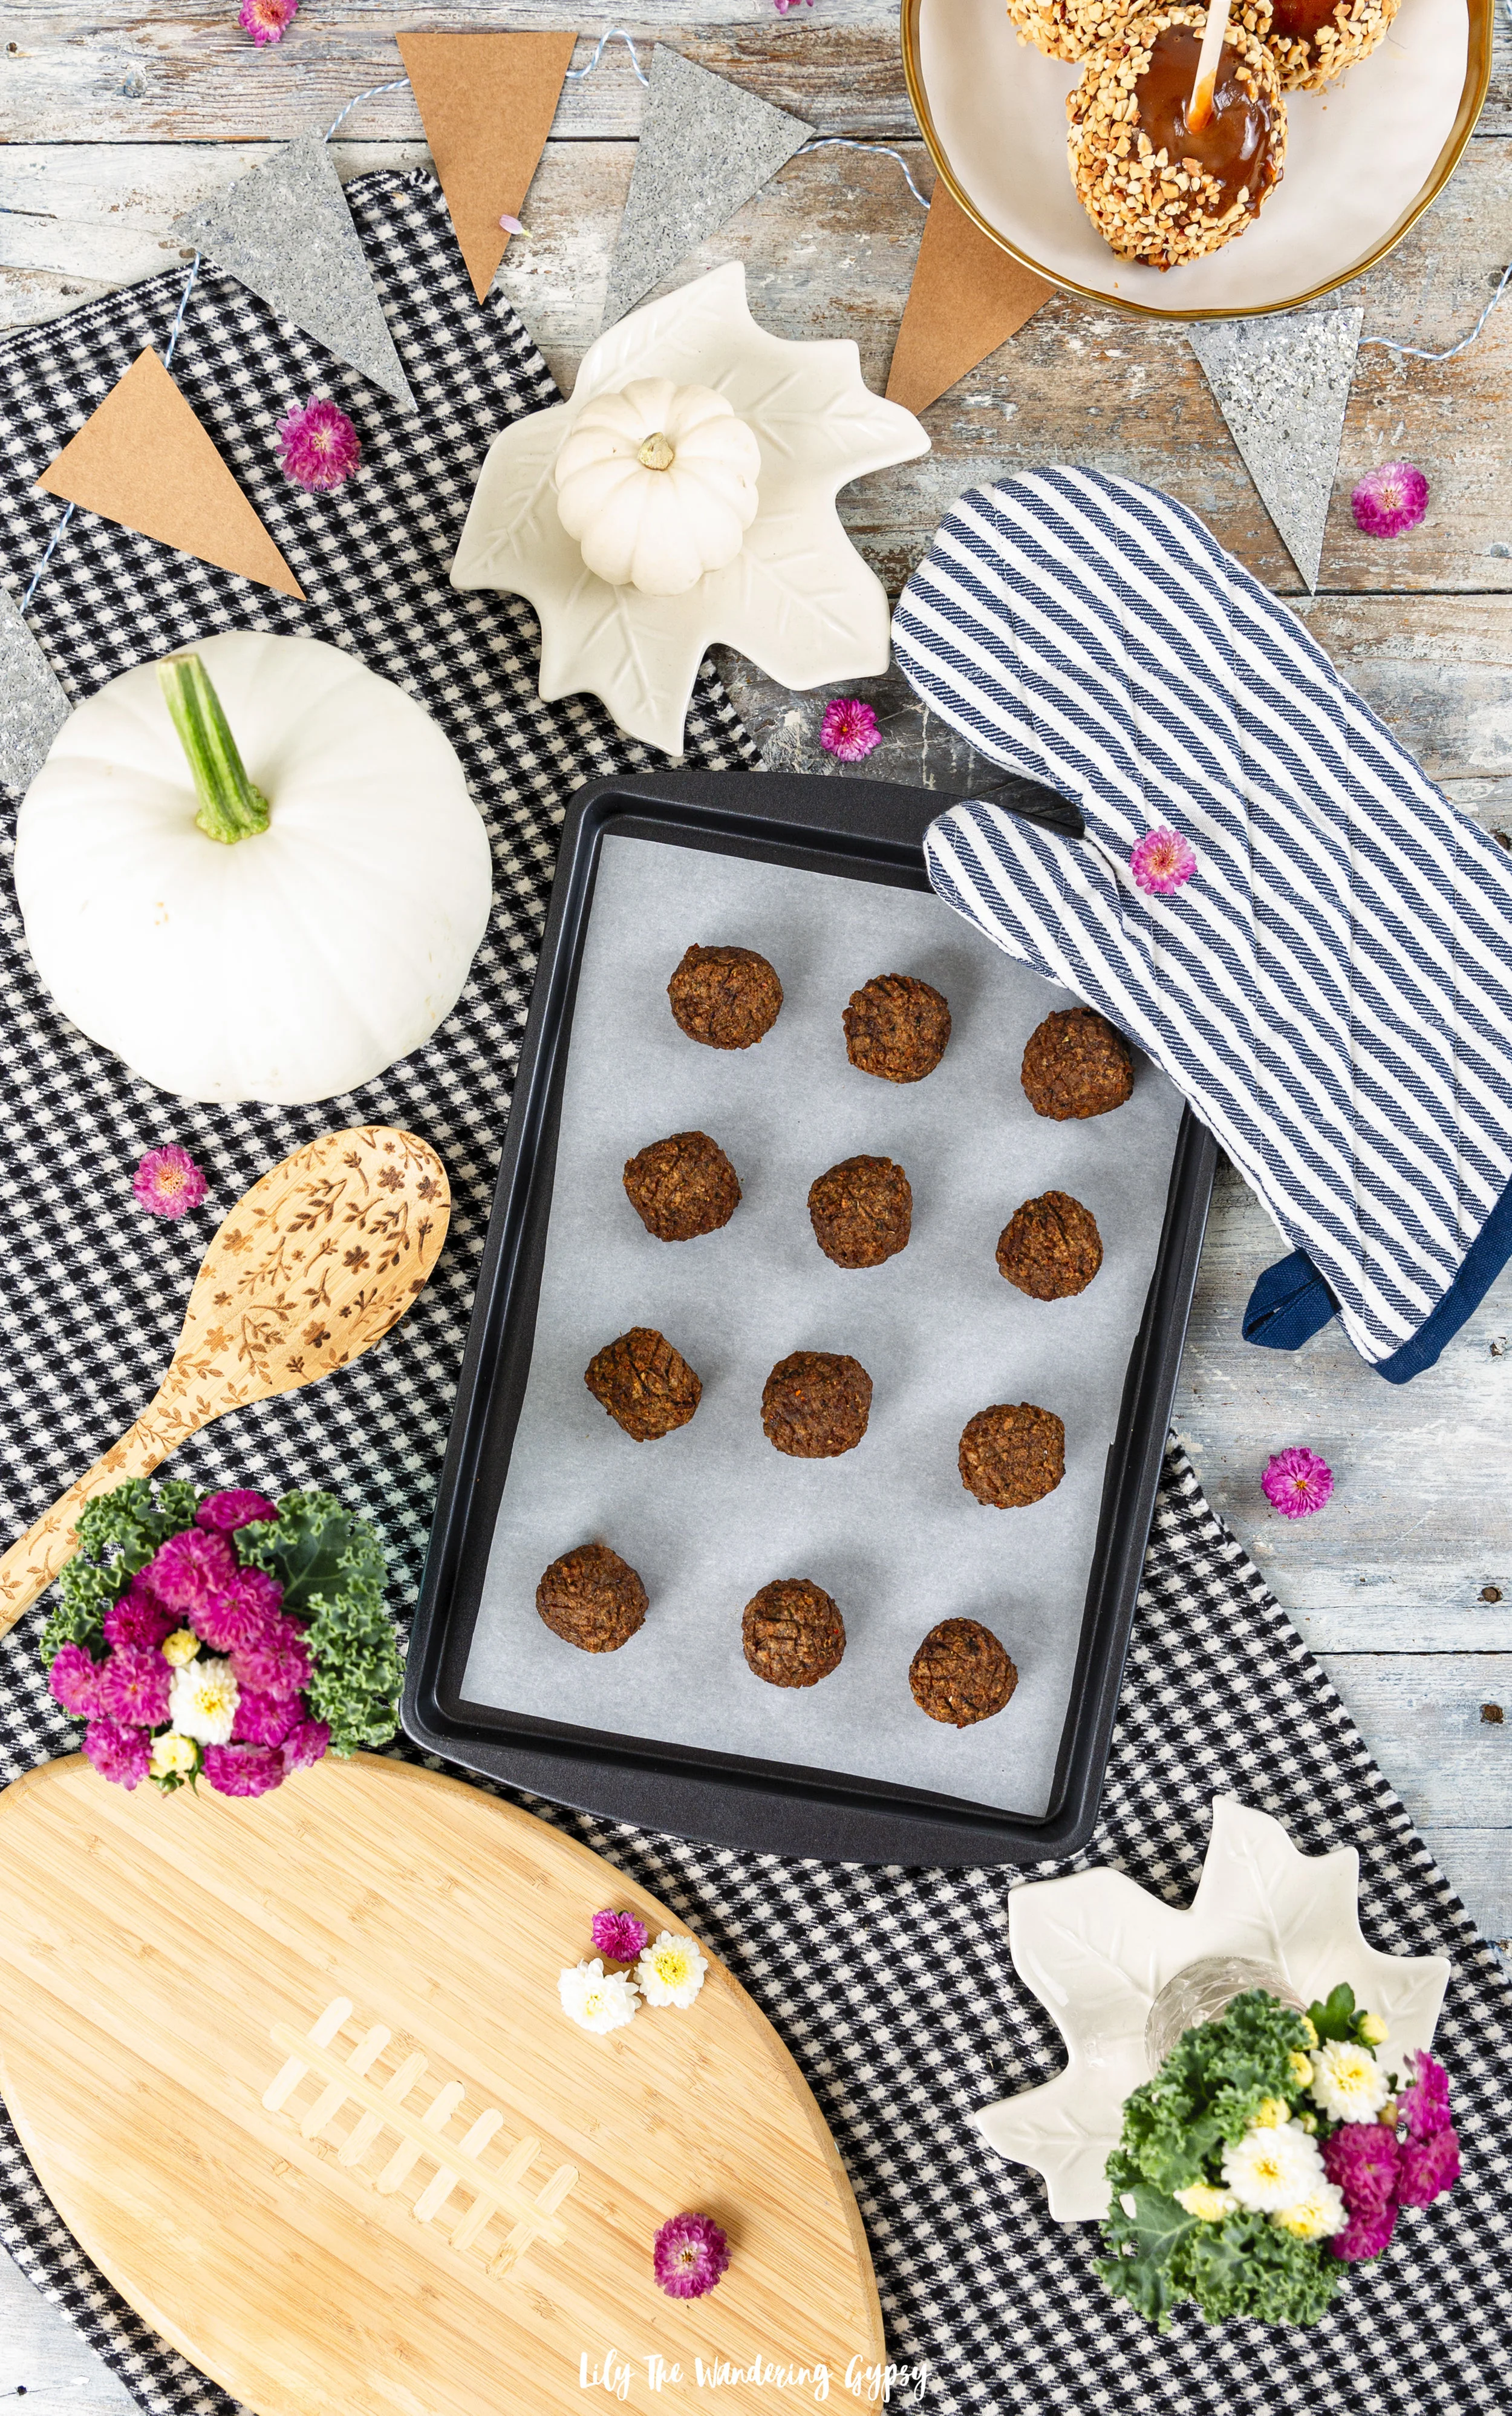
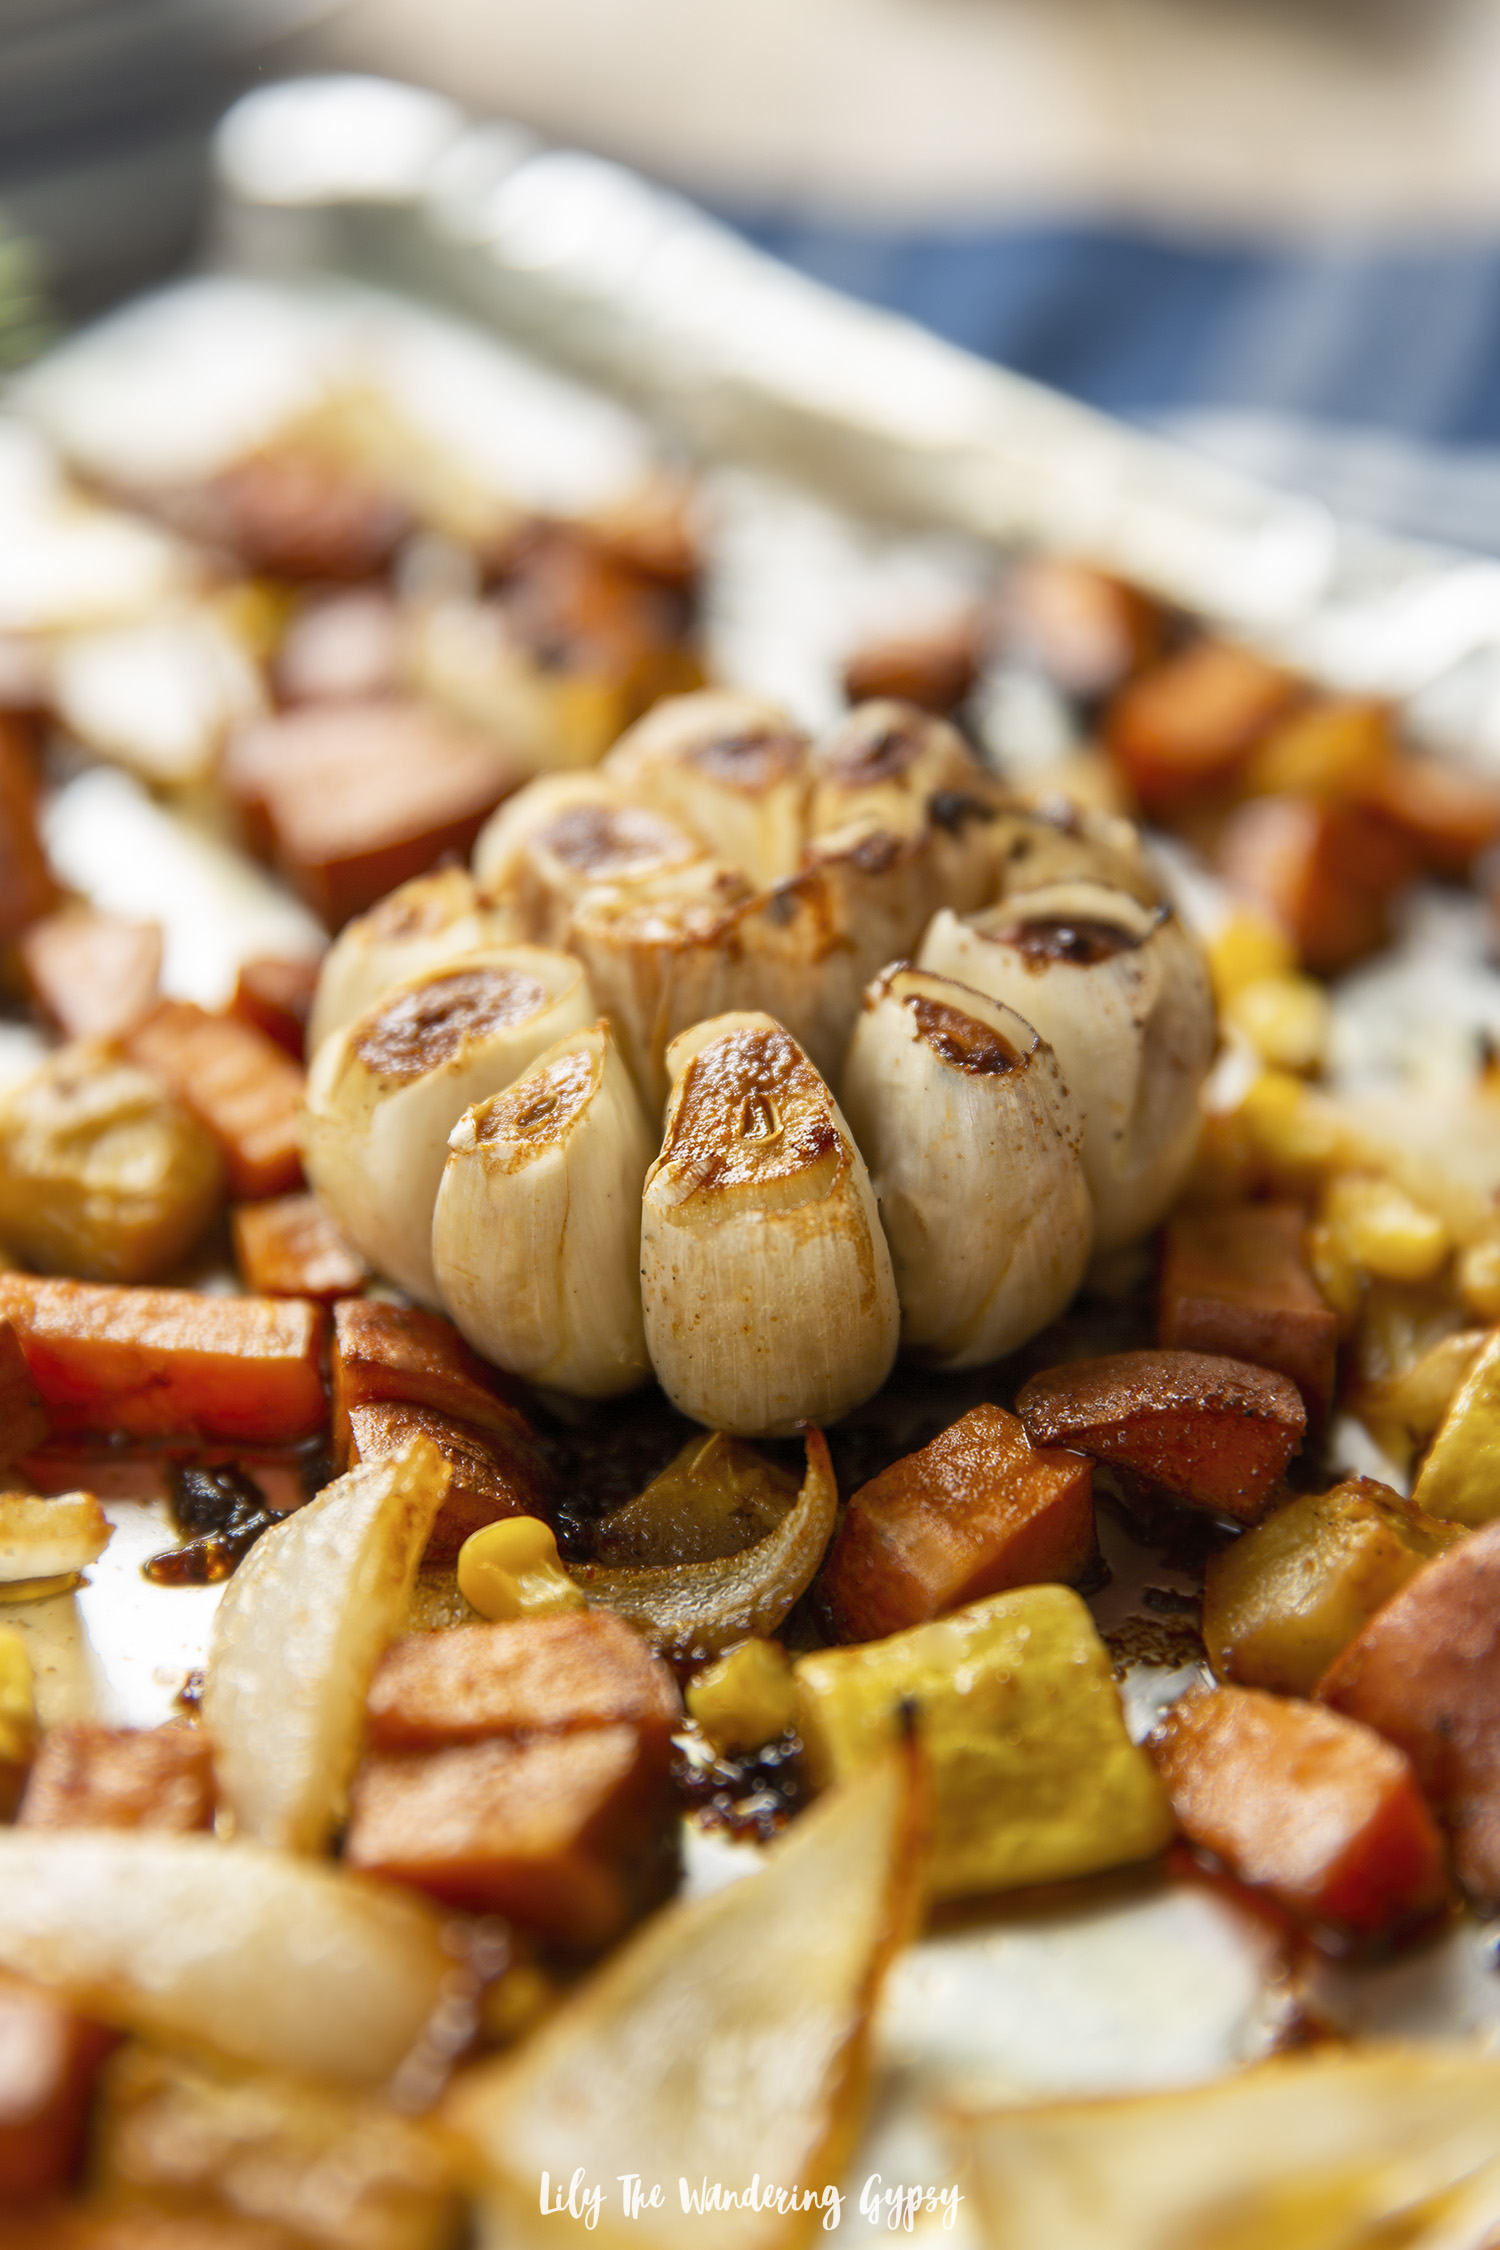
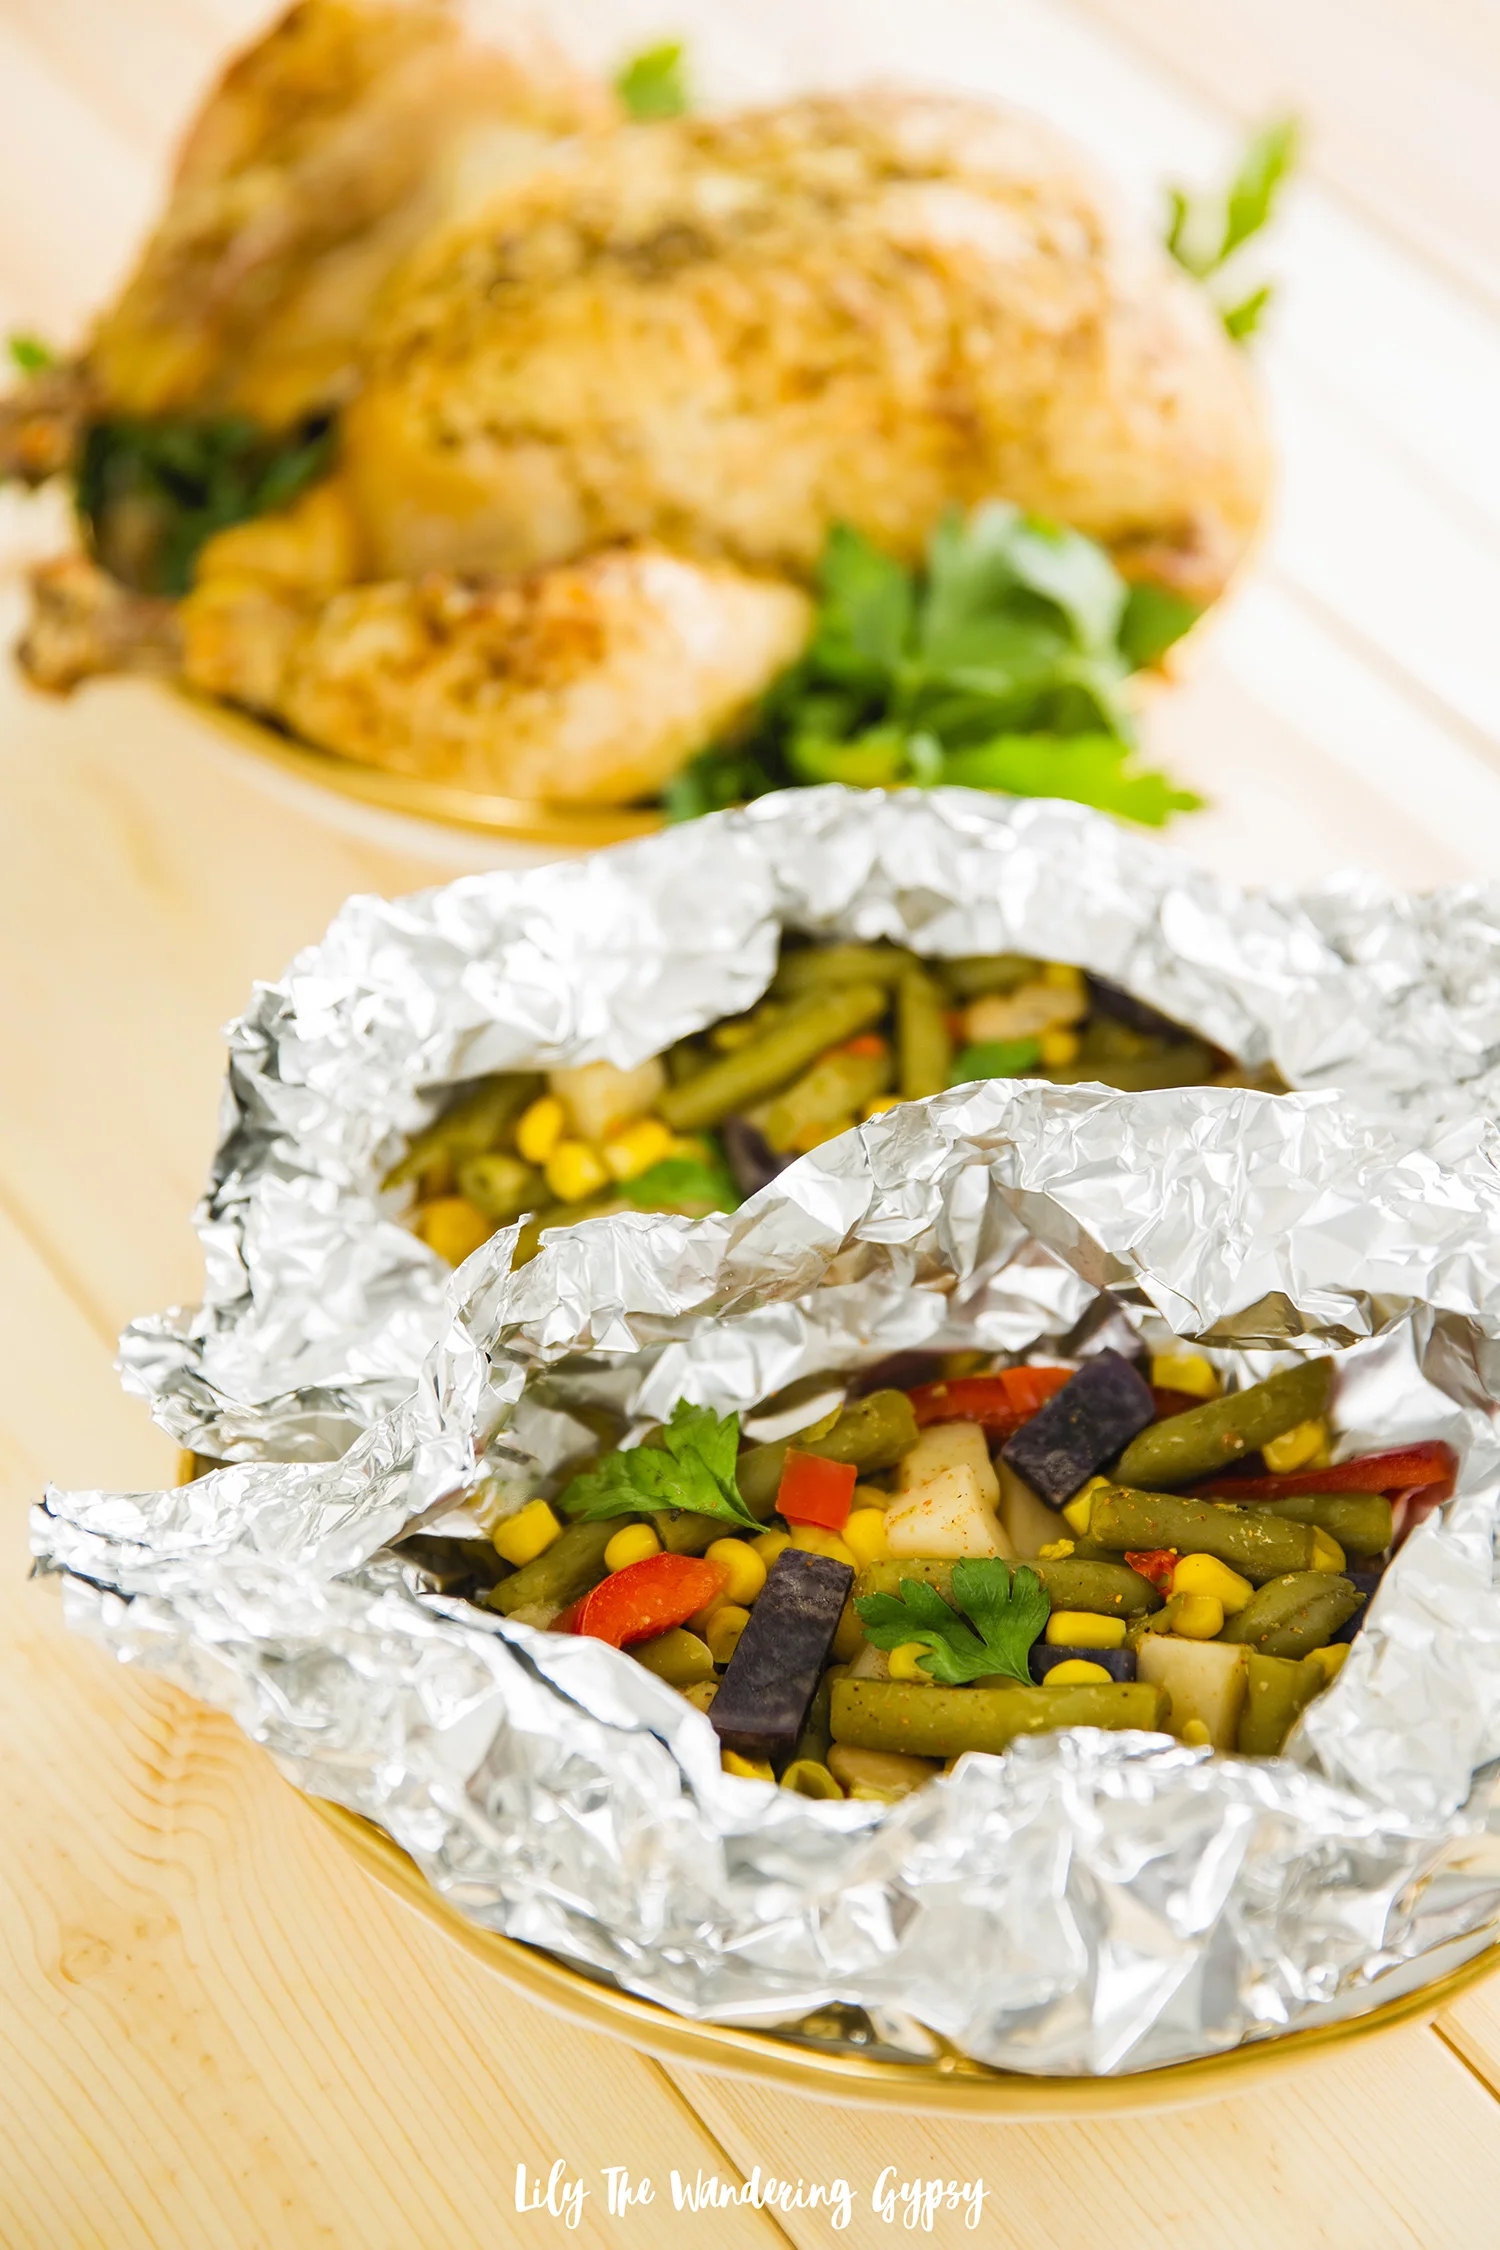
1.) Preheat oven to 375 degrees and prepare chicken. Place chicken onto a rimmed baking sheet and begin to brush olive oil over chicken. I basically drizzled the oil onto the chicken and then brushed it over. Next, I simply sprinkled seasoning all over the chicken. Cover with foil and bake for at least 1.5 hours. At a little over an hour, I carefully uncovered the chicken, then placed it back into the oven to finish baking. Make sure the breast is not pink anymore. A note on the chicken: there was a lot of juice in the cake pan from the chicken cooking. Be careful not to spill this juice or it may hurt you. Be very careful when handling this pan.

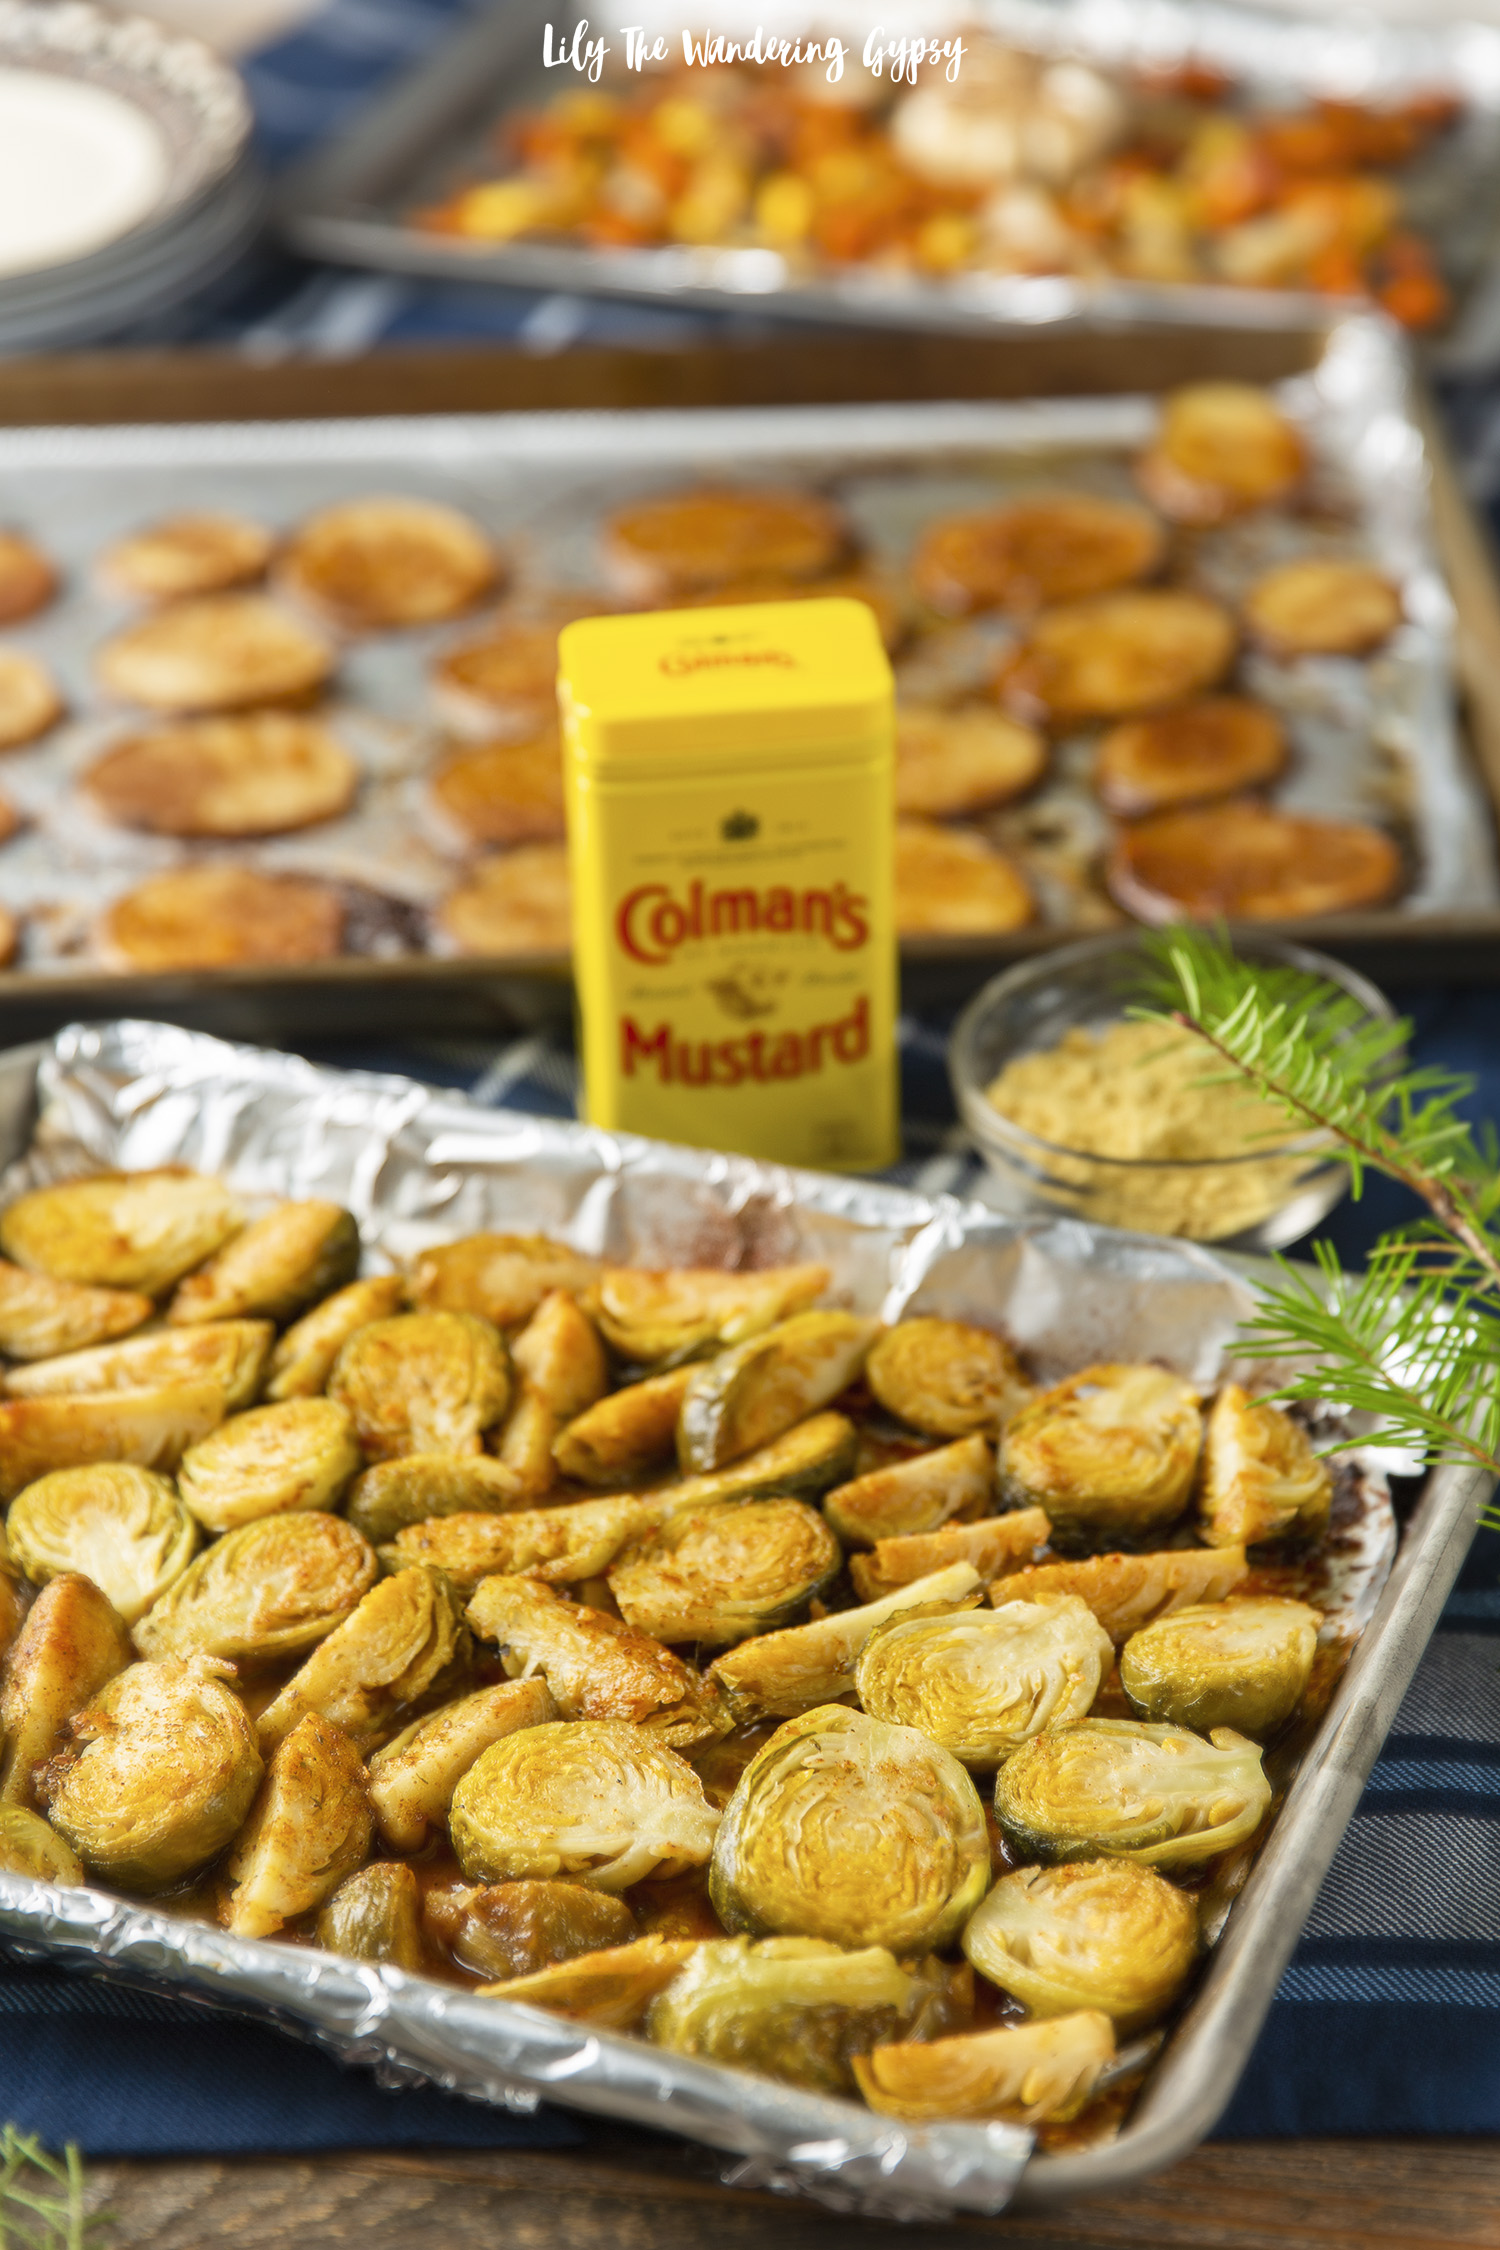
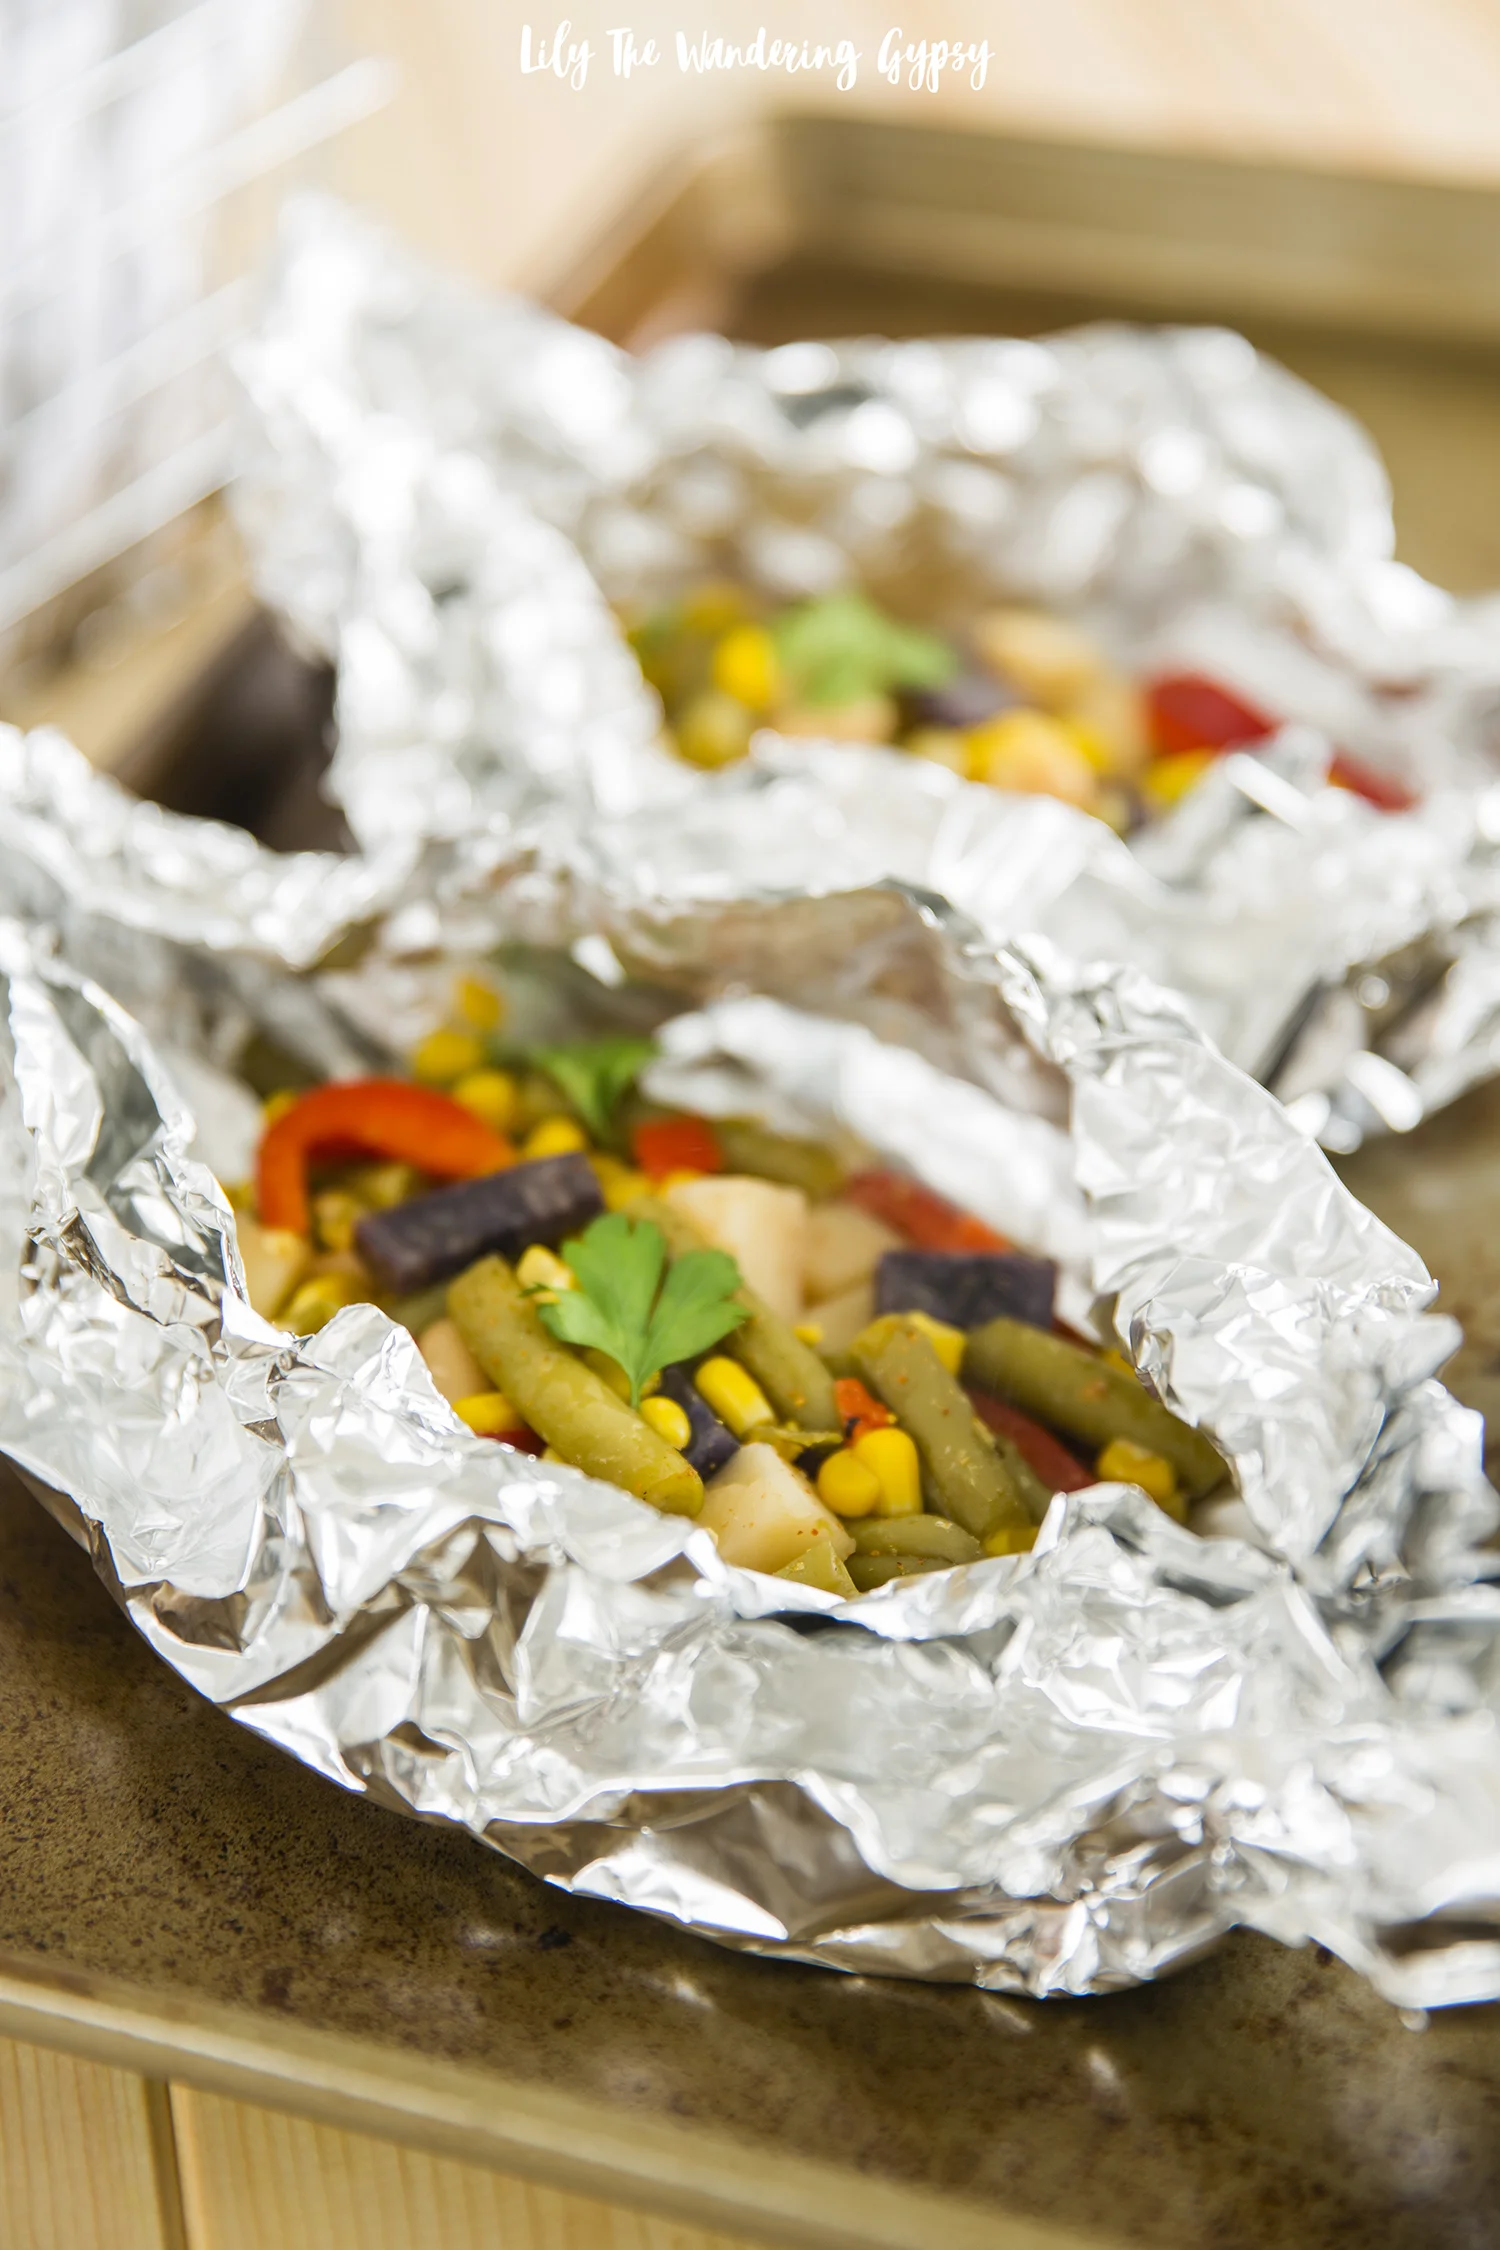
2.) Mid way through cooking chicken, prep for the veggie packets. Strain both cans of Del Monte veggies and divide them equally between 2 or 3 foil packets, To make the packets, simply place two sheets of foil on a baking tray, place veggies in the middle, then season with 1-2 tsp of your favorite seasoning mix and salt if needed. Fold two side of the foil inward, then twist the ends to keep everything inside. Place onto sheet pan and bake for 12-15 minutes or until steaming. Carefully open the packets as the steam can hurt you.

3.) Mix up cornbread ingredients and prepare pan. For my spring form pan, I sprayed it with cooking spray then lightly coated the pan in flour. Fill the springform pan about halfway full then pour the rest of the batter, cover with foil, and bake for approximately 20-25 minutes with foil covering until the last 10-15 mins. Pour the batter into the cupcake cups and bake muffins at 375F for about 15-18 minutes. The springform pan is not necessary, it just made for a wonderful presentation! Feel free to use any size or shape of square or round dish you have.

4.) To serve, place chicken into shallow serving bowl or platter and garnish with parsley. Also, feel free to place cornbread cake onto a cake stand or on a cute dish with a spatula for serving. Lastly, either have guests grab veggies from a serving bowl or straight from the packets!

Cleanup was super easy with this whole process. If you do not want to cook a whole chicken, you can use chicken drumsticks, thighs, or even chicken breasts. I say this because it can take up to 2 hours for the chicken to be fully cooked if the bird is 4 pounds like mine was.

I absolutely LOVED the green beans and the other vegetables in the new Mixed Veggies collection. I actually liked the vegetables more than any other part of this meal, and my friends also raved about each and every part. I had so much fun treating a few of my favorite people to an exceptionally thoughtful dinner during the holidays, which can be a super hectic time when people may forget to eat a “real meal”.

What are your favorite vegetarian side dishes to serve during the holidays?

Look out for these mixed veggies from the brand:

Del Monte® Vegetable & Bean Blends California Style

Del Monte® Vegetable & Bean Blends Classic Style

Del Monte® Vegetable & Bean Blends Country Style

Del Monte® Vegetable & Bean Blends Mexican Style

Connect with Del Monte on social and show off your recipes, too!

LEARN ABOUT MORE BLOGGERS’ RECIPES HERE!

Mummy Wrapped Jalapeño Poppers

Looking for an eye-catching appetizer that people will love for Halloween? These Mummy Wrapped Jalapeño Poppers are delightfully spooky and you’re going to love them. And, bonus points because these can be made vegetarian or with bacon in the filling - it’s up to YOU!

INGREDIENTS (MAKES ABOUT 20-24 poppers)

1 (8oz.) block of cream cheese

1-1.5 cups shredded cheddar cheese

2-3 Tbsp seasoning - I like Ranch or Mexican seasoning for these

1-2 packages of pizza crust (the thinner the better - I used Wewalka Bistro Crust)

Candy eyes at least 40 pieces (I like these ones)

Baking sheet (I love these Air Bake ones)

Parchment paper - (only suggested if you are not using a baking rack)

Baking rack - optional (similar here and here)

INSTRUCTIONS:

1.) Slice top 1/3 of each pepper off, lengthwise. Carefully remove seeds and other inside material with the back of a kitchen spoon or similar tool. I tend to use rubber gloves when making these, so my hands do not catch any of the spiciness of the peppers.

2.) Using a small spoon to add filling to peppers, or place your filling ingredients into a plastic bag and cut the end off to use to pipe the filling into the peppers for a more polished look. Wipe off excess filling that may have gotten on the edges or the tops.

3.) Cut pizza dough into the thinnest strips you can. I use the dough as cold as possible, or almost frozen so it cuts well and also holds the shape of the strips well. Next, wrap small strips of dough around filled peppers in a “mummy sort of way”. I left room for the eye area, and after they baked I placed candy eyes to give them a good personality + spooky look.

4.) Bake at 350-375 degrees F for 10-15+ minutes on a metal baking sheet, covered in parchment paper. These baked pretty quickly and I just LOVE how they turned out!

Add the candy eyes to the mummy poppers! While poppers are still warm, take two candy eyes in your fingers, and place them on the “mummy face” both nest to each other at once, so they are both looking/pointing in the right direction. You can have a lot of fun with these, and I would love them to be a part of your Halloween celebrations and festivities! Enjoy! Happy Haunting!

Veggie Lovers’ Club Sandwich Recipe with Pepperidge Farm

This post has been sponsored by Pepperidge Farm®, all thoughts and opinions are my own.

If you’re wanting to find more ways to connect with family or friends, I often find that food brings people together better than nearly anything else. I recently created the most delicious Veggie Lovers’ Club Sandwich with Pepperidge Farm Farmhouse® Butter Bread, and it’s quickly becoming my go-to bread for sandwiches, breakfast recipes, and even making toast, which I love so dearly.

This sandwich contains ingredients in all sorts of colors; I just love to eat as many different colored veggies as possible each day. I hope you enjoy!

I find that sandwiches with fresh and delicious ingredients that can be made ahead of time really helps save time and brings families closer together. I absolutely love providing my friends and family with fresh, nourishing meals that in turn give them energy and encouragement to inspire wonderful days ahead. Whether you’re making this Club Sandwich for two or you’re making brunch for a whole house full of family and guests, I would definitely recommend the thick, rich, buttery taste of this awesome, slow baked Butter Bread – you’re going to love its fresh-from-the-oven taste!

When I visit the bread aisle at the grocery store, I see SO many choices for white bread. But even with all of those choices, few actually compare to this Butter Bread. I love how thick the slices are. Since I am already a huge fan of anything from Pepperidge Farm and I saw that this new flavor was available at a wide range of stores, I was instantly relieved to finally find a white bread with thicker slices and a bit of a buttery taste! YUM!

My boyfriend always jokes that any product that has butter in the name, I will love. Well, he is completely correct about that – I was seriously SO excited when I found out that one of my recipes contained butter bread, I nearly jumped for joy. That’s how much I love butter!

Find new Pepperidge Farm Farmhouse® Butter Bread at retailers like Target and Kroger here! This product may quickly become your FAVORITE new bread for every recipe you can imagine.

This Veggie Lovers’ Club Sandwich is such a fun way to spend more time together and also experience new and different ingredients and flavors – which is a super fun way to bond with those you love. Find joy in the simple flavors of these all-natural sandwich toppings!

INGREDIENTS (MAKES 2 SANDWICHES)

FOR THE SANDWICH:

6 slices of Pepperidge Farm Butter Bread

8 spinach leaves

10 slices of English cucumber

½ - 1 Cup sprouts (any flavor you like)

Toaster for bread

Food processor for beet spread

FOR THE BEET SPREAD:

1 package of pre-cooked beets or 1 can of beets (remove any liquid)

2-3 tsp olive oil

3 tsp balsamic vinaigrette

½ tsp salt

1 tsp Italian seasoning

(topped with chives – optional)

FOR THE GREEN GODDESS SANDWICH SPREAD:

¼ C. Greek yogurt (use non-dairy alternative for vegan)

1/8 C. mayo (use non-dairy alternative for vegan)

¼ C. finely chopped chives

2-3 Tbsp freshly chopped tarragon

1-2 tsp salt

1 tsp garlic powder

INSTRUCTIONS:

1.) Make Beet Sauce by putting all ingredients into food processor or blender, and pureeing until smooth. Add more salt if desired.

2.) Make Green Goddess Sandwich Spread by mixing all ingredients in a small bowl with a spoon until well combined. Feel free to add more salt, garlic powder, or any other seasonings you enjoy.

3.) Toast 6 slices of Butter Bread and get ready to make the Club Sandwich.

4.) To construct each sandwich – add Beet Spread on one slice of bread, then top with sprouts. On another slice of bread, add Green Goddess Spread and 5 slices of cucumbers (and a bit of salt on top of cucumbers if desired). One piece of bread will remain without any toppings.

5.) Lastly, layer the pieces like this – Beet Spread + Sprout slice, topped by the Green Goddess and Cucumber slice, then the final top slice of bread, and cut in half to serve! The beautiful layers of bread and ingredients are just so colorful and delicious. This toast also held up very well with all of these ingredients!

I hope you enjoy this vegetarian recipe with those you love! Good food brings people together, and that time with loved ones is what keeps me happy every day! Please let me know if you wind up making this recipe!

Vegan Dairy-Free Yogurt Parfait Cups Recipe - Healthier Snack + Dessert Alternative

This delicious alternative to ice cream or other sweets wound up tasting delicious! Get the recipe for these Dairy-Free Frozen Yogurt Parfaits, created in partnership with Ripple Yogurt and Kroger. 

Could you ever imagine eating dairy-free yogurt? That may seem sort of the norm these days, but can you imagine eating yogurt created from peas? I had a great time experimenting with a fun recipe idea that's been on my mind for some time now - frozen yogurt parfait cups with graham cracker + oat crusts! 

INGREDIENTS:

1-3 flavors of Ripple yogurt (I used strawberry, vanilla, and blueberry)

10 Graham Crackers (choose honey free for true vegan), crushed into an even consistency

5 Tbsp melted Vegan Butter, such as Earth Balance Organic 

3 Tbsp brown sugar

1 tsp vanilla

pinch salt

Blackberries, kiwi, and any other fruit for toppings

Other items: silicone muffin cups, muffin tin, spoon for mixing

These Dairy-Free Frozen Yogurt Parfaits are inspired by Ripple yogurts, available at Kroger!

INSTRUCTIONS:

1.) For the crust: melt butter in a medium bowl, and add crushed graham crackers, oats, brown sugar, vanilla, and salt. 

2.) Fill prepared silicone or paper cupcake liners with crust mixture 1/3-1/2 and bake for 5-7 minutes at 350* F.

3.) One cooled, fill cupcake liners the rest of the way with yogurt. Freeze for 30 minutes, and then top with chopped fruits. Freeze at least 1 more hour, until cups are completely frozen. Remove them from the cupcake tin, and remove the wrappers, and reveal your beautiful layers of dairy-free, vegan ingredients!What a tasty snack!


In 2015, Ripple founder set out to separate the fats from peas and create a milk-lie substitute that is great for people who want an alternative to dairy (source: Food&Wine). "Dubbed Ripptein, the additive strips away plant flavors and leaves behind only protein, according to Fast Company. (That's one reason Ripple's pea milk doesn't taste like liquefied legumes.).

Now, I will admit, this yogurt does have less of a smooth texture than I was used to, but once I froze this yogurt into these delicious fro yo cups, everything was divine! Feel free to try this recipe out with any mixture of yogurt, fruit, and other ingredients that you would like!

"From a biochemical standpoint, milk is protein, and fat, and sugar," Neil Renninger, Ripple cofounder and co-CEO, told Fast Company. "There are plenty of plant sugars you can use, and plenty of plant fats. There are also plenty of plant proteins you can use, but the problem is that they all taste like the plant they derive from. We had to figure out how to make a plant protein that didn't taste like a plant protein."

The company's new pea half-and-half, which Fast Company says dissolves into coffee "like the real thing, without the calories," launches in July, while customers may have to wait until the end of this year—or possibly early next year—for its yogurt.

Renninger admitted neither the half-and-half nor the yogurt were easy to create. For example, "with half-and-half, the challenge was getting something that worked well in coffee, but also would work well in a culinary situation," he said. "It's a bit of a balance providing that creaminess and a clean taste. Protein is an important part of the creaminess in half-and-half, but if you don't have clean protein, you can't get that creaminess without adding off flavors."

Delicious Root Vegetables - Vegan Recipe

If you are looking to incorporate more vegan meals and more colorful ingredients into your routine, then here is a delicious, healthy meal you can make in just a short amount of time! Grab your veggies, and fire up the grill.

1.) Head to the store, or to your garden, and grab an assortment of sweet potatoes, red or yellow potatoes, and Chioggia beets. Below, I found an image of the beets, so you can see how "normal" they look on the outside, and how they appear to have rings or stripes on the inside. 

2.) Turn on your grill to medium high, and thinly slice all root vegetables, and set them on a baking sheet, so they are not overlapping. Brush on a light coating of olive oil or melted coconut oil, and add a generous sprinkle of seasonings to both sides. Use a pair of tongs to flip the slices if you do not want to get your hands messy. Make sure seasoning is applied evenly. 

3.) Take your baking sheet and pair of tongs out to the grill, and use your tongs to add each slice of root veggie to the grill. Try to make sure not to let the oil drip down into the grill, or it could be a bit messy and cause larger flames. Feel free to let the veggie slices touch, but not overlap, so they get those beautiful grill marks on them. Close the lid of the grill, and wait 4-5 minutes until the pieces have a nice grill mark on them. Flip them and let them over for another 2-4 minutes, until soft, and they're ready to eat!

4.) Transfer slices back onto the baking sheet, and bring back in to serve. These are amazing by themselves as a vegan meal option, or serve them as a side dish. They're absolutely delicious!!!

If you're new to eating beets, then try to slice up 1-2 beets for every 5 potatoes, so you have more potato than beet. Enjoy!

Vegetarian Zucchini "Meatballs" Recipe + My New Oster Spiralizer

I have been wanting to create a recipe like this for a long time now, and I thought that a good way to test out my new Electronic Spiralizer from Oster, would be to make a vegetarian version of one of my favorite foods, meatballs. You won't even miss the meat, promise!

Read More

Caprese Salad Recipe

This is one of my absolute all-time favorite dishes! I love any excuse to eat fresh tomatoes, and when the organic and local ones are heirloom, it's even better! I thought that using a mix of yellow and red tomatoes really gave this plate a more vibrant and special look. I actually created this recipe for the Burnt movie, to help promote their movie. Check out my Burnt project, on Pinterest HERE, entitled Food, Romance, Love.

INGREDIENTS (MAKES 2 SERVINGS)

* 10-15 organic yellow and red cherry tomatoes (or other small tomatoes)

* Fresh Organic Basil (I found mine as a plant at the grocery store. Bonus points for ORGANIC!!!

* Fresh Mozzarella Cheese

* Olive Oil

* Balsamic Vinaigrette

* Salt to taste

Cut tomatoes into quarters. Slice mozzarella cheese with a knife, or create small pieces of cheese with your hands, and set aside. On a plate, drizzle a small amount of balsamic, like I did in the above images. Place tomatoes and cheese onto plate. Also top the plate with basil leaves, as many as you can handle! Drizzle some olive oil and salt over the top of the plate, and you are all done! I also like to serve this with an extra plate of small French bread slices and salami. 

This would make an incredible snack, appetizer, or even a light meal! It tastes SO incredibly good, I hope you enjoy it! If you are also a Caprese Salad-lover, comment below to let us know. 

Two Amazing Fruity Frozen Yogurt Recipes {Peach Pineapple + Raspberry Peach}

Yum! That;s basically the first word that comes to mind when I look back at these photos. I have been wanting to make some frozen yogurt for some time now, and I had the perfect ingredient for it! Peaches that Bobby's mom gave us when we visited recently. They were just perfectly sweet and juicy. 

I just love how natural the ingredients in this recipe are. This is a way better option than something you can buy in-store, and takes hardly any time at all! The peaches can be cut up and pureed ahead of time, making this even easier. The end result tastes amazing, and will surely please that sweet tooth for people of all ages!


It all starts with peaches...

Cut the peaches in half, then whatever half still has the pit, slide that in half again. The pit will come right out! Make sure your peaches are a teeny tiny bit soft and ready to use, rather than super firm. You can also put the peaches into a grocery bag for a few hours to  soften them up. 

Here are the Basic Ingredients (sans the pineapple - that is shown in the ingredients photo, within the peach puree). Each recipe can be found below its respective title, further down in this post. 

INGREDIENTS:

- 3-4 Peaches, peeled and sliced, pits removed

- 2 C. vanilla yogurt (I used the sweetened kind)

- 2-3 Tbsp sweetener like agave

- 1 C. (or more) fresh raspberries (I froze my own before using them in this recipe)

- 1/2 Can Pineapple rings + their juice

INSTRUCTIONS:

- Puree all ingredients until very smooth, then pour into a freezer-safe container with a lid. Freeze for at least a few hours (but overnight is recommended). Scoop the frozen yogurt into a big bowl and enjoy!! This recipe is amazing for summer. The color of this frozen yogurt is absolutely stunning - that pink color is lovely! 

INGREDIENTS:

- 3-4 Peaches, peeled and sliced, pits removed

- 2 C. vanilla yogurt (I used the sweetened kind)

- 2-3 Tbsp sweetener like agave

- 1/2 Can Pineapple rings + their juice

INSTRUCTIONS:

- Puree all ingredients until very smooth, then pour into a freezer-safe container with a lid. Freeze for at least a few hours (but overnight is recommended). Scoop the frozen yogurt into a big bowl and enjoy!! This recipe is amazing for summer. This recipe is the same as the one above, minus the raspberries!

Smoothie Time With Annie's Homegrown Organics

I have been on a major smoothie kick lately, and after making one almost every day, I have found my perfect blend of ingredients to make a smoothie that I haven't gotten tired of yet! I will alter the recipe just a little bit, depending upon what fruit I have in my fridge or freezer, but I basically use the same formula each time. 

I have always been drawn to Annie's Homegrown Organic products, so when I saw this yogurt at our local Schnuck's, I grabbed a couple of containers, lots of berries, and also re-upped on unsweetened almond milk. 

I have also learned that to make a smoothie the best (most drinkable) consistency possible, you can't use all frozen fruits. Otherwise, it freezes all of the other ingredients, making something more like soft sorbet (which is great for smoothie bowls or making nice-cream). Also, adding the almond milk definitely helps to thin out your smoothie, but the taste can be overwhelming, so just test your smoothie before pouring it in the jar. Lastly, with the yogurt, I add a good amount, because it tastes SO good! So, the amount of each ingredient just depends on your taste preferences. 

MAKES 2 LARGE SMOOTHIES

- Annies Homegrown Organic Very Vanilla Yogurt

- Unsweetened Almond Milk

- Frozen Raspberries (I freeze fresh ones in jars)

- Frozen Blackberries (I also froze some fresh ones in jars)

- Fresh Strawberries (tops sliced off, cut into smaller pieces)

- Fresh Blueberries 

- Fresh Banana

- Ice

- Sugar is your fruit isn't very sweet or too tart


1.) In a blender or food processor, add sliced strawberries, fresh blueberries, frozen raspberries, frozen blackberries, a dash of almond milk, banana, 1/3 container of yogurt, and a handful of ice.

2.) Hold the blender down, and begin to blend and puree your ingredients! Keep blending for a bit, because you want everything the same consistency. Note - unless you have a super-awesome blender, the ice will sound rough at first when you blend...

3.) Pour into a big jar, and enjoy! This smoothie keeps me full well past lunch time, it's amazing!

Find more about the Annie's Hiomegrown Organic yogurt, here!