Pink Halloween Trends

I have noticed some of the most adorable, pink-inspired Halloween ideas recently. Loving this trend!!

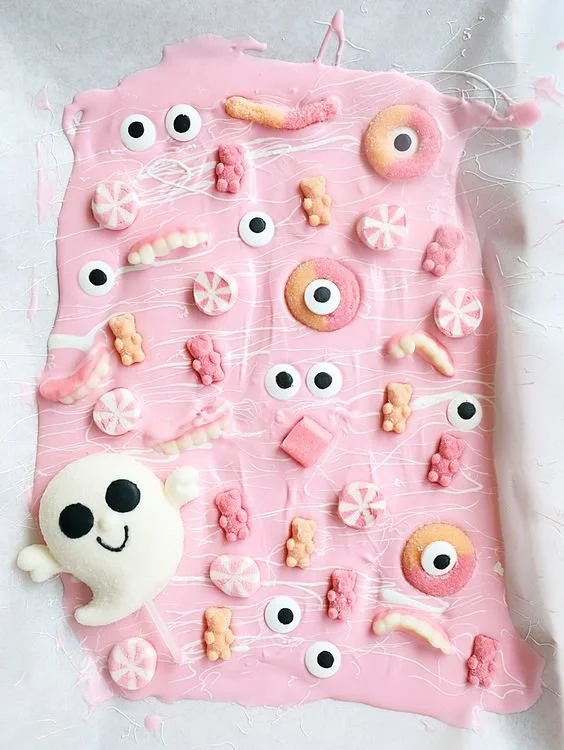
Pink Halloween Bark Recipe via A Bubbly Life.

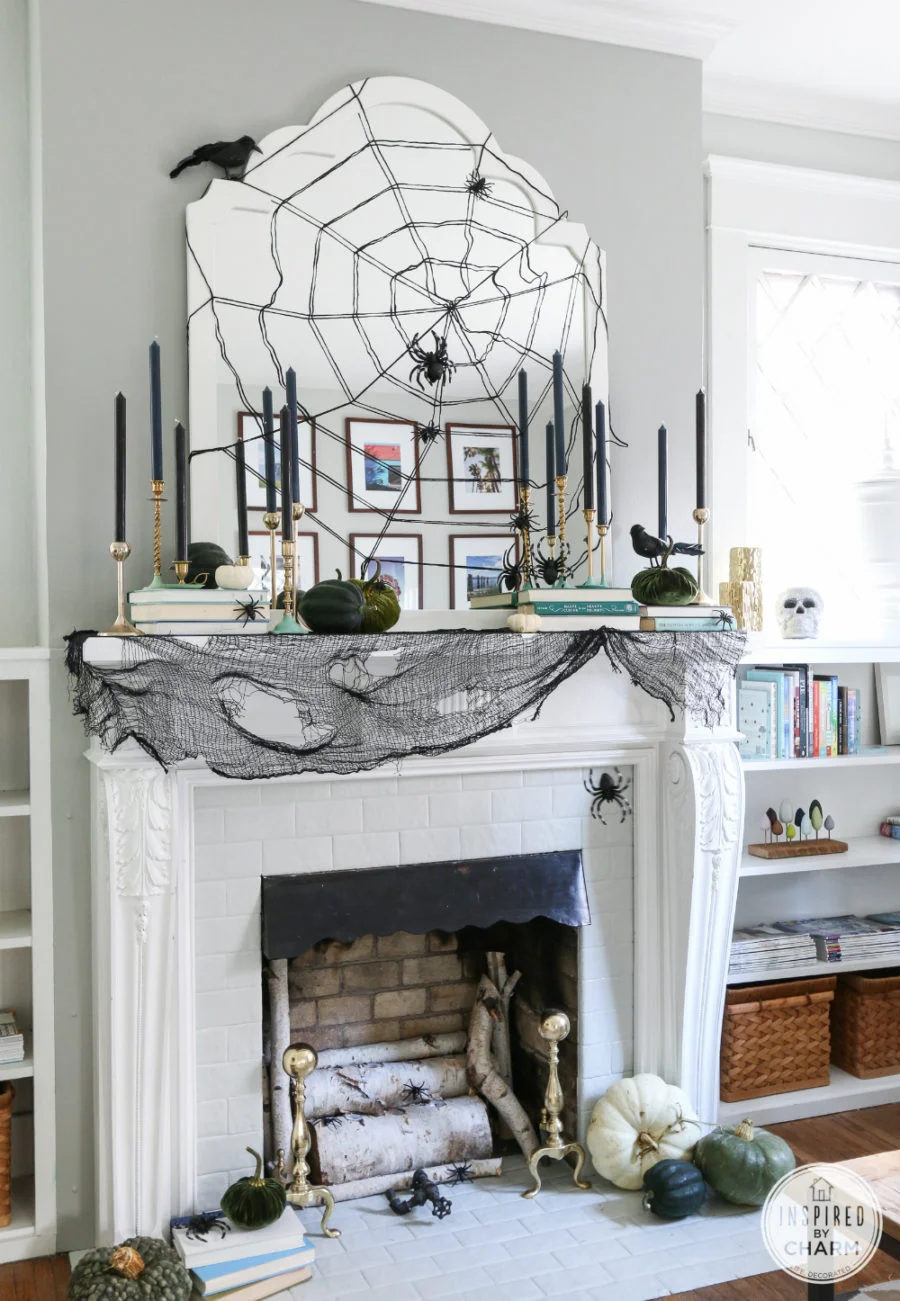
Decorate your mantle for Halloween! Found via BohoFrisco.

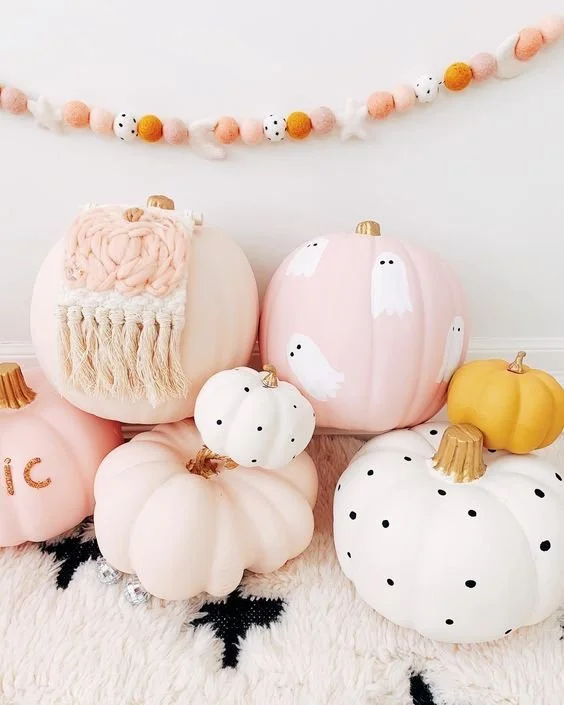
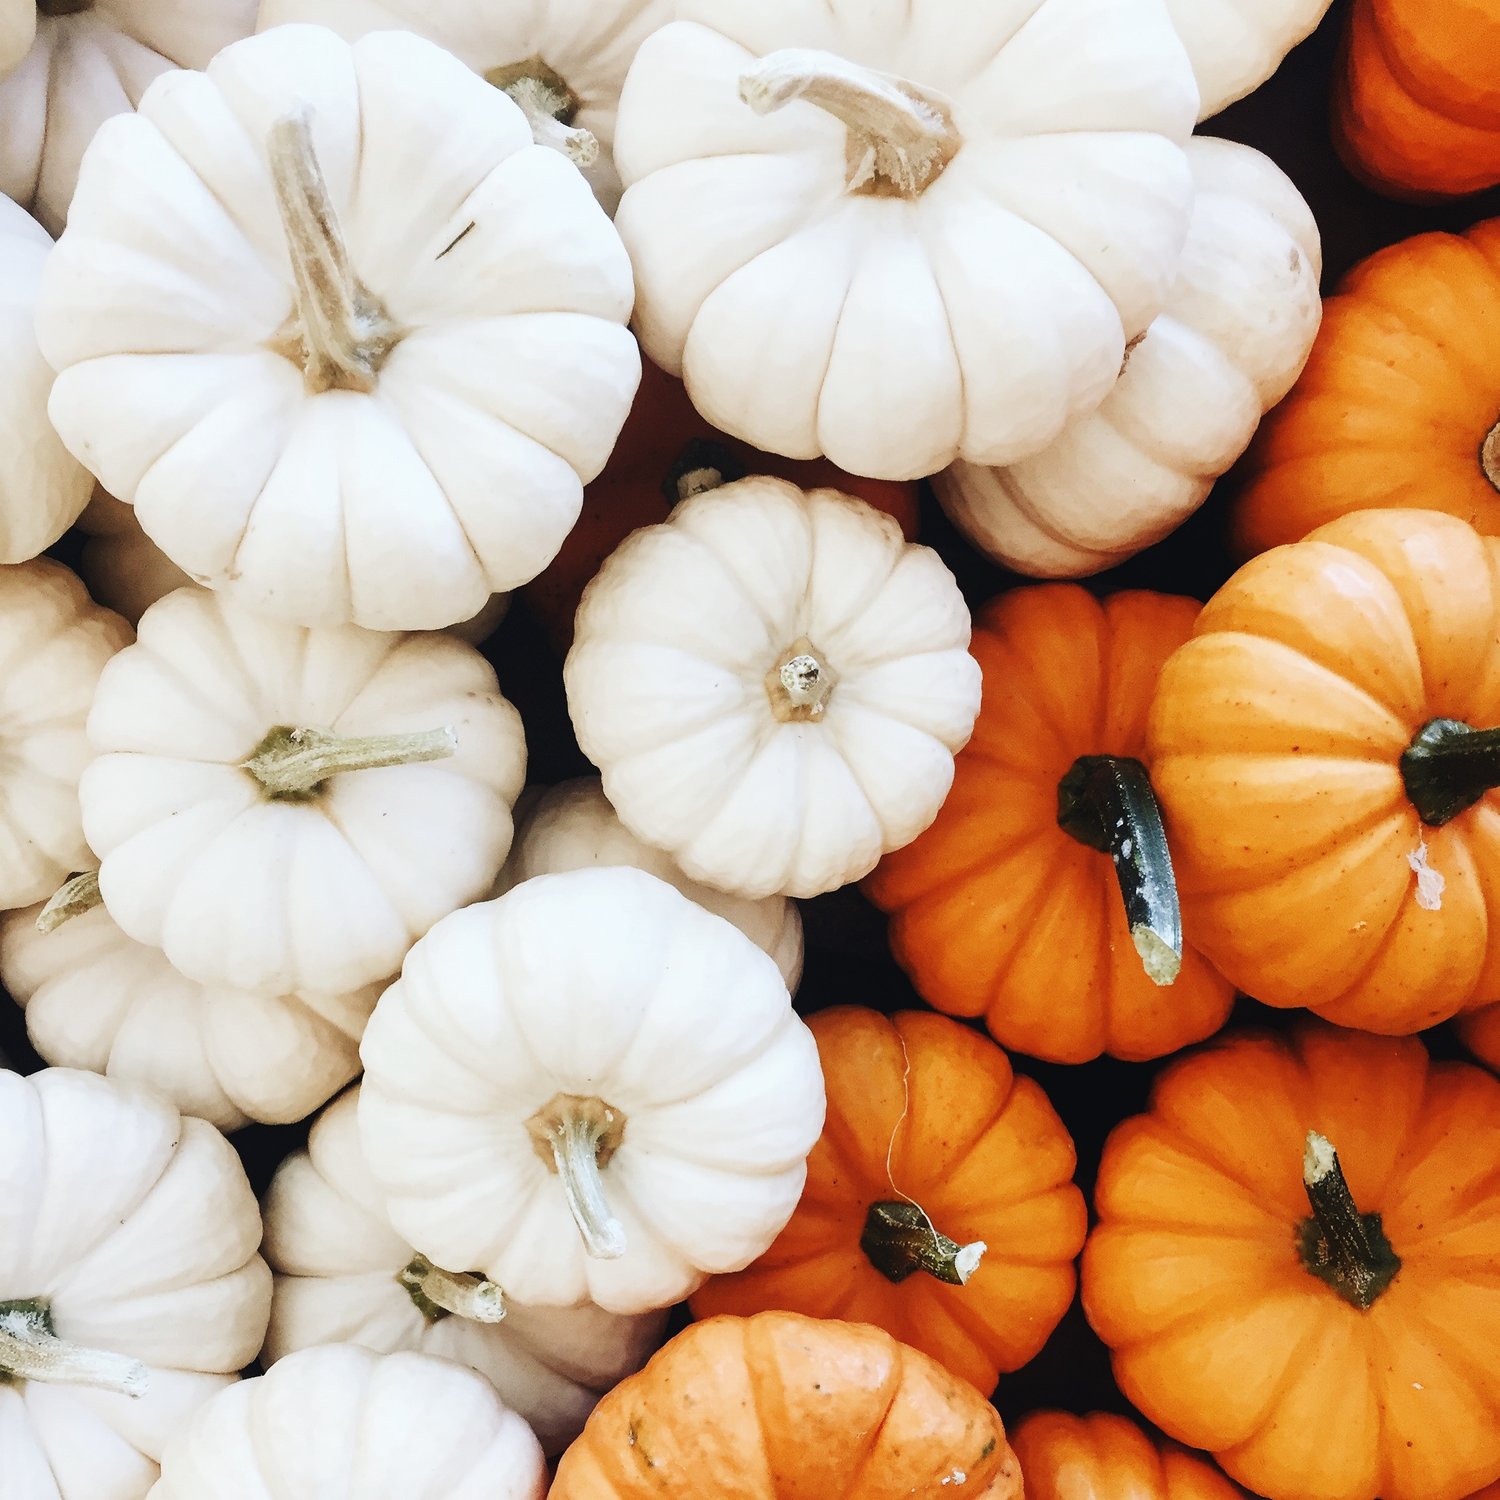
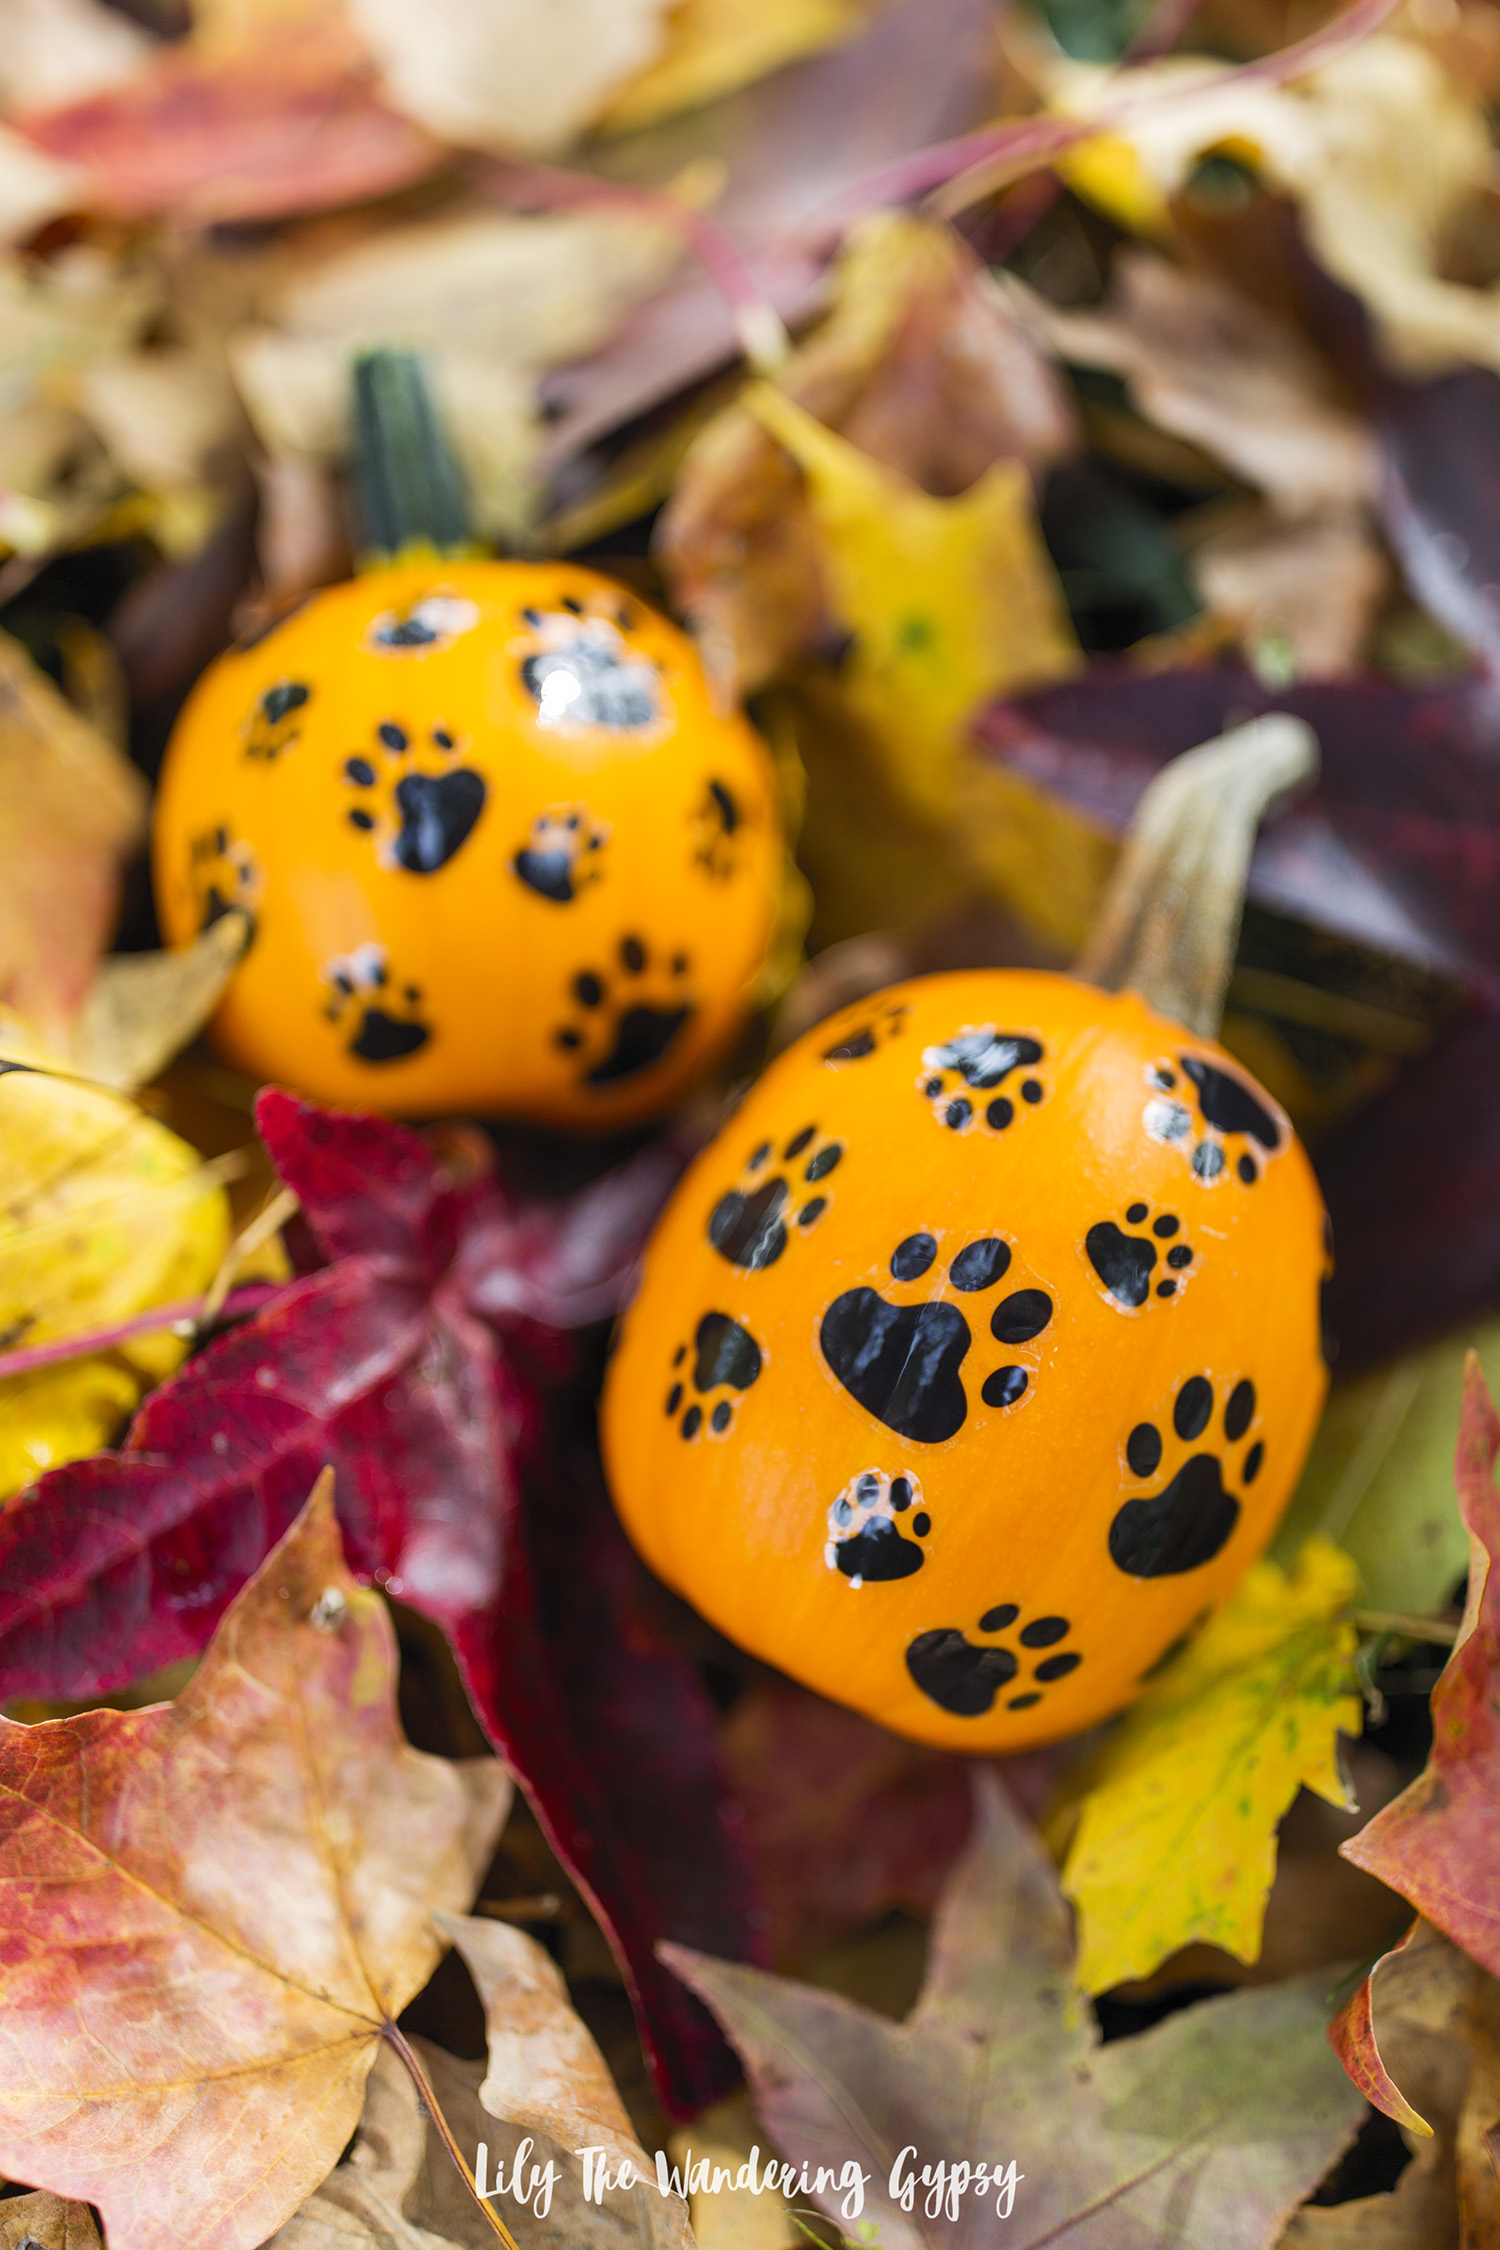
Paint pumpkins in pastel pinks and polka dots! Found via SlowMoon.

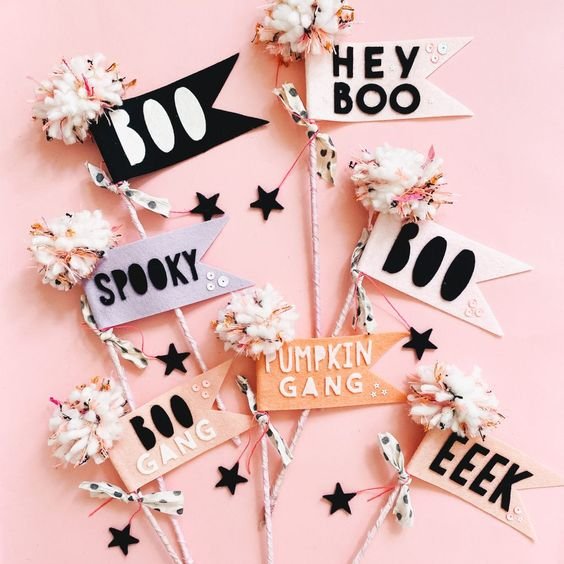
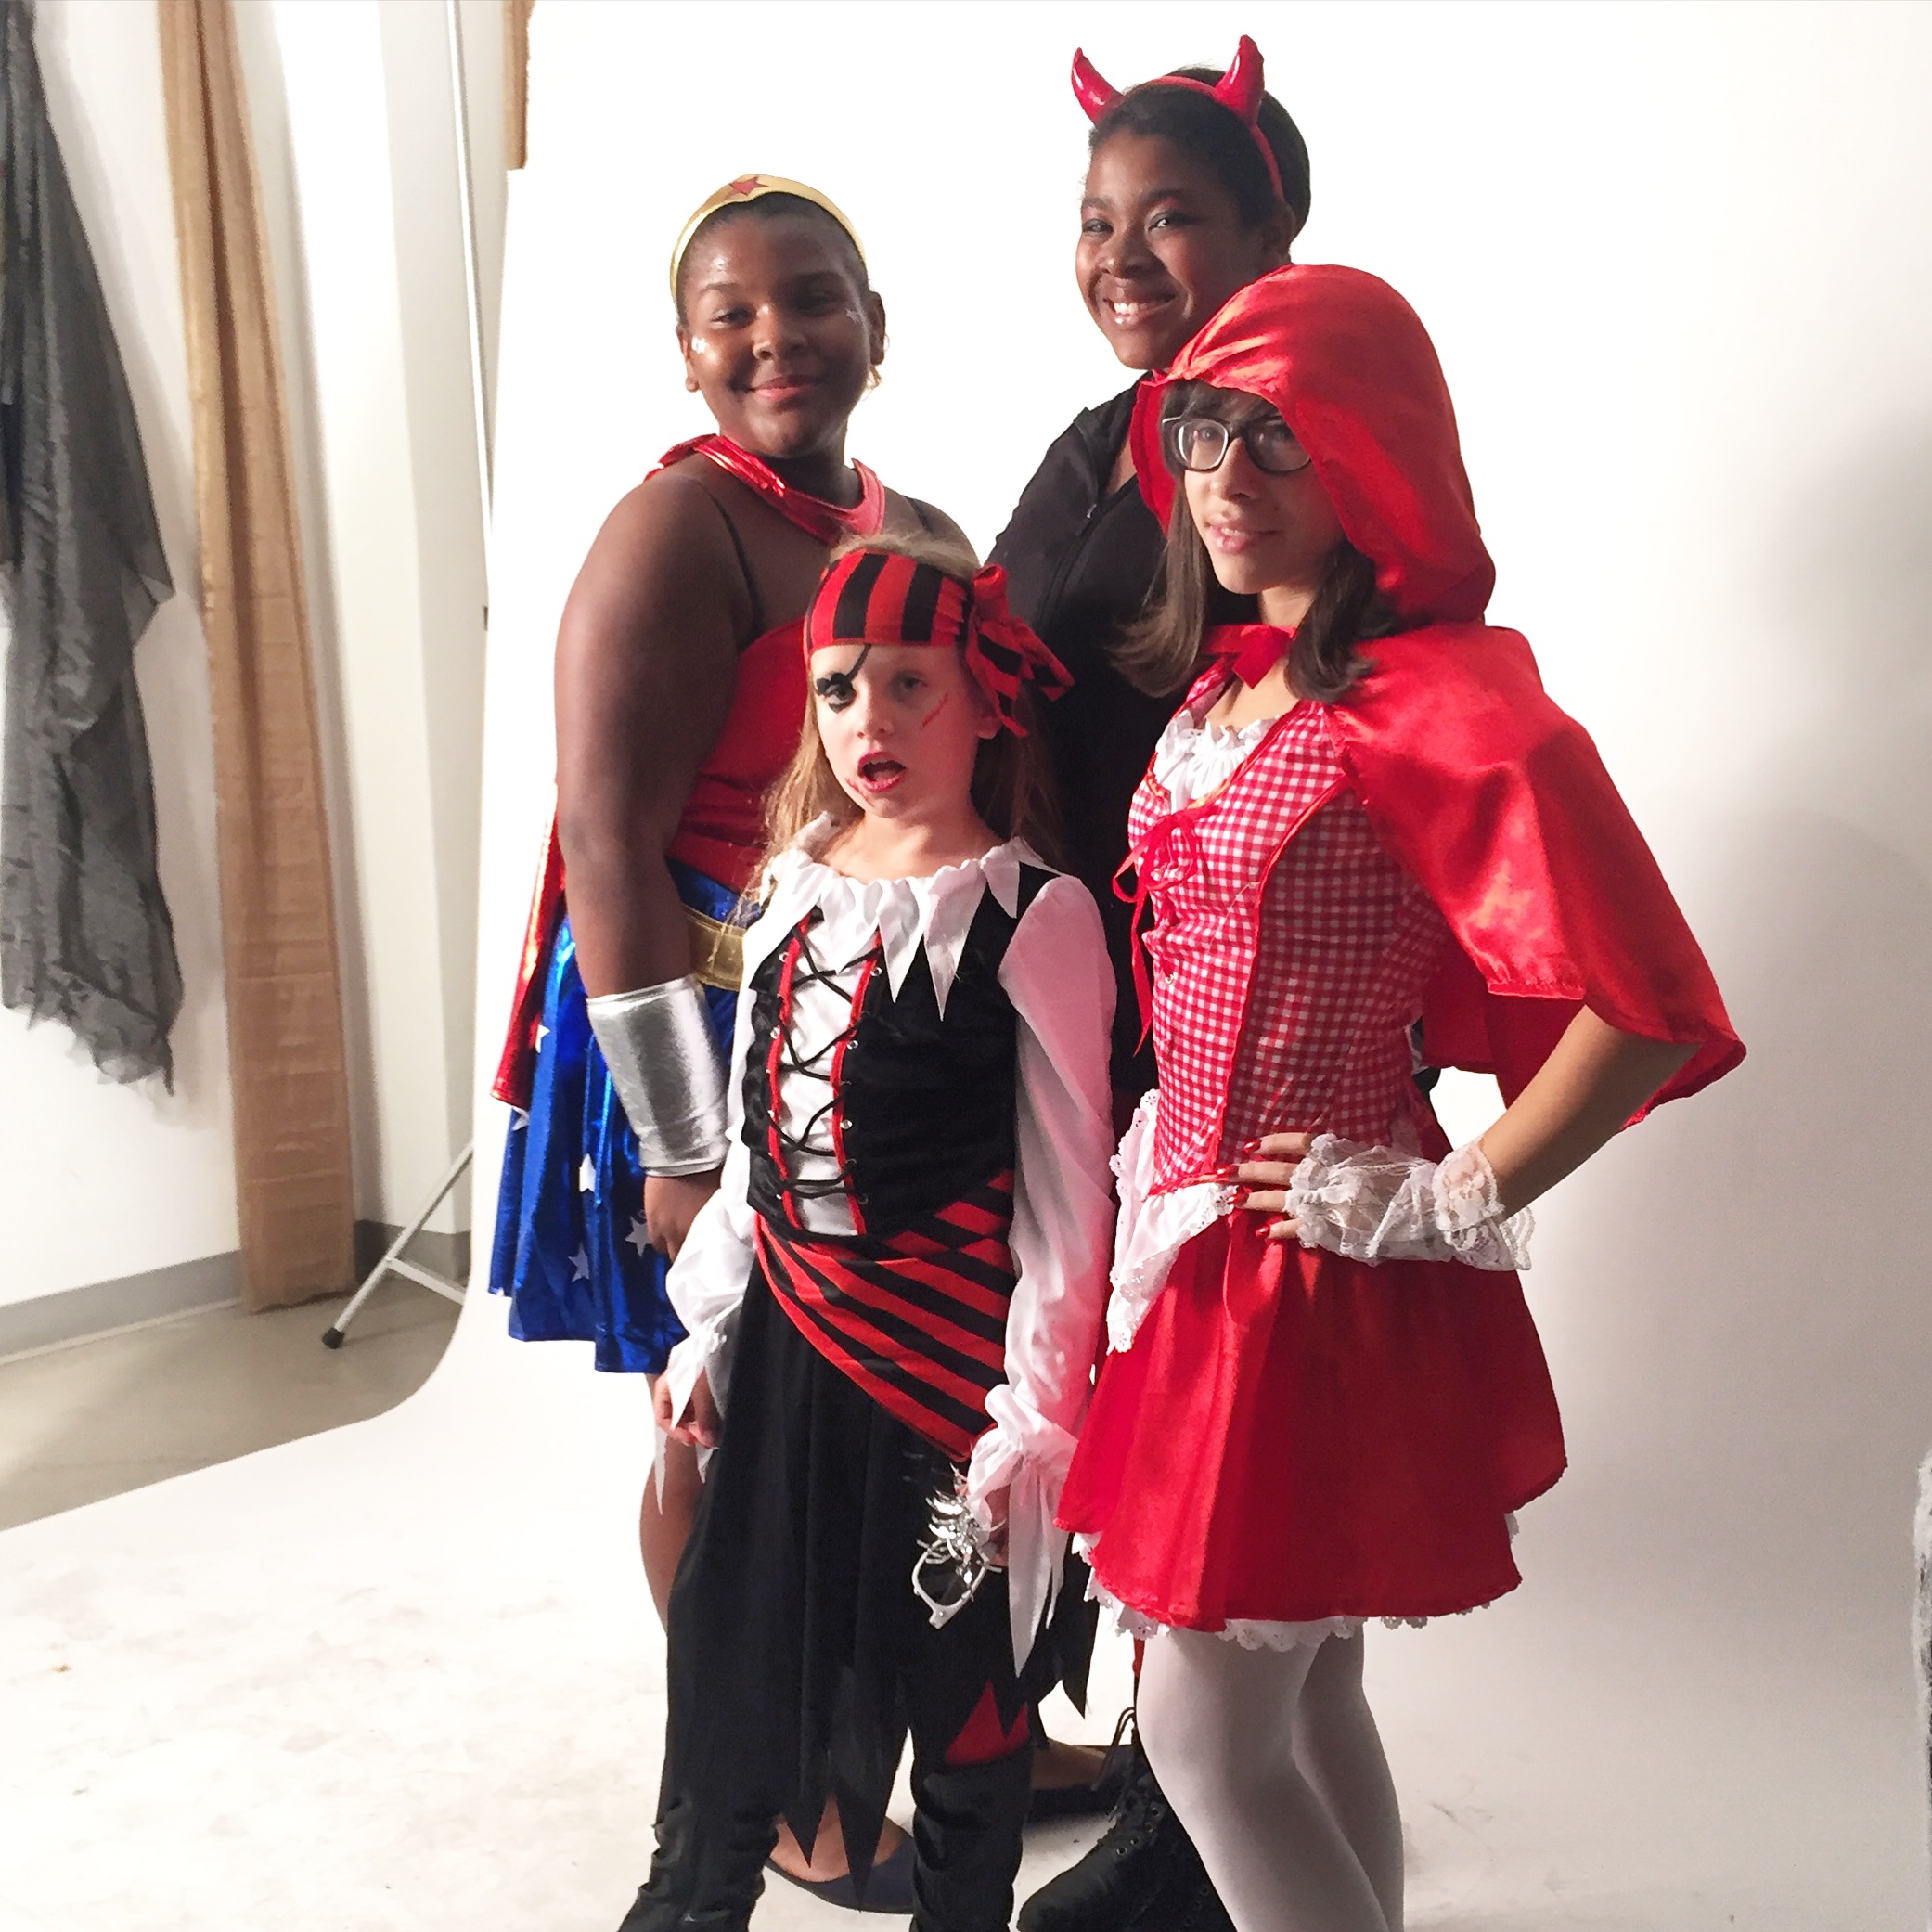
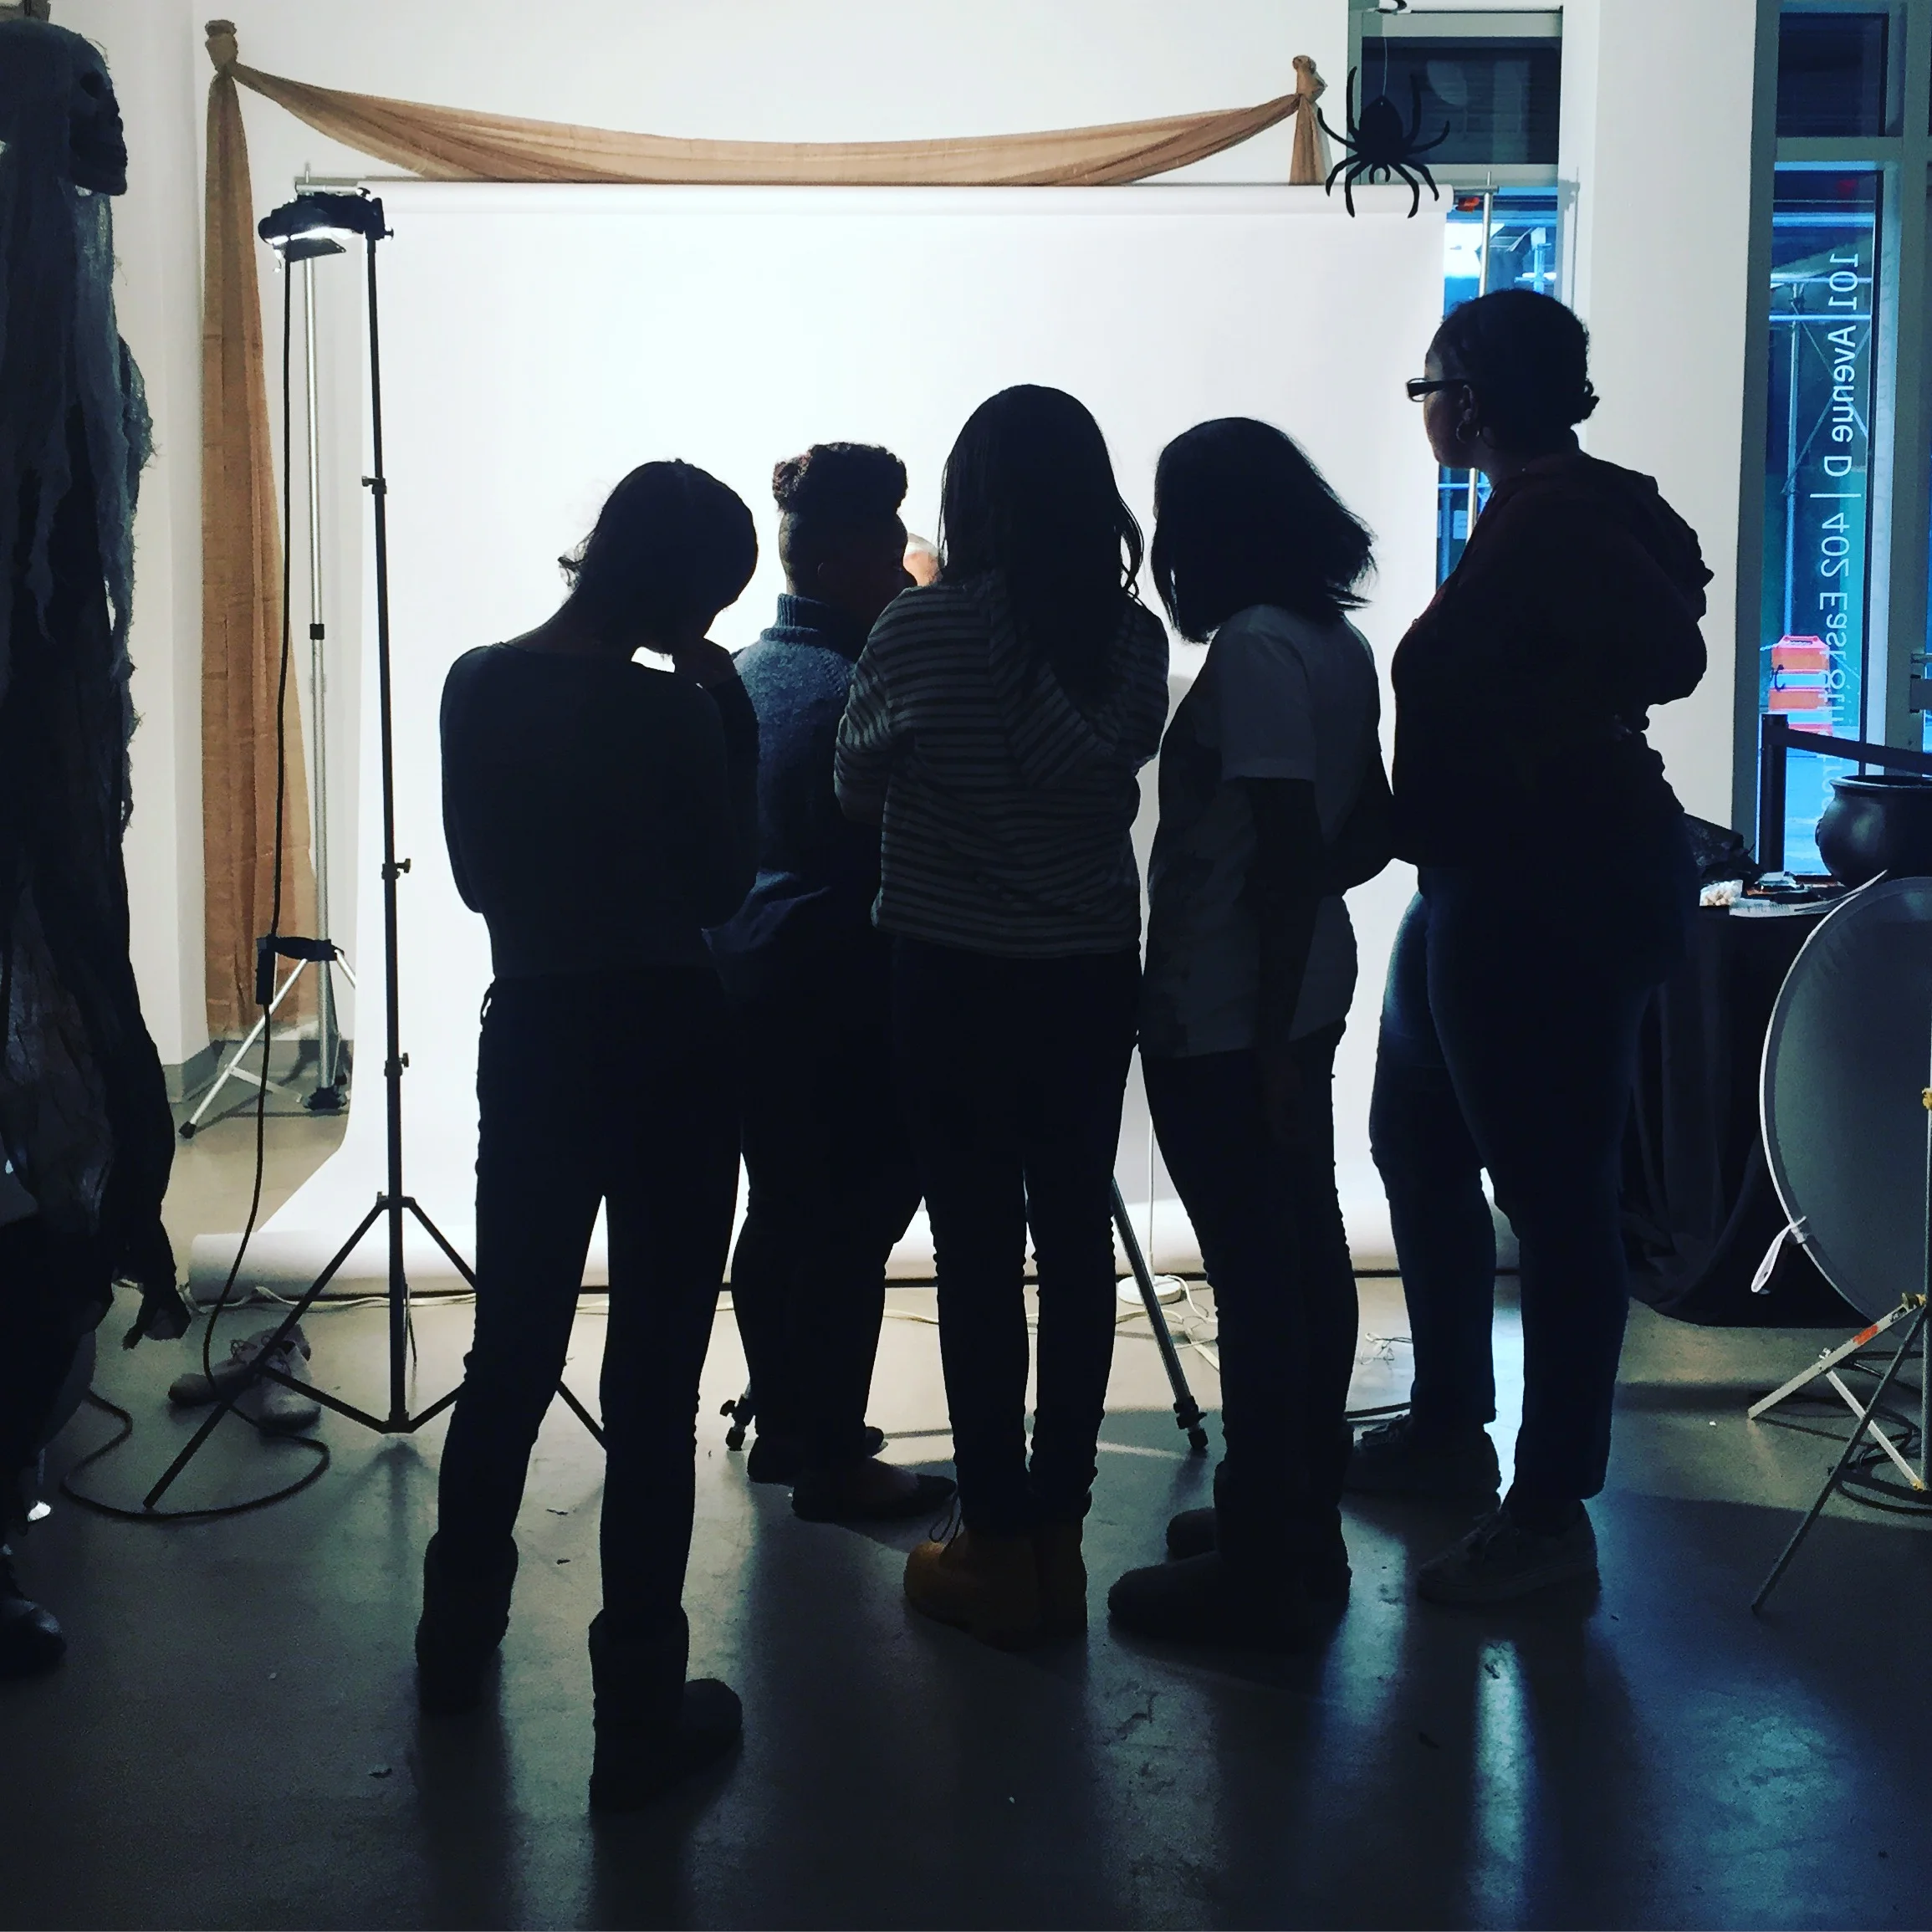
Have a pink-themed Girl Gang party for Halloween. Found via UniGirlCo.

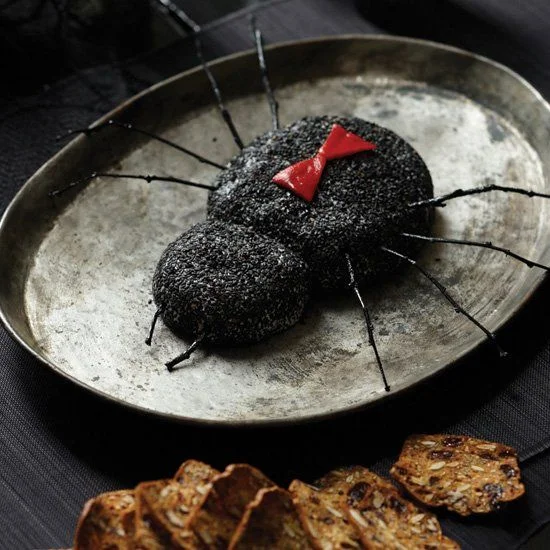
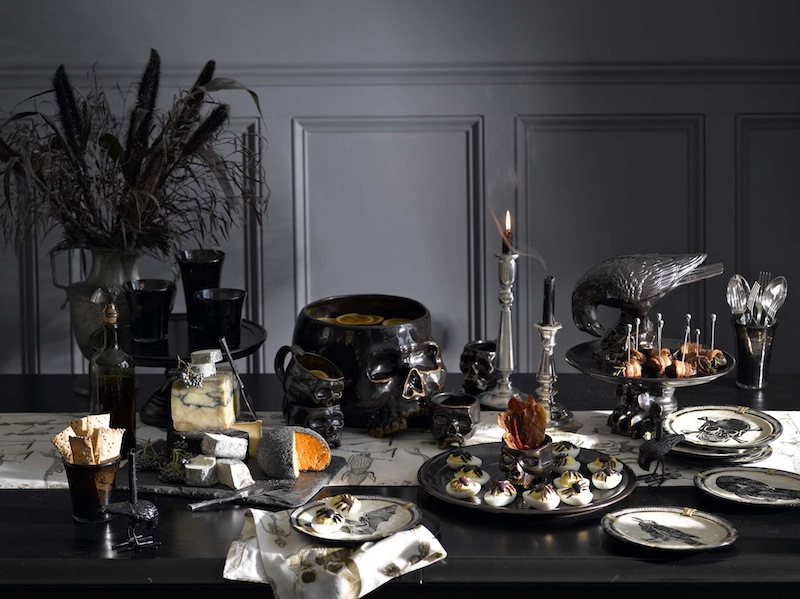
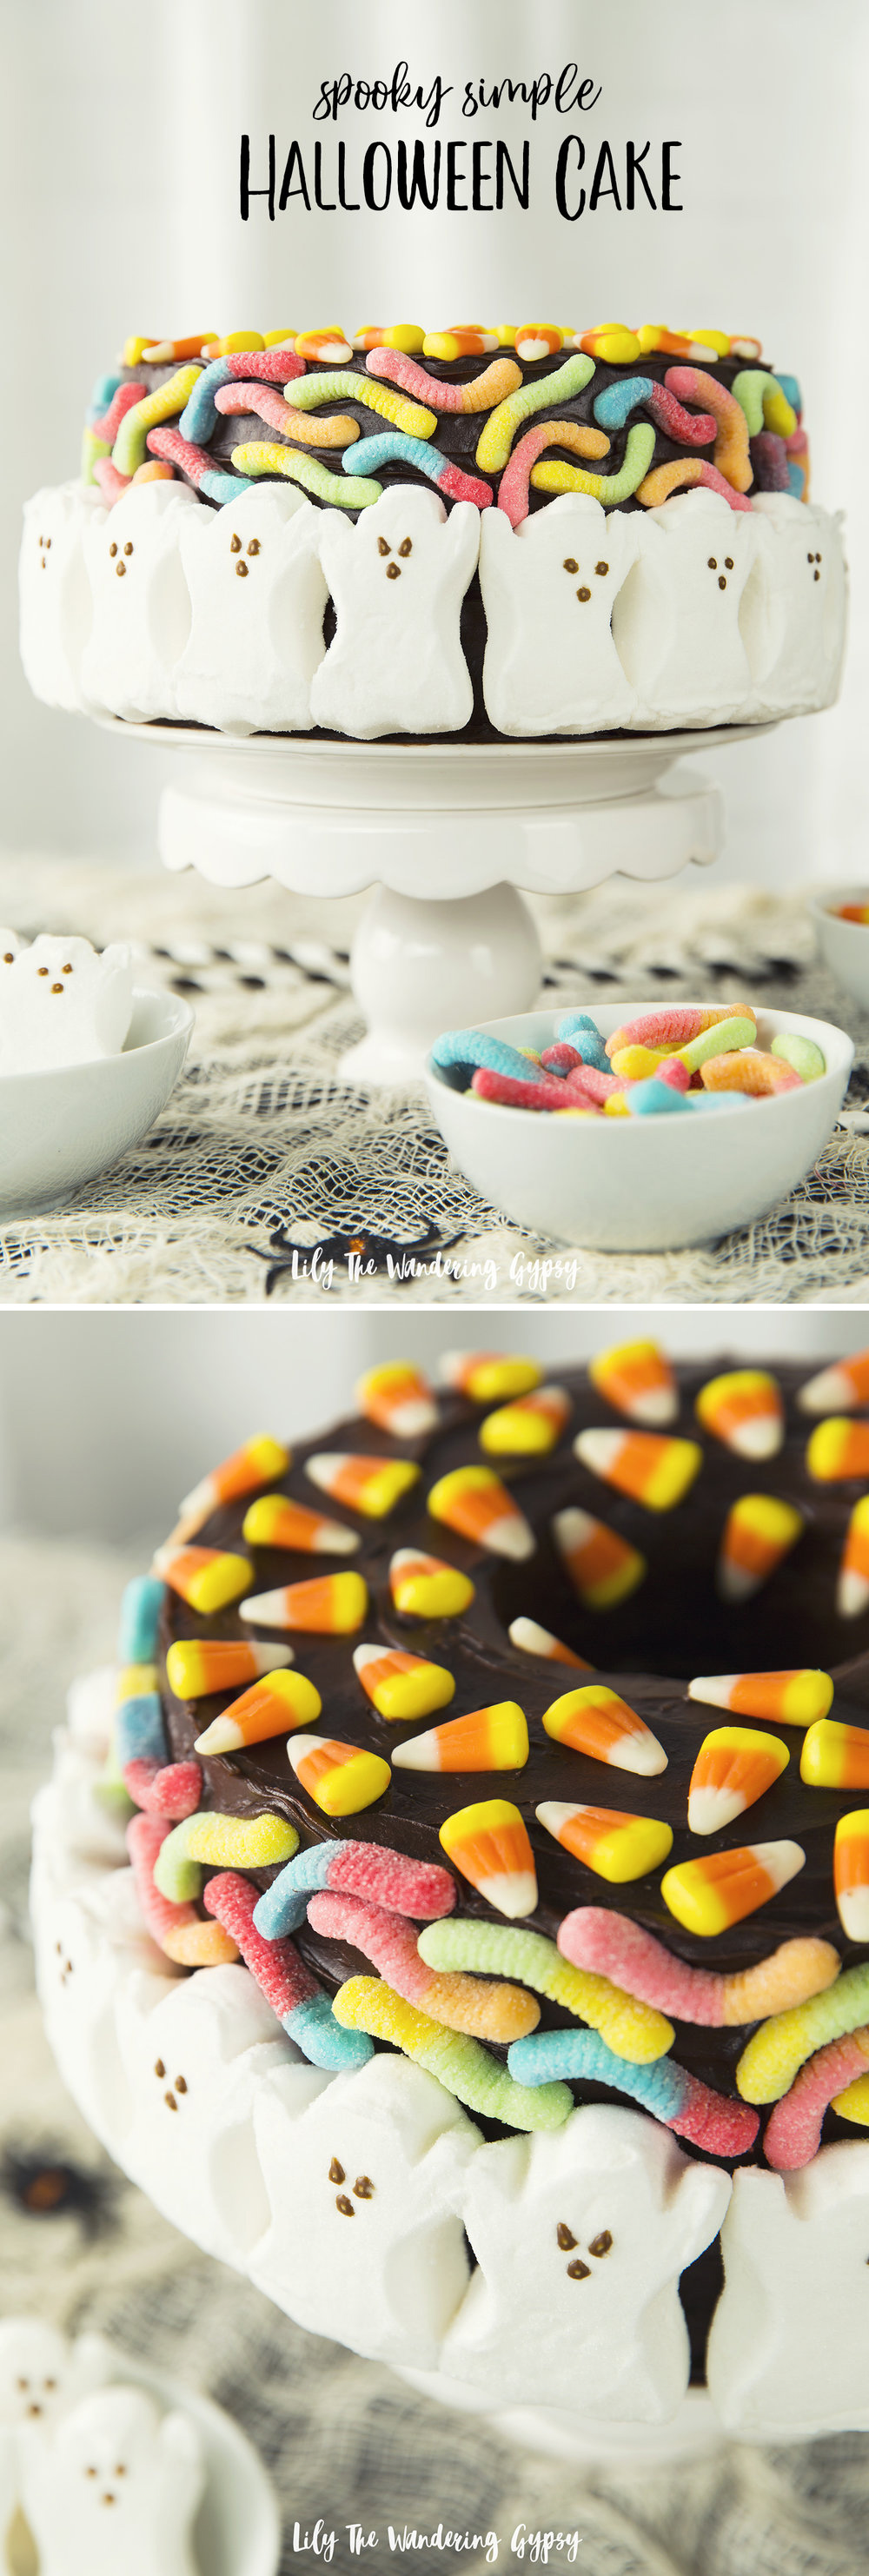
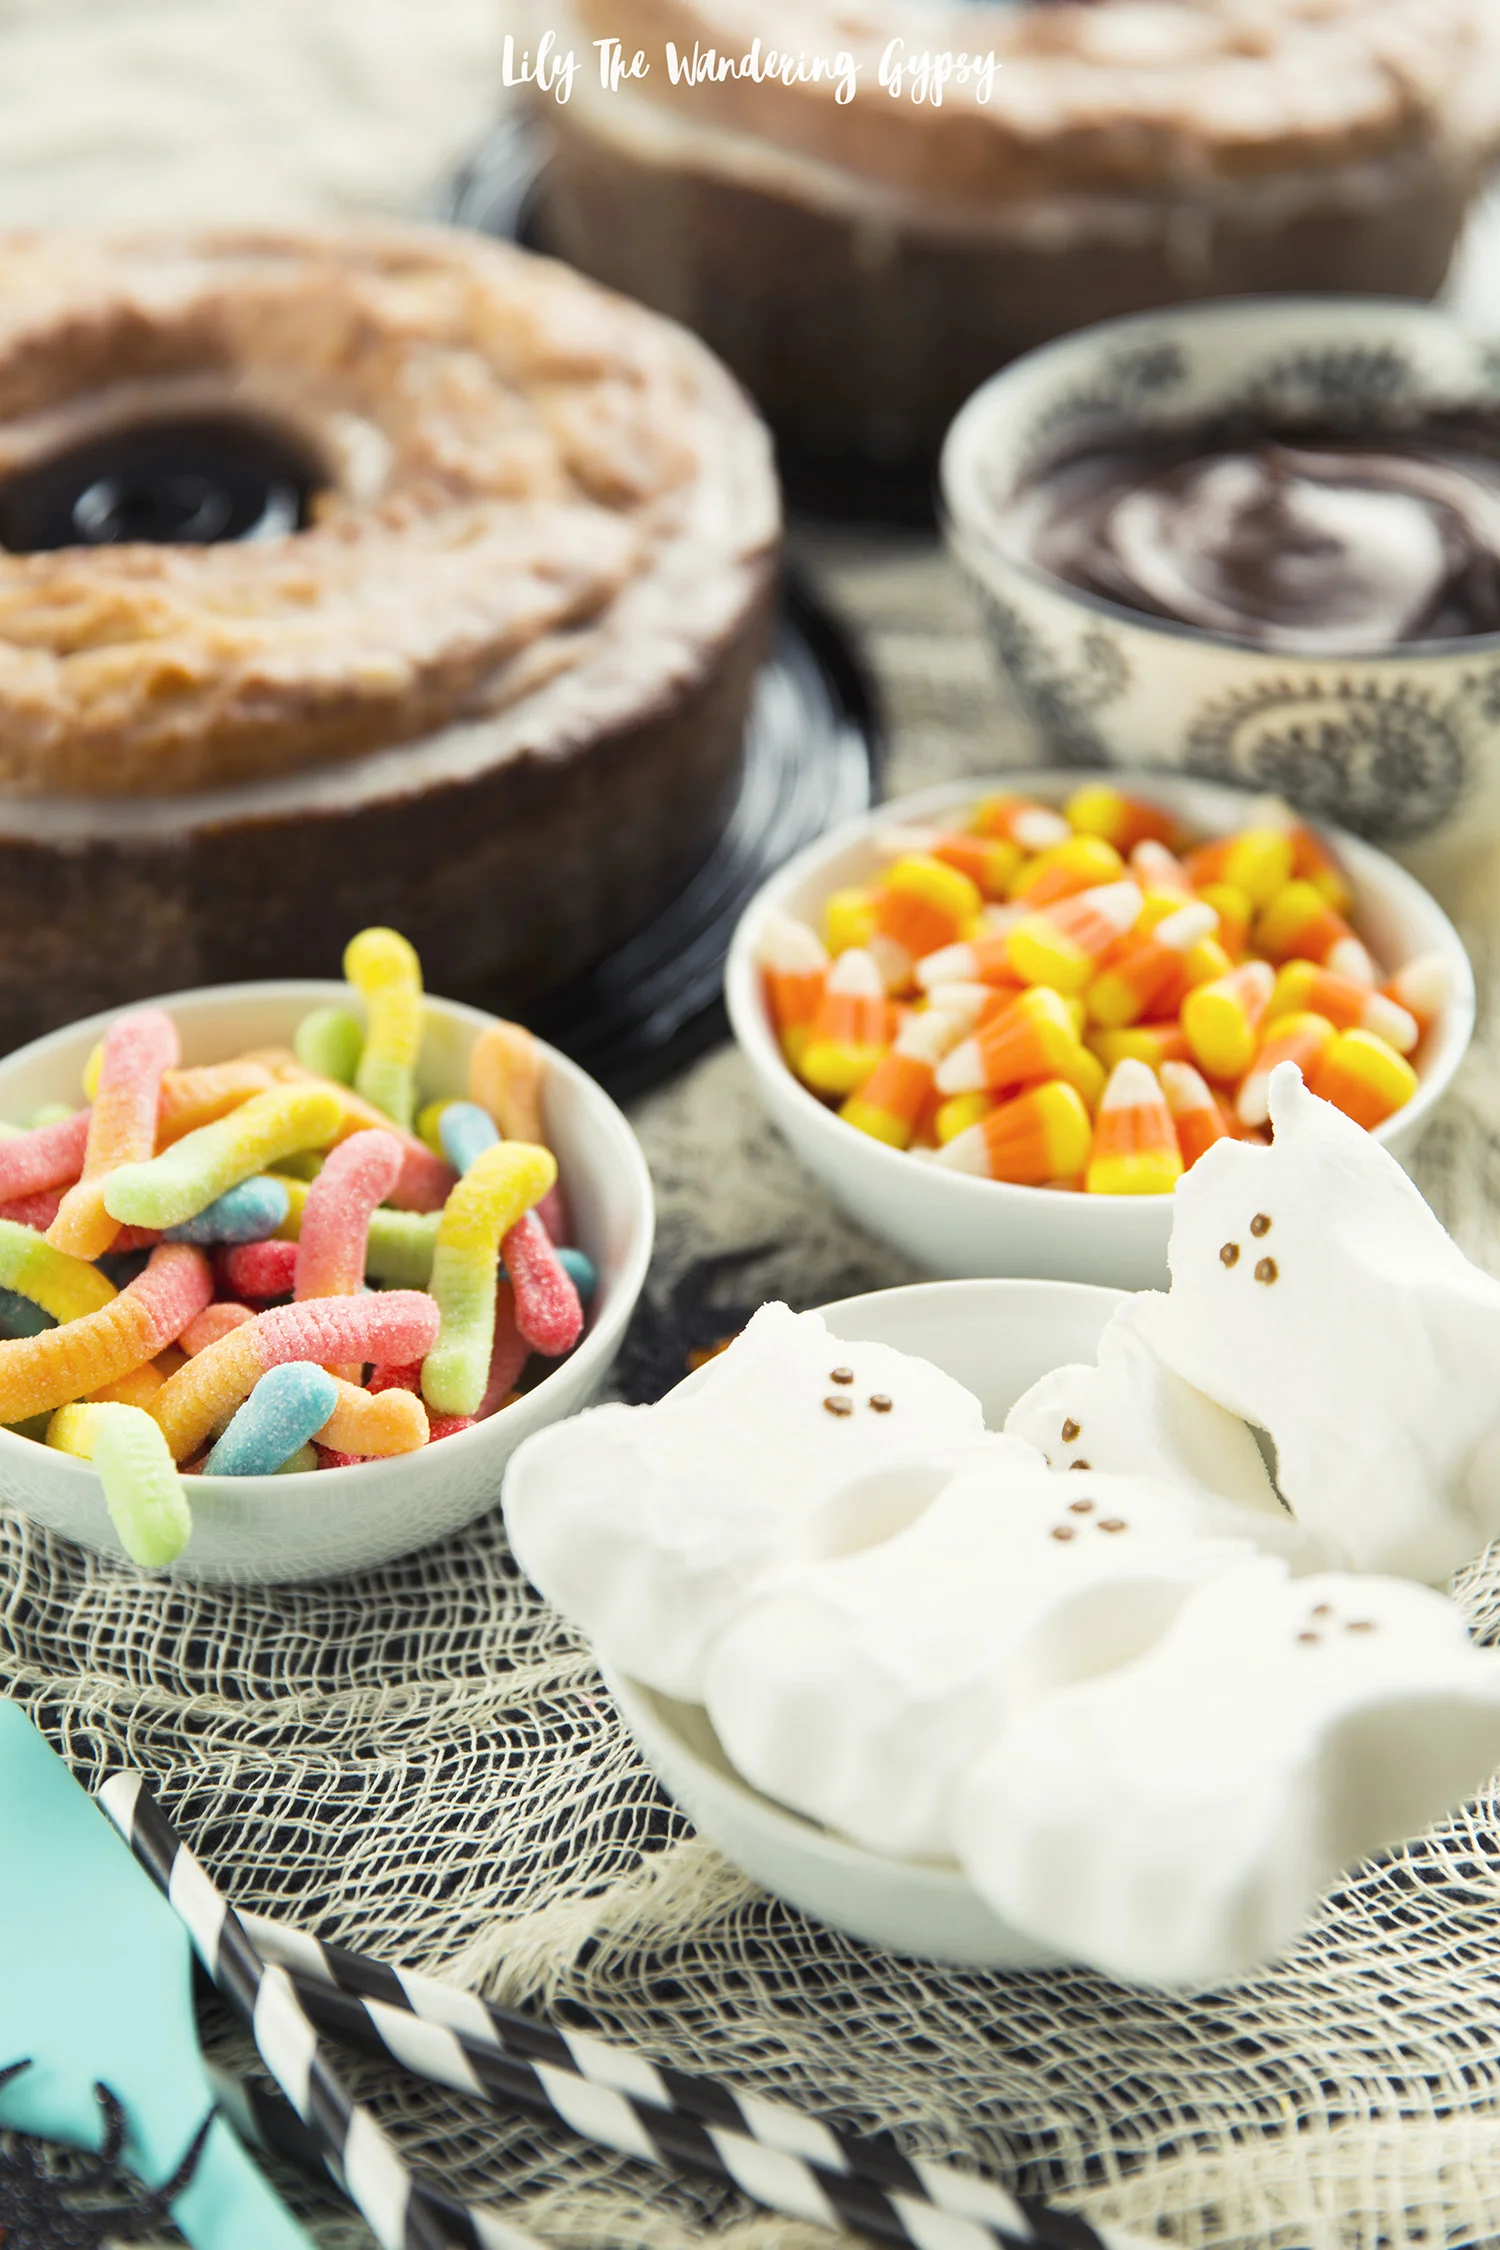
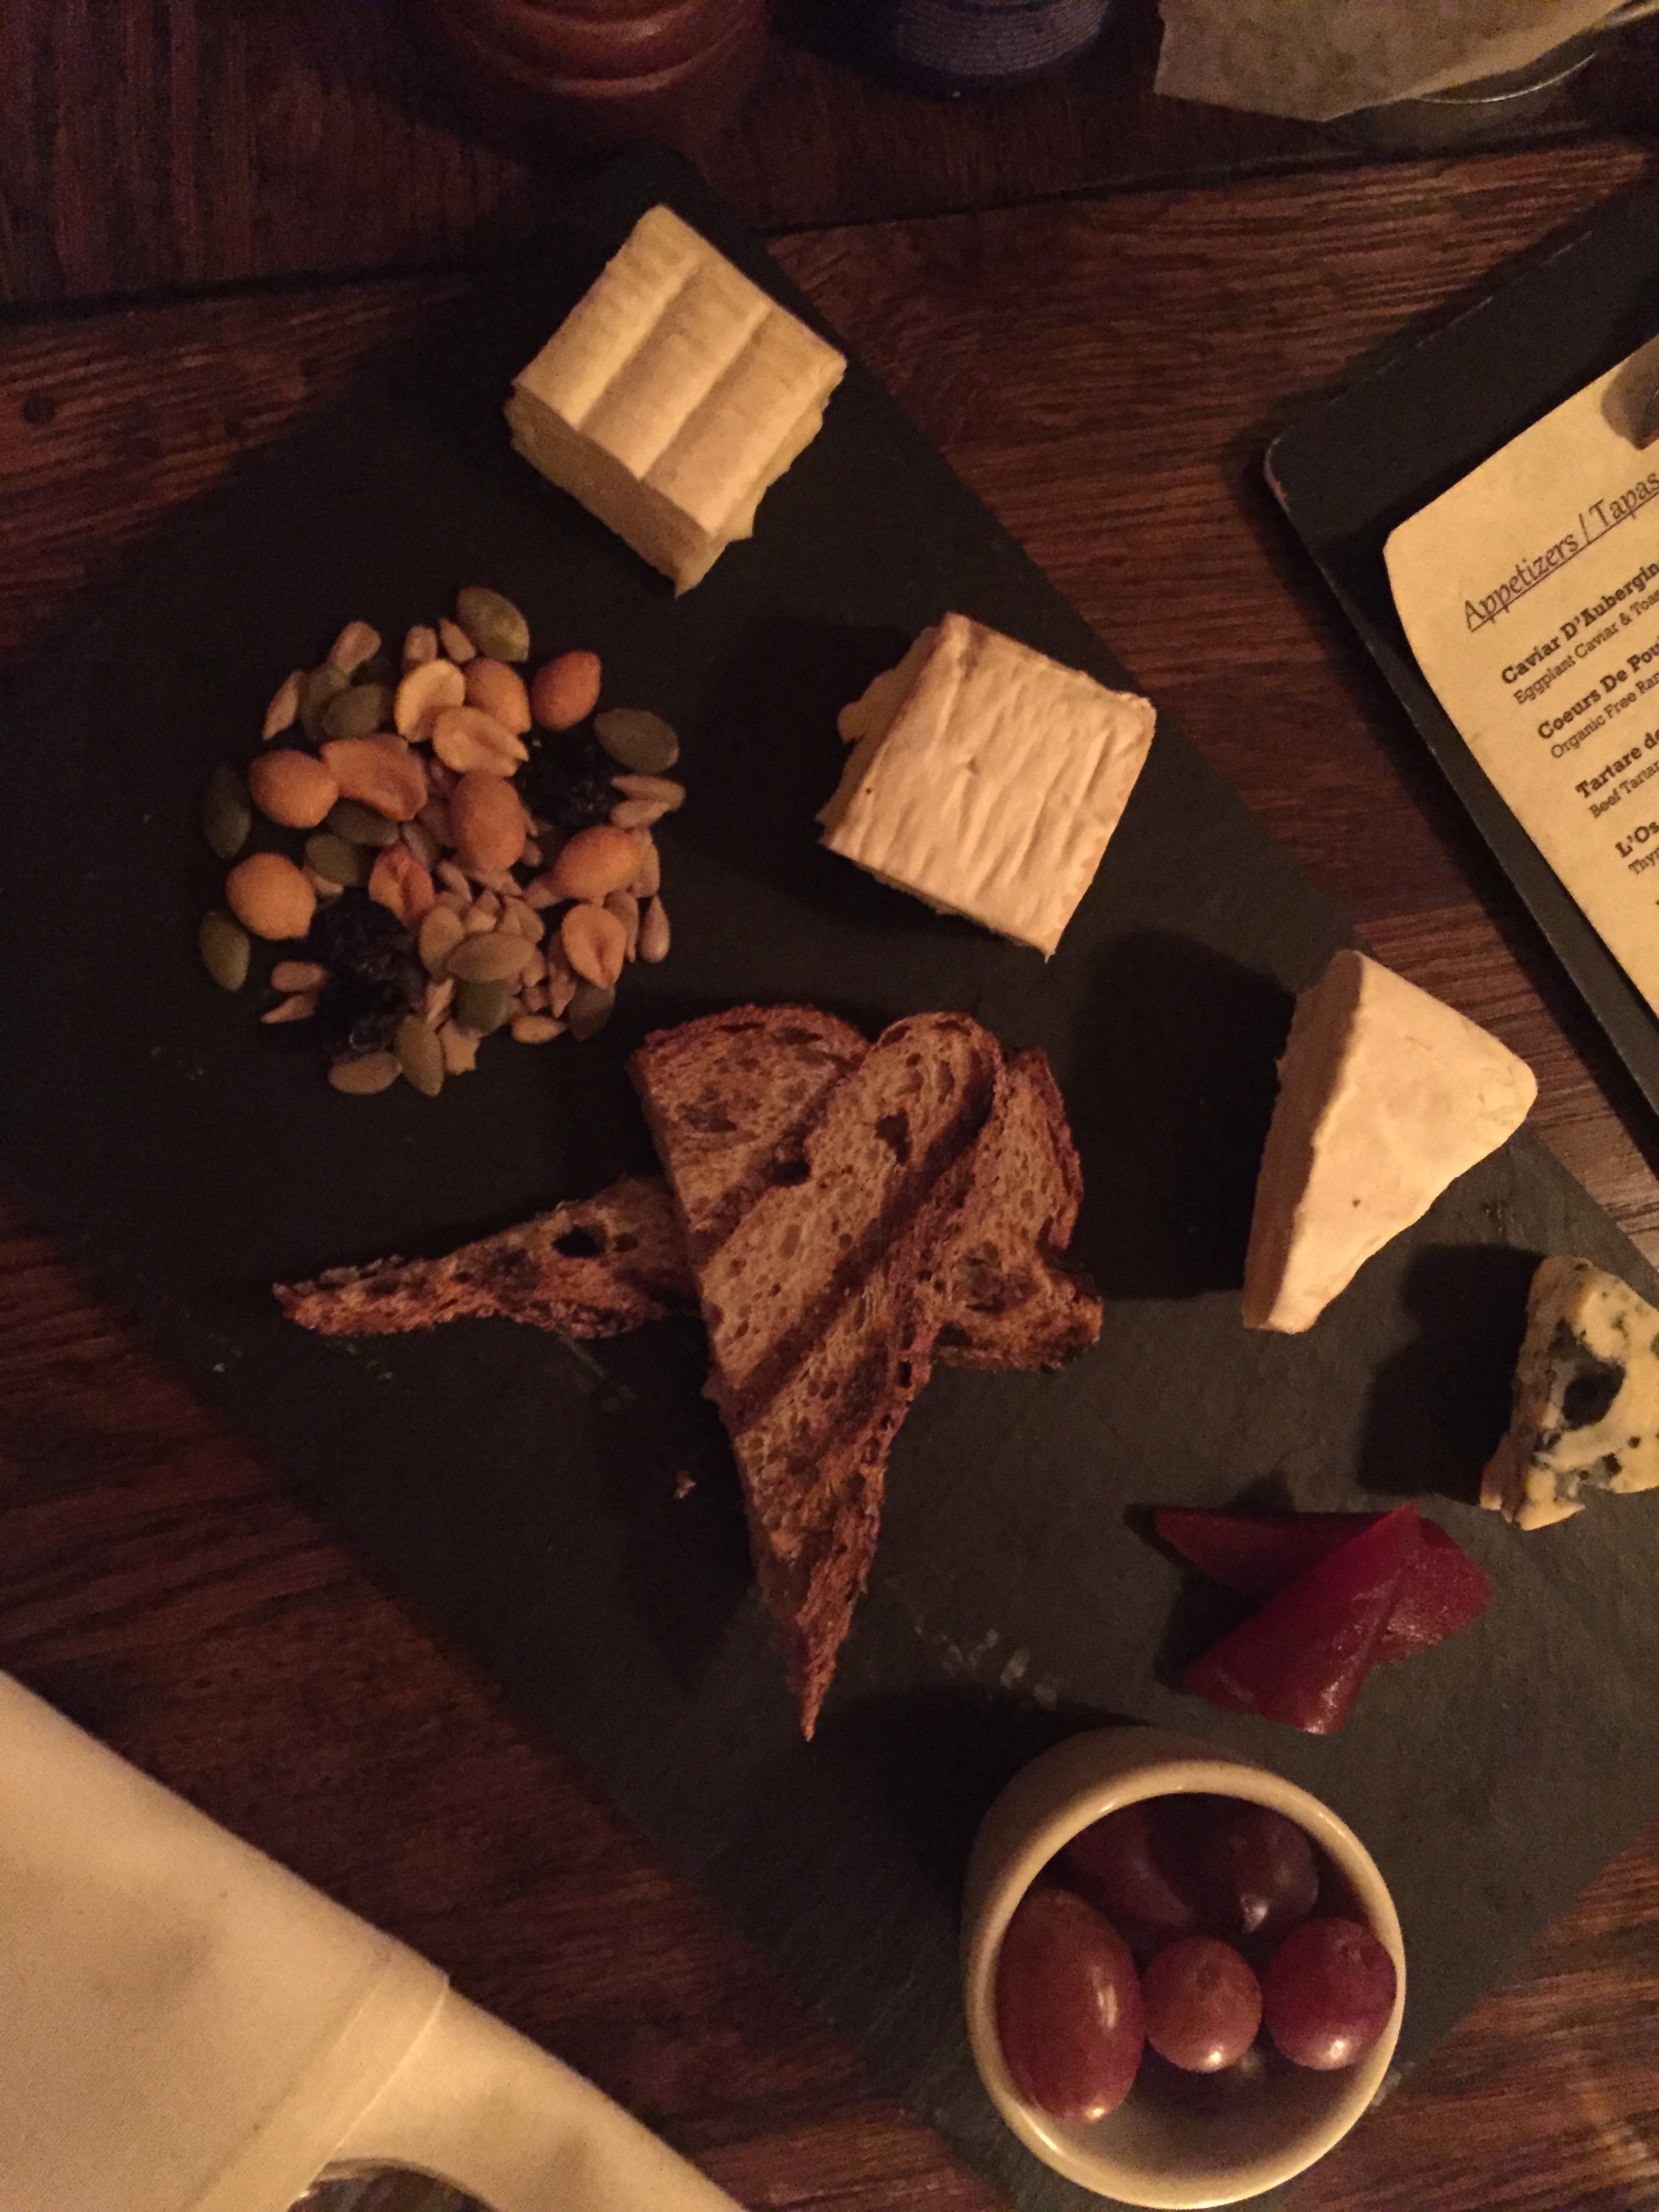
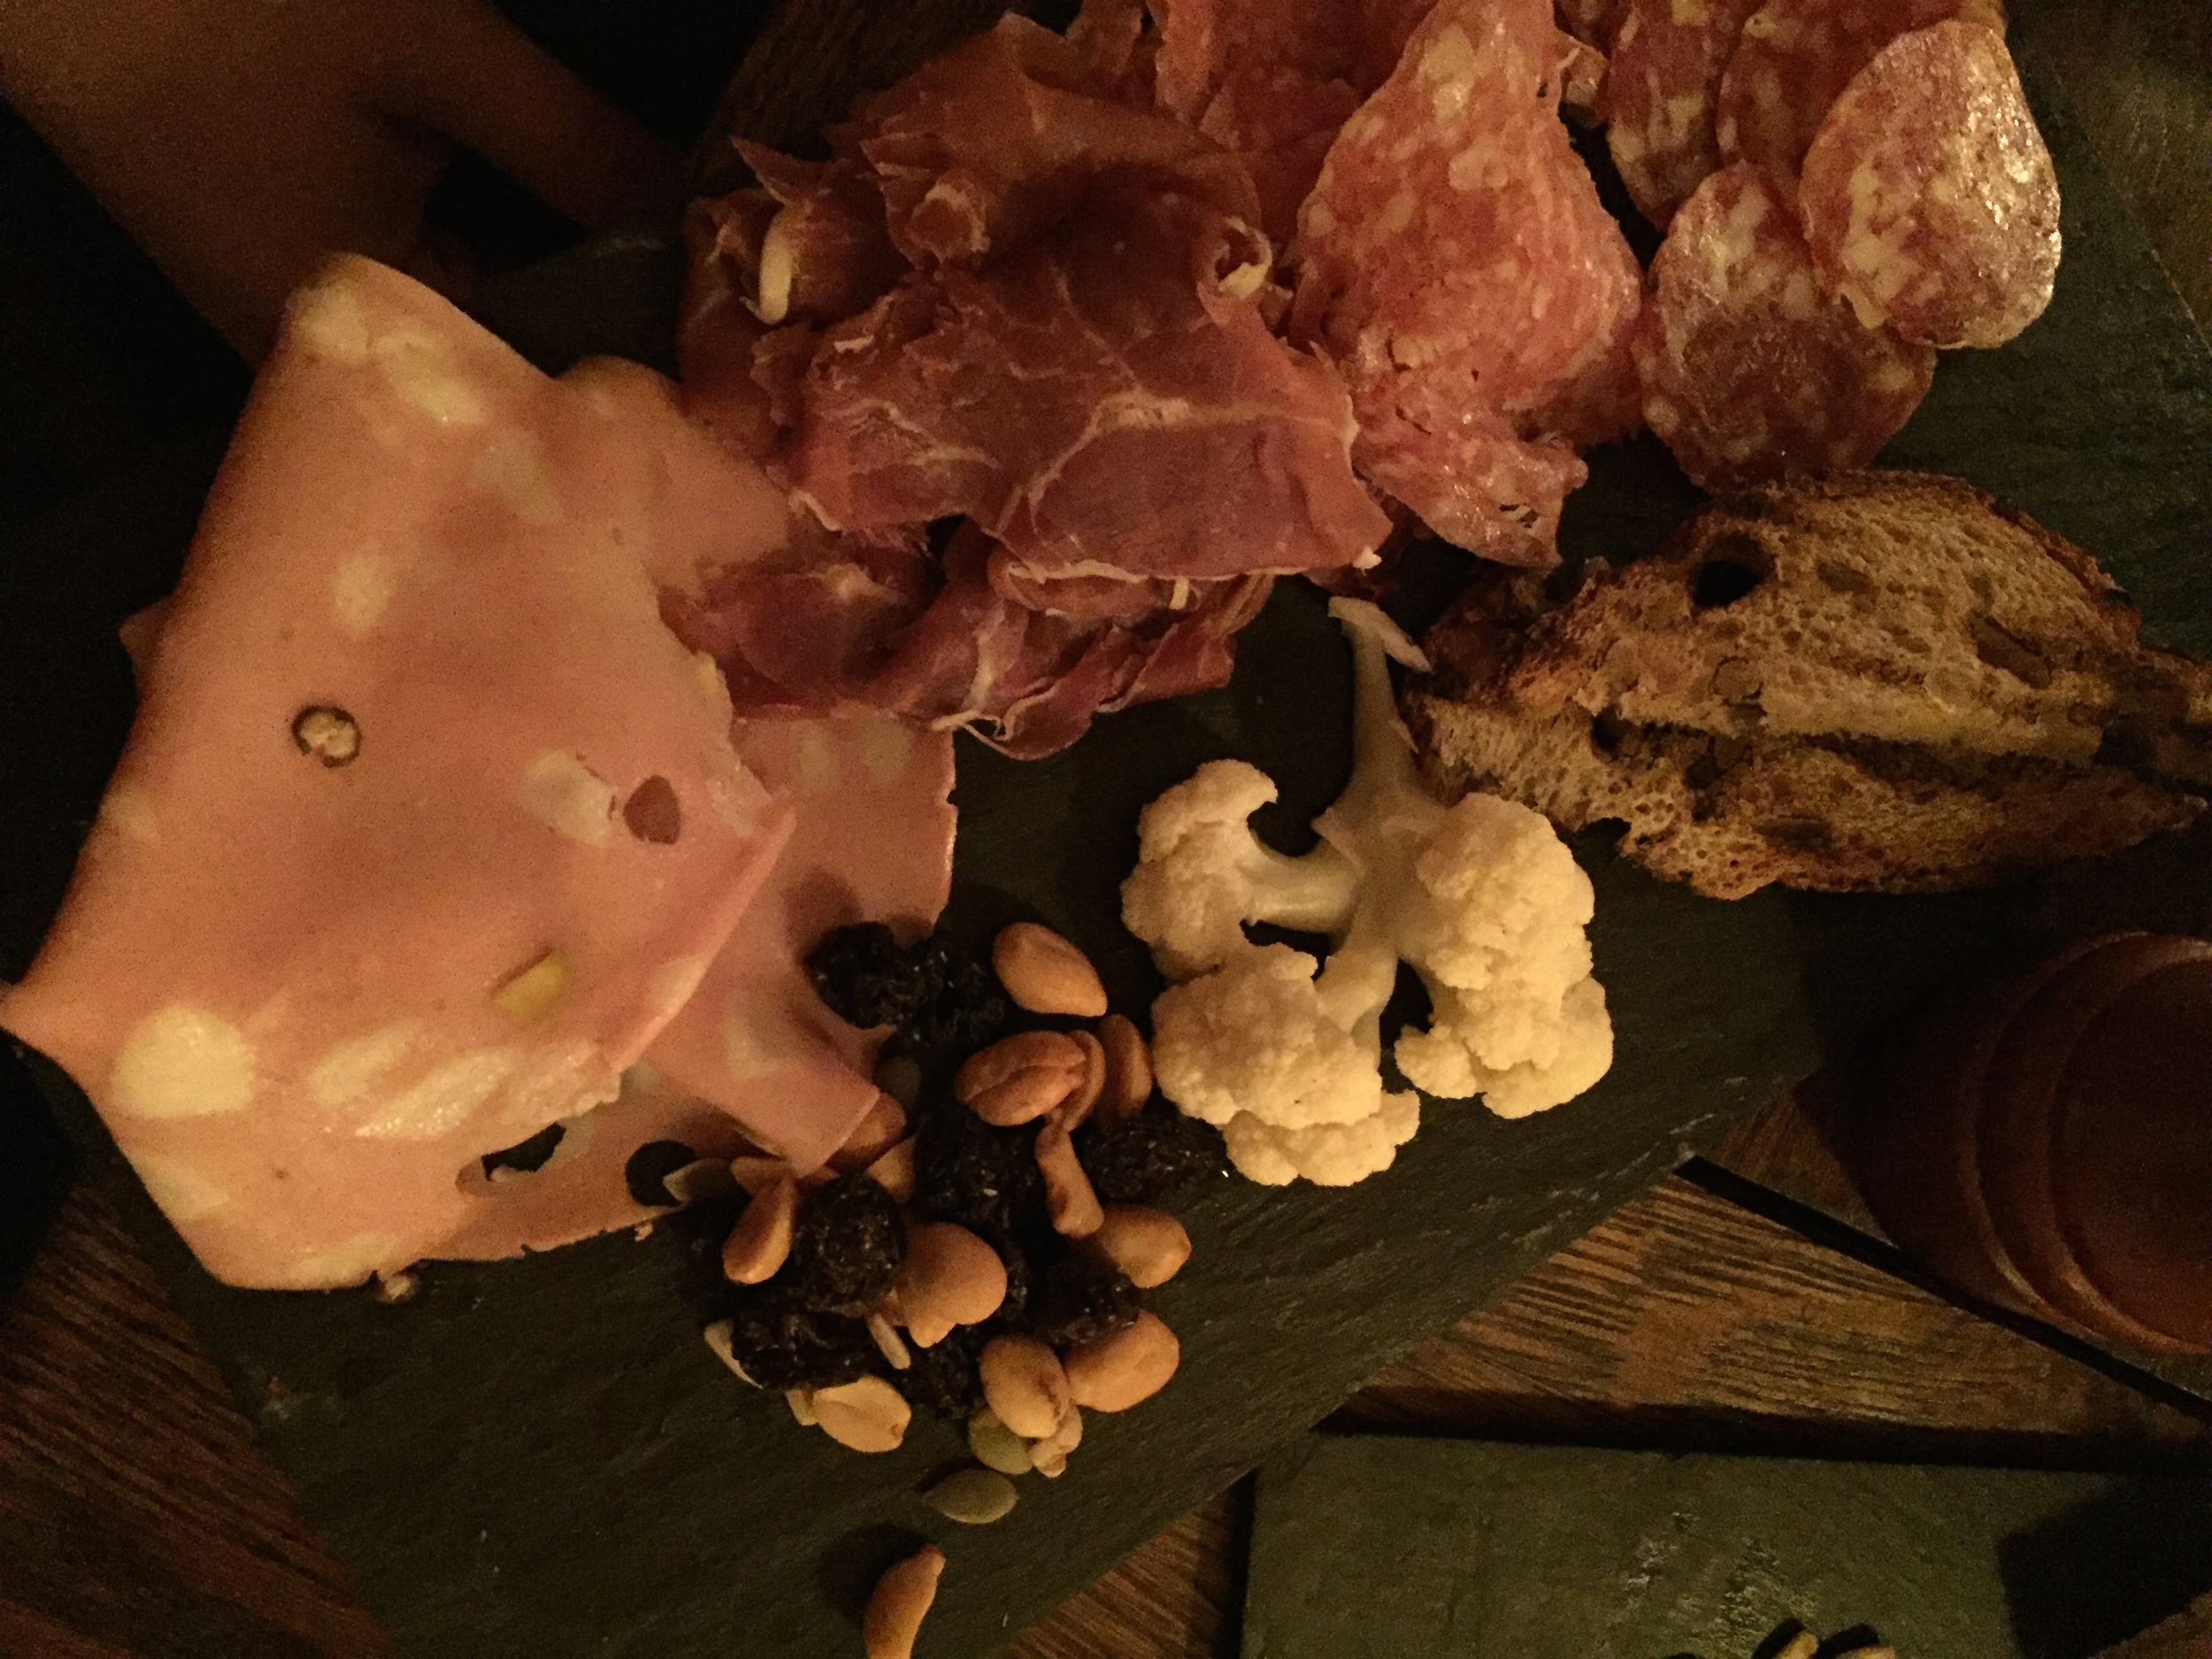
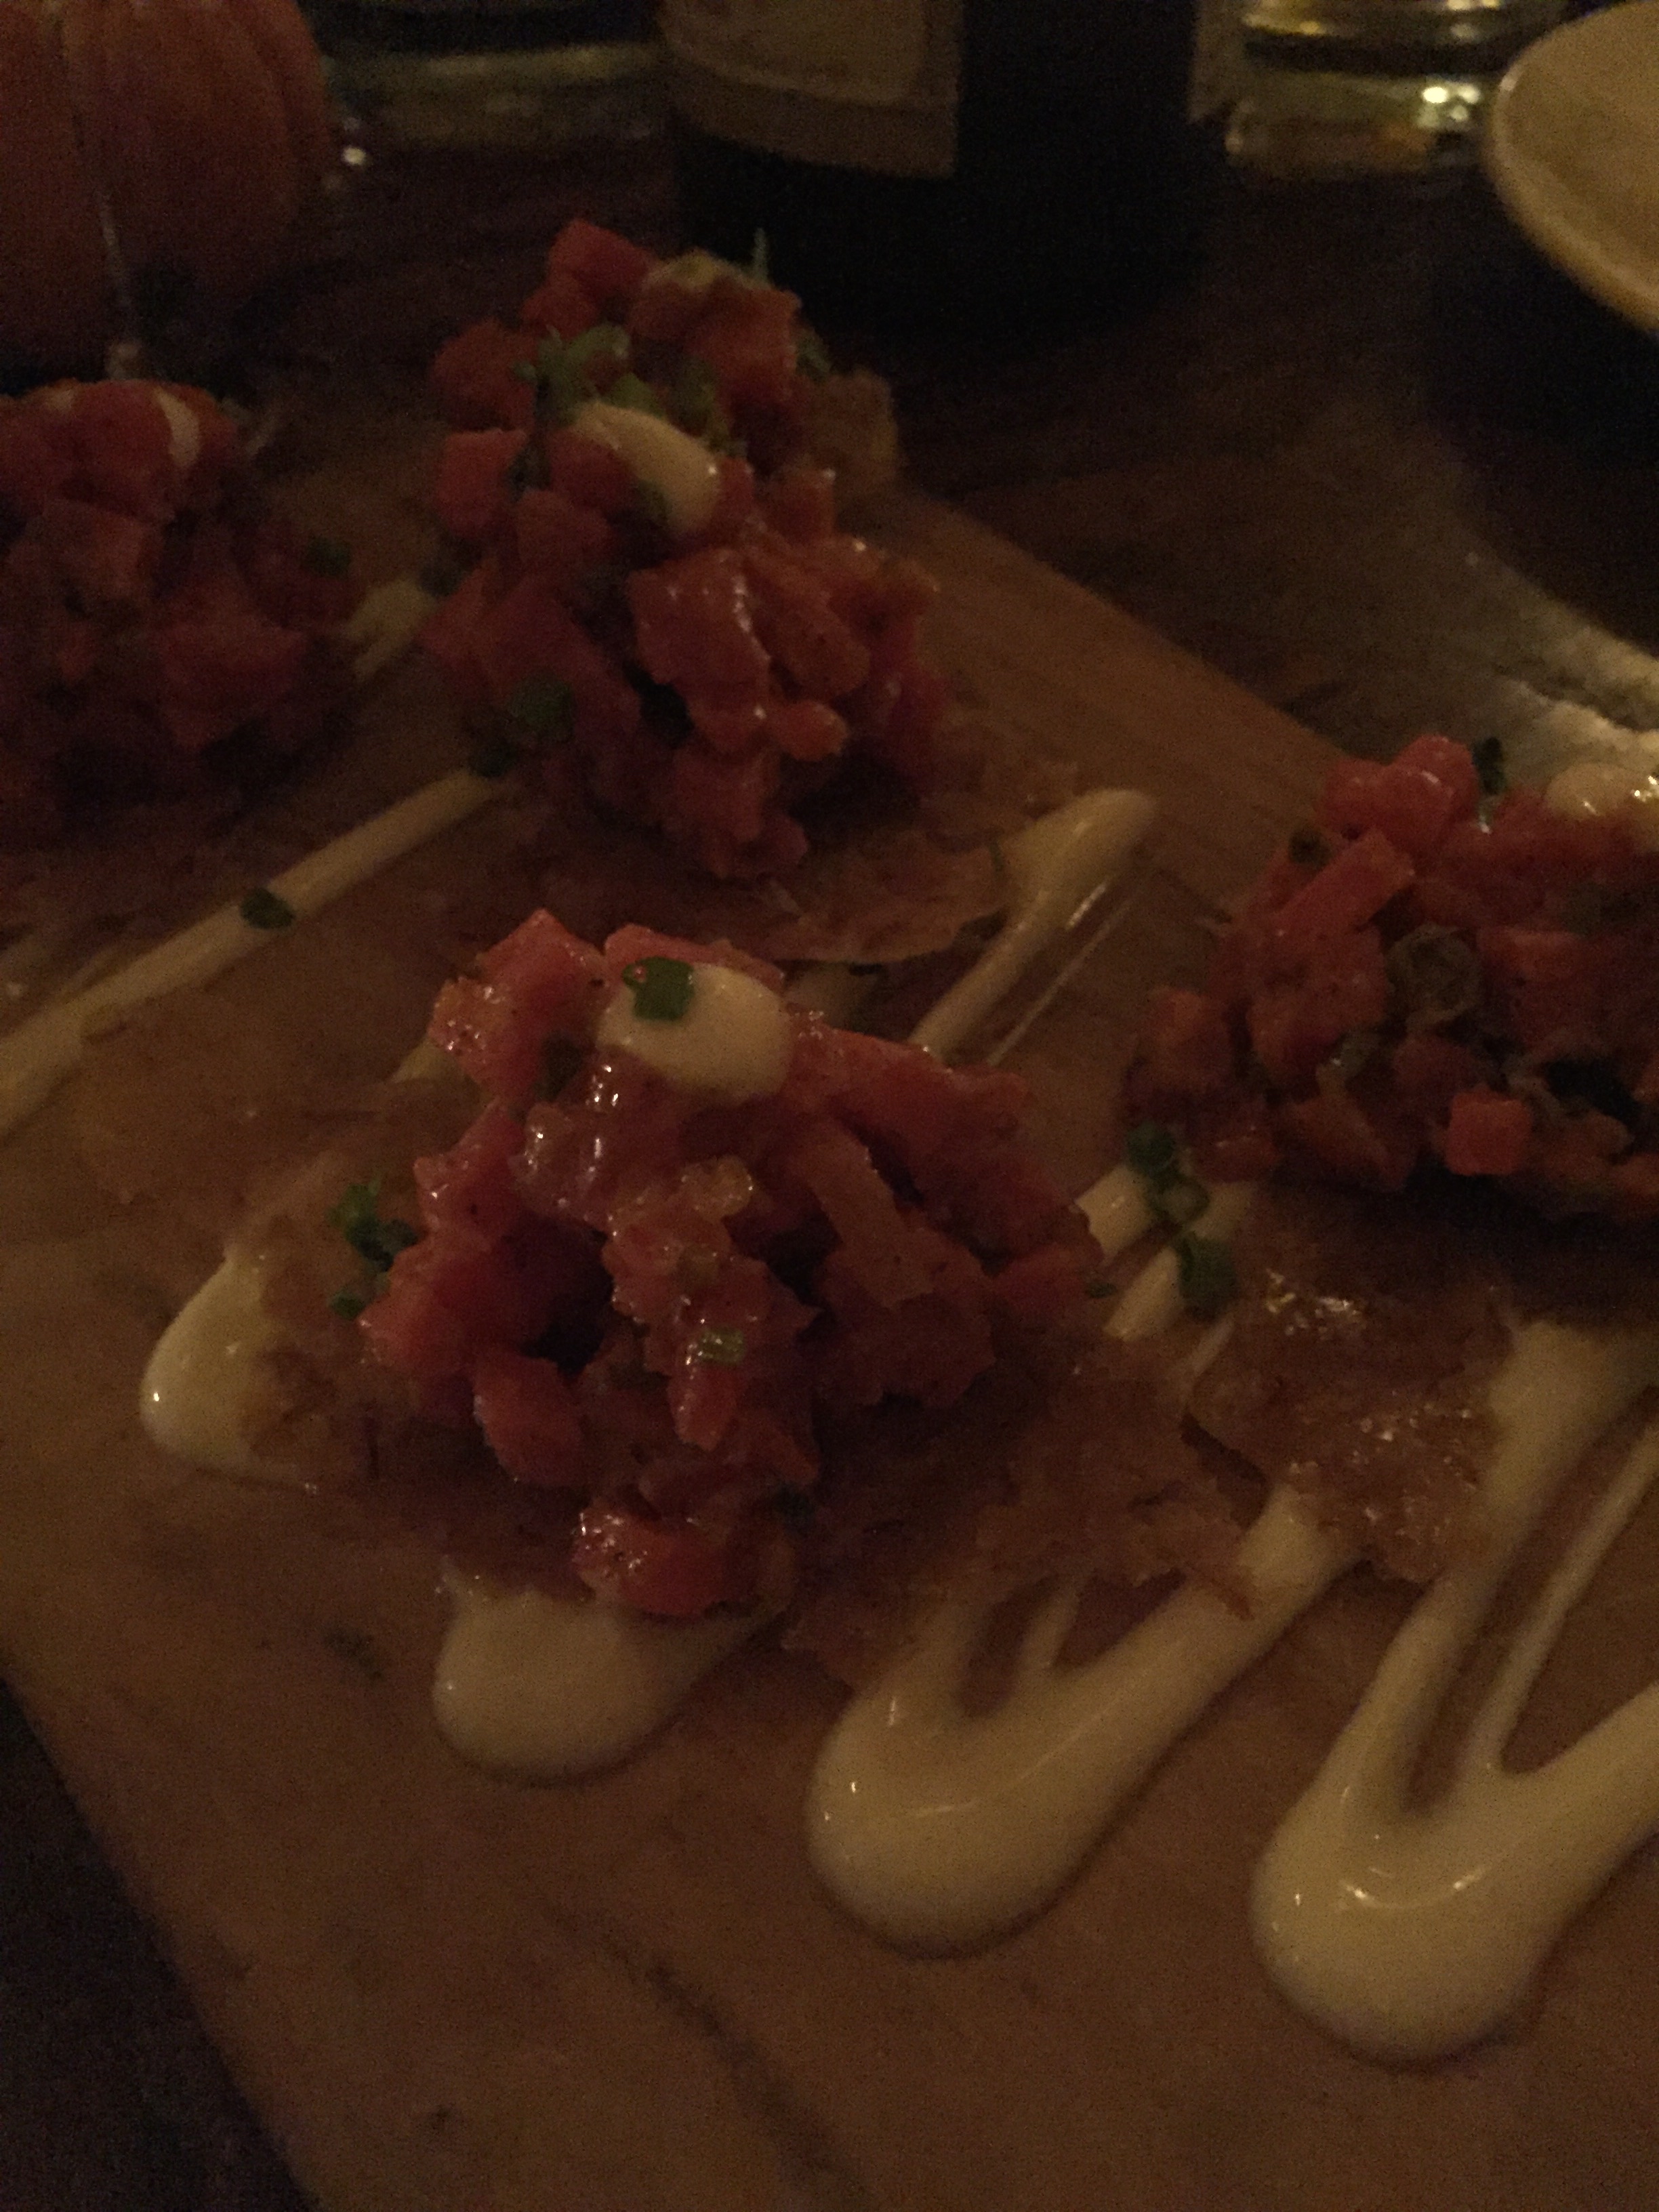
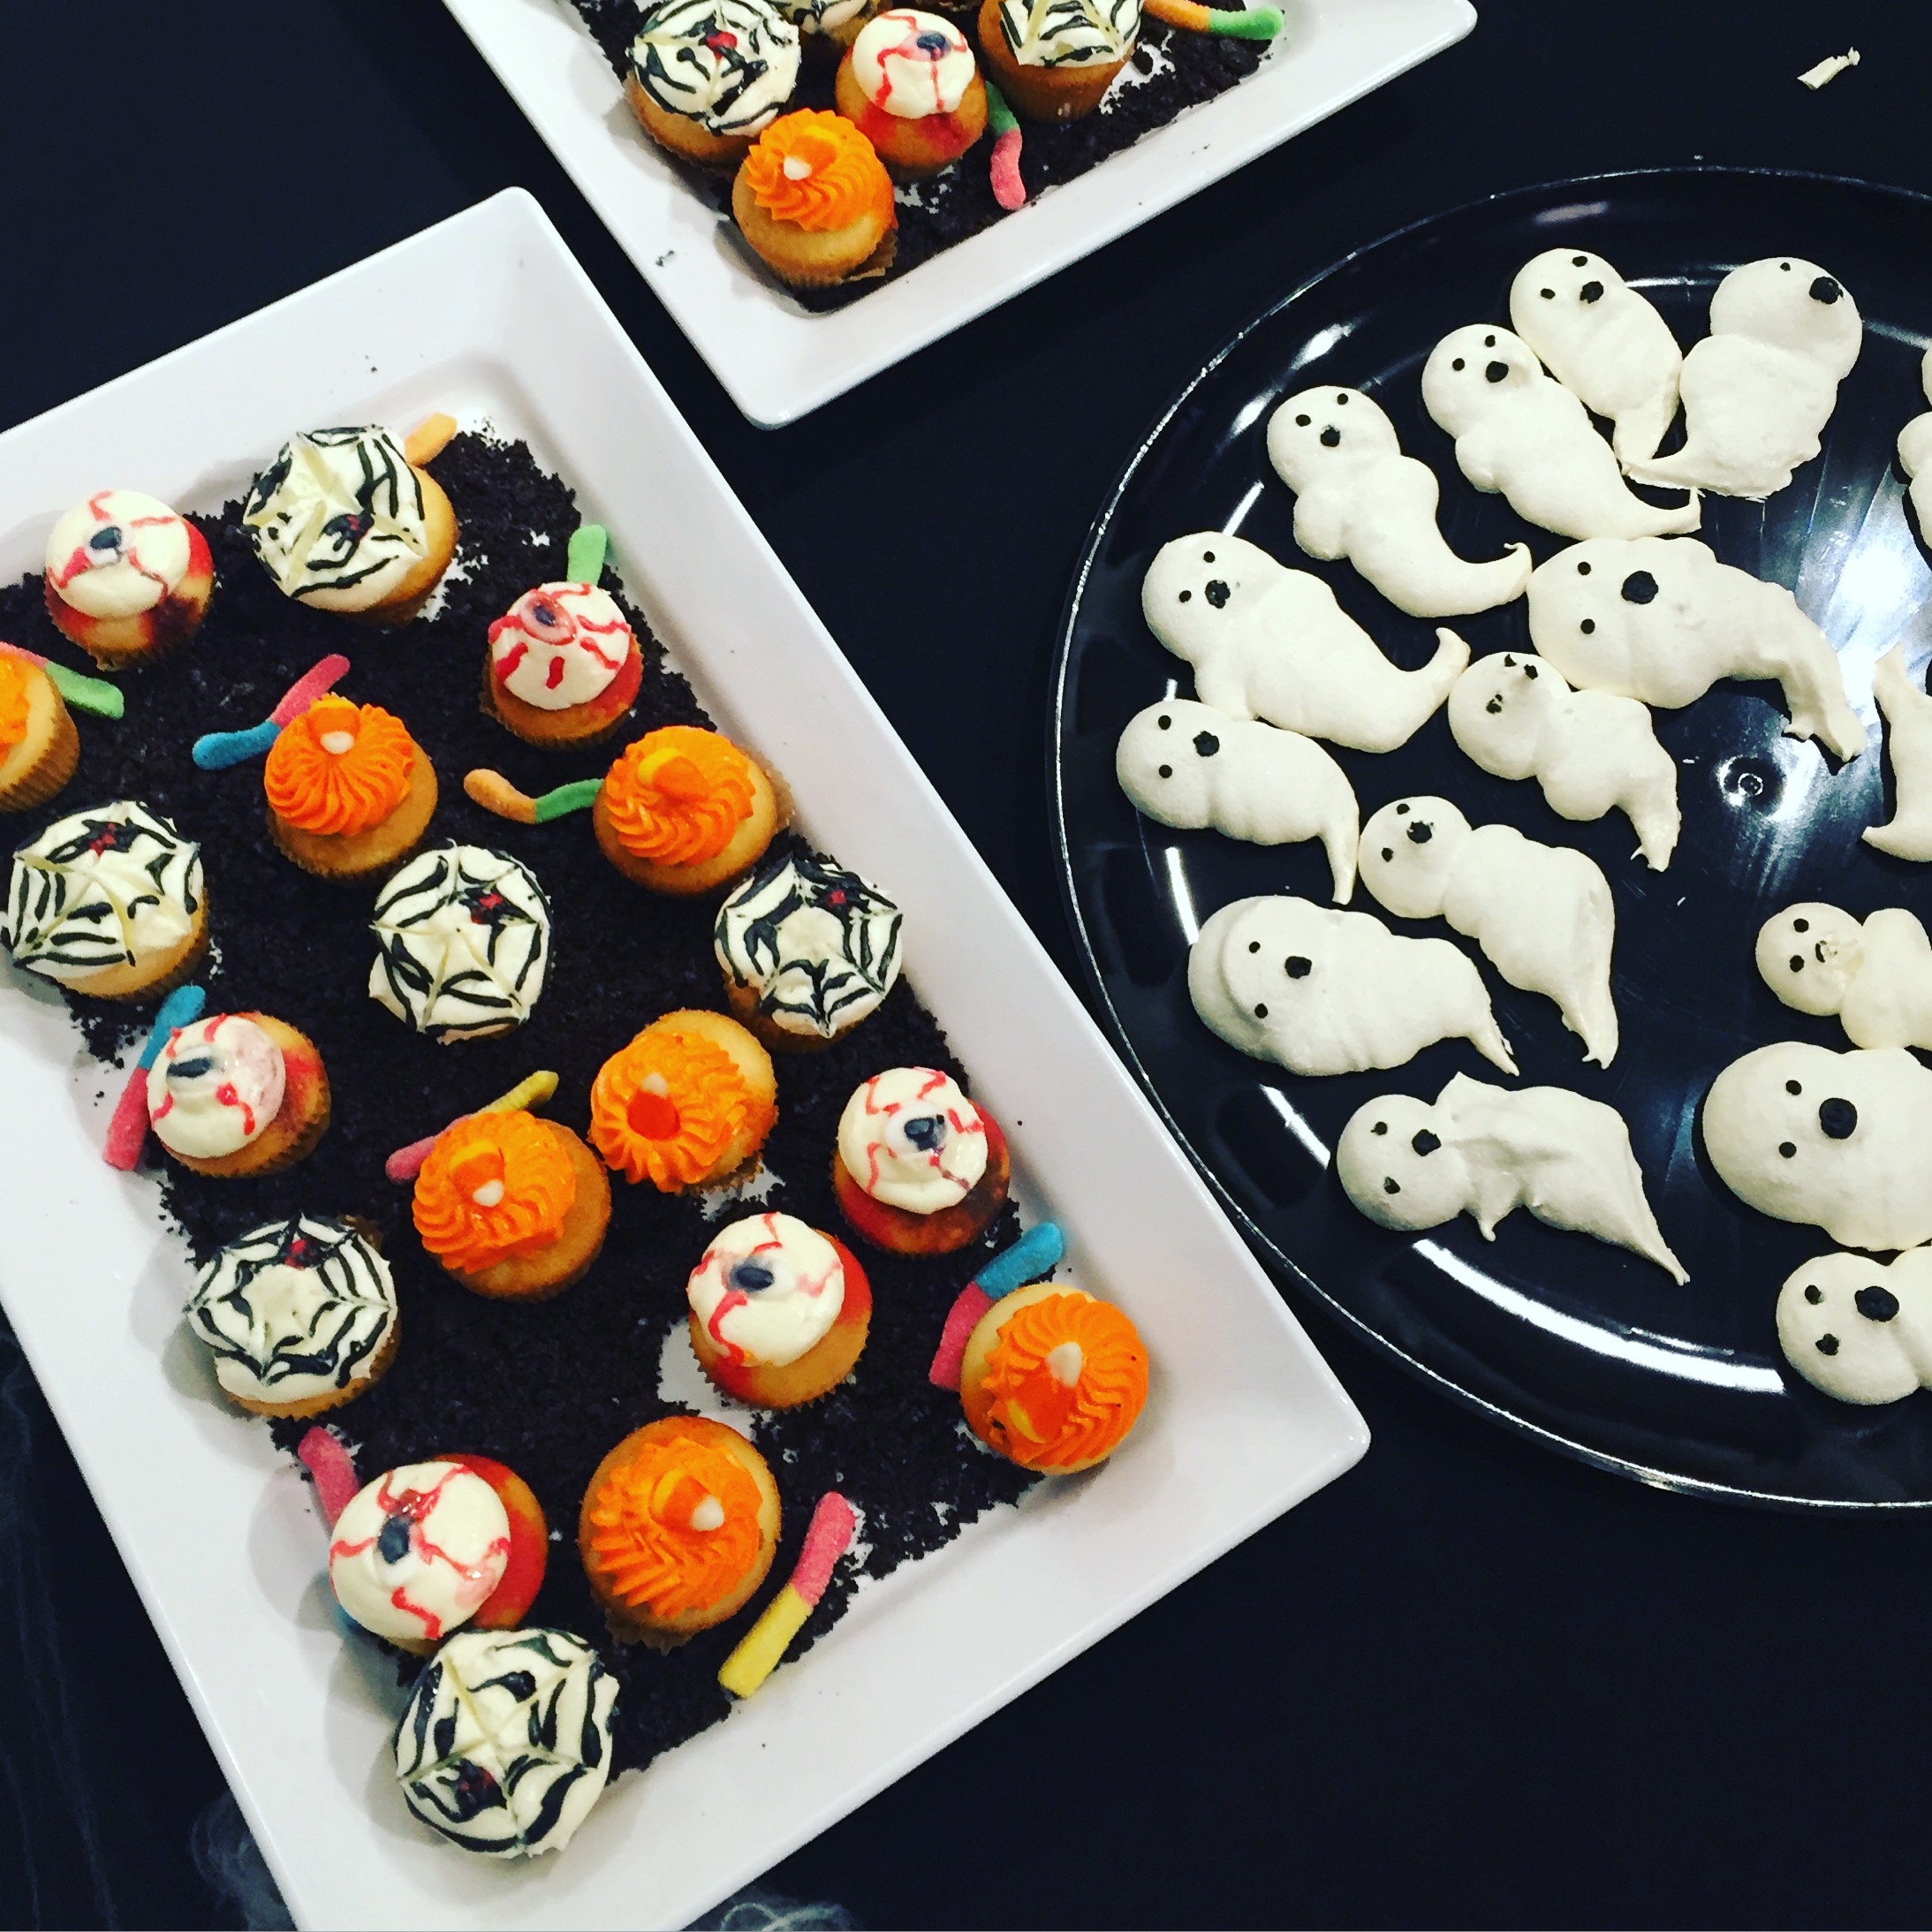
And, finally, the most popular on Pinterest right now…Halloween Charcuterie Boards via The House of Food.

Hope you have enjoyed these Pink Halloween-Inspired Ideas! Find more Fall-Autumn-Halloween posts by yours truly, here! Let’s connect on Pinterest!

Happy Halloween! Check out this Bloody Glass Cupcake recipe!

Halloween was pretty fun this year! We made all sorts of deliciously spooky food and drinks! Here is one of the recipes which turned out even better than expected! This homemade honey blood made a big impact while the broken pieces of sugar glass looks incredibly realistic is was just incredible!

I used a bow of red velvet cake mix to make the cupcakes then had SO much fun decorating these cupcakes. The black cupcake liners were also so perfect for that dark and mysterious / murderous look I was going for, LOL!

In this post, I will teach you some very exciting techniques!

HOW TO MAKE SUGAR GLASS:

HOW TO MAKE FAKE EDIBLE BLOOD WITH HONEY:

HOW TO MAKE HOMEMADE BUTTERCREAM FROSTING:

Stay tuned! Tips will be published tomorrow. Enjoy!

Mummy Wrapped Jalapeño Poppers

Looking for an eye-catching appetizer that people will love for Halloween? These Mummy Wrapped Jalapeño Poppers are delightfully spooky and you’re going to love them. And, bonus points because these can be made vegetarian or with bacon in the filling - it’s up to YOU!

INGREDIENTS (MAKES ABOUT 20-24 poppers)

1 (8oz.) block of cream cheese

1-1.5 cups shredded cheddar cheese

2-3 Tbsp seasoning - I like Ranch or Mexican seasoning for these

1-2 packages of pizza crust (the thinner the better - I used Wewalka Bistro Crust)

Candy eyes at least 40 pieces (I like these ones)

Baking sheet (I love these Air Bake ones)

Parchment paper - (only suggested if you are not using a baking rack)

Baking rack - optional (similar here and here)

INSTRUCTIONS:

1.) Slice top 1/3 of each pepper off, lengthwise. Carefully remove seeds and other inside material with the back of a kitchen spoon or similar tool. I tend to use rubber gloves when making these, so my hands do not catch any of the spiciness of the peppers.

2.) Using a small spoon to add filling to peppers, or place your filling ingredients into a plastic bag and cut the end off to use to pipe the filling into the peppers for a more polished look. Wipe off excess filling that may have gotten on the edges or the tops.

3.) Cut pizza dough into the thinnest strips you can. I use the dough as cold as possible, or almost frozen so it cuts well and also holds the shape of the strips well. Next, wrap small strips of dough around filled peppers in a “mummy sort of way”. I left room for the eye area, and after they baked I placed candy eyes to give them a good personality + spooky look.

4.) Bake at 350-375 degrees F for 10-15+ minutes on a metal baking sheet, covered in parchment paper. These baked pretty quickly and I just LOVE how they turned out!

Add the candy eyes to the mummy poppers! While poppers are still warm, take two candy eyes in your fingers, and place them on the “mummy face” both nest to each other at once, so they are both looking/pointing in the right direction. You can have a lot of fun with these, and I would love them to be a part of your Halloween celebrations and festivities! Enjoy! Happy Haunting!

Elegant Halloween Party Inspirations

As the weather gets chilly and as we head into the last weekend in September, I am already in Halloween mode! I am doing some research for an upcoming project, and wanted to share my inspirations for an Upscale Halloween Party - decor and tablescapes. I have rounded up some of my FAVORITE and most inspiring Halloween Tablescapes! I generally do tons and tons of hours of research for every project, and realized that I should be sharing some of my inspirations!

First, I am featuring my favorite Halloween project of last year, this super easy to make Halloween Ghost Cake! I used a store-bought sour cream pound cake, iced it, and added Ghost Peeps! It turned out SO well and can be made in under an hour.

Below, this Halloween Mantle incorporates black and gold, and black creepy cloth to really add lots of great texture!

This Halloween Spider Cheese Ball would be amazing to serve with rustic crackers!

As always, Inspired By Charm brings the BEST Halloween decor to life!

Below, Coco Kelly put together this Sirens and Songs Halloween party that featured a bedazzled skull with nods to mermaids and those lost at sea…spooky!

Below, Williams Sanoma offers tips on styling this dark and elegant tablescape for Halloween.

Visit Tendir.com for TONS more inspirations!

Below, I am super inspired by crystals for party decor, and who knows, they might bring some good energy!

Below, in2food uses their famous mirror glaze and topped the cake with an edible gold skull, coconut pieces as geodes, and also a 3D spiderweb! How stunning!

Below, a gorgeous cake by CocoKelley, an all white Halloween Coconut Layer Cake.

And, below are a few more crystals for inspiration! Enjoy :)

Happy Halloween! My Top Halloween Posts

I love Halloween and wanted to wish everyone a safe and happy Halloween today! While everyone may have celebrated this past weekend, or are trick-or-treating this evening, I wanted to share my portfolio of Halloween ideas from the past few years. Hope you enjoy!

How To Make A Simple Yet Spooky No-Bake Halloween Ghost Cake

I created the cutest Halloween Cake ever and I am so happy to share it with you. I designed two versions, one in a more black and white color scheme, and also one with a bit more color. You can use the design as inspiration for whatever sort of Halloween decor you may enjoy best.

The most important part of sourcing the Ghost Shaped Peeps. I found mine at Walgreens (not my local grocery store though). I used the Ghost Peeps packs containing 9 pieces each, and two packages fit around the cake with a few to spare. 

Well, let's get spooky and decorate this cake!!! And, please comment below if you're making any special treats inspired by Halloween. I'd love to hear all about them!

No baking is required for this awesome cake! 

- 2 Sour Cream Bundt Cakes in Chocolate or Vanilla

Raspberry Jelly

Dark Chocolate Icing (1-2 containers)

Ghost Peeps

Candy Corn + sour Gummy Worms (Optional, only for more colorful cake design)

Silicone Spatula for icing cake

1.) Remove the plastic top of the first bundt cake's container. Using a serrated bread knife, CAREFULLY slice the top off of the bundt cake to make it as flat on top as possible.

2.) Invert the cut cake onto a plate or cake stand and make sure it's level.

3.) Add a thin layer of raspberry jelly to the top of the first bundt cake.

4.) Carefully slice the top off of the second bundt cake, and invert that to sit it on top of the first layer of cake. 

5.) Add dark chocolate icing to the entire outside of the 2 layer cake. Make it as smooth as you can! The bottom half of the chocolate icing will be covered with Ghost Peeps, so don;t worry too much about how smooth it is, mainly making sure it's not too messy. Wipe off any excess chocolate icing around the bottom of the cake and the plate as possible, with a wet paper towel.

6.) Time to decorate! Open up two packages of Peeps, and keep the Peeps in their sets of three. Support the cake with one hand, and gently apply each set of three ghosts around the bottom edge. I used 12 or 15 Peeps around the bottom plus one extra Peep to fill in the small gap I had. Make sure to keep supporting the cake as you add Peeps or it may fall over! I just LOVE how chic and elegant this cake looks!

But, I had to go a little further with the design. If you're looking for a more colorful version of this cake, here you go.

By carefully adding sour gummy worms one at a time, I was able to make a neat pattern out of them, leaving attractive negative space in between each worm. I kind of shaped them as I stuck each one on. I also added candy corn to the top of the cake, and LOVE how it turned out! What do you think?

PIN IT FOR LATER:

How To Create A Halloween BOO Kit (A Dog Gift Basket for Halloween) PLUS 2 DIY Dog Toys

This shop has been compensated by Collective Bias, Inc. and its advertiser, Mars, Incorporated. All opinions are mine alone. #BOOItForward #PawfectBOO #CollectiveBias

So excited to present you with an adorable Halloween Gift Basket, that can be made with a few simple materials, and then given to someone as a surprise. This is all about gifting a fun, dog-related gift basket and then secretly giving it to someone who deserves it. The person I chose to gift mine to is our long-time family veterinarian, Dr. Tally at Central Hospital for Animals here in Carbondale, IL. 


Get tons of inspirations, and to see more of the BOO Kits on the here
And, visit BooItForward page on Walmart.comhere  BOO Kit
 BOO Kit

ADD THESE ITEMS TO YOUR BOO KIT BASKET

American Greetings® has a great selection of Halloween Items like treat/candy bags, stickers, tissue paper, gift bags, and Halloween Cards. These would make for adorable and thoughtful additions to fill any BOO Kit Gift Basket!

MY LITTLE HELPER, PORTER

Of course, my little chocolate Labradoodle and Chocolate Lab wanted to help with absolutely every step of this Halloween Boo Basket. They helped me make the toys, and Porter sat still for about 1 minute to help me shoot s few adorable puppy pics :) She just turned 10 weeks and she follows me everywhere. 


DIY MUMMY GIFT BASKET

MUMMY BASKET HOW TO:

1.) Cut cheesecloth (also called creepy cloth) into 2" strips lengthwise. 

2.) Wrap 2-3 strips around the basket and secure with glue in back.

3.) Cut out eyes from the sparkle foam. You will see that I simply cut two ovals out of the white one, then black pupils from the black foam. Glue the eyes to the front of the basket.

4.) Wrap and glue 2-3 more strips of cheesecloth around the basket, making sure to overlap the eyes just a little bit.

5.) Now, you are ready to fill your basket with all sorts of good things! Read on to learn about 2 Dog Toy DIY's, that are so easy!


DIY HALLOWEEN DOG TOY #1

These toys are simple, but my pups really love them. The fleece also cleans their teeth, and this toy gives dogs a really safe toy to play tug with since it's so soft. Here's how to make them:

1.) Cut 3 strips of fleece (any combo of 1-3 colors will do), and stretch the pieces as long as they will stretch. 

2.) Tie the 3 pieces of fleece together at the top, and use a clip board to hold the pieces, or ask a friend to hold the pieces while you braid them.

3.) Braid the pieces together, and tie the end up so the braid doesn't come loose. That's it!

DIY HALLOWEEN DOG TOY #2

This simple dog toy requires only two materials - 2 tennis balls, and 2 Halloween Socks. Dogs LOVE these toys so much! Make sure to use supervision when allowing a dog to play with any toy. 


SHOPPING FOR BOO KIT SUPPLIES 

I found the majority of the materials in this BOO Kit at Walmart. The MARS Pet supplies are all located in the Pet Care aisle at Walmart. I found these items, below, that I added to my BOO Kit. 

  • PEDIGREE® DENTASTIX™ Fresh Treats Small/ Medium (Doggie Dental Area)
  • PEDIGREE® MARROBONE™ Real Beef Flavor Treats Mini (Dog Treats Area)
  • CESAR® SAVORY DELIGHTS® ROTISSERIE CHICKEN FLAVOR WITH BACON & CHEESE (In the soft dog food area).

GIFTING THE BOO KIT

I decided to surprise my vet with this fun BOO Kit! I am sure she is going to LOVE it! Who will you surprise with the BOO Kit you create? Please tell me in the links below, and if you make your own BOO Kit, then also share that link too :)

New York City!!

I had SO much fun in New York City last weekend. I was recently working a fun content creation project for Skype, where I shared my Halloween Party Tips and DIY Ideas! This was my first time to New York City (we did visit years ago for like 2 hours, but this was completely different...)

Pumpkins in NYC

So, the images I created for Skype can be found HERE. I had SO much fun creating some holiday content, as this was one of the first projects I have done of this nature. Halloween Tips and Tricks are some of my absolute FAVORITES, so I had a really great time! I also helped with a Pinterest Board (here), and I helped lead a fun, Skype Group Chat (search SkypeHalloween to find us!!). 

One of the best parts of this project came at pretty short notice. Skype personally invited me out to New York City, to help coordinate a Halloween party for The Lower East Side Girls' Club of NYC! Pretty incredible and practically unbelievable. What an amazing opportunity! I am still so fortunate I was the one chosen for this whole thing. I had an absolute blast, my hotel was amazing, I ate some of the best food in my life (and I've eaten food all over the country!!), met some wonderful people, and helped some really amazing kids have the Best Halloween Party Ever! 

 I also learned on this trip, that the earlier you get to the airport, the less stressful your whole trip will be! This really worked out so well, without really any problems!

Flying High...

DAY ONE - Sticky Rice Thai Food + Top Hops

Sticky Rice - NYC

View more photos from Day One, below! I ate at StickyRice, drank craft beer at Top Hops, and stayed at The Holiday Inn - Lower East Side (it was super nice and newly renovated). 


DAY TWO - LOWER EAST SIDE MURALS + ARIEL'S LATIN BISTRO + PARDON MY FRENCH

Lower East Side - NYC

Check out the slideshow, below, to see my mural sightings and awesome NYC food! If you're in the area, I would definitely recommend Ariel's Bistro for lunch and a $5 strawberry margarita, and Pardon My French for a super fancy date night. The whole Skype team was so wonderful to take me out for dinner and cocktails after the Halloween party.

THE SKYPE HALLOWEEN PARTY

So, the main reason I was there was, of course, The Skype Halloween Party at The Lower East Side Girls' Club! The girls absolutely LOVED the party, there was a DJ that played spooky beats, I hosted a craft table featuring Tissue Paper Pumpkins filled with CANDY. Once the candy ran out, the girls practically disowned me :) The whole party will be made into a couple of short movies that will feature yours truly for a short bit, helping the girls make pumpkins, and also myself chatting with influencers from YouTube, Twitter, and Instagram! It all went super well, and I had a blast! It was incredible giving back to the community in this way, and hopefully inspiring the kids!

Until next time! NYC, I really had fun, and hope to be back soon! A very special thanks to HelloSociety and Skype for helping make this project an absolute success!!! 

A Halloween Party With Skype!

My friends at Skype asked me to share some amazing Halloween Party DIY Ideas! I have a few amazing ideas for a party that would appeal to kids and adults! Below you will find Chic and Cute Halloween Decor, Ping Ping Ghost Lights, and also a Tasty Candy Halloween Centerpiece. 

GHOST LIGHTS - I absolutely love these cute little ghosts! I created them with a few simple materials. The other fun part of this project, was that I was able to use Skype to help share this project with my friend, who absolutely LOVED them :) It's great being able to connect with people who live far away, and Skype made it easy. 

Cute Halloween Ghost Lights DIY
Ping Pong Ghost Lights

MATERIALS

- 1 Strand of white lights (with white wires). I used a strand of 50, but 25 would be great also.

- 10 Ping Ping Balls

- Modge Podge (any type will do)

- Foam Brush for Modge Podge

- Cheesecloth (found in the fabric/notions section at Hobby Lobby)

- Permanent Marker

- Egg Cartons and Painters Tape 

- Drill and Drill Bit - 5/16" - Or a large nail will be good - to poke holes in ping pong balls

- 4" x 4" squares of cheesecloth (x10)

INSTRUCTIONS

1.) Drill holes in all ping ping balls. You can also use a large nail to poke the holes in them. Make sure you poke the hole where the logo is.

2.) Draw spooky ghost faces on all ping pong balls. I searched for "Ghost Faces" online, and all sorts of ideas came up. 

3.) Grab your egg cartons and use the painters tape to create little cones, so your ping pong balls can sit up in the egg cartons. Use the sticky side of the tape on the outside. 

4.) Drape the cheesecloth squares over the ping pong balls, and use your foam brush to paint the Modge Podge over the cloth, to adhere to the ping pong balls. They will definitely begin to look like ghosts now!

5.) Let them dry for 4-5 hours, and place a ping pong ball ghost to every third or fourth Christmas light! That's it! Please comment below if you make these! 

Cute Halloween Ghost Lights DIY

HALLOWEEN CENTERPIECE

I used a big assortment of Halloween candy for this one! It turned out SO cute and I think kids would just love it. This would make the ultimate conversation piece at a Halloween party, too! 

Cute Halloween Centerpiece DIY
5DA_1729 Katherine.jpg

MATERIALS 

- Large Glass Vase with straight sides

- 1 large bag of mini marshmallows and 3-4 other types of Halloween candy and Halloween Peeps

INSTRUCTIONS -

1.) Pour 2 inches of marshmallows into vase

2.) Layer Halloween Peeps around edge of vase, and fill center with more marshmallows

3.) Layer alternating colored candies all the way up, and top off with more marshmallows and Halloween suckers of your choice! 

Cute Halloween Centerpiece DIY

THE ULTIMATE CHIC HALLOWEEN PARTY DECOR

Cute Halloween Party Decor Idea

I am in love with the look of a Monochromatic Halloween Party! Here, I used mostly black dishes, tablecloth, and Creepy Cloth to drape over the setting to really add a spooky element. Just let your food add some pops of color, and your guests will be so happy they came to party! 

Cchic Halloween Party Decor Idea

I was able to use Skype to let my friend know the party was all set up and ready! 

Chic Halloween Party!
Cute Halloween Party Decor

Happy Halloween! And a special spooky thanks to Skype for hosting the best Halloween party ever in NEW YORK CITY! I will blog about that soon!!! 

Skype With Me! Let's Chat About Halloween!

Halloween is almost here! Did you know you can use Skype to text photos and messages to one person or a group of people? I will be Skype chatting this morning, beginning at 10:30EST, join me and others as we discuss Halloween ideas today. Add SkypeHalloween in Skype to join in on the conversation! http://bit.ly/3242231

And 5 people participating in these chats will win a $1,000 Microsoft package including a Surface!!! 

Ping Pong Ghost Lights


Halloween Party Invites + A Free Printable

I really love how these adorable invites turned out! I love the fact that you can fill these gift boxes with spooky treats, and include the invite in a really unique way! I included two printables, 

Halloween Invites

MATERIALS NEEDED

5" x 6" Black Jewelry Boxes - I used the type you would put jewelry into, with the cotton inside. 

2 Free Printables - found below this image

Red Paper Crinkles (from Hobby Lobby) - But, I found mine at the Dollar Tree

Plastic Halloween Toys / Rings (small enough to fit into the boxes) - Also found at the Dollar Tree

Halloween Candy that fits into the boxes

Halloween Confetti (found at Hobby Lobby)

Scissors

Plastic Packing Tape and a Glue Stick 

Halloween Invites

Right Click and Save the two images below. You can print them off for this tutorial! 

Spooky Halloween Invites

Print and then cut out the invites below, and insert them into the boxes at the end. 

Spooky Invites - Free Printable

Let's Get Started! Lay out all of your materials for the project. 

Halloween Invites
Halloween Invites
Halloween Invites

Cut out the skull design from the first printable. This will be glued to the front of the boxes. Also, cut out the address labels, which are also on that same page. 

Halloween Invite
Halloween Invites

Next, glue the skull cutouts onto the boxes with a glue stick. When you mail these, you will be covering them with clear tape, so they will stay put during shipping. 

Halloween Invite

Add Red Paper Crinkles to emulate "blood" that is oozing out of the invite...

Halloween Invites

Next, place as many pieces of candy and Halloween toys as will possibly fit into the boxes while allowing the lid to still close. I also added spider confetti here, too. 

Halloween Invites
Halloween Invites
Halloween Invites

Cut out your Get Spooky Invites, fill out the blanks, and add them to the box, on top of the candy! 

Spooky Halloween Invites - Free Printable
Halloween Invites

Add the recipient's address to the back of the invite, and wrap everything up tight with clear packing tape! 

Halloween Party Invites

Aren't they adorable??!!

Halloween Invites
Halloween Invites