Festive Chocolate Bark Recipe

A deliciously sweet and festive treat that only takes a few minutes to create! You will absolutely love how great the flavors of the white chocolate and dark chocolate meld together to satisfy your sweet tooth. Customize the colors and decorations to suit your holiday, team colors, or other special occasions!

INGREDENTS:

1 bag of dark chocolate chips (I used a darker chocolate from Ghiradelli)

1 bag of white chocolate chips (I like Ghiradelli white melting wafers) 

Sprinkles of your choice (At least 3 Tablespoons or more)

INSTRUCTIONS:

Melt dark chocolate either in the microwave or a double boiler. Line a baking sheet with parchment paper and pour chocolate on. You can smooth it with a spatula to the thickness you desire. Stick in the freeze for 20 minutes.

Melt while chocolate.  Let it set for 3 full minutes (or at least until it slightly thickens). Remove baking sheet with chocolate from the freezer and immediately pour white chocolate on top. Sprinkle on sprinkles. Freeze for 20 minutes.

Once set, break into pieces with your hands (or rubber gloves). Keep refrigerated.

Awesome Sugar Cookies From Scratch!

Sugar cookies are some of my absolute favorite cookies of all time. Especially when there's a little bit of icing and sprinkles on top. Cant beat it! This holiday season, I spent a little bit more time than I usually would, just making cookies from scratch. It was so much fun spending Christmas at home this year (I traveled to see family a couple of days in advance this year). 

Super Tasty Sugar Cookies Recipe

So, these cookies represent new traditions, as well as just plain awesome and tasty treats. 

Super Tasty Sugar Cookies Recipe

INGREDIENTS

3 C. Flour

1/2 tsp baking powder

1/2 tsp salt

2 sticks butter (at room temp or softened - but not melted)

1 1/3 C. sugar

2 eggs

2 tsp vanilla

Cookie Cutters

Super Tasty Sugar Cookies Recipe

INSTRUCTIONS

1.) Mix the three dry ingredients and set aside.

2.) Once butter is softened, beat Butter for about 2 minutes, until fluffy. Add in sugar and mix about 2-3 more minutes. 

3.) Add 1 egg at a time, and vanilla, and beat about 2 more minutes. 

4.) slowly add dry ingredient mixture, and beat until combined and a dough forms.

5.) Wrap in plastic wrap and refrigerate for at least 1 hour (or even overnight is fine).

6.) Once dough has chilled, unwrap, and let the dough sit out to warm up a bit, about 30 minutes - 1 hour. 

7.) Place dough between 2 pieces of paper - parchment on bottom, and waxed paper on top - (making sure to put flour above and below dough). Get two magazines, that are about 1/4" thick, lay them on either side of the dough, but ON TOP of the waxed paper sheet. This will ensure you don't get dough on your magazines! 

8.) Roll out dough to be about 1/4" thick, remove waxed paper from top, and cut out shapes from dough. I used a fork and a spatula to remove excess dough from around shapes. 

9.) Put the shapes onto another cookie sheet or cutting board, and freeze shapes while you cut the next ones.

10.) Re-roll dough again, about 1/4" thick, and cut more shapes. Repeat the process of cutting shapes and freezing them as you go.

11.) Preheat oven to 350 degrees F. Bake shapes, spread out on a cookie sheet, one batch at a time. Make sure to leave lots of room around each shape, just in case they spread out a little bit. If you do all the steps correctly, and take your time, the shapes should stay about the same size, just puff up a bit. 

12.) Use your favorite icing recipe, or I actually used some Funfetti icing, because I love the sprinkle colors :) I added a few drops of blue food coloring to achieve this pretty pastel blue color. Enjoy!!

Super Tasty Sugar Cookies Recipe

Soft Gingerbread Cookies Recipe

I know this post is a few days after Christmas, but I absolutely LOVE how these turned out! I could eat them all at once, but they do have a bit of a stronger taste to them than most of the cookies I make, so I have to pace myself :) These cookies were also a little bit involved, so just a warning! They took us working on them throughout the evening, but it was so fun! And the dough need to chill for about 3 hours, so you could let the dough chill overnight if you want. Original Recipe Found Here. 

Lily The Wandering Gypsy

These hardly need any decorating or icing, they are perfect just the way they are! They were so fun to make, and I have always been so enamored by the beautiful color of gingerbread dough. What a beautiful color! 

That amazing color I'm talking about comes from one of the main ingredients - Molasses! This was our first time ever using this stuff in anything, and it was very easy to use.  I found it at our local Co-Op, for about $5.99, but here is the best price I found online. 

Lily The Wandering Gypsy

INGREDIENTS:

3 cups all-purpose flour
1 teaspoon baking soda
3/4 teaspoon ground cinnamon
3/4 teaspoon ground ginger
1/2 teaspoon ground allspice
1/2 teaspoon ground cloves
1/2 teaspoon salt
1/4 teaspoon freshly milled black pepper
8 tablespoons (1 stick) unsalted butter, at room temperature
1/4 cup vegetable shortening, at room temperature (I used more butter here)
1/2 cup packed light brown sugar
2/3 cup unsulfured molasses
1 large egg

Lily The Wandering Gypsy

INSTRUCTIONS:

Position the racks in the top and bottom thirds of the oven and preheat to 350 degrees F.

Sift the flour, baking soda, cinnamon, ginger, allspice, cloves, salt and pepper through a wire sieve into a medium bowl. Set aside.

In a large bowl, using a hand-held electric mixer at high speed, beat the butter and vegetable shortening until well-combined, about 1 minute. Add the brown sugar and beat until the mixture is light in texture and color, about 2 minutes. Beat in the molasses and egg. Using a wooden spoon, gradually mix in the flour mixture to make a stiff dough. Divide the dough into two thick disks and wrap each disk in plastic wrap. Refrigerate until chilled, about 3 hours. (The dough can be prepared up to 2 days ahead.)

To roll out the cookies, work with one disk at a time, keeping the other disk refrigerated. Remove the dough from the refrigerator and let stand at room temperature until just warm enough to roll out without cracking, about 10 minutes. (If the dough has been chilled for longer than 3 hours, it may need a few more minutes.) Place the dough on a lightly floured work surface and sprinkle the top of the dough with flour. Roll out the dough 1/8 inch thick, being sure that the dough isn't sticking to the work surface (run a long meal spatula or knife under the dough occasionally just to be sure, and dust the surface with more flour, if needed). For softer cookies, roll out slightly thicker. Using cookie cutters, cut out the cookies and transfer to nonstick cookie sheets, placing the cookies 1 inch apart. Gently knead the scraps together and form into another disk. Wrap and chill for 5 minutes before rolling out again to cut out more cookies.
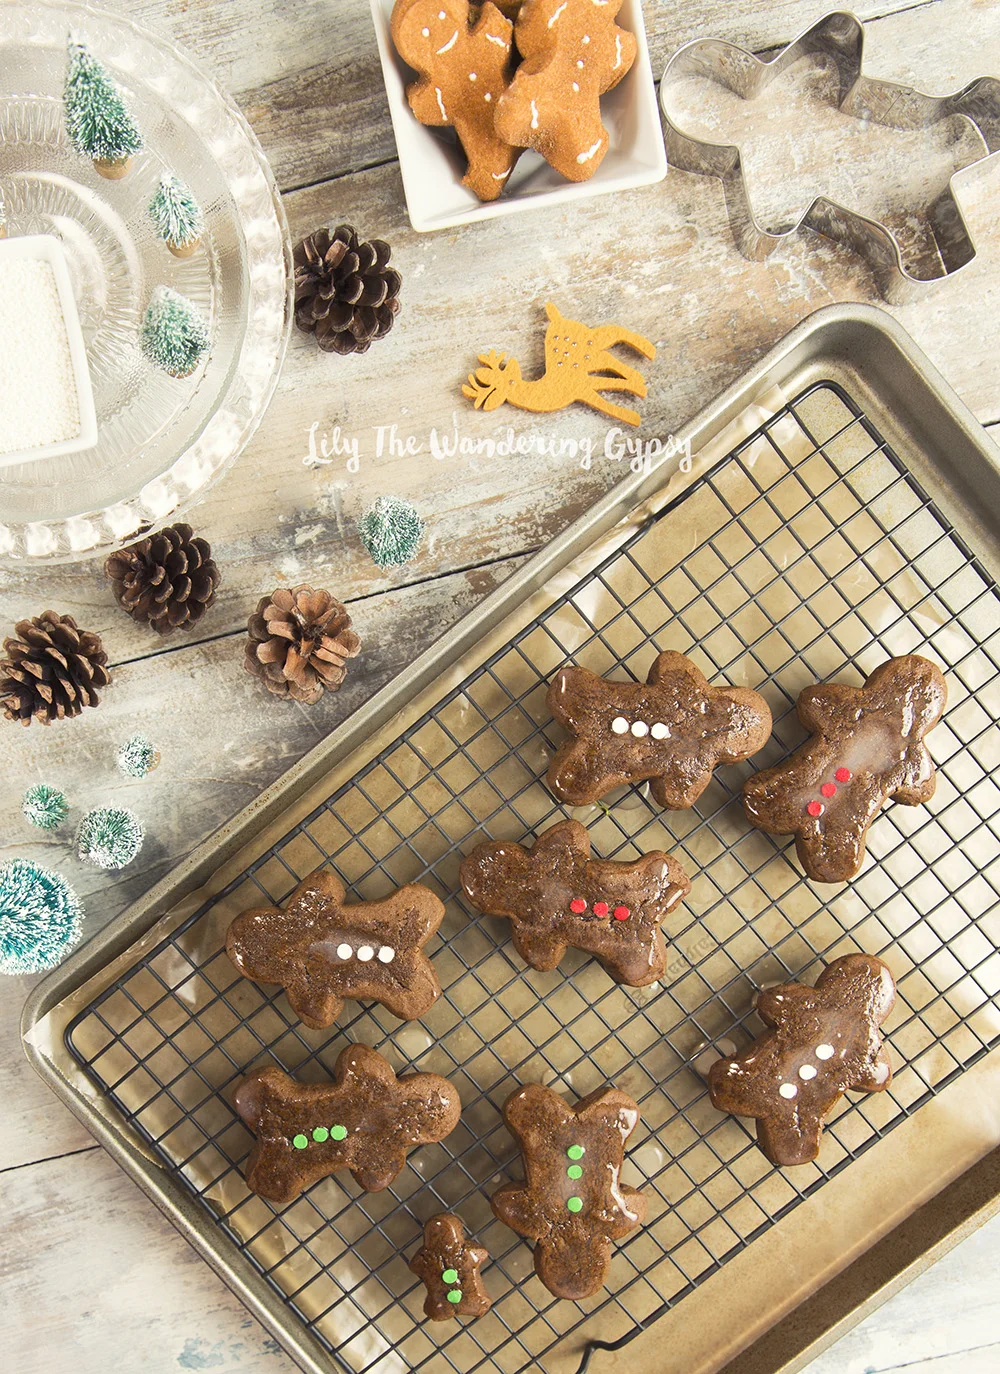
Bake, switching the positions of the cookies from top to bottom and back to front halfway through baking, until the edges of the cookies are set and crisp, 10 to 12 minutes. Cool on the sheets for 2 minutes, then transfer to wire cake racks to cool completely. Decorate with Royal Icing. (The cookies can be prepared up to 1 week ahead, stored in airtight containers at room temperature.)

For The Icing - I only had a tiny bit of powdered sugar. So, I basically mixed a few Tbsp of powdered sugar with a splash of milk and a bit of corn syrup to thicken it up. It was more like a glaze, though. For the decorations, I used three sprinkles as buttons. 

Lily The Wandering Gypsy

Well, I hope you enjoy these cookies! They took a lot of work, but wow, did they turn out well! Enjoy!

Frozen Hot Chocolate Pie Recipe

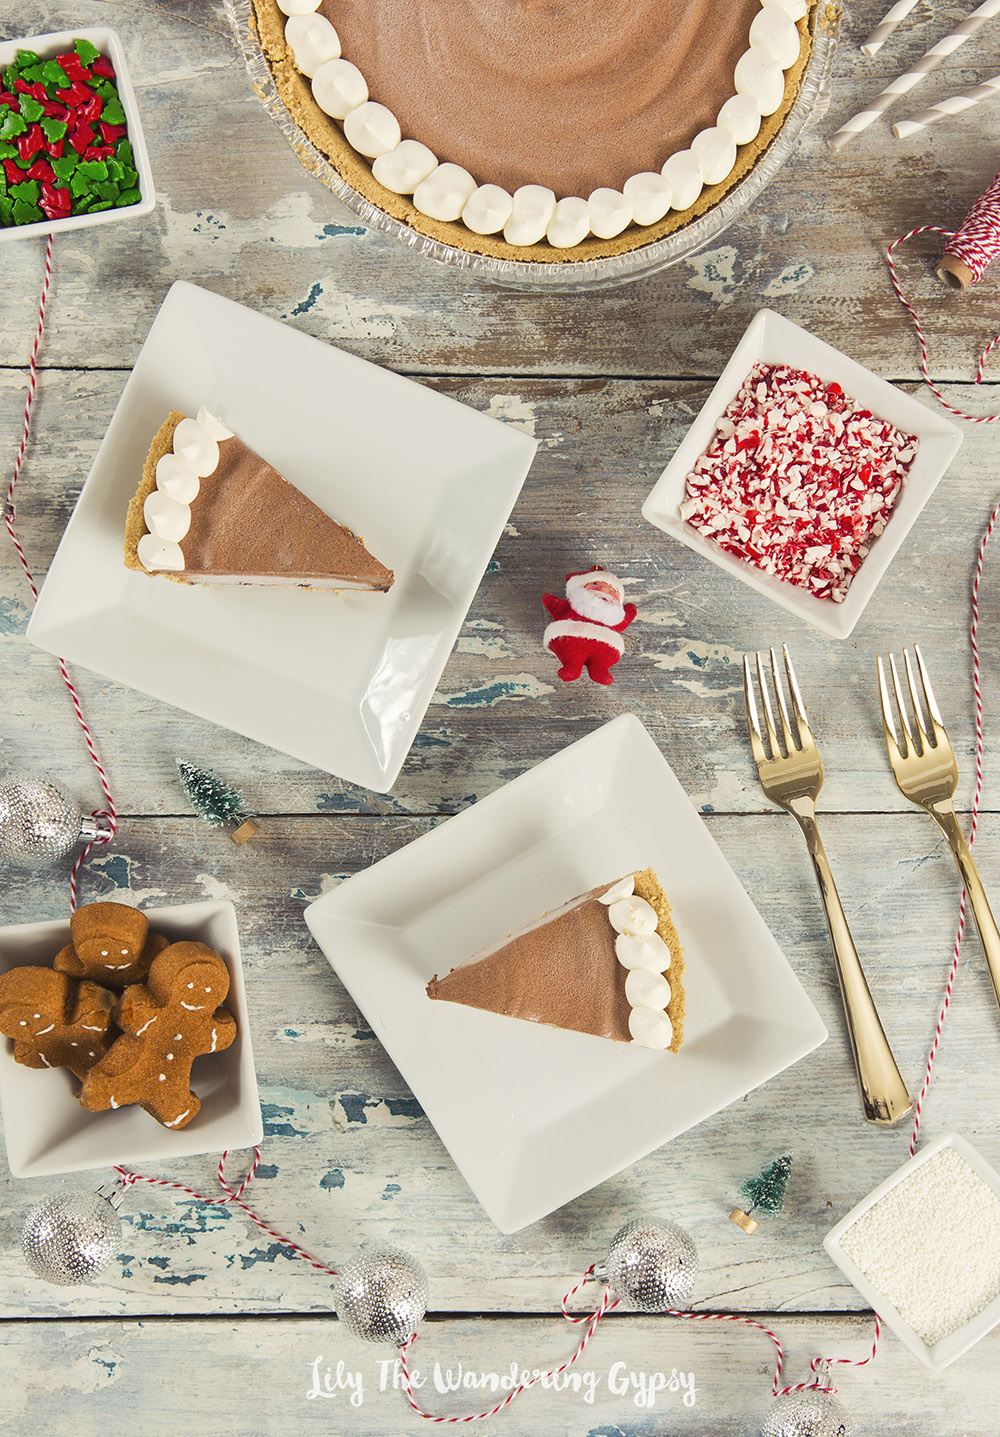
I am writing this as I eat a piece of this magical pie! I love how it turned out, and now I have a chocolatey treat for days to come. The best part is that this pie was incredibly easy to make, and the ingredients cost less than $5! 

No-Bake Chocolate Pie Recipe

INGREDIENTS:

1 Pie Crust, Cool Whip, Chocolate Pudding (Instant), Milk

INSTRUCTIONS:

Mix 2 Cups milk into pudding and stir, Let sit for about 5 minutes. 

Add 1 Cup of the Chocolate Pudding into the bottom of the pie crust, and smooth out. 

Mix 1 Cup Cool Whip into the rest of the pudding and stir until well combined. Add this mixture to the pie crust and smooth out.

Now, put some of the extra Cool Whip into a small Ziploc bag and cut end off. Practice first, but dollop little dots of Cool Whip around the edges of the pie. Feel free to decorate with sprinkles for a more festive look! Freeze for 1 hour, and slice yourself some chocolate pie! If you freeze it overnight, it will be more the consistency of a pudding pop. So good either way! Enjoy!!!

No-Bake Chocolate Pie Recipe