Merry Christmas! Our Christmas Cookies

Hello! I hope you’re all having a very merry Christmas! It’s pretty warm out today, so it’s not a white Christmas, but I would always prefer to the cold. I got to participate in a fun cookie baking experience this year. The four of us got to take home TONS of cookies and everything turned out so well. The goal was to make enough cookies so we could all bring cookie platters home and also enjoy a few others along the way. I learned SO much about making the perfect cutout sugar cookies too :)

The cookies we created include:

Cutout Sugar Cookies

Shortbread Cookies Dipped in White Chocolate and Dark Chocolate

Chocolate Crinkle Cookies

Oatmeal, White Chocolate Craisin Cookies

Snickerdoodles

(Recipes all coming soon!)

Happy Holidays! I hope you all had a wonderful day!

Holiday Entertaining Kahlúa Cold Brew Martini Recipe

This shop has been compensated by Kahlúa. All opinions are mine alone. The following content is intended for readers who are 21 or older. #ColdBrewMartini 

The Season To Shine

We had an amazing holiday party recently and enjoyed chocolate fondue AND a crowd pleasing Kalhúa Cold Brew Martini Recipe, featuring the brand’s original liqueur. Kalhúa is easy to find at Target and Walmart and many other retailers! If you enjoy coffee, then this martini is going to quickly become your new favorite cocktail! We all texted each other the day after the party, wishing we could get together again soon and have a few more cocktails together. It was a great night.

With lots of shimmering details, we set the mood with metallic trees, ornaments, gold tinsel, candy canes, velvet fabrics, faux fur, and of course, Kahlúa and chocolate fondue.

We really loved how the Kalhúa Cold Brew Martinis paired so well with both the warm, rich and creamy chocolate of the fondue and the dippable items. We want to also have a cheese fondue for our next get together because it’s such a fun and interactive way to host friends and family, because it’s all self serve, and people can get as creative as they want. Hover over the image below to shop for Kalhúa.

Kahlúa Cold Brew Martini Recipe

This is one of those 1-2-3 cocktail recipes, making it fun and easy to remember!

Ingredients

1 Part Absolut Vodka

2 Parts Kalhúa Original

3 Parts Cold Brew Coffee

Instructions

Ok, you’ll need shaker. Got it? Good. Now fill it with ice. Add one part Absolut Vodka, two parts Kahlúa and 3 parts cold brew coffee. Easy as 1-2-3. Shake the ingredients hard for at least 10 seconds to create a nice foam. Strain into a cocktail glass to get rid of all the small ice chips. Garnish with coffee beans if you would like. Enjoy!

Party + Fondue Details

Before everyone arrived, I prepped the space by lighting my tall, metallic silver tree, and also setting up a few other white and silver one-foot trees. I loved the color scheme, and I believe it would translate for so many of you, as well! With a more neutral and shimmering color scheme, your party decor gives a more timeless, nostalgic, and elegant feel to any event or holiday.

For the fondue, we melted 2 bags of 60% cacao chocolate chips + 2-3 tbsp heavy cream. We dipped in lots of foods we cut up ahead of time like strawberries, marshmallows, apples, graham crackers, and more!

Lower lighting also helps the strands of lights make an even more magical feeling for the evening. I had so much luck finding gold items in the holiday aisles at Target and Walmart and was so inspired by this year’s finds, as well as a few items I already had from years past.

I even found a couple of yellow trees to use in my decor, that closely matched the color of the globally recognized Kahlúa label. It was a great jumping off point and really made everyone smile.


Kahlúa goes great in so many cocktails, not only coffee-based drinks. It’s one of the most versatile liqueurs. It’s perfect for a casual night in, casual night out with friends, and even brunch, too! Sweet and refreshing to the last sip.

By placing cut fruits onto a holiday themed platter, the holiday mood was set instantly. Feel free to create a gorgeous spread of whatever items you want to dip.

Happy holidays, friends! We really hope you enjoy the amazing as well! This #ColdBrewMartini was a huge hit!
BONUS! Looks like we are featured as the VERY TOP POST for this hashtag! Check us out :)

Pink Hot Cocoa Recipe

I am super excited to share this fun recipe for Pink Hot Cocoa, perfect for the holidays! Think warm white chocolate with other special flavors and a bit of holiday sparkle!

I originally created this recipe and DIY Coffee Mug to help promote A Bad Moms Christmas and helped them promote the movie on Pinterest! It was a LOT of fun, and I am so happy with how everything turned out :) 

If you haven't seen Bad Mom's or Bad Mom's Christmas, I would definitely recommend it!

WATCH THE MOVIE TRAILER HERE!

Santa Mom survives Christmas Morning by dancing with sugar plum fairies, and adding a splash of booze to her hot cocoa.

INSTRUCTIONS:

To make the cutest Pink Hot Cocoa Ever, simply heat 2 cups milk, 4 ounces of white chocolate, and a few drops of pink food coloring in small saucepan. Now for the best part: add 2 ounces of rum or your favorite liquor, and top with whipped topping, light pink shimmering sprinkles, and pink marshmallows. To make the mug, I added little letter stickers and very carefully started with the middle words and worked my way out, so everything would be centered.

Happy Holidays, friends! Check out the hottest holiday movie of the year – Bad Mom’s Christmas, in theaters NOW!! #BadMomsXmas

Holiday Recipe Hack: Slow-Cooker Wine-Infused Stuffing with Sage Recipe

This post has been sponsored by Holland House® Cooking Wines, and all opinions and content are my own.

If you think that wine is just for drinking during the holidays, then think again! While you may know it’s possible to cook with wine, did you know that incorporating wine into certain recipes helps enhance the taste of the other ingredients? Holland House has a line of five different varieties of cooking wine, and I am SO excited to have had the opportunity to create a delicious recipe inspired by their Bold Boost of Flavor!

Home cooks and chefs alike are able to achieve bold flavors that excite the taste buds. I can tell you first hand that adding a dash of cooking wine from Holland House into this dish at a couple key moments during cooking really allowed the flavors of every ingredient to come alive and shine.

This recipe is a little bit like making a bread pudding in the fact that it contains bread, egg and lots of other tasty ingredients. The dried cranberries added a bit of sweetness to an otherwise savory recipe, too. This is a great Thanksgiving or Holiday Recipe Hack, because it can be prepared the night before, or even a few hours in advance, and be served warm right out of your Crock Pot when guests are ready to eat. The other part of this cooking hack is the imaginative and unique flavors that cooking wine adds to this dish.

Holland House® Cooking Wine adds a Bold Boost of Flavor to nearly every meal!

Are you familiar with what cooking with wine actually does to your recipes? If the proper varietal of wine is chosen to use in your recipes, it enhances the flavors of the meal, and the cooking wine gives the recipe a deep, rich flavor without adding a ton of extra ingredients!

I grabbed this information from the brand’s website. Here’s what they have to say:

Why Cooking Wine?

“Some wines are great for drinking. But they just don’t cut it when it comes to cooking.

Because a wine for cooking has to do so much more than just taste good. Holland House Cooking Wines are specially selected for their rich robust flavor, which means they stand up to cooking temperatures that cause the flavor of delicate table wines to cook away. What’s more is Holland House flavor does not vary from bottle to bottle as table wines often do, making the flavor last and bring great consistency from meal to meal. Studies show that meals prepared with cooking wine are as good or better than their more expensive table wine counterparts.

And not only can they take the heat, Holland House Cooking Wines last longer without refrigeration too, making them perfect additions to your pantry or spice rack! In fact, we recommend you keep a bottle out by your spices and use in place of seasoning the next time you cook. You’ll notice the difference.

The Holland House Difference

Since 1887, Holland House has been making wines specially formulated for cooking. Only Holland House offers the finest ingredients, aged to perfection, and built with flavor and preservation that will transform any dish from ordinary to extraordinary. Holland House is a quick and easy way to bring bold flavor to almost any dish. Made with fresh grapes, hand selected from our fine wineries for their rich robust flavor, then fermented and blended with our special seasoning just for cooking and flavor that lasts!”

The labels on  Holland House Cooking Wine actually helped me so much to decide which wine to incorporate into this meal. Since this recipe contains ground pork, I chose their Red Cooking Wine because the label said that it “Enhances sauces, meats, and marinades”. Then, after researching the product further, I was even happier, because I learned that this Red Cooking Wine goes well with: MEATS: Excellent with beef, lamb and pork, especially dark meats”, so everything worked out perfectly!

Like I mentioned previously, I was able to use my cooking wine in two parts of the recipe. First, after I browned my sausage, I added a little bit of the Red Cooking Wine, and also once everything was put into the Crock Pot to cook.

In addition to their Red Cooking Wine the other Holland House®  Cooking Wines include Sherry, Marsala, White with Lemon and traditional White Wine.


I am so excited to have received this assortment of five varieties of cooking wines PLUS new kitchen goodies from the brand, because I am currently renovating (well, re-painting) my kitchen, so this is the perfect time to refresh my kitchen goodies. I received some of the sweetest gifts ever, including a brand new Crock Pot, Amco Houseworks measuring cups and spoons, amazing wooden spoons from Calphalon, and a Williams Sonoma Cutting Board (see below). I am so excited to have been able to use the items to help me prep this delicious meal, as well as many, many more to come!

INGREDIENTS

(SERVES A LOT – great for a crowd of nearly 8-10 people as a side dish)

4-8 Tbsp (or more to taste) Holland House® Red Cooking Wine

2 (12 oz) All Natural Pork Sausage Rolls

4 tablespoons butter

1 yellow onion, chopped

5 celery ribs, chopped

10-12 cups dry bread cubes

1 teaspoon rubbed sage

1 teaspoon poultry seasoning

1/2 teaspoon salt (and any of your other favorite seasonings)

1/4 teaspoon freshly ground black pepper

5 pears, cored and diced (I used Red Pears and they worked extremely well)

1 cup dried cranberries

3 eggs

2 cups chicken broth

DIRECTIONS

1.) In large skillet, brown sausage until cooked through, breaking it up as it cooks. During this point, I added about 3-4 Tbsp. of the Holland House Red Cooking Wine, and I thought it really enhanced the flavor of the sausage and other ingredients.

2.) Drain excess grease and set sausage aside. I just kept my strainer in the sink while I prepared the next part.

3.) Wipe out pan and add butter over medium heat. Add onion and celery, and more seasoning, and sauté 8-10 minutes or until soft. Add sausage back to pan, reduce heat to low to keep warm. (See below.) The house smelled amazing during this step!

4.) In your cool crock pot, toss bread cubes with sage, seasoning, salt, pepper, diced pears and cranberries. Add sausage mixture and stir to combine.

5.) Whisk eggs and chicken broth together and pour over bread mixture. Stir to combine.

6.) Transfer mixture to greased slow cooker. Cover and cook on low 3-4 hours, until mixture is moist and spongey. Yield: 8 servings

Look how beautiful this recipe turned out! It filled the crock pot nearly 2/3 of the way full, so you may even have some leftovers!

MY IDEAL THANKSGIVING MENU:

Last year, we made a beautiful ham covered in bacon and pineapple. I made a few sides, but nothing too fancy. This year will be awesome! I have been cooking so much this year, and have had lots of time to think up my dream Thanksgiving menu. This menu would include of course, this delicious Crock Pot Wine-Infused Stuffing with Sage, as well as other awesome faves like a roasted ham, Baked Sweet Potato Casserole with Toasted Marshmallows on Top, corn casserole, a salad, and more.

And for refreshments, I’d serve guests fruit-infused water from a big, pretty spouted carafe, coffee, hot cocoa, cold and warm apple cider, and spiked apple cider for those who drink. For dessert, we will have both a chocolate cream pie AND a homemade pumpkin pie. It’s going to be divine!

What are your favorite side dishes to make for the holidays? Let me know in the comments, below.

Gifts For The Chicago Cubs Fan

Super excited to bring you this fun Gift Guide, inspired by something so near and dear to our family, like a gift guide for the Cubs Fan. I have several people in my life whose eyes would light up at the sight of anything in Cubs blue and red! Check out the ways I decorated in Cubs colors for Christmas, and learn about items I love. 

Read More

Brilliant Gifts For The Girl Who Loves To Celebrate

Do you know someone who is always celebrating everything? Is she the life of the party, or always playing hostess? Heading to a holiday dinner party and want to bring something special? Here are some fun ideas for you! The links are below the collage - in the mean time, feel free to pin the gift guide for later. Happy Celebrating!!!

Read More

Soft Gingerbread Cookies Recipe

I know this post is a few days after Christmas, but I absolutely LOVE how these turned out! I could eat them all at once, but they do have a bit of a stronger taste to them than most of the cookies I make, so I have to pace myself :) These cookies were also a little bit involved, so just a warning! They took us working on them throughout the evening, but it was so fun! And the dough need to chill for about 3 hours, so you could let the dough chill overnight if you want. Original Recipe Found Here. 

Lily The Wandering Gypsy

These hardly need any decorating or icing, they are perfect just the way they are! They were so fun to make, and I have always been so enamored by the beautiful color of gingerbread dough. What a beautiful color! 

That amazing color I'm talking about comes from one of the main ingredients - Molasses! This was our first time ever using this stuff in anything, and it was very easy to use.  I found it at our local Co-Op, for about $5.99, but here is the best price I found online. 

Lily The Wandering Gypsy

INGREDIENTS:

3 cups all-purpose flour
1 teaspoon baking soda
3/4 teaspoon ground cinnamon
3/4 teaspoon ground ginger
1/2 teaspoon ground allspice
1/2 teaspoon ground cloves
1/2 teaspoon salt
1/4 teaspoon freshly milled black pepper
8 tablespoons (1 stick) unsalted butter, at room temperature
1/4 cup vegetable shortening, at room temperature (I used more butter here)
1/2 cup packed light brown sugar
2/3 cup unsulfured molasses
1 large egg

Lily The Wandering Gypsy

INSTRUCTIONS:

Position the racks in the top and bottom thirds of the oven and preheat to 350 degrees F.

Sift the flour, baking soda, cinnamon, ginger, allspice, cloves, salt and pepper through a wire sieve into a medium bowl. Set aside.

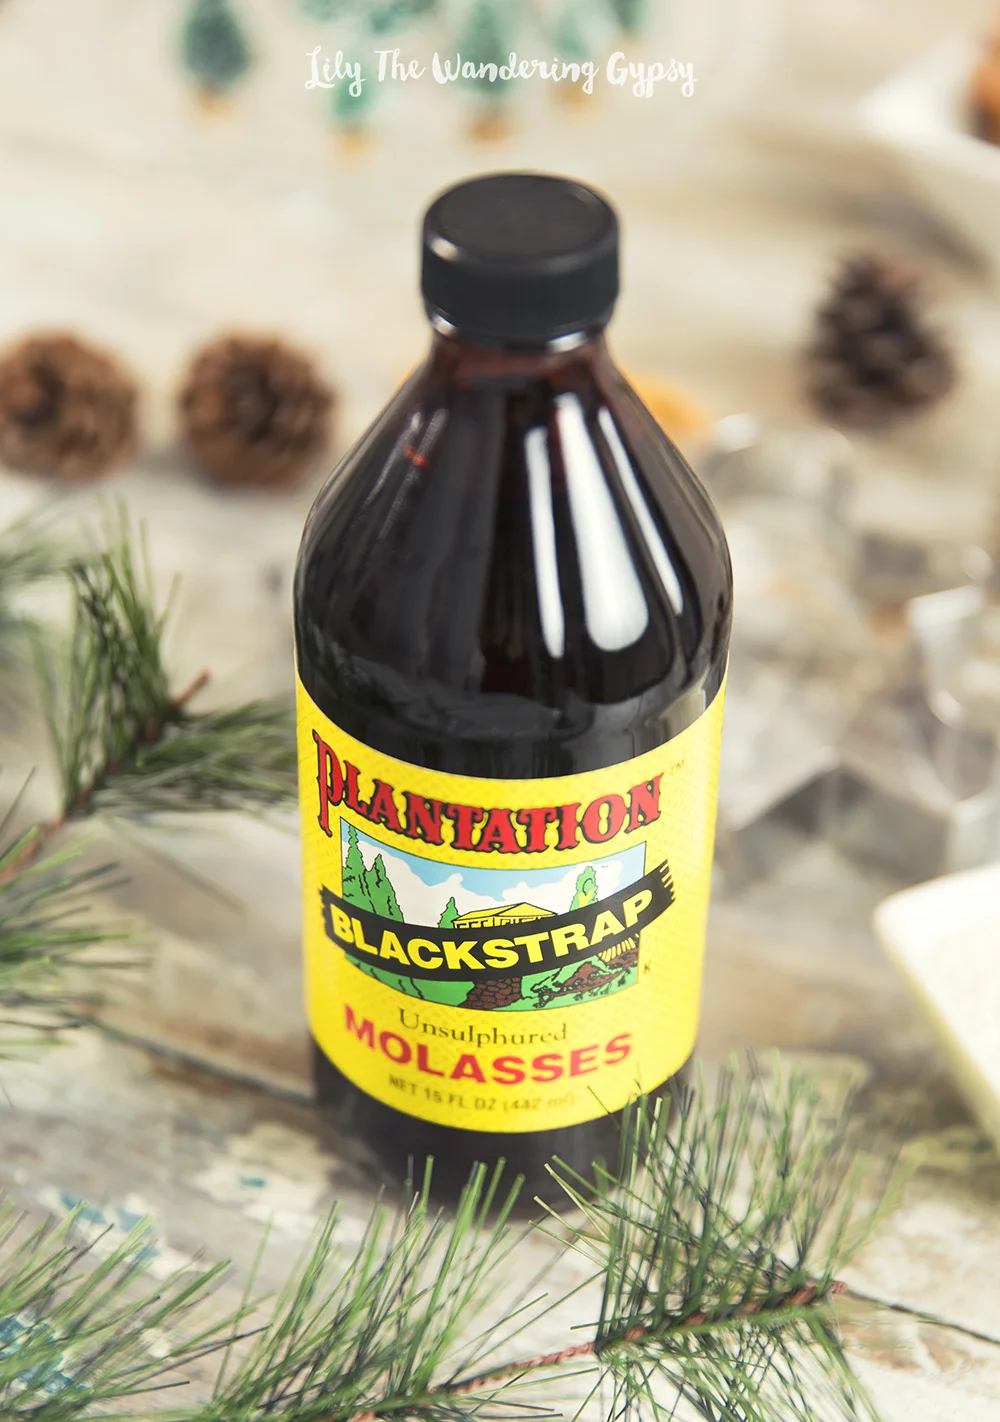
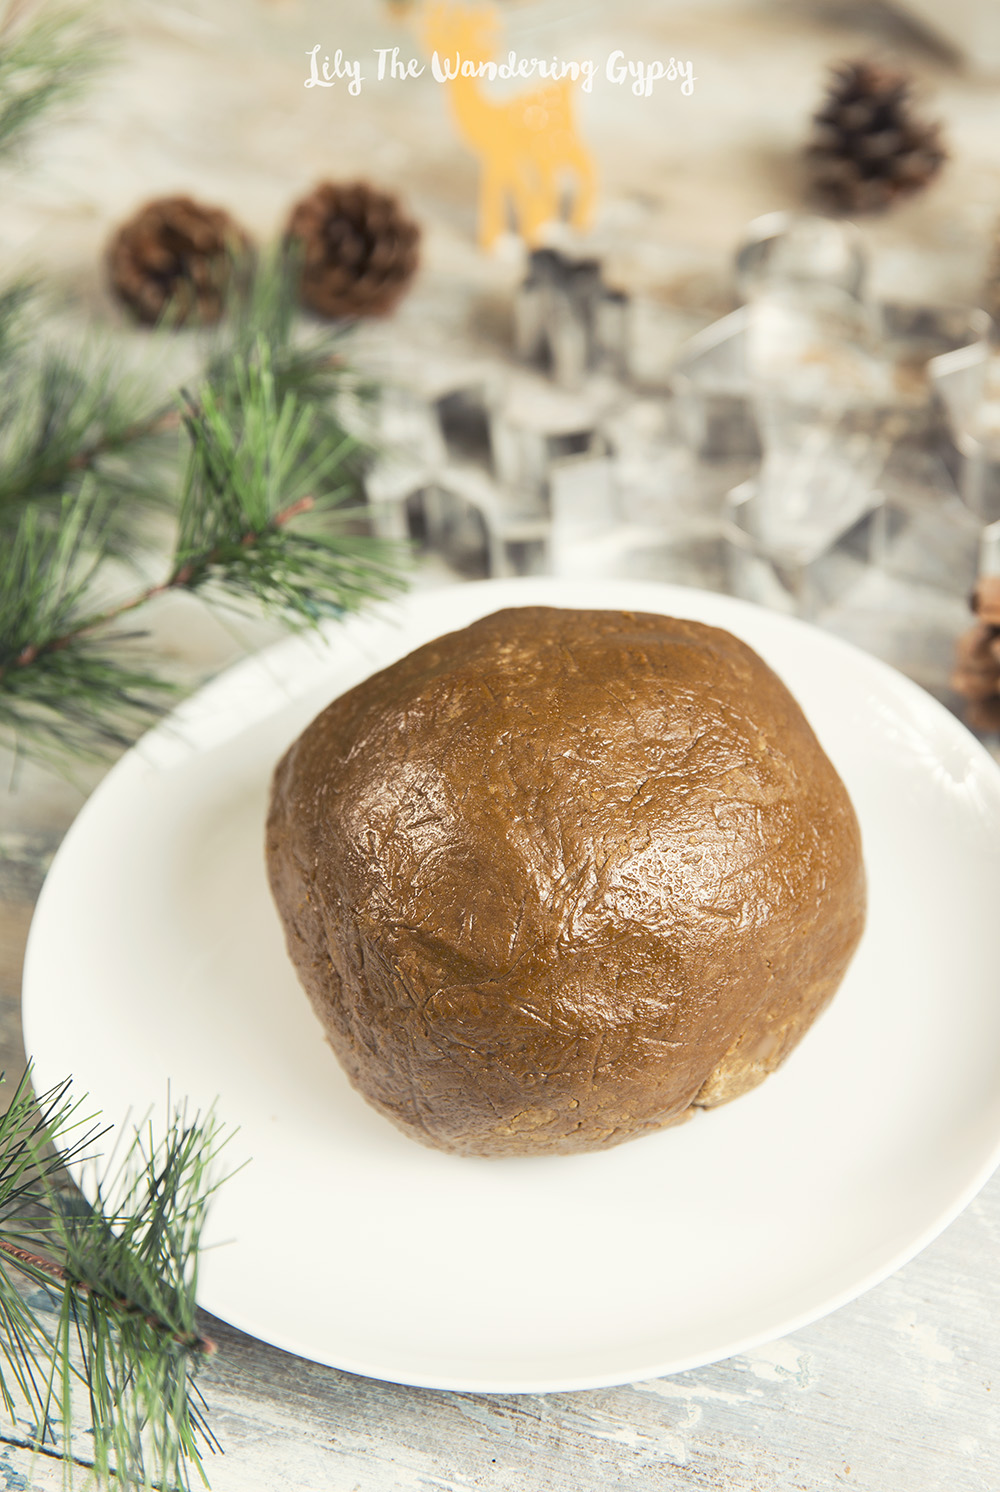
In a large bowl, using a hand-held electric mixer at high speed, beat the butter and vegetable shortening until well-combined, about 1 minute. Add the brown sugar and beat until the mixture is light in texture and color, about 2 minutes. Beat in the molasses and egg. Using a wooden spoon, gradually mix in the flour mixture to make a stiff dough. Divide the dough into two thick disks and wrap each disk in plastic wrap. Refrigerate until chilled, about 3 hours. (The dough can be prepared up to 2 days ahead.)

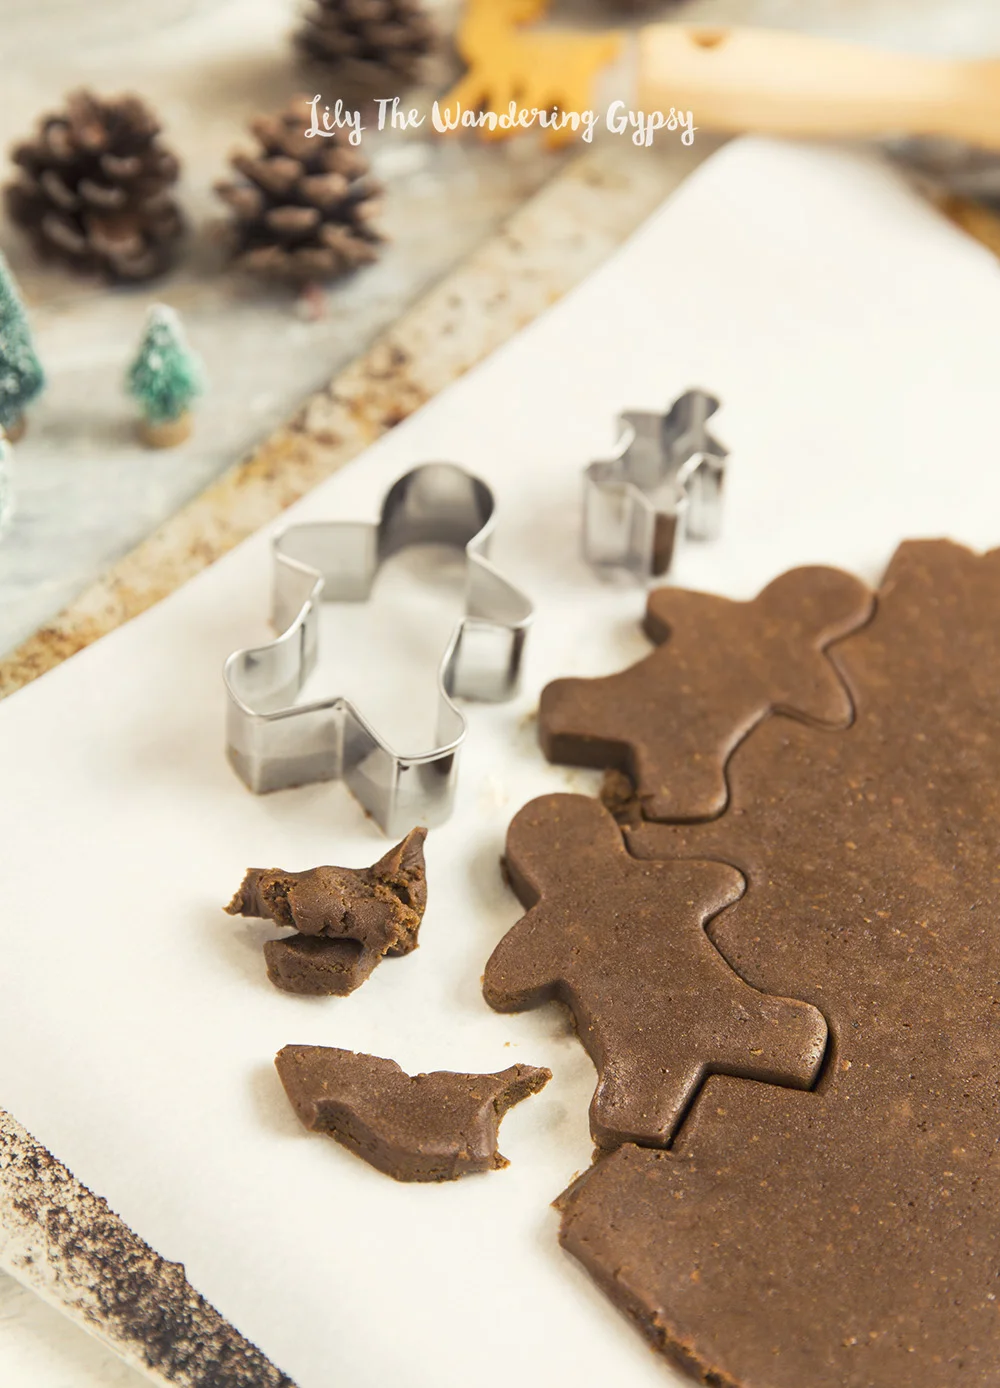
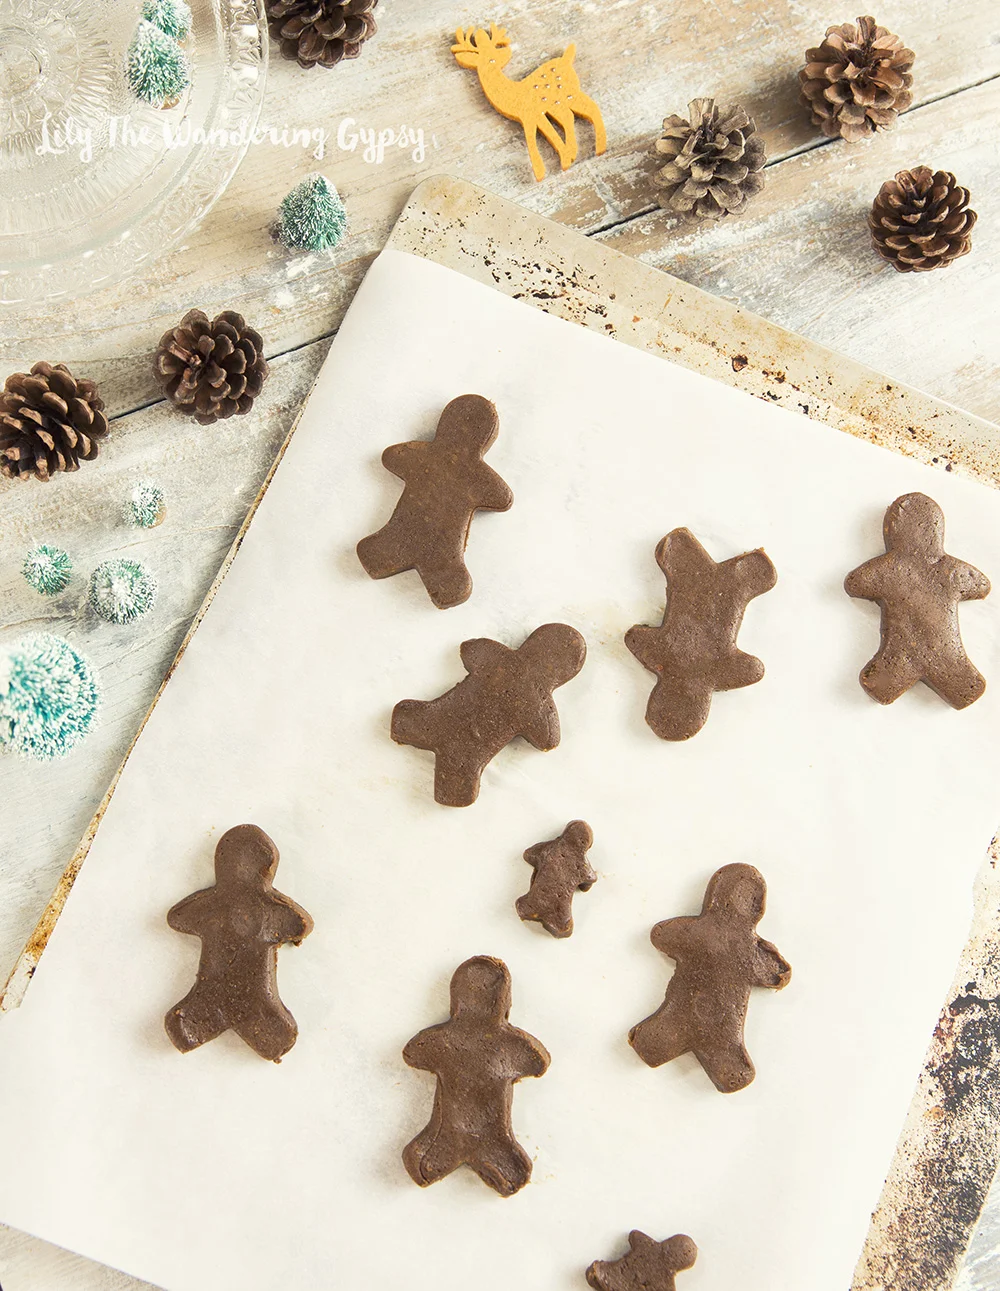
To roll out the cookies, work with one disk at a time, keeping the other disk refrigerated. Remove the dough from the refrigerator and let stand at room temperature until just warm enough to roll out without cracking, about 10 minutes. (If the dough has been chilled for longer than 3 hours, it may need a few more minutes.) Place the dough on a lightly floured work surface and sprinkle the top of the dough with flour. Roll out the dough 1/8 inch thick, being sure that the dough isn't sticking to the work surface (run a long meal spatula or knife under the dough occasionally just to be sure, and dust the surface with more flour, if needed). For softer cookies, roll out slightly thicker. Using cookie cutters, cut out the cookies and transfer to nonstick cookie sheets, placing the cookies 1 inch apart. Gently knead the scraps together and form into another disk. Wrap and chill for 5 minutes before rolling out again to cut out more cookies.

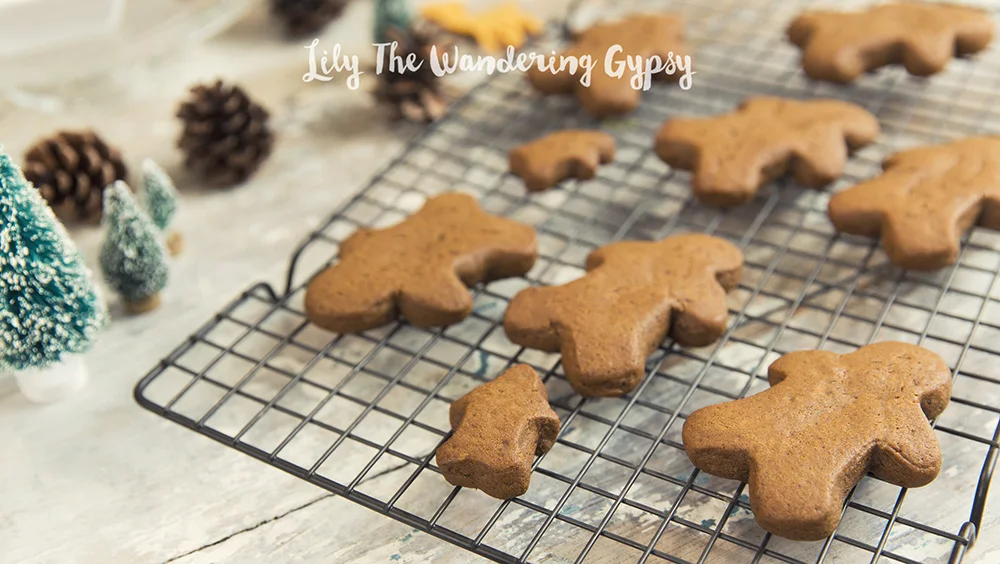
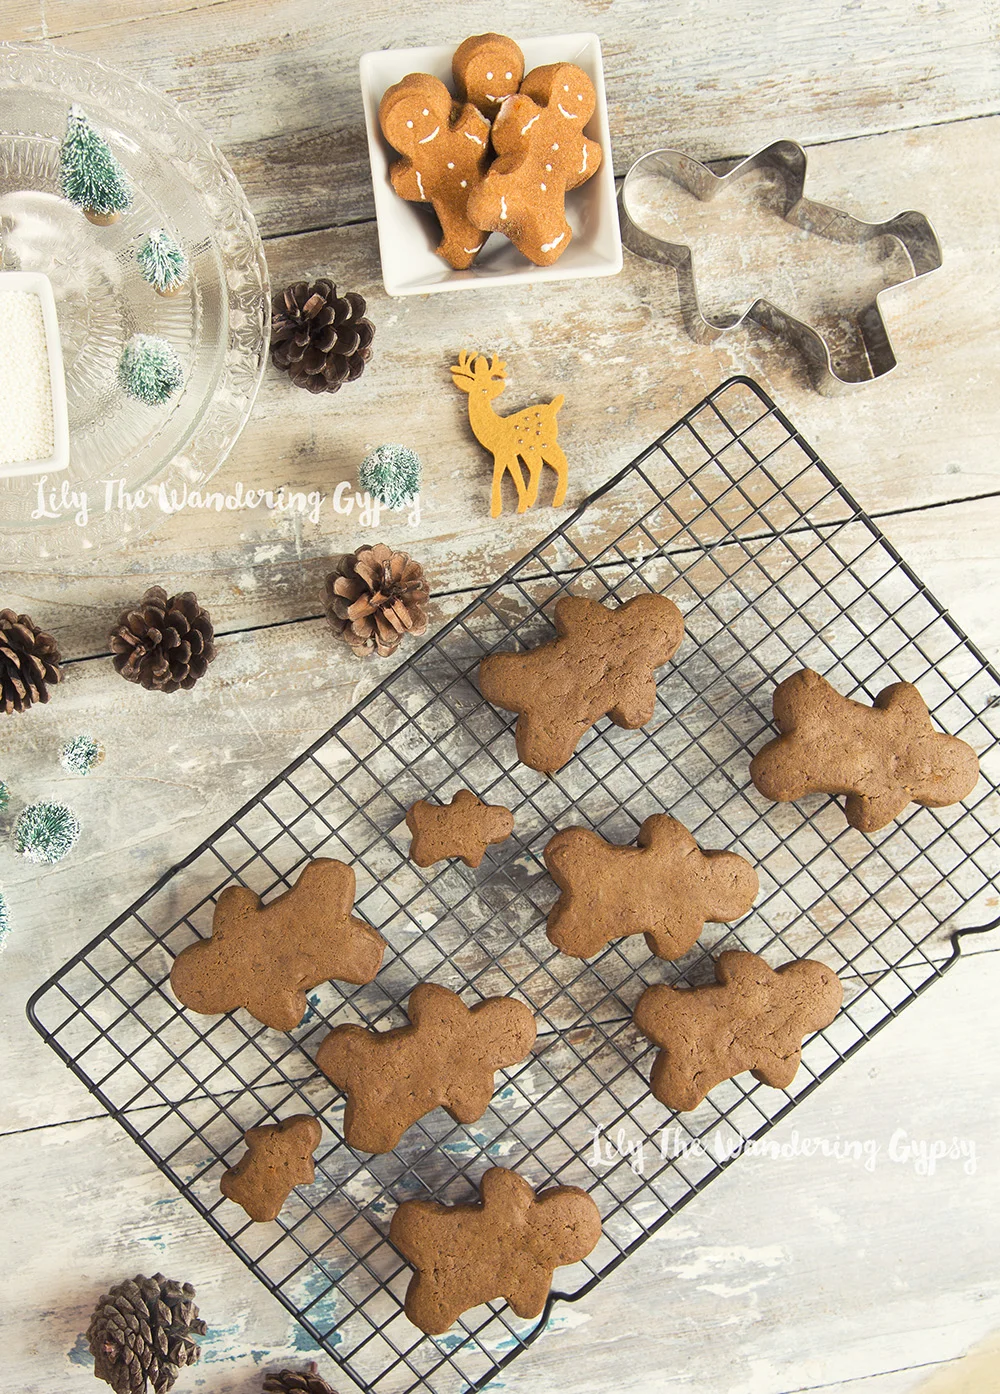
Bake, switching the positions of the cookies from top to bottom and back to front halfway through baking, until the edges of the cookies are set and crisp, 10 to 12 minutes. Cool on the sheets for 2 minutes, then transfer to wire cake racks to cool completely. Decorate with Royal Icing. (The cookies can be prepared up to 1 week ahead, stored in airtight containers at room temperature.)

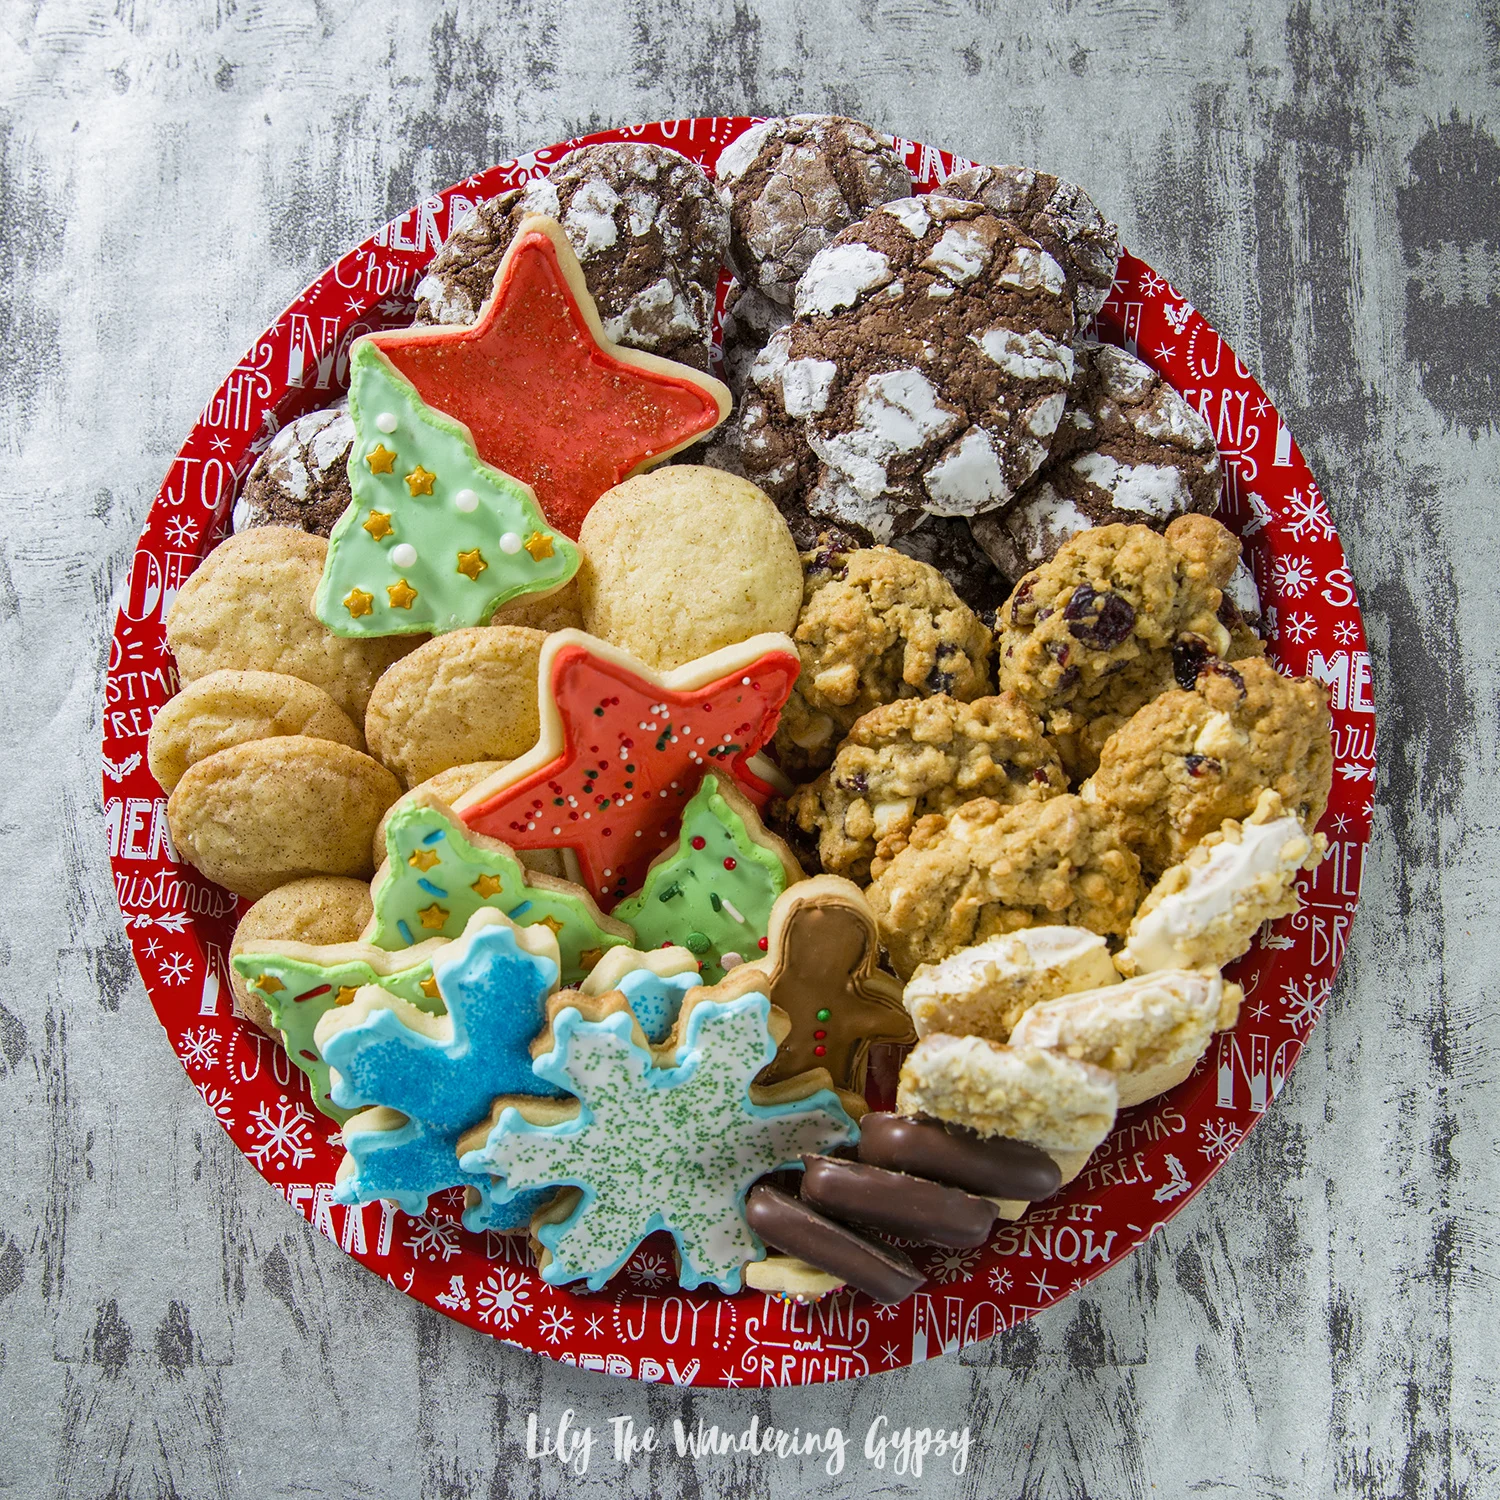
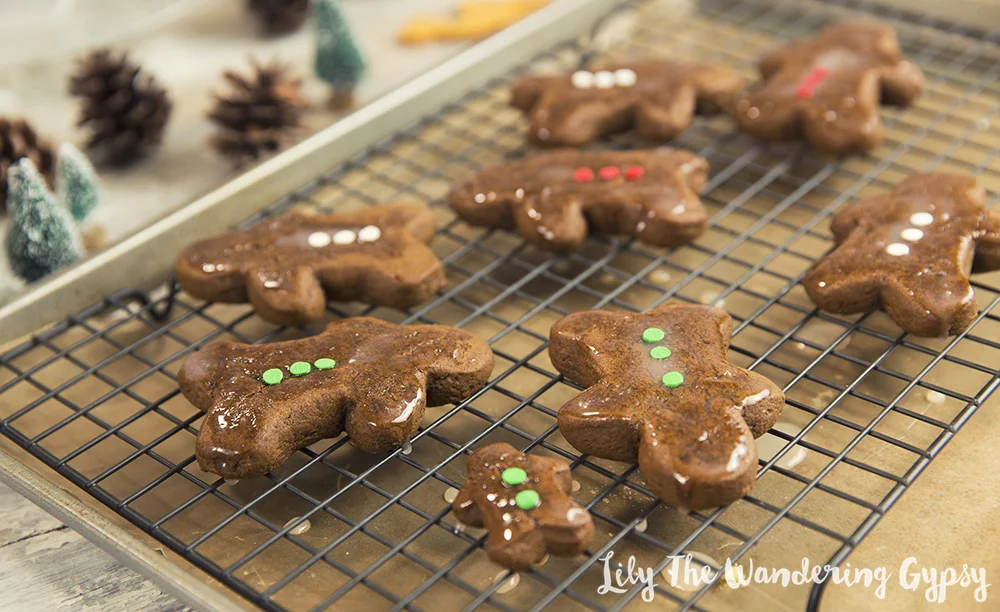
For The Icing - I only had a tiny bit of powdered sugar. So, I basically mixed a few Tbsp of powdered sugar with a splash of milk and a bit of corn syrup to thicken it up. It was more like a glaze, though. For the decorations, I used three sprinkles as buttons. 

Lily The Wandering Gypsy

Well, I hope you enjoy these cookies! They took a lot of work, but wow, did they turn out well! Enjoy!

Celebrate The Holidays With Nature Hills Nursery

I love my newest addition to my plant family! This Colorado Blue Spruce is just the right size, and I am going to plant it after the holidays. See, I'm the type of person who despises seeing live-cut Christmas trees on the curb less than a week after Christmas. It almost makes me cringe, knowing that the tree could have just been taken home with the roots in tact, in hopes of planting a tree in your yard or in a nearby park or nature preserve. 

These cute mini trees from Nature Hills Nursery would really make a wonderful gift! The Quart Sized Blue Spruce, pictured below, can be found here

Living Tree

And, here is a cute way to display your mini tree - I found this amazing silver serving tray at an antique shop and absolutely LOVE it! Place the tree in a galvanized metal bucket, set the tree onto the silver tray, and place as many vintage ornaments as you can onto the tray. I love how everything looks so classic and sparkles so beautifully! I also put a star-shaped cookie cutter by the silver tray for an extra bit of whimsy! 

Vintage Ornaments

A special thanks to Nature Hills Nursery for sending me this adorable Colorado Blue Spruce! I absolutely love it and am excited to see it grow huge over the next few years! 

Find Nature Hills Nursery Around The Web - { Pinterest / Instagram / Twitter / Facebook / Website }

Ugly Christmas Sweater Dog Bandana - DIY Tutorial

Looking for a last minute way to get festive this holiday season? Dress your pup in something cute and quirky. This is my take on the Ugly Christmas Sweater, but updated. Cabbie actually loved this bandana! 

Holiday Dog Bandana DIY
Dog Bandana

MATERIALS:

Solid Colored Bandana (or solid colored square of fabric that fits your dog), Sparkly Felt, Tacky Glue or Fabric Glue, Sparkly and Solid Colored Puffy Paint, Other Holiday Embellishments (I used mini flat-backed ornaments), This Template (Here), Scissors, Permanent Marker, Computer and Printer. NOTE: You can also draw your own shapes.

Holiday Dog Bandana

Cut out the paper shapes you want to use. Then, trace them onto the back of the felt. 

Holiday Dog Bandana
Holiday Dog Bandana

Iron the bandana, and position the shapes and other adornments around so they create a cool design. ** Place a newspaper between the folded bandana to catch glue! Glue the pieces down, and wait about 30 minutes to an hour for pieces to be secure. 

Holiday Dog Bandana

Now, get out your puffy paint and outline the edges of the felt shapes. Get as creative as you want with this project, I really had a lot of fun! 

Holiday Dog Bandana
Holiday Dog Bandana
Holiday Dog Bandana

Happy Holidays from Cabbie The Chocolate Lab and Lily The Wandering Gypsy! XOXO!

Dog Bandana