If you're looking for the perfect summer recipe, this twist on a classic will surely be exactly what you're looking for!
Read MoreAn Adorable Gift Idea - Spin For Perfect Skin & Coffee Cacao Coconut Sugar Scrub #VPbeauty
I wanted to share a little DIY project with you, and tell you all about a wonderful Mother's Day gift idea from Vanity Planet! Keep reading to learn more about this Shabby Chic Birdcage Gift Basket, the Vanity Planet Spin For Perfect Skin, and the Vanity Planet Coffee + Cacao + Coconut Sugar Scrub. This DIY is SO easy, let's get started!!

Let's Make A Gift Basket!!
Materials Needed -
1 birdcage, large enough to fit your gifts (I found this one at JoAnns)
Silk Flowers (I chose peonies - I used about 4-5)
Pink Paper Crinkles
Vanity Planet Spin For Perfect Skin Brush, Vanity Planet Sugar Scrub
That's it!
I filled the birdcage with paper crinkles, to make add a pop of color, and to make sure the body scrub and spin brush fit in the birdcage properly. I love how it looks.
Top off the gifts with some silk flower heads to hide them a bit. love how well the presents fit inside of this shabby chic birdhouse.
So, here's what is inside of this amazing gift basket. The Spin For Perfect Skin gift set comes with FOUR brush heads, which is awesome! My current spin brush is great, so this set will last w very long time. I love the addition of this larger brush head (it measures a few inches across), because it's perfect for your neck, chest, and back. I think it's a good idea to have a separate spin brush head for your face compared to the rest of your body. I also really like the pumice stone head. This is a bit more than anything I need at this point, but a lot of people would absolutely LOVE this!! Get your skin ready for summer with this awesome gift set. The sugar scrub was nice too. Read more about that below.
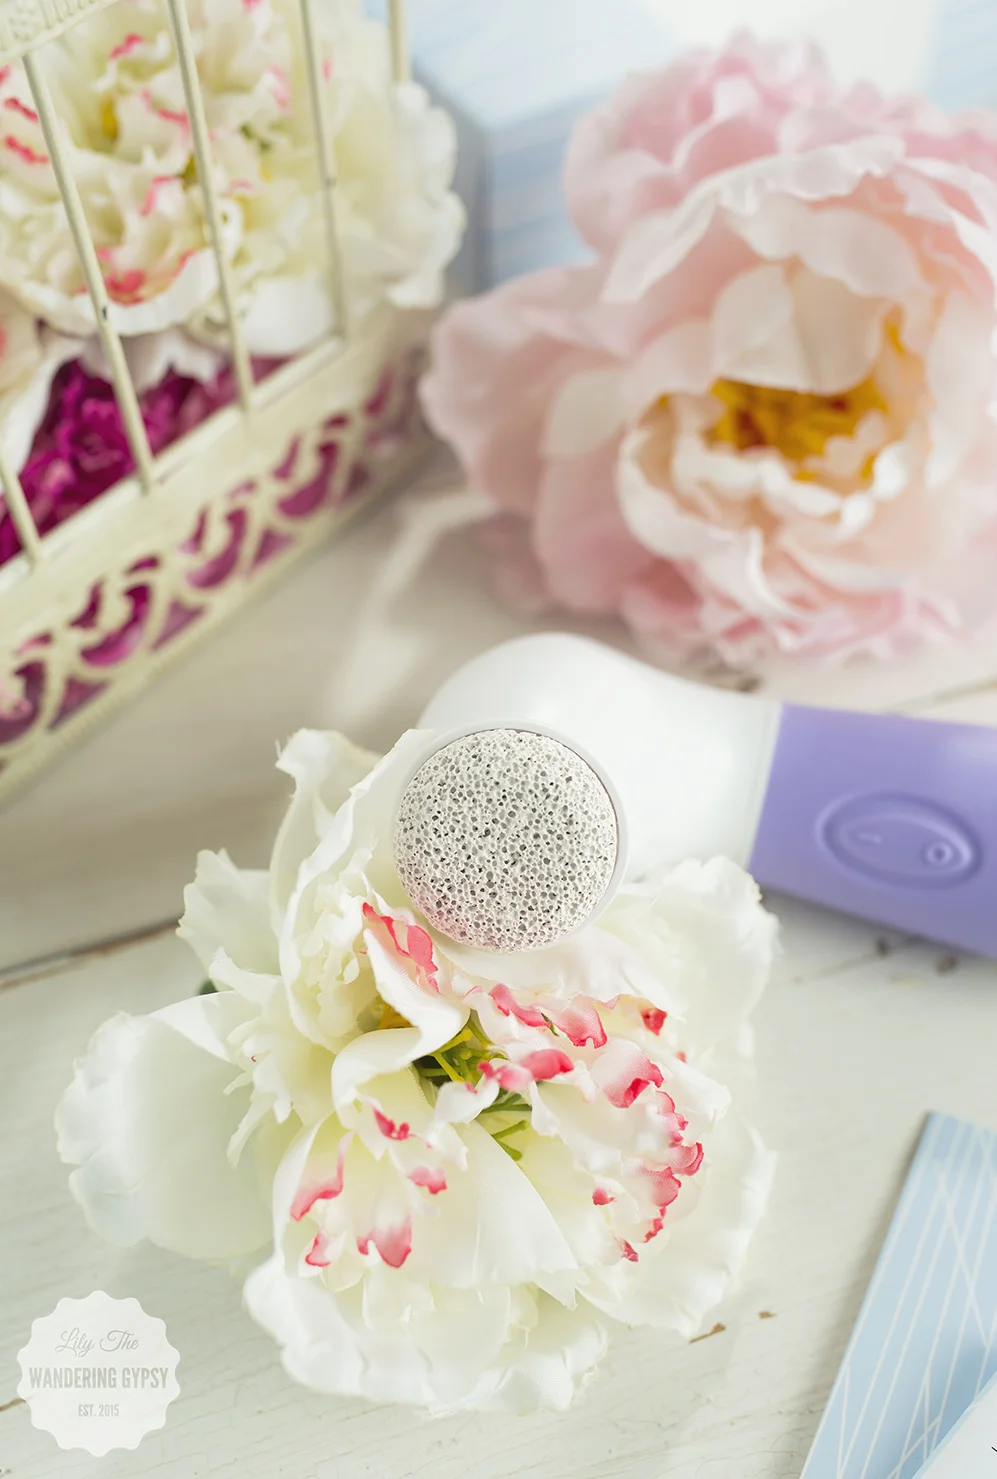
Below, you will see the brush head that I have on my current spin brush, as well as an even softer brush head, that might be nice around your eyes.
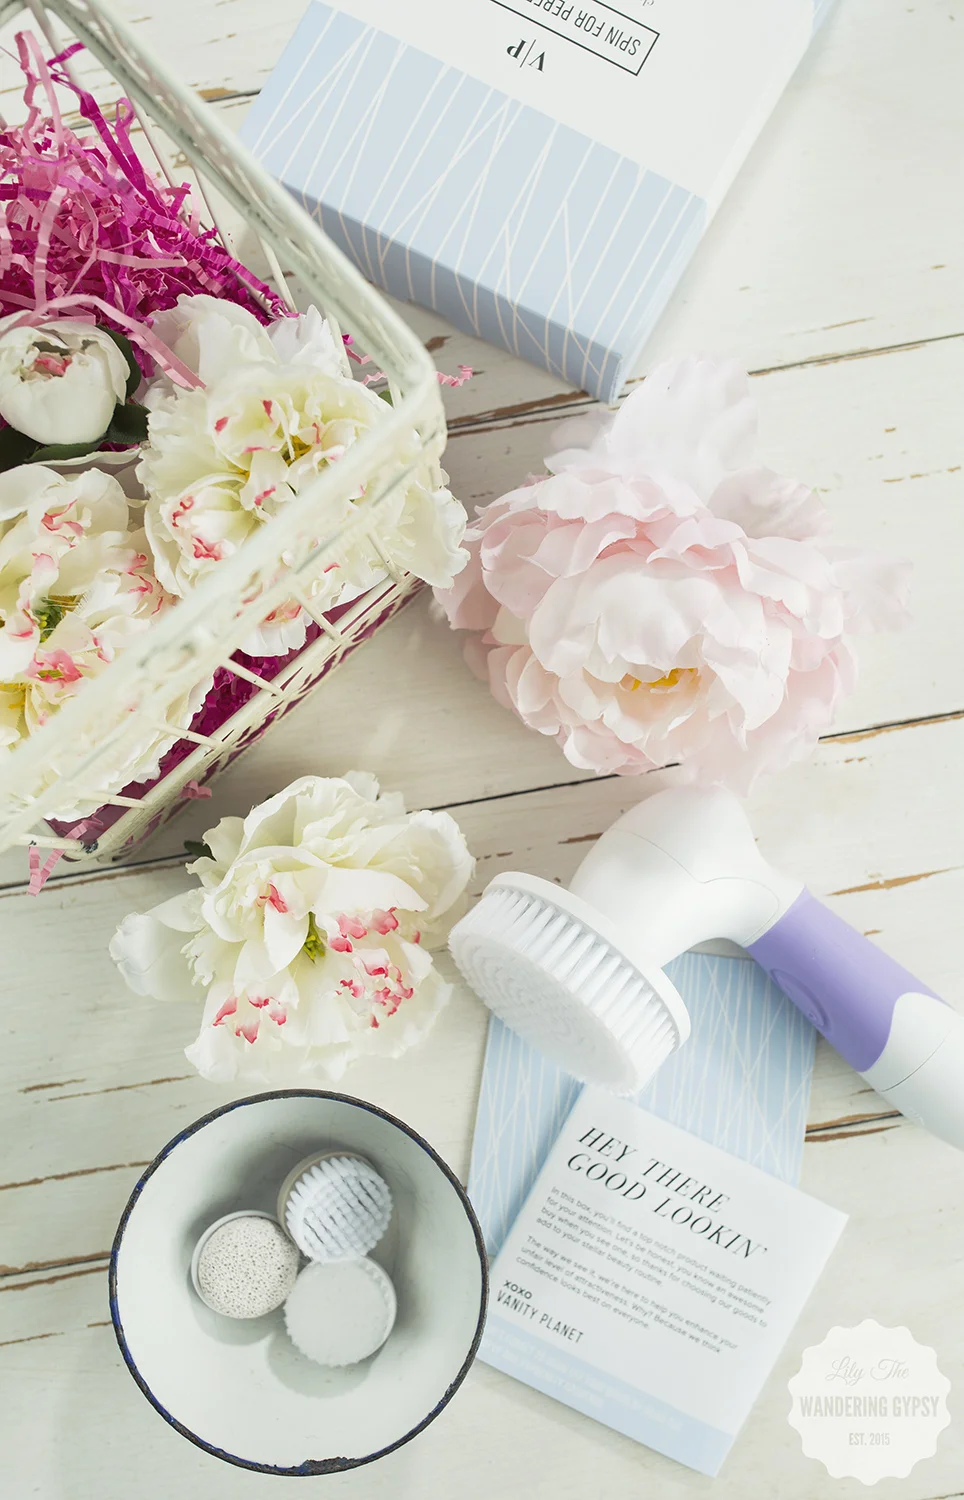
This Bru Coffee + Coconut Cacao Sugar Scrub contains "dead sea salt, organic kona coffee, organic olive oil, sweet almond oil, organic grape seed oil, coffee arabica seed oil, organic shea butter, and natural fragrance extracts". When I first opened it, I could instantly smell the coffee. It smells very fresh, and not only like coffee, but a very pleasant mix of sweetness as well.
I would definitely recommend opening this over the sink or the tub, because it is a bit messy, but is very easily containable (if that makes sense...). This scrub is more oily than others I have used. I wound up needing to use another soap to fully remove it from my skin. But, it's very luscious, and I am so glad it contains almost 100% organic ingredients. That's very hard to find!
This Essential Body Scrub "hydrates, moisturizes, and stimulates blood flow while targeting cellulite and stretch marks. It exfoliates dead skin" and smooths your skin out very nicely.

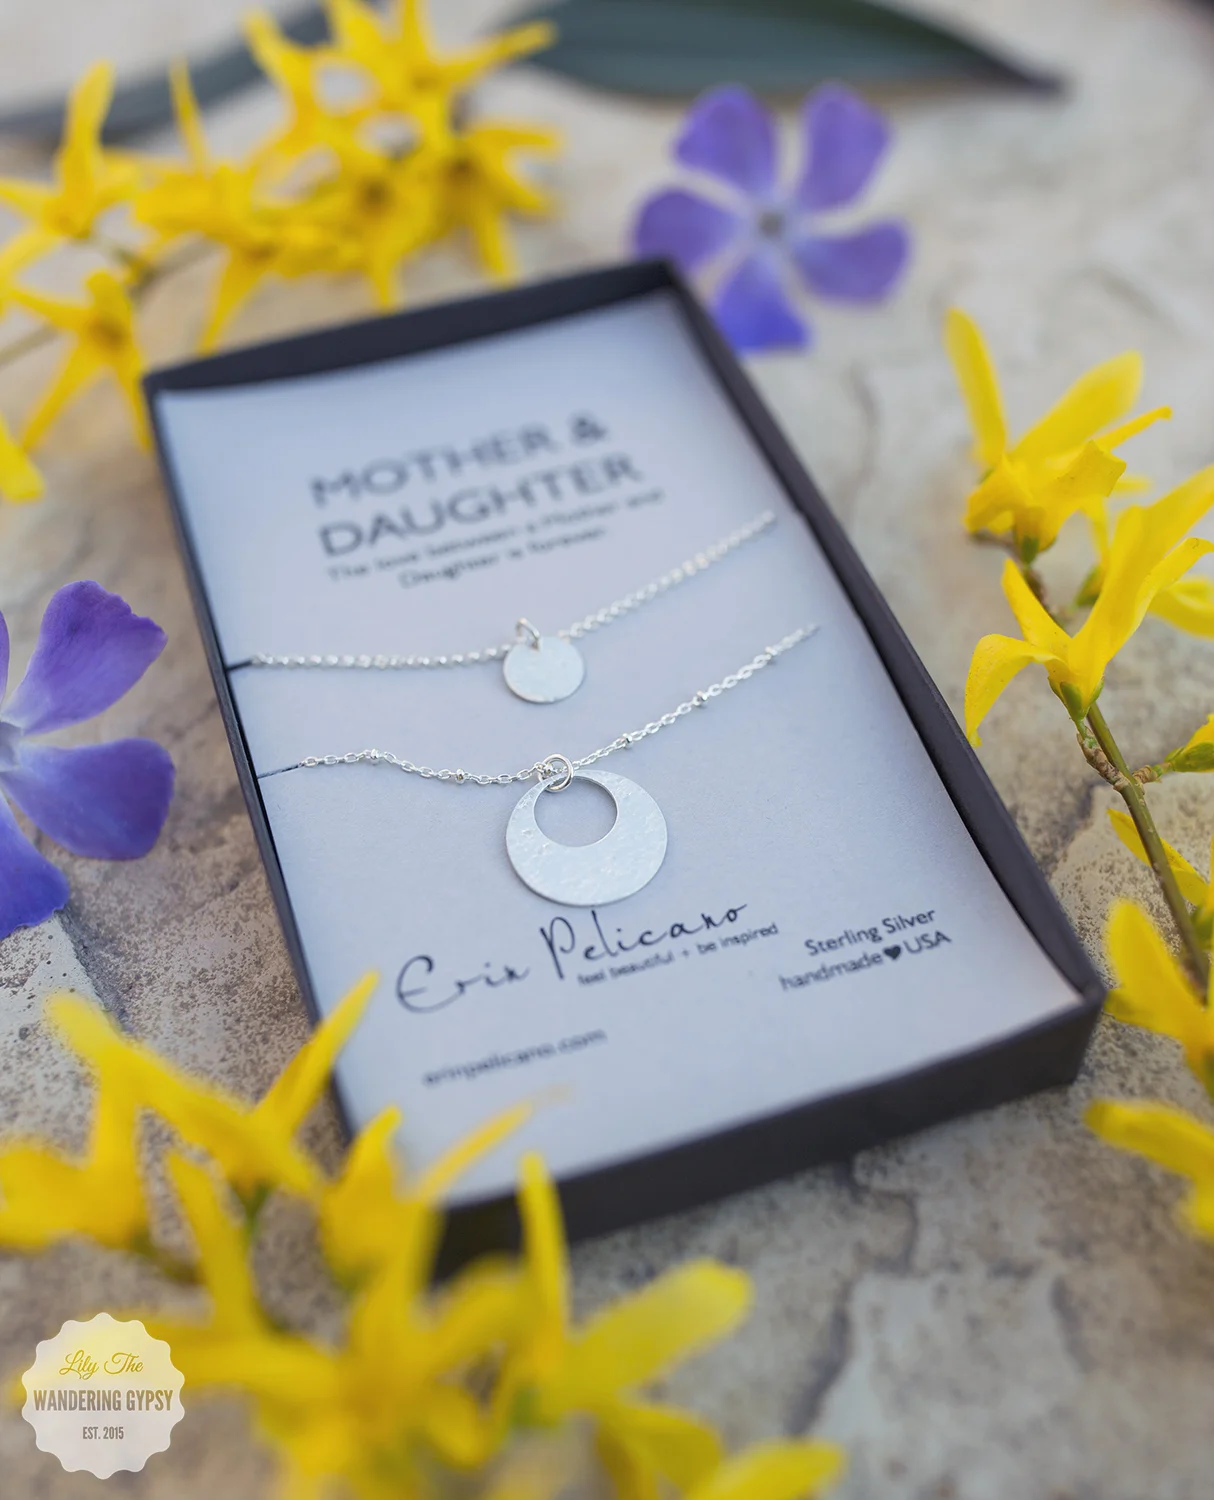
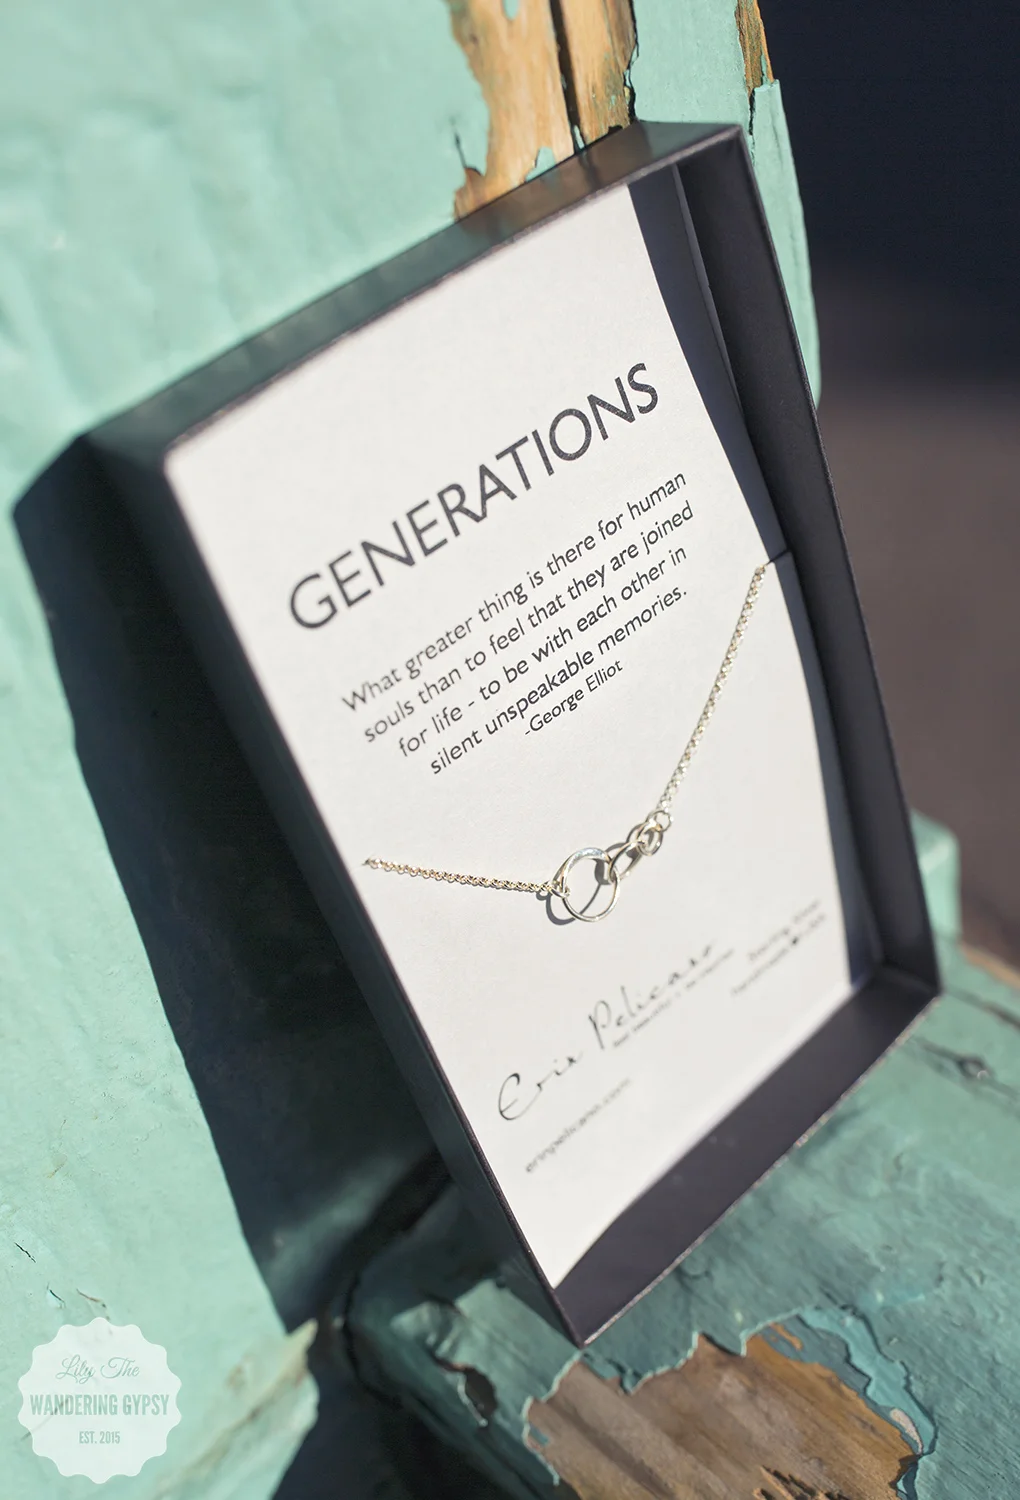
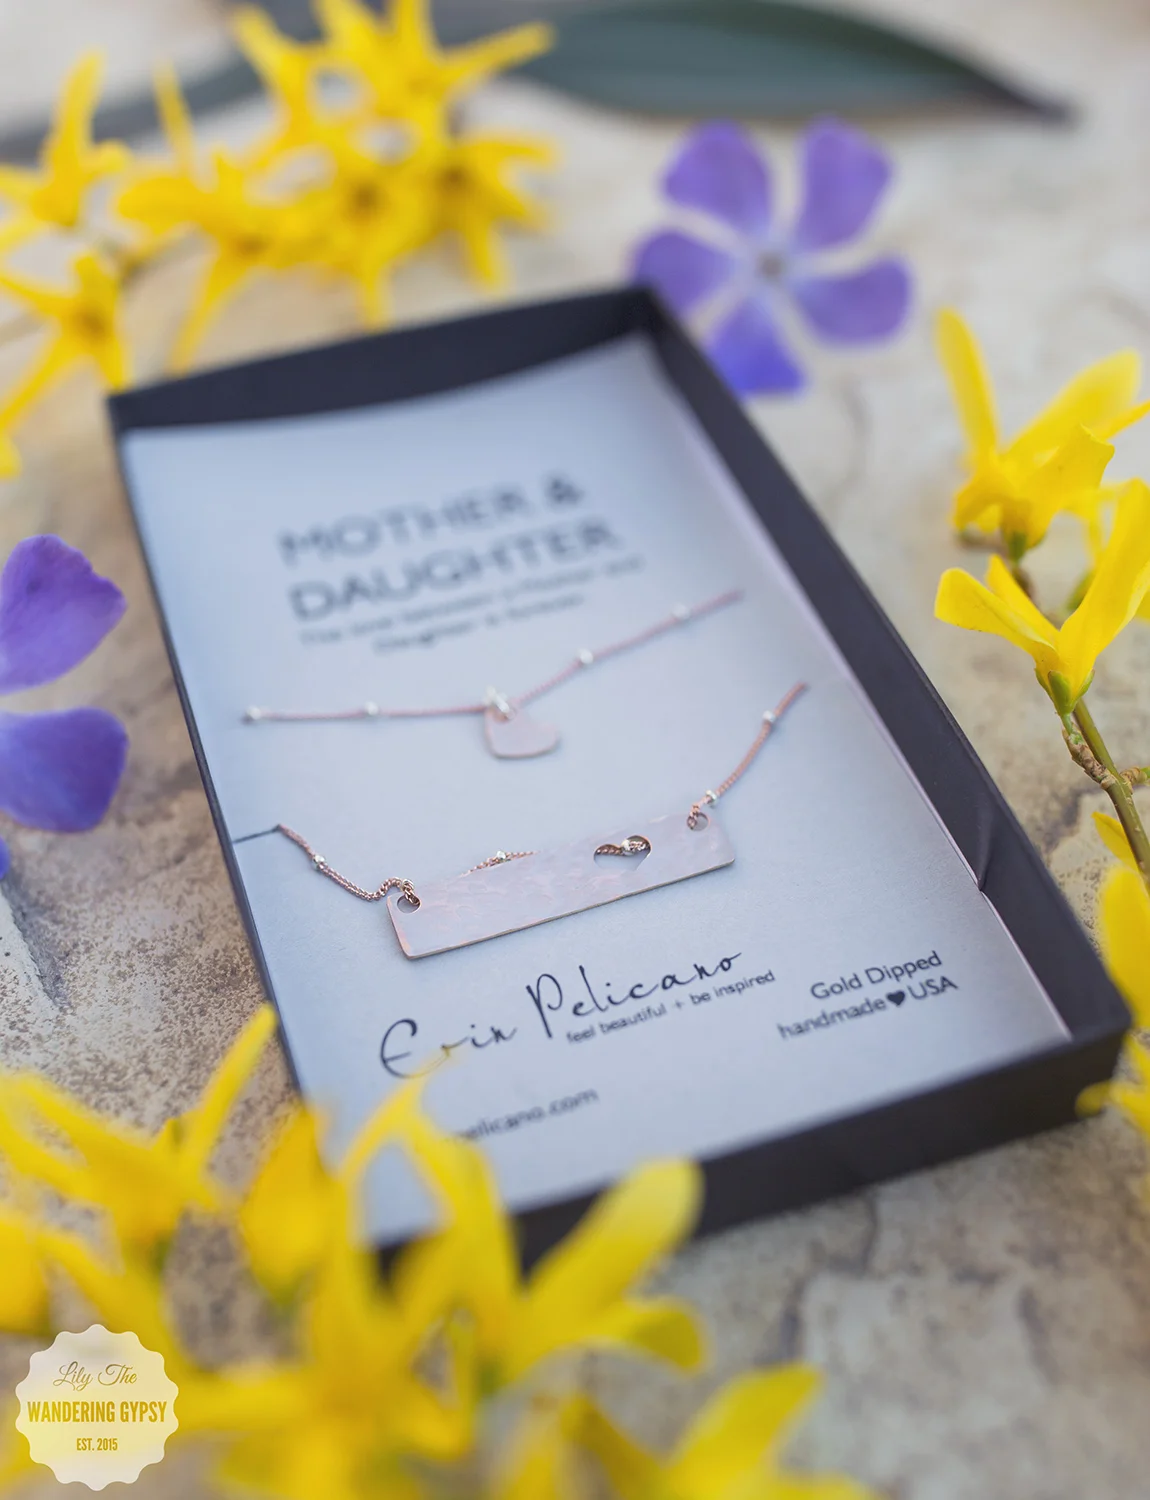
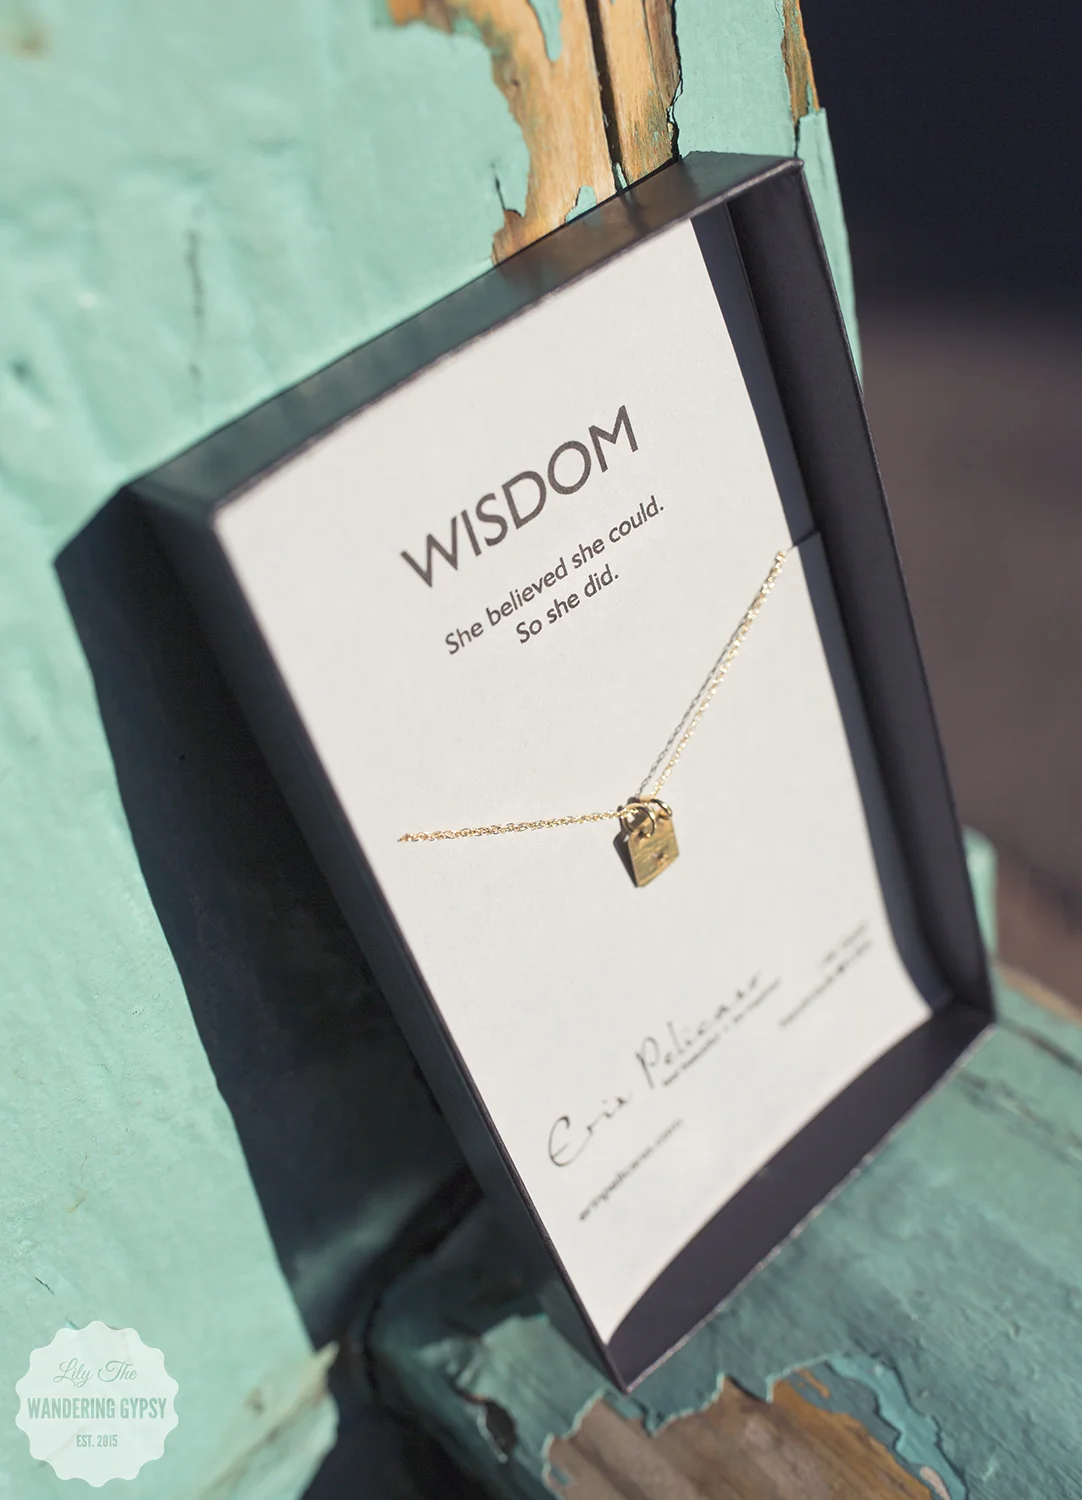
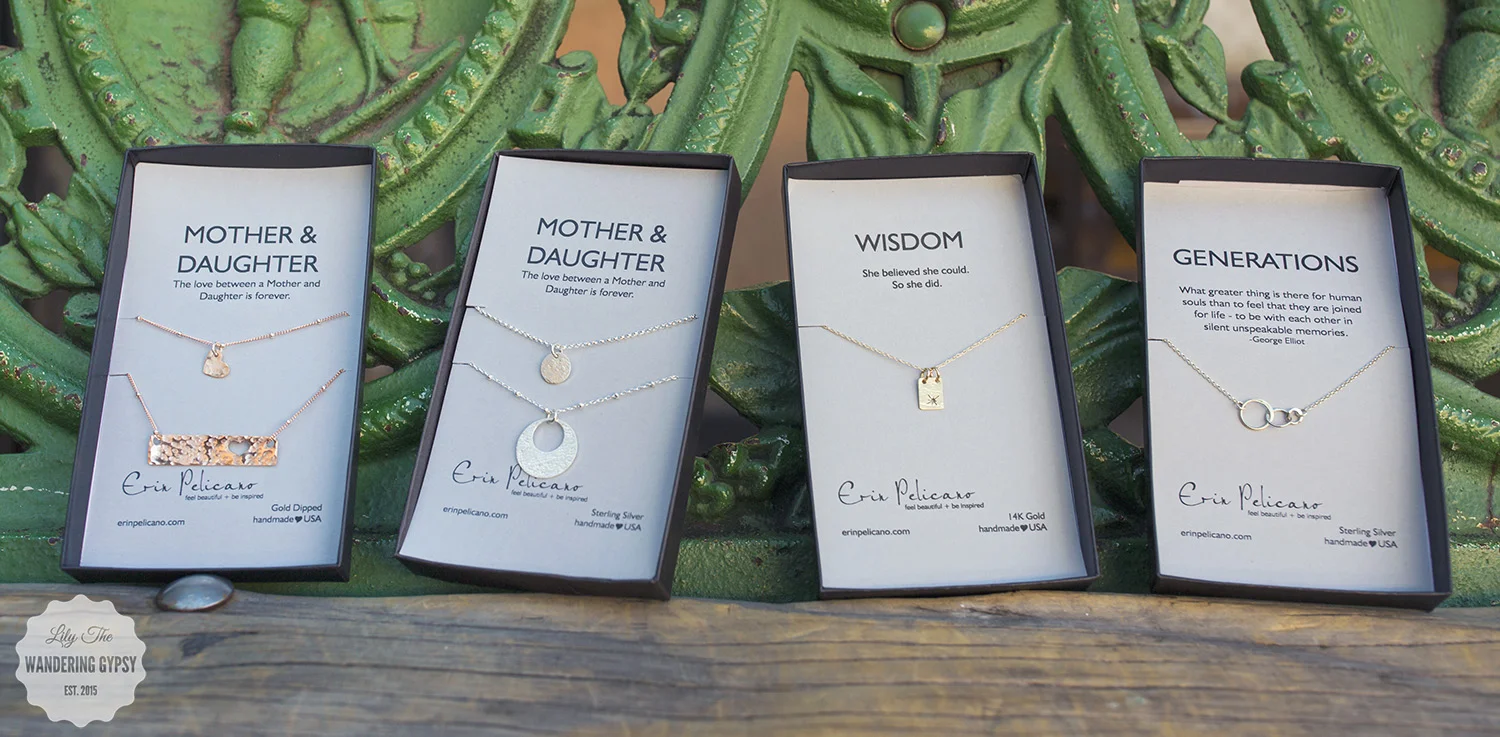
Erin Pelicano Jewelry
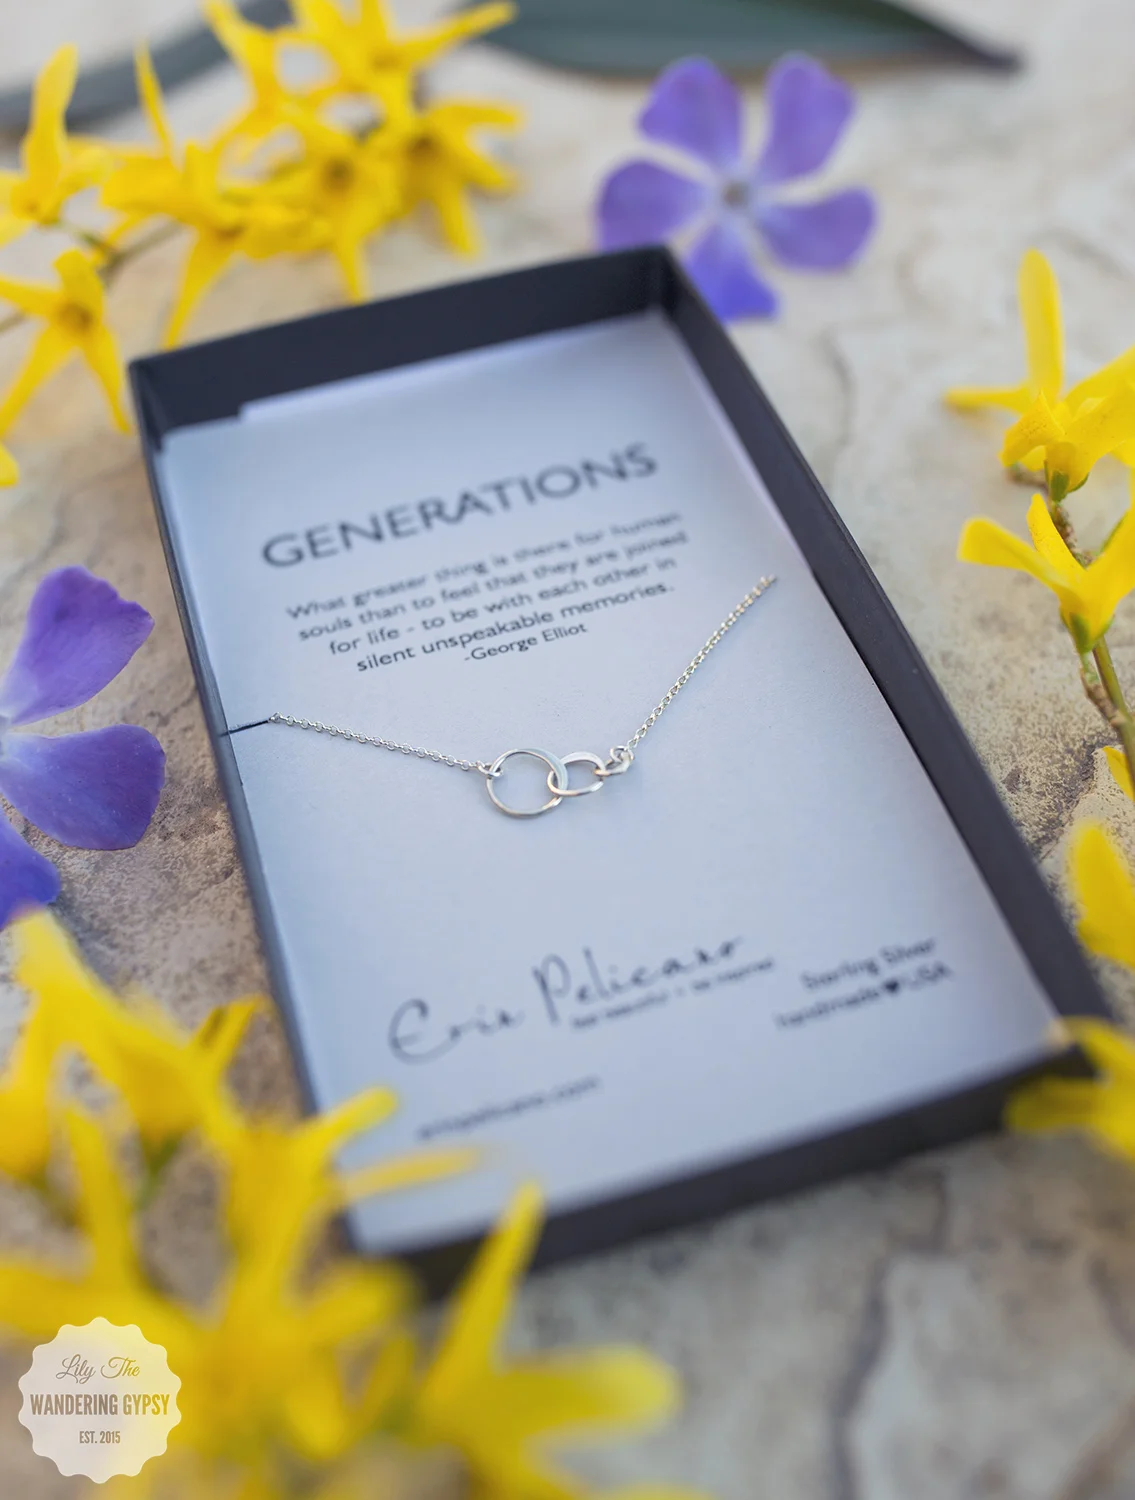
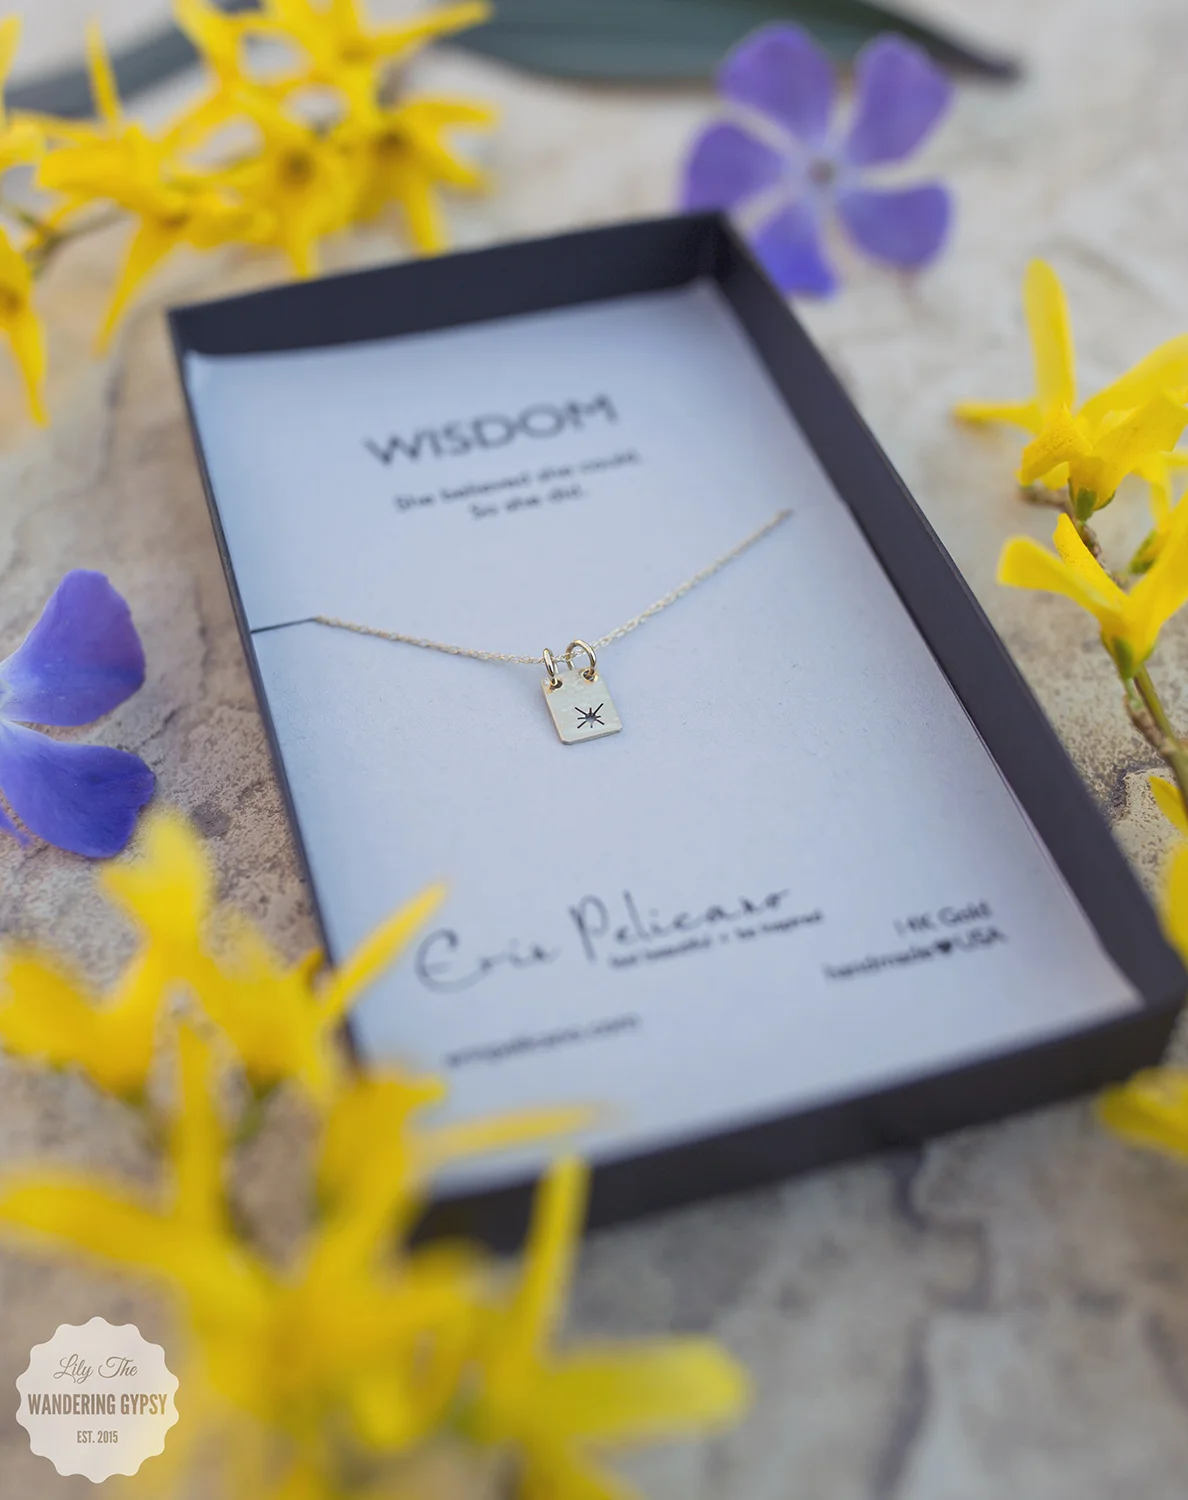
I absolutely love photographing anything from Erin Pelicano. I was so inspired by the city of Santa Fe, because of the gorgeous architecture, and the history of the buildings and my surroundings. I absolutely LOVE the fact that so many of the doorways, doors, and other parts of the buildings are painted mint or blue. Erin's necklaces always arrive wrapped in light blue tissue paper, so I thought that the mint railing would be the perfect place to photograph her necklaces. I also utilized an adorable courtyard (that I had all to myself!), and was able to work on her photos near a fountain and lots of pretty early Spring flowers. Such a magical place to work! I had so much fun with this project, and I hope you enjoy!!

And, of course, these necklaces are wonderful gifts for Mother's Day and beyond! I have given these to various women in my family, and they are wearing them every time I visit! Erin Pelicano jewelry is always made from either real silver or gold, which I think sets her work far above the rest!


If you are in need of product photography for your goods, please comment below, or feel free to Contact Me for quotes! I would love to help you capture the beauty of your products.
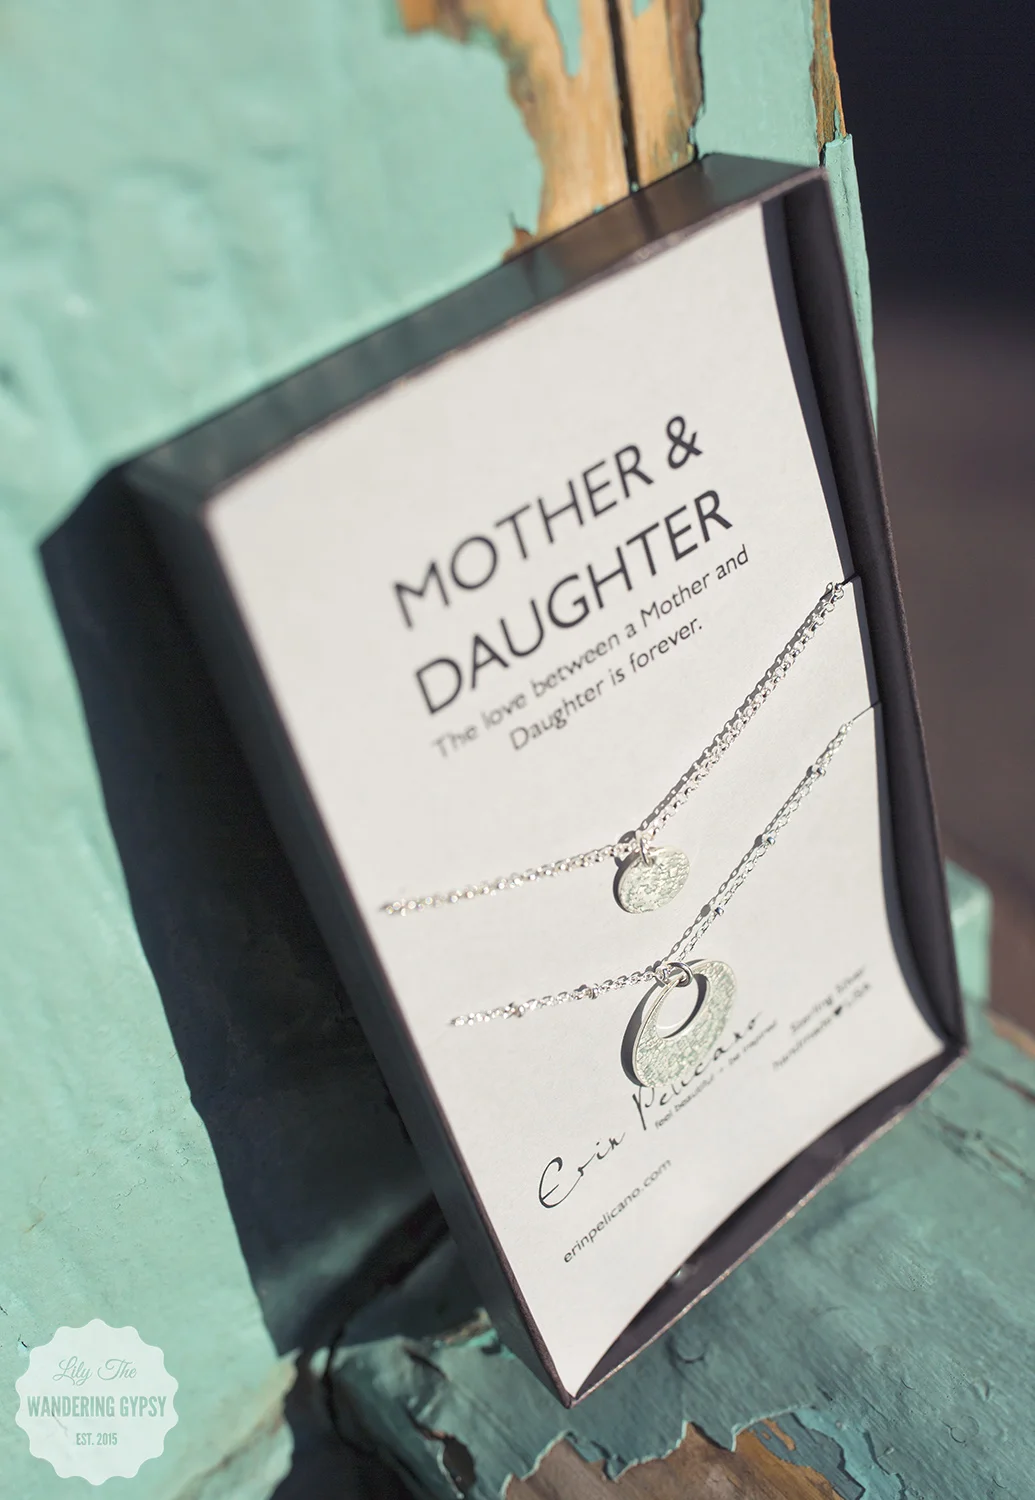
Another Adorable Gift Basket With Erin Pelicano Jewelry
I hope you enjoyed my previous gift basket post, here. I had so much fun putting that basket together, that I created yet a second gift basket. These are so perfect for Mother's Day (and for gifting at just about any time of the year). The reason why I like the style of this gift basket so much, is because after you gift this beautiful creation, someone can then use the basket as store in a closet, bathroom, pantry, and more.
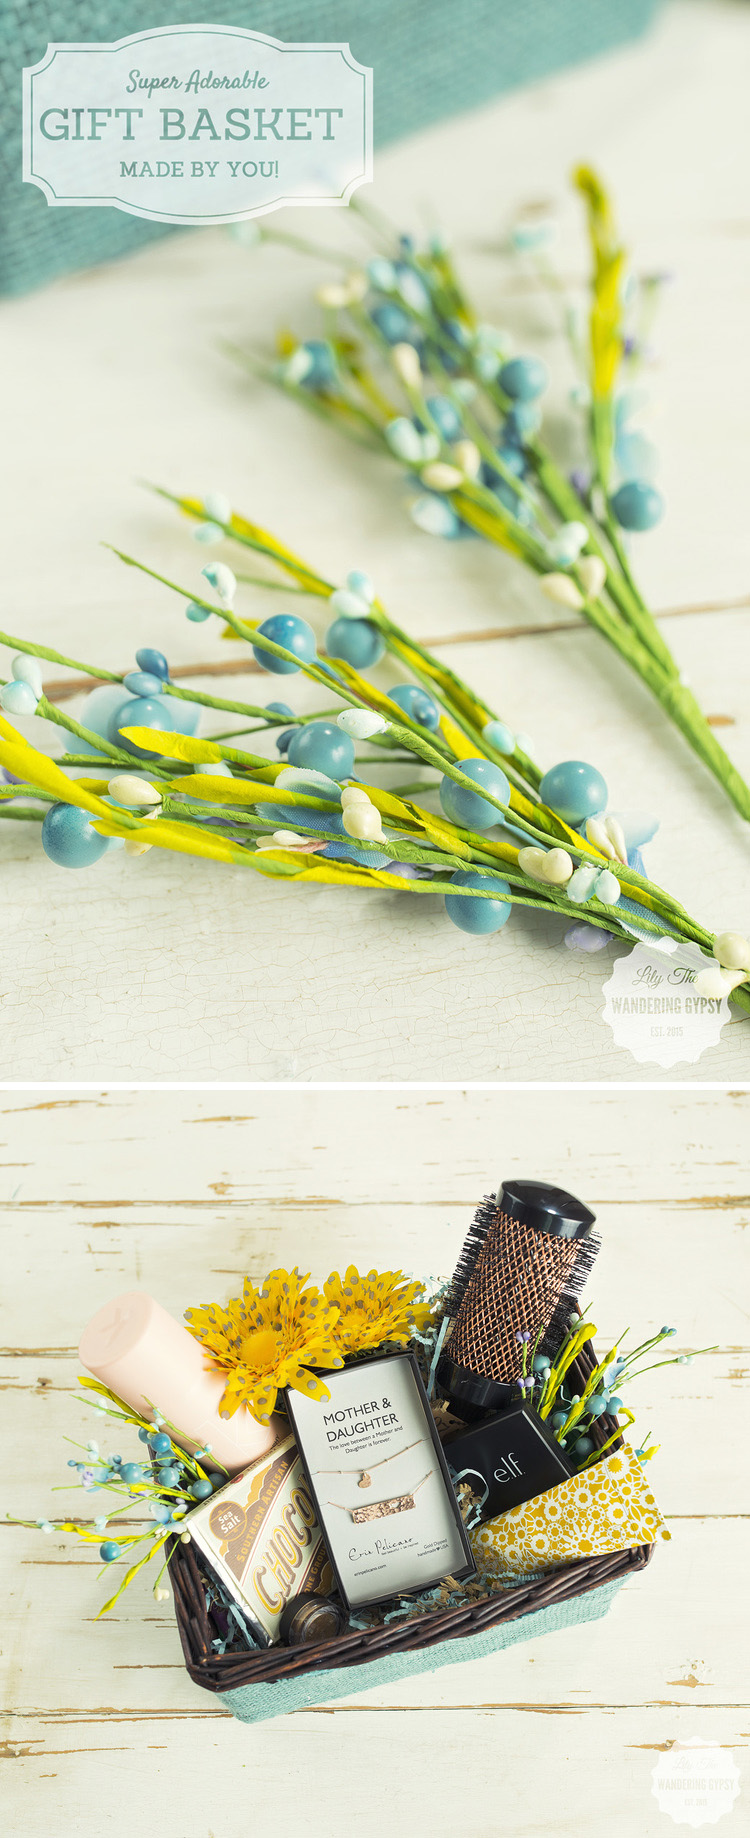
GIFTS FOR SOMEONE SPECIAL
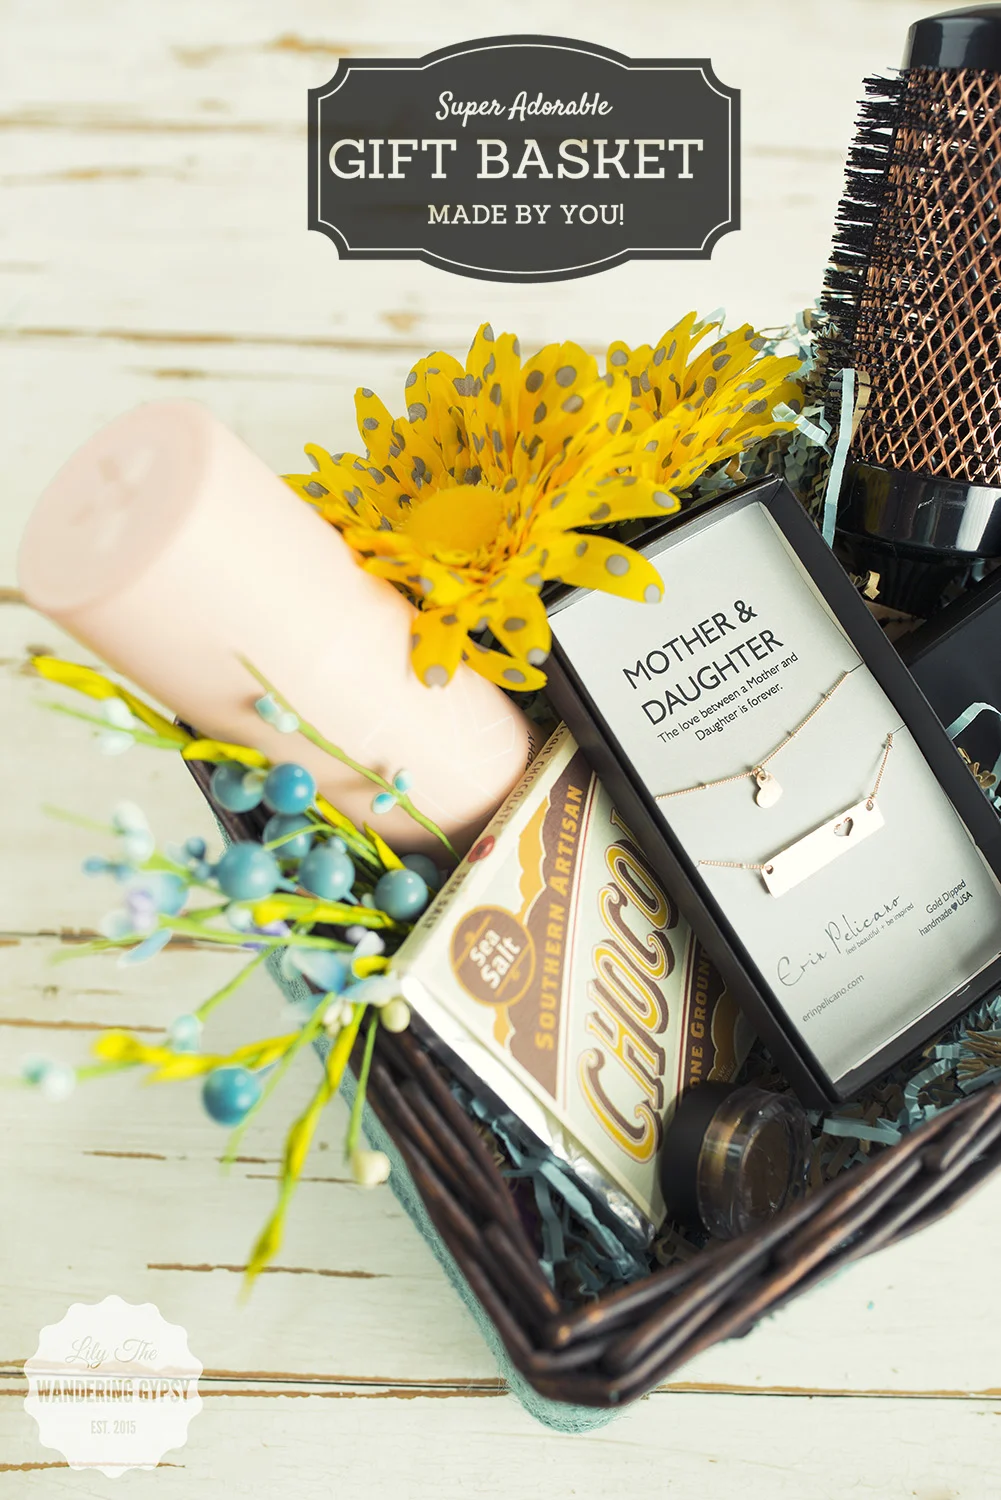
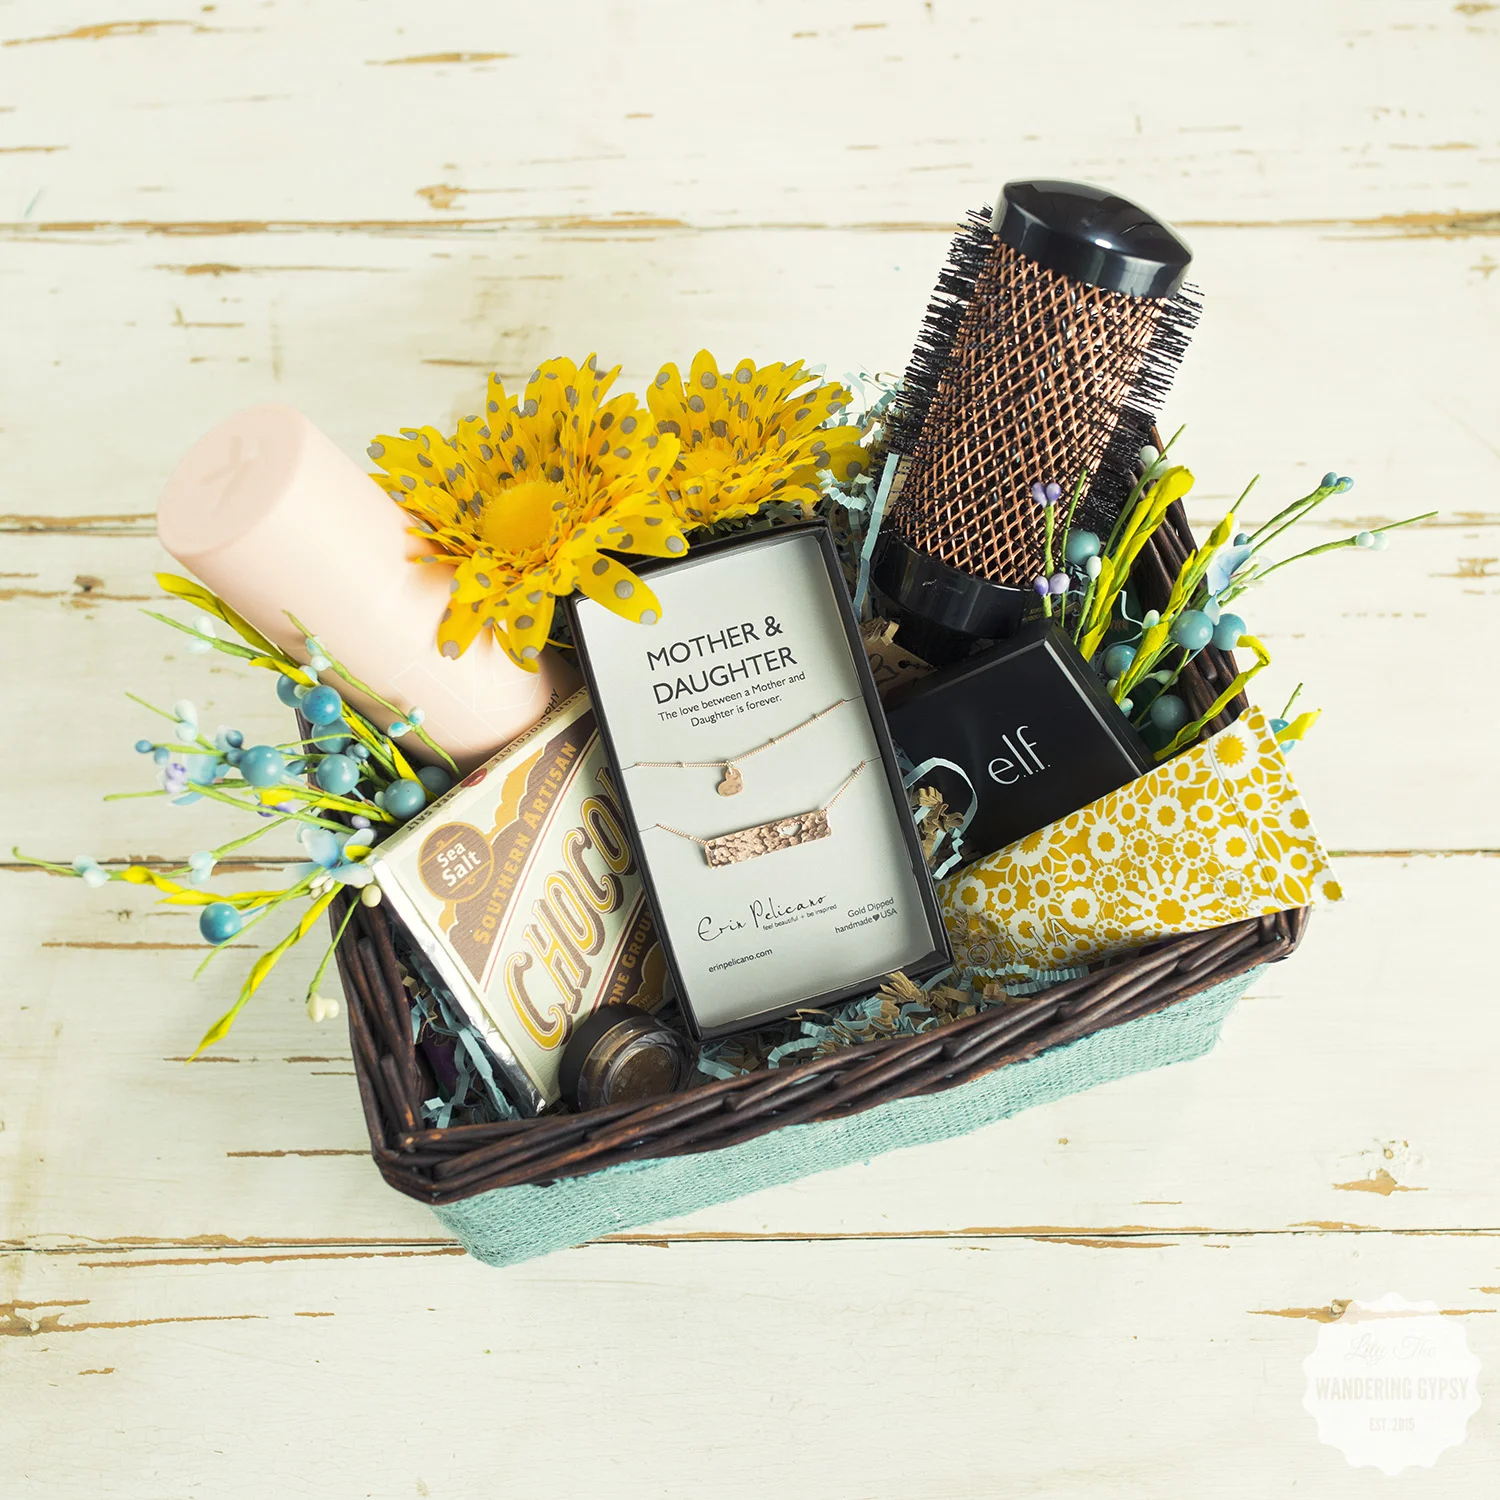
The items in this gift basket include: Mother & Daughter Necklace by Erin Pelicano, White Petals & Rice Flower Lotion by Lollia, 3" Copper Thermal Round Brush by 1907 by FROMM , Doo.Over Dry Shampoo by Kevin Murphy, Eye Palette and Eyeshadow by e.l.f., and the Sea Salt Southern Artisan Chocolate by Olive and Sinclair Chocolate. Read more about this chocolate in my previous post about Chocolate + Cashmere, here.
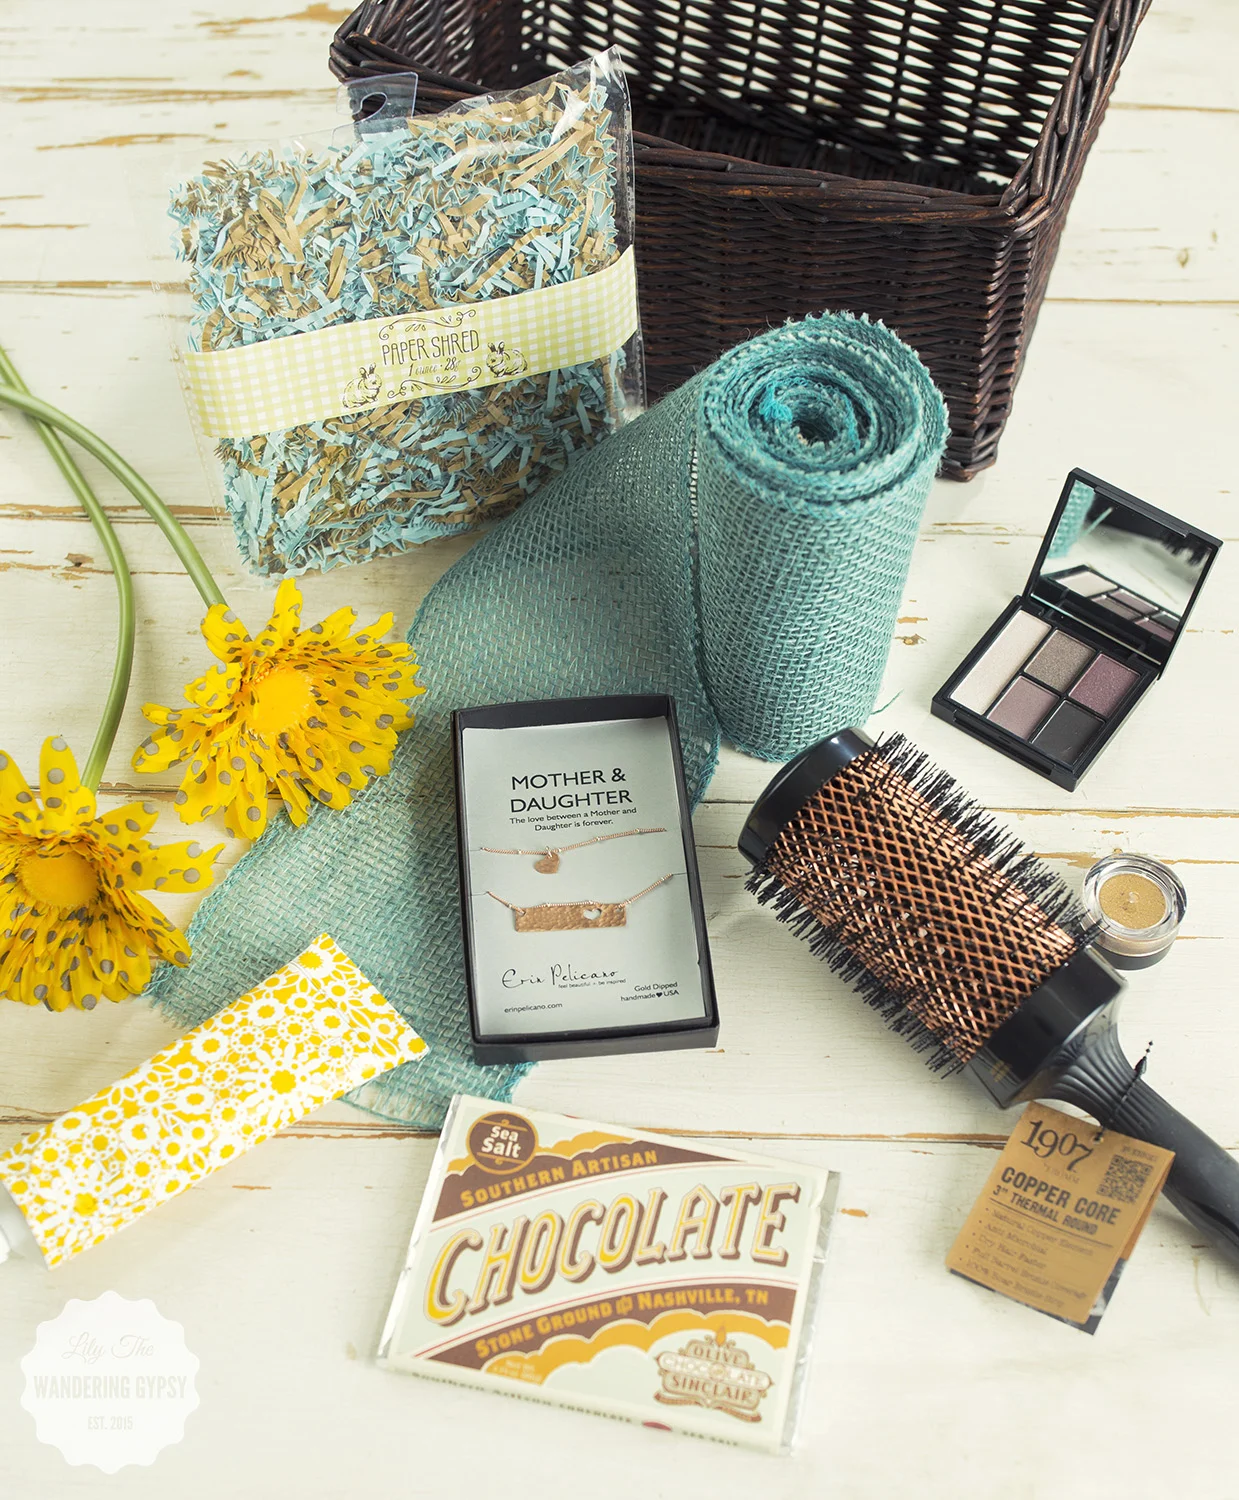
MATERIALS:
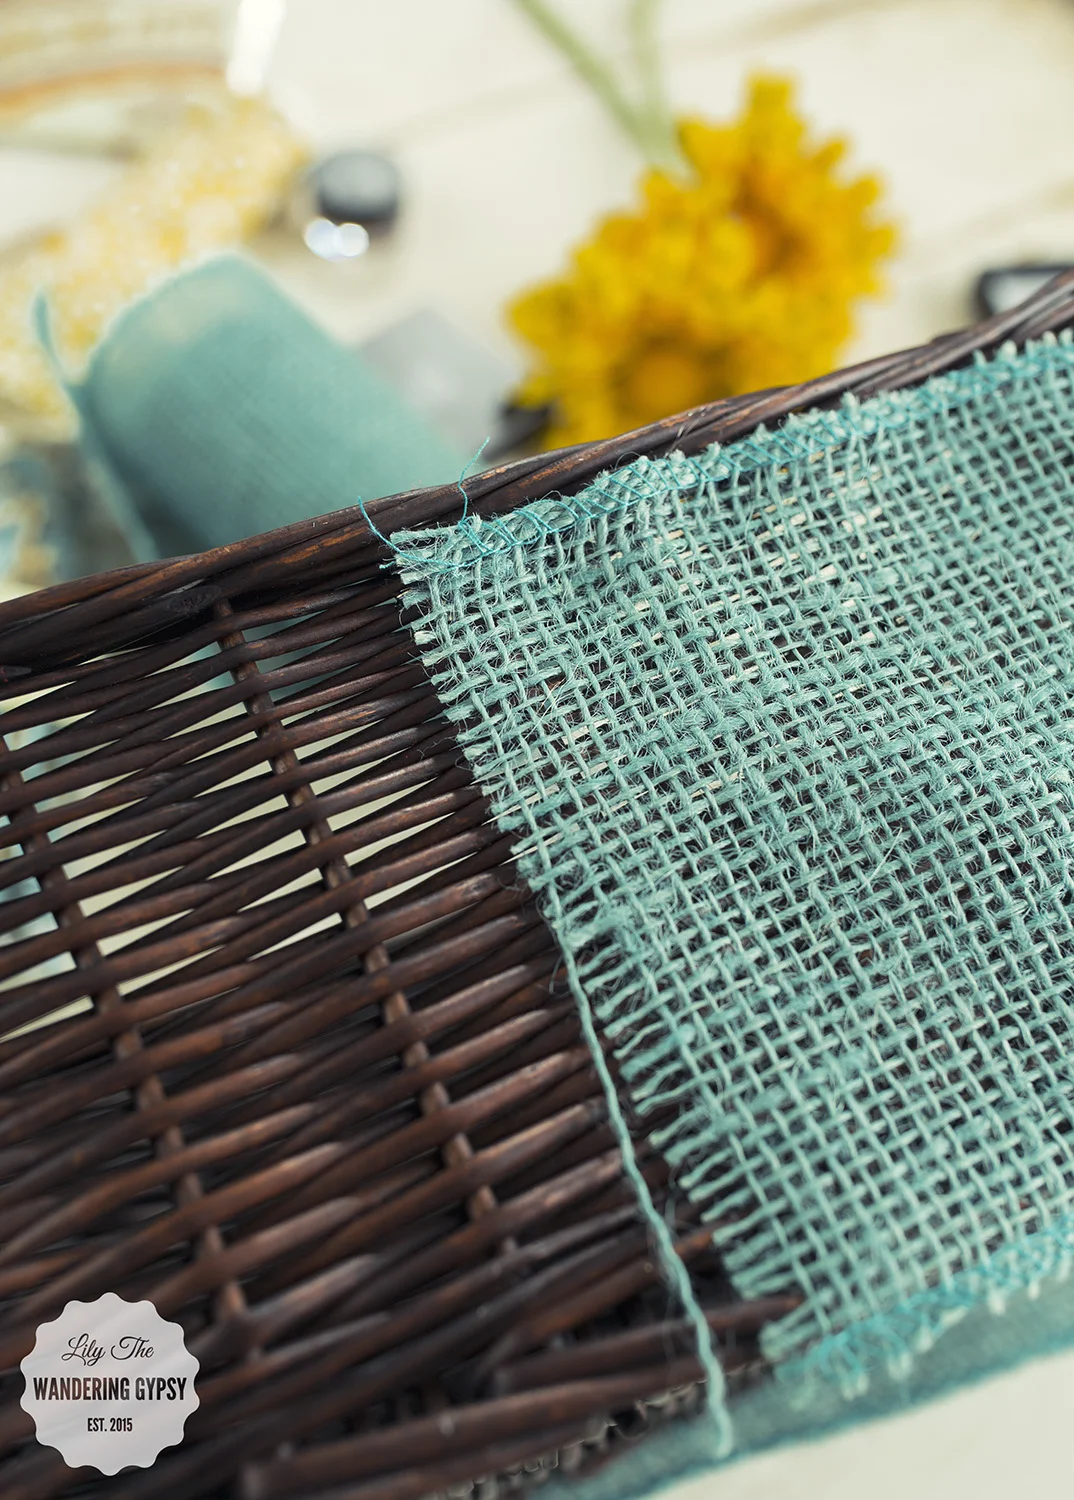
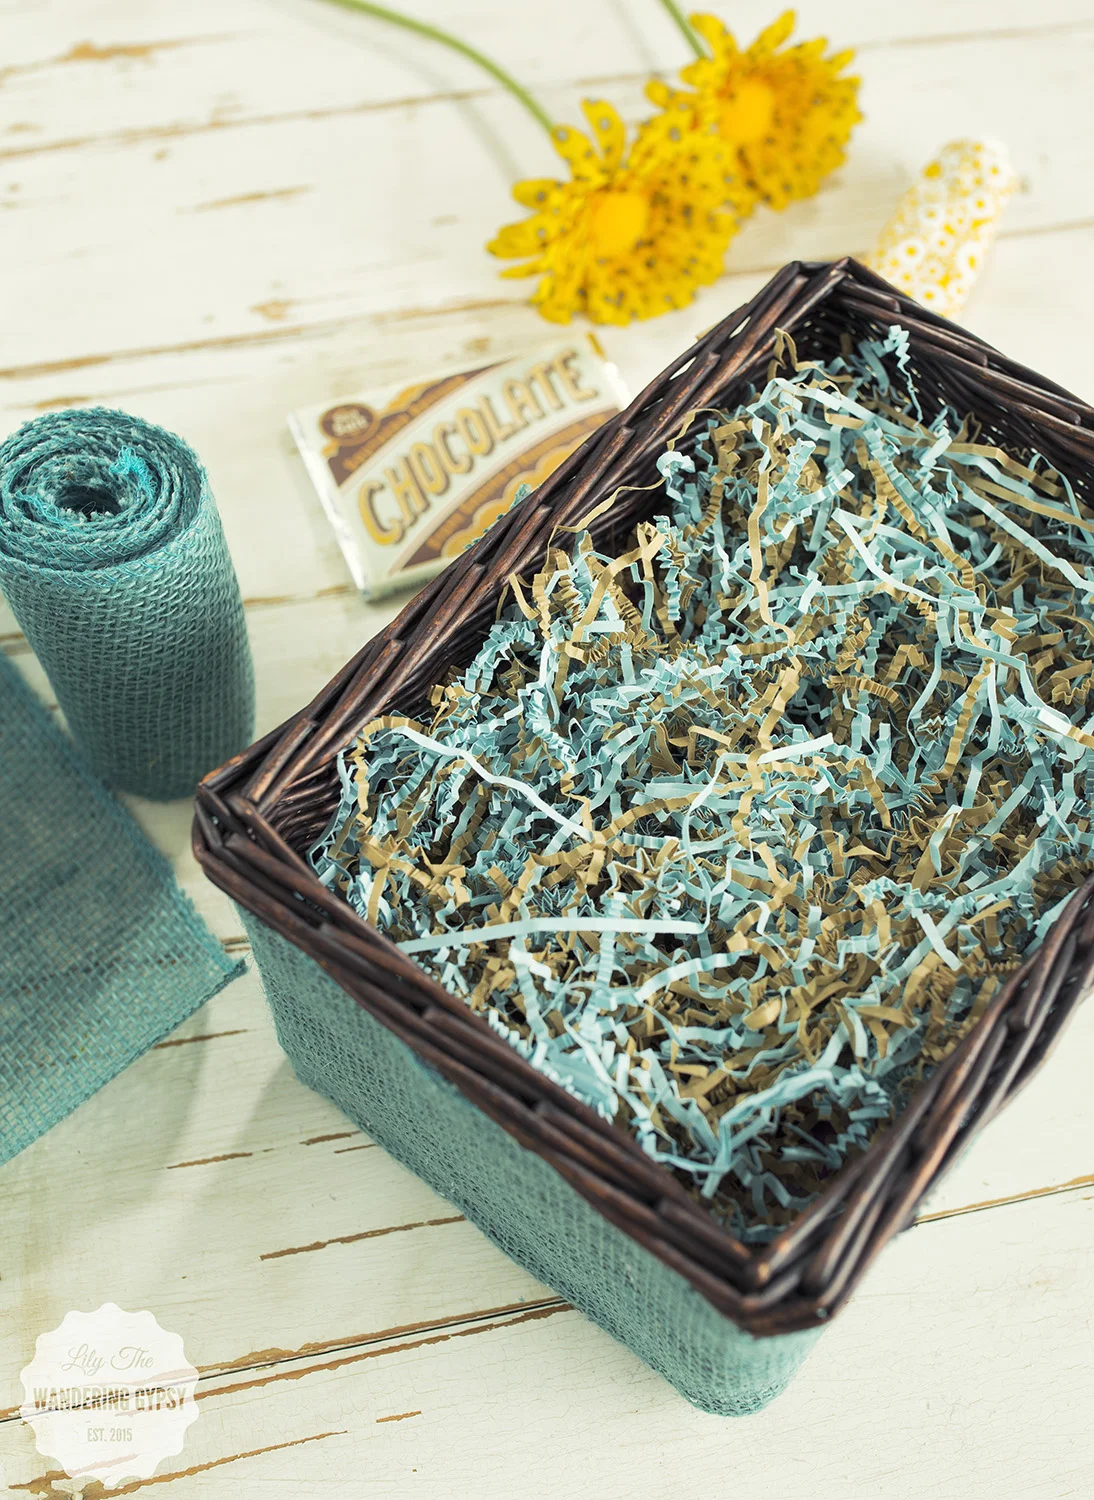
1 Wicker Basket
1 Roll of ribbon to wrap around the basket (not wired)
Hot Glue Gun + Glue (I used about 12 sticks, so it takes a lot)
2-3 Silk Flower Heads
Tissue Paper
Paper Crinkles
Fun Goodies To Fill Basket
INSTRUCTIONS:
1.) Cut a piece of ribbon, long enough to wrap around the basket and overlap about 3" in back.
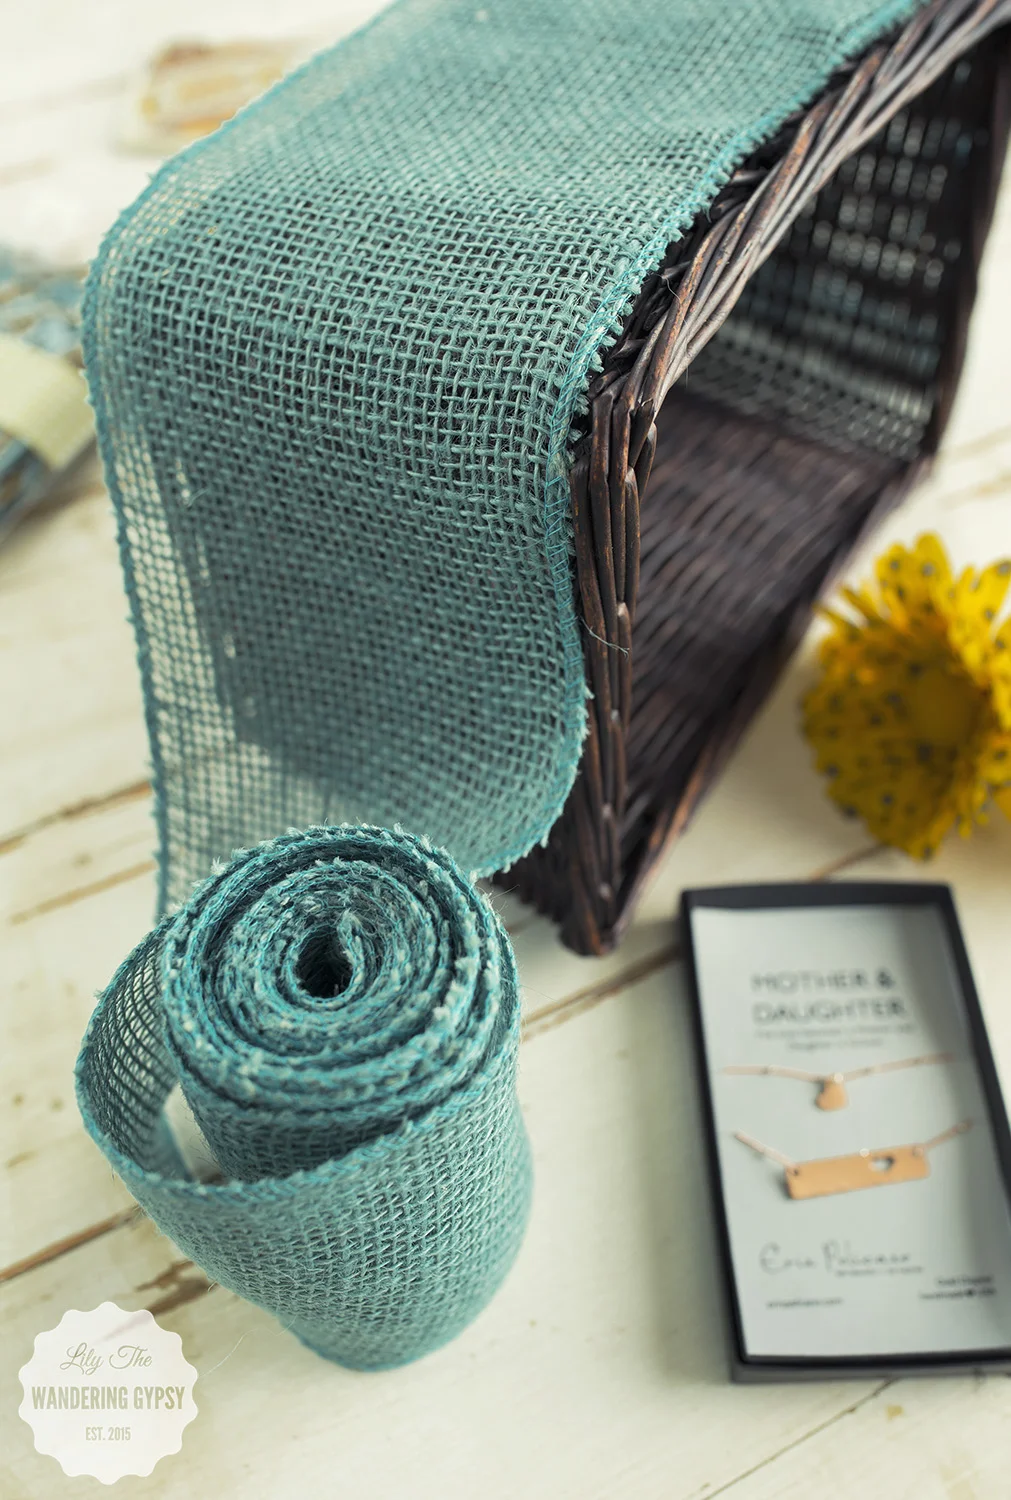
2.) Glue the ribbon to the basket. I was pleasantly surprised at how easy it was to work with this burlap ribbon roll. It just seemed to mold to the shape of the basket so well. Starting at the back of the basket, glue the top of the ribbon and the cut end of the ribbon to the basket. Continue to wrap the ribbon around, and glue it/secure it every few inches. I glued up the basket where the vertical basket pieces were.
Gotta love that glue gun :)
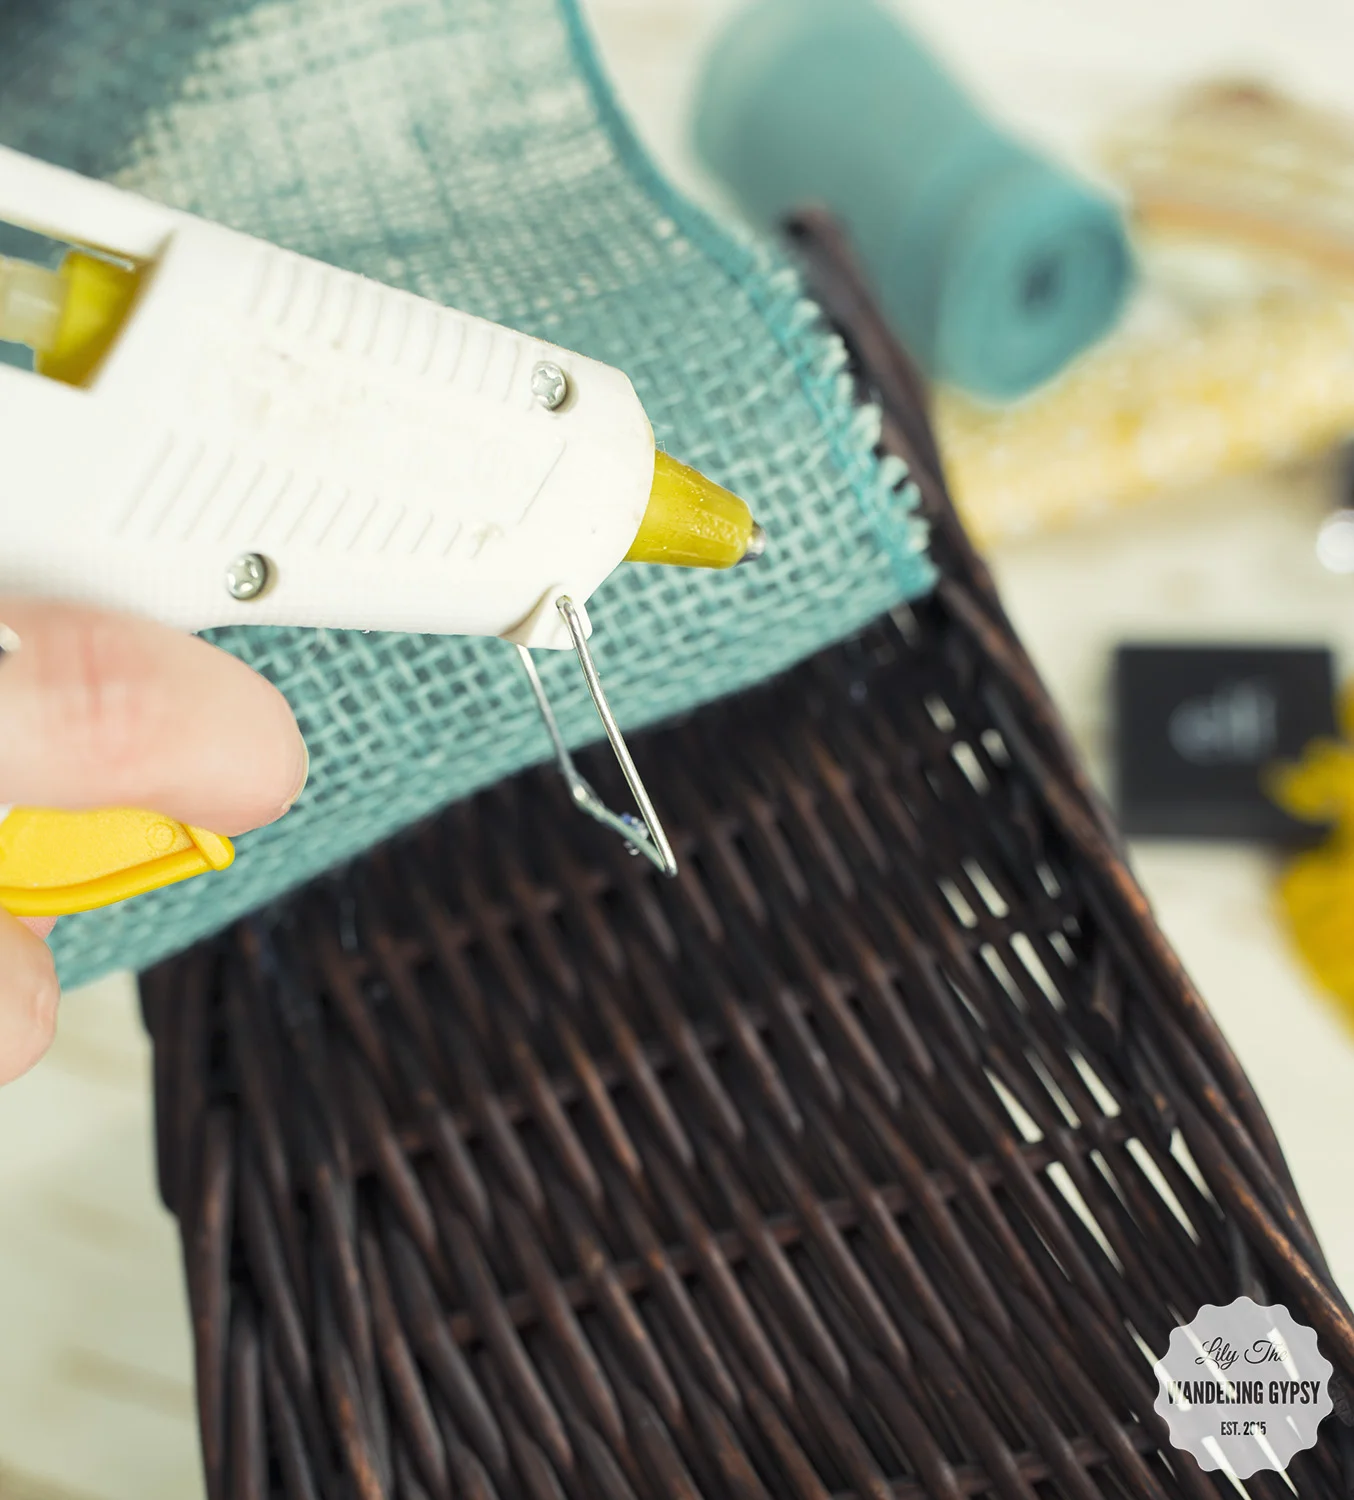
3.) When you have glued the ribbon all the way around the basket, make sure the ribbon is attached well throughout the entire basket. Feel free to touch up any spots that may be loose. Fold the remaining cut end of ribbon over, to make sure loose edges are not showing. Then, glue that in place. Yay! The "hard part" is done.
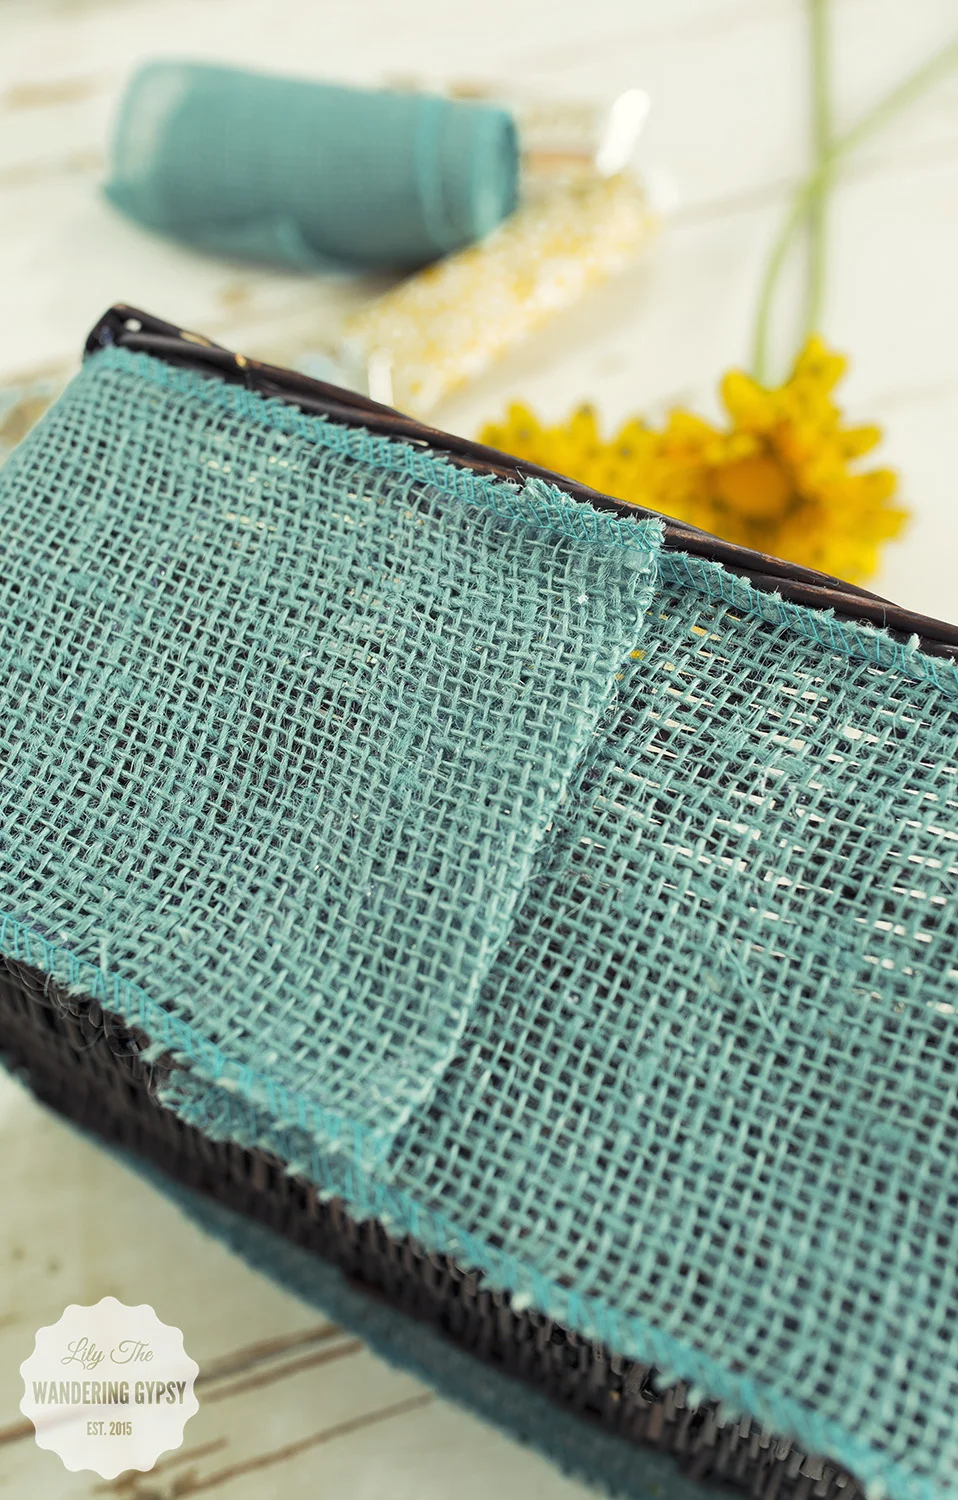
Here is what your gift basket should look like...(below)

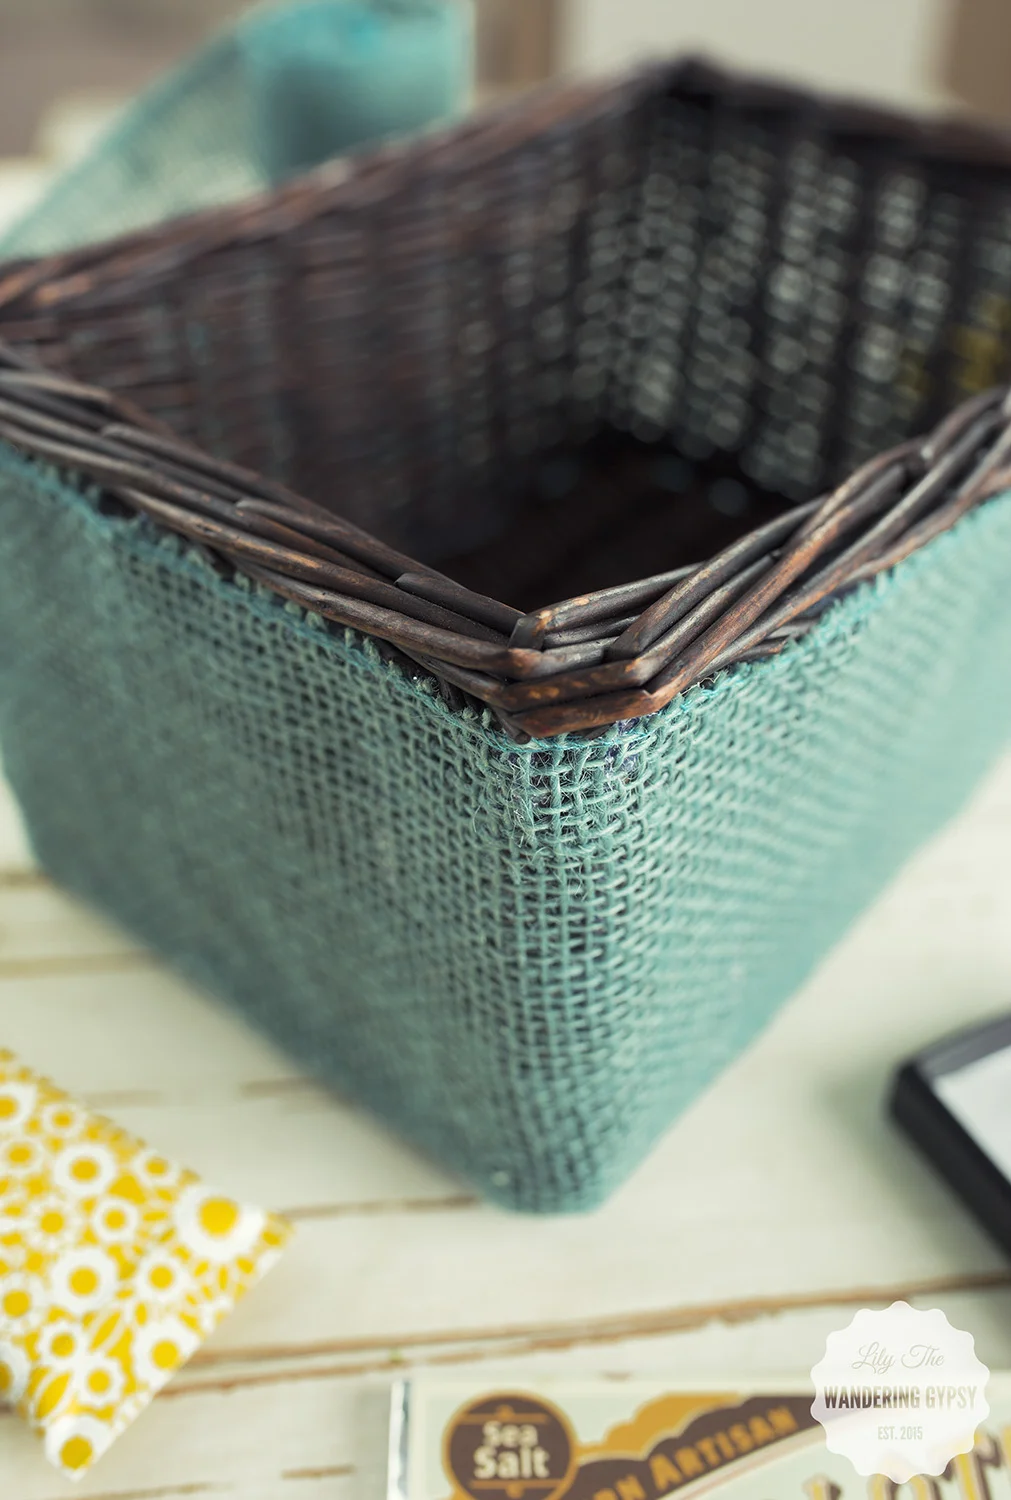
4.) Now, fill the bottom half of the basket with tissue paper.

5.) Then, add your paper crinkles. They should mold to the shape of the basket pretty well. These were from Target for $1.00 - I just love the color combo!
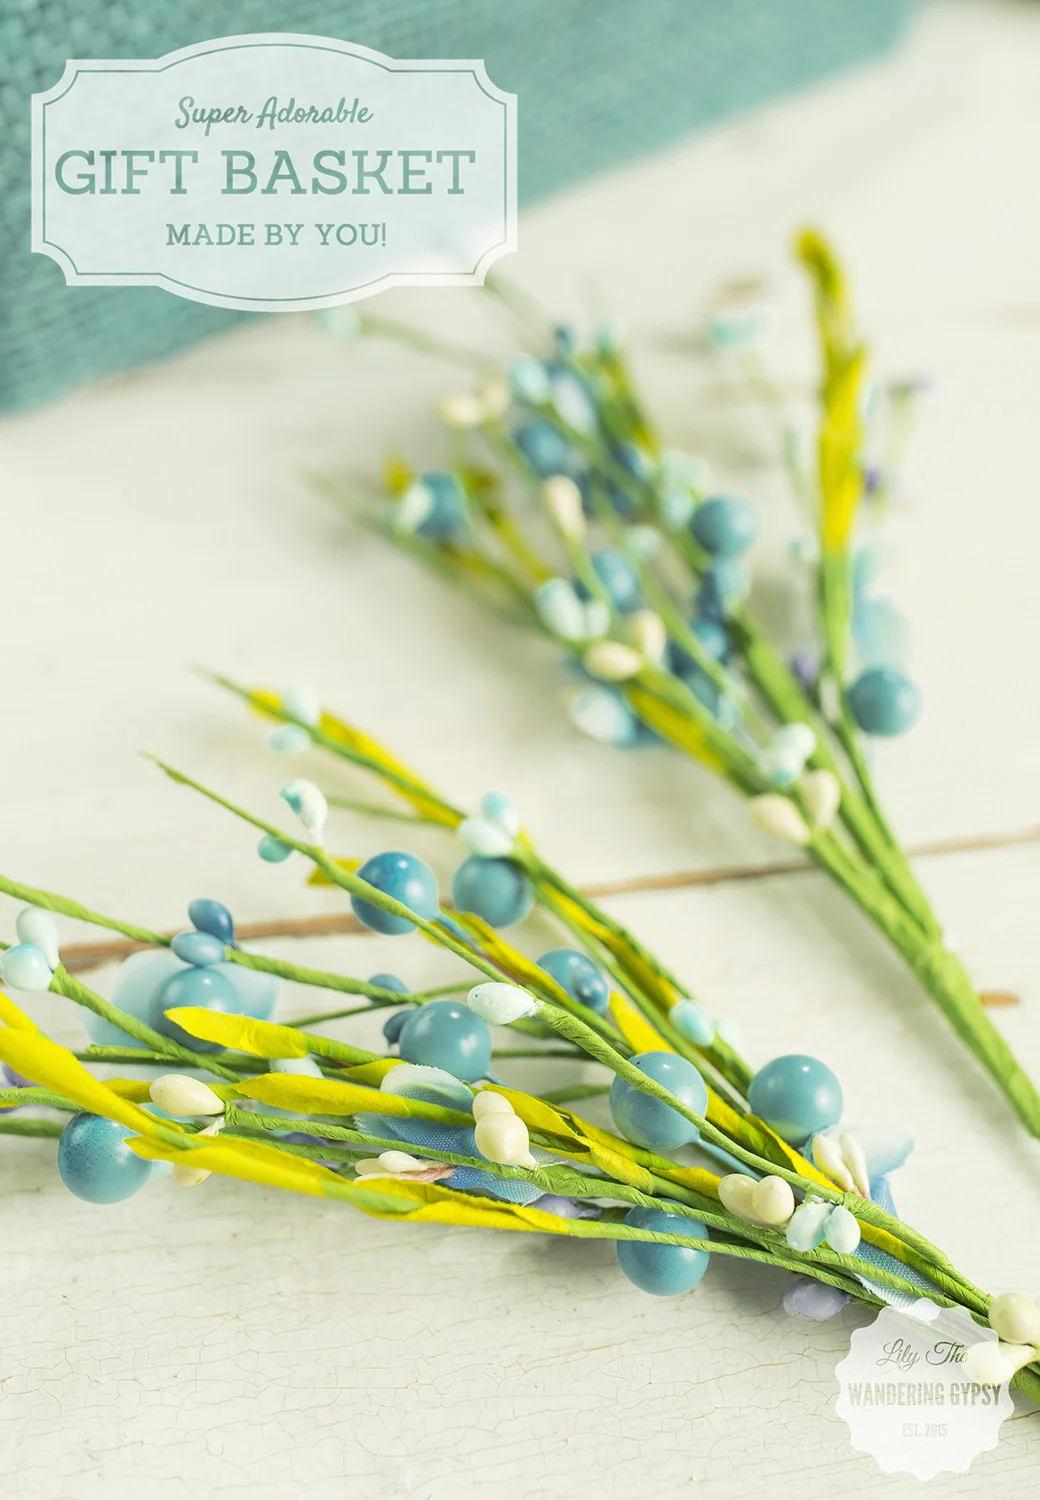
I wanted to make this cute gift basket like a floral arrangement of sorts, and I found these adorable berries (below), that really were the absolute perfect colors. So, it made me really happy to find these at JoAnn's during their recent Daffodil Dash sales :)