If you’re like me, St. Patrick’s Day symbolizes fun, festive decor, sweet treats, Spring temperatures, and perhaps a little Luck O The Irish! Whether you have a Pub Crawl to attend, a concert, a parade or after parties, below is a fun round up of thematic fun, sure to make you smile. If you know of any fun holiday events, drop a comment below.
My grandmother, Pat (short for Patricia) was born on St. Patty’s Day, so the day is always extremely special to me for that reason also. So, why not throw on some green, and no leprechauns will be able to give you a pinch LOL!! And to disclose, some of the links here are affiliate links, where I can get a very small % of the sale, to help keep this blog alive and well. Thanks for your support!!
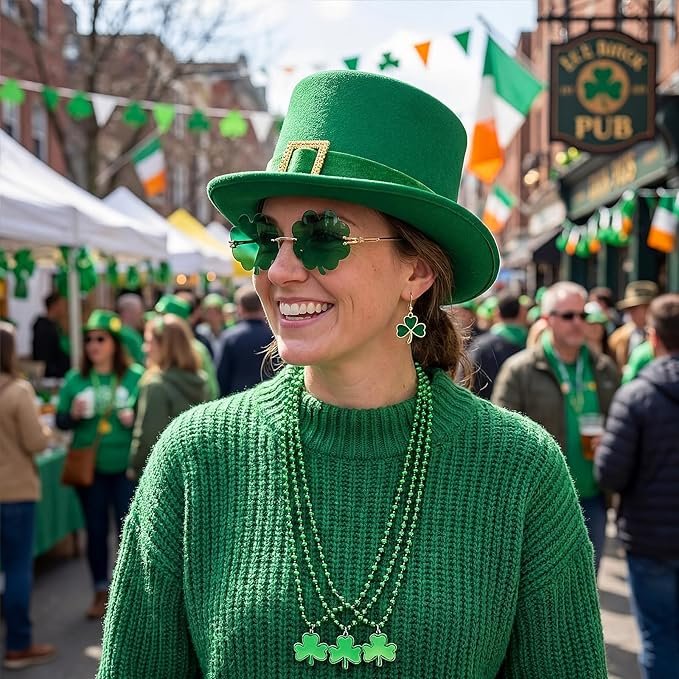
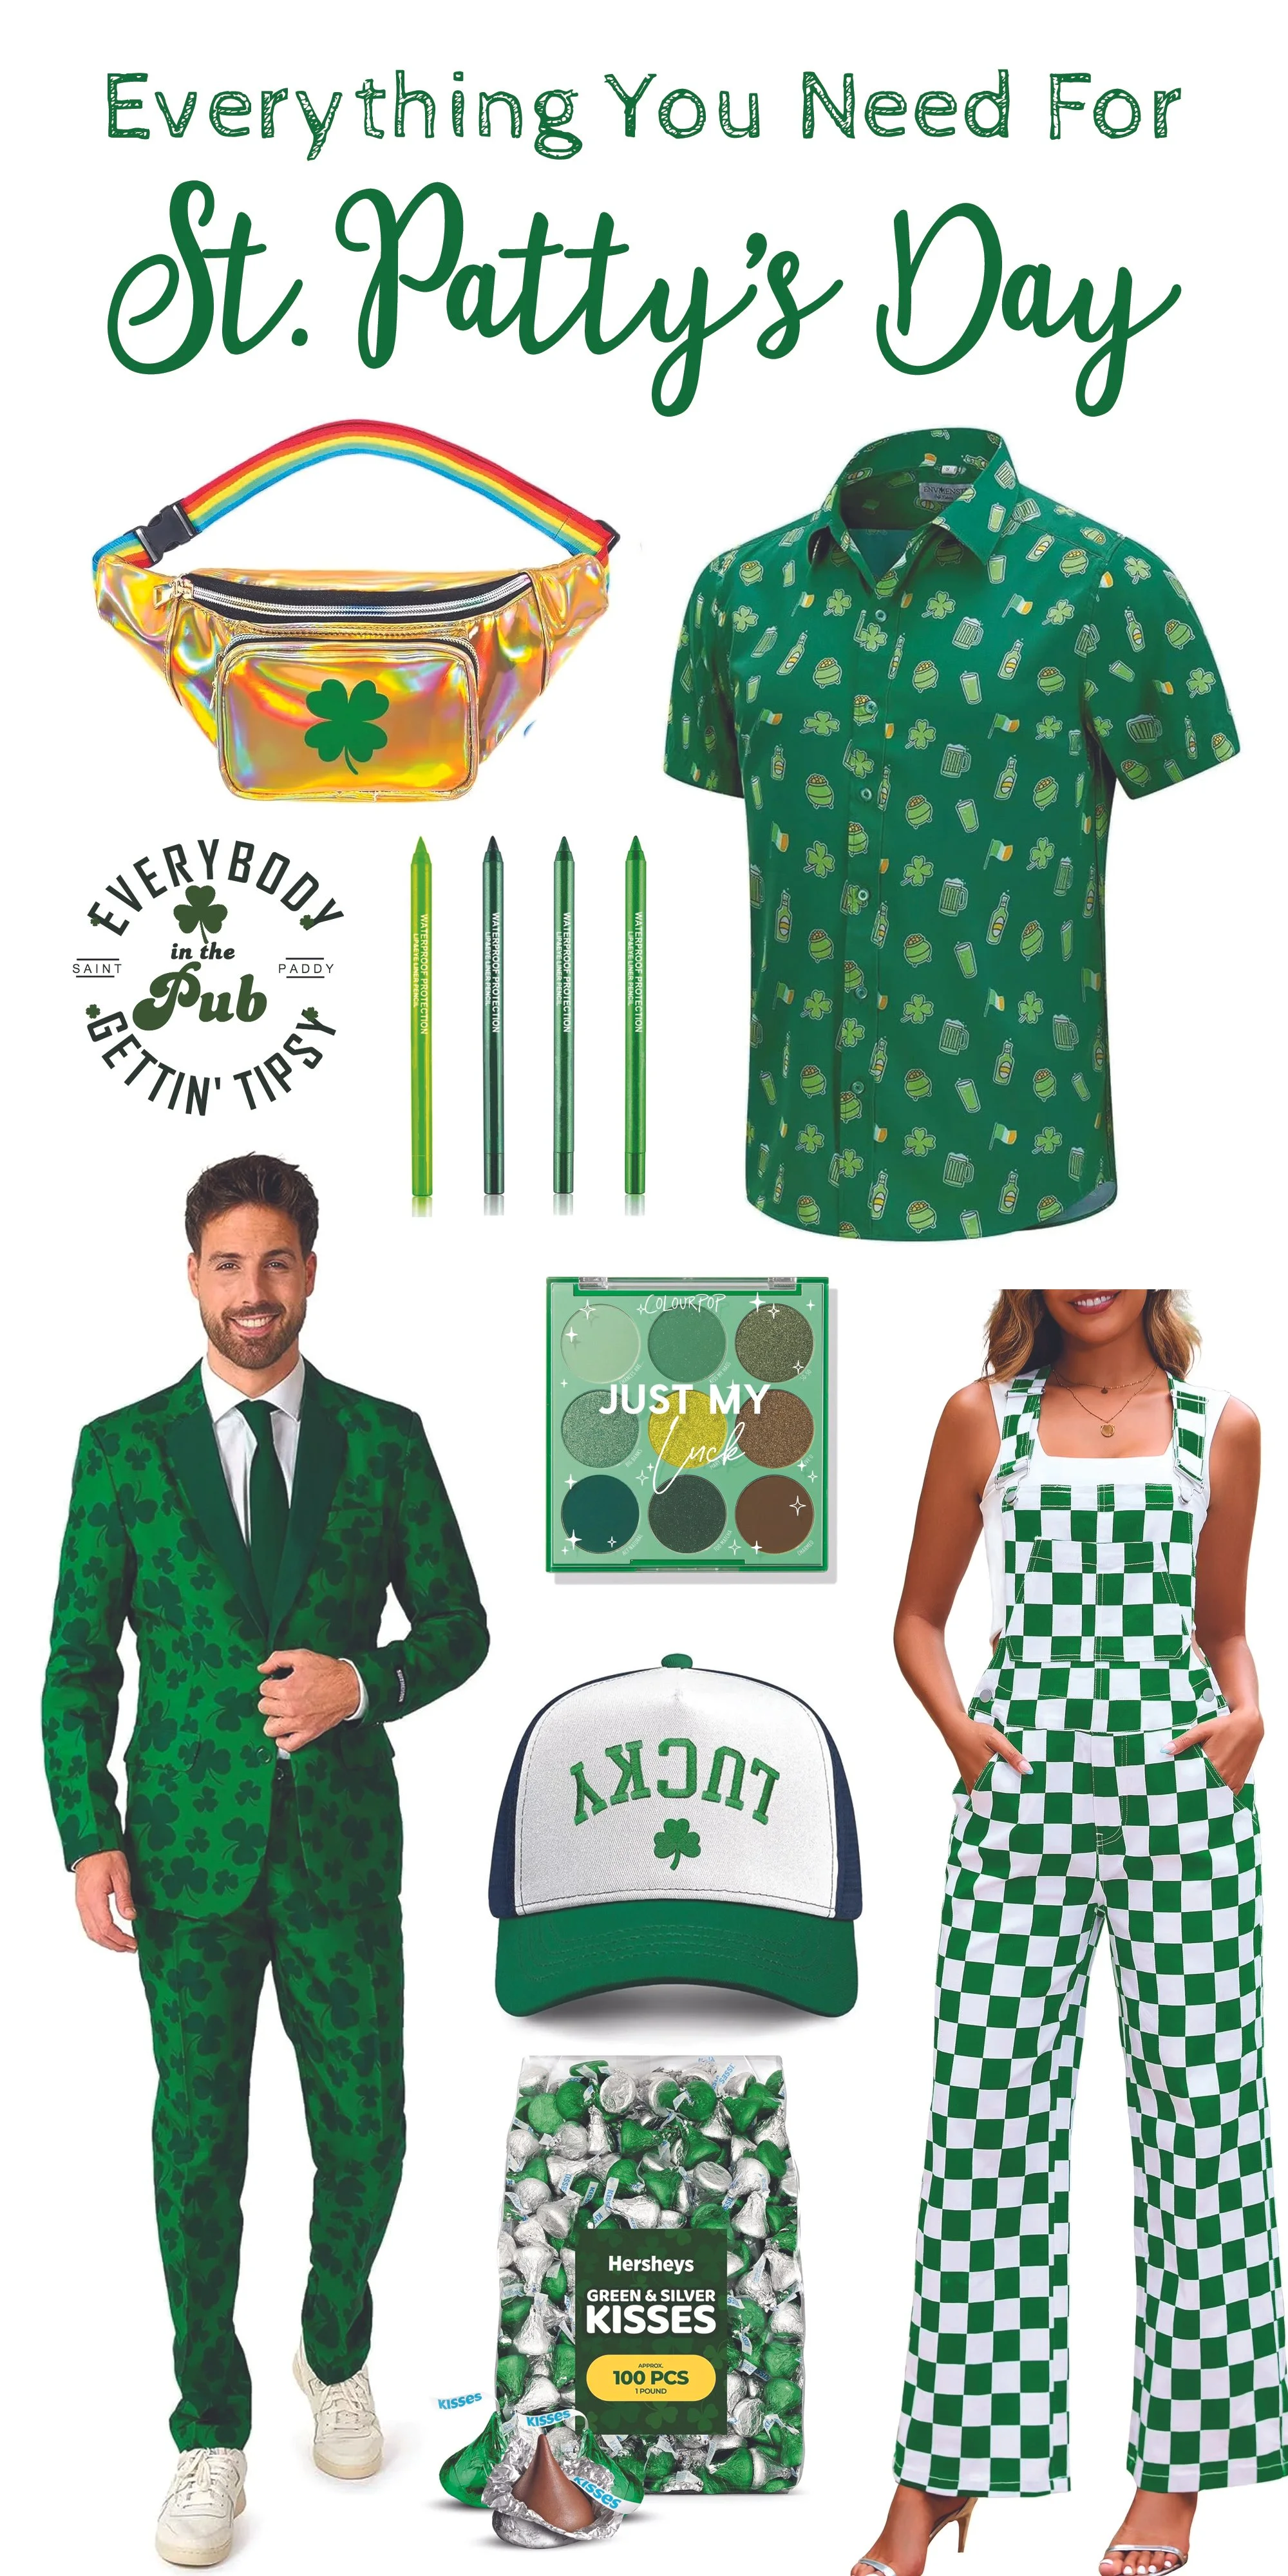
St, Patty’s Day Costume Essentials and Accessories - Hat, Glasses, Earrings, and Necklaces - find this 6 piece set for only $25.99 on Amazon.
We have seen folks in these cute overalls at other events, and want a some for ourselves. Below, are some green and white, checkered overalls that would be so fun to sport on a sunny St. Patty’s Day!


Here is a fun option for the Men’s version of the checkered overalls. Find them on Amazon here for only $46.99.
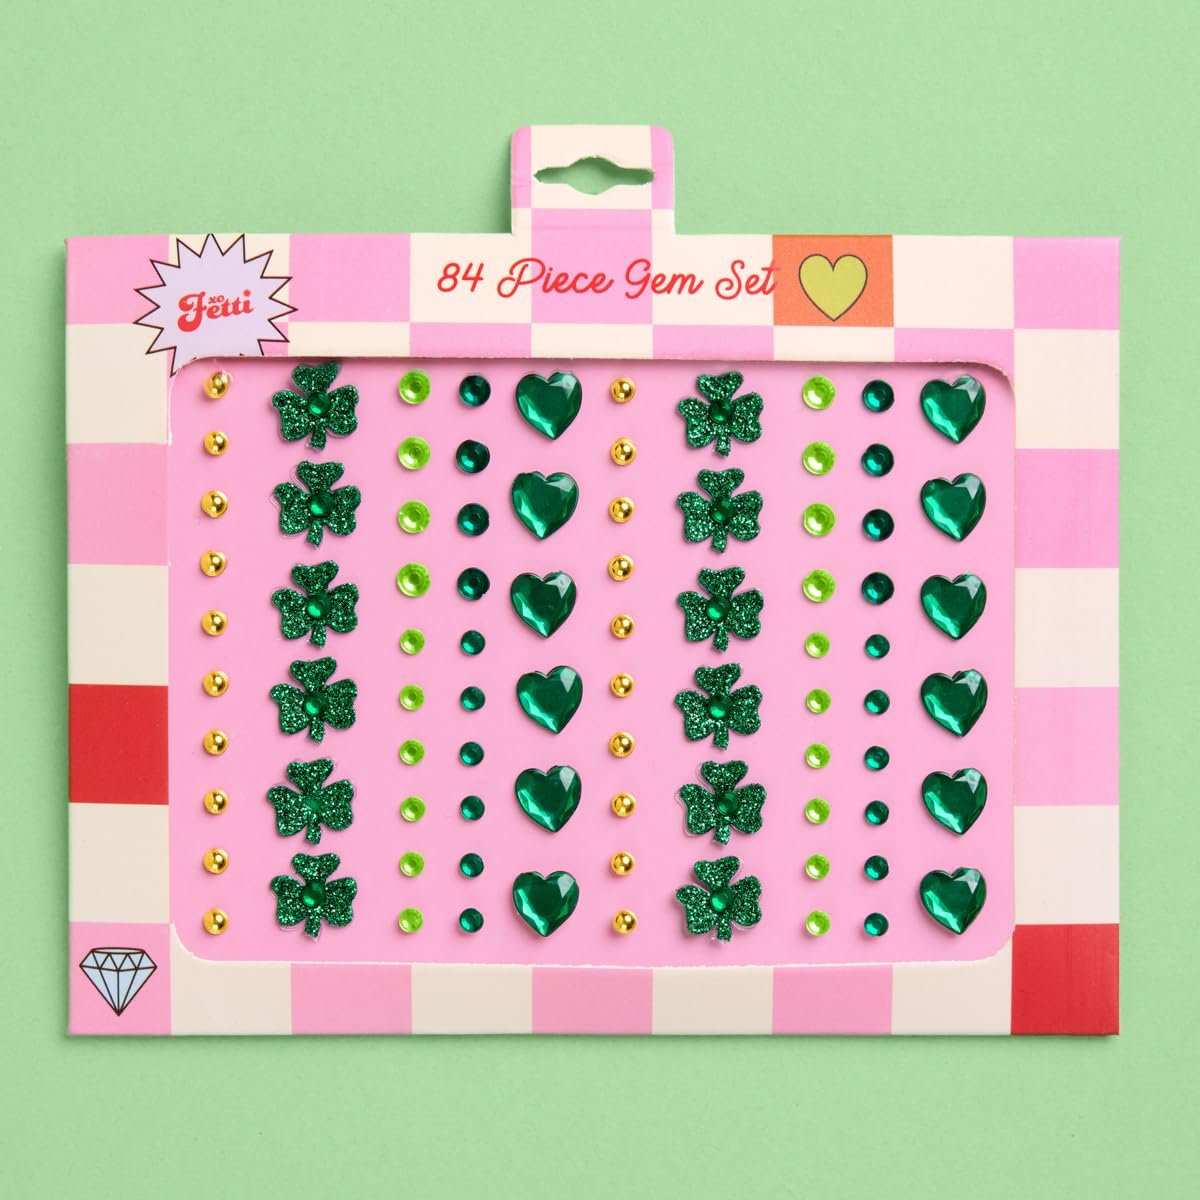
A super easy and simple way to spruce up your attire for St. Patrick’s Day is to add some colorful sticky gems to your face, body and accessories! Update and bling out the most simple things to make for a one of a kind look. Find this 84 piece set for only $11.99 here.

Or, these fun green and white checkered flare jeans would be just as fun with a cute top or sweater. Find the Odefou Checkered Flare Jeans for Women, on Amazon here for only $38.99.
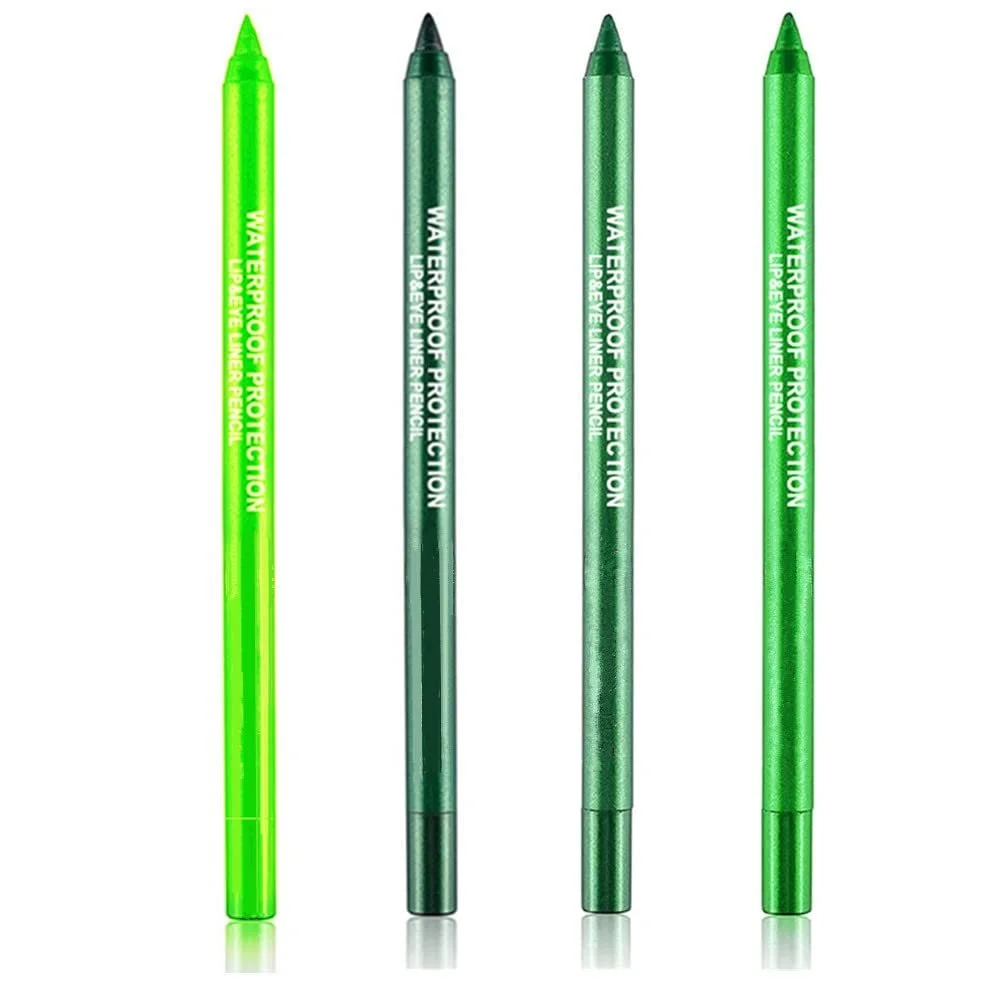
Wild Shades of Green Eyeliner are sure to stand out for the festivities! Find this SET OF 4 eyeliner pencils on Amazon for just $6.99!
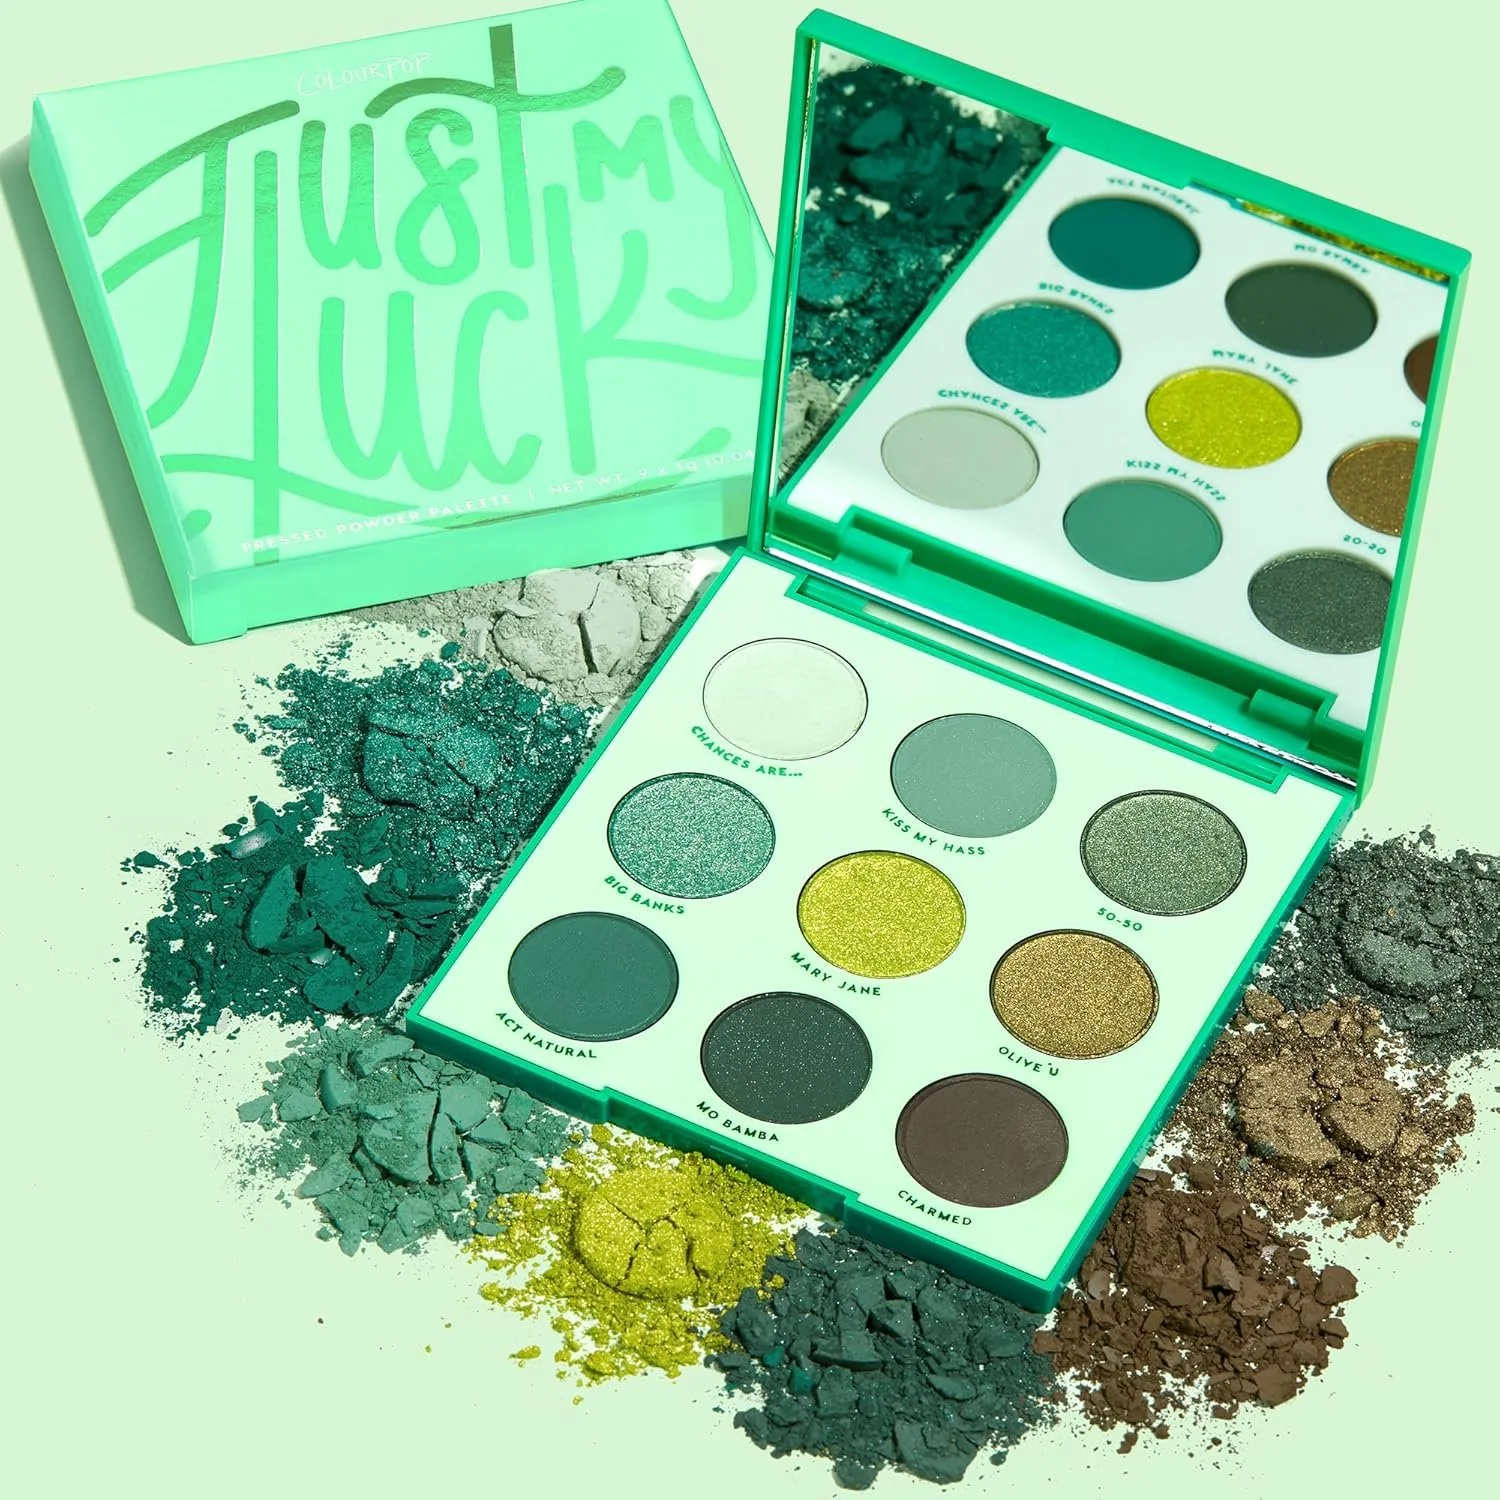
Why not add some gemstones to your look, find them below.
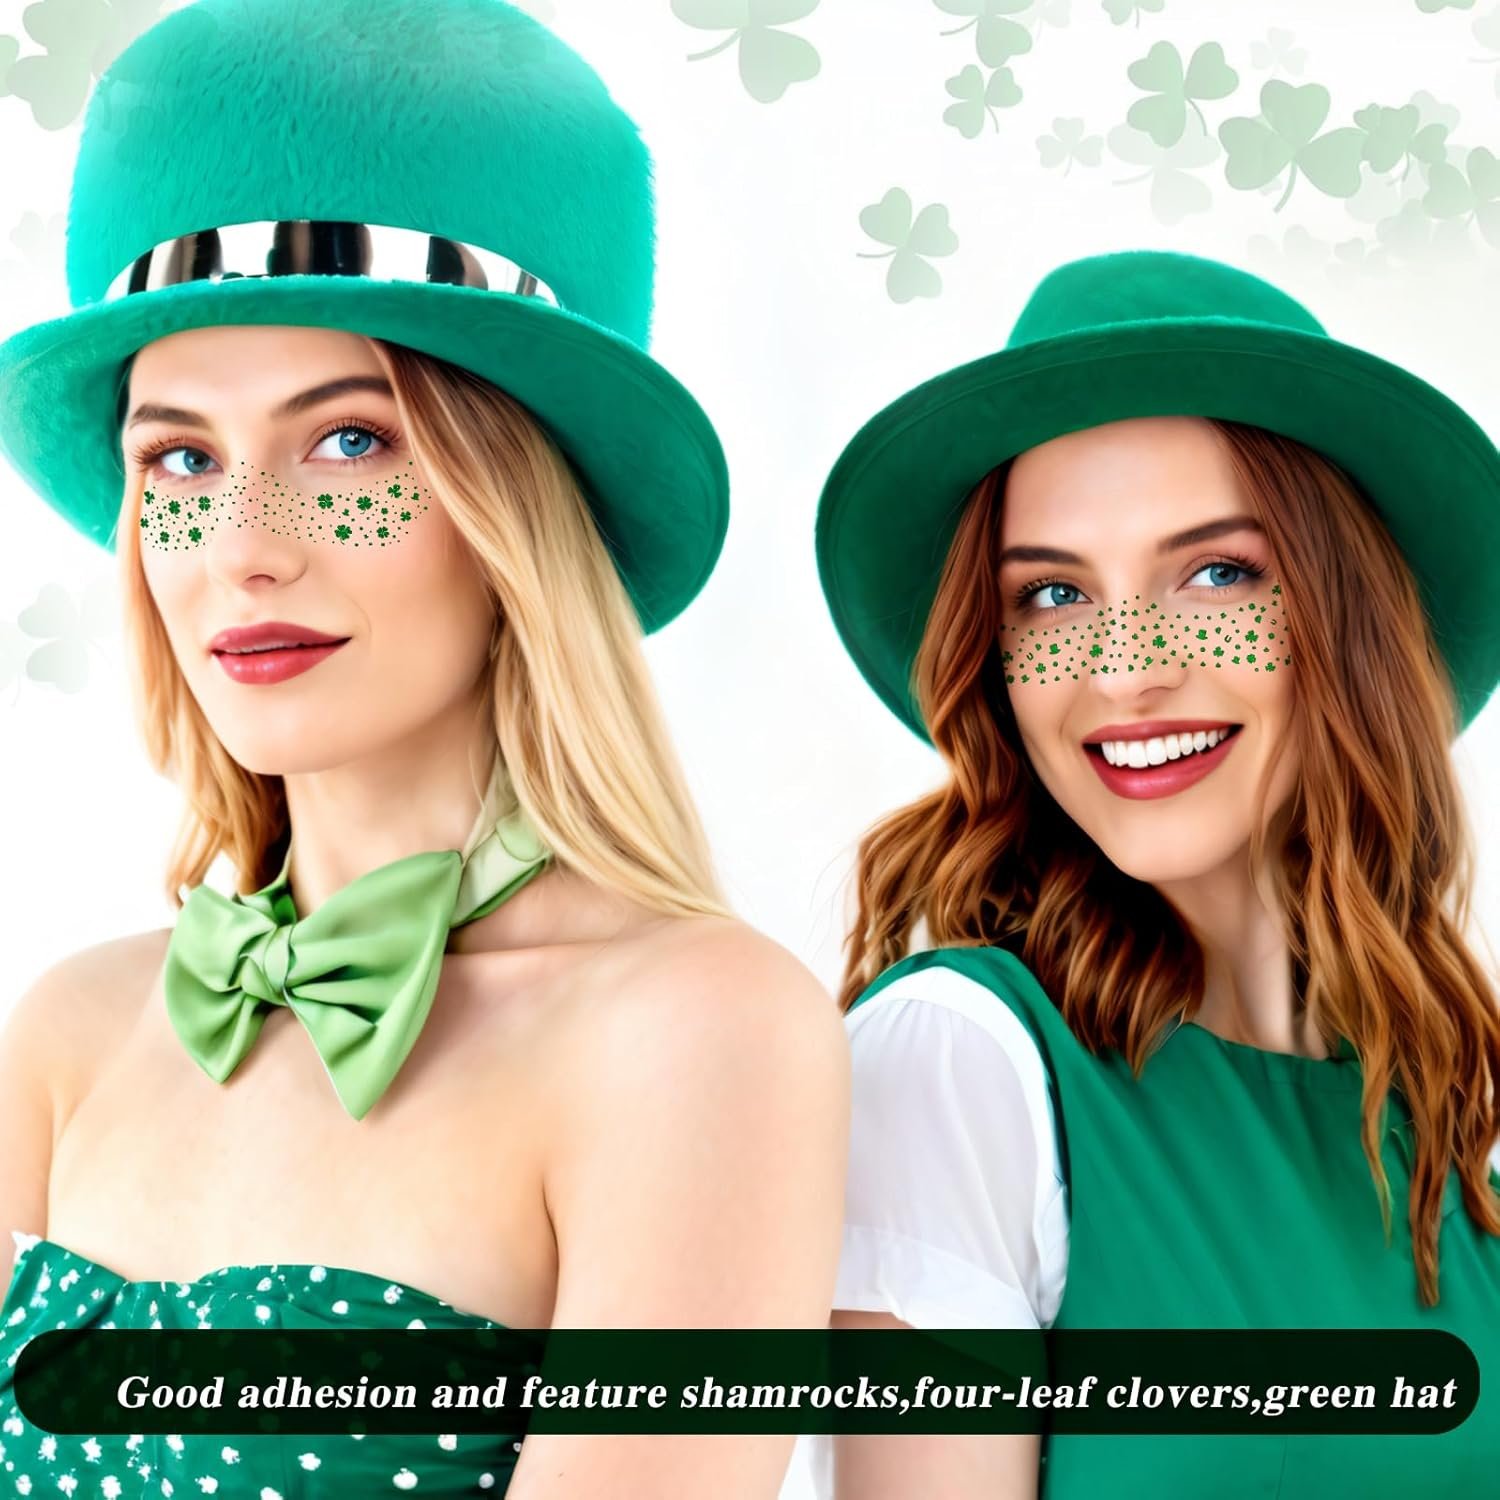
MEICOLY St Patricks Day Accessories,Leaf Face Sticker Costume,St Patricks Day Temporary Tattoos for Kids Women,Clover Shamrock Stickers,Green Makeup Tattoo,Green Freckles Face Tattoo, 6Pcs, 2 Styles. Find this adorable accessory on Amazon for only $7.99.
Your inner child called, they said you and your crew needs these holographic gold fanny packs below…
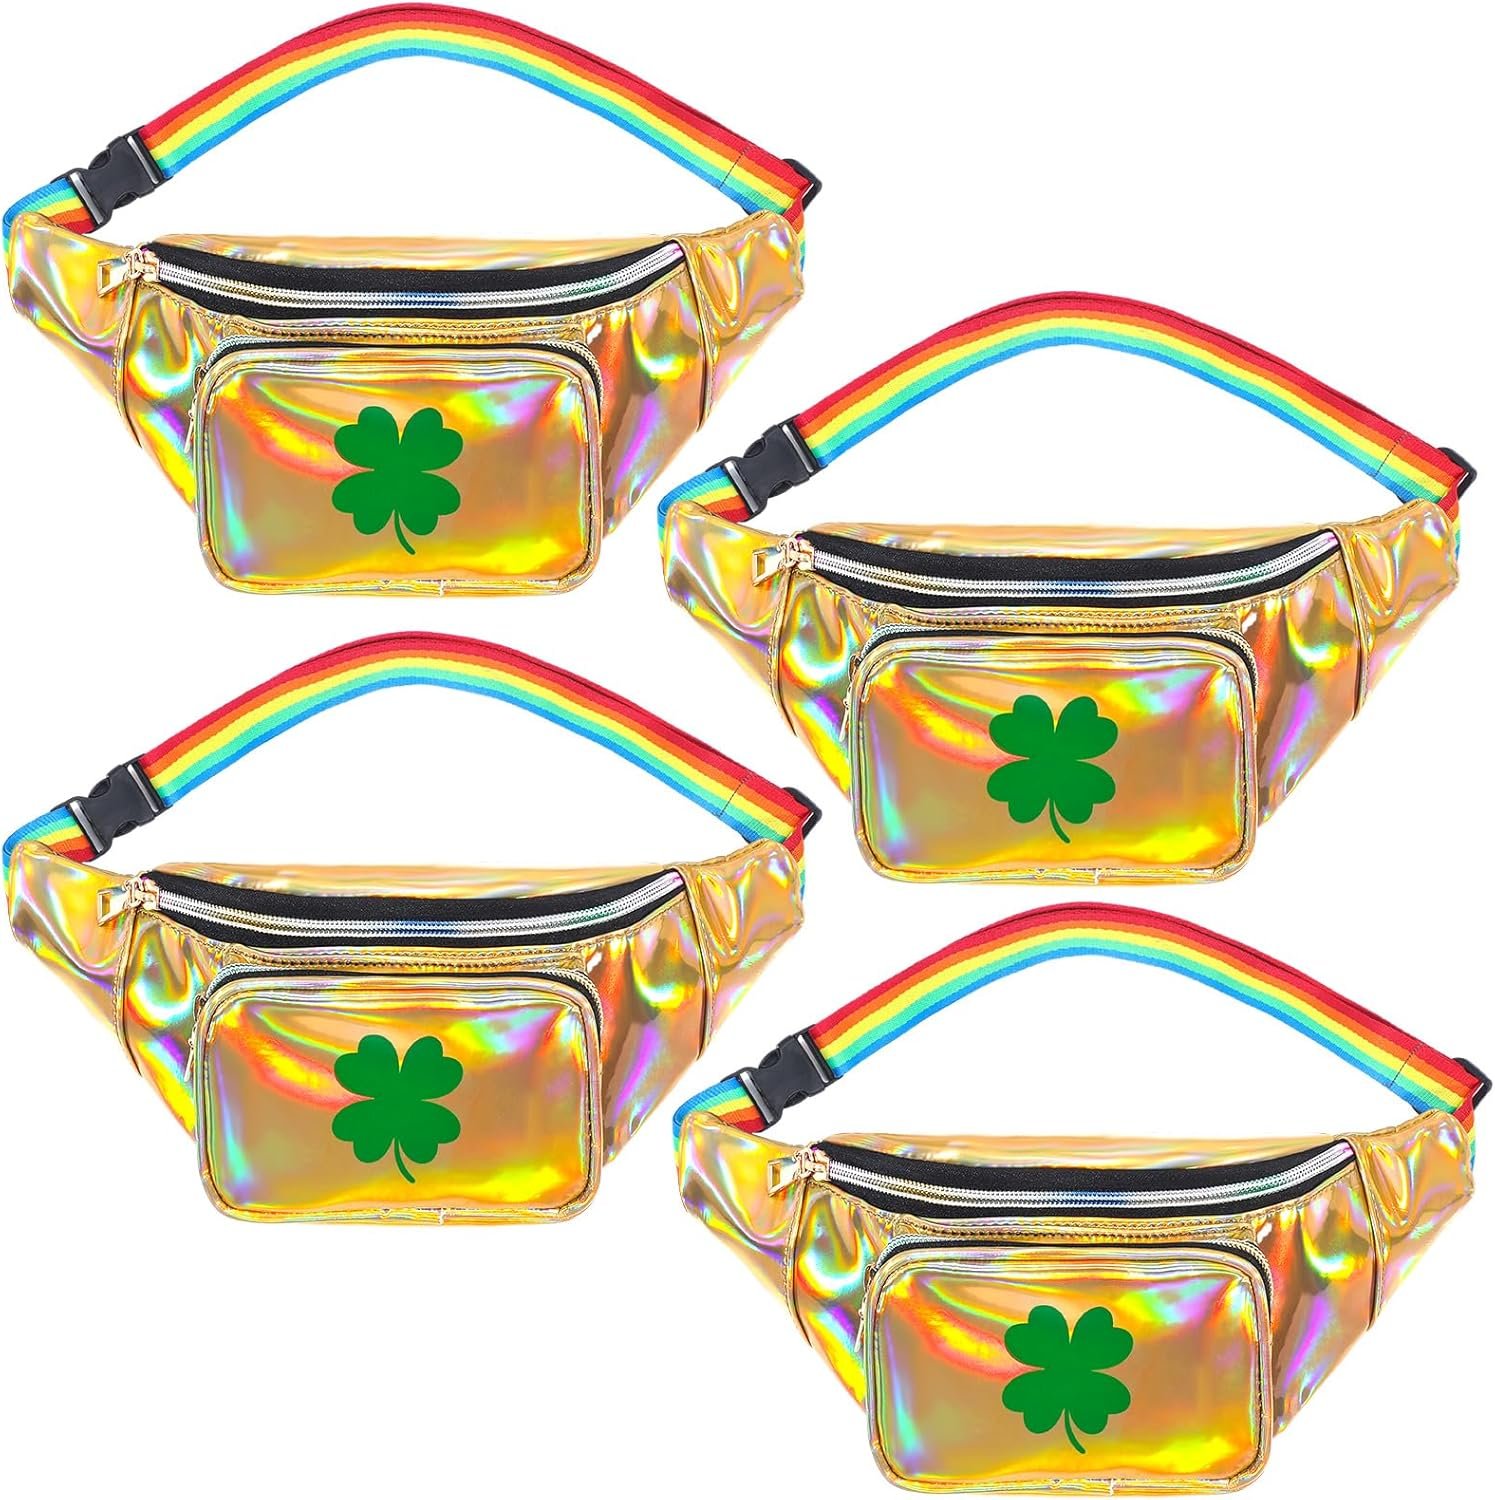
Find these too-cool-for-school, holographic gold fanny packs on Amazon, set of 4 for only $24.99 for the set.
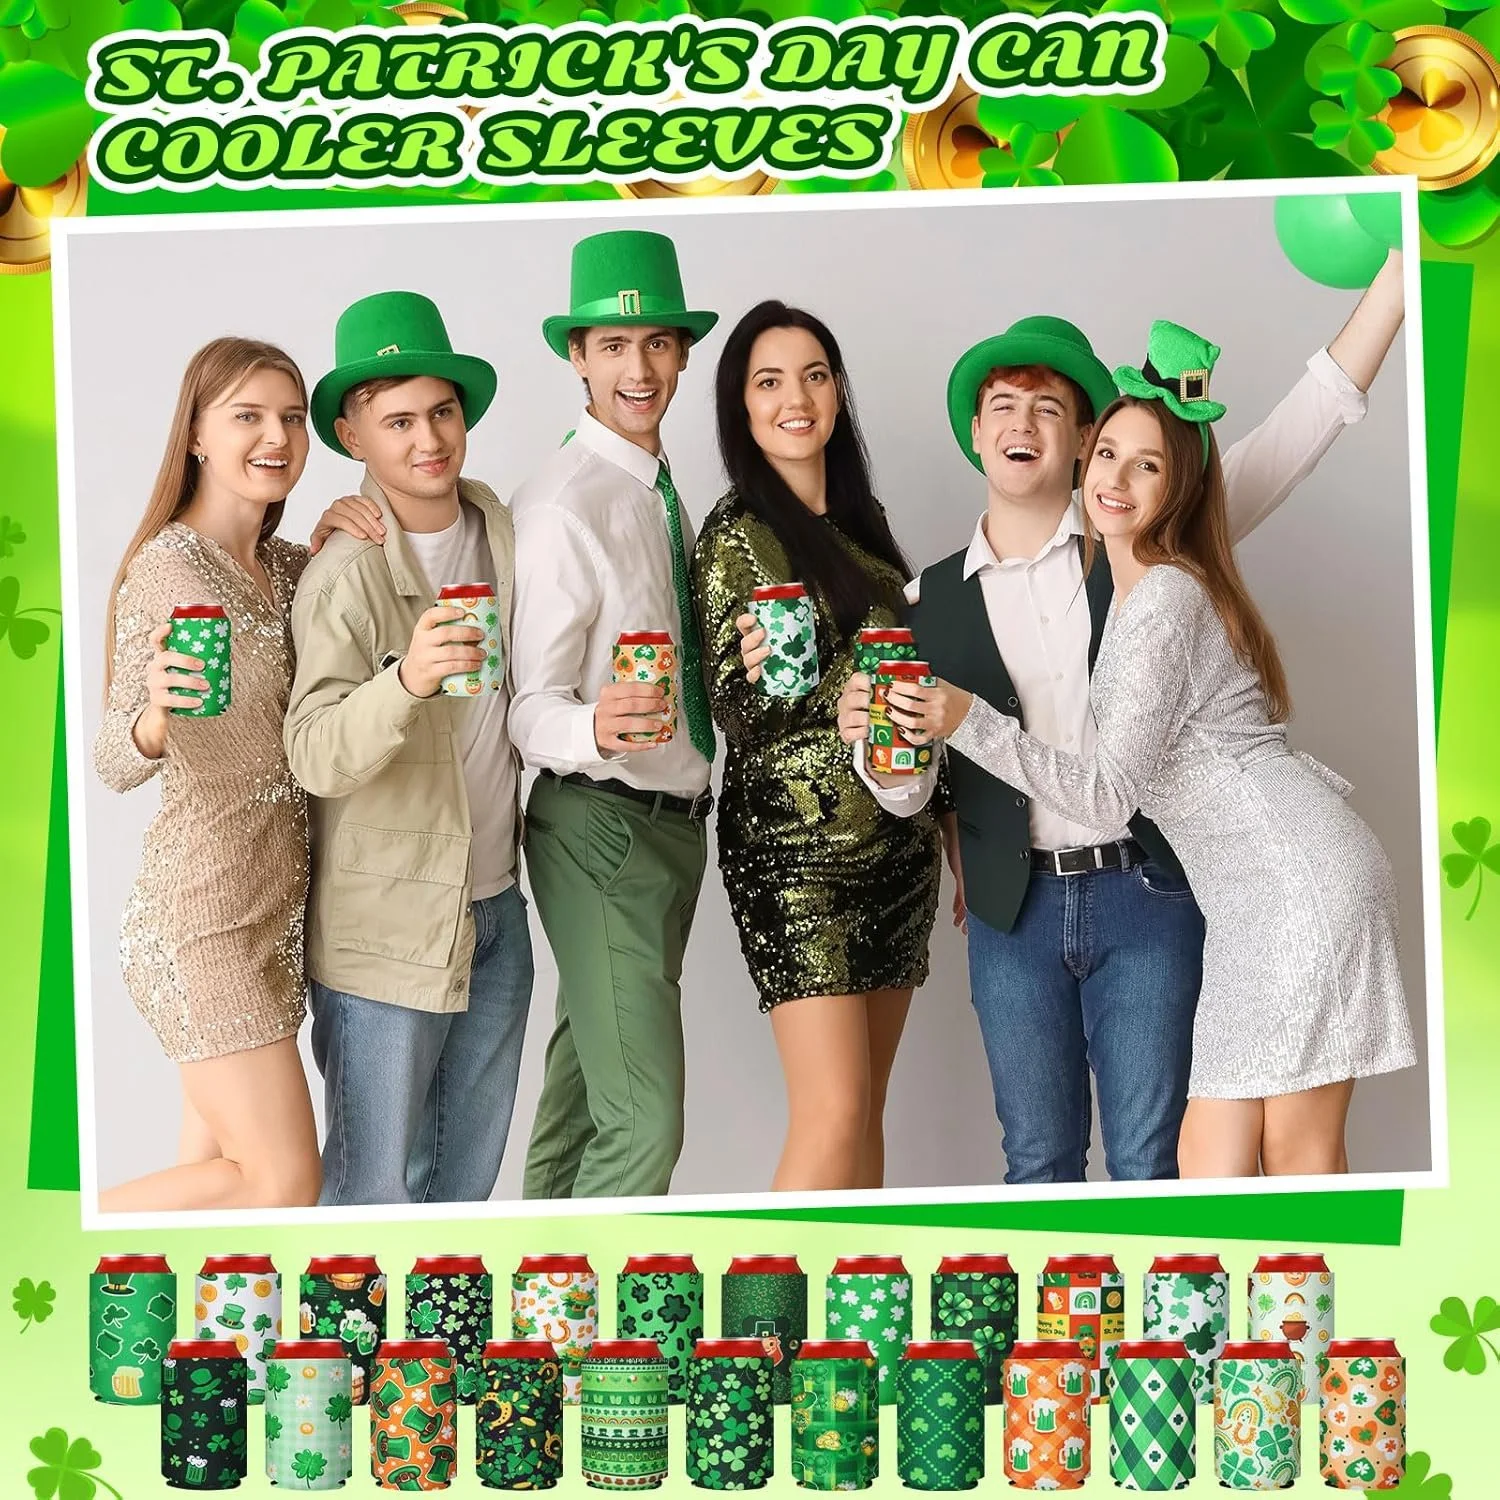
If you are in the drinking mood, grab a few of these can koozies in festive St. Patrick’s Day prints, found on Amazon here, 24 pieces for $21.00.
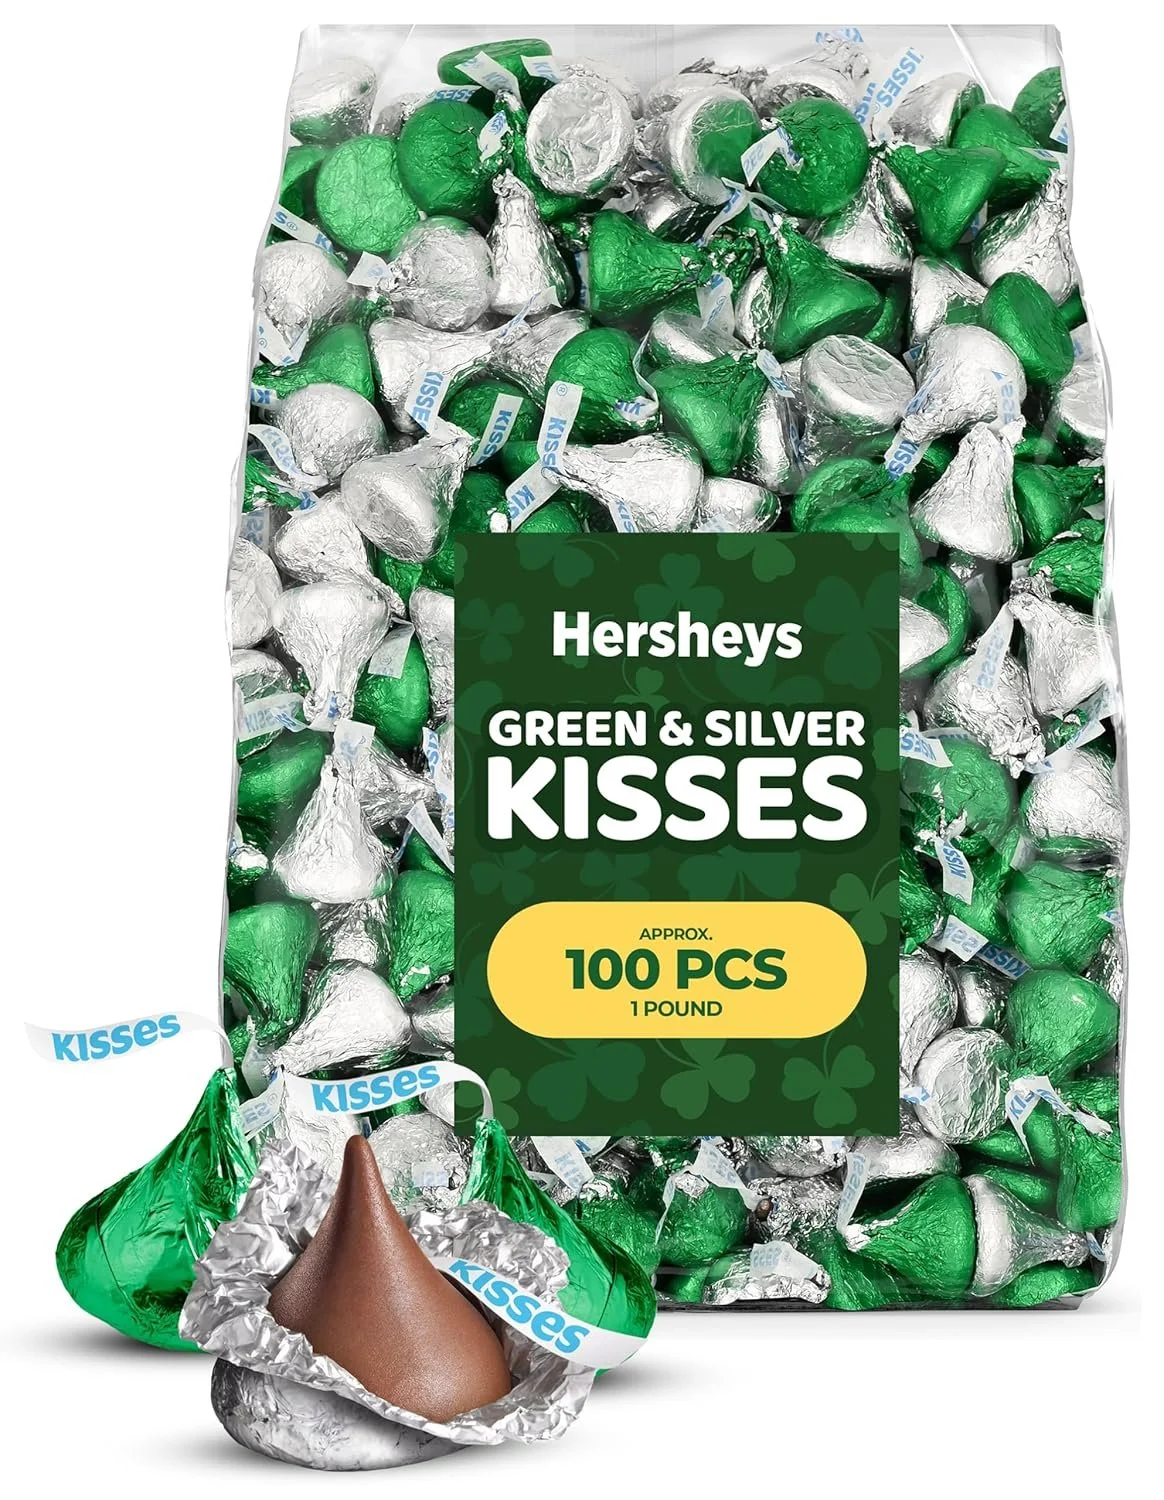
Why not enjoy some Leprechaun Kisses, in a festive green and silver wrapping, shown below.
A Few Ideas For Men on St. Patrick’s Day.
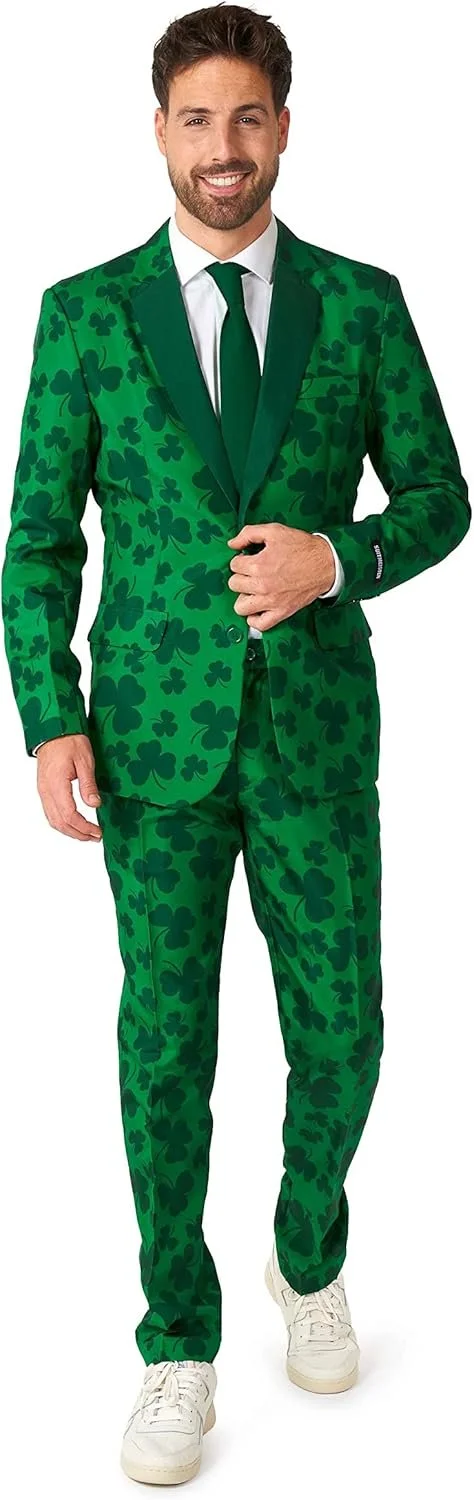
And here’s one for the guys - a 2 Piece Shamrock Suit - pretty classy if you ask me! Find this men’s suit for $69.99, here on Amazon.
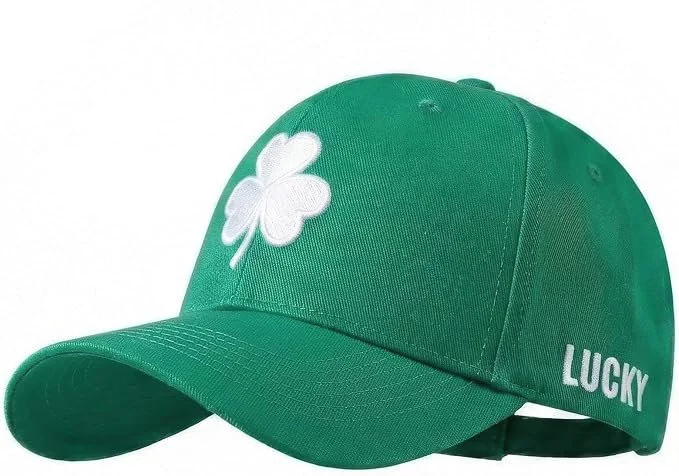
For St. Patty’s Day or ANY DAY, try this fun Shamrock Baseball Cap, only $16.99 in various colors.
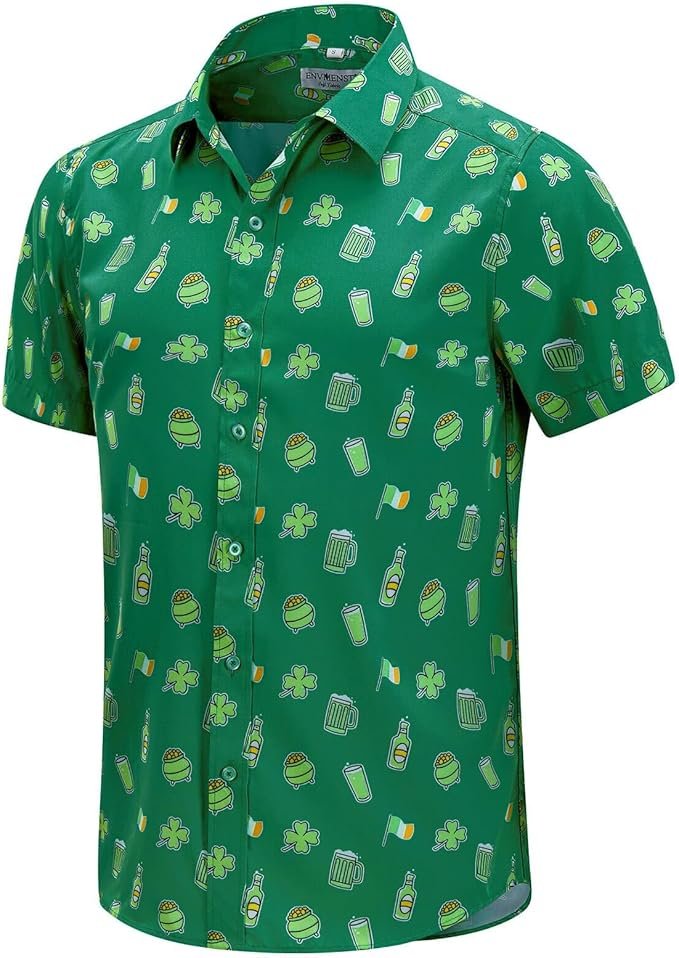
This unique, short sleeve button up is available in several Shamrock themed prints. Available up to size XL mens. Find yours on Amazon here for only $17.99, and you may just get LUCKY!!

Here’s another fun hat, with the trending upside down font in LUCKY. Find it here for only $22.99 in so many varieties.

These fun shorts could be worn for the holiday, for a St. Patty’s Day Pub Crawl or maybe even golfing. Find them up through Men’s size 2XL on Amazon here, for only $32.00.