Looking for a deliciously refreshing drink that's perfect for summer? This drink reminds me of the ocean and the beaches!
Read MoreTwo Amazing Fruity Frozen Yogurt Recipes {Peach Pineapple + Raspberry Peach}
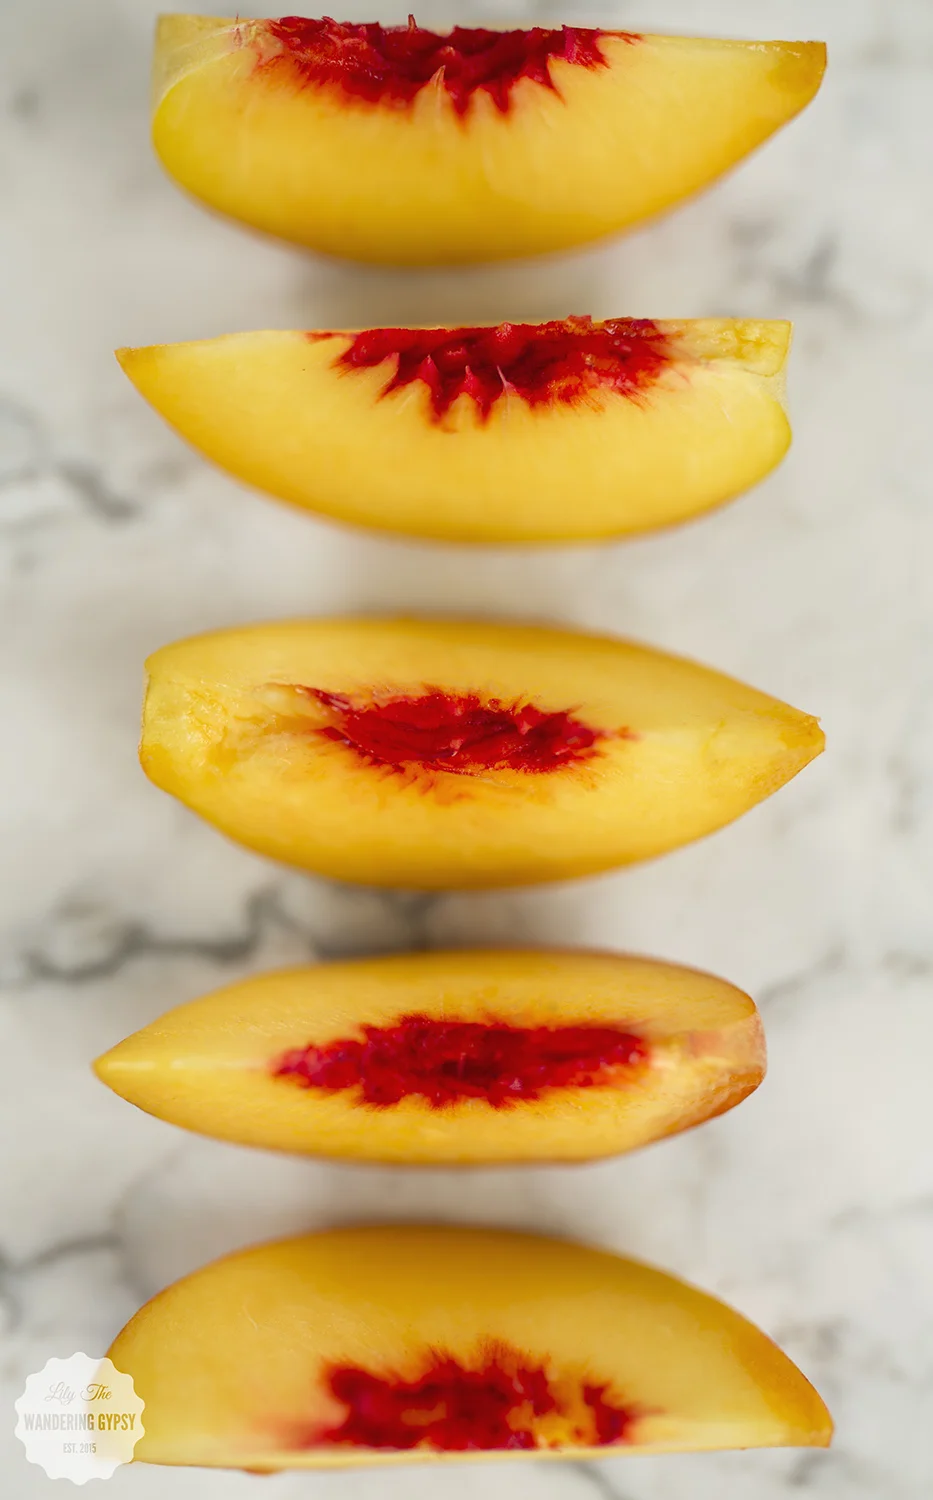
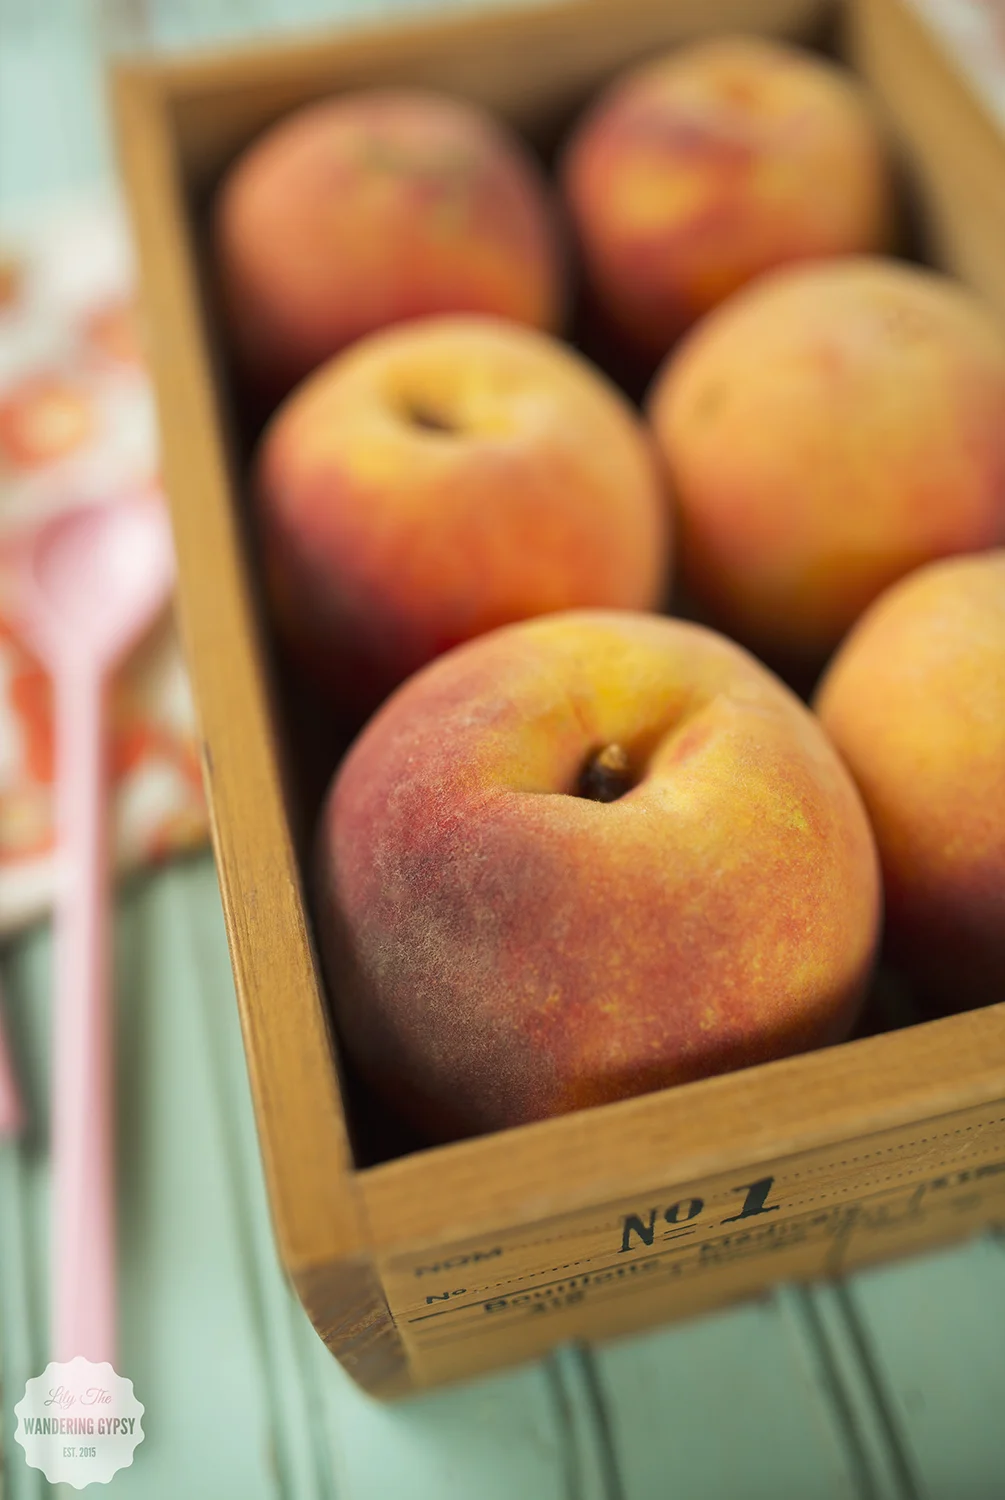
Yum! That;s basically the first word that comes to mind when I look back at these photos. I have been wanting to make some frozen yogurt for some time now, and I had the perfect ingredient for it! Peaches that Bobby's mom gave us when we visited recently. They were just perfectly sweet and juicy.
I just love how natural the ingredients in this recipe are. This is a way better option than something you can buy in-store, and takes hardly any time at all! The peaches can be cut up and pureed ahead of time, making this even easier. The end result tastes amazing, and will surely please that sweet tooth for people of all ages!
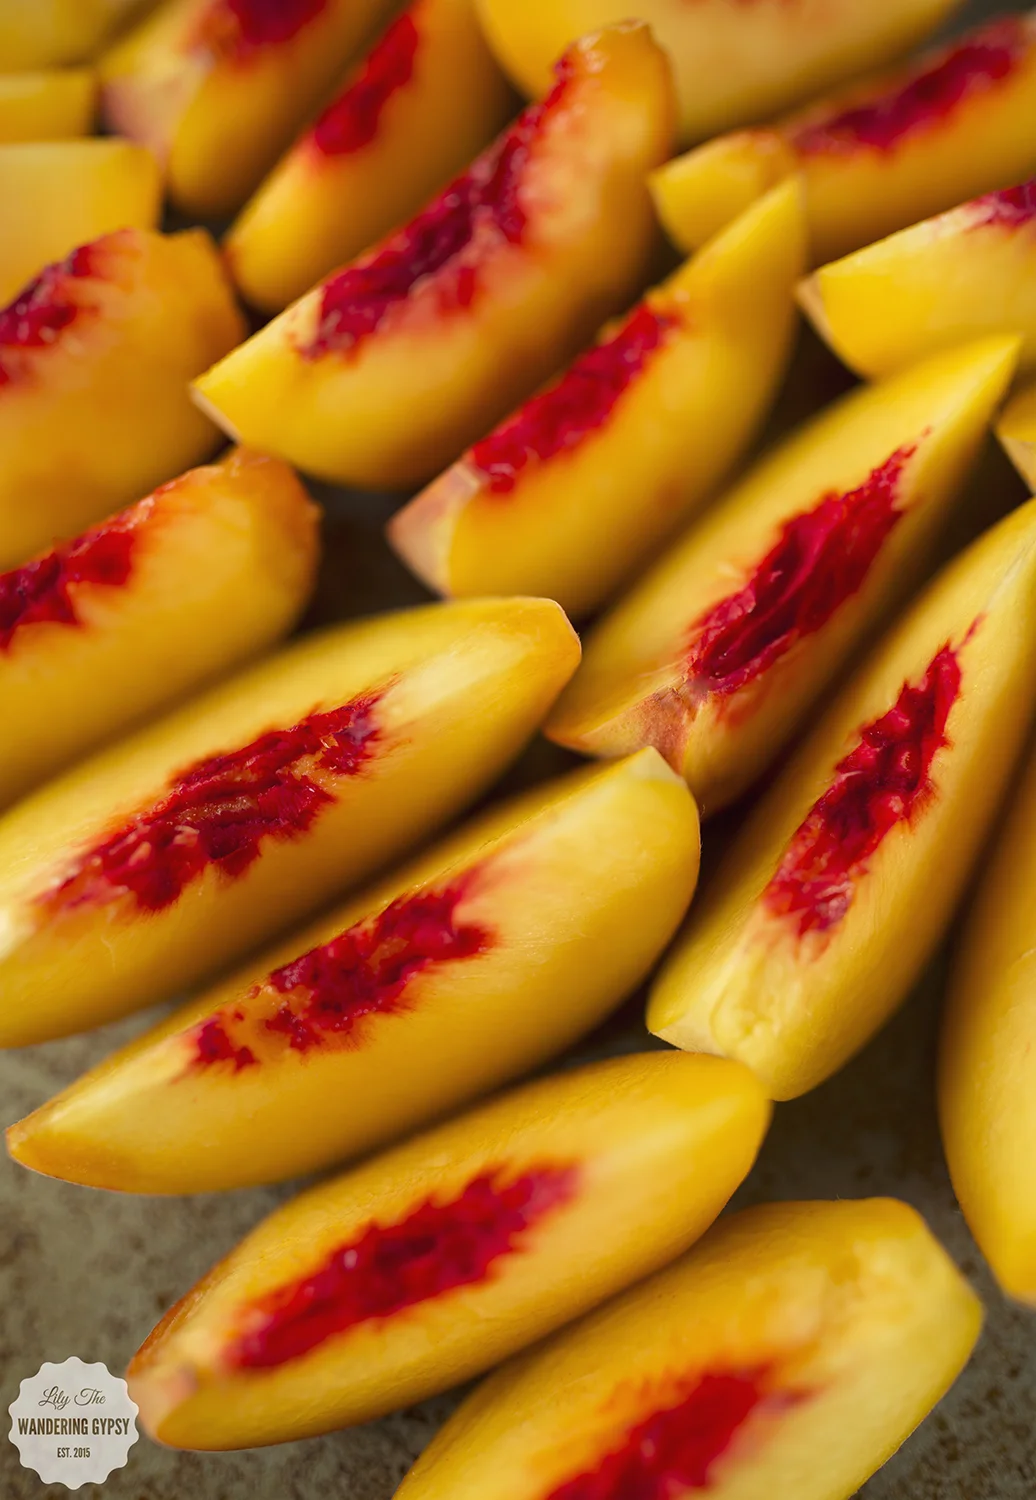
It all starts with peaches...
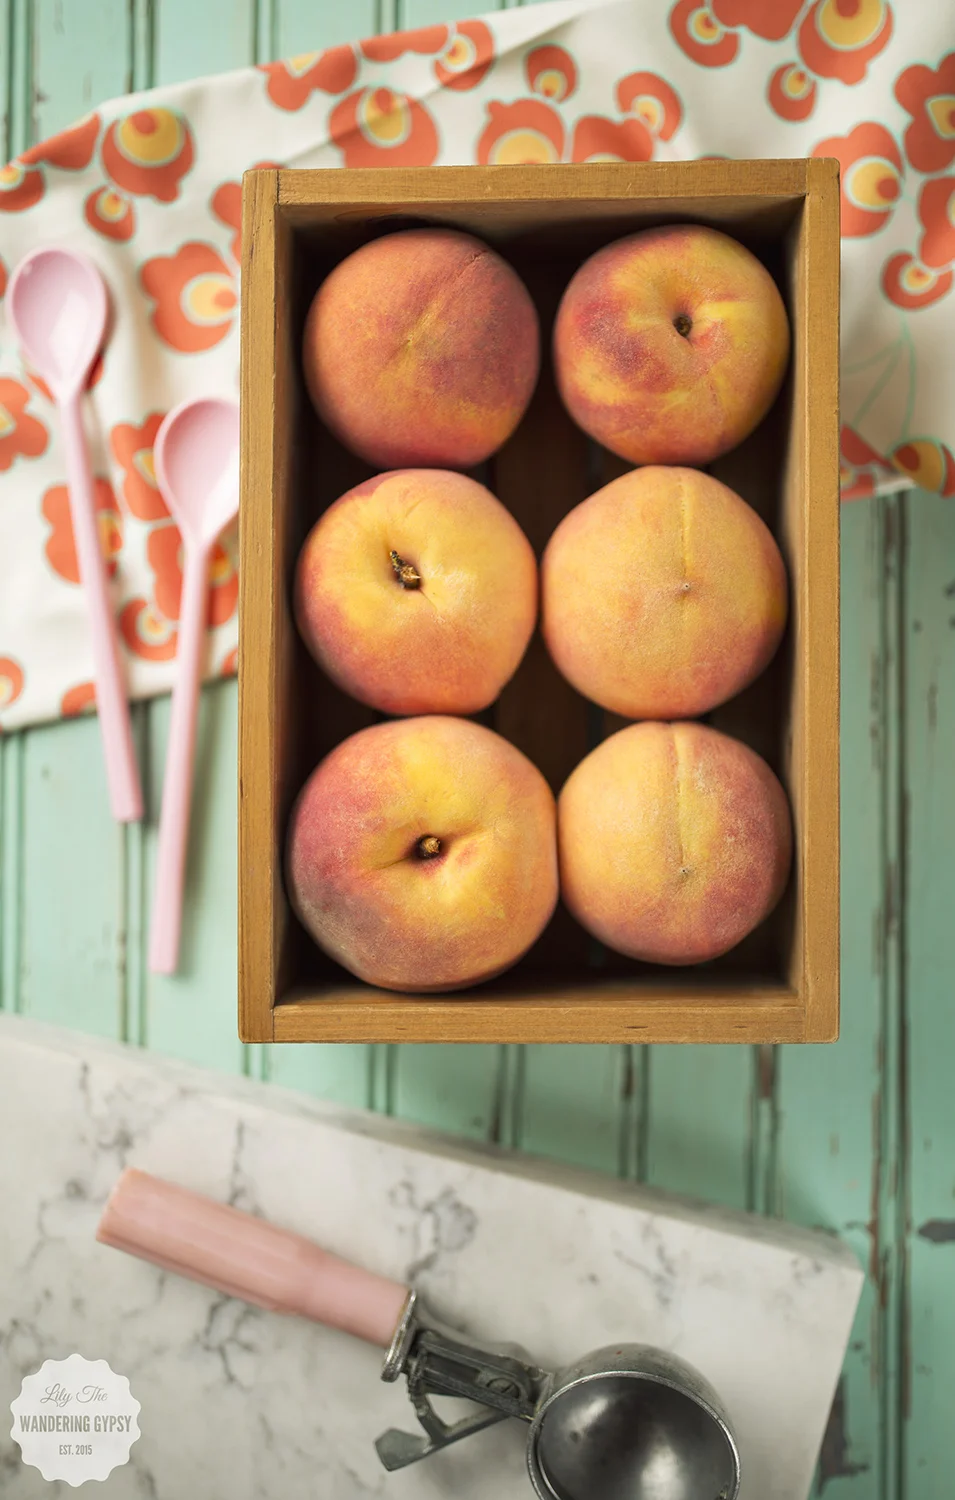
Cut the peaches in half, then whatever half still has the pit, slide that in half again. The pit will come right out! Make sure your peaches are a teeny tiny bit soft and ready to use, rather than super firm. You can also put the peaches into a grocery bag for a few hours to soften them up.
Here are the Basic Ingredients (sans the pineapple - that is shown in the ingredients photo, within the peach puree). Each recipe can be found below its respective title, further down in this post.


INGREDIENTS:
- 3-4 Peaches, peeled and sliced, pits removed
- 2 C. vanilla yogurt (I used the sweetened kind)
- 2-3 Tbsp sweetener like agave
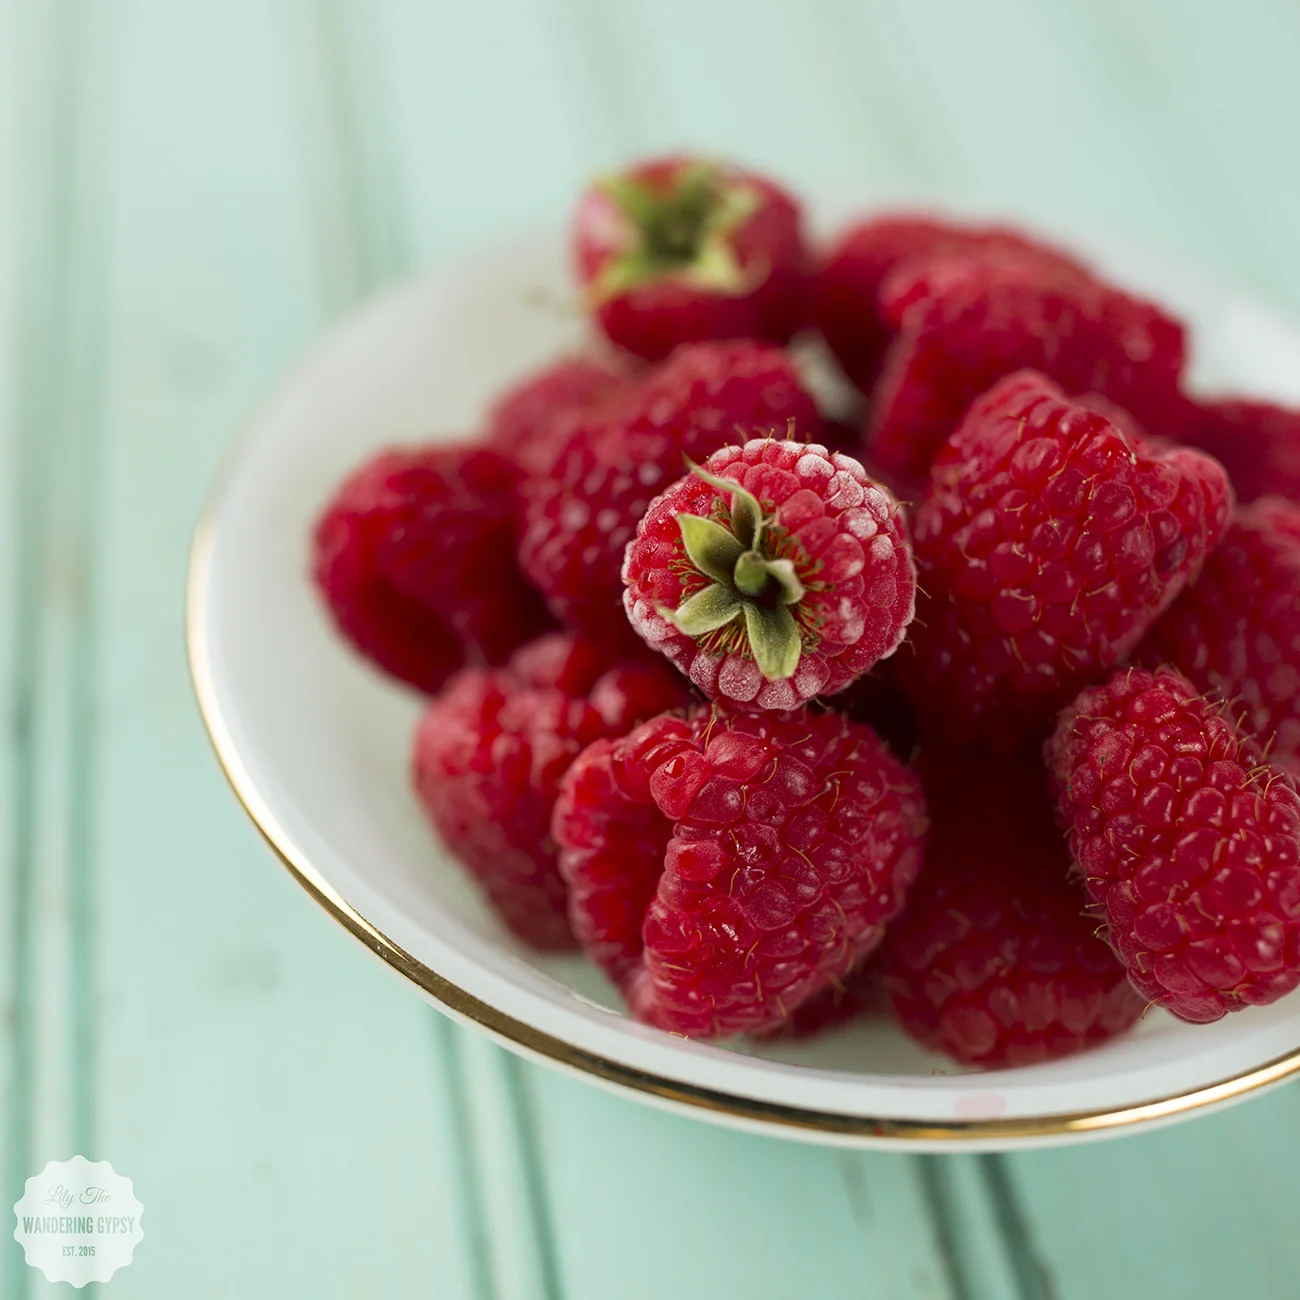
- 1 C. (or more) fresh raspberries (I froze my own before using them in this recipe)
- 1/2 Can Pineapple rings + their juice
INSTRUCTIONS:
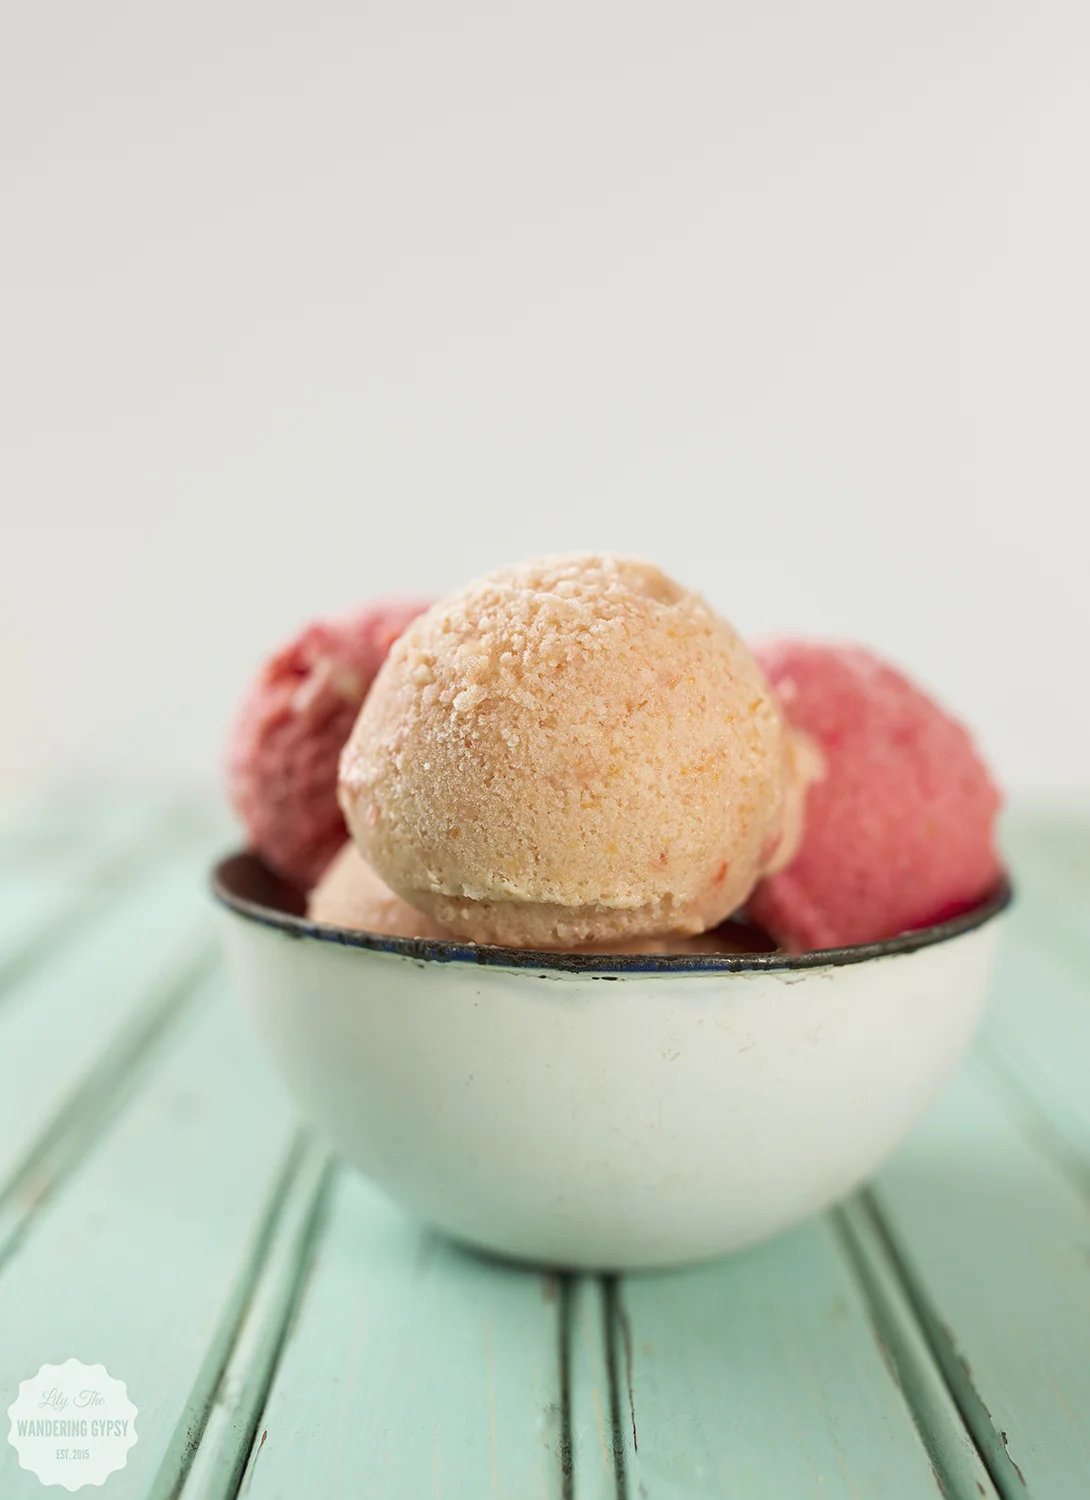
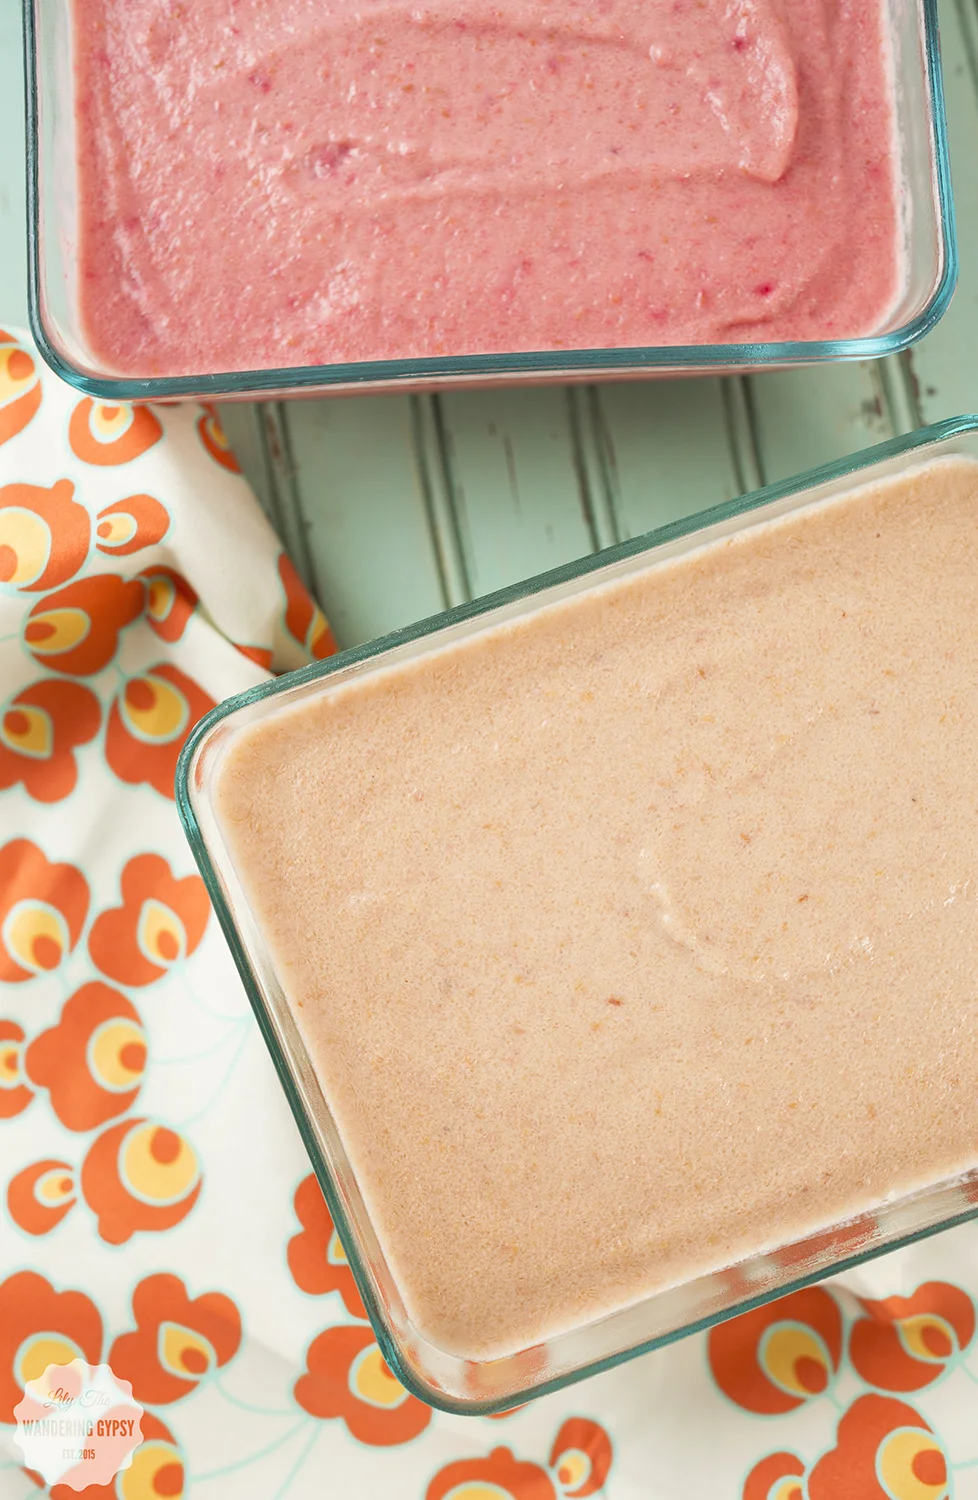
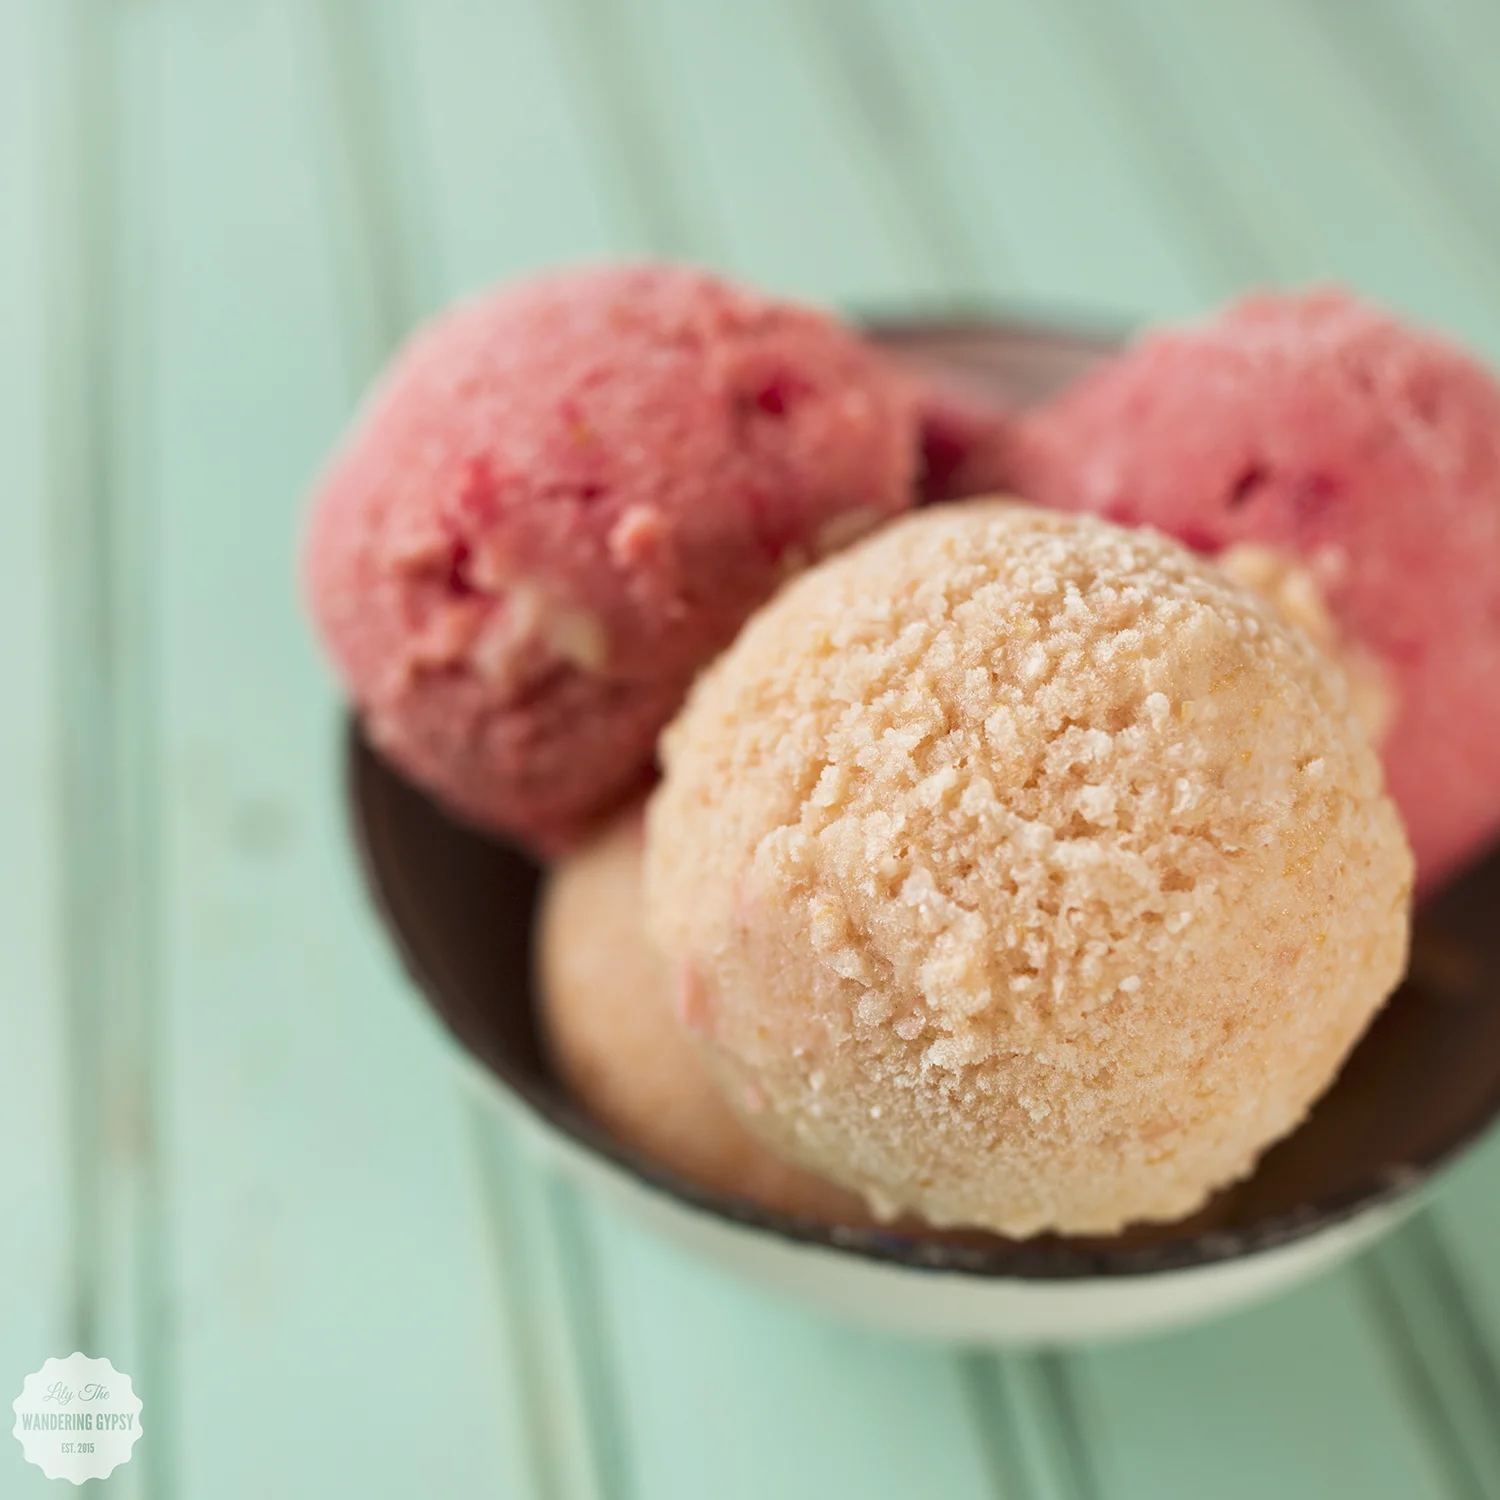
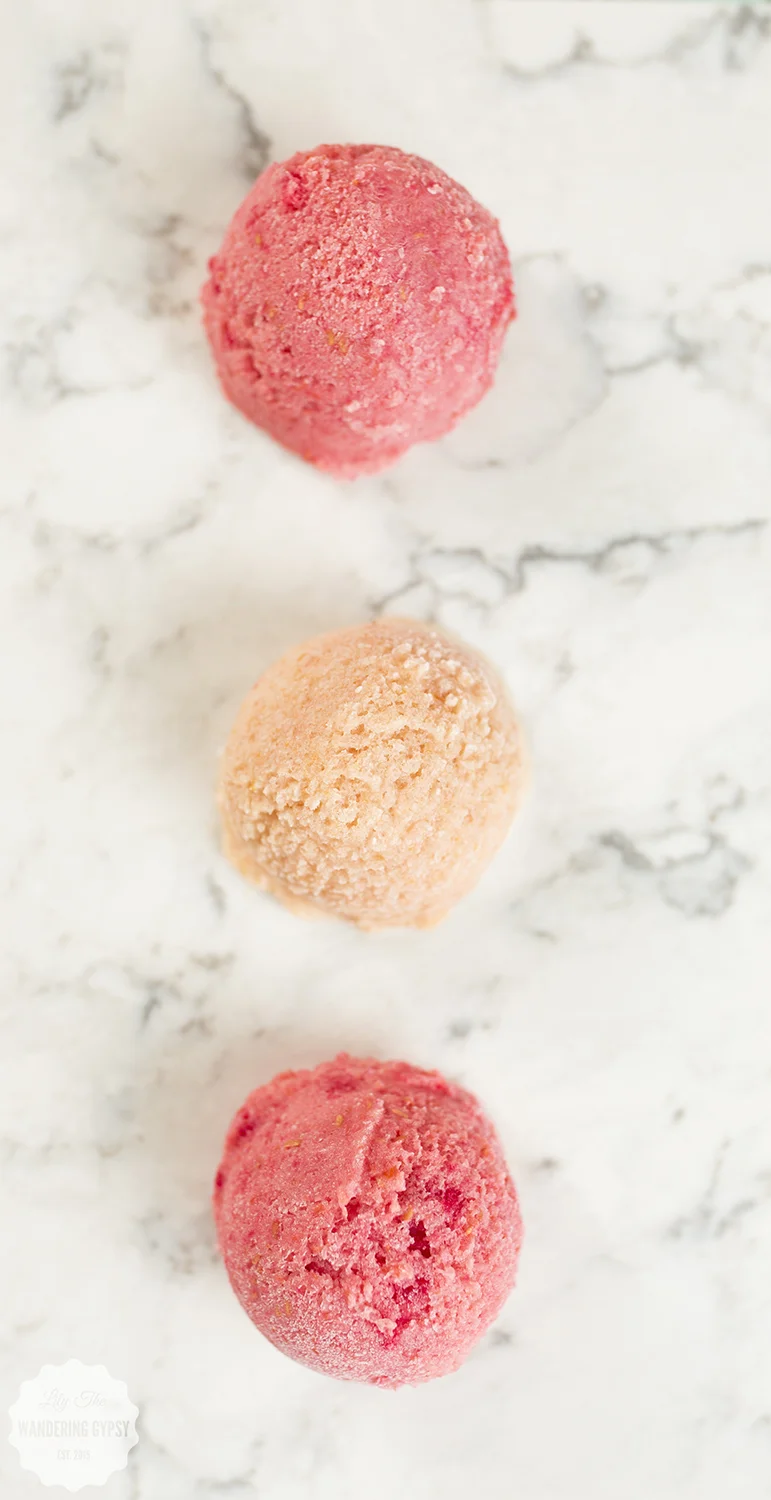
- Puree all ingredients until very smooth, then pour into a freezer-safe container with a lid. Freeze for at least a few hours (but overnight is recommended). Scoop the frozen yogurt into a big bowl and enjoy!! This recipe is amazing for summer. The color of this frozen yogurt is absolutely stunning - that pink color is lovely!


INGREDIENTS:
- 3-4 Peaches, peeled and sliced, pits removed
- 2 C. vanilla yogurt (I used the sweetened kind)
- 2-3 Tbsp sweetener like agave
- 1/2 Can Pineapple rings + their juice
INSTRUCTIONS:
- Puree all ingredients until very smooth, then pour into a freezer-safe container with a lid. Freeze for at least a few hours (but overnight is recommended). Scoop the frozen yogurt into a big bowl and enjoy!! This recipe is amazing for summer. This recipe is the same as the one above, minus the raspberries!


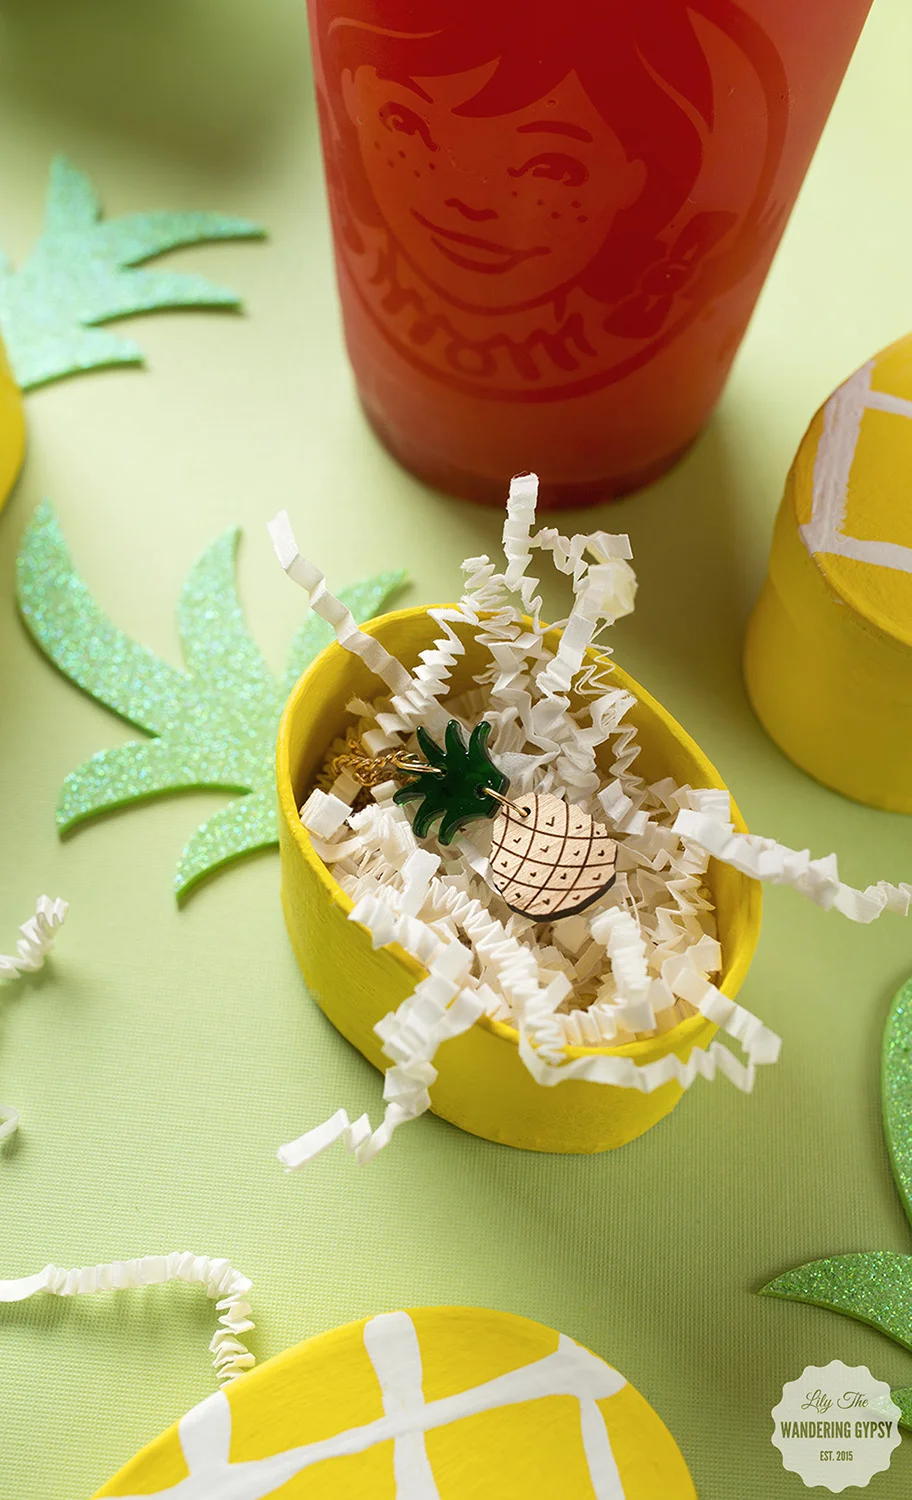
DIY Summer Fun - Pineapple Gift Boxes
There's no doubt that it's summer, why not embrace it and make something cute inspired by tropical breezes (wishful thinking), and pineapples! Why not make someone smile by creating a gift box that is a present in itself. I made this project a little while back in order to help Wendy's to help promote their Blackberry Lemonade. It was just the right amount of tart and sweet, wrapped up into one pretty drink! What will you be making and gifting this summer?

This post was totally inspired by the amazingly awesome blog, Damask Love!

- Oval-shaped Paper Mache Boxes
- Yellow Paint, White Paint
- Paint Brush (to paint over entire box)
- Wooden Skewer Sticks (to paint white marks on boxes)
- Paint Brush
- Mint Green Sparkle Foam Sheet
- Glue
- Gift Items or Candy to fill boxes


1.) Cover your work surface, and paint your boxes yellow. I used 2 coats, but they dried pretty quickly.
2.) Make sure your yellow paint is 100% dry, then with a skewer stick, draw/paint the lines onto the boxes. I basically put the white paint onto a paper plate, then laid the skewer sticks down, covered the end in paint, then drew the lines across the boxes. This helps you create super straight lines, too!
3.) Now, cut out your green top parts. Feel free to print the photo, below, to get the right shapes. I just sort of free-handed one, and traced it on the non-glitter side of the foam. These were so easy to cut out!

4.) Now, simply glue the little green top pieces onto the boxes, and you're done!! Fill them with paper shreds, and whatever your heart delights!

Bacon-Wrapped Pineapple Rings
I have a real treat for you! The perfect mid-afternoon snack to eat on a snowy Sunday... Bacon-Wrapped Pineapple Rings! They taste super good and are actually fun to create. It took a little bit of time, but they were easy none the less.

WHAT YOU NEED:
* 4 - 5 Pineapple Rings (We bought a fresh pineapple that was packaged near the fruit coolers, and cut them into super thick slices). A Can of pineapple also works.
* 10 slices (1 Package) of Thinly Sliced Bacon (I like Applegate Organic)
* Toothpicks or short skewer sticks.
* Metal Baking Rack - place into baking dish
*Shallow 9x13 Baking Dish
INSTRUCTIONS:
* Preheat oven to 350 Degrees. Open the package of bacon, and prepare/cut/or drain your pineapples. Set out a decent amount of toothpicks into a shallow dish so they are easy to use.
*To construct: Set one pineapple ring onto a cutting board or clean surface. Take the first slice of bacon, begin to wrap it around the pineapple, and continue with 1-2 more pieces of bacon per ring. Secure with toothpicks. Now, place each Bacon Pineapple Ring onto the Baking Rack.
* Bake for 15-20 minutes, on the top rack of the oven. You may need up to ten minutes more, depending on your oven. Make sure you do not burn them, and enjoy!