Miracle Gro - Grow Together - A Cute Terrarium DIY

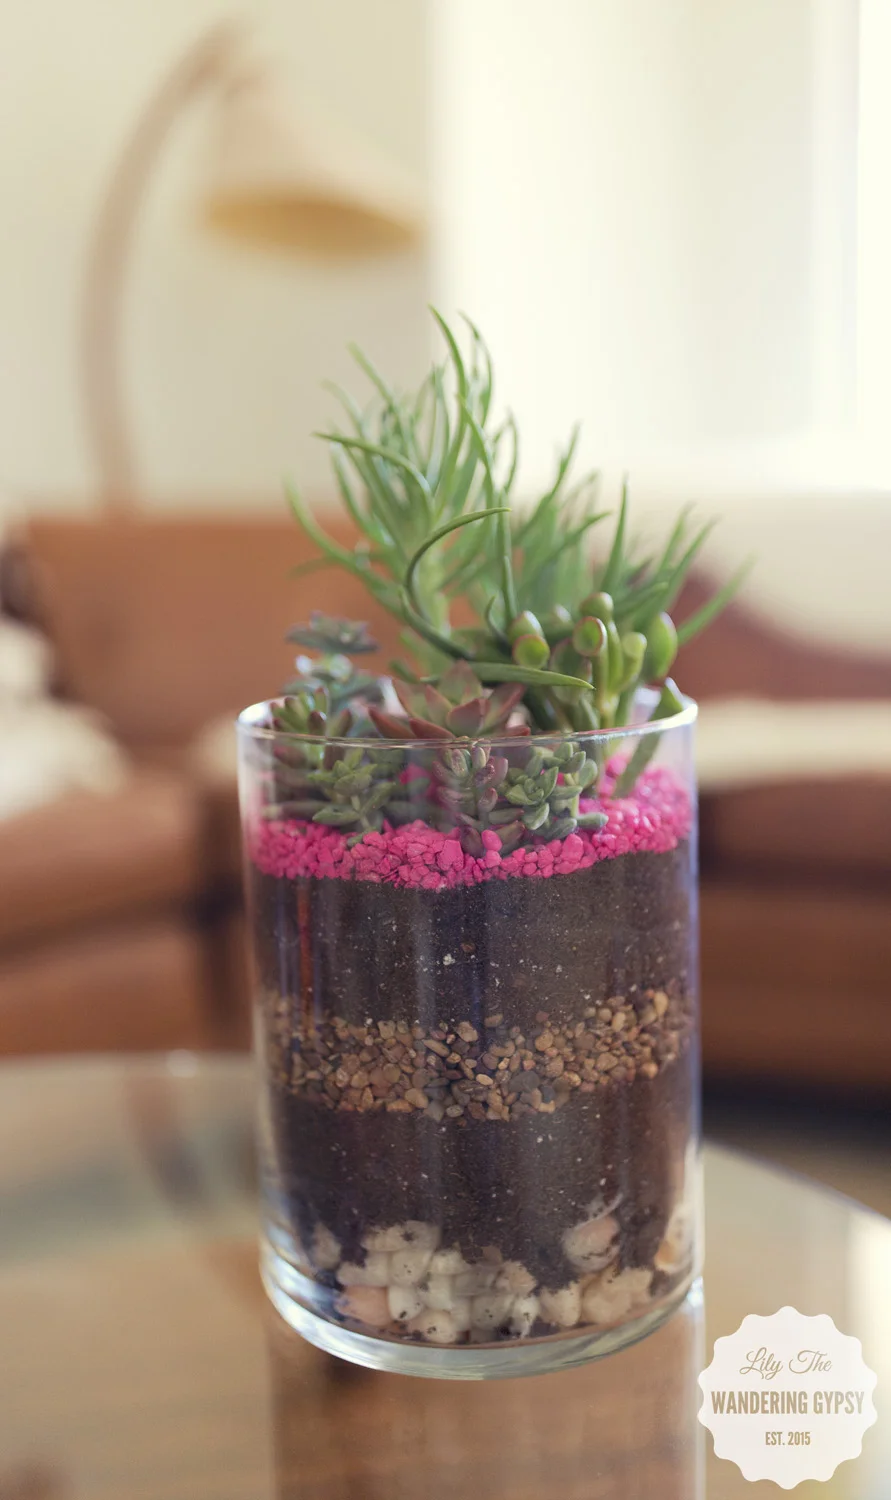
Super excited to share my latest project with you! I have teamed up with Miracle Gro and HelloSociety to bring you some pretty amazing Spring Inspirations. I planted the terrarium arrangement about 2 weeks ago, and it's still as happy as ever! 

I had so much fun working on this project while visiting my family in Arizona. The timing couldn't have been more perfect, because the Cave Creek, AZ Home Depot has SO many amazing succulents and cacti to choose from.

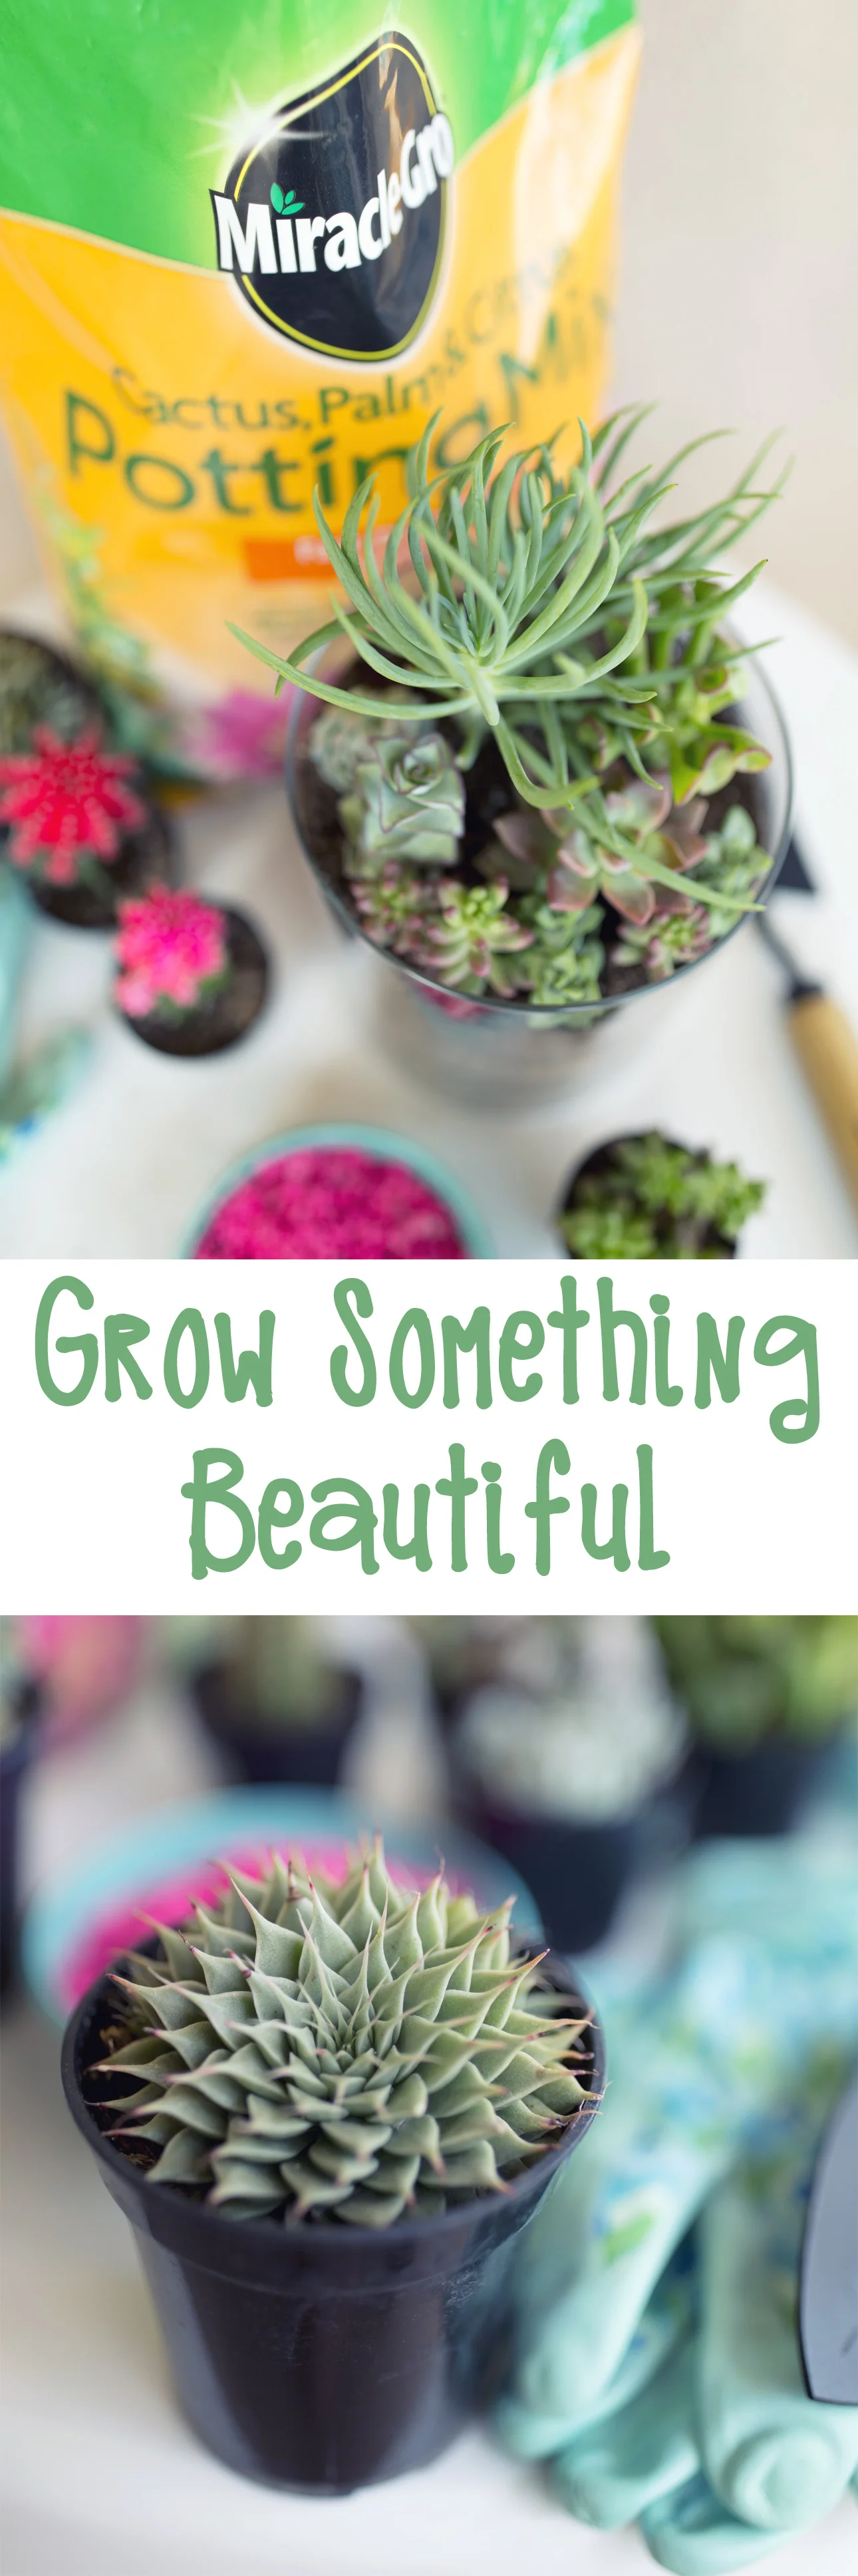
My plants obviously love their new home in Miracle Gro Cactus, Palm, and Citrus Potting Mix. The instructions for this terrarium are at the bottom of this post. 

Check back soon to see more photos as they go live on my Dedicated Board.  
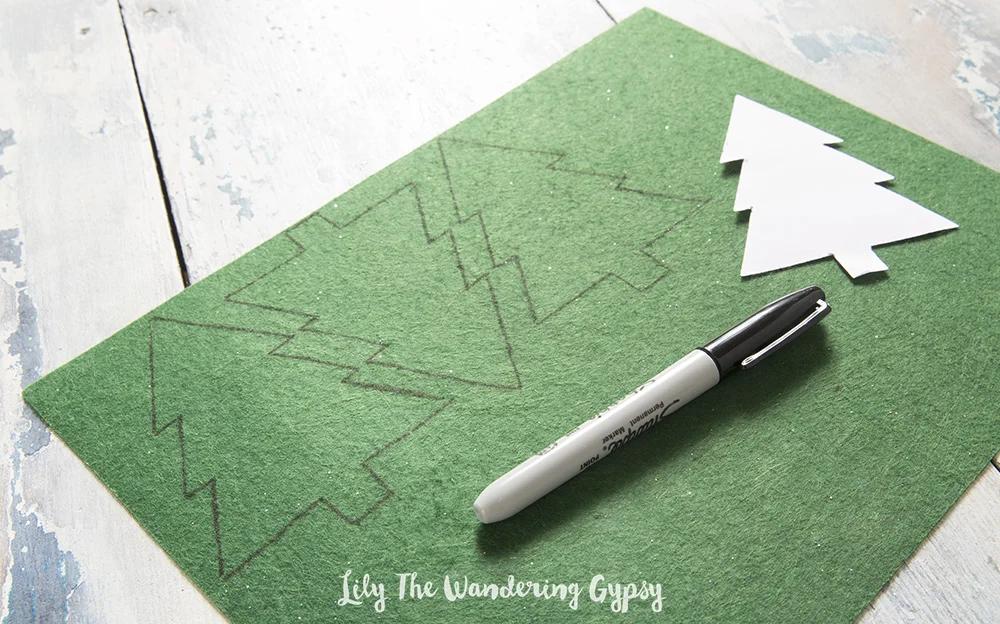
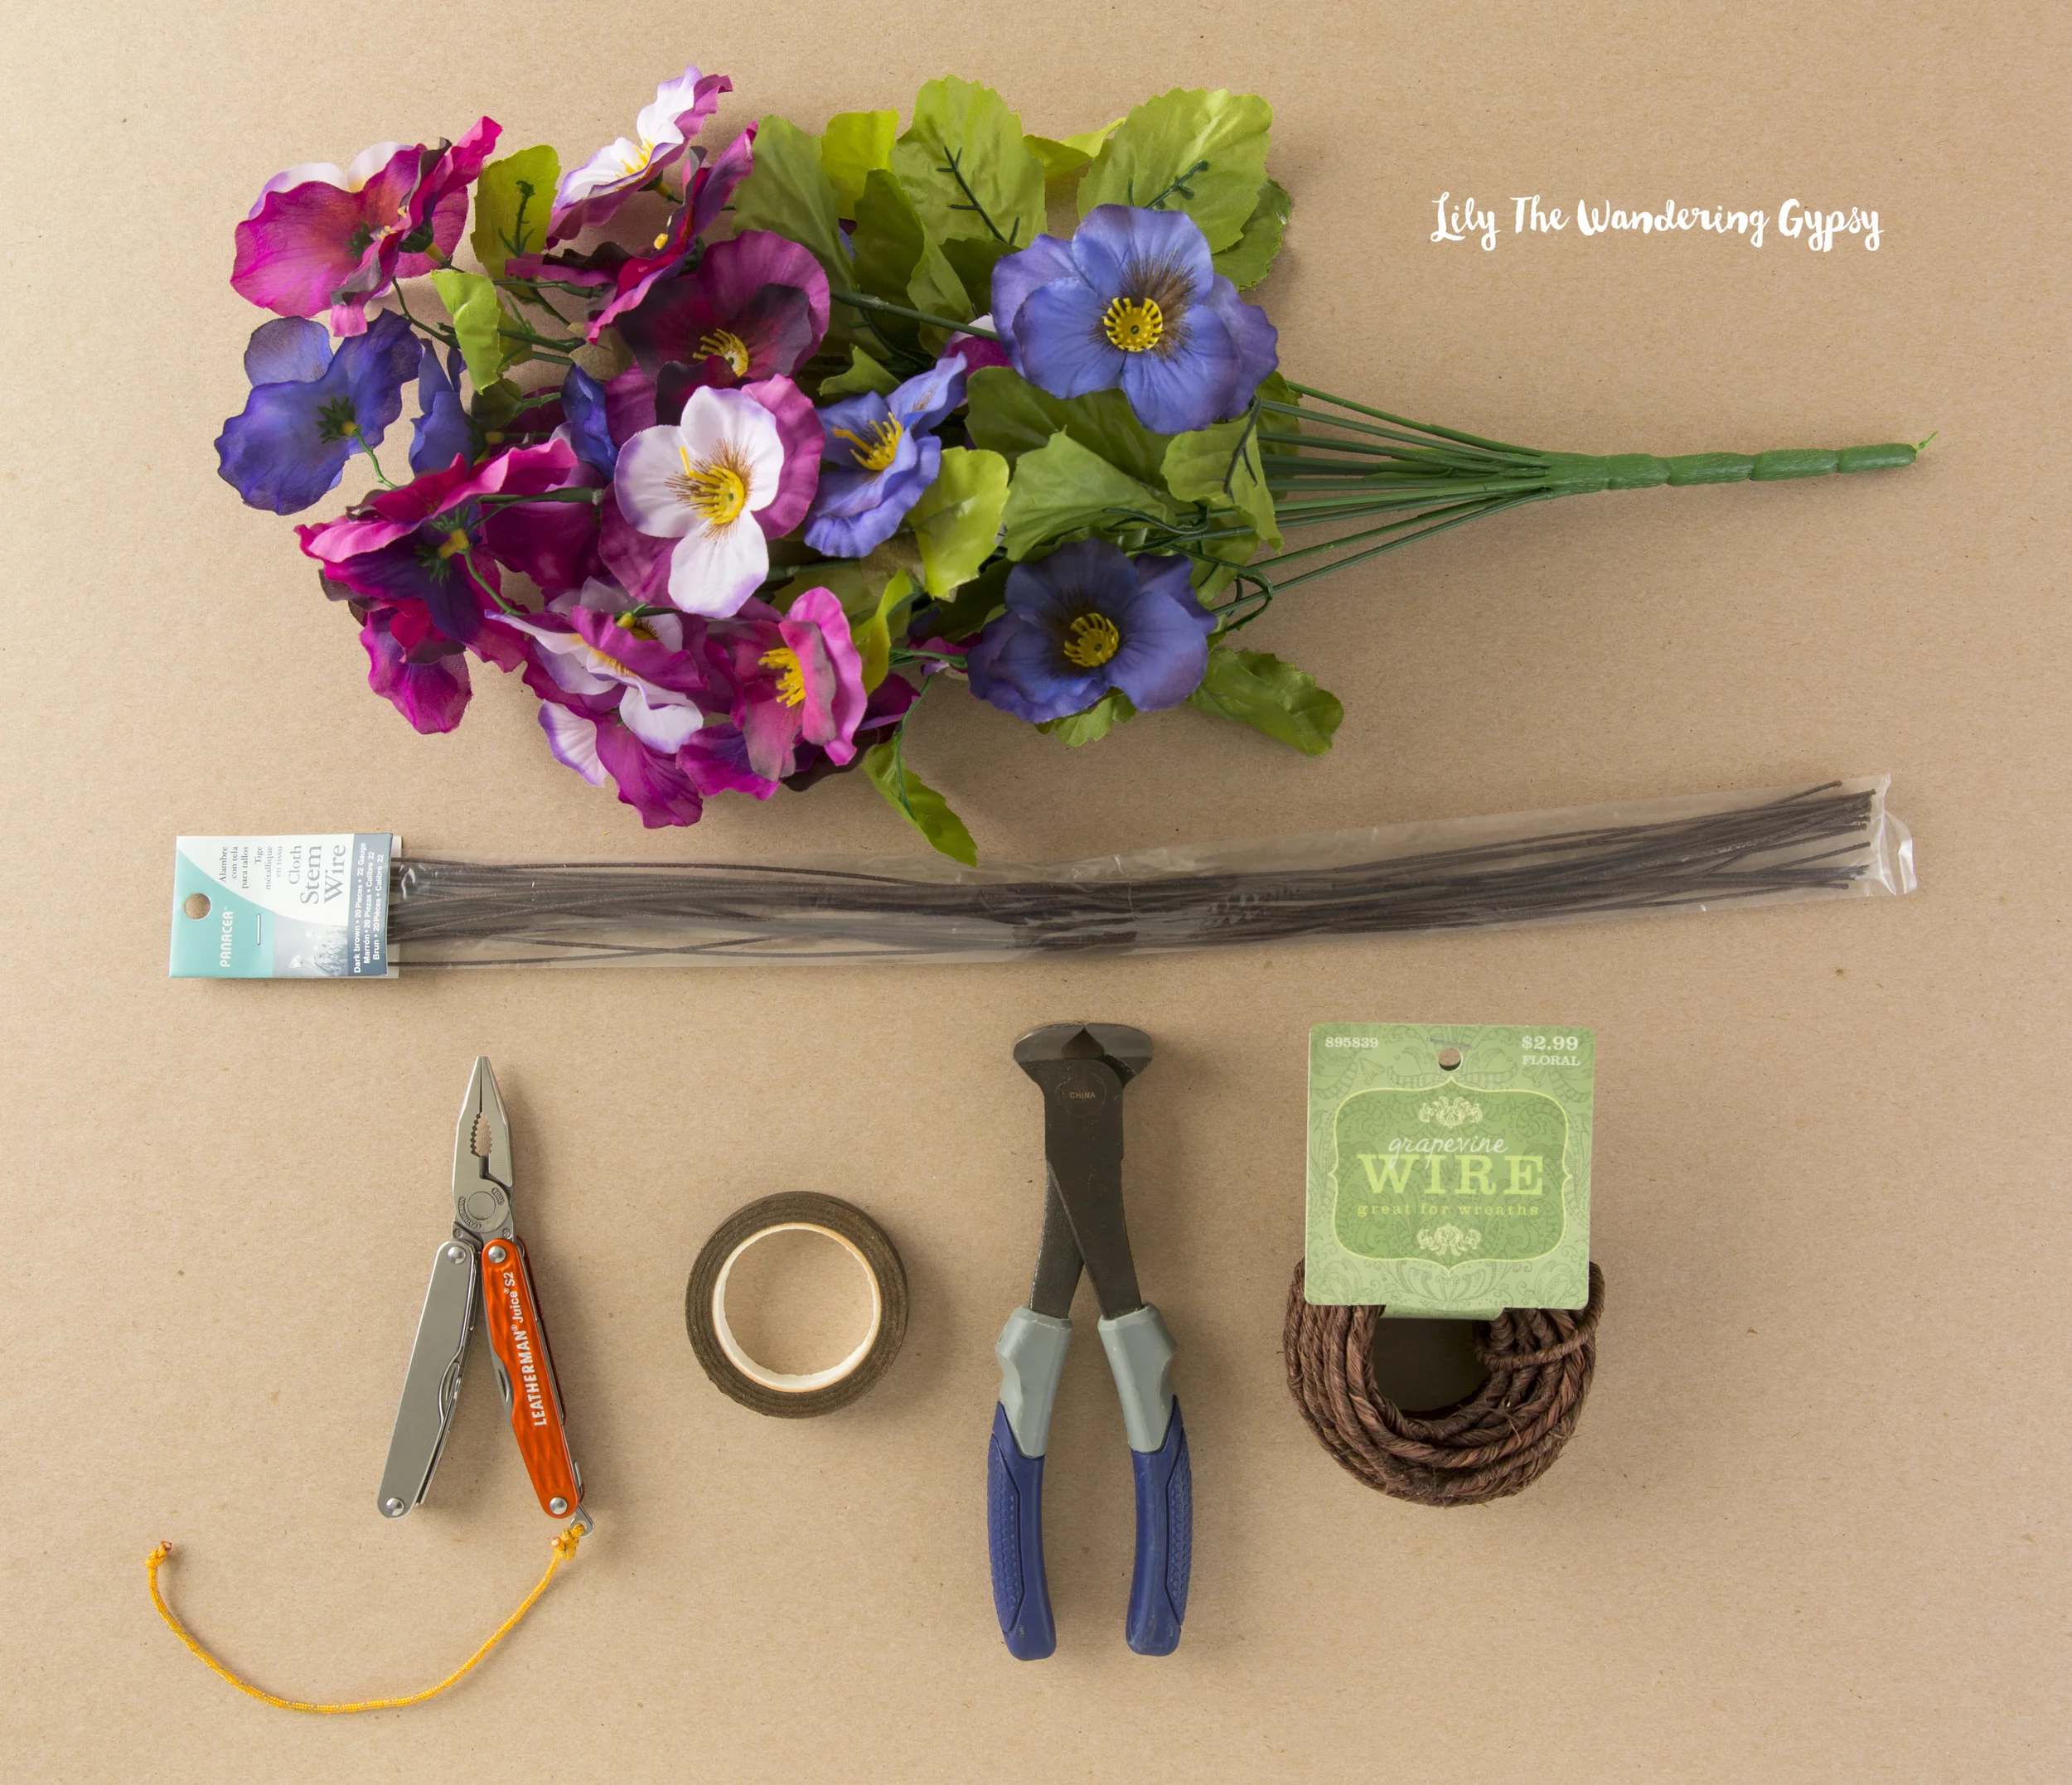
MATERIALS:

Various succulents and cacti (varied heights are good), Miracle Gro Cactus, Palm, Citrus Potting Mix, natural colored pebbles, white or brown aquarium rocks, neon pink aquarium rocks, activated charcoal (optional), gardening gloves, shovel, funnel, tall glass container (Walmart has the best prices that I've found).

INSTRUCTIONS:

In a tall glass container , or glass container of your choice, add an optional layer of activated charcoal. Next, add about 2 inches of larger pebbles. Add a layer of dirt on top, then pat the dirt down with the back of your hand, to create a flat surface. Next, add white or brown colored aquarium rocks, and flatten them with your hand. Add a bit more dirt, almost to the very top, but leaving about 1-2" of space at top. Do a test arrangement by placing the potted succulents into the container. Feel free to break apart plants if it looks like there are multiples in one container. Once you have a layout that you like, take the succulents out of their container (over a bucket or similar), and knock off as much loose dirt as you can. Place plants into dirt and add a bit more dirt on top. Now, using a funnel, add pink rocks around plants, to hide all dirt. That's it! A fun project you can create in an hour or so!

LWG + Miracle Gro

DIY Super Easy Champagne Flutes

I had a blast working on this fun tutorial! I thought these would be adorable for a party of just about any sort. Whether you actually put champagne or sparkling wine in these glasses, or if you decide to create mocktails, suitable for all ages, these would be great. This of how cute these would be if you made them for a bridal or baby shower, holidays, birthdays, and just fun days you want to be more fancy than usual! You could also find monogram stickers and use those as fun gifts as well. Check out the full New Year's post Here

A Cute DIY Project!
A Cute DIY Project!

So, this project is one of the easiest ones I have ever created. So great that they wound up looking so great on top of being So easy! I wound up finding these amazing sticker/decals at Hobby Lobby. Of course, I couldn't find the exact stickers that I used online, but I used Stick-A-Bilities for this project. They were about $2.49 for the package, and I like the little bits of gold, pale pink, and mint in these stickers. They are kins of retro while still looking elegant and modern! The circle stickers ranged from about 2"-2.5" across, to give you an idea of what worked so well.

I found the plastic party champagne flutes for about $1.00 each at Party City. Here is the link to the cups in Clear and Gold. Whatever you wind up using, just make sure the plastic glasses have straight sides so the stickers fit best. 

A Cute DIY Project!

It's so simple, just make sure you stick the stickers to the flute glasses as straight as possible, and without any bubbles. 

A Cute DIY Project!
A Cute DIY Project!

Until next time, have a happy and healthy 2016!!!

Ugly Christmas Sweater Dog Bandana - DIY Tutorial

Looking for a last minute way to get festive this holiday season? Dress your pup in something cute and quirky. This is my take on the Ugly Christmas Sweater, but updated. Cabbie actually loved this bandana! 

Holiday Dog Bandana DIY
Dog Bandana

MATERIALS:

Solid Colored Bandana (or solid colored square of fabric that fits your dog), Sparkly Felt, Tacky Glue or Fabric Glue, Sparkly and Solid Colored Puffy Paint, Other Holiday Embellishments (I used mini flat-backed ornaments), This Template (Here), Scissors, Permanent Marker, Computer and Printer. NOTE: You can also draw your own shapes.

Holiday Dog Bandana

Cut out the paper shapes you want to use. Then, trace them onto the back of the felt. 

Holiday Dog Bandana
Holiday Dog Bandana

Iron the bandana, and position the shapes and other adornments around so they create a cool design. ** Place a newspaper between the folded bandana to catch glue! Glue the pieces down, and wait about 30 minutes to an hour for pieces to be secure. 

Holiday Dog Bandana

Now, get out your puffy paint and outline the edges of the felt shapes. Get as creative as you want with this project, I really had a lot of fun! 

Holiday Dog Bandana
Holiday Dog Bandana
Holiday Dog Bandana

Happy Holidays from Cabbie The Chocolate Lab and Lily The Wandering Gypsy! XOXO!

Dog Bandana

How To Make Tassel Earrings

These prep-inspired earrings are SO cute! There are only a few steps and you will have a new, custom pair of earrings in no time. These would also make an awesome Last-Minute Mother's Day Gift! Enjoy!

How To Make Tasse1 Earrings - Lily The Wandering Gypsy
How To Make Tassel Earrings - Lily The Wandering Gypsy

WHAT YOU NEED:

- Leather Tassels (I got mine at Hobby Lobby in the scrapbooking area - by The Paper Studio / Spare Parts). You may want to check the fabric section as well! Just make sure they have a loop at the top, so you can hook them to the jump rings.

- Gold Jump Rings (6 MM or a bit larger)

- Gold Earring Hooks

- Pliers

How To Make Tassel Earrings - by Lily The Wandering Gypsy

Aren't these tassels adorable?!

How To Make Tassel Earrings - by Lily The Wandering Gypsy

IT'S SO EASY!

Now, open the jump ring, and slip on your earring hook and tassel. Close up the jump ring nice and tight, and you're set! A new pair of earrings (or 4) for summer! 

How To Make Tassel Earrings - by Lily The Wandering Gypsy

DIY Daily Planner Tutorial - For Under $10.00

I am the type of person who needs a daily to-do list. I looked at daily planners recently, and they ranged between $50-$100. That's absurd! When I saw that price, I knew I had to make my own. Before I made this official planner, I was using a lined, spiral journal. It was fine, and very portable, but I usually have this on my desk, so that wasn't a huge deal when making this new one. This would also make a cute Mother's Day or graduation gift! 

DIY Daily Planner for Less Than $10

These mini binders were only $3.99 (only available in Target stores), but you can find them at any office store. The mini binder filler paper (also only available in Target stores), was only $1.99 per pack, and I grabbed 2. You could also use the divider sheets, if you need to organize things a bit more. 

Easy day, I just write the date at the top of each page in a thick permanent marker. I do this while looking at a calendar, so I get the dates correct :) It's that simple! Use your favorite color pens to write your daily to-do list and you're set! A fun way to spruce up your desk for under $10.00!

DIY Daily Planner Under $10

How To Make A Festival Ready Flower Crown!

I started making these beautiful flower crowns last year and they are so fun and easy! You can make one in about 20 minutes, and they are so customizable - just add whatever type of flower inspires you, and you have a unique, one of a kind accessory, just in time for festival season! 

How To Make A Festival-Ready Flower Crown
How To Make a Festival Ready Flower Crown

GATHER YOUR MATERIALS // WHAT YOU NEED 

1 Bouquet of Silk Flowers - Make sure the flower heads are easy to remove from the stems, and that a wire can go through the enter of the flower head. 

Cloth Stem Wires - Pliers, Florist Tape, Wire Cutters, Wrapped Grapevine Wire for crown

How To Make A Festival Ready Flower Crown

Next, cut a length of grapevine wire that will wrap around your head plus an extra 4 inches to twist together to form a circle. Now, lay the circle on a table, and set 8 or more flower heads around the crown to see how you want them to look in the end. You can add a few smaller flowers if you want a more full look to your crown. 

How To Make A Festival Ready Flower Crown

PREPARE THE FLOWERS

Cut the Cloth Stem Wires into 4 equal parts with your wire cutters. And, as shown below, the steps are: 1.) fold over the top of the wire about 1/4". 2.) Start to twist the folded part around the rest of the wire. 3.) create a twisted loop in the top of the wire so the flower won't fall off. Thread these looped wires into each flower head you will use. 

How To Make a Festival Flower Crown

Put wires through ever flower head, and get ready to attach them to your crown. 

How To Create A Festival Ready Flower Crown

ATTACH YOUR FLOWERS

Attach the first flower to your crown by twisting the wired stem to the crown. Twist the flower head wire onto the crown, and use a pair of pliers to secure any sharp wire ends, then use florists tape to make sure no wire ends poke you! 

How To Create A Festival Ready Flower Crown

ALMOST DONE!

Now, twist each flower onto the crown, and don't twist each wire all the way until you are happy with the flower placement. Cut the rest of your florists tape pieces, and get ready to wrap each flower stem with tape at the end. 

How To Make A Festival-Ready Flower Crown

Here is the back view of the crown, before taping up wire ends. Use pliers to secure any sharp wire ends to the crown, then tape each end to the crown. Also, tape the rough ends of the crown so they don't come undone or poke you. 

How To Make A Festival Ready Flower Crown

And, here are a few more examples of other flower crowns I created. They're also perfect for a bride, or a little girl who loves flowers! Are you heading to any festivals this year? If so, feel free to comment below. 

How To Make A Festival-Ready Flower Crown