Mini Cinnamon Rolls with Puff Pastry Recipe

This post was sponsored by Pepperidge Farm® Puff Pastry. All thoughts and opinions are my own. #InspiredByPuff

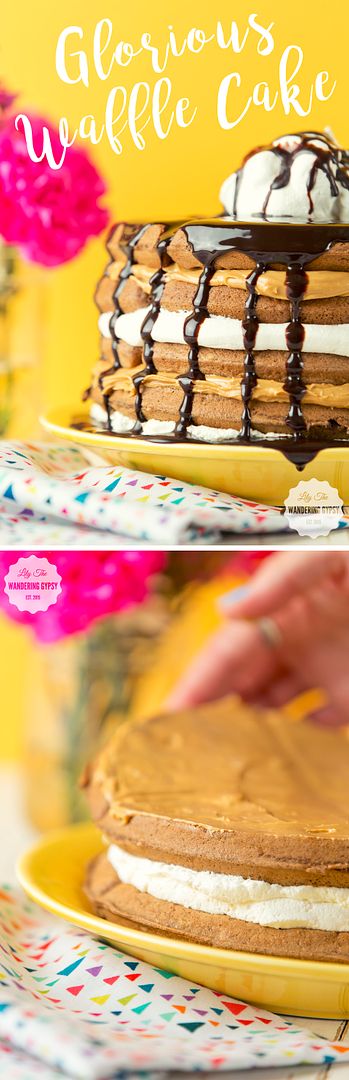
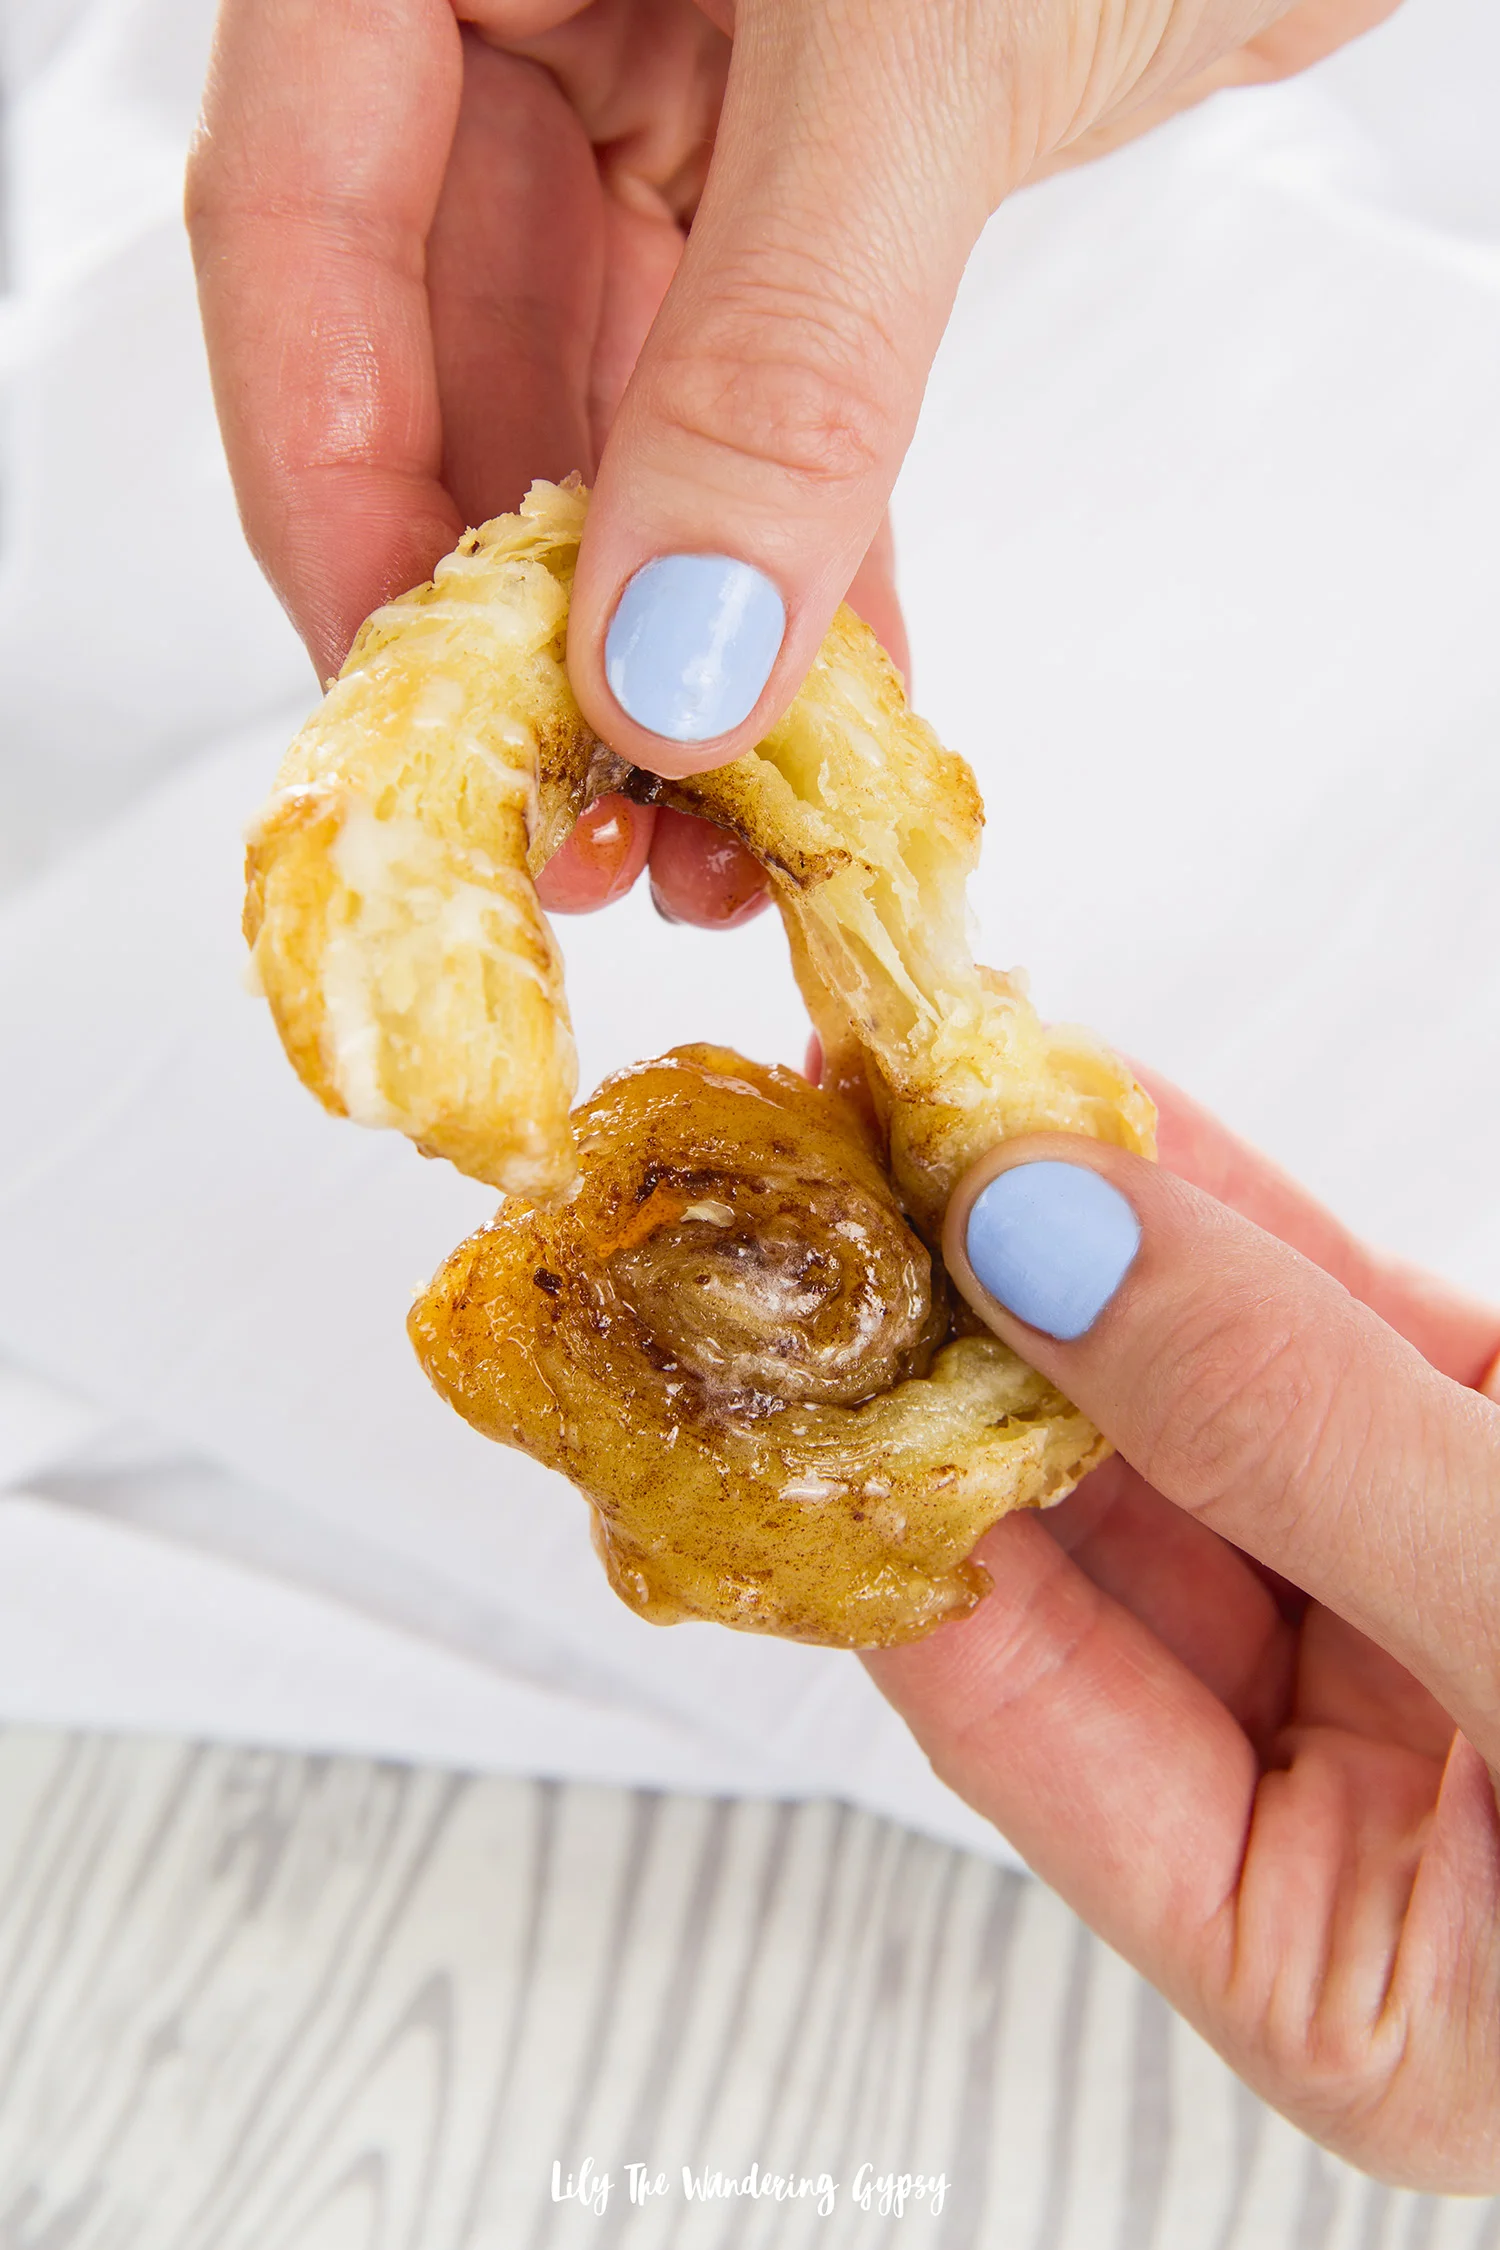
Puff Pastry adds a unique twist to recipes. It’s light and airy, and also a bit crispy, and you’ve likely never had cinnamon rolls like these before! After you eat these cinnamon rolls, you will never want to go back to the pre-made ones. This more homemade version can also be made (prepared and sliced) ahead of time, then baked just a few minutes before needed. Check out this delicious recipe for crispy, crunchy cinnamon rolls with an ooey gooey center. They’re perfect for brunch, holidays, and everyday meals!

If you’re seeking new and innovative recipes, try incorporating Pepperidge Farm® Puff Pastry Sheets! They add an elegant touch and a very upscale taste to nearly any dish you can imagine.

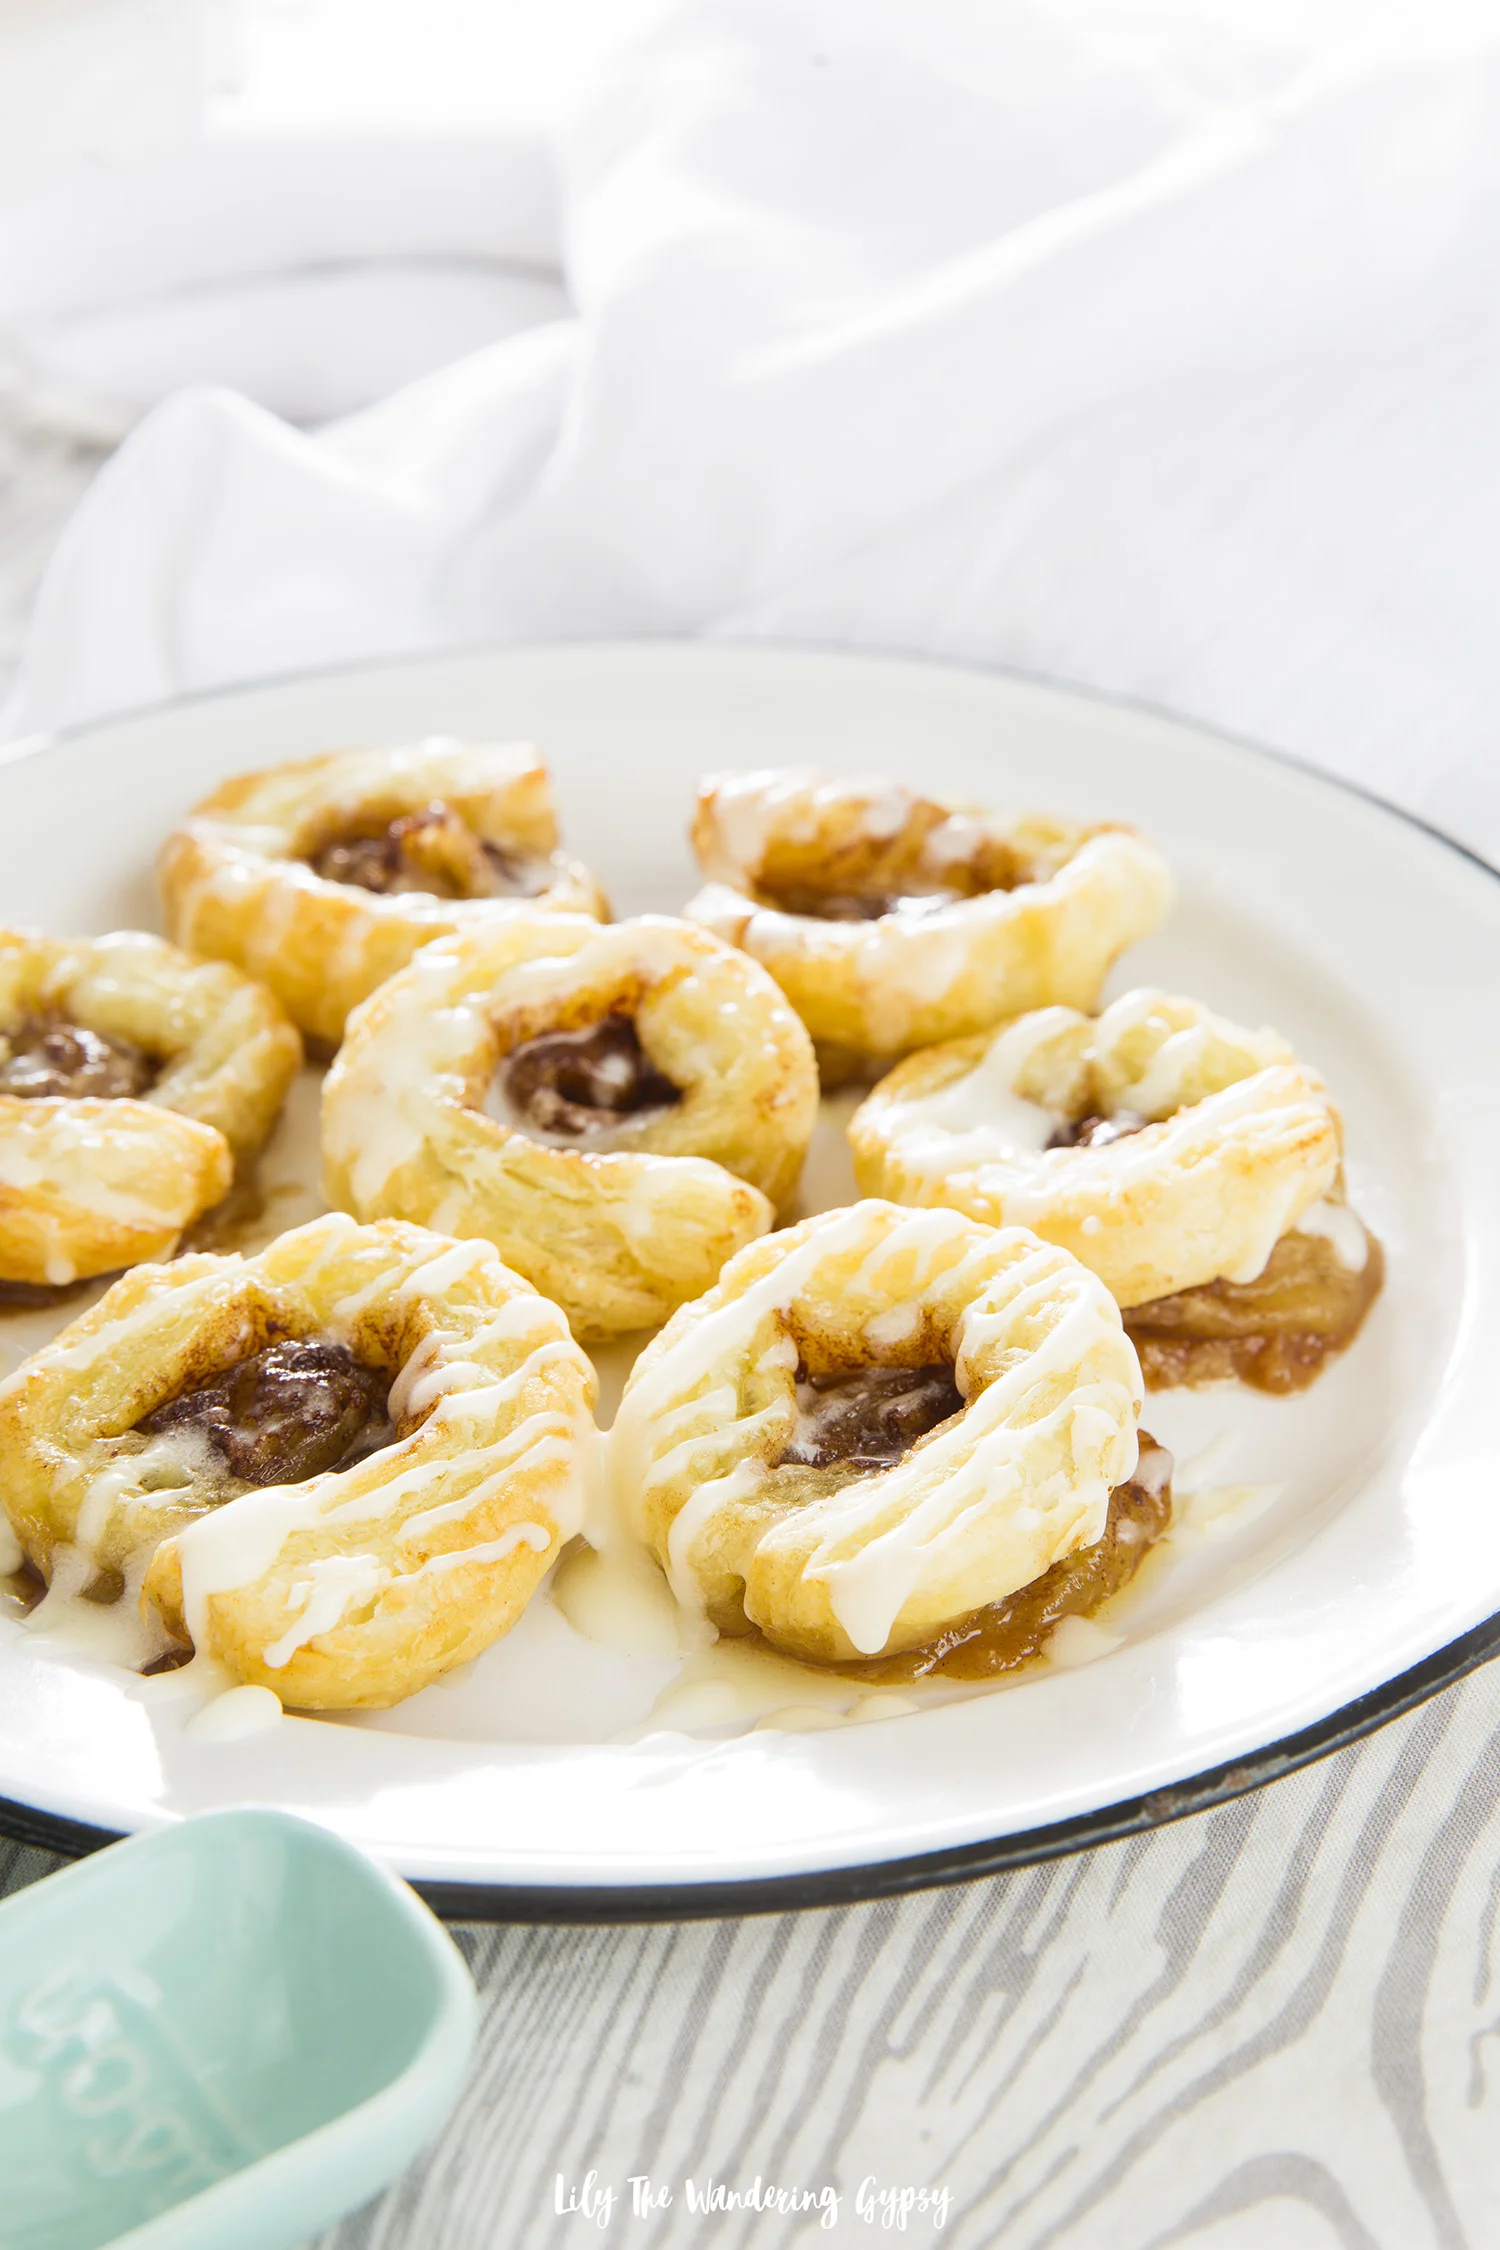
One of my favorite ways to connect with friends and family is through food. I enjoy creating special treats for these people, and when I use Puff Pastry, I feel like I am providing a meaningful experience as well as a valued connection. If you’re someone who likes to plan ahead and make that extra effort to offer food that is a little bit more elevated (yet still simple), this recipe would be perfect for you! The crispy, flaky outer layer comes from the light and flaky texture of the Puff Pastry, while the interior of the cinnamon rolls stays soft and warm. I chose to use Puff Pastry in this recipe because it’s the most delicious ingredient I can incorporate without being too overly complicated. This recipe is delicious beyond words.

Also, since this recipe uses only a few ingredients, it’s great for a last minute treat too. The Puff Pastry Sheets do need to be thawed, so that would be the only other prep work required. I always make sure to have 1-2 packages of Puff Pastry in the freezer, because it makes life easy! Not only will your creations turn out beautifully, you know that the versatility of Puff Pastry means that it’s a top choice for just about any occasion.

INGREDIENTS:

(Makes 9-10 cinnamon rolls, or more if you slice them thinner):

(For The Dough)

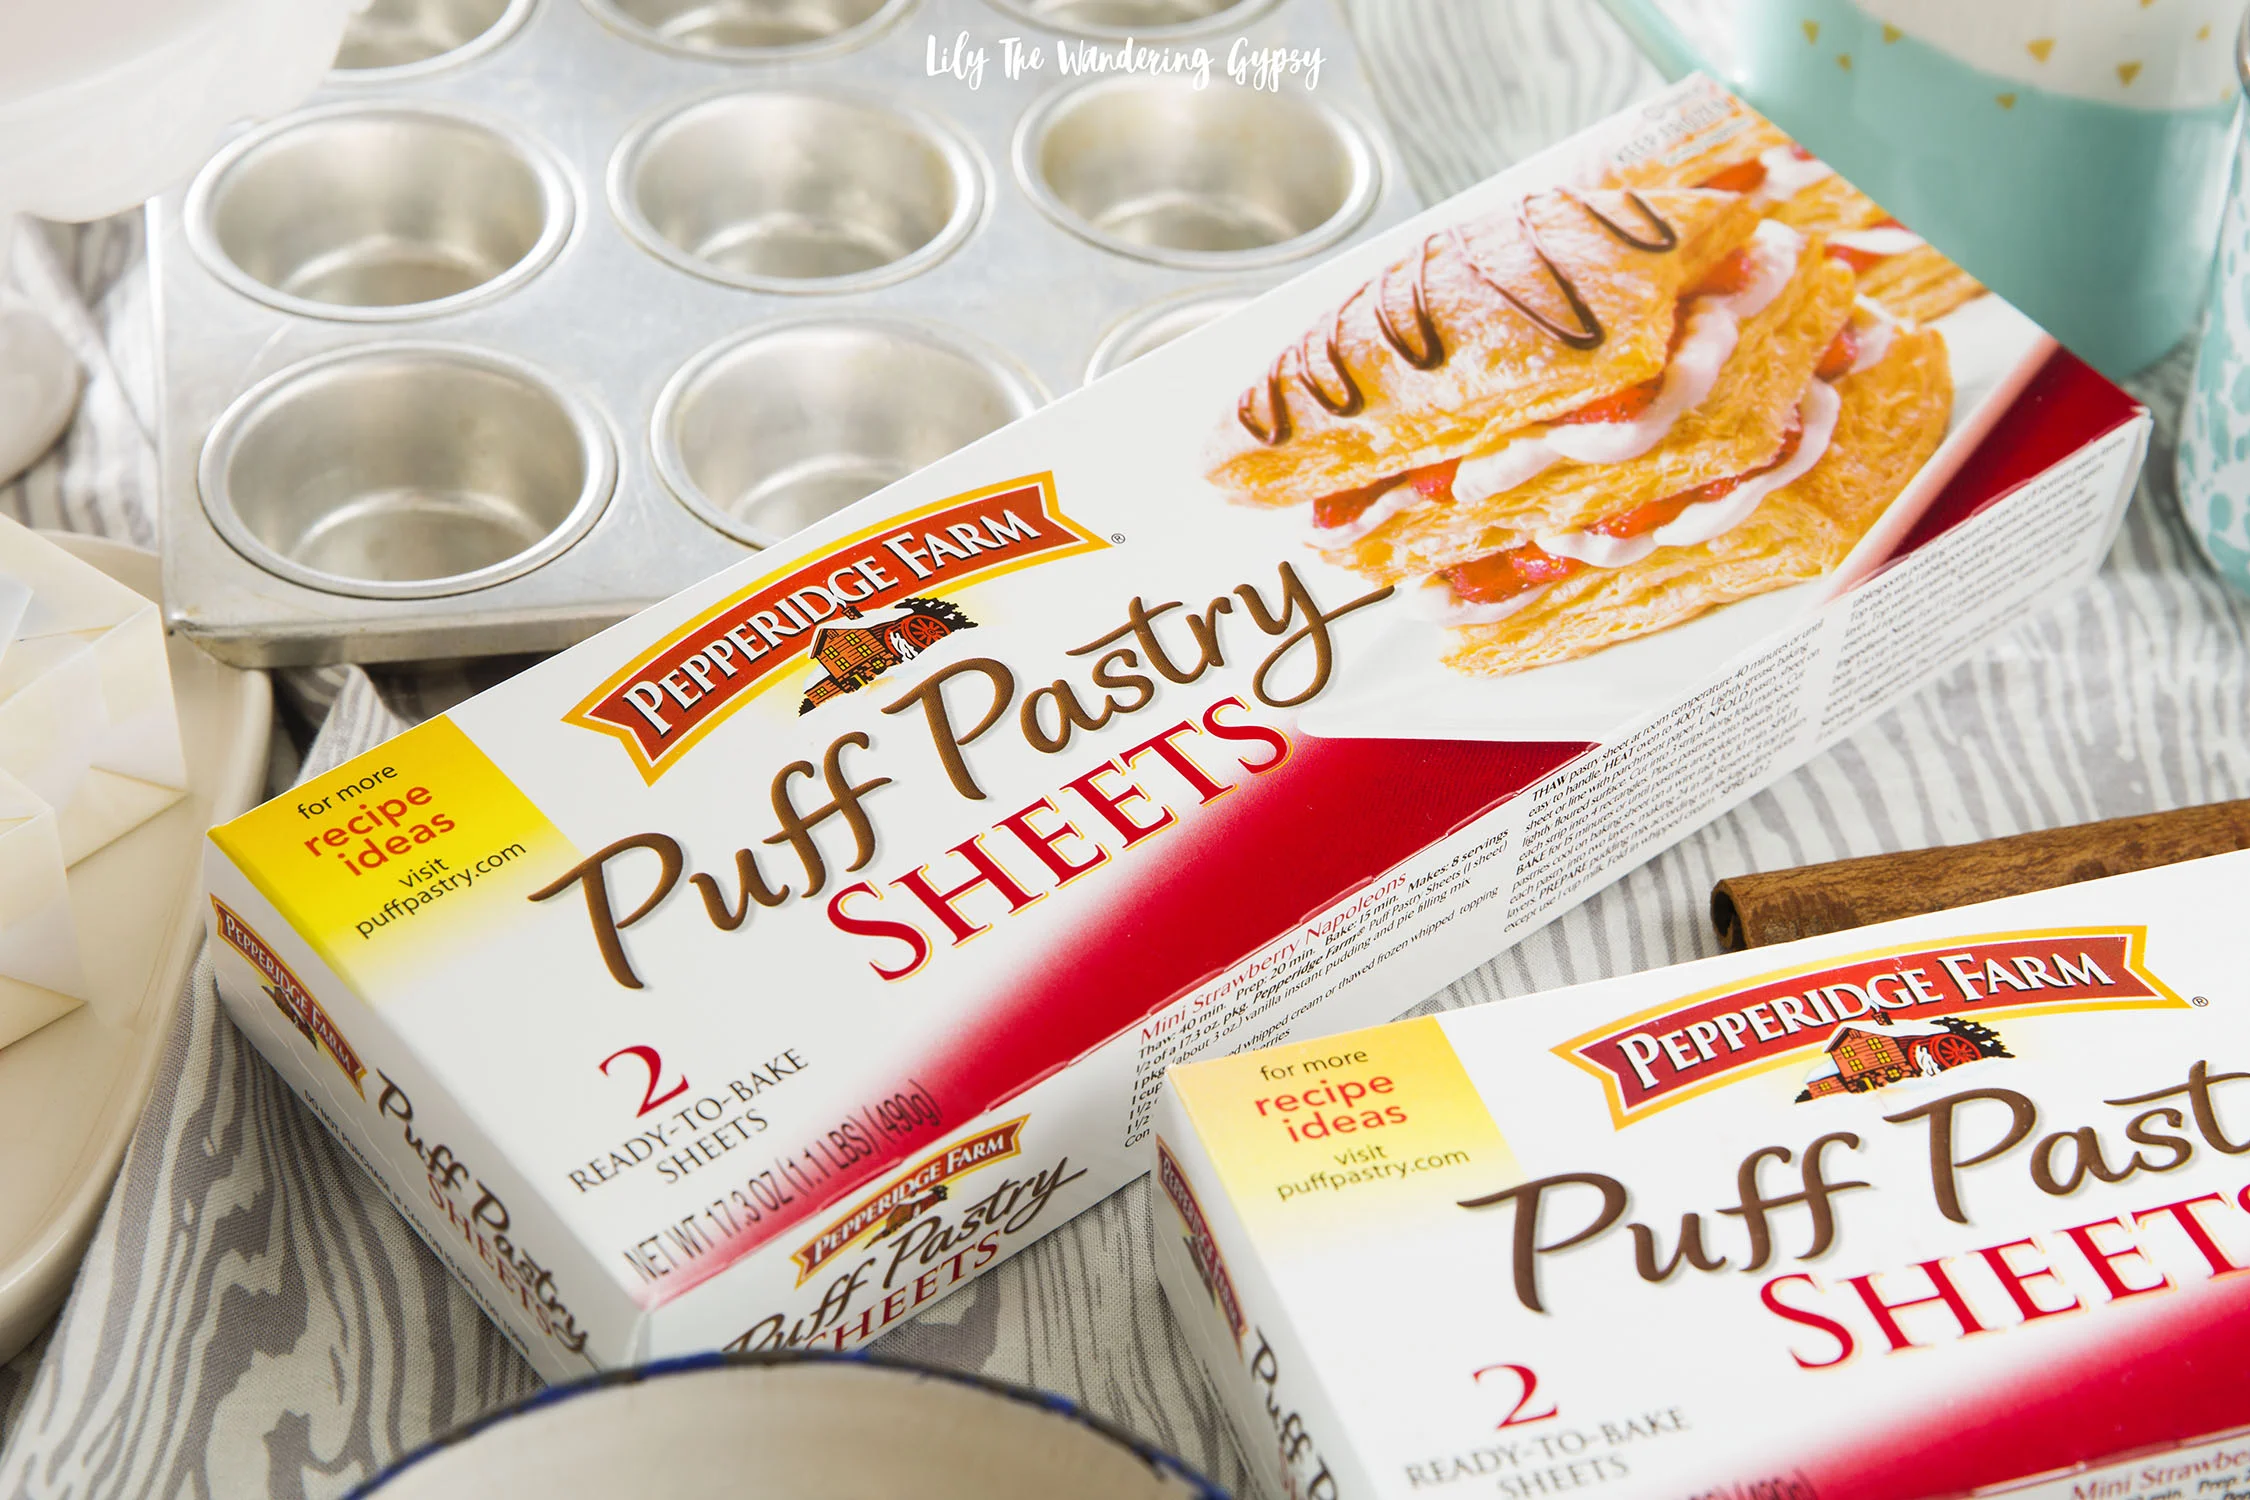
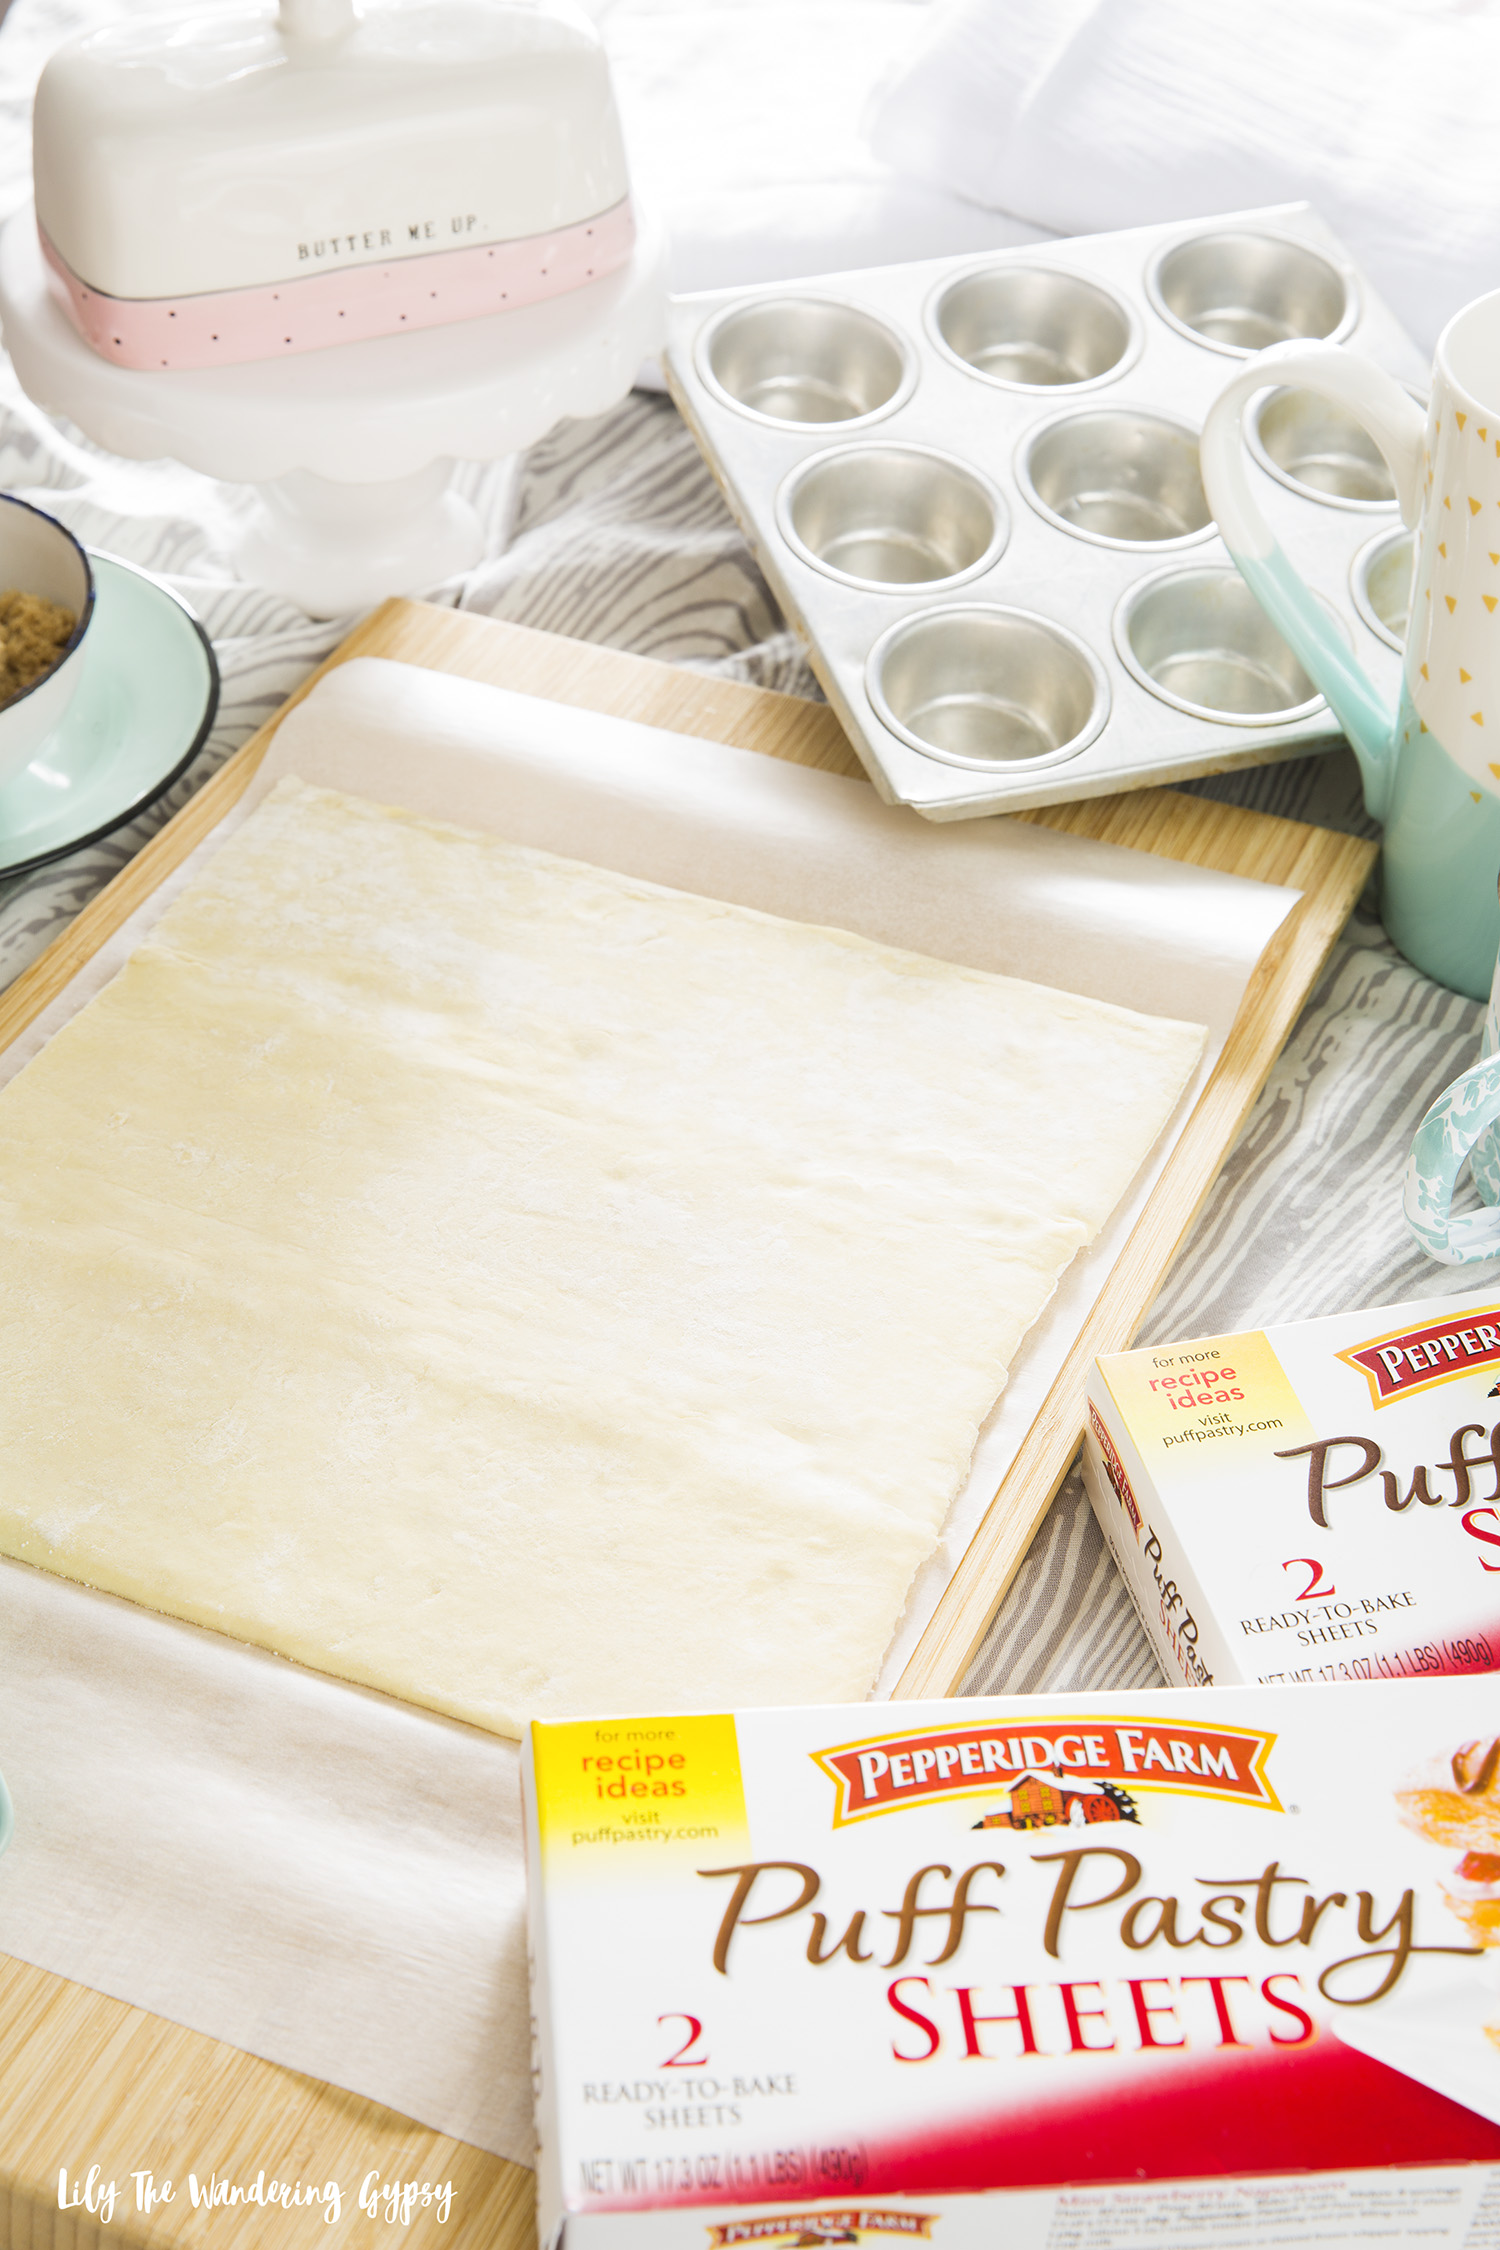
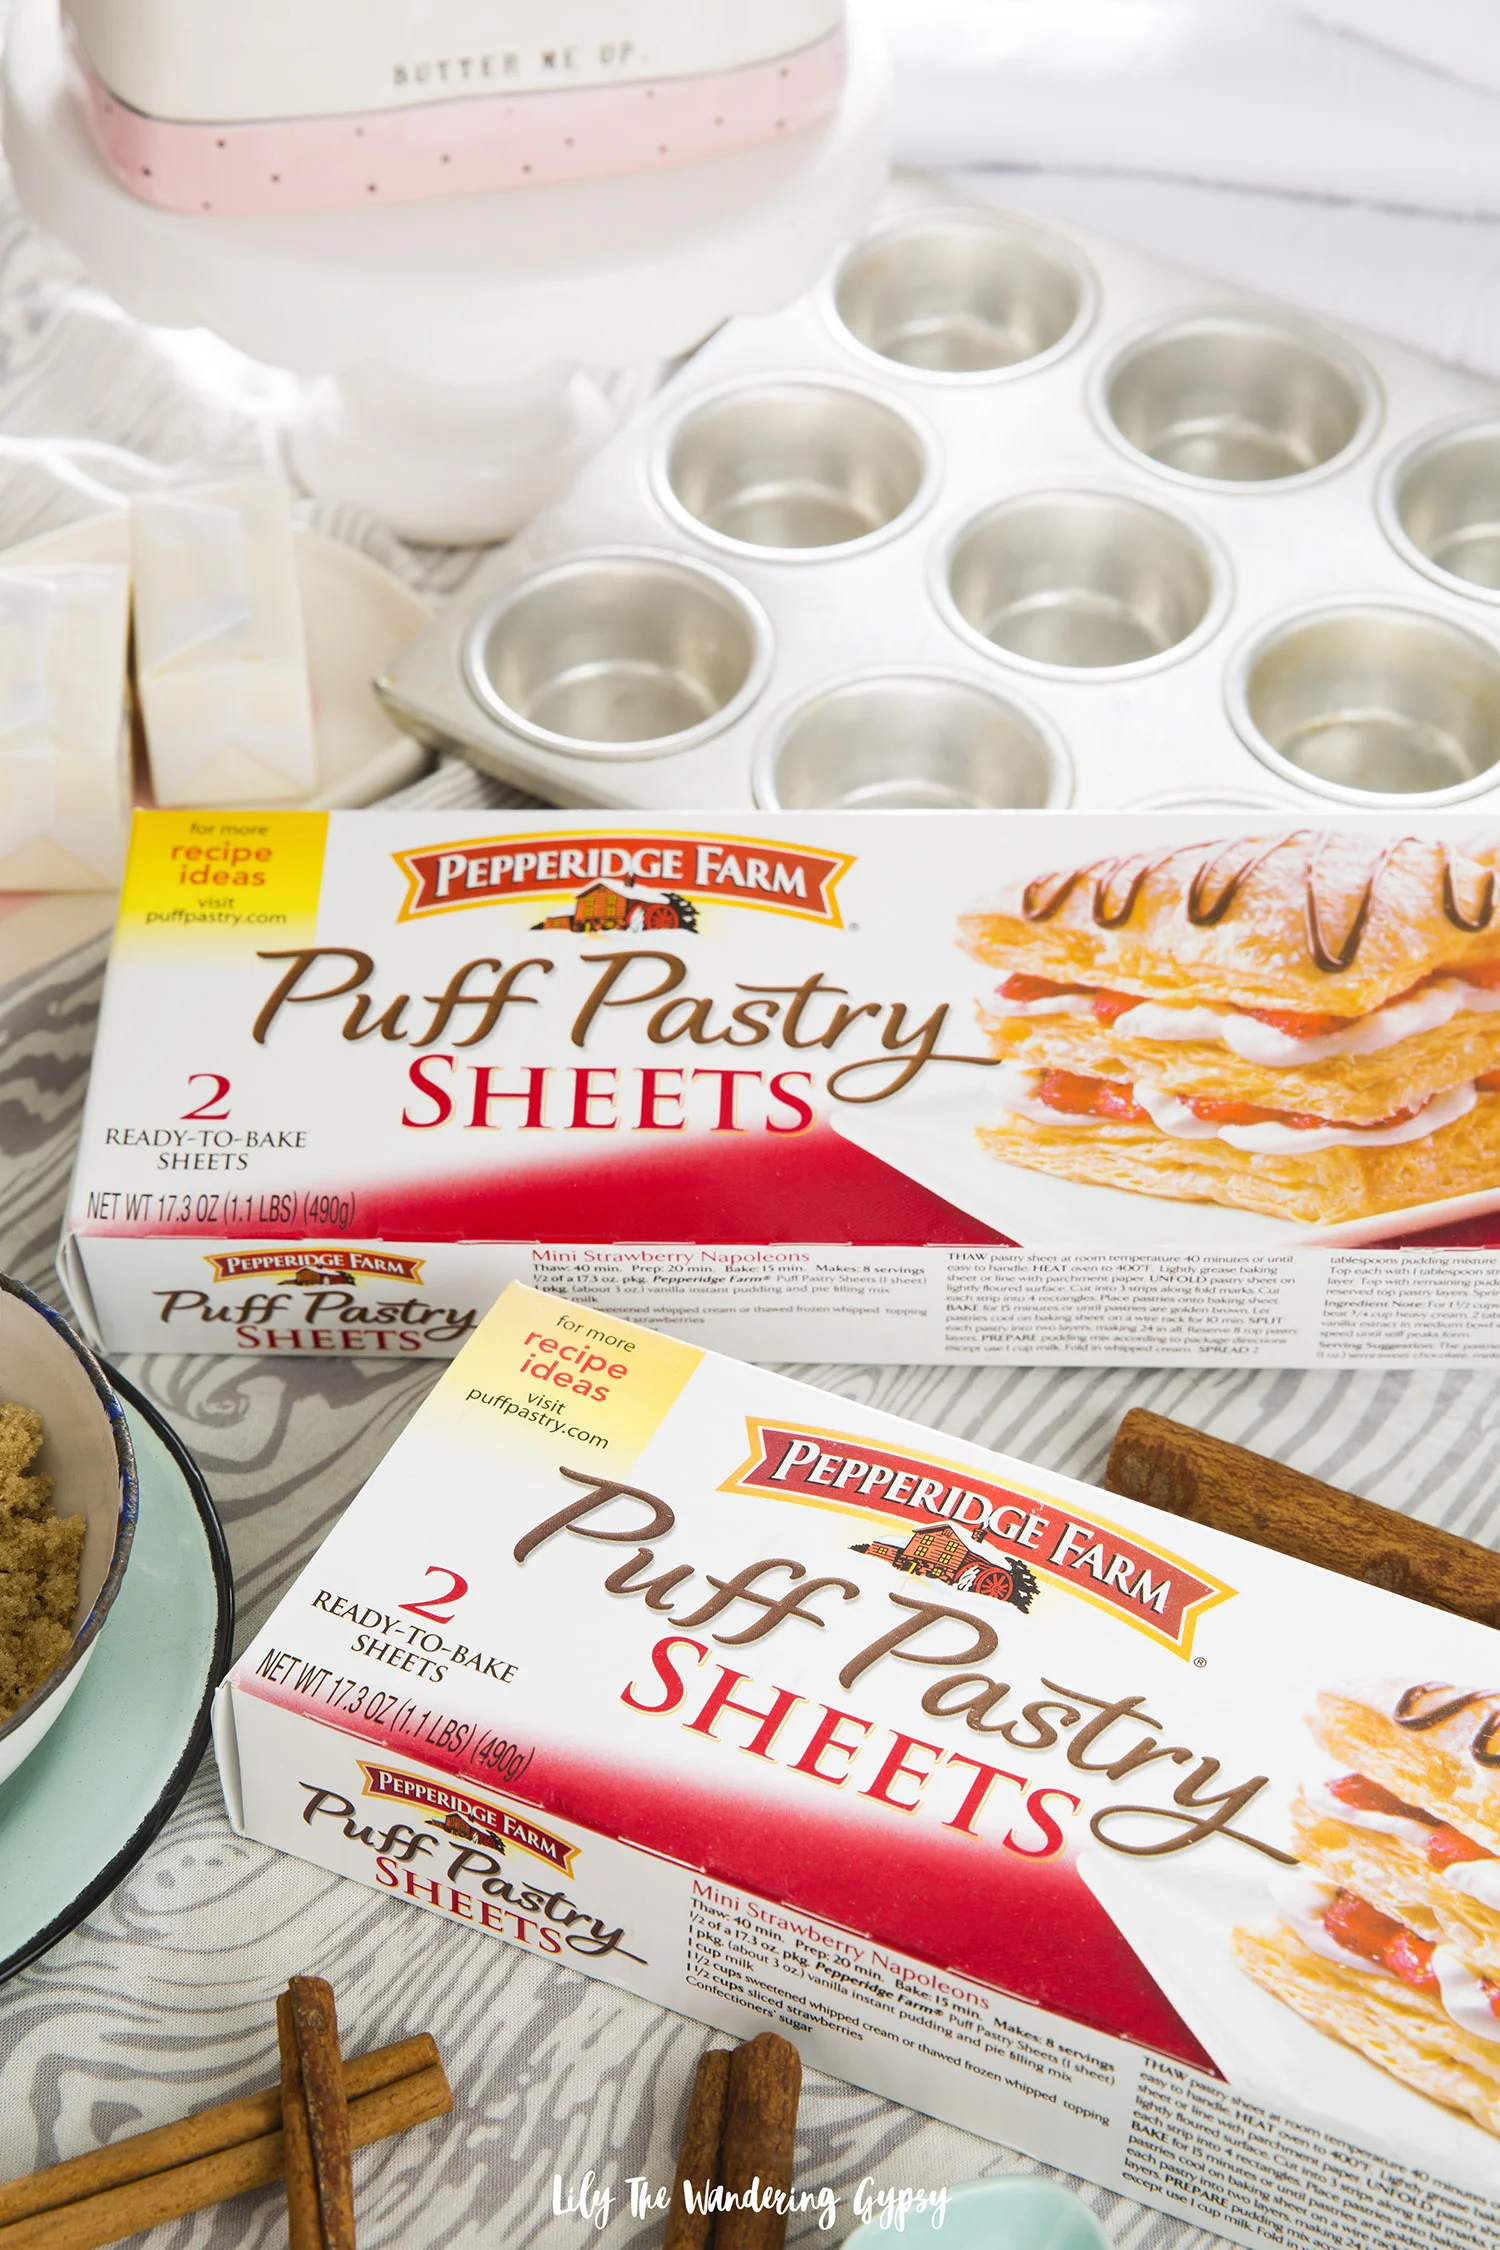
½ Package of Pepperidge Farm® Puff Pastry Sheets, thawed*

*To that at room temperature, remove the pastry sheets from the box and outer wrapping; thaw for no more than 40 minutes. To thaw in the microwave, remove 1 pastry sheet from the box and outer wrapping and wrap in a paper towel; microwave on HIGH for 15 seconds, turn it over and repeat!

(For The Cinnamon Filling)

½ cup butter

1-2 tbsp. cinnamon

½-3/4 cup brown sugar

(For The Icing)

1 tsp. maple syrup

1 tbsp. milk or cream

¾ cup powdered sugar

INSTRUCTIONS:

  1. Preheat oven to 375 degrees, and open your Pepperidge Farm® Puff Pastry Sheets. Grab one of the sheets of Puff Pastry, and save the other one for later in a gallon size zip top bag. Prepare your mini muffin tin by spraying it with non-stick spray, then spread with paper towel to disperse evenly.

  2. On a board covered with parchment paper, place the dough, and pinch any seams/folds together so they are as flat as possible. You can also use a rolling pin during this step.

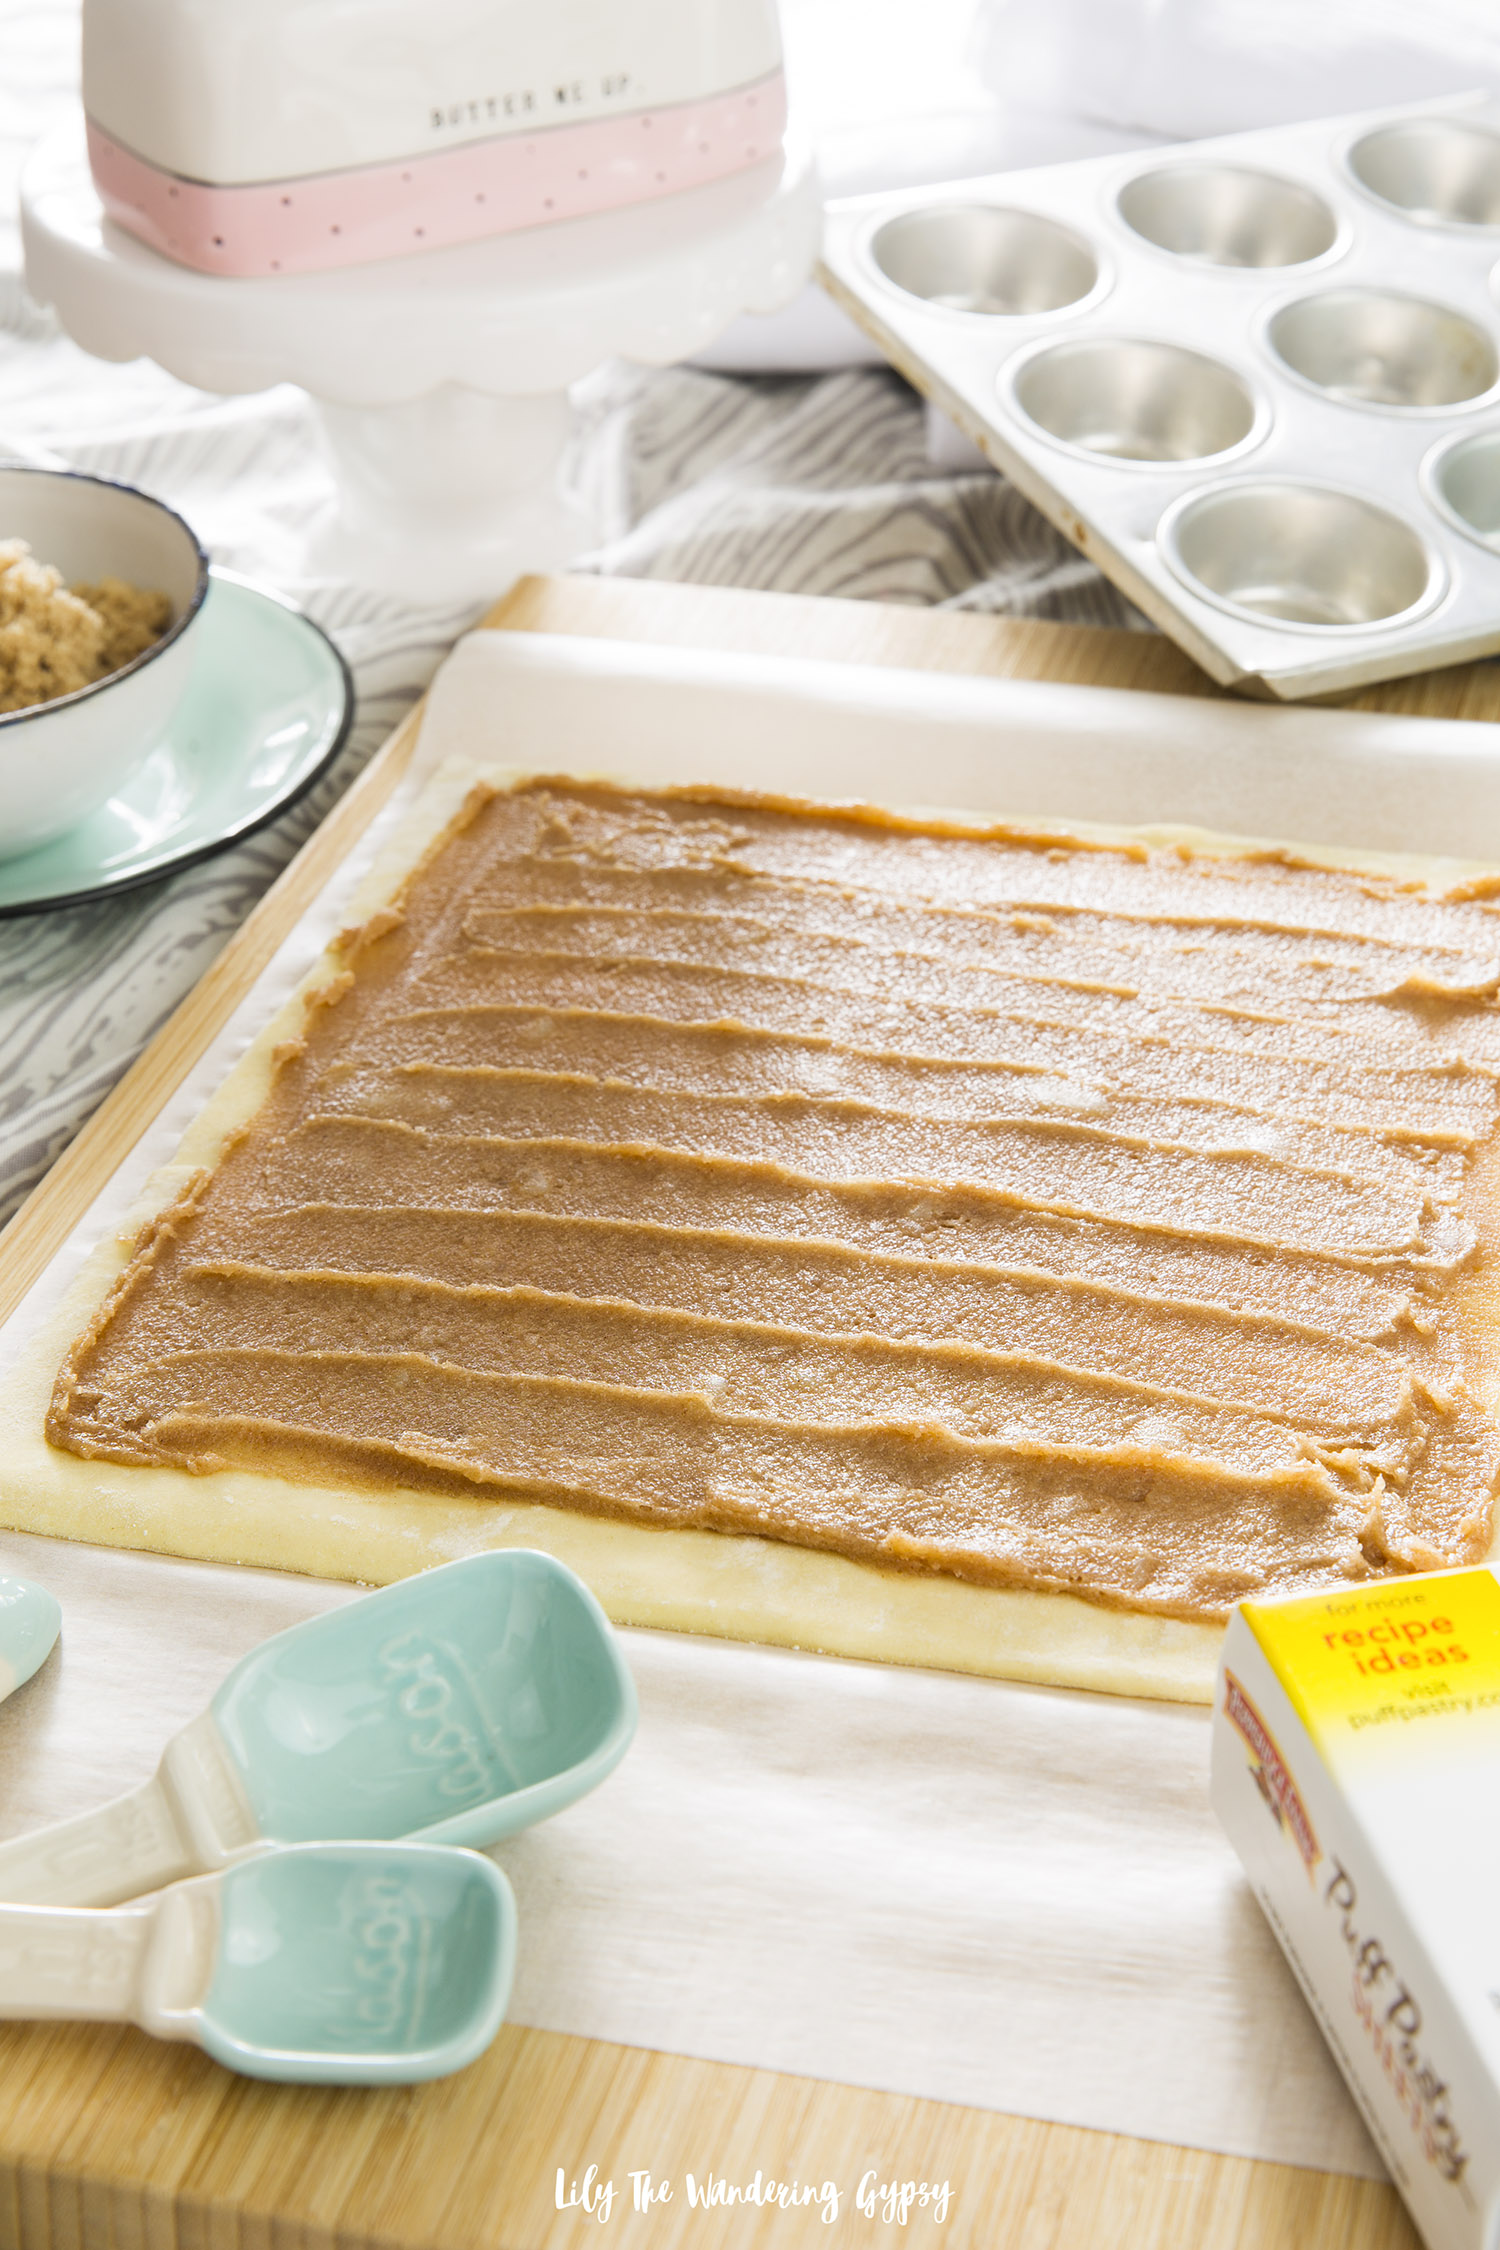
3. Using a silicone or wooden spatula, spread a thin layer of the cinnamon, brown sugar, and butter spread as evenly as possible. Make sure you do not go all the way to the edges, to prevent a mess.

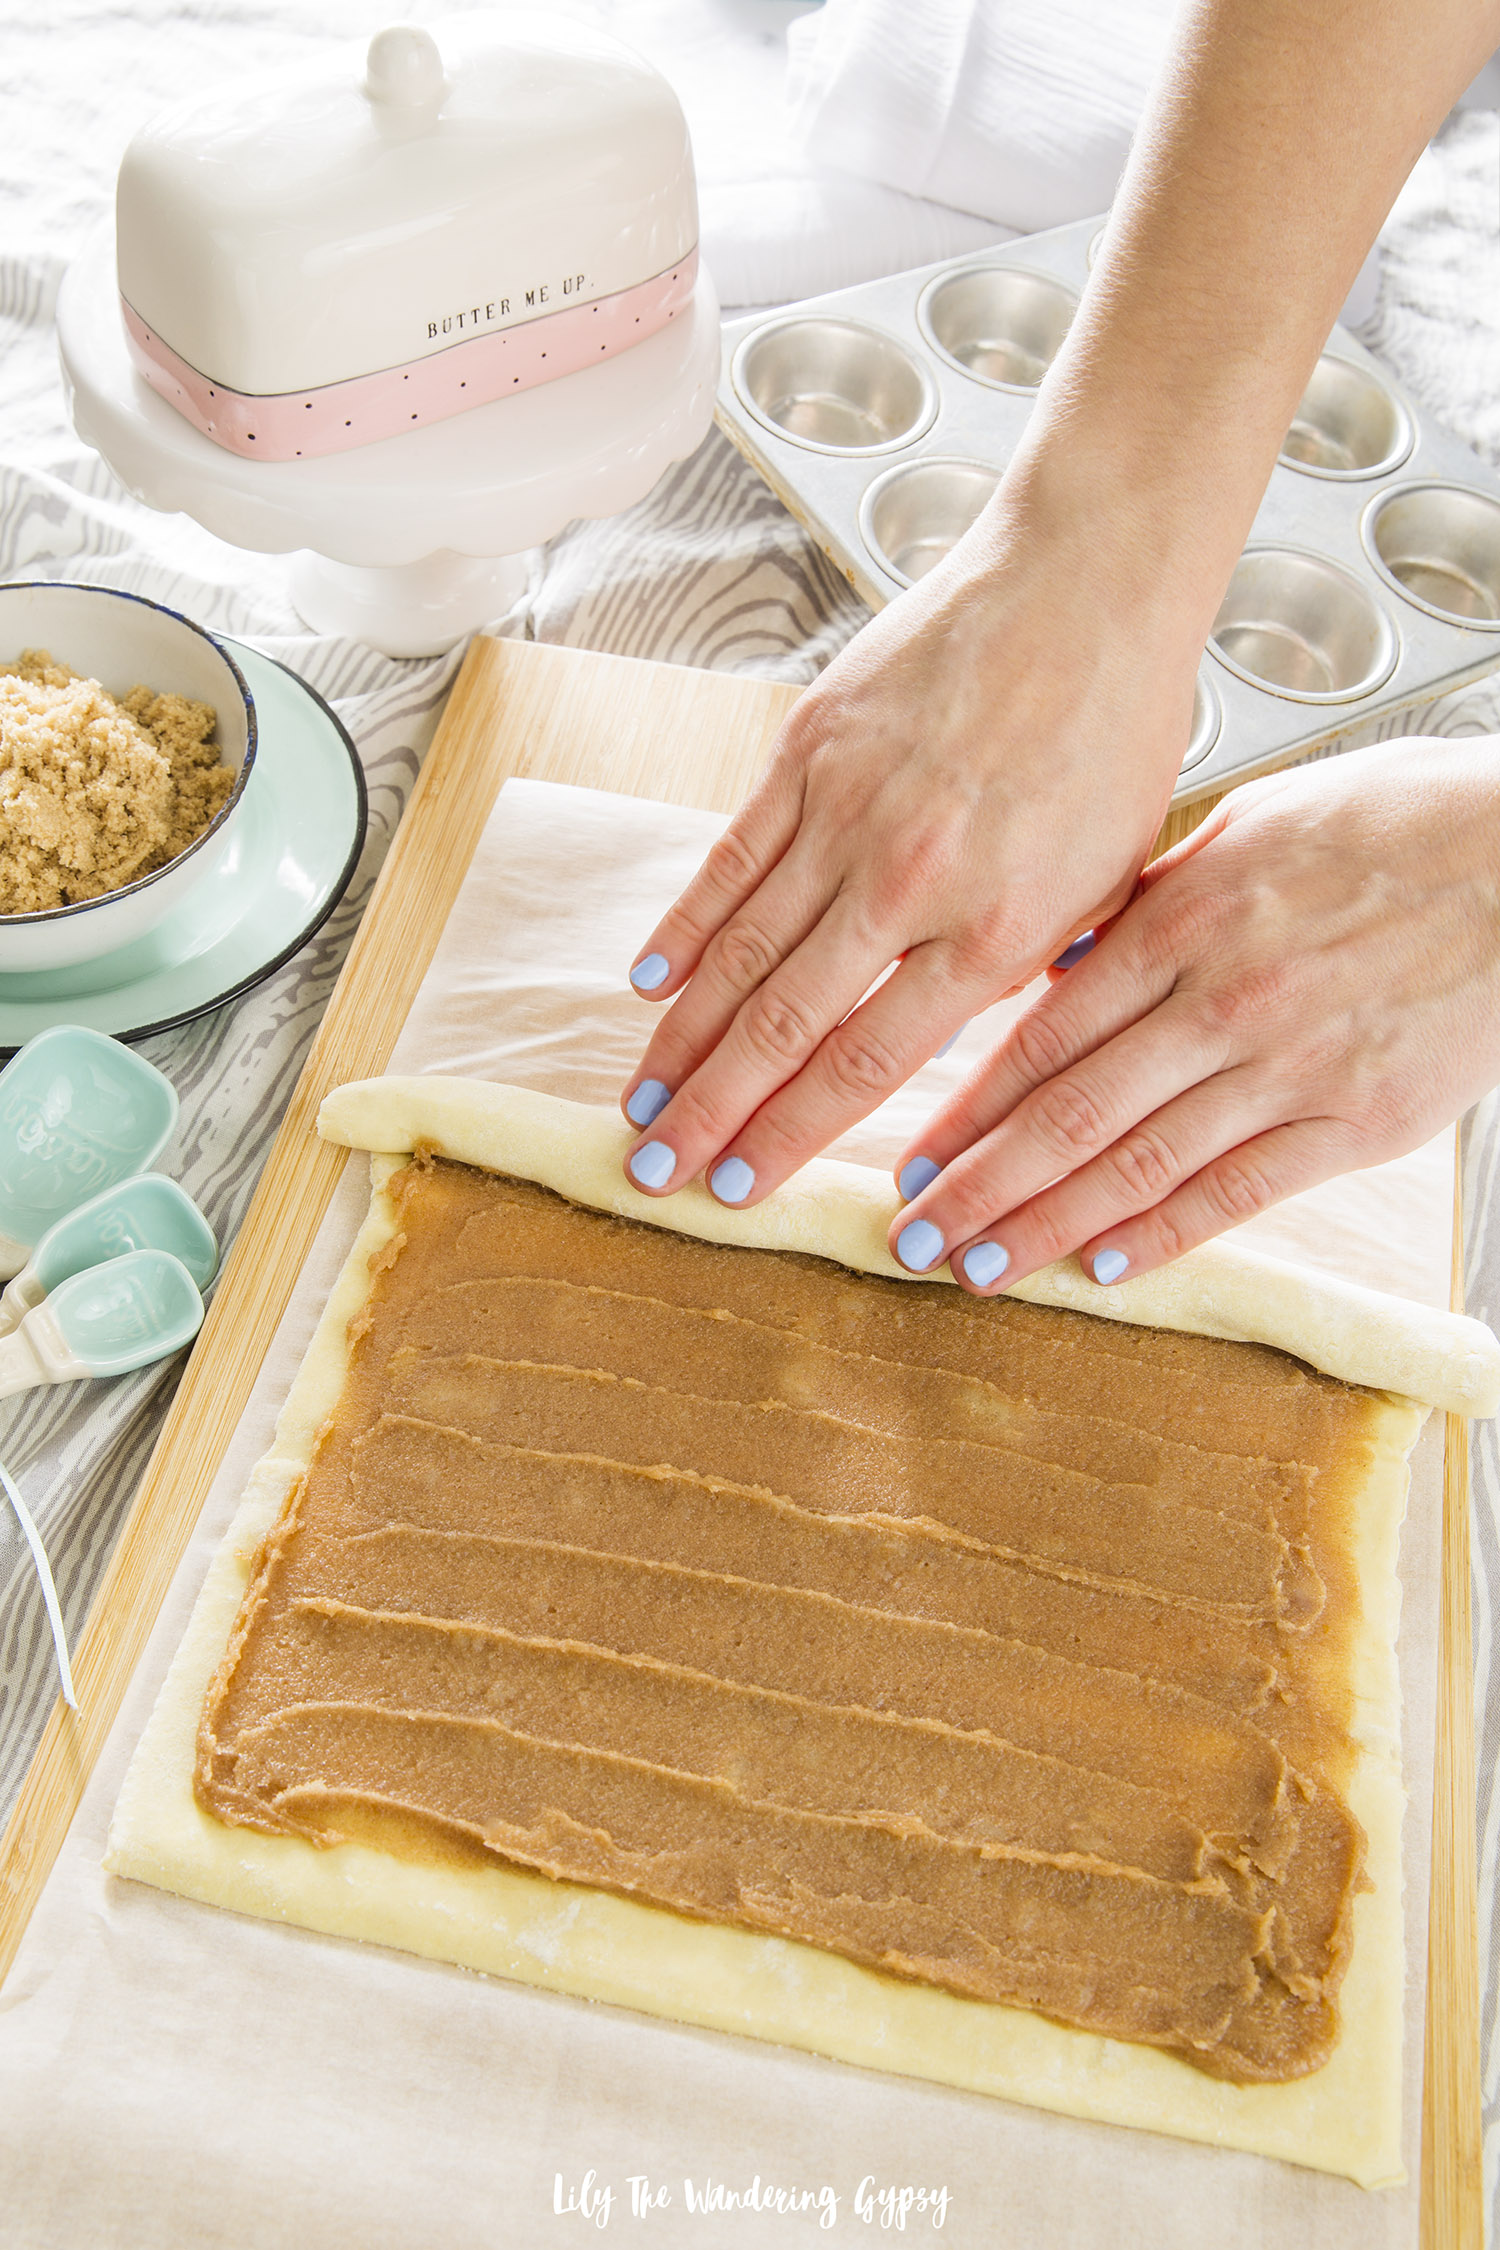
4. Use both hands to carefully and evenly roll the sheets into a “log” shape. For best results, freeze the log for about ten minutes.

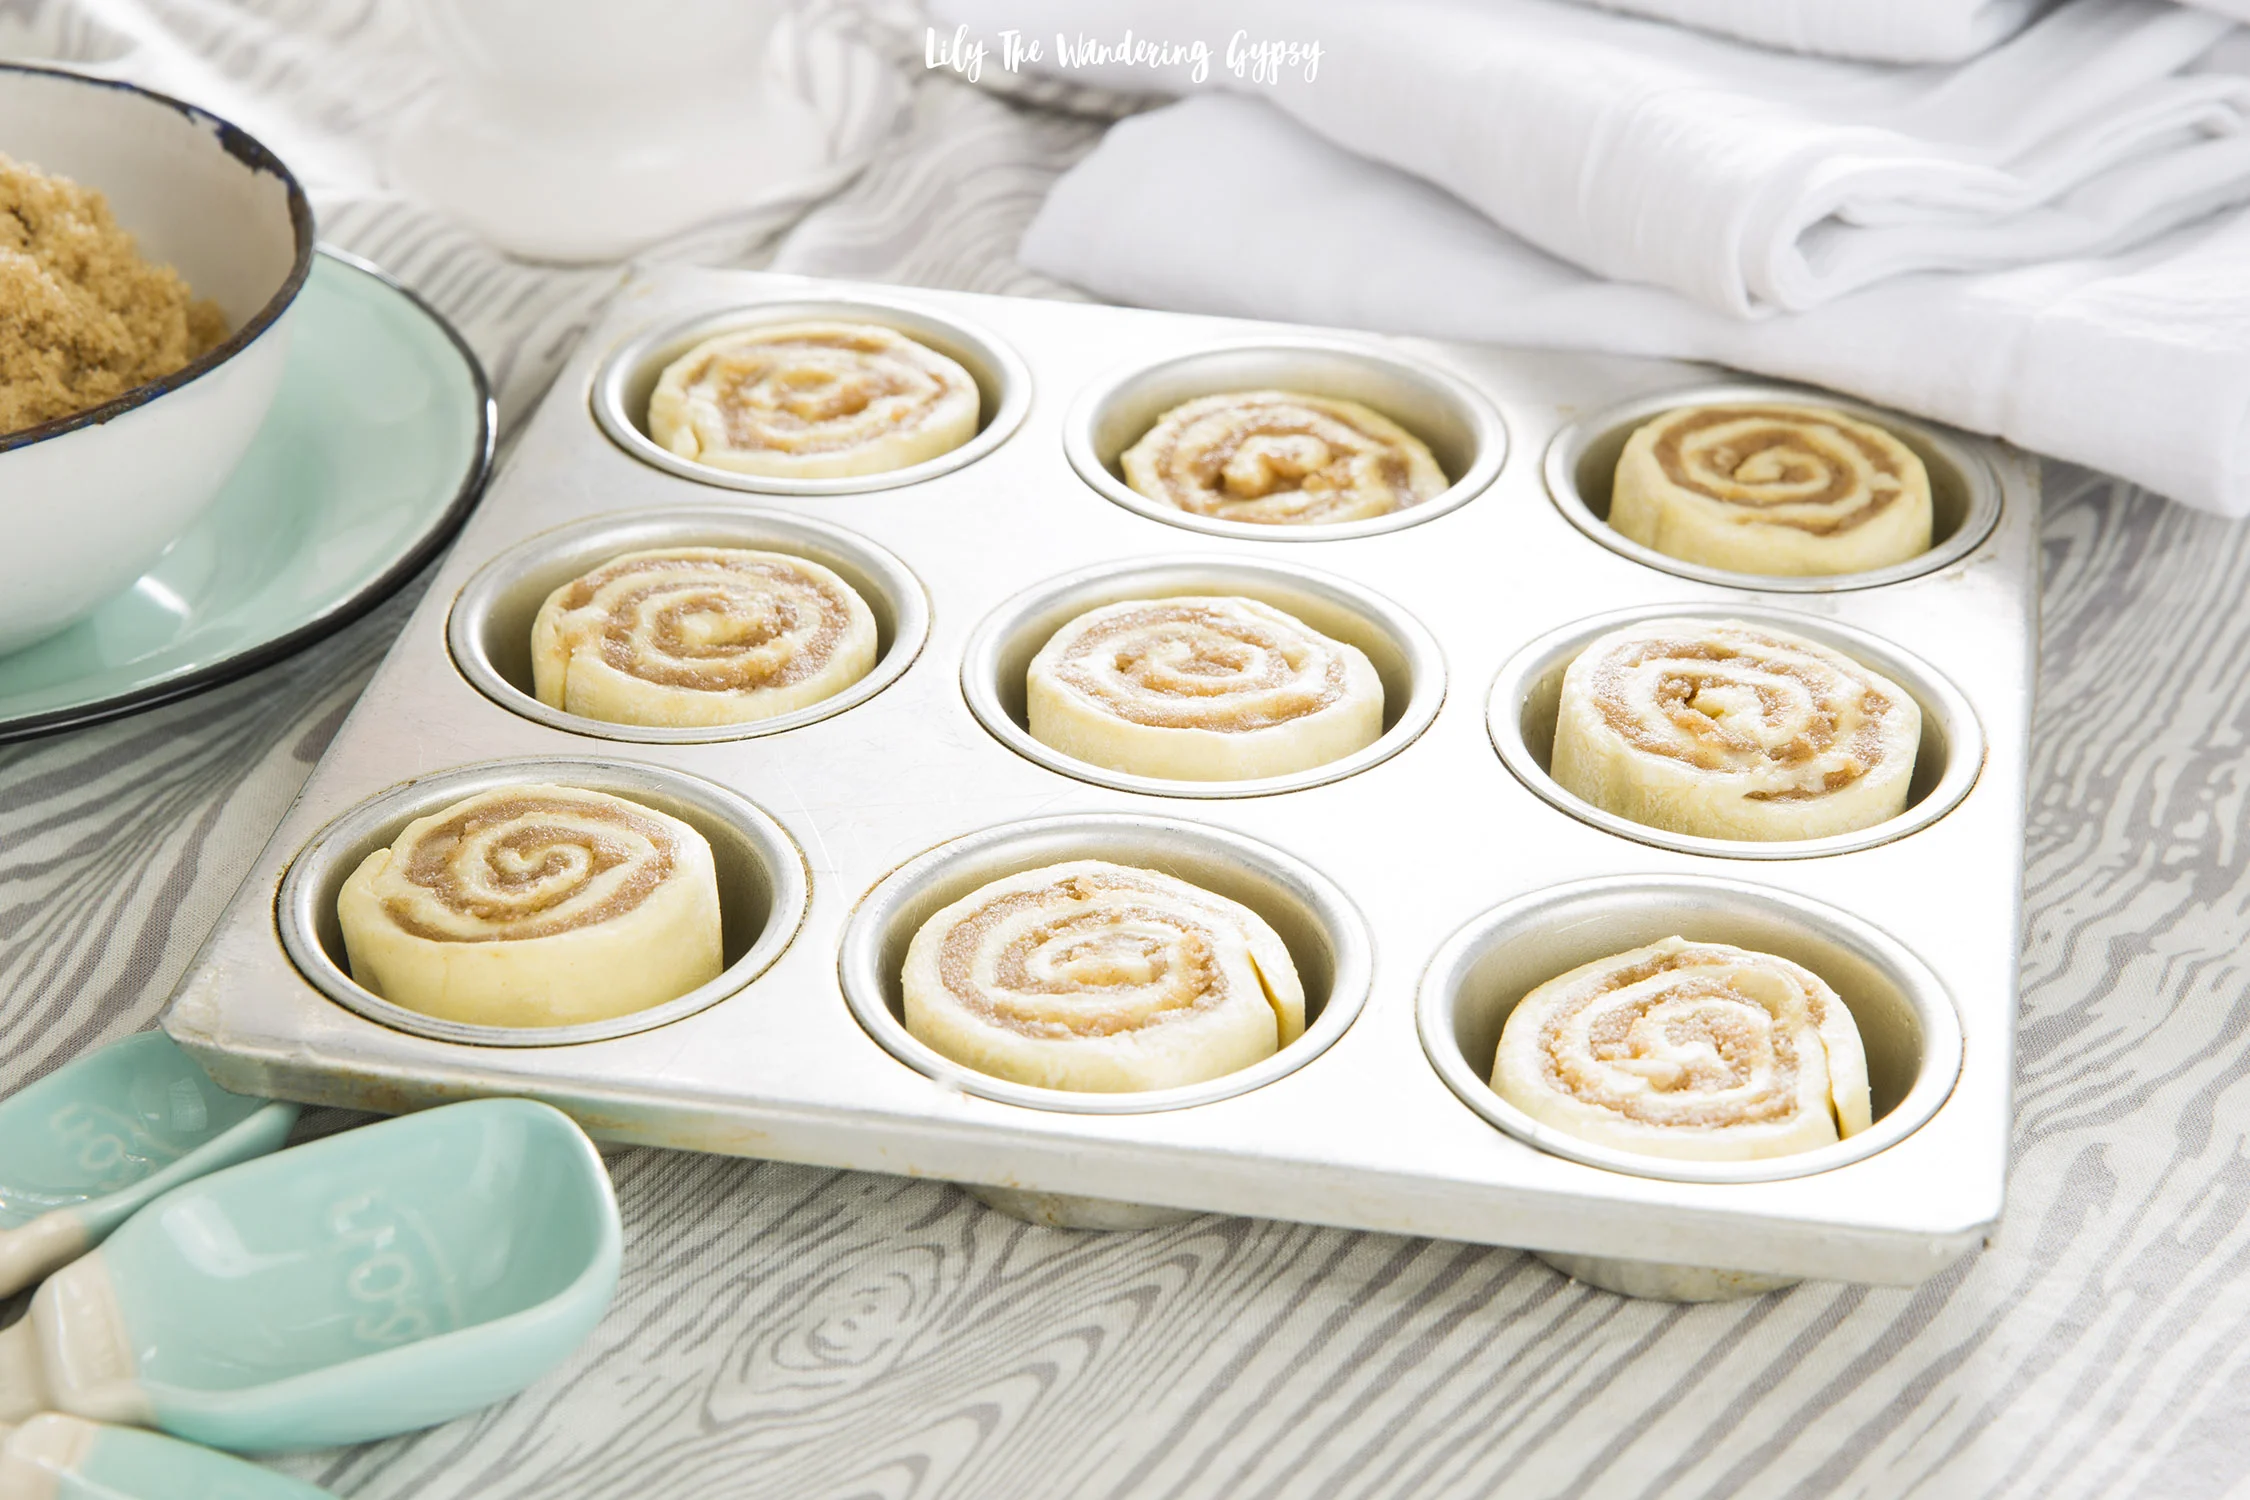
5. Using a sharp knife, carefully make marks ¾” apart, then cut slices from the log. Try to keep the slices as round as possible. If the dough log becomes soft during cutting, then place it back into the freezer for 5-10 minutes and cut the rest of the slices.

Note – if you want to make more cinnamon rolls, simply cut thinner slices from the dough and bake for 5 less minutes.

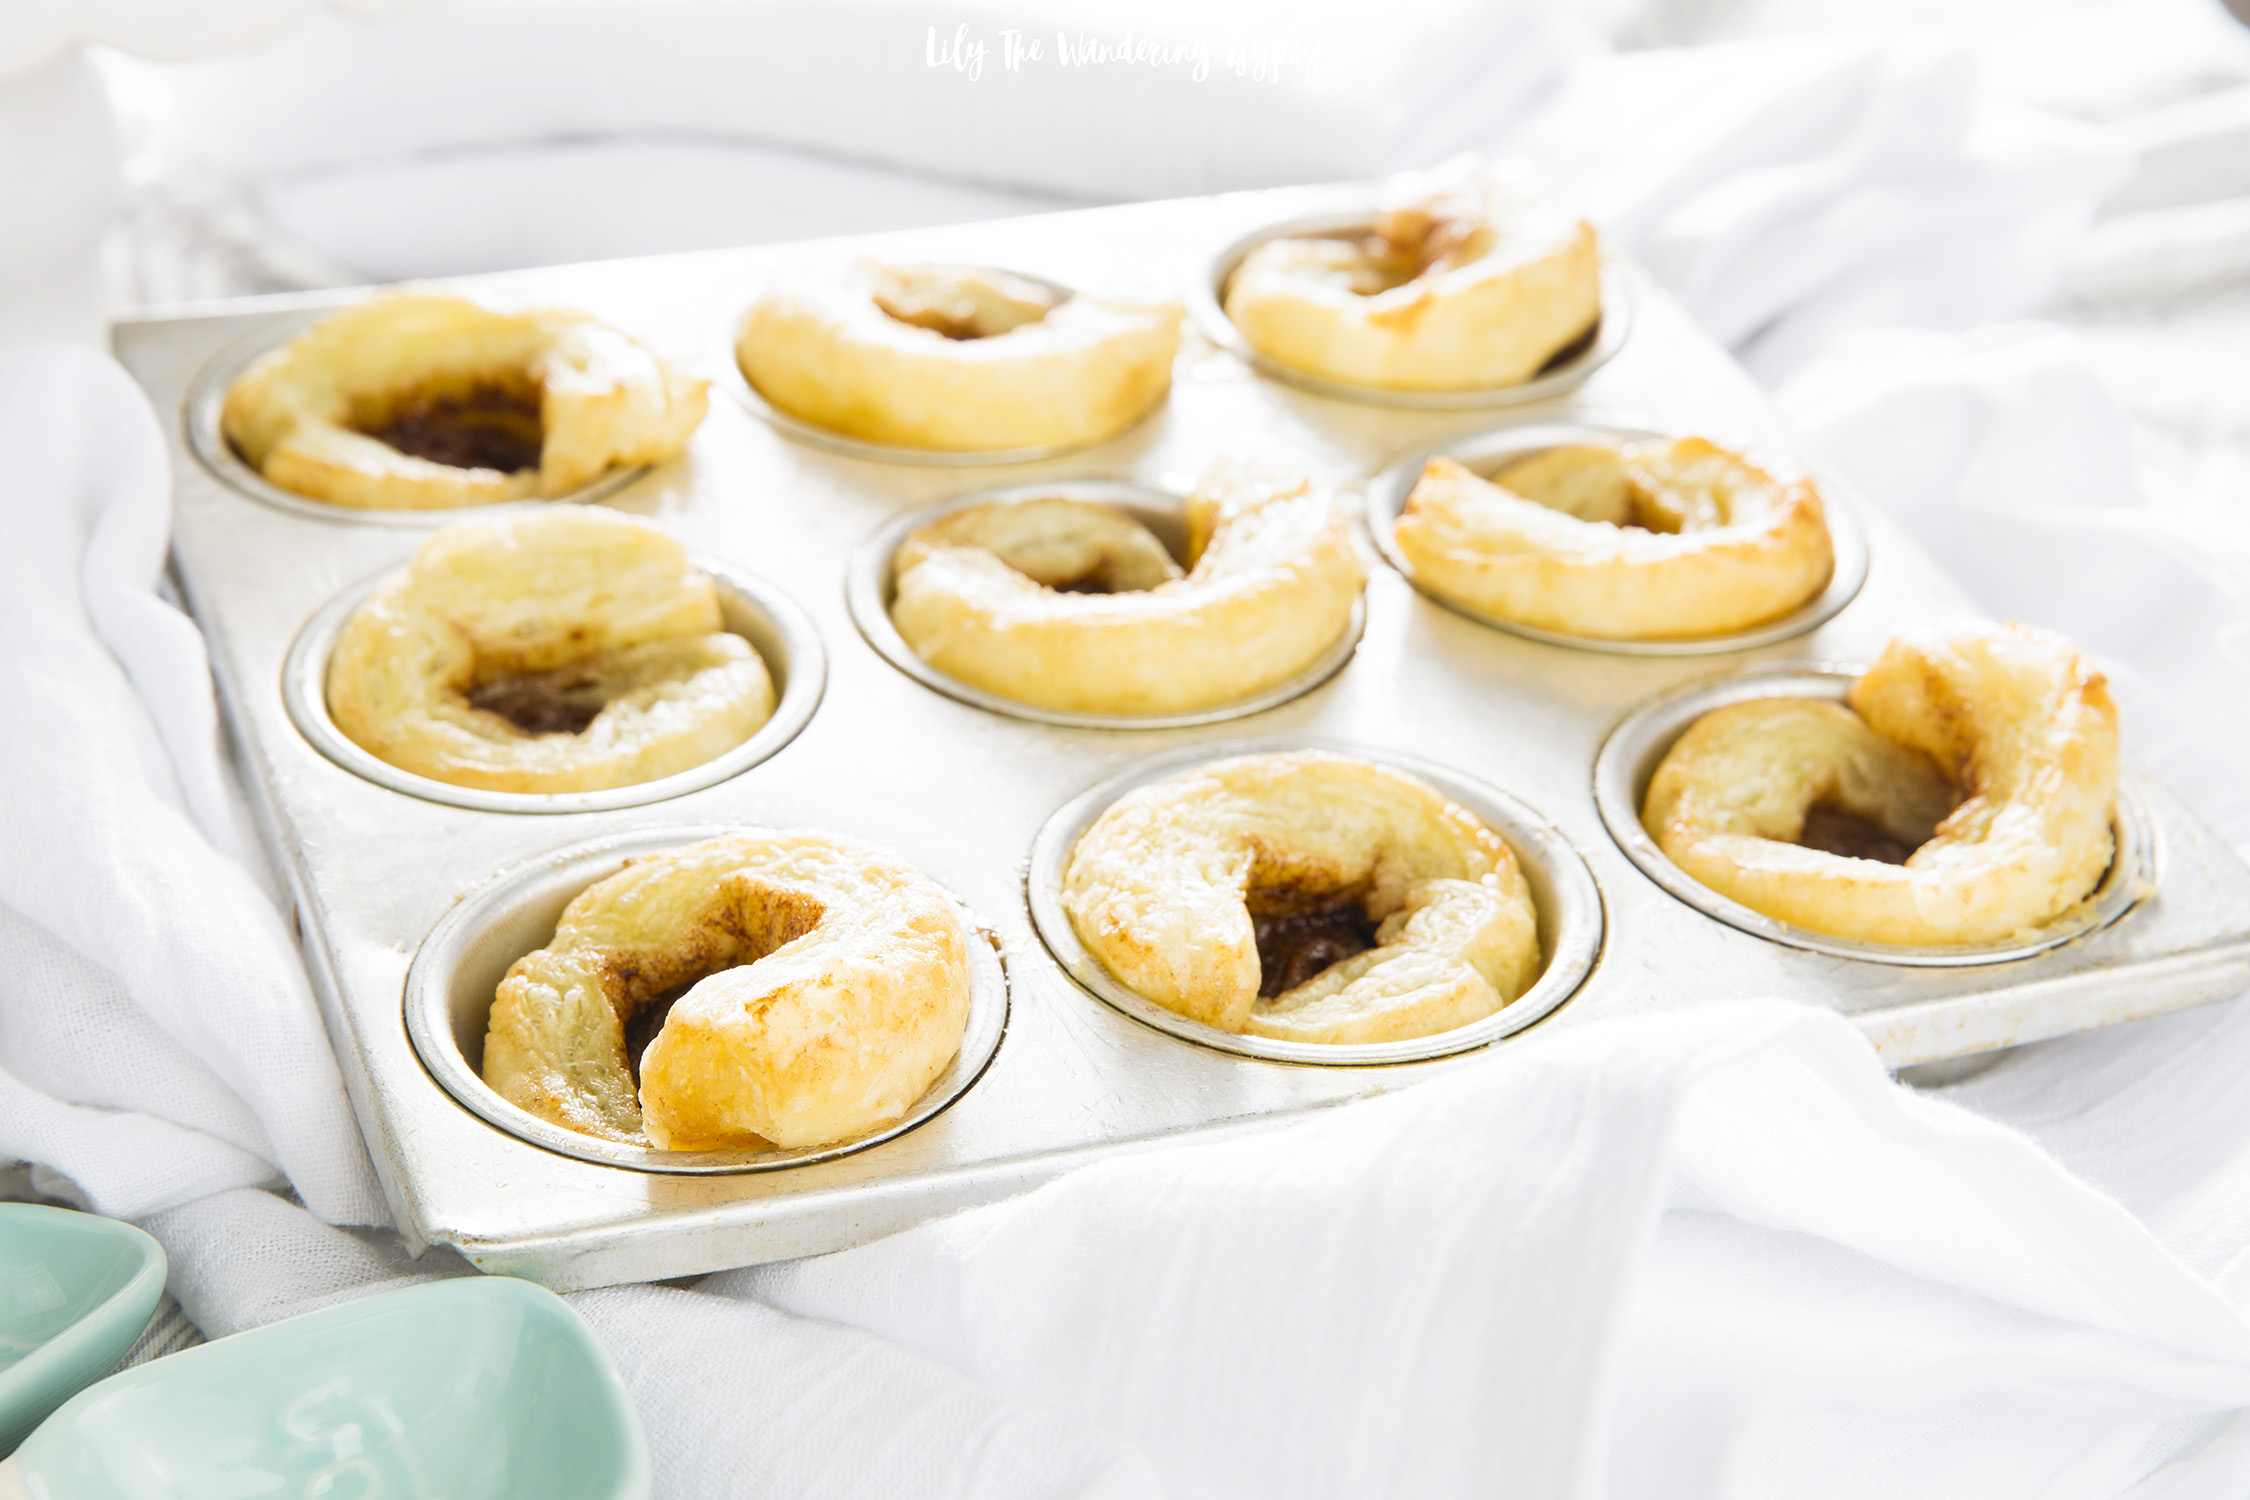
6. Place each slice into the prepared muffin tin, and bake (on top of another baking sheet to prevent butter from spilling out when baking) for 15-18 minutes, until outer pastry is golden and puffy (not wet or doughy).

7. Once cinnamon rolls are baked, carefully remove them from the muffin tin with a fork, and place on plate to serve.

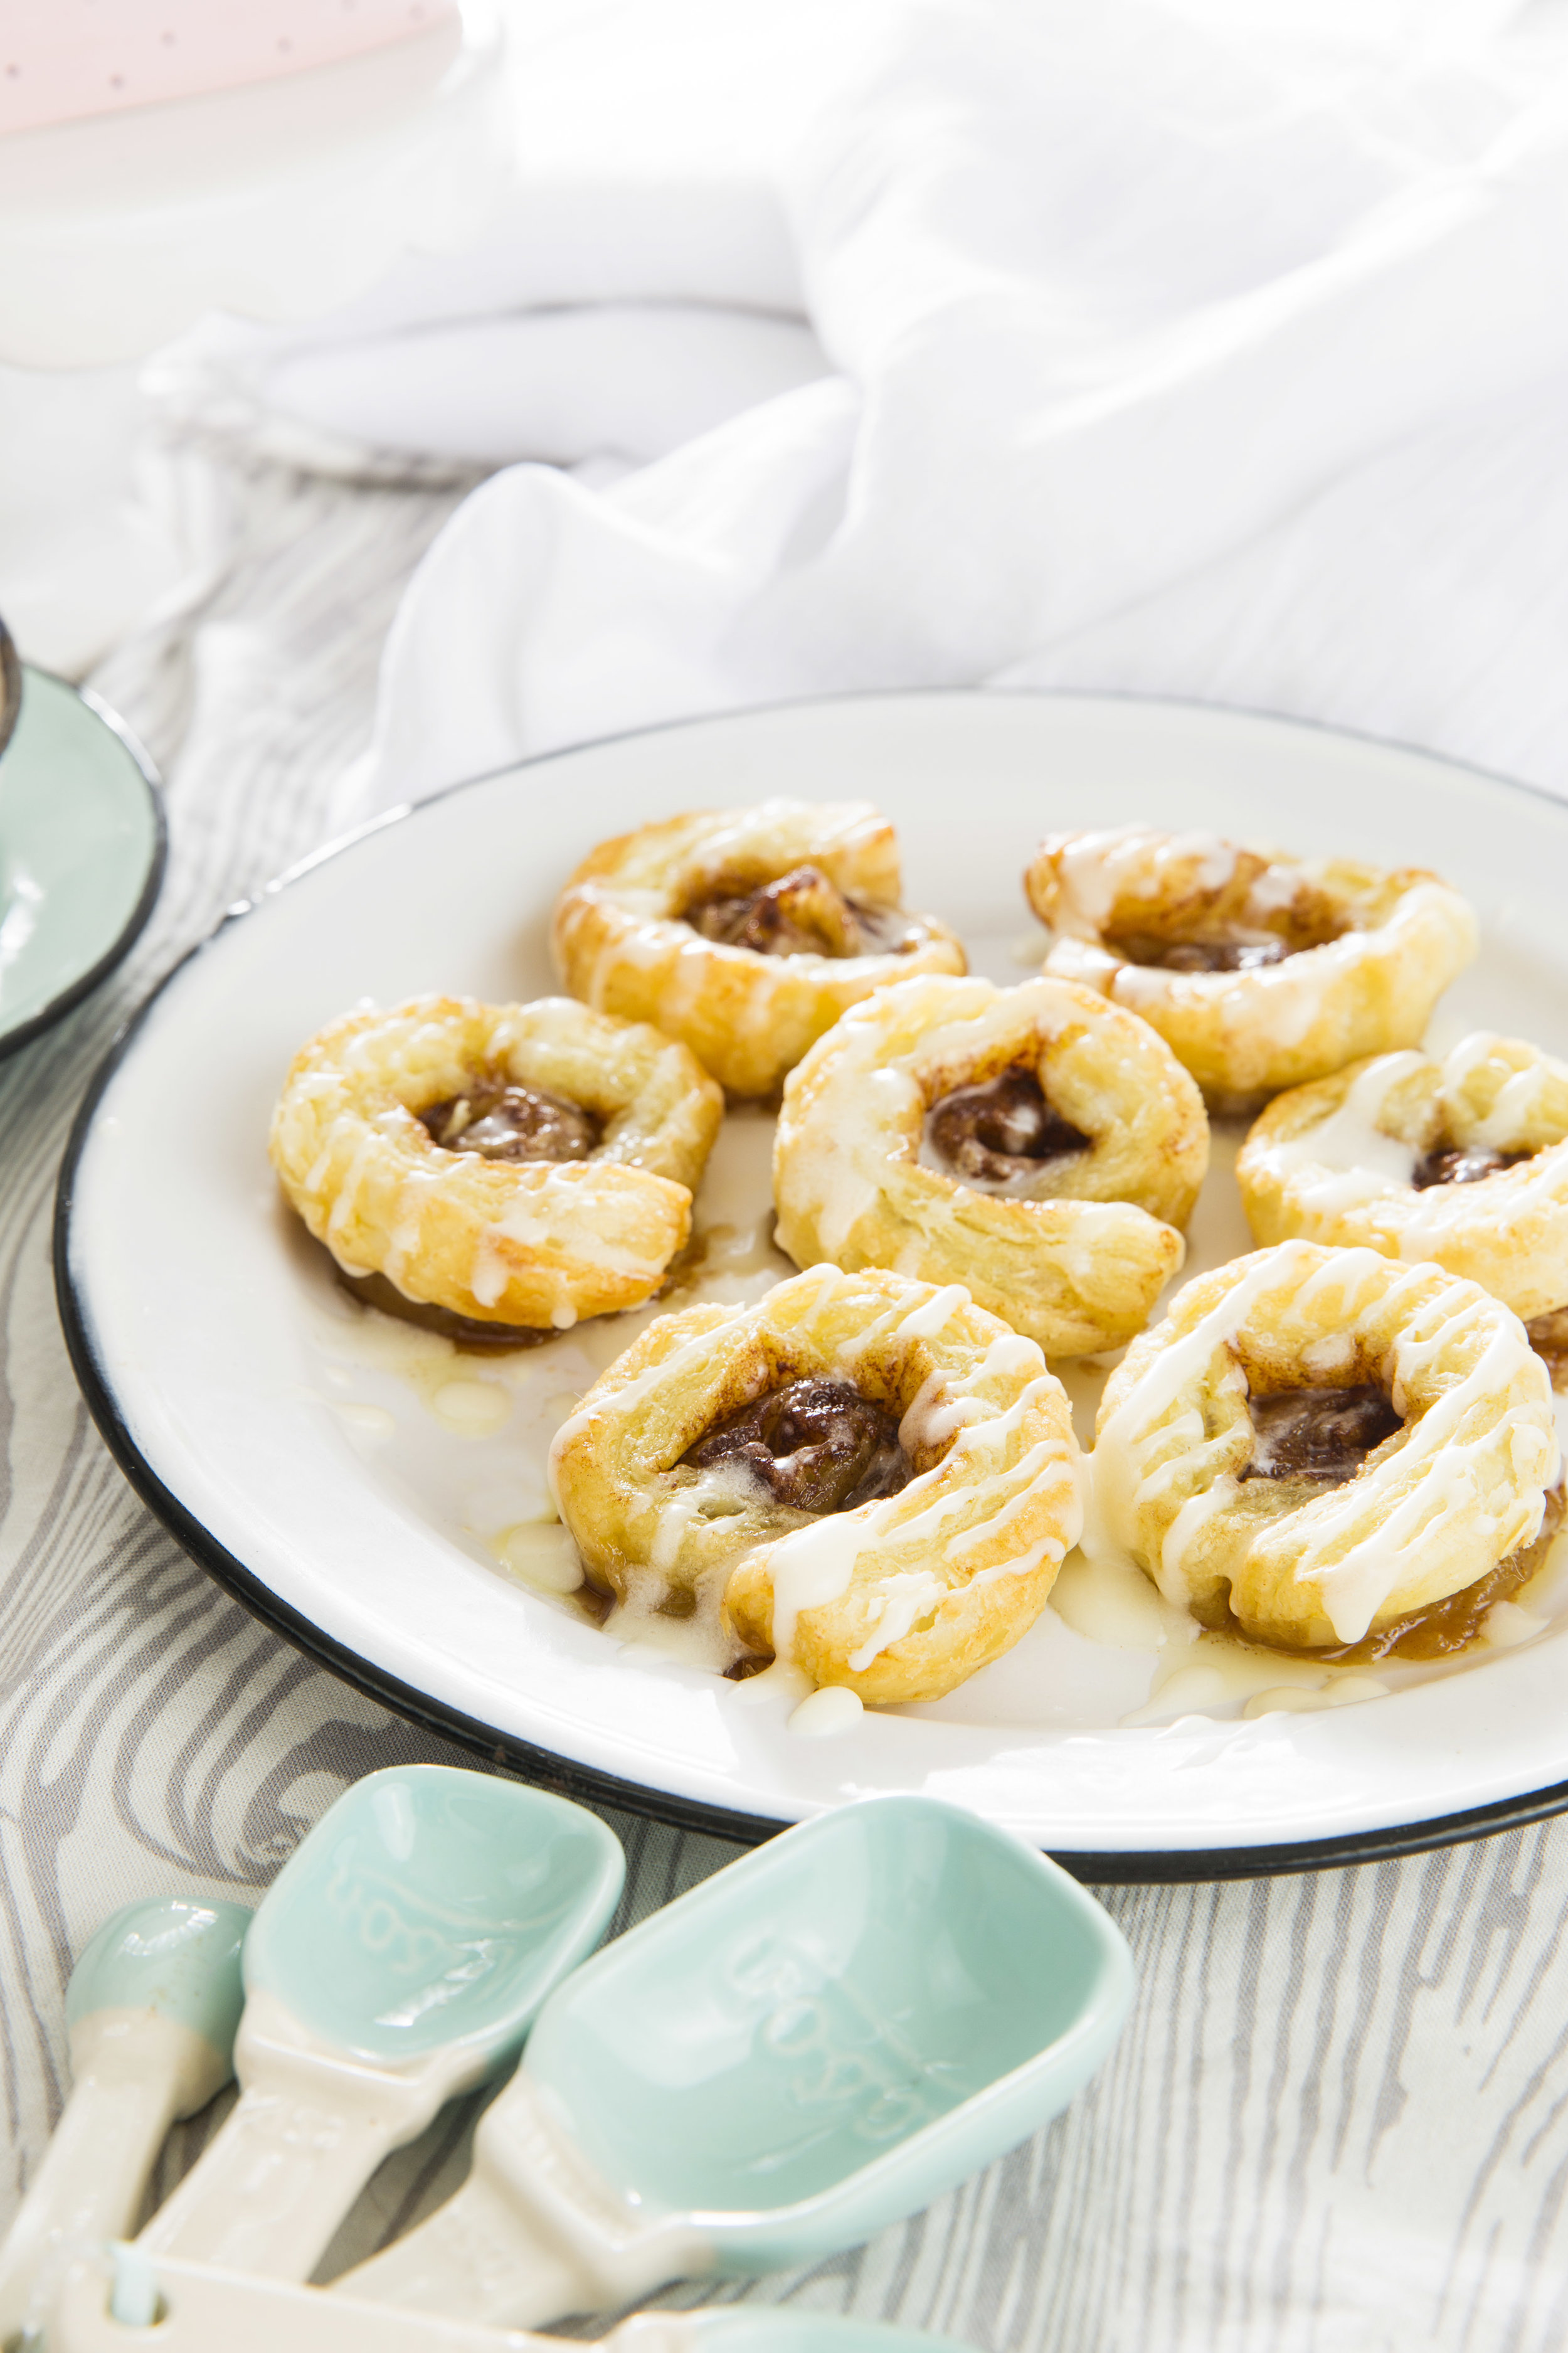
8. Make your icing while they are baking, by combining powdered sugar, maple syrup, and milk in a bowl and stirring with a spoon until smooth.

9. Drizzle icing onto cinnamon rolls and enjoy!

Learn more about Pepperidge Farm® Puff Pastry Sheets and connect on social!

Facebook: @Pepperidge Farm Puff Pastry

Twitter: @PFPuffPastry

Instagram: @pfpuffpastry

Pinterest: @puffpastry

Hashtag: #InspiredByPuff


YOU MAY ALSO LIKE THESE RECIPES…

Apple Pie Pizza Recipe

Easy Holiday Meal Idea

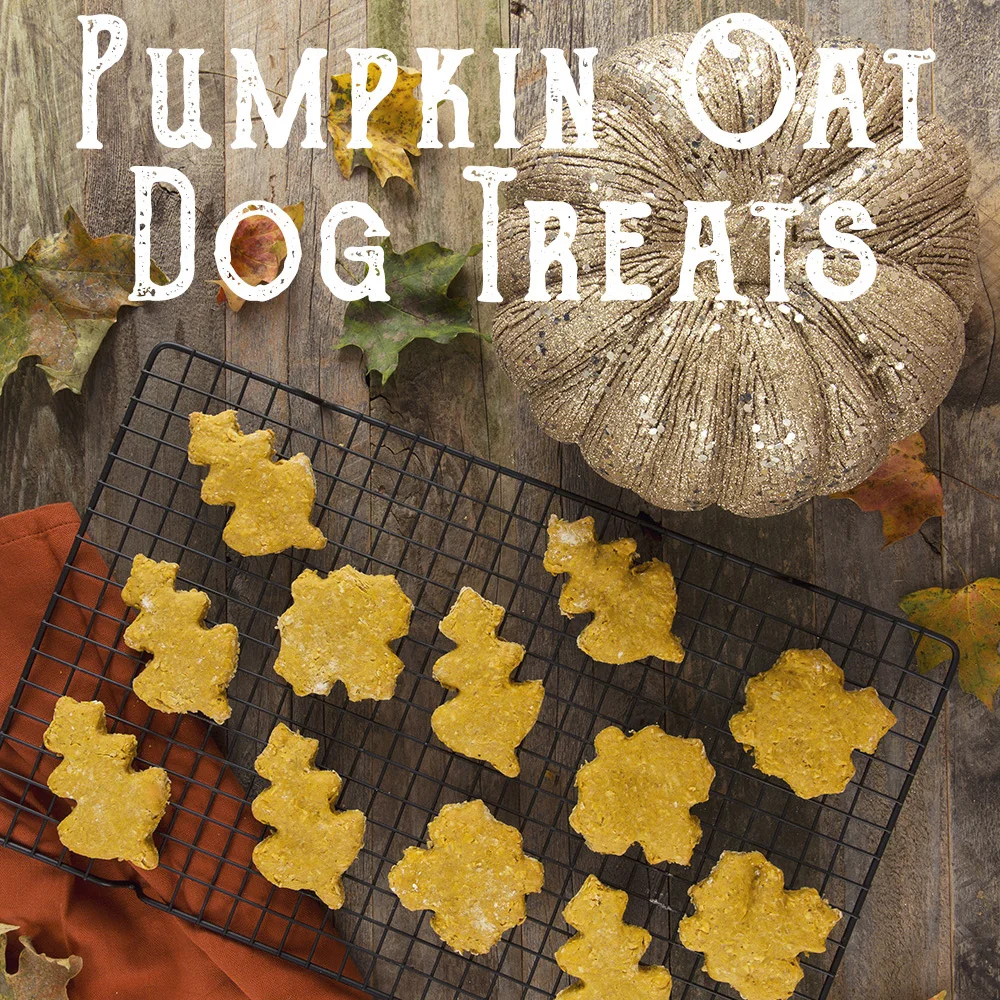
Pumpkin Oat Dog Treats

Creamy Tomato Basil Soup

Peanut Butter + Yogurt "Smoothie" Bowl

I was recently challenged to create something containing a certain cinnamon-flavored peanut butter. I tried the stuff, and it was kind of interesting. I have never imagined a combo like this, and it was pretty good. But, I also had it in my mind to create something like a smoothie bowl that was topped with all sorts of tasty and nourishing things like pumpkin seeds, granola, crushed peanuts, and a few other things. I also love those smoothie bowls I see that have edible flowers on top, and this recipe was the perfect opportunity to "scout" my neighborhood for marigolds to top the smoothie bowl with. 

HOW TO MAKE IT:

1.) For the base: Mix 2 parts vanilla yogurt to 1 part cinnamon (or any flavor) creamy peanut butter. Make sure everything is combined well. Pour into bowl and smooth top with spoon. 

2.) Top with your favorite trail mix (I used a mix of pumpkin seeds, raisins, and sunflower seeds). I also crushed up some peanuts and then sprinkled those in the center, then also added a handful of granola. Lastly. I topped the smoothie bowl with marigolds, for a cute touch of edible flowers. That's it, enjoy! Have fun with your food :)

For the marigolds, I actually looked at 3 different places, and the only flower really available right now is mums. They're all looking gorgeous as ever, but when we visited local farms a couple of weeks ago (post coming soon...), I saw lots of marigolds. I guess it's way too late into the year to find marigolds at any stores, so thankfully as I was driving home, I saw marigolds out of the corner of my eye! I hope the people who grew them don't mind I borrowed just a few :)

Fresh Apple Donuts With Maple, Bacon, Caramel Pecan Glaze!

So, these fresh baked apple donuts turned out great. I adapted this recipe, from A Latte Food just a tiny bit, and they worked out so well. I loved each of the steps involved in this project. I also substituted buttermilk with vanilla yogurt (it worked out great!!). 

This is actually the first time that donuts have actually worked for me. Last time, they did not rise much, they were kind of bland, and I basically put the donut tin in the back of the cabinet to be forgotten for a while. 

But, I was recently invited to join a little blog post link up with some other bloggers, and the only requirement for #SoFabSeasons was that it had to do with apples. Well, off to Pinterest I went, and within minutes, I knew that donuts had to go down.

This was also my first time really making a glaze for donuts, and it turned into more of a caramel because I heated the mixture a bit too long, bringing the sugars to kind of caramelize. Oh well, these are amazing, and I loved topping them with an unexpected ingredient - bacon bits and pecans. That bacony flavor really goes so well with the other flavors, that I am so happy I added the bits. 


Another great thing about living in southern Illinois is that you don't have to go very far to find an apple (or peach tree) orchard. I photographed these apples, below, one day after I visited Flamm Orchards. I am sure they have been picked by now, because this was shot maybe 2 weeks ago :)

Donuts

  • 1 1/4 cups all purpose flour
  • 1/2 cup sugar
  • 1/4 cup brown sugar
  • 1 tsp baking powder
  • 1/4 tsp nutmeg
  • 1/4 tsp salt
  • 1 egg
  • 1/3 cup buttermilk
  • 2 Tbsp sour cream
  • 1 tsp vanilla extract
  • 1 Tbsp butter

And, here are the apple crates at Flamm Orchard. I would LOVE to get one of those for a photography prop/surface! 


Maple Glaze

  • 2 Tbsp butter

  • 1/4 cup pure maple syrup

  • 1/2 cup powdered sugar

  • 1/4 tsp vanilla extract

  • 1/8 tsp ground cinnamon

Apples

  • 1 large apple, chopped finely
  • 1 Tbsp brown sugar
  • 1 Tbsp butter
  • 1/4 tsp vanilla extract
  • 1/2 tsp cinnamon

Topping

  • 1/2 cup chopped pecans
  • 1/2 package bacon bits

INSTRUCTIONS

  1. (APPLES) On med-low heat, cook apple filling mixture for about 3-4 minutes. Pull off heat and allow to cool.
  2. (DONUTS) Preheat oven to 425 degrees and grease a 6-count donut pan liberally with baking spray.
  3. In a large bowl, sift flour, sugar, brown sugar, baking powder, nutmeg, and salt together.
  4. In a second bowl, whisk egg, buttermilk, sour cream, and vanilla extract together.
  5. Make a well in the center of the dry ingredients and add in the wet ingredients. Gently mix the batter until combined.
  6. Add in melted butter and apples and mix until combined.
  7. Spoon the batter into the donut pan, evenly distributing the batter between the 6 donut cavities (you may have enough batter to make 7-8 donuts).
  8. Bake for 10-12 minutes, or until the donuts are lightly golden and 'spring' back when touched.
  9. Allow to cool for 10-15 minutes.
  10. (MAPLE GLAZE) Melt butter, maple syrup, vanilla extract, and cinnamon over low heat. Once melted together, pull off the heat. Sift in powdered sugar, and whisk until fully combined. Allow to cool for 8-10 minutes so the glaze can thicken. You want to work kind of quickly on this step, because the glaze can cool kind of quickly, and thickens. 
  11. Dip each donut into the glaze and immediately sprinkle with chopped pecans. The elongated-shaped dish shown in white, is one I got at IKEA, it was the perfect shape. Allow to cool on a wire baking rack.
  12. Enjoy!

PIN IT FOR LATER...

Super Easy Chocolate Waffles Recipe

Are you a chocoholic? So much so, that you may be the type to want chocolate for breakfast, lunch, and dinner? Well here is an idea for you! These chocolate waffles are pretty easy because you make them from Chocolate Cake Mix! 

INGREDIENTS:

1 box Betty Crocker™ SuperMoist™ cake mix (any flavor)

1 1/3 cups water

1/3 cup vegetable oil

3 eggs

INSTRUCTIONS:

Heat your waffle iron to medium-high heat. Mix all ingredients, and once the waffle iron is warm enough, pour the batter into the waffle iron. Don't overload the batter into the machine, it will seep out the sides and create a big mess! 

Add a drizzle of your favorite white icing (I used the decorator icing in the tube for this thinner line). I also added some fresh raspberries and  little dollop of cool whip! 

Feel free to add some chocolate syrup, if you need more chocolate! Enjoy!

Blueberry Granola Parfait - A Great Snack On The Go!

Well, it's back to busy schedules for so many people, with school starting back up for the year, and seasons changing. If your days seem to be going by a mile a minute, here is a great recipe for you that will definitely satisfy that sweet tooth, help keep you full for hours, and because there are so many flavors and textures in this recipe, it makes eating better enjoyable. These parfaits contain layers of granola, covered with blueberry yogurt, then topped with fresh blueberries and Sahale Snacks in Berry Macaron Almond Mix. This awesome mix is Non-GMO, gluten free, and contains Blueberries, Cashews, Lemon-Infused Apples, Whole Roasted Almonds, and Toasted Coconut. No artificial flavors of any sort, making this a wonderful option for breakfast, lunch, or a snack. 

Elevate your everyday snacks or light meals by adding the very best ingredients possible, while not overthinking it. Simple can definitely be better, so why not work smarter and not harder. 

My parfait recipe was inspired by breakfast on-the-go or afternoon snacks, and the flavor of these snacks was inspired by a walk into a neighborhood bakery. Just one bite of a delicious, freshly made macaron inspired the creation of lightly toasted coconut, crunchy almonds, and creamy cashew. 

About The Brand: "It all started with a climb up Mount Rainier in Washington State in August 2003. We had some beautiful views but nothing delicious to eat. The trail mix and stale nuts we brought on our trip helped to replenish lost energy, but did nothing to satisfy our desire for something great tasting, nutritious and as adventurous as our travels. That experience inspired us to create Sahale Snacks". This is why Sahale Snacks make such a great Grab & Go Snack!

Find Sahale Around The Web: Facebook, Instagram, and Twitter

I’m sharing #SahaleSnackers in my life as part of a Sahale Snacks® sponsored series for Socialstars™ - Thank you for supporting the brands that make this blog possible! #BeyondOrdinary

Smoothie Time With Annie's Homegrown Organics

I have been on a major smoothie kick lately, and after making one almost every day, I have found my perfect blend of ingredients to make a smoothie that I haven't gotten tired of yet! I will alter the recipe just a little bit, depending upon what fruit I have in my fridge or freezer, but I basically use the same formula each time. 

I have always been drawn to Annie's Homegrown Organic products, so when I saw this yogurt at our local Schnuck's, I grabbed a couple of containers, lots of berries, and also re-upped on unsweetened almond milk. 

I have also learned that to make a smoothie the best (most drinkable) consistency possible, you can't use all frozen fruits. Otherwise, it freezes all of the other ingredients, making something more like soft sorbet (which is great for smoothie bowls or making nice-cream). Also, adding the almond milk definitely helps to thin out your smoothie, but the taste can be overwhelming, so just test your smoothie before pouring it in the jar. Lastly, with the yogurt, I add a good amount, because it tastes SO good! So, the amount of each ingredient just depends on your taste preferences. 

MAKES 2 LARGE SMOOTHIES

- Annies Homegrown Organic Very Vanilla Yogurt

- Unsweetened Almond Milk

- Frozen Raspberries (I freeze fresh ones in jars)

- Frozen Blackberries (I also froze some fresh ones in jars)

- Fresh Strawberries (tops sliced off, cut into smaller pieces)

- Fresh Blueberries 

- Fresh Banana

- Ice

- Sugar is your fruit isn't very sweet or too tart


1.) In a blender or food processor, add sliced strawberries, fresh blueberries, frozen raspberries, frozen blackberries, a dash of almond milk, banana, 1/3 container of yogurt, and a handful of ice.

2.) Hold the blender down, and begin to blend and puree your ingredients! Keep blending for a bit, because you want everything the same consistency. Note - unless you have a super-awesome blender, the ice will sound rough at first when you blend...

3.) Pour into a big jar, and enjoy! This smoothie keeps me full well past lunch time, it's amazing!

Find more about the Annie's Hiomegrown Organic yogurt, here!

Peanut Butter Happy ~ Waffle "Cake" Recipe + A Quick and Easy Lunch Idea

I love peanut butter. I could eat it on a spoon straight out of the jar for a snack just about any time. When I had the opportunity to create a fun recipe inspired by Jif Spreads, I jumped on the opportunity! Our household definitely prefers Jif to any other Peanut Butter on the shelf! Also, I was recently introduced to Jif Bars, which are also some of the best granola style bars I've ever eaten. Really, though, add Peanut Butter to just about anything, and I'm a happy woman! Just the thought makes me peanut butter happy! #peanutbutterhappy

Since I wanted to showcase the Peanut Butter as a spread, rather than inside the recipe, I opted to layer up homemade chocolate waffles, Jif Spread, and also a bit of cool whip, and created the most amazing Waffle "Cake" to date. I also realized that this fun recipe was not complete without chocolate syrup drizzled over the whole creation.

- 1 box chocolate cake mix

- water

- vegetable oil

- 3 eggs

- Cool Whip (2 containers)

- Jif Creamy Peanut Butter

- Chocolate Sauce

- Waffle Iron

- Non Stick Spray

TO MAKE THE WAFFLES:

I used a super simple recipe to make the homemade chocolate waffles. Simply mix 1 box of cake mix, 1 C. water, 1/3 C. vegetable oil, and 3 large eggs. Alternately, you can substitute about 1/3 of the cake mix with other waffle batter so they are more fluffy, because the cake mix waffles can be a bit dense. Heat the waffles for about 3 minutes each, and set them aside on a cooling rack if you have one - this way, the waffles won't get soggy while you're working on them. I used 5 waffles here.

After making the waffles, it's time to create your waffle "cake"! Place one waffle on the plate, then add a layer of Cool Whip all across the first waffle, to create a thick layer. I like scooping the Cool Whip into a Ziploc bag, and then cutting off the tip to create a sort of pastry bag. Next, layer another waffle, Jif Creamy Peanut Butter, waffle, Cool Whip, waffle, more Peanut Butter, then your last waffle.

I topped the dish with a big dollop of Cool Whip, and then drenched it in chocolate syrup!

This would be such a fun way to surprise someone on their birthday, or even if they're just having a bad day. Really love how this divine creation turned out!

Here is an Iobatta link where you can find the products I am sharing in this post:

Jif Spread -https://ibotta.com/app/retailer/any/offer/51534

This is a sponsored conversation written by me on behalf of The J.M. Smucker Company. The opinions and text are mine alone. #peanutbutterhappy #ad

These Jif Bars inspired me to show you a quick and easy lunch idea, that you can prepare in just a few minutes. A jar salad is a great way to jump start your mid day hunger. I also love the idea of bringing a fruit like cherries or grapes in a jar, so they won't get squished or make a mess. And, a classic PBJ (featuring Jif PB of course), and my favorite raspberry jelly. And, I love packing the Jif Bars as my dessert, because they're portable and taste seriously SO good!

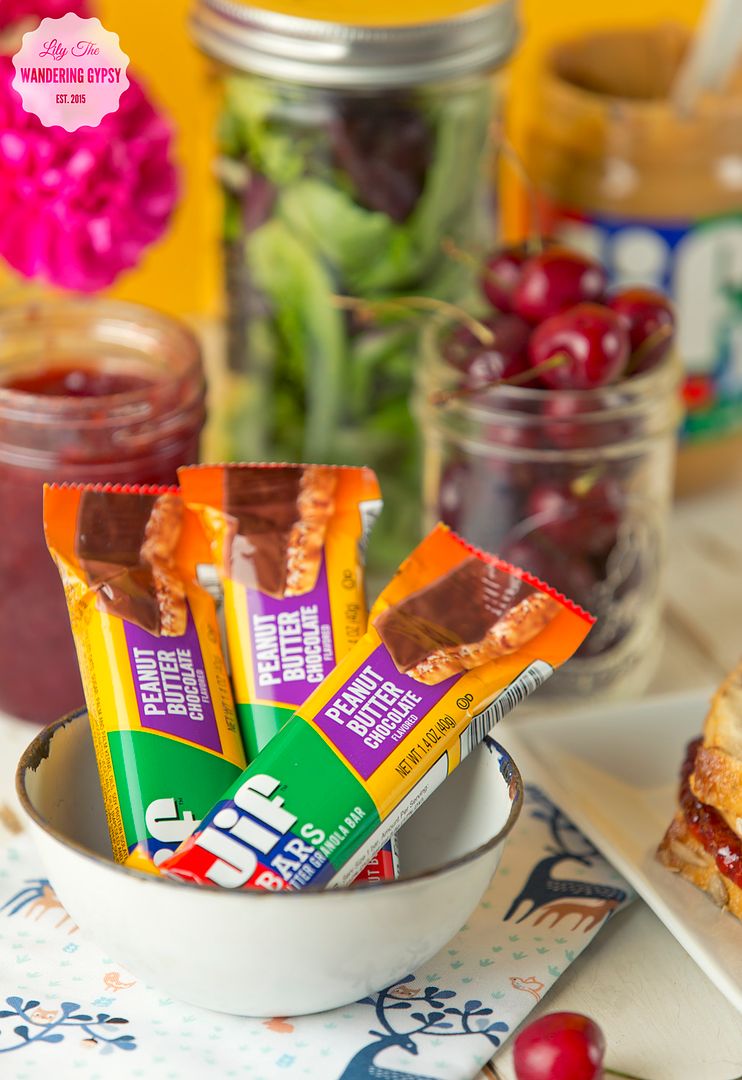
These Peanut Butter Chocolate Bars were the bomb! There are other flavors as well, like Crunchy Peanut Butter, and Creamy Peanut Butter.

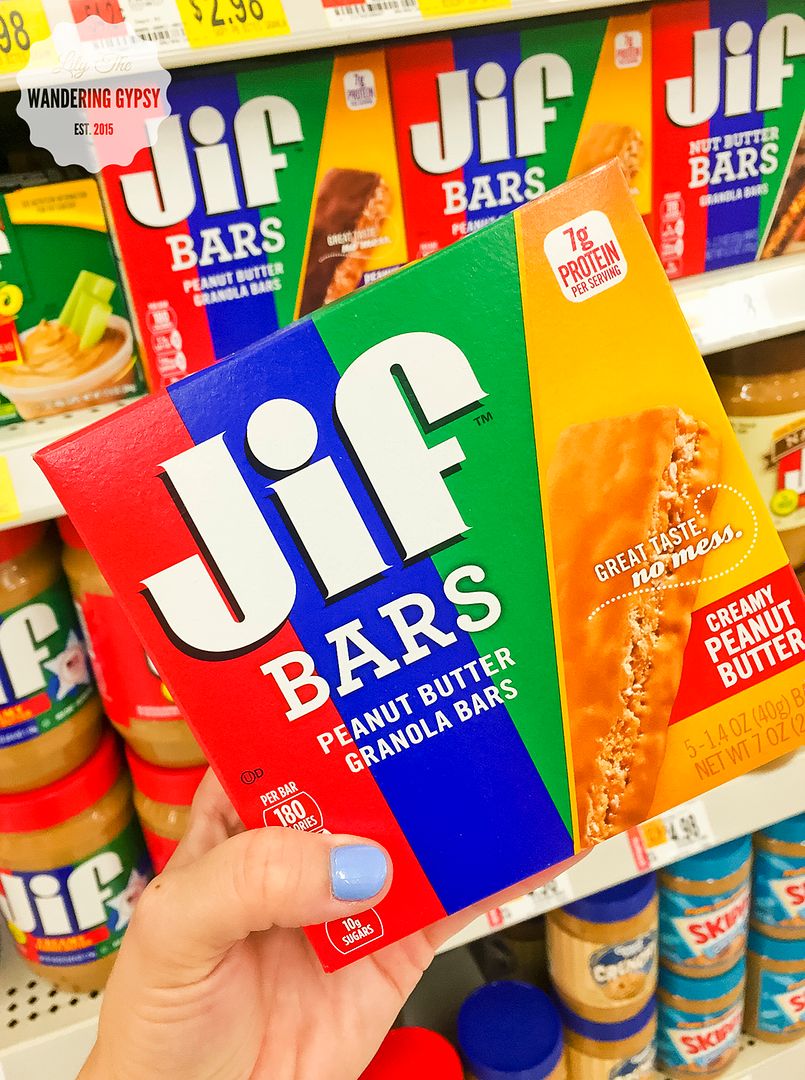
I found the Jif Bars right above the Peanut Butter at Walmart, and their prices are some of the best I've found for these items.

 photo bromello signature.png

This is a sponsored conversation written by me on behalf of The J.M. Smucker Company. The opinions and text are all mine.

Maple Walnut + Caramelized Banana Oatmeal Recipe

Oh my, this recipe tastes SO good! Especially on a chilly morning when you don't exactly want to get out of bed but have to...this yummy oatmeal recipe would also be really great as a midnight snack! 

Amazing Oatmeal Recipe!

INGREDIENTS (1 Serving)

Oatmeal, Milk or Water, 1 Banana, 2 Tbsp Butter, 2 Tbsp Brown Sugar, 3 Tbsp. Maple Syrup, 1 C. Walnuts, Waxed Paper

INSTRUCTIONS:

- (For The Walnuts) In a skillet over medium heat, warm 1 Tbsp. butter, brown sugar, and syrup, stirring to dissolve the sugar. Once dissolved, and when the liquid starts to reduce/dry a bit, add your walnuts. Transfer warm walnuts to waxed paperWhen I first created this, I did not use butter, and wow, these were so sticky and almost hard to separate from one another. The butter should help with that a bit! Set the incredibly tasty walnuts aside, and let's start on the bananas!

- (To Caramelize The Bananas) Rinse your skillet, because we are going to use it again! Melt the second 1 Tbsp. butter in the skillet and add a bit of the brown sugar (1-2 Tbsp). Slice the bananas about 1/2" thick (mine were almost too thin, but sure looked pretty!). Lay the banana sliced on the skillet, and let them begin to caramelize. They don't take long, so make sure to watch them closely. Maybe 1-3 minutes on each side. These added so much flavor to my oatmeal! 

- Heat milk or water, and add oats, as per instructions on container. I also added some sugar into the oatmeal, because sugar makes everything better. 

That's it folks, enjoy! If you wind up creating this awesome dish, add a link below, or tag me on instagram as @lilythewanderinggypsy

Bacon, Egg and Cheese Oatmeal Recipe

Hearty, Yummy Oatmeal! This recipe tastes as good as it looks!

Bacon, Egg, and Cheese Oatmeal

INGREDIENTS:

Oatmeal

Milk or Water (for oatmeal)

2 slices bacon

Red and Green Peppers

2 Eggs

Shredded Cheese

Salt and Seasoning To Taste

INSTRUCTIONS:

- Cook desired amount of oatmeal, as per directions on container, using either milk or water.

- Meanwhile, cook or bake bacon until it is crispy. You can also use bacon bits, but I cannot resist the smell of fresh bacon! Chop up bacon into small, bite sized pieces. 

- In a separate skillet, scramble 2 eggs, and season with salt, pepper, and your other favorite seasonings. Add chopped up green and red peppers to your eggs if you wish.

- Pour finished oatmeal into a bowl, and top with scrambled eggs and peppers, sliced pieces of bacon, and finally, top with cheese!

Enjoy!