Two Amazing Recipes for Summer Get-Togethers with Mission® Tortillas

This is a sponsored post written by me on behalf of Mission®. All opinions are entirely my own.

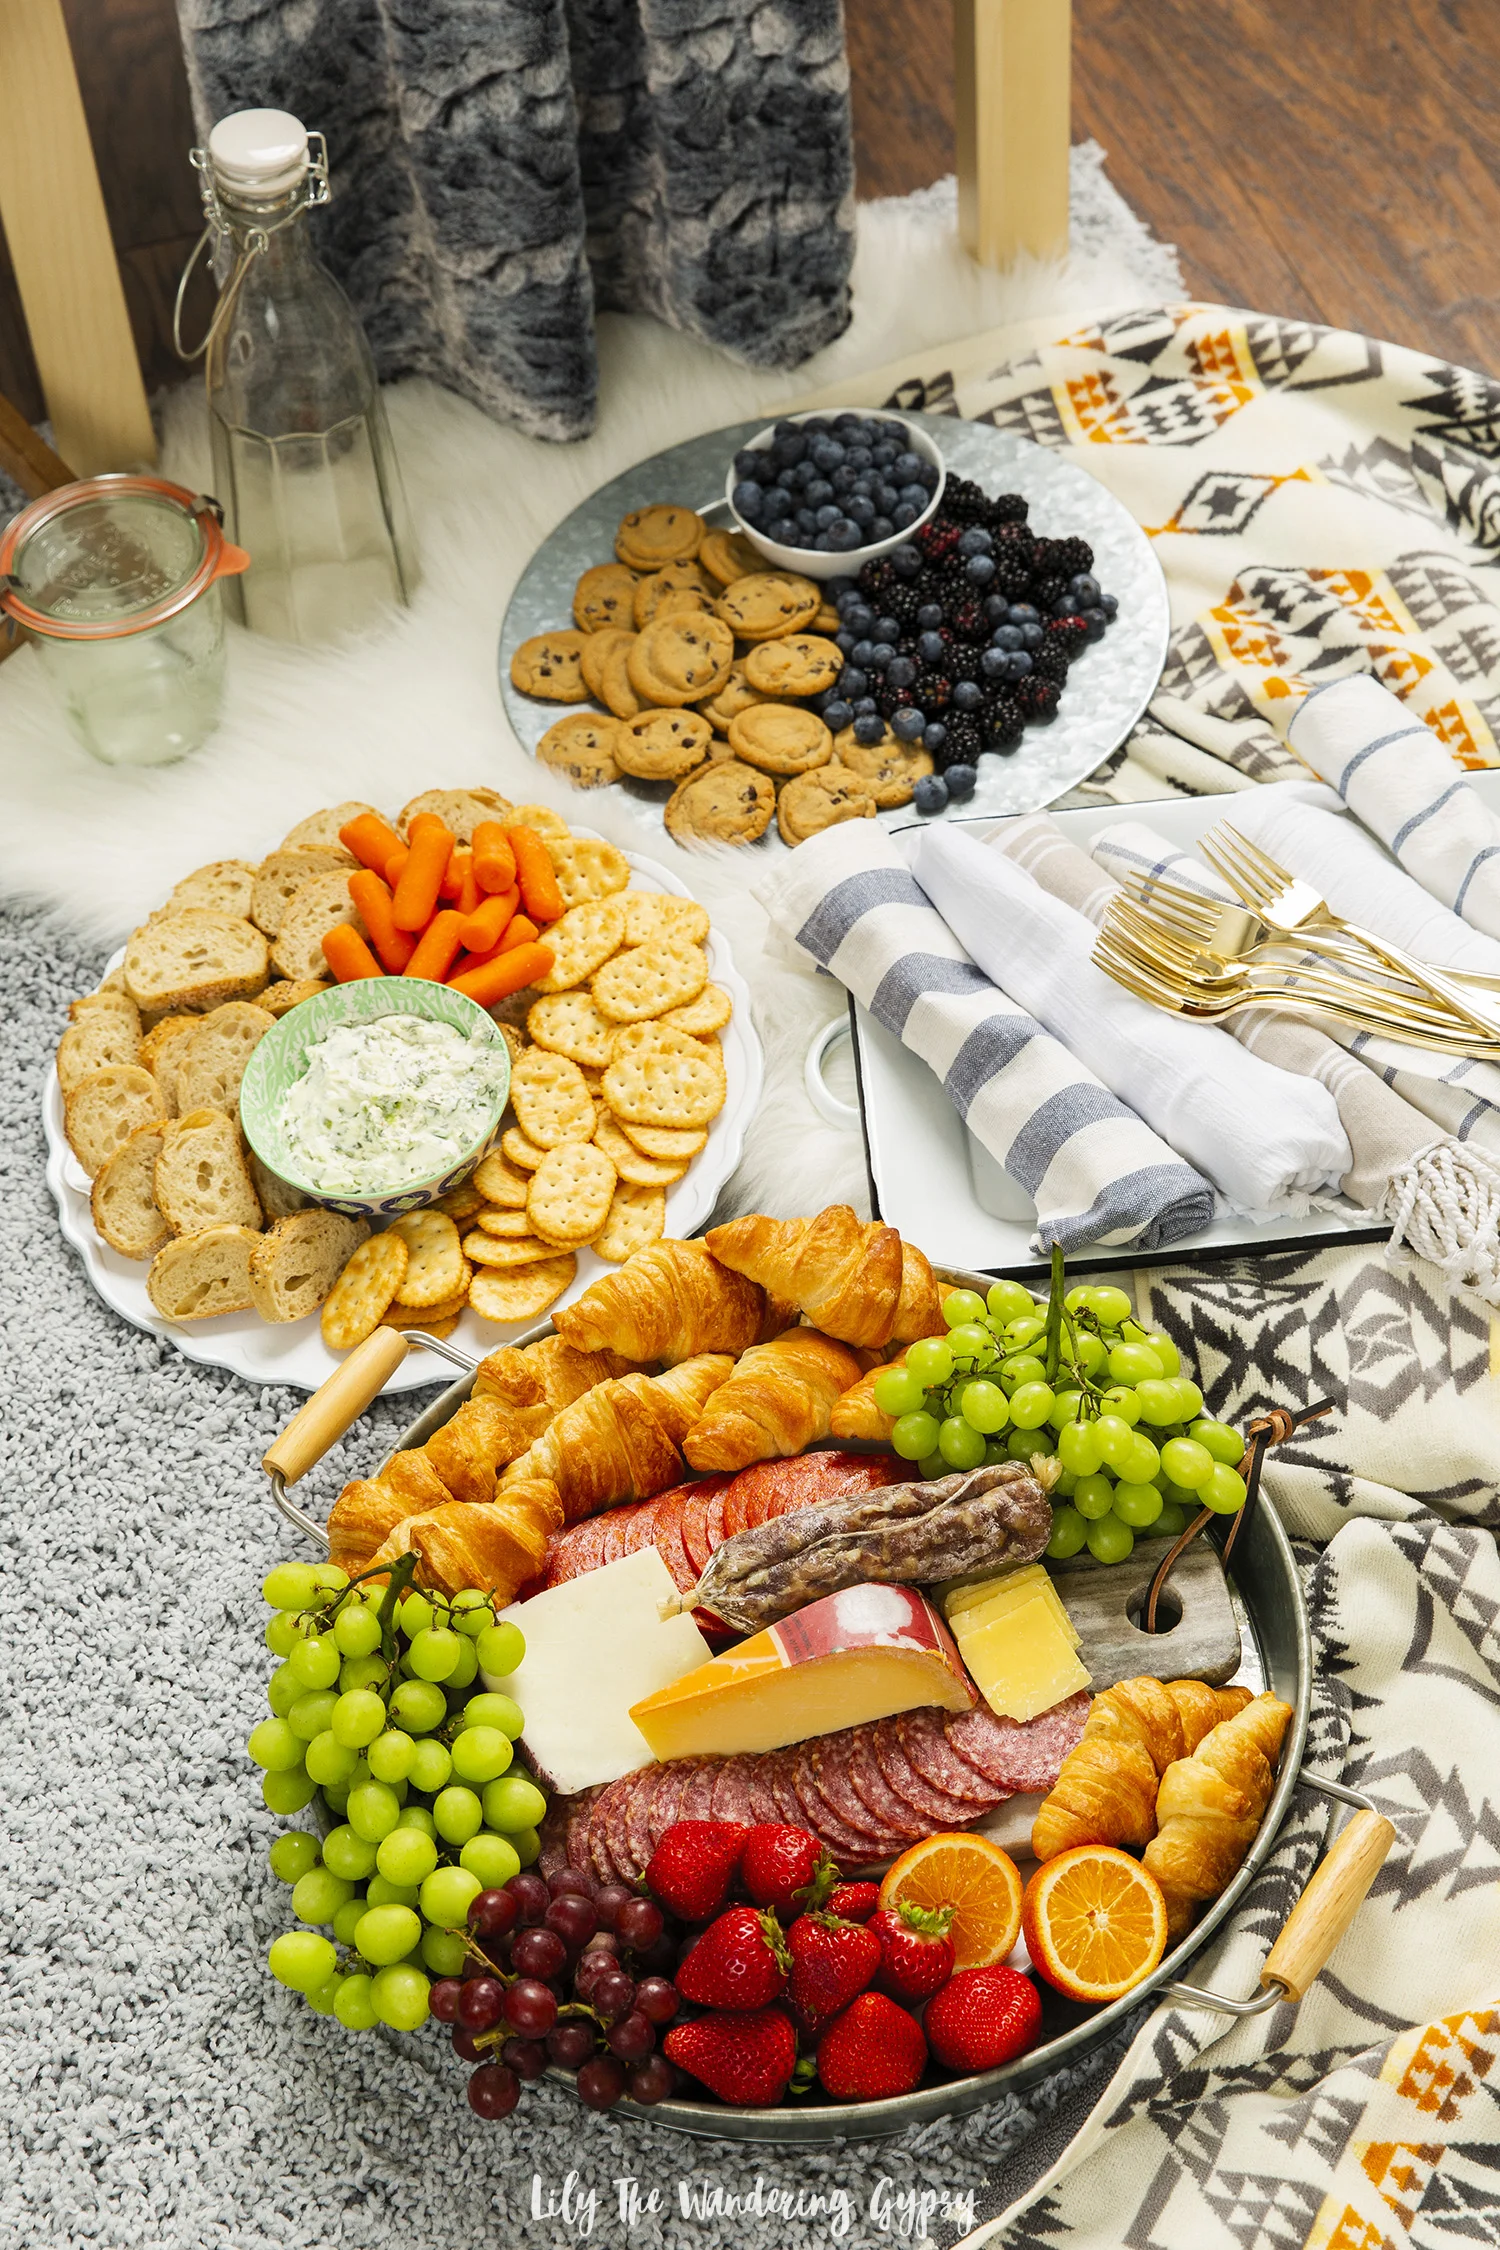
If summer get-togethers make you giddy with joy and excitement, then you’re not alone! I too love brainstorming recipes with friends, then planning, prepping, and preparing the food, then finally getting everyone together to enjoy the bounty. Food always brings people together, and is great shared with old friends and new ones! This summer, I am going to make it my mission to enjoy the company of others over great food as much as possible!

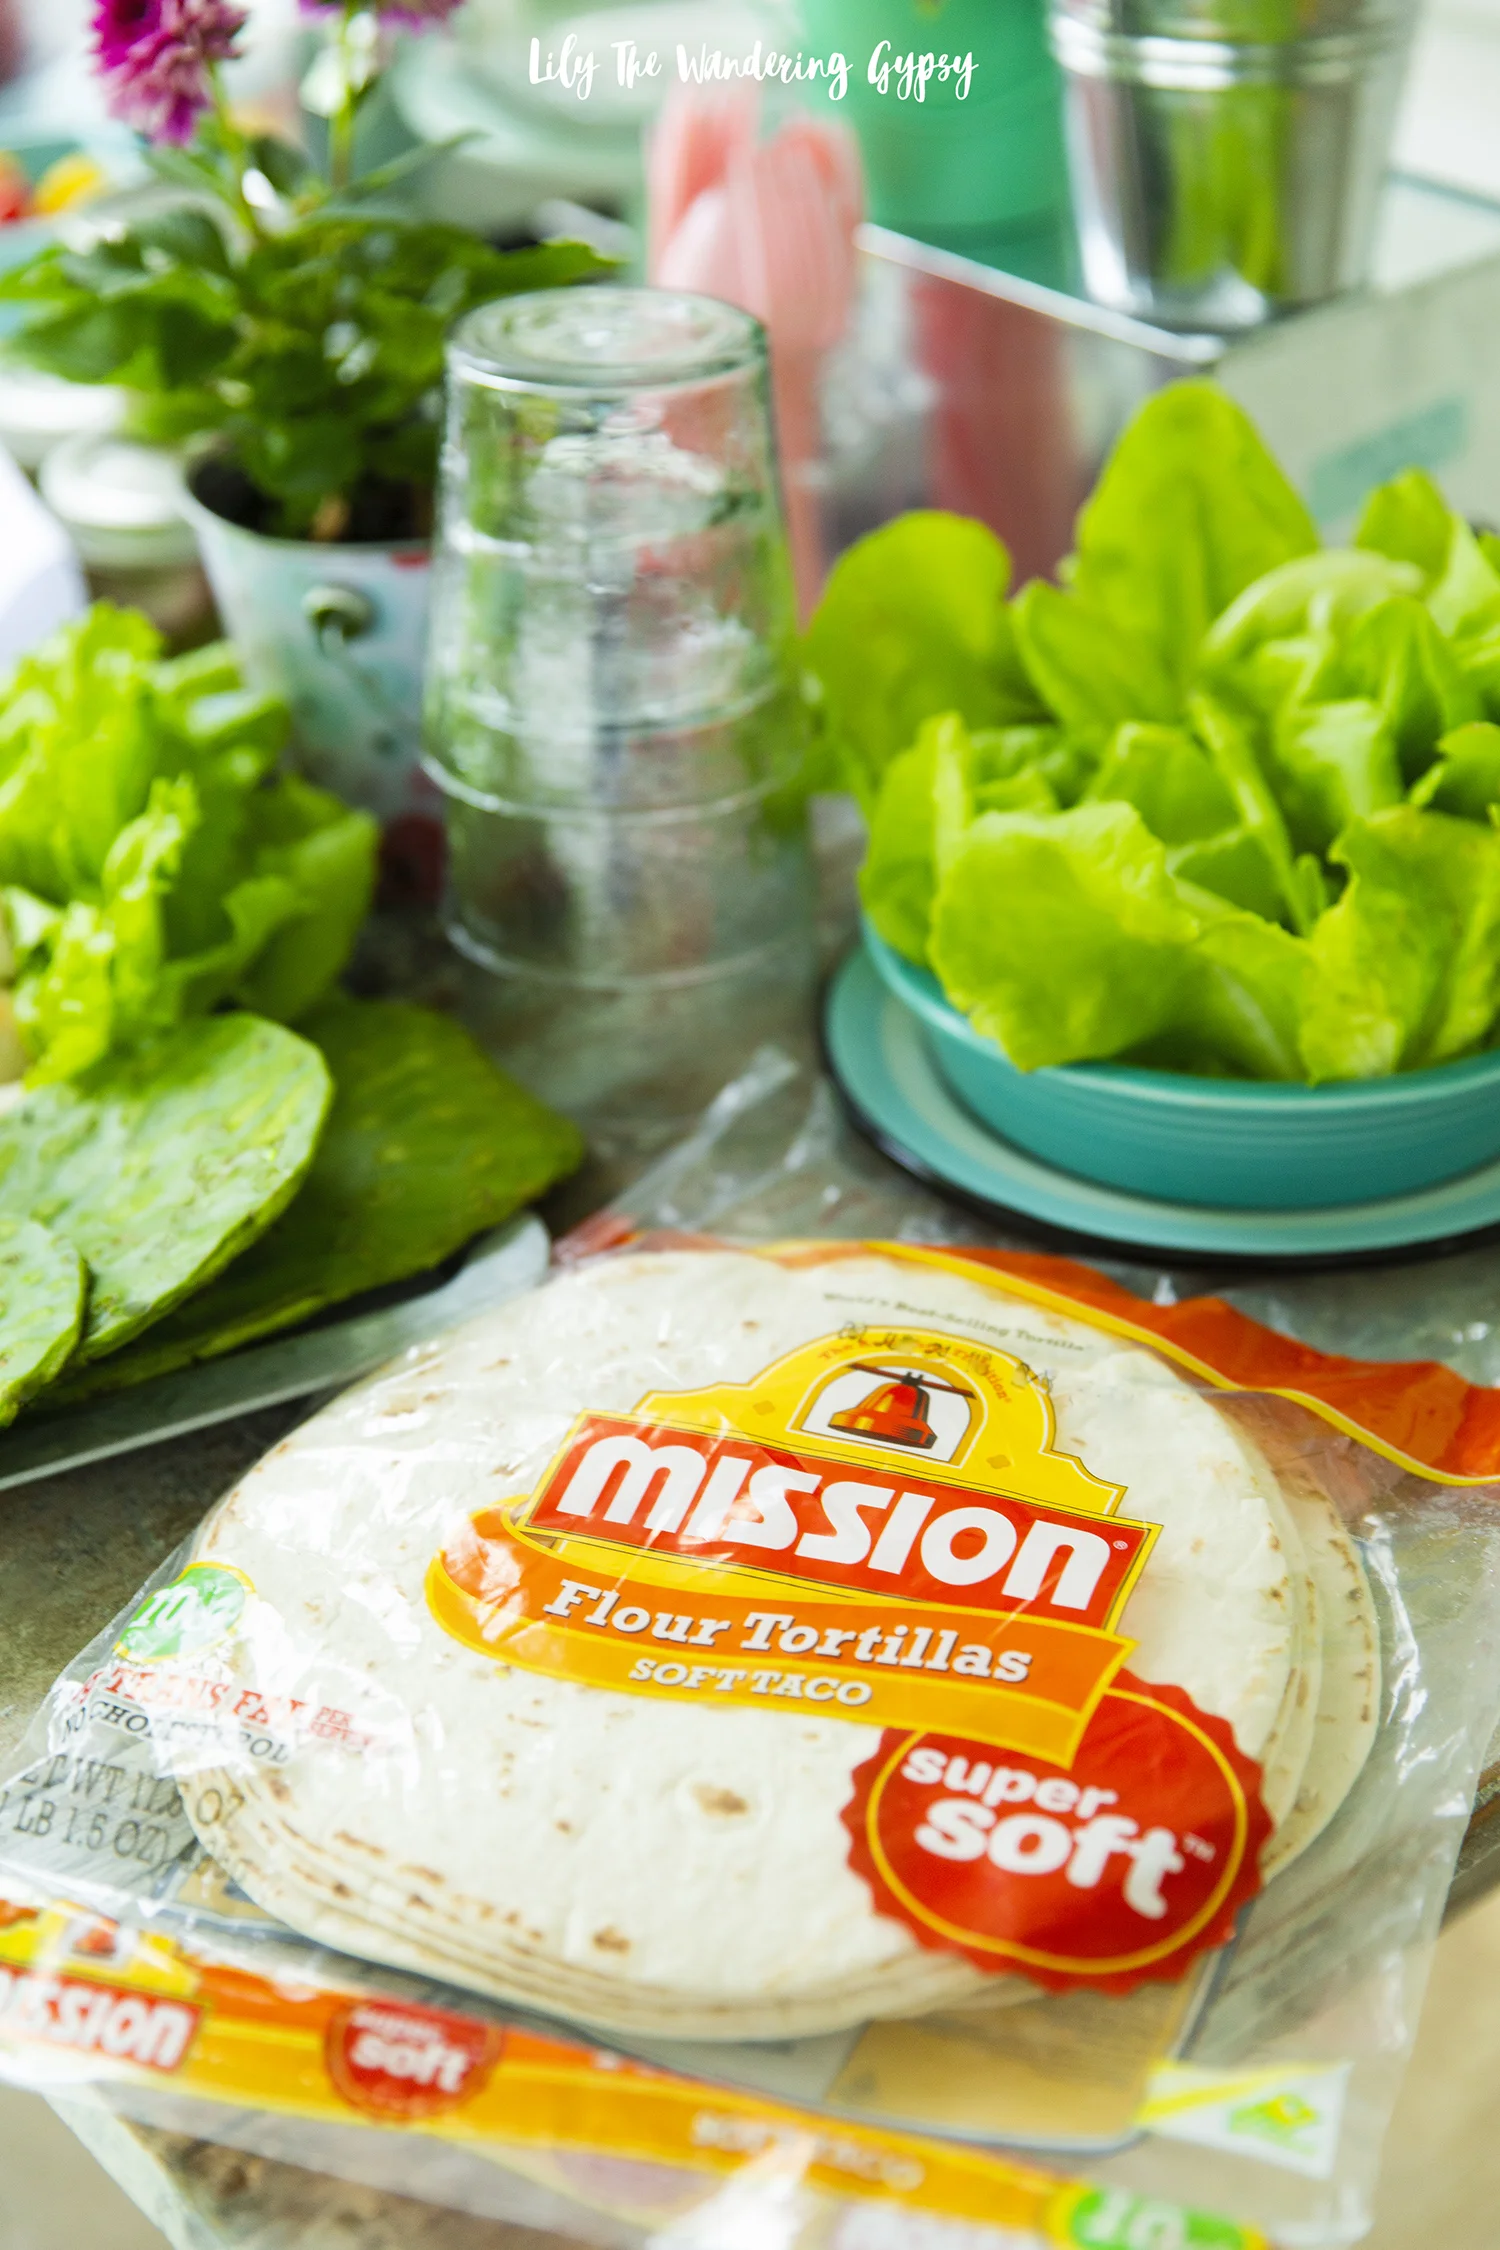
I love how these Mission® Super Soft Flour Tortillas really made my two recipes even better than I could have ever imagined. I have tried all sorts of tortillas, and these are the softest, tastiest ones yet. They were so versatile, and absolutely perfect for my Vegetarian Southwest-Inspired Pinwheels AND for my Grilled Steak Tacos. I always feel like the tortillas make or break a recipe, and I was so happy to find a new favorite. You can use the store locator on the Mission website to find Mission tortillas at stores near you, and find even more delicious recipes as well.

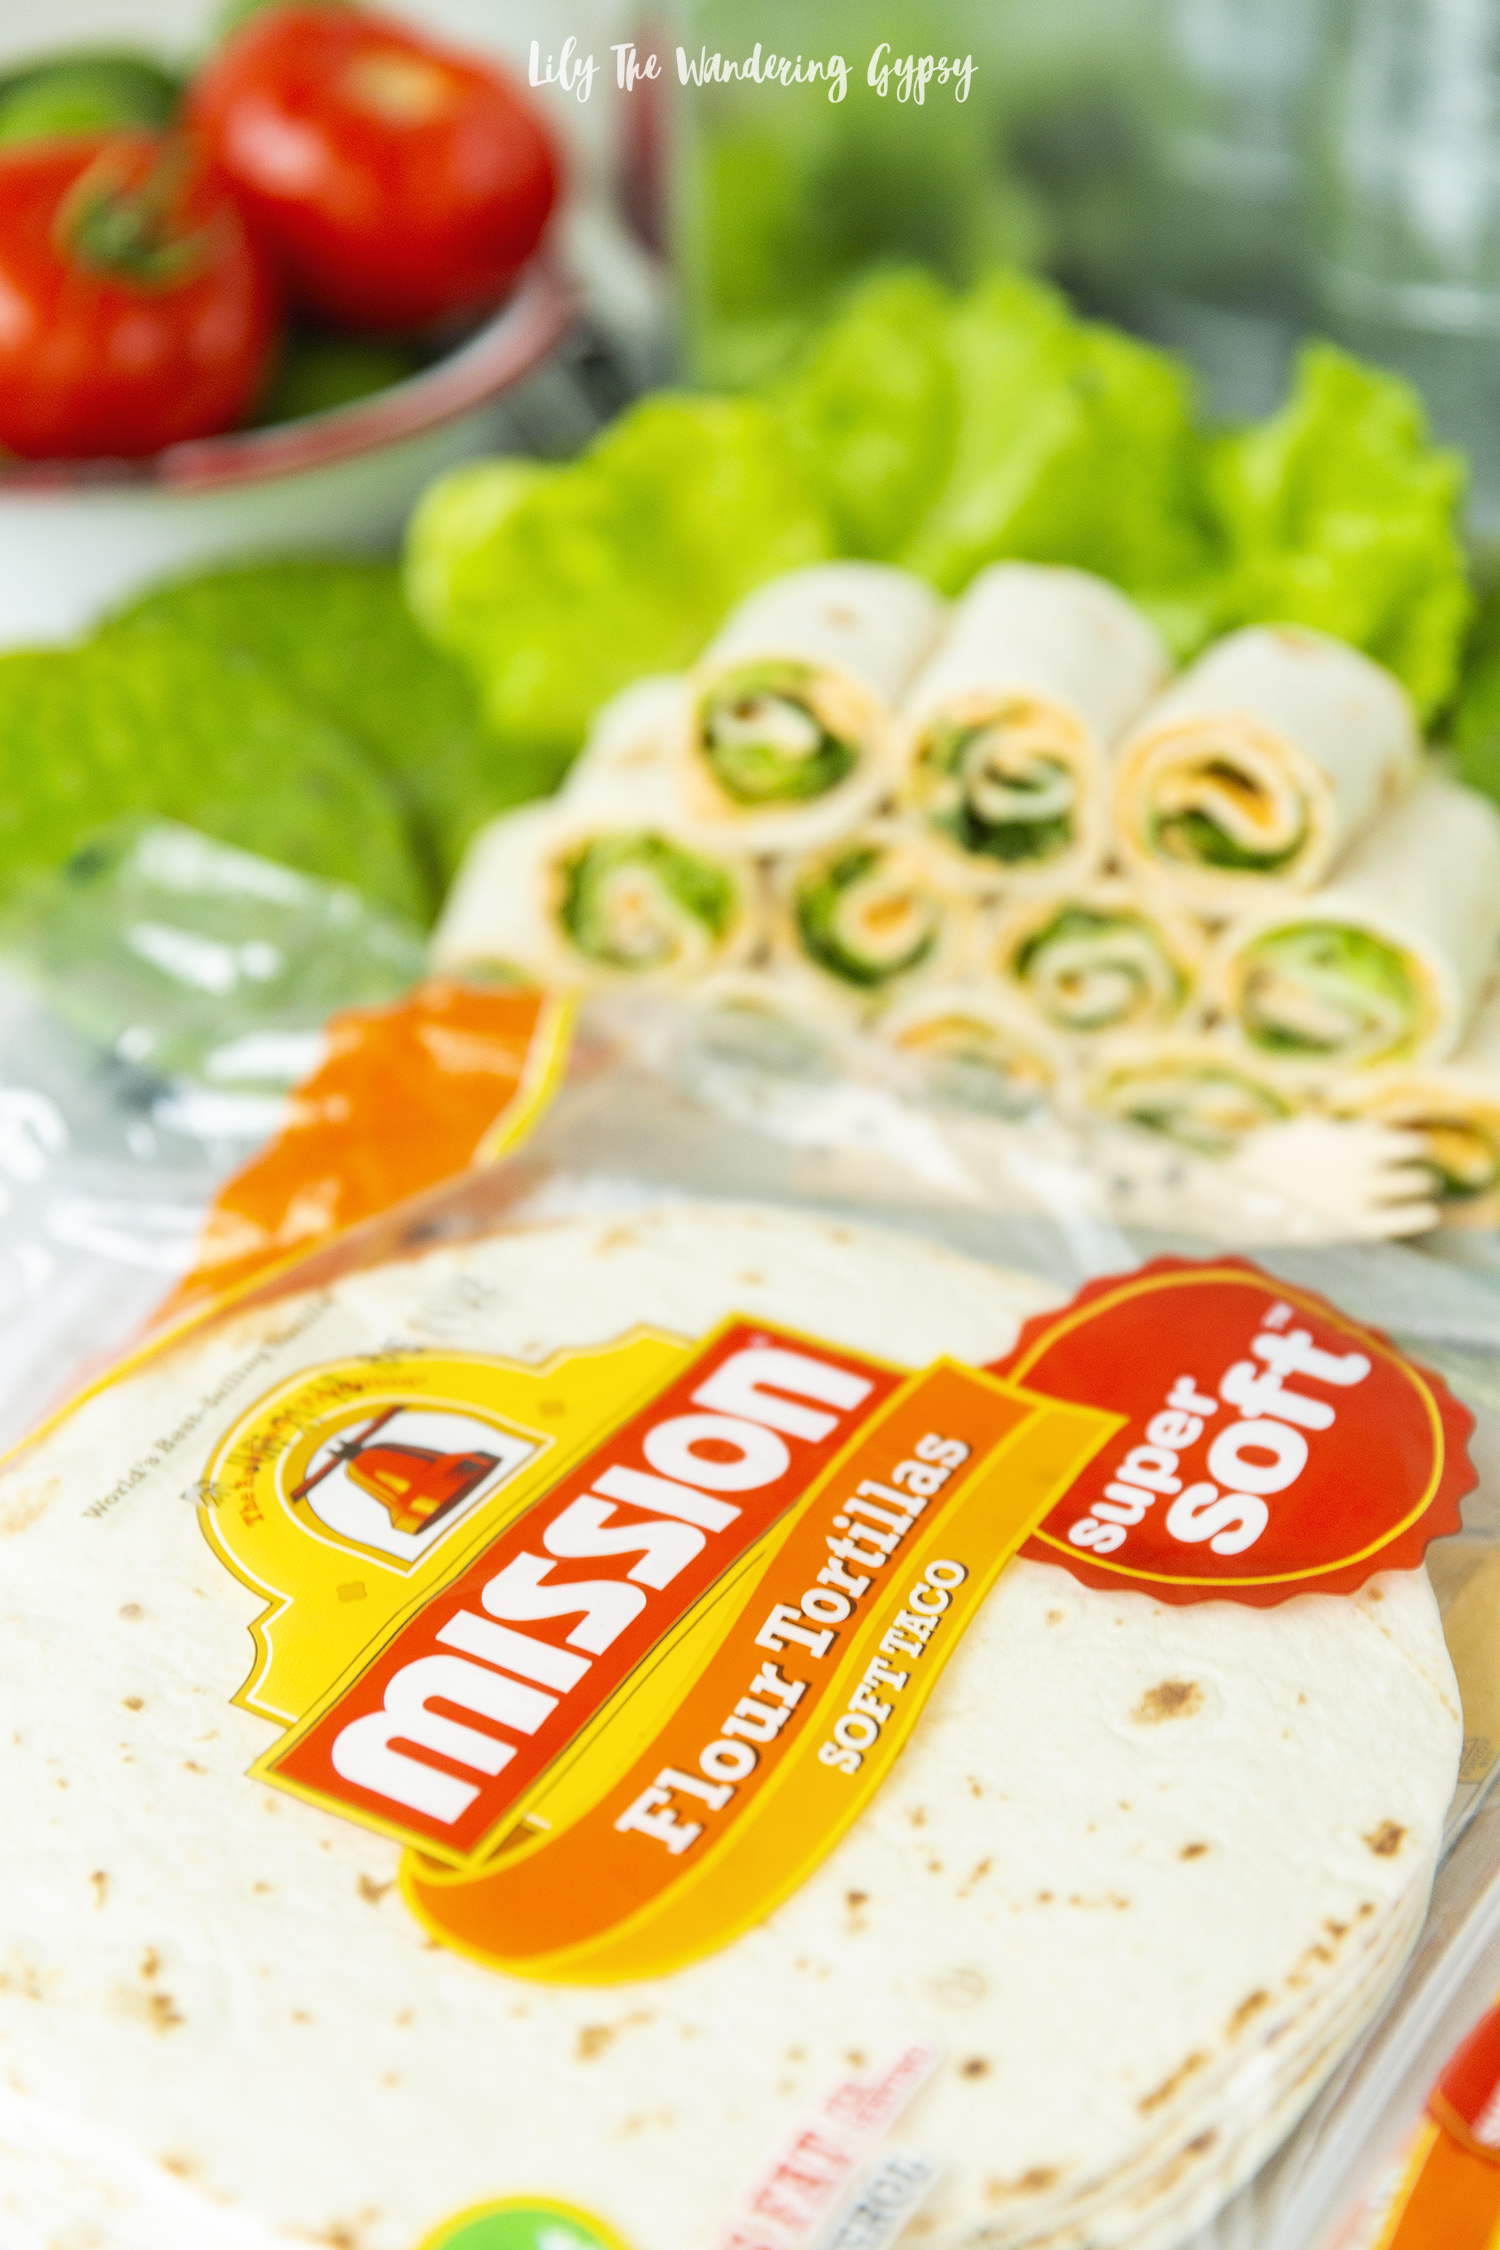
I’m not sure if you’ve ever experienced this, but I am always let down when tortillas kind of get dried out super quickly, then kind of crack when you roll anything out of them (like the pinwheels). Well, these were perfect. They held together super well, and worked amazingly well for this 4 ingredient appetizer!

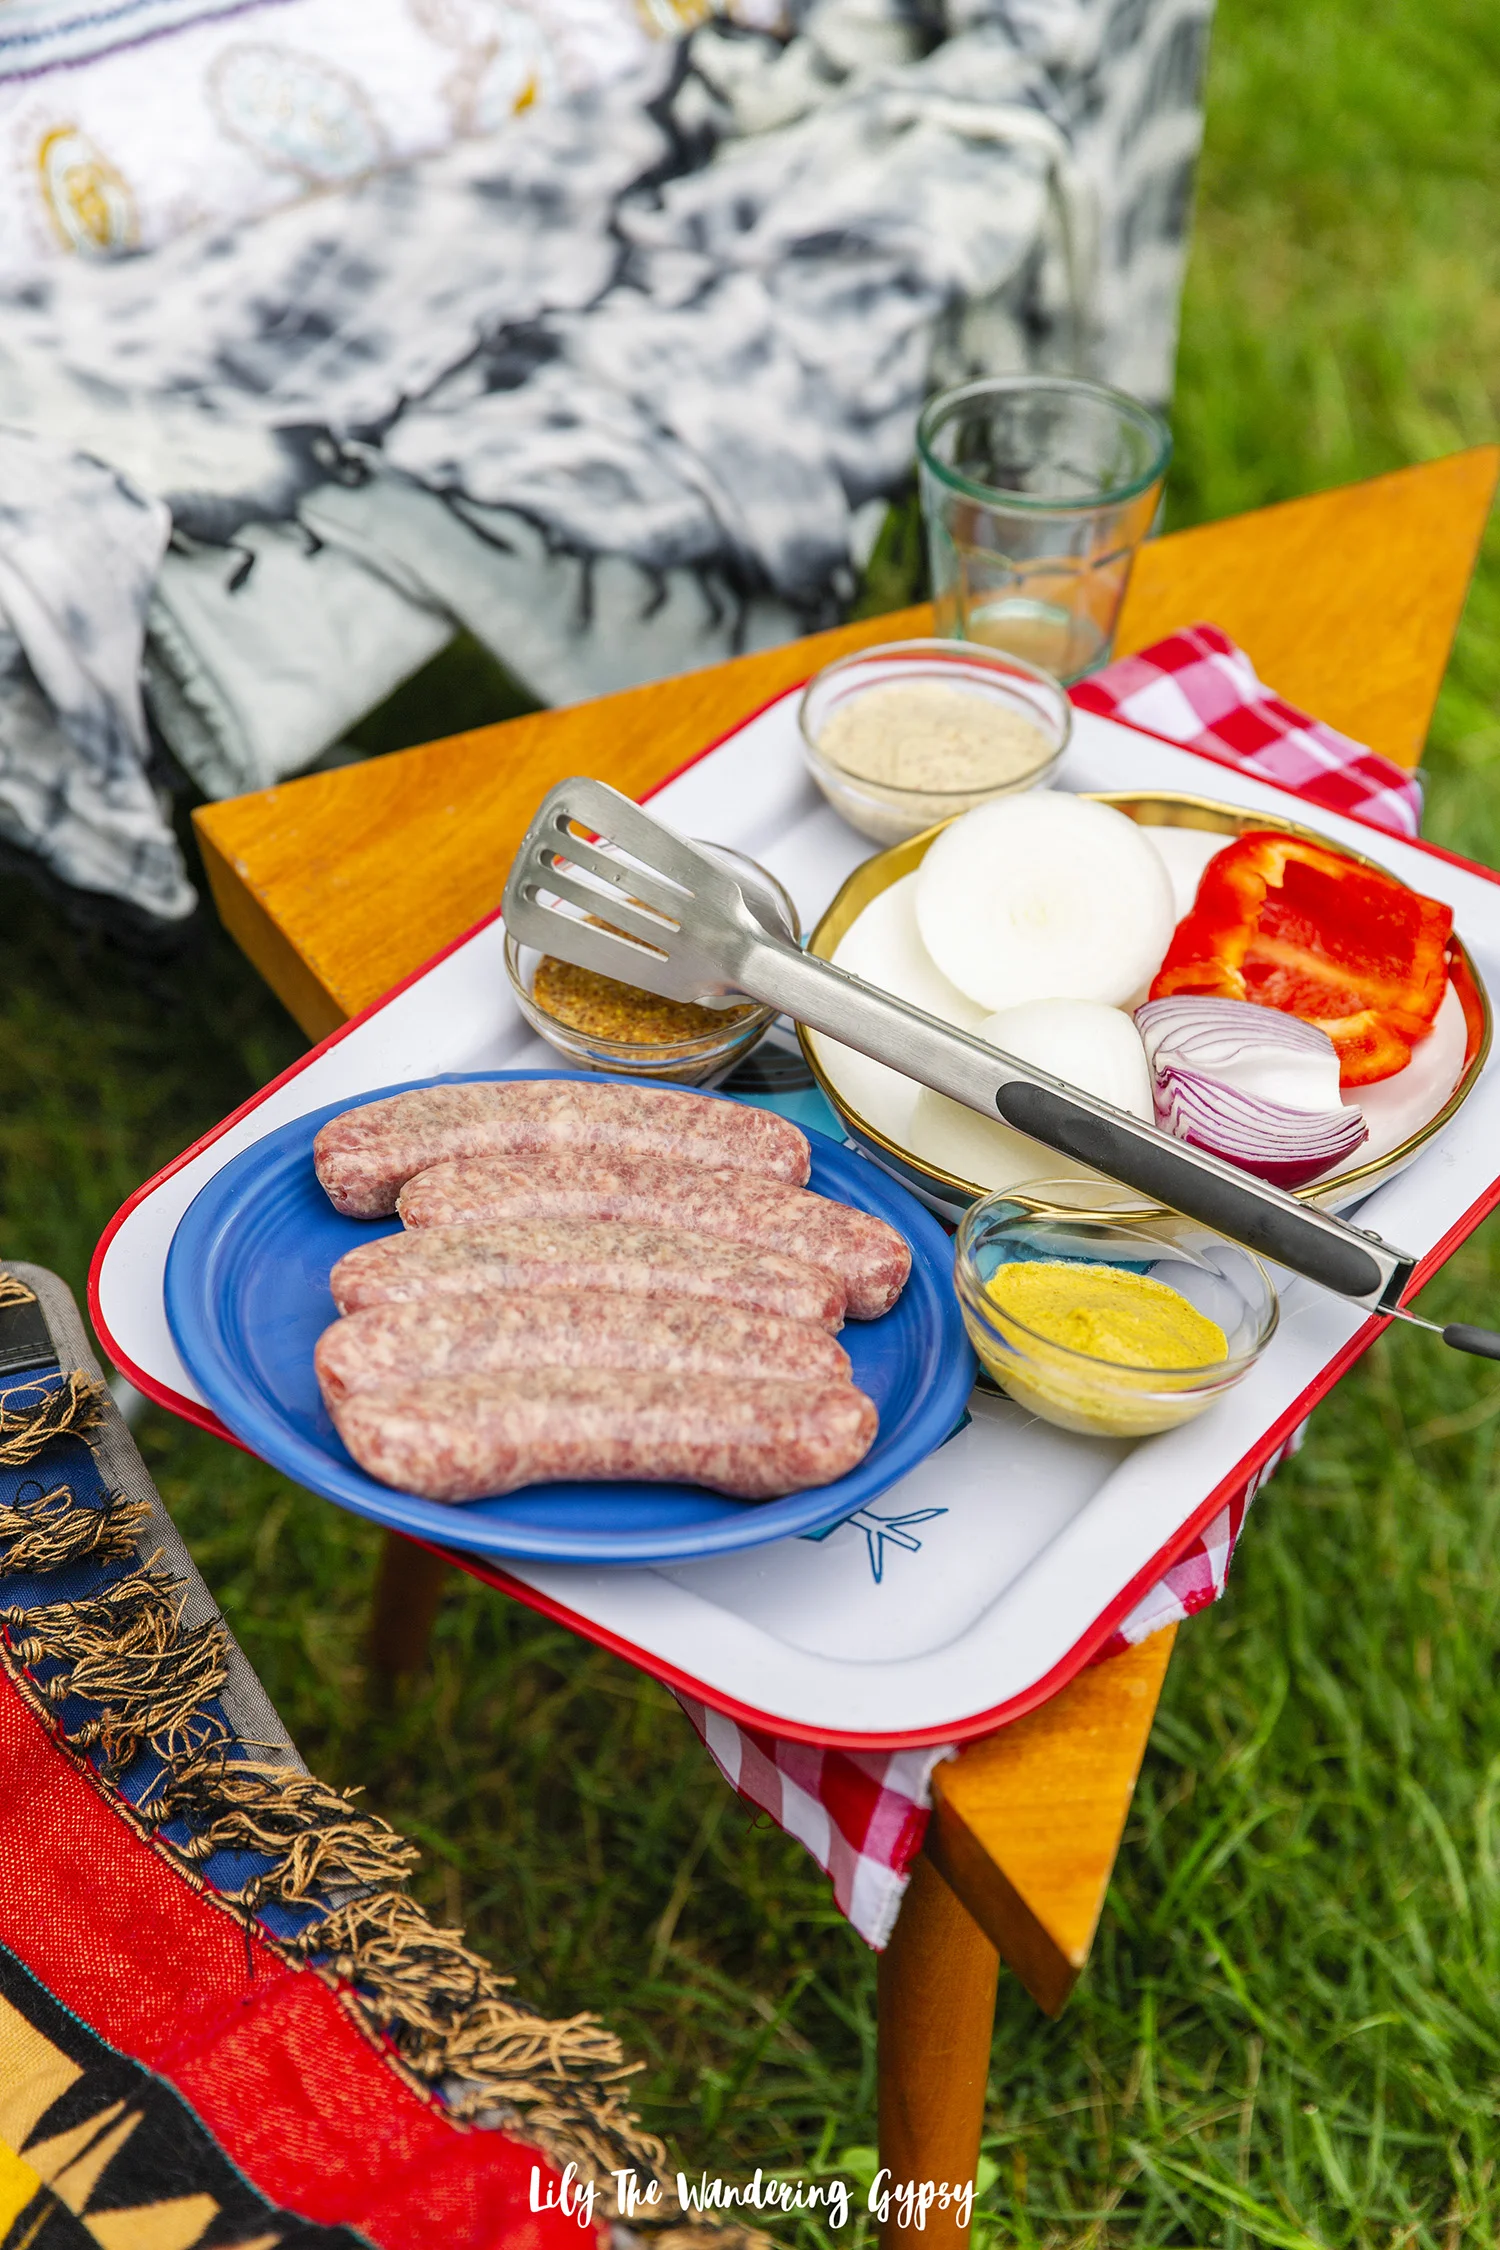
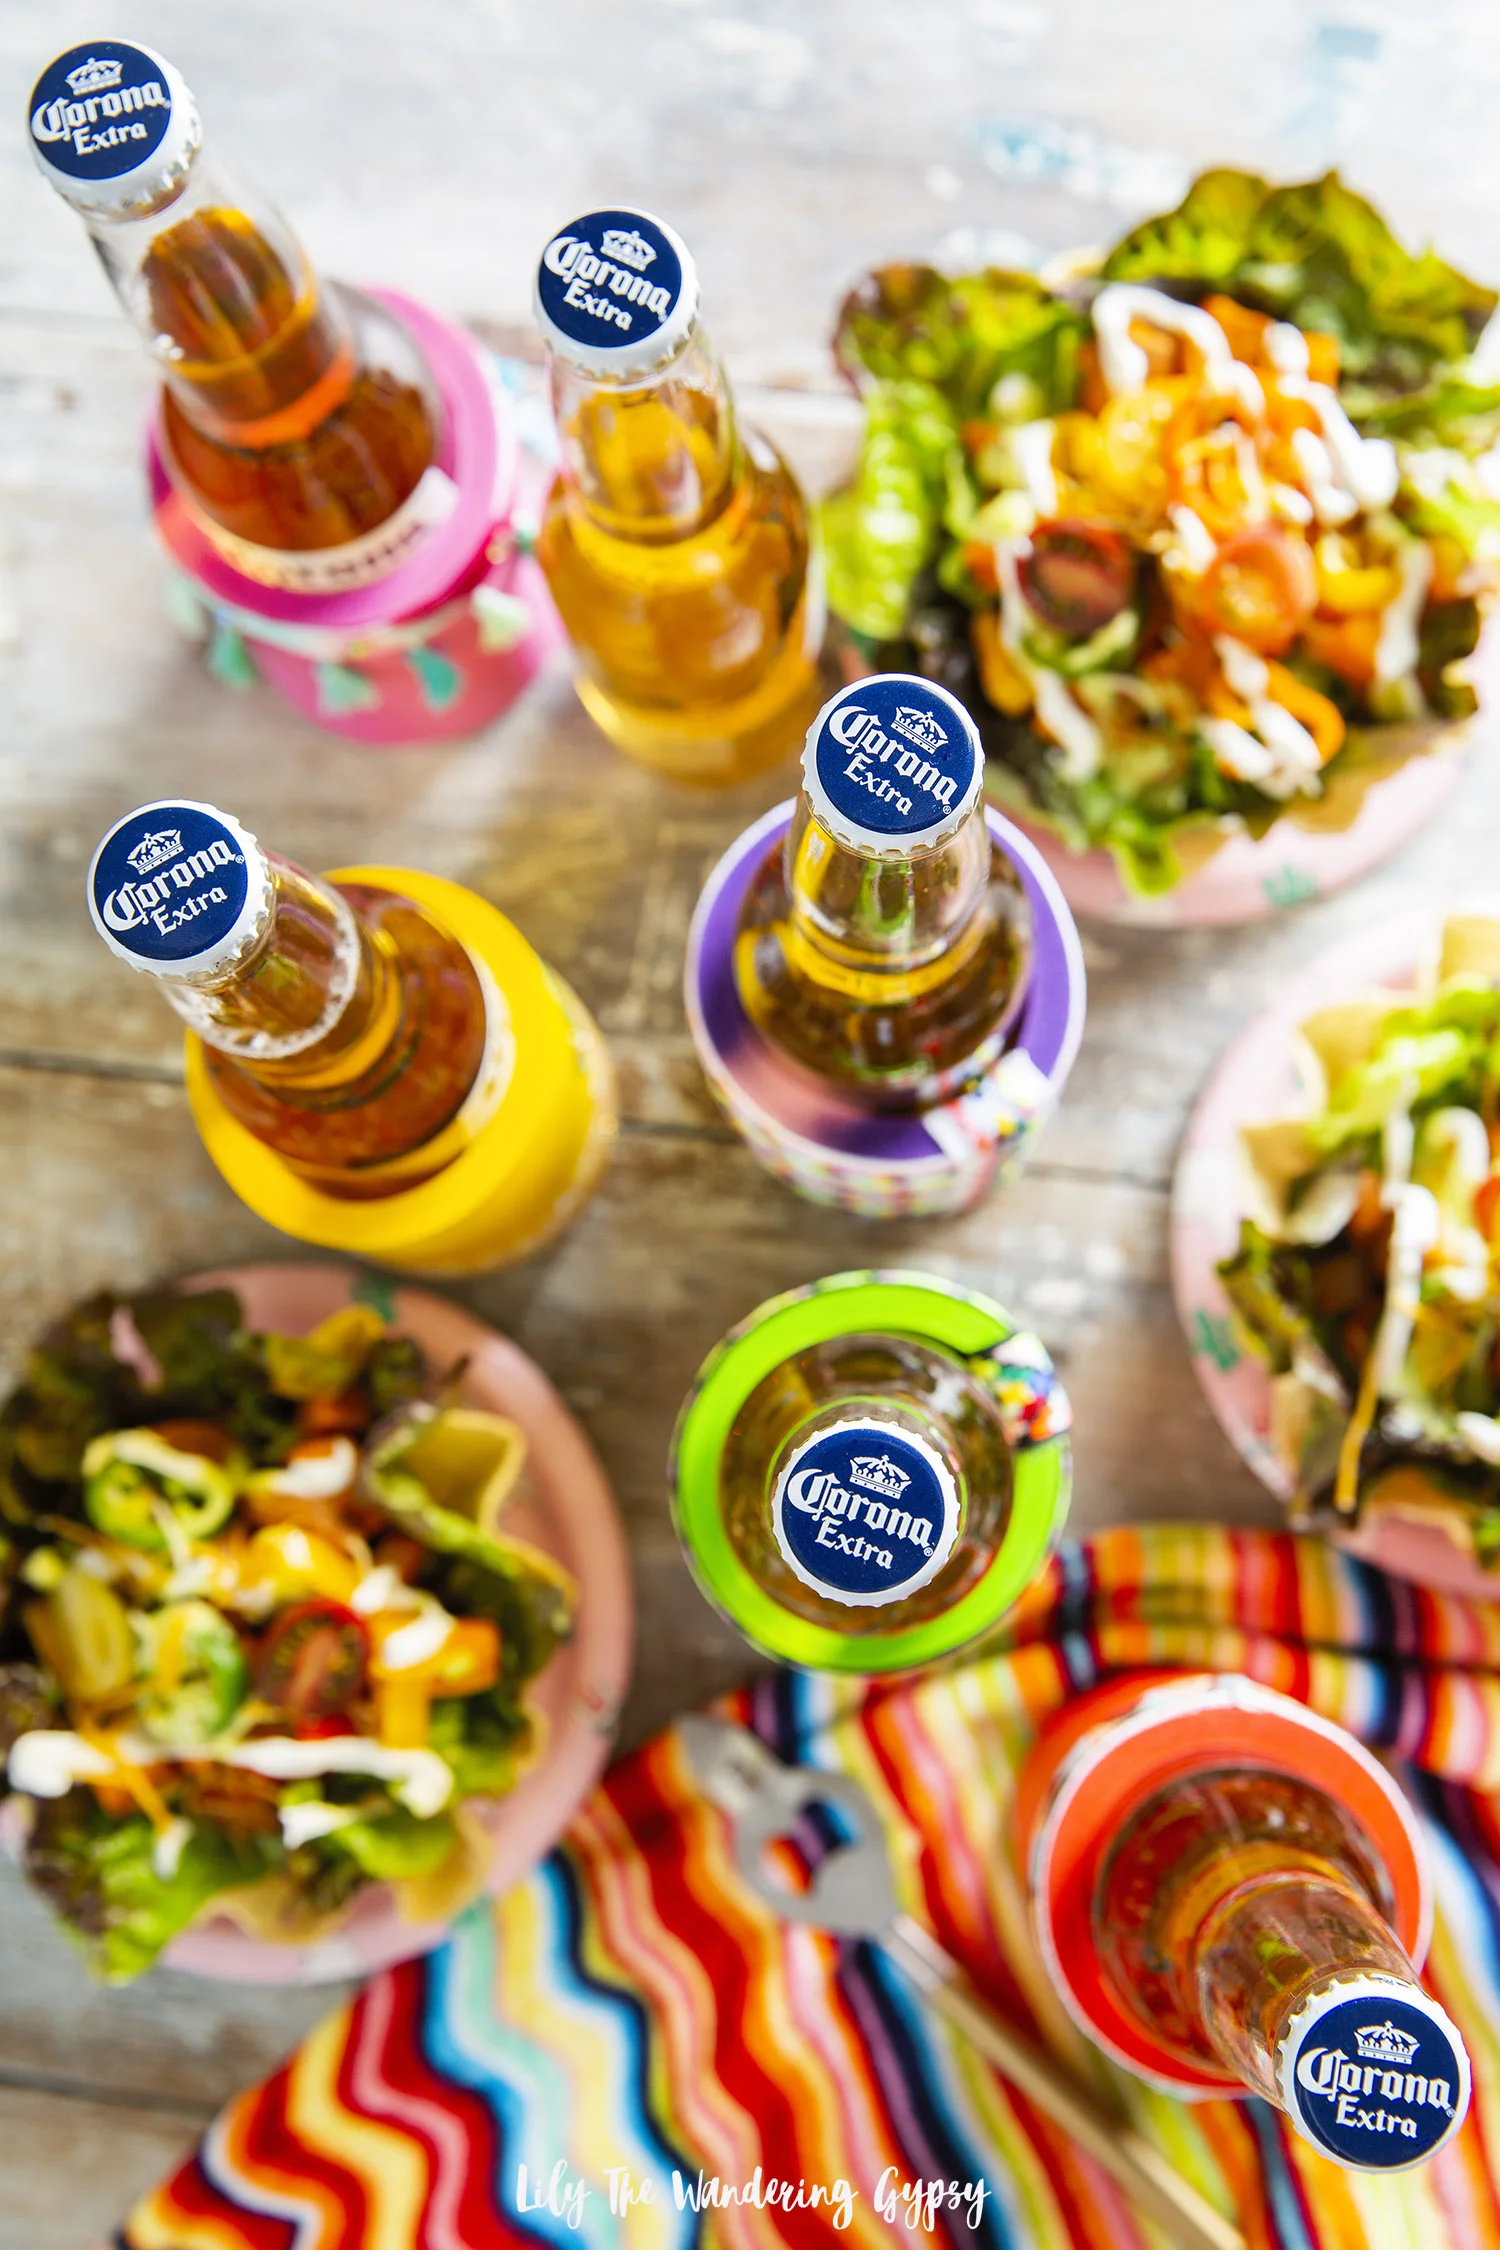
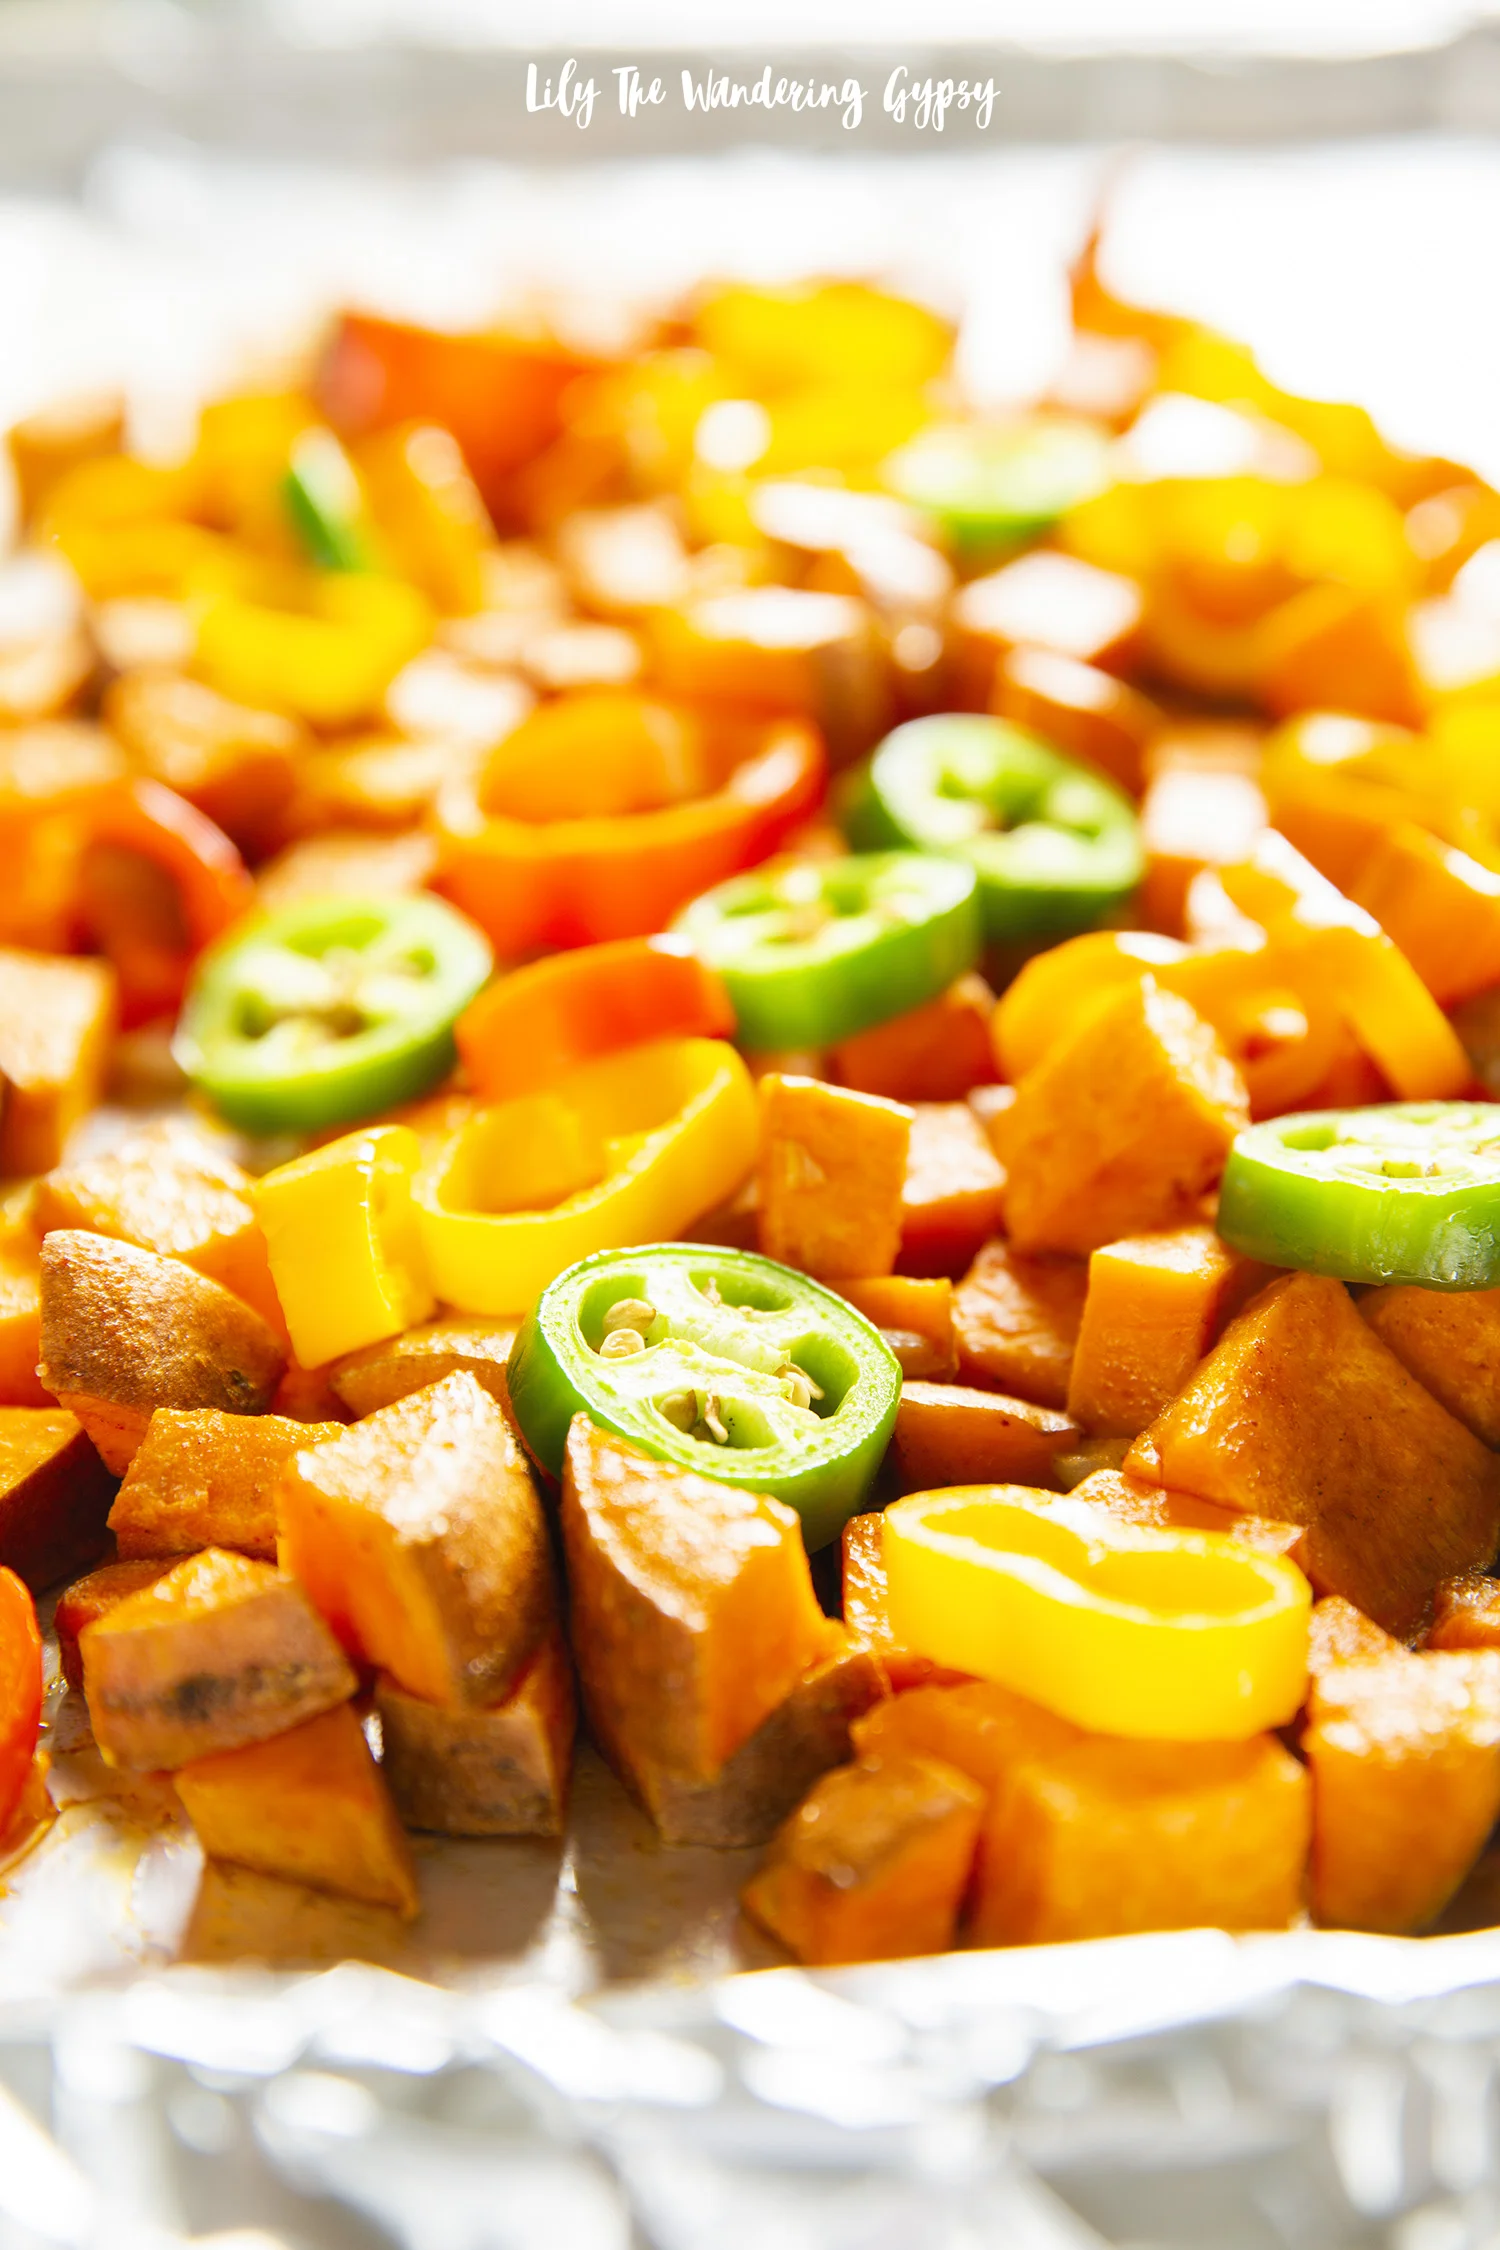
And, since I wanted to offer lots of delicious toppings for these Grilled Steak Tacos, my first thought was fresh ingredients of course!

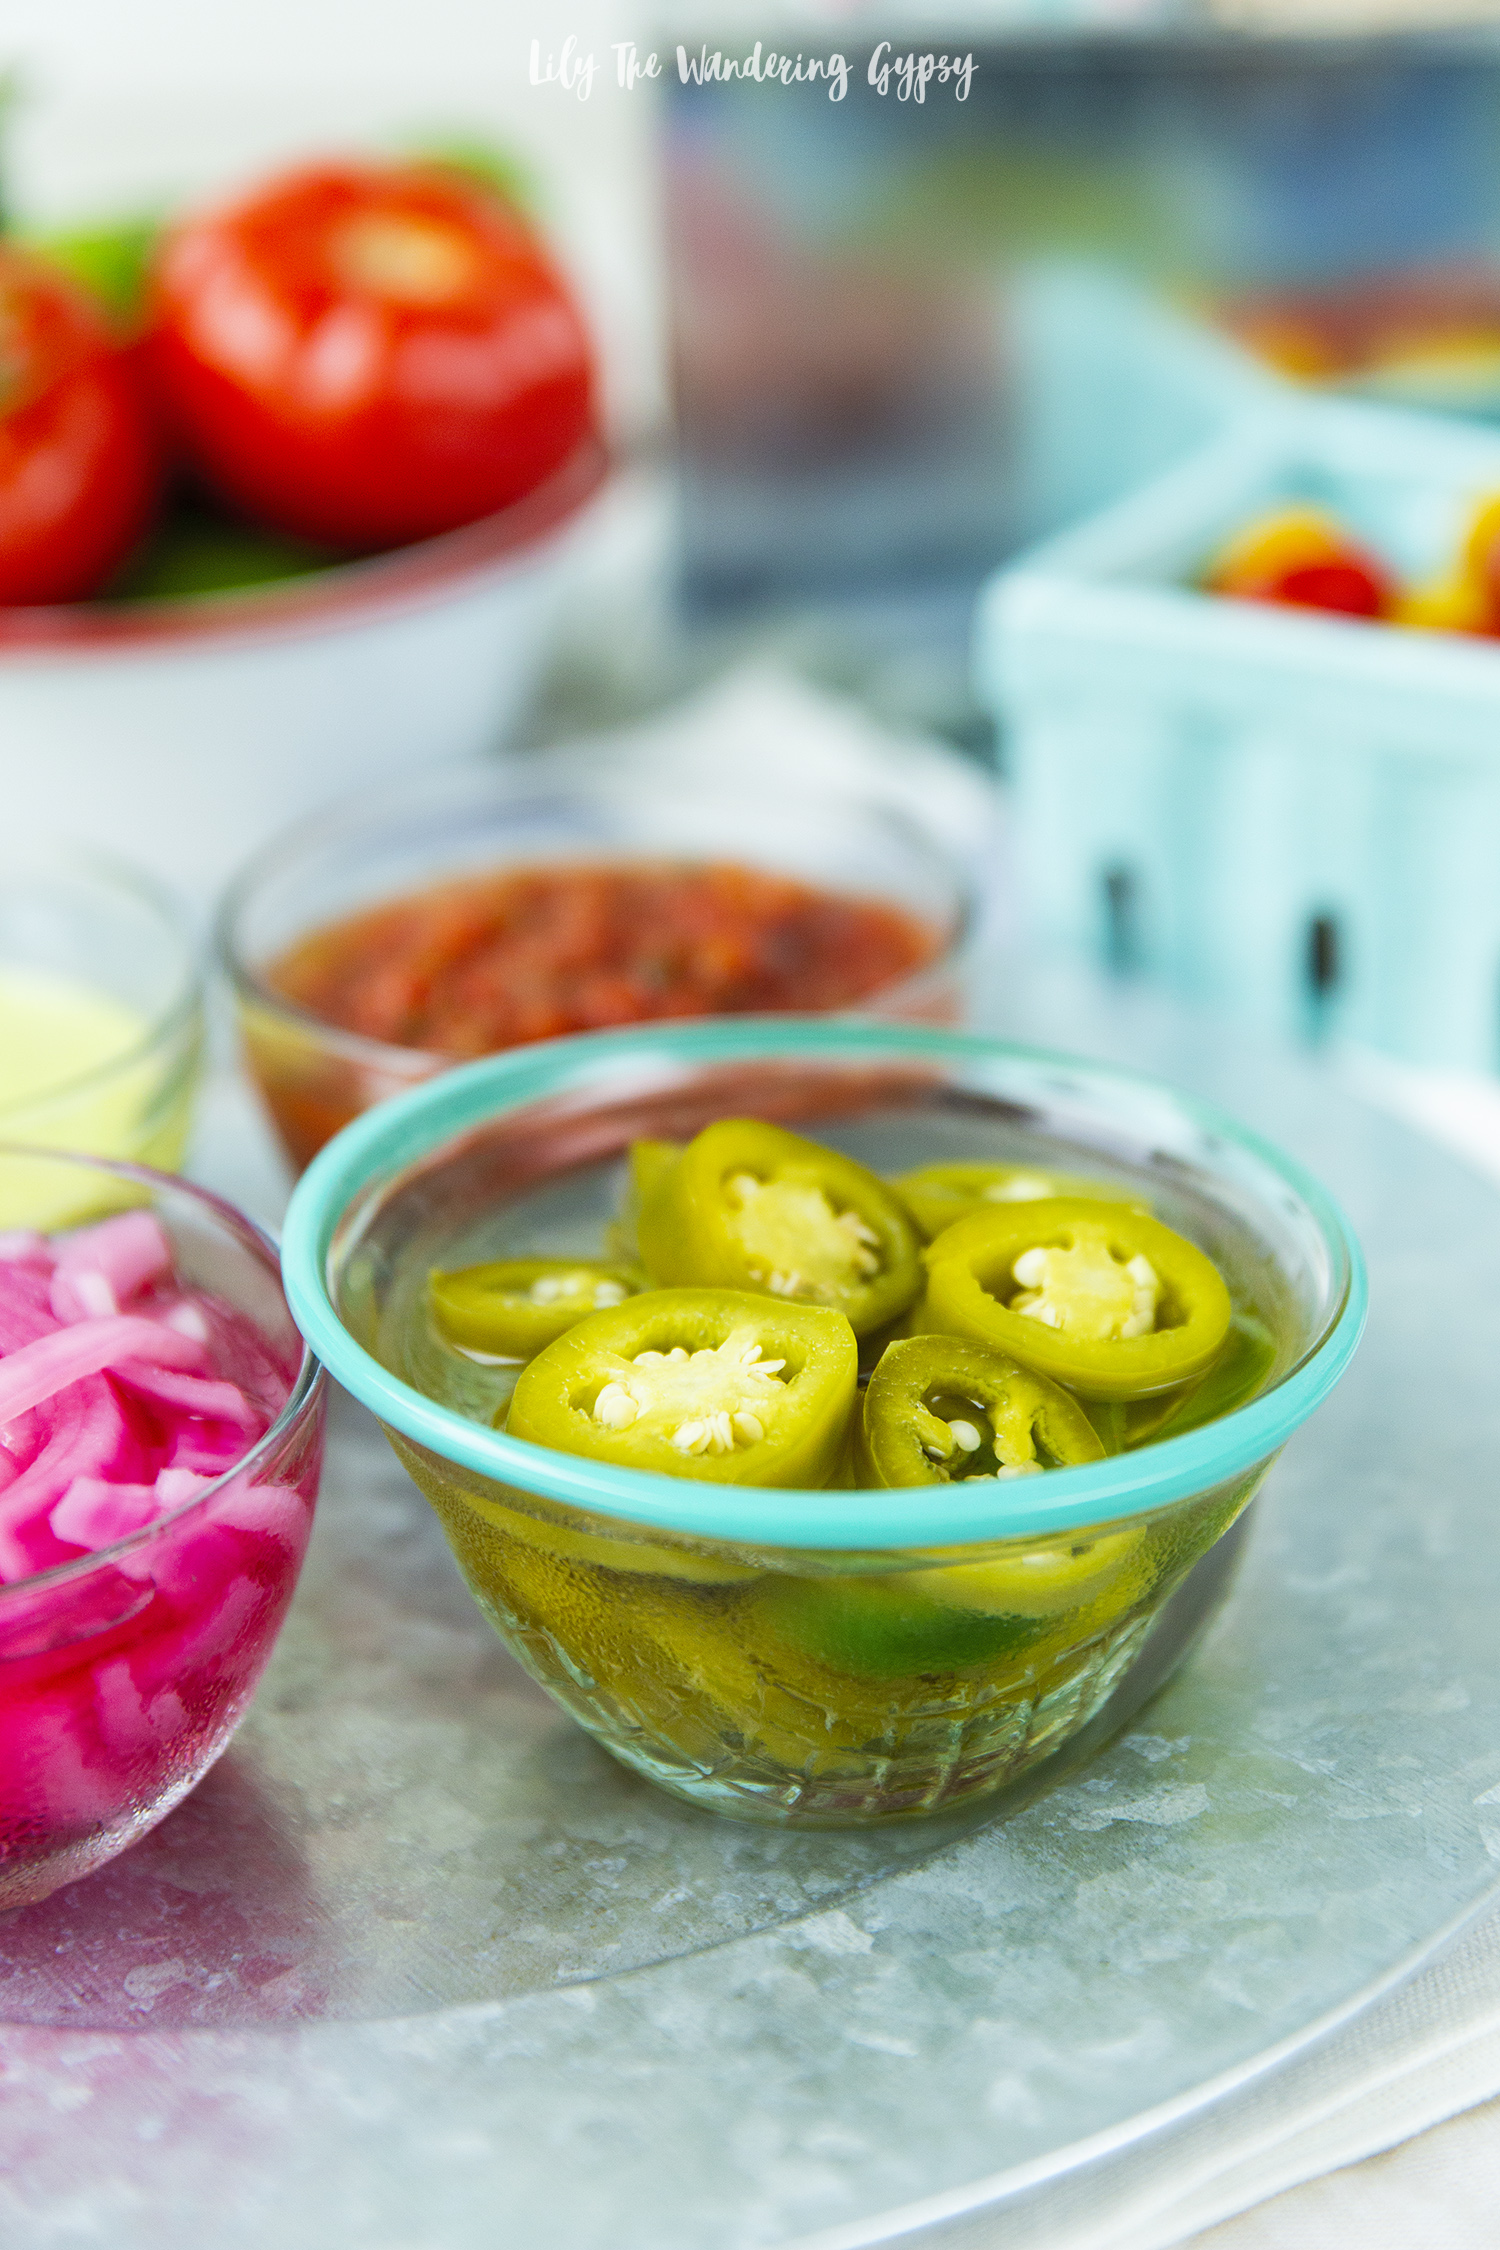
I thought it would be so fun to offer guests some handmade pickled jalapeños as party favors. Every time we serve these to guests or bring them to someone’s house, we always get lots of compliments on them.

PICKLED JALAPENOS

(Making 1 day in advance is recommended)

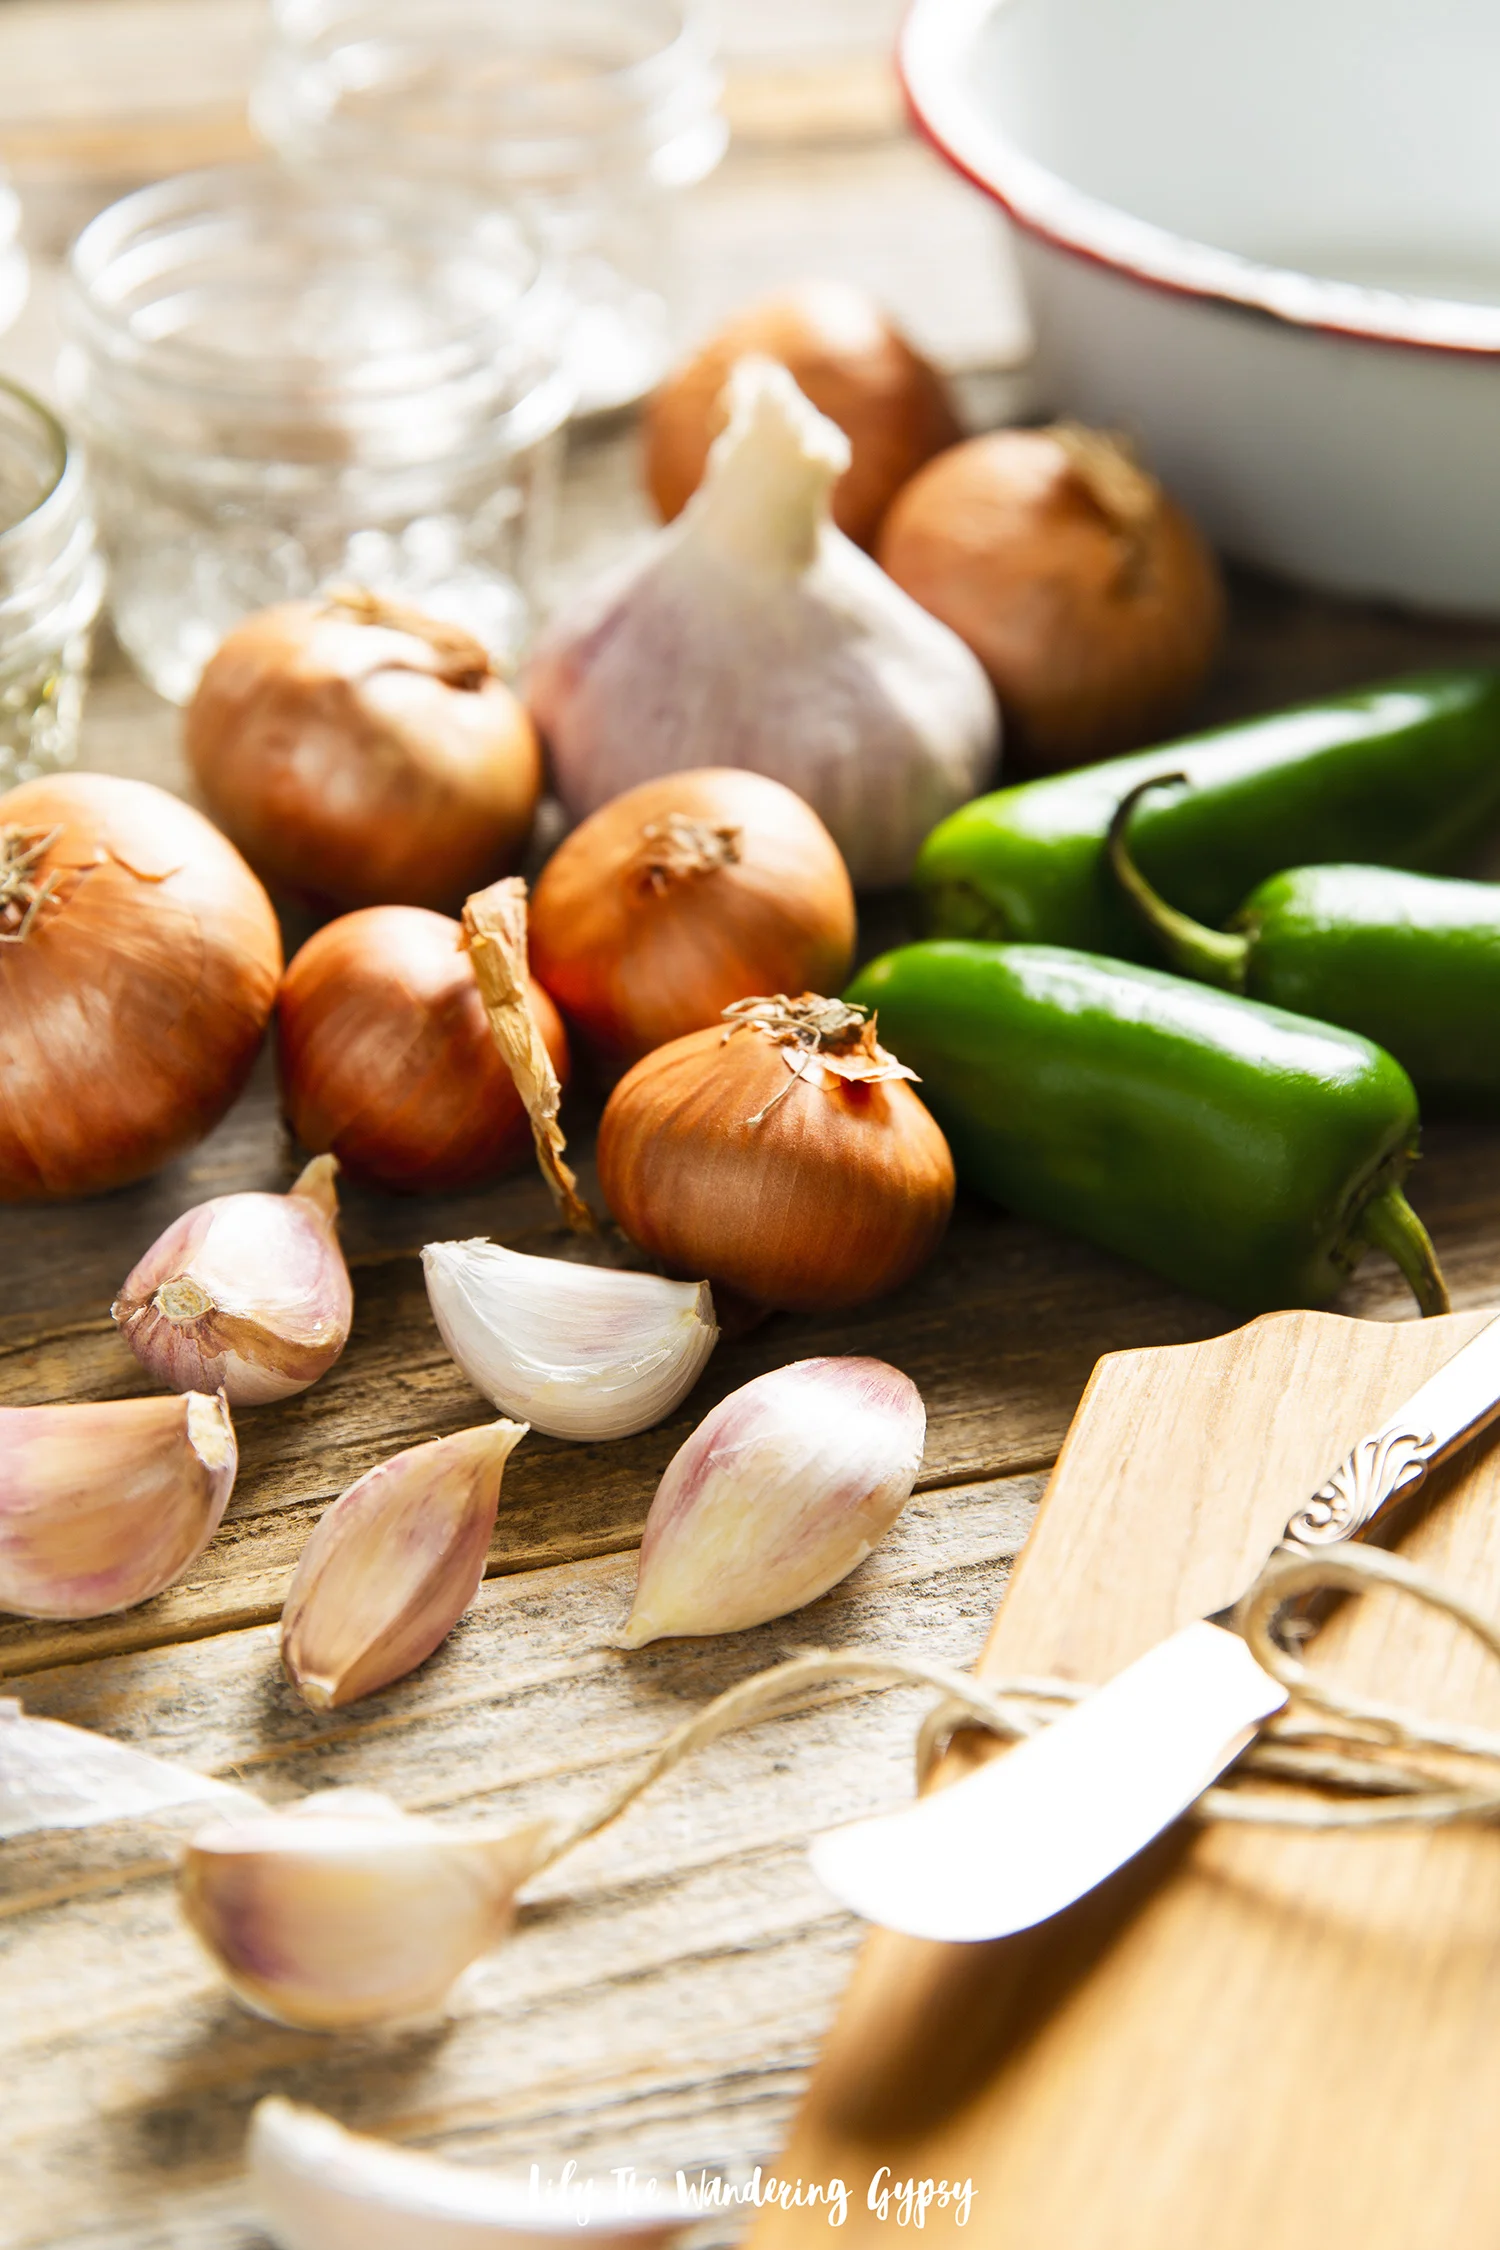
I think it’s time to start sharing them with people, so I filled mini jars with a mixture of fresh ingredients like jalapeño slices, garlic cloves, and mini red onions. Now, it’s time to pickle!

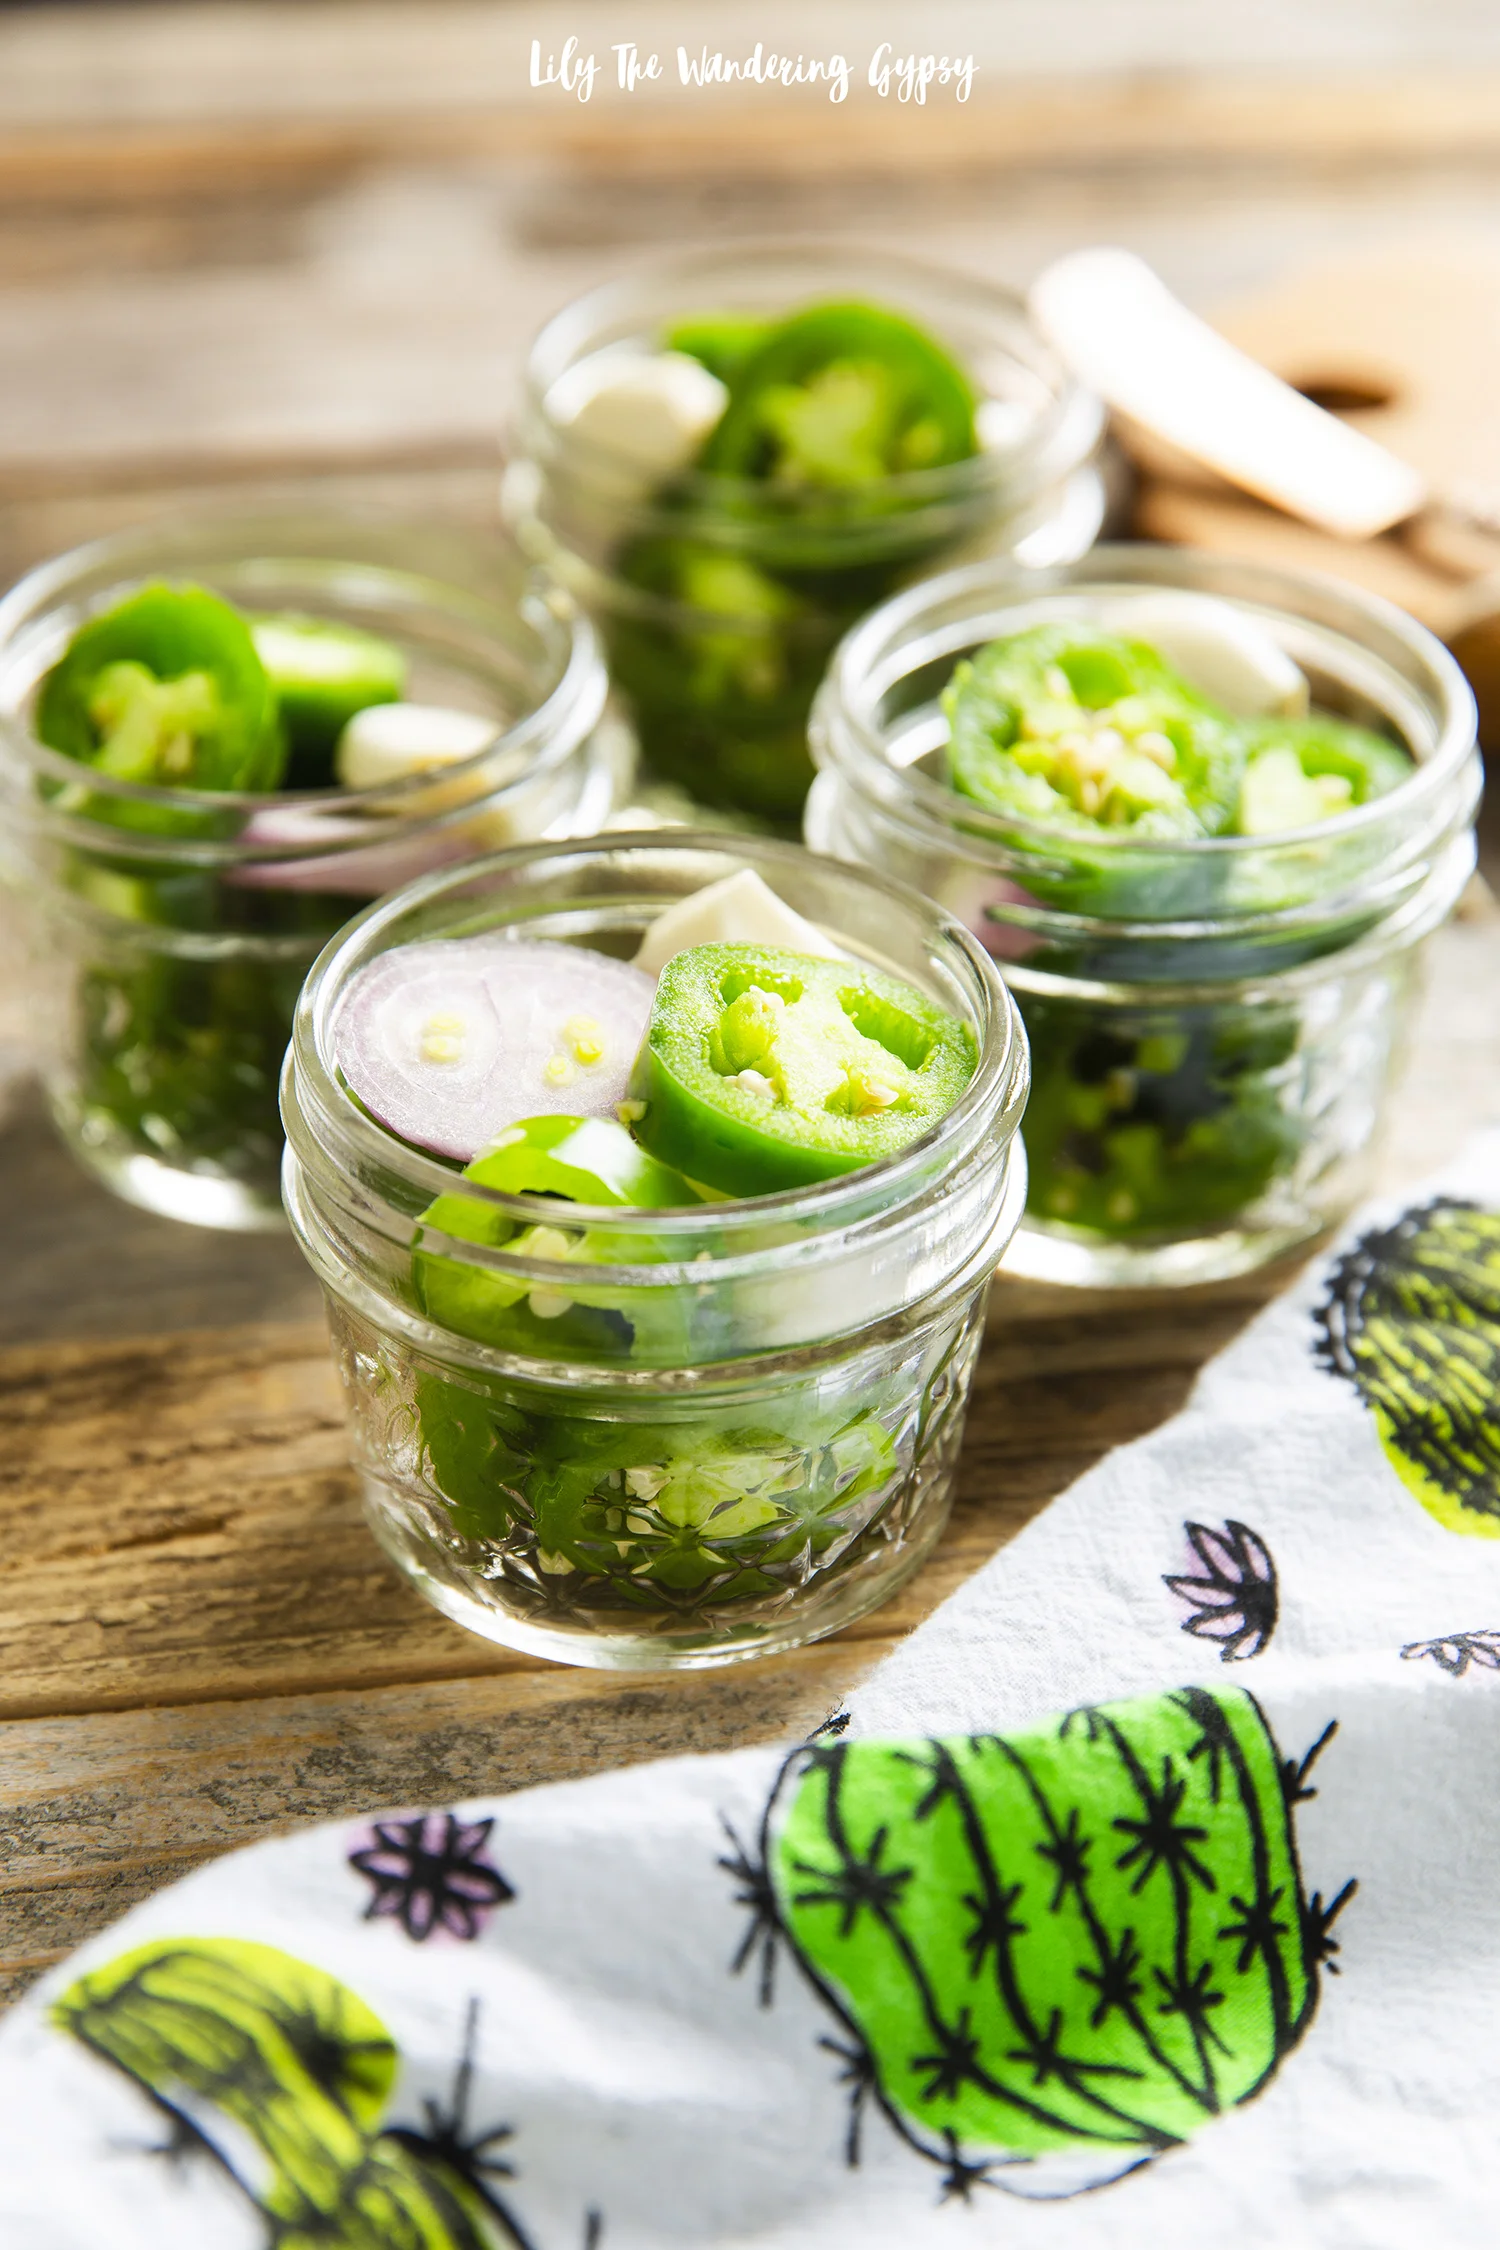
I heated a solution of 1.5 cups white vinegar plus 1 cup water, and 1-2 tbsp salt until the salt has dissolved. Let it cool a bit, then carefully pour the vinegar solution over the ingredients, leaving a little bit of room at the top of the jar so it does not spill out. Place lids back on, and gift as soon as the next day.  

These turned out SO cute, and you could even tie cute ribbons around the jars for an even more festive look.

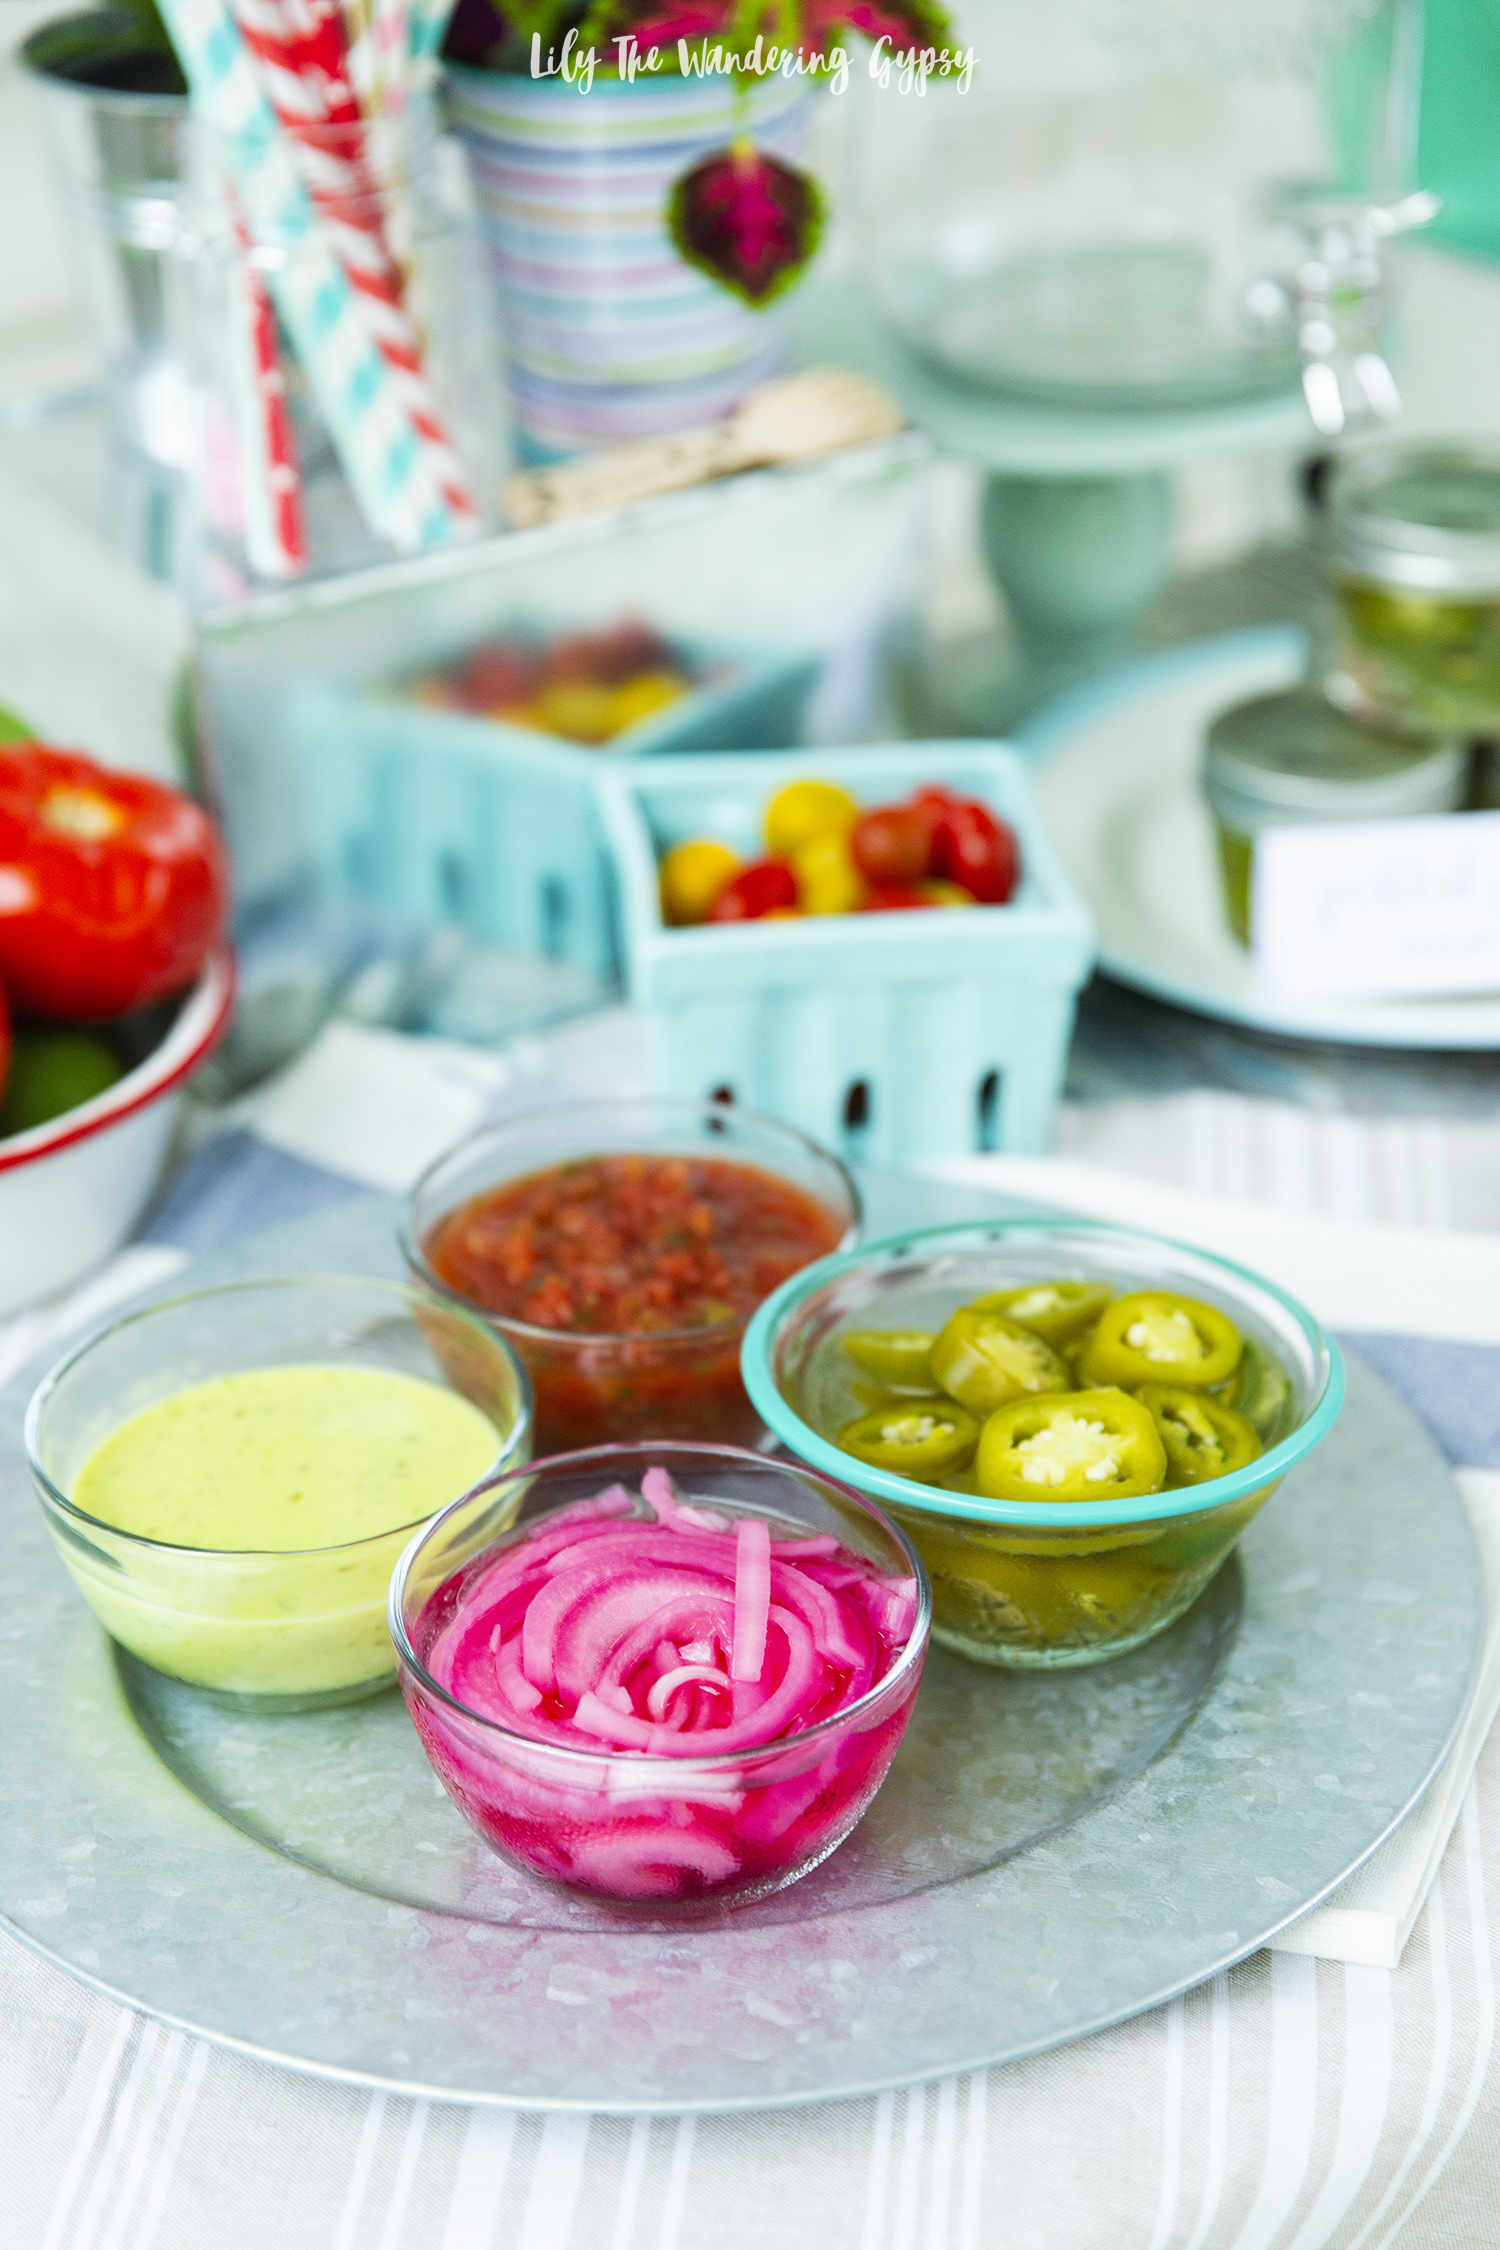
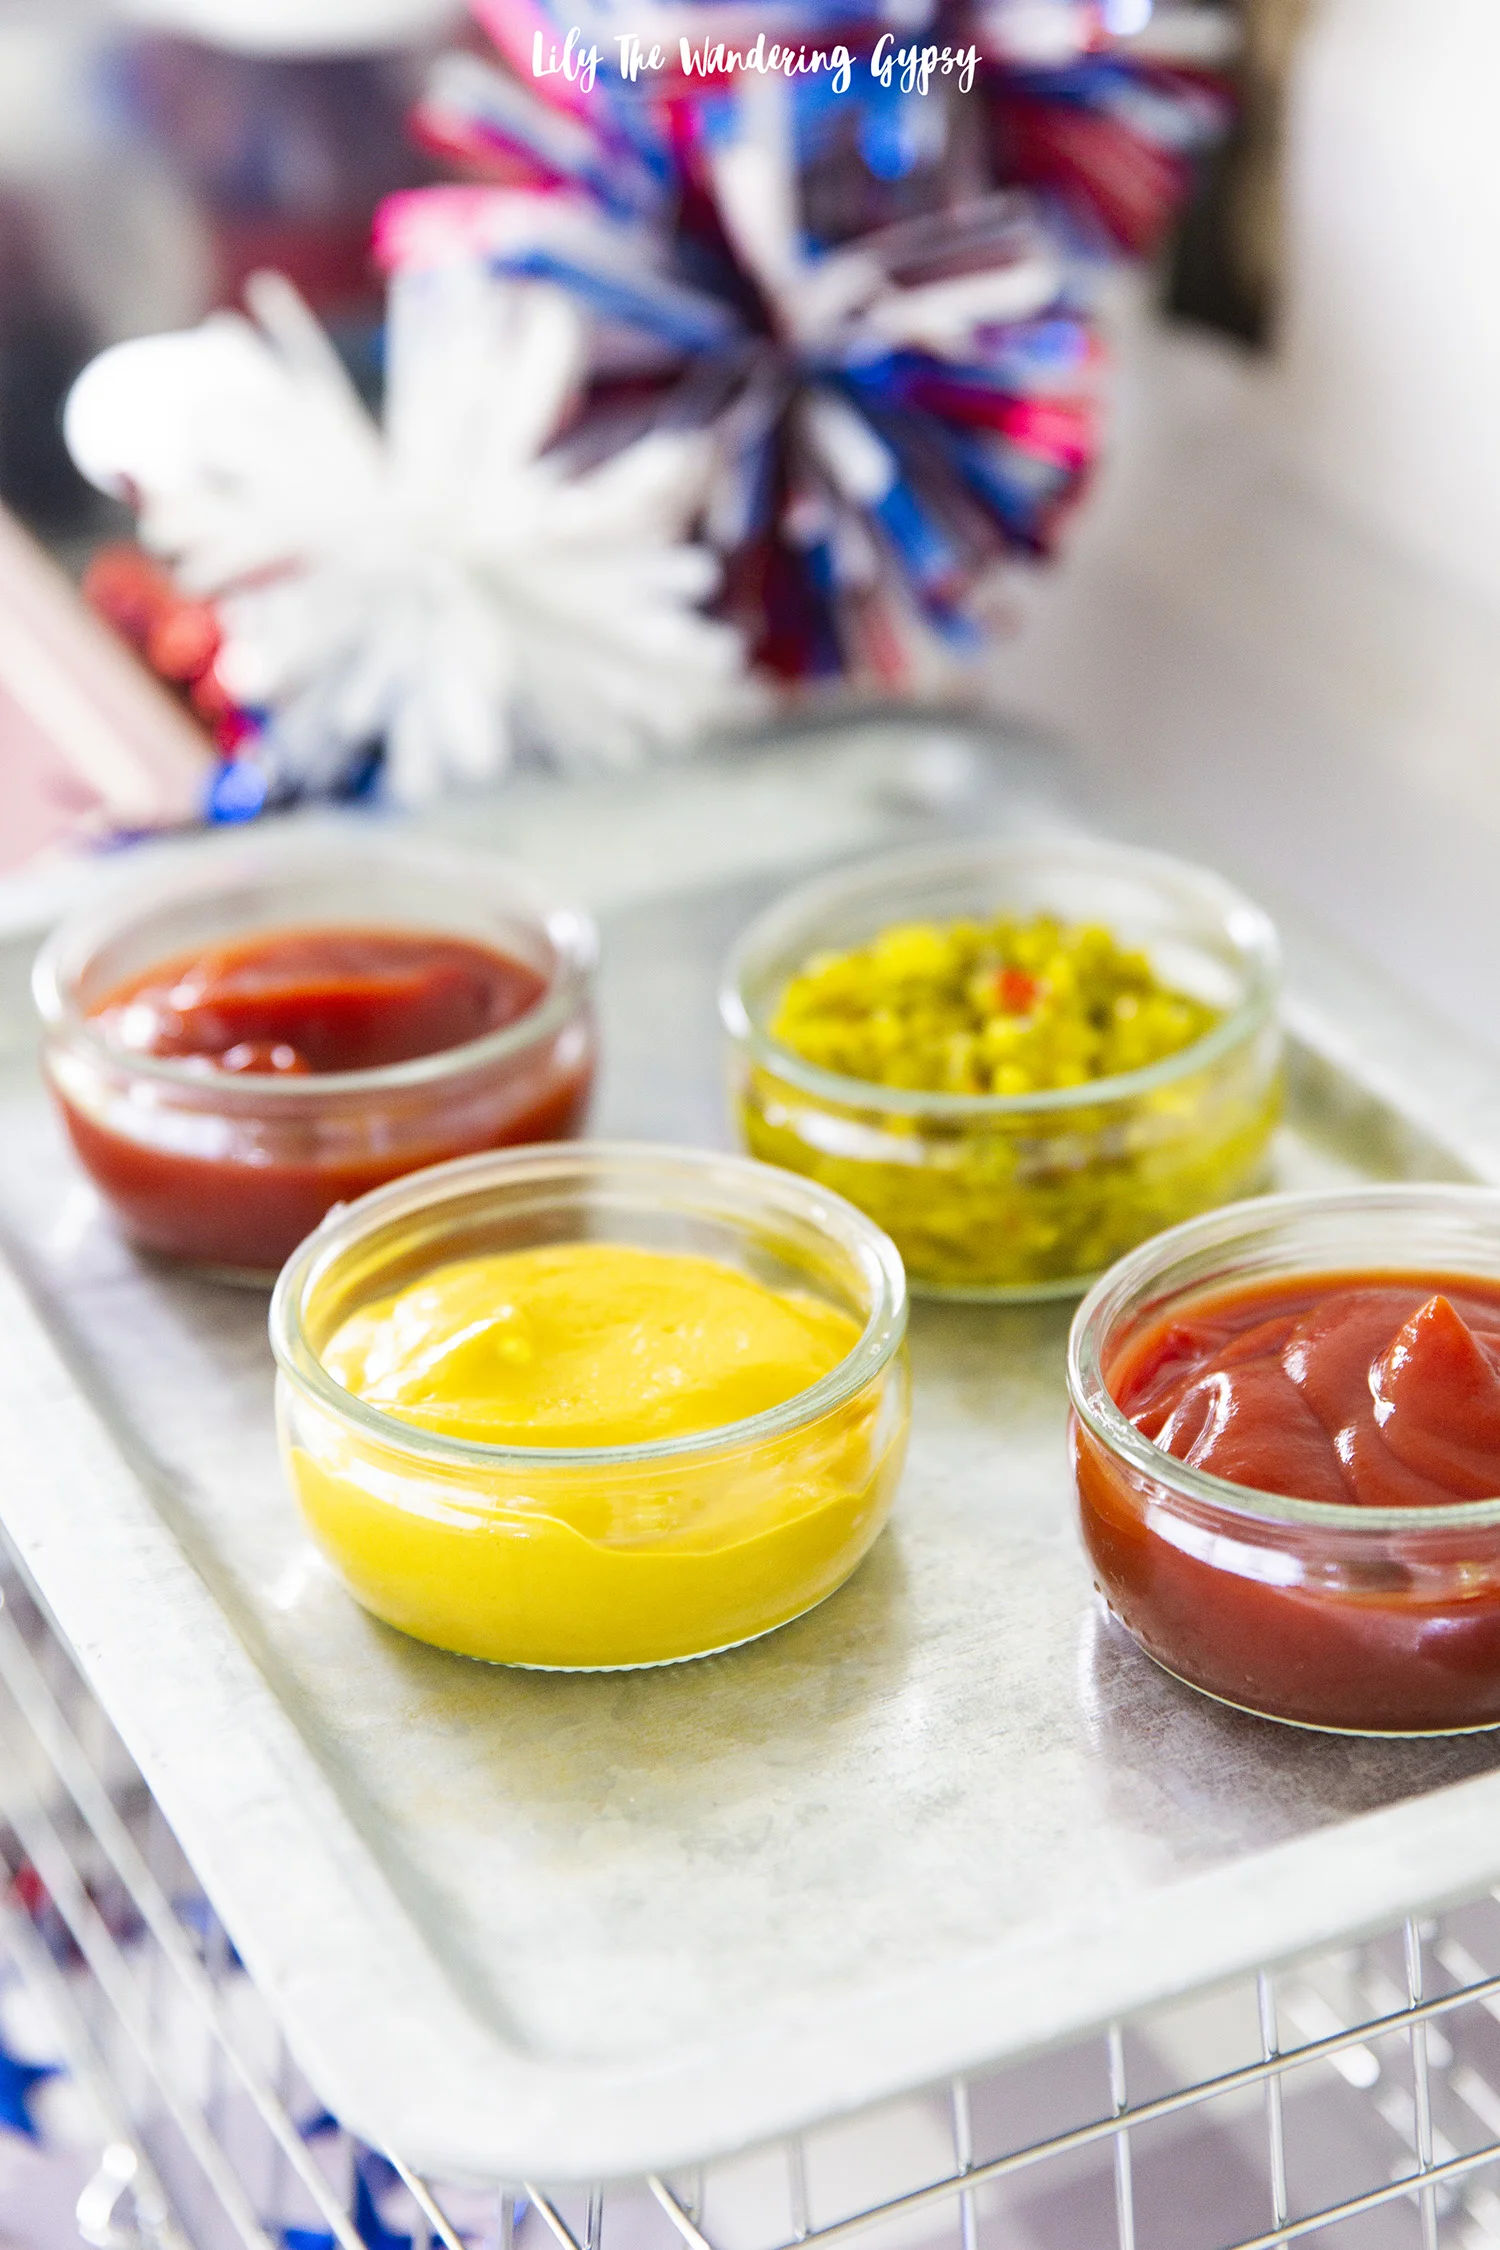
In addition to the pickled jalapeños, I offered pickled red onions (get my recipe here), plus a guacamole tomatillo sauce and a traditional red salsa too.

The lettuce even came right out of my own garden! This was my first year to try growing lettuce, and while it may be almost at the end of its season, I love treating friends to things I grew!

GRILLED STEAK TACOS

INGREDIENTS:

1/3 cup olive oil

2-3 tbsp soy sauce

2-3 tbsp or more taco seasoning

Juice from 1 lime

1 tsp salt

1-2 lbs flank steak or similar

INSTRUCTIONS:

Simply marinate each pound of steak in 1/3 cup olive oil, 2-3 tbsp soy sauce, 2-3 tbsp or more taco seasoning + the juice from 1 lime + 1 tsp salt for at least 1-2 hours or overnight. Simply grill for 3 or so minutes per side if your steak is thin like mine was. Slice and serve with fresh sides and warmed Mission Super Soft Flour Tortillas (they taste best warmed).

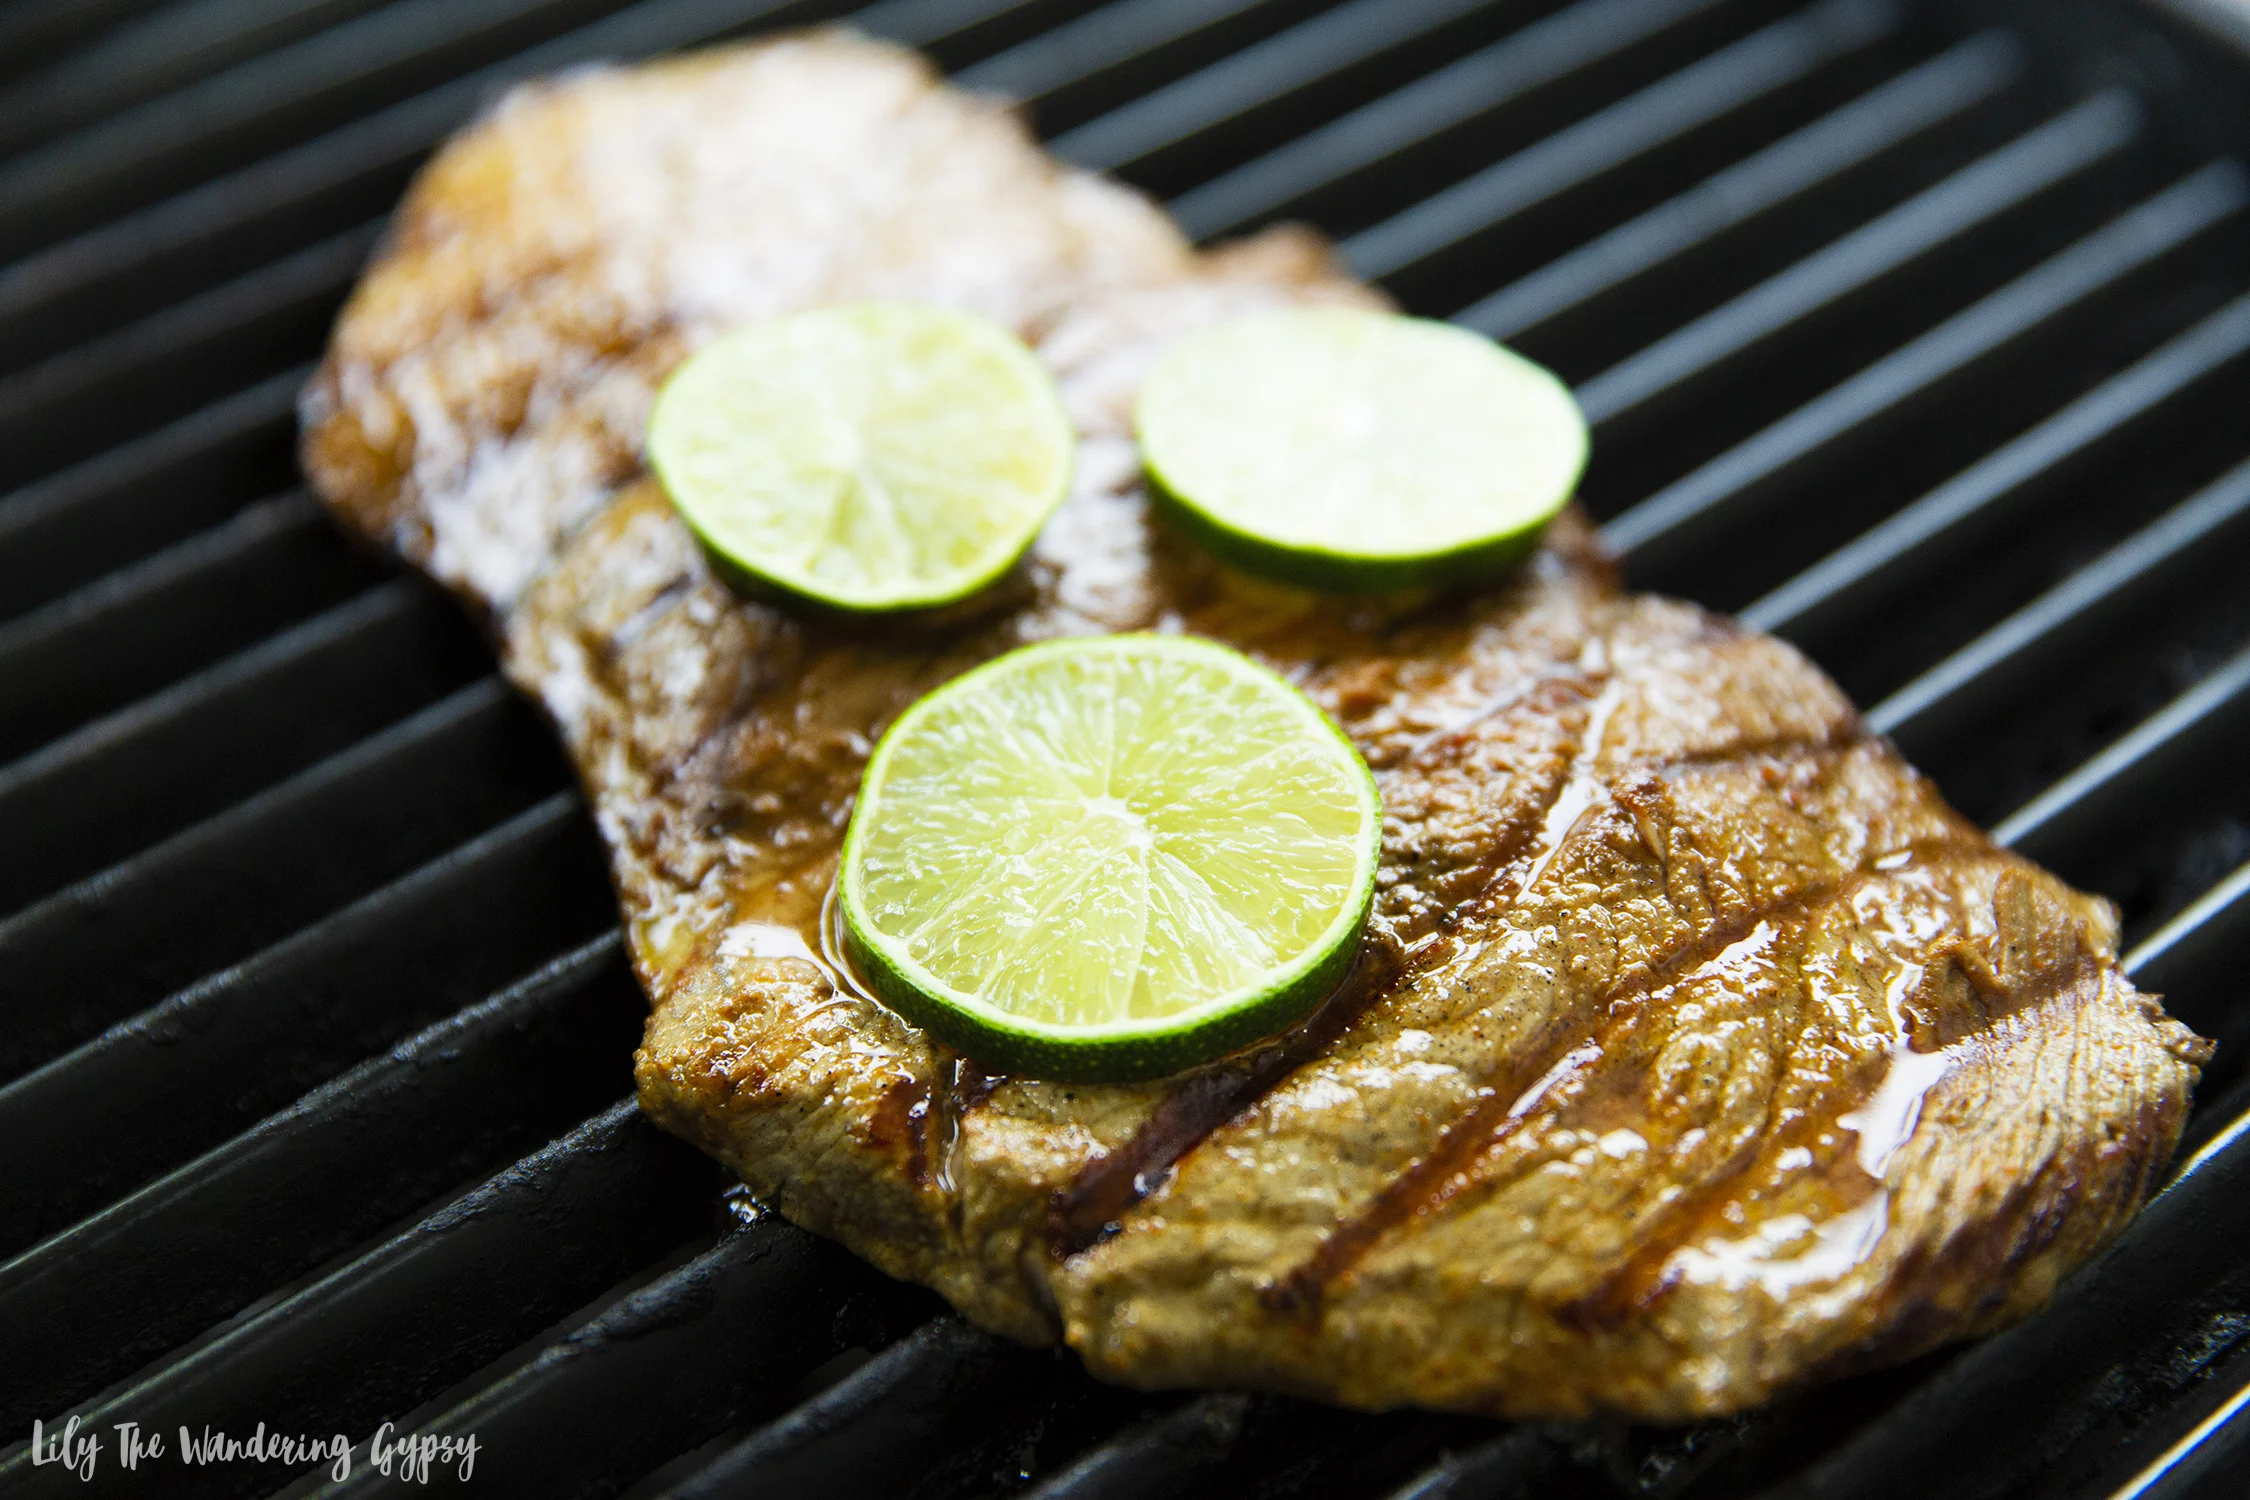
Slice up the steak and set out the toppings, the tacos are ready to eat!!!

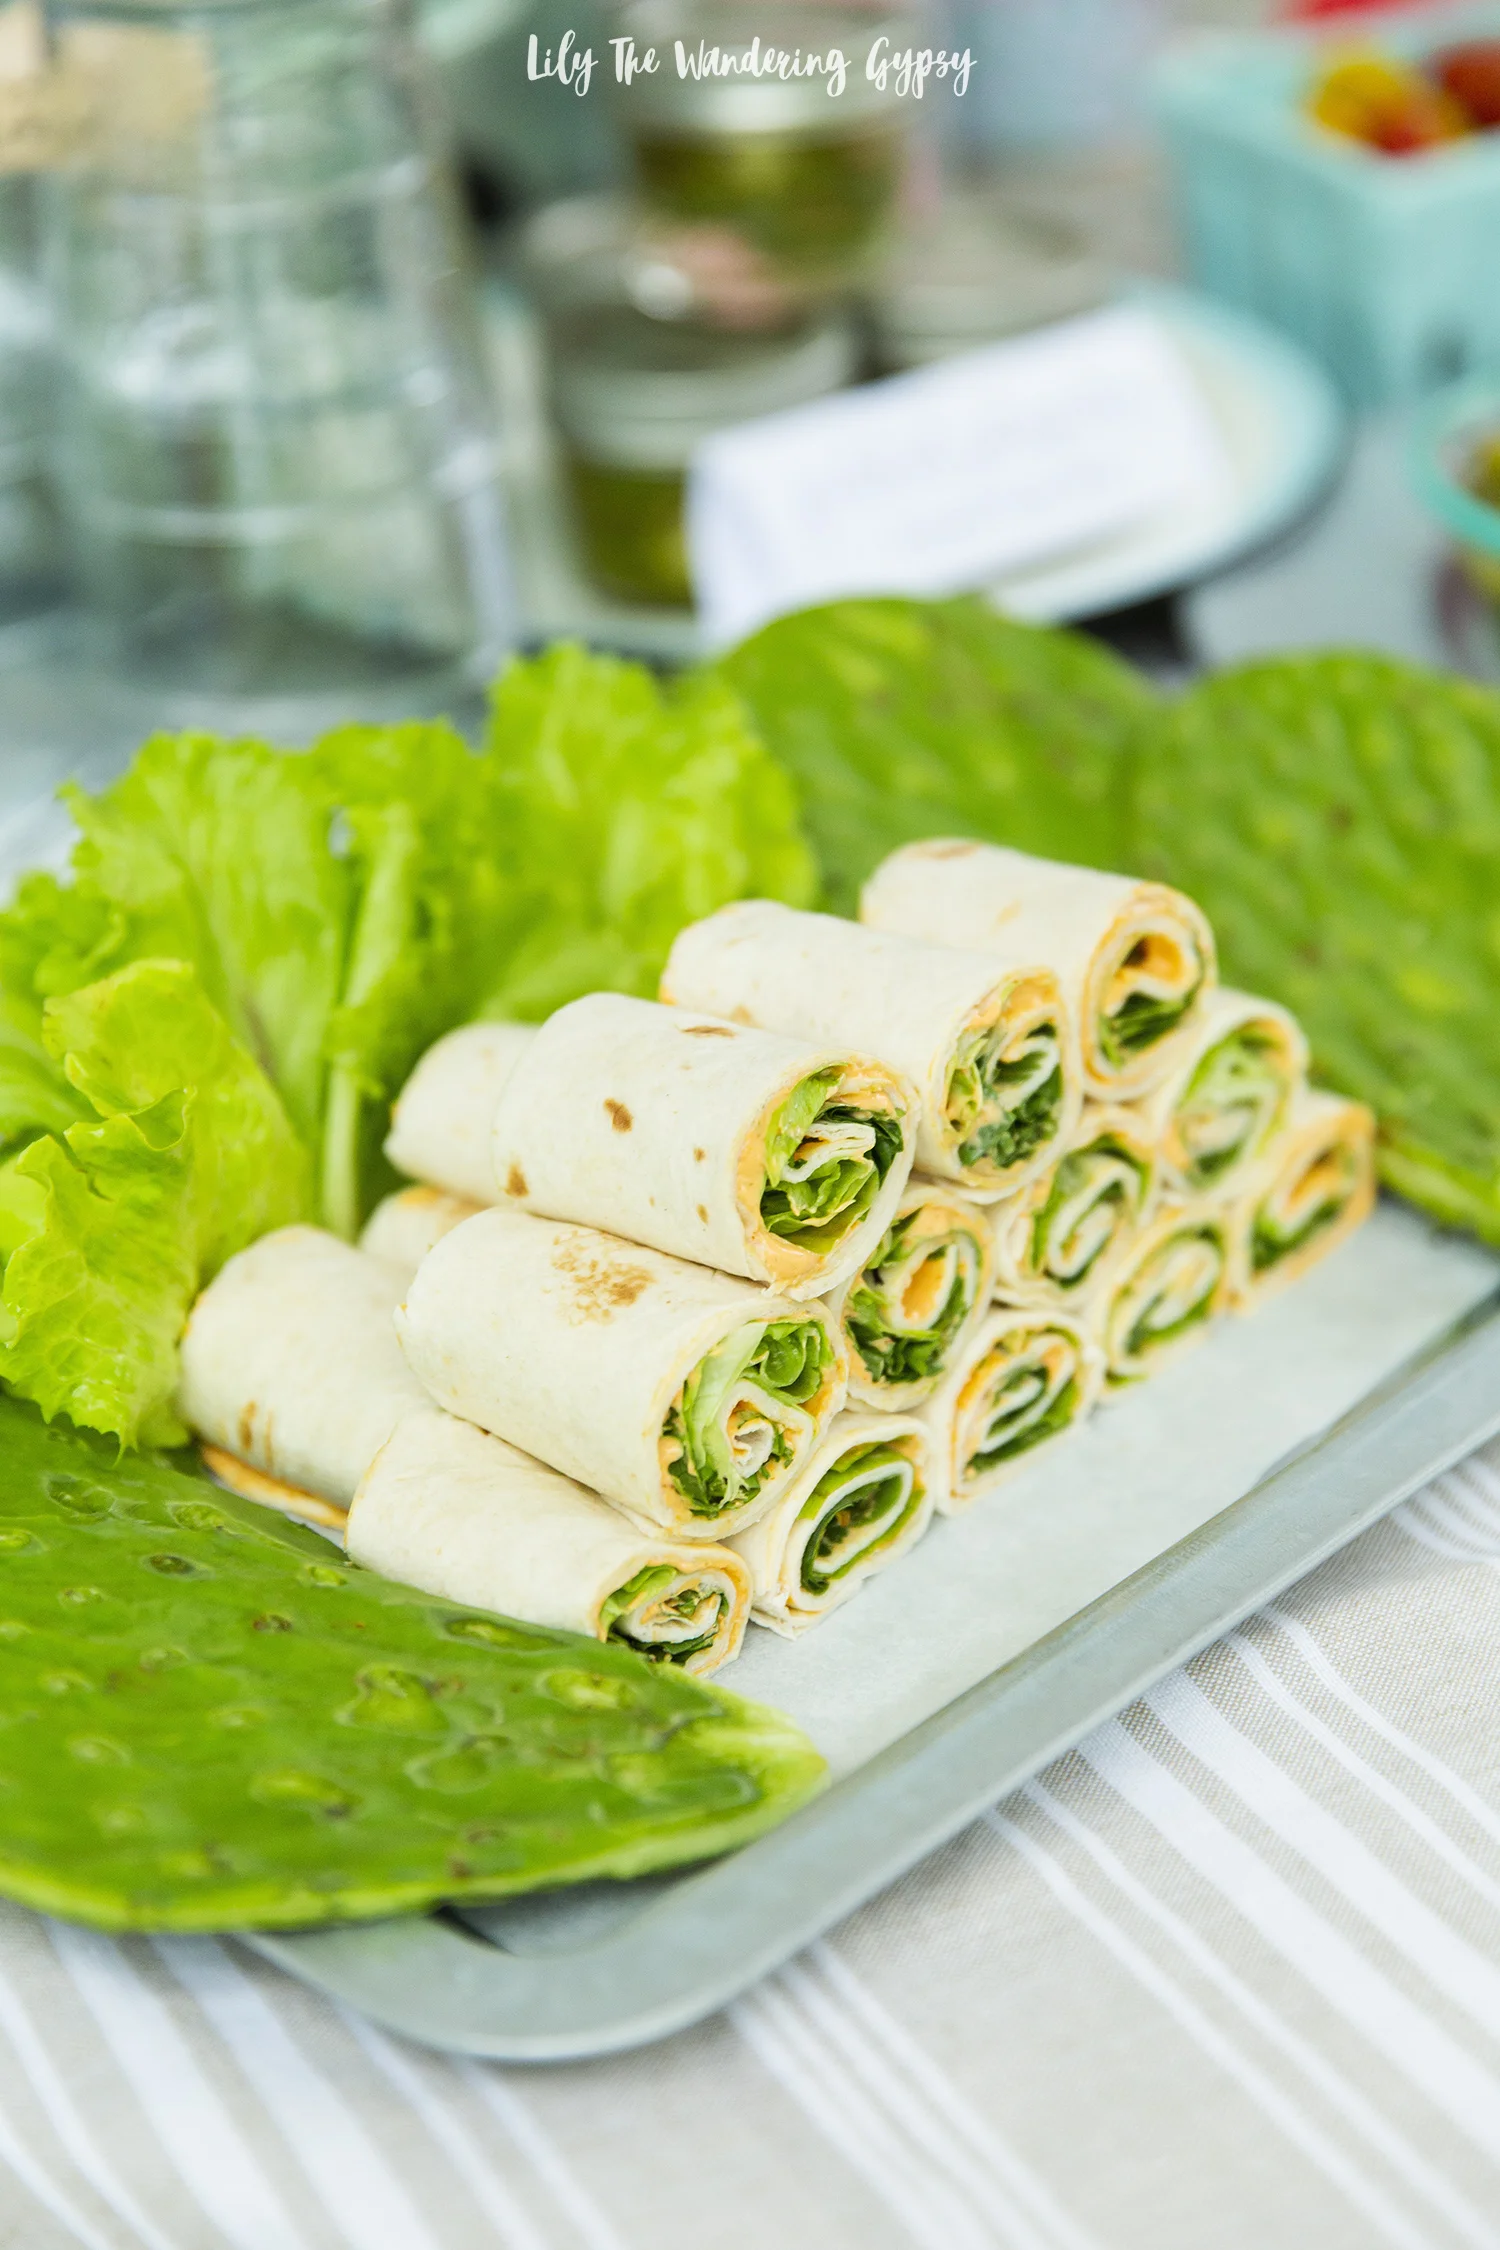
SOUTHWEST INSPIRED VEGETARIAN PINWHEELS

I searched for vegetarian pinwheel recipes and hardly found anything! These are so great tasting, and you will never miss the meat.

Ingredients:

1 package Mission® Super Soft Flour Tortillas

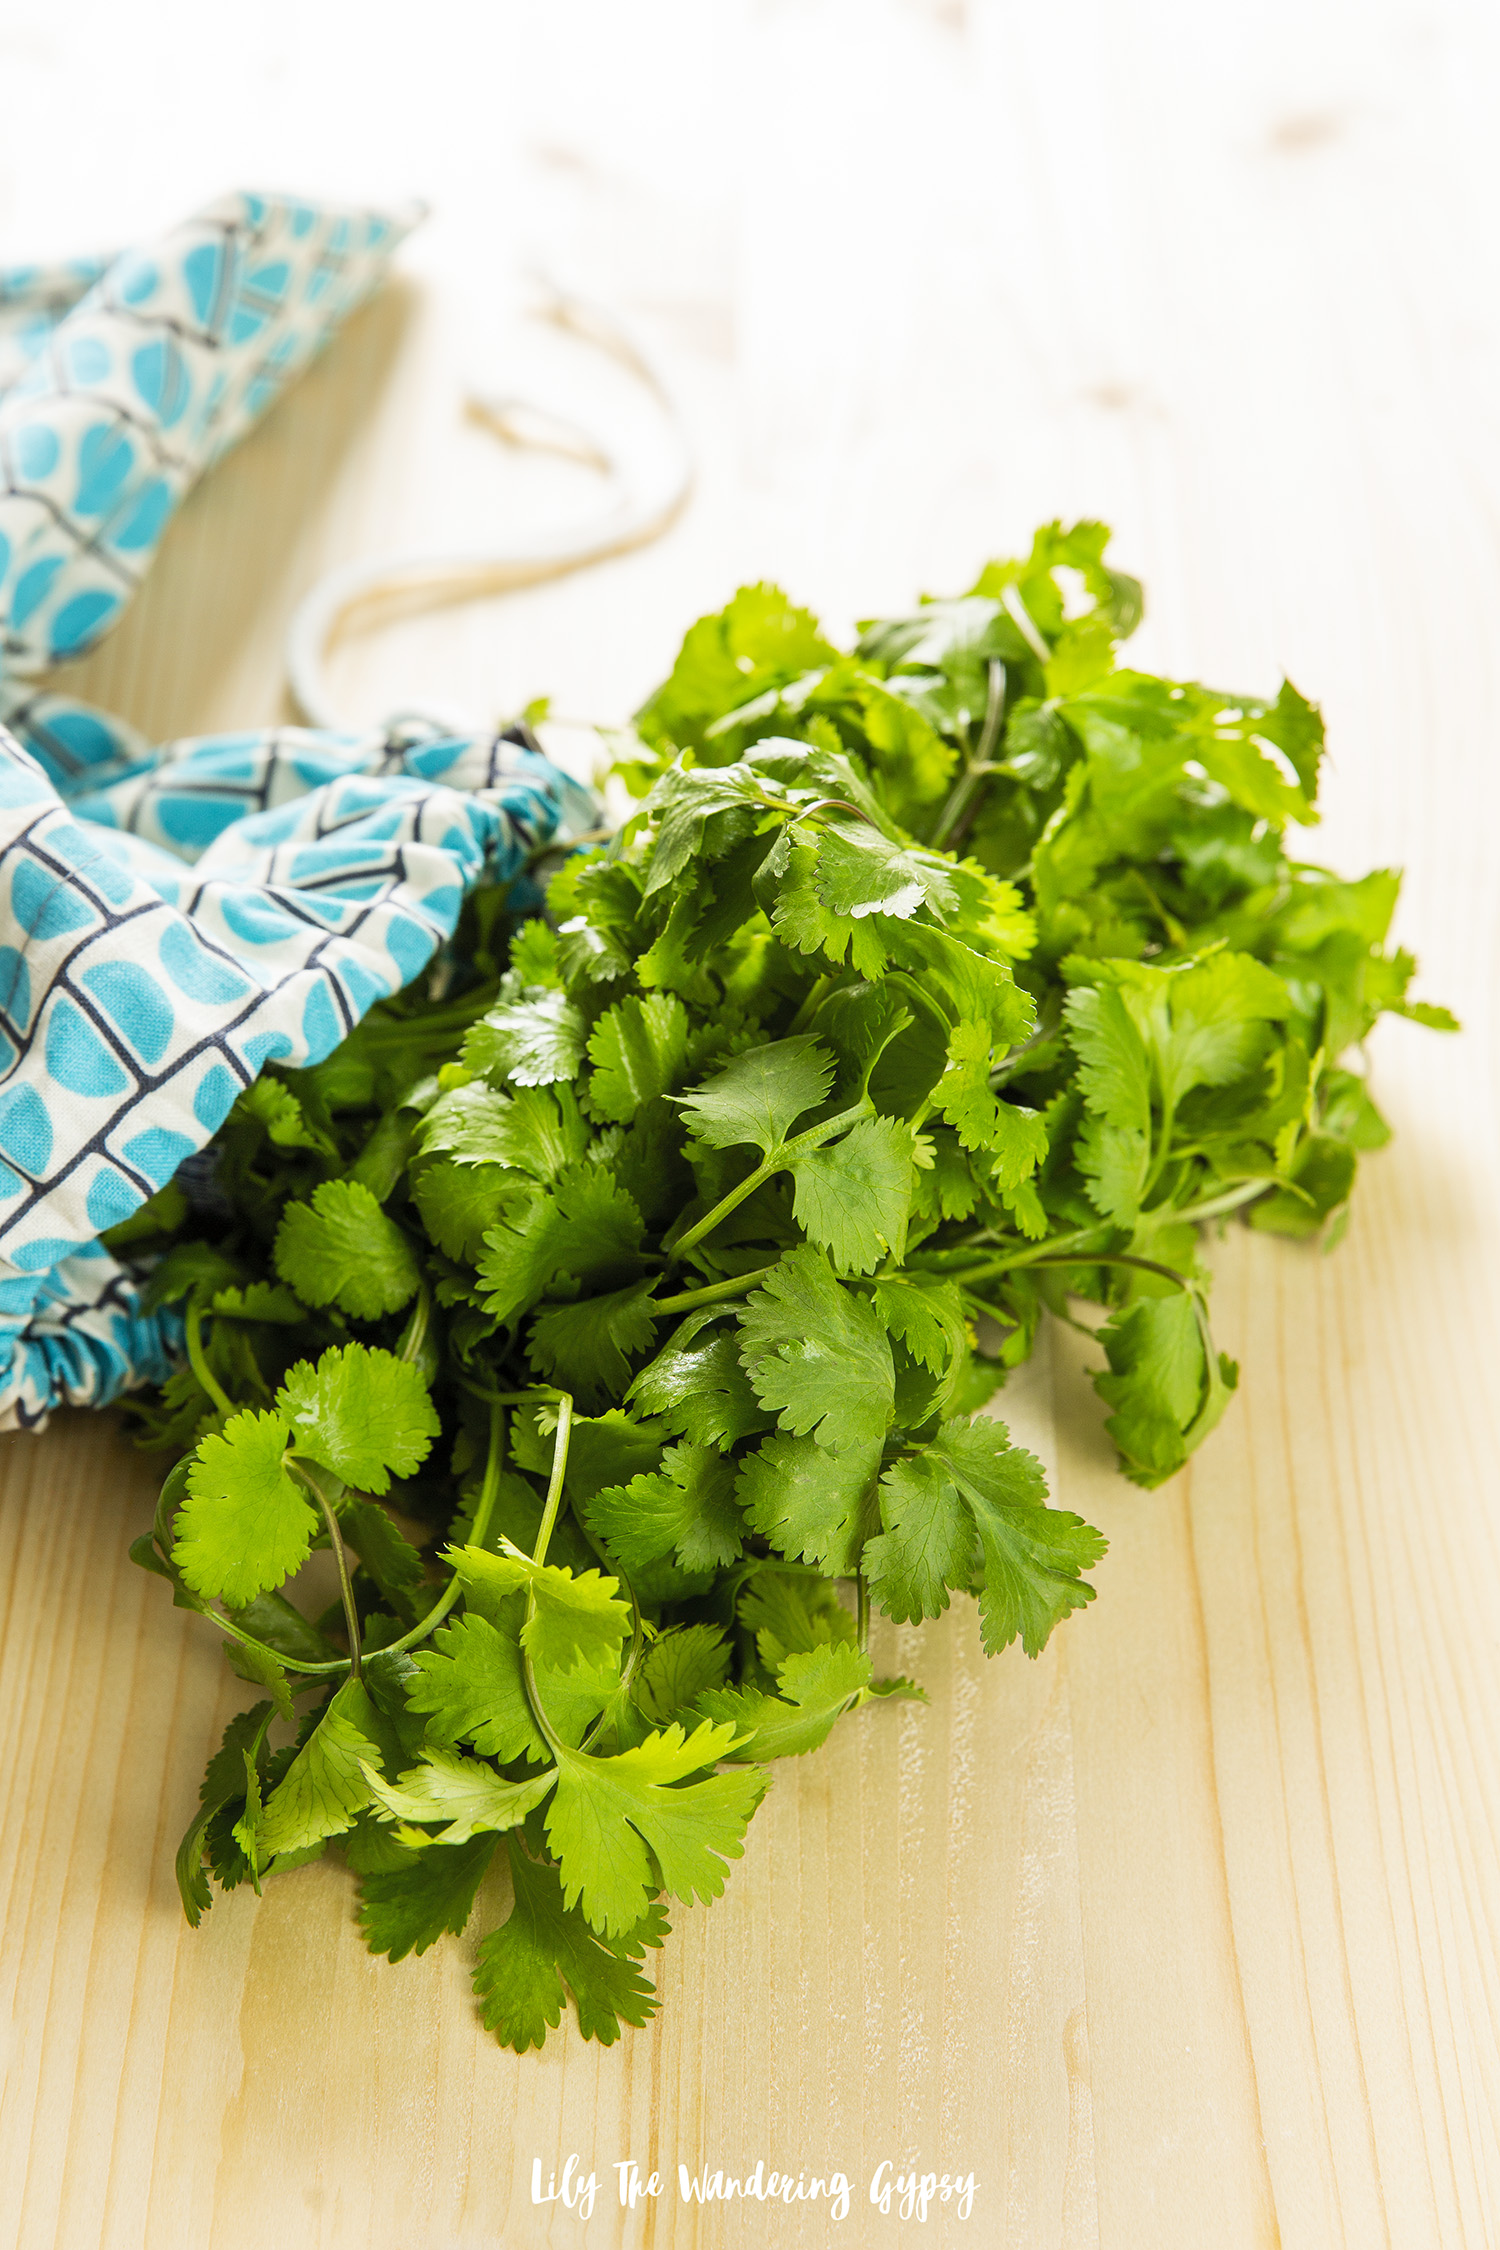
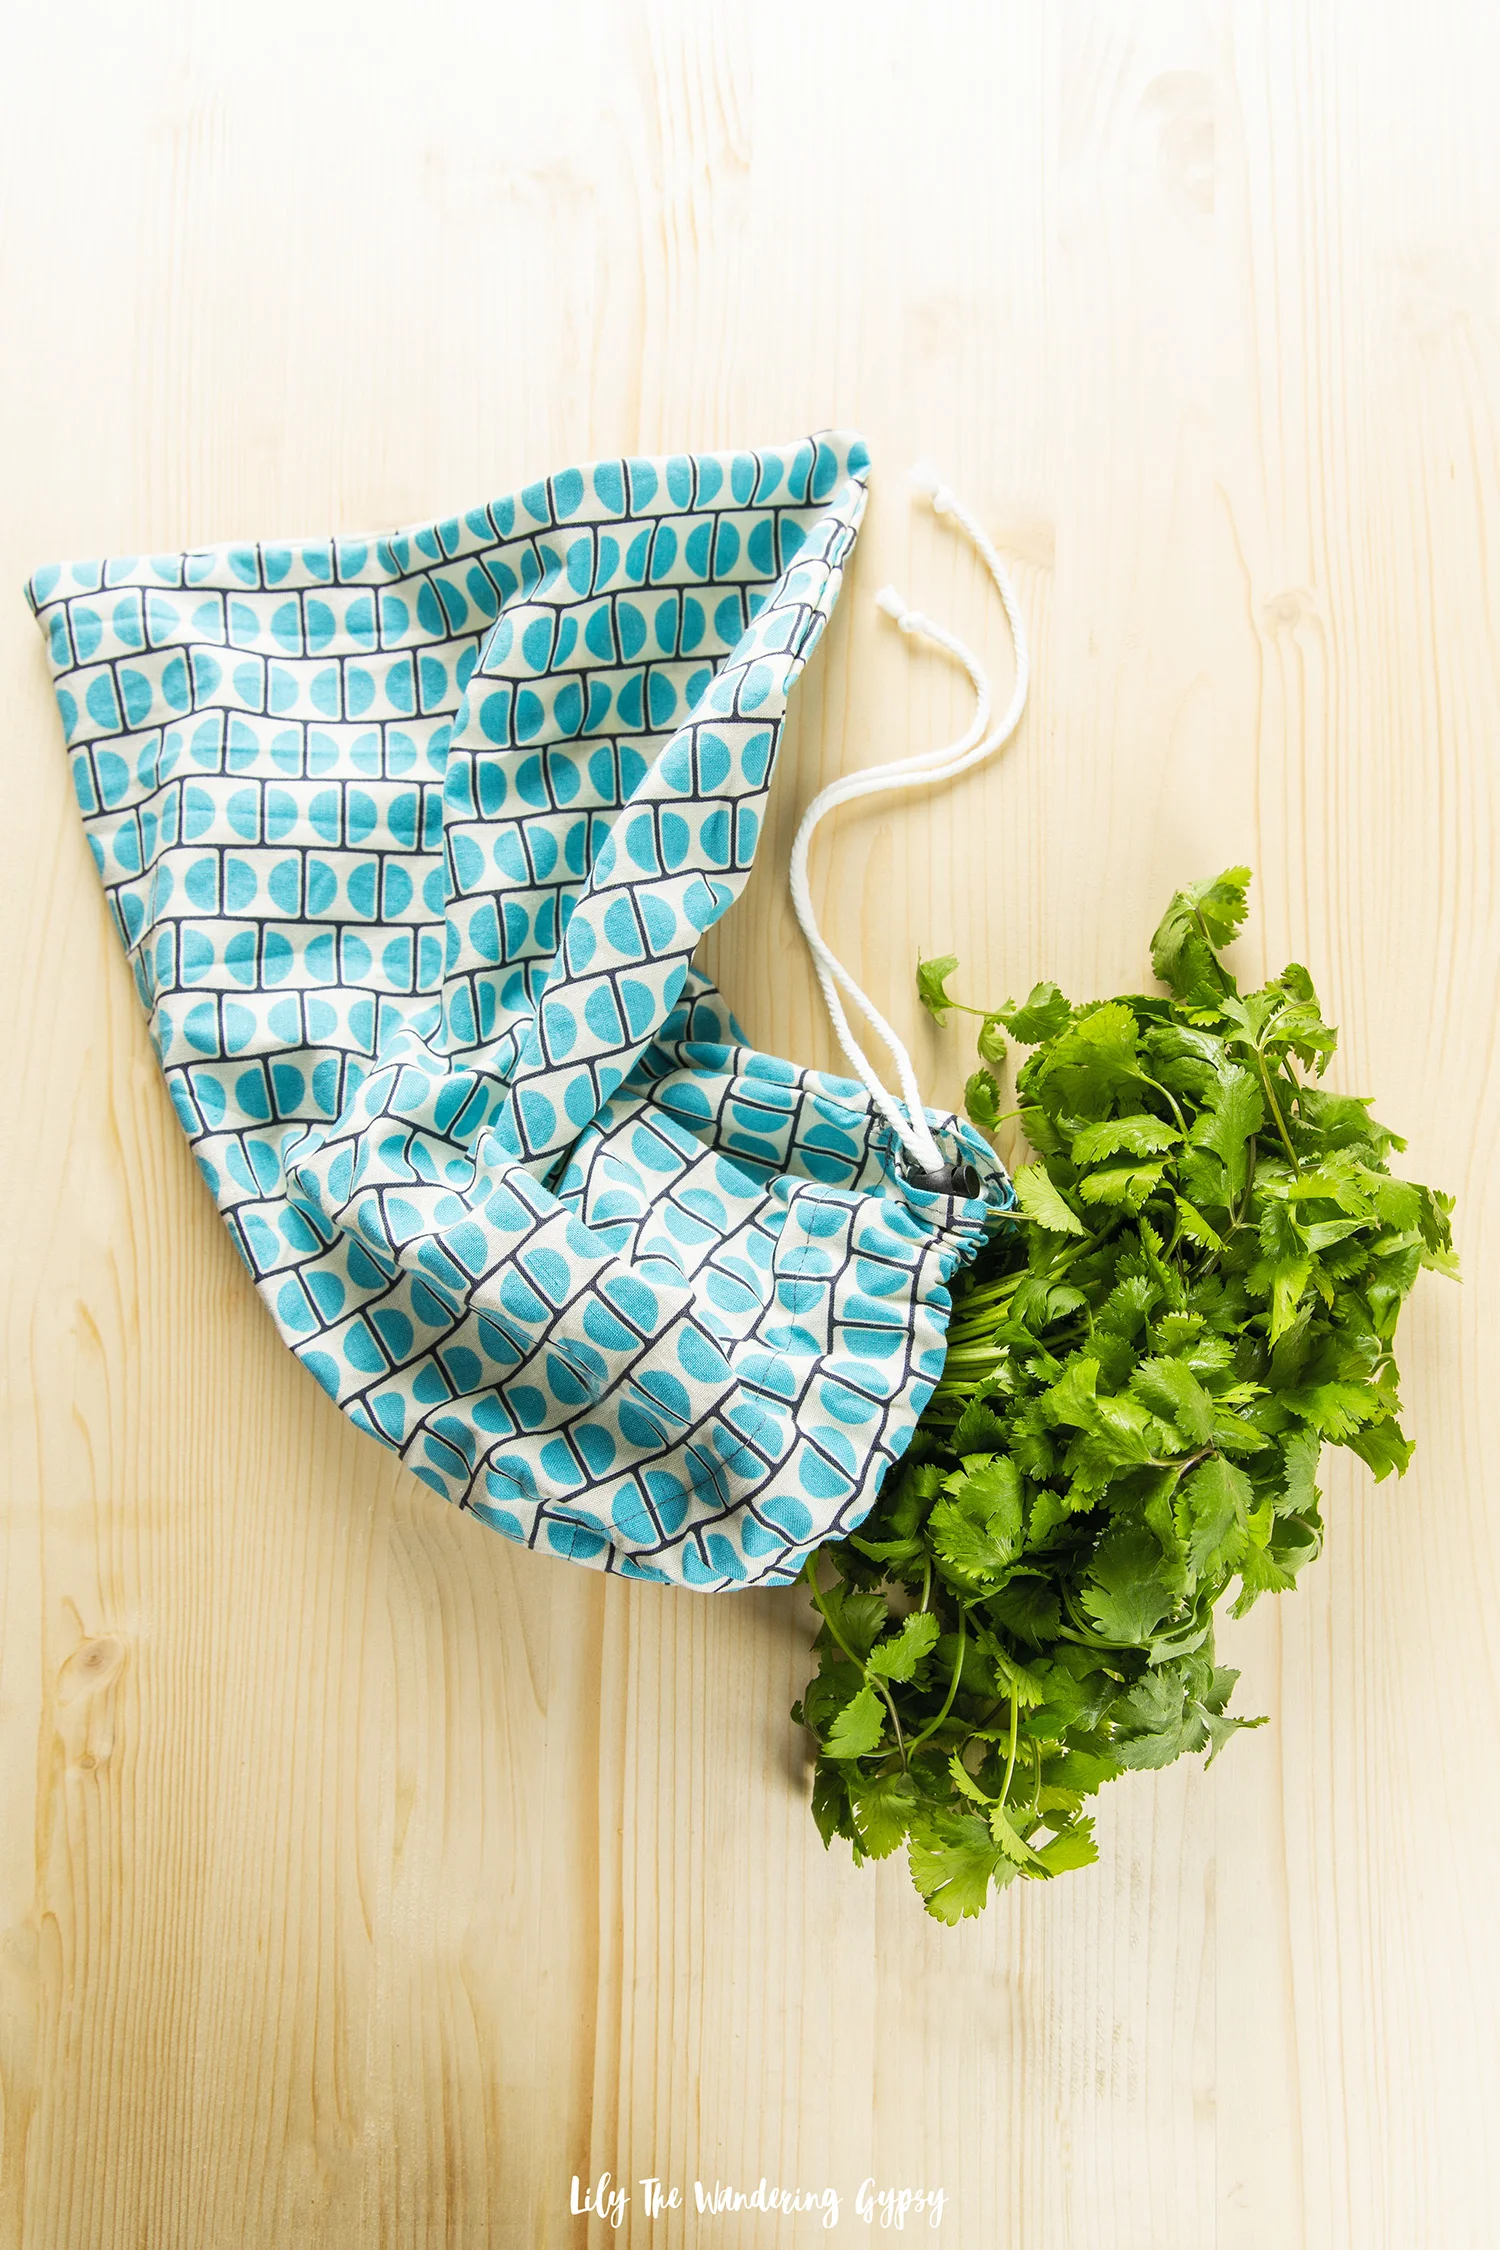
Plus 1-2 bunches of cilantro

1 head of green lettuce

To create the sauce:

1 (8 oz.) box of cream cheese, softened

½ cup (or more) taco sauce or red enchilada sauce

½ - 1 cup cream cheese

¼ - ½ tsp salt, optional

INSTRUCTIONS:

1.    Mix all sauce ingredients together, and stir until smooth. I used a hand mixer

2.    Lay one tortilla out onto your work surface, and spread 1.5 -2 tbsp sauce in an even layer on tortilla.

3.    Add a line of cilantro and a line of small pieces of lettuce towards one side of the tortilla, then roll up into an even roll.

4.    Cut in 2” sections, and display on a cute tray. I used cactus pieces from a local market.

Enjoy!


The bottom line - I would definitely recommend Mission Super Soft Flour Tortillas to anyone who loves superior taste and excellent ingredients!

Happy summer, friends!

Brunch Party - Vegan Avocado and Egg Toast Board

Brunching ain't always easy, but I found a way to make it so :) Try setting up a toast board, where everyone can choose their own toppings! It's such a fun and interactive way to have guests gather around a giant array of great food and drinks! 

If you're a fan of hard boiled eggs, then here is one way to enjoy these protein packed, brunch-worthy hard boiled eggs from Great Day Farms, available at Walmart!

To make this amazing spread, you head to the produce section and grab as many colorful fresh ingredients as you possibly can. Make sure you do stick to a budget, as fresh veggies can sometimes items can weigh a bit more than expected and then ring the bill up quite a bit. I found these amazing heirloom tomatoes for around $2.99 per pound - which made them incredibly reasonable. 

Embrace anything that is in season (via the farmer's market or local grocer), like jalapeños, basil, avocados, red onions, and other delicious vegetarian ingredients. 

This is a great idea for hosting friends who are in town for the weekend, and all have different tastes - this toast board embraces just about everyone!

Also, you could prep these ingredients for lunch at work, or even for a summer picnic. These ingredients are 100% natural, and actually offer energy and so much inspiration for the day ahead. 

By offering fresh, wholesome ingredients to those you love, you can truly help nourish them with a seriously fulfilling meal. Feel free to add sliced turkey or even lox to add a really elegant vibe to this rather upscale meal.

Back To School With Walgreens ~ Trail Mix Cookie Recipe

I was asked by Carusele to participate in the #SimplyNice campaign, sponsored by Walgreens. Although I have been compensated, all opinions are my own.

It’s suddenly that time of year again - the end of Summer and the beginning of Fall. Even though it’s the busiest time of year for some, Walgreens provides a lot of excellent snacking and baking options in their line of Nice!®

products, perfect for busy days and nights. I was actually able to use in a cookie recipe – perfect for packing in school lunches and also great for the office!

Also, please join us for a #SimplyNice Twitter party, where you can win prizes for answering questions on August 1!!!

Stocking up on snacks and ingredients is so easy and convenient during one quick stop into any Walgreens store! Keep reading to get the recipe for these irresistible Trail Mix Cookies and to learn more about the fine selection of snacks at Walgreens. They have TONS of options, to suit everyone’s taste and preference.

GIVING BACK:

Nice! is donating a portion of their sales to Me To We Foundation during the month of August on purchases made on select items. Every purchase gives school supplies to children in Kenya*. You can track your impact by entering code 658482 at: www.walgreens.com/metowe.

*Thru 8/23/18, for every specifically marked bag purchased, $.06 will be donated to the ME to WE Foundation, up to $175,000. For more info, visit www.we.org, purchases are not tax deductible, and this is not valid in Puerto Rico or the US Virgin Islands.

 TRAIL MIX COOKIES

Makes 25-30 Cookies

I am all about making life easier, and more delicious, so I wanted to share this scrumptious Trail Mix Cookie Recipe, which utilize the Hikers Trail Mix from Walgreens Nice! These make a great dessert or snack, and will be one of the most delicious lunchbox items around!

If you’re a fan of pepitas, sunflower seeds, and mixed nuts like cashews and peanuts, then you’ll LOVE these cookies. They also have a hint of cinnamon, lots of oats as well as a few other tasty ingredients. I am so excited to share this recipe with you! I hope you enjoy.

INGREDIENTS:

1 - 1 ½  C. Walgreens Nice! Hikers Trail Mix or Magic Trail Mix

½ C. softened butter

½ C. brown sugar – light and fluffy

¼ C. Honey

¼ C. Peanut Butter

1 tsp. vanilla

1 egg

¾ - 1 C. rolled oats

¾ C. whole wheat flour

½ tsp. baking powder

¼ tsp salt

½ tsp. cinnamon

INSTRUCTIONS:

1. Prep ingredients. Cream butter and sugar together until well combined (1-2 minutes). Add egg and mix until well combined.

2. Add all dry ingredients except for Walgreens Nice Hikers Trail Mix and oats and mix until fully incorporated.

3. Slowly add Hikers Trail Mix and Oats until you reach a nice, chunky dough consistency.

4. Freeze dough in mixing bowl for 5-10, then roll small 1½“ balls, and bake 6 dough balls per tray, lined with parchment paper for 10-15 minutes. Feel free to rotate baking pans half way through baking if desired.

Note – Dough balls MUST be frozen before baking for best results. I would also suggest baking no more than 6 cookies per baking sheet because they do spread out a bit. These cookies taste amazing!!!

Nice! believes in celebrating the good in every day, every food, offering a range of healthier products that nourish the body, and delicious treats that elevate the spirit!

I love this mindset because I love creating recipes that also inspire my readers and fans every day.    

These cookies are absolutely perfect for making ahead of time, then packing for lunch at school or the office! These cookies are also unique and so delicious for the office, for bake sales, for parties, and a batch of these cookies makes an amazing gift too!

I love the fact that the various trail mixes from Walgreens are all so different from one another, yet all taste so scrumptious! My other favorite mixes include the Fruit & Nut Trail Mix, which contains dried pineapple and mango, as well as dried bananas, cashews, and more. Additionally, the Magic Trail /mix, which has been a solid choice for me for the past year or so, appeals to my sweet tooth because it more of traditional mix with M&M’s, dark chocolate chips, peanut butter drops, peanuts, and raisins – YUM!

In addition to packing these cookies for an easy meal, and I’d love to suggest a few of the brand’s lunch-sized snacks, all available at Walgreens. I am already a huge fan of the Organic Cheddar Puffs, their Organic Teriyaki Beef Jerky, Fruit Medley Trail Mix, and more. A large variety of their products are organic, which I absolutely love. It’s hard to find a line of such delicious organic foods.

I am constantly so impressed with each snack I taste from Walgreens Nice. I have had several of their snacks before, but I also recently learned about these delicious individual-serving sized snack packs.

I am actually fortunate enough to be able to say that I have such great memories about my school lunches. As funny as that sounds, both my Dad and my Mom would pack me school lunches up until I was beginning high school. When there were homemade cookies in my lunch box or lunch bag, no one would ever be able to trade me for anything, LOL! I have always loved homemade cookies.

What do you pack for your children’s school lunches or for your own lunch at work? Alternately, what did your parents pack for your school lunches?

Wishing everyone a happy and prosperous Fall!

Connect with Walgreens Nice on Pinterest, Facebook, Instagram, and Twitter!

Elegant Yet Easy Dinner Ideas with New Tyson Dinner Kits

This post is sponsored by Tyson Foods, Inc. All comments and opinions are my own.

One of my very favorite things in life is having dinner with friends. It’s an amazing excuse to get together a few times a week and it also ensures that we all have at least a few good meals each week. We are all so busy that sometimes we need to treat ourselves!

If my friends are hosting, I love bringing dinner over. I often stop by the store on the way to their house and Target is right on the way, so I grab everything we need, then head to their house for a relaxing and delicious night!

Weeknight meals can be both easy and delicious with Tyson® Dinner and Entrée Kits from Target. The flavors are all so delicious. Keep reading to see how we incorporated these meal kits into a night with friends.

I found that two of the Tyson Dinner and Entrée Kits, plus a few snacks to munch on while we cook, completely filled all four of us! I always grab fresh fruits and veggies as snacks, since we really make cooking the meal a major part of our night. Tyson Dinner and Entrée Kits are made with proteins and vegetables that are prepped and portioned, then frozen at the peak of freshness

At Target, I chose the Tyson Dinner Kit - Lemon Parmesan Chicken, which I found in the freezer aisle near all the other Tyson chicken products. I also included a nice loaf of sourdough bread, and a large variety of veggies and fruits like grapes, apricots, and a few other items that were in season. Whatever we didn’t finish, we left for our friends to enjoy for lunches throughout the week.

Curious about the difference between the Dinner Kits and the Entrée Kits? The Dinner Kits include a vegetable for a complete meal, while the Entrée Kits include a protein, sauce and topping and is intended to be paired with a side dish to make a complete meal! These meals are so versatile and so delicious!

For the price of these meals, you get way more food than you would in a restaurant, which is awesome. And, compared to ordering takeout or pizza at our friend’s house, our bellies were much more full and satisfied, and we bonded over the prep and cooking experiences! We even got to eat outside, which made the night feel like we were dining in a five star restaurant.

These process of making these meals was super easy and WOW, they were delicious - seriously, the meals got rave reviews from everyone.

COMPARED TO MEAL ORDER KITS:

While they did remind me of the mail order meal kit services (since they contain all pre-portioned ingredients), I found them MUCH easier to prepare. For instance, the chicken is already seasoned and cut to size, plus, the veggies were already chopped as well. The meal kits would have shipped me a whole head of broccoli that I had to chop myself.

Overall, I was extremely happy with these Tyson Dinner Kits! They are going to be a staple in my home, as I am sure they will in yours! Check out the other Dinner and Entrée Kit varieties available in the freezer aisle at Target:

Dinner Kit - Crispy Chicken Pomodoro

Dinner Kit - Lemon Parmesan Chicken

Dinner Kit - Seasoned Steak Fillet & Mushrooms

Entrée Kit - Crispy Adobo Chicken

Entrée Kit - Roasted Ginger Chicken

Entrée Kit - Citrus Roasted Chicken

WHAT WE BROUGHT TO DINNER:

We brought everything over in a vintage picnic basket, and then added a couple of cute towels below all of the food to create a safe surface to cushion the food. Like a gift basket, I created a beautiful array of colors and fresh items that really makes for a gorgeous presentation.

1 Tyson Dinner Kit - Lemon Parmesan Chicken

½ lb. red grapes

½ lb. green grapes

1 package of Crackers (plus optional cheese for crackers)

1 package of Cookies in any flavor

2 bottles sparkling water (this could also be wine)

Lettuce for salad

Other seasonal fruits and veggies that added color and texture to the basket.

Be sure to grab this Target Cartwheel digital offer for $2 off any ONE Tyson® Dinner or Entrée Kit from 8/1/18-8/30/18.

Have you tried these new Tyson Dinner and Entrée Kits yet? They’re new, so if your local Target doesn’t have them yet, you won’t have to wait long to try them!

Have a wonderful summer!!

Pin It For Later:

FREE Summer Fun + A Cute DIY Gift Idea!

This post is sponsored by Zynga, but the content and opinions expressed here are my own.

Looking for fun and entertaining ways to enjoy the summer? Well I have teamed up with Zynga Words With Friends 2 to help share some fun and easy ways to have fun for FREE. Hey, we can all use a break, right?!

With this fun gift idea + a brand-new version of the Words With Friends app will help entertain everyone this summer. Help create more winning experiences this year, enjoy the thrill of the game.

Learn more about Words with Friends 2 here.

Download the game here (Apple store) or here (Google Play). Brush up on rules here!

You may be familiar with their first WWF game, but this one is a bit more updated and runs SUPER fast on my phone.

I love how you actually stretch your brain capacity and also learn new words. It’s fun for the whole entire family, and even fun with groups of friends too. I feel smarter during and after playing Words With Friends – I always pull out new words in conversations later that day! The game helps me connect with friends (new and old)!

I have met all sorts of new friends through the WWF app! There are always tons of players ready to start or complete a game with us, every time we login. We play ALL the time, and since we are always on the go, it’s something familiar in each place too.

With all of the Double Letter (DL), Triple Letter (TL), Double Word (DW), and Triple Word (TW) spots on the board, you can really gain a lot of points in just a turn or two.

Some of our highest scoring words are: CLOTS, TAXED, and HANDLED!!

DIY SUMMER GIFT IDEA

I know that rock painting has been around for decades, but I thought that a fun way to commemorate our friendship and share the beauty of the river would be to paint our friends’ names on rocks, then spell out their names in a gift. I had so much fun, and the best part of this crafty activity, is that you may already have everything you need – deeming this a FREE project!

MATERIALS:

Smooth River Rocks

Acrylic Craft Paint in White, Coral, Mint, and Raspberry

2-3 Small Craft Paintbrushes

Paper To Cover Work Surface

INSTRUCTIONS:

1.) Head to your local river to collect rocks, find them at a craft or hardware store, or find them anywhere else you like!

2.) Wipe off excess dirt from rocks with damp washcloth.

3.) Paint thick, white letters onto each rock. I used two coats of white paint for each letter. Below, you will see some rocks with two coats of white paint and some rocks in-process with only one coat of white paint.

4.) Paint colorful designs on top of white paint, on each rock.

5.) Give rocks as gift and let recipient spell out their names or secret message once they receive your gift! That’s it, and this project was so fun and easy. What a thoughtful gift.

THE FINISHED PRODUCT:

Luckily, The Words With Friends app is free as well, and while I was painting the rocks, my boyfriend Bobby entertained himself with the Words With Friends app on my new phone.

A SENSE OF CONNECTION:

With the weather being so warm and beautiful right now, it was a lot of fun to gather rocks for this project, then gift such a special and thoughtful memento to my friends. I feel like we are even more connected, just like how we will be able to play WWF from afar and know that we are still connecting and interacting.

Do you play Words With Friends yet? If so, what are some of your best words? Do you play with old friends or new ones?

Have a wonderful rest of the summer! Tag me on Instagram with @happysolez if you make this project, and tag the brand, @wordswithfriends on Instagram and as @wordswfriends on Facebook to show them how you spend time playing!!

Dr Pepper Pick Your Pepper Summer ~ Indoor Picnic Ideas

While summer is all about enjoying the outdoors, here in southern Illinois / most of the Midwest, the heat and humidity sometimes keep us indoors. I am not incredibly sensitive to the heat, but if you’re having guests over, not everyone is going to enjoy it or even be able to tolerate temps in the 90s, so you could always consider hosting an indoor picnic!

The theme/inspiration for this picnic was a bountiful French picnic that features ice cold Dr Pepper Pick Your Pepper theme bottles (a personal fave), and lots of delicious snacks. Nothing super heavy as far as food, just smaller bites that you and your guests can feast on throughout the evening.

Keep reading to learn more about how you can win fun and festive prizes for Summer.

Each 20 oz. Dr Pepper bottle features over 40 artistic and inspiring labels that contain a Snapchat code on them. To unlock this fun filter, simply open Snapchat, take a photo of the Snapchat logo / code on the side of the bottle, then a little notification will appear, giving you access to the filter. Below, two of my favorite Snapchat filters were outdoors themed.

YOU CAN WIN!

Callout that the fun, unique Pick Your Pepper packaging and how it’s fun, individualized, and designed by millennials, for millennials. Available in stores starting 6/15/18.

Call out the prize reward and drive to  http://bit.ly/2pts8Qo

When you buy Dr Pepper 6/15-8/15 this summer, you can upload your reciept at http://bit.ly/2pts8Qo  to get the prize featured in my blog here and/or other prizes like:

Spend $5 get 5 bottles = Dr Pepper Retro Specs

Spend $10 get 10 bottles = Dr Pepper Copper Lined Mug

Spend $20 get 20 bottles = Dr Pepper Bluetooth Speakers

Spend $30 get 30 bottles = Dr Pepper Pool Float

CHECK OUT THE RETRO SPECS, BELOW…

Scan the Snapchat code on any Dr Pepper Pick Your Pepper to reveal a unique filter you can use! I then save the image and share it wherever you want! Below, two of my favorites!

My boyfriend Bobby and I love being outdoors, so these filters are super cute. He adores fishing, so the Snapchat filter, shown above that says, “Keepin’ It Reel” is perfect for him!

While this particular picnic I hosted for this post was indoors, I loved bringing traditional outdoor picnic elements into the evening with galvanized metal trays to hold food, easy to eat bites of a huge assortment of foods, and even cozy floor pillows, rugs and lightweight picnic blankets. I still love incorporating rustic elements into my events no matter where I host!

There are so many benefits to hosting this picnic indoors - Think of it, no bugs, no heat, and all the food and drinks one can possibly snack on throughout the evening without having to leave the elevated comforts of home. It’s such a fun way to enjoy time with friends or have a date night!

TO SET A COZY SCENE:

I love the idea of reminiscing about days past, where we would put pillows and blankets onto the floor and have a sleepover. Now that I’m older, we don’t really do that anymore, so it’s fun and nostalgic to reminisce and more or less make a soft place on the floor to settle in for the evening! It could be super fun to set this up in the living room, where everything is centrally located. Or, even on a porch!

I also added upscale touches like French-inspired textiles in stripes and plaids of white and blue. I packed some of the 20 oz. bottles of Dr Pepper into a metal “picnic basket”, which was a great way to carry the bottles plus lots of other necessities.

FOR THE FOOD:

I am always drawn to bountiful plates of fruits and other bite sized foods, so this was the perfect opportunity to try my hand at not one but three snack trays!

For one platter, I used a large, round galvanized tray with handles to hold everything. I then placed a white charger plate in there, plus a marble cutting board to hold the meats and cheeses (this was the least messy way to display them), then placed items like croissants, red and green grapes, strawberries, and more.

For another tray, I placed mini chocolate chips, blueberries, and blackberries. For the last tray, I placed a bit of herbed goat cheese dip, sliced baguettes, and crackers to dip into the goat cheese.

I was so happy with how upscale everything looked!

TO SERVE YOUR GUESTS:

I used lightweight linens, gold plates, and gold plastic utensils (that almost looked real!!), which added a bit of shimmer and glitz to the picnic. The gold and white looked really lovely.

It would definitely be fun to host a similar picnic outdoors if you live somewhere the weather is nice all the time! I love this particular color scheme, and I know those party platters would really look great at so many of your summer events.

Connect with Dr Pepper across social media!

Facebook / Twitter / Pinterest /Instagram

PIN IT FOR LATER...

Camping With Dogs – Tips and Tricks with #WalgreensPetshoppe

I was asked by Carusele to participate in the #WalgreensPetshoppe campaign, sponsored by Walgreens. Although I have been compensated, all opinions are my own.

I was asked by Carusele to participate in the #WalgreensPethoppe campaign, sponsored by Walgreens. All content and opinions are my own.

We recently had the opportunity to take the dogs on a fun camping trip in Montana. There were almost more dogs than people, but that’s how the majority of our gatherings wind up anyway! Here are a few tips to help you through your next camping experience with dogs. We stocked up on TONS and TONS of amazing Petshoppe items from Walgreens before heading out, and since we had a pack of dogs, they all behaved very well because of the Petshoppe treats from Walgreens. What a fun addition to an already amazing weekend.

We have been taking our pups hiking and camping for over ten years now, and we always learn something new each time. It’s such a fun learning experience, and moreover, camping trips are the absolute best way to help our pets get lots of fresh air, exercise, and even social time with other dogs. The campground becomes such a fun experience for everyone. We could hardly imagine a camping trip without our dogs around. Below, our pupper friends Craig and De De came for a visit as well!!! Porter LOVES playing with these two brothers.

TOP CAMPING TIPS FOR PET OWNERS:

1. If there is no water spigot in the campground, or fresh water available, please make sure to pack 2-3 extra gallons of water for your pets per day. They drink a ton of water every time we are camping, especially if it’s super hot out, or if we are in an arid place like the mountains or desert.

2. Bring food and water dishes. Each dog needs their own food dish, and they generally all share their water bowl.

3. We love using our electronic collars to keep our dogs close by. While most camp grounds are going to require dogs on leashes, these e-collars add a bit of extra protection to make sure your dogs are listening to you and behaving around the campground.

4. Stock up on treats because the dogs will need a bit of extra incentive to listen J They also burn so many extra calories while camping, hiking, and swimming, that we always treat them to a few extra treats while camping.

5. Bring soft, supportive, and warm bedding for night time. We bring an air pad for the dogs to use in the tent at night, and we also either cover them with our coats, or bring extra blankets for them. Cabbie loves cuddling in, and Porter loves the chilly air and would never want to be under the covers.

6. Watch your dog(s) around the fire pit. Sometimes dogs will try to play around the fire, or play with extra fire wood, just keep an eye on them!

7. Make sure to keep an eye on your dog(s) at ALL times! They could wander off and disturb wildlife or eat something they find in the woods that could upset their tummies.

Some of our favorite treats from Walgreen’s Petshoppe collections include the Chicken Bites with Pumpkin and Cranberry, Sweet Potatoes with Cranberries, and Chicken Bites with Pumpkin and Cranberry – all of which contain NO corn, wheat, or soy! The dogs all shared very well – we definitely had more than enough to go around.

WALGREENS PETSHOPPE IN-STORE PROMOTIONS

2 for $10 mix and match Petshoppe toys and bones every day

Week of 8/5/18 – BOGO 50% off on Petshoppe Pet Treats

Week of 8/19/18 – Petshoppe Pet Treats and Petshoppe 50 count puppy pads on sale for $7.99!

Porter was extremely interested in every flavor variety, and the Chicken Strips were definitely a crowd favorite :)

Porter had a blast – she stayed up all night looking around the tent, listening for animals and noises that peaked her interest.

Select varieties of Petshoppe treats are Made in the USA – Look for the label on the front of the packaging! They take the utmost care in delivering high quality pet treat, which have no corn, wheat, or soy – perfect for almost every dog!

Their toys have held up super well! Above, the Plush Turtle which comes in two colors. Below, the two Boston Terriers were playing with this Squeaker Pig ALL morning together, it was adorable!

Above, you will see a few more varieties of their treats. We are definitely stocked up for a while. Walgreens Petshoppe offers quality products for your best friends!!

Connect With Walgreens On Social:

Facebook / Pinterest / Instagram / Twitter

Use hashtag #WalgreensPetshoppe to show us how you and your pets enjoy these products too.

IF YOU LOVED THIS POST, PIN IT FOR LATER...

Antipasta Flatbread / Breadsticks with Nudo Olive Oil

Did you know that you can actually adopt an olive tree? I am so honored to share such an intriguing company with you, especially because my grandfather raised me to love Italian food and Italian culture! Today, I am excited to share this very easy yet very delicious recipe with you for this Antipasta flatbread. It only took a few minutes to create and a few minutes to bake, and I wound up with a quick meal that tastes better than something from a restaurant! 

Adopt an olive tree from a traditional Italian grove, and receive some fo the best Italian Cold Pressed Olive Oil, straight from your own little piece of Italy!

Nudo is a collaboration of provincial Italian groves which use traditional, sustainable practices. They produce some of the best olive oil in Italy: premium, authentic, and on a small scale. Our adoption program supports these groves and farmers by connecting them with food lovers around the world, and by providing this economic security it helps protect the land from the increasing intensive farming practices.

The base flavor for this recipe is definitely the high quality Nudo olive oil. The flavor was mild but wow so smooth and delicious.

ANTIPASTA FLATBREAD / BREADSTICKS RECIPE:

Ingredients:

2 Tbsp Nudo Olive Oil

1 Package of Garlic Naan Flatbread

1/2-1 lb. Antipasta from salad bar at grocery store or elsewhere (I chose artichoke hearts, an assortment of different olives, and pepperoni)

1/4-1/2 C. Shredded Parmesan Cheese

Salt, Italian Seasoning

Instructions:

1. Brush Naan flatbread with a generous amount of Nudo Olive Oil.

2. Slice olives into thin slices, and cut artichoke hearts into small pieces. Also chop or prep any other toppings. Arrange toppings onto flatbread.

3. Sprinkle with salt, parmesan cheese, and optional Italian seasoning, and bake for 5-8 minutes at 350 degrees F.

4. Cut into slices and enjoy!

FOR THE HOLIDAYS...

For Thanksgiving, Nudo Adopt has created a selection of thoughtful giftsets to thank the food loving host in your life. Choose from a choice of three gitfsets; Aperitivo set, Olio set & A Tavola set.

Aperitivo set with handcrafted olive ramekin and Taggiasche olives from the glamourous Ligurian coast.

Olio set with a handmade, stoneware cruet paired with premium artisan Extra Virgin Olive Oil from Le Marche; one of the oldest regions in Italy to produce olives

Can’t choose? Pair up both, A Tavola set, for an extra special Thanksgiving treat.

For Christmas, Nudo Adopt have collaborated with Yorkshire based artist Michelle Freemantle , to create limited edition, handmade oil cruets especially for the festive season.

Exclusive gift with our Olive Tree Gift Adoptions; a beautiful and long-lasting gift.

Michelle’s visionary ceramic bottles take inspiration from her environment; the colours for the cruet are a reflection of Nudo’s brand & Italy; yellow sunshine, green countryside and blue midnight sea.

A wonderful sentiment that lasts longer, looks after the environment, supports provincial farmers and is good for you.

Side by Side – A Great Dog Food for Picky Eaters!

This post was sponsored by Side By Side as part of a Two-Post Influencer Activation for Influence Central and all opinions expressed in my post are my own.

This summer has been absolutely wonderful so far! It’s hotter than ever outside, but that’s not stopping us from getting out as much as possible with the dogs and letting them enjoy summer too!

We began feeding the dogs a new diet recently and they are LOVING it! If you saw my previous post, here, we were just beginning to introduce our dogs to the new food. Side by Side believes that the best way to cherish our pets is through making better food choices for them. Whole food nutrition is a great option! Side by Side only uses whole food, with minimal processing, allowing the nutrients to actually be preserved within the food better, delivering it to your pets so they stay full and happy. A pet’s diet is as important as a human’s diet, so consider making the switch to something like a whole food diet, raw or lightly cooked, frozen or freeze-dried diet.

The dehydrated Side By Side treats, such as their Duck L’Orange, Beef Lungs, and Chicken Hearts are some of the nicest treats we have ever seen. They’re not at all greasy or stinky, like lots of other treats. We aim to give our dogs treats with minimal ingredients, so one ingredient treats are spectacular! The dogs behave SO well for these treats – they’re such good girls!!

Our dogs mean everything to us, so we love being able to treat them to something they really deserve. Since we both work from home, we are able to spend most of our days with Cabbie and Porter. We invest so much time and money into our beautiful babes, and we want the very best for them, which I am sure they notice.

Our Chocolate Labradoodle, Porter, who turns 2 years old on July 5, is a rather picky eater. She has been devouring the Side by Side dog food and then actually sitting by her bowl waiting for her next portion. While we try not to super encourage this behavior, it does mean she loves the food.

With our previous dog food, which was a higher end kibble, we would generally feed the dogs 1.5 cups each, twice a day. Porter, the doodle would leave lots of food in her bowl all day. I am not sure if it was just that she didn’t really love the flavor, or if it’s because we were just giving her the wrong thing.

We still treat the dogs to a bit of low fat yogurt, plus other fruits and veggies throughout the day, but we are SO happy with the food and treats from Side By Side. Just look at the girls’ smiles to see what I mean :)

The dogs actually received the food in the mail, and it was all still frozen. The company uses a recycled material to insulate the products, and they arrived in great shape too.

Now that they received this, they think every single package is for them. Porter nearly knocks boxes out of our hands when they arrive, so she can see if there is more Side by Side inside!

Yes, the dogs have their very own ottoman by the window, if you were wondering :)

We noticed a few improvements in the dogs. Cabbie, the lab seemed to slim down around her mid section, and her coat has been extra shiny. Cabbie seems a bit more energetic, and since we feed them three times a day now, because of the Side By Side portion cups, the dogs love having another fun and “exciting” activity each day (lunch time, LOL!).

The dogs always have a few red bumps on their bellies, and when I chatted with one of the founders of Side By Side, she actually mentioned that they would clear up, and they pretty much completely went away. Marney explained that sometimes the red bumps can be related to food and environmental allergies. Well, perhaps the food made a bigger impact than I could’ve imagined! I believe the food did help clear up their bellies, which is so great.

Side by Side products were developed from the pet’s perspective and puts pets first to give them the best life. This allows us so many more years of opportunities to better share love with our pets.

For part of this post, we visited a local fishing pond that is about a 1-mile hike each way from where we park. We walk through cow pastures, rolling hills, tall beautiful grasses and there are even a few places to stop and fish along the way. We love bringing the dogs out to explore the area, and a couple of our friends even brought their pups too.

When Porter gets to see her little friend, Wilma, shown below, they play until they practically “fall over” from how much fun they’ve had. It’s such a great way for higher energy dogs to get their crazies out, and I love watching them have so much fun together.

We are SO thankful to have had this opportunity to introduce our wonderful pups to a raw dog food diet thanks to Side by Side! We have a new way to show our dogs we love and appreciate them, with whole food nutrition, and we cannot wait to see how the dogs keep improving in every way! 

Look for all of Side by Side’s integrated products including Food Diets, Supplements, Toppers, and soon to be released Broths. Each and every product is thoughtfully formulated to provide a complete and balanced nutrition plan for your pet!

ADDITIONAL RESOURCES

Side By Site Website: https://shop.sidebysidepet.com

Side By Side Facebook Page: https://www.facebook.com/sidebysidepet/

Side By Side Twitter Page: https://twitter.com/SidebySidePet

Side By Side Instagram Page: https://www.instagram.com/sidebysidepet/


Lattice Weave Puff Pastry Wrapped Prosciutto + Brie Recipe

Looking for an elegant and luxurious recipe to bring to that next BBQ or summer party? Perhaps you want a special date night dish that can be enjoyed with a couple of drinks and a movie. This  Lattice Weave Puff Pastry Wrapped Prosciutto + Brieis so delicious, that those who get to enjoy such a treat will likely lick the plate clean. 

I found that by using Wewalka Puff Pastry, it held its shape super well and wasn't overly greasy, which was great. The brie I used, shown below, also worked out great. I found that brie is very affordable, ranging anywhere from $5 to way more expensive options. If you're new to Brie, then start off less expensive or in the middle of the price range.

This is a very rich and indulgent dish, but if you share it with friends, there's definitely no guilt in eating something like this. It's really amazing.

Ingredients:

1 (8 oz) Round of Brie 

1 package Wewalka puff pastry

1 egg, whisked with a fork for egg wash

1 package of Prosciutto, any brand you like

Crackers, pretzels, etc, to dip in cheese

Instructions:

1. Preheat oven to 400 degrees F. Slice puff pastry into 1/2" strips, set aside.

2. Wrap opened brie round with prosciutto, then set on a pan or clean work surface.

3. To create lattice: place two dough strips on top of prosciutto wrapped brie in an X shape. Here is a link to a good tutorial on how to make the rest of the lattice (just make sure dough has no spaces between strips, so it holds in the cheese well. Once the entire top of the brie has been latticed (see below), grab a drinking glass and let's finish this masterpiece!

4. So, the image below is a little strange looking, but I basically put the ingredients on top of a drinking glass to elevate it so I could then finish "weaving" the sides for a more finished look. You may notice that the widest part of the brie / the outer edge has one slice of dough wrapped around it, then I could easily finish wrapping the other pieces under the brie. I also sliced a few inches off of each strip, so there wasn't a huge wad of dough below the brie when it baked.

5. Below, you see the final brie round before baking! You can definitely prep this ahead of time, and bake it right before you need it. Brush with egg wash if desired for an even shinier finish.

And presto chango...Look at THIS BEAUTY, below! It is absolutely gorgeous!

6. Bake for 20-25 minutes or until crust is brown and flaky, cut into the cheese and let the middle just ooze out! Dip crackers, pretzels, green apples, and more into this creation, and enjoy!!

When you slice into this awesome creation, you may hear a little crunch of the flaky layers of dough, and then you will see the cheese just ooze out. Dip crackers, pretzels, and anything your heart desires into this melty cheese. The brie is very rich and creamy and does have a little bit of that funky taste that brie just has, but it pairs so well with the prosciutto and the puff pastry.

What do you think? Does this look like something you would eat or serve at your next gathering? I really hope you've enjoyed!!!

Casual Cookout with Tyson, Ball Park, and Lipton Tea!

This post is sponsored by Lipton, Tyson, and Bimbo but the content and opinions expressed here are my own.

Casual Cookouts are in season!! Bring weeknight (or weekend) dinners outside by making good use of your grill! You can enjoy the long summer nights as you picnic in the yard with your family. From cooking your own Ball Park® Hot Dogs to Tyson® Chicken sandwiches, let everyone join in on the fun and make it a festive family night. Excited to host lots of fun cookouts this year, and here is one to get me started.

BBQ CHICKEN SANDWICHES

Above, the Tyson Frozen Boneless Skinless Chicken Breasts. I used them for chicken sandwiches!

INSTRUCTIONS: Using a grill set to 450-550 degrees, spray non-stick cooking spray and place frozen chicken breasts onto hot grill. Cook for 10 minutes on fist side, season, then flip and grill for another 10-15 minutes, until chicken’s internal temperature is at least 165 degrees F.

Below, the classic Lipton Iced Tea brewed and lightly sweetened.

Condiments can easily be placed in vintage or glass jars or bowls to serve them in a more elegant way – don’t forget to add a spoon into each condiment J

Below, the white chopped onions, pickles, and potato salad, and a cute sign that reads, “Welcome Friends and Family”.

As you might notice, I placed these ingredients onto metal trays at varying heights so they were easier for everyone to reach.

CURBSIDE PICKUP:

 Since summer gets very busy, and I always have a million errands to run at once, I loved being able to use the Walmart Curbside Pickup! I logged in and just placed my order on http://grocery.walmart.com and then stopped by my local store to grab everything!

DÉCOR IDEAS:

For the BBQ party setup, I used a plastic folding table to hold everything, then covered it with a twin white sheet that I ironed. I used a piece of on trend gingham printed cotton in white and grey. I used 1.5 yards and I think that the double layer table covering idea really looked so elegant.


I also really love offering food to guests at different heights, bringing the food and refreshments to eye level. I stuck with more metallic accents like galvanized metal boxes, plus small metal buckets to hold utensils and festive paper napkins. I love the mixture of navy blue and red together, which worked perfectly for this theme.

I also found lots of cute Grilling and BBQ themed signs that were so cute! I am sure that you could simply print some fun quotes off the Internet and frame them if you already have all the supplies on hand.

CONNECT WITH THESE BRANDS ON SOCIAL:

Tyson®

Facebook: @TysonBrand

Twitter: @TysonBrand

Instagram: @TysonBrand

Pinterest: @TysonFoods

Lipton®

Facebook: @LiptonUS

Twitter: @Lipton

Instagram: @Lipton

Ball Park®

Facebook: @BallParkBrand

Instagram: @BallParkBrand

I really hope you’ve enjoyed this post, and I am eager to hear all about what you have planned for summer!

PIN IT FOR LATER...

Montana Wedding

While these photos are long overdue, we were so lucky to be able to attend a wedding for some of our friends last fall in Montana. It was the most incredible wedding ever, and here are a few shots we captured. Enjoy! More photos coming soon.

Zero Waste Reusable Produce Bags

It seems funny to go through the effort to being reusable bags to the grocery store only to fill them up with plastic bags full of produce. Sometimes, the produce needs to be weighed separately, or sometimes the lettuce might be doused in water, and would get all of your other groceries soaking wet. This is the perfect time to use some reusable cotton drawstring produce bags. 

I created a few adorable, zero waste produce bags recently, and while many or all of them have sold at our local Neighborhood Co-Op, I thought it would be fun to share some of my hand sewn work, as well as encourage others to use something similar. I sewed these out of some thicker decor weight cotton, but stuc with 100% cotton, except for the drawstring closure. 

I used pieces of fabric I already had, washed and dried them, then ironed them. These higher quality brand fabrics always feel so wonderful after they're washed and dried. 

Not that Zero Waste is a super new concept, I have been really trying to use as many reusable containers as I can. This really makes me so much more conscious of how much unnecessary waste and packaging...aka...PLASTIC...that I am consuming and bringing into our home. Believe me, I buy a ton of food and other supplies because of all this food photography, so I try to do my part in helping reduce!

I even created a Zero-Waste Pinterest Board and wanted to share a few of the most inspiring images ever. Check out the board here!

And here, she shows the Zero-Waste shopping in action!

These were so fun to make, and here are a TON of DIY Drawstring Bag tutorials to inspire you to make some as well. Enjoy!

Father's Day Gift Idea - Edible Treats!

A fun and easy way to show Dad you appreciate him this Father's Day! Simply head to the bulk section of your local Co-Op or grocery store, and find small samples of lots of different treats and package them up with custom labels. I actually made a game out of this gift by sticking the names to the INSIDE of the treat containers, so Dad could guess what treat he was trying. He LOVED this delicious and easy Edible Gift and I am sure anyone you make one for will too. 

You can even find sugar free candies and other more natural treats if you want. I provided a great variety of snacks like macadamia nuts, roasted peanuts, chocolate and yogurt covered raisins, all natural chocolate covered Sun Drops, maple almonds, and more. Whatever your dad's taste is, just cater your selection to that.

I used a paper mache box with a lid from a craft store, which made the presentation more professional looking. I found 8 small plastic lidded containers that fit into the box PERFECTLY! I was even able to add some tissue paper as padding, then shipped this gift to my Dad from IL all the way to Arizona and everything arrived safely, luckily!

What will you be giving Dad this year?!

Summer Grilling at Kroger with Smithfield + Yuengling

This is a sponsored post written by me on behalf of Smithfield®. The opinions and text are all mine. #GrillOutChillOut

Summer is JUST getting started, and I would love to know what your plans are for the next few months! Going anywhere fun or exciting? Planning out any cookouts or summer parties? I love using summer as an excuse to get together with friends, family, and good food – there’s nothing that tops the fun and excitement I get when I know there is something fun on the horizon.

Last year, I had the opportunity to feature Smithfield® Yuengling® Traditional Lager Bratwurst from the Smithfield® Craft Collection™ in a post about making summer grilling easier and MORE delicious. You can read that post here. This is the flagship beer from America’s Oldest Brewery!

This time around I decided it would be fun to serve these brats in a traditional manner with buns and grilled onions, PLUS it could be cute to serve these brats in more of a finger food / appetizer style - cut into slices and served with mustards.

Find everything you need for summer celebrations at your local Kroger or Kroger. The bratwurst are infused with real Yuengling Traditional Lager (a.k.a. DELICIOUS!!), and are made with premium cuts of pork and a special blend of sweet and savory spices. I just love the unique taste of these, and it’s so nice to not actually HAVE to cook them in beer before grilling, because the Yuengling flavors are already there.

Since I was incredibly inspired by the history of brats in general, I was particularly inspired by German or Bavarian offerings. I found that bratwurst generally contain fresh sausage, and if you’re looking for something that is already cooked, then sausage is typically available in dried, cured, or fresh varieties. This means that the brats do need to be cooked or grilled until their internal temperature reaches 165 degrees F. 

I decided to offer guests five or more different styles of stone ground or other higher end mustards, with slices of the bratwurst, then we could all try something new.

If you’re “brave” enough and want to experiment with even more pairings, feel free to offer guests some sauerkraut (which is a finely cut cabbage that is fermented, and tends to have a stronger smell if you’re not used to it), which would add an even more authentic taste to this meal.

I kept thinking about how these foods would be served at a traditional festival where brats and beer are the main focus, and I thought more of a party platter (in my case a wooden cutting board with a handle) full of small bites was definitely the way to go.

Mustards are something that I am just beginning to enjoy. BUT, my boyfriend and a few of our friends seem to “compete” to see who can eat mustard with the largest number of different foods. I am fine if I don’t win that contest, but mustard is such a versatile and traditional condiment that I want to even learn to make it soon.

I found five different mustards at the store, ranging from Stone Ground varieties to Dijon mustards and even one mustard that is bourbon barrel aged! 

I basically just looked to see which ones had the most texture (as in more mustard seeds), plus which ones would offer more of a visual variety and also as many different tastes as possible. This could be a great way to get rid of some mustards in the fridge that are only half full – just offer them up and I am sure they’ll get eaten!

As far as other foods to serve, I love the idea of offering fresh homemade soft pretzels plus hard pretzels (like the smaller crunchy ones), plus perhaps some slices of super crunchy bread or similar.

Below, you will see those lovely grill marks on the brat buns! This added SO much more flavor and visual interest to the meal.

CONNECT WITH THE BRAND ON SOCIAL:

Instagram- @smithfieldbrand, @yuenglingbeer

Facebook- @cookingwithsmithfield, @yuengling

Twitter- @smithfieldbrand, @yuengling_beer

Pinterest- @smithfieldbrand

Feel Love. Feed Life. Feed Side By Side.

This post was sponsored by Side By Side as part of a Two-Post Influencer Activation for Influence Central and all opinions expressed in my post are my own.

If you read this blog for even a few seconds, you may notice I have an affinity for my two dogs, Cabbie and Porter. They are the loves of our lives, and I recently had the chance to spend some good, quality time with the girls. We brought some of our new favorite dog food called Side By Side, a Telluride-based brand of holistic dog food and treats, where they take a new approach to pet nutrition that cherishes each individual pet. These ingredients are used to deliver the best in whole food nutrition.

I was so lucky to have a recent consultation with one of the most knowledgeable individuals regarding pet nutrition that I have ever met, and also the Founder of Side By Side. Marney Prince explained the importance of feeding raw and/or freeze-dried food and treats to your  dogs, and I couldn’t agree more! Side By Side believes the best way to cherish our pets it to honor them with premium whole food nutrition made with love in small batches.

Side By Side even offers their proprietary Pet Assessment process, an online tool (found here) that allows the brand to make nutrition recommendations curated to meet your pets’ individual needs.

Since my first introduction to Side by Side, I immediate felt the passion and caring commitment displayed in all that they do., I received a phone call from the Founder of Side by Side, Marney Prince to discuss her personal recommendation on products!  During our phone conversation, I immediately knew that Marney truly cares for all animals, and I felt her compassion for my dogs as if they were her own.  I talked with her for about 45 minutes about my two dogs, Cabbie and Porter. She was extremely thorough when asking about my dogs, like what issues my dogs were having, and more lifestyle questions pertaining to how much and what types of activities we do each day, how much we interact with them, and even asked about their personalities and eating habits. I left my conversation feeling extremely good from her positive comments about my dogs and me as a dog owner.

The food and treats are amazing! Since these three varieties of treats are freeze-dried, they make for an excellent treat with very few ingredients. The dogs seemed to like the  Duck l’Orange  treats the very best; they were a great size for even our large dogs.

Here is a brief write up of what Marney told me during our assessments for the pups:

PORTER’S REVIEW:

“Porter sounds like a super fun, energetic girl that tends to hold onto a little internal heat but overall appears very balanced. I think our main concern is preventing to onset of joint degradation, since she loves to play hard, has boundless energy and is a large breed dog. As far as the allergic reaction she gets on her tummy; this sounds like a seasonal allergy, not food related but once she's on a whole food diet that moves through her body at the appropriate speed (the 24 hr/12 hr ratio of kibble/real food), you will see a reprieve in the bumps. We are releasing a supplement called Cool Down Dog the first week of June for seasonal allergies and we can certainly try that if the food alone doesn't remedy the reaction. It's a bunch of eastern and western herbs. Otherwise, we would recommend that Porter transitions to our Harmony raw, either freeze-dried or frozen, because it will provide a little higher protein for our athlete, has beautiful whole wild Alaskan salmon, duck necks, yucca (cassava root), and turmeric in it for her joints, and it is considered a neutral recipe, which is ideal for a sweet natured, happy dog. I'm going to recommend our Beef lungs and Duck L'Orange treats but she'd do great on any of our options. I love that you give her yogurt regularly, please continue”.

CABBIE’S REVIEW:

“And, for Cabbie, who sounds like an absolute doll! Again, she sounds happy, healthy and balanced. The only change I'd really like to make is to slow her aging process and prevent the onset of disease. For Cabbie, our Genial recipe, either frozen or freeze-dried, would be wonderful. It is a cooked recipe, which more appropriate for a mature woman, and contains a small amount of whole oats which support the thyroid gland and metabolic system, whole Alaskan salmon for joints and beef heart which in Chinese Medicine promotes self-confidence and Shen (heart/love) energy. I'd also like to suggest our So Hip  supplement to increase the protection of her joints, plus this formula helps the body to clear toxins and free radicals within the existing joints. Cabbie is welcome to enjoy any of our treats, but just for fun, let's try the Chicken Hearts first”.

This food far exceeded our expectations, and I loved the convenience of the individually wrapped so they are basically mess free, and we were able to recycle some of the containers too! It really looks like everything is made with extremely high quality ingredients, which is of top importance to me.

If feeding your dog ingredients you trust is important to you, then I would absolutely recommend Side By Side dog food and treats! Side By Side is dedicated to the preservation of the nutrients, from sourcing the best ingredients, to minimal processing, to development of a complementary line of food diets, treats, supplements, broths, and toppers –with carefully crafted recipes utilizing only natural sources of protein, vitamins, minerals, fiber and the purest herbs, to provide a personalized nutrition plan for your pet.

Take the free Side by Side personalized Pet Assessment for a personalized nutrition plan today! Also, you can get 25% off your first order and 15% the subscription service with code: LILY

Delicious No Bake Tiramisu Recipe

This Italian inspired dessert has been described as "sexual" and will make your tastebuds go crazy! Perhaps this recipe will start off your weekend just right! But in all seriousness, since this is a no-bake treat, and can be served in individual jars, it's perfect for summer parties, and everyone is going to love this recipe. 

Both rich and somehow light at the same time, the homemade whipped ricotta filling and the familiar taste of coffee really make for a decadent treat.

Easy Eggless No-Bake Tiramisu

Prep Time: 20 min + chill time

Yield: 9

INGREDIENTS

·       1 cup (250ml) whipping cream

·       1 cup (250g) mascarpone, softened

·       1/4 cup (50g) granulated sugar

·       1 tsp (5ml) vanilla extract

·       1&1/2 cups espresso or very strong coffee, cooled

·       2 tbsp (30ml) coffee liquor (I used Kahlua)

·       2 dozen lady fingers

·       2 tbsp cocoa powder

INSTRUCTIONS

1.   Beat the whipping cream until stiff peaks form. Set aside.

2.   Mix the mascarpone, sugar and vanilla until combined. Add in the whipped cream and beat again until smooth.

3. Prep small Ball jars by removing all lids, rinsing and drying thoroughly, and setting them all out onto a tray or surface.

3.   Stir the coffee and liqueur together. Lightly dip 2-3 lady fingers into the coffee mixture, then place the 2-3 lady fingers into the jars to create the bottom layer of the dessert. Make sure not to soak the lady fingers too much or there will be lots of coffee left in the bottom of the jars. Repeat in all jars.

The Kahlua is optional but adds a nice kick and authentic flavor to the flavor of this dessert!

4. Using the small ice cream scooper, scoop a generous amount of the ricotta mixture over each jar, making them look as much like a perfect scoop of ice cream as possible.

5. Sprinkle cocoa powder (or even hot cocoa mix) through a metal strainer over top of each jar. A light dusting of the cocoa powder really gives them a nicer, upscale look. Enjoy!

The other fun thing about this post is that I get to show off my new kitchen update, we painted and I installed new "tiles" from The Smart Tiles, here!

PRINT THE RECIPE...

PIN IT FOR LATER...

DIY Bottle Koozies + Vegetarian Taco Bowl Recipe

This shop has been compensated by Collective Bias, Inc. and Constellation Brands. All opinions are mine alone. The following content is intended for readers who are 21 or older. #CelebratorySips #CoronaSummer #CollectiveBias

Summer is here and what a better way to celebrate all the hard work you have done this year with a Beer + Craft Night with friends? I’ve been really wanting to make some customized / embellished drink koozies for some time, and when I learned about this amazing opportunity with Corona®, I jumped at the opportunity to celebrate all that Corona embodies - offering a passport to carefree enjoyment and refreshing, delicious refreshments! With a refreshing, smooth taste balanced between heavier European imports and lighter domestic beer, Corona Extra is an even-keeled cerveza with fruity-honey aromas and a touch of malt. The flavor is crisp, clean and well balanced between hops and malt.


What a perfect way to celebrate summer with a snazzy new way to keep your drinks cold and to liven up the party...even if it is a craft night that turns into a party :)


These bottle and can koozies really make a statement. They will also help you identify which beer belongs to each person. For only $3-4 you can make your very own Summer Drink Koozie - keep reading to get the instructions and design ideas!

KOOZIE MATERIALS:

Foam Koozies (found in the foam aisle at a craft store)

Ribbons and trim of various colors

Low temp glue gun

Glue sticks (I used fabric glue sticks)

Cardboard for use as your work surface, or a heat-safe work surface (the glue can get messy!)

KOOZIE INSTRUCTIONS:


  1. Plug in your glue gun and get it ready to use. Cut ribbons and trims to fit around your koozies, leaving a little extra just in case.

  2. Once glue is hot enough, on a heat-safe work surface, add a bit of hot glue to the end of one ribbon, and begin to glue it around the top of the koozie. For the more patterned koozies, I used 4 strips of woven ribbon around. See steps below.

Notice the raw edges of the ribbons, above. We will cover those in the next image, with one more strip of ribbon, glued up the back.

3. For the tassel koozie (below), I glued on my tassel trim first, then covered that with a more tie dyed looking ribbon for a more finished look. See steps below.

4. Feel free to embellish further with stick on jewels and more ribbons - let your creativity run wild! Note - I tried using sticky-backed jewels, but I needed to glue them on, or they would fall off after a short use. Still super cute either way!

FOR THE VEGETARIAN TACO SALADS:

Ingredients:

2 Sweet potatoes (chopped)

2-3 TBSP Olive Oil

2-4 TBSP Mexican Seasoning

1-2 tsp salt

(Other toppings include: lettuce, shredded cheddar, tomatoes, sour cream, guacamole, cilantro, and more!)

Note - this can be made vegan if you use all vegan toppings, like vegan sour cream.

Taco Salad Instructions:


  1. Preheat oven to 375-400 degrees.

  2. Cut sweet potatoes into cubes, and chop onions into small pieces. Place into a mixing bowl, and toss with 1-2 TBSP Olive Oil.

  3. Bake potatoes and onions for 15-20 minutes, then add sliced peppers on top, and bake another 10 minutes or until the ingredients are baked soft enough to enjoy.

  4. To create your bowls, add a bed of lettuce, then top with sweet potatoes, and any other toppings you like. Enjoy with a Corona Extra®!

Have an amazing summer, friends!

PIN IT FOR LATER...

Mediterranean Food + More

Looking for a fun way to spice up dinners? We had some of the most delicious Mediterranean-inspired food recently, and our friends really came together to make the night special. Below, you will see all sorts of amazing foods like chicken shwarma, warmed pita pockets, all the amazing sauces, and fallafel (which we found at an international grocery store and fried on the stove top).

We love hosting and attending potluck dinners, where we choose a theme and everyone brings their favorite, homemade, made from scratch, or whatever food or drink they love, and we all feast!

This photo was one of the only ones I have captured with out studio lights, and it was one of our most successful and most delicious potlucks yet! Here's to more...

Music Festival Camping Tips with Coleman at Target

This post has been sponsored by Coleman®. All thoughts and opinions are my own.

Happy Memorial Day Week!

This weekend, I am attending the Summer Camp Music Festival and I am so excited. It’s been almost ten years since I first attended, so I am really looking forward to seeing old friends and listening to some live music. (I will share some photos of the event in this post throughout the weekend!!)

It’s important to set up a cute campsite to have as your home base for the weekend, and the NEW Coleman® Dark Room Tent is a great option you might want to consider! Head to Target to find everything you need for all of your upcoming adventures, and save on Coleman products with this Ibotta rebate offer here!

Since music festival season is upon us, I wanted to share some tips and tricks on how to make camping at a music festival even better, beginning with considering your tent.

This tent comes with a convenient carrying bag too!

Head to Target to get inspiration for your upcoming festivals and summer gatherings!

One of the features I find most appealing about the Coleman® Dark Room Tent would be the roomy interior, which is great for holding everything during the festival - plus, being able to change in the tent is priceless! There is more than enough room for us in here.

I love the dark outer fabric (which is considered their Dark Room Technology), that blocks light! Since you will likely be camping around a lot of other people, it’s so sweet that this tent’s rainfly blocks 90% of sunlight so you can sleep in past sunrise. Since a lot of music festivals have festival goers camp in open fields without trees, shade is very important. If your tent gets super hot in the morning the moment the sun shines on it, think of just how HOT you would be when you’re trying to get some good rest before another big festival day. Getting a little extra sleep is really amazing.

This tent is pretty easy to set up. I would recommend at least having two people on the job, but it’s pretty easy to find a friend to help you set up your tent in this situation. There are three poles, two that go into the actual tent, and one pole that gives the rainfly a nice awning, which would reduce any water dripping into your tent.

Speaking of rainy weather, you never know what to expect here in the Midwest, but this tent will keep you nice and dry because of the WeatherTec system, which uses a tub-like floor with welded corners and protected seams.

One of my favorite parts of any camping trip is actually when we get to head to bed. I do love that part of the night where we get to retire into our ultra comfy sleeping bags, cots, and our awesome, sunlight blocking tent.

In addition to awesome camping gear, we have lots of fun ideas of how to decorate our campsite, a few of which are shown throughout the post.

A dream catcher was so adorable and easy to hang, plus it brings that whimsical element into your campsite.

My favorite décor item would probably be adding an extra large sunflower (from a craft store), which I attached with zip ties.

Use 2 white twin sized sheets and zip ties or ribbons to add inviting softness and volume to your tent. I first folded one sheet in half to find the center. I then attached that to the sheets in an arched pattern. I used two sheets, but you could use a few more to get an even more festive and inviting look.

Think of your campsite as a living room of sorts, and try to create a relaxed, comfortable environment for your group, or for friends you might meet at the festival. Use outdoor rugs, tapestries, solar lights and more to personalize your campsite and make it stand out.
 

Prepare for the summer with the Coleman® Dark Room Tent and enjoy!