Wow, I am so impressed with how these taste! The cheesecake filling is tangy and just the right amount of sweet! And, the crust is sort of unexpected and really yummy. The cookies are a perfect replacement for normal graham crackers you would normally use.

INGREDIENTS – NO BAKE CHEESECAKE
· 1 packages Stauffer’s Animal Cookies
· 11 tablespoons (1 3/8 sticks) unsalted butter, melted
· ½ or 1 tablespoons sugar
· 2 8-ounce packages cream cheese, room temperature (make sure it’s not too cold or your mixer will not be happy!)
· 1 14-ounce can (1 1/4 cups) sweetened condensed milk
· 1/4 cup lemon juice
· 1 teaspoon vanilla extract
· 4-5 jars
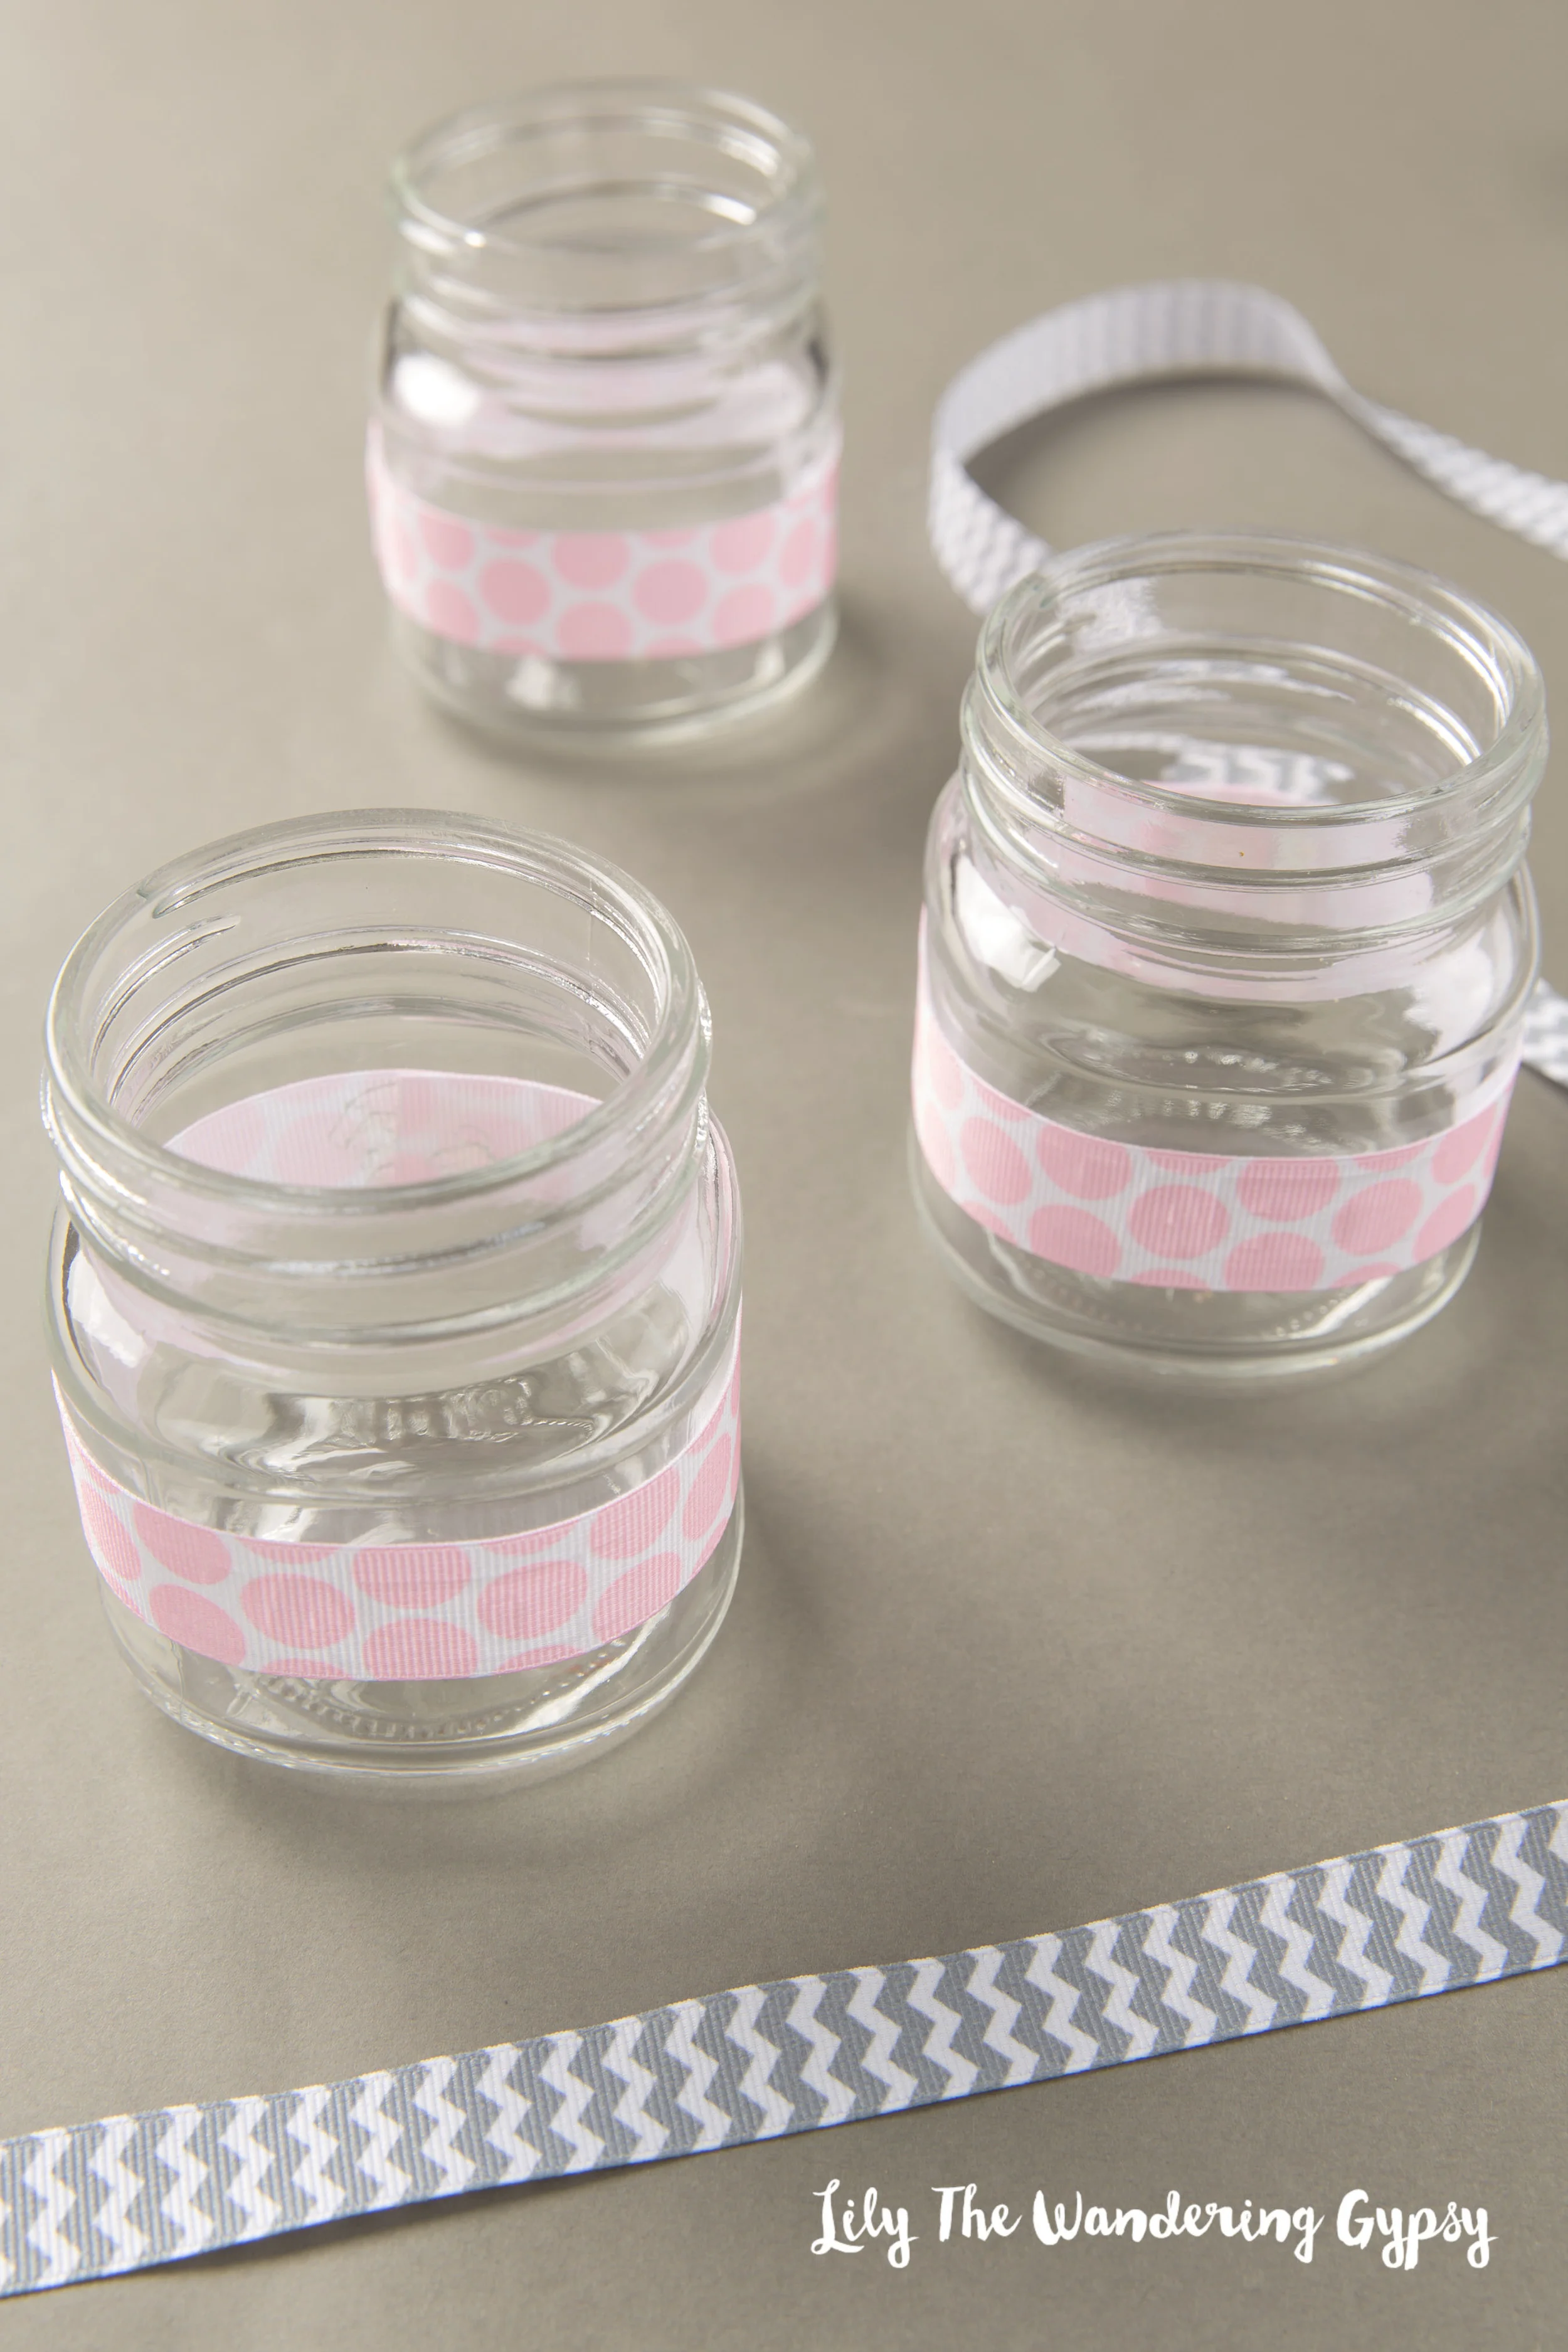
Hot glue your ribbons to the jars. This adds such a cute touch! Coordinate any event or holiday!
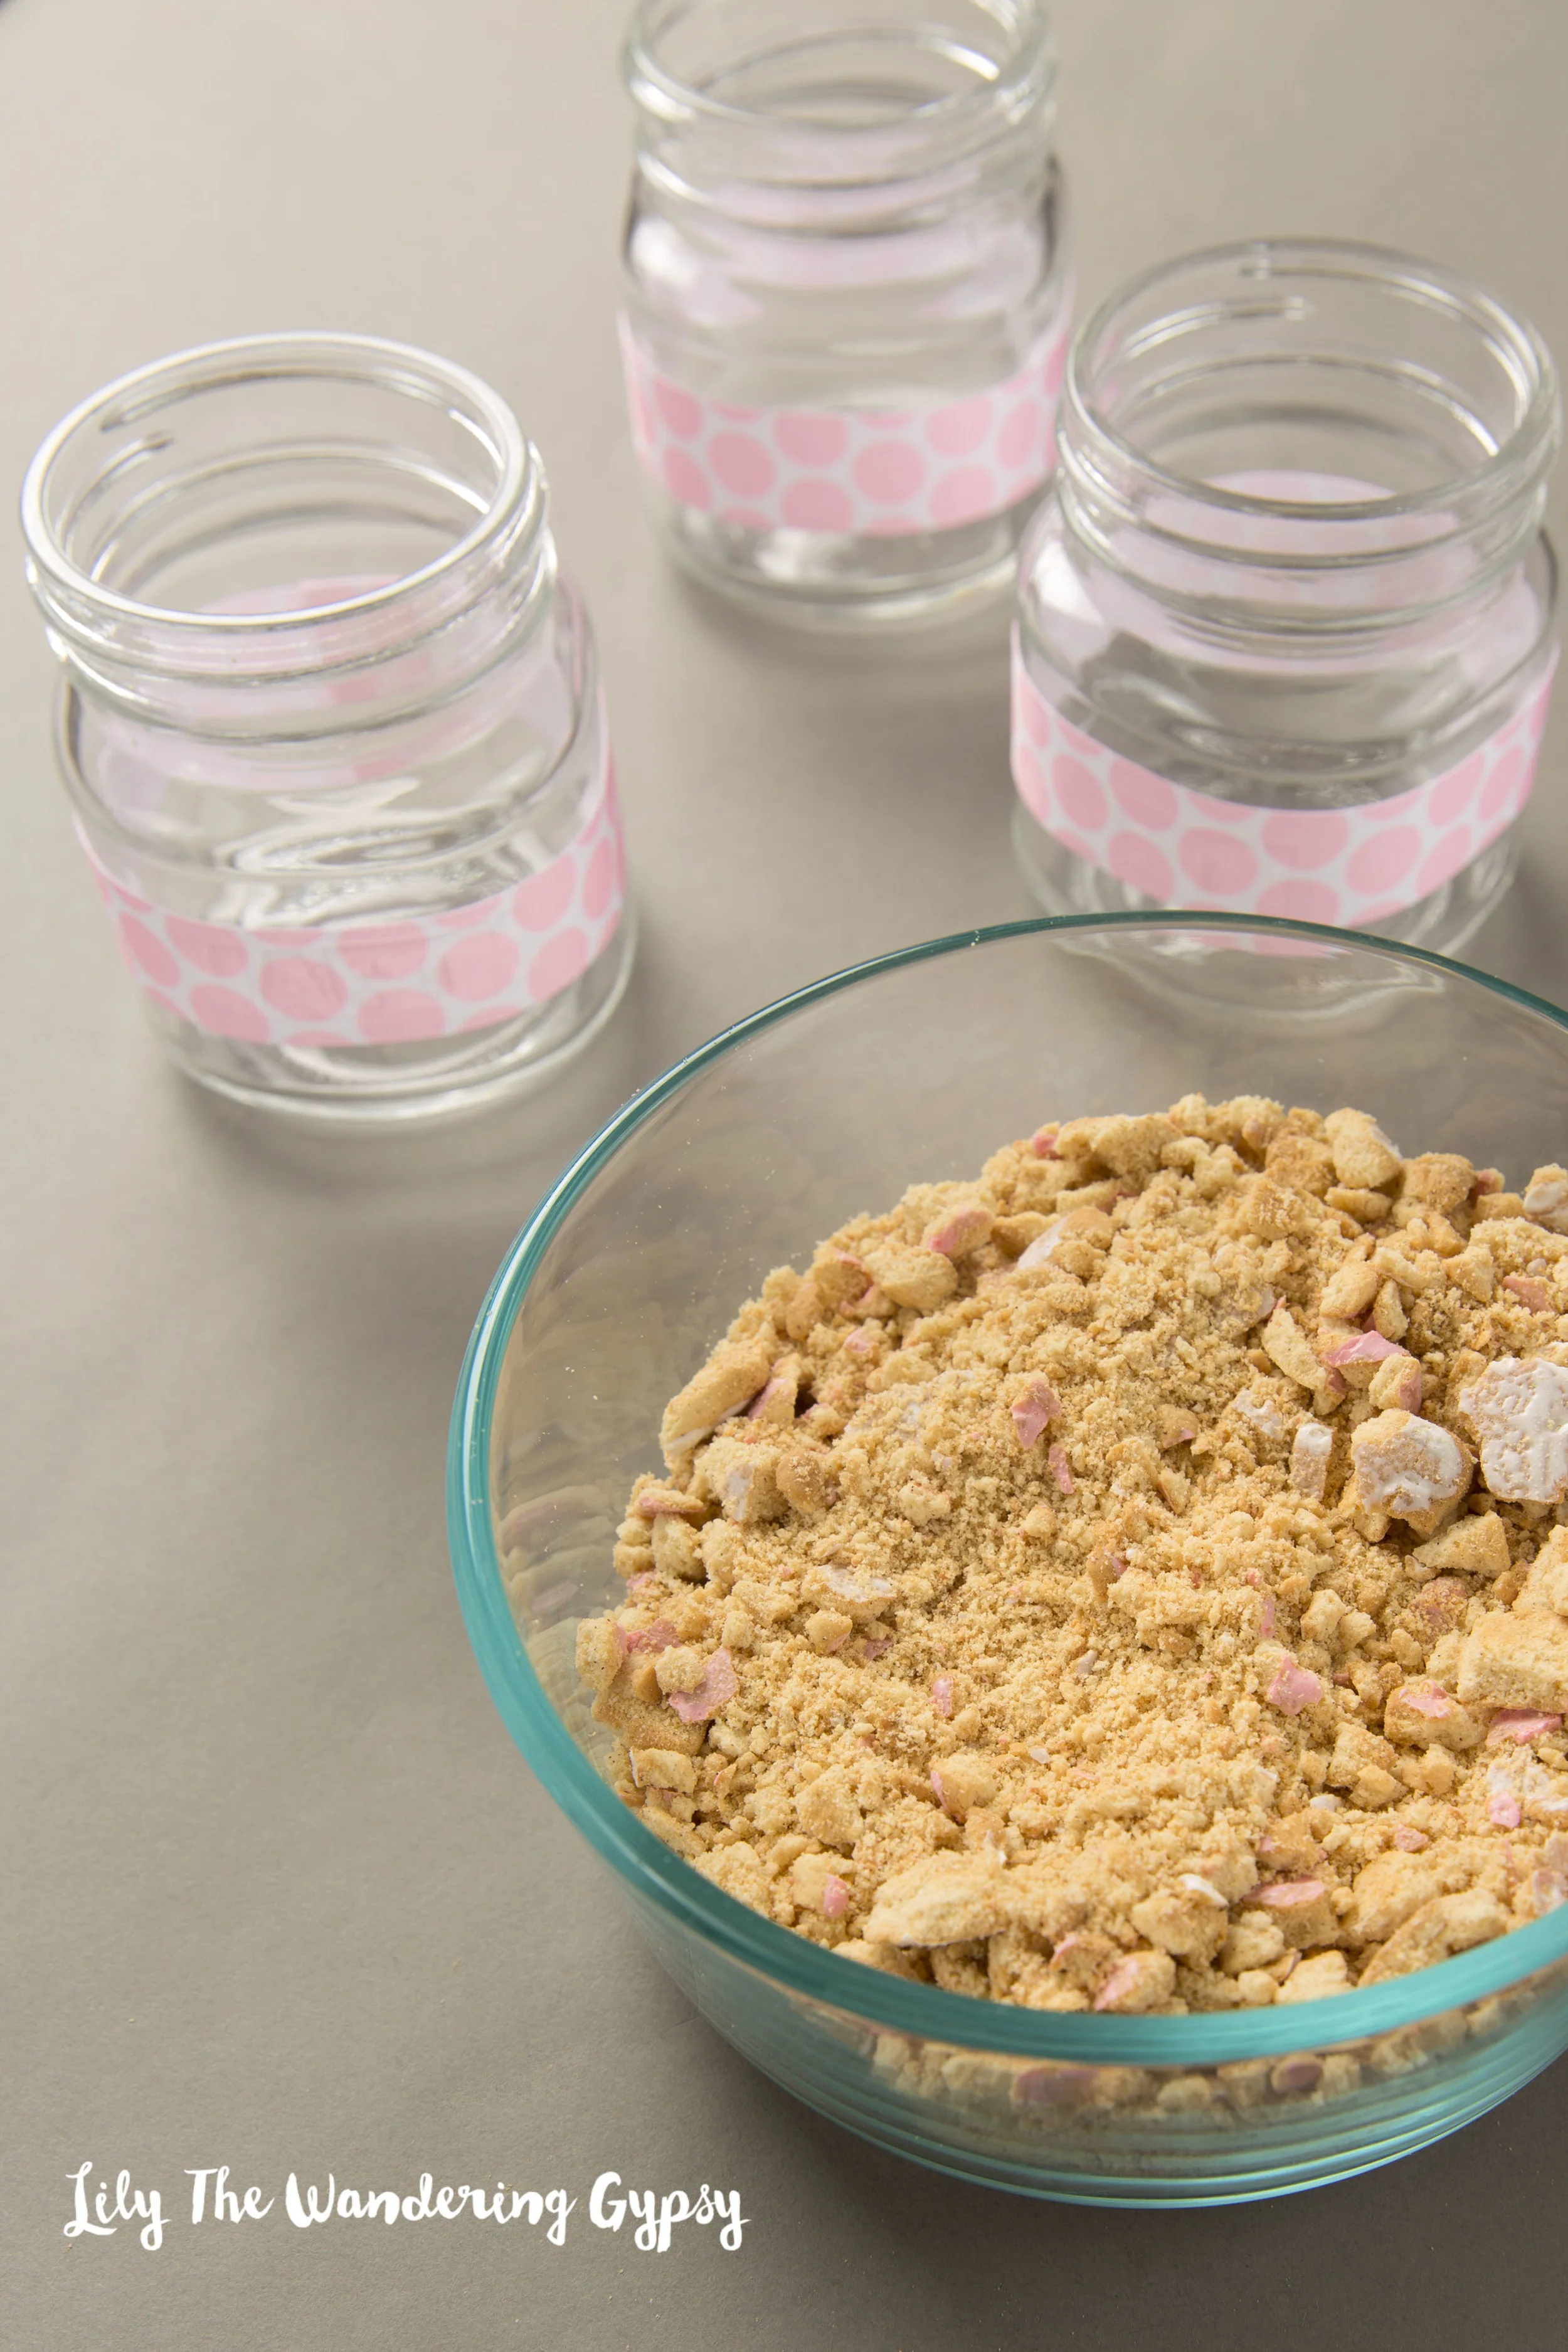
The cookies after they have been in a food processor to make the crust.

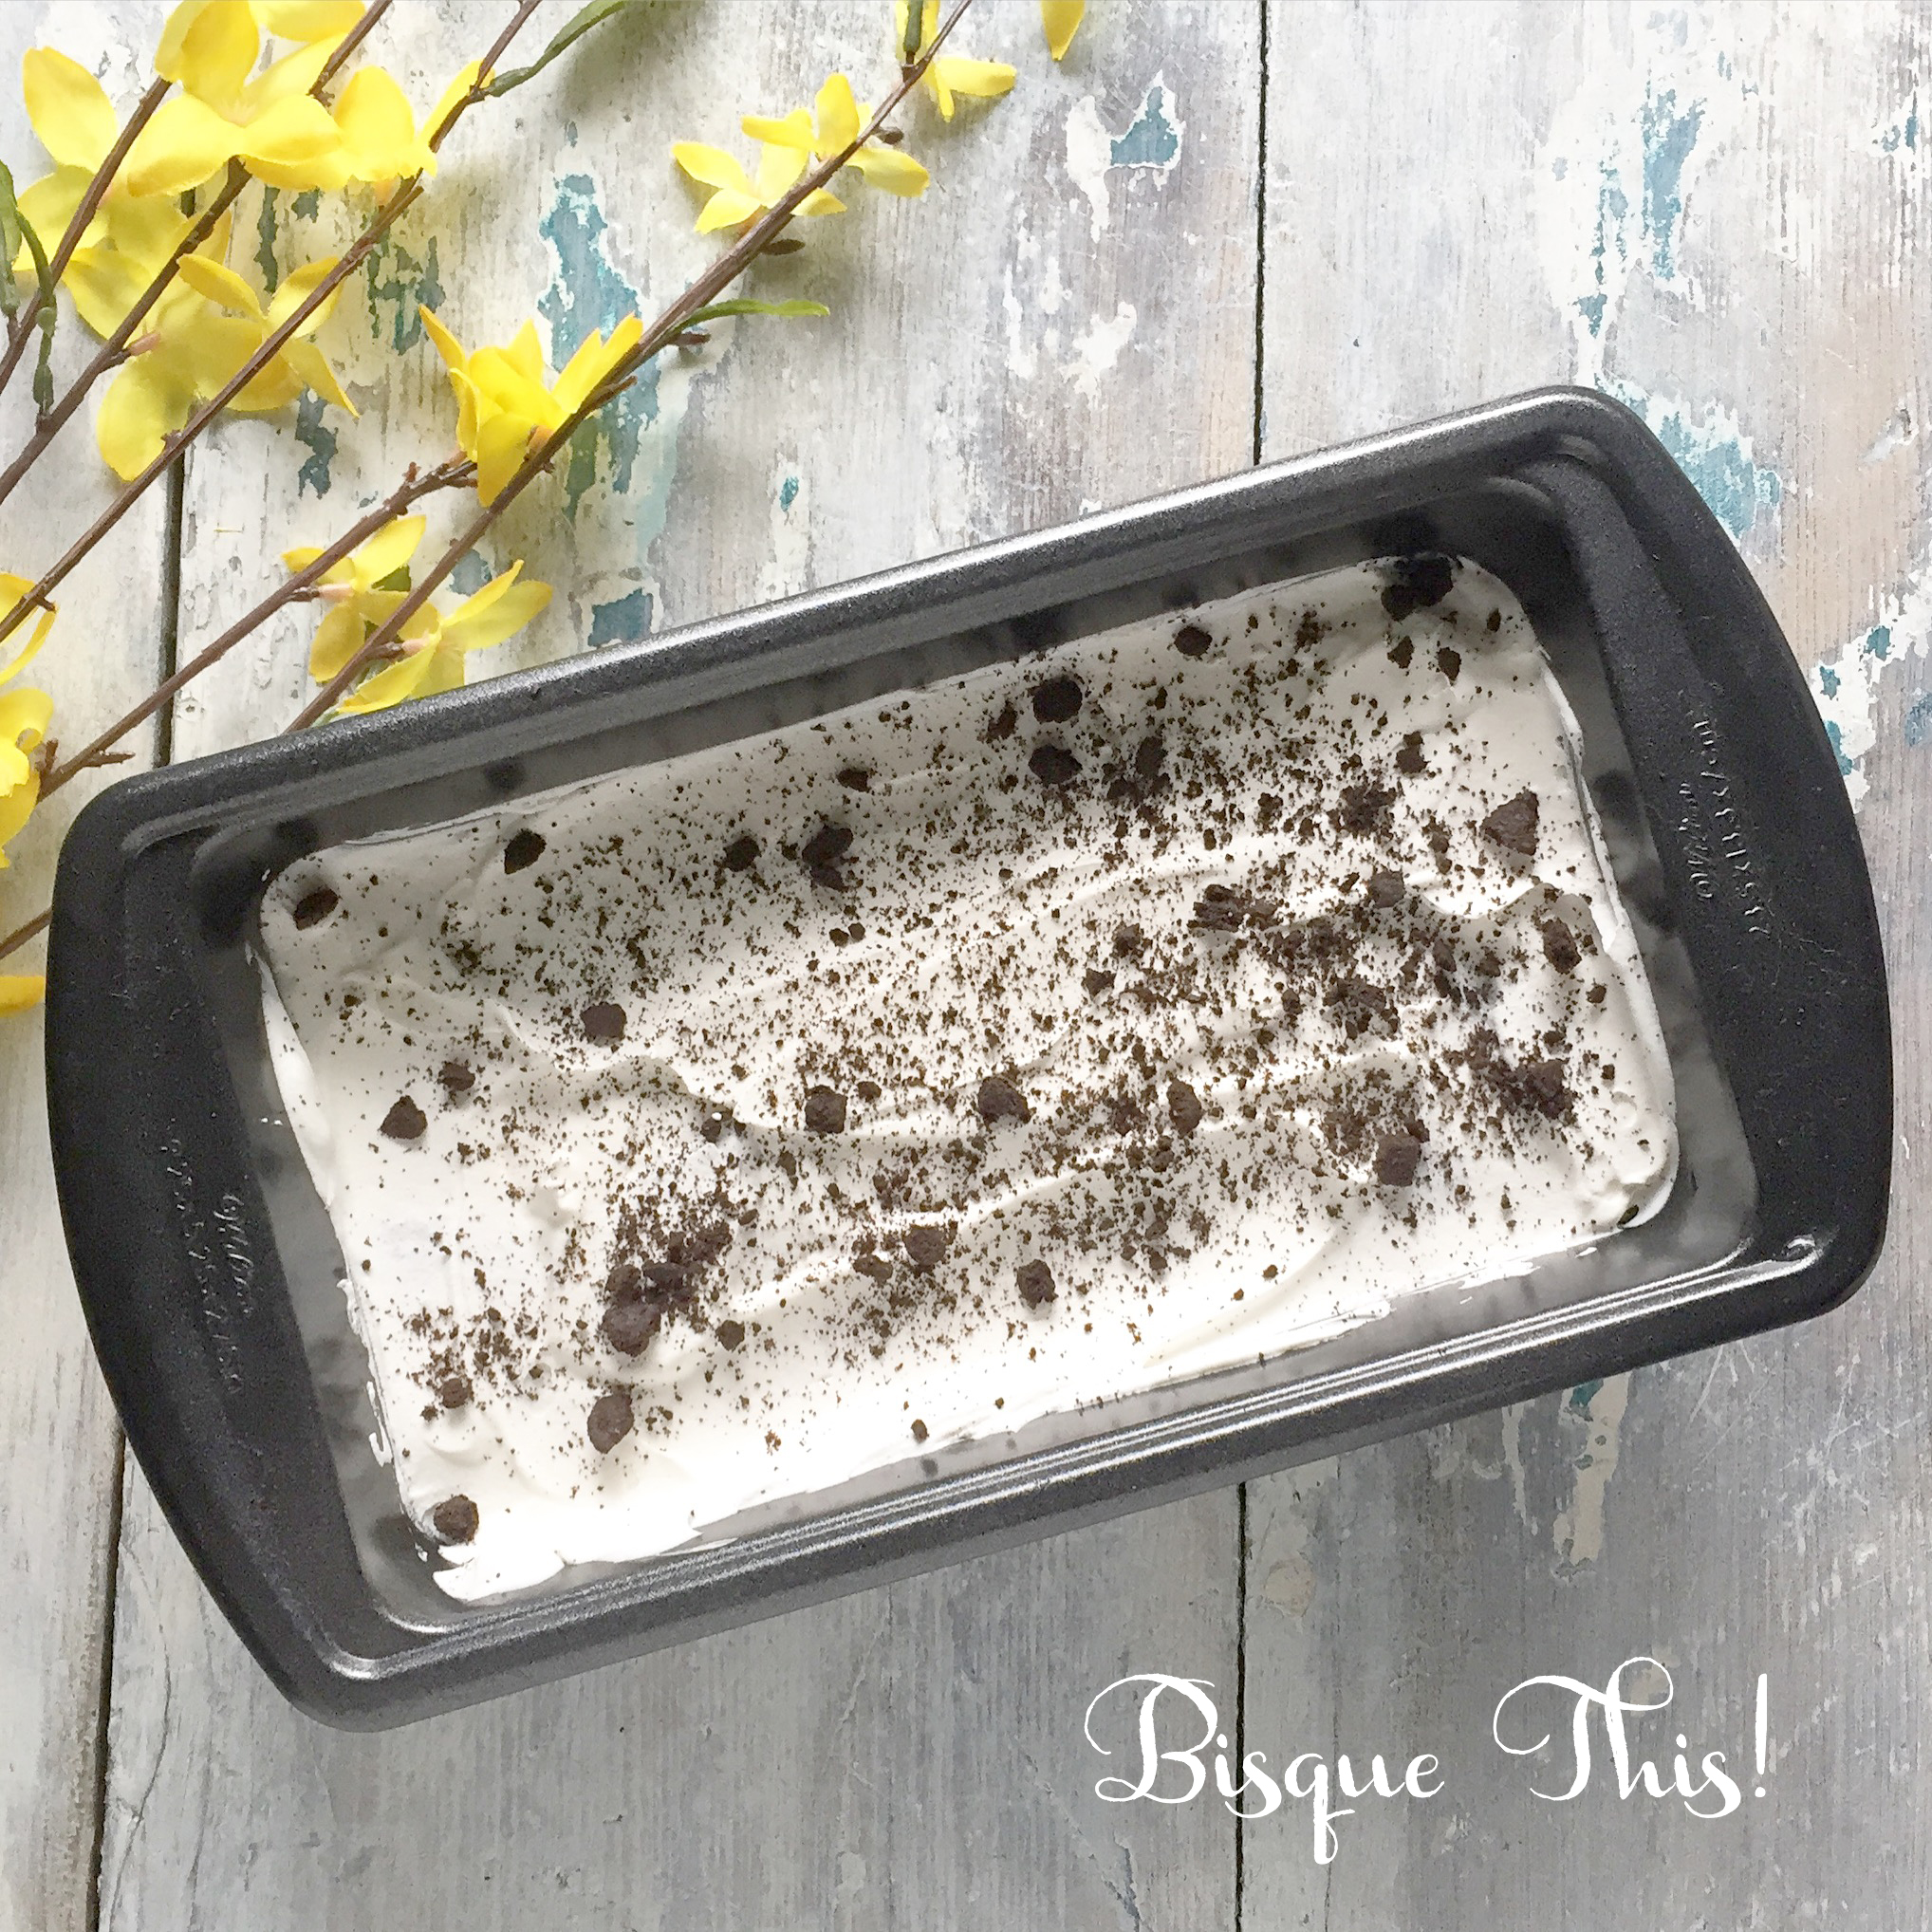
After mixing the melted butter with the cookies, spread the mixture into the jars and level.
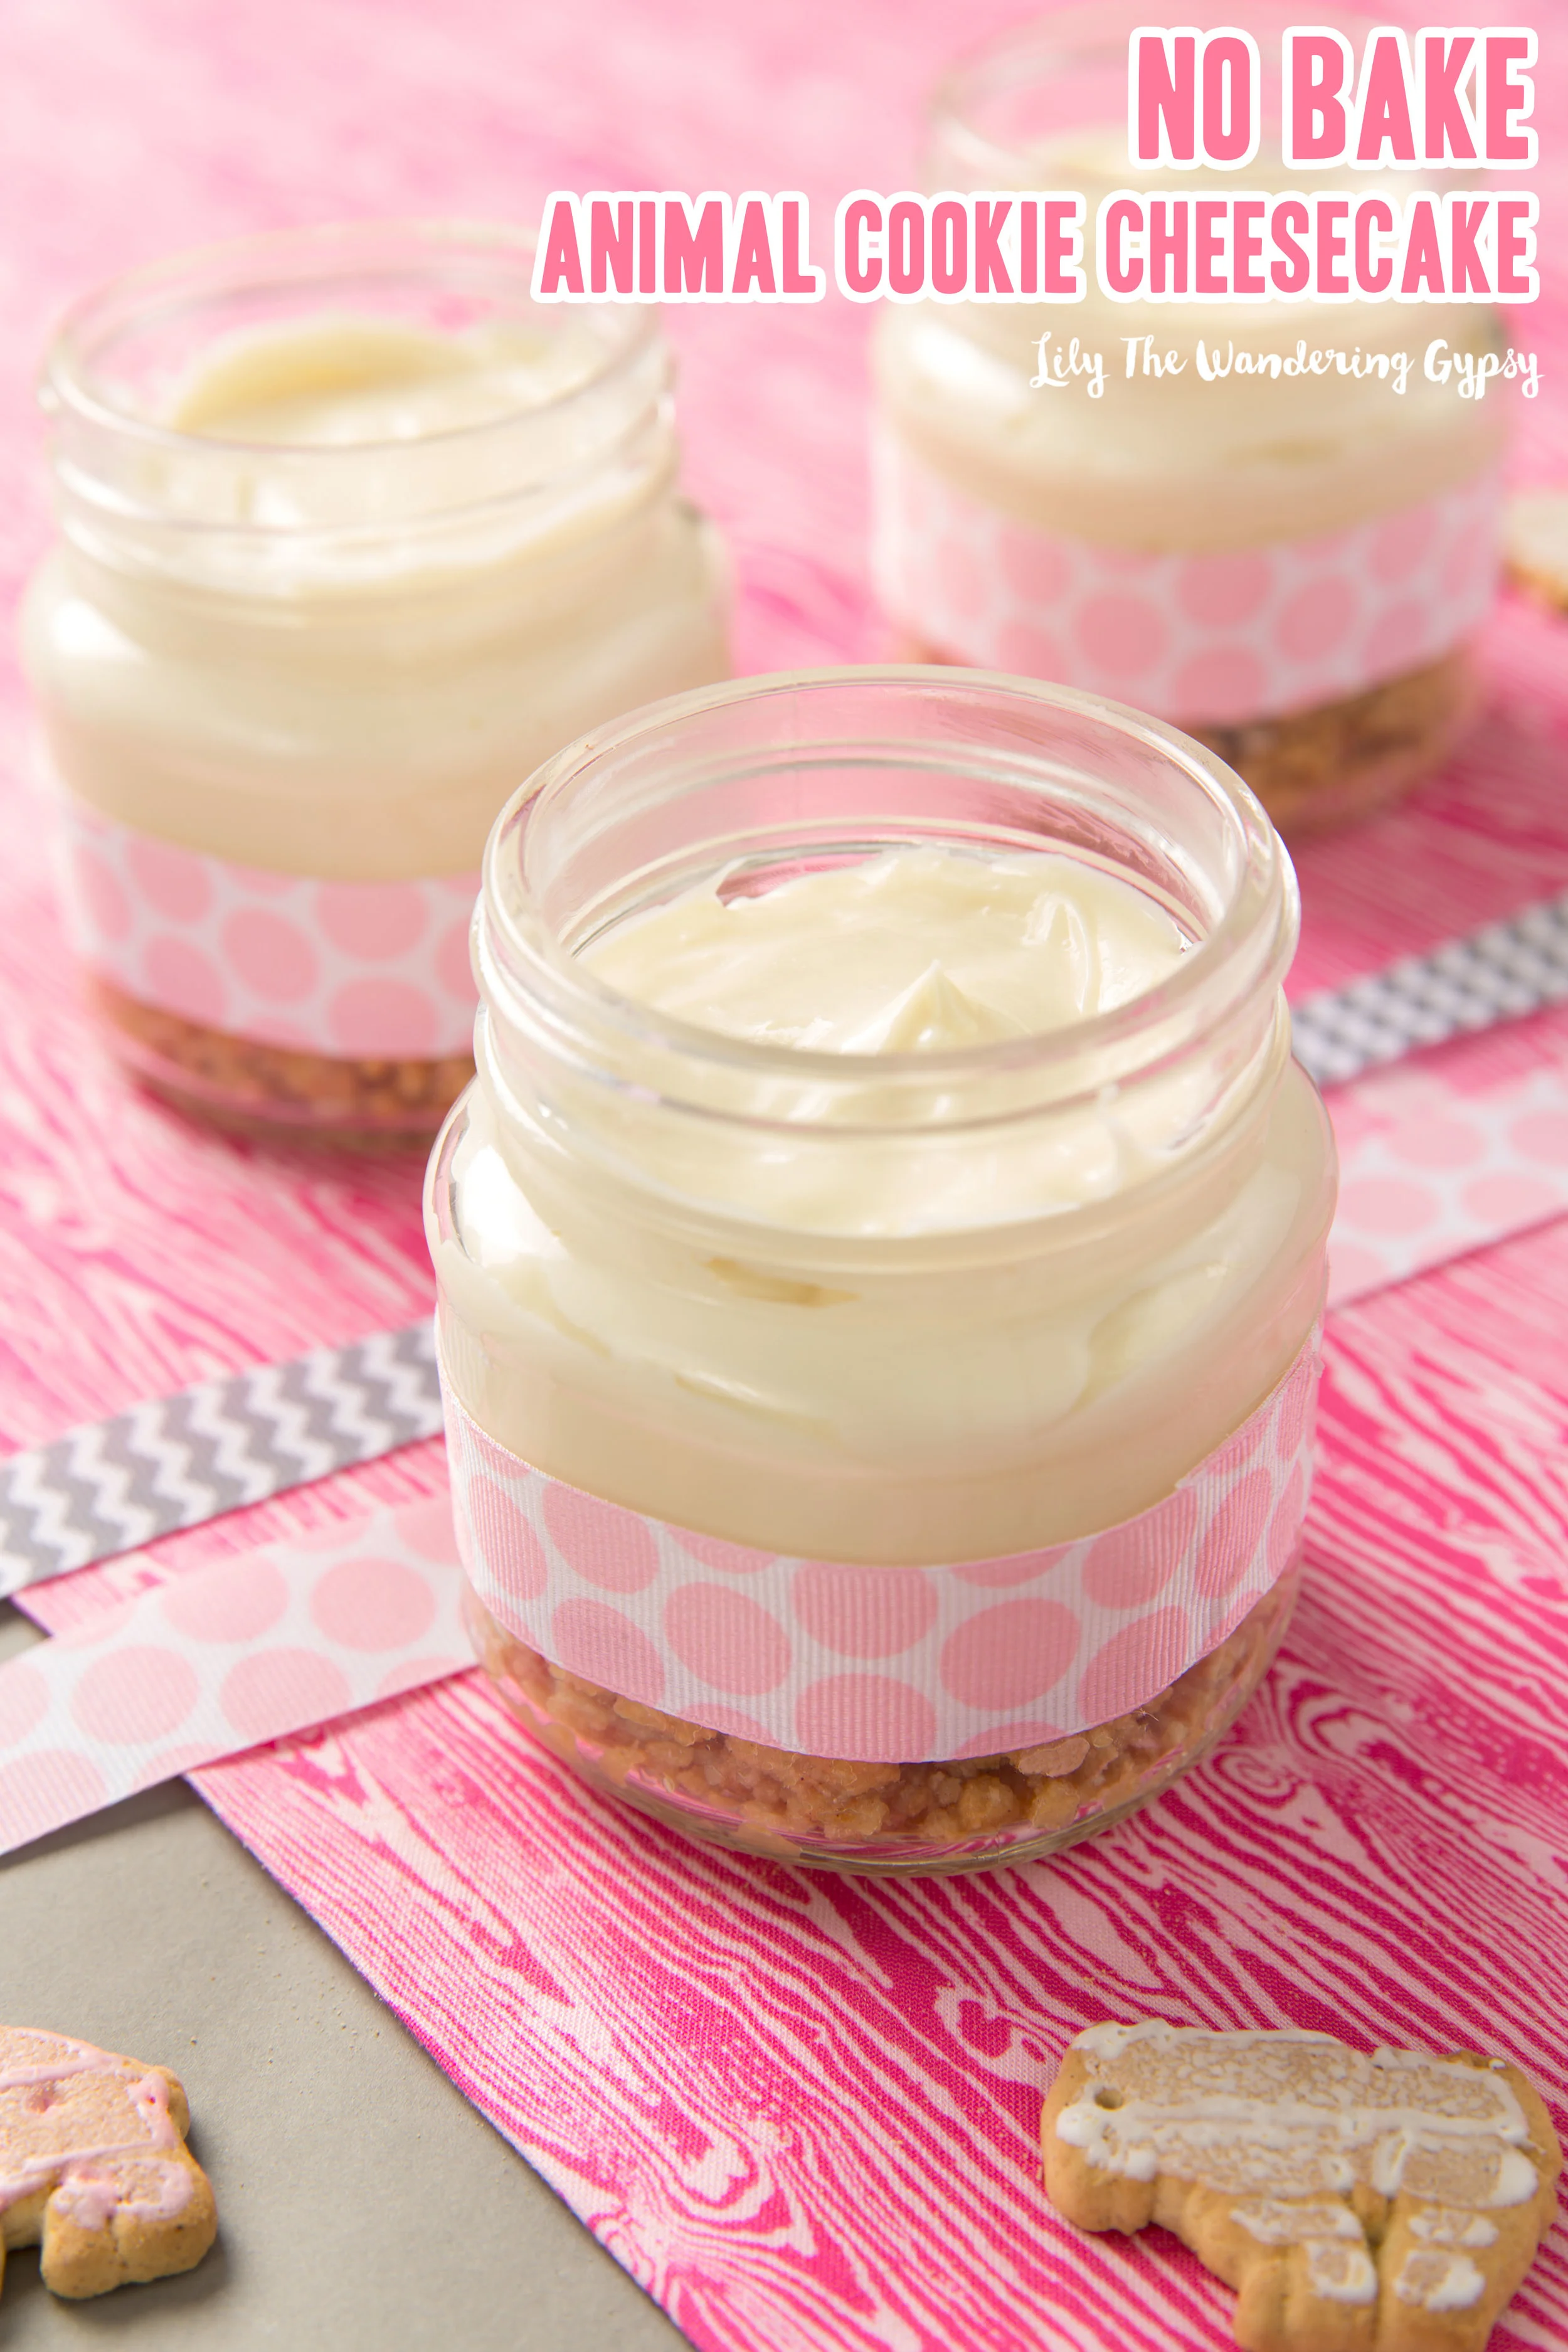
Mix up your filling and carefully spoon the filling into each jar.
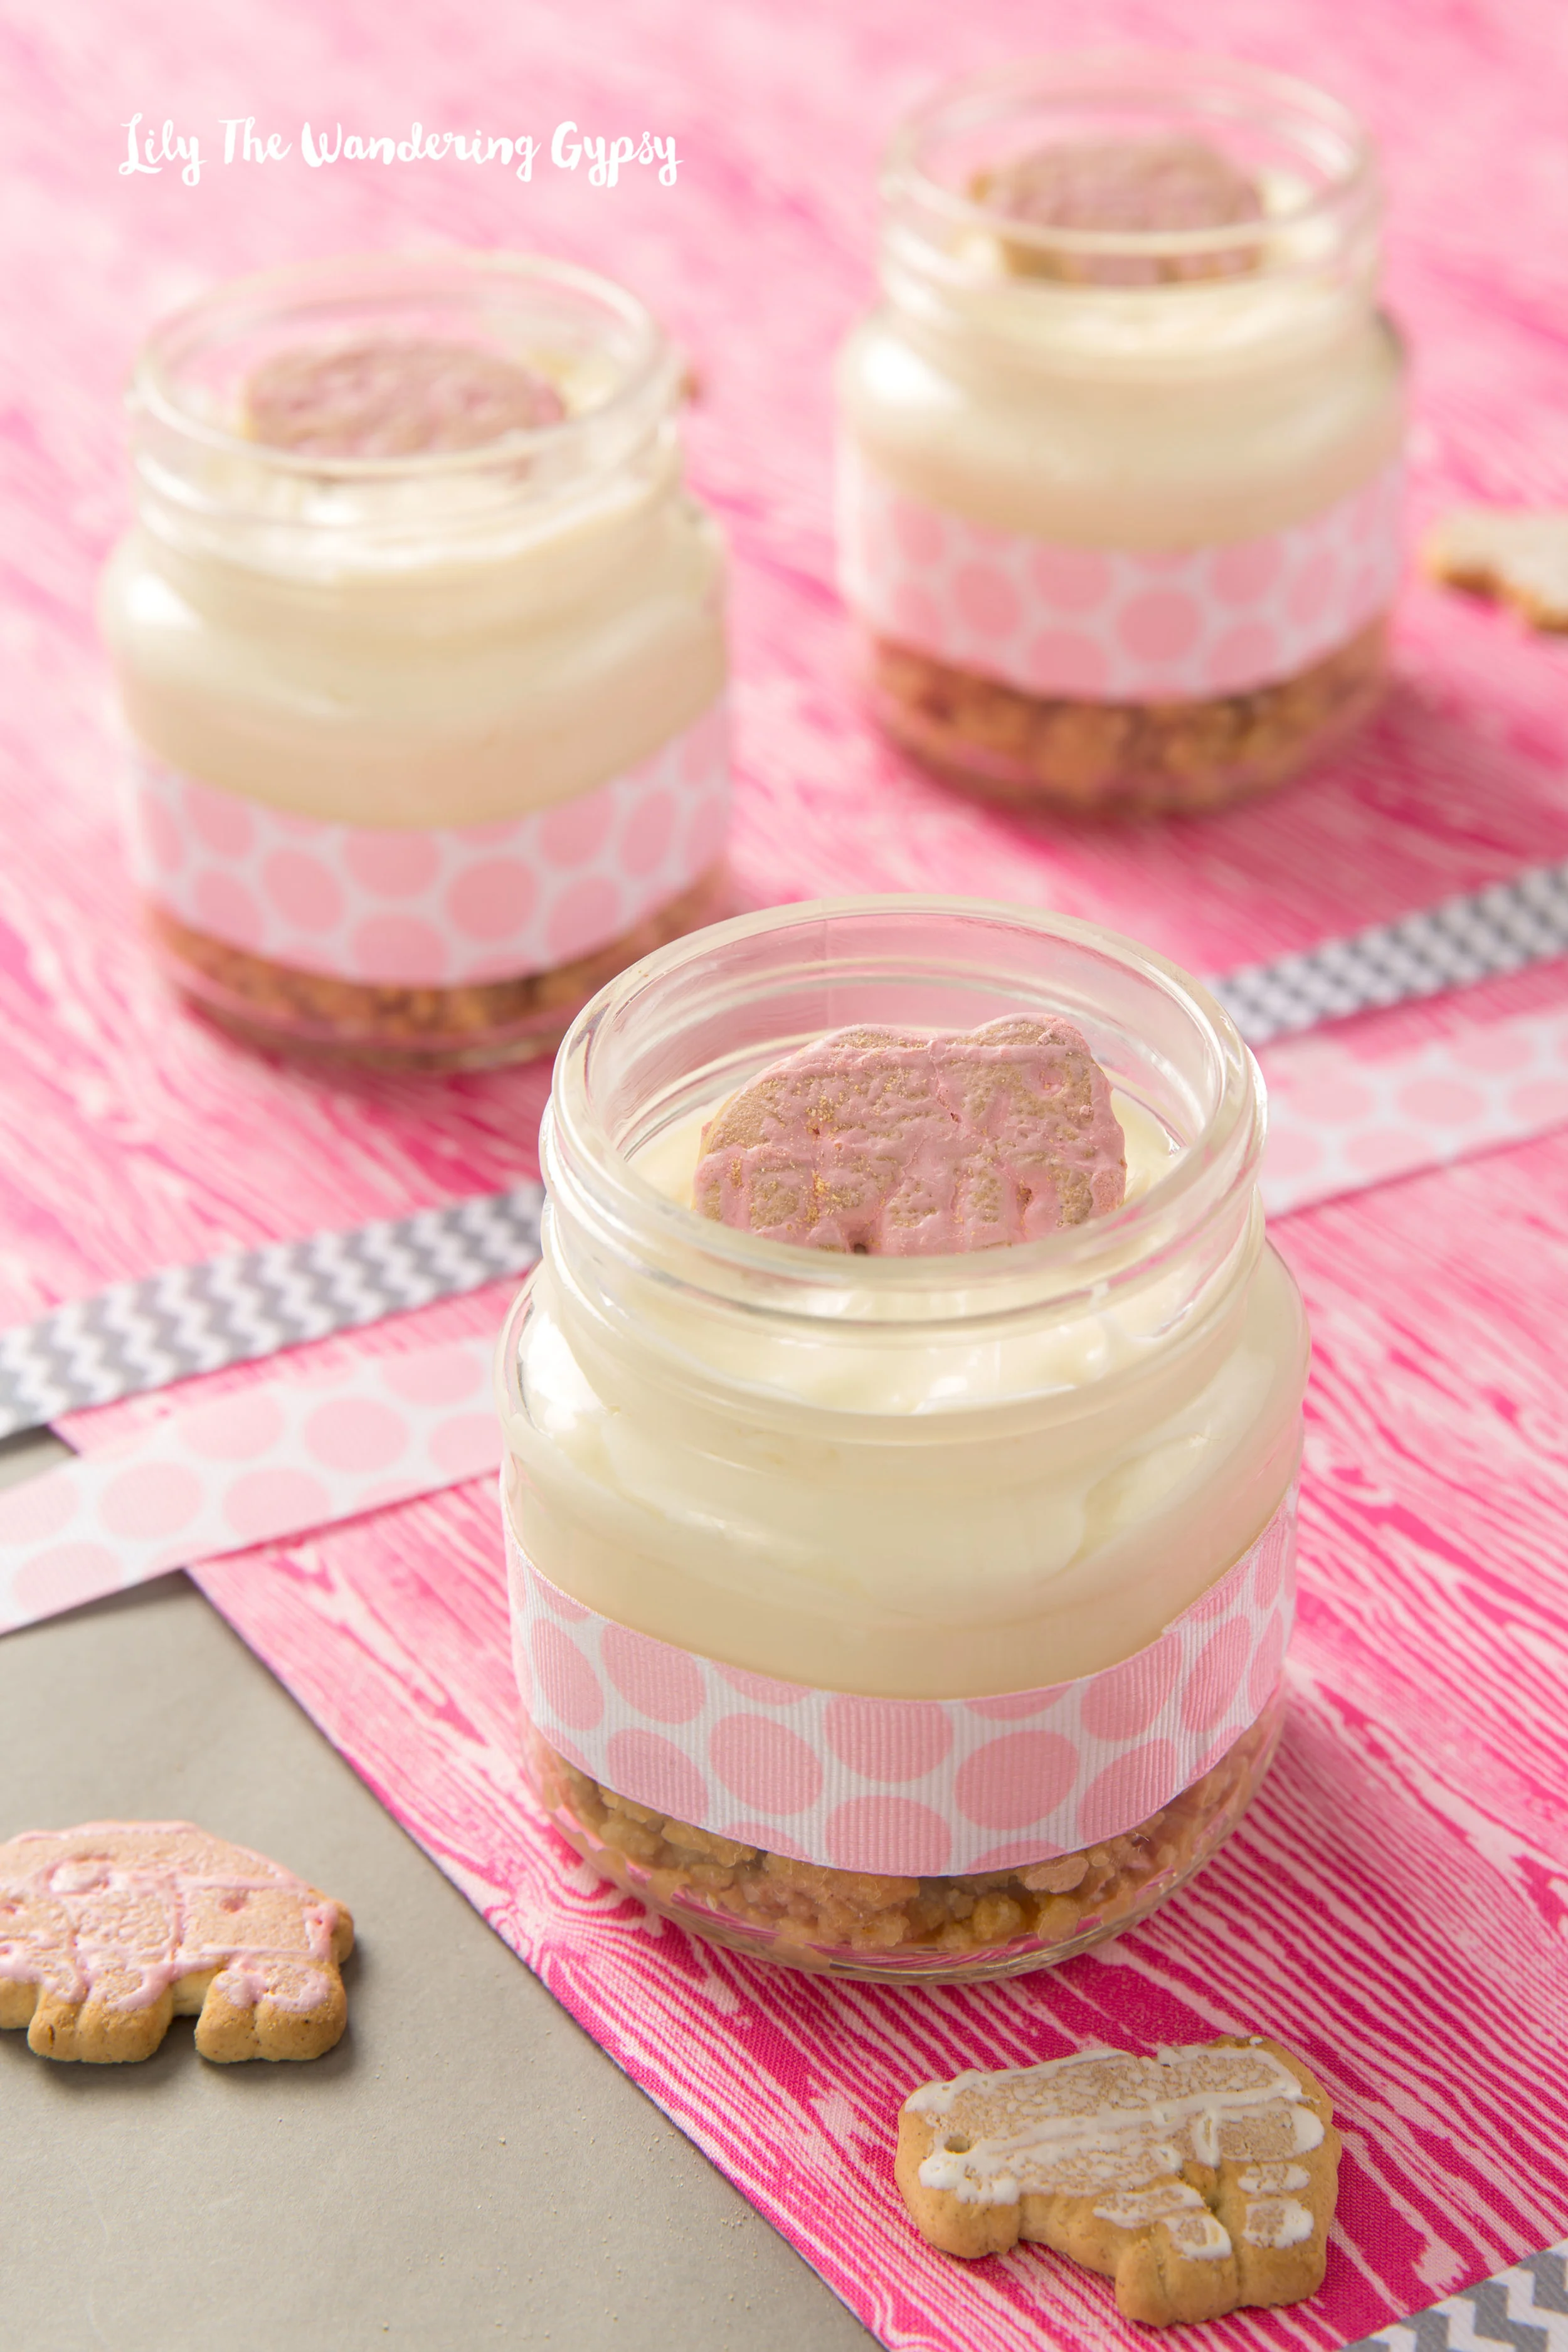
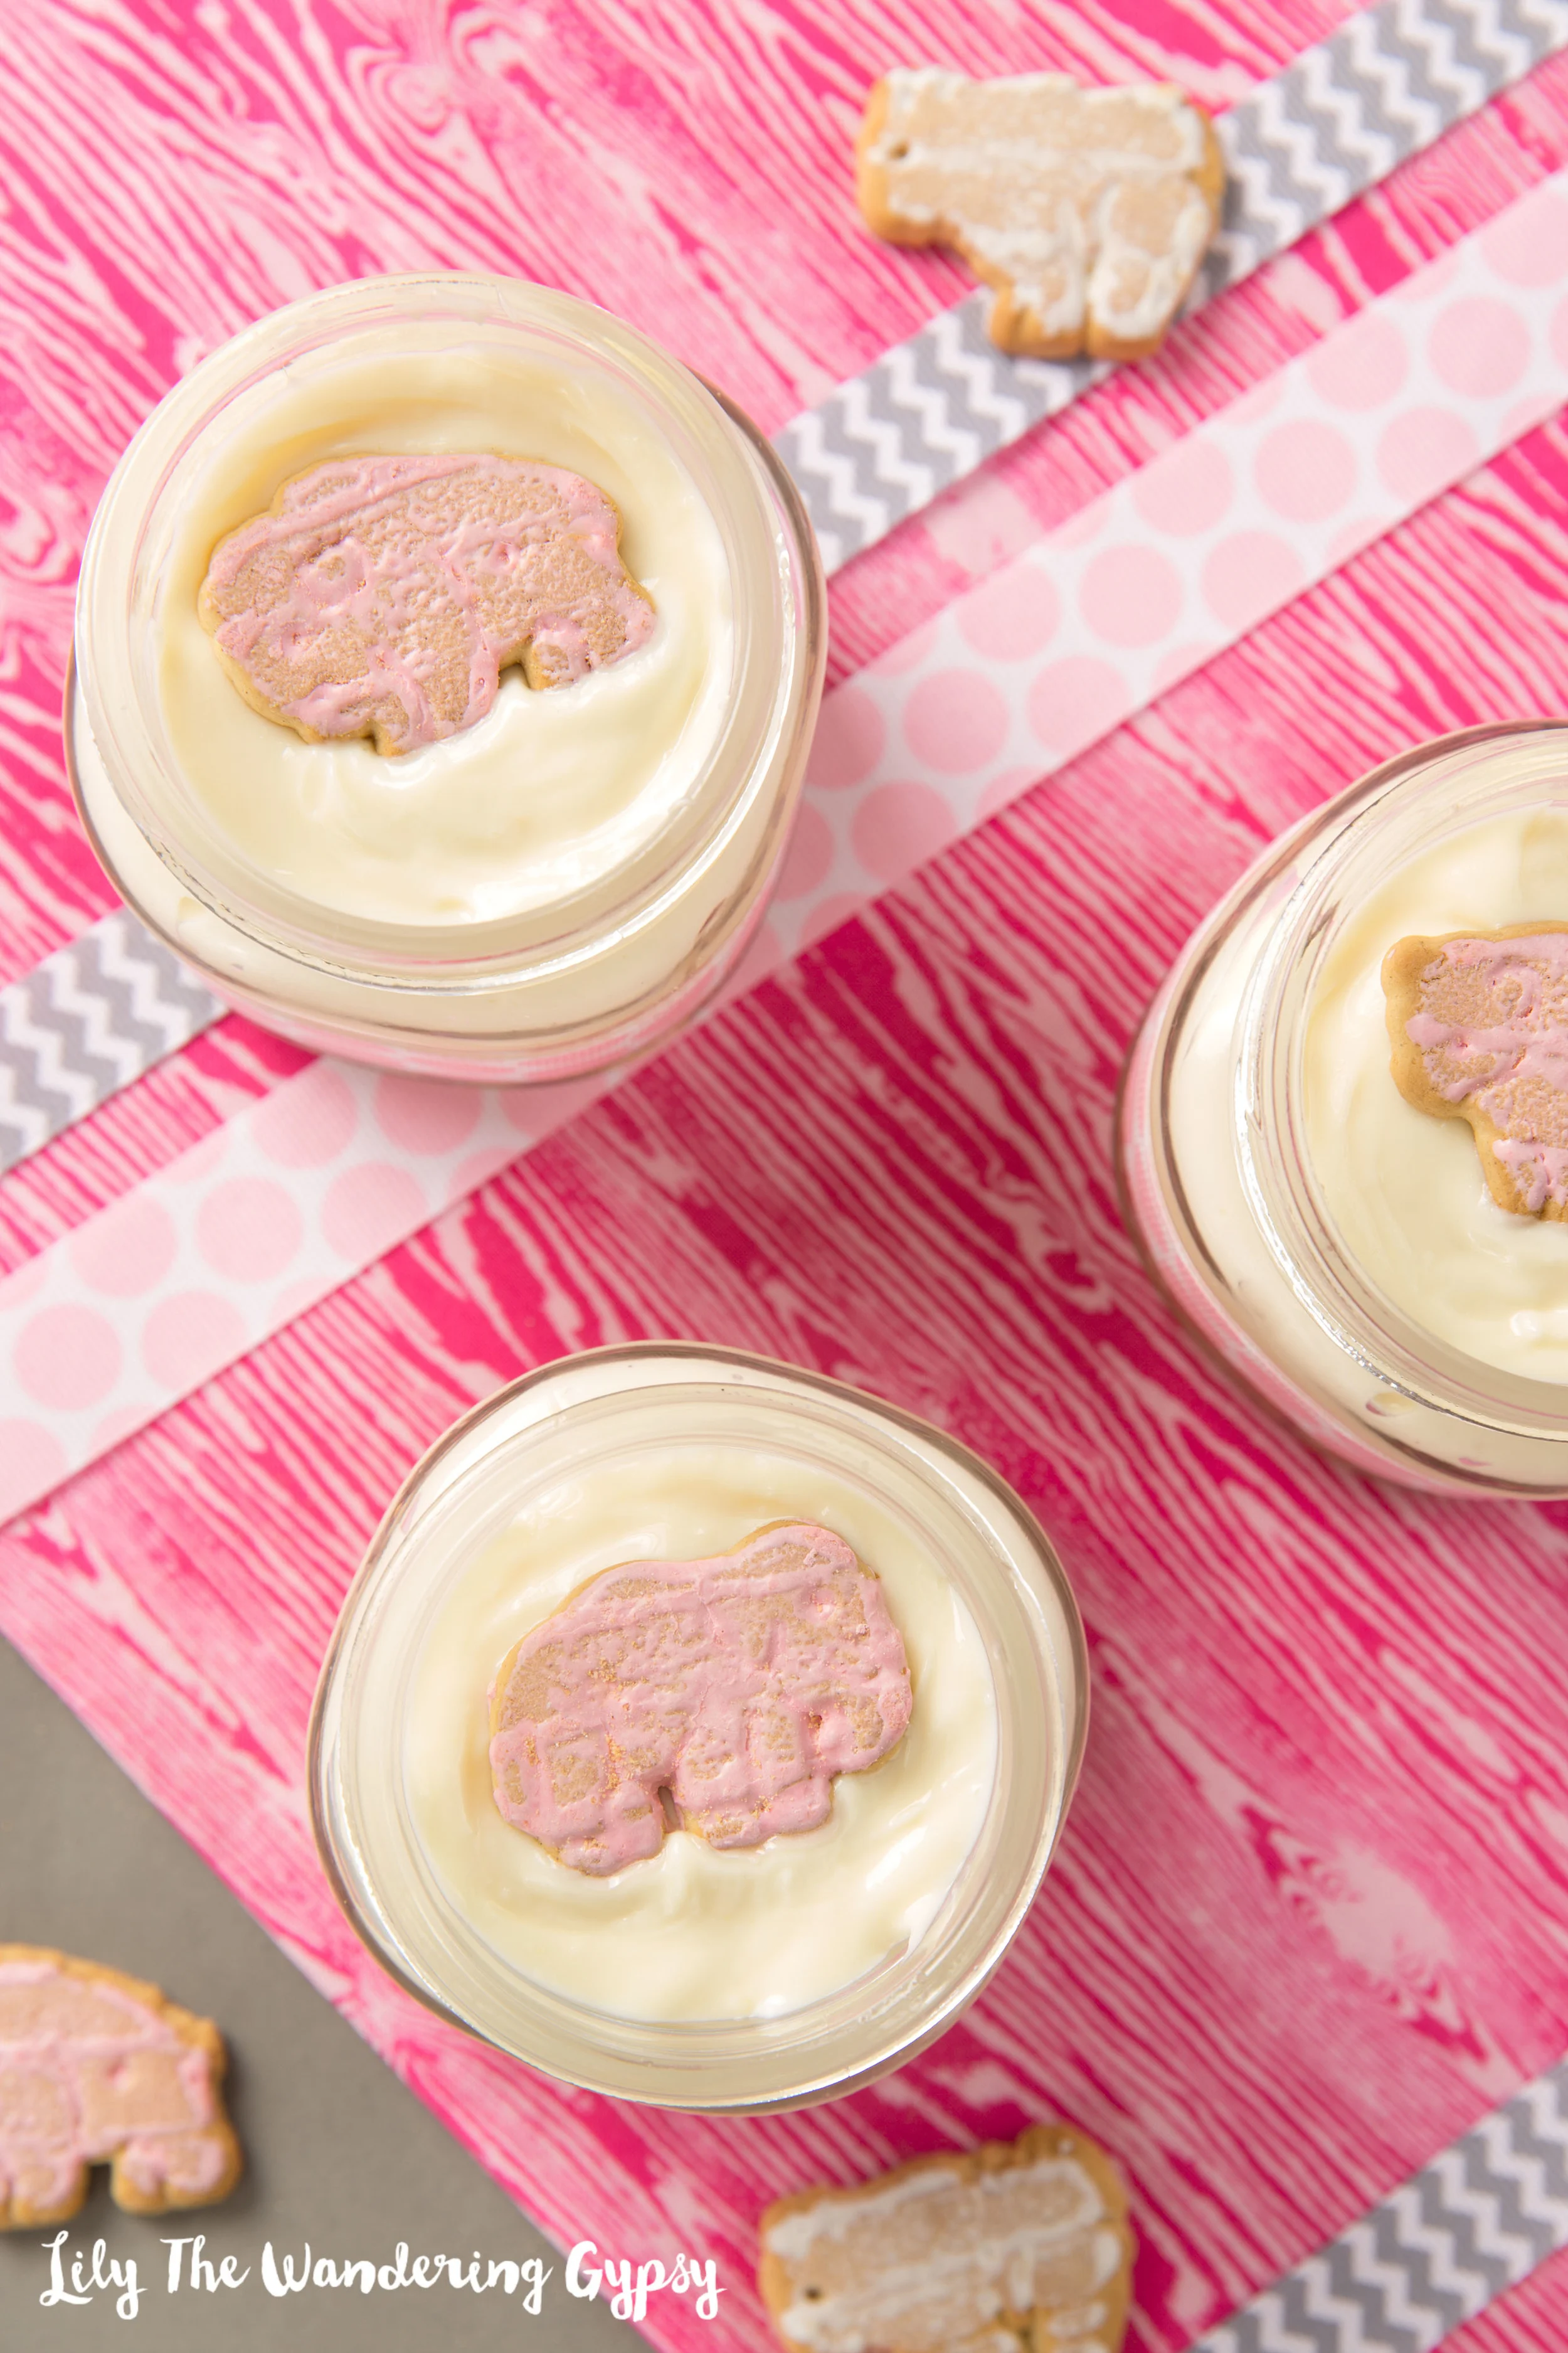
I added a cookie to the top of each one, they're adorable!
DIRECTIONS
1. Attach ribbon to outside of jars with hot glue
2. Place animal cookies into food processor and process until they are fine crumbs
3. Pour crumbs into a medium bowl; stir in sugar. Add melted butter, and stir until well combined.
4. Place a few spoonfulls of crumb mixture into each jar, pat down with spoon, and let chill in freezer while you make the filling.
5. For the filling: Using an electric mixer set at medium-high speed, beat the cream cheese in a large bowl until smooth. Beat in the condensed milk a little at a time, scraping the sides of the bowl as necessary. Beat in the lemon juice and vanilla.
6. Remove jars from freezer, and fill almost to the top with filling. Smooth out tops for best look. Top with one animal cookie each! Chill and serve!
For this recipe, I adapted the Martha Stewart Recipe, found here.