
Check out a list of all of my Winter and Christmas-themed DIY projects and recipes. Happy Holidays!
Read MoreDIY Summer Clutch Purse - 20 Minutes Or Less "Give Extra, Get Extra"
I have an absolutely incredible DIY project for you today! Here is a fun way to spruce up your summer wardrobe. This shop has been compensated by CollectiveBias, Inc. on behalf of its advertiser. All opinions and ideas are my own. #GIVEEXTRAGETEXTRA #Walgreens #CollectiveBias

I always have this problem - I have a great outfit picked out to wear to visit friends or family, and am happy with my jewelry, then I have NO purse to match my outfit! Sure, I have my every day purse, that would work, but I always want something a bit more suited for the occasion.
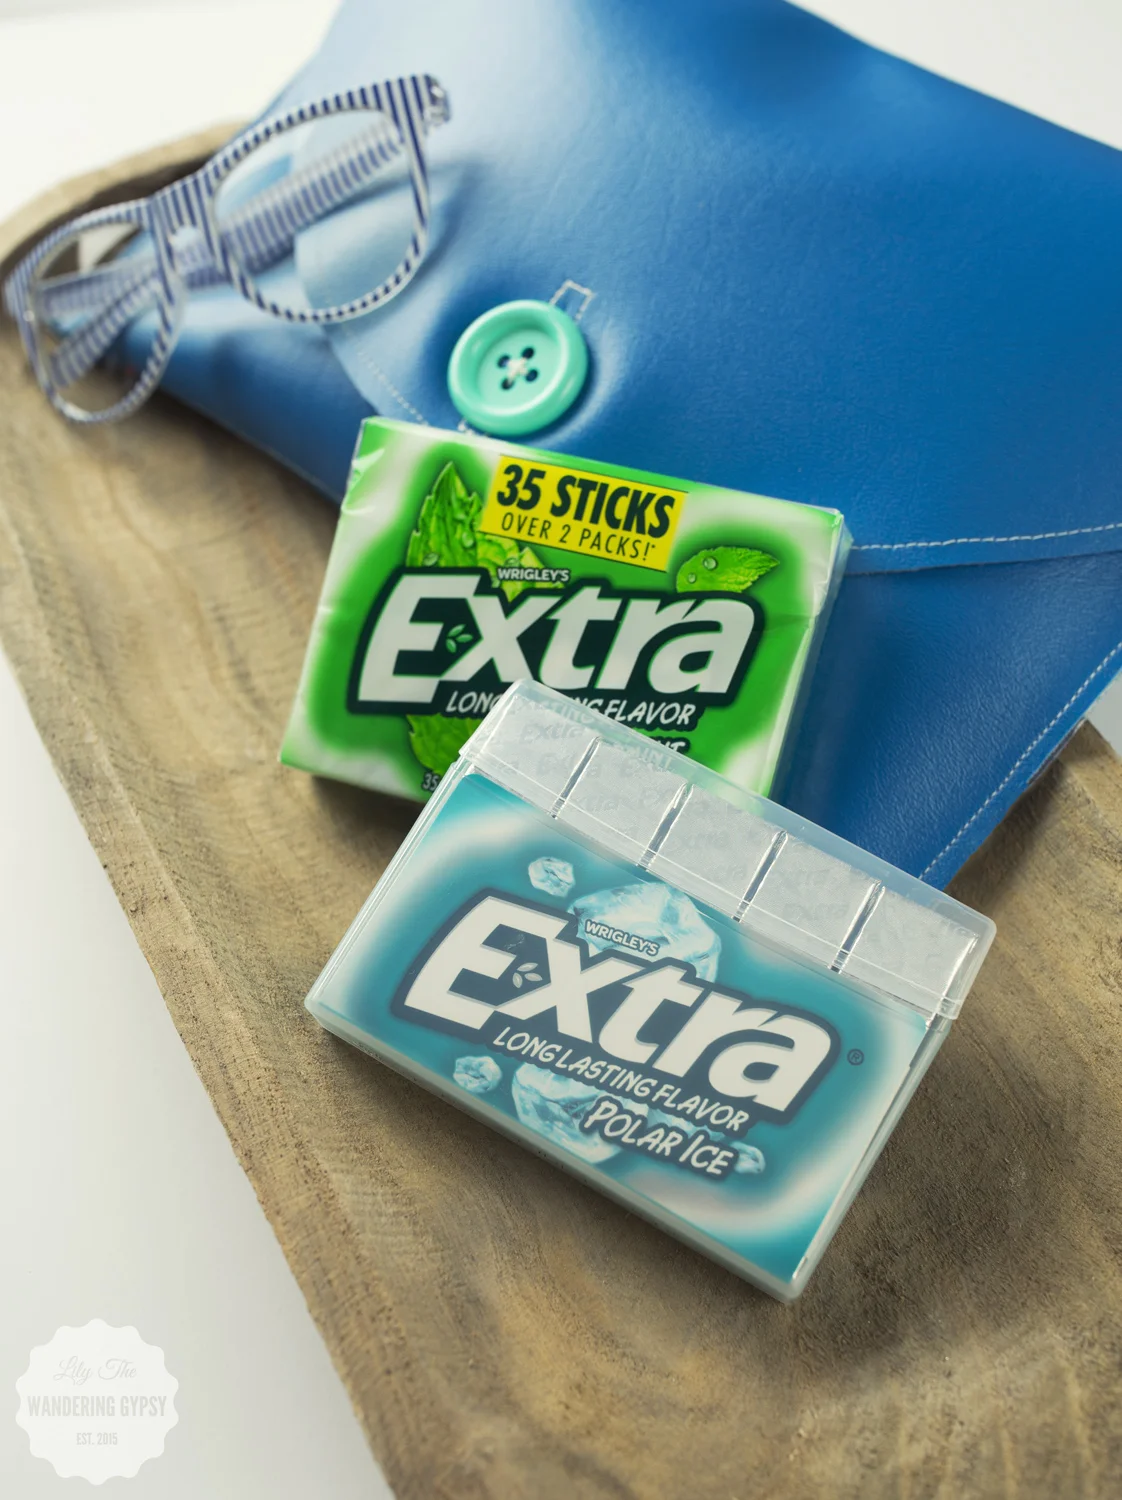
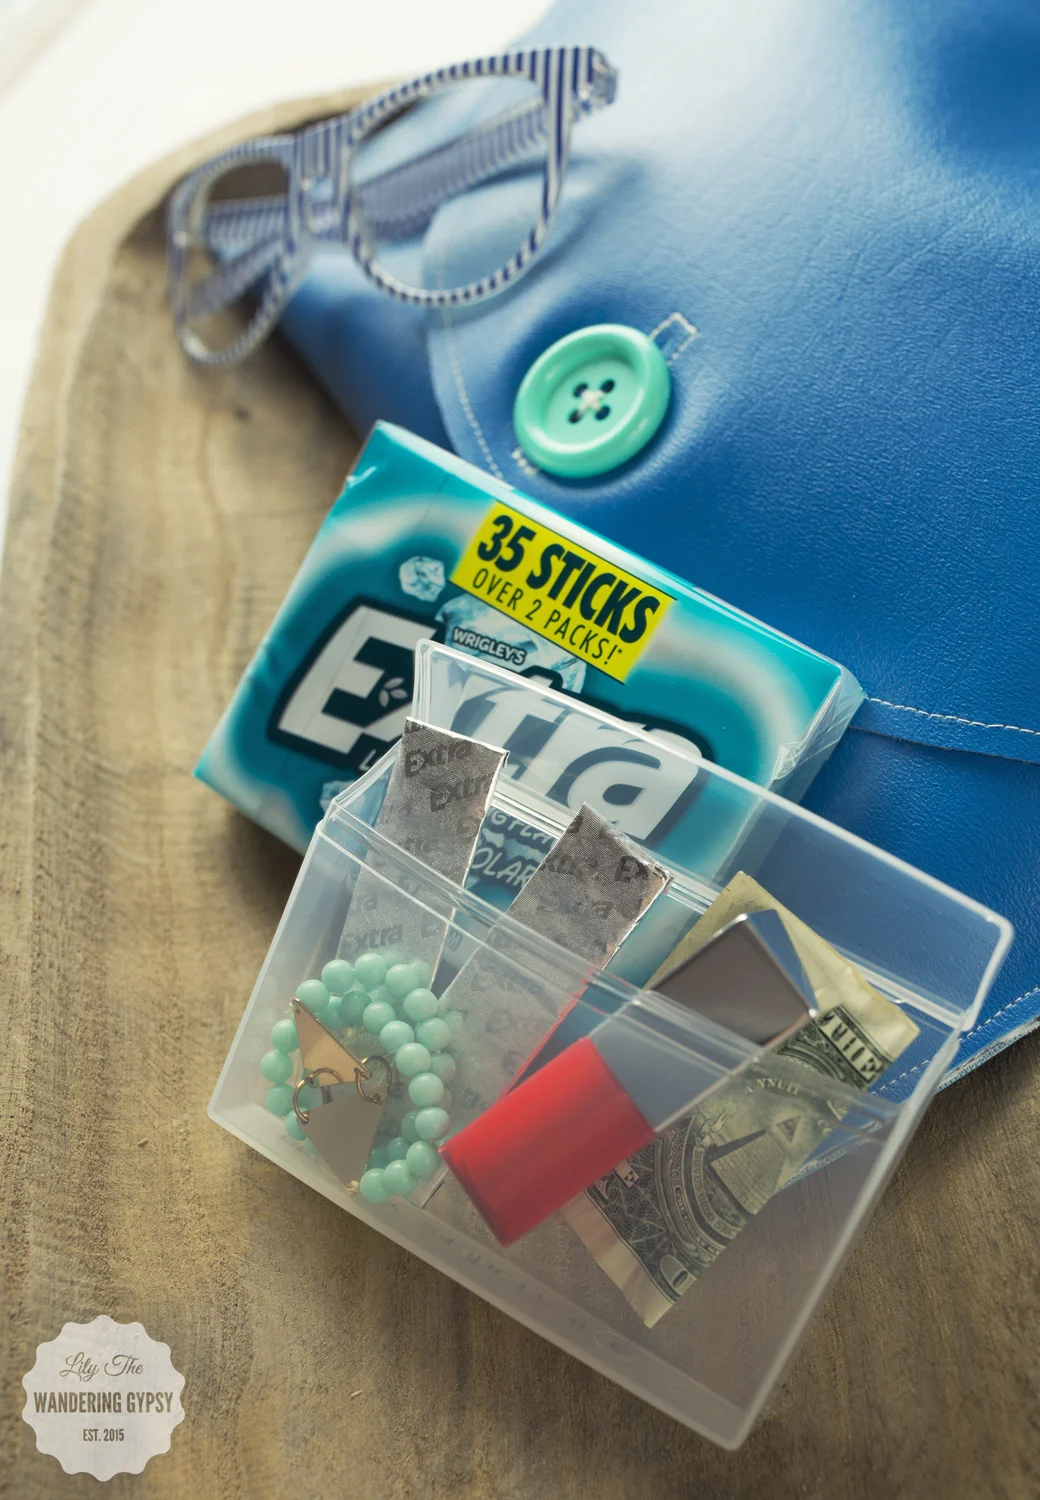
It's always a good idea to bring along a pack of gum with you for a night out, so your breath is fresh! Fun Fact - these new Extra® 35-stick packs have lots of gum to supply your friends as well. You never know what conversation or new friend you could make by sharing a stick of gum with someone!! By simply giving Extra, you may get Extra!
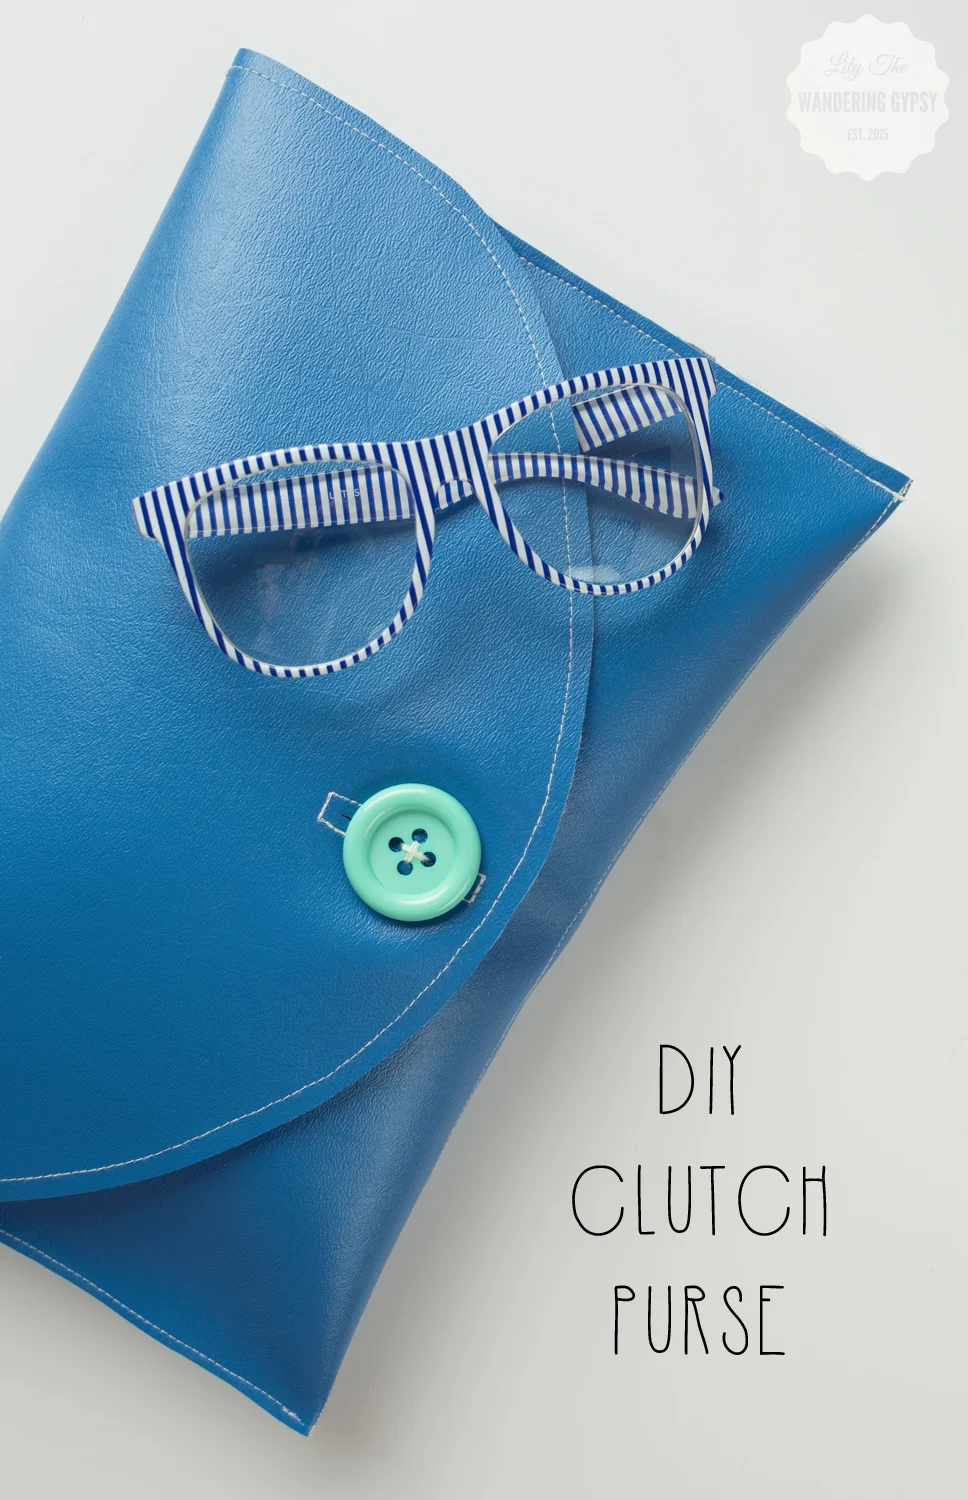
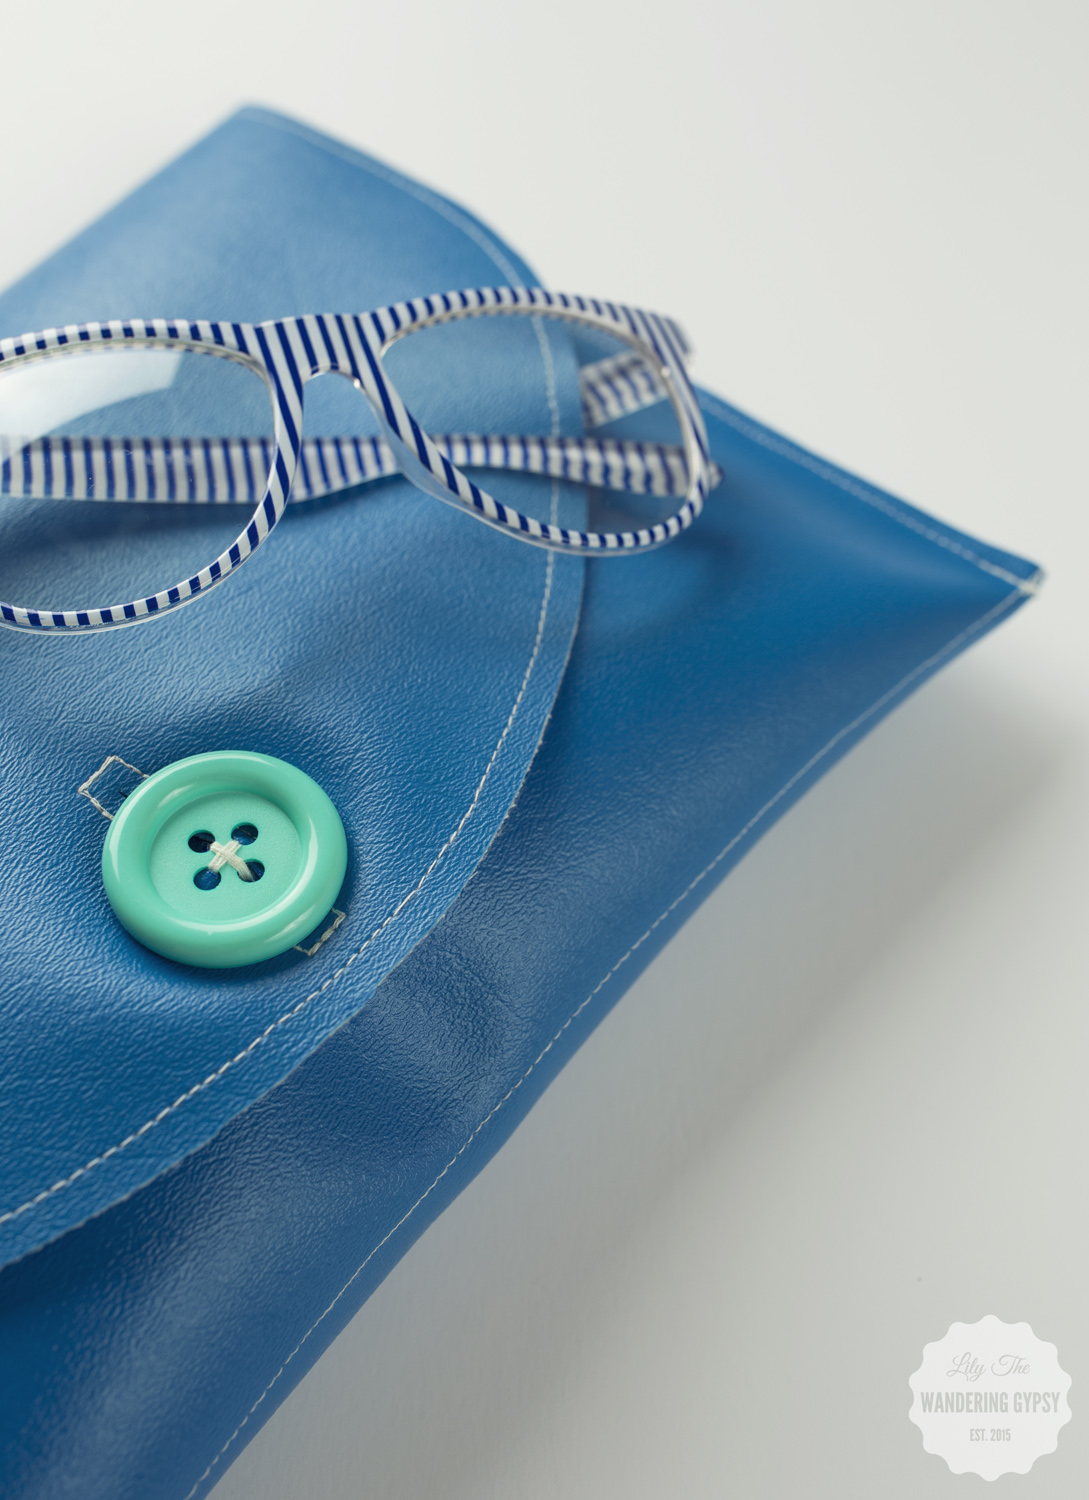
So, here is one way to solve the problem. Sew yourself a quick and easy clutch purse, that takes less than 20 minutes! If you have never, ever sewn before, it could of course take you a tiny bit longer. But, I am very happy with how quickly this project came together!
The Flavors Featured In This Post Include:
Extra® Gum Spearmint
Extra® Gum Polar Ice®

MATERIALS:
- 1/3 yard of vinyl (found in the home decor area of the JoAnn's)
- 1/3 yard of flannel or felt
- Scissors
- 2 small binder clips
- Sewing Machine with Needle and Thread
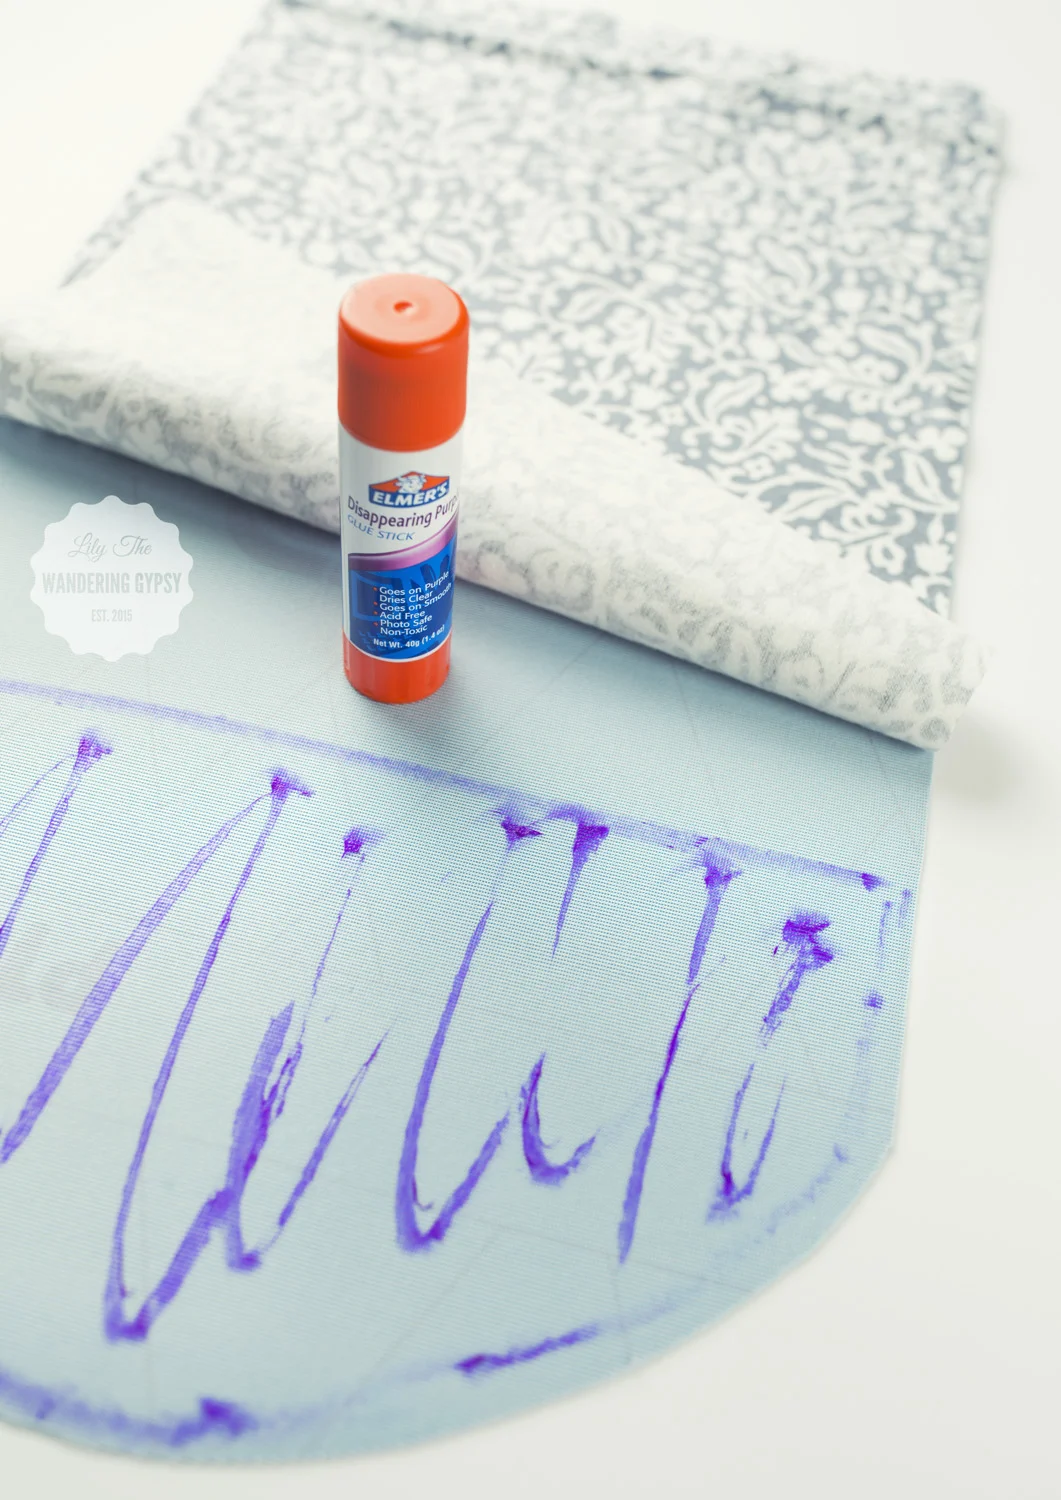
- Glue Stick
- Hand Sewing Needle and Thread
- Button For Closure
INSTRUCTIONS:
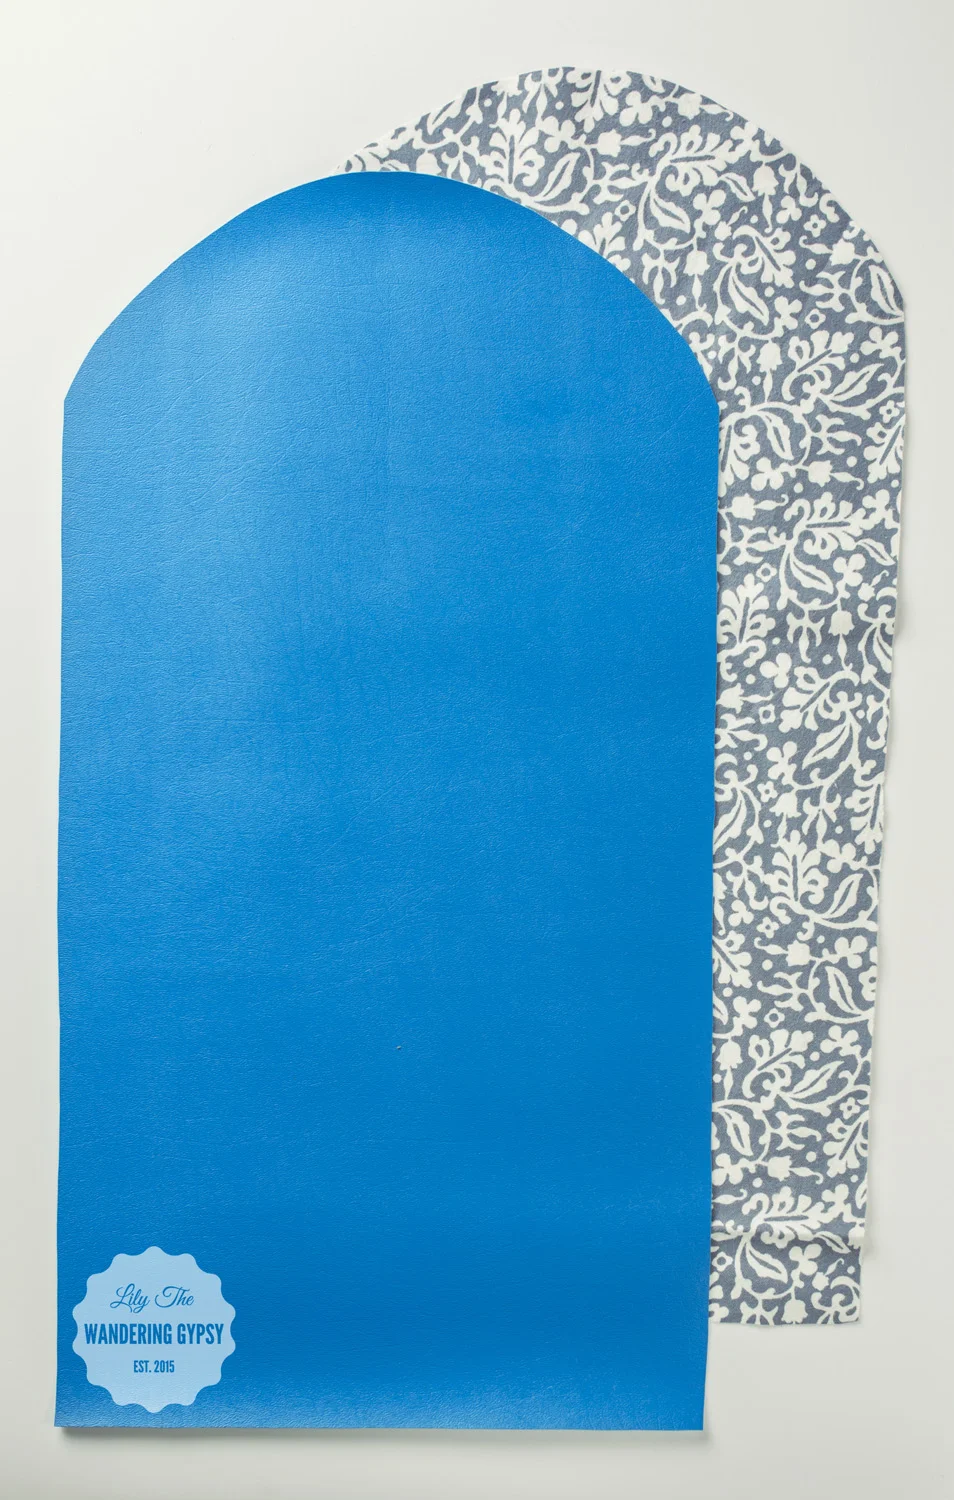
1.) Cut 1 piece of vinyl and 1 piece of flannel.
* Each piece should be roughly 12" across, and 30" tall.
* To round the top pieces, I folded them each in half lengthwise, and created a rounded edge.
2.) Using a glue stick, carefully glue both pieces together so they line up as well as possible.
3.) Measure roughly 10" from the straight edge of the pieces, and sew a straight line across, to create a crease, where the bottom of the clutch will fold up.
4.) Fold up the flat edge to create an envelope shape, and sew all the way around the outside edges of the materials. I keep the edge of the presser foot right against the right edge of the fabrics. Double stitch where the pieces meet, see below.
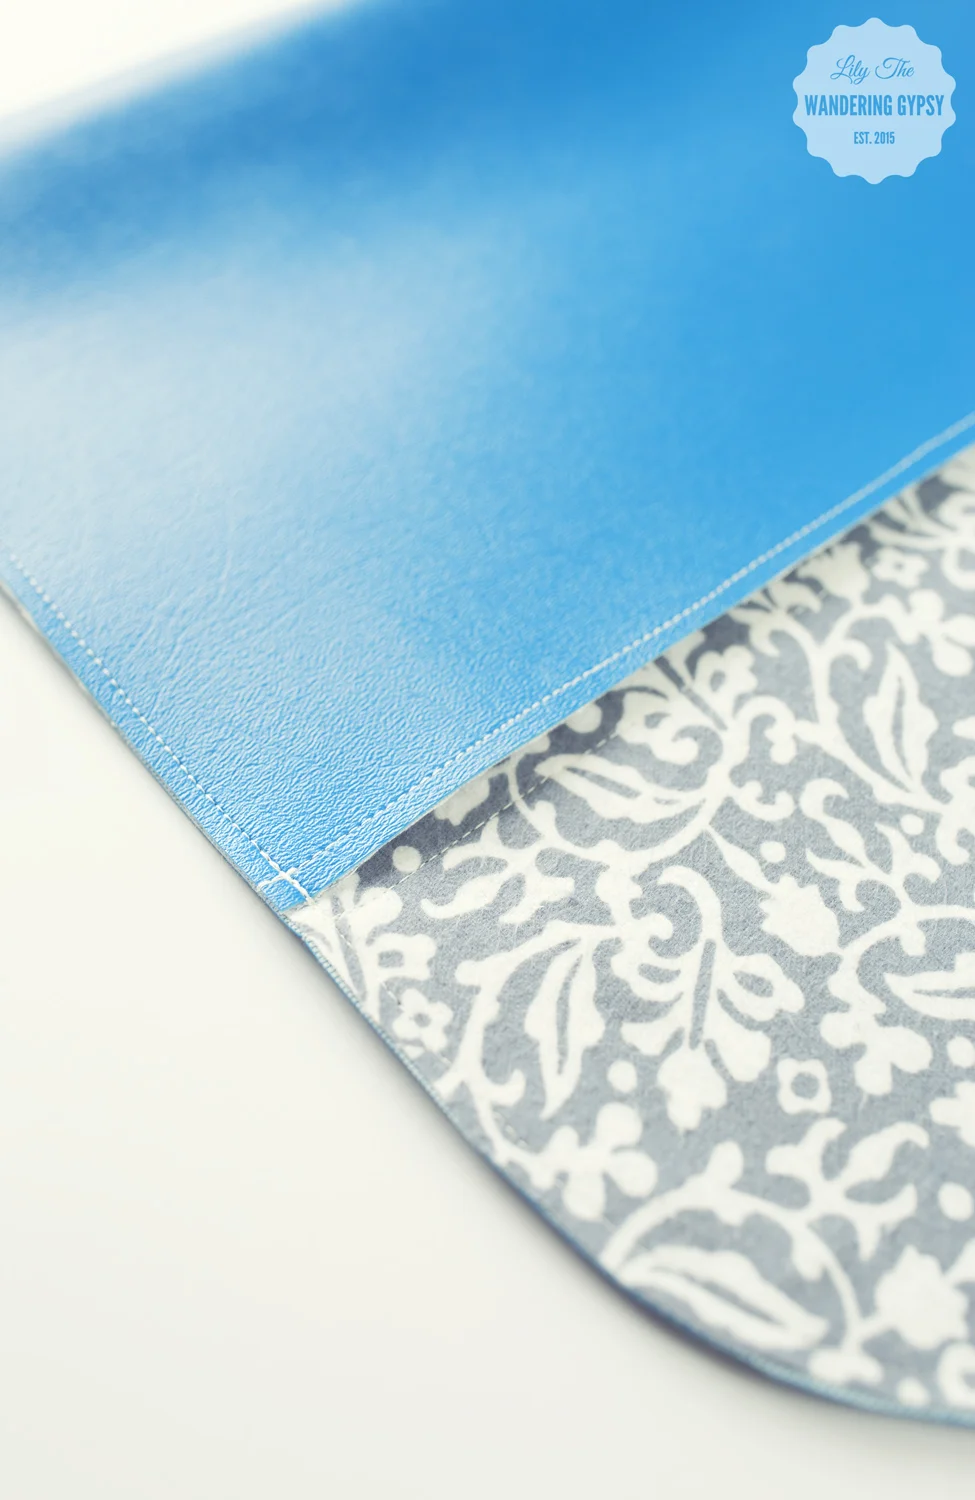
5.) Sew along the open edge of the clutch to add yet another crease, on the flap part of the material.
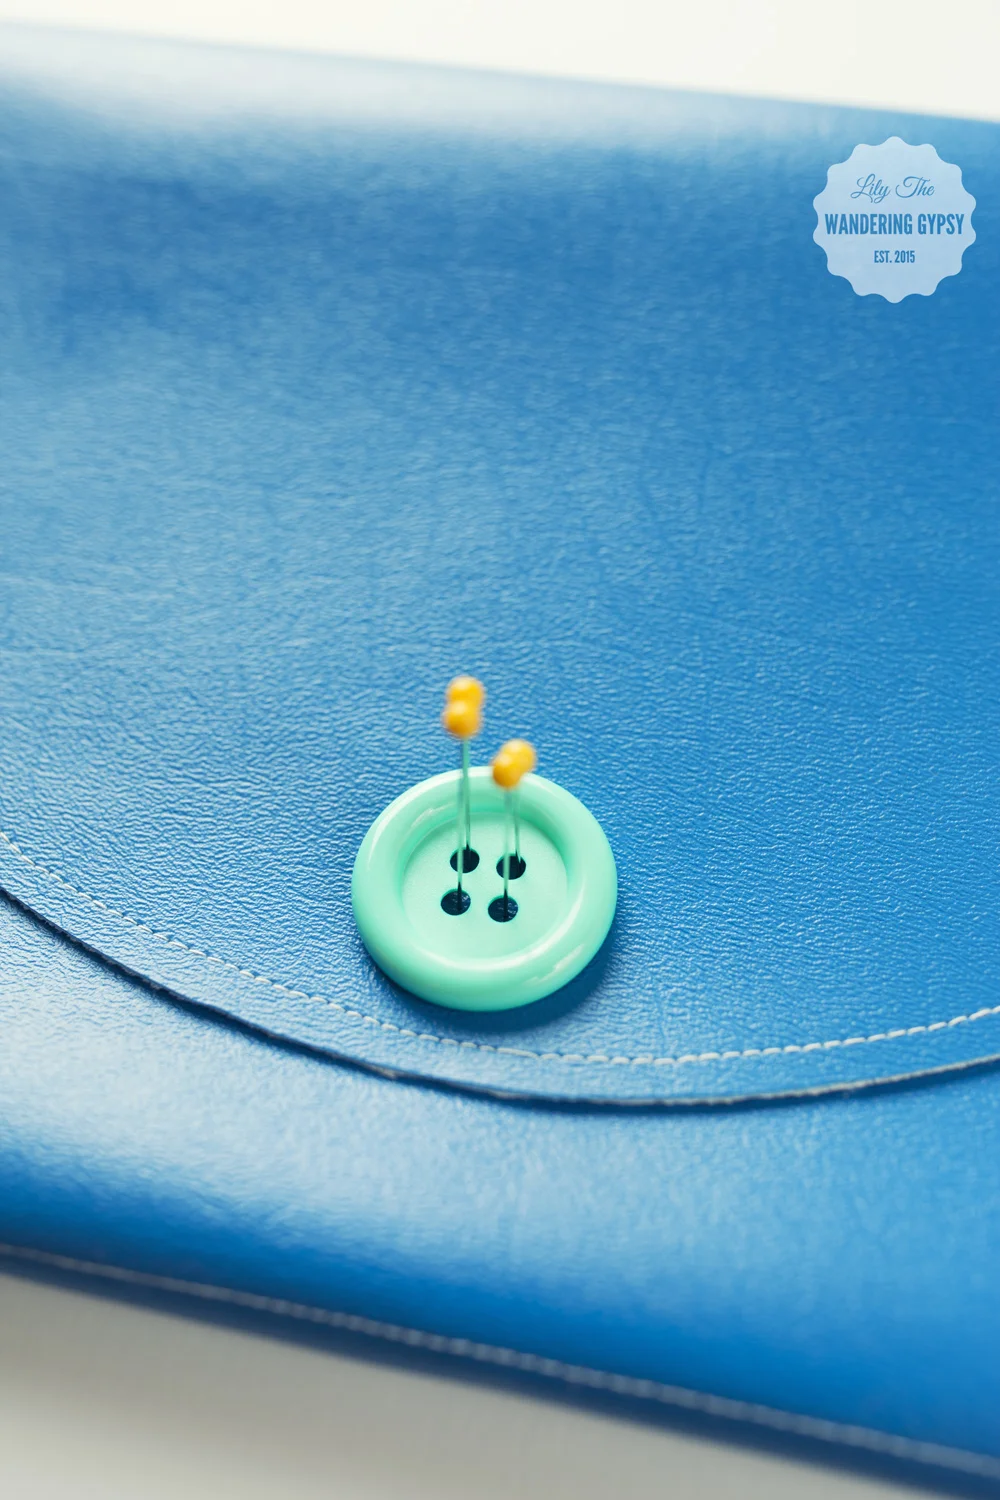
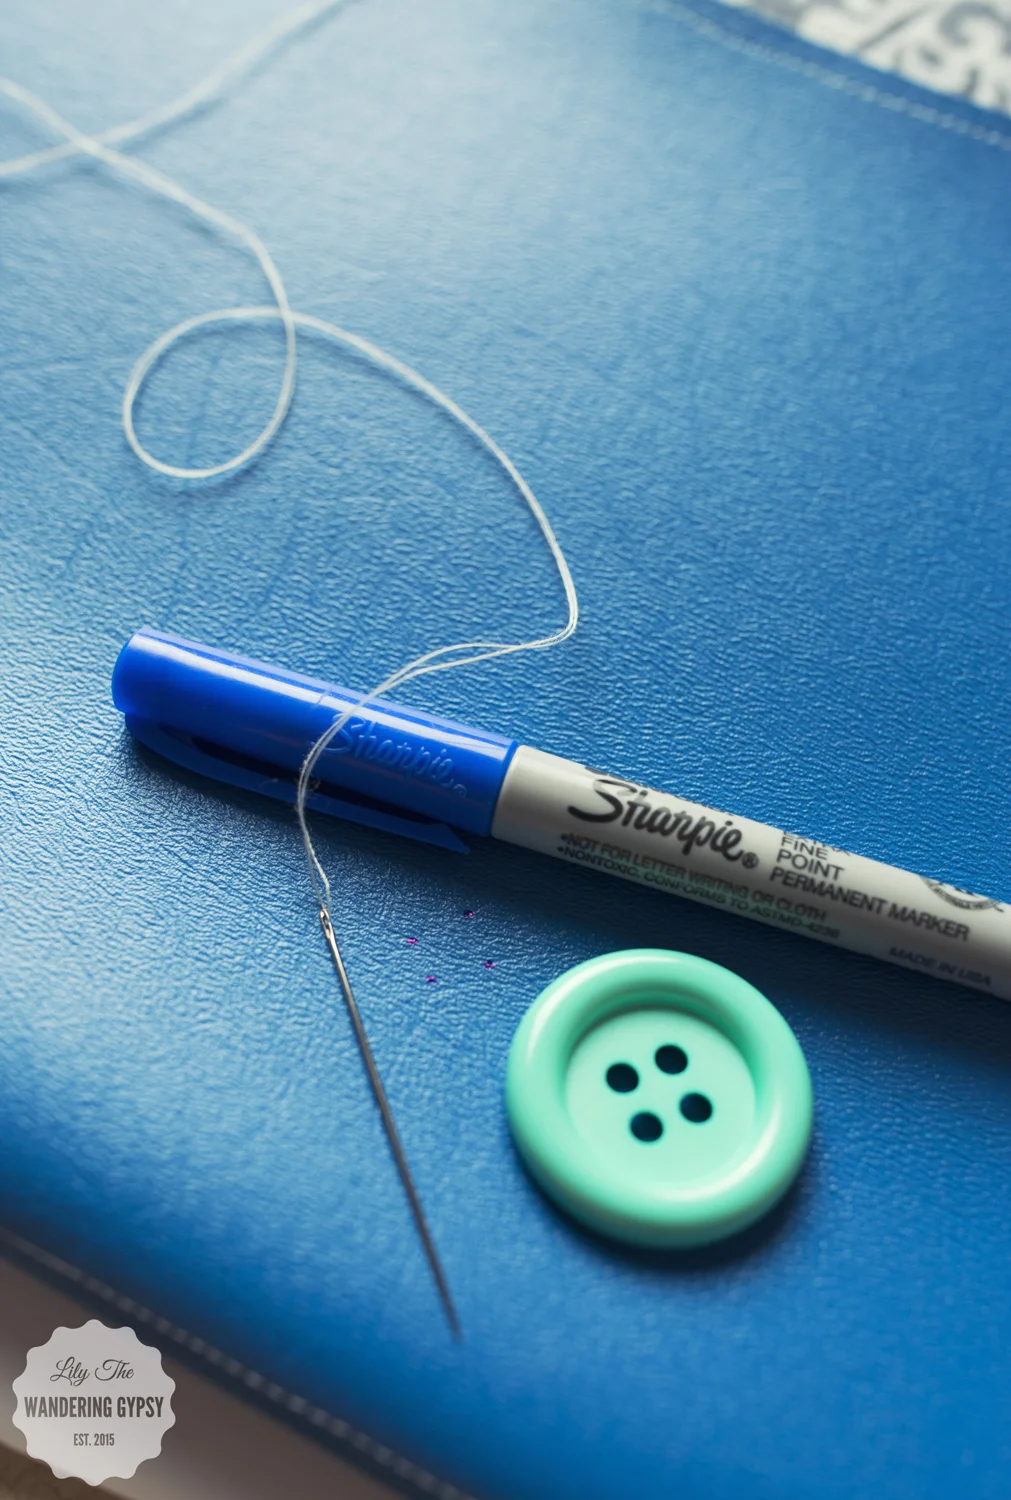
6.) To mark where your button should go, place it onto the flap, and push sewing pins through the layers. This will transfer 4 dots to the layer beneath, which will tell you where to sew your button. Mark the 4 holes with a permanent marker, and sew the button onto the purse.
7.) Sew on your button very securely!

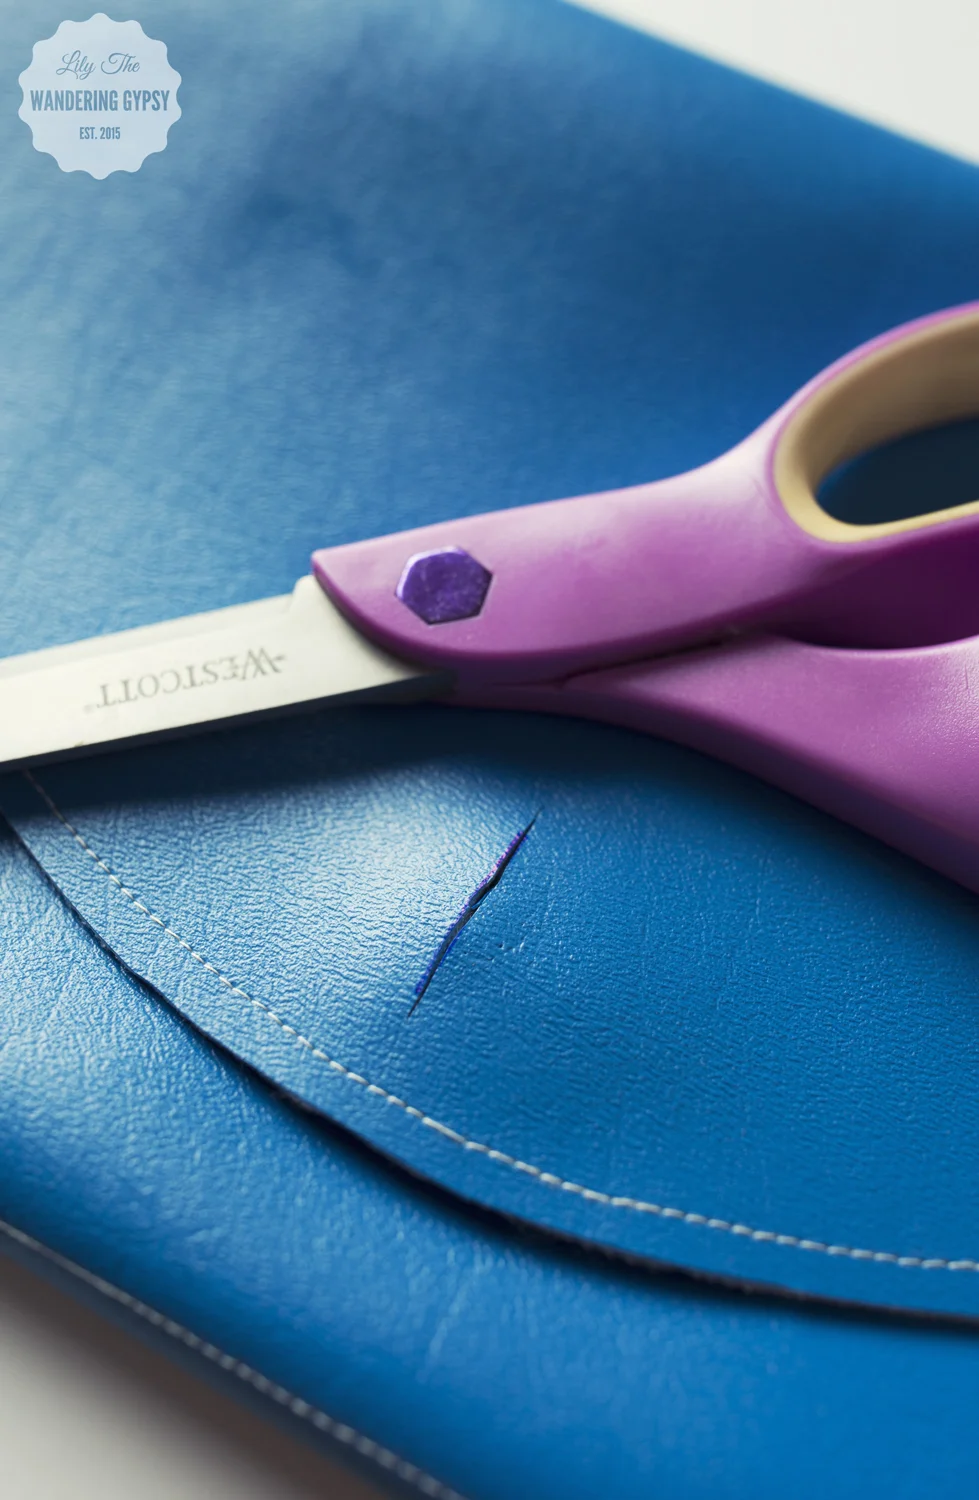
8.) Make your button hole. Here's a tip - fold the flap over the button you just sewed on. Mark how long the button is, and then clip a hole the proper length. Test this out, to make sure the button fits through the button hole without any resistance, but is not too large where it won't hold.
* Sew around the button hole a couple of times, and snip any loose threads.
9.) That's it! Get ready to fill your new clutch purse with some essentials like gum, lipstick, lotion, and other goodies, and you're ready to go!

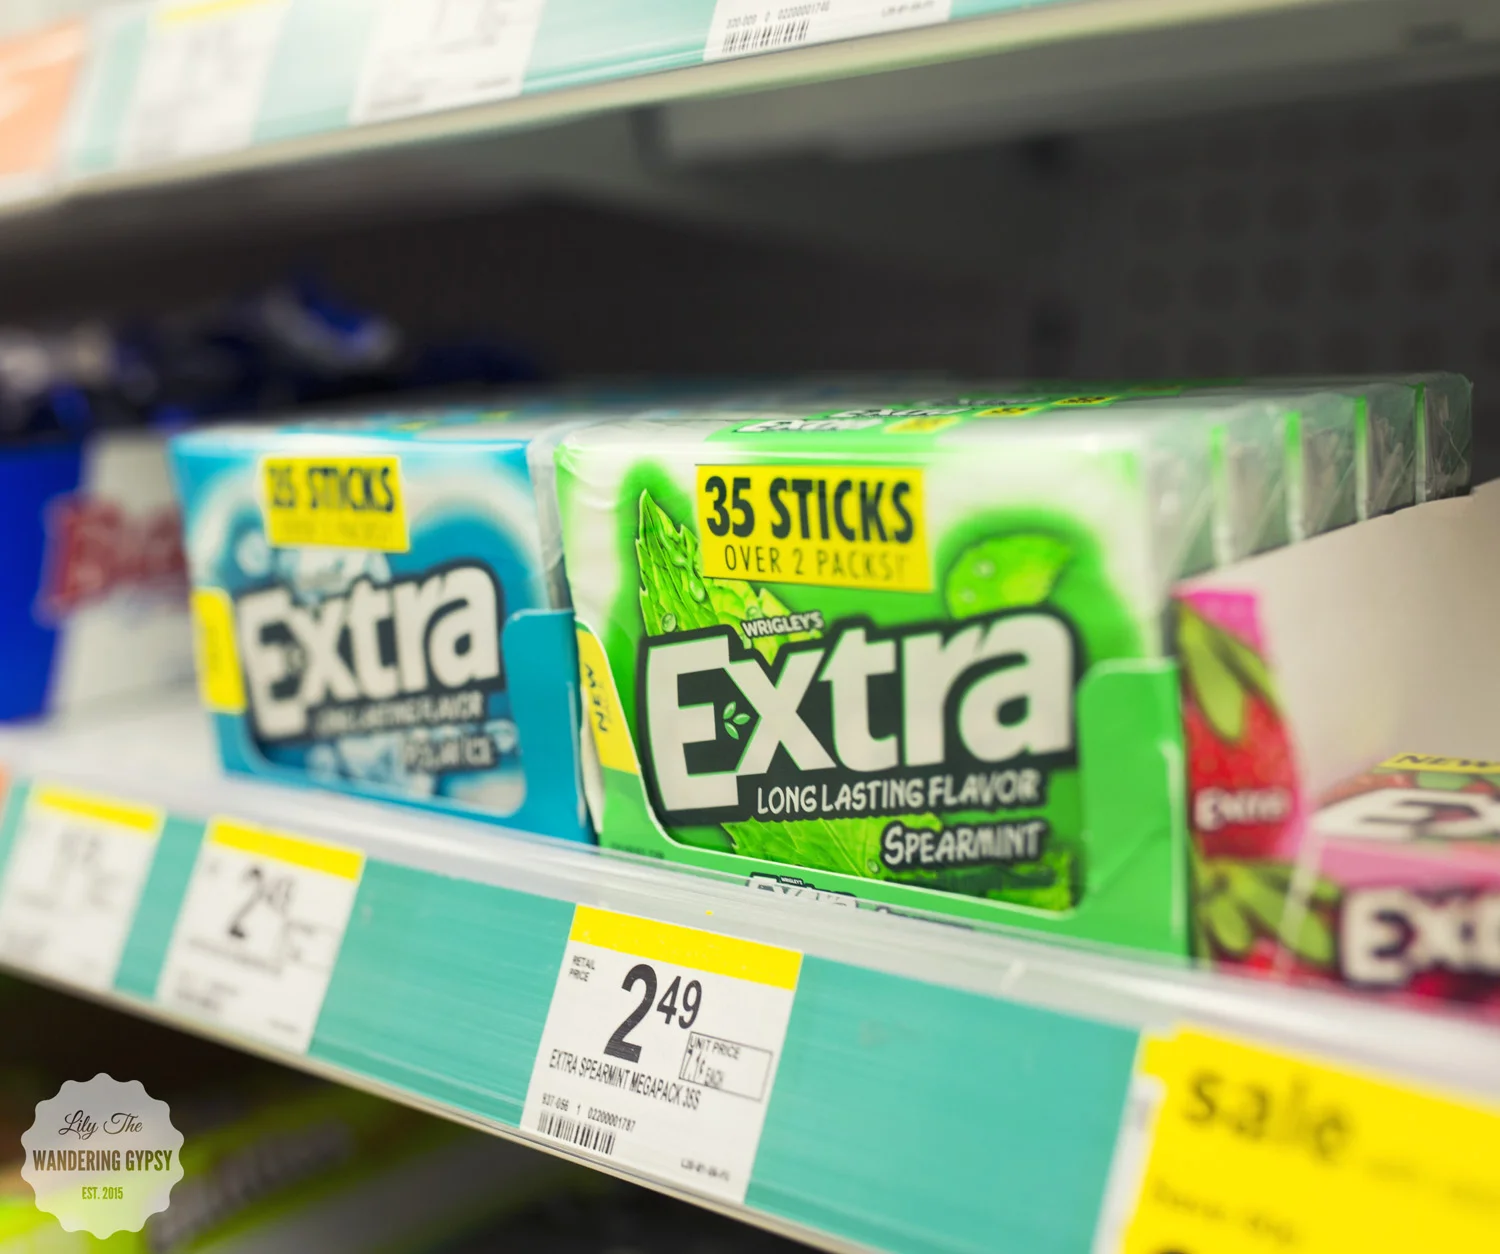


Extra® Gum 35-stick packages at Walgreens have more gum than you may be used to seeing! The case is super durable, and can actually be reused or recycled after you are done with the gum (see the image below). These larger stick packages ensure that you will run out of gum less often, and there is more gum to go around!

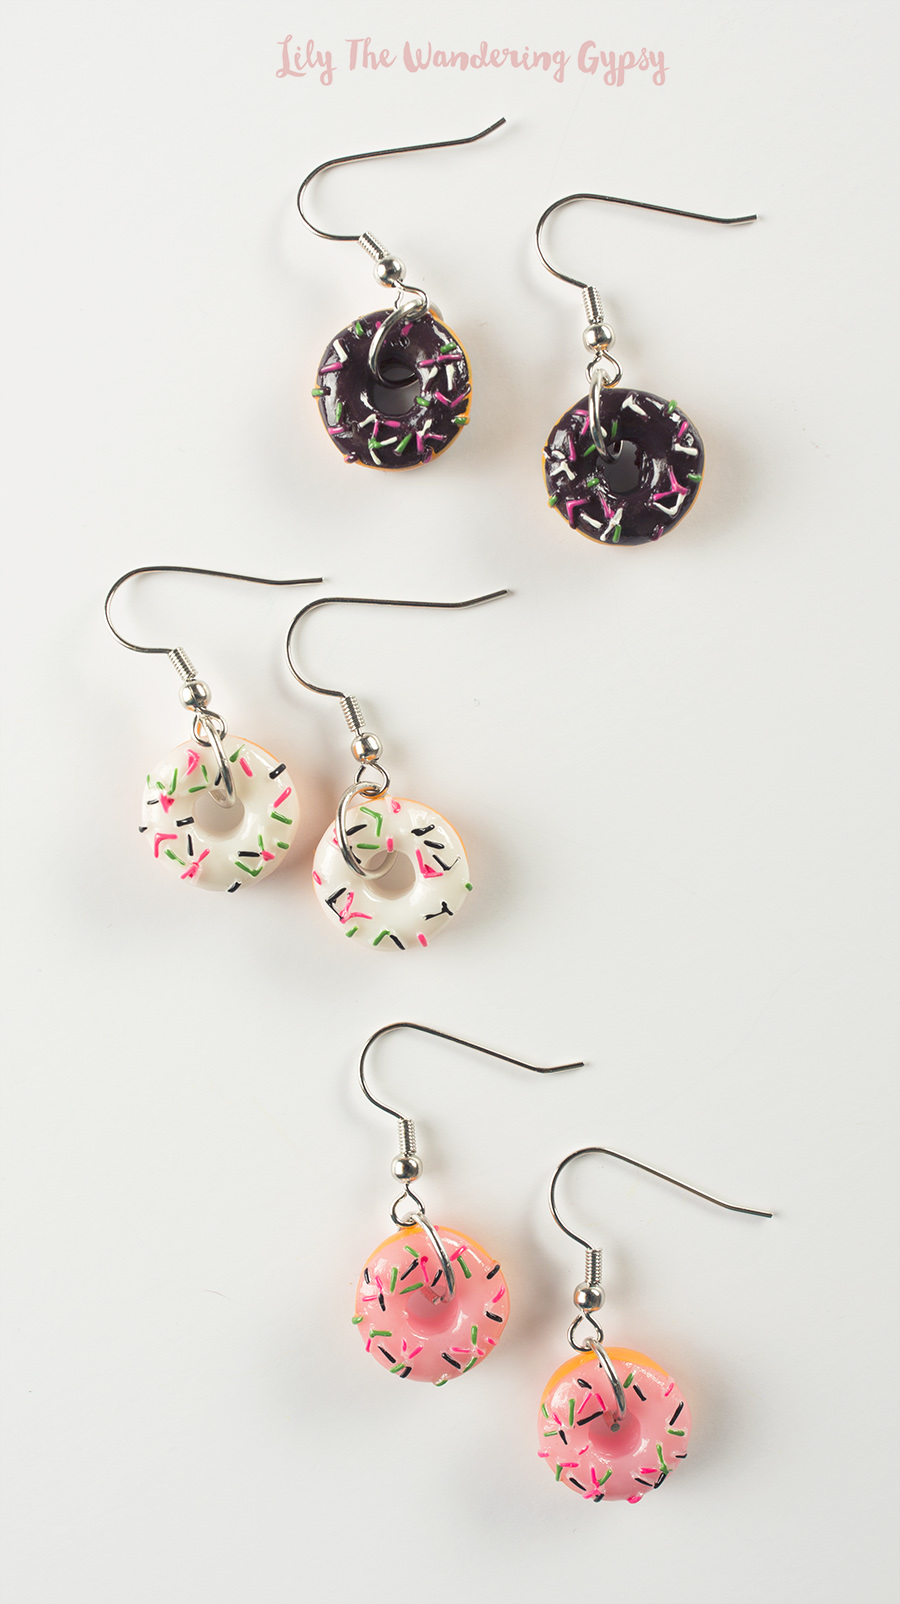
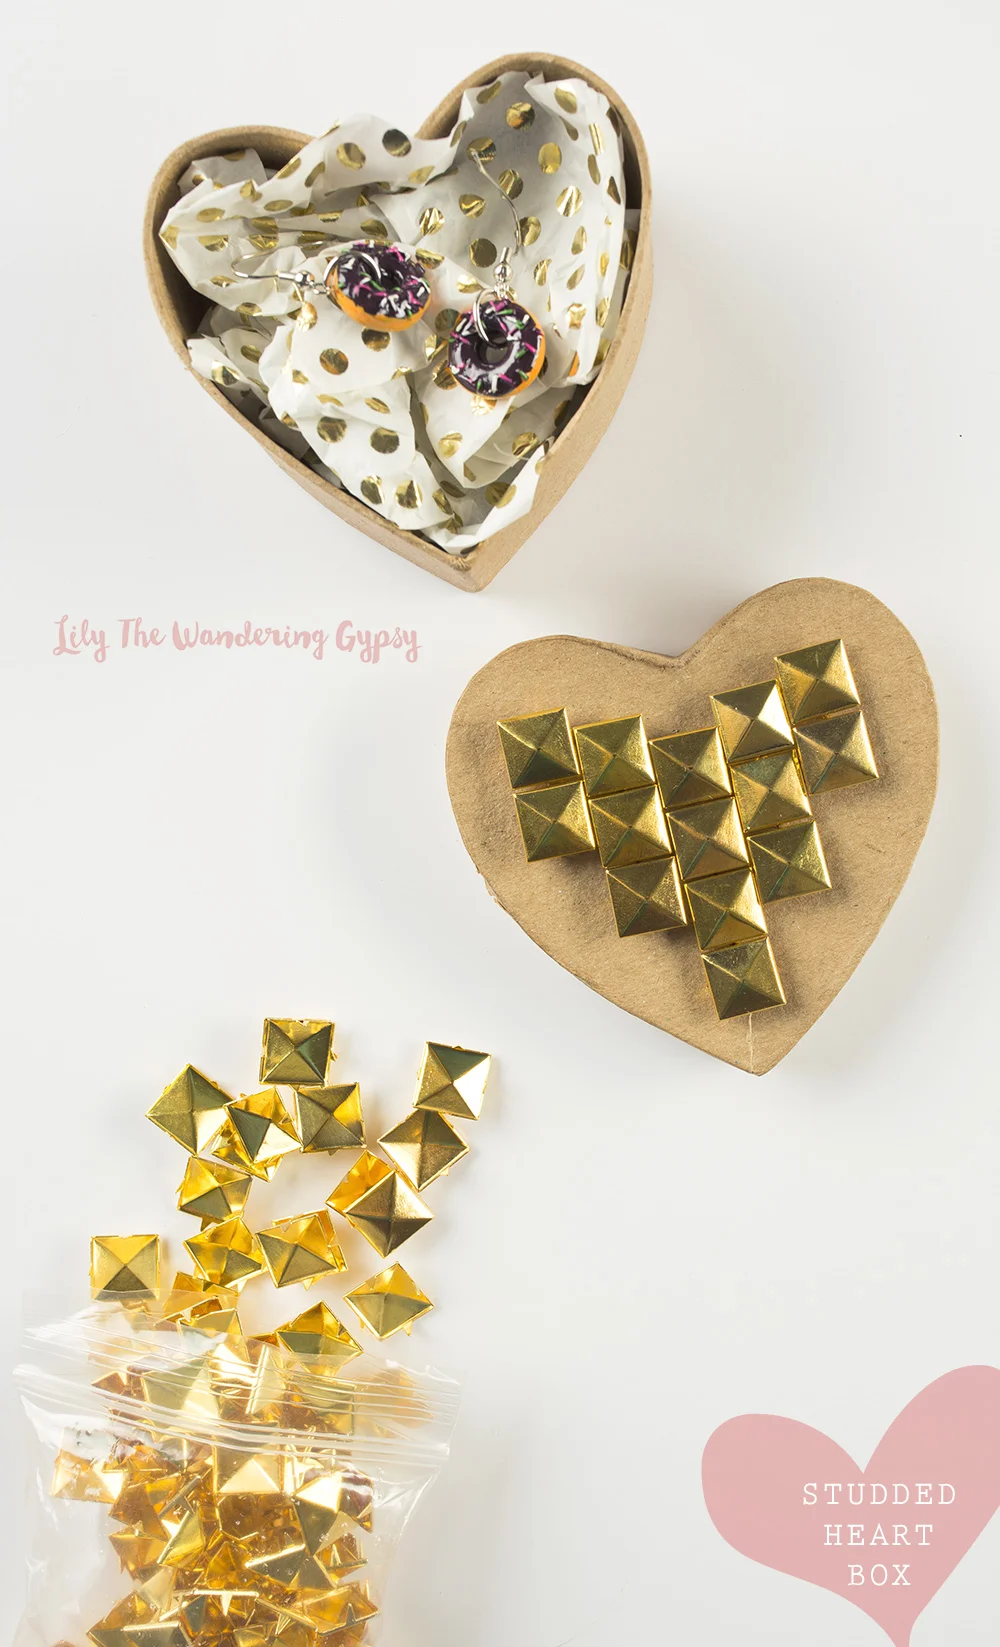
Itty Bitty Donuts + A Gift Box DIY
I have been wanting to make these Donut Earrings for the longest time, and I figured that Valentine's Day was the perfect day to share them!
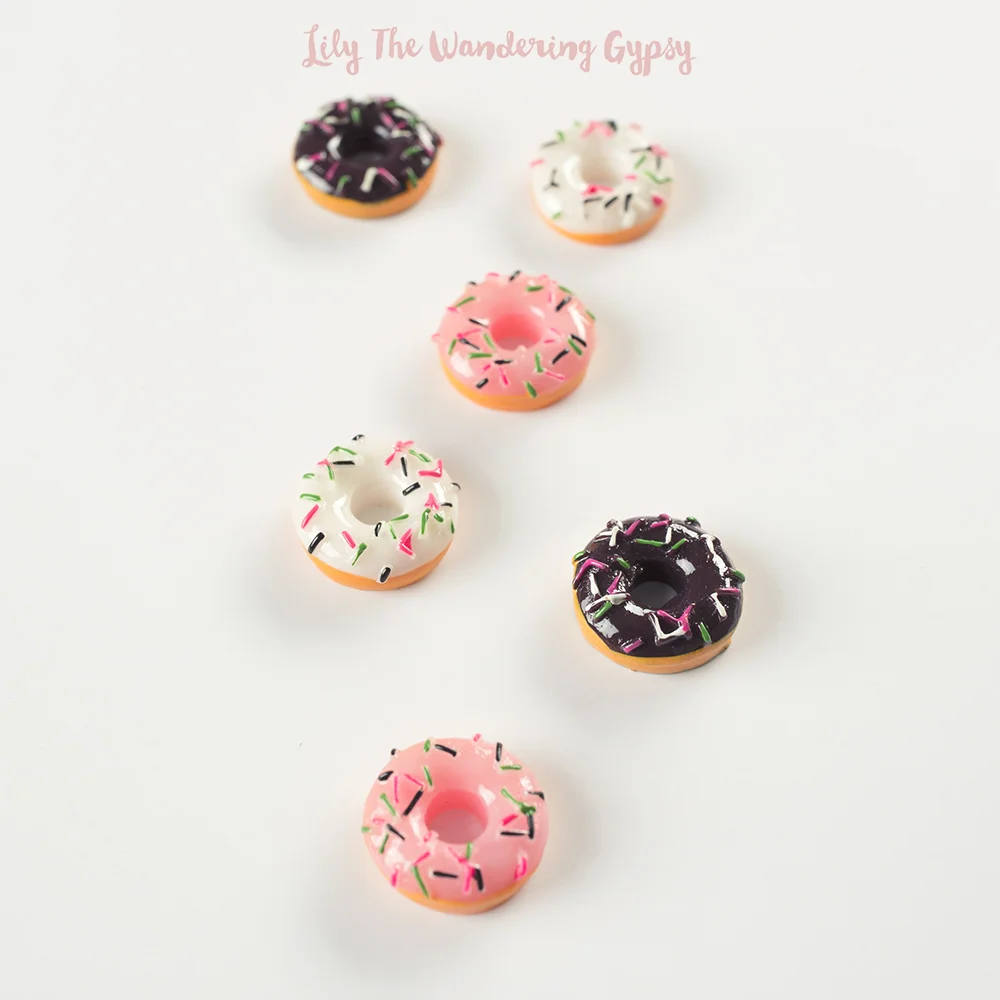
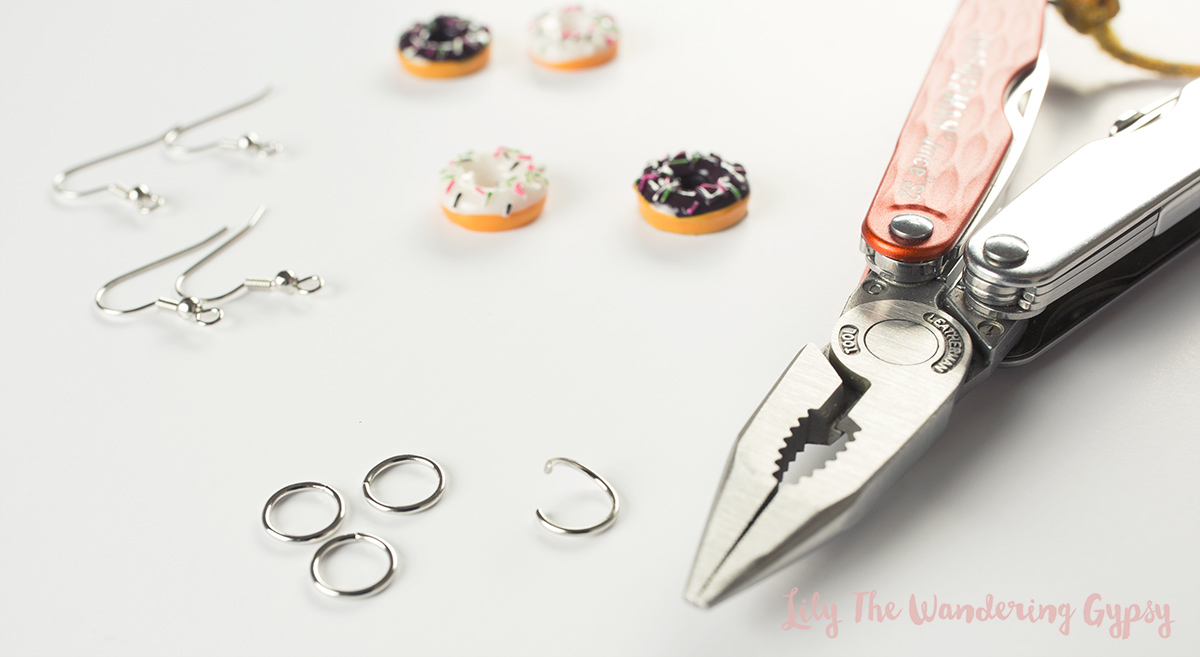
MATERIALS:
- Mini Donuts From Dollhouse Section
- Jump Rings (Size =
- Matching Earring Hooks
- Pliers

READY THE DONUTS
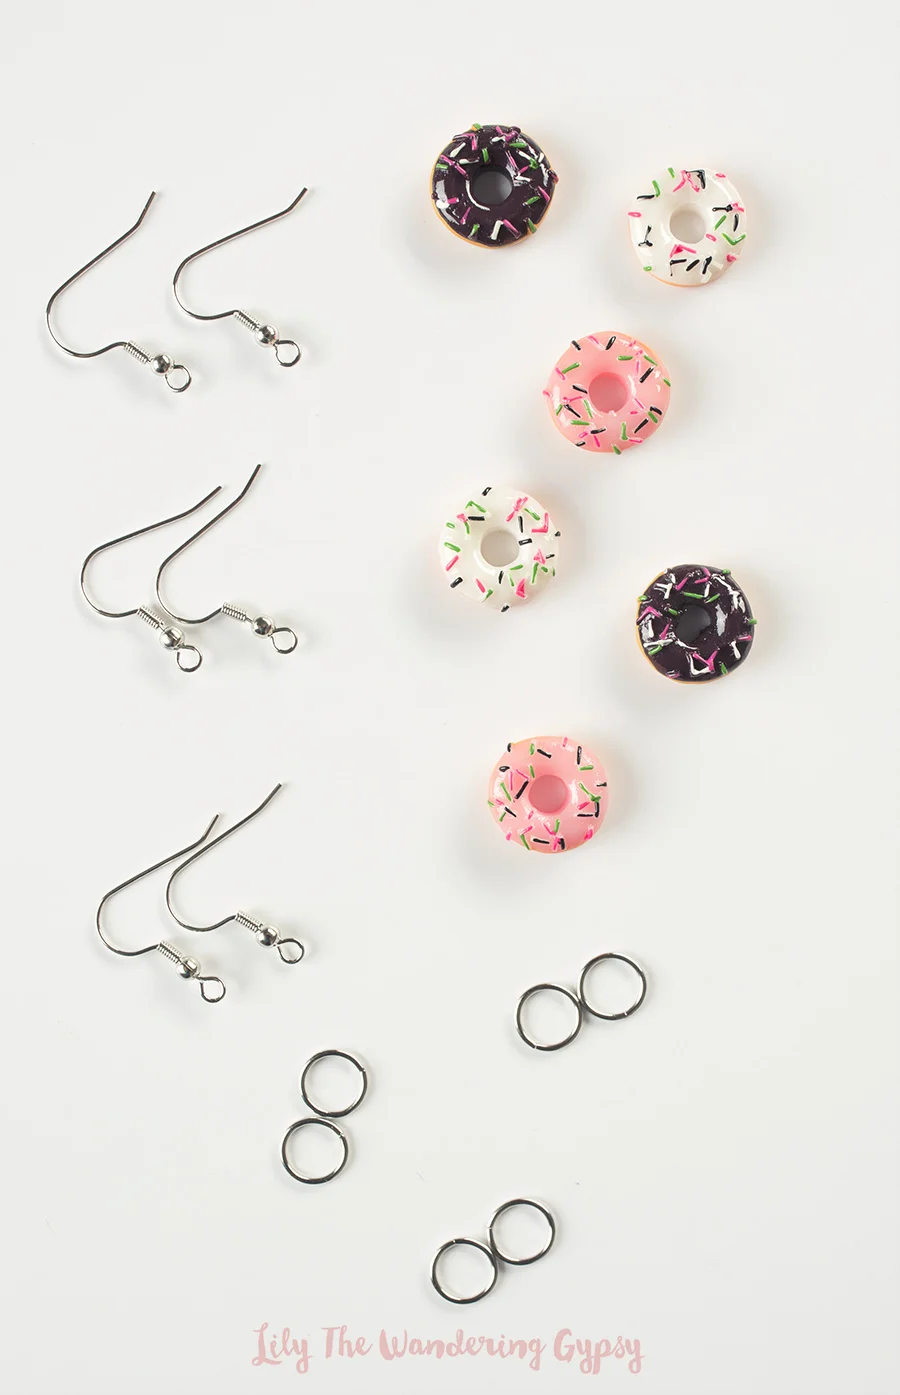
OPEN THE JUMP RINGS
Take your pliers, and rather than opening the jump rings wider, just twist them up. This helps them go back together better in the end. Open them wide enough to fit around the donuts.
Close the Jump Rings around the donuts, and make sure they are secure. That's it!
AND YOU HAVE DONUT EARRINGS!

A GIFT BOX DIY
- I also had this cute paper mache box that was heart shaped, so I stuck some studs into the top of the box, added some tissue, and put the Donut Earrings inside! How cute :)

Football Party Craft Idea
I had so much fun with my #GameDayGrubMatch project earlier this month, and as I was shooting those images, I shot a few extras to show you just how fun and easy it is to customize your party by adding something extra special to the food you're eating!
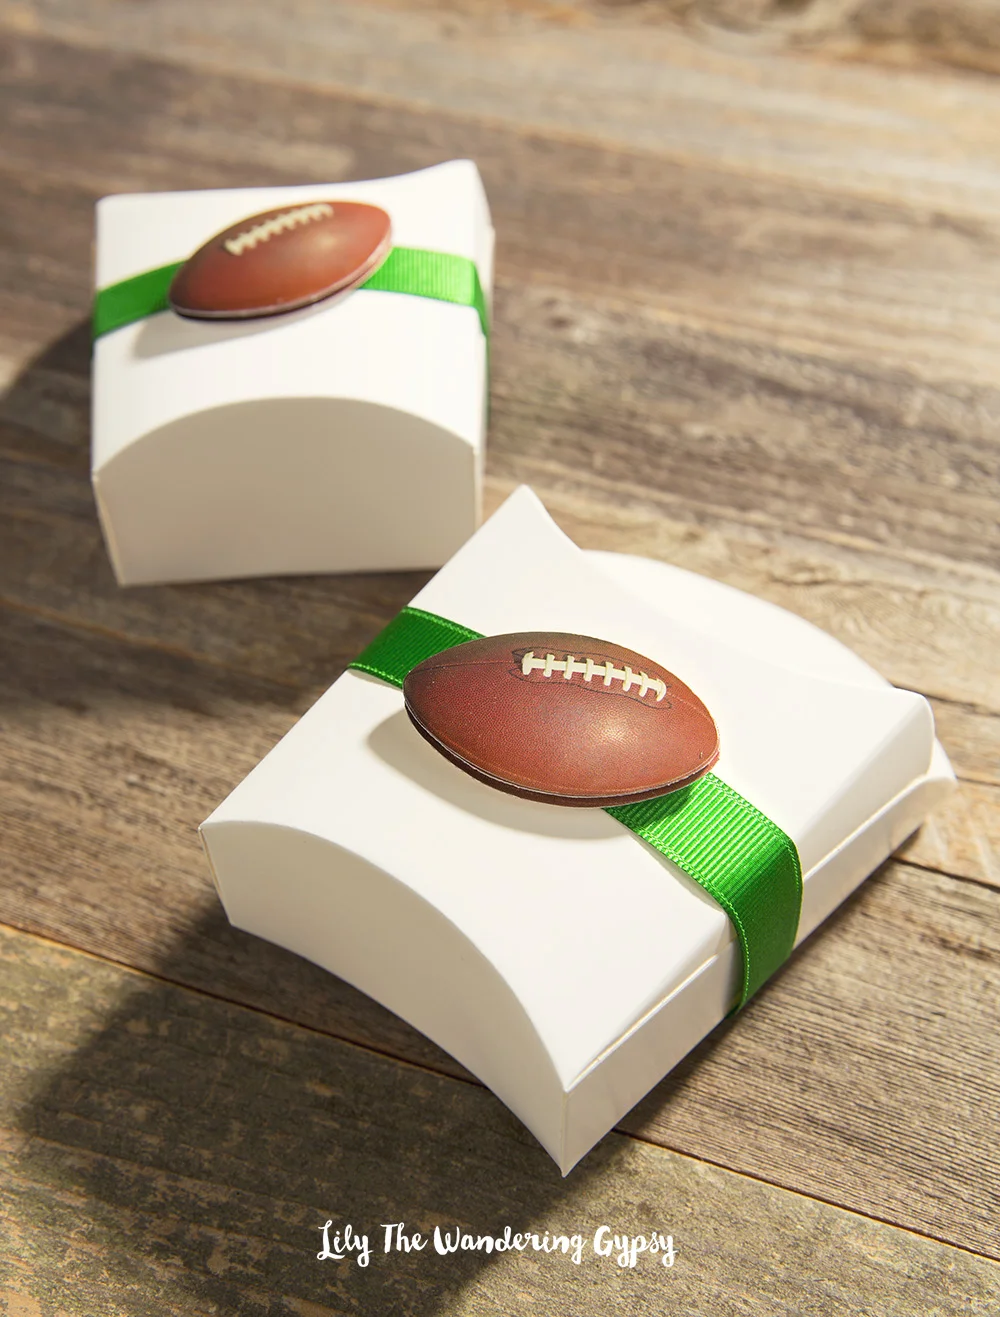
I used these cute food containers in my project for PepsiCo and their #GameDayGrubMatch contest! They would fit your popcorn chicken, snacks, and more! Read the whole post here.

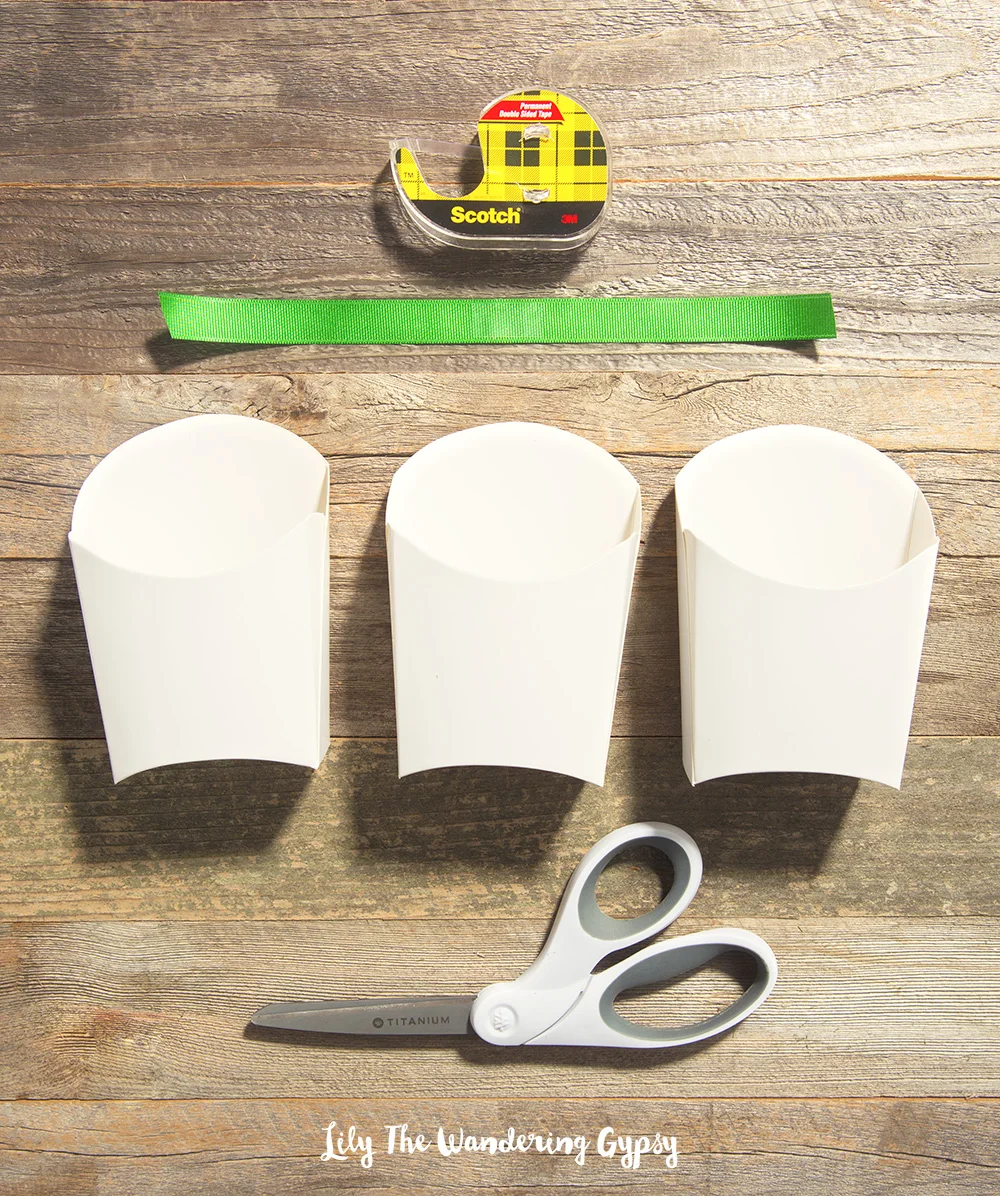
MATERIALS
French Fry containers, Football Stickers (I like the 3-D ones), green ribbon, clear tape, double sided tape, and scissors. I found the fry boxes at Hobby Lobby, and they are so cute!
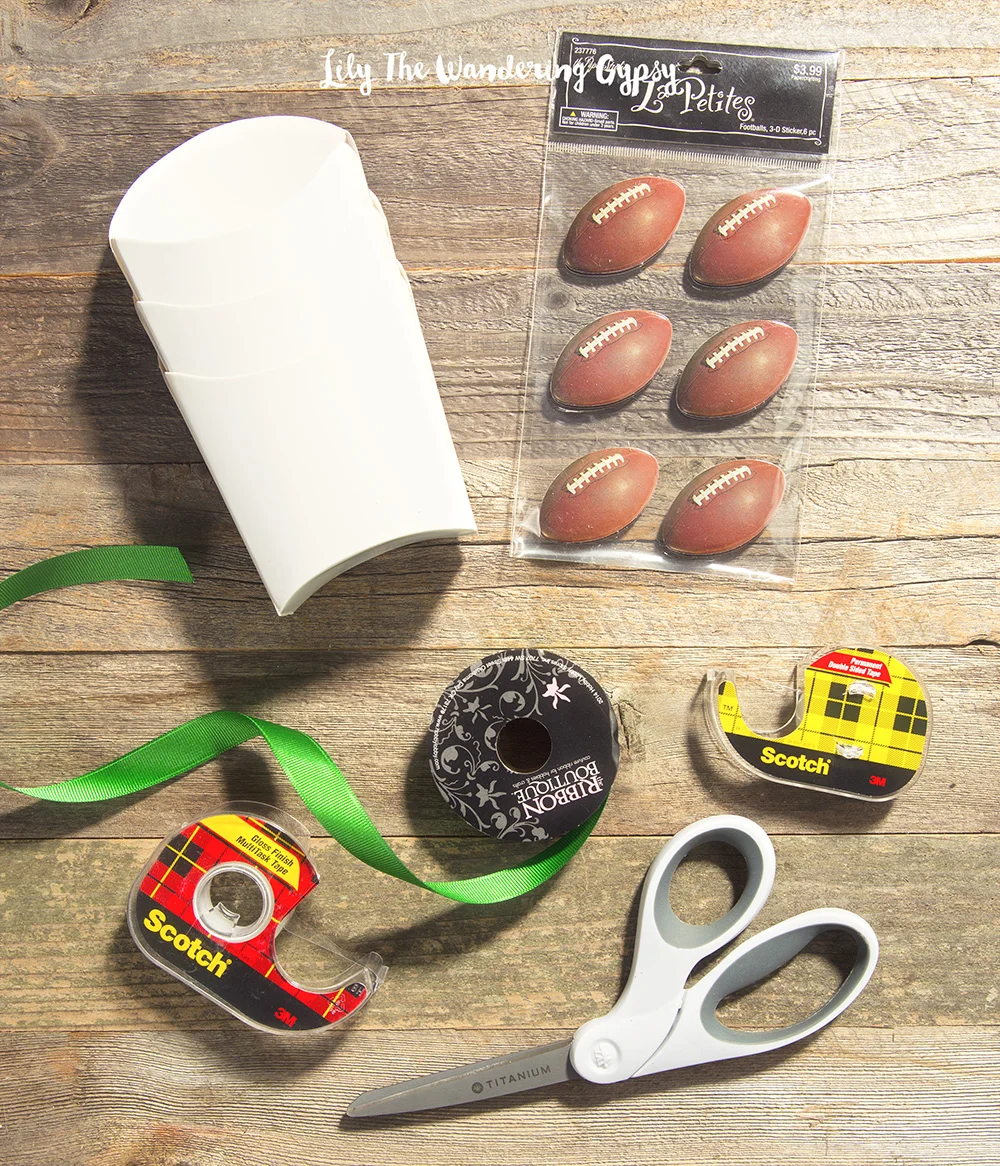
Cut a length of ribbon that will wrap around the fry boxes.
Attach the ribbon to the front of the fry box with double stick tape. Then, wrap the ribbon around to the back, and tape the ribbon with the regular tape.
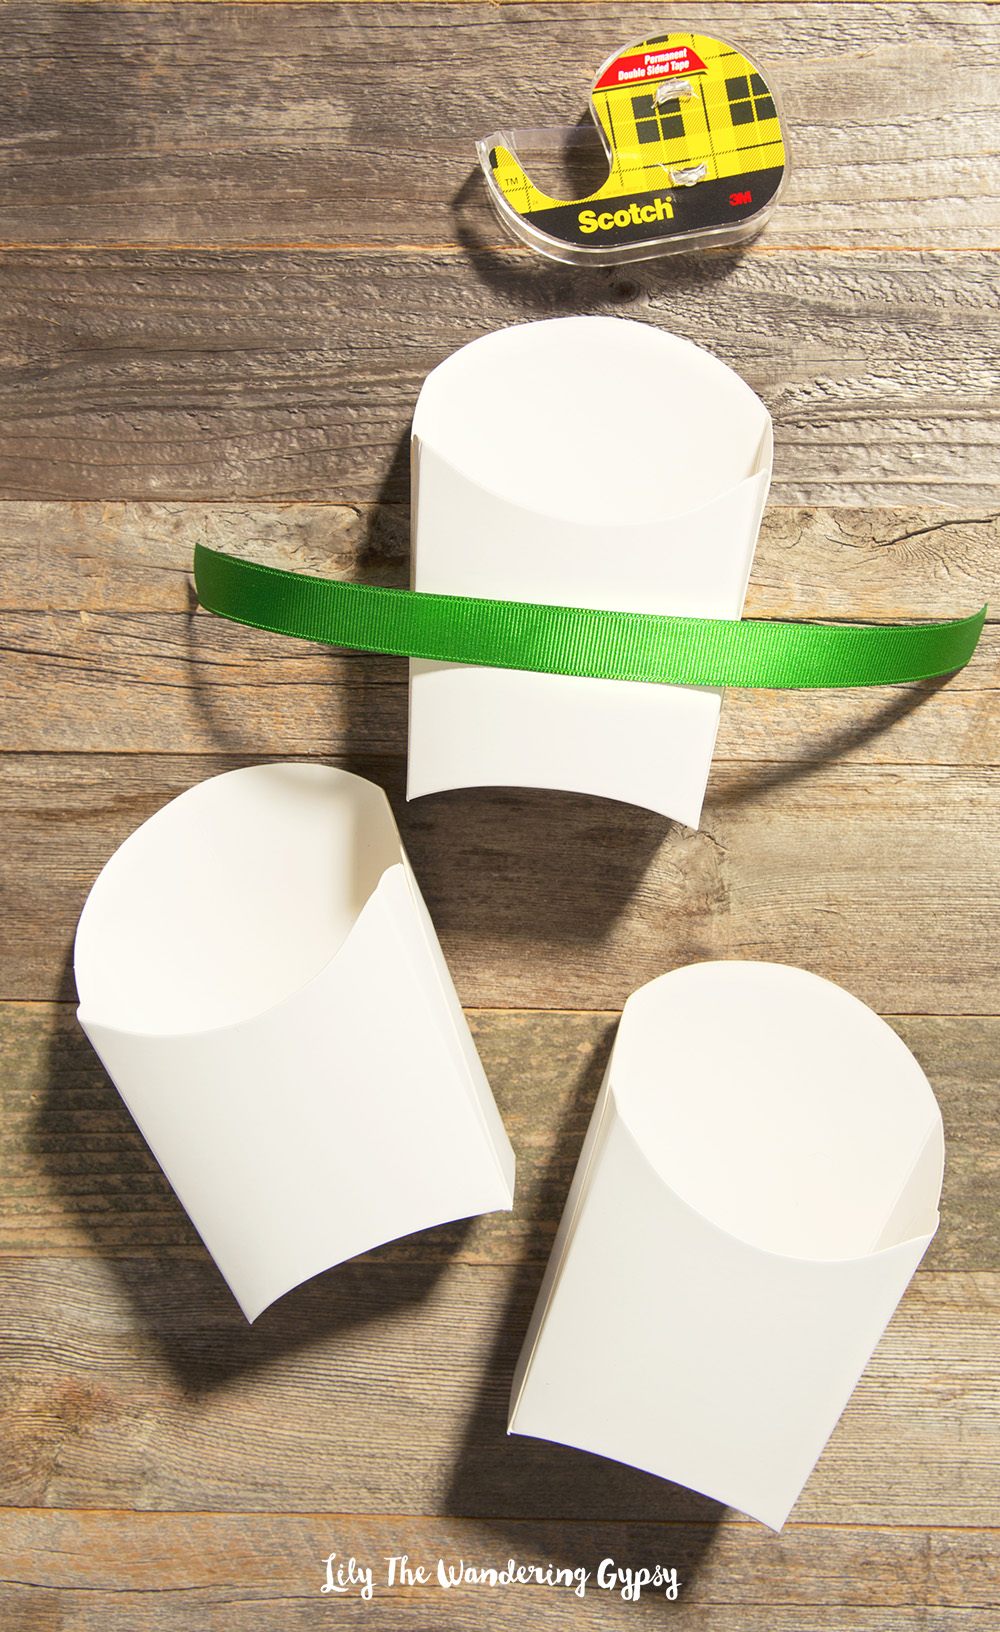
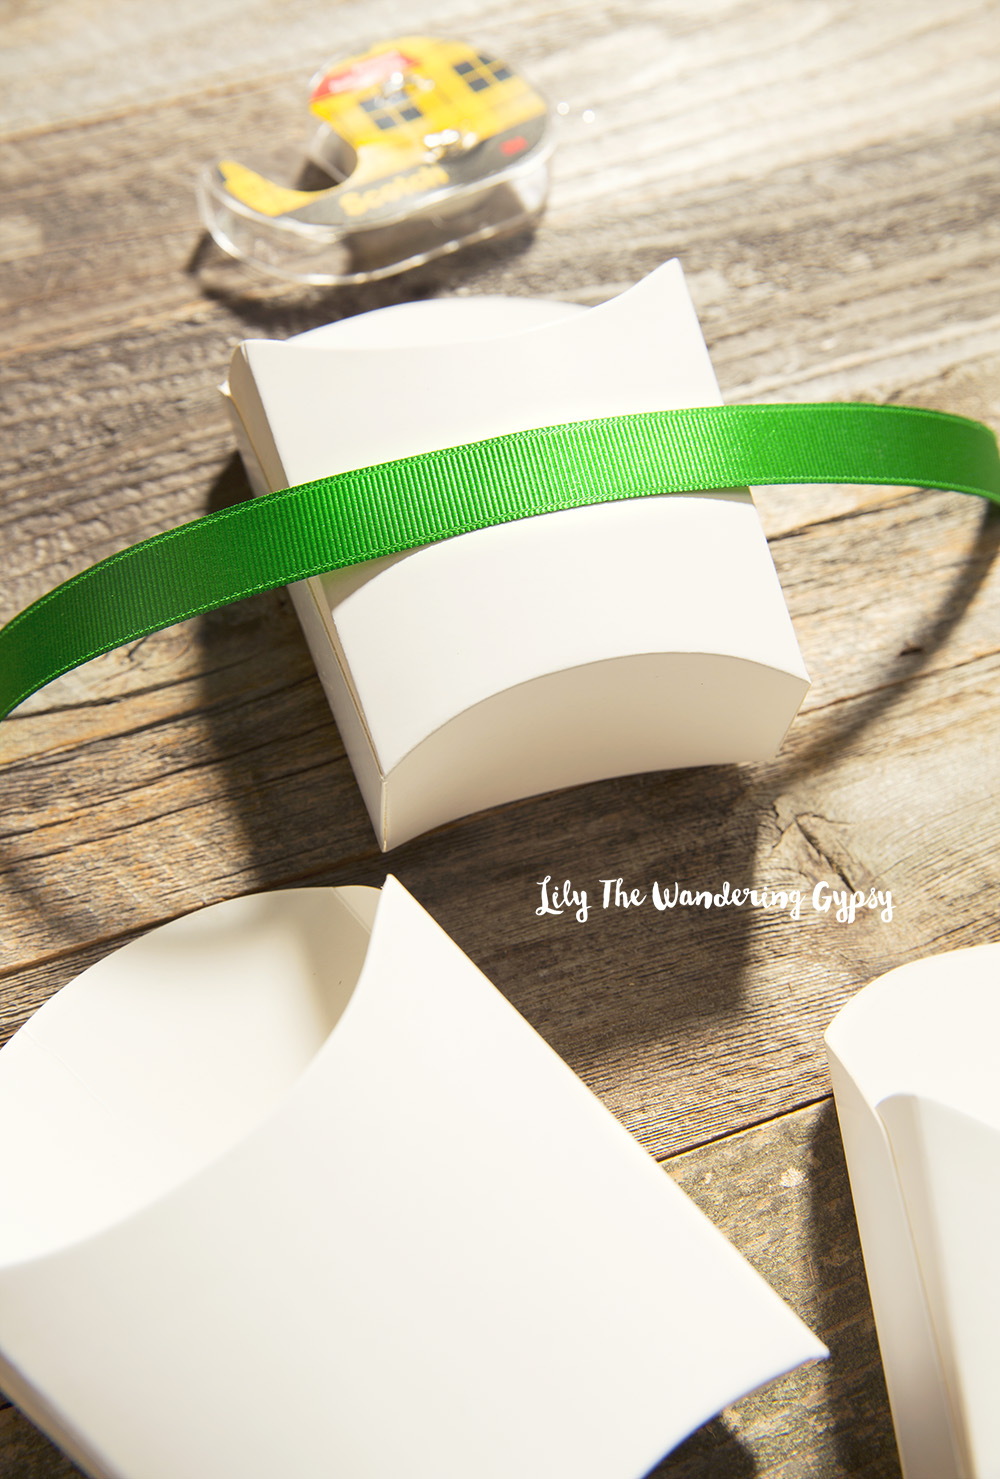
Simply, attach the football stickers to the front of the fry boxes and fill with your game day snacks!


Check Out My DIY Page!
I just created a new page that helps you find all of my DIY projects in one place. I had so much fun going back through all of the fun projects I had created in 2015, and thinking about all of the great things I want to make, design, and share in 2016. If you have any requests, or ideas for me, just comment below! Happy Crafting!!

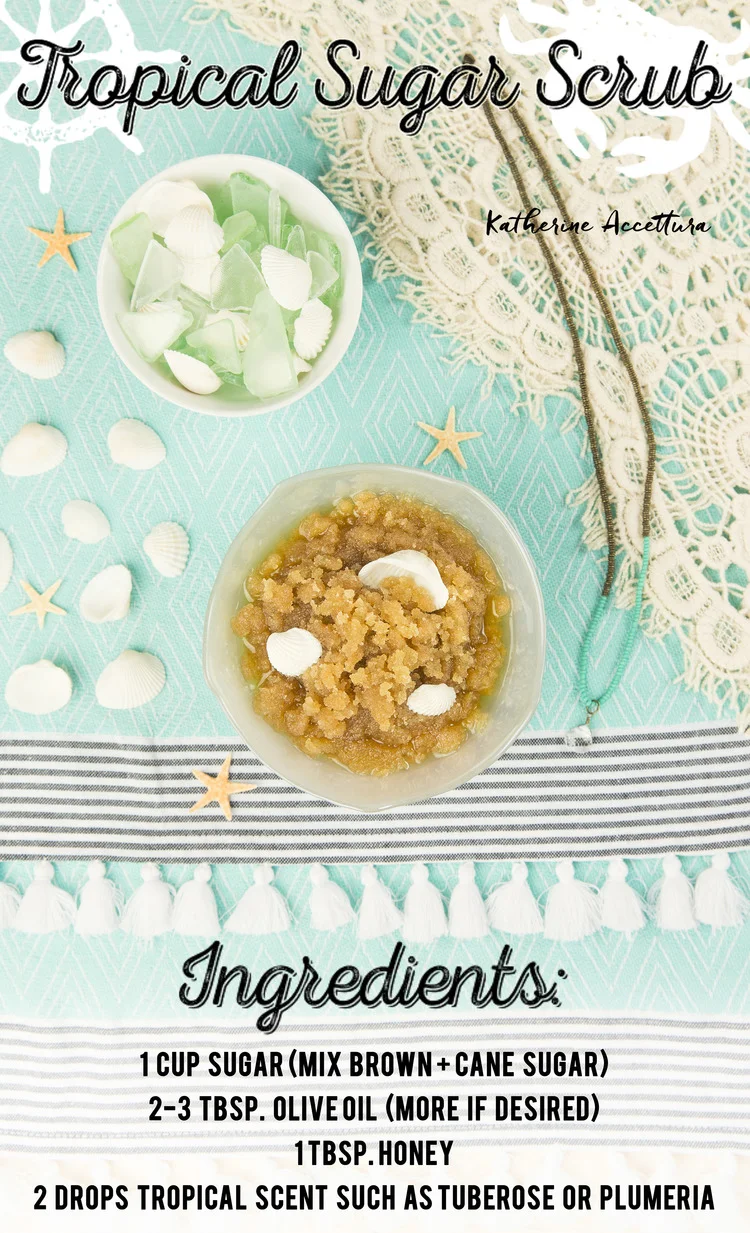
Tropical Sugar Scrub Recipe
his stuff is awesome! Great for clearing away dry skin to keep your skin nice and smooth this winter. I know it's a more tropical scent, but I love being reminded of warm, beautiful weather when it's grey and chilly here in Illinois.
Check out my whole collaboration post for Sony Picture's Aloha!
Easy Starfish Bobby Pin Tutorial
A while back, I did one of my favorite collabs of 2015. I created this awesome DIY Tutorial when I was working with Sony Pictures to help promote their Aloha movie! I hope you enjoy this Tutorial!!! Check out my entire post I did for Aloha HERE.

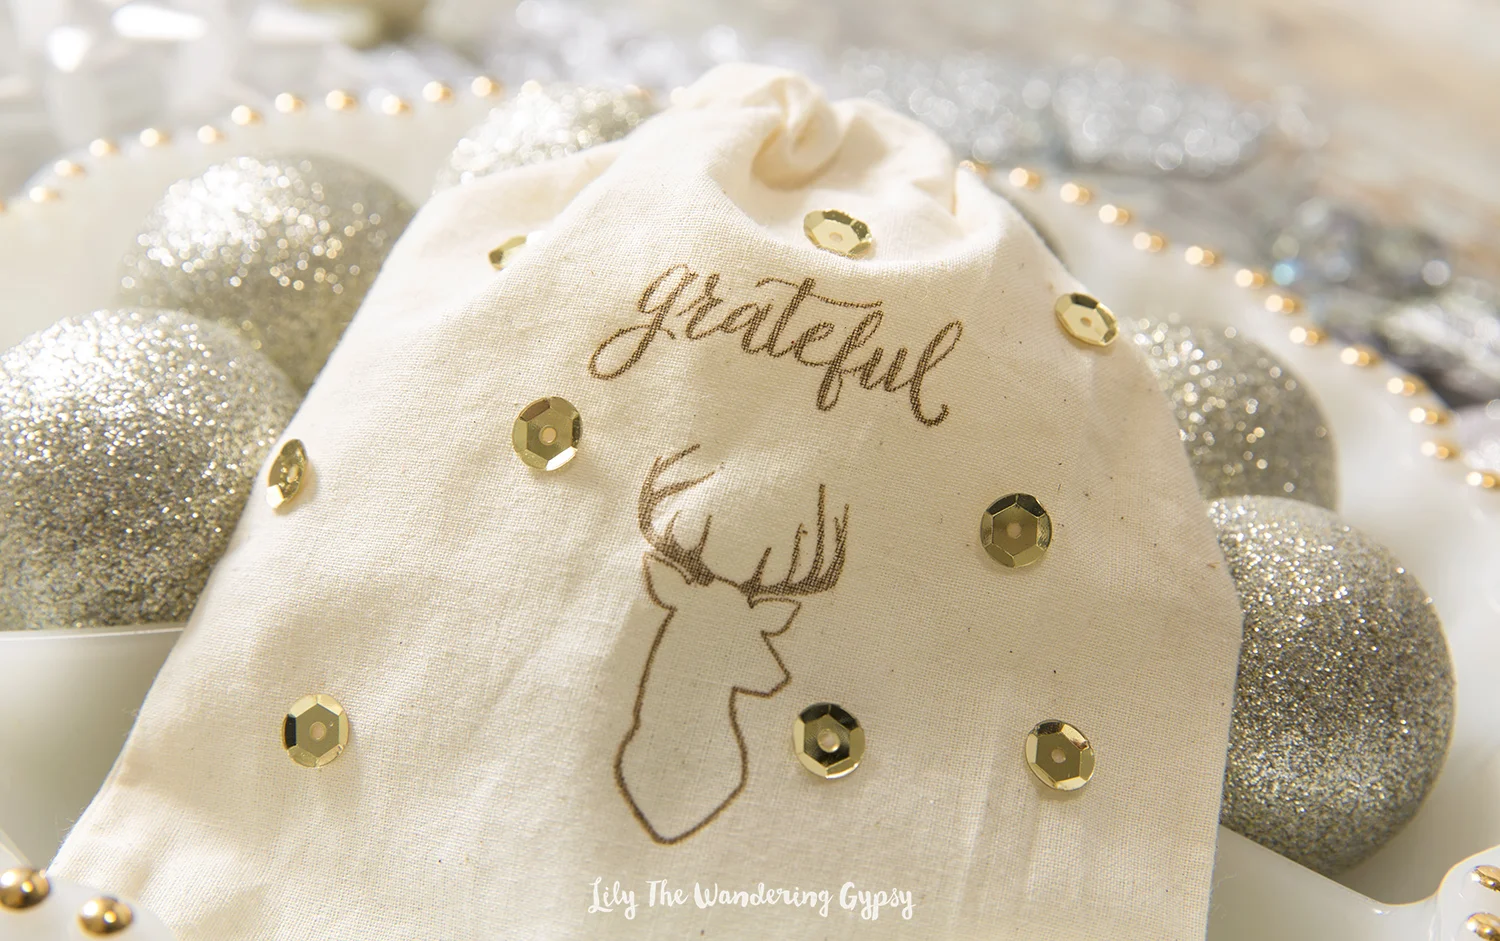
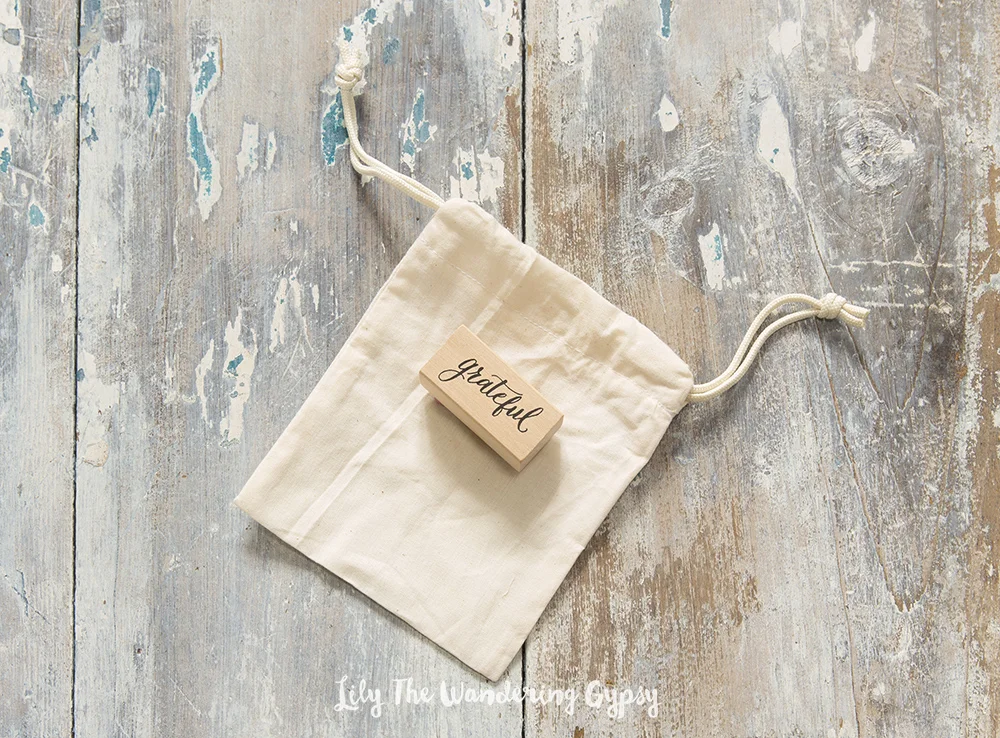
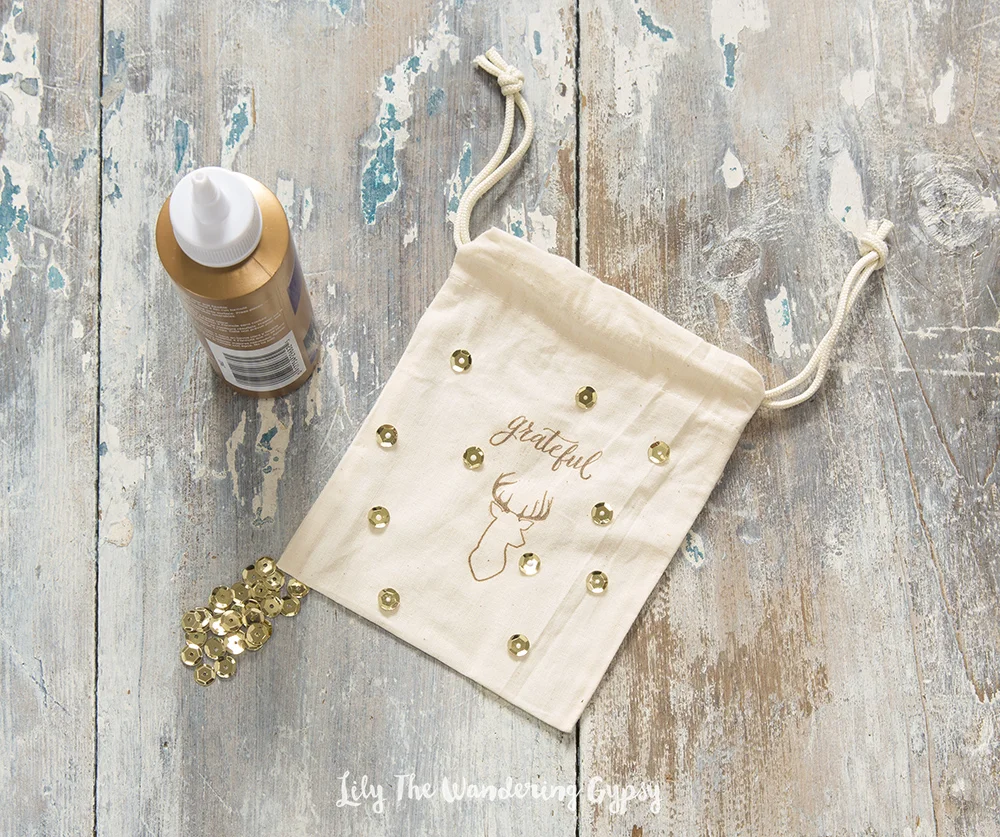
DIY Cotton Gift Bags
Check out my cute tutorial, to learn how to make some pretty adorable little gift bags. You can personalize any gift in minutes with these gift bags.
MATERIALS:
Cotton Gift Bags, Rubber Stamps, Ink Pad, Glue (Either Tacky Glue or Fabric Glue), Sequins

First, I recommend stamping onto a piece of paper before you stamp onto your gift bag, to make sure the design looks good. But, basically just figure out where you want your stamp to go, and carefully apply the inked stamp to your cotton bag. Press pretty hard, and make sure to not double over your design.

Now, gather your glue and sequins, and make dots of glue all over the front of the gift bag.
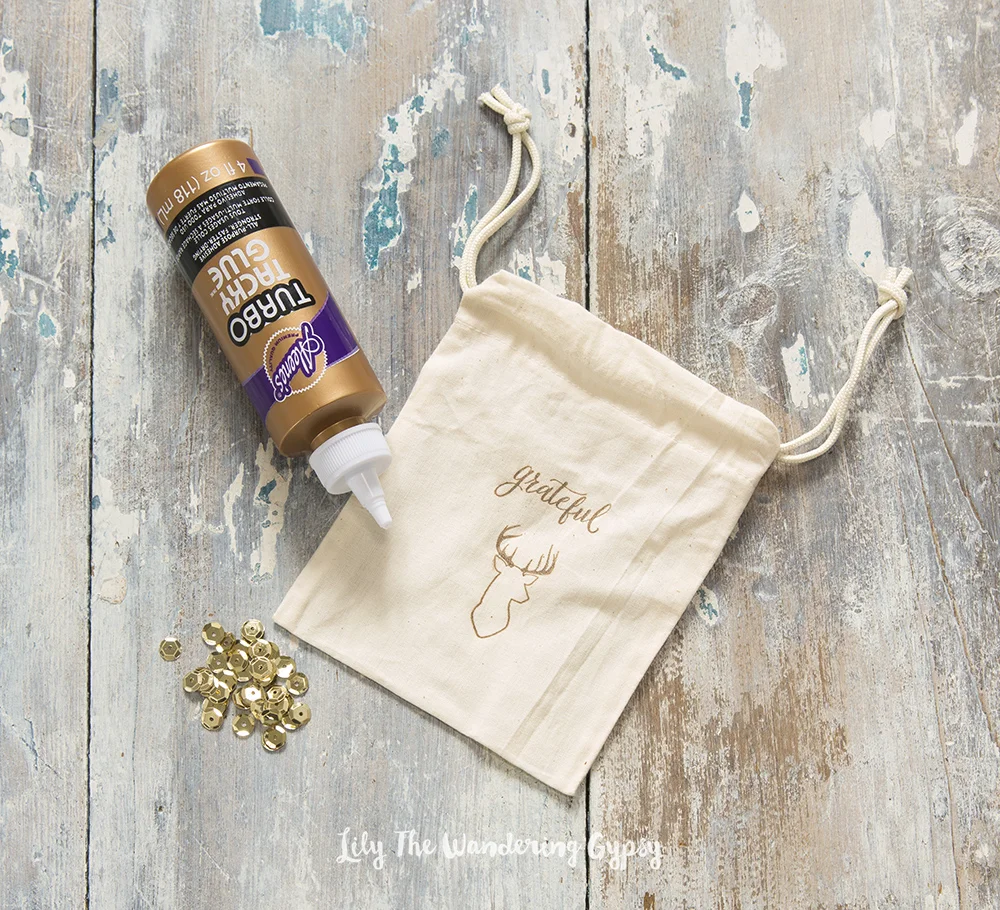
And, make sure to let the gift bag dry for a few hours, before giving this to anyone.

4 DIY Christmas Gift Tutorials - By Lily The Wandering Gypsy
Check out my Pinterest Board here - https://www.pinterest.com/happysolez/a-hankering-to-be-making-this/
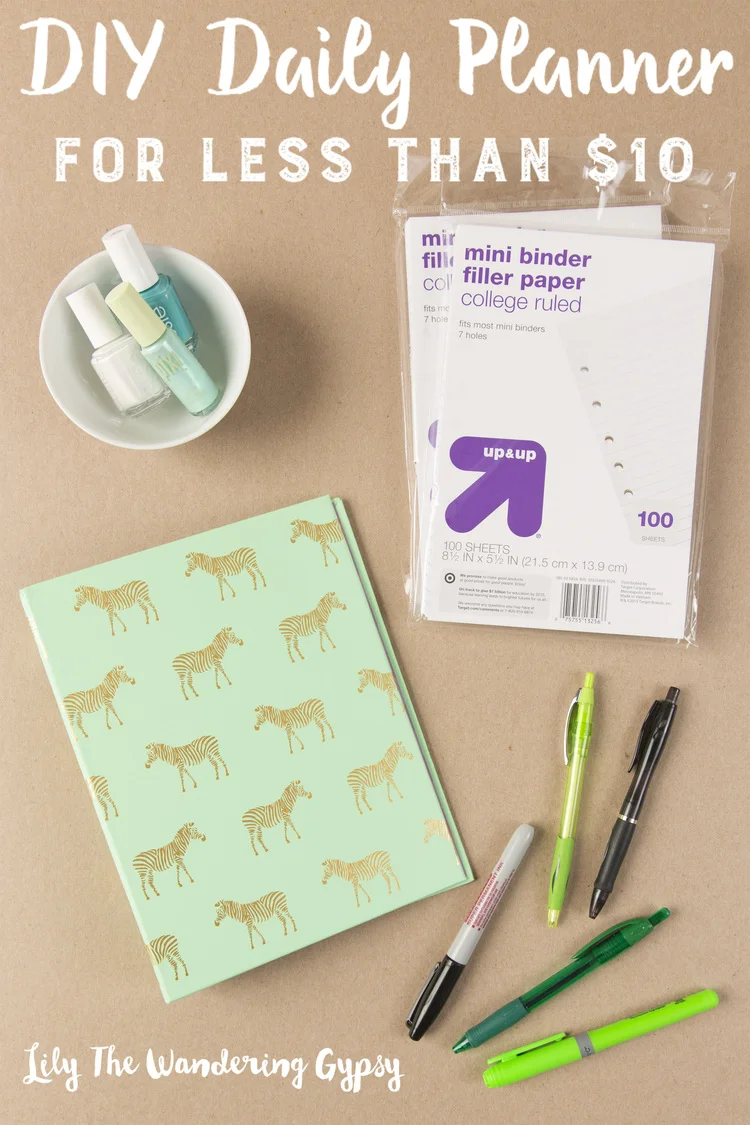
This DIY Planner is one of my most popular blog posts! Check out how easy it would be to make one, and give as a gift.
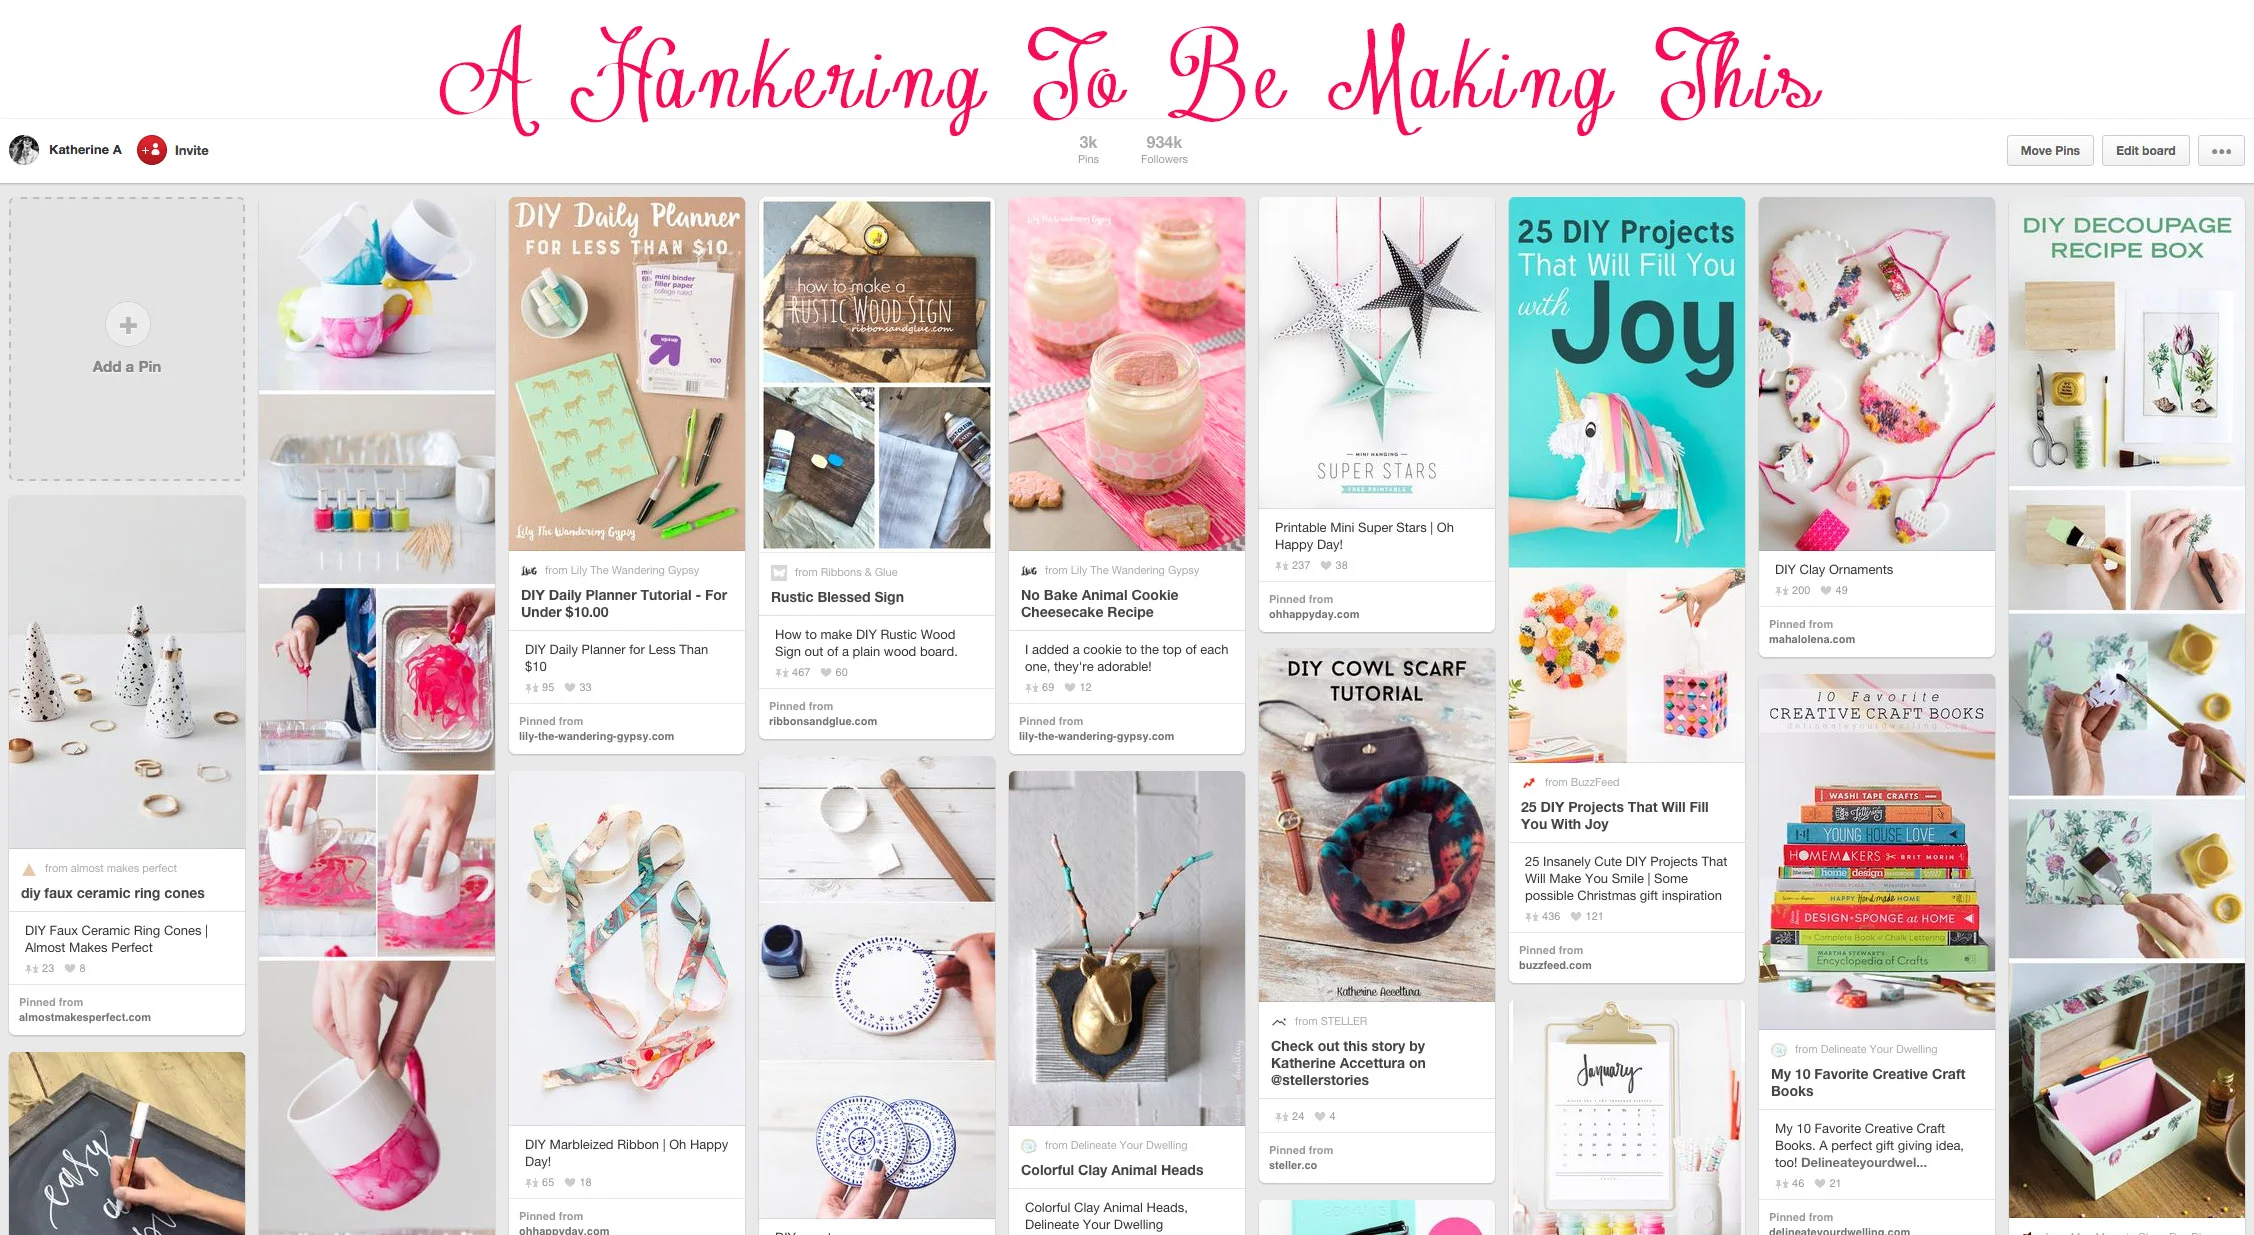
Also, check out my pin board, A Hankering To Be Making This for TONS of ideas!

These amazing No-Bake Cheesecakes are made with animal crackers instead of traditional graham crackers. These would make amazing gifts for the holidays, since they are individually packaged.
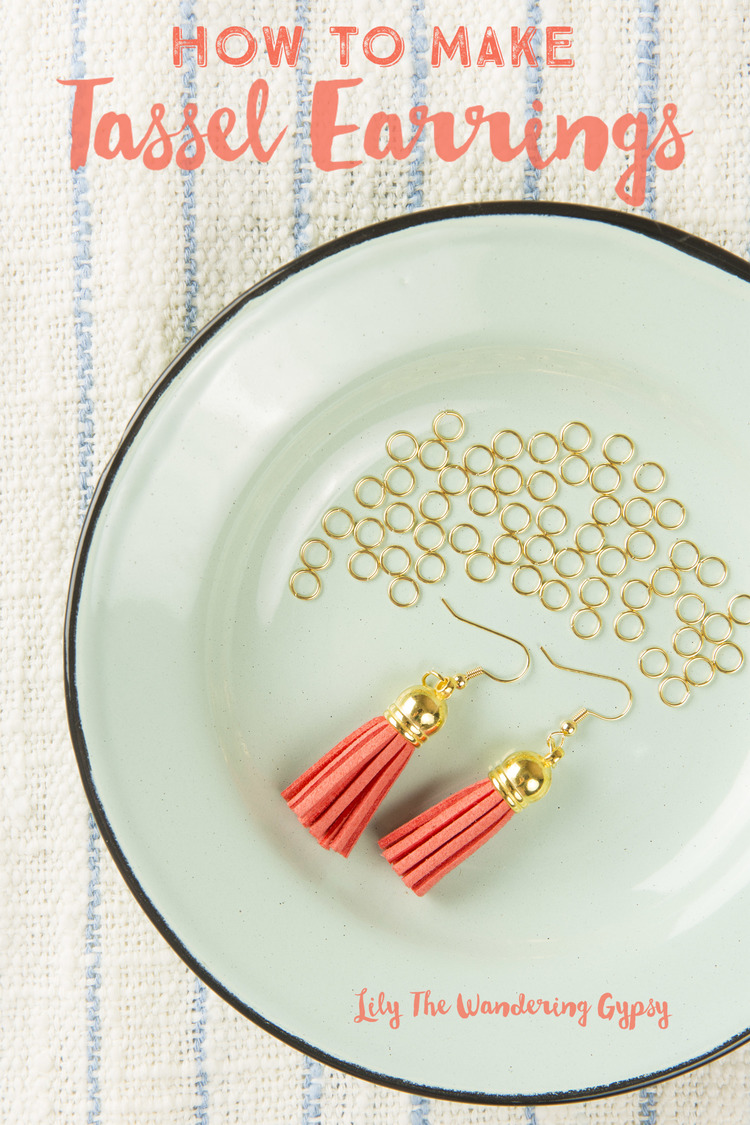
All you need is 3 materials for these super easy, Tassel Earrings, and they make a thoughtful gift.
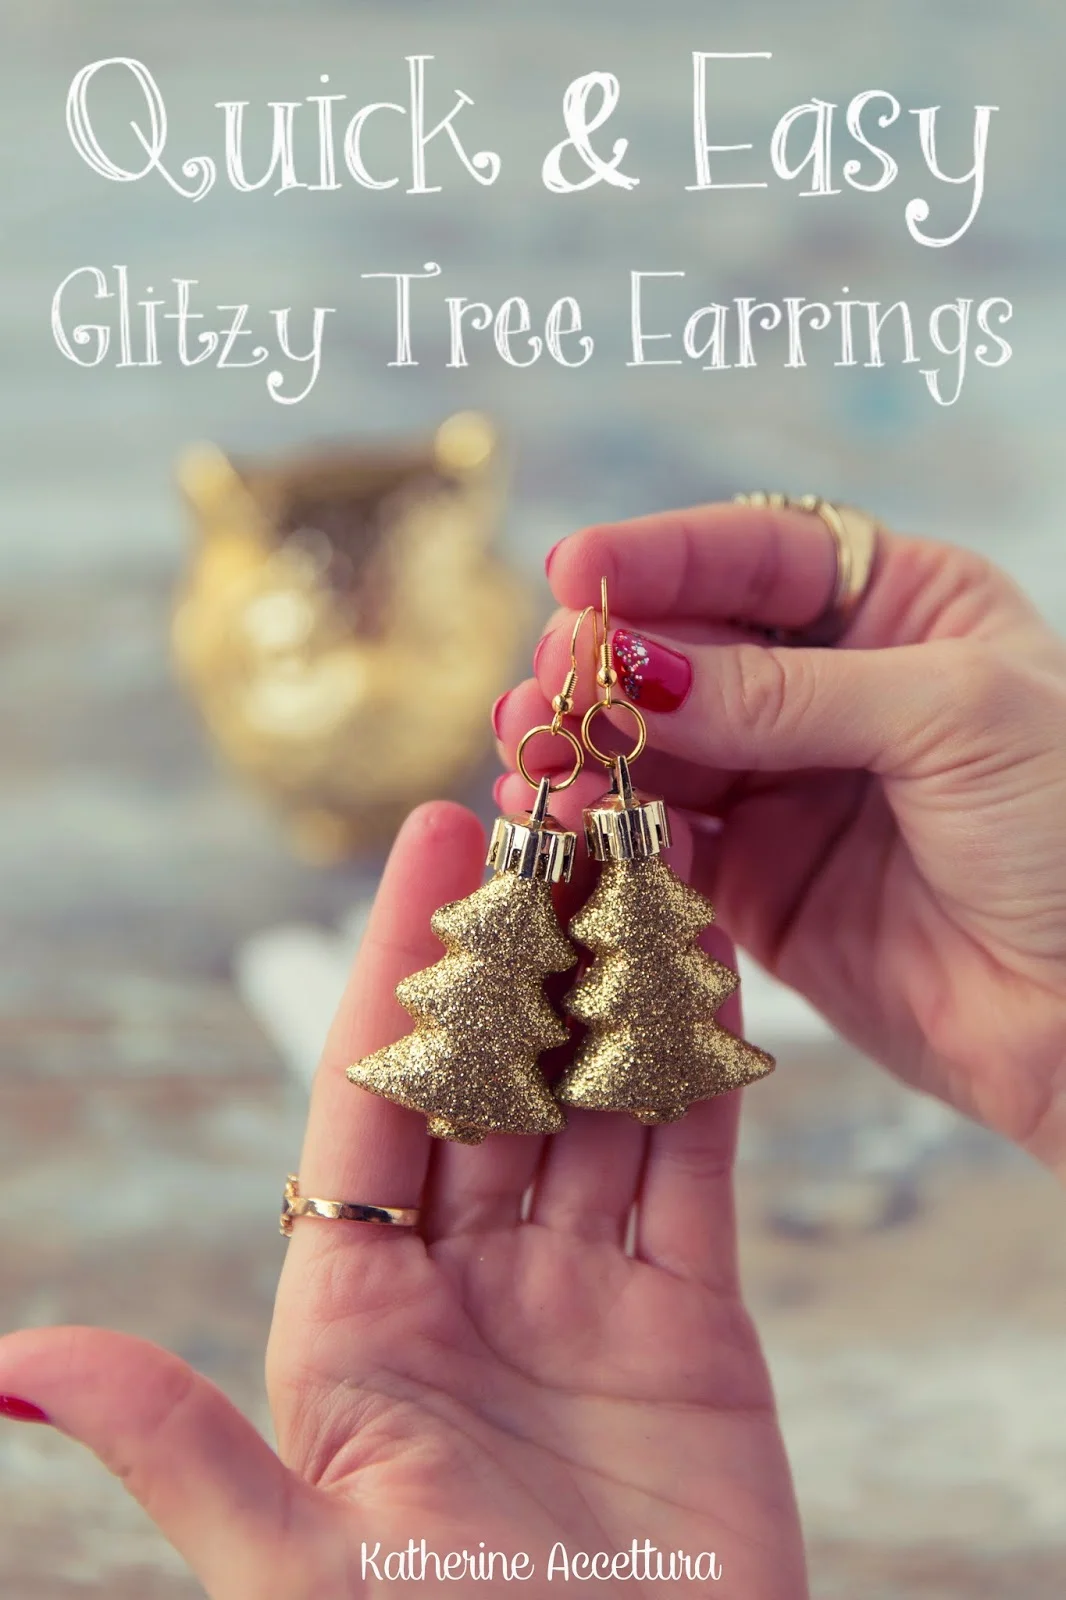
These Glitzy Tree Earrings are also a cute and festive gift idea you could make for a friend, and then make yourself a matching pair! These turned out really great!

New York City!!
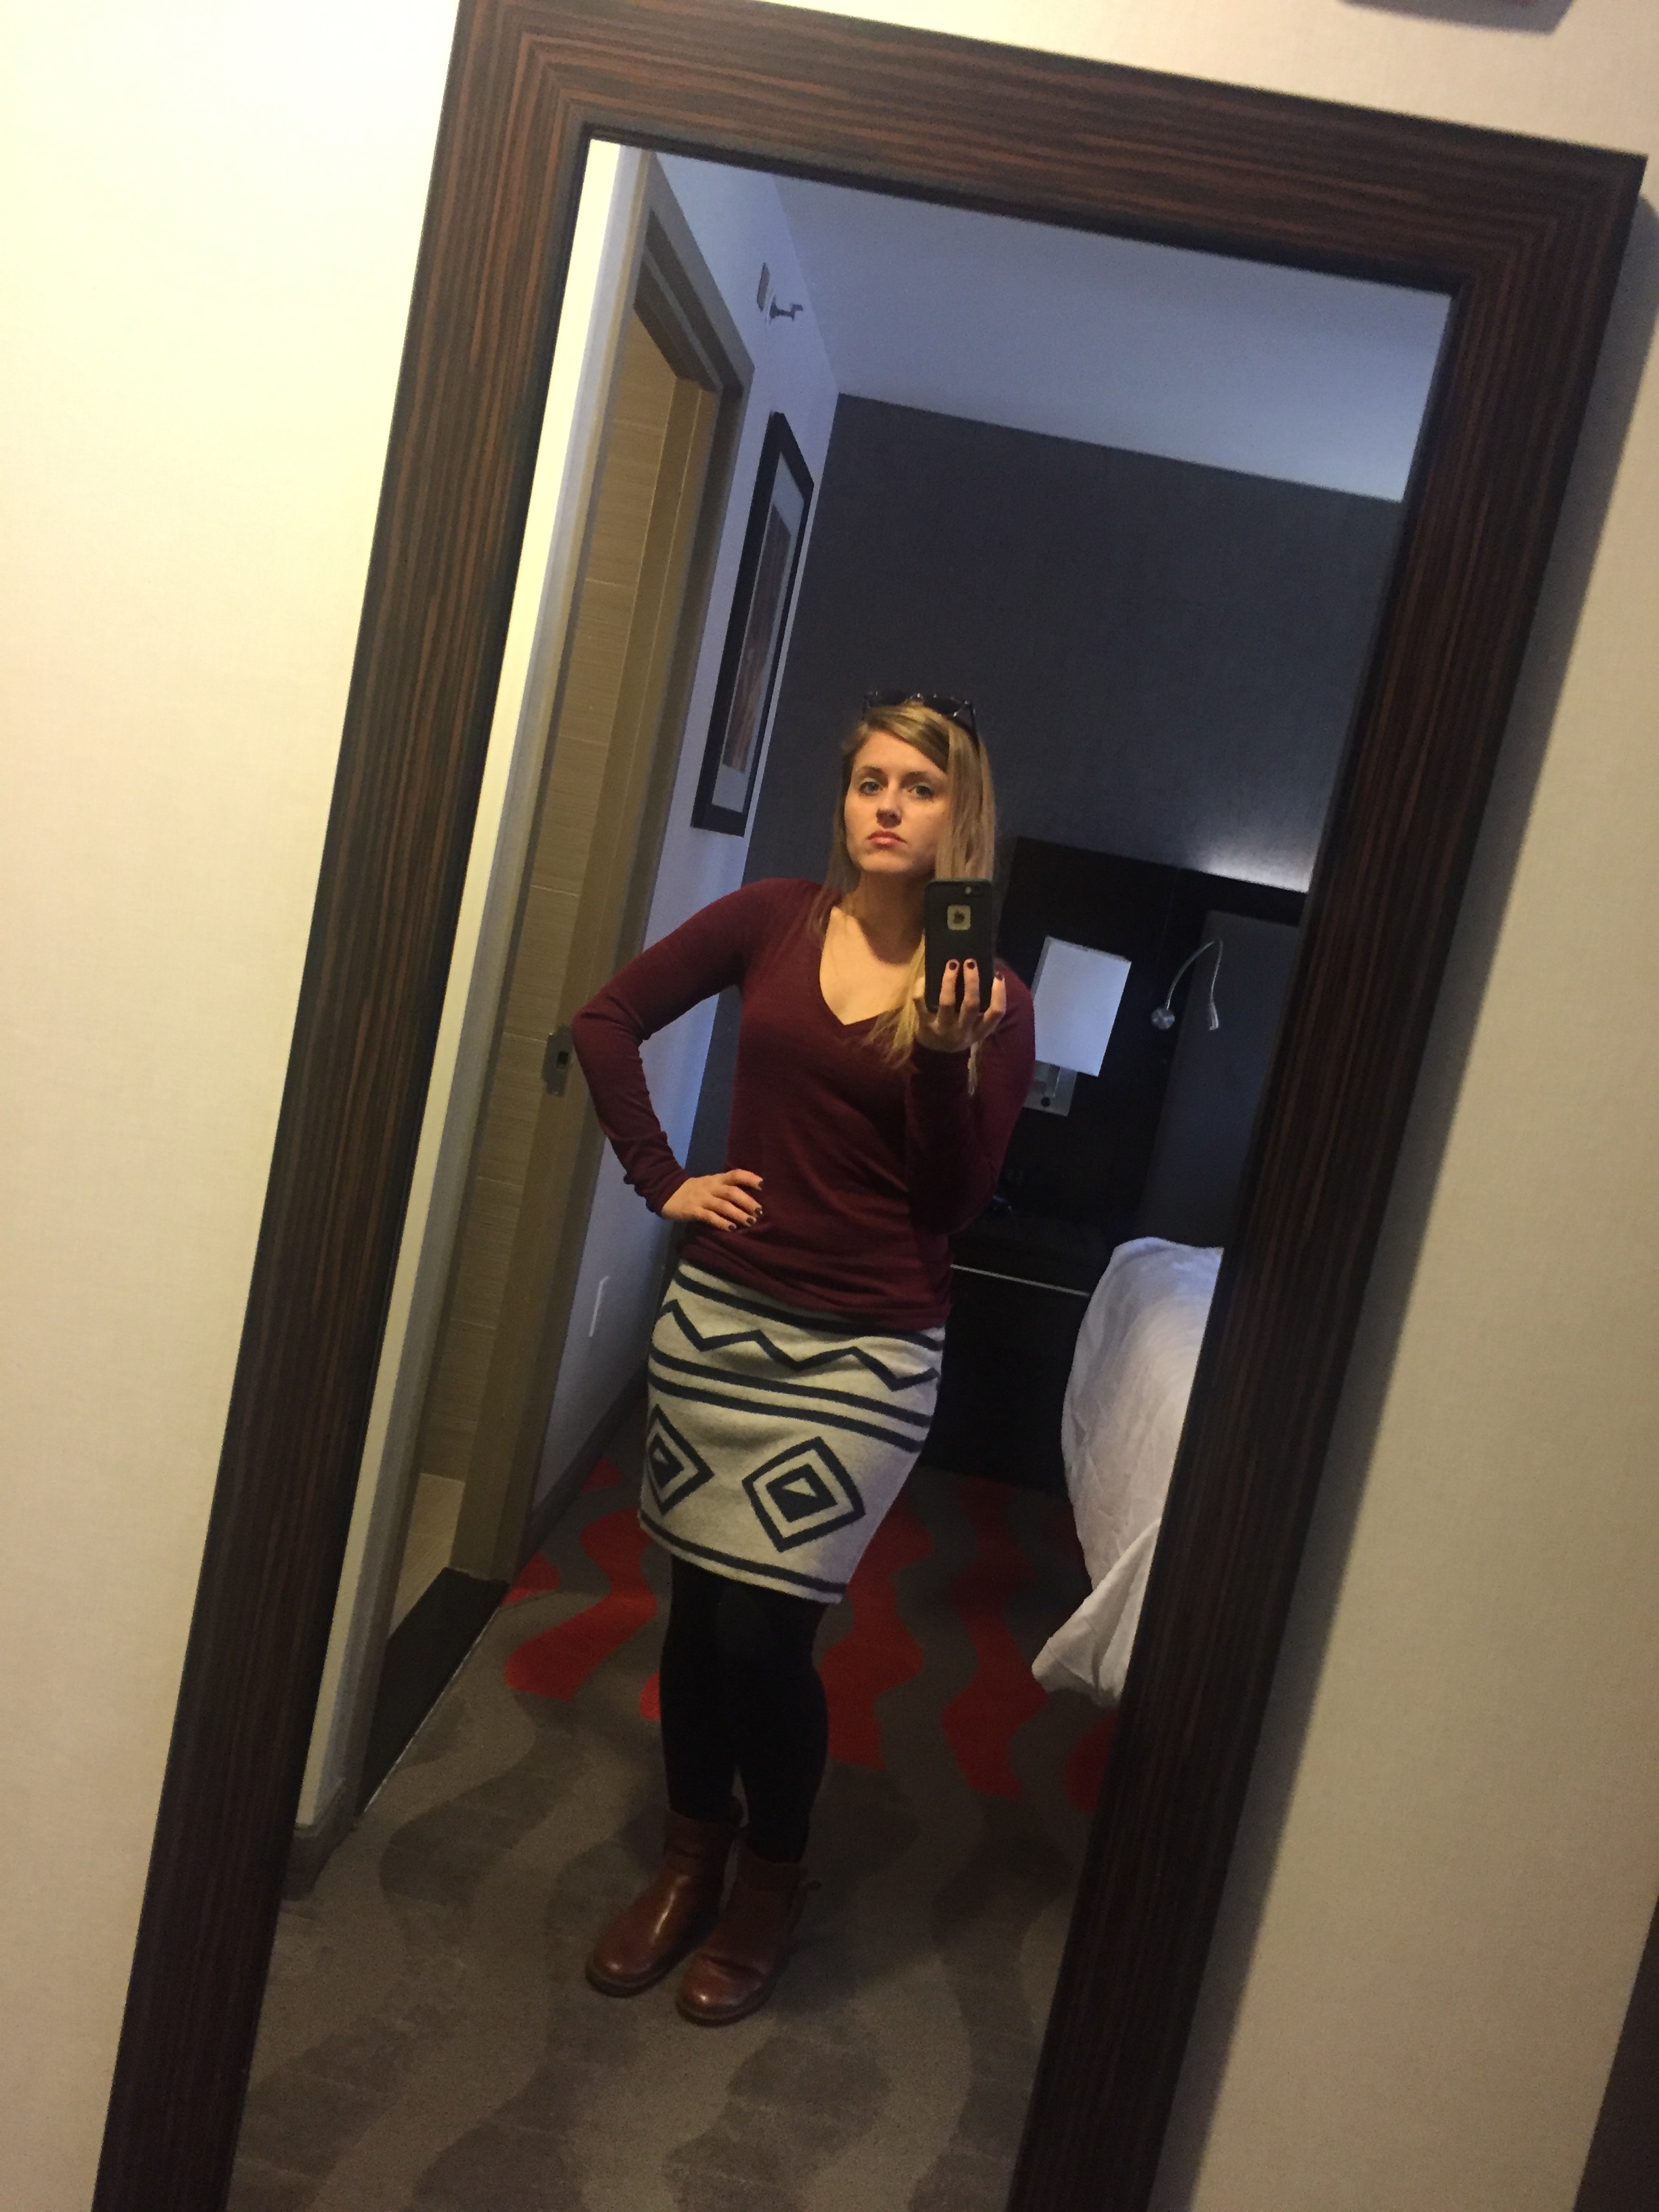
I had SO much fun in New York City last weekend. I was recently working a fun content creation project for Skype, where I shared my Halloween Party Tips and DIY Ideas! This was my first time to New York City (we did visit years ago for like 2 hours, but this was completely different...)
So, the images I created for Skype can be found HERE. I had SO much fun creating some holiday content, as this was one of the first projects I have done of this nature. Halloween Tips and Tricks are some of my absolute FAVORITES, so I had a really great time! I also helped with a Pinterest Board (here), and I helped lead a fun, Skype Group Chat (search SkypeHalloween to find us!!).
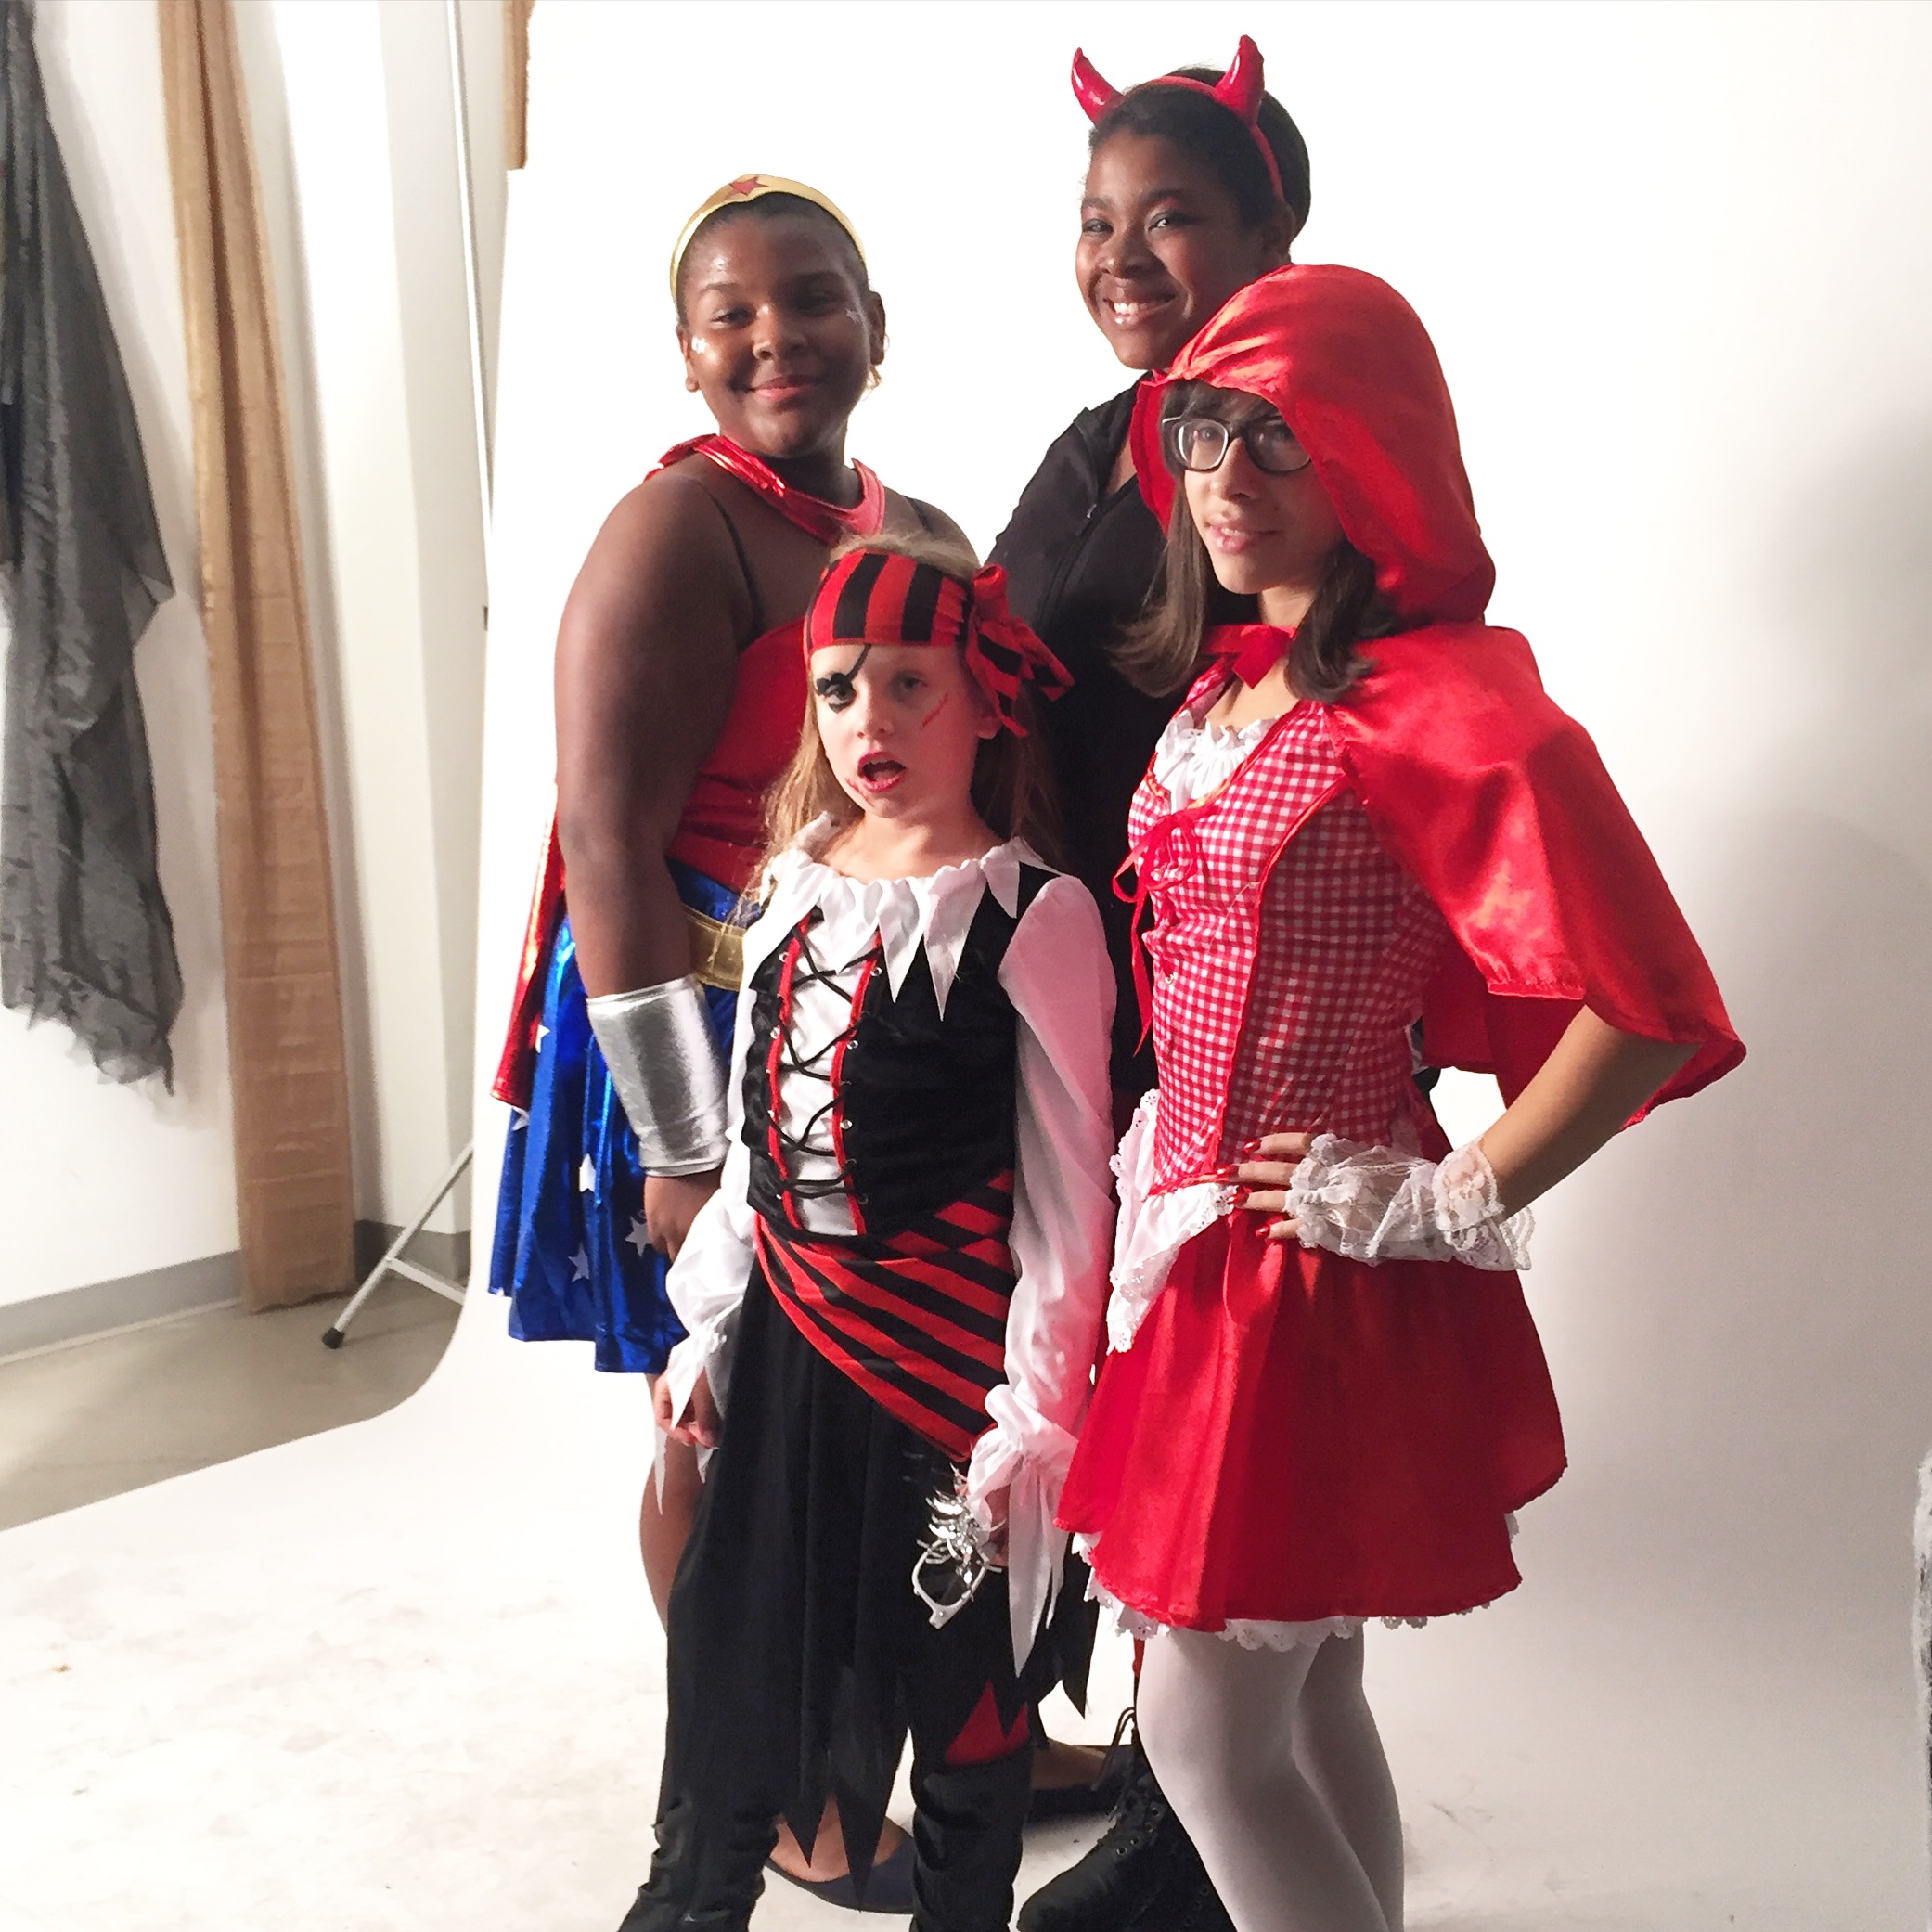
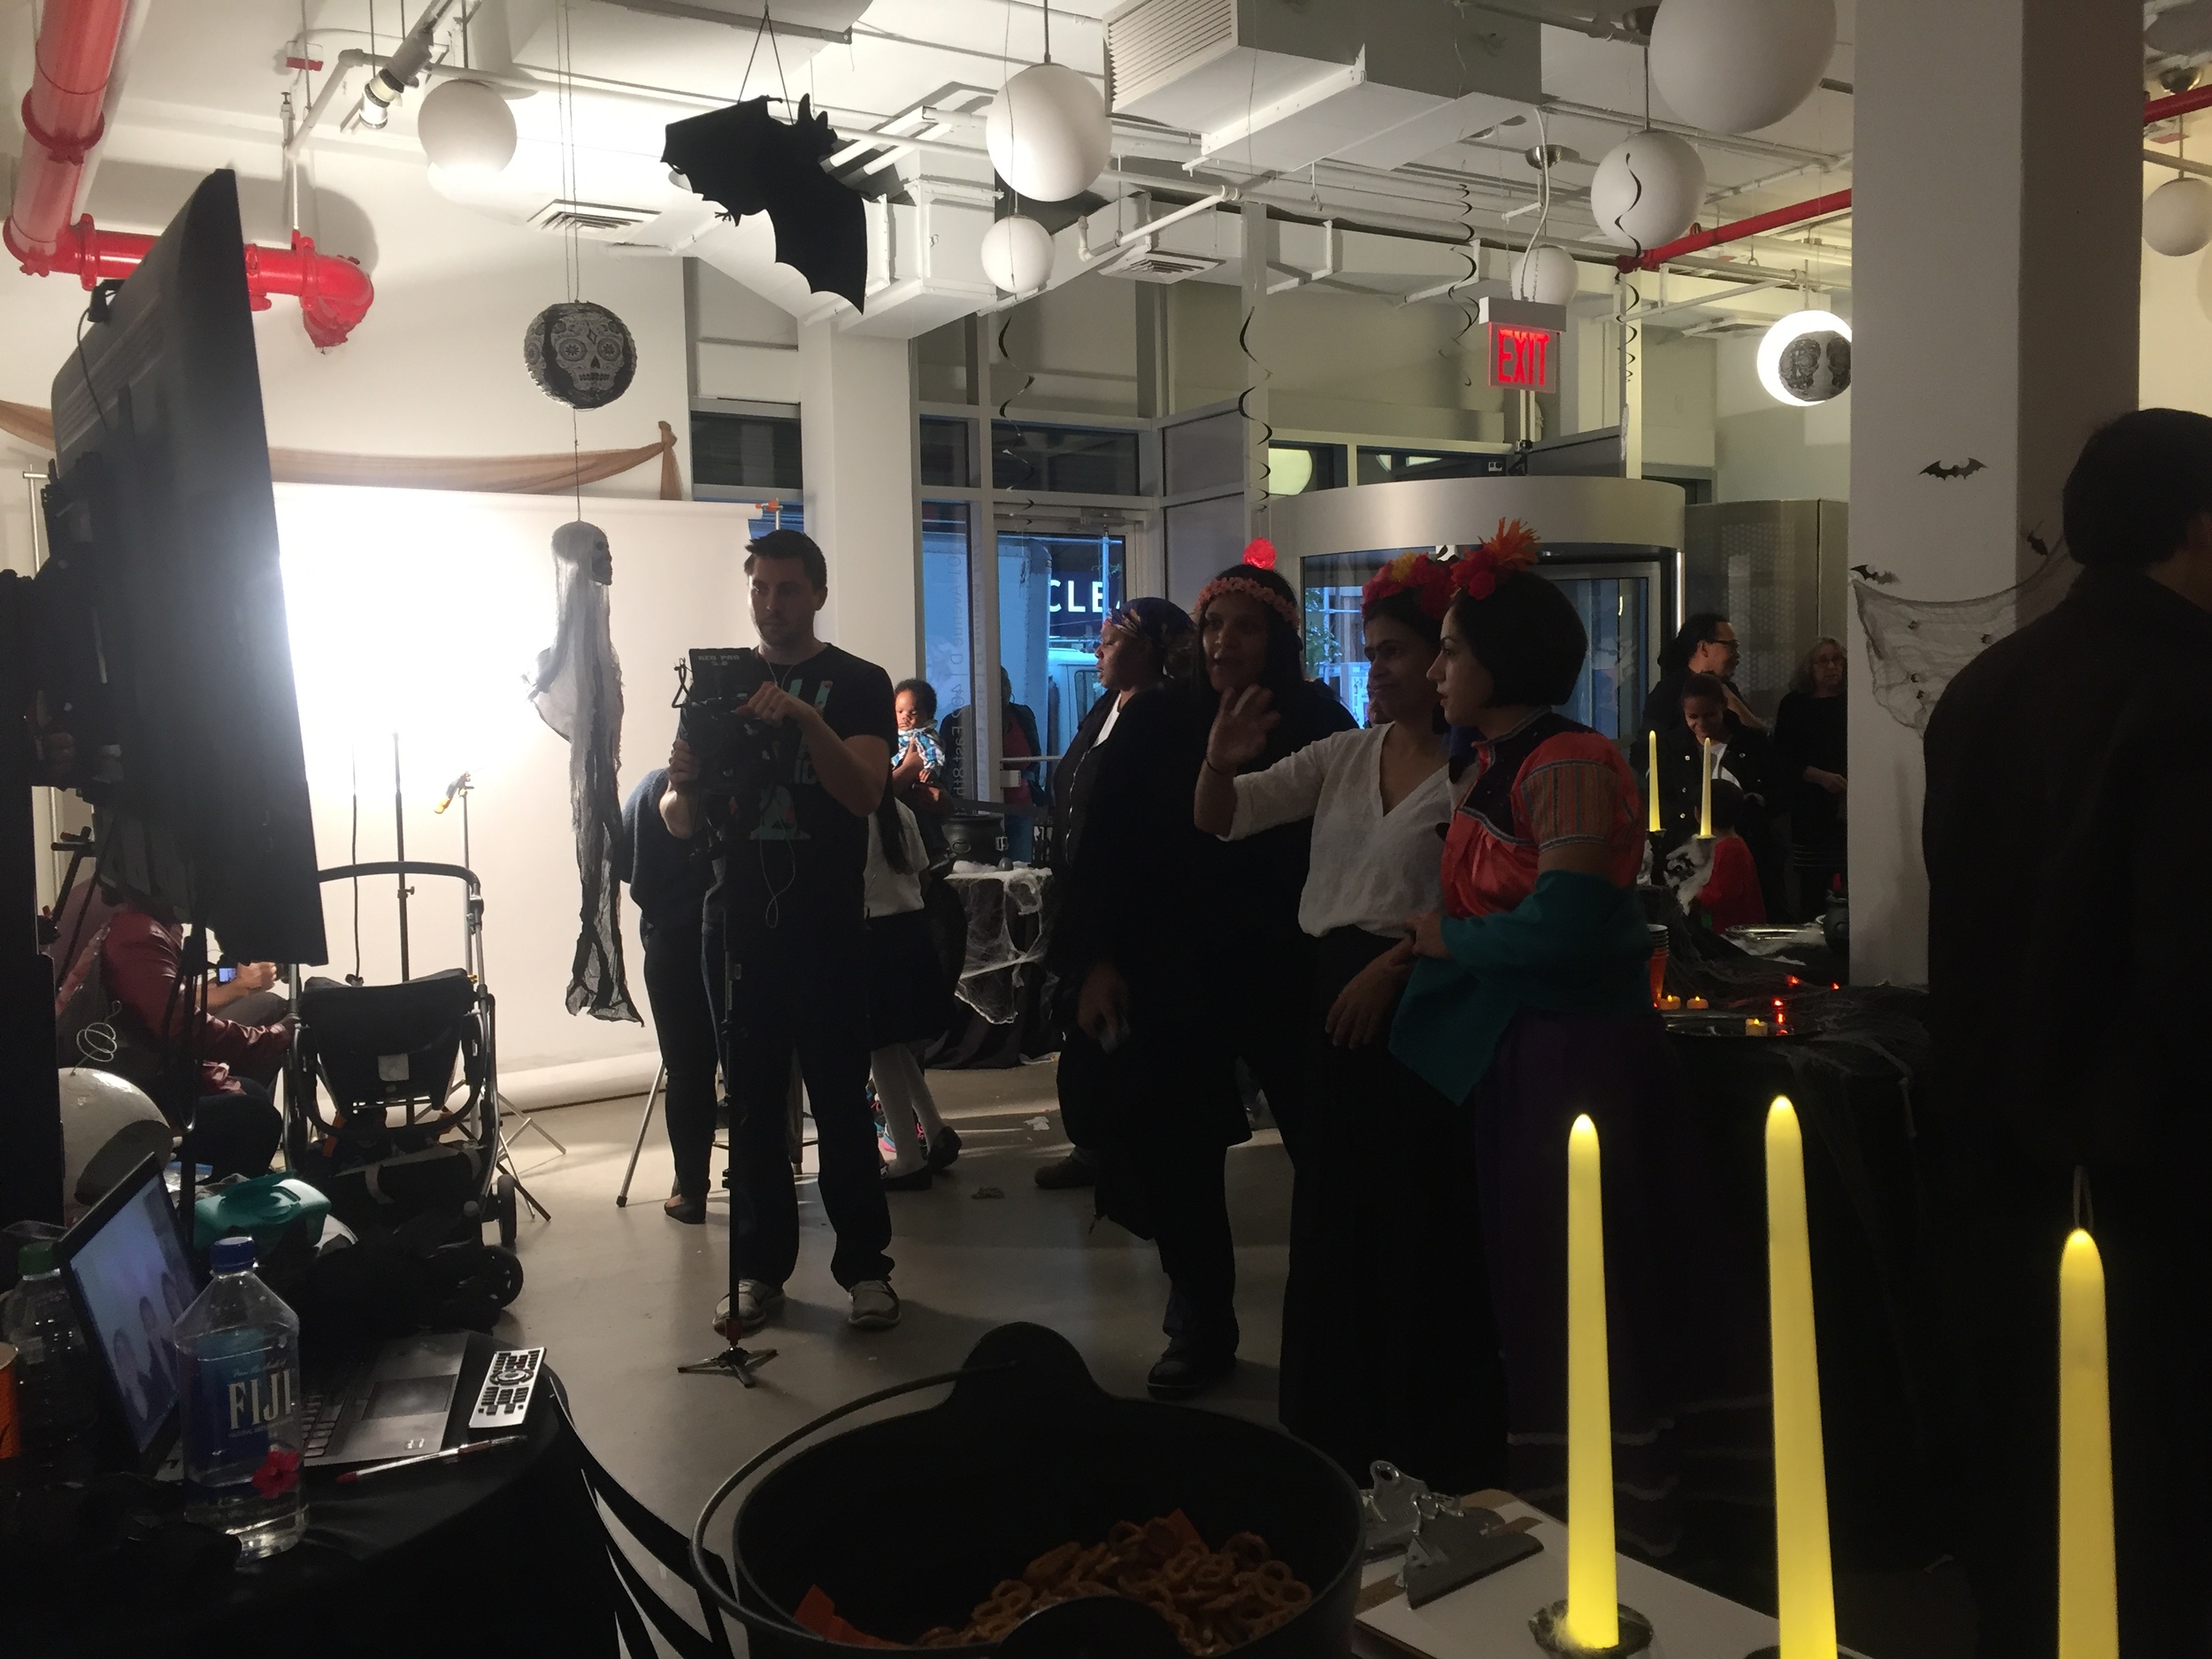
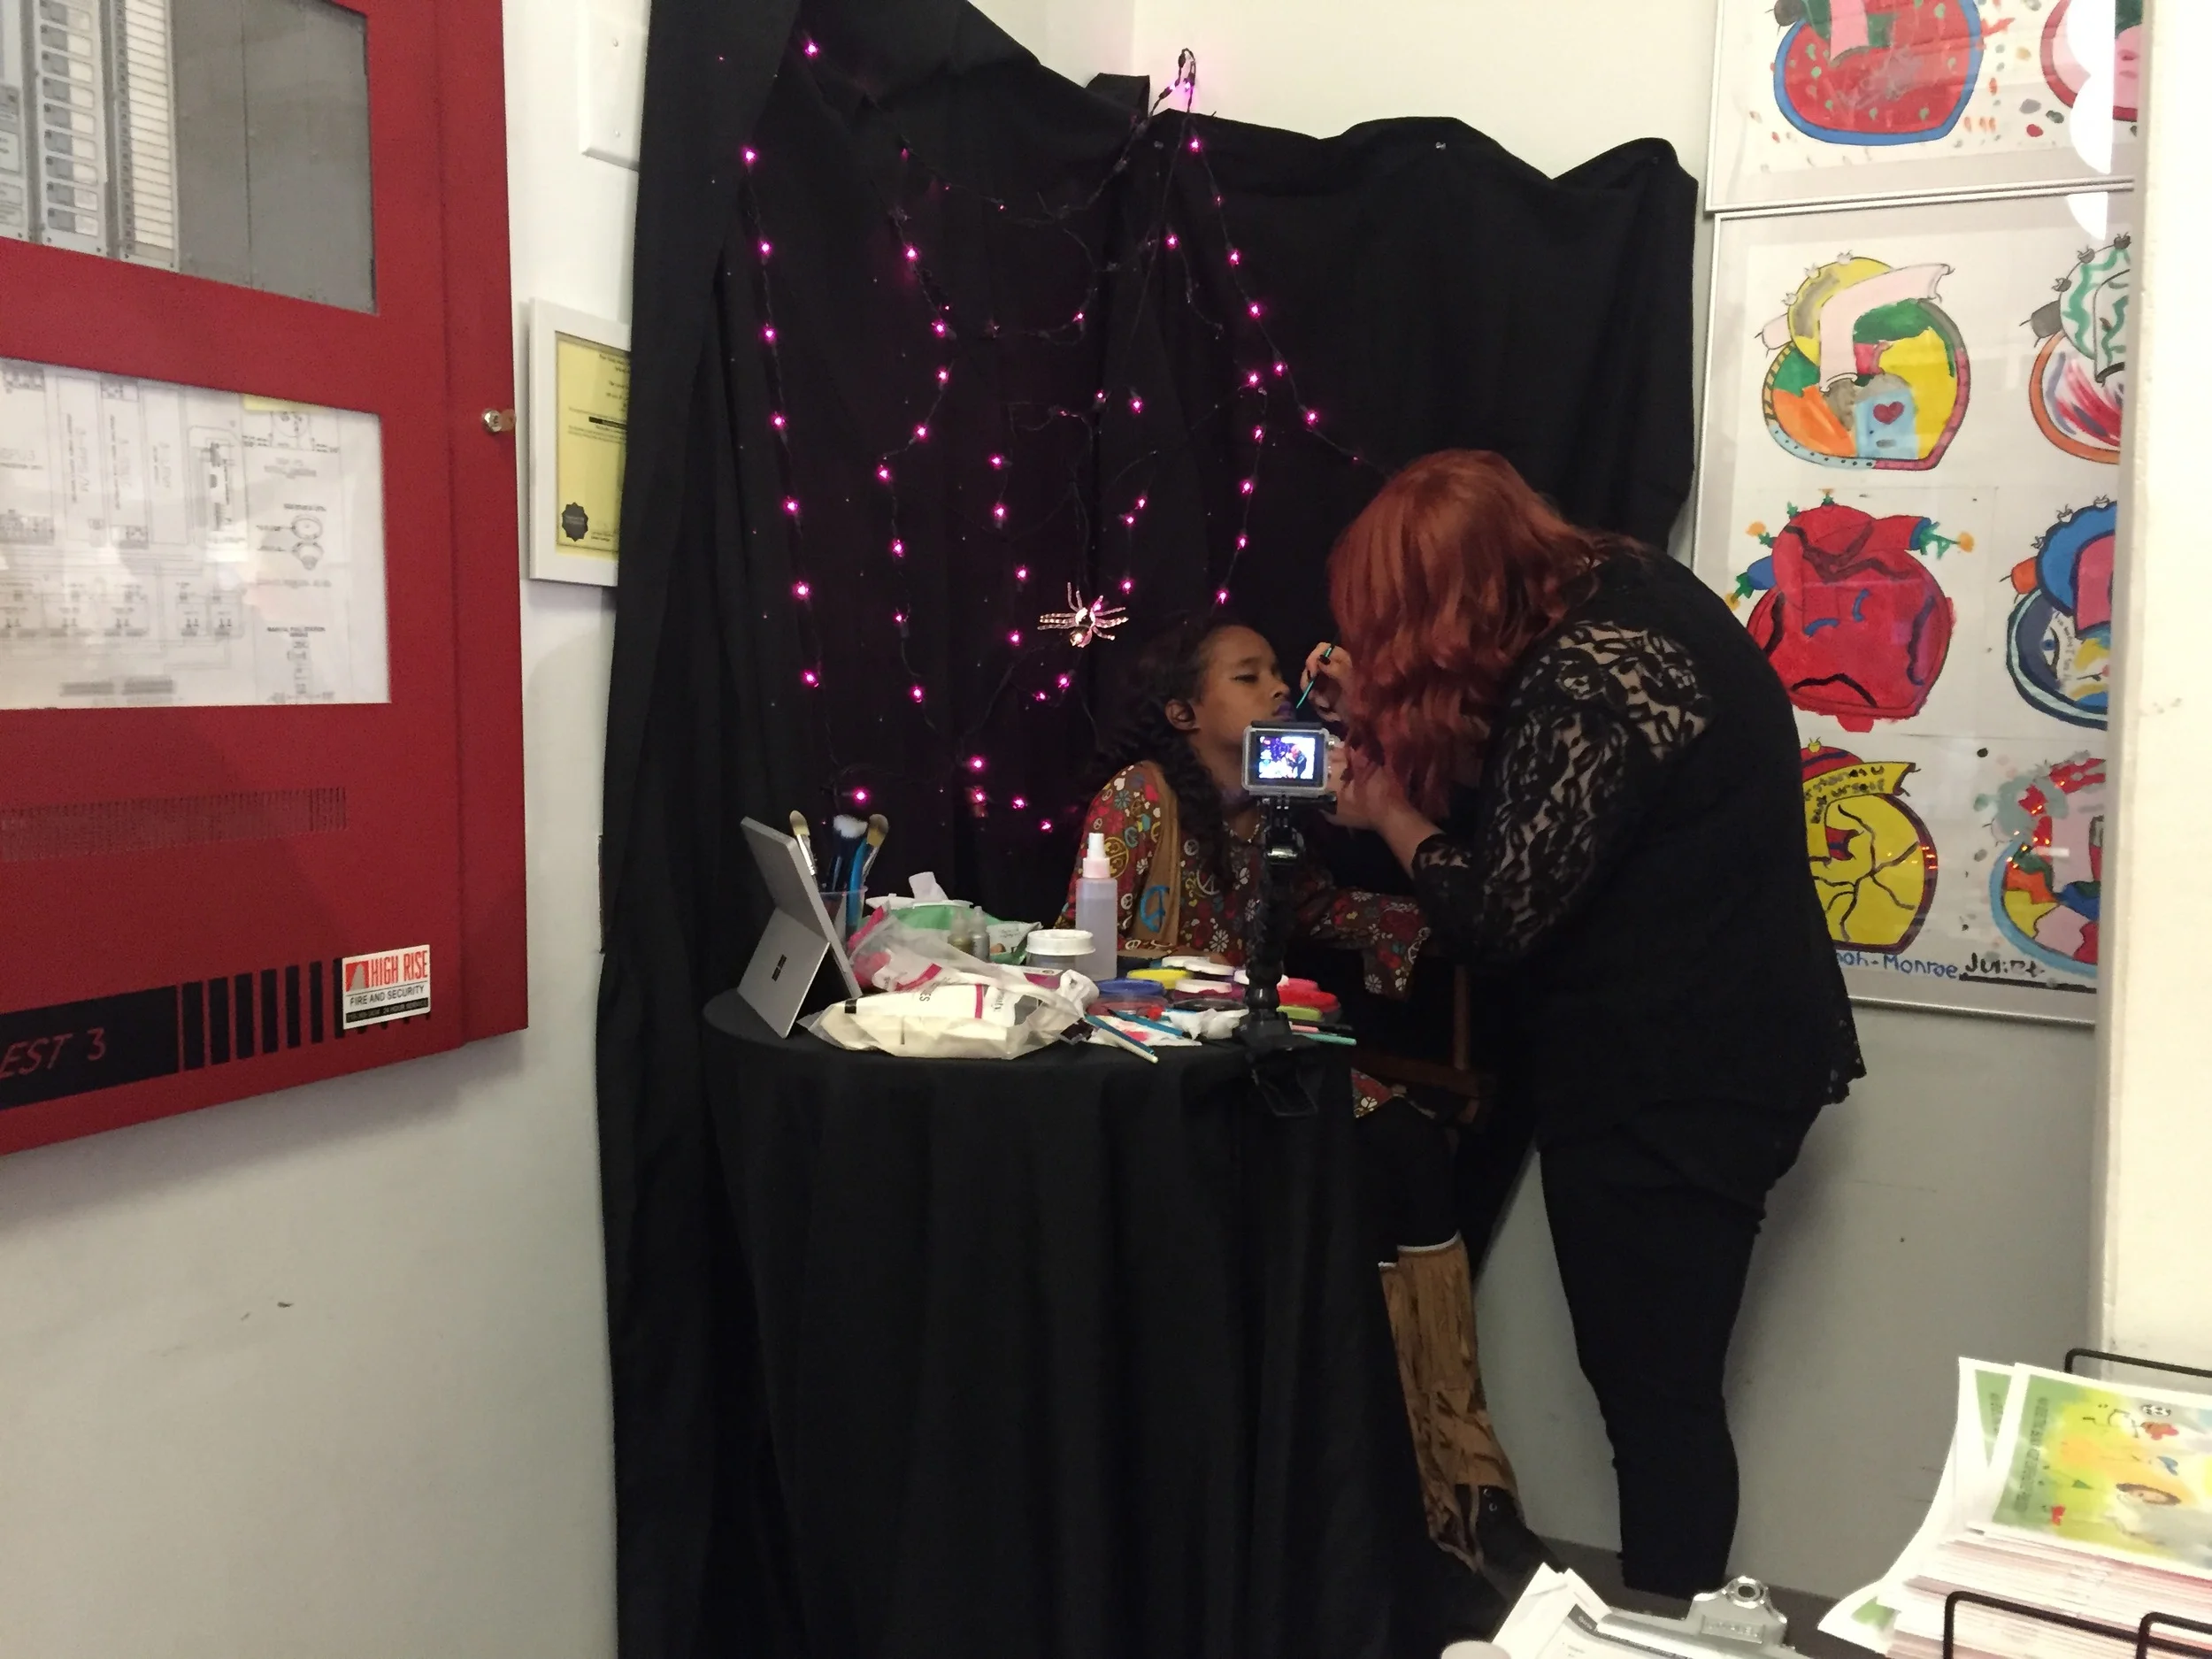
One of the best parts of this project came at pretty short notice. Skype personally invited me out to New York City, to help coordinate a Halloween party for The Lower East Side Girls' Club of NYC! Pretty incredible and practically unbelievable. What an amazing opportunity! I am still so fortunate I was the one chosen for this whole thing. I had an absolute blast, my hotel was amazing, I ate some of the best food in my life (and I've eaten food all over the country!!), met some wonderful people, and helped some really amazing kids have the Best Halloween Party Ever!
I also learned on this trip, that the earlier you get to the airport, the less stressful your whole trip will be! This really worked out so well, without really any problems!

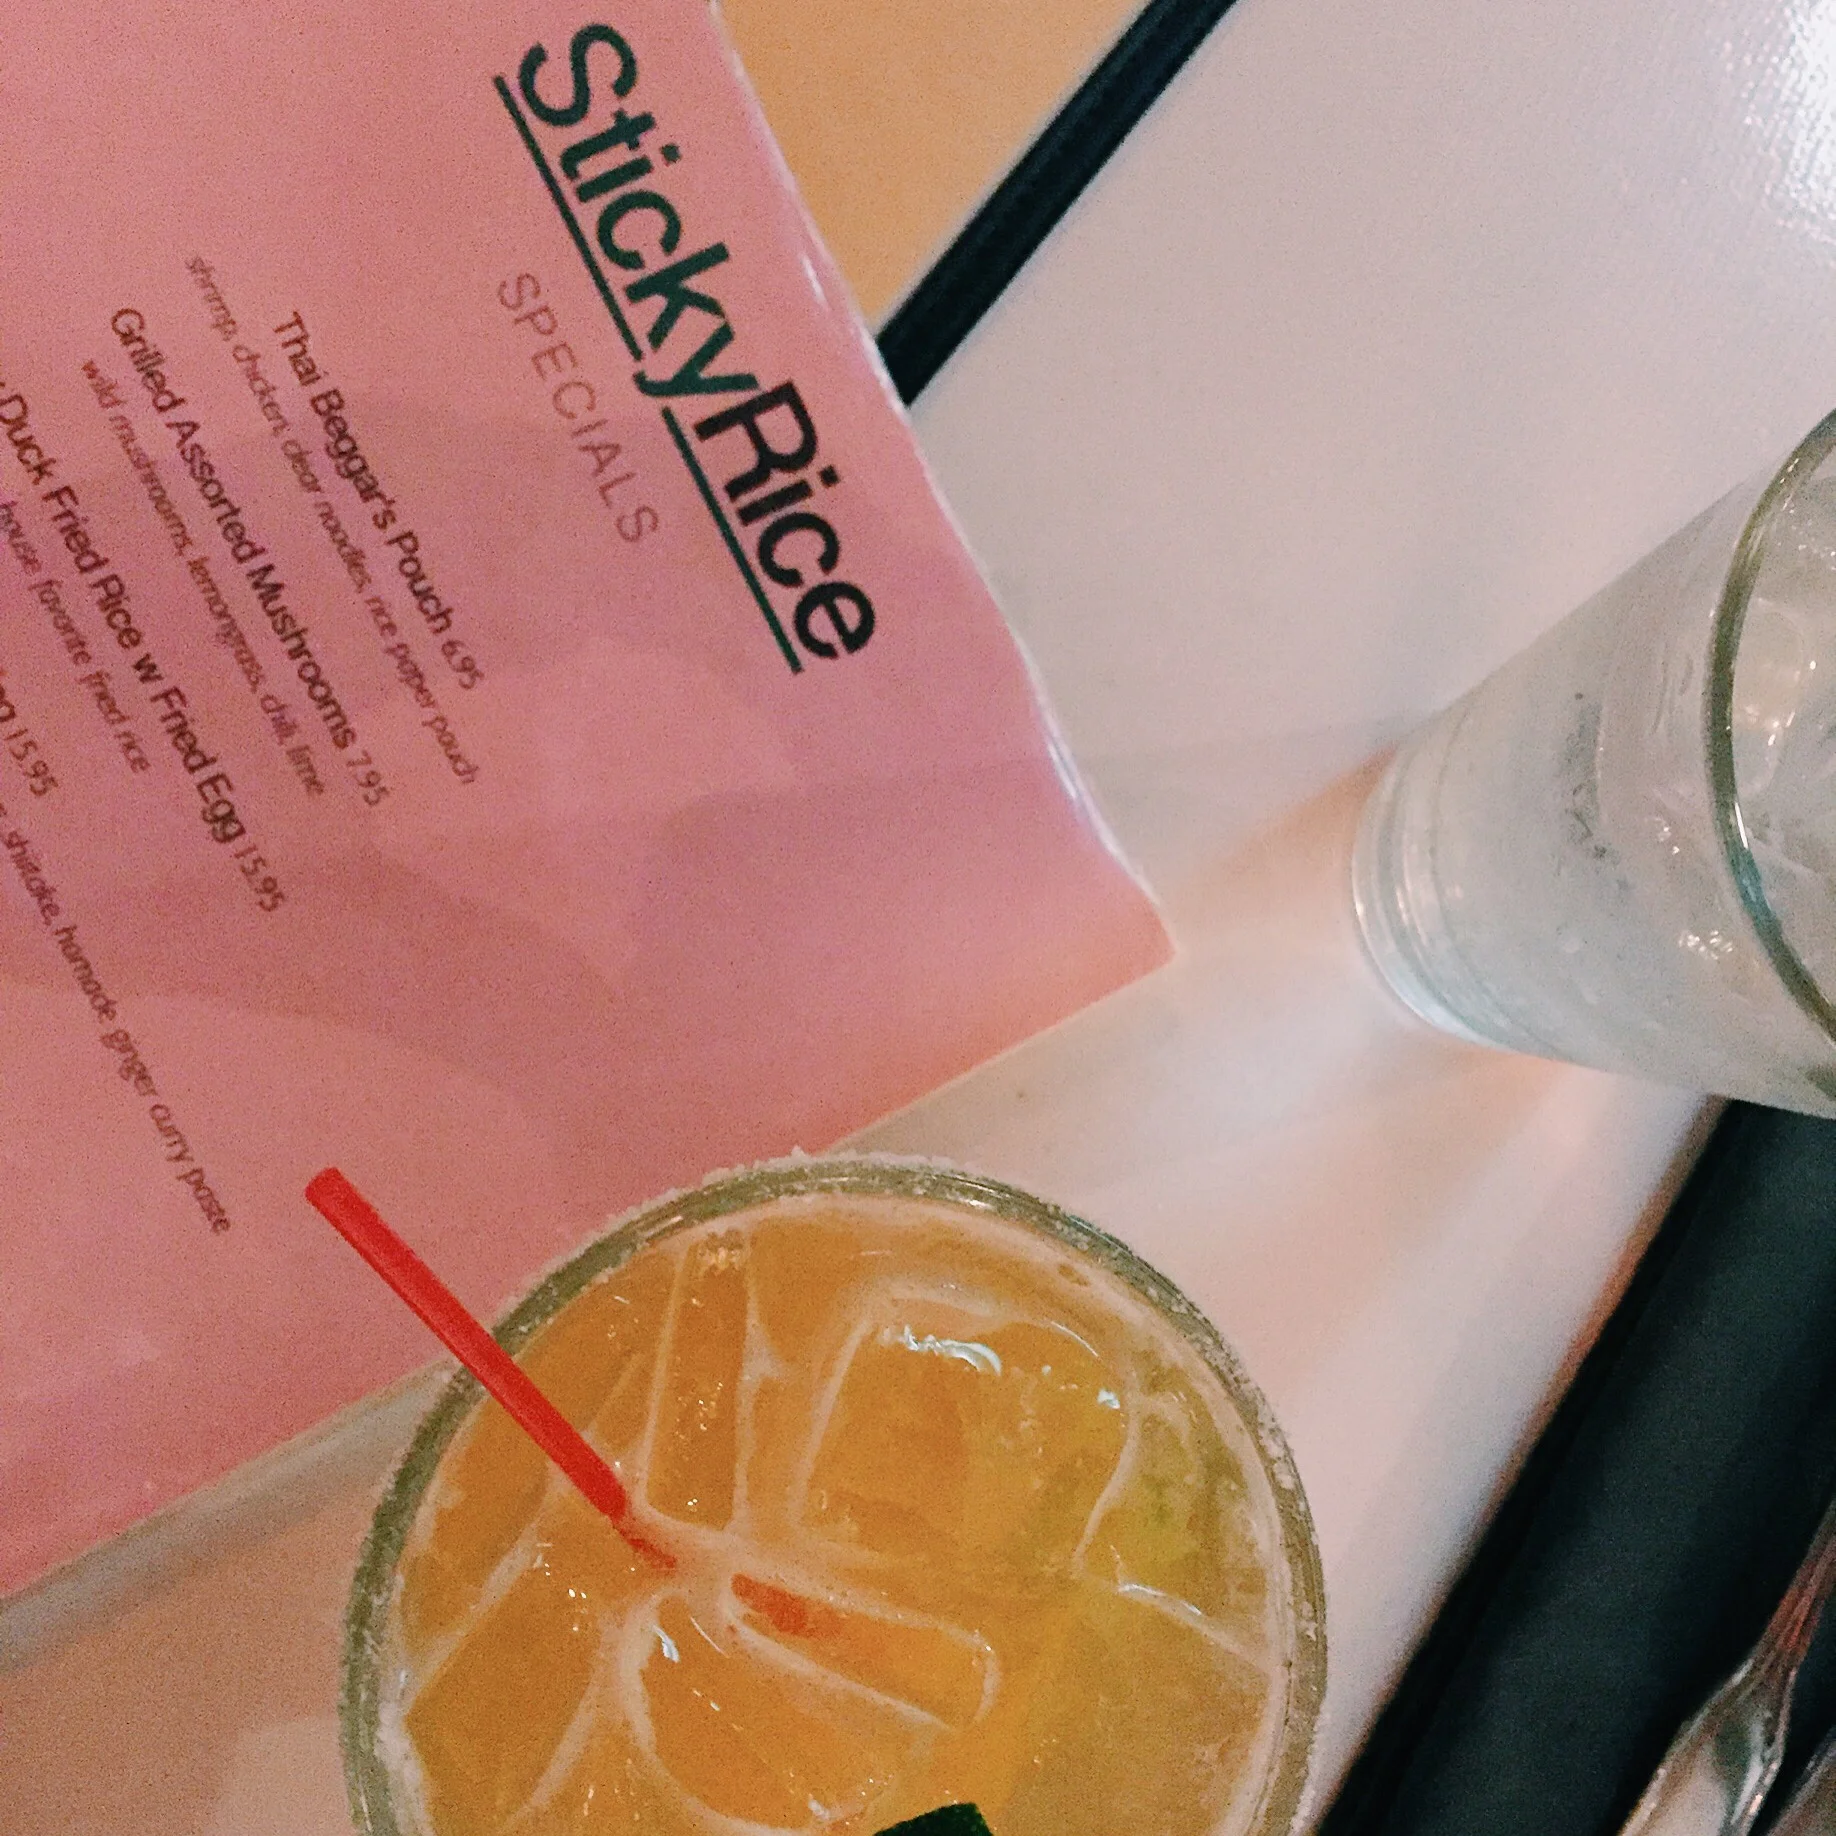
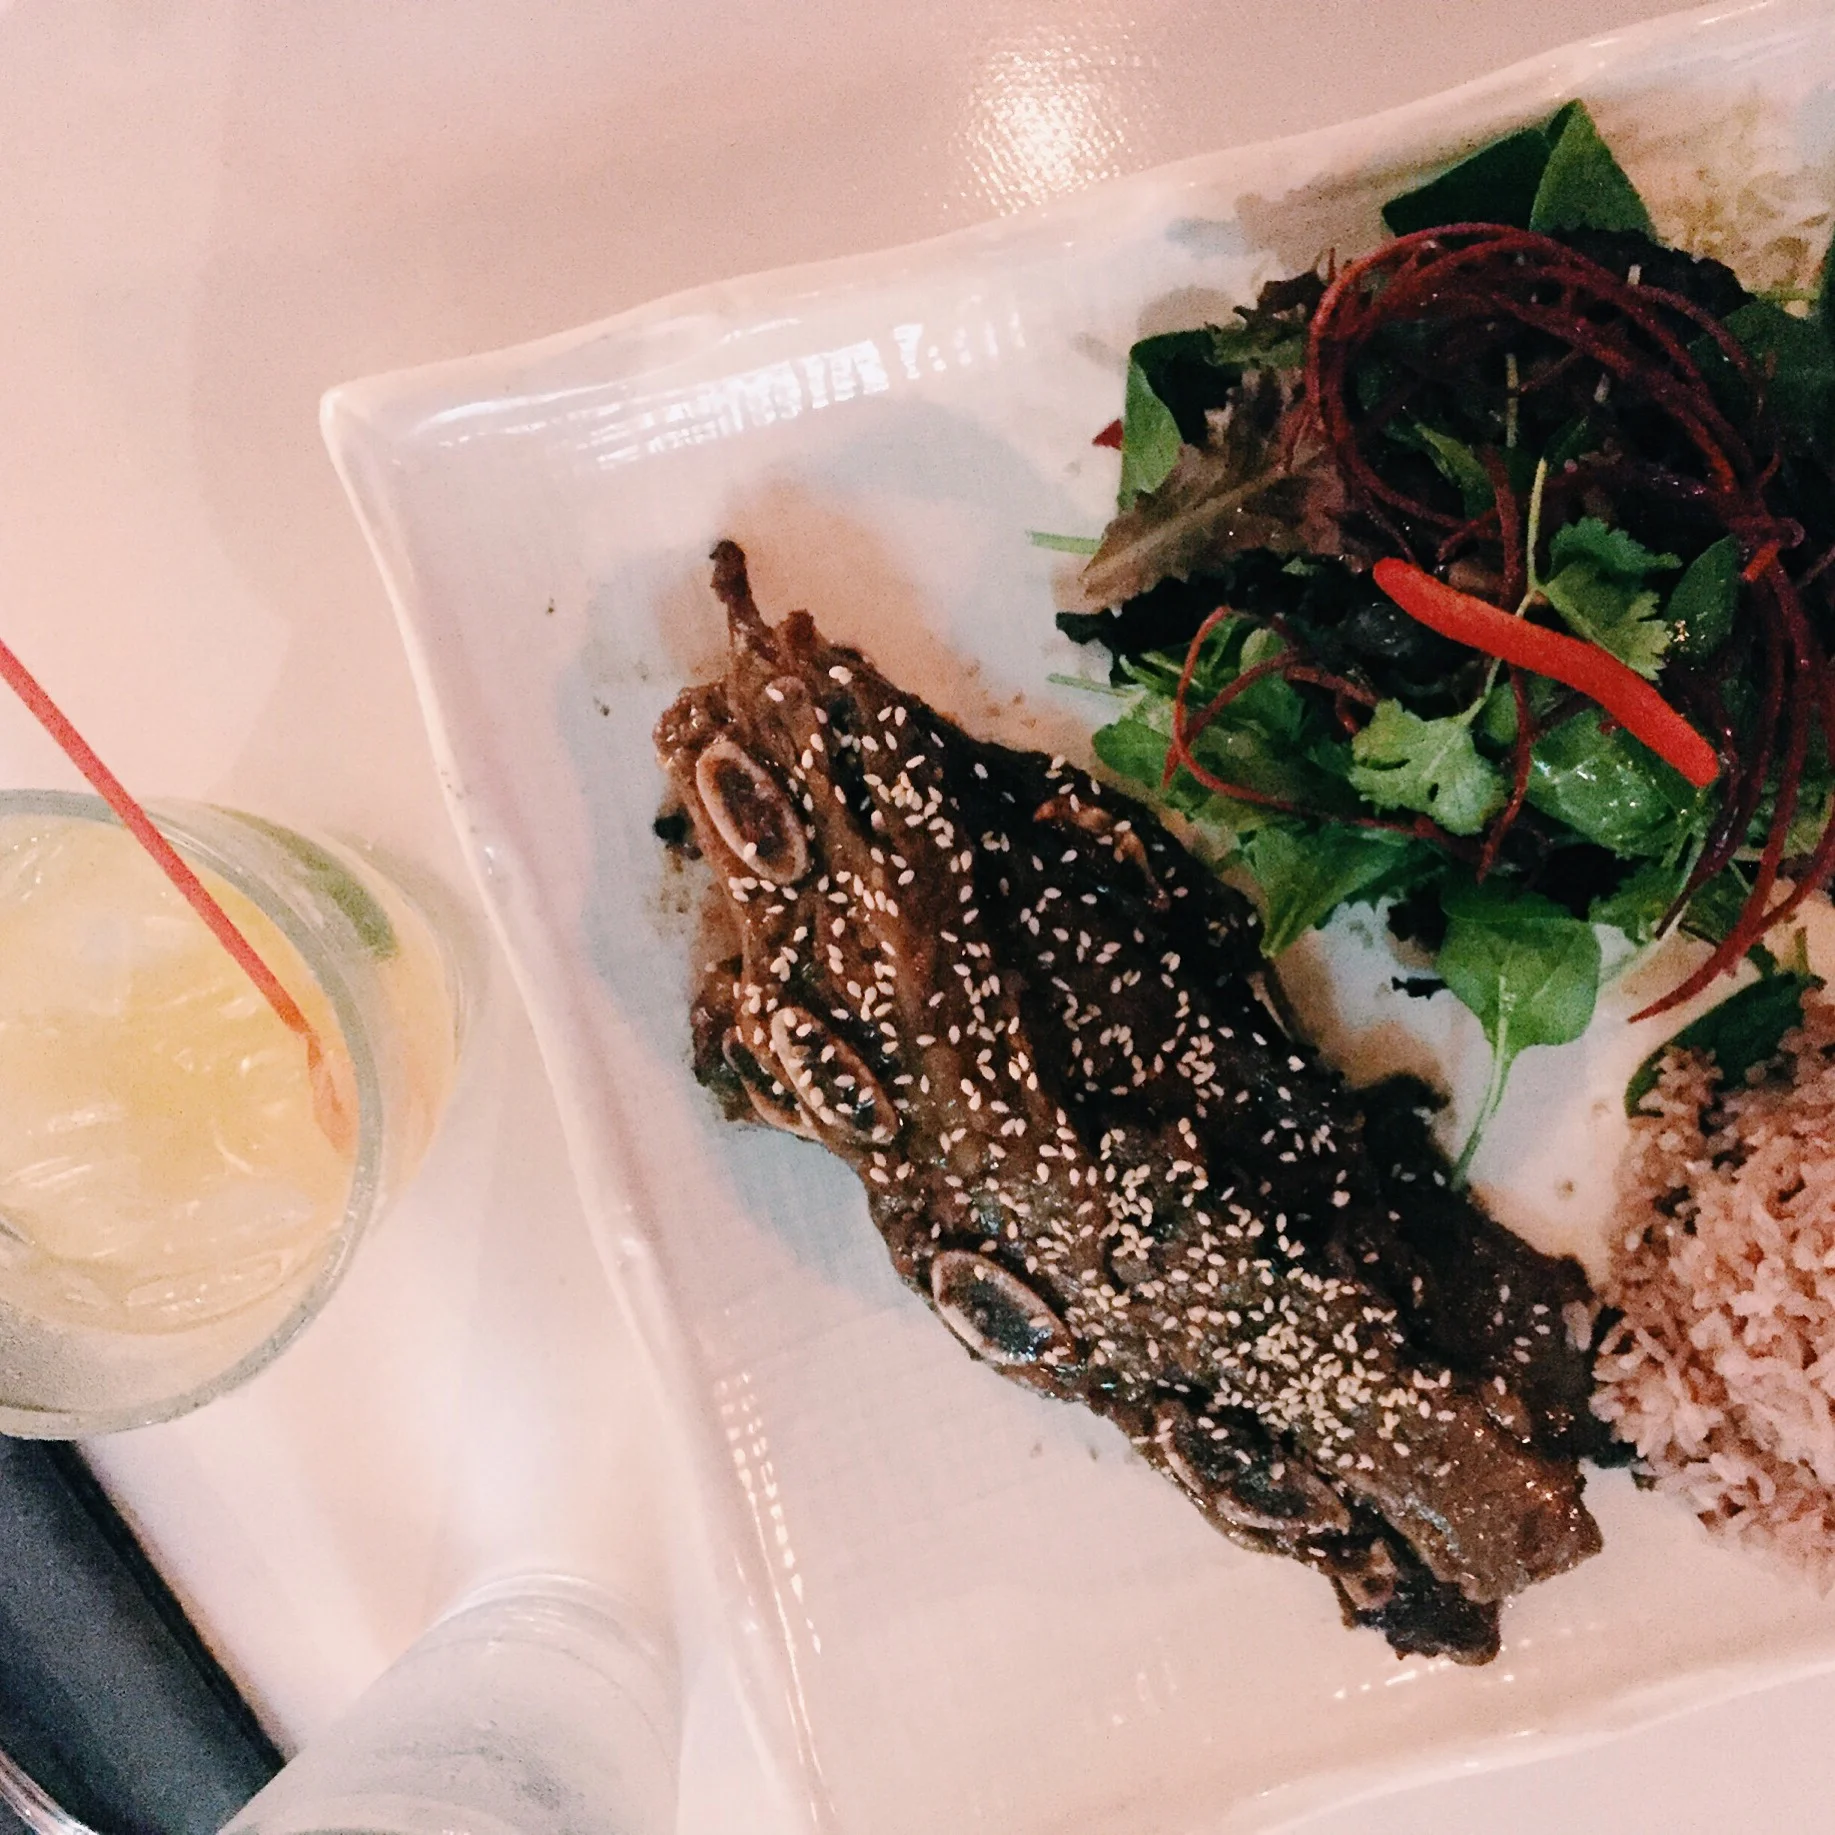
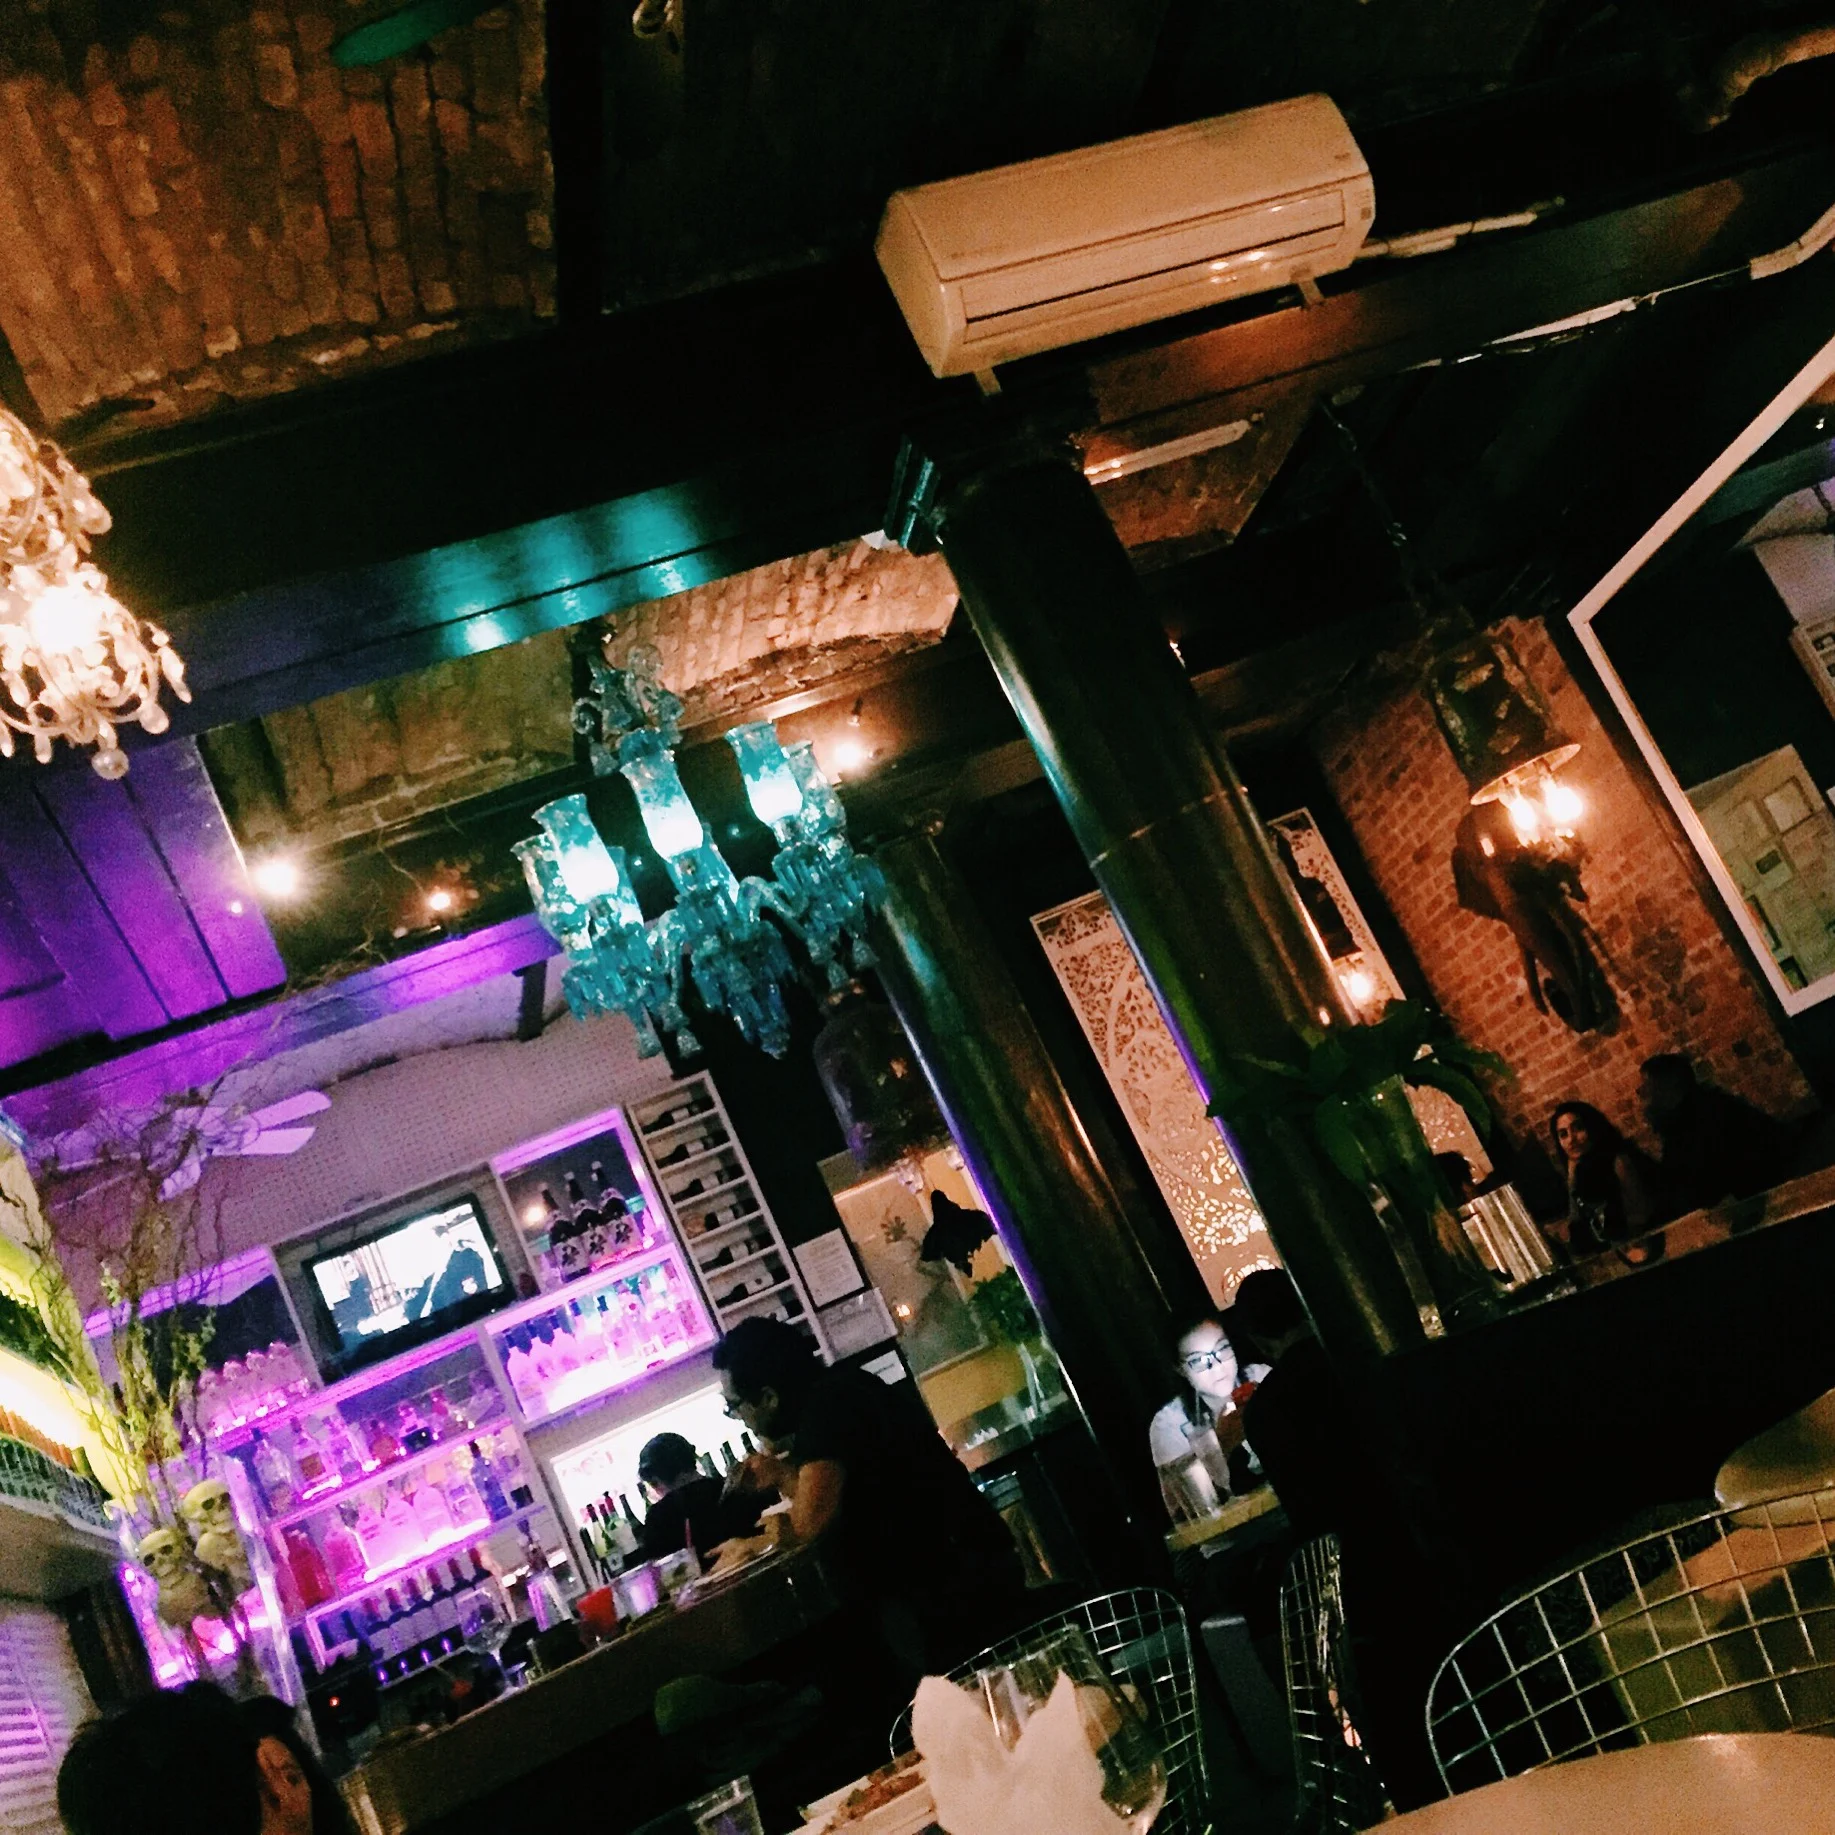
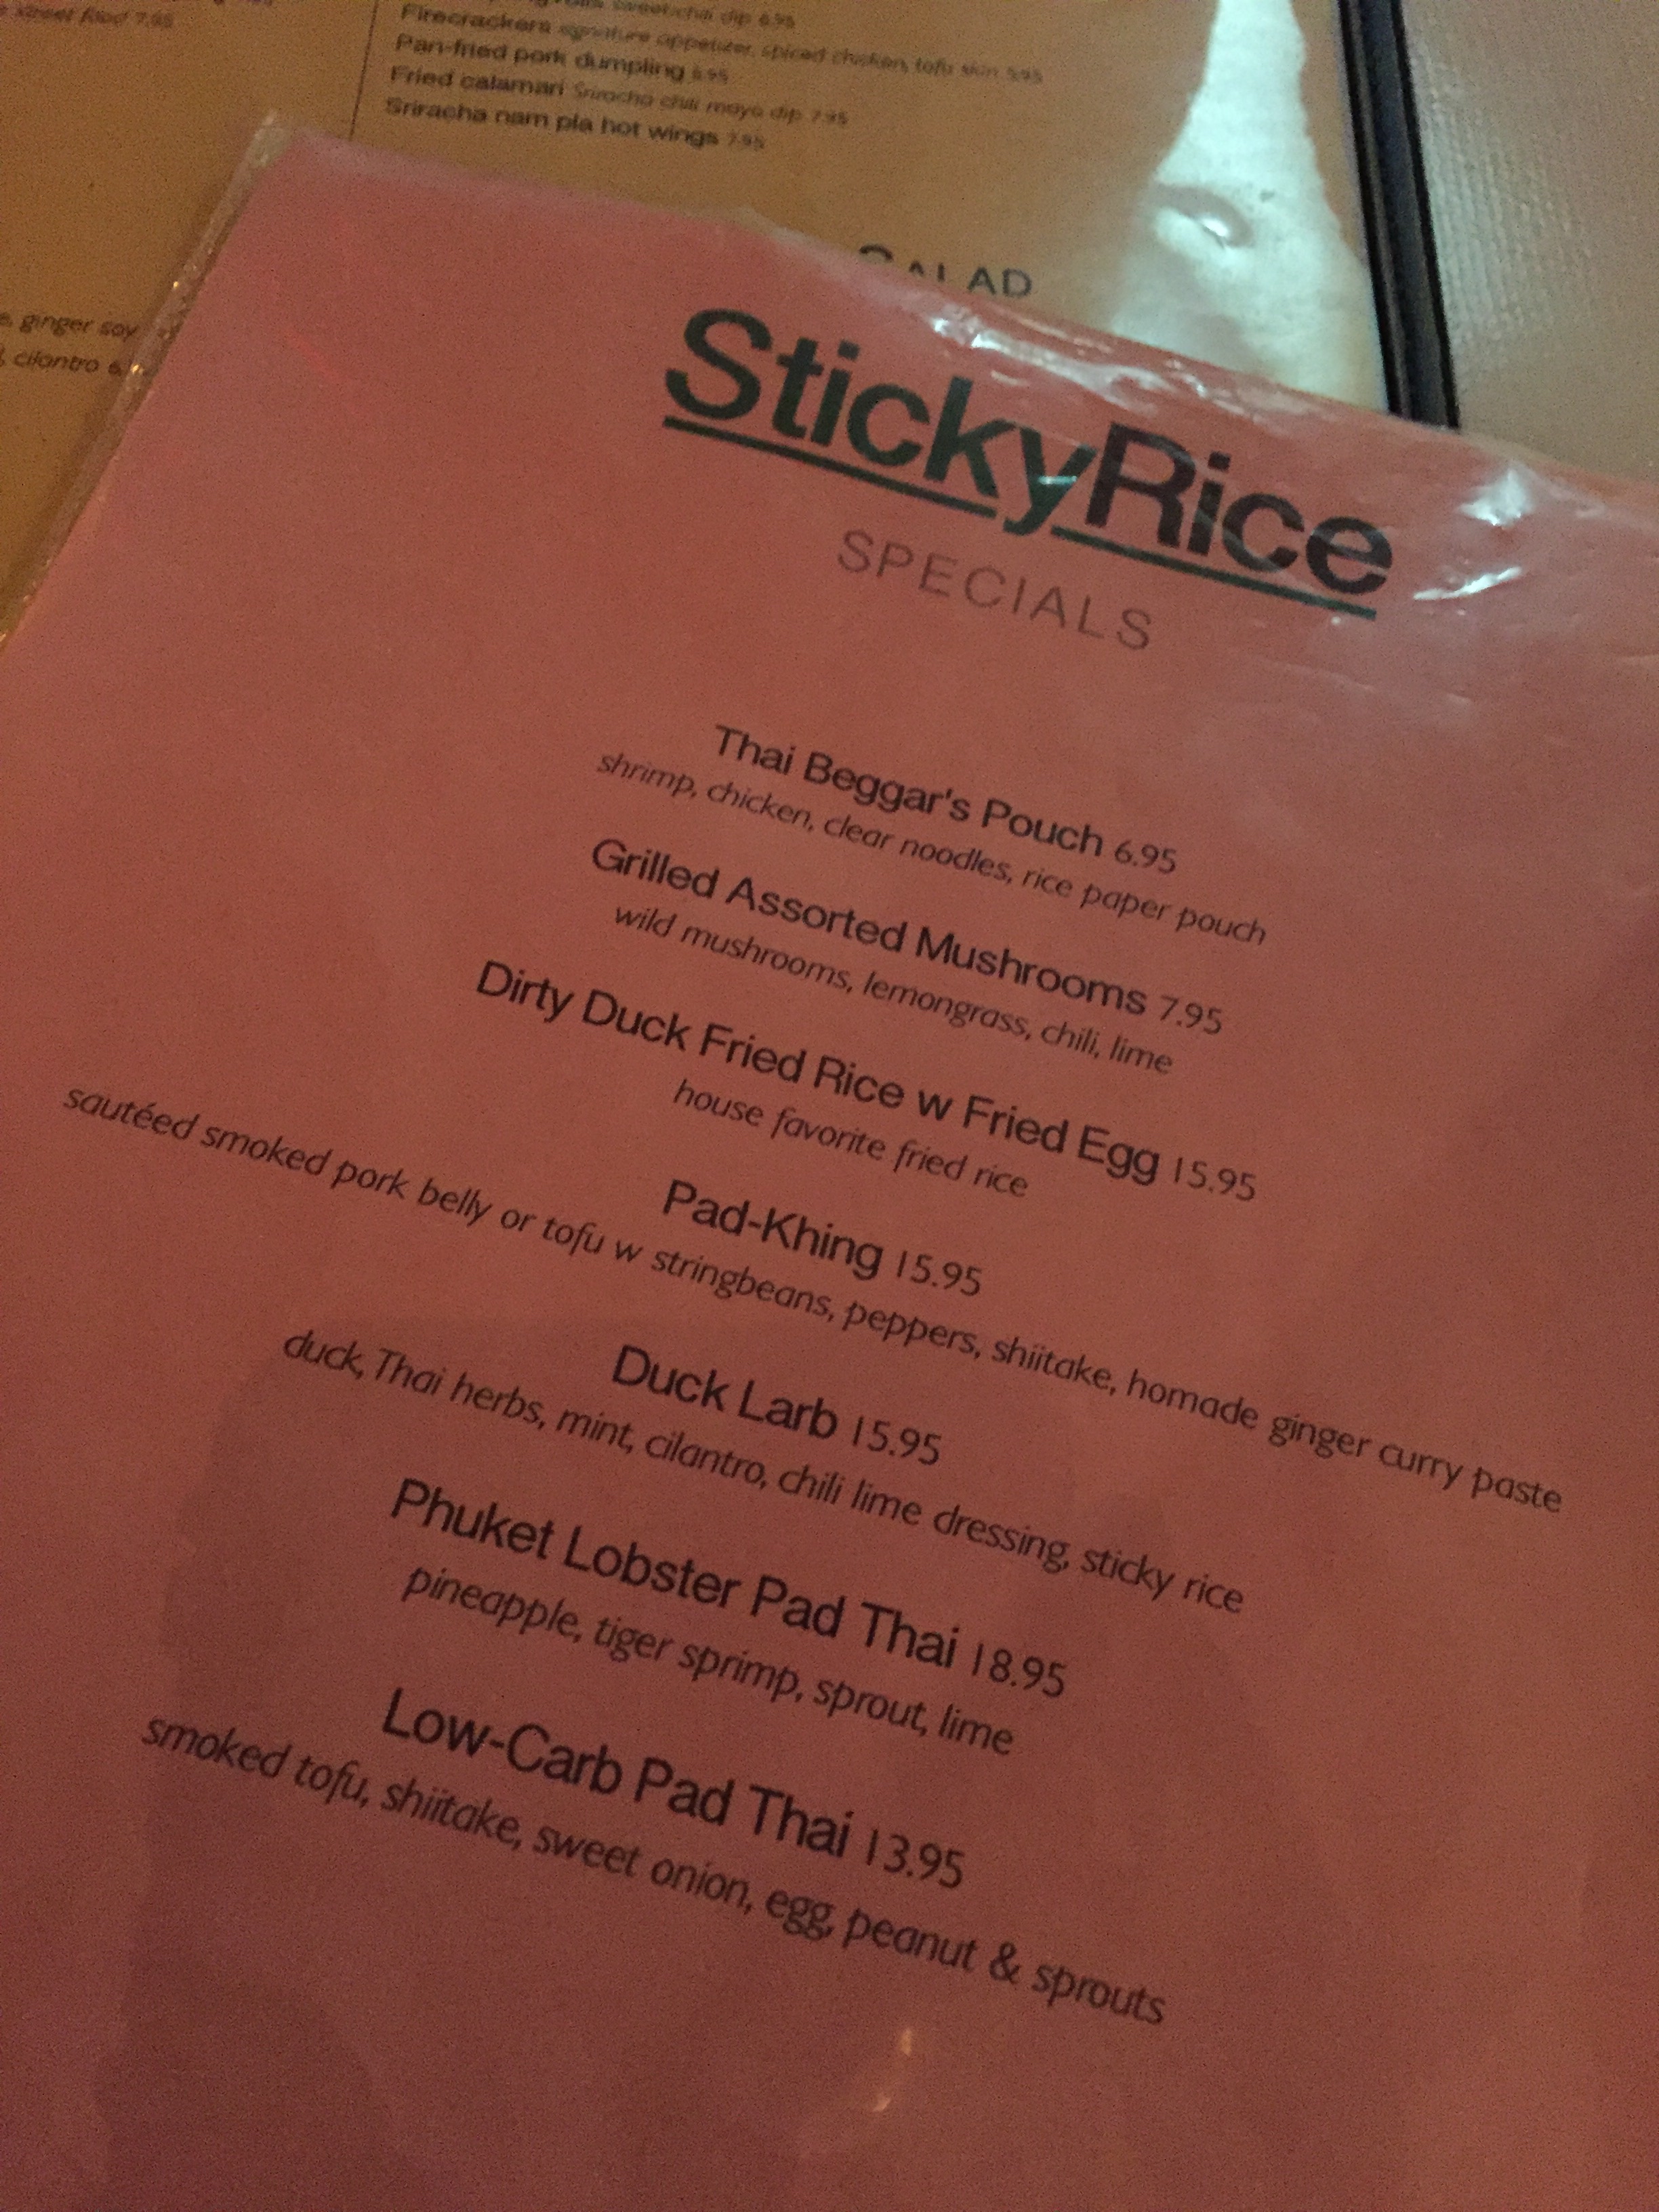
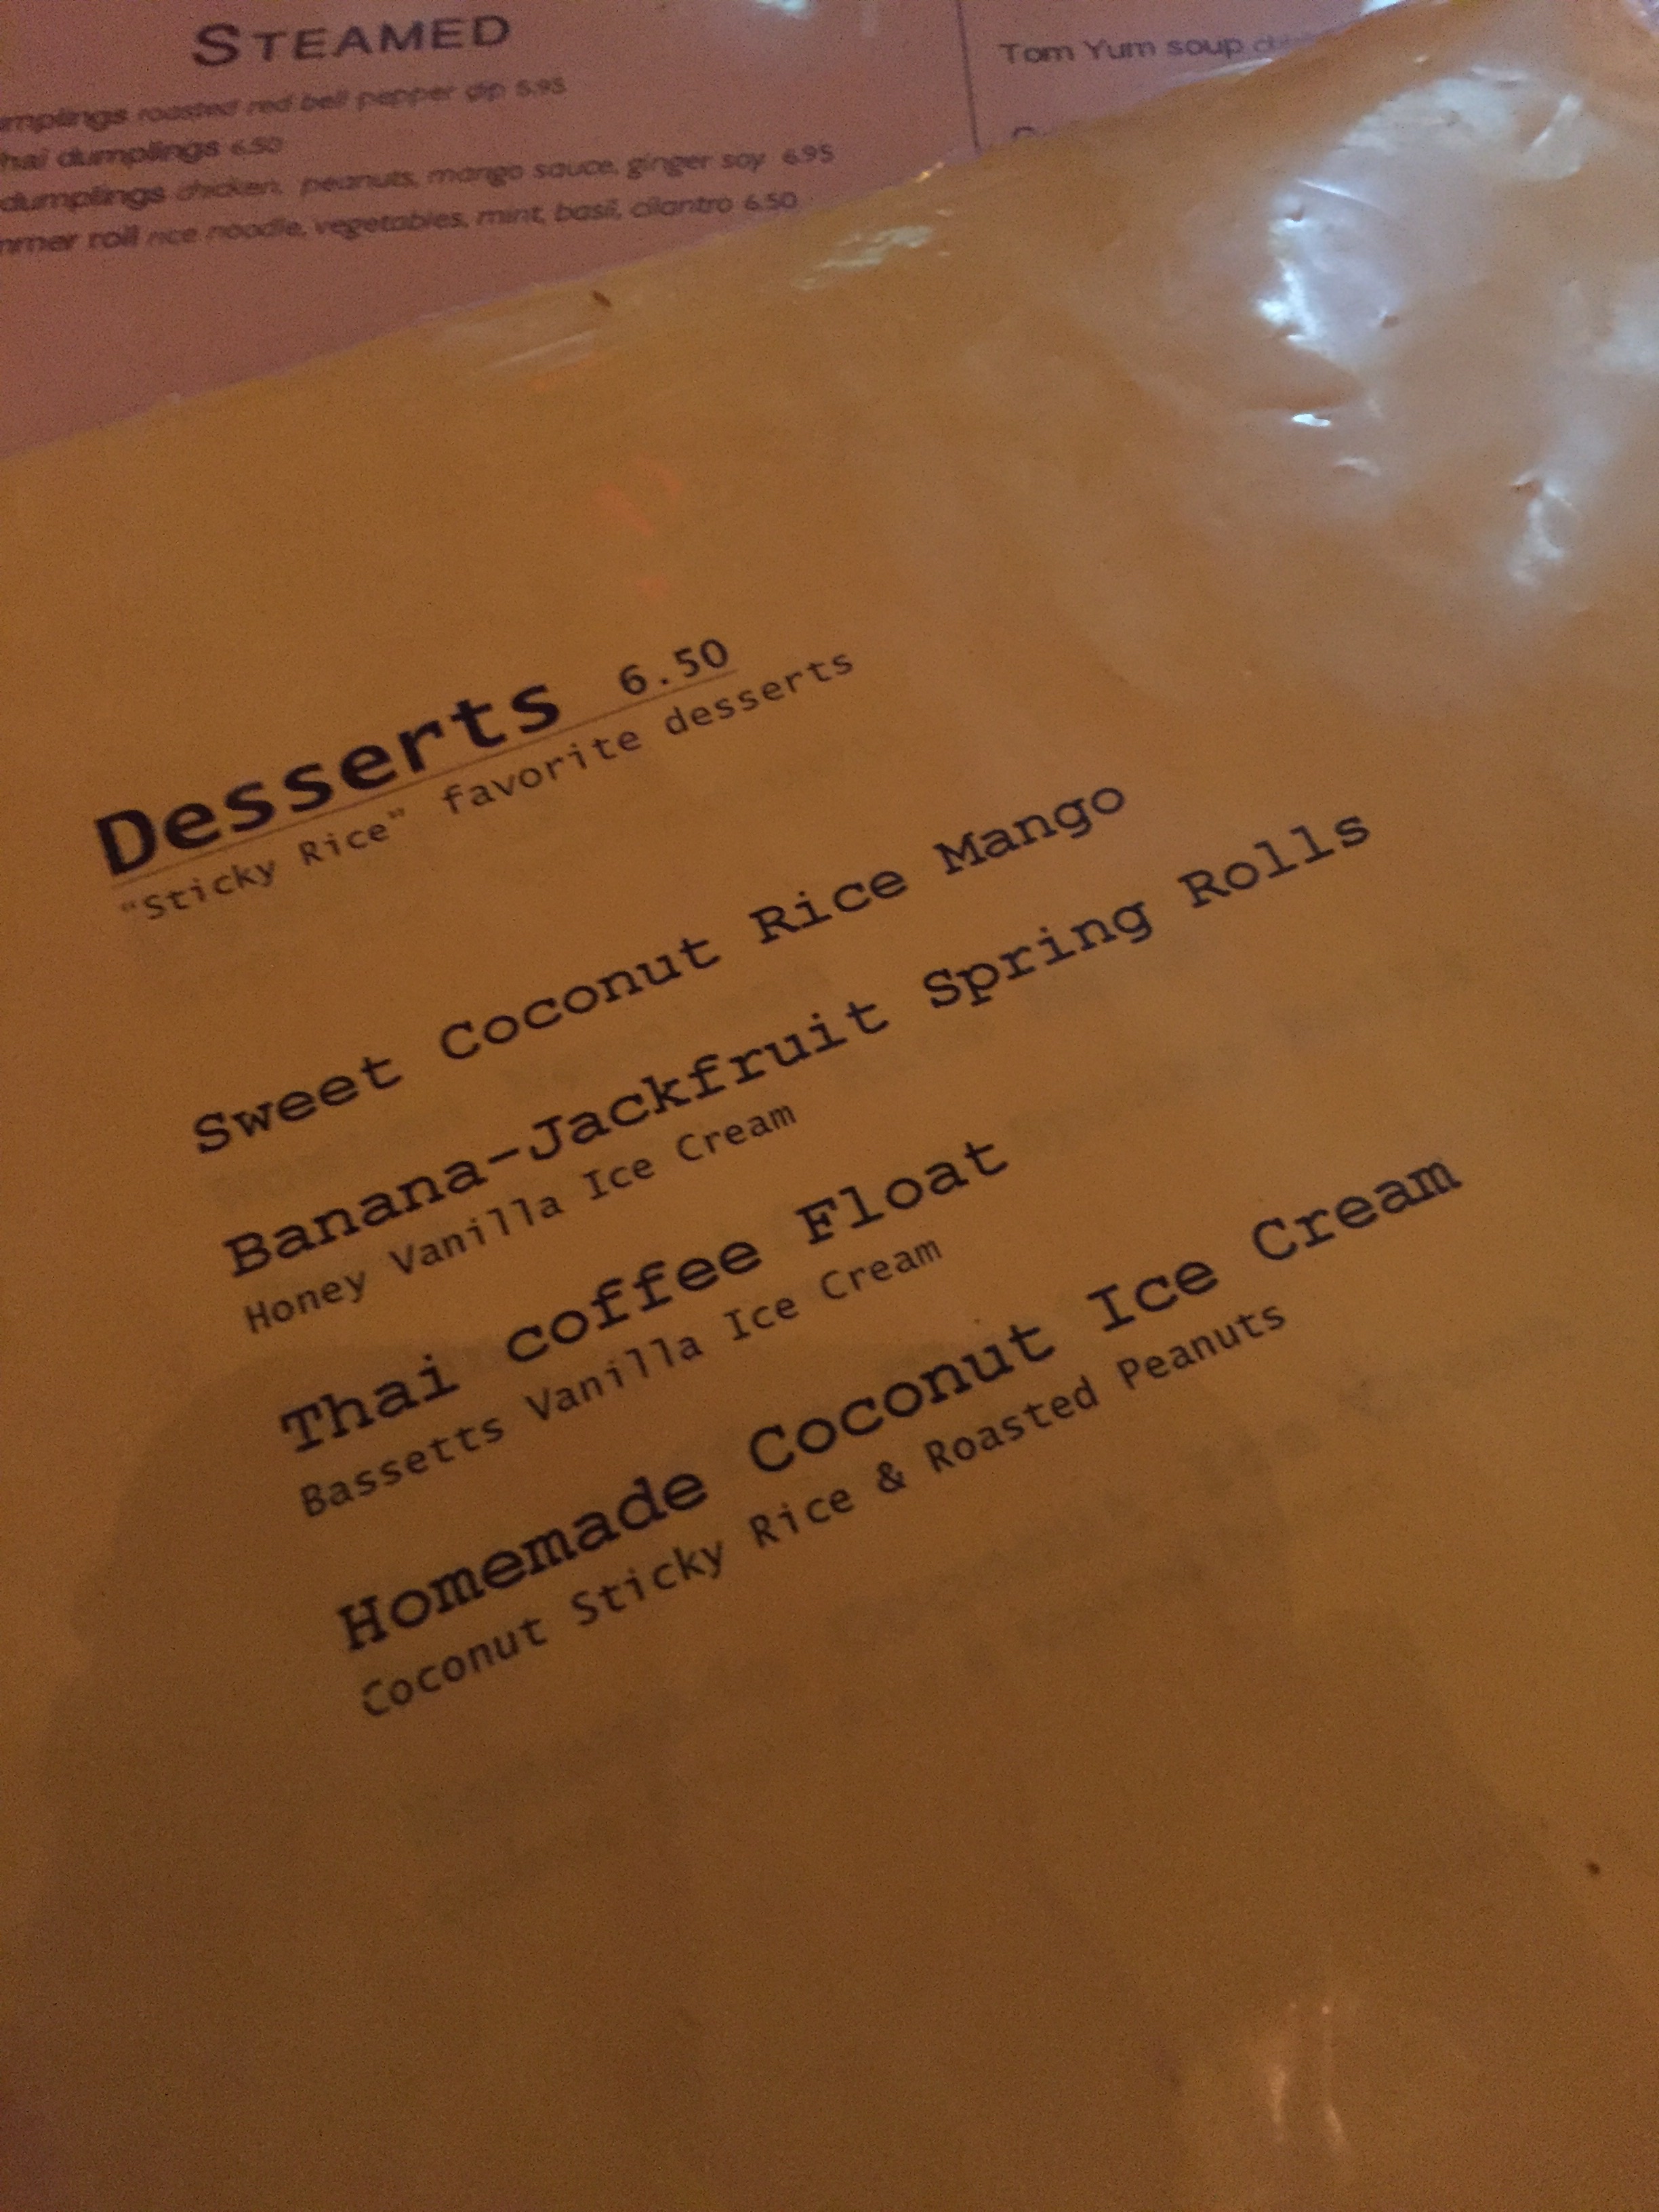
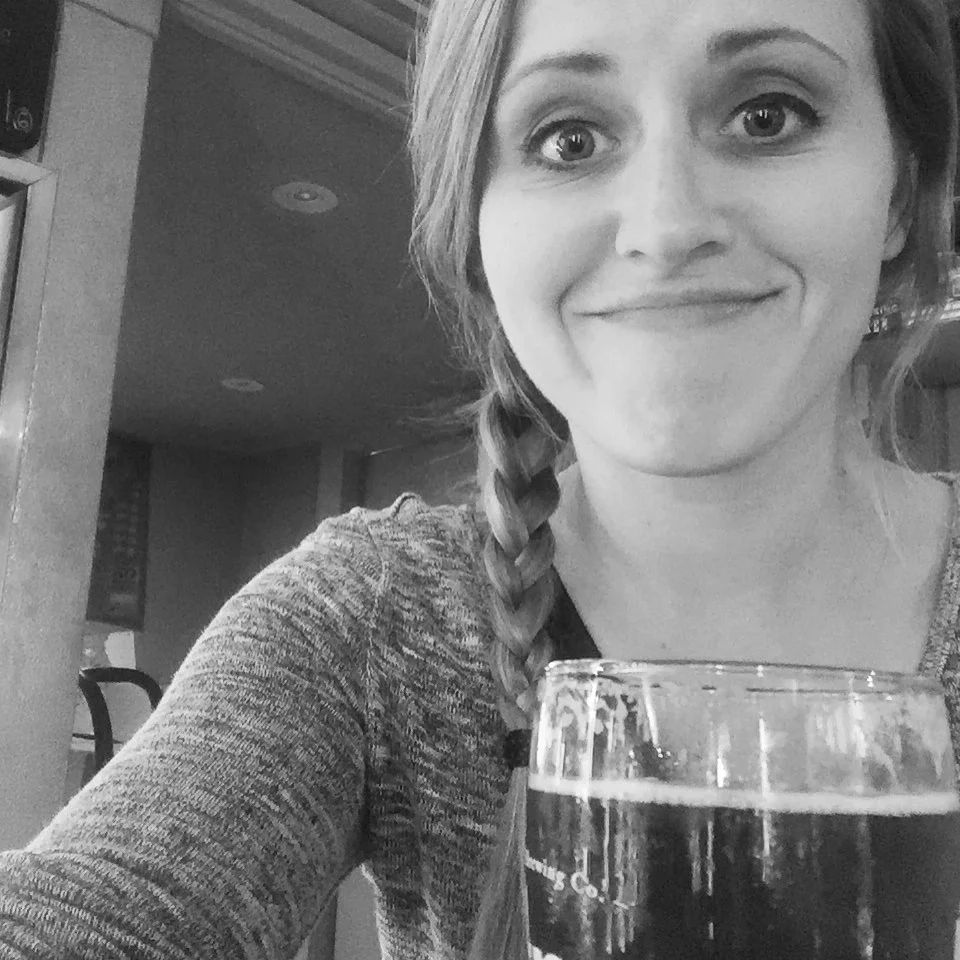
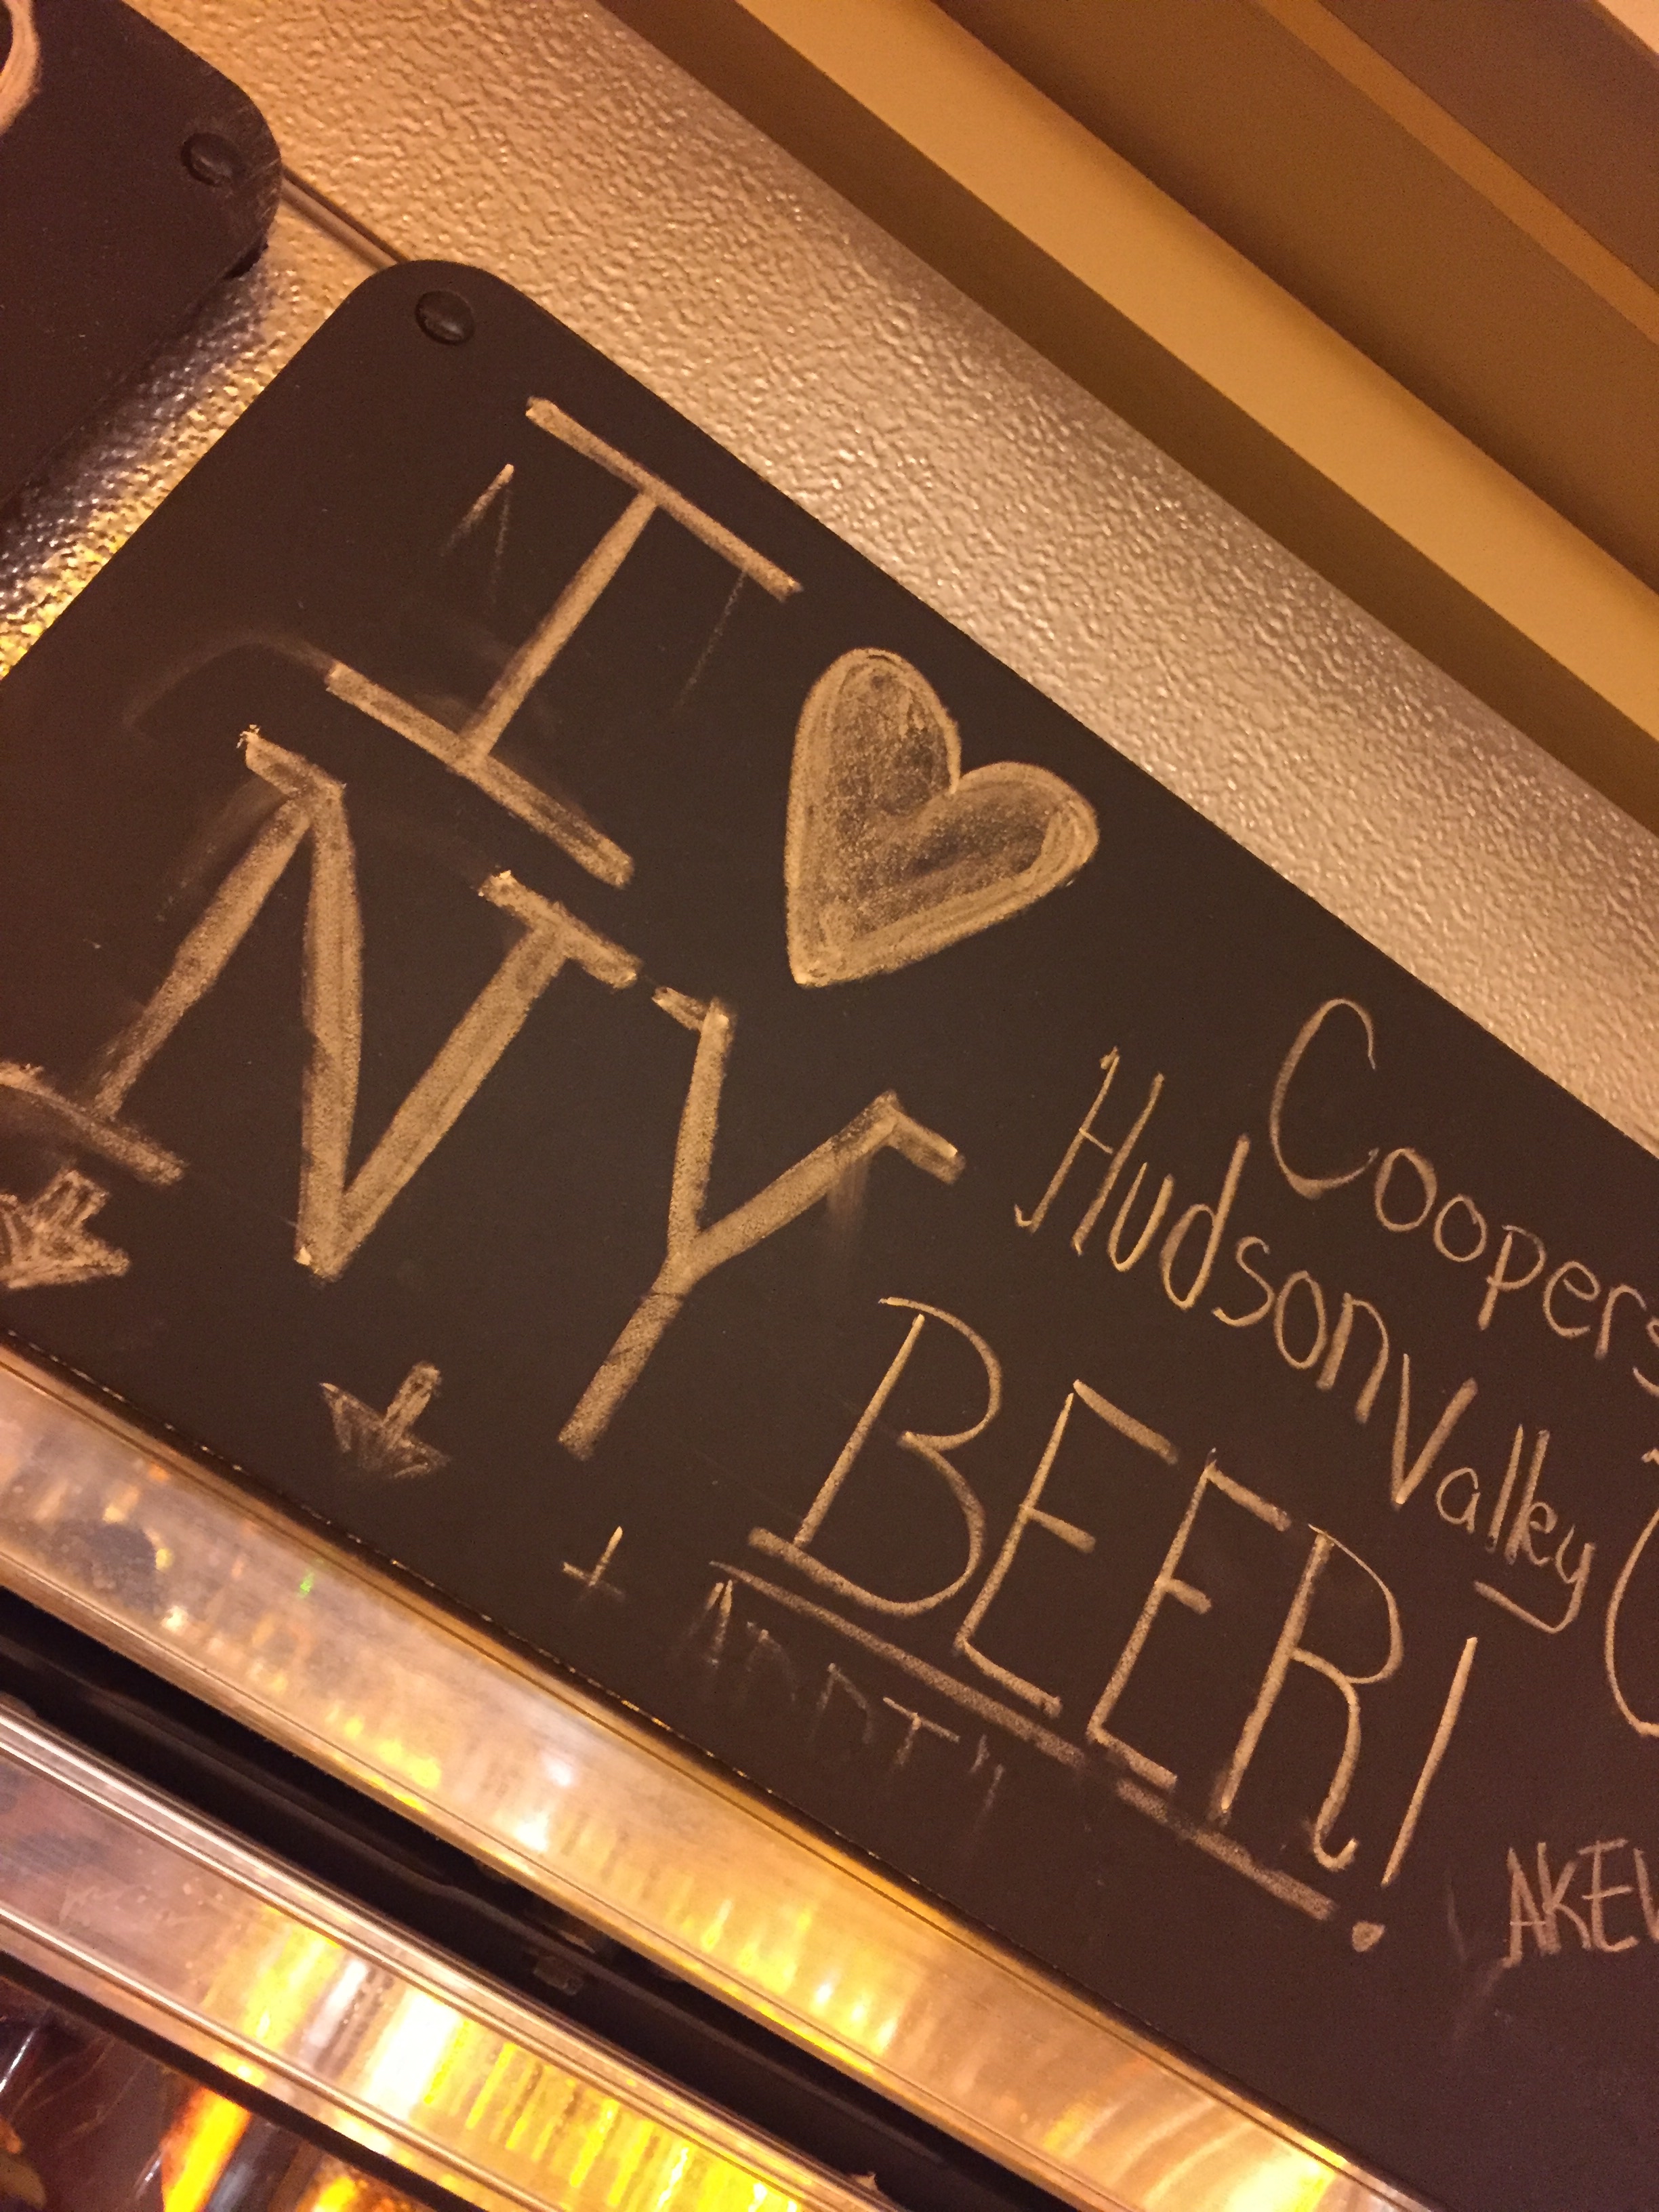
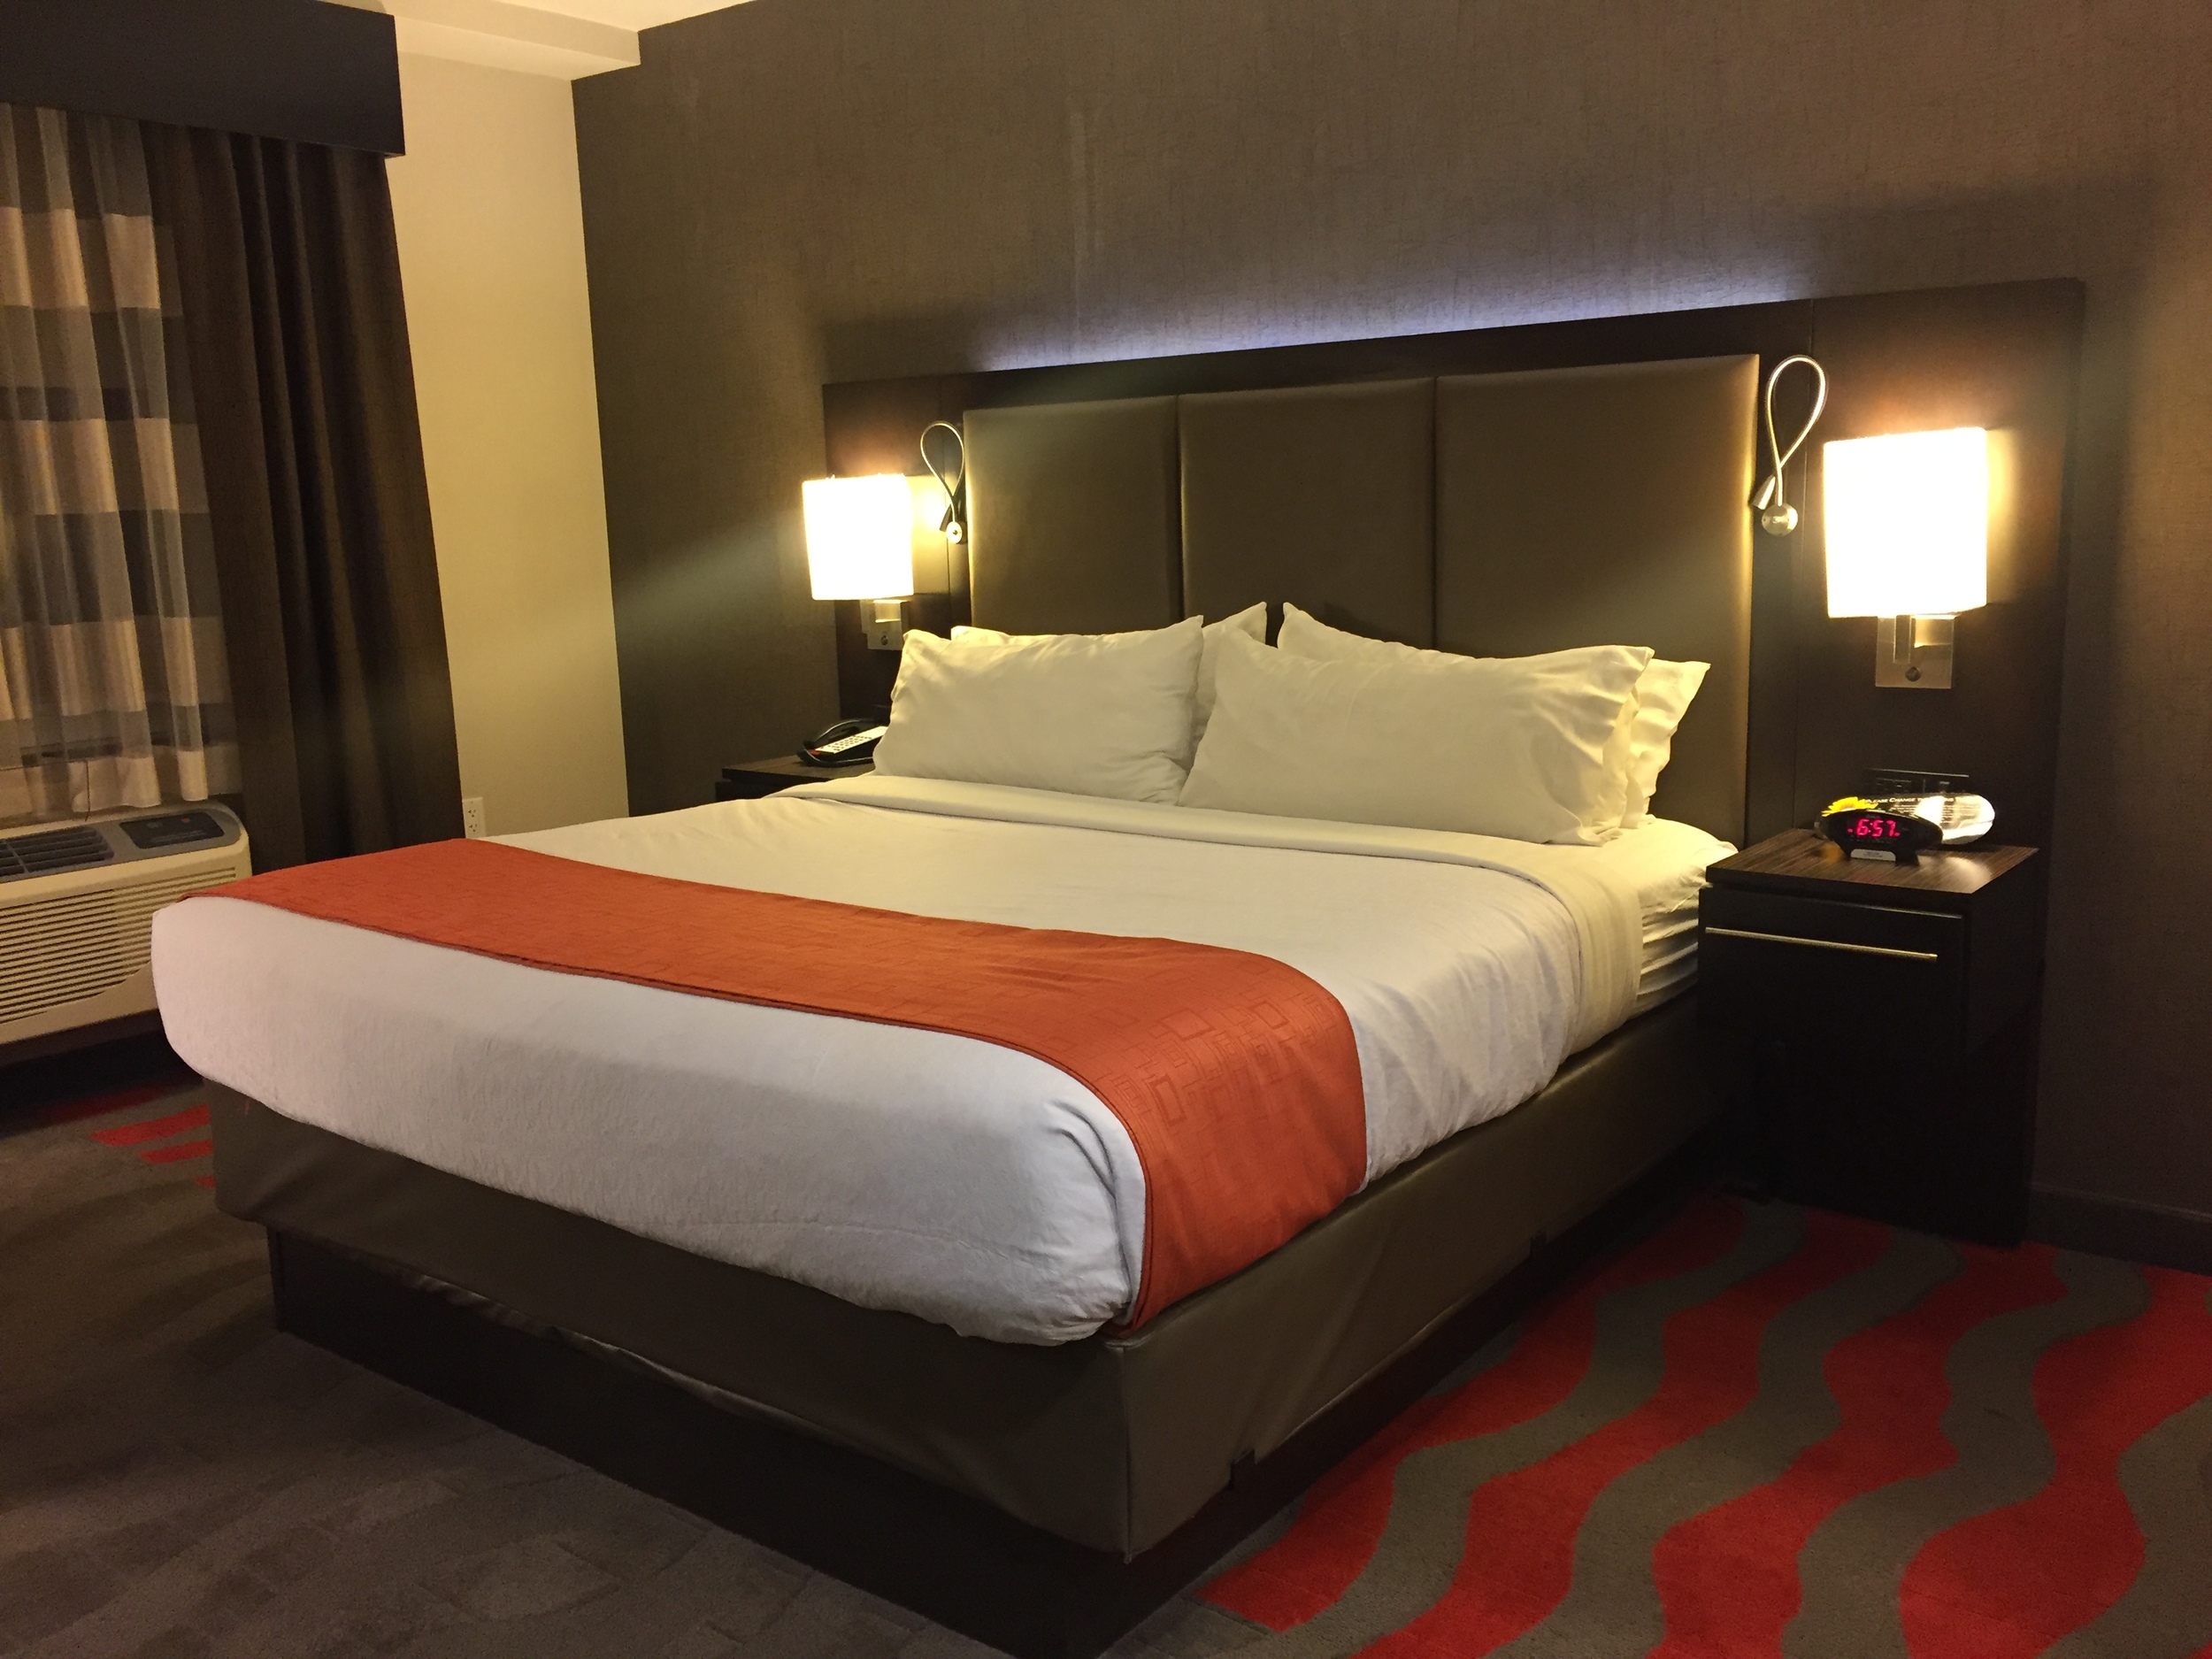
DAY ONE - Sticky Rice Thai Food + Top Hops
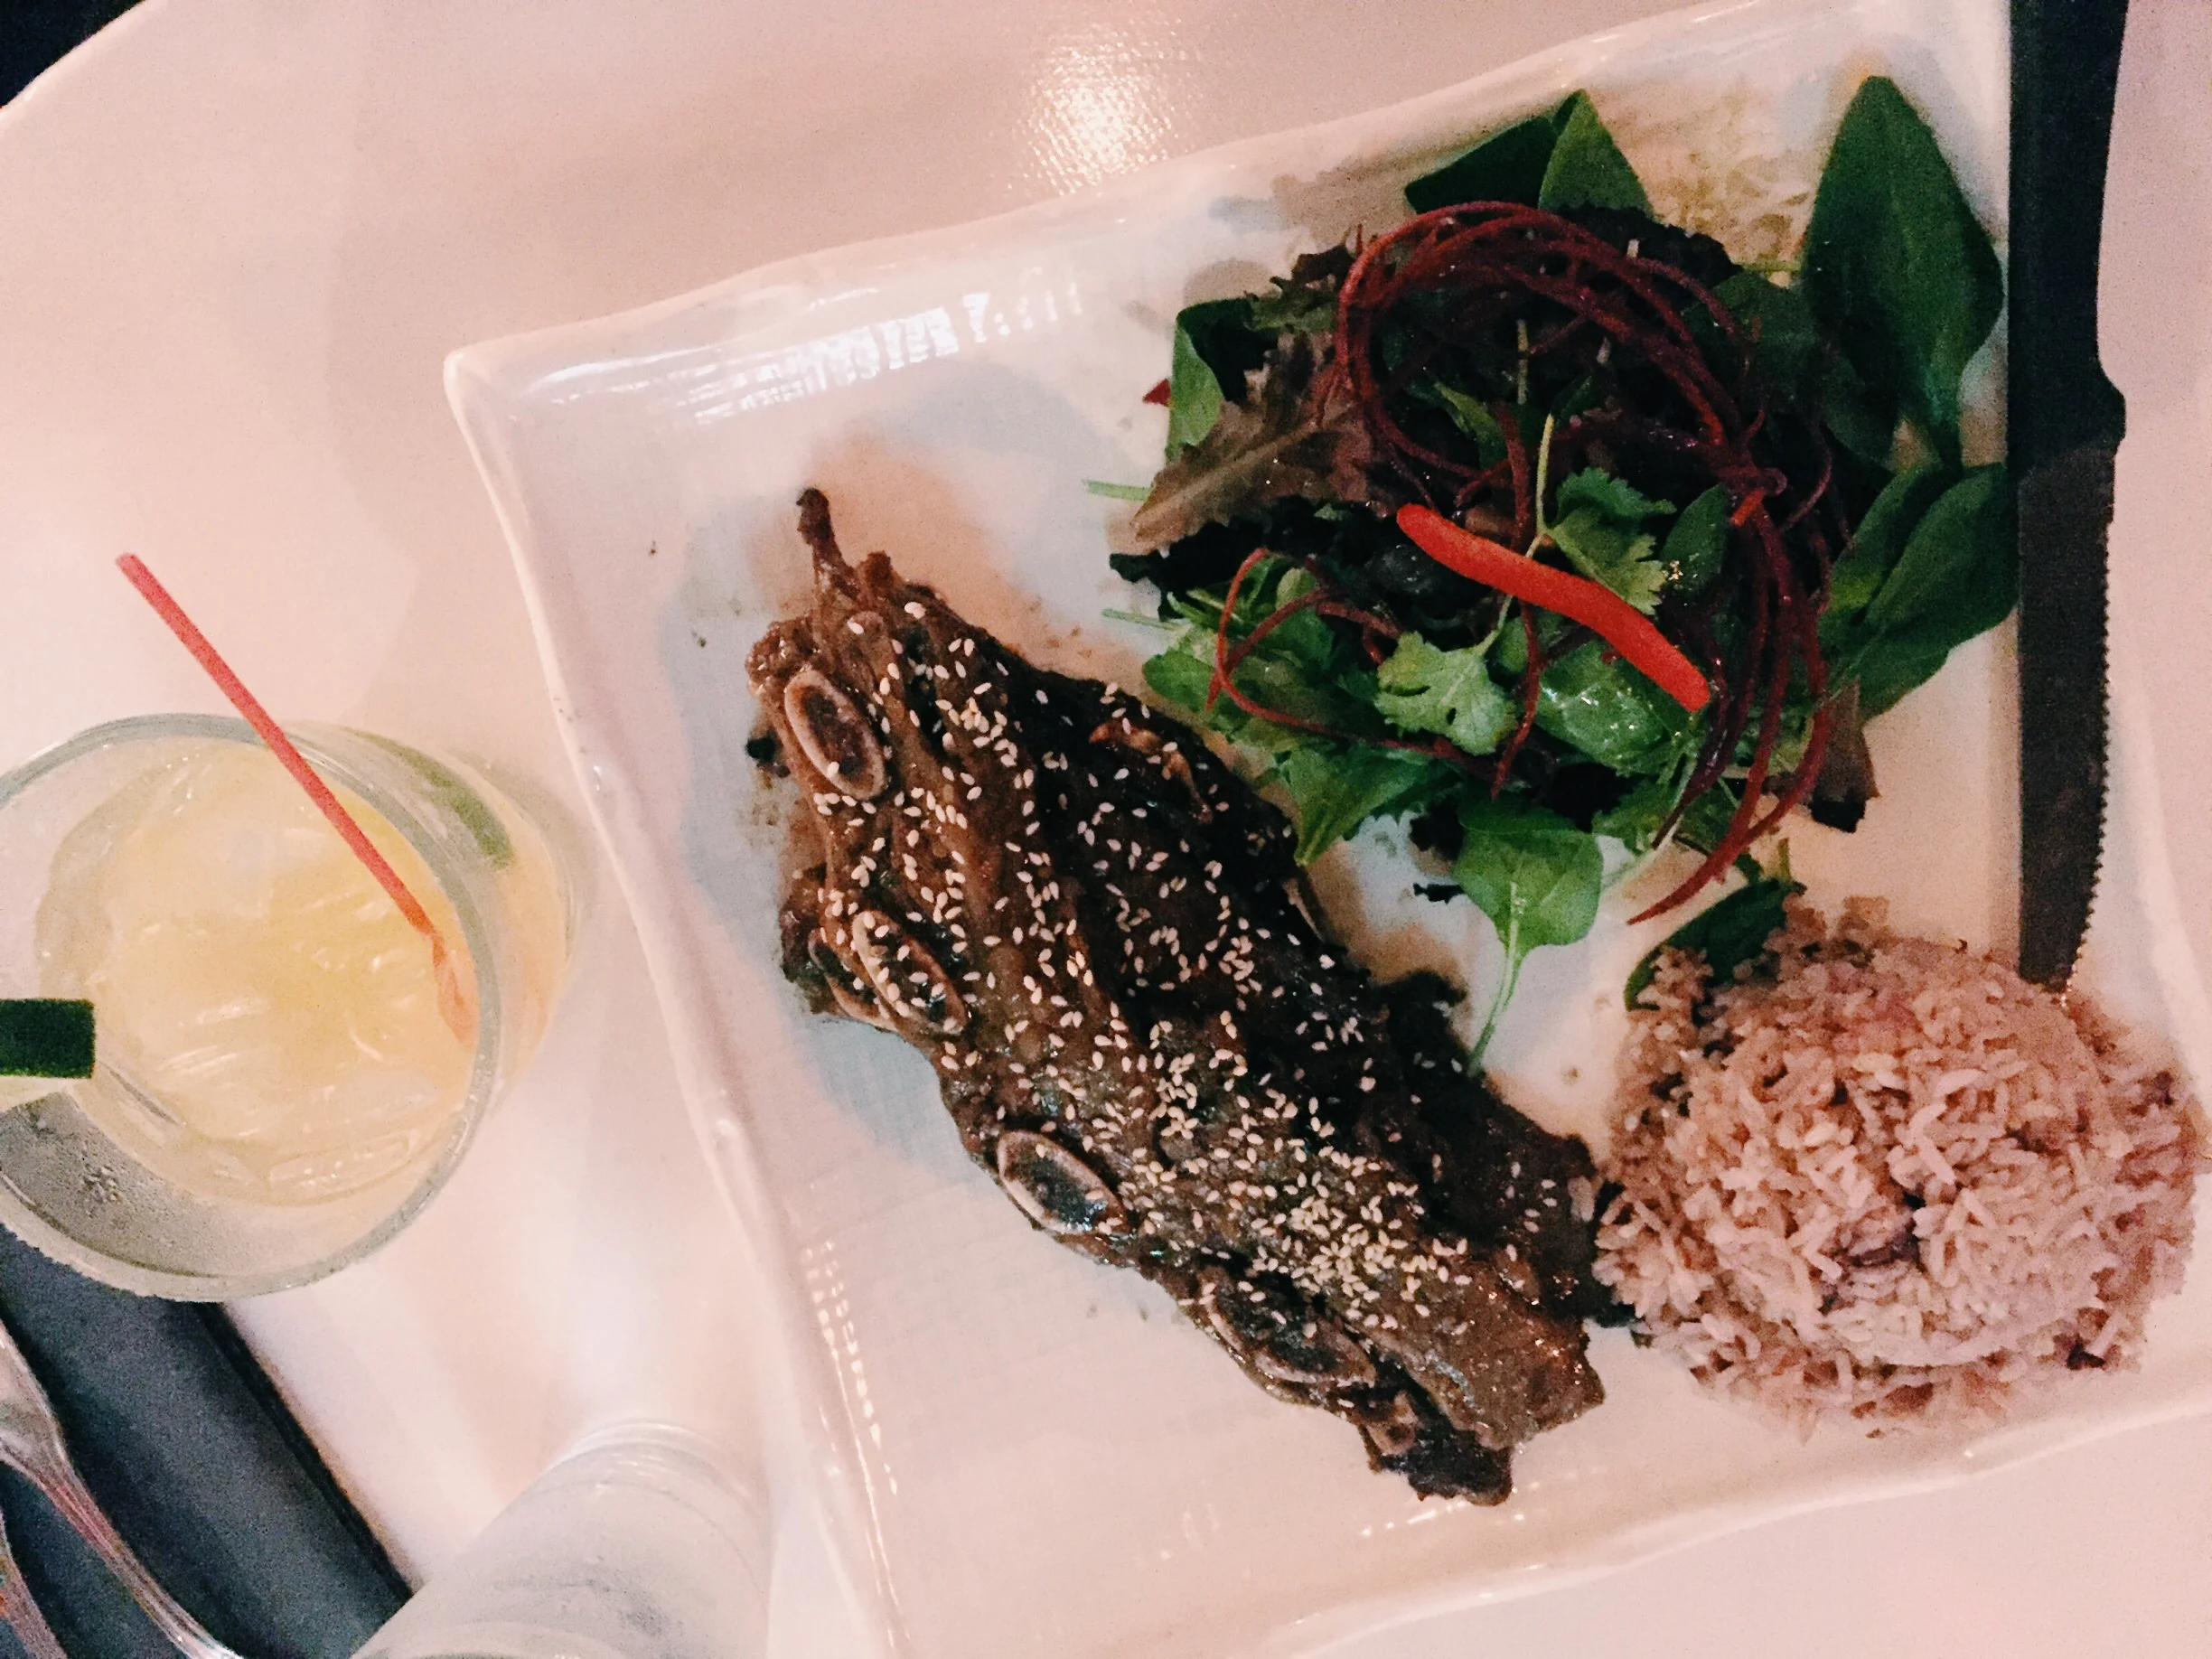
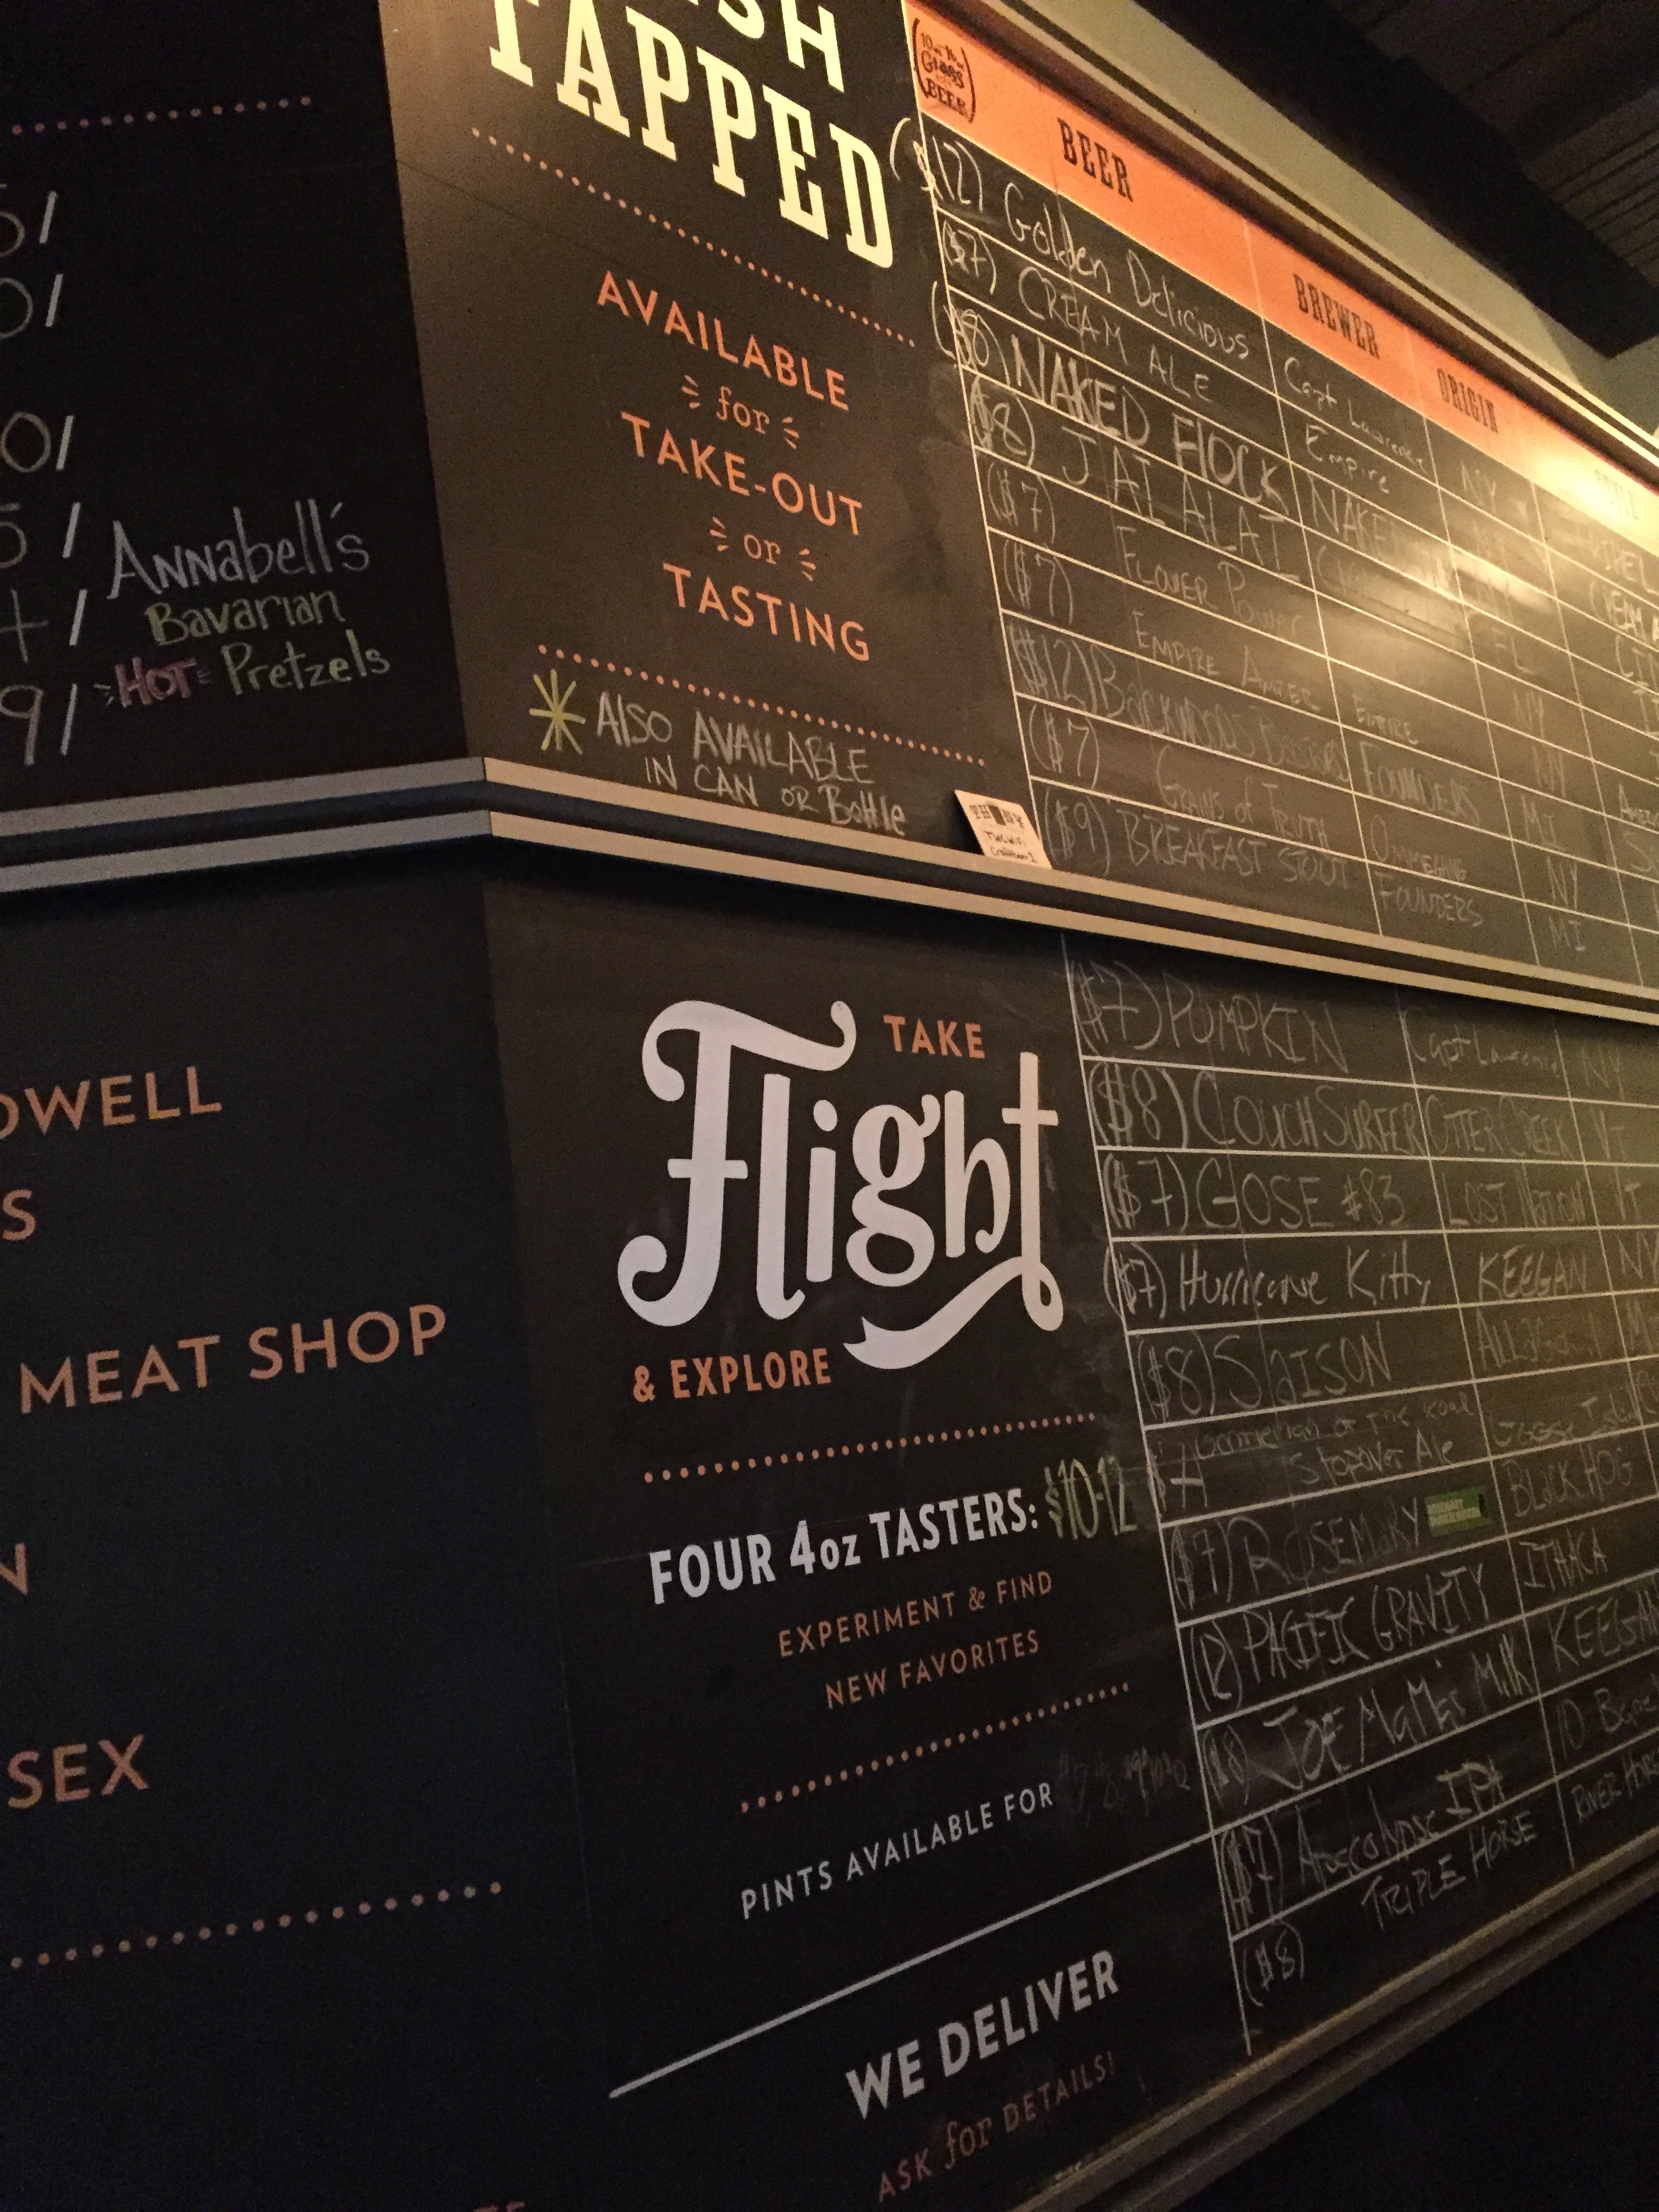
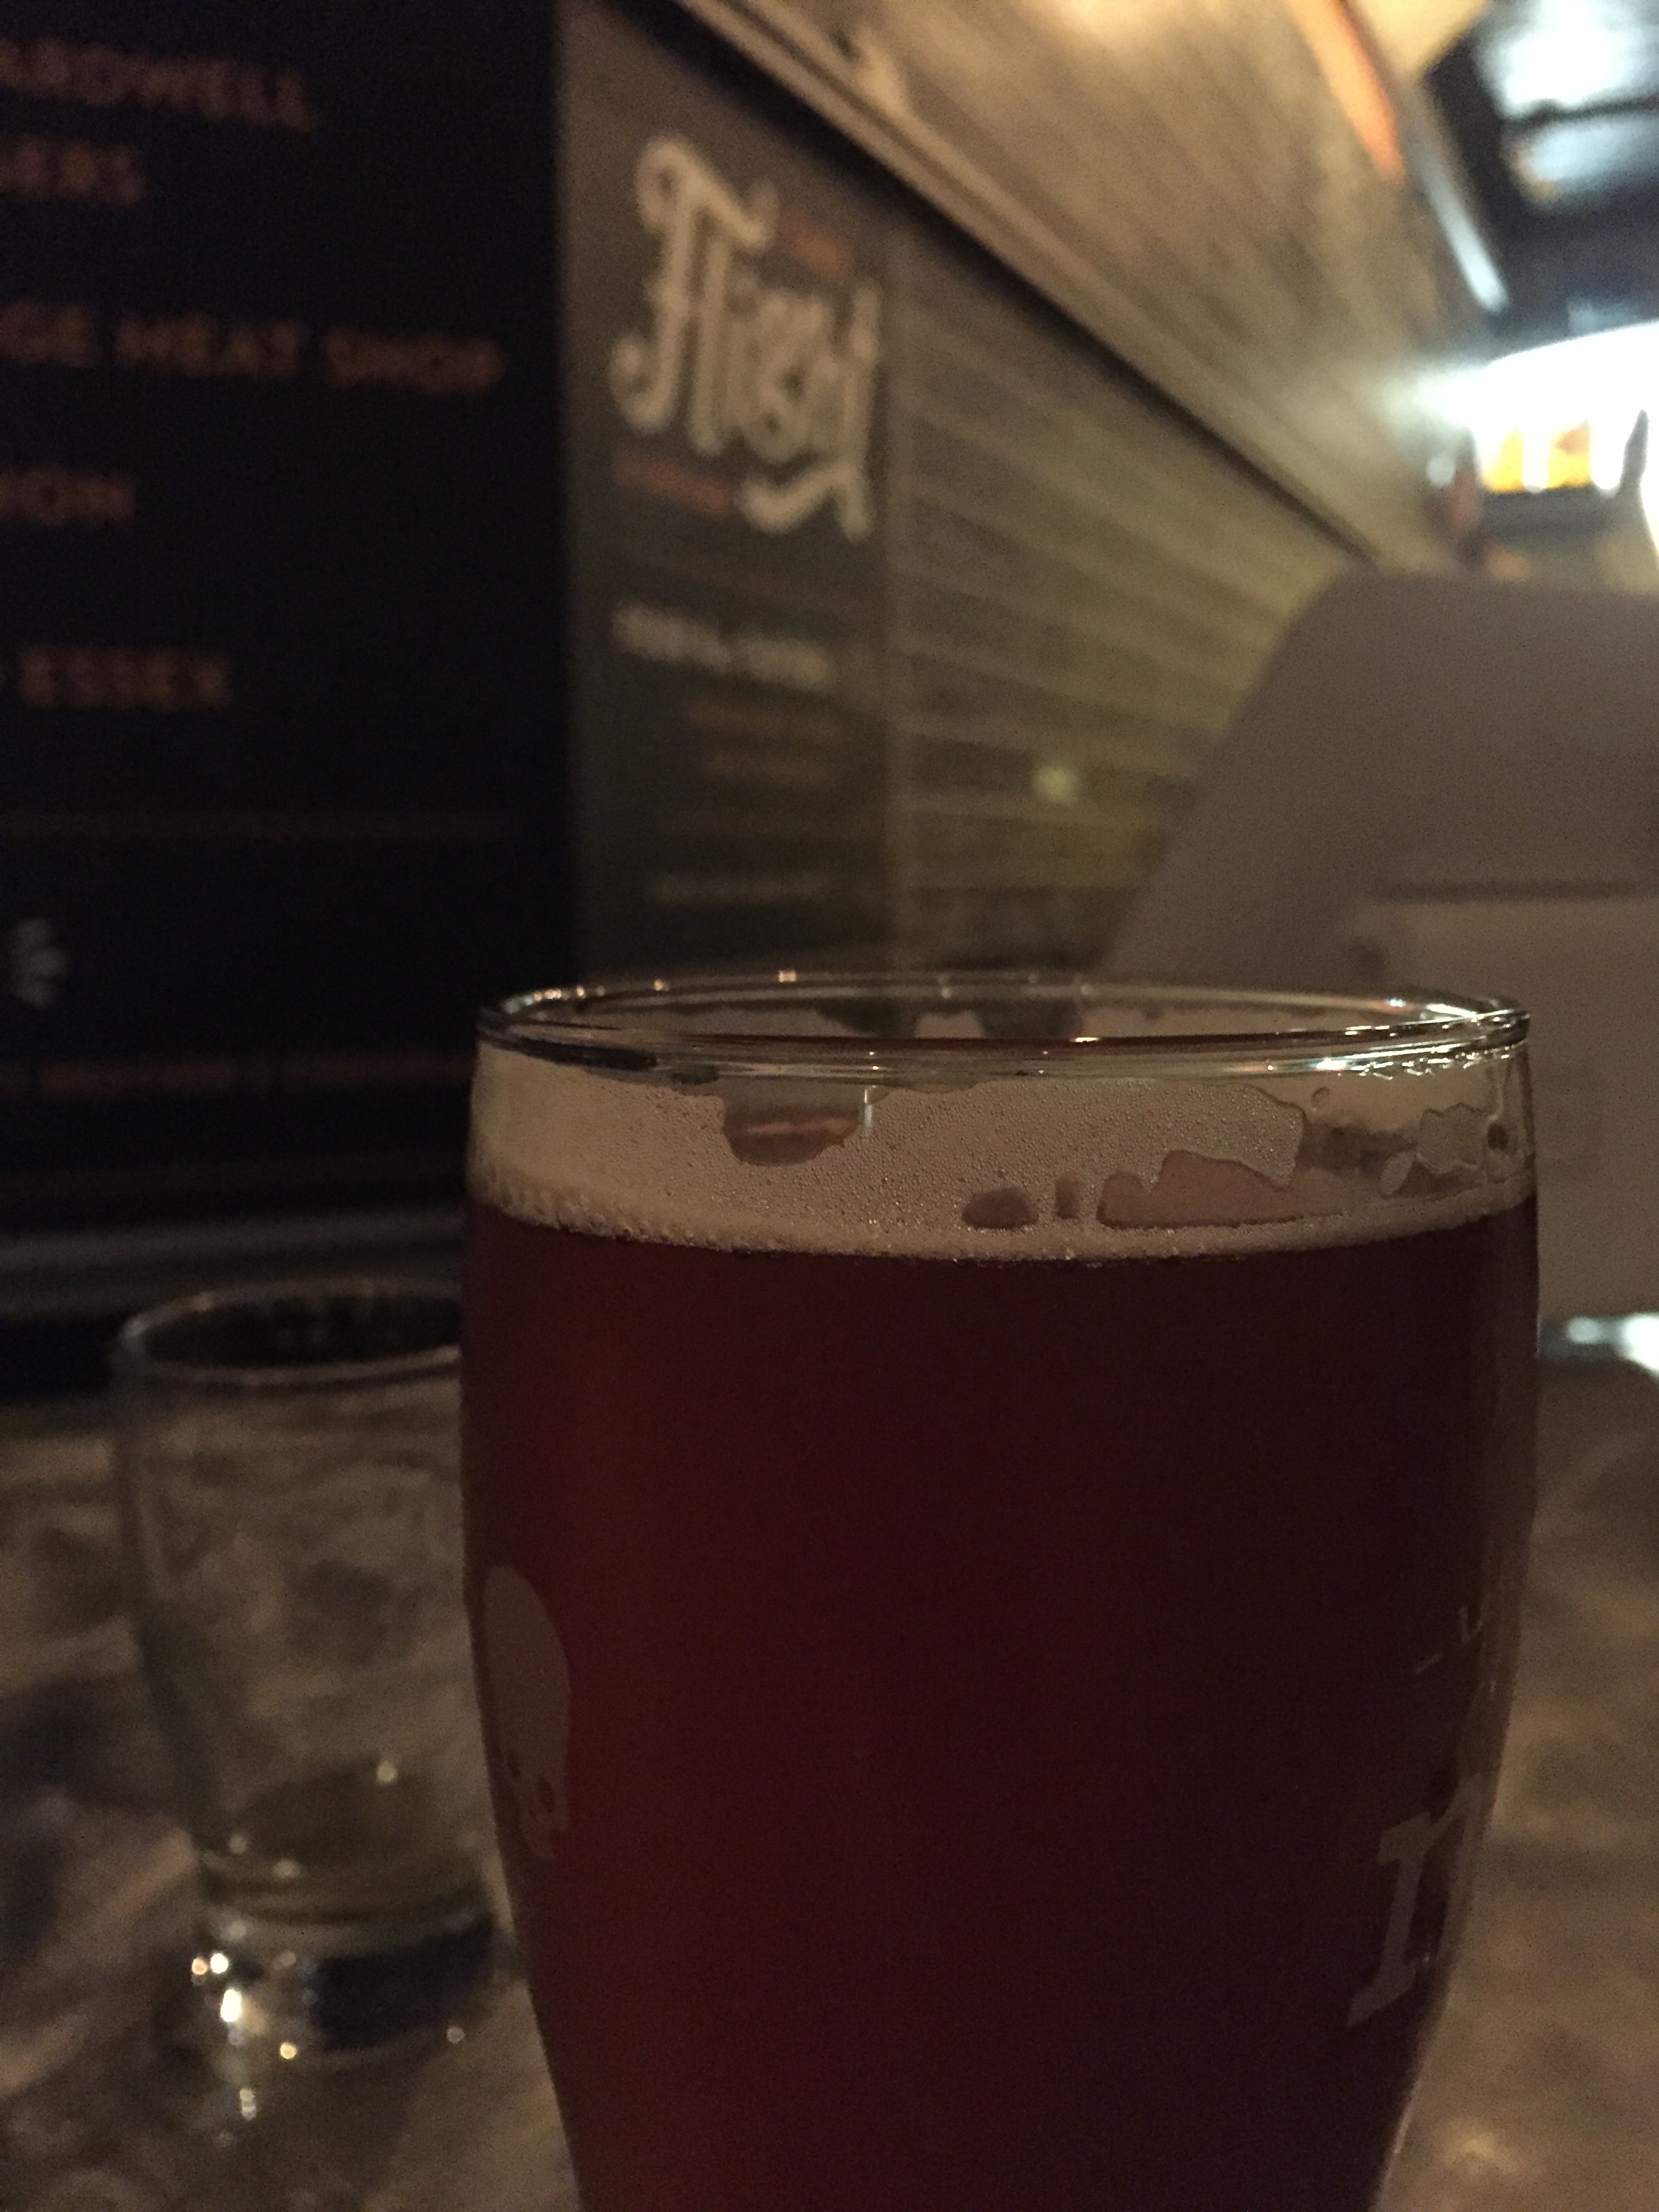
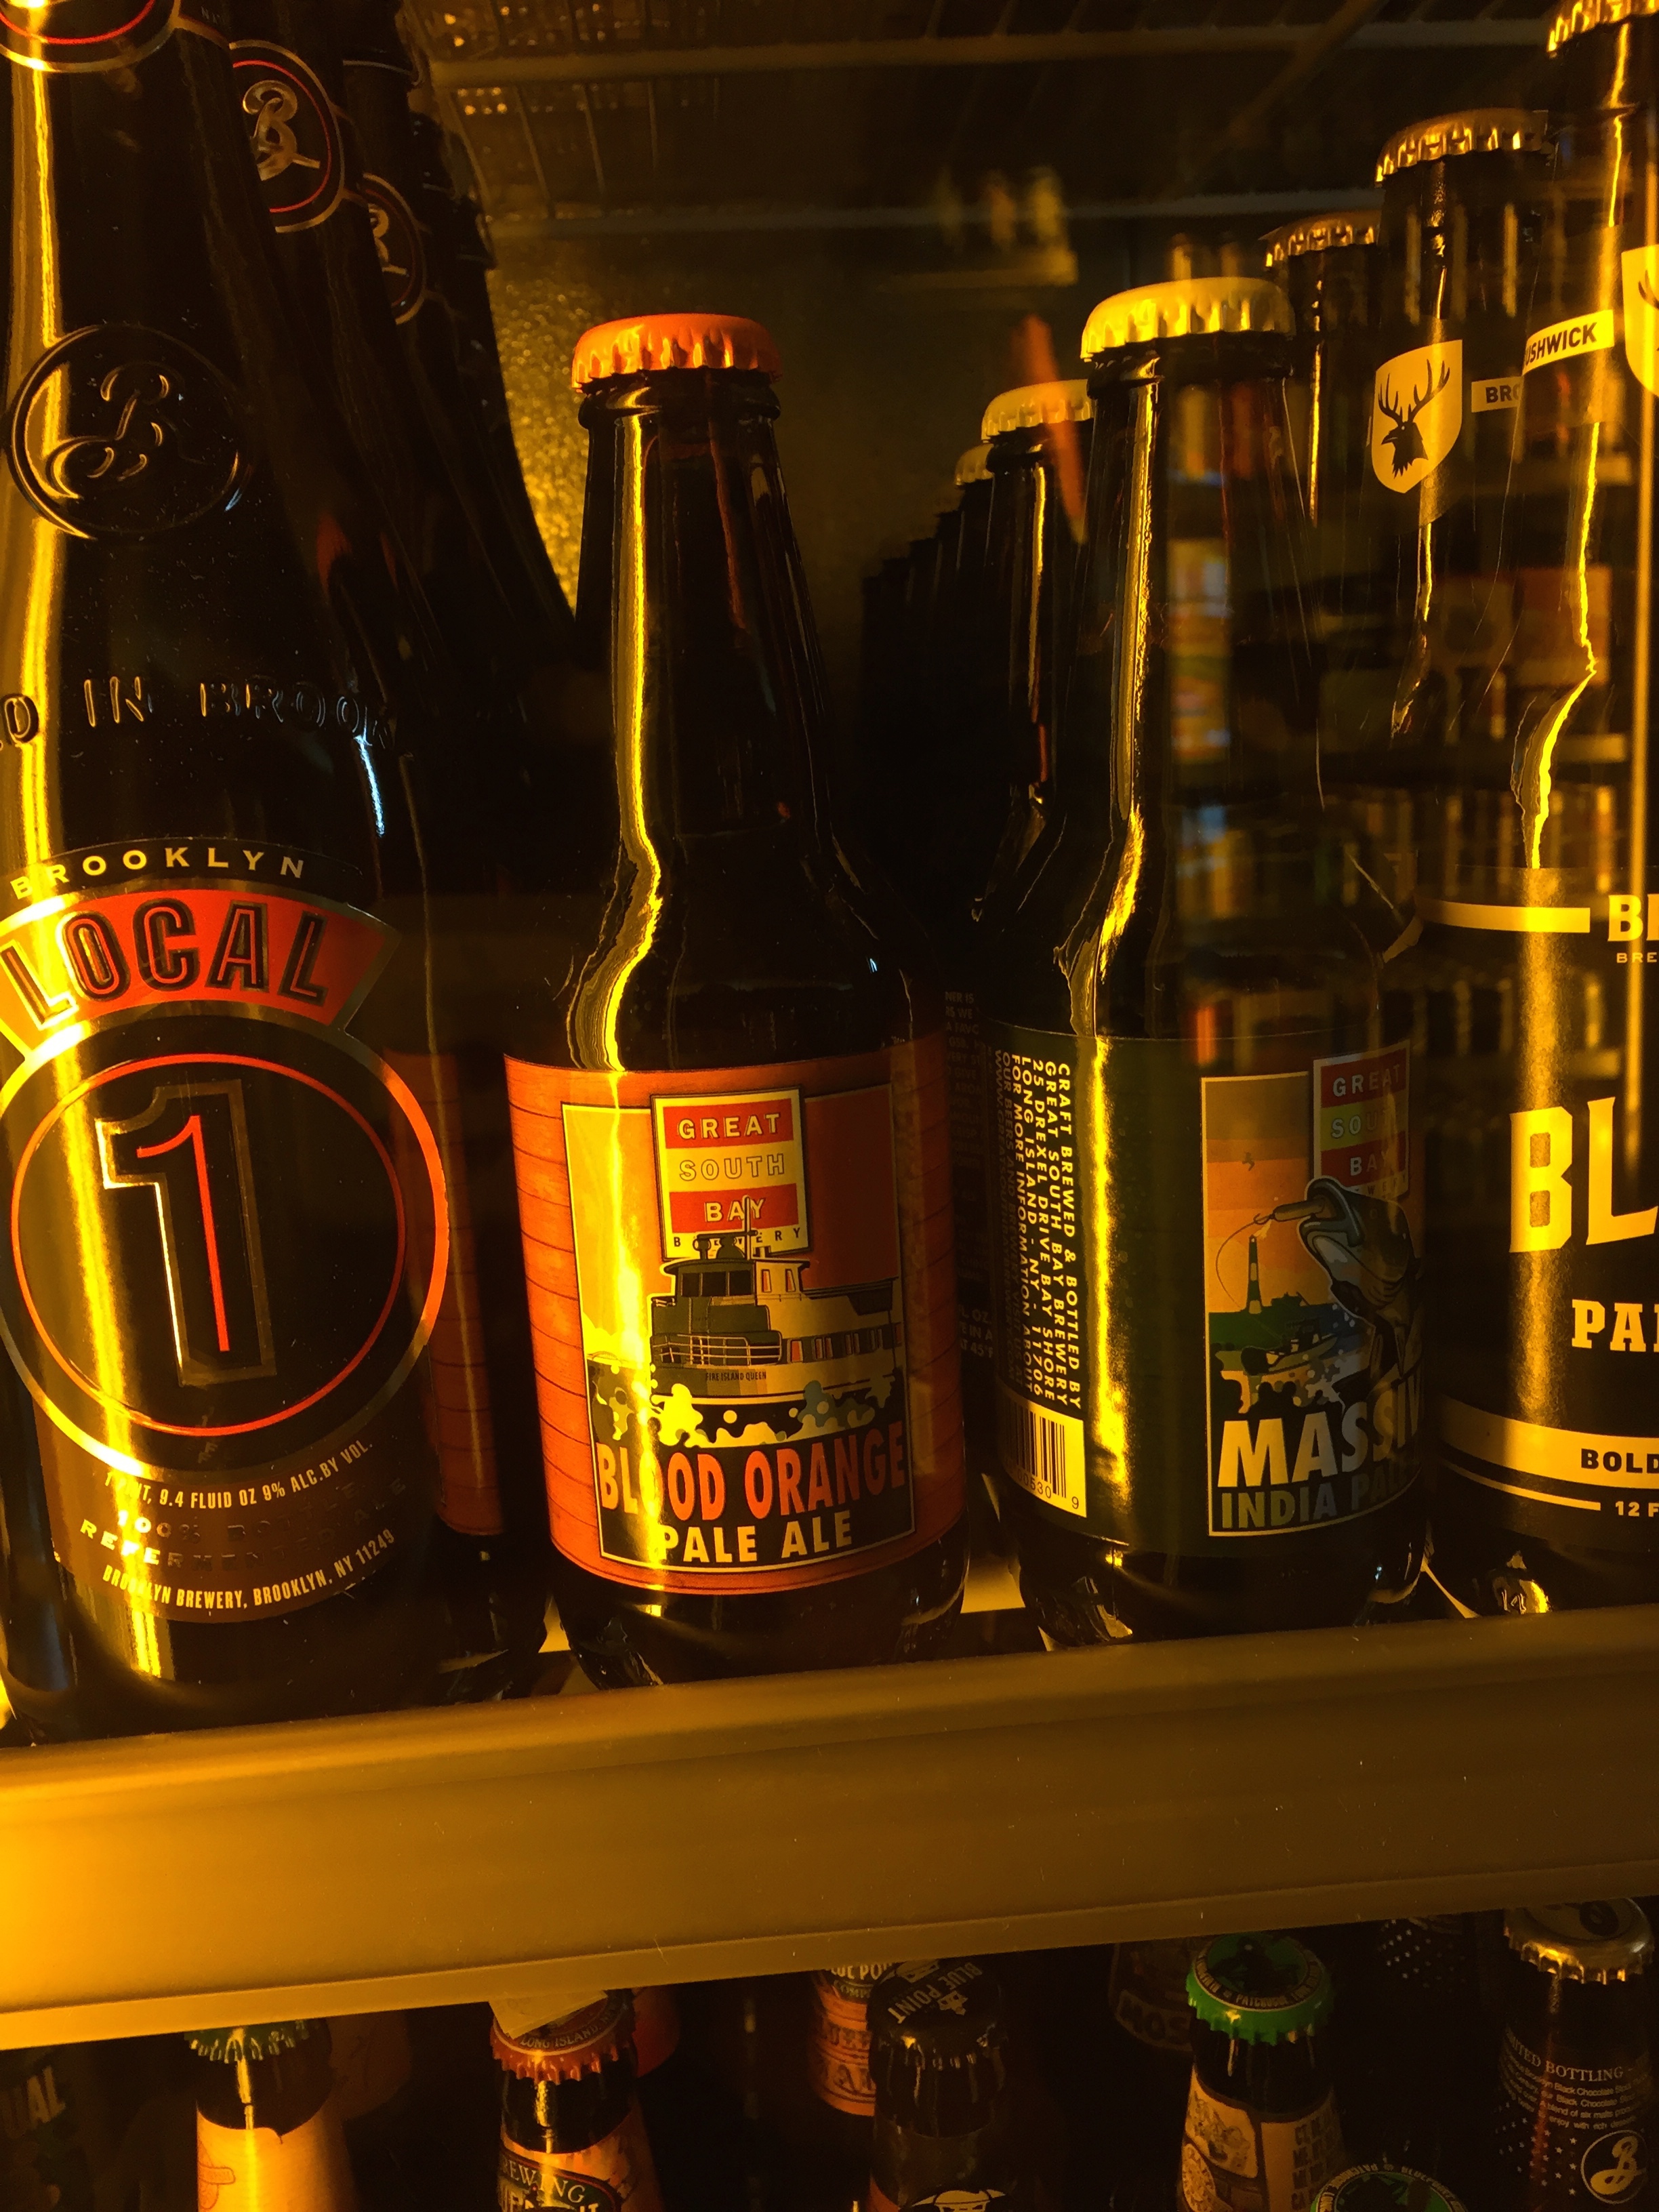
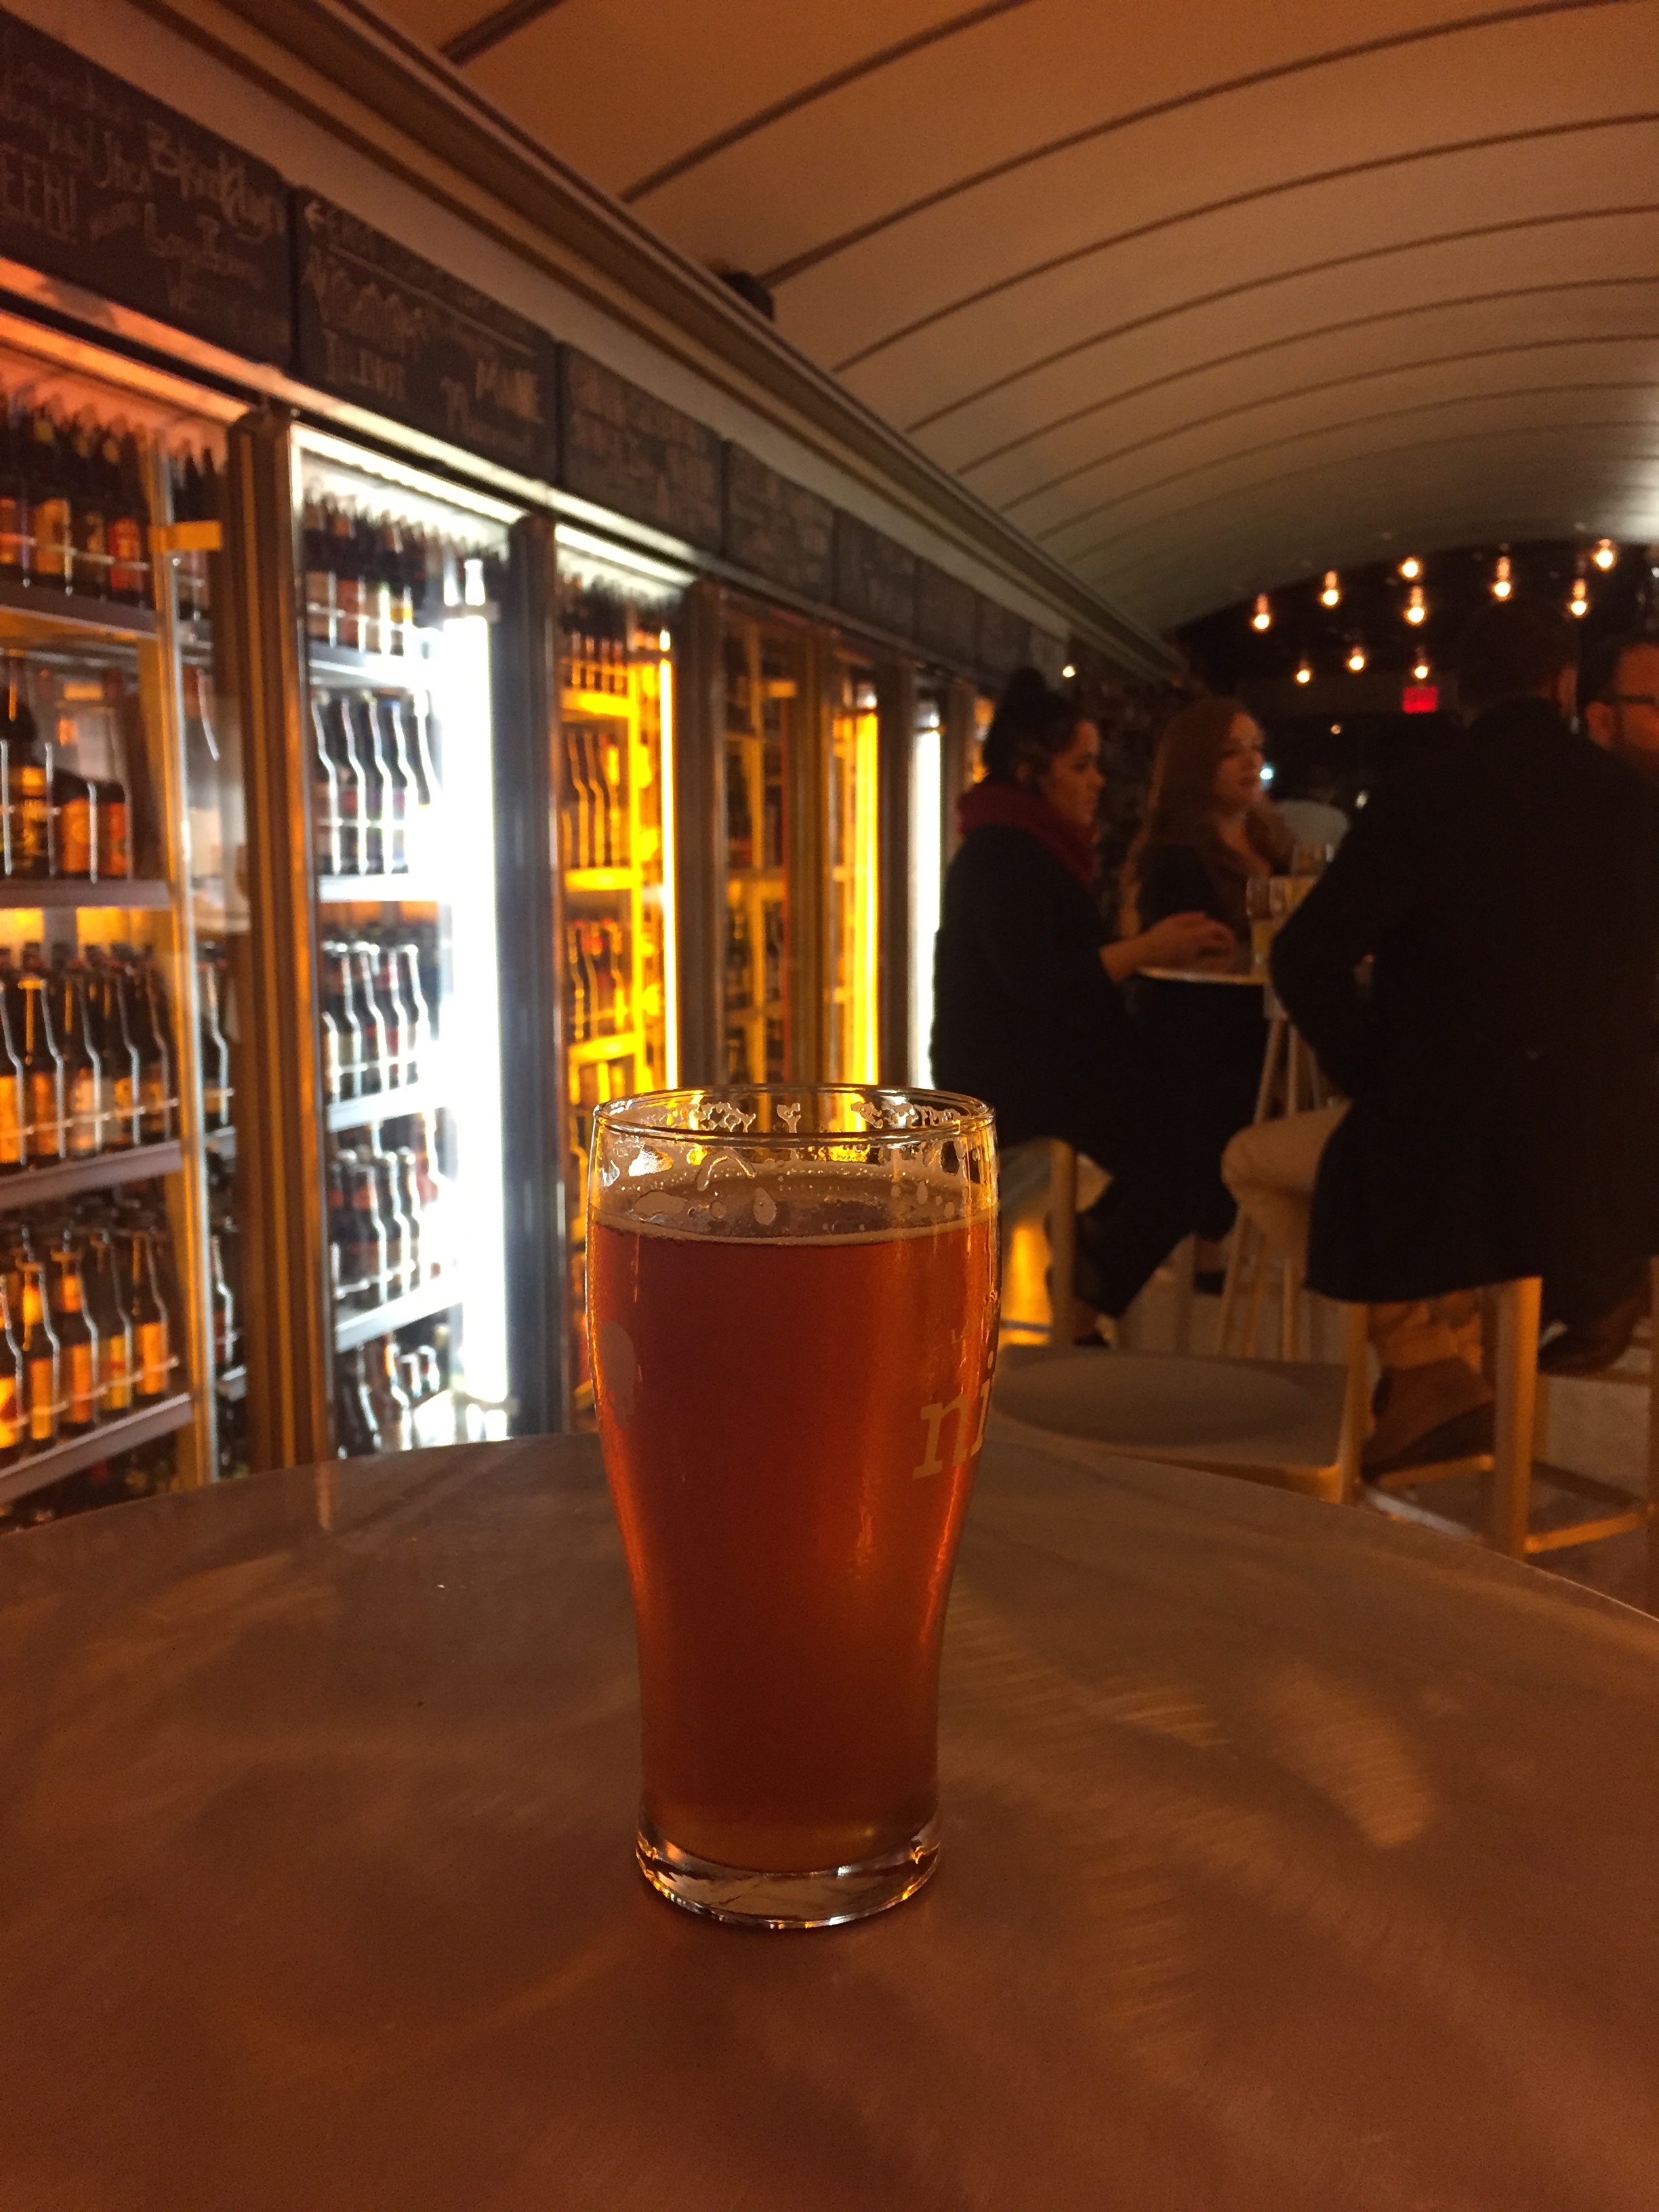
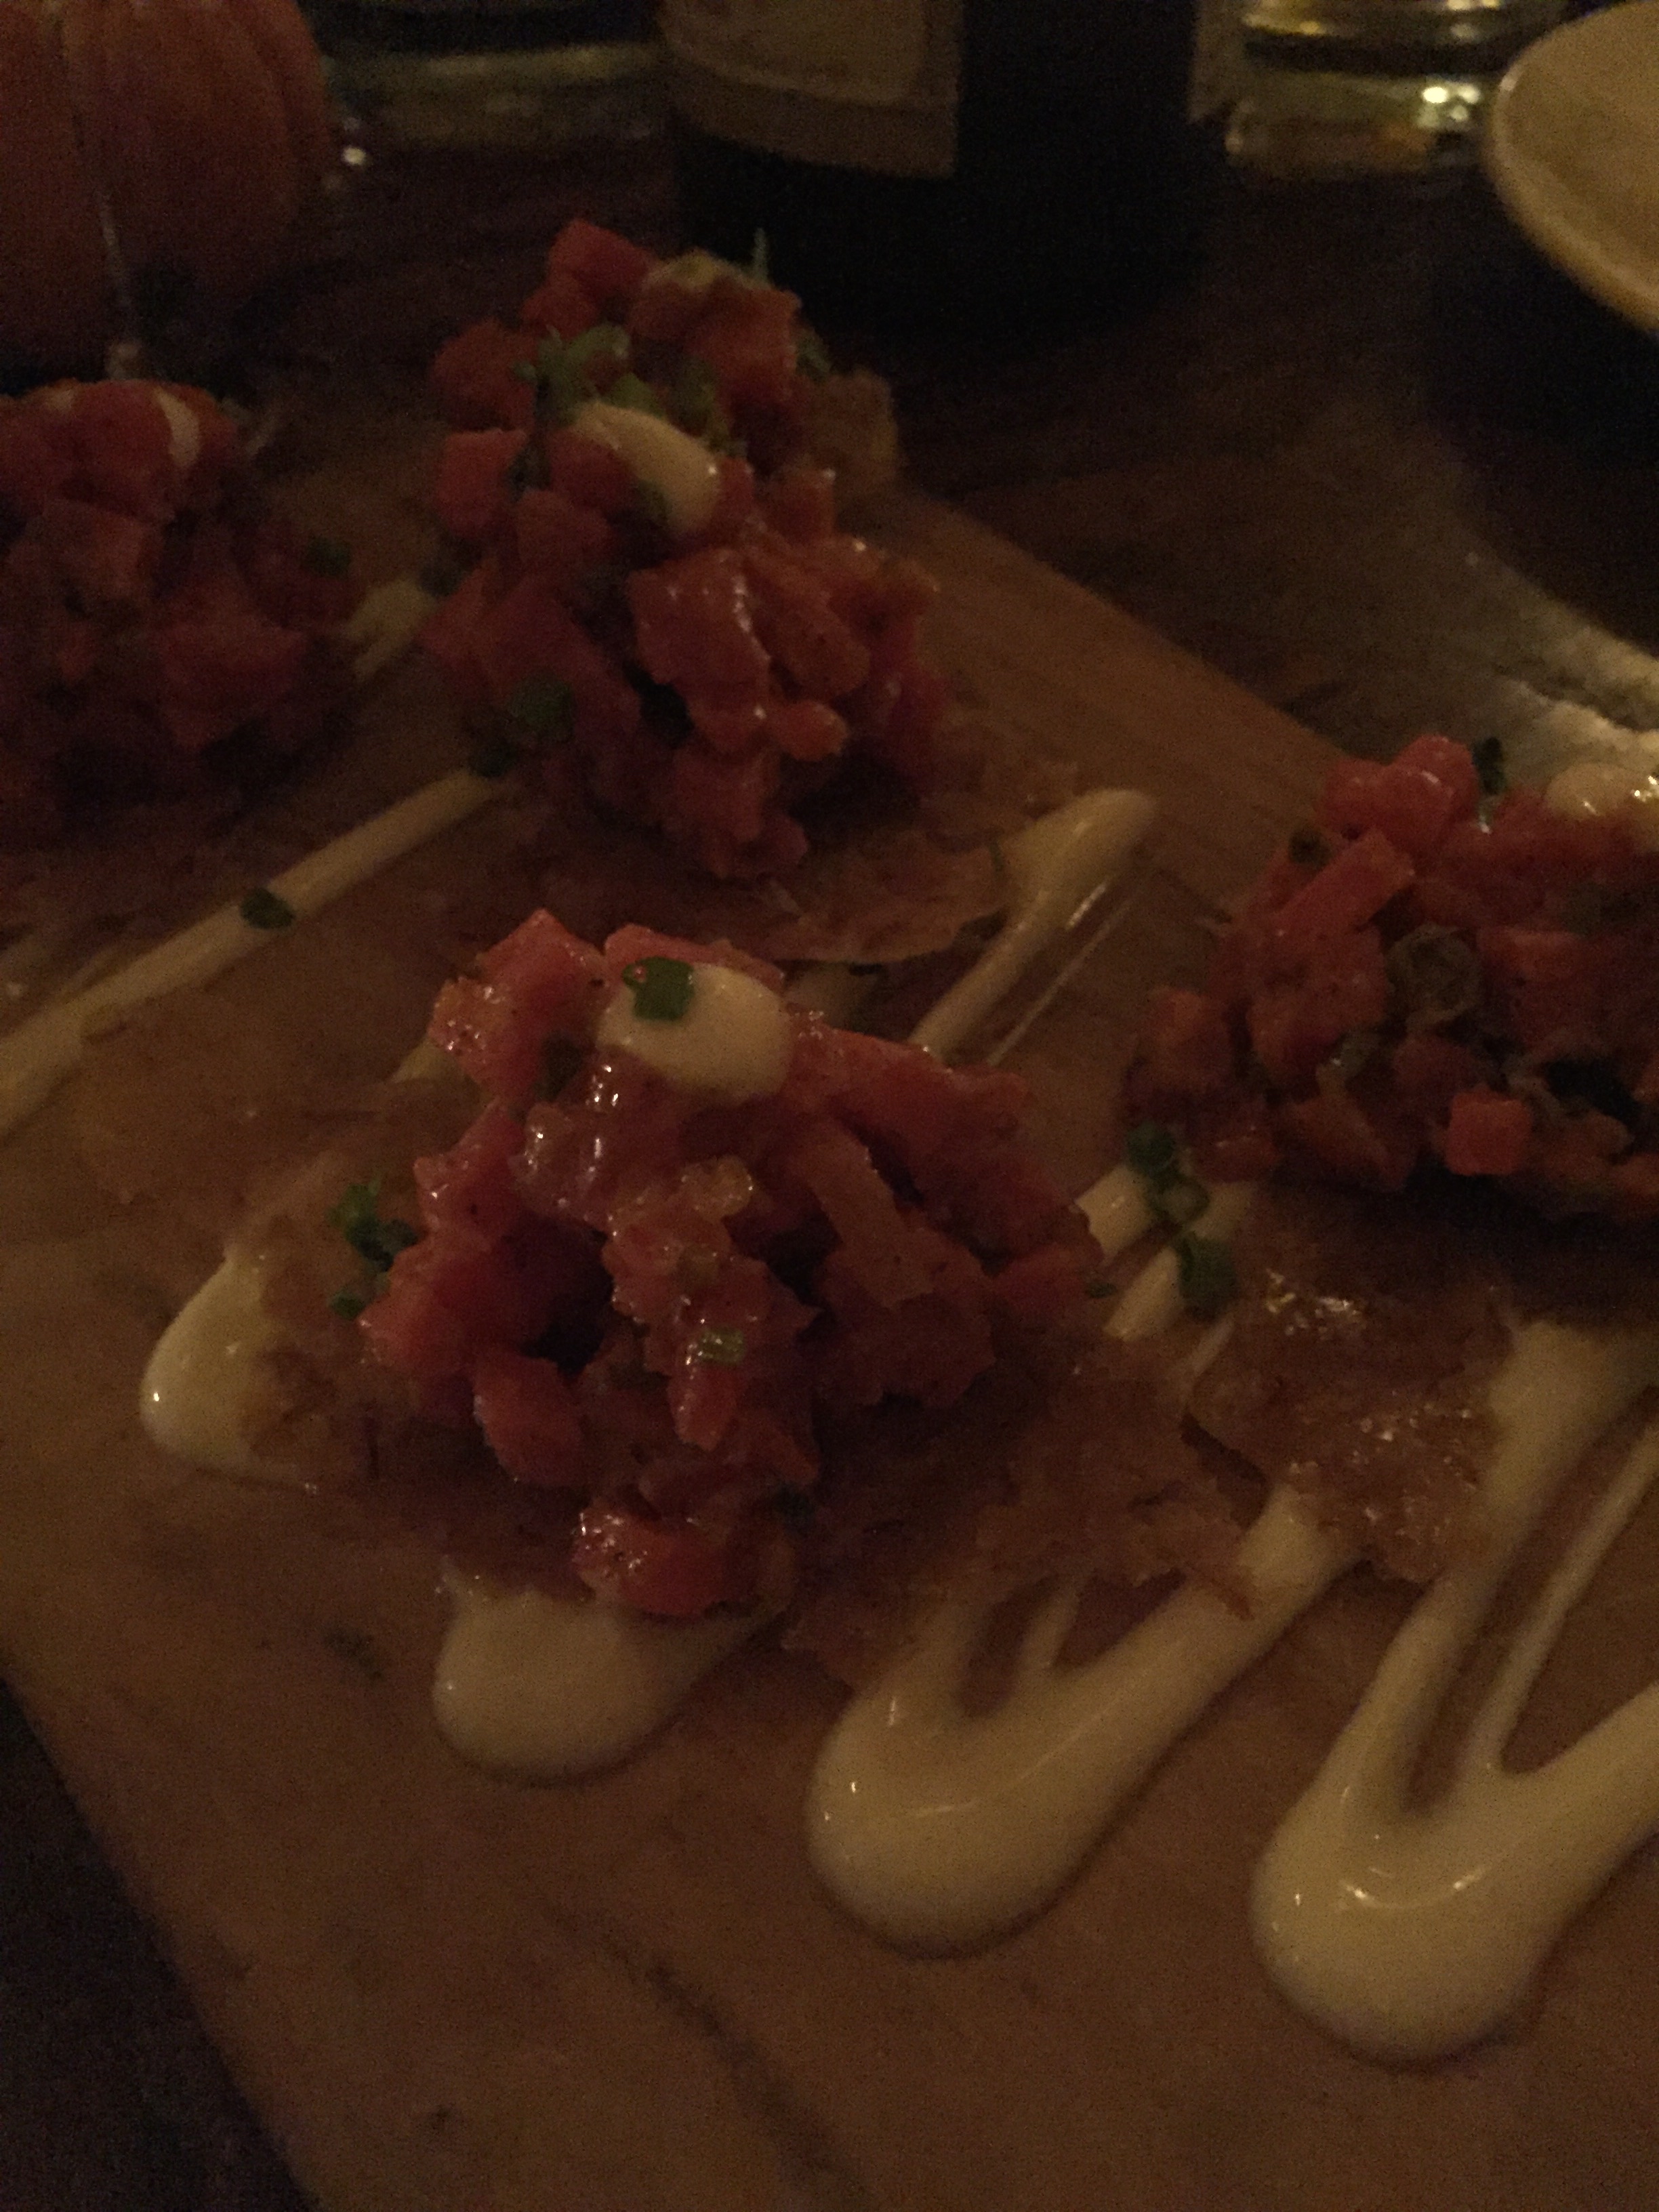
View more photos from Day One, below! I ate at StickyRice, drank craft beer at Top Hops, and stayed at The Holiday Inn - Lower East Side (it was super nice and newly renovated).
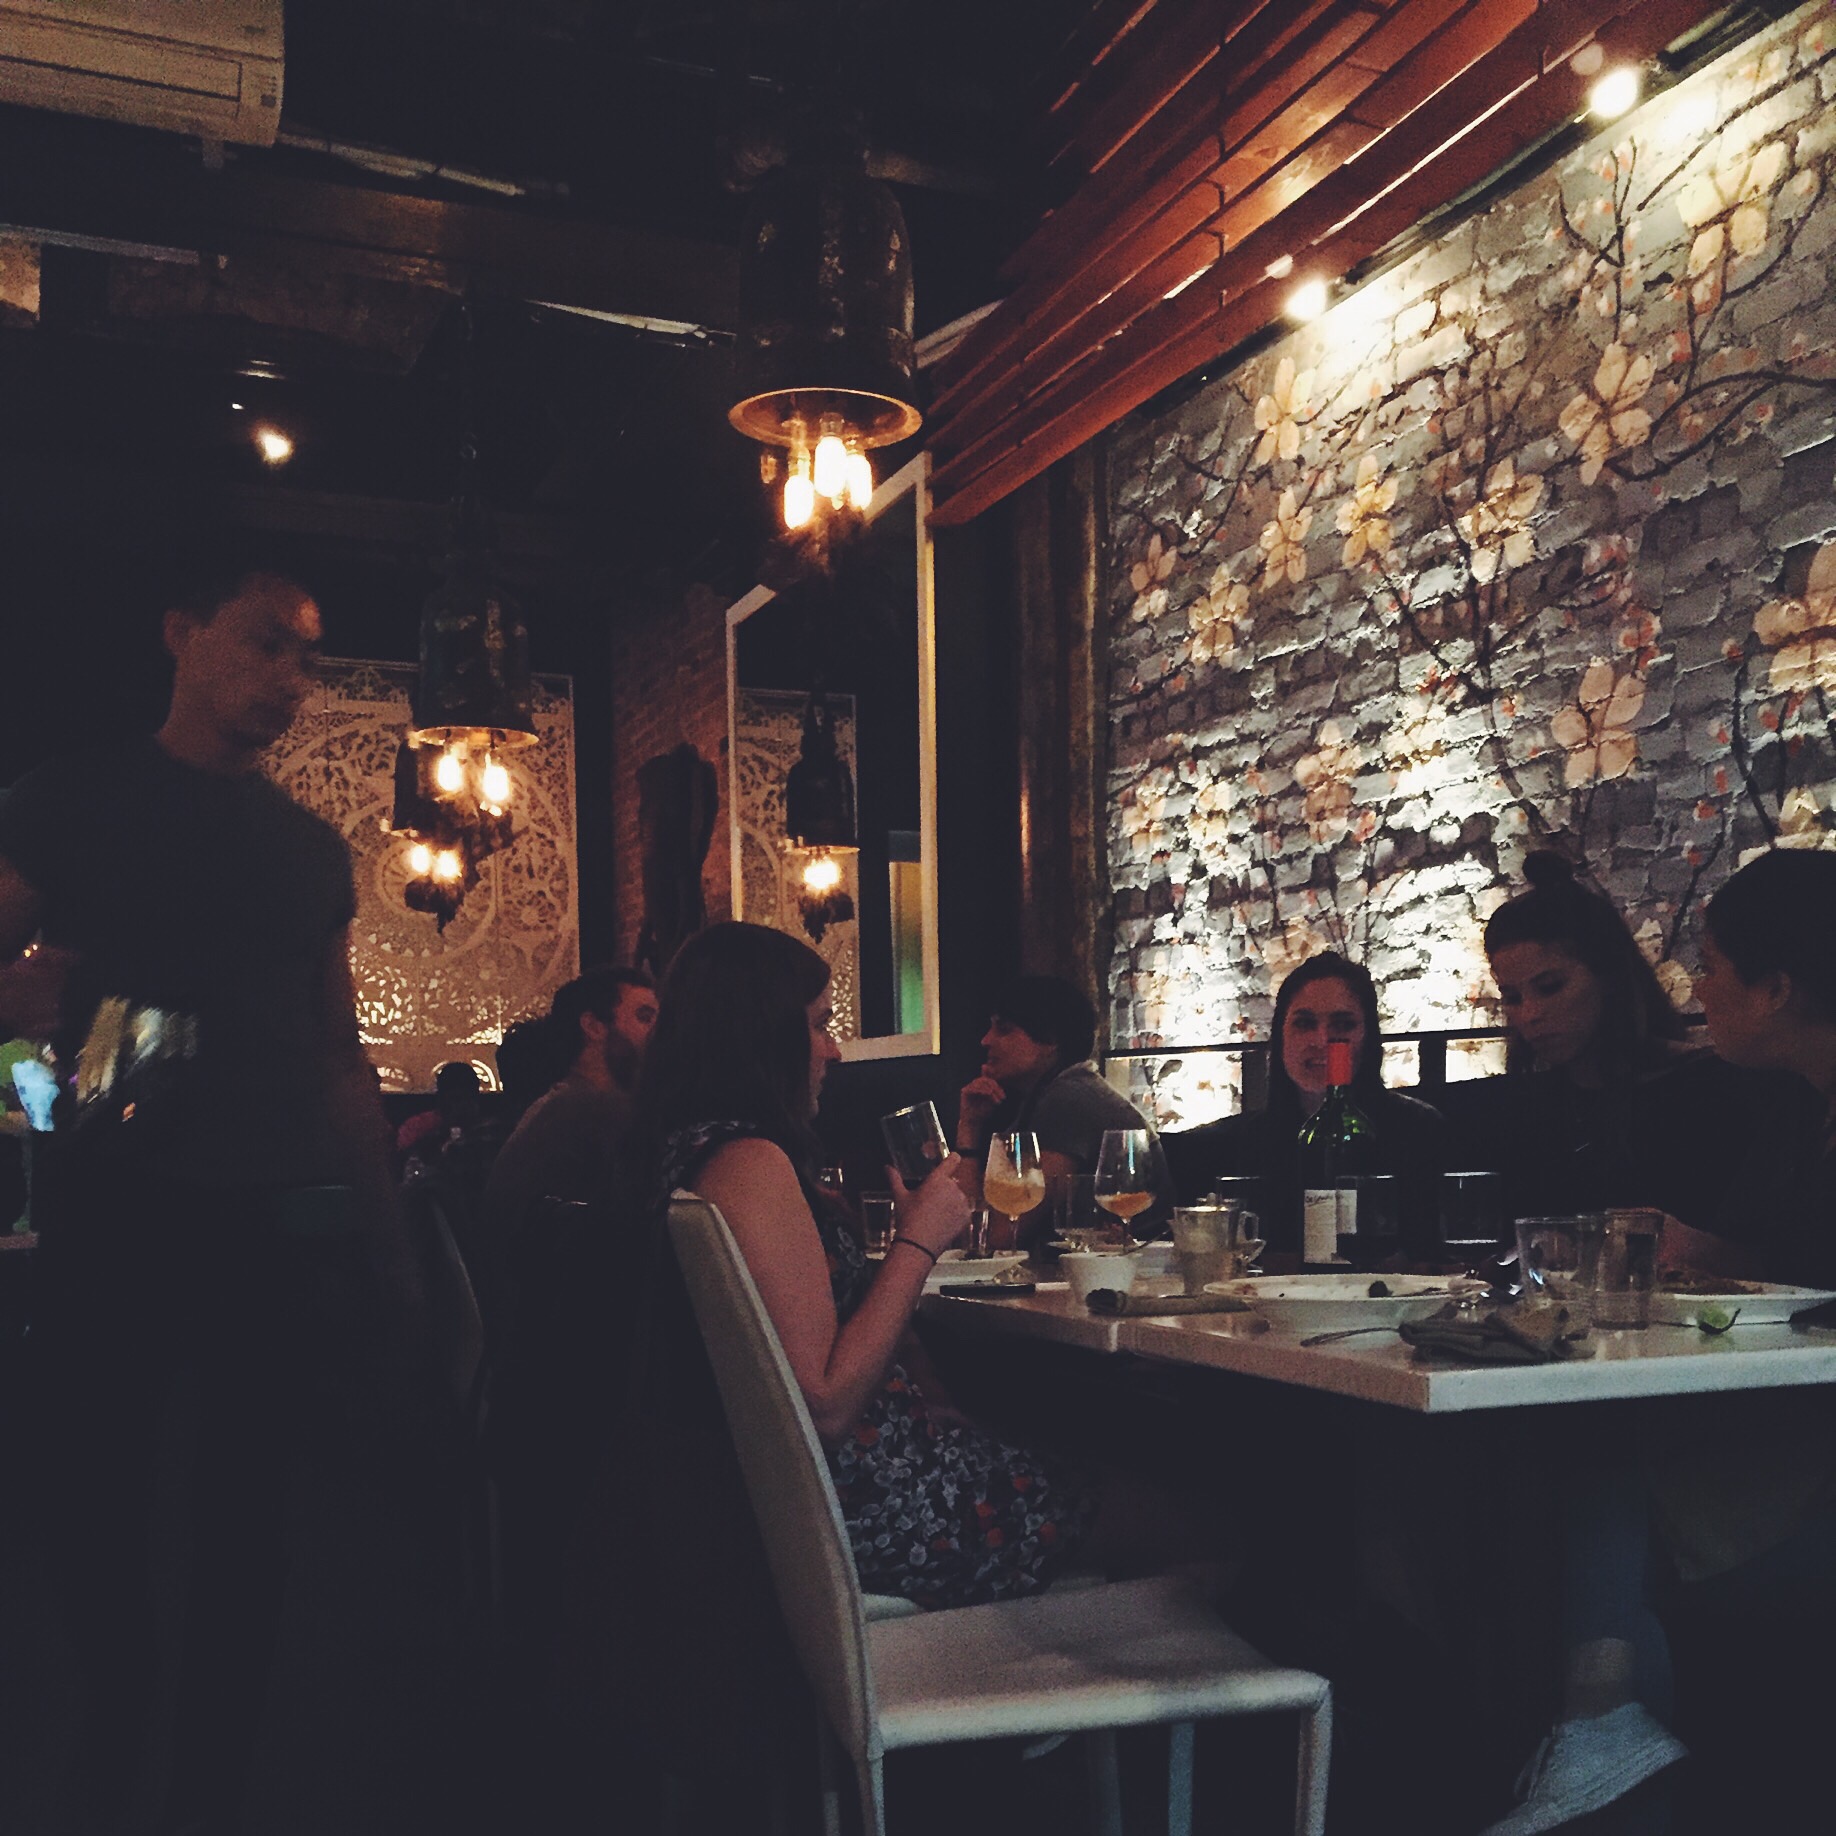


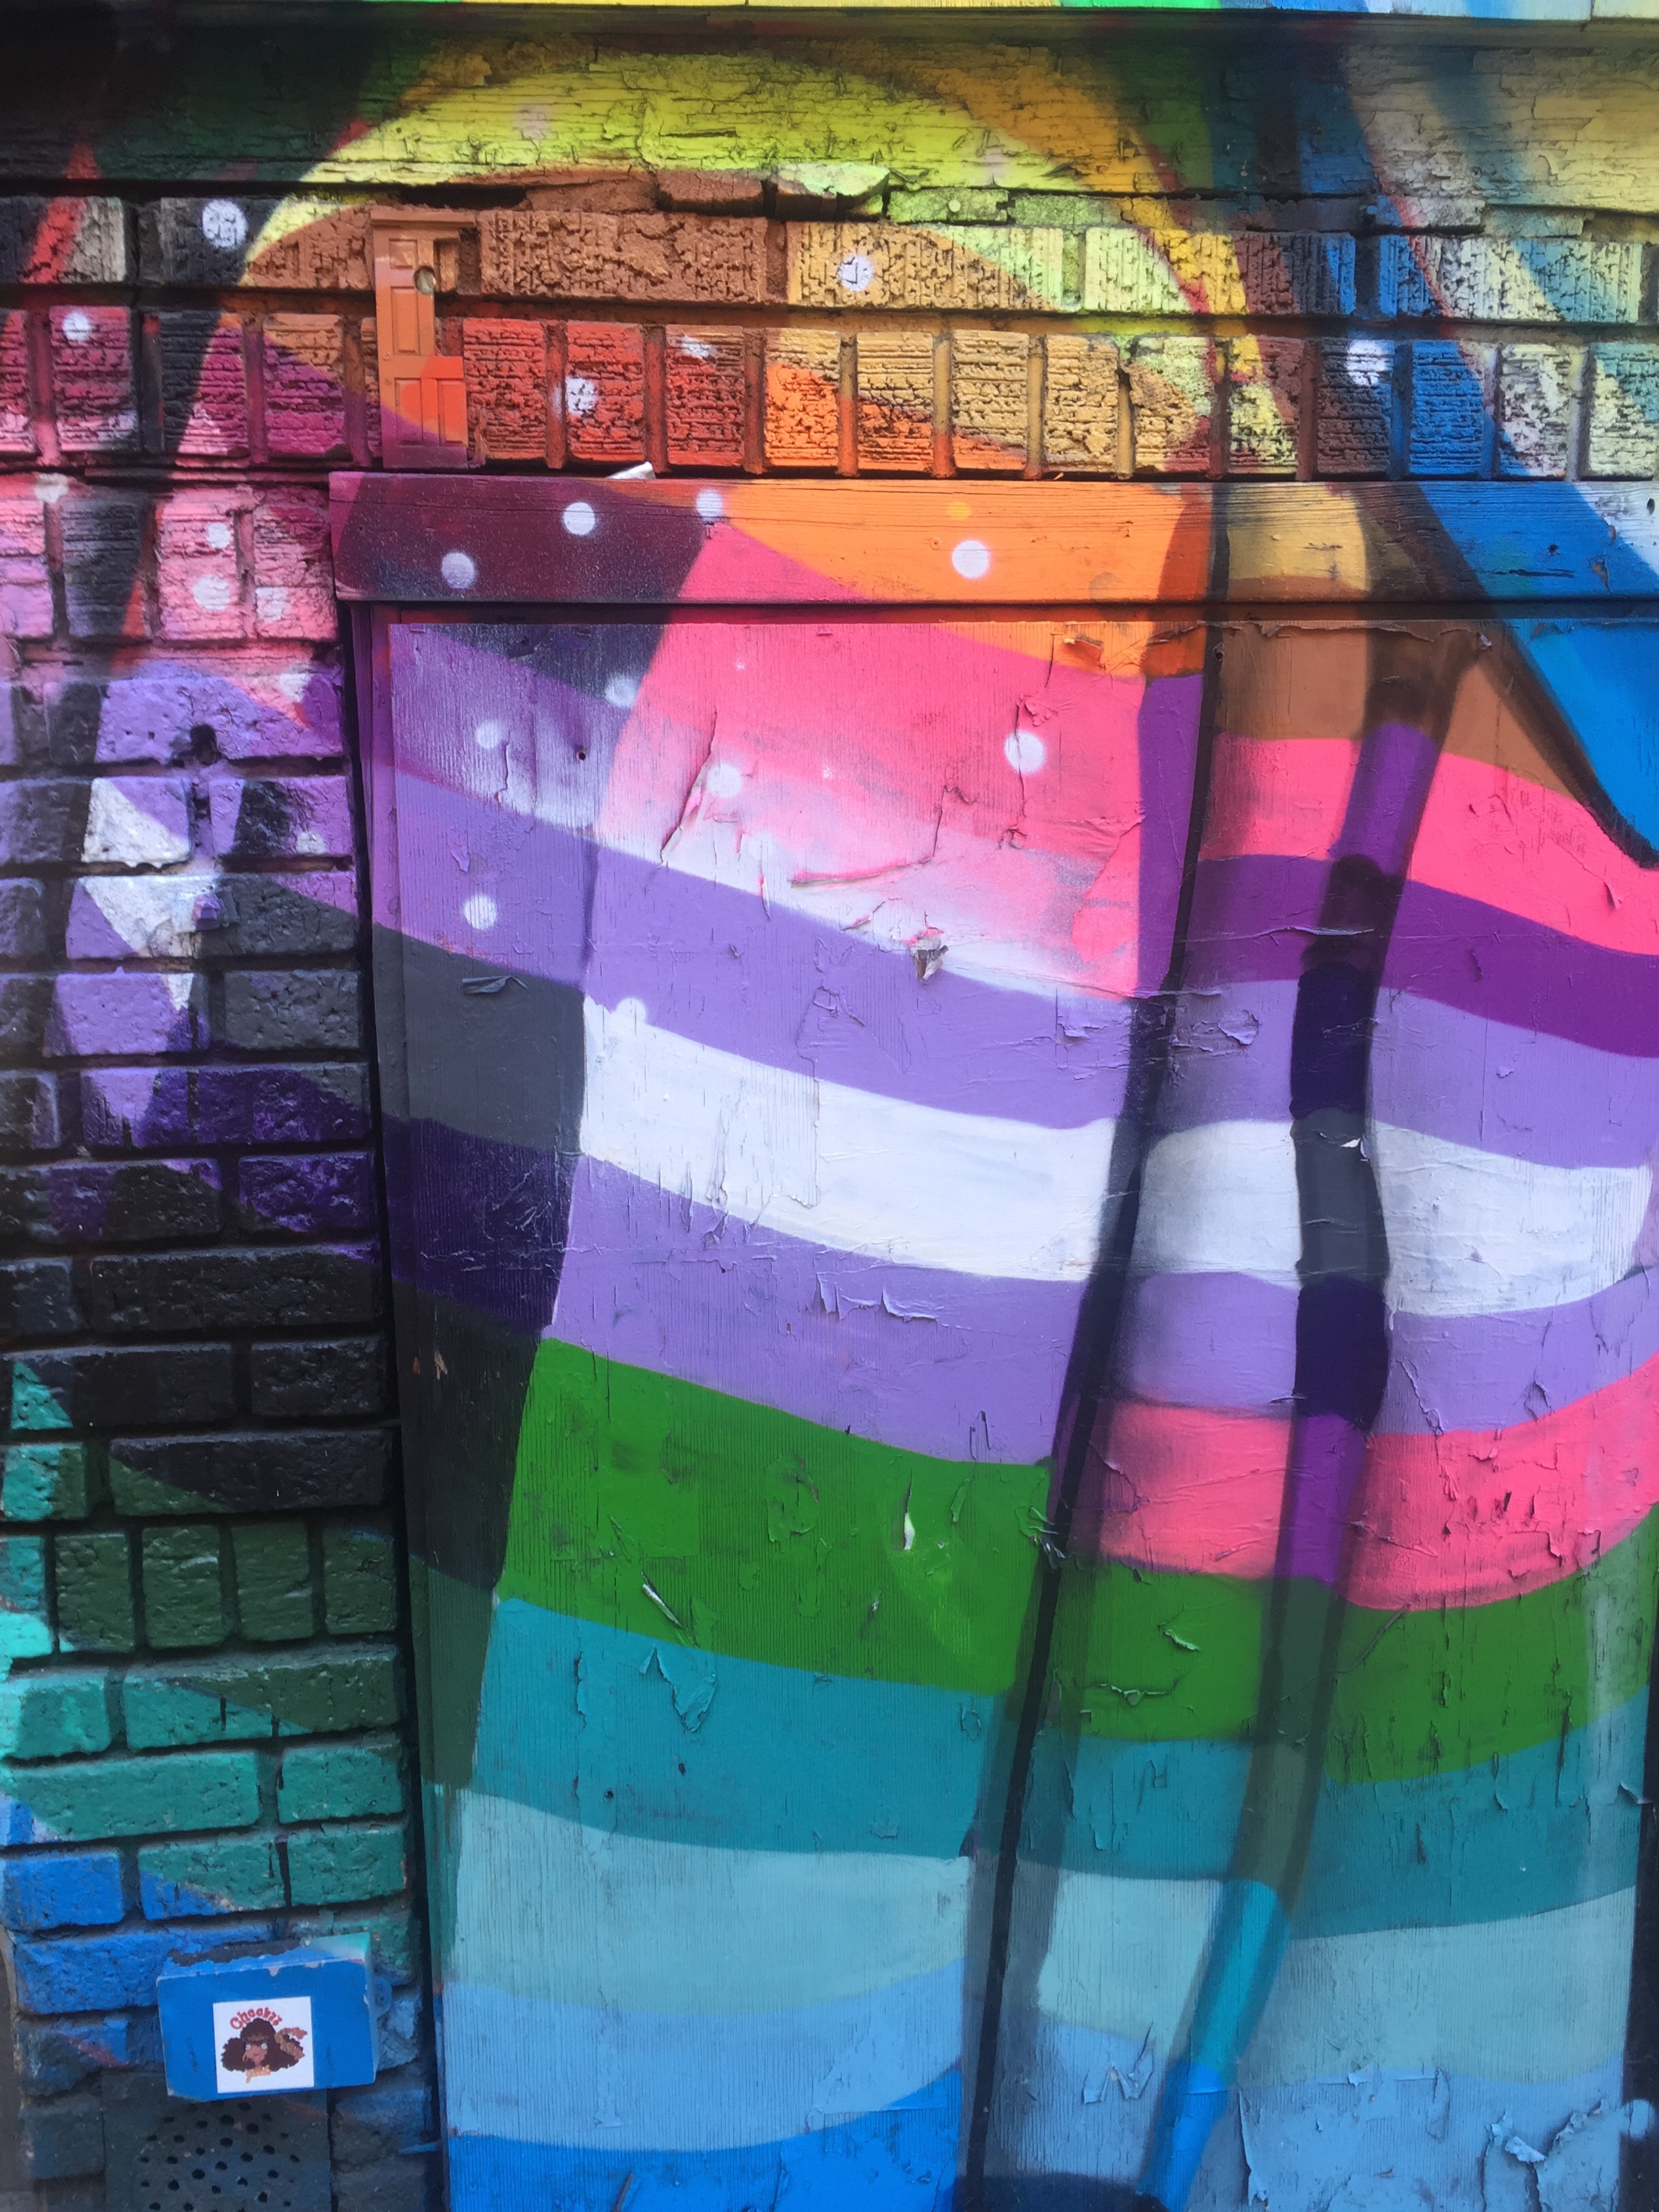
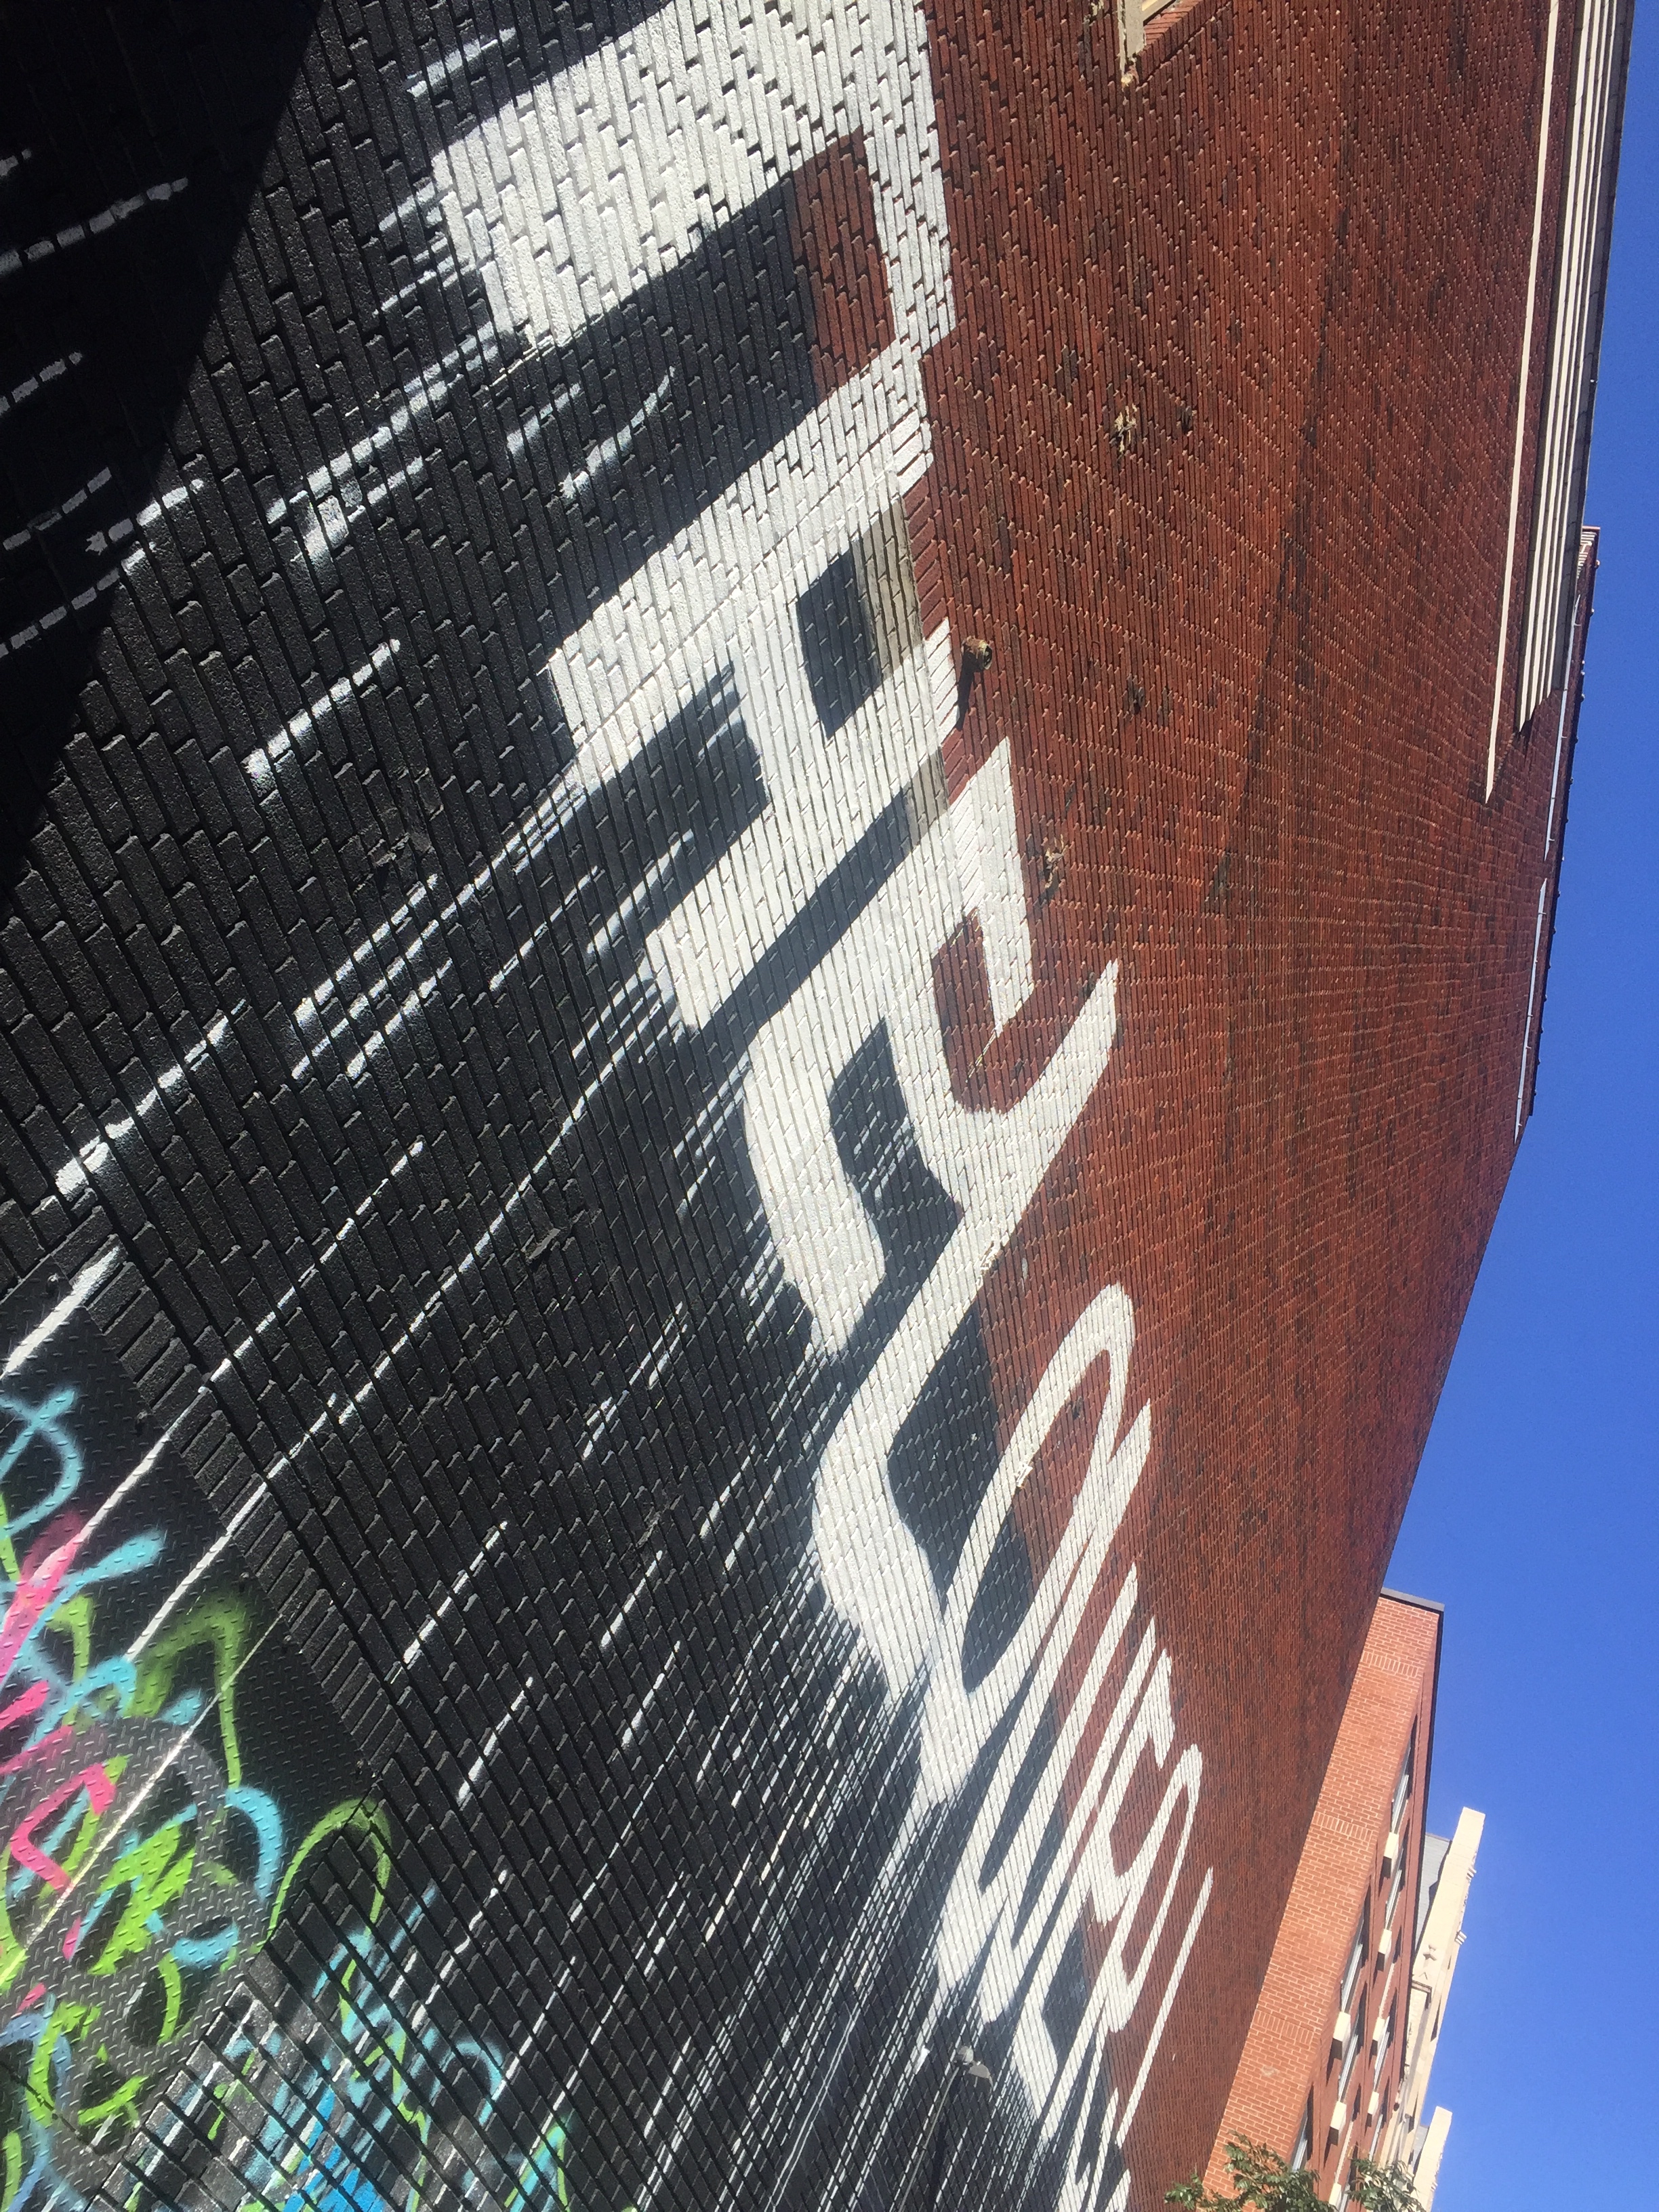
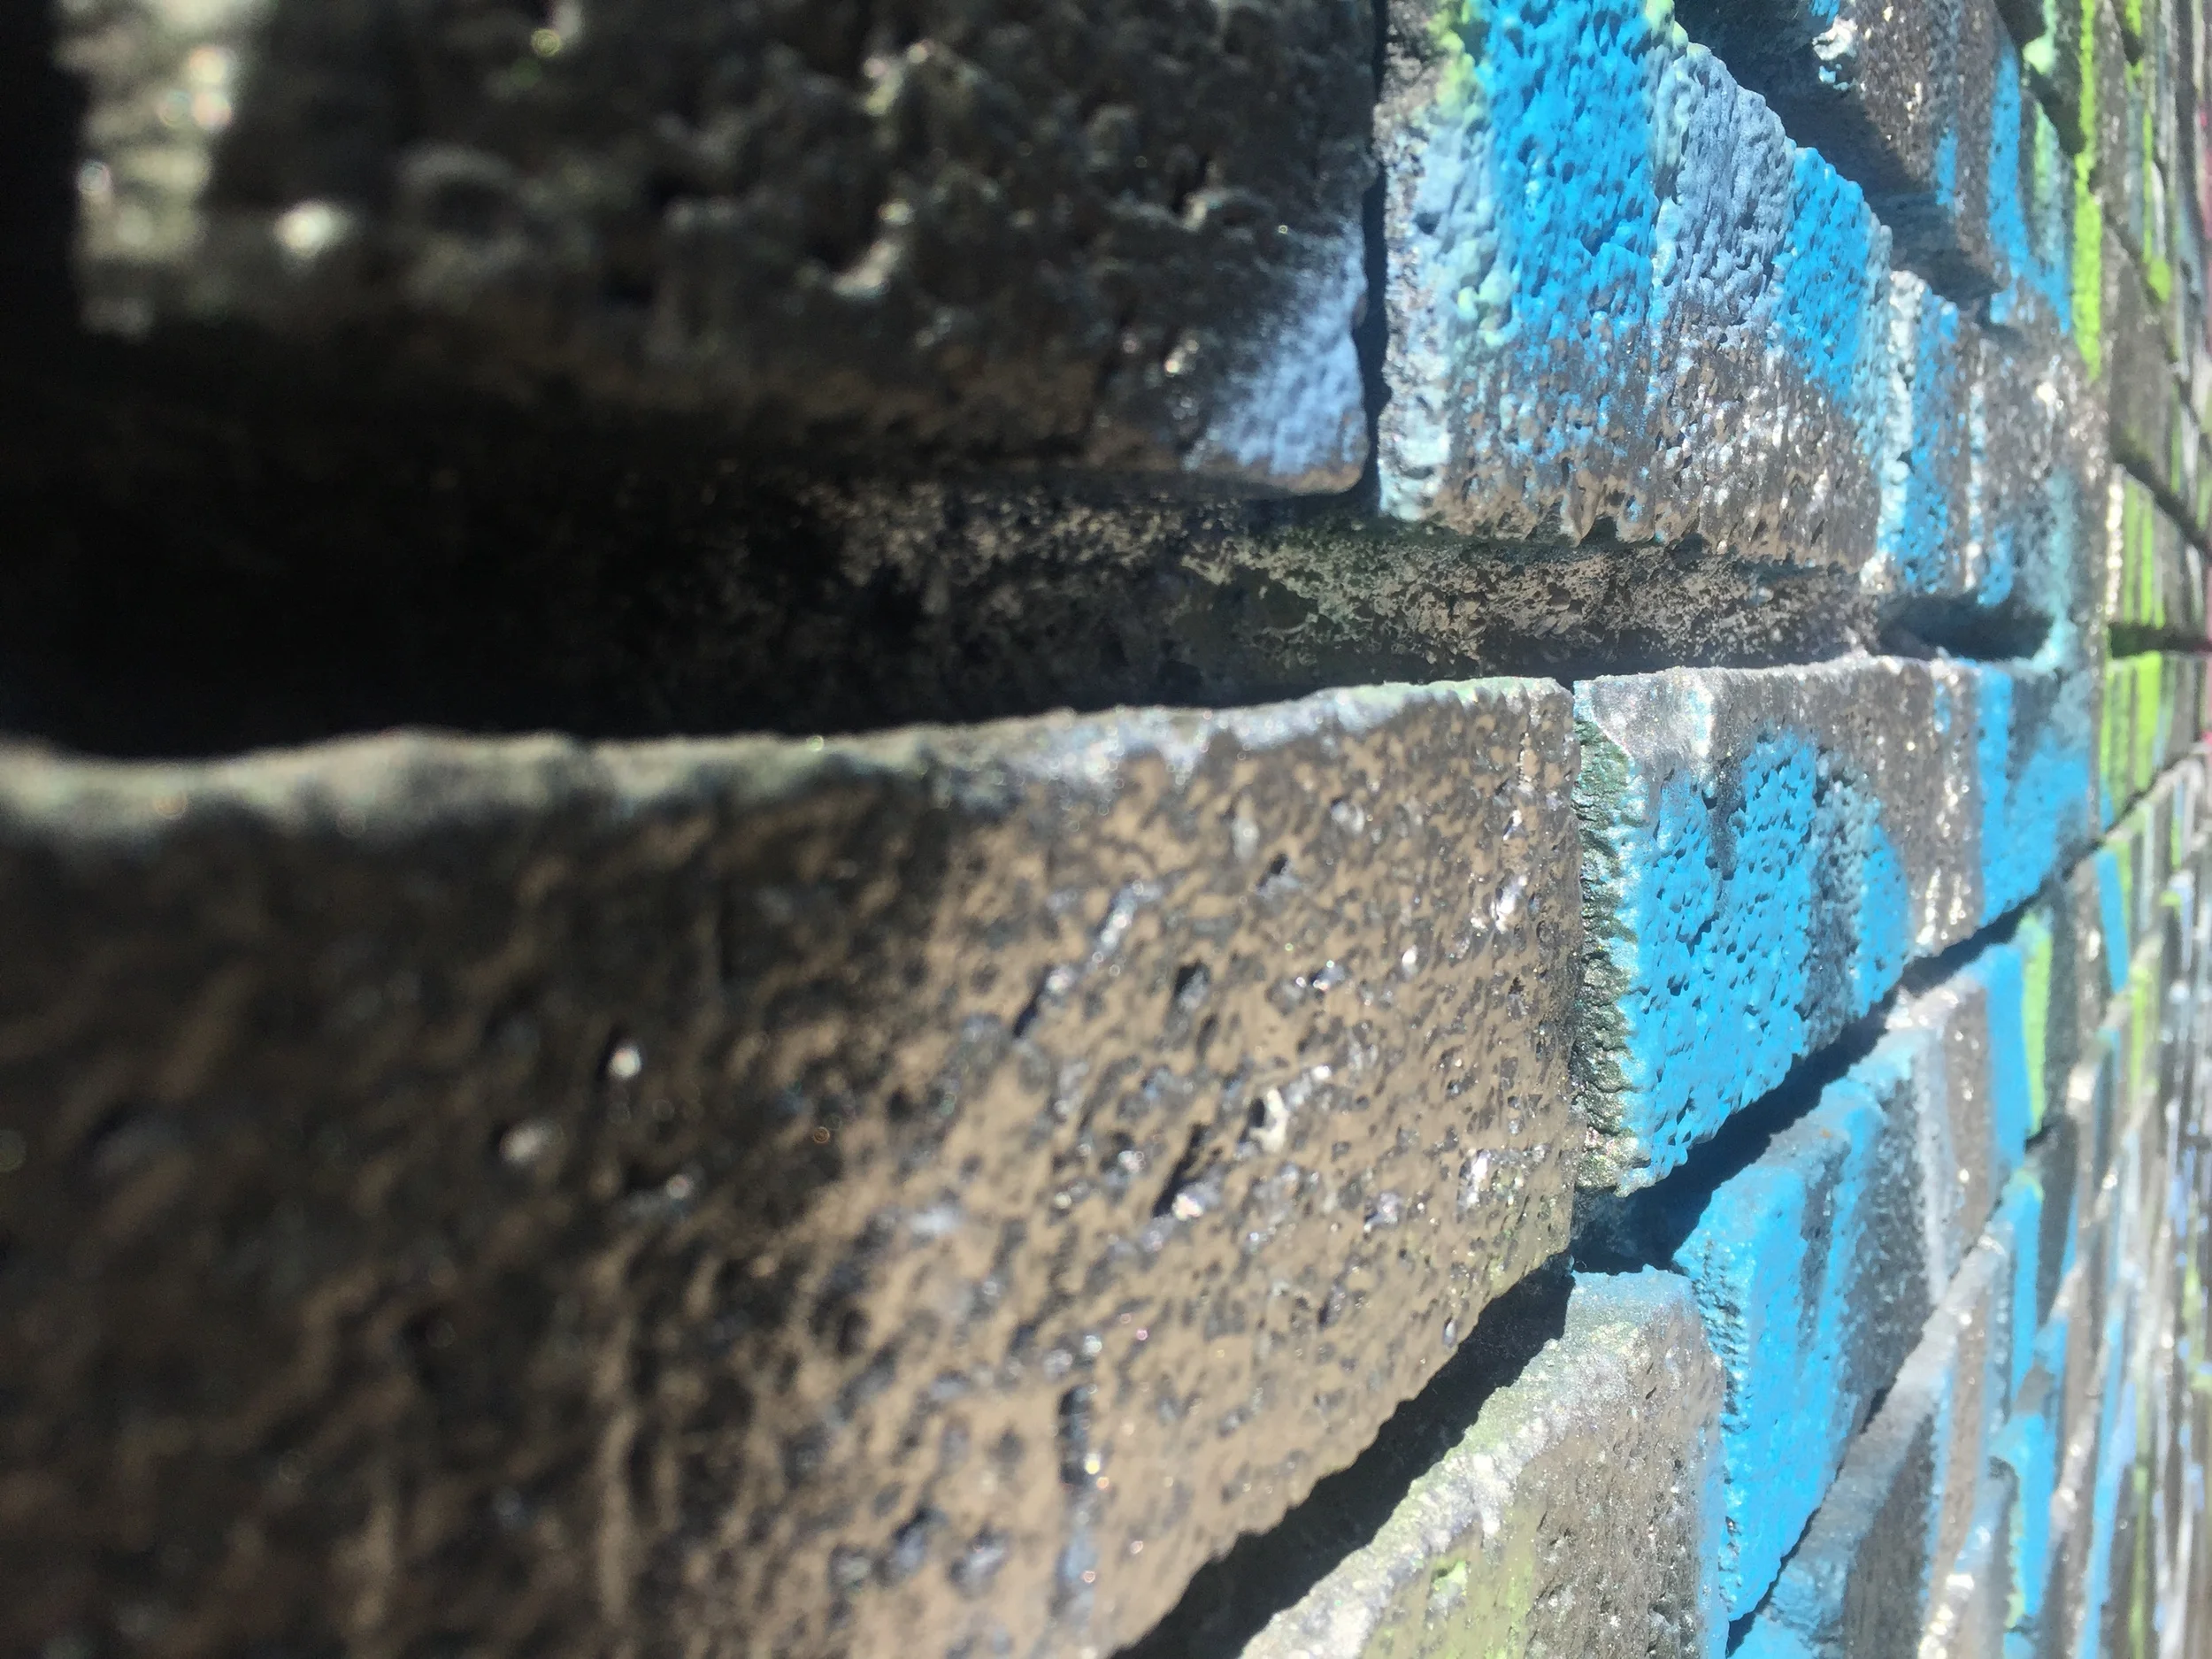
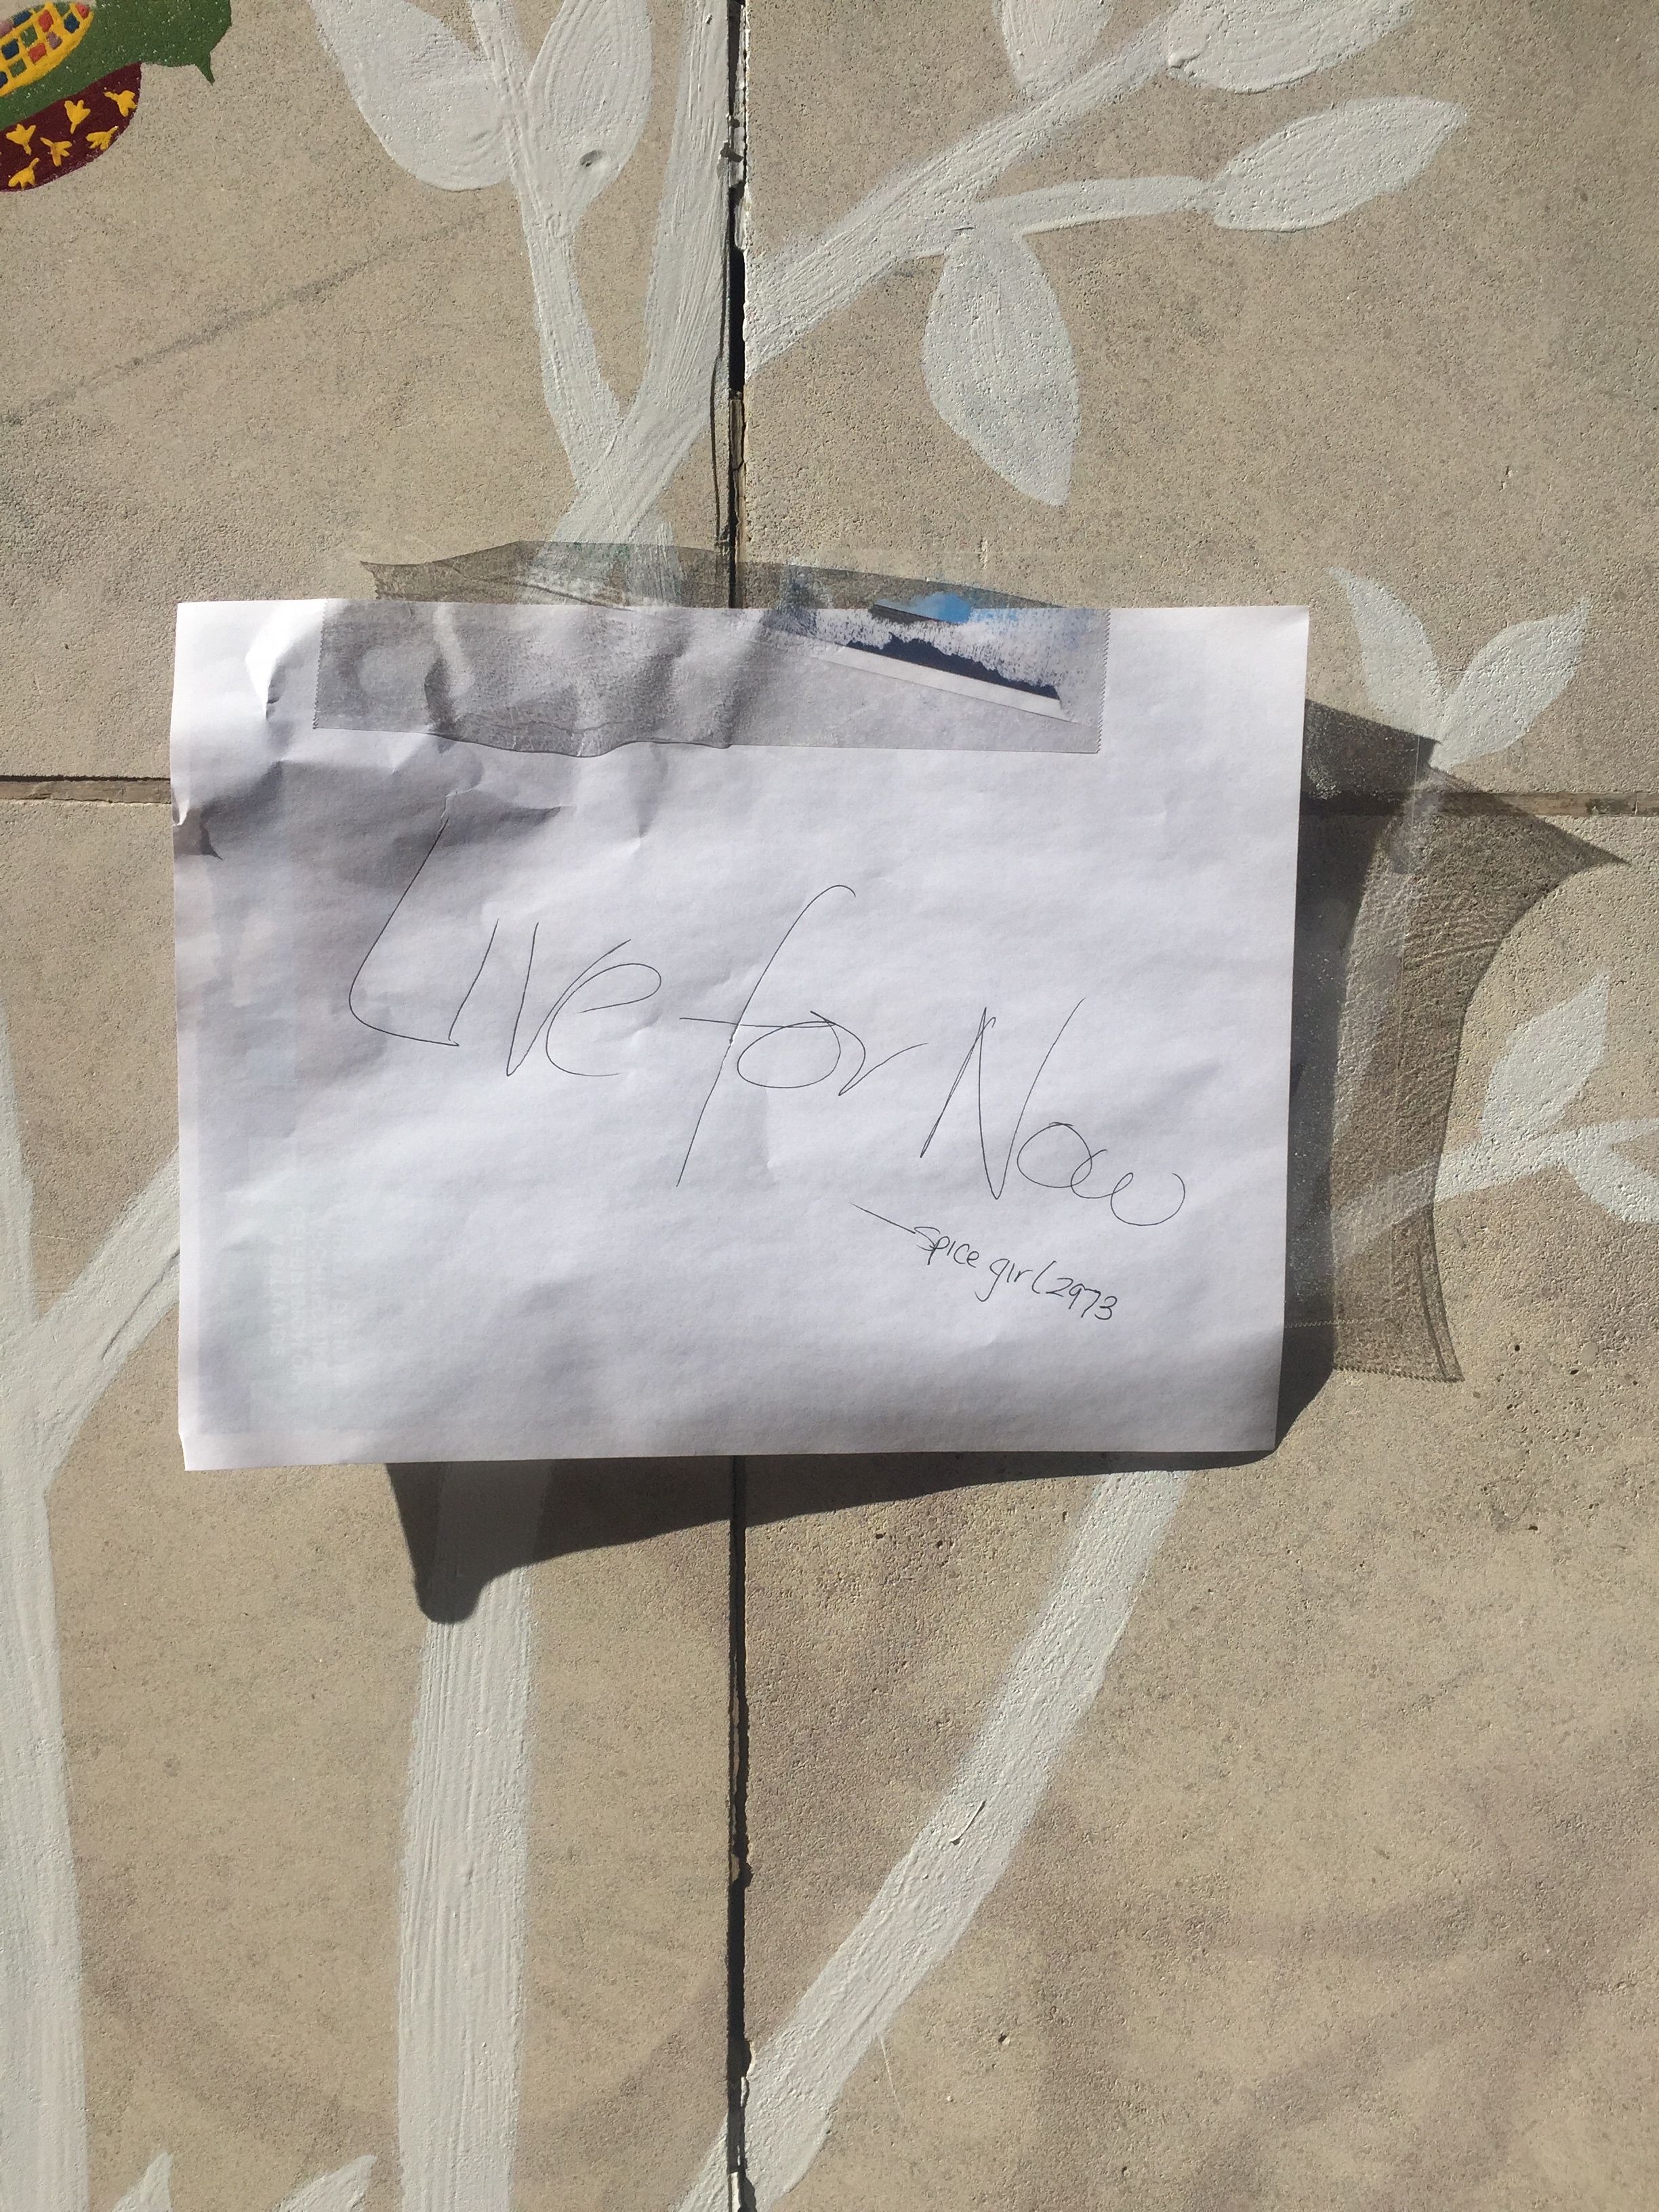
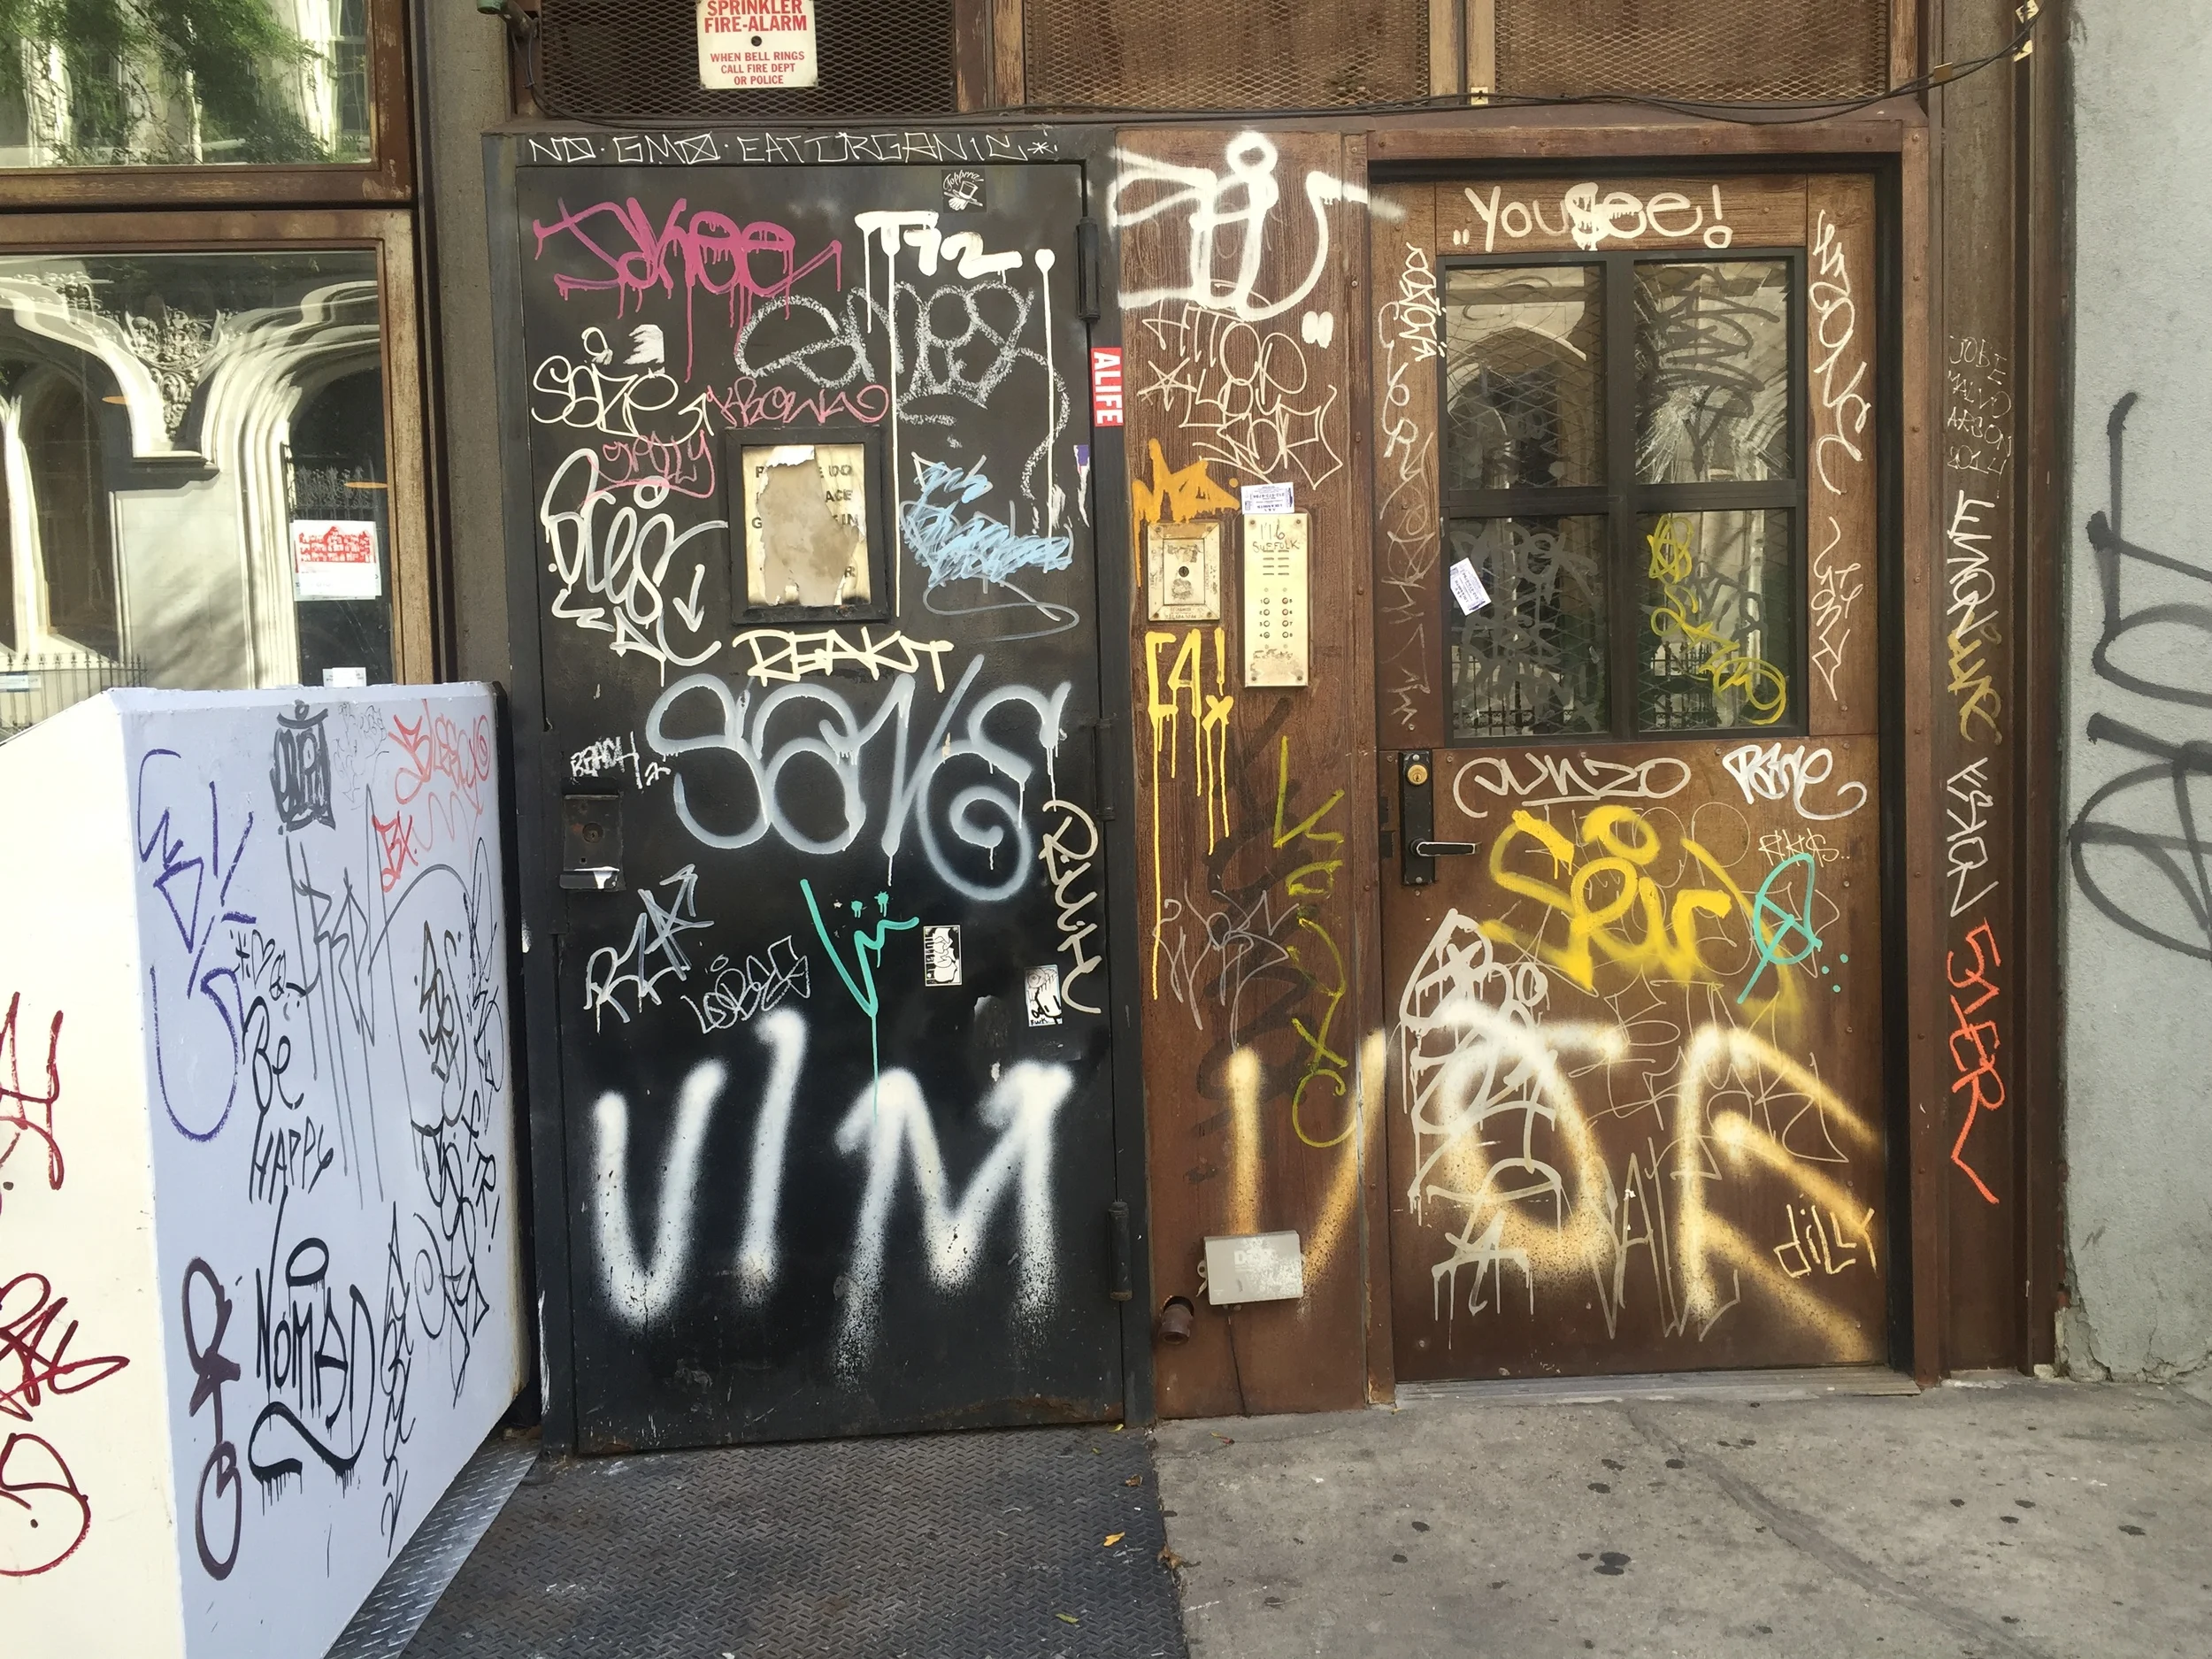
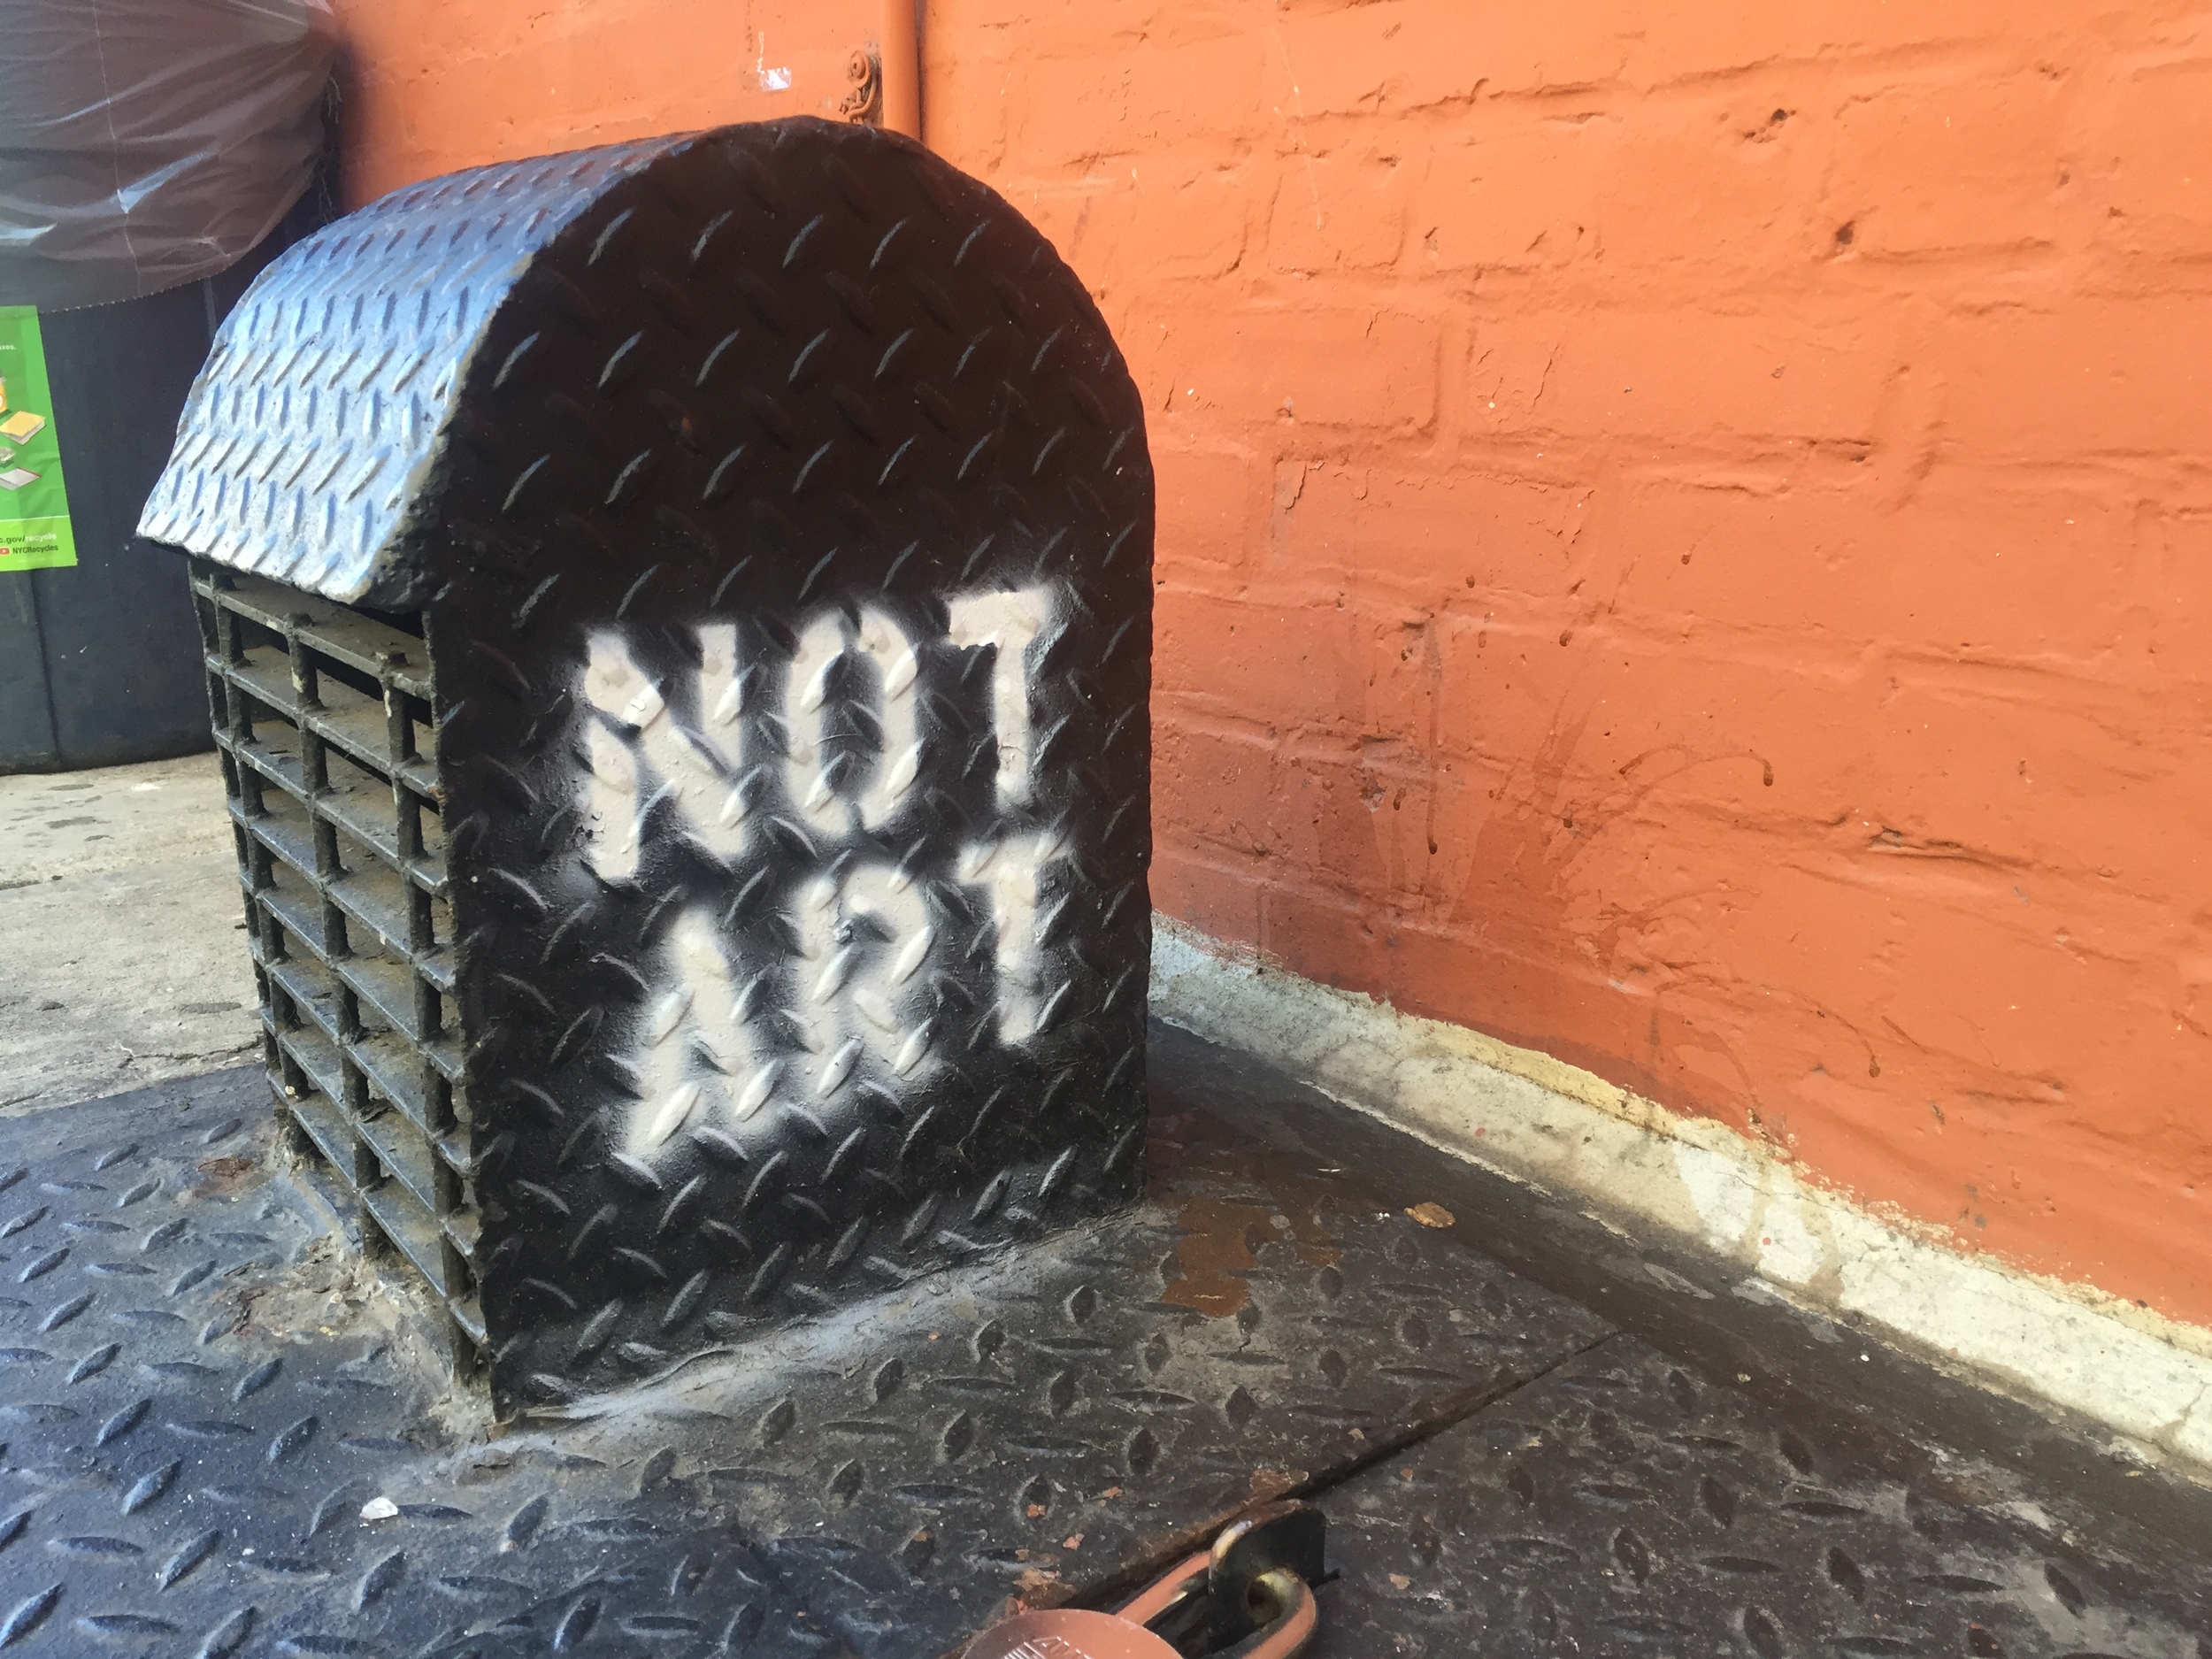
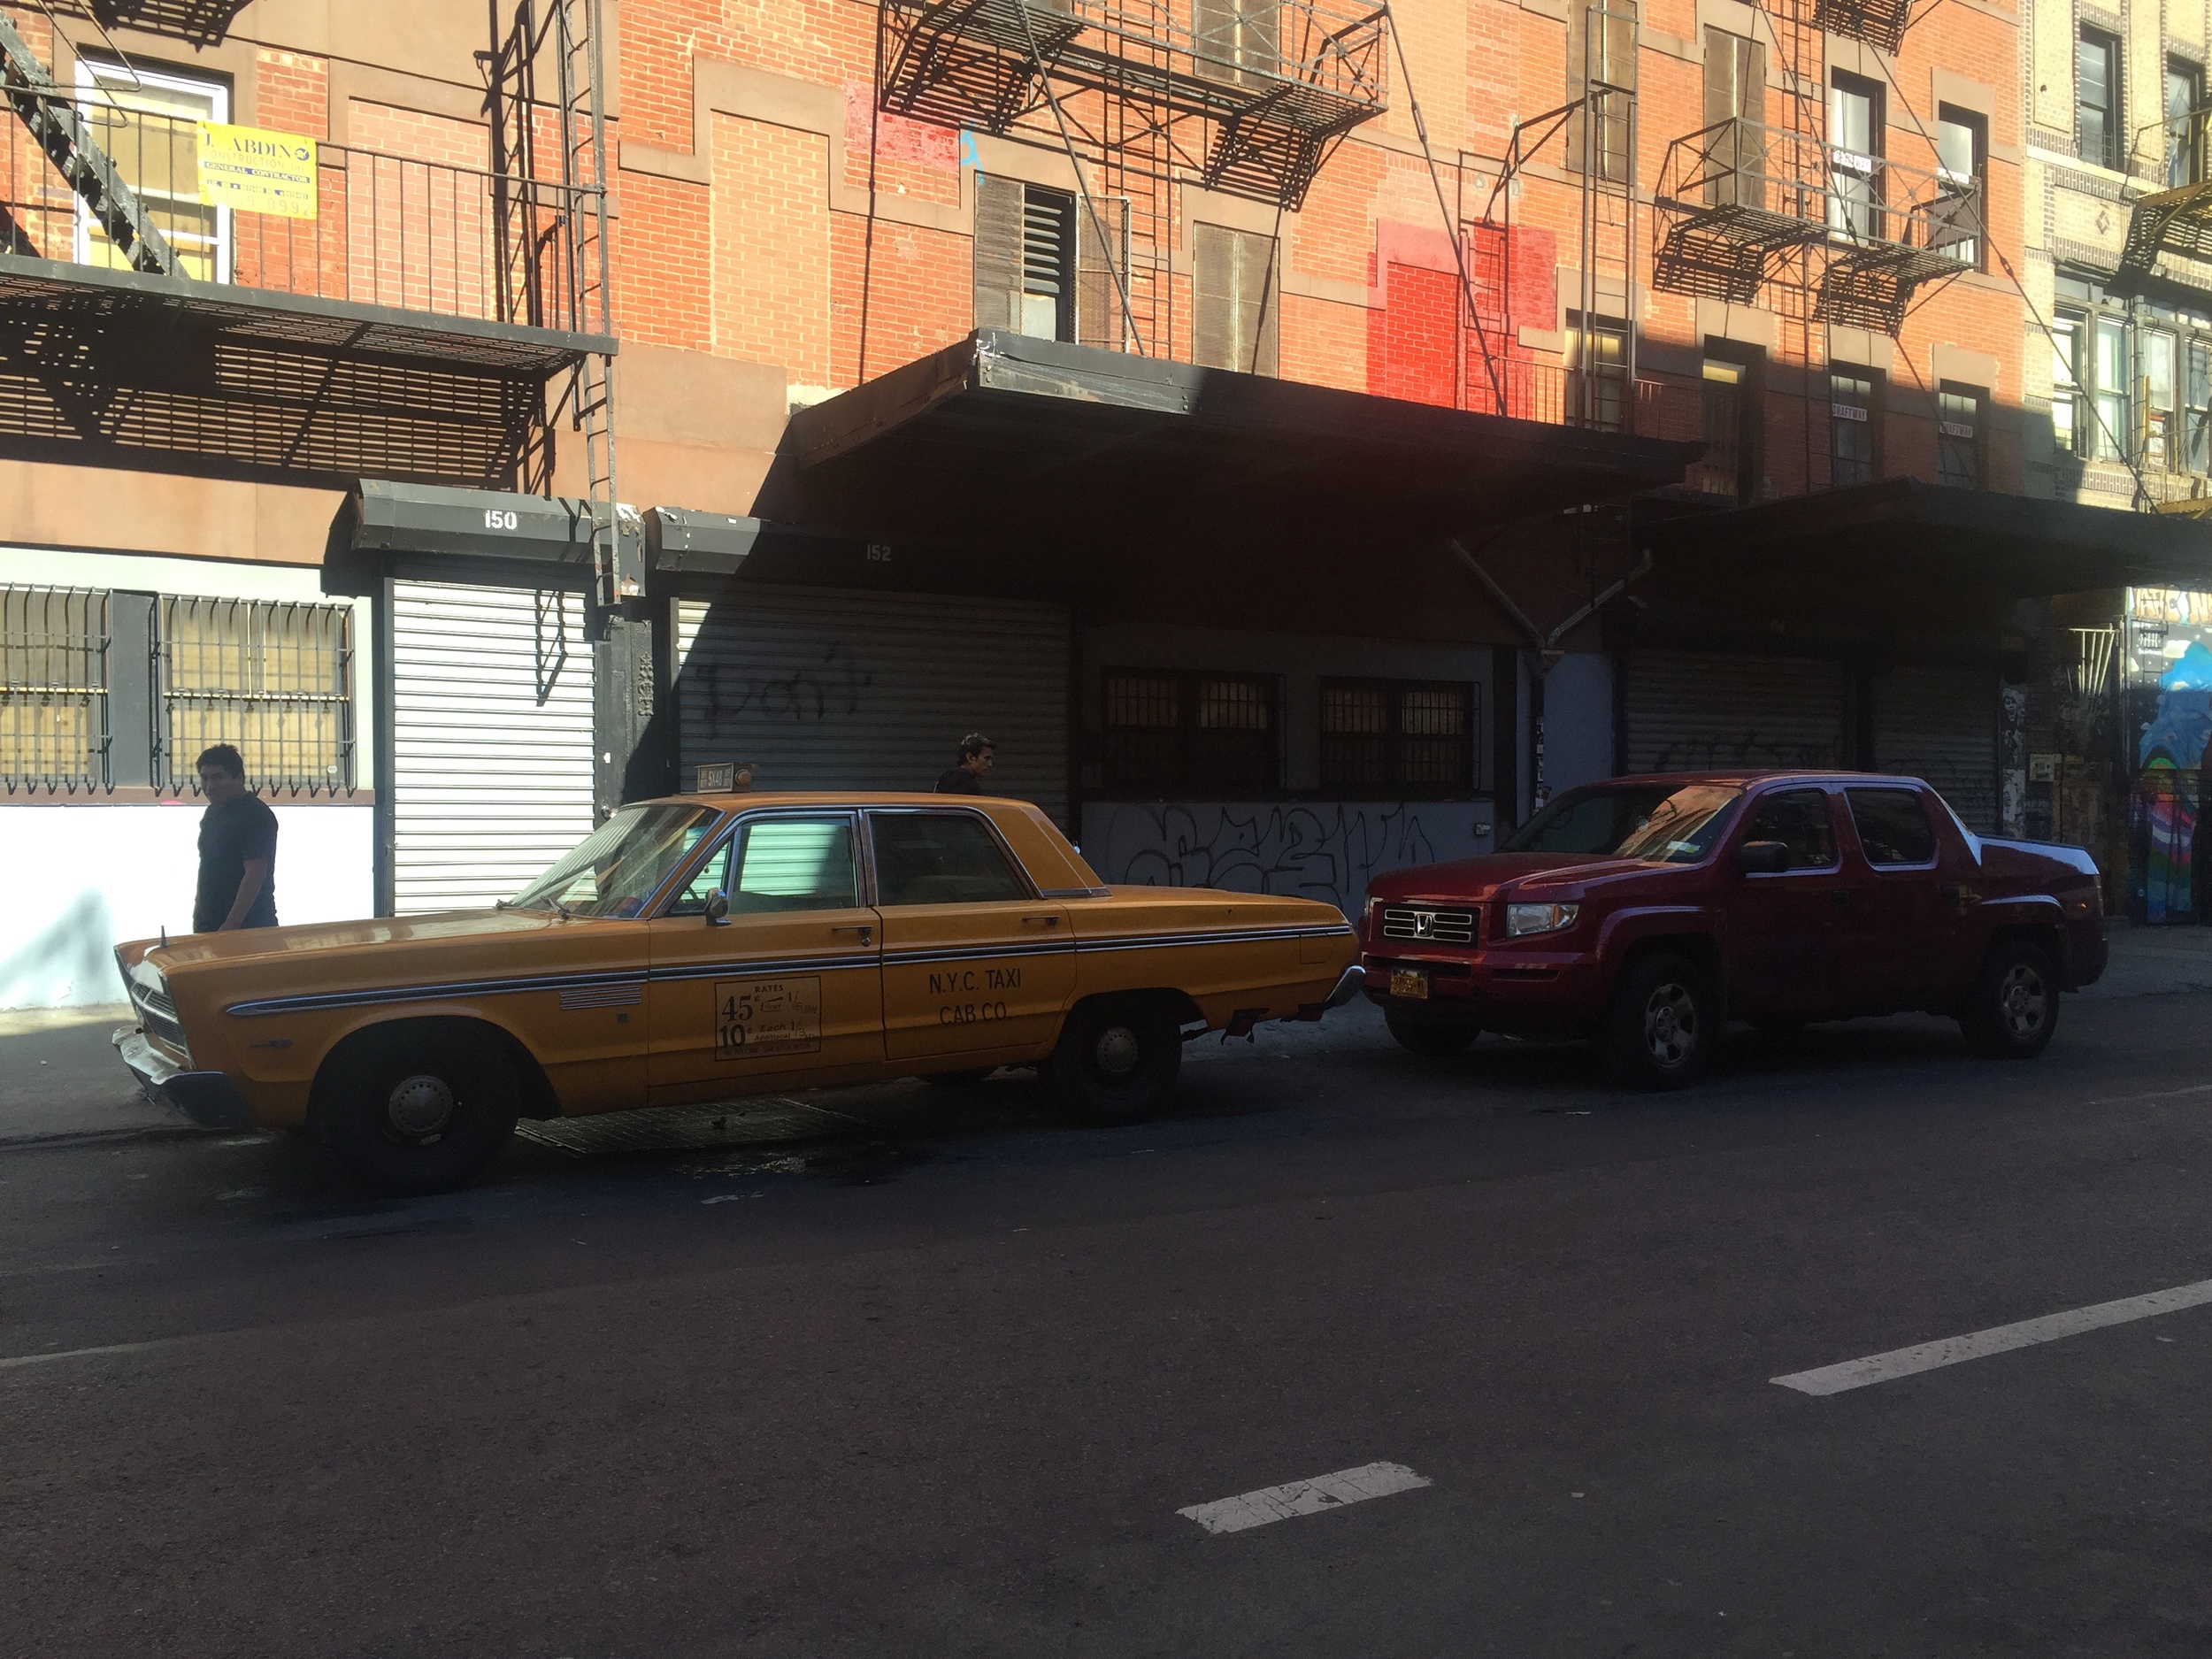
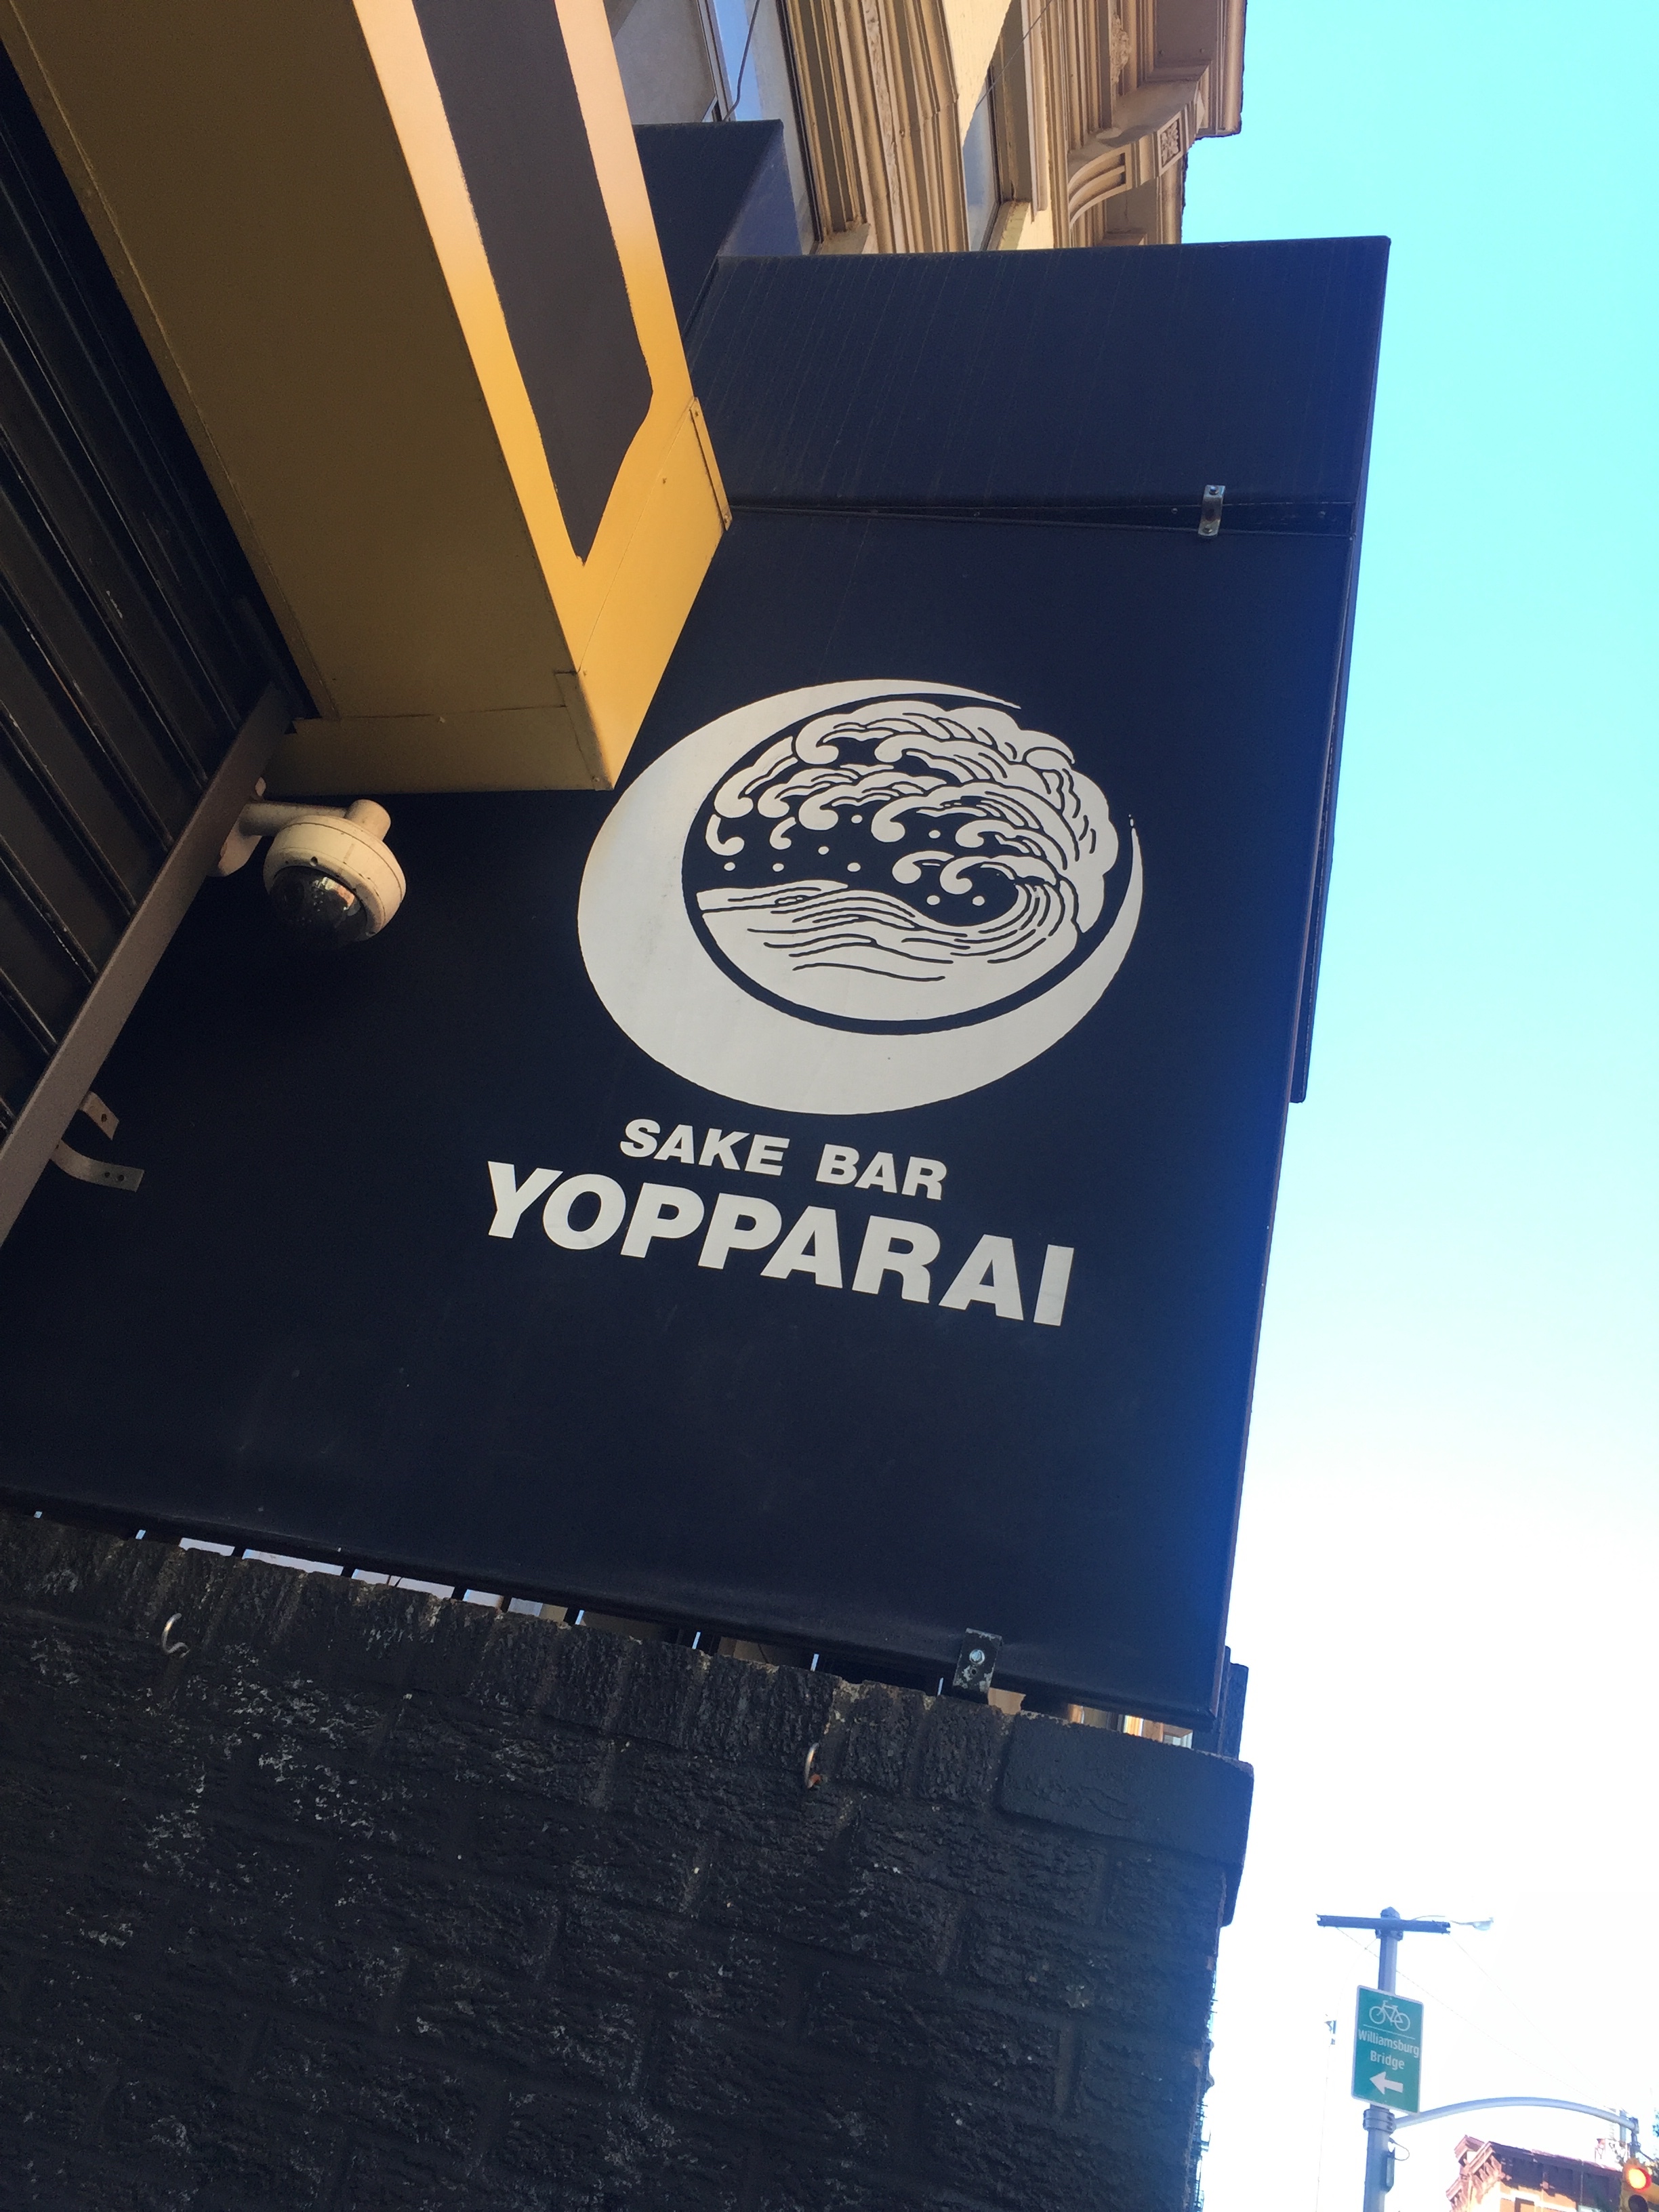
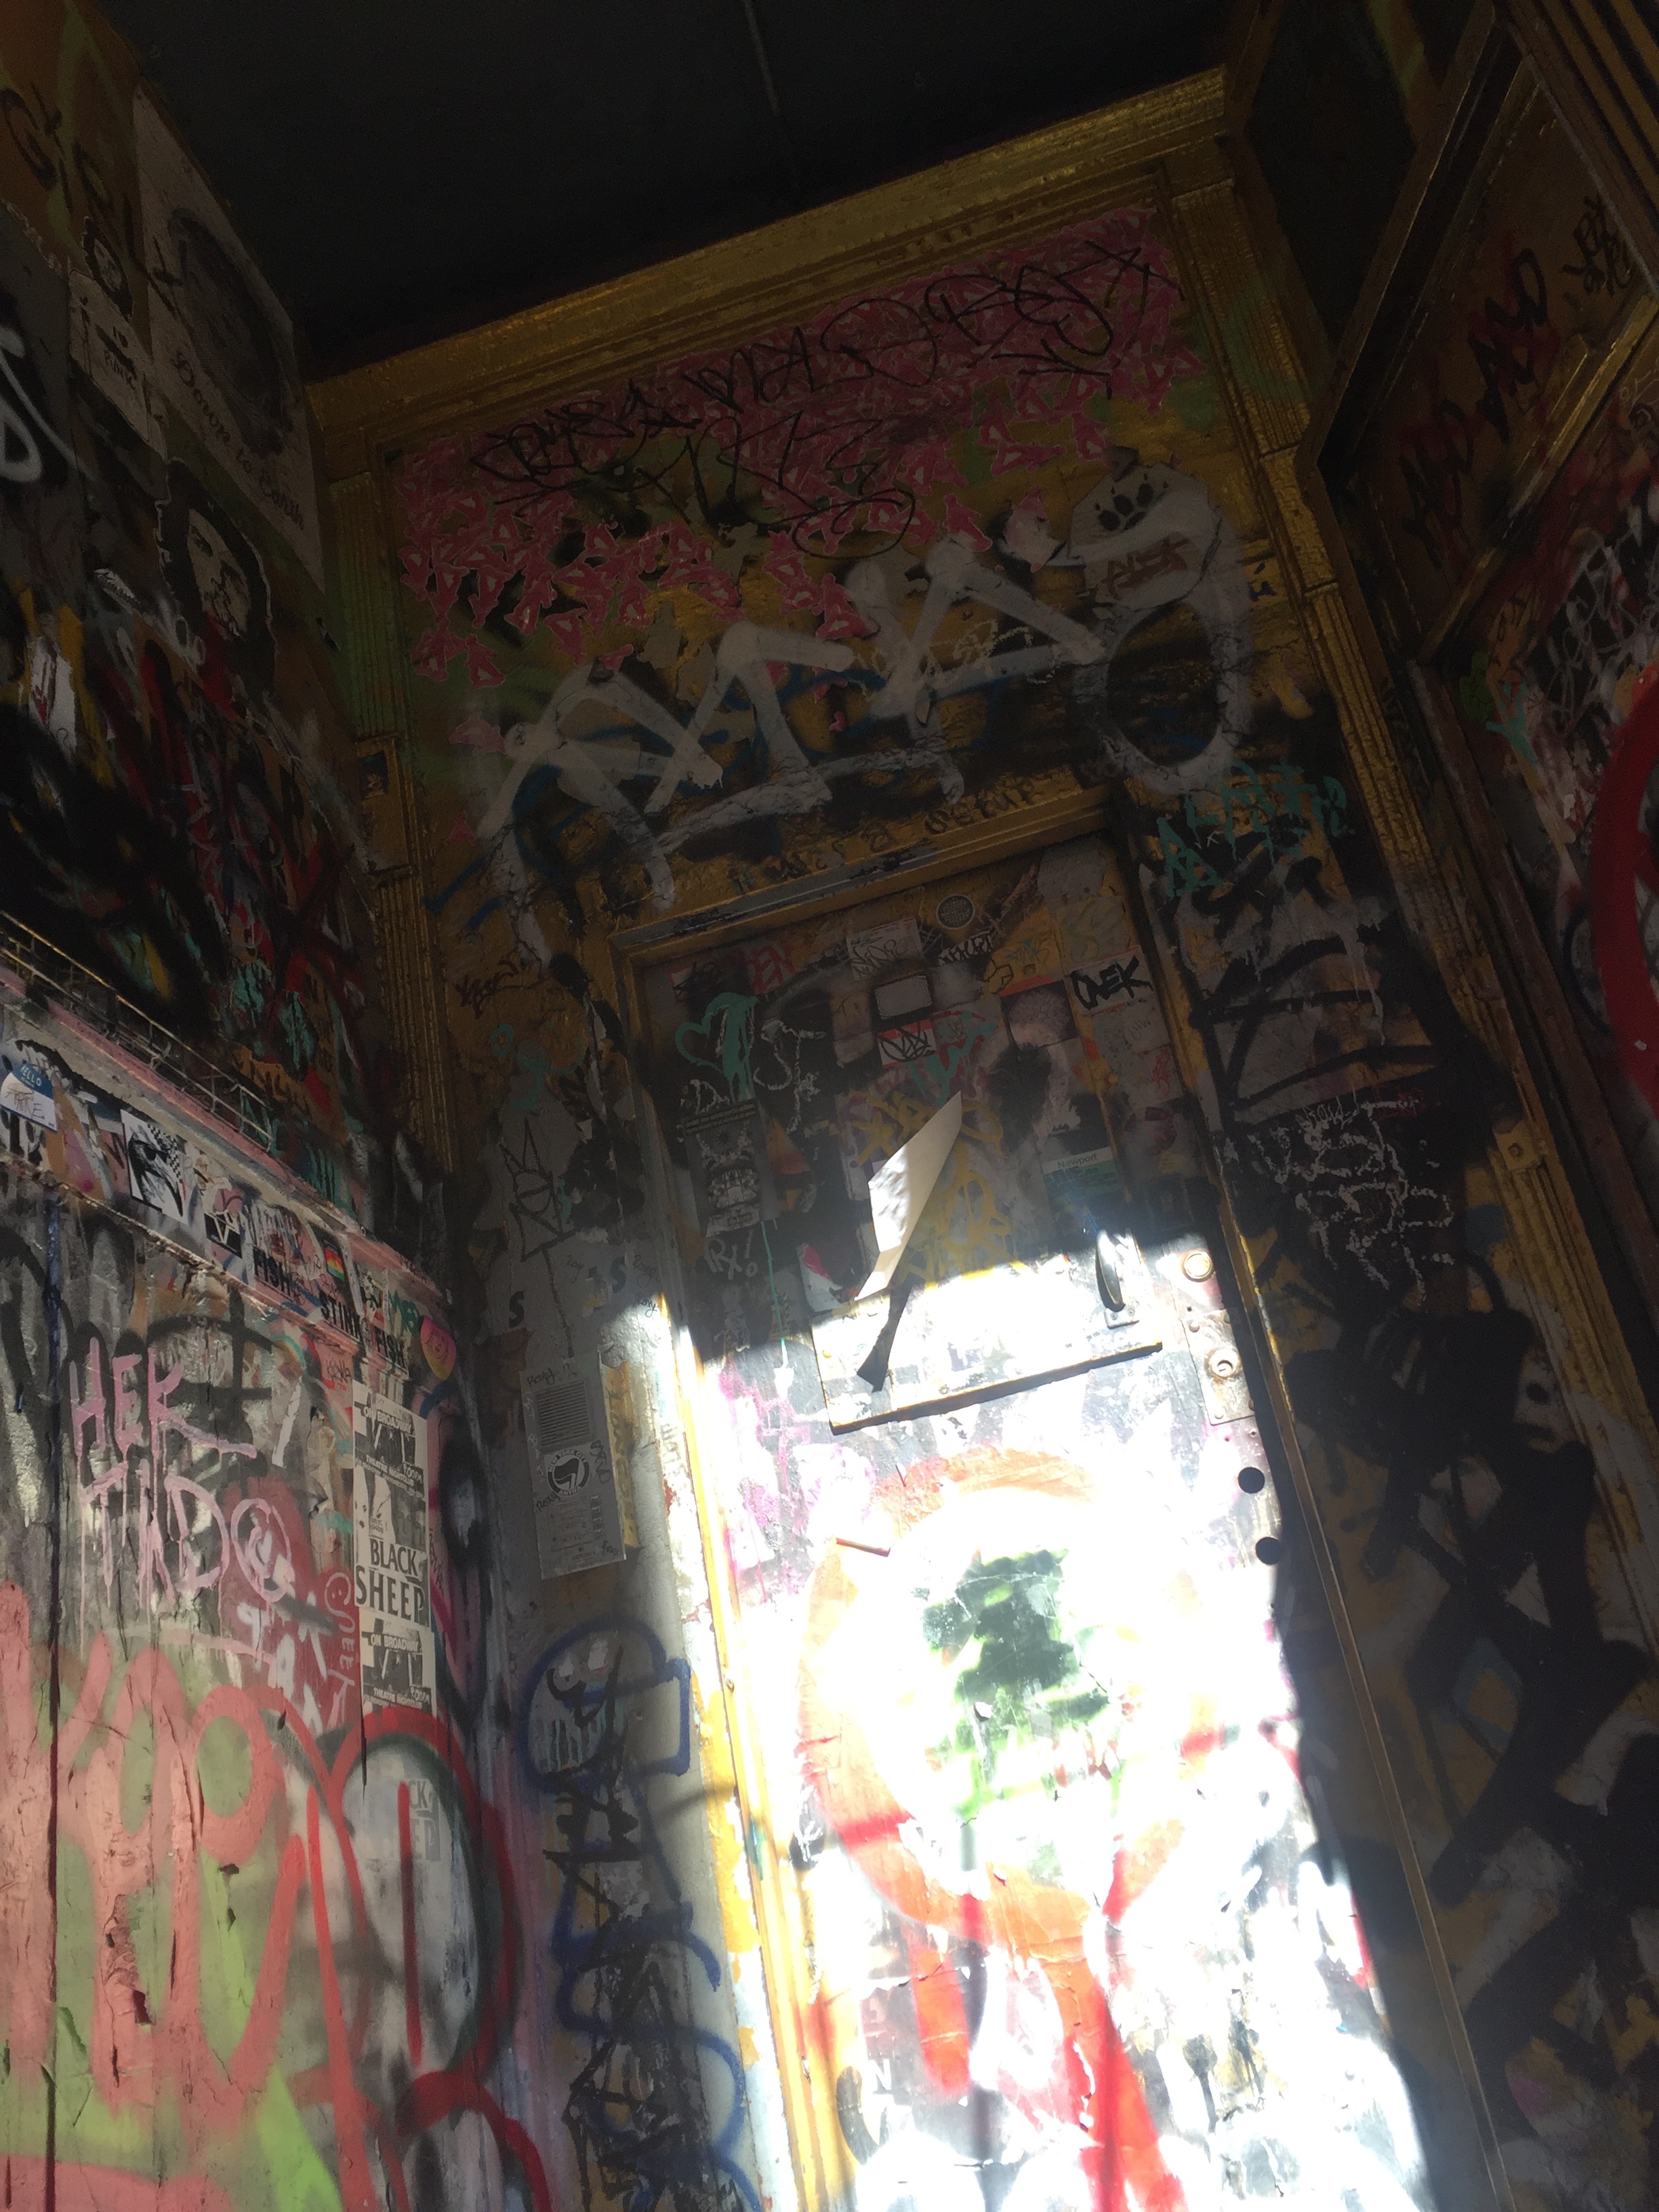
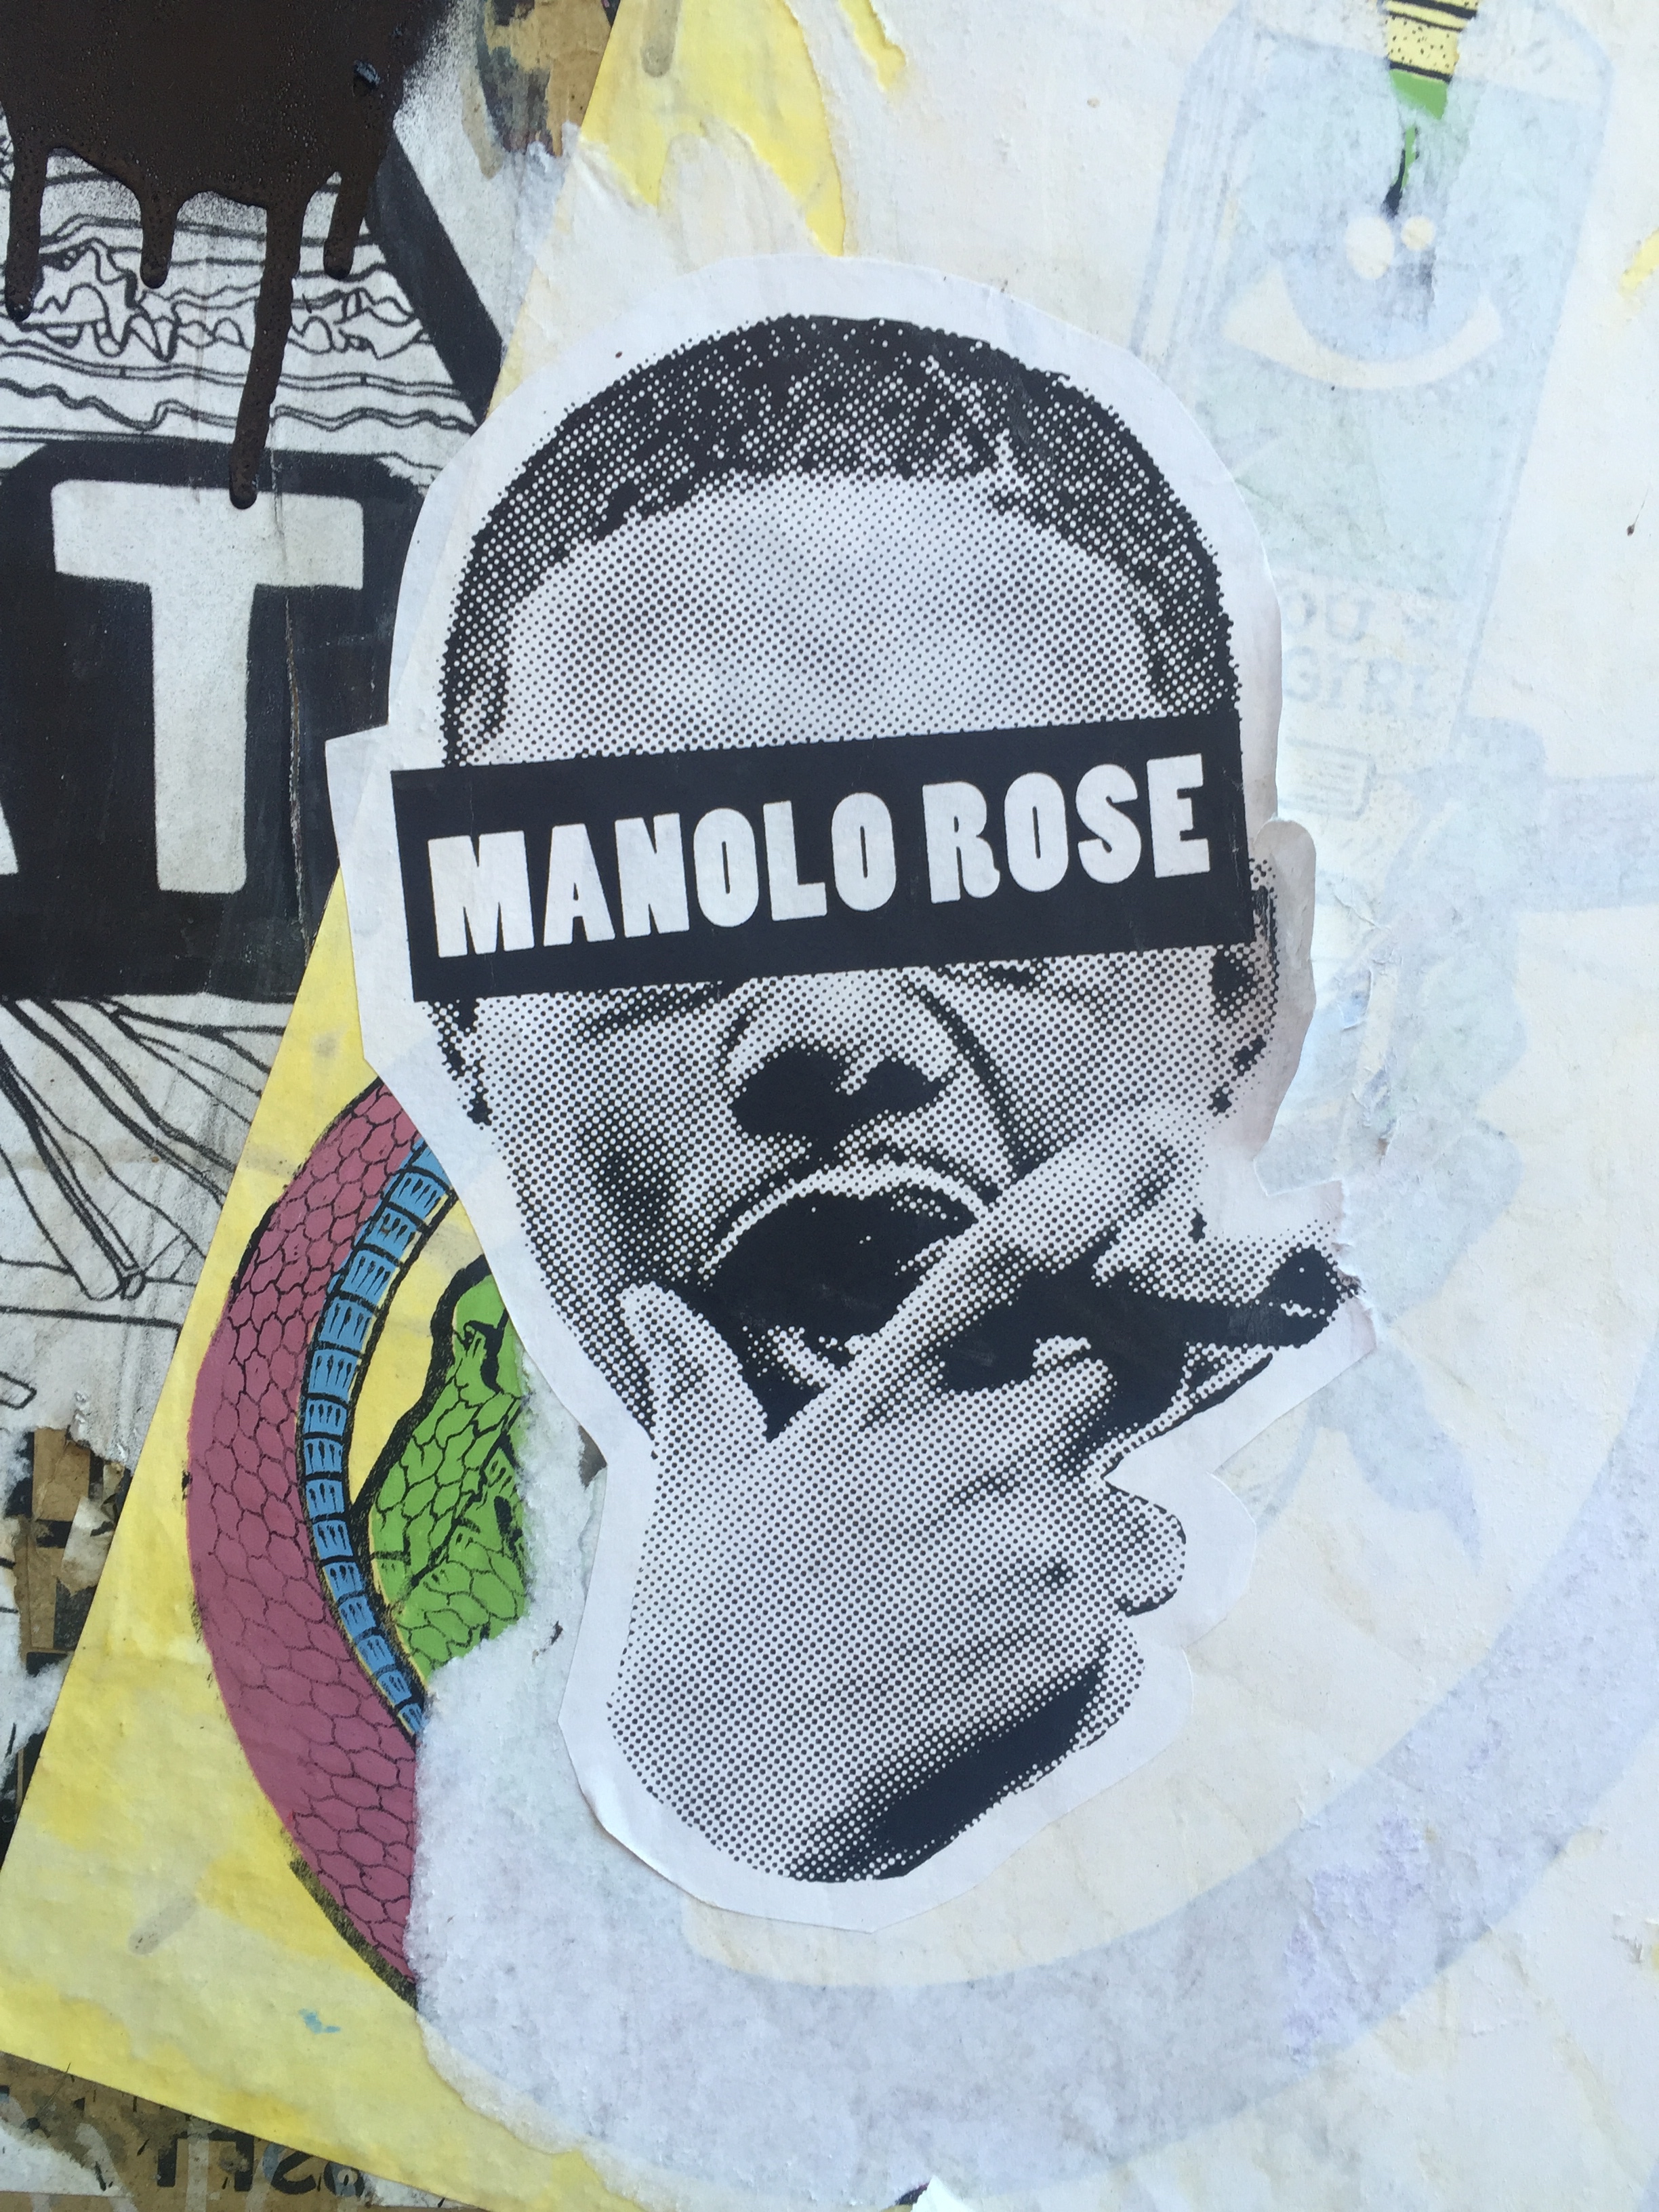
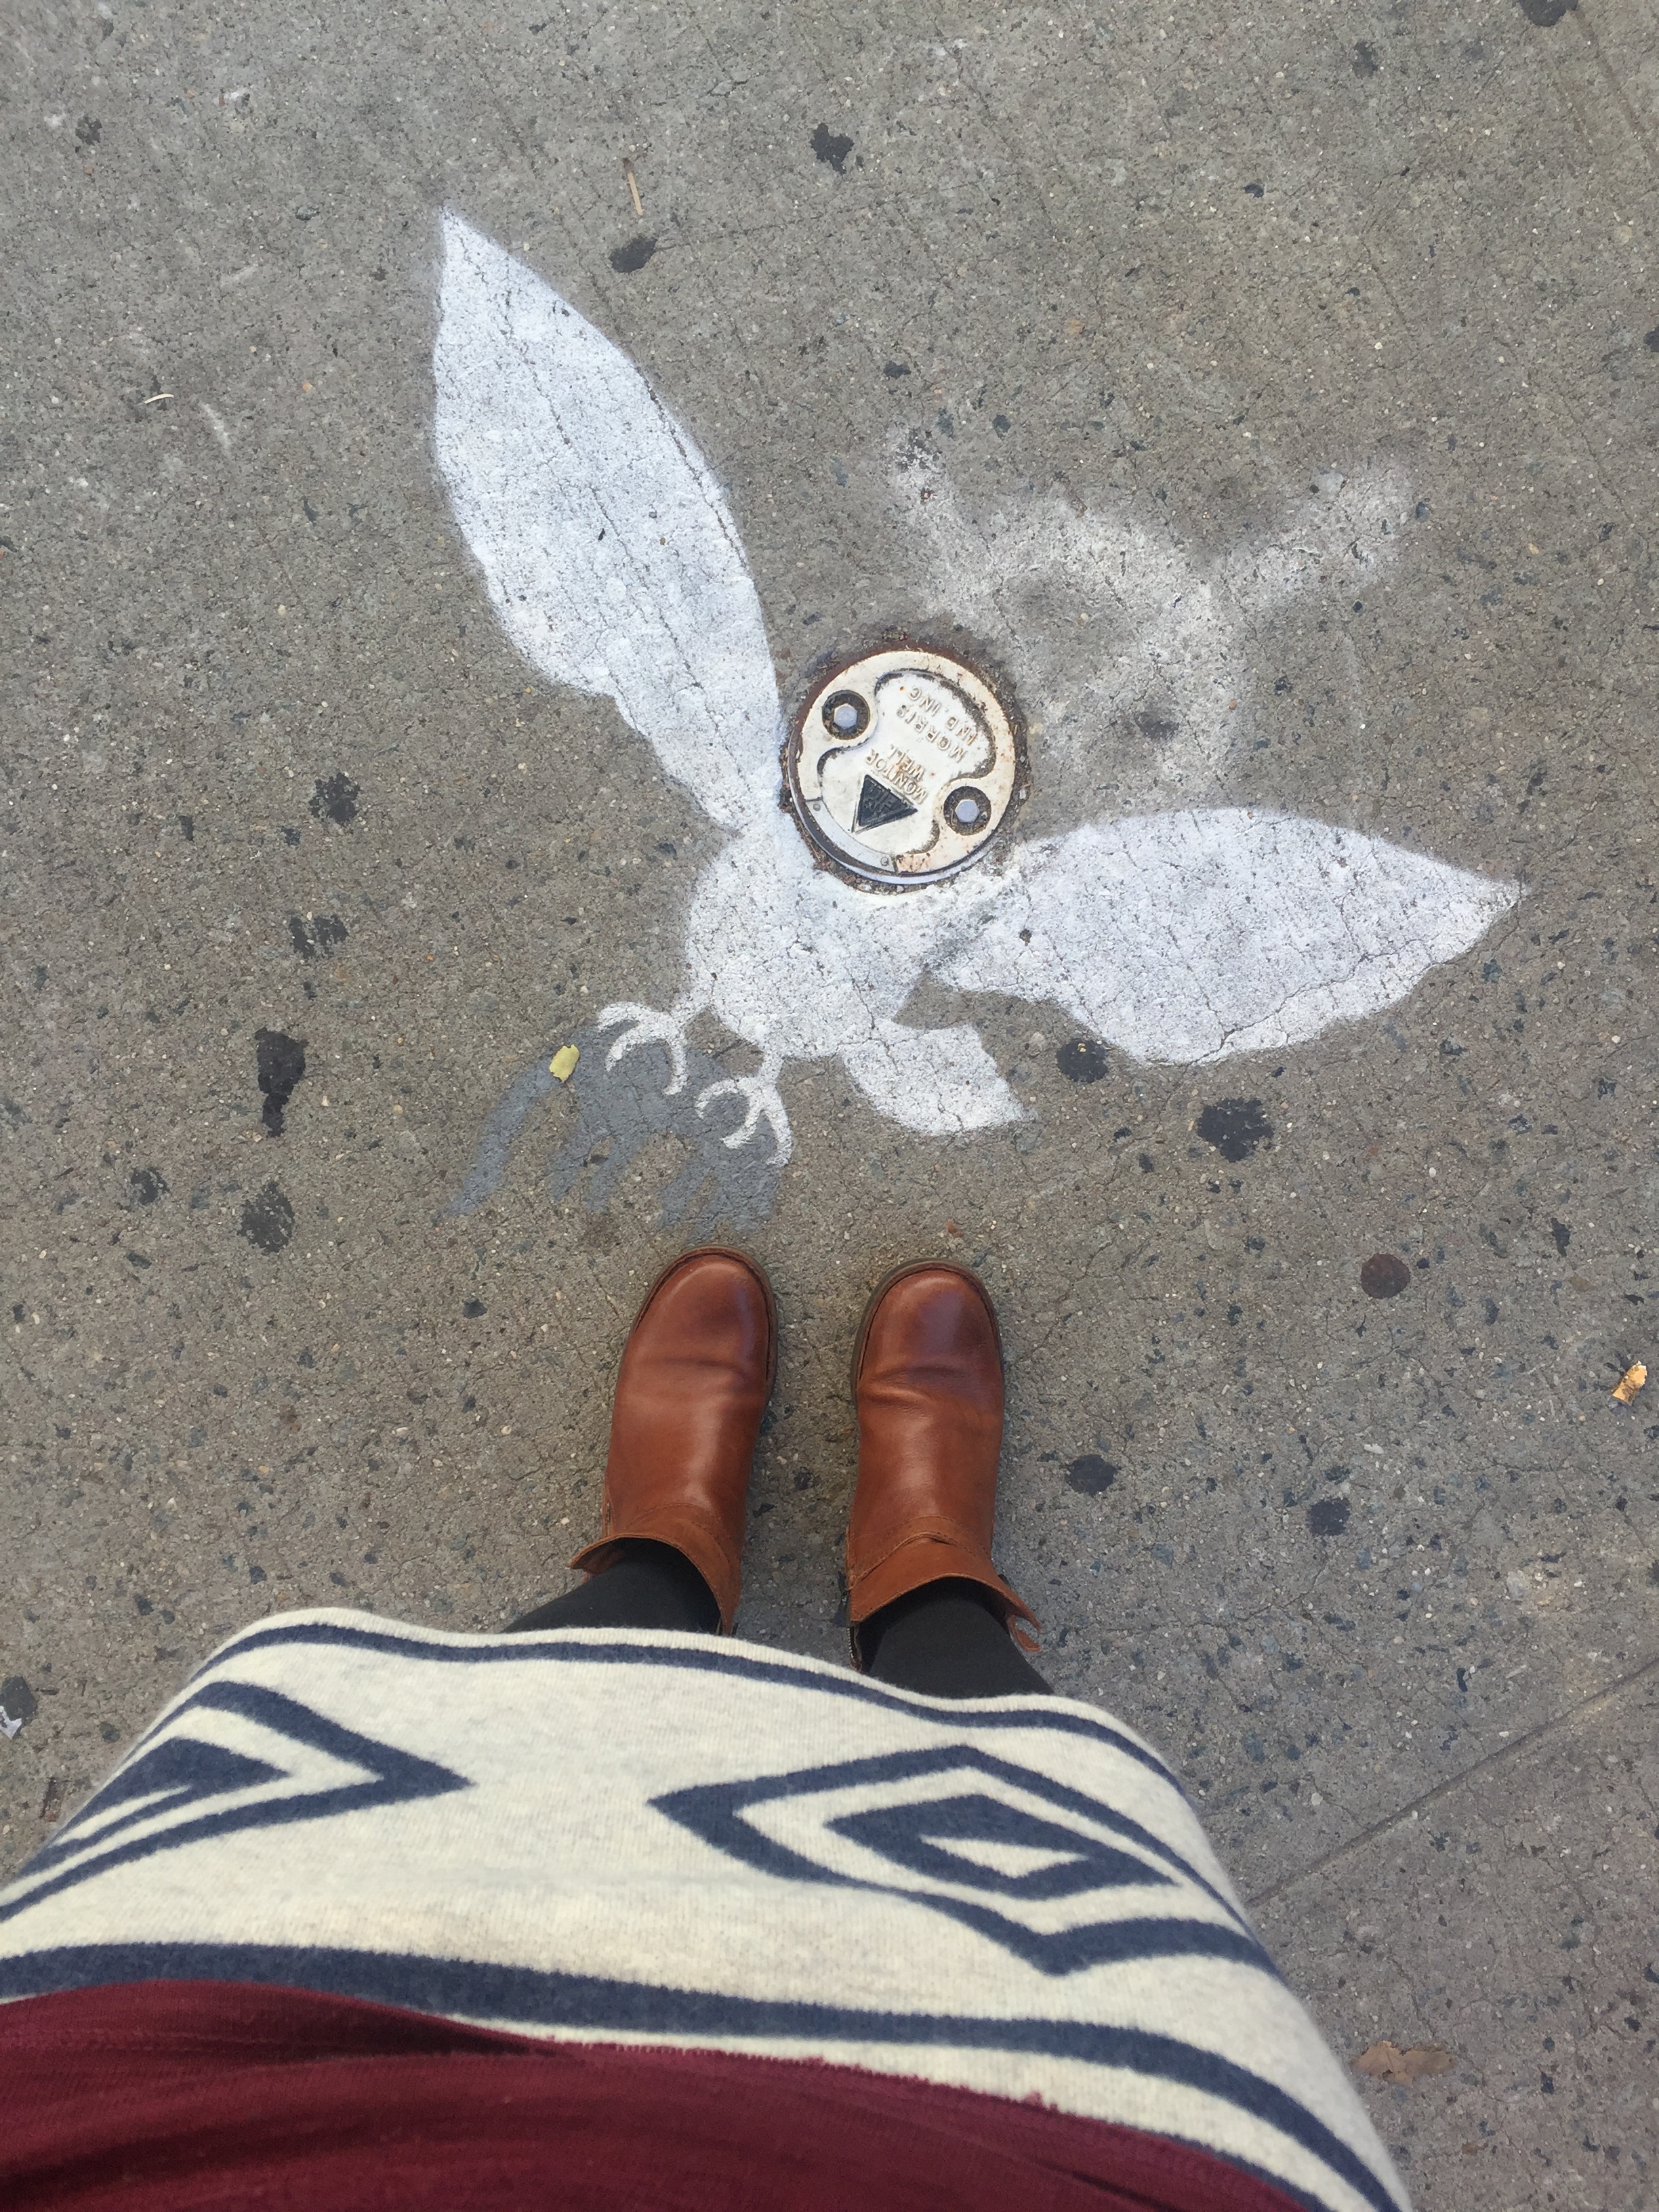
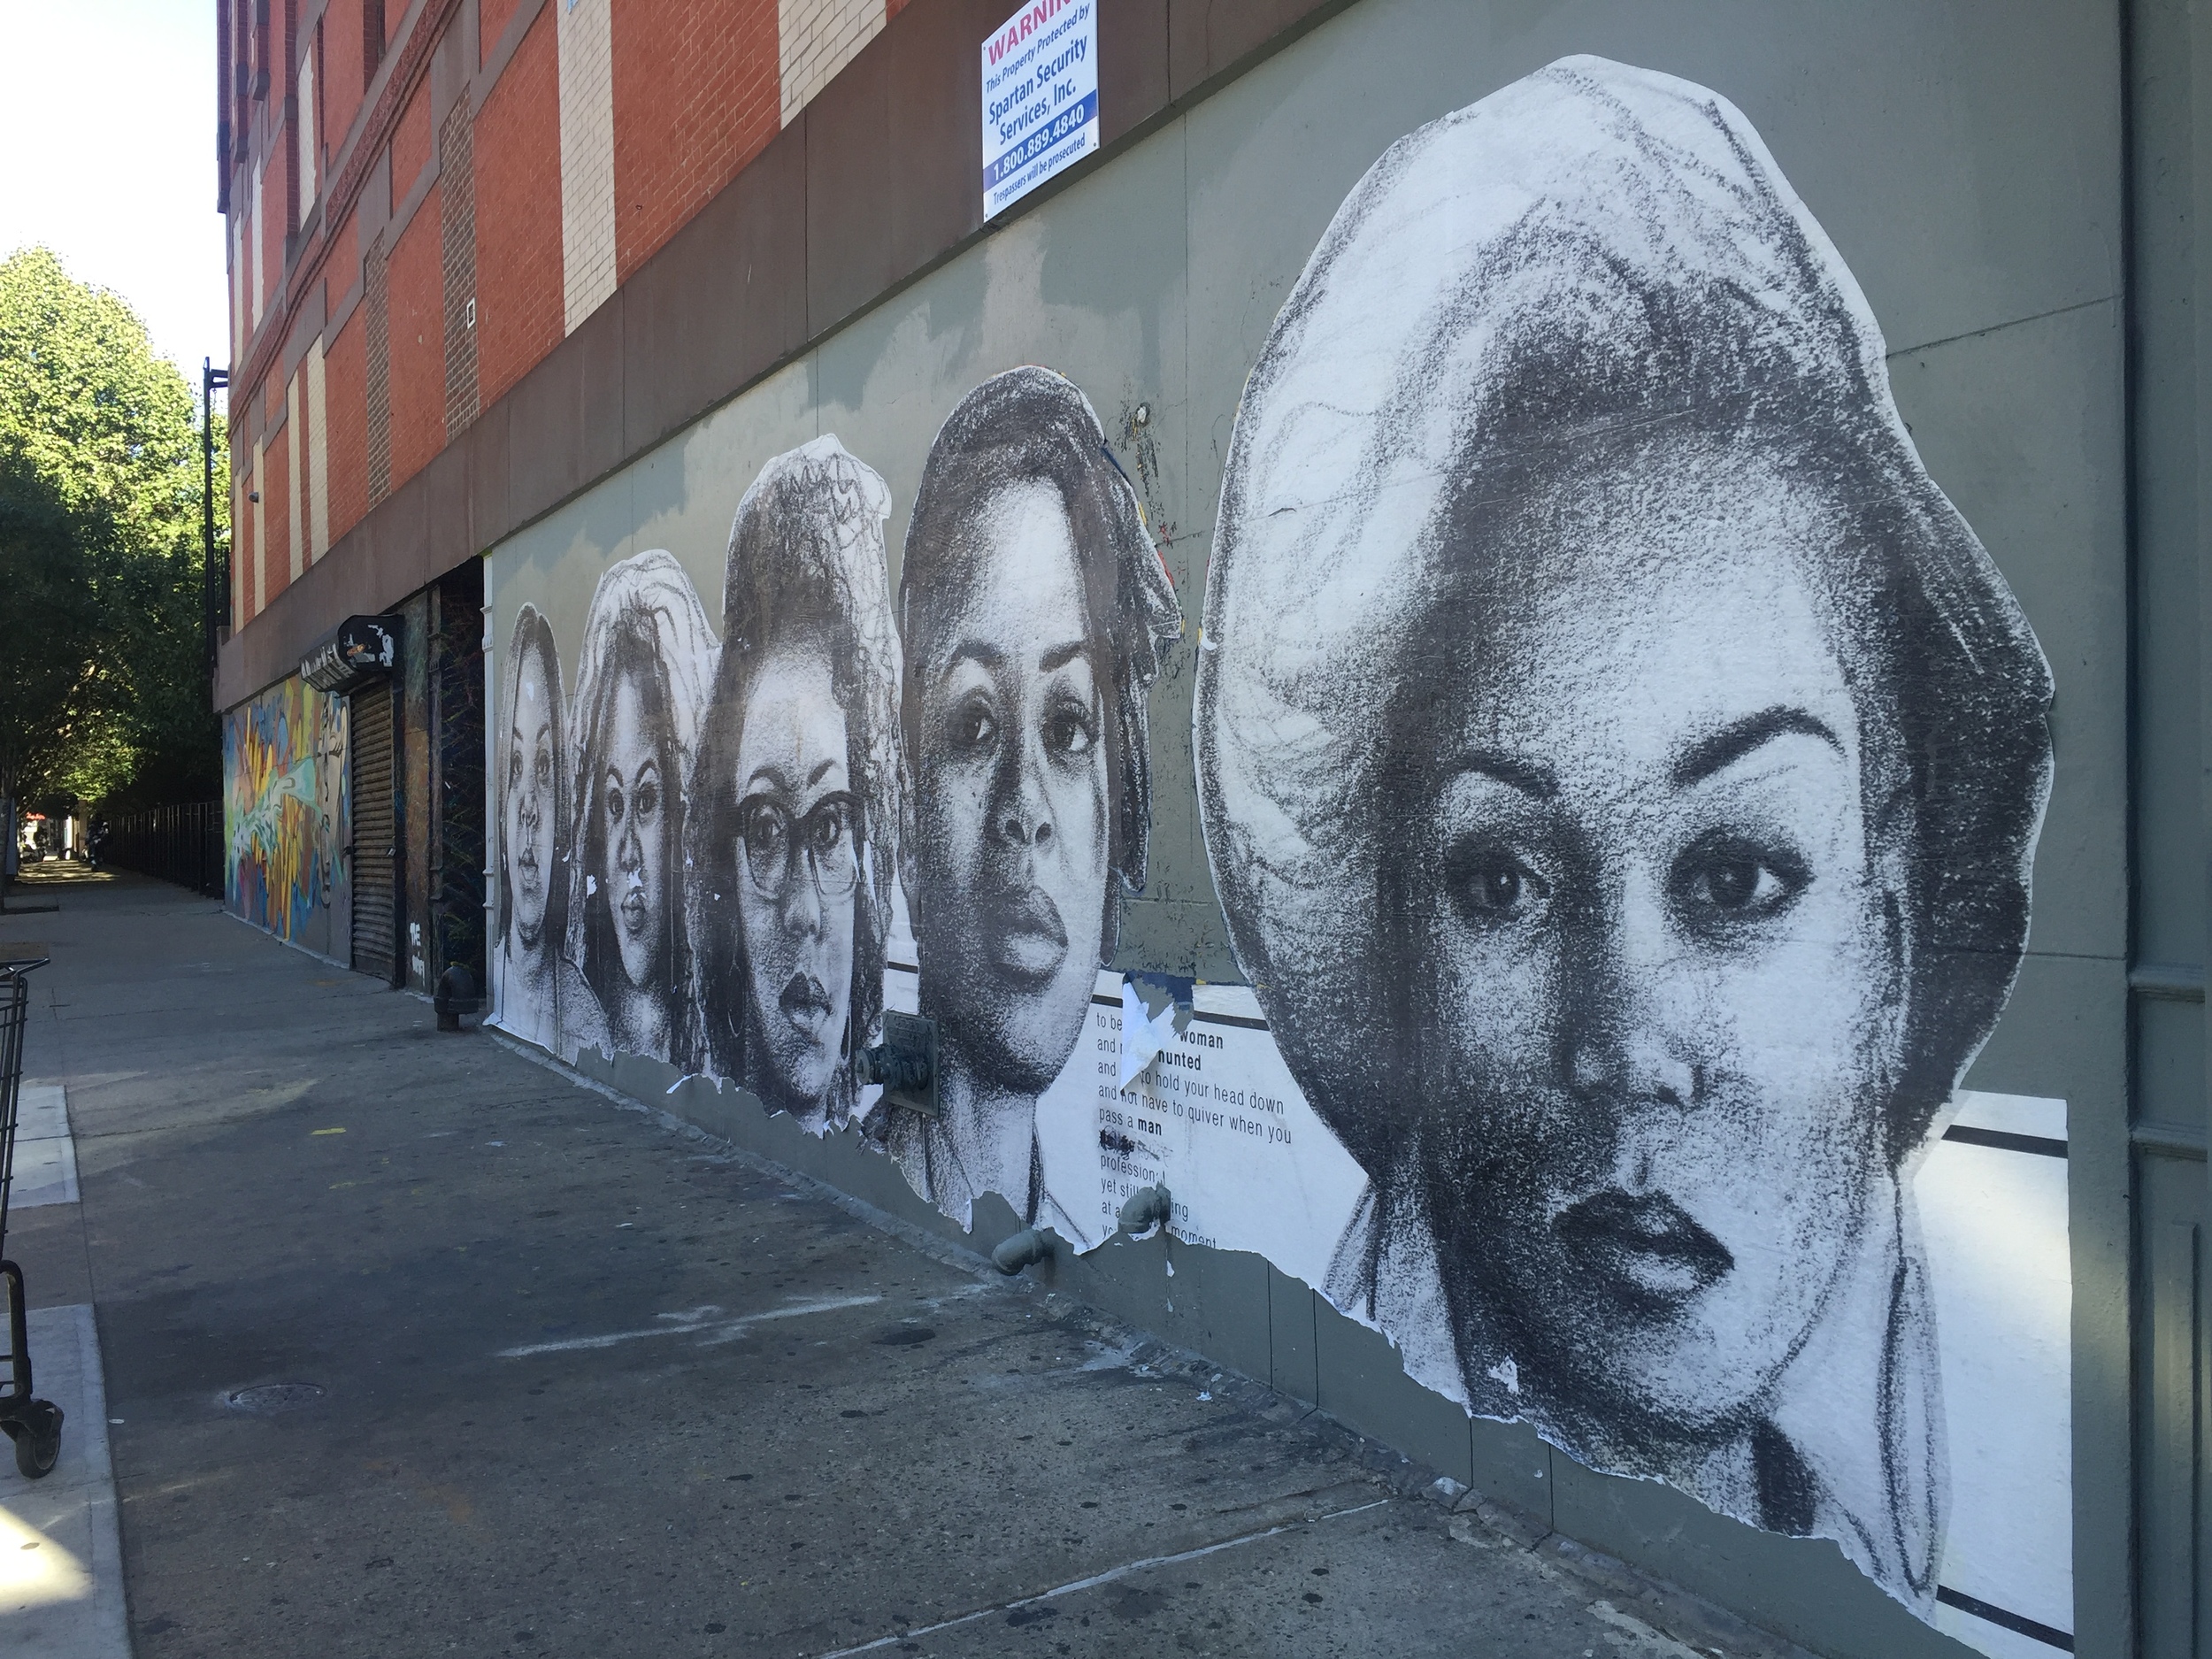
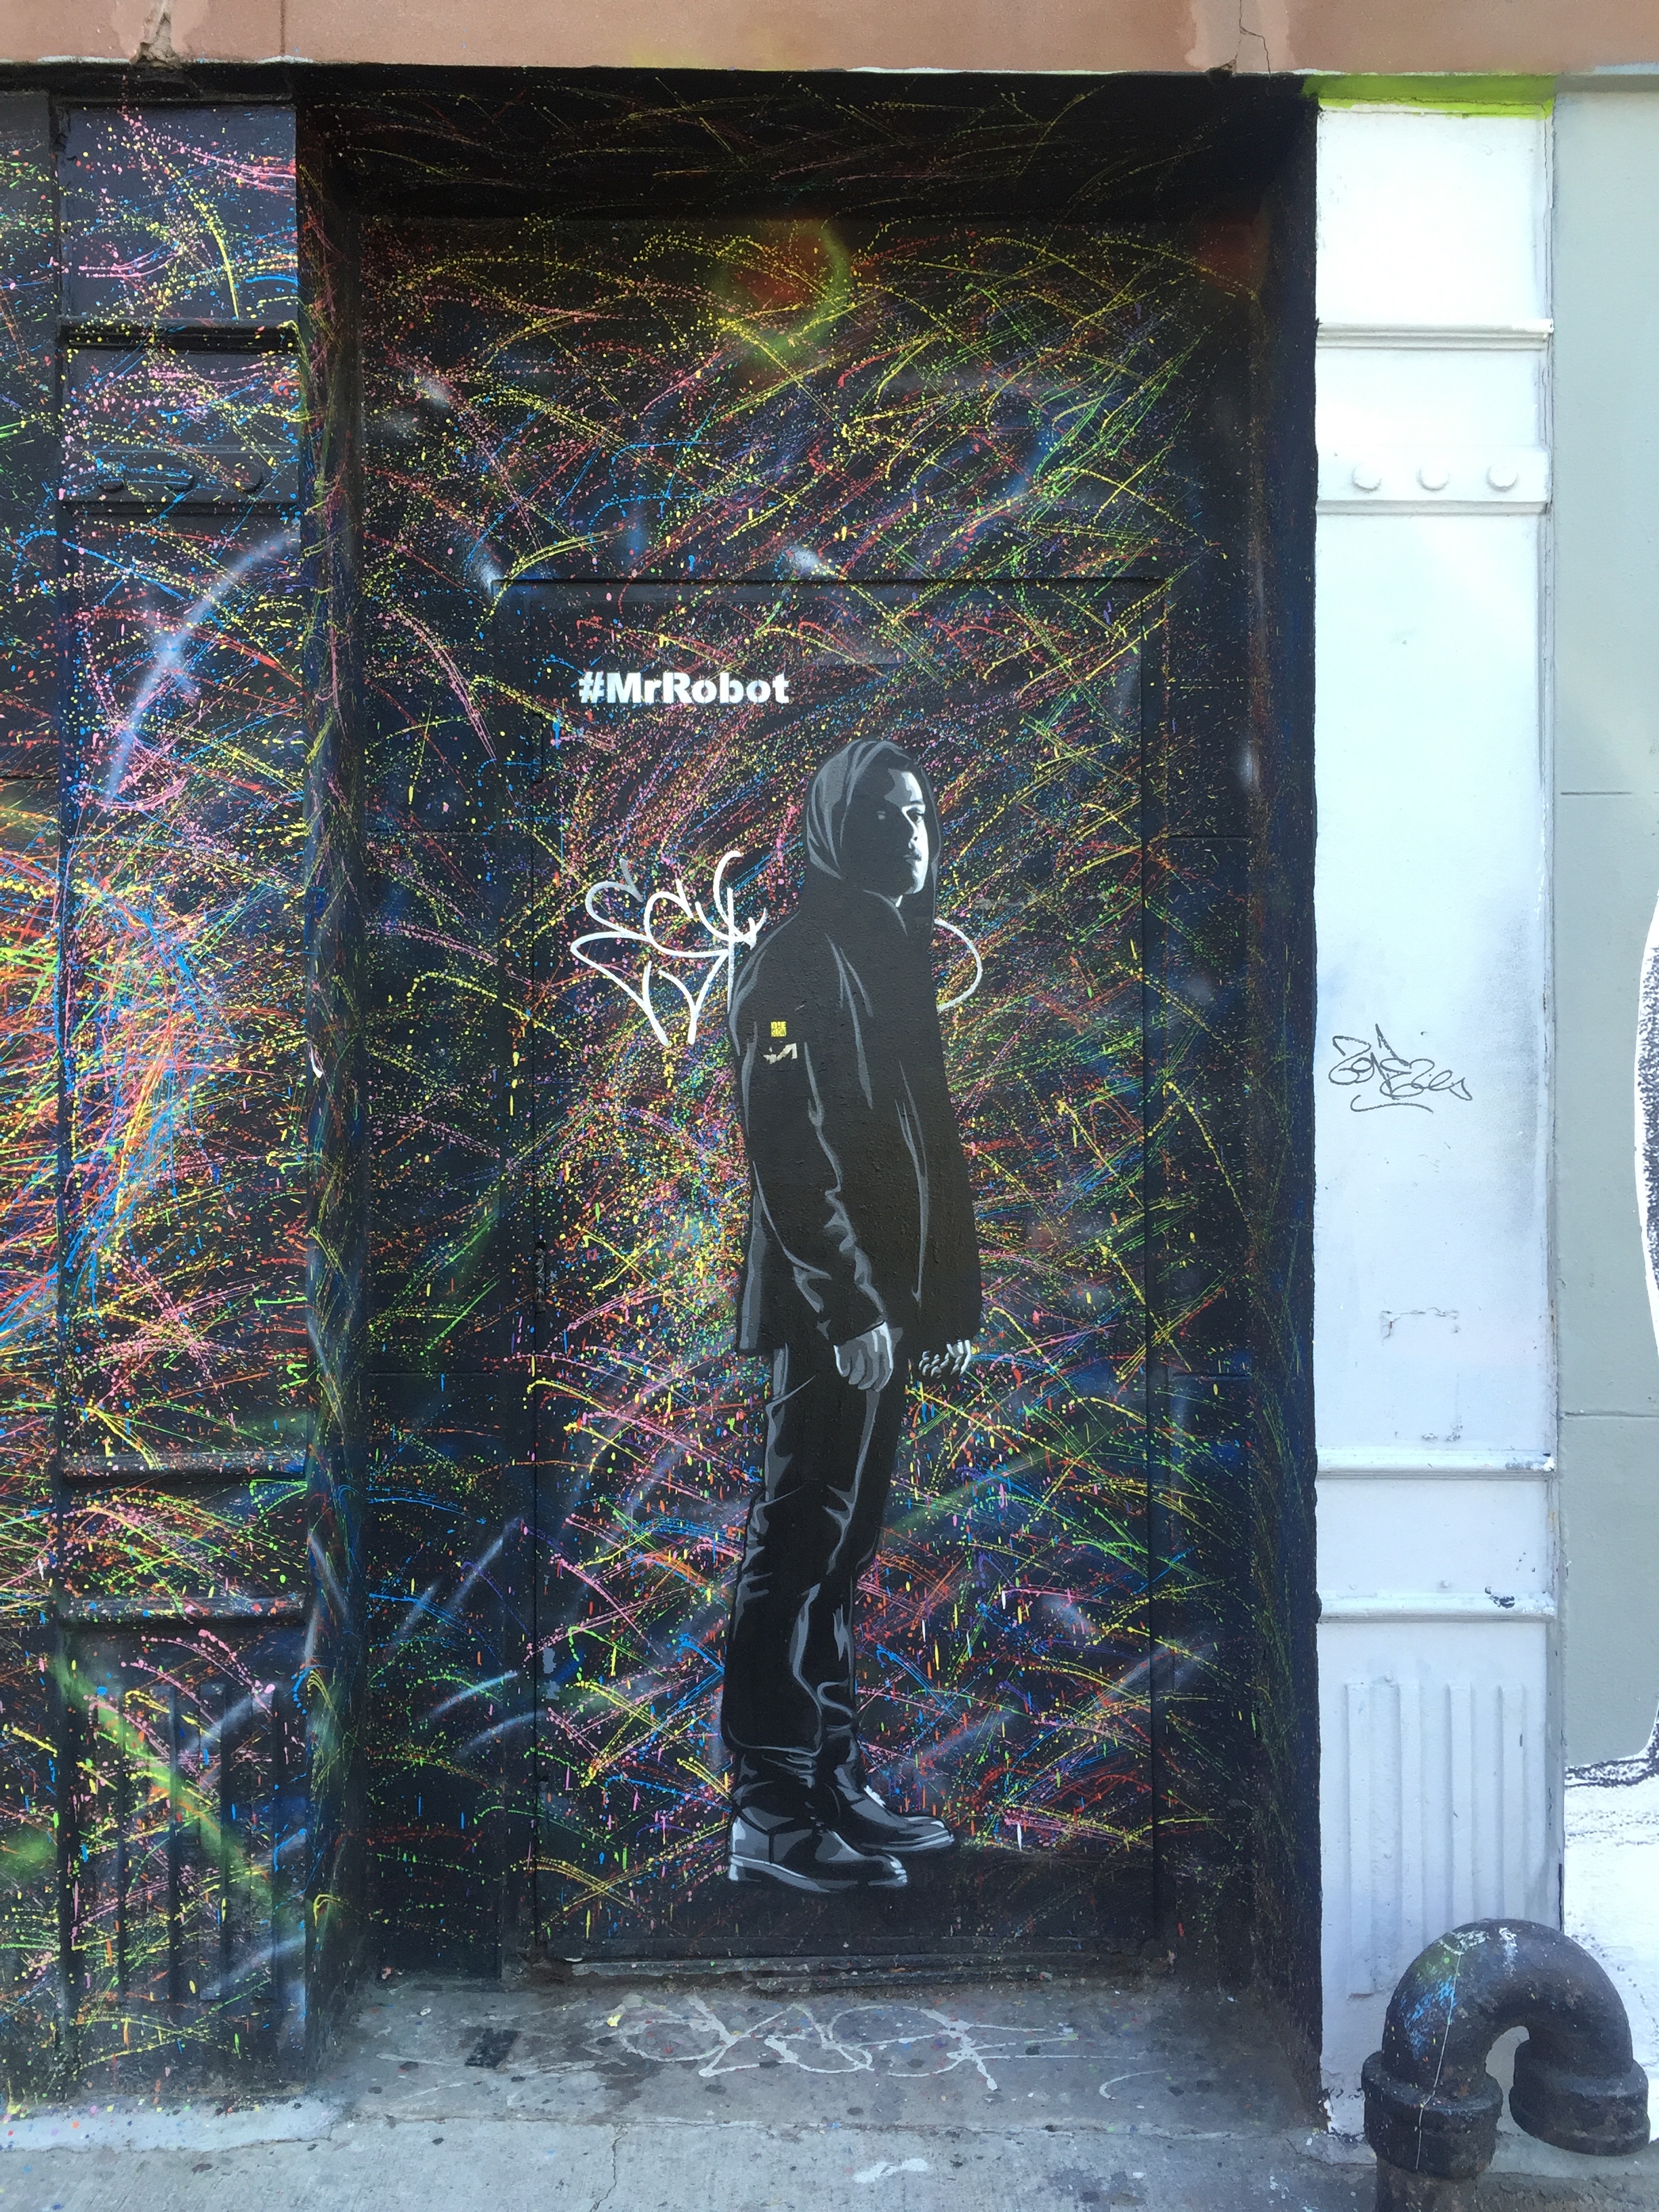
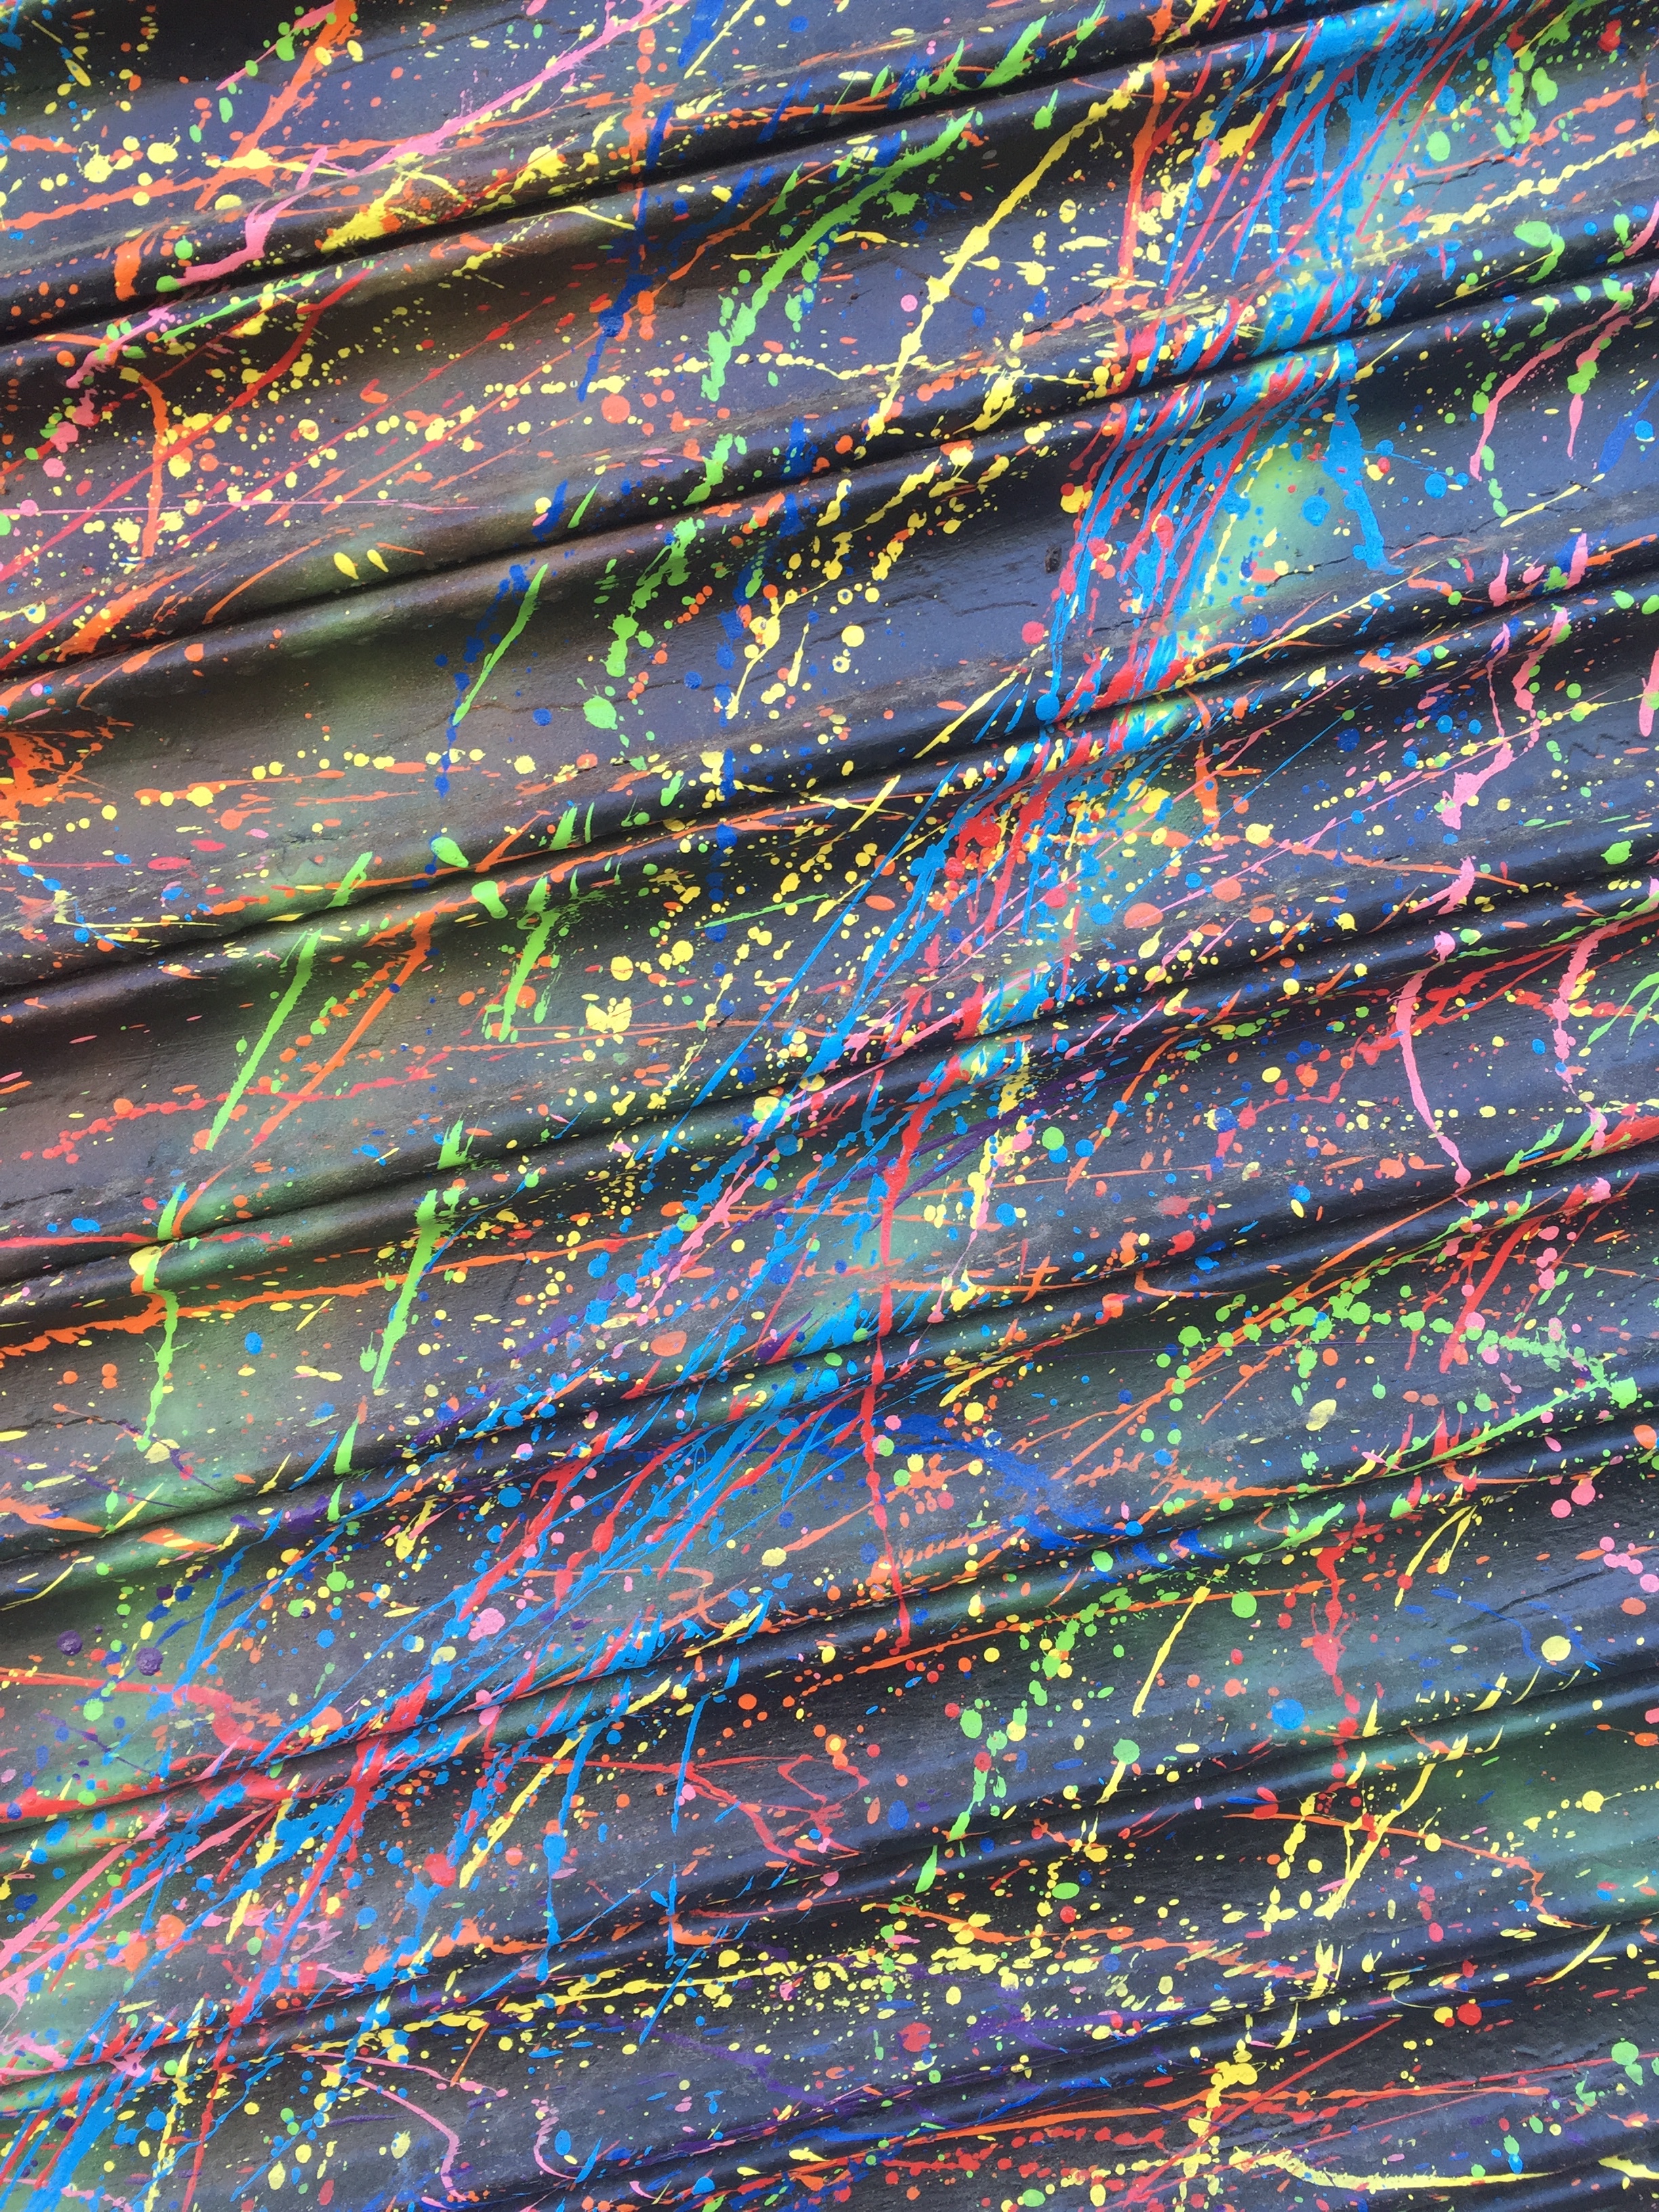
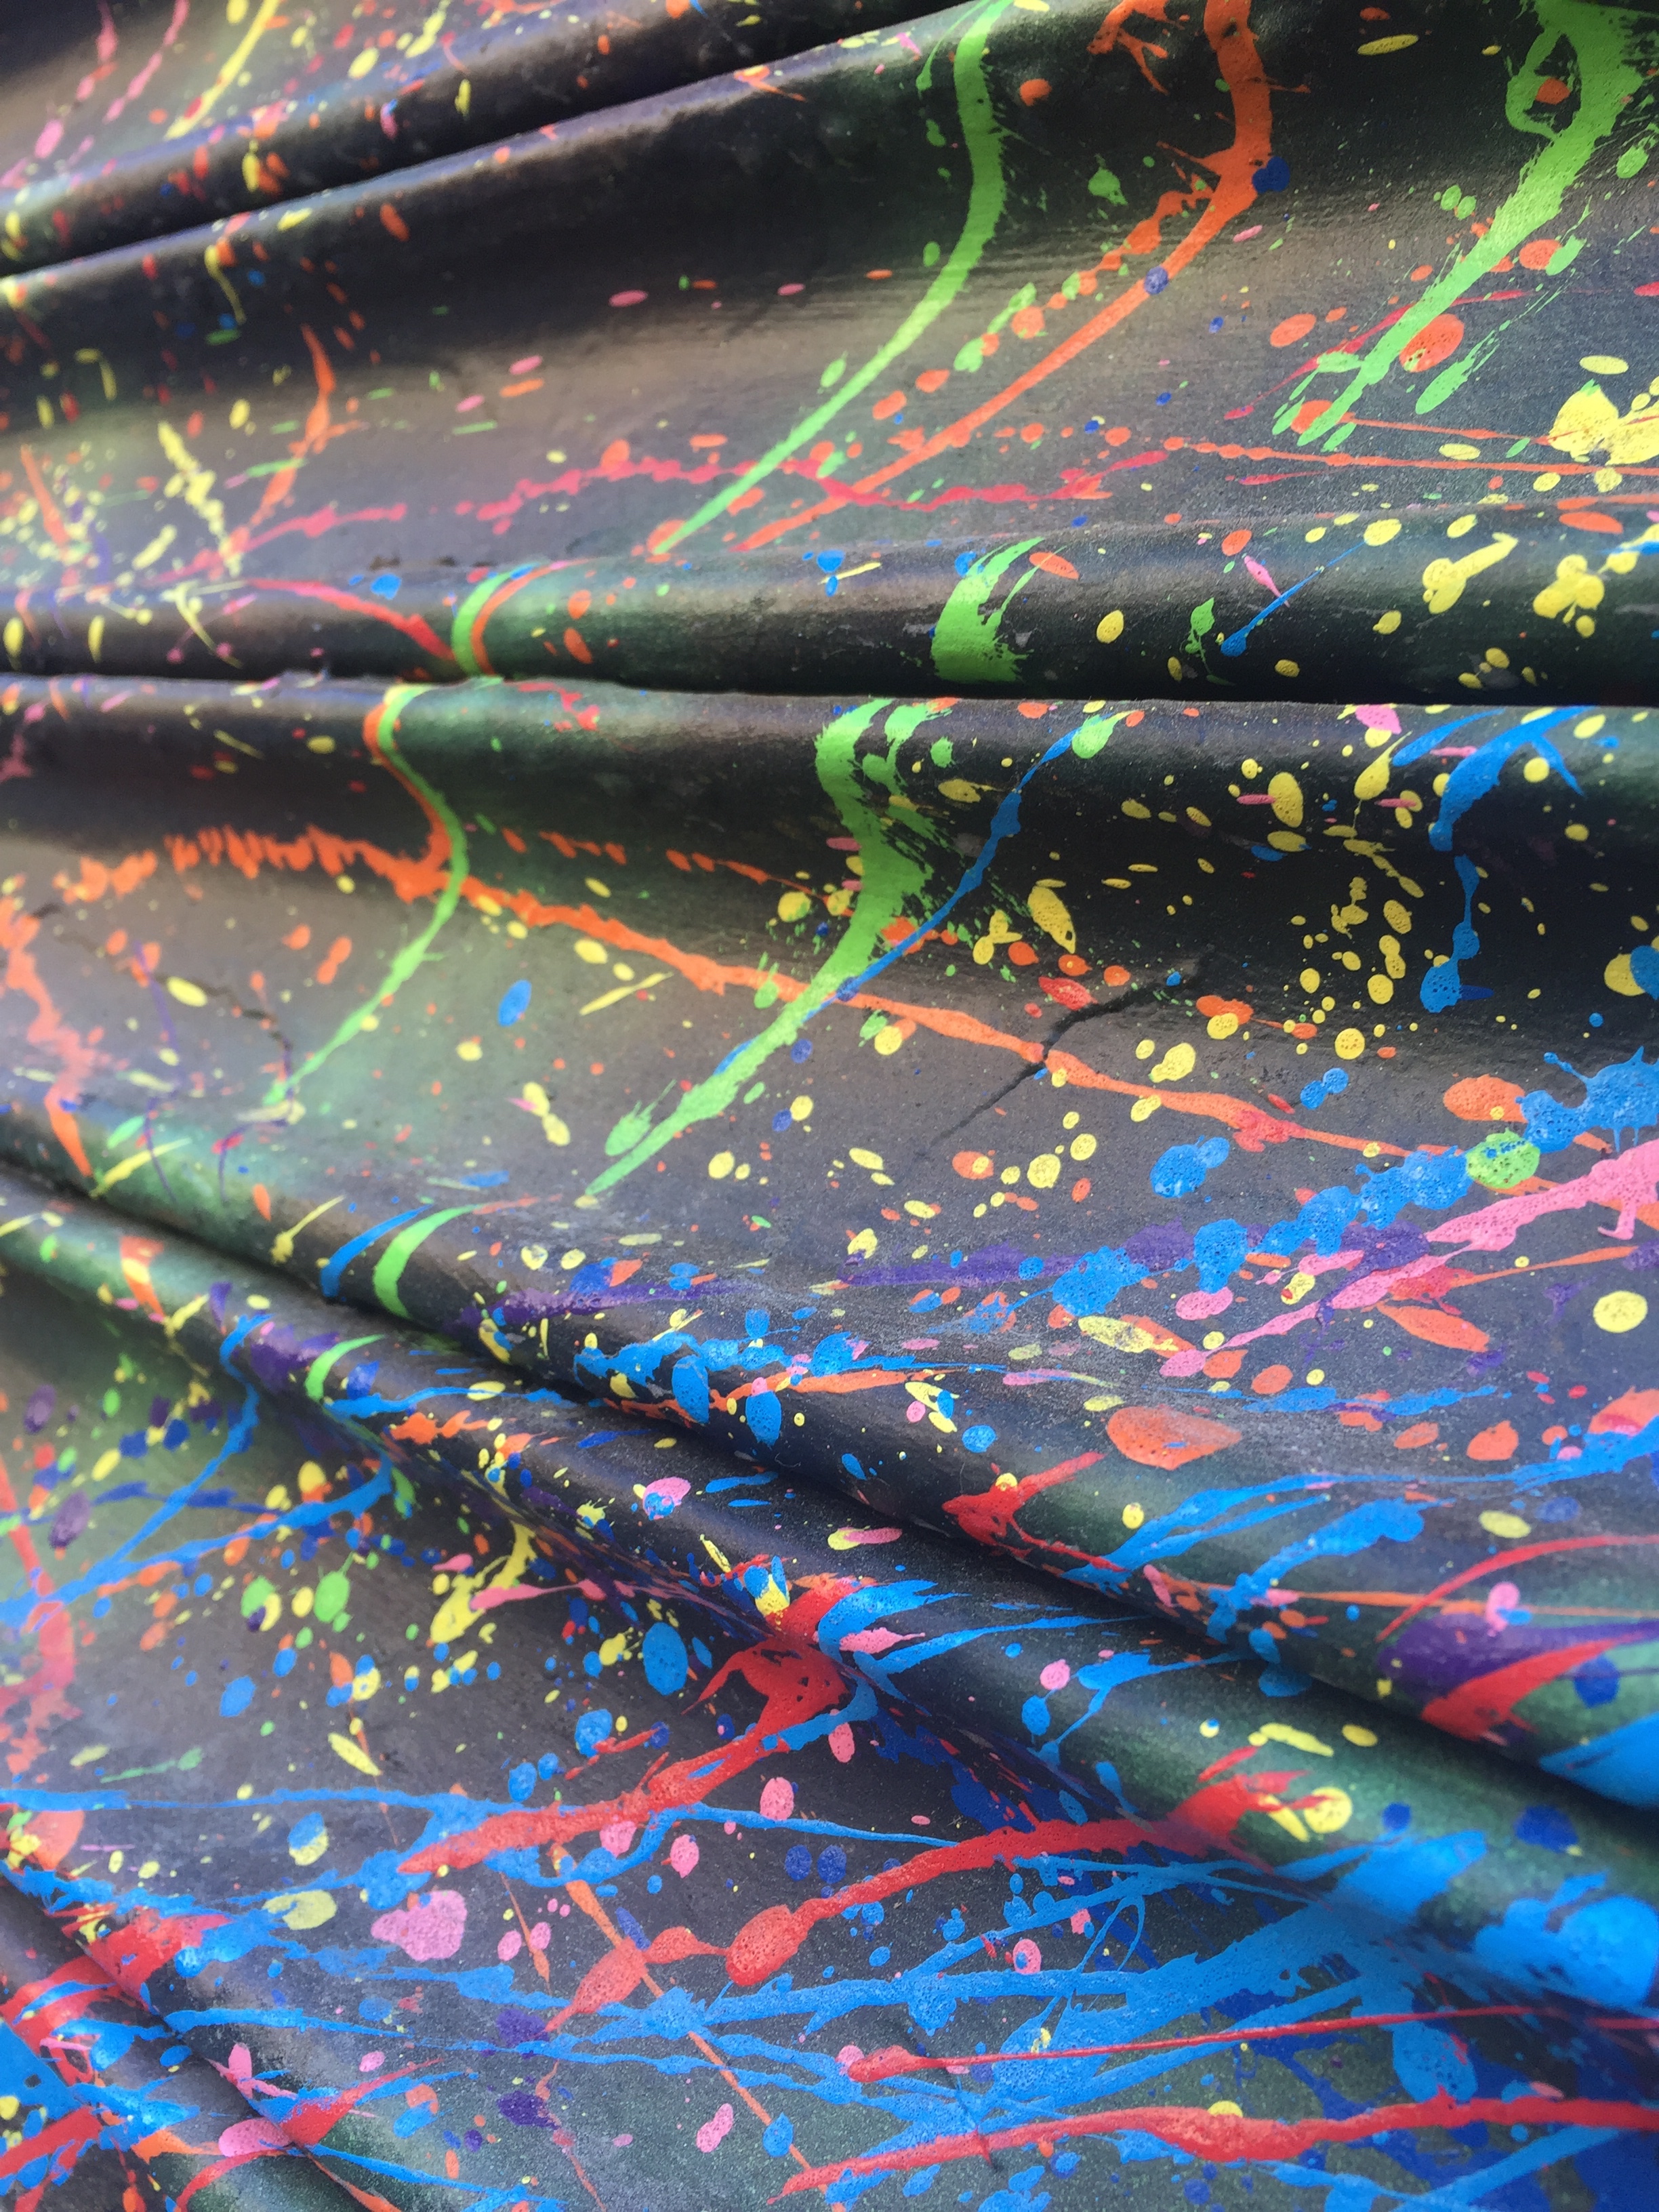
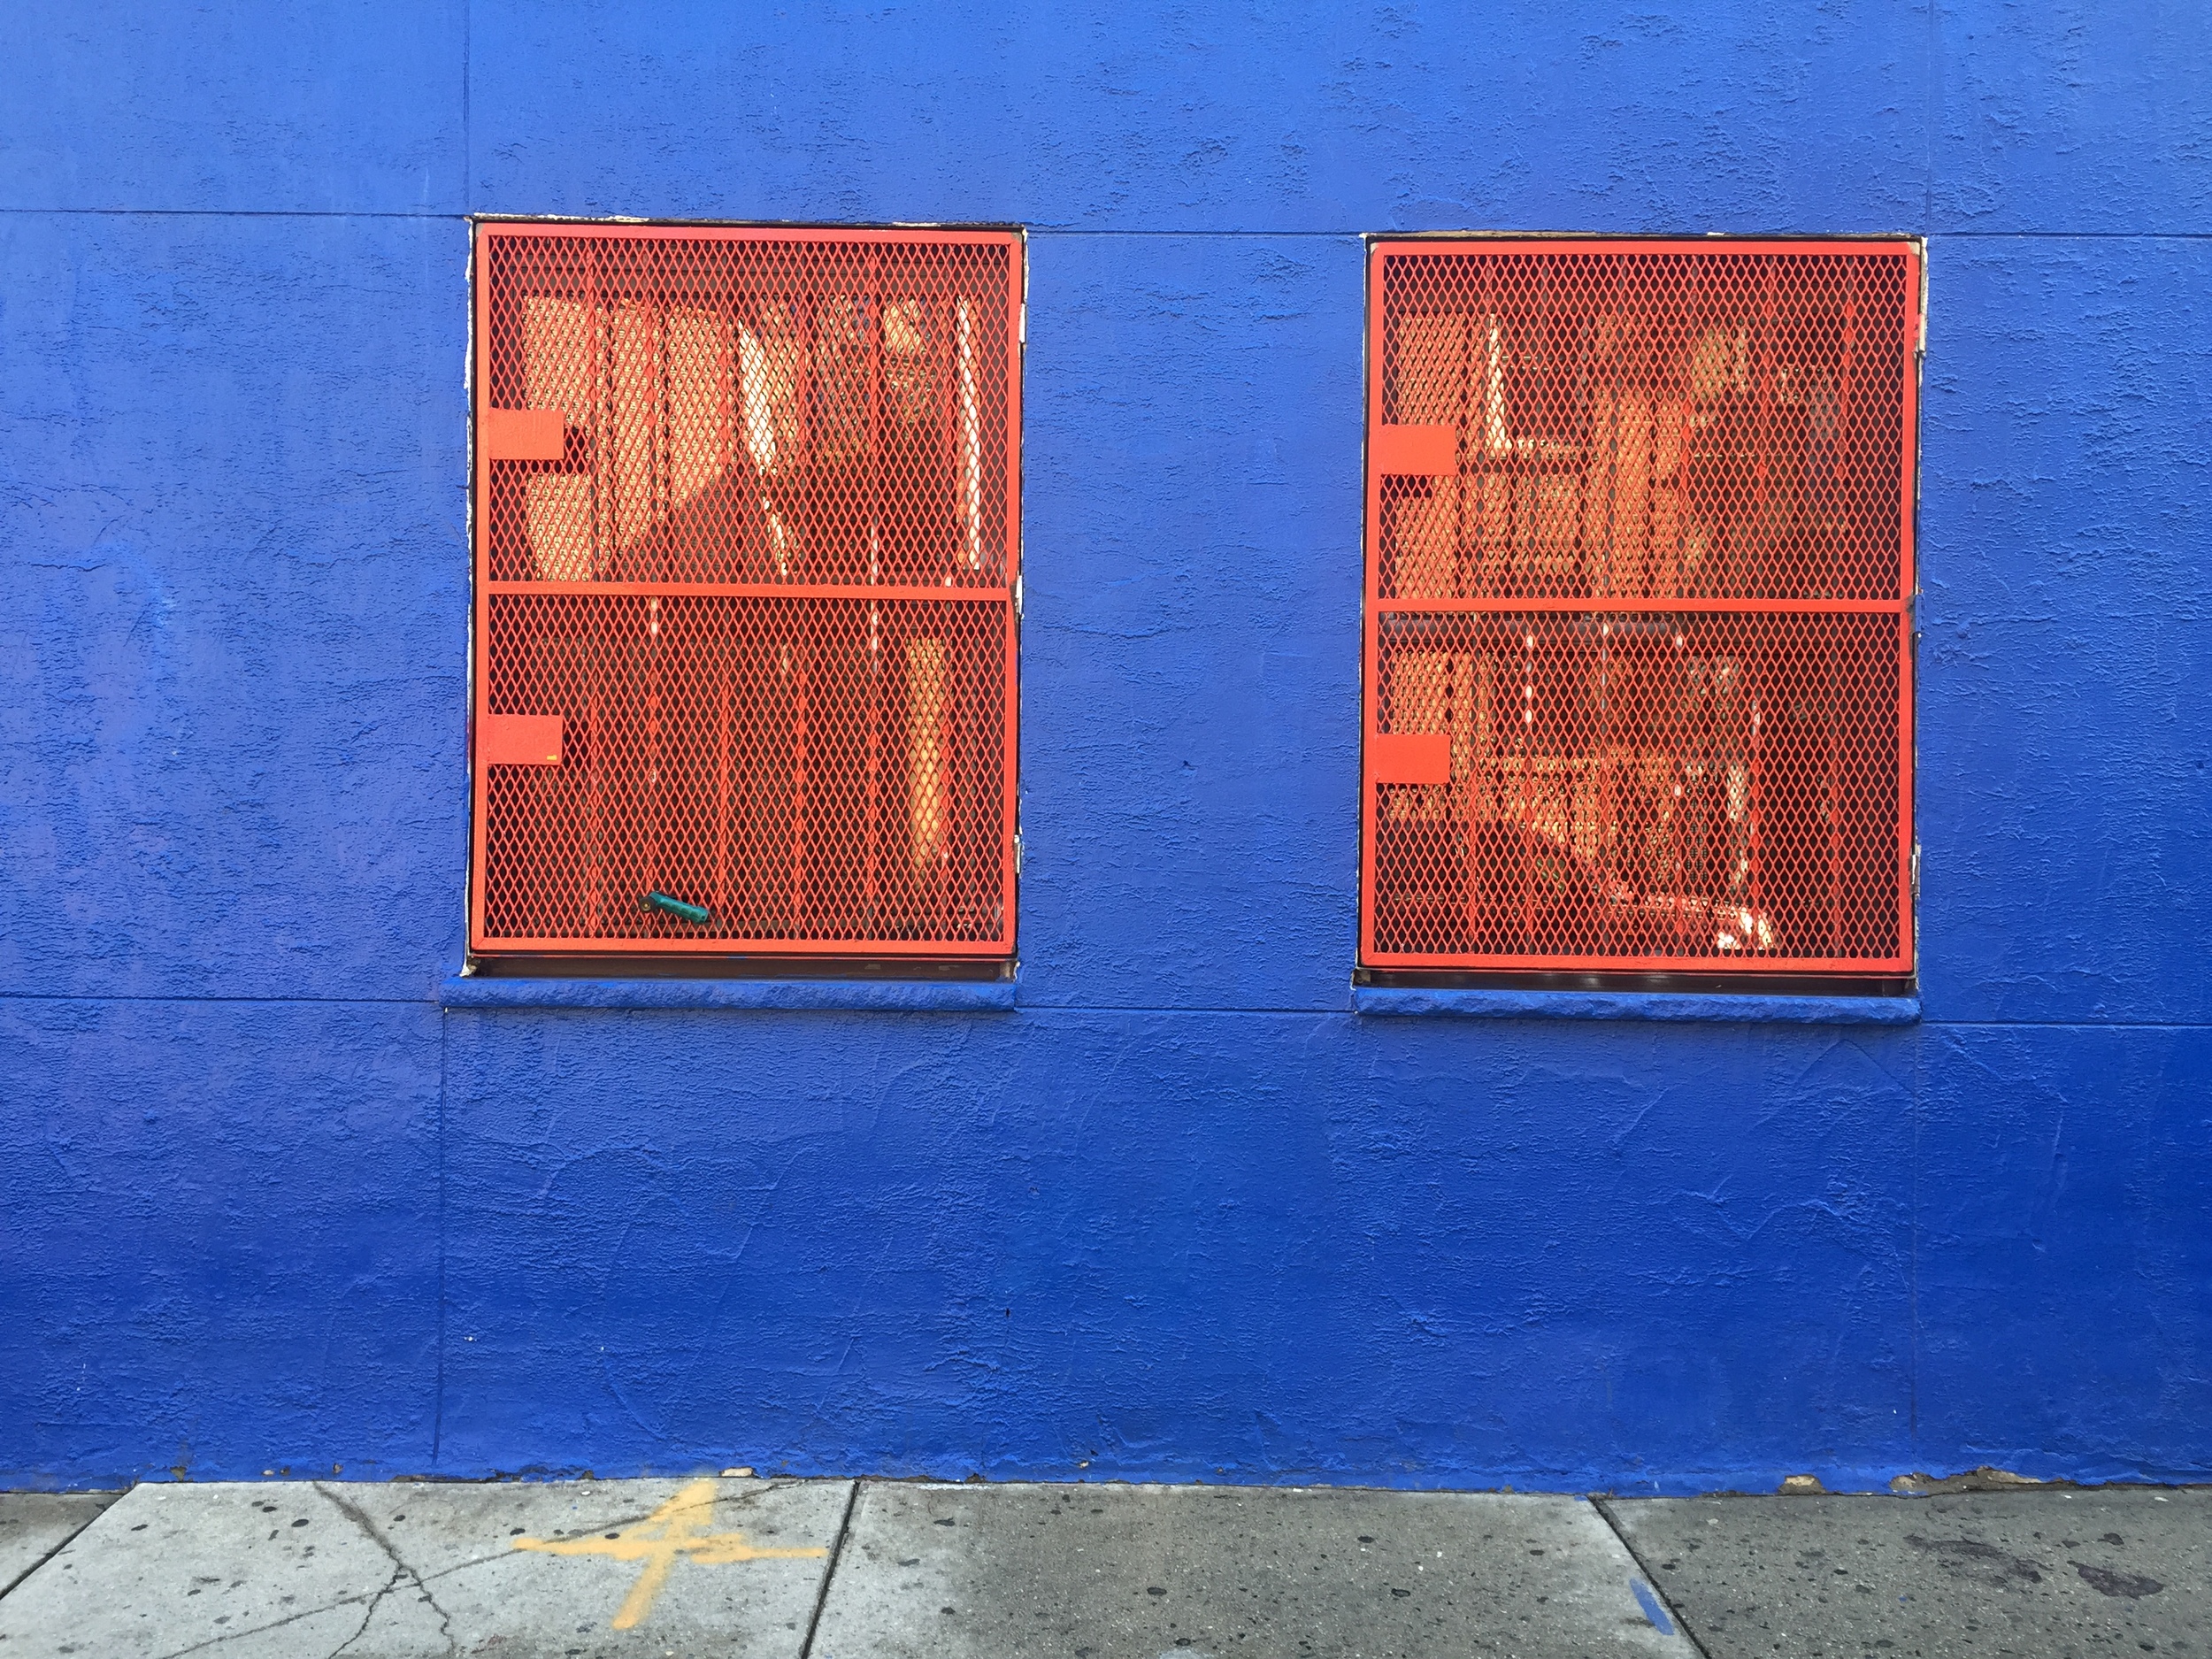
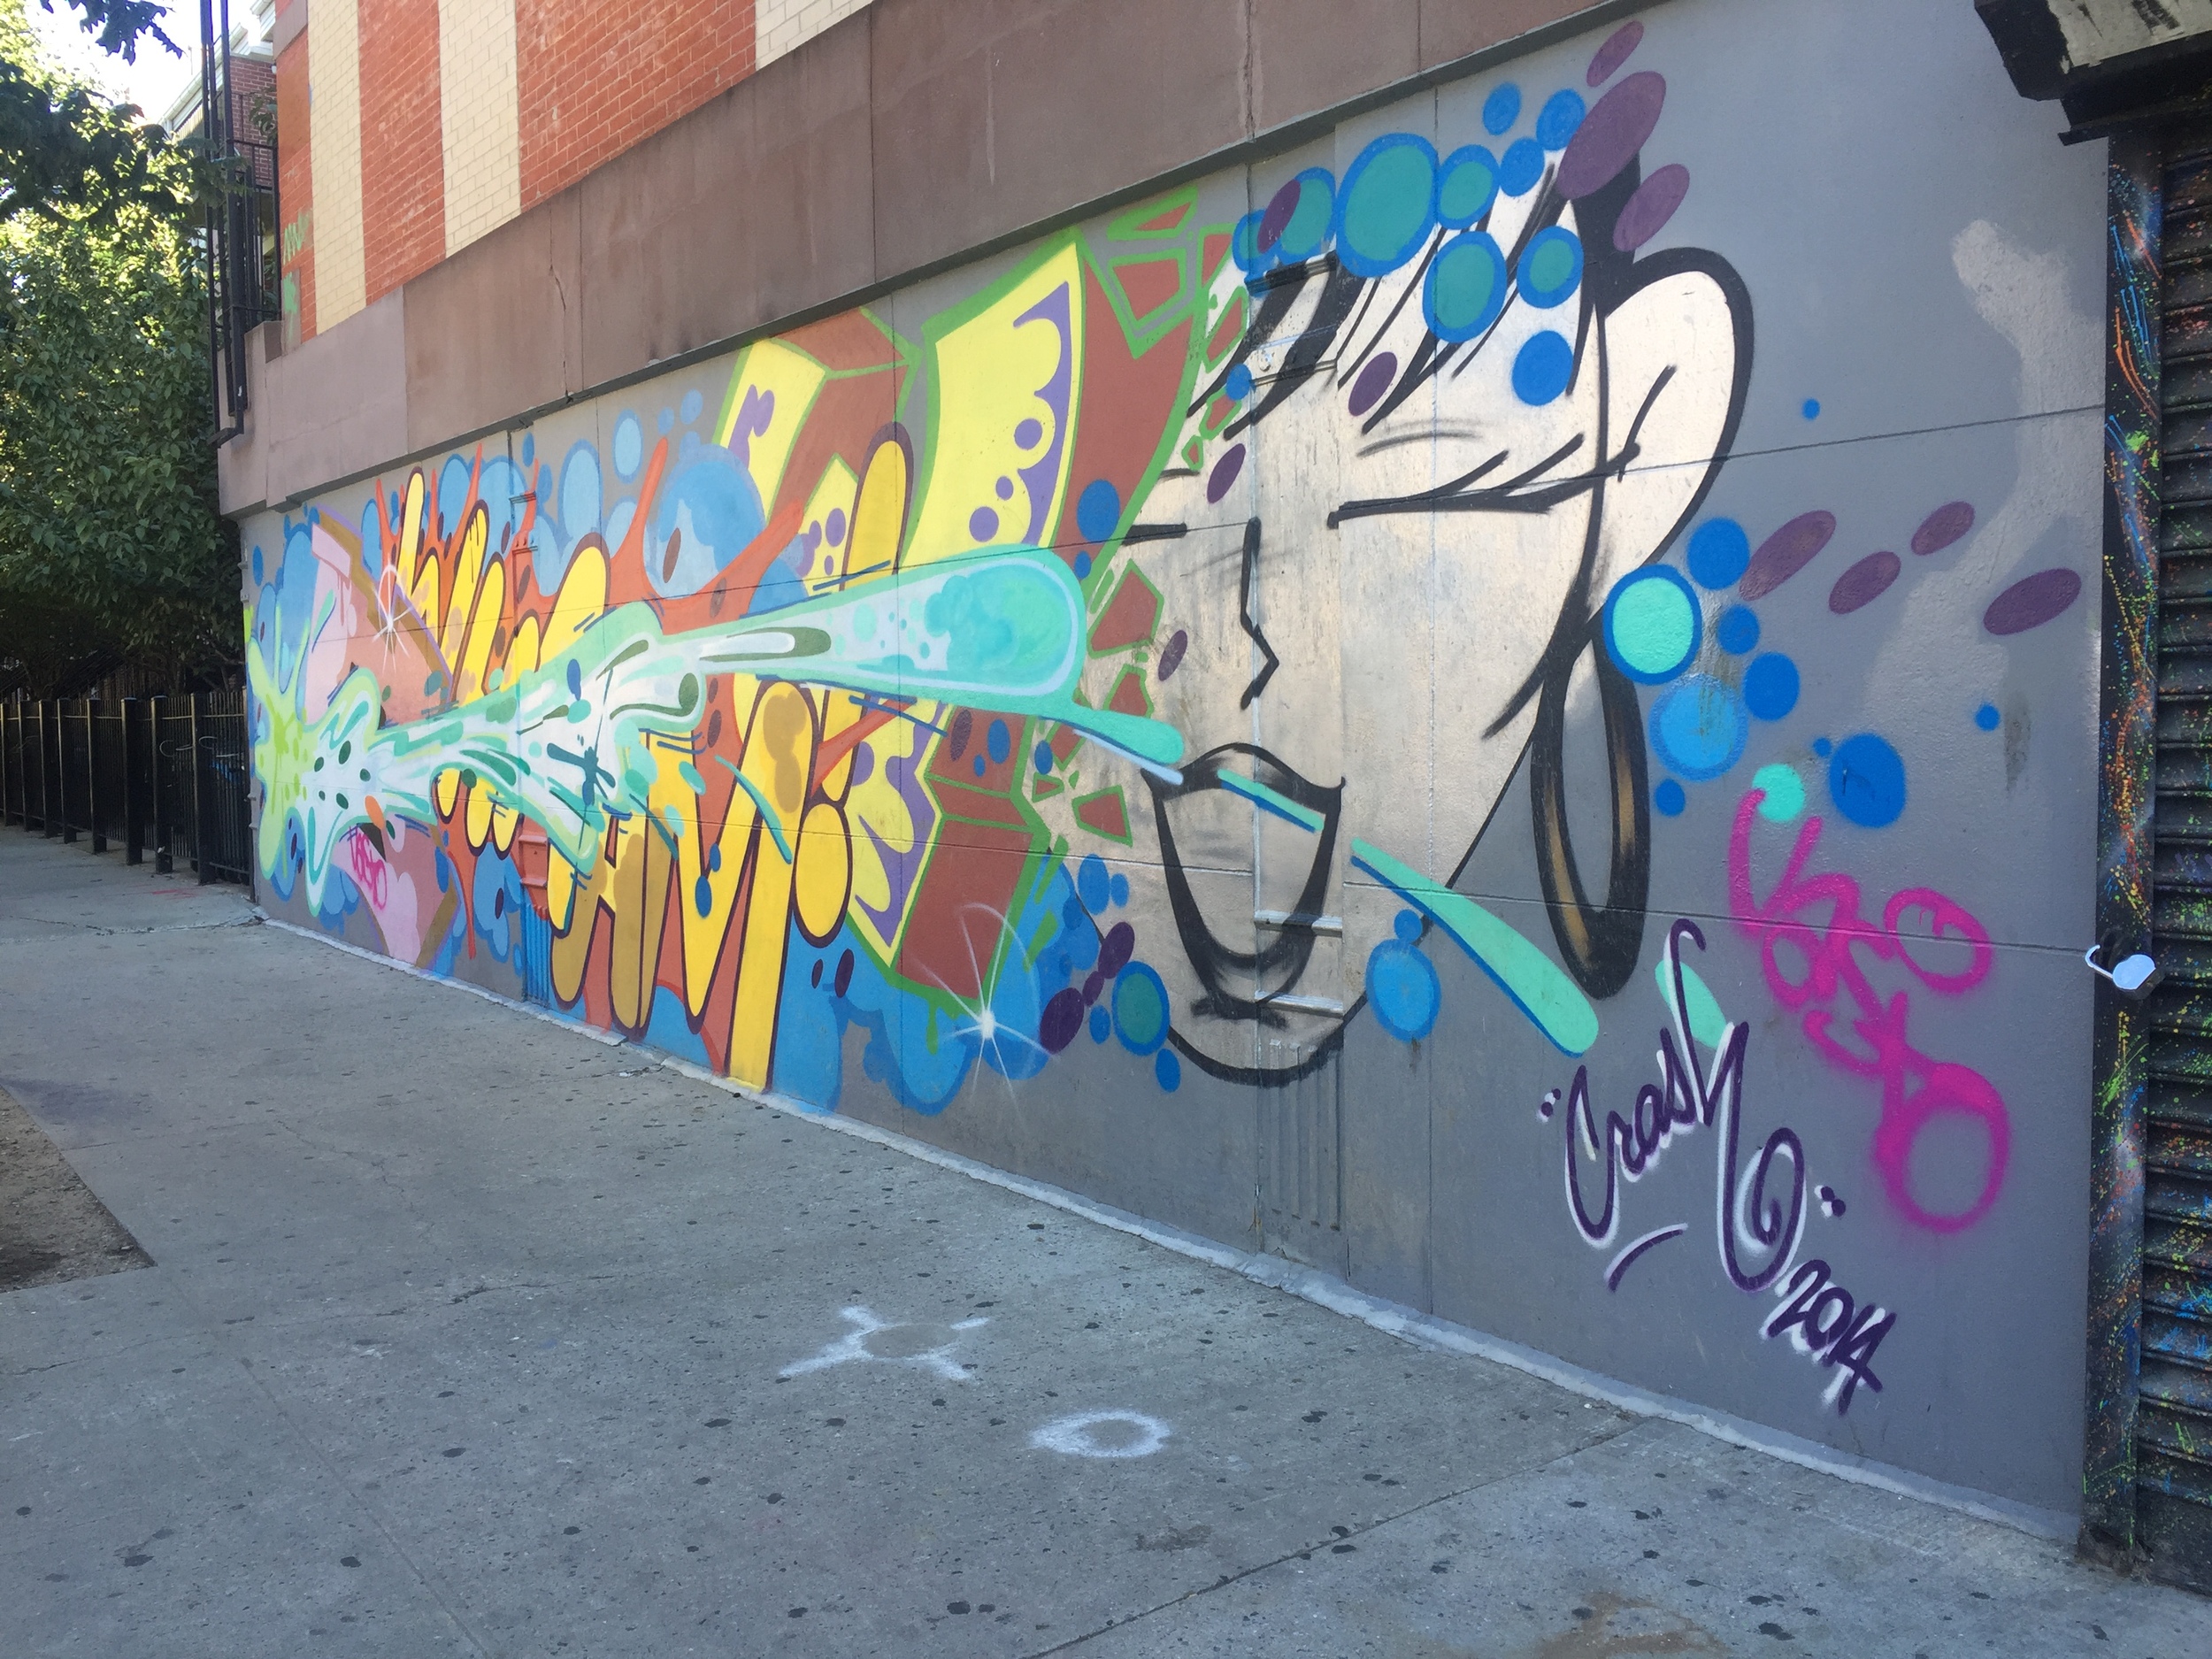
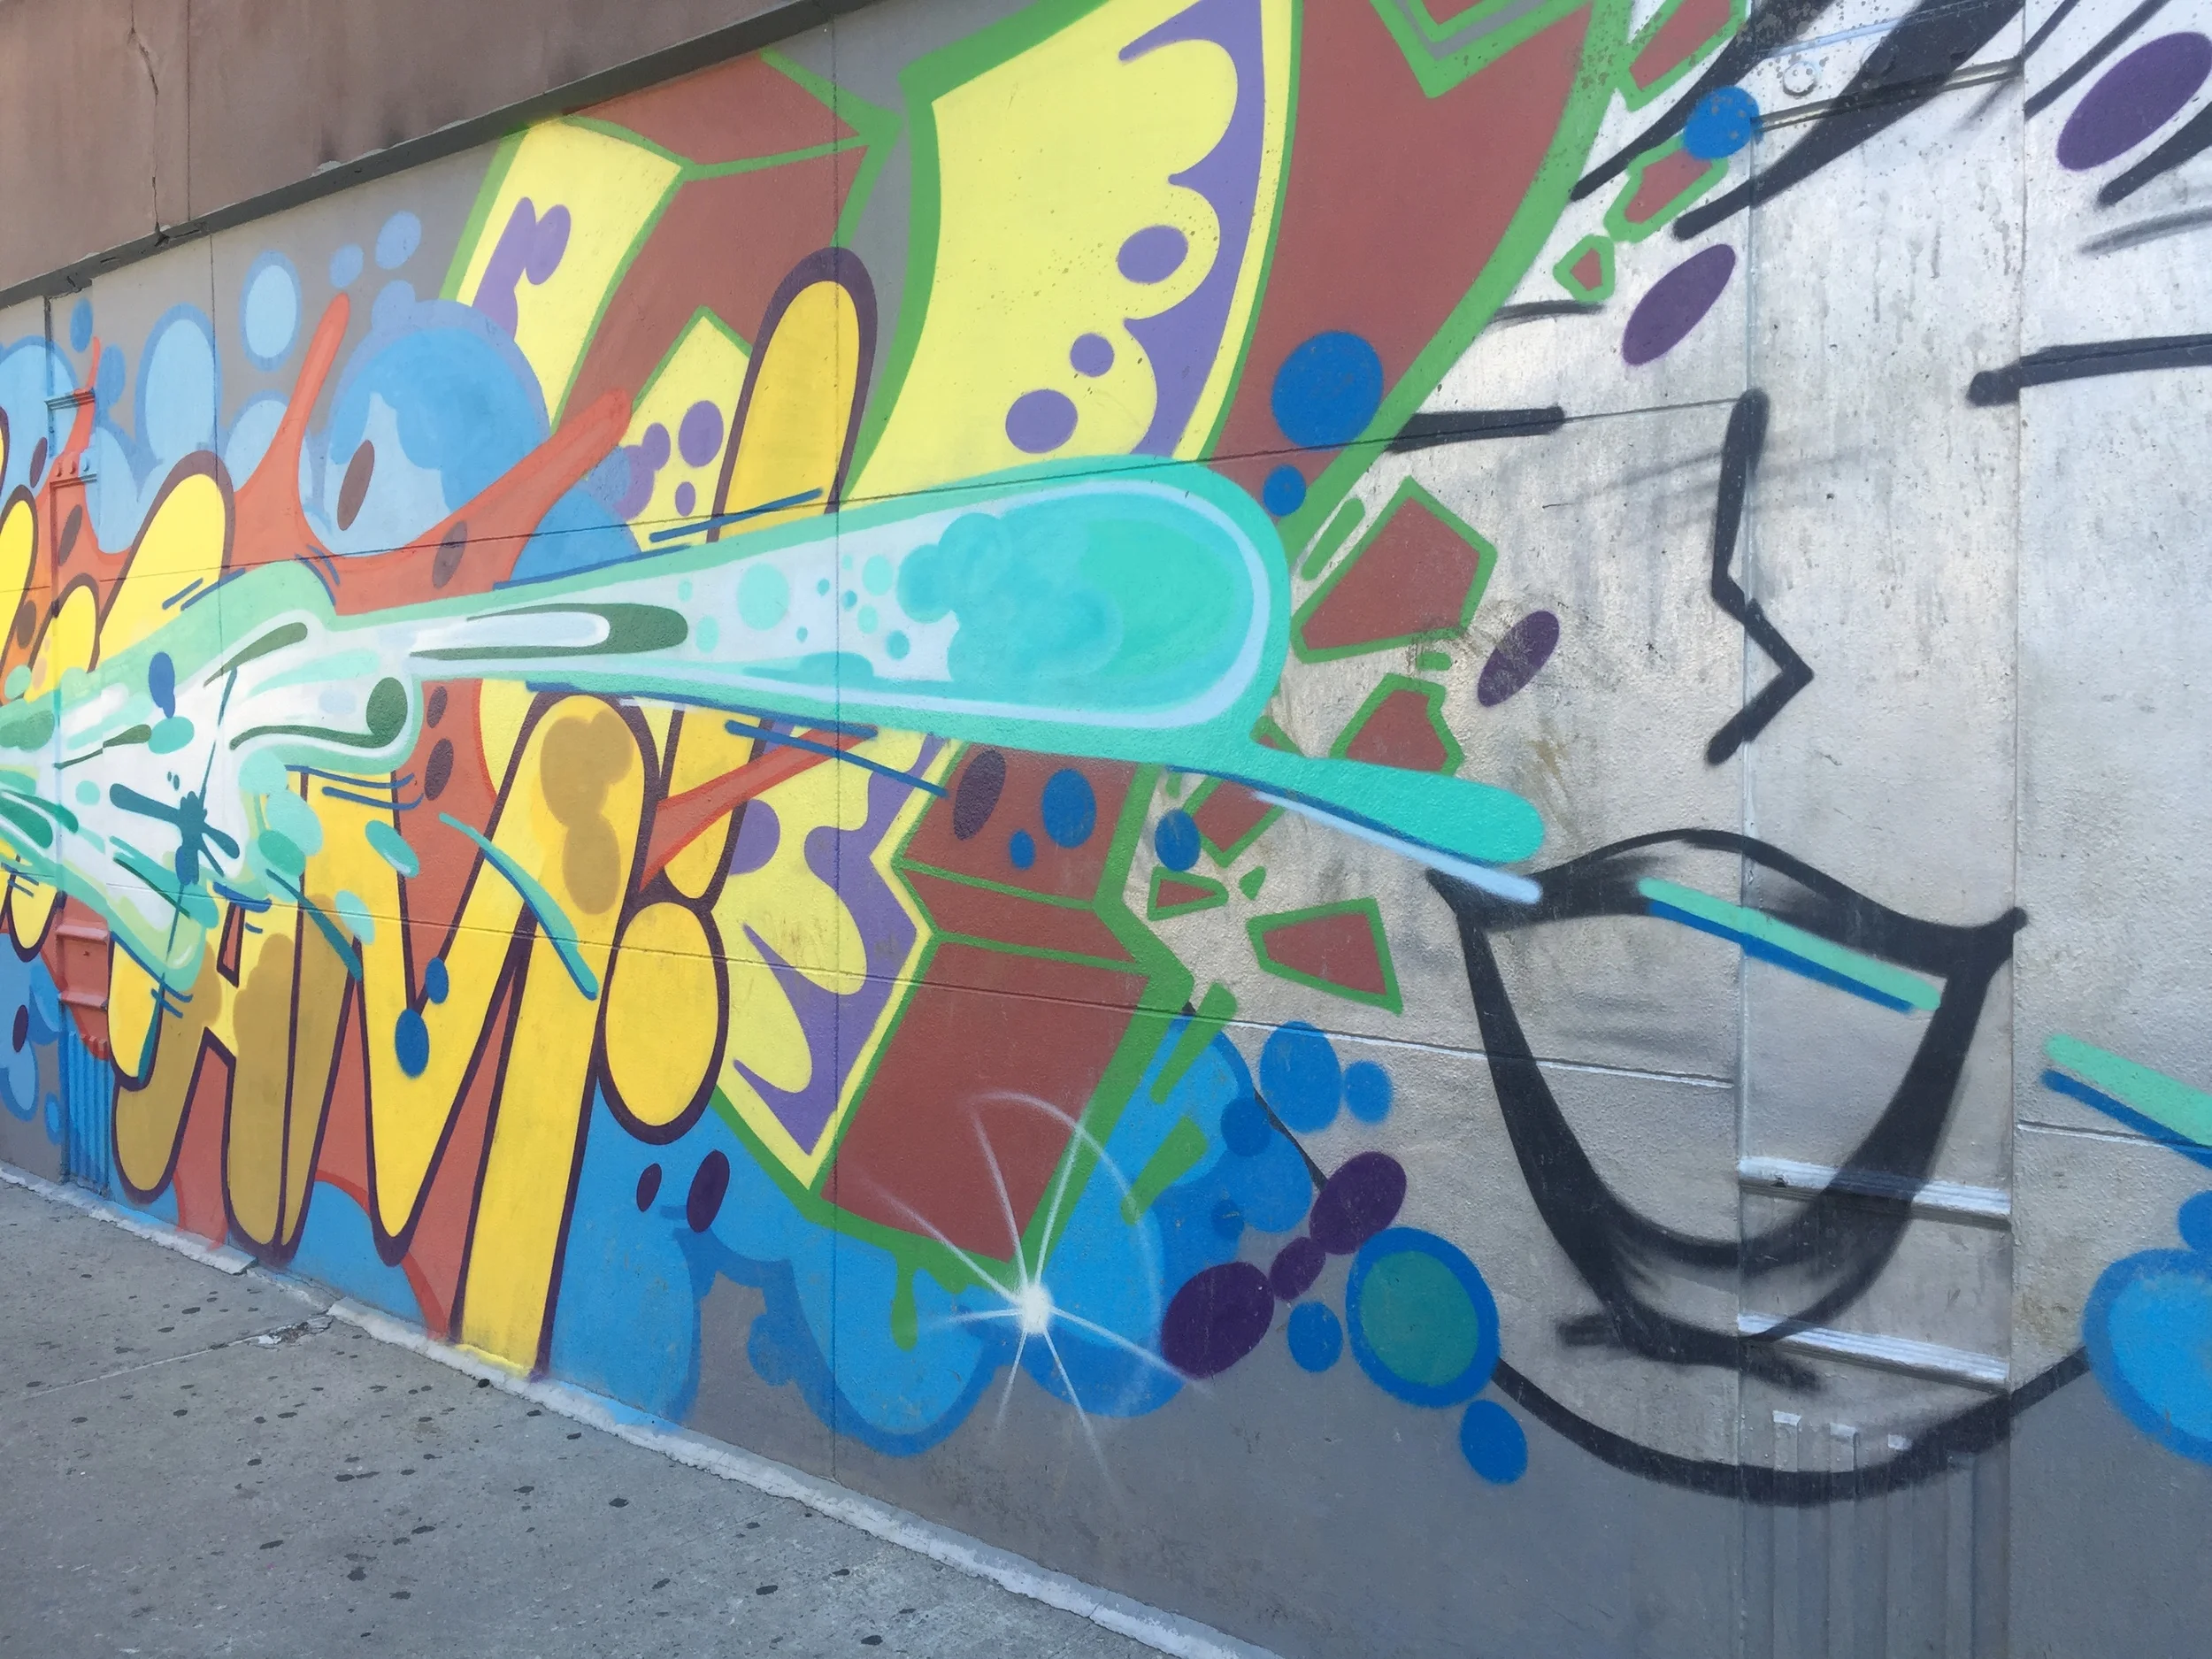
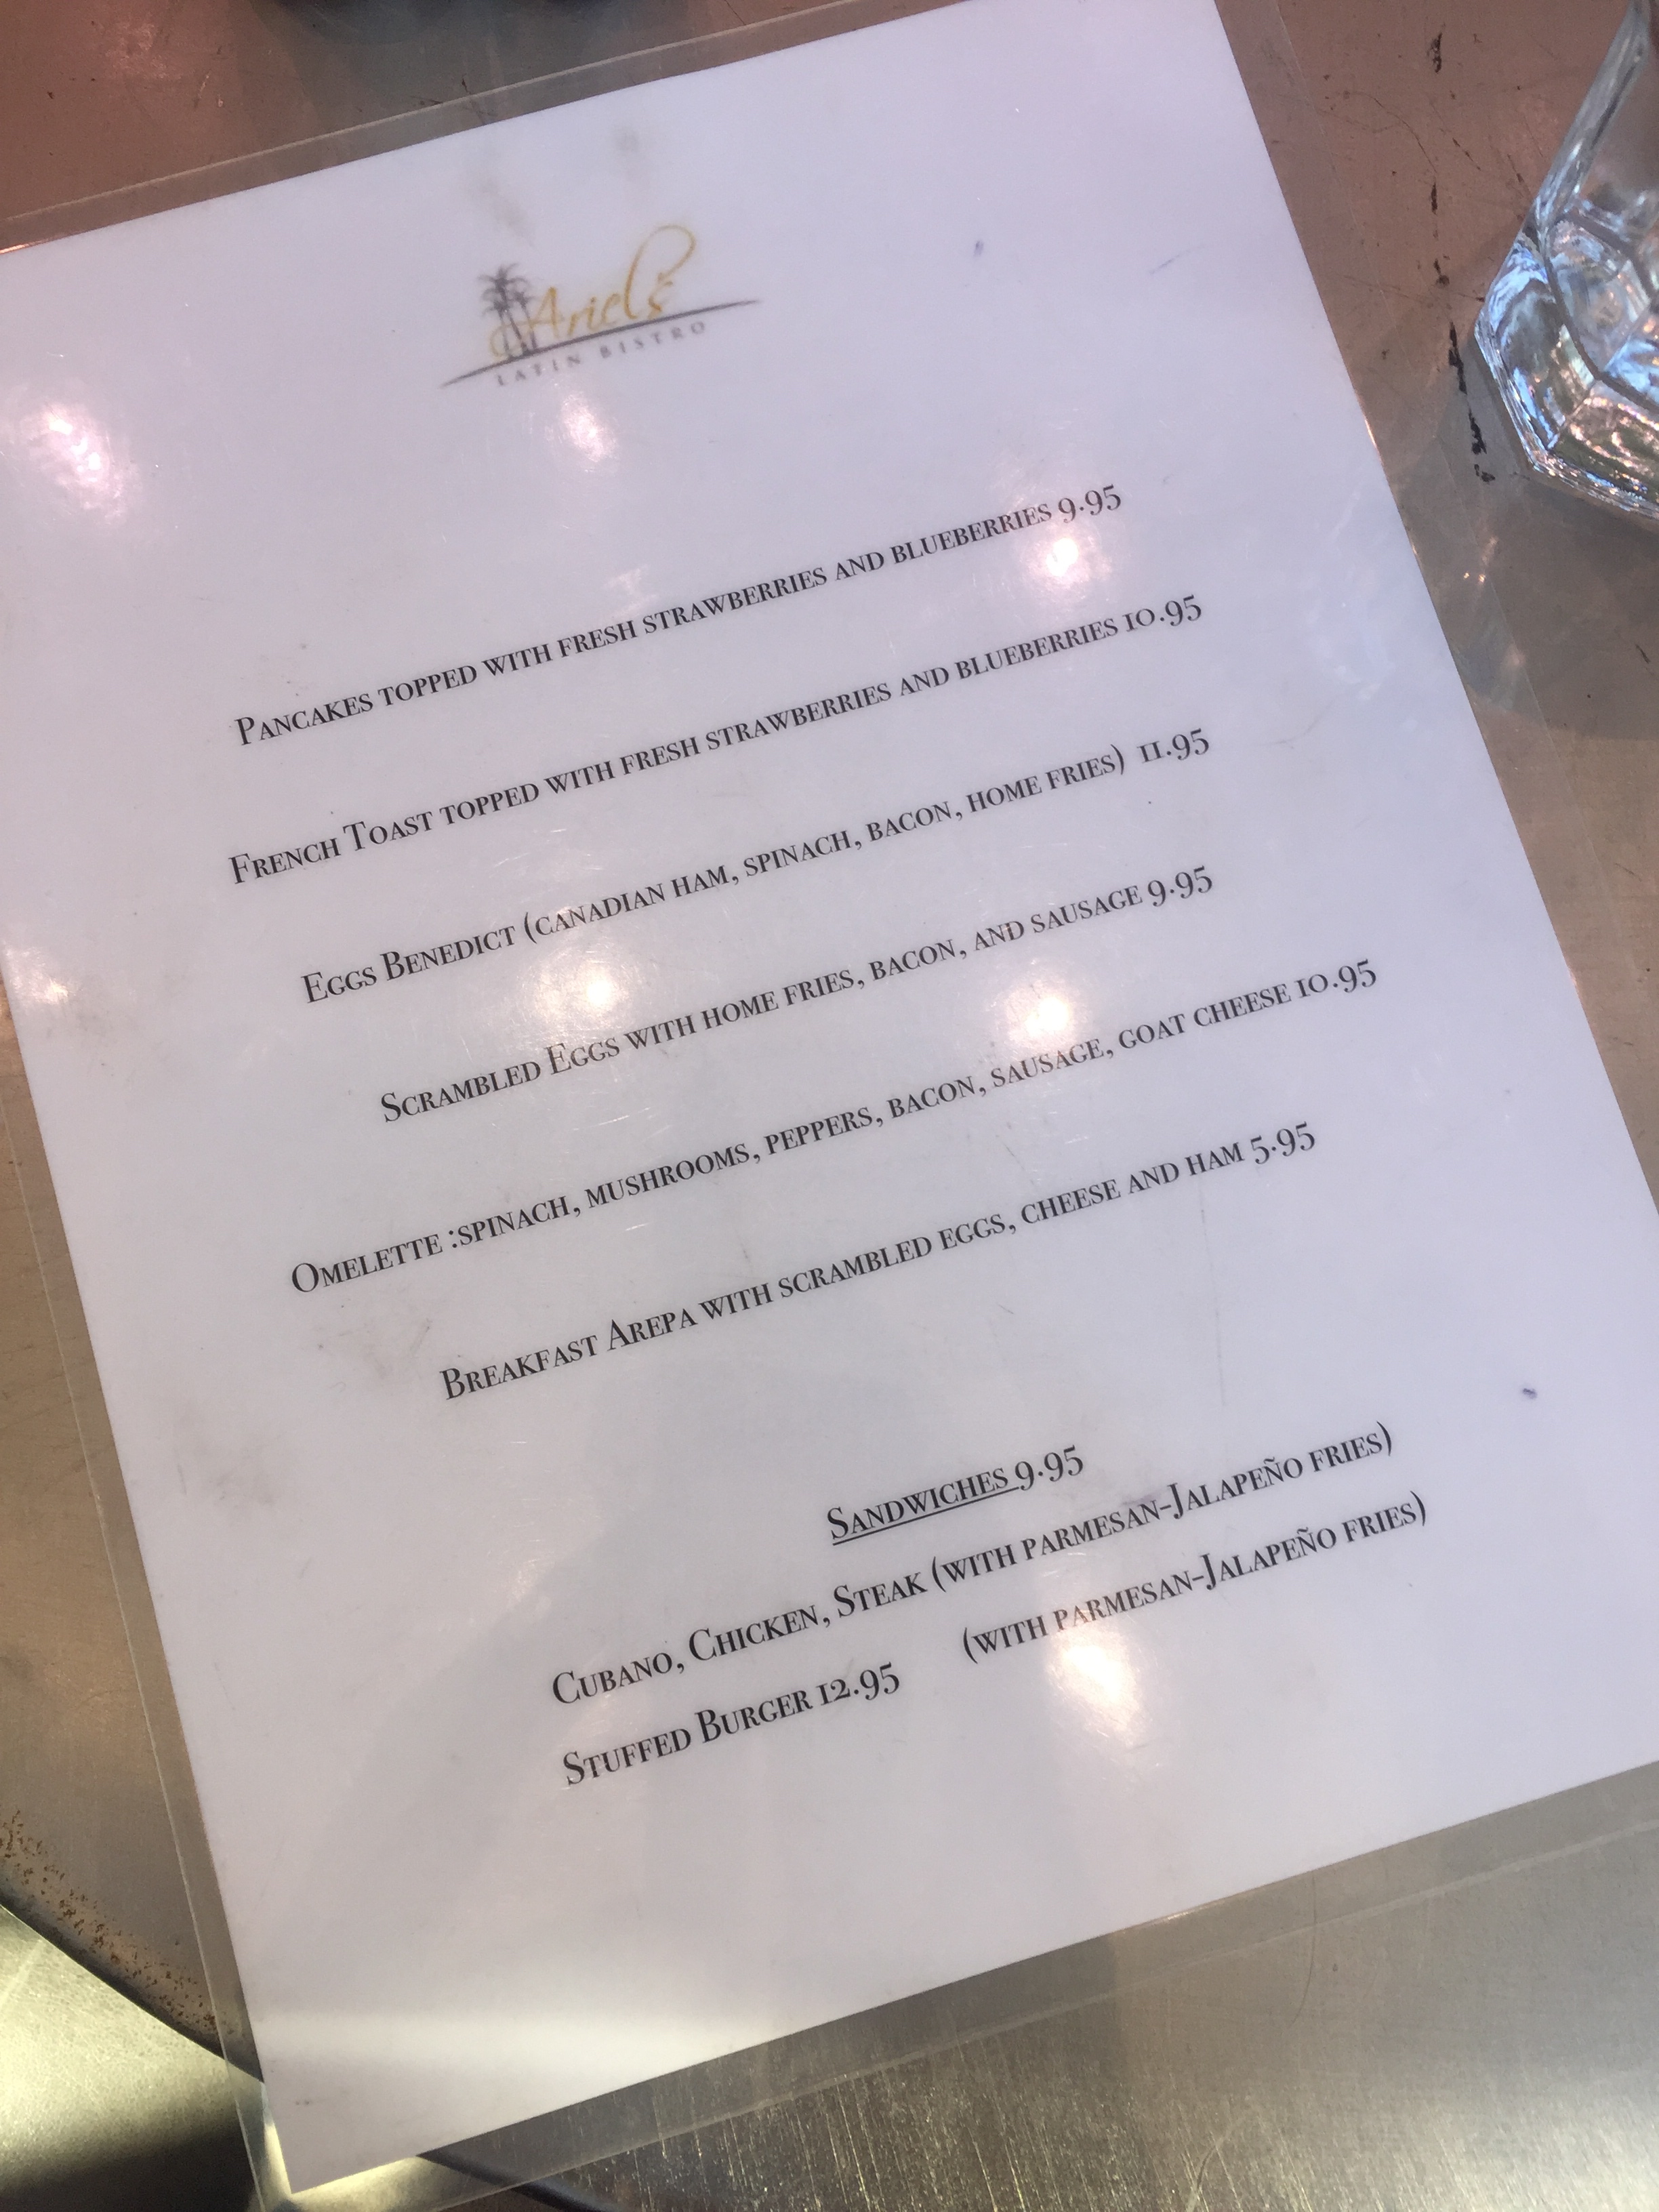
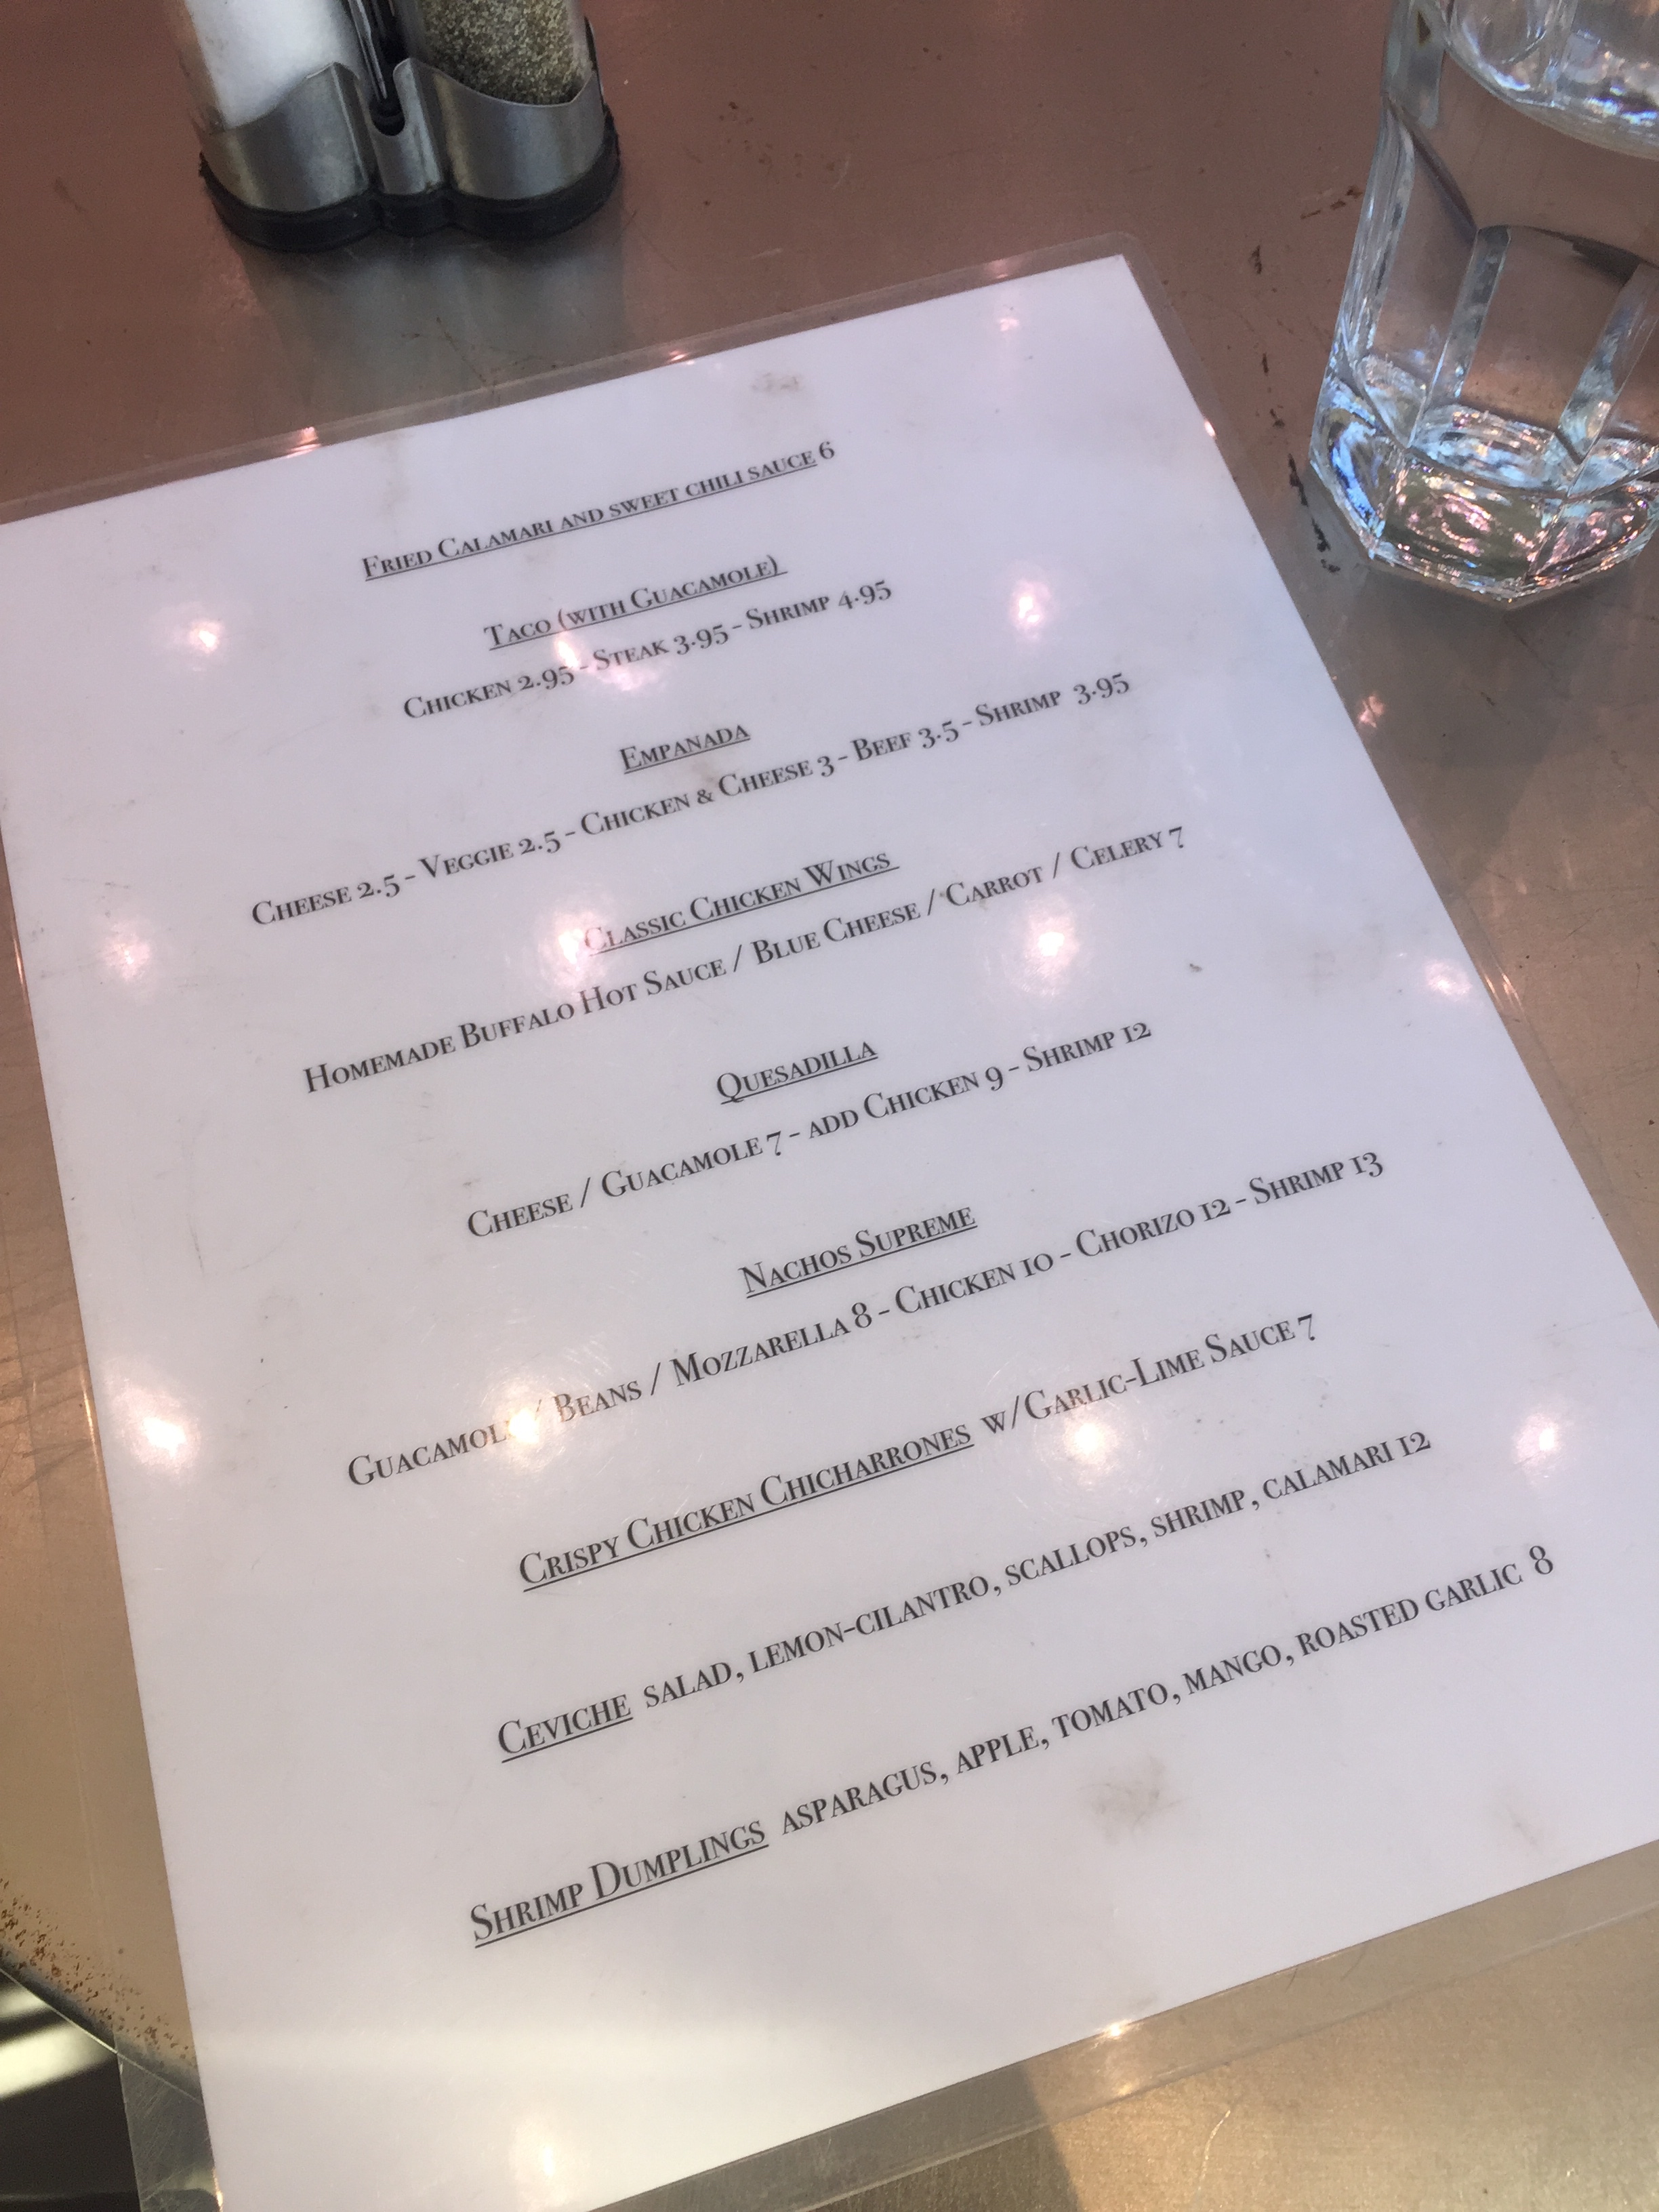
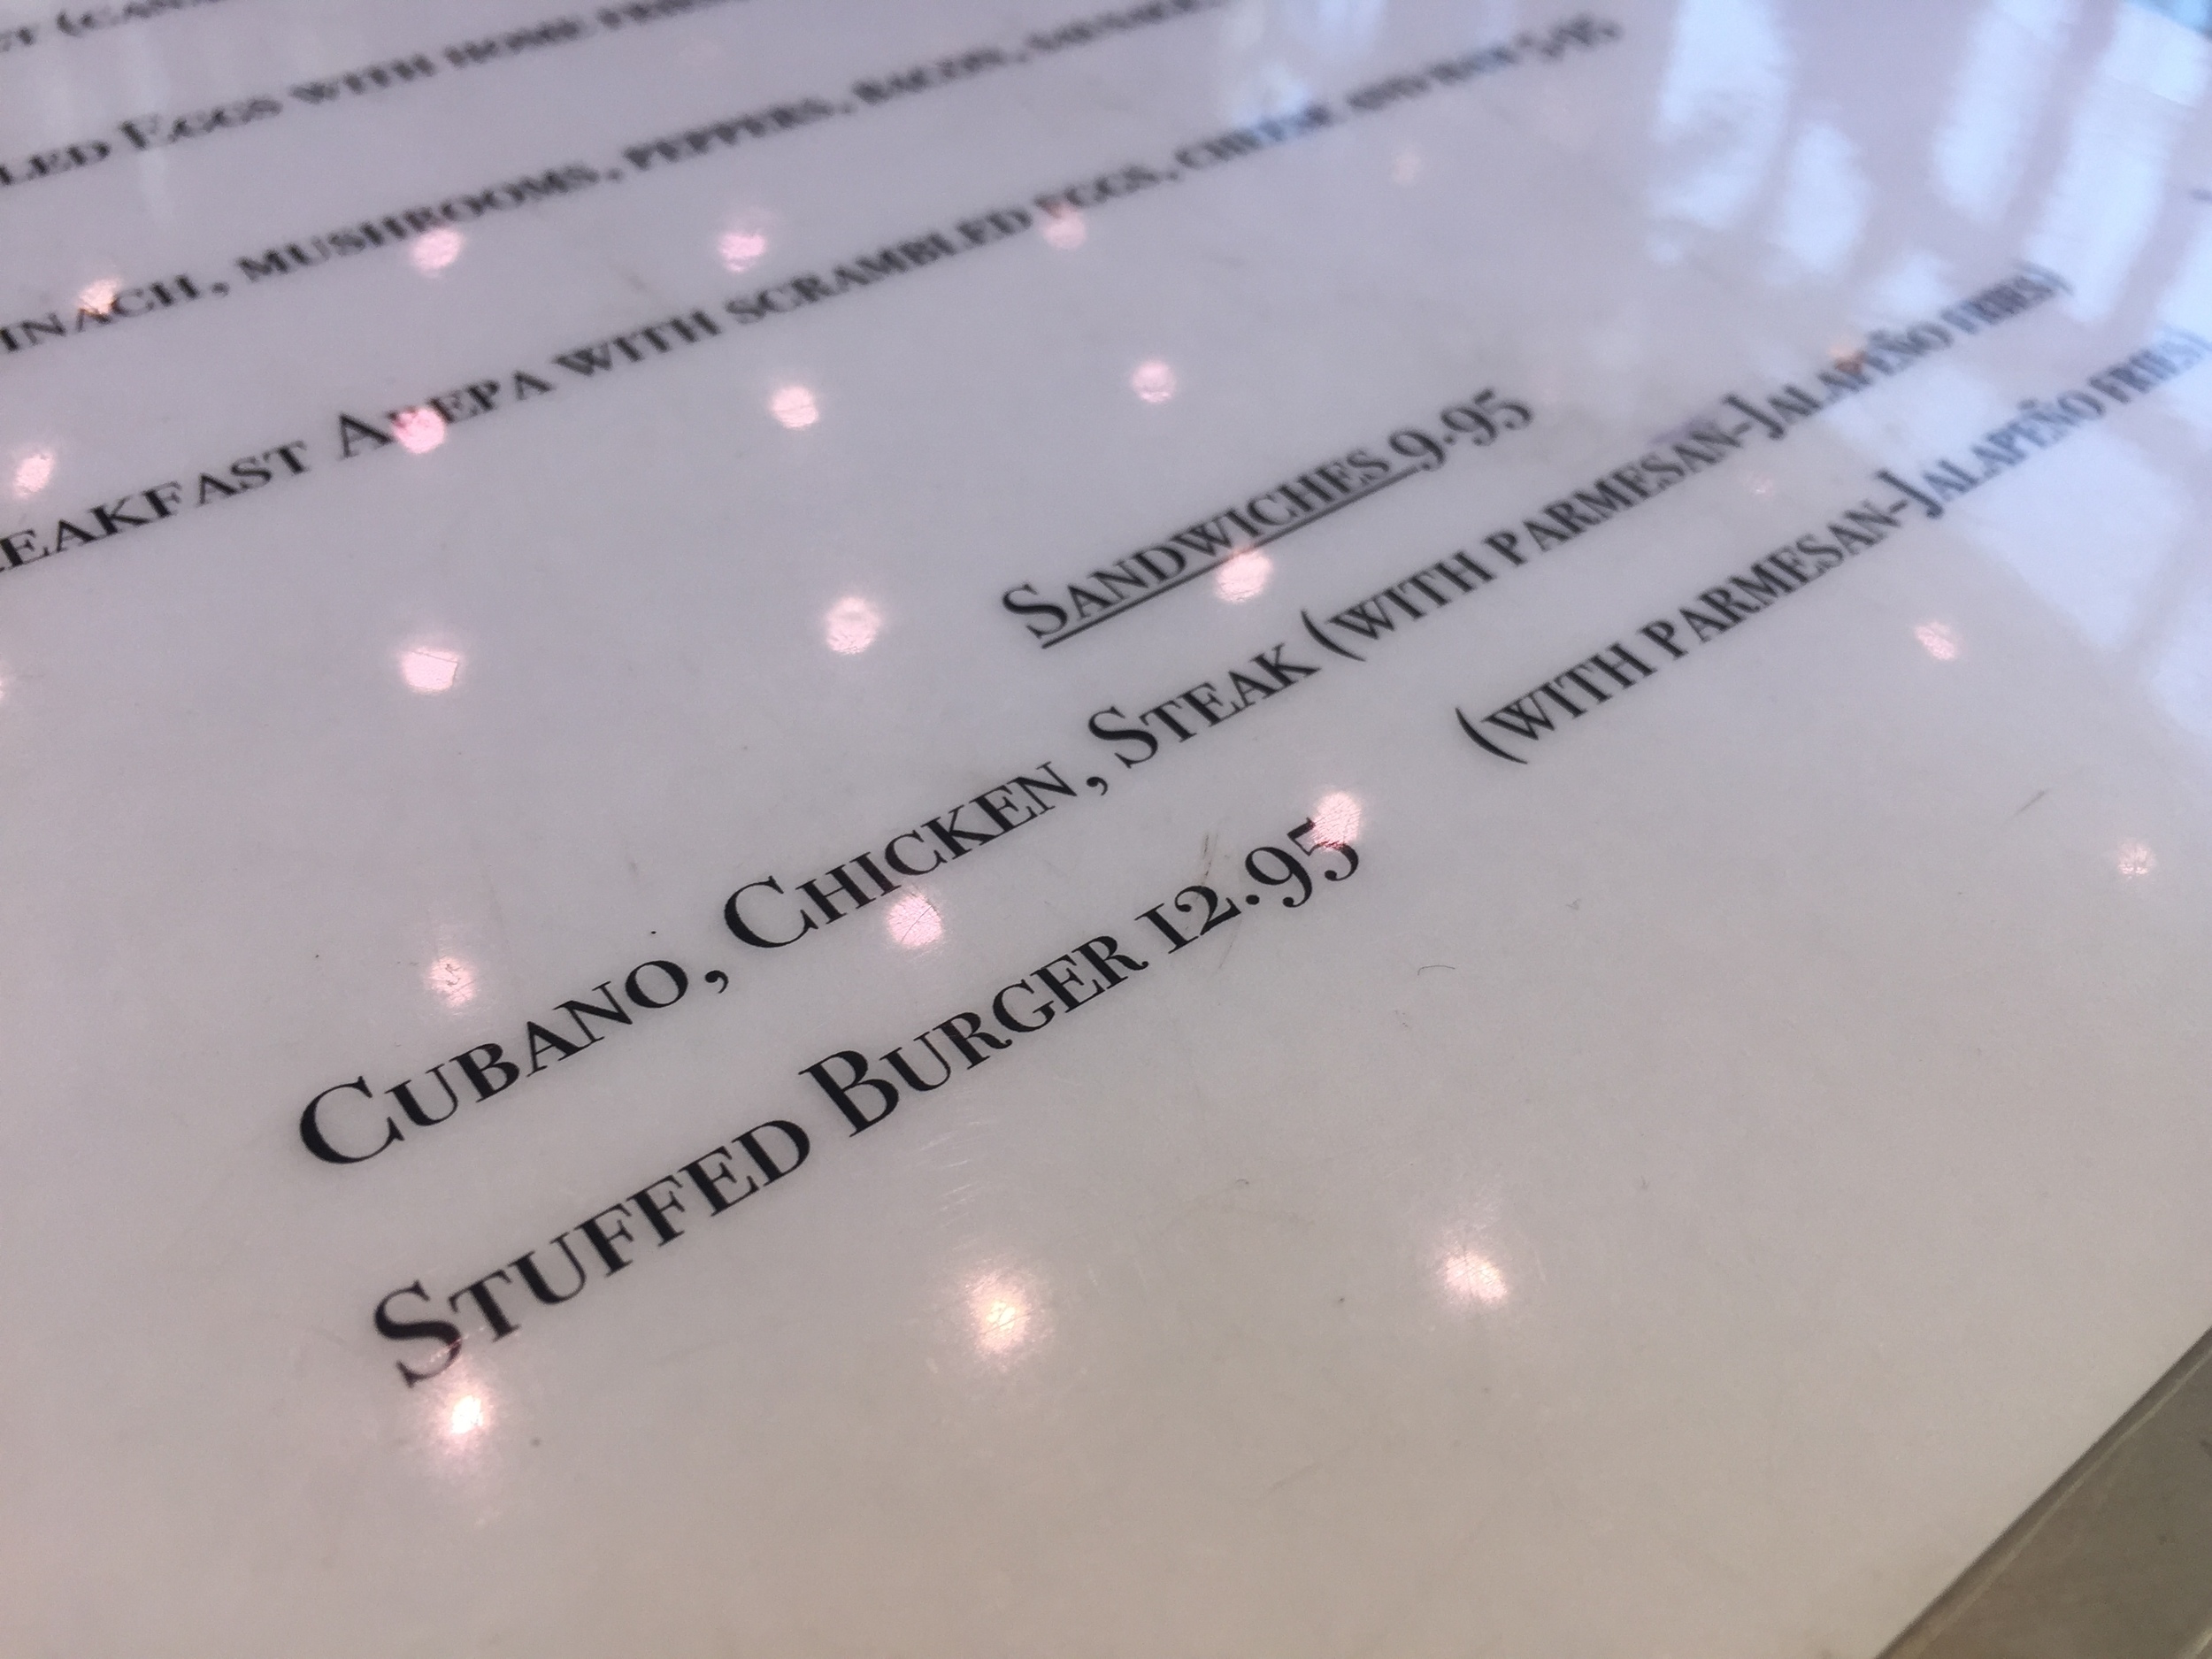
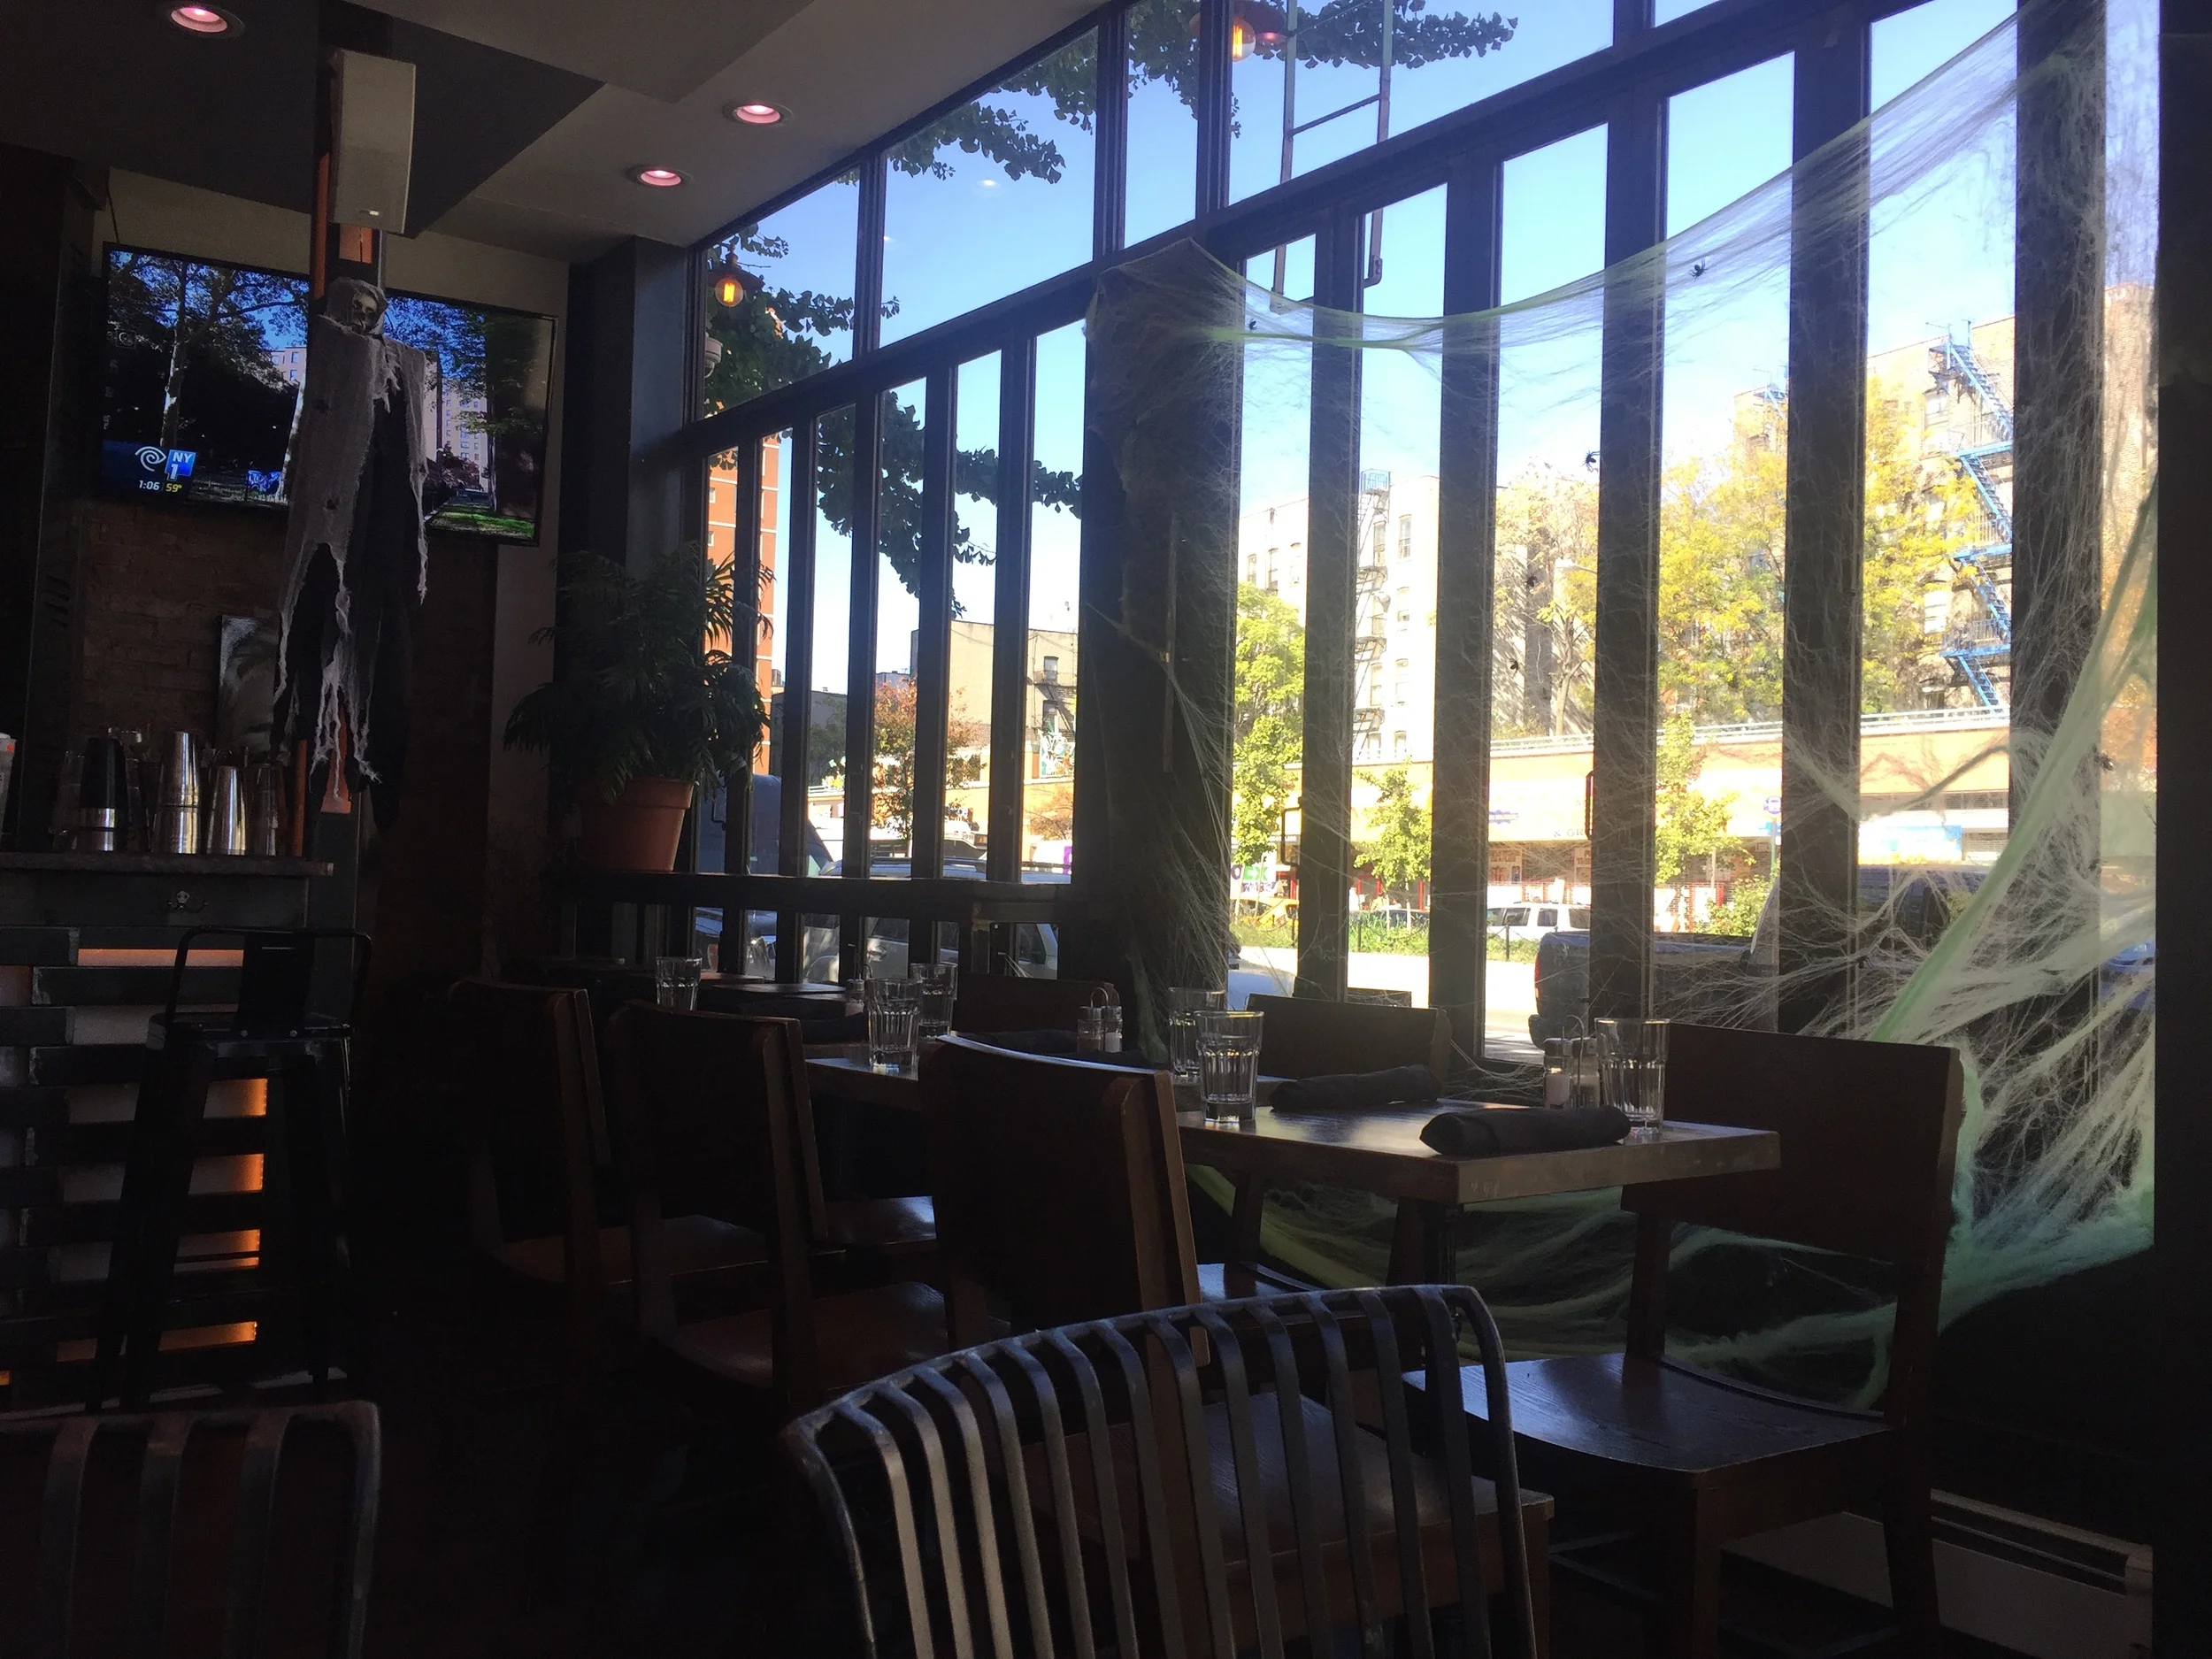
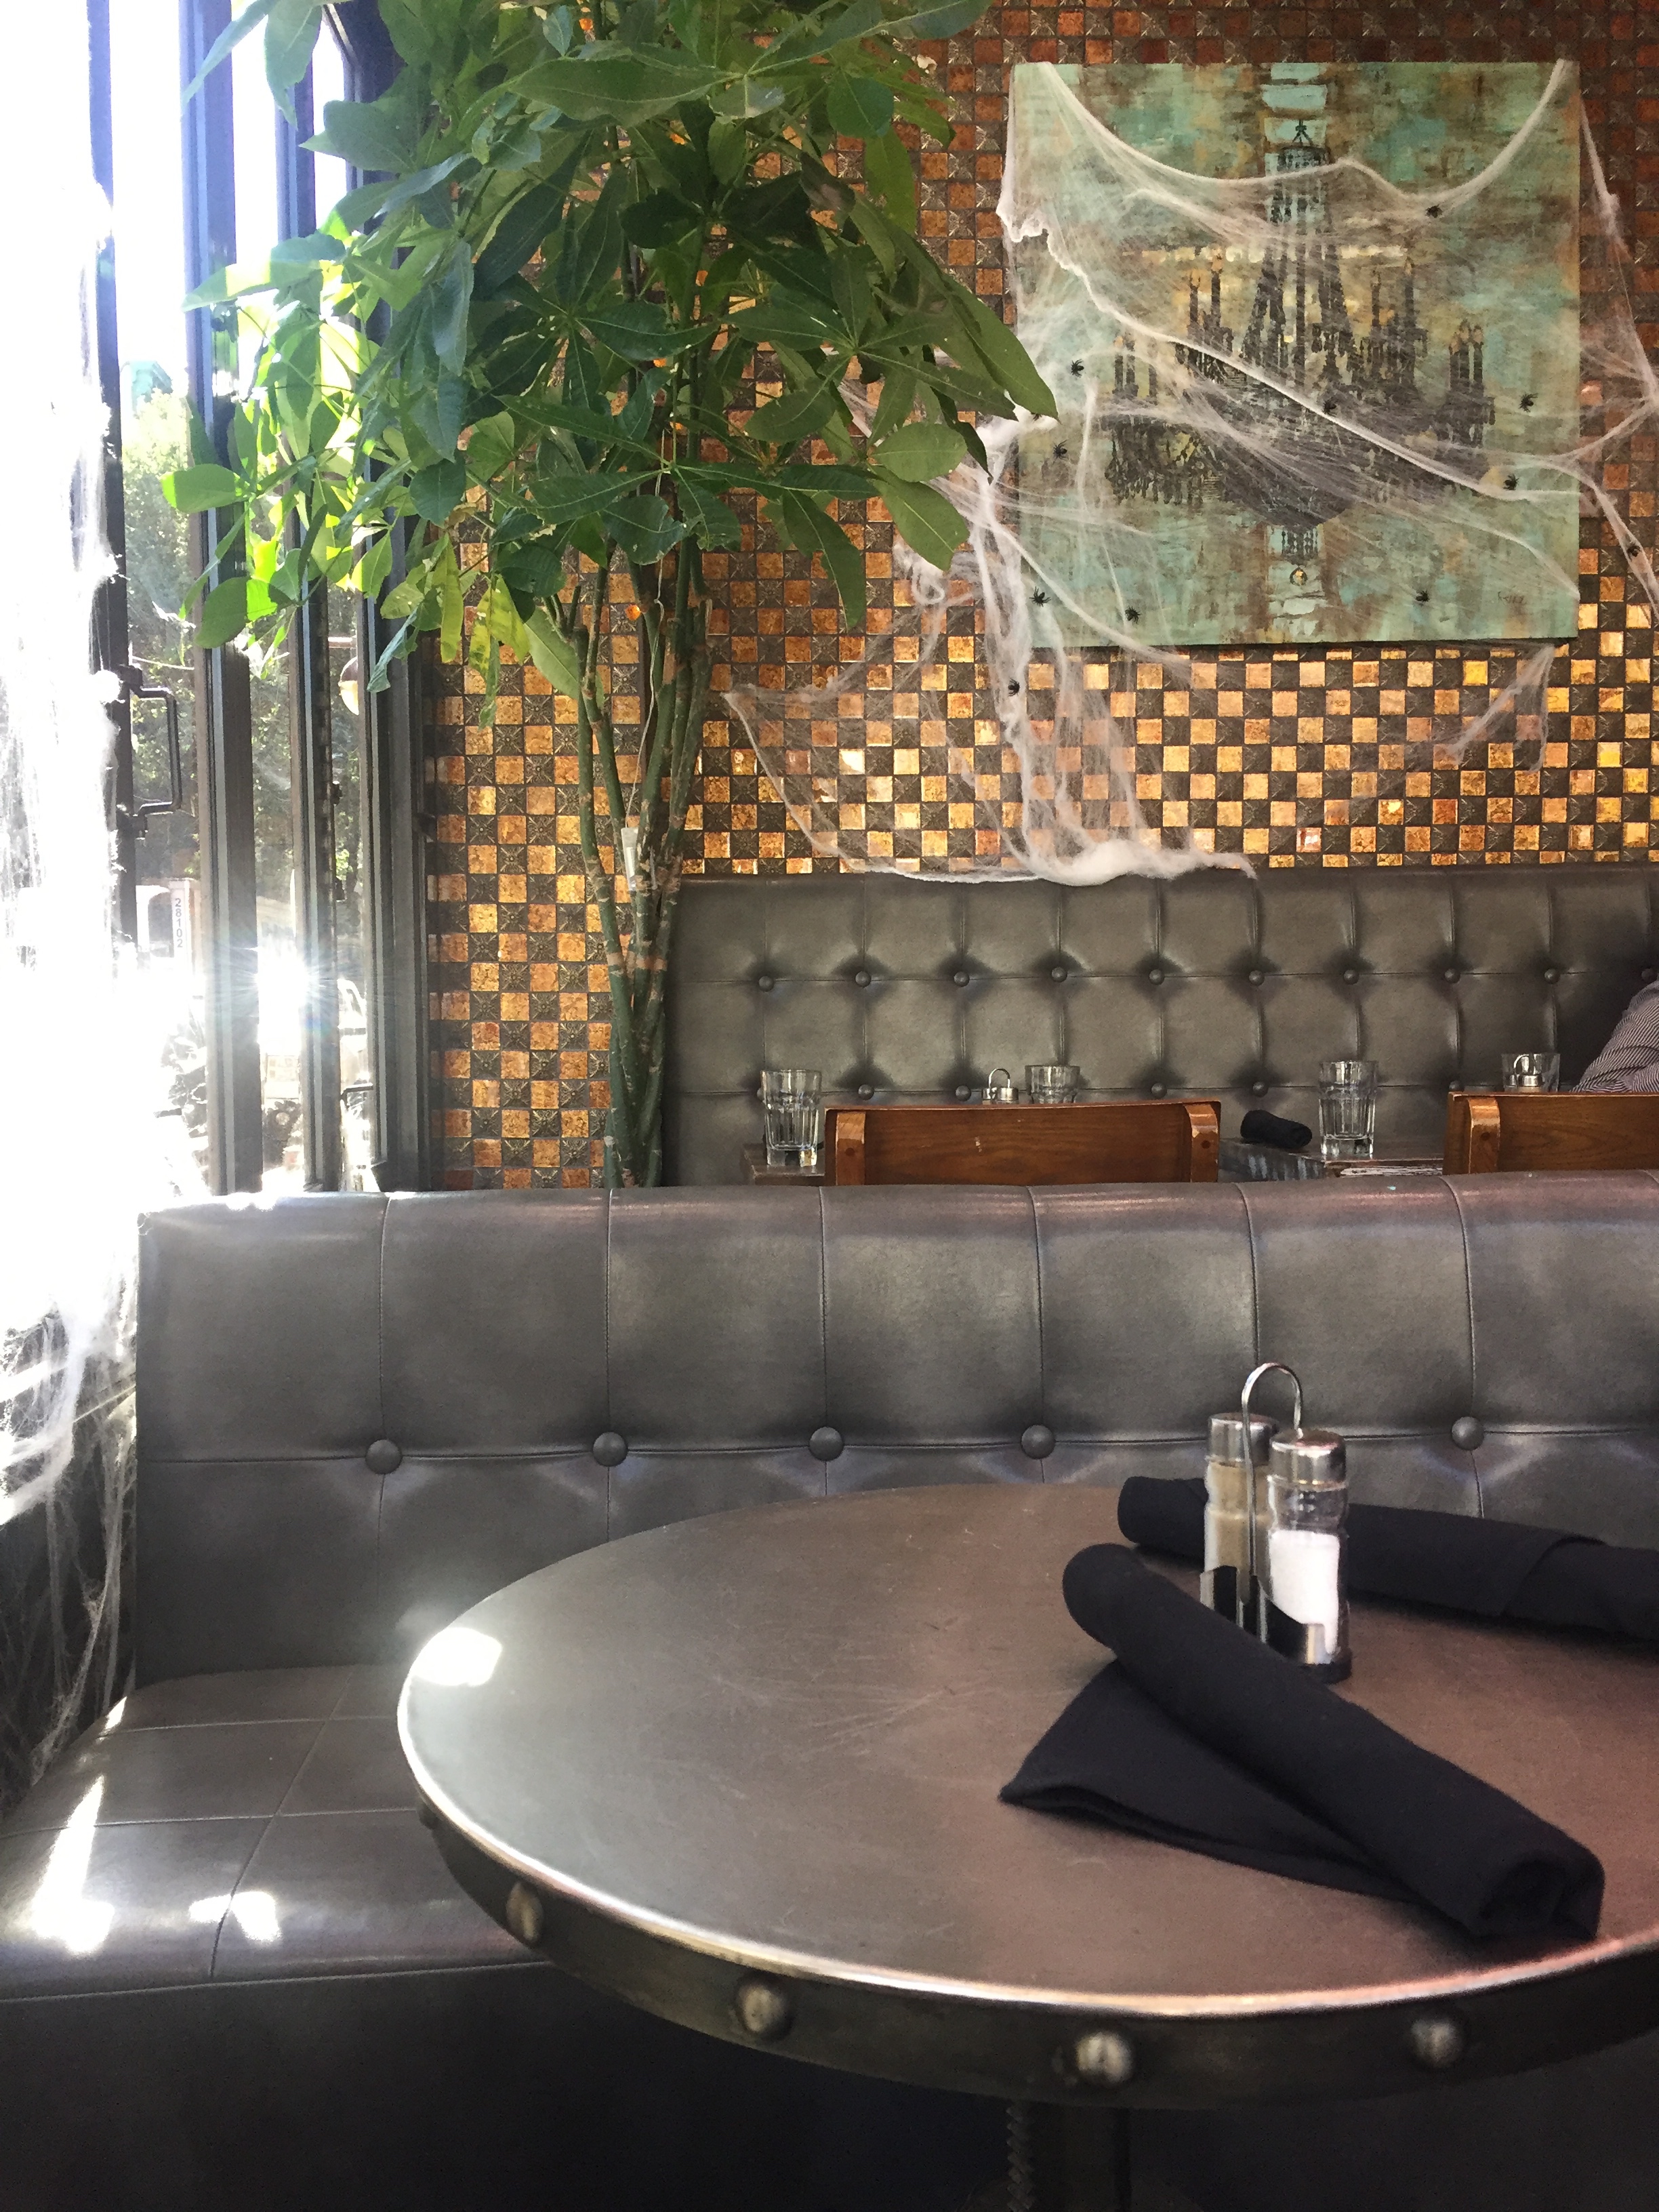
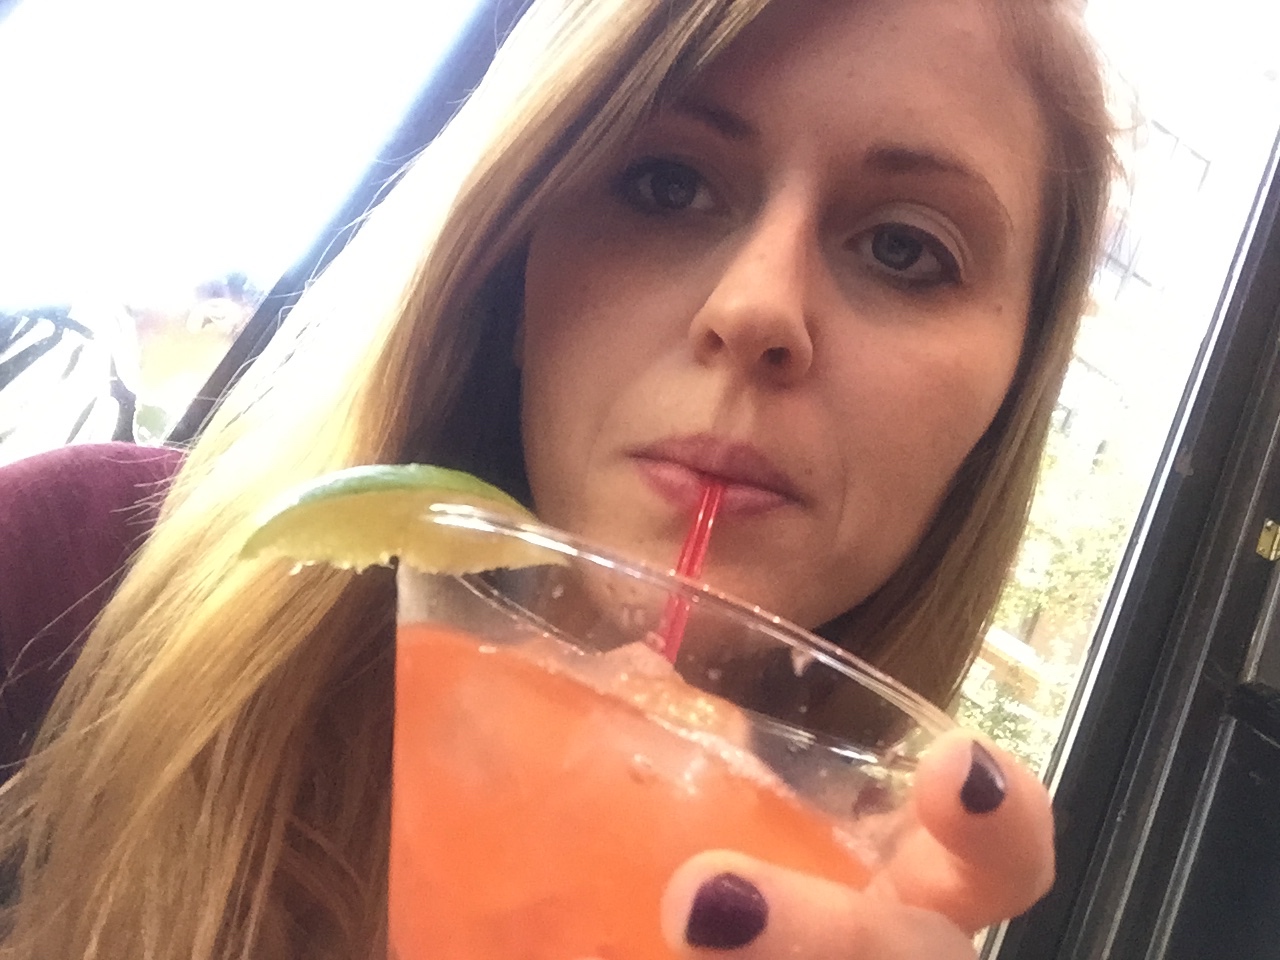
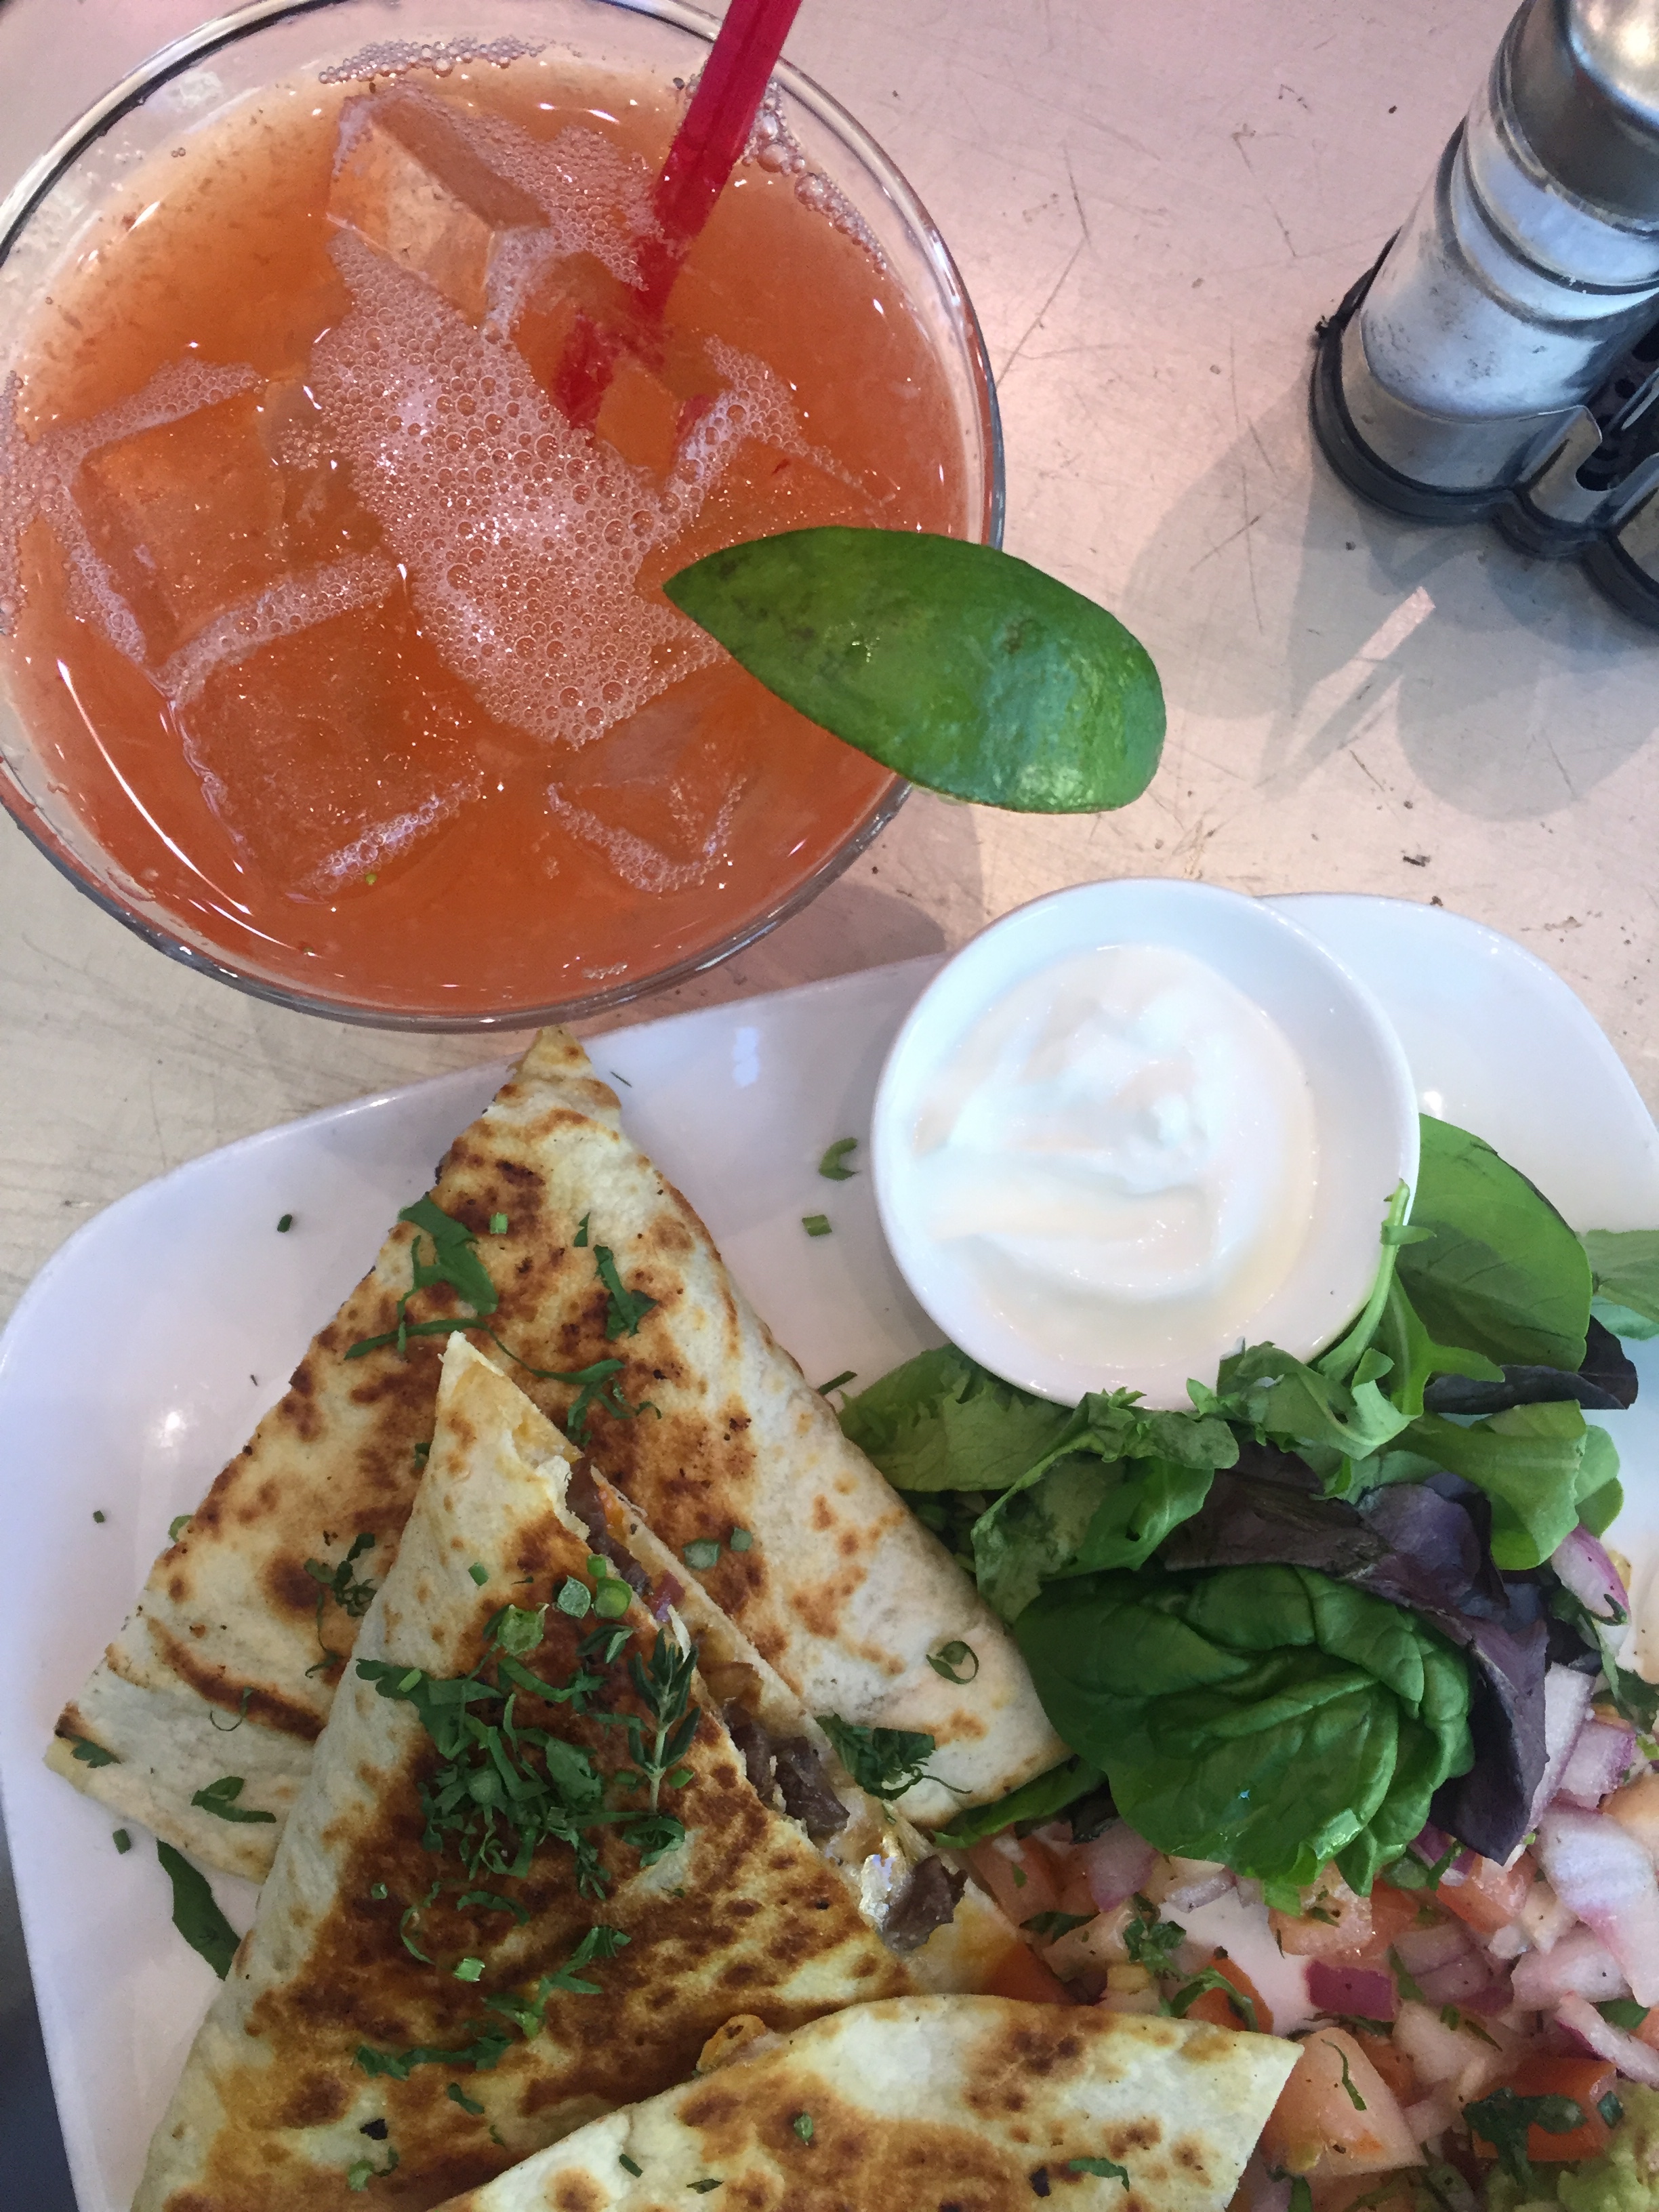
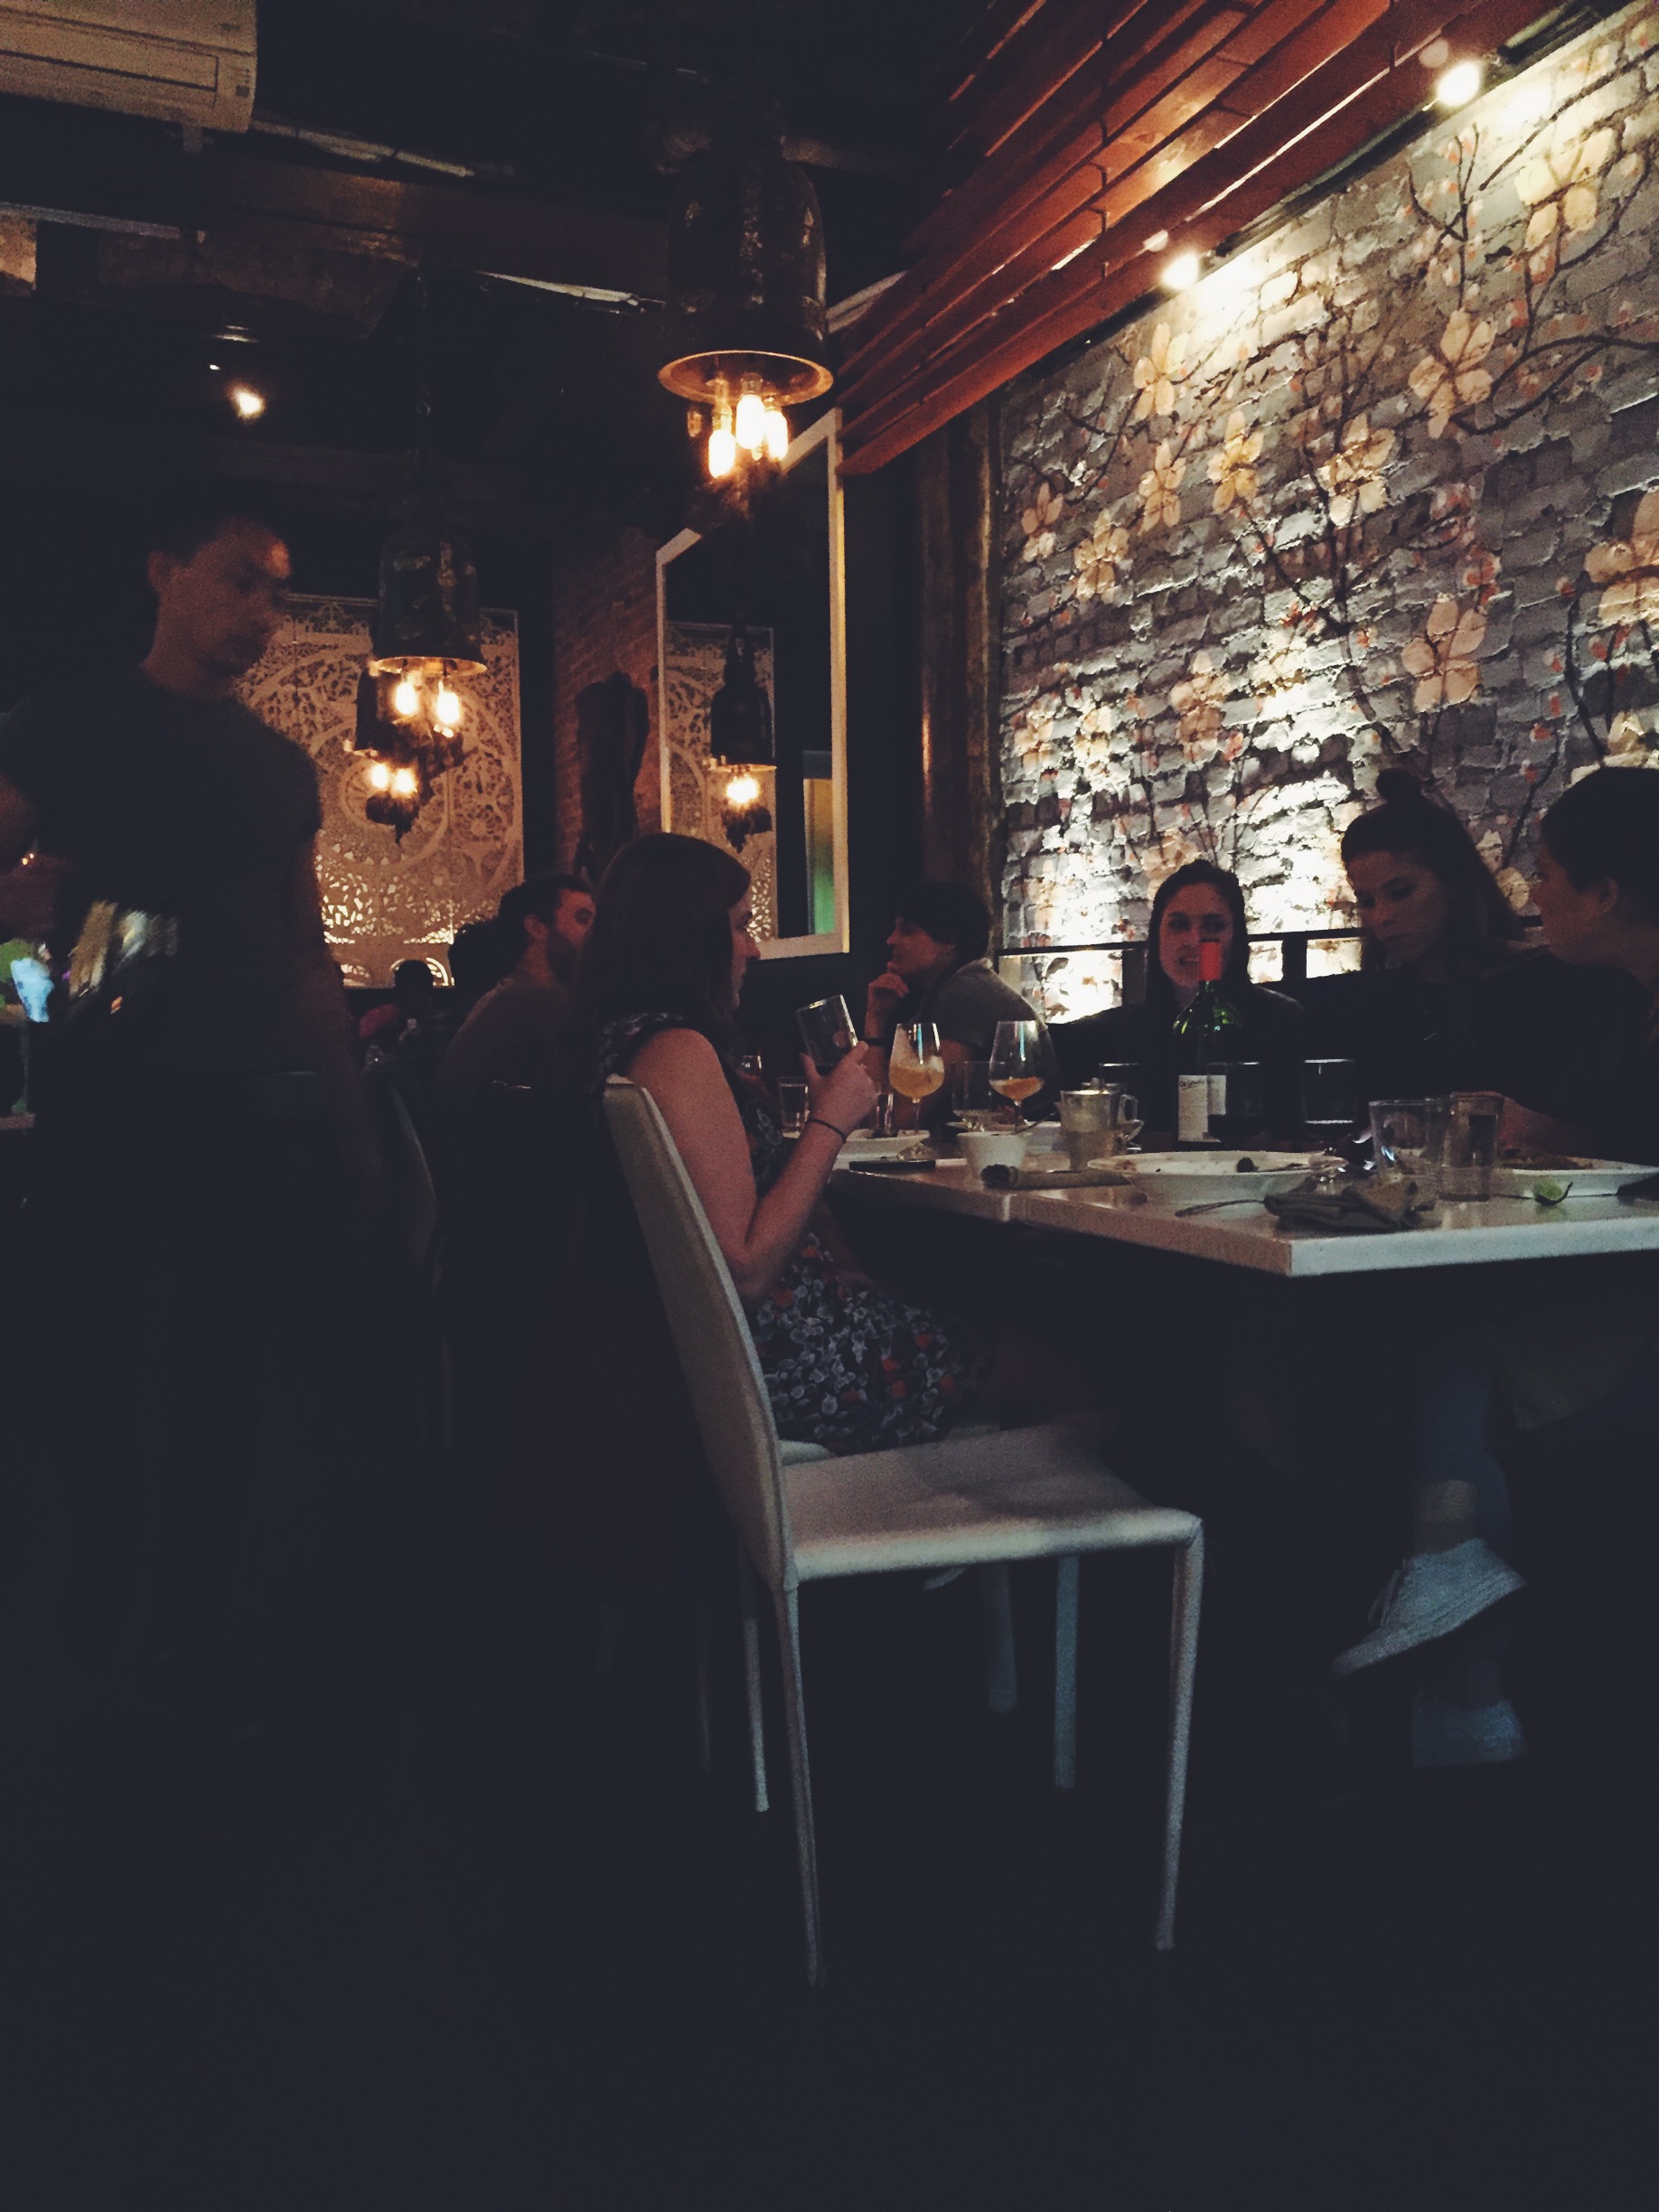
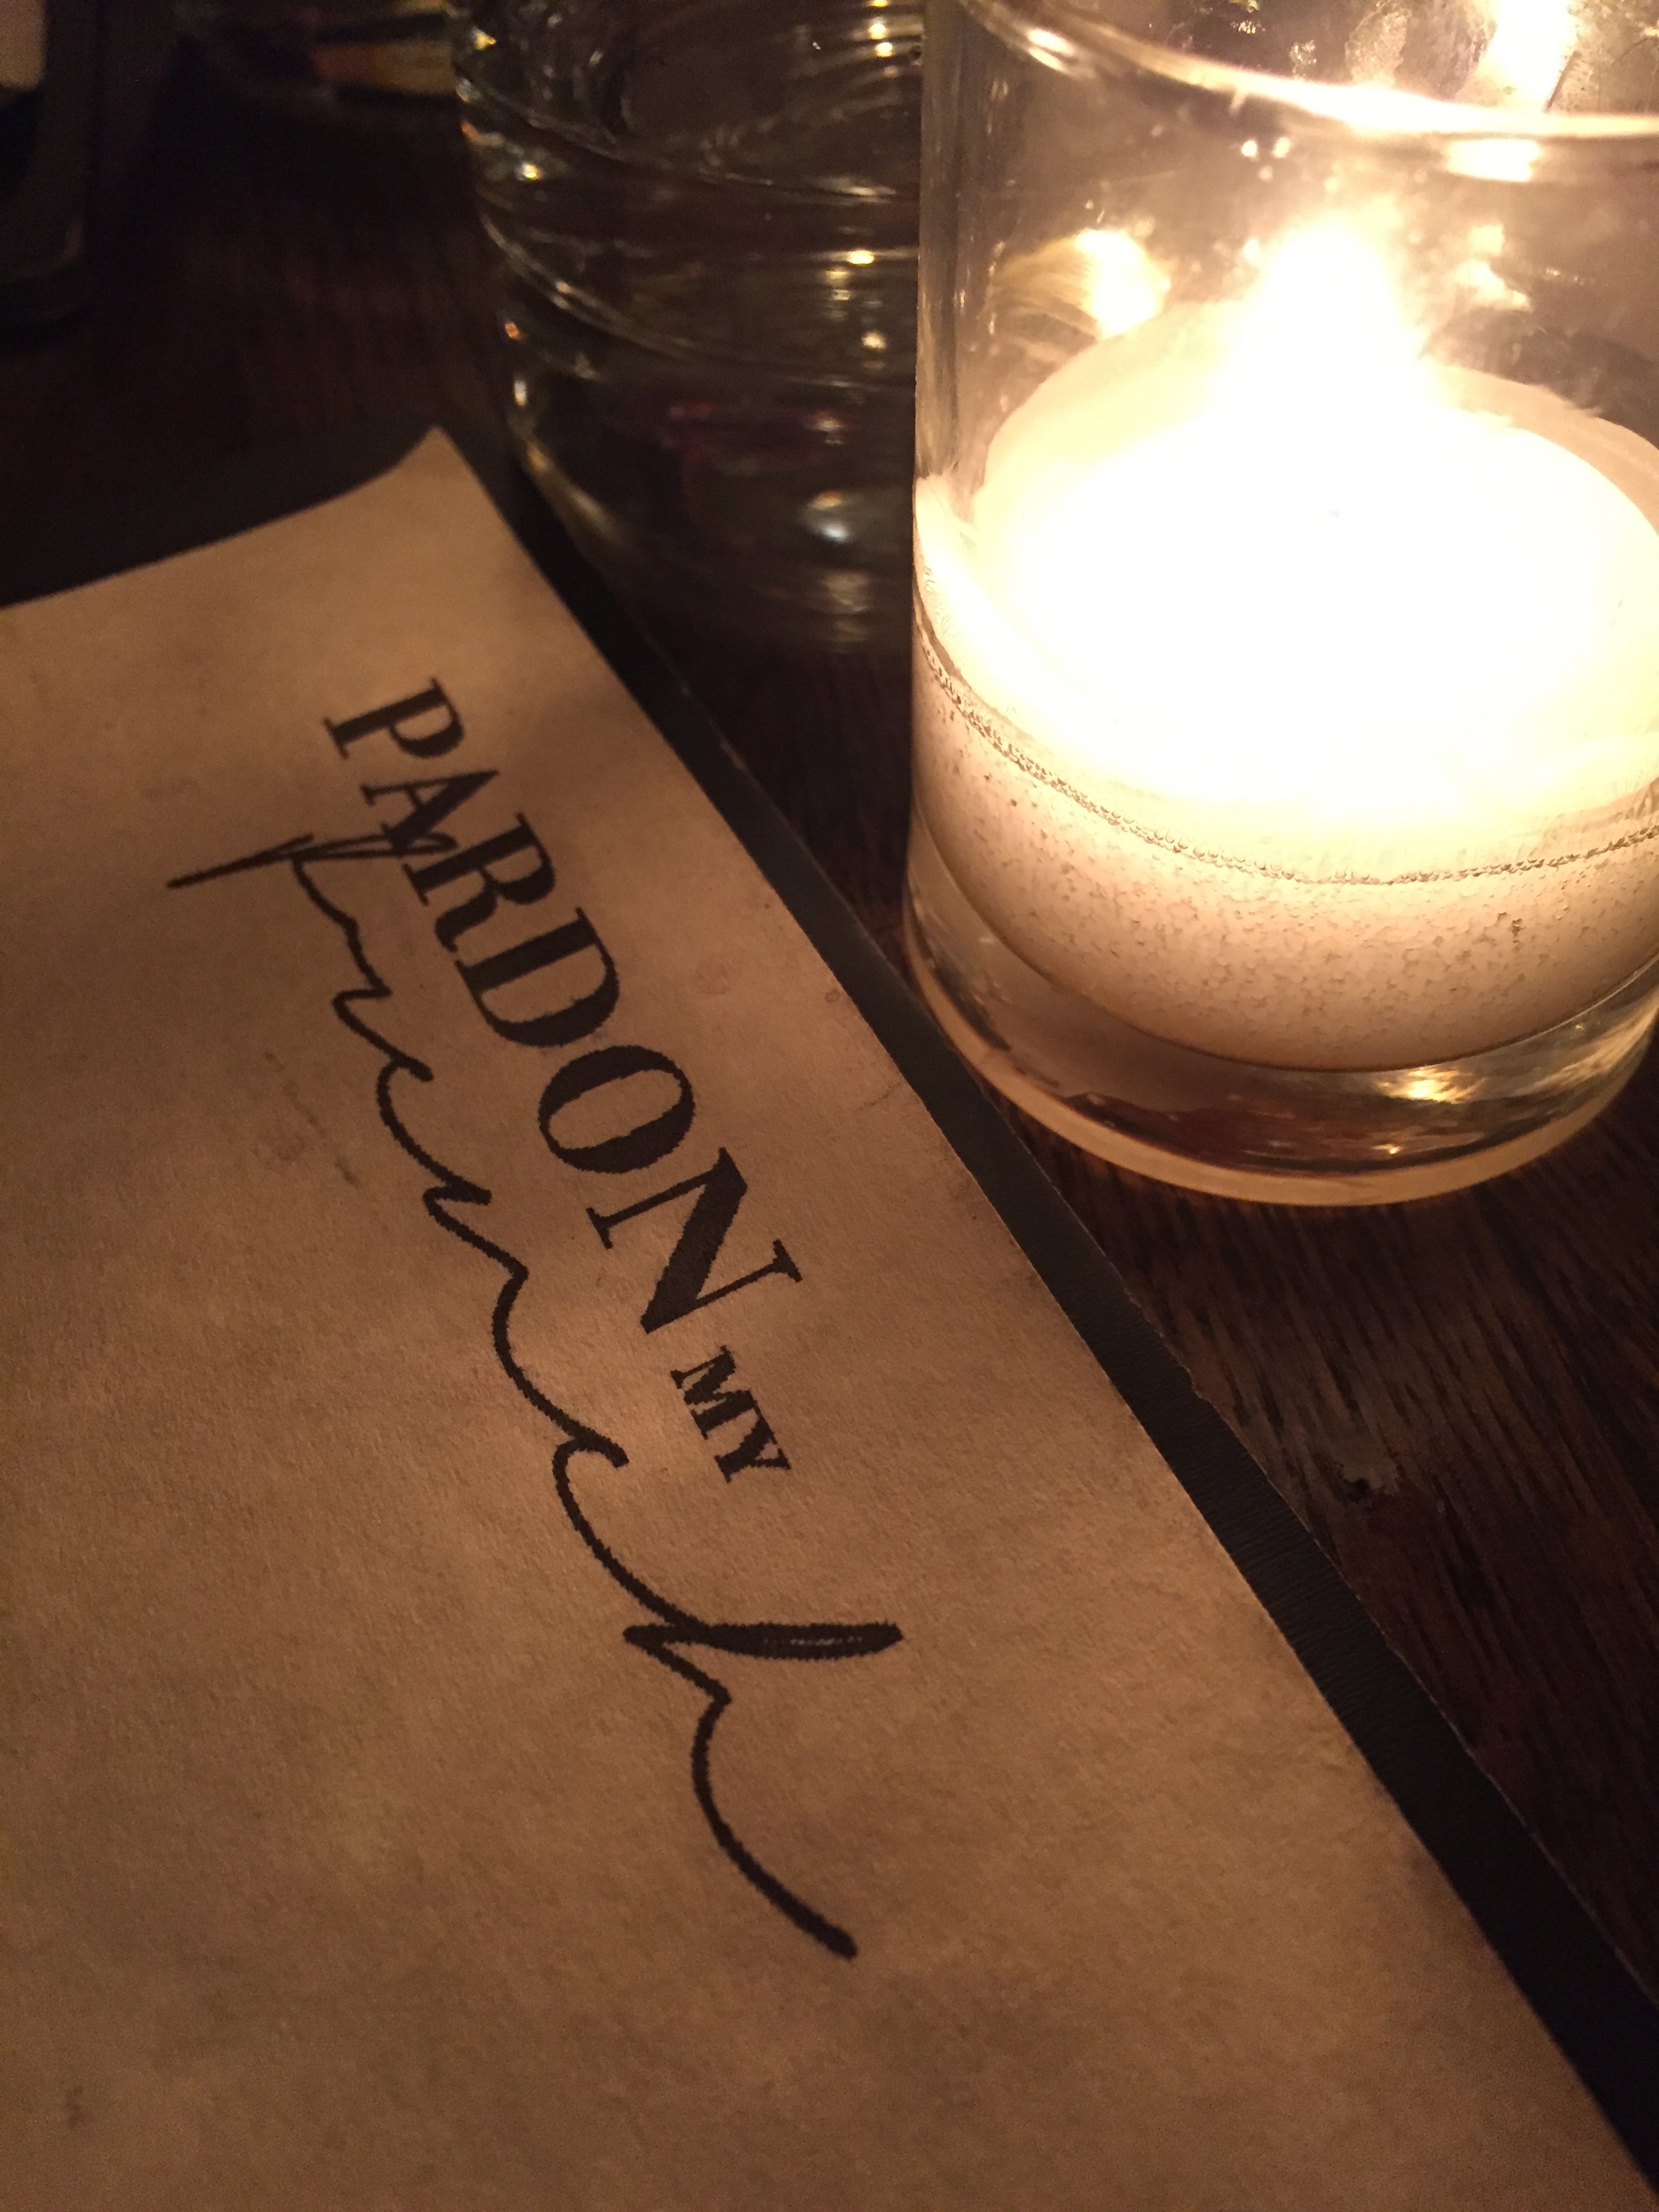
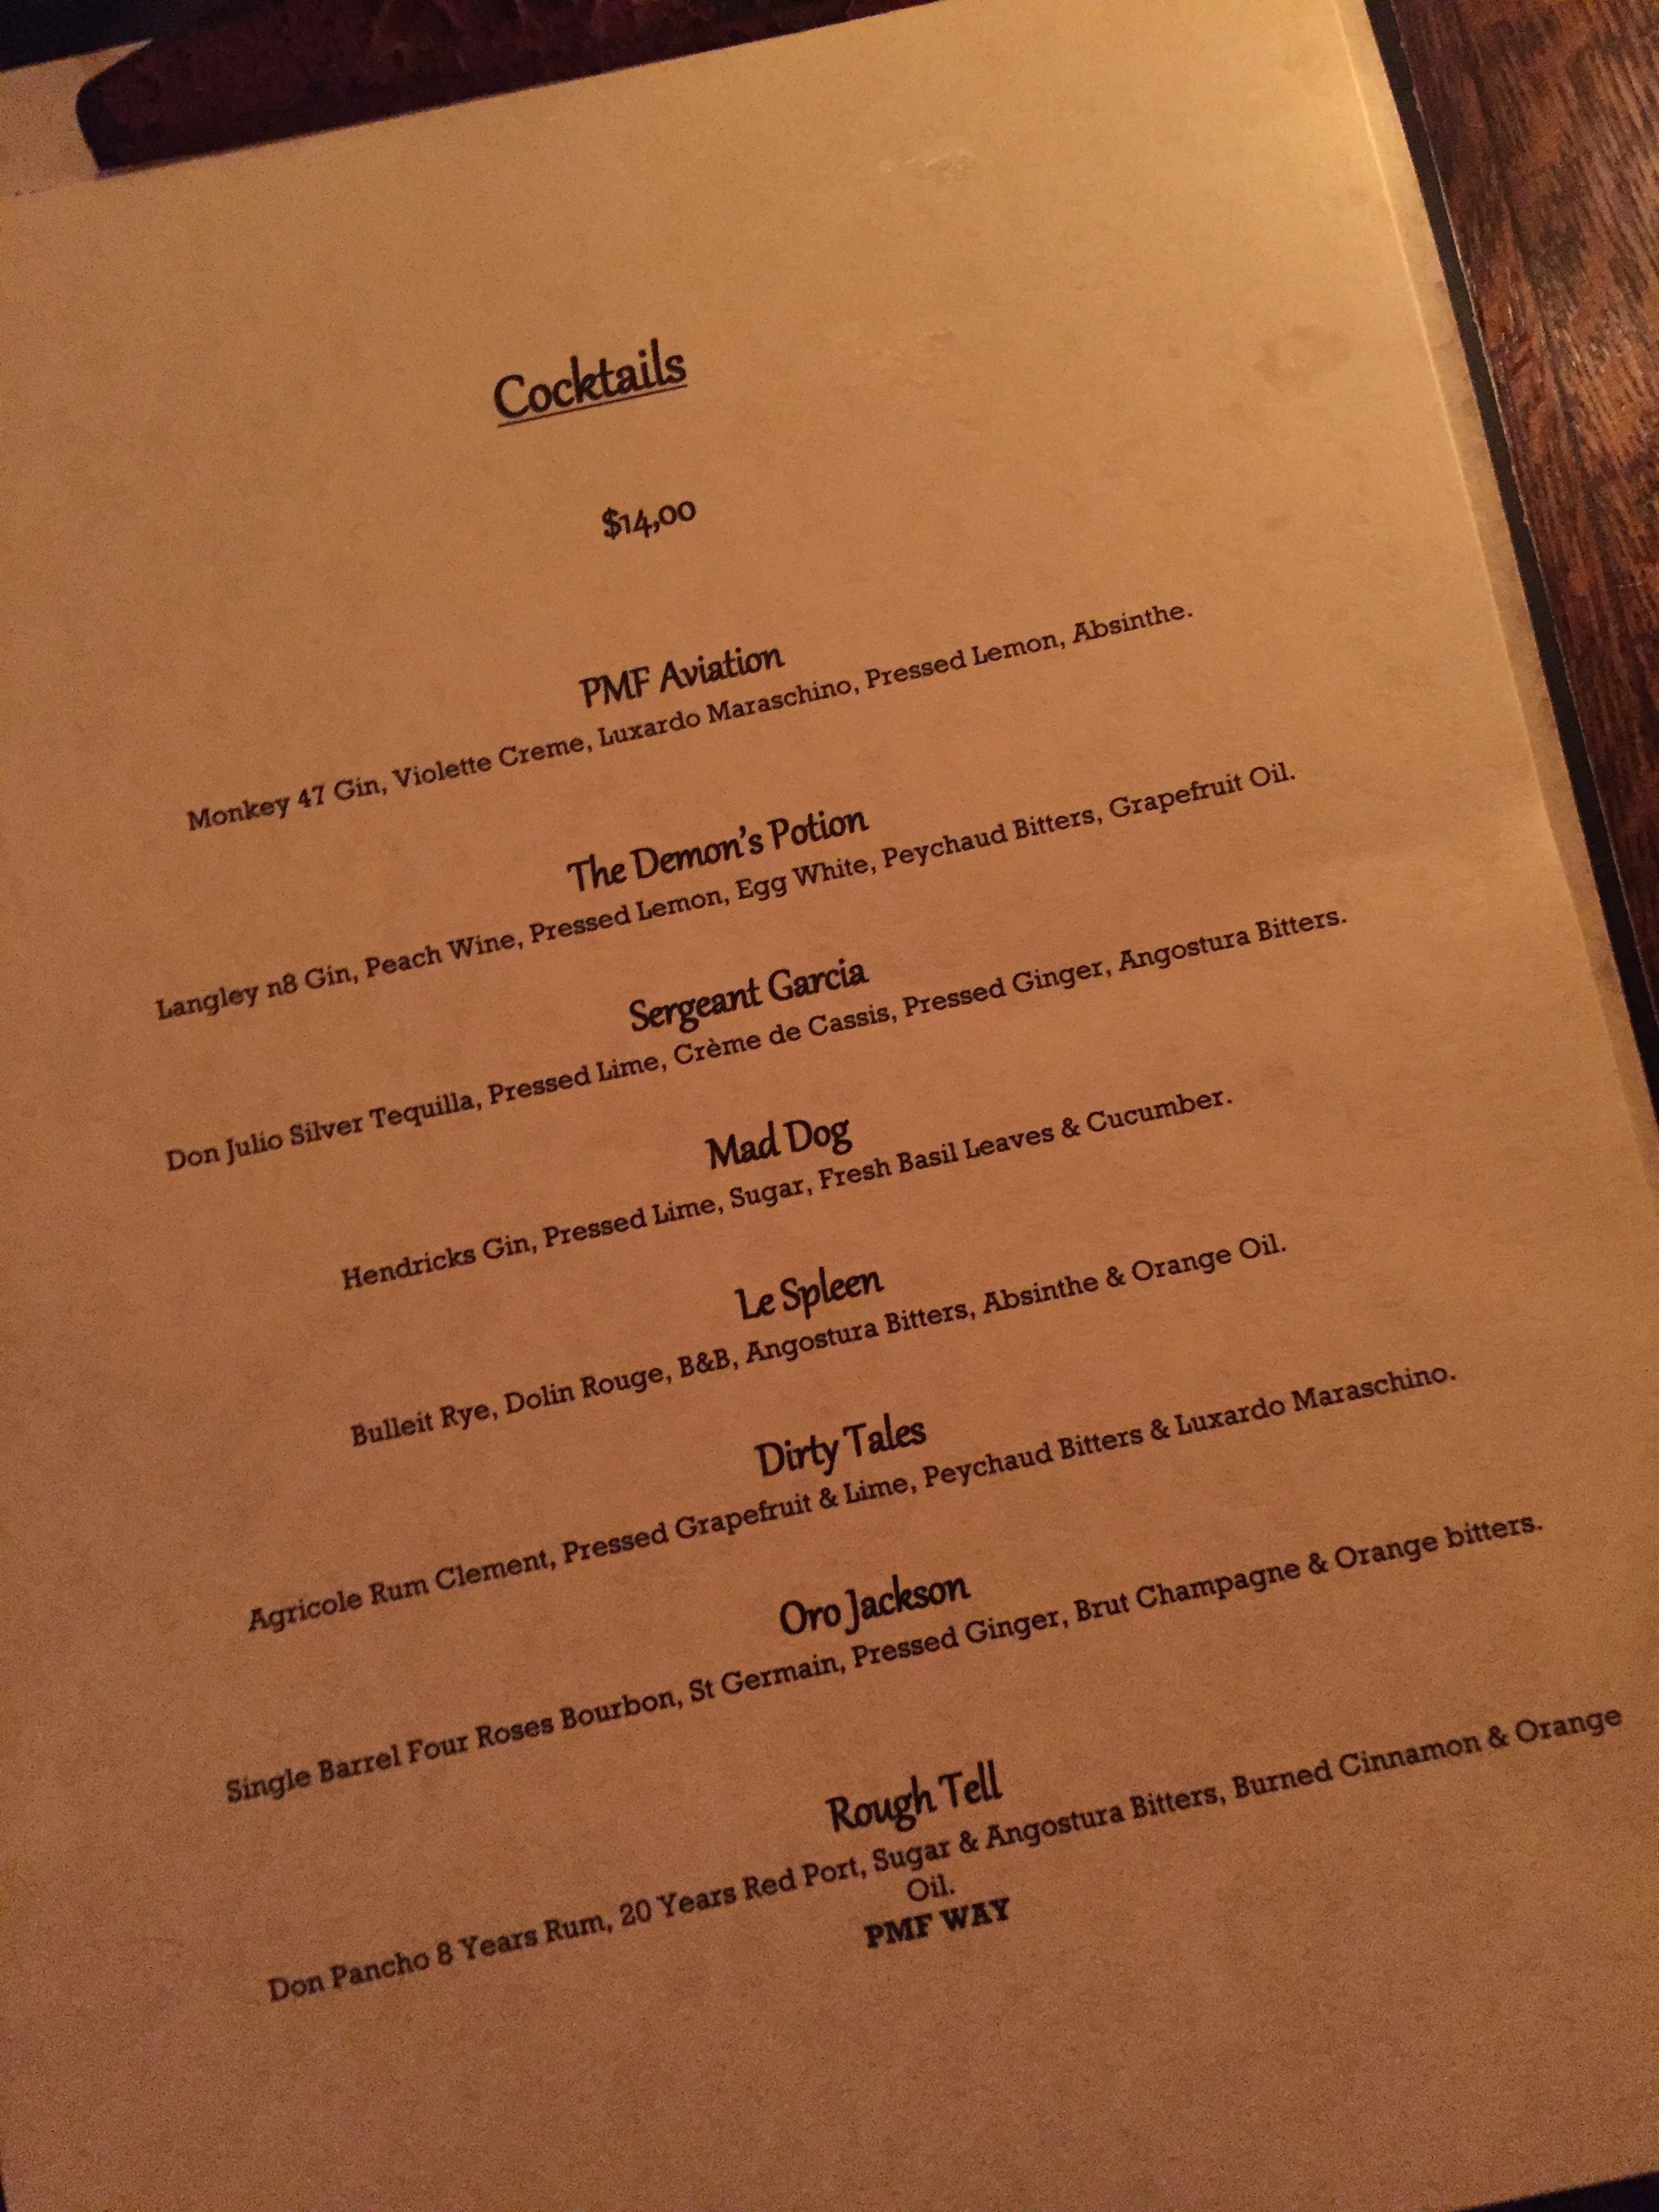
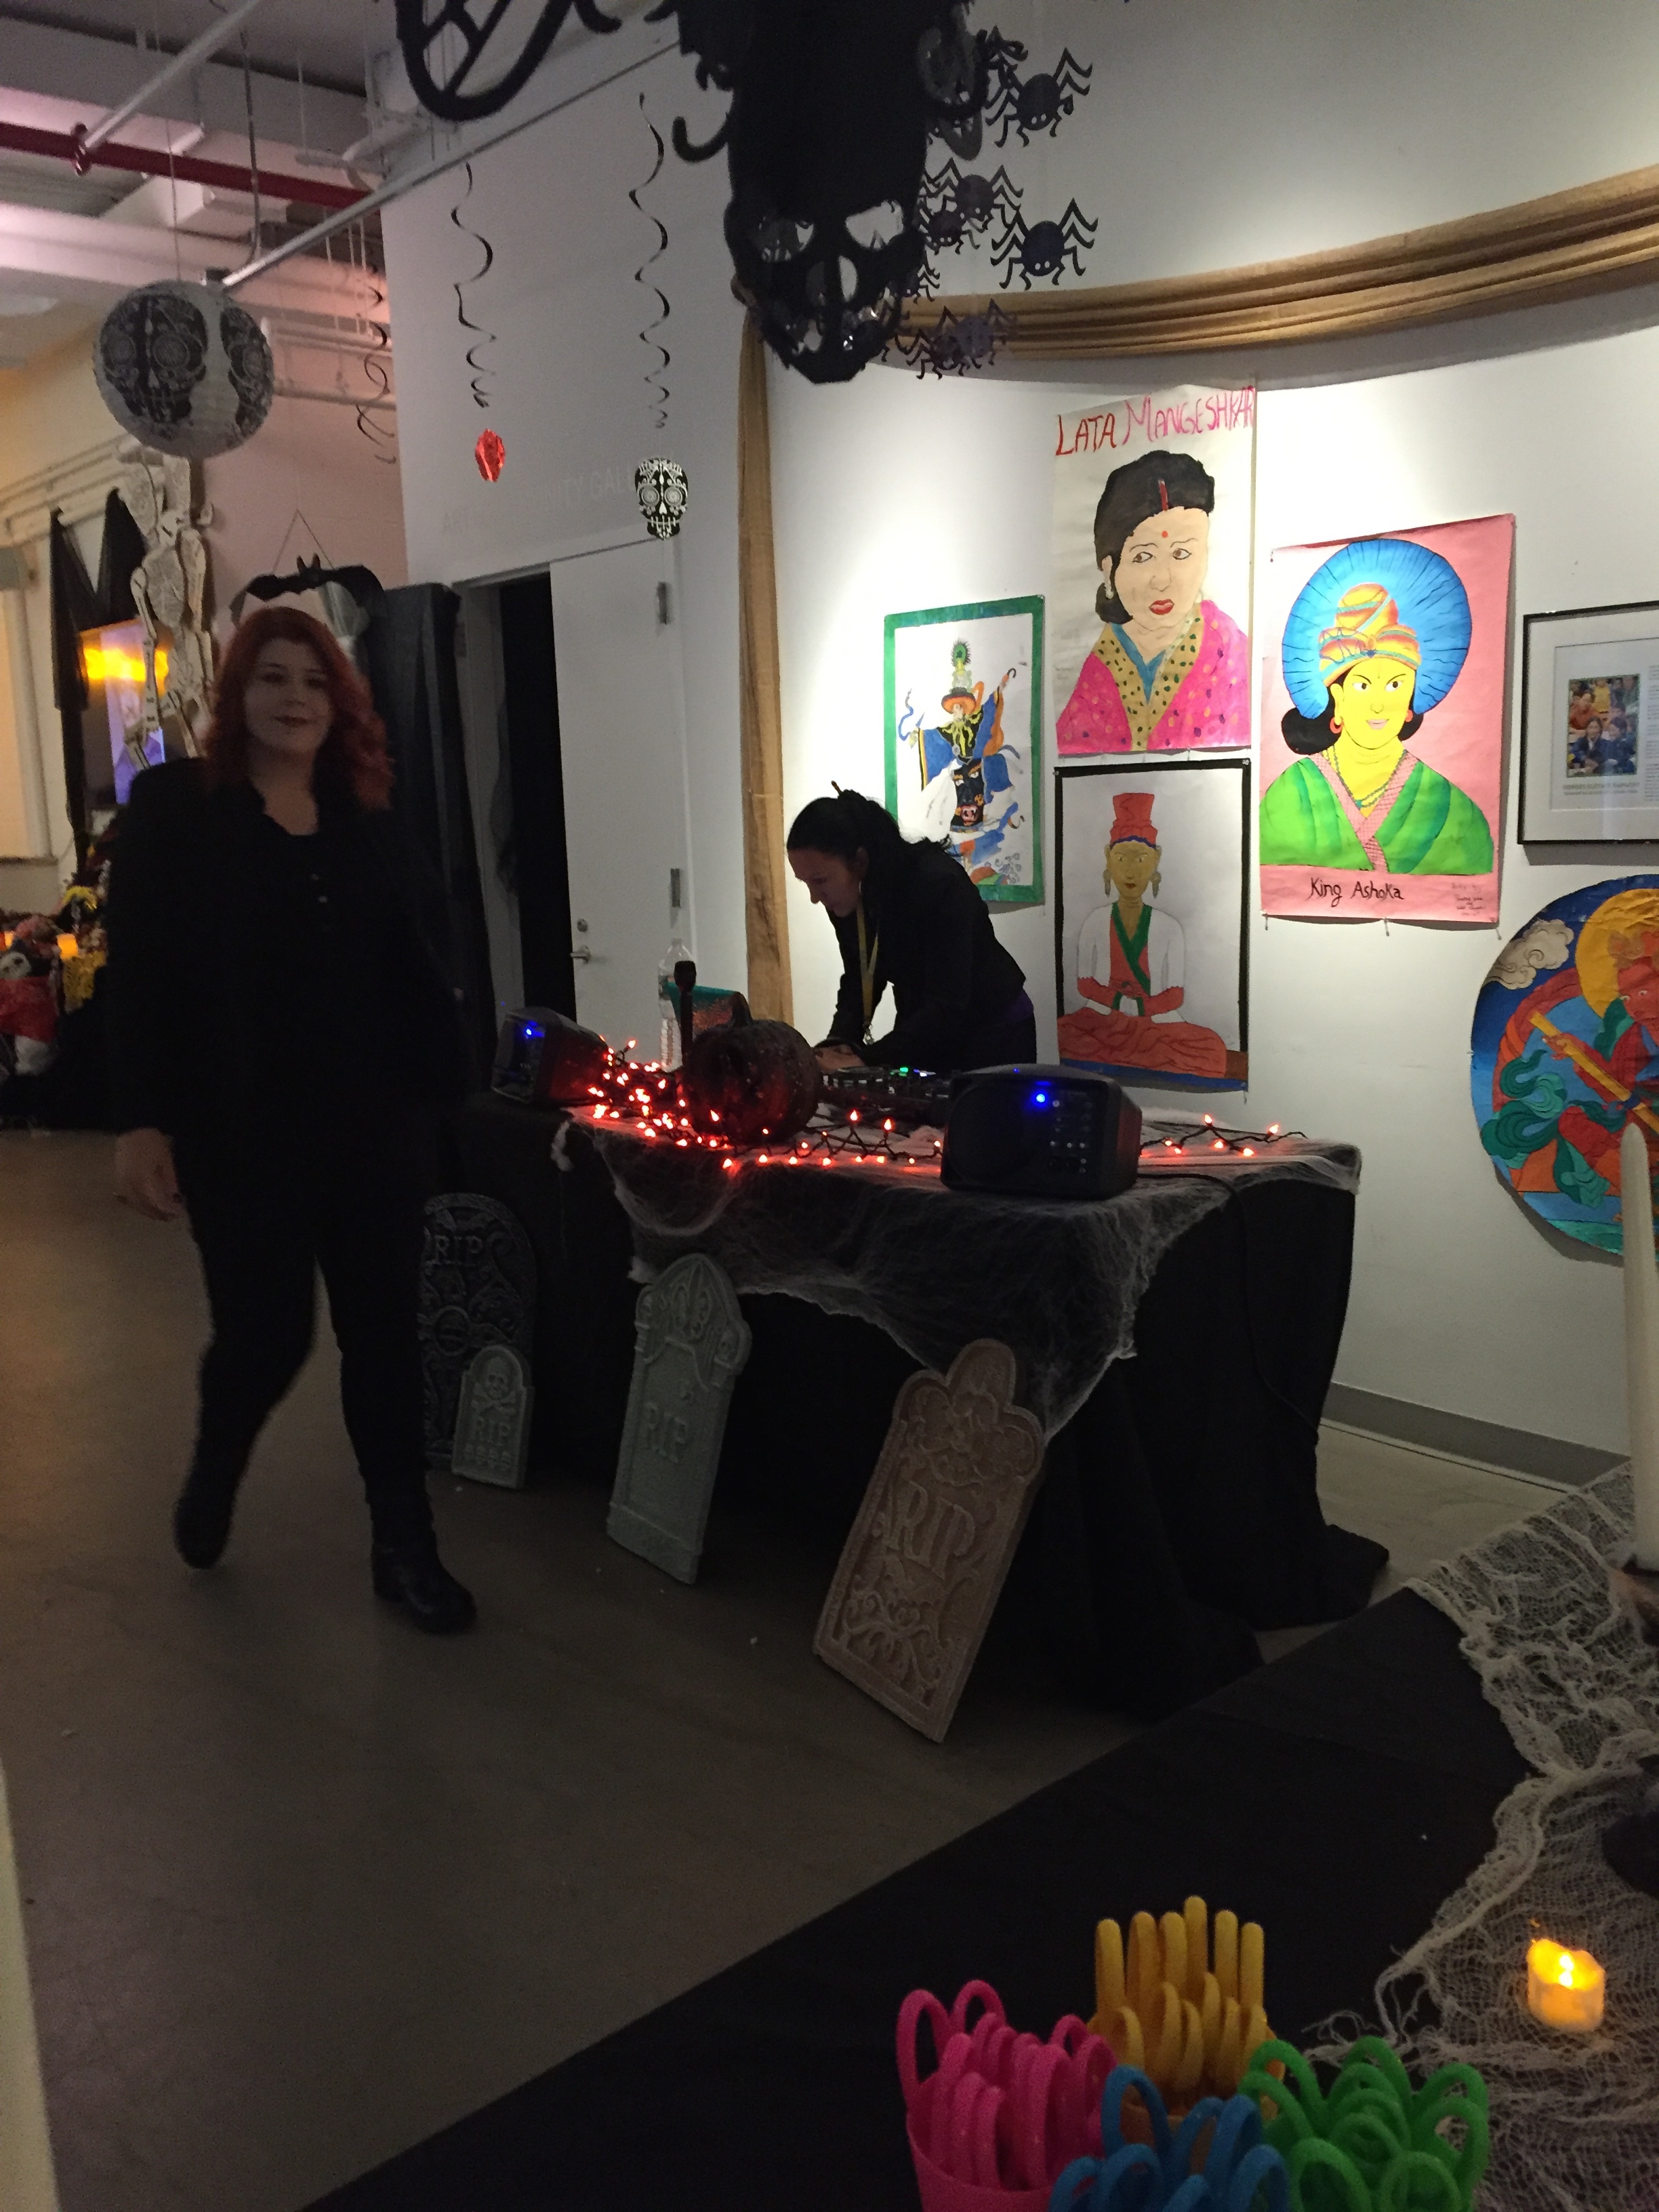
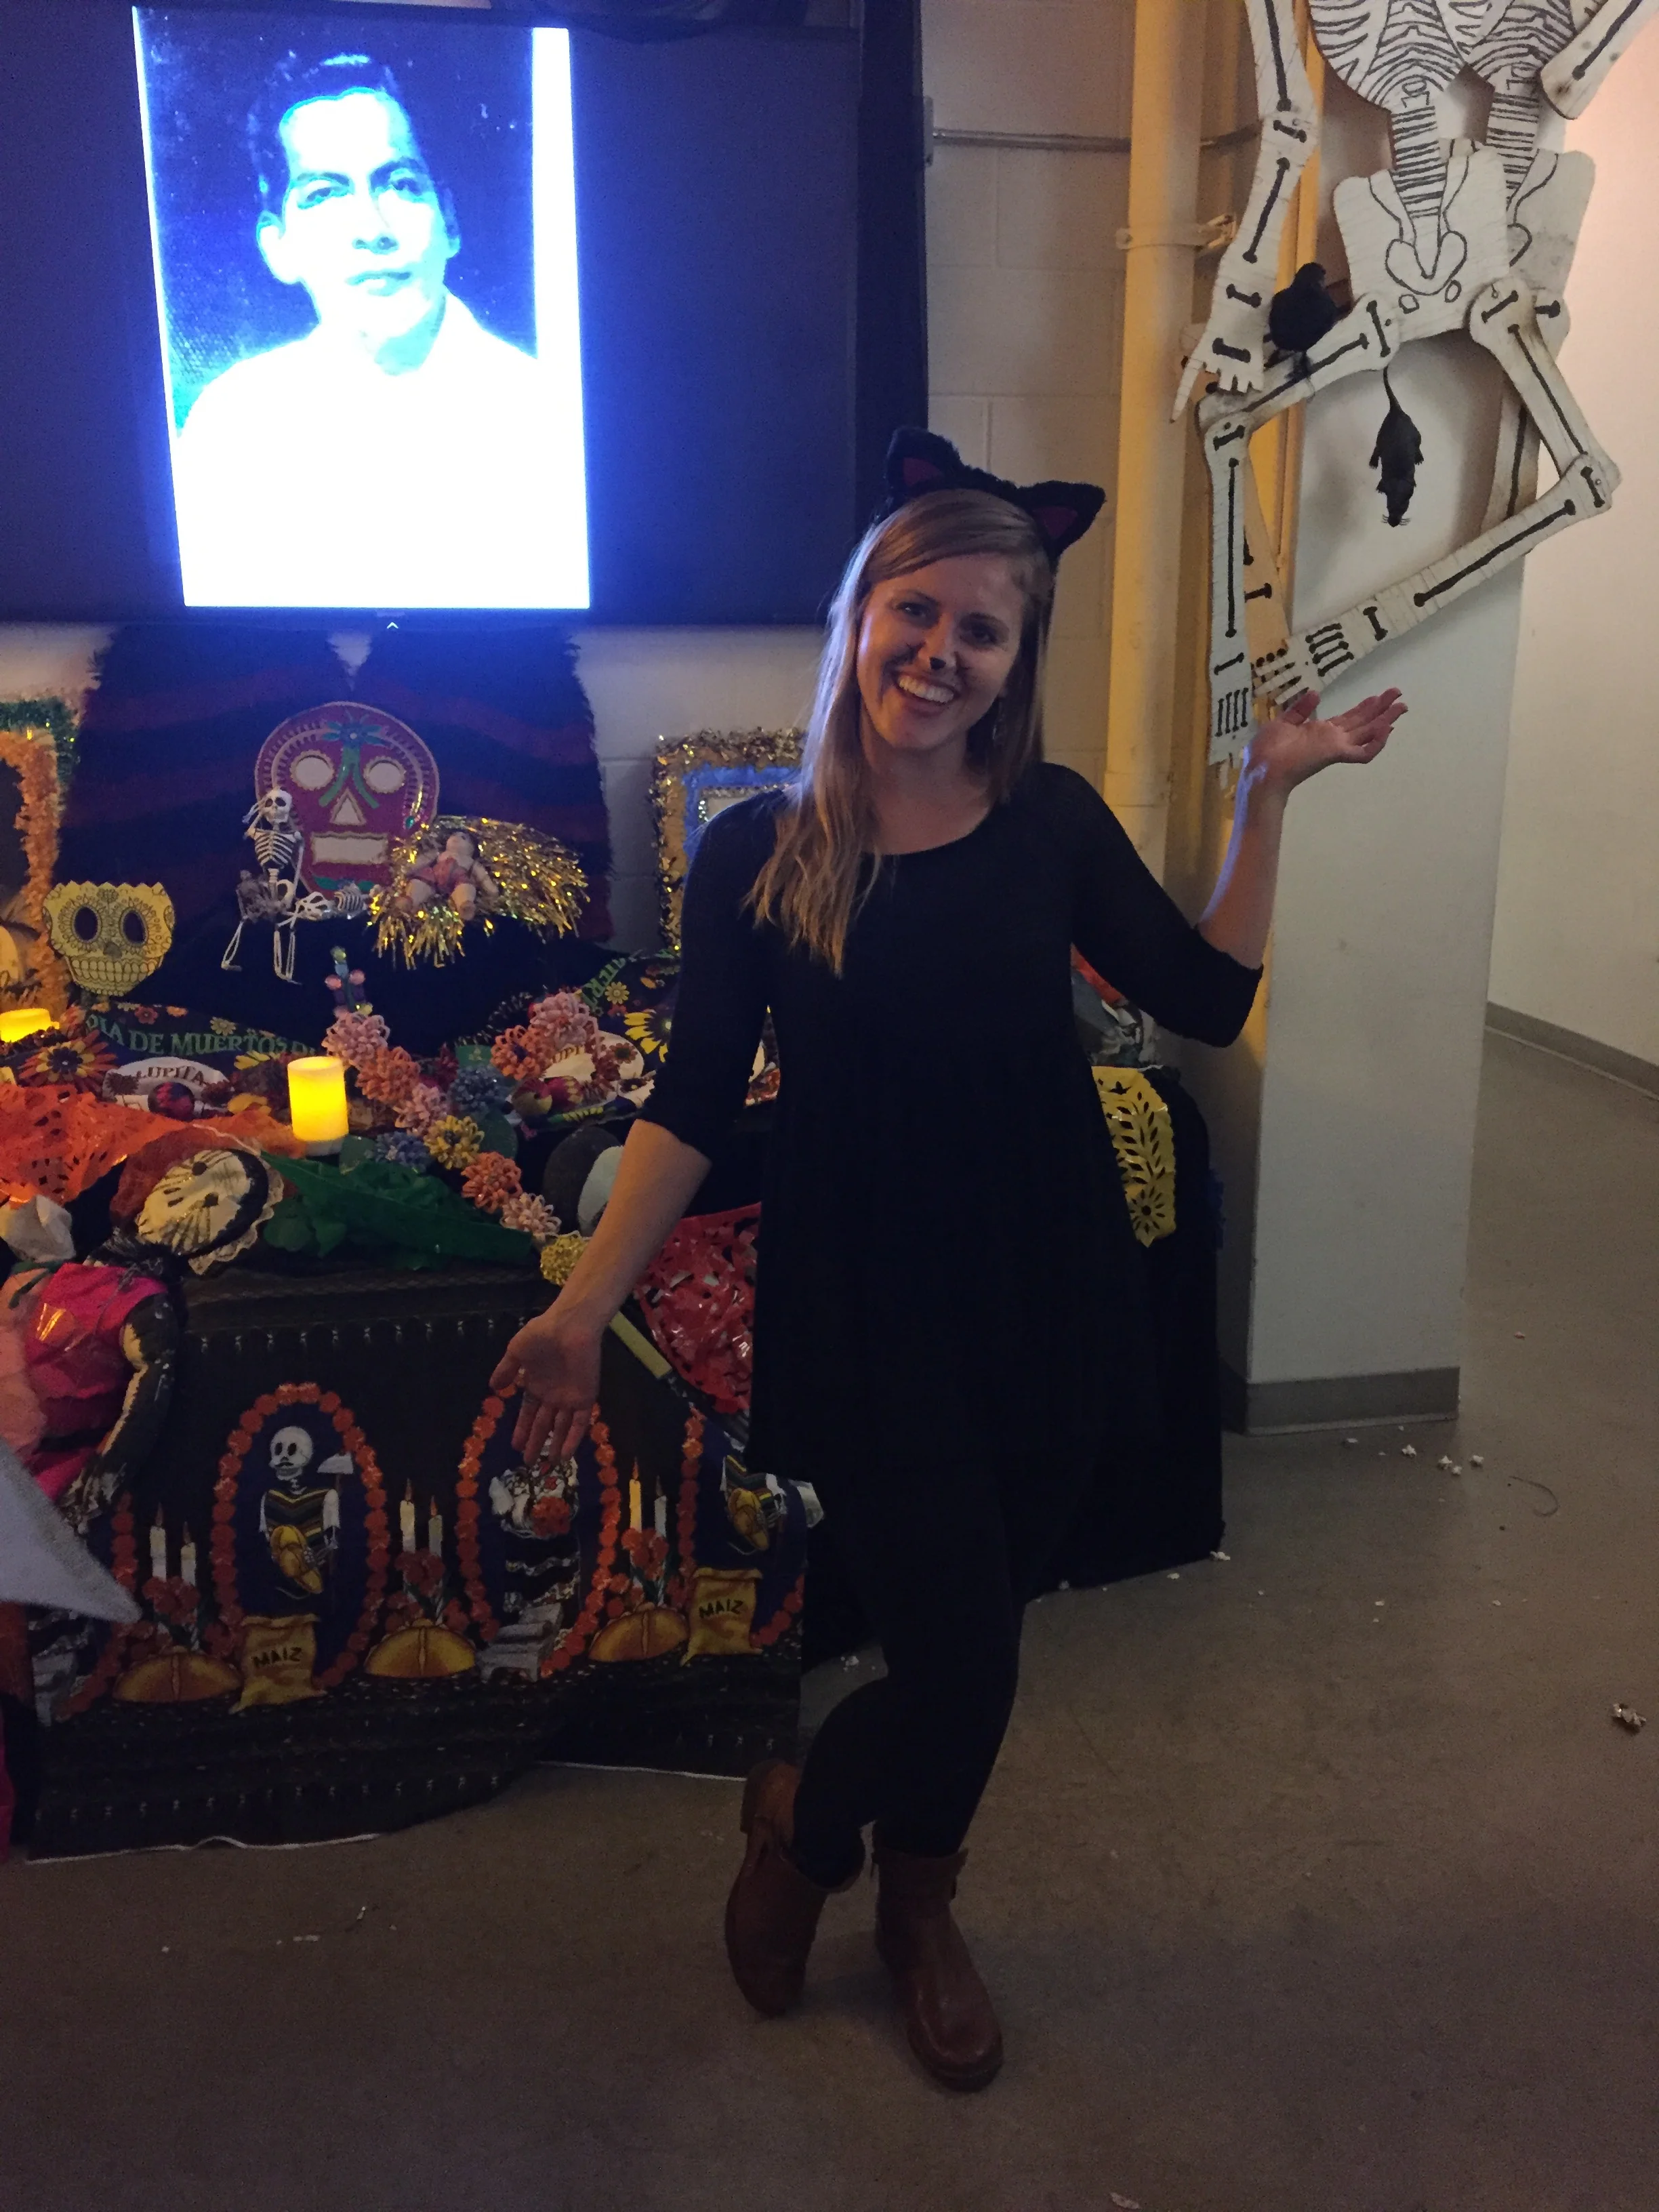
DAY TWO - LOWER EAST SIDE MURALS + ARIEL'S LATIN BISTRO + PARDON MY FRENCH
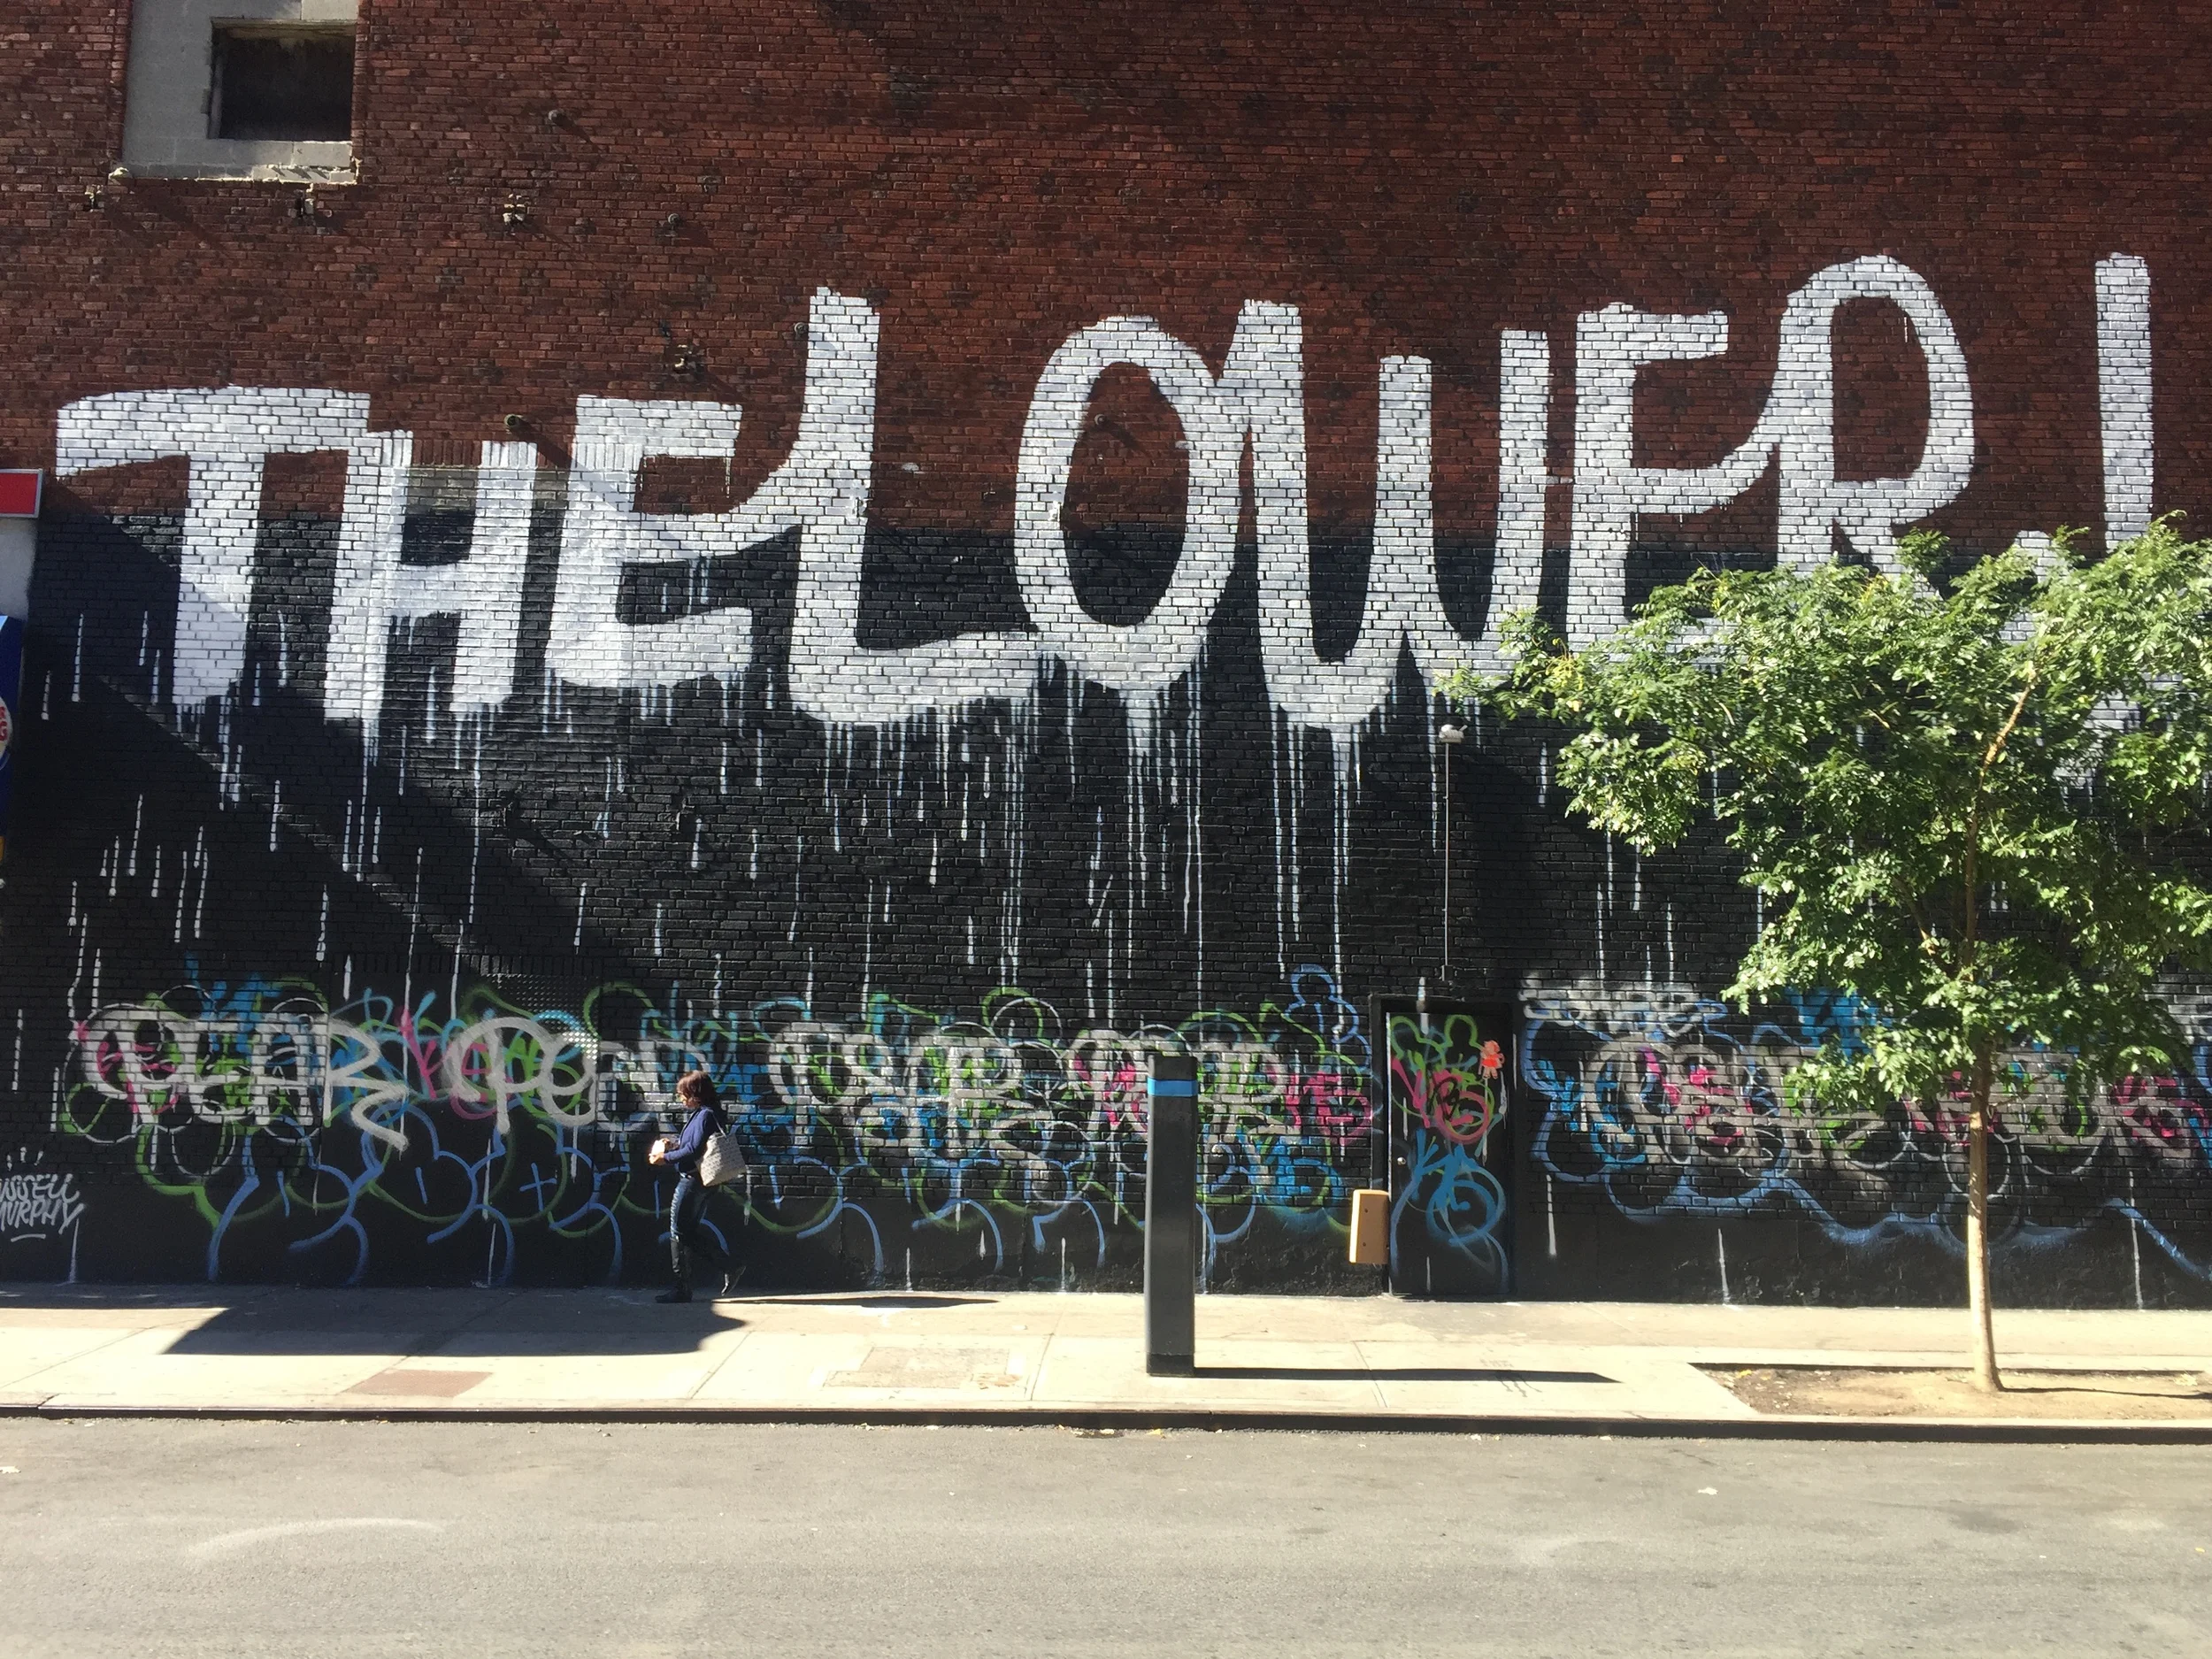
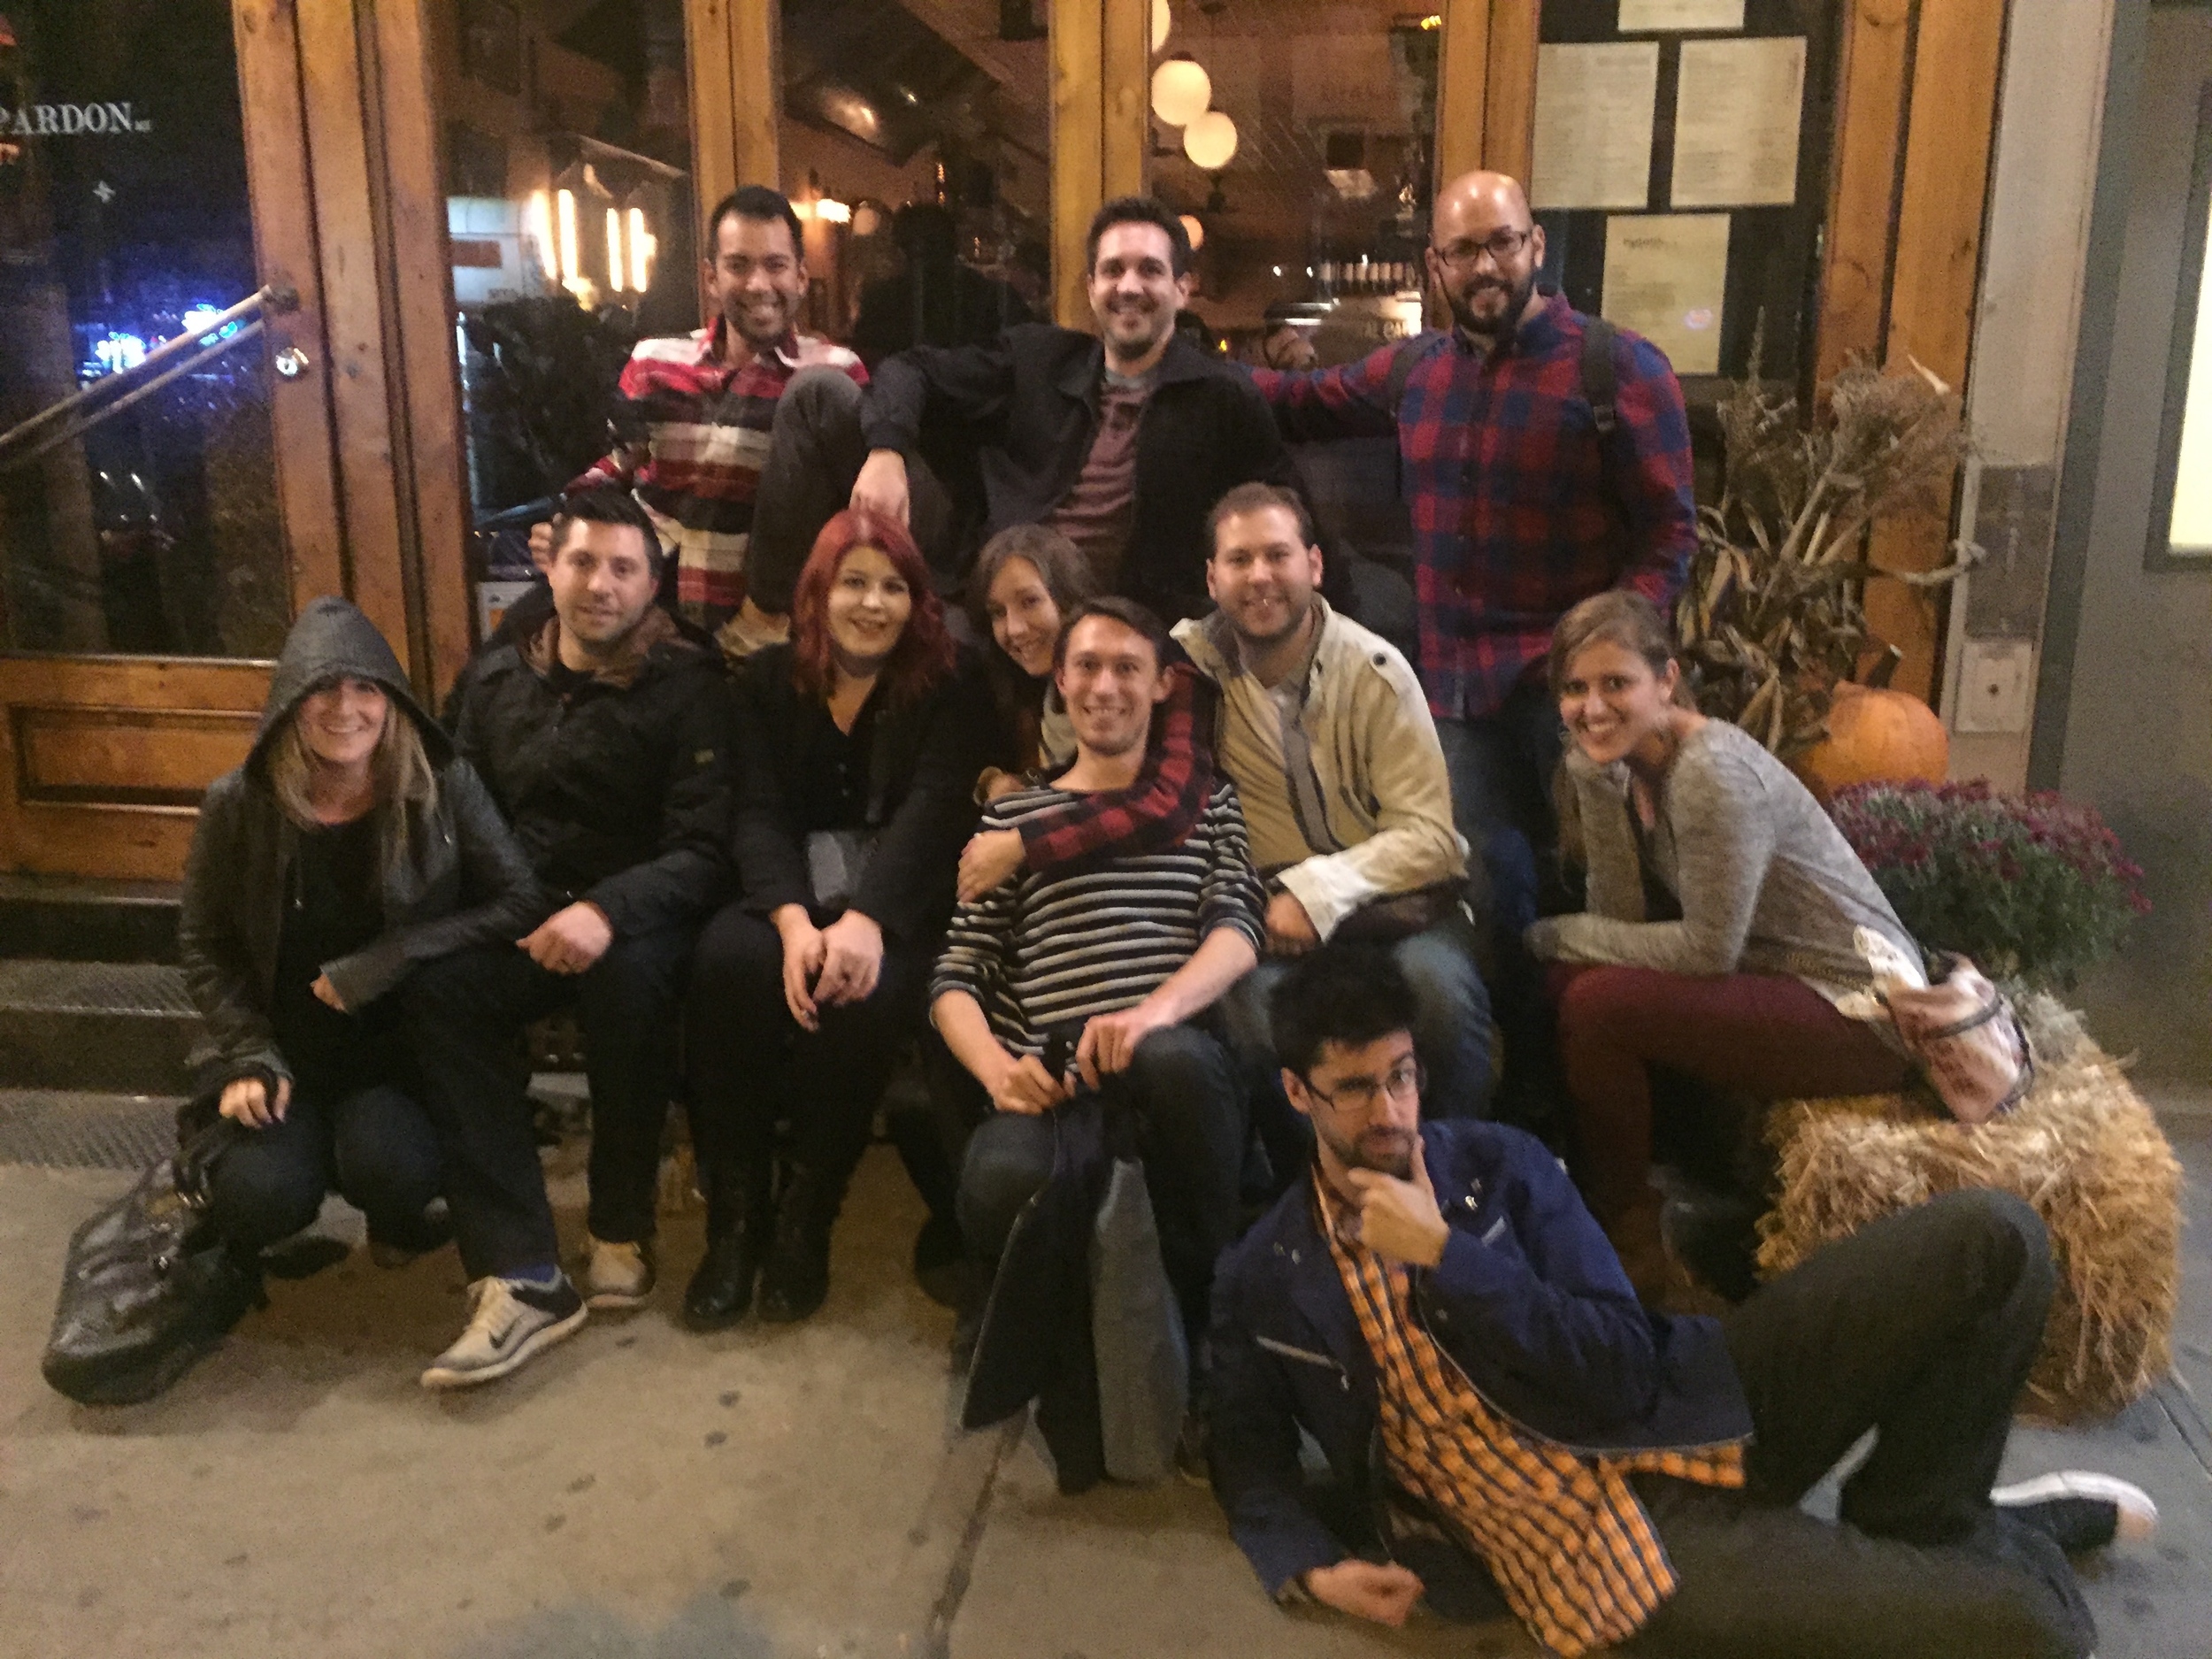
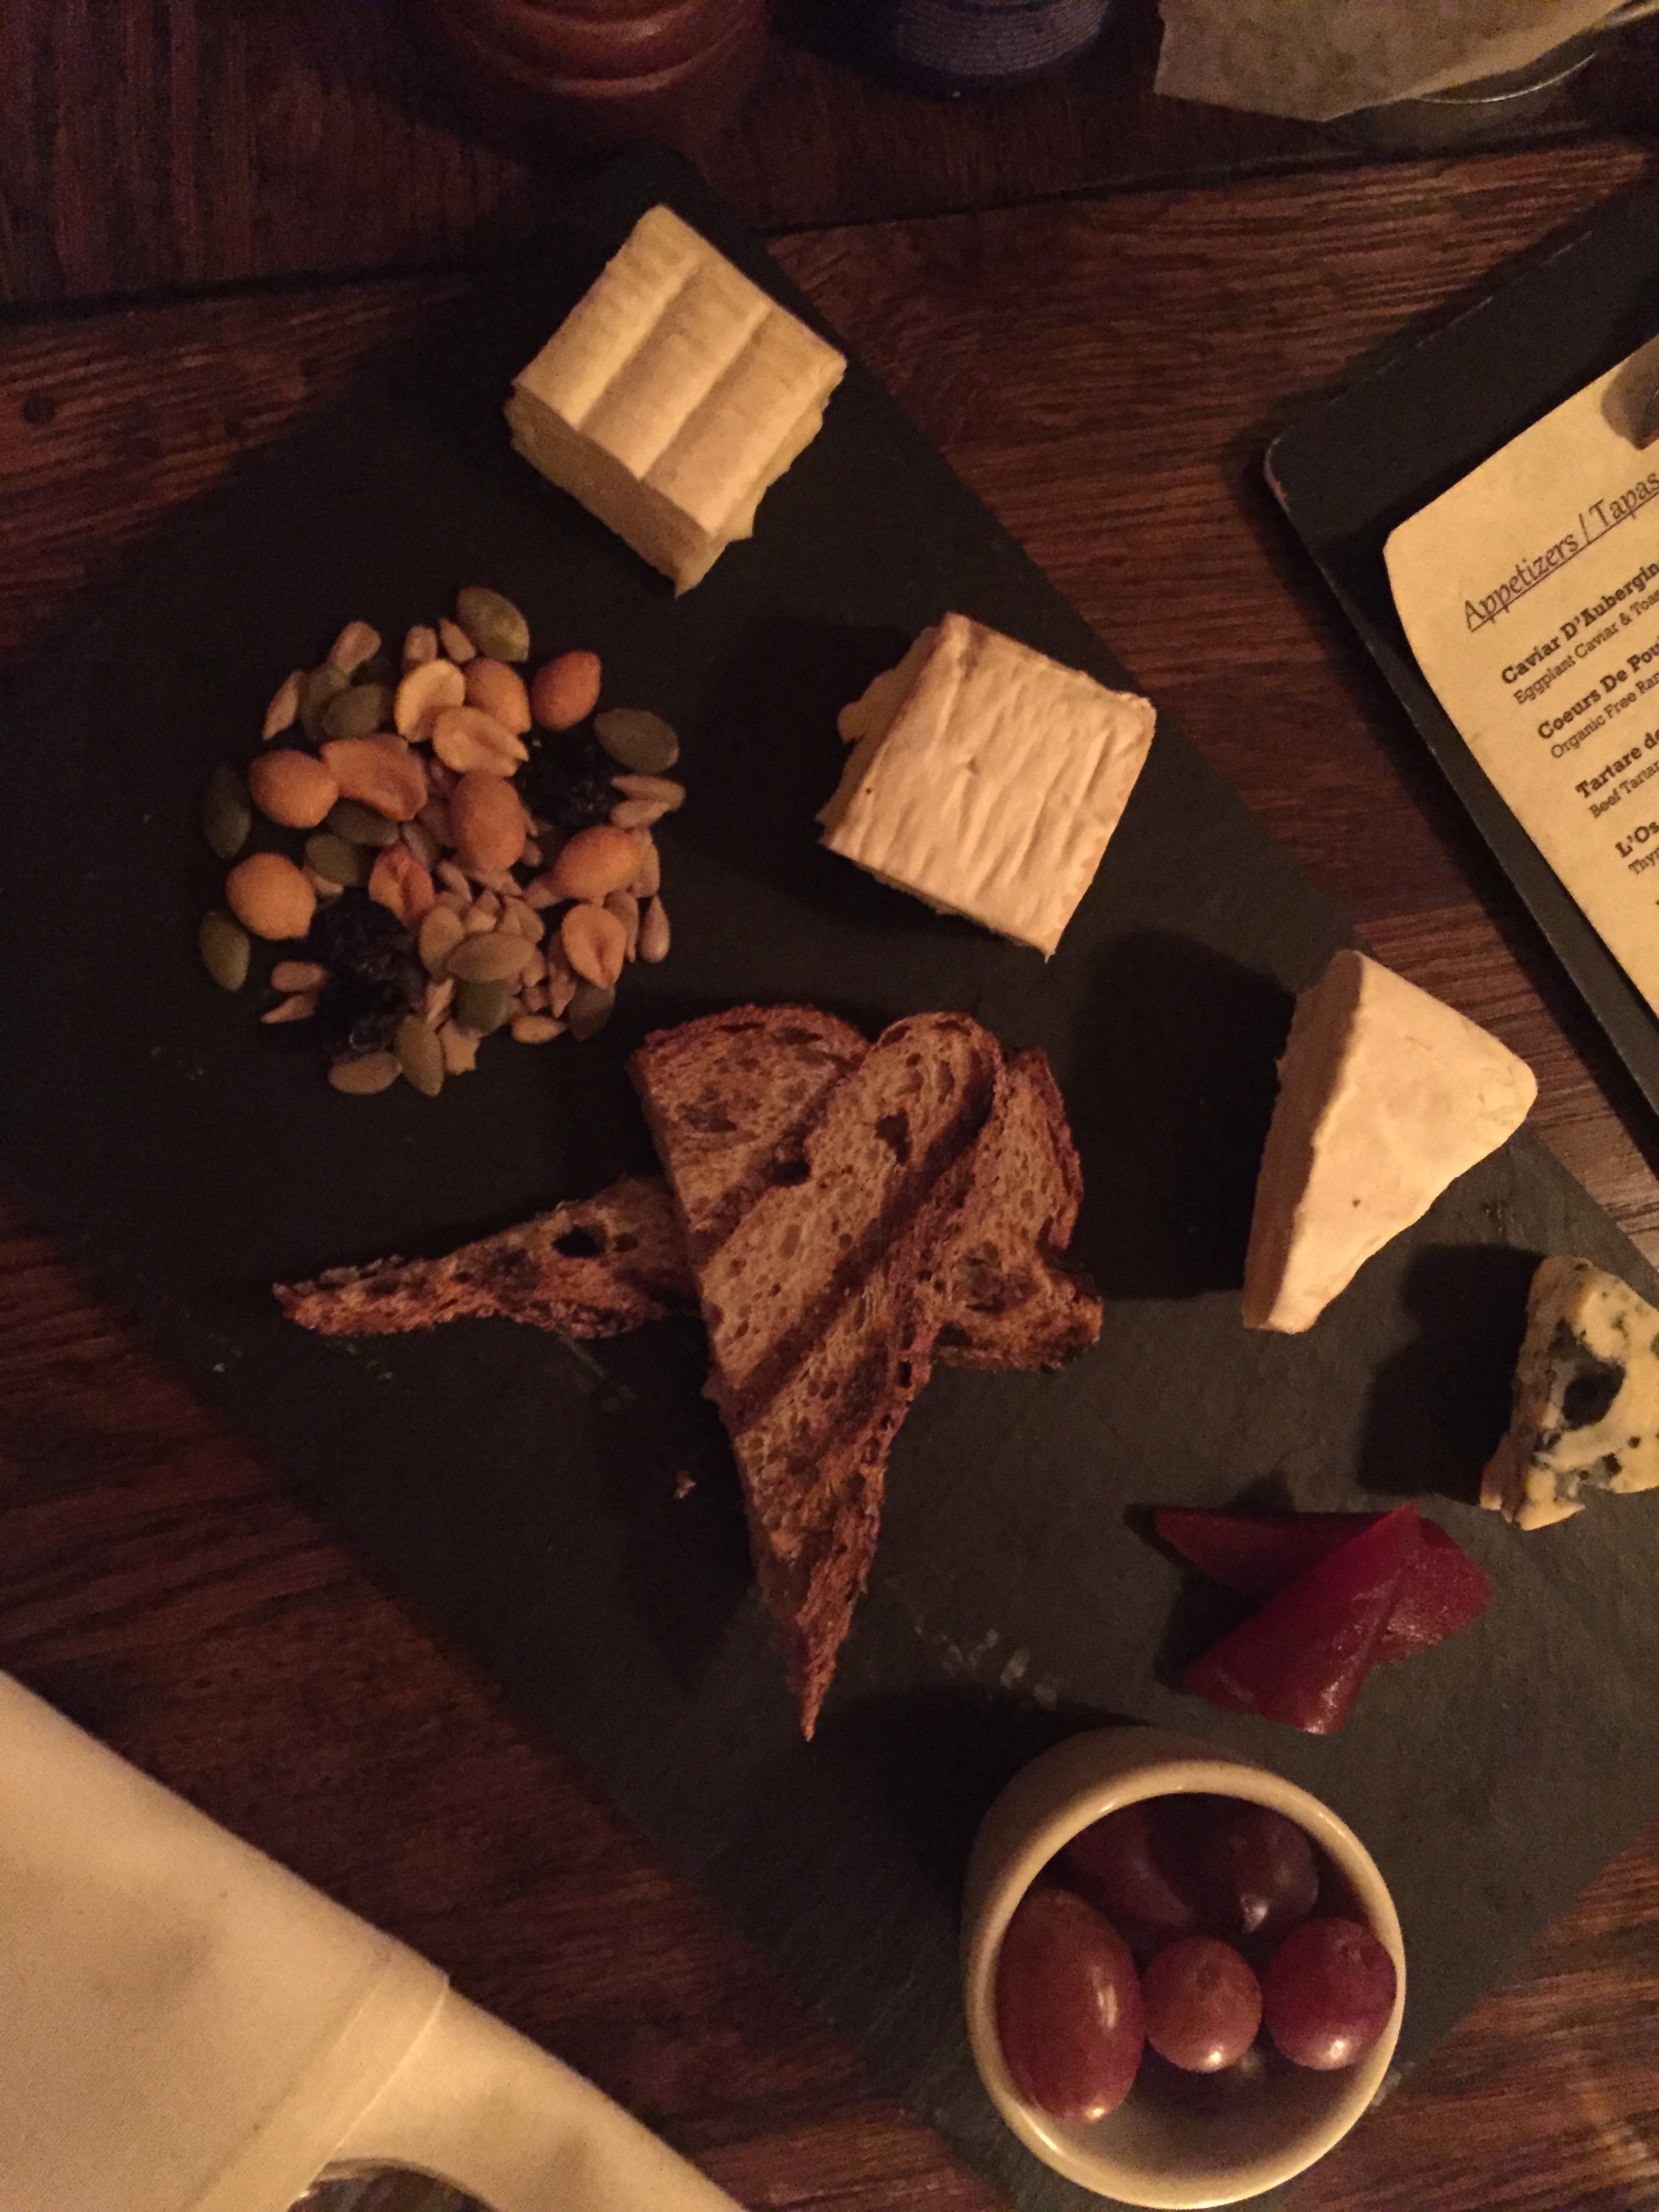
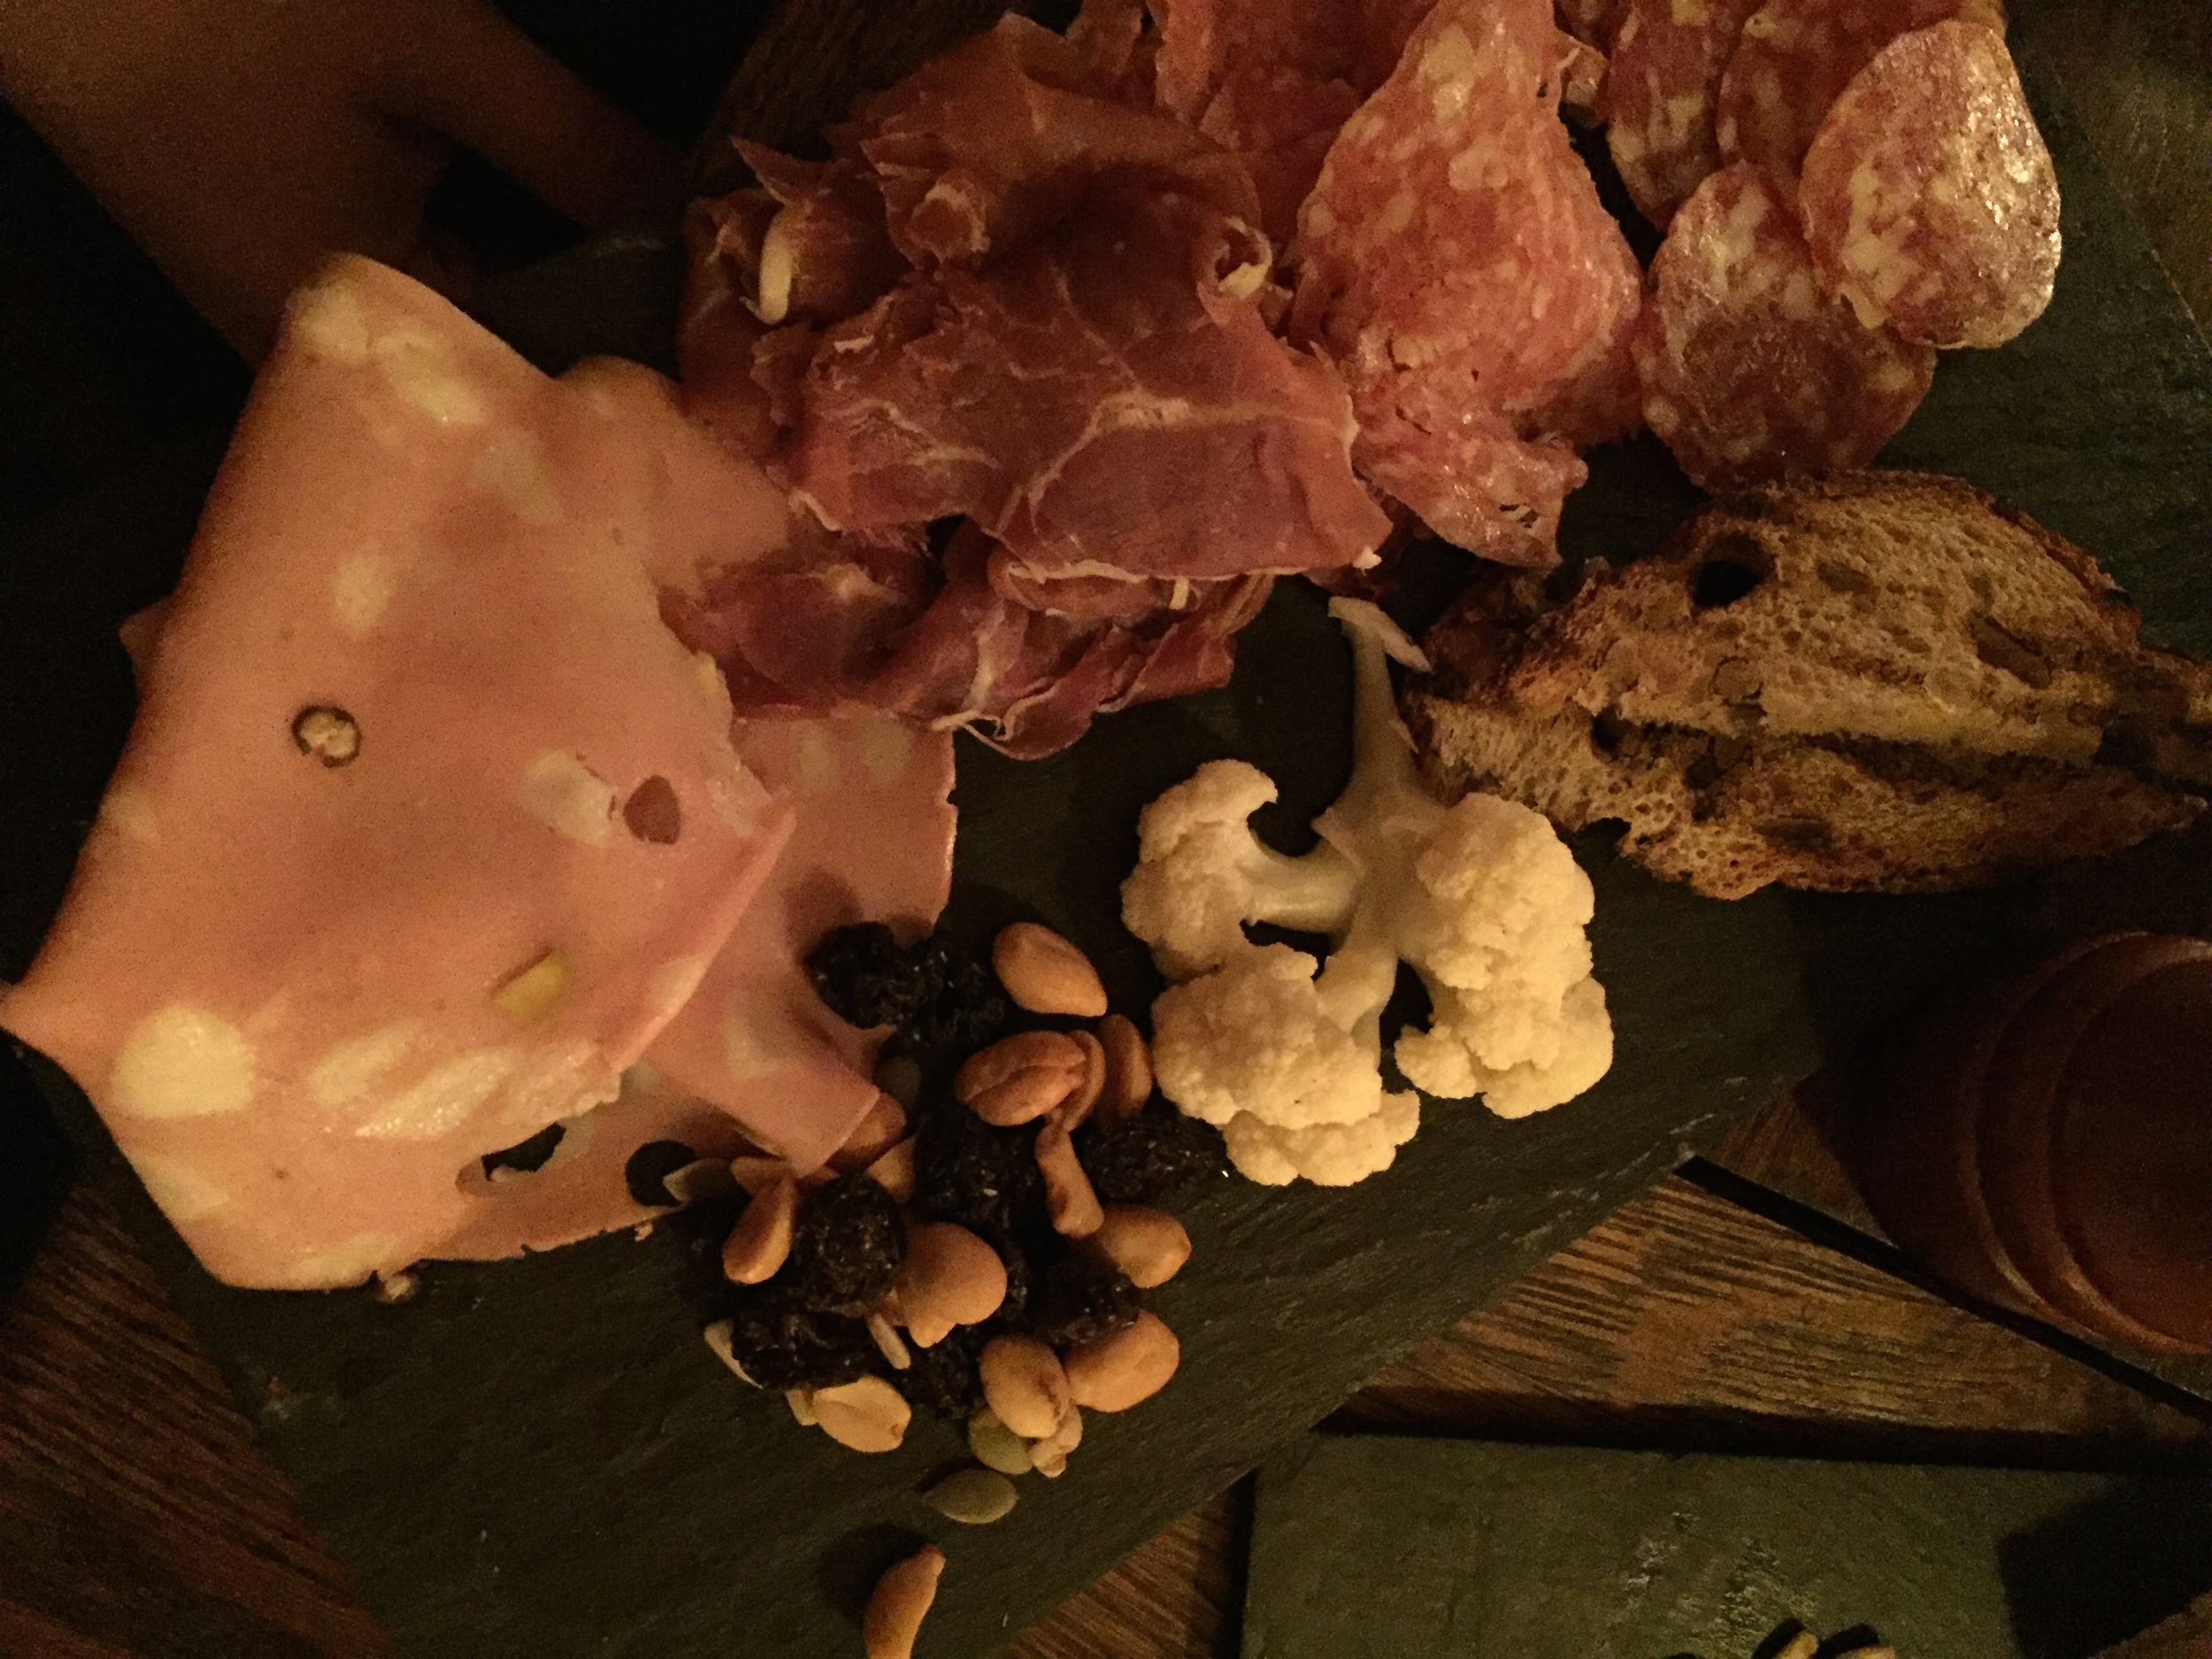
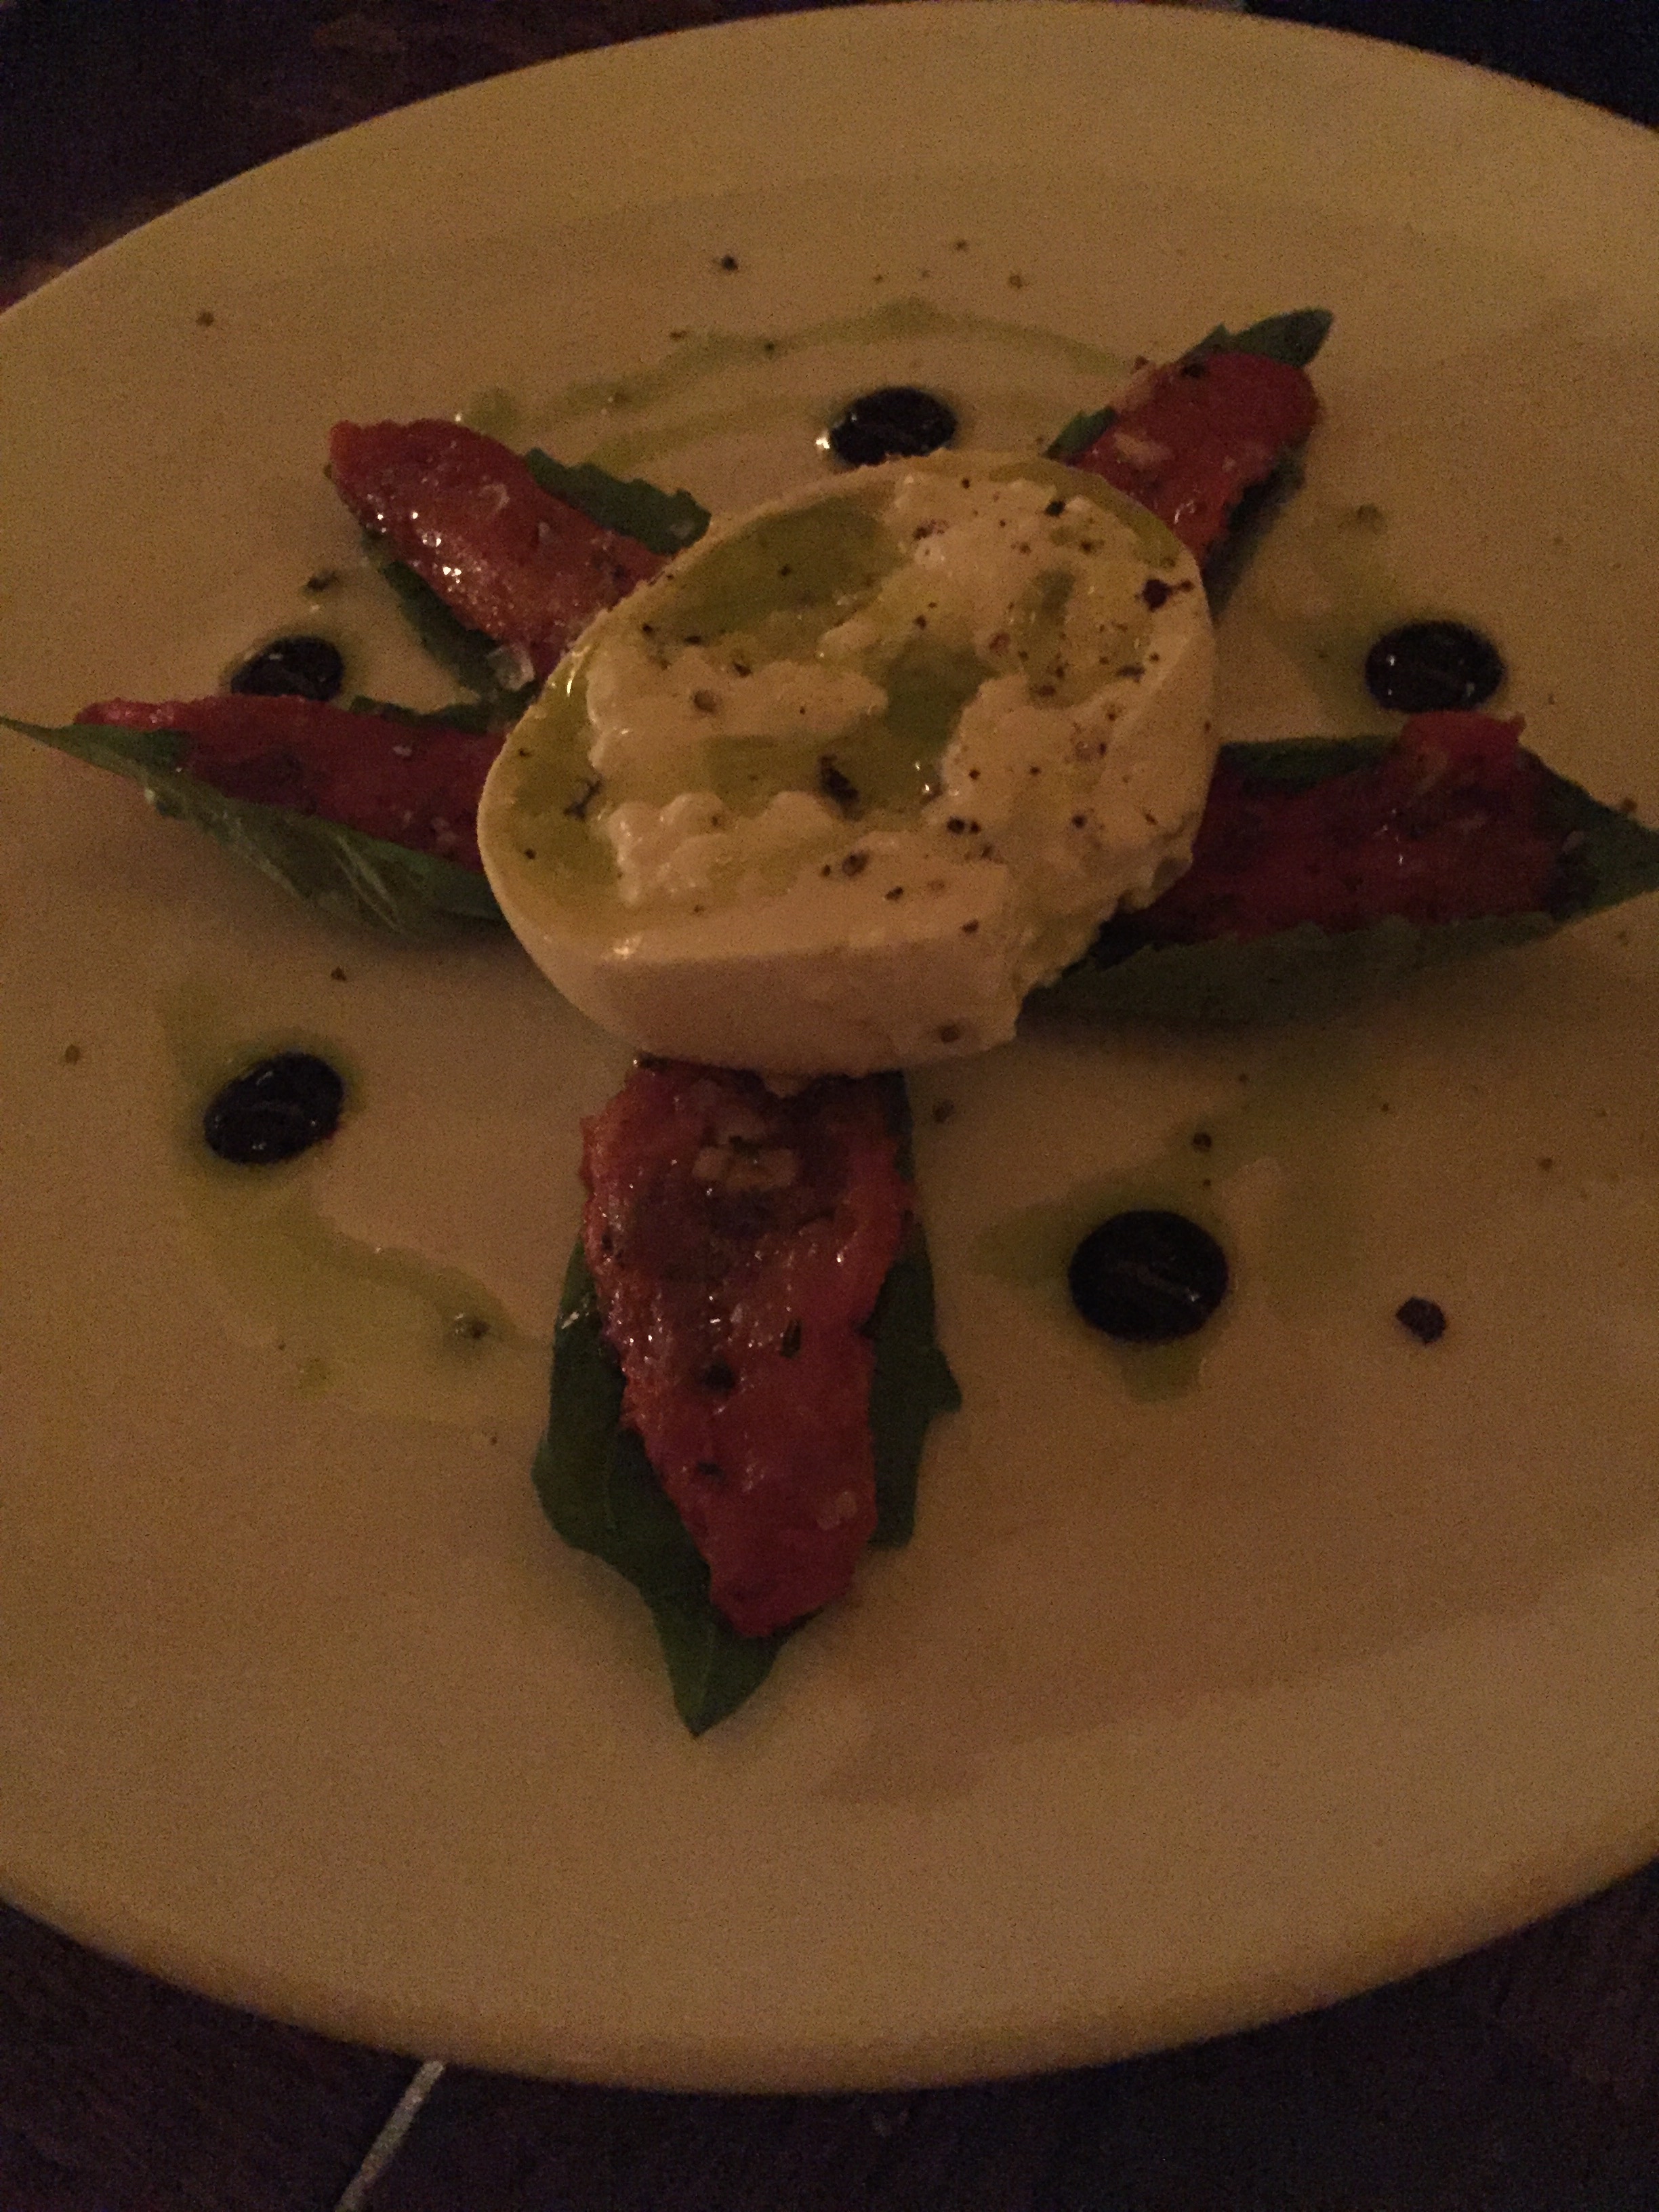
Check out the slideshow, below, to see my mural sightings and awesome NYC food! If you're in the area, I would definitely recommend Ariel's Bistro for lunch and a $5 strawberry margarita, and Pardon My French for a super fancy date night. The whole Skype team was so wonderful to take me out for dinner and cocktails after the Halloween party.


THE SKYPE HALLOWEEN PARTY
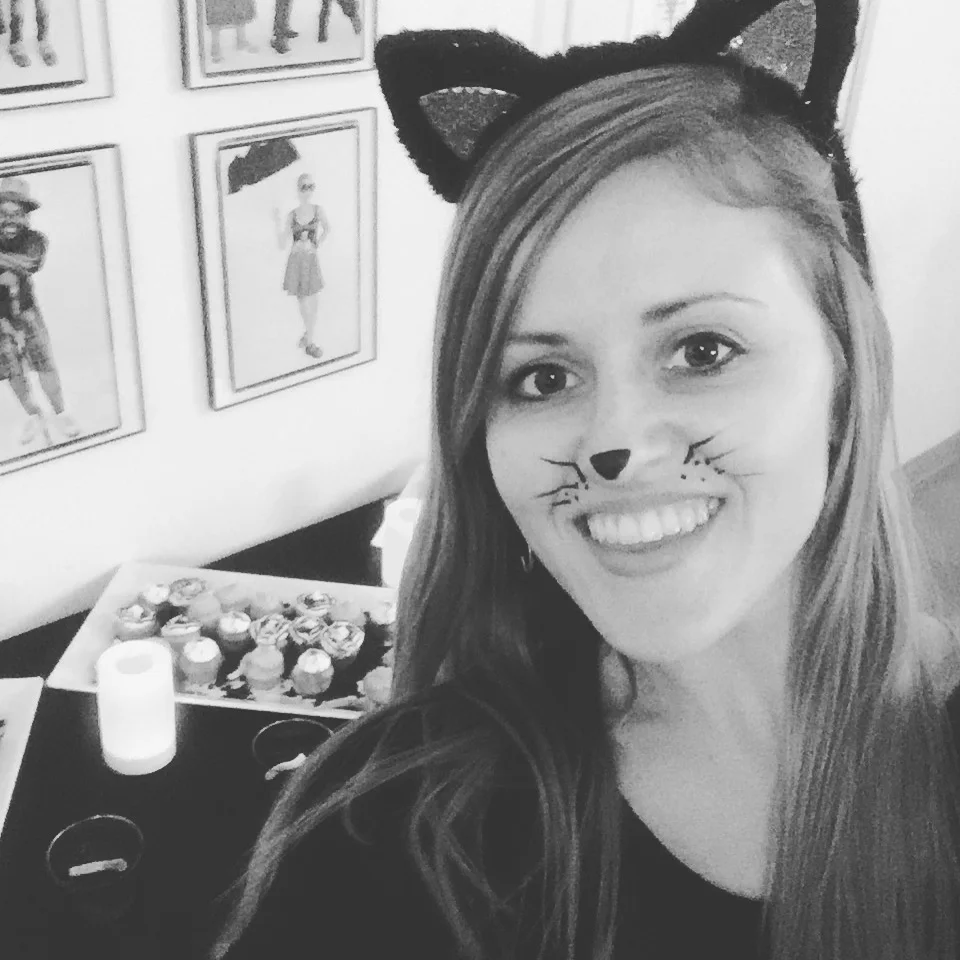
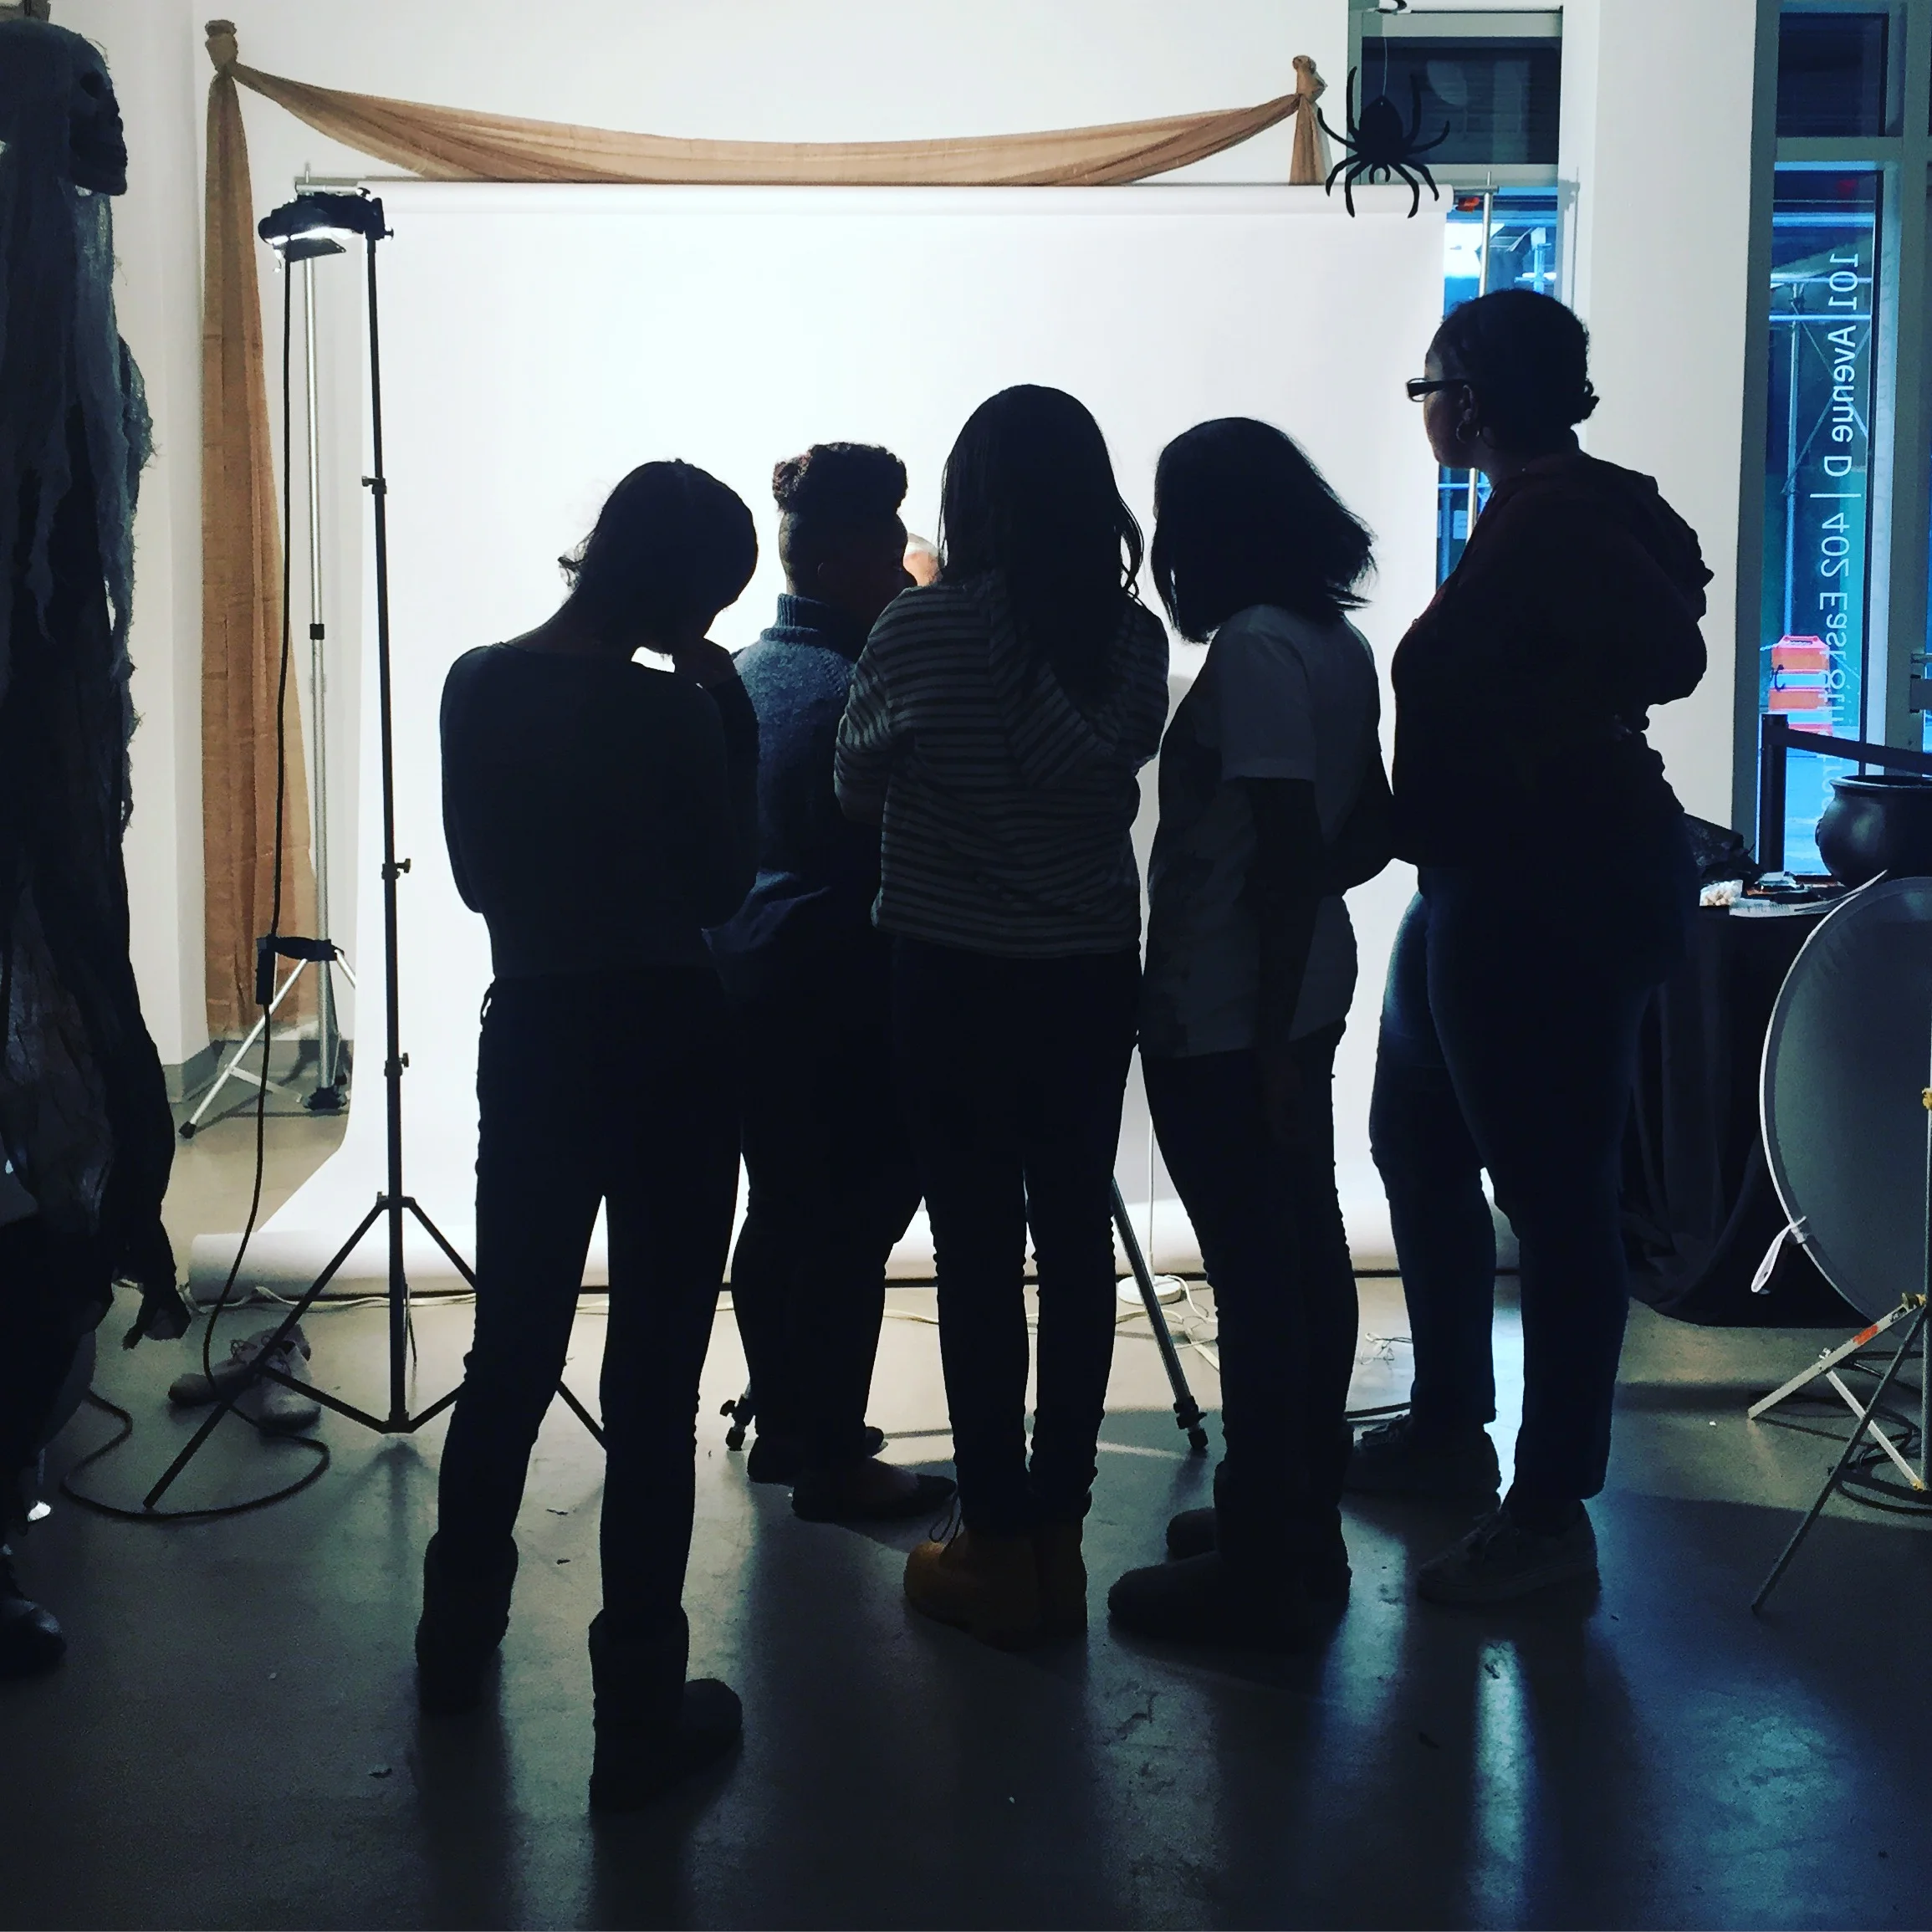
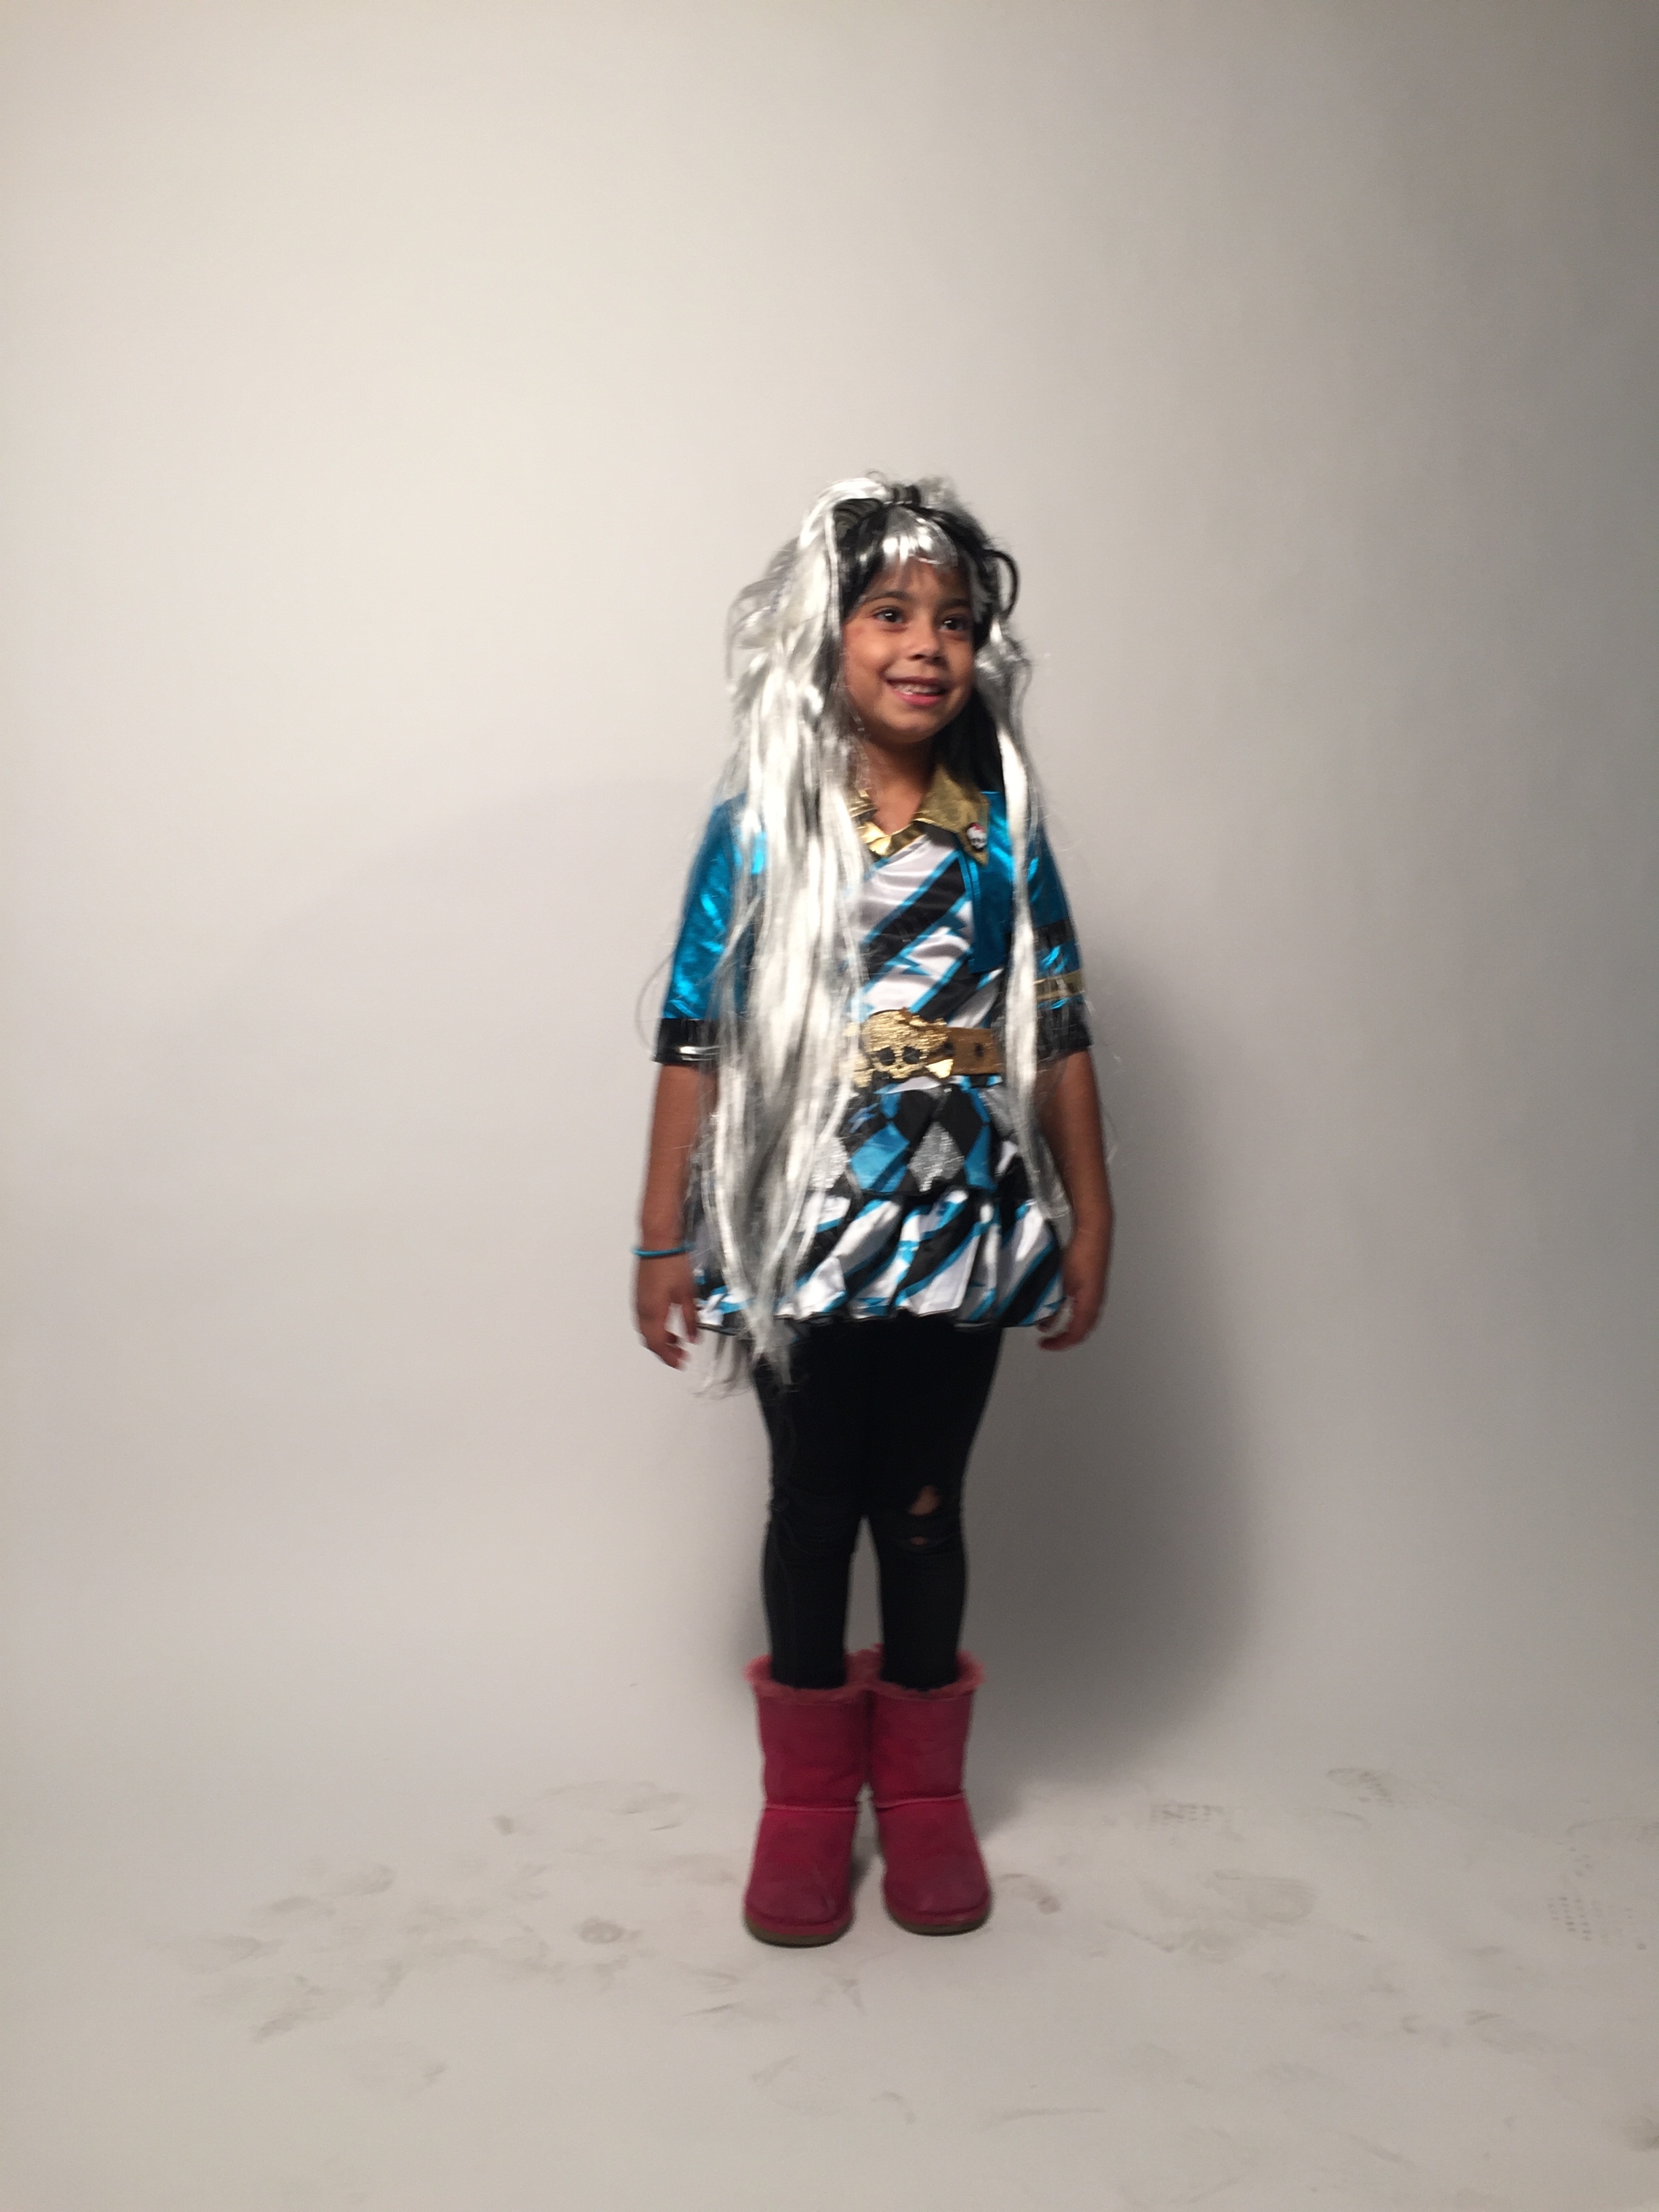
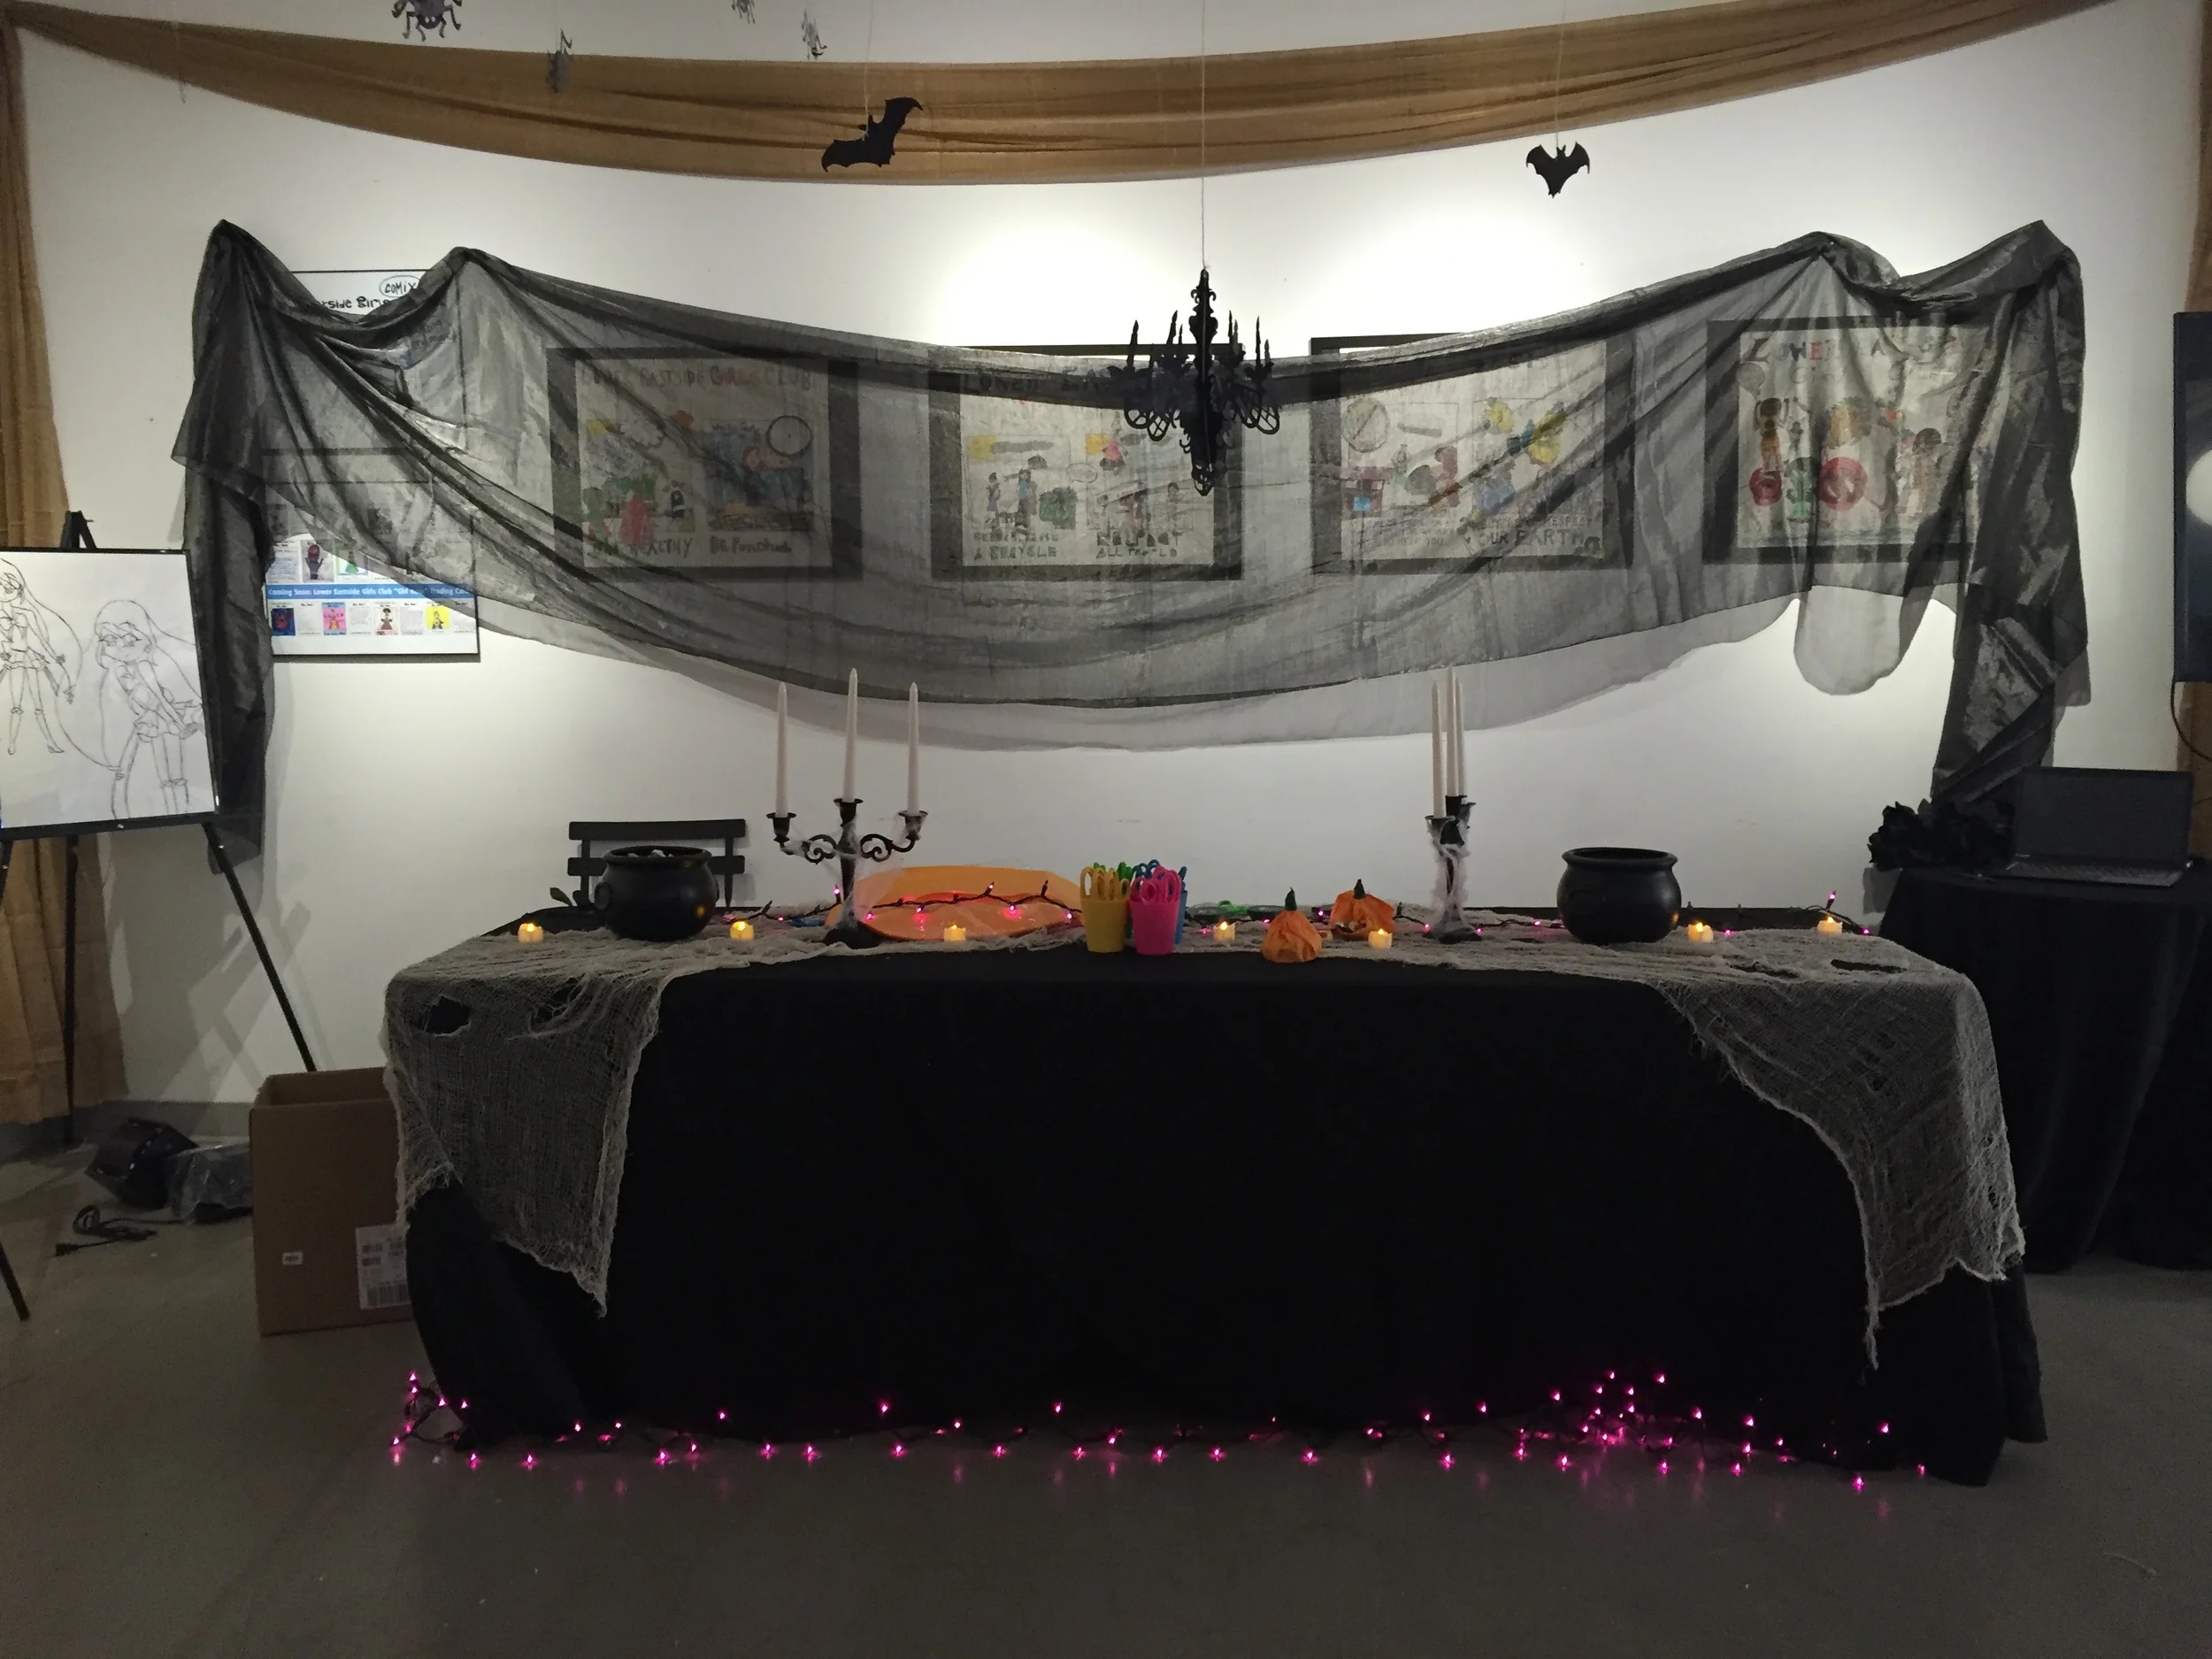
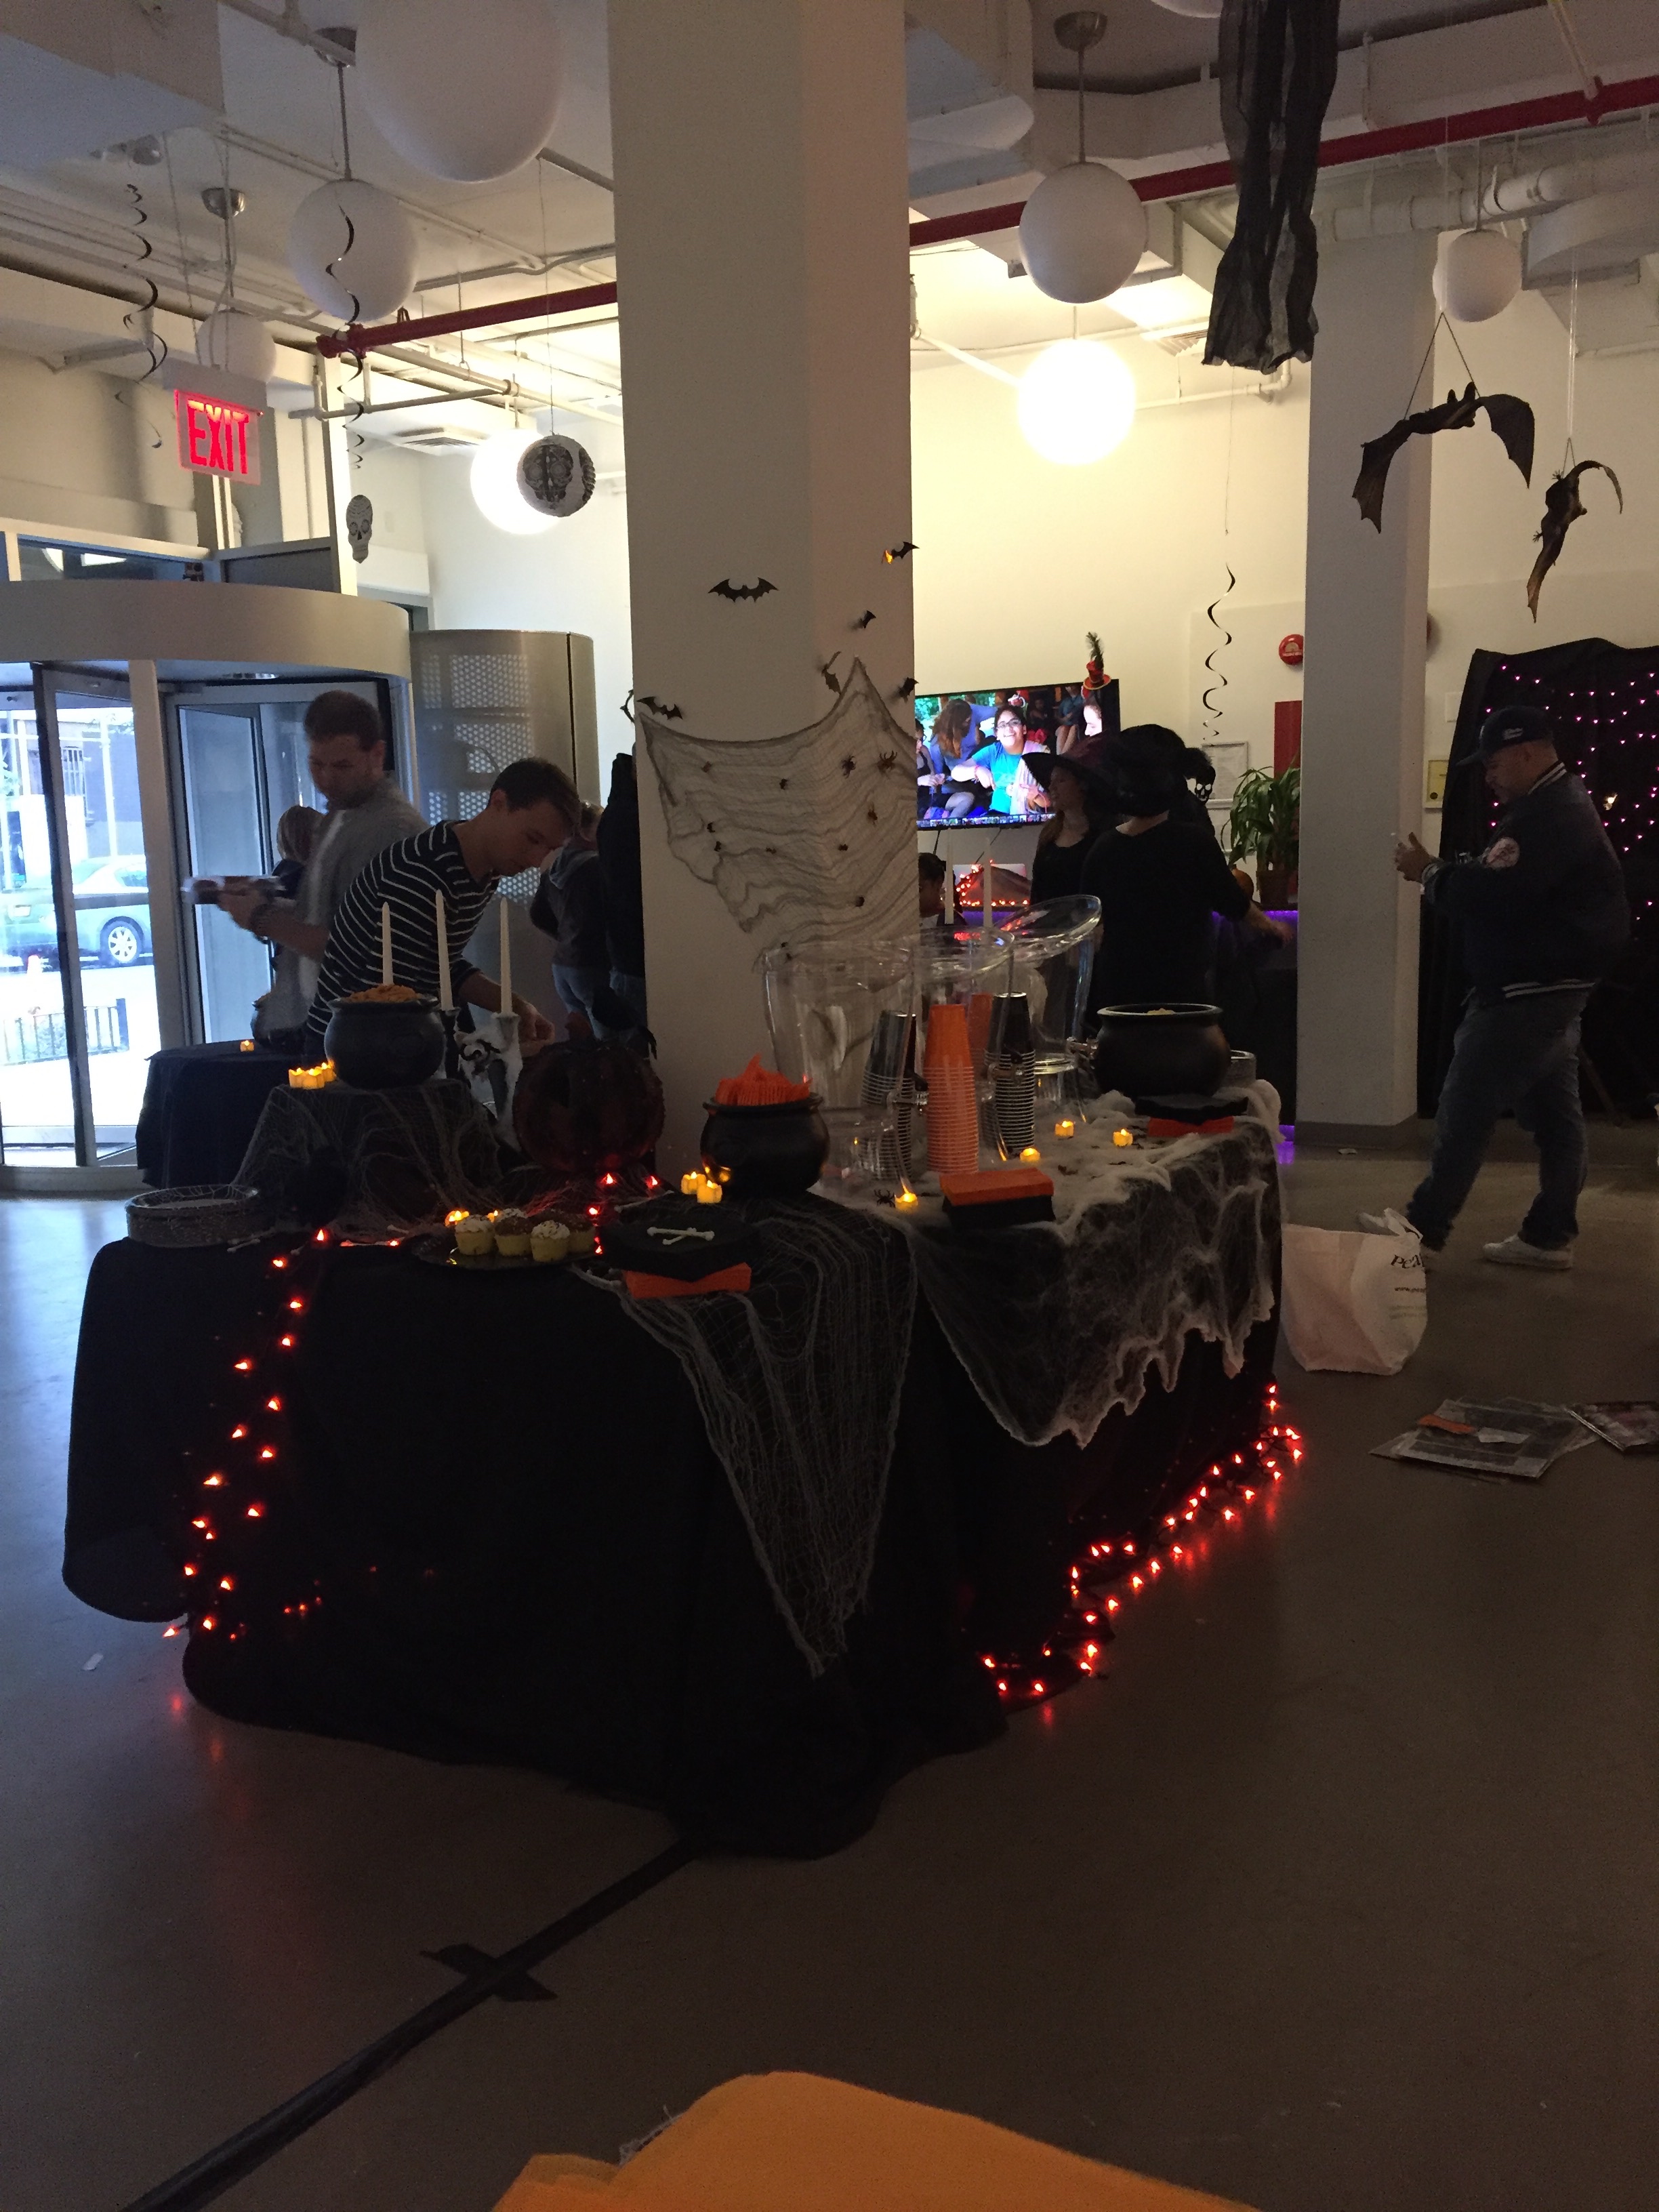
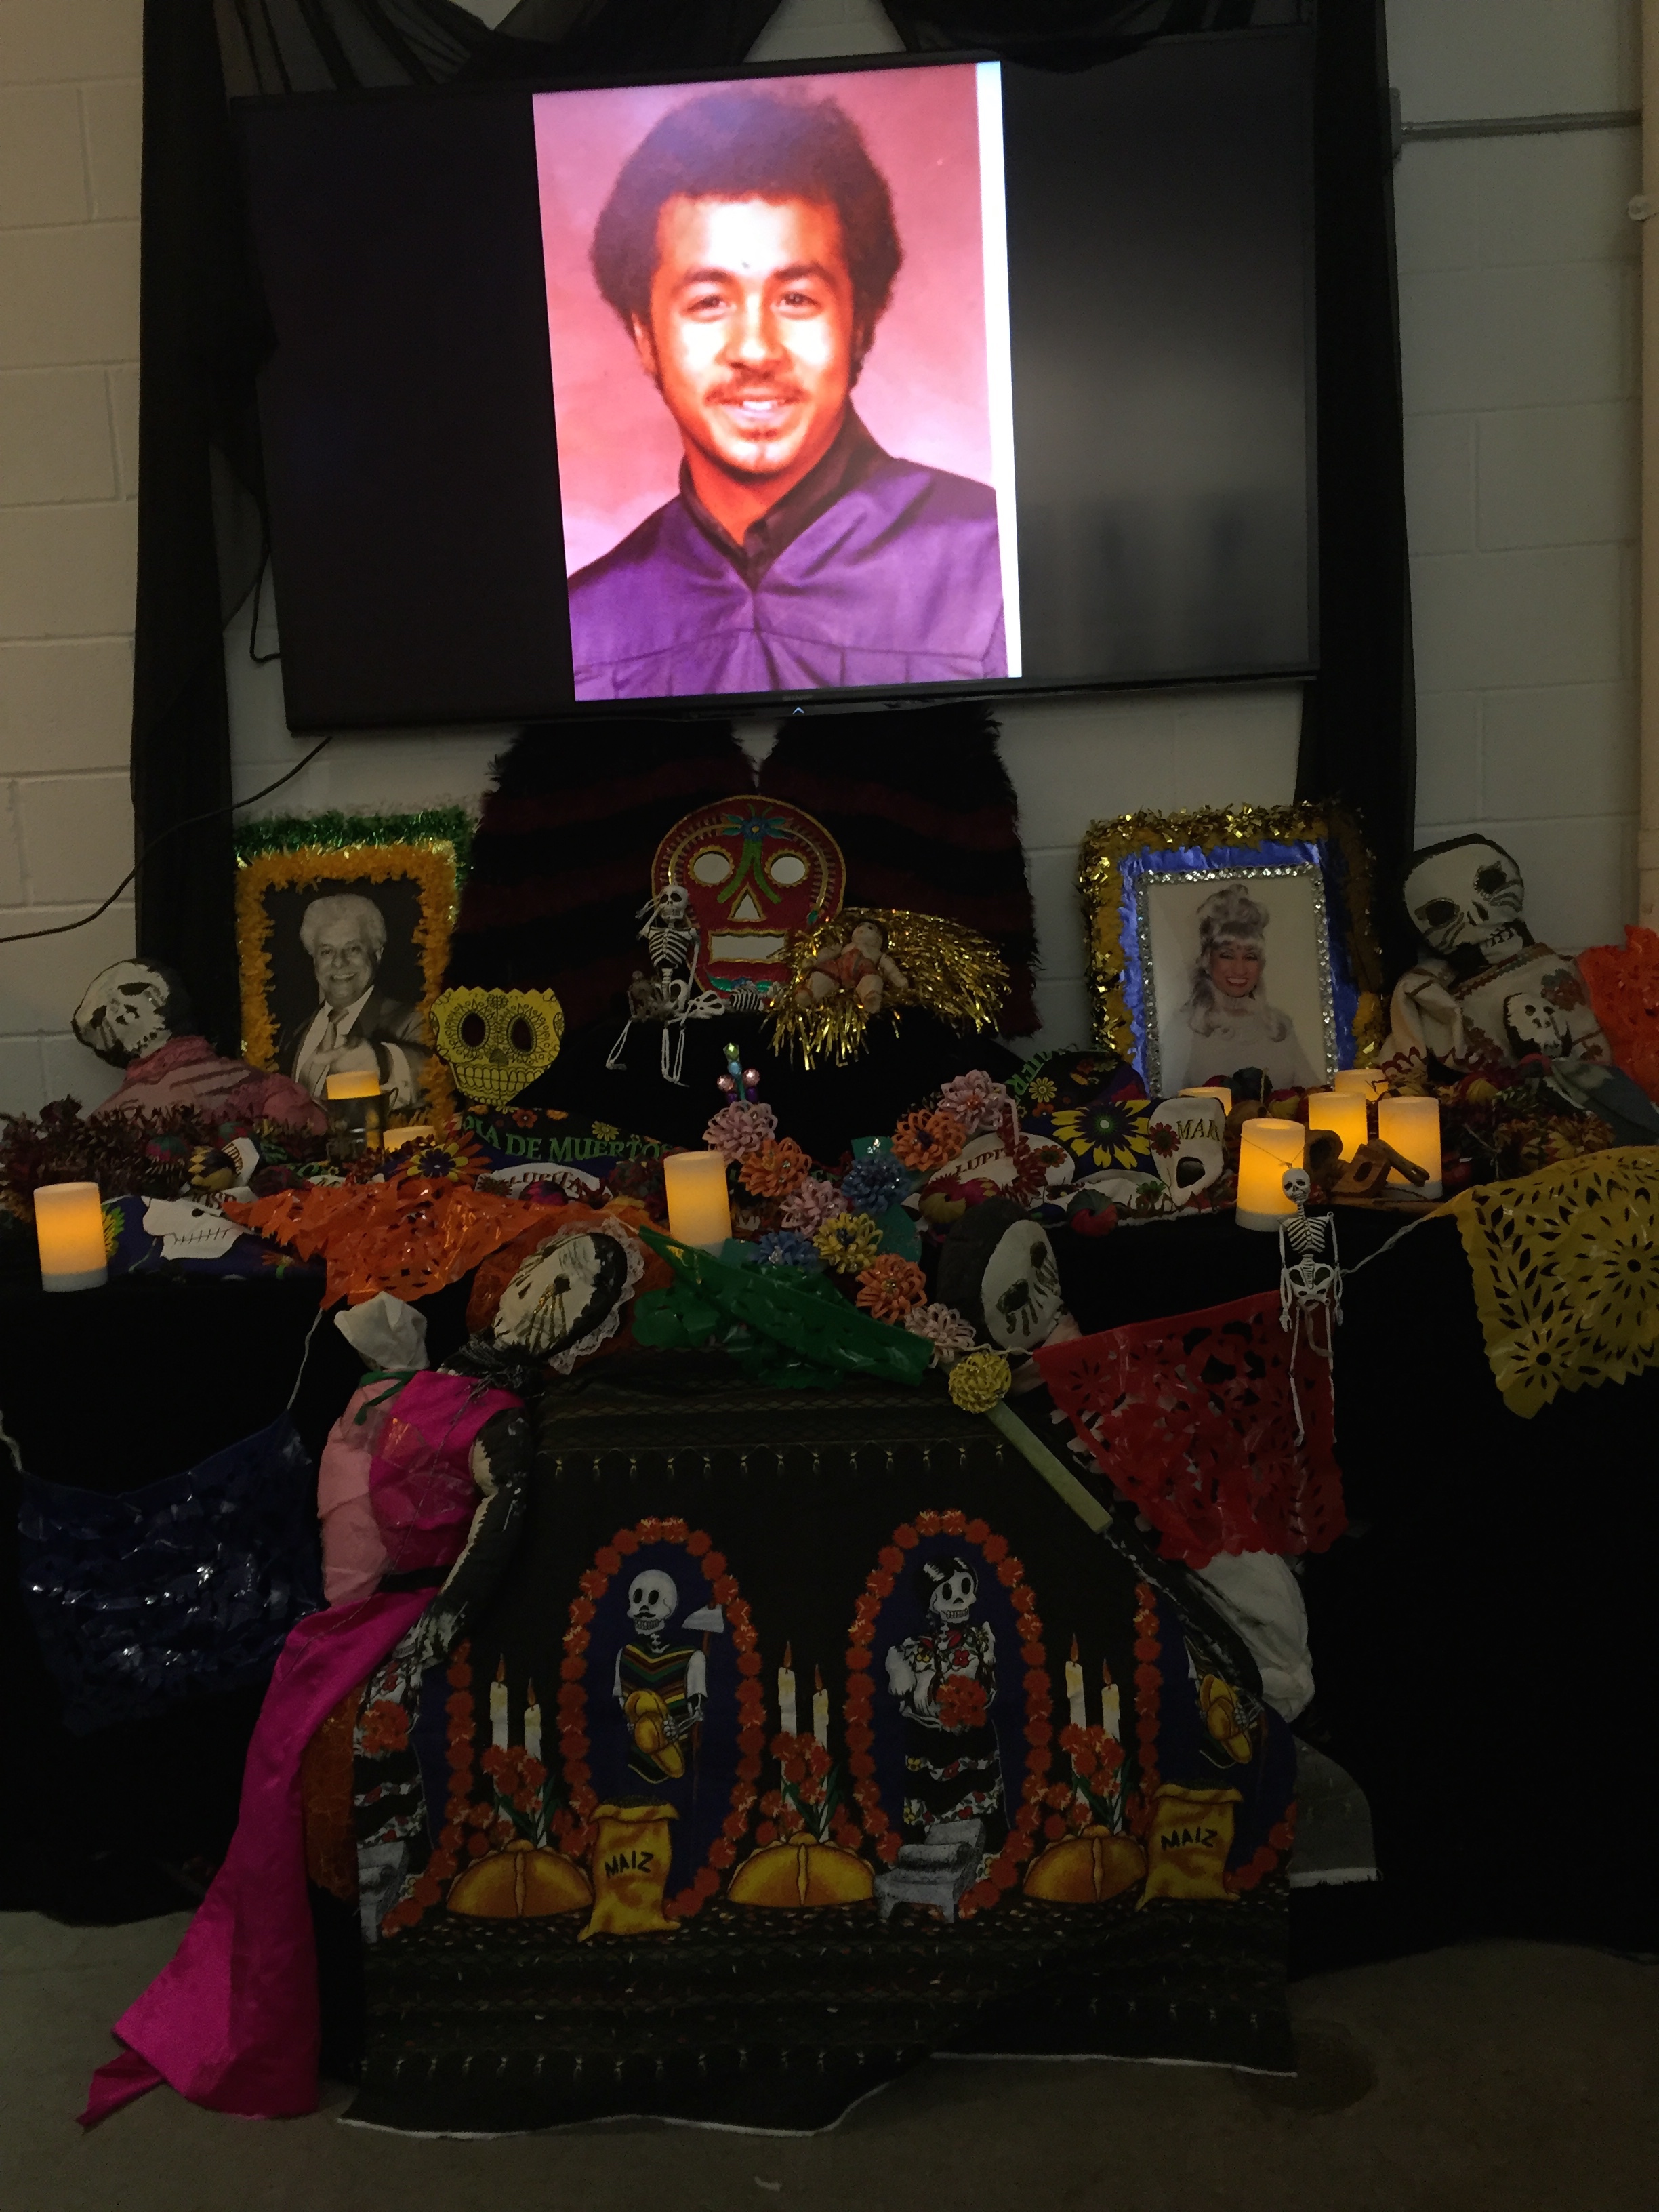
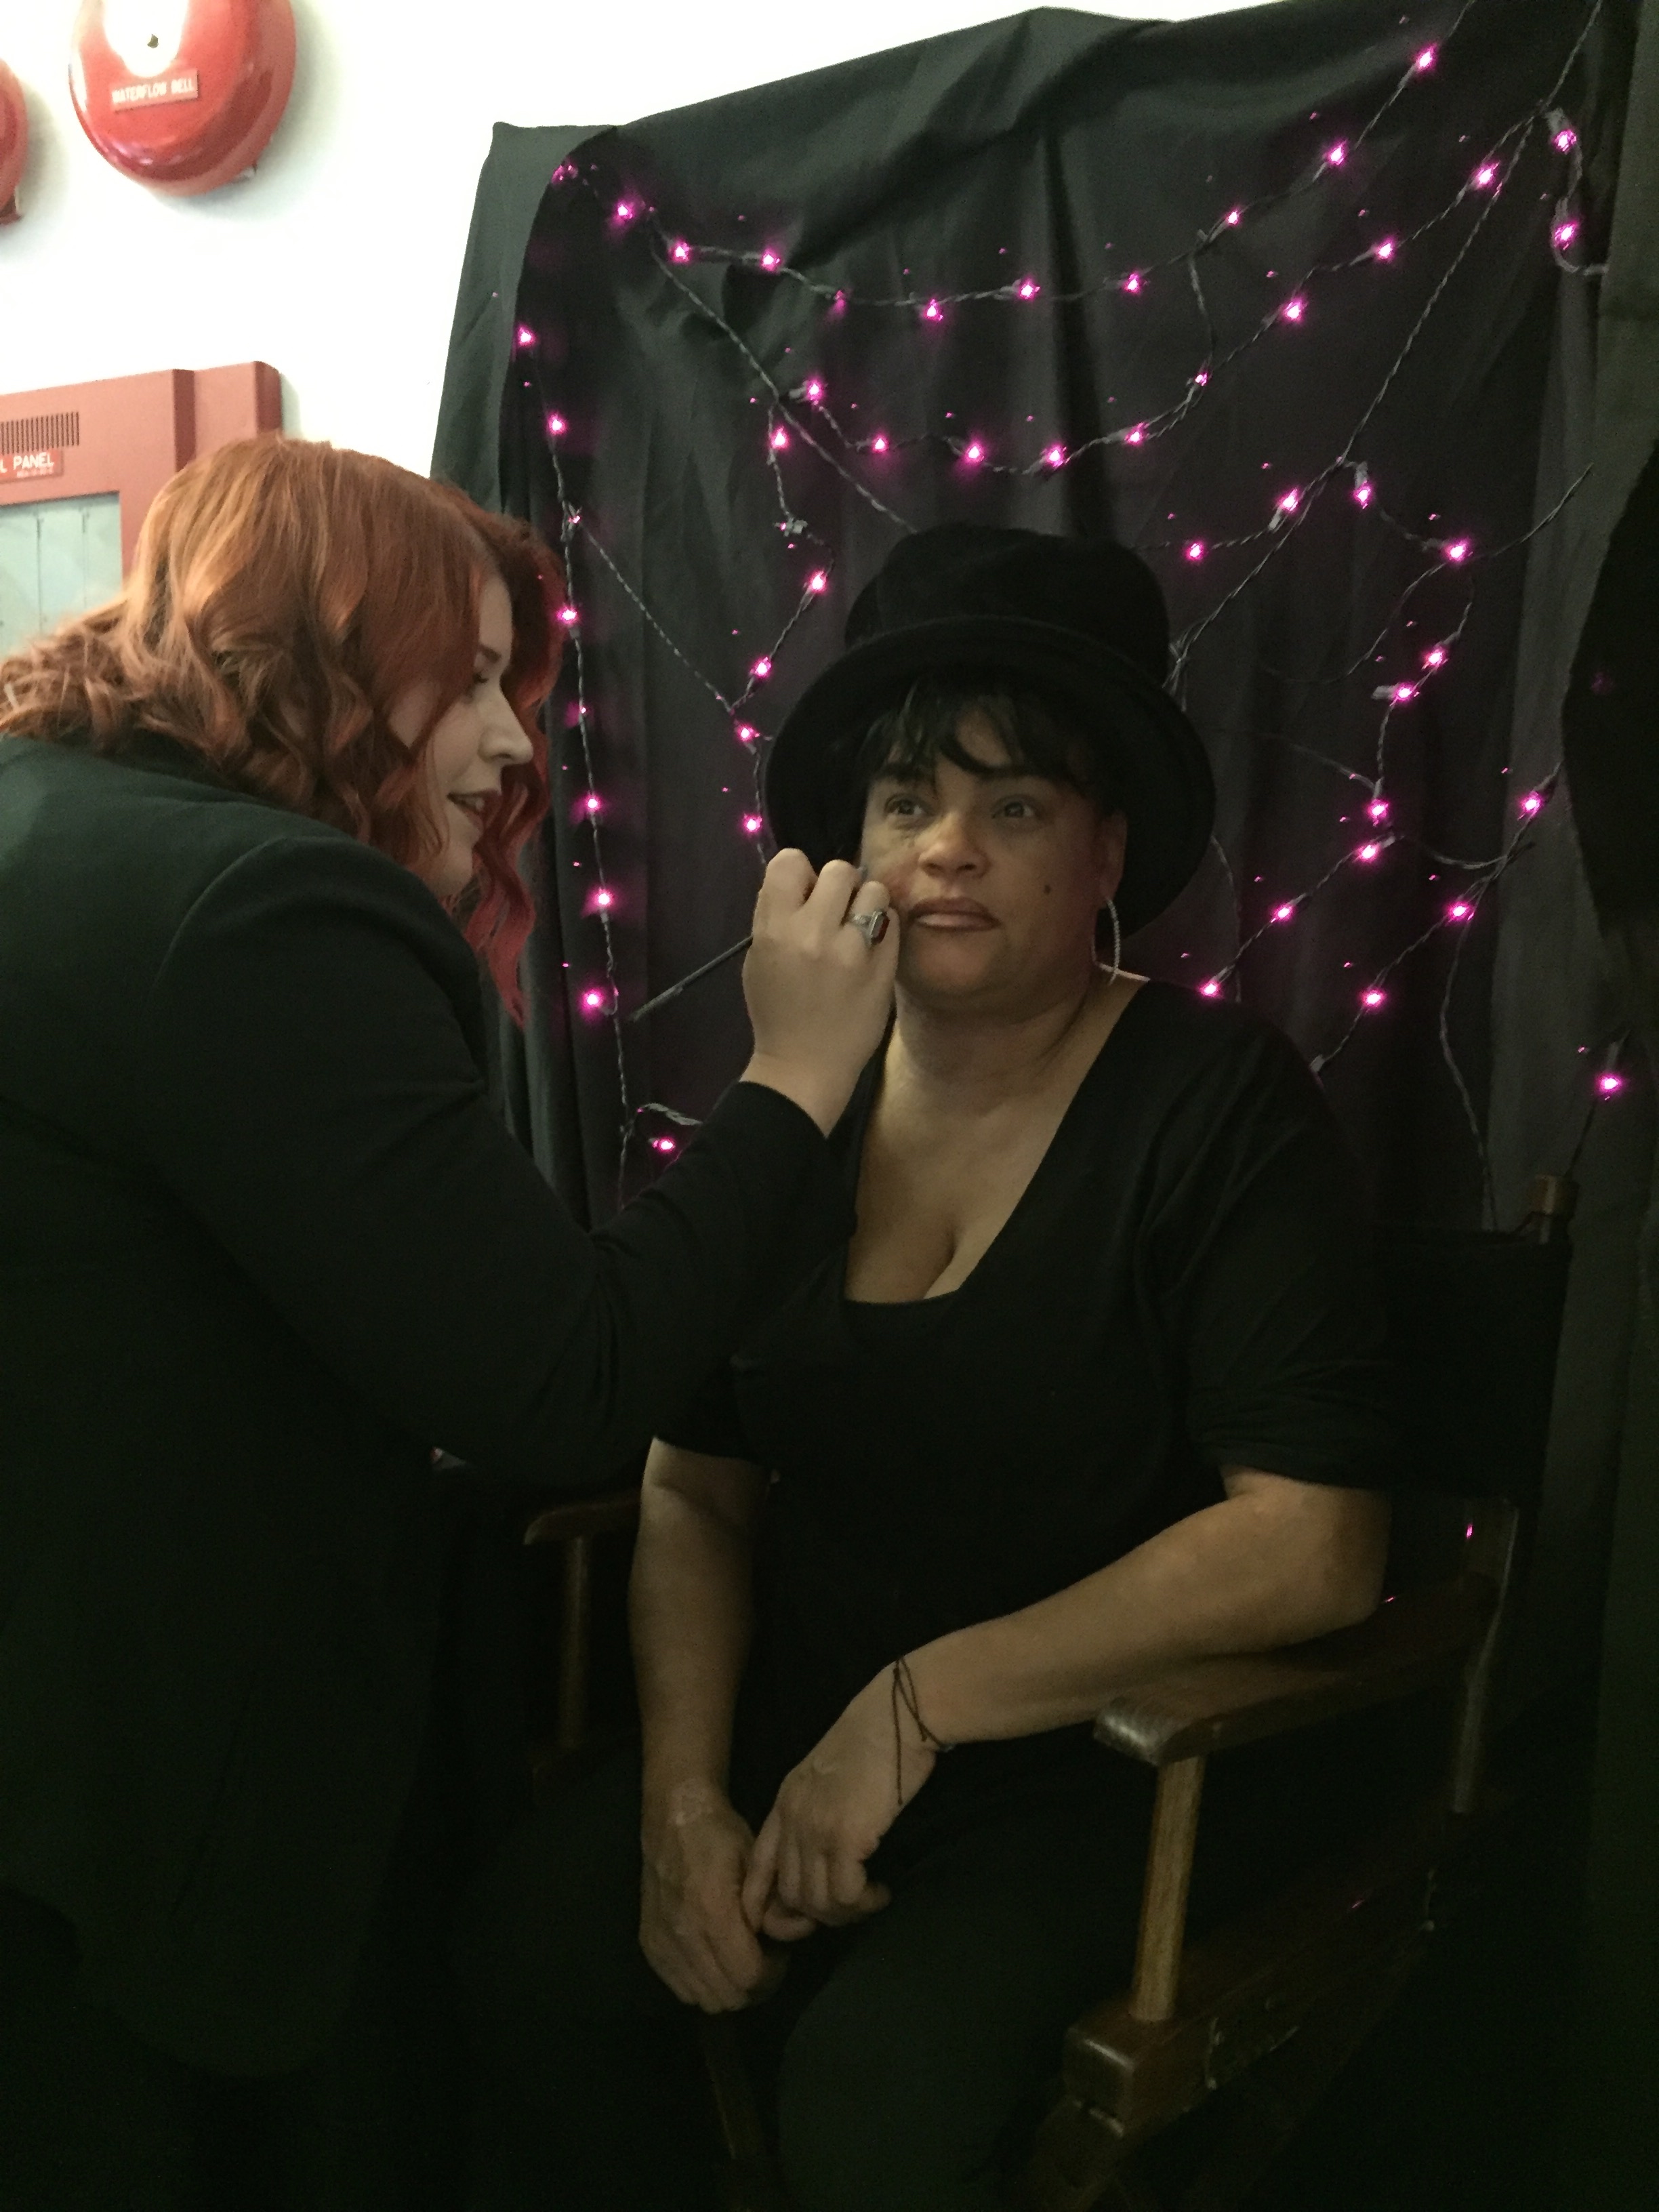
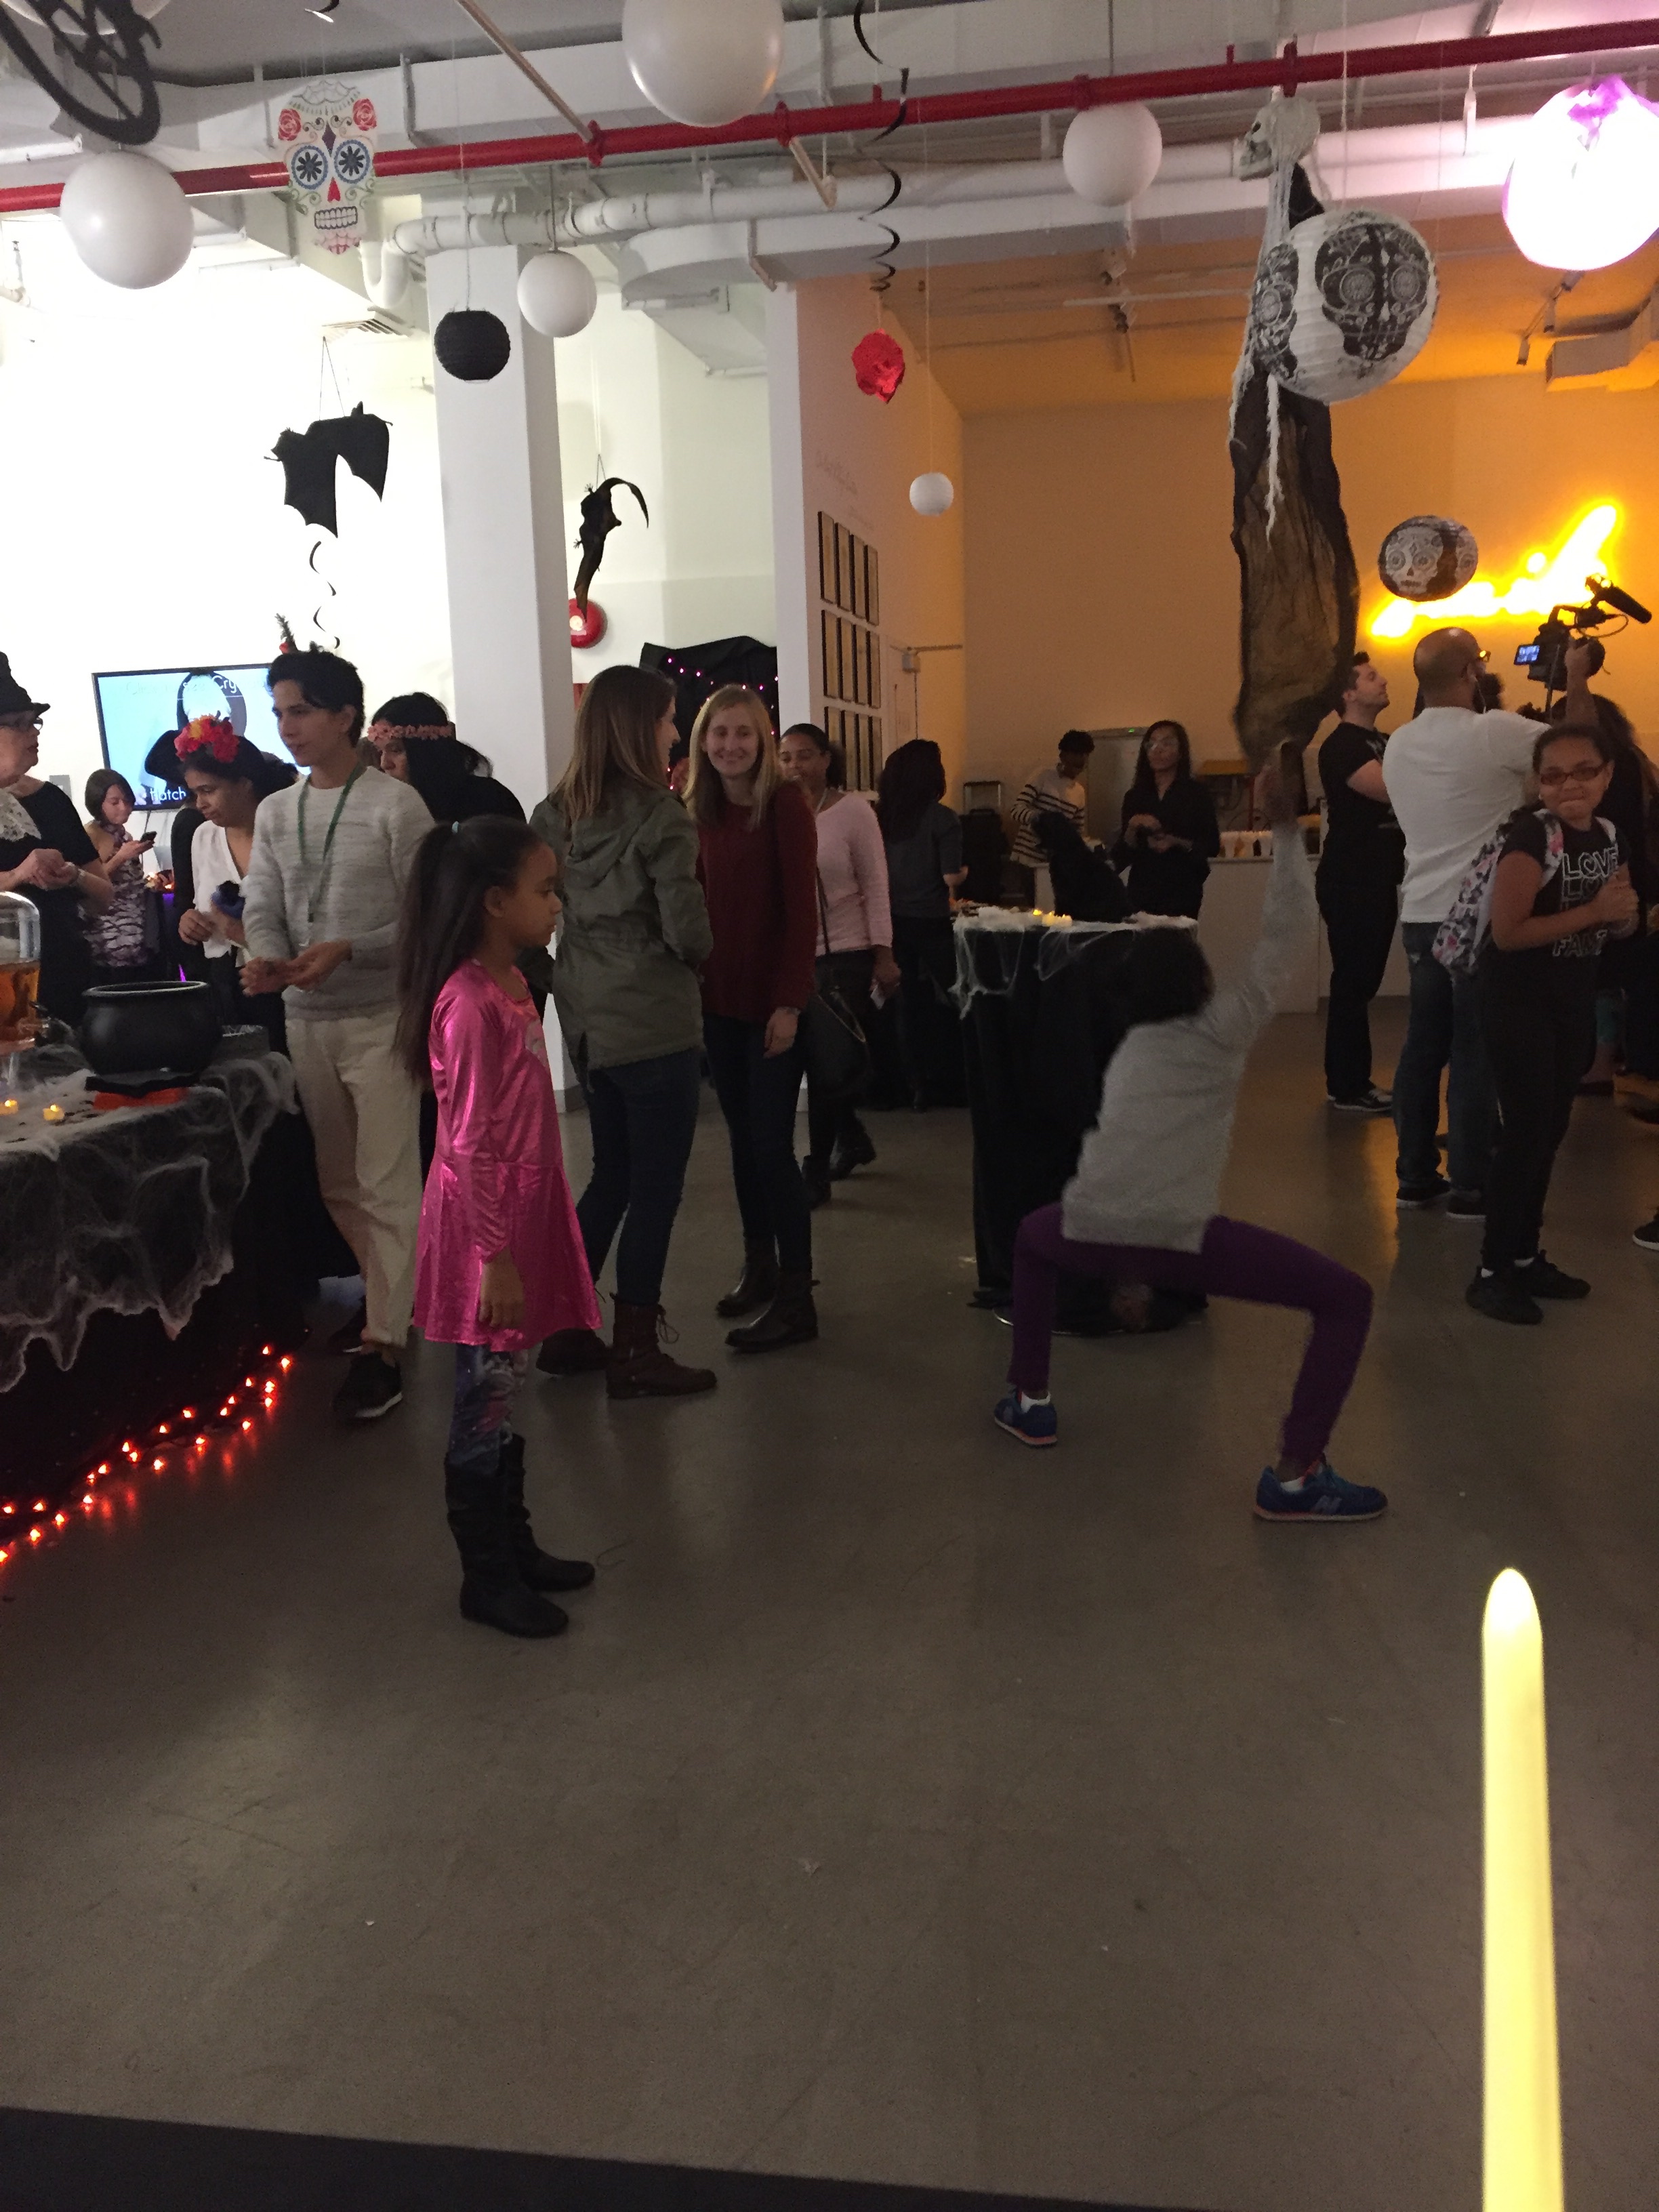
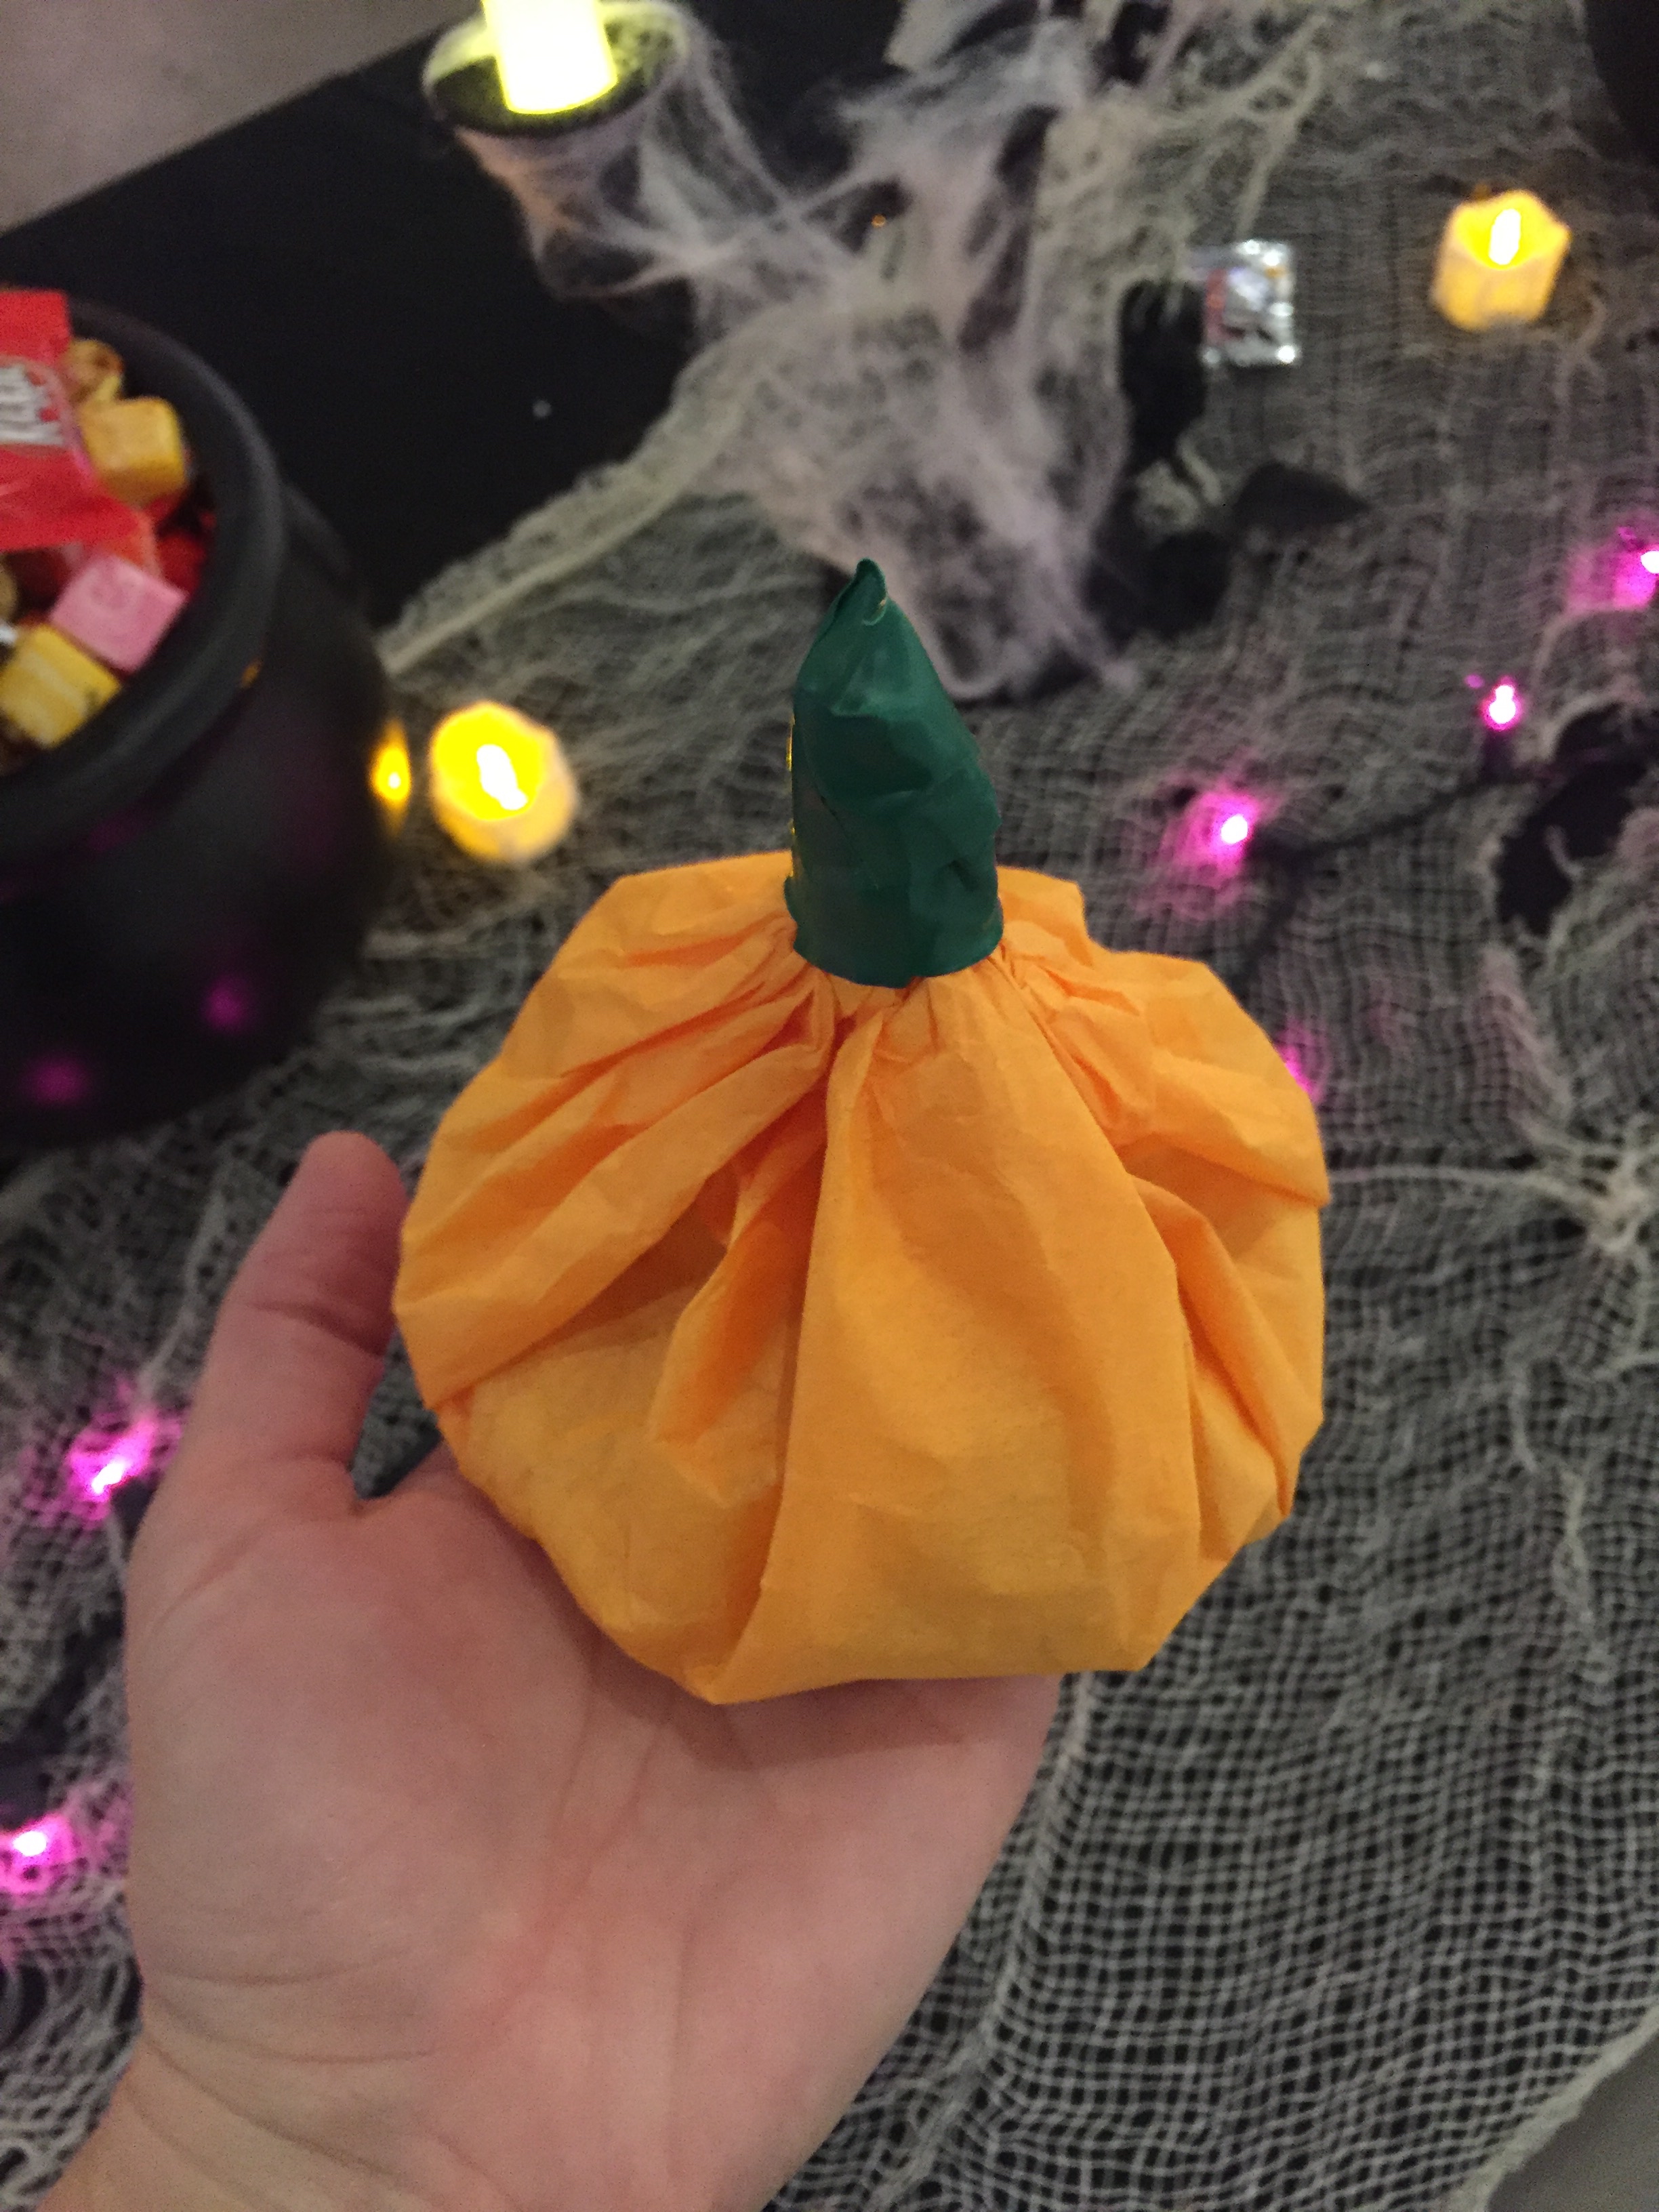
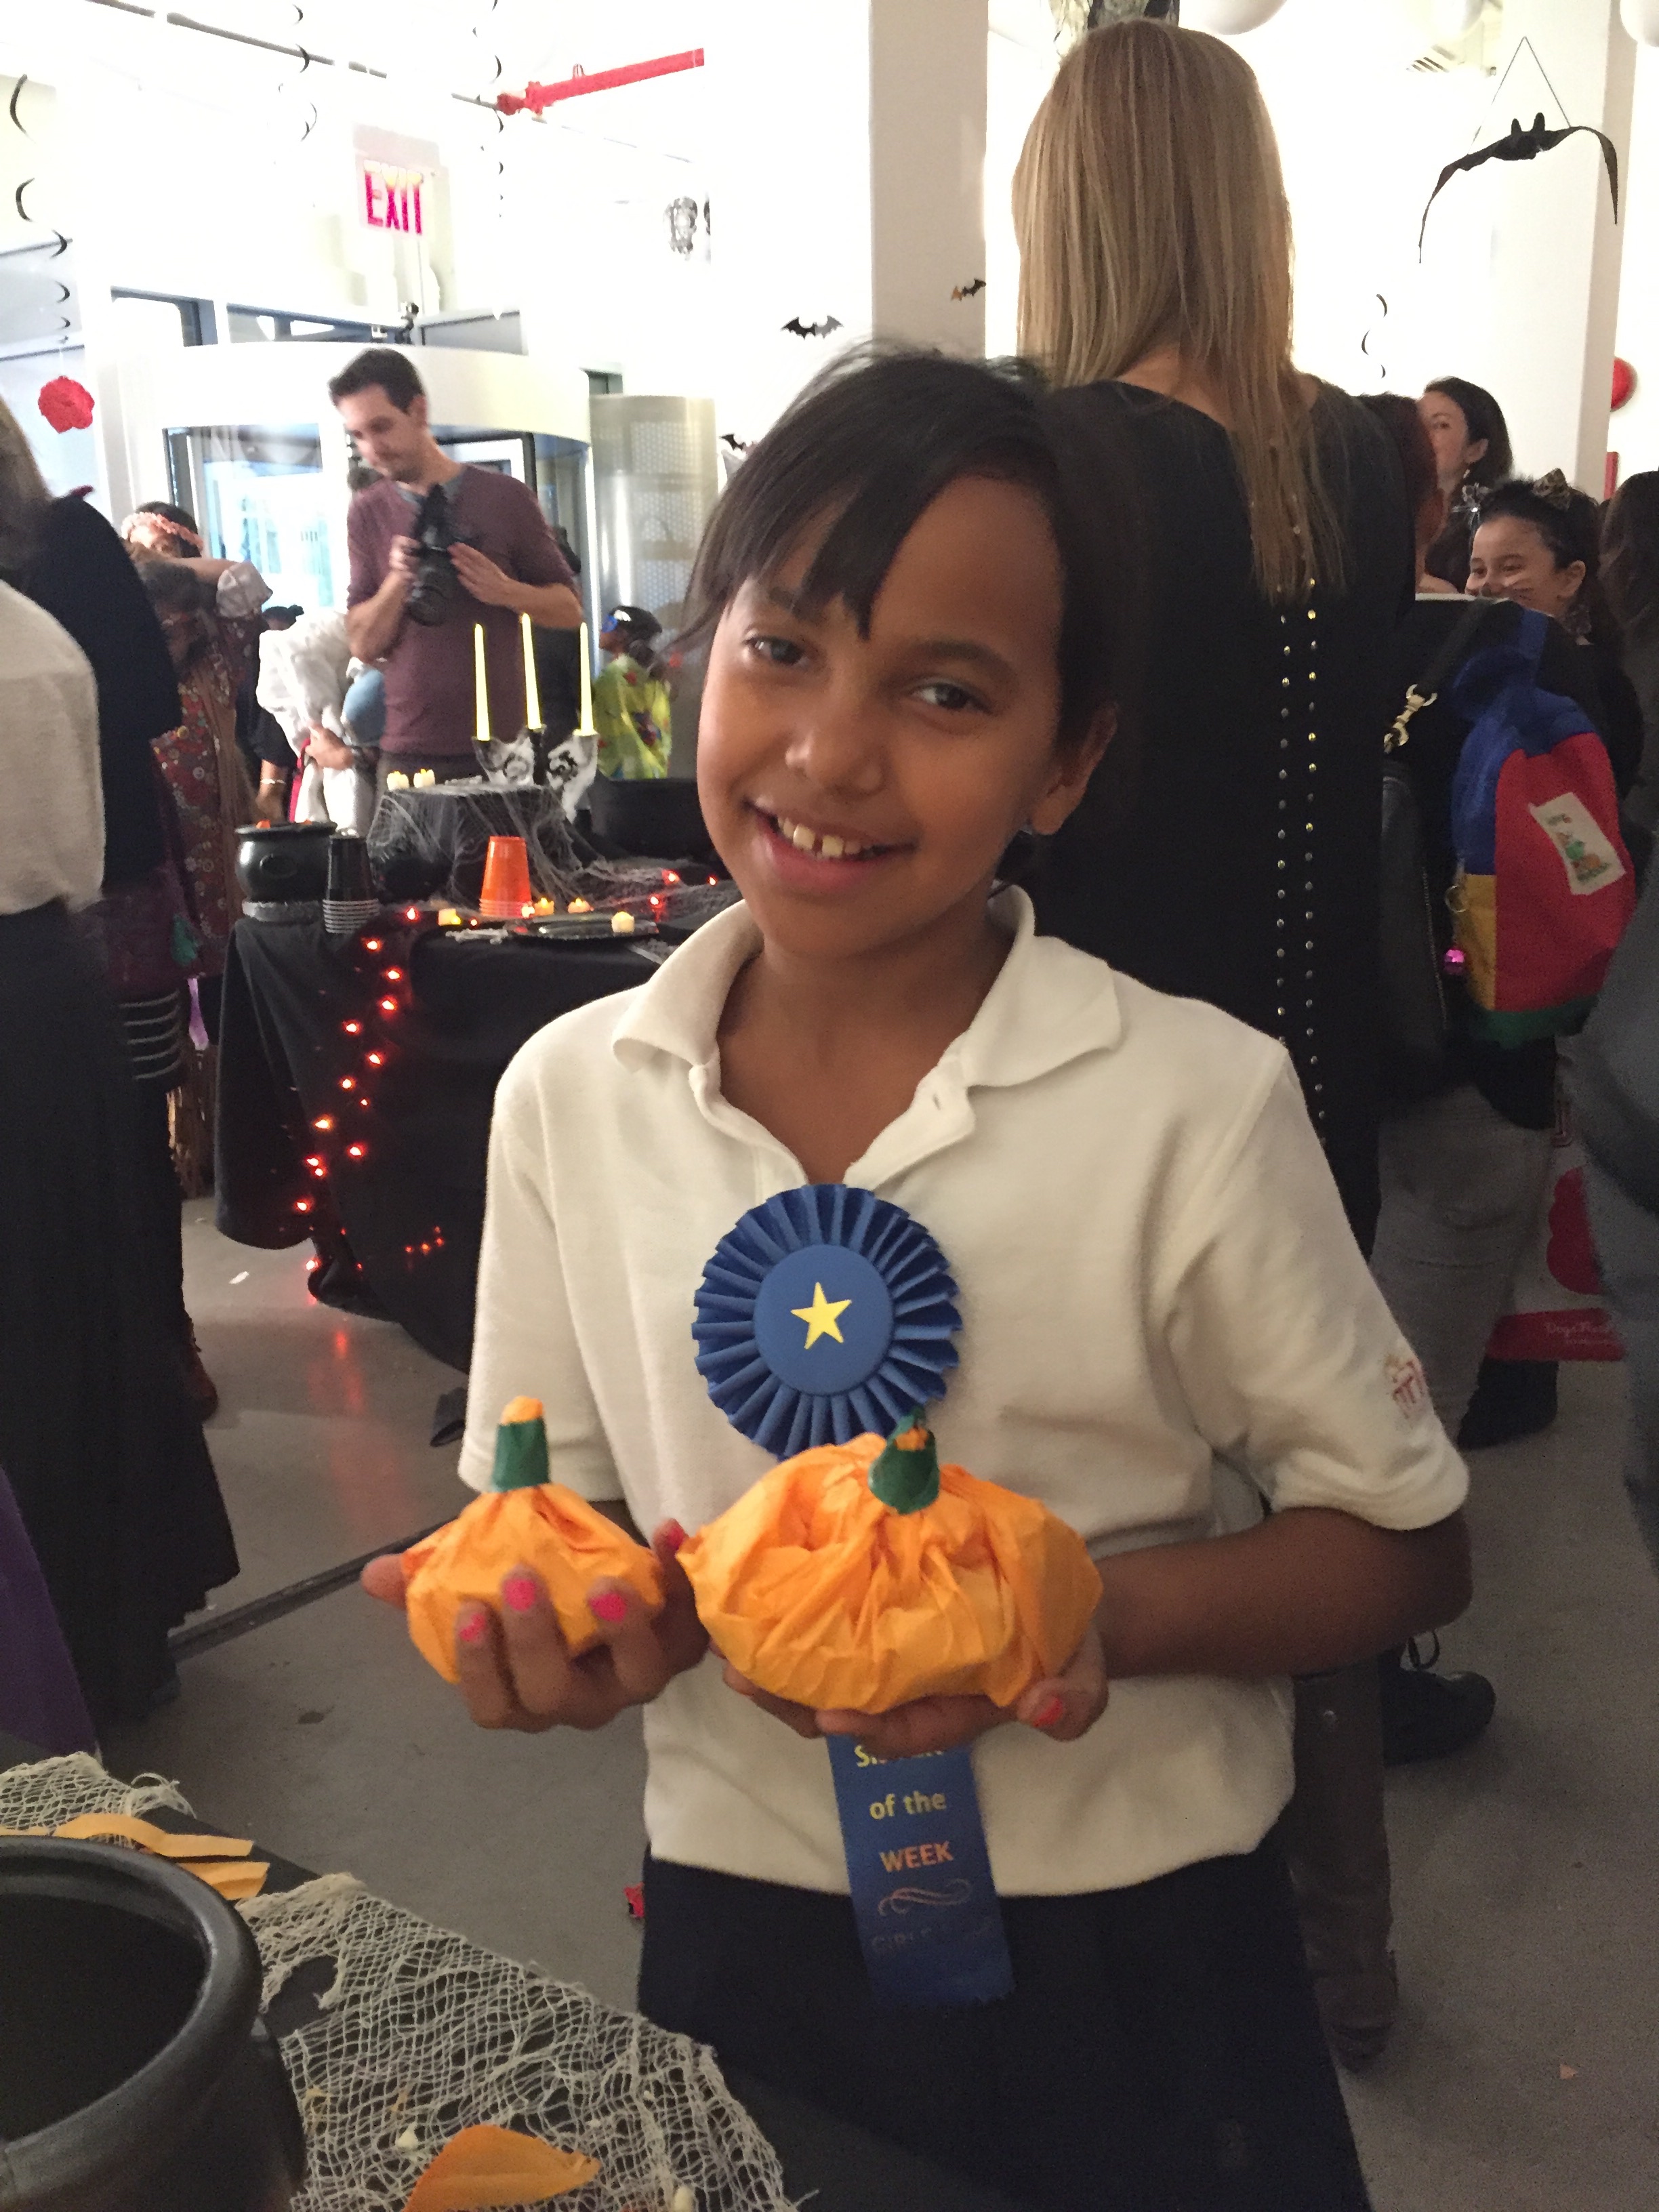
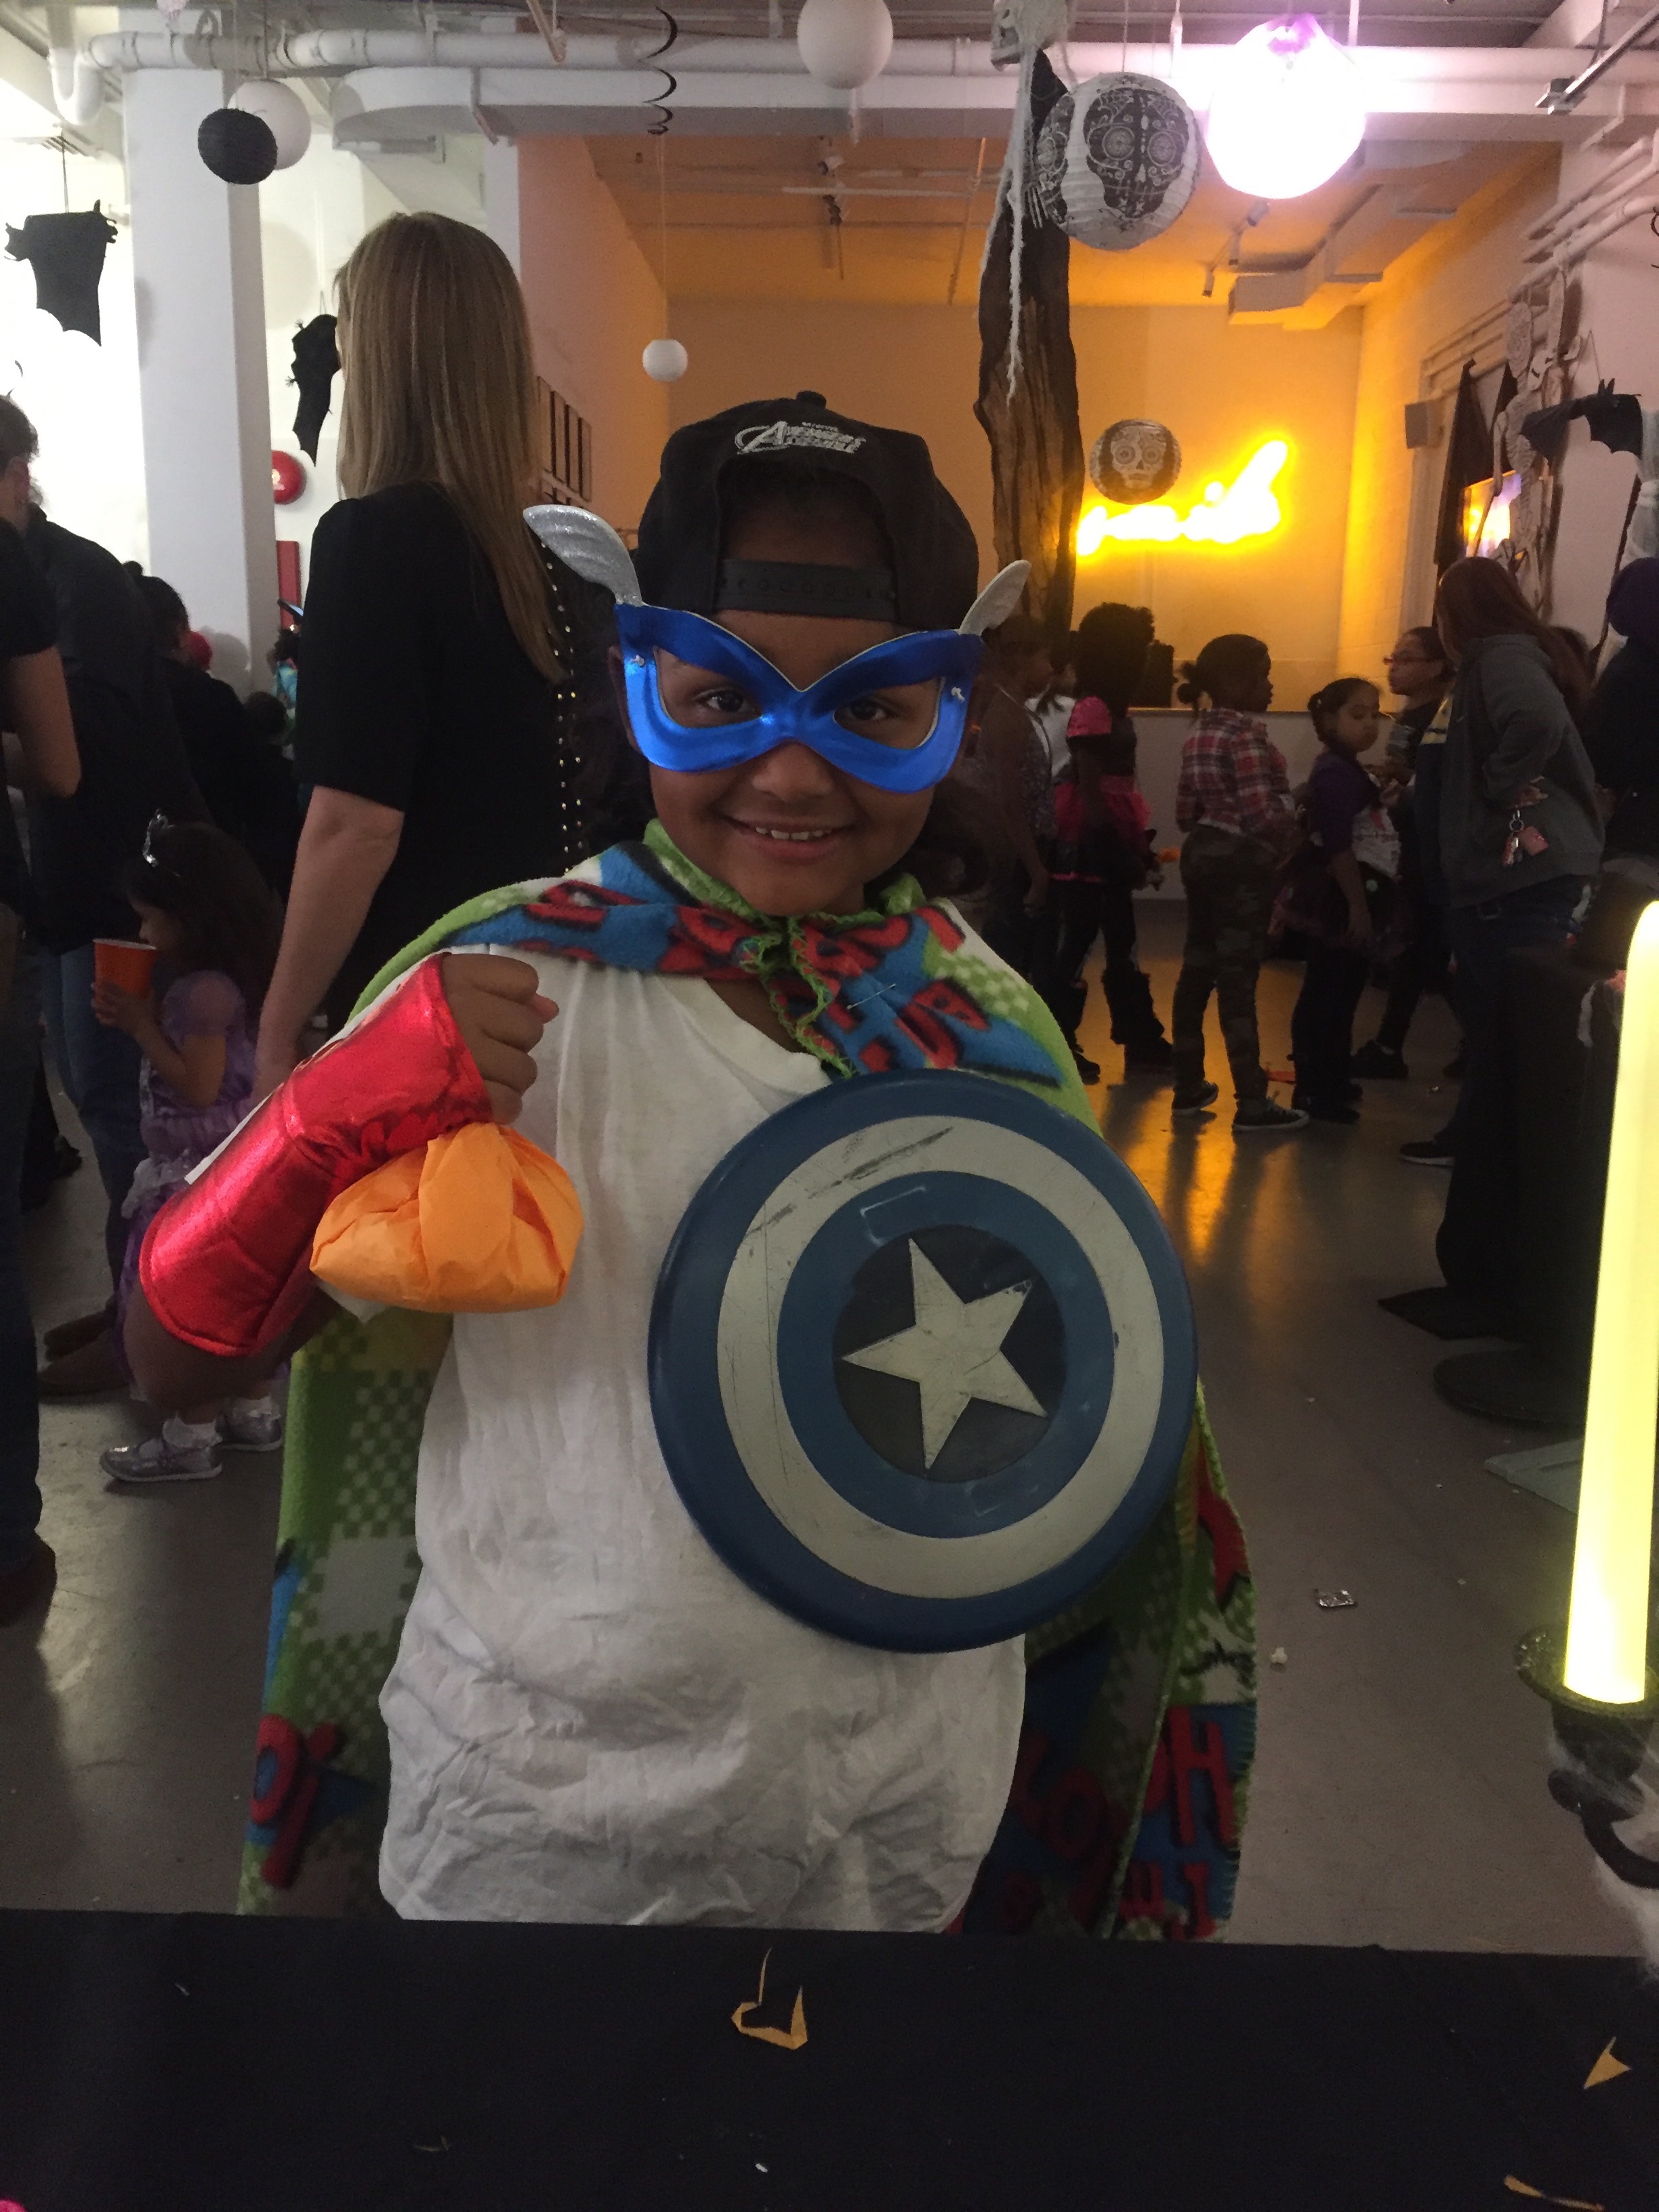
So, the main reason I was there was, of course, The Skype Halloween Party at The Lower East Side Girls' Club! The girls absolutely LOVED the party, there was a DJ that played spooky beats, I hosted a craft table featuring Tissue Paper Pumpkins filled with CANDY. Once the candy ran out, the girls practically disowned me :) The whole party will be made into a couple of short movies that will feature yours truly for a short bit, helping the girls make pumpkins, and also myself chatting with influencers from YouTube, Twitter, and Instagram! It all went super well, and I had a blast! It was incredible giving back to the community in this way, and hopefully inspiring the kids!


Until next time! NYC, I really had fun, and hope to be back soon! A very special thanks to HelloSociety and Skype for helping make this project an absolute success!!!

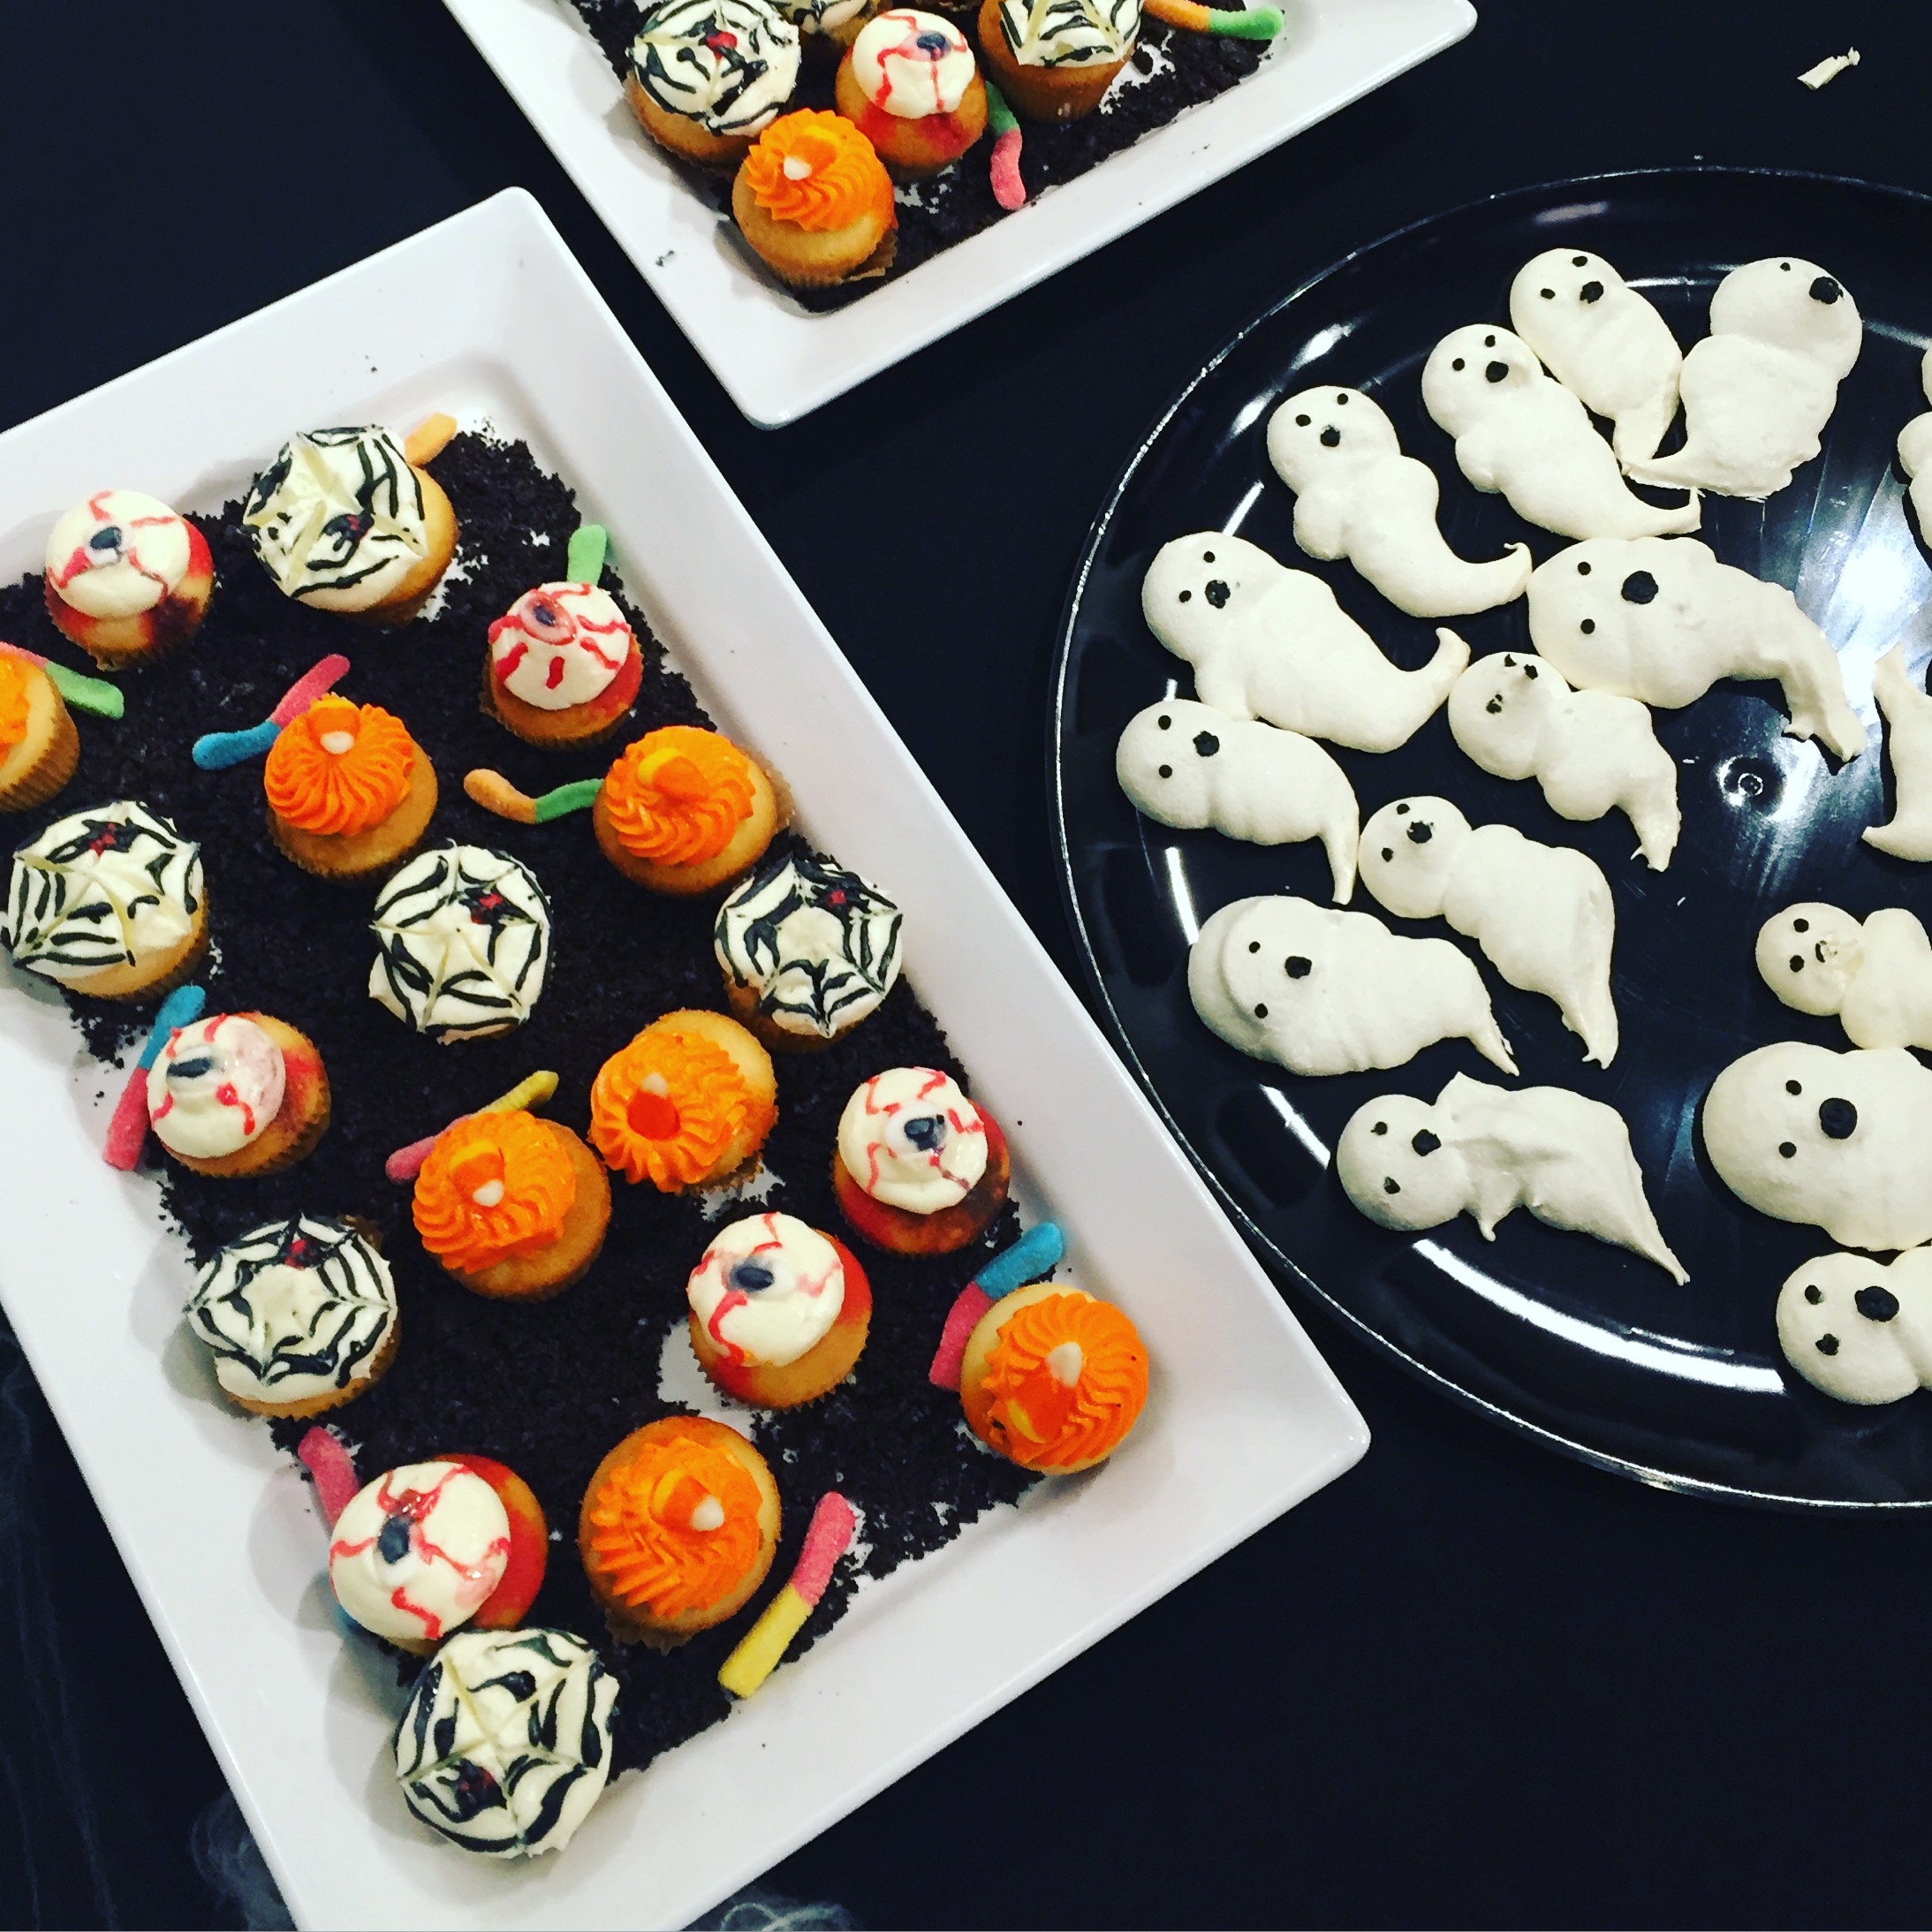
A Halloween Party With Skype!
My friends at Skype asked me to share some amazing Halloween Party DIY Ideas! I have a few amazing ideas for a party that would appeal to kids and adults! Below you will find Chic and Cute Halloween Decor, Ping Ping Ghost Lights, and also a Tasty Candy Halloween Centerpiece.
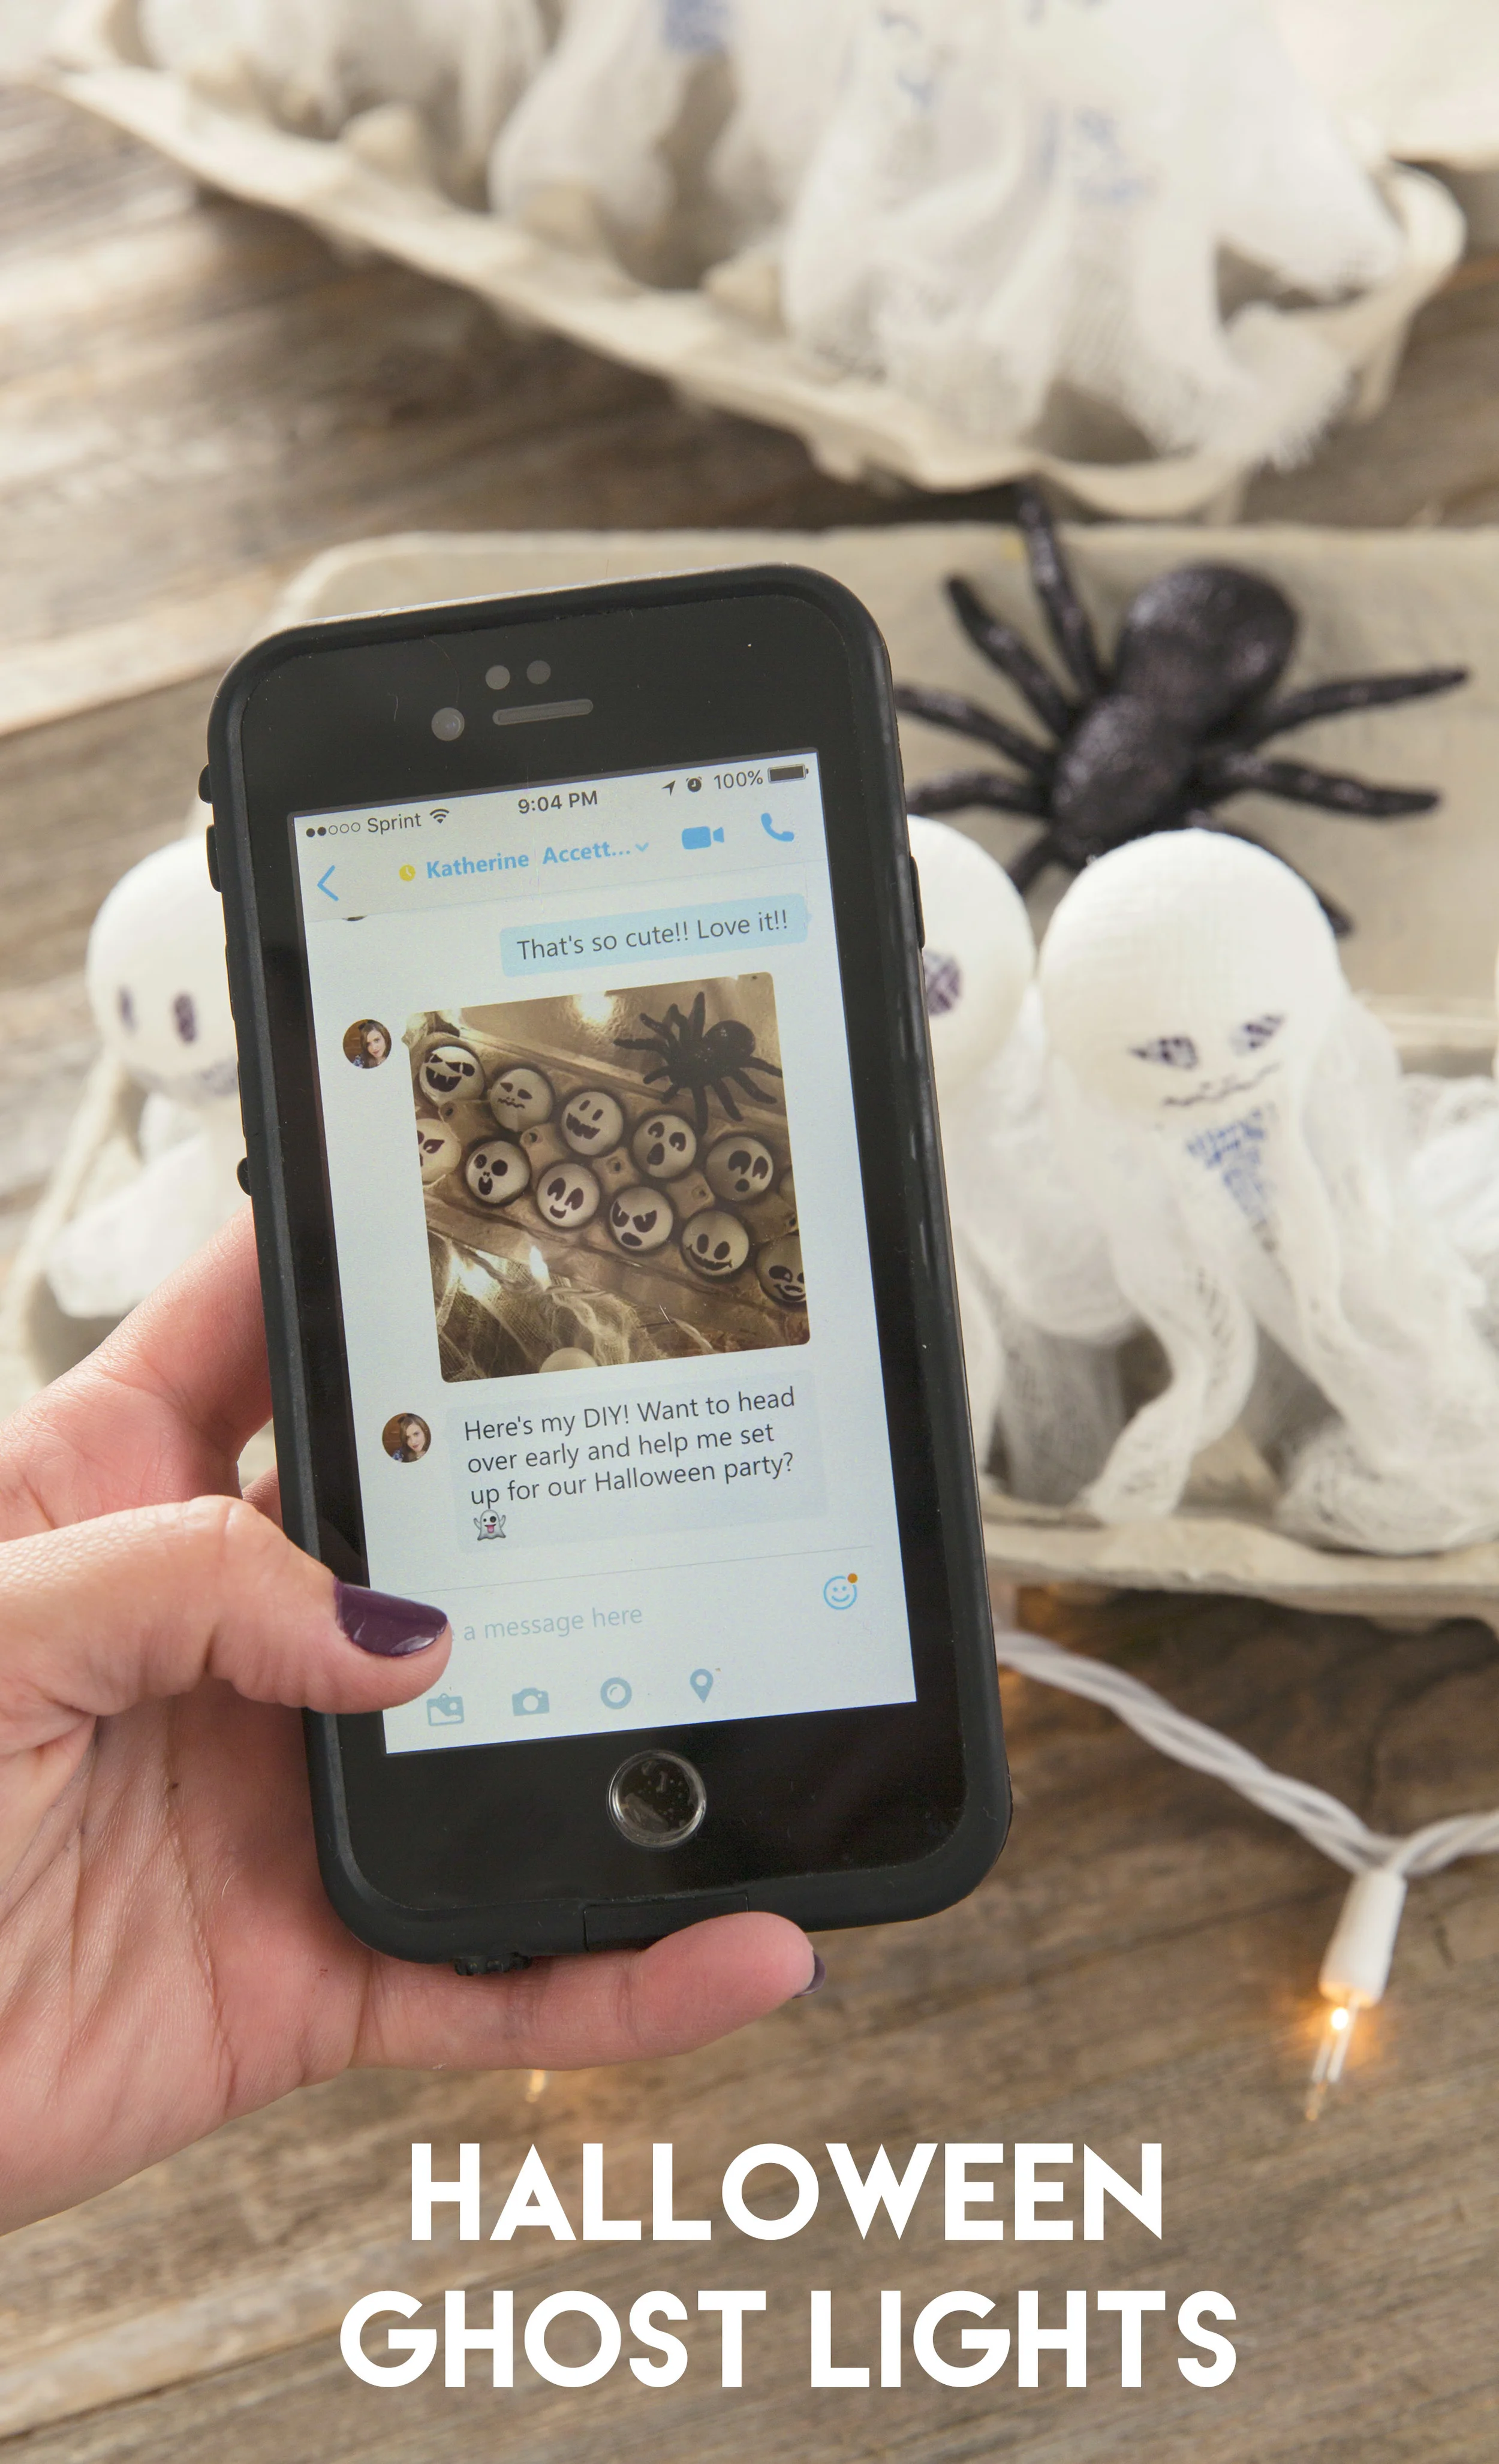
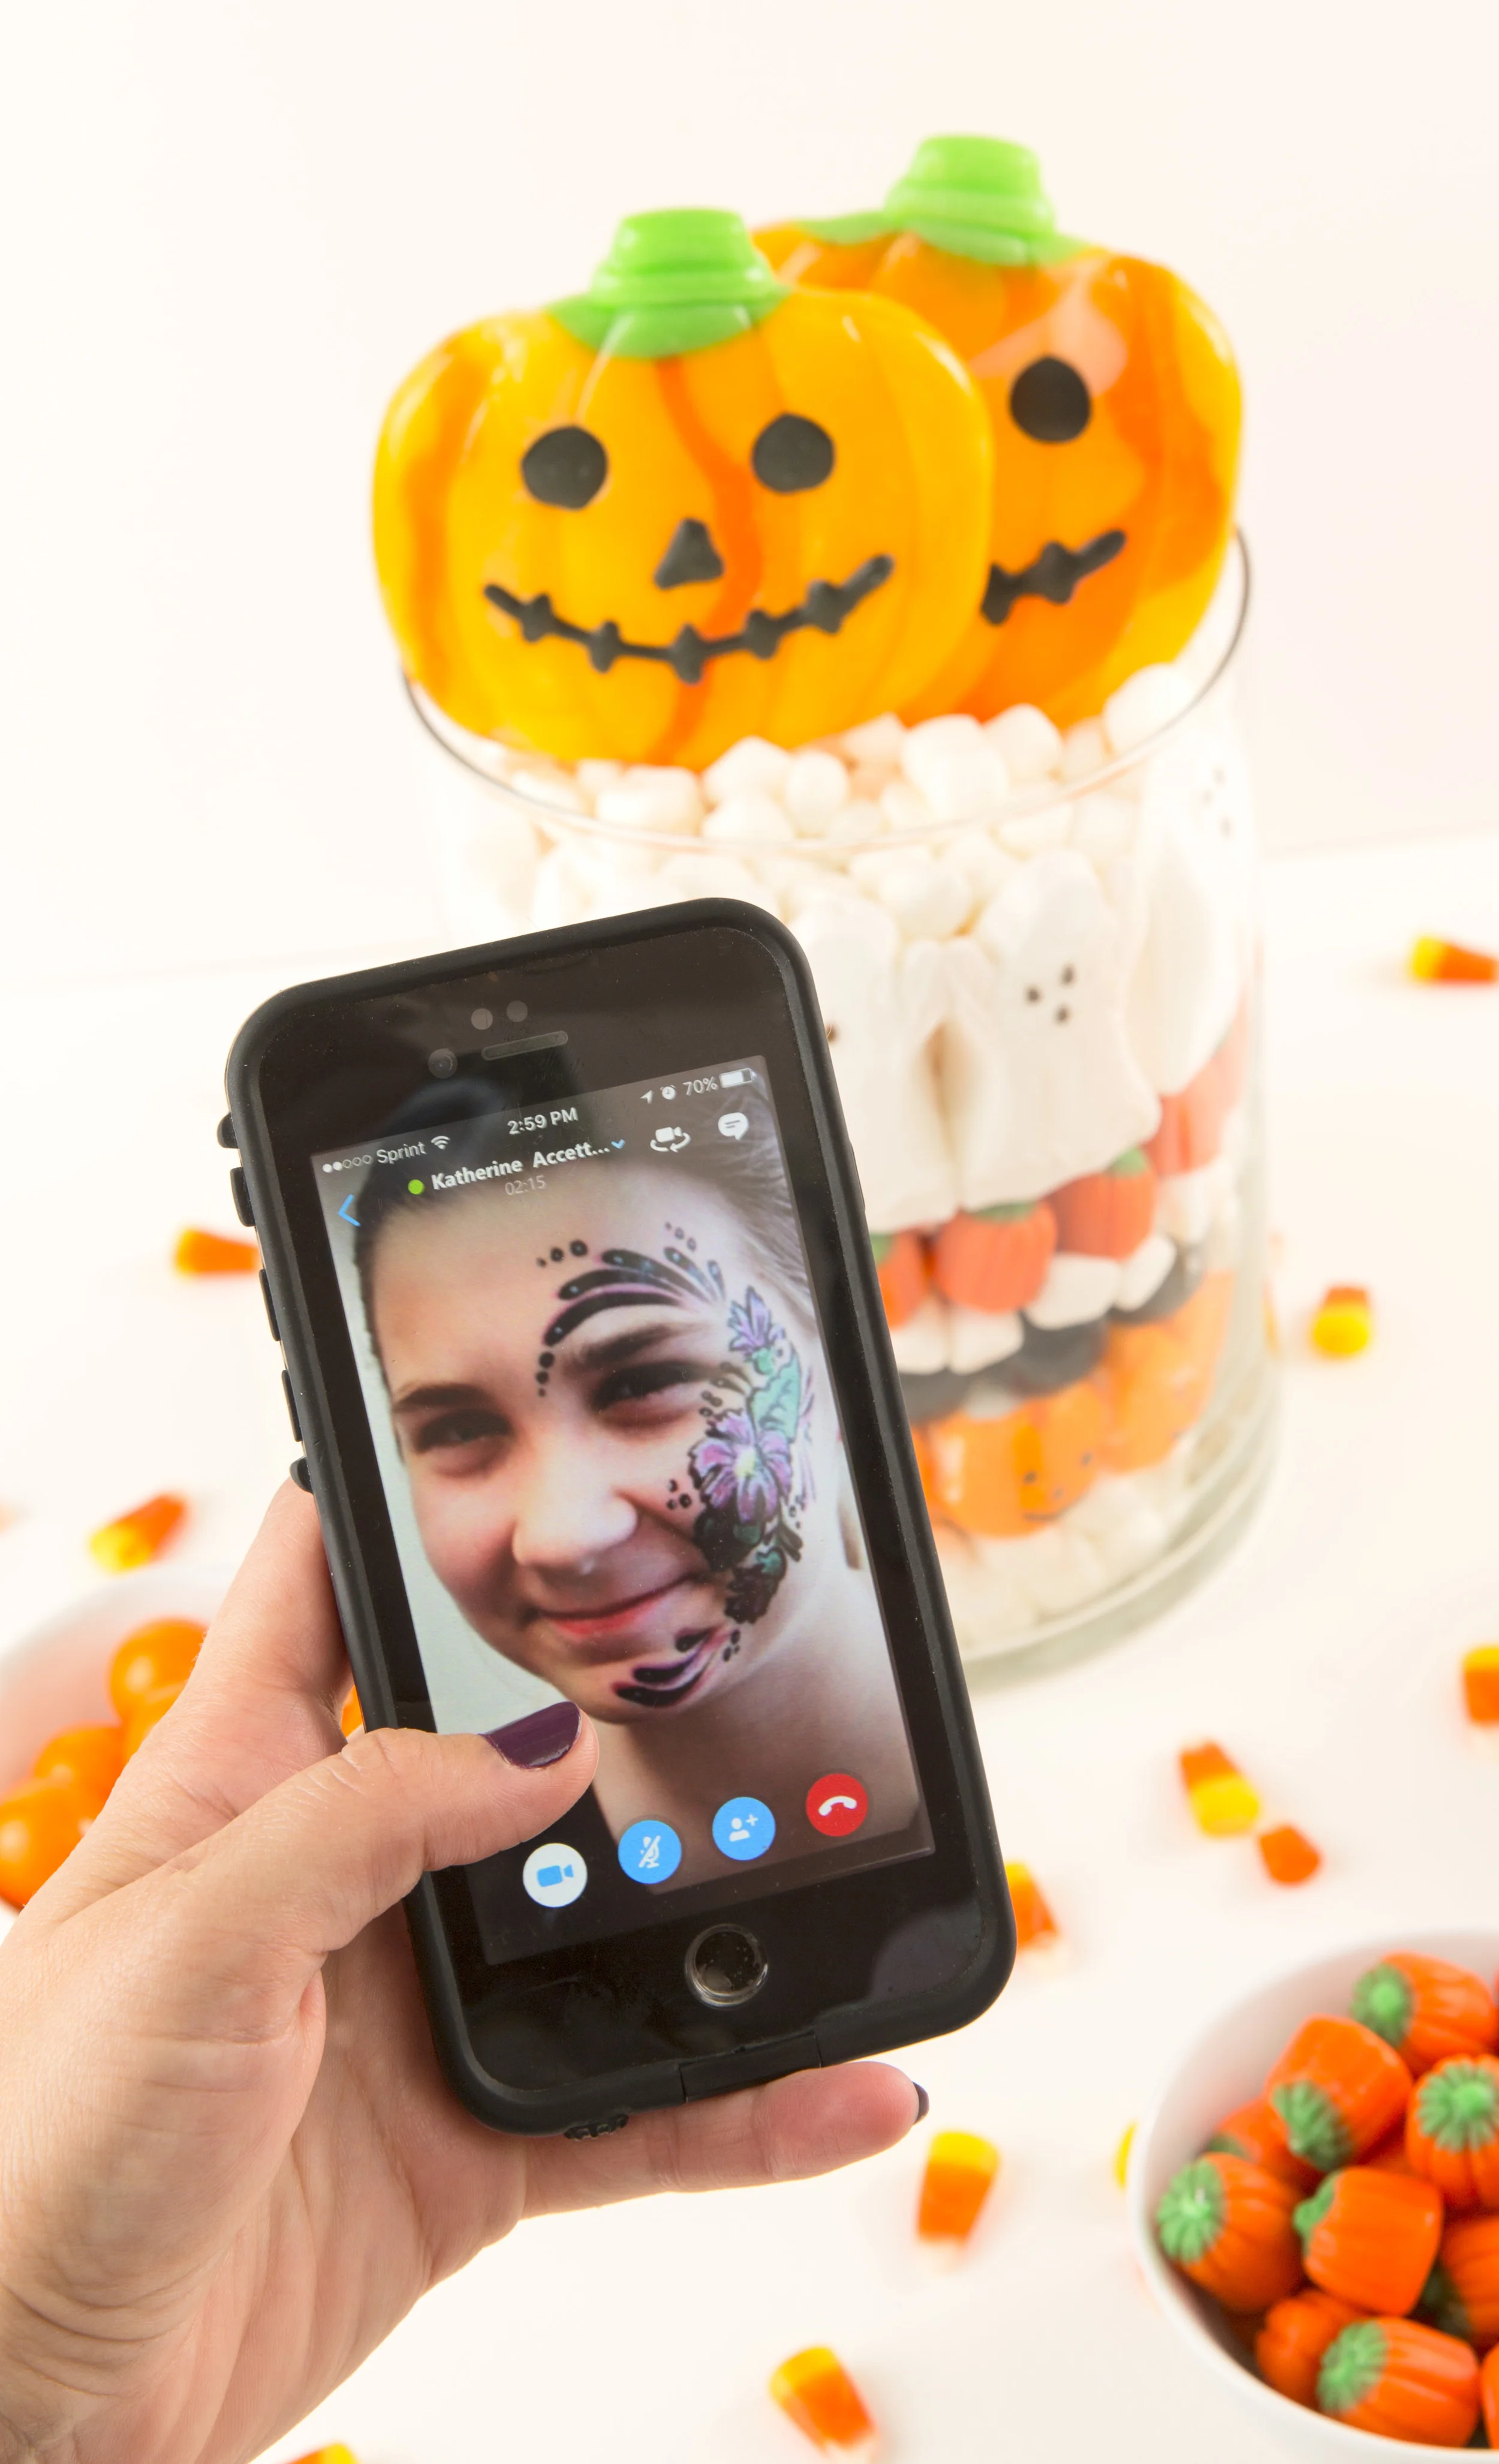
GHOST LIGHTS - I absolutely love these cute little ghosts! I created them with a few simple materials. The other fun part of this project, was that I was able to use Skype to help share this project with my friend, who absolutely LOVED them :) It's great being able to connect with people who live far away, and Skype made it easy.
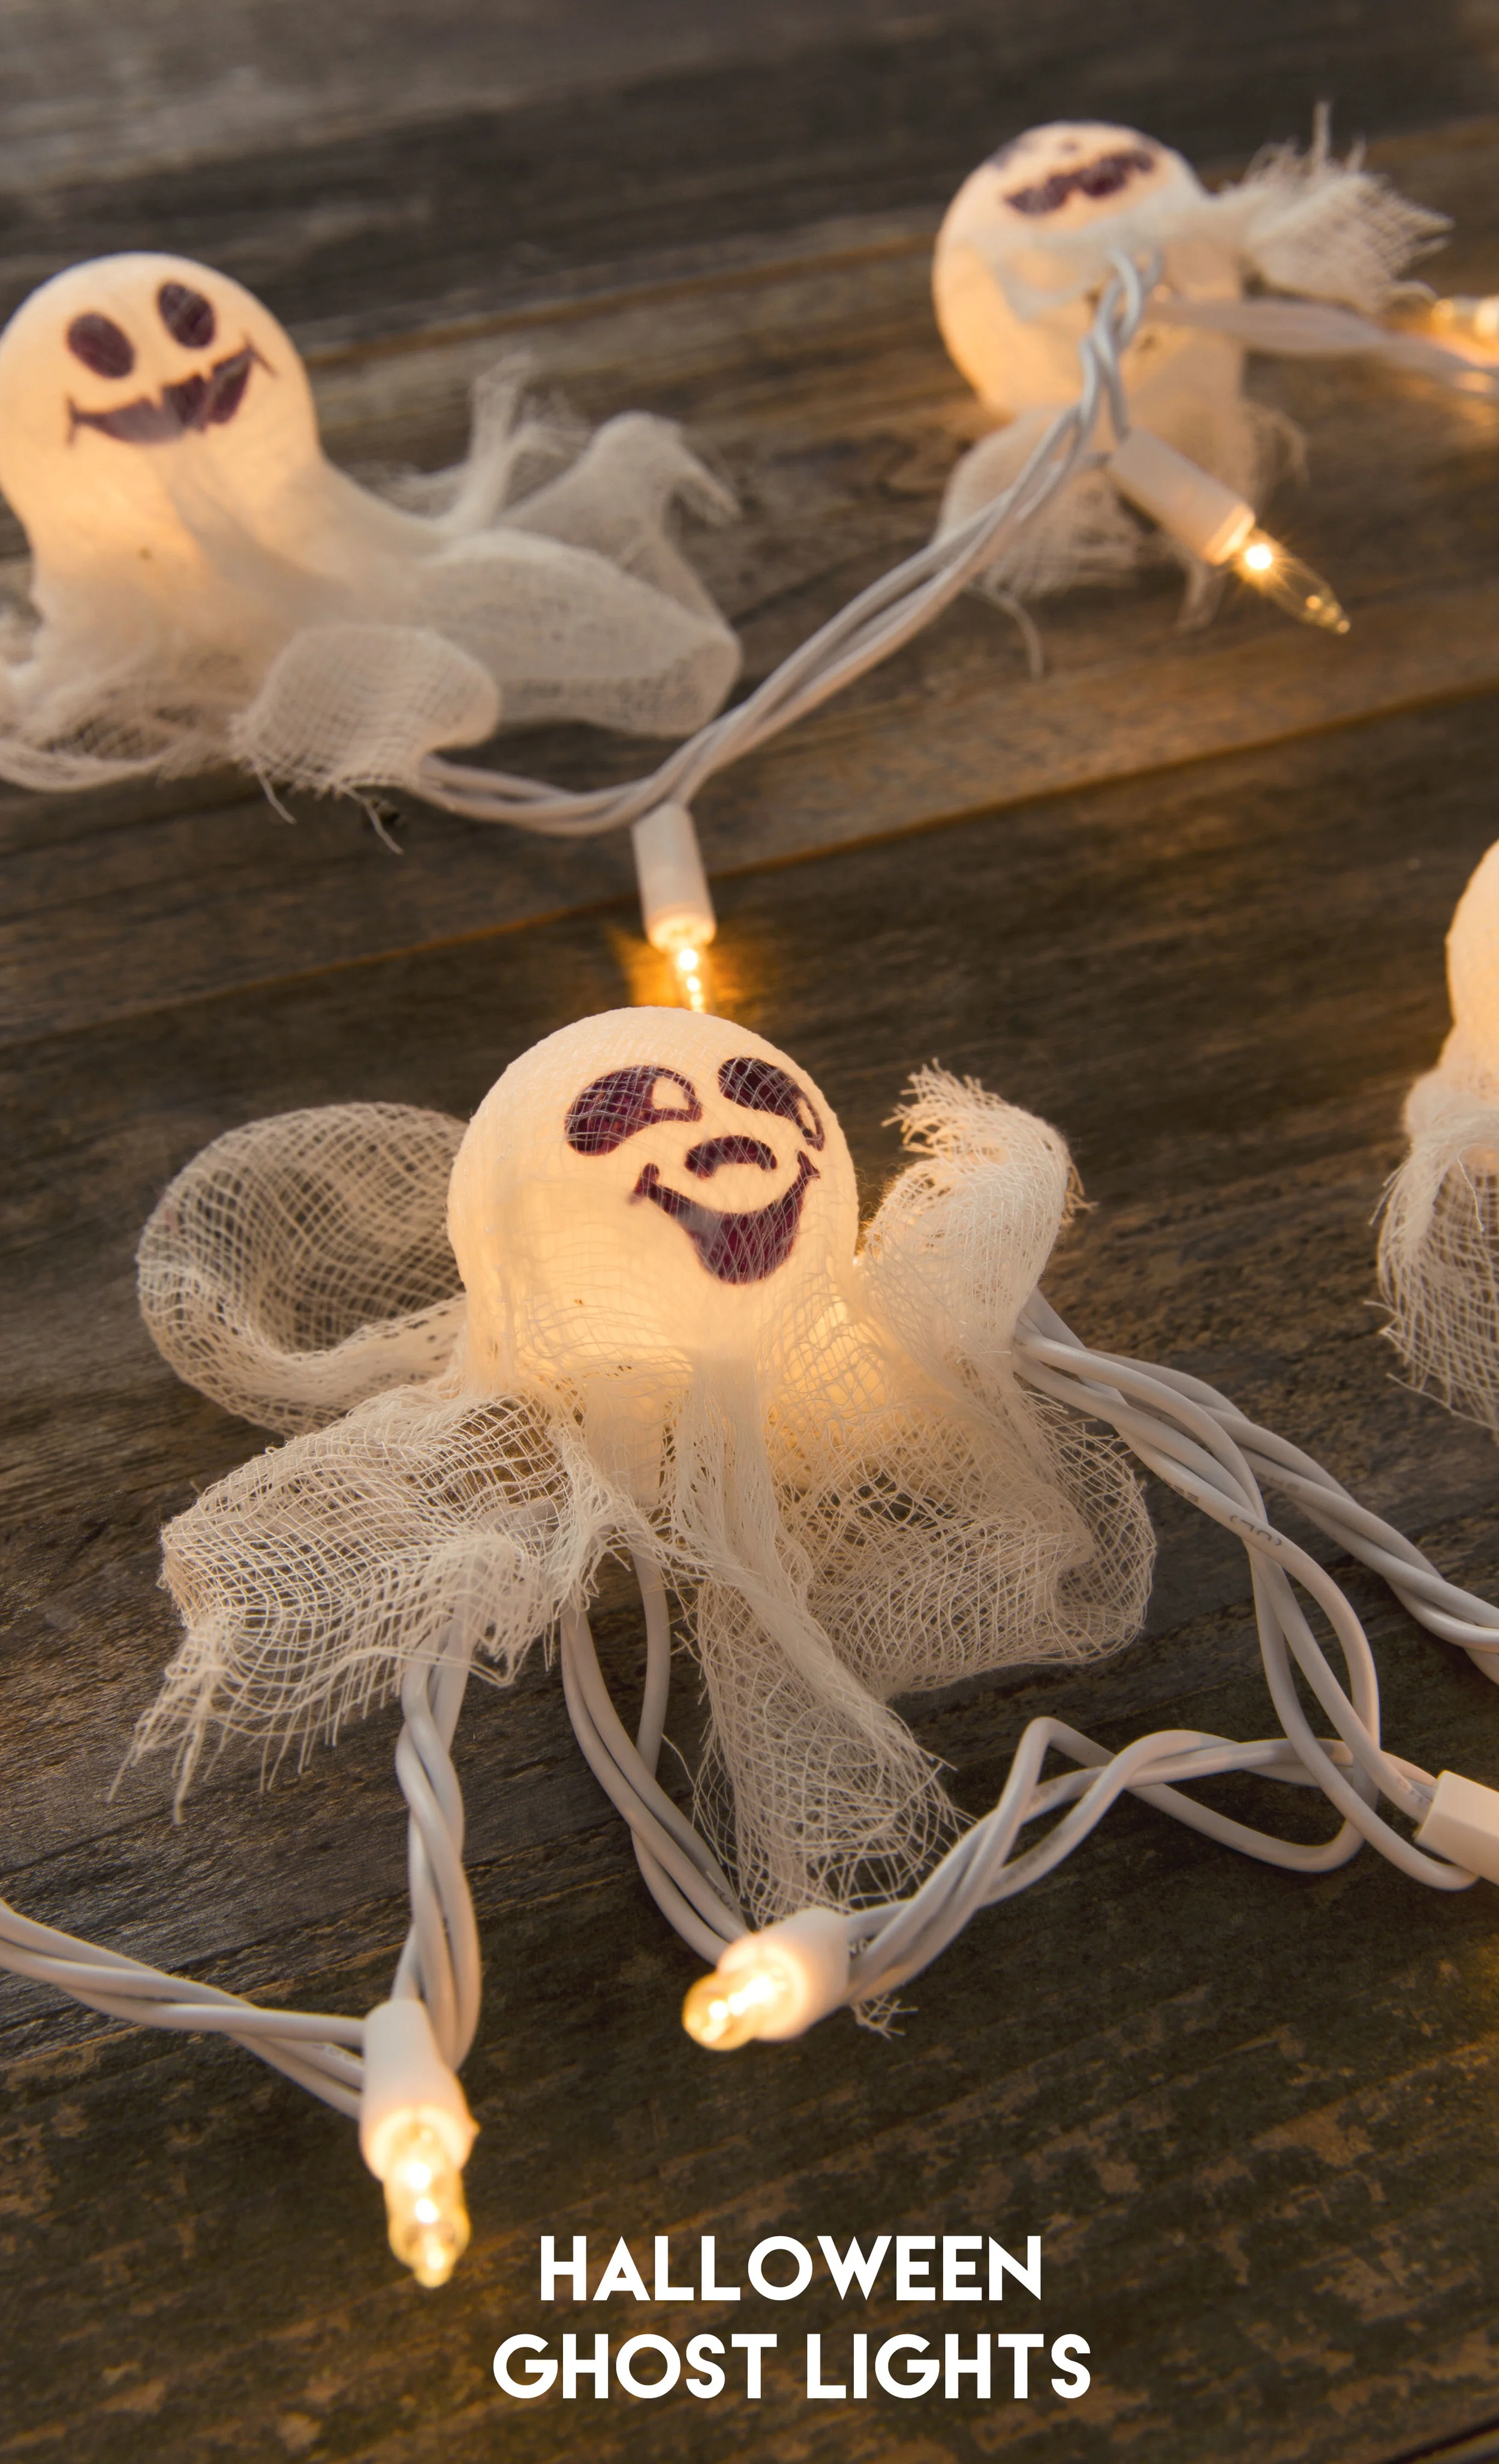

MATERIALS
- 1 Strand of white lights (with white wires). I used a strand of 50, but 25 would be great also.
- 10 Ping Ping Balls
- Modge Podge (any type will do)
- Foam Brush for Modge Podge
- Cheesecloth (found in the fabric/notions section at Hobby Lobby)
- Permanent Marker
- Egg Cartons and Painters Tape
- Drill and Drill Bit - 5/16" - Or a large nail will be good - to poke holes in ping pong balls
- 4" x 4" squares of cheesecloth (x10)
INSTRUCTIONS
1.) Drill holes in all ping ping balls. You can also use a large nail to poke the holes in them. Make sure you poke the hole where the logo is.
2.) Draw spooky ghost faces on all ping pong balls. I searched for "Ghost Faces" online, and all sorts of ideas came up.
3.) Grab your egg cartons and use the painters tape to create little cones, so your ping pong balls can sit up in the egg cartons. Use the sticky side of the tape on the outside.
4.) Drape the cheesecloth squares over the ping pong balls, and use your foam brush to paint the Modge Podge over the cloth, to adhere to the ping pong balls. They will definitely begin to look like ghosts now!
5.) Let them dry for 4-5 hours, and place a ping pong ball ghost to every third or fourth Christmas light! That's it! Please comment below if you make these!
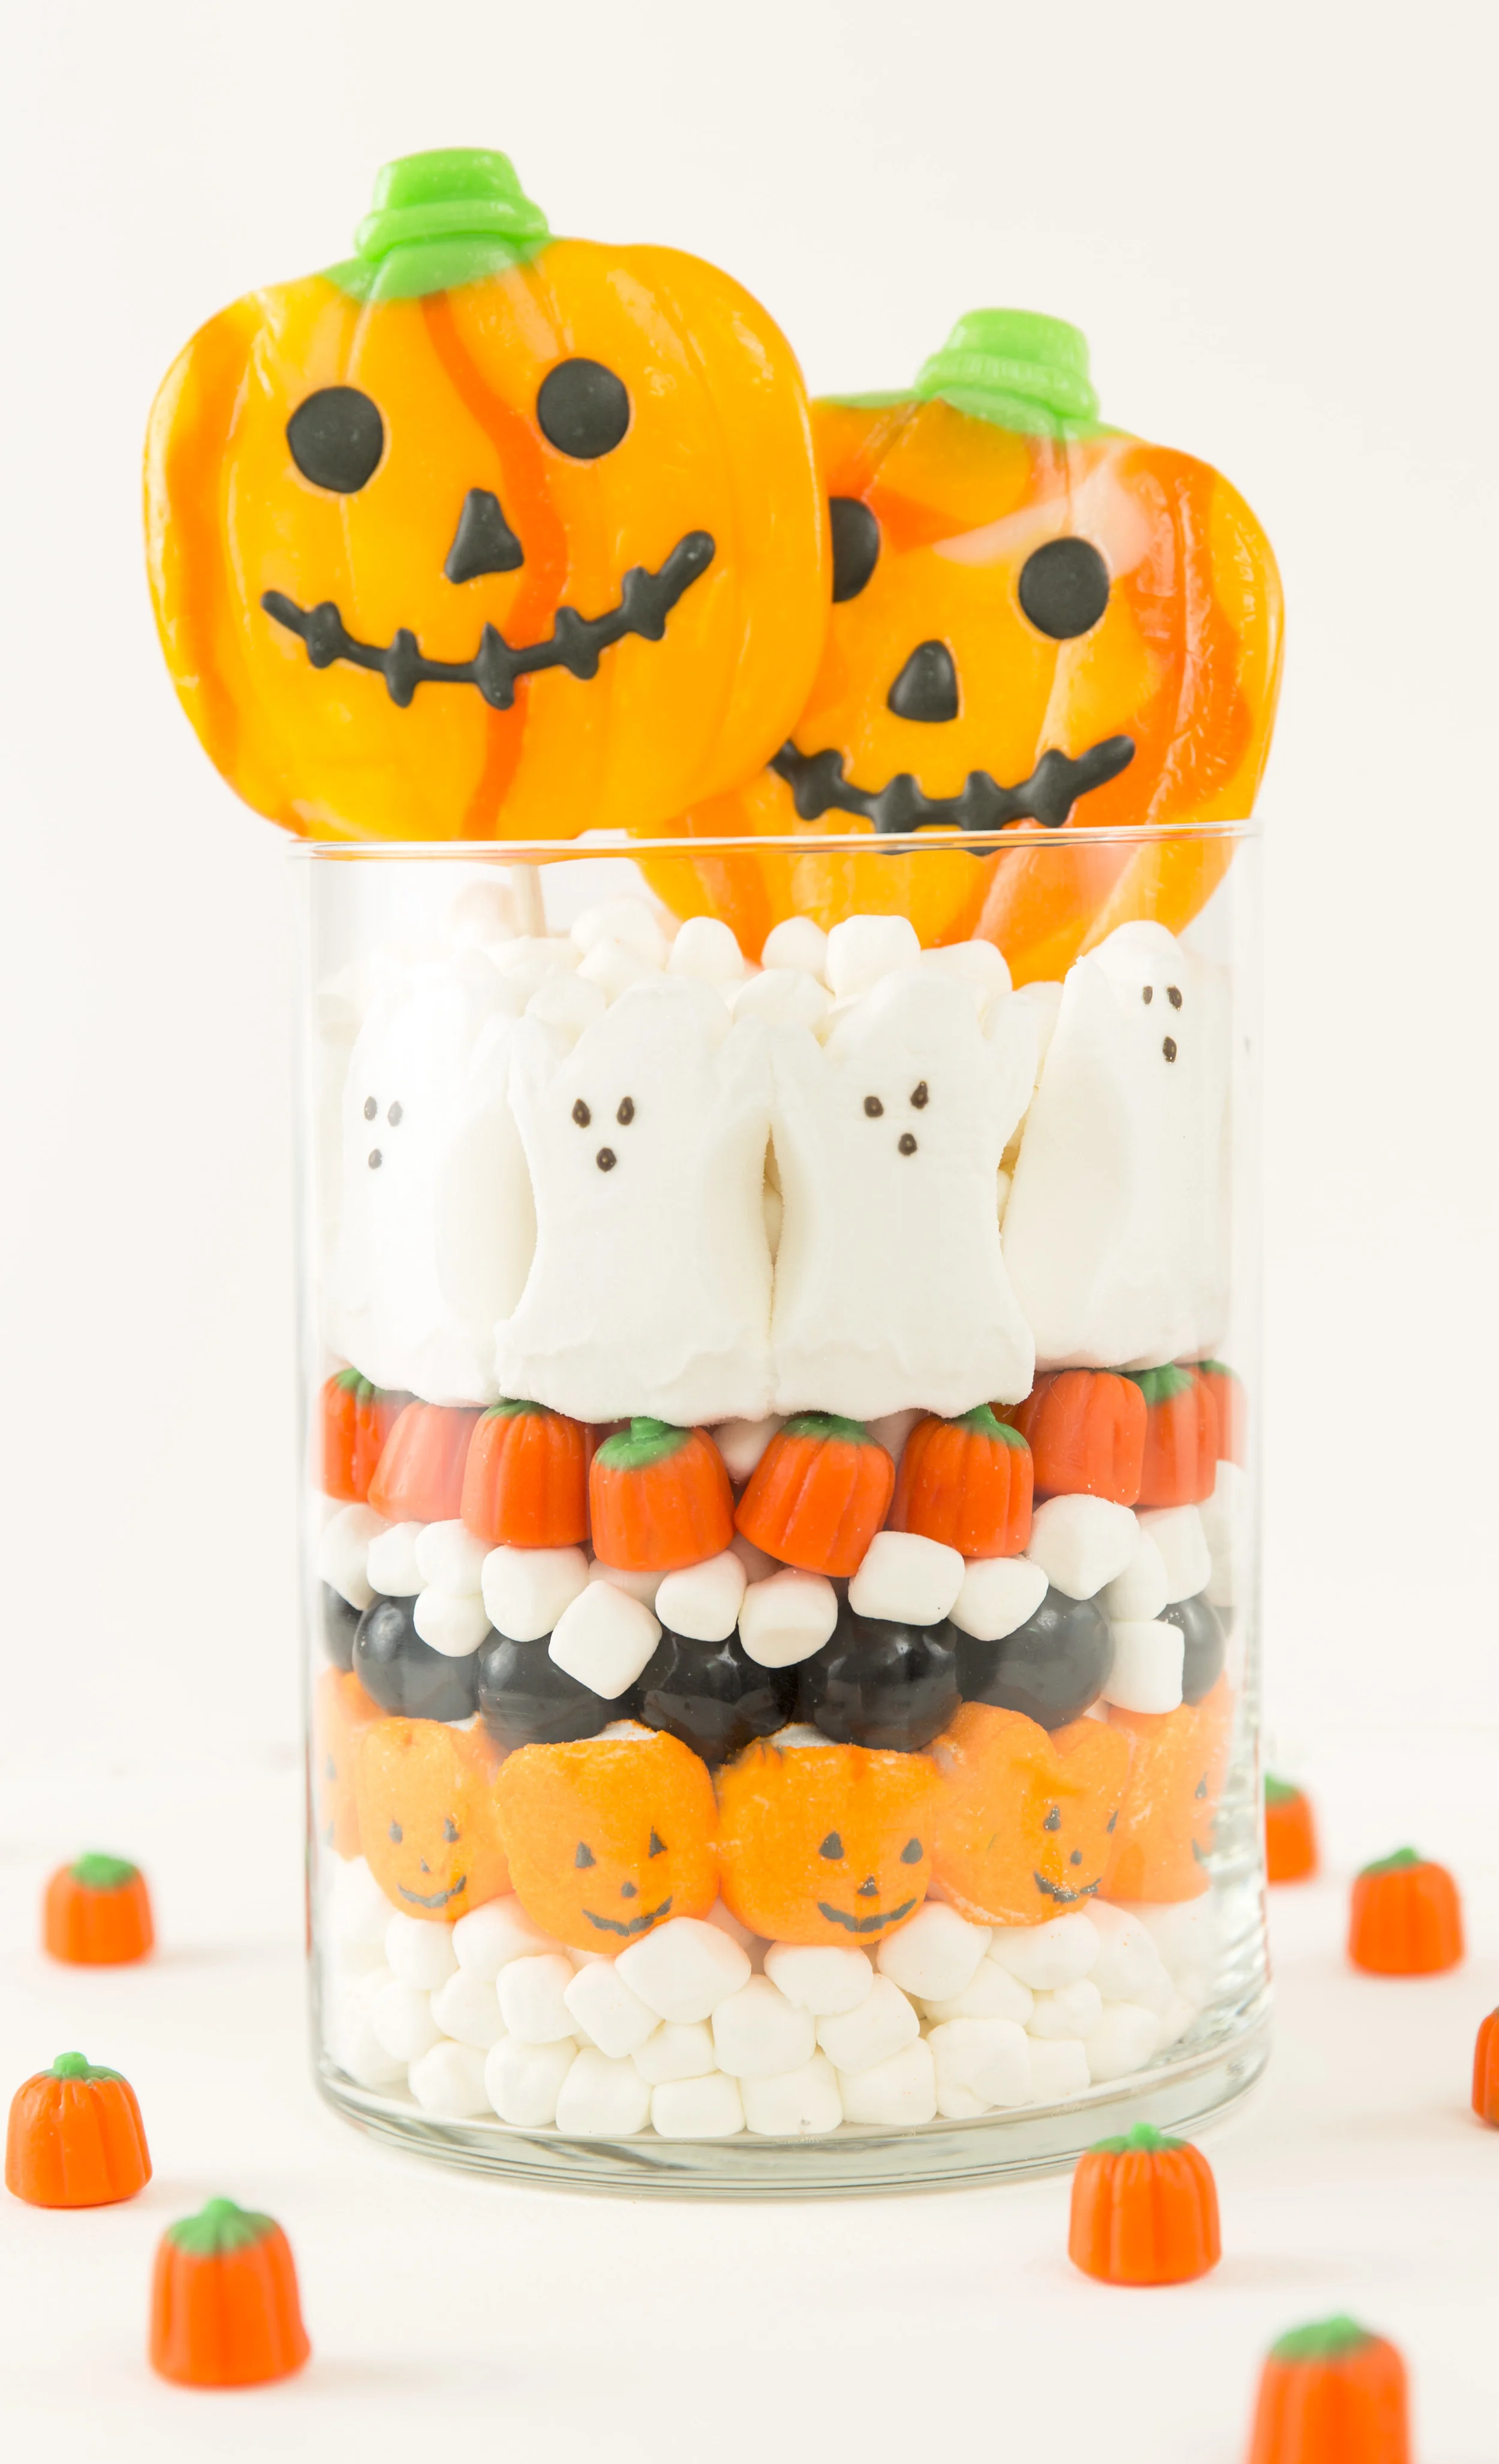
HALLOWEEN CENTERPIECE
I used a big assortment of Halloween candy for this one! It turned out SO cute and I think kids would just love it. This would make the ultimate conversation piece at a Halloween party, too!

MATERIALS
- Large Glass Vase with straight sides
- 1 large bag of mini marshmallows and 3-4 other types of Halloween candy and Halloween Peeps
INSTRUCTIONS -
1.) Pour 2 inches of marshmallows into vase
2.) Layer Halloween Peeps around edge of vase, and fill center with more marshmallows
3.) Layer alternating colored candies all the way up, and top off with more marshmallows and Halloween suckers of your choice!

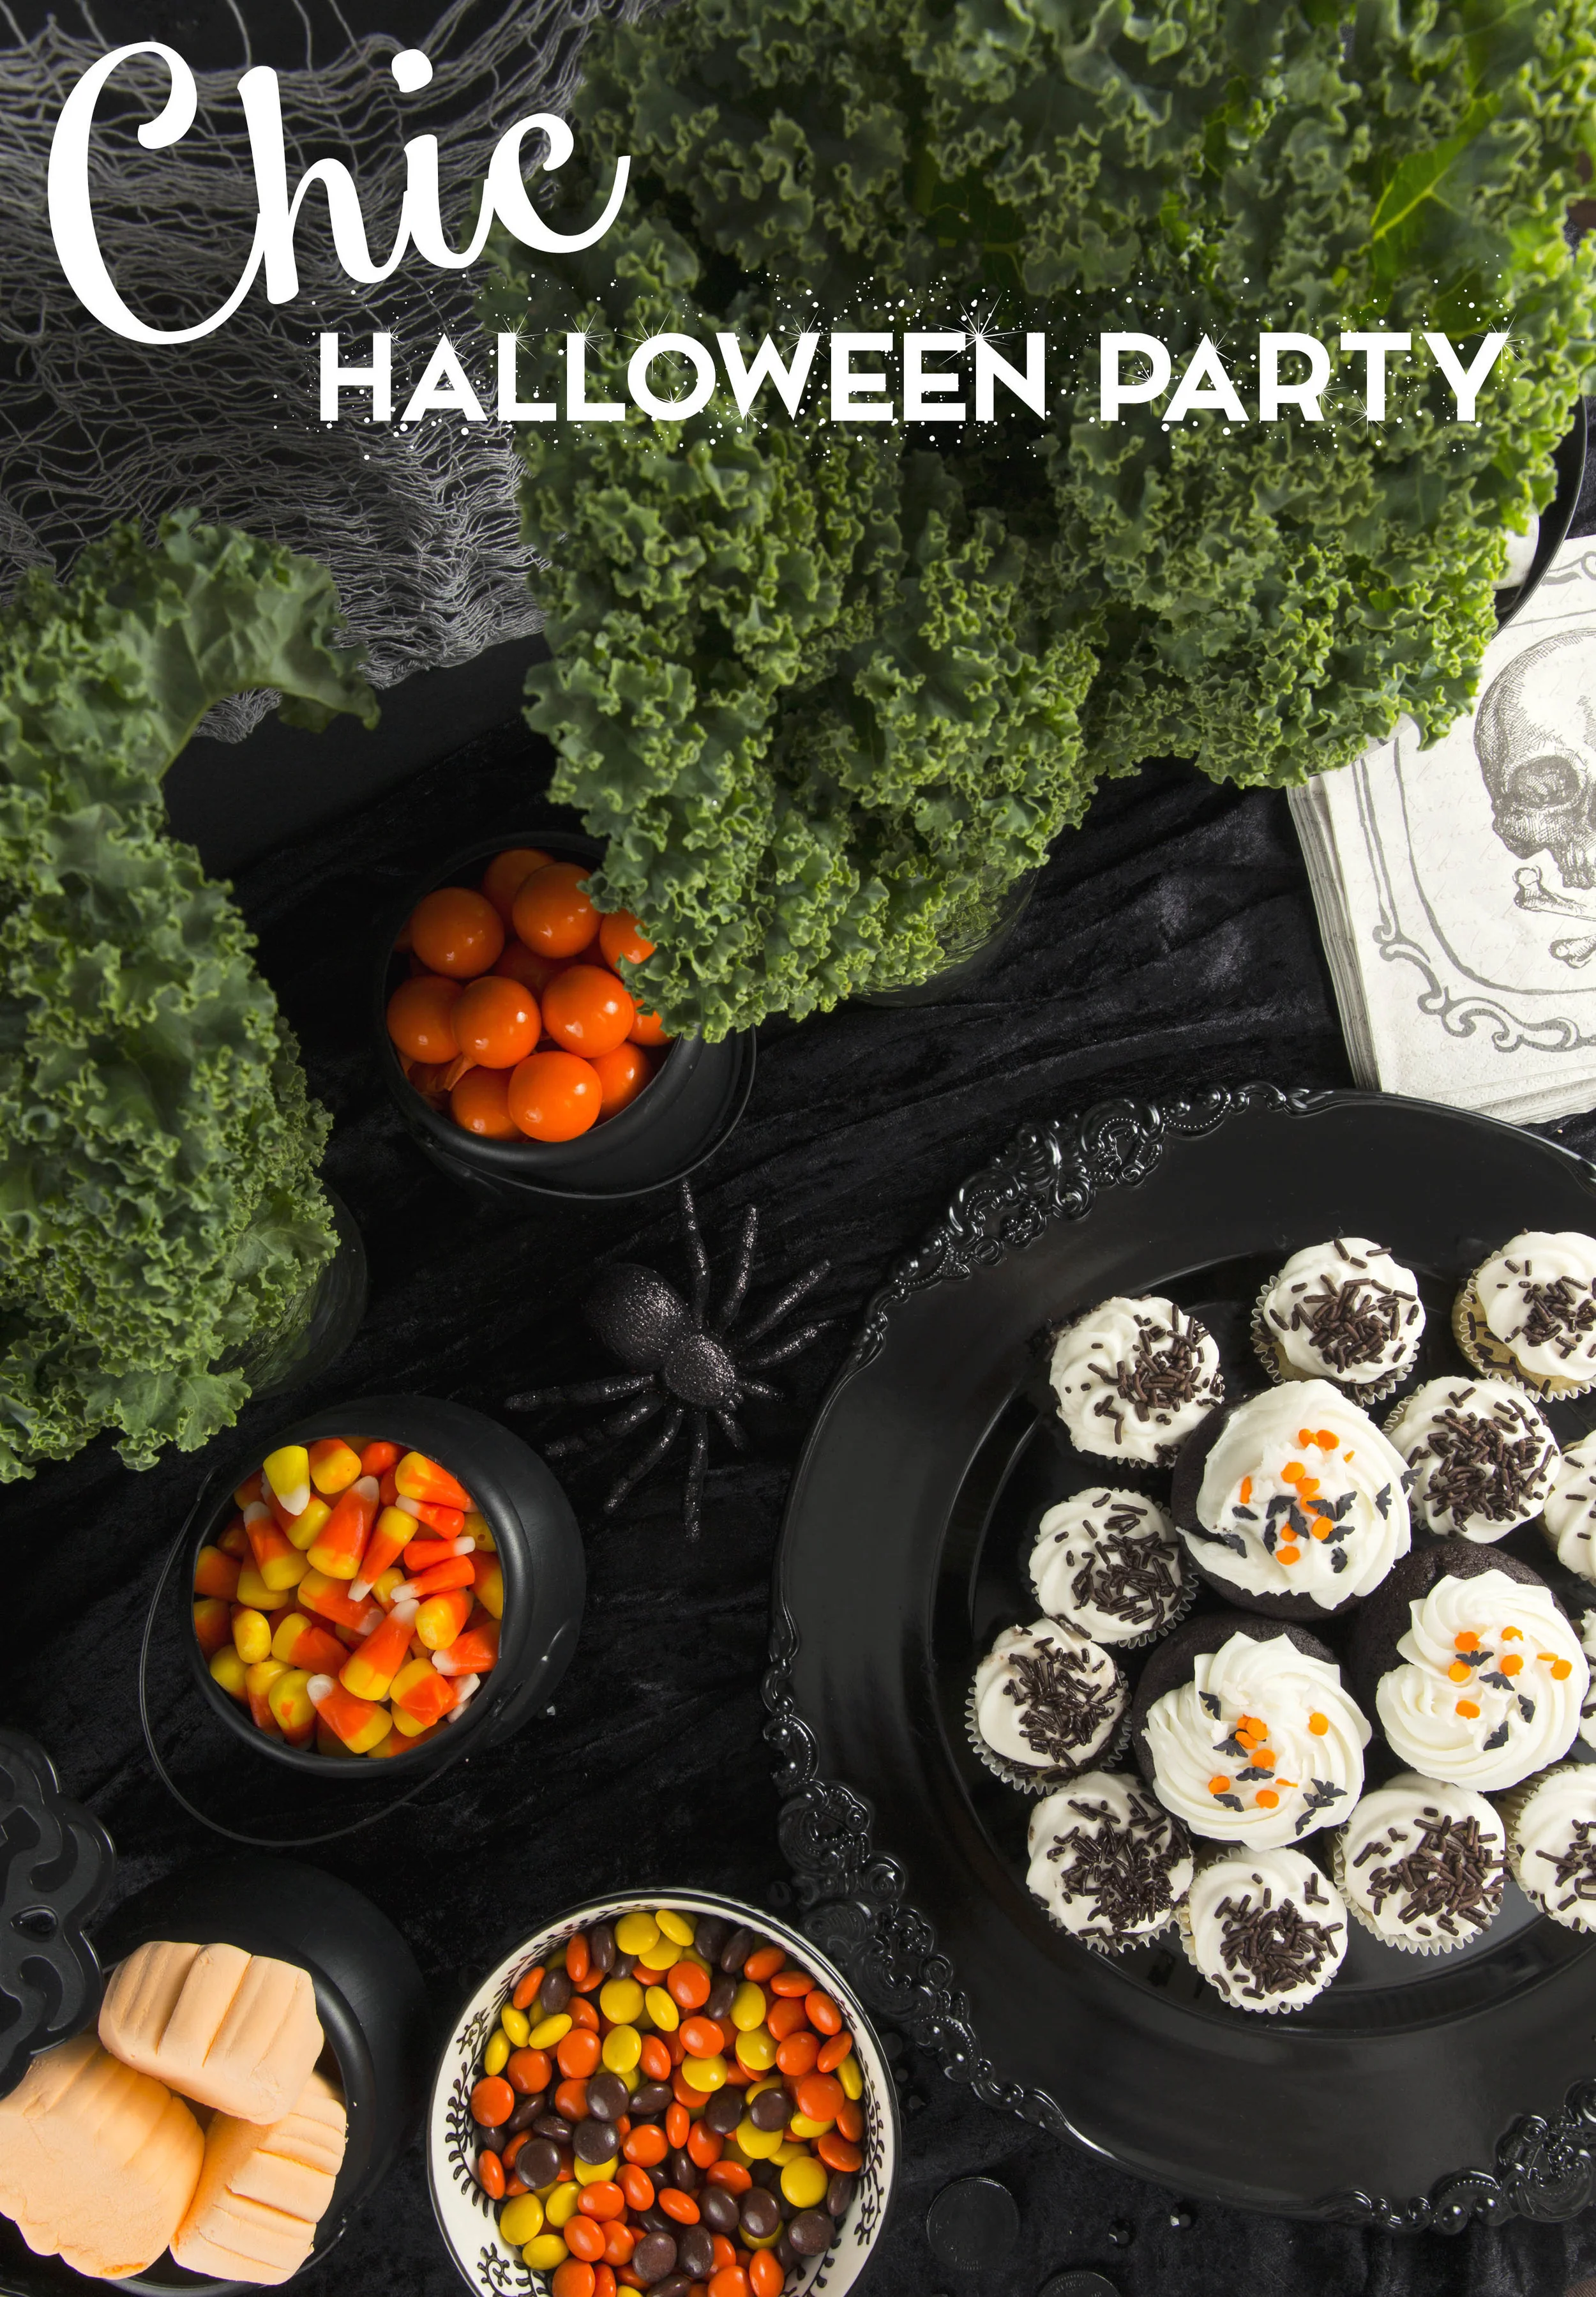
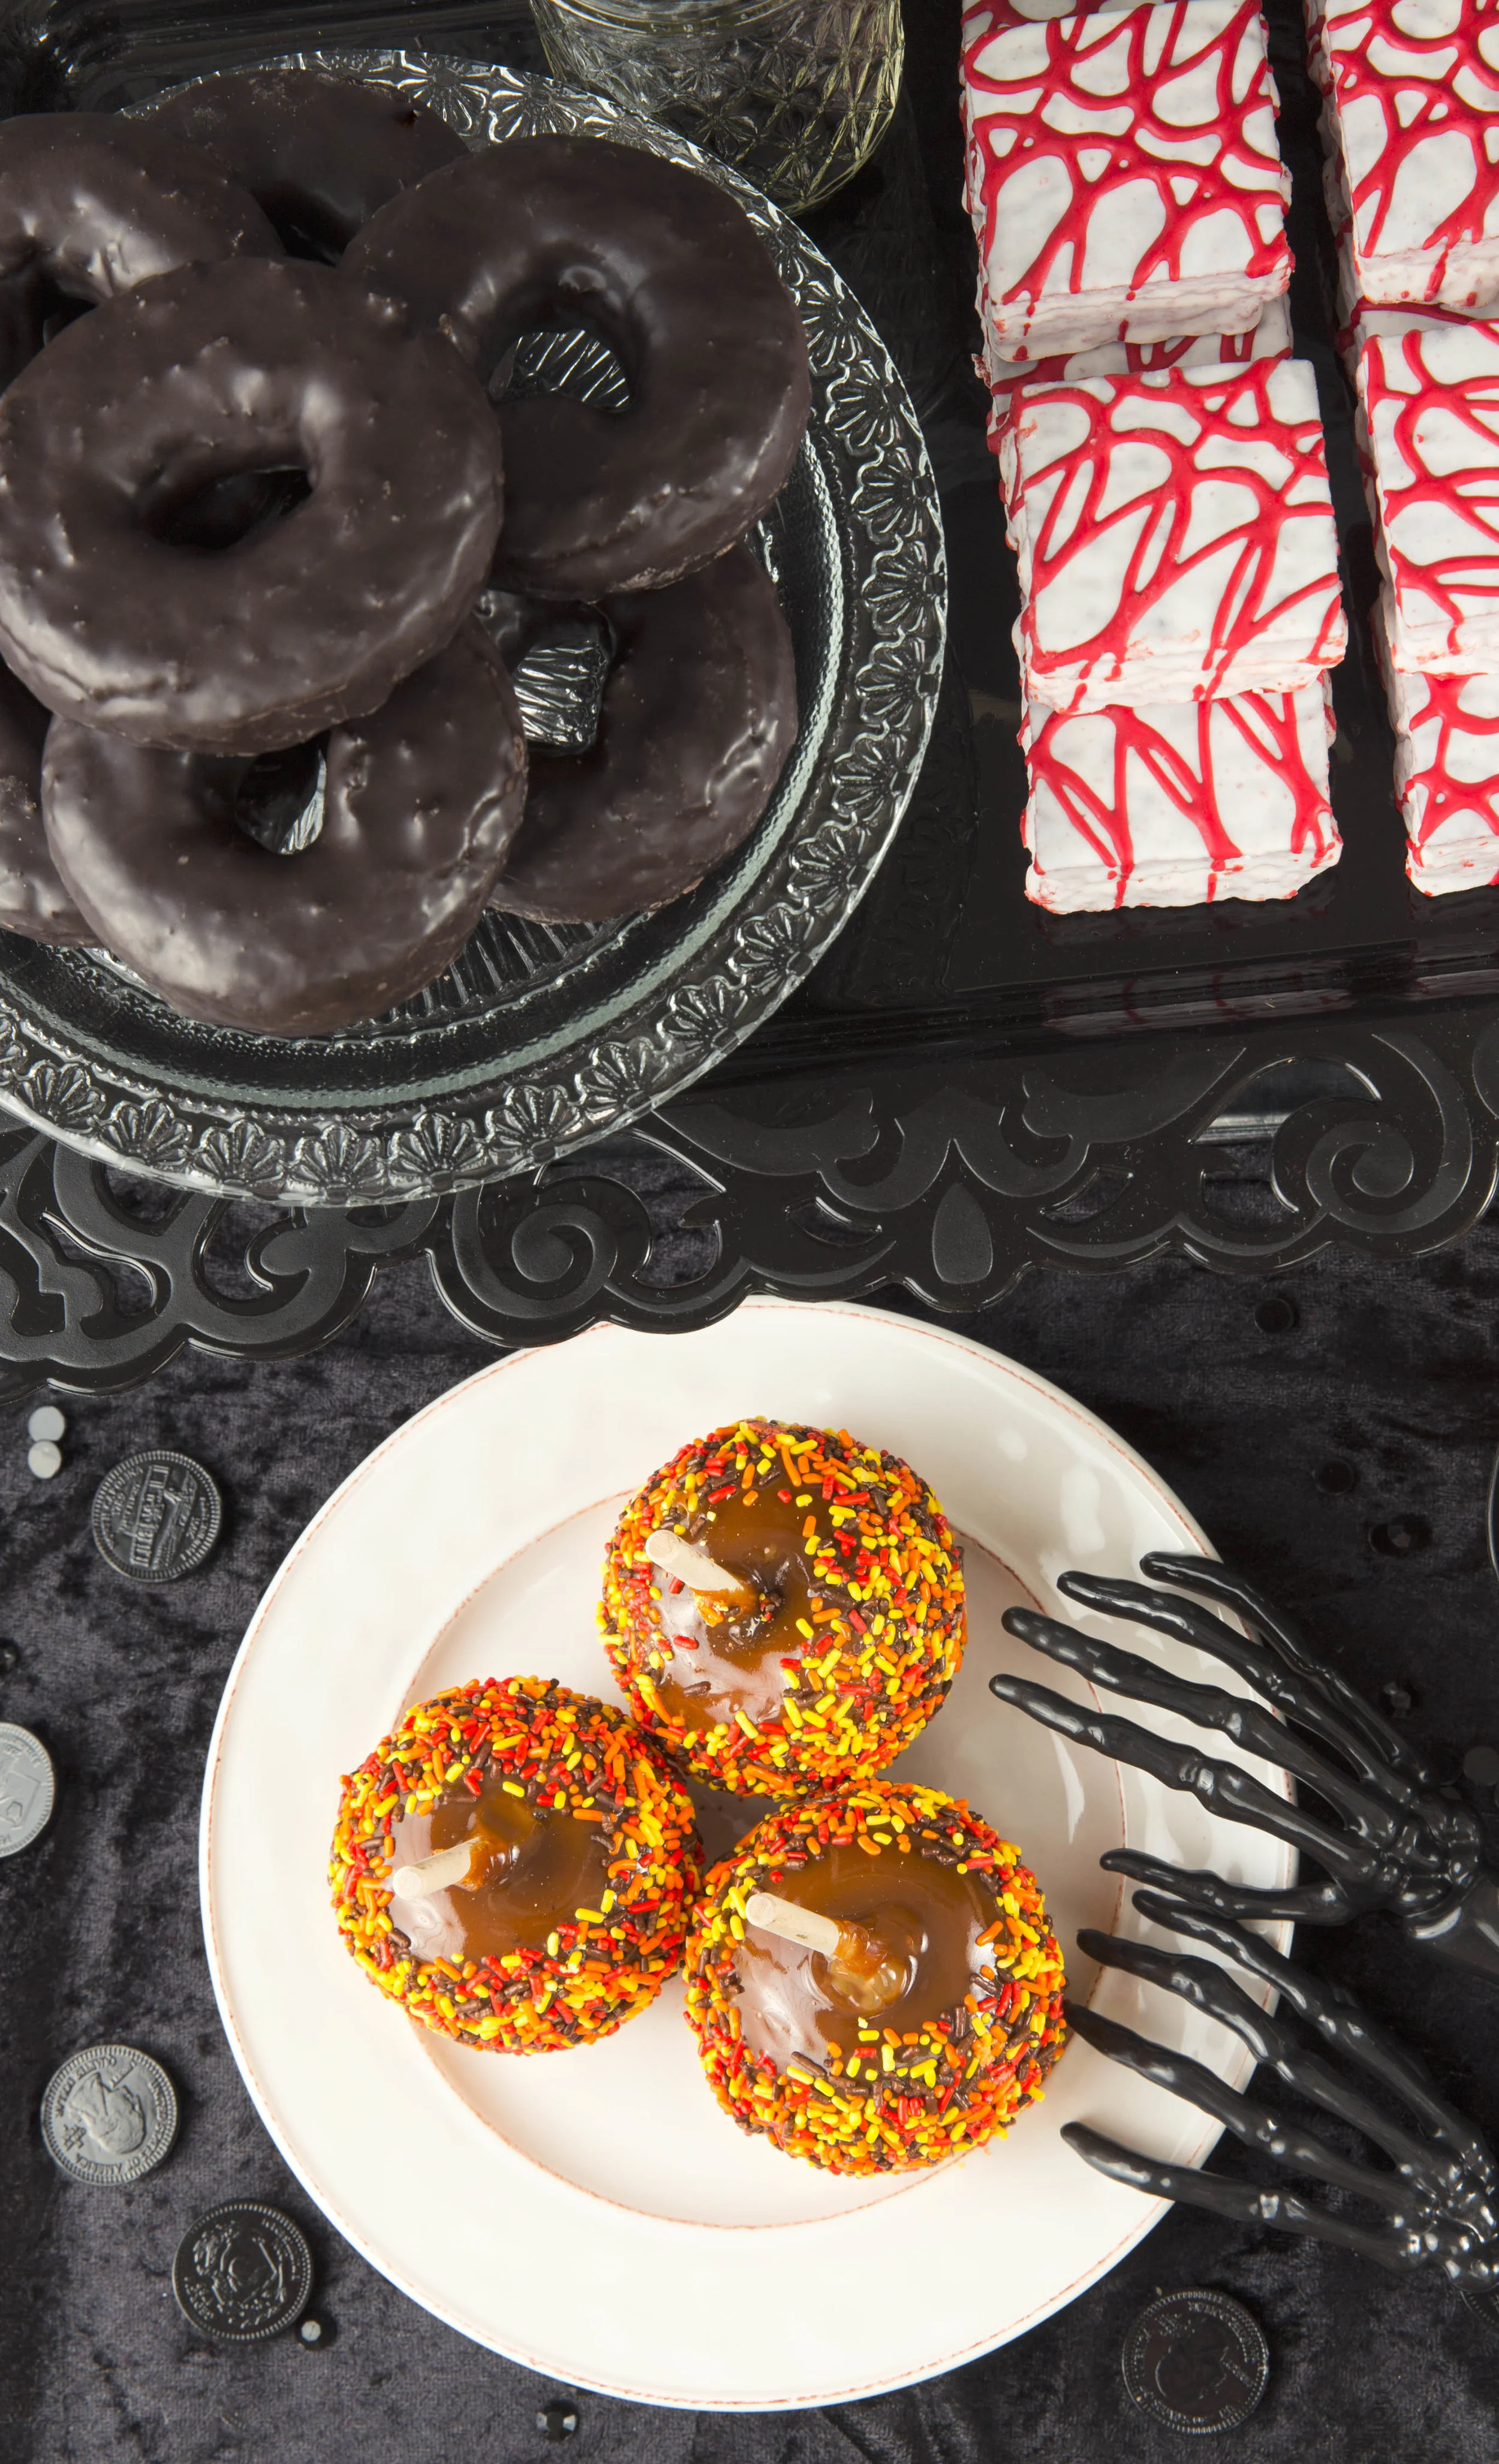
THE ULTIMATE CHIC HALLOWEEN PARTY DECOR
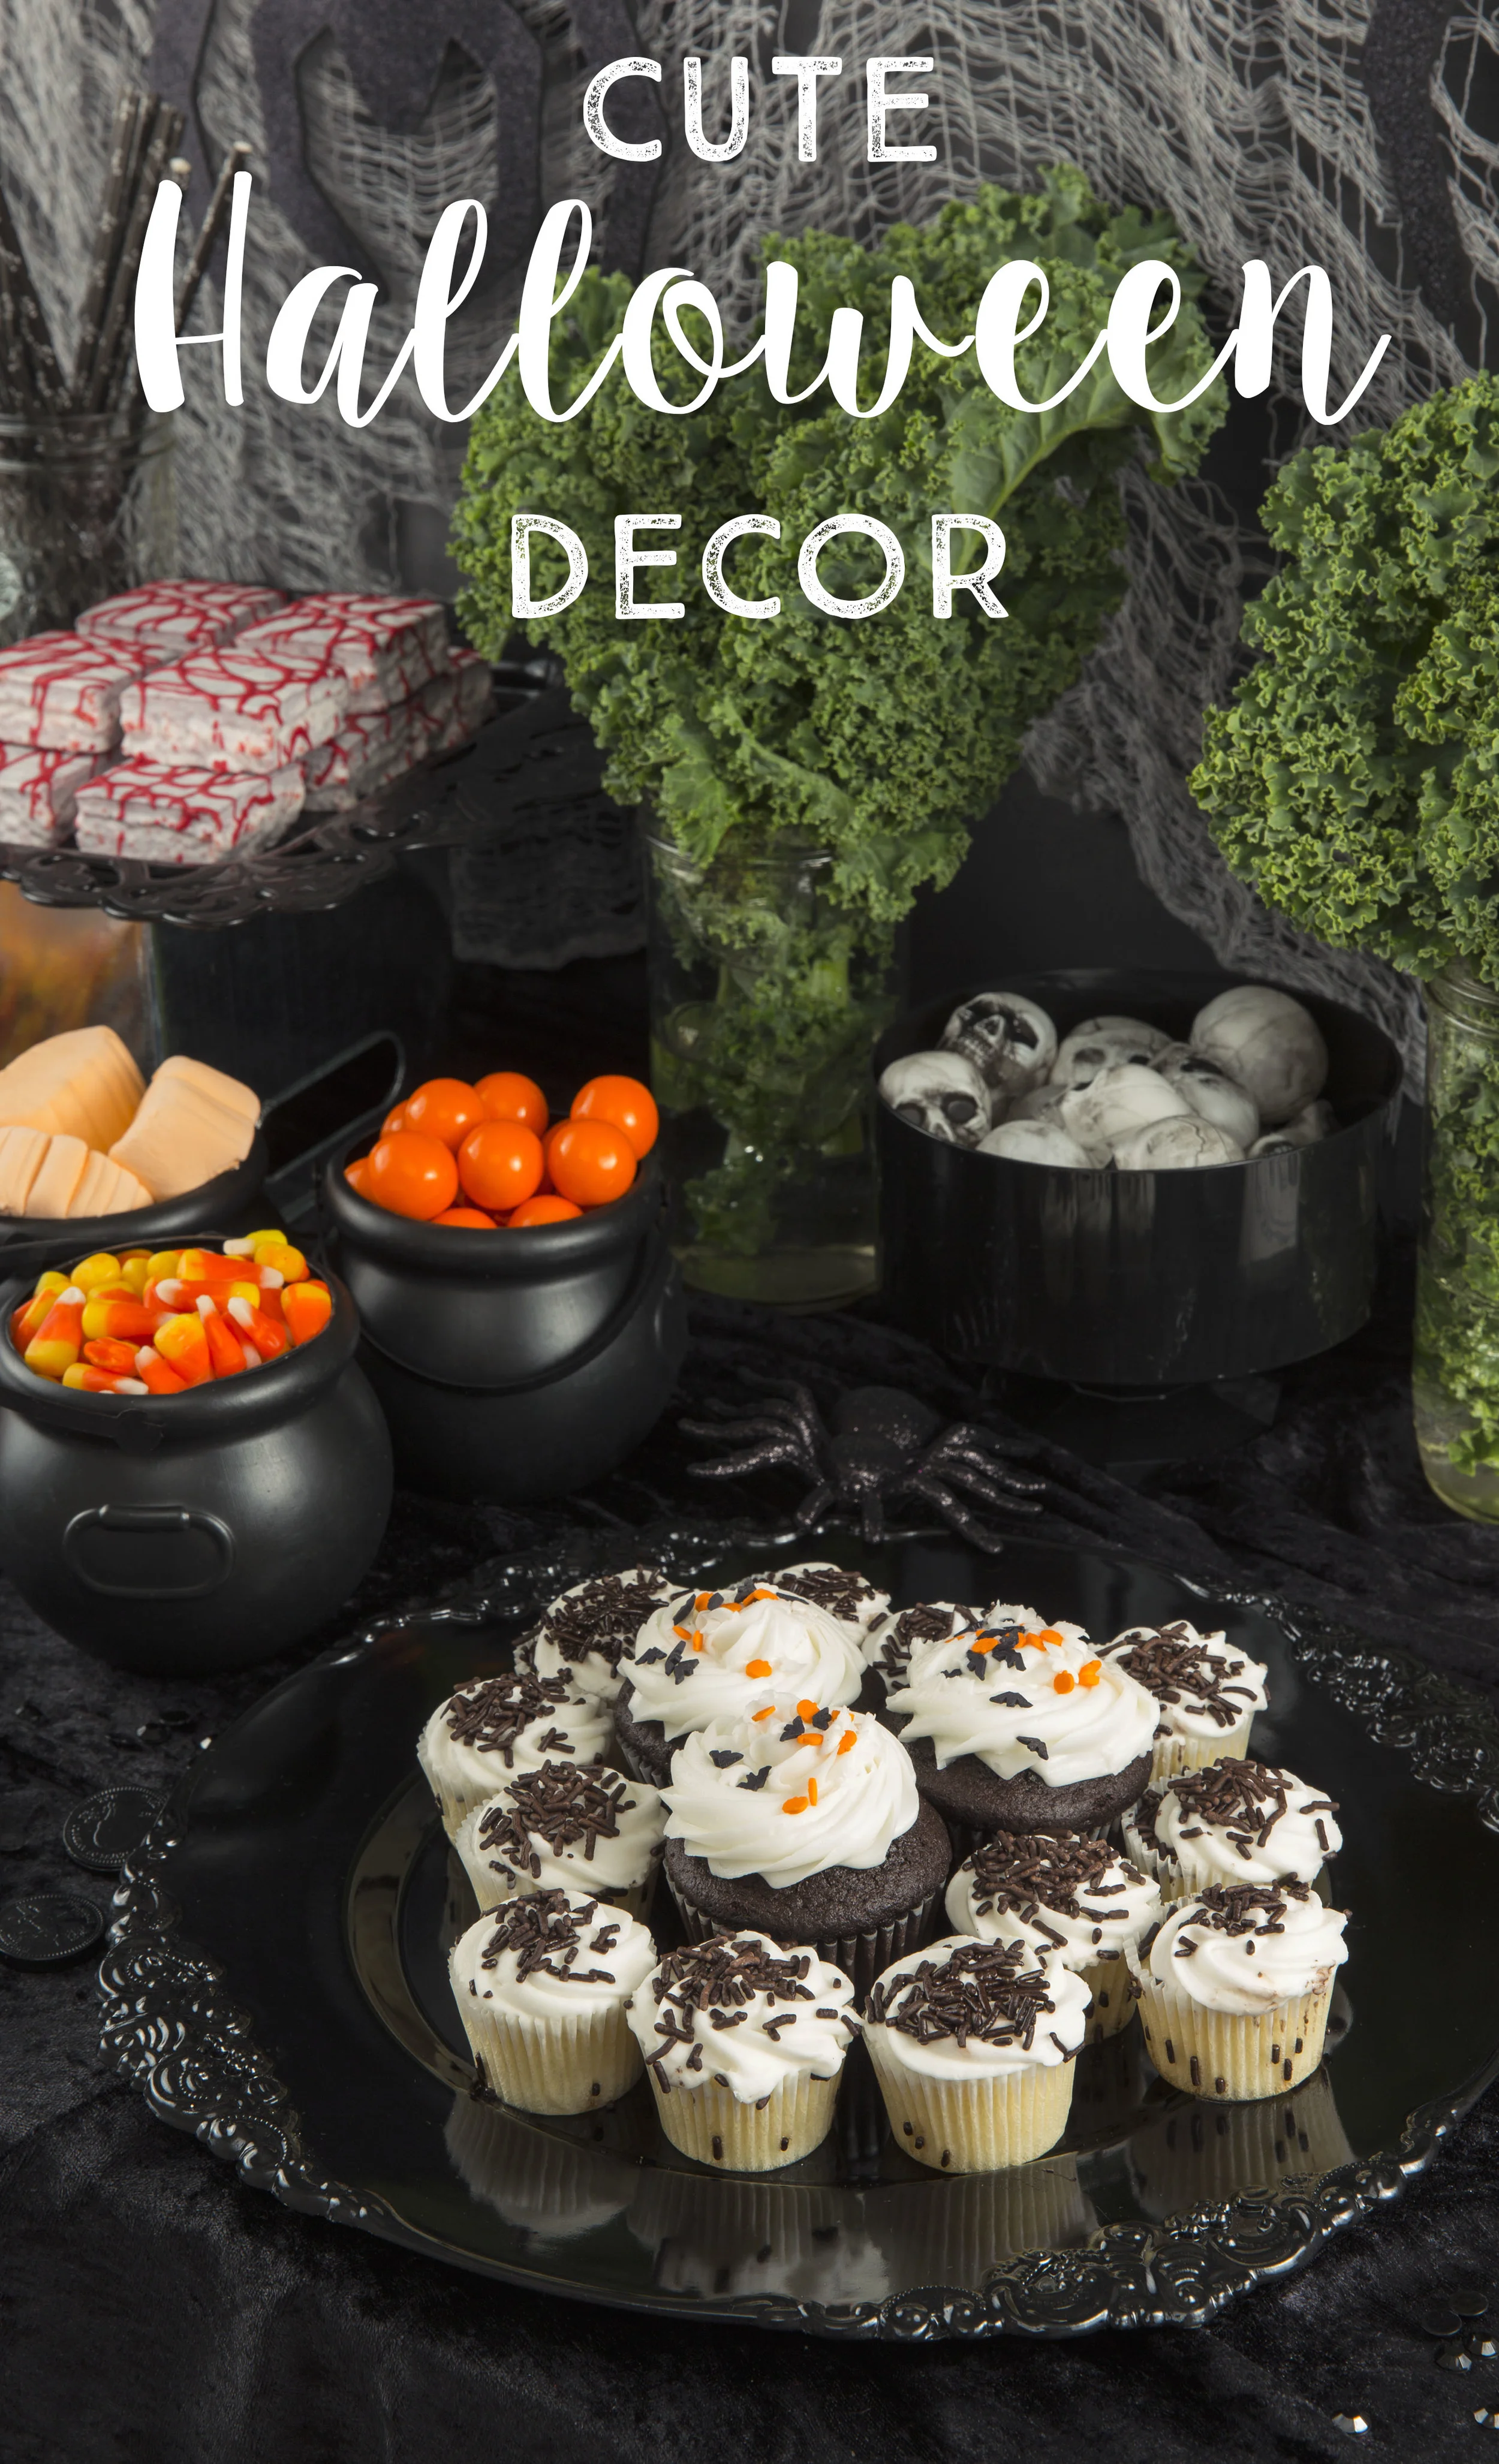
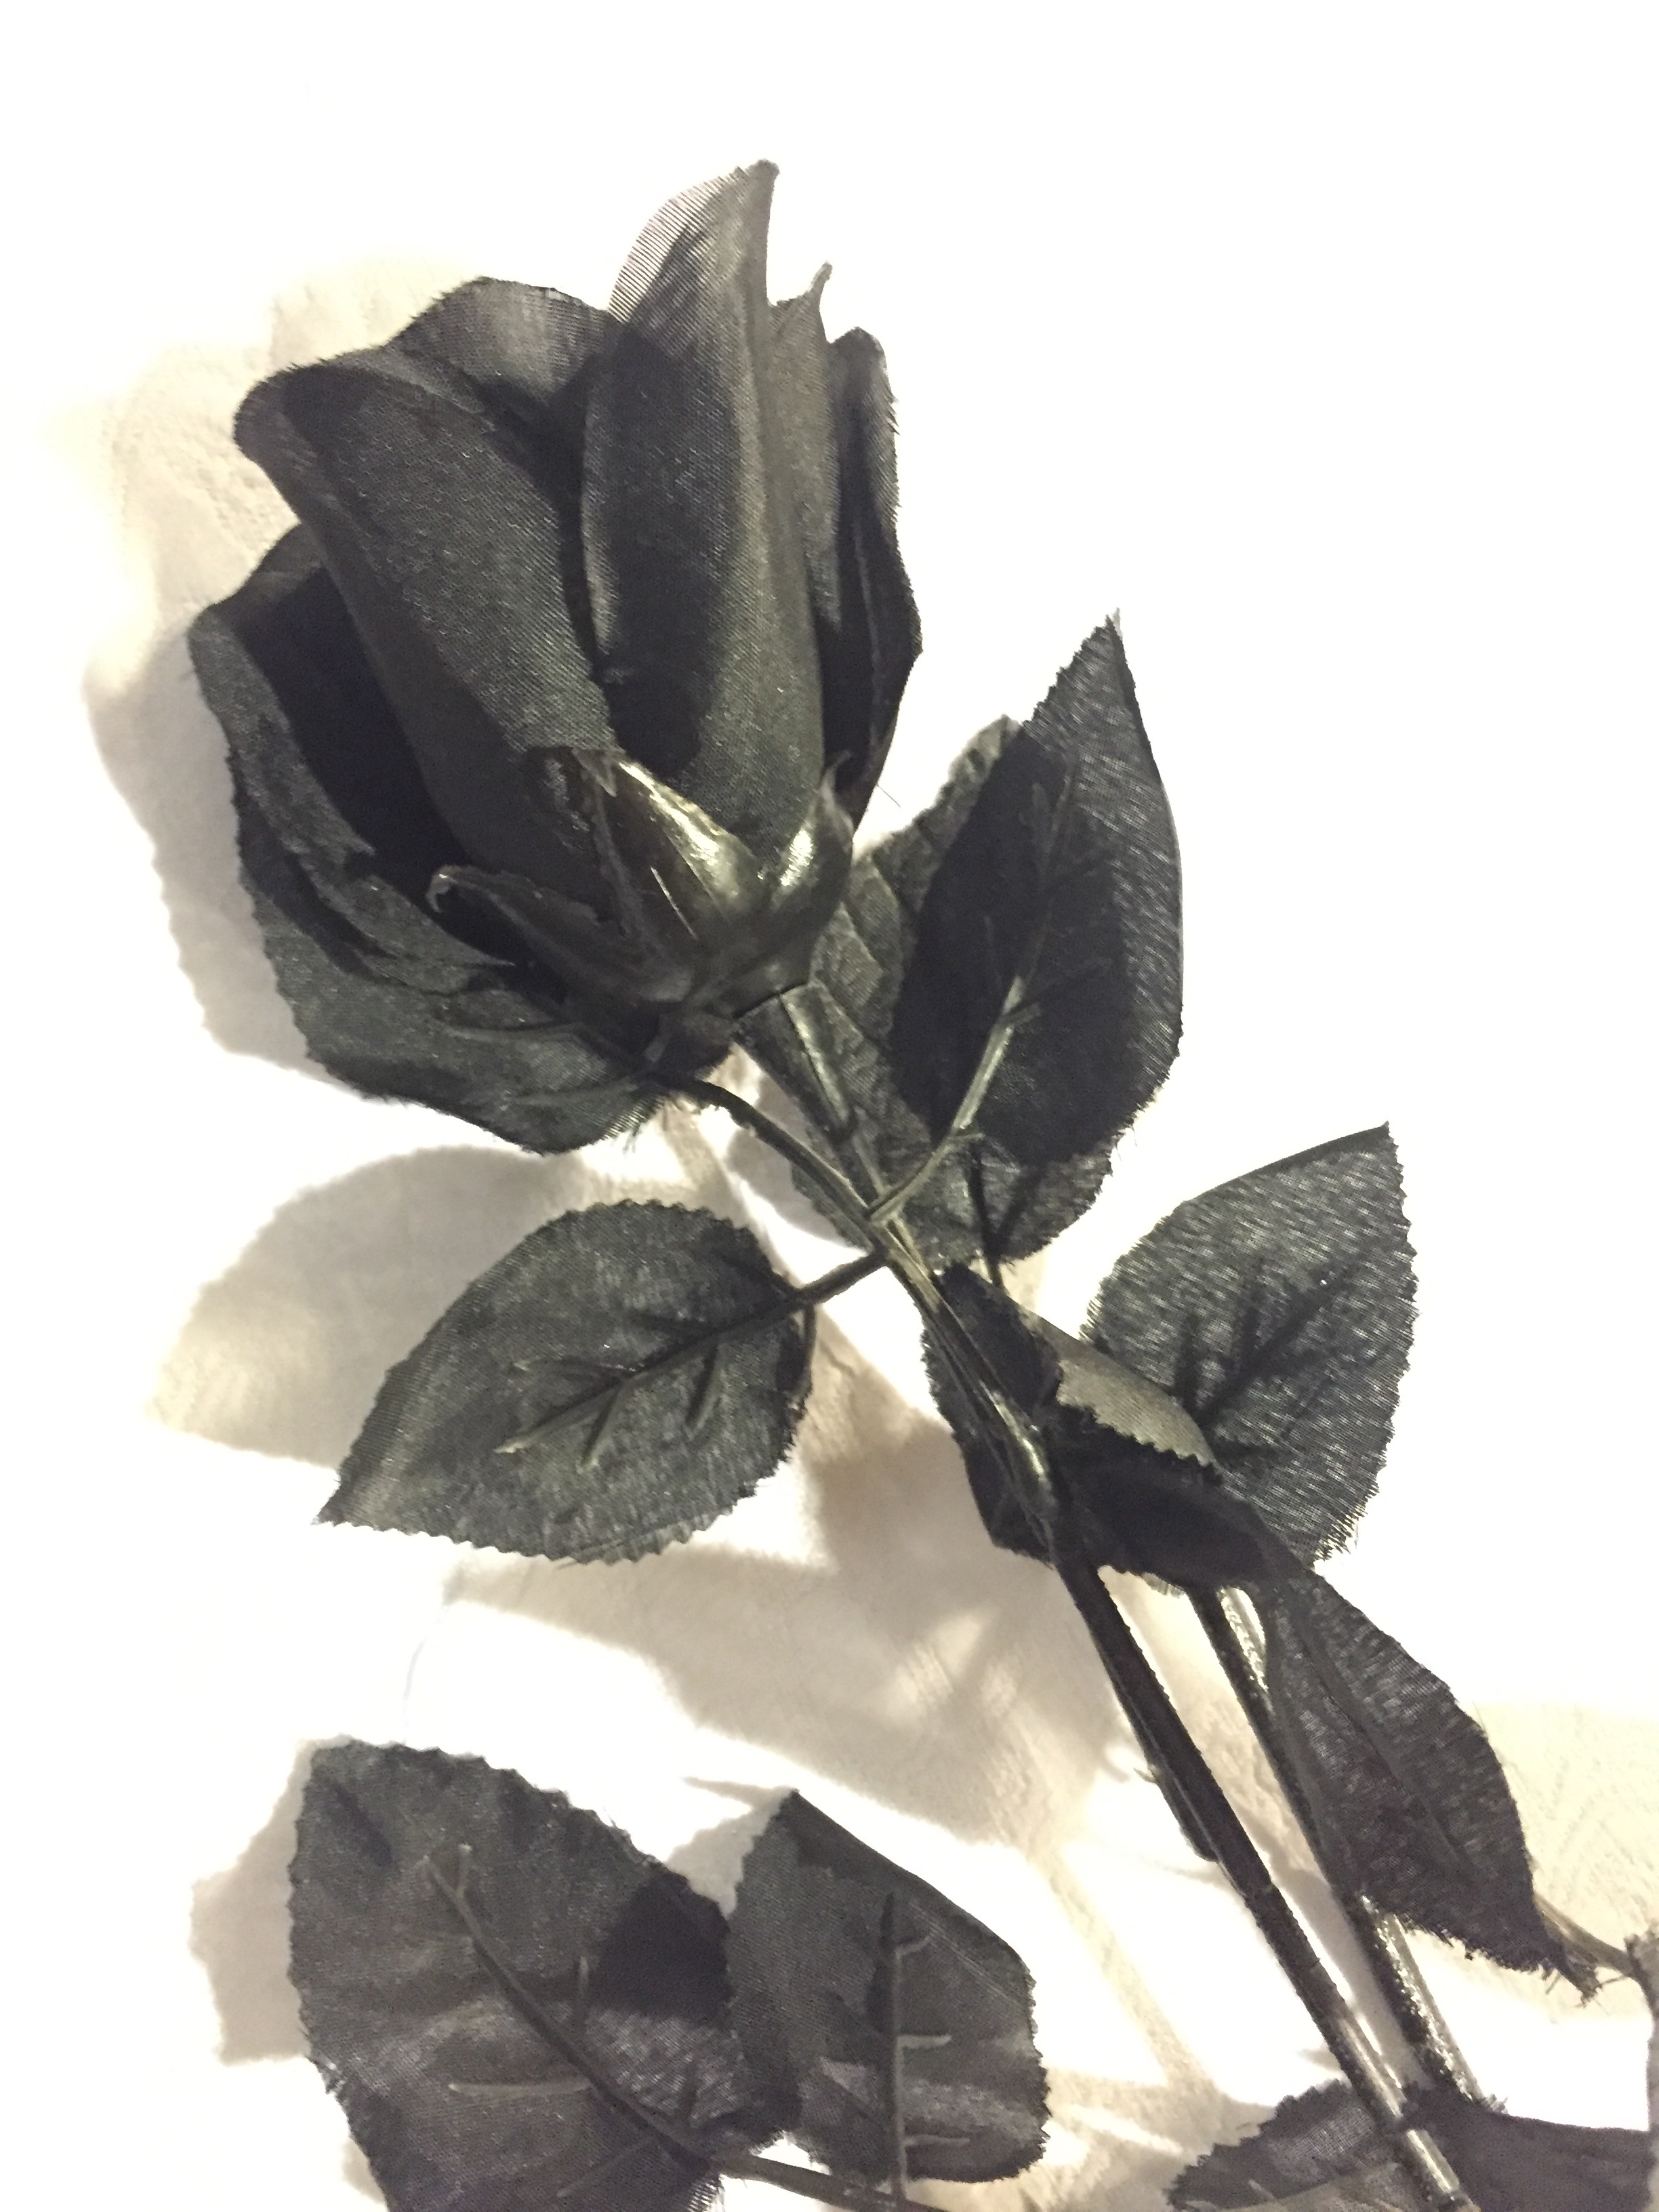
I am in love with the look of a Monochromatic Halloween Party! Here, I used mostly black dishes, tablecloth, and Creepy Cloth to drape over the setting to really add a spooky element. Just let your food add some pops of color, and your guests will be so happy they came to party!
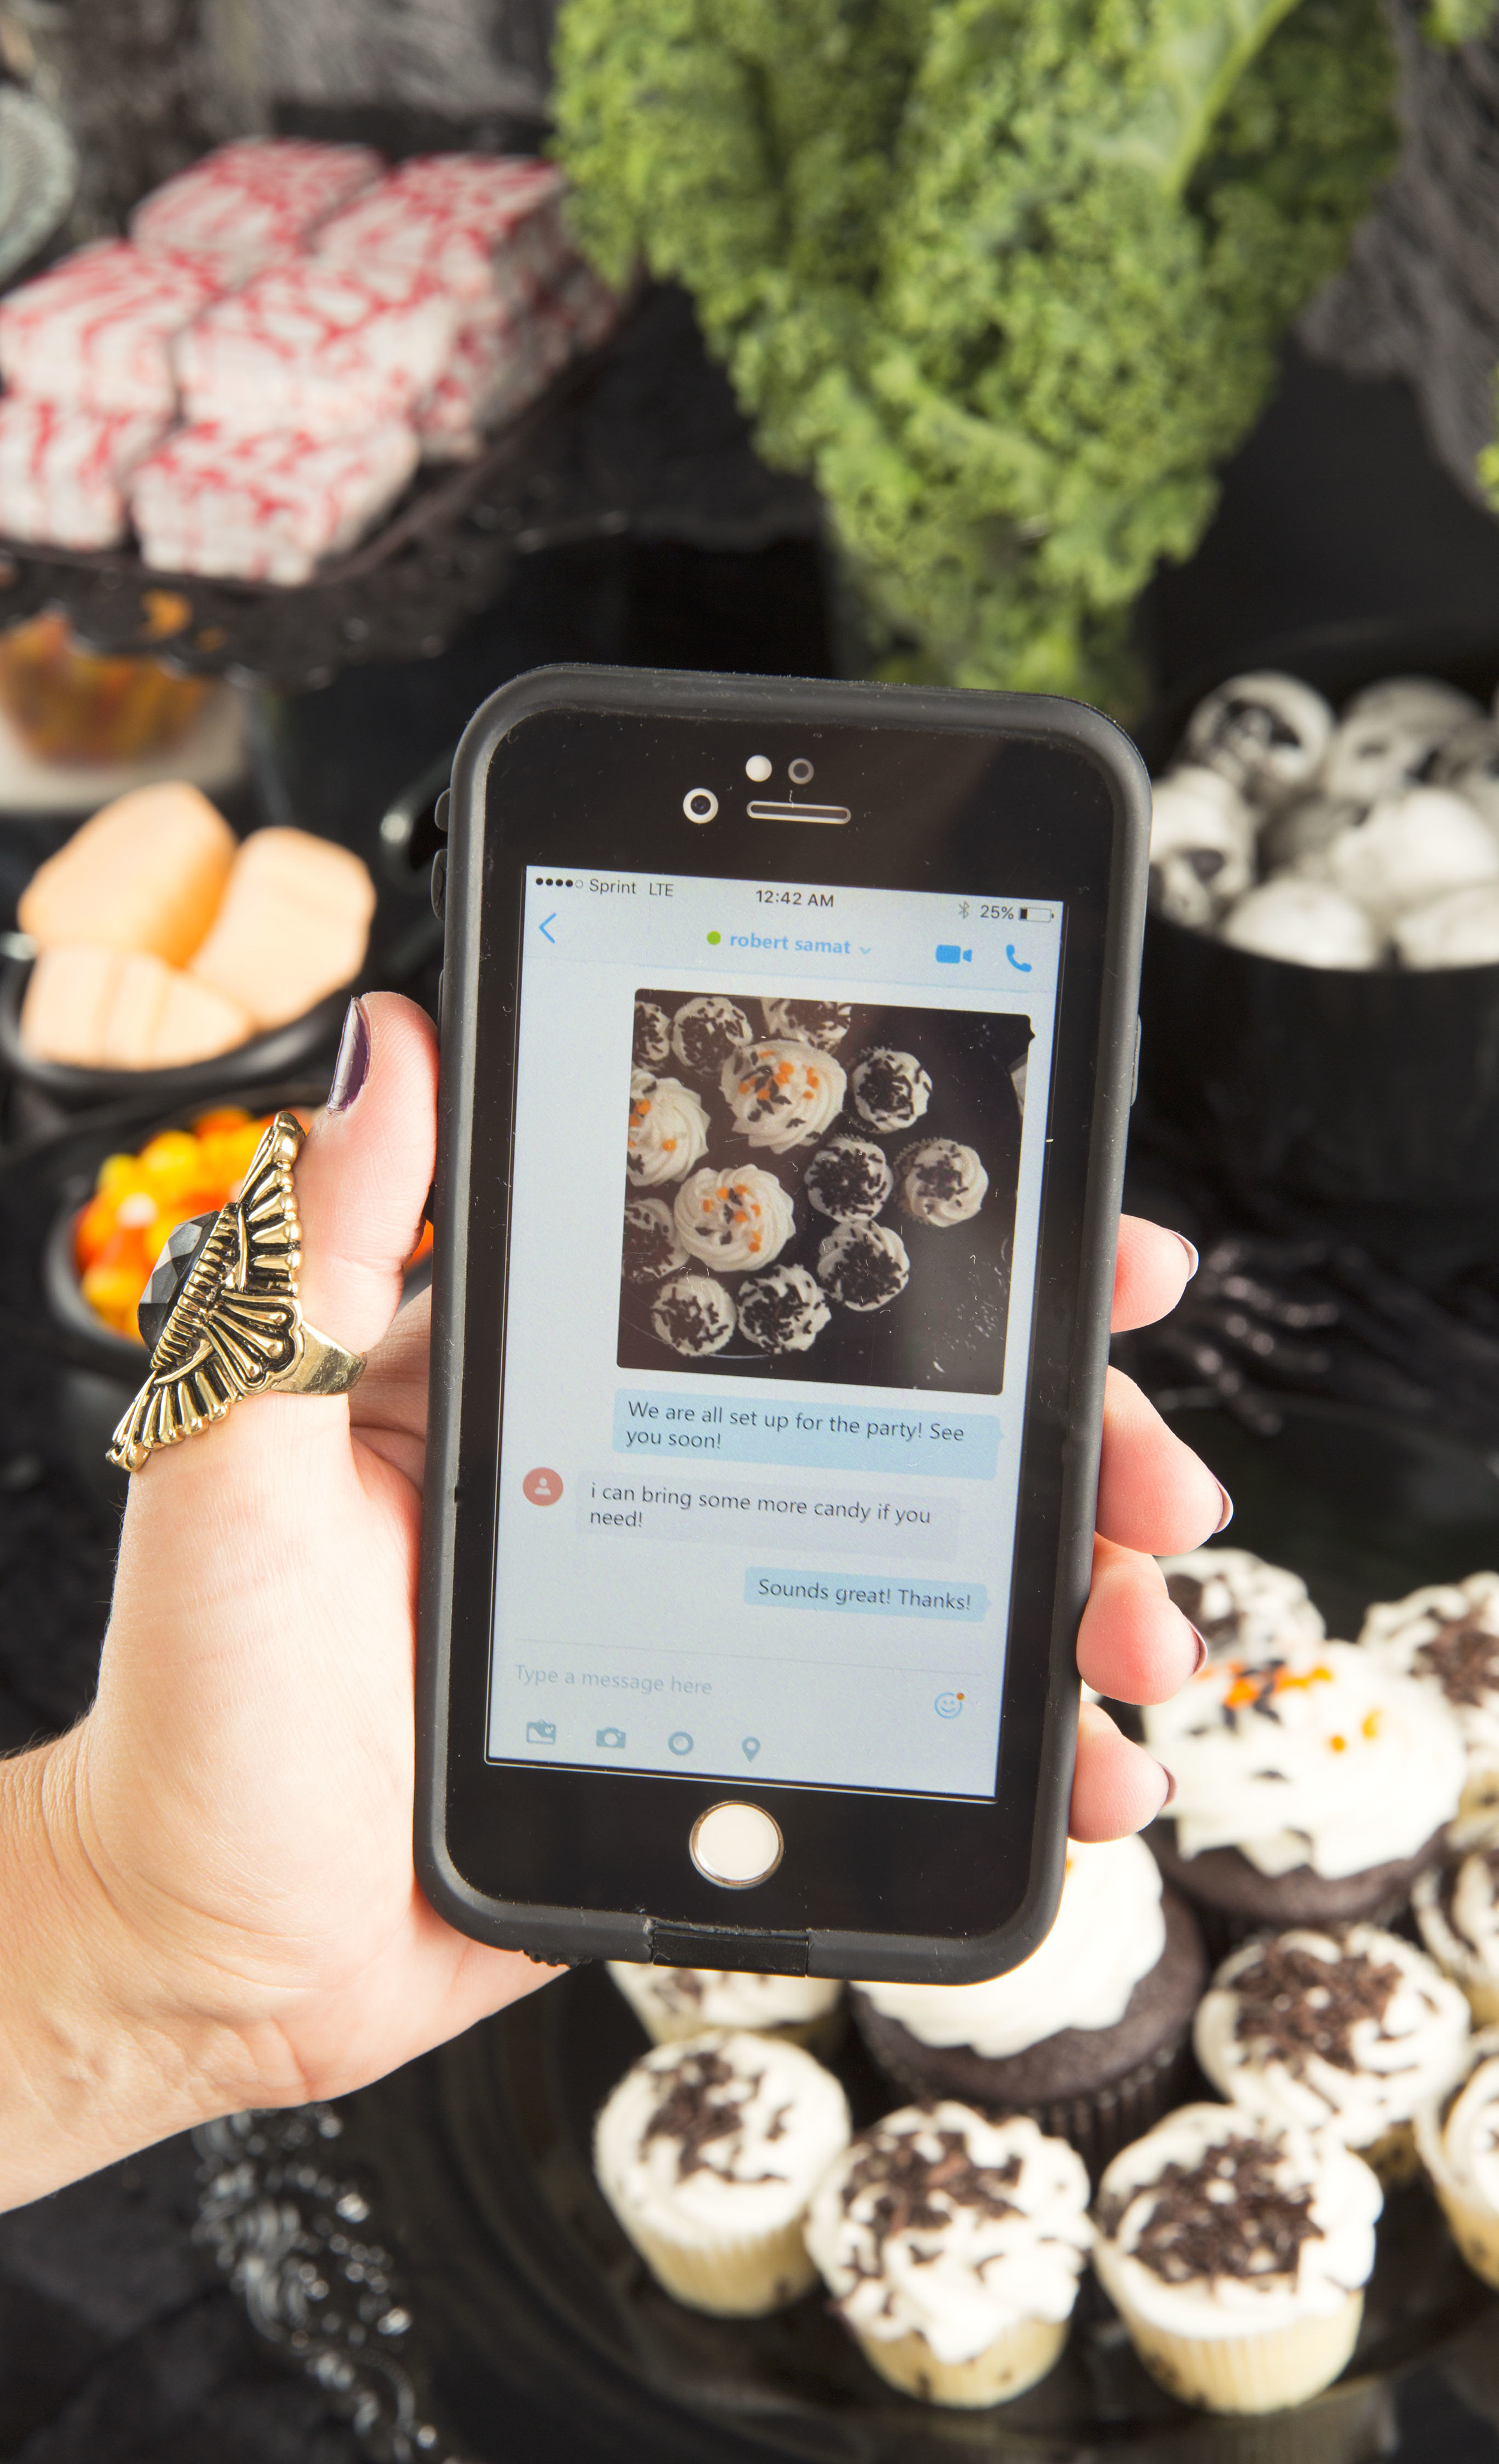
I was able to use Skype to let my friend know the party was all set up and ready!
Happy Halloween! And a special spooky thanks to Skype for hosting the best Halloween party ever in NEW YORK CITY! I will blog about that soon!!!