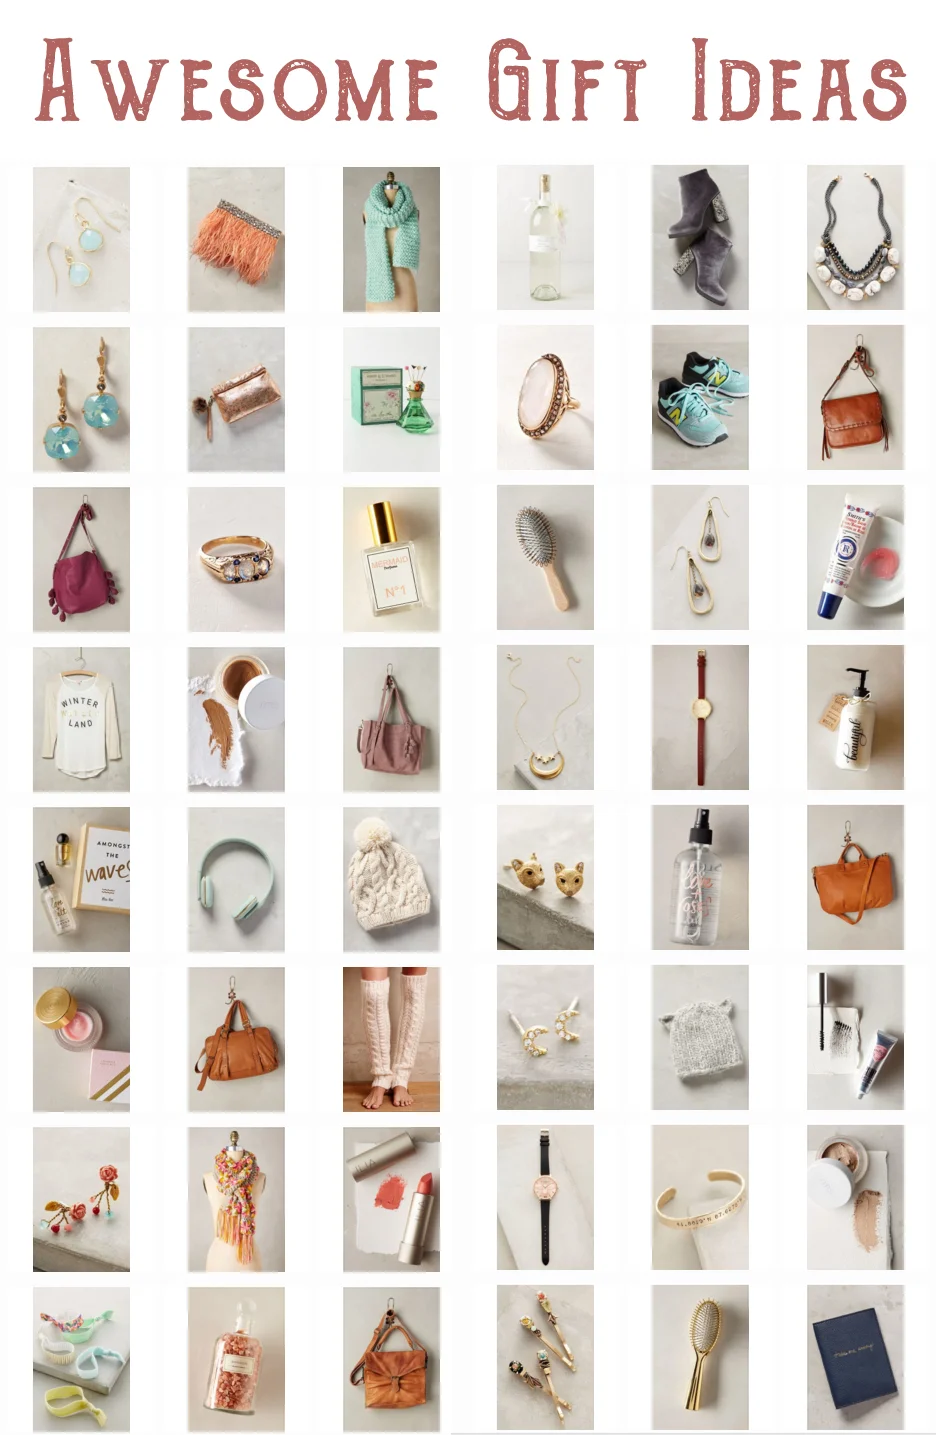
I have some wonderful gift ideas for you. These items will be the ideal gift for any of the ladies in your life, young or old!
Happy Holidays!!!

I have some wonderful gift ideas for you. These items will be the ideal gift for any of the ladies in your life, young or old!

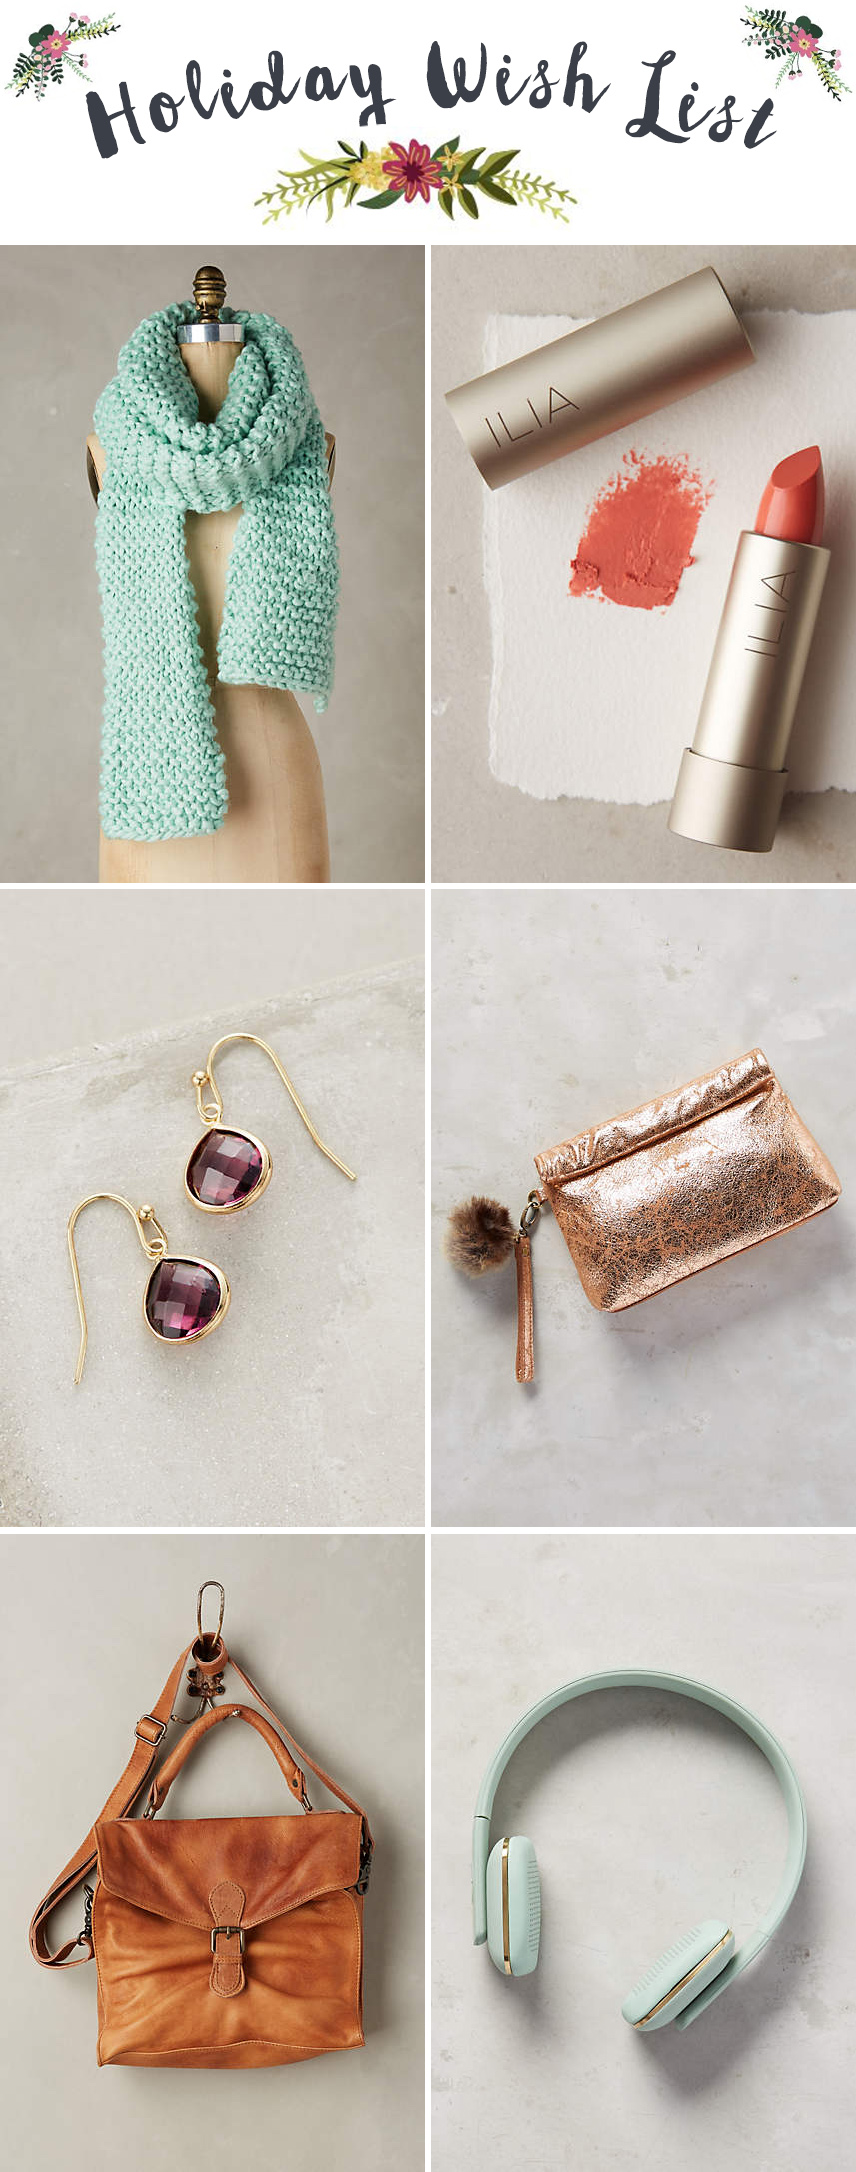
Happy Holidays!!!
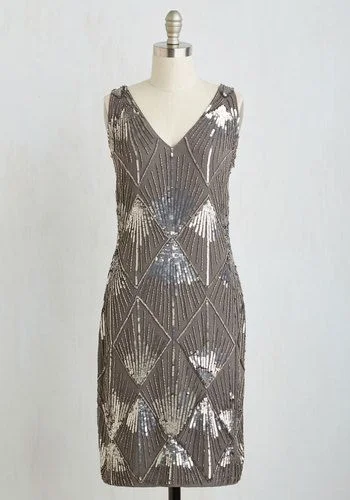
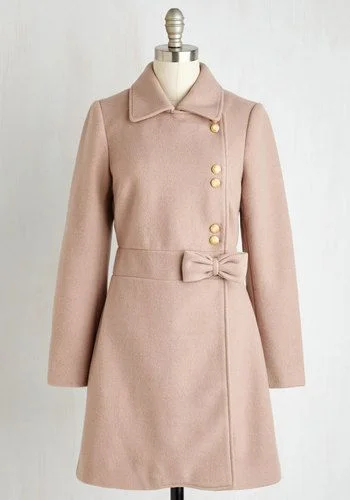
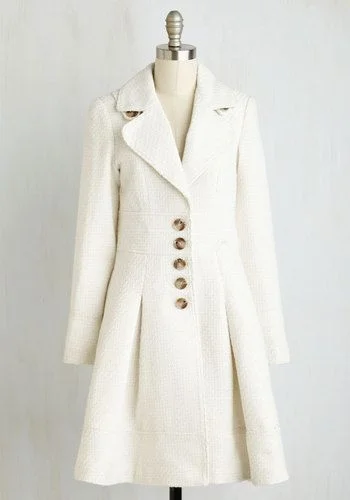
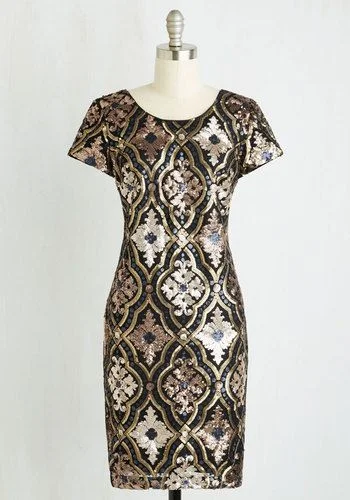
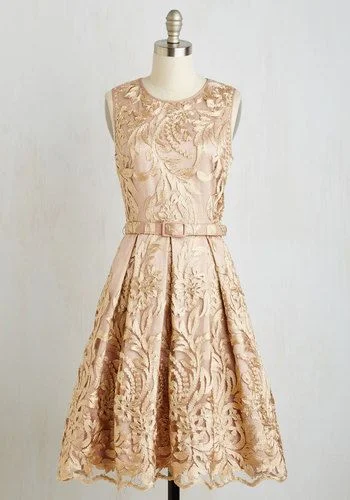
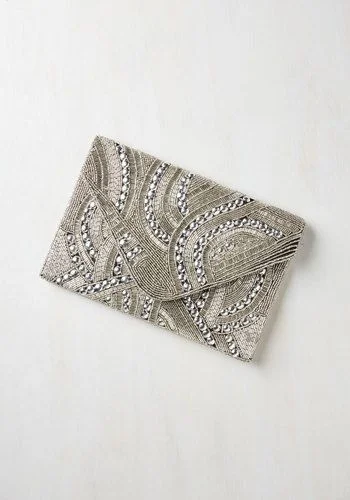
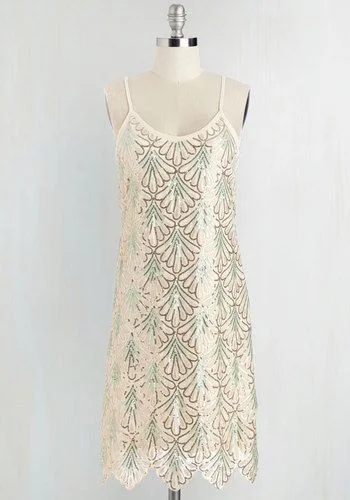
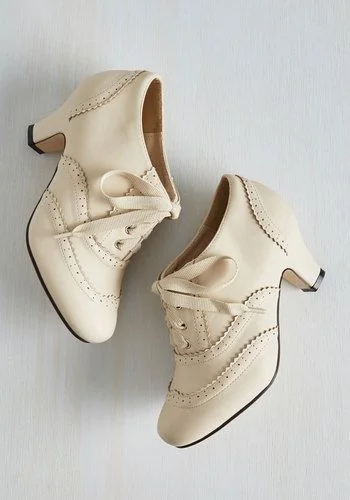
Of course, it's that time of year, when there are so many special occasions and excuses to dress up! I found a few ideas from ModCloth, that I hope will inspire you to sparkle a little brighter this year! And, since it is chilly out, I added a few warmer options for you, some adorable jackets!


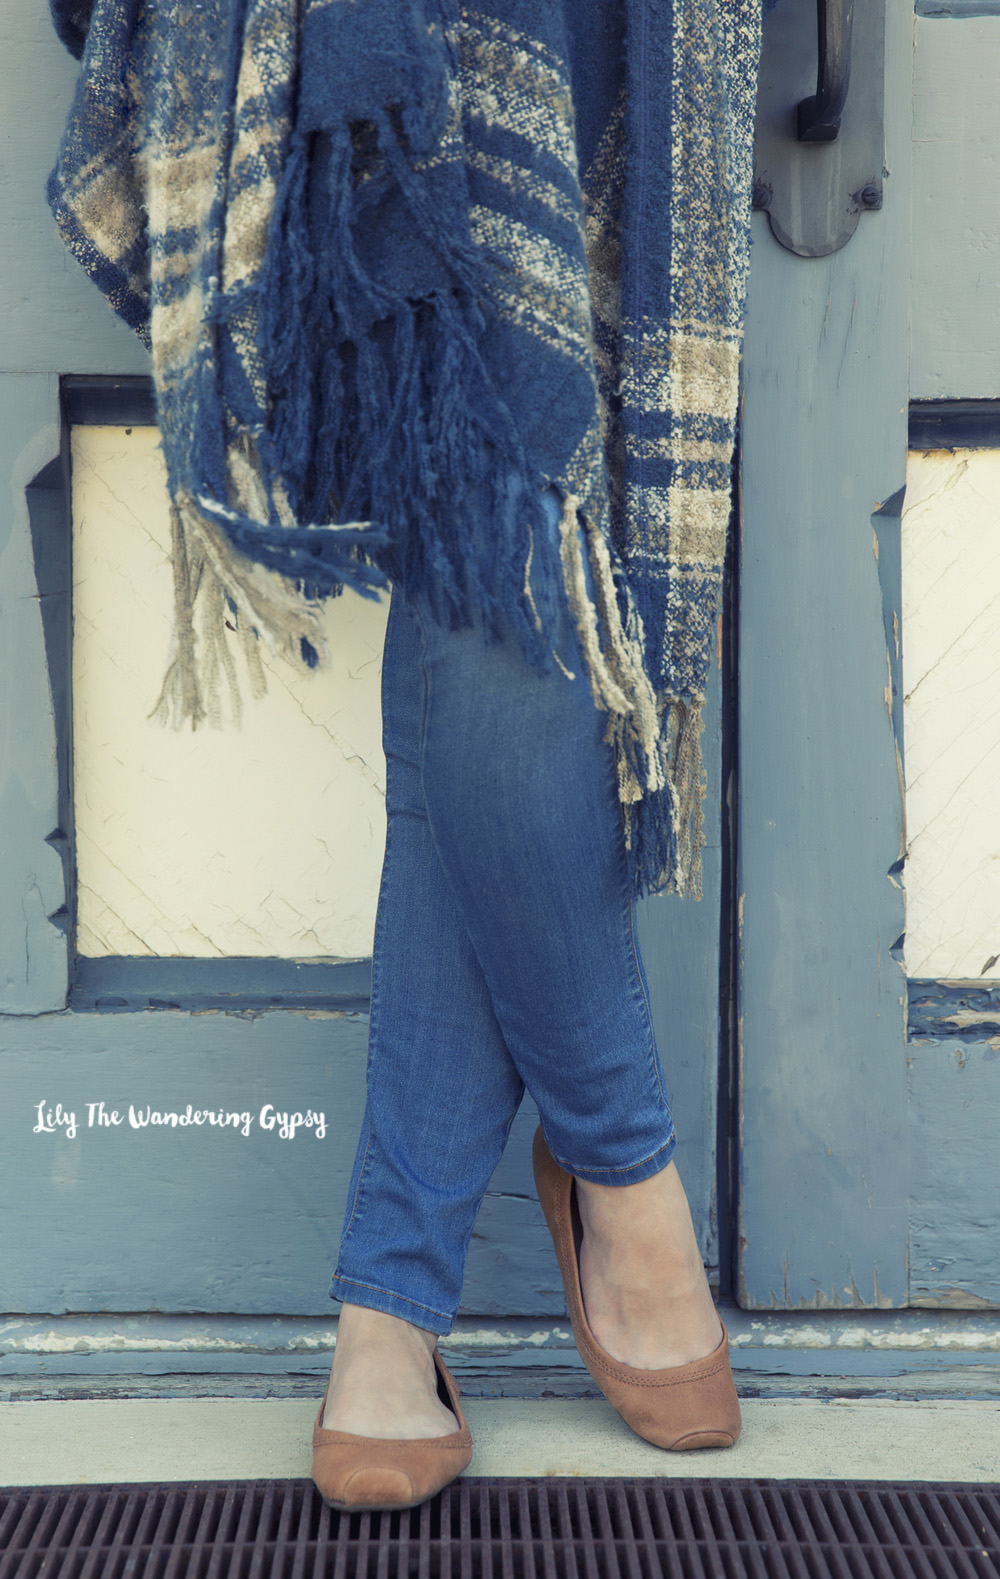
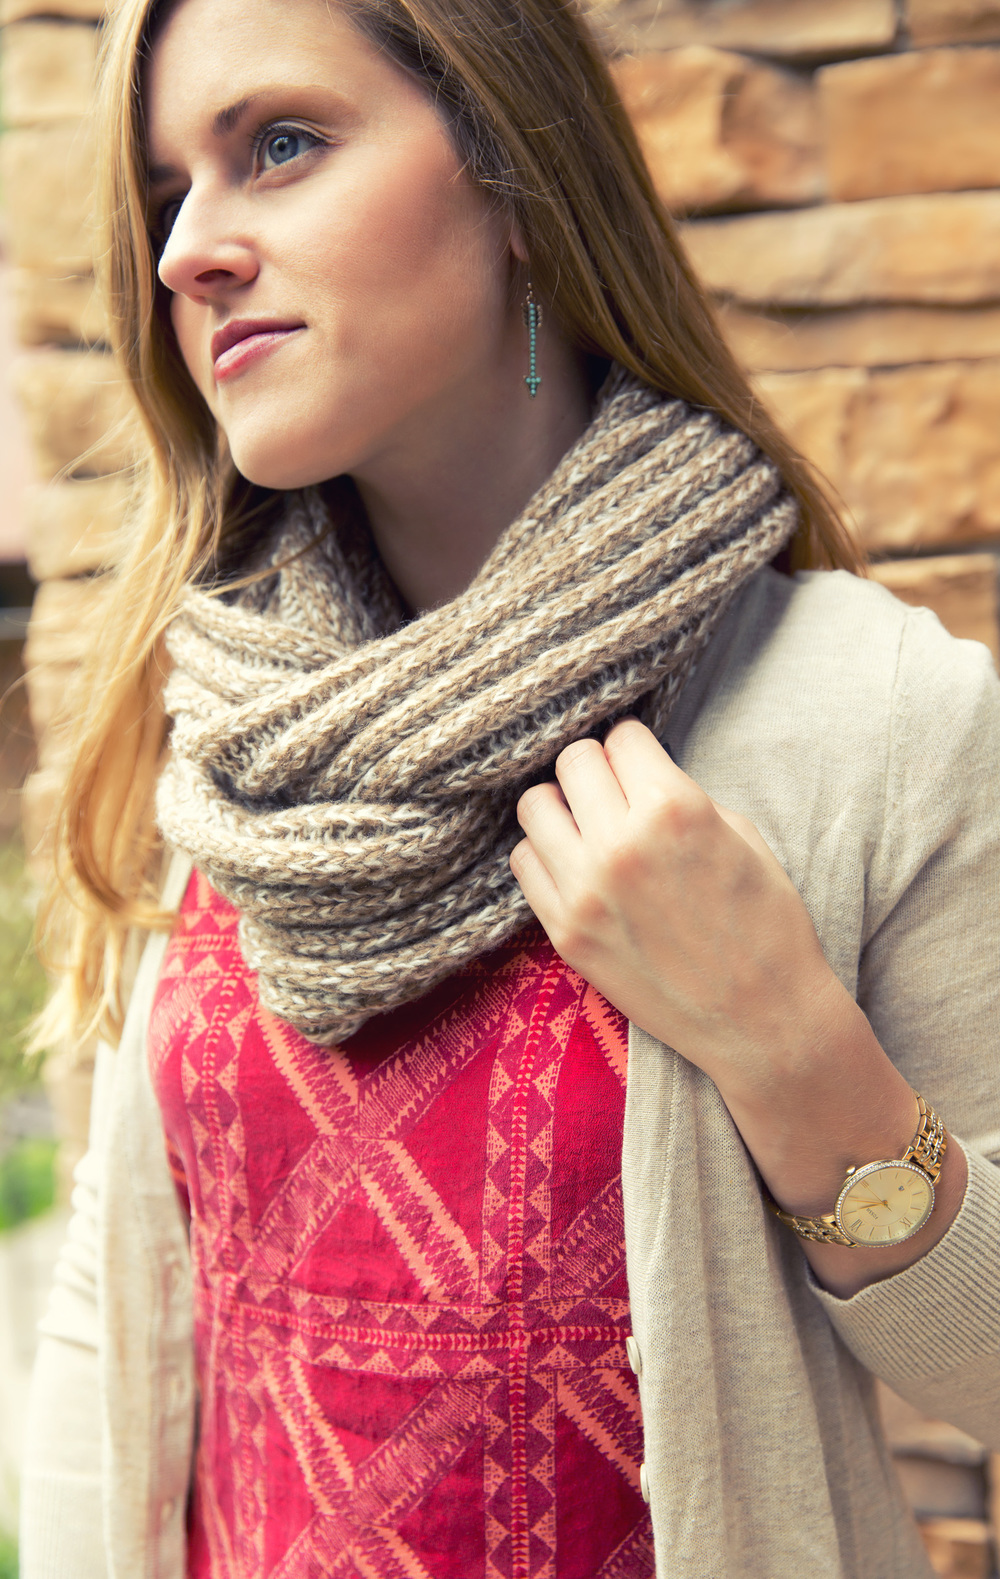
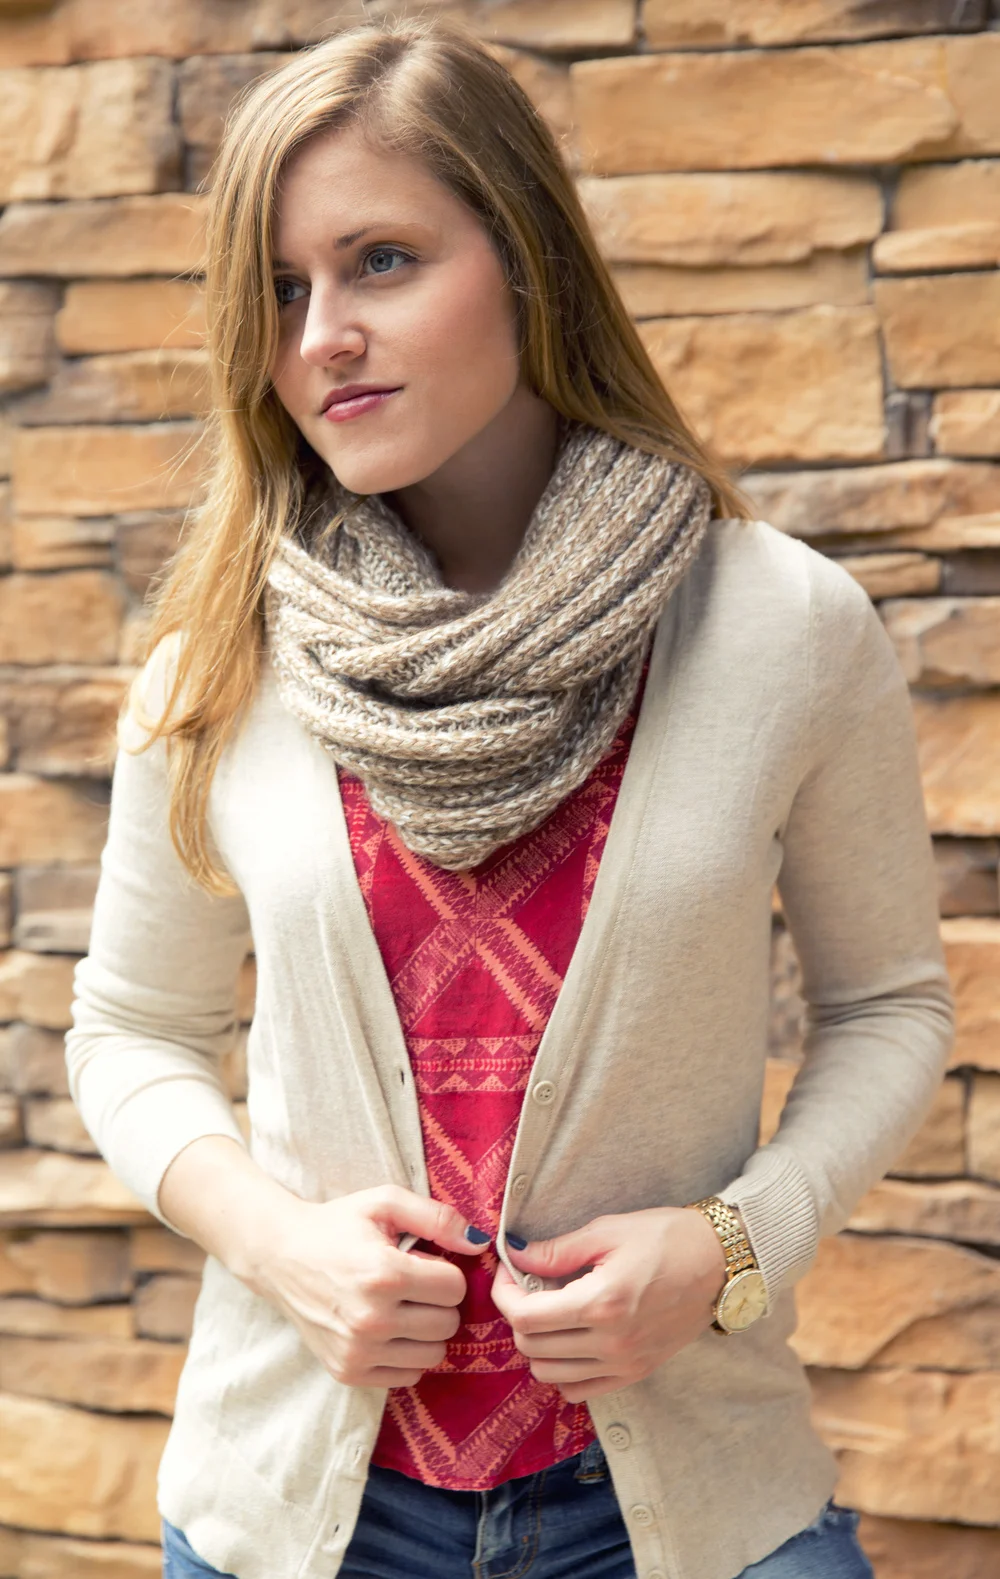
Looking for a fun gift, made in the USA? Here is a fun idea for you! I absolutely love this unique, and very well-made Wood Watch By JORD. I am sharing the Fieldcrest Watch in Maple! It is absolutely gorgeous, it's one of the nicest pieces of jewelry I own.
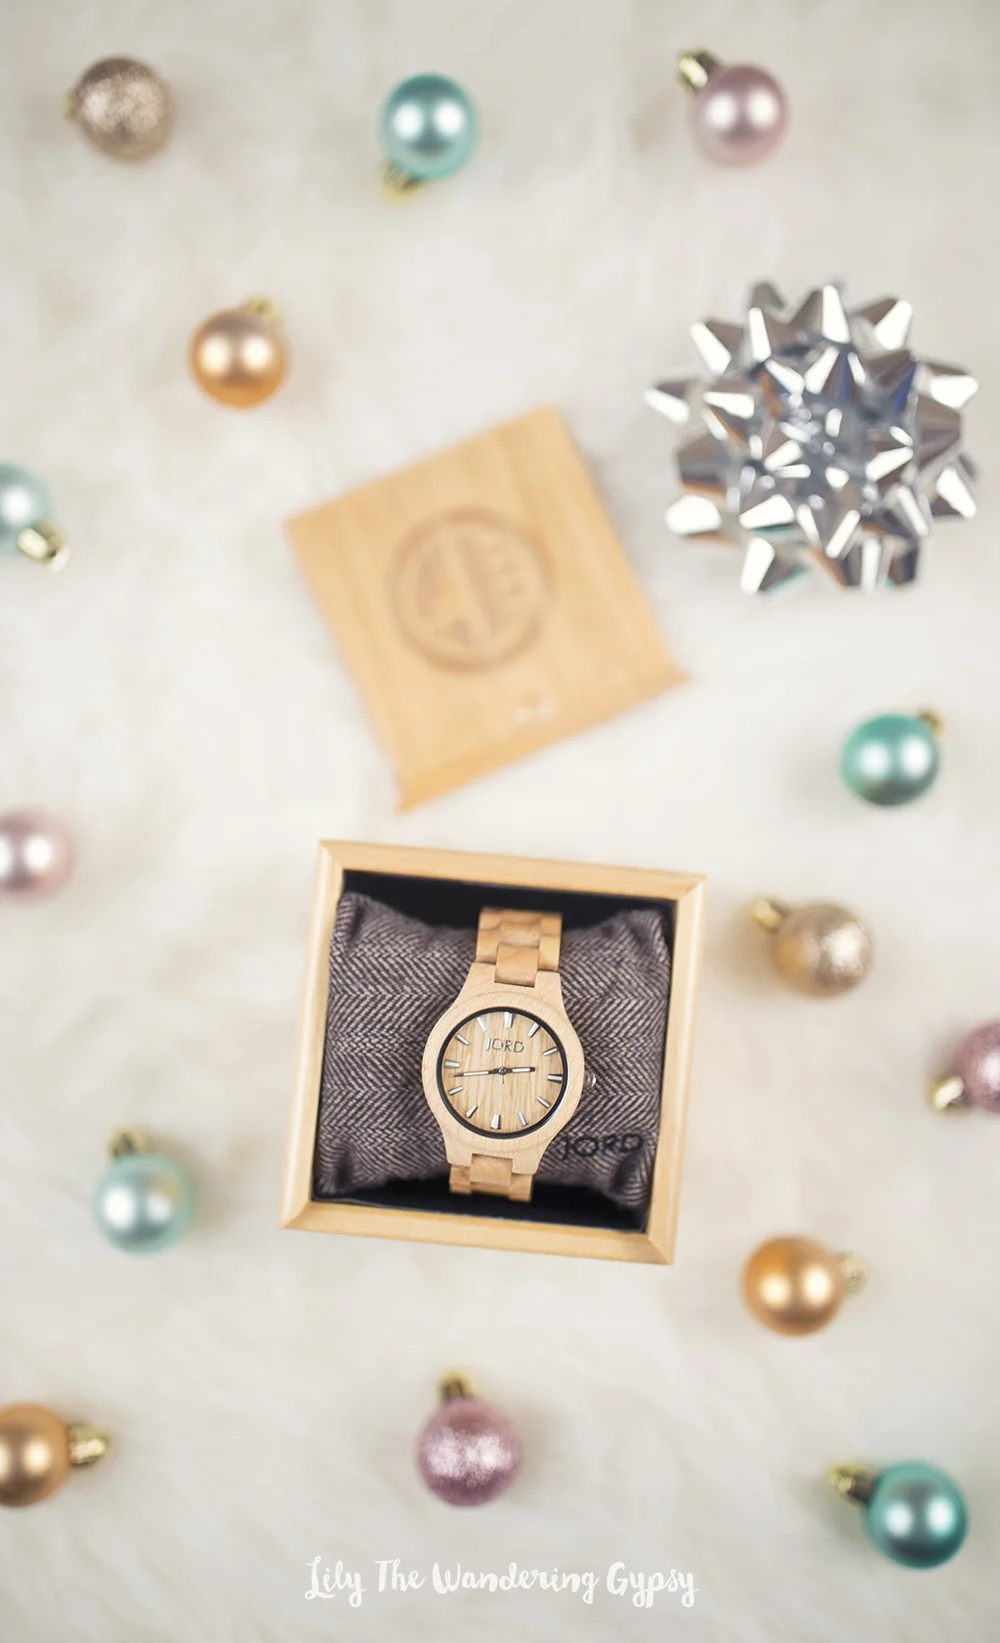
See how I styled up this cute watch for the holidays, and check out our very first Stop Motion video!!! So happy with the outcome, and cannot wait to create another :)


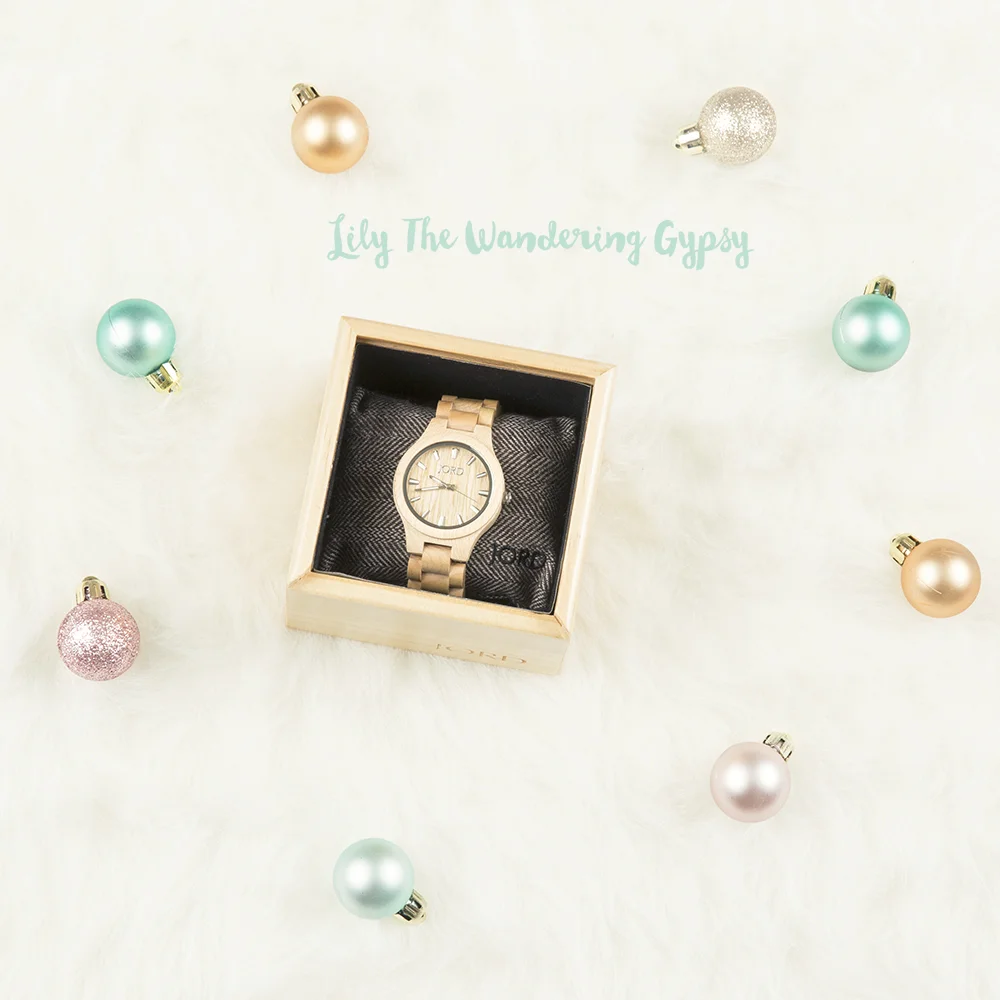

Make sure to check out JORD Wood Watches around the web!
Website - Facebook - Instagram - #jordwatch - Pinterest
I am hoping to spread the message of giving back this holiday season! It is extremely important to think of those who are less fortunate this holiday season. My favorite charity in Carbondale, IL is The Women's Center. They are incredibly wonderful and help women and children in our community. So, this month, I will be helping spread the message of giving.

DECEMBER 1-7, 2015: Snap an #Unselfie and share how you plan to give back this holiday season, written on a sign of some sort. Get creative! Tag @OldNavy and Old Navy will donate $1 to the Boys & Girls Clubs of America, up to $25,000. Add #GivingTuesday and #UNselfie to your post to share!
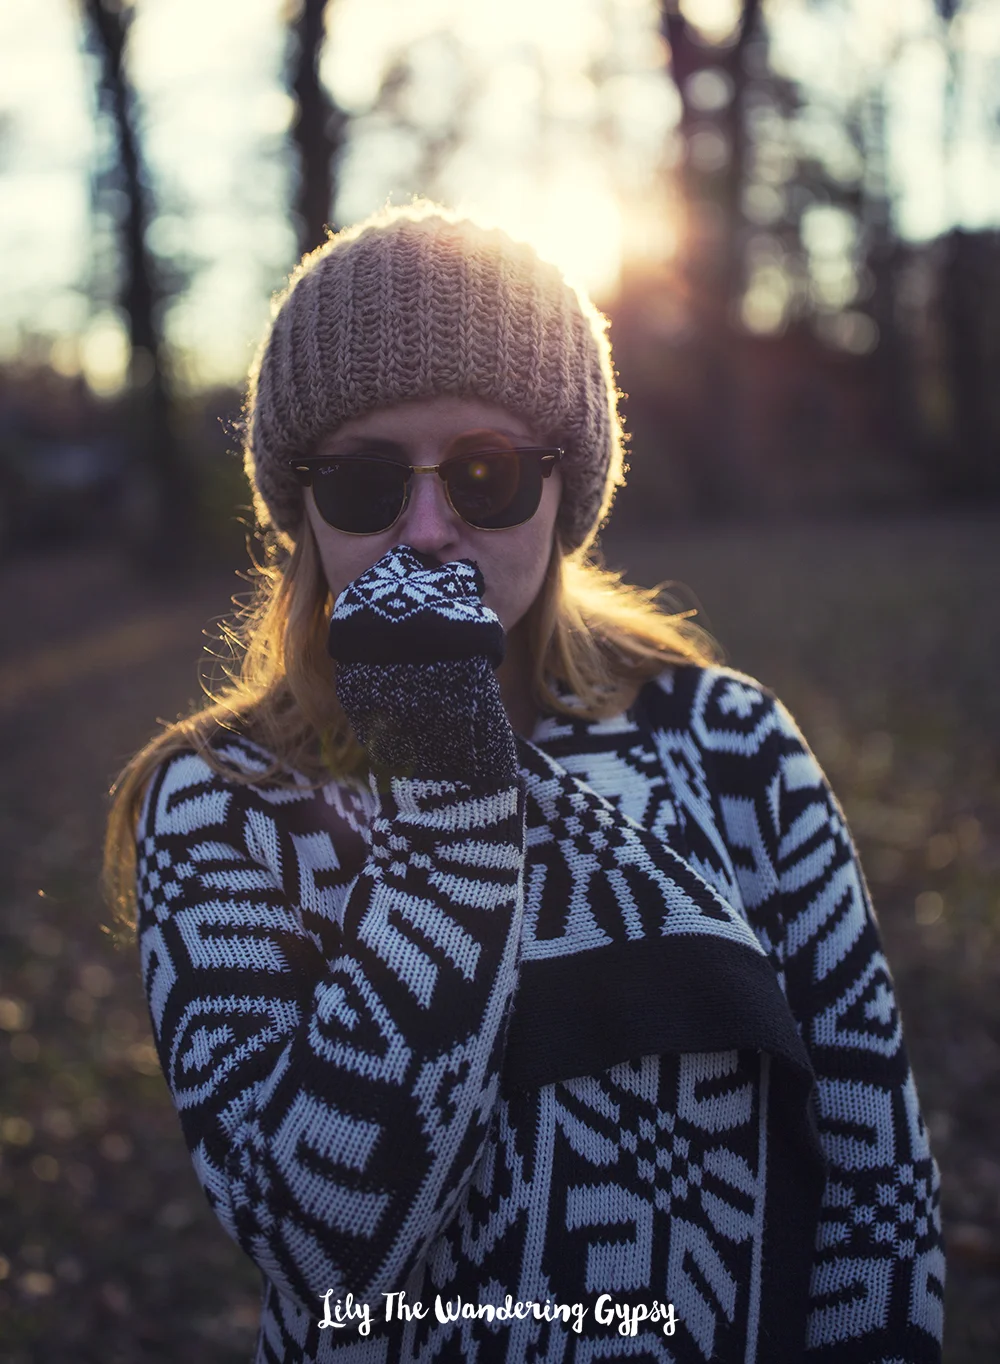
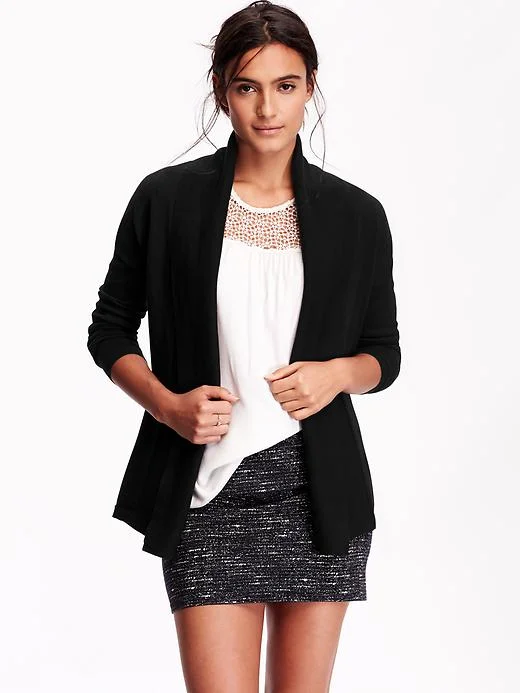
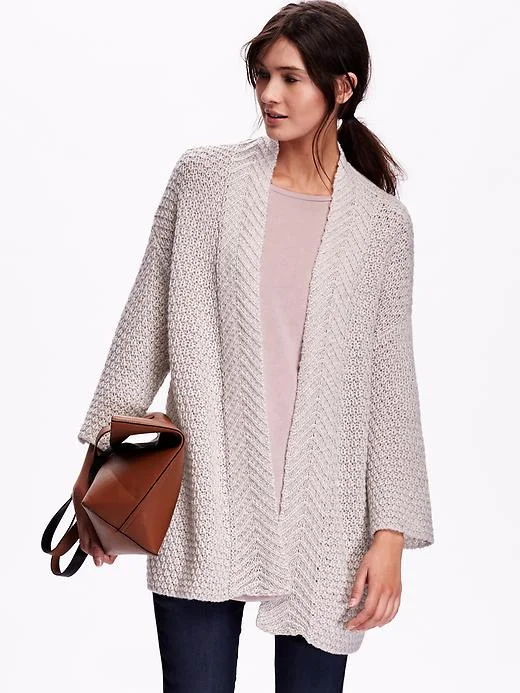
And, since we are on the topic of Old Navy, I thought this Black and White Sweater was appropriate for the photos as well! I got this one last year, around the holidays, but I wanted to share some other open front cardigans with you.

If you wind up participating, please post a link below to let me see what you came up with! I cannot wait to see how you guys are giving back this year. Remember, post your #UNselfie by Dec. 7, 2015.
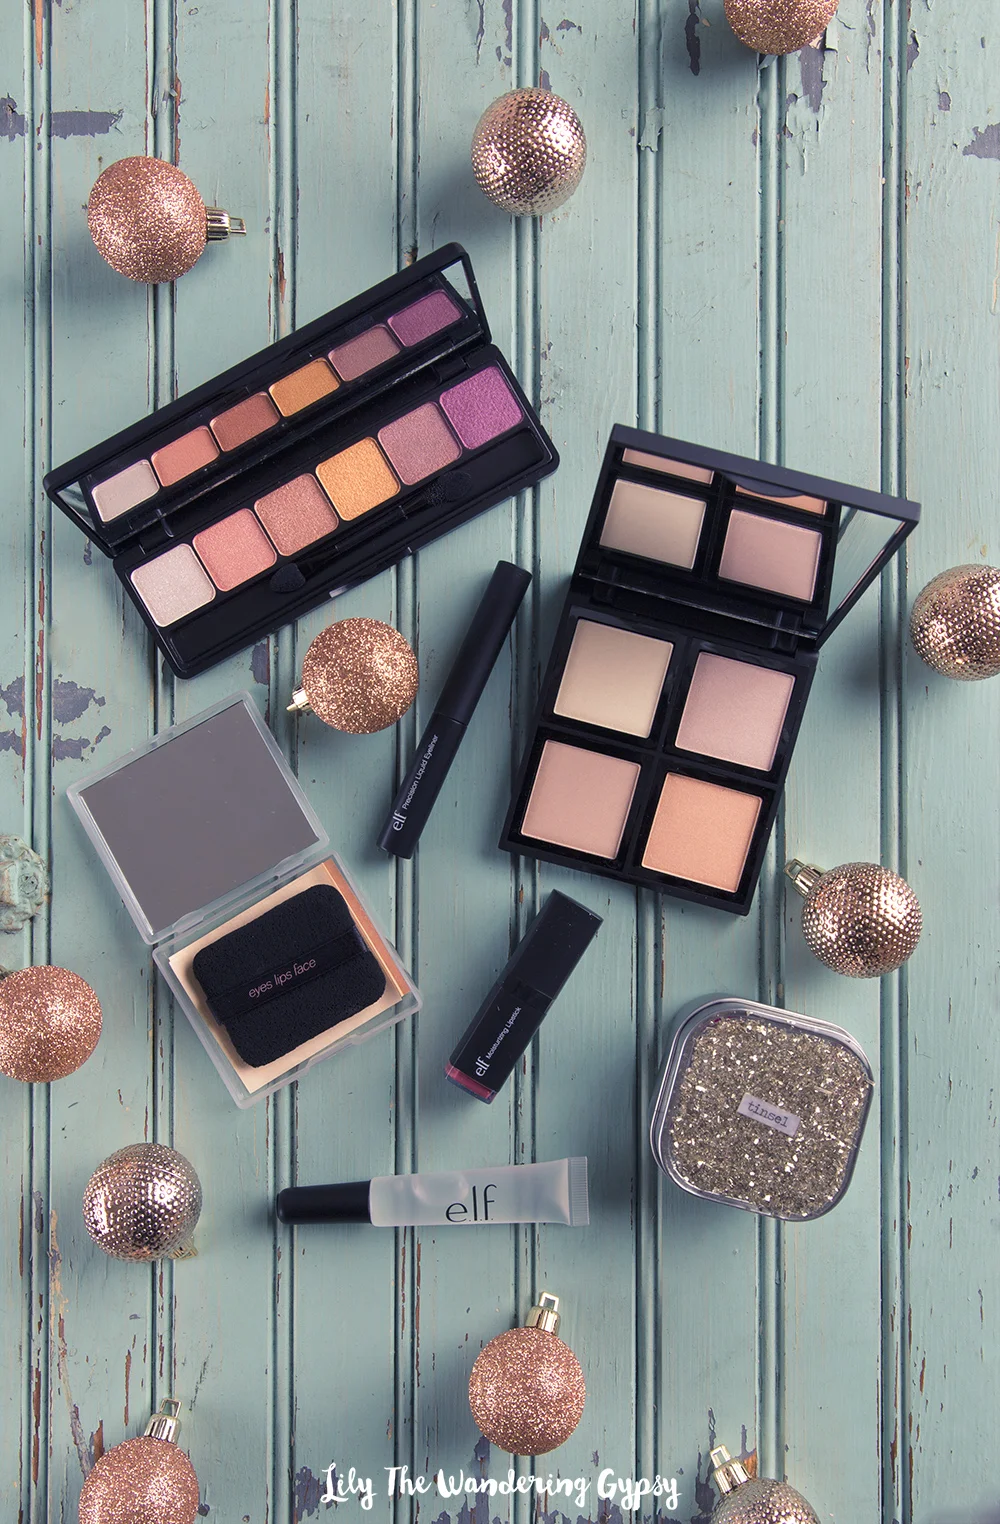
I have used e.l.f. cosmetics for a long time, I love their price point, and the packaging is always so attractive! So, I wanted to share a few of their newest goodies from e.l.f. to inspire you to #PlayBeautifully! I also encourage you to check out @elfcosmetics on Instagram to see what they are up to!
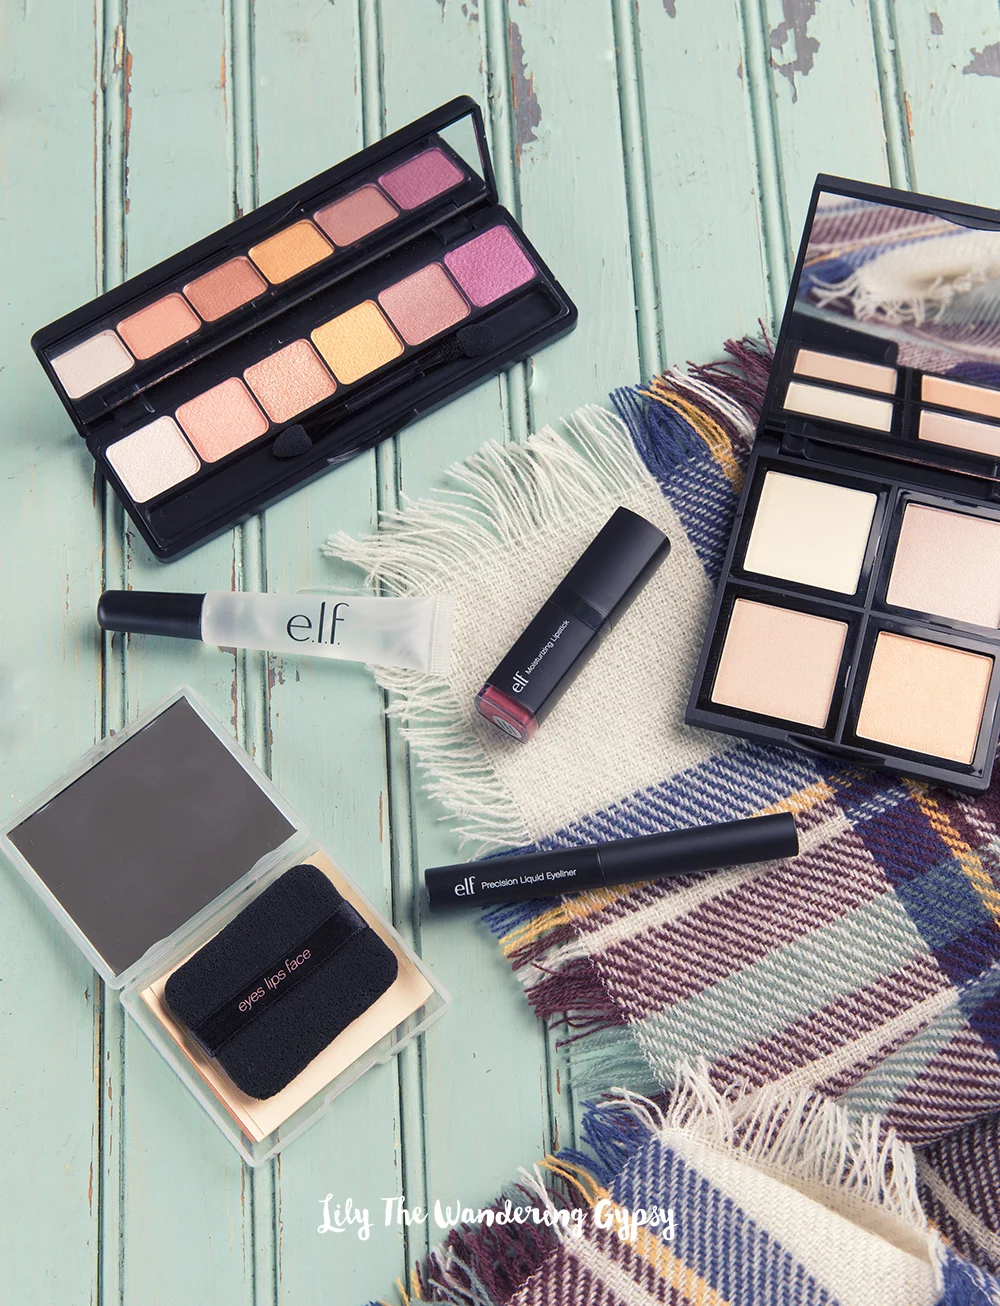
So, the makeup pictured is as follows (all products from e.l.f.). I absolutely LOVE the Moisturizing Lipstick. The shade is also incredibly versatile, and has a very natural look to it. It was definitely moisturizing, which is hard to find most of the time. I think I will be picking up as many of these lipsticks as I can hold in my little hands next time I go to Target :)
Moisturizing Lipstick in Marsala Blush ($3), Kiss It Goodbye Lip Color Remover ($3), Prism Eyeshadow in Sunset ($10), Precision Liquid Eyeliner ($3), On The Spot Blotting Papers ($5), and the Illuminating Palette ($6).

I'm loving this moisturizing lipstick from e.l.f. in Marsala Blush.

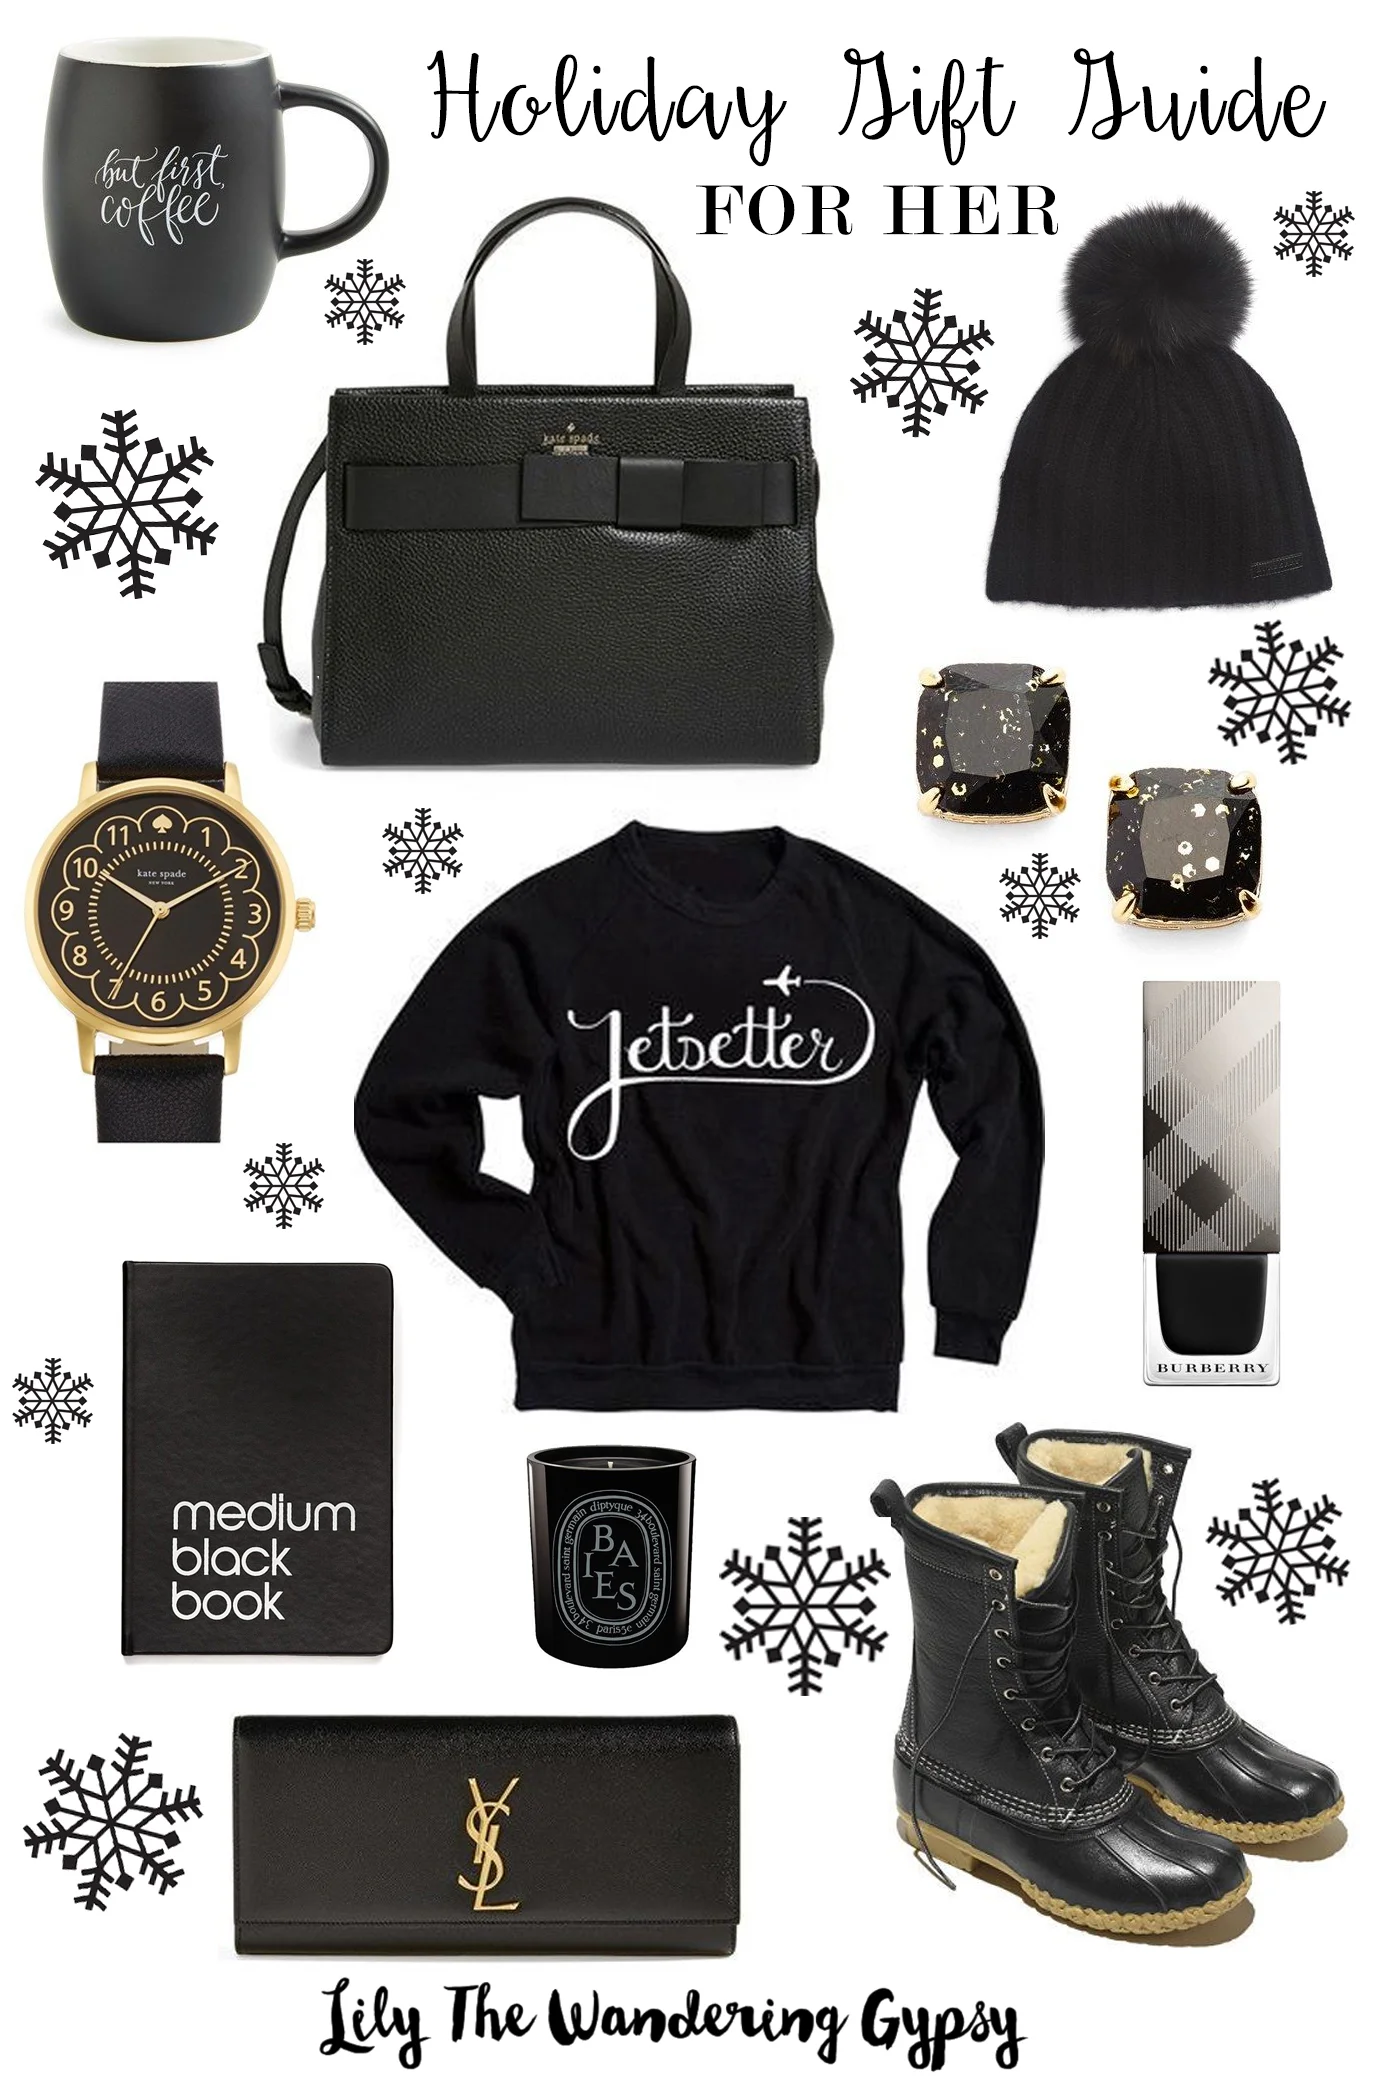
I have to say, black is the most versatile and universally worn color, in my opinion. If you are looking for something to get that special gal in your life, here are a few ideas for you! Click on the items to shop!

Happy Holidays!
And, here is an image you can pin! Click through on the above image, or pin the below one. Thanks!!
Check out my Pinterest Board here - https://www.pinterest.com/happysolez/a-hankering-to-be-making-this/
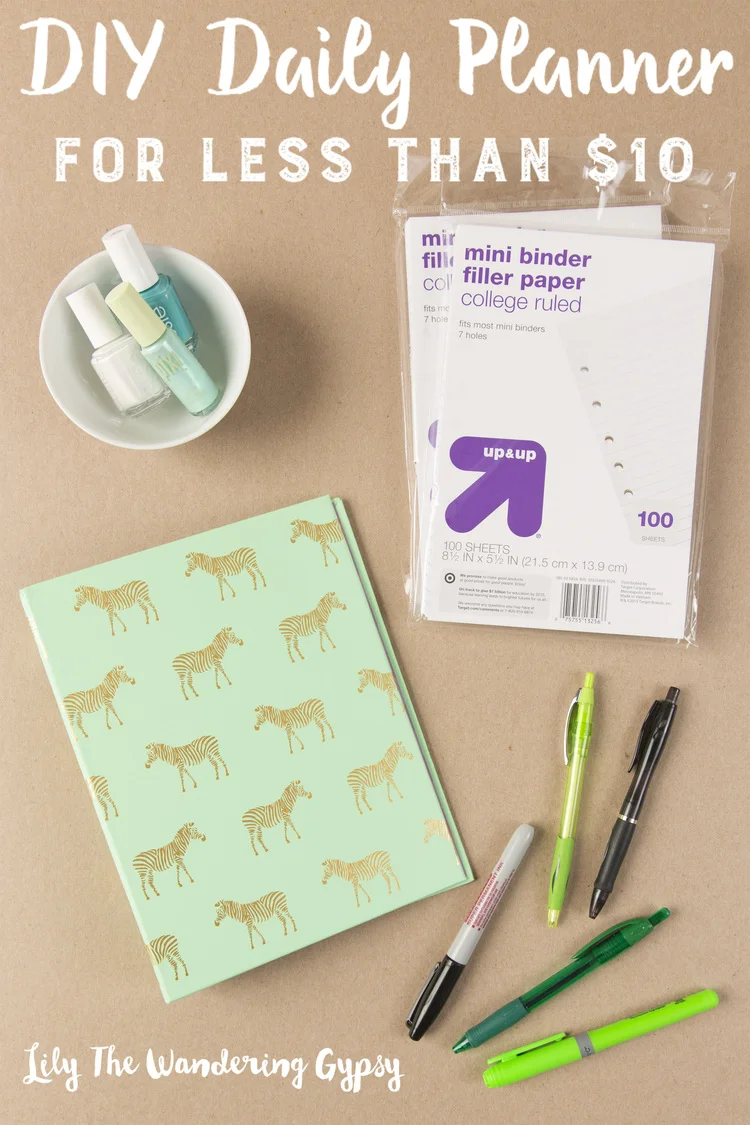
This DIY Planner is one of my most popular blog posts! Check out how easy it would be to make one, and give as a gift.
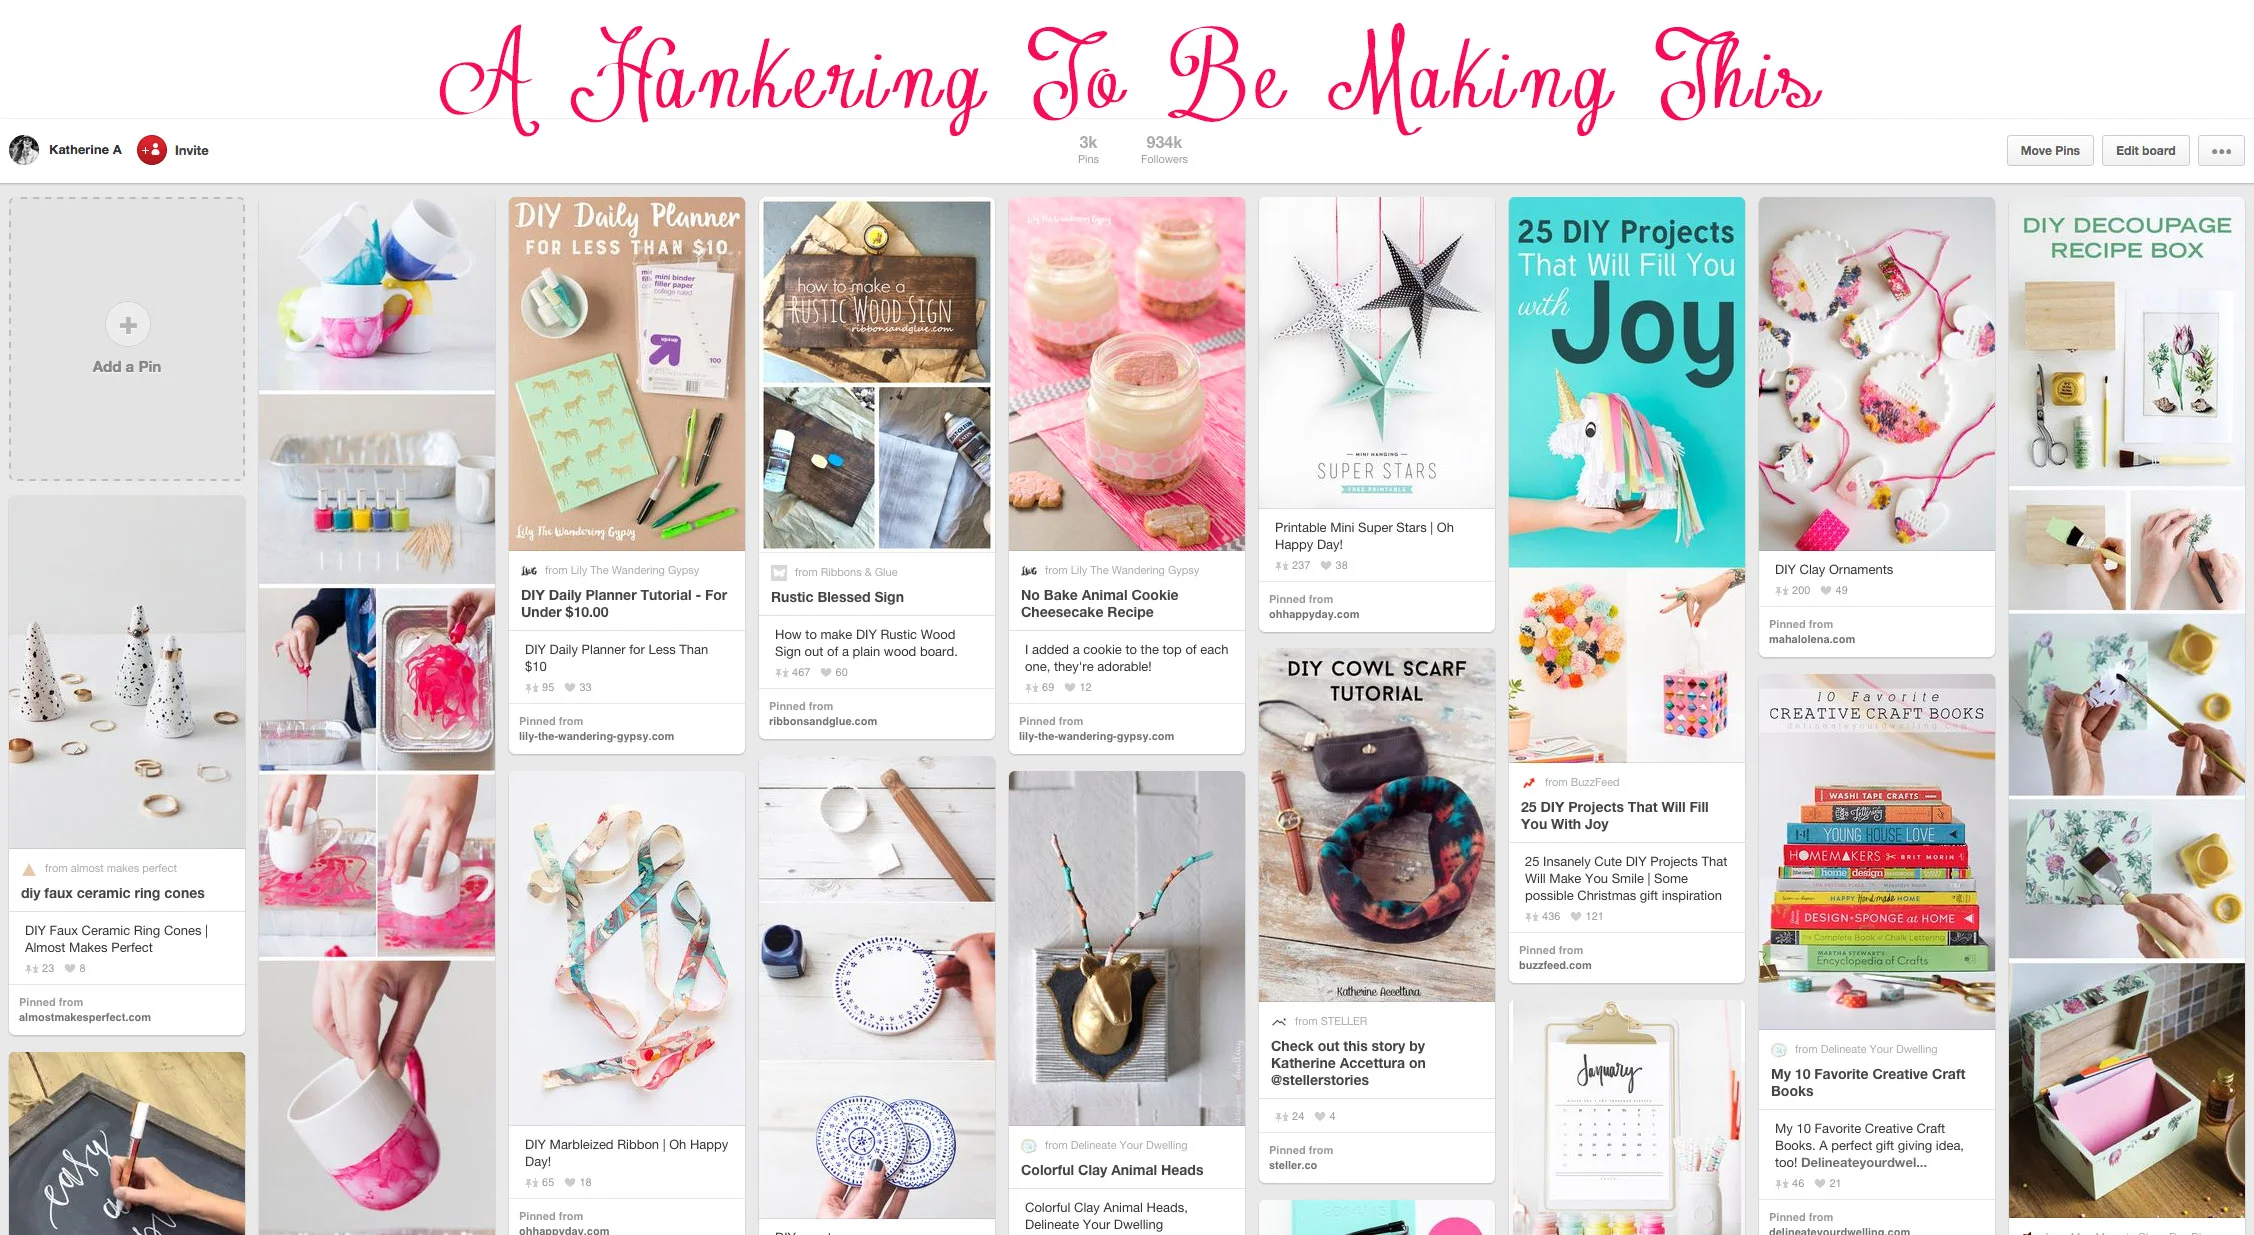
Also, check out my pin board, A Hankering To Be Making This for TONS of ideas!

These amazing No-Bake Cheesecakes are made with animal crackers instead of traditional graham crackers. These would make amazing gifts for the holidays, since they are individually packaged.
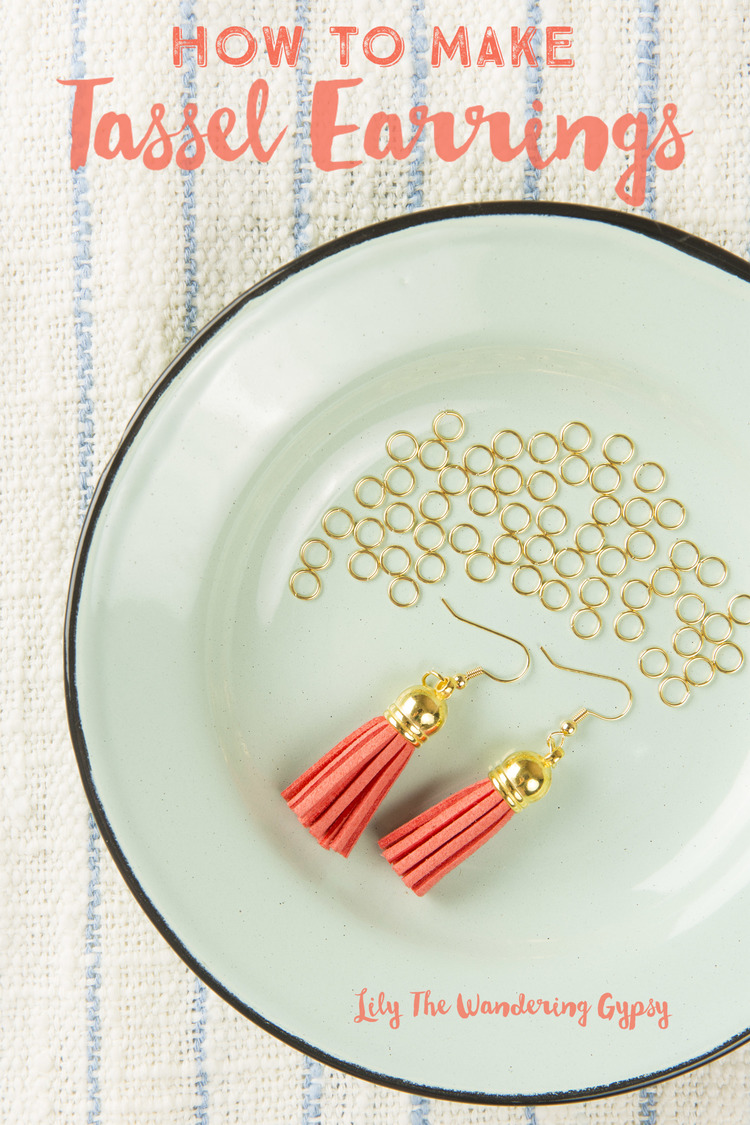
All you need is 3 materials for these super easy, Tassel Earrings, and they make a thoughtful gift.
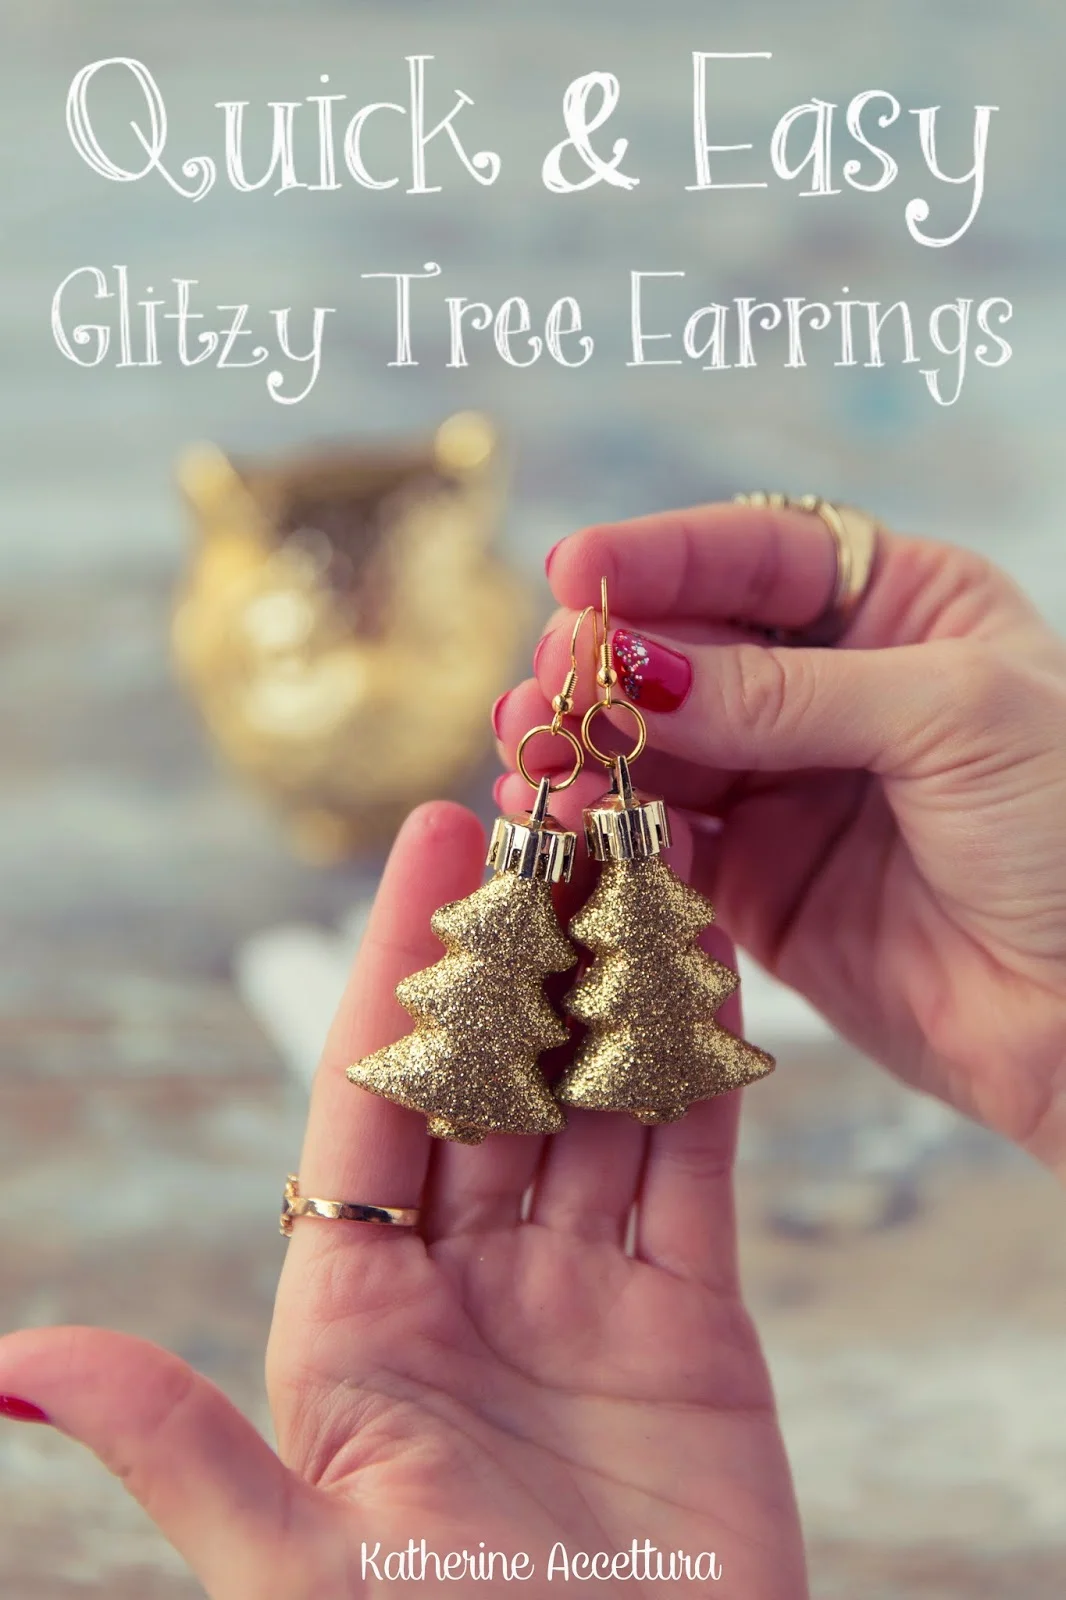
These Glitzy Tree Earrings are also a cute and festive gift idea you could make for a friend, and then make yourself a matching pair! These turned out really great!

I wanted to share a super quick and easy recipe to add to your Veteran's Day fun! You may already have these two simple ingredients at home, so let's get started!
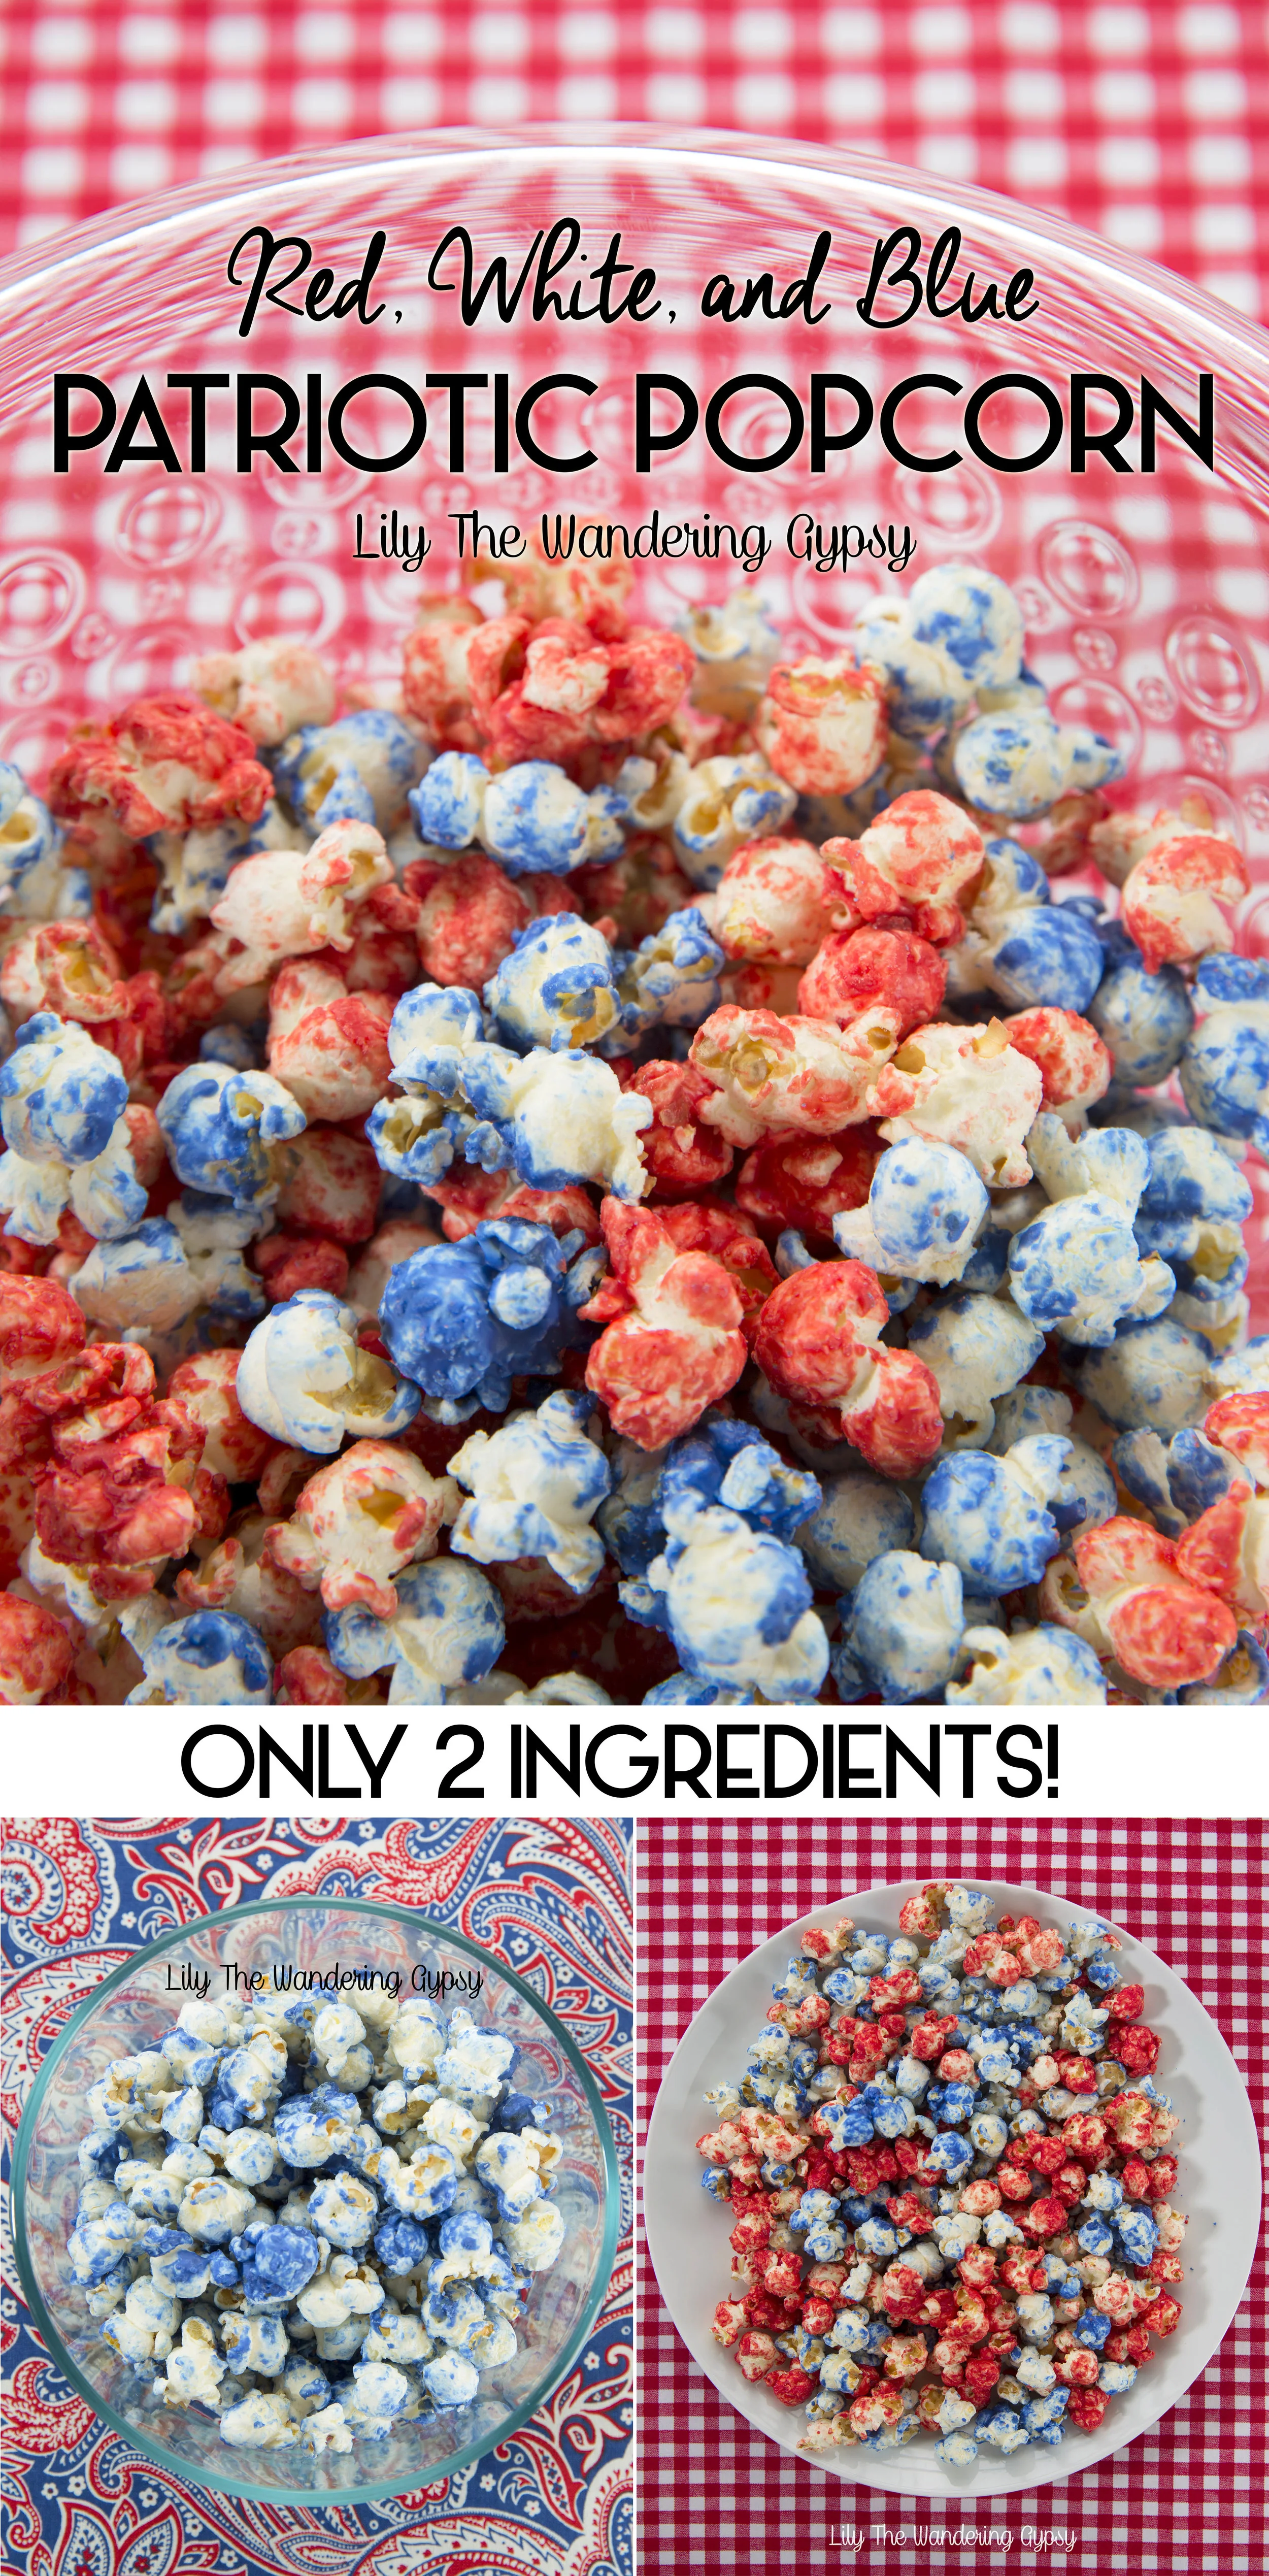
- One Bag of Lightly Salted Pop Corn - I used something like this. *Do not use white cheddar, it won't taste as good* - You can also quickly pop some at home if you prefer!
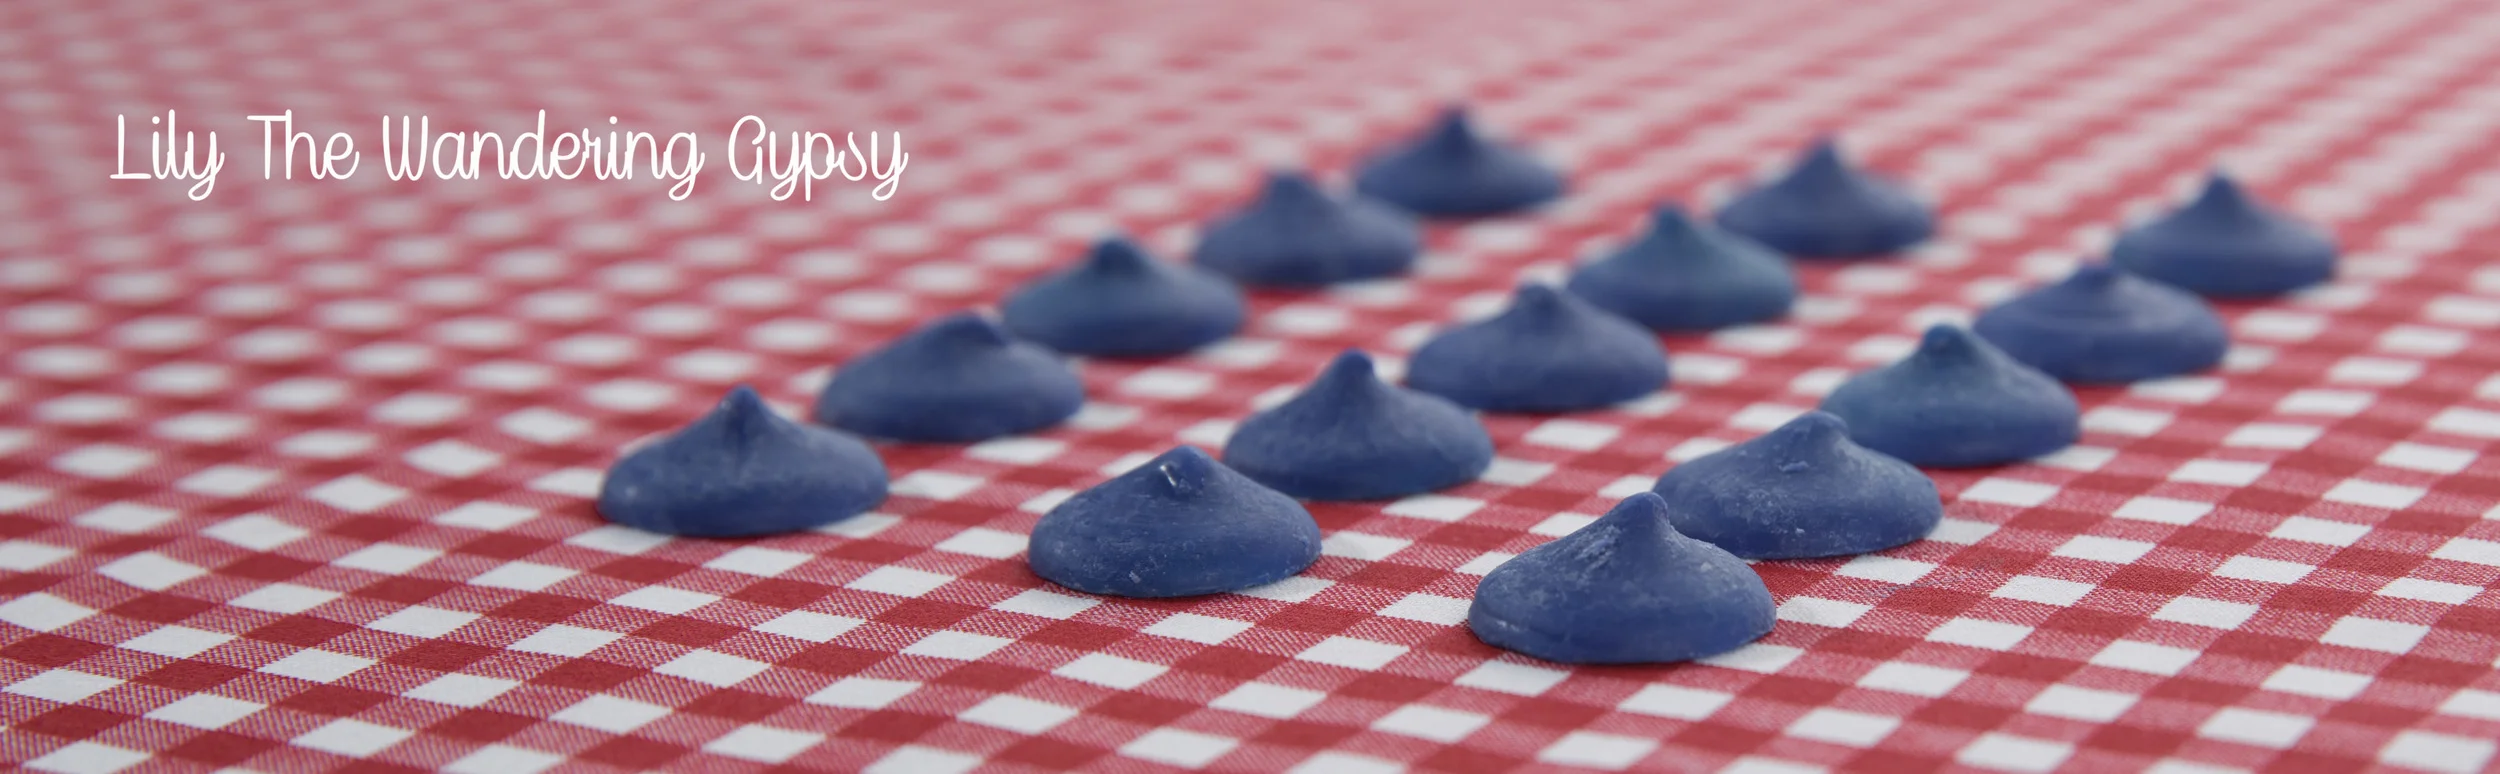
- One Bag Each of Blue and Red Candy Melts (pictured below).
That's it. Here are some blue candy melts, below.
Two medium sized microwave-safe dishes, and two heat-safe spatulas (one for red, one for blue).
1.) Decide how much popcorn you want to use. You will need 8 candy melts per 1 cup of popcorn. The red ones coated the popcorn a bit more intensely than the blue ones did.
2.) Melt the candy melts in the microwave at half power for 1 minute and stir. Melt again for 30 second intervals until you are satisfied with the texture. If you don't wish to use a microwave, a stovetop double-boiler method is best. Be very careful, candy will be HOT!!! Let candy sit for a few minutes to cool. Here is more info on melting the candy melts.
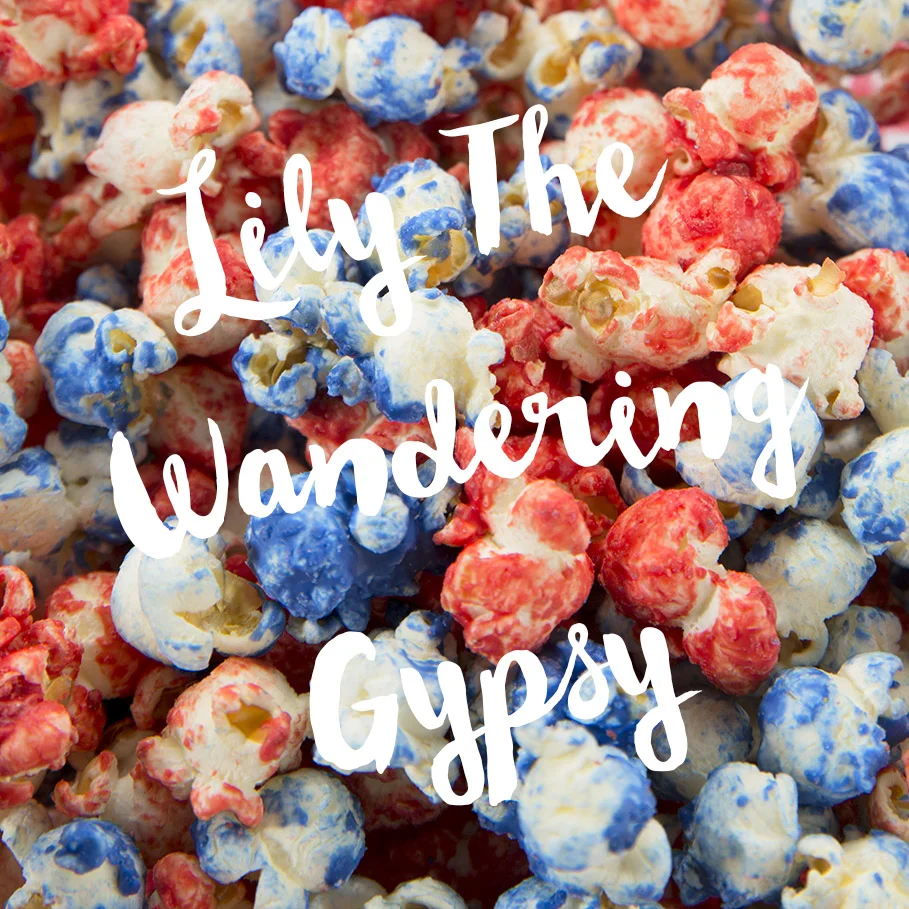
3. In each bowl, put desired amount of popcorn. Carefully drizzle the candy melts over top of the popcorn and stir each color with a large spatula.
4. Let popcorn mixtures cool separately for about an hour, until candied popcorn has hardened and cooled to room temperature. Mix the blue and red popcorn together in a fresh serving bowl. Serve and enjoy.

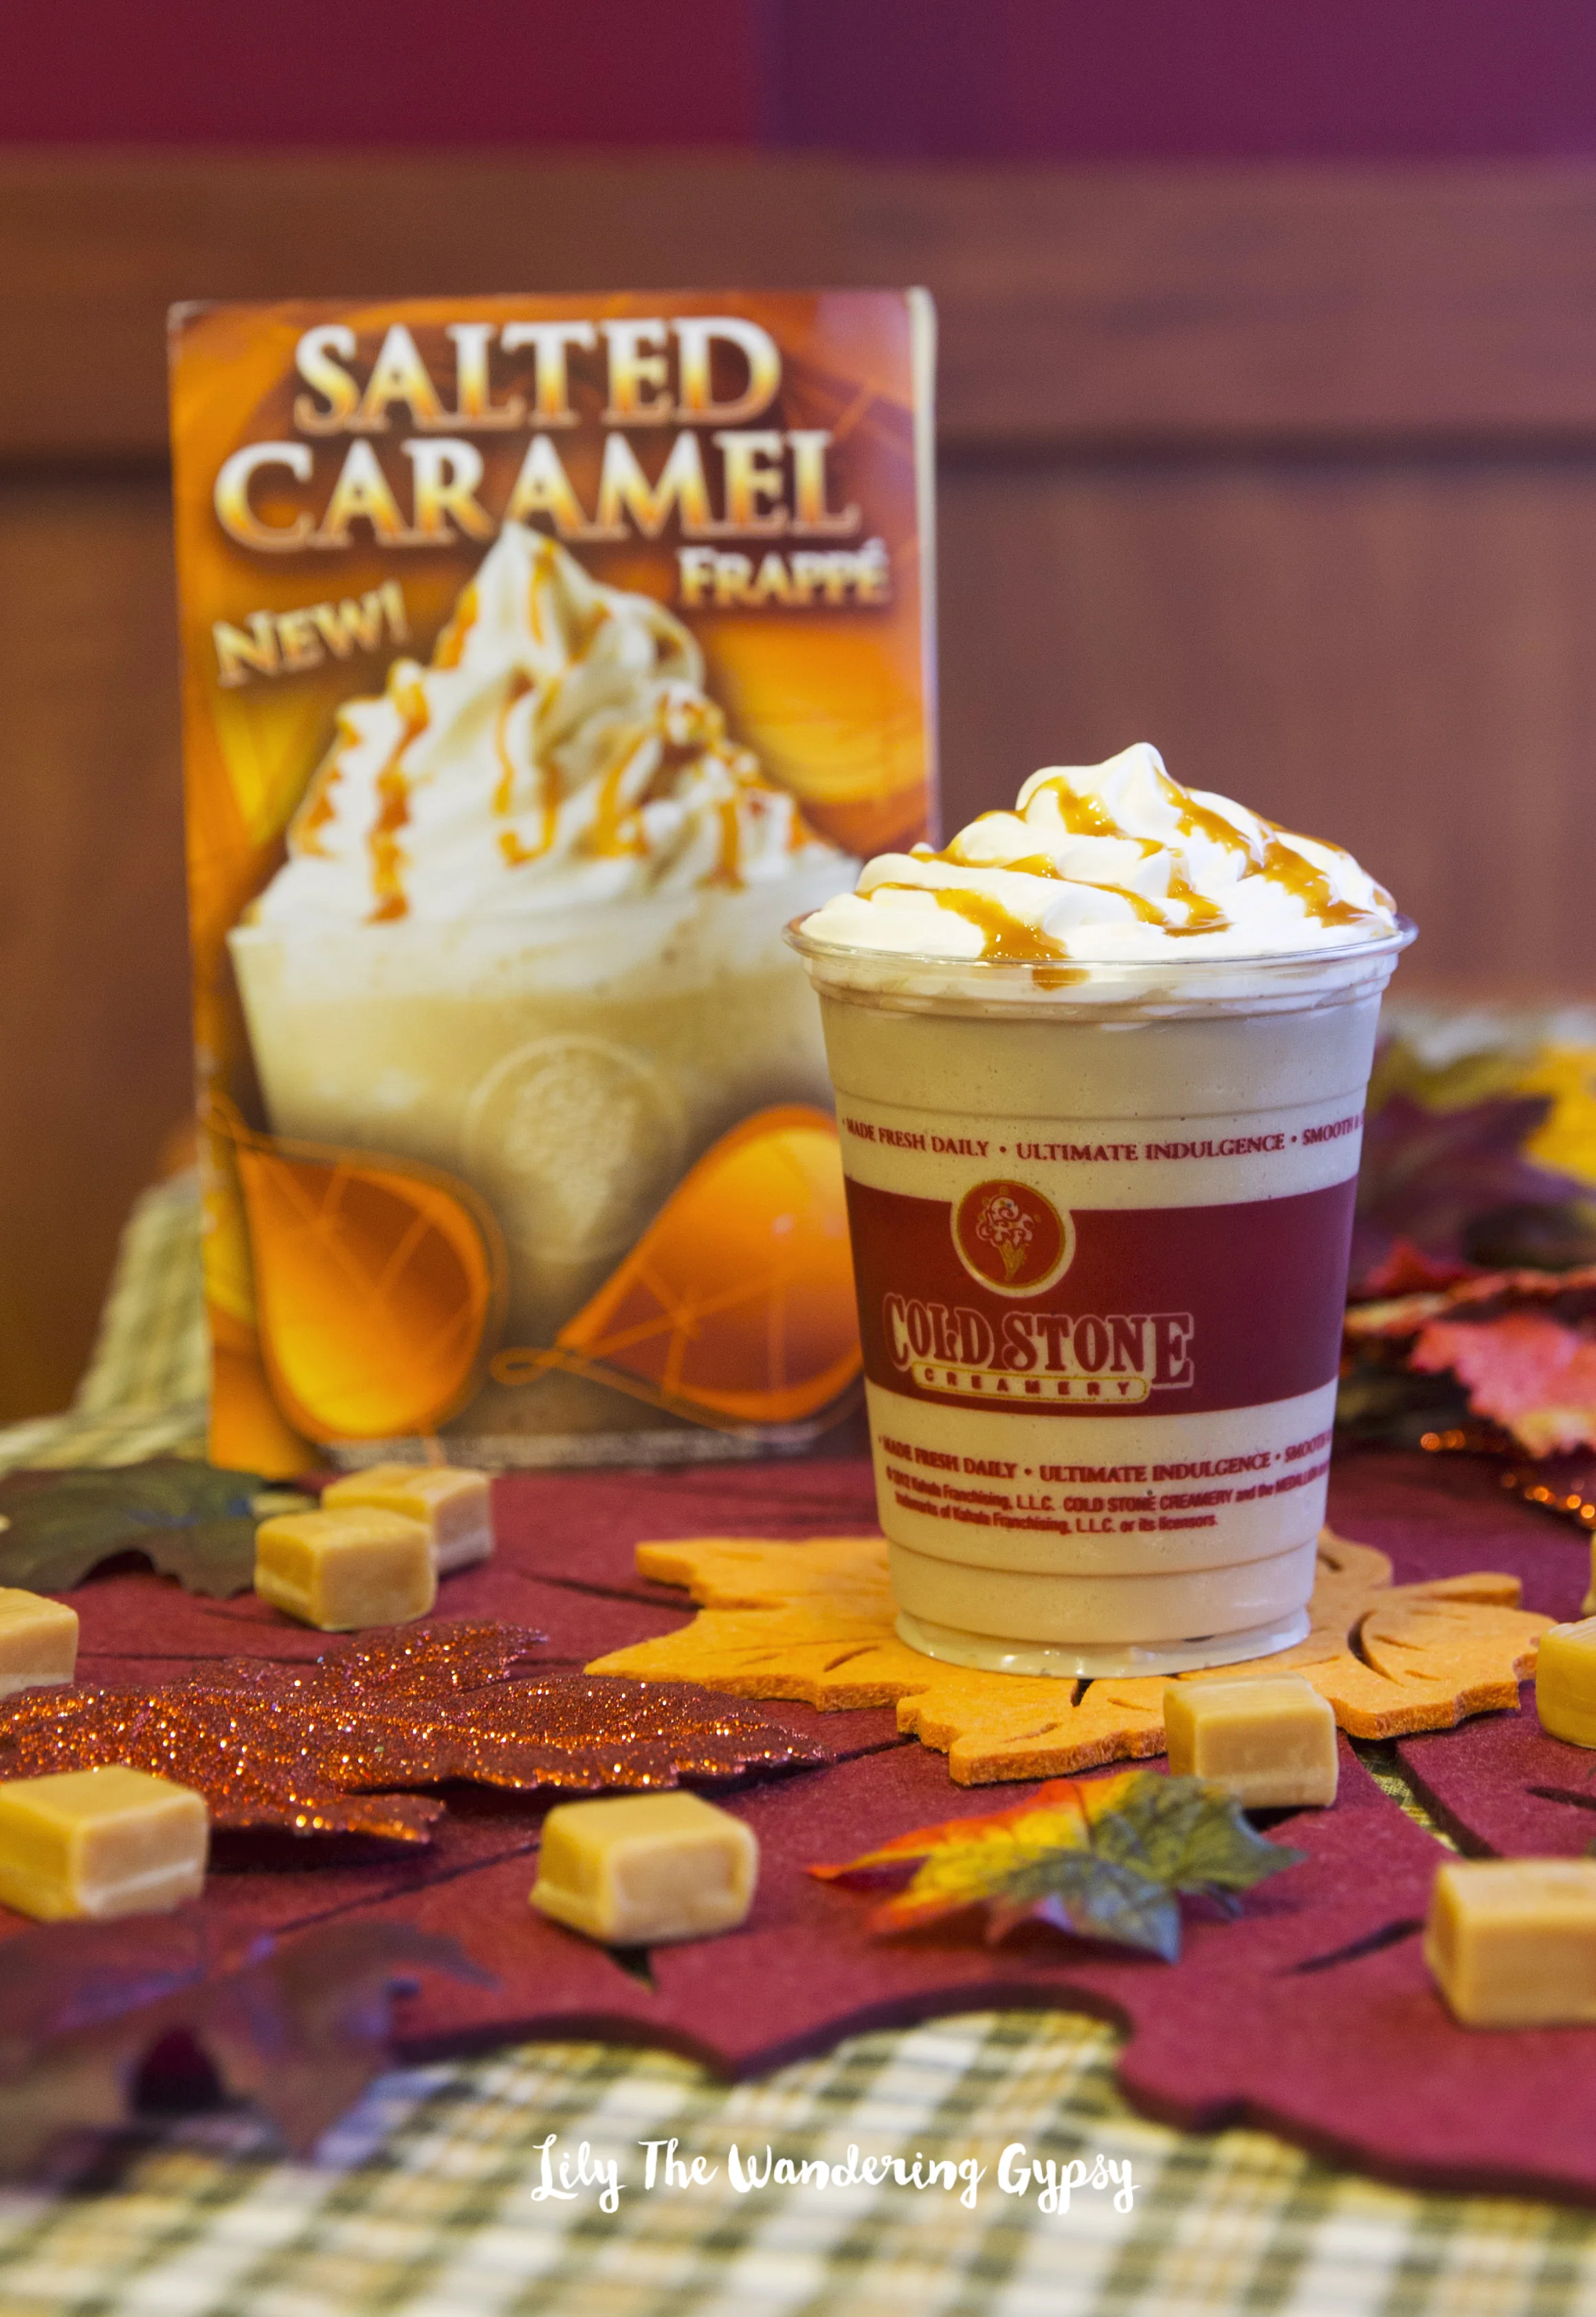
Don't think Fall is the time to eat ice cream? Well, it is! I recently visited Cold Stone Creamery, in order to help showcase some of the most amazing ice cream I have ever eaten! There was just a small hint of spice that was very well balanced in these treats. And, if you love frozen coffee drinks, there is even a Sugar and Spice creation for you! Make sure to stop by the Springfield, IL location, the general manager was incredibly helpful throughout this project.

I think one of my favorites in this collection is the Salted Caramel Frappe! It has just a hint of coffee flavor, just enough for me, and it's topped with a generous amount of whipped topping and a caramel drizzle. This would be perfect for an afternoon pick-me-up.
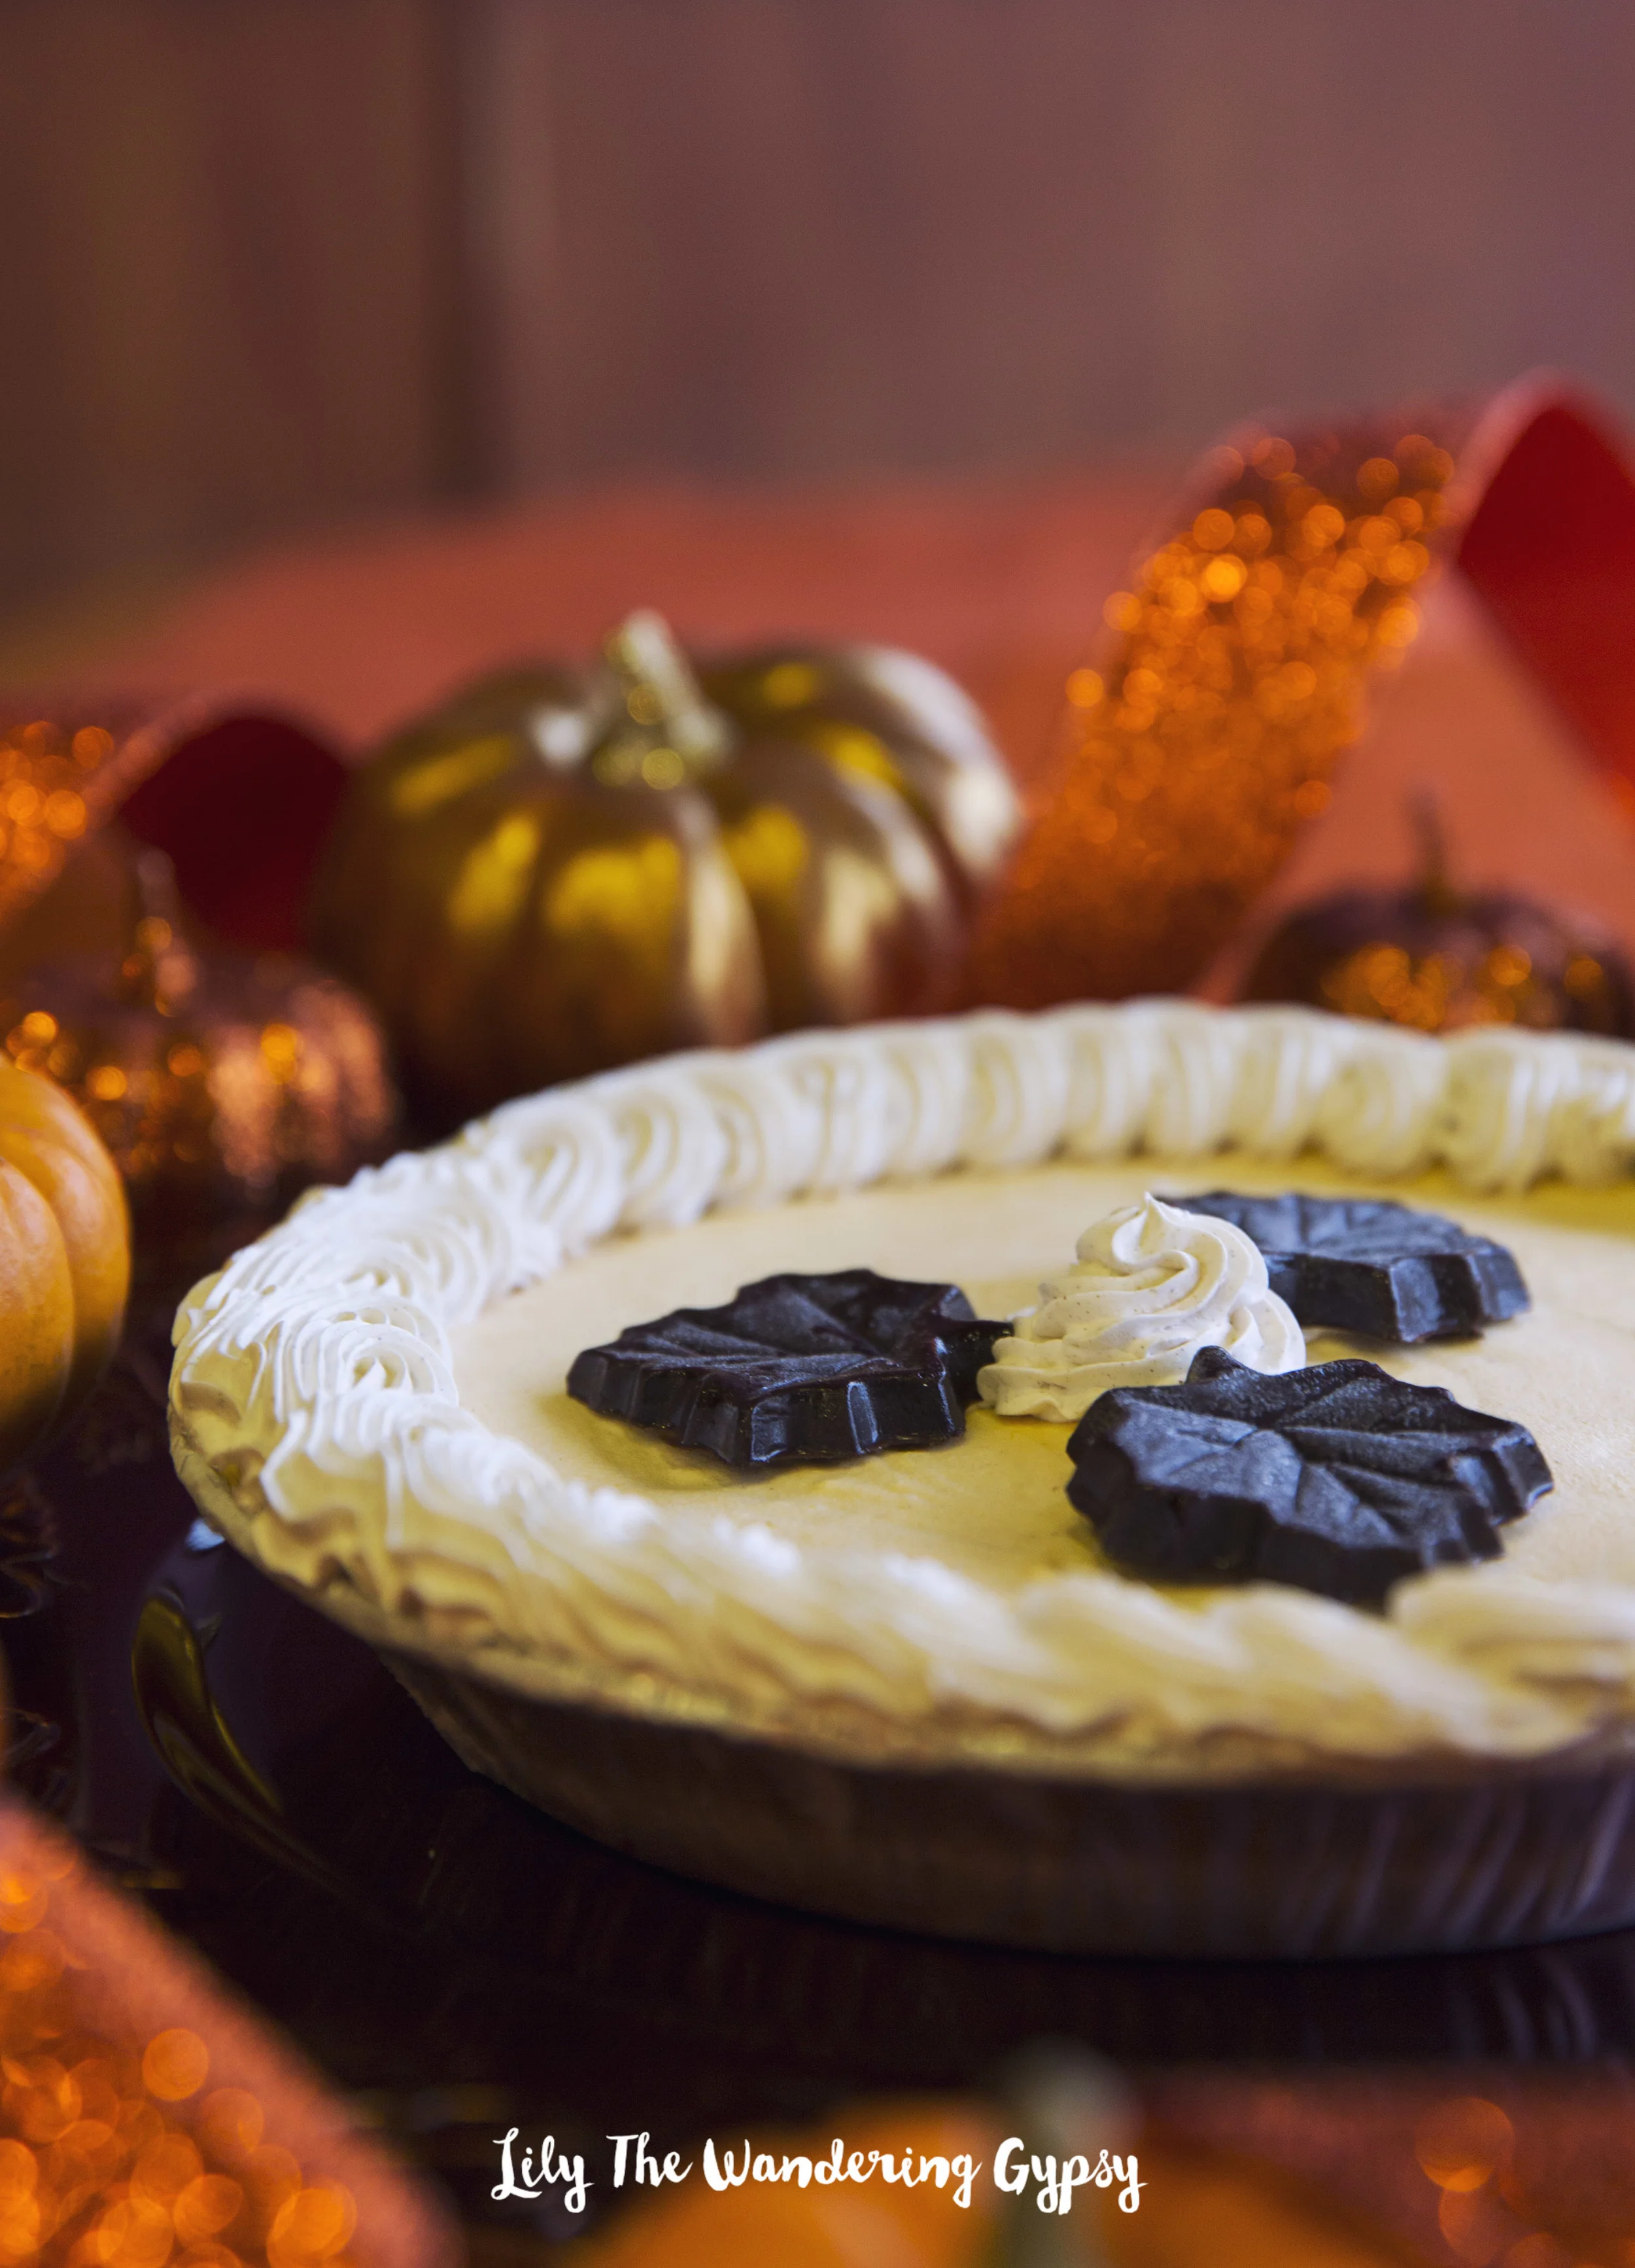
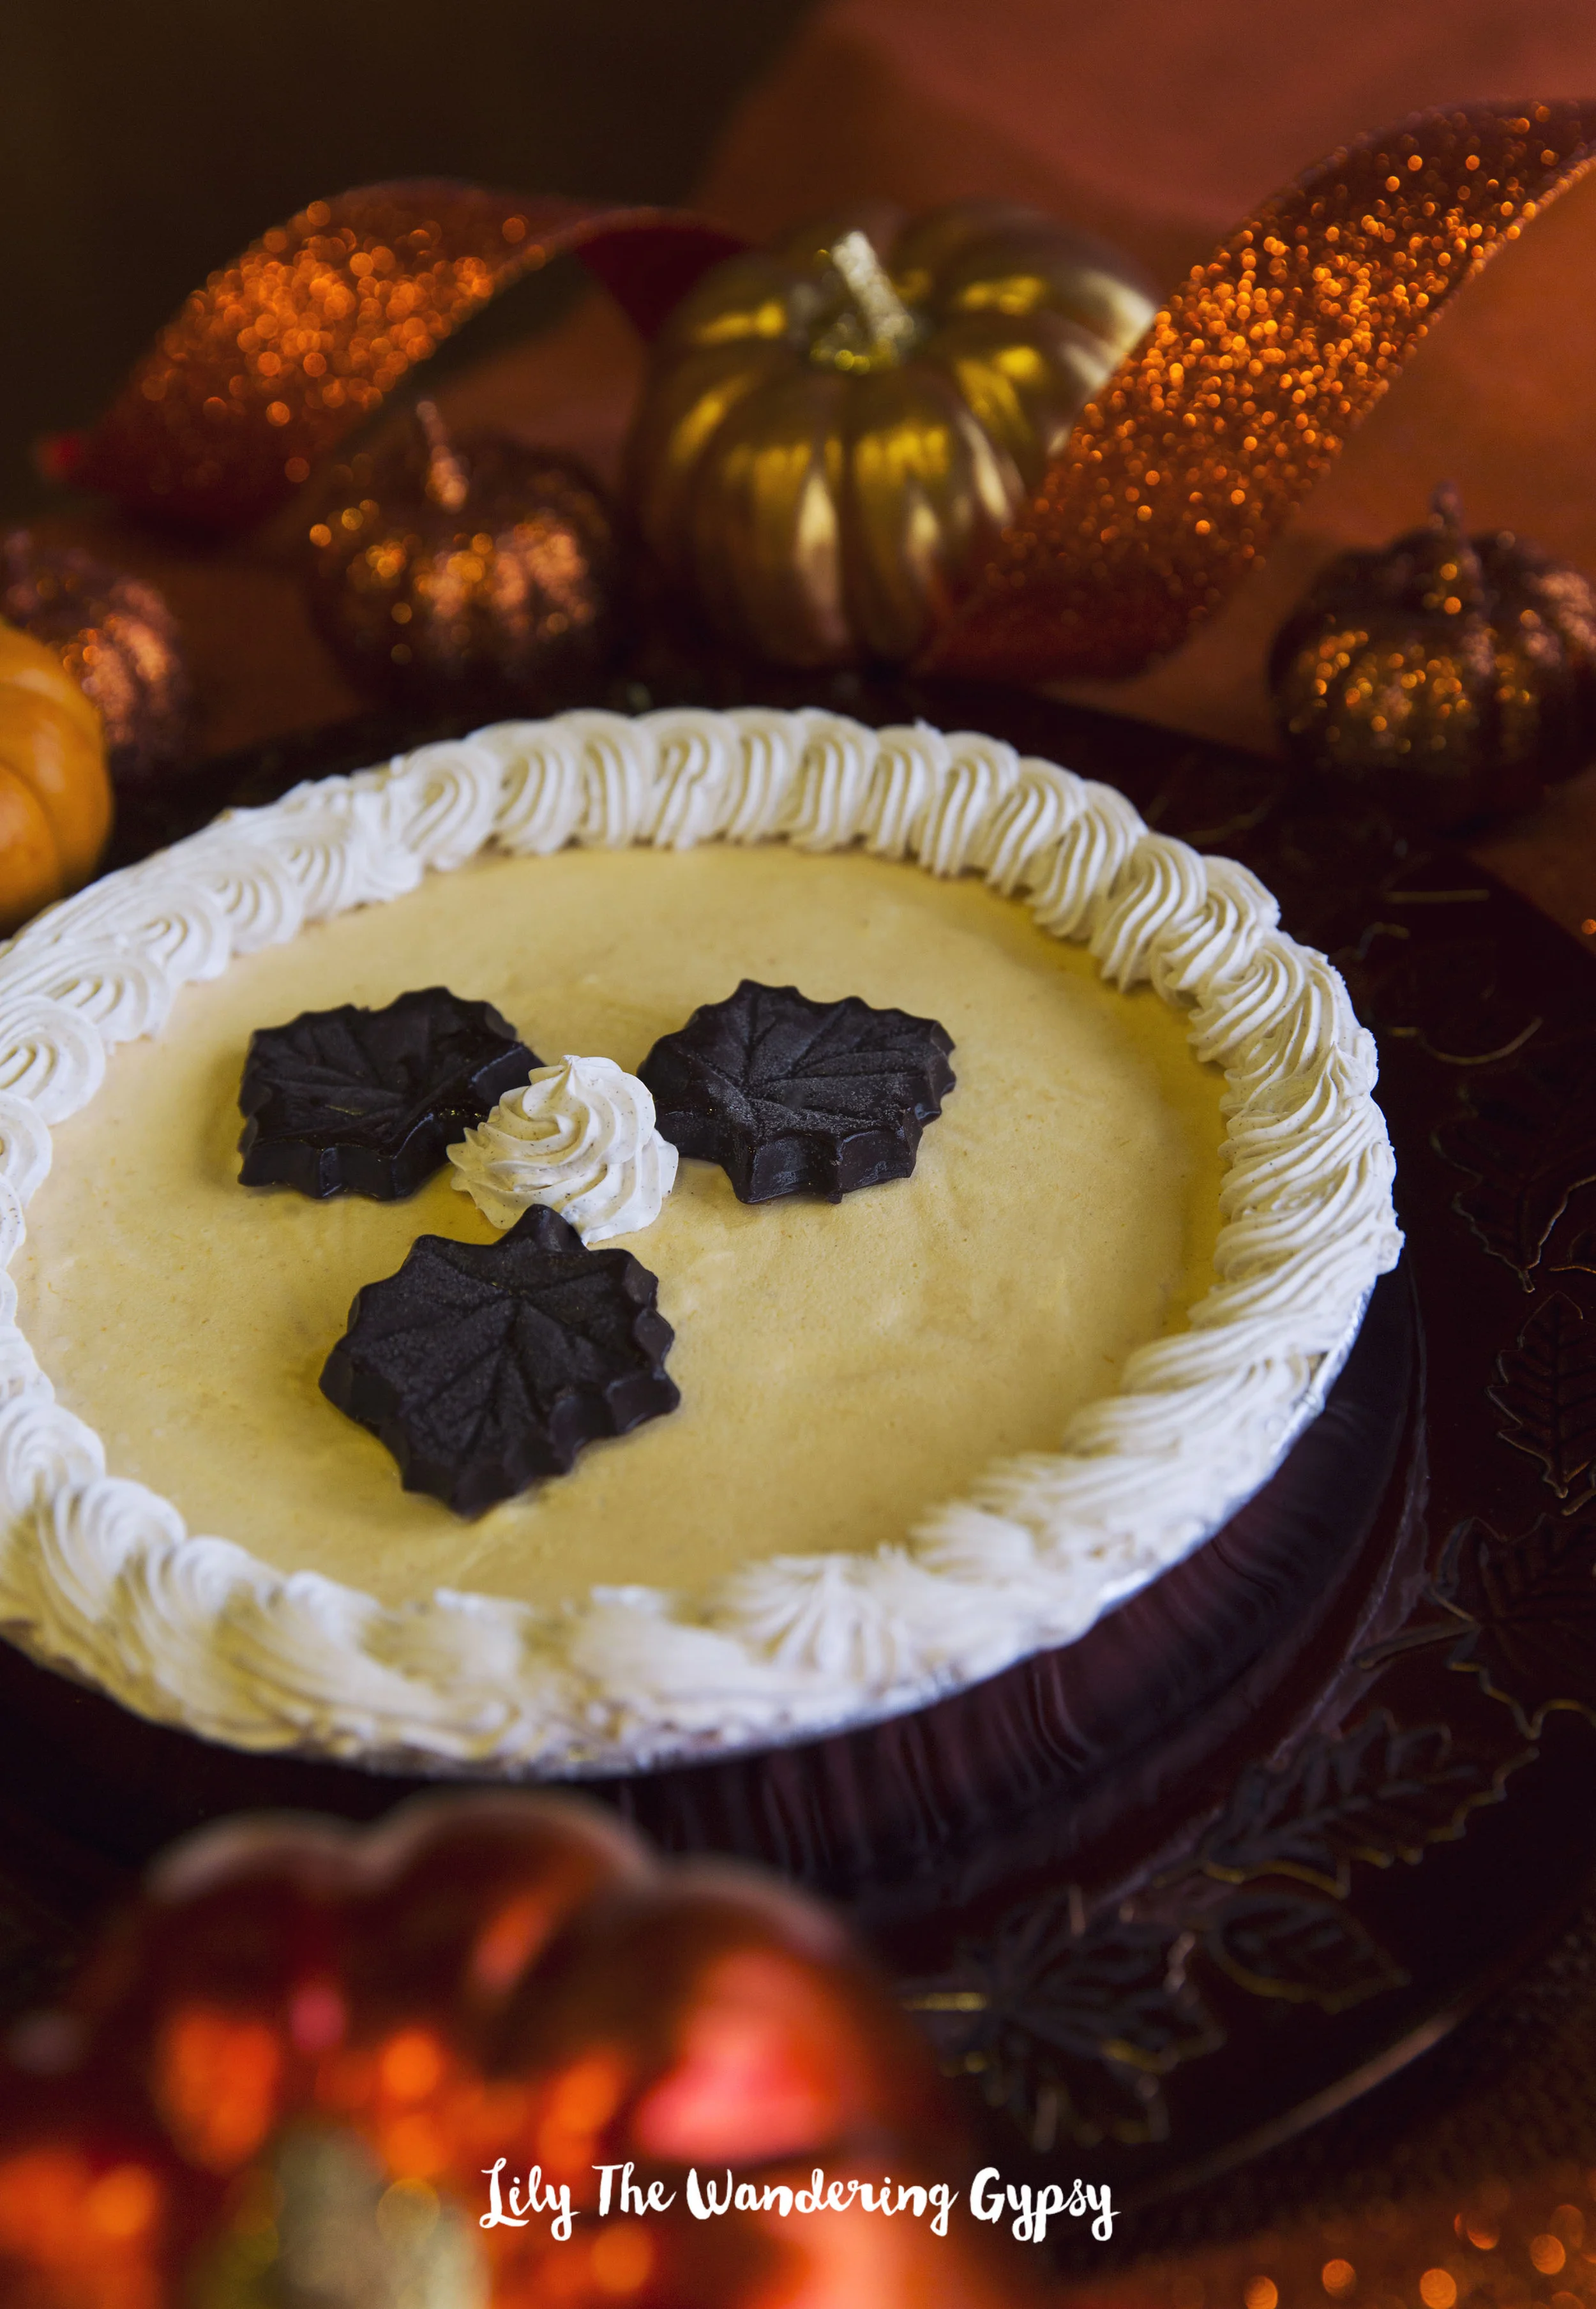
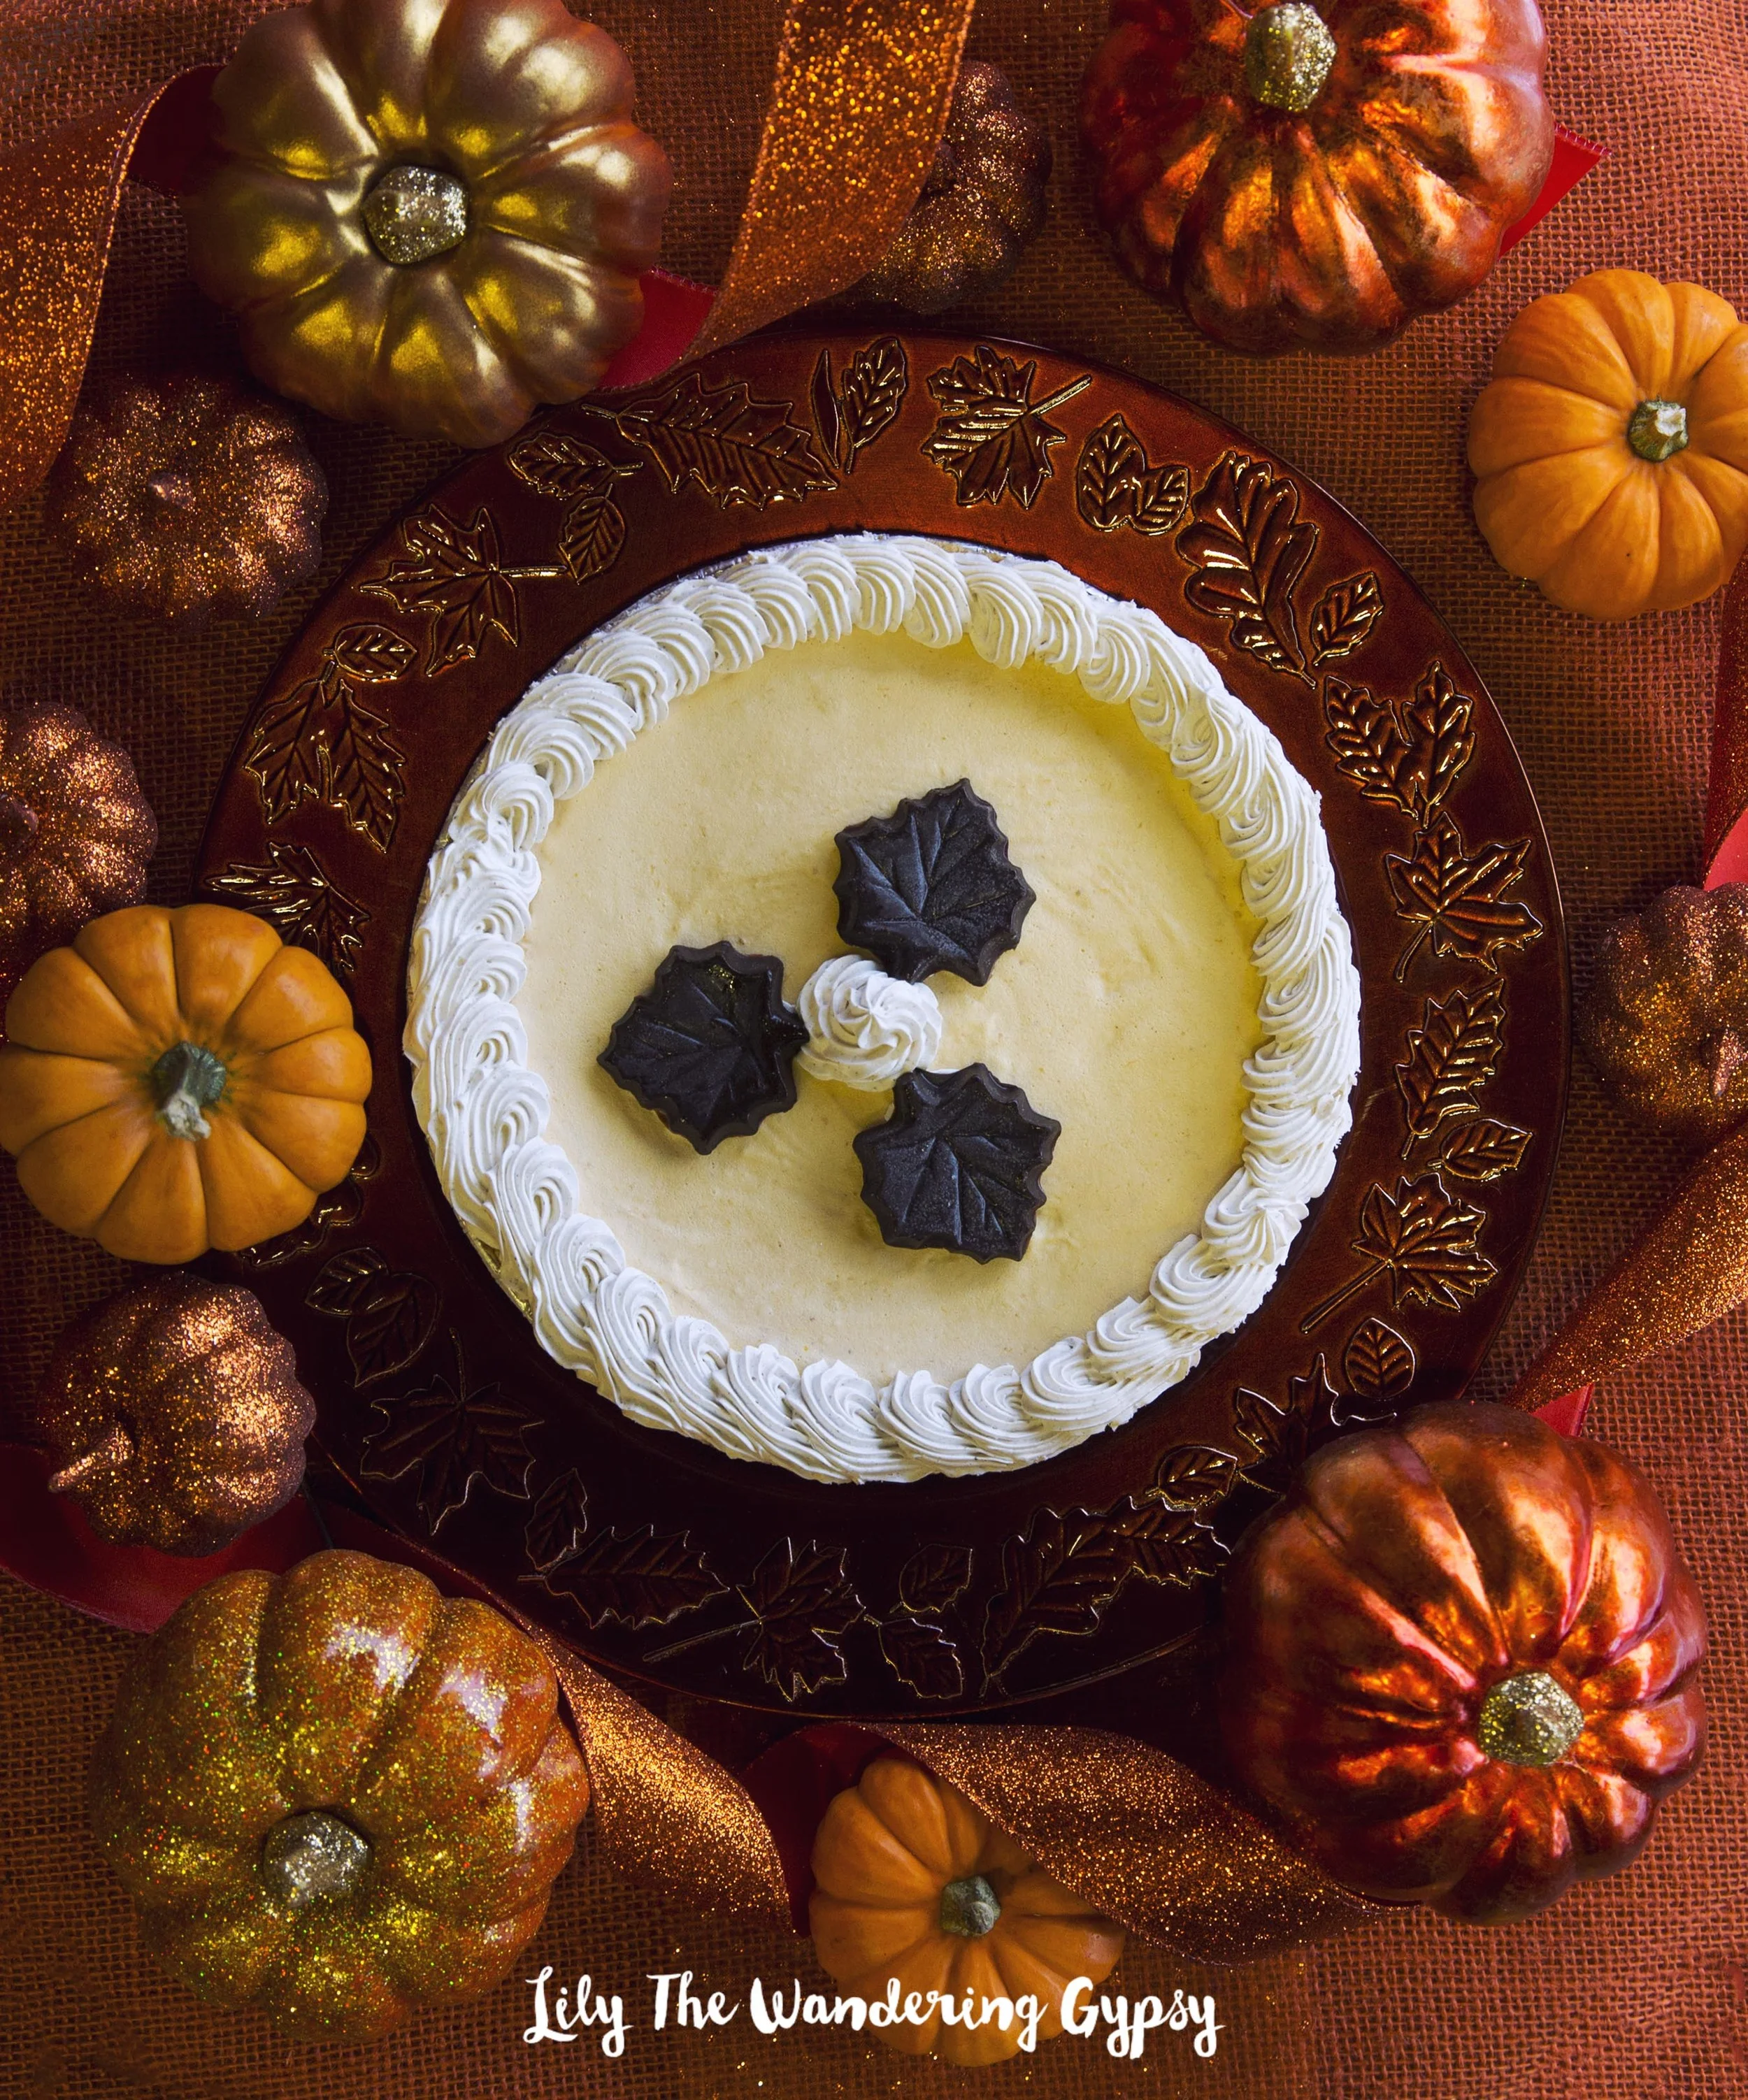
Next, I think this adorable Pumpkin Ice Cream Pie would really impress your guests at Thanksgiving! It contains pumpkin ice cream, and is adorned with vanilla bean whipped topping and chocolate leaves! This would make such an elegant dessert option for the holidays.
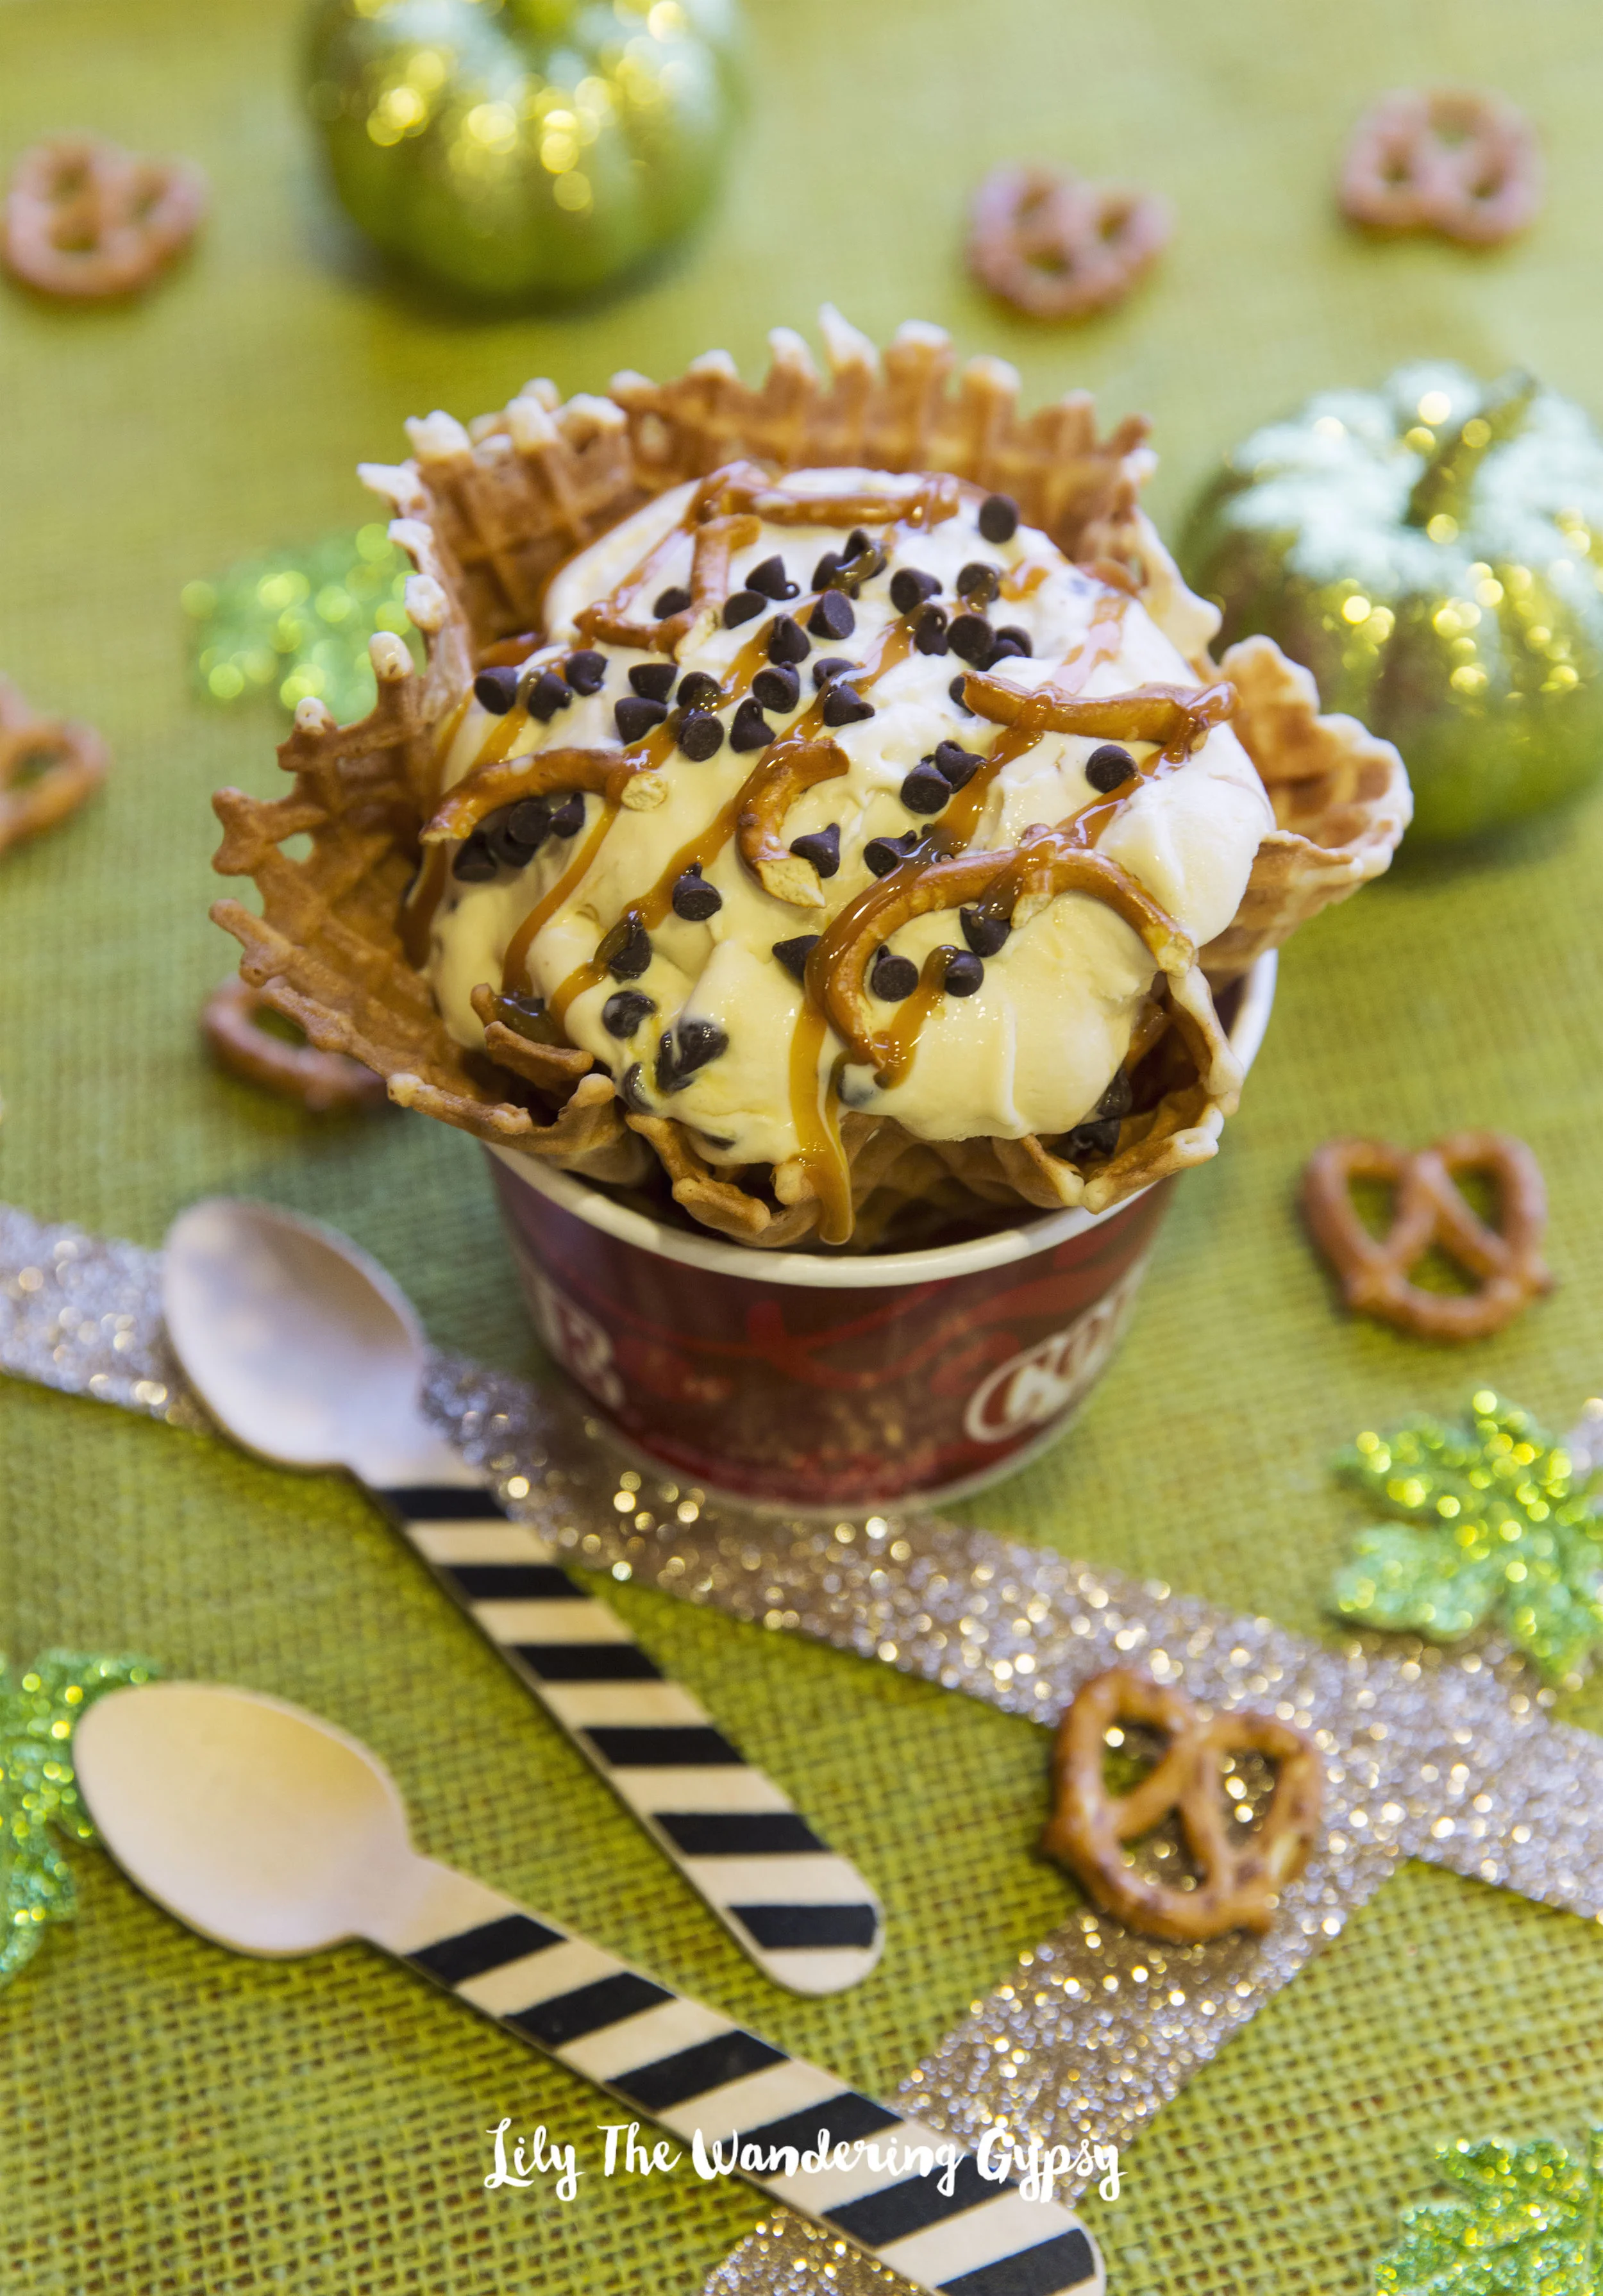
This Twisted Salted Caramel Ice Cream was also pretty great. It starts with Salted Caramel Ice Cream, and they mix in chocolate chips and pretzels. They will even top it with caramel if you ask with a smile.
So, the Pumpkin Pie In The Sky Ice Cream was my second favorite treat. It contains Pumpkin Ice Cream, and they mix in Graham Cracker Pie Crust, Whipped Topping, and drizzle it with Caramel! At first bite, I knew this one was a winner :)

I had SO much fun in New York City last weekend. I was recently working a fun content creation project for Skype, where I shared my Halloween Party Tips and DIY Ideas! This was my first time to New York City (we did visit years ago for like 2 hours, but this was completely different...)
So, the images I created for Skype can be found HERE. I had SO much fun creating some holiday content, as this was one of the first projects I have done of this nature. Halloween Tips and Tricks are some of my absolute FAVORITES, so I had a really great time! I also helped with a Pinterest Board (here), and I helped lead a fun, Skype Group Chat (search SkypeHalloween to find us!!).
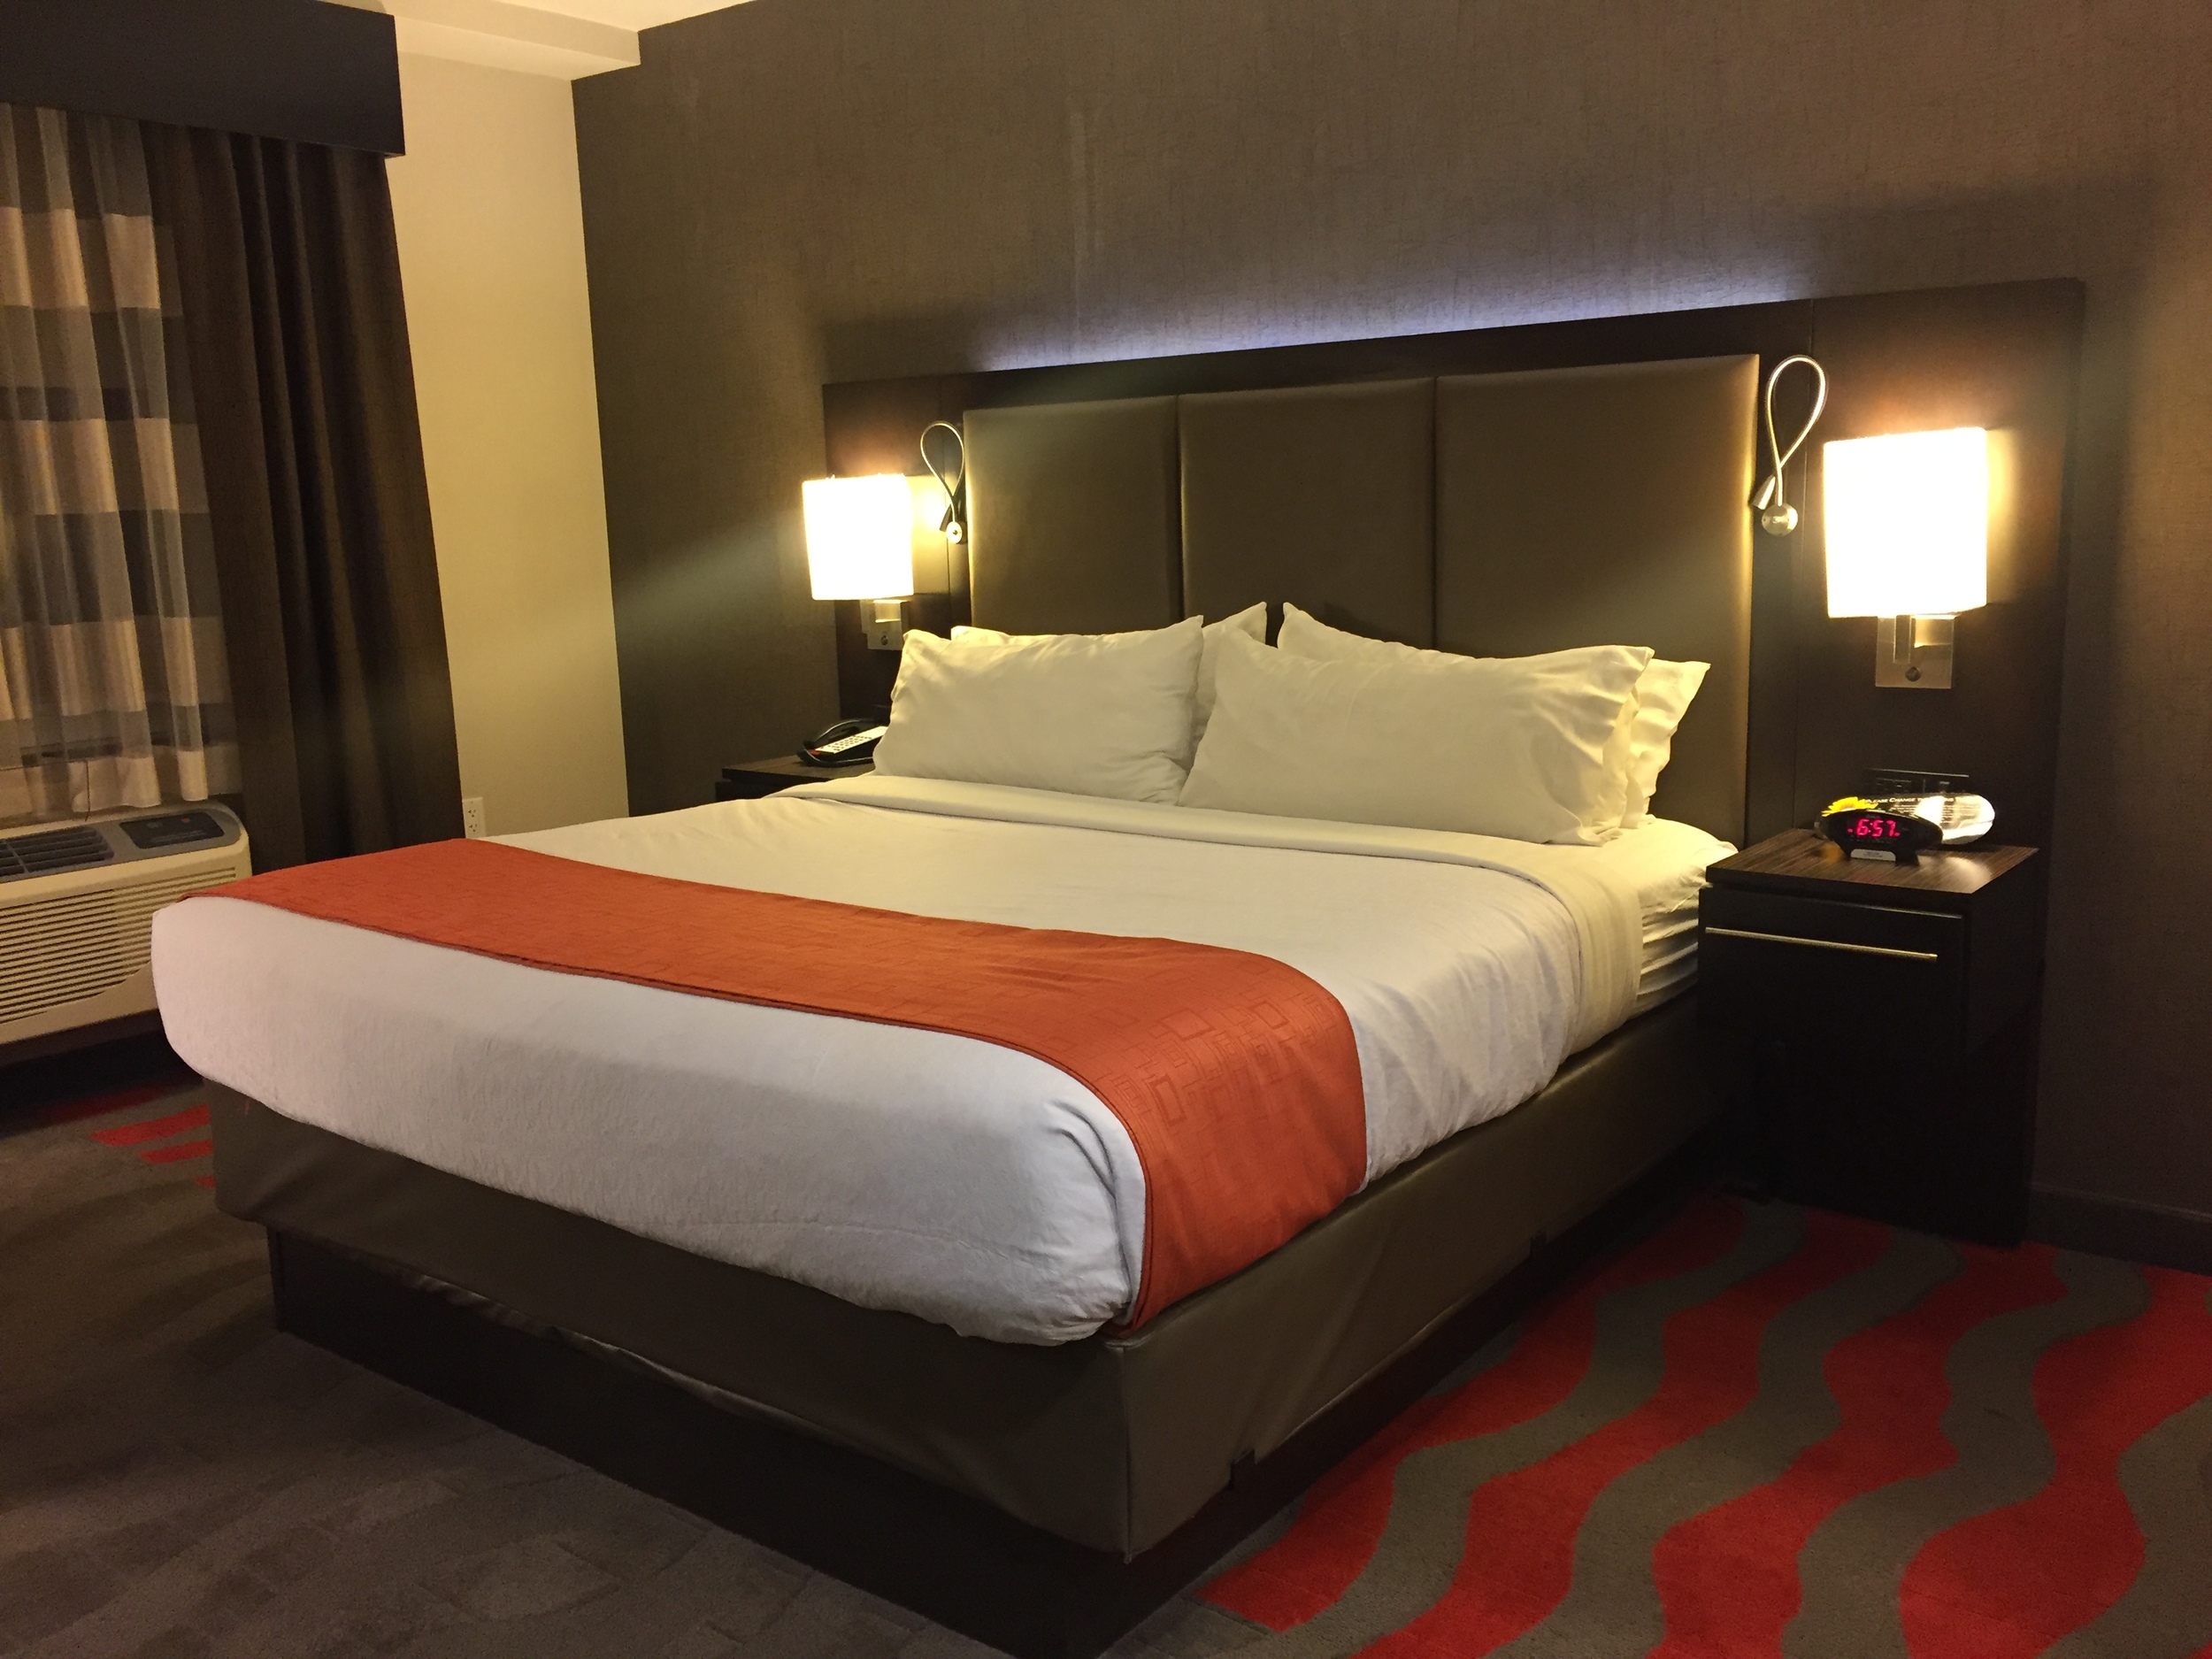
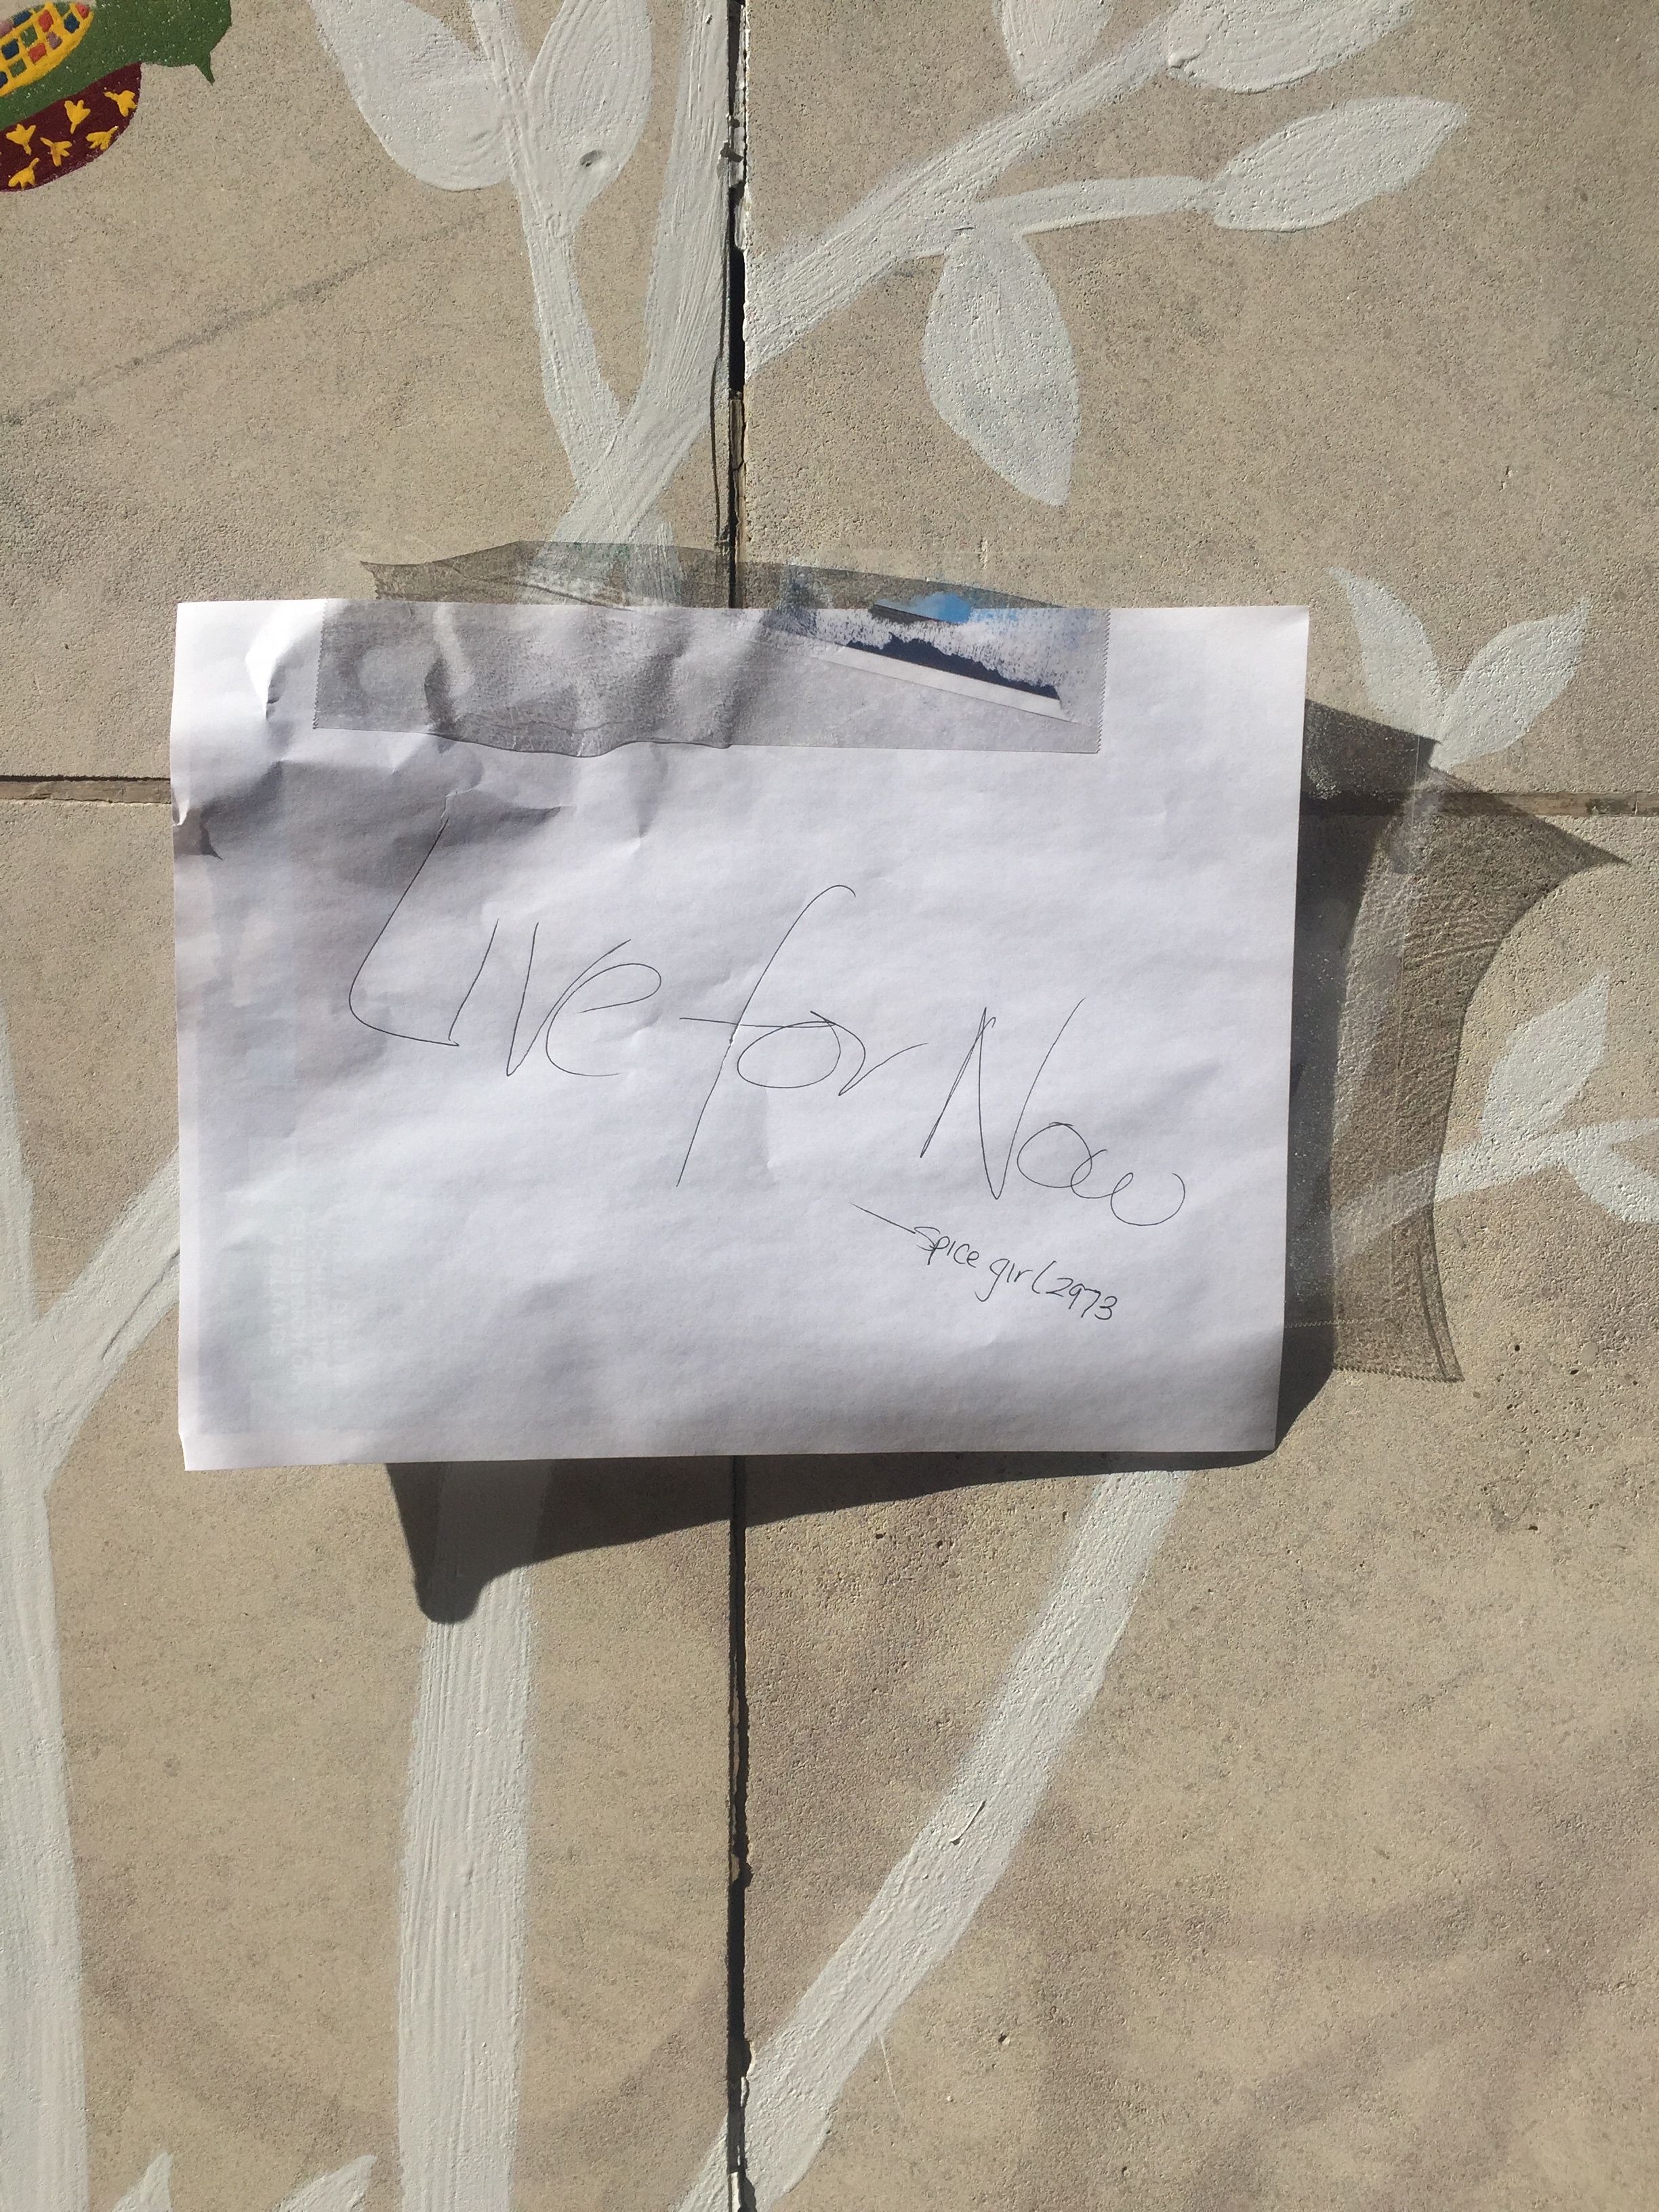
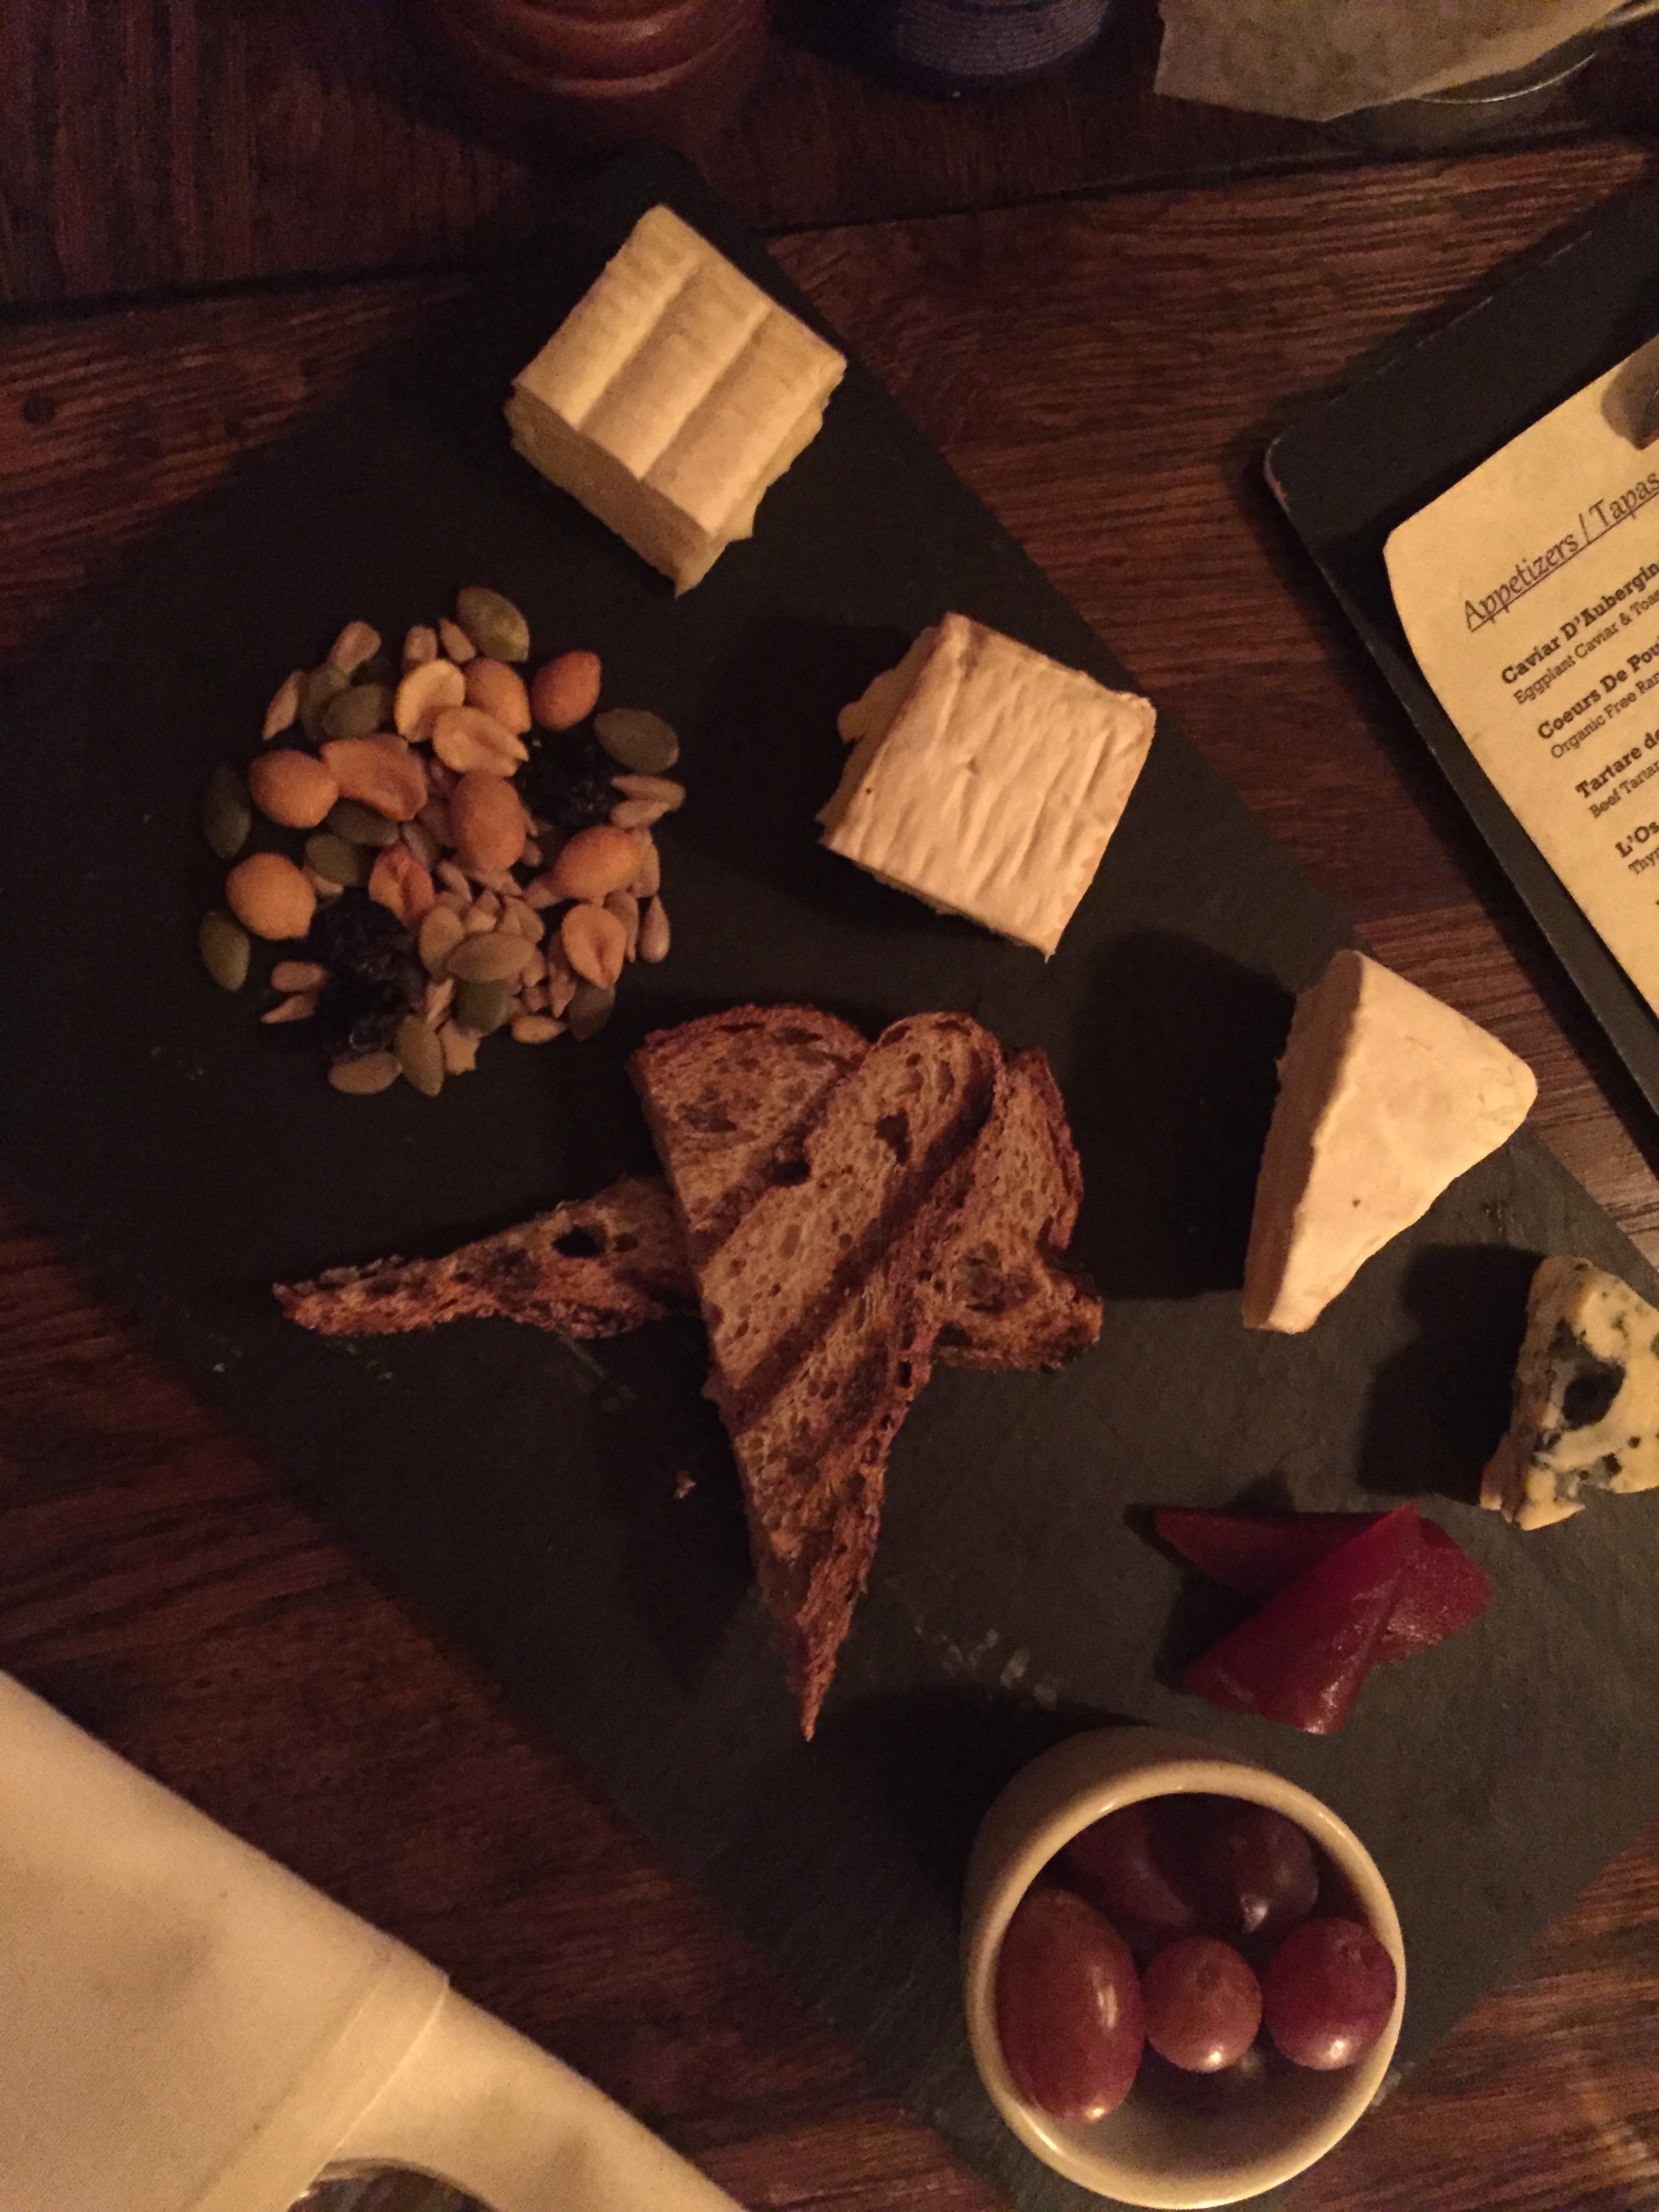
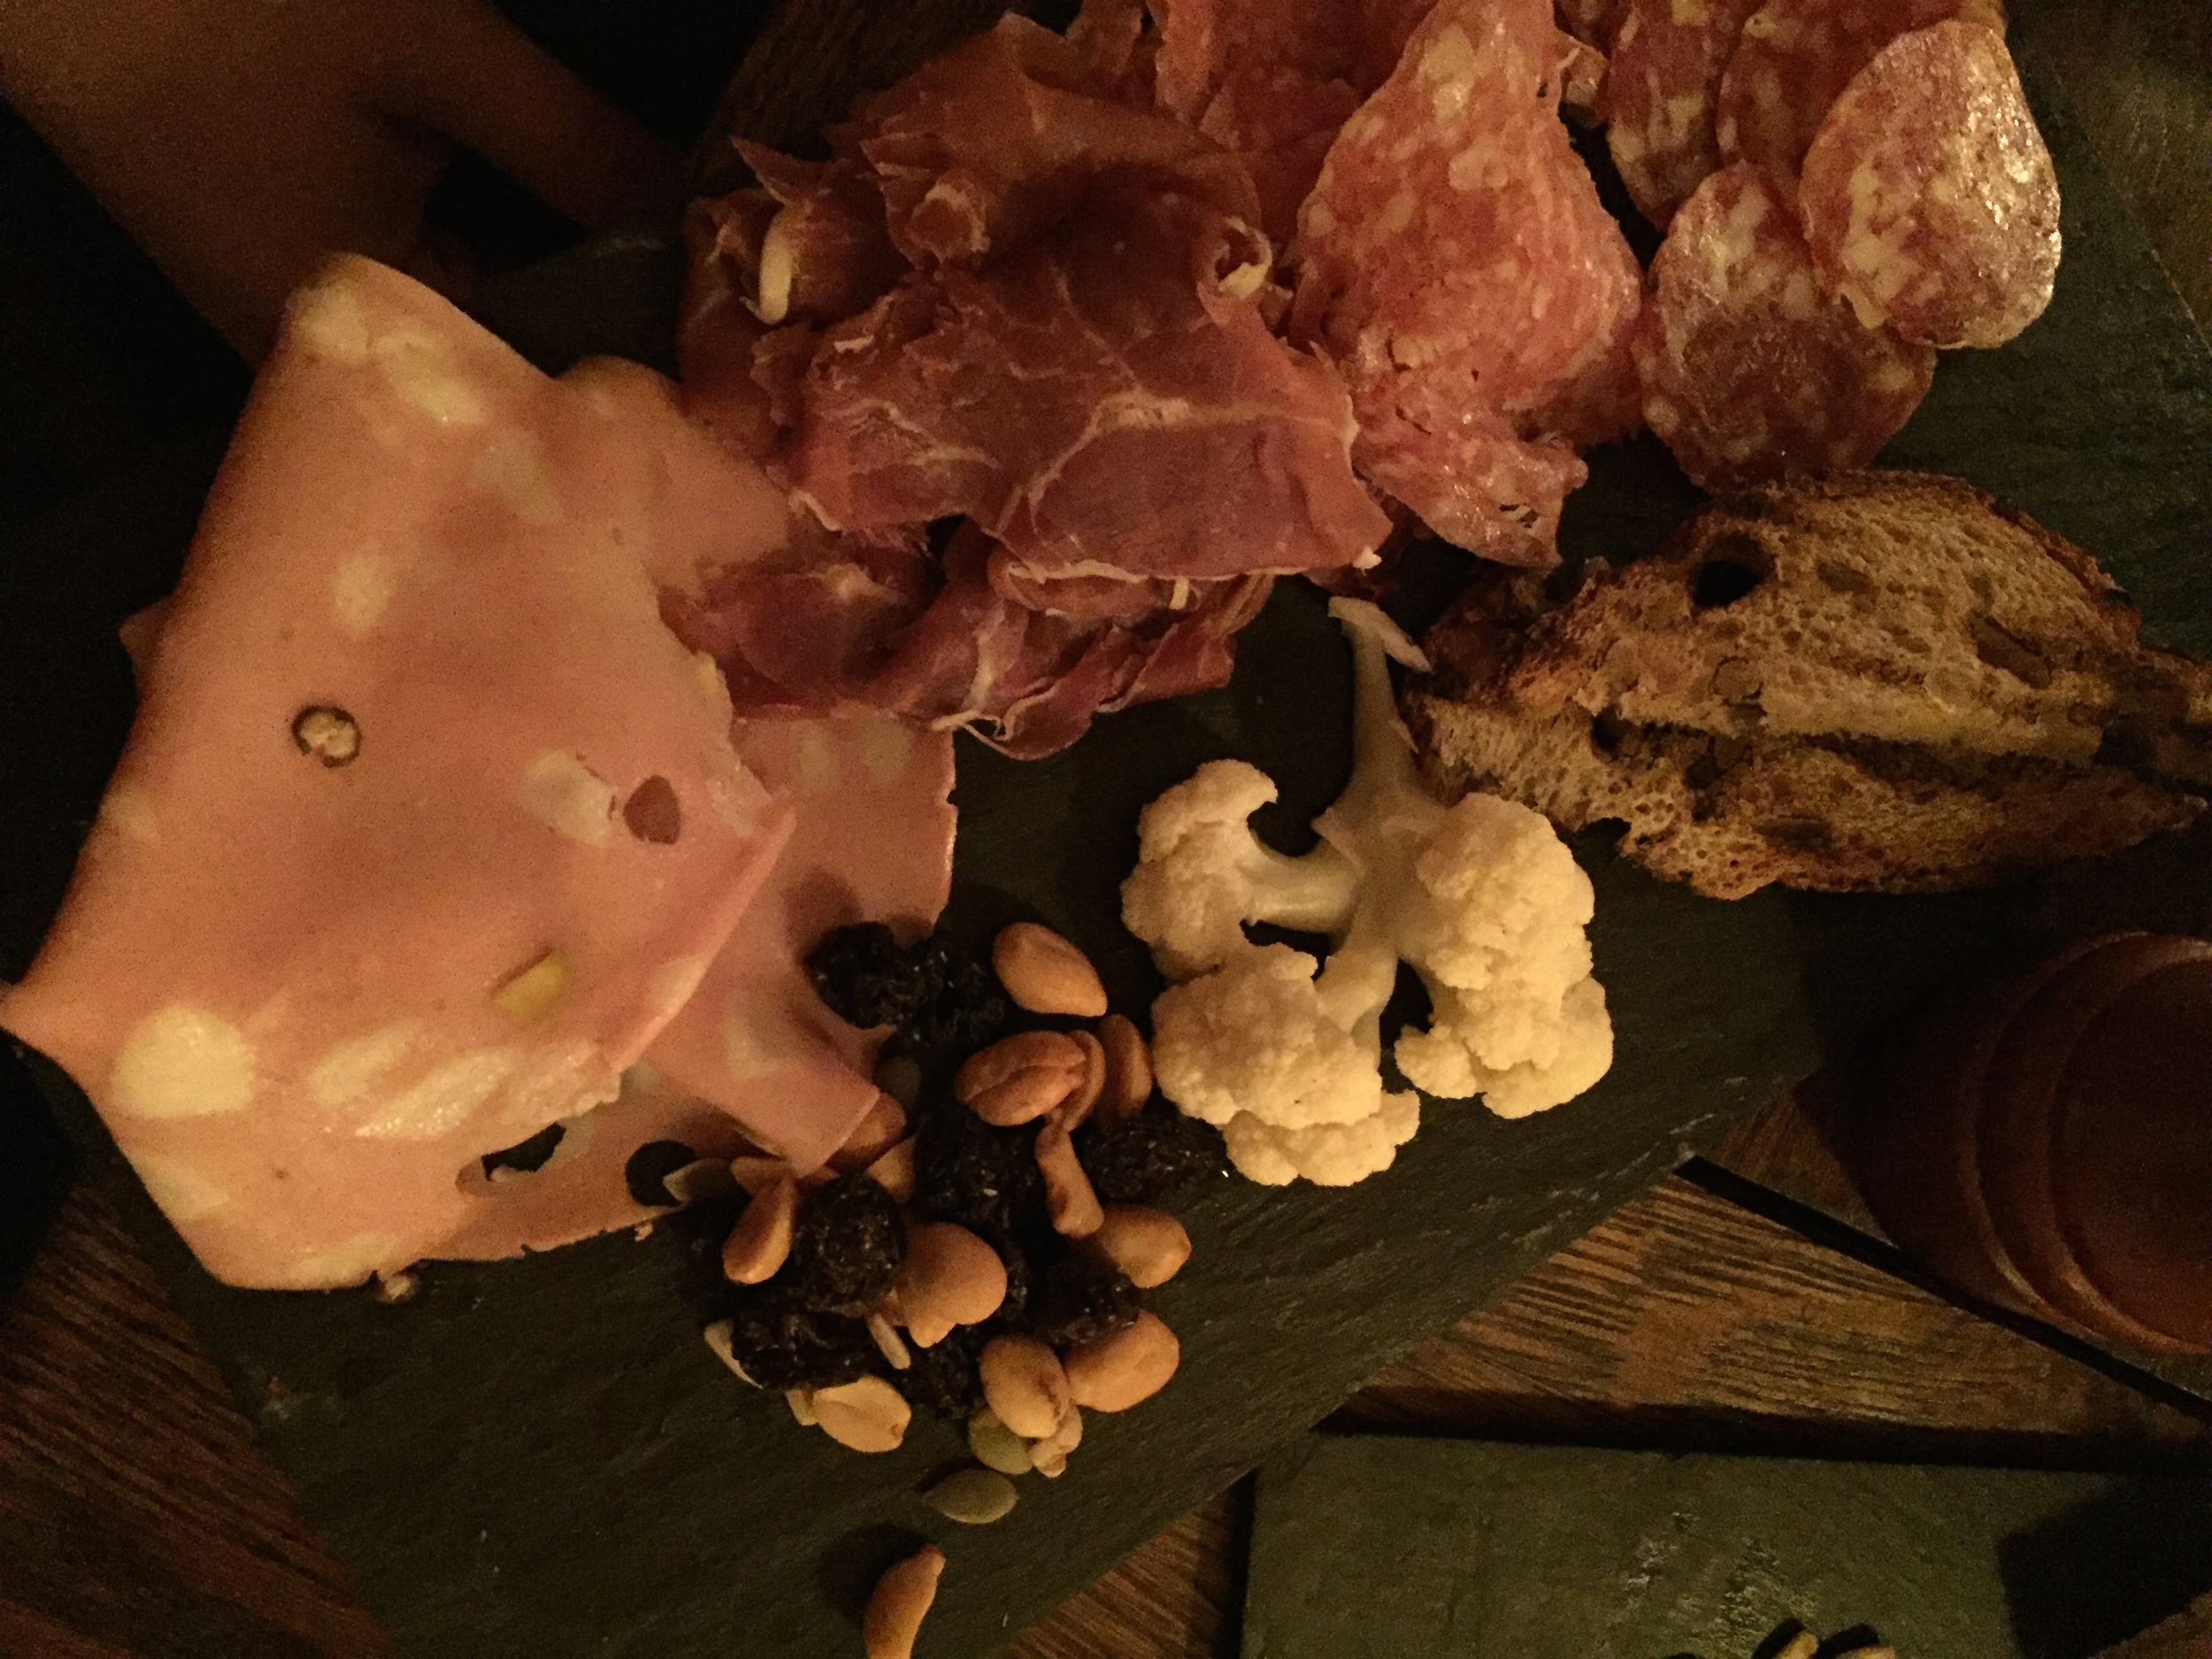
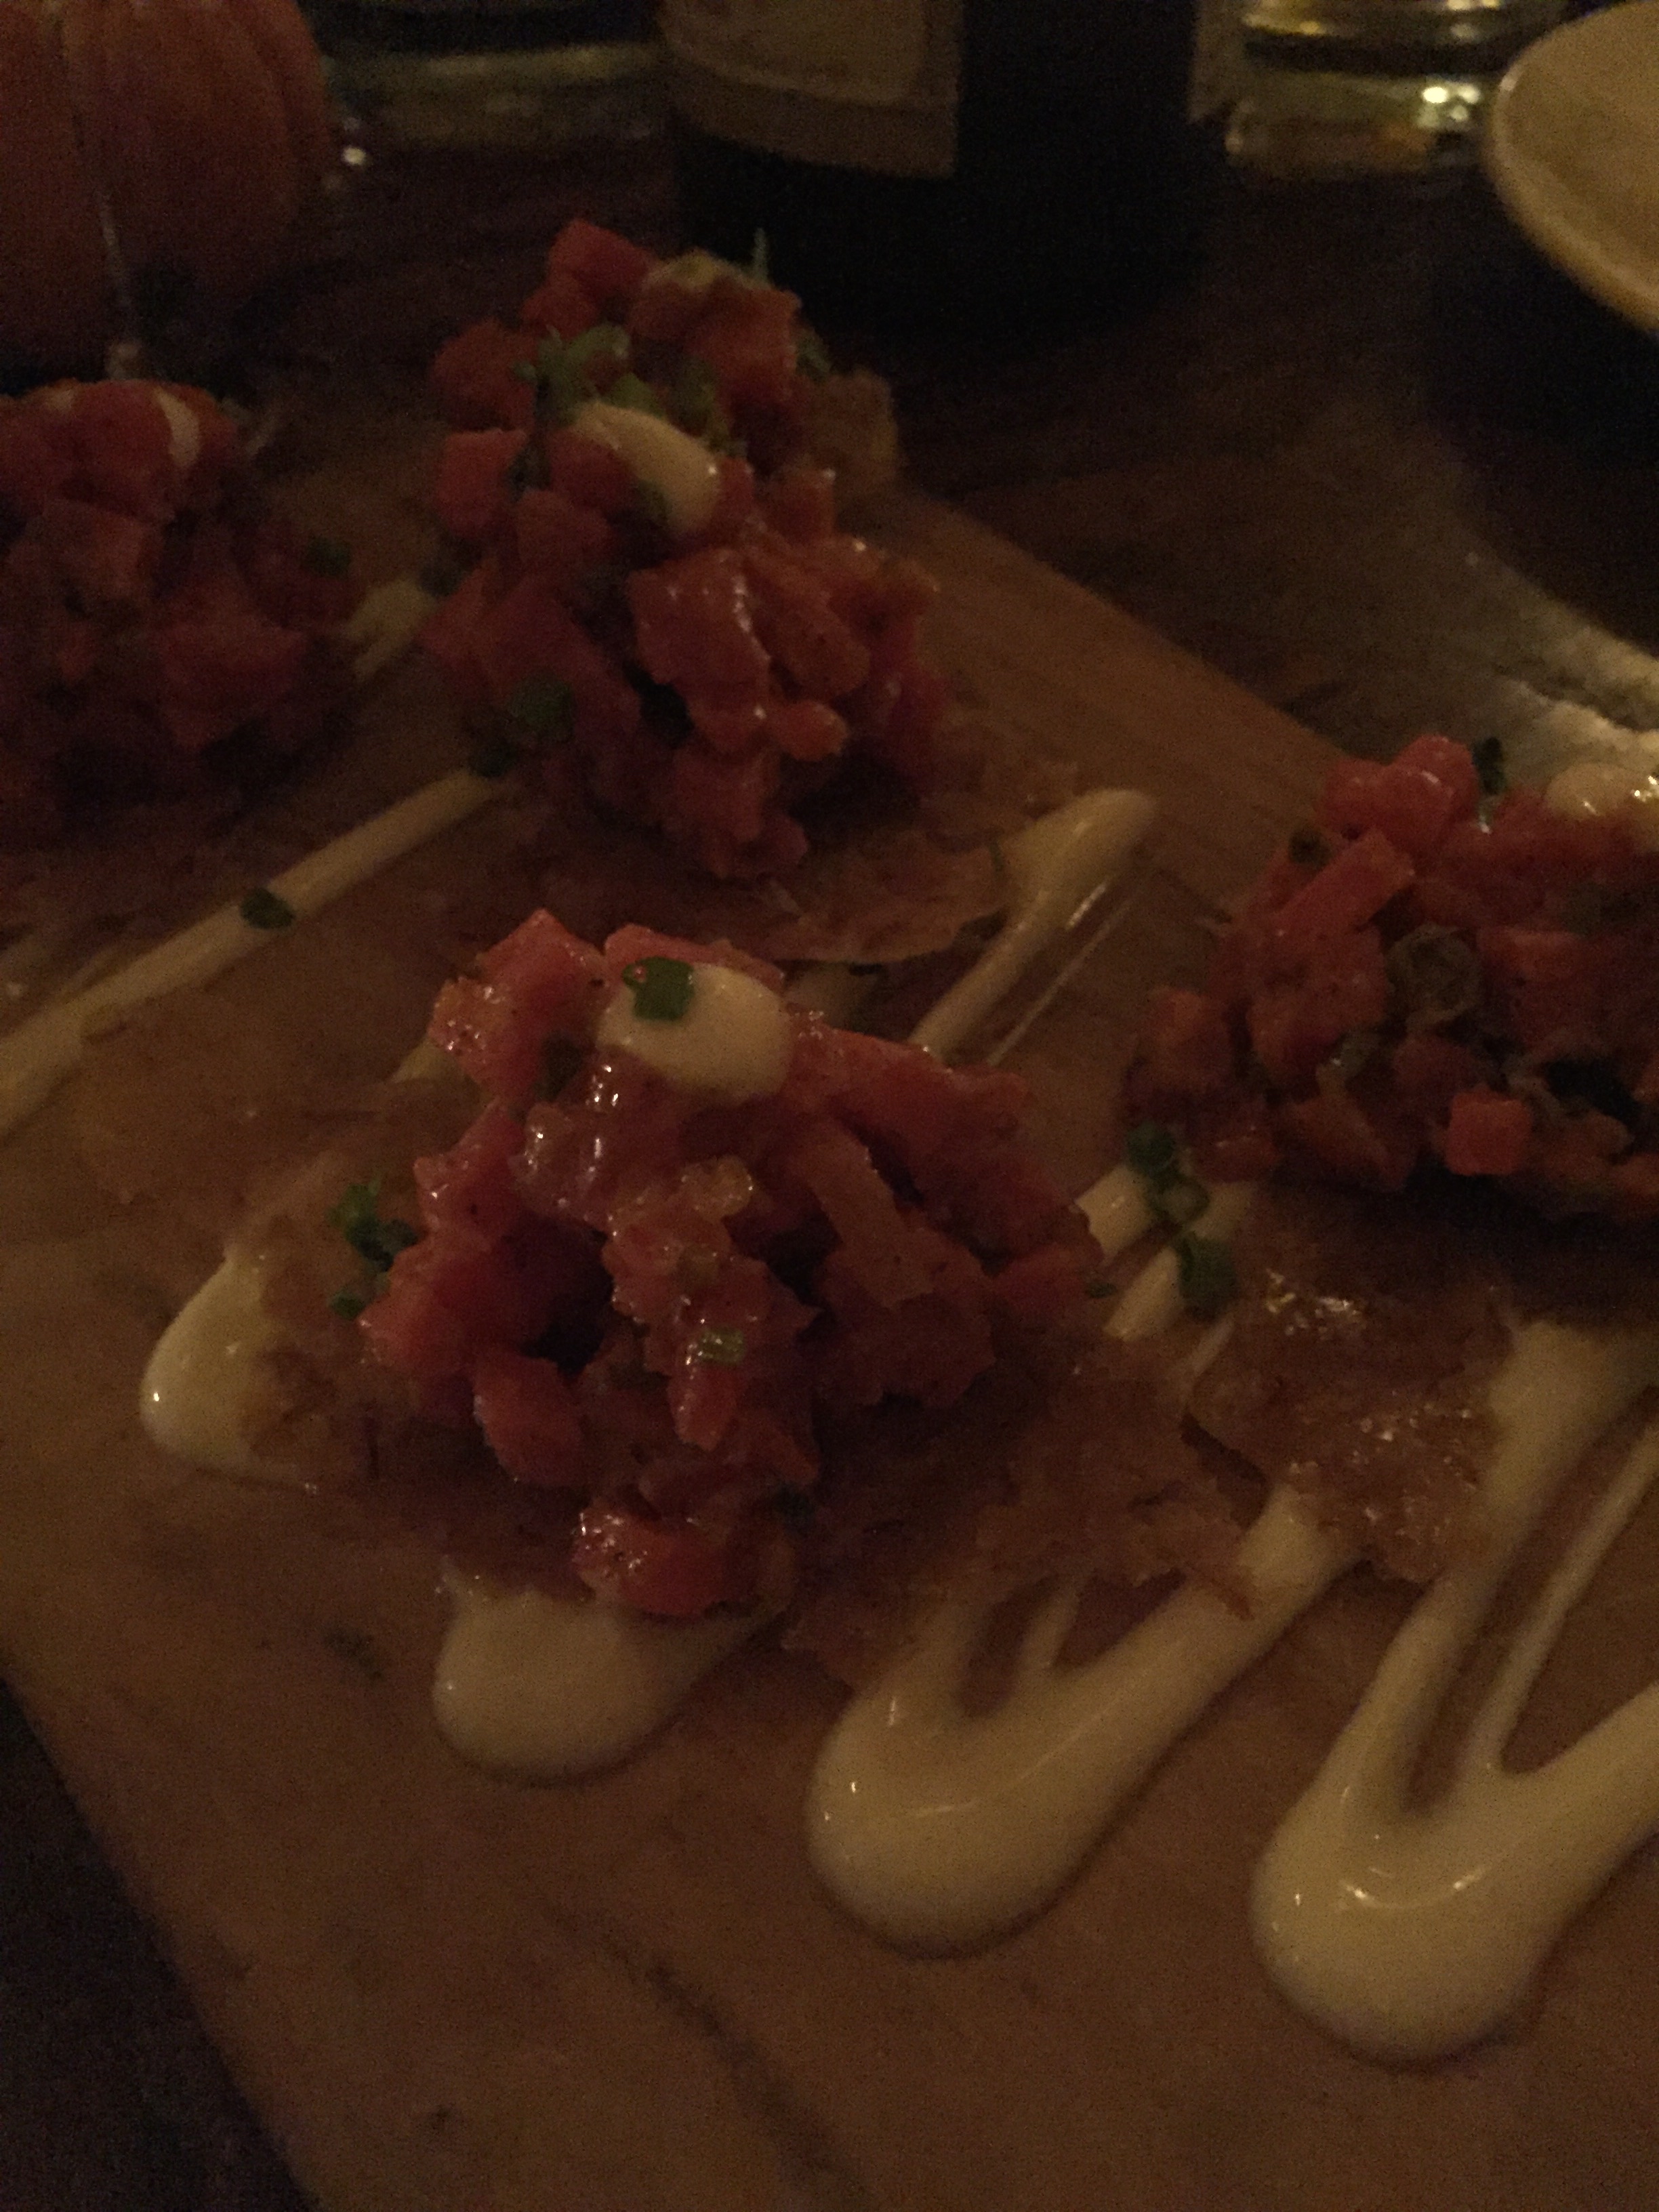
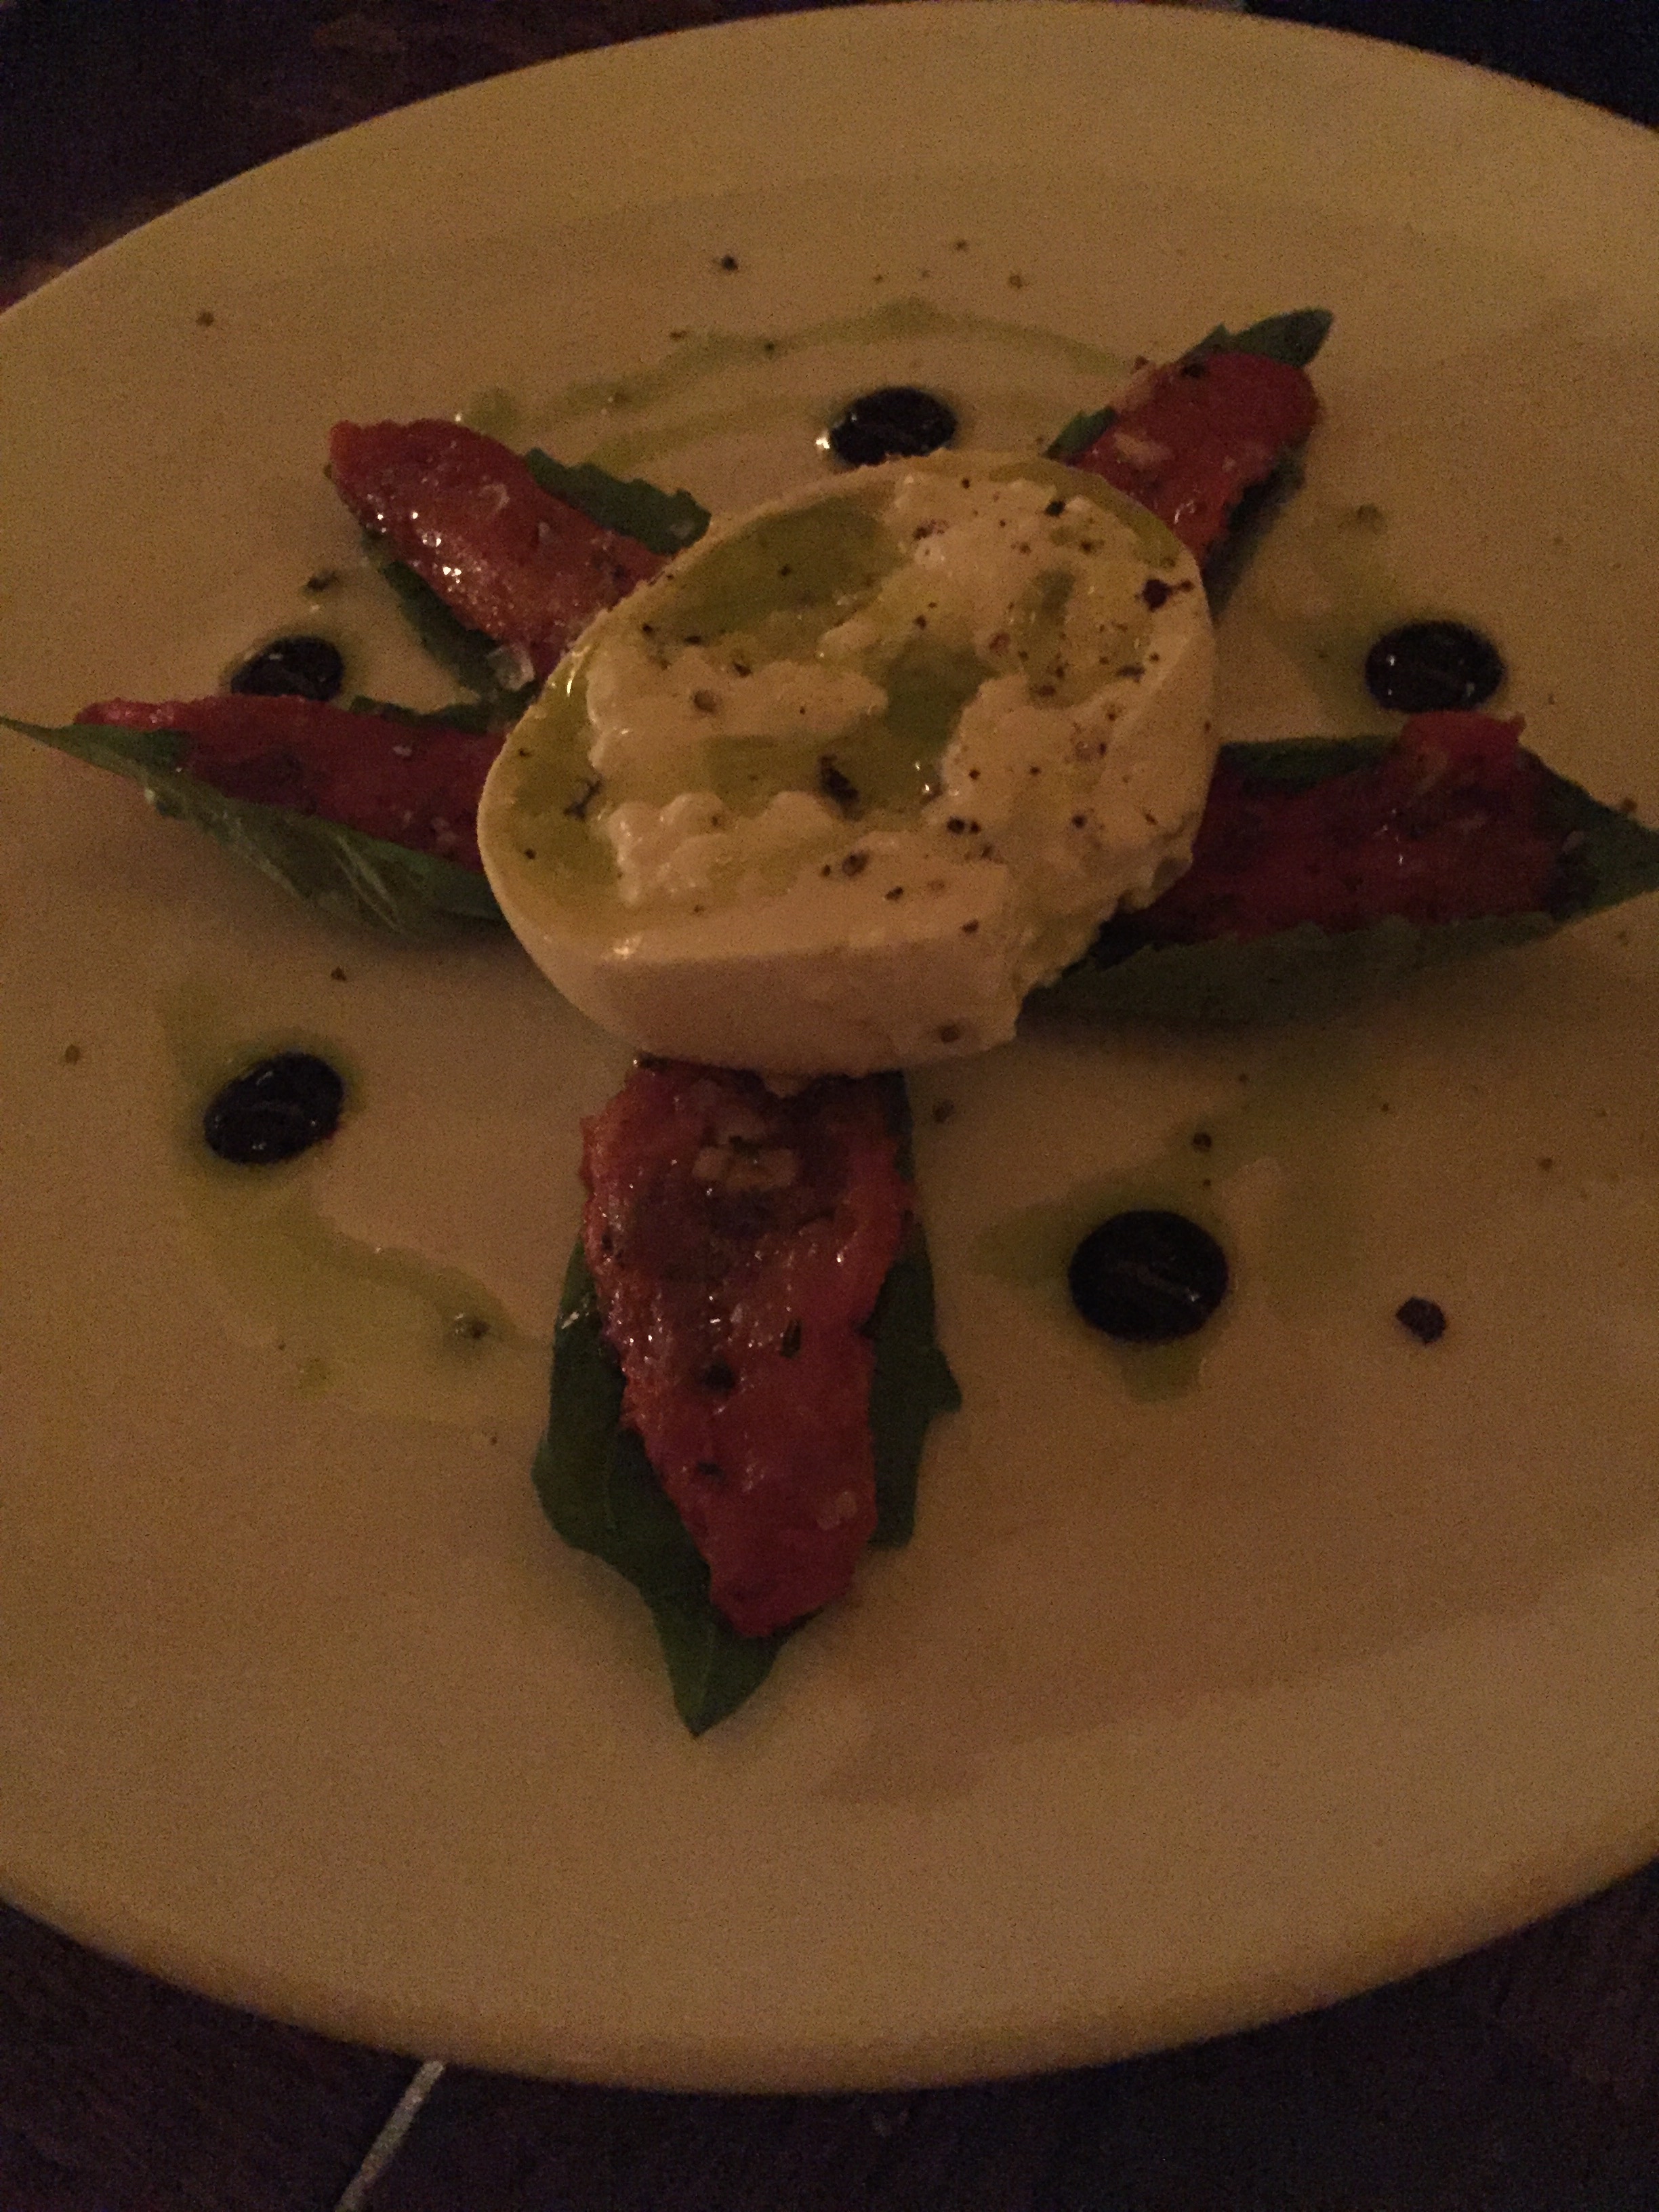
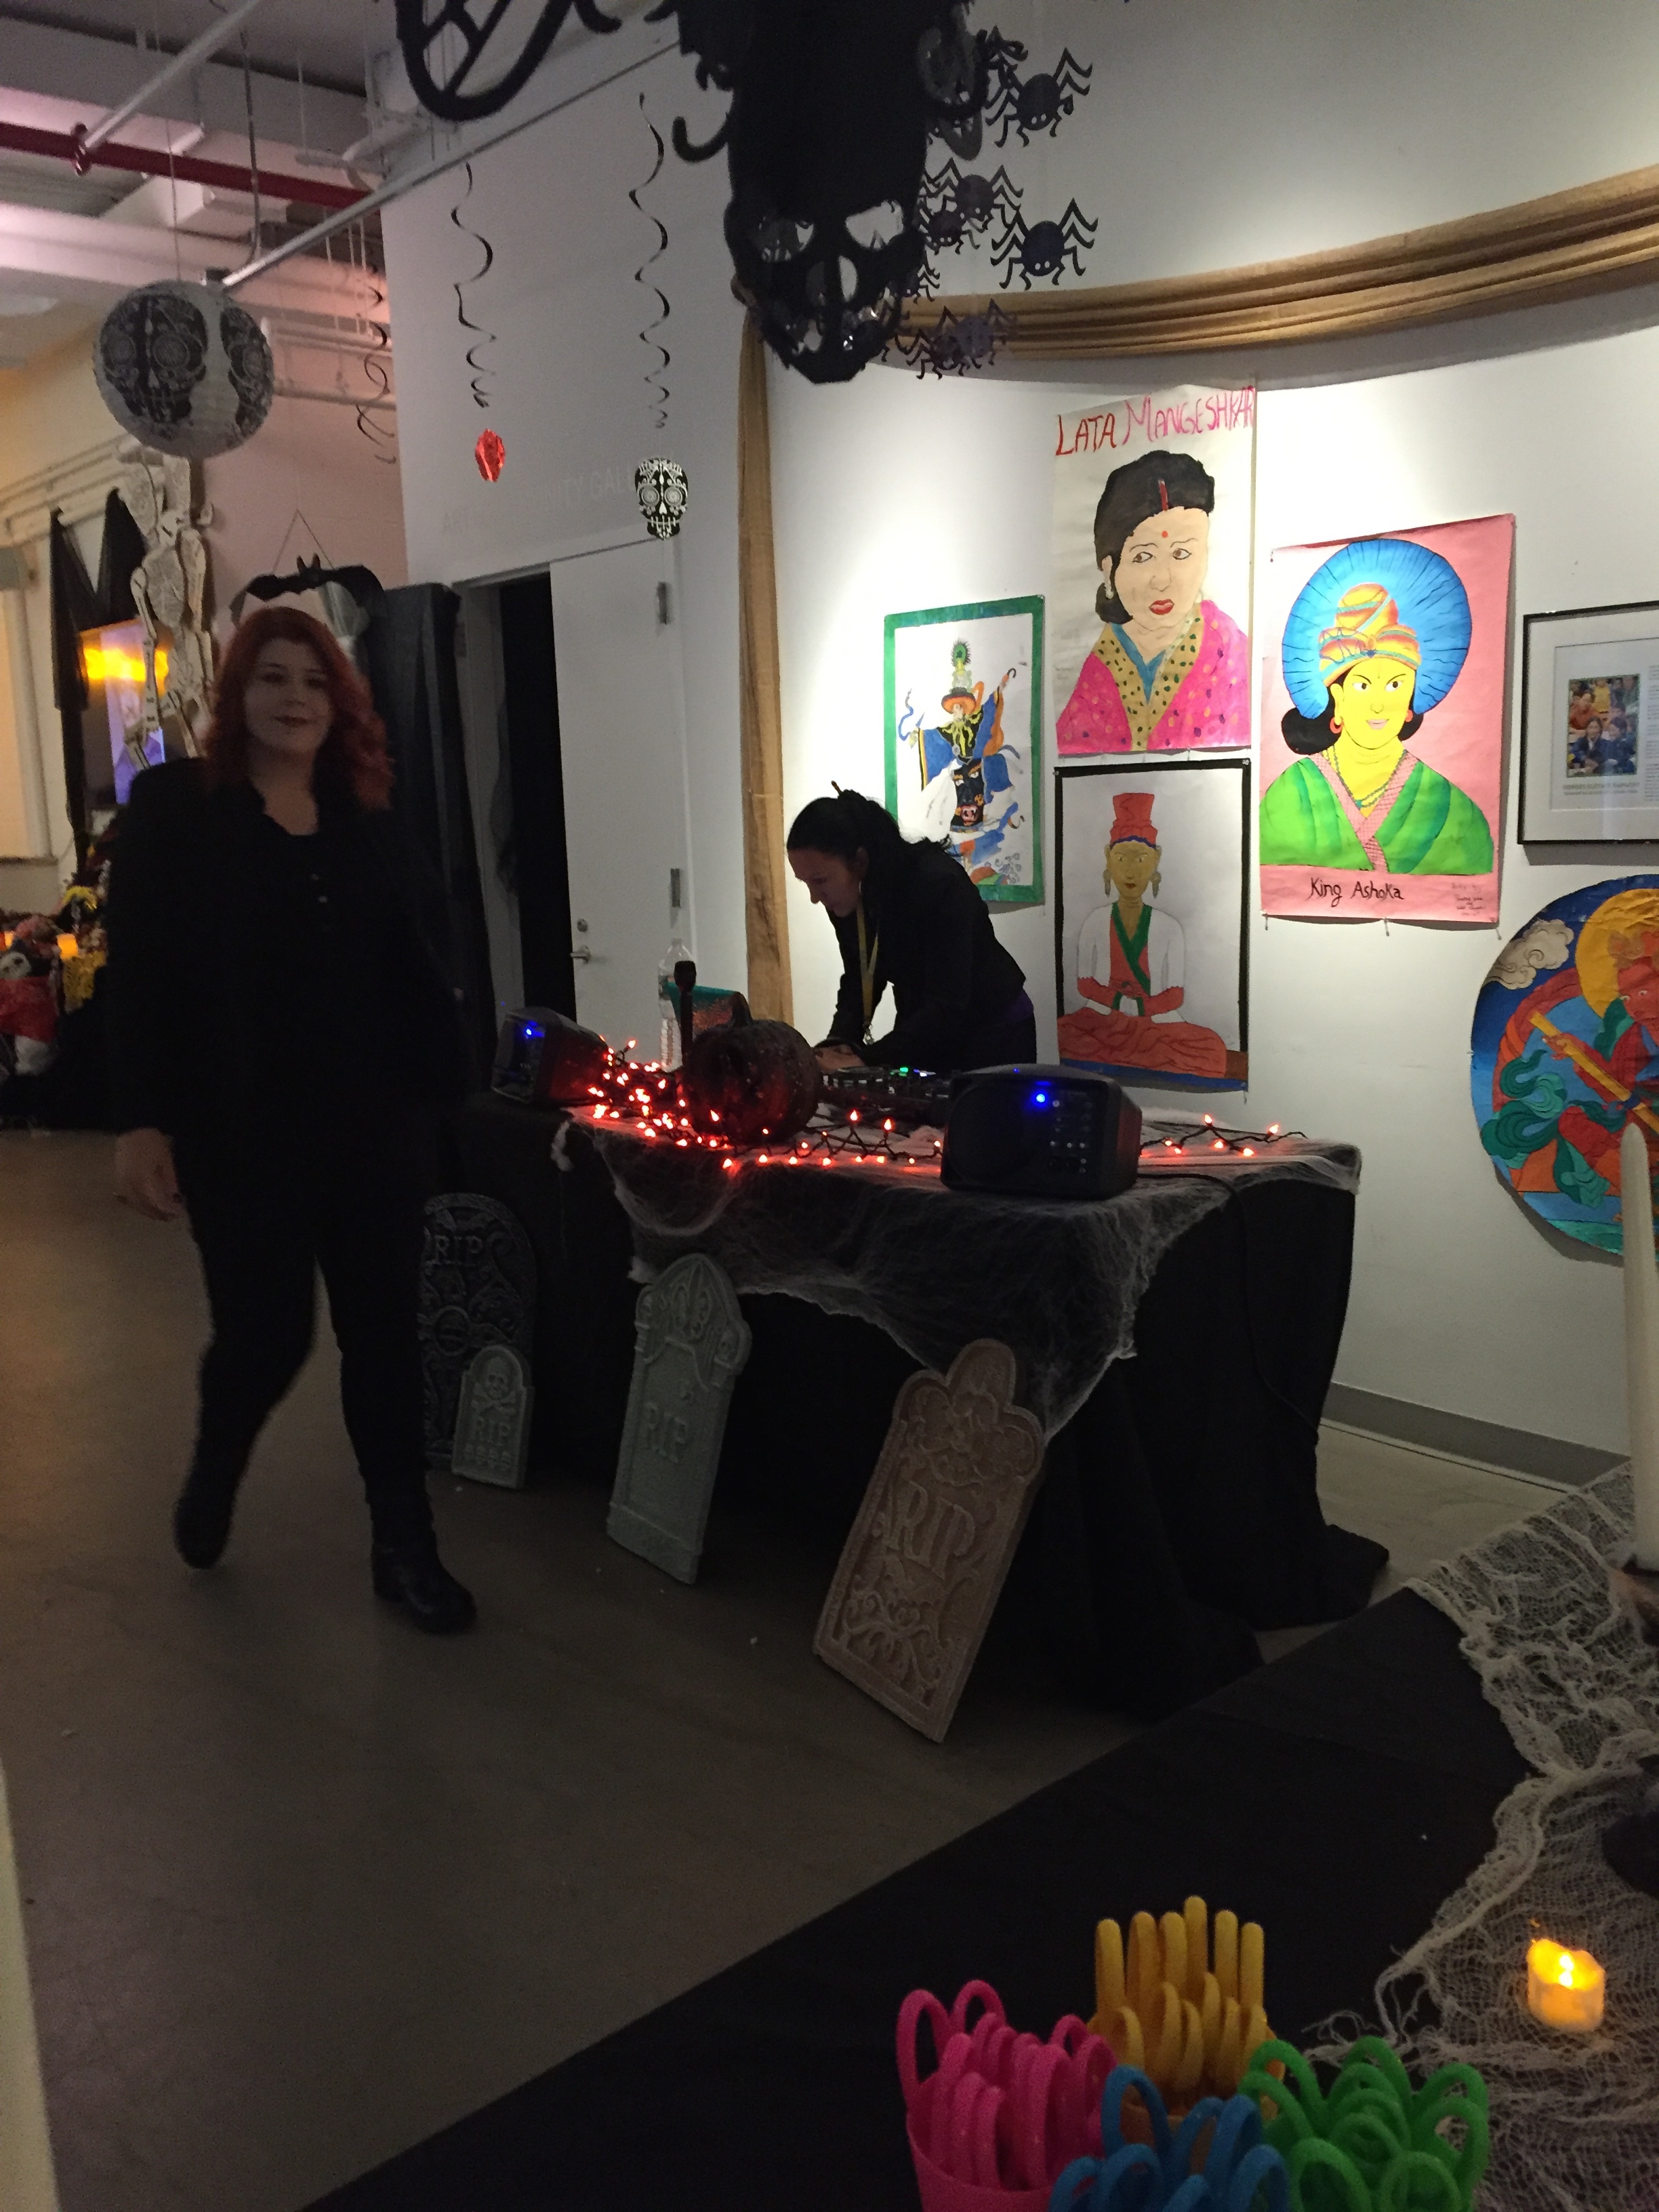
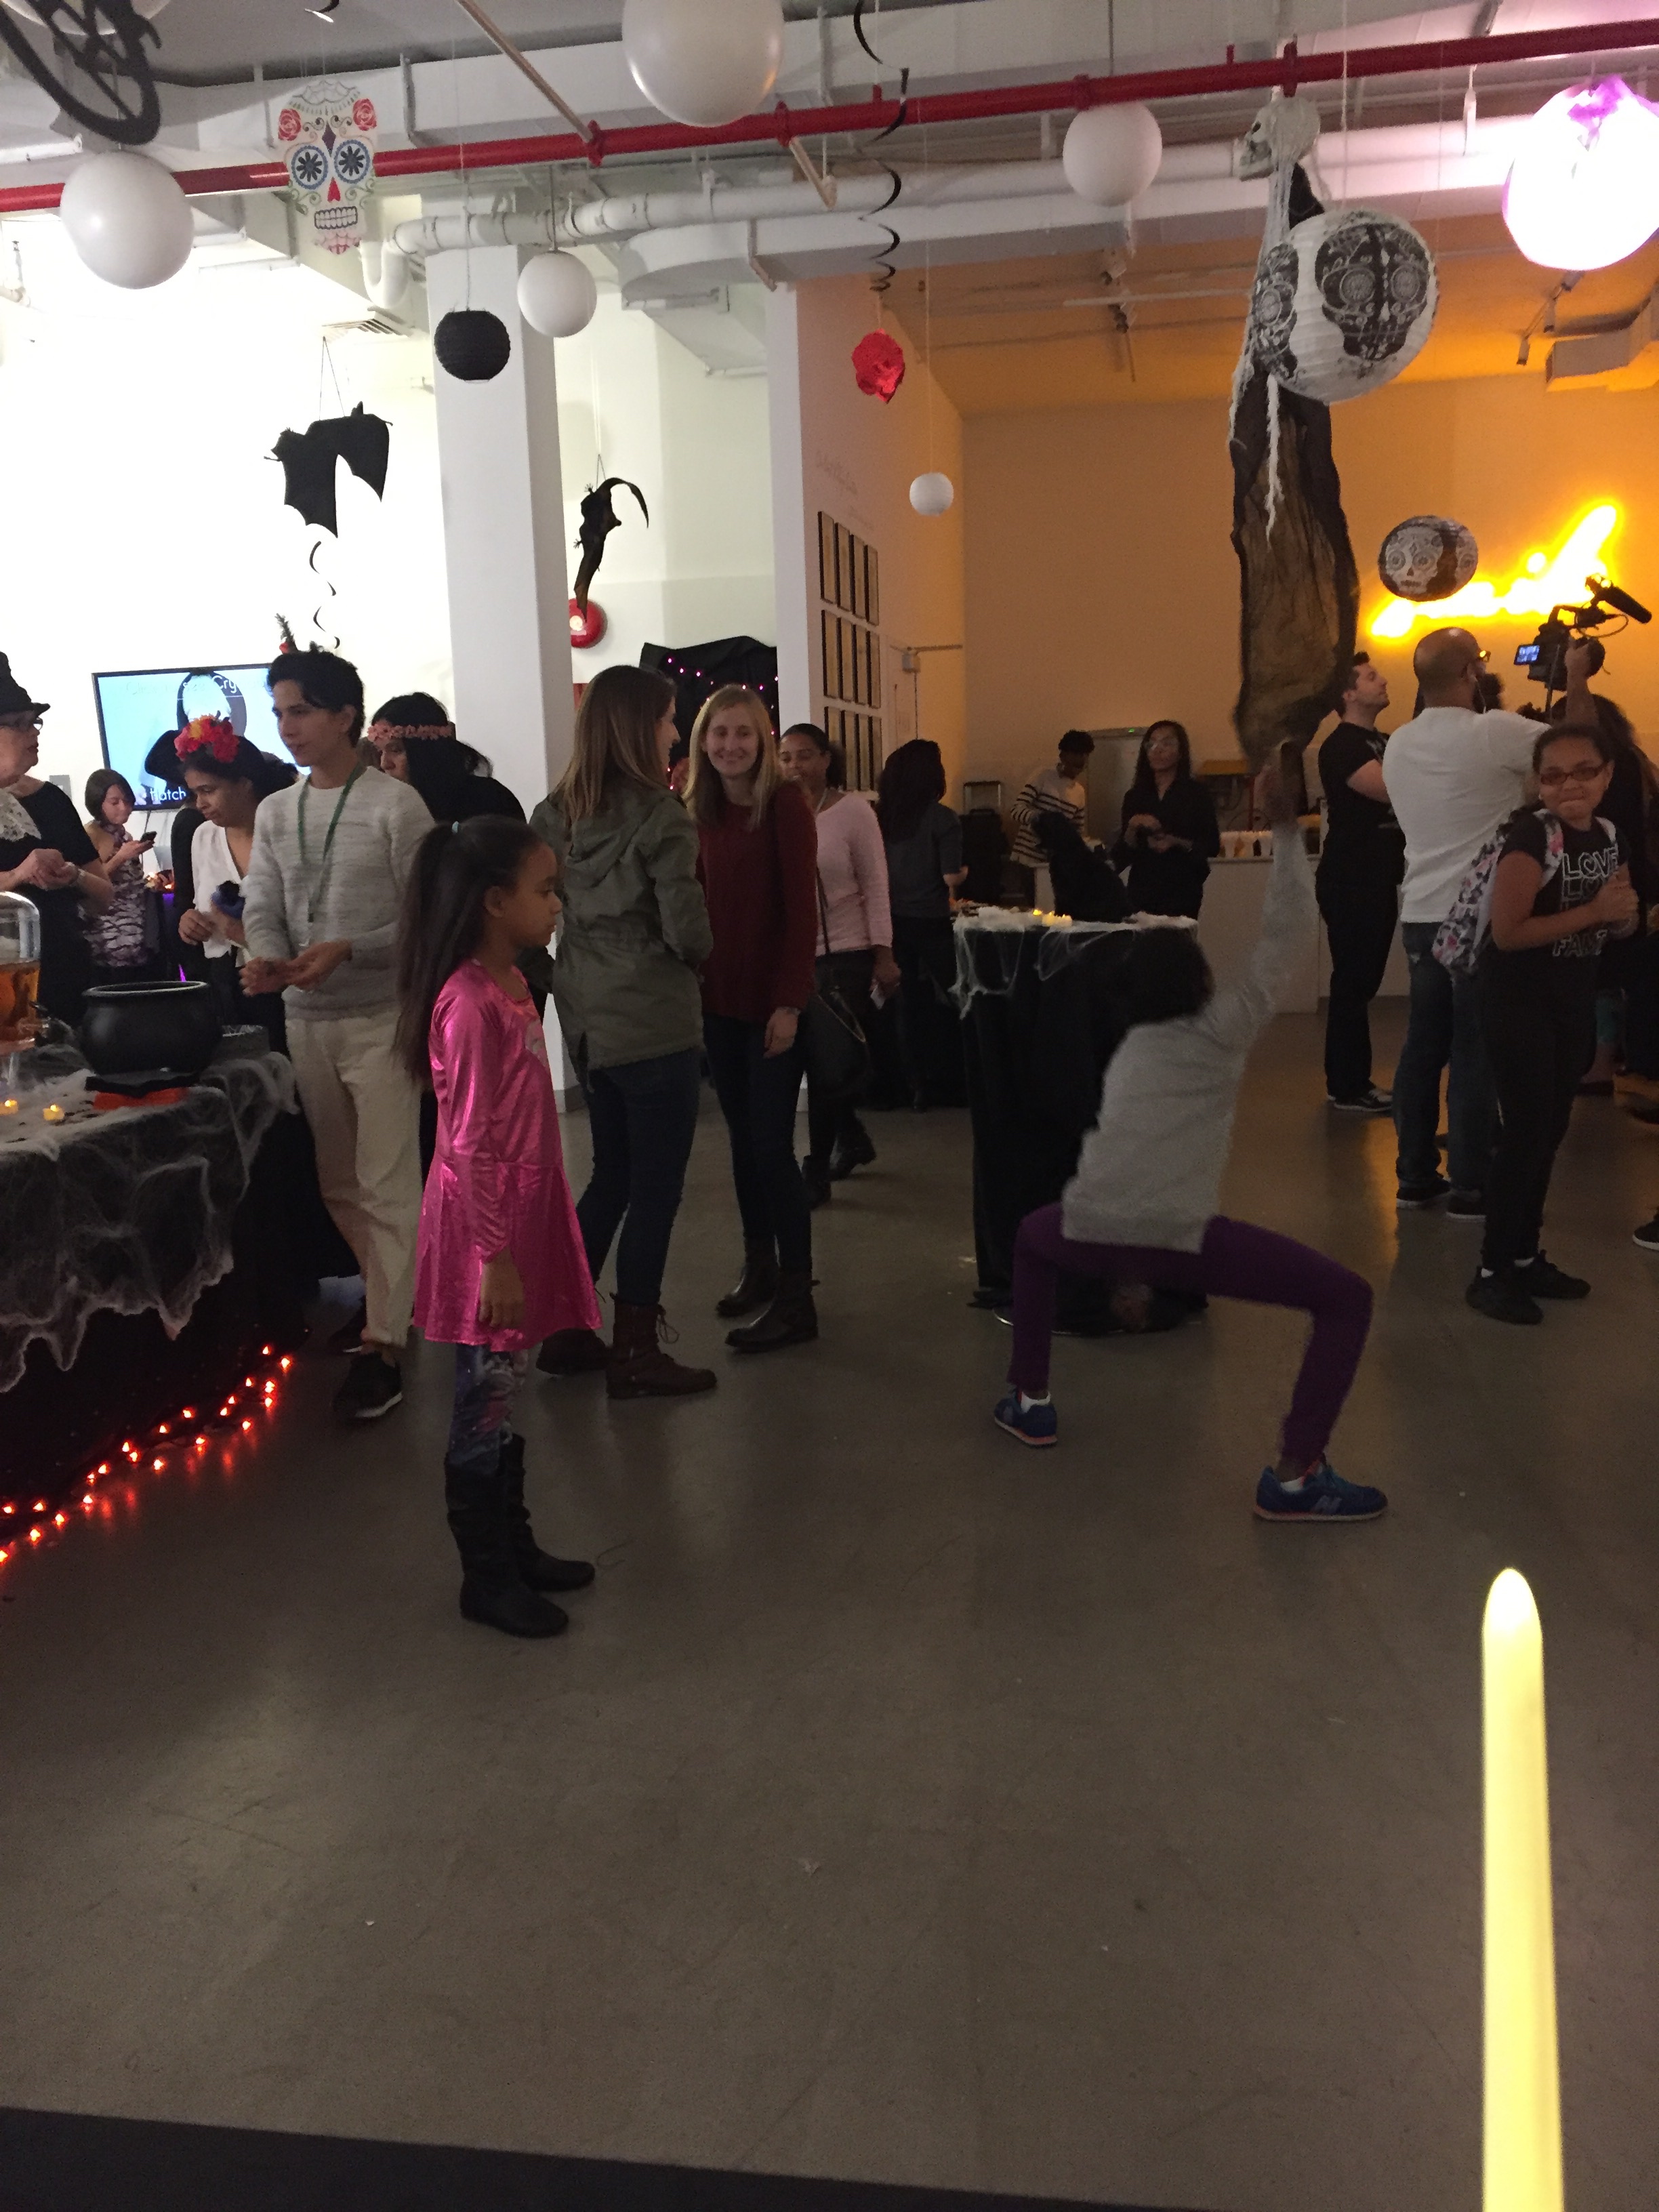
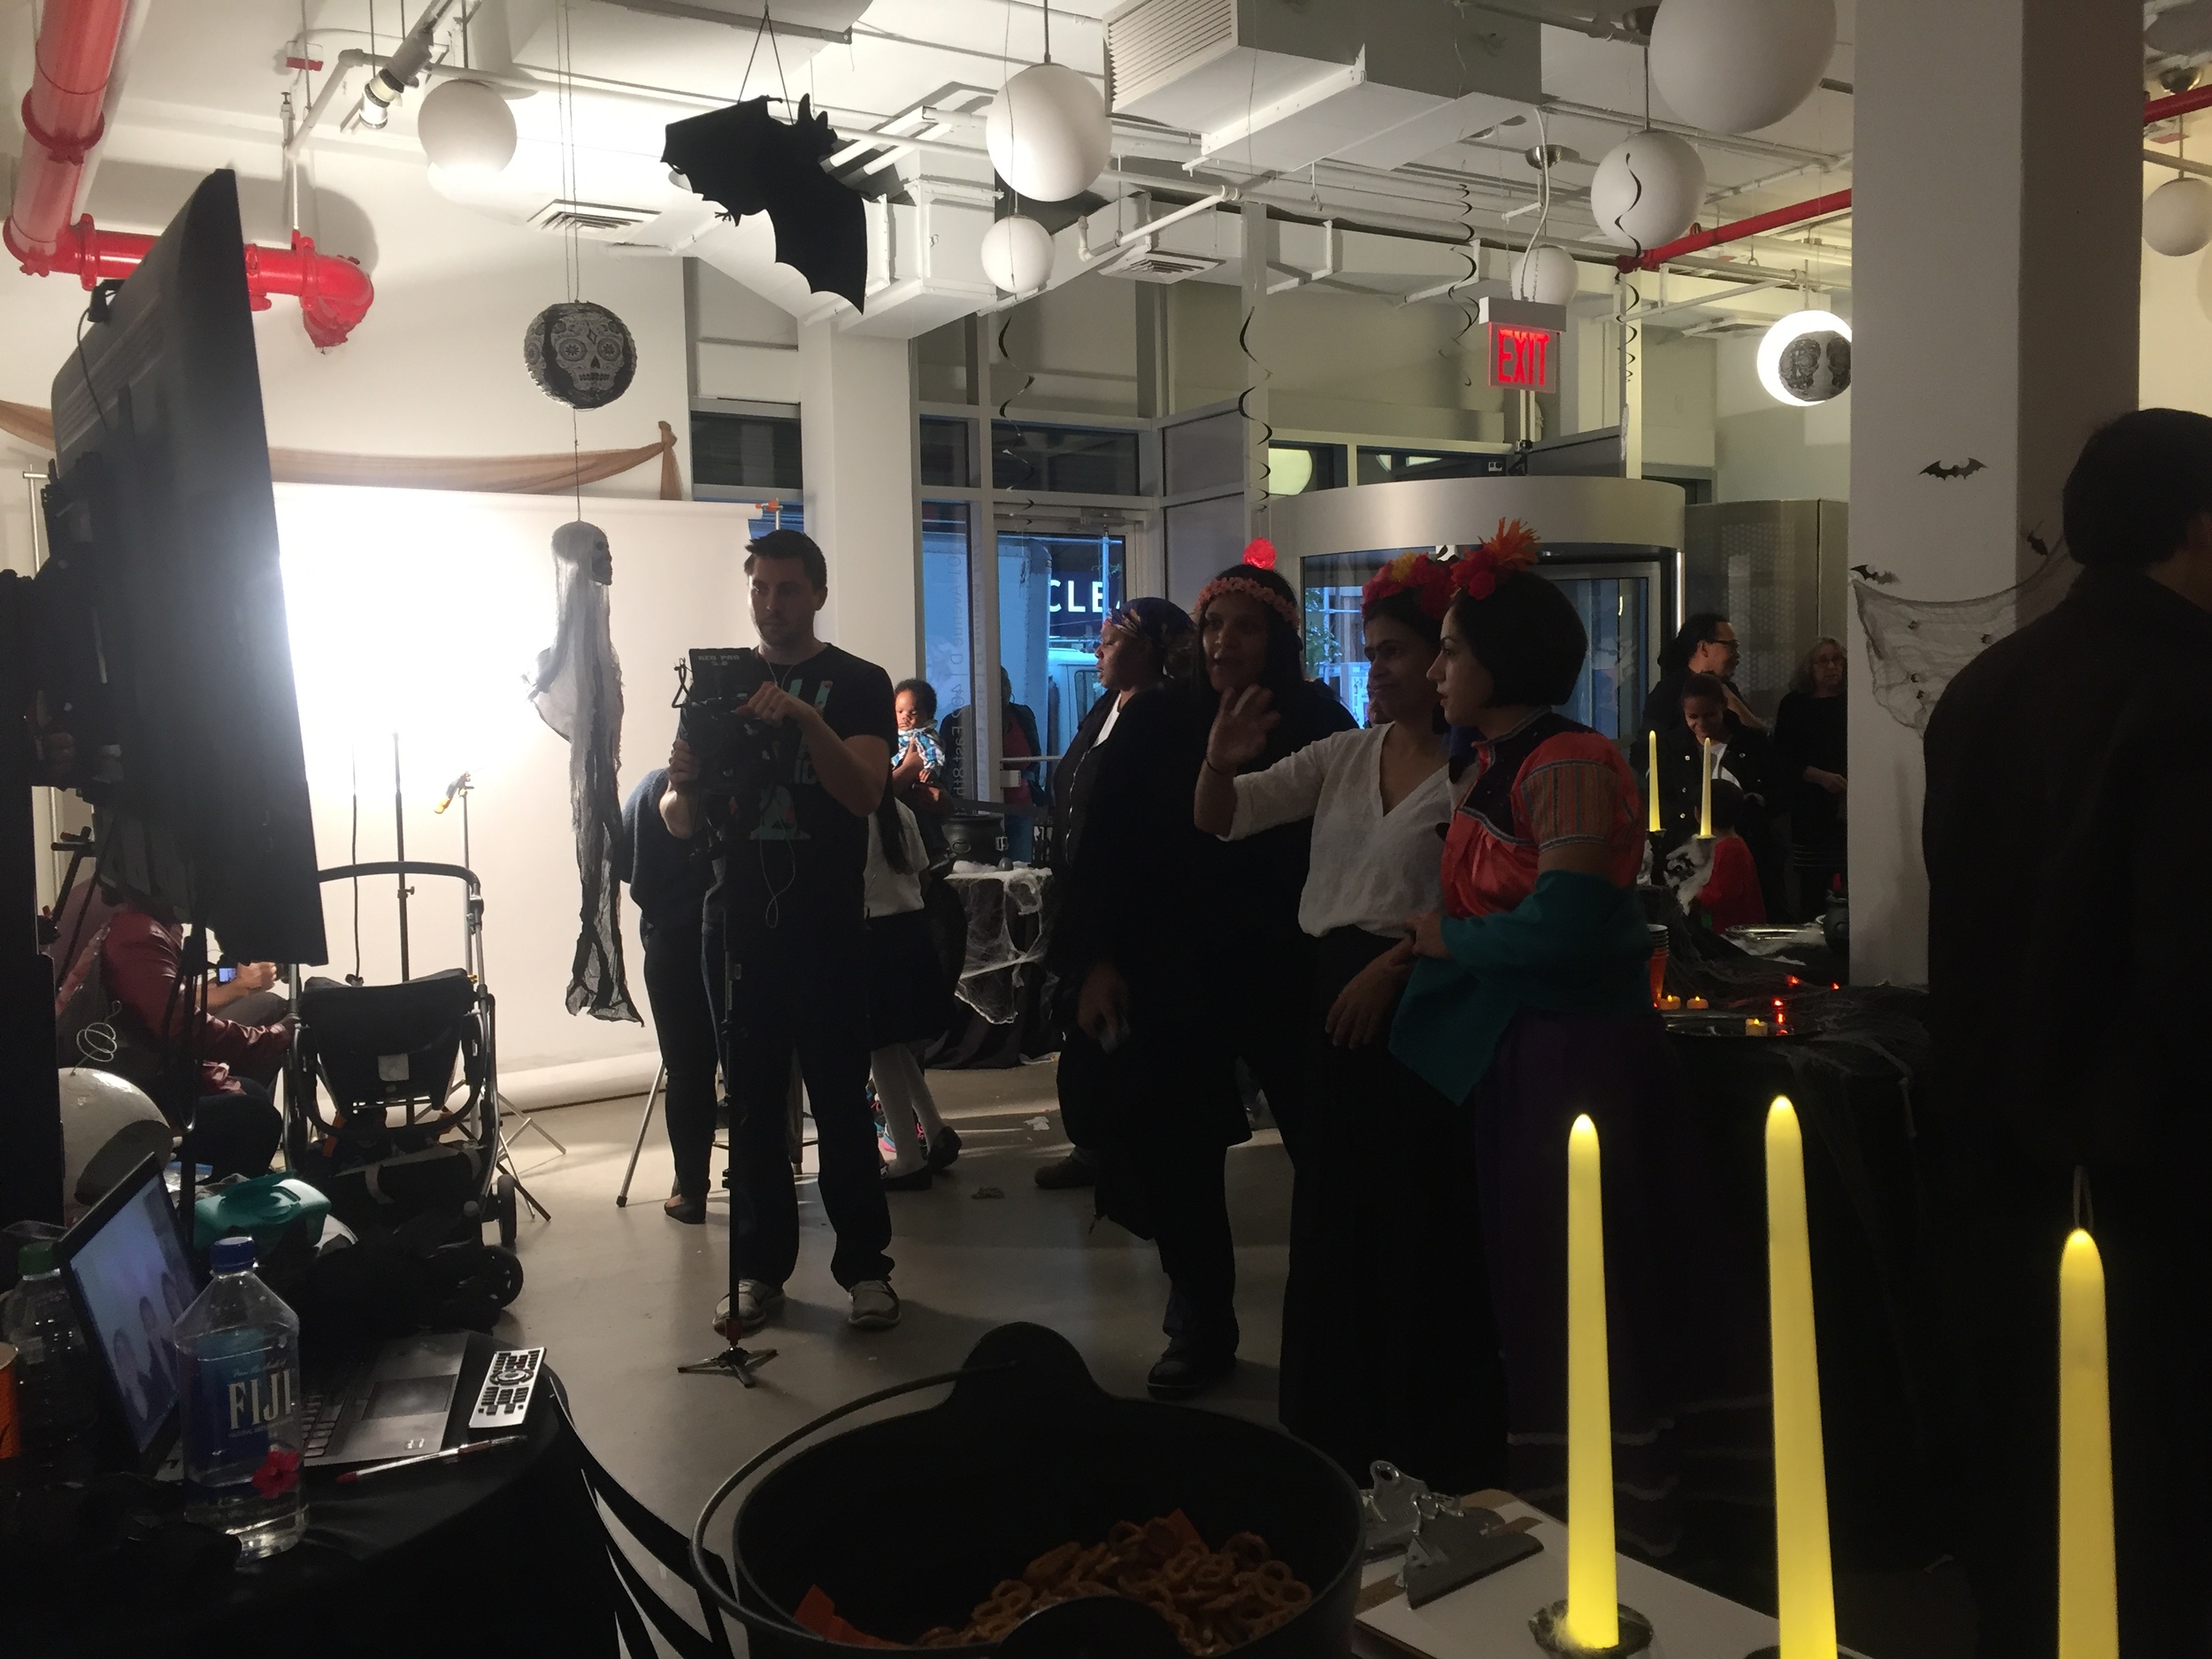
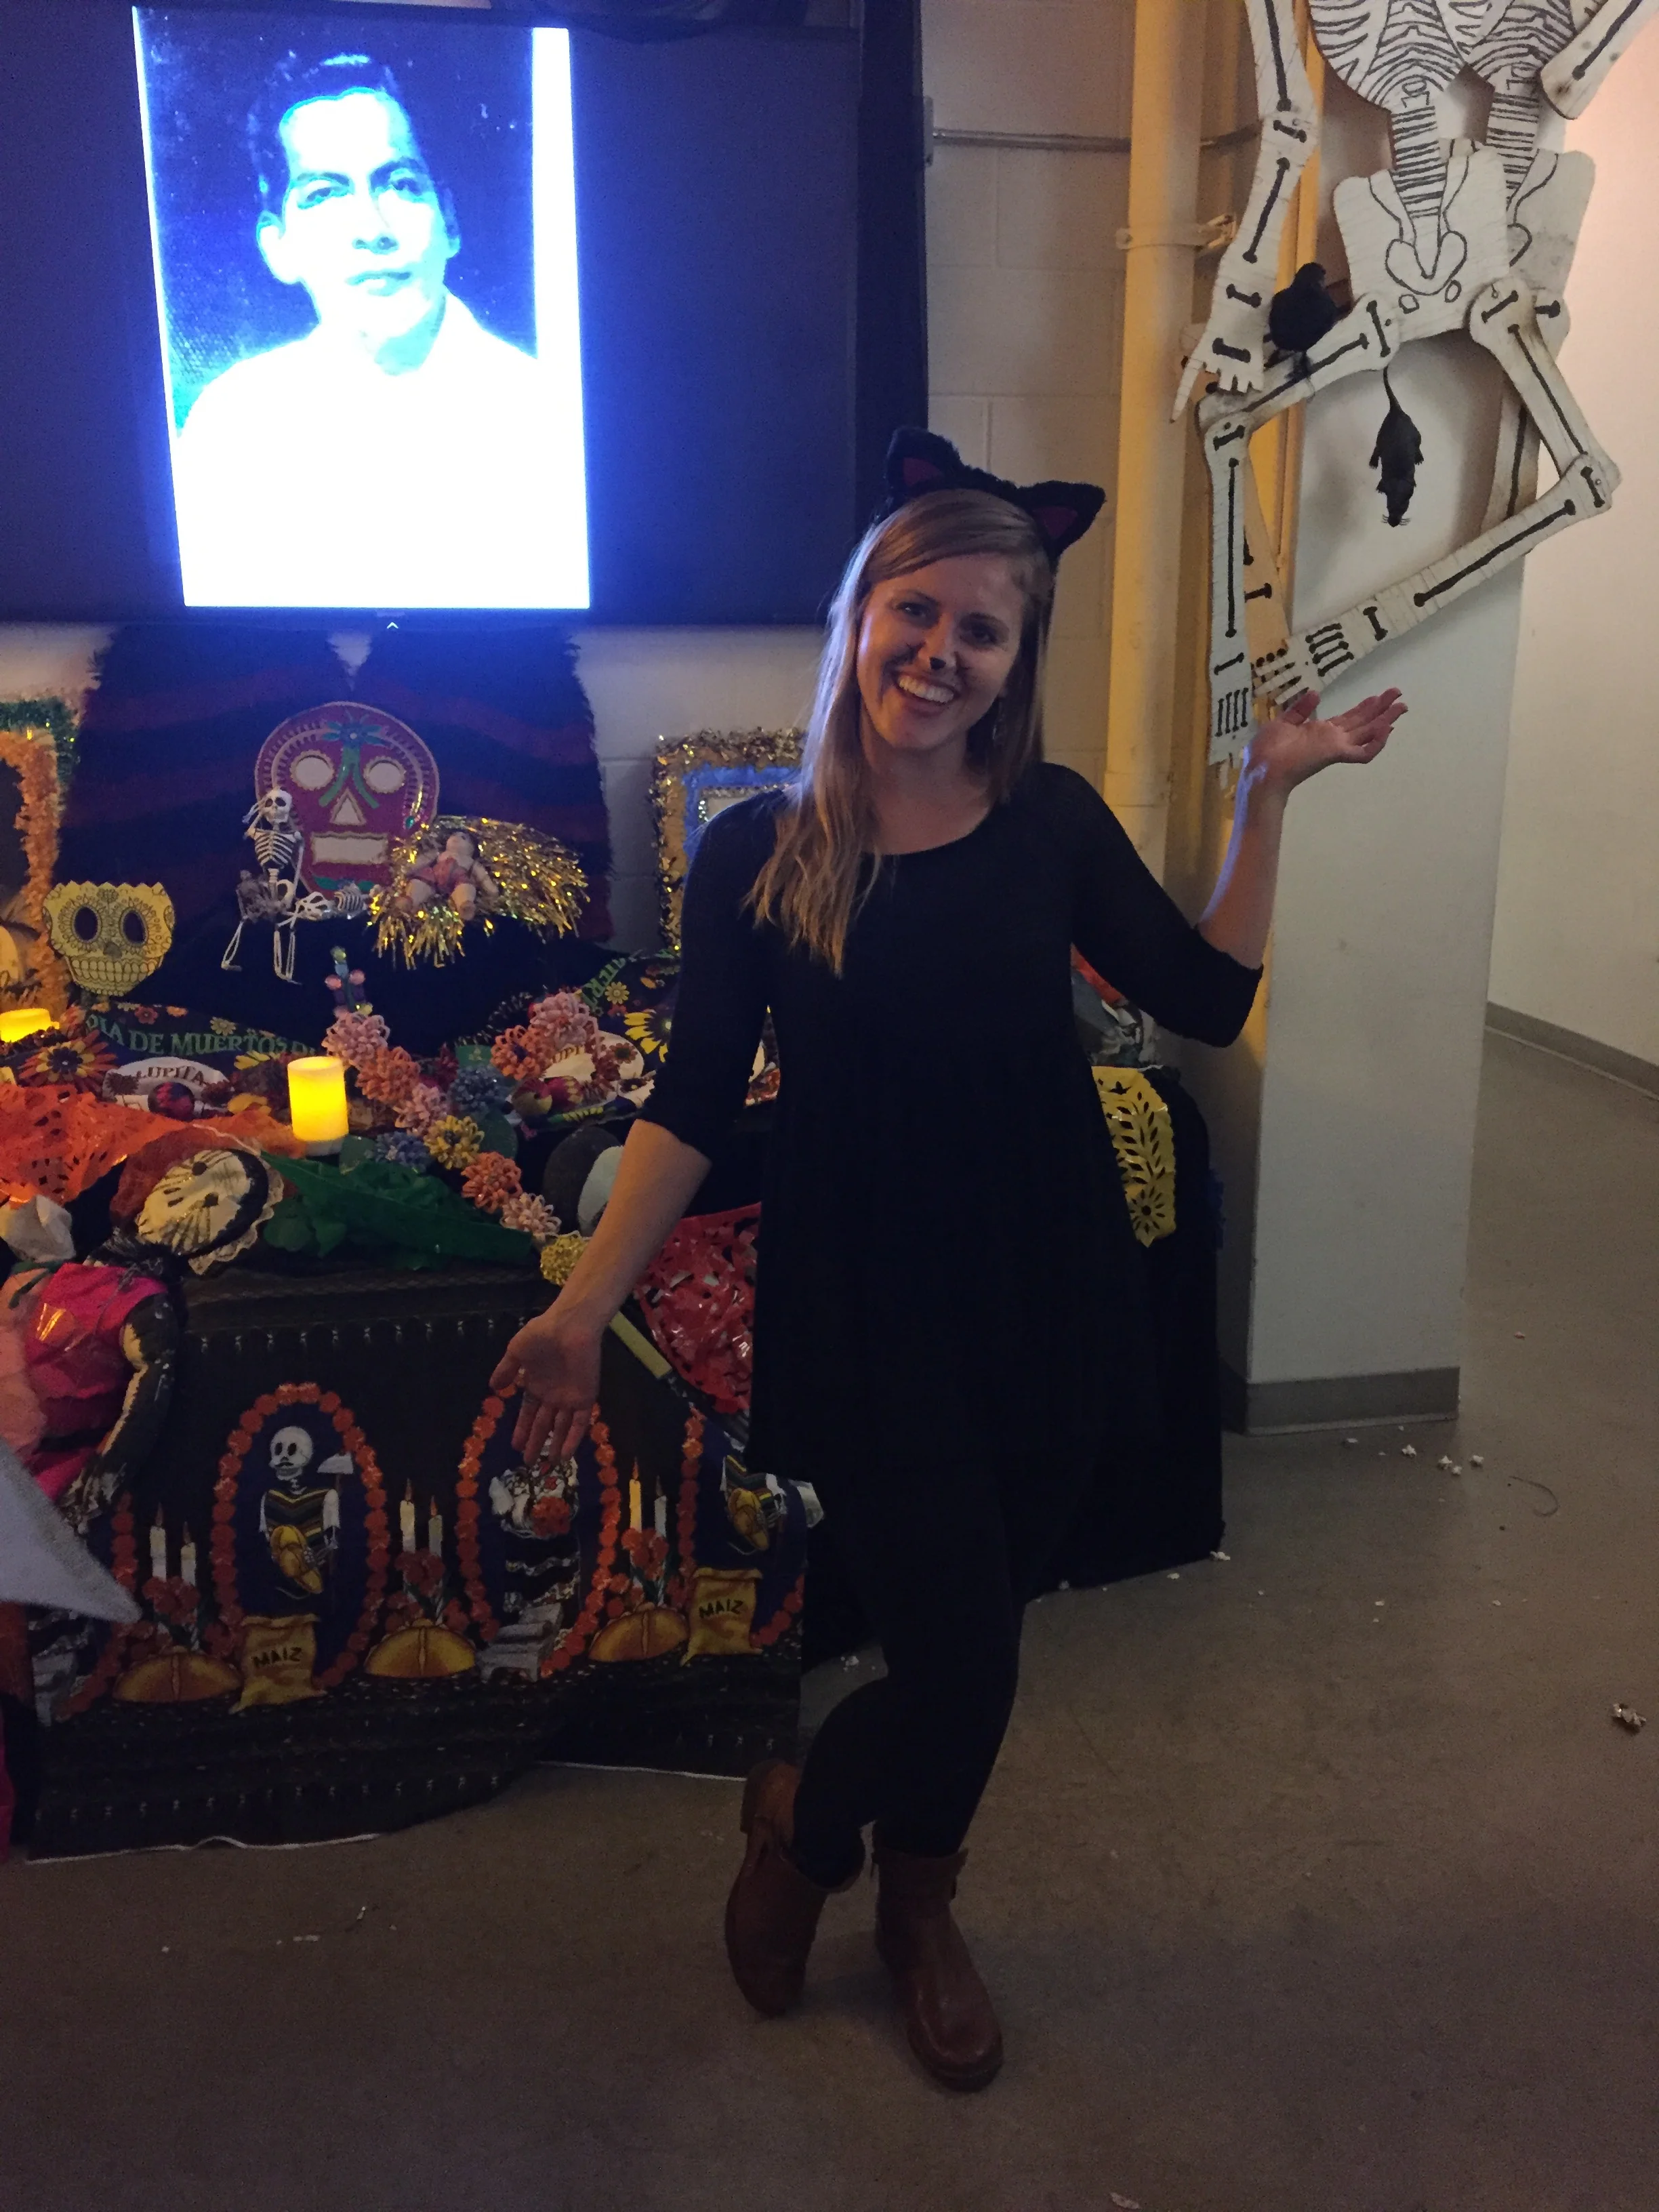
One of the best parts of this project came at pretty short notice. Skype personally invited me out to New York City, to help coordinate a Halloween party for The Lower East Side Girls' Club of NYC! Pretty incredible and practically unbelievable. What an amazing opportunity! I am still so fortunate I was the one chosen for this whole thing. I had an absolute blast, my hotel was amazing, I ate some of the best food in my life (and I've eaten food all over the country!!), met some wonderful people, and helped some really amazing kids have the Best Halloween Party Ever!
I also learned on this trip, that the earlier you get to the airport, the less stressful your whole trip will be! This really worked out so well, without really any problems!

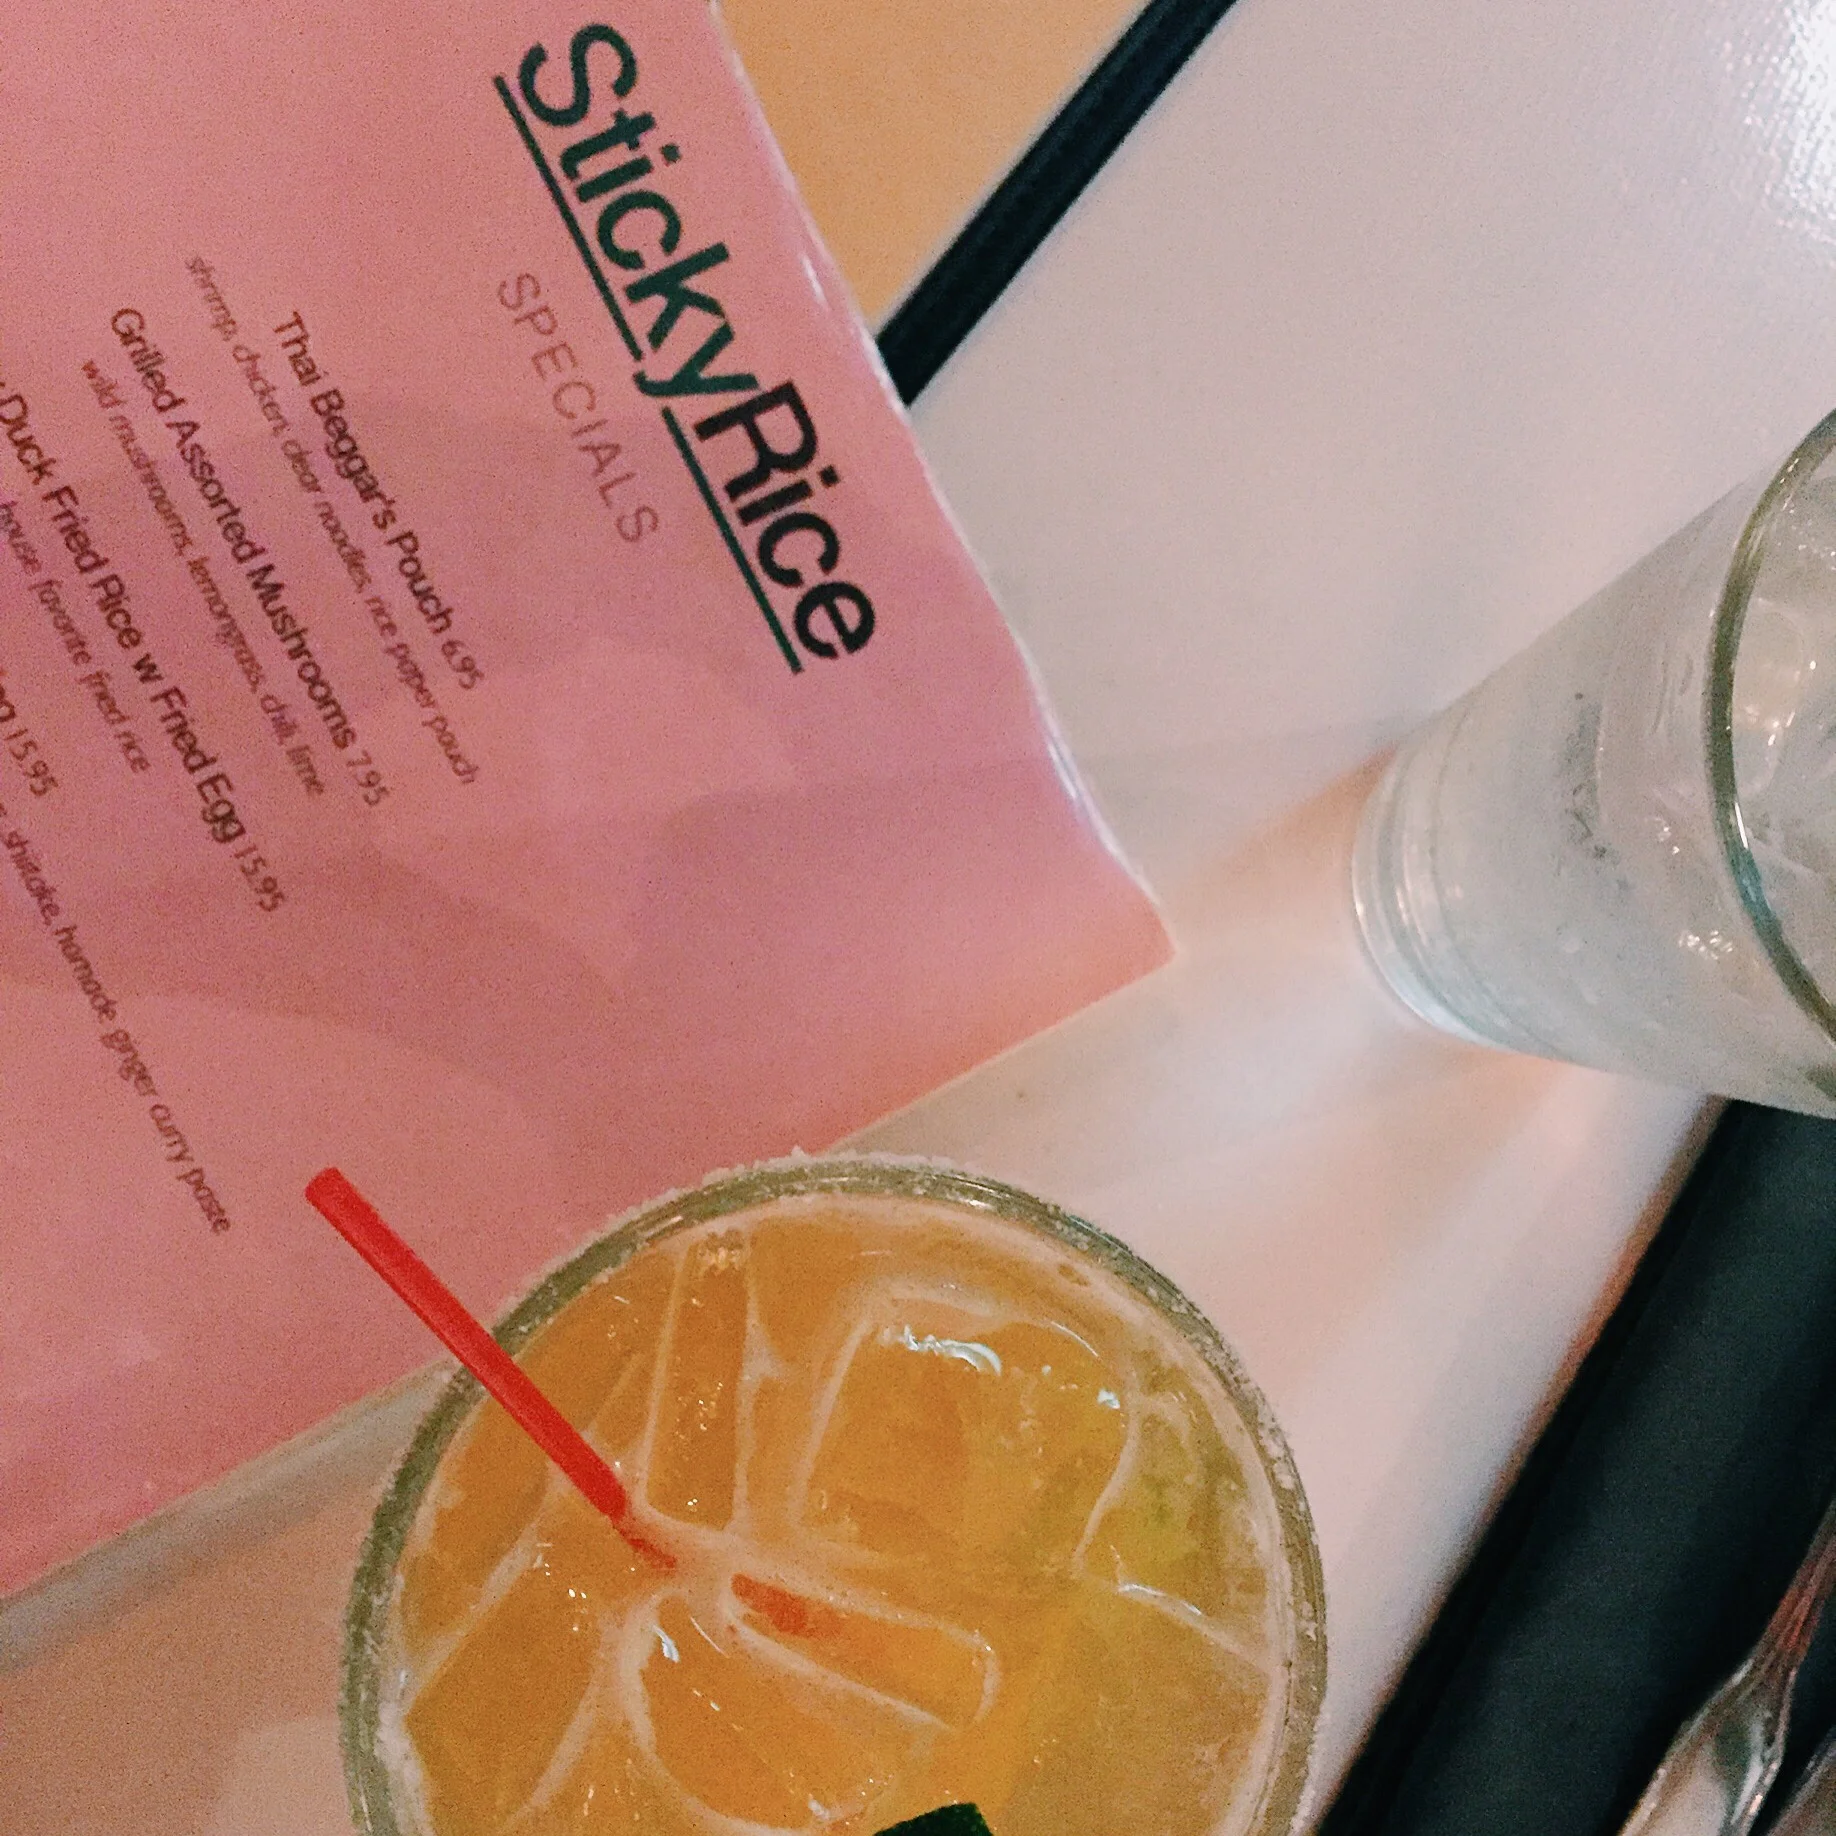
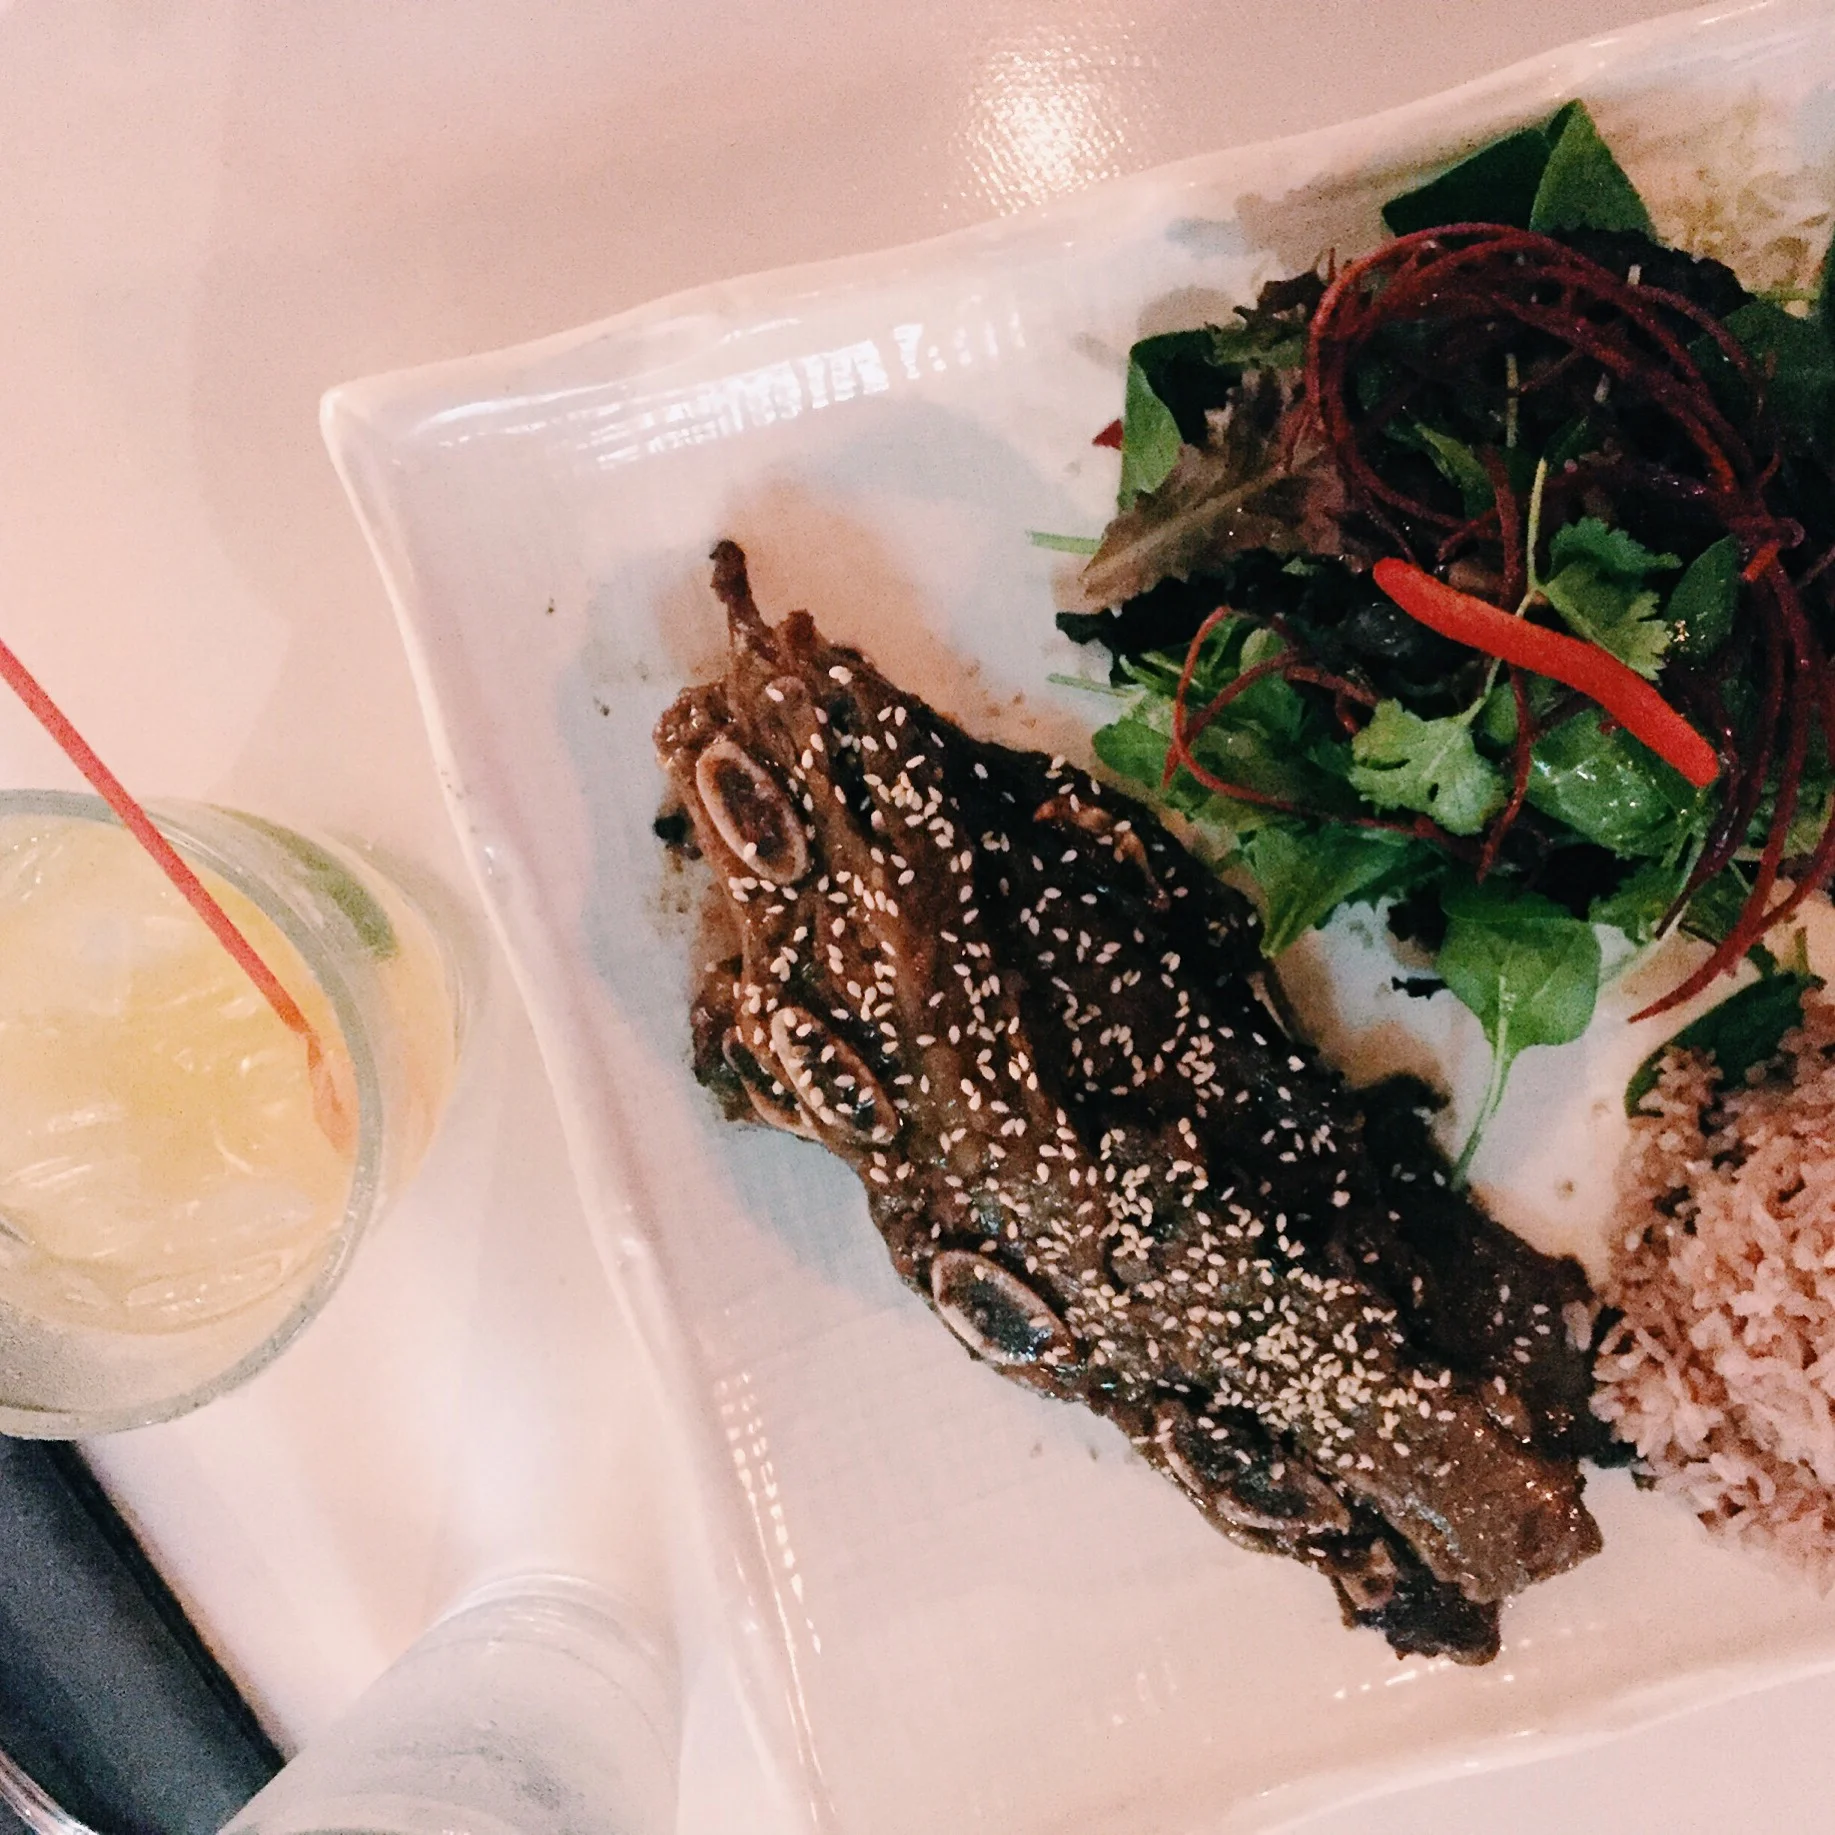
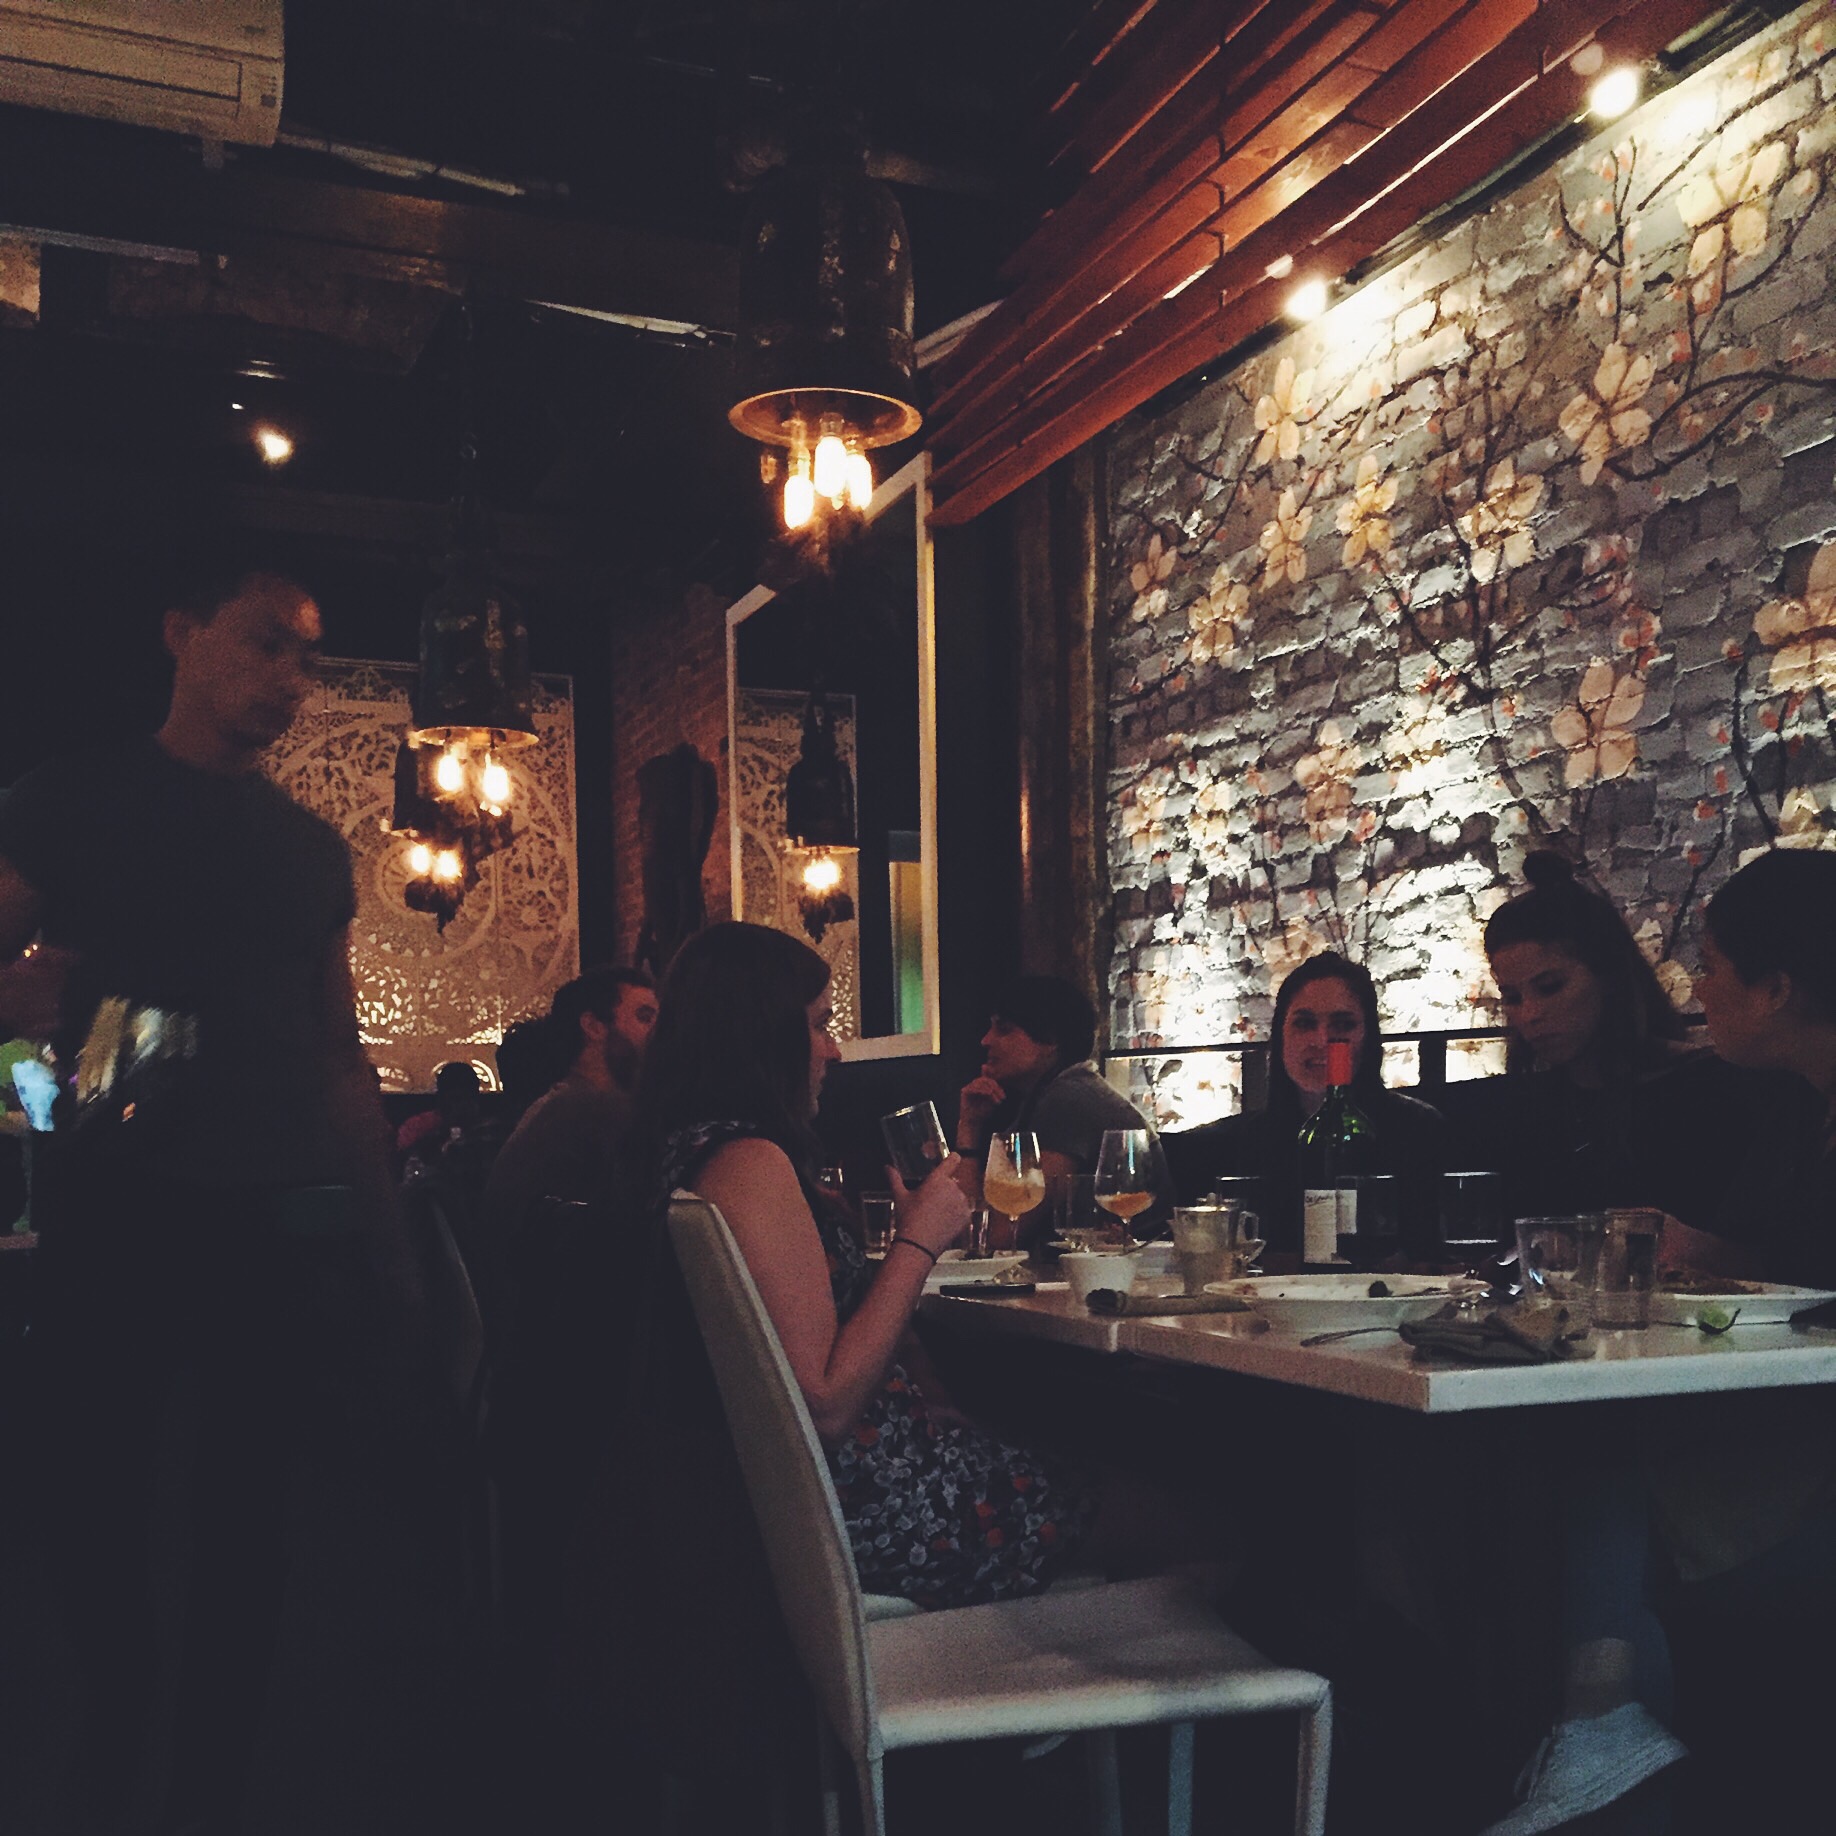
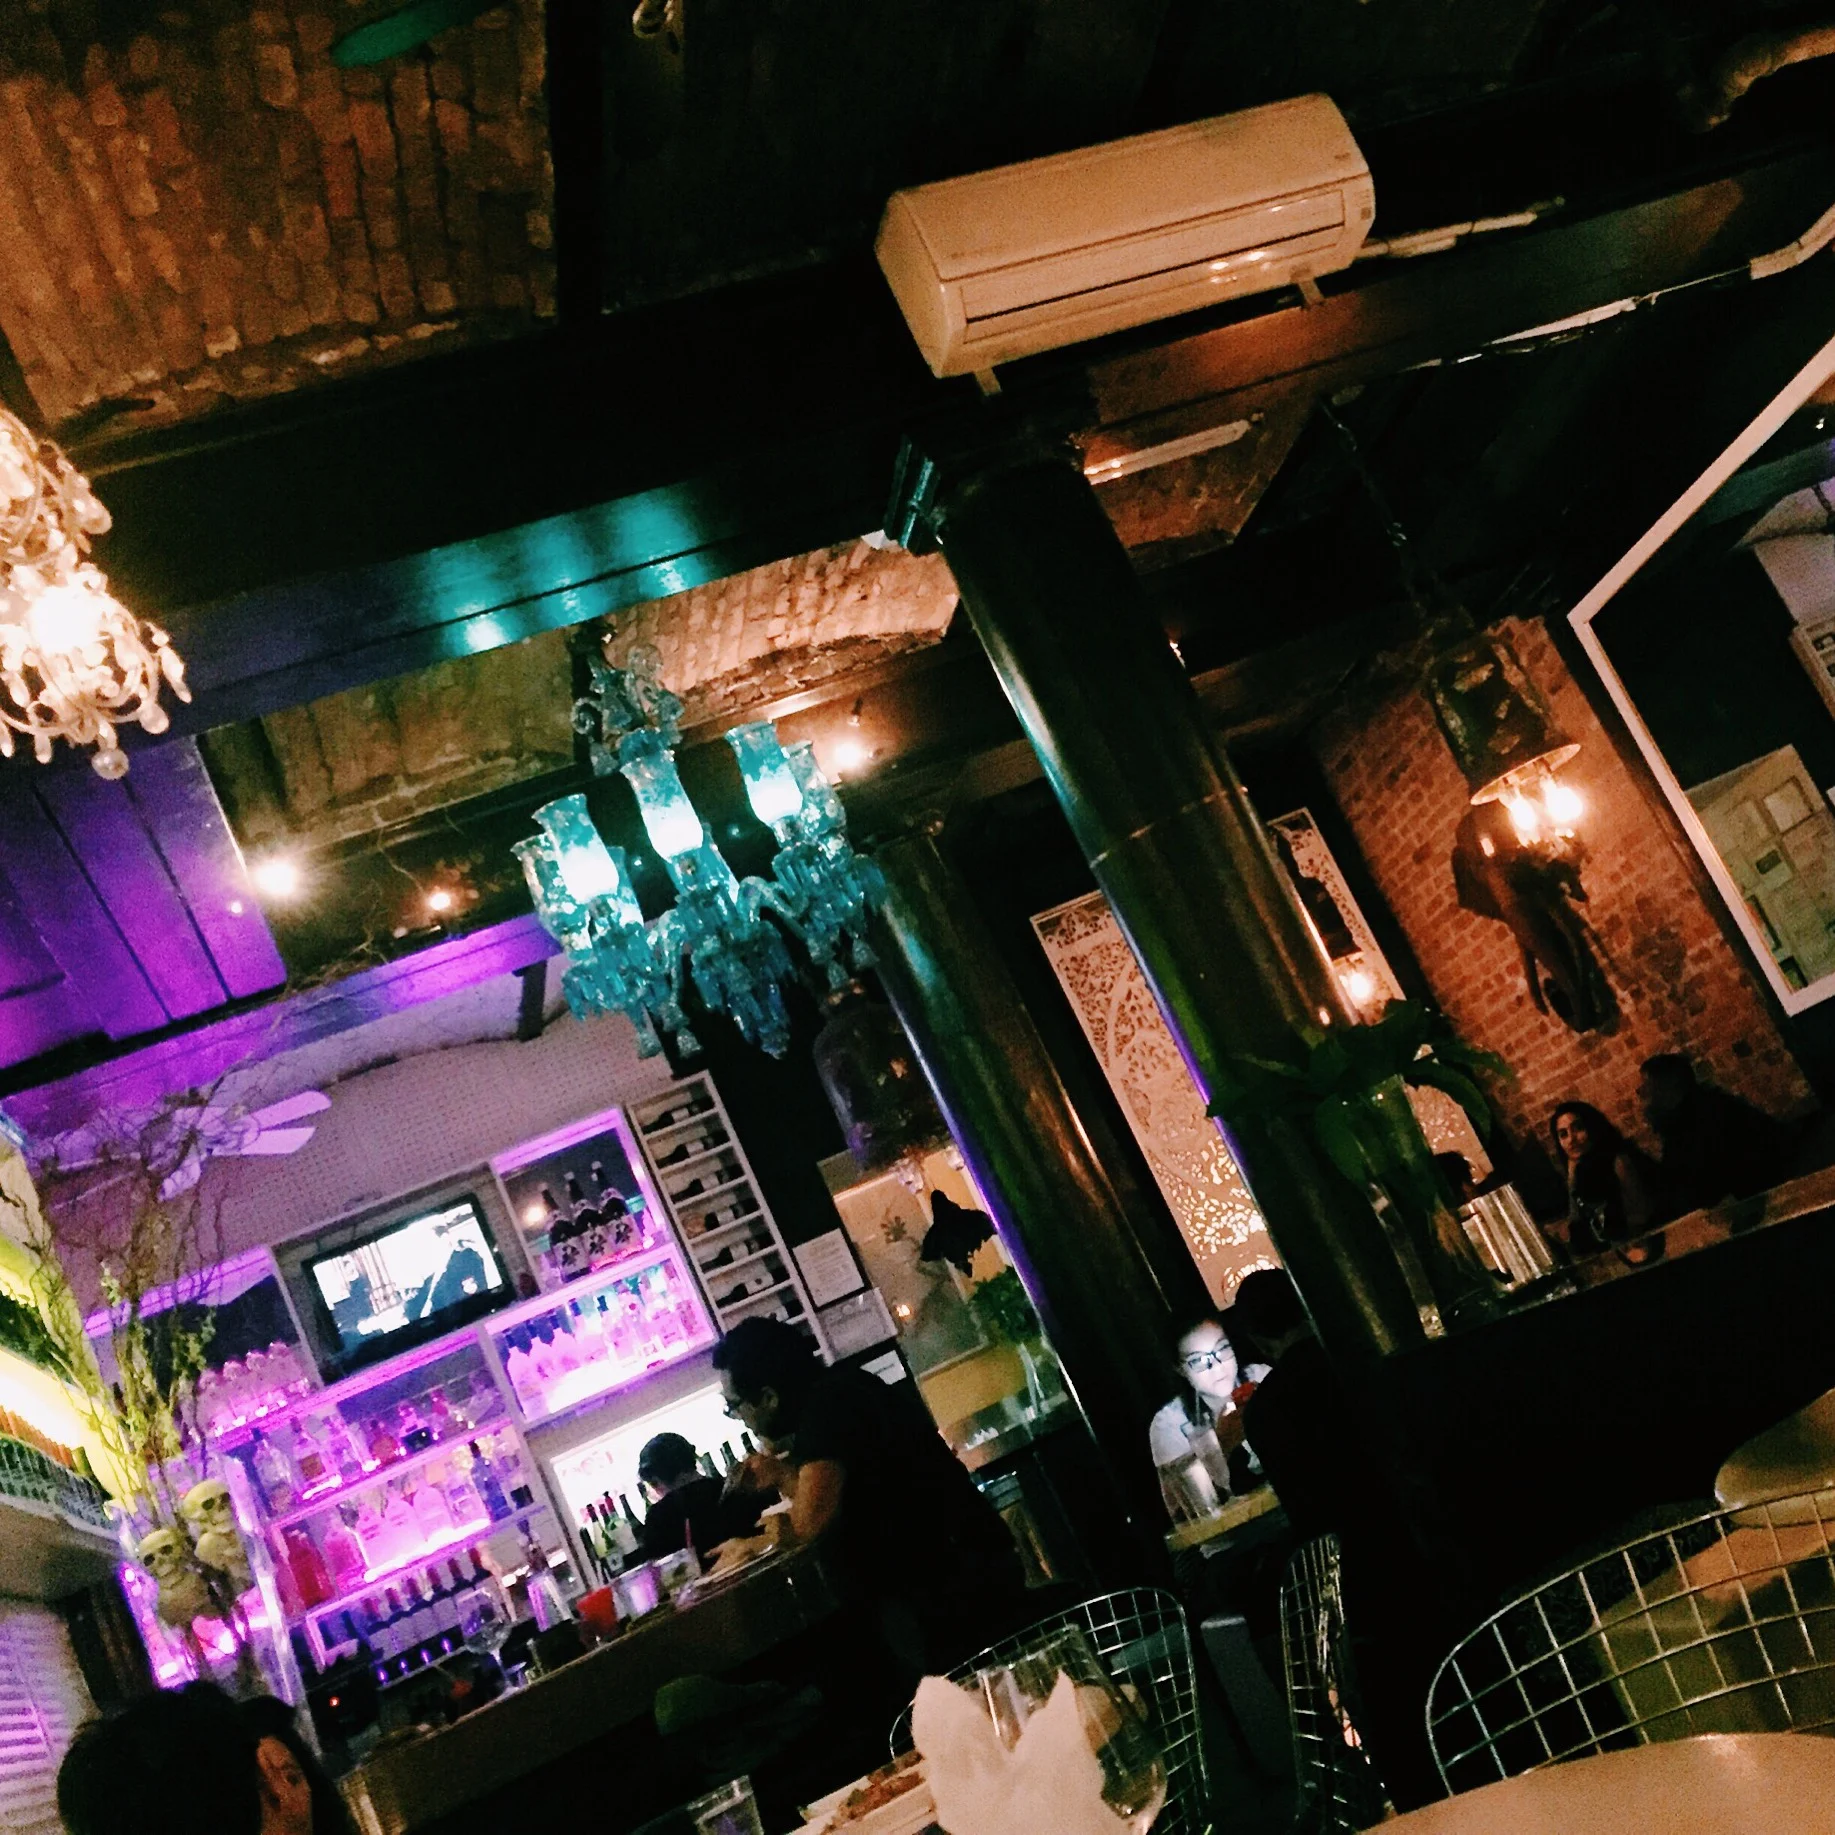
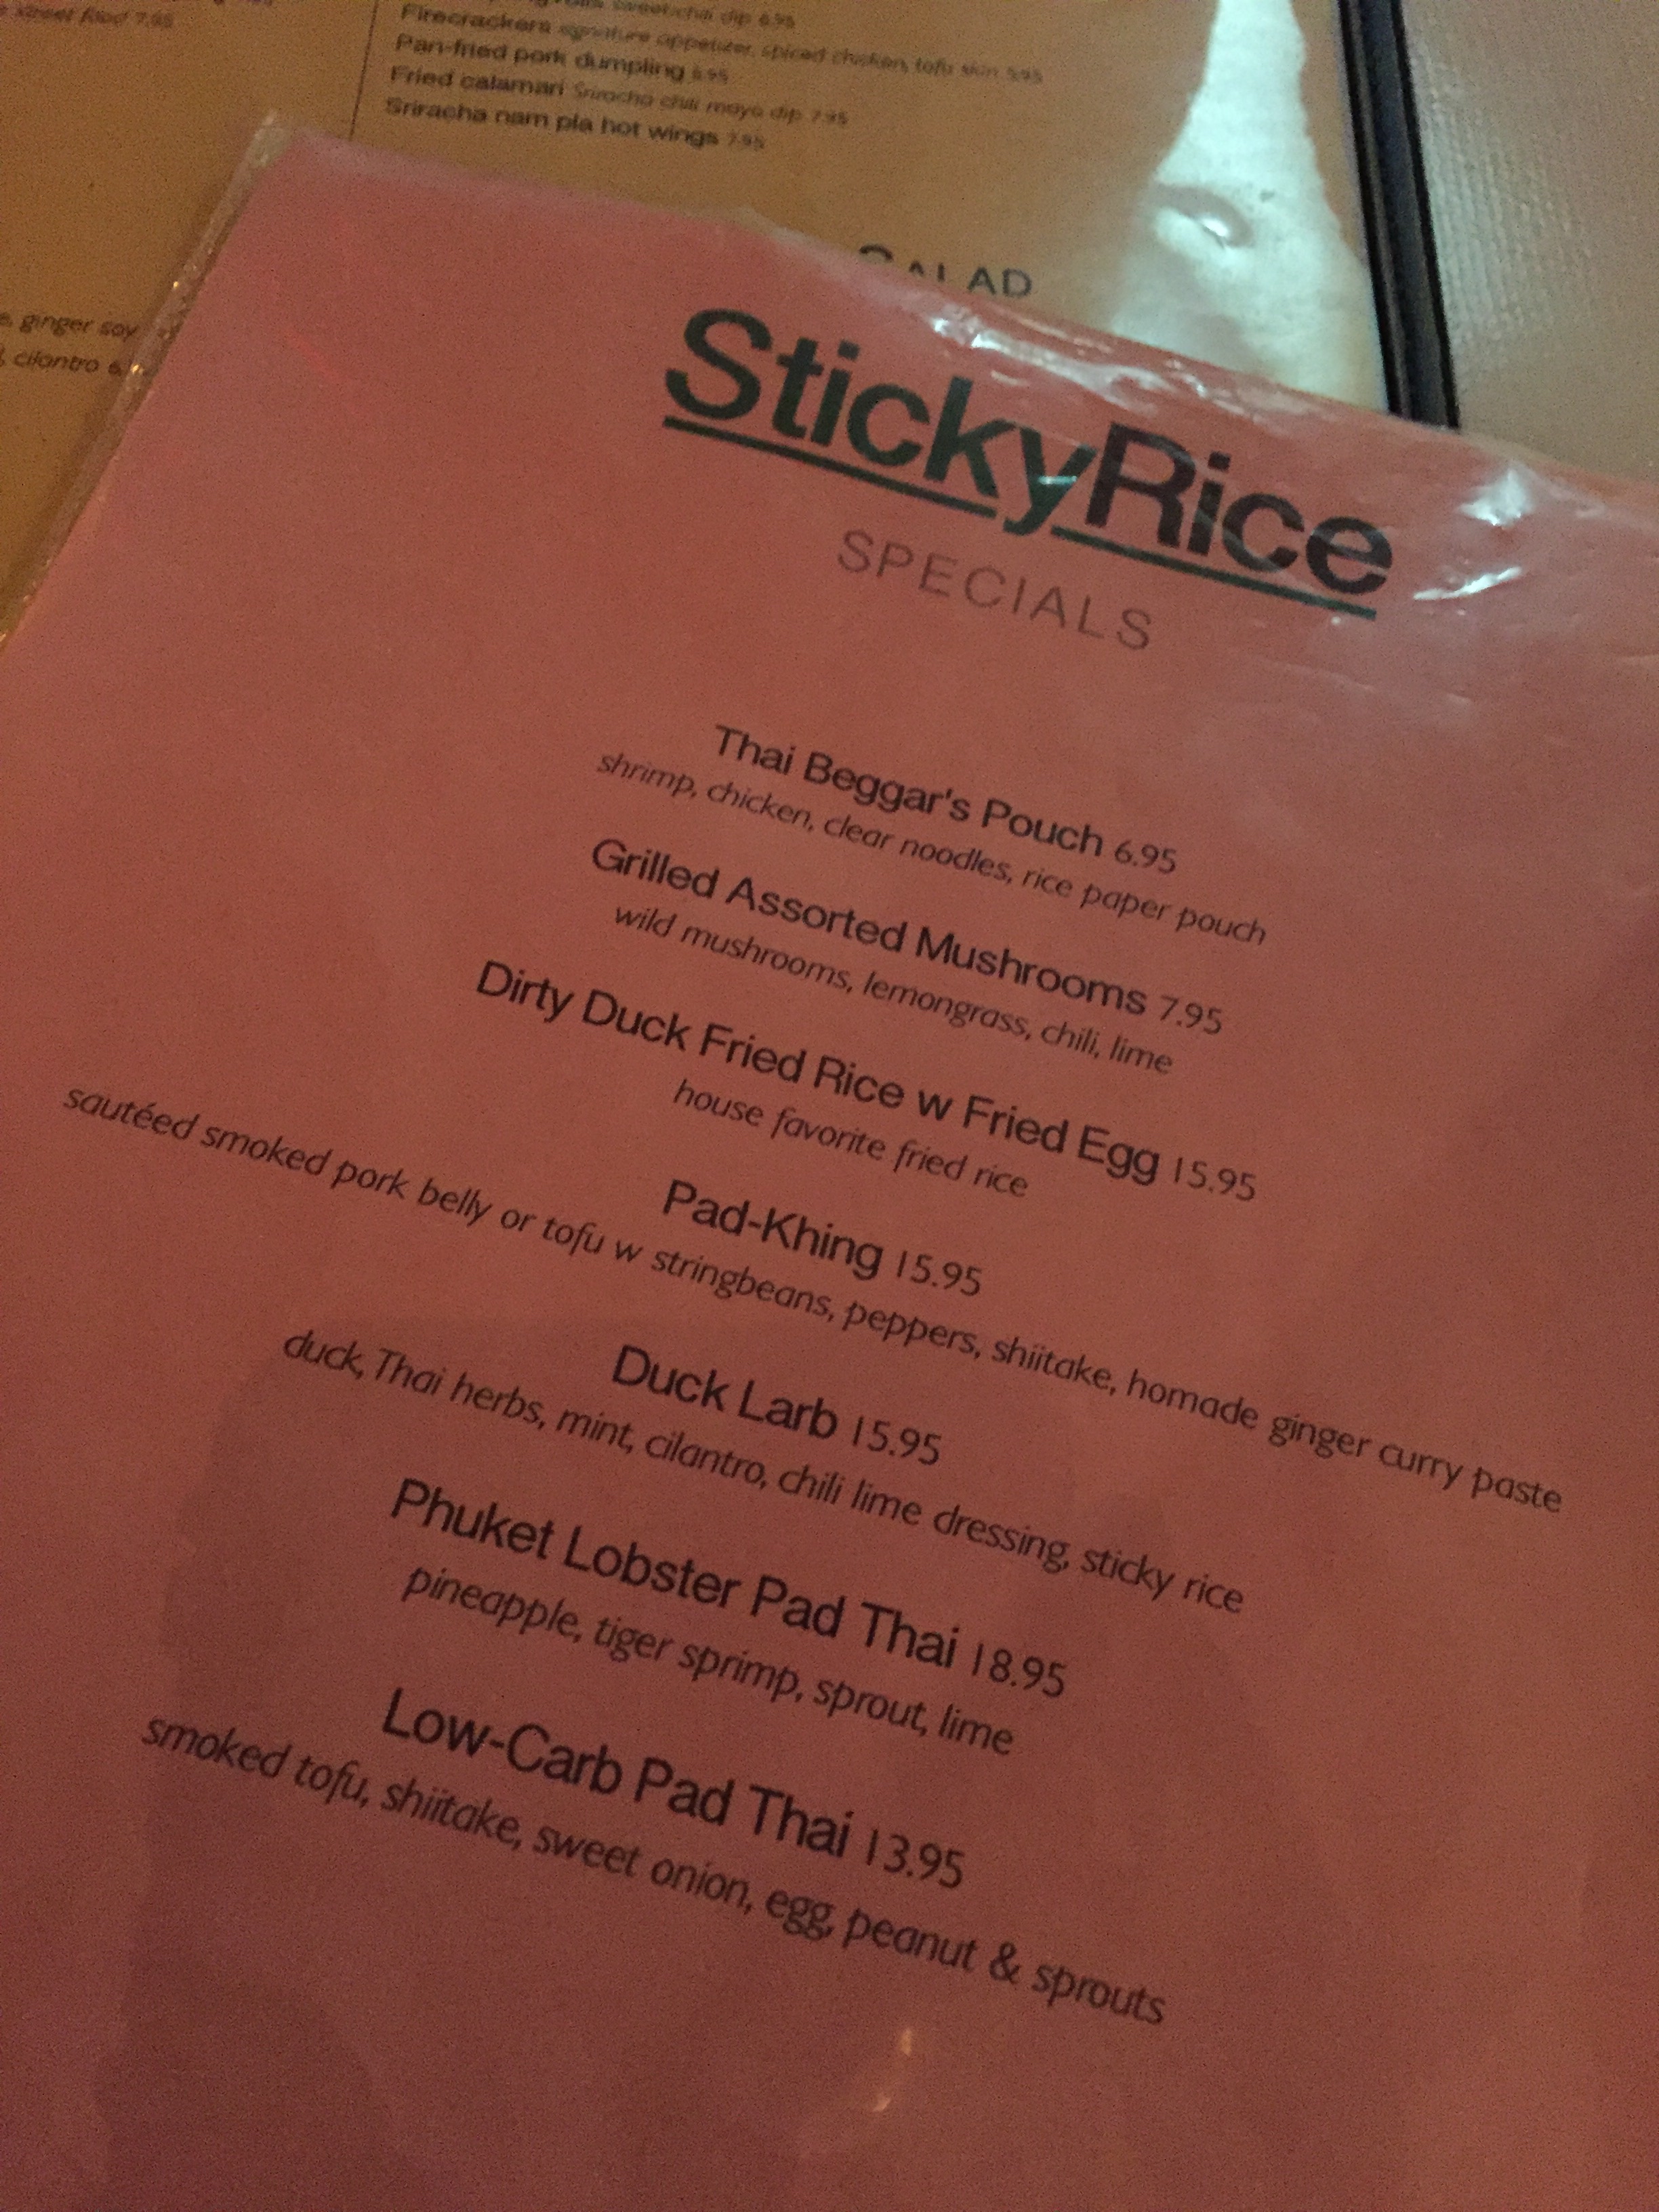
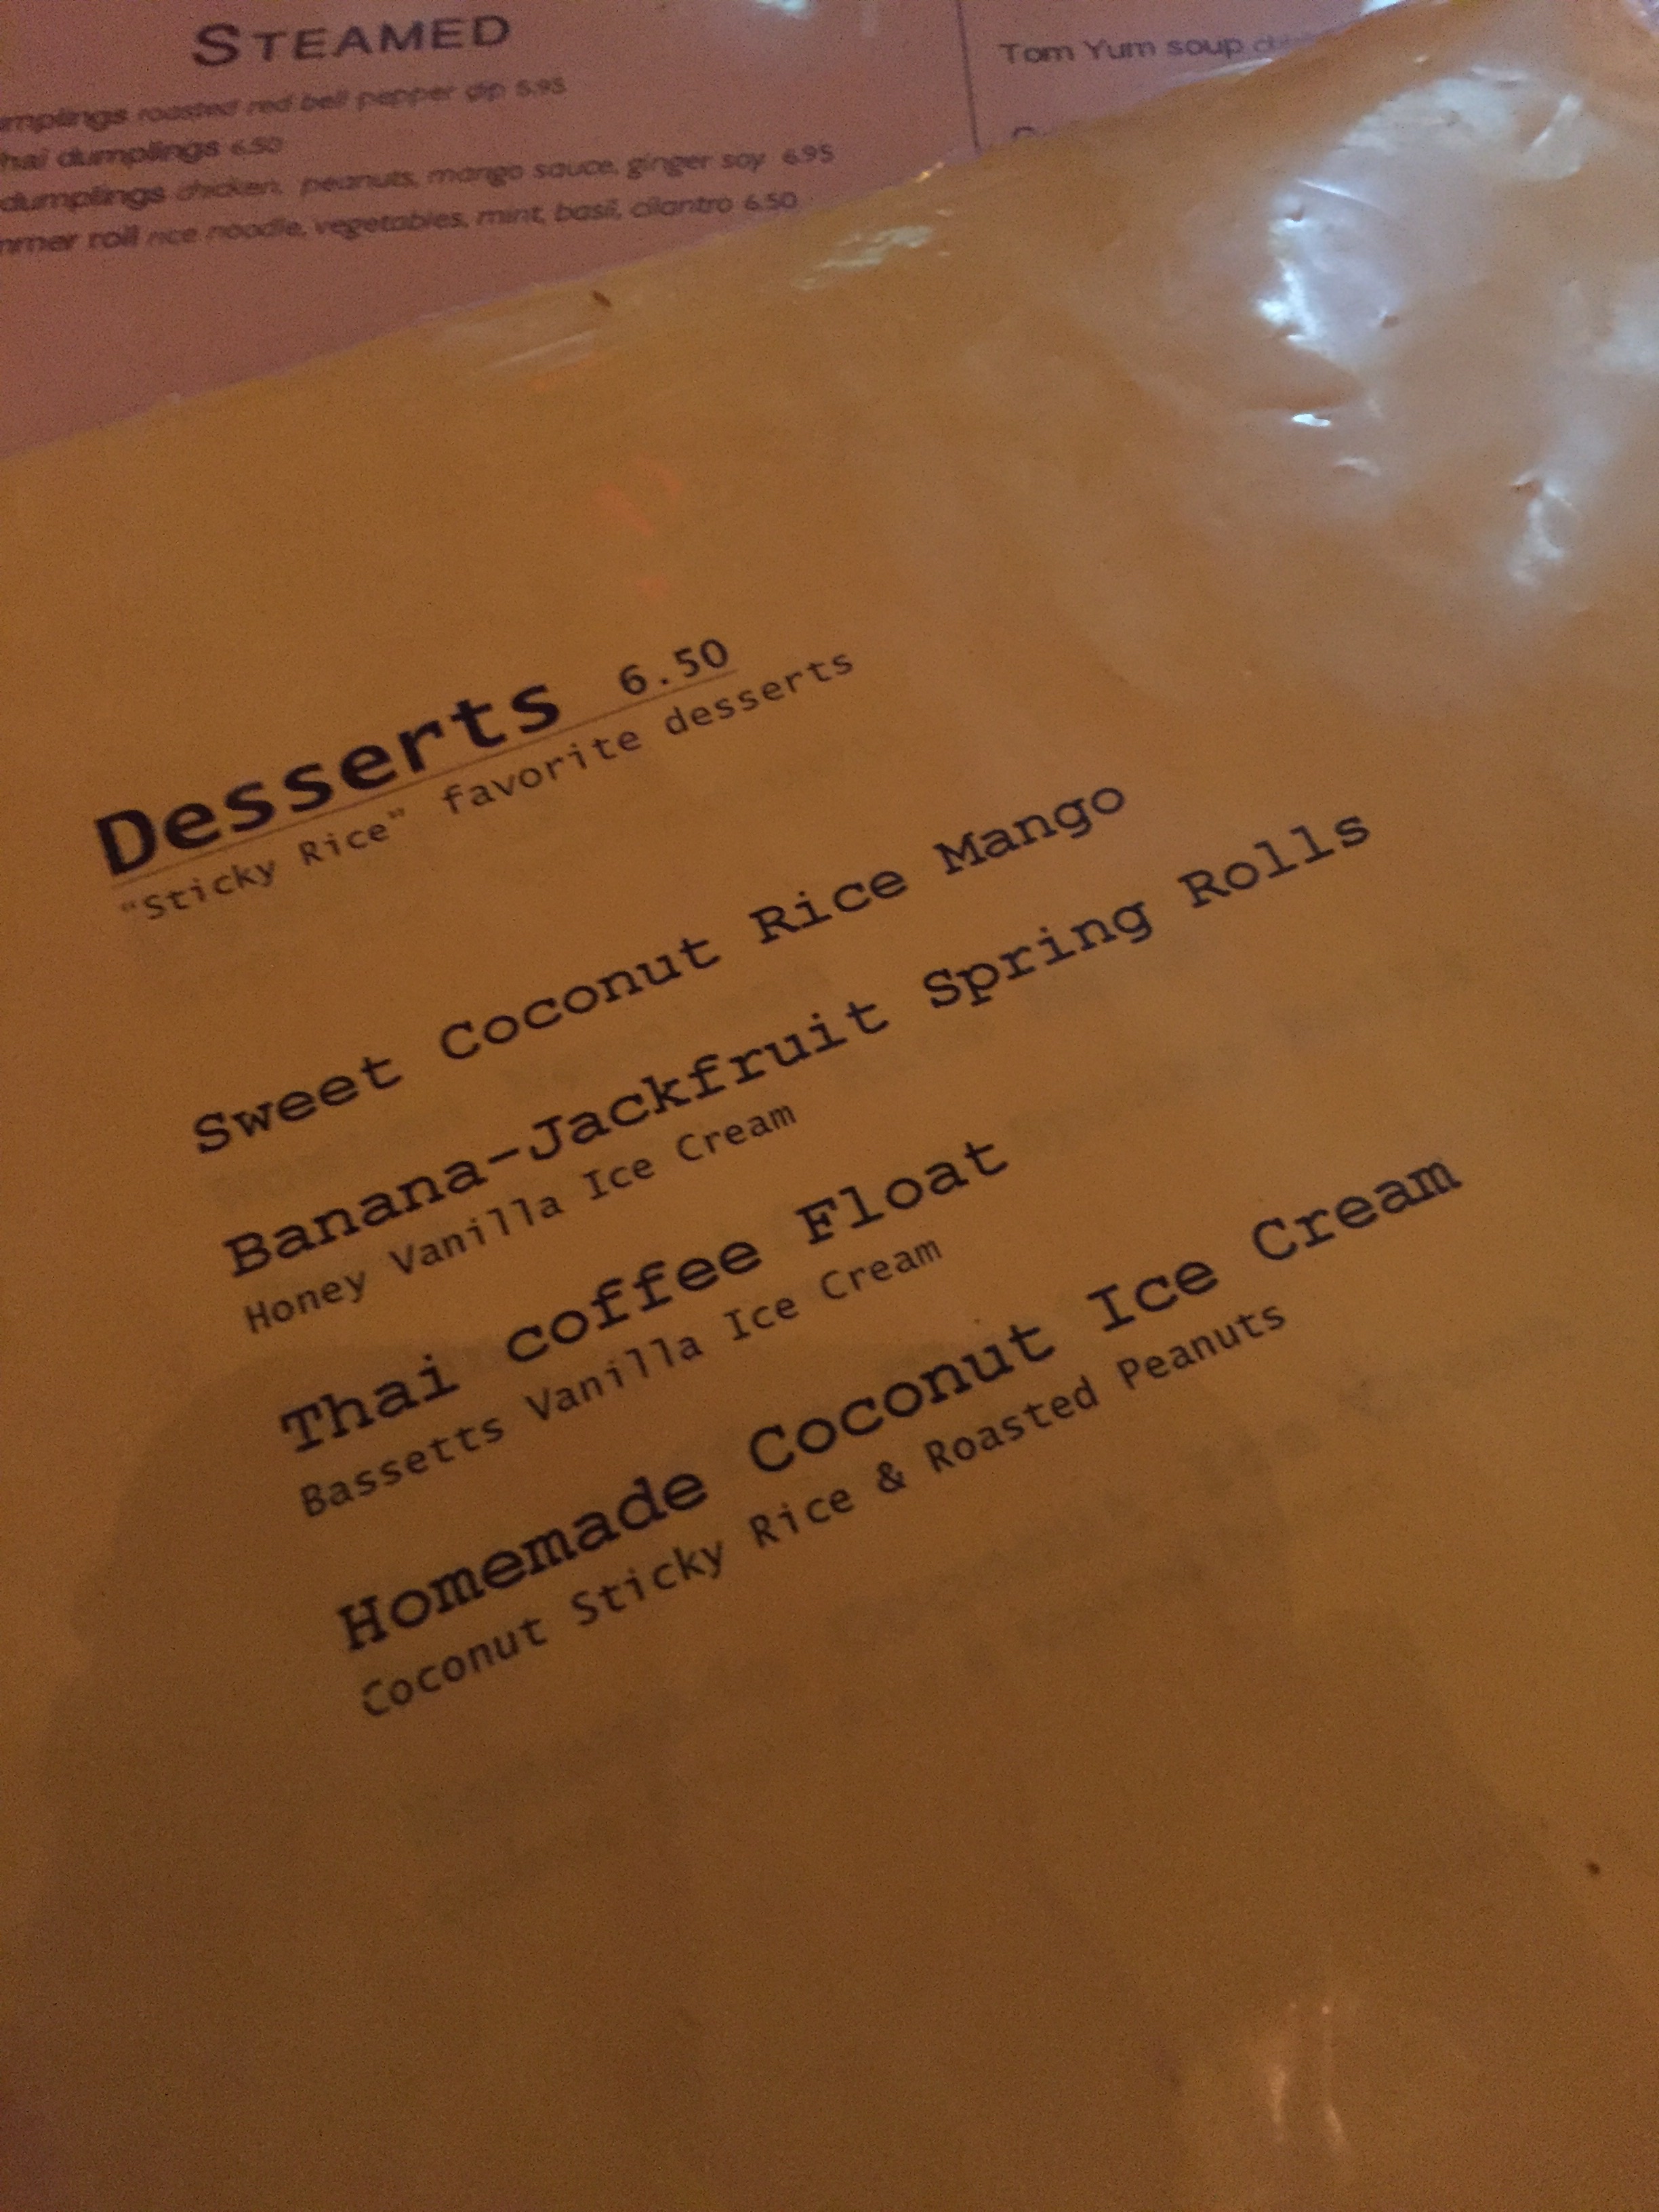
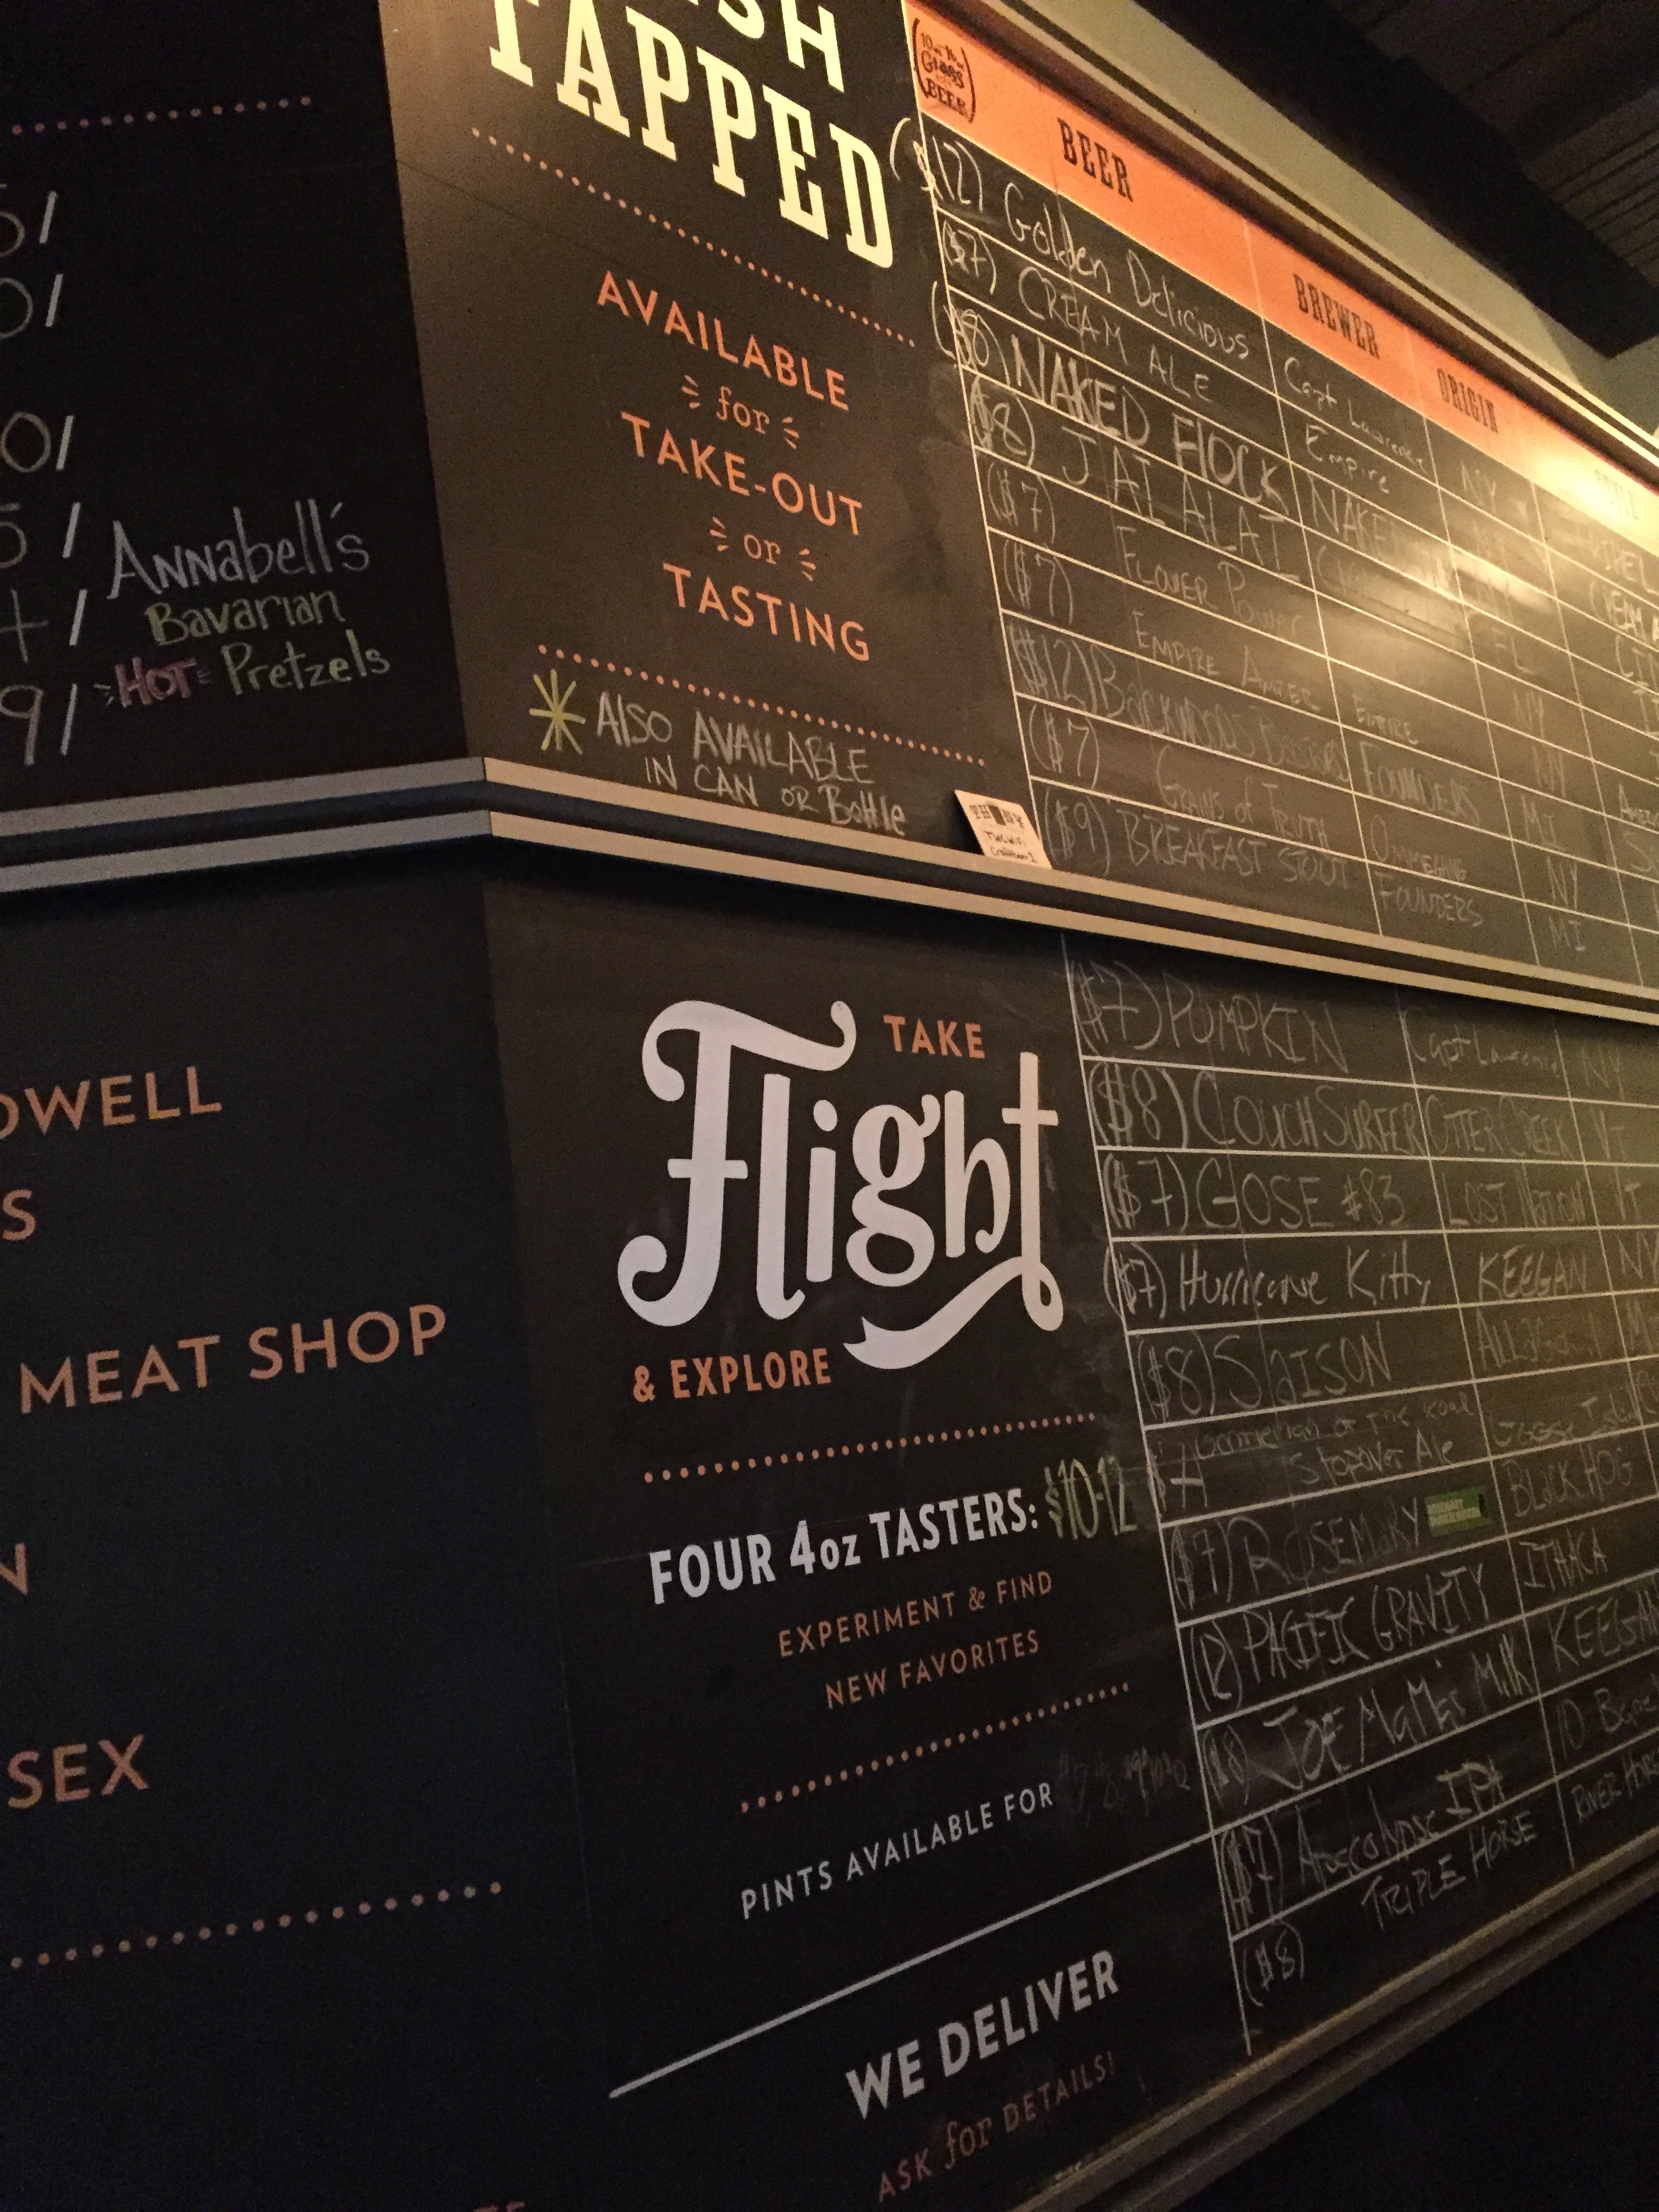
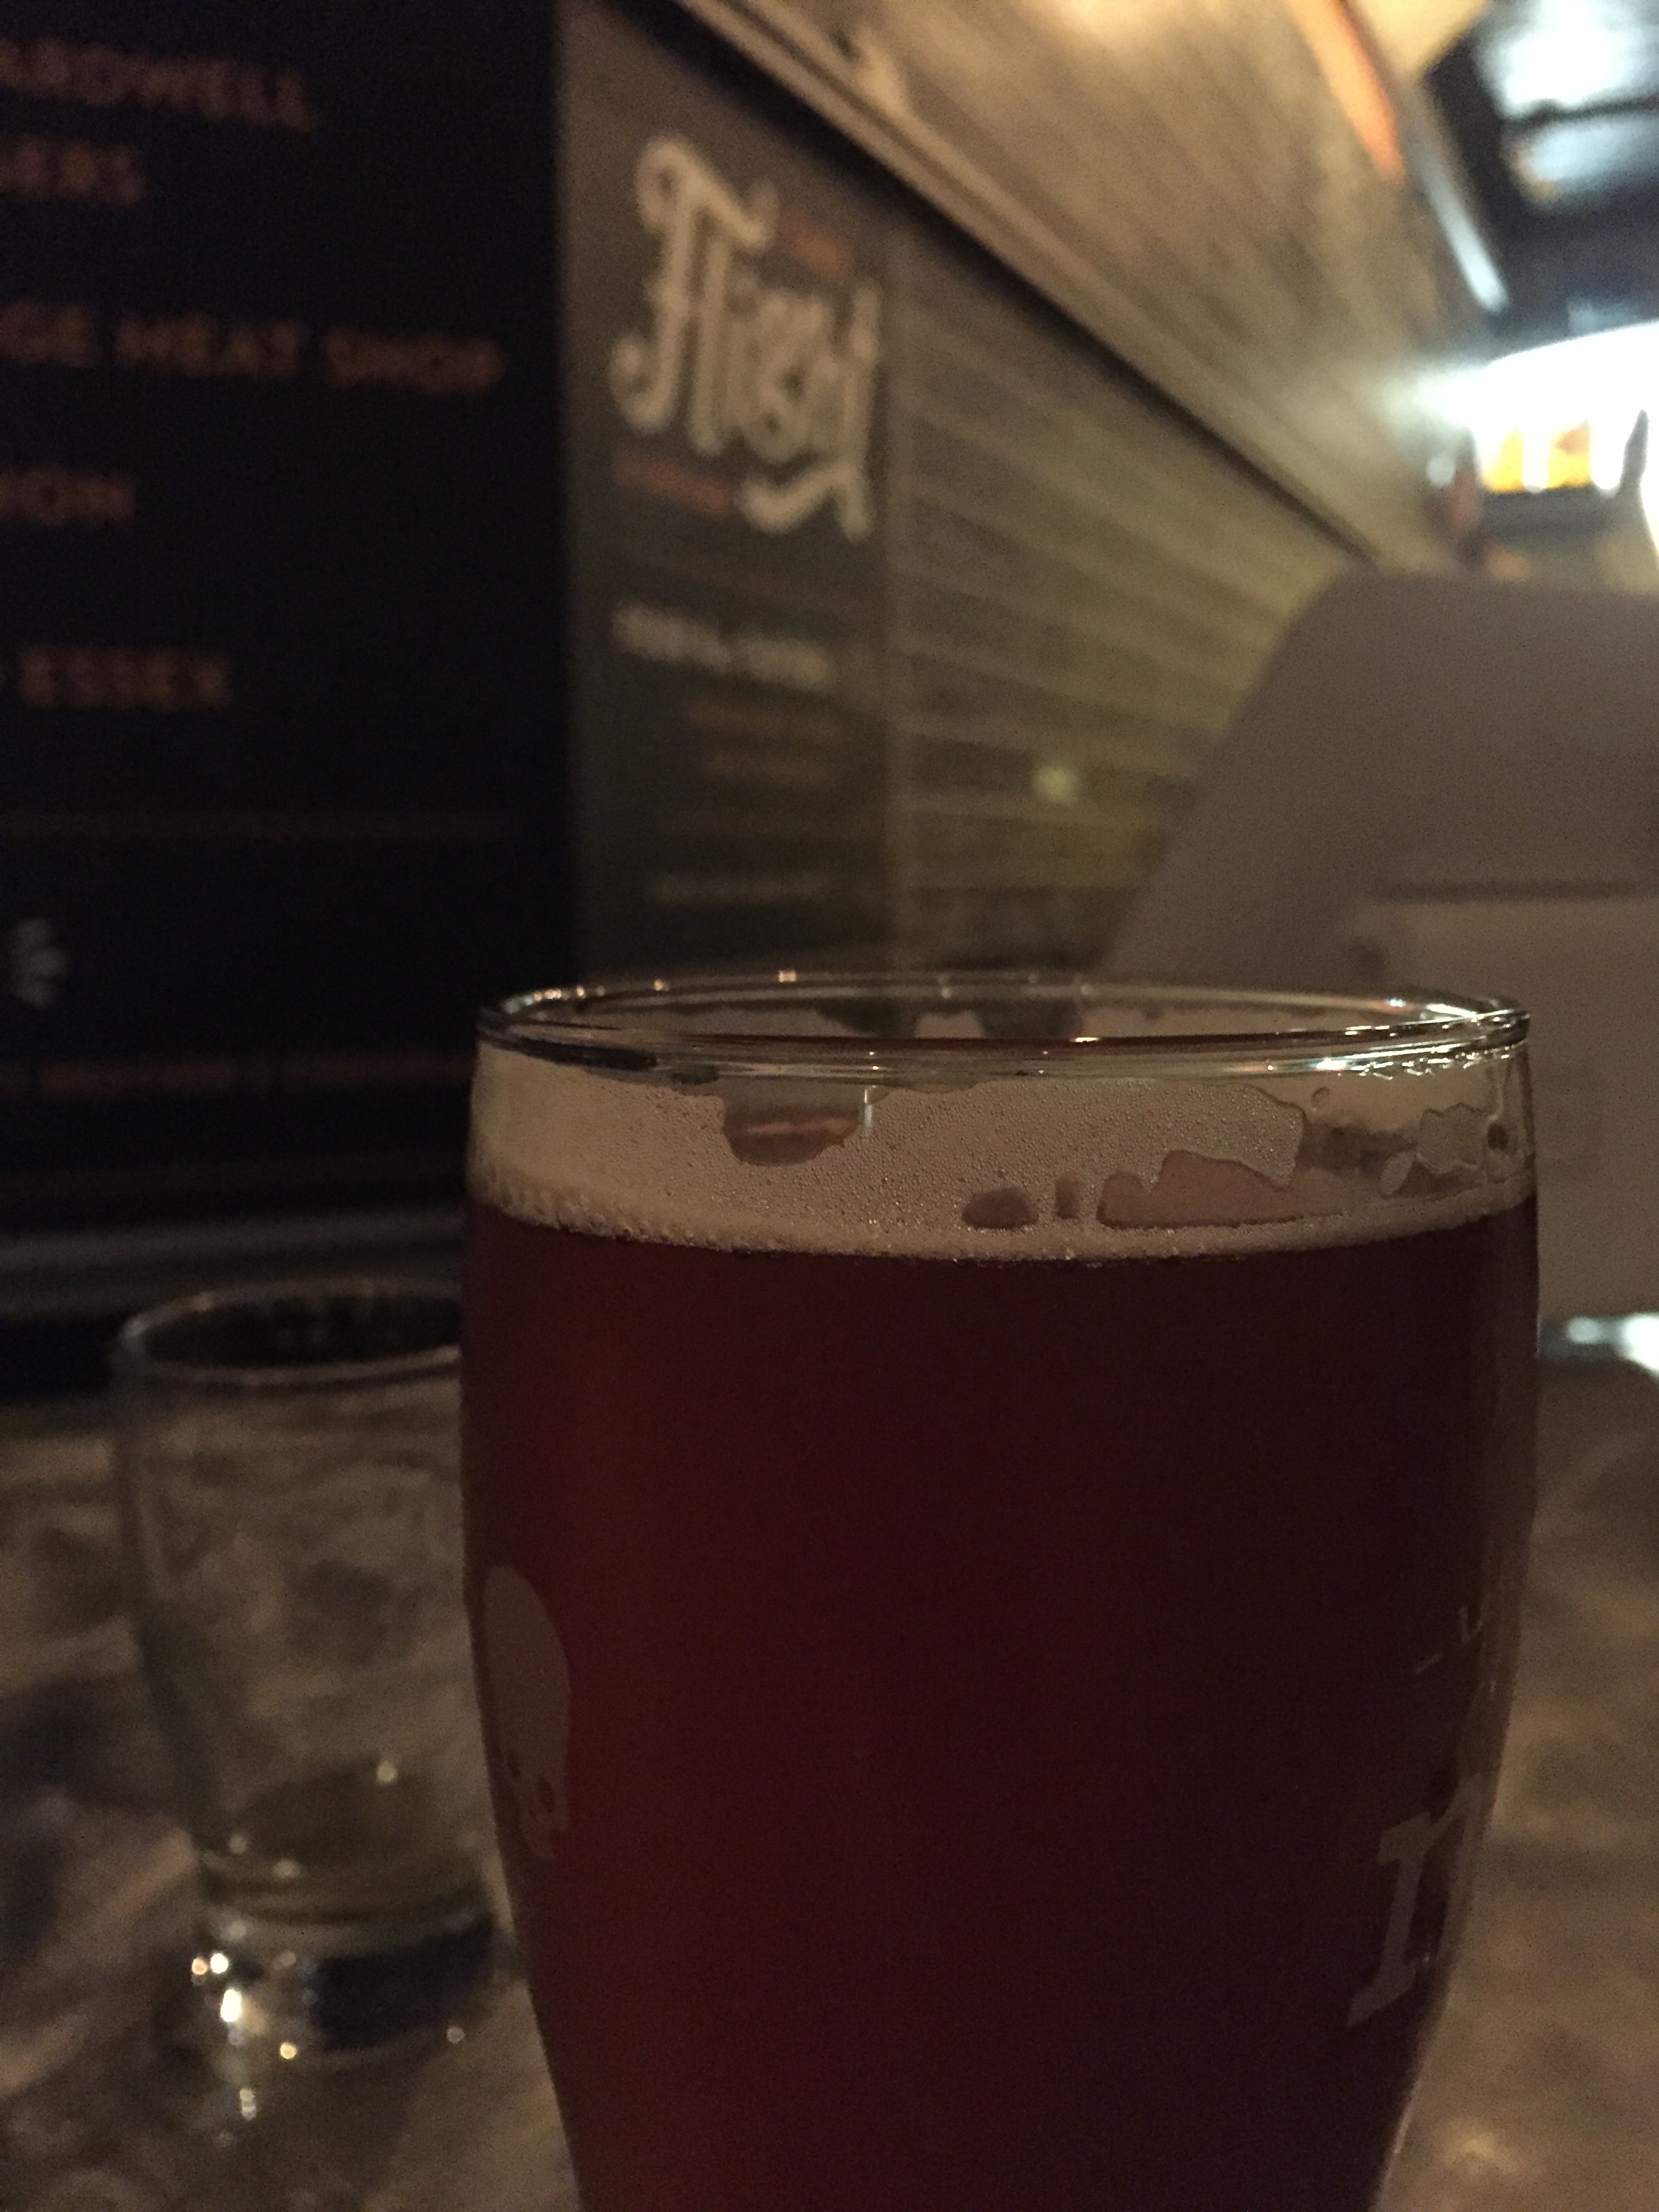
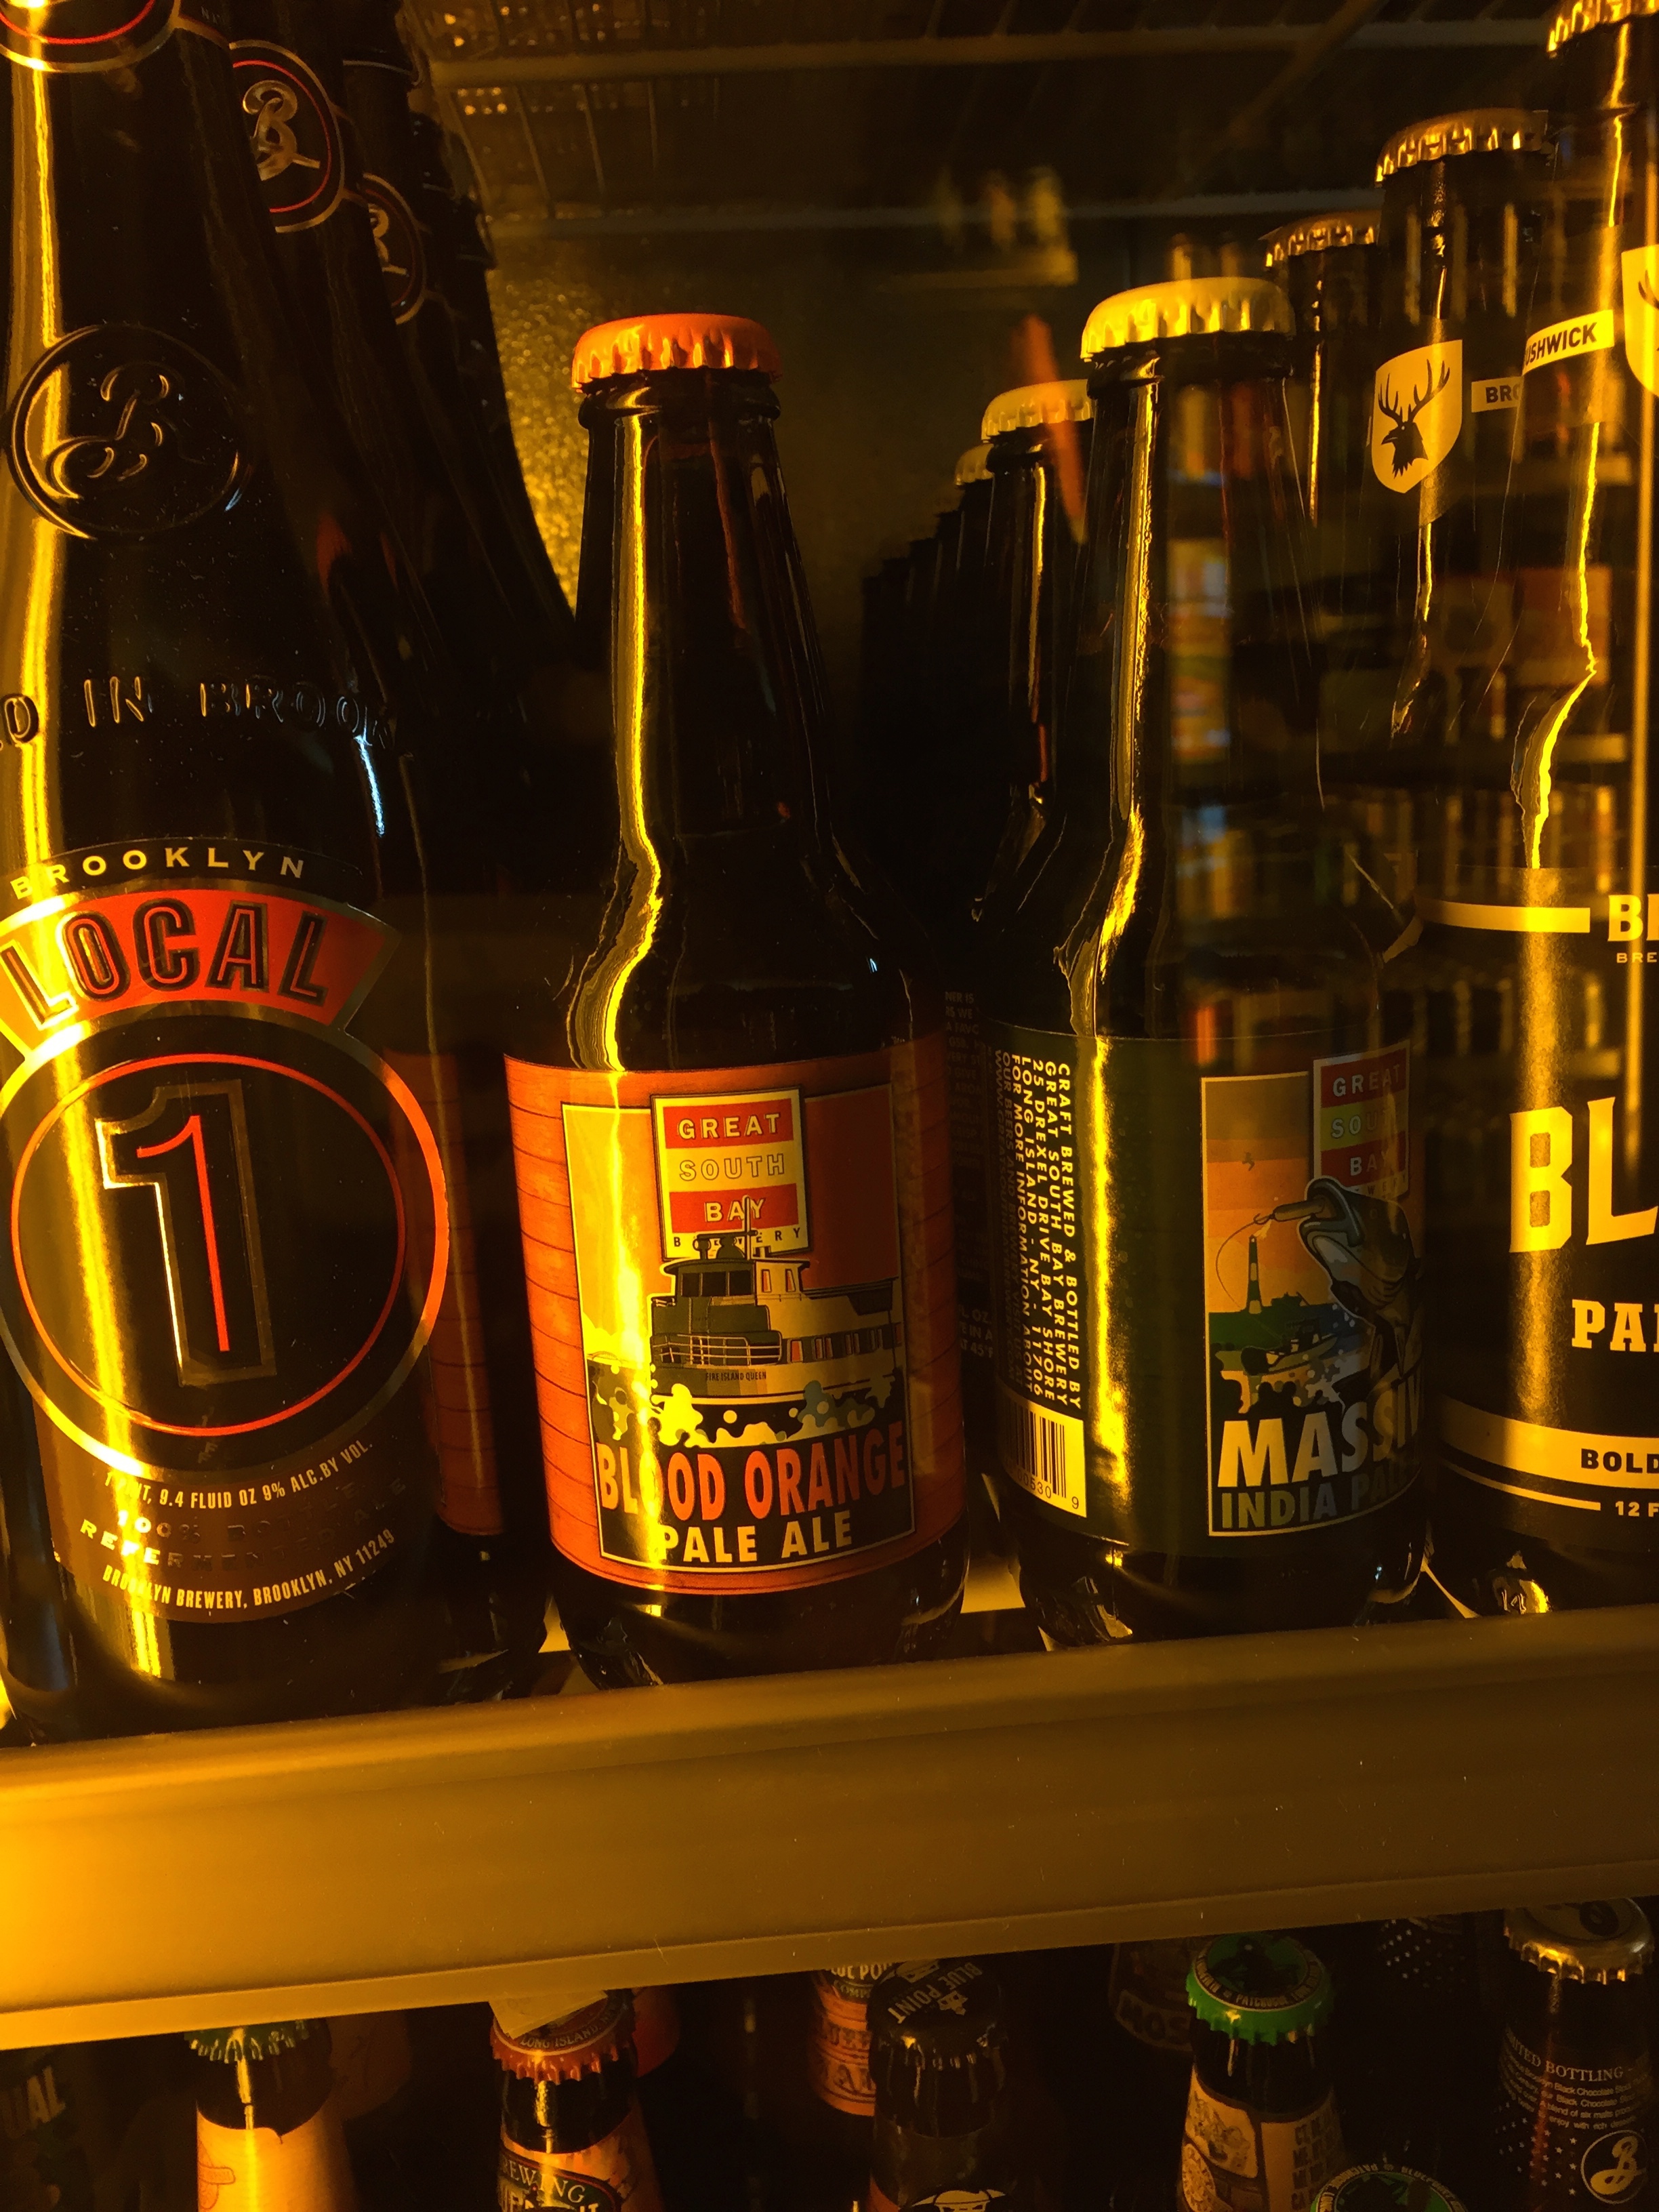
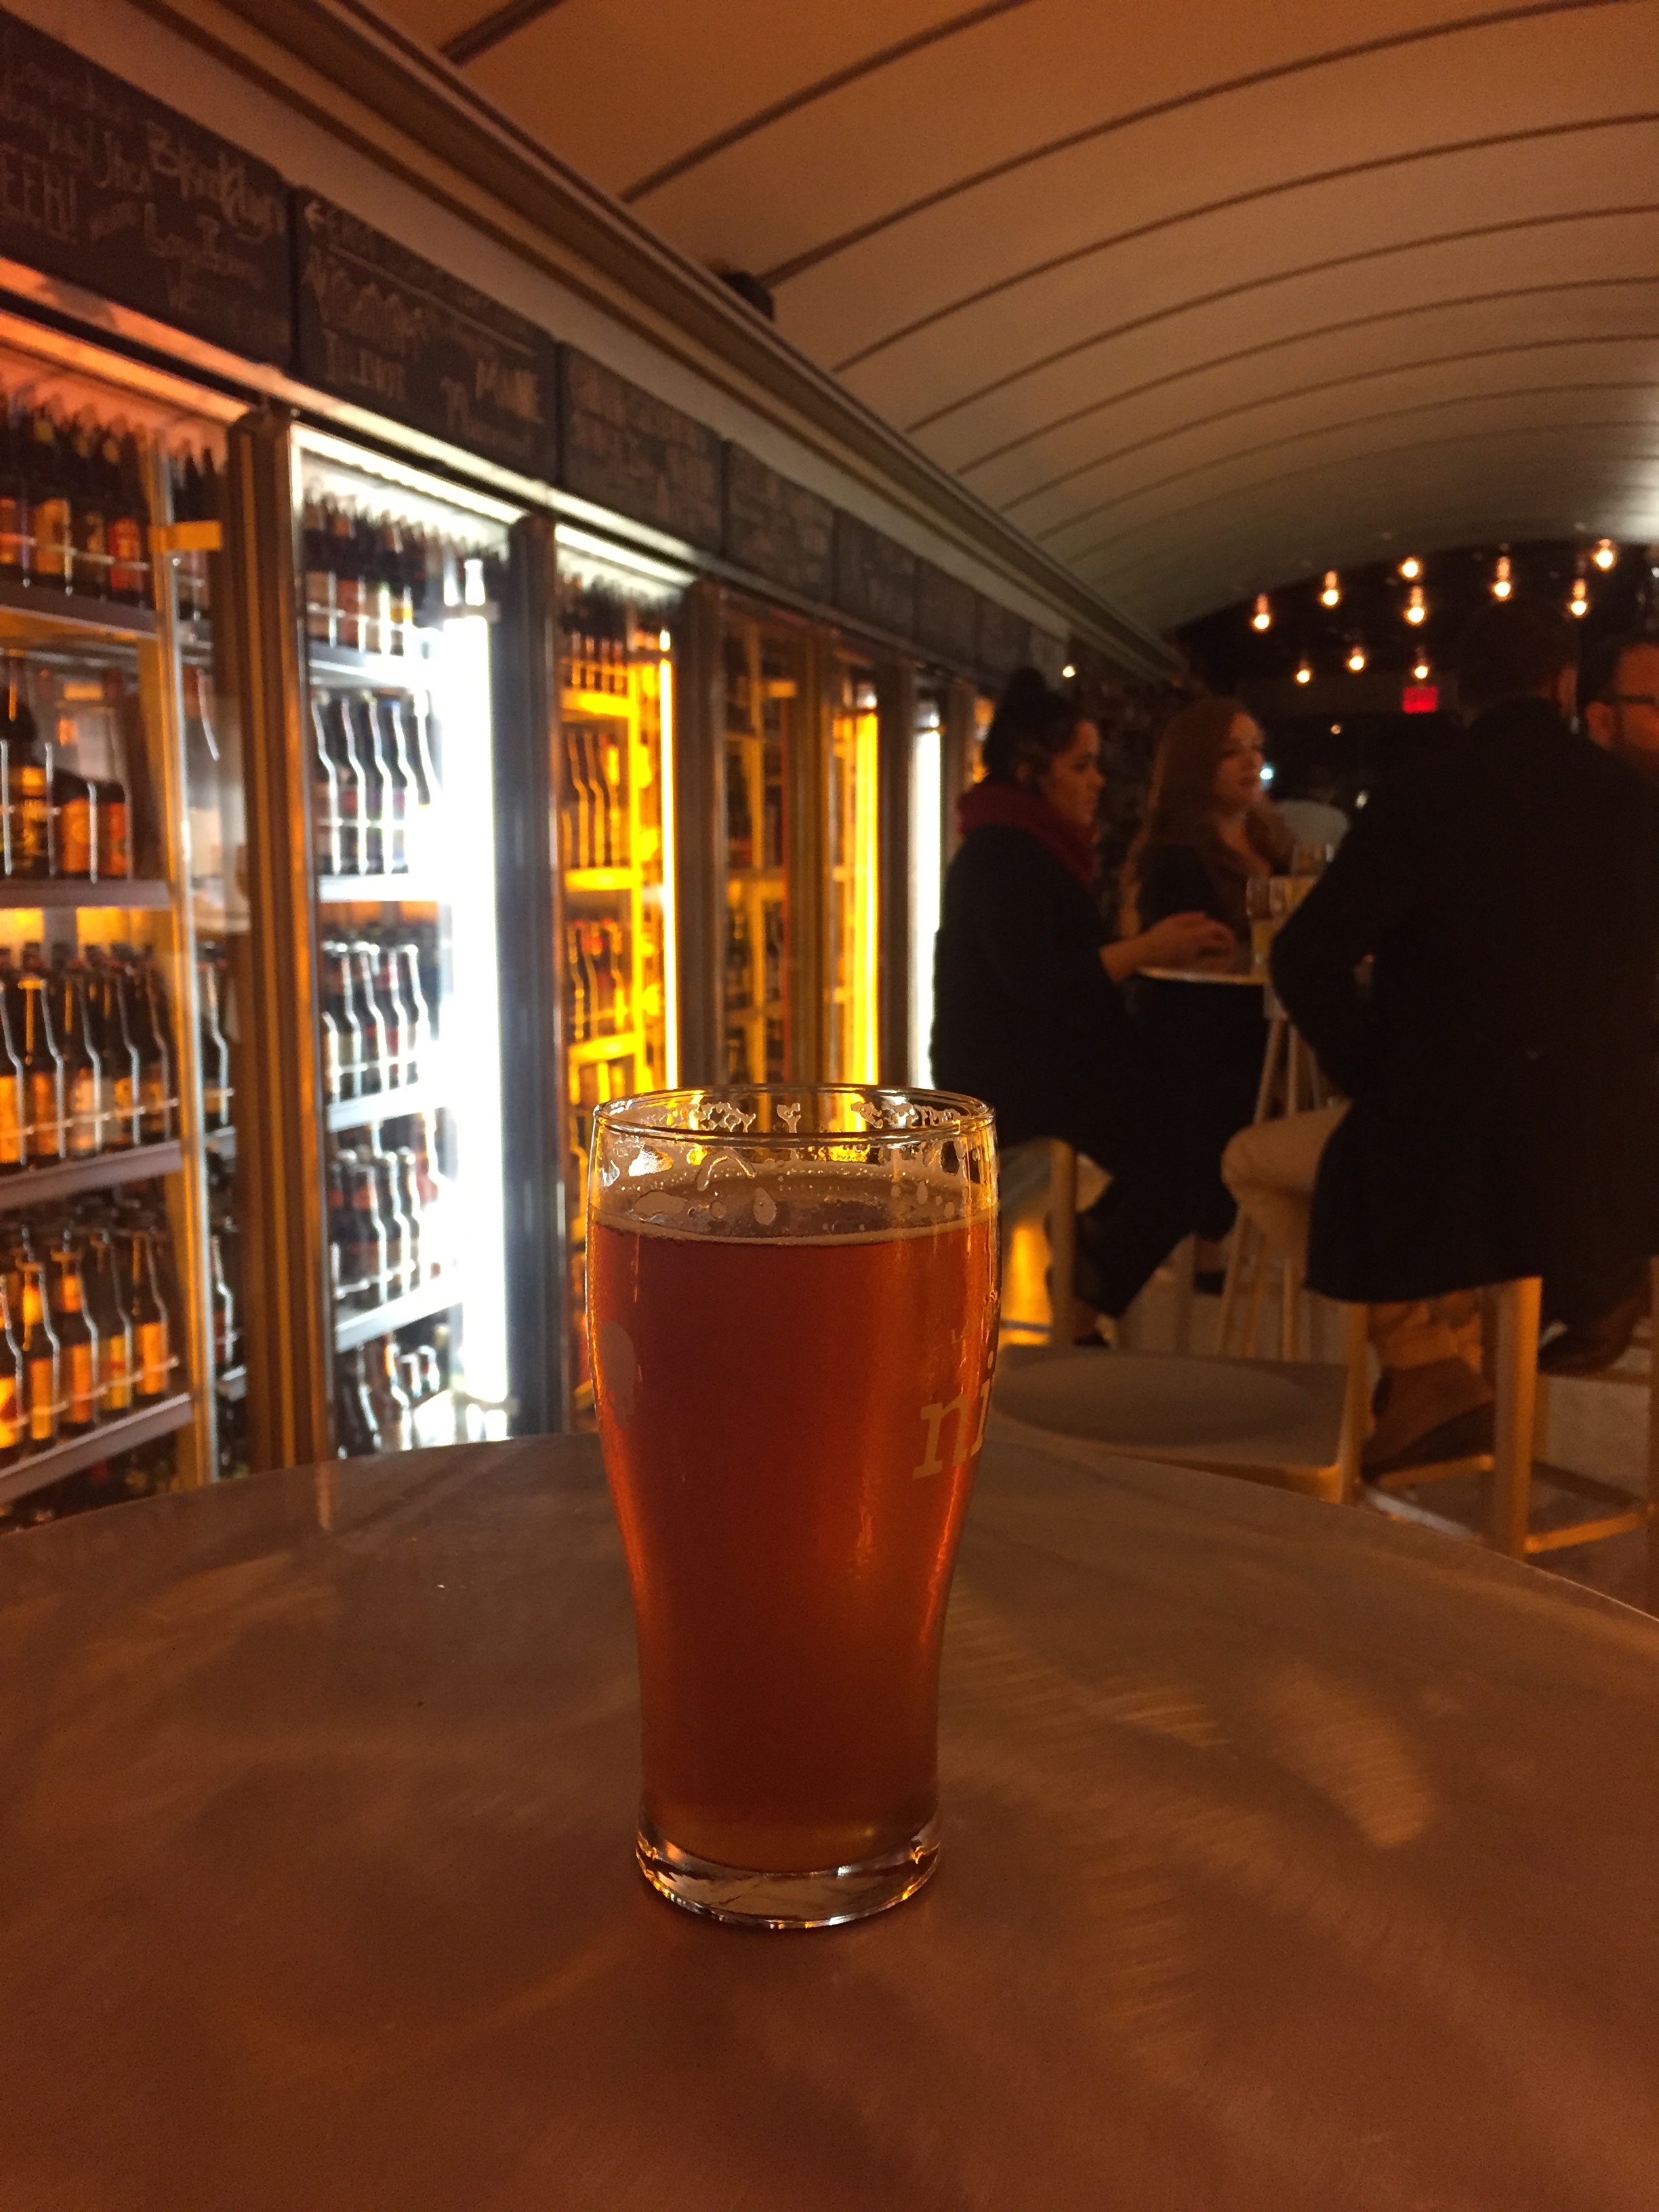
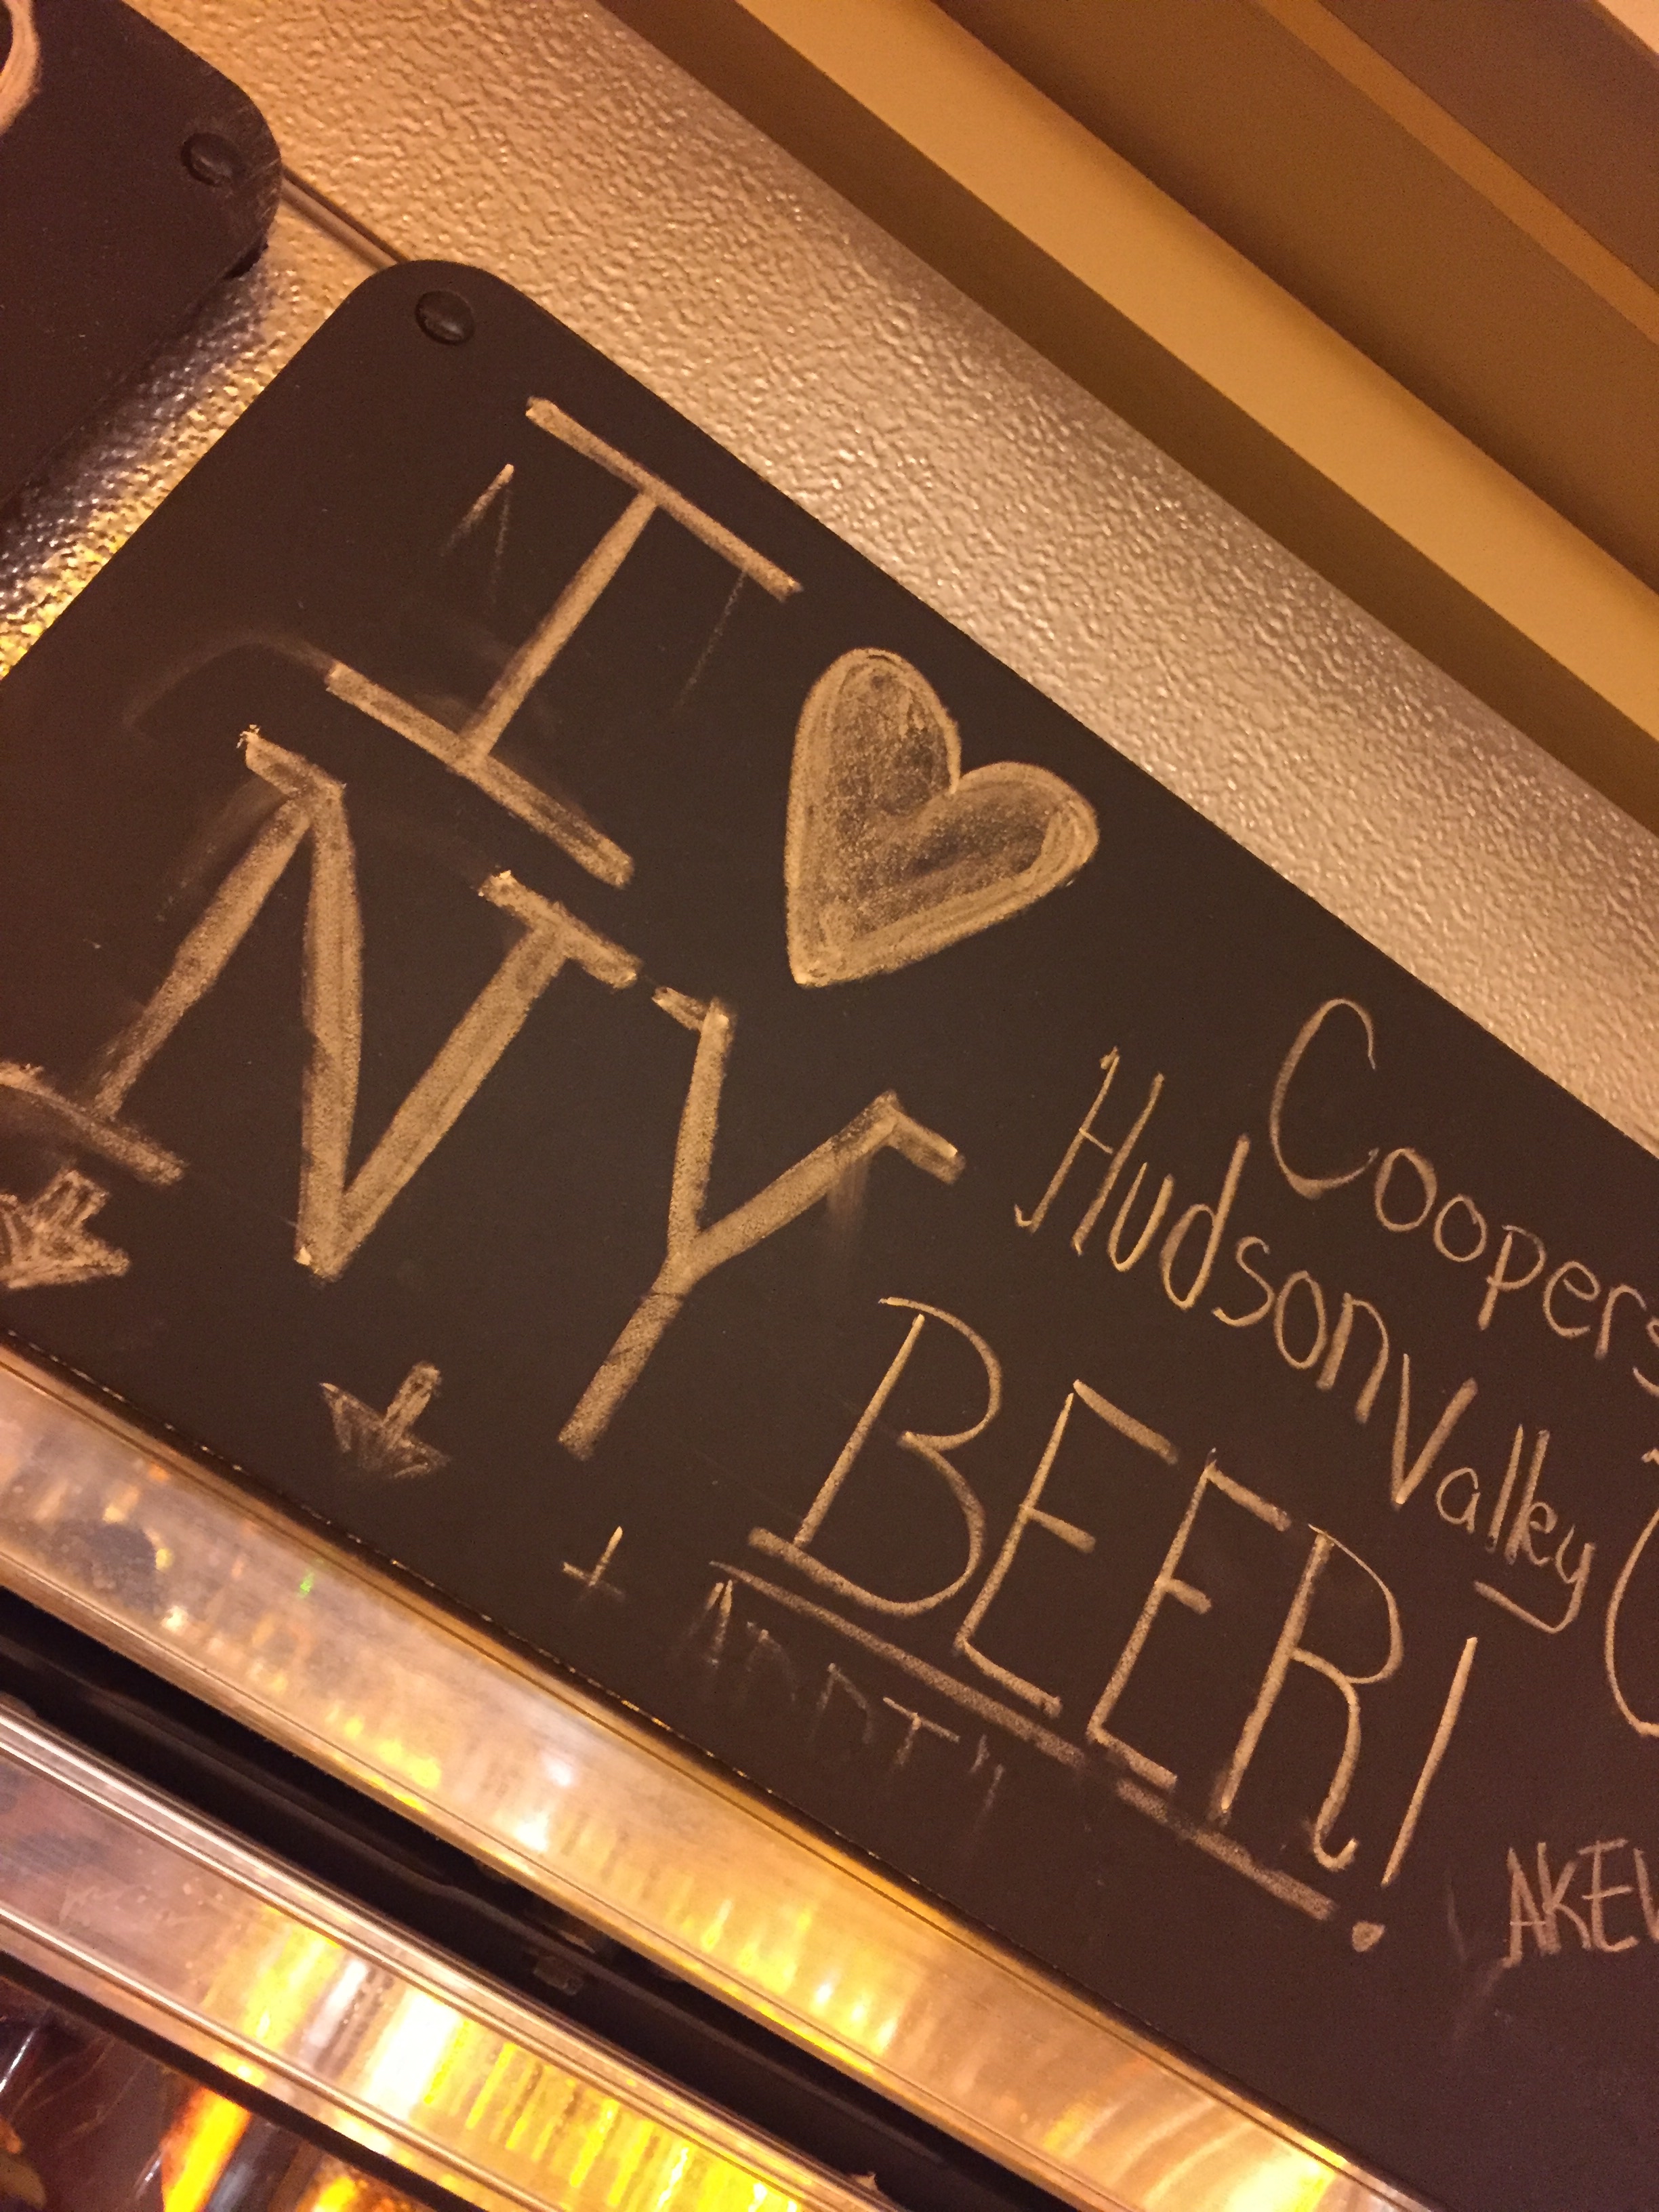
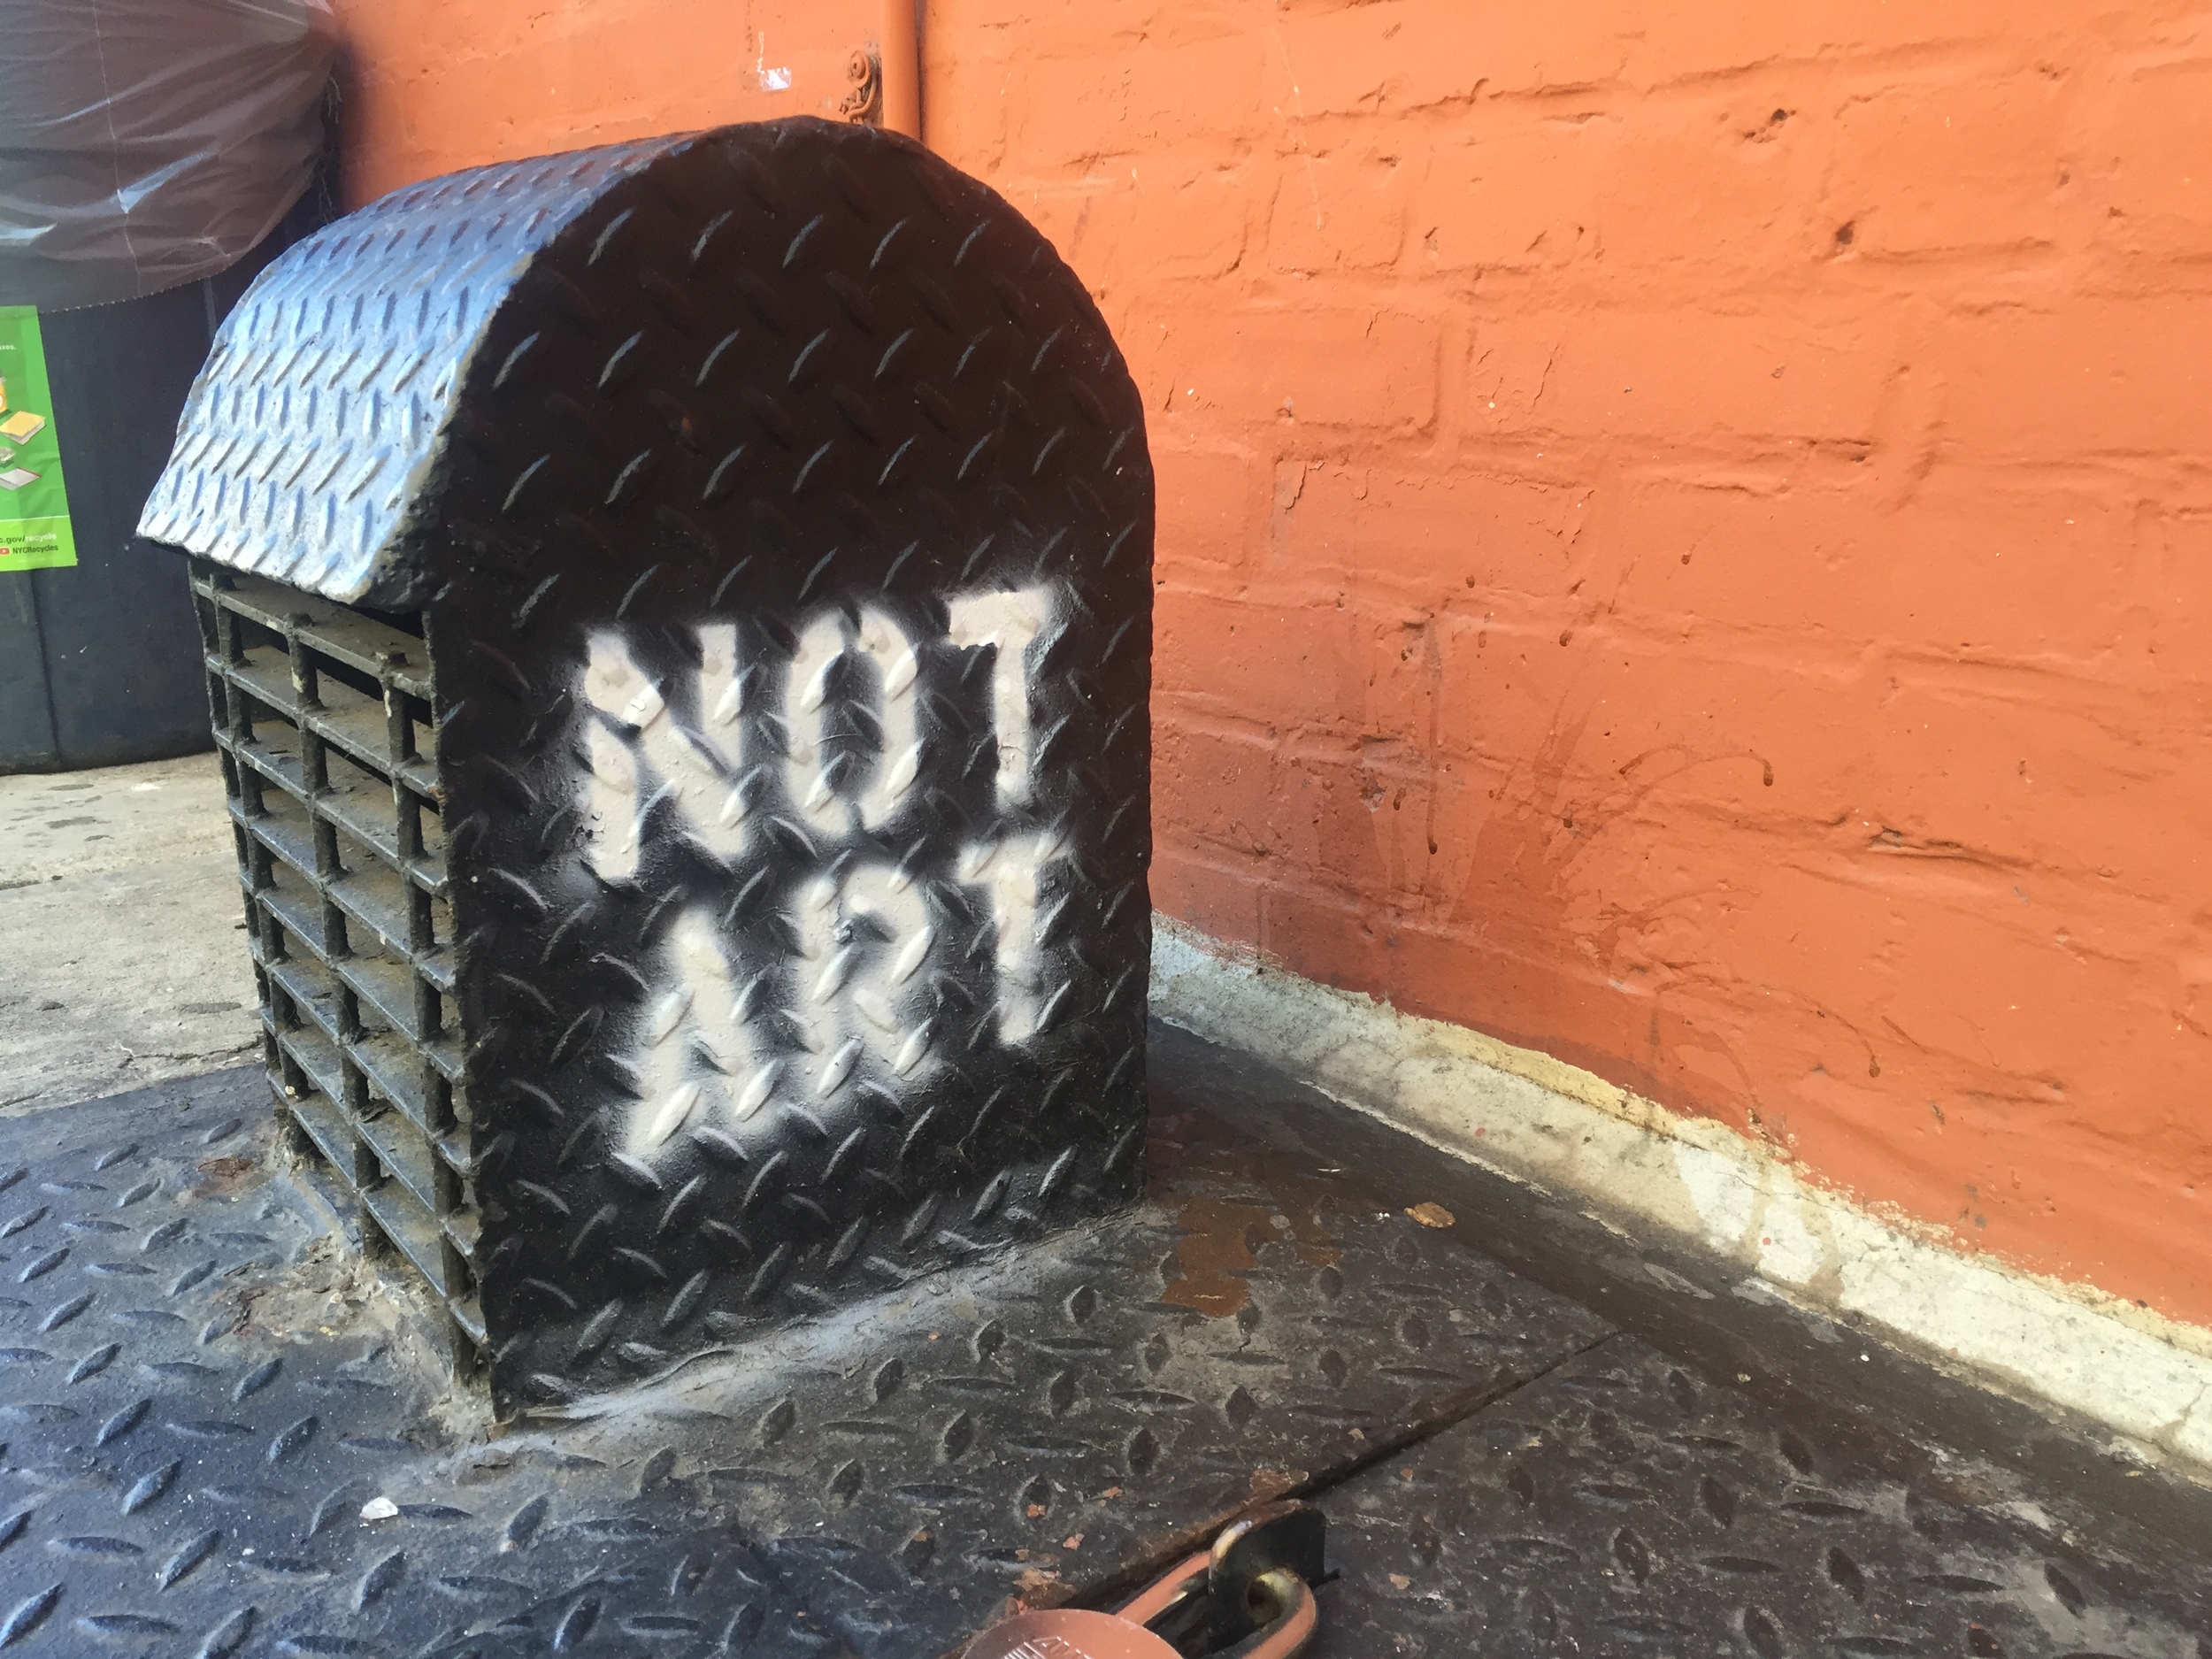
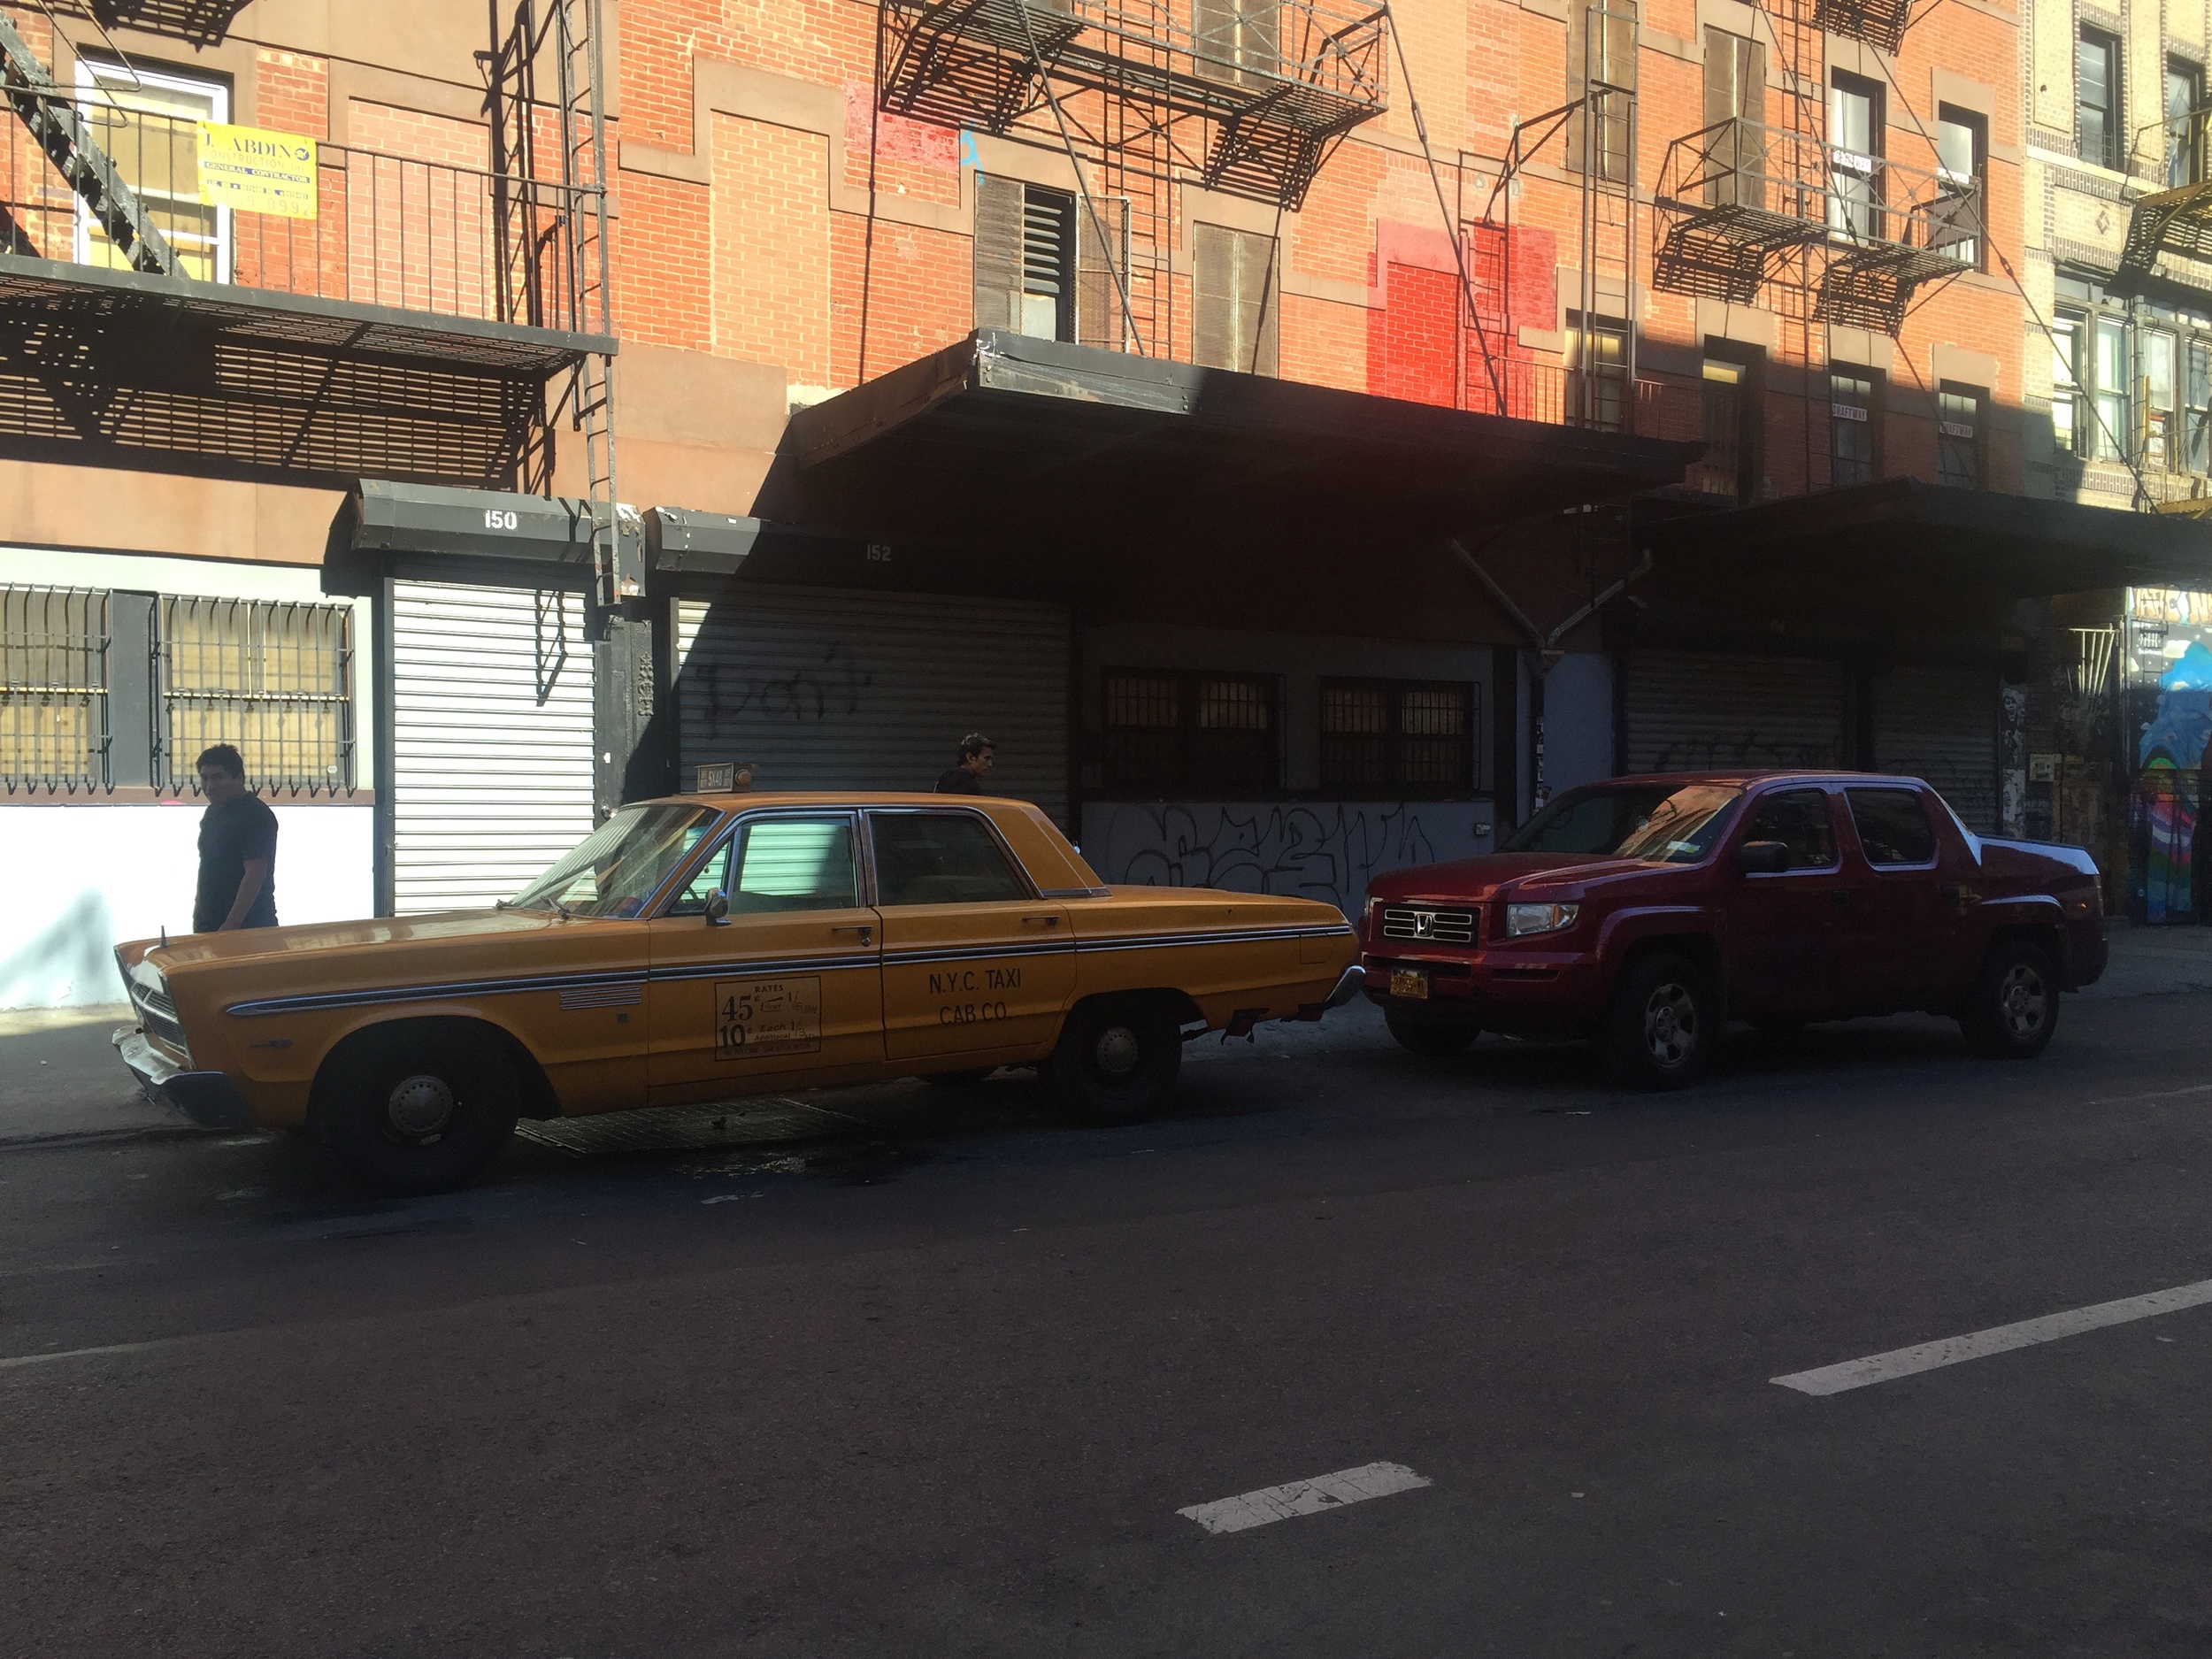
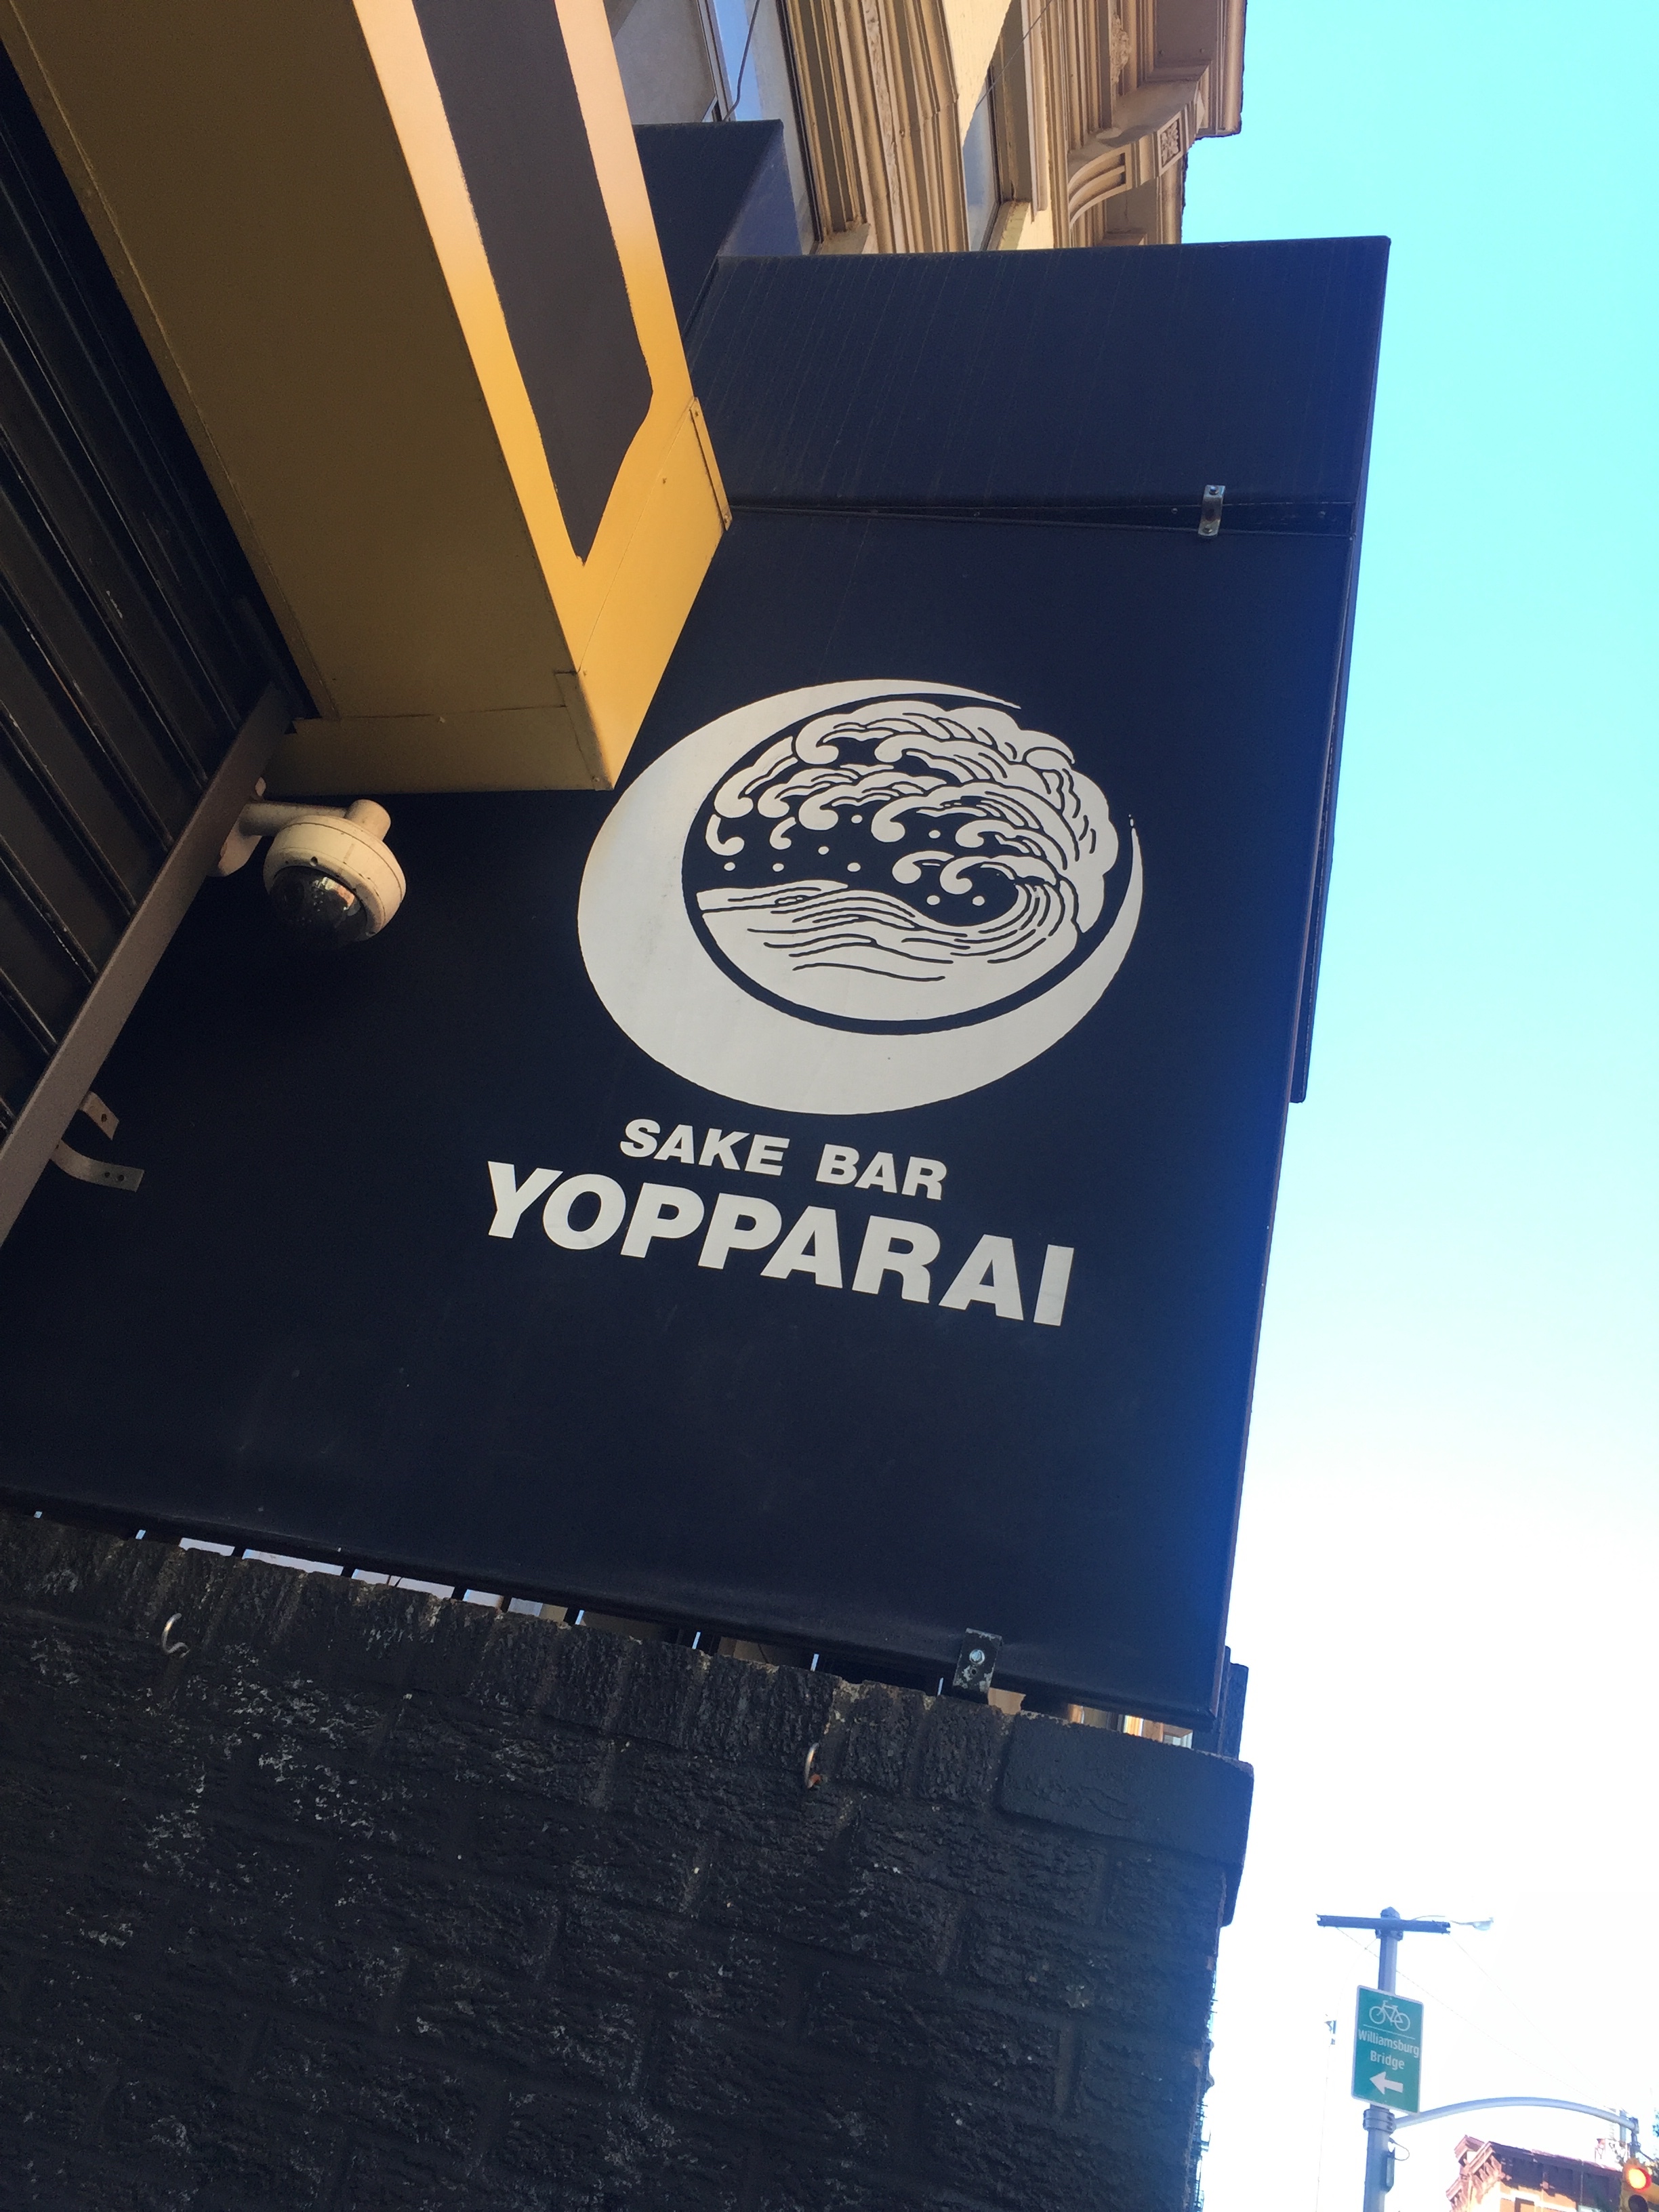
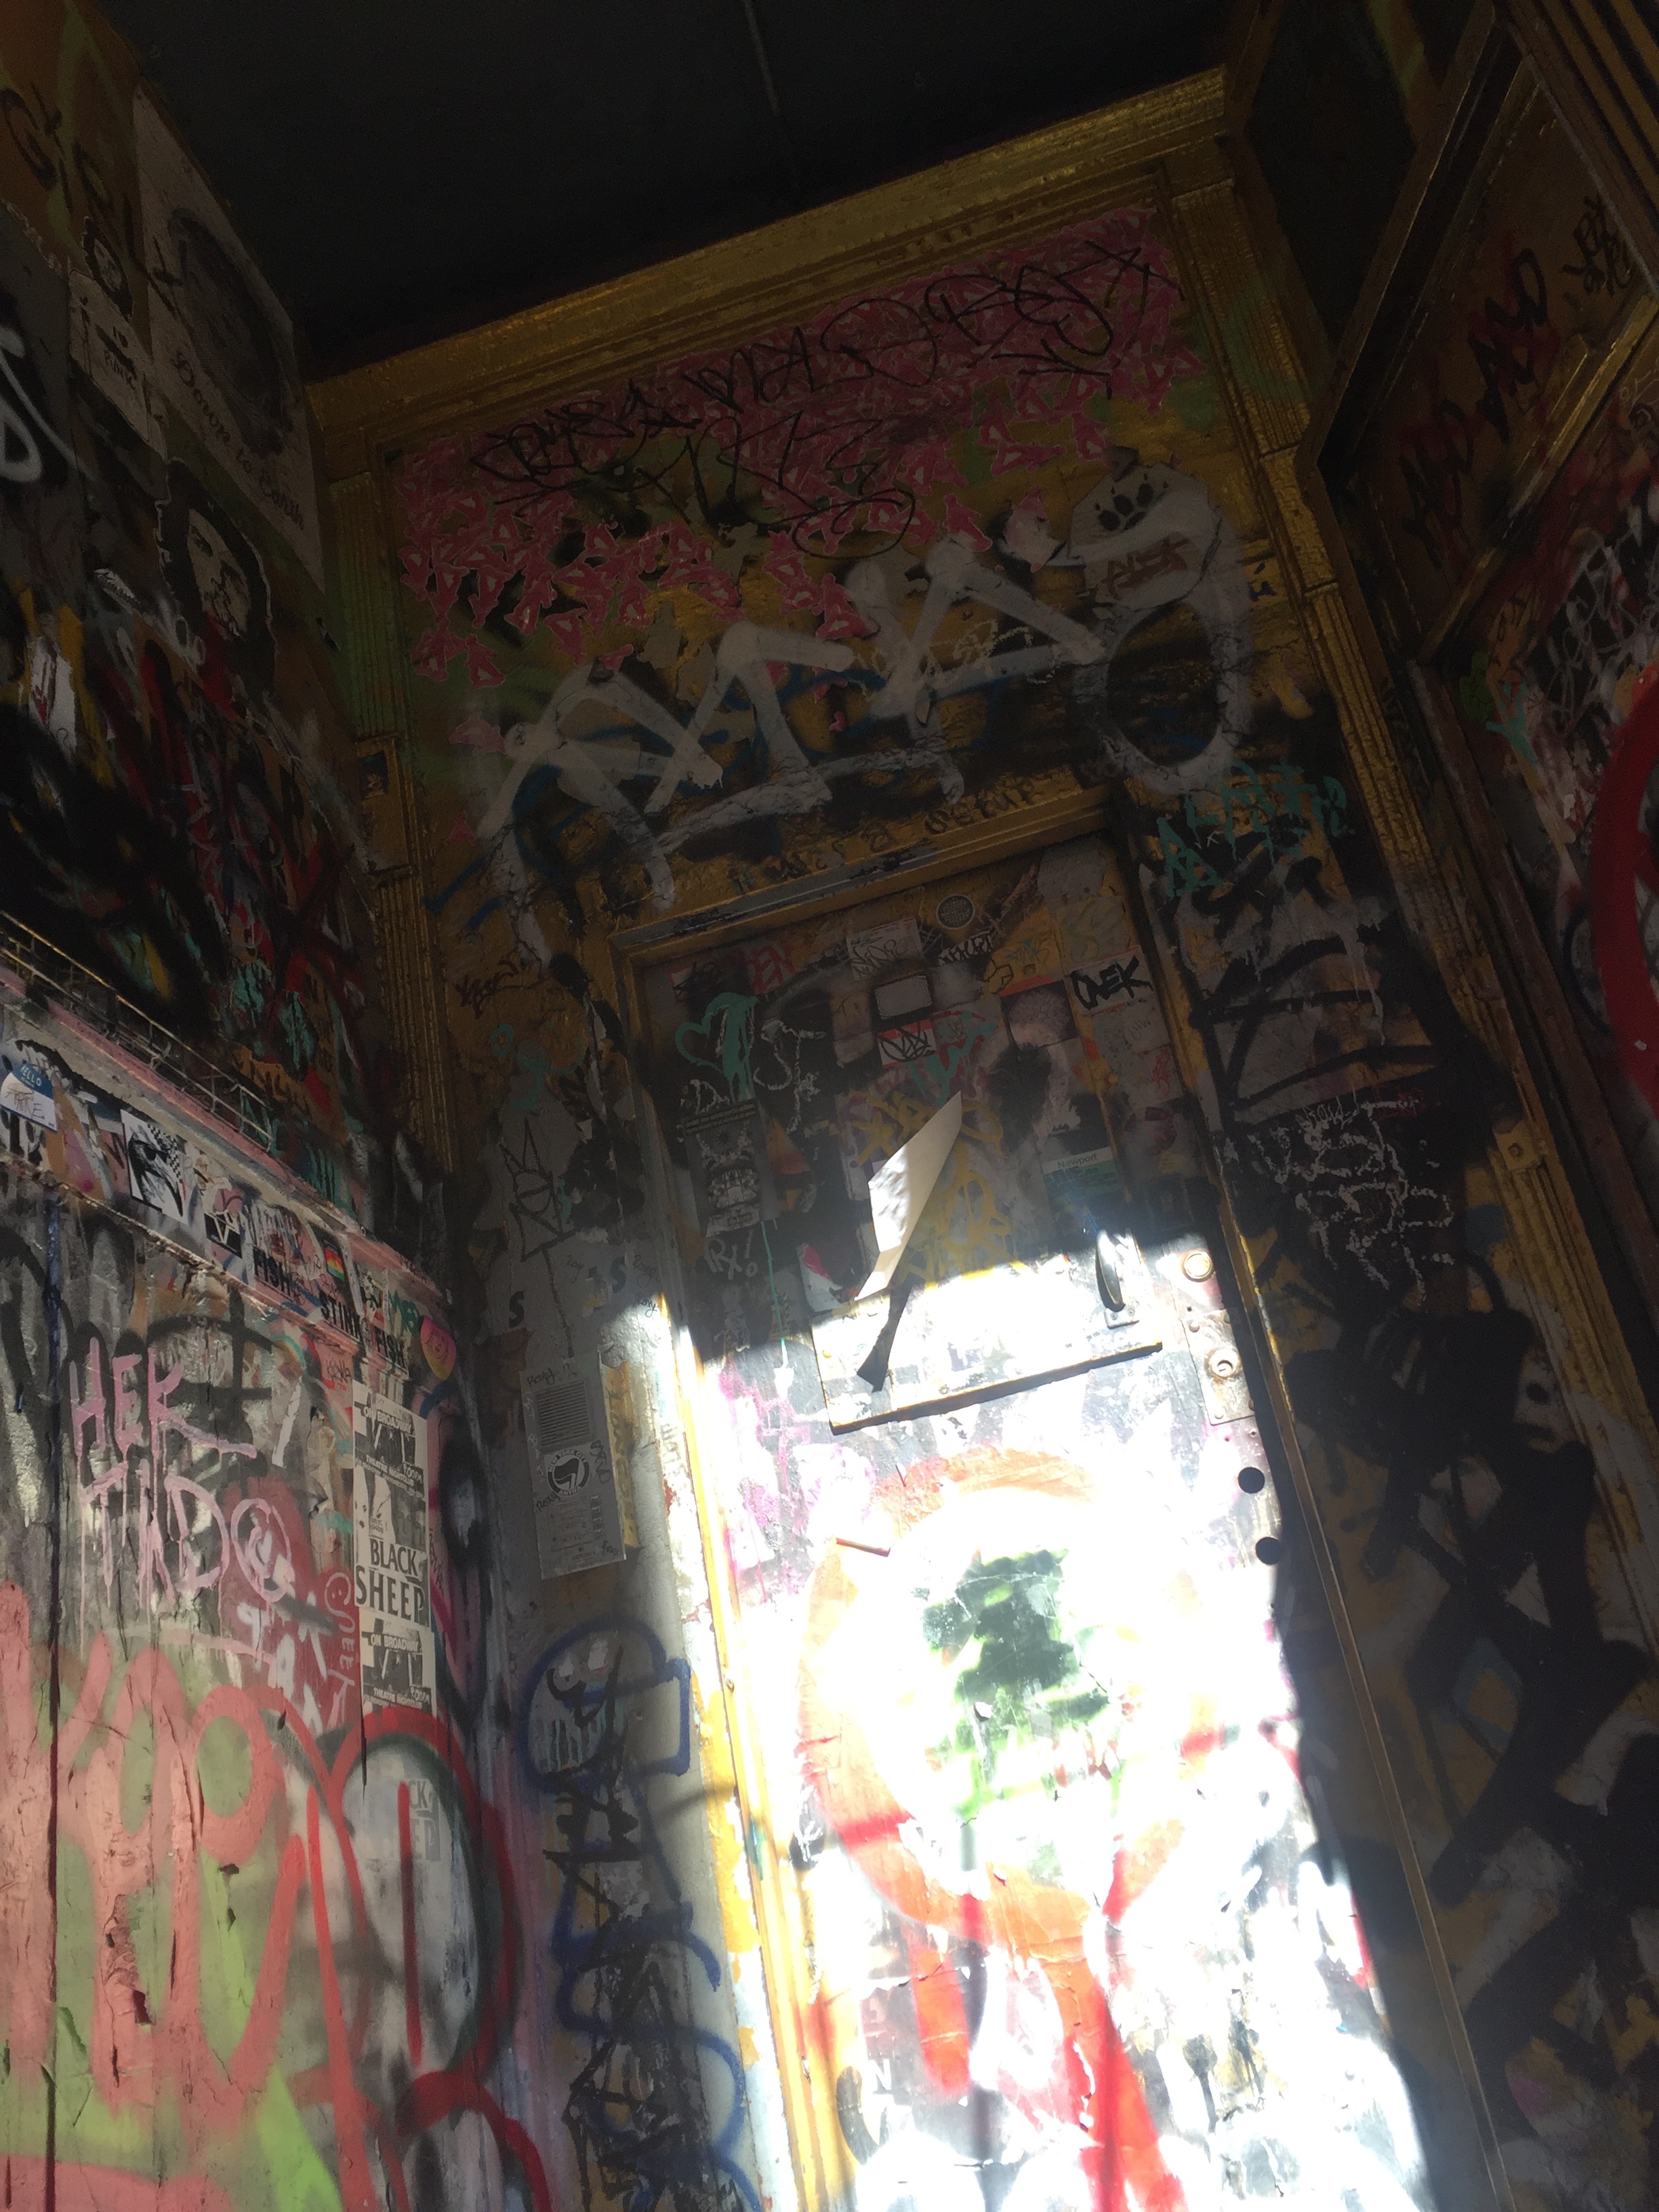
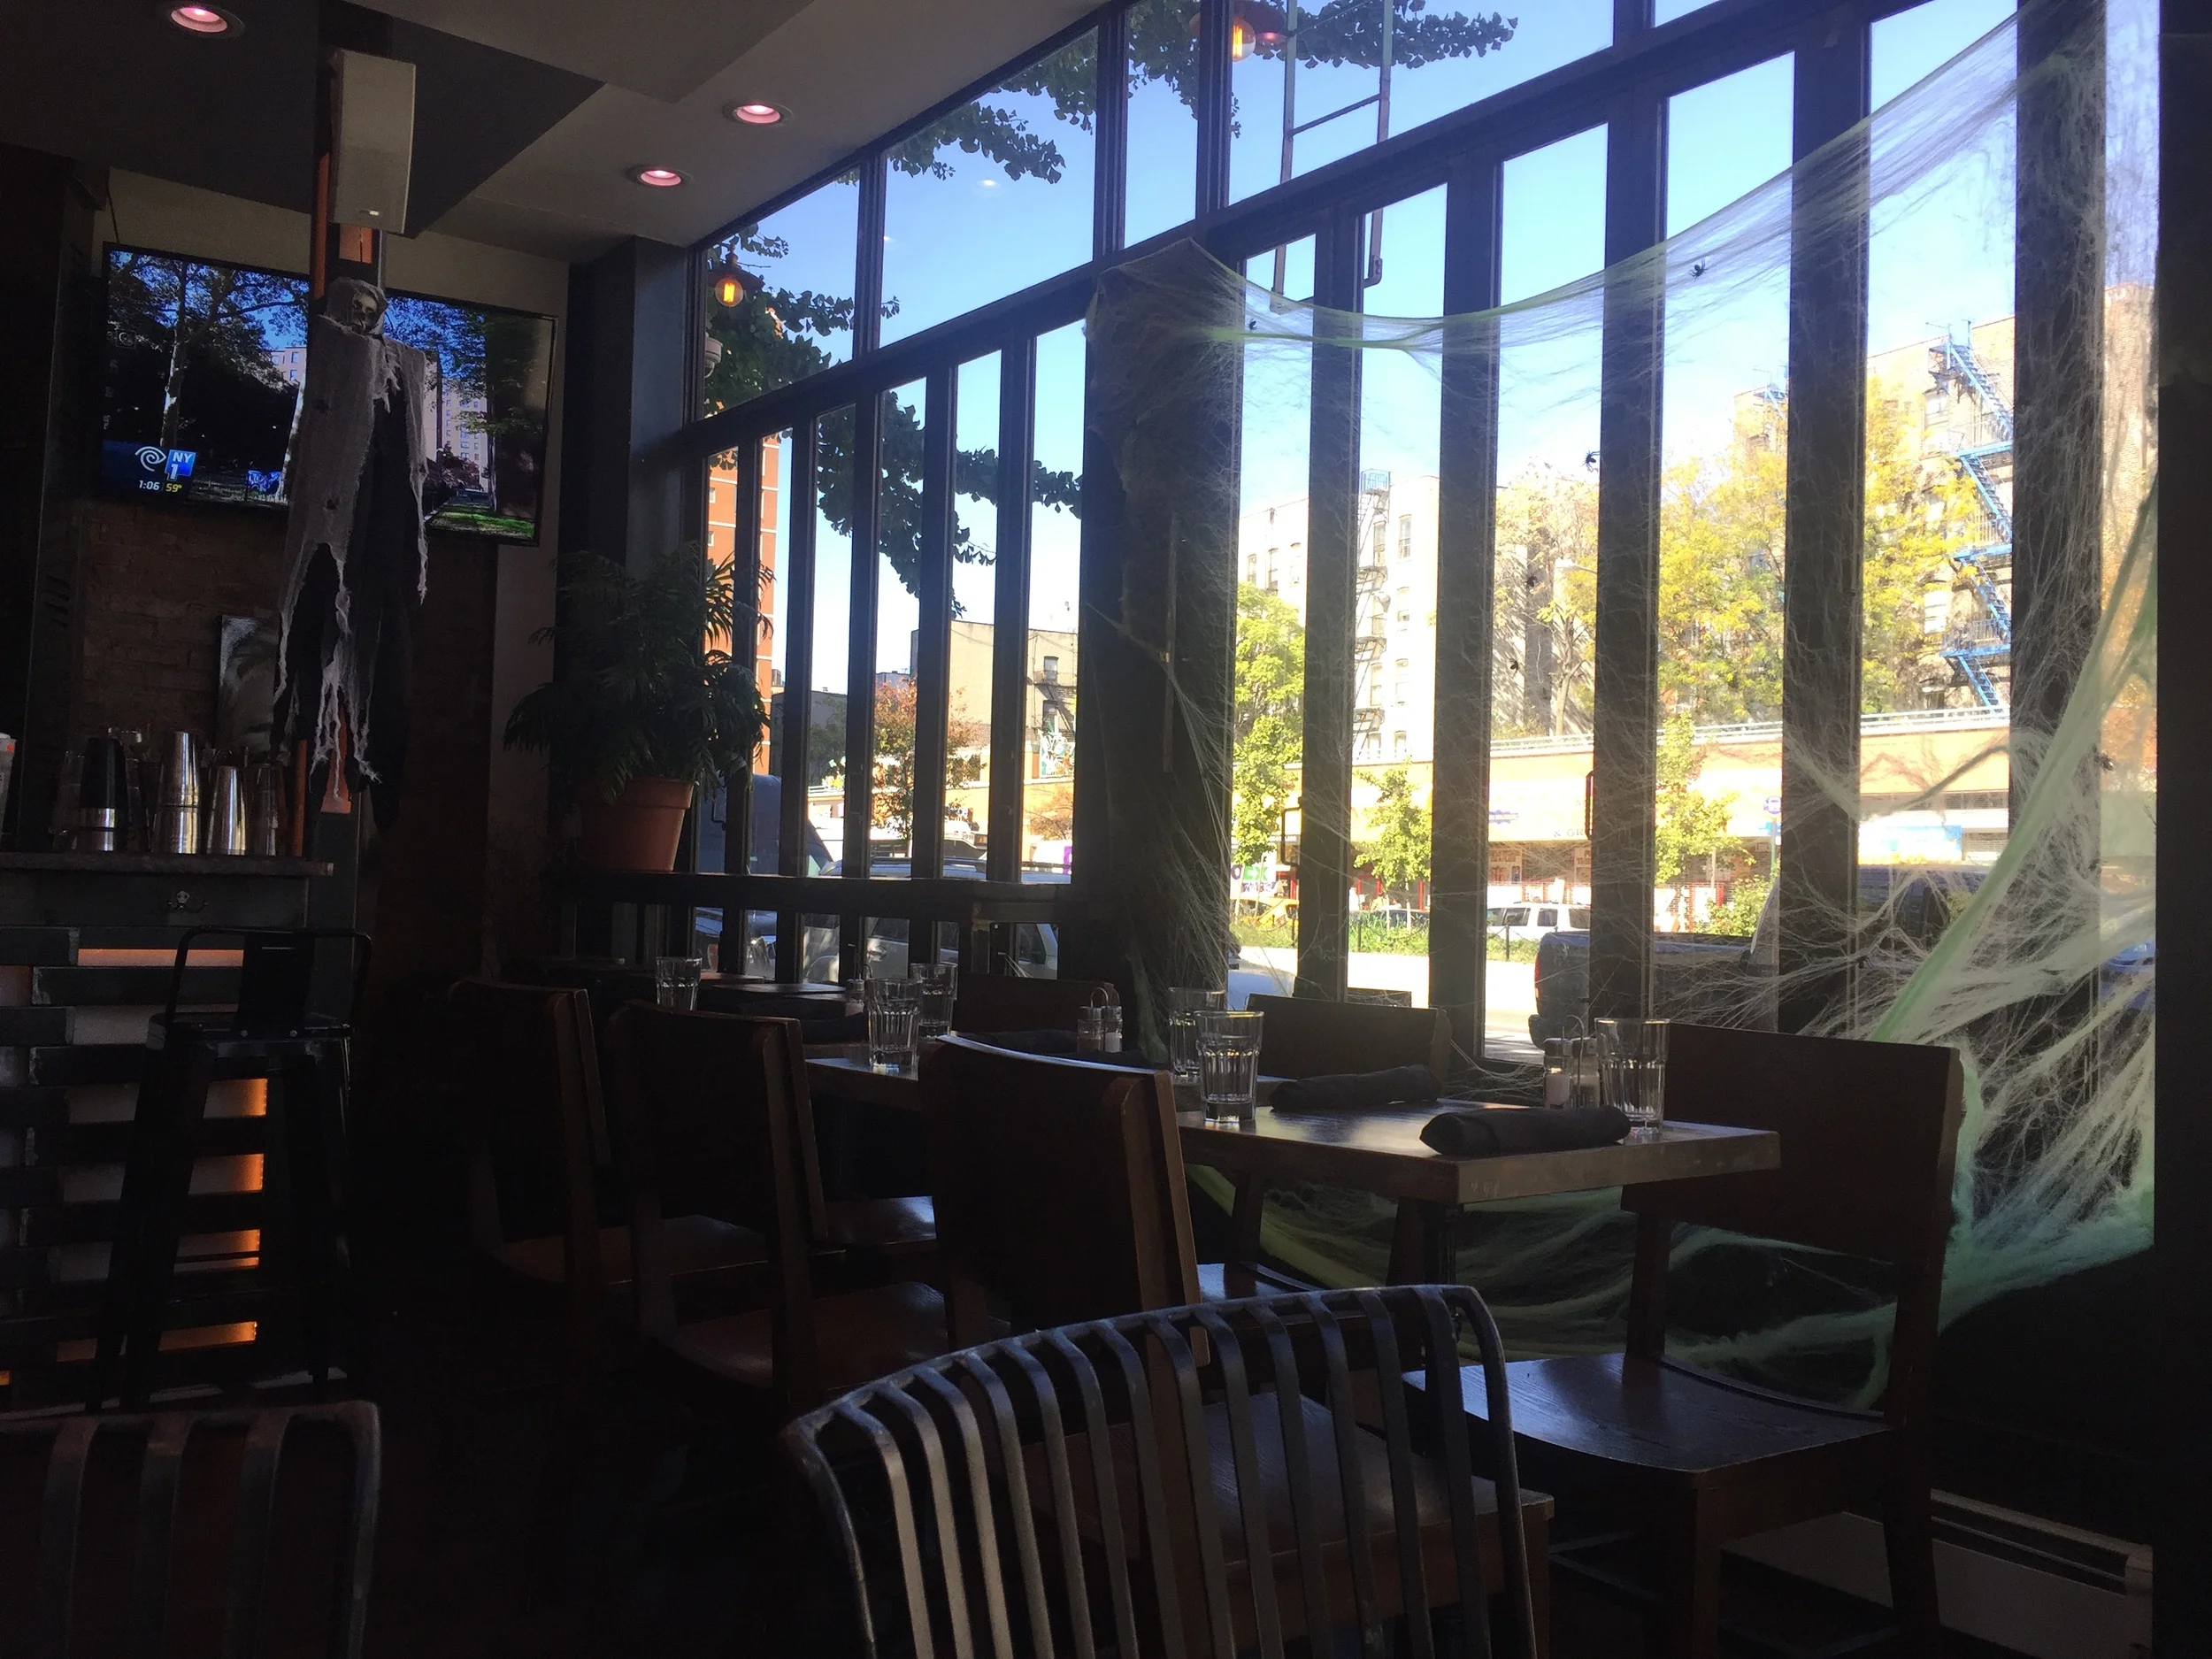
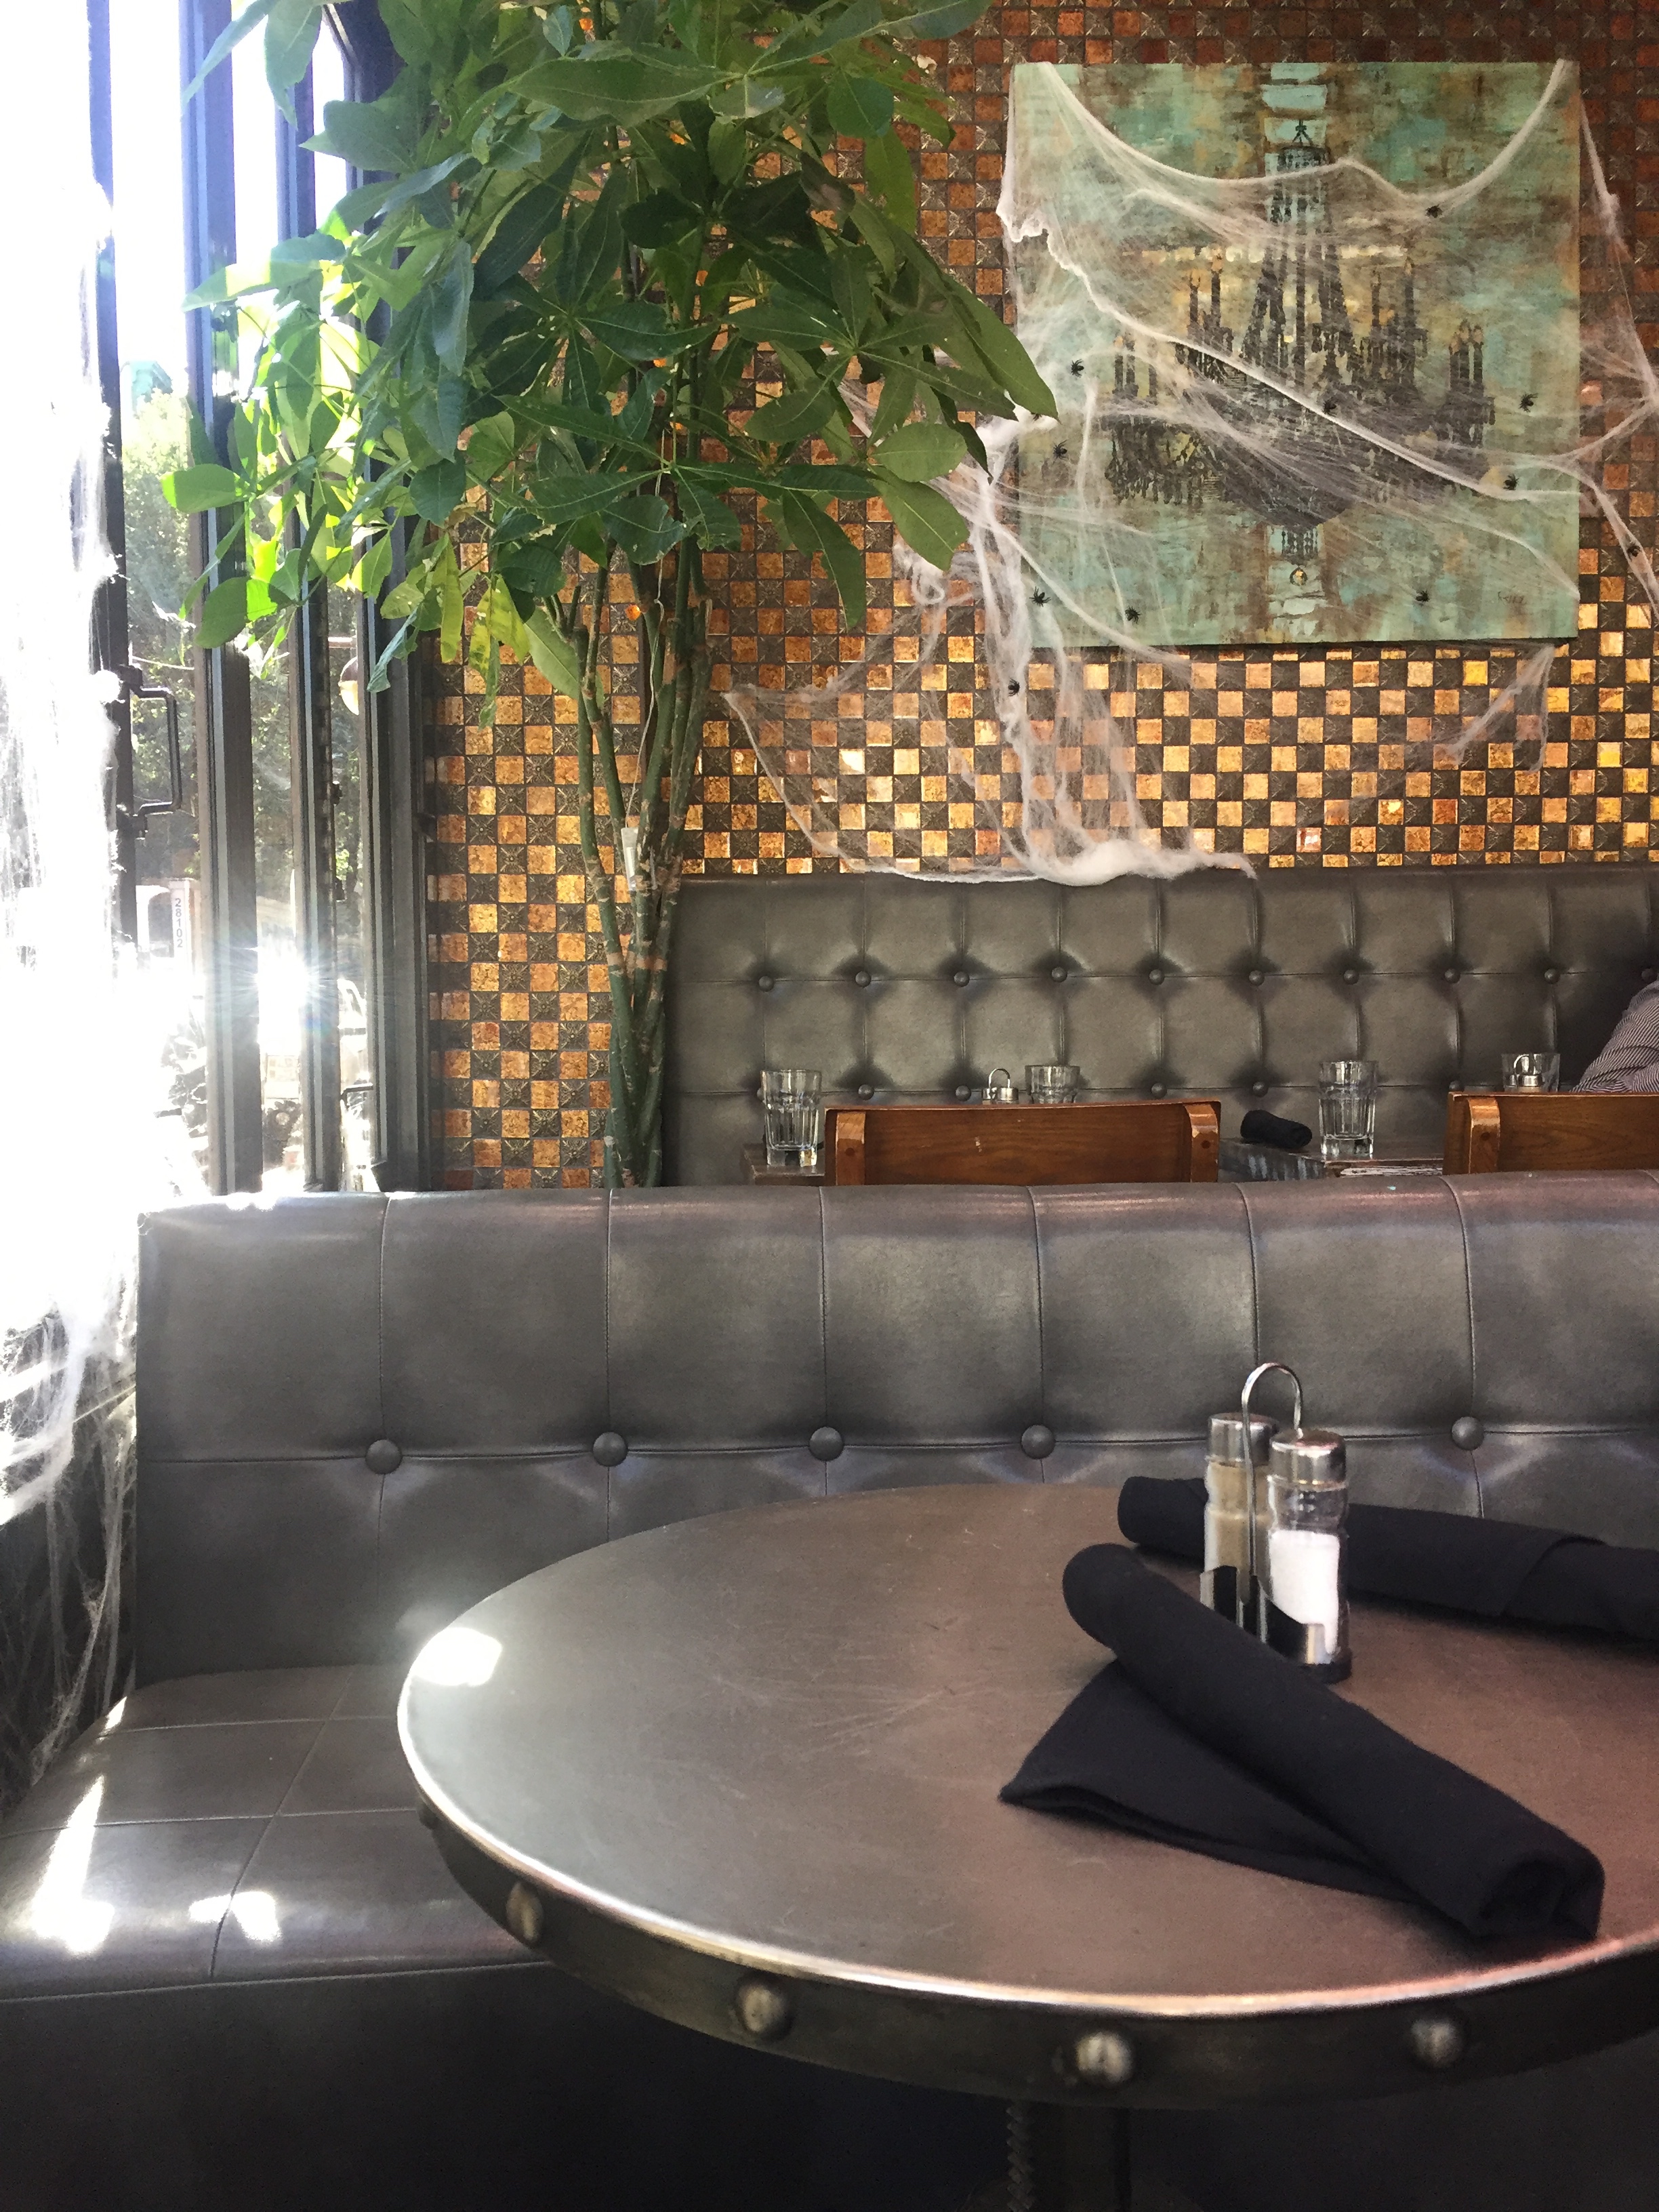
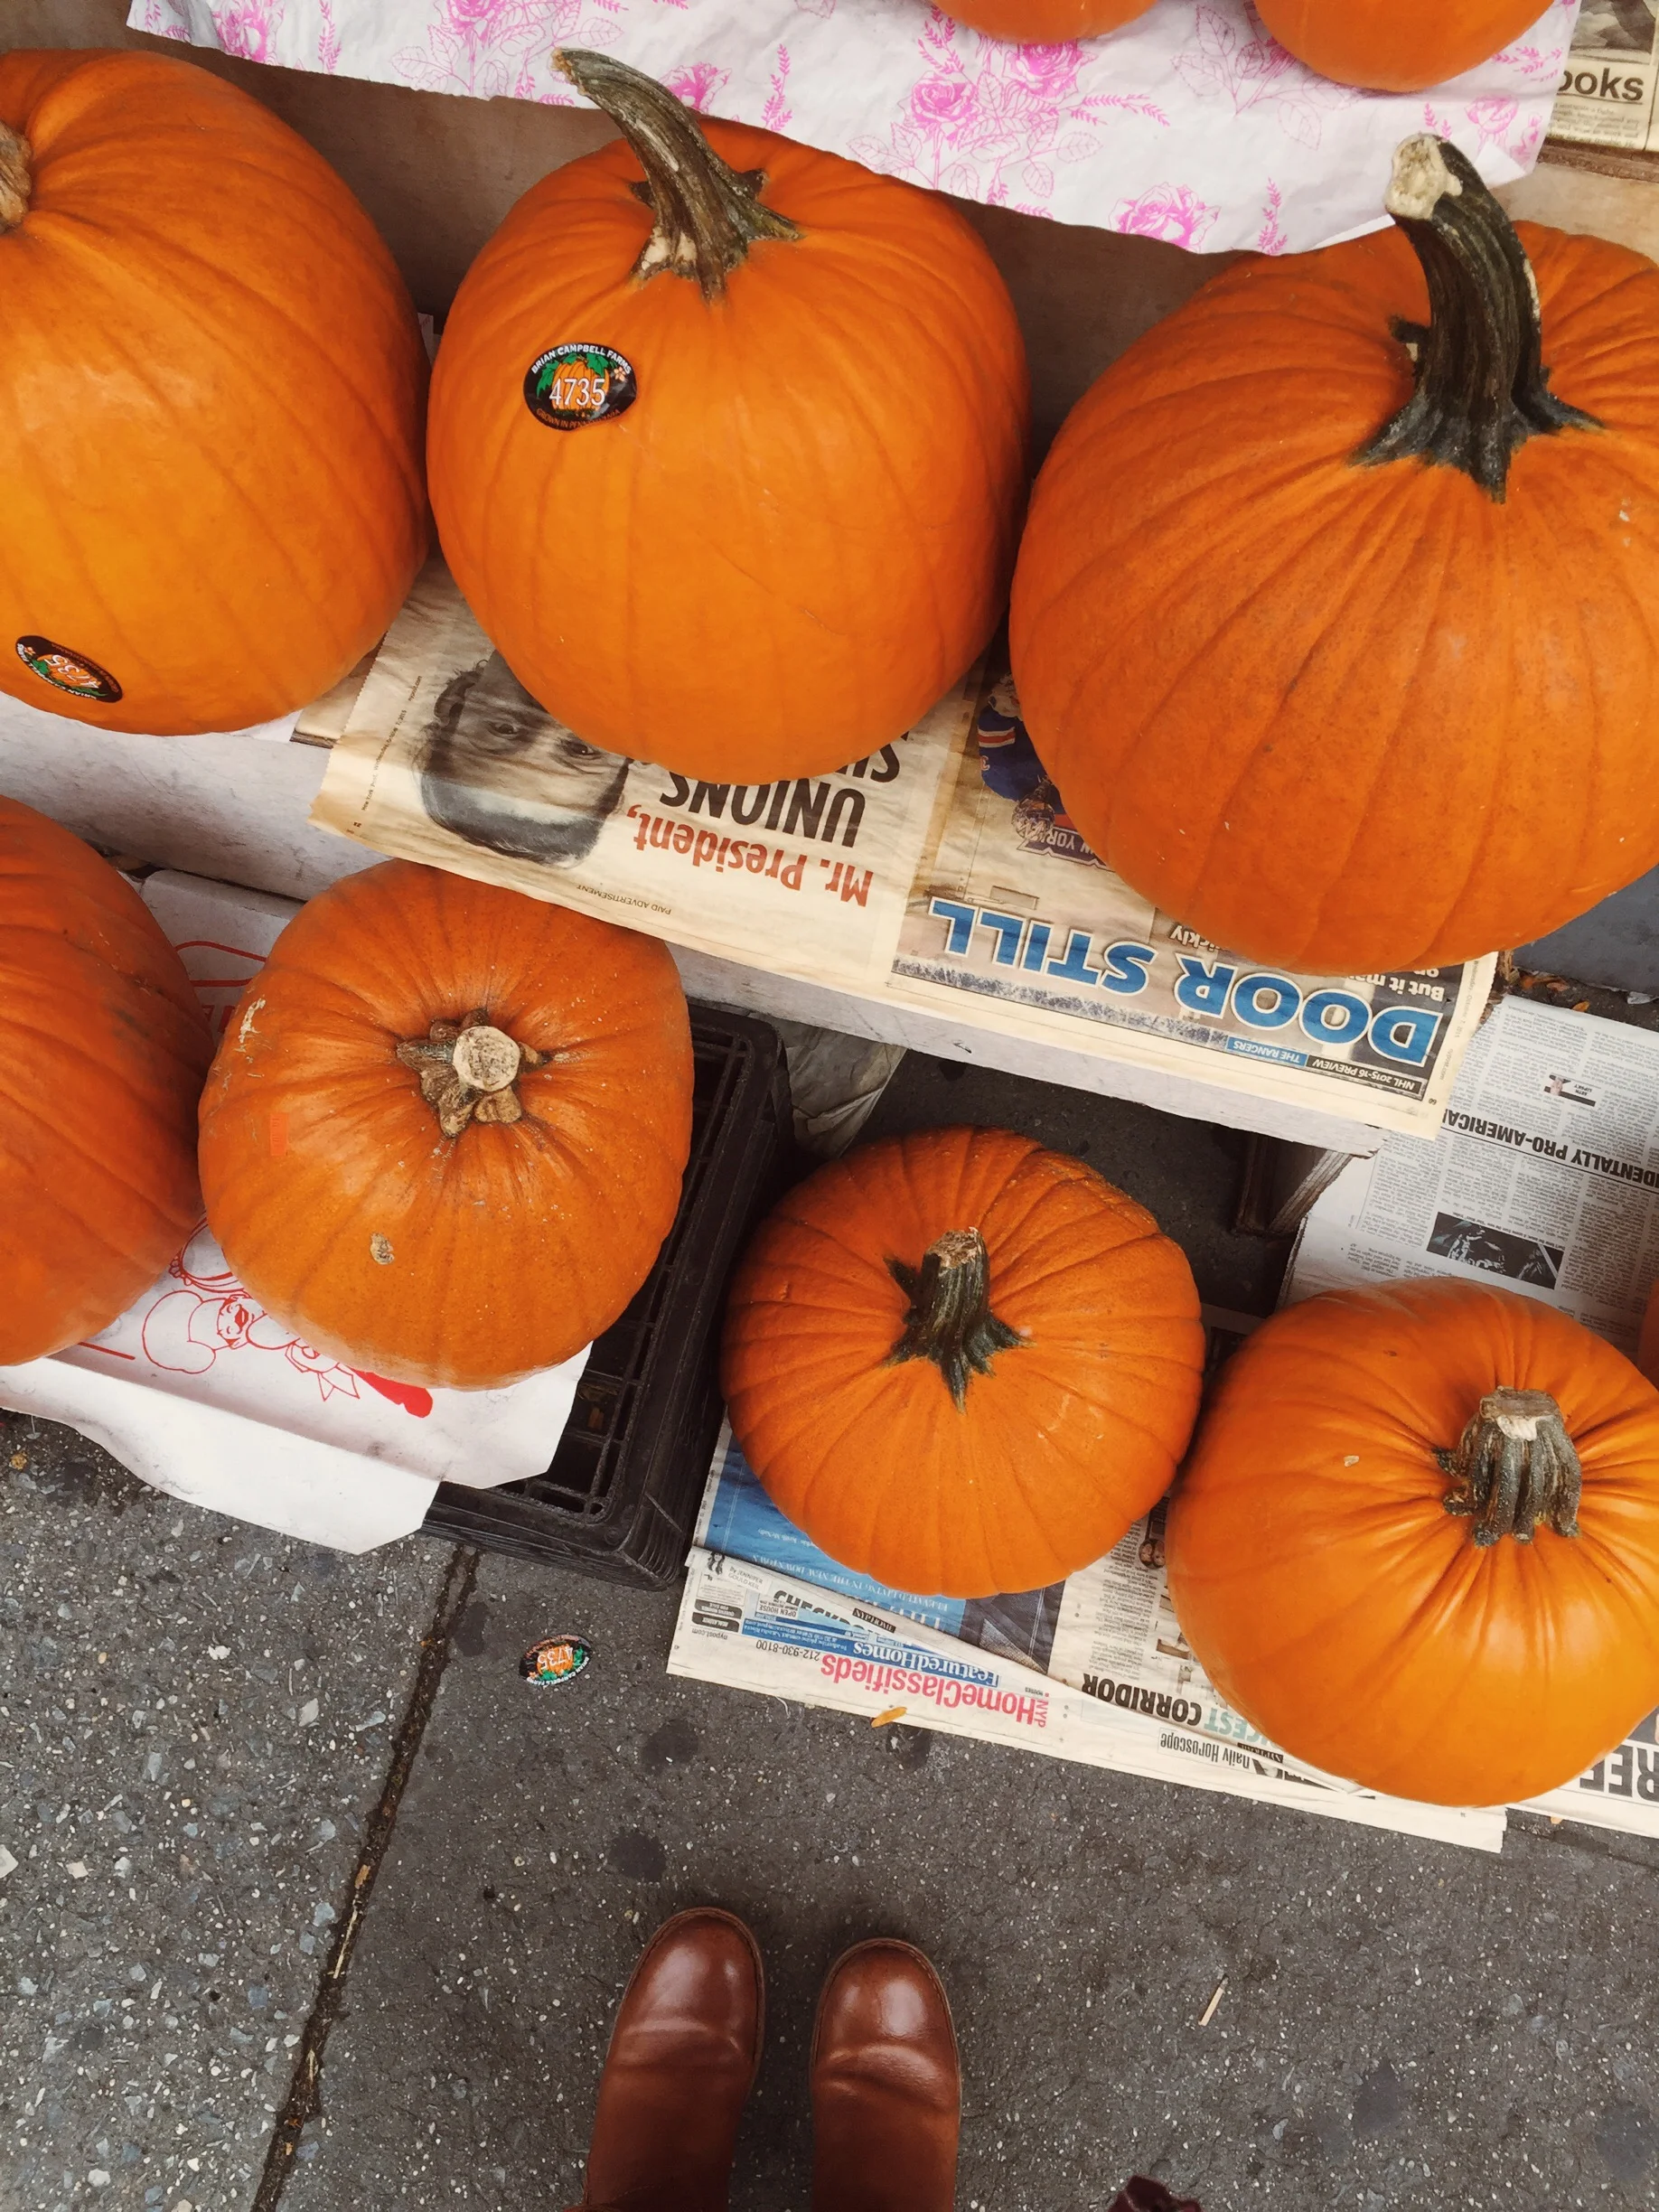
View more photos from Day One, below! I ate at StickyRice, drank craft beer at Top Hops, and stayed at The Holiday Inn - Lower East Side (it was super nice and newly renovated).
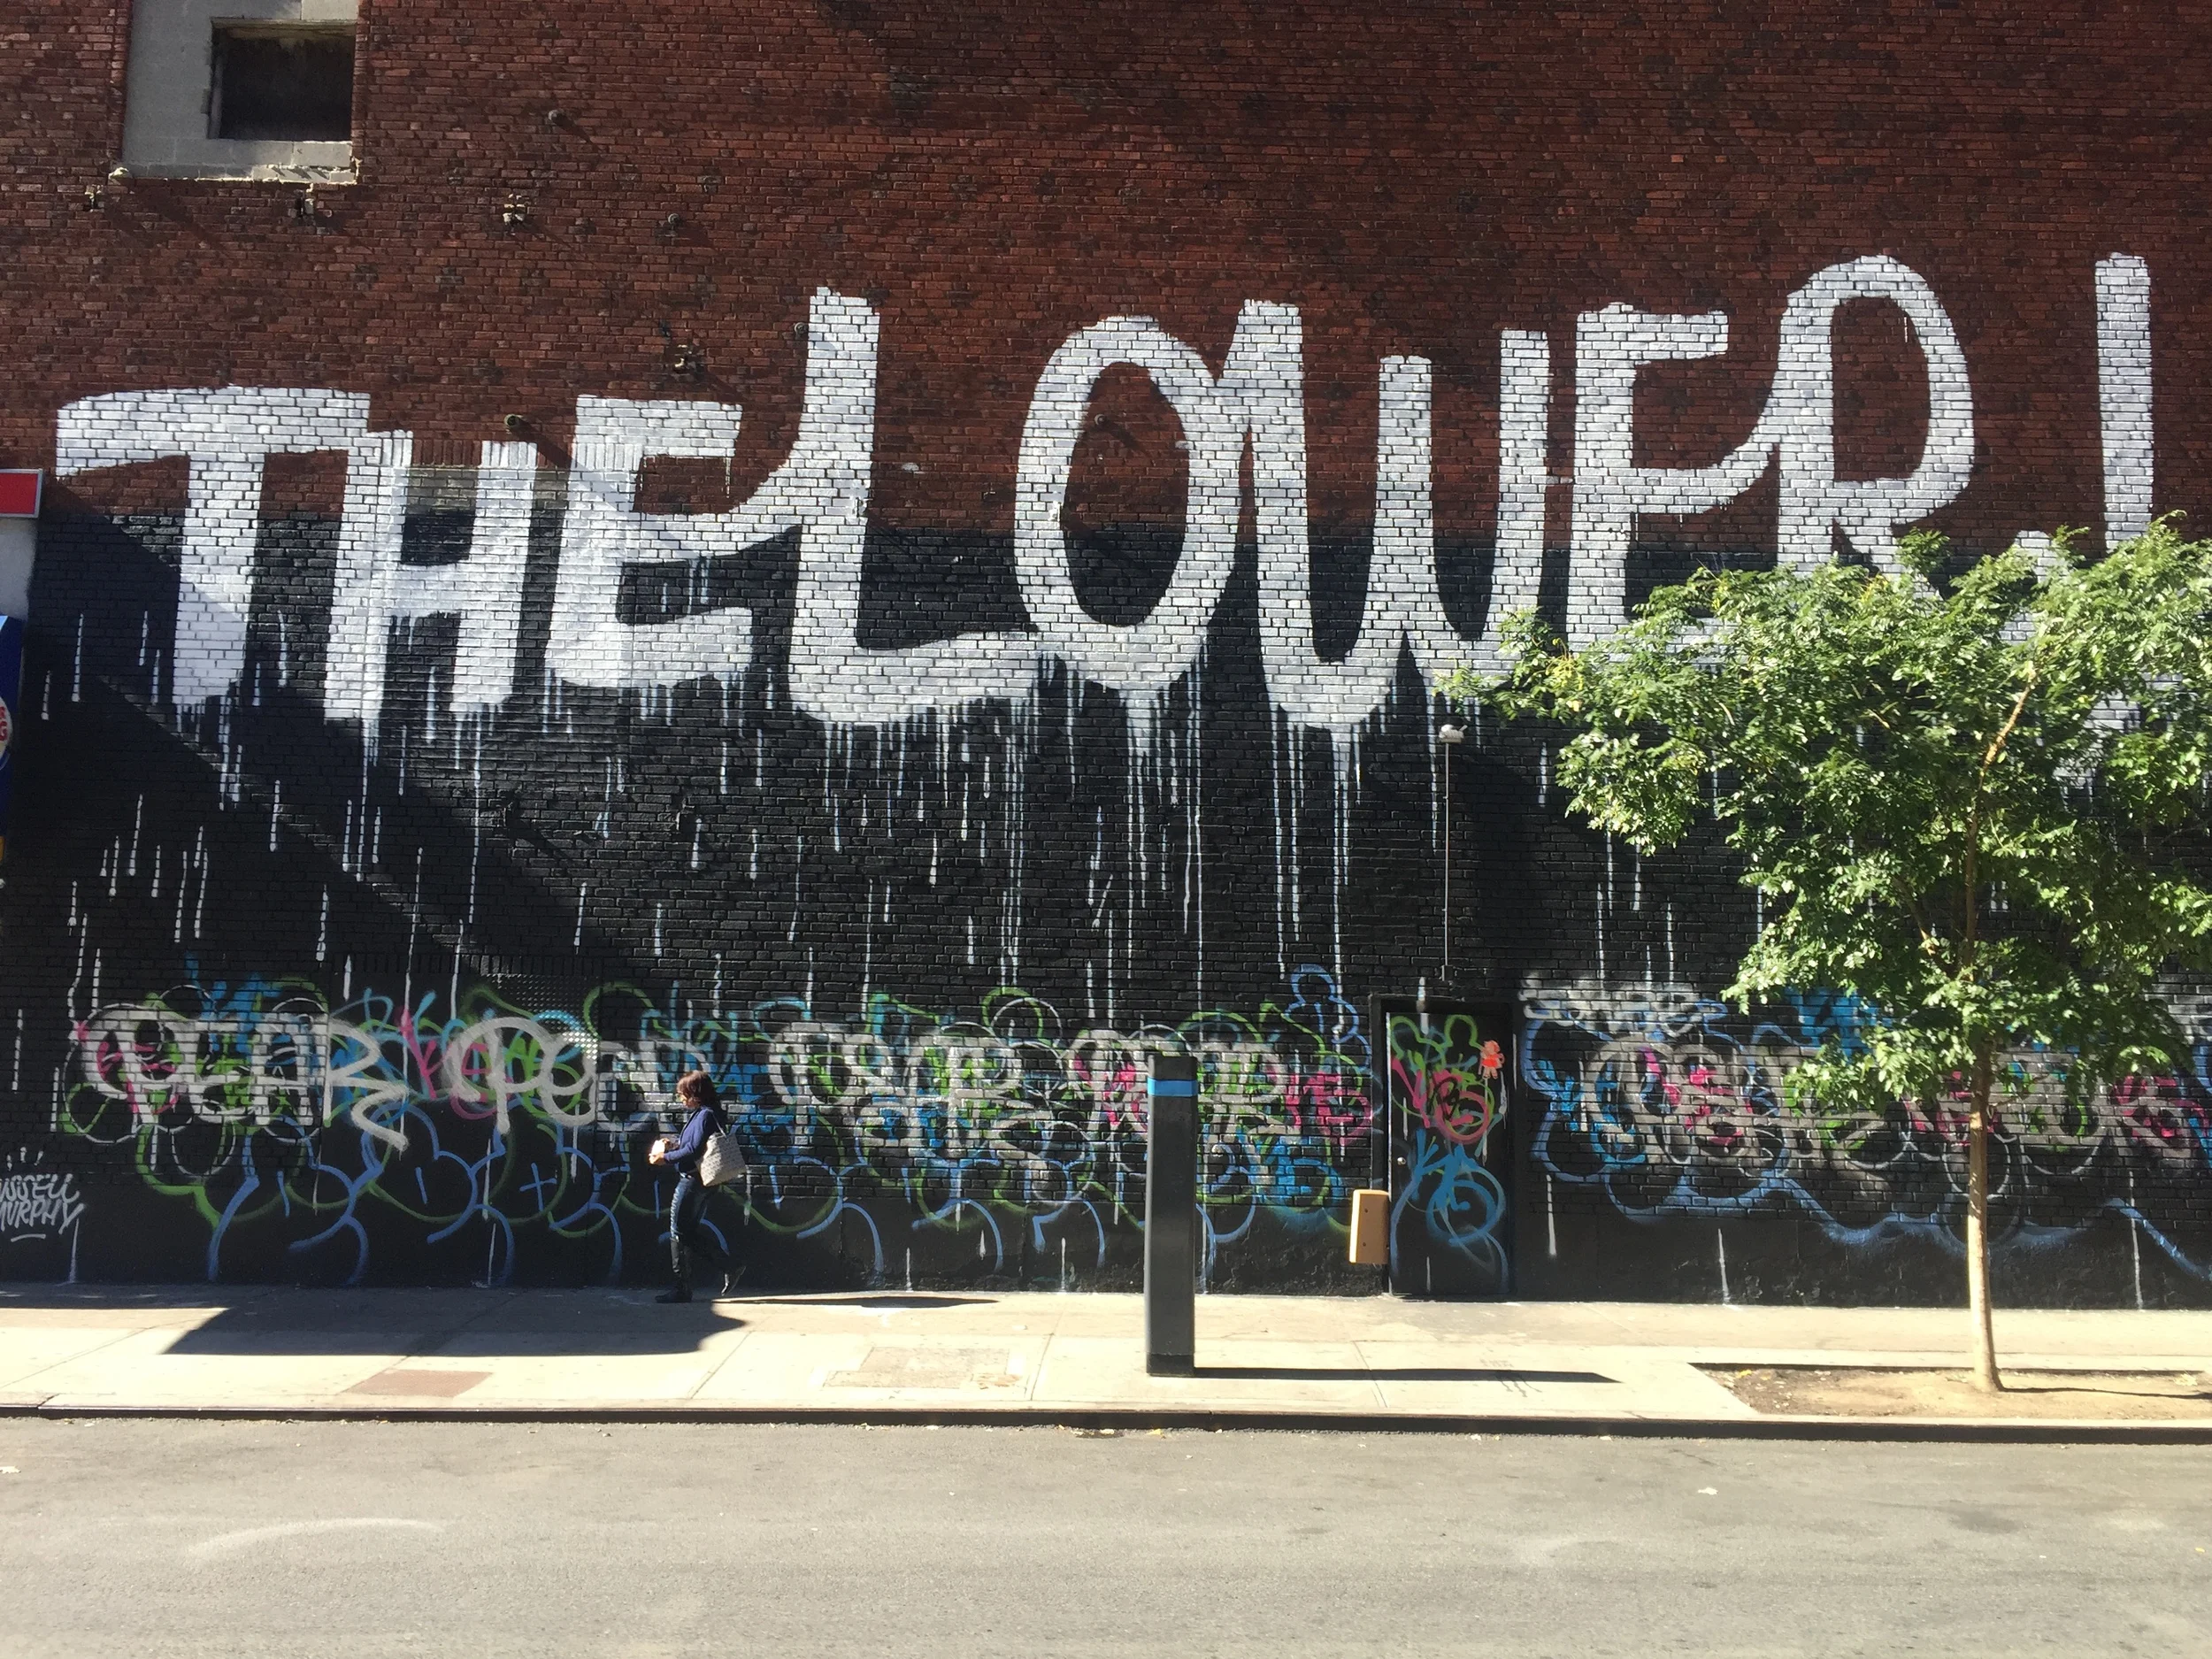
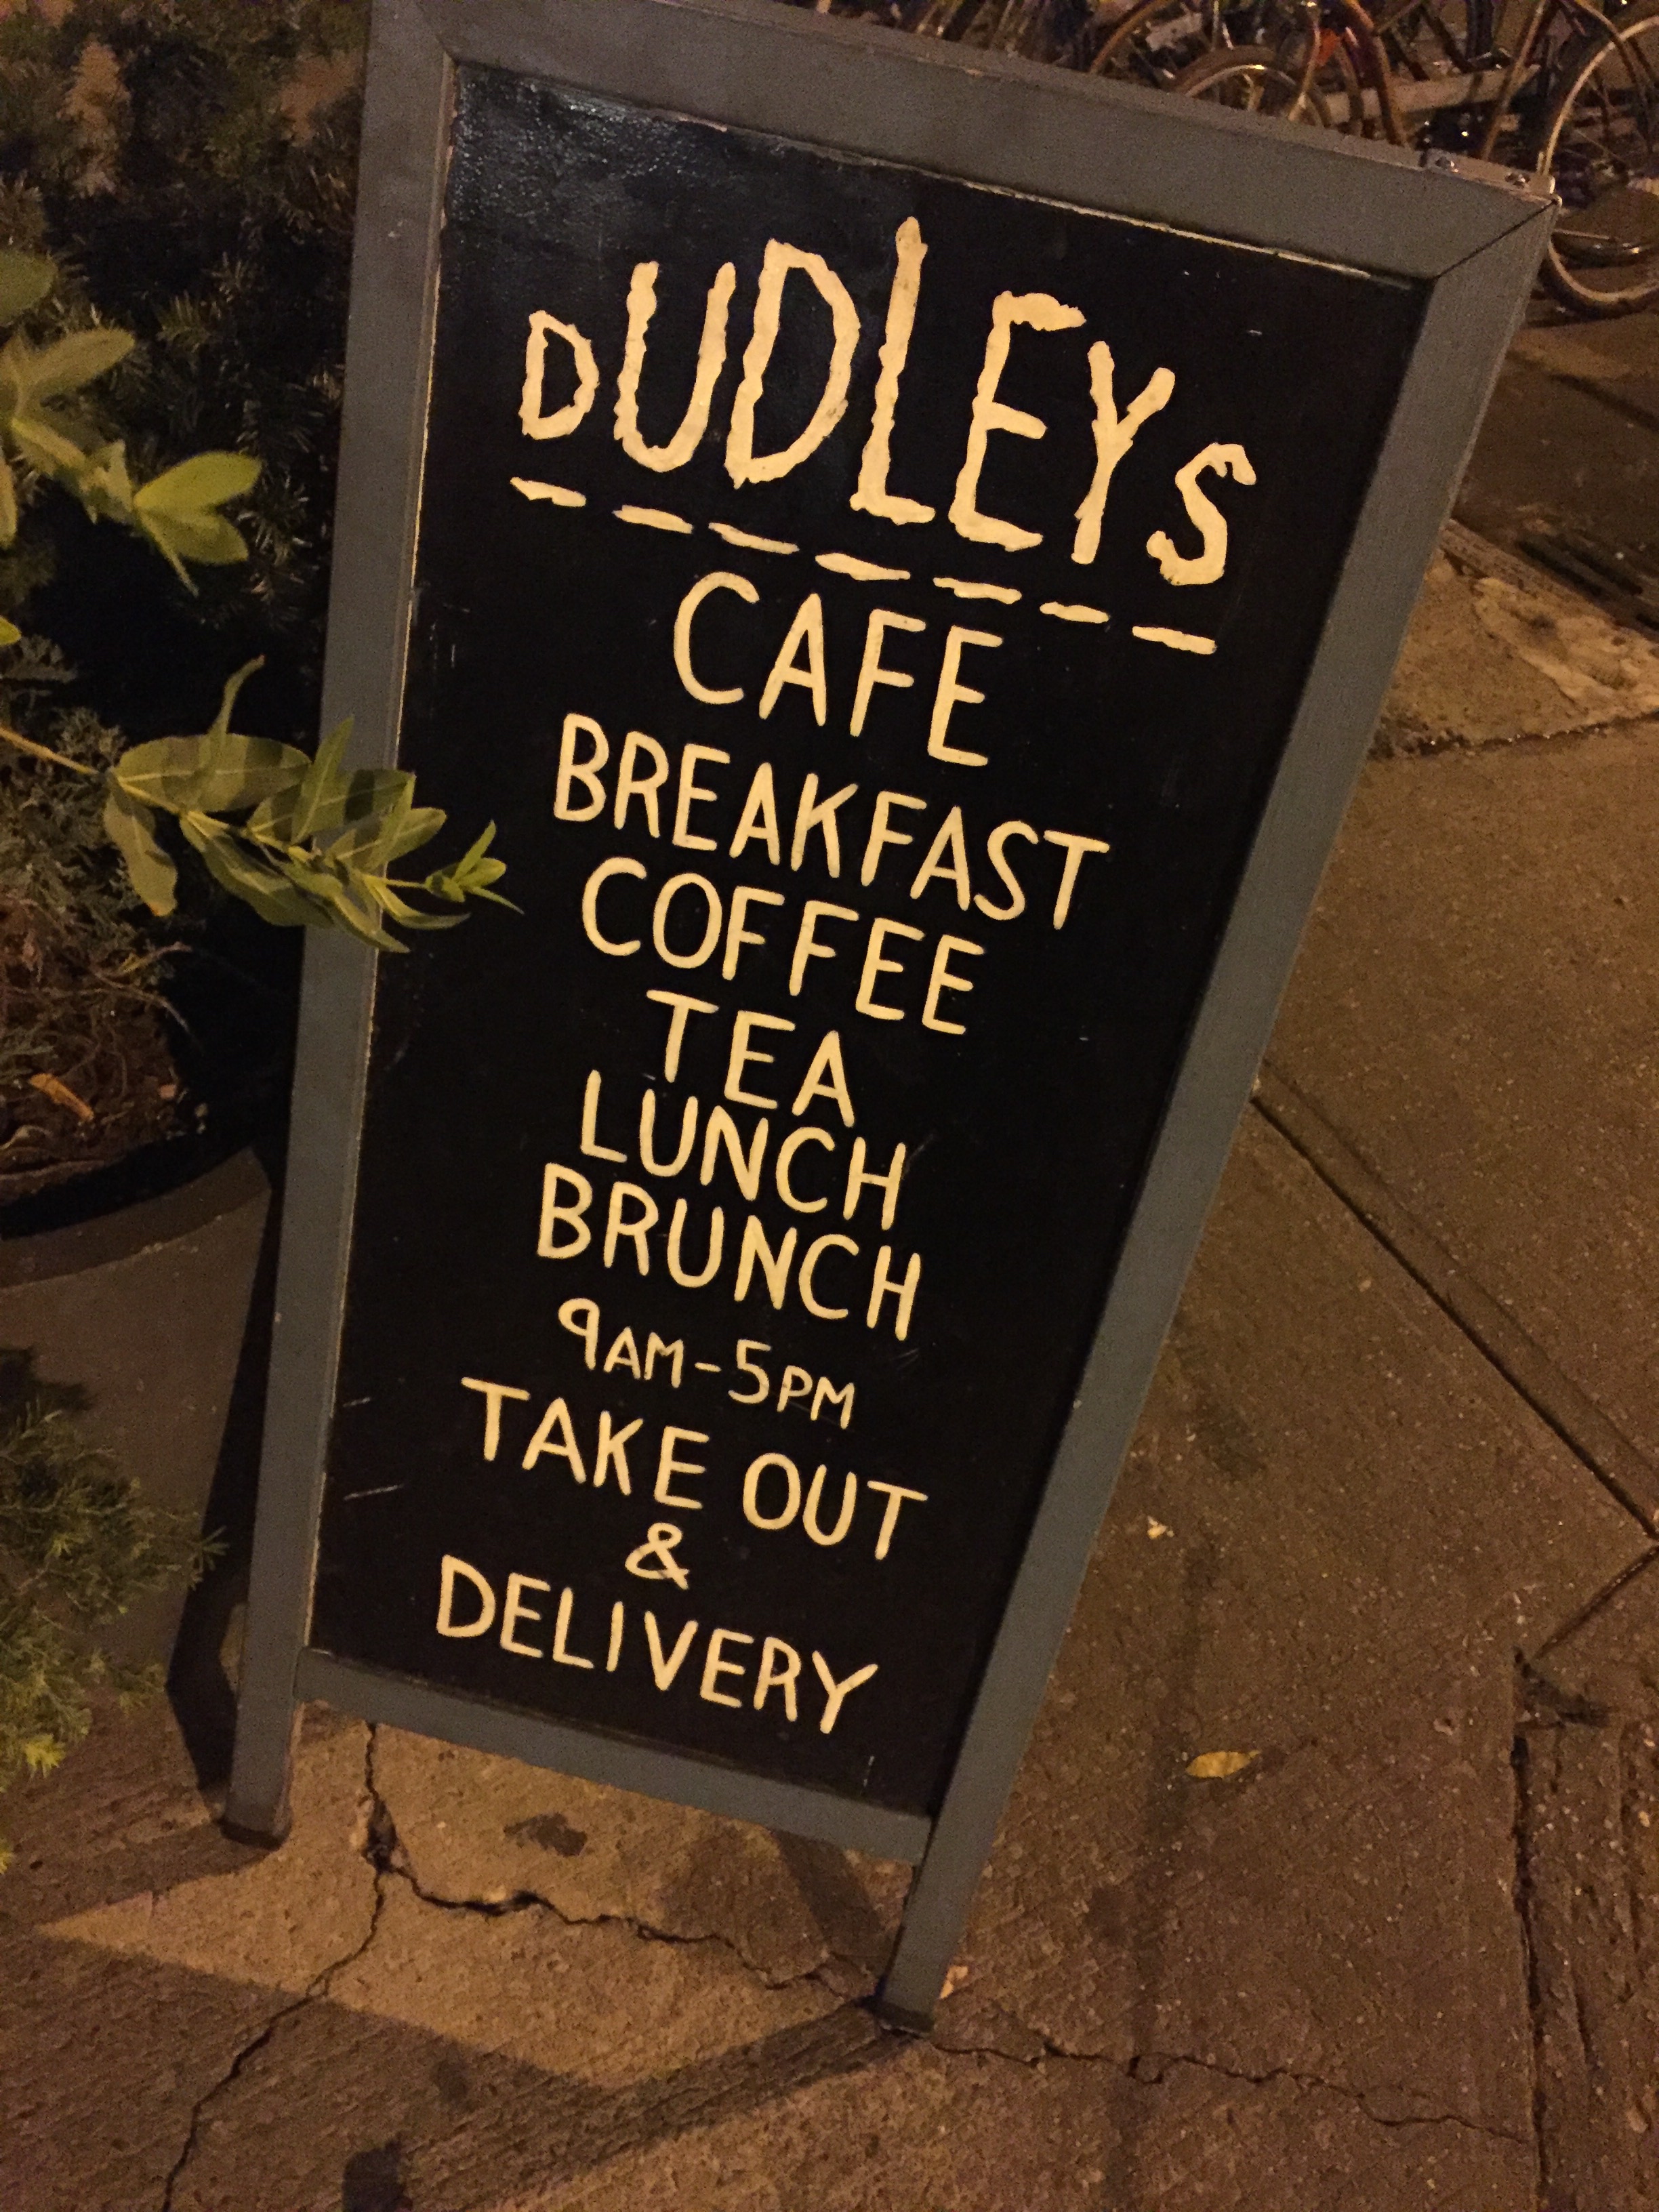
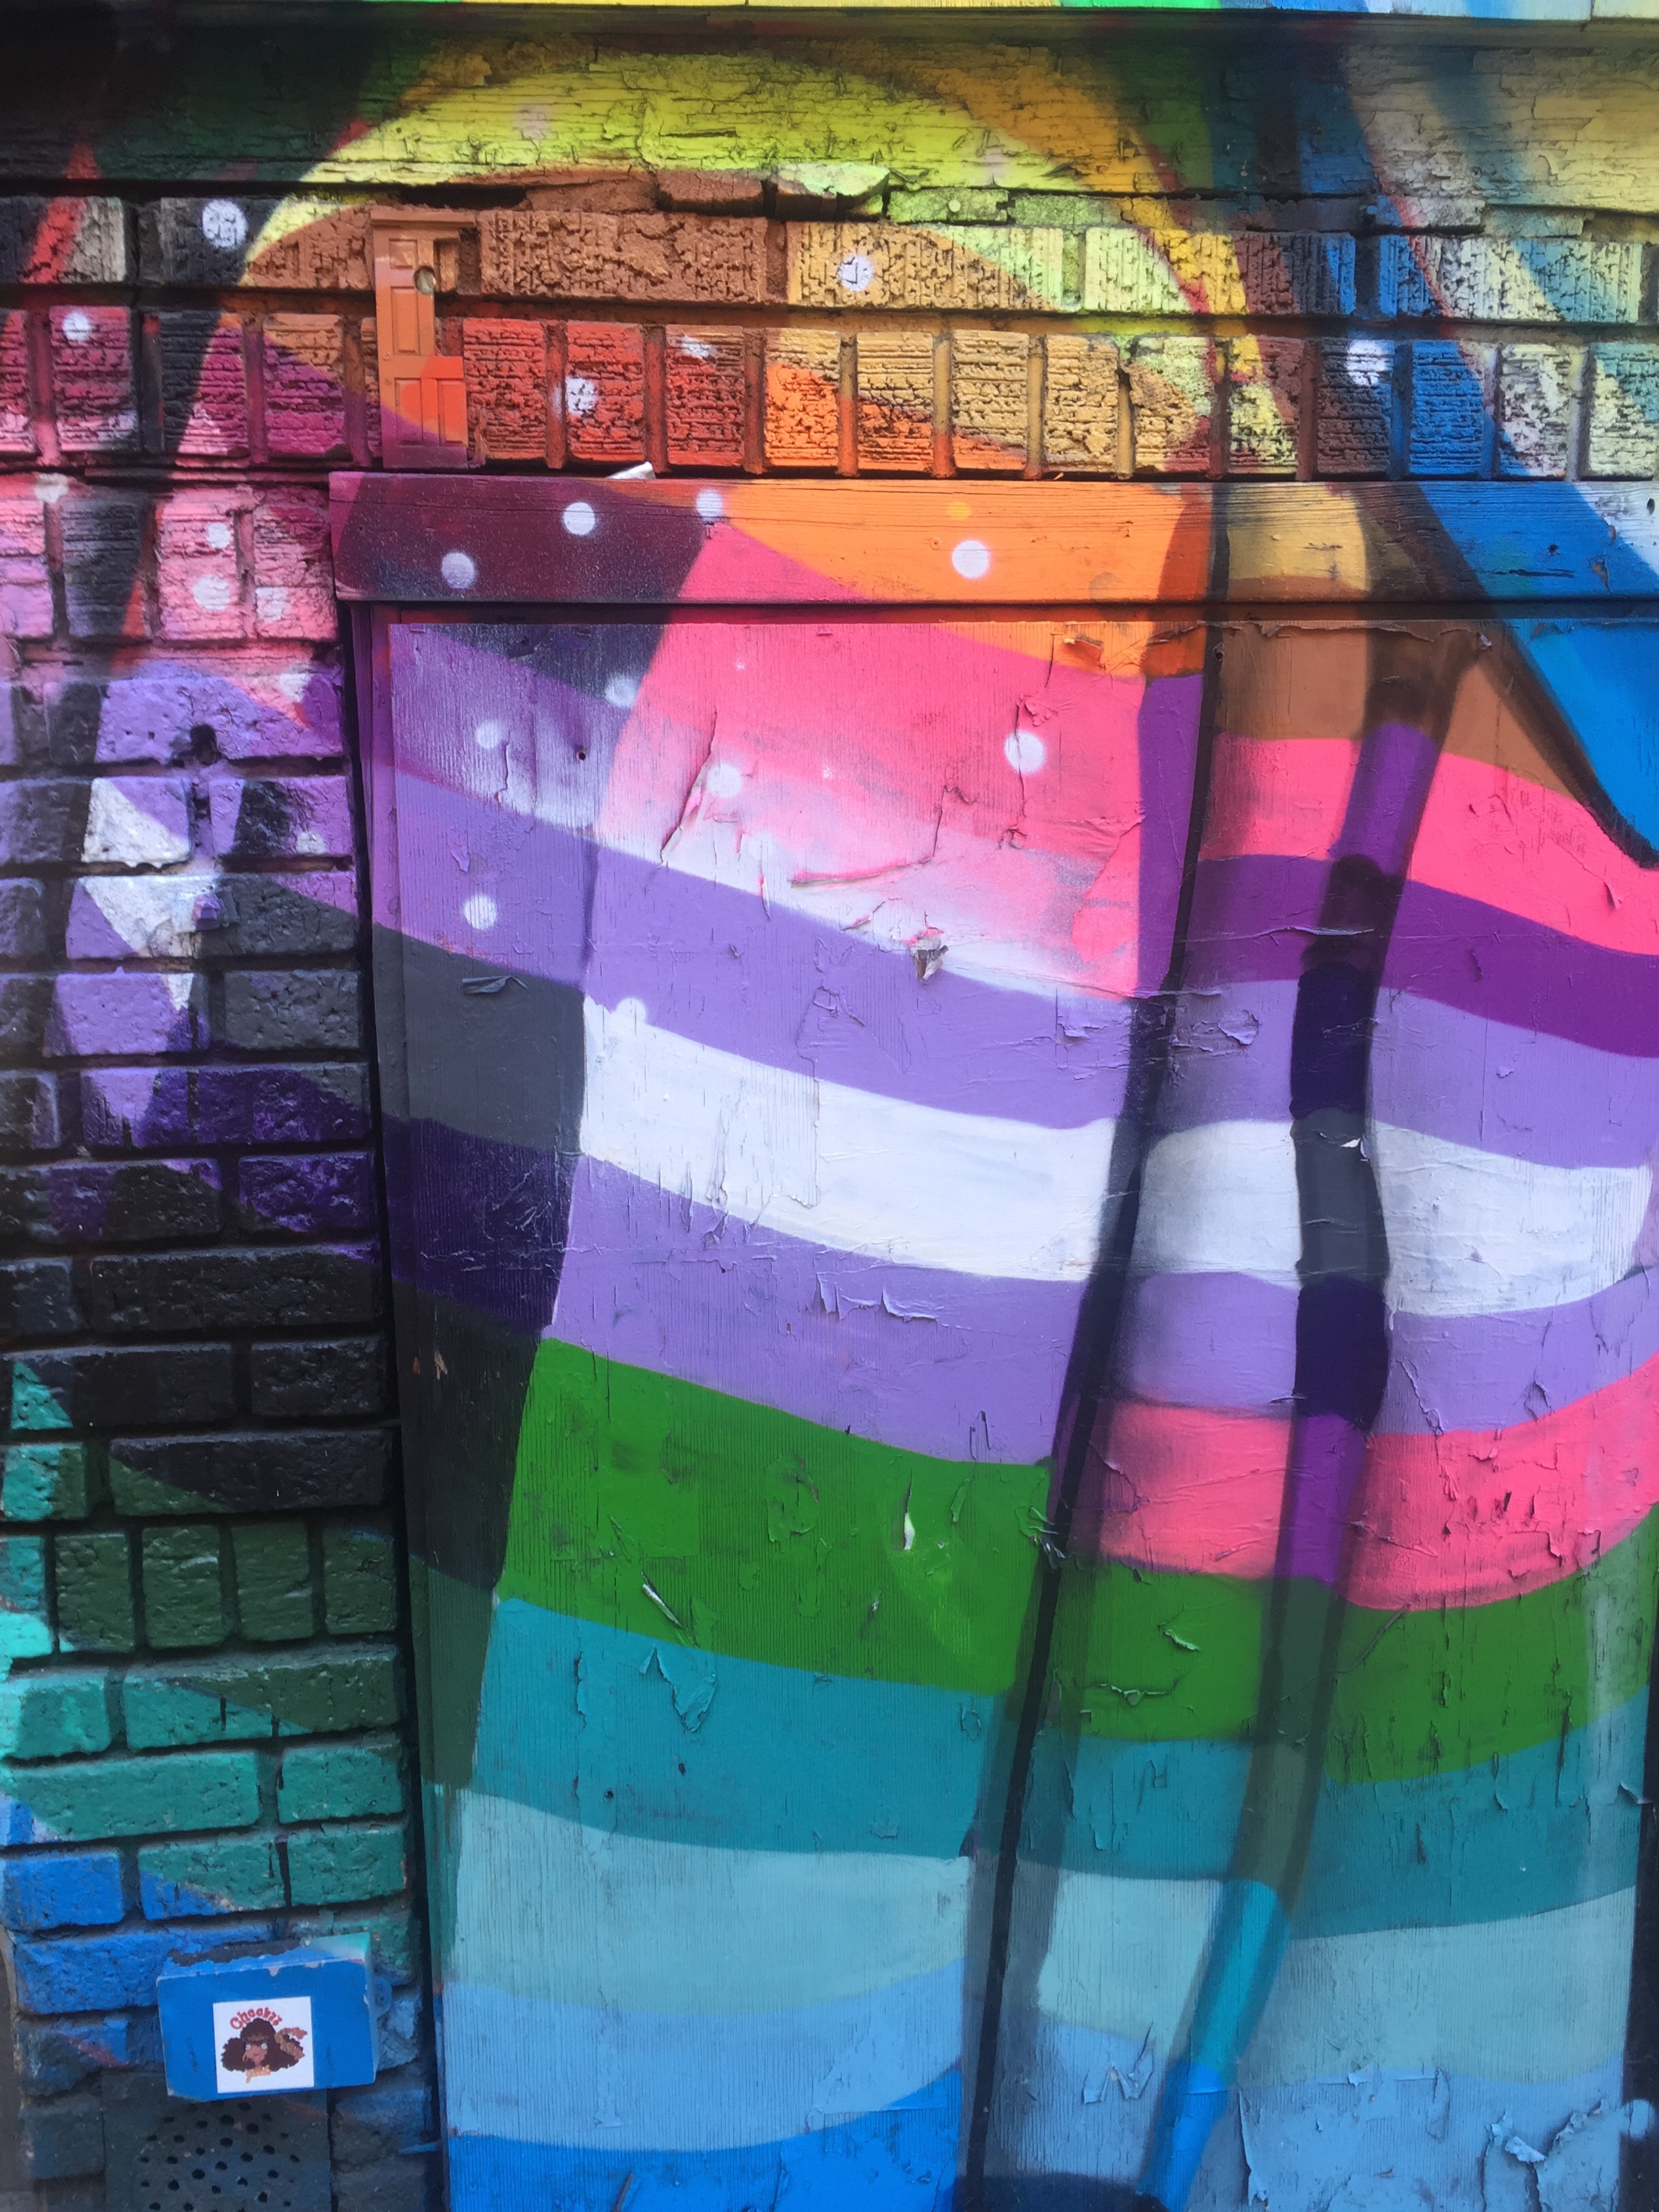
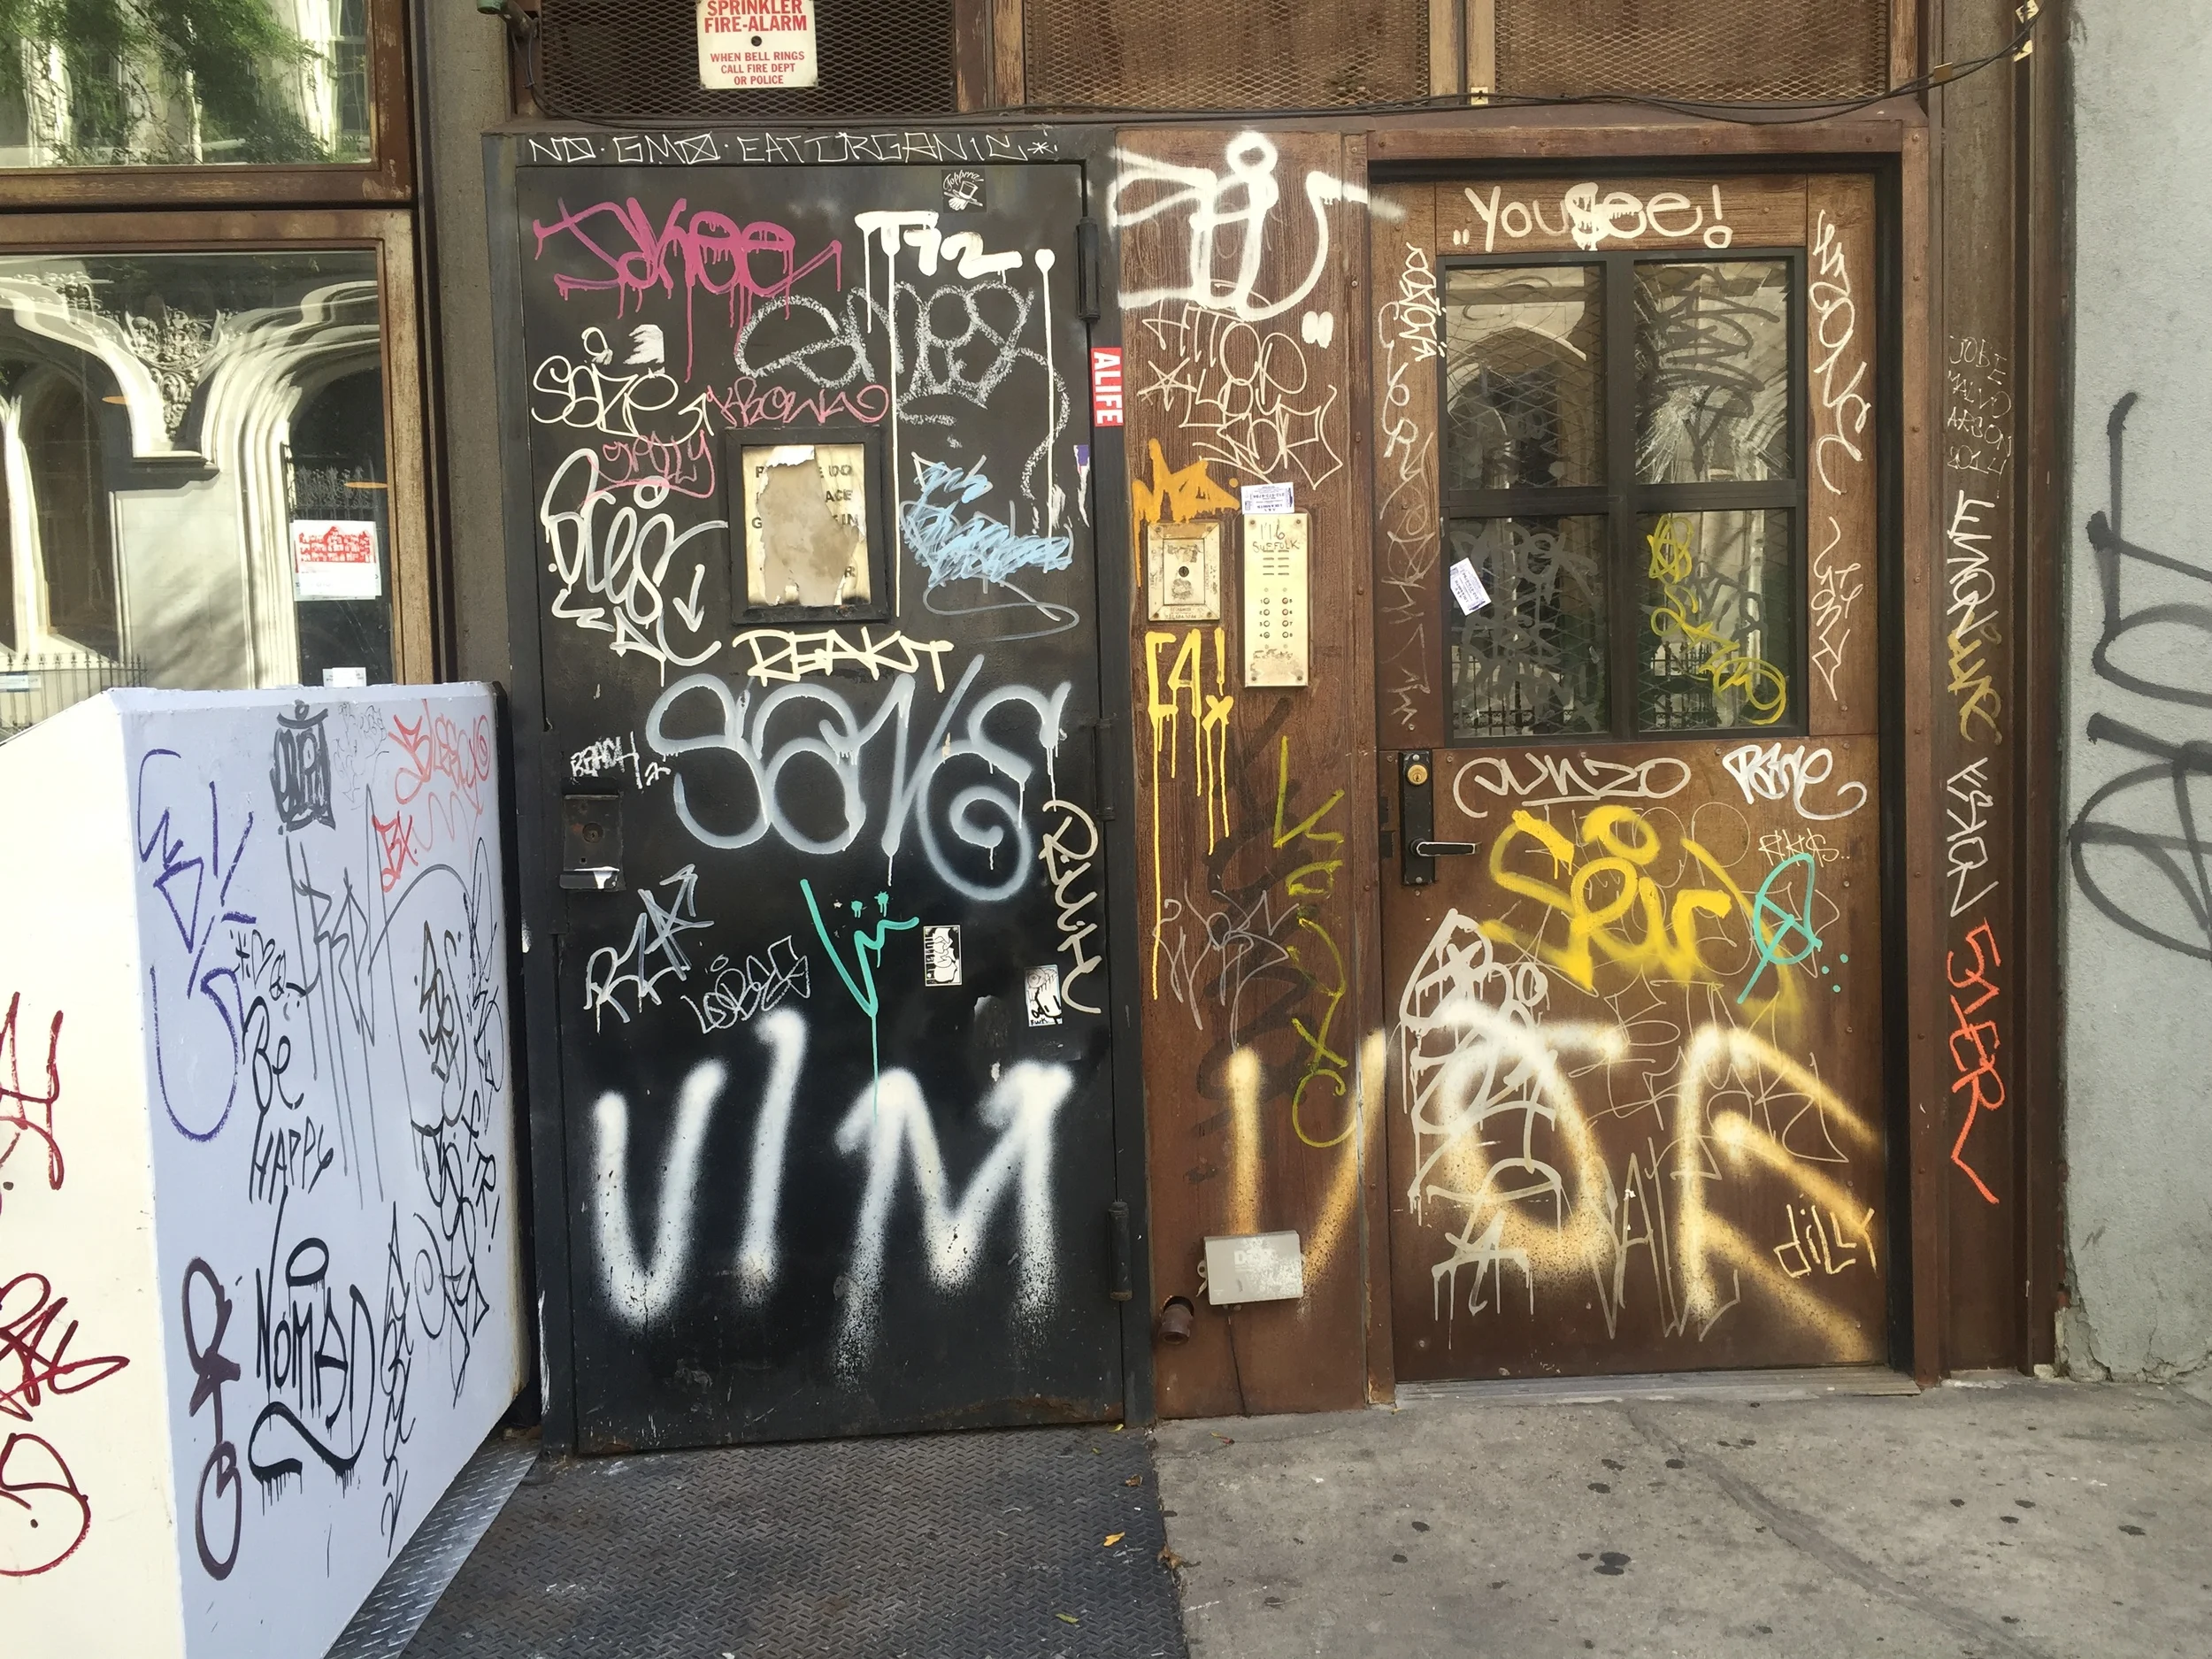
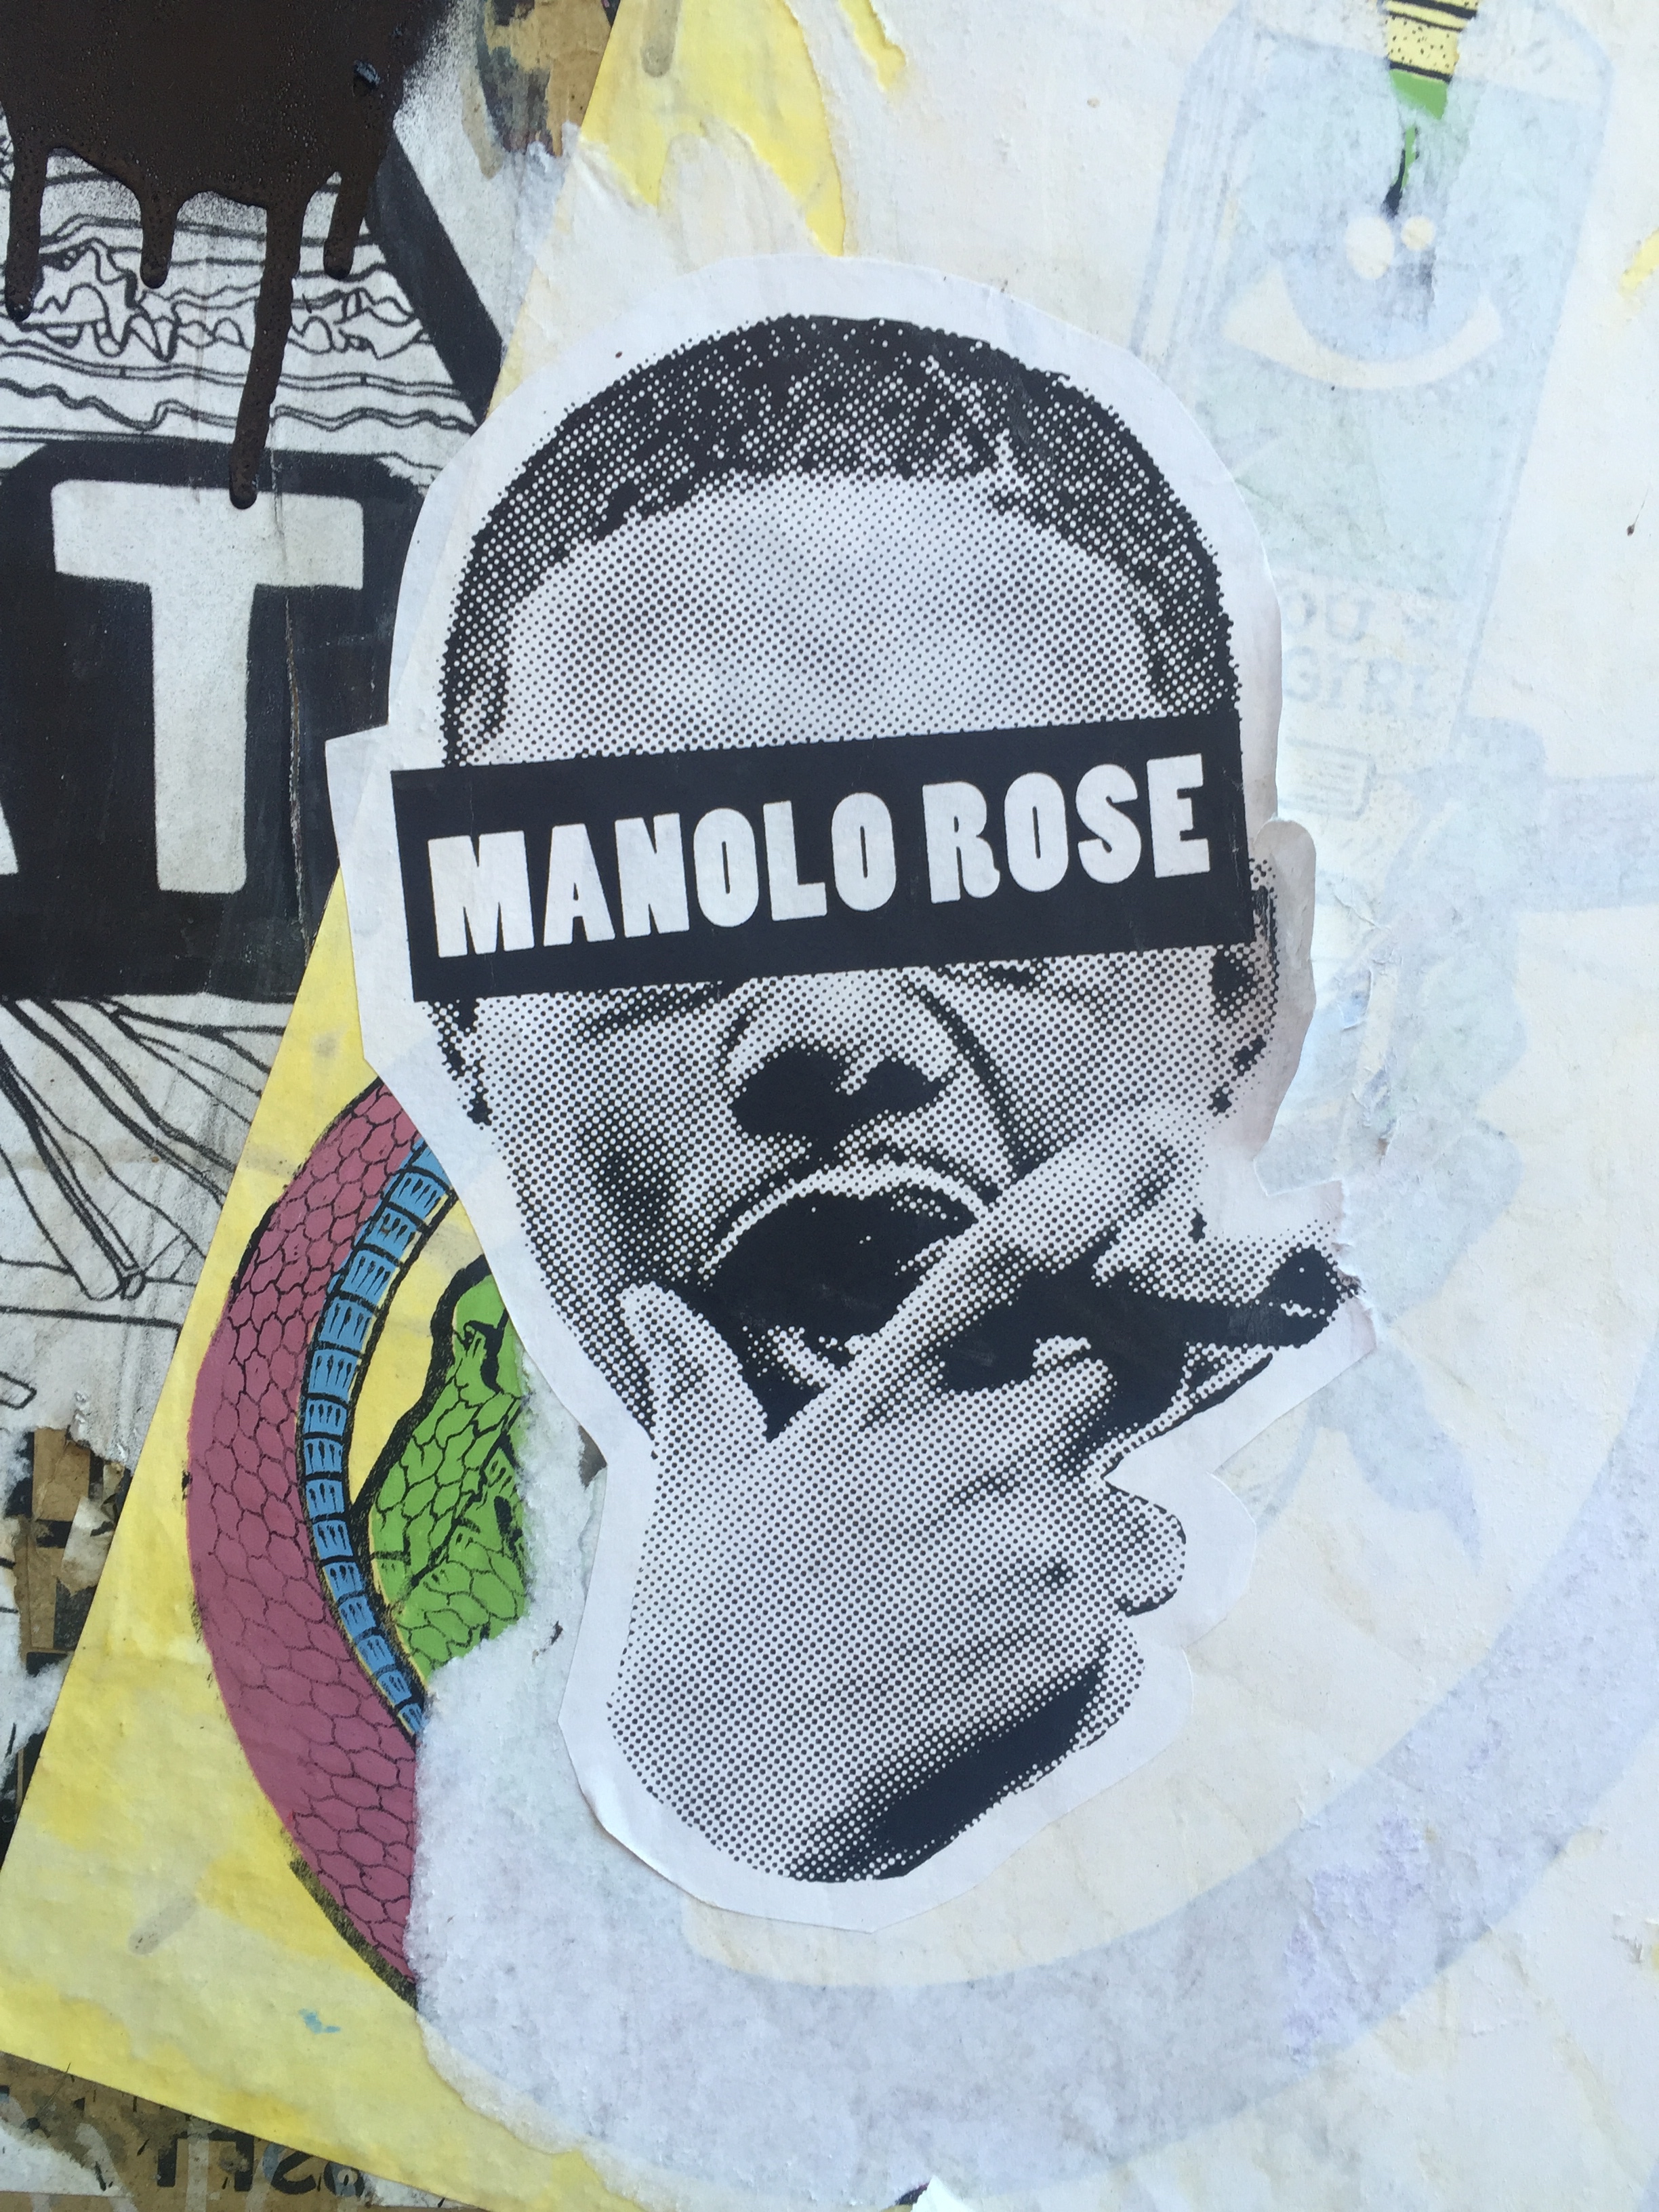
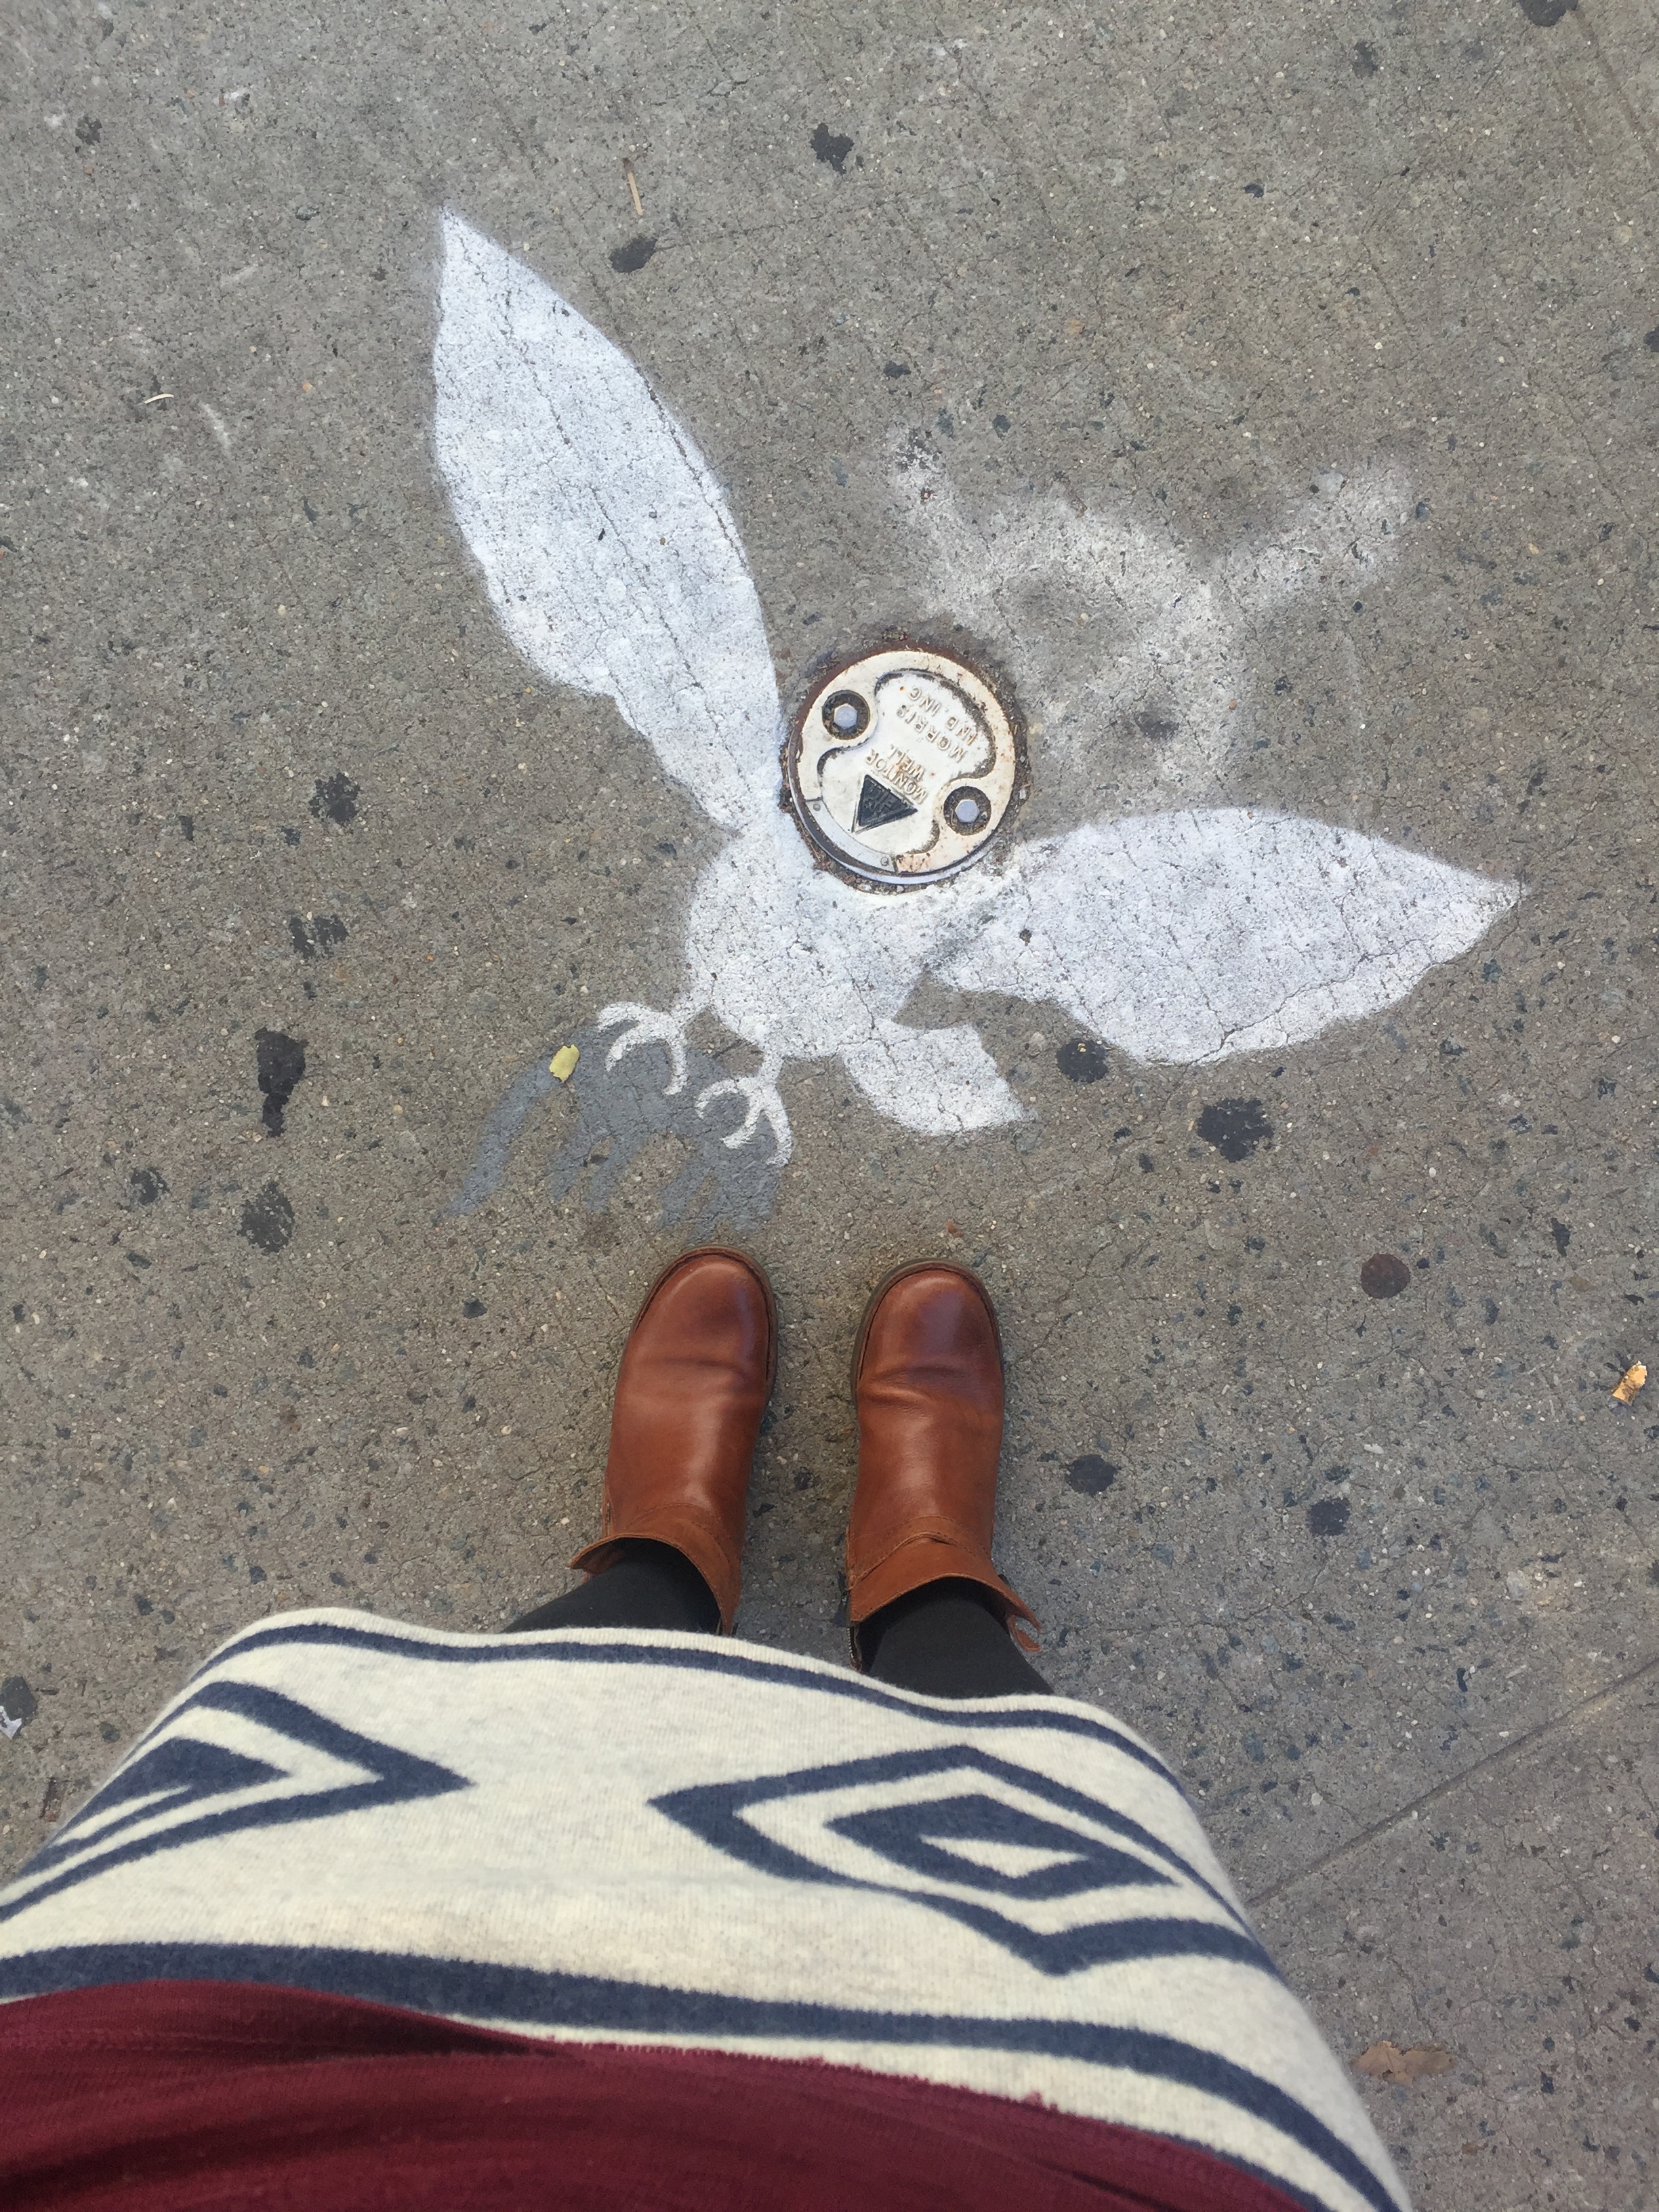
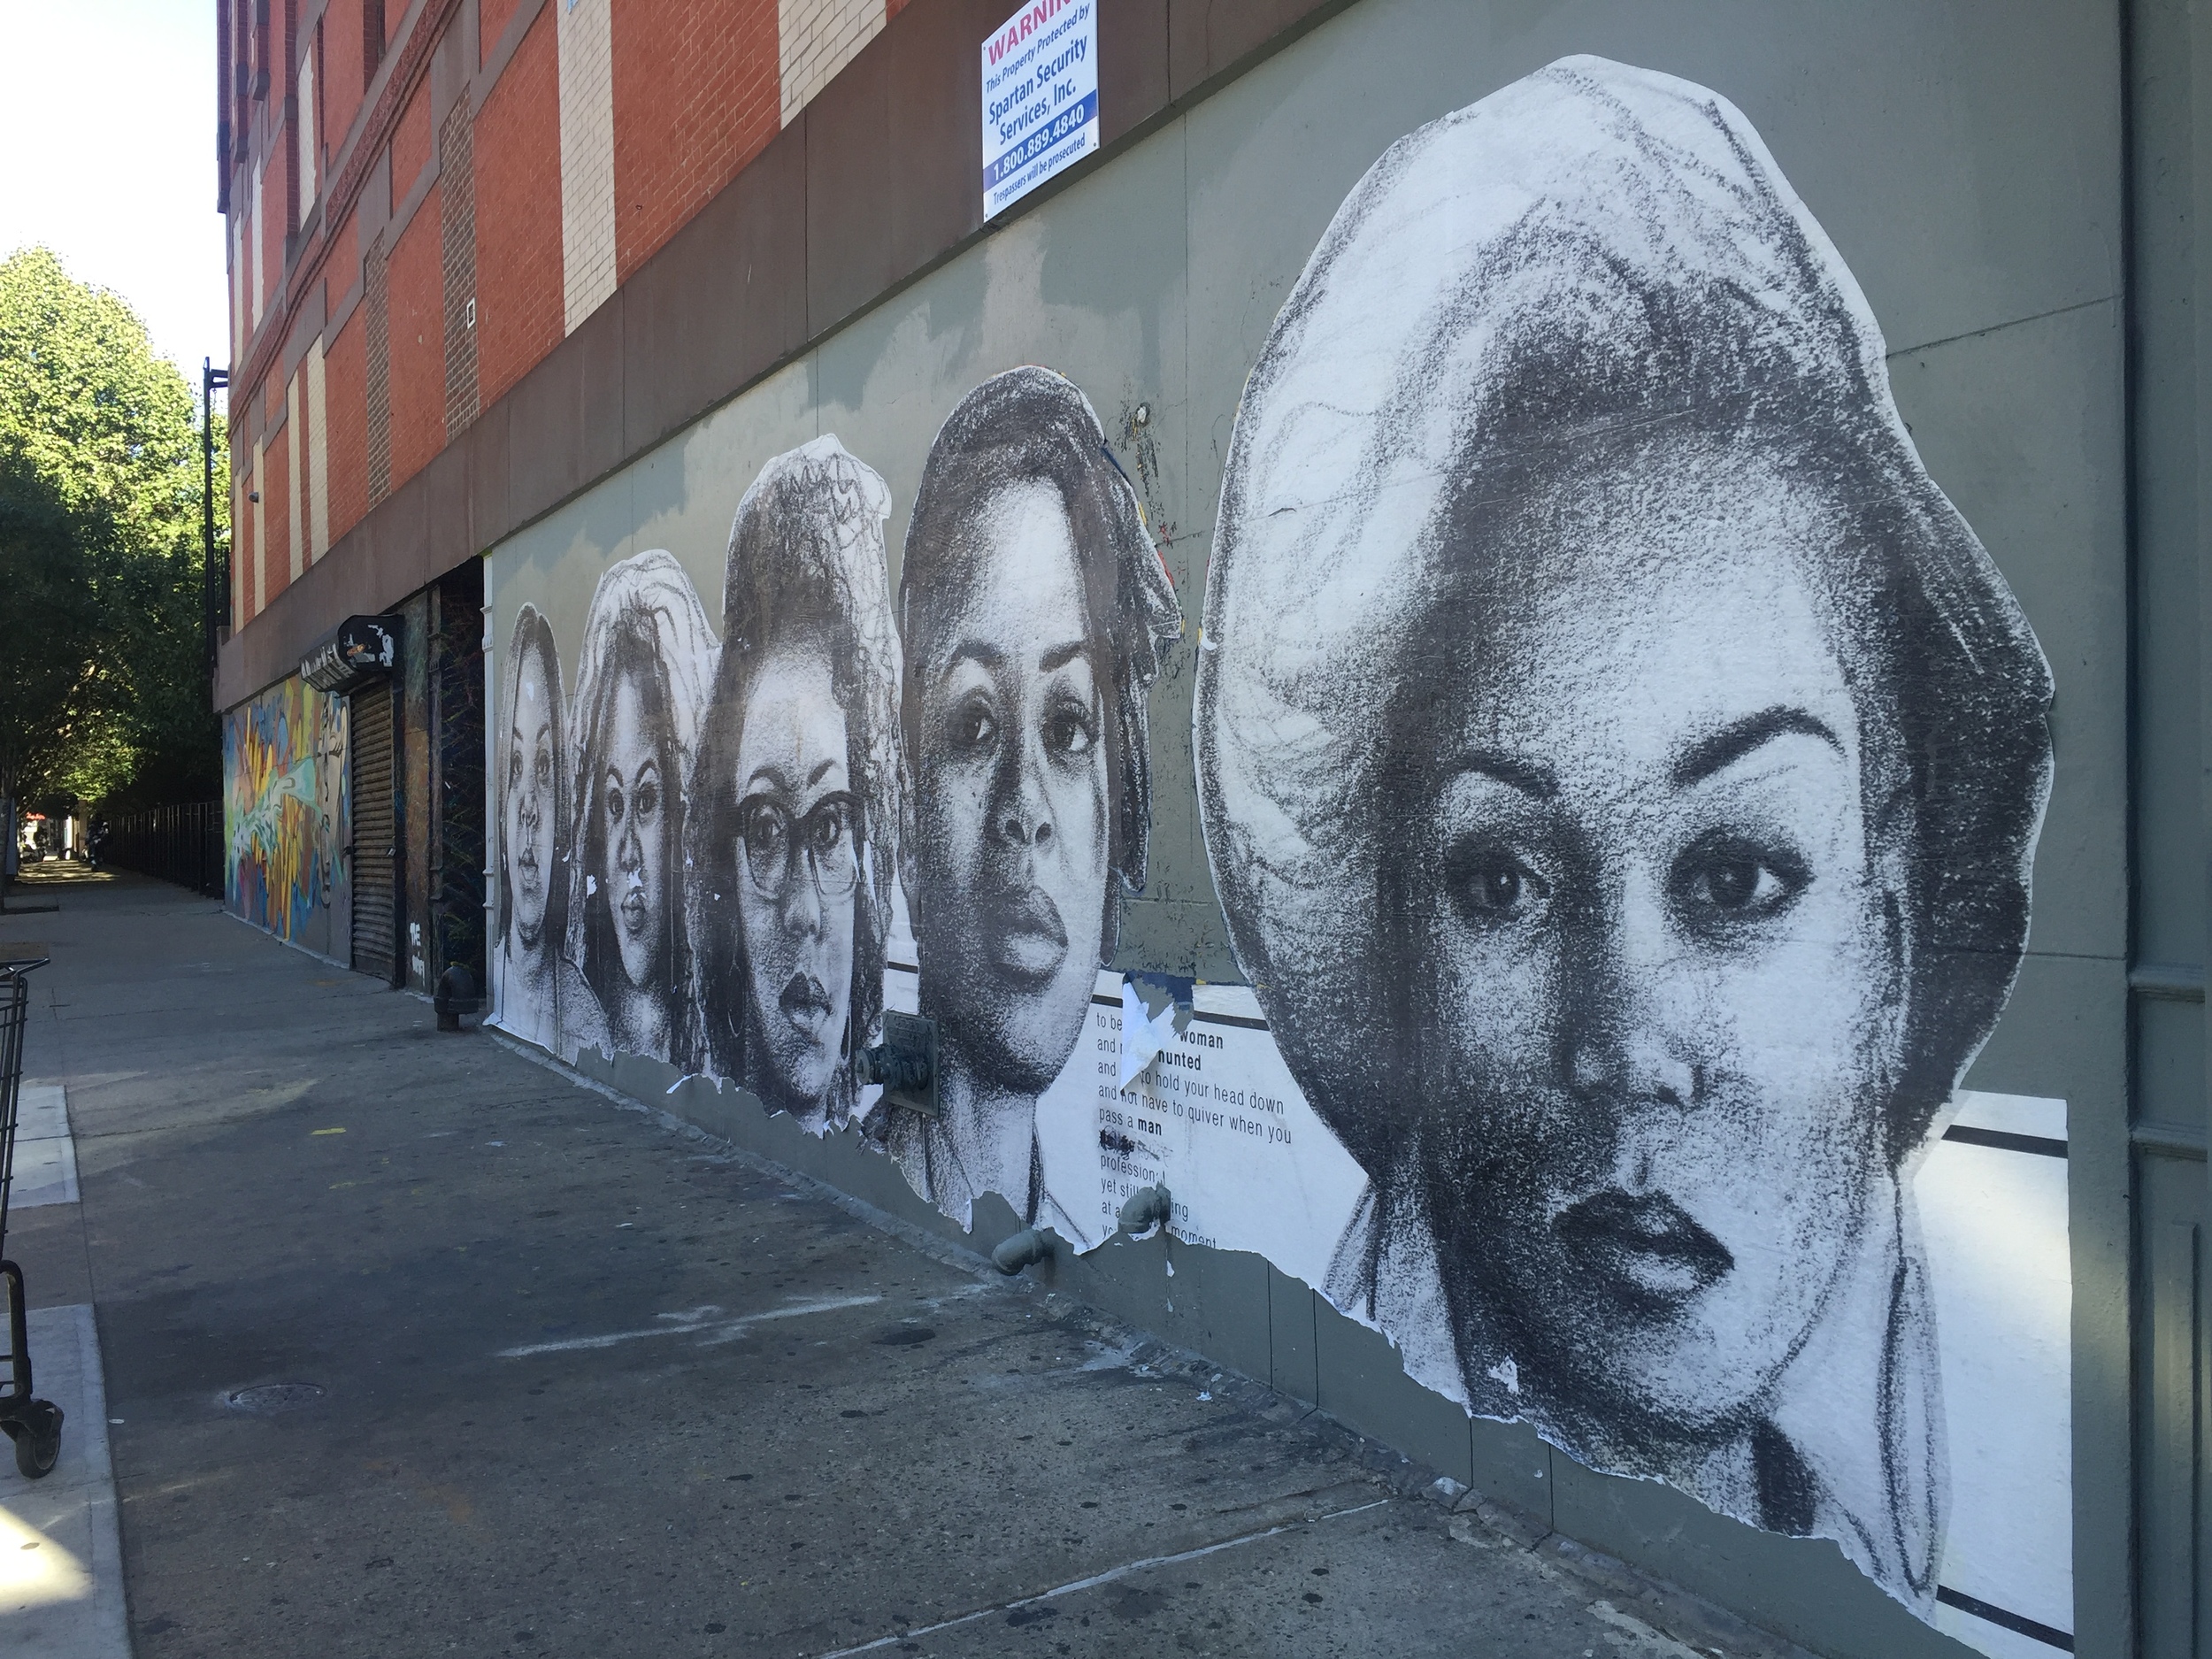
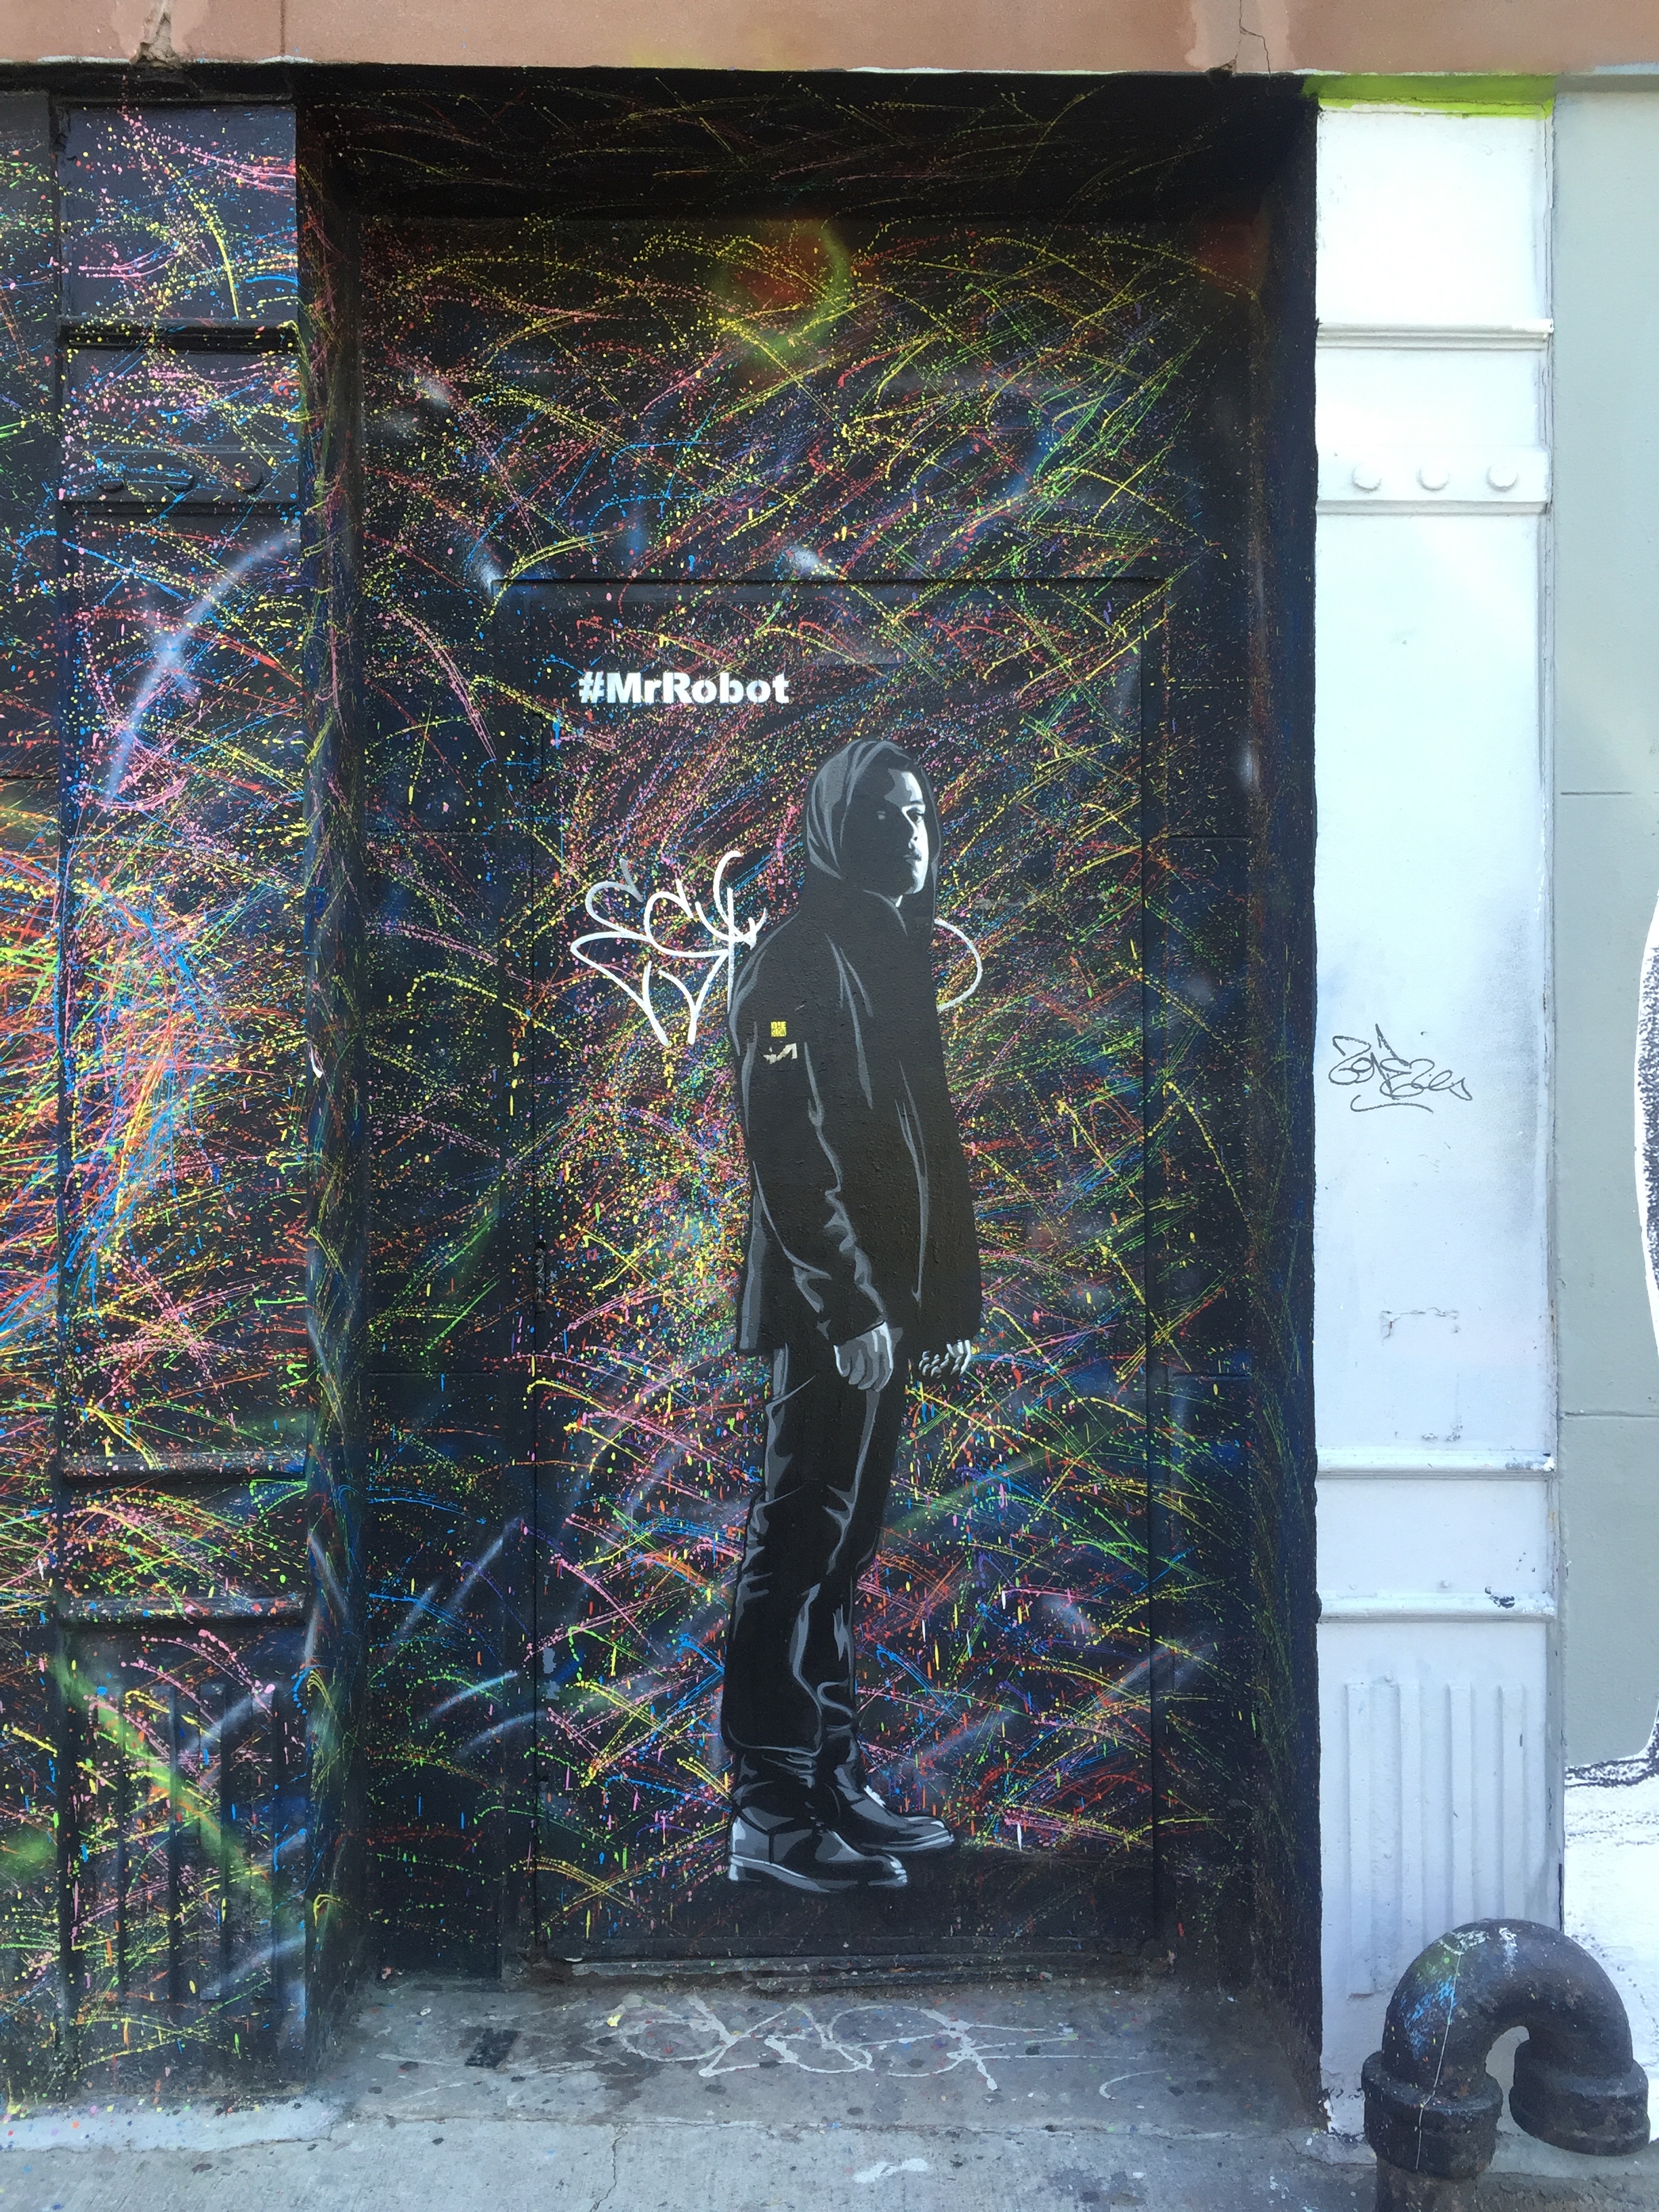
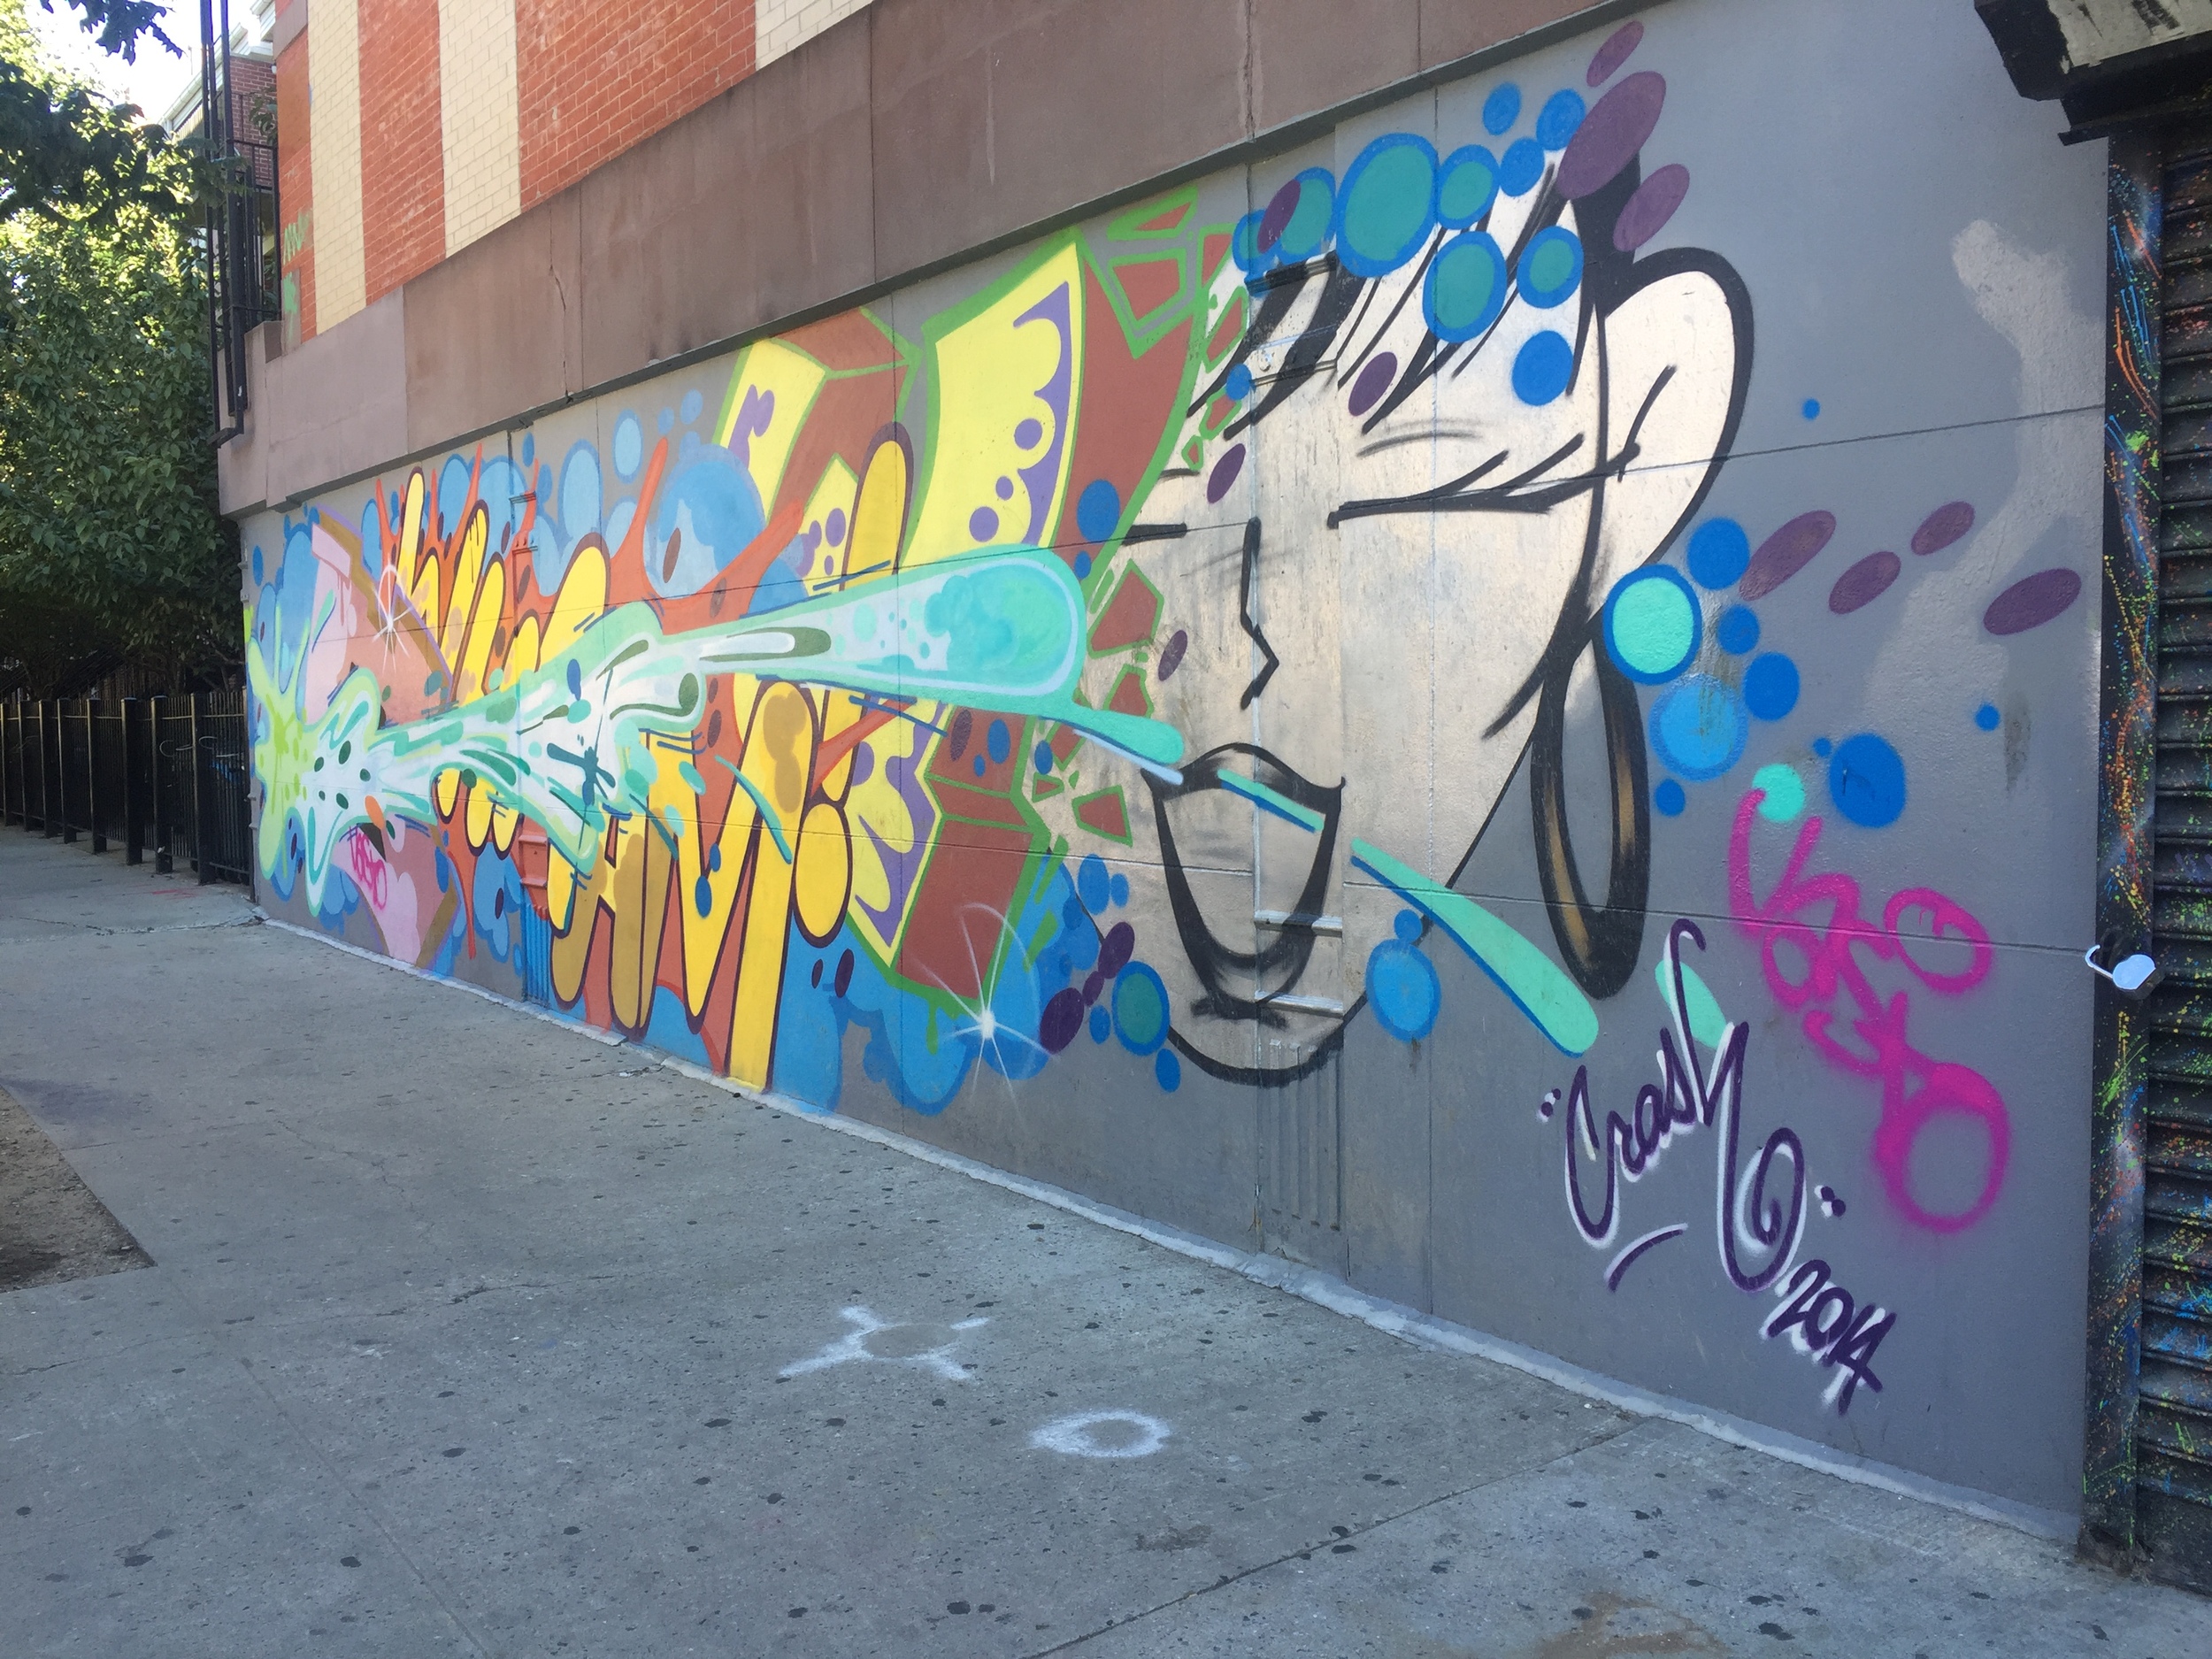
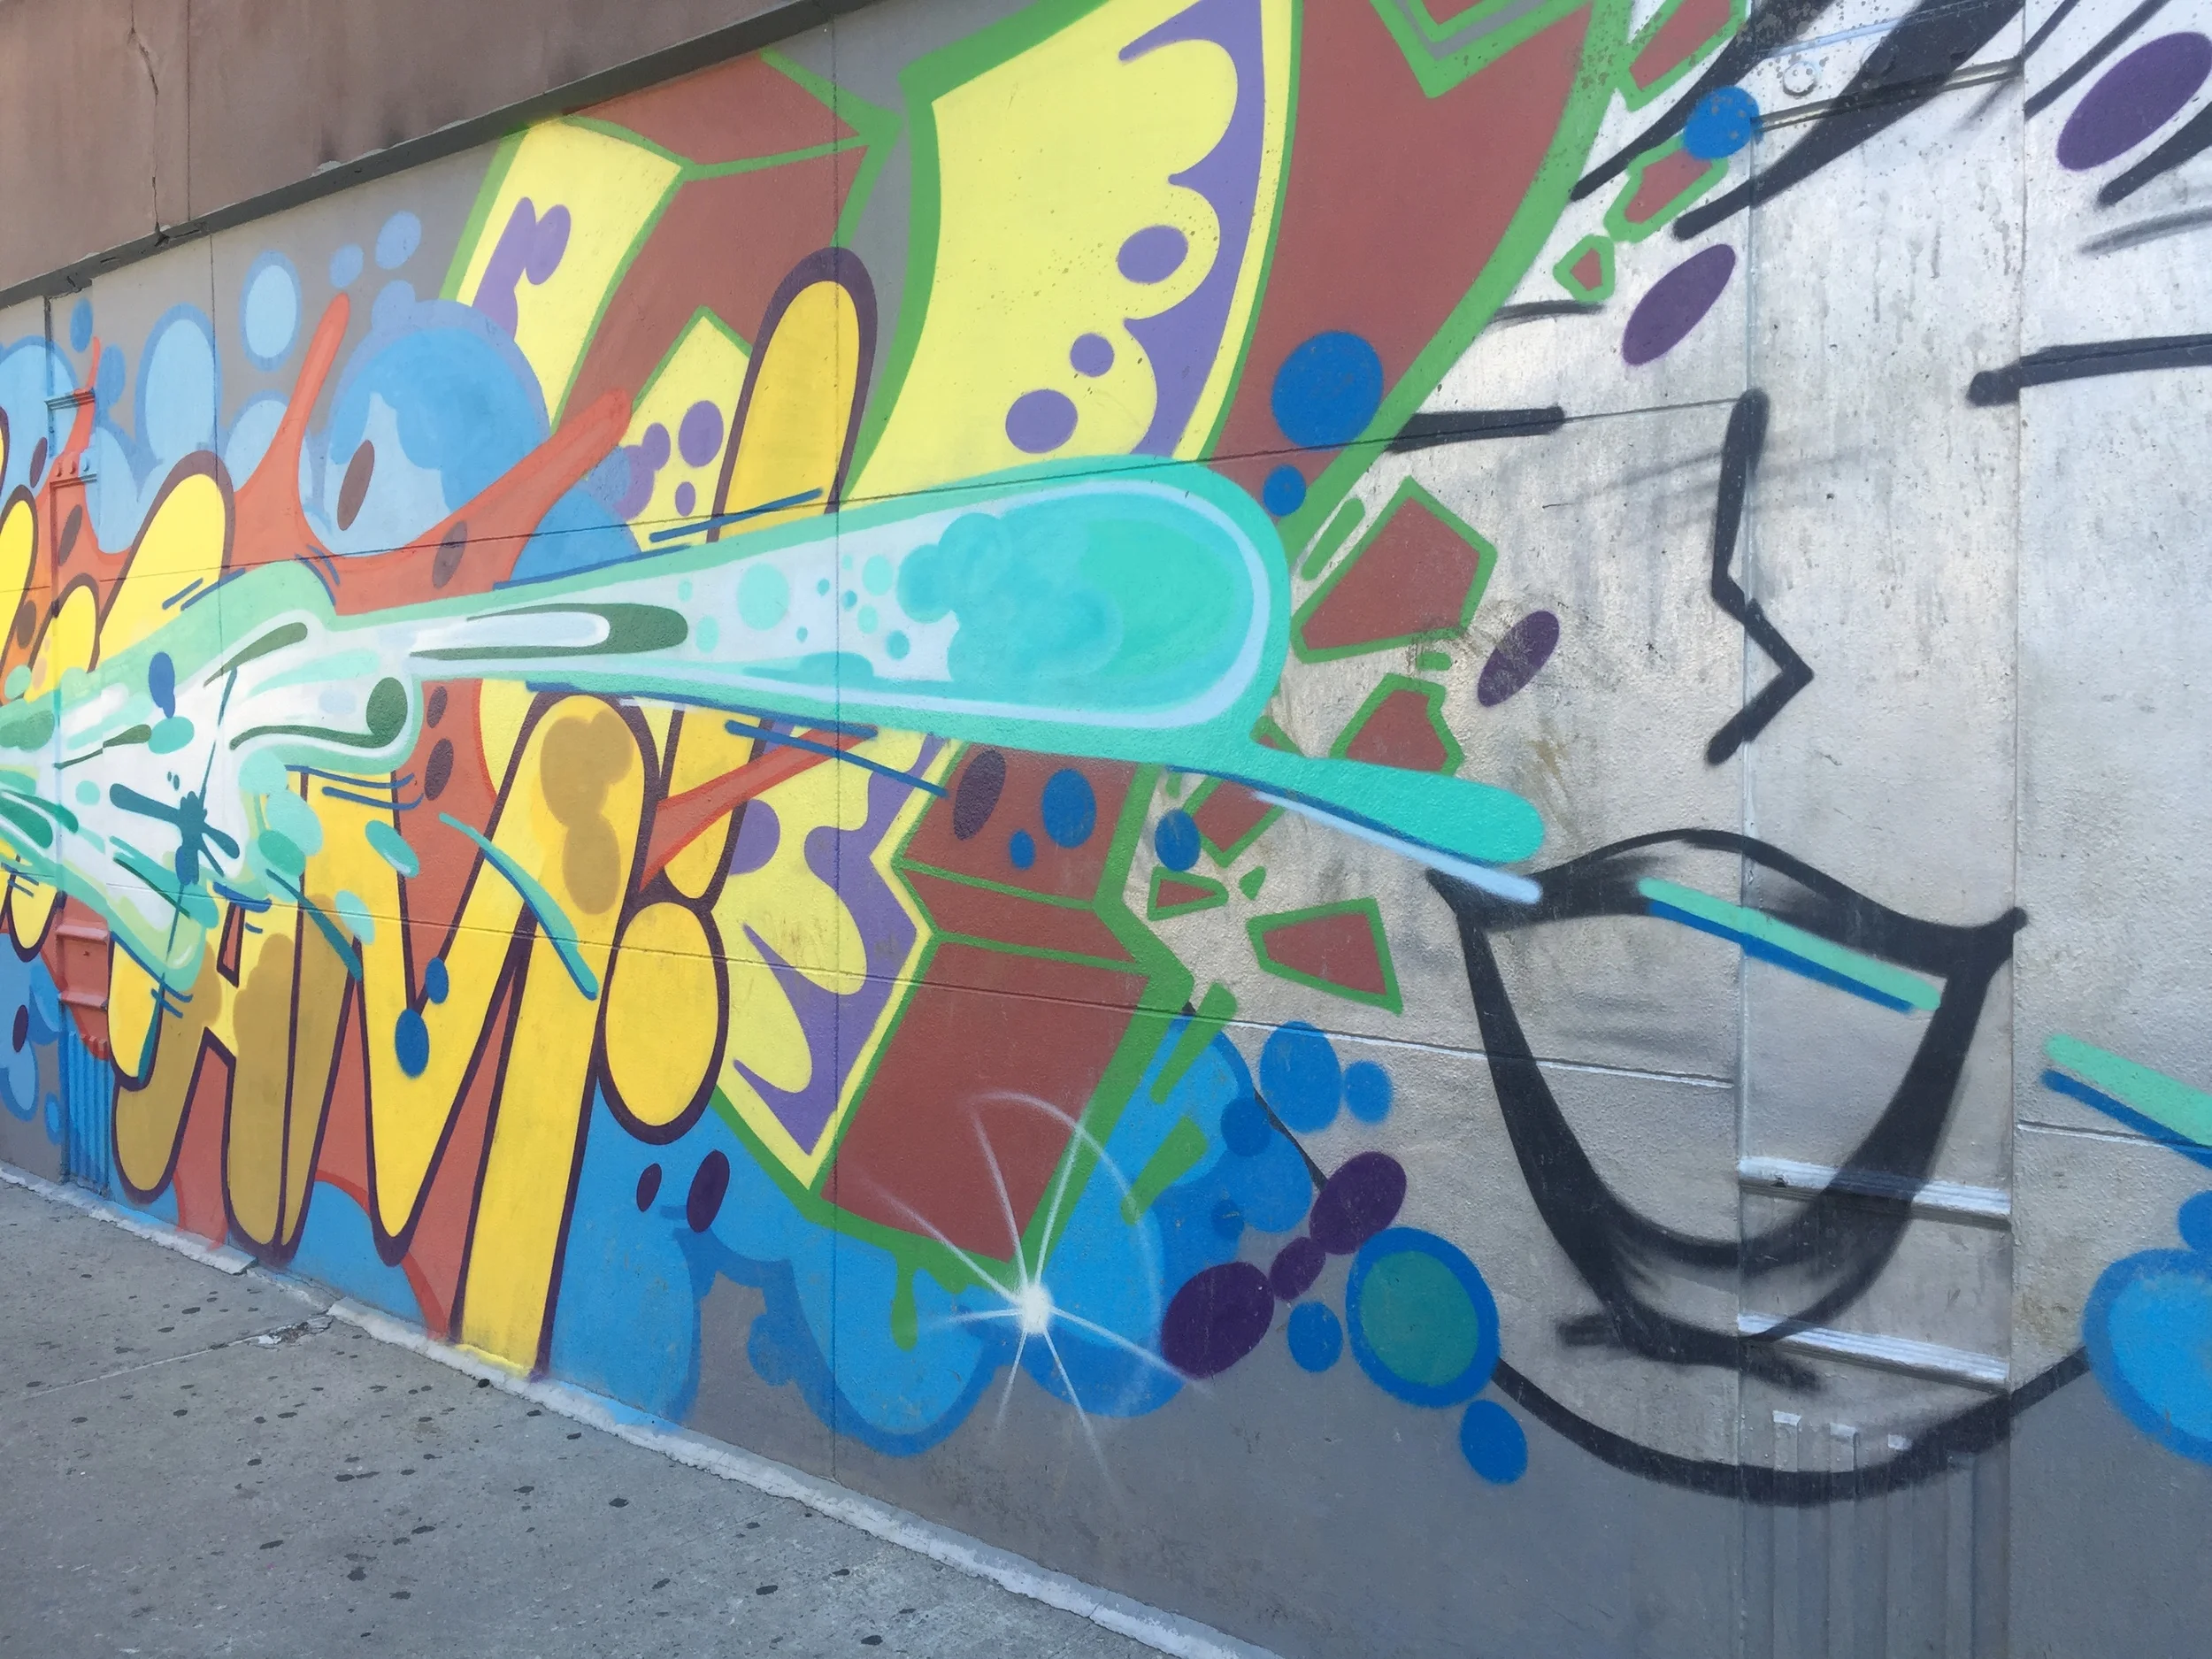
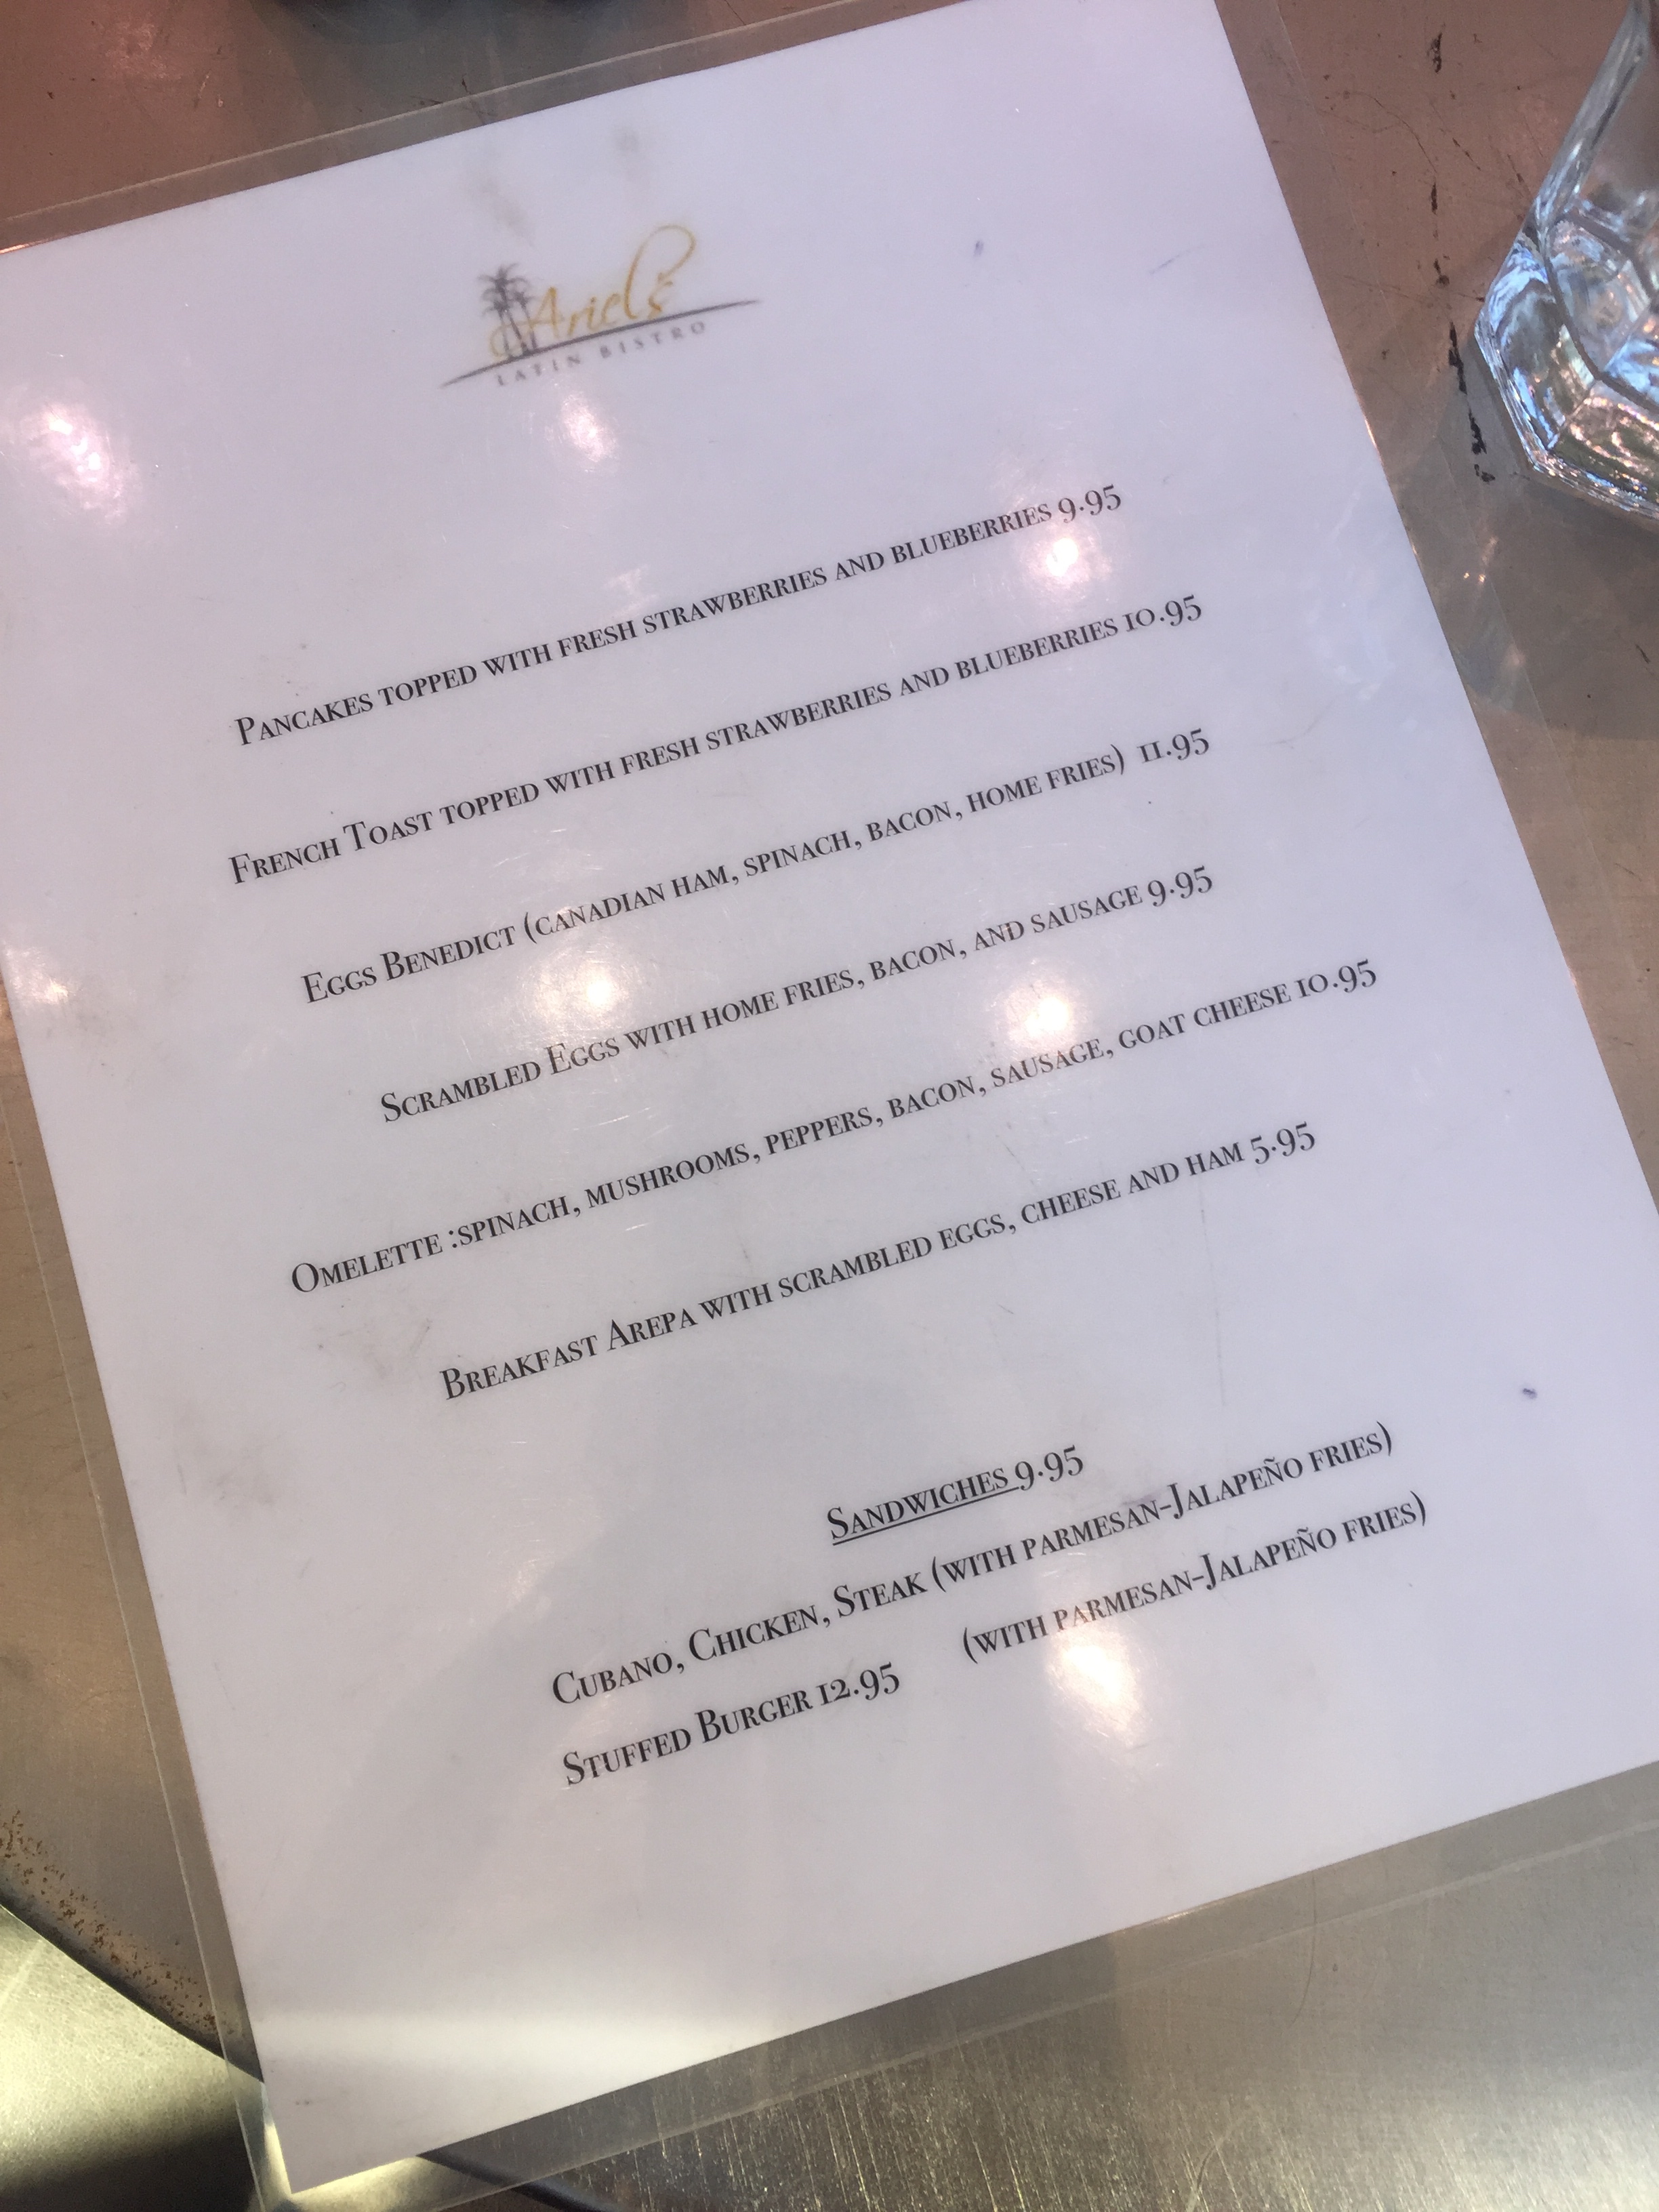
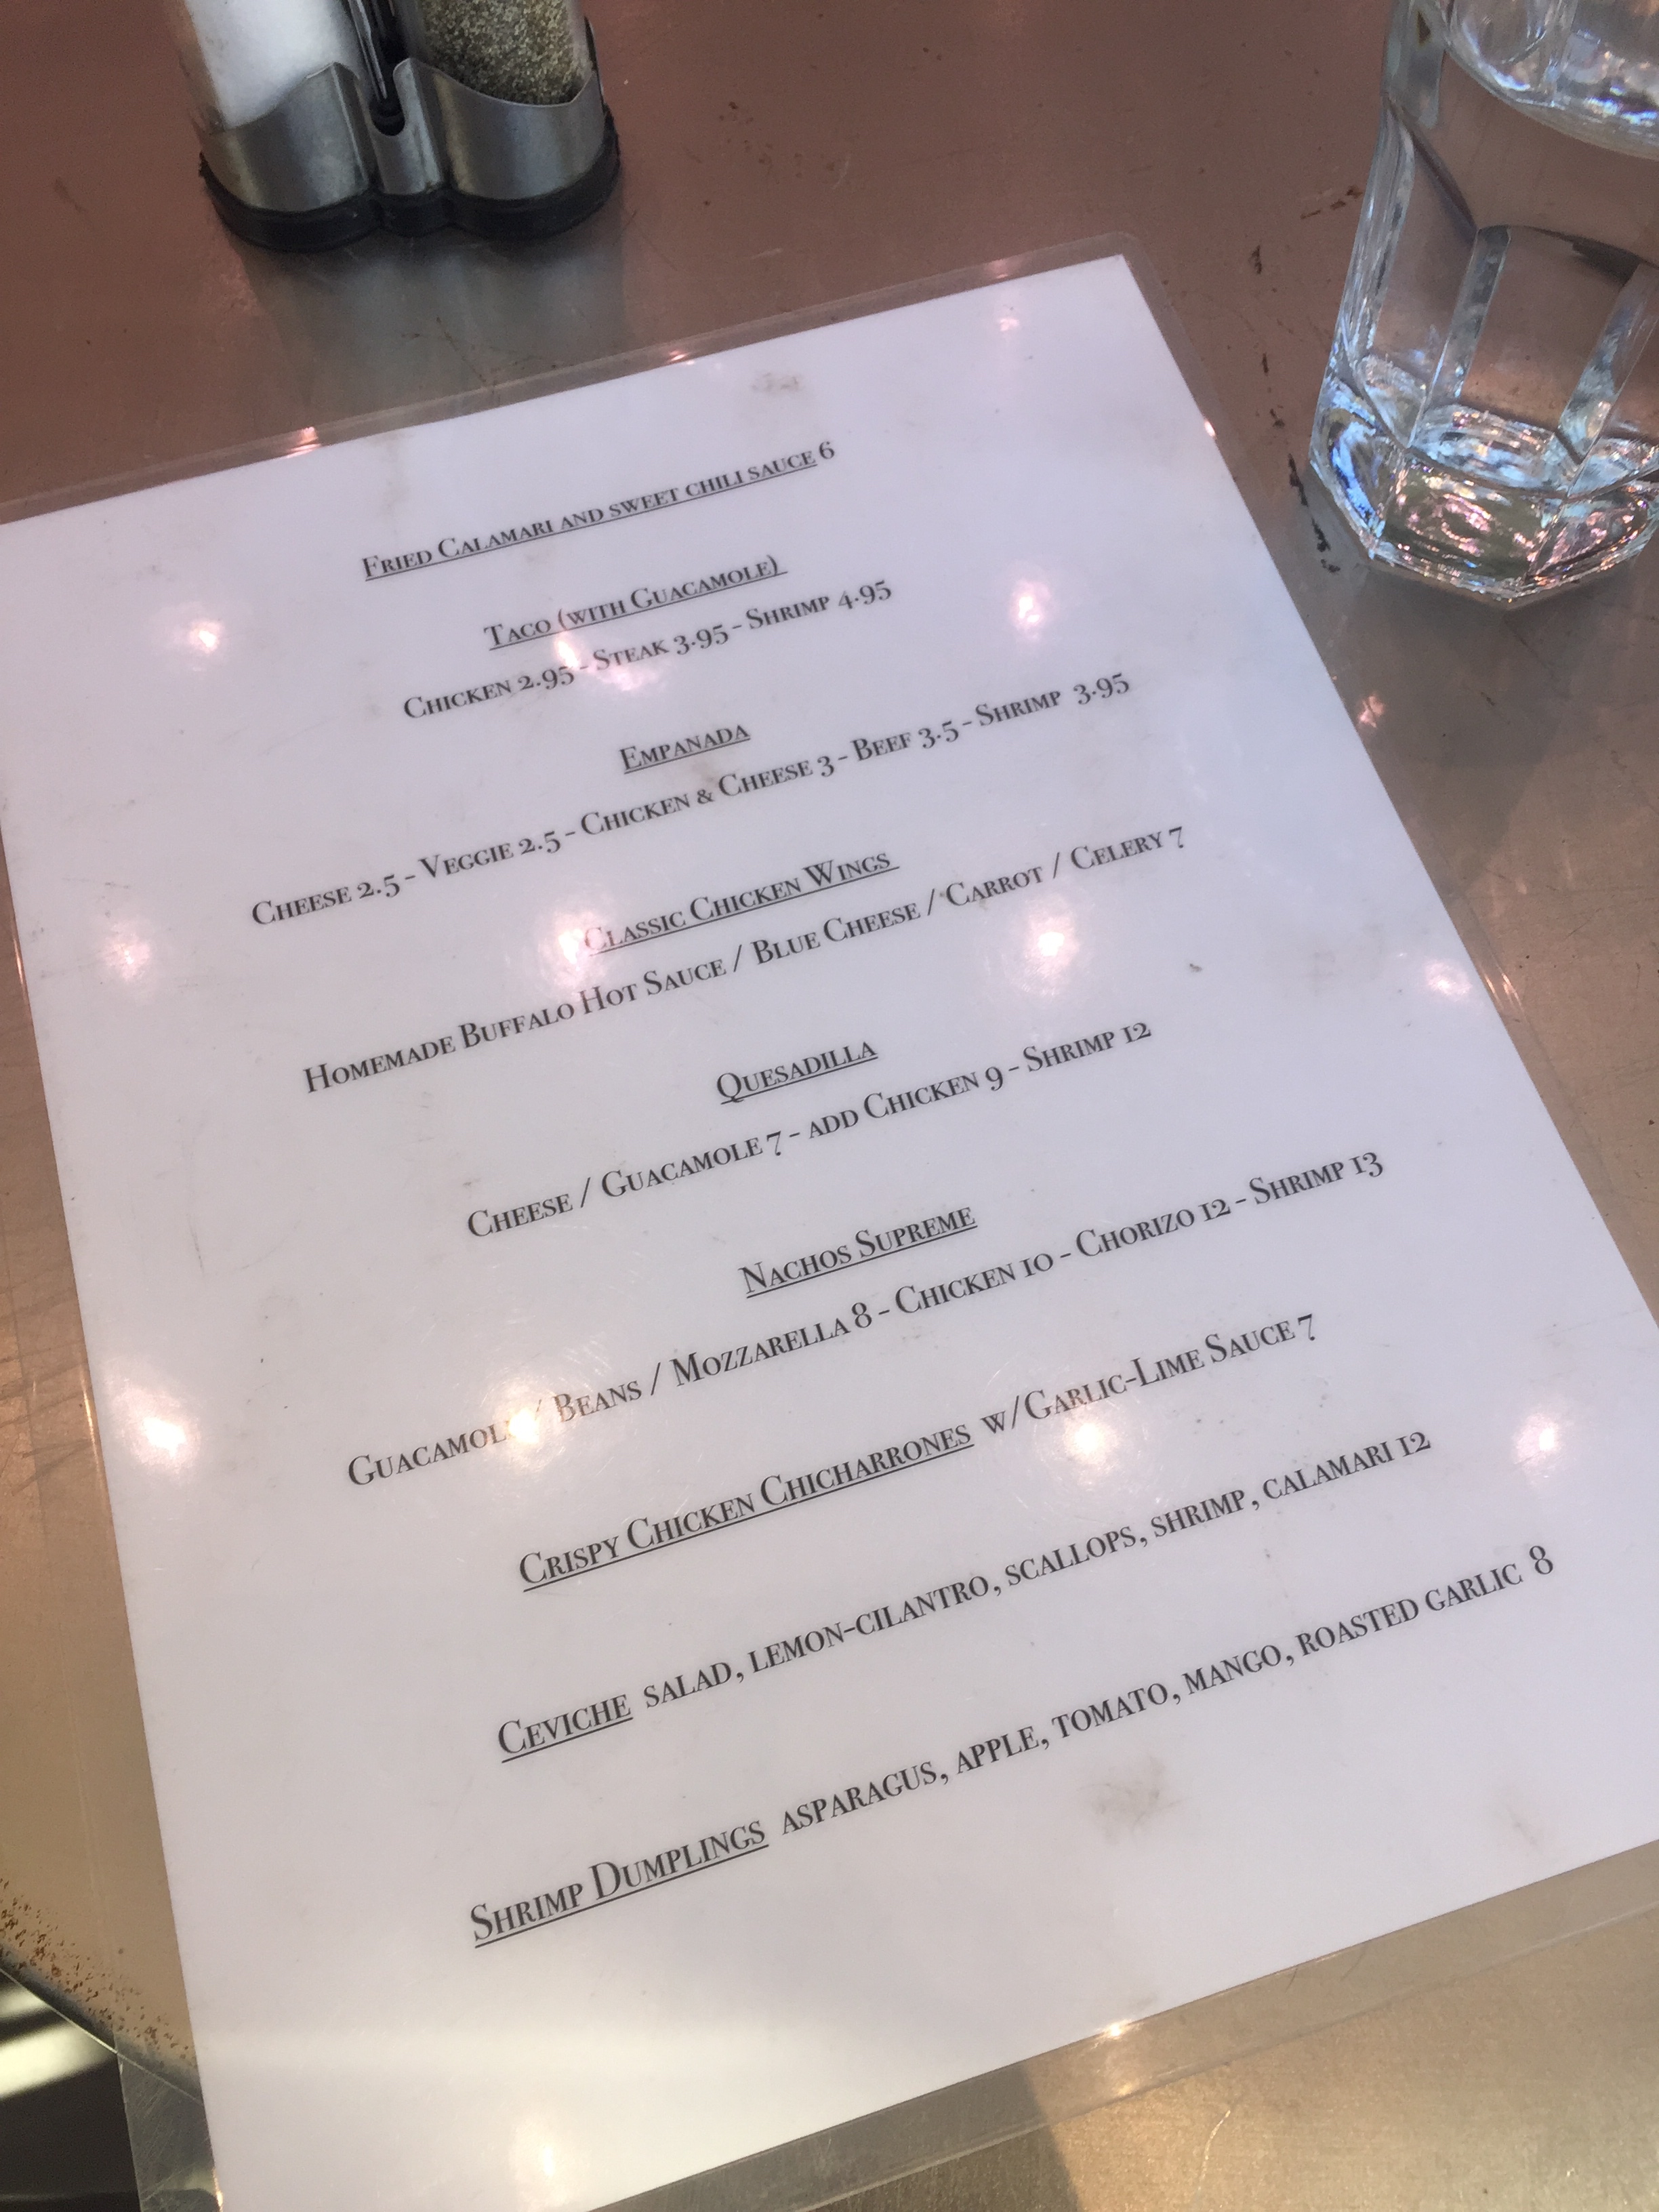
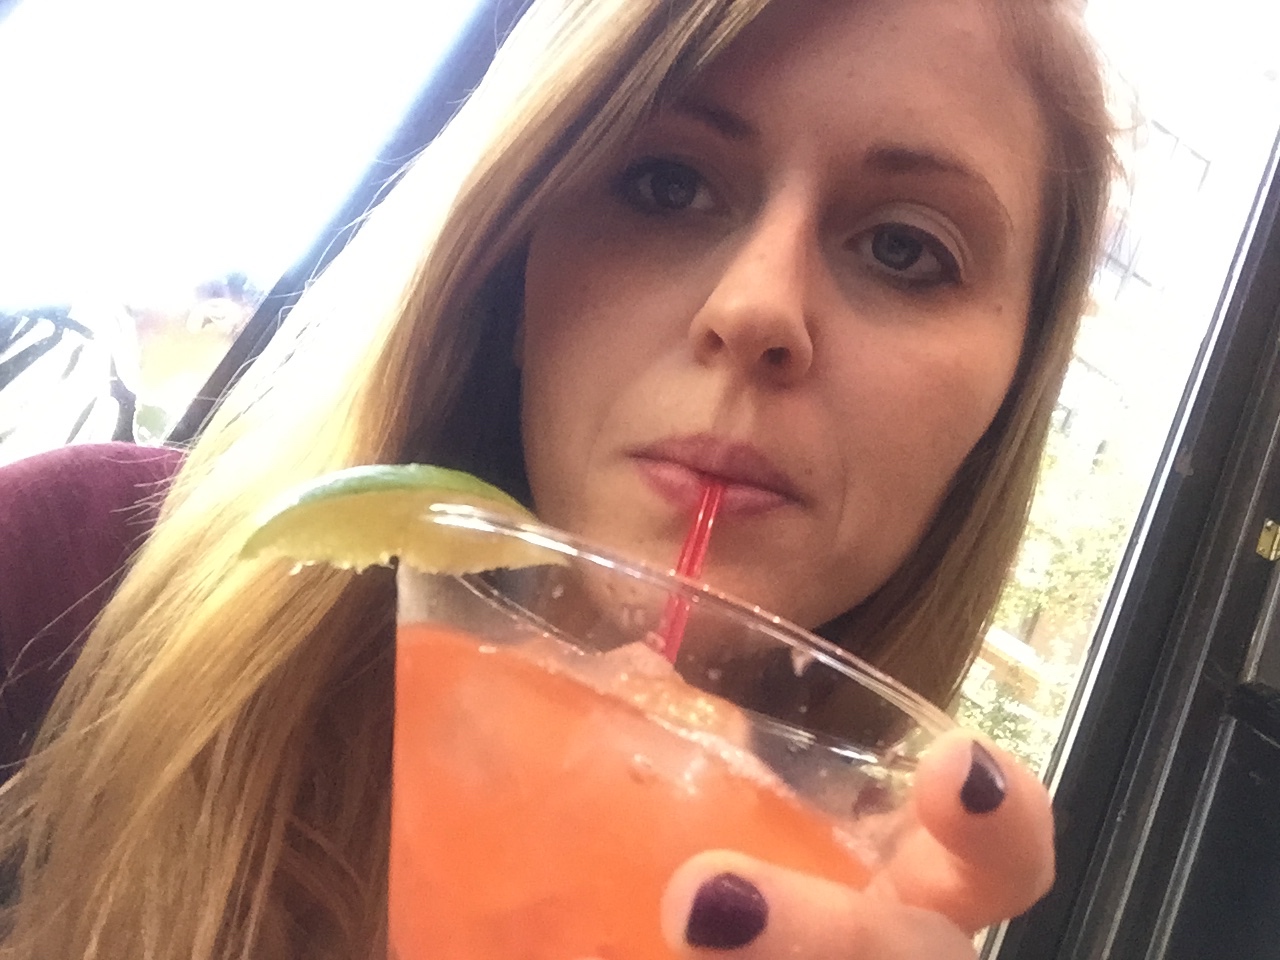
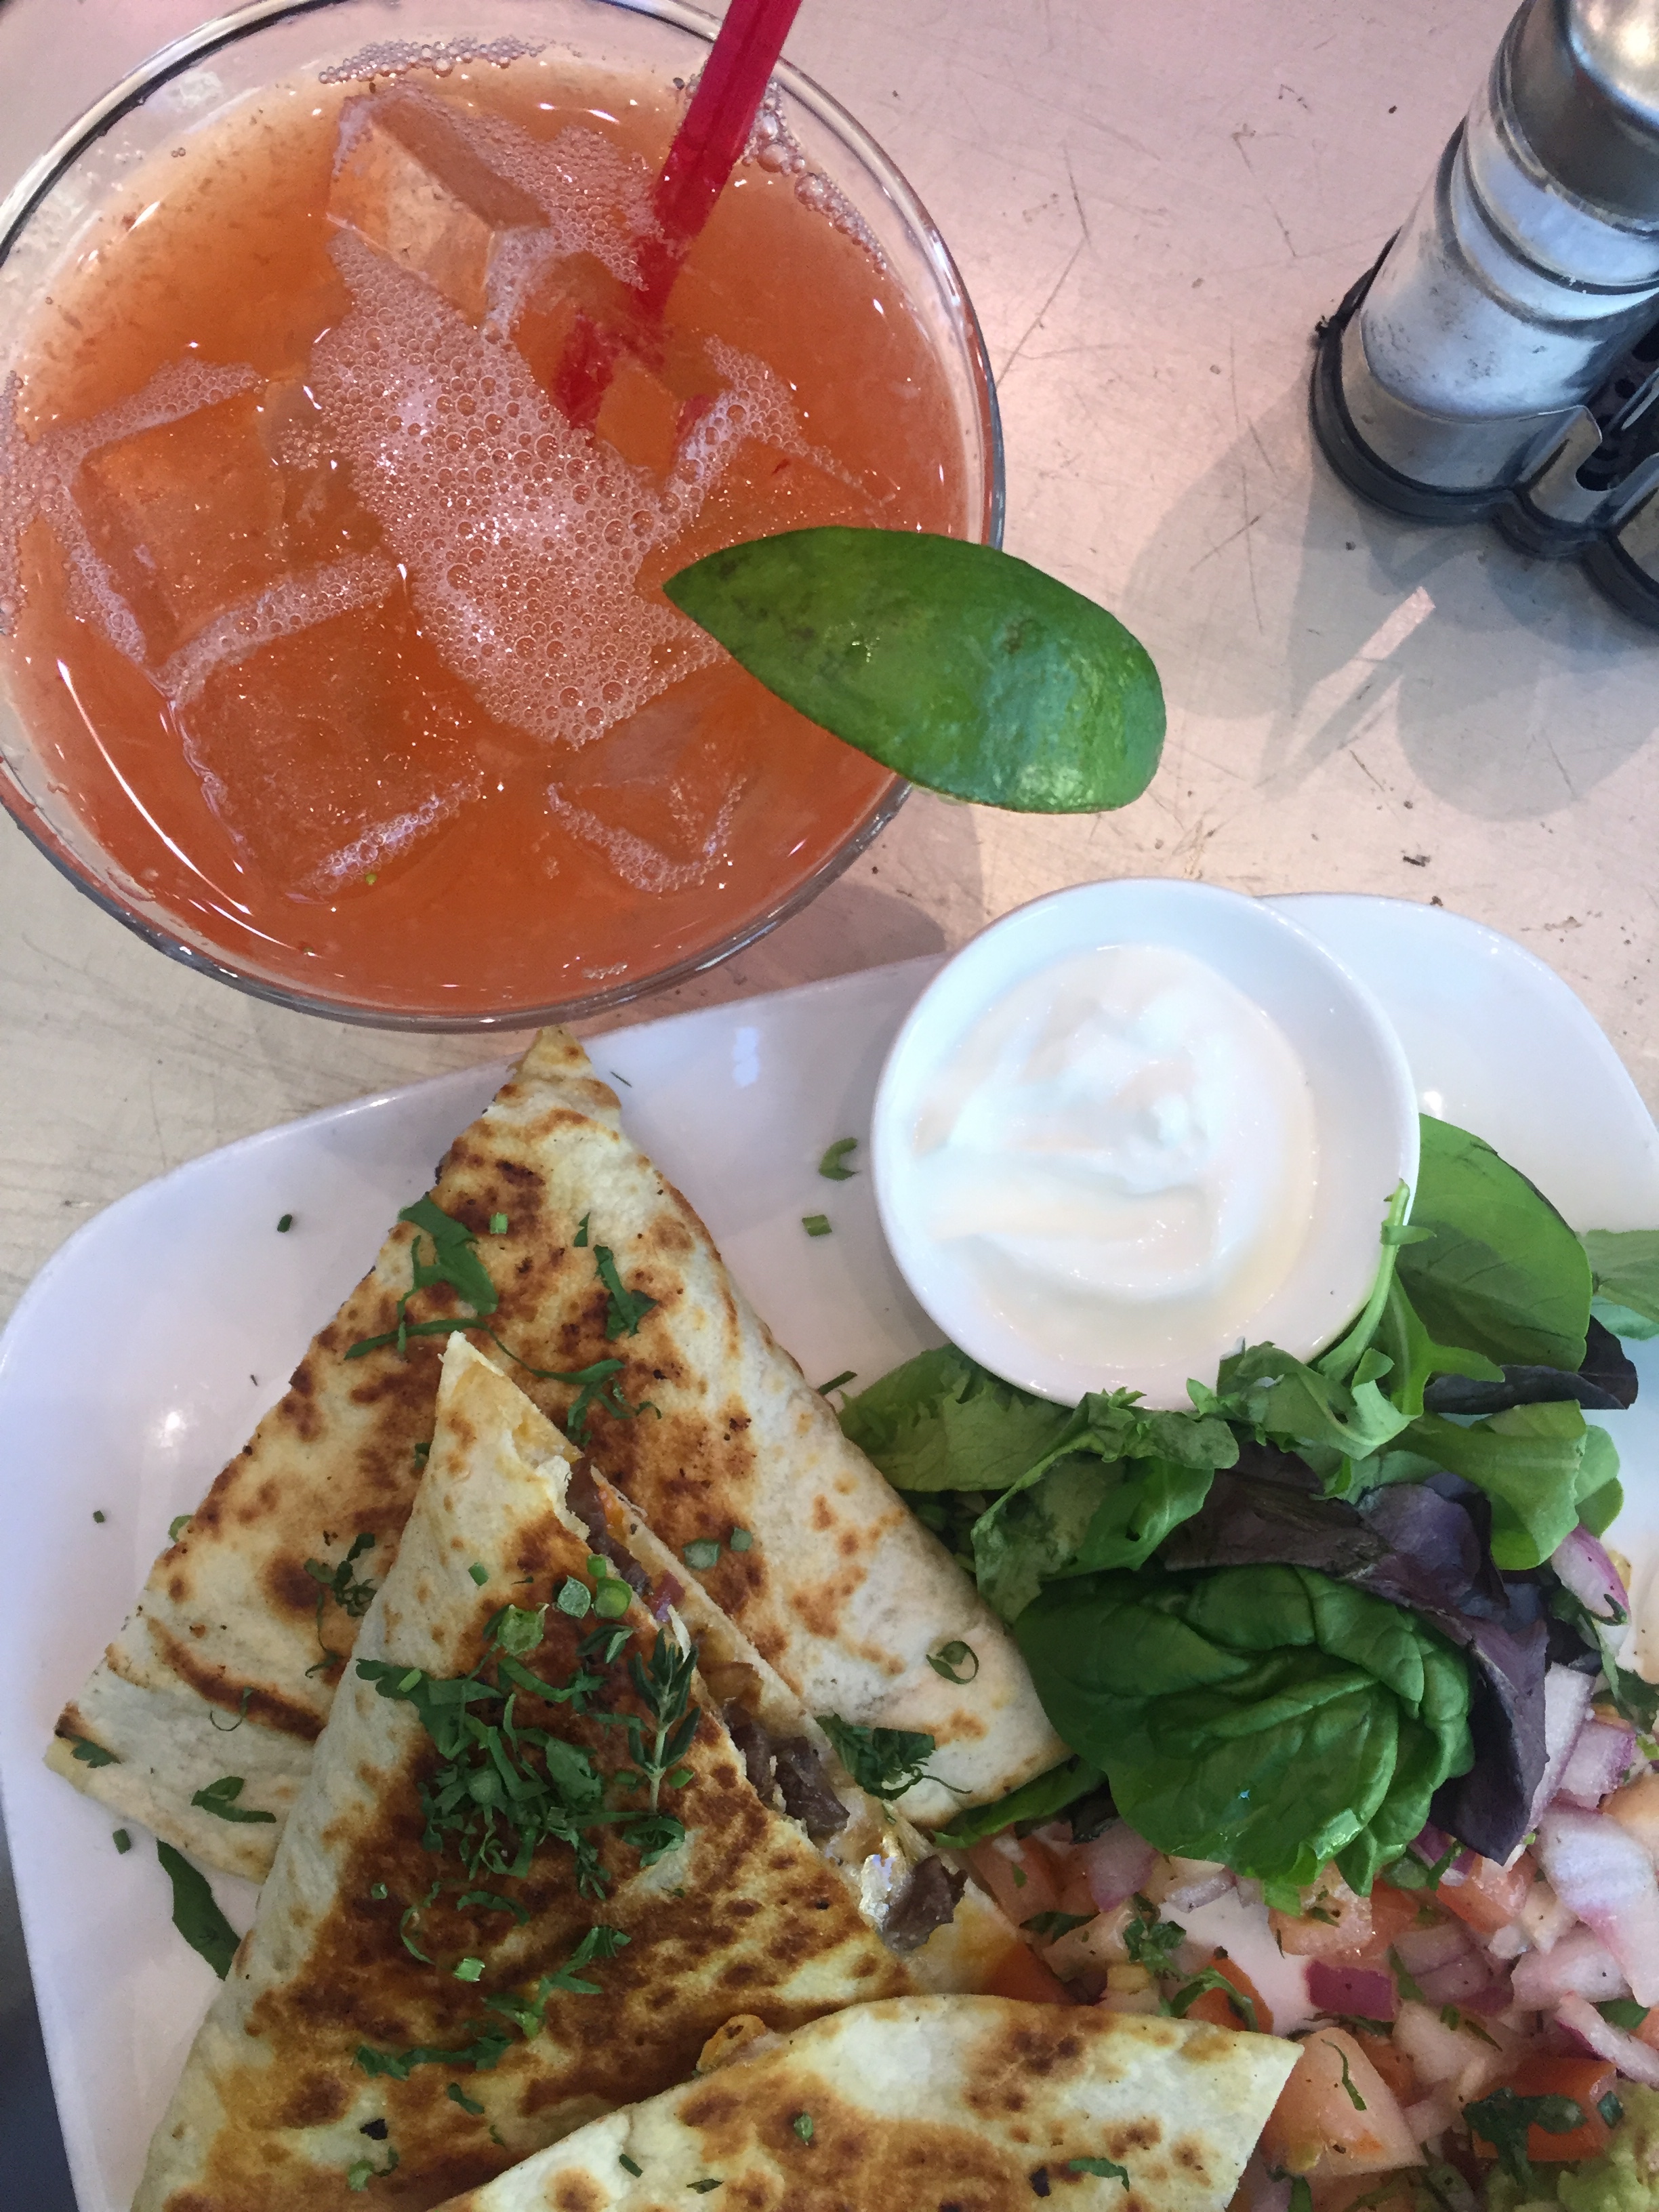
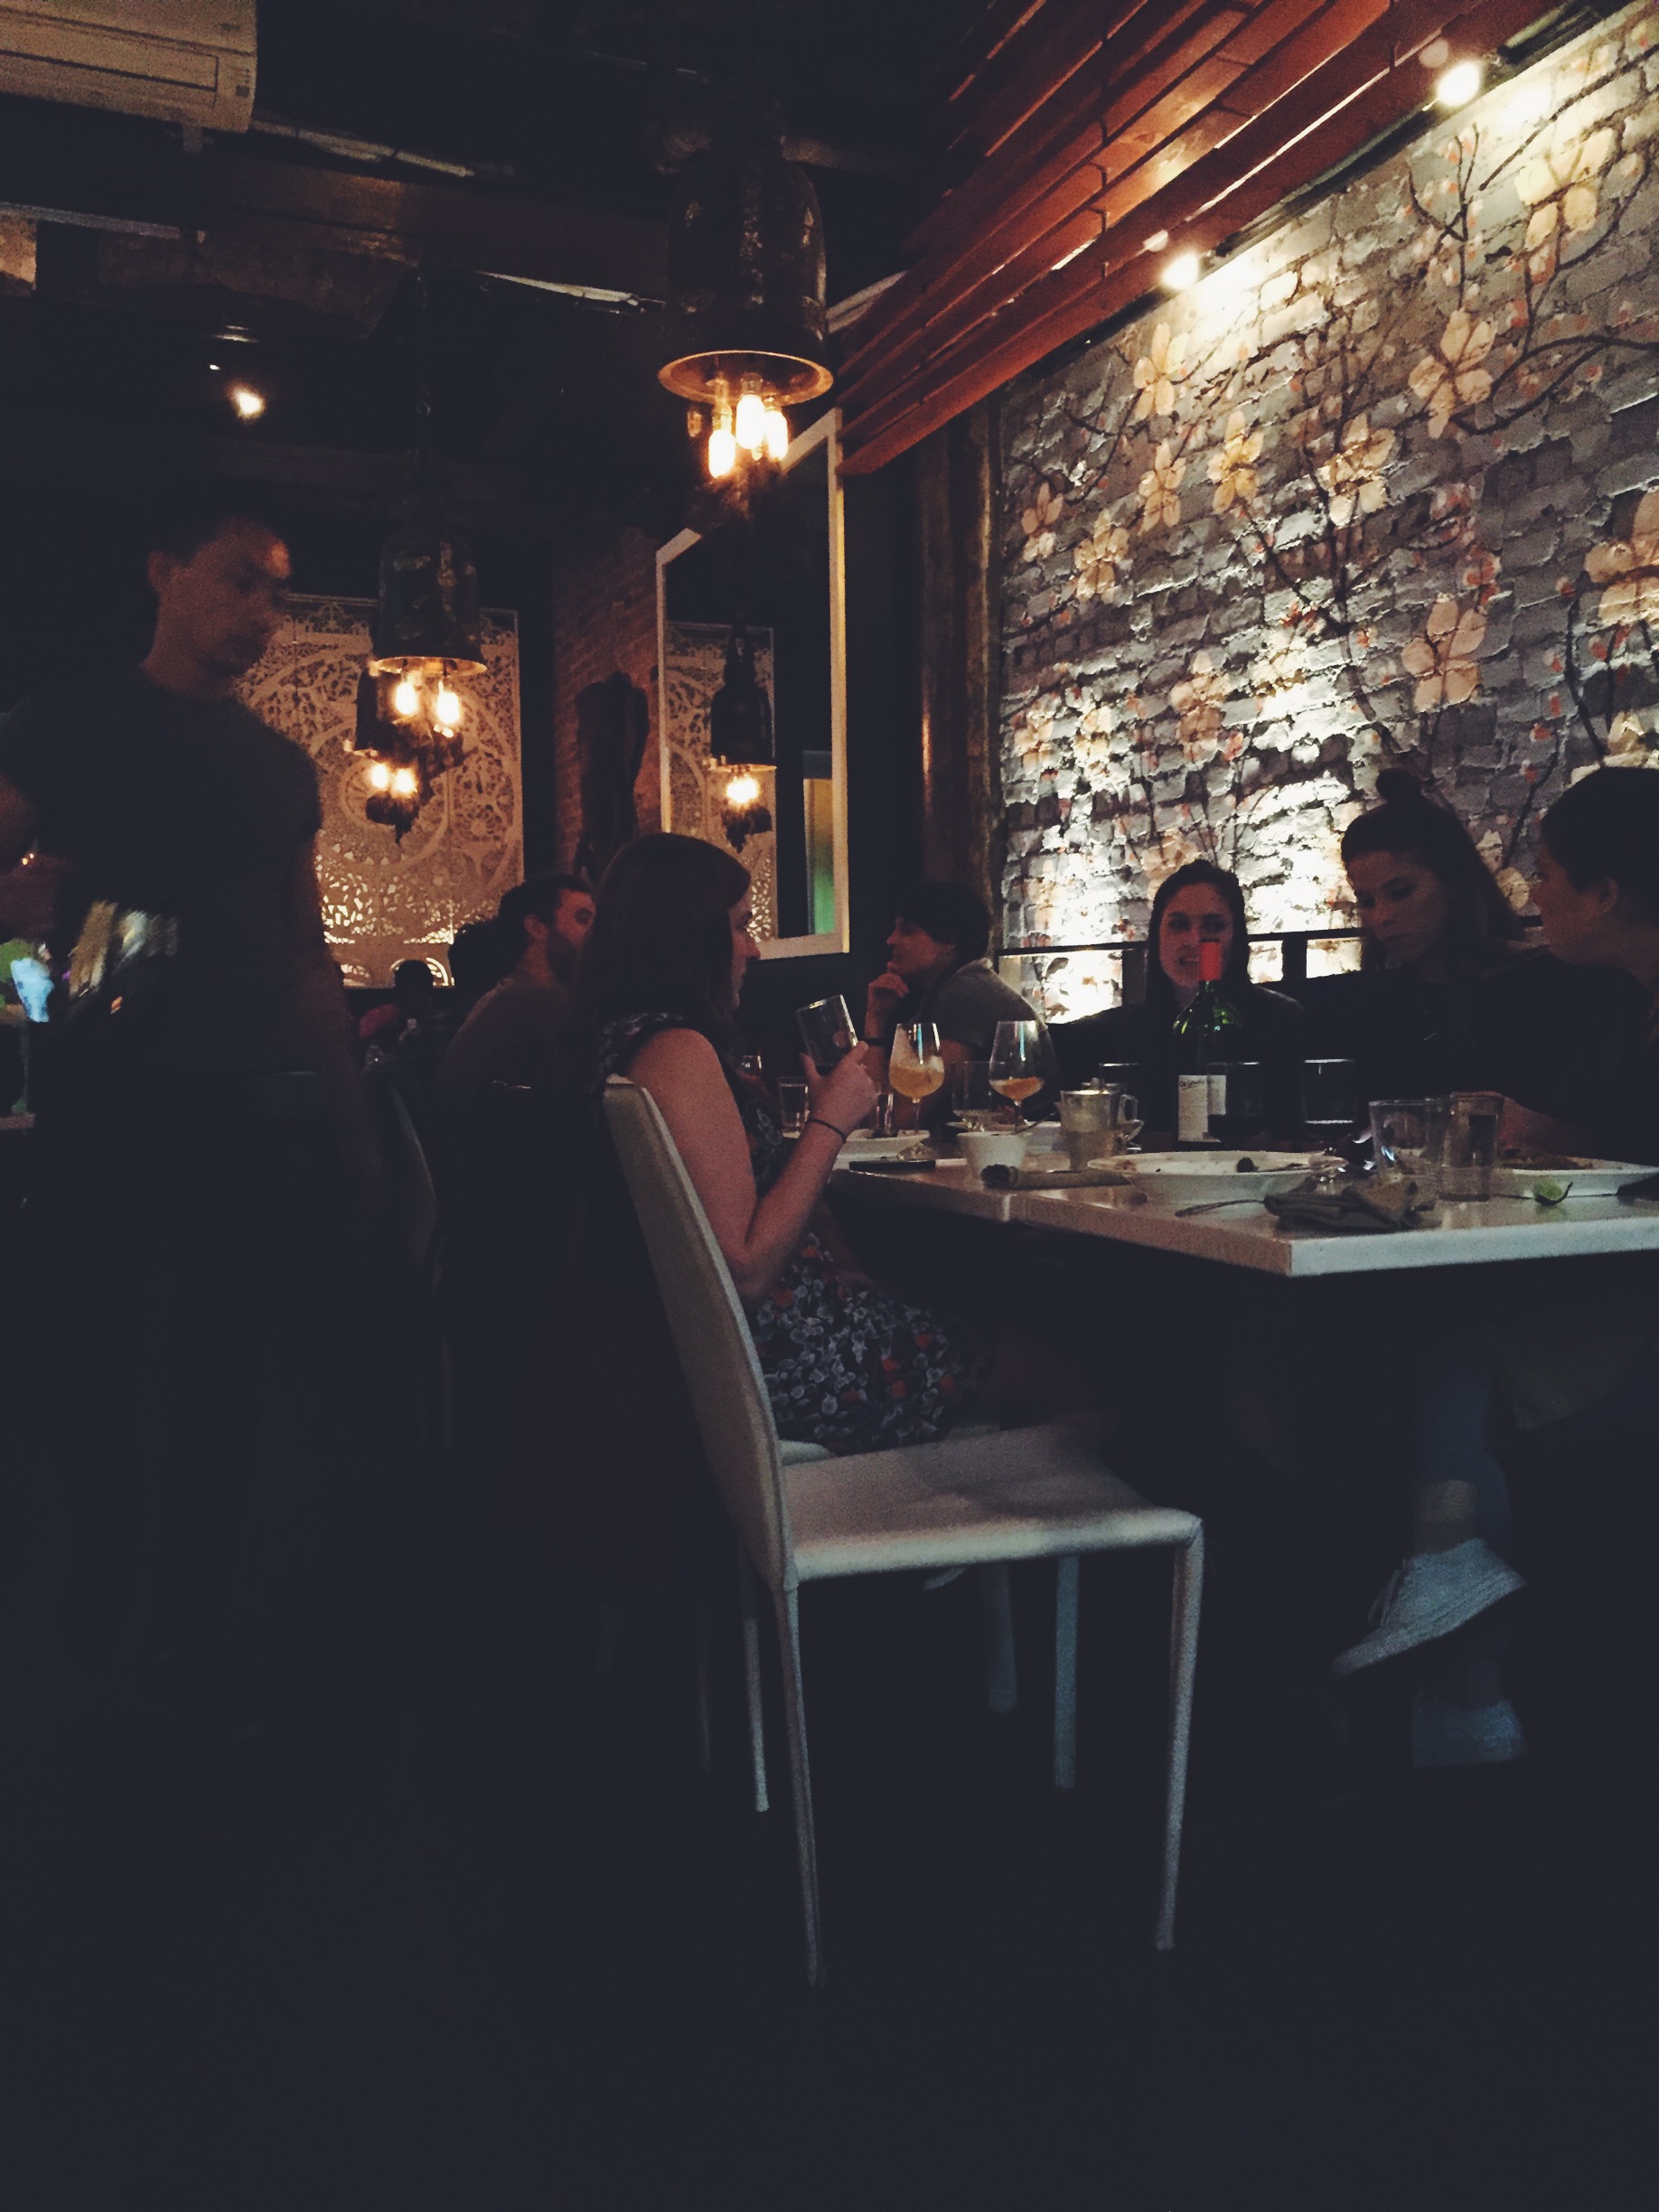
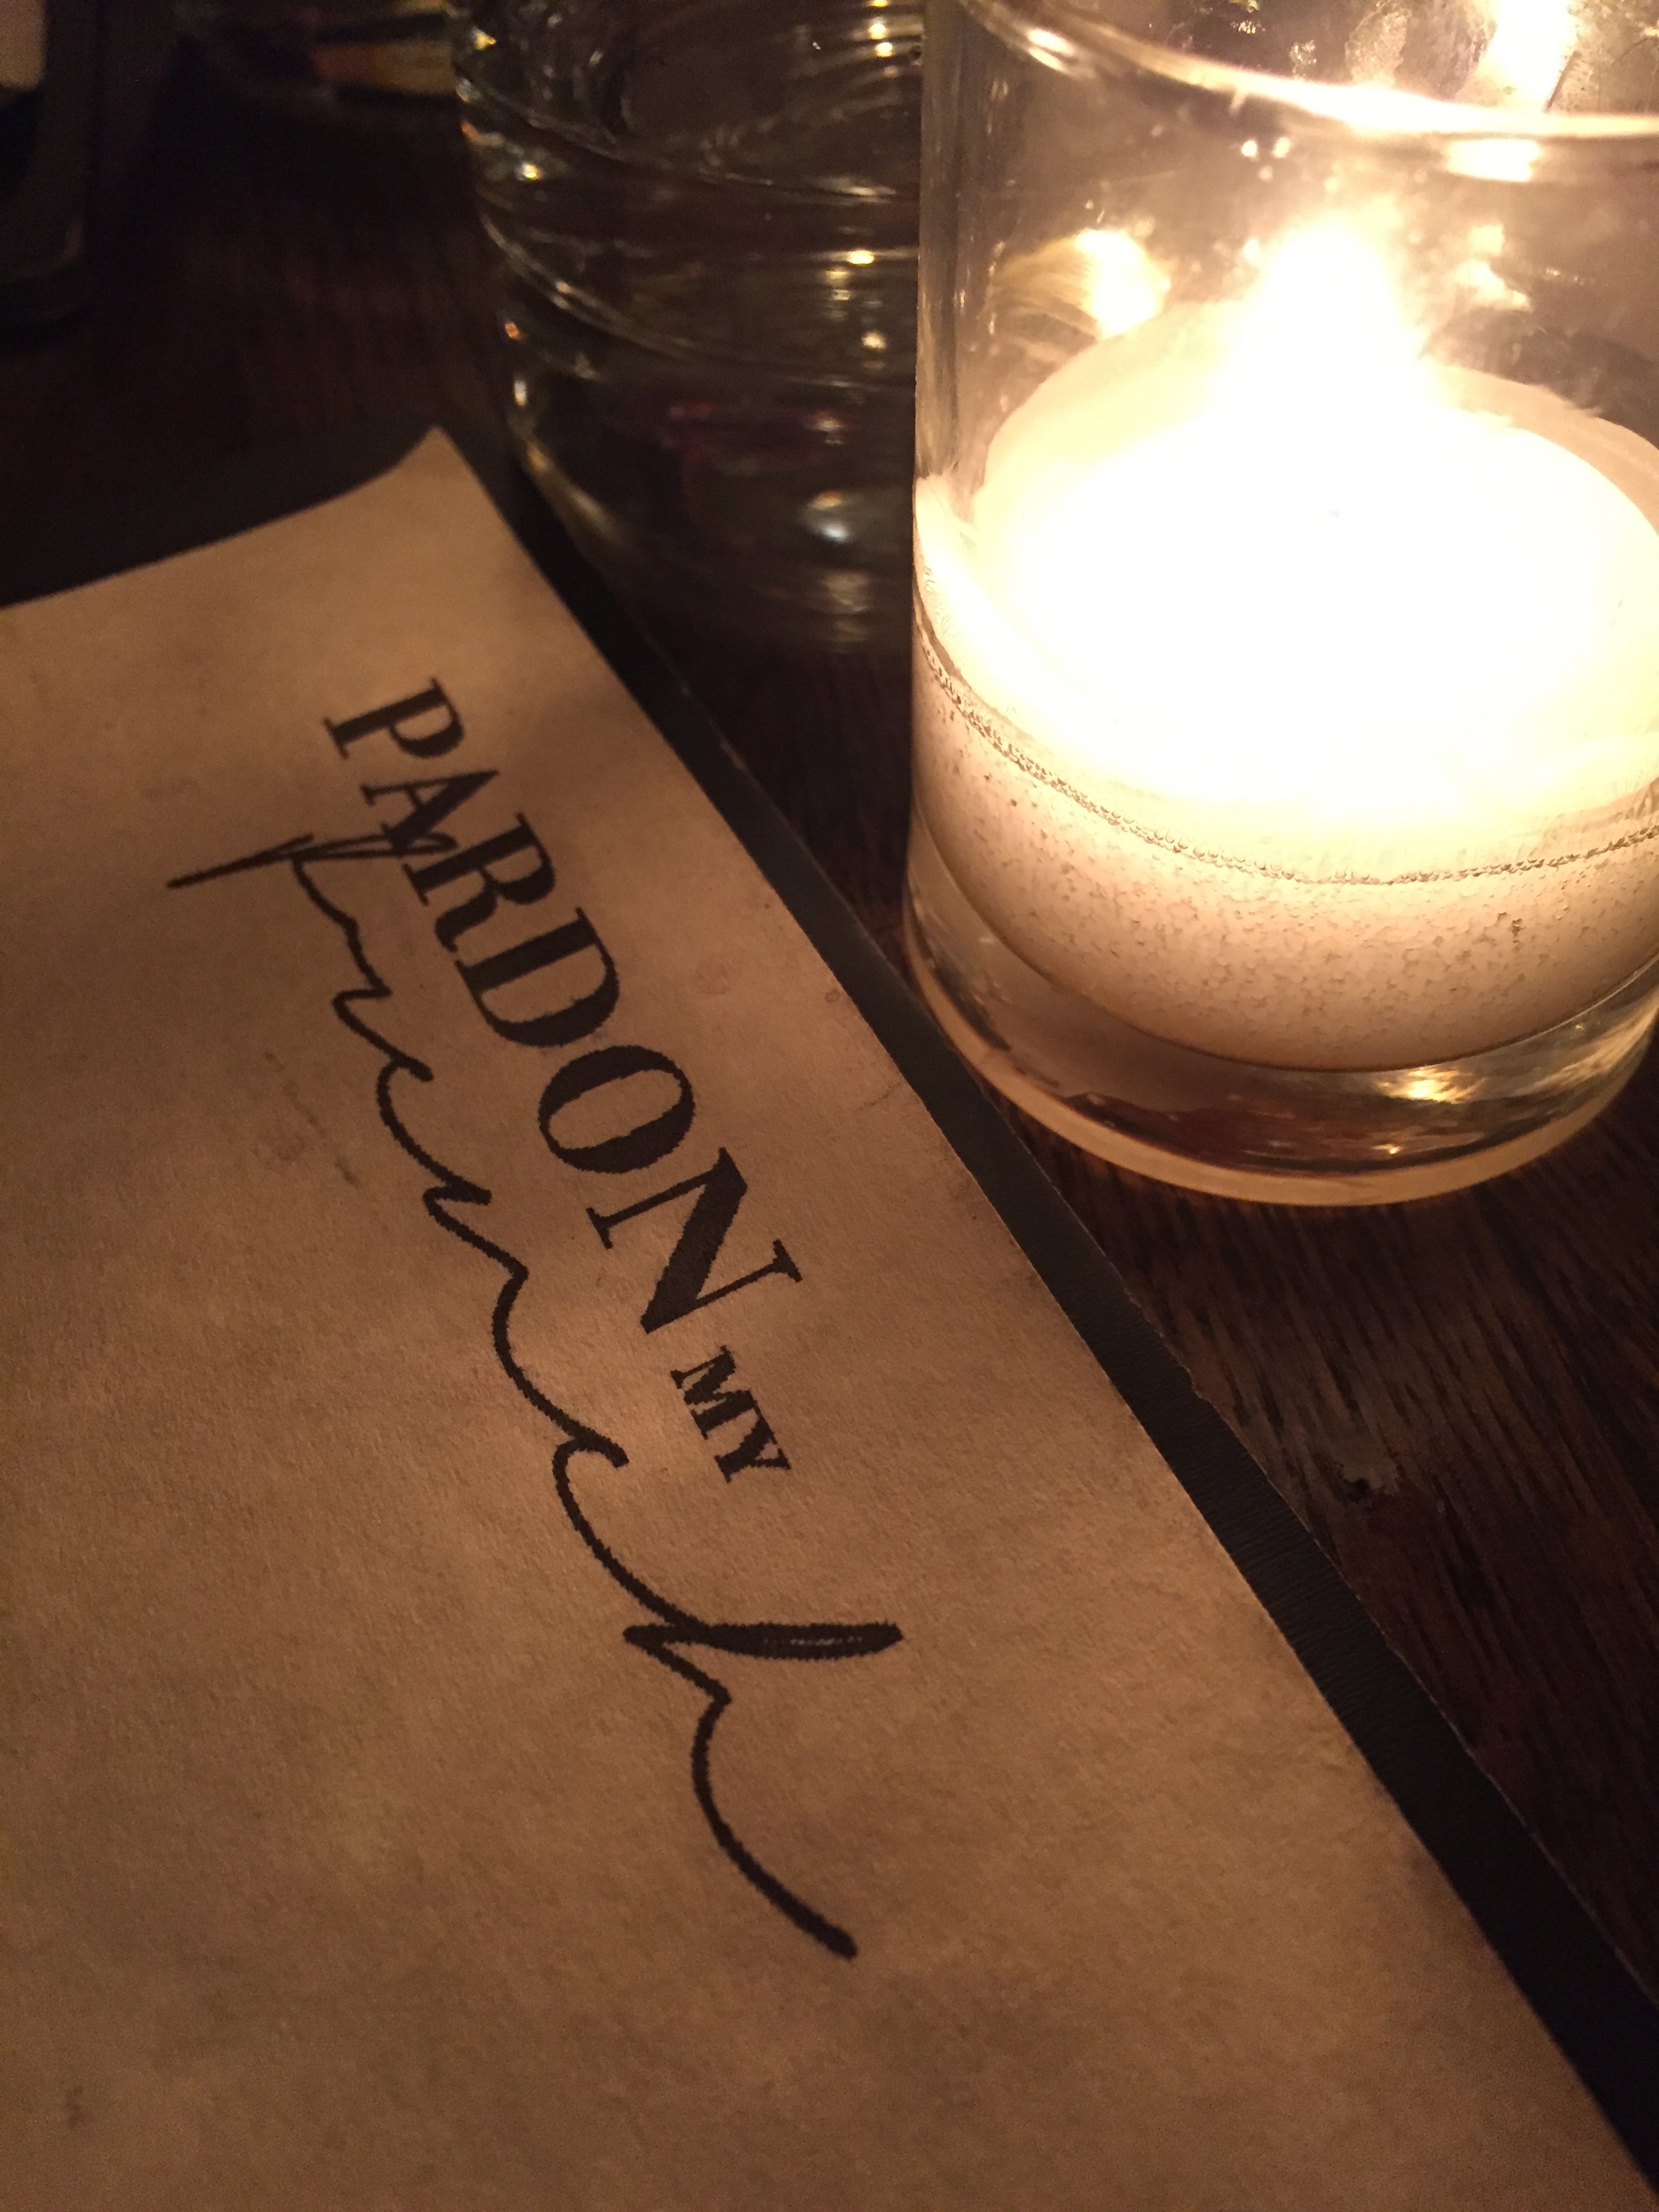
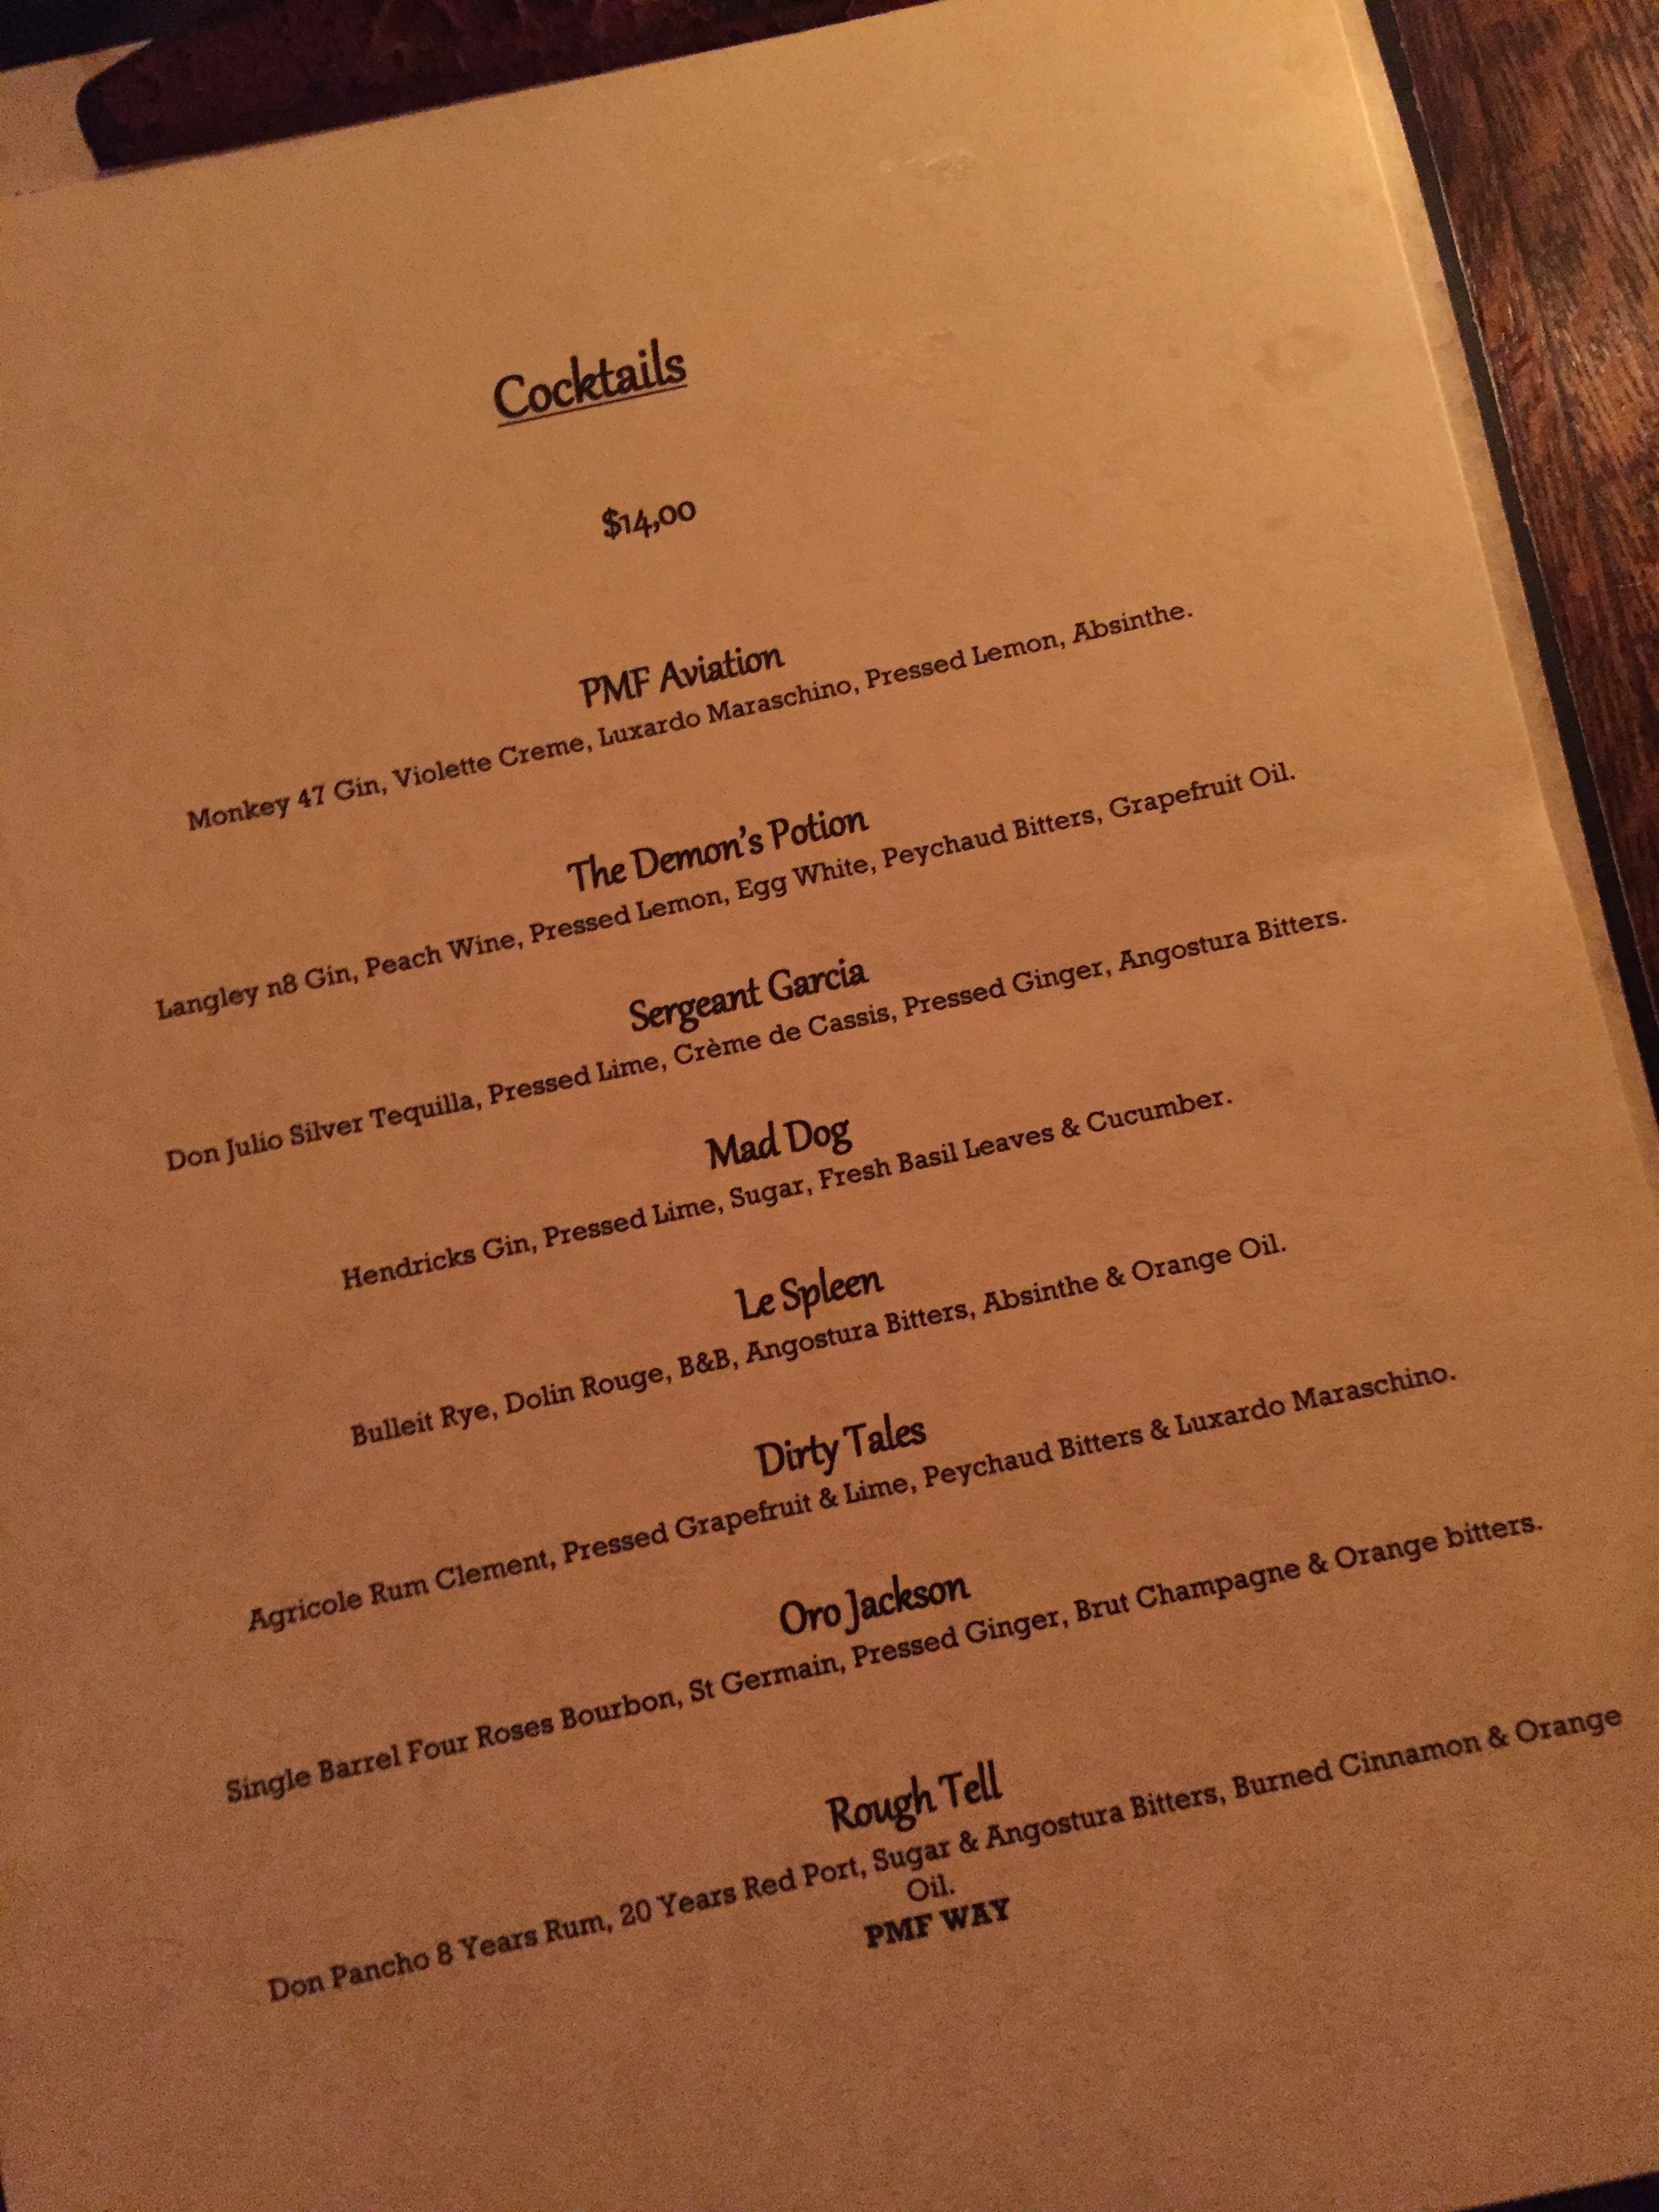
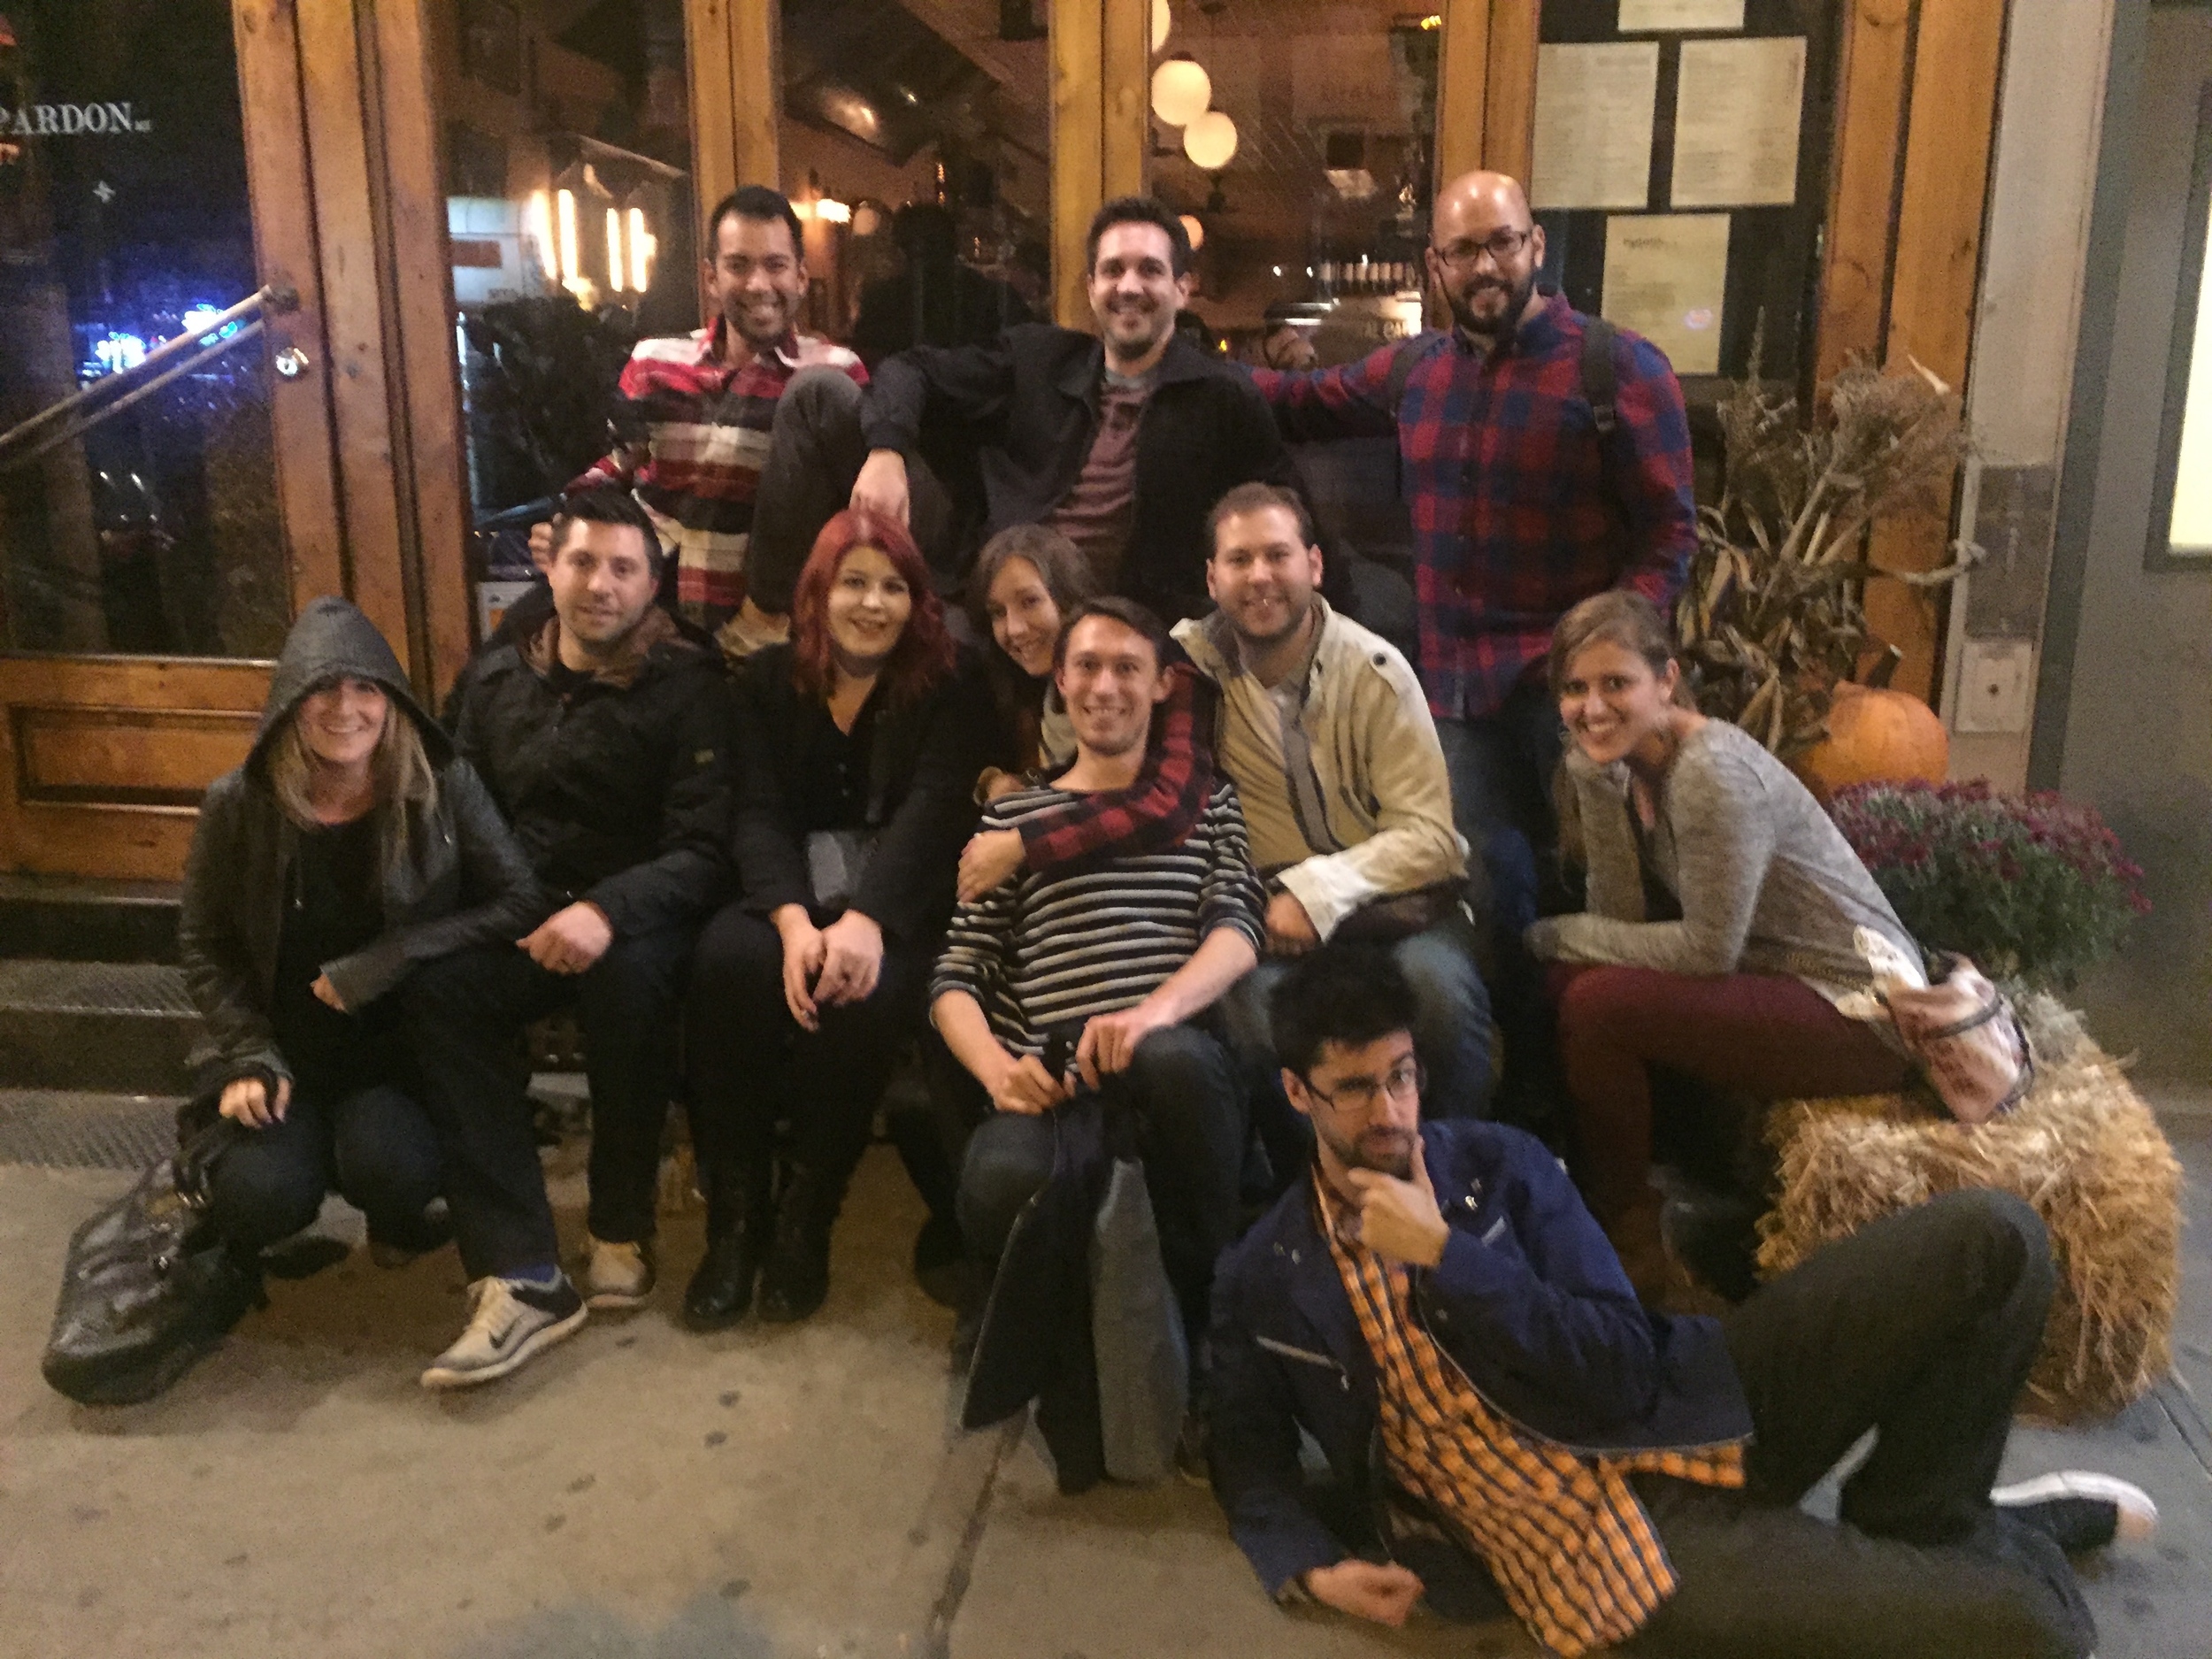
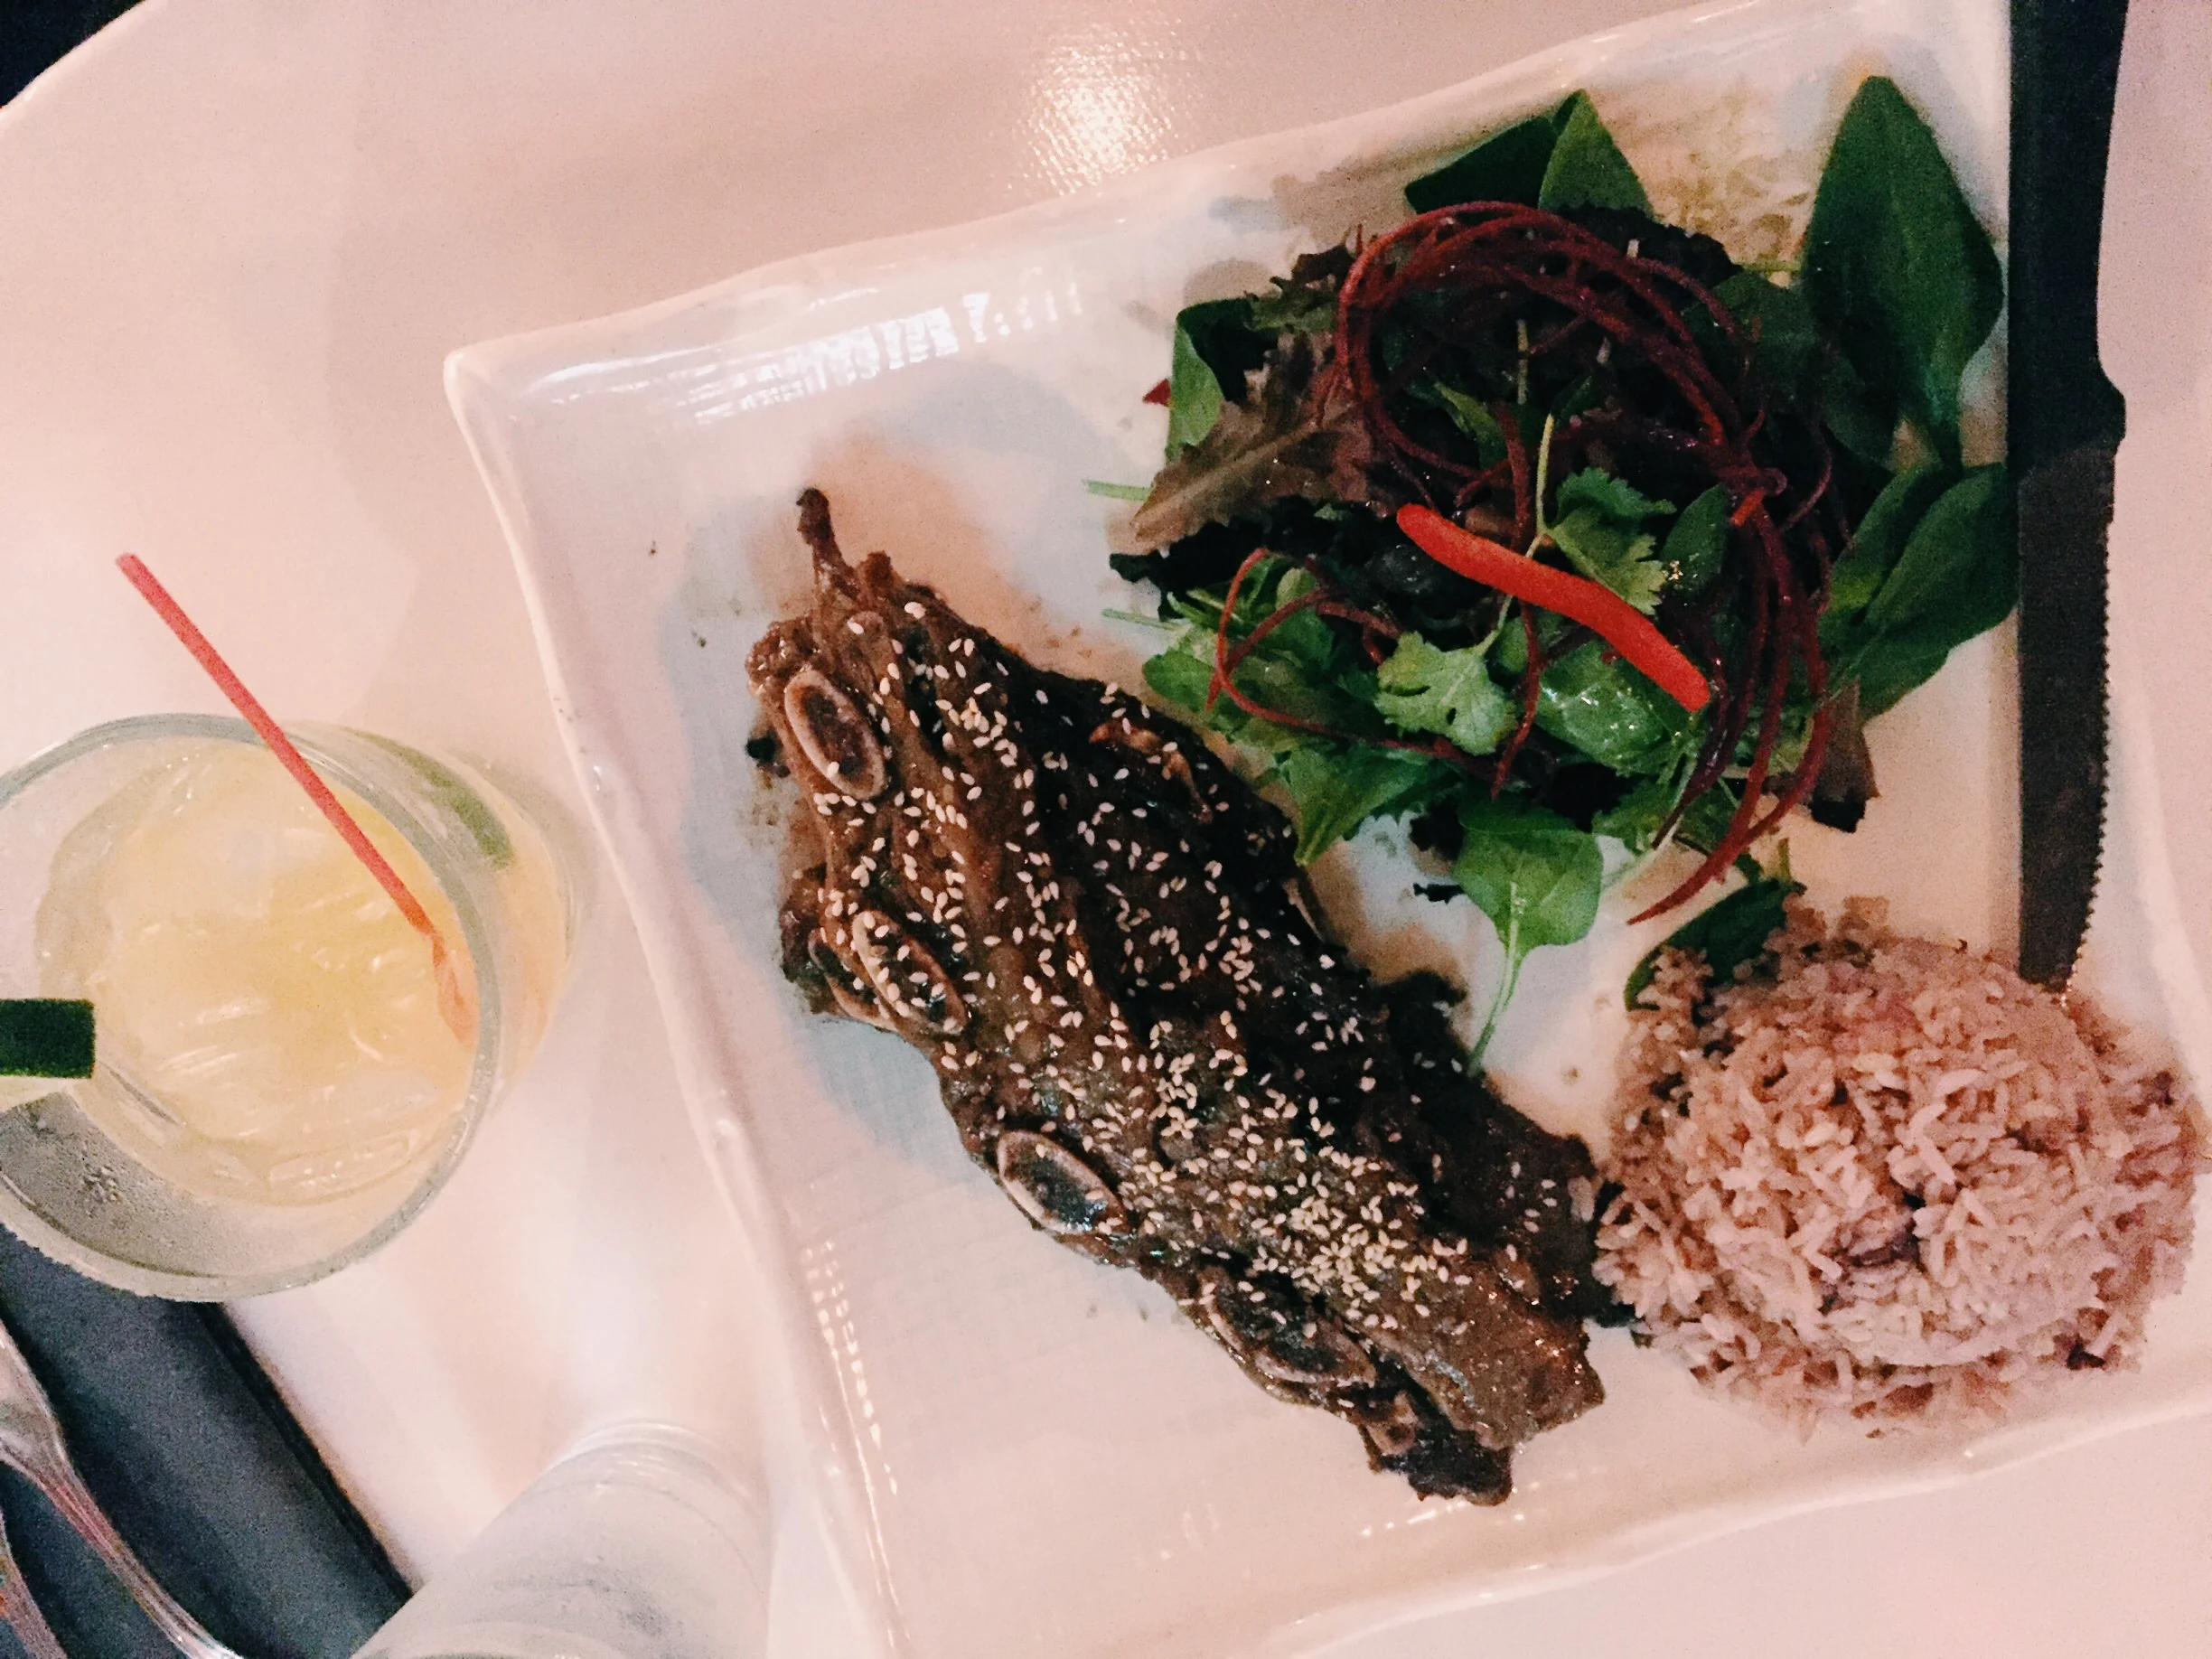
Check out the slideshow, below, to see my mural sightings and awesome NYC food! If you're in the area, I would definitely recommend Ariel's Bistro for lunch and a $5 strawberry margarita, and Pardon My French for a super fancy date night. The whole Skype team was so wonderful to take me out for dinner and cocktails after the Halloween party.
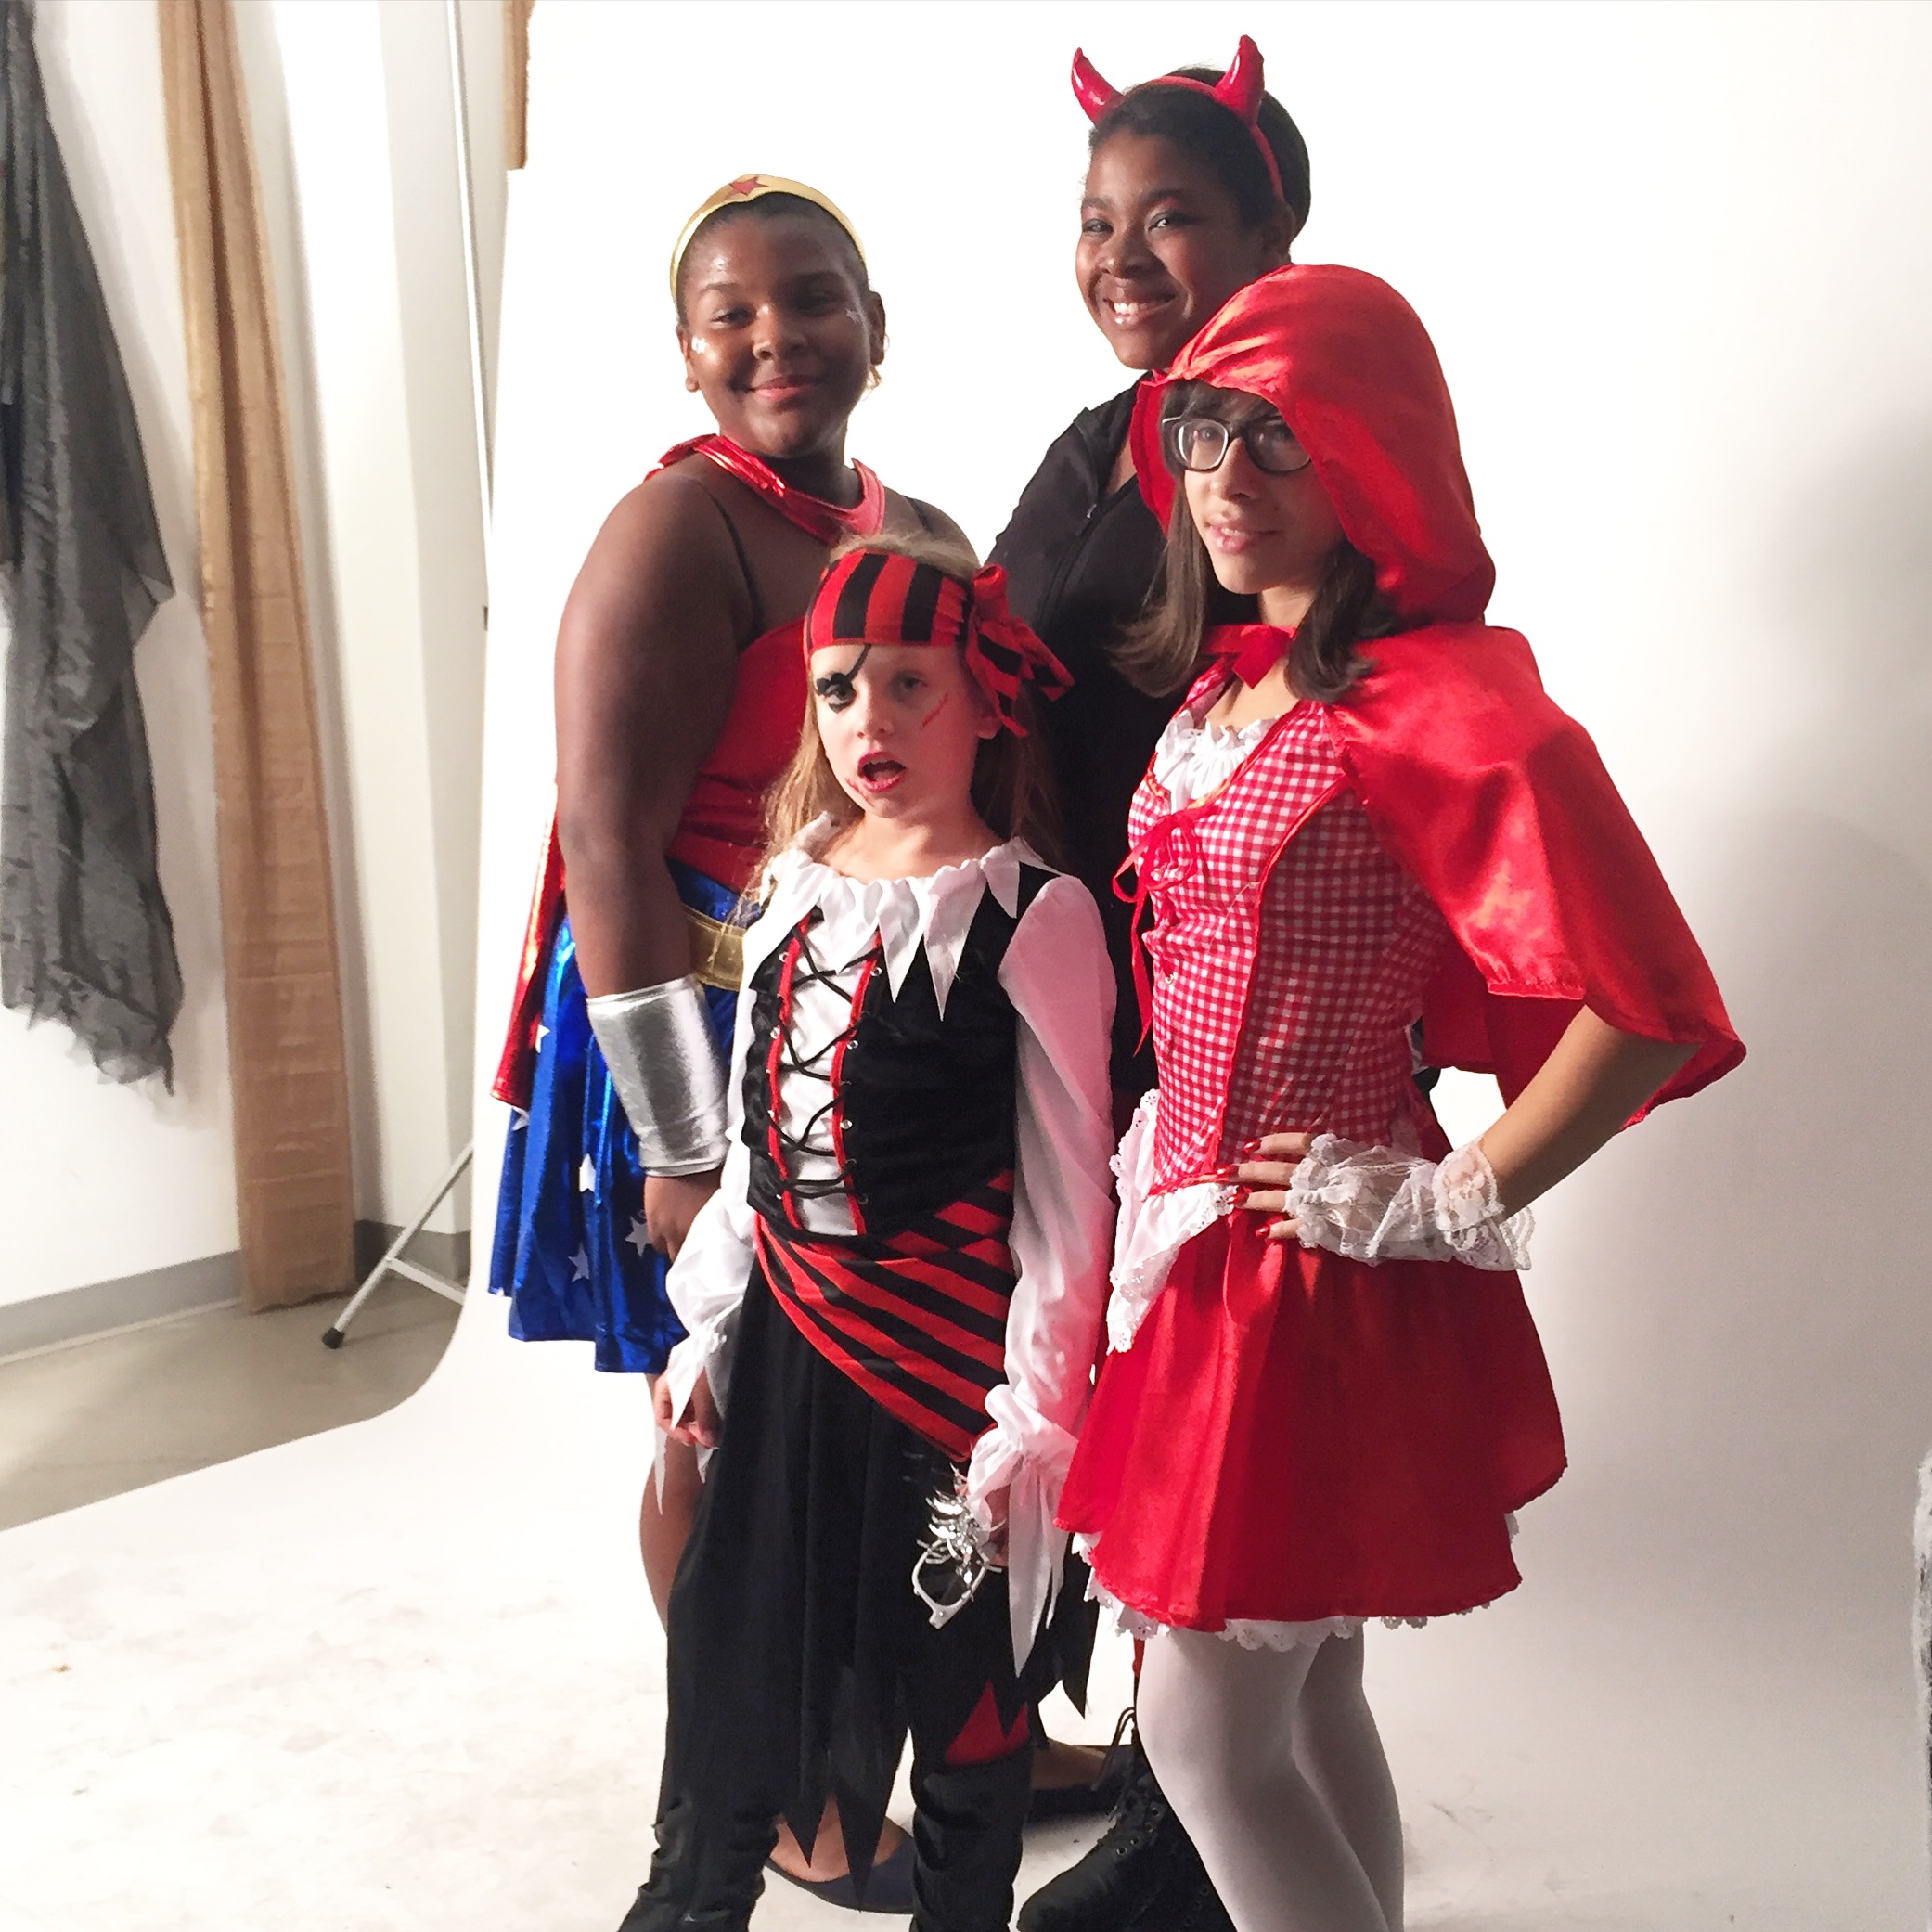
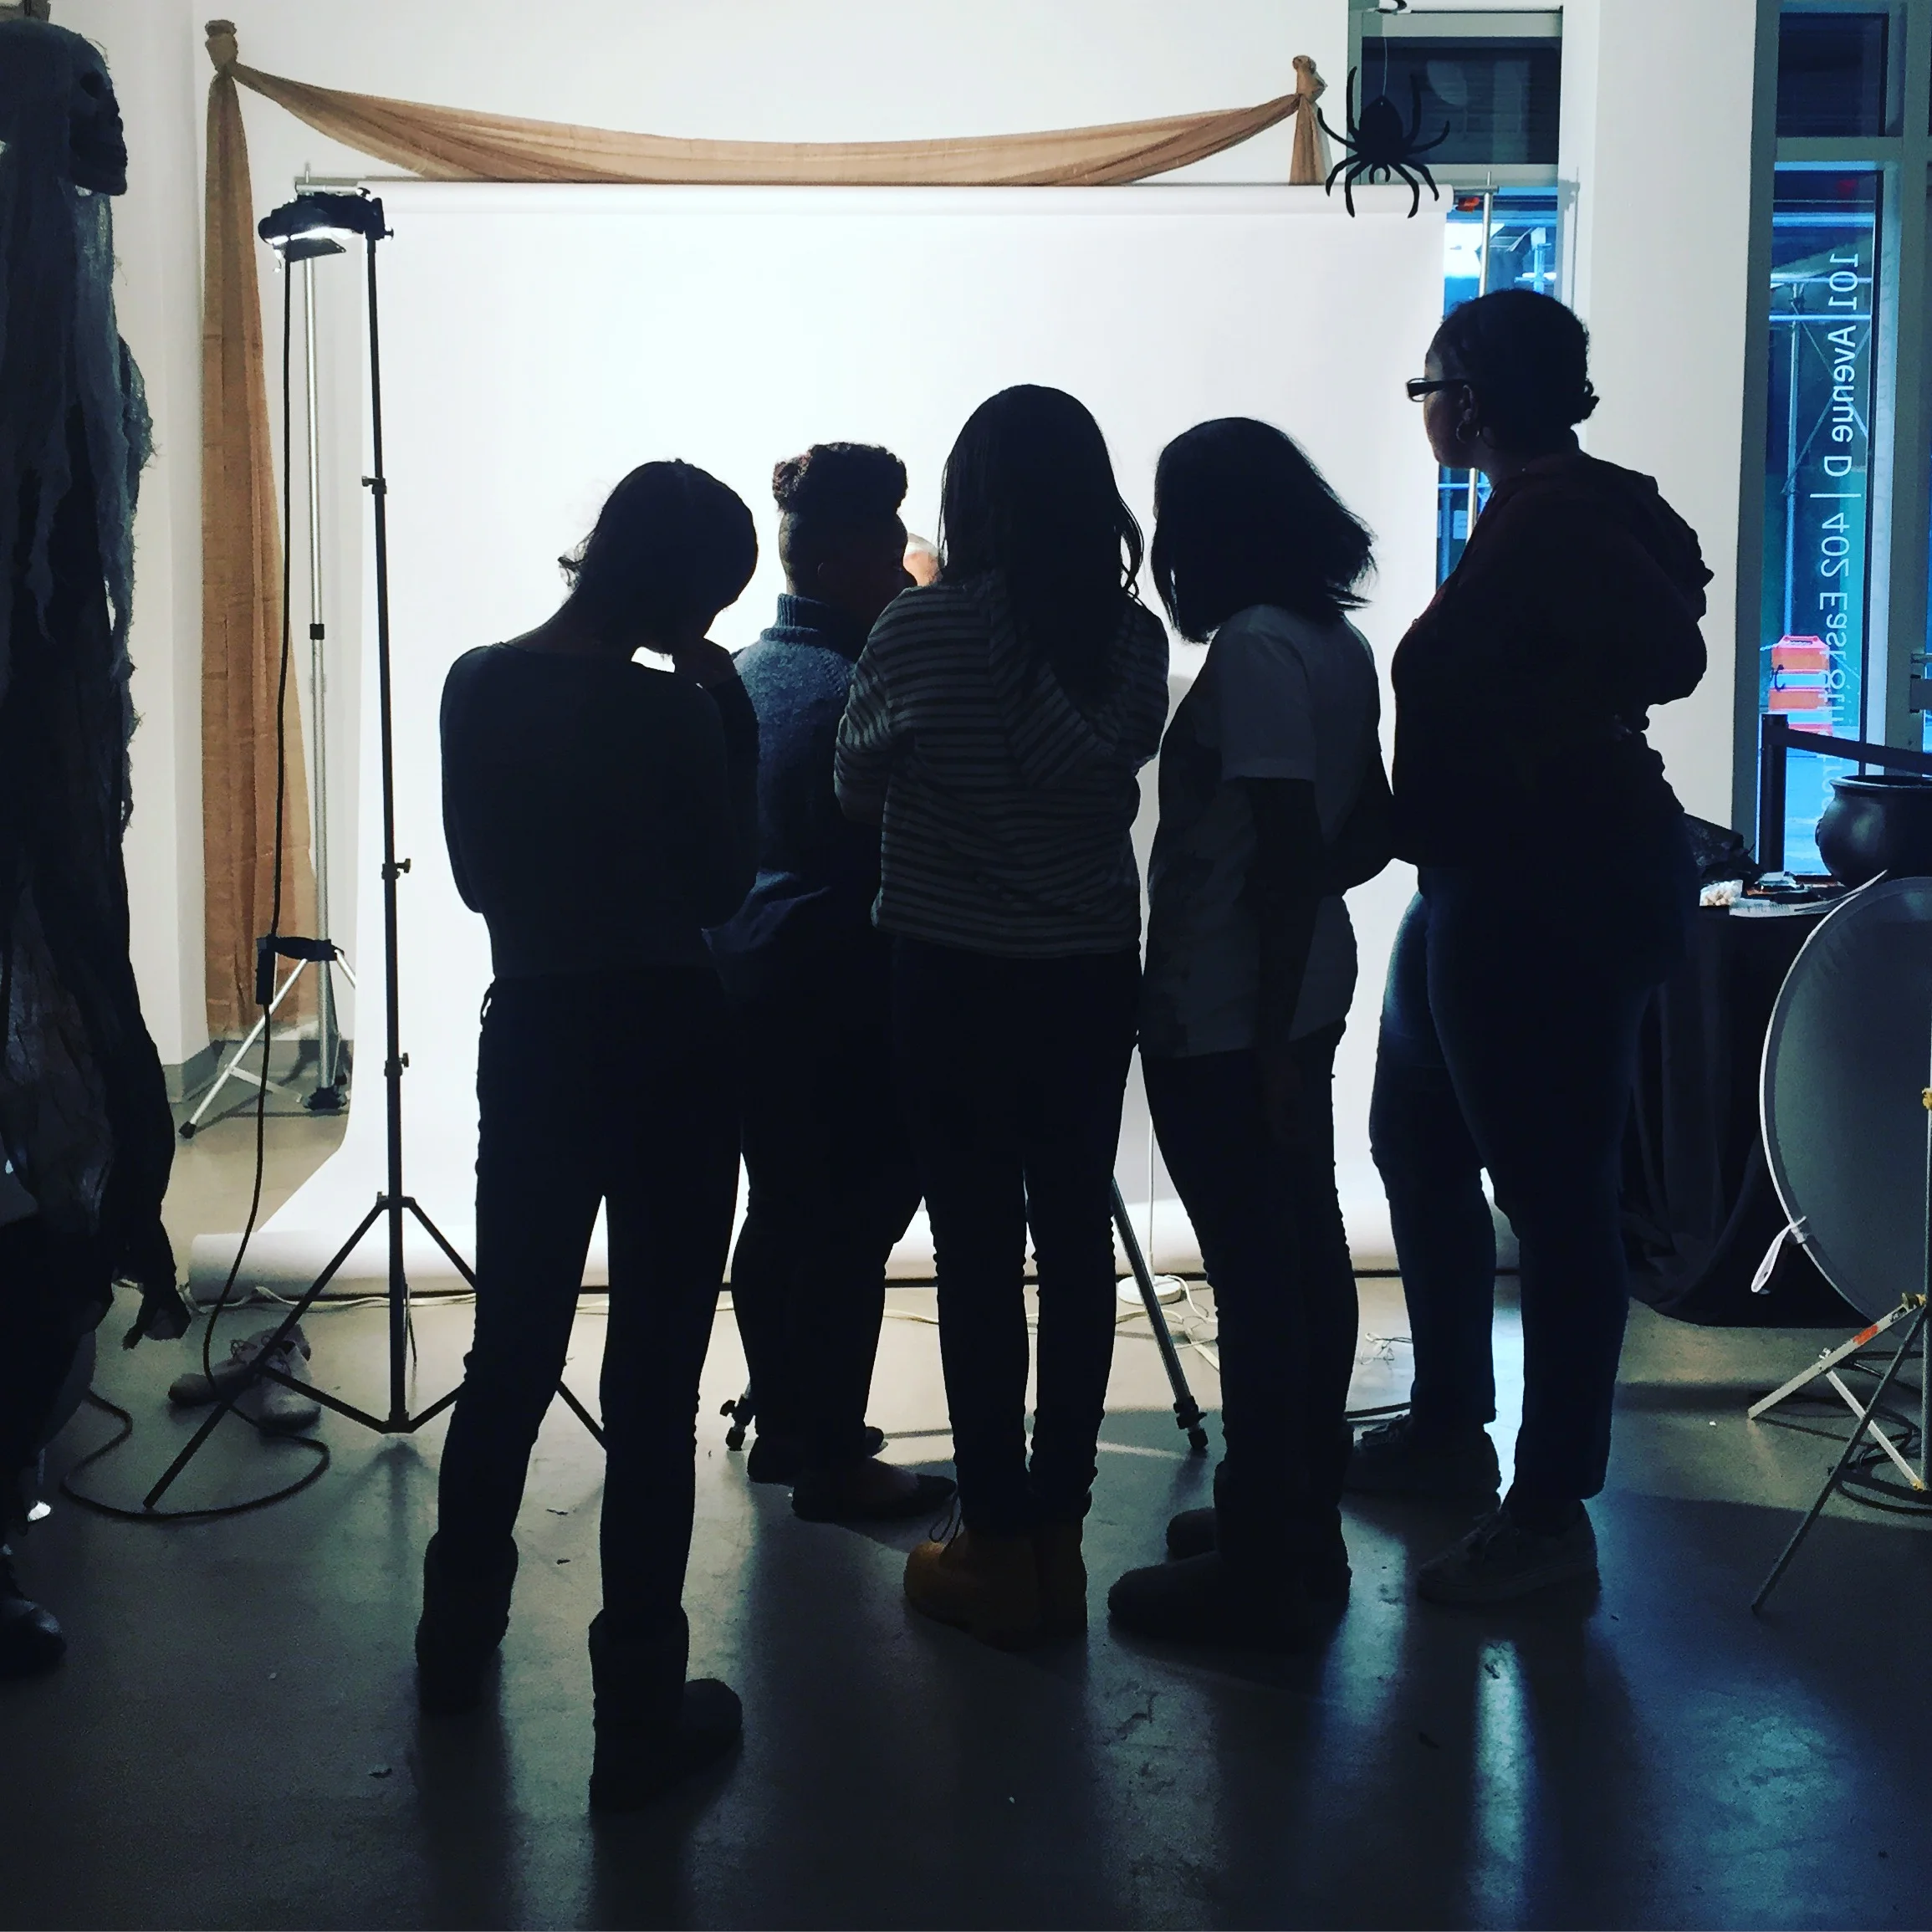
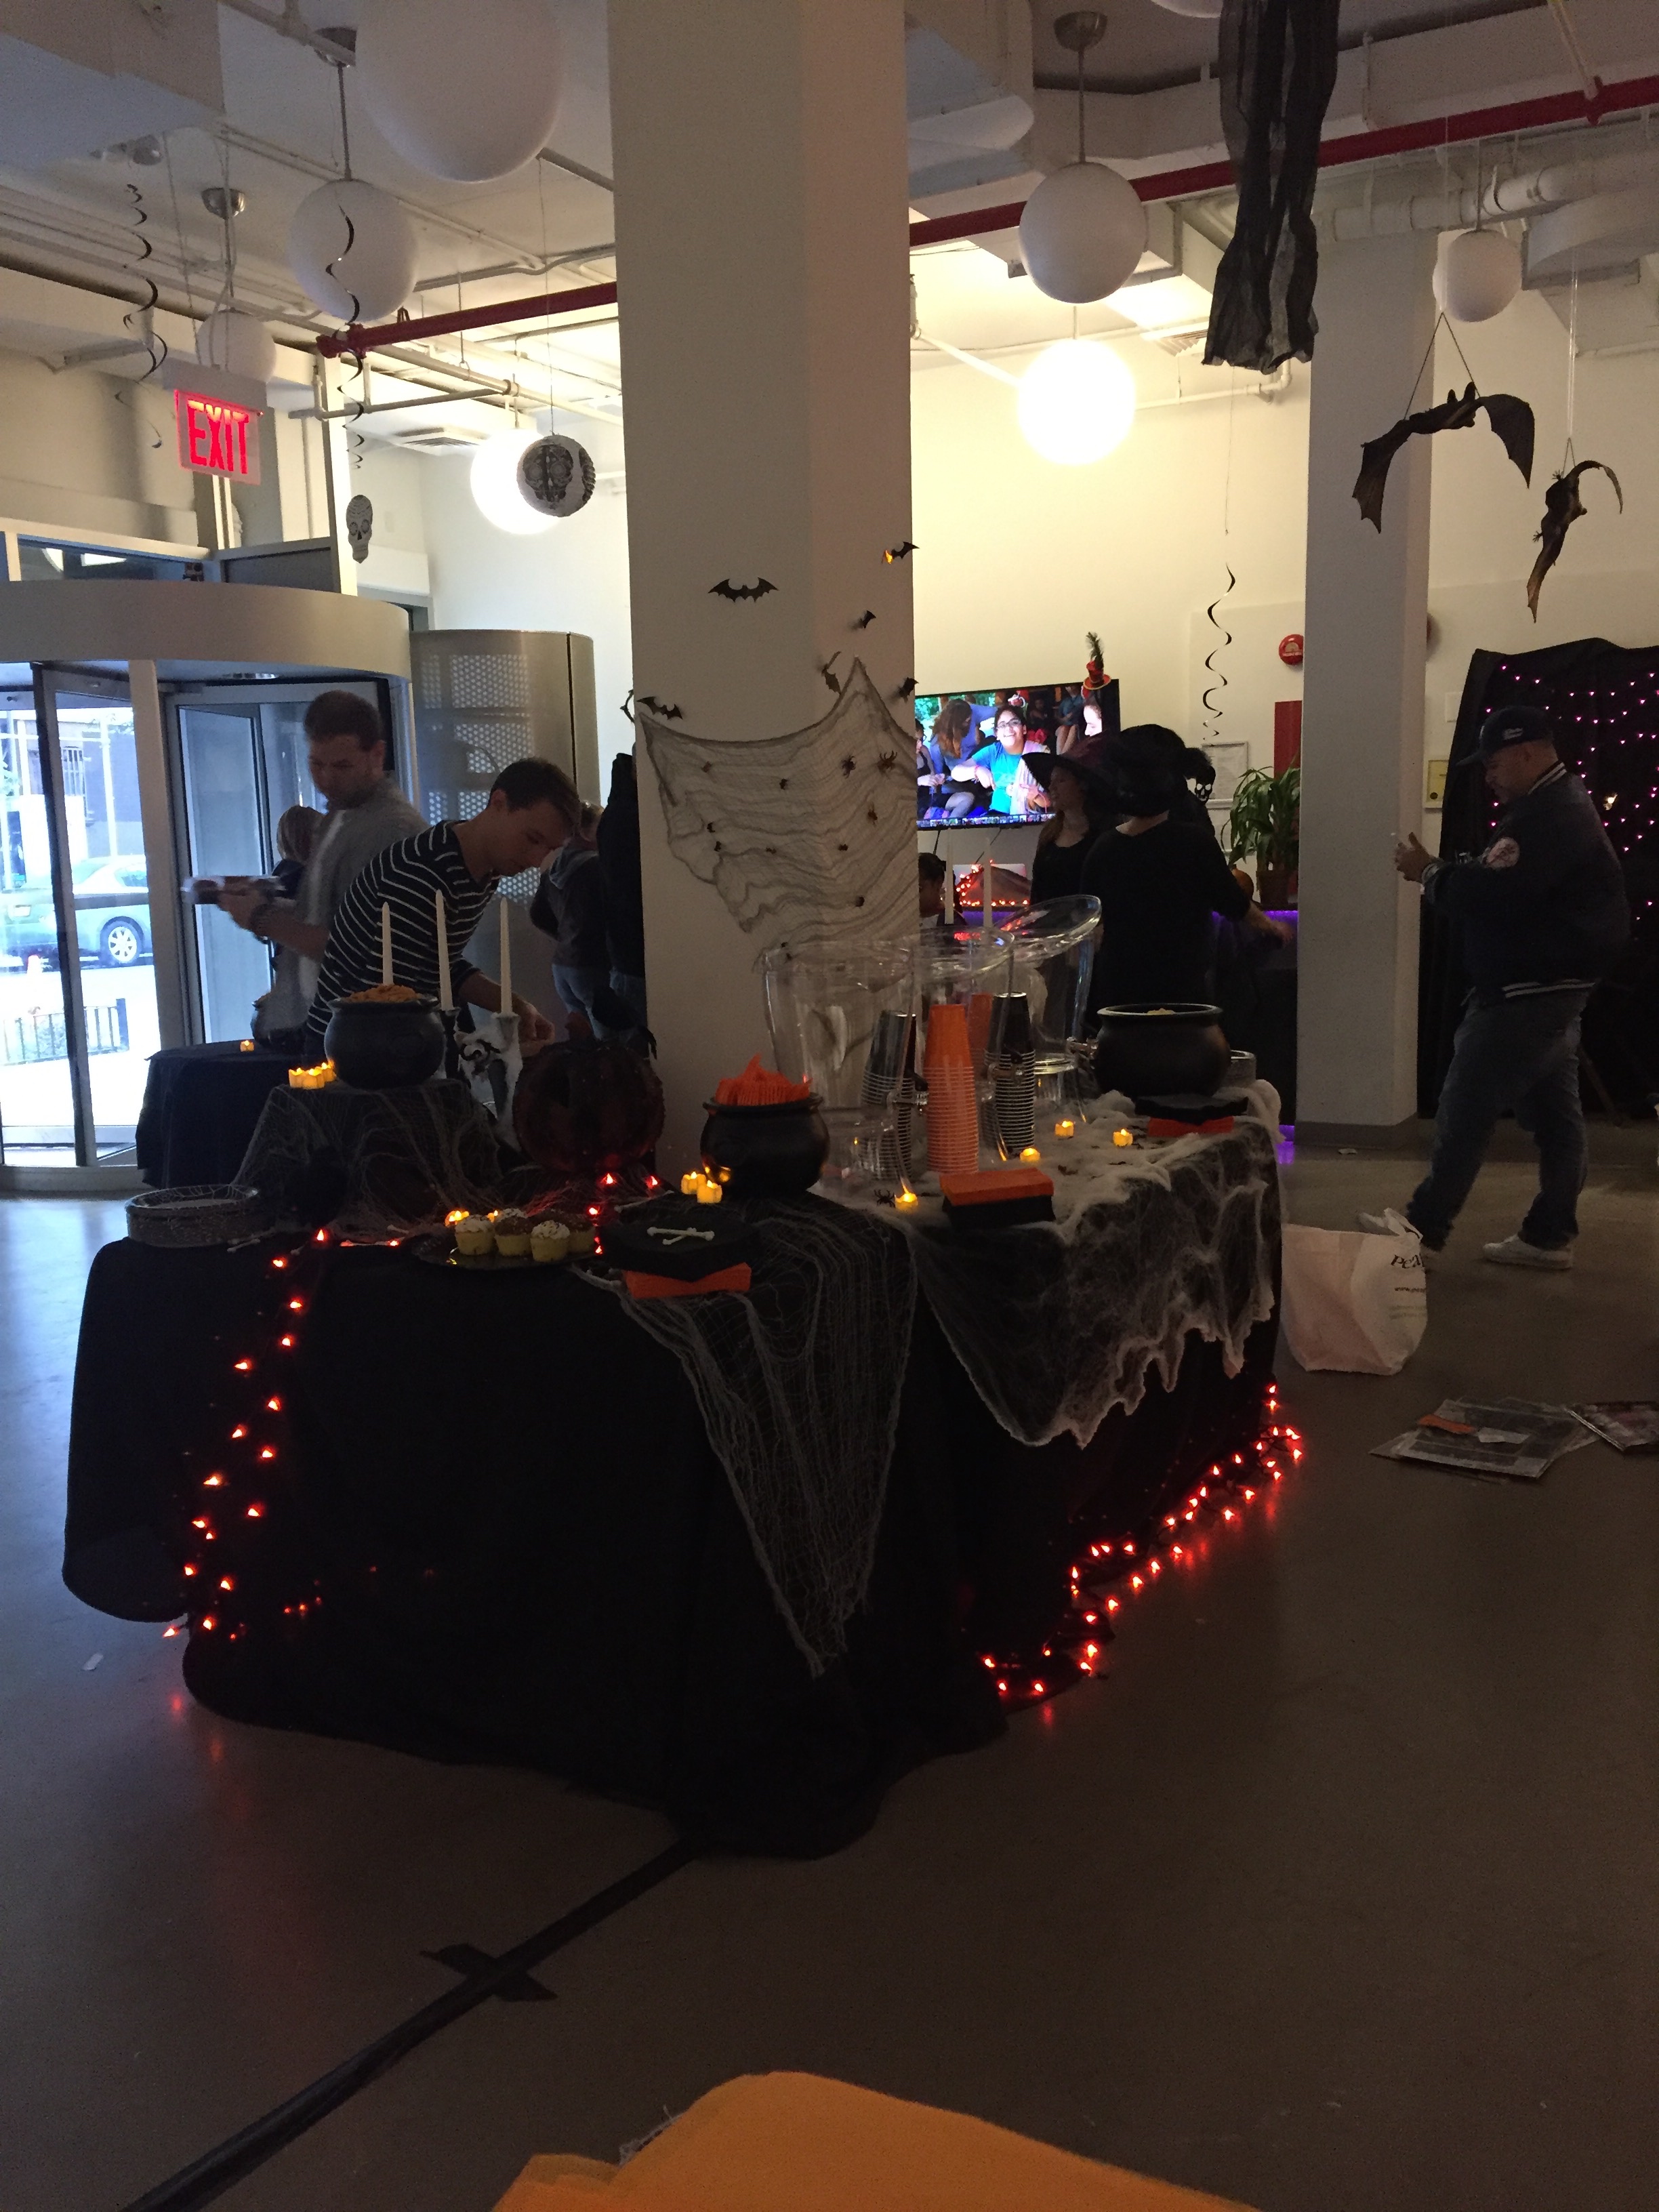
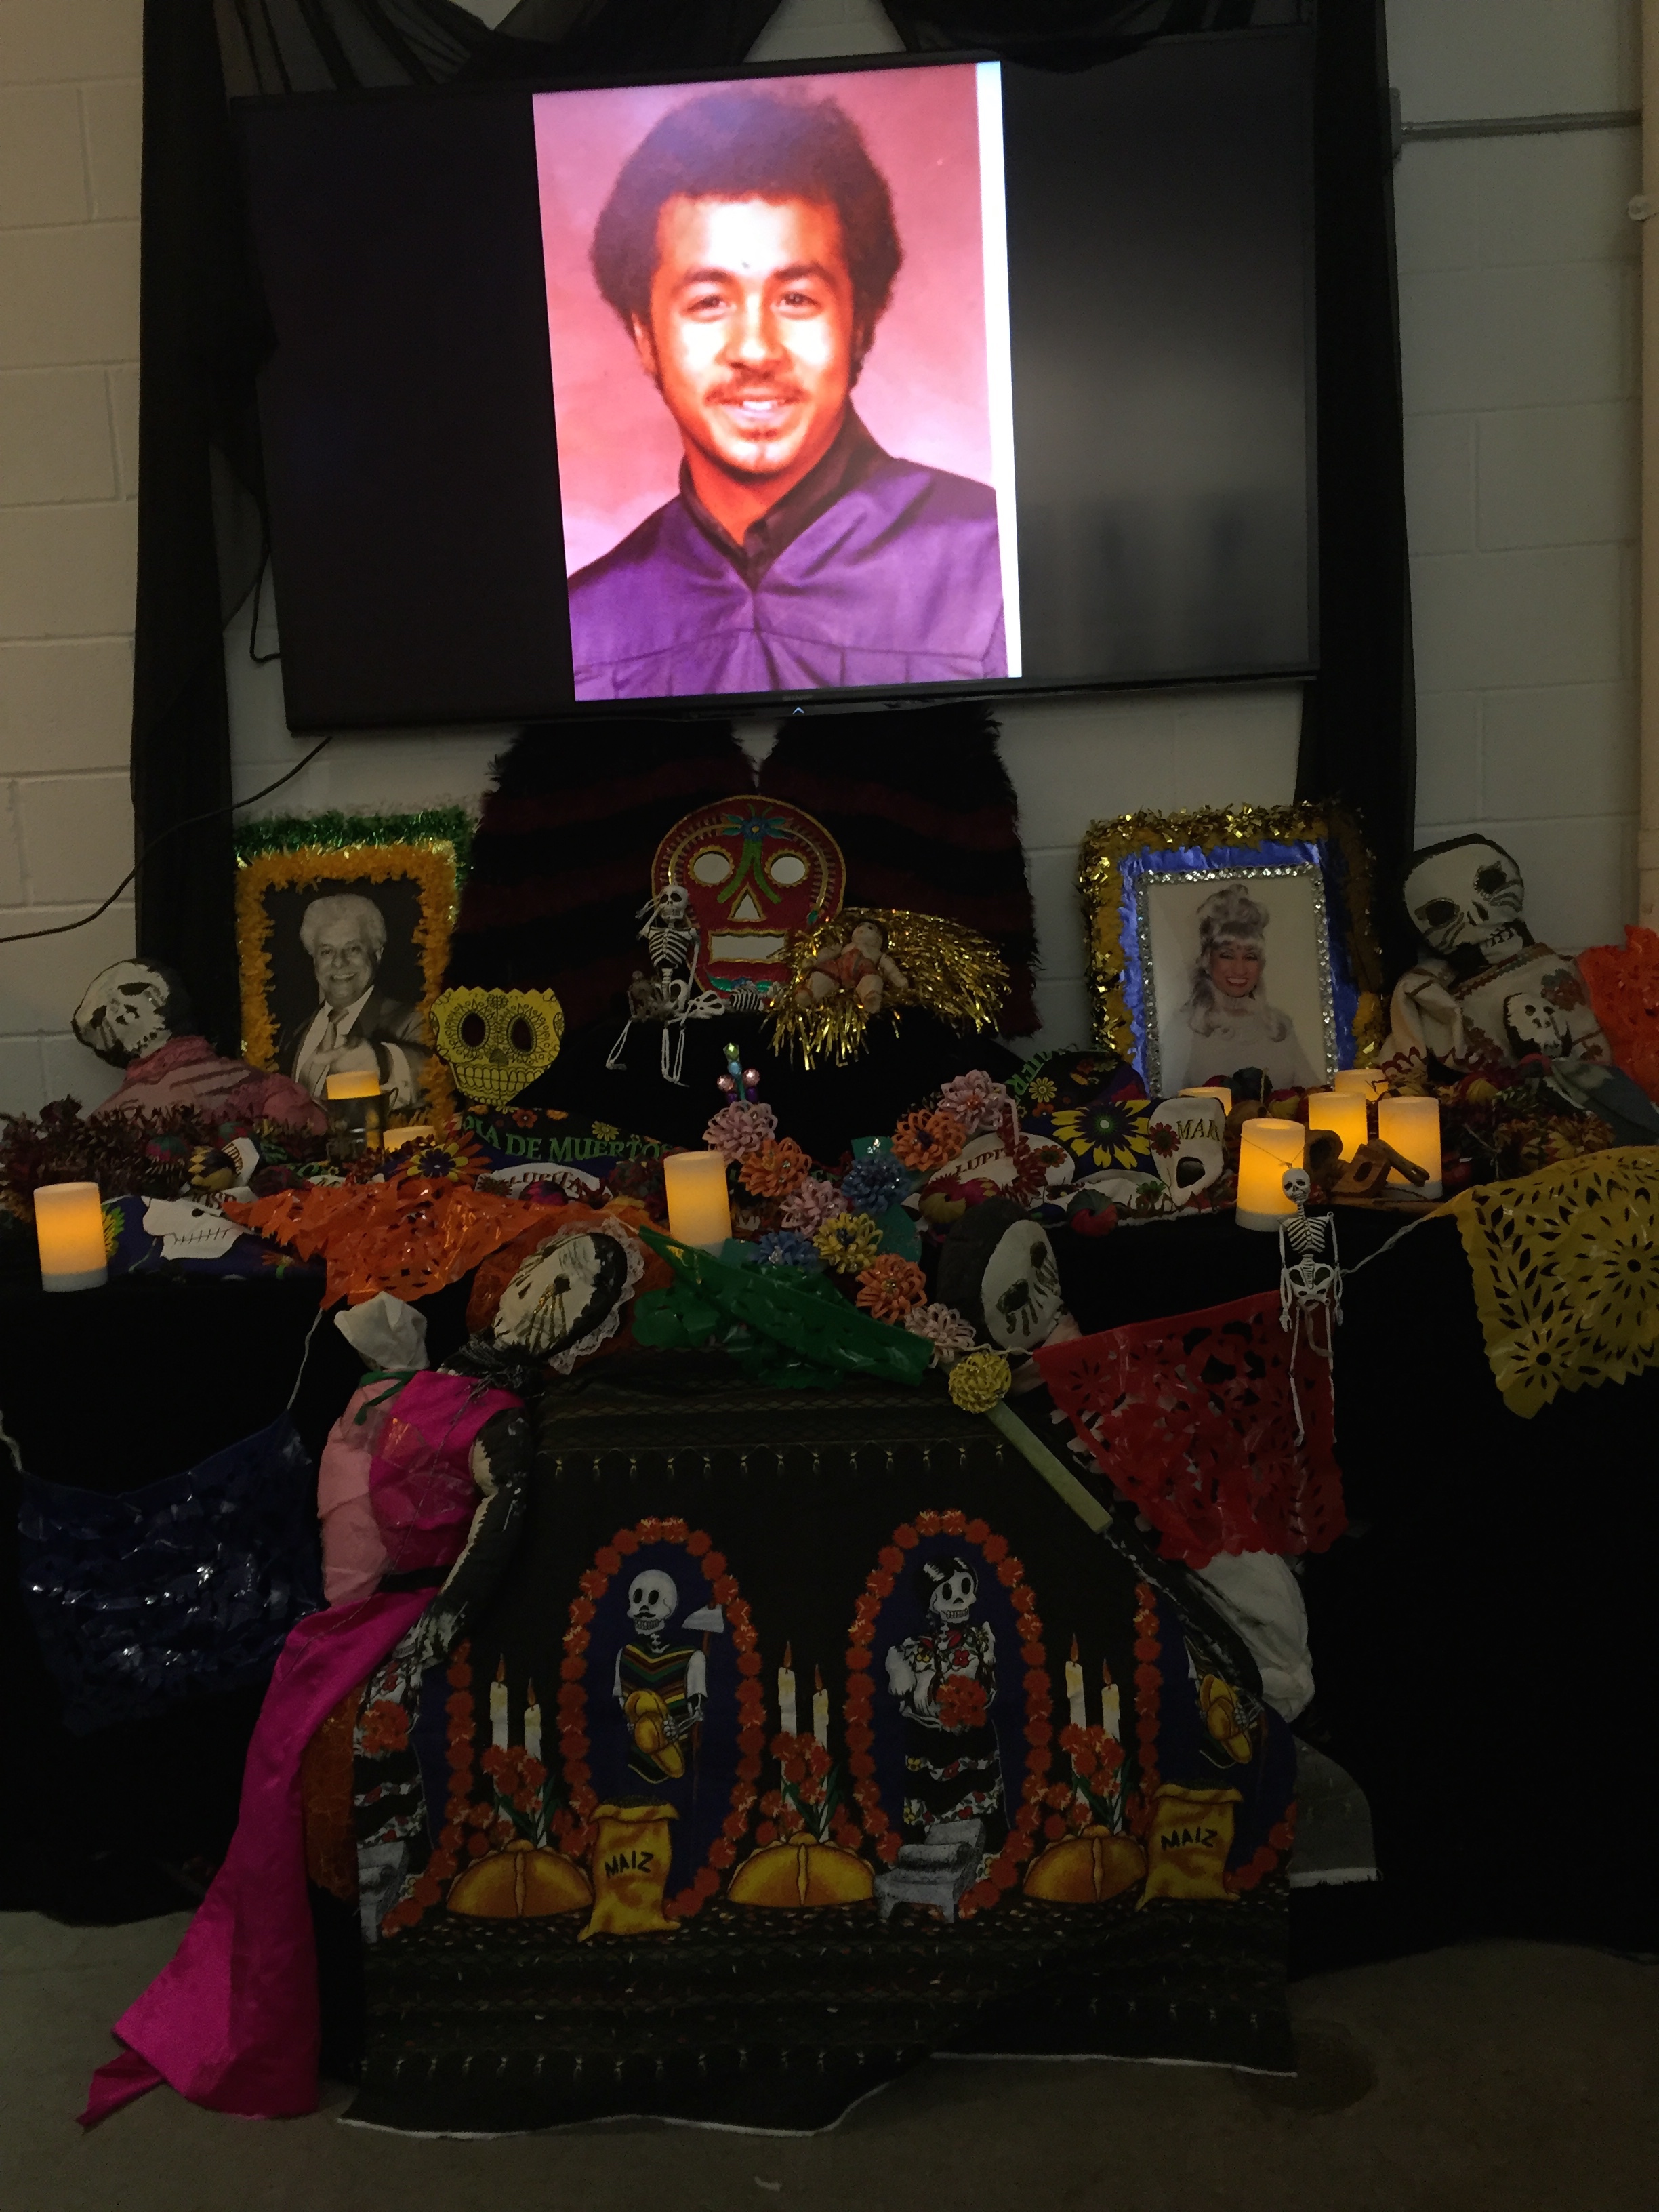
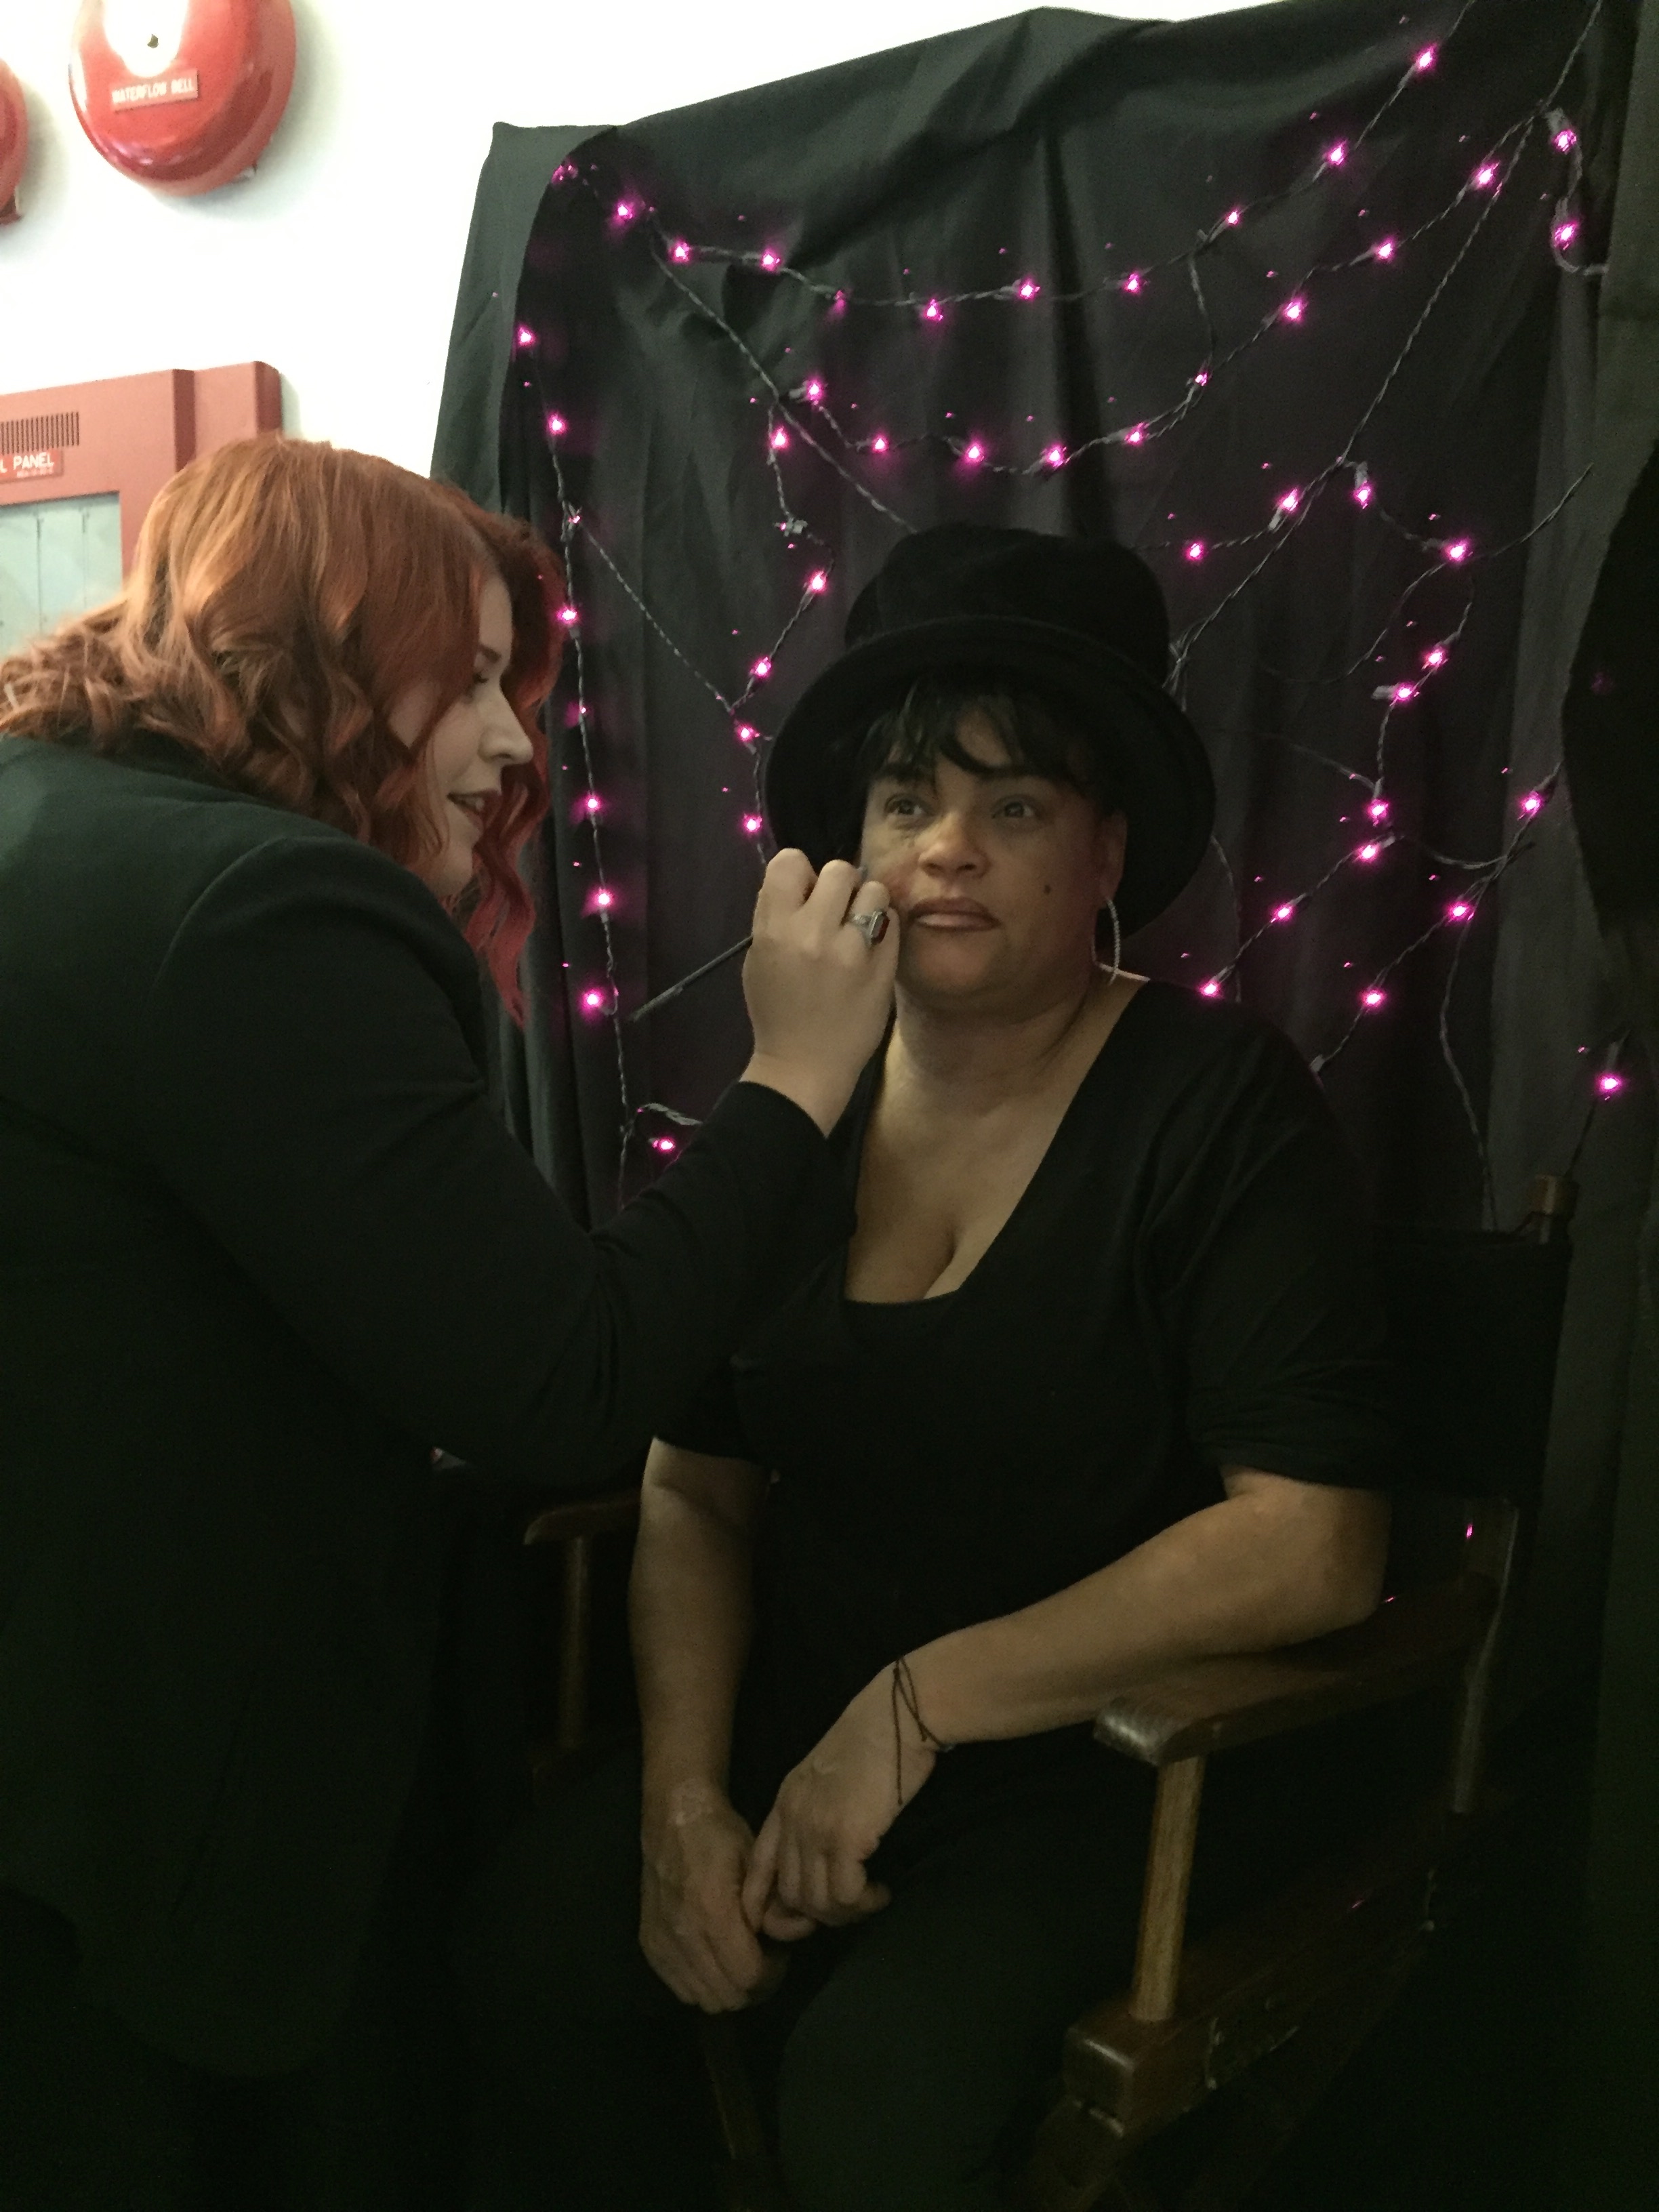
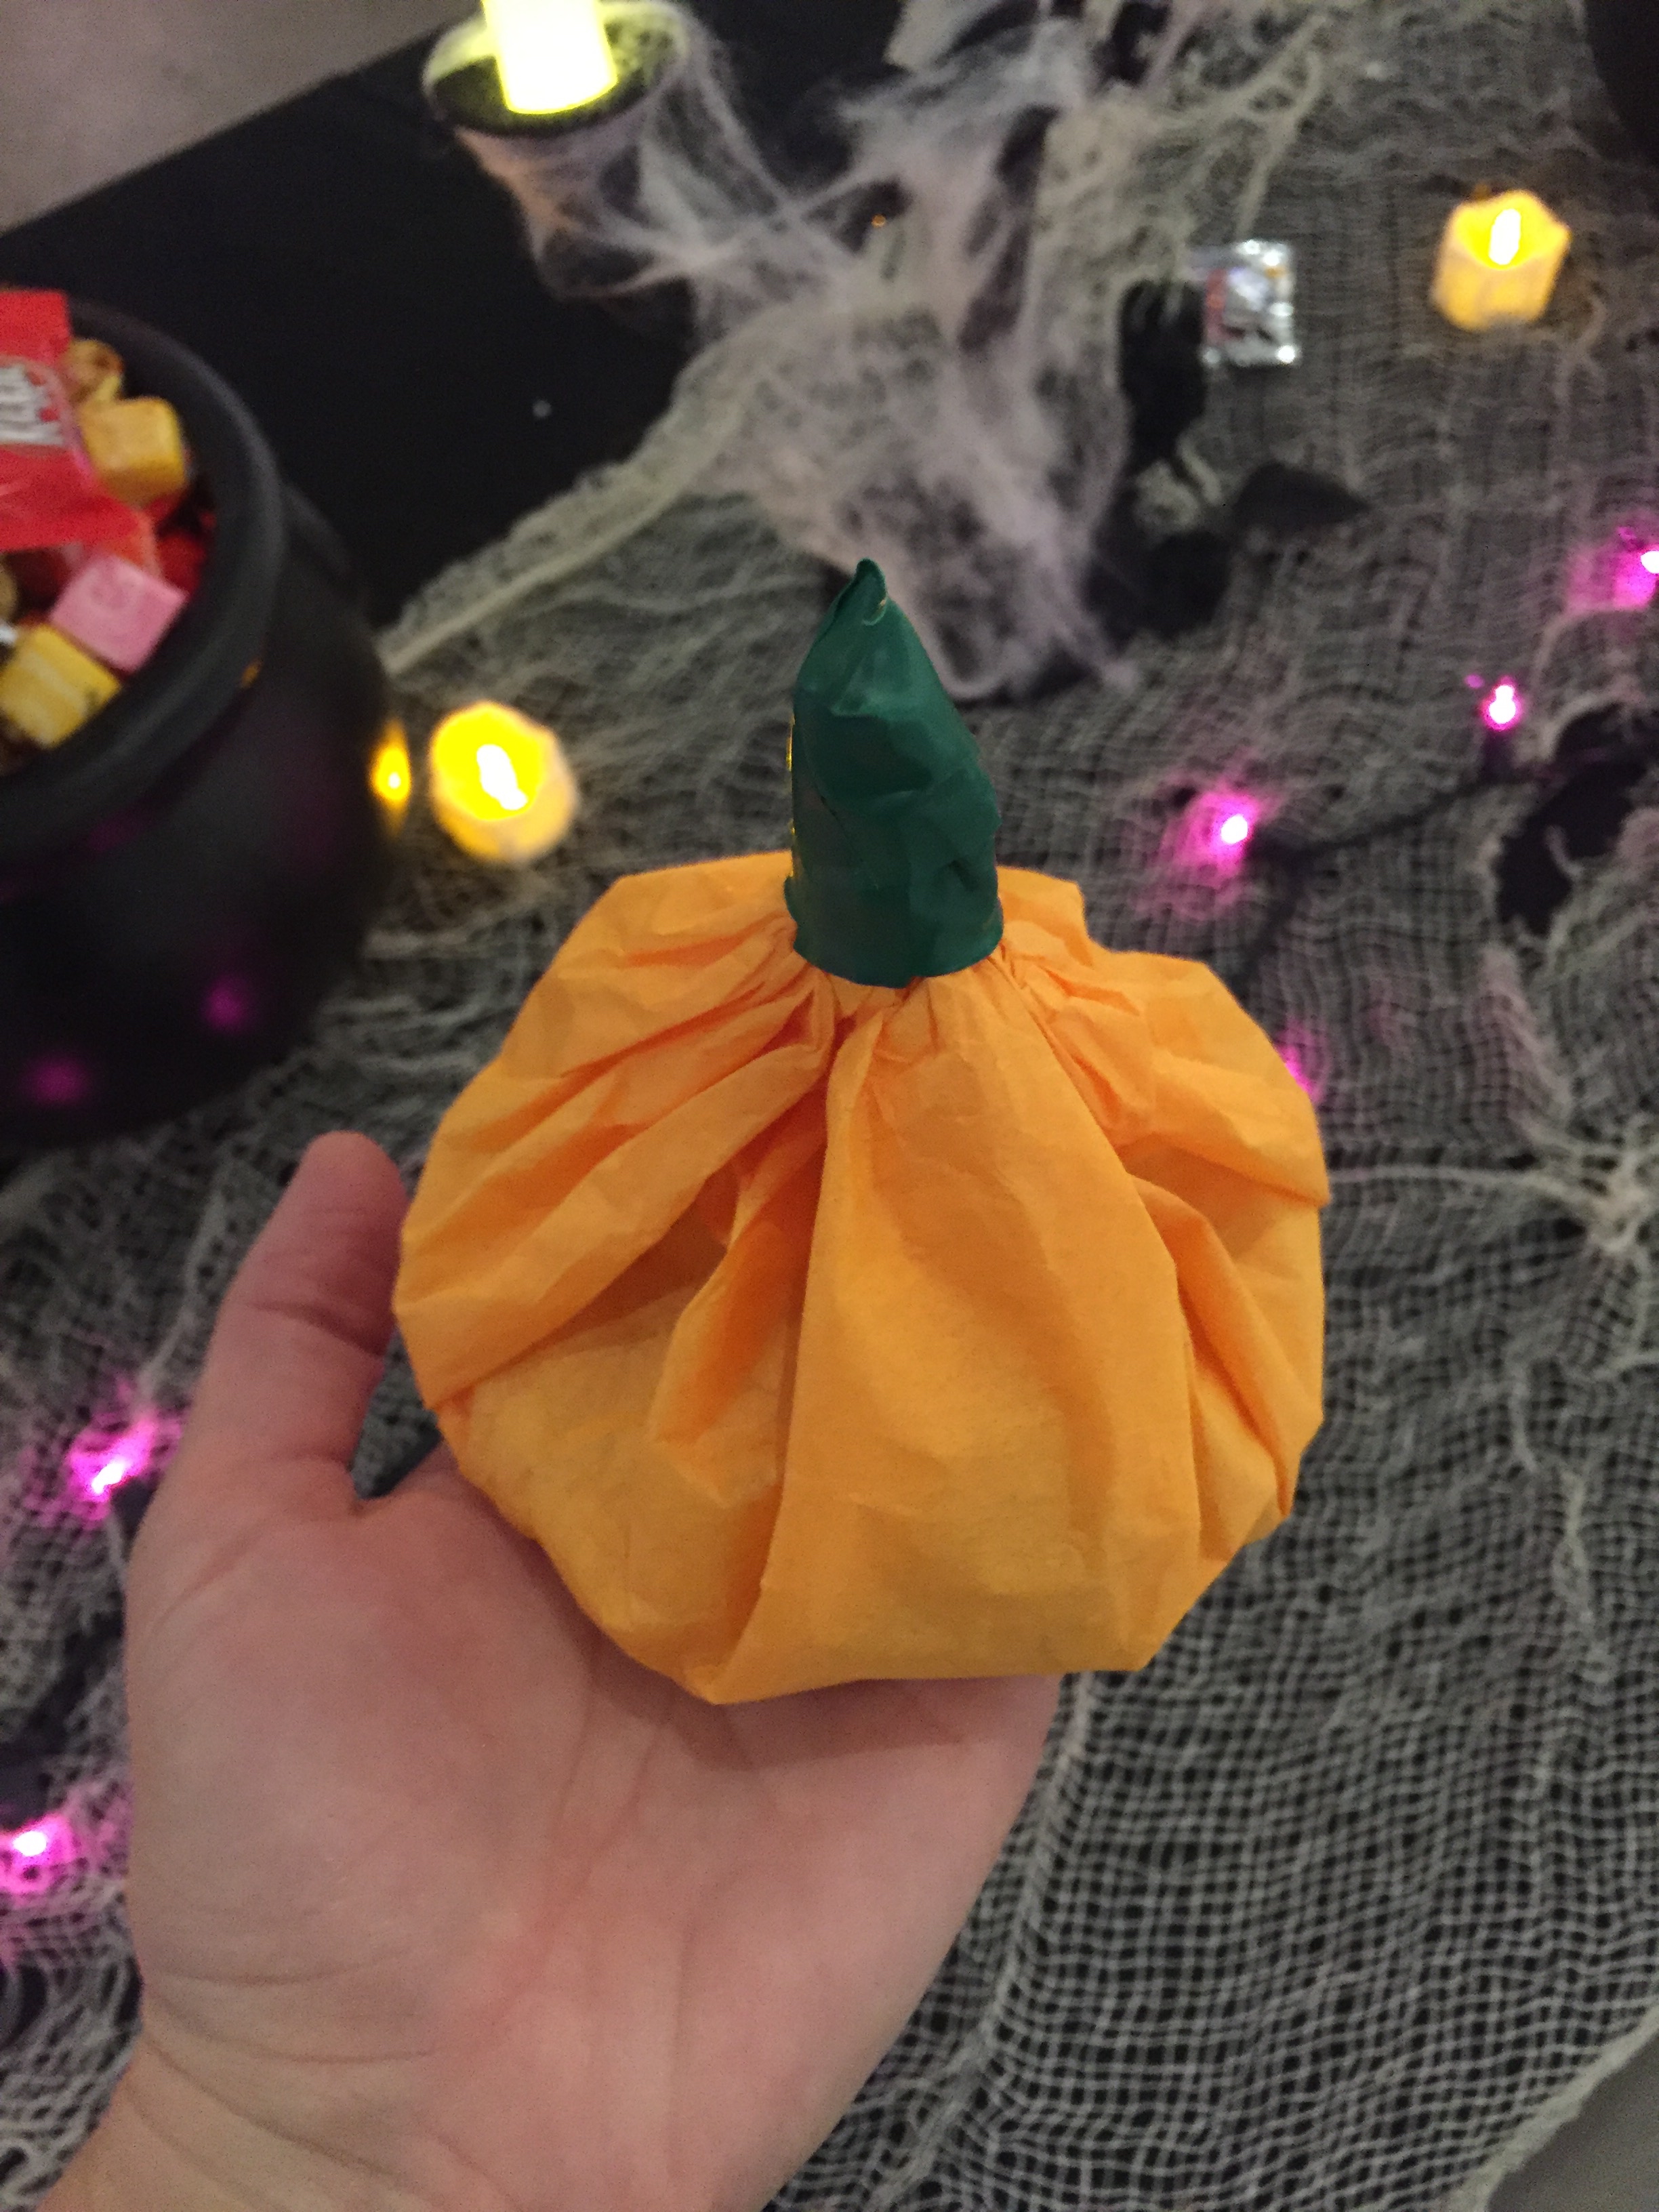
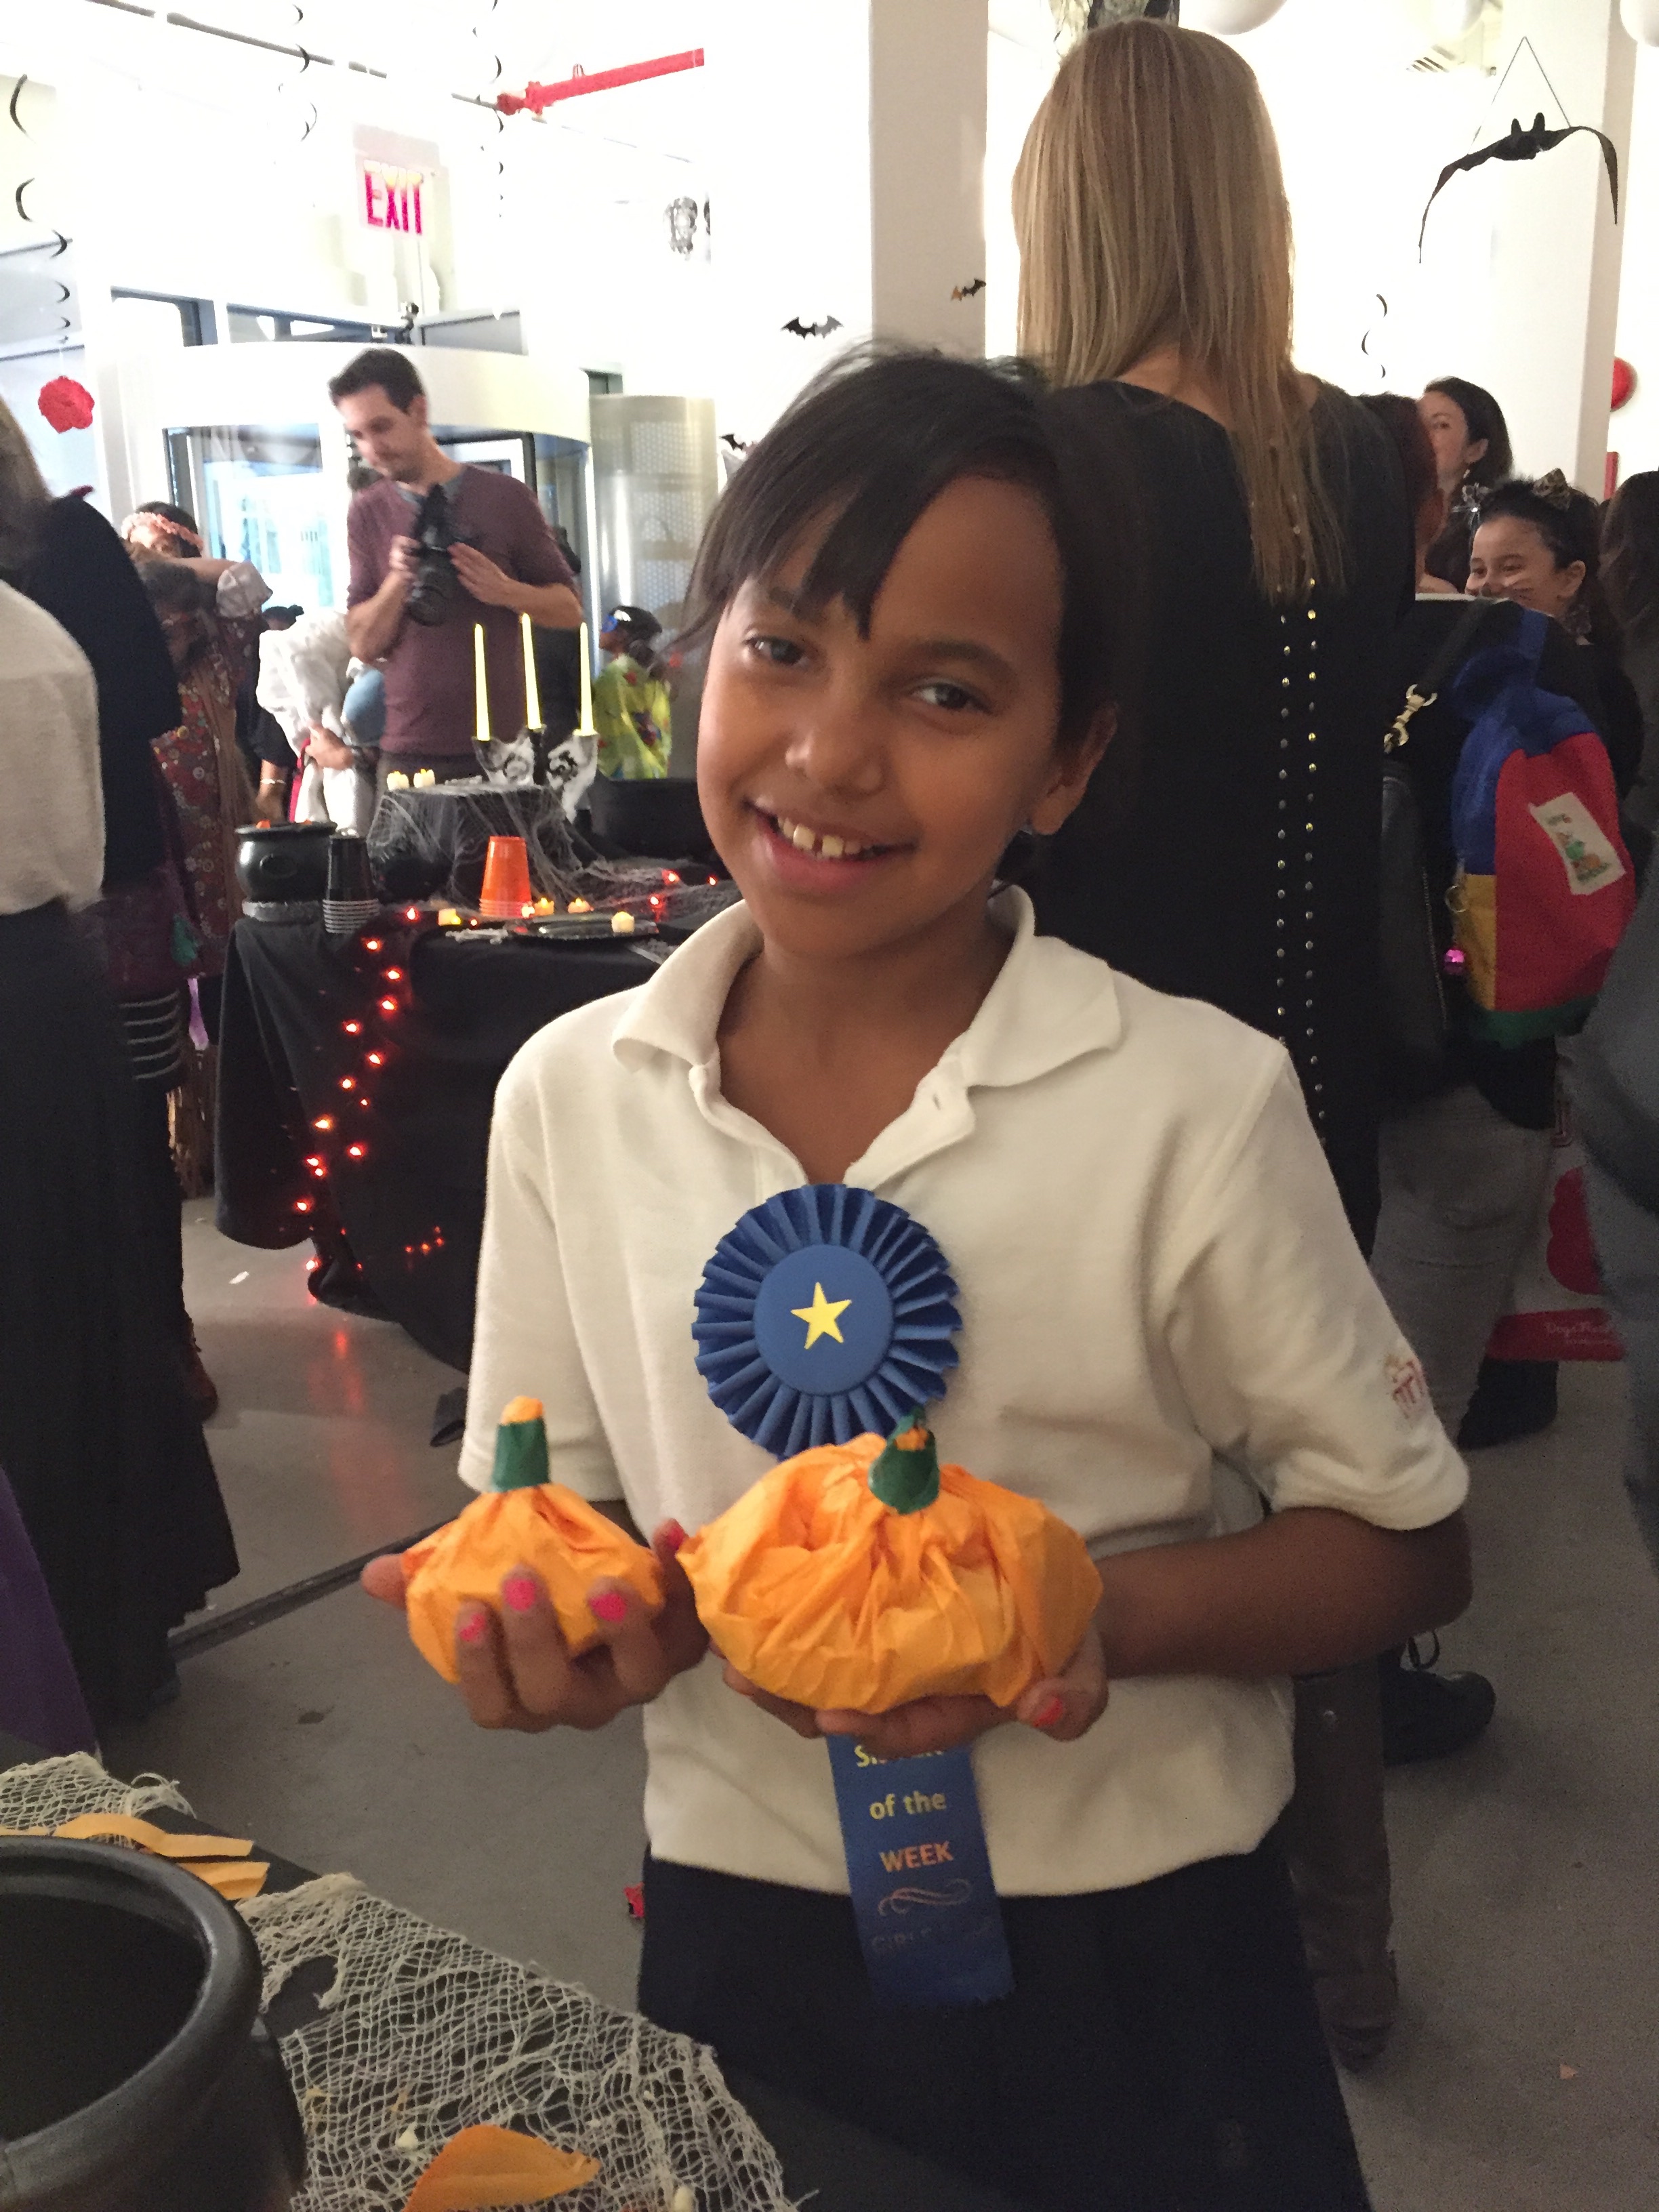
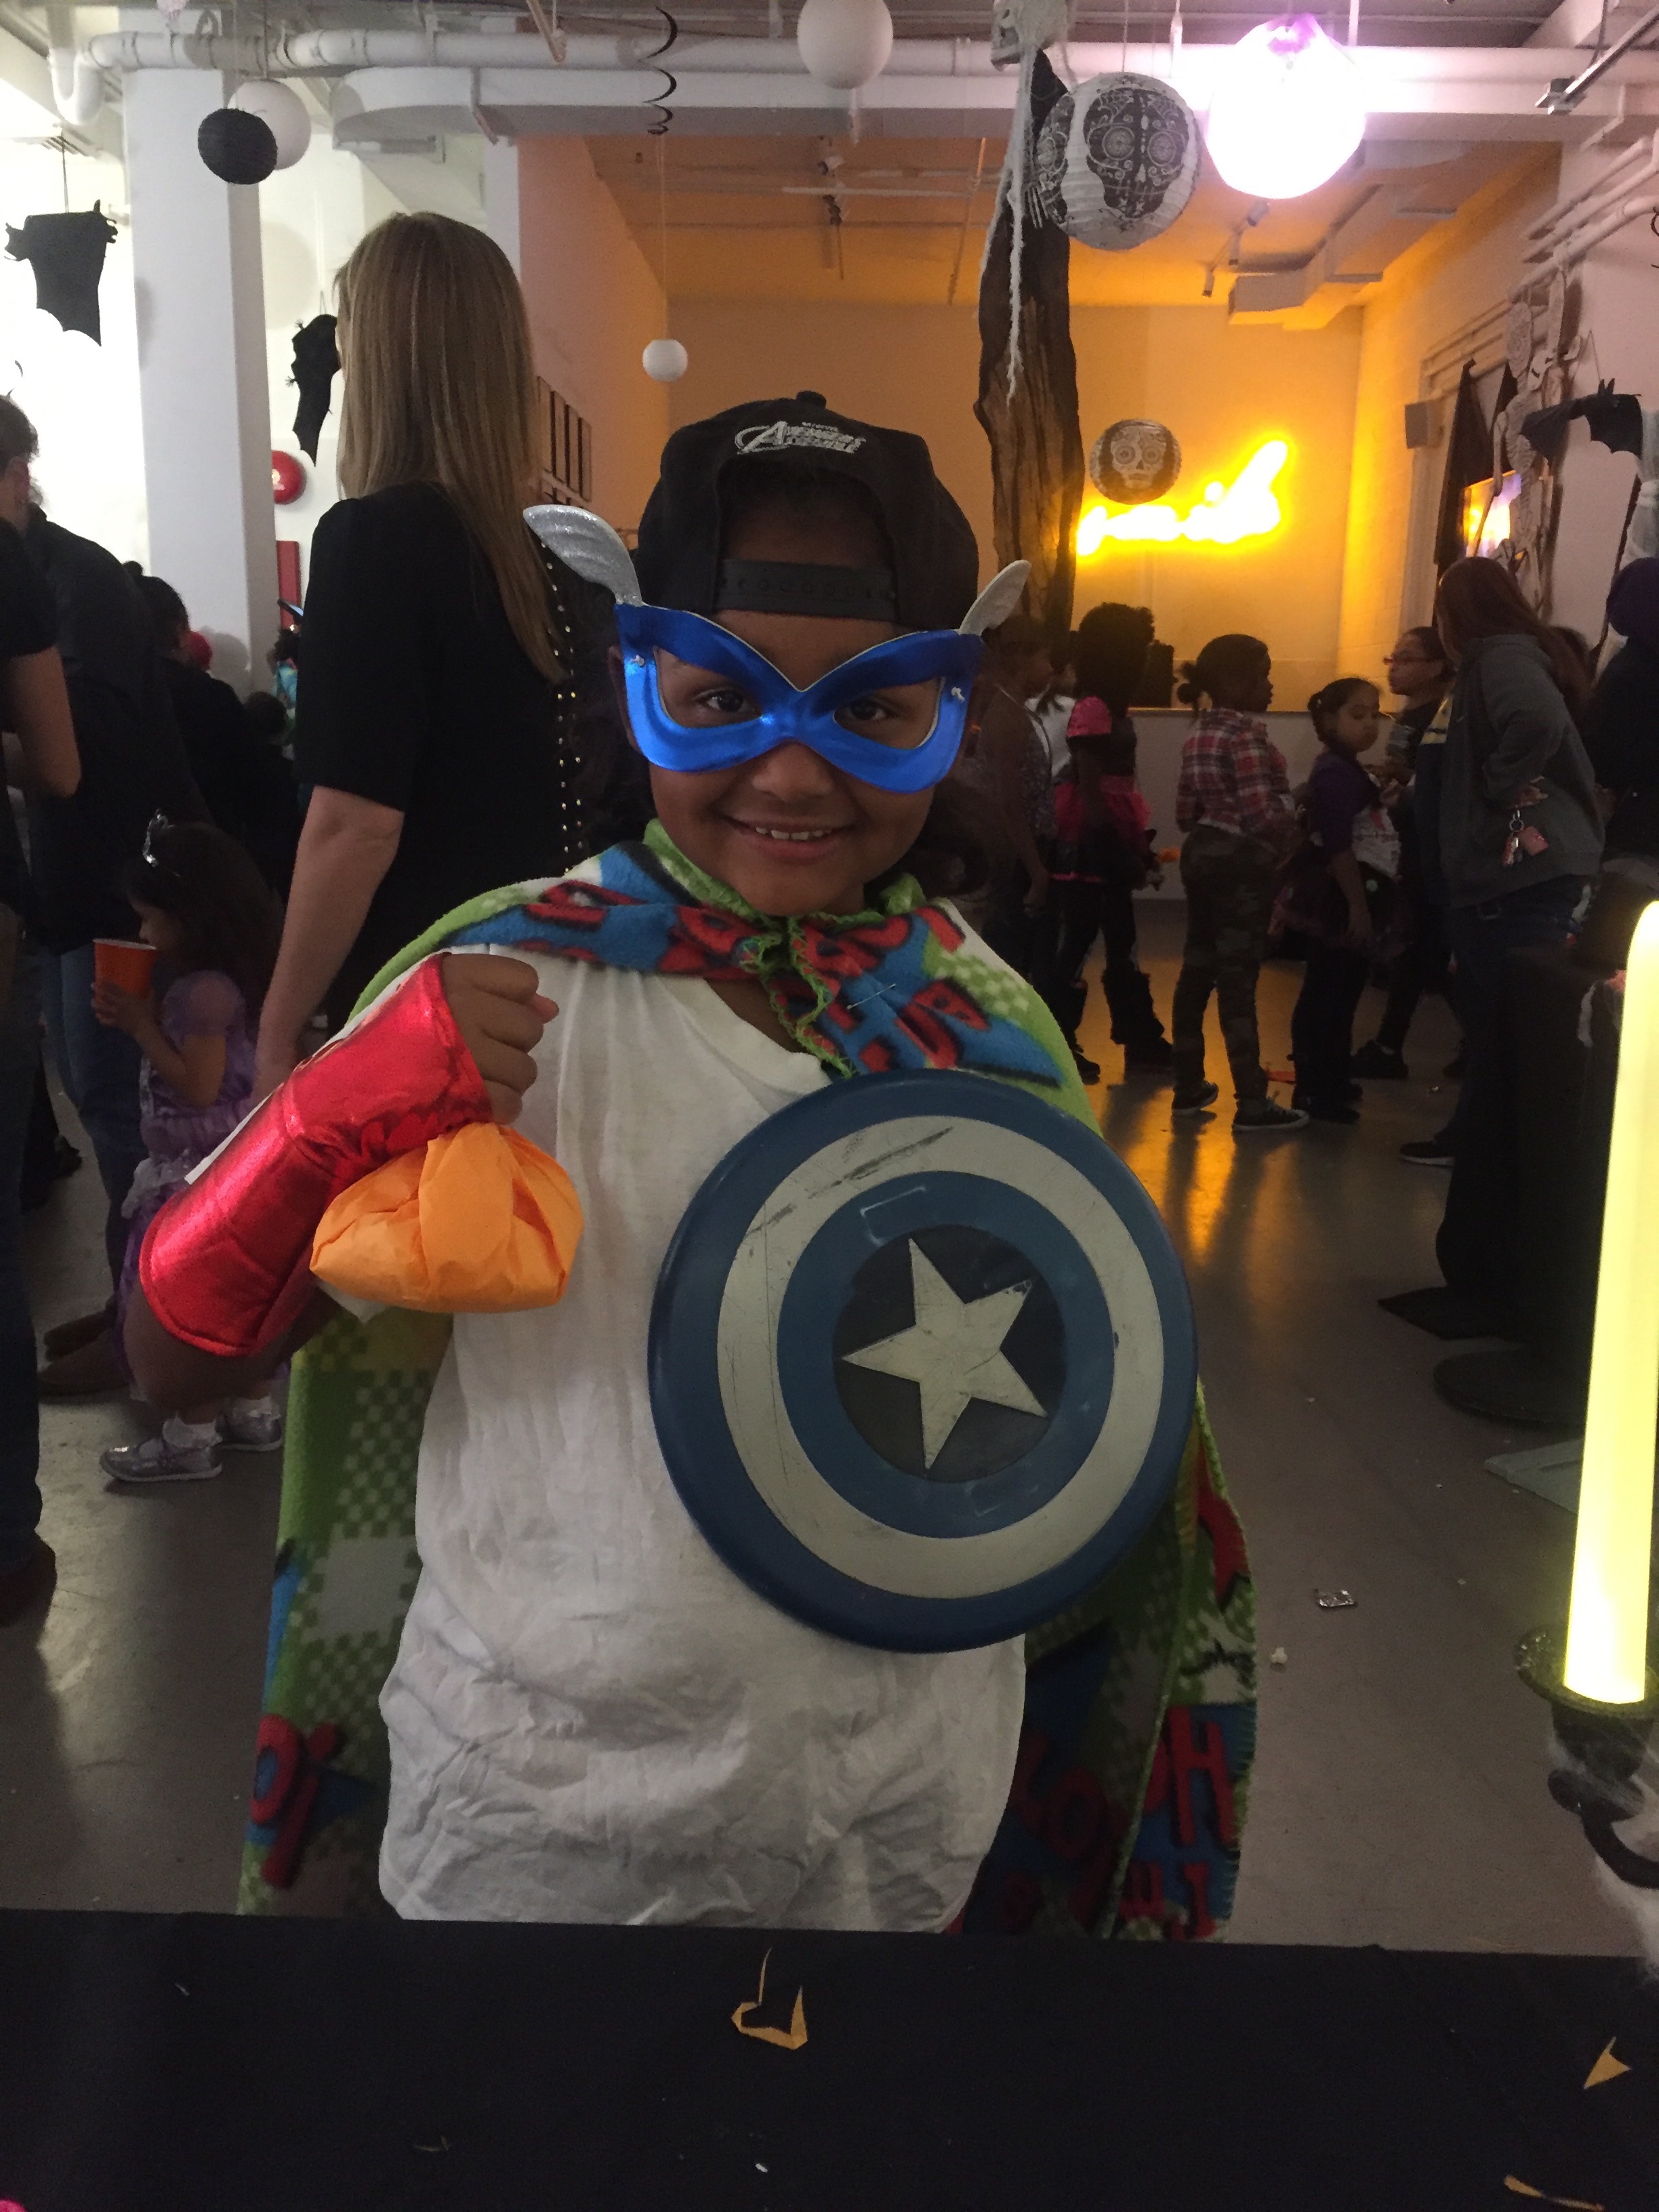
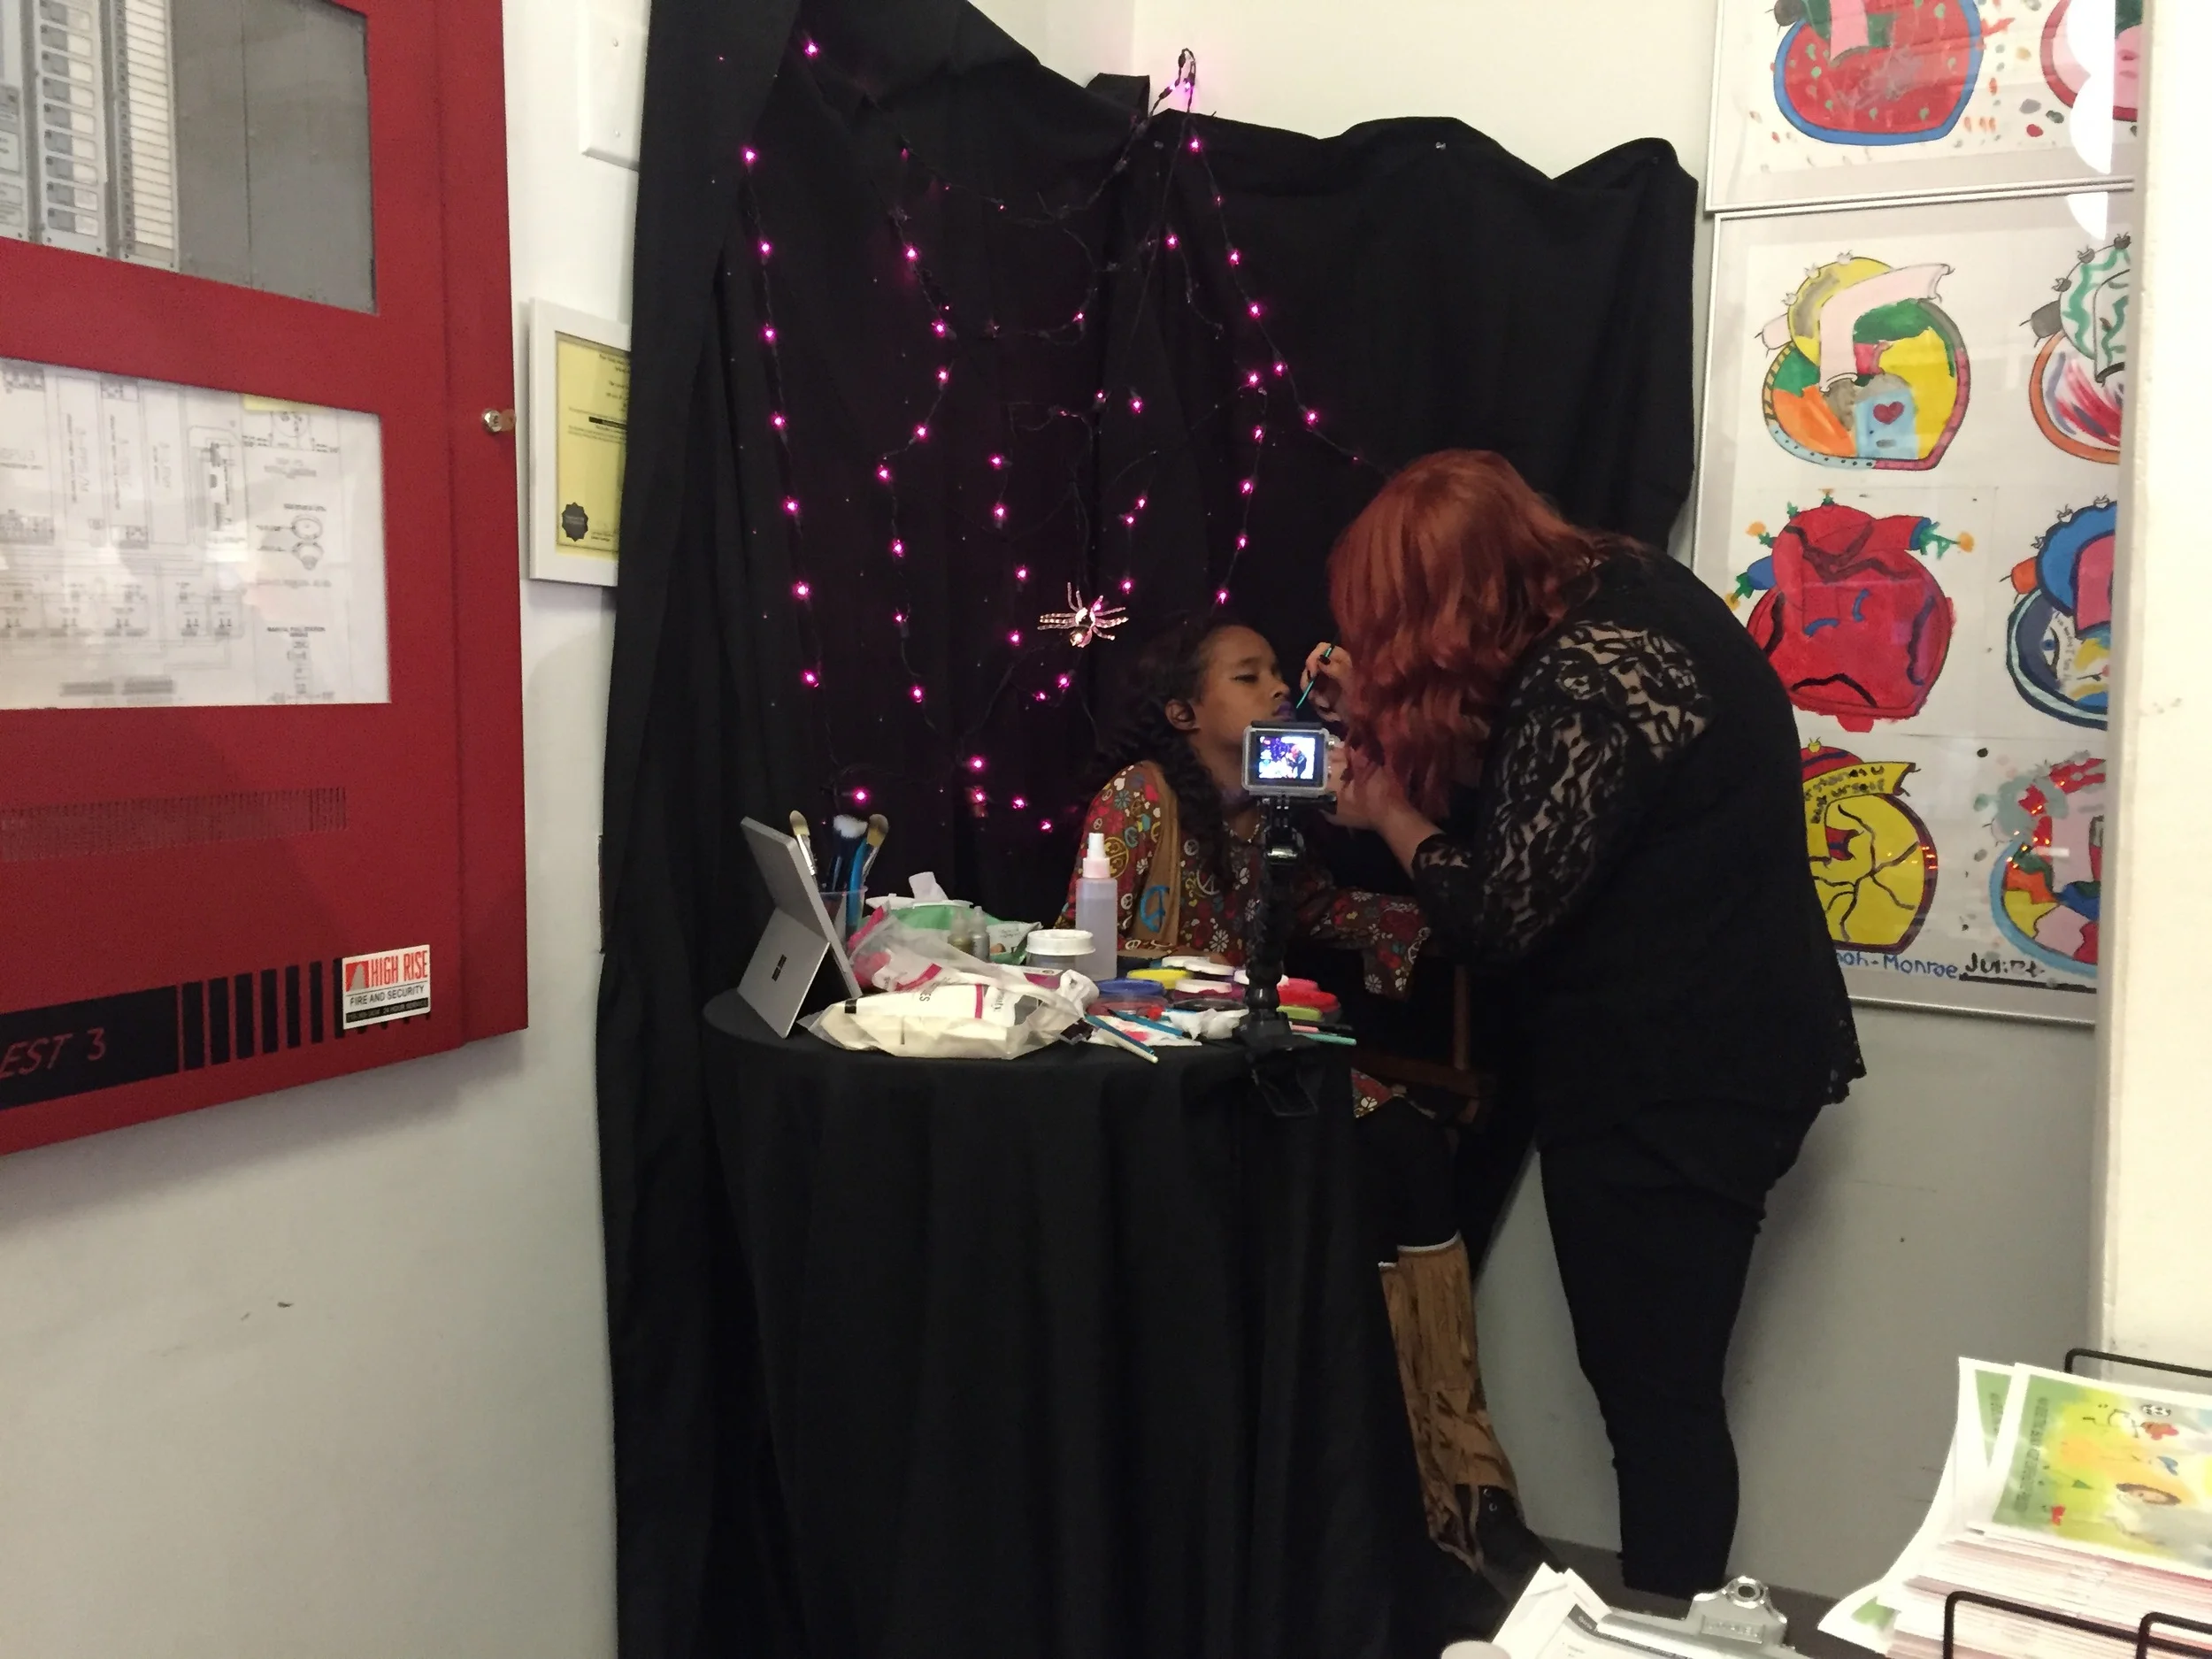
So, the main reason I was there was, of course, The Skype Halloween Party at The Lower East Side Girls' Club! The girls absolutely LOVED the party, there was a DJ that played spooky beats, I hosted a craft table featuring Tissue Paper Pumpkins filled with CANDY. Once the candy ran out, the girls practically disowned me :) The whole party will be made into a couple of short movies that will feature yours truly for a short bit, helping the girls make pumpkins, and also myself chatting with influencers from YouTube, Twitter, and Instagram! It all went super well, and I had a blast! It was incredible giving back to the community in this way, and hopefully inspiring the kids!
Until next time! NYC, I really had fun, and hope to be back soon! A very special thanks to HelloSociety and Skype for helping make this project an absolute success!!!

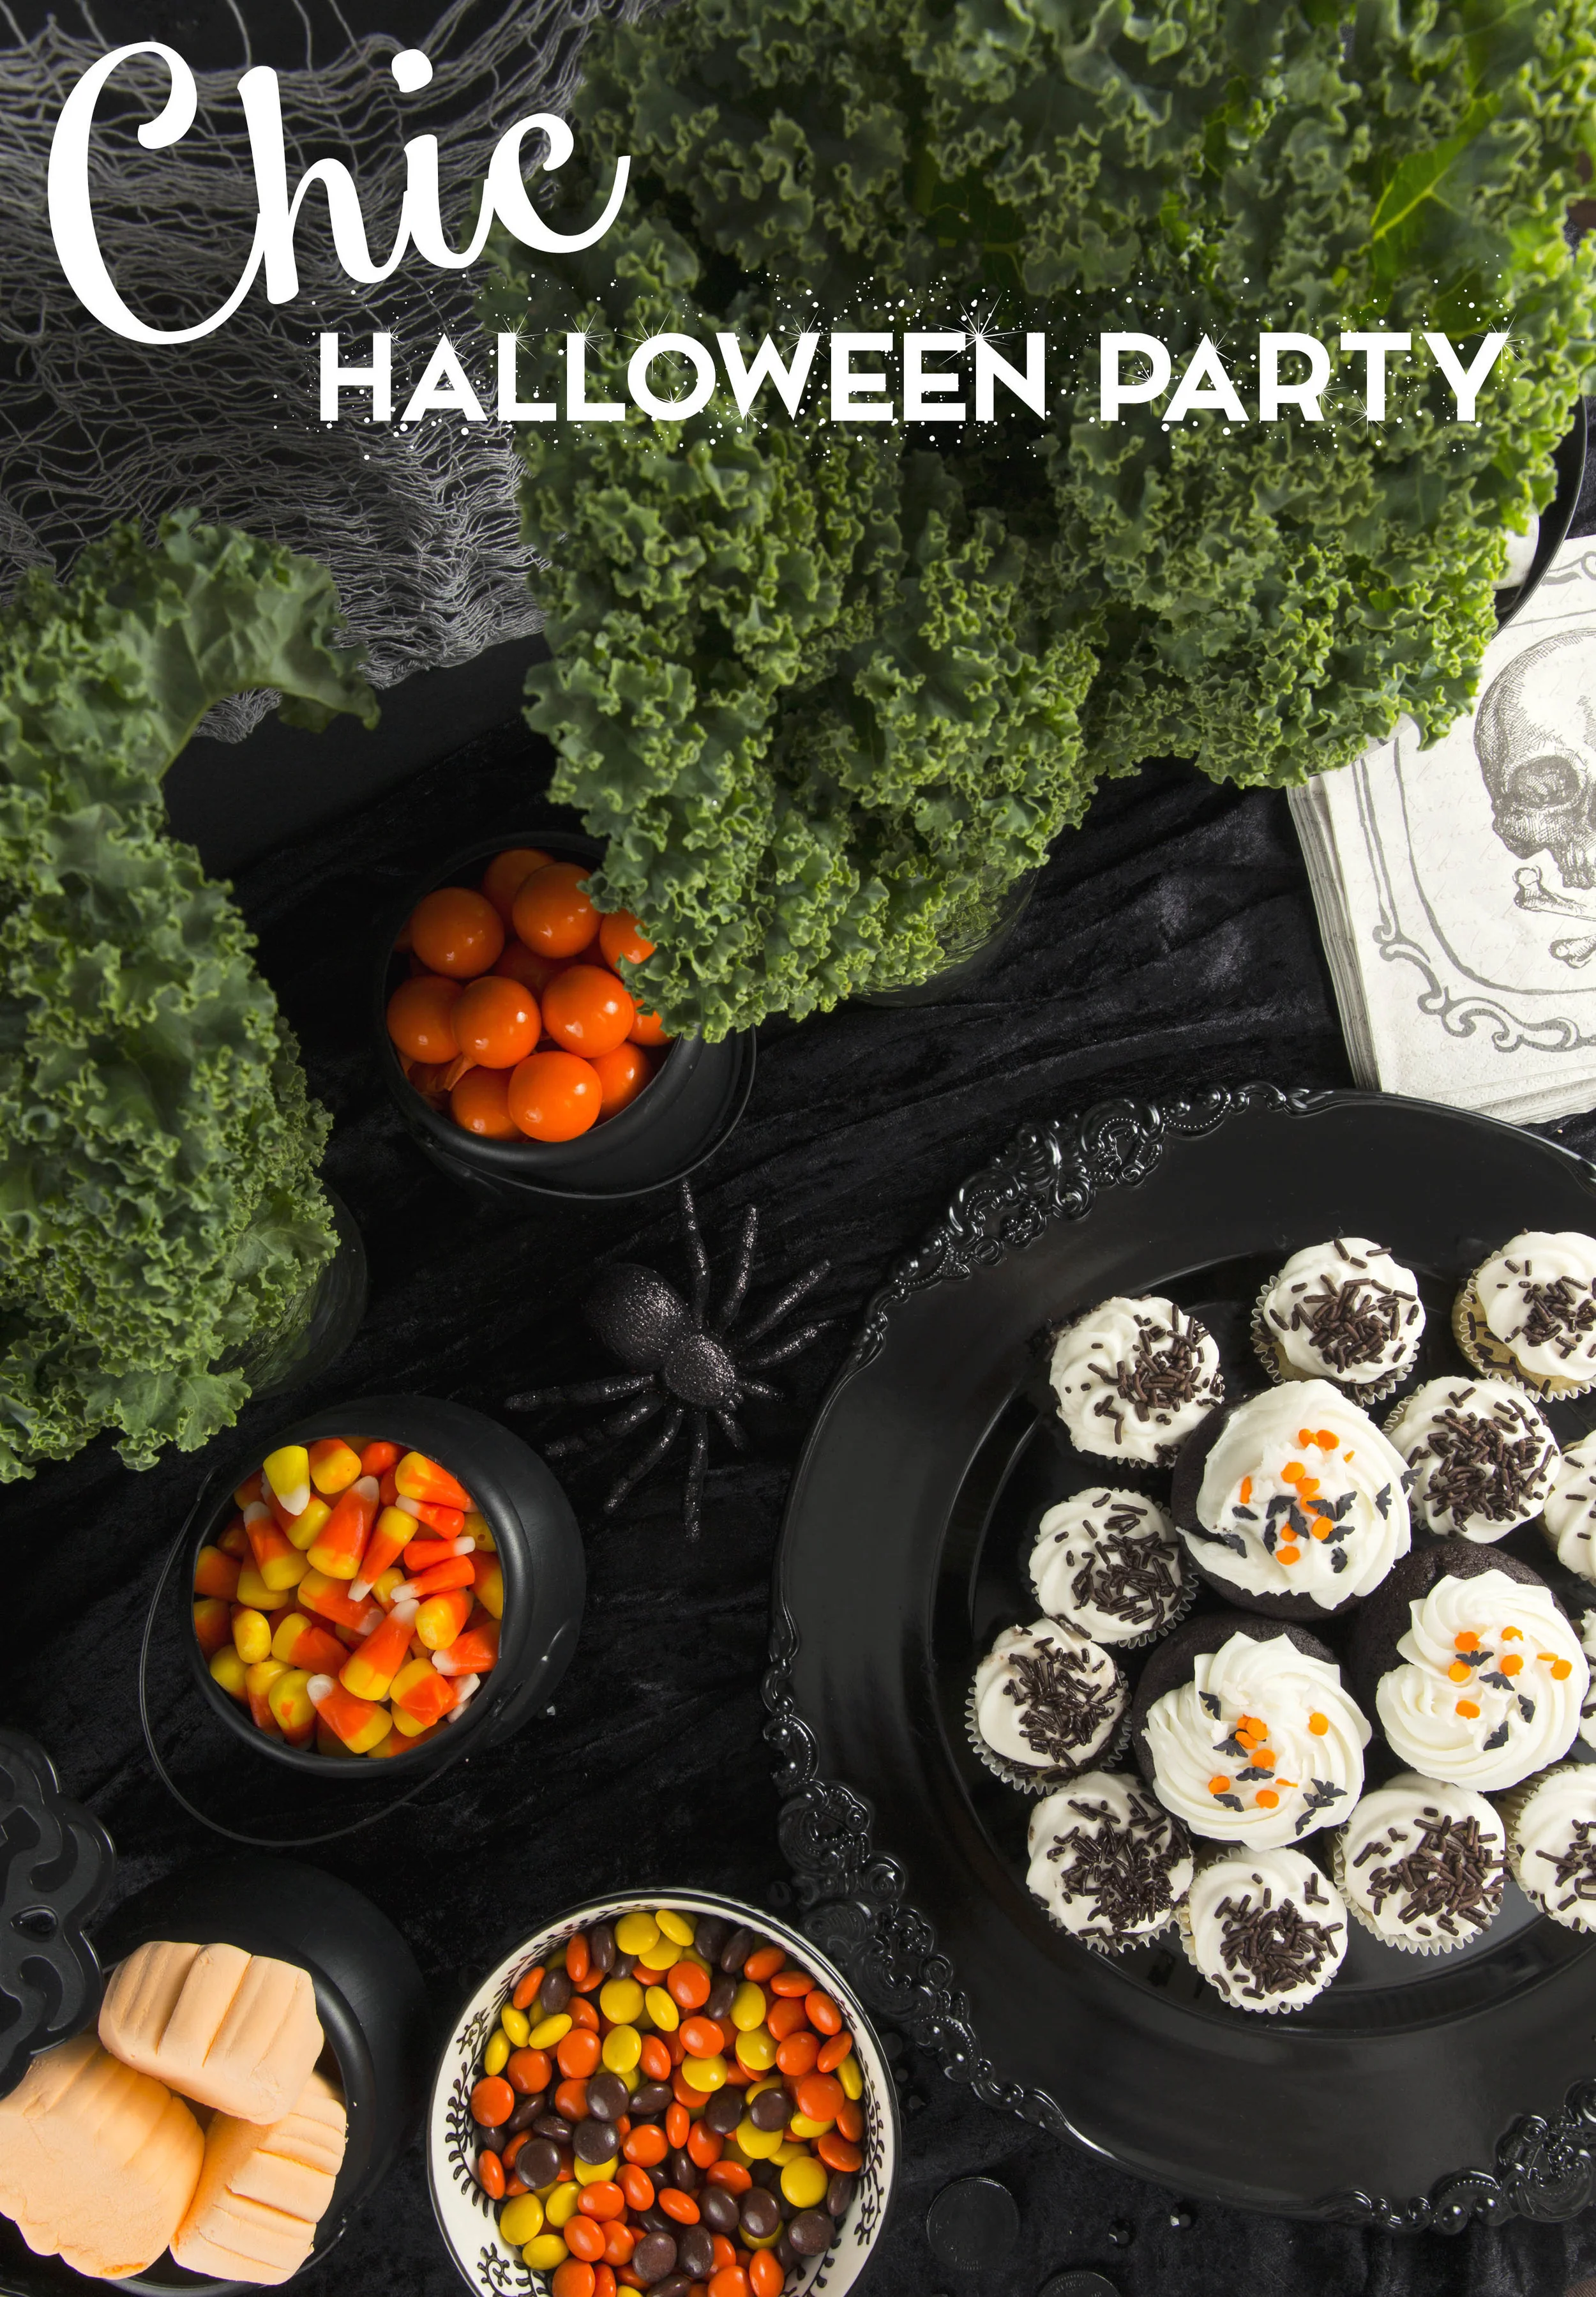
My friends at Skype asked me to share some amazing Halloween Party DIY Ideas! I have a few amazing ideas for a party that would appeal to kids and adults! Below you will find Chic and Cute Halloween Decor, Ping Ping Ghost Lights, and also a Tasty Candy Halloween Centerpiece.
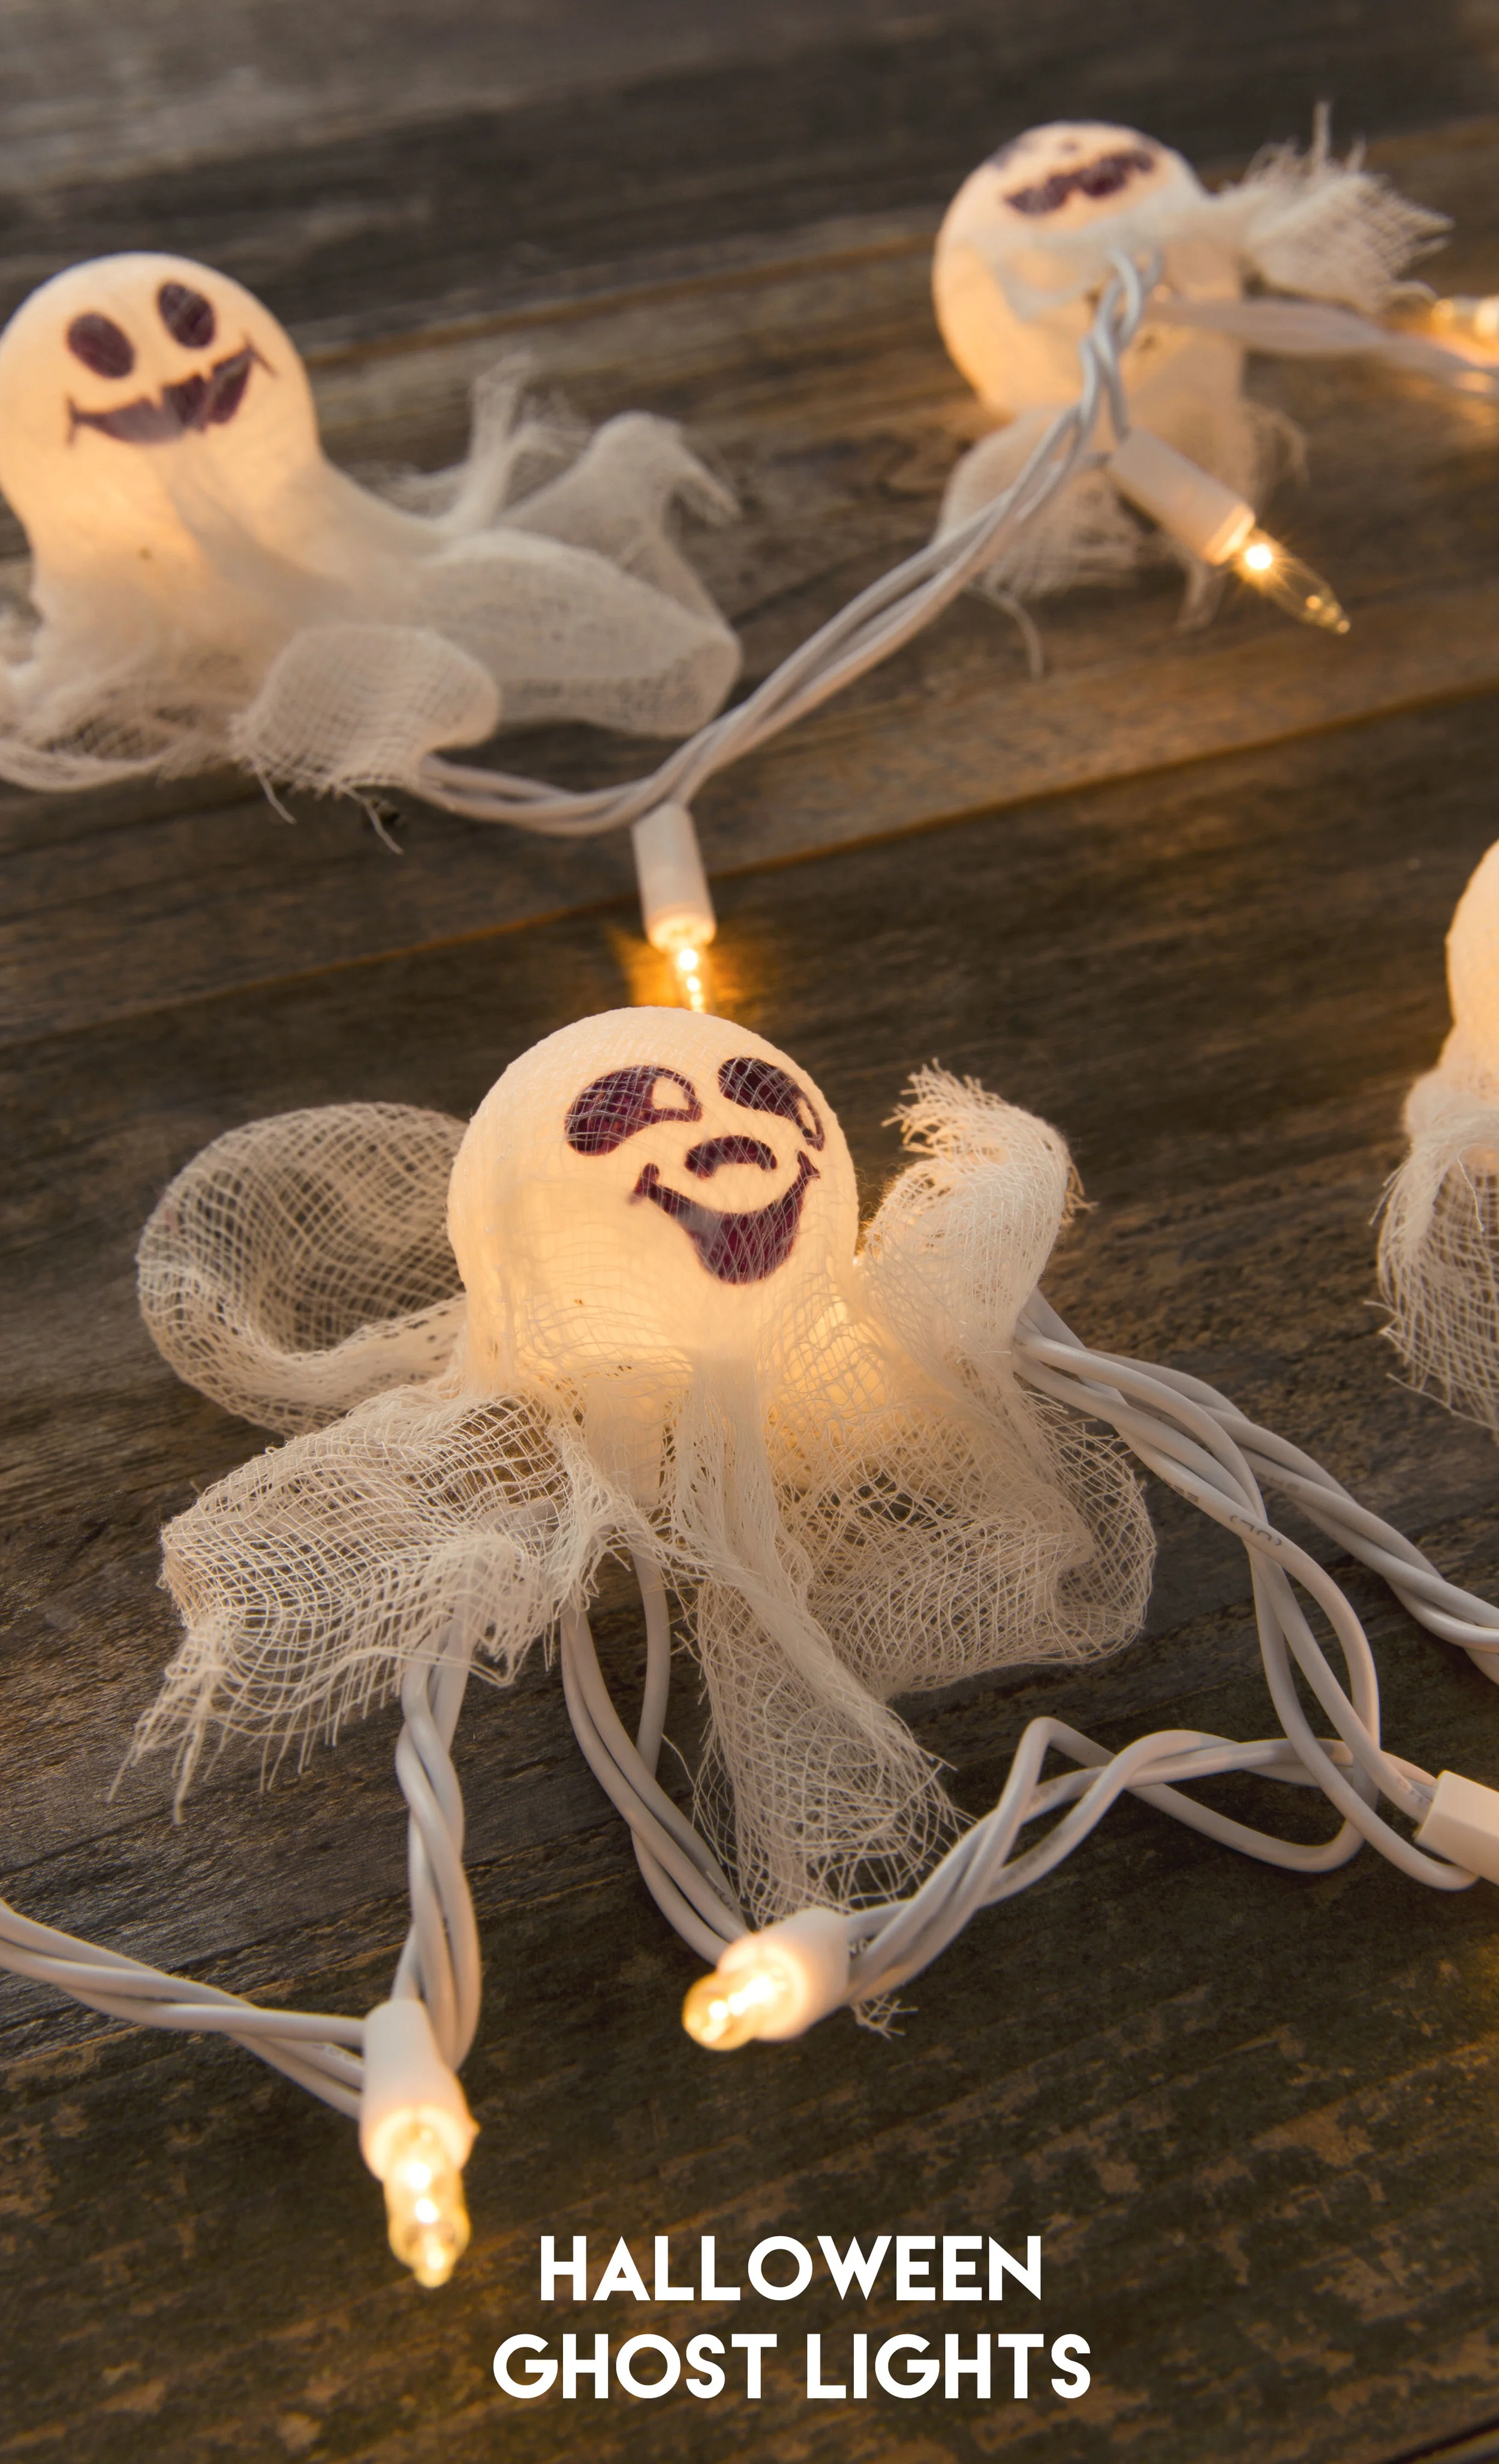
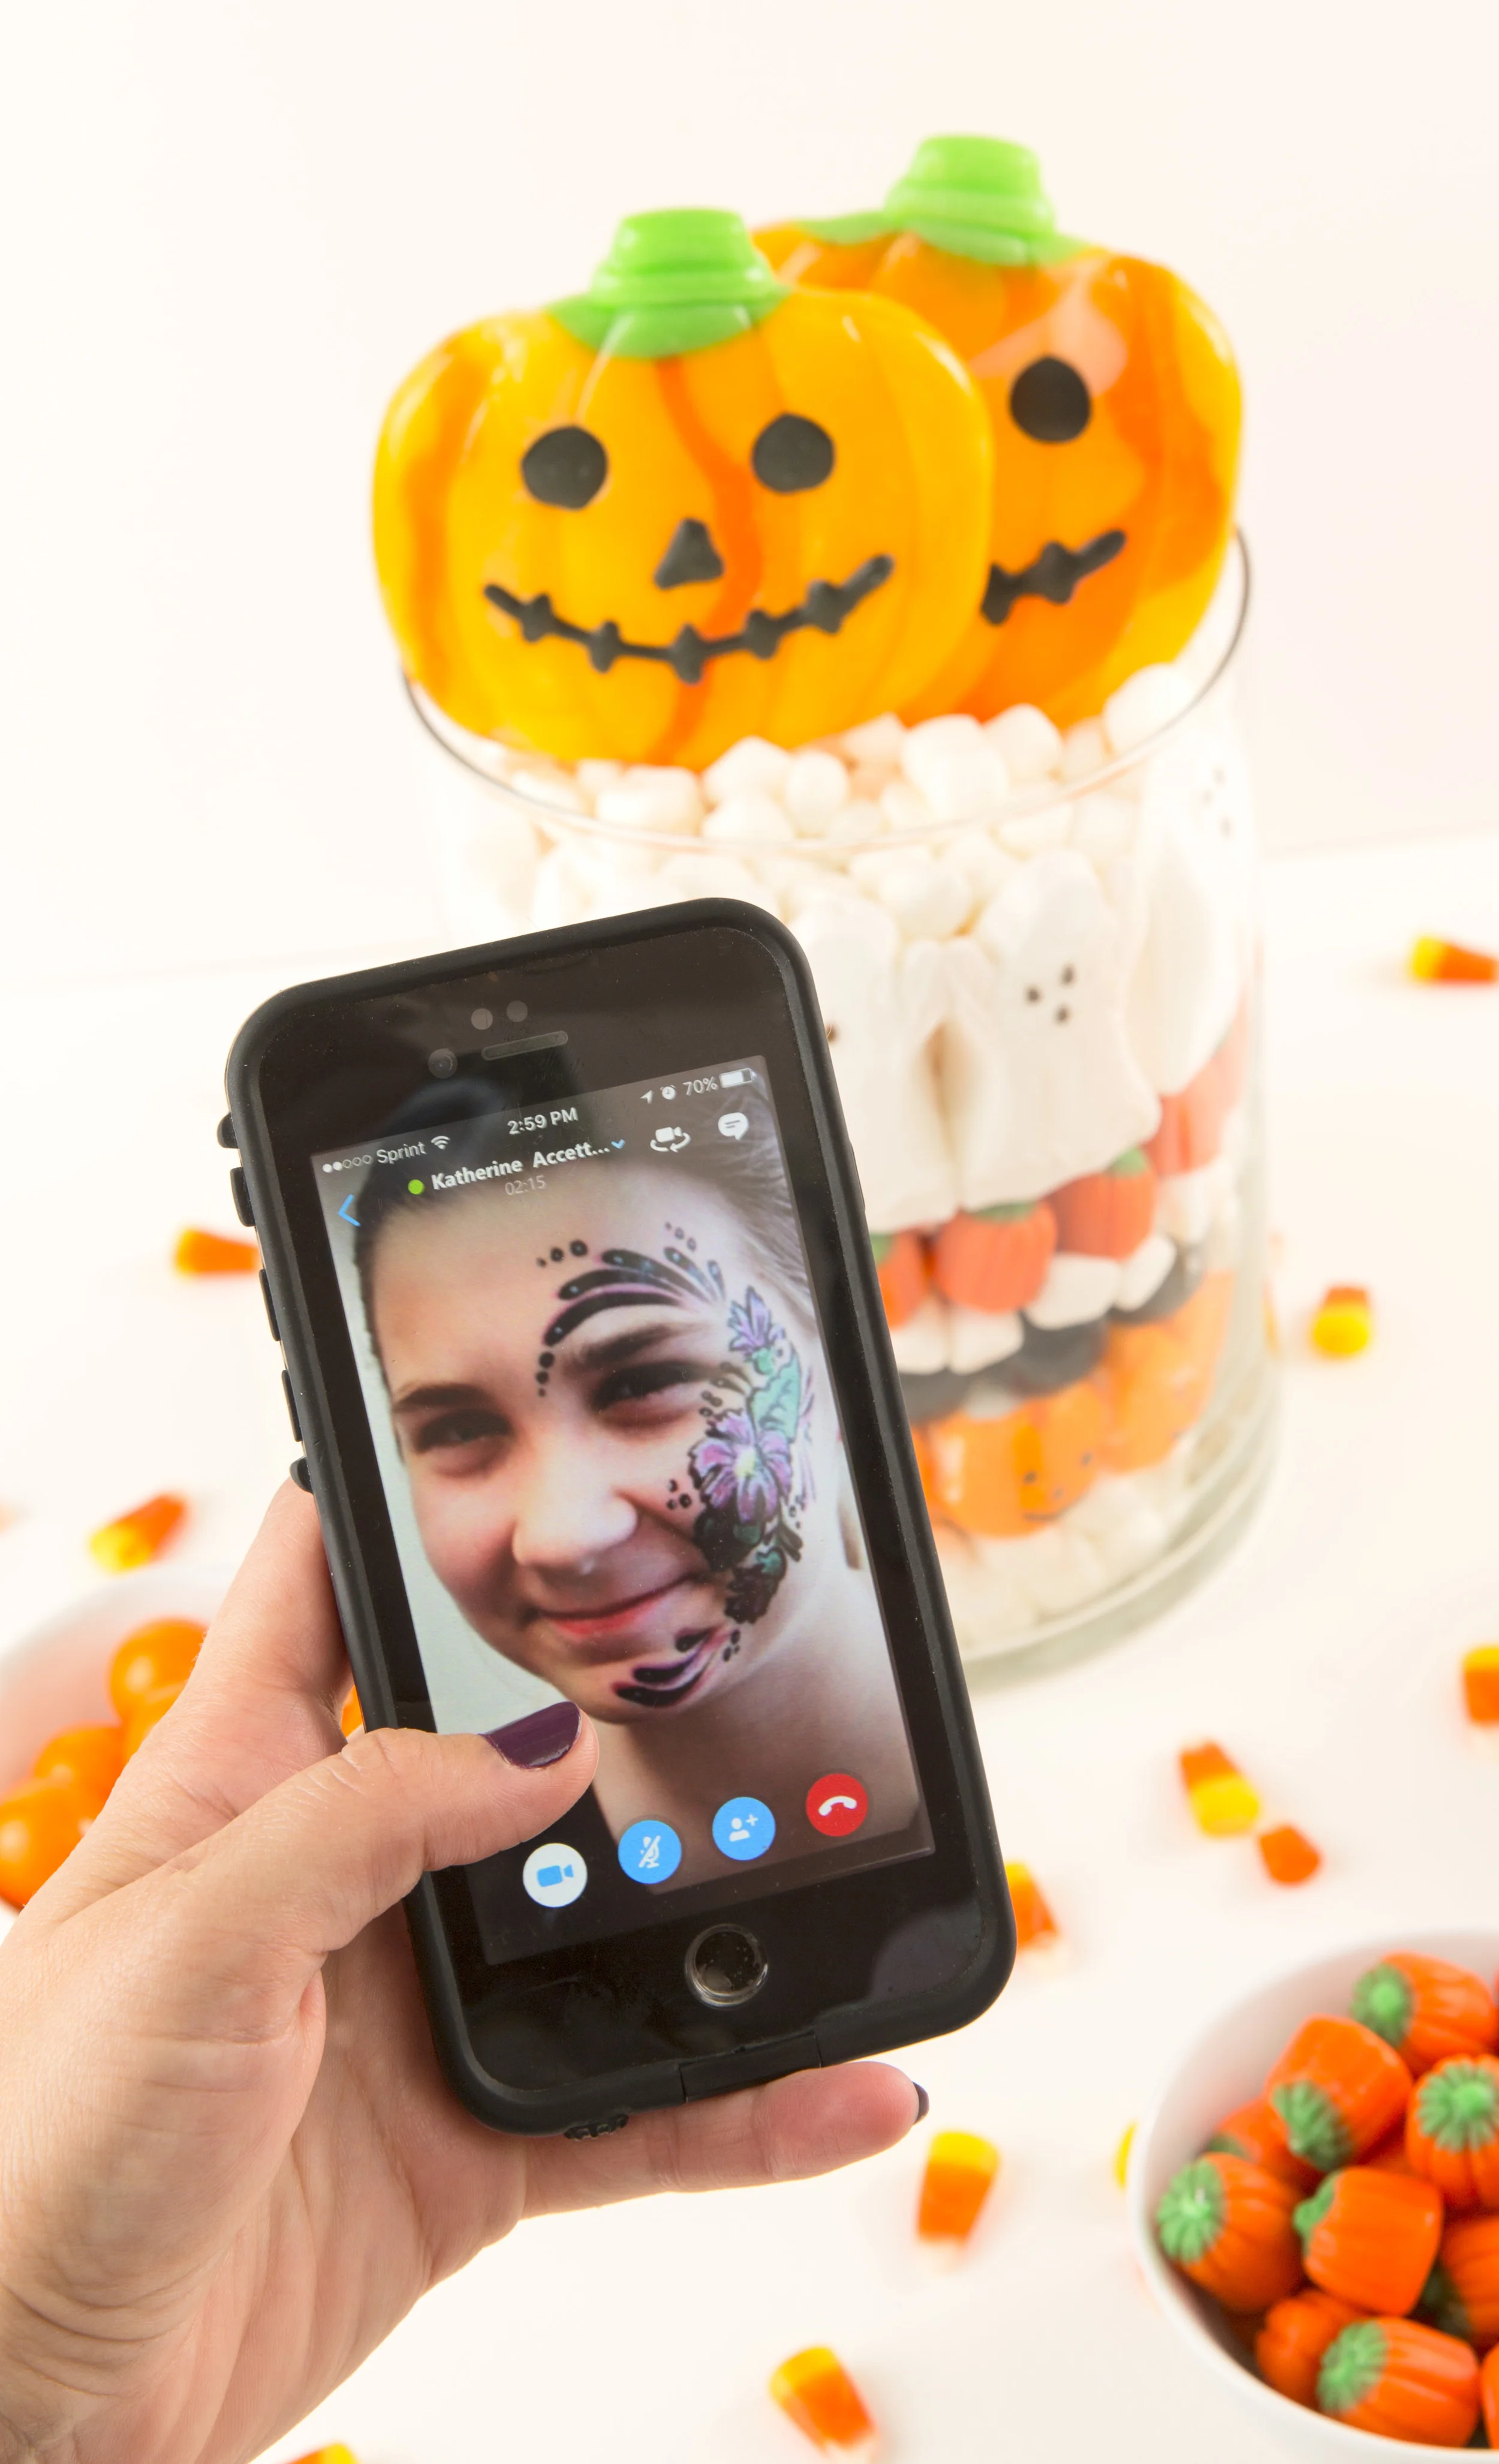
GHOST LIGHTS - I absolutely love these cute little ghosts! I created them with a few simple materials. The other fun part of this project, was that I was able to use Skype to help share this project with my friend, who absolutely LOVED them :) It's great being able to connect with people who live far away, and Skype made it easy.

- 1 Strand of white lights (with white wires). I used a strand of 50, but 25 would be great also.
- 10 Ping Ping Balls
- Modge Podge (any type will do)
- Foam Brush for Modge Podge
- Cheesecloth (found in the fabric/notions section at Hobby Lobby)
- Permanent Marker
- Egg Cartons and Painters Tape
- Drill and Drill Bit - 5/16" - Or a large nail will be good - to poke holes in ping pong balls
- 4" x 4" squares of cheesecloth (x10)
1.) Drill holes in all ping ping balls. You can also use a large nail to poke the holes in them. Make sure you poke the hole where the logo is.
2.) Draw spooky ghost faces on all ping pong balls. I searched for "Ghost Faces" online, and all sorts of ideas came up.
3.) Grab your egg cartons and use the painters tape to create little cones, so your ping pong balls can sit up in the egg cartons. Use the sticky side of the tape on the outside.
4.) Drape the cheesecloth squares over the ping pong balls, and use your foam brush to paint the Modge Podge over the cloth, to adhere to the ping pong balls. They will definitely begin to look like ghosts now!
5.) Let them dry for 4-5 hours, and place a ping pong ball ghost to every third or fourth Christmas light! That's it! Please comment below if you make these!

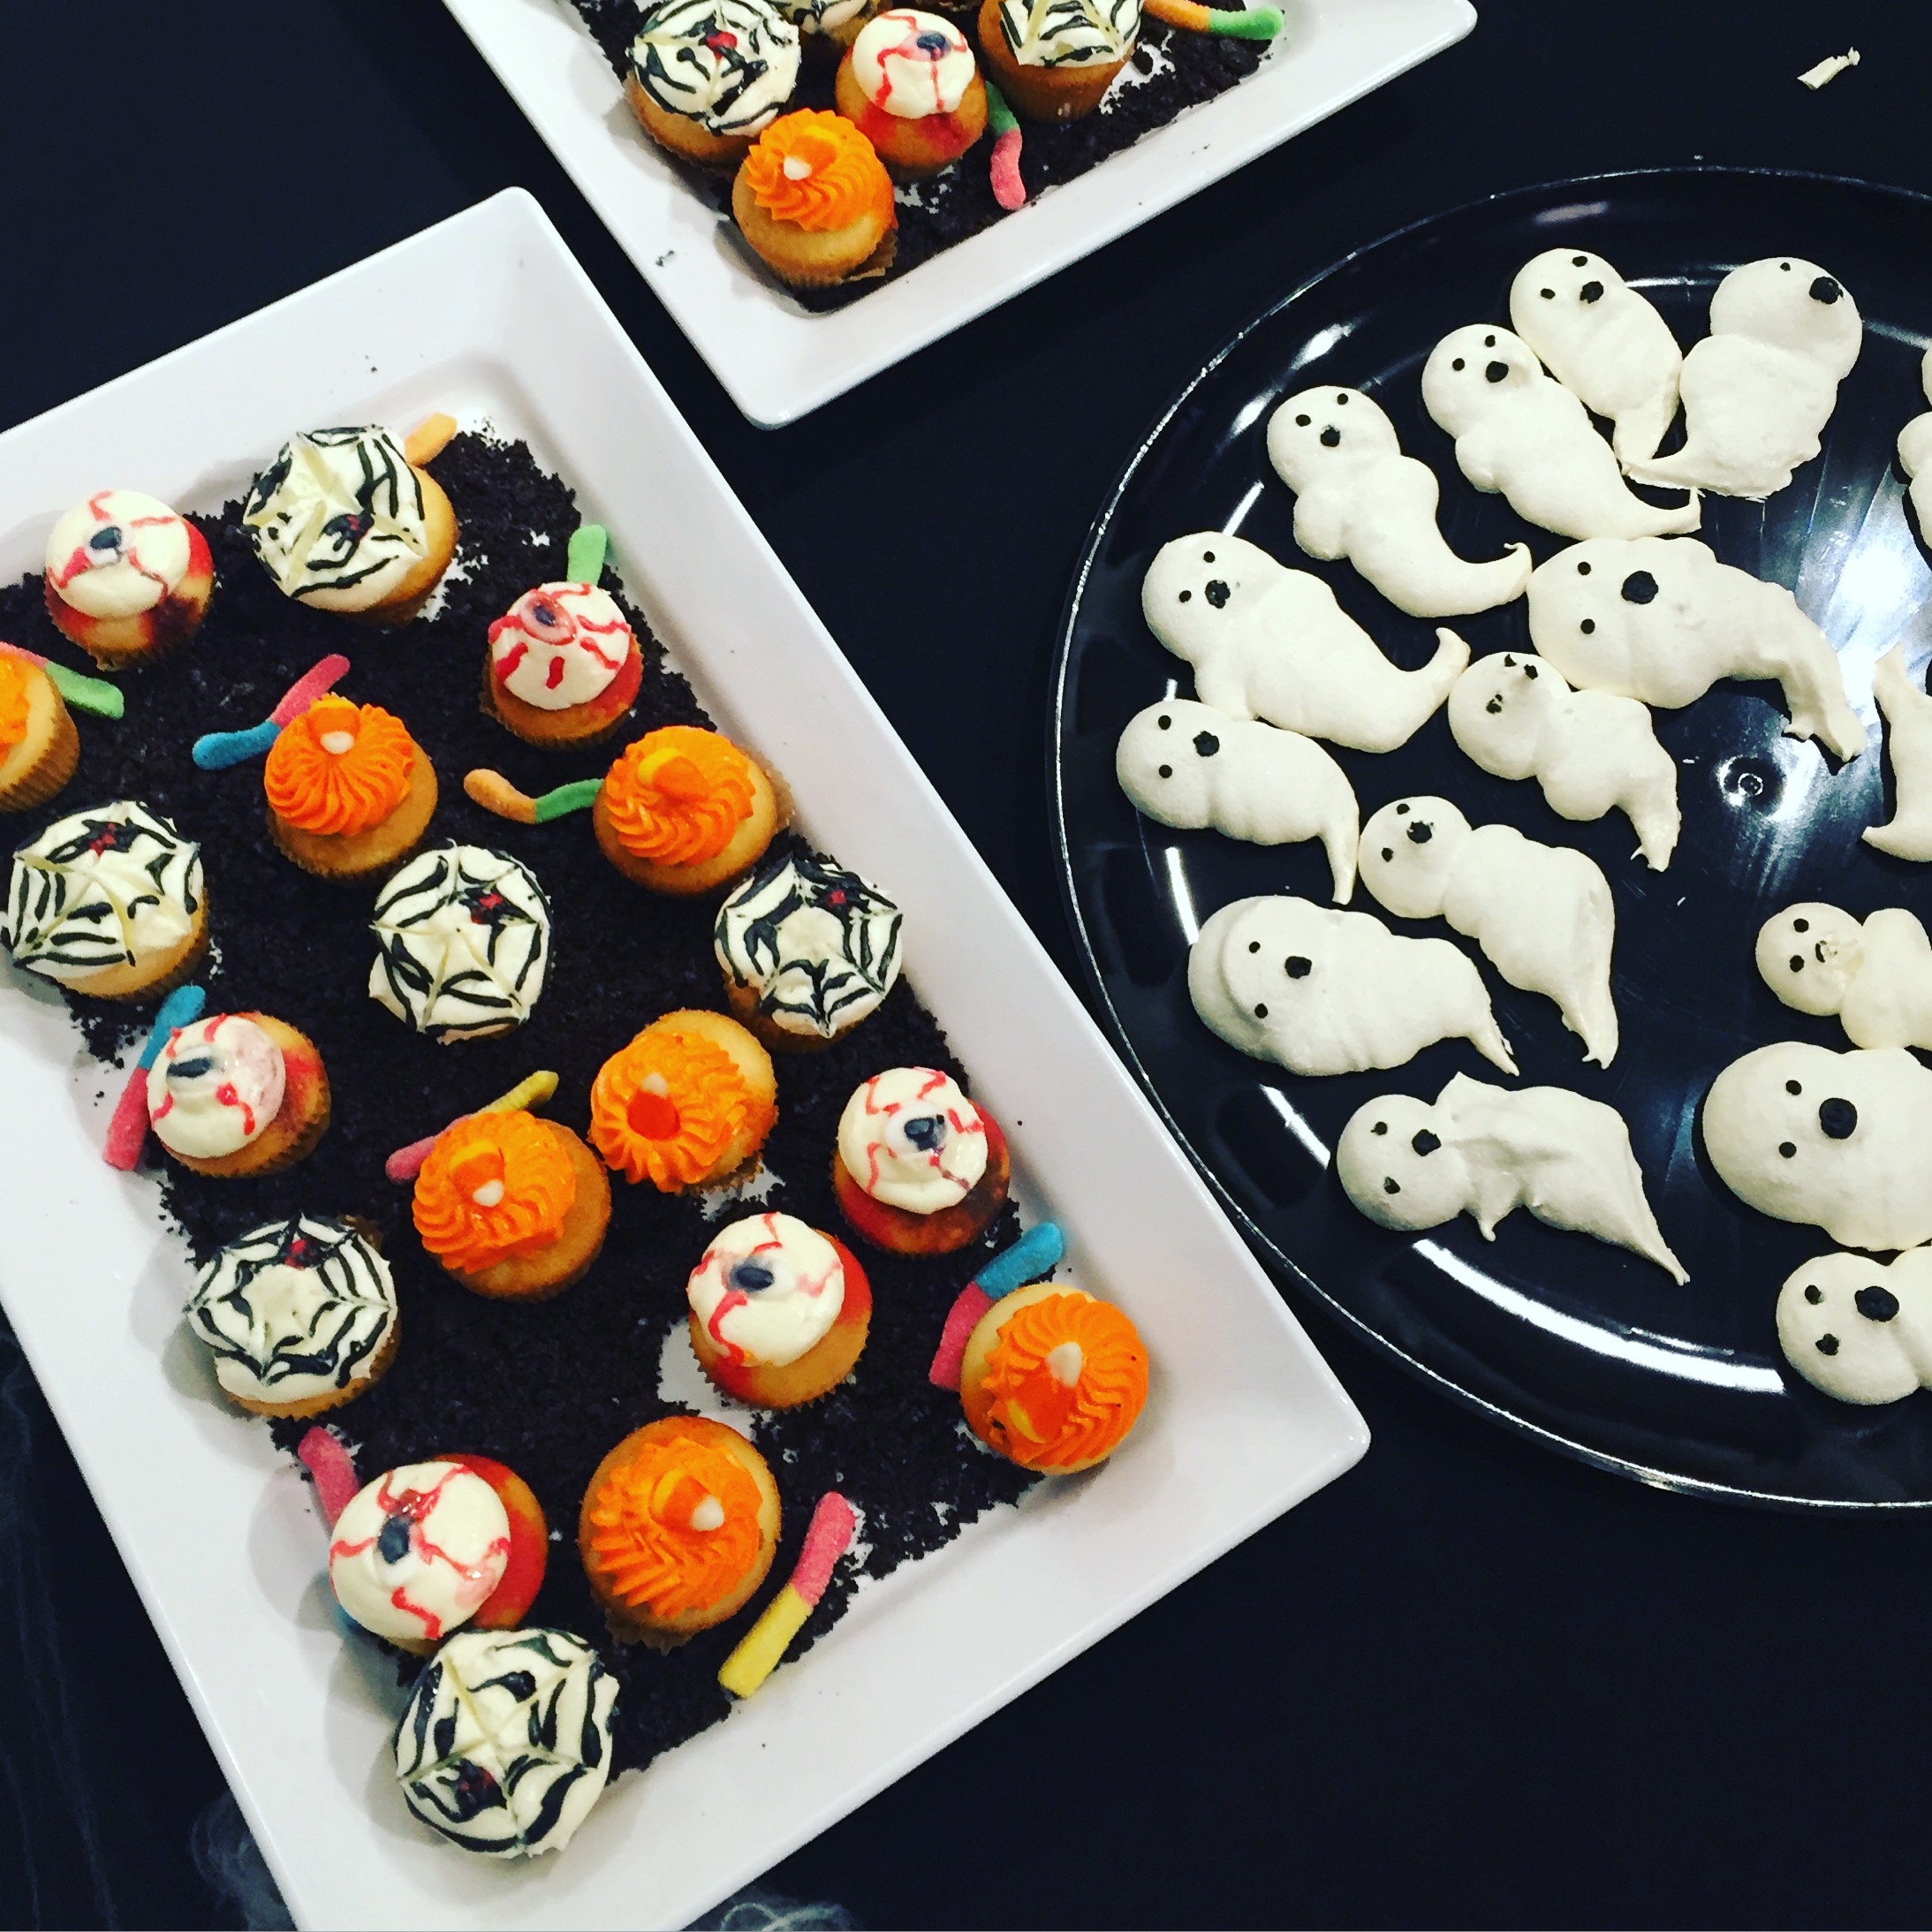
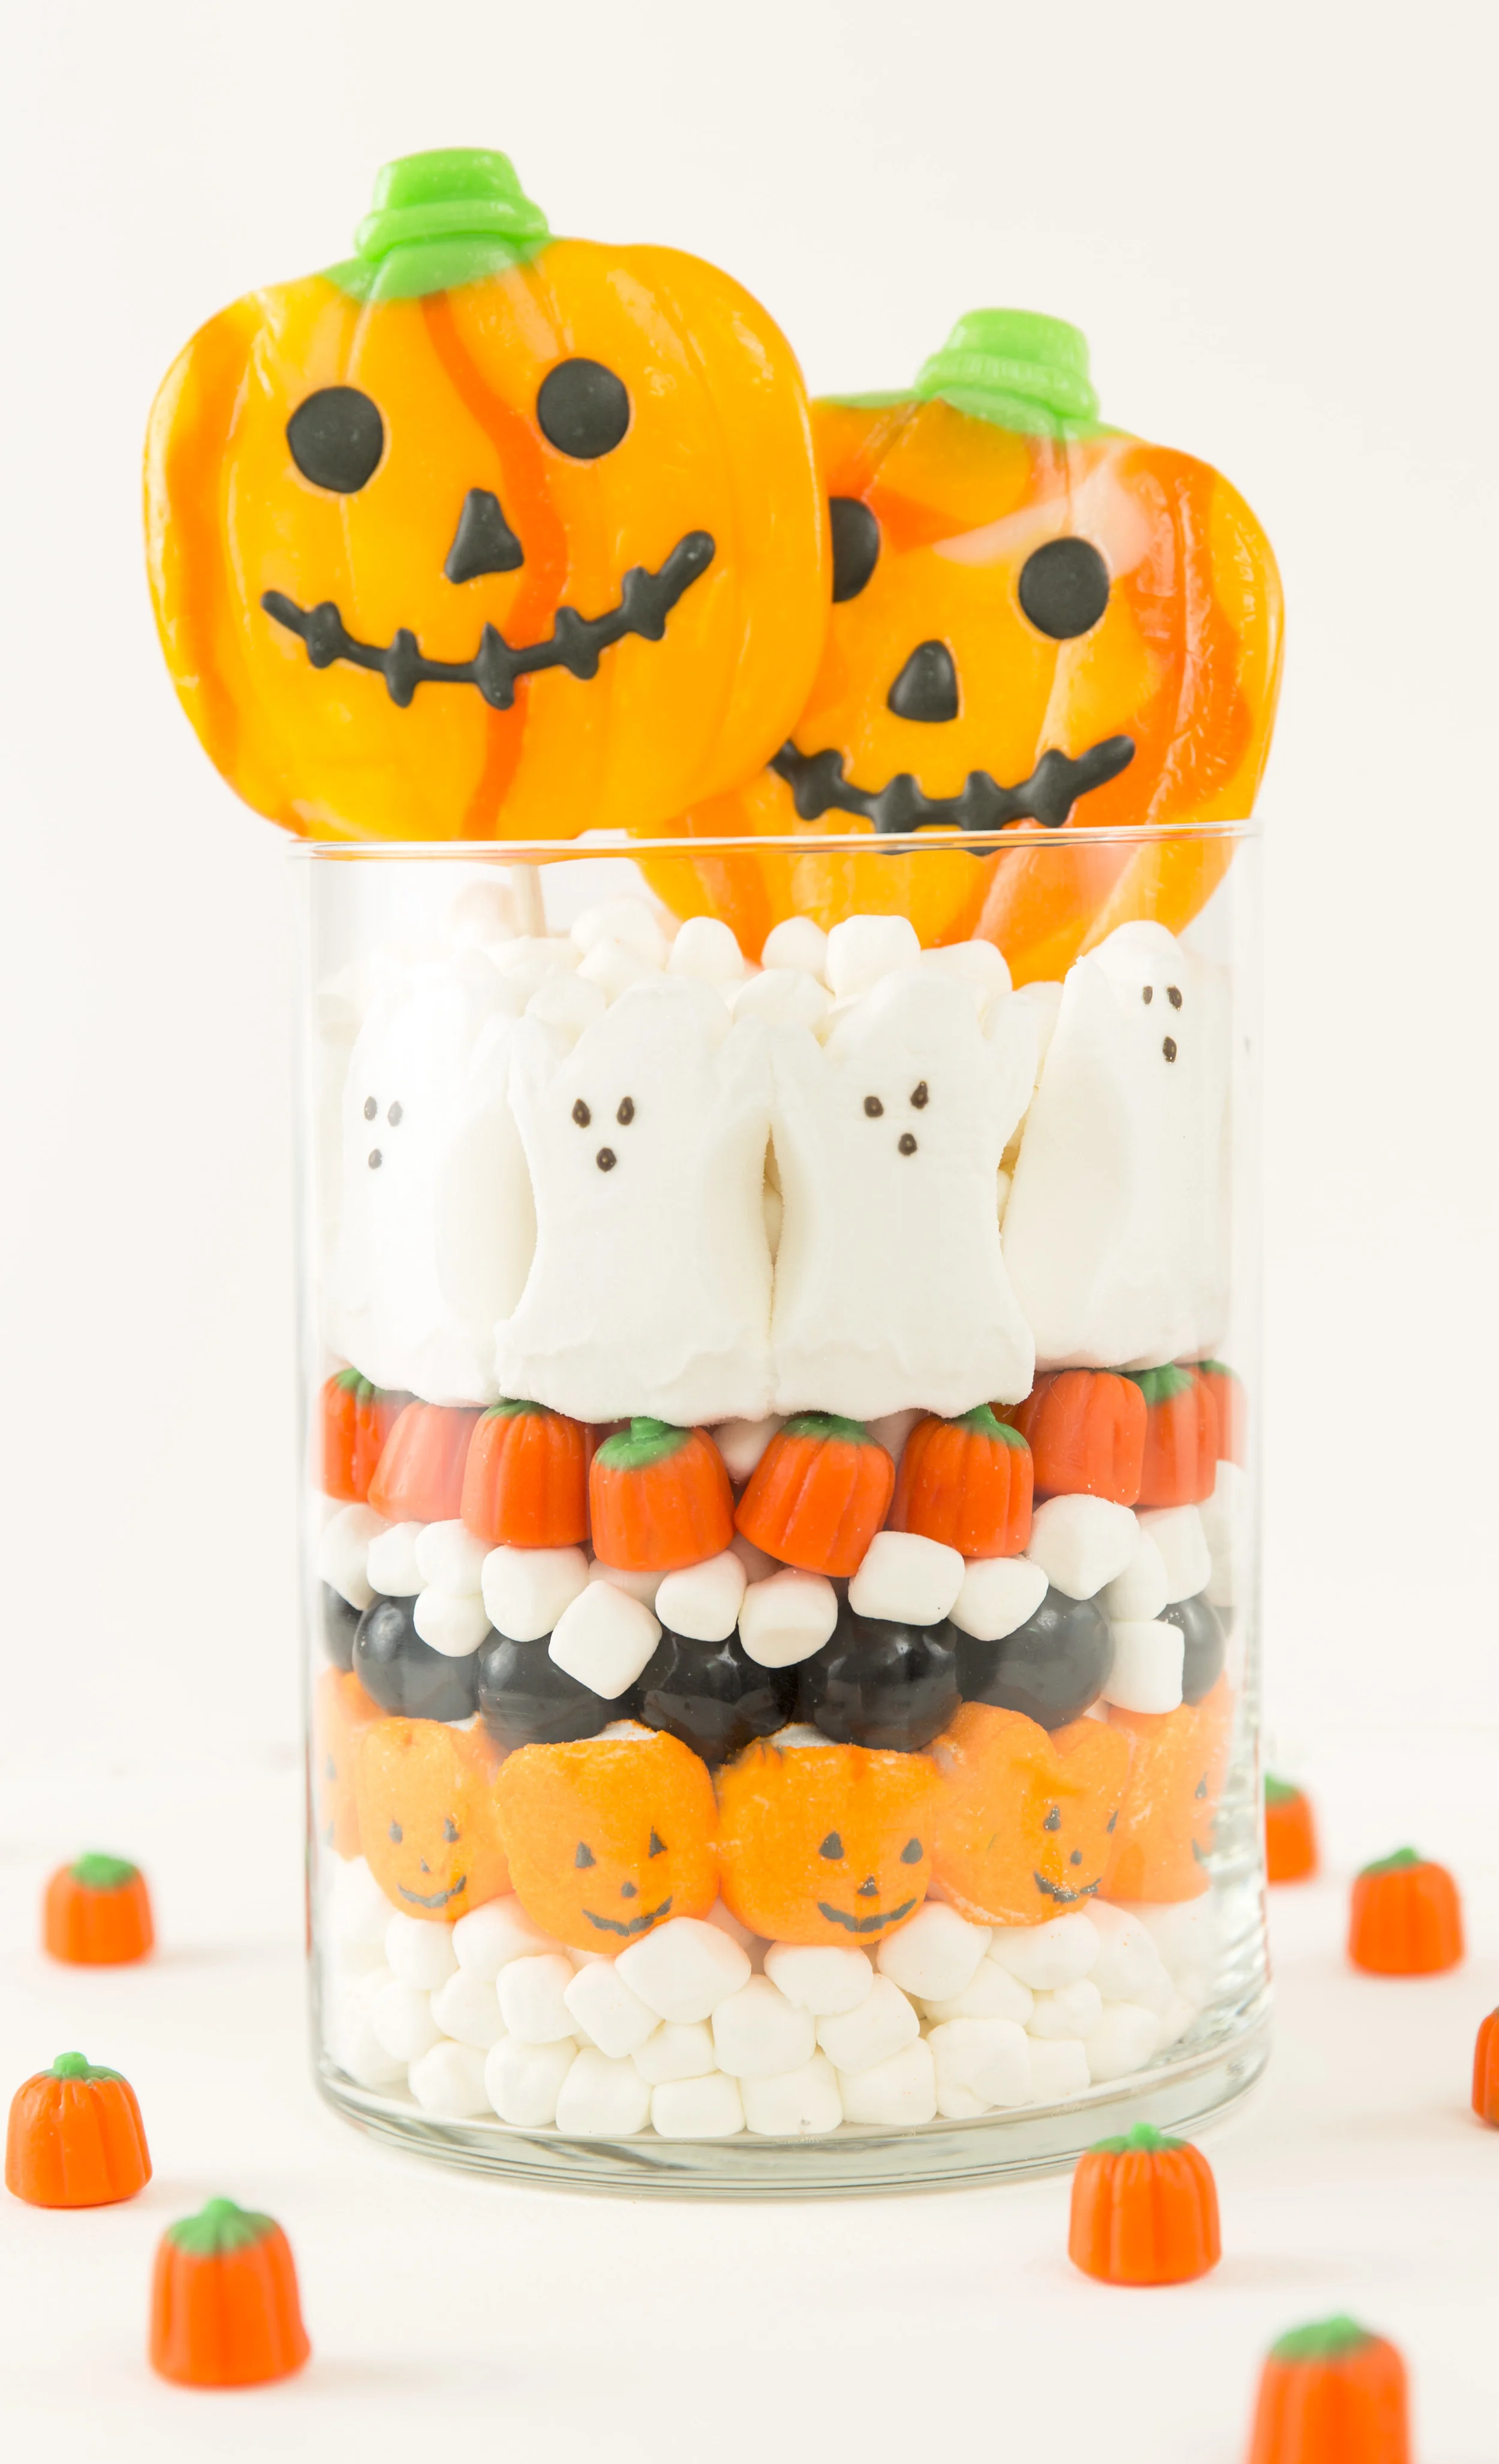
I used a big assortment of Halloween candy for this one! It turned out SO cute and I think kids would just love it. This would make the ultimate conversation piece at a Halloween party, too!

- Large Glass Vase with straight sides
- 1 large bag of mini marshmallows and 3-4 other types of Halloween candy and Halloween Peeps
1.) Pour 2 inches of marshmallows into vase
2.) Layer Halloween Peeps around edge of vase, and fill center with more marshmallows
3.) Layer alternating colored candies all the way up, and top off with more marshmallows and Halloween suckers of your choice!

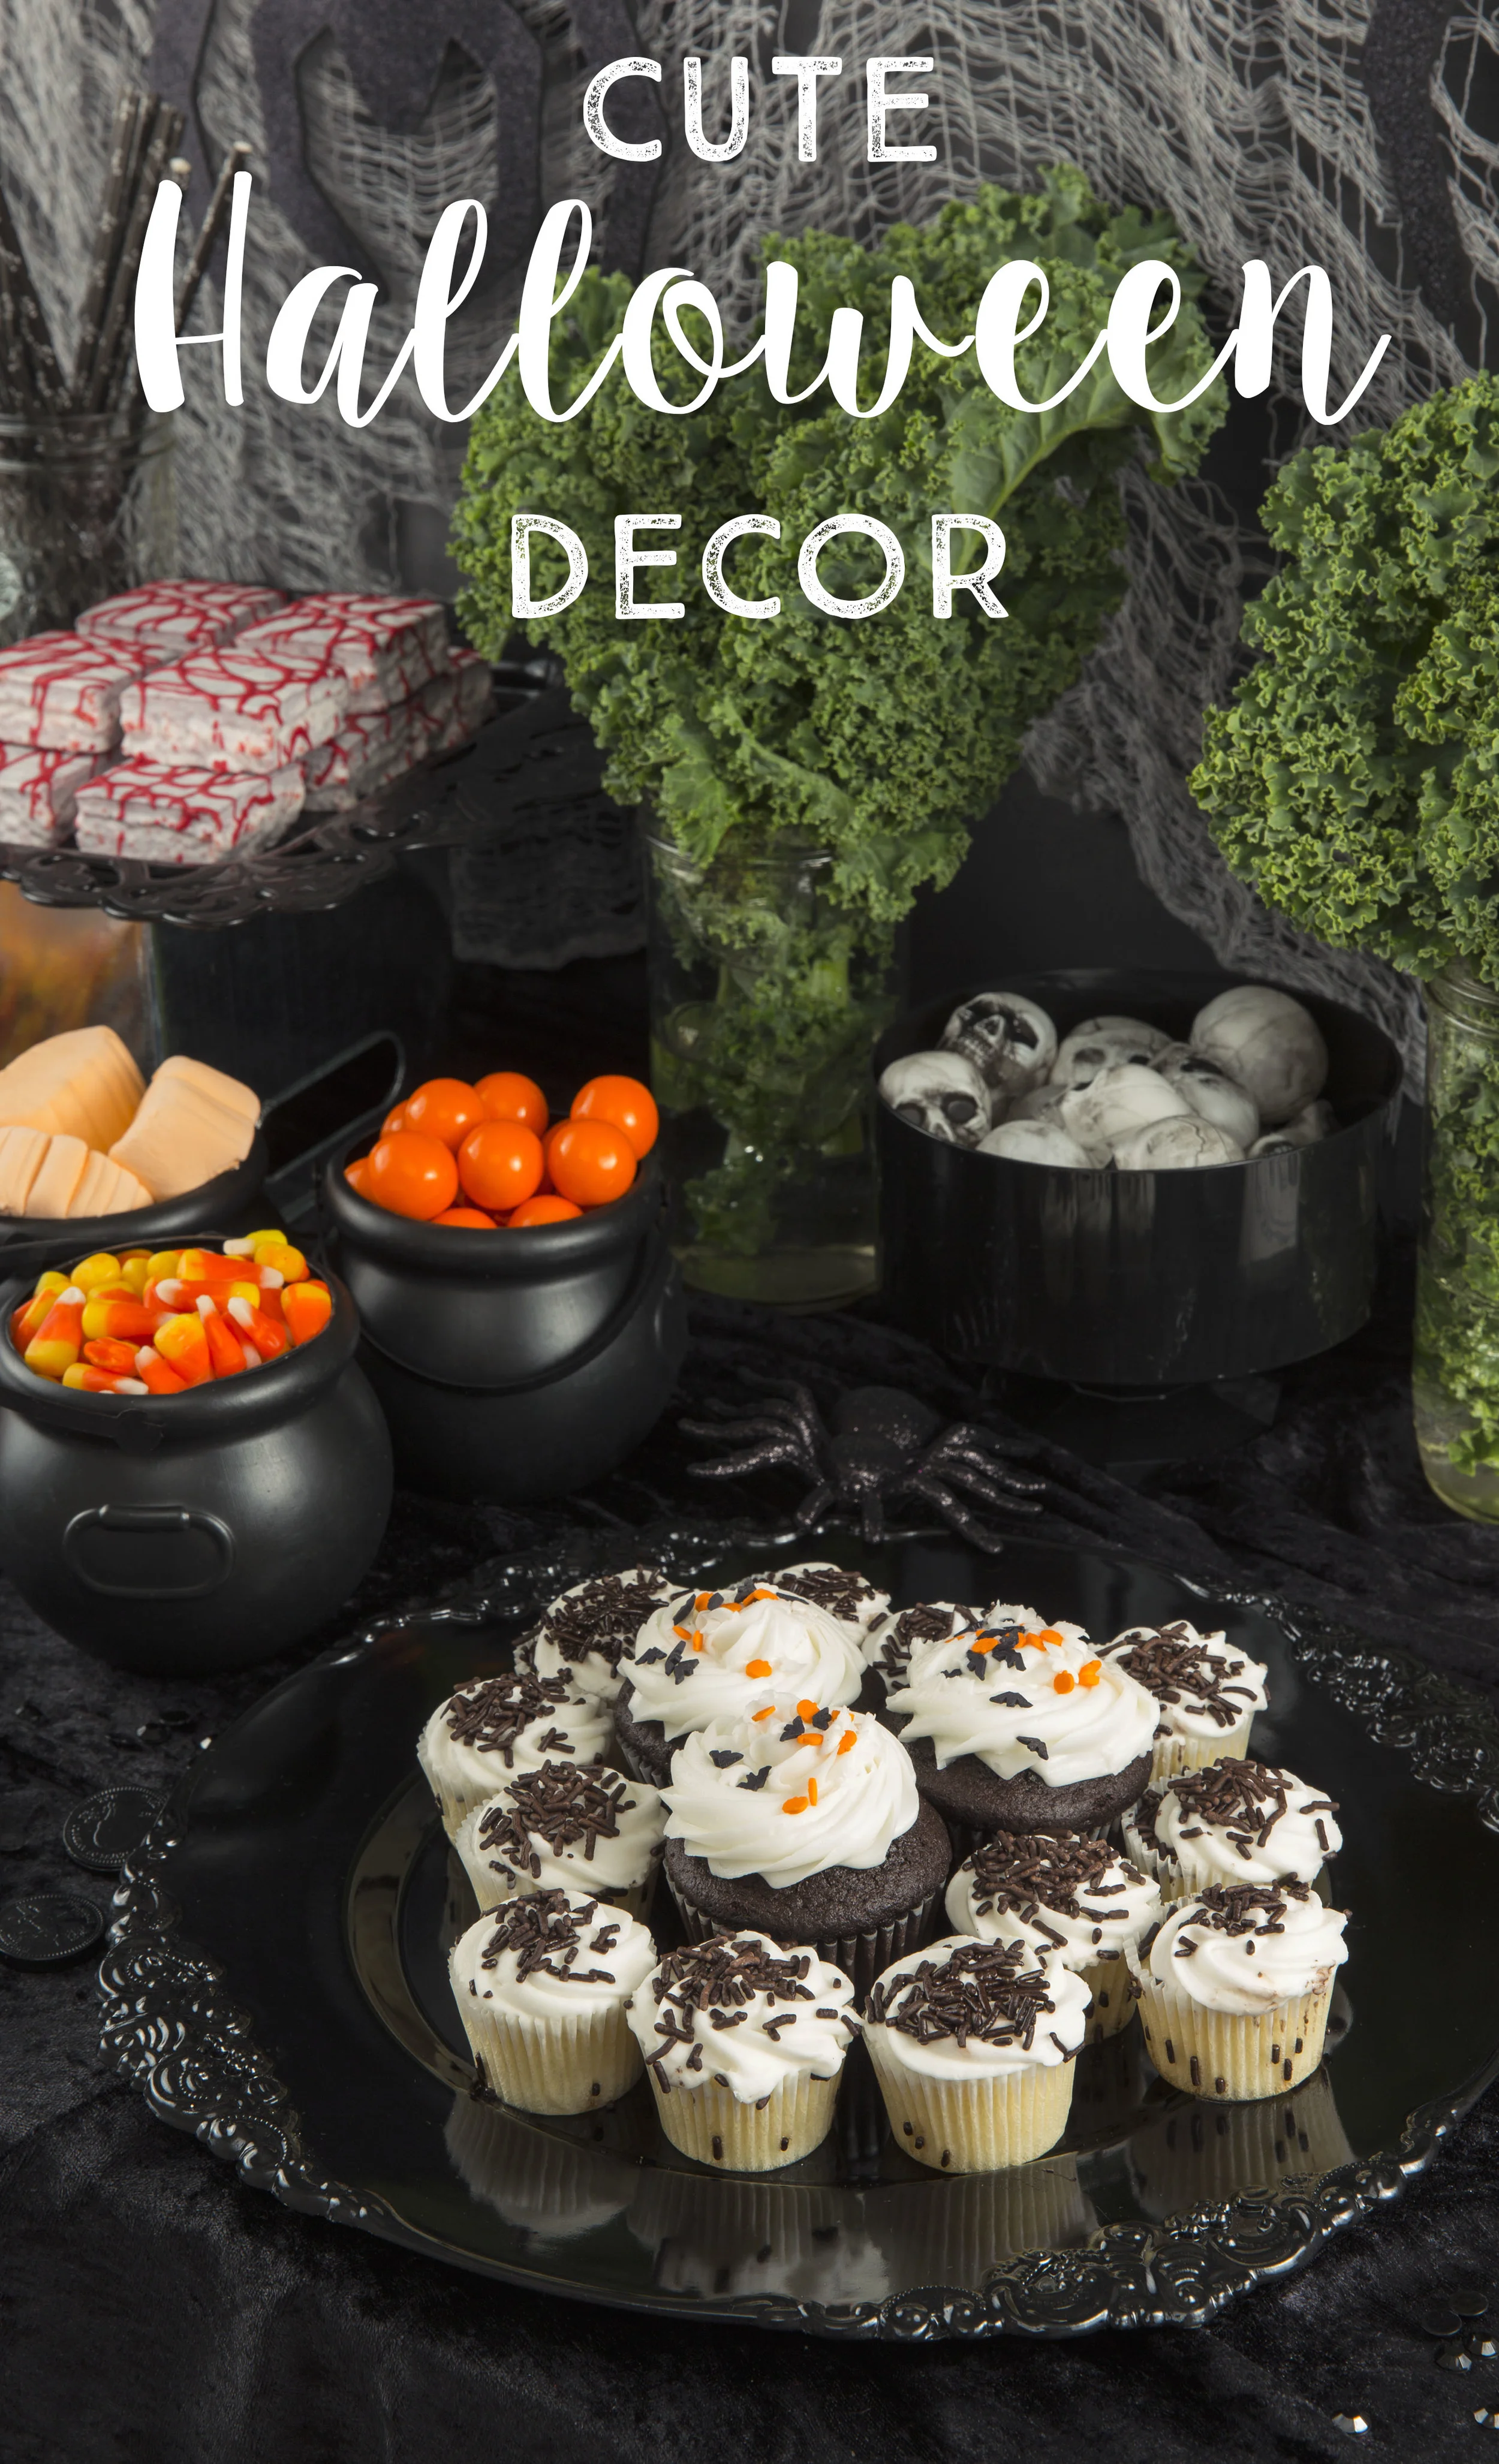
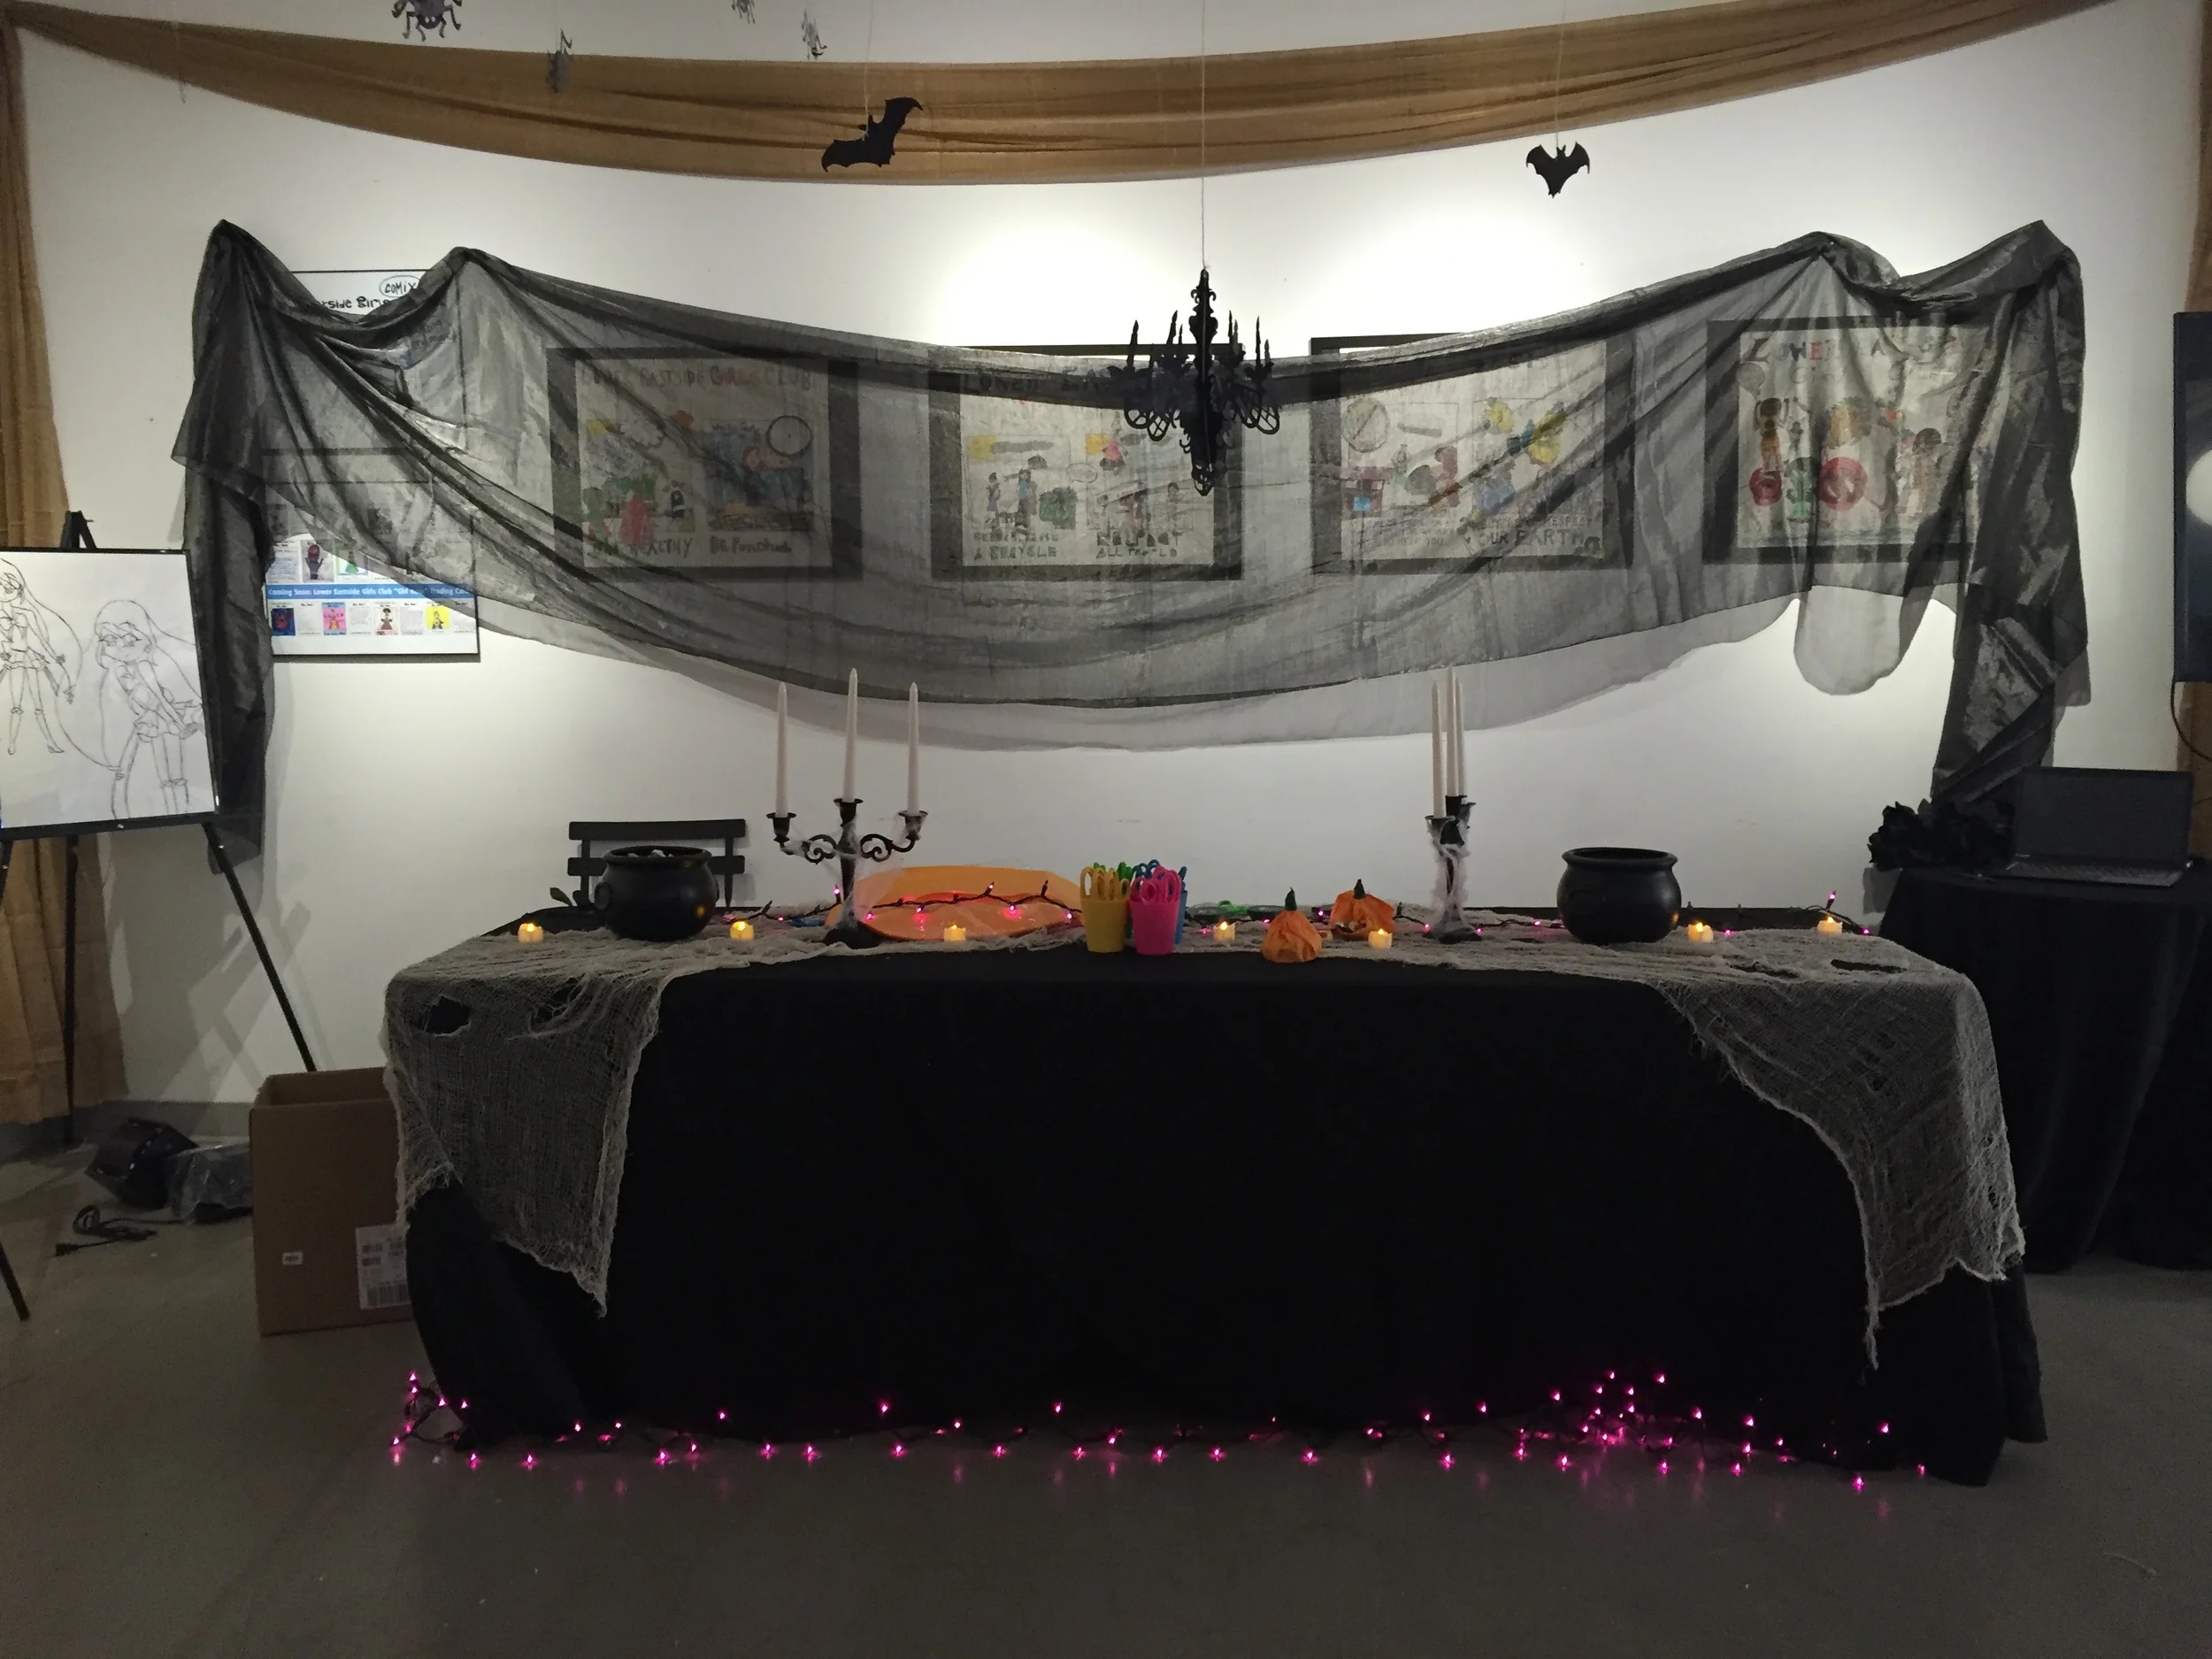
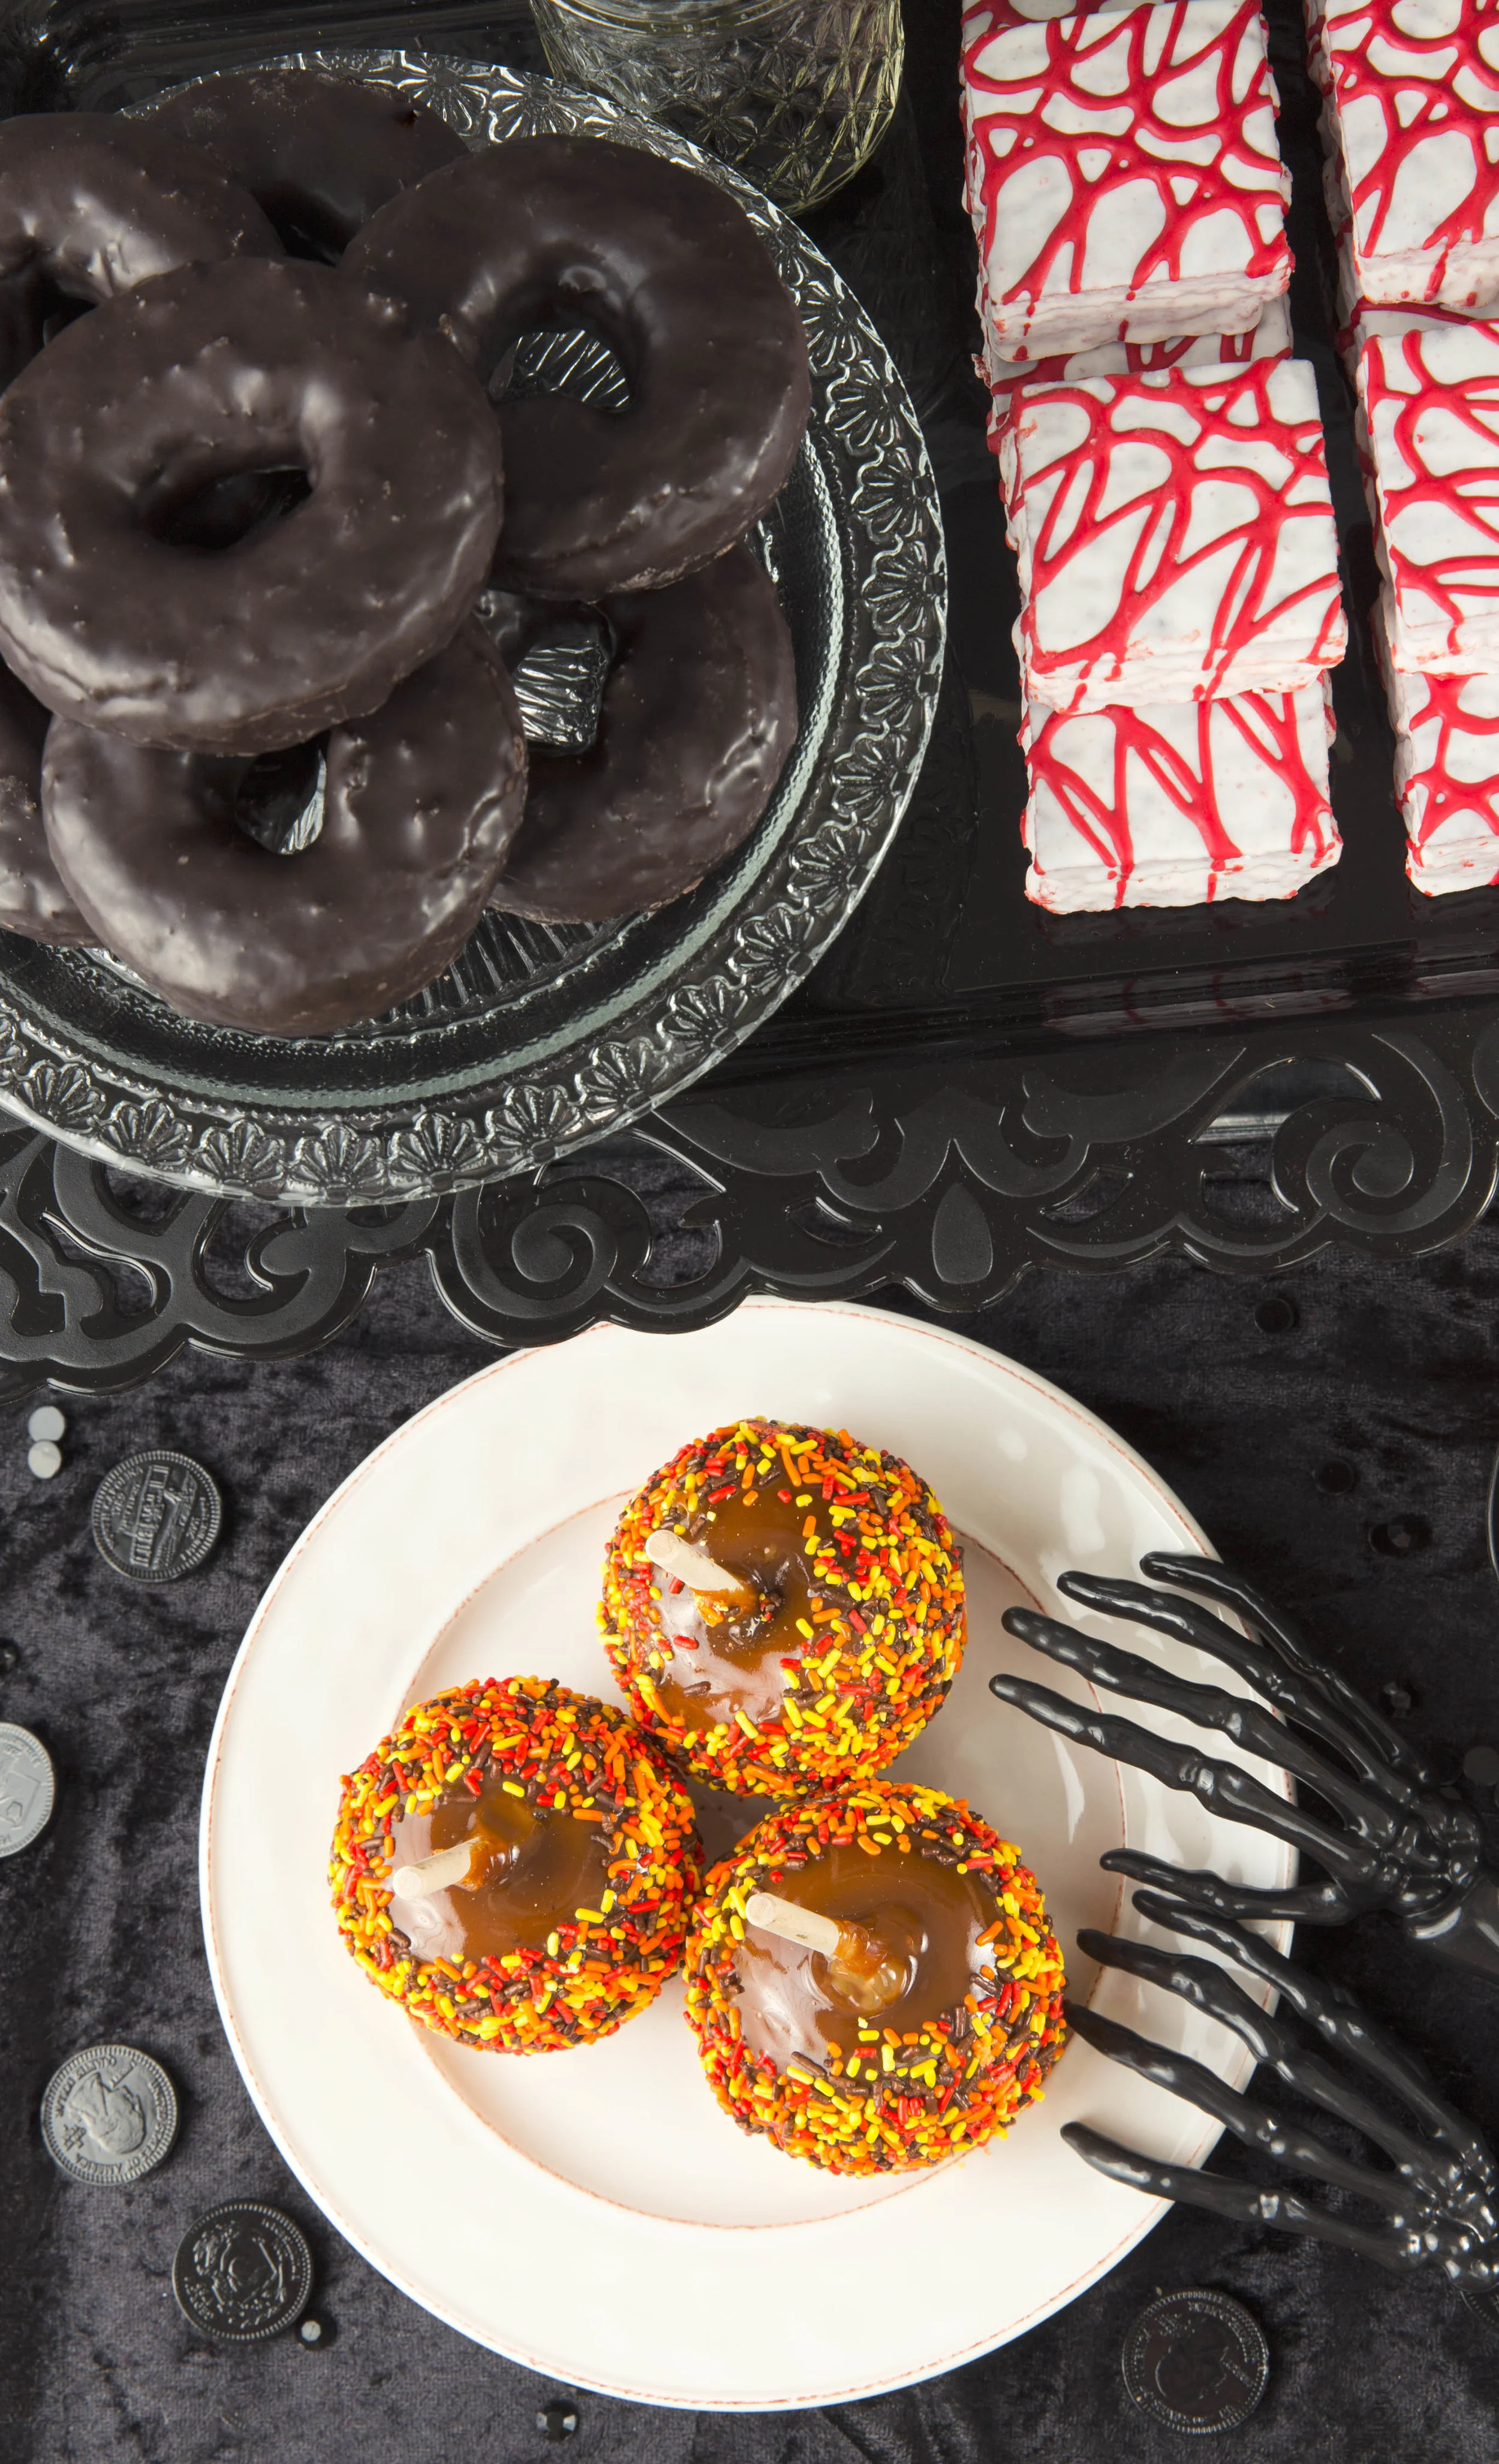
I am in love with the look of a Monochromatic Halloween Party! Here, I used mostly black dishes, tablecloth, and Creepy Cloth to drape over the setting to really add a spooky element. Just let your food add some pops of color, and your guests will be so happy they came to party!
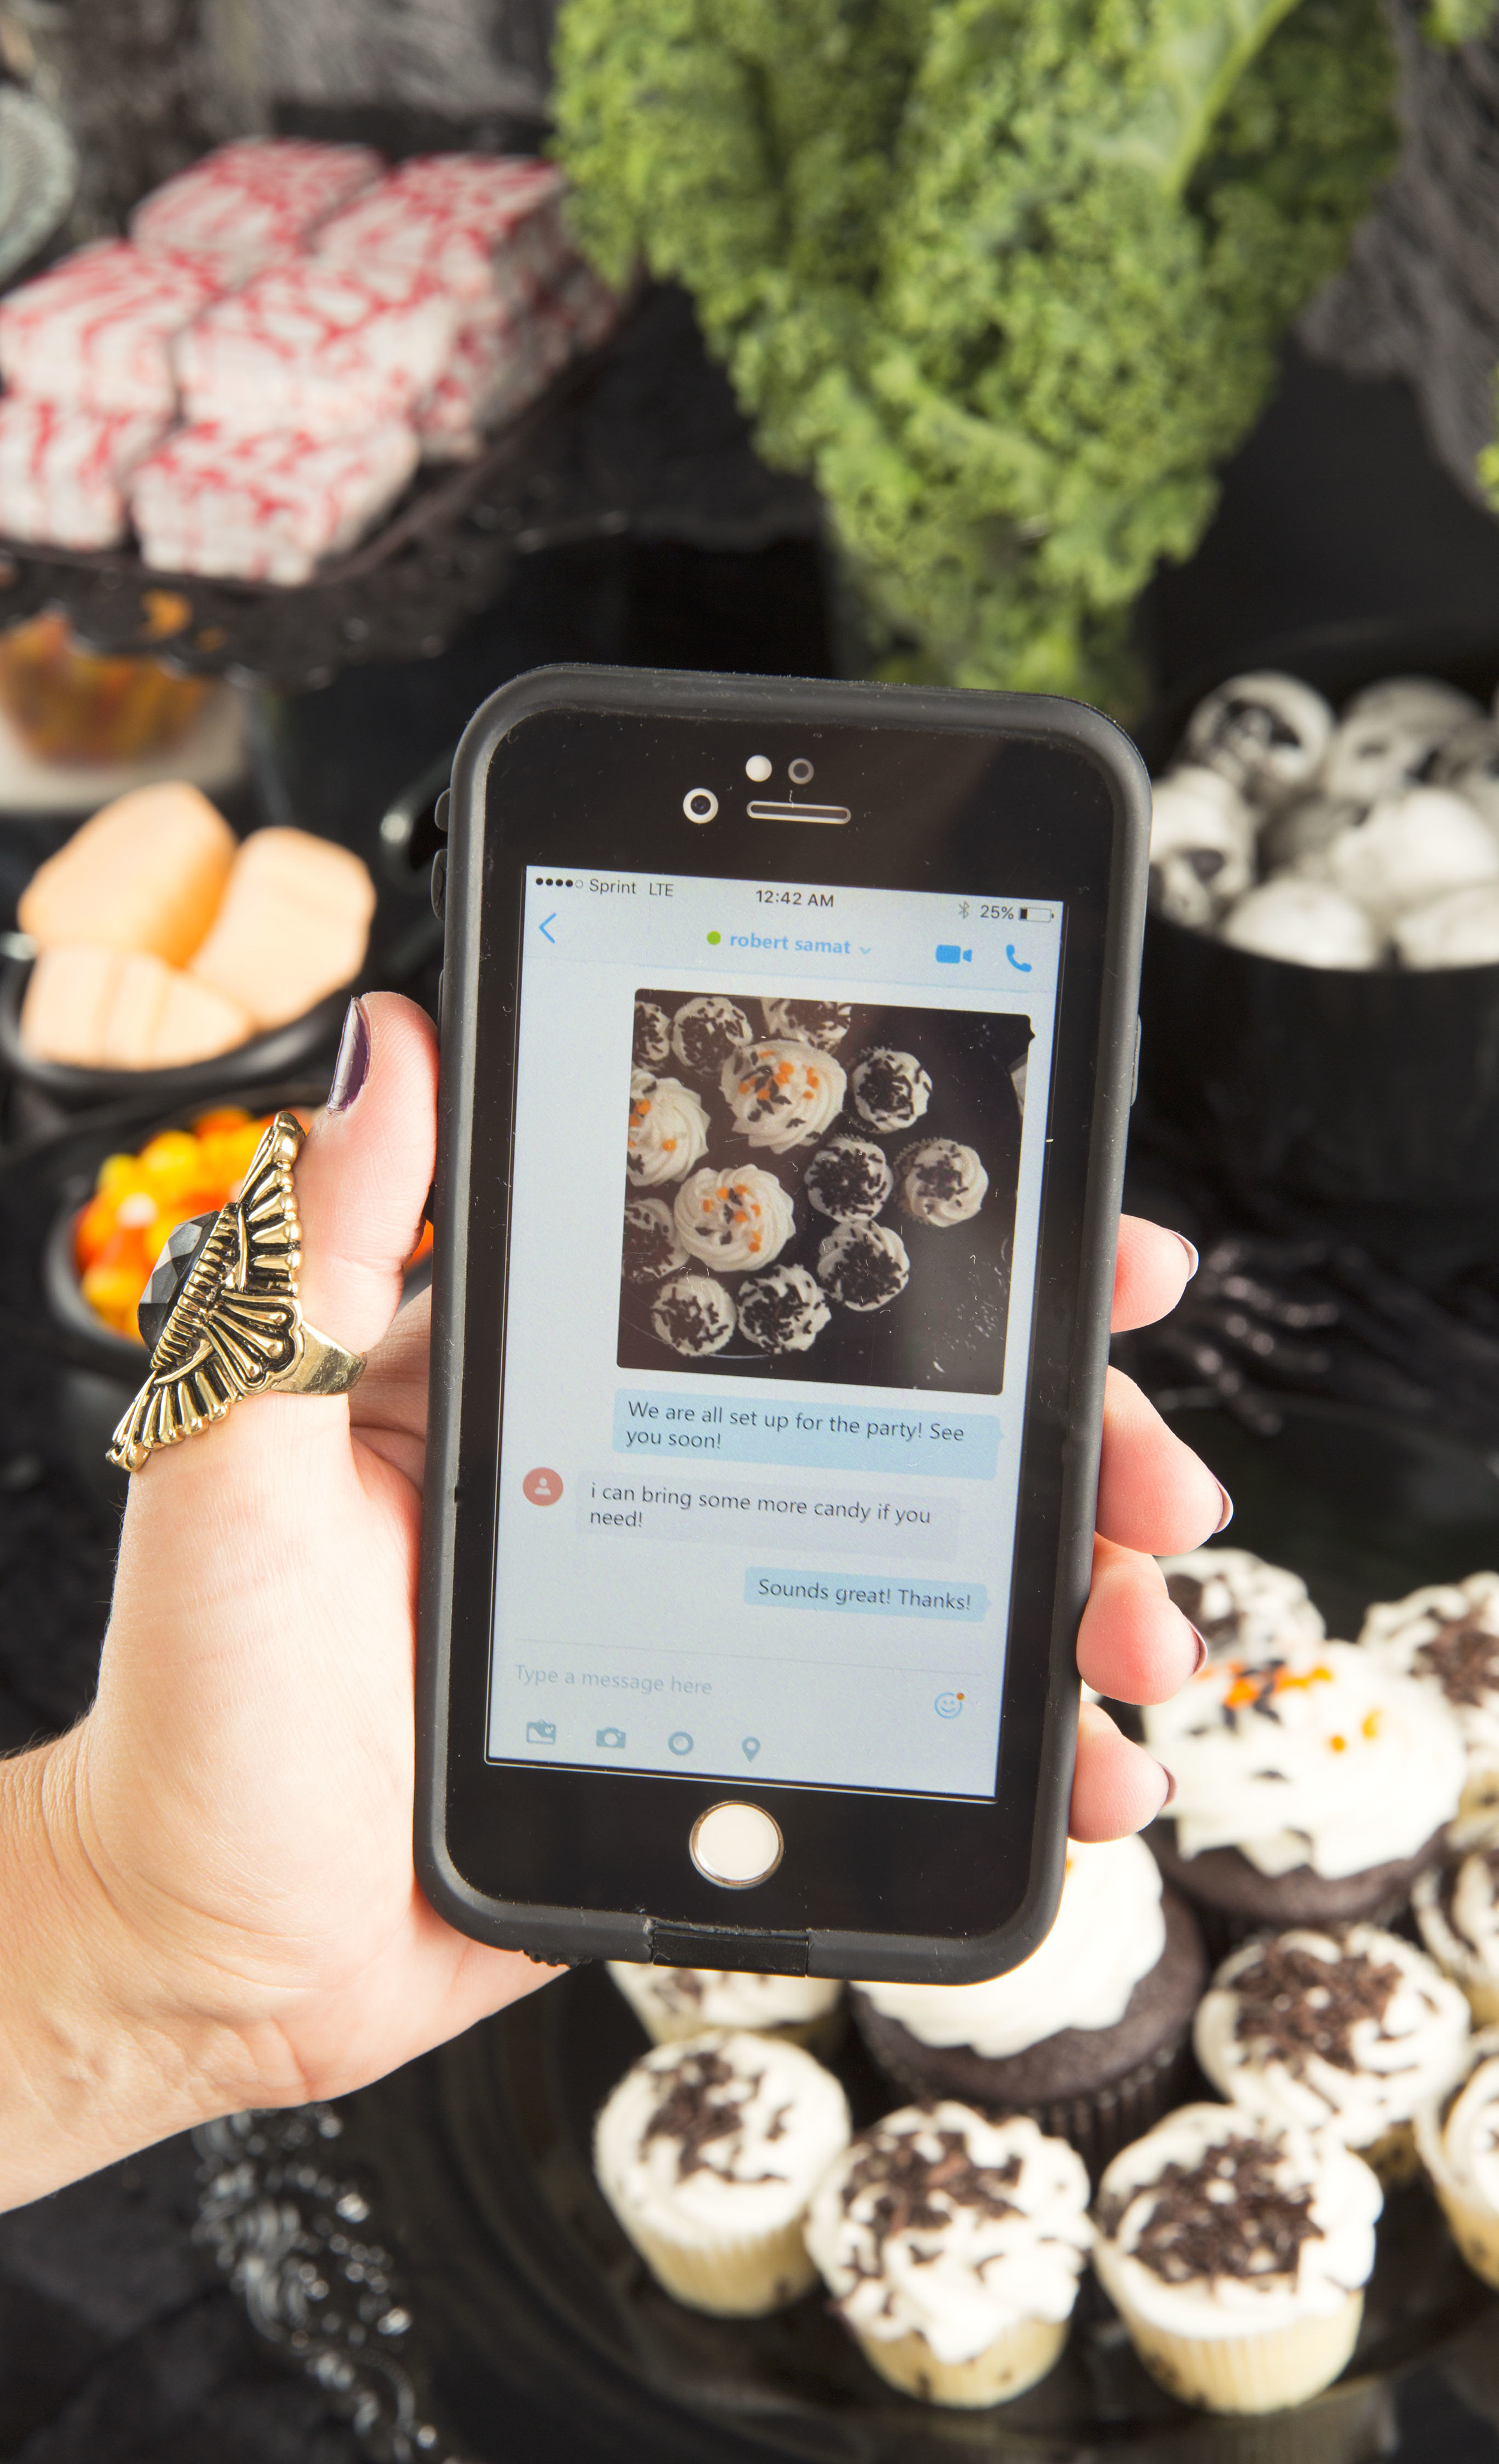
I was able to use Skype to let my friend know the party was all set up and ready!
Happy Halloween! And a special spooky thanks to Skype for hosting the best Halloween party ever in NEW YORK CITY! I will blog about that soon!!!
Halloween is almost here! Did you know you can use Skype to text photos and messages to one person or a group of people? I will be Skype chatting this morning, beginning at 10:30EST, join me and others as we discuss Halloween ideas today. Add SkypeHalloween in Skype to join in on the conversation! http://bit.ly/3242231
And 5 people participating in these chats will win a $1,000 Microsoft package including a Surface!!!

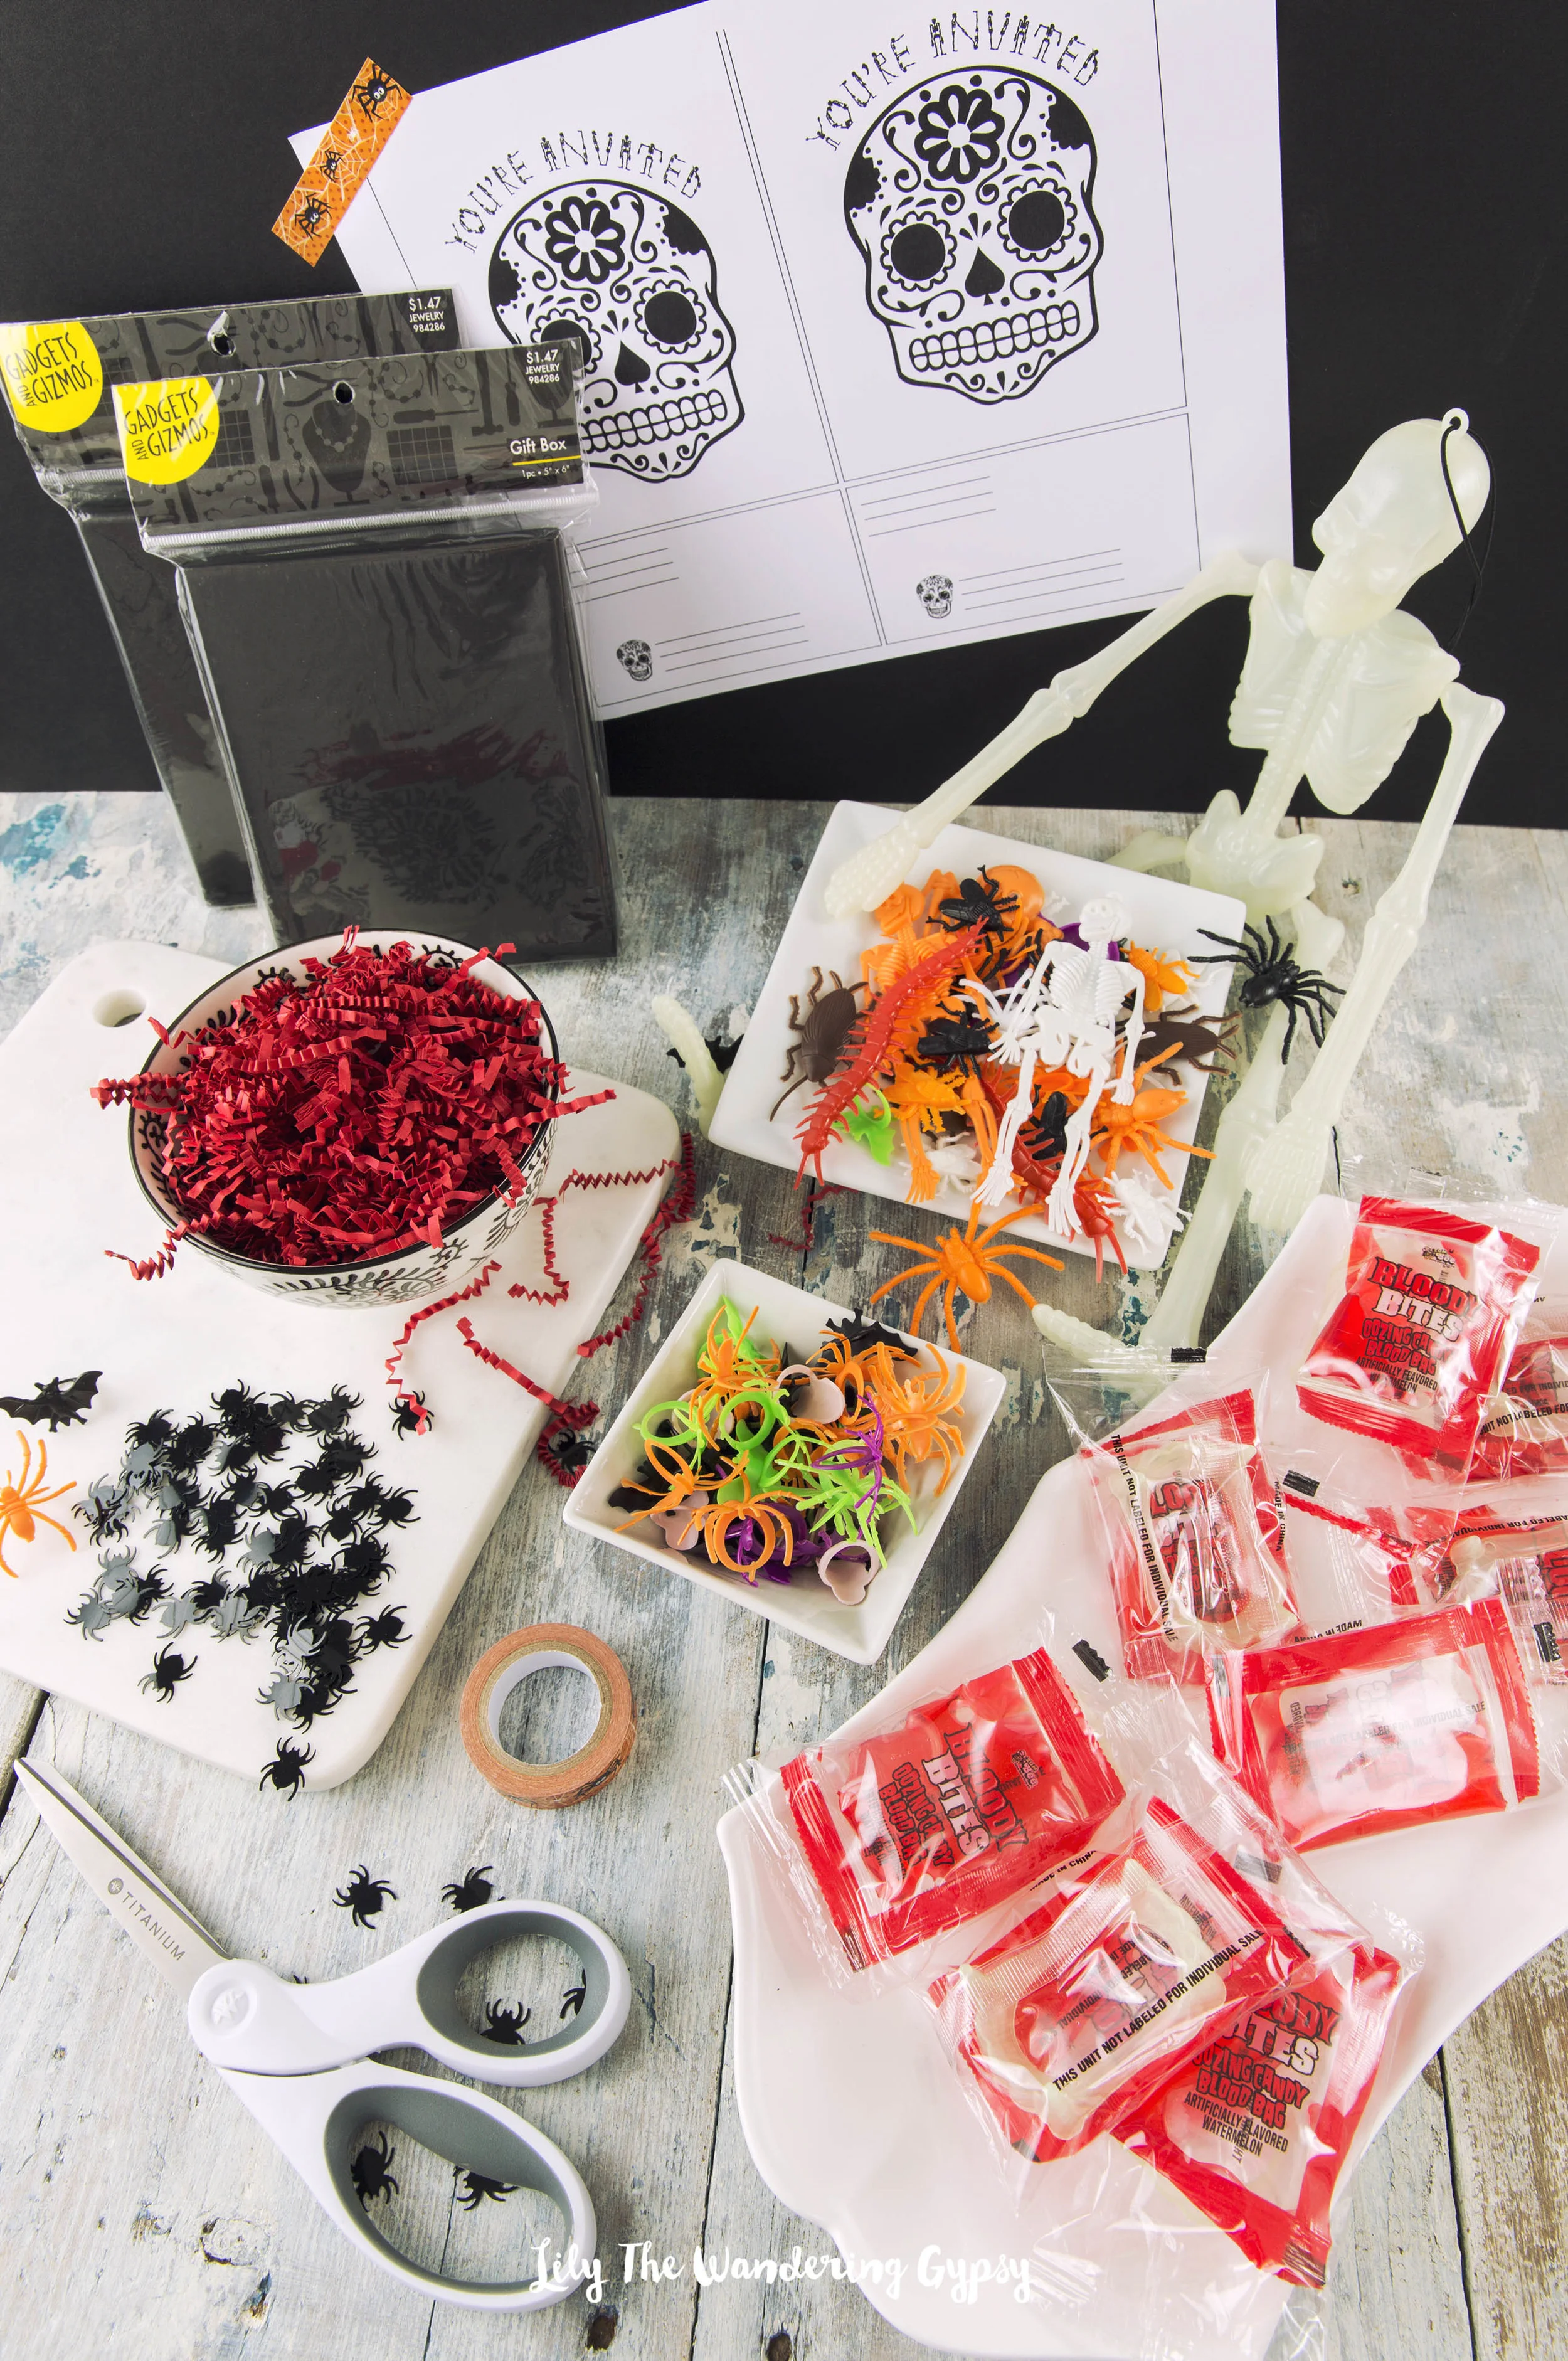
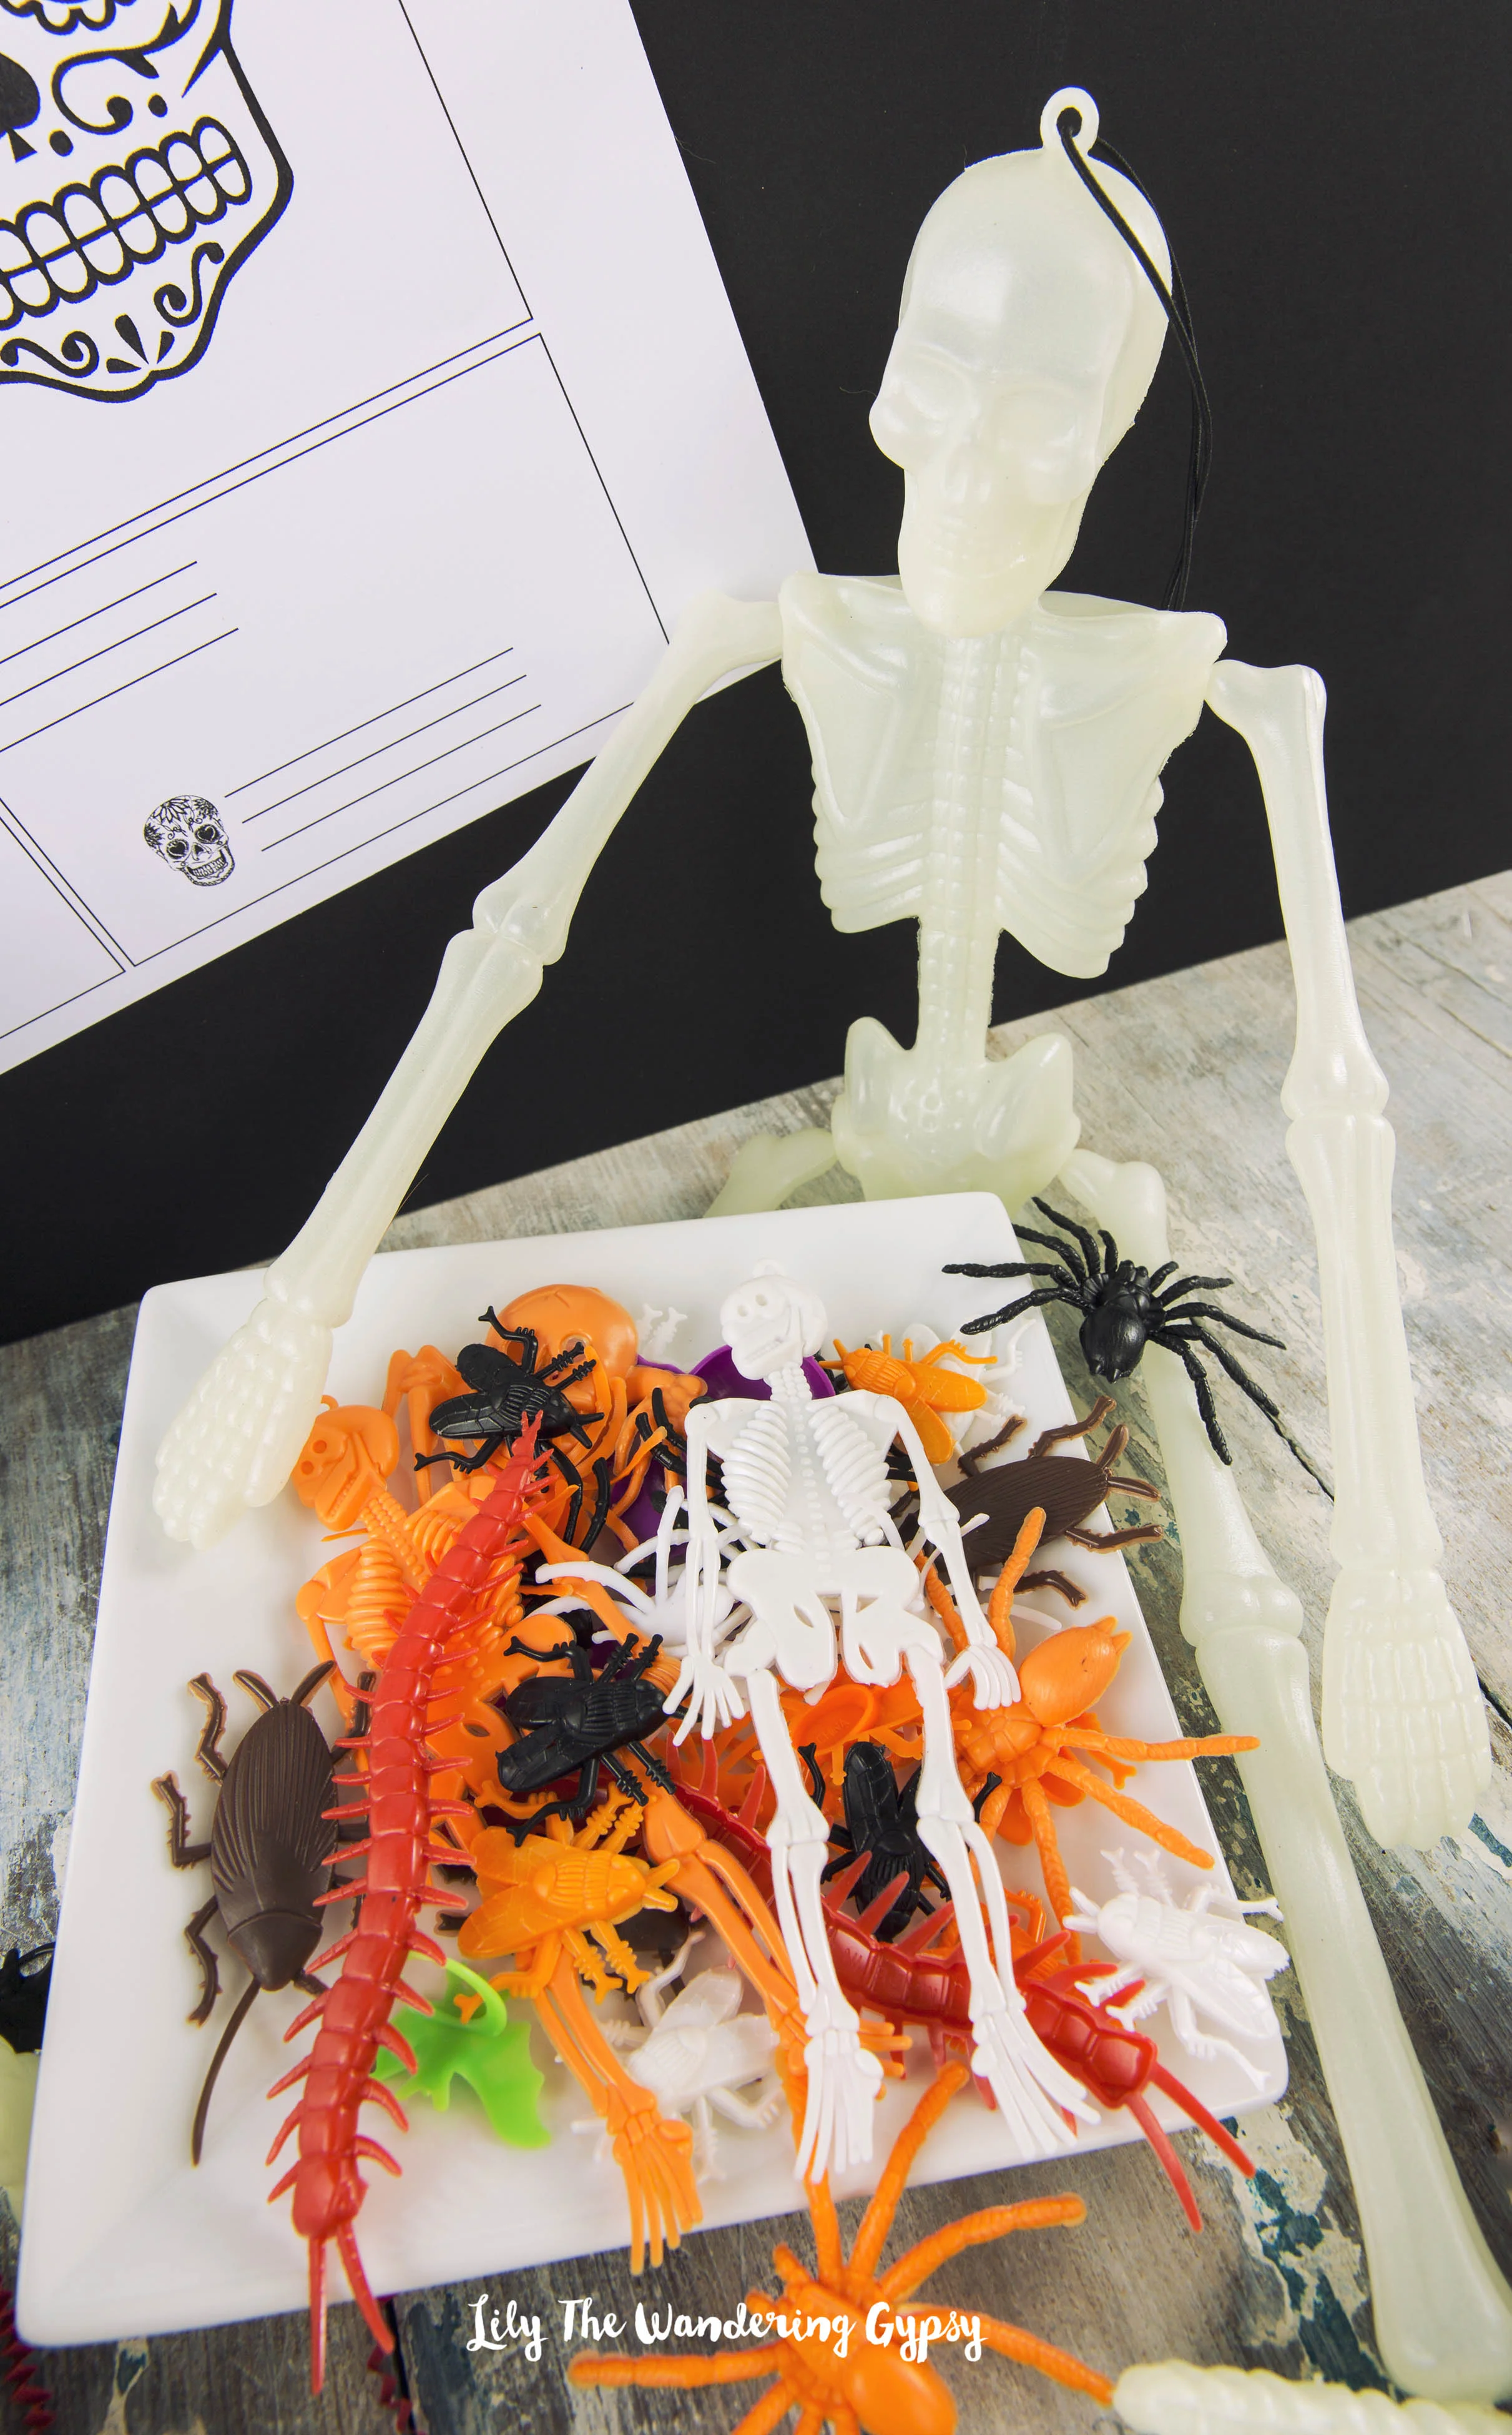
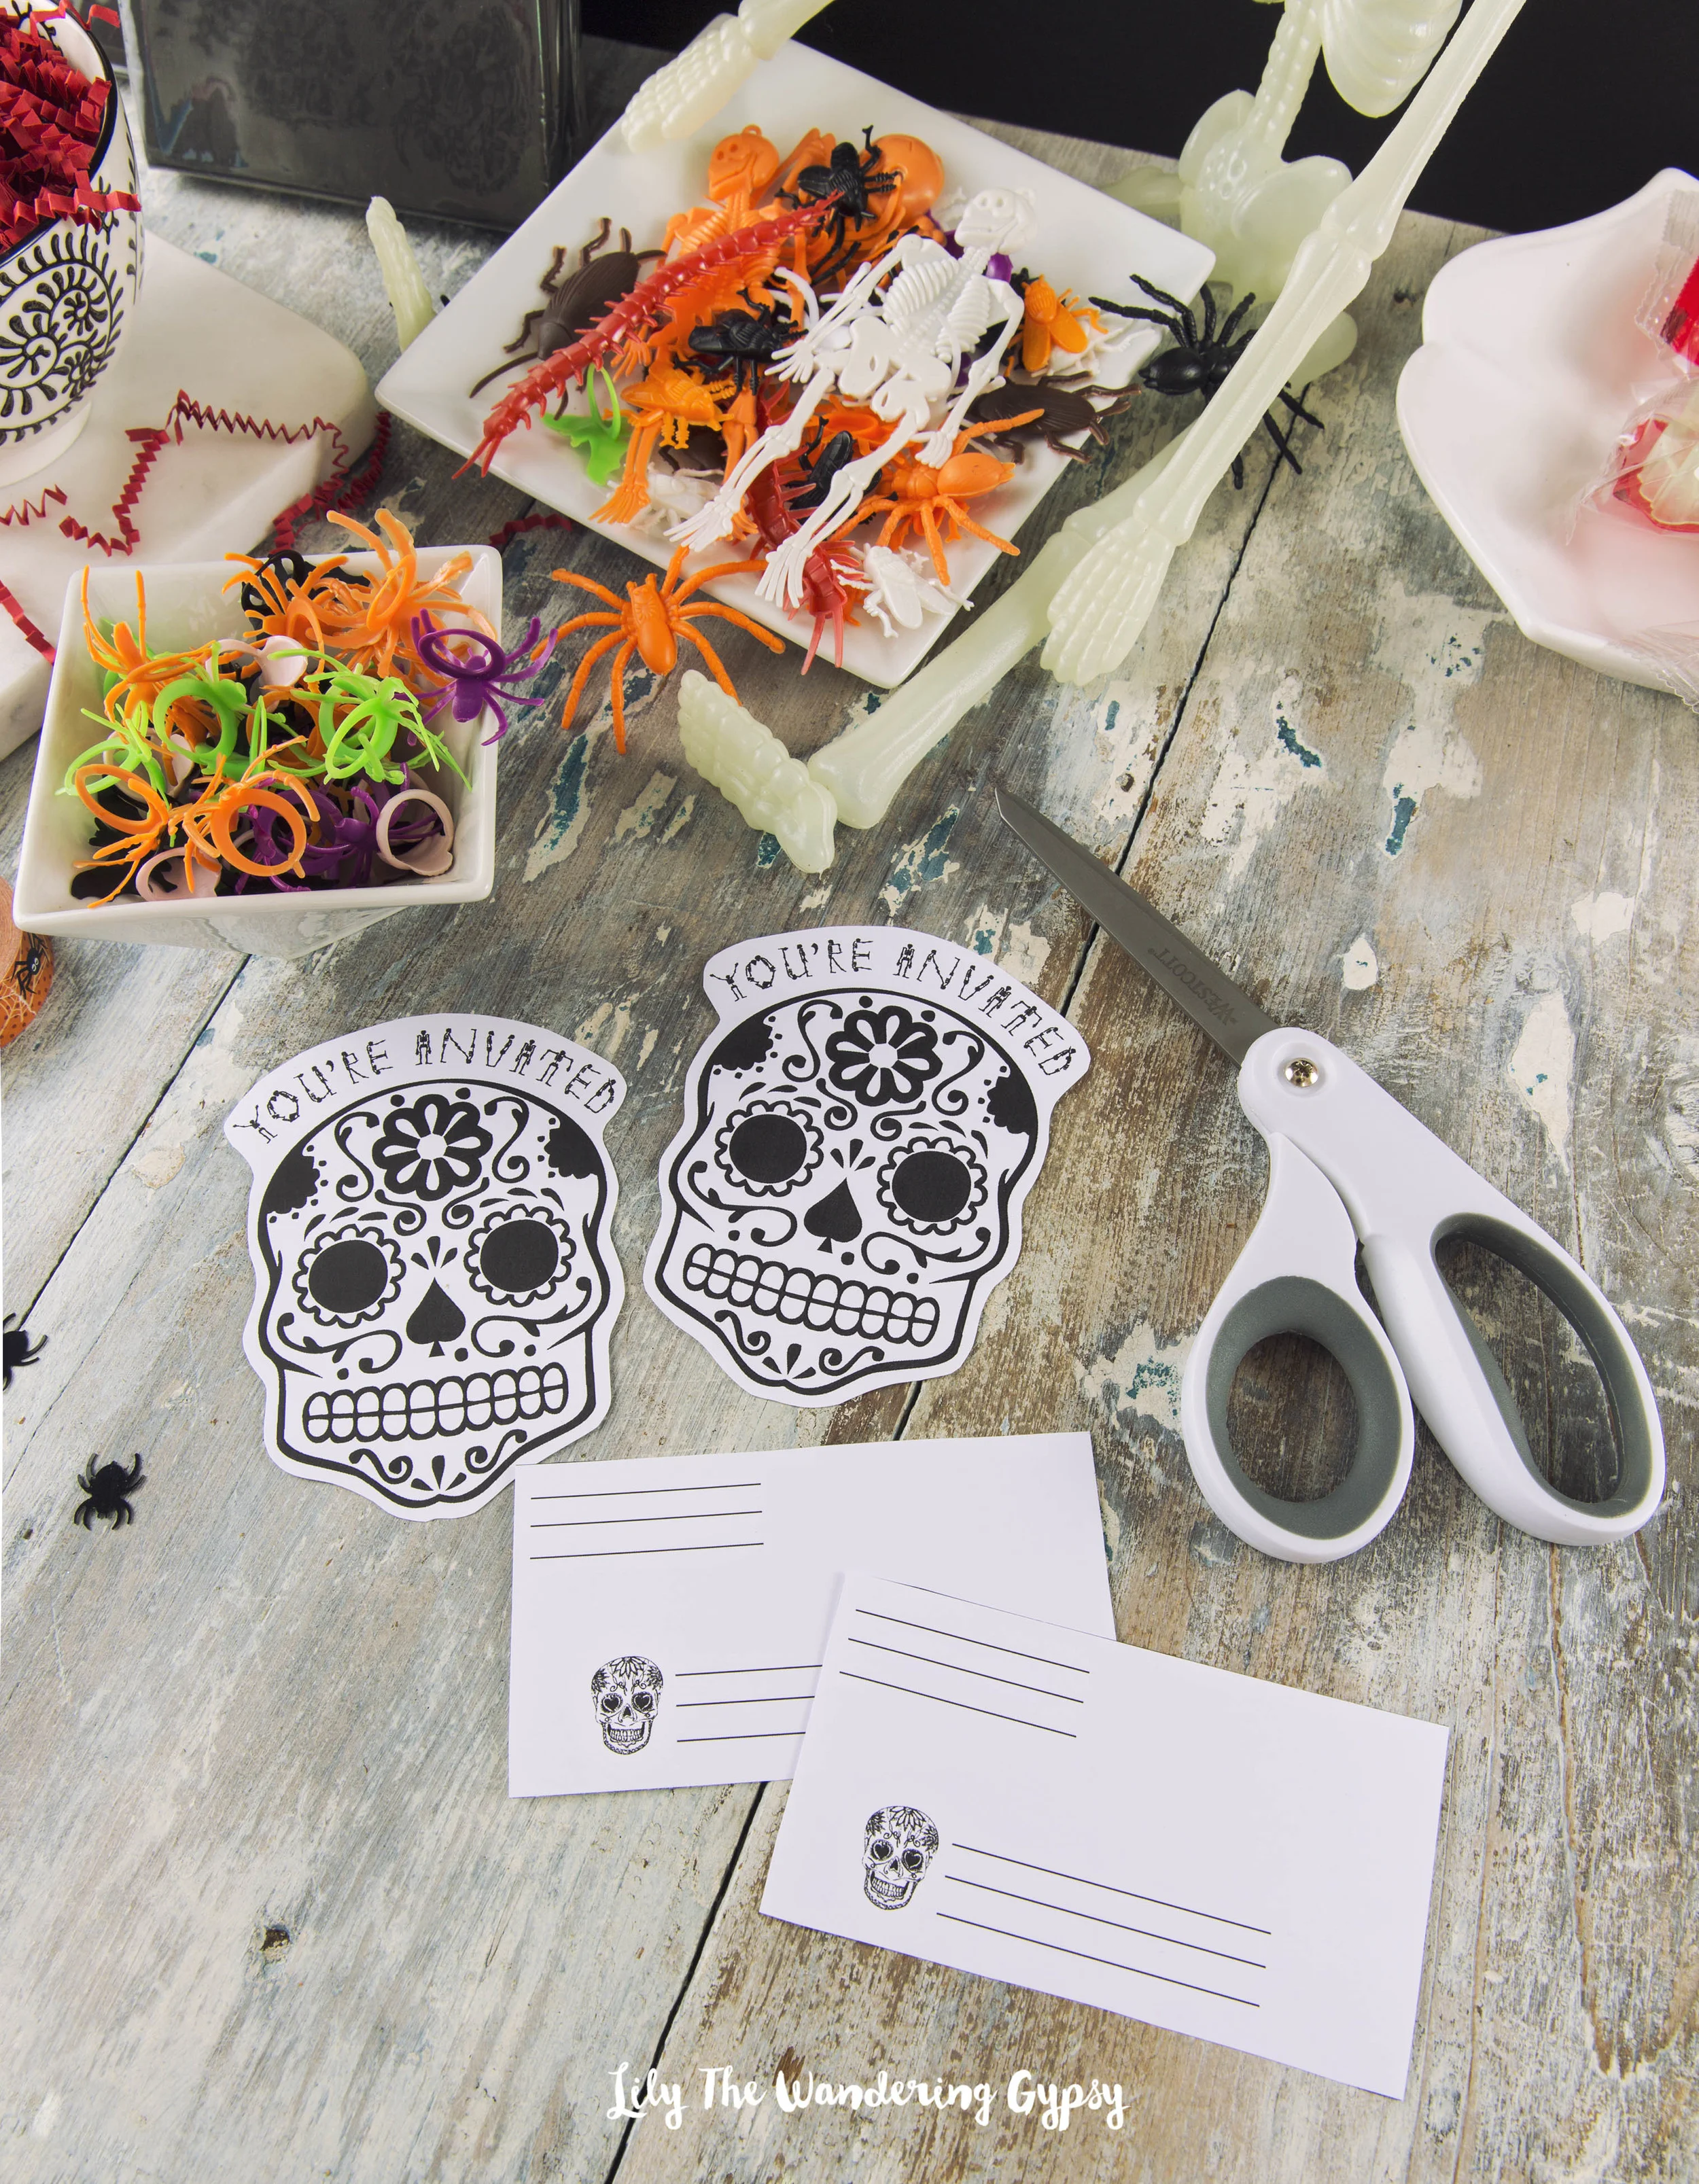
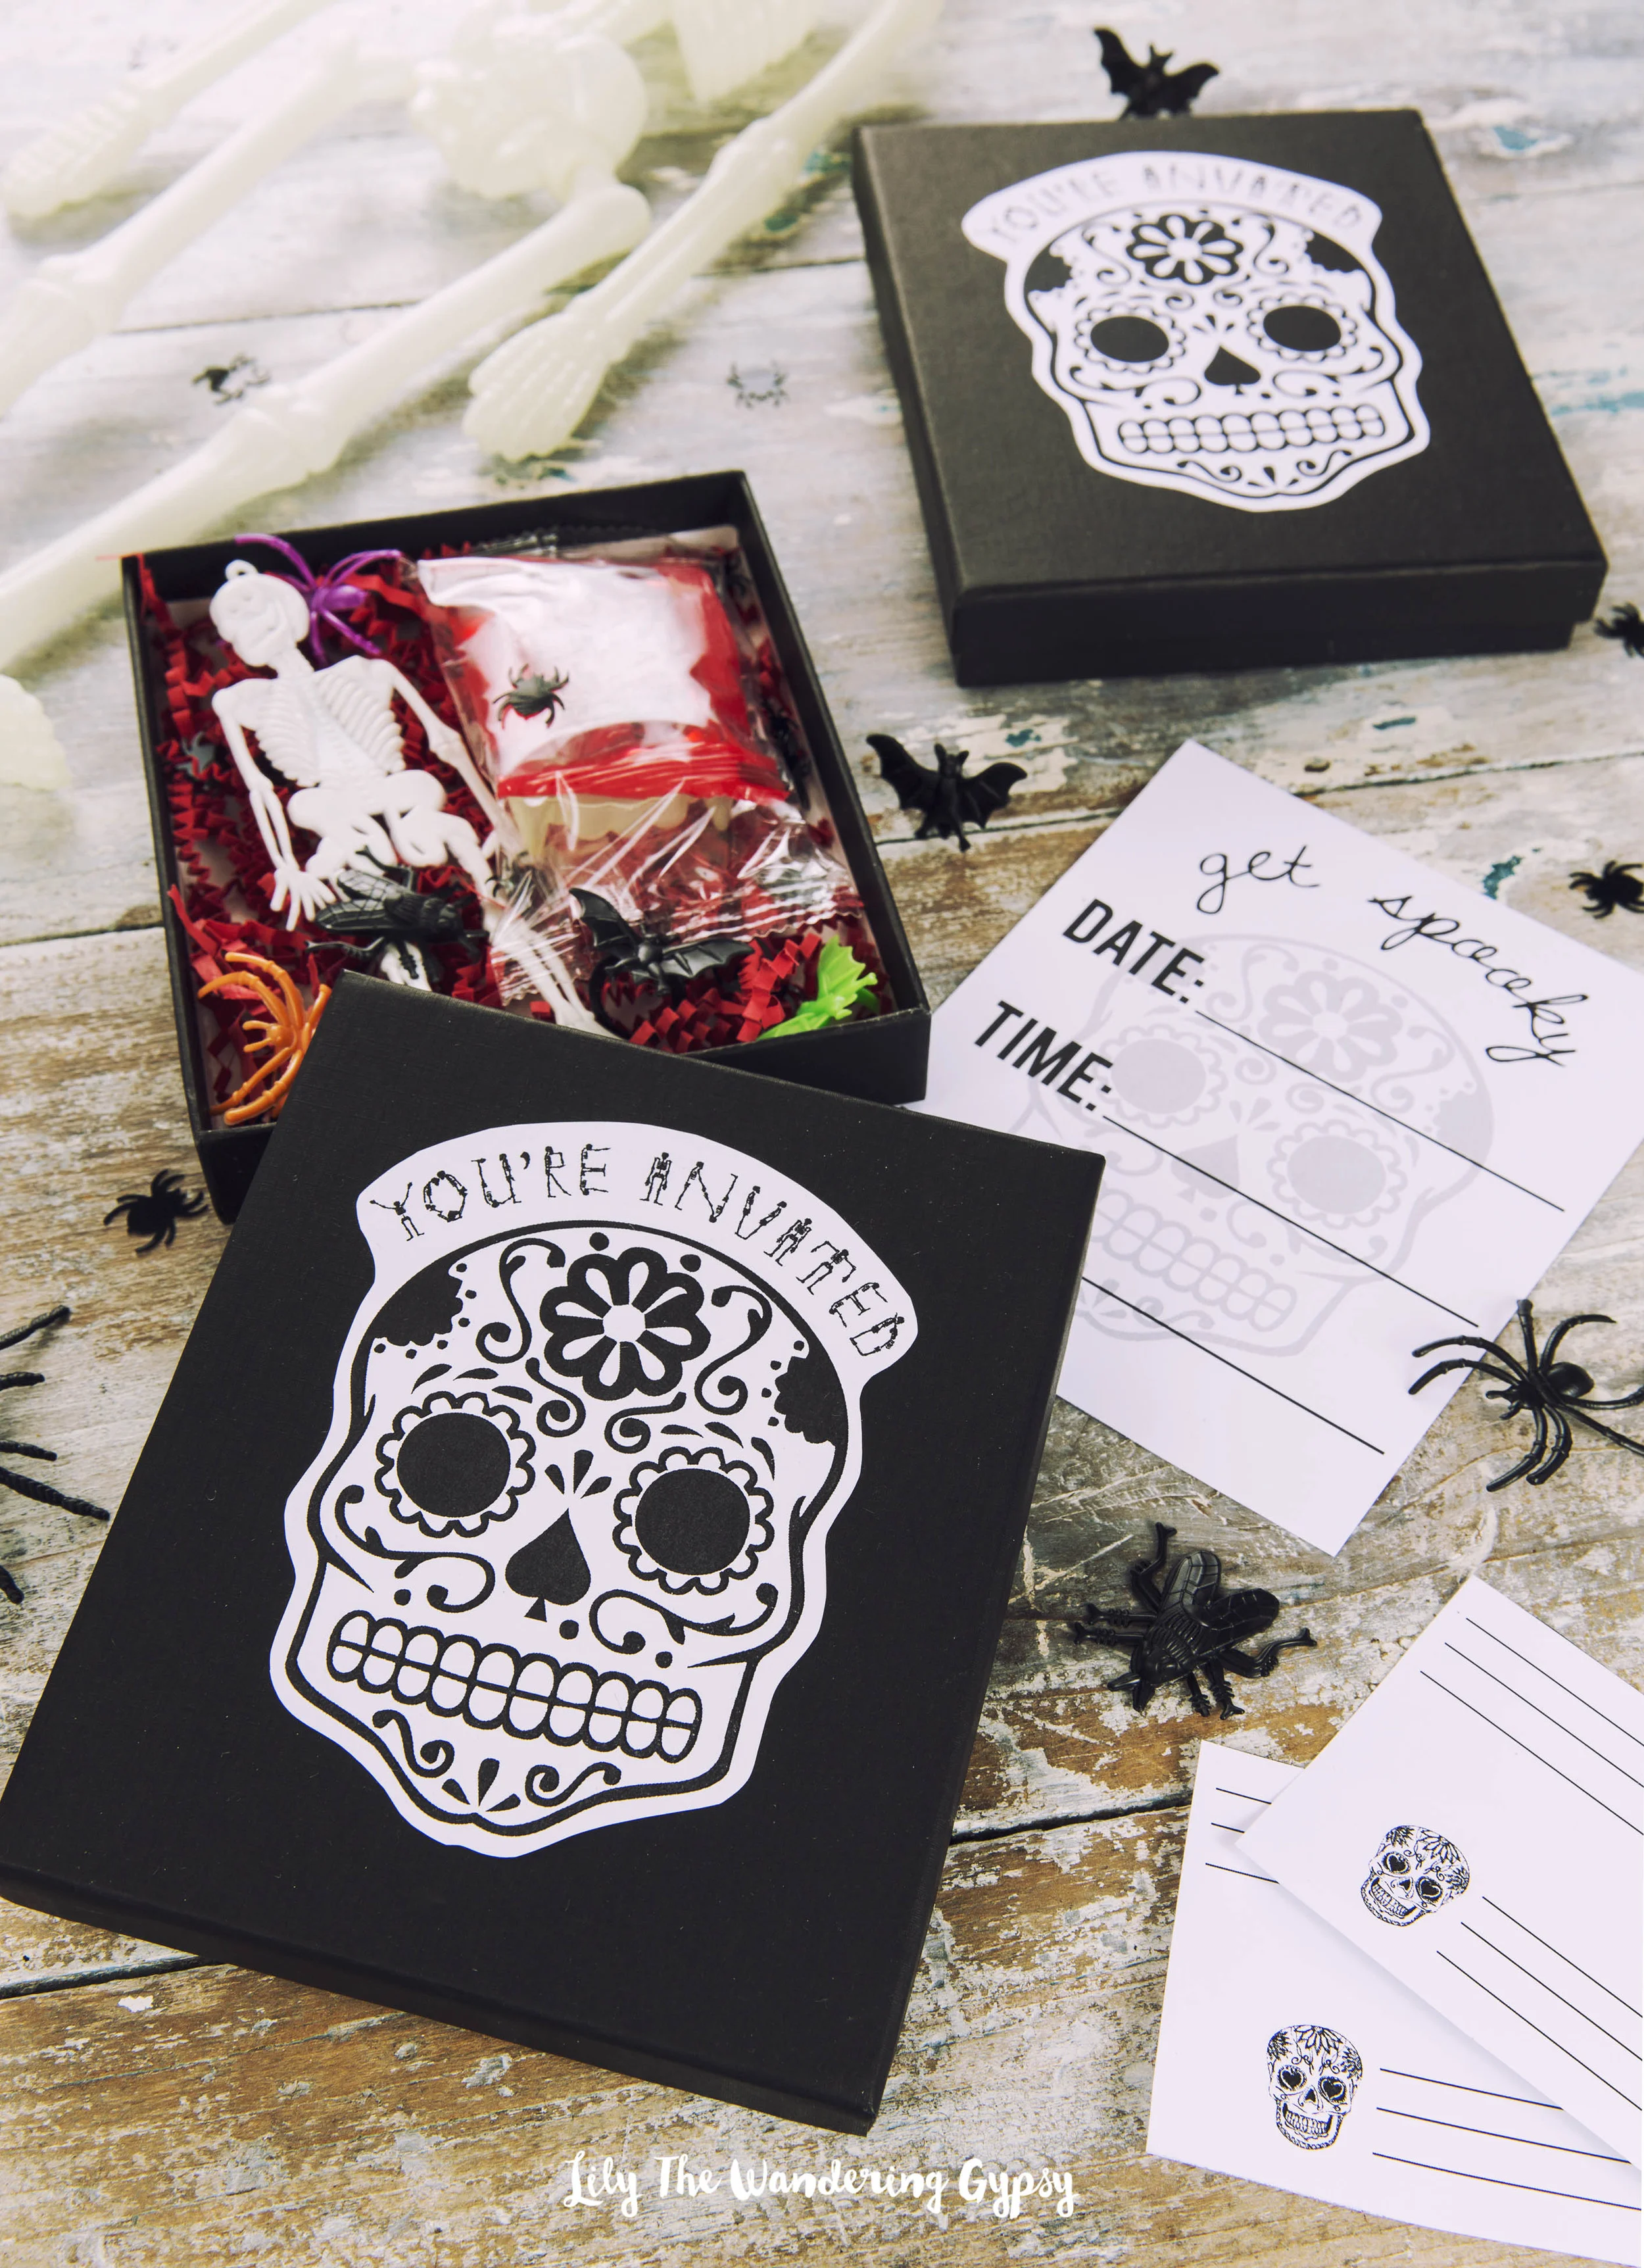
I really love how these adorable invites turned out! I love the fact that you can fill these gift boxes with spooky treats, and include the invite in a really unique way! I included two printables,

MATERIALS NEEDED
5" x 6" Black Jewelry Boxes - I used the type you would put jewelry into, with the cotton inside.
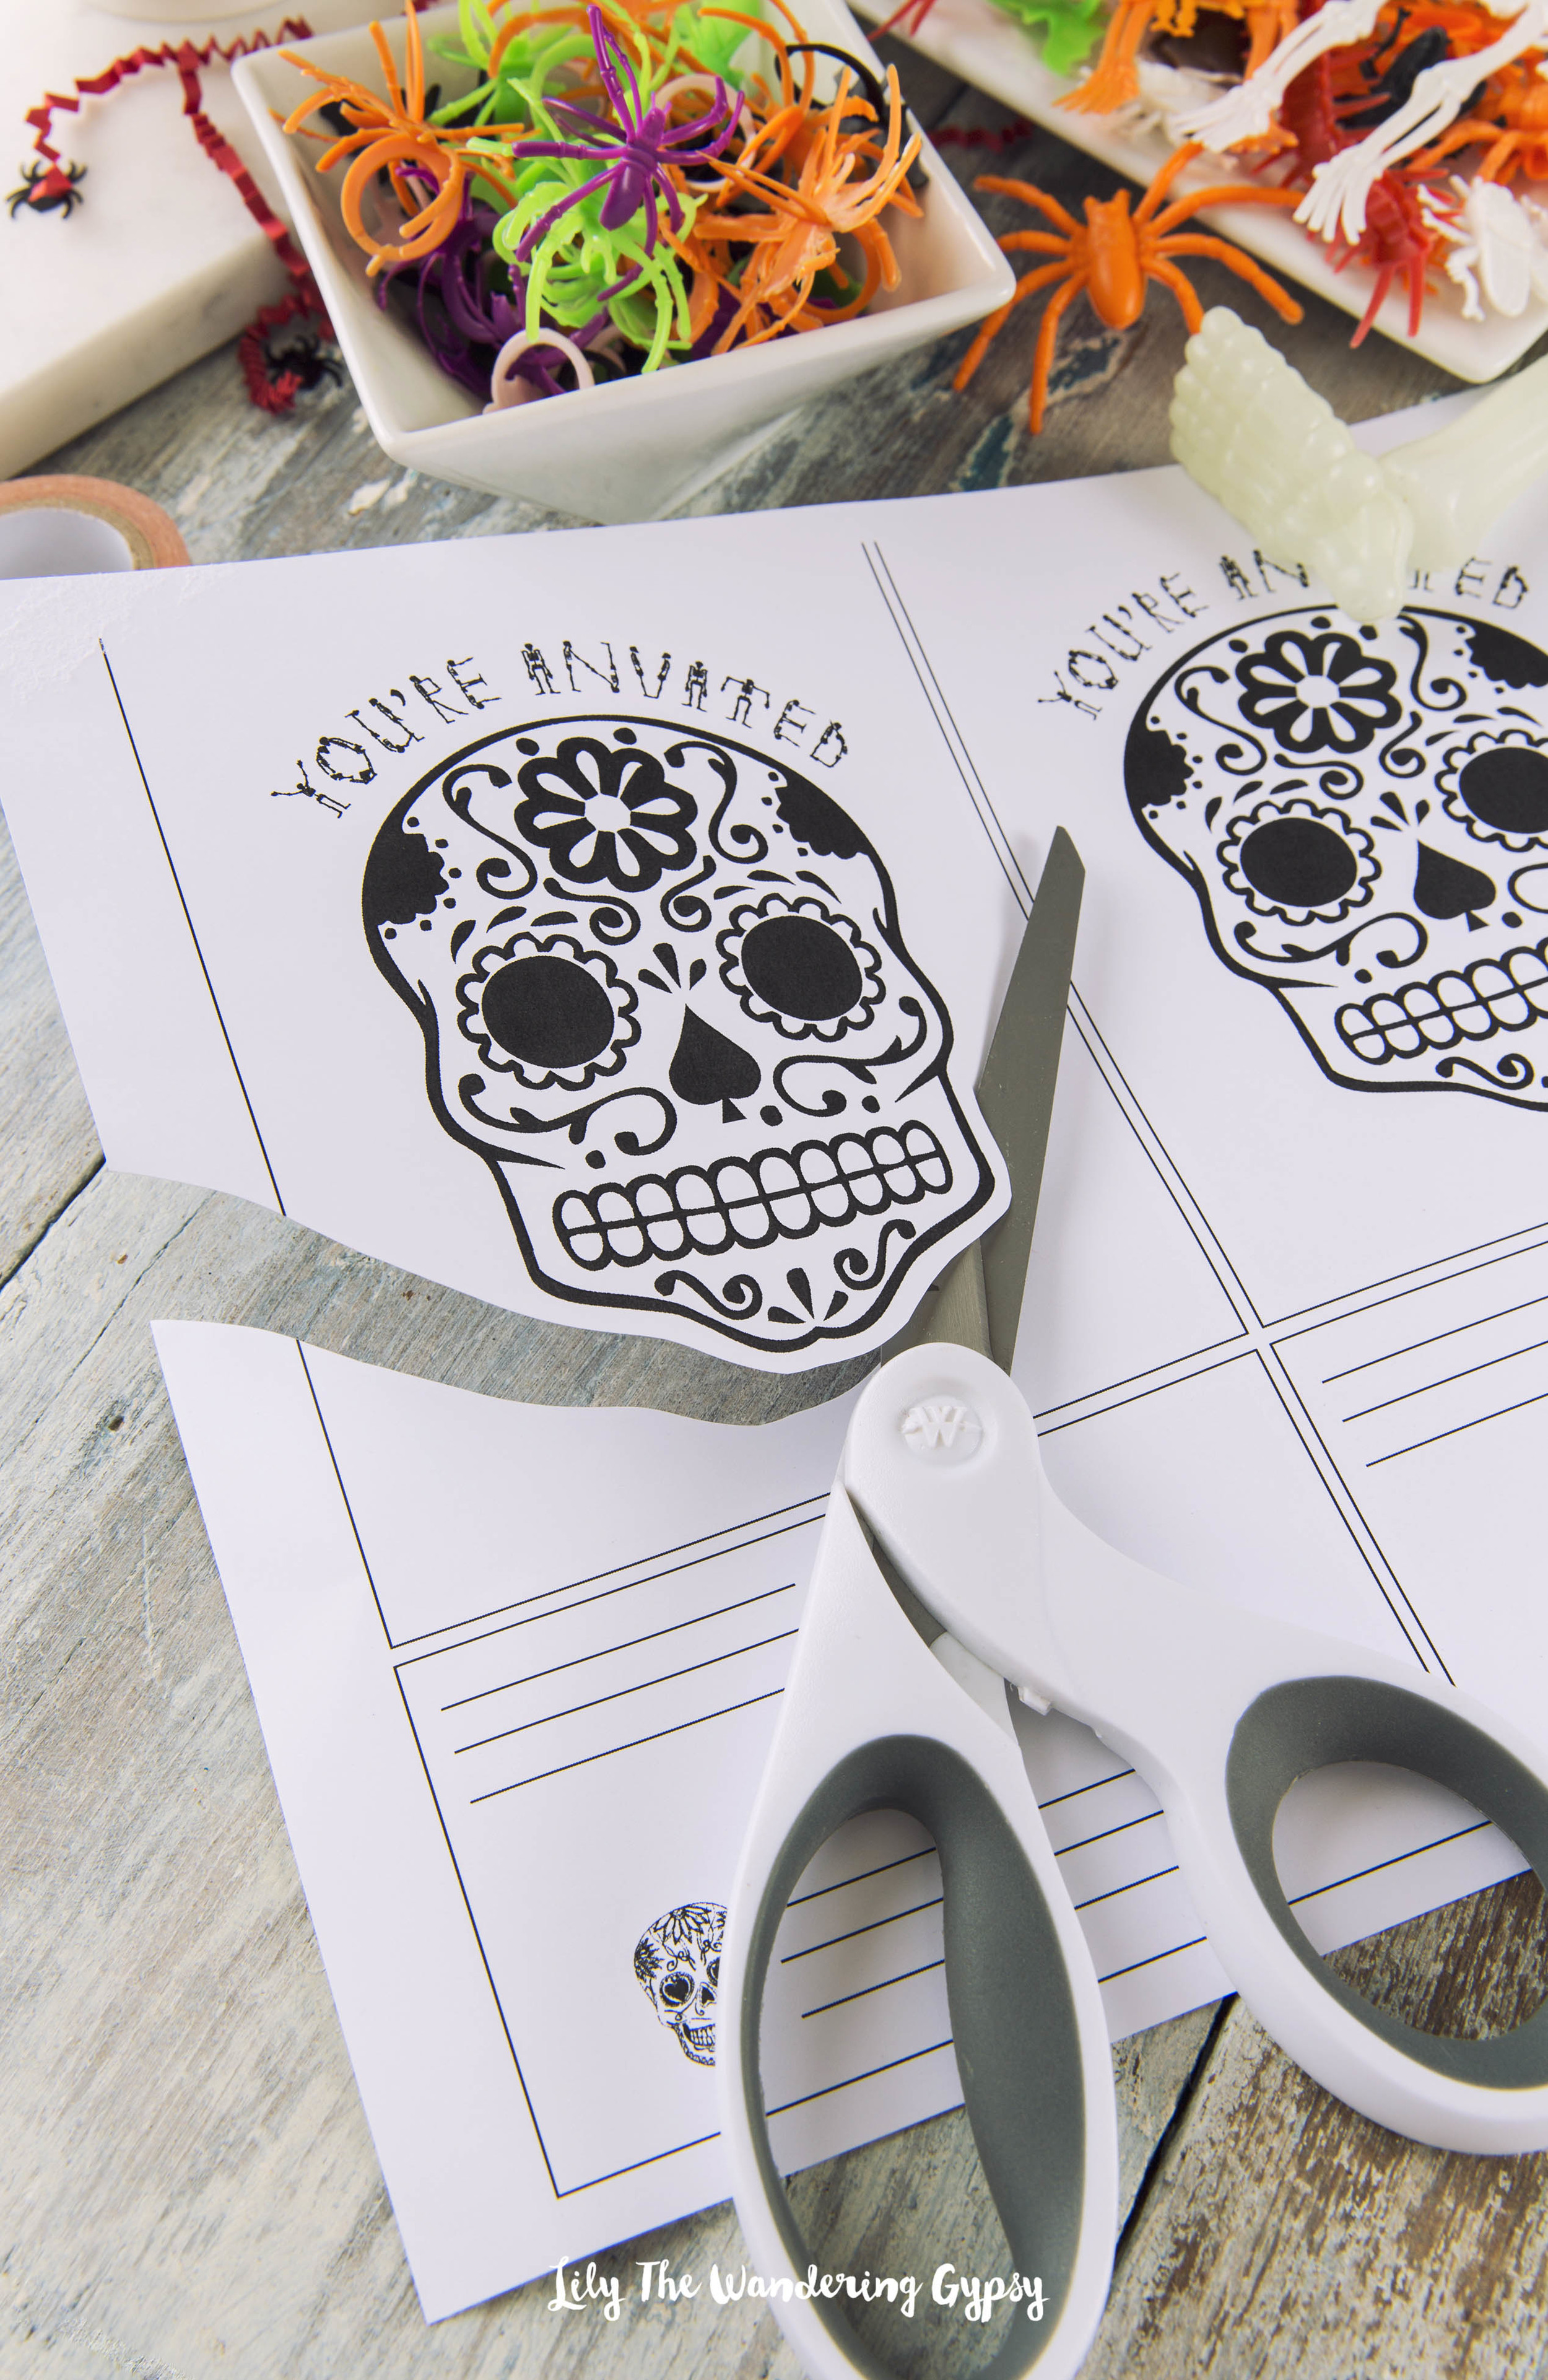
2 Free Printables - found below this image
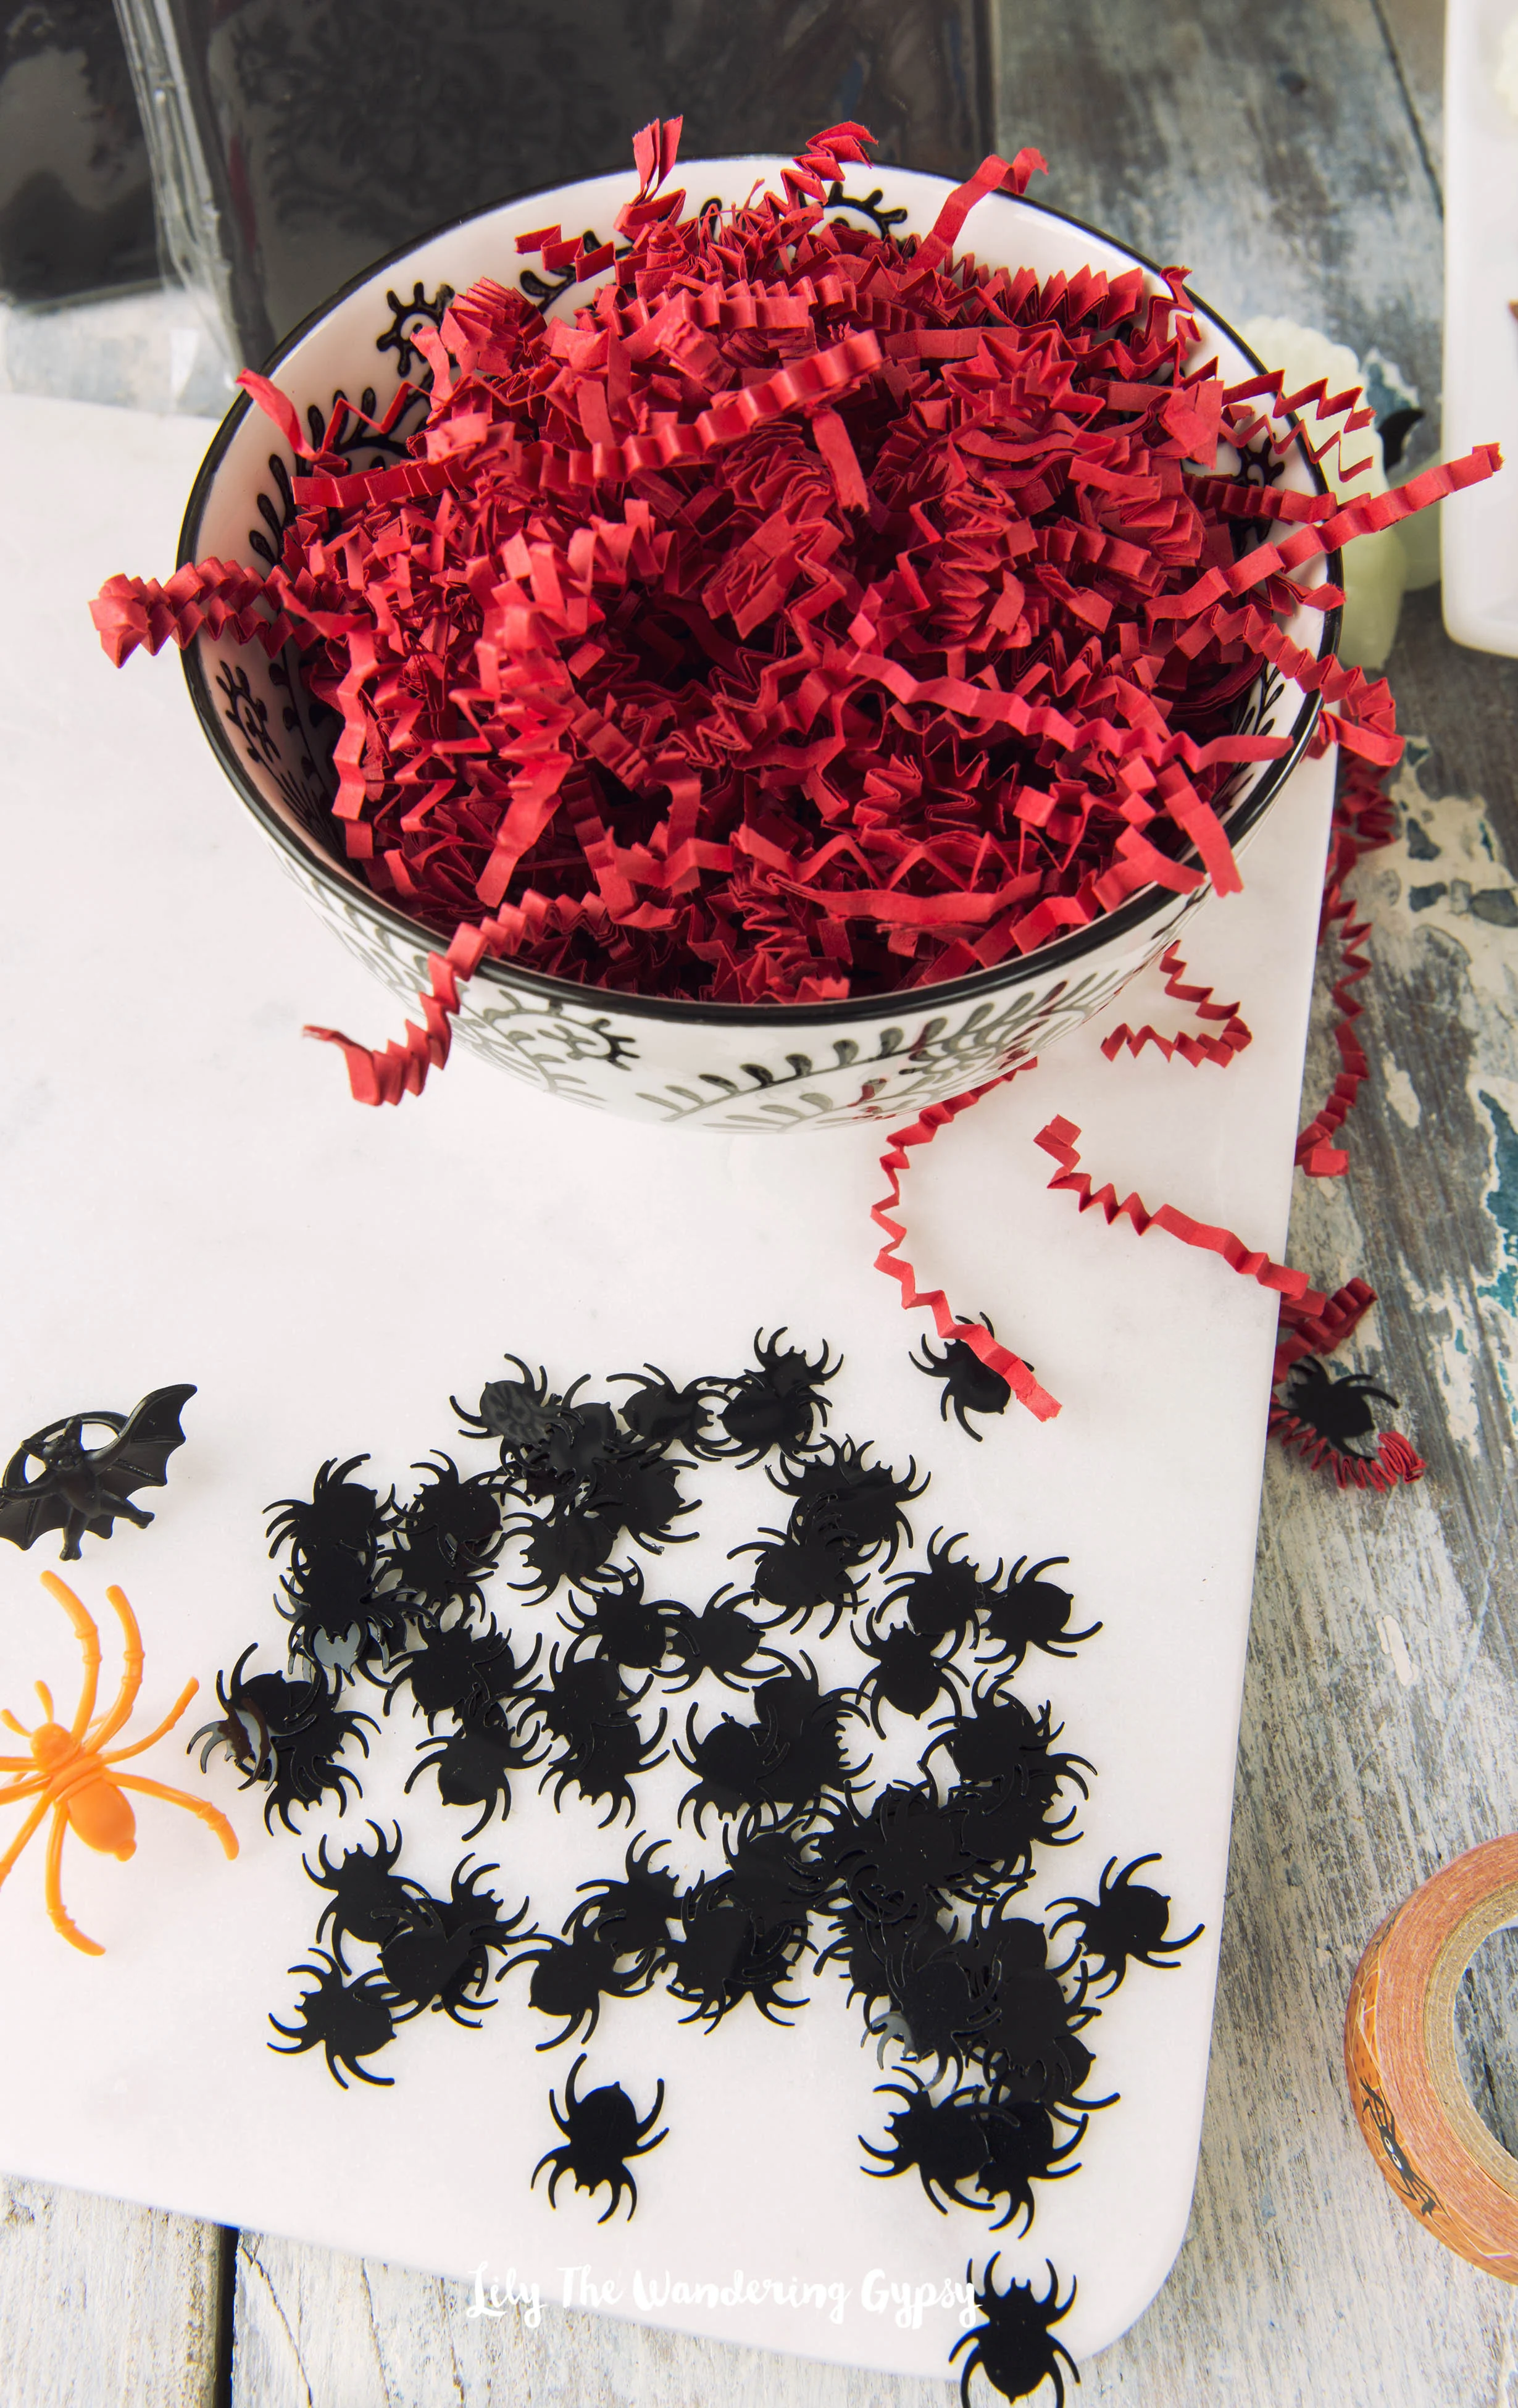
Red Paper Crinkles (from Hobby Lobby) - But, I found mine at the Dollar Tree
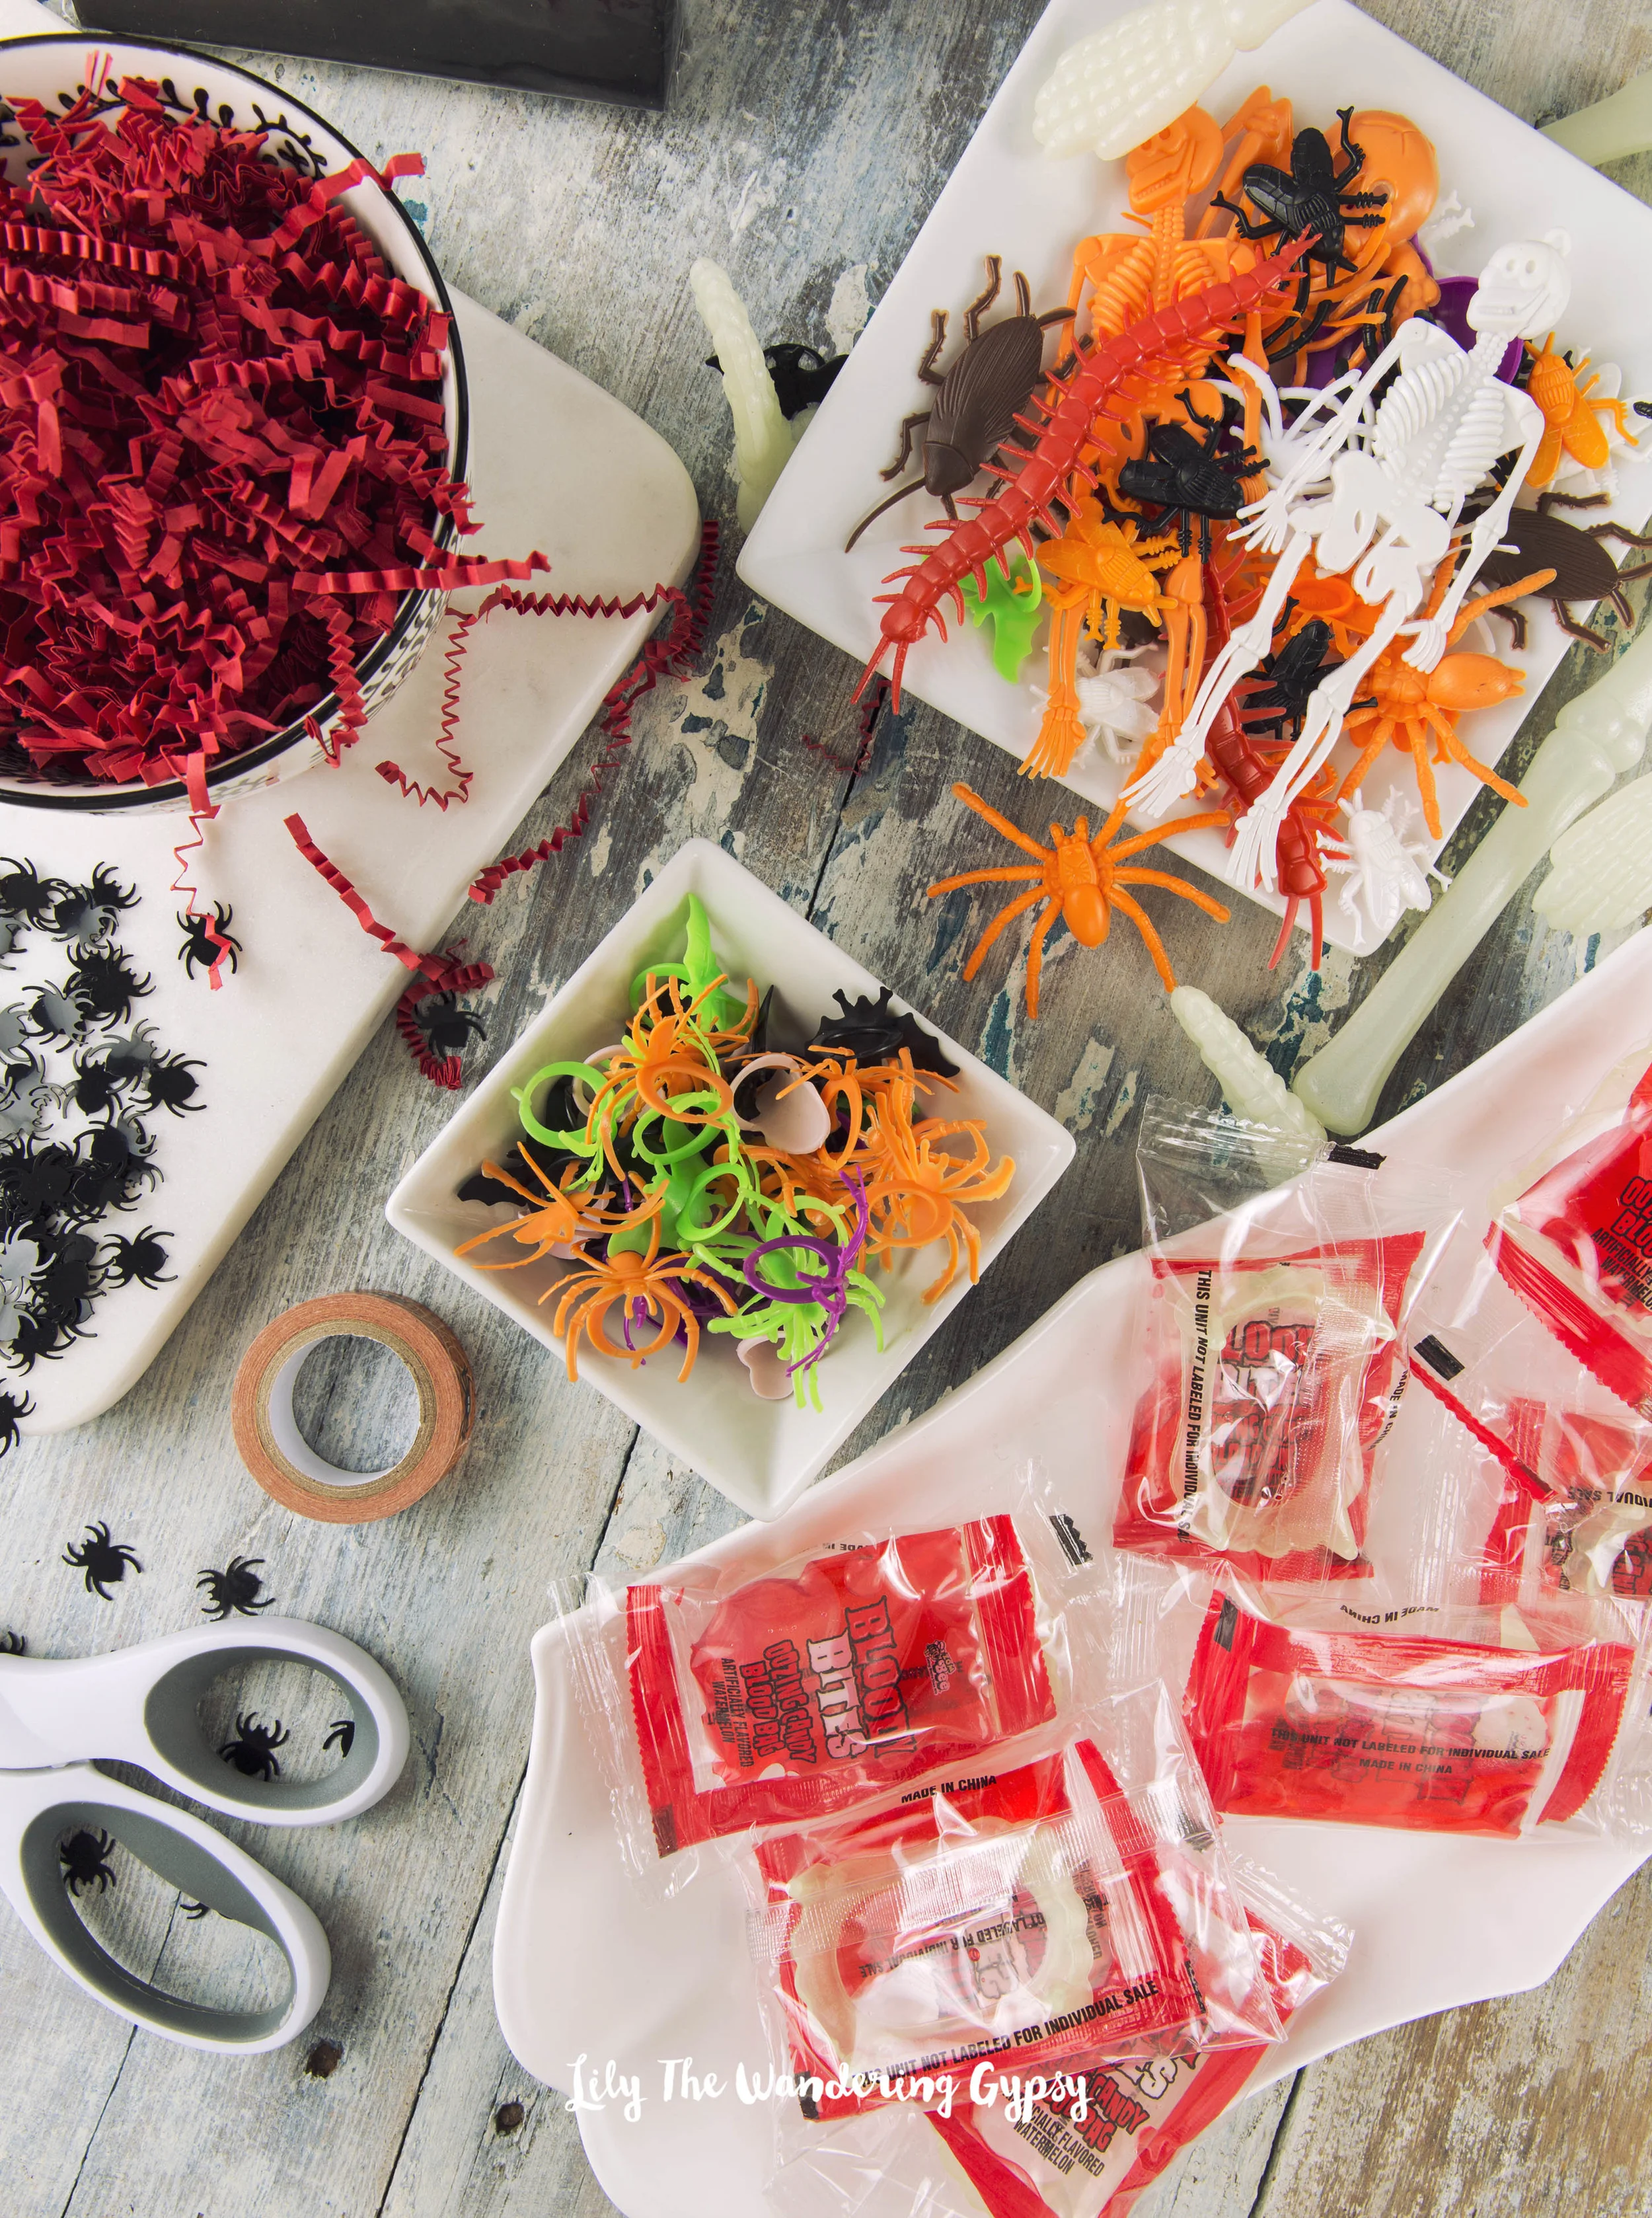
Plastic Halloween Toys / Rings (small enough to fit into the boxes) - Also found at the Dollar Tree
Halloween Candy that fits into the boxes
Halloween Confetti (found at Hobby Lobby)
Scissors
Plastic Packing Tape and a Glue Stick
Right Click and Save the two images below. You can print them off for this tutorial!
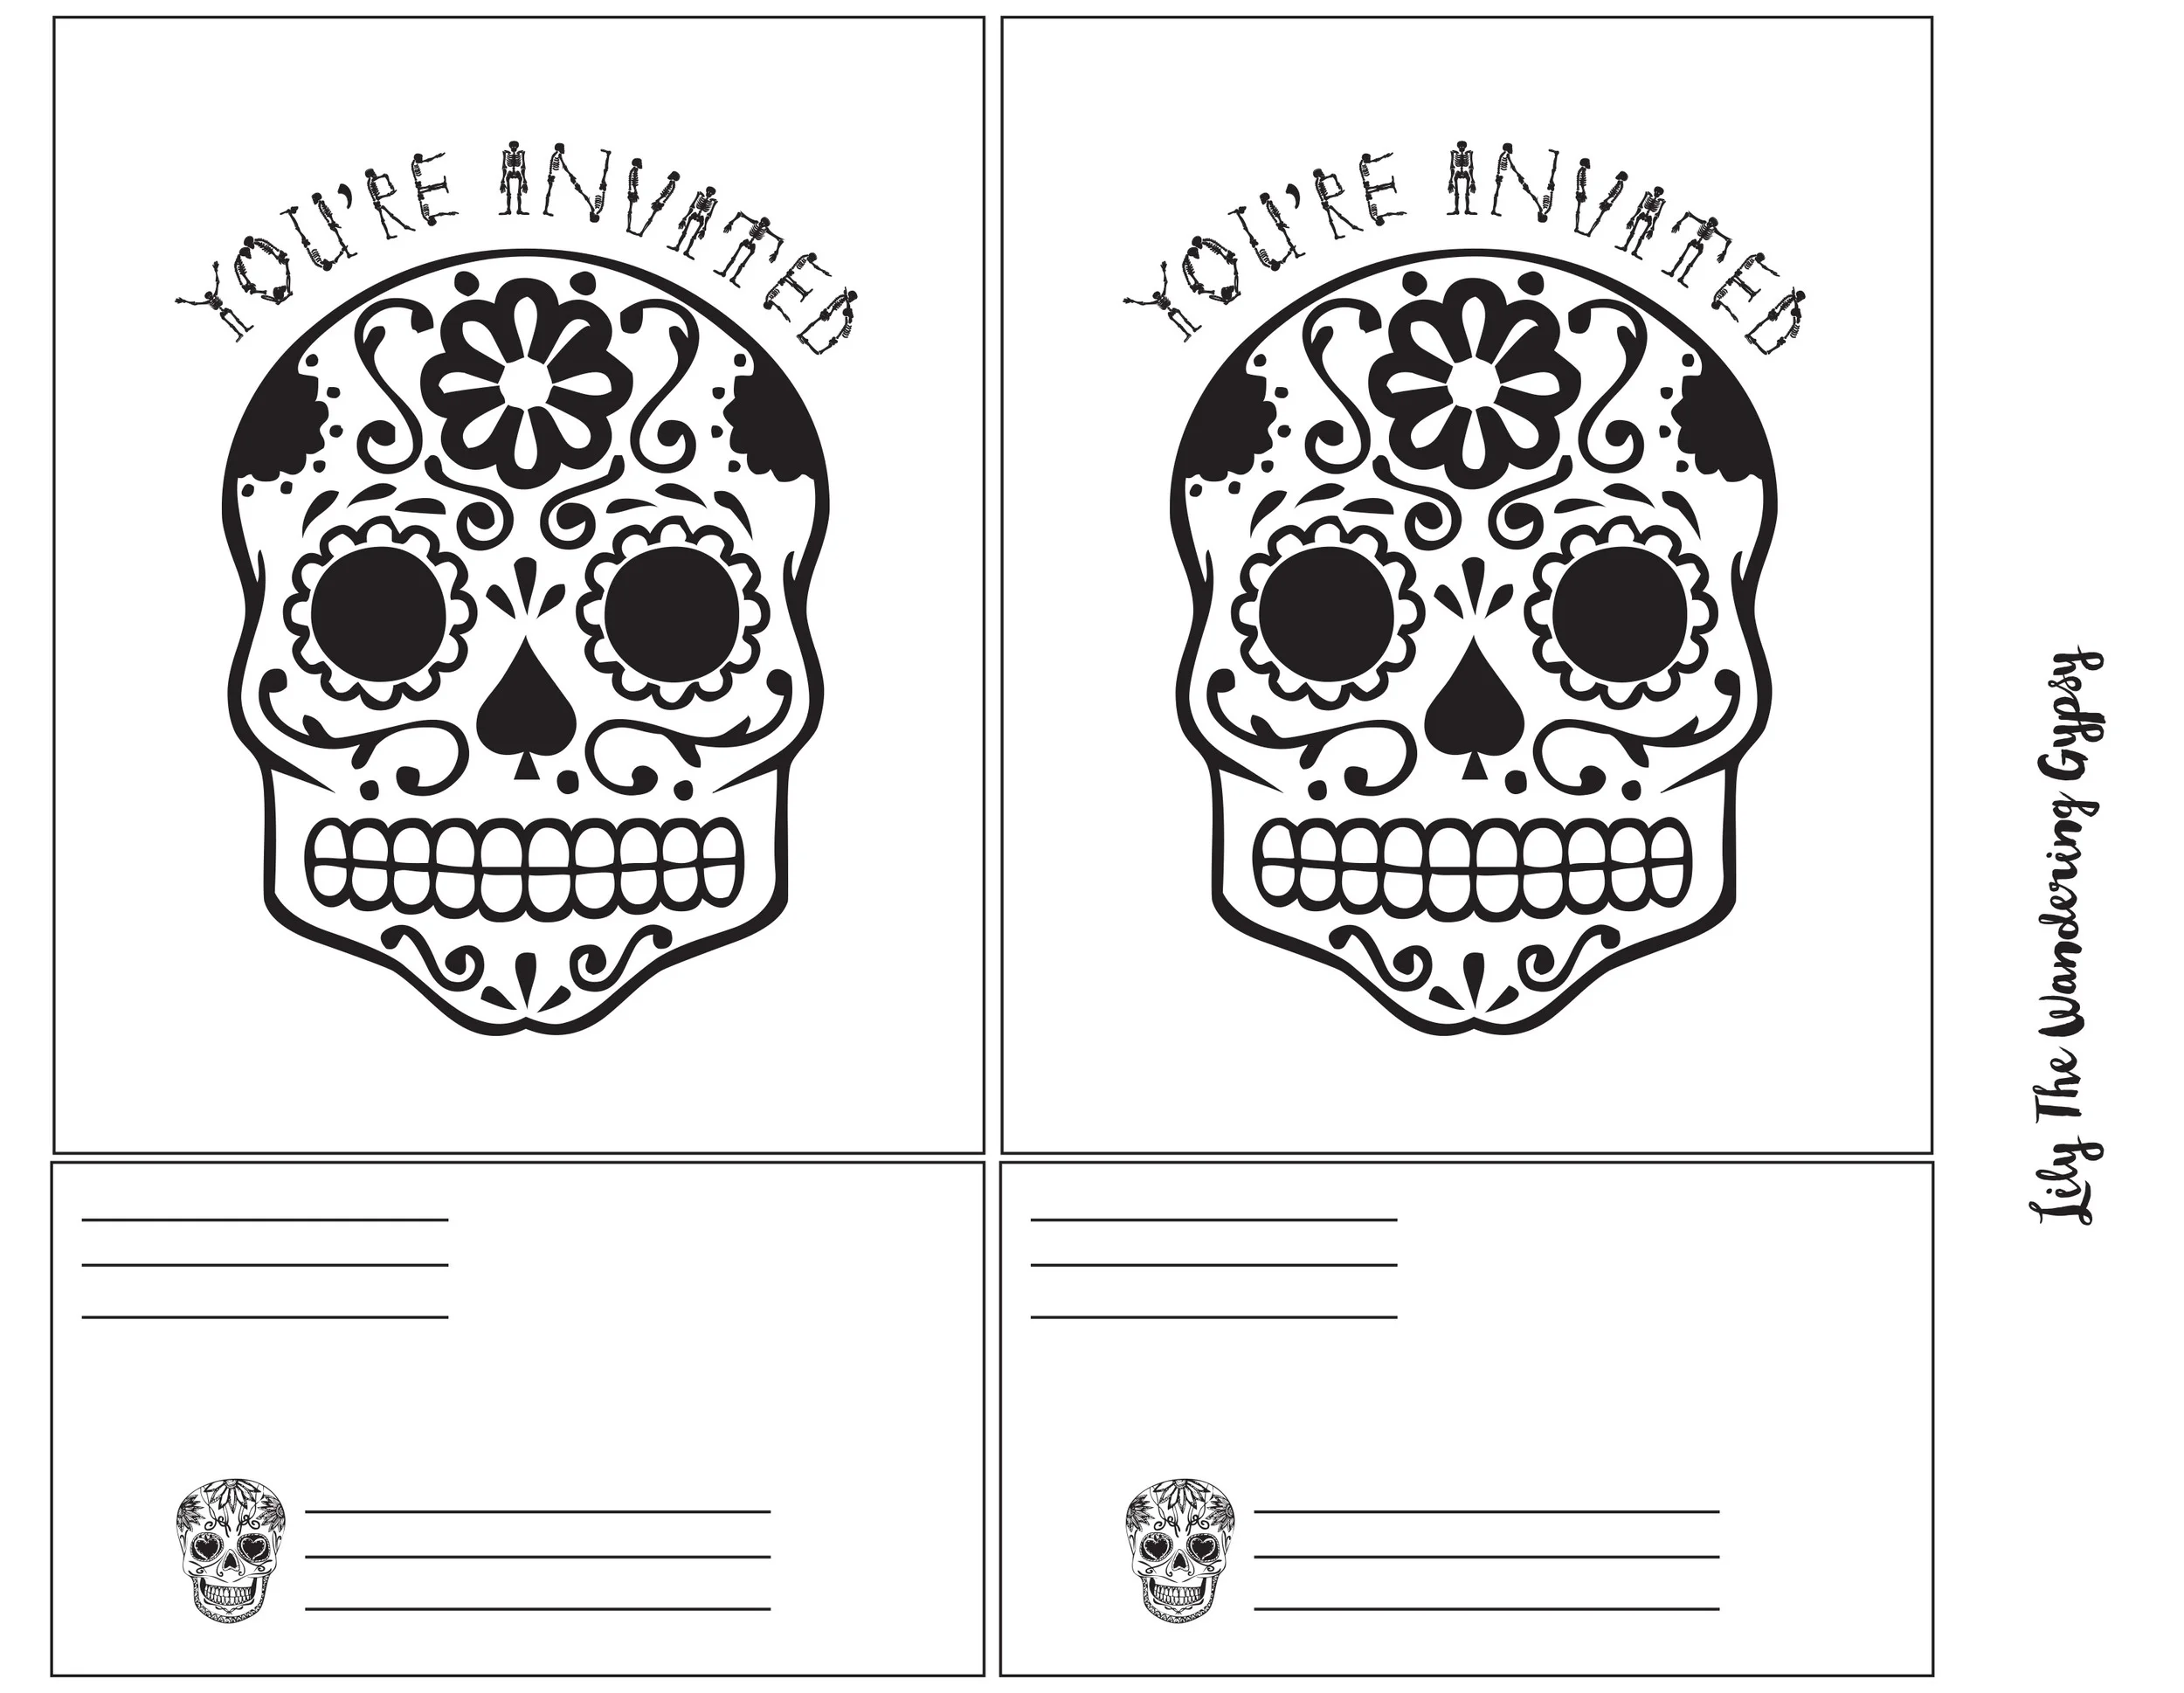
Print and then cut out the invites below, and insert them into the boxes at the end.

Let's Get Started! Lay out all of your materials for the project.
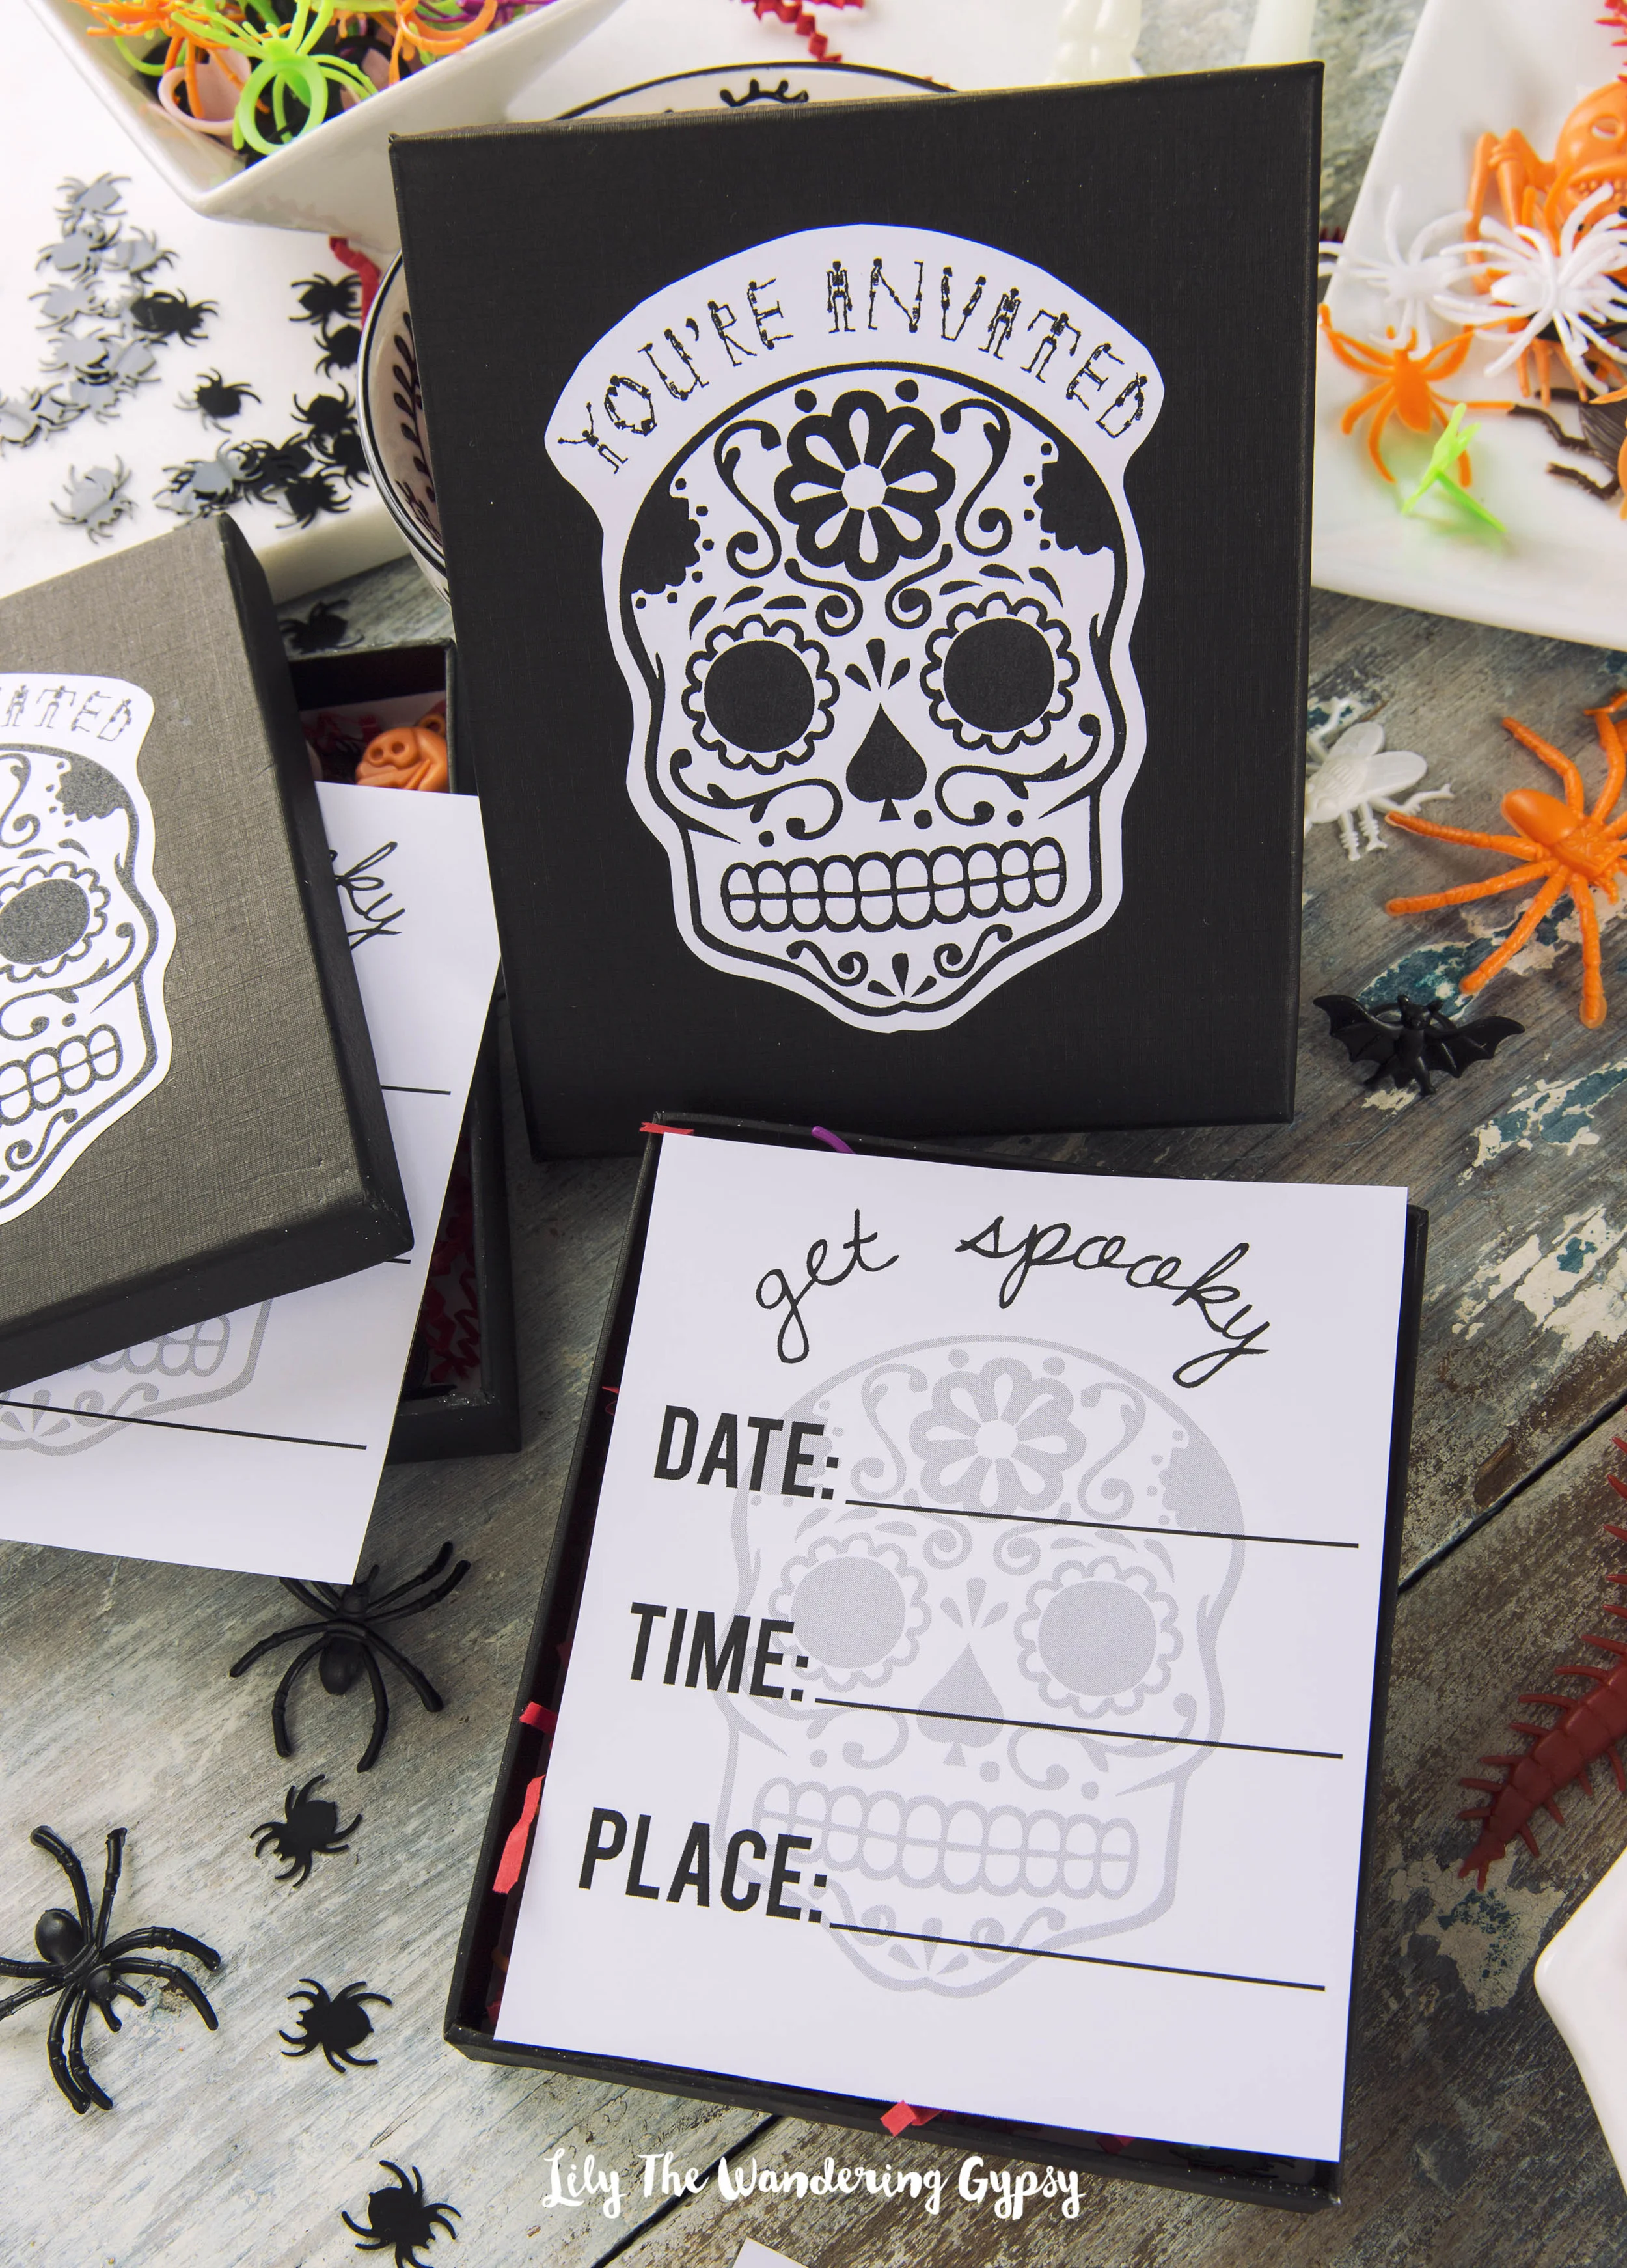
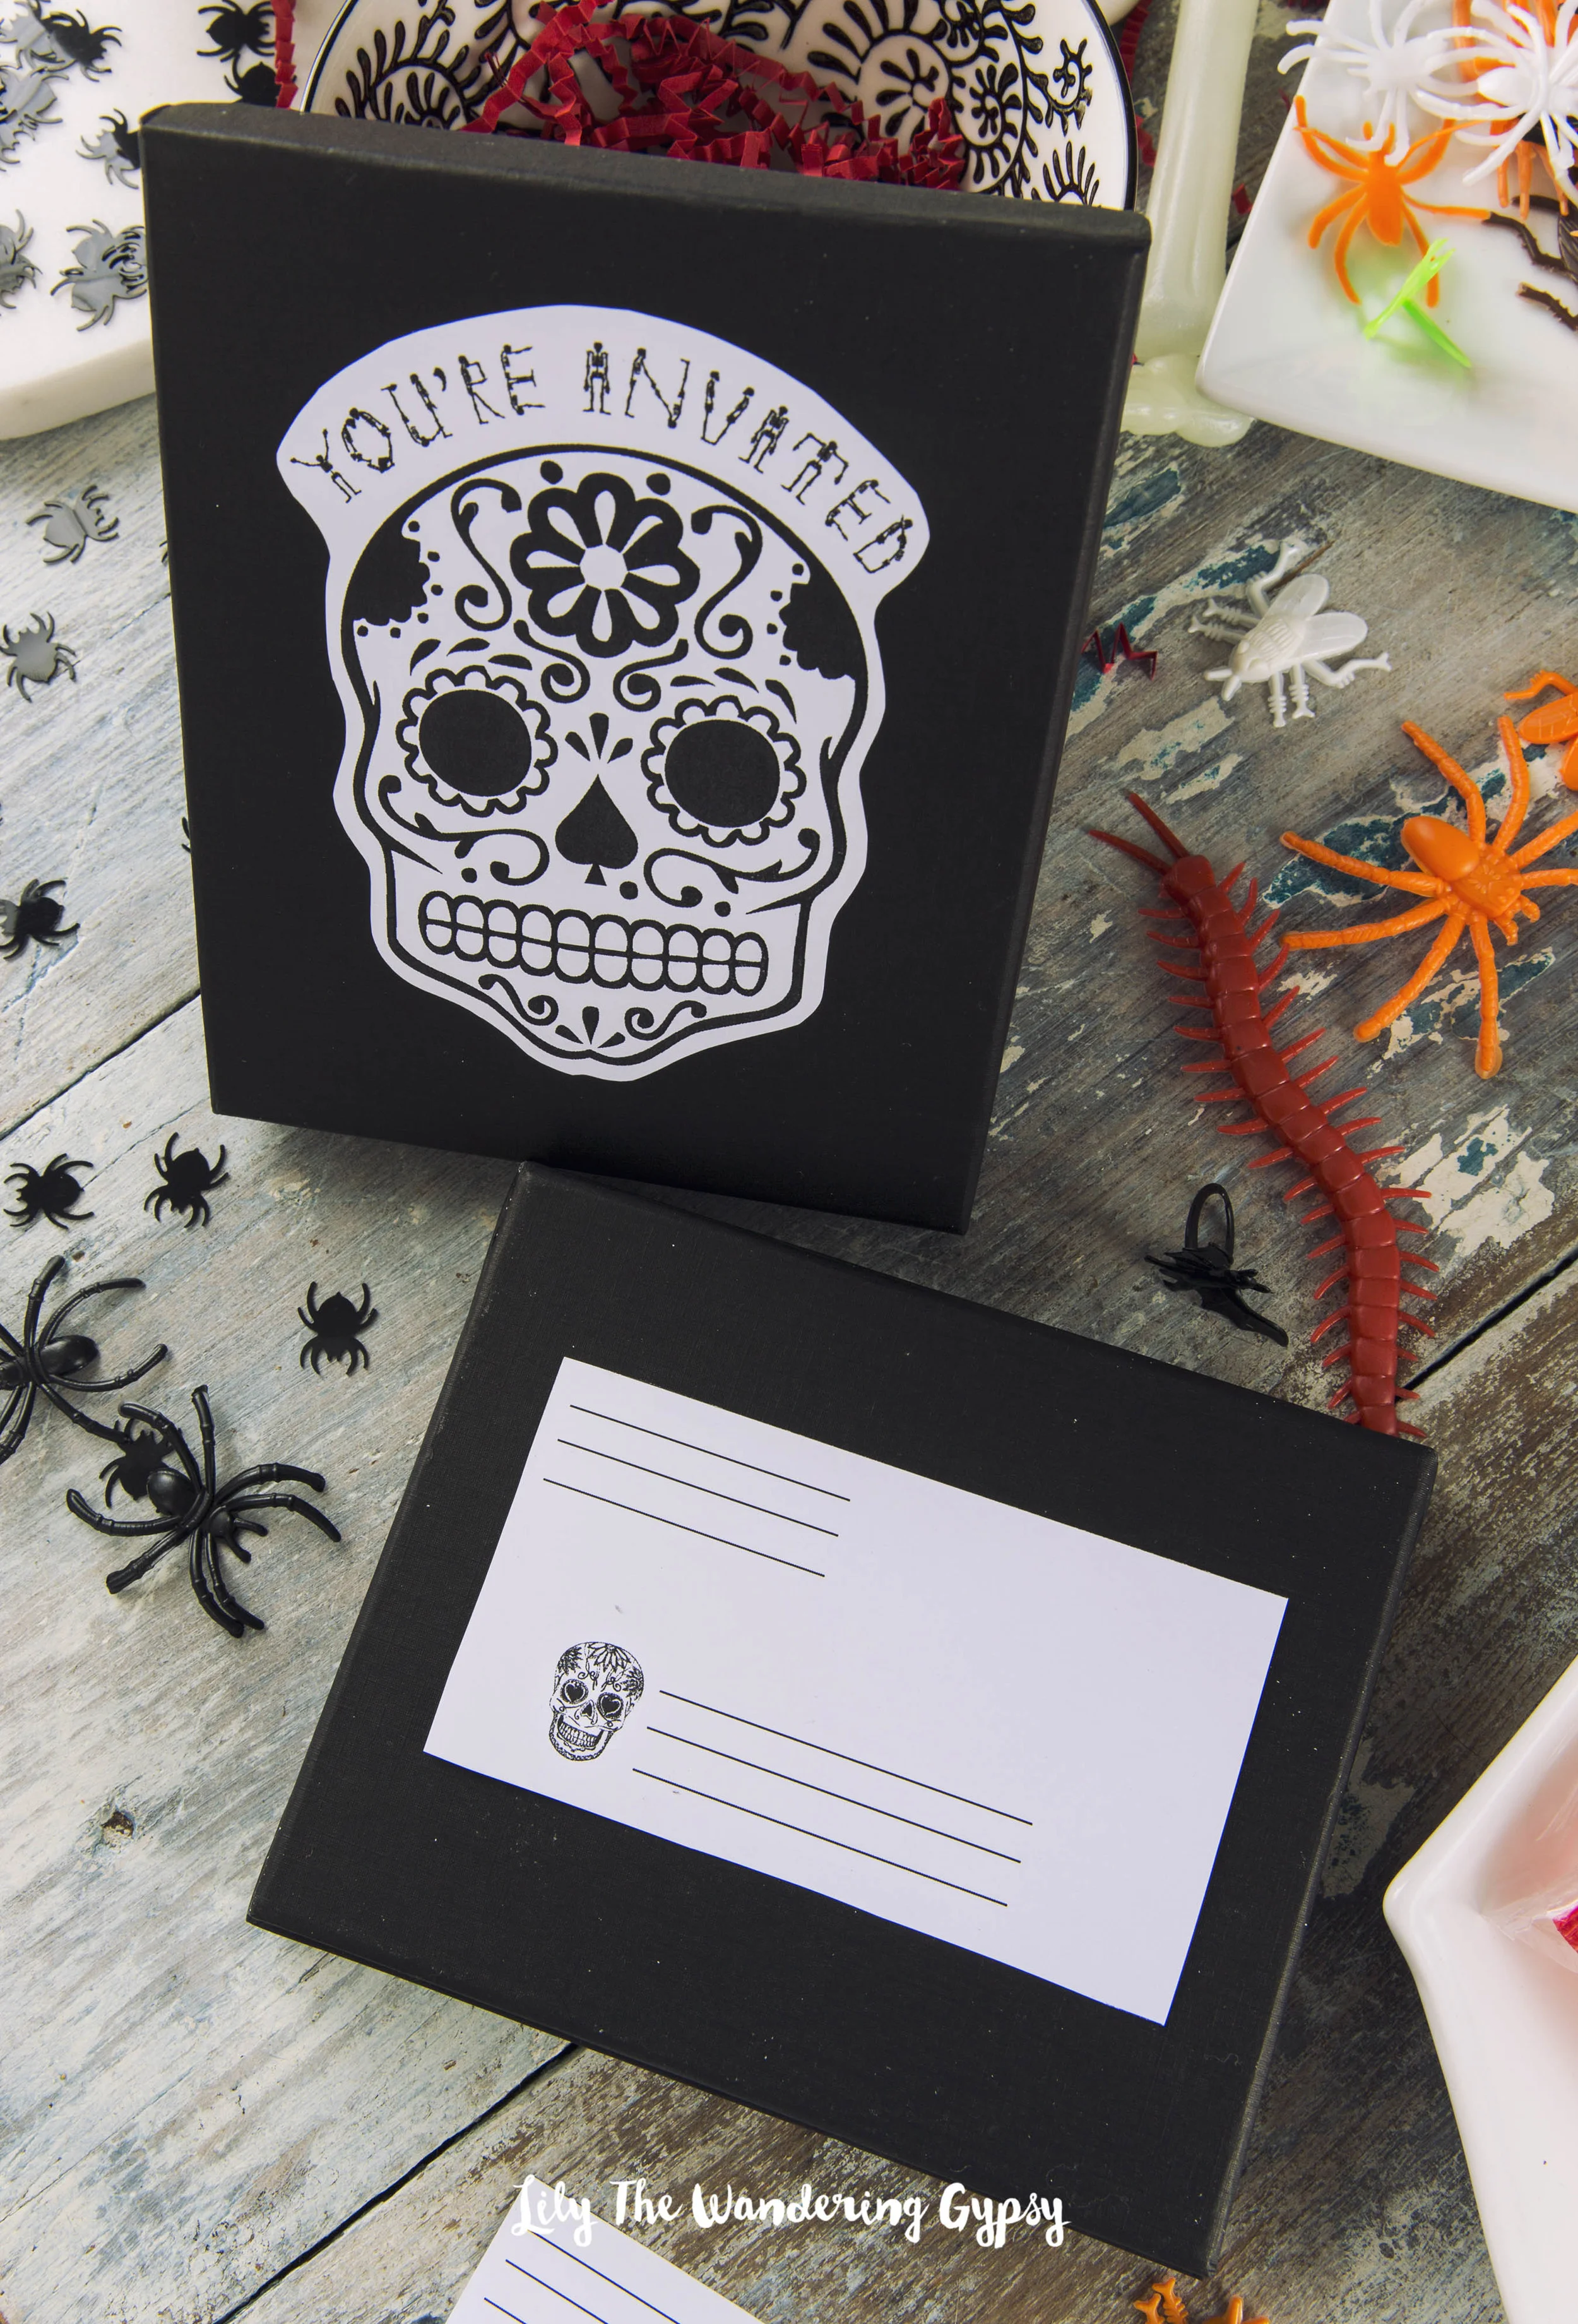
Cut out the skull design from the first printable. This will be glued to the front of the boxes. Also, cut out the address labels, which are also on that same page.
Next, glue the skull cutouts onto the boxes with a glue stick. When you mail these, you will be covering them with clear tape, so they will stay put during shipping.

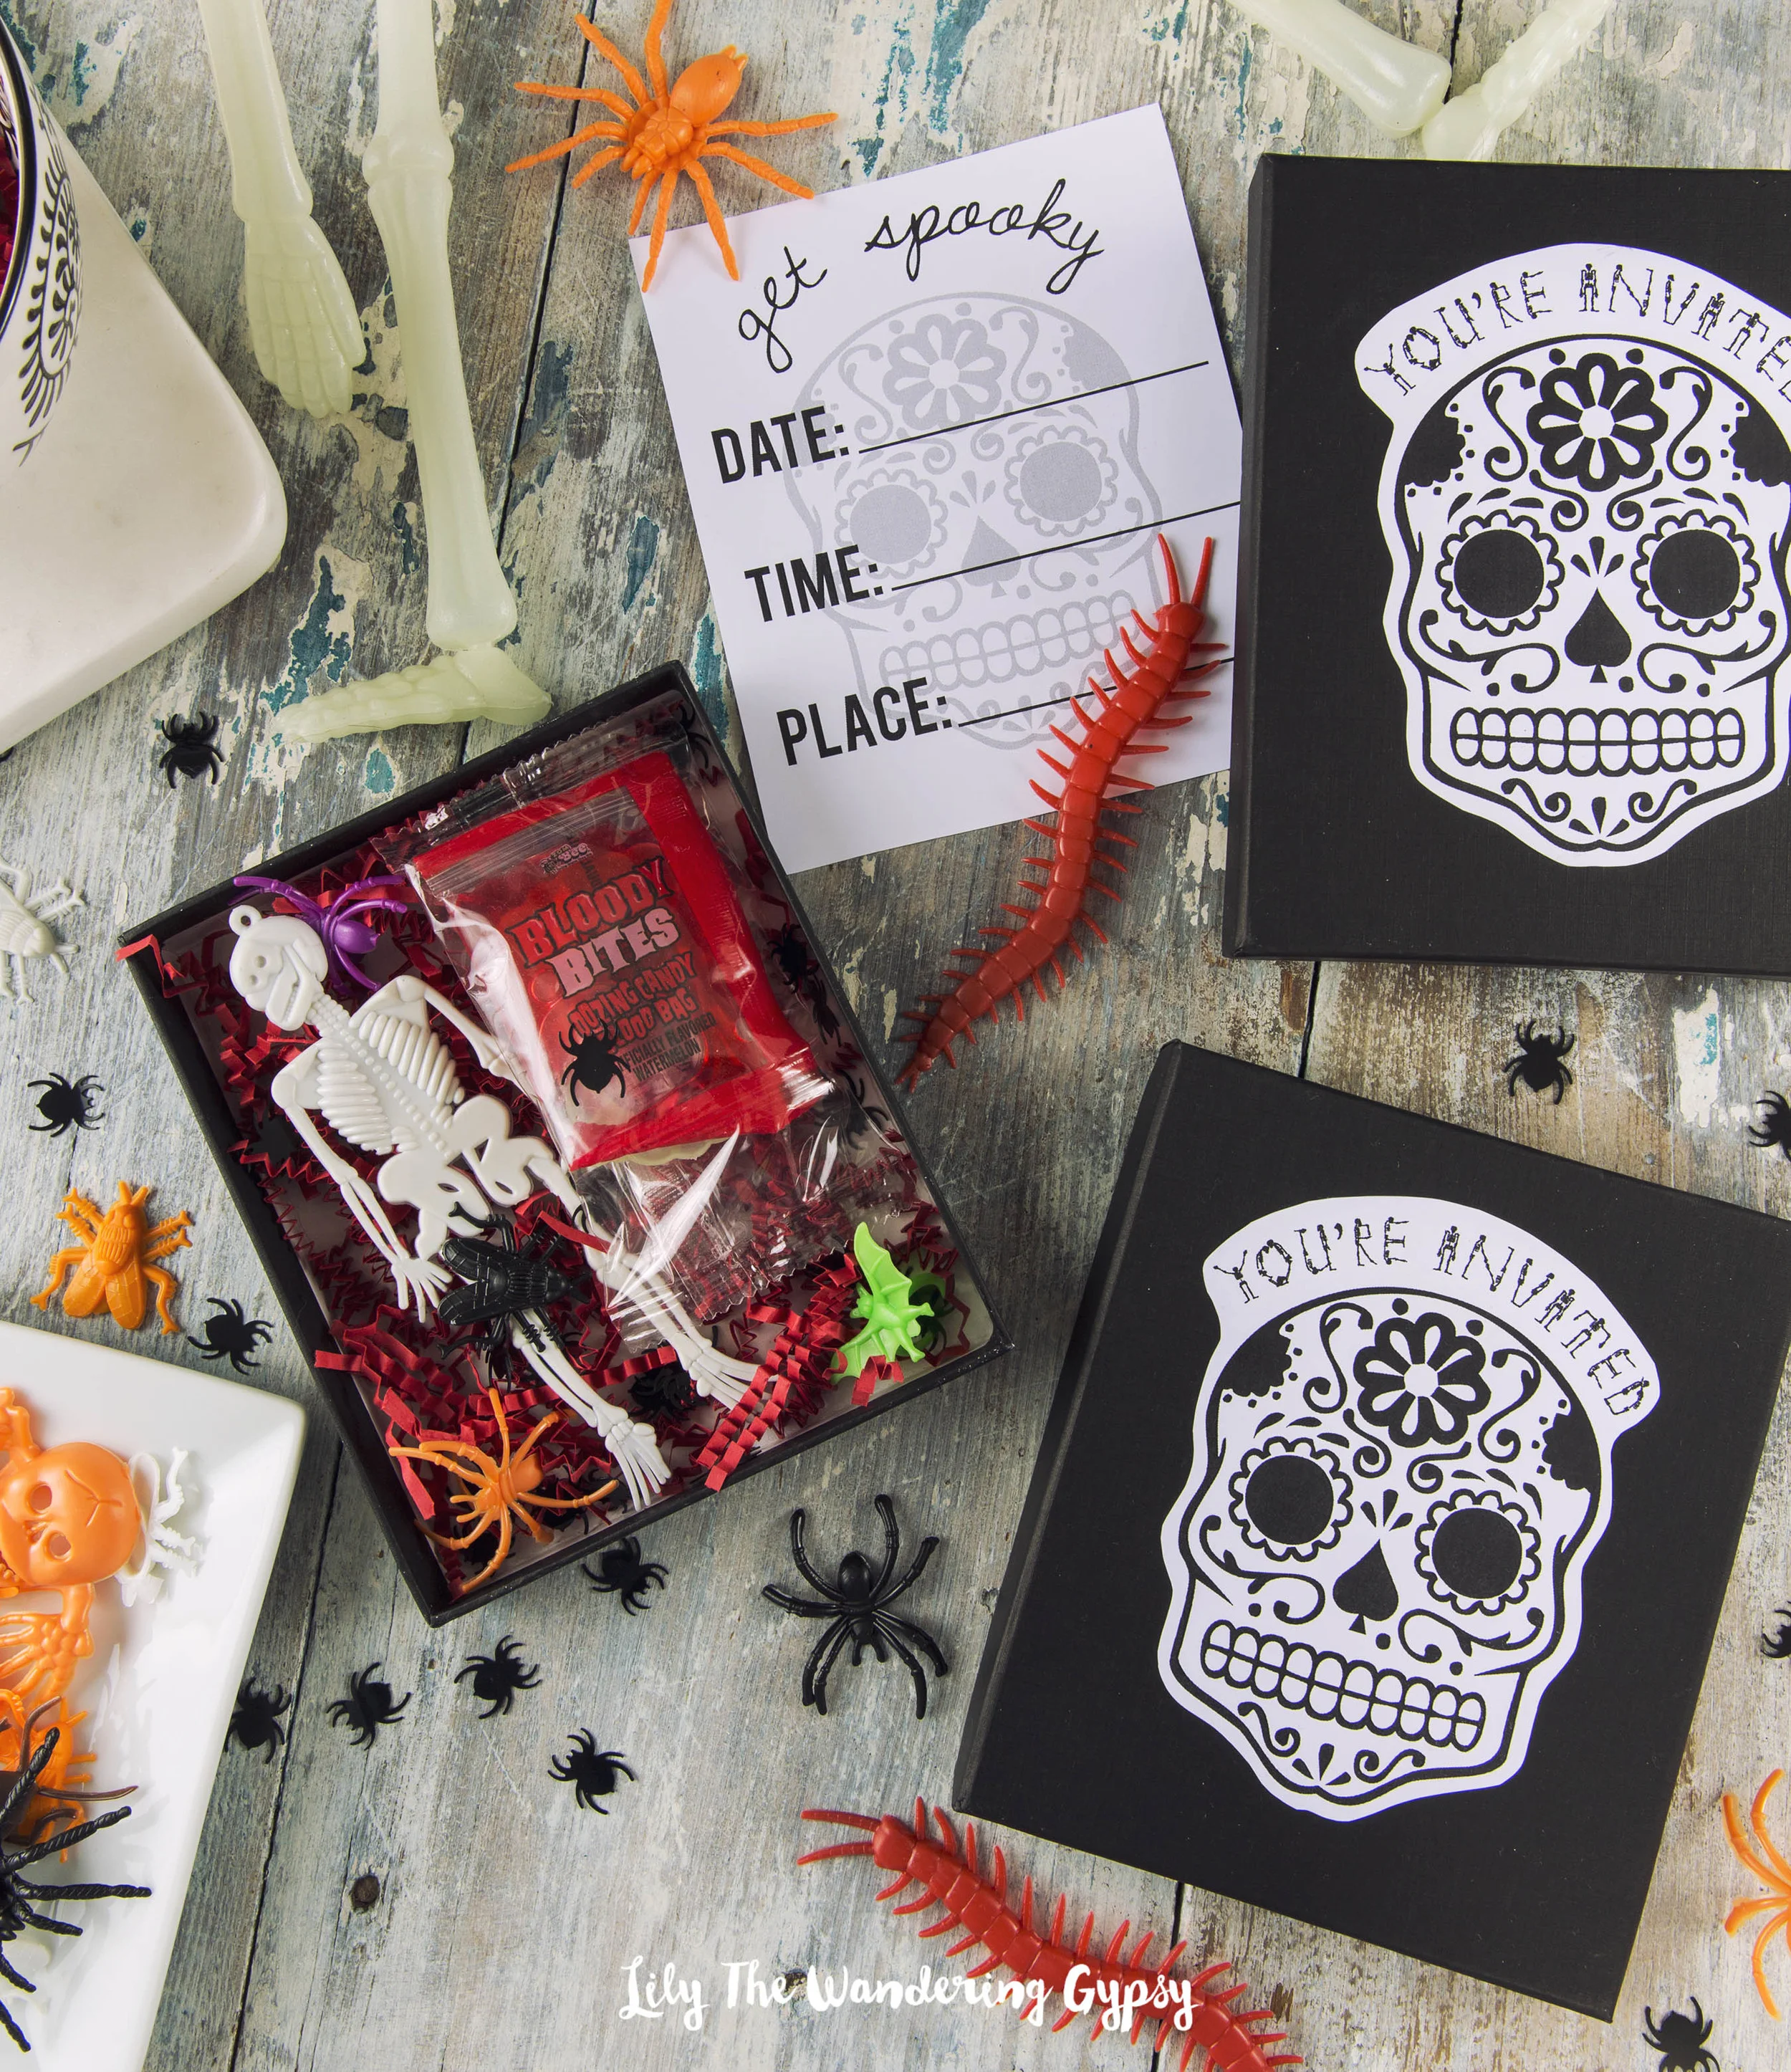
Add Red Paper Crinkles to emulate "blood" that is oozing out of the invite...
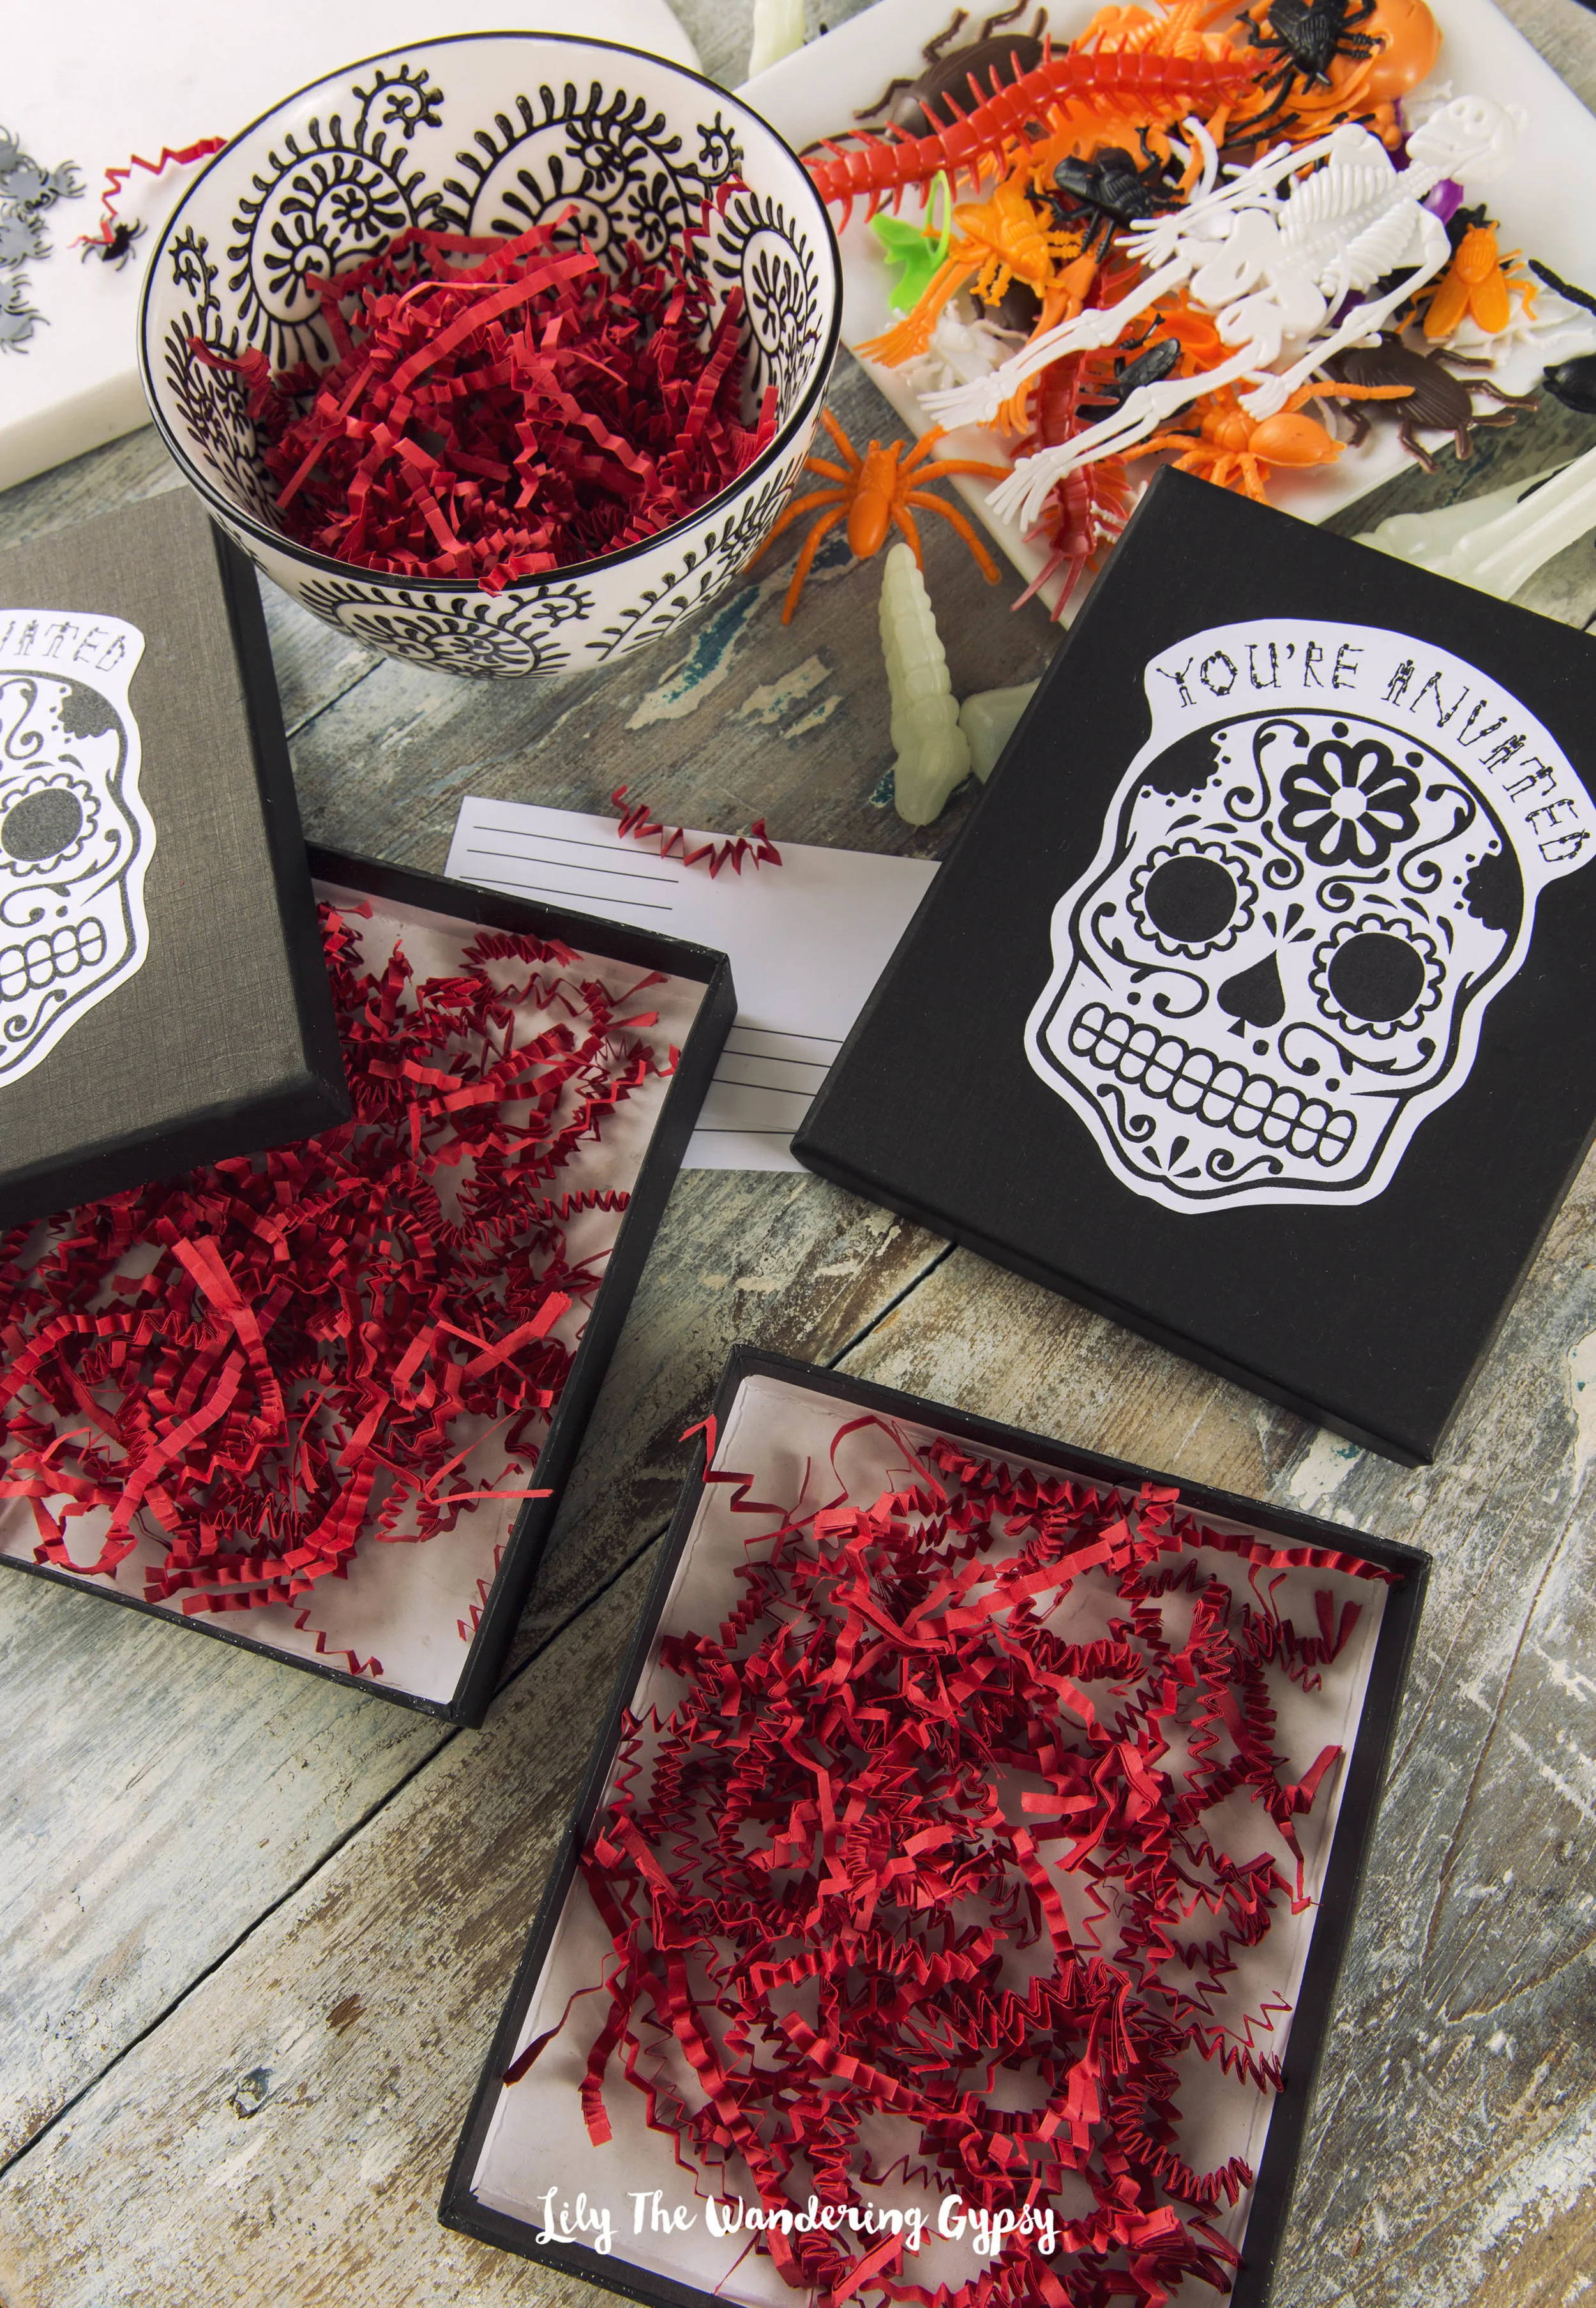
Next, place as many pieces of candy and Halloween toys as will possibly fit into the boxes while allowing the lid to still close. I also added spider confetti here, too.
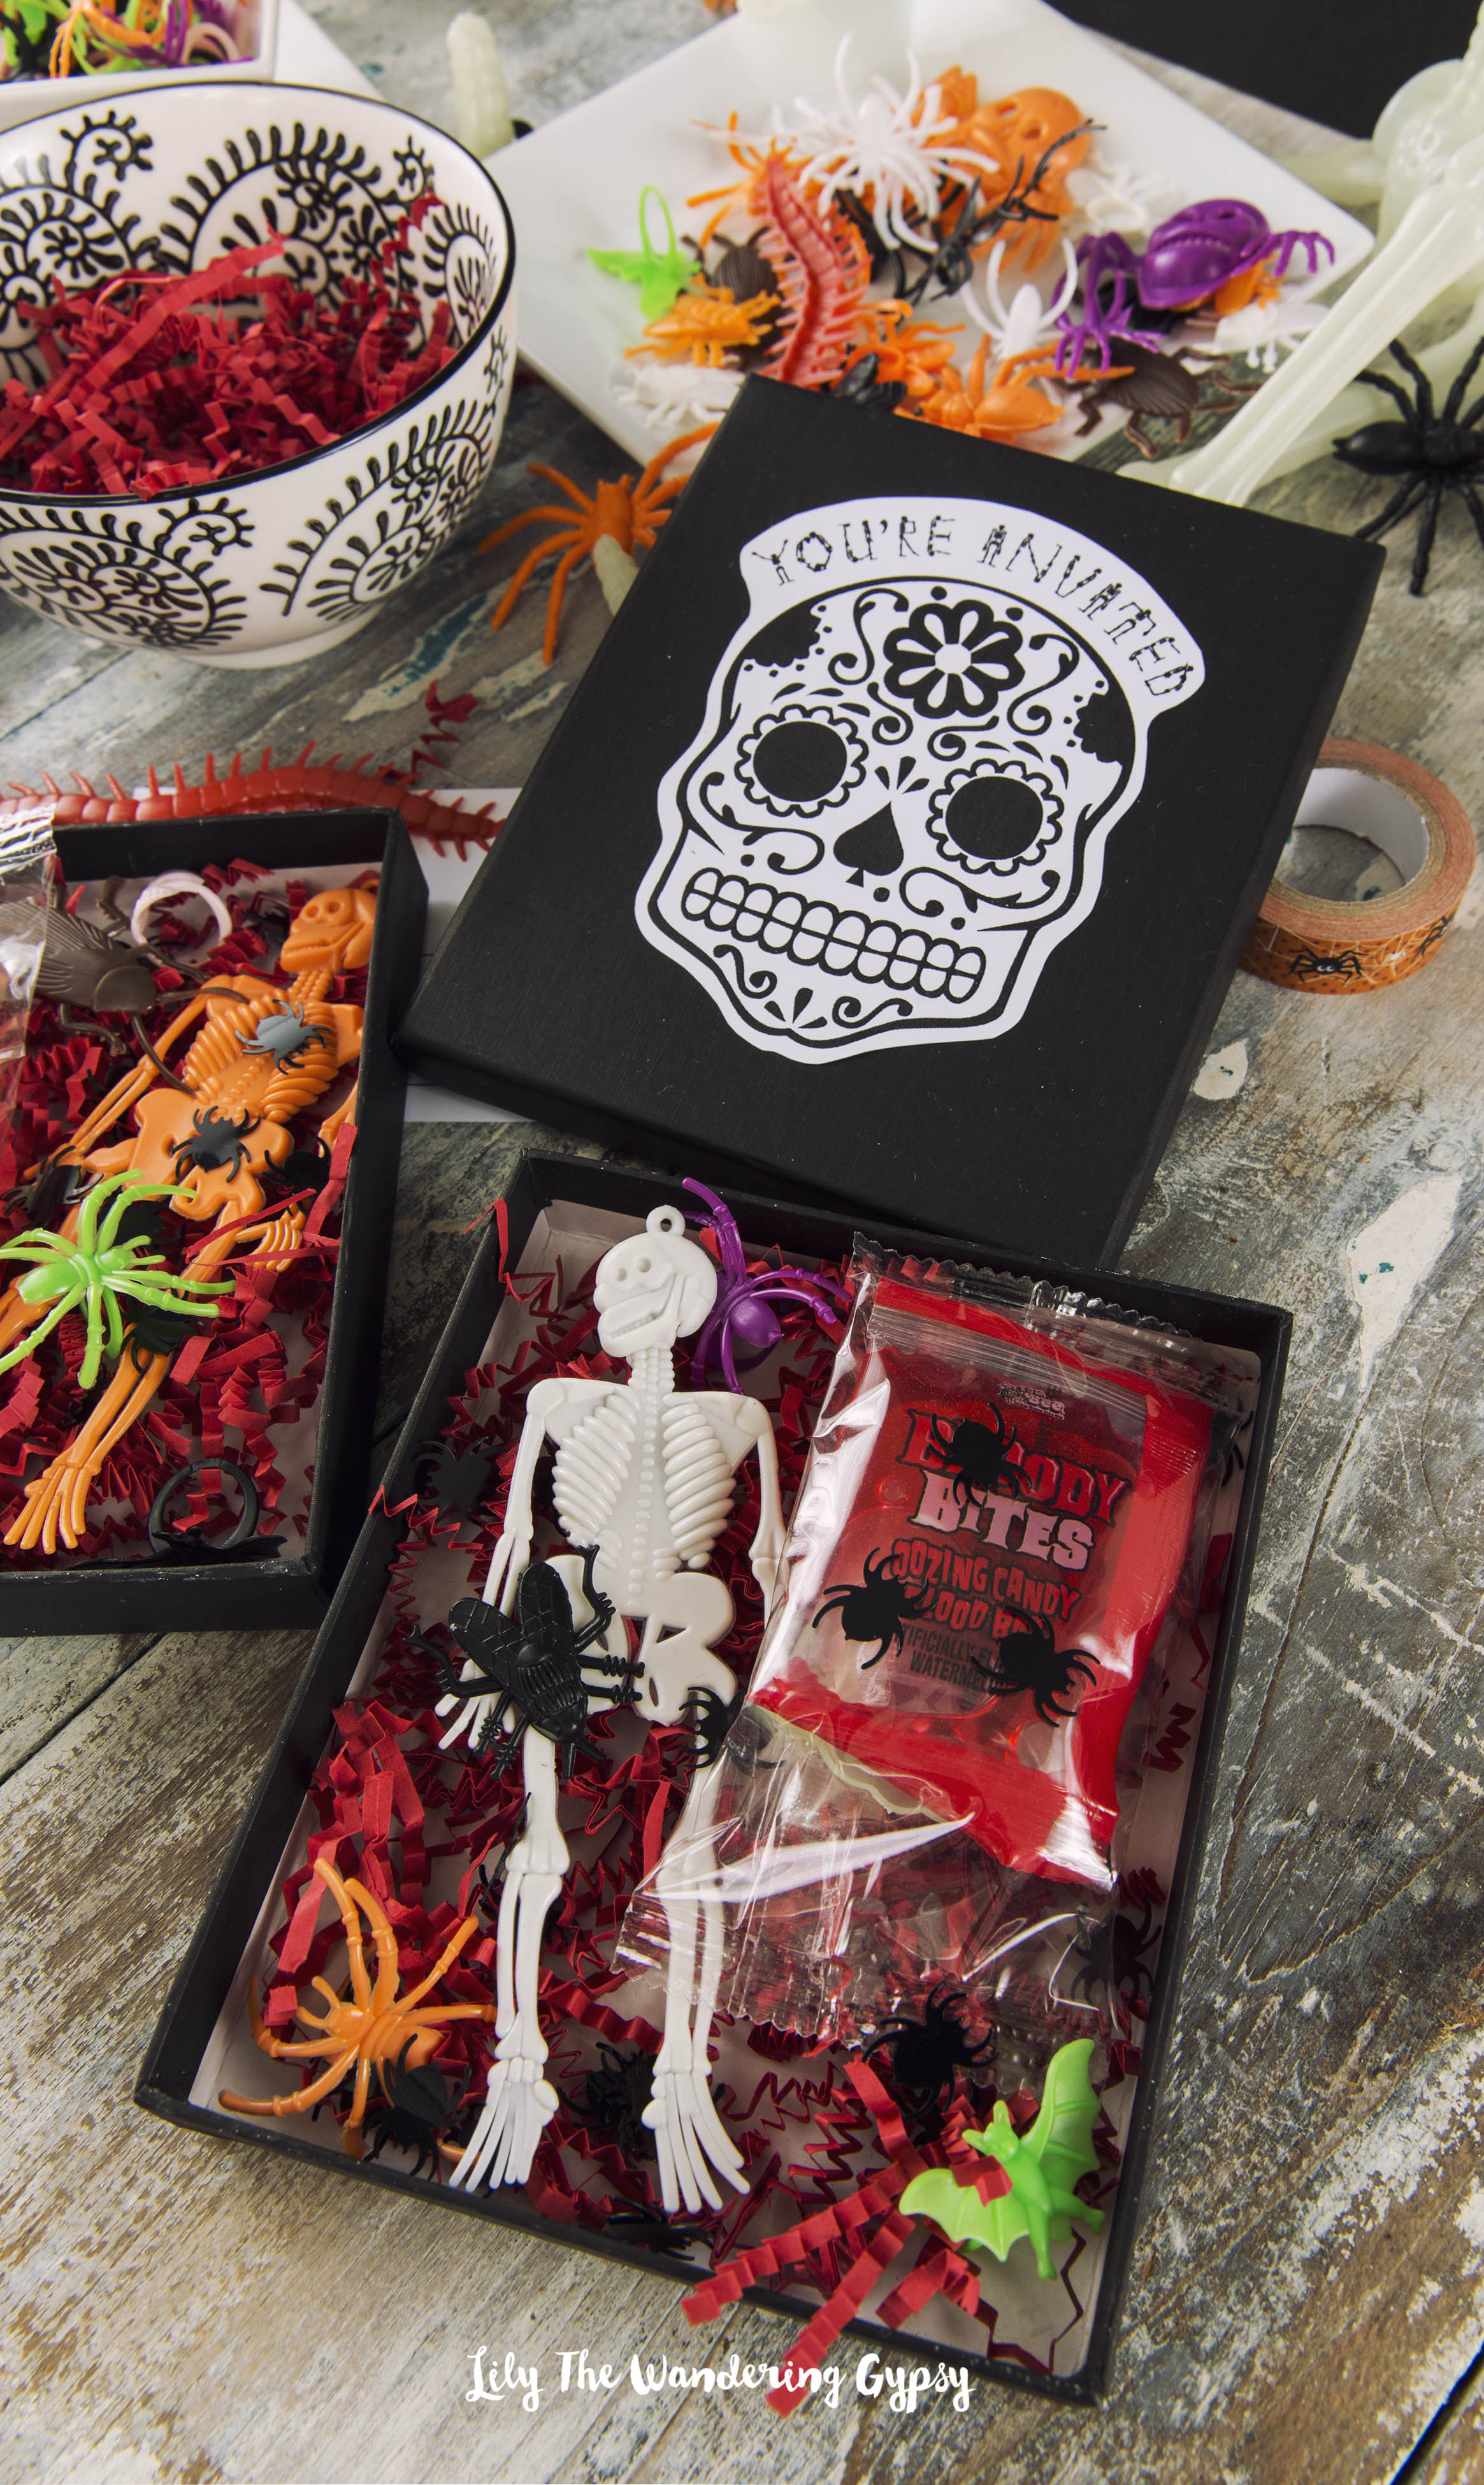
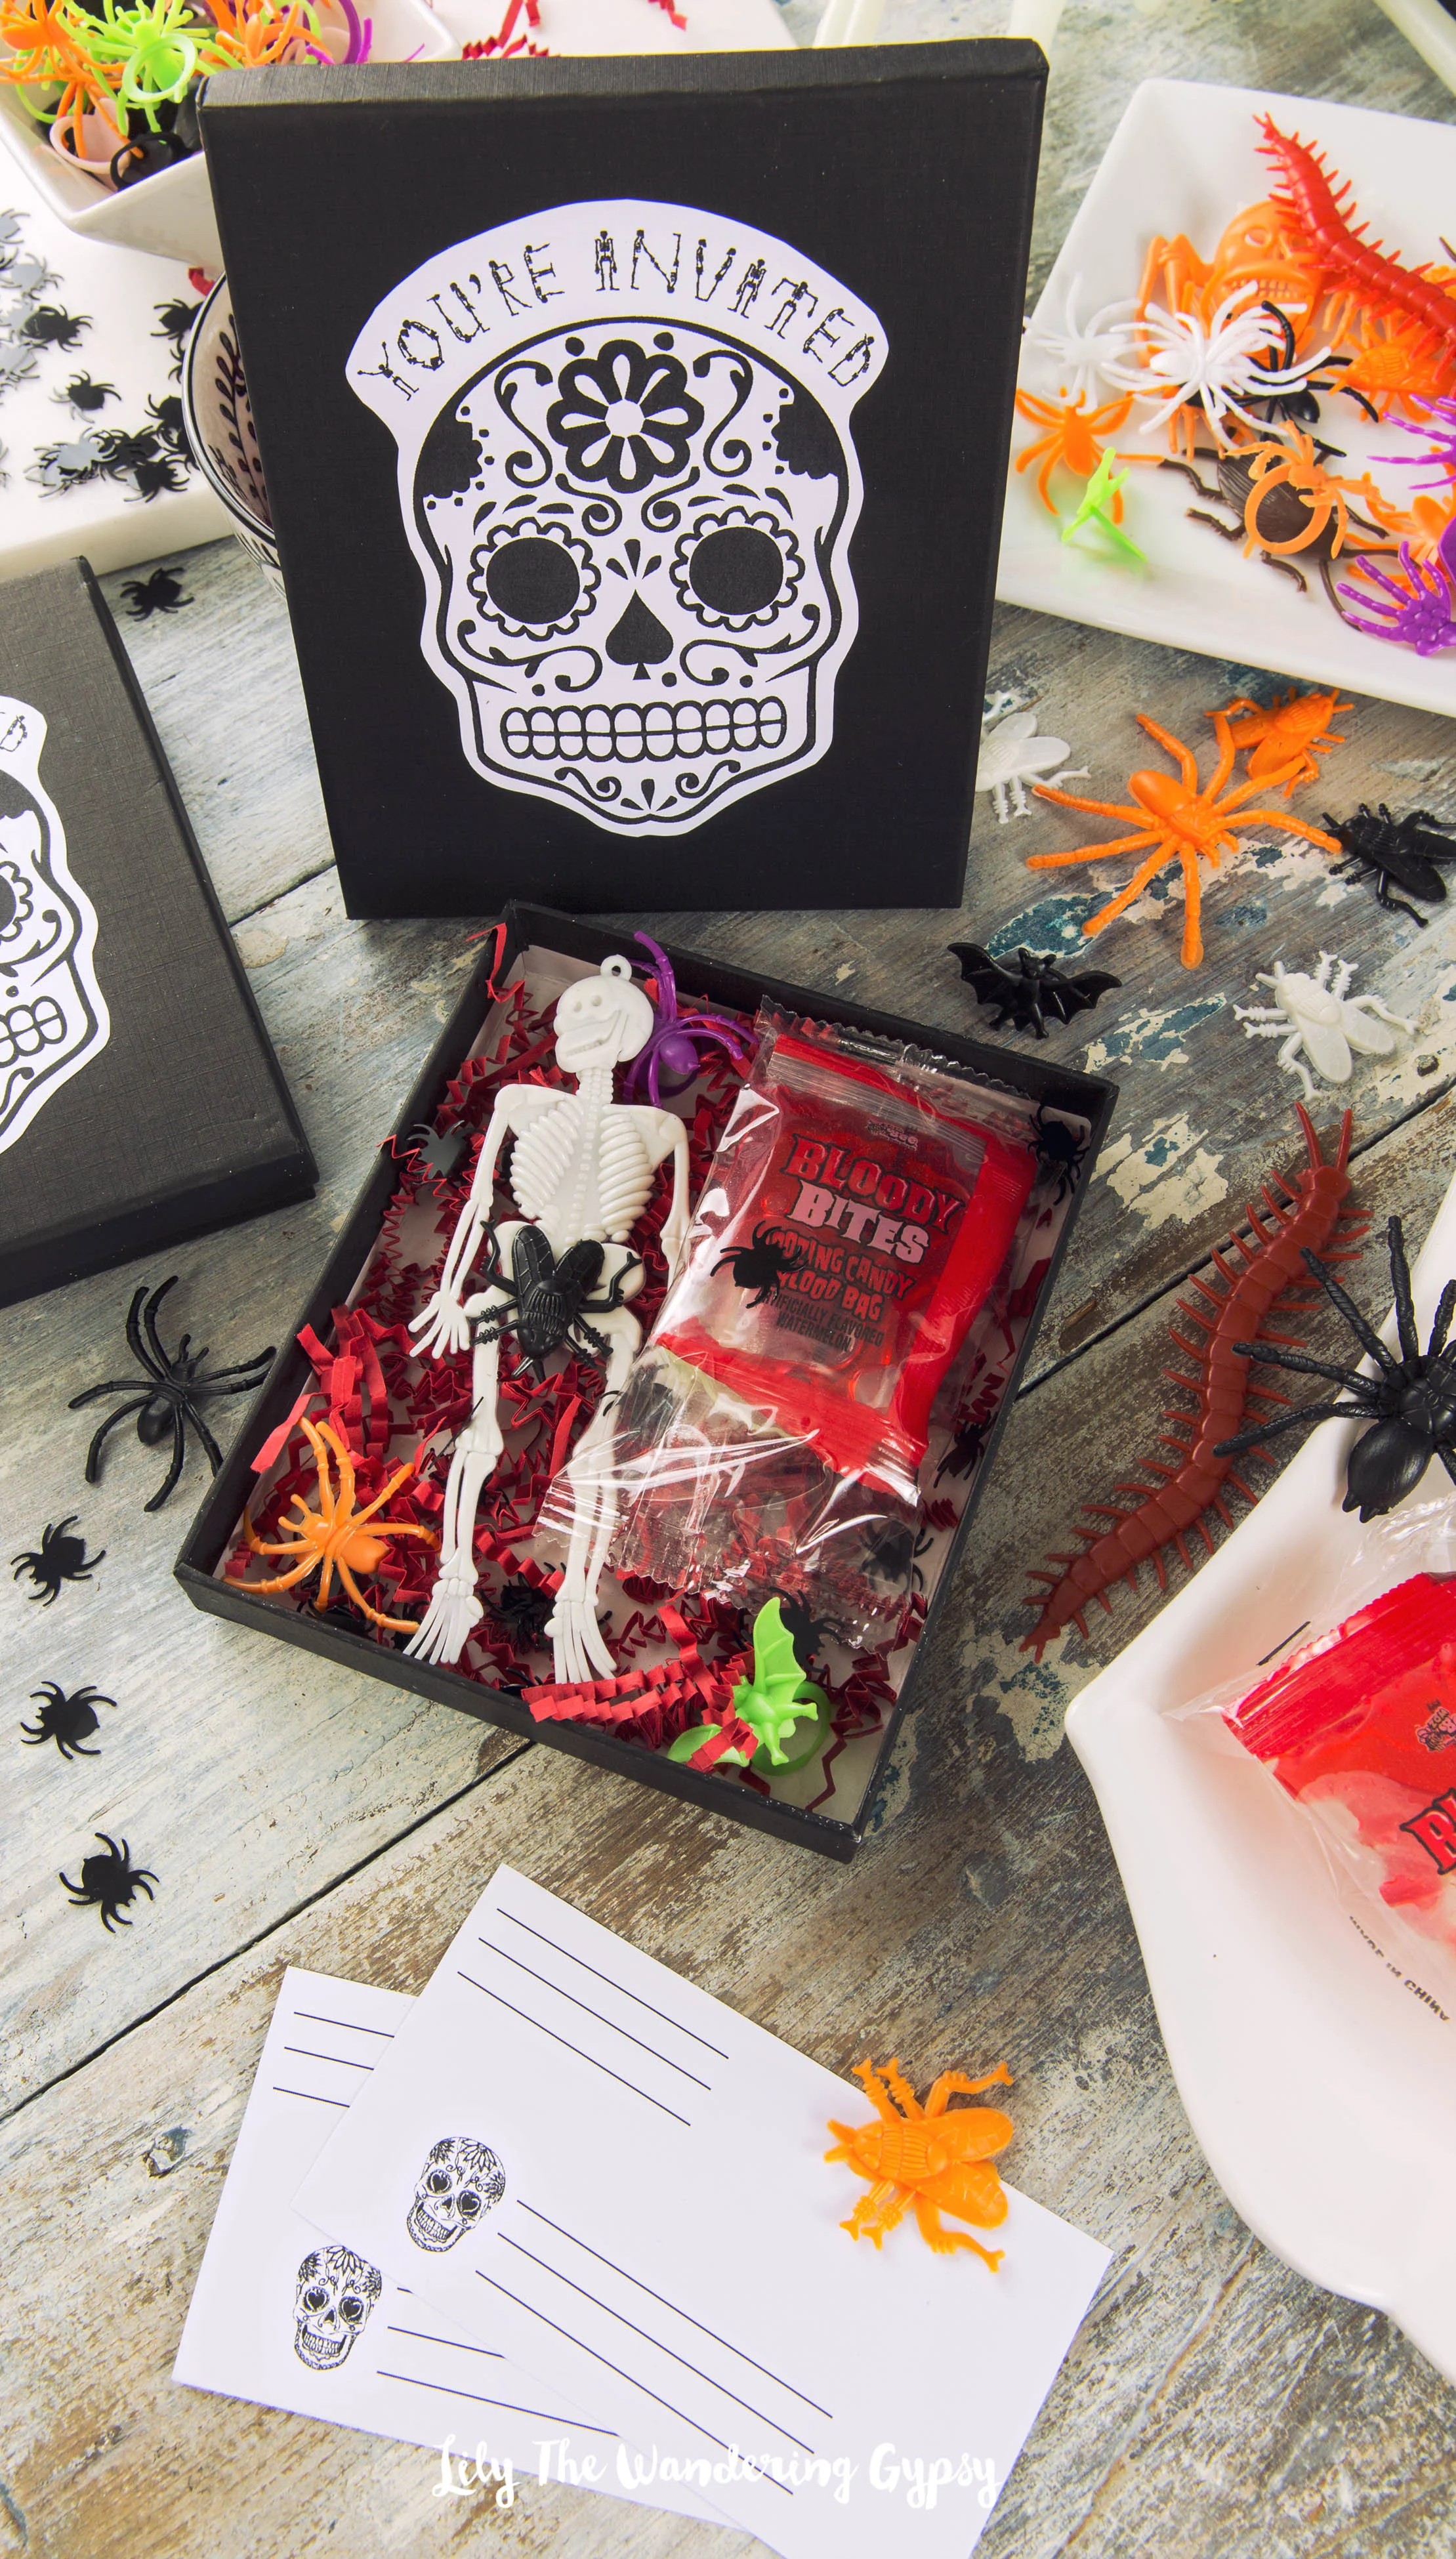
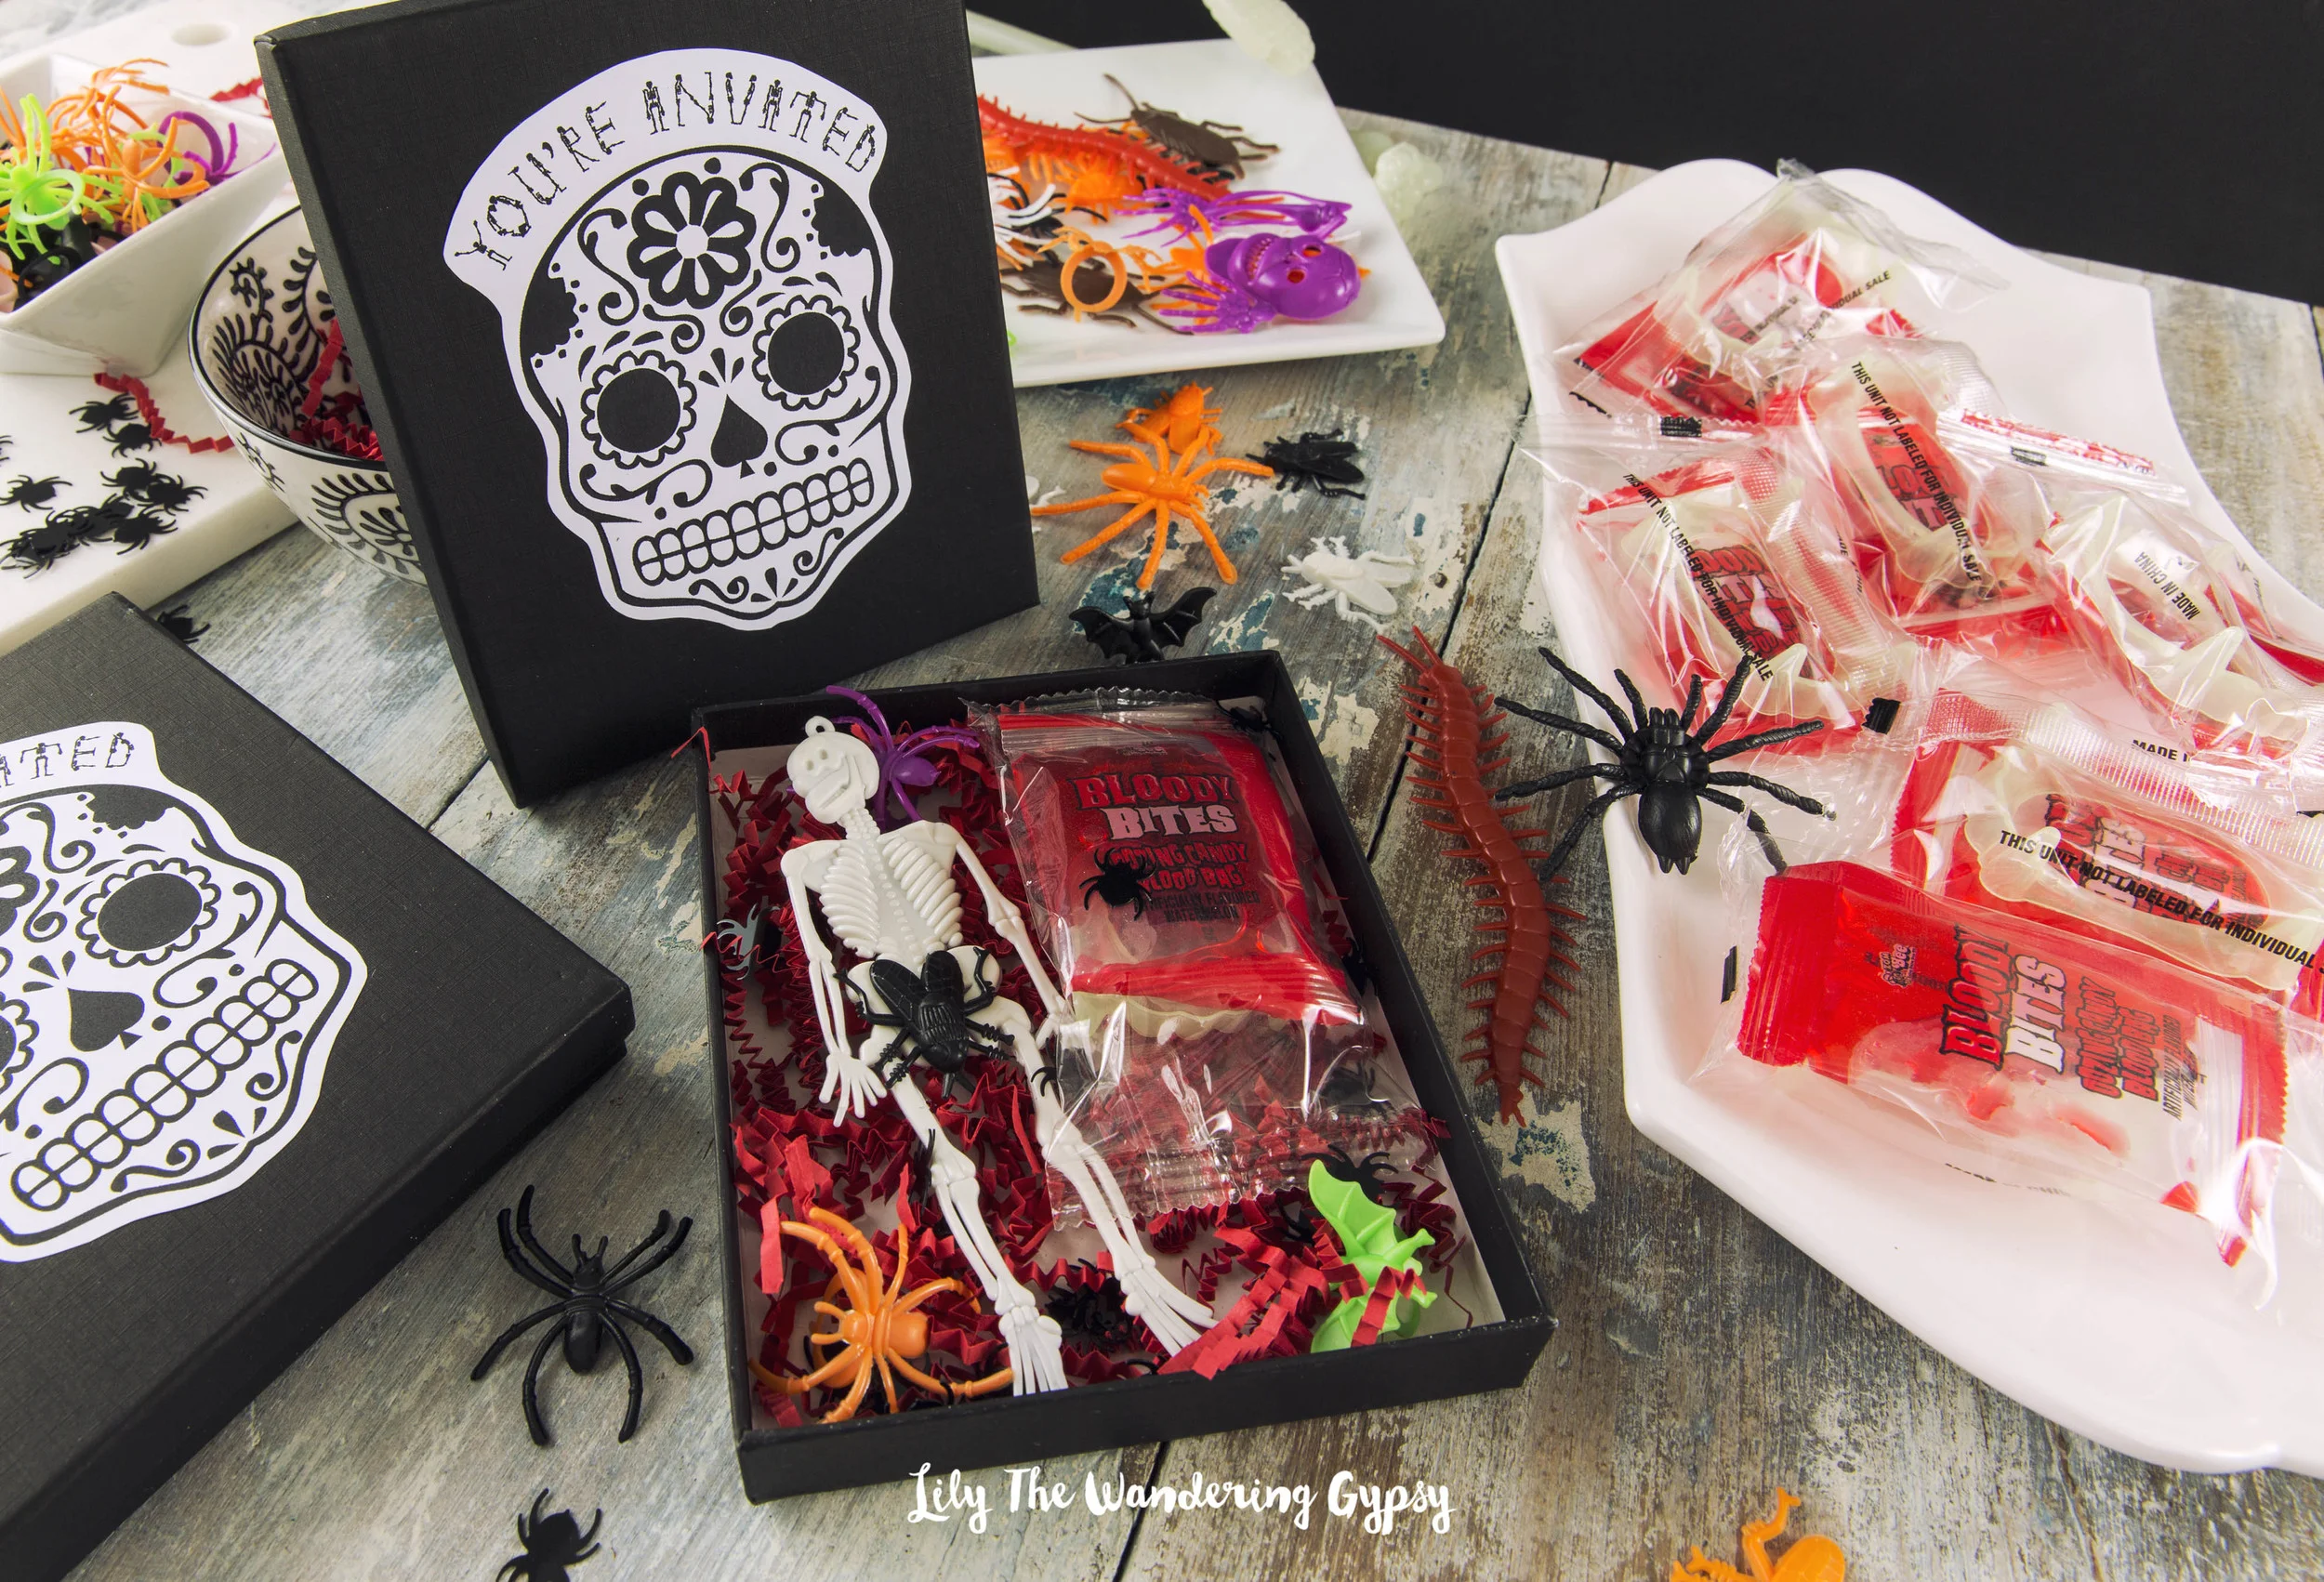
Cut out your Get Spooky Invites, fill out the blanks, and add them to the box, on top of the candy!

Add the recipient's address to the back of the invite, and wrap everything up tight with clear packing tape!
Aren't they adorable??!!

FYI Style Unzipped was such a cute show, and a fun brand to collaborate with! I have always LOVED fashion, and you can see that in my pins I find daily. I also love TV shows where you learn about fashion, so when FYI approached me, I was beyond excited! I was asked to showcase my style in regards to scarves, ballet flats, and neon! These terms are pretty open-ended, so I did my best to try and figure out how these specific terms were most relevant to today's most current trends. Check out my FULL PORTFOLIO...


Dying to host a killer Halloween Party this year? Now is a great time to start searching for fun props, recipes, and party ideas!

Mix up some blood orange cocktails and label them with Blood Types and drink ingredients.
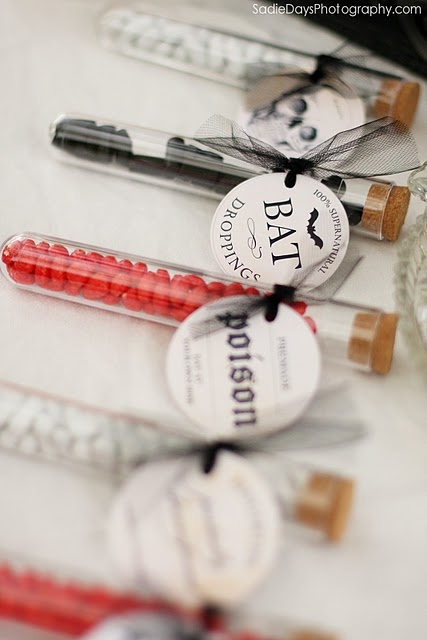
Pamela Smerker Designs printed off cute tags so she could package up some candy in the cutest way ever! Click here to see the whole party she designed!
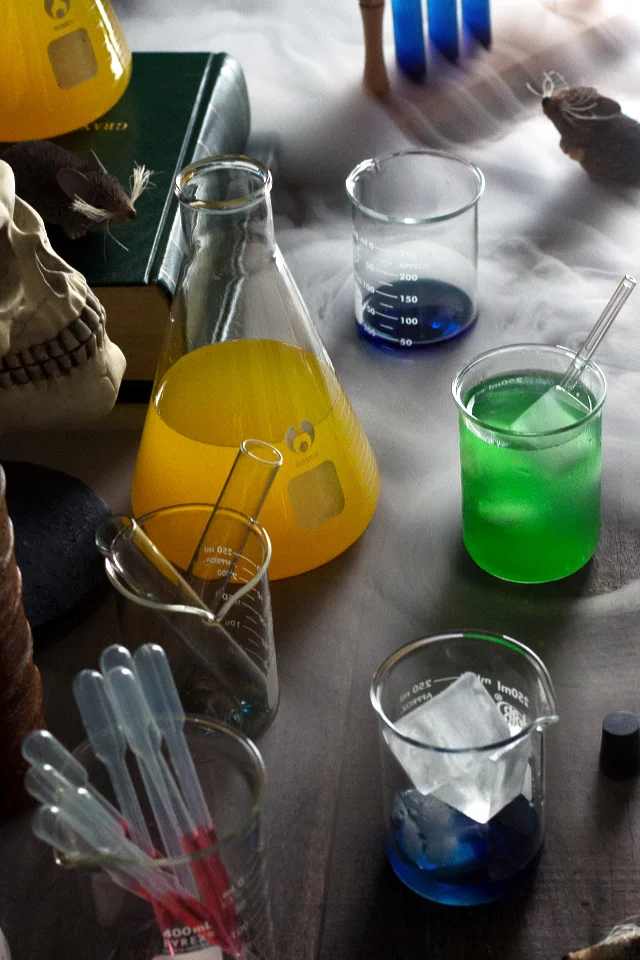
This is my favorite Halloween idea ever! Halloween Drink Lab!

LOVE these adorable Beaker Cocktails!
Here is a more sophisticated way to serve drinks in beakers. I could also see making a larger scale punch (or even sangria) for your party and use a larger beaker as a carafe.
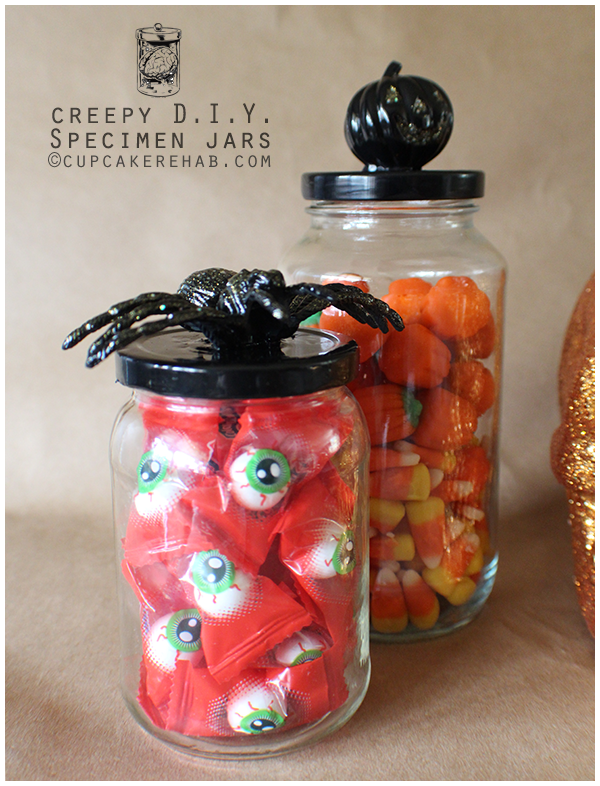
Here is a DIY idea I just love! If your guests have a sweet tooth, grab some Halloween candy for them to munch on while they party the night away.

And, this idea is super easy! Grab a white bowl, set a rubber skeleton inside, and fill with this awesome Halloween Puppy Chow recipe.
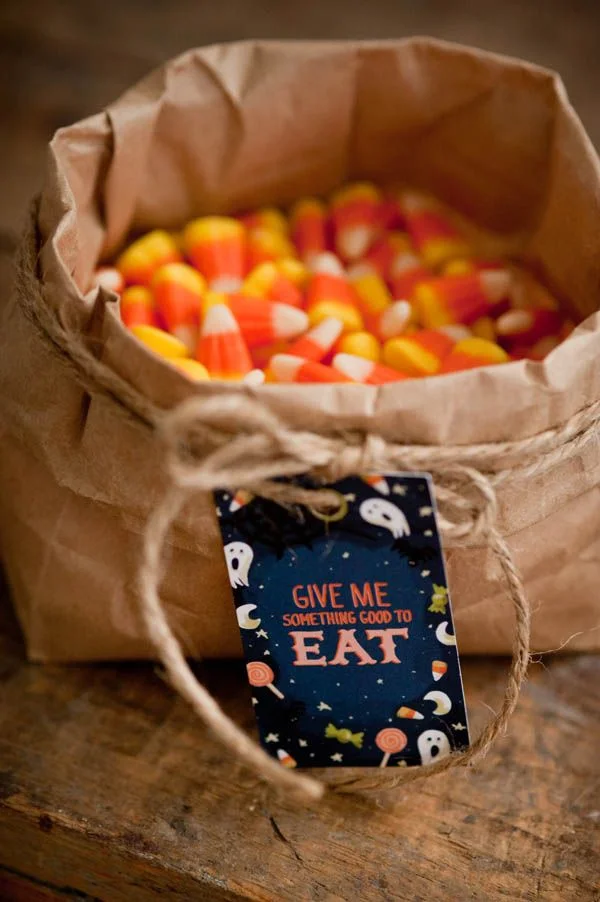
A rustic candy corn display in a paper bag with twine tied around gives this a "farm" feeling
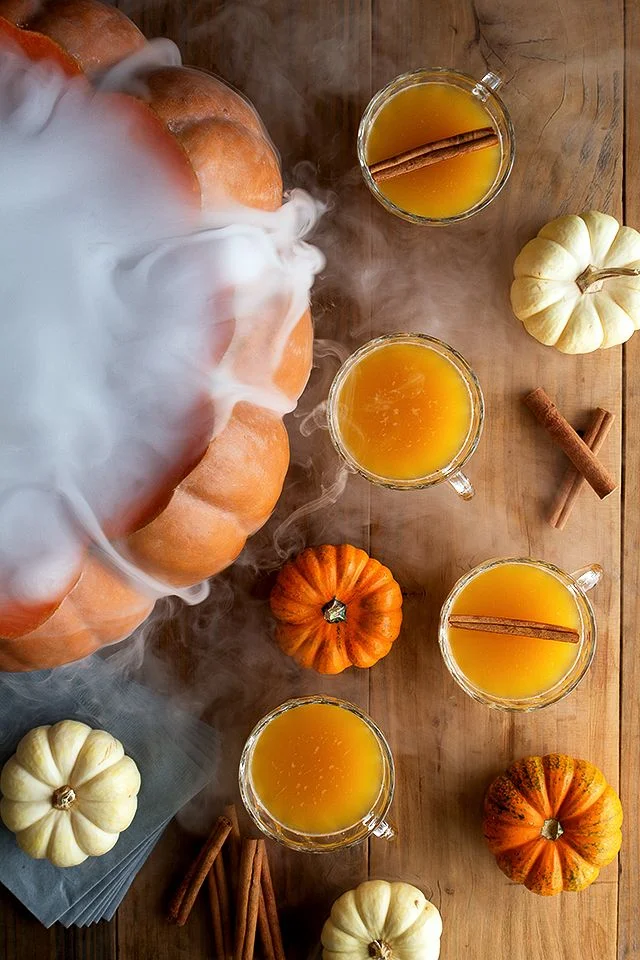
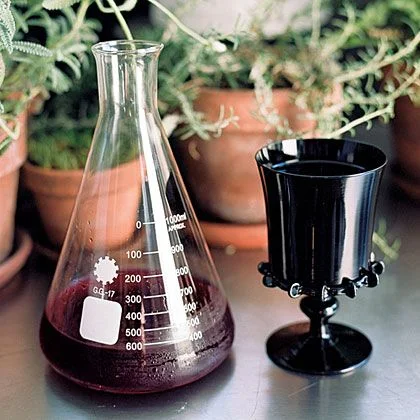
This is one of my favorite drink ideas!

This Dry Ice Martini is super chic and will be a crowd pleaser!
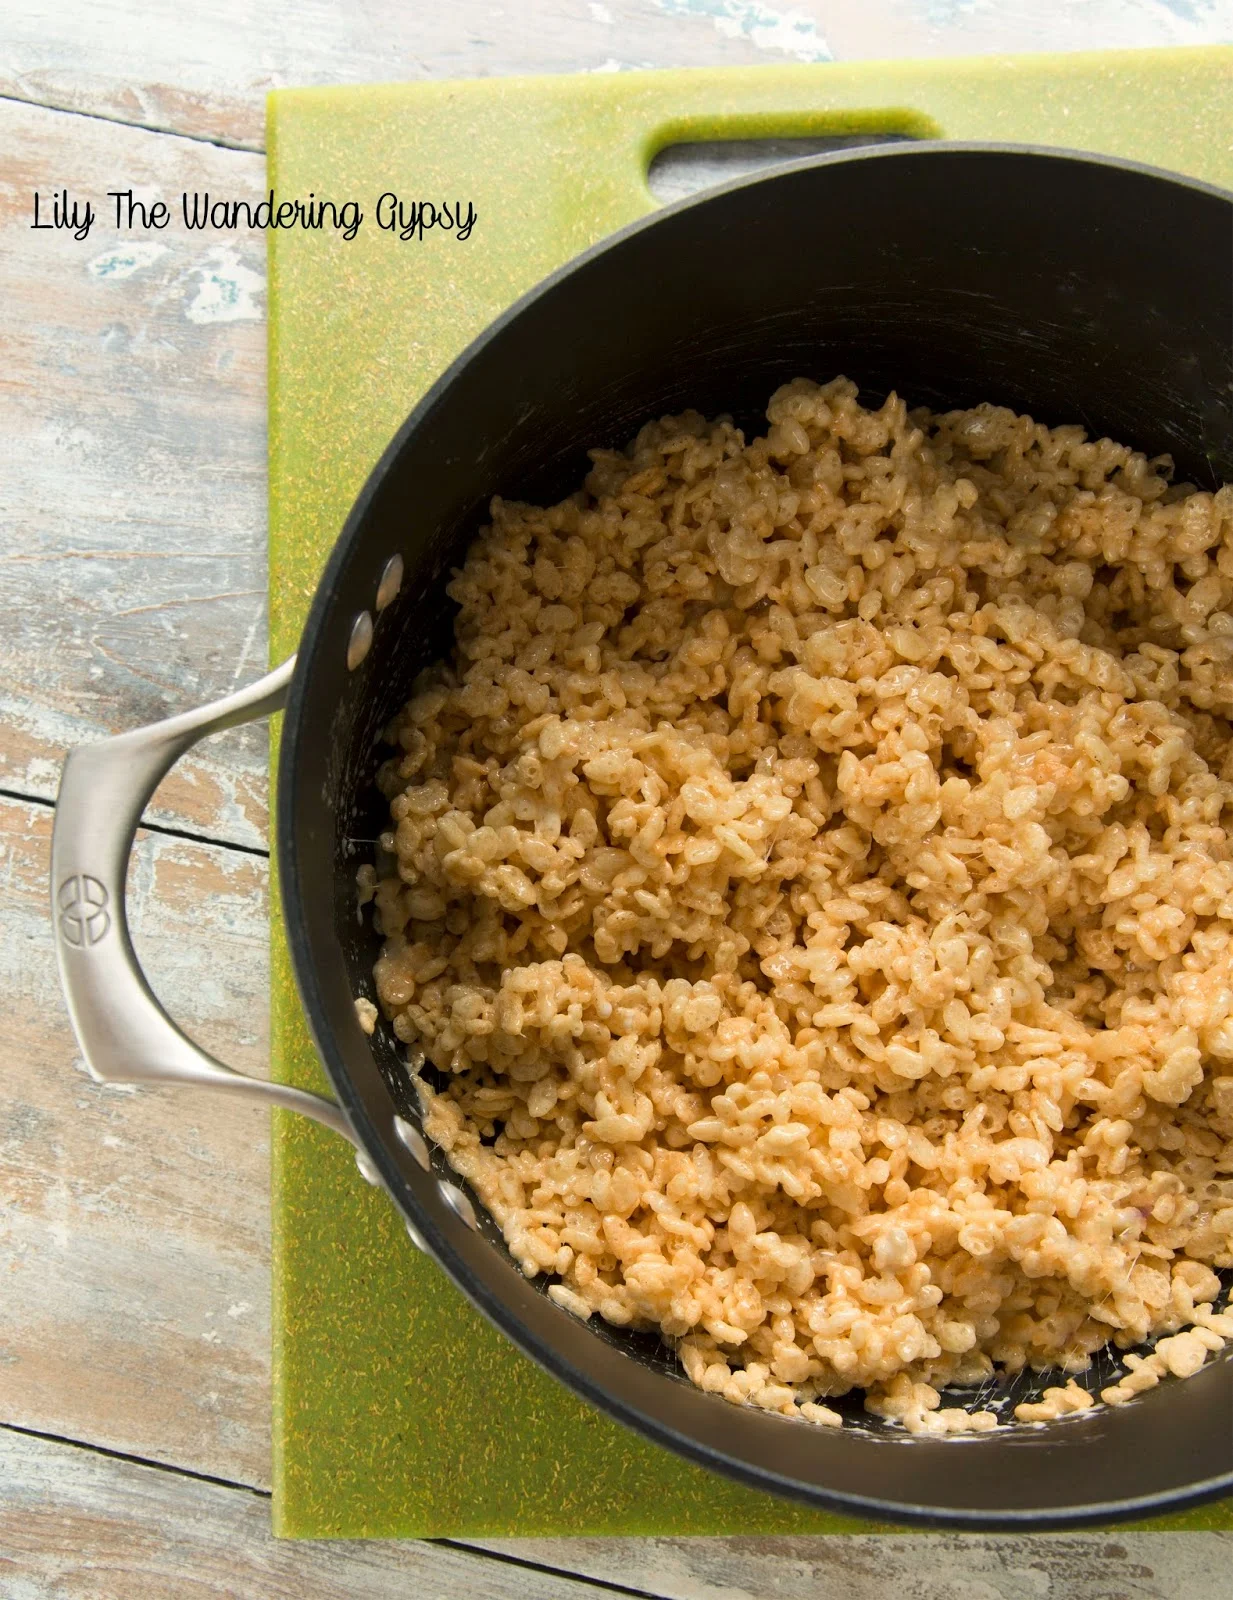
Ever wonder why your rice krispy treats don't turn out soft, rich, buttery, and super tasty? You may be using the wrong method. Here, I will show you the old-fashioned way to make Rice Krispy Treats on the stovetop - with real butter.
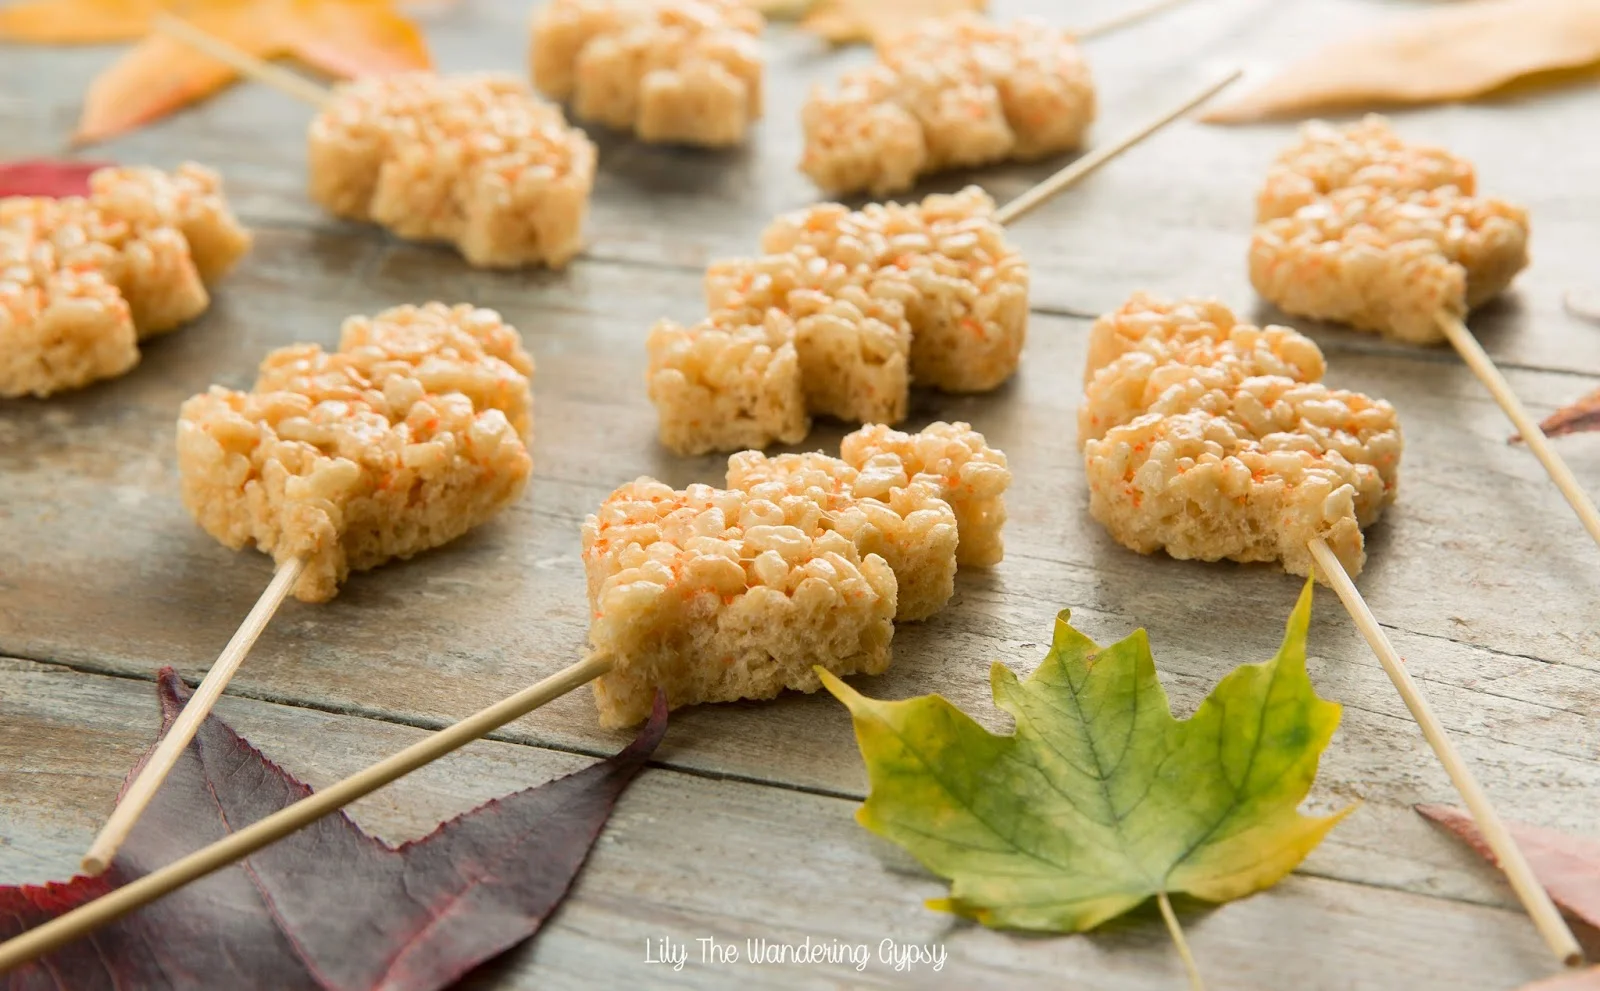
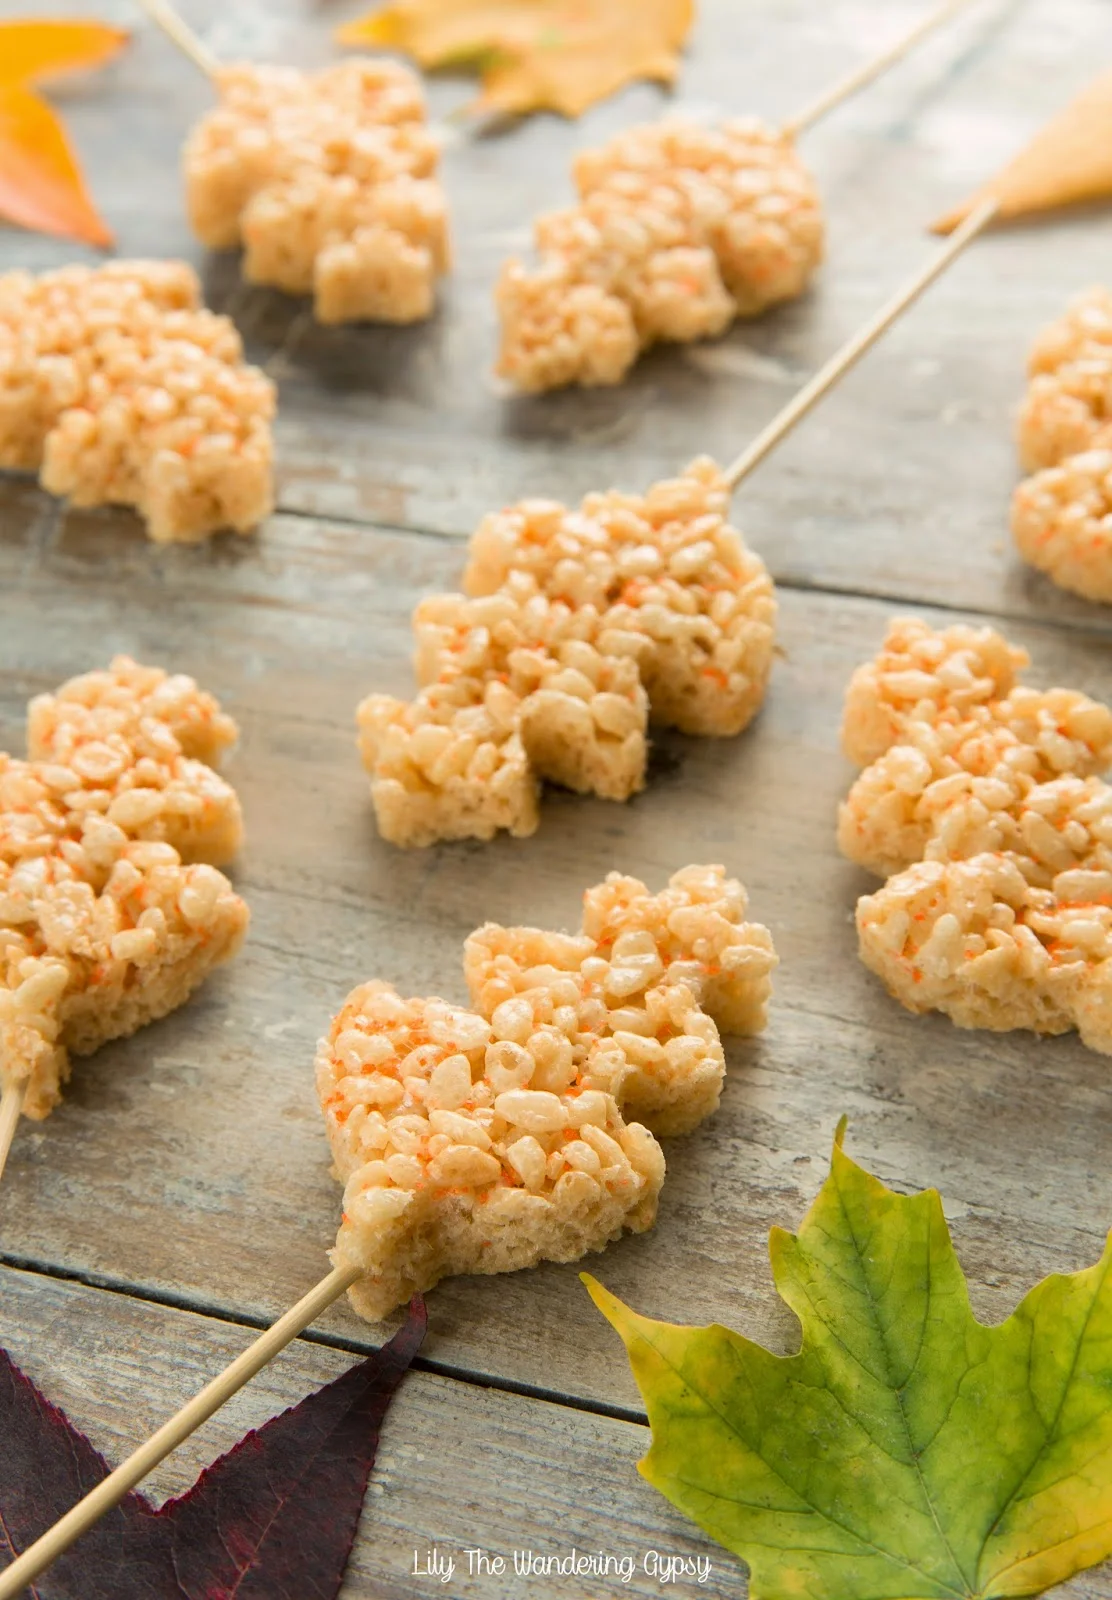
I love how these little leaf treat pops turned out! They could be customized to just about any holiday or party theme, too! Feel free to add food coloring to them to really customize them in a new, unique way. Here we go!

Ingredients:
- 3 Tbsp. REAL Butter (Organic Preferred)
- 6 C. Rice Krispy Cereal
- 6 C. Marshmallows
- Sprinkles in Seasonal Colors
(Not Pictured)
- Parchment Paper
- Baking Dish
- Smaller Wooden Skewers
- Leaf-Shaped Cookie Cutters

Instructions:
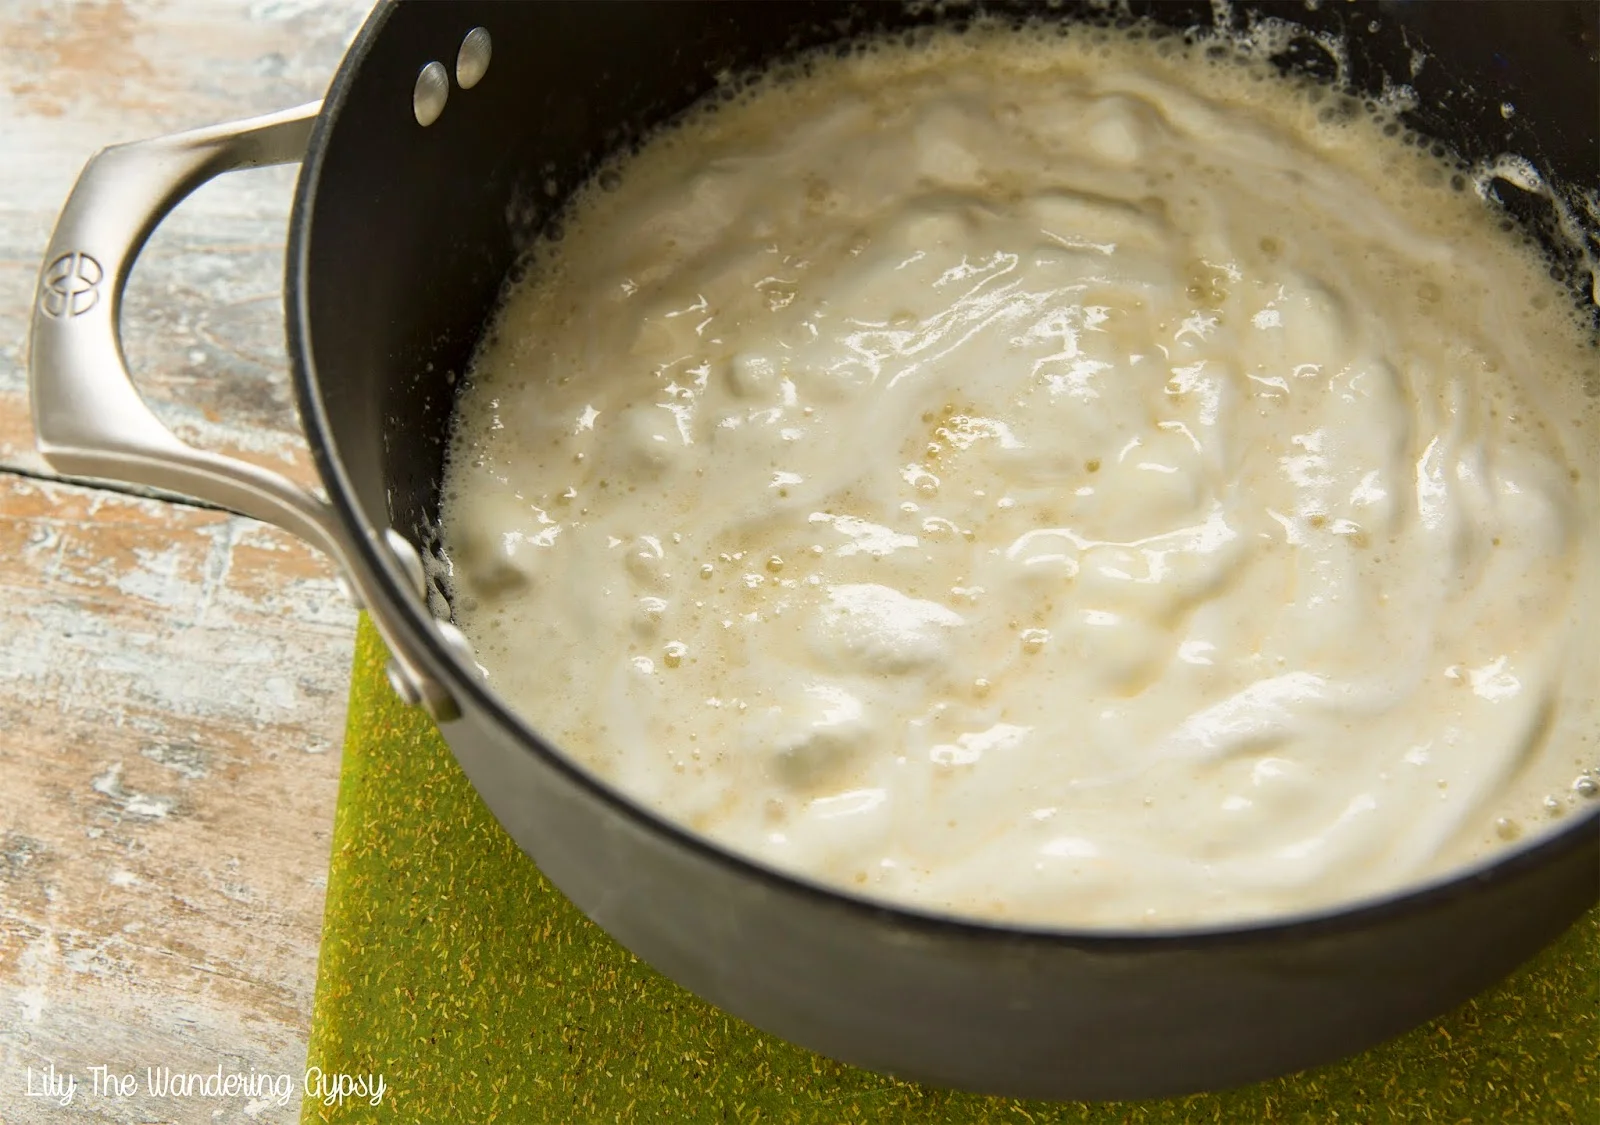
In a large pot, melt butter over low heat (slower is better, so the butter doesn't burn.). As that melts, add marshmallows. Continue to melt the ingredients over low-medium heat. Make sure to watch the mixture so it doesn't brown. The mixture should look a little something like this right before you add the cereal.
Add the cereal and mix well to combine all of the ingredients.
1.) Spray baking dish with non-stick spray or butter. Cut a piece of parchment paper to fit inside the dish.
2.) Pour in Gooey Cereal Mix.
3.) Use another piece of parchment paper to pat down the cereal mixture flat into the dish. This will keep your hands WAY less messy.
Once cereal has cooled, remove the cereal and parchment paper, and put it onto a cutting board.

Use your favorite leaf-shaped cookie cutter, press firmly down into treats. You can use a bit of non-stick spray on the cookie cutter if the treats stick. Carefully insert small skewer sticks into the leaves. Make sure you don't jab your hand. I got about 12-13 leaves out of my batch, and had lots of pieces left over to devour :)

Enjoy! Happy Fall! Check me out on Pinterest.
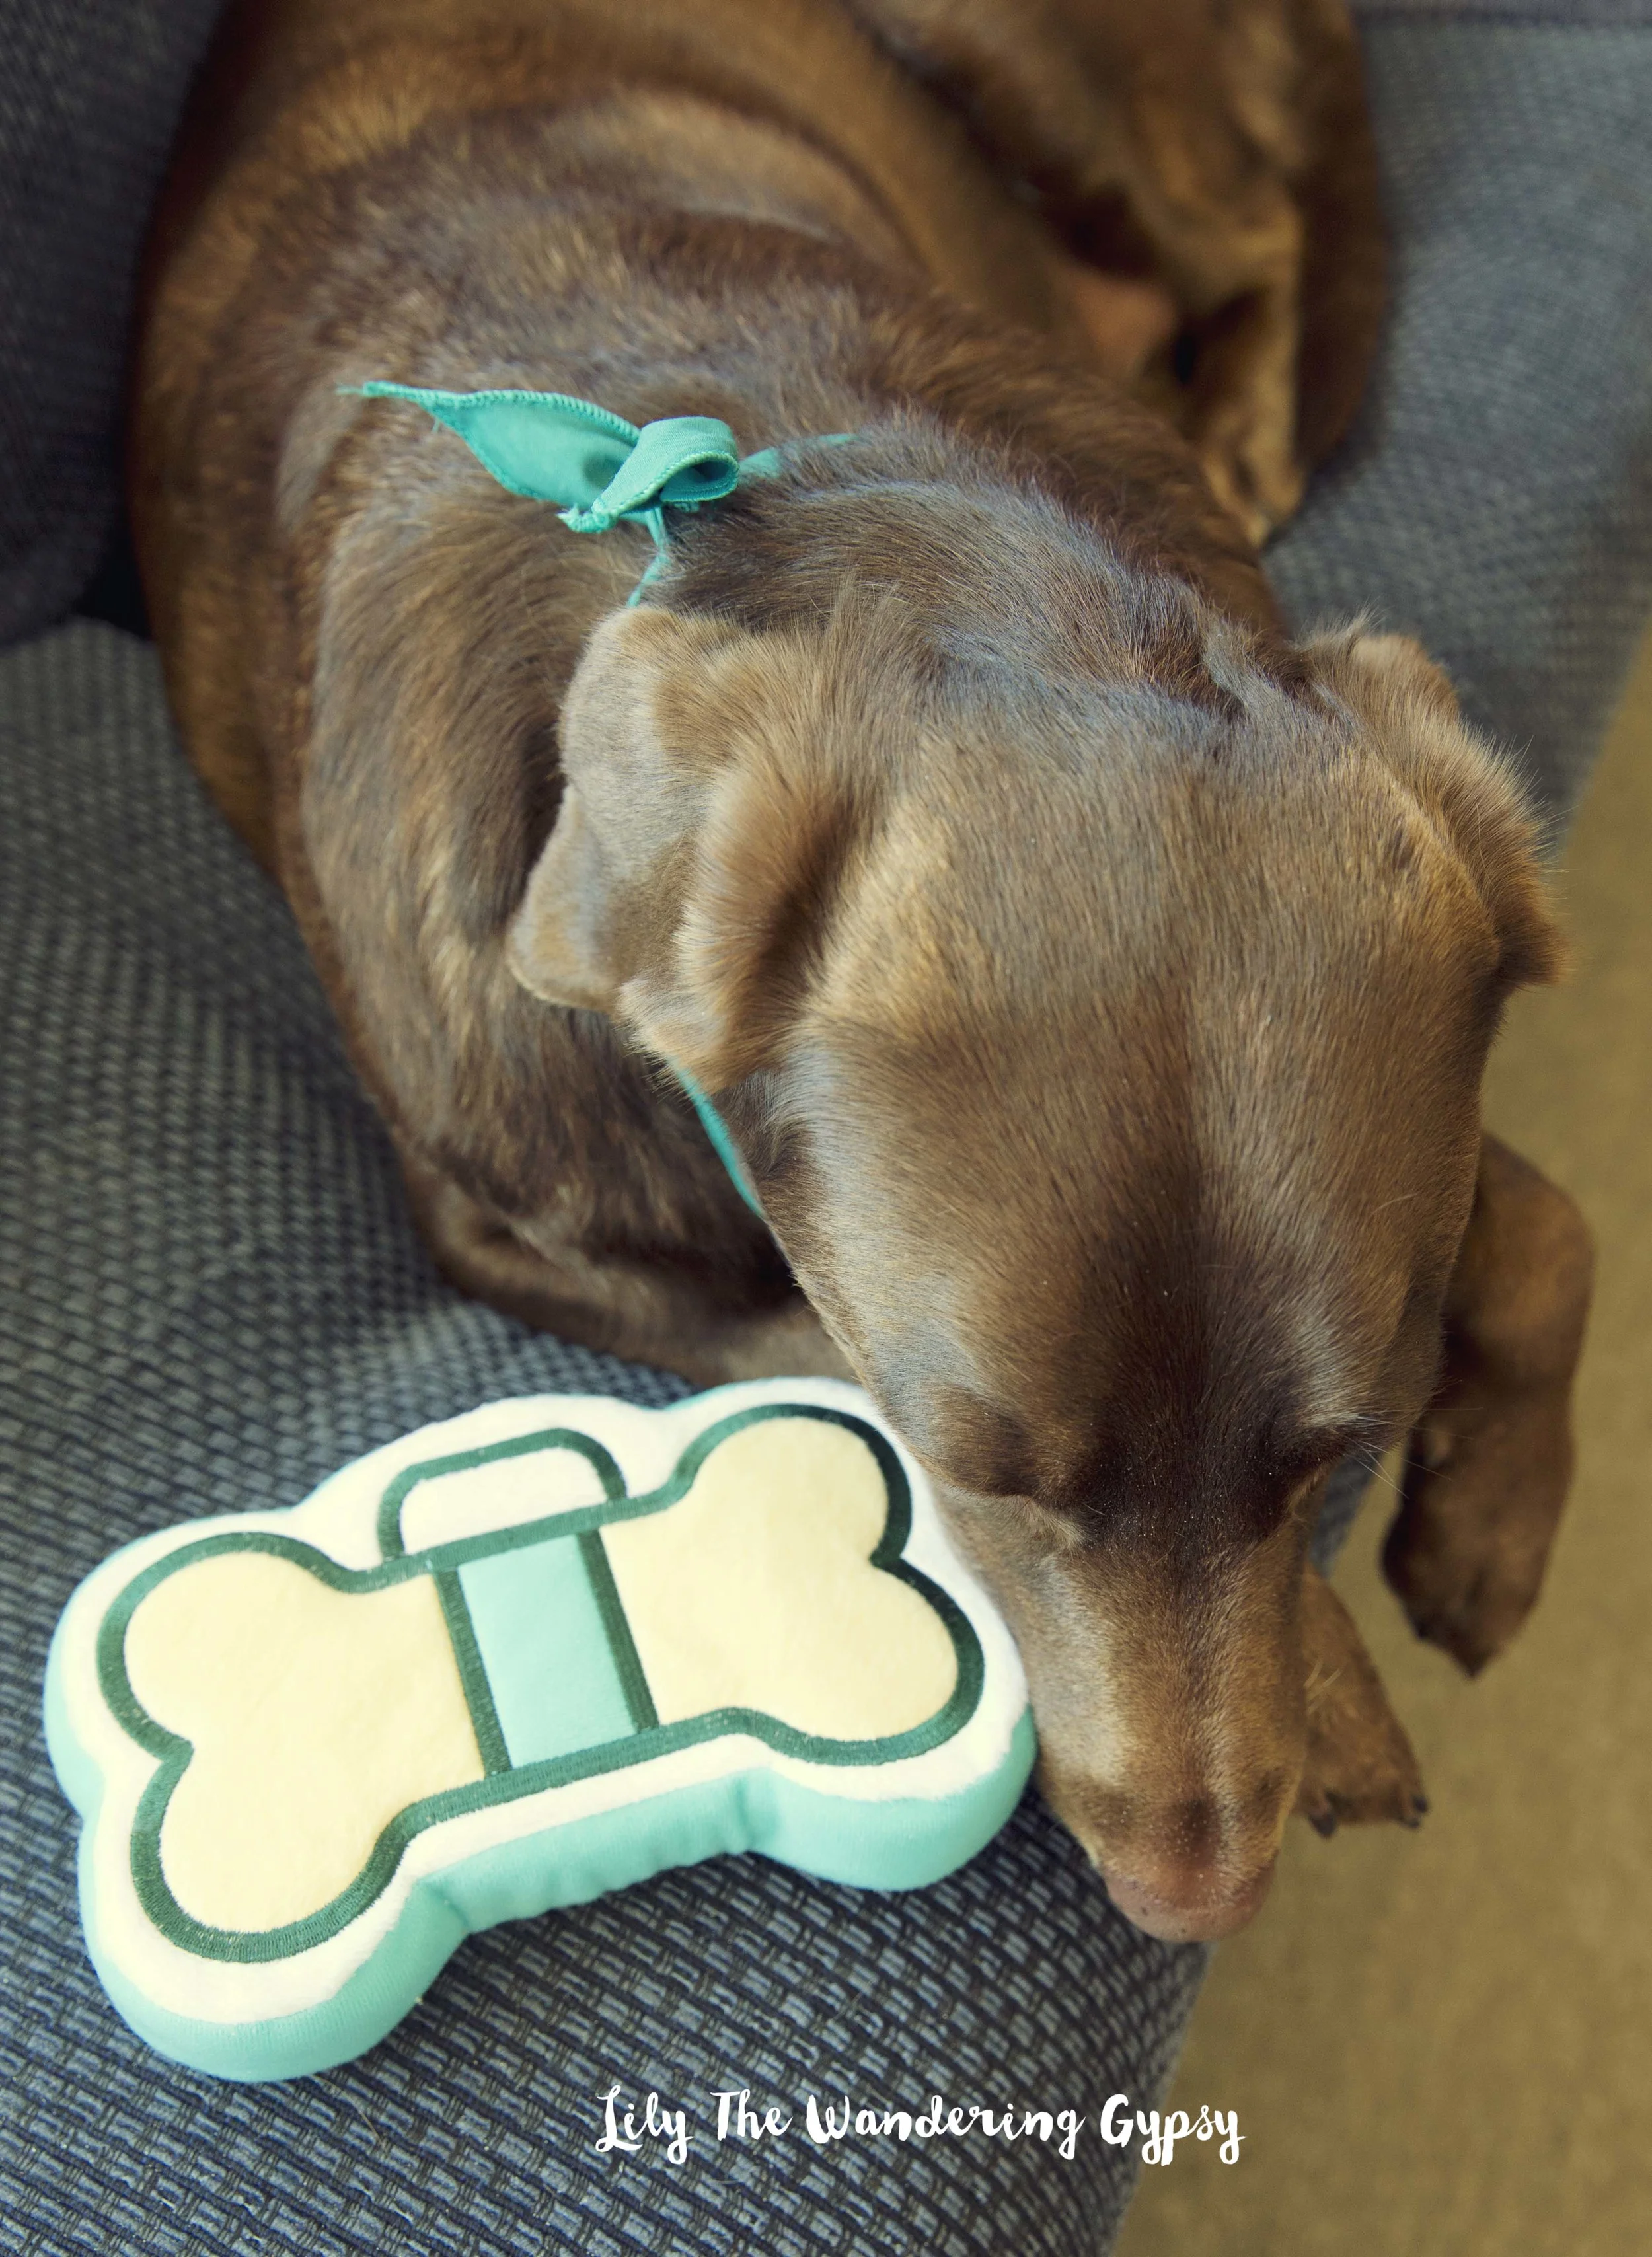
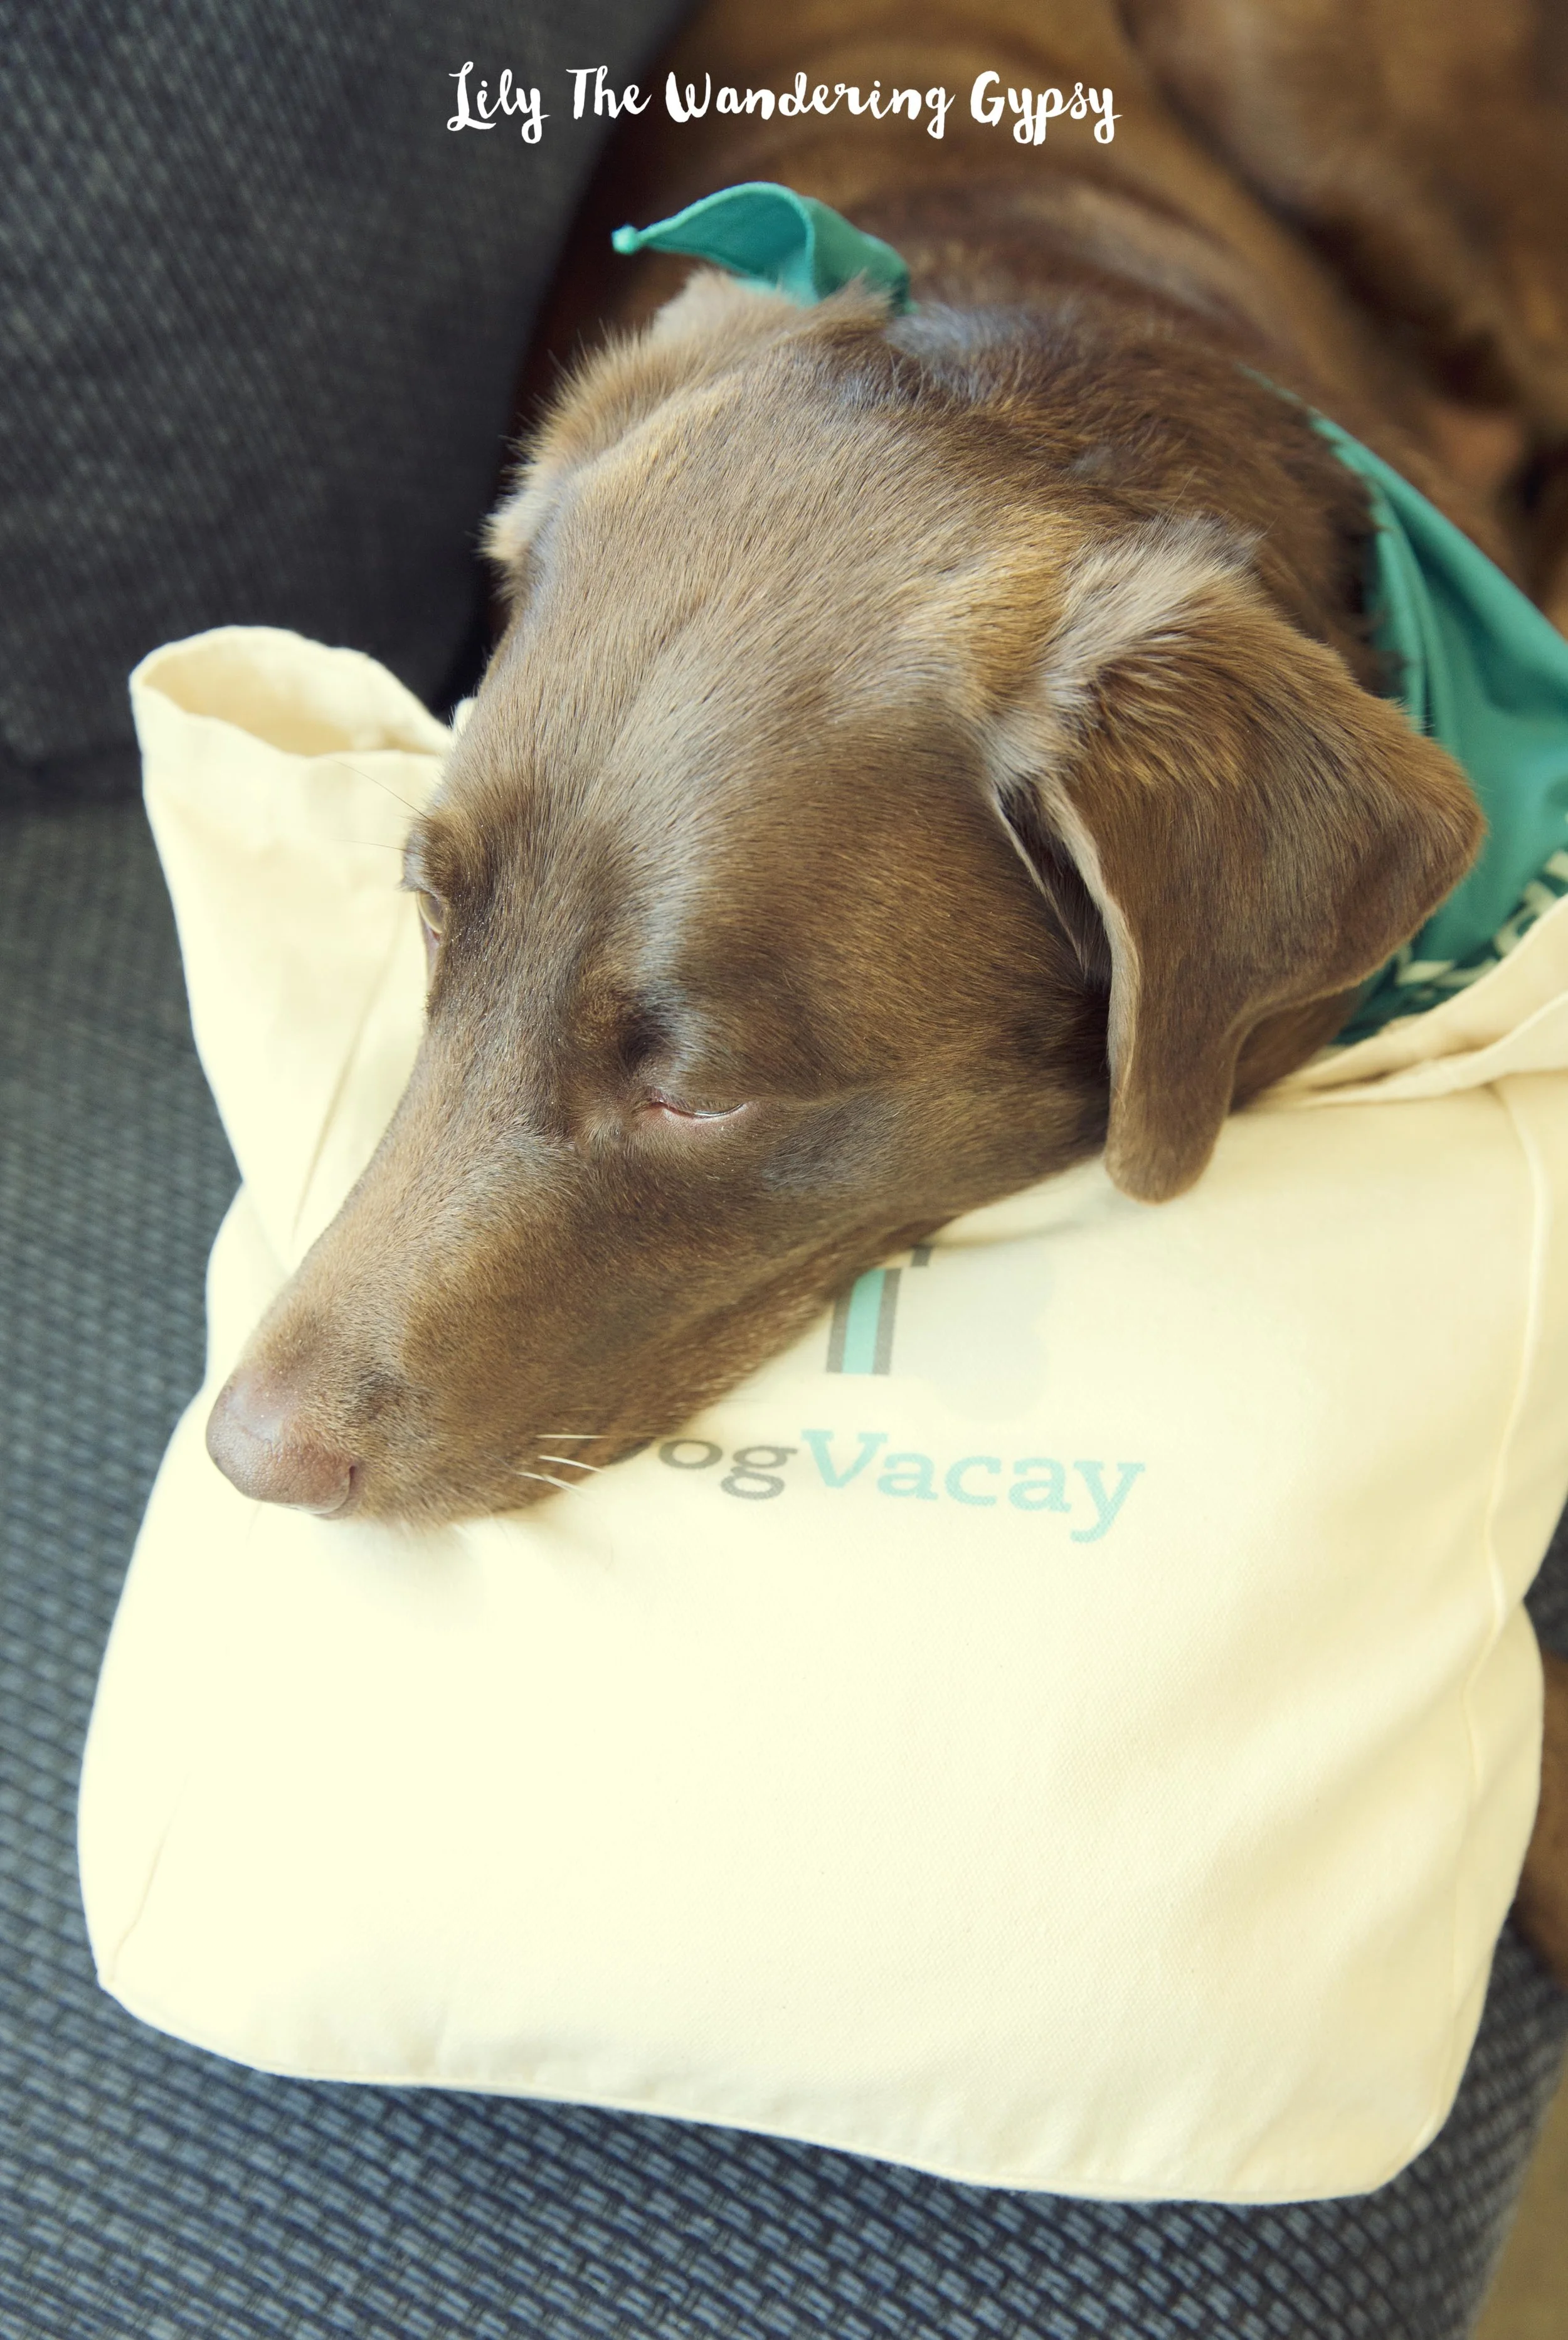
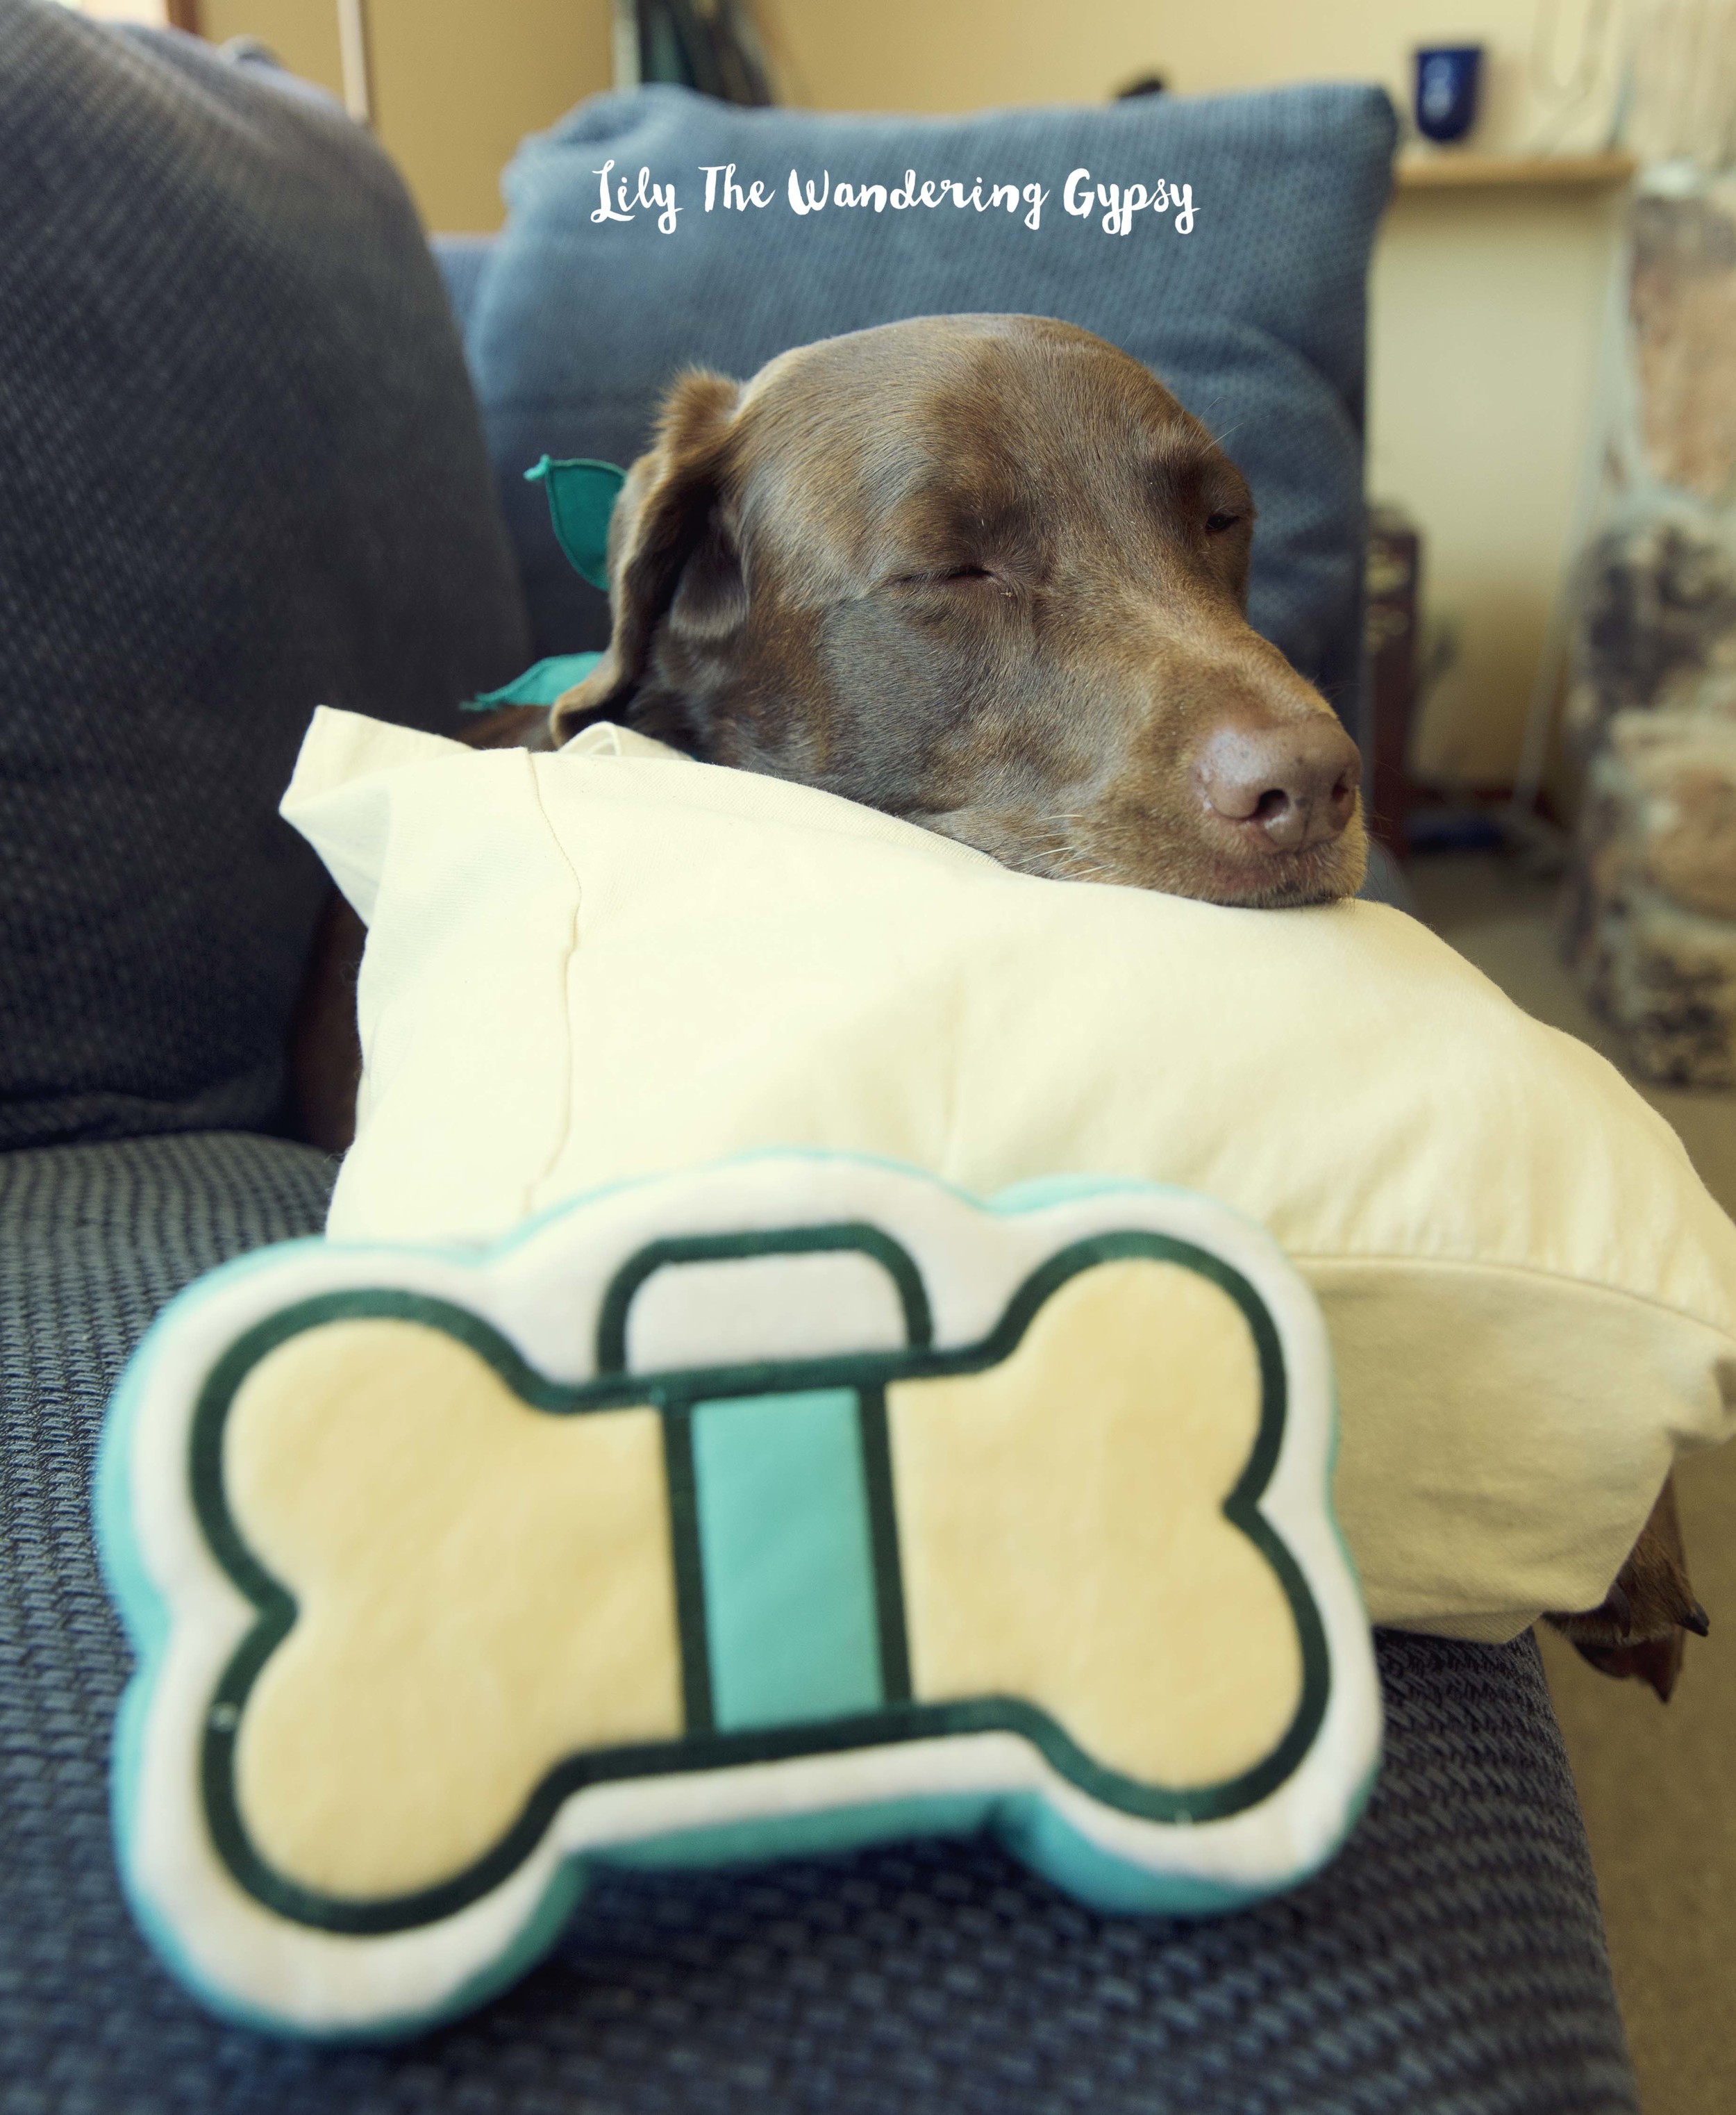
Sometimes, we are lucky enough to take our pups on vacation. But, sometimes, it's just not feasible. Next time I travel without my baby girl, I am considering using DogVacay! It's a service tat enables you to hire a dog (or cat) sitter to come to your house, or you can actually bring your pet to their house. There are thousands of sitters in the country, which is pretty cool, so most likely, someone close to your home can help you out.

Cabbie + DogVacay - Get a FREE day or night of Pet Sitting! Click the image to learn more!
In honor of New York Fashion Week, I wanted to show you what's in Cabbie's Bag! These are some of the items I would pack for her for a weekend away at a sitter's house.
Water and food bowl, toys, poo bags, lots and lots of treats, rawhides, leash, collar, E-Collar with remote, A blankie that smells like home, and her new dog bed.
DogVacay is an online community that connects dog owners with our 20,000 vetted and insured pet sitters across the US & Canada, ready to care for your dog like a member of their family in their home or yours.
All reservations include pet insurance, 24/7 customer support, and daily photo updates of your pooch enjoying a "Vacay" of his own. You can finally travel with peace of mind--at prices half the price of the local kennel.
How it works:
Type in your zip code and find a PAWesome sitter in your neighborhood.
Schedule a meet ‘n greet to meet your Host, then book your pup’s Vacay and pay online.
Receive photo updates showing how much fun your pup is having, and rest assured knowing each Vacay is covered with our free pet insurance and 24/7 customer care.
Featured in the Wall Street Journal, the NY Times, Forbes and The Today Show.
Who can Host? You! Whether you're a professional dog sitter or just a regular dog lover, DogVacay makes it easy to earn money watching pups. Simply create a free profile, set your own rates, decide which dogs to take and when to take them. We do the rest!
With over 1 Million doggie nights booked, our Hosts rest easy knowing each Vacay is covered by insurance and 24/7 customer care.

Use code WANDERINGGYPSY for a FREE day or night of pet sitting on DogVacay!!
Cabbie + DogVacay

Cabbie + DogVacay
So, remember, if your fur baby needs a sitter while you are away, DogVacay has you covered! Get a FREE day or night of sitting with code WANDERINGGYPSY.
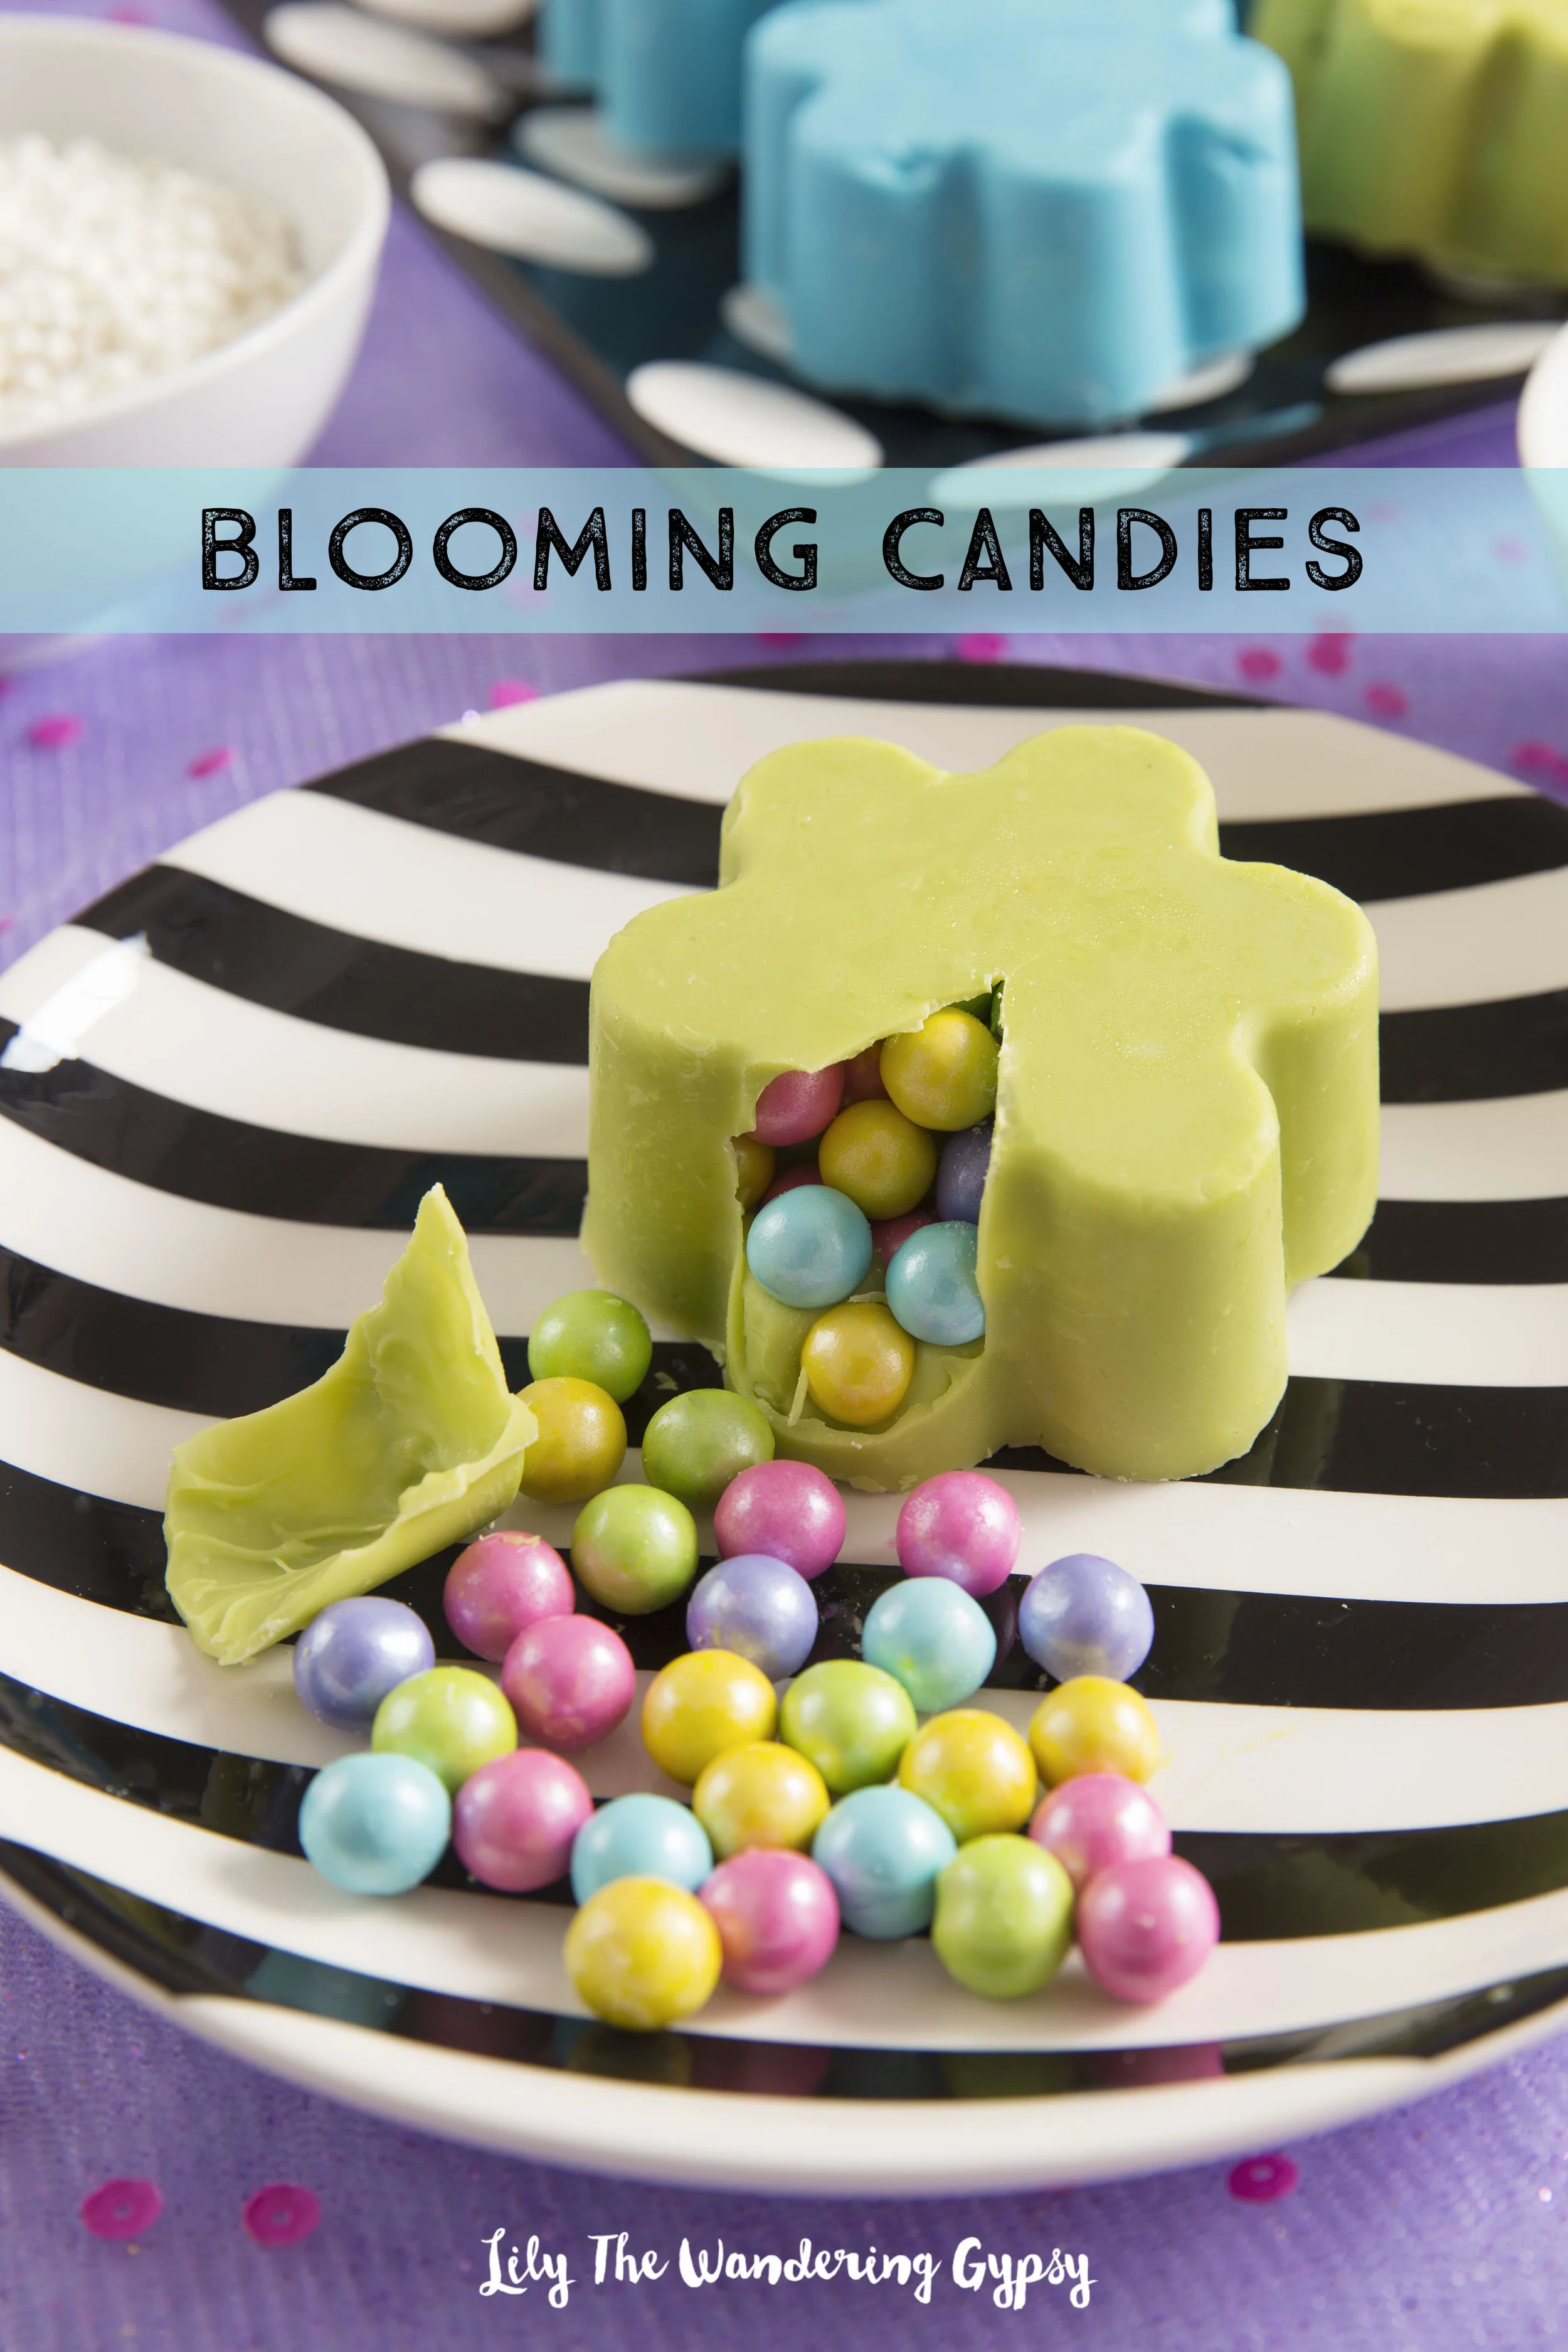
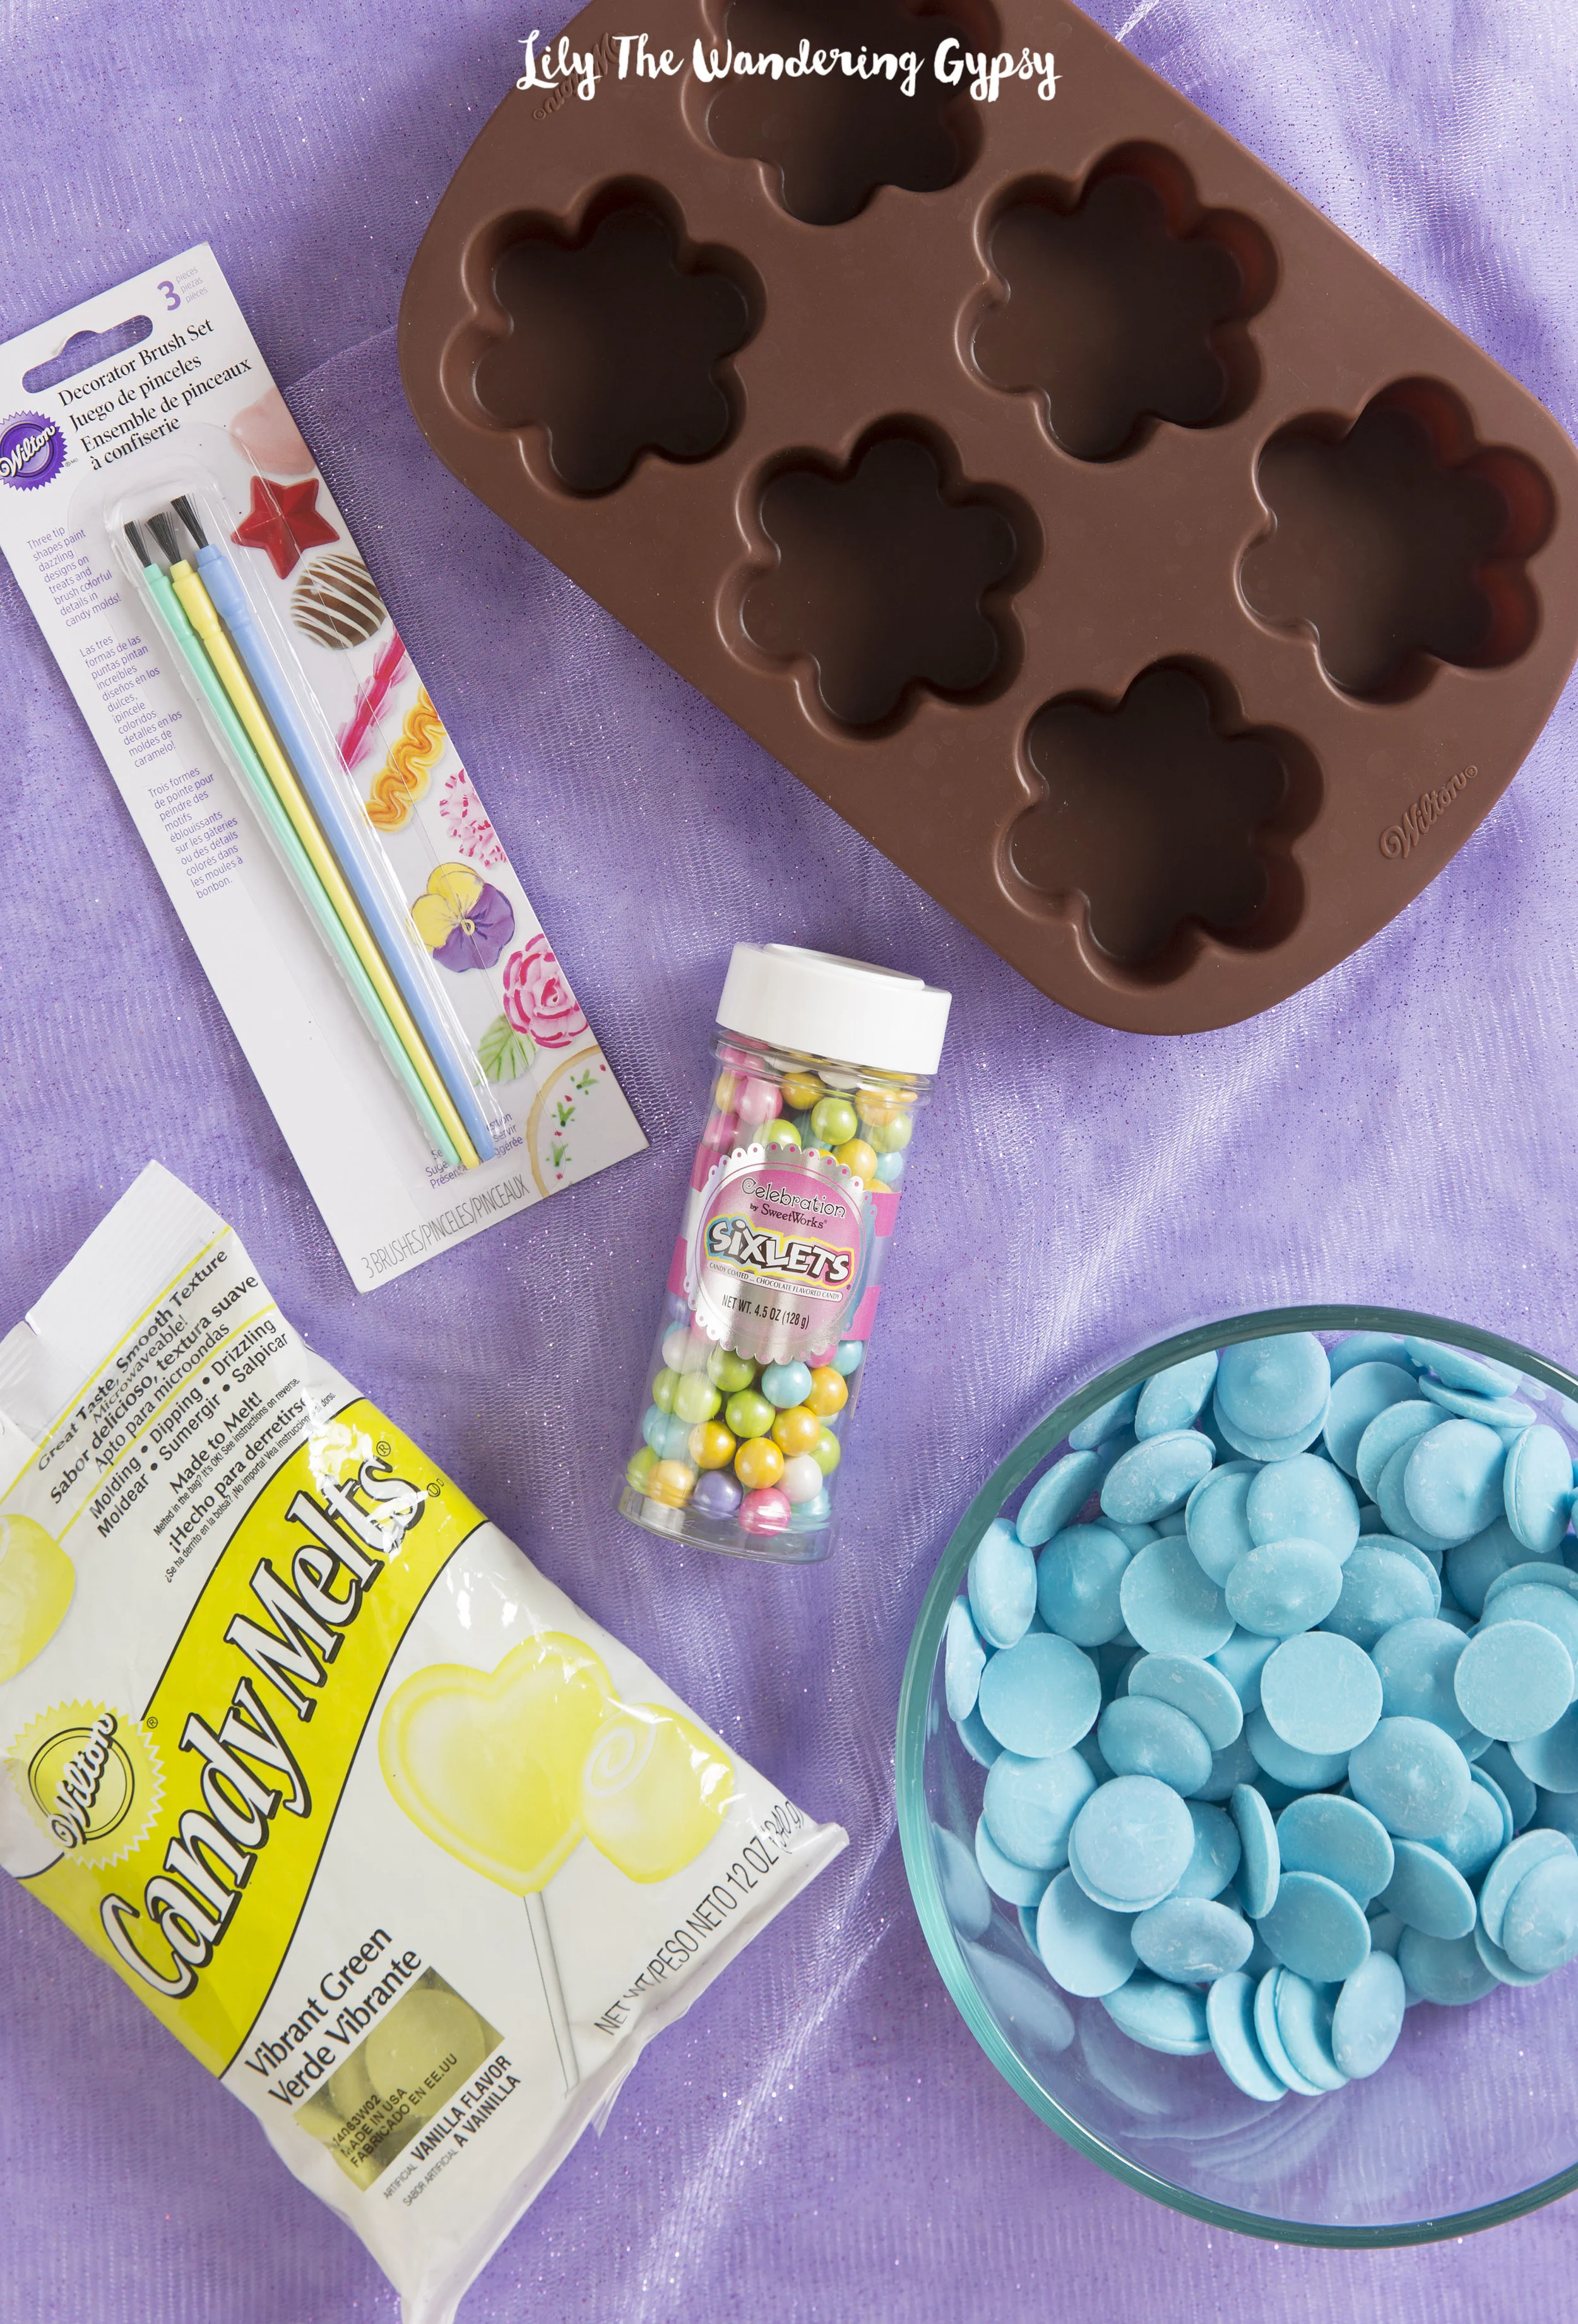
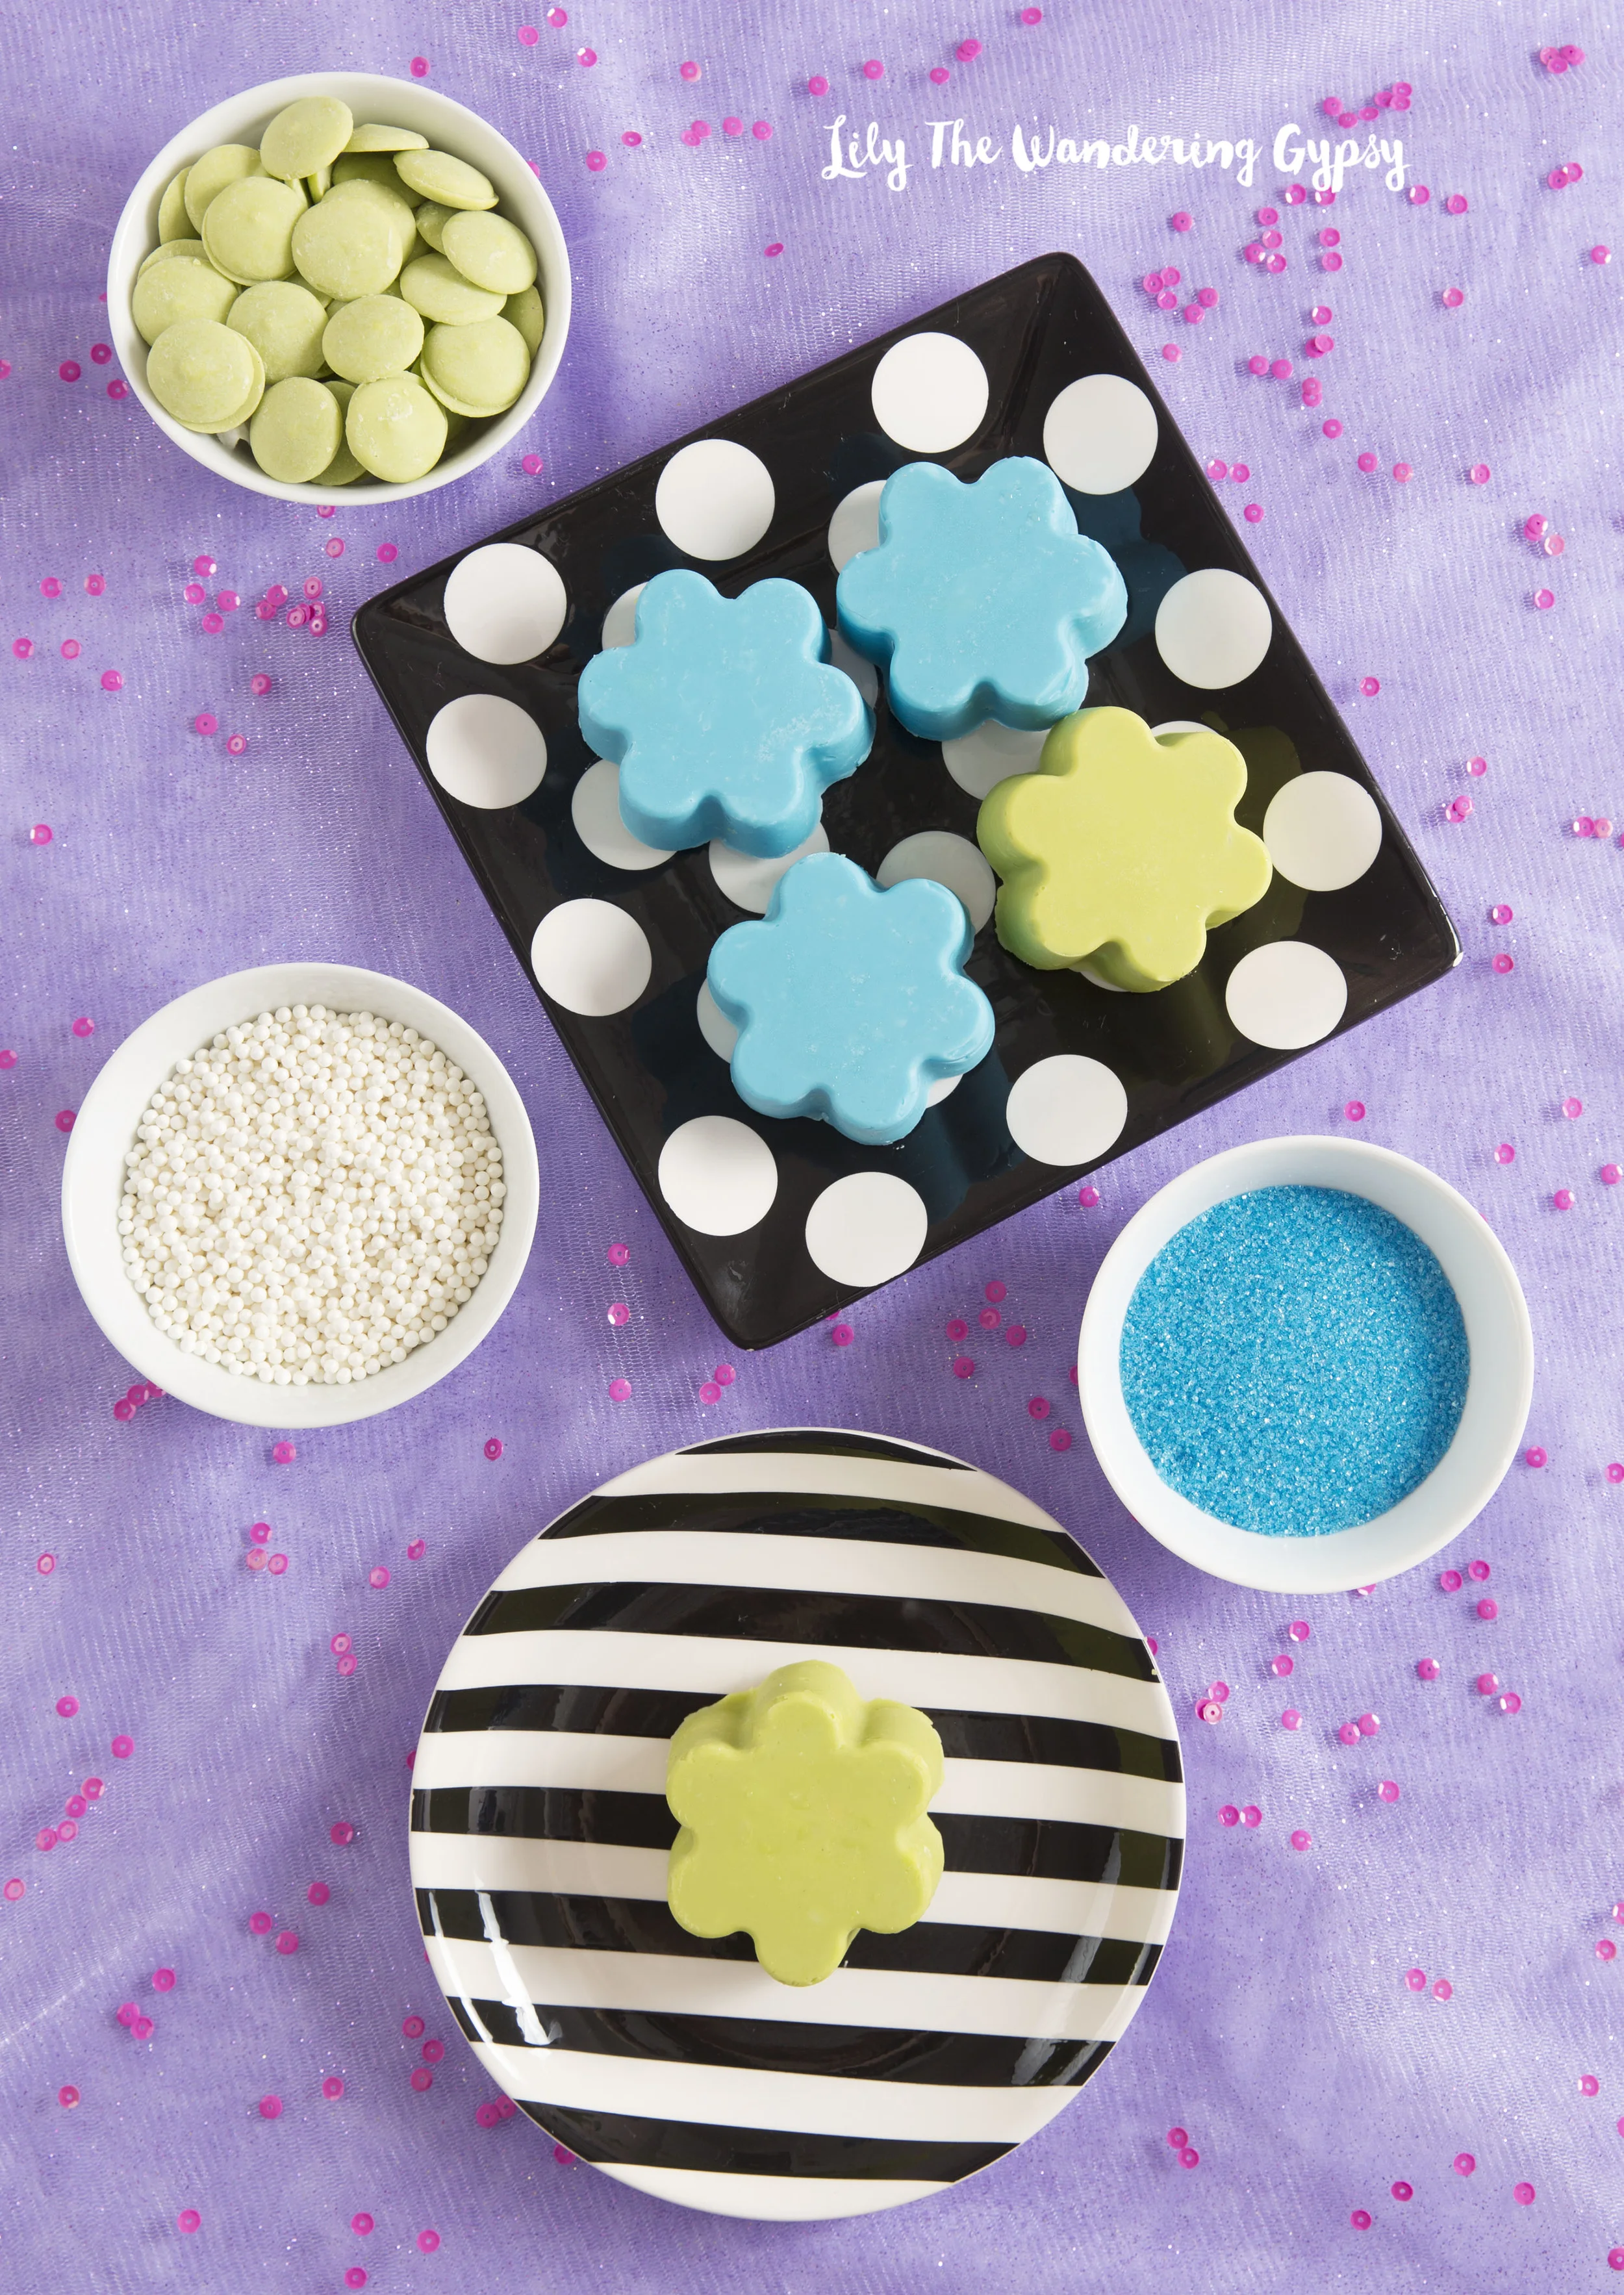
I had so much fun creating this project! I was inspired by summer, and all the pretty flowers that are blooming right now! For this recipe, I used silicone brownie molds, so I could fill them with tons of candy. I also used Blue and Vibrant Green Candy Melts. My filler candies were Sixlets, found here. See the list of ingredients below...and have FUN! You can make these in just about any color combo, for special events, holidays, and sporting events.

You only need a few simple ingredients! Some Sixlets Candies, candy melts, and a candy mould.
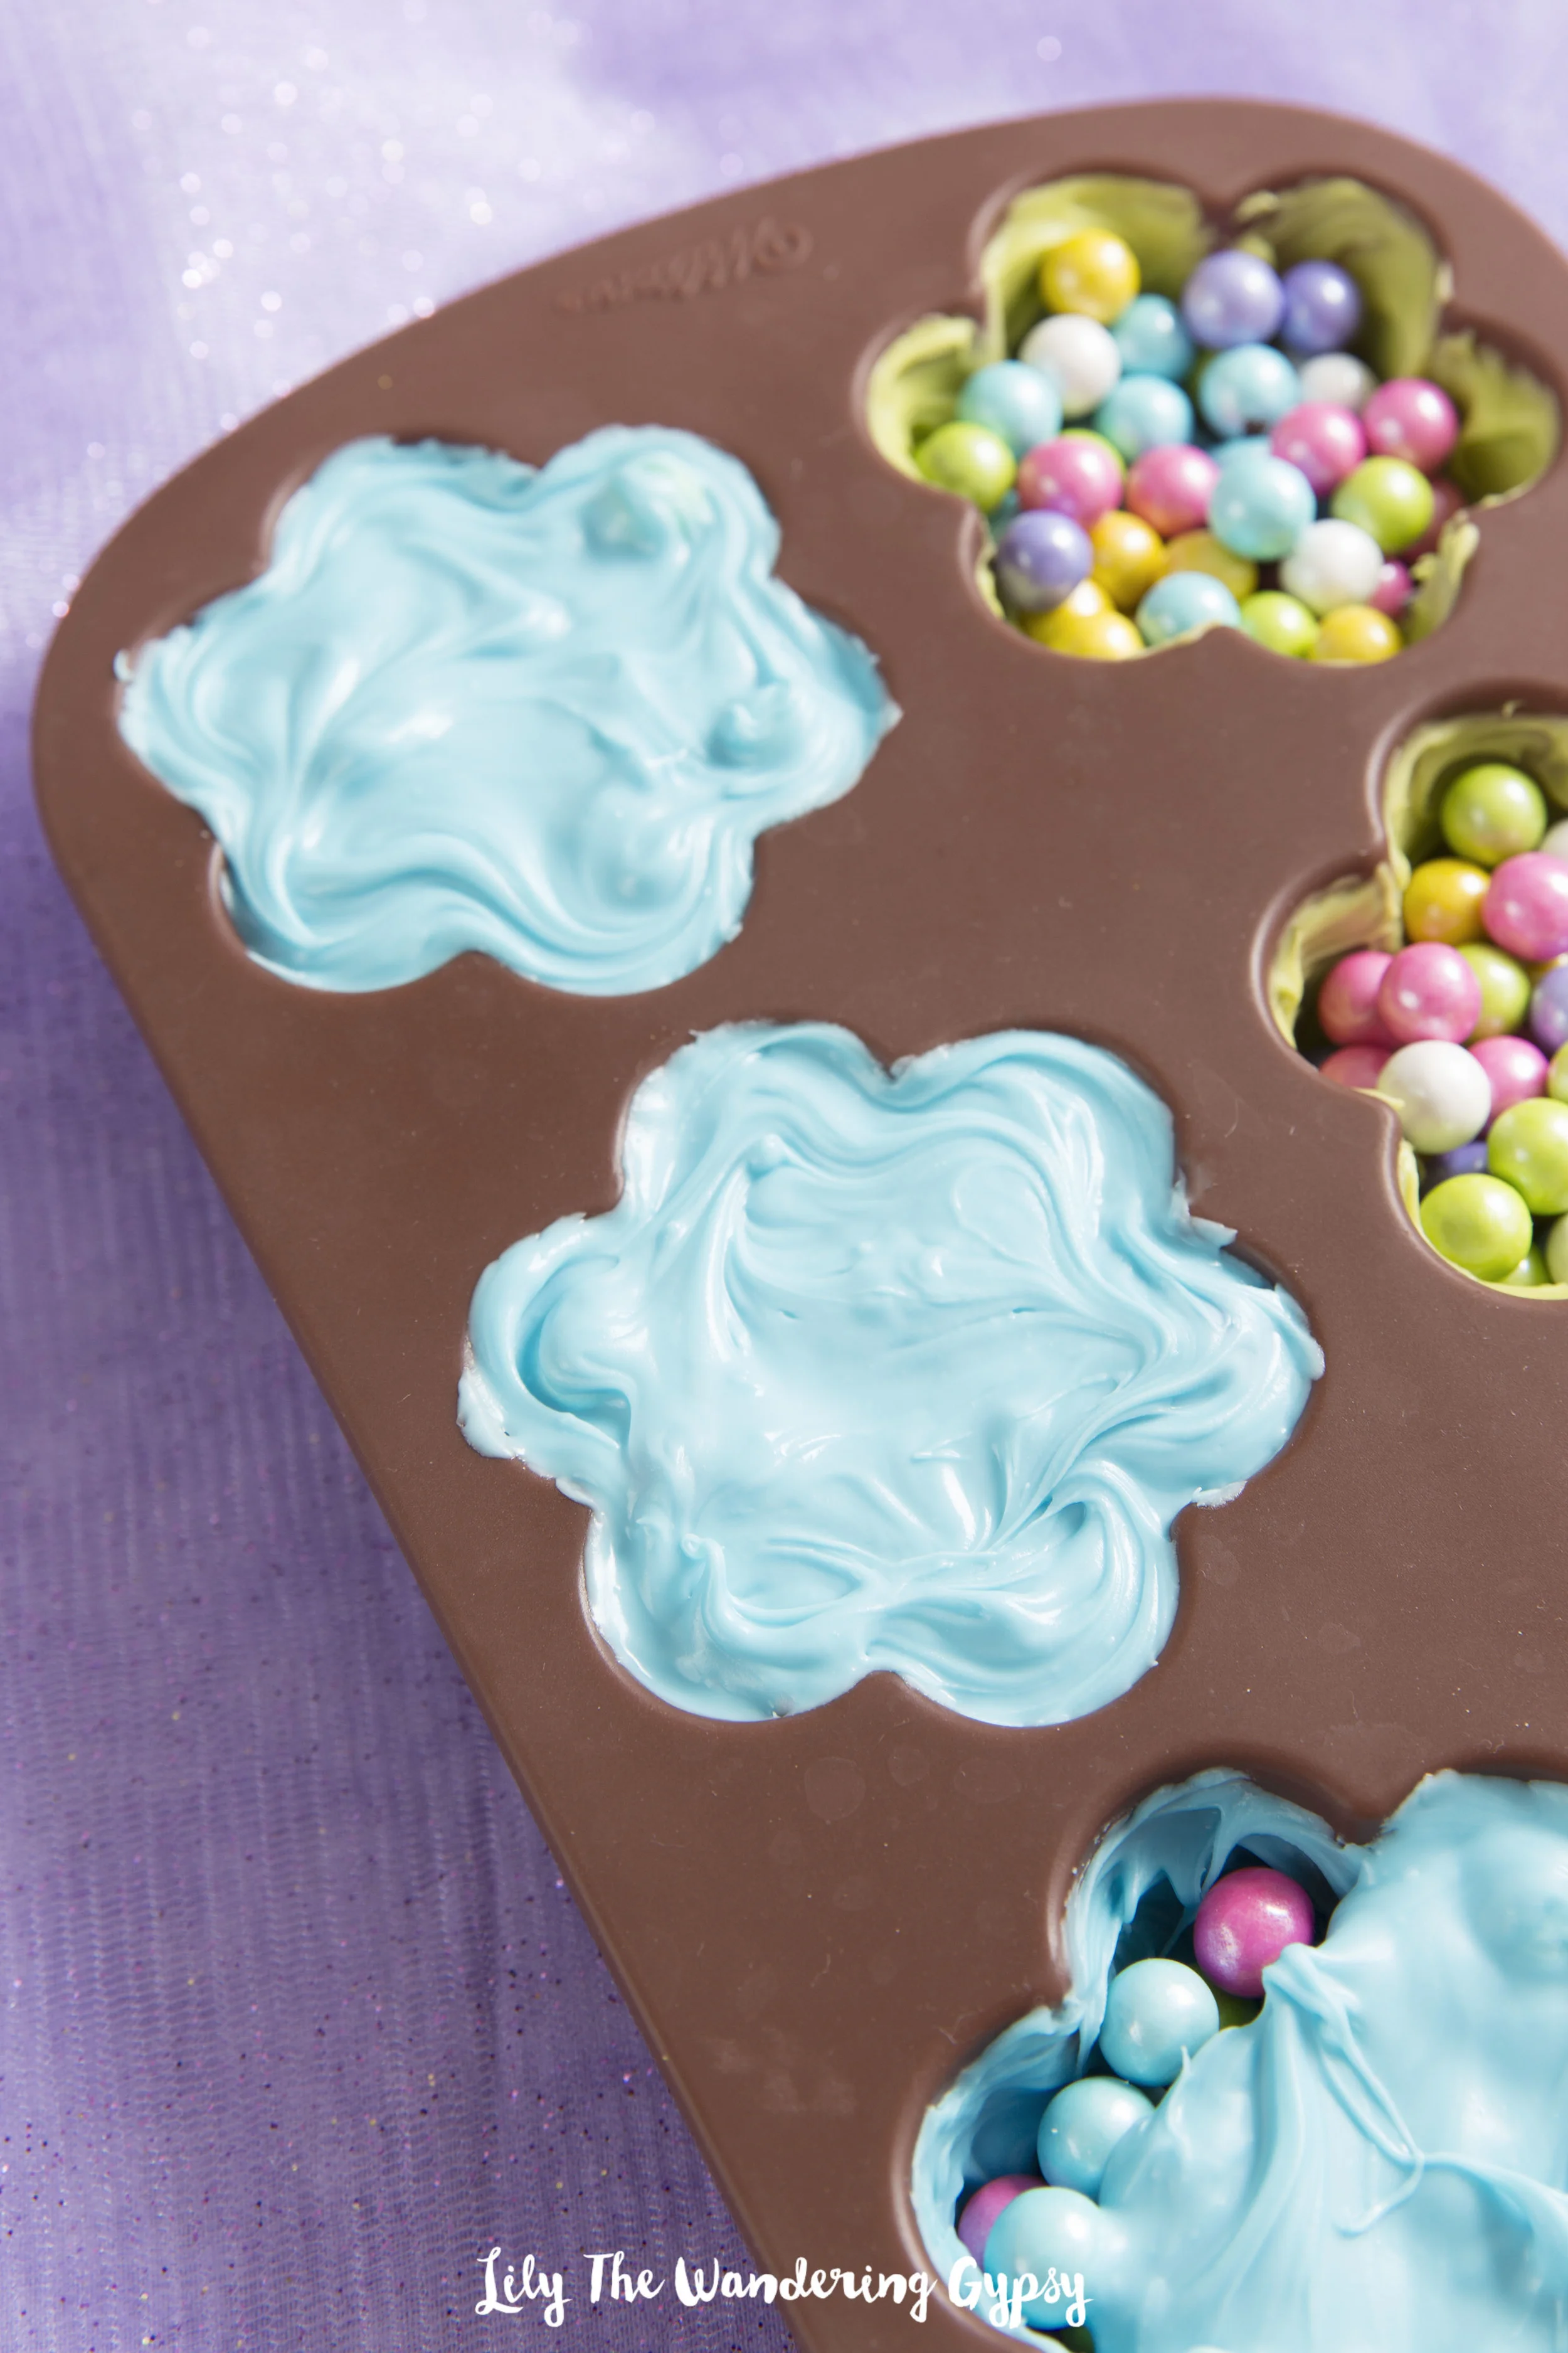
1.) Melt your candy melts in 2 separate containers, either in the microwave or in a double boiler method, which I did. I found that using a 2 cup Pyrex measuring cup, which held one package of candy melts worked great! Fill a small saucepan with 2-3 inches of water, and pour your melts into the measuring cup. Insert cup into water, heat water over medium of high heat and stir melts frequently until smooth. (See photo below for tips)...

Texture Test (above) - The blue one looks right, but NOT the green one! If your melts form more of a paste than a smooth and satiny texture, try again.
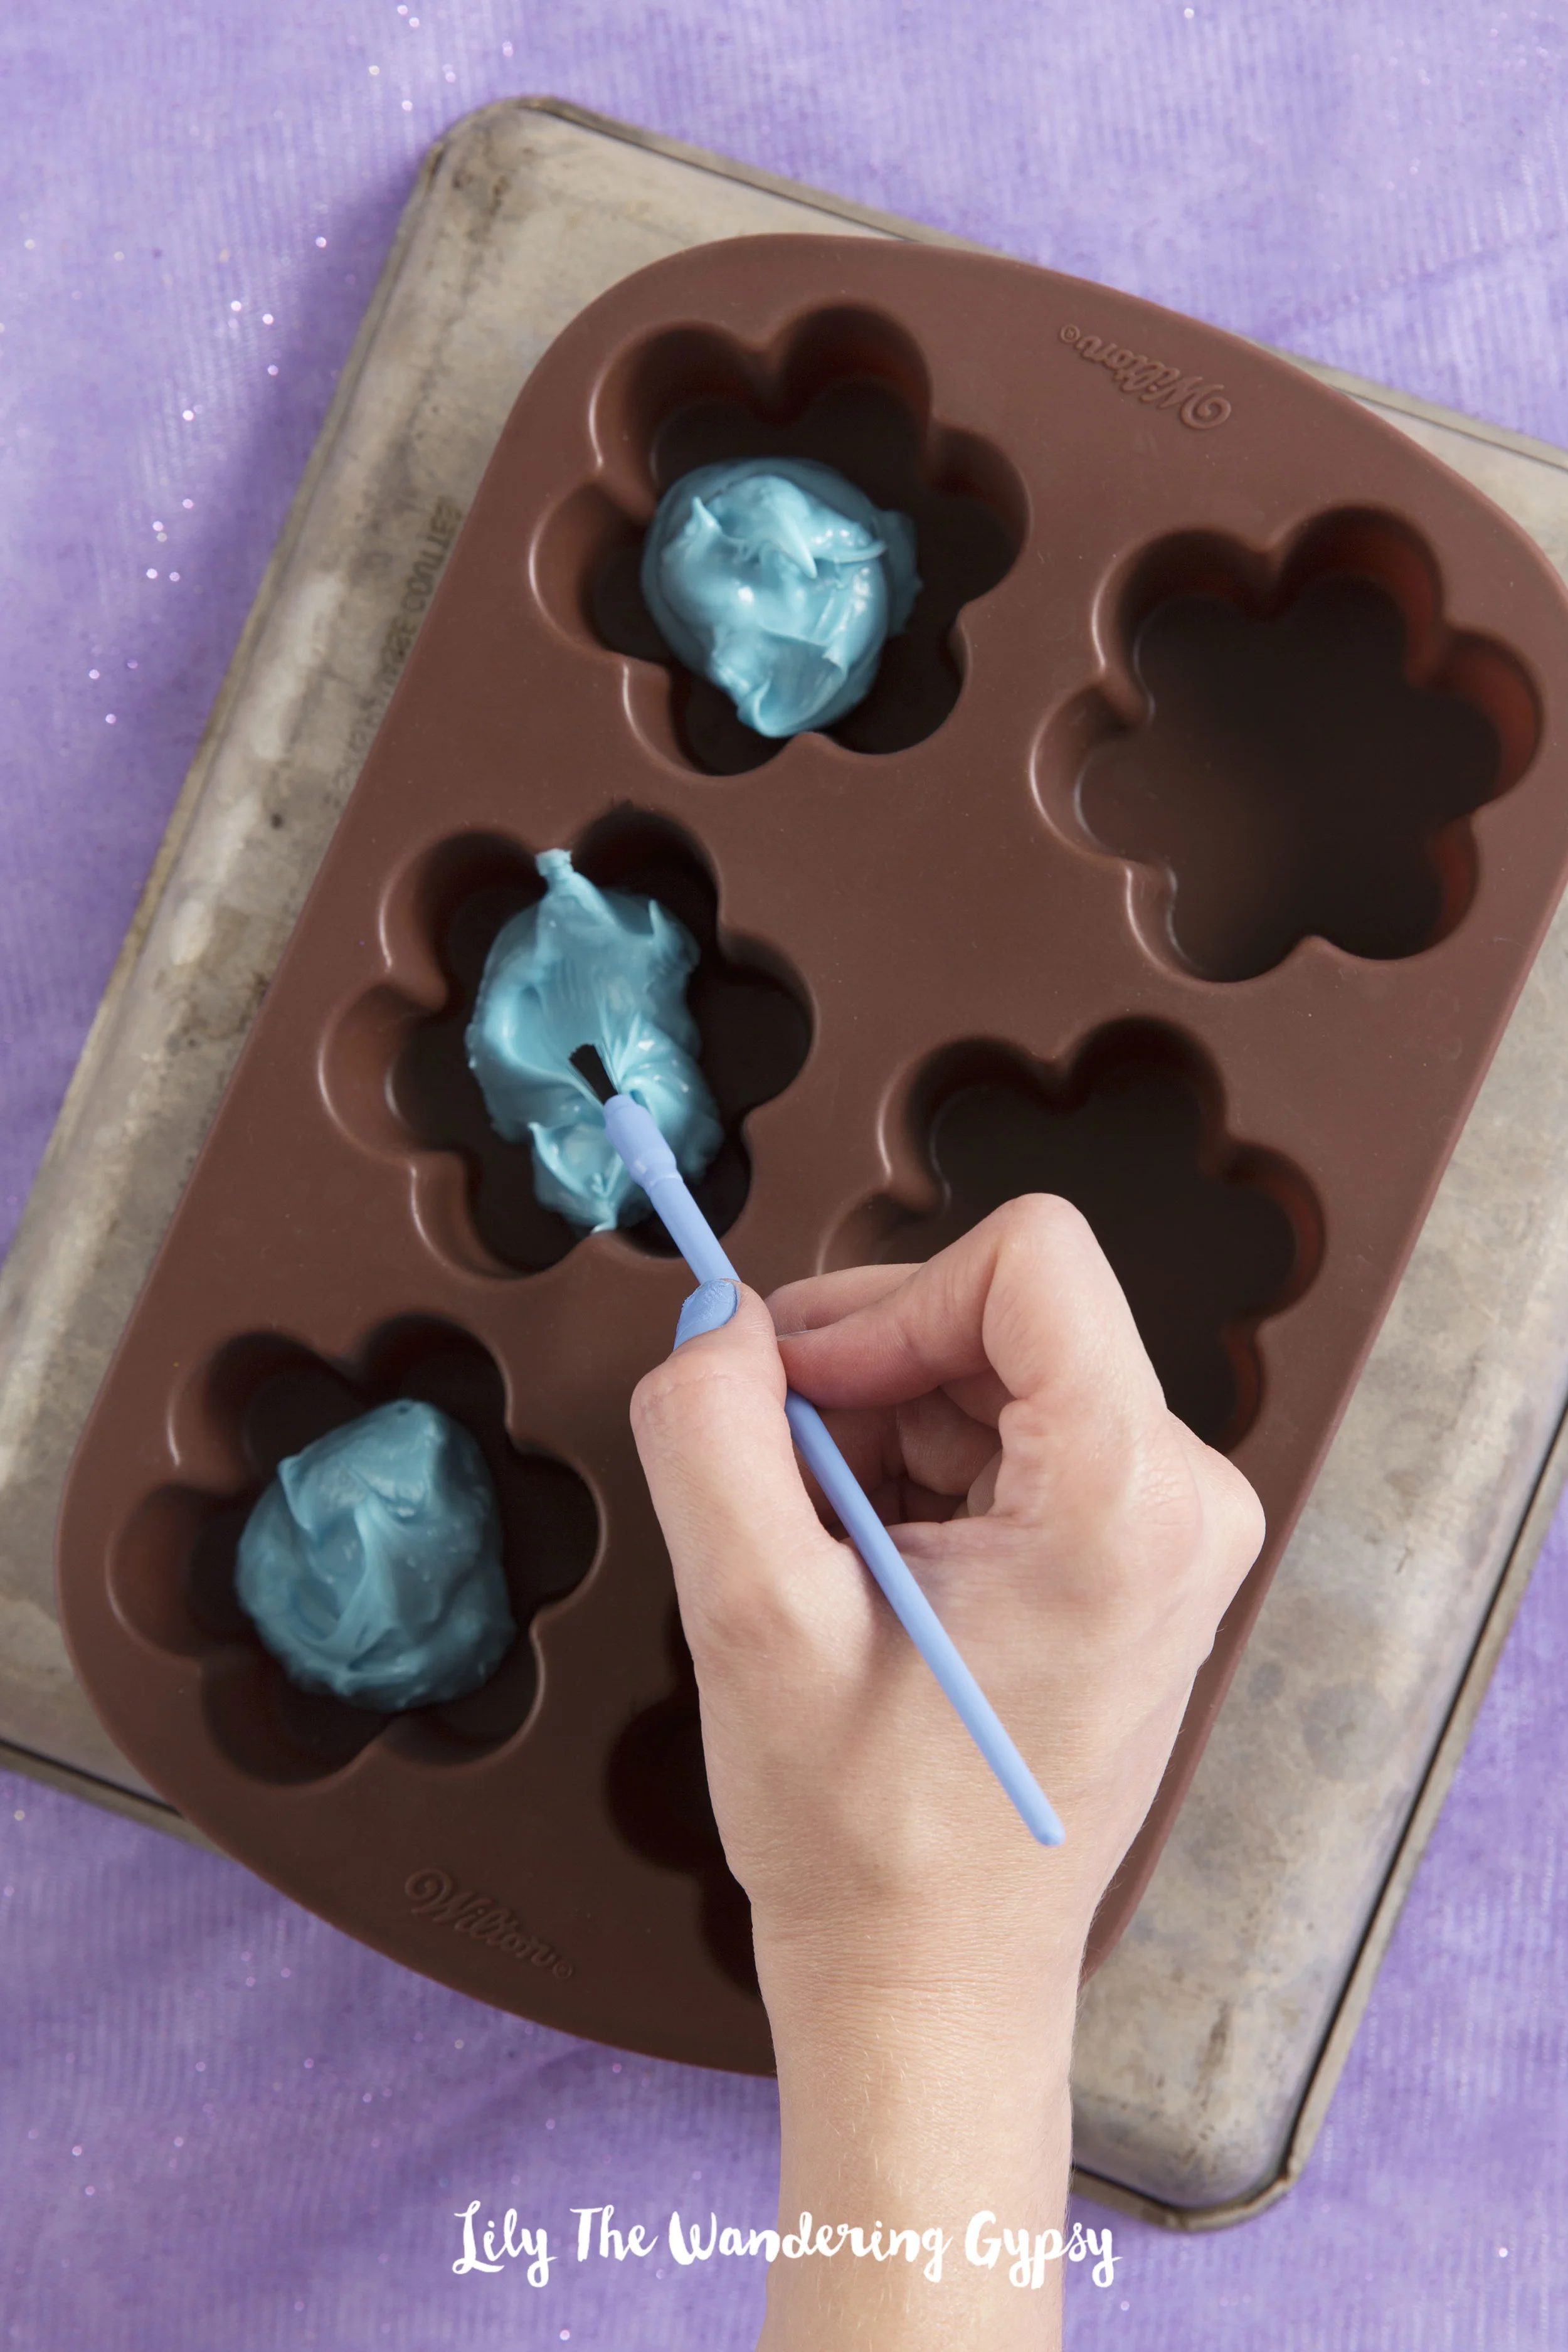
2.) Using a paintbrush to spread the candy molds was a priceless tip! The brush gives you way more control than a knife or spoon. This step took a while, but was definitely fun. I searched around just about every craft store for these brushes, and finally found them at JoAnns! I originally searched for cheap kids' paintbrushes, and found nothing. Luckily I persisted :)
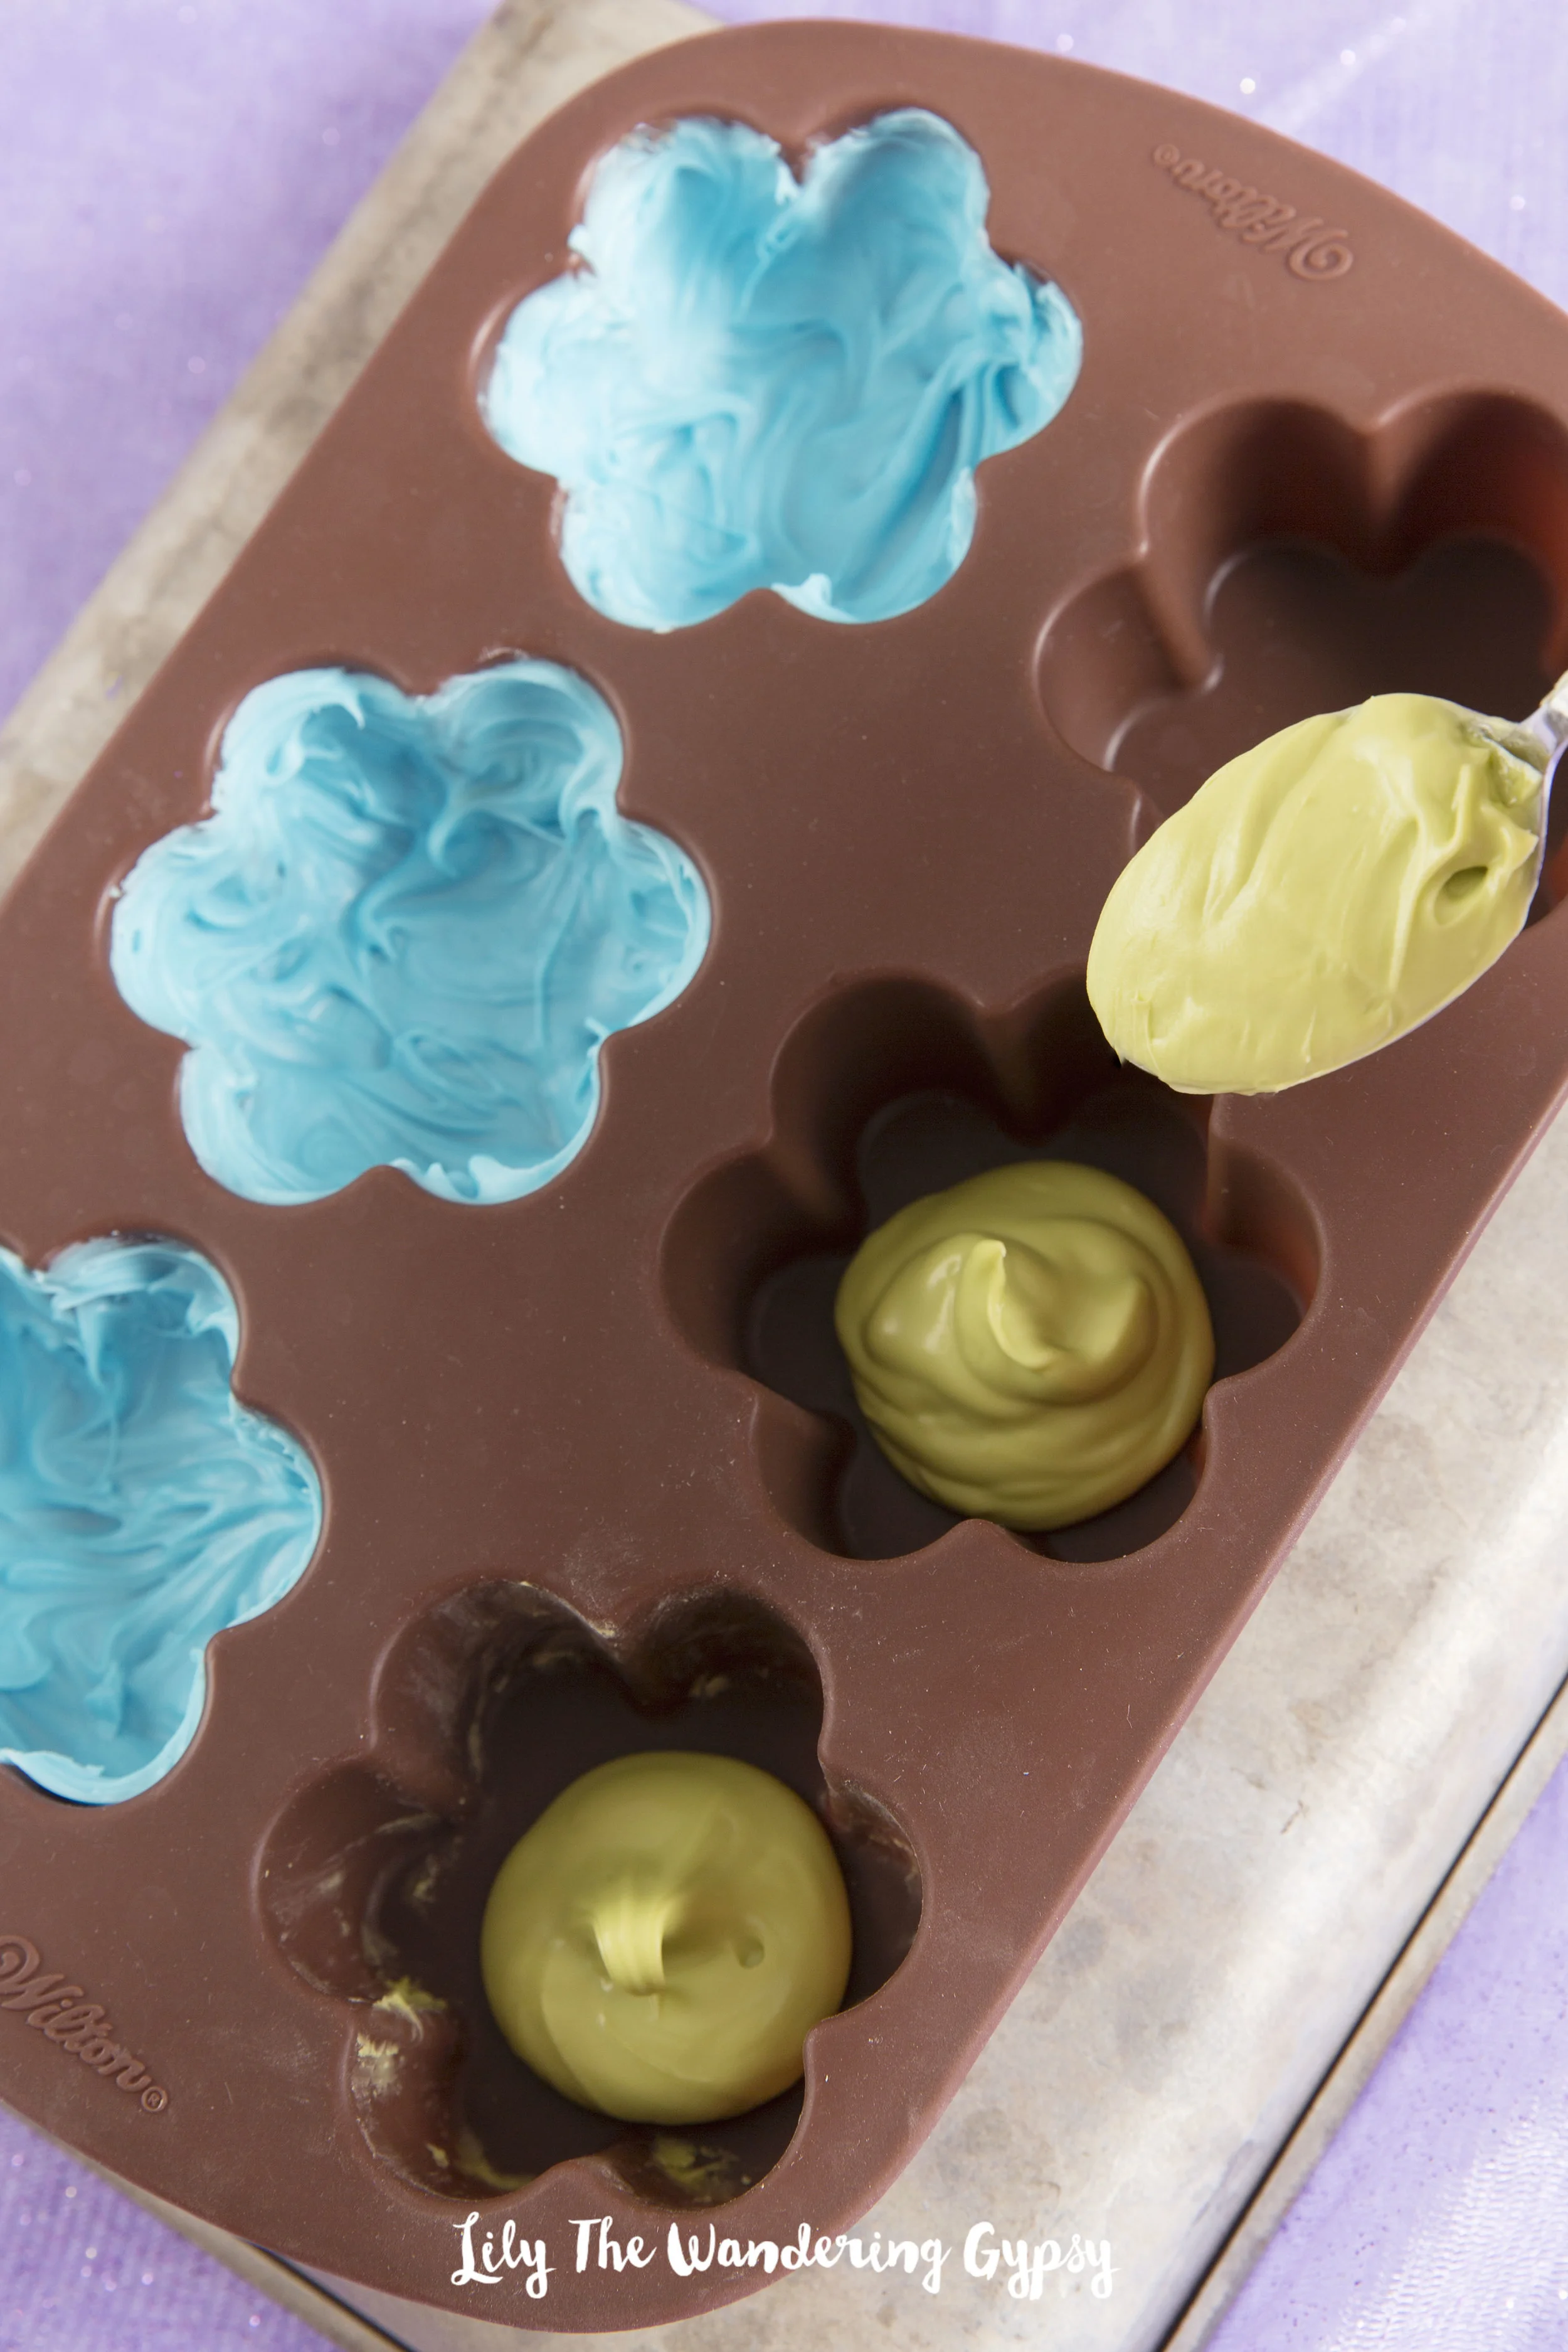
3.) See how I spread the blue candy melts into the molds with a paintbrush, and am about to spread the green candies next. I added about double this amount (that you see in green) to fill the mold at first. After you fill the molds, pop the candies into the freezer for about 5 minutes.
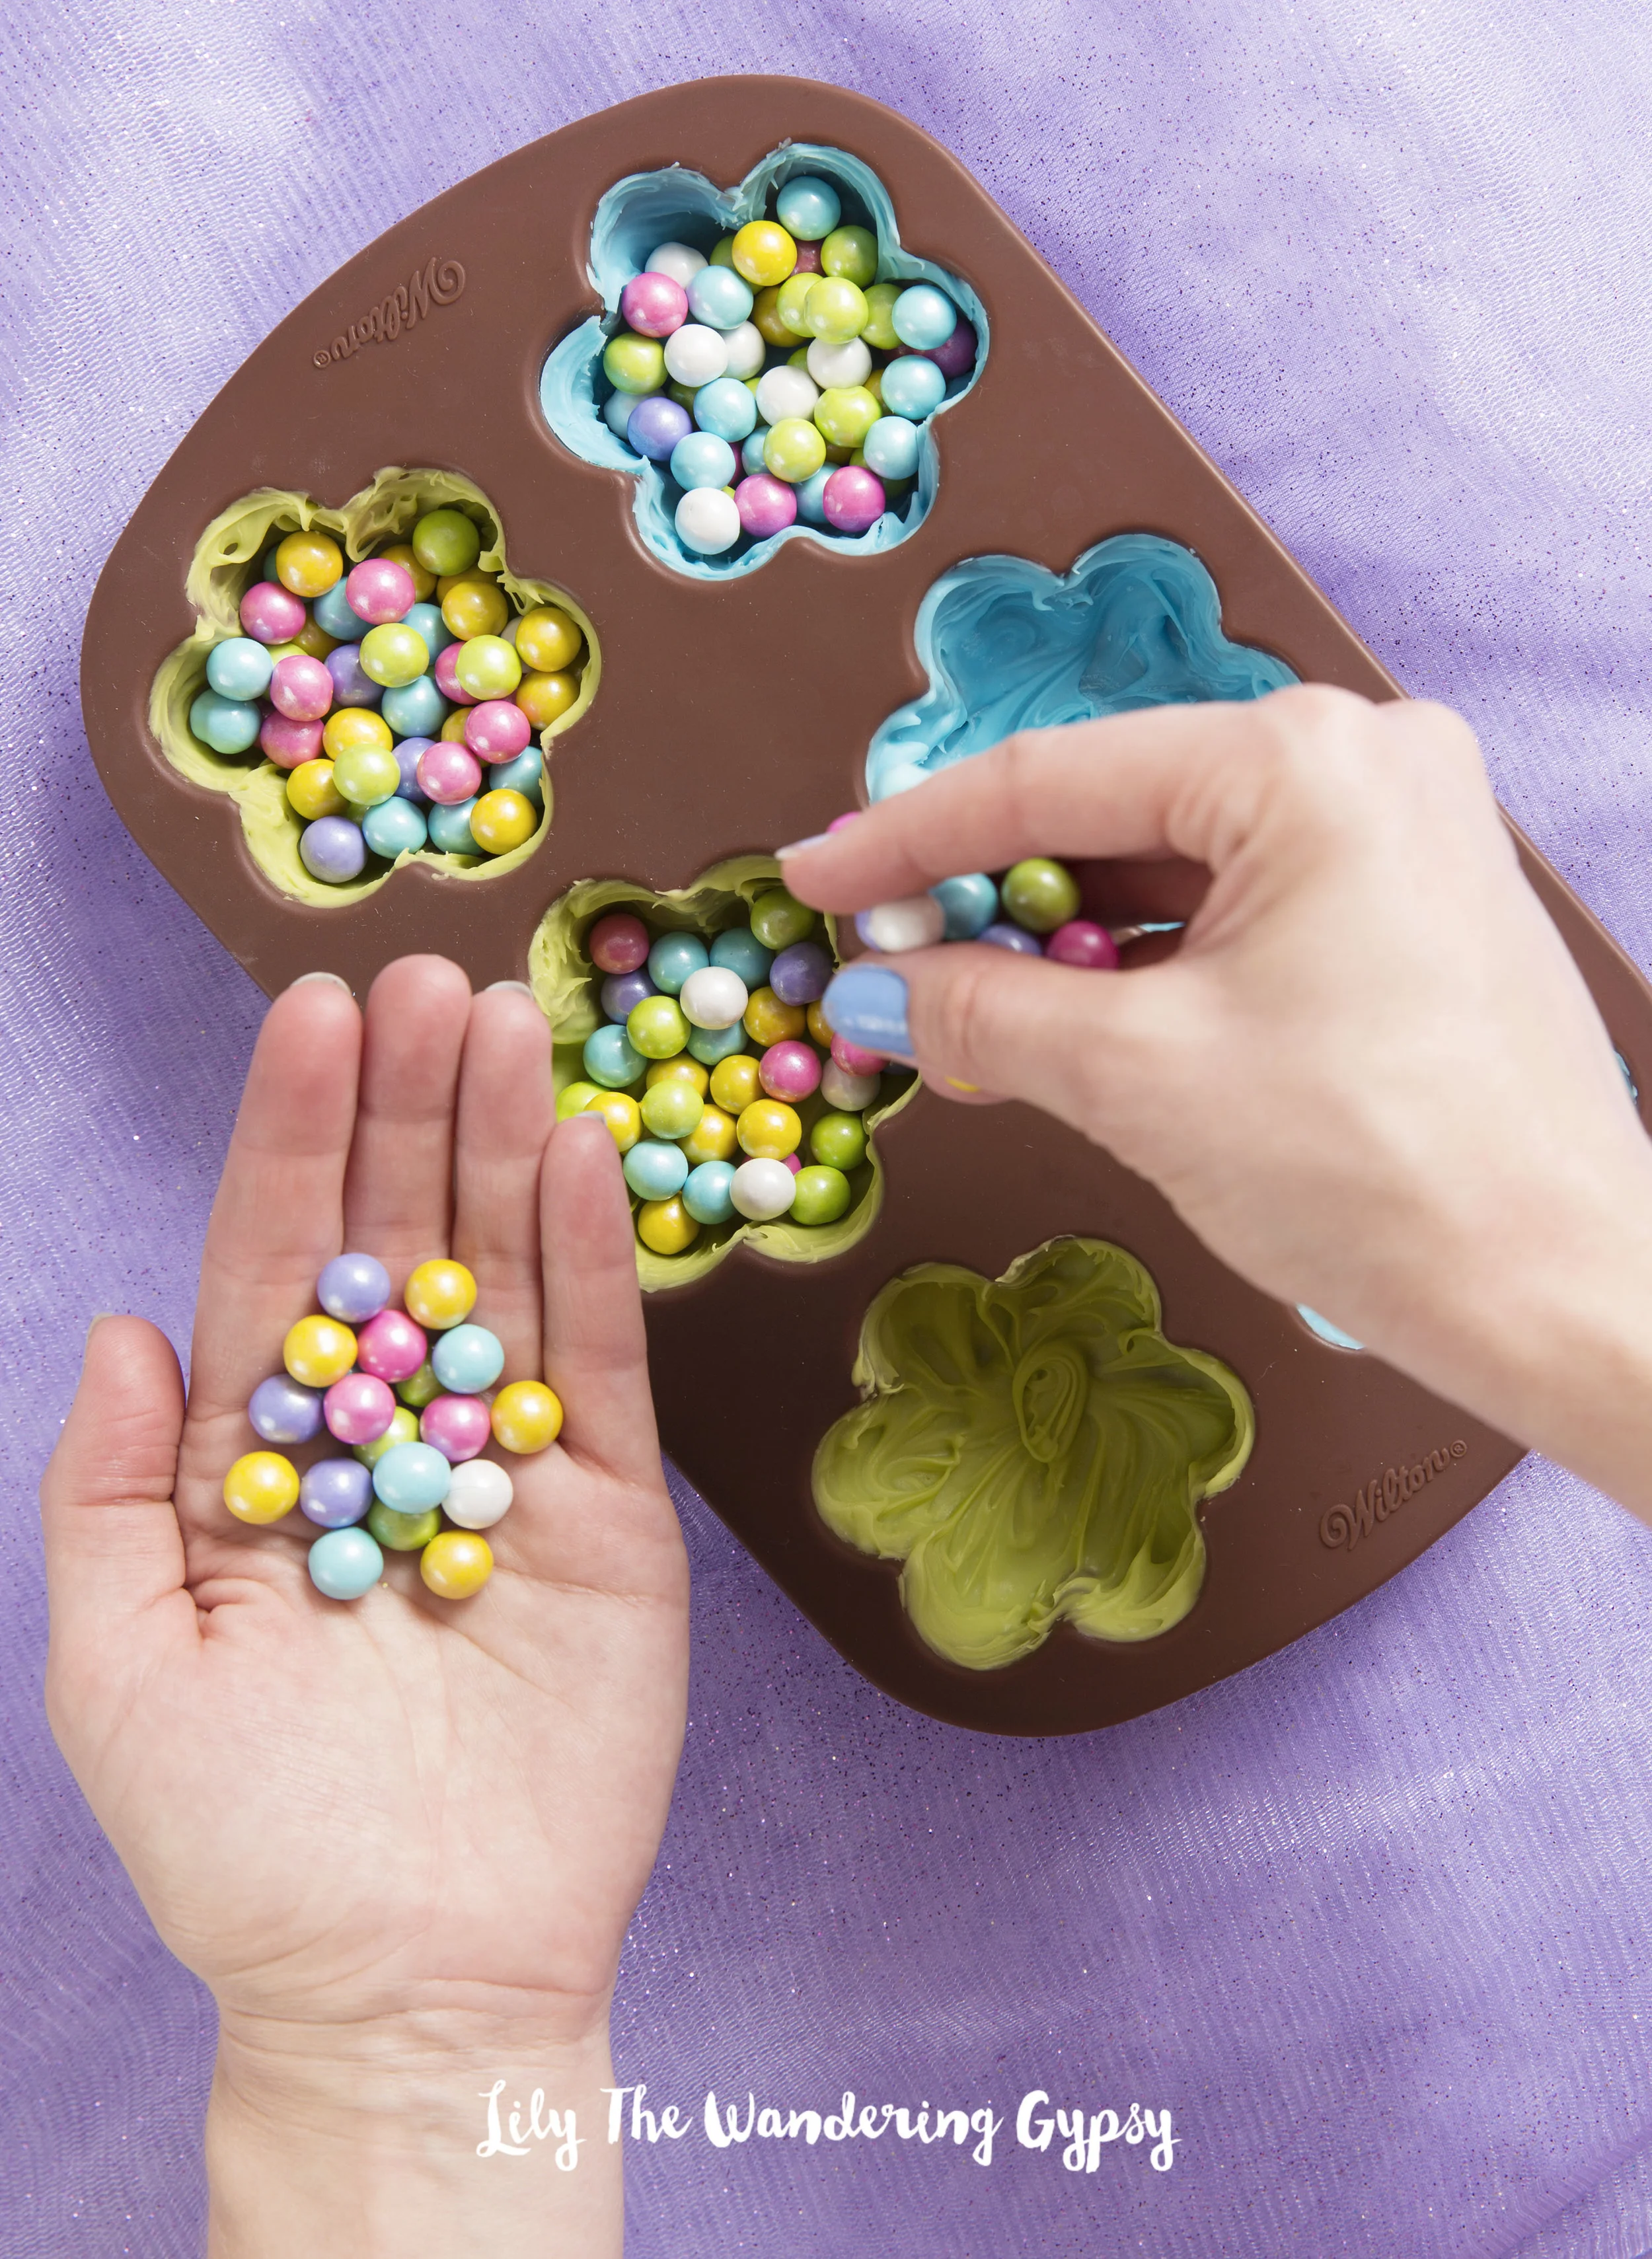
4.) Now, fill the candy shells with Candies, almost to the very top.
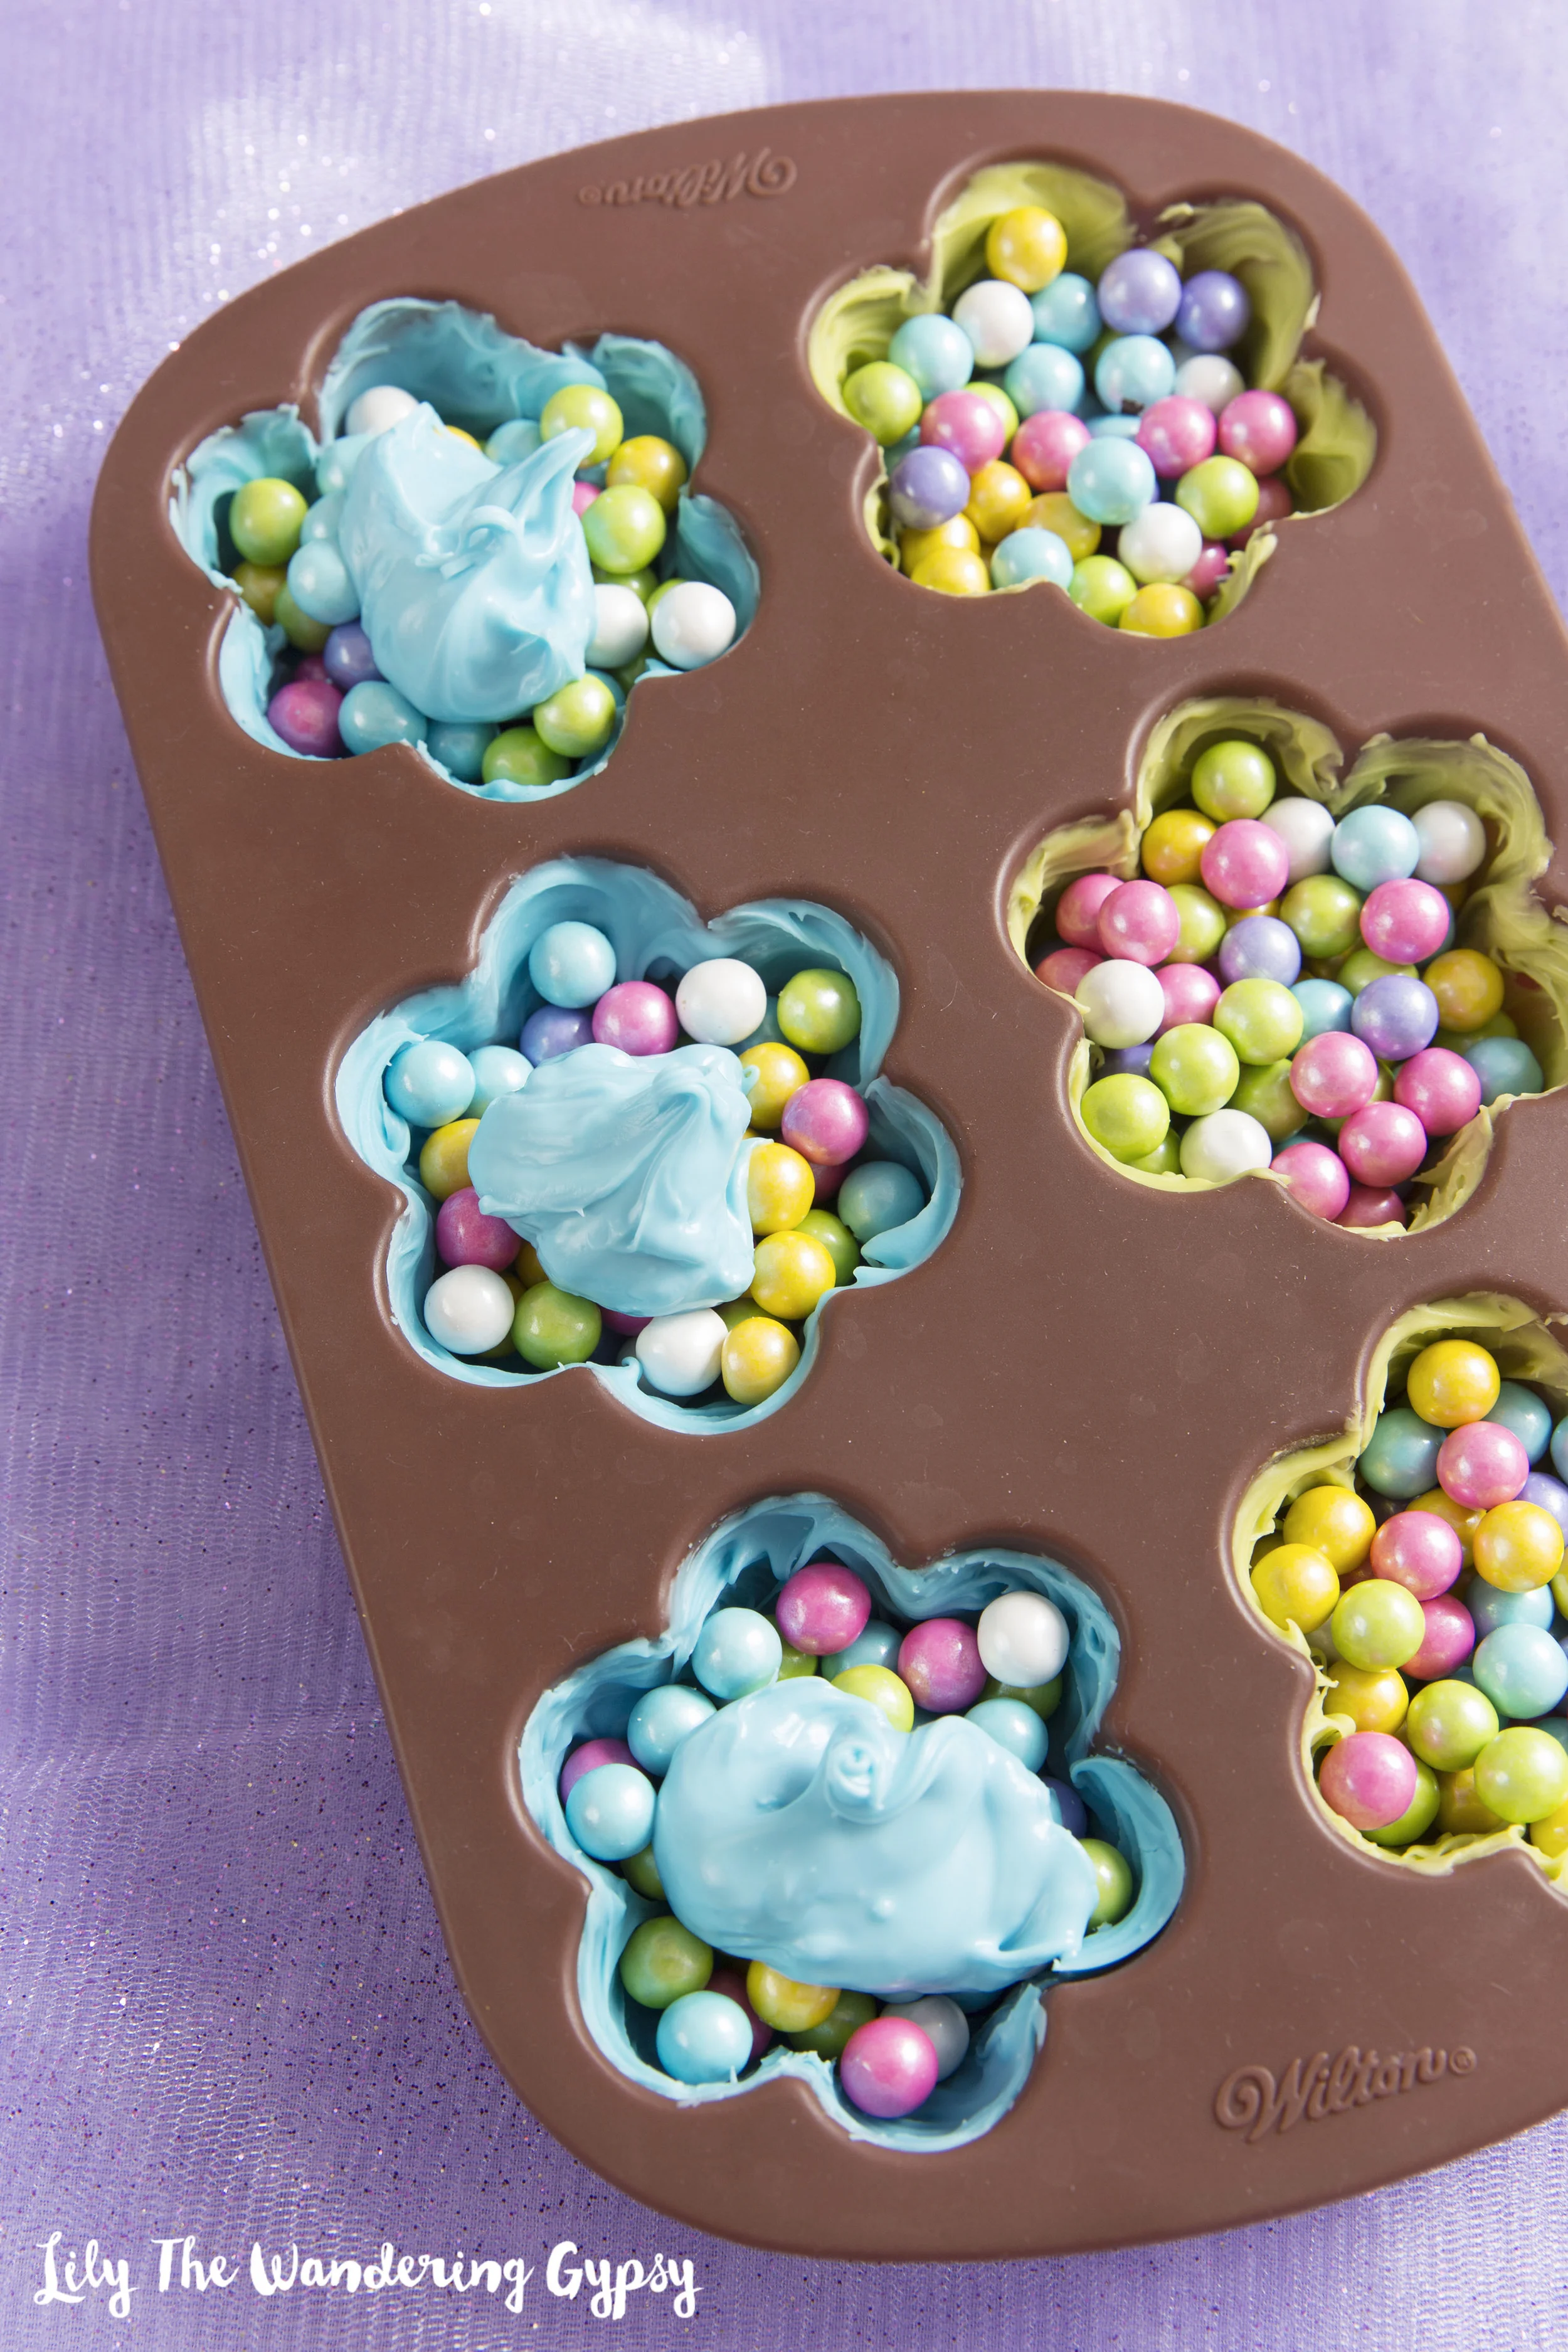
5.) Add a dollop of candy melts on top of your fillers candies, and use the paintbrush to smooth the dollop out, and to create a seal, so the candies stay inside the melts. Throw them back into the freezer, and wait about 30 minutes (or longer), so that everything hardens and seals.
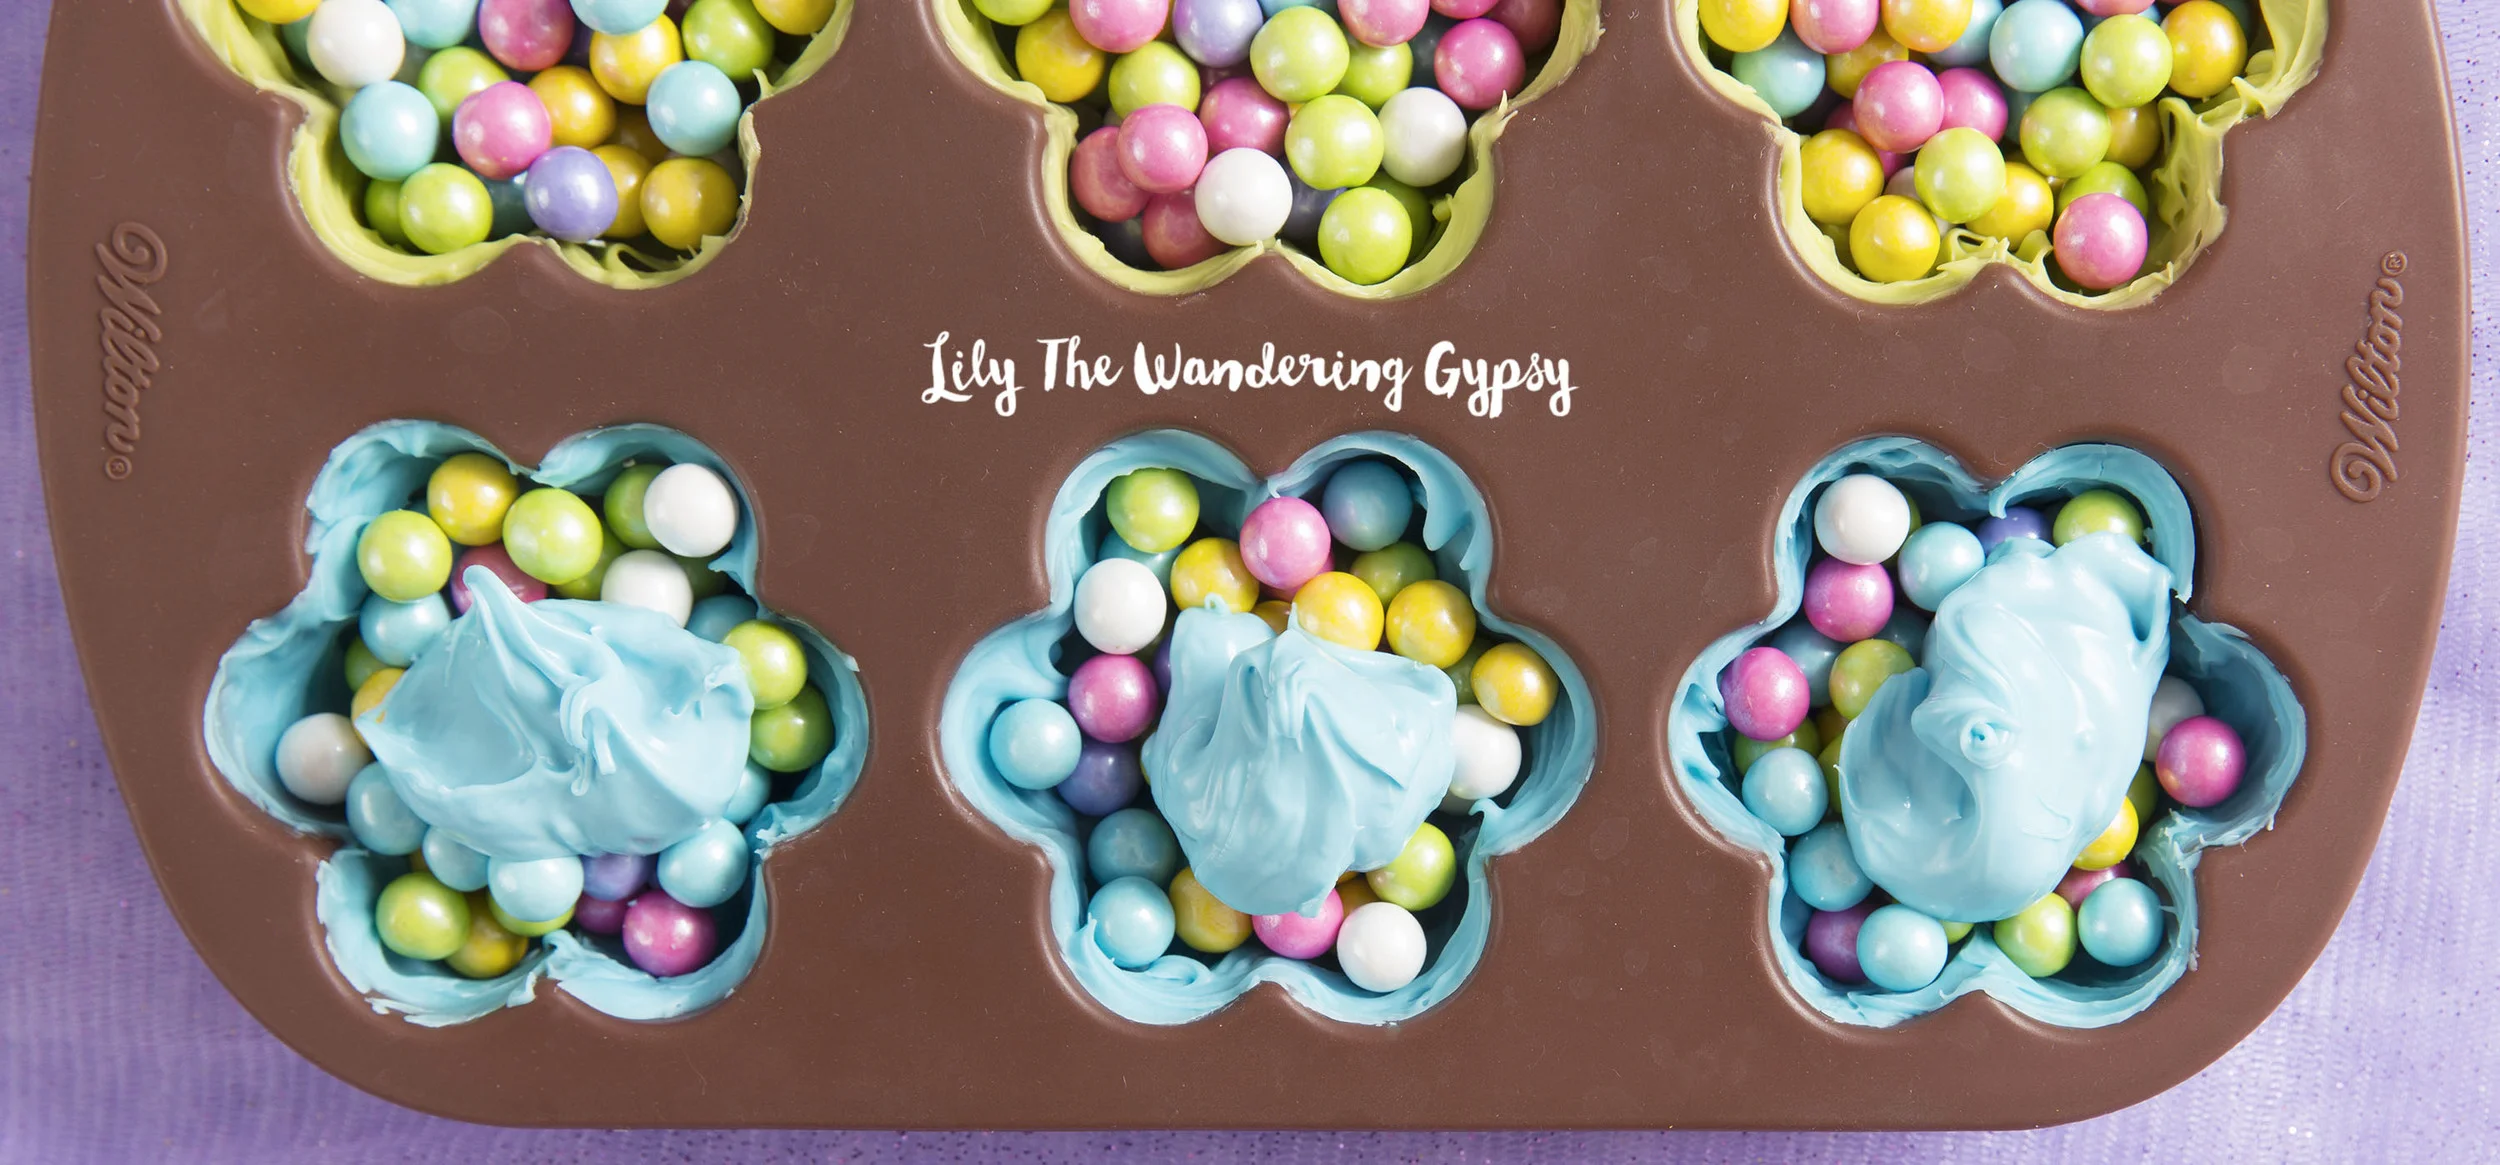
These are so cute!!!
6.) Here is what it looked like after I smoothed the last part of the candy melts over the molds, to close in the Sixlets. Use your brush to make a pretty swirl pattern on the candies if you wish.

7.) Here is what your (almost finished) candies will look like after being in the freezer overnight. You don't have to leave them in this long (2 hours will do), but after all the work I did on this project, I was more than happy to leave these babies in the freezer overnight, and enjoy them the next day :)
8.) Using a pair of rubber or cotton gloves, carefully peel the mold away from your Blooming Candies. The gloves help prevent finger prints all over your candies. Aren't they adorable? The next photo shows how you open them...

Now you can reveal your surprise candy inside! Just use a sharp kitchen knife, and (very carefully), cut into the candy as if you are cutting a slice of cake.


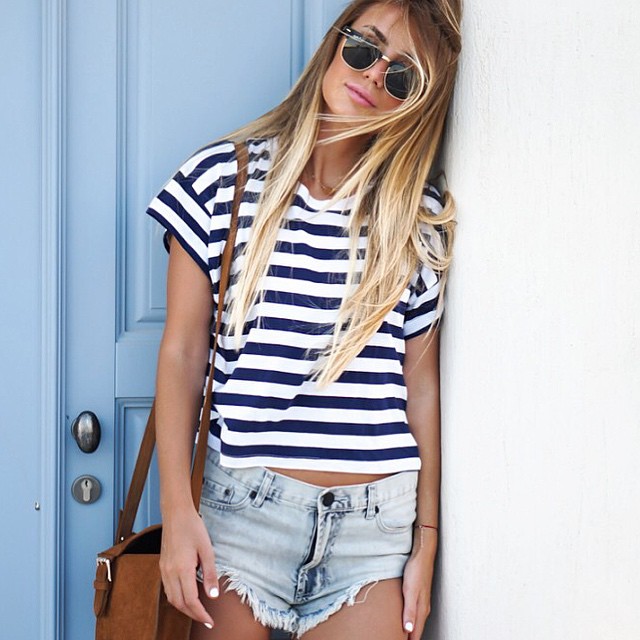
July 4th is a pretty fun excuse to party, let's admit it! With warmer weather, there can definitely be challenges in finding ways to look cute while enduring that hot weather. Make sure to hydrate yourself between red, white, and blue cocktails, too!
Check out some of my absolute favorite ideas of what to wear for the holiday weekend, or really any time it's nice and warm outside.
Sources:
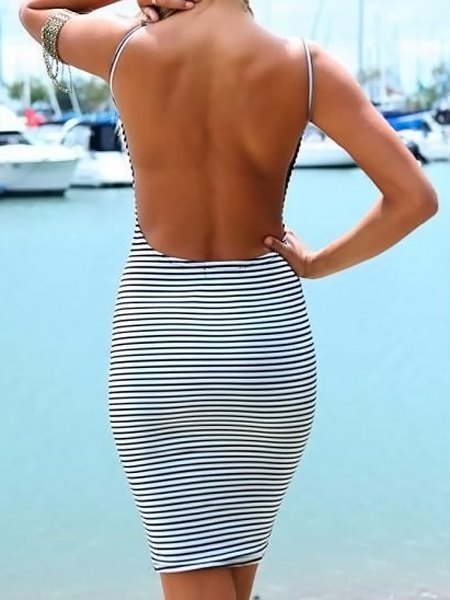
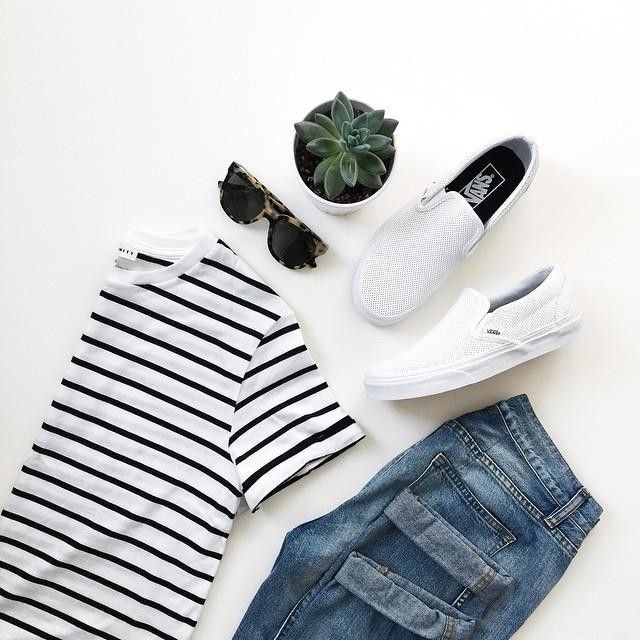
SPORT SOME STRIPES - Short Sleeve Tee, With A Hat, Dress, Sweatshirt, Flatlay
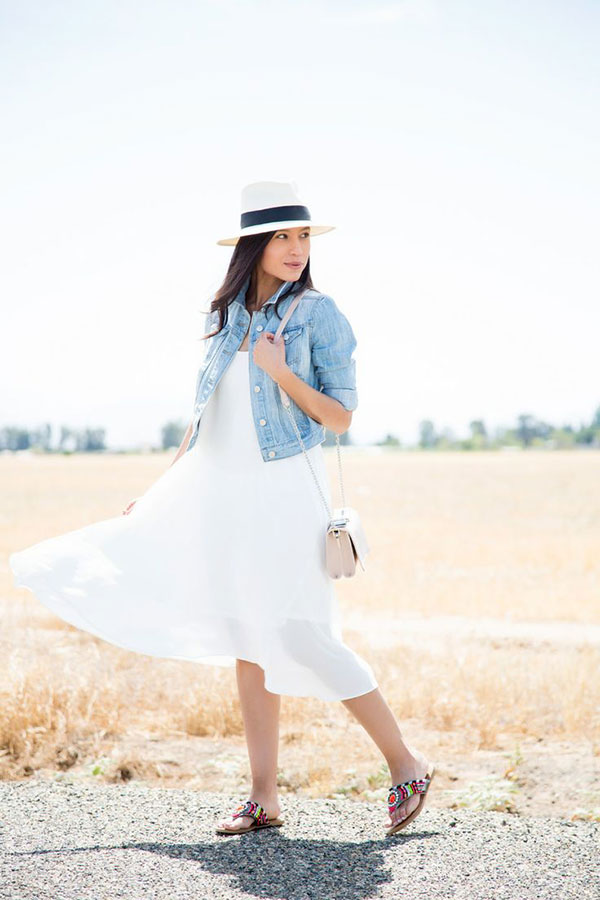
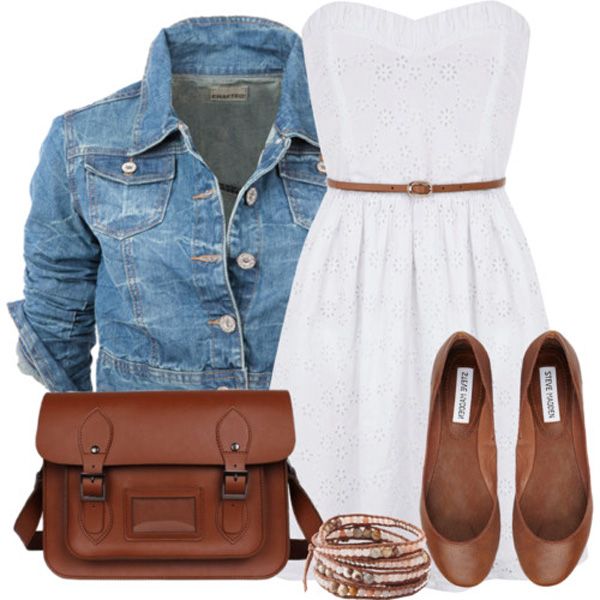
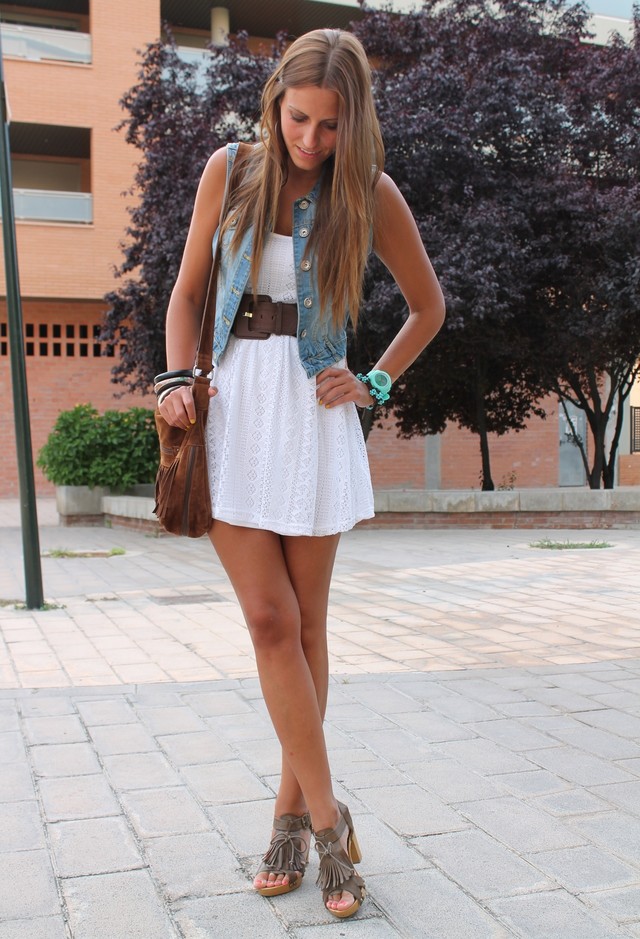
WHITE DRESS + JEAN JACKET - With A Hat, With A Brown Purse, With A Belt
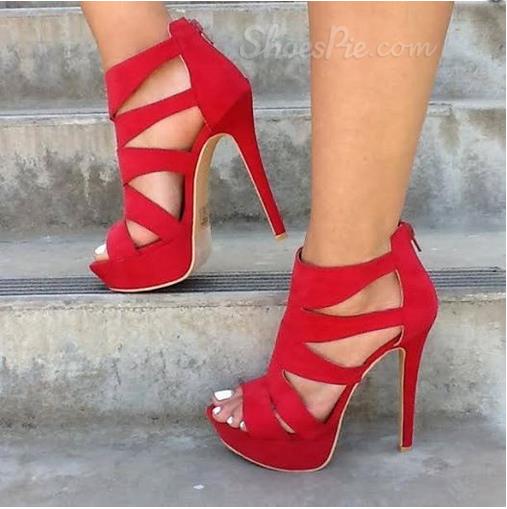
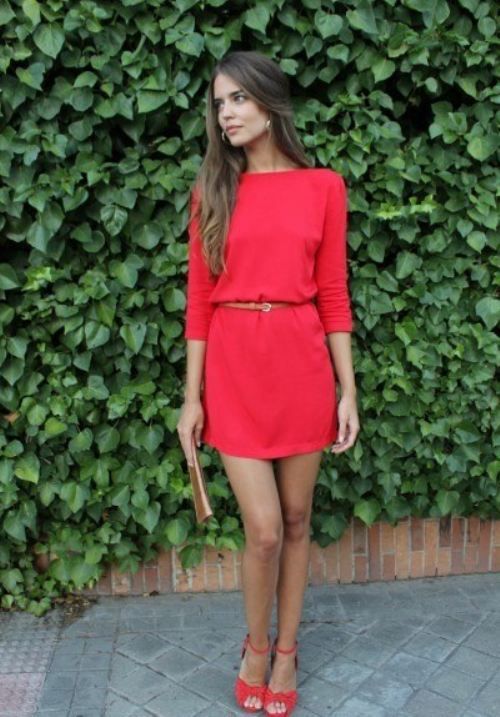
WEAR SOMETHING RED - Street Style, Heels, Dress
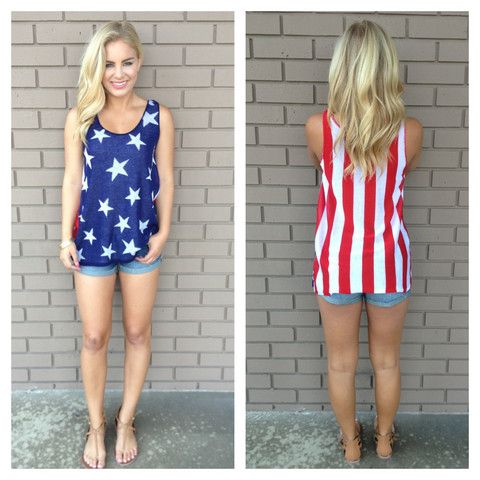
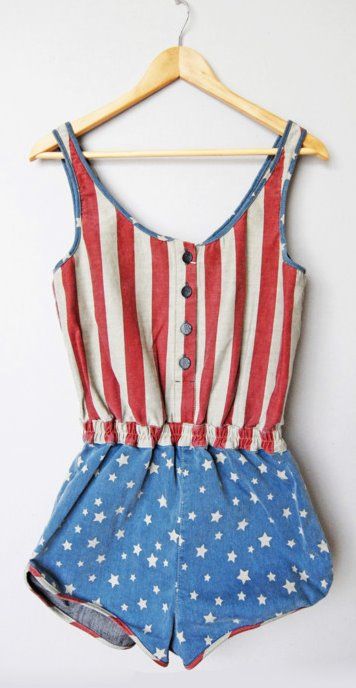
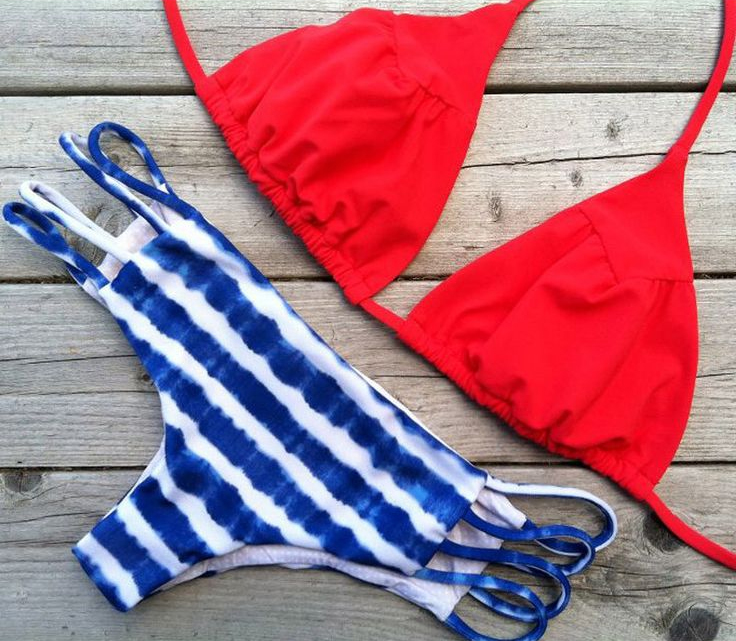
STARS + STRIPES - With Boots, Tank Top, Romper, Bikini

Pinterest // Facebook // Instagram // She's So Chic Blog // Twitter
I created a few recipes - inspired by Red, White, and Blue!
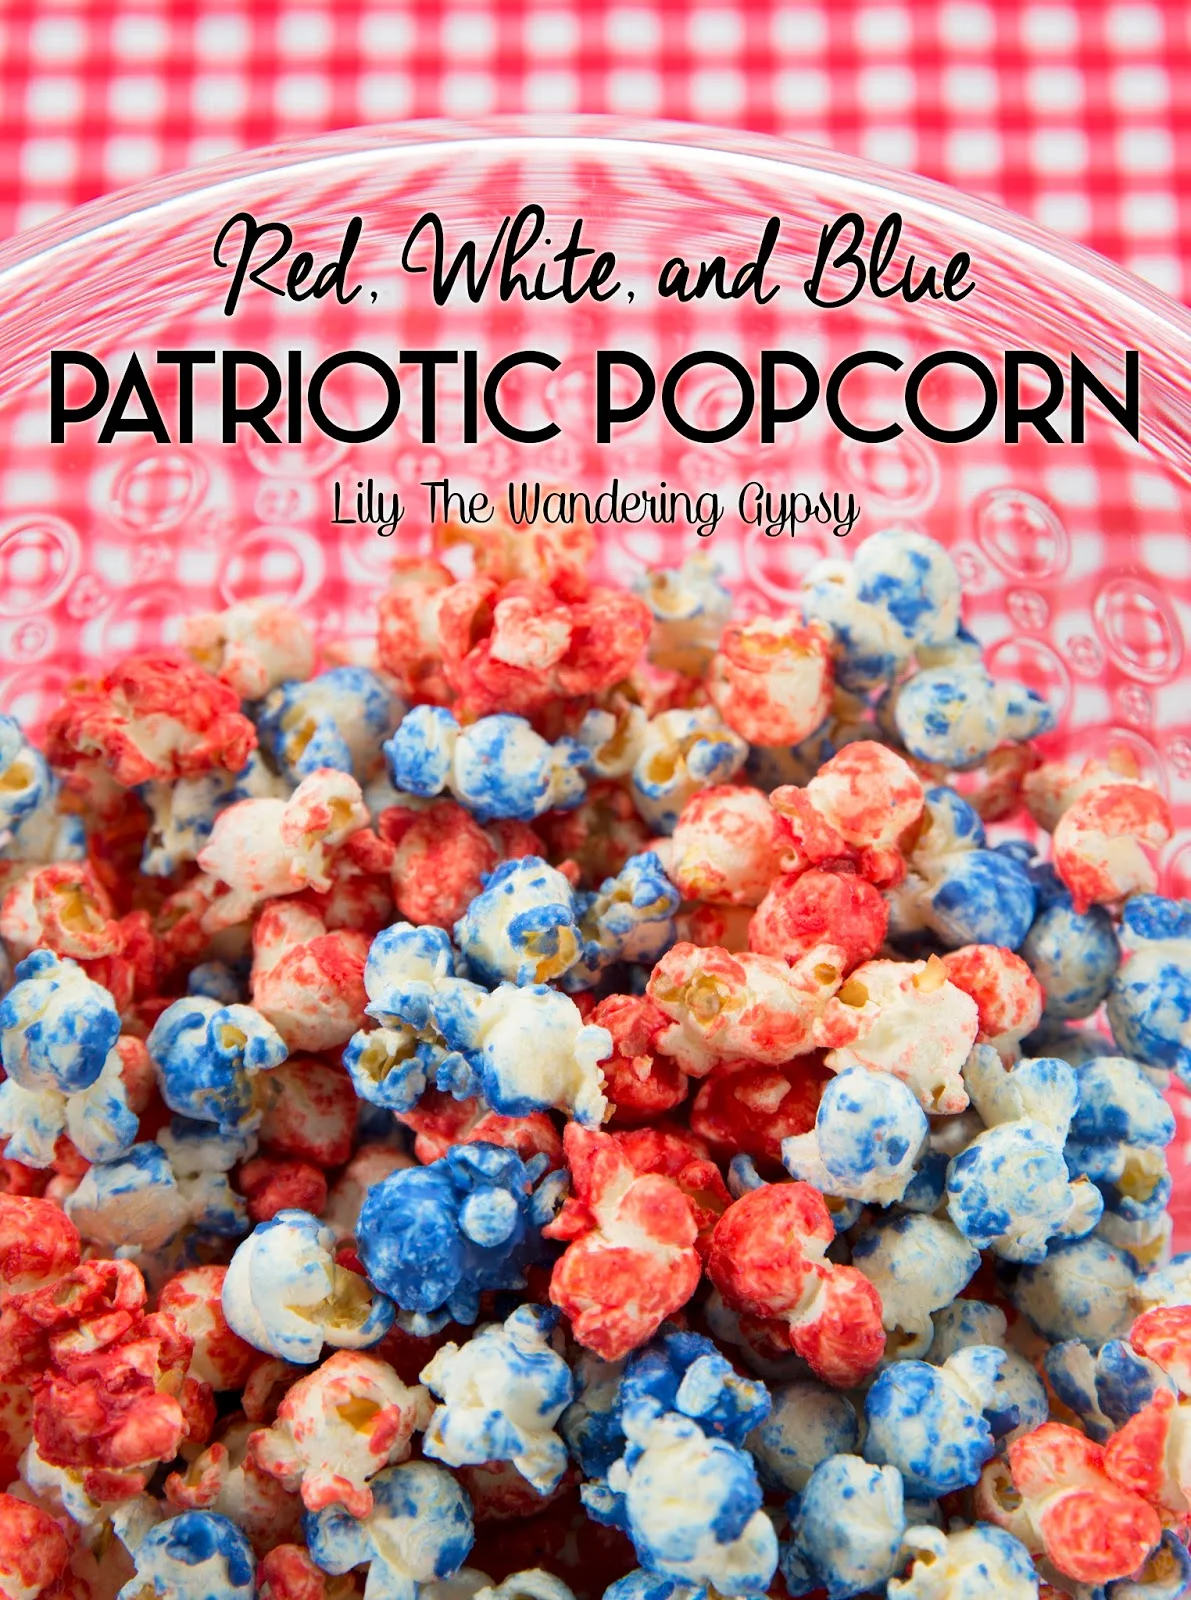
Check out this super-tasty, super-easy Patriotic Popcorn Recipe Here.
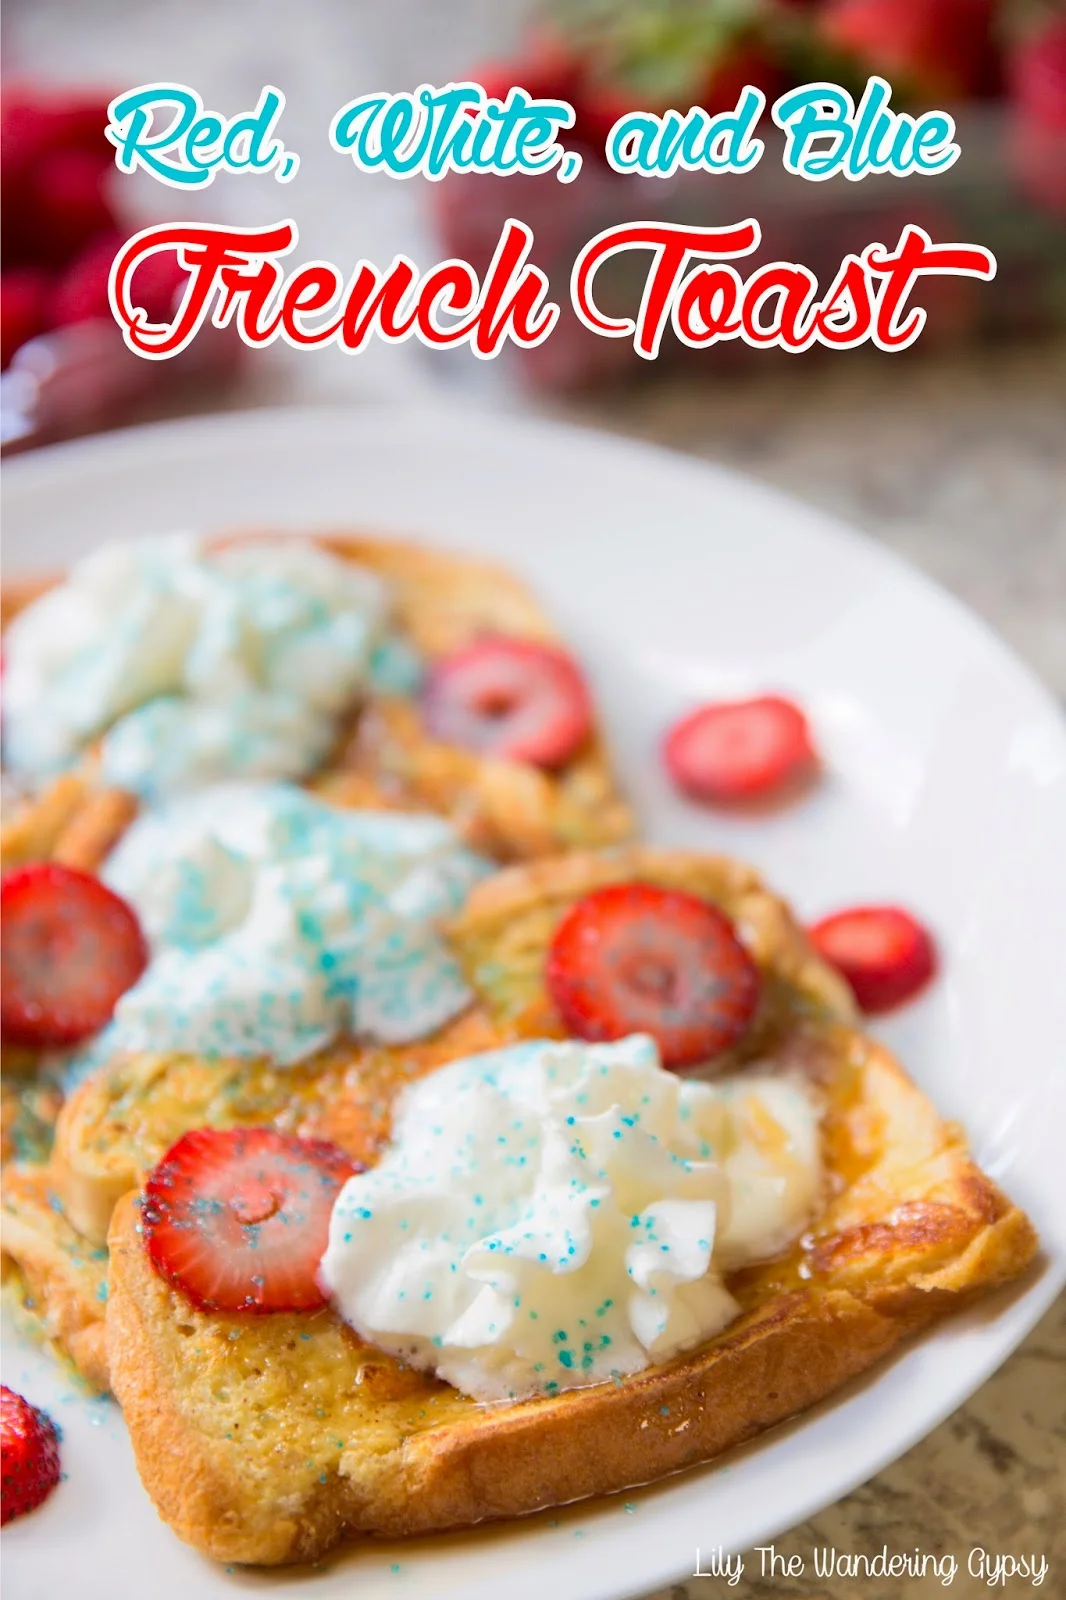
Red, White, and Blue French Toast Recipe - find it here.
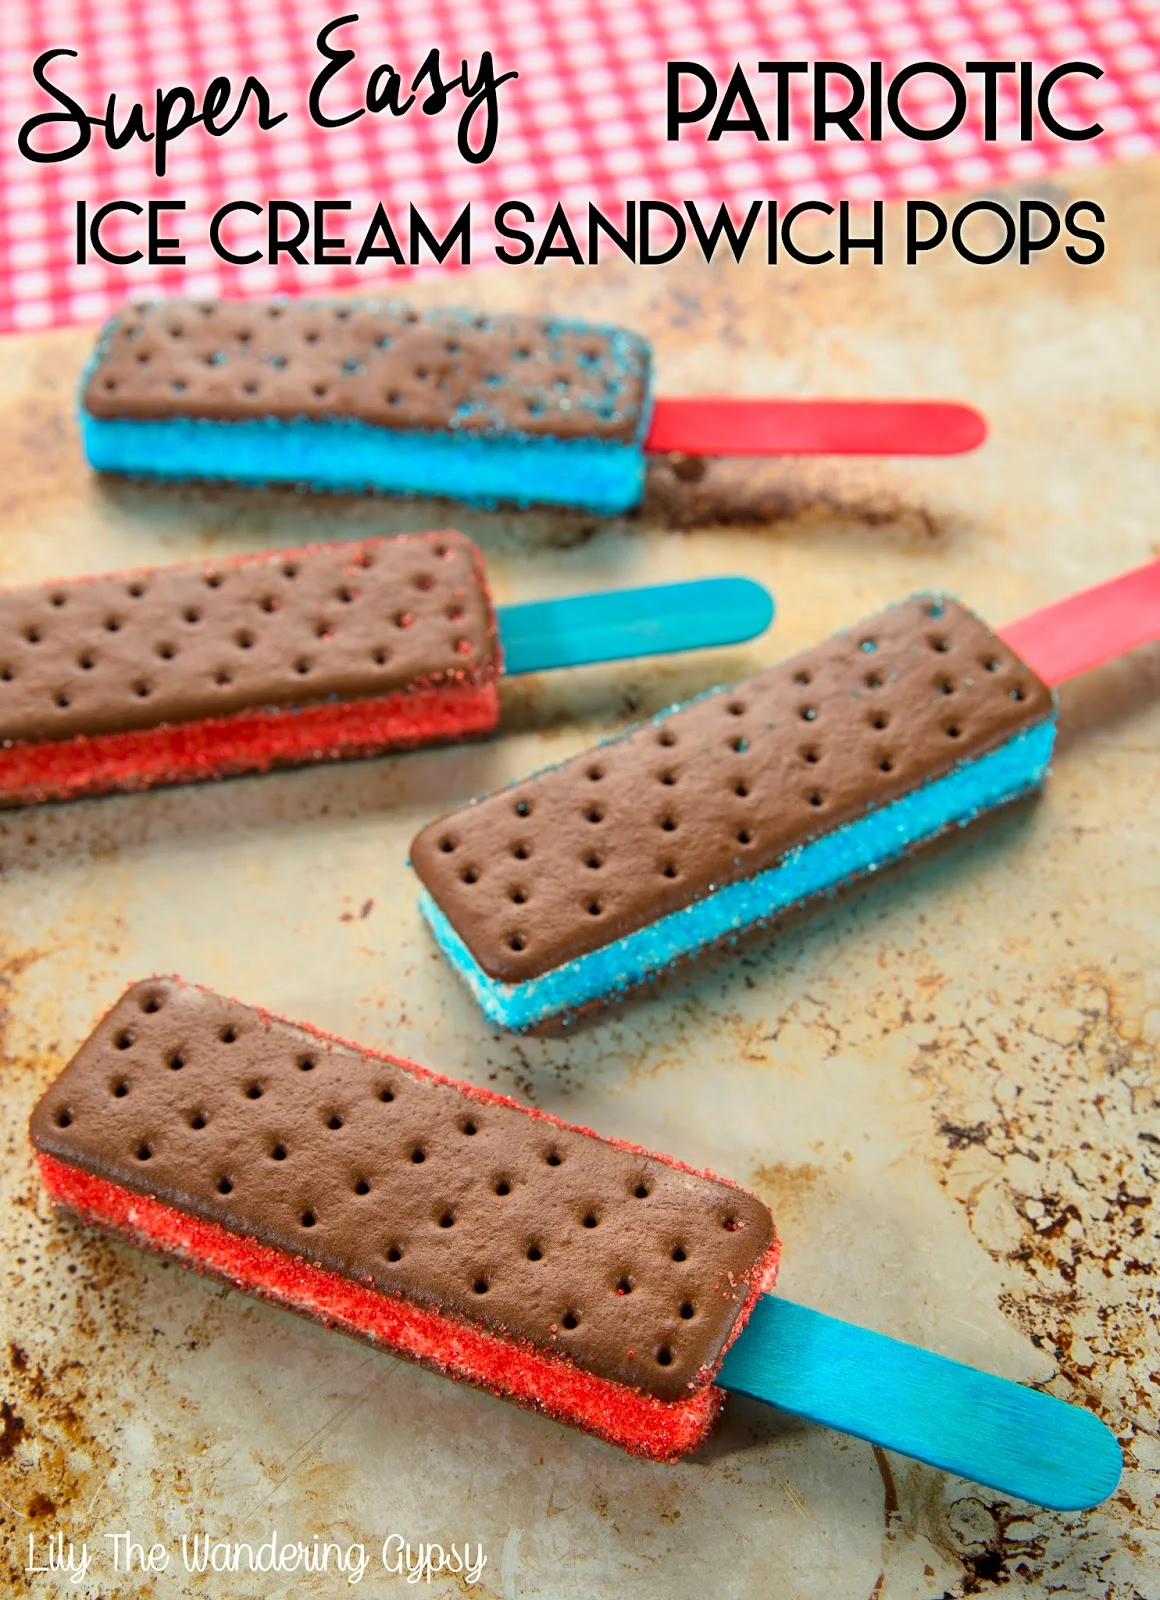
These treats are fun for summer parties. Find them here.