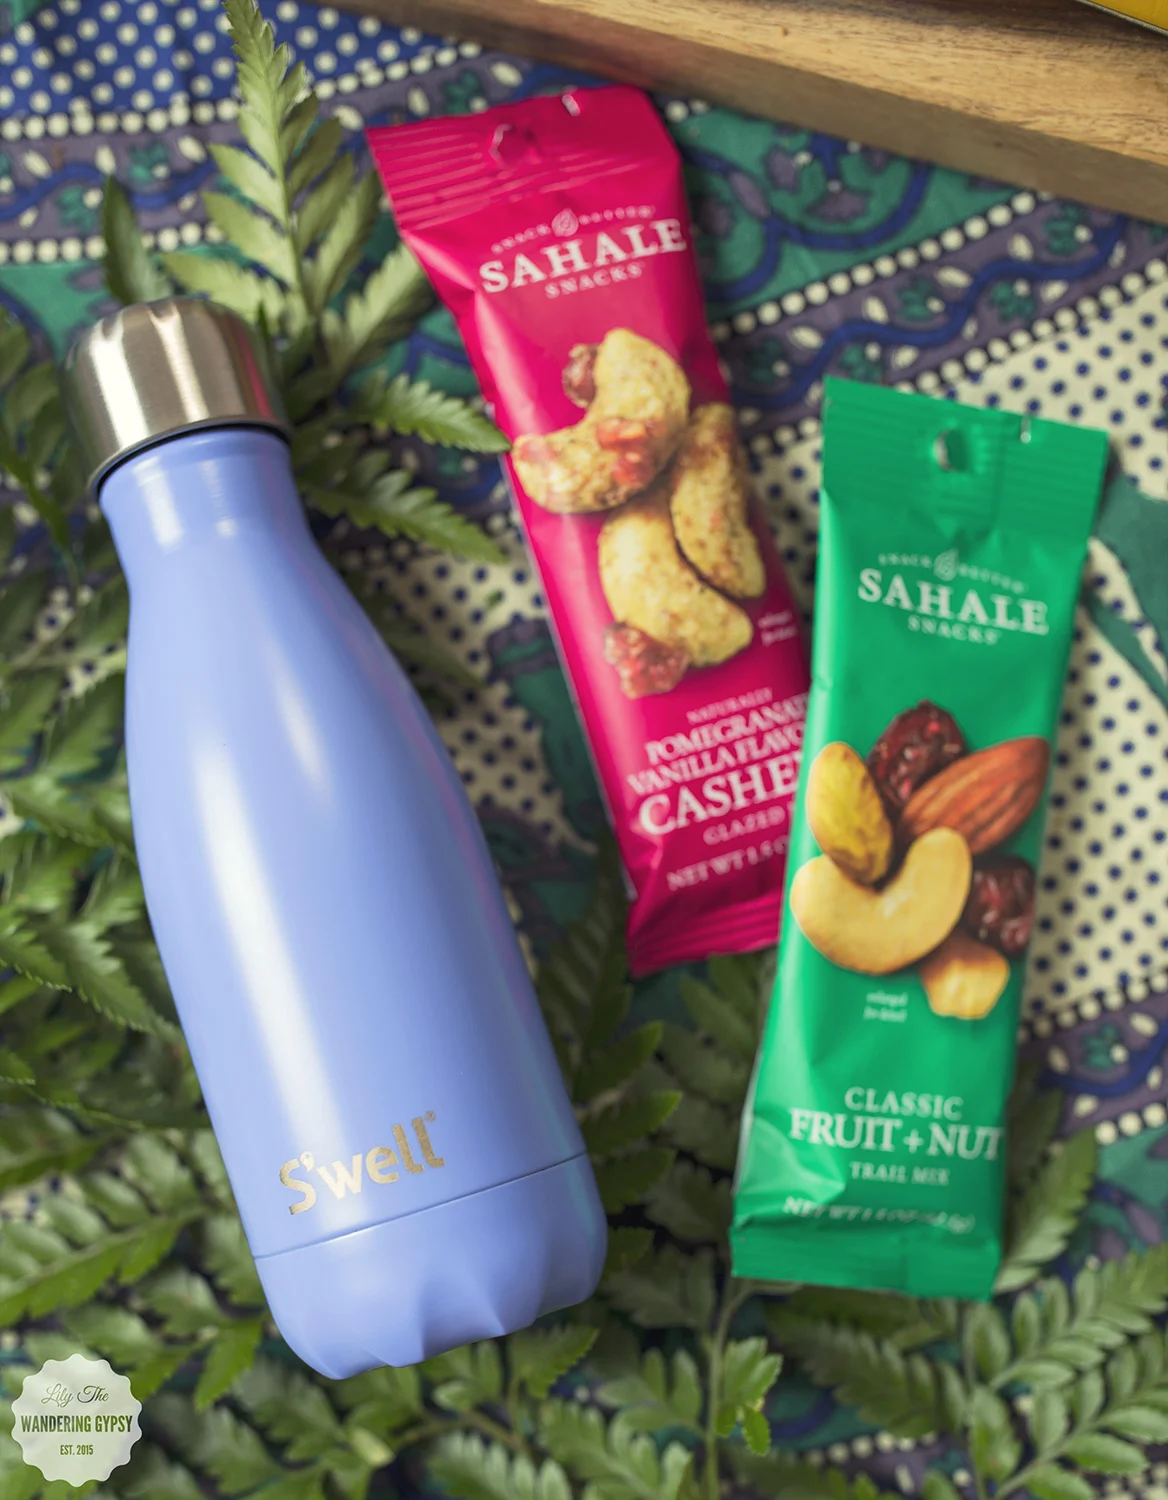
I recently had the chance to get to know some of the products that UnboundBox has to offer.
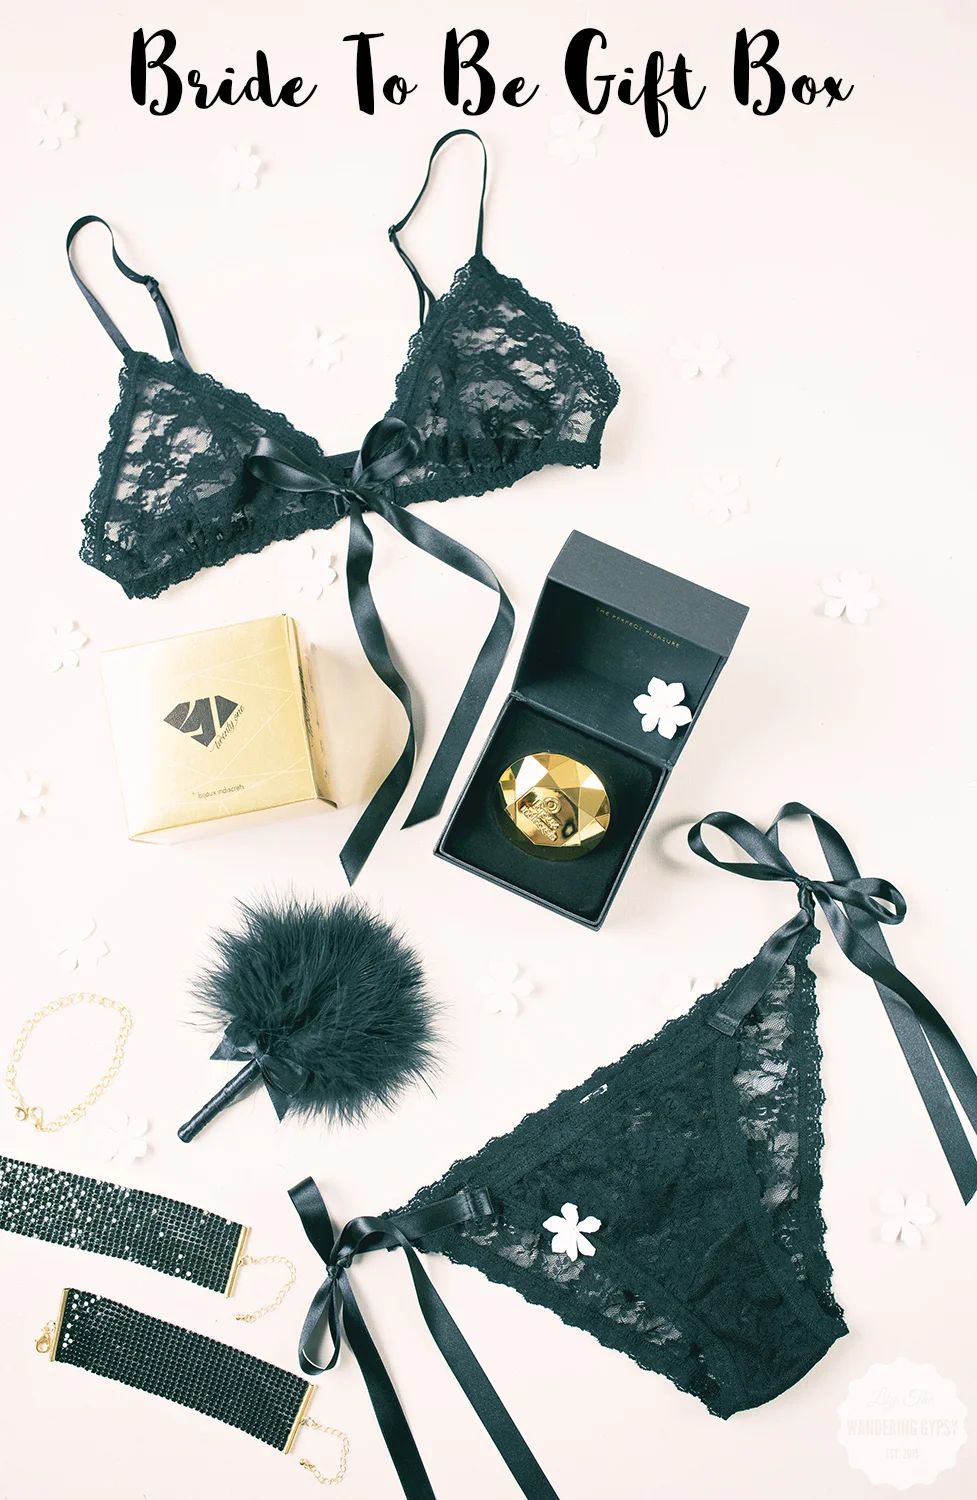
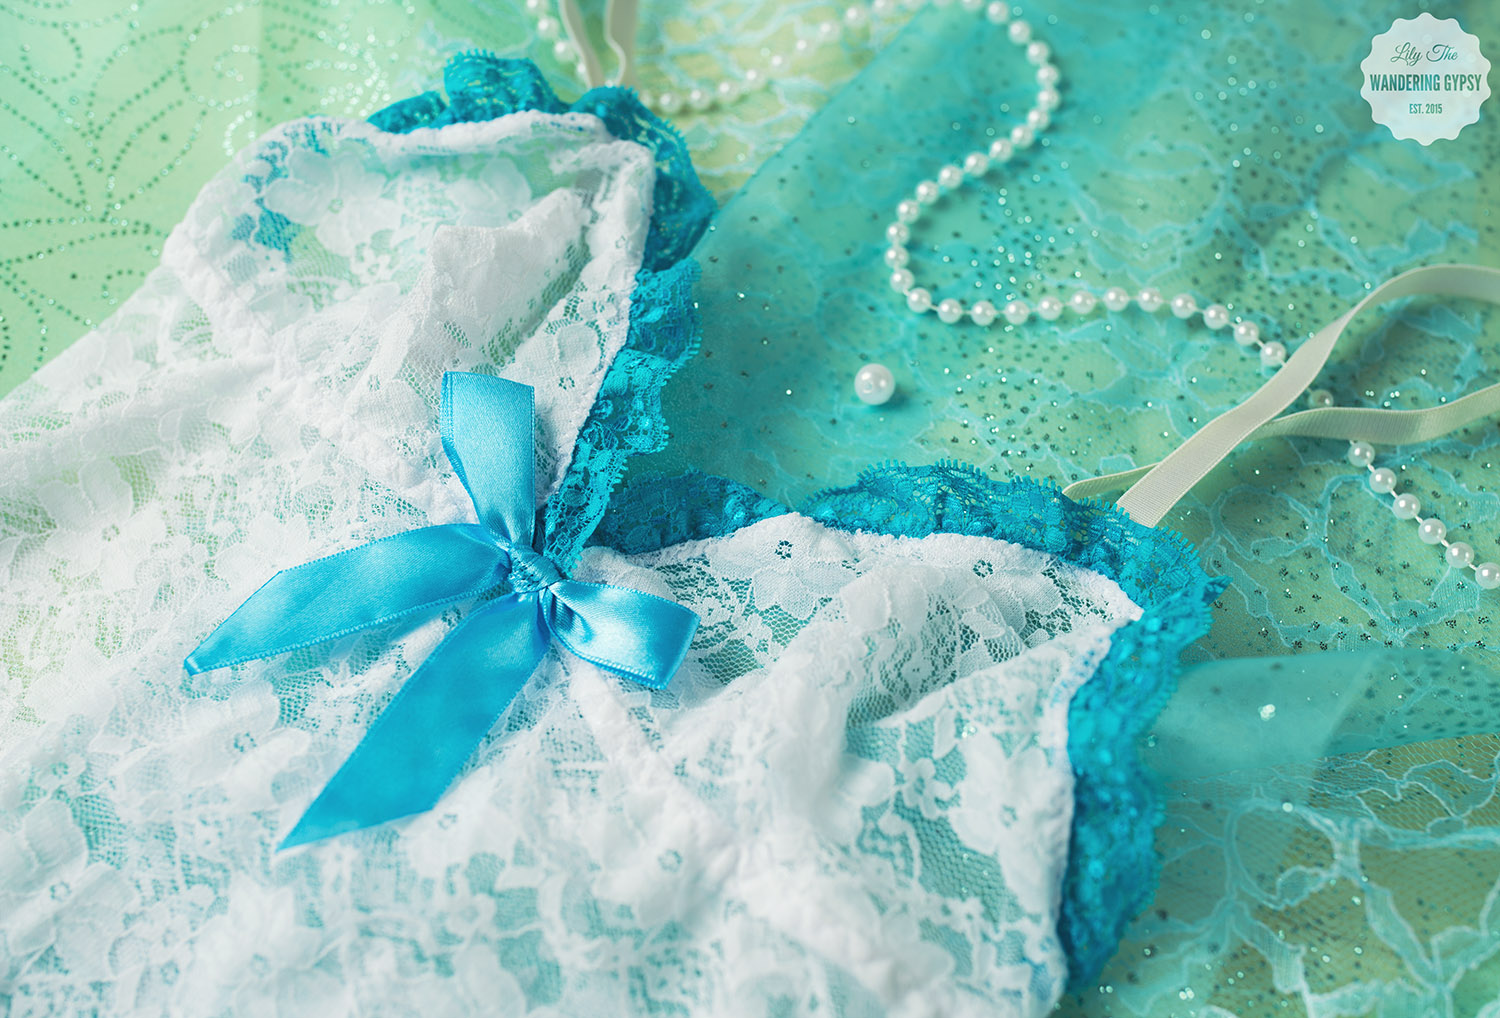
If you are looking for a unique gift idea for a Bride To Be, then here is an idea for you! I have to admit, my favorite item in the gift box is the Hanky Panky Peek-A-Boo Bralette and Bottoms set.
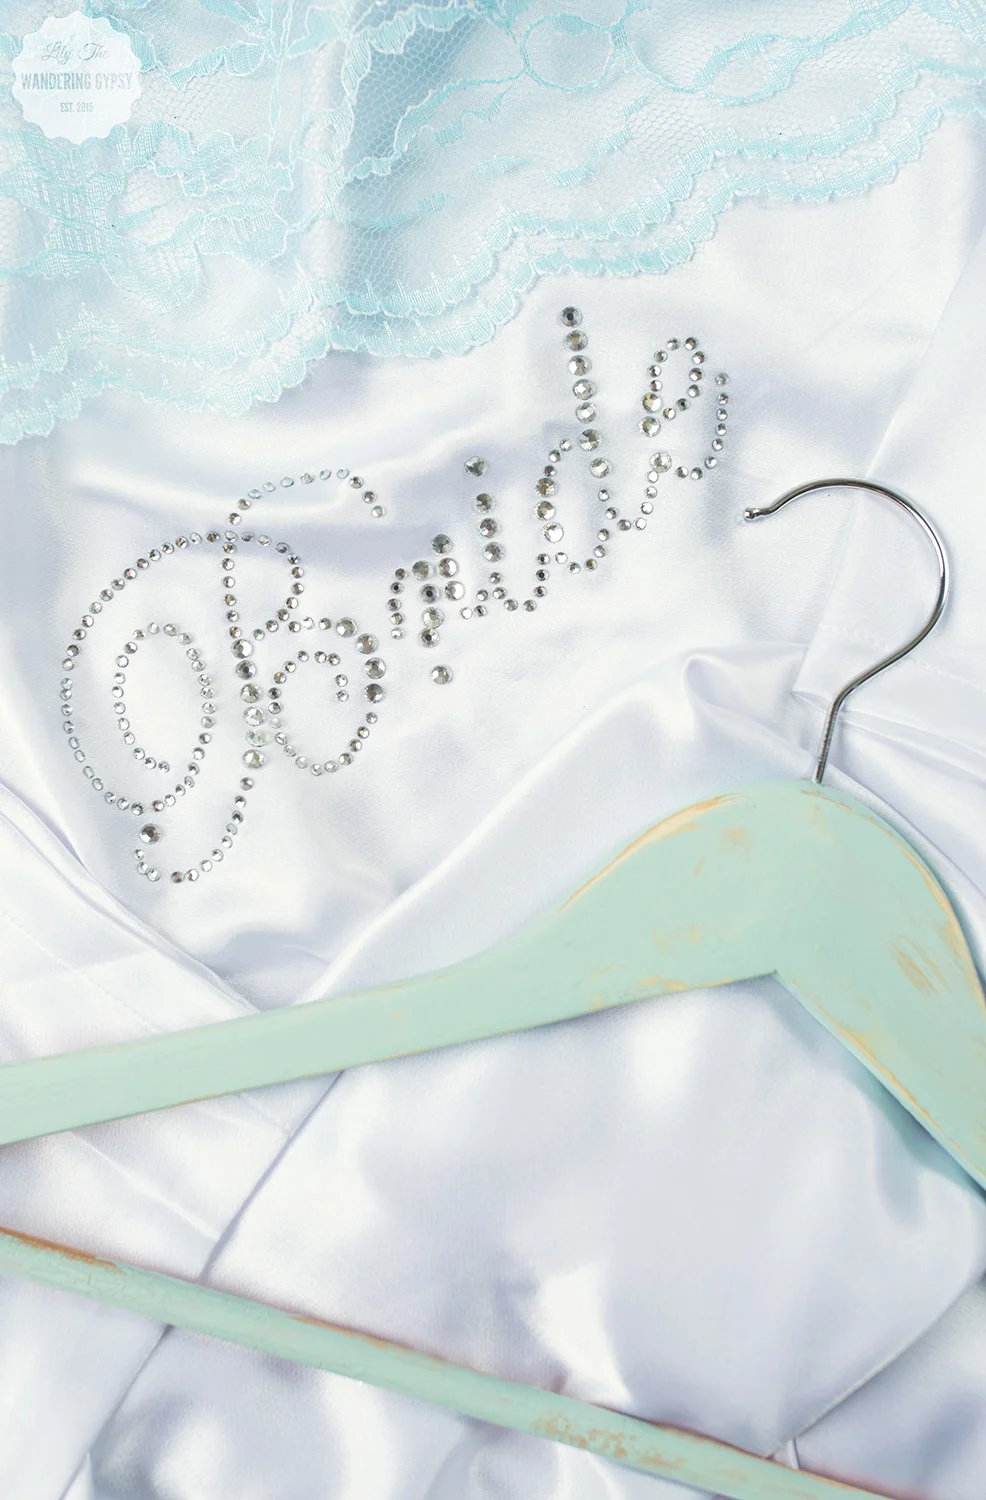
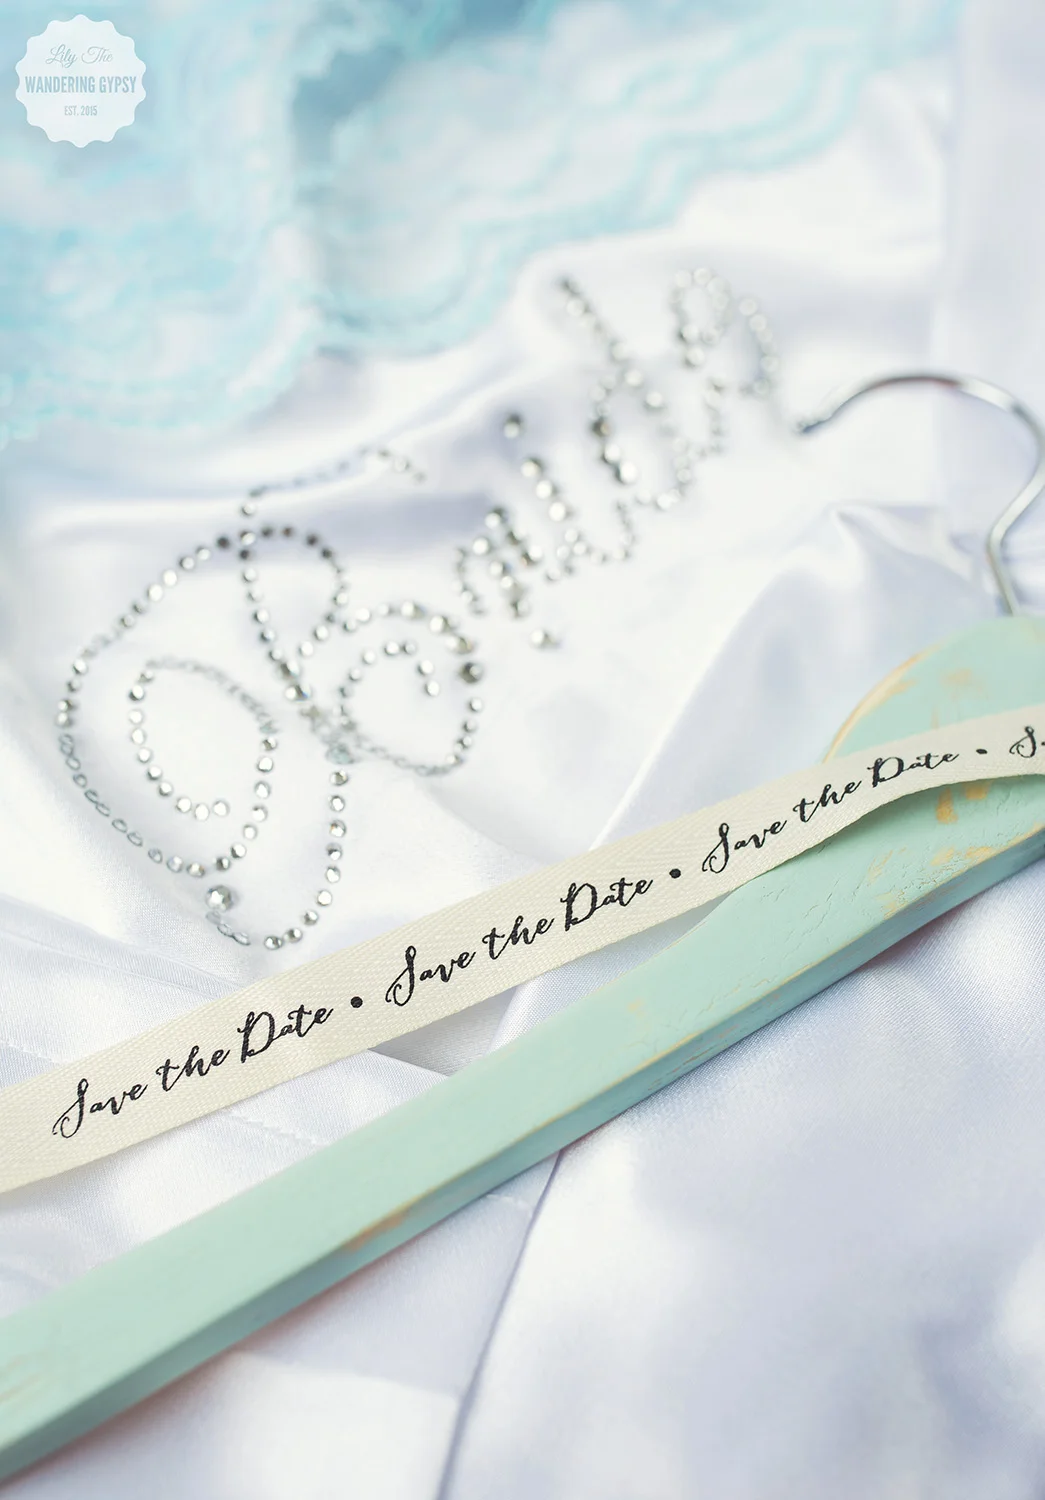
This Bride To Be Box from UnboundBox is surely going to be something the bride remembers forever! This gift would be so great to give a bride at her bachelorette party!
From the moment the bride opens this gift box, she will instantly see what great quality each and every item is that's provided! Her new spouse will also have fun playing along and helping explore these items a bit better after the wedding, on the honeymoon, and beyond!

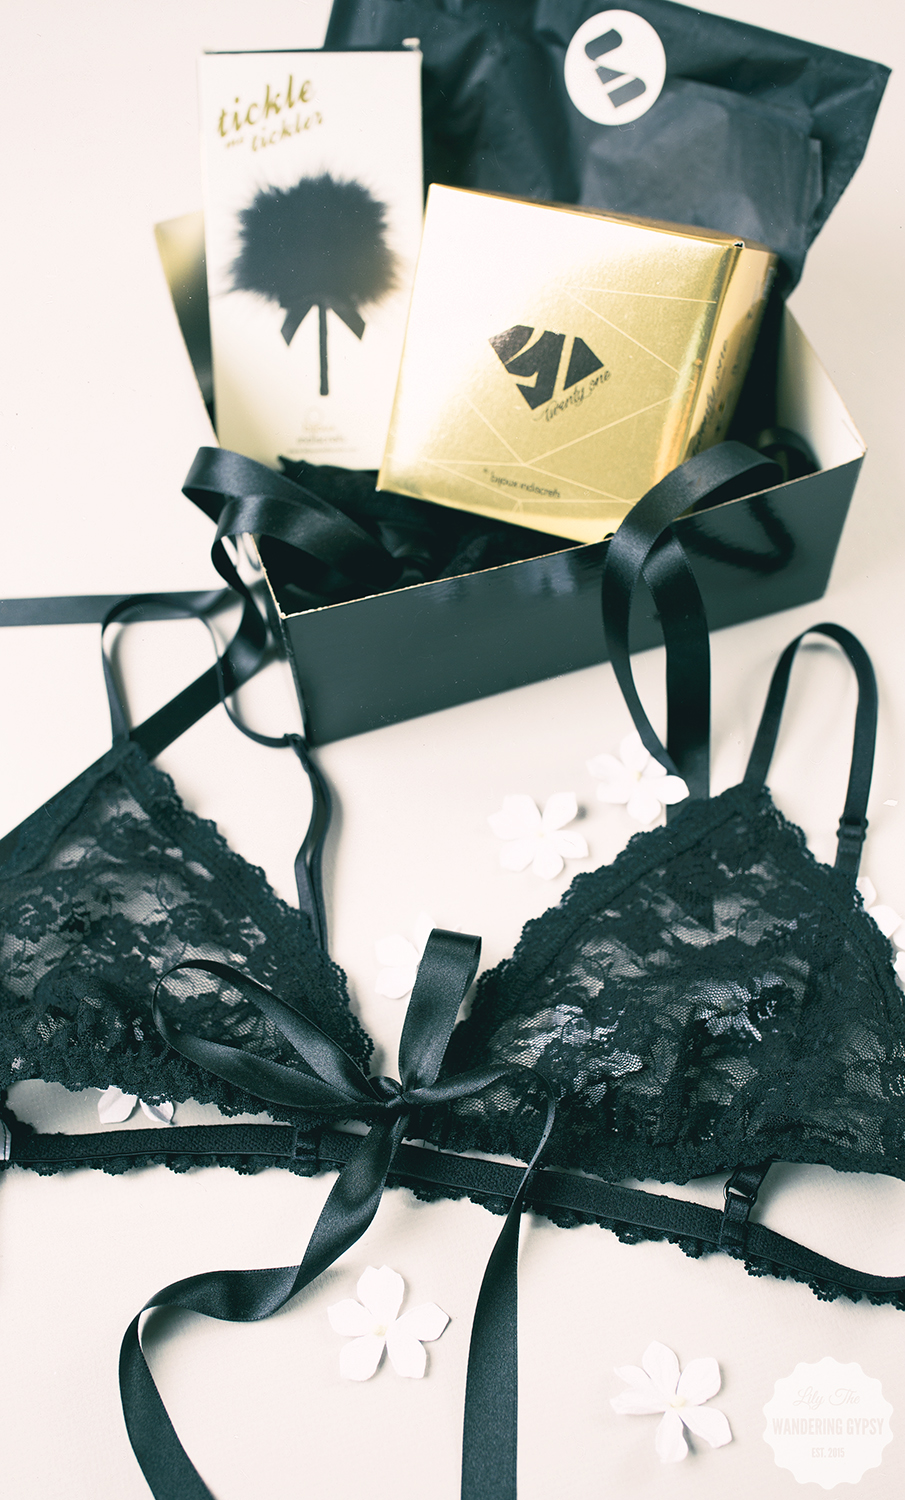
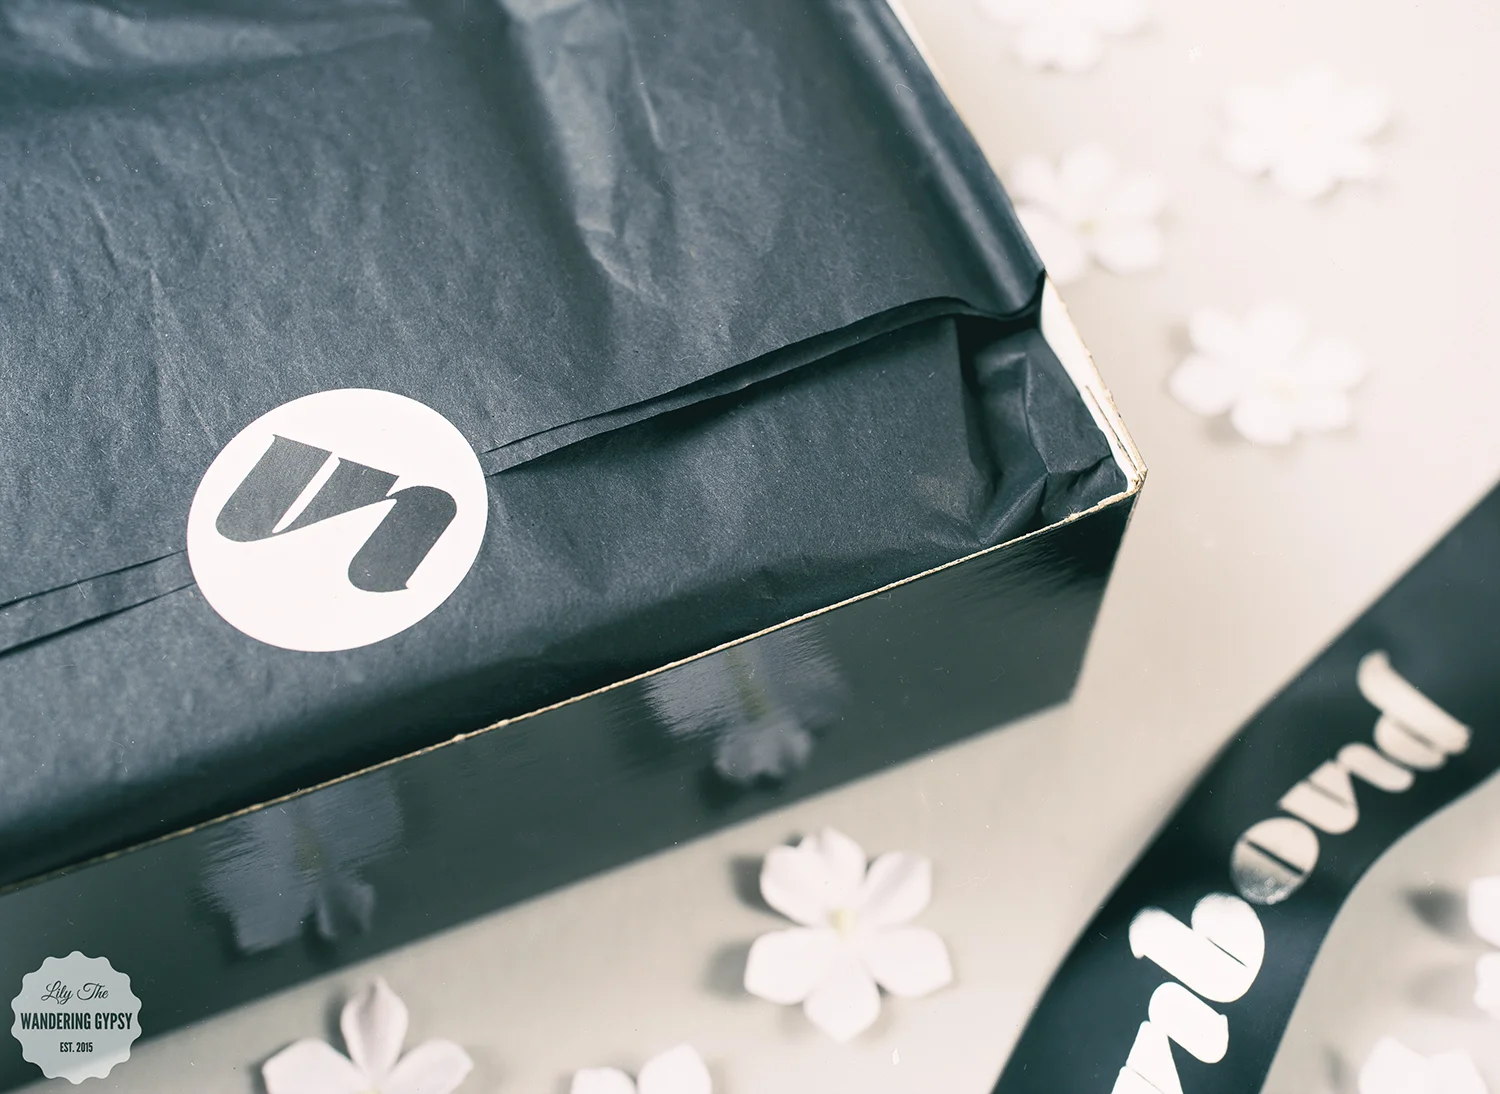
When this UnboundBox arrived at my doorstep, this adorably wrapped gift box was inside of a larger box, wrapped very safely. Everything arrived in amazing condition, and I was so excited to see what all was inside. You can choose either black lace or white lace for the bralette + bottoms, so I chose to feature the black lace items. See, you don't even have to gift wrap this present, it's already done for you! The smaller box contains the lace undergarments, and the larger box contains the rest of the gift items in the set.
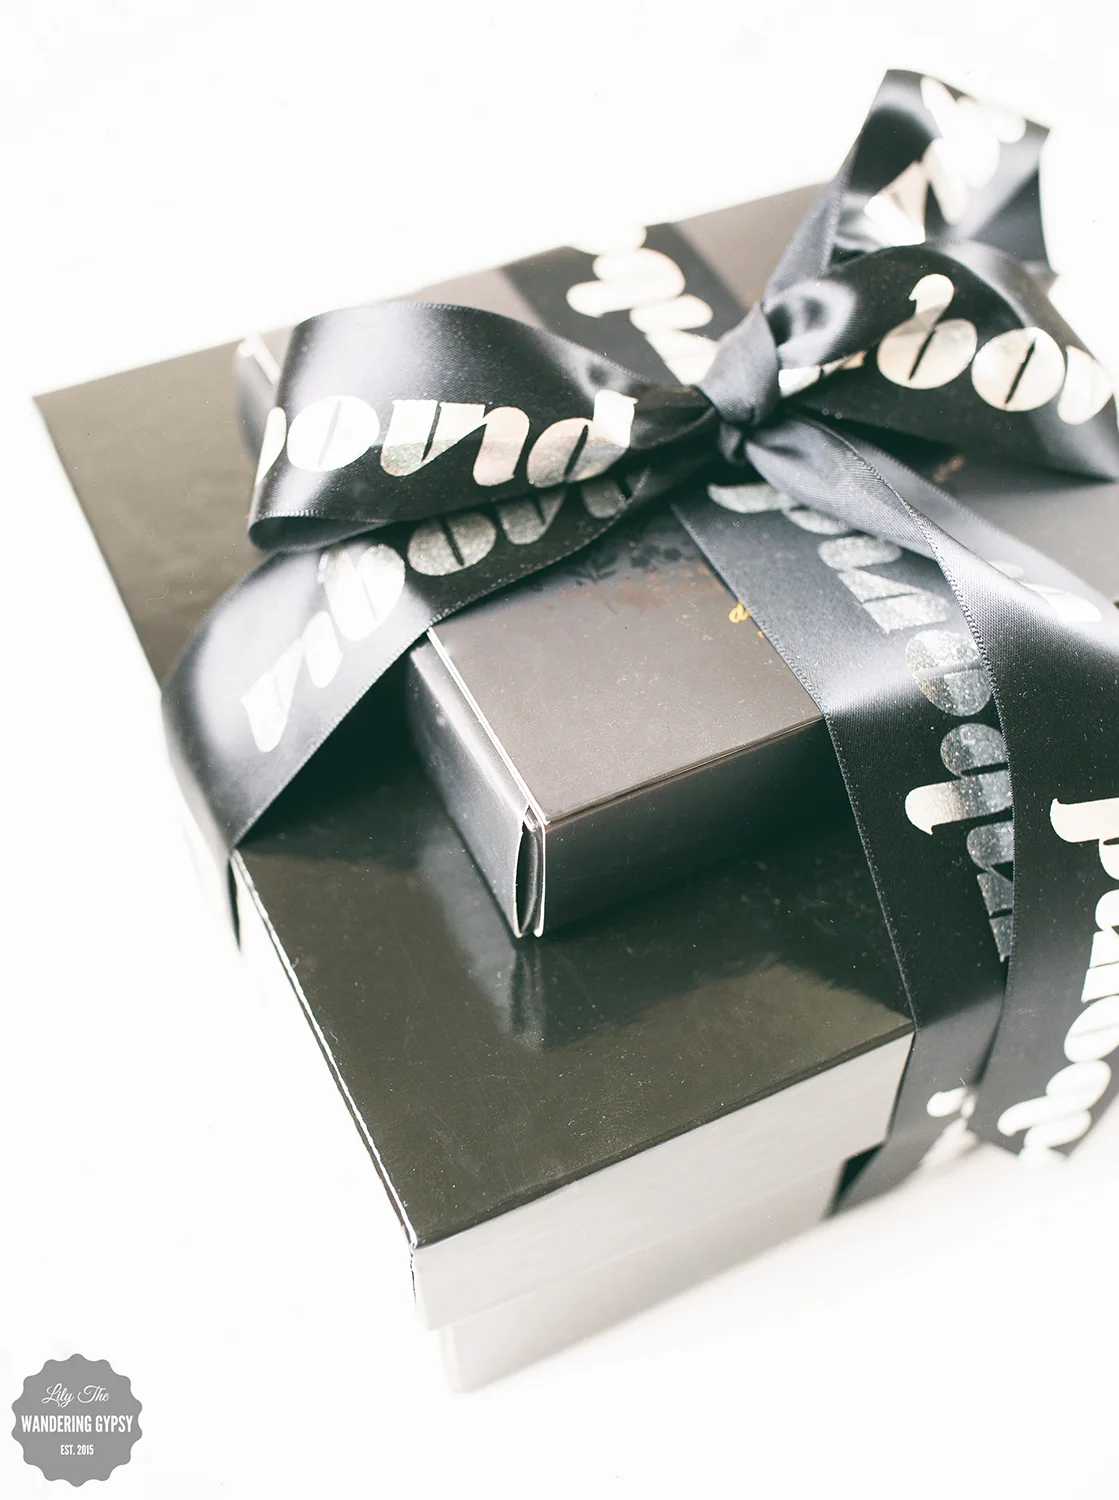
UnboundBox pays so much attention to details - everything looks amazing, from the second you begin to open the package! Most brides are going to love this present!
You could get this for the bride by yourself, or have a couple of friends gift this to her together.
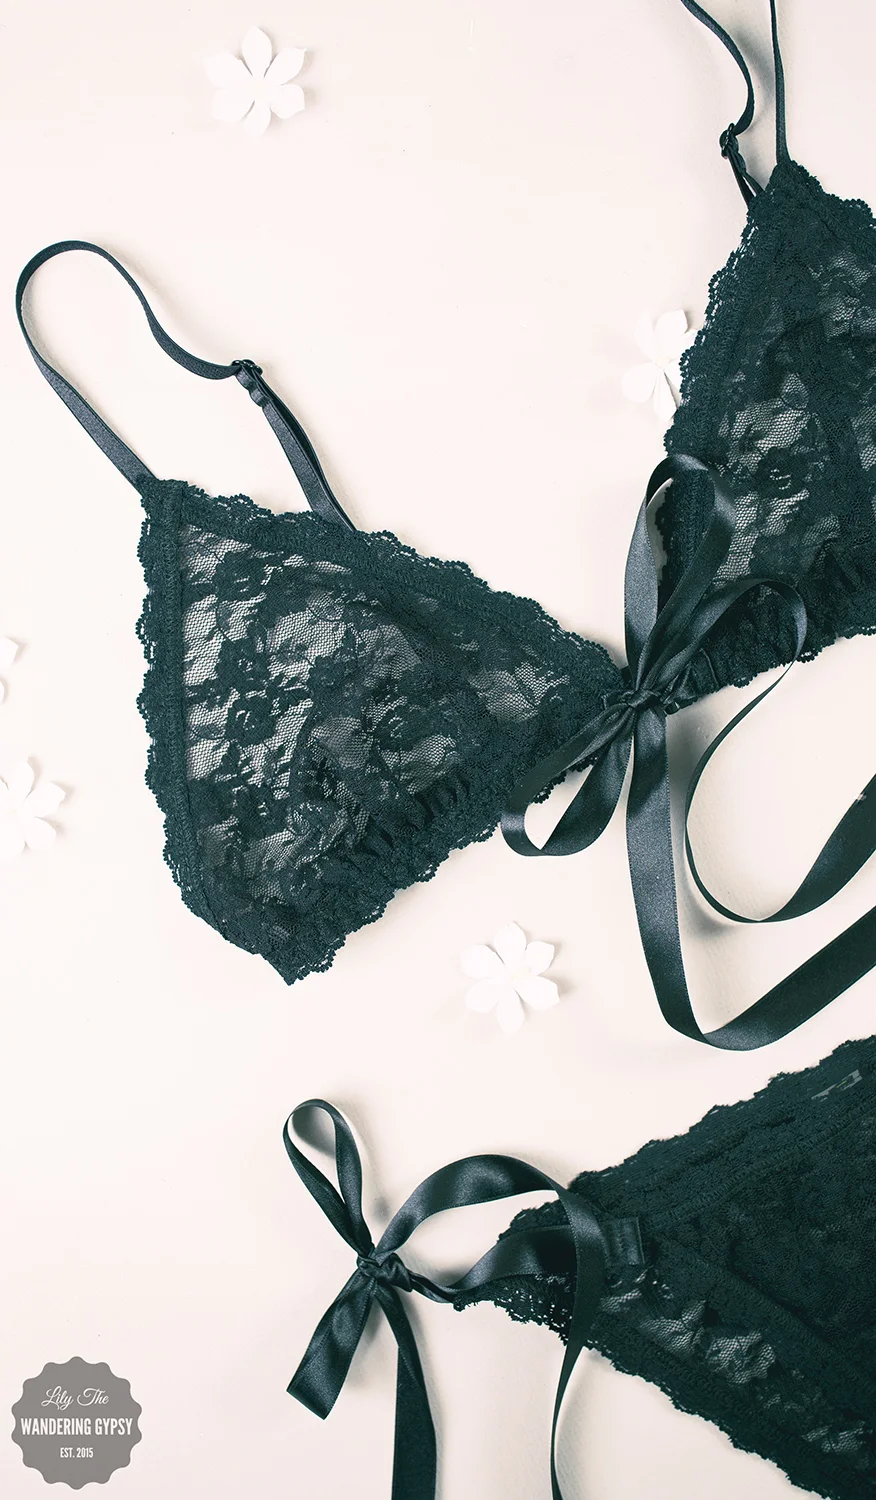
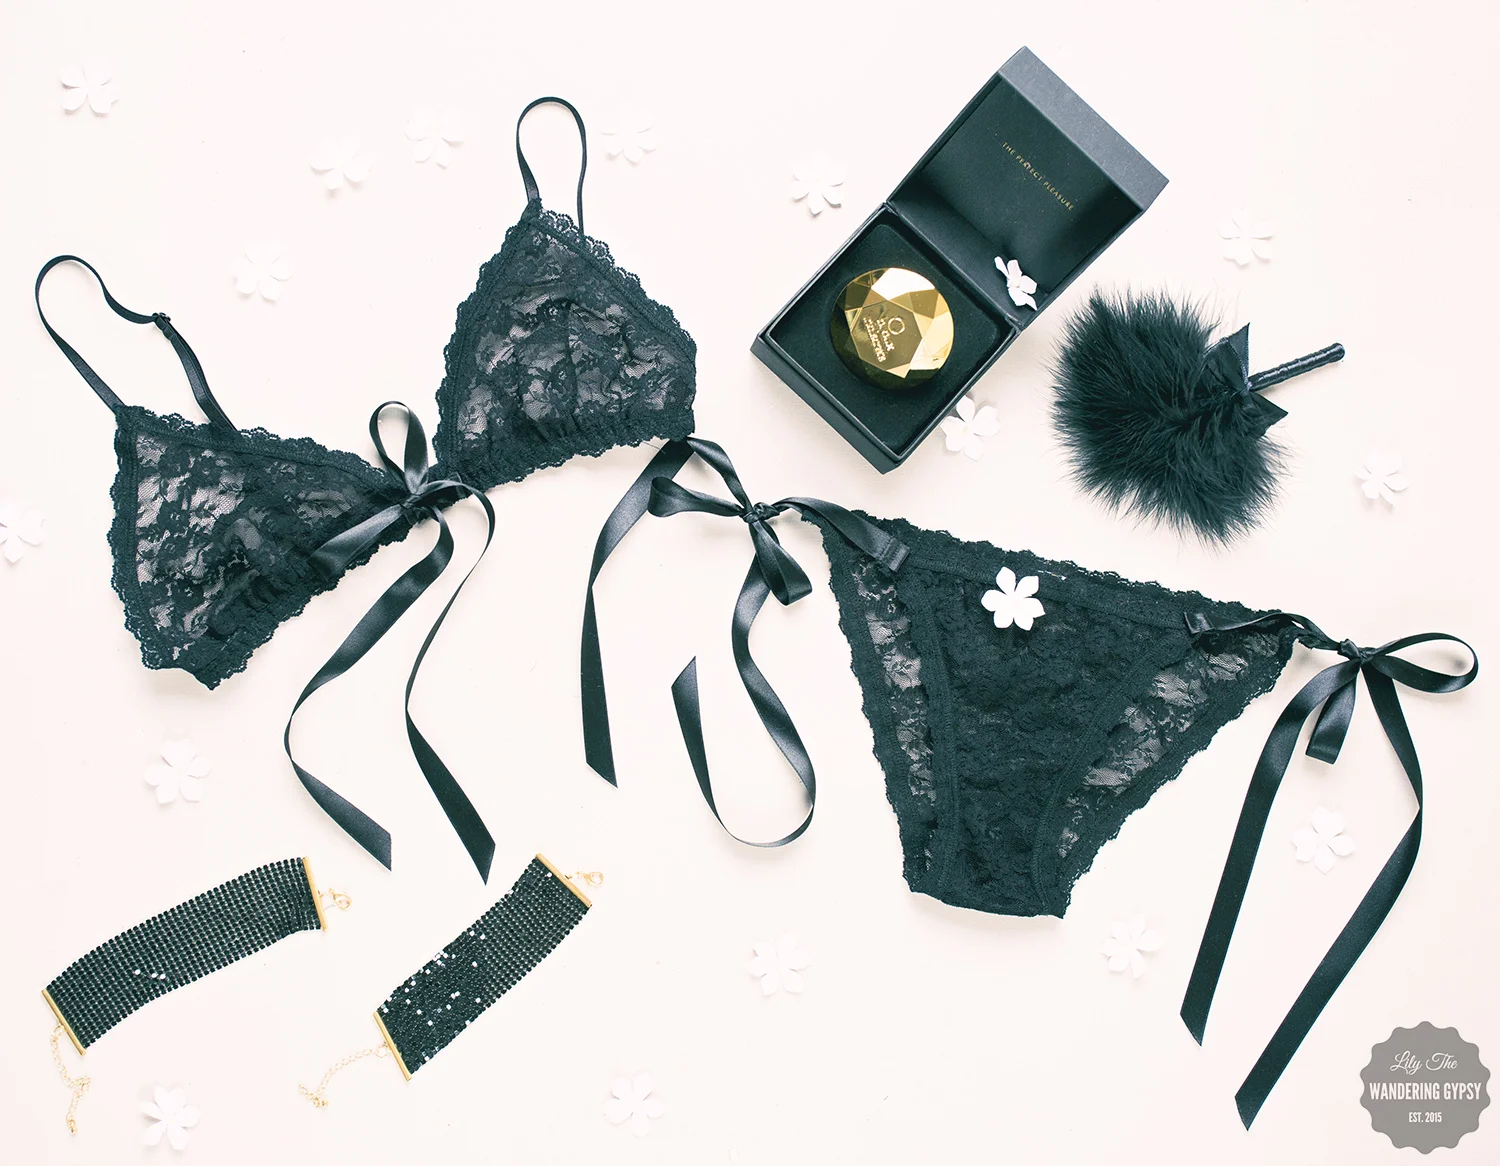
Hanky Panky Steamy Peek-A-Boo Bralette
This peek-a-boo bralette is made of Hanky Panky's signature comfortable stretch lace. The sensuous silky ribbon will make you feel like a present fit to unwrap.
Believe me, the lace on this bralette is extremely high quality. This bralette is made from the finest materials, closures, ribbons, and finishes.
Hanky Panky Steamy Side Tie Bottoms
The perfect cheeky bottoms to pair with the Peek-A-Boo Bralette in Black Lace. These comfortable, bikini-cut panties are made of Hanky Panky's signature stretch lace - which is super soft!
Desir Metallique Handcuffs
This beautiful set of mesh handcuffs look like a set of 3 bracelets, but could also be used for fun!
Feather Tickler
This is also a cute item that would make just about anyone smile. The feathers are super-soft, so just use your imagination!
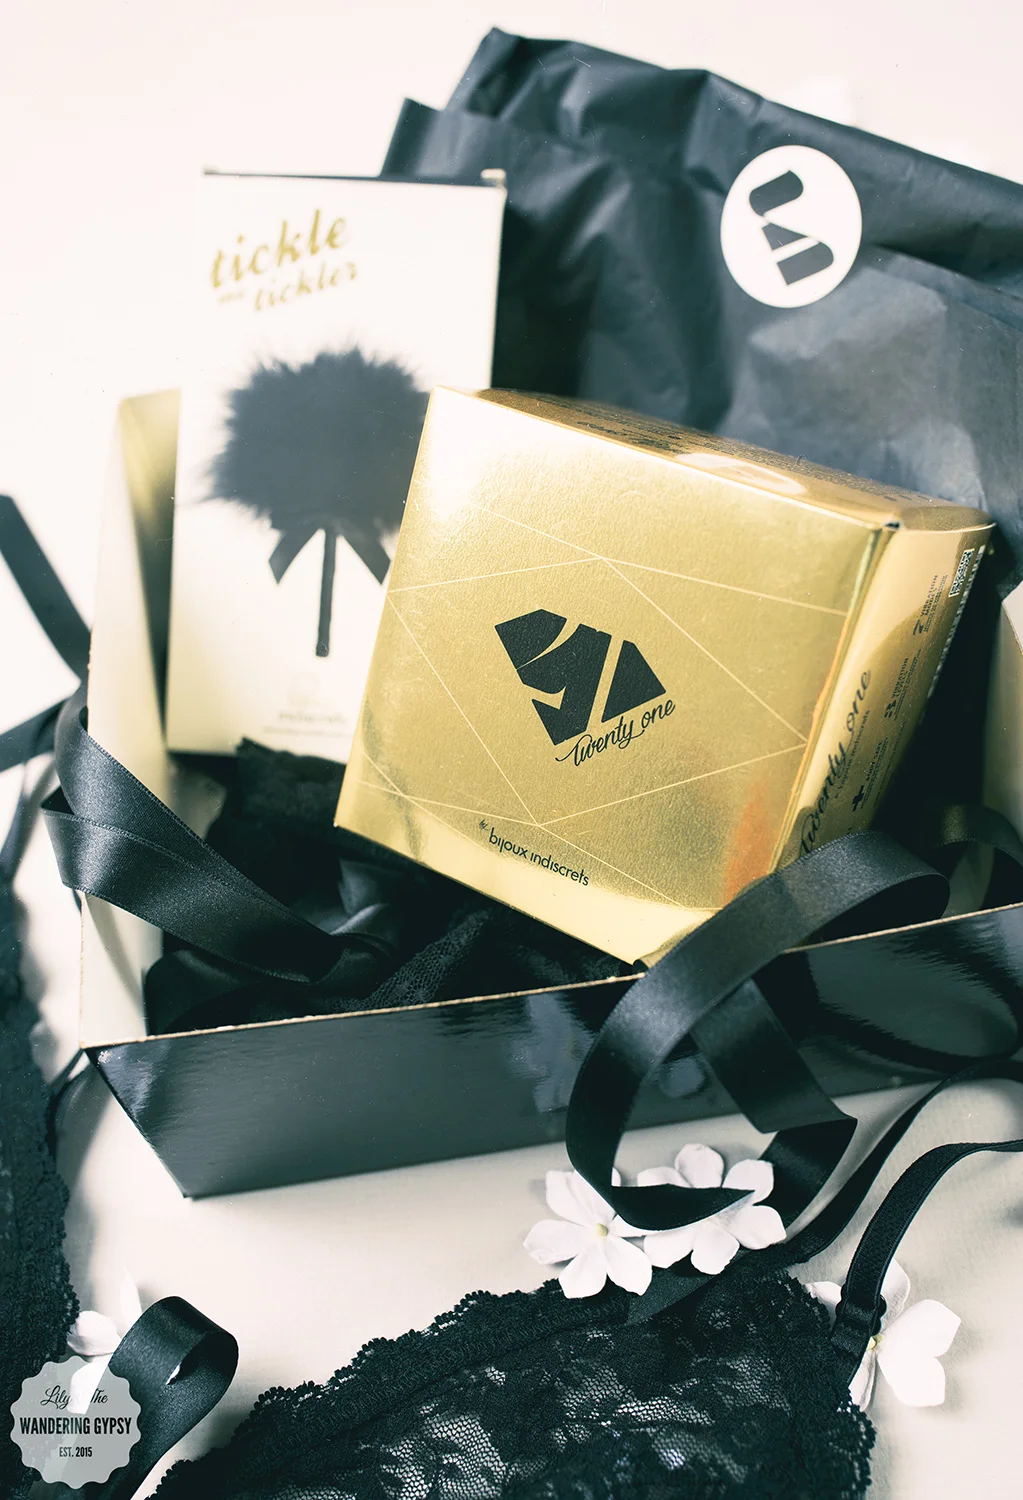

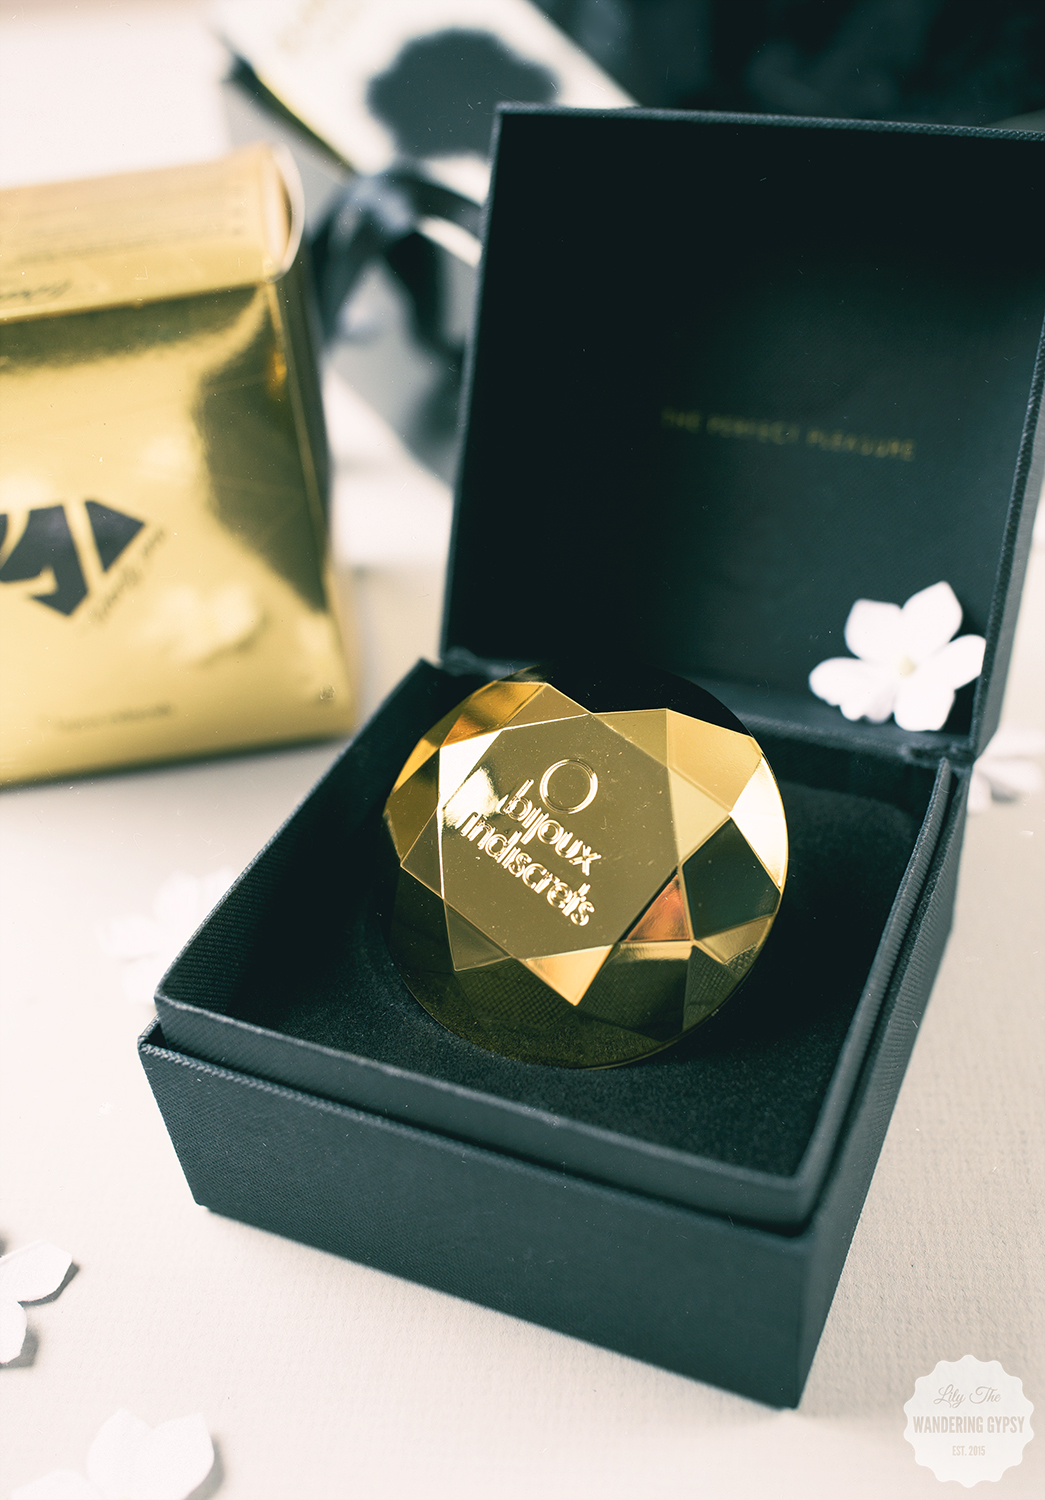
A little bit about one of the items in the gift box, the vibe.
Bijoiux Indiscrets Twenty One Diamond Vibrator
Twenty One offers the ultimate in female pleasure. With the perfect size and shape, it is designed to provide precise stimulation, through it's 7 patterns and 3 vibration intensities, Twenty One unveils a new dimension where pleasure is the real luxury. Includes satin pouch, user manual, and USB charger.


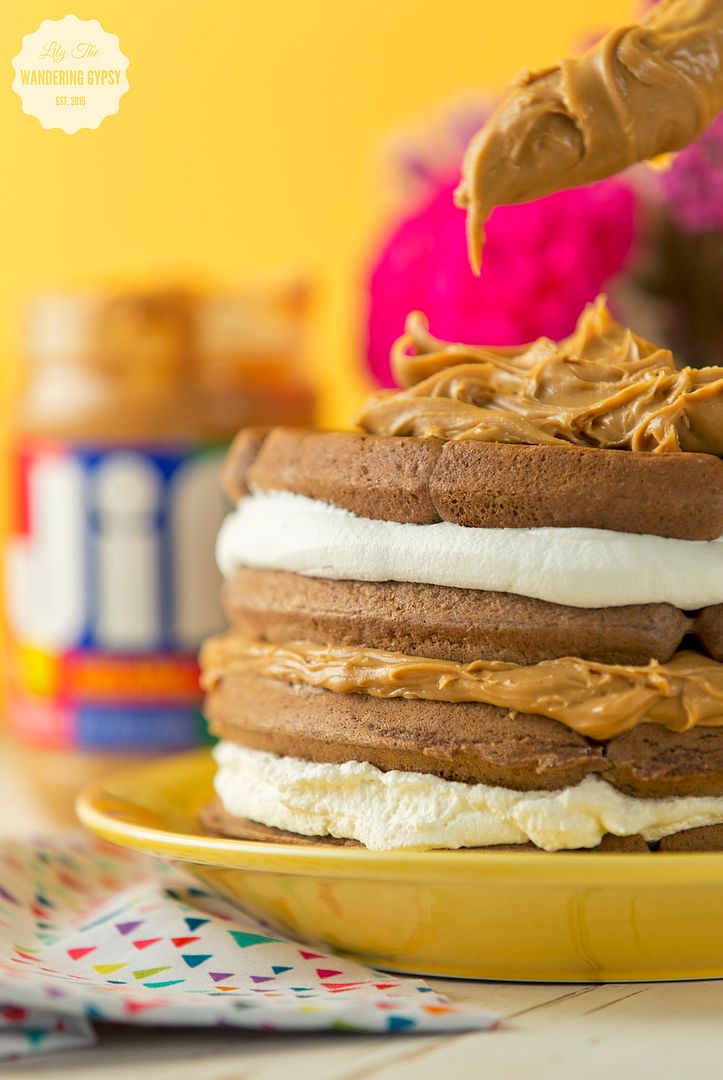 This is a sponsored conversation written by me on behalf of The J.M. Smucker Company. The opinions and text are mine alone. #peanutbutterhappy #ad
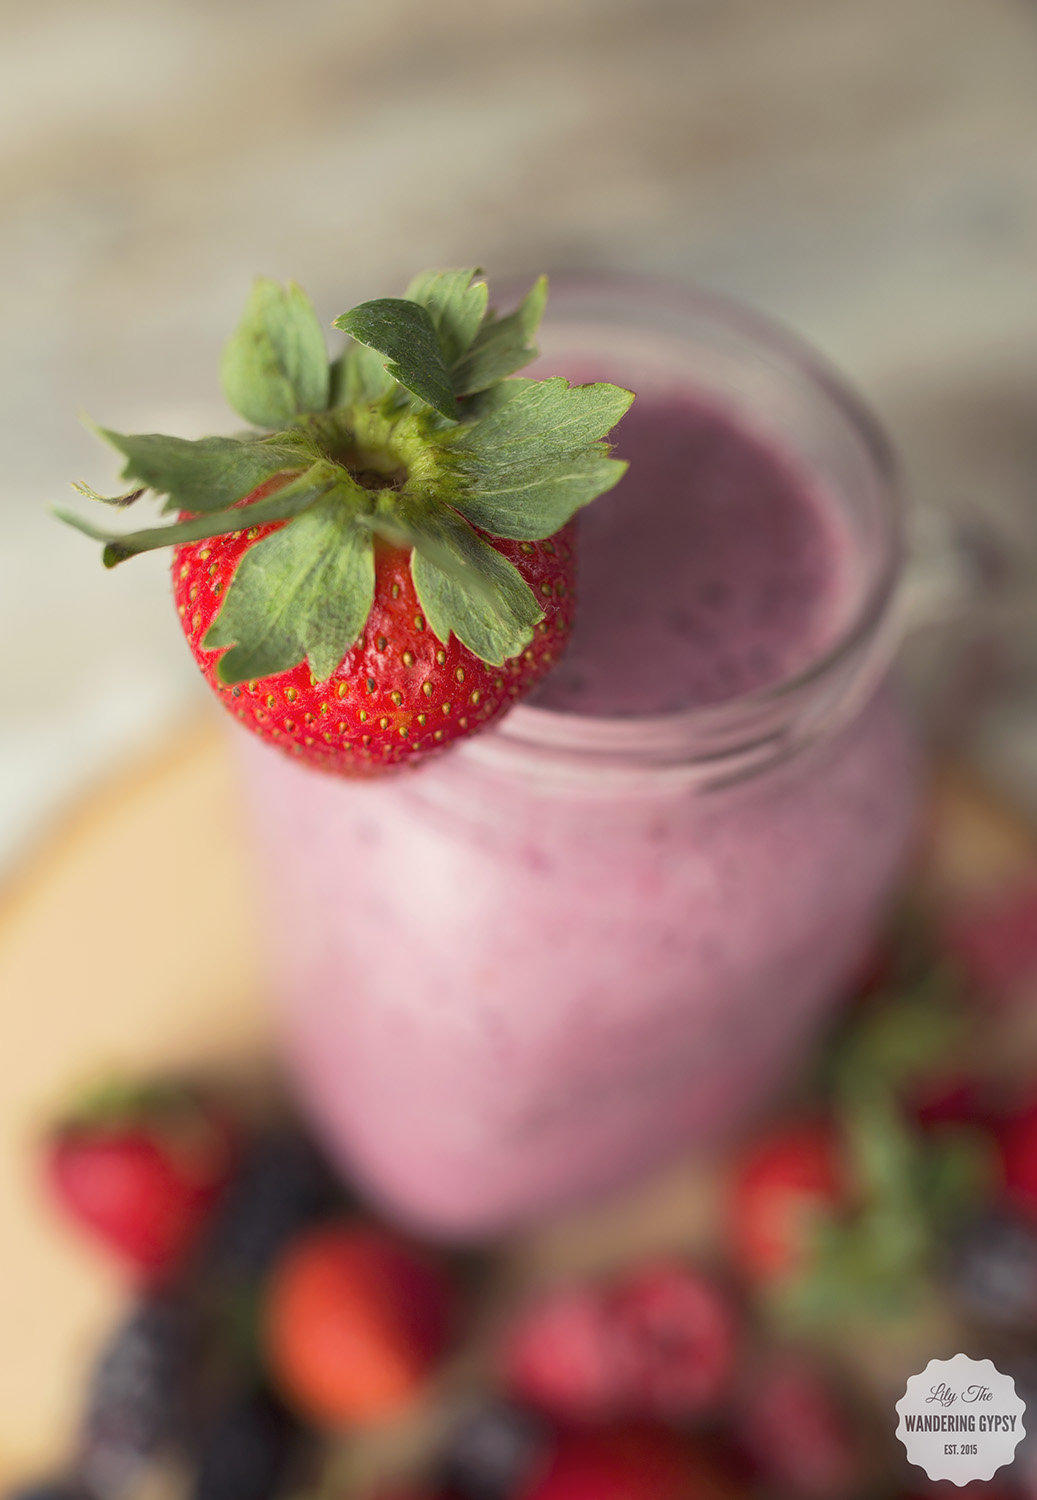
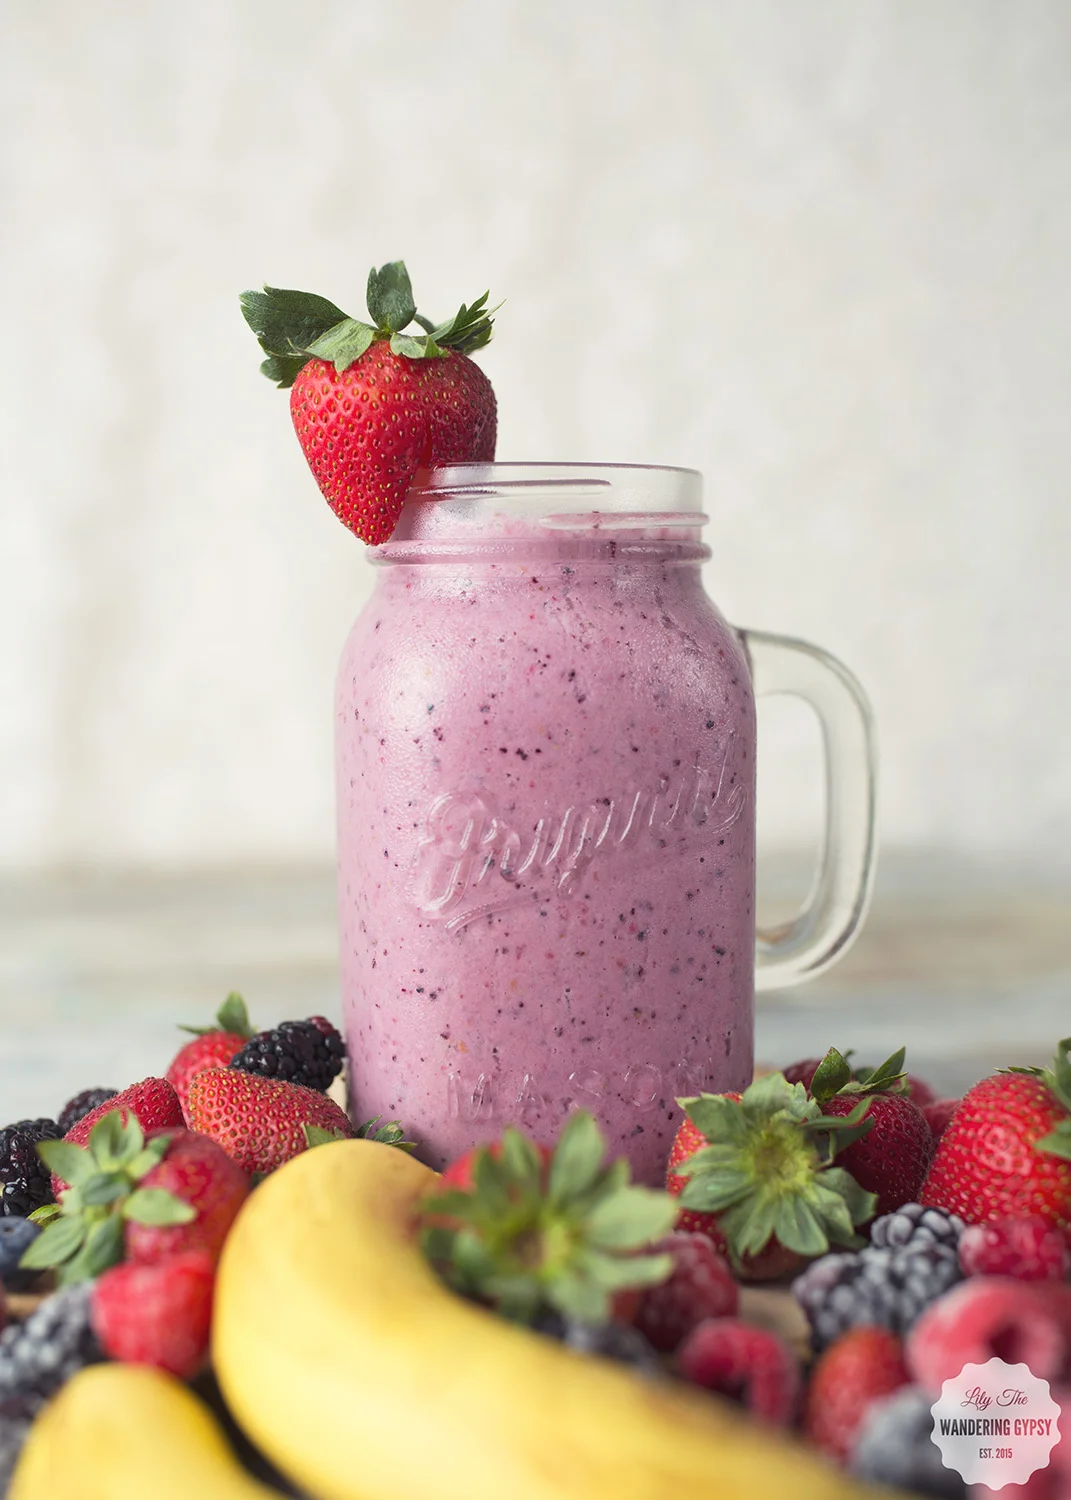
 These Jif Bars inspired me to show you a quick and easy lunch idea, that you can prepare in just a few minutes. A jar salad is a great way to jump start your mid day hunger. I also love the idea of bringing a fruit like cherries or grapes in a jar, so they won't get squished or make a mess. And, a classic PBJ (featuring Jif PB of course), and my favorite raspberry jelly. And, I love packing the Jif Bars as my dessert, because they're portable and taste seriously SO good!
 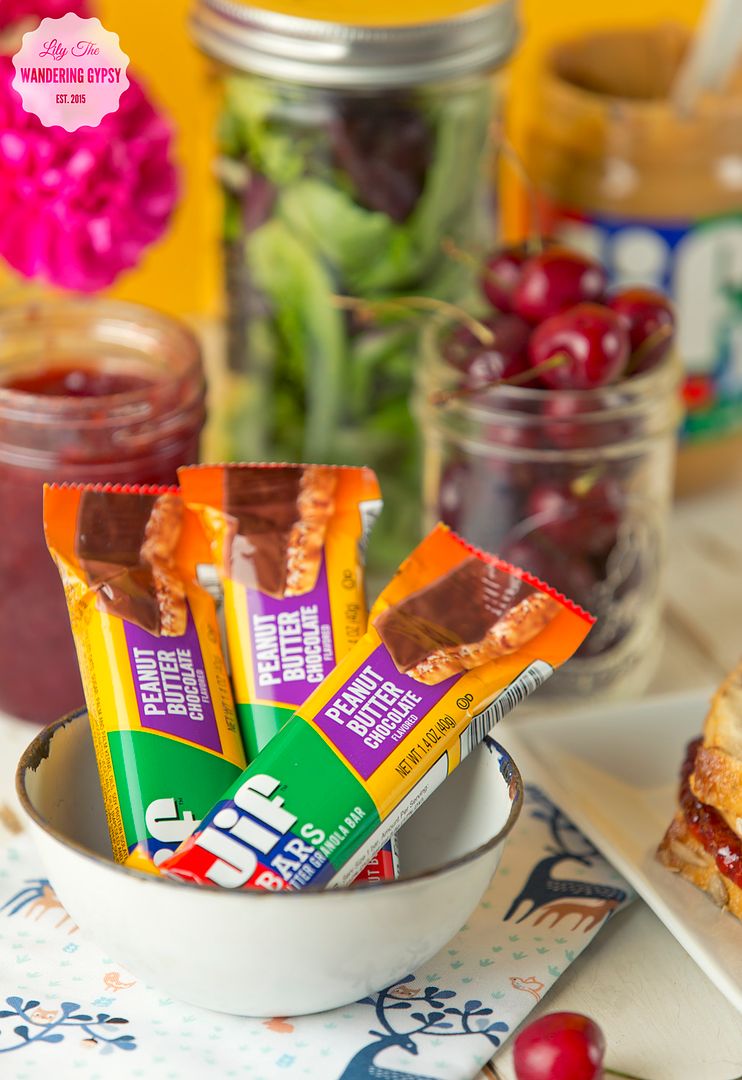 These Peanut Butter Chocolate Bars were the bomb! There are other flavors as well, like Crunchy Peanut Butter, and Creamy Peanut Butter.
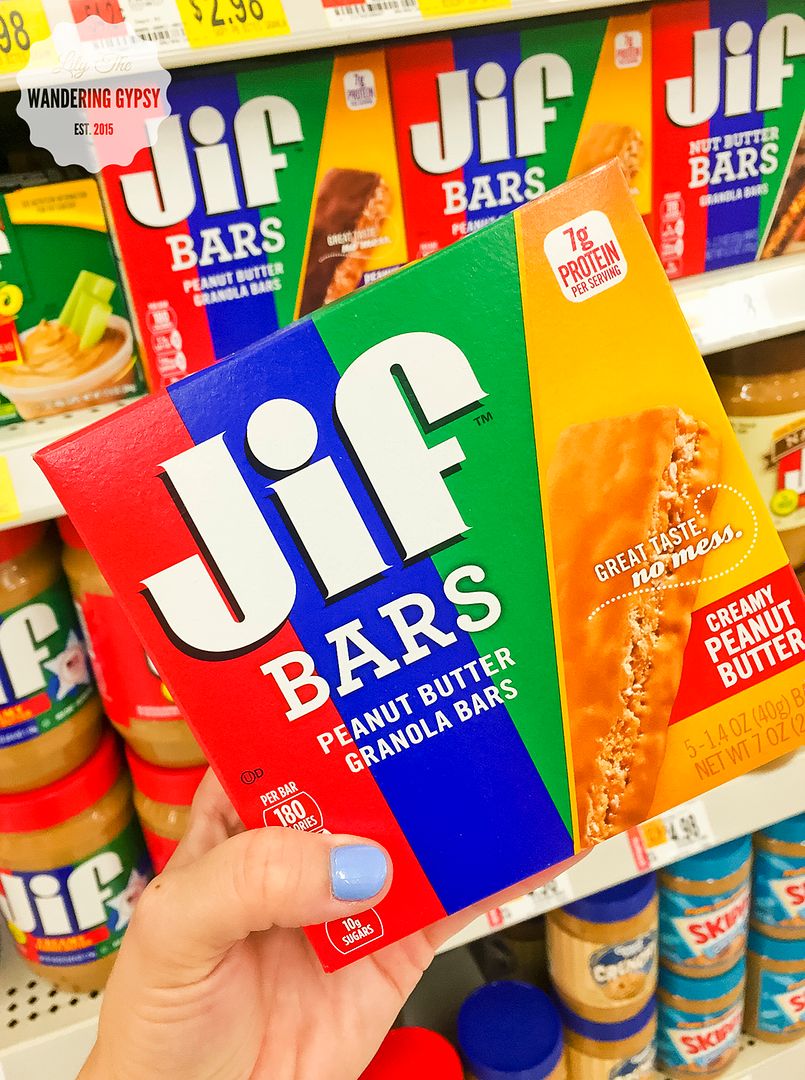 I found the Jif Bars right above the Peanut Butter at Walmart, and their prices are some of the best I've found for these items.