This shop has been compensated by Kahlúa. All opinions are mine alone. The following content is intended for readers who are 21 or older. #ColdBrewMartini
The Season To Shine

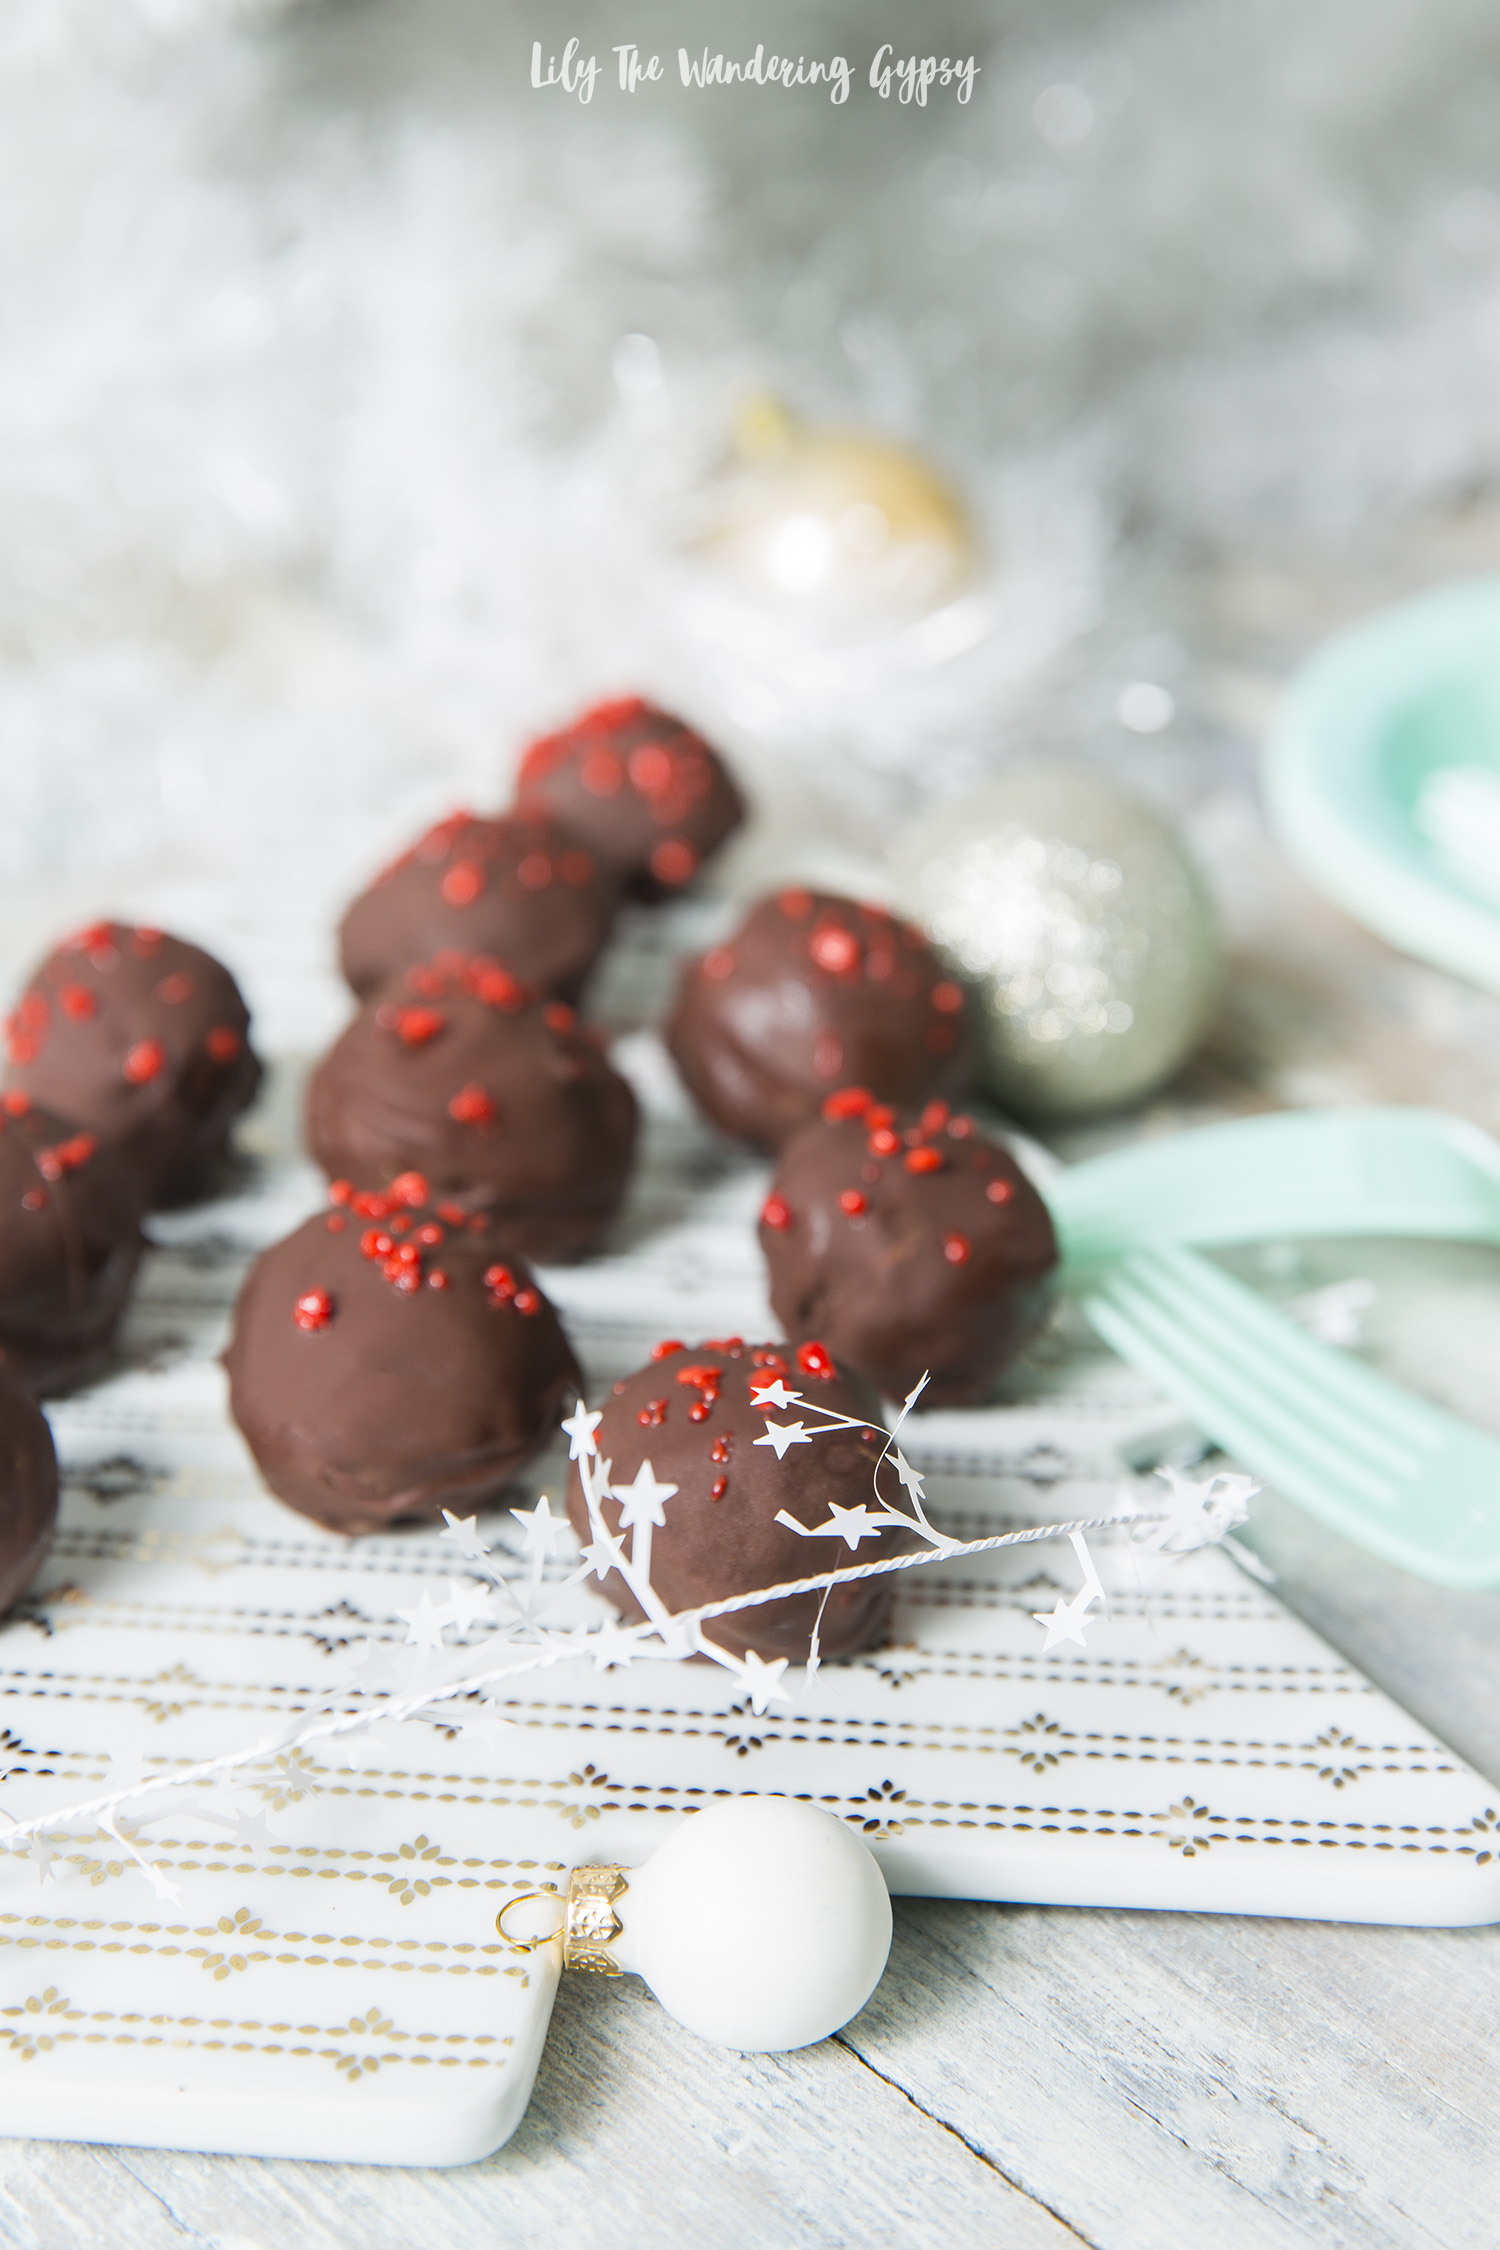
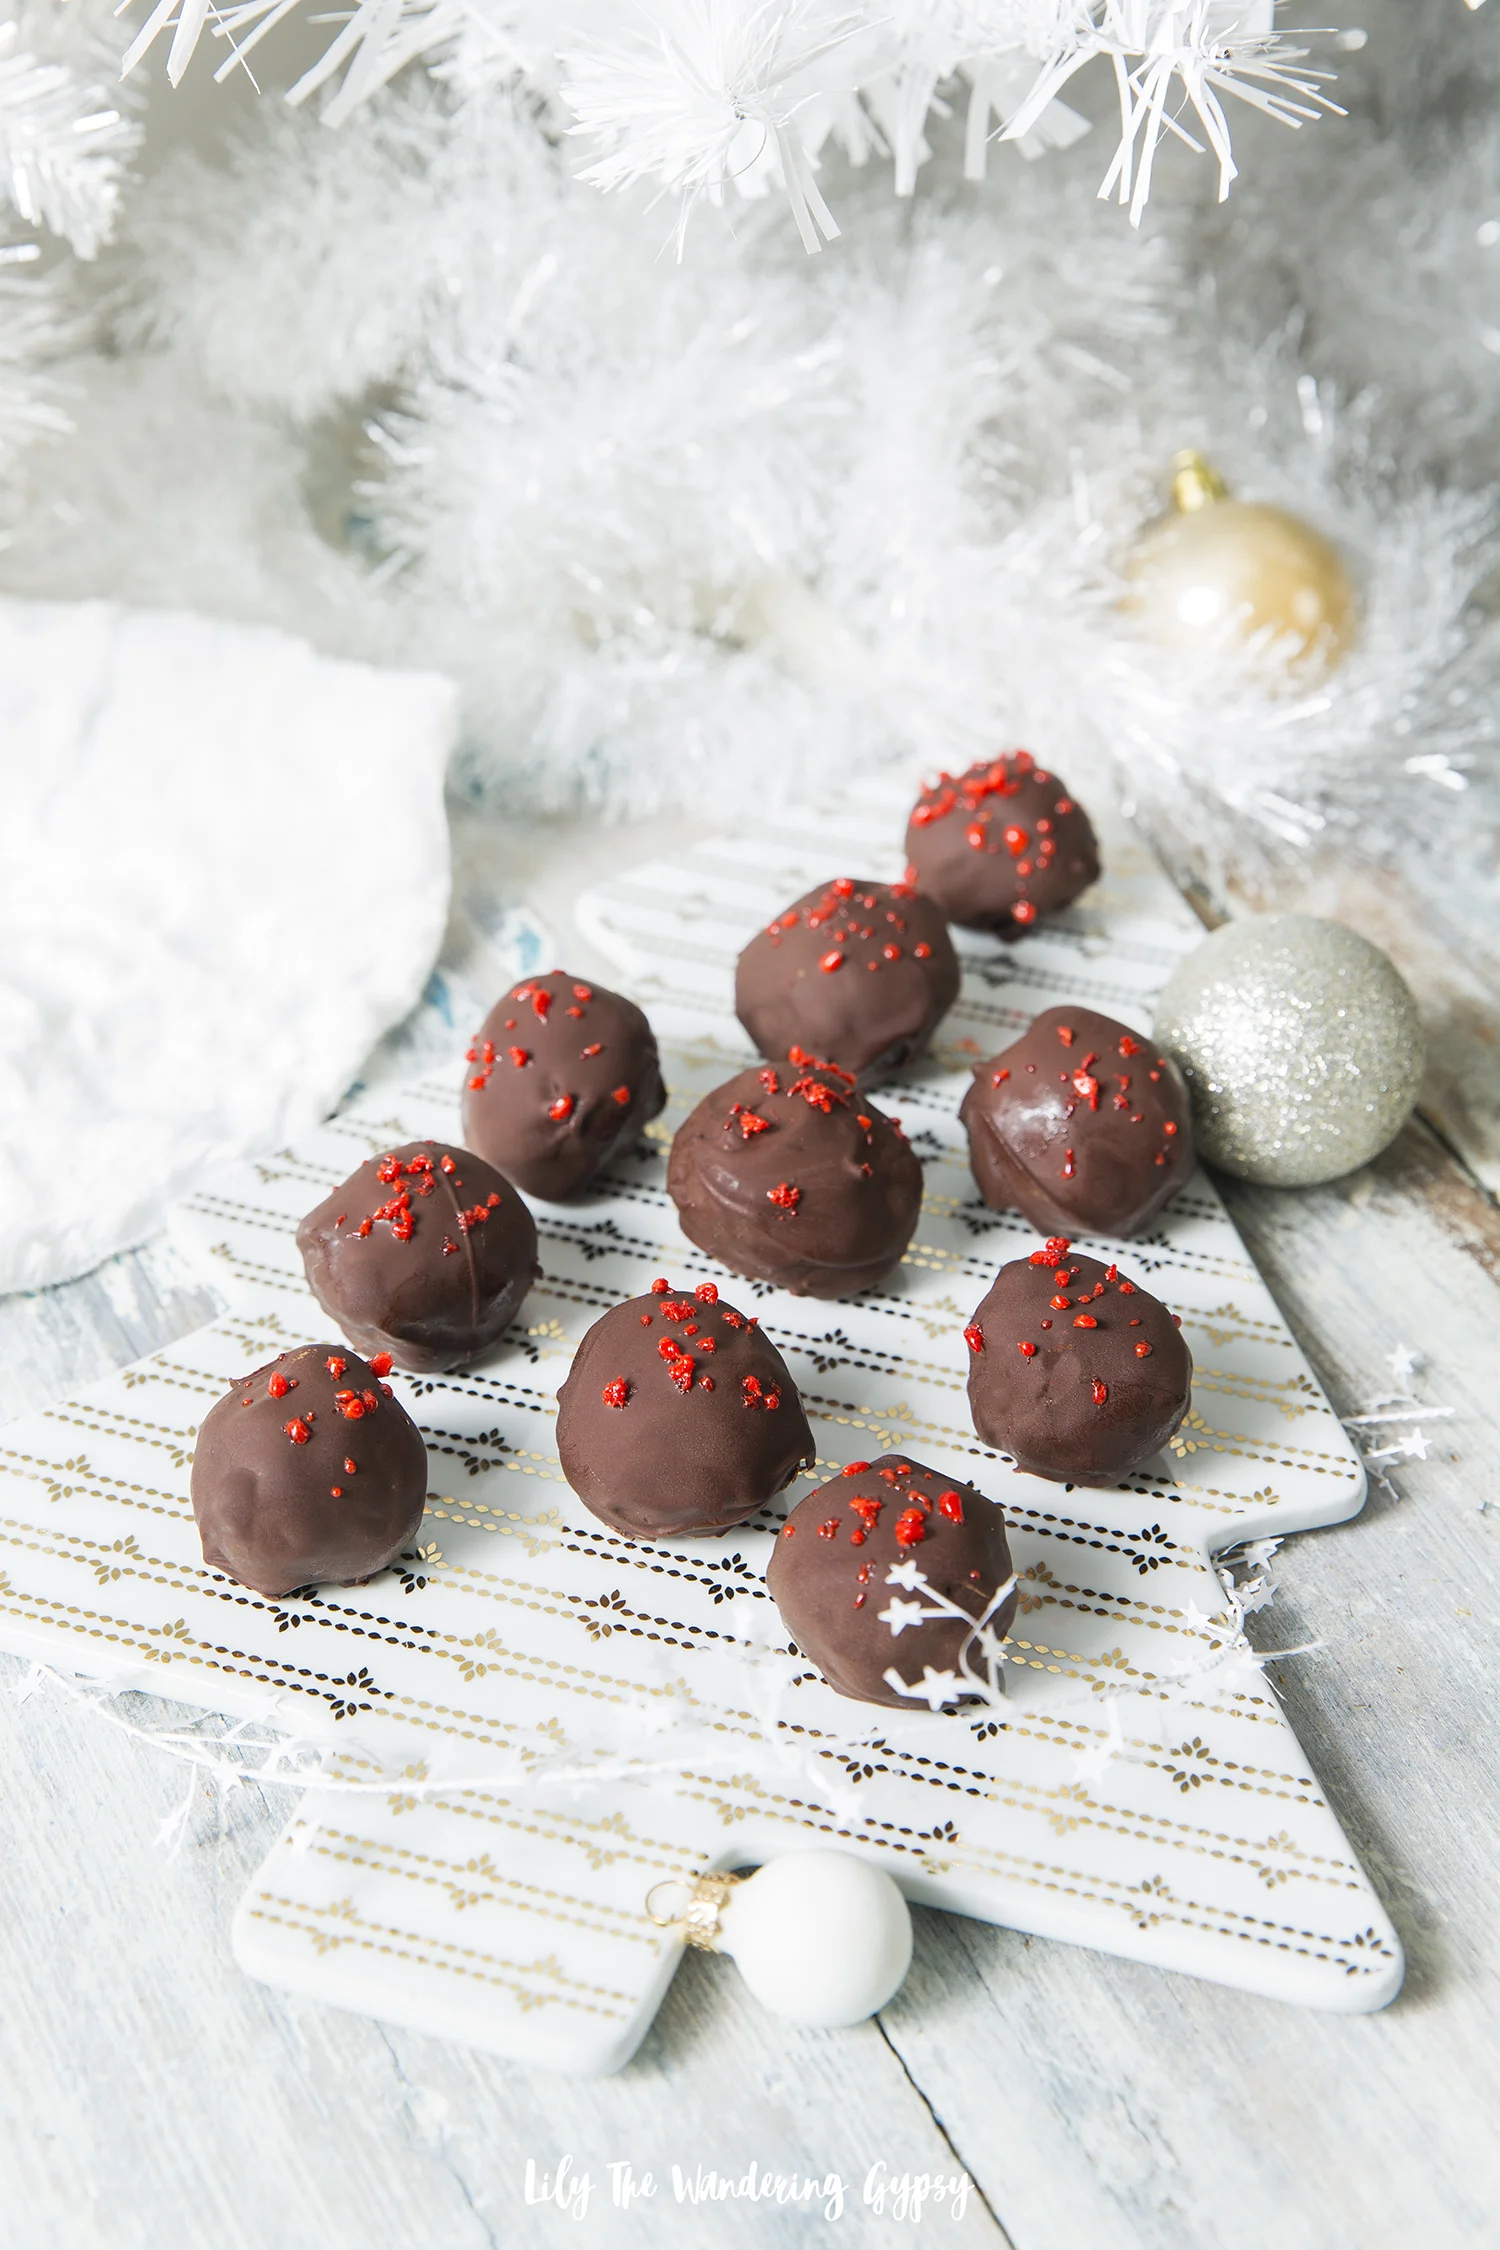
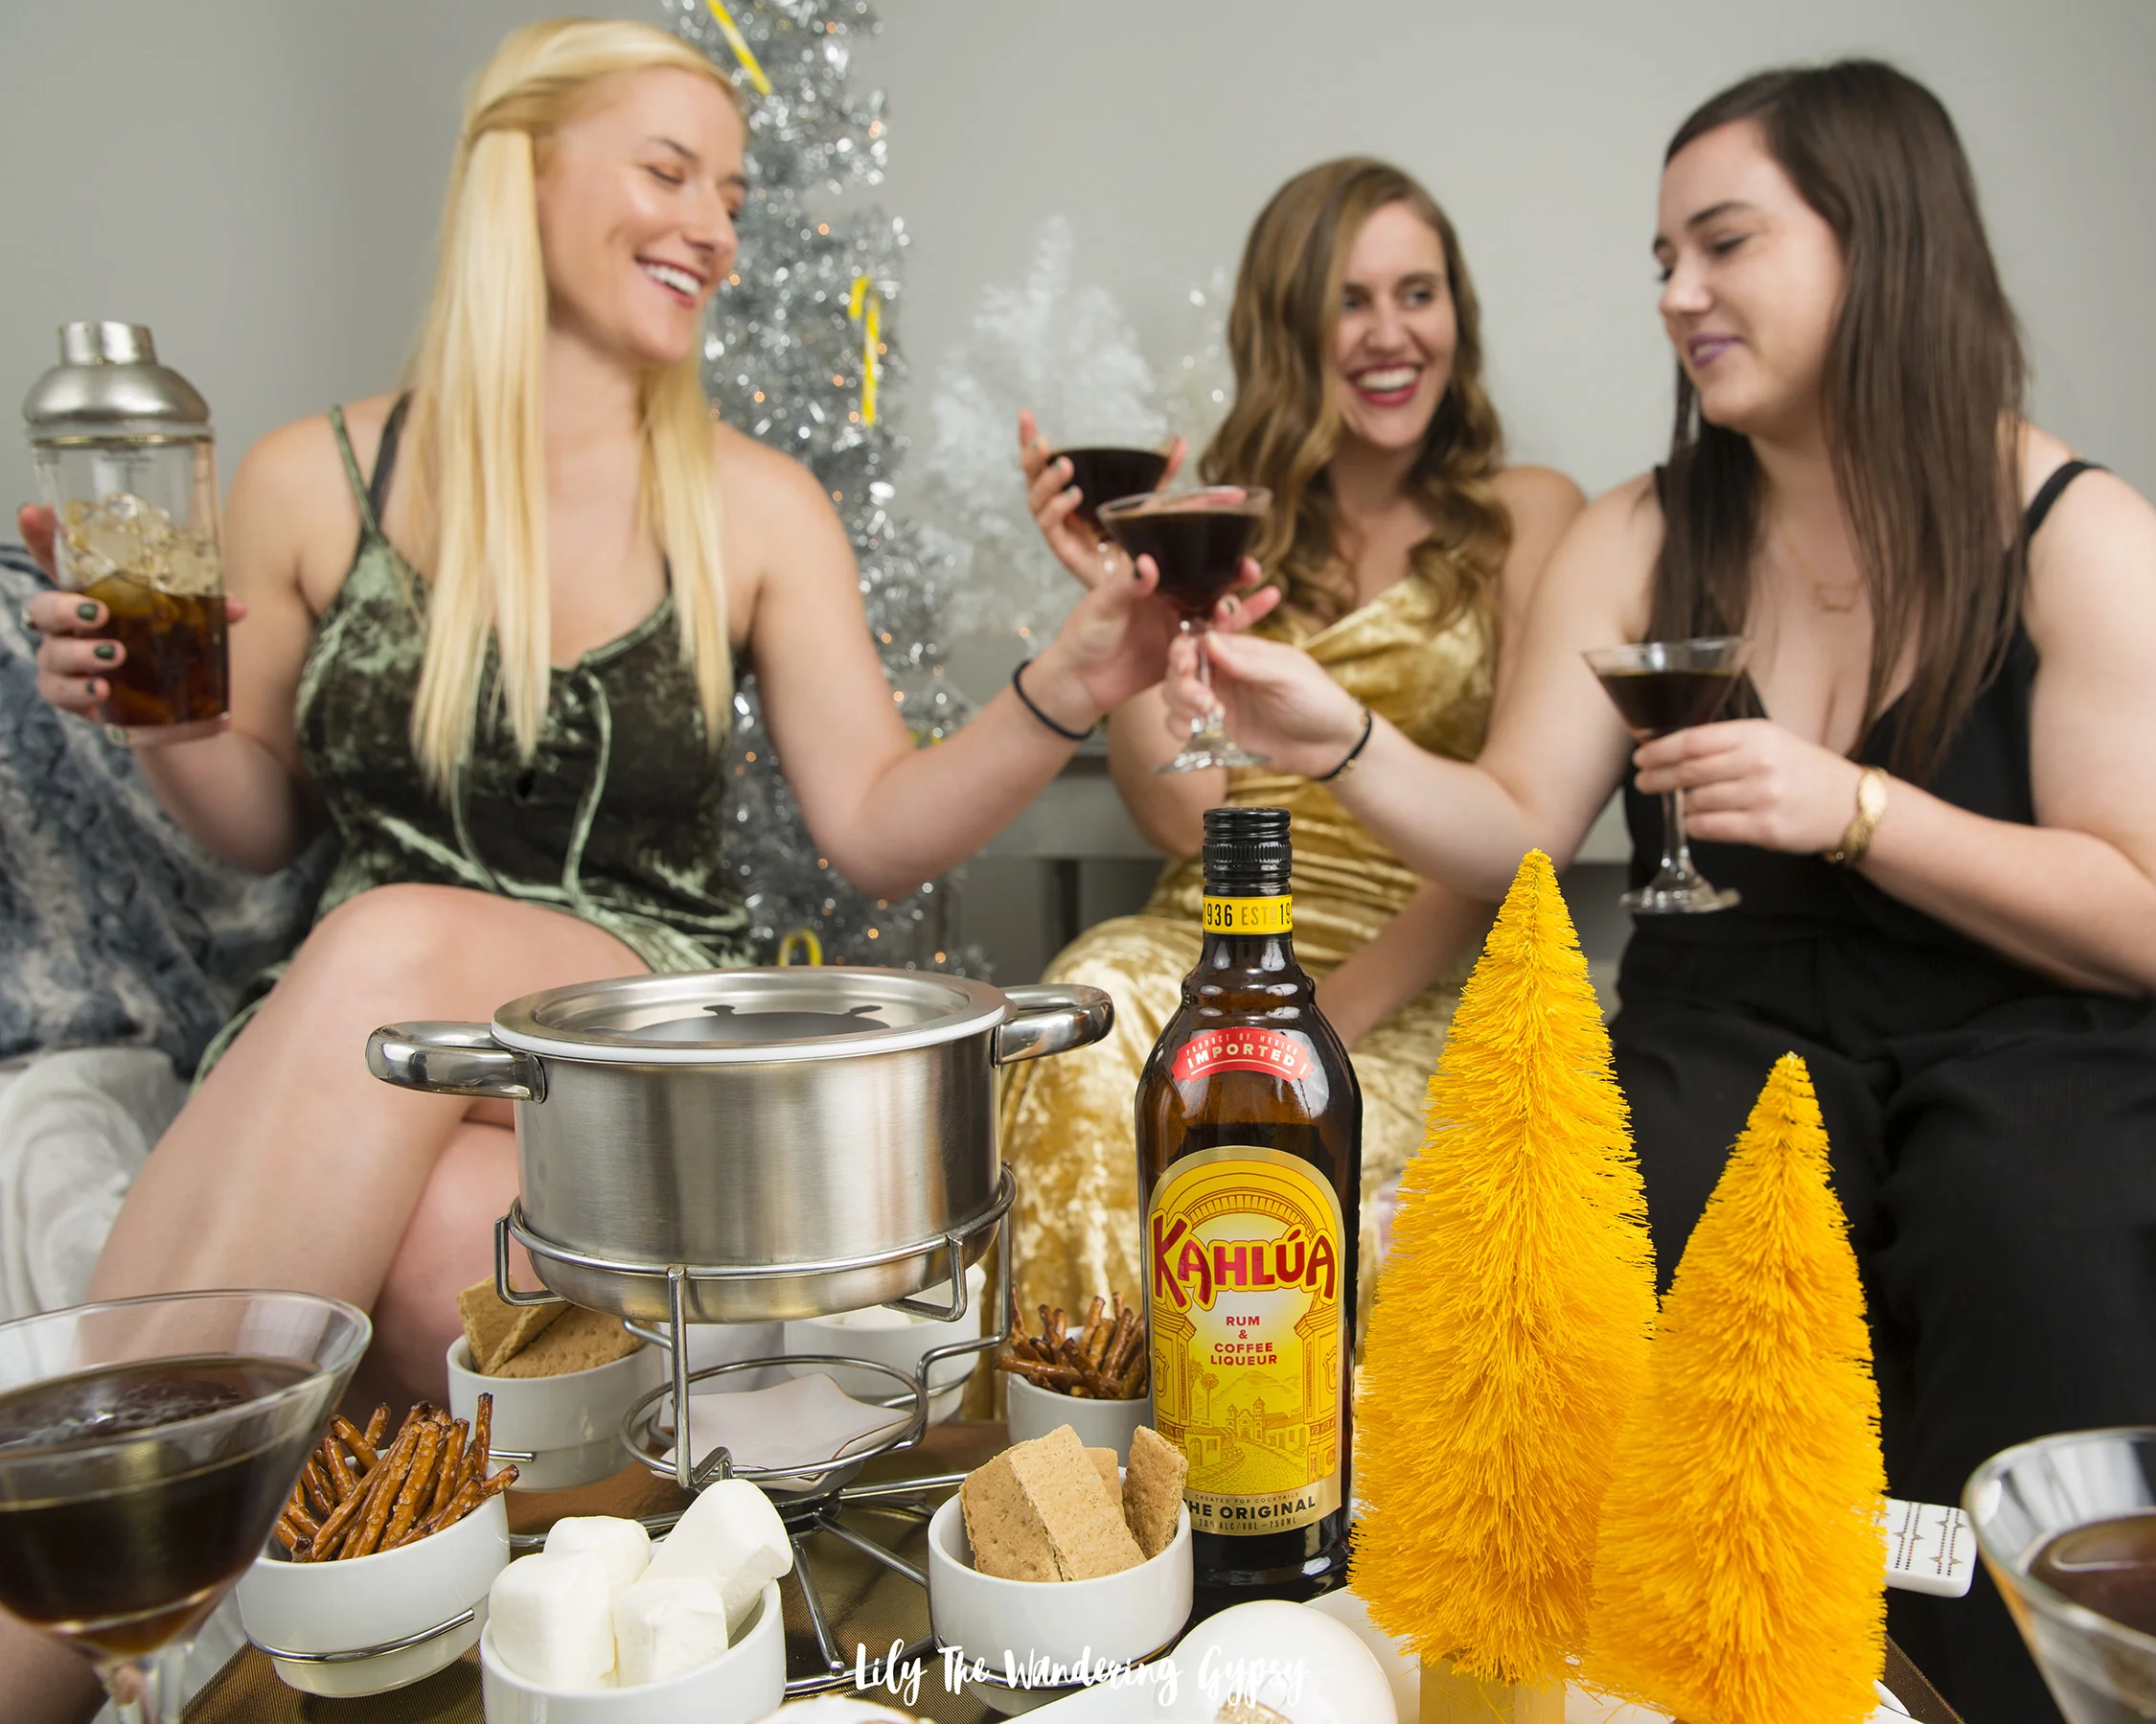
With lots of shimmering details, we set the mood with metallic trees, ornaments, gold tinsel, candy canes, velvet fabrics, faux fur, and of course, Kahlúa and chocolate fondue.
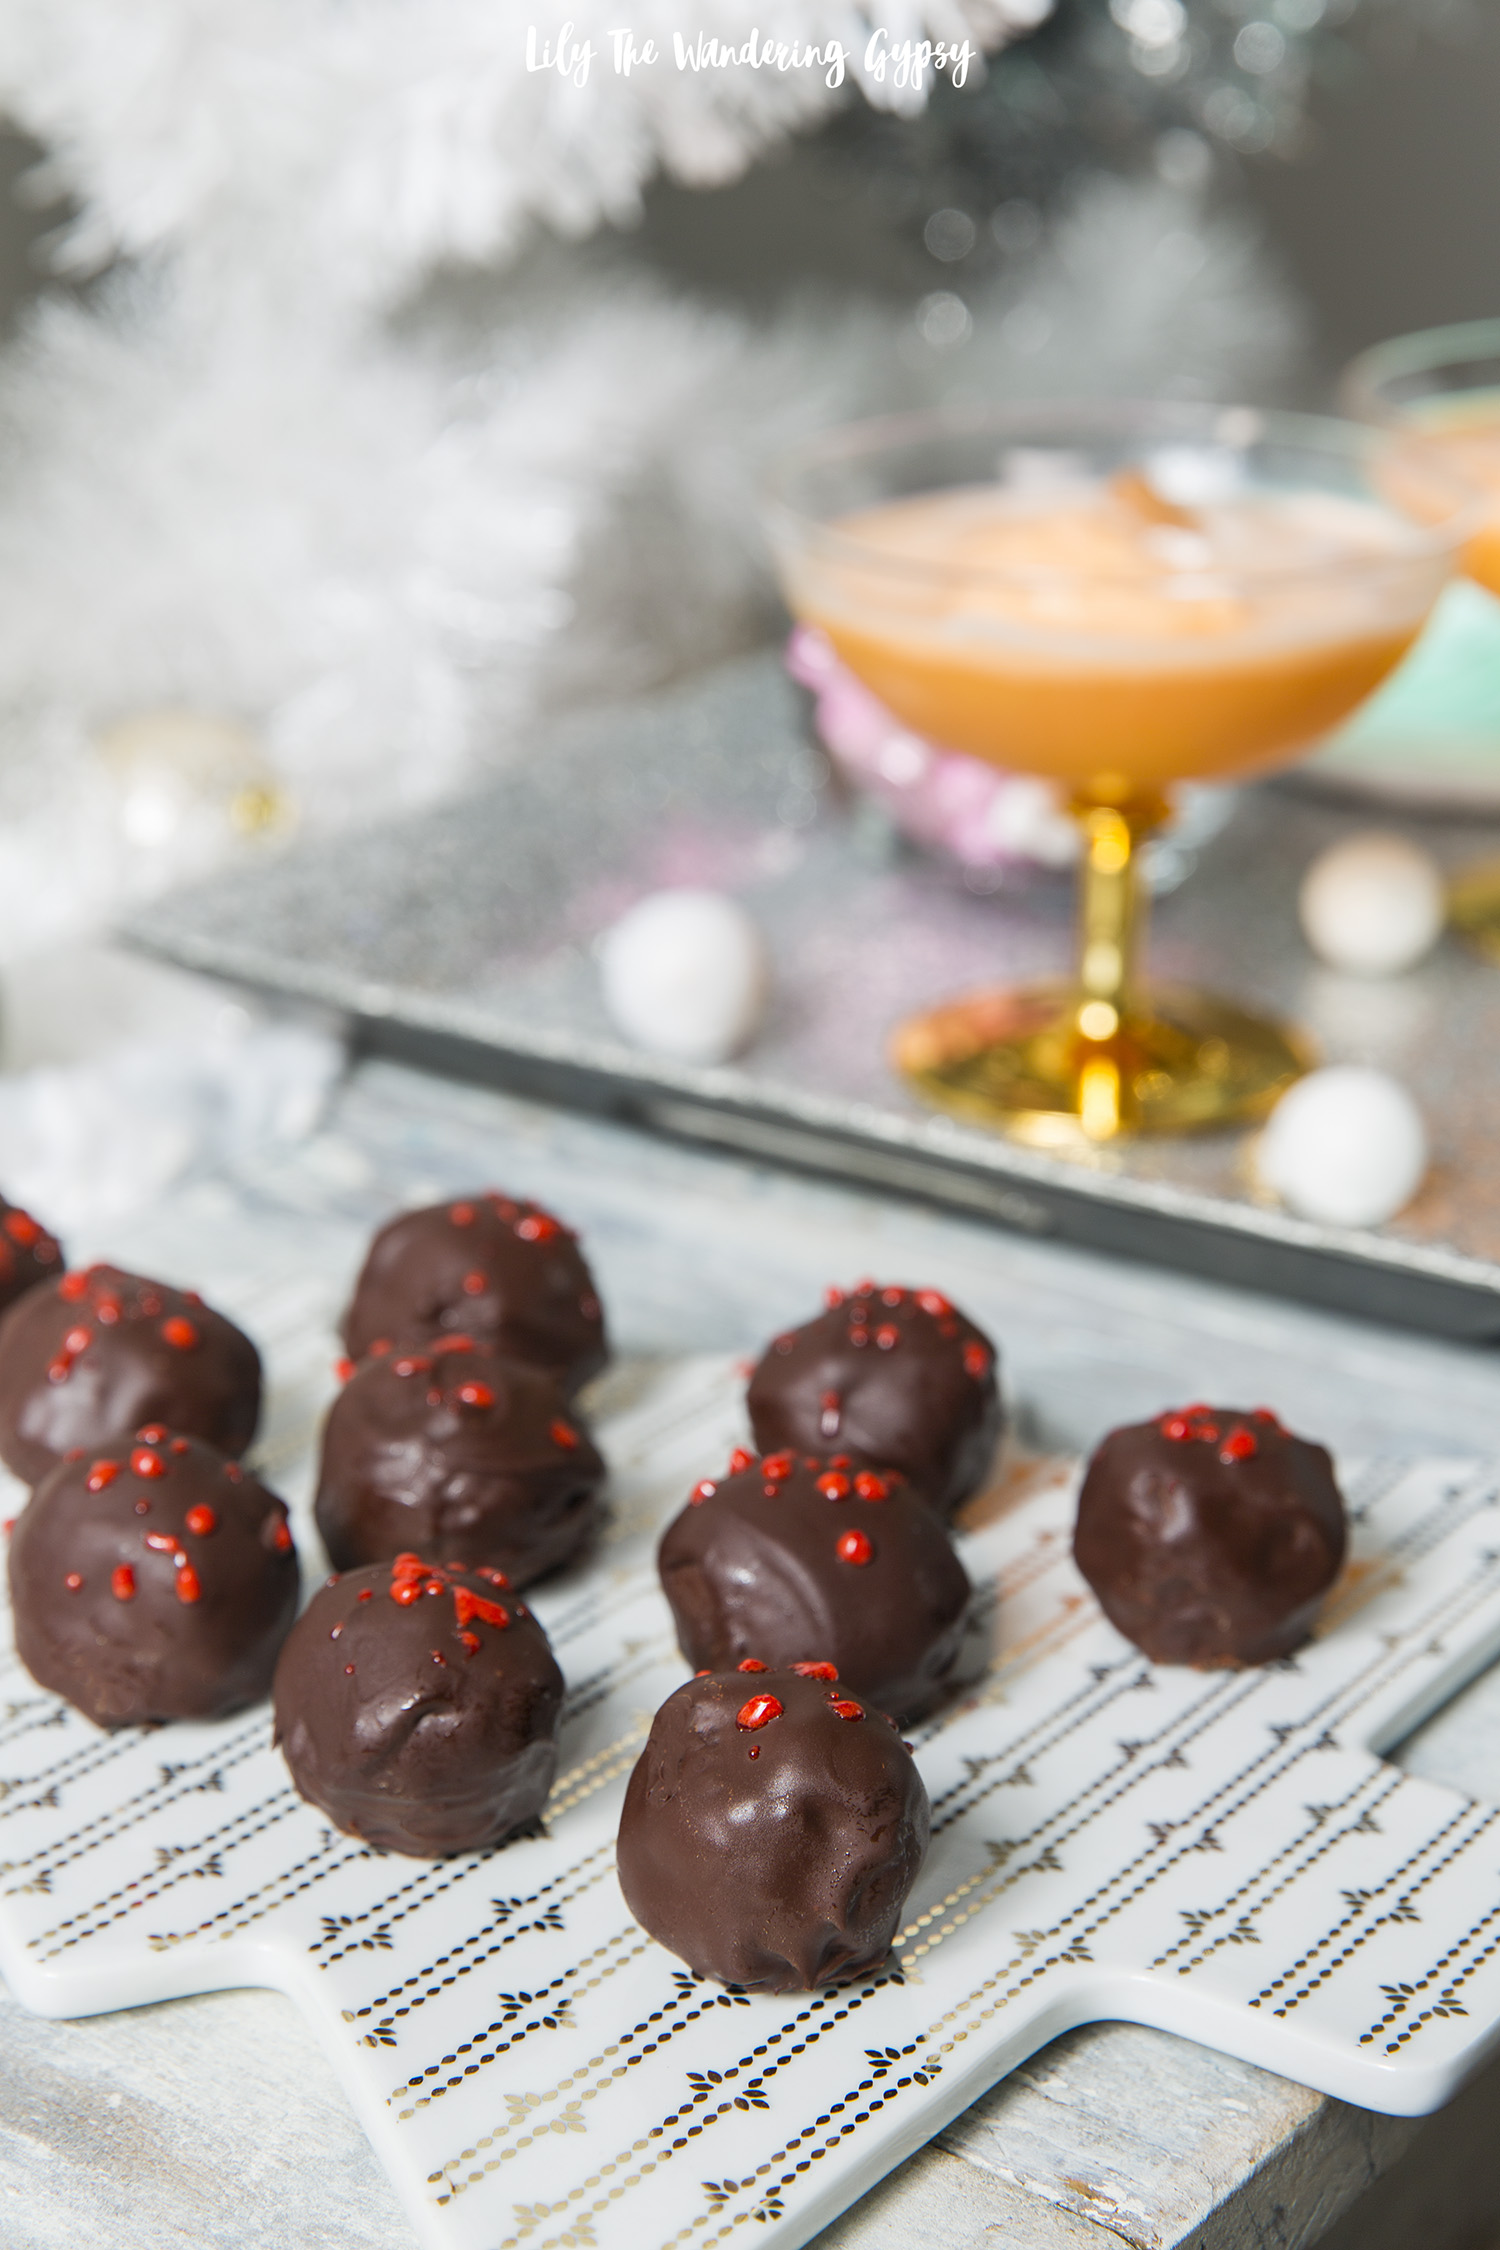
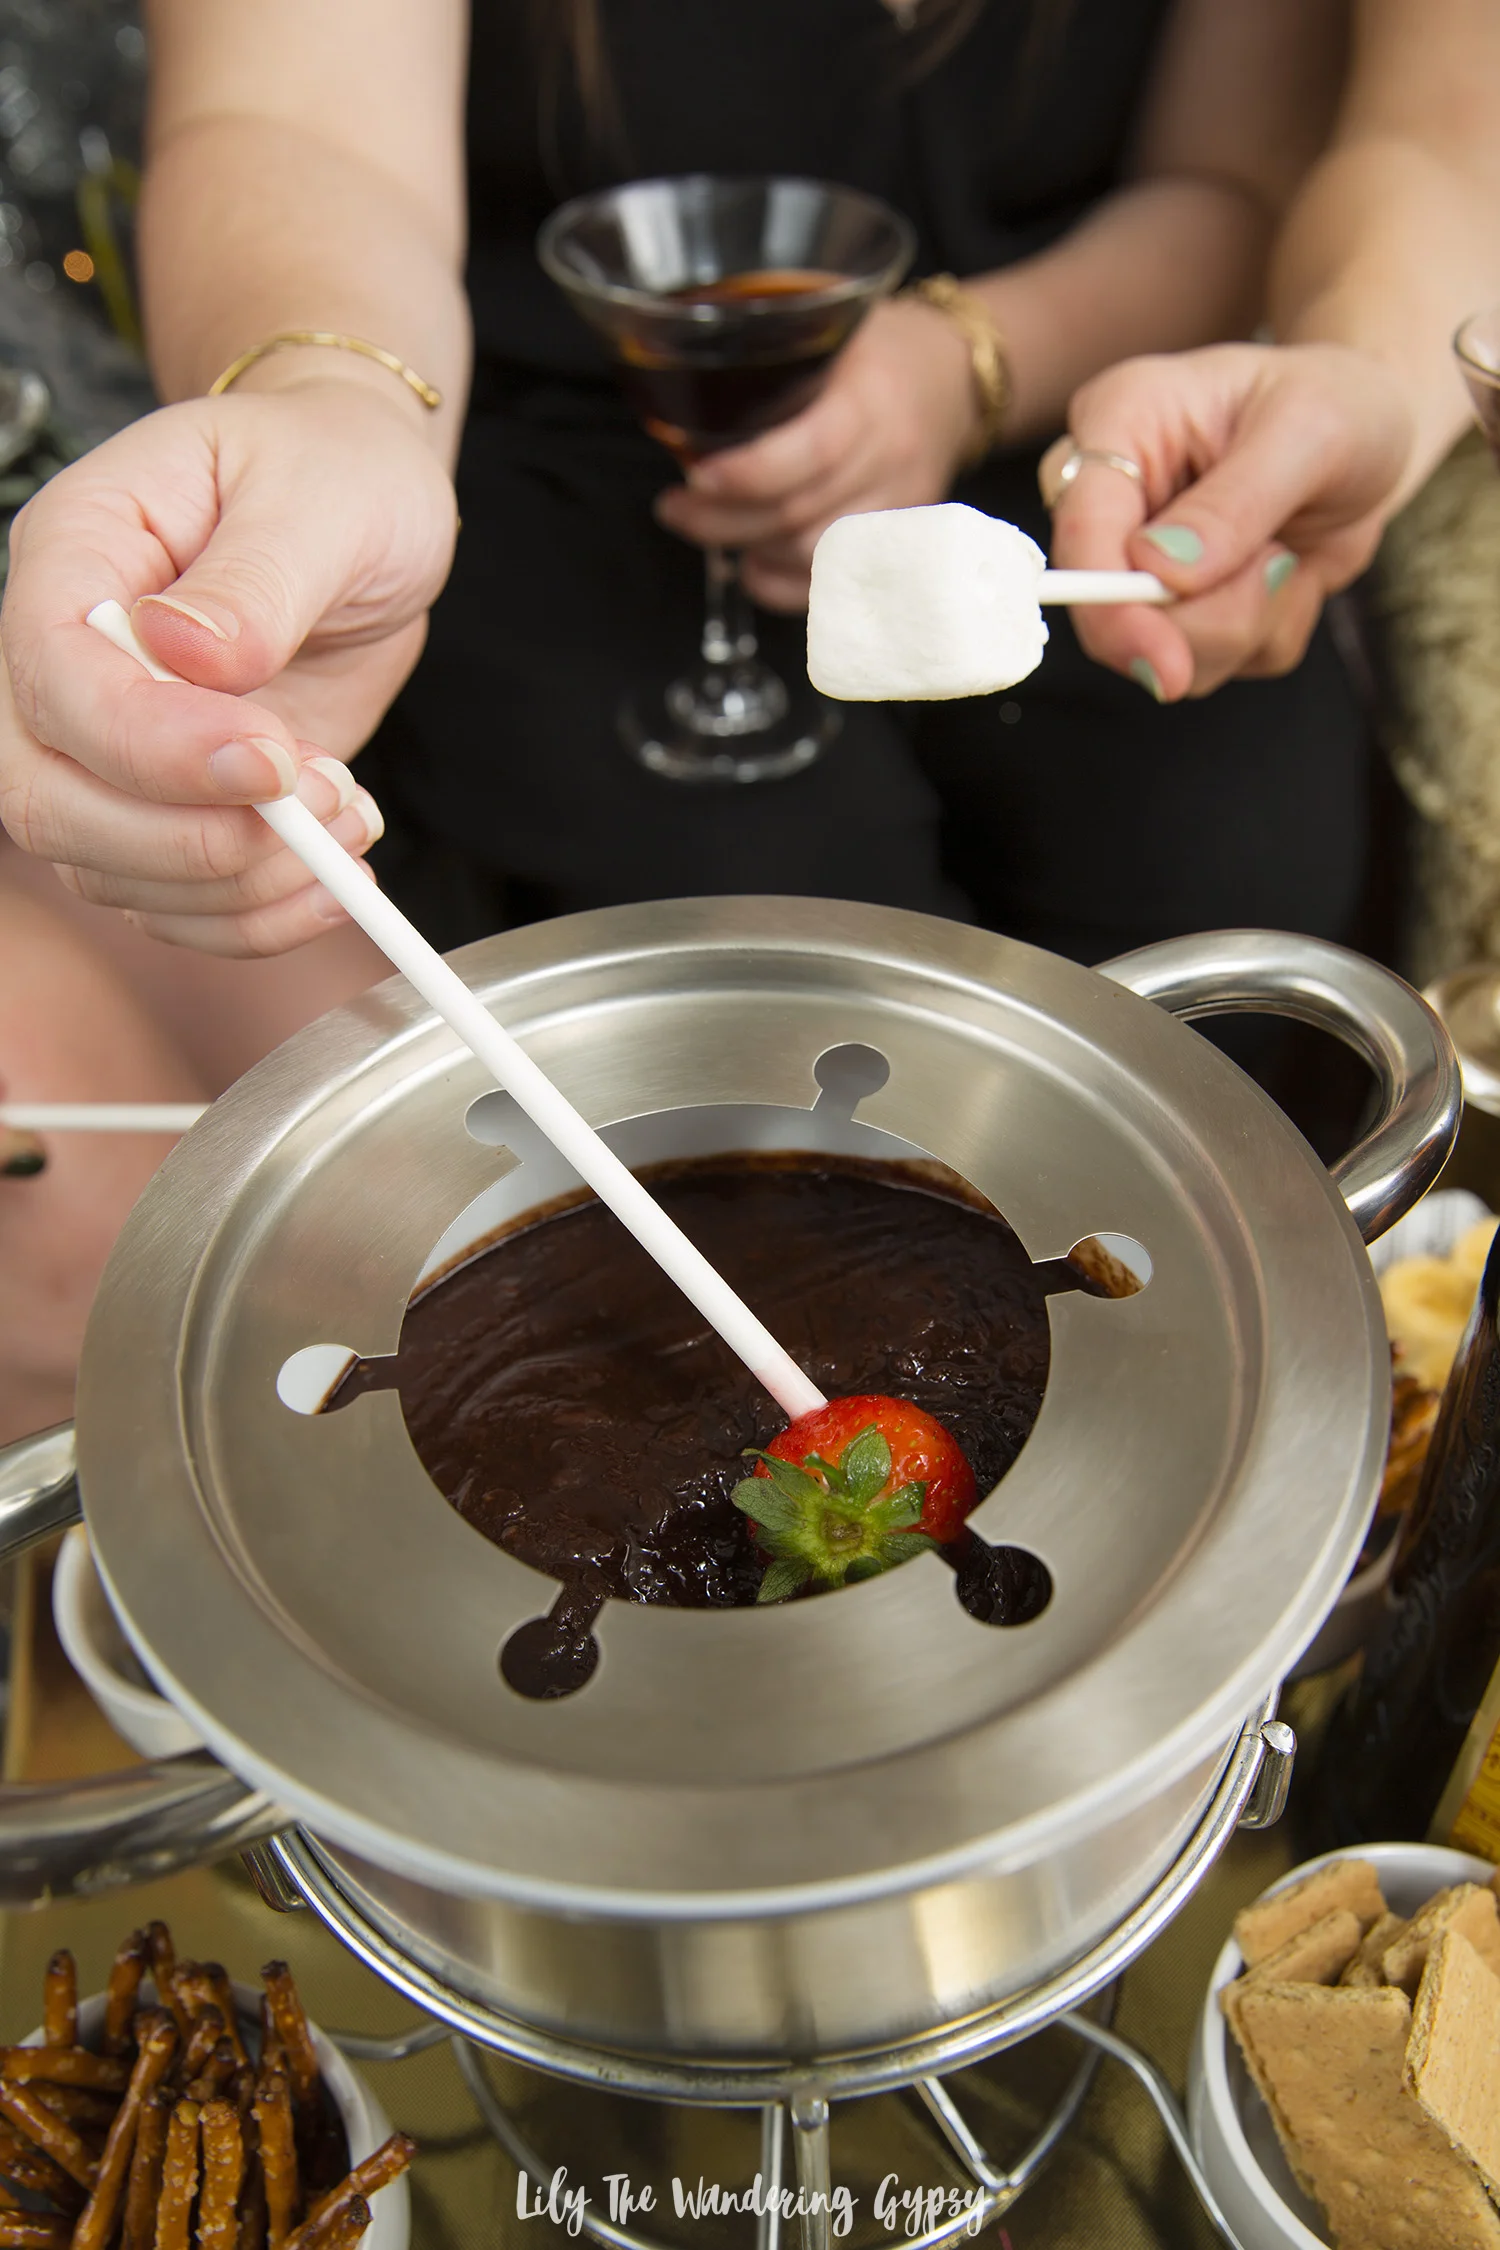
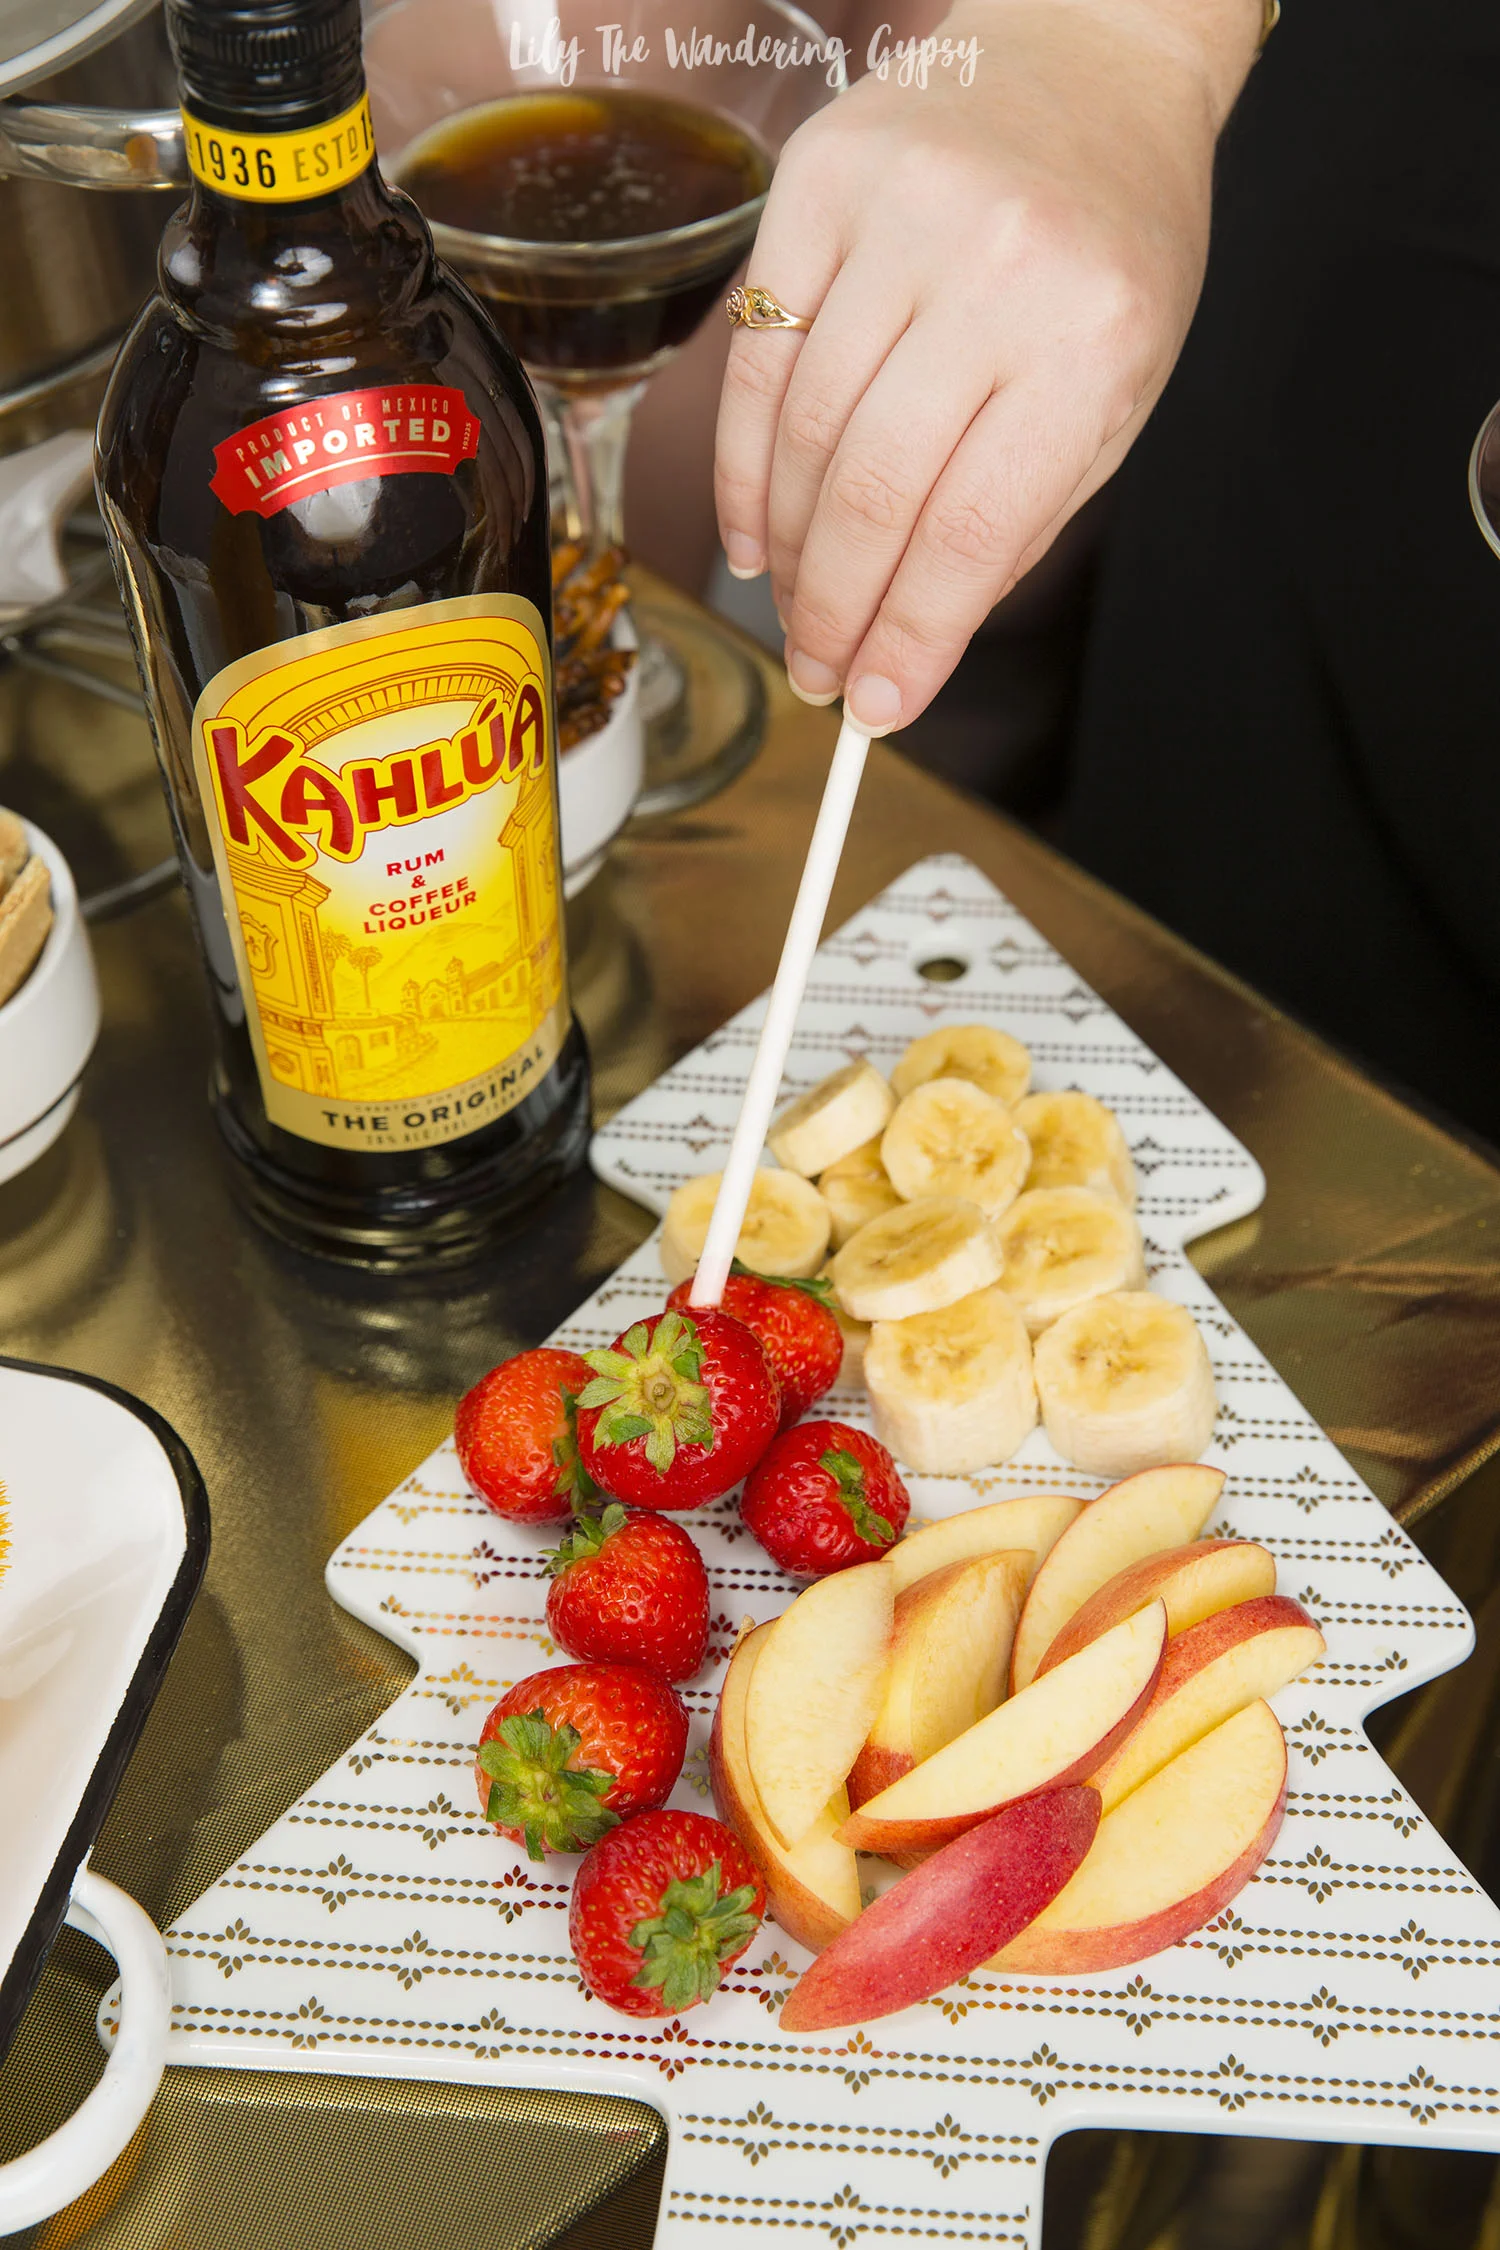
We really loved how the Kalhúa Cold Brew Martinis paired so well with both the warm, rich and creamy chocolate of the fondue and the dippable items. We want to also have a cheese fondue for our next get together because it’s such a fun and interactive way to host friends and family, because it’s all self serve, and people can get as creative as they want. Hover over the image below to shop for Kalhúa.
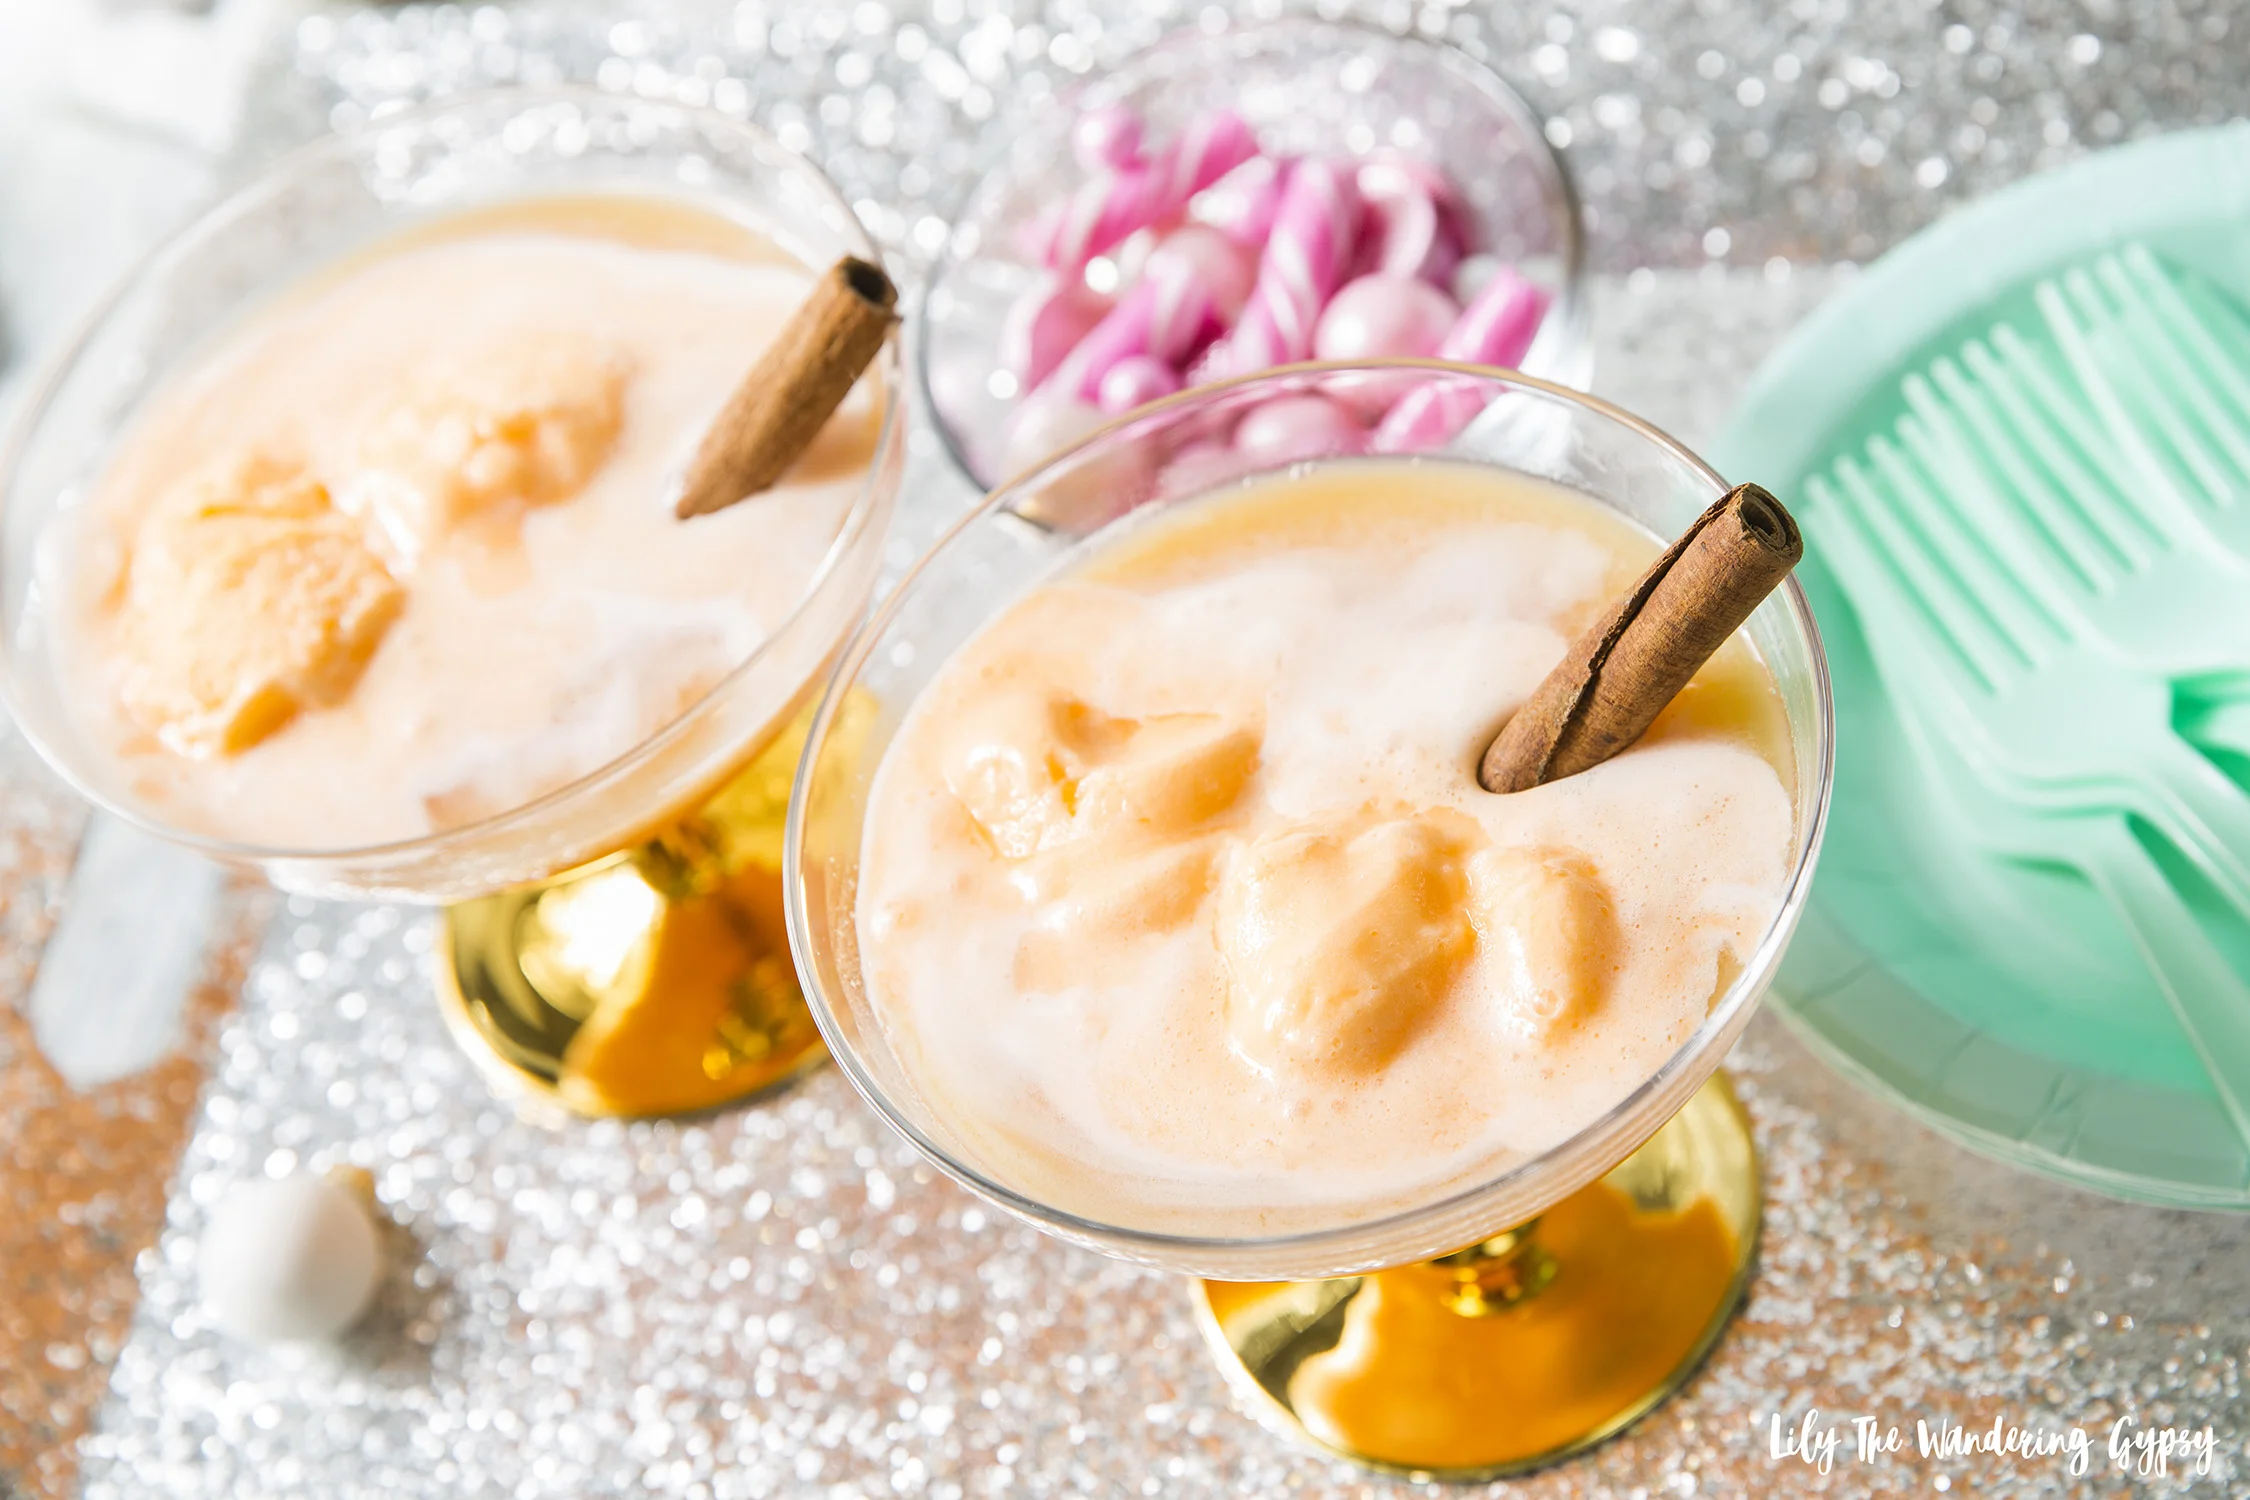
Kahlúa Cold Brew Martini Recipe
This is one of those 1-2-3 cocktail recipes, making it fun and easy to remember!
Ingredients
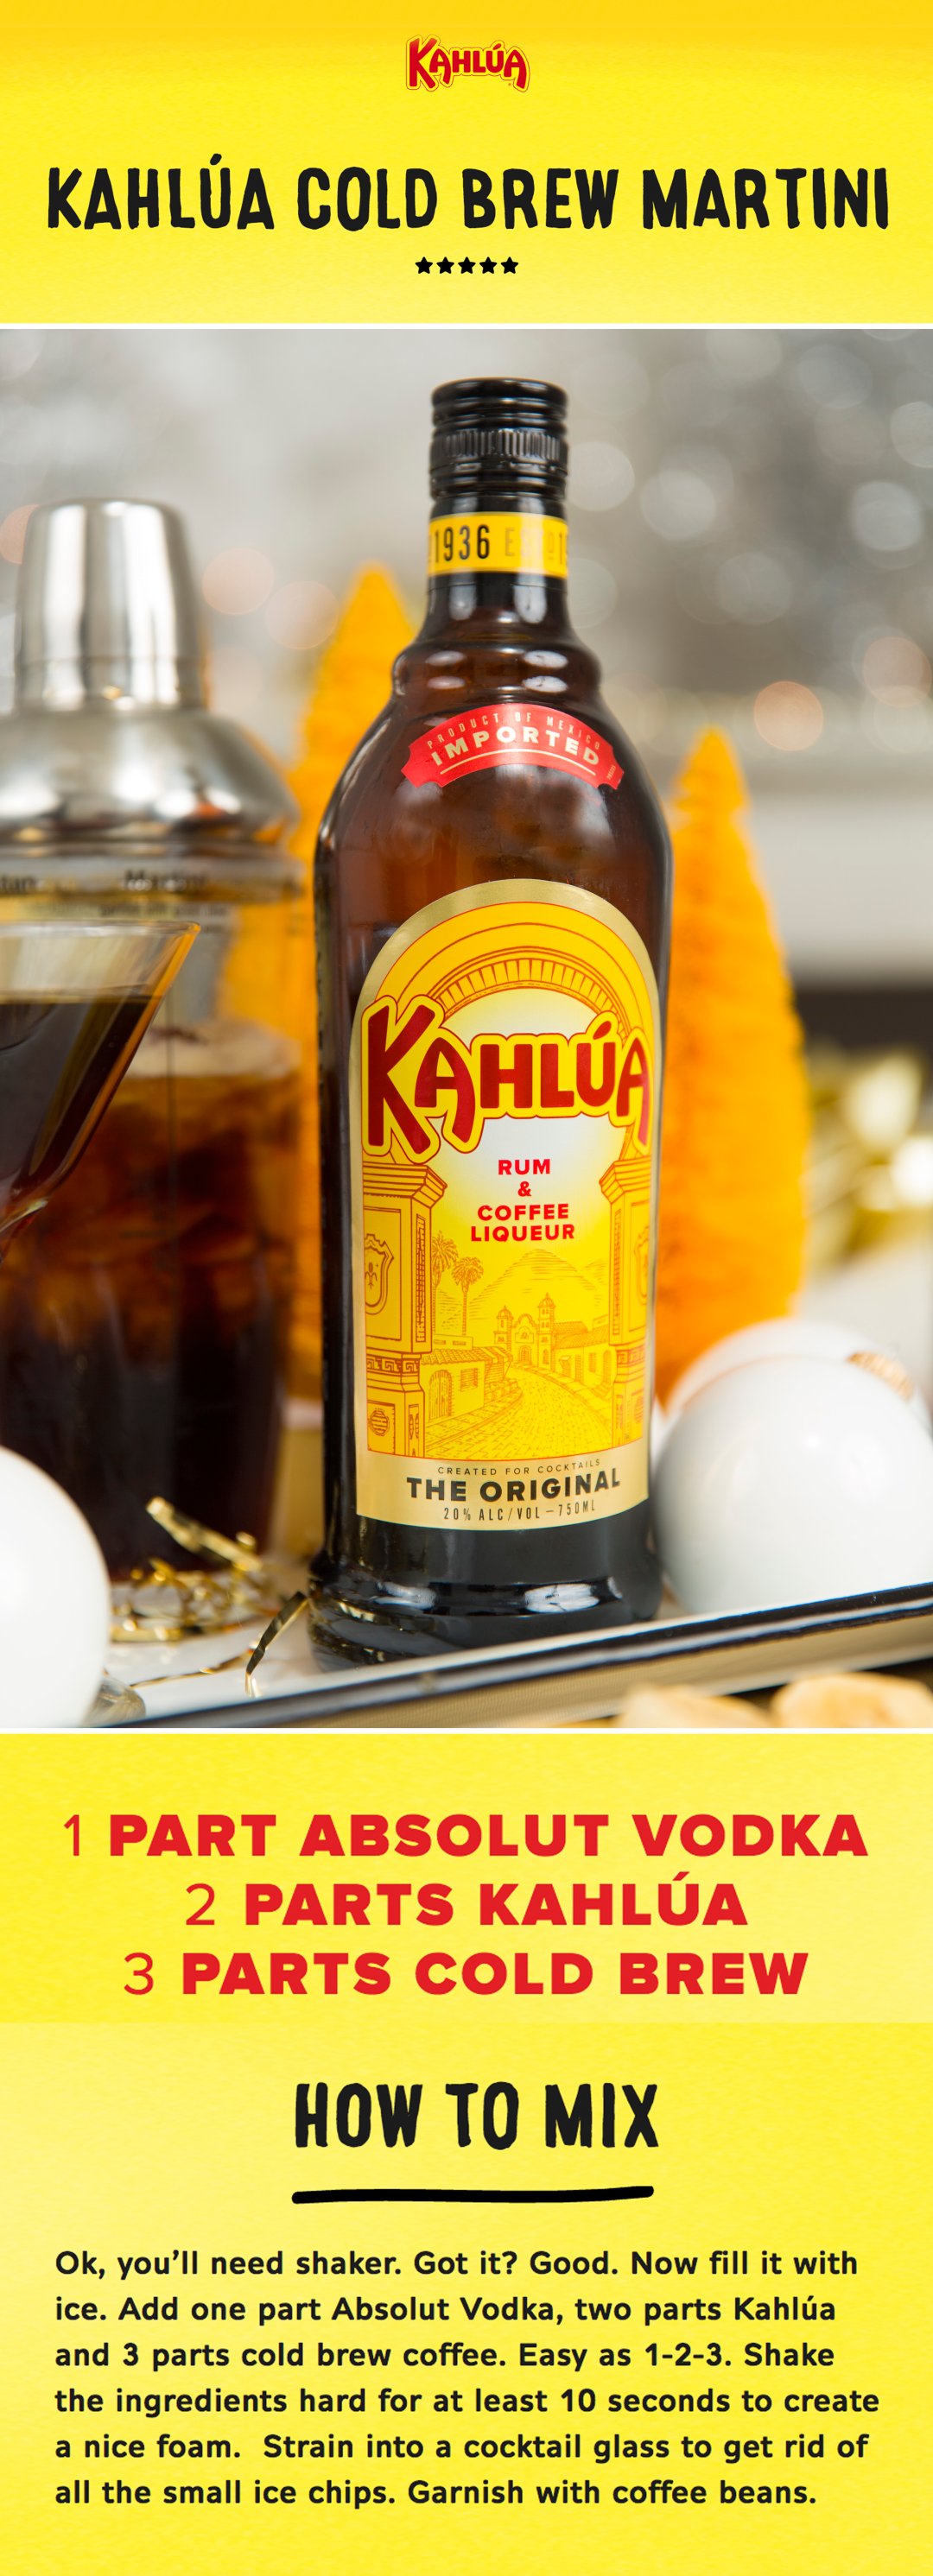
1 Part Absolut Vodka
2 Parts Kalhúa Original
3 Parts Cold Brew Coffee
Instructions
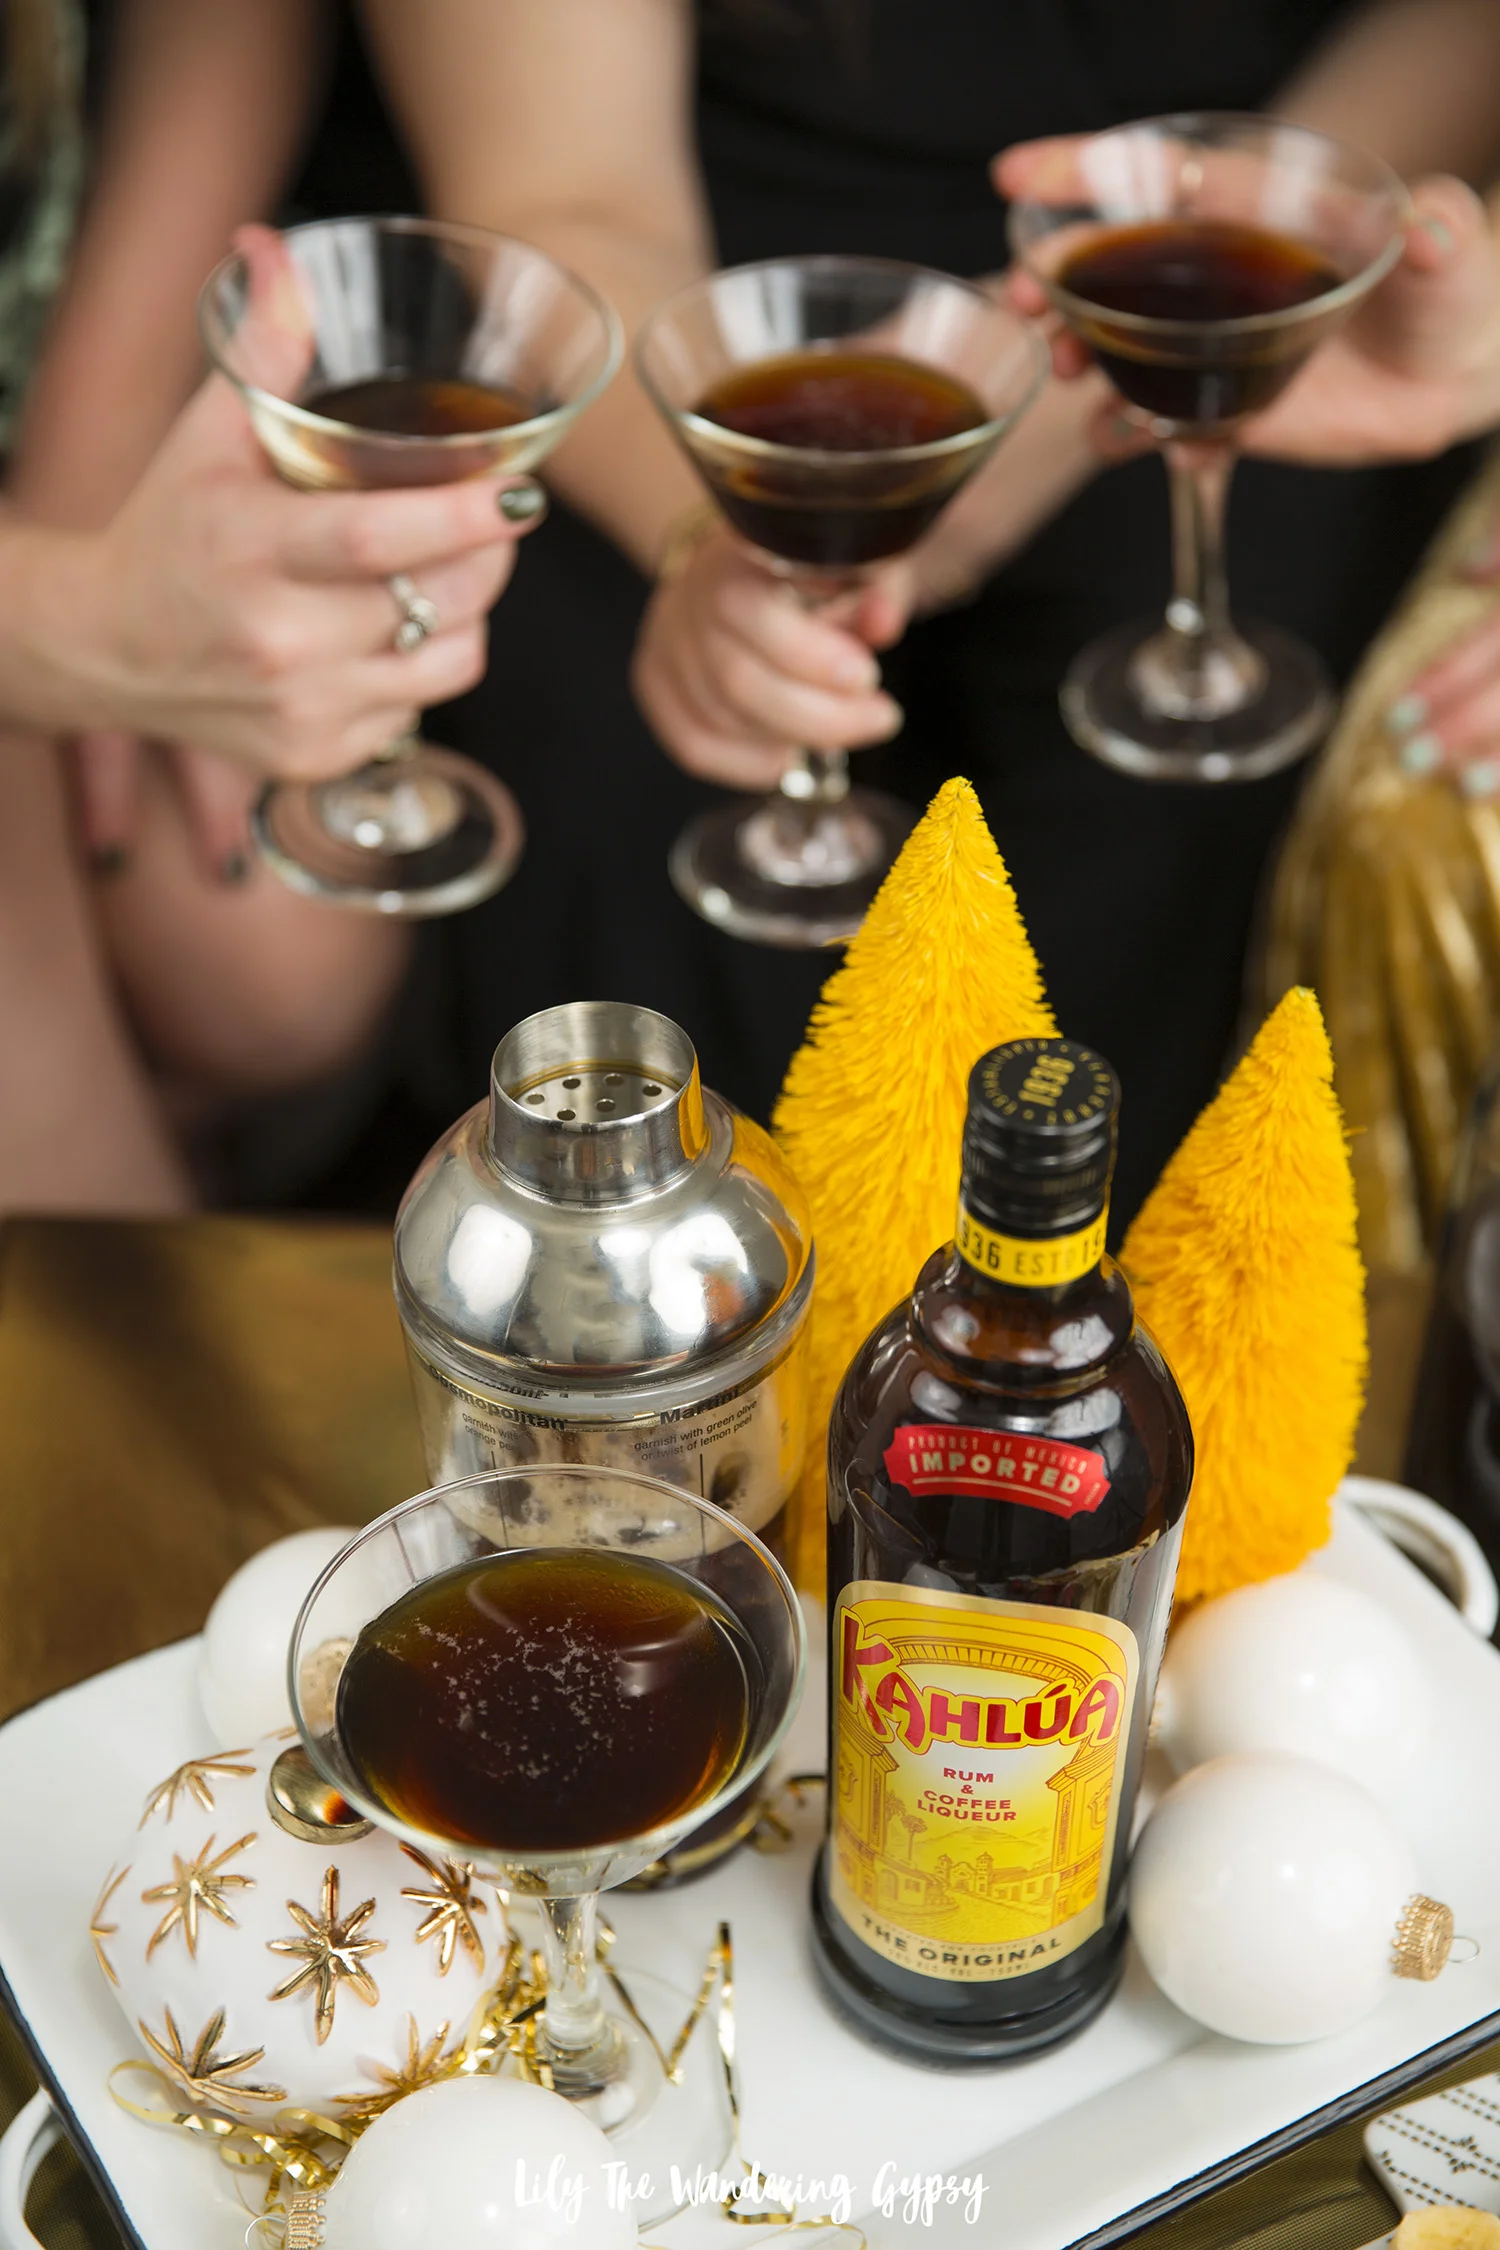
Ok, you’ll need shaker. Got it? Good. Now fill it with ice. Add one part Absolut Vodka, two parts Kahlúa and 3 parts cold brew coffee. Easy as 1-2-3. Shake the ingredients hard for at least 10 seconds to create a nice foam. Strain into a cocktail glass to get rid of all the small ice chips. Garnish with coffee beans if you would like. Enjoy!
Party + Fondue Details
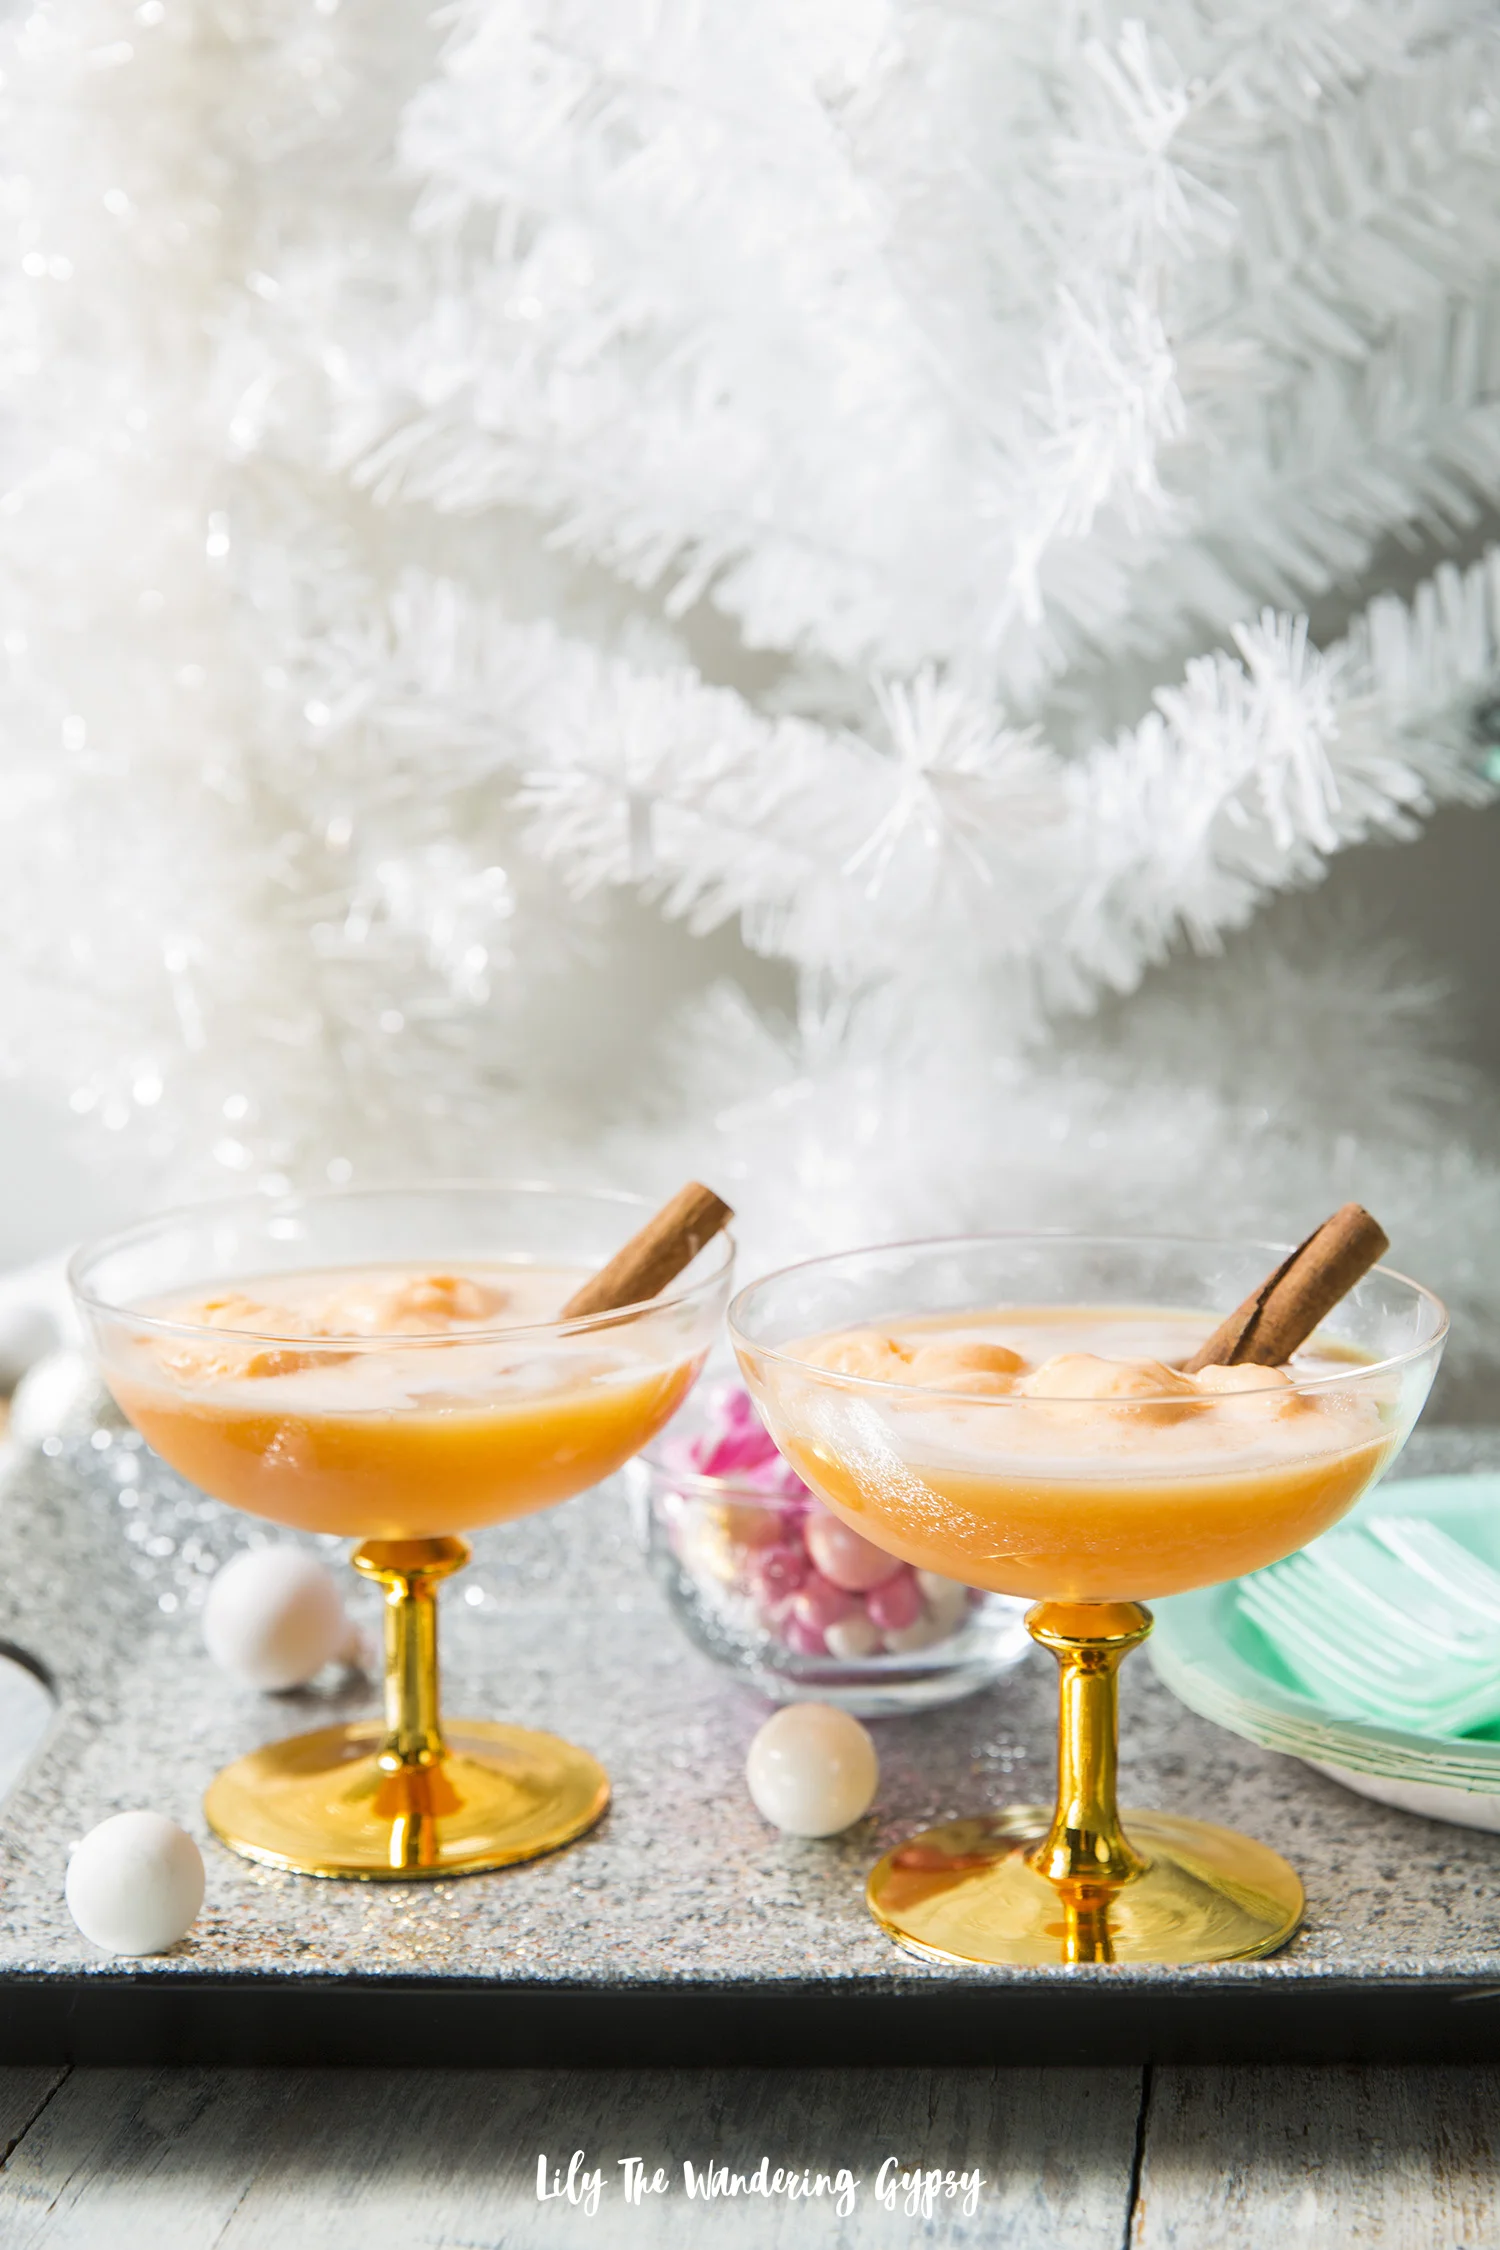
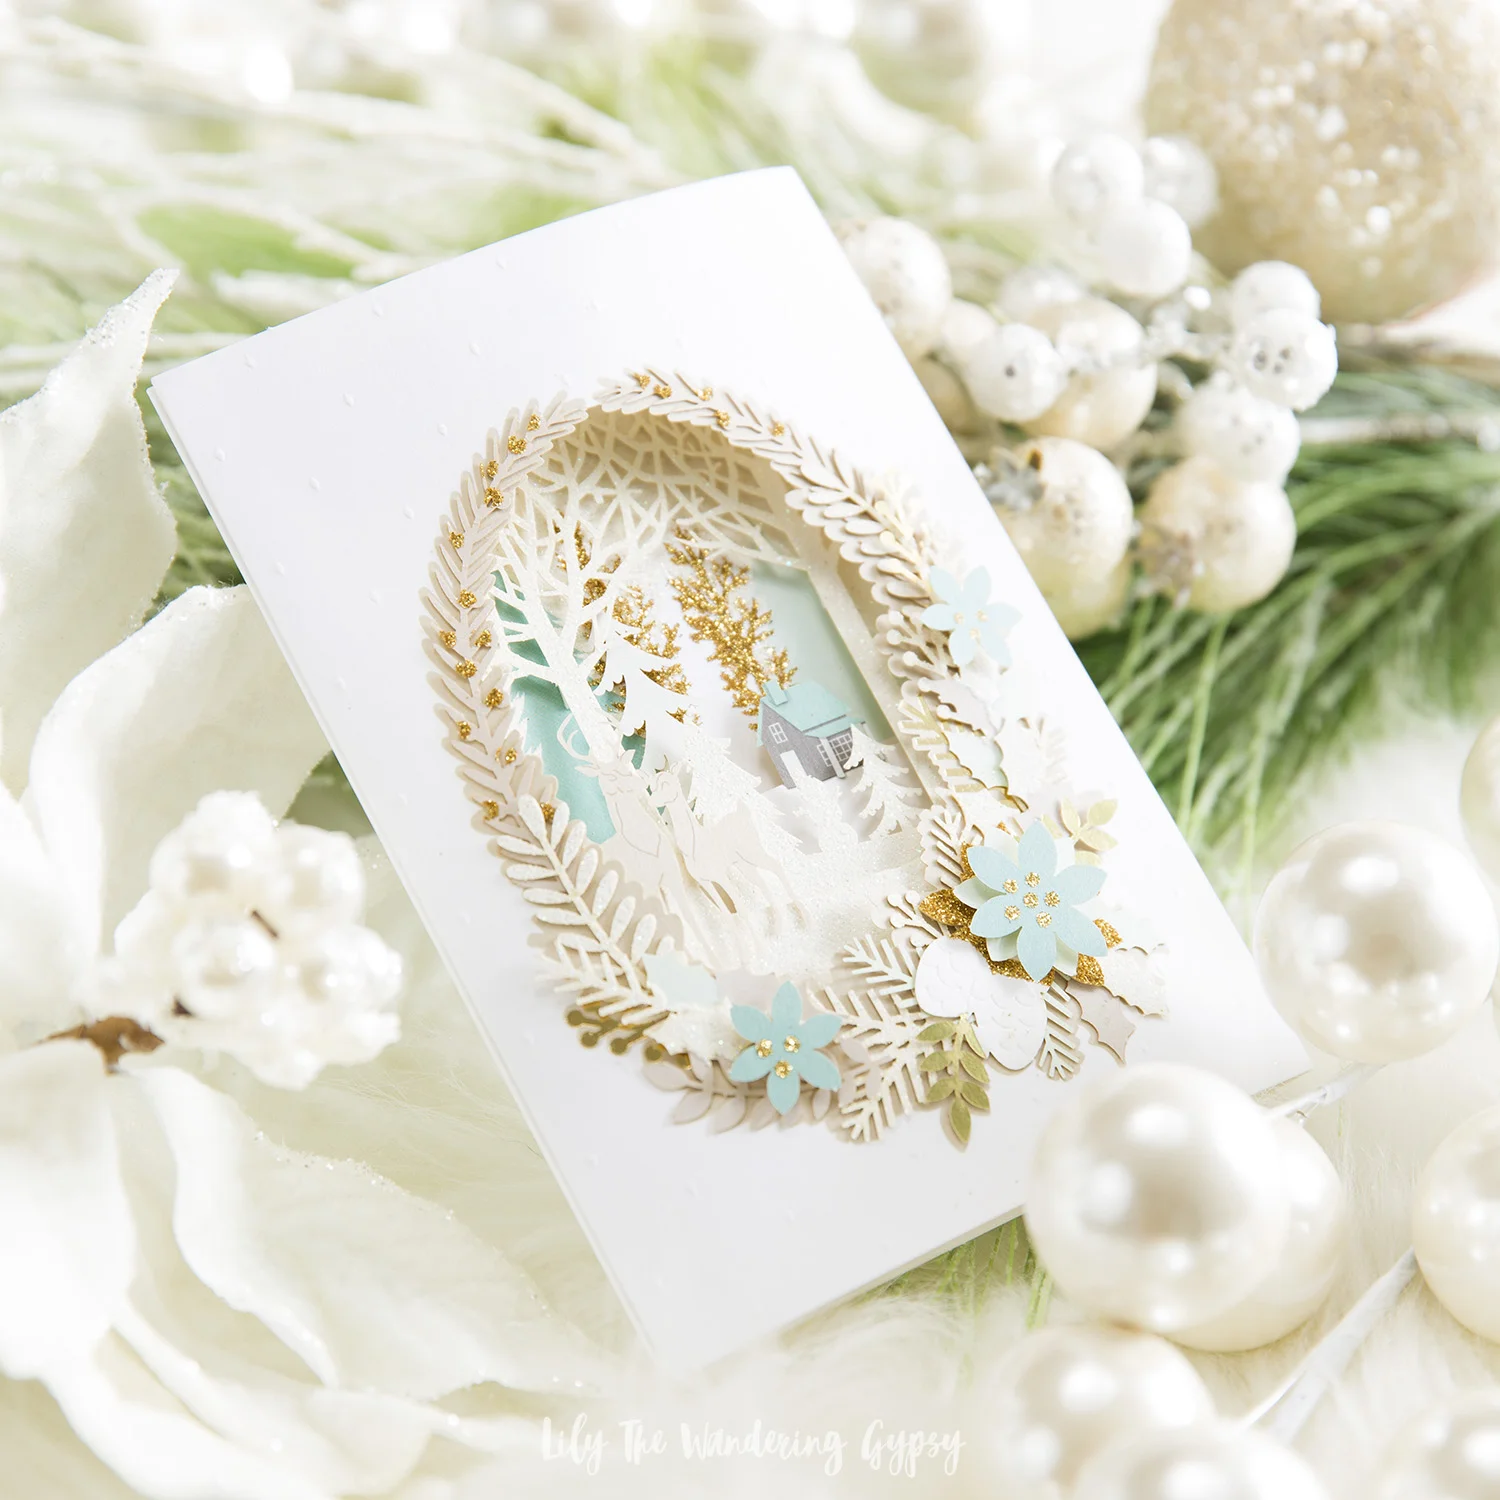
Before everyone arrived, I prepped the space by lighting my tall, metallic silver tree, and also setting up a few other white and silver one-foot trees. I loved the color scheme, and I believe it would translate for so many of you, as well! With a more neutral and shimmering color scheme, your party decor gives a more timeless, nostalgic, and elegant feel to any event or holiday.
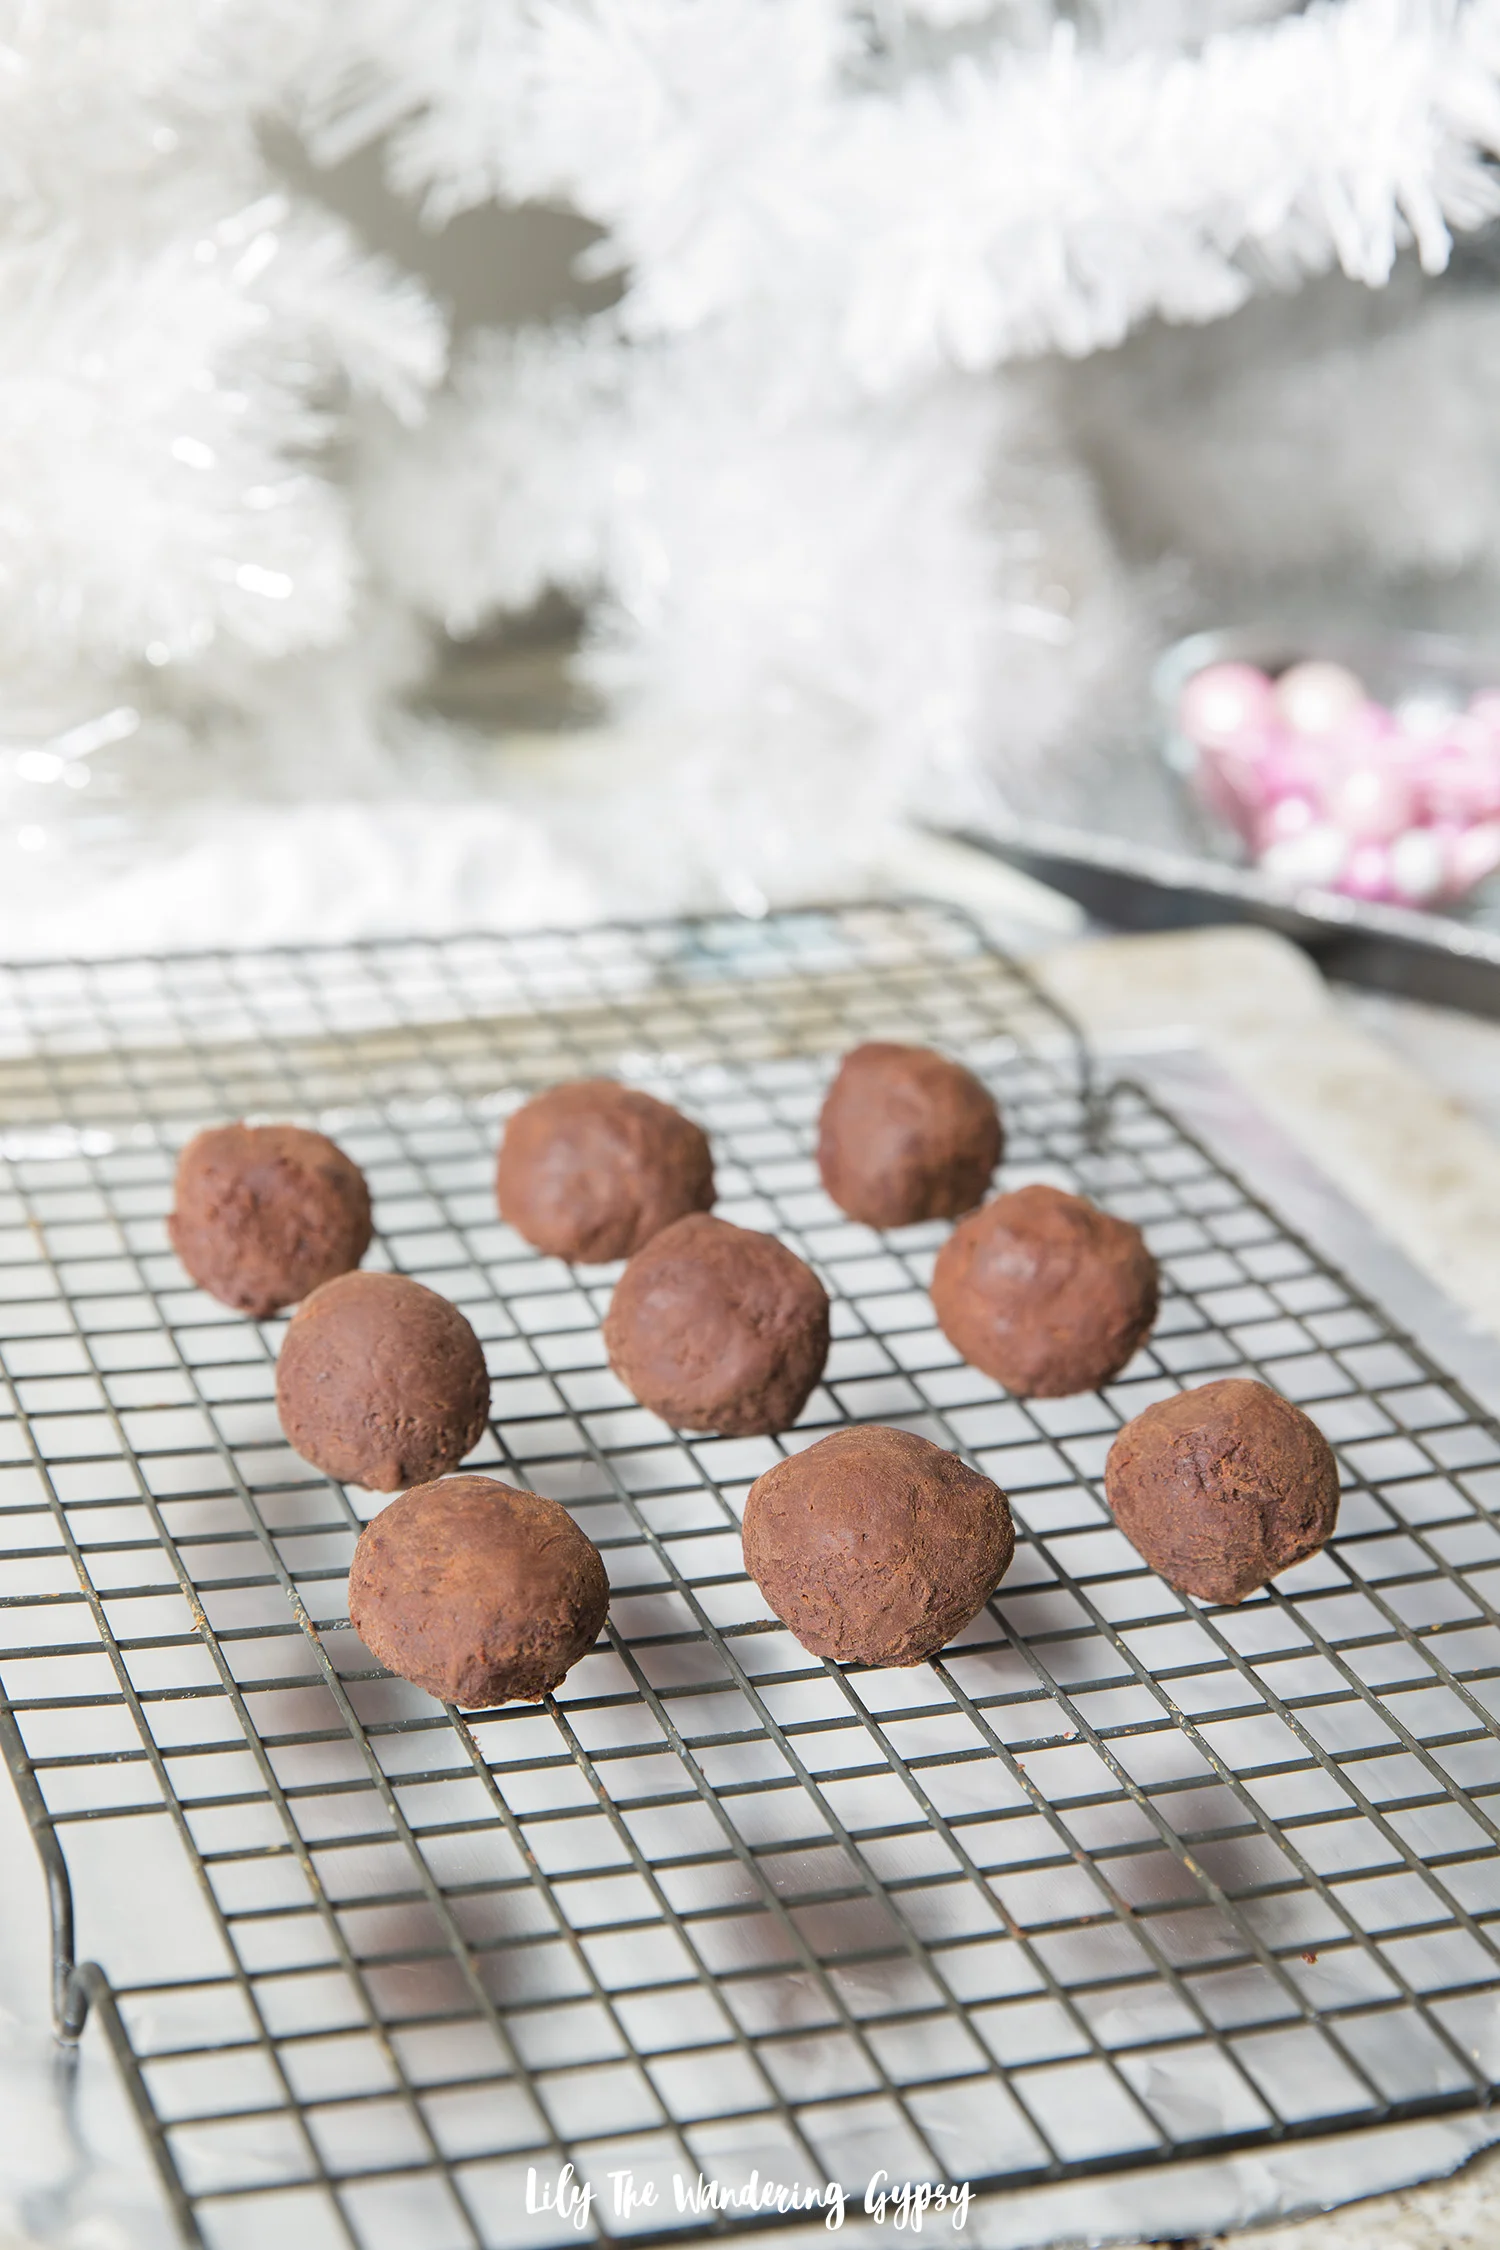
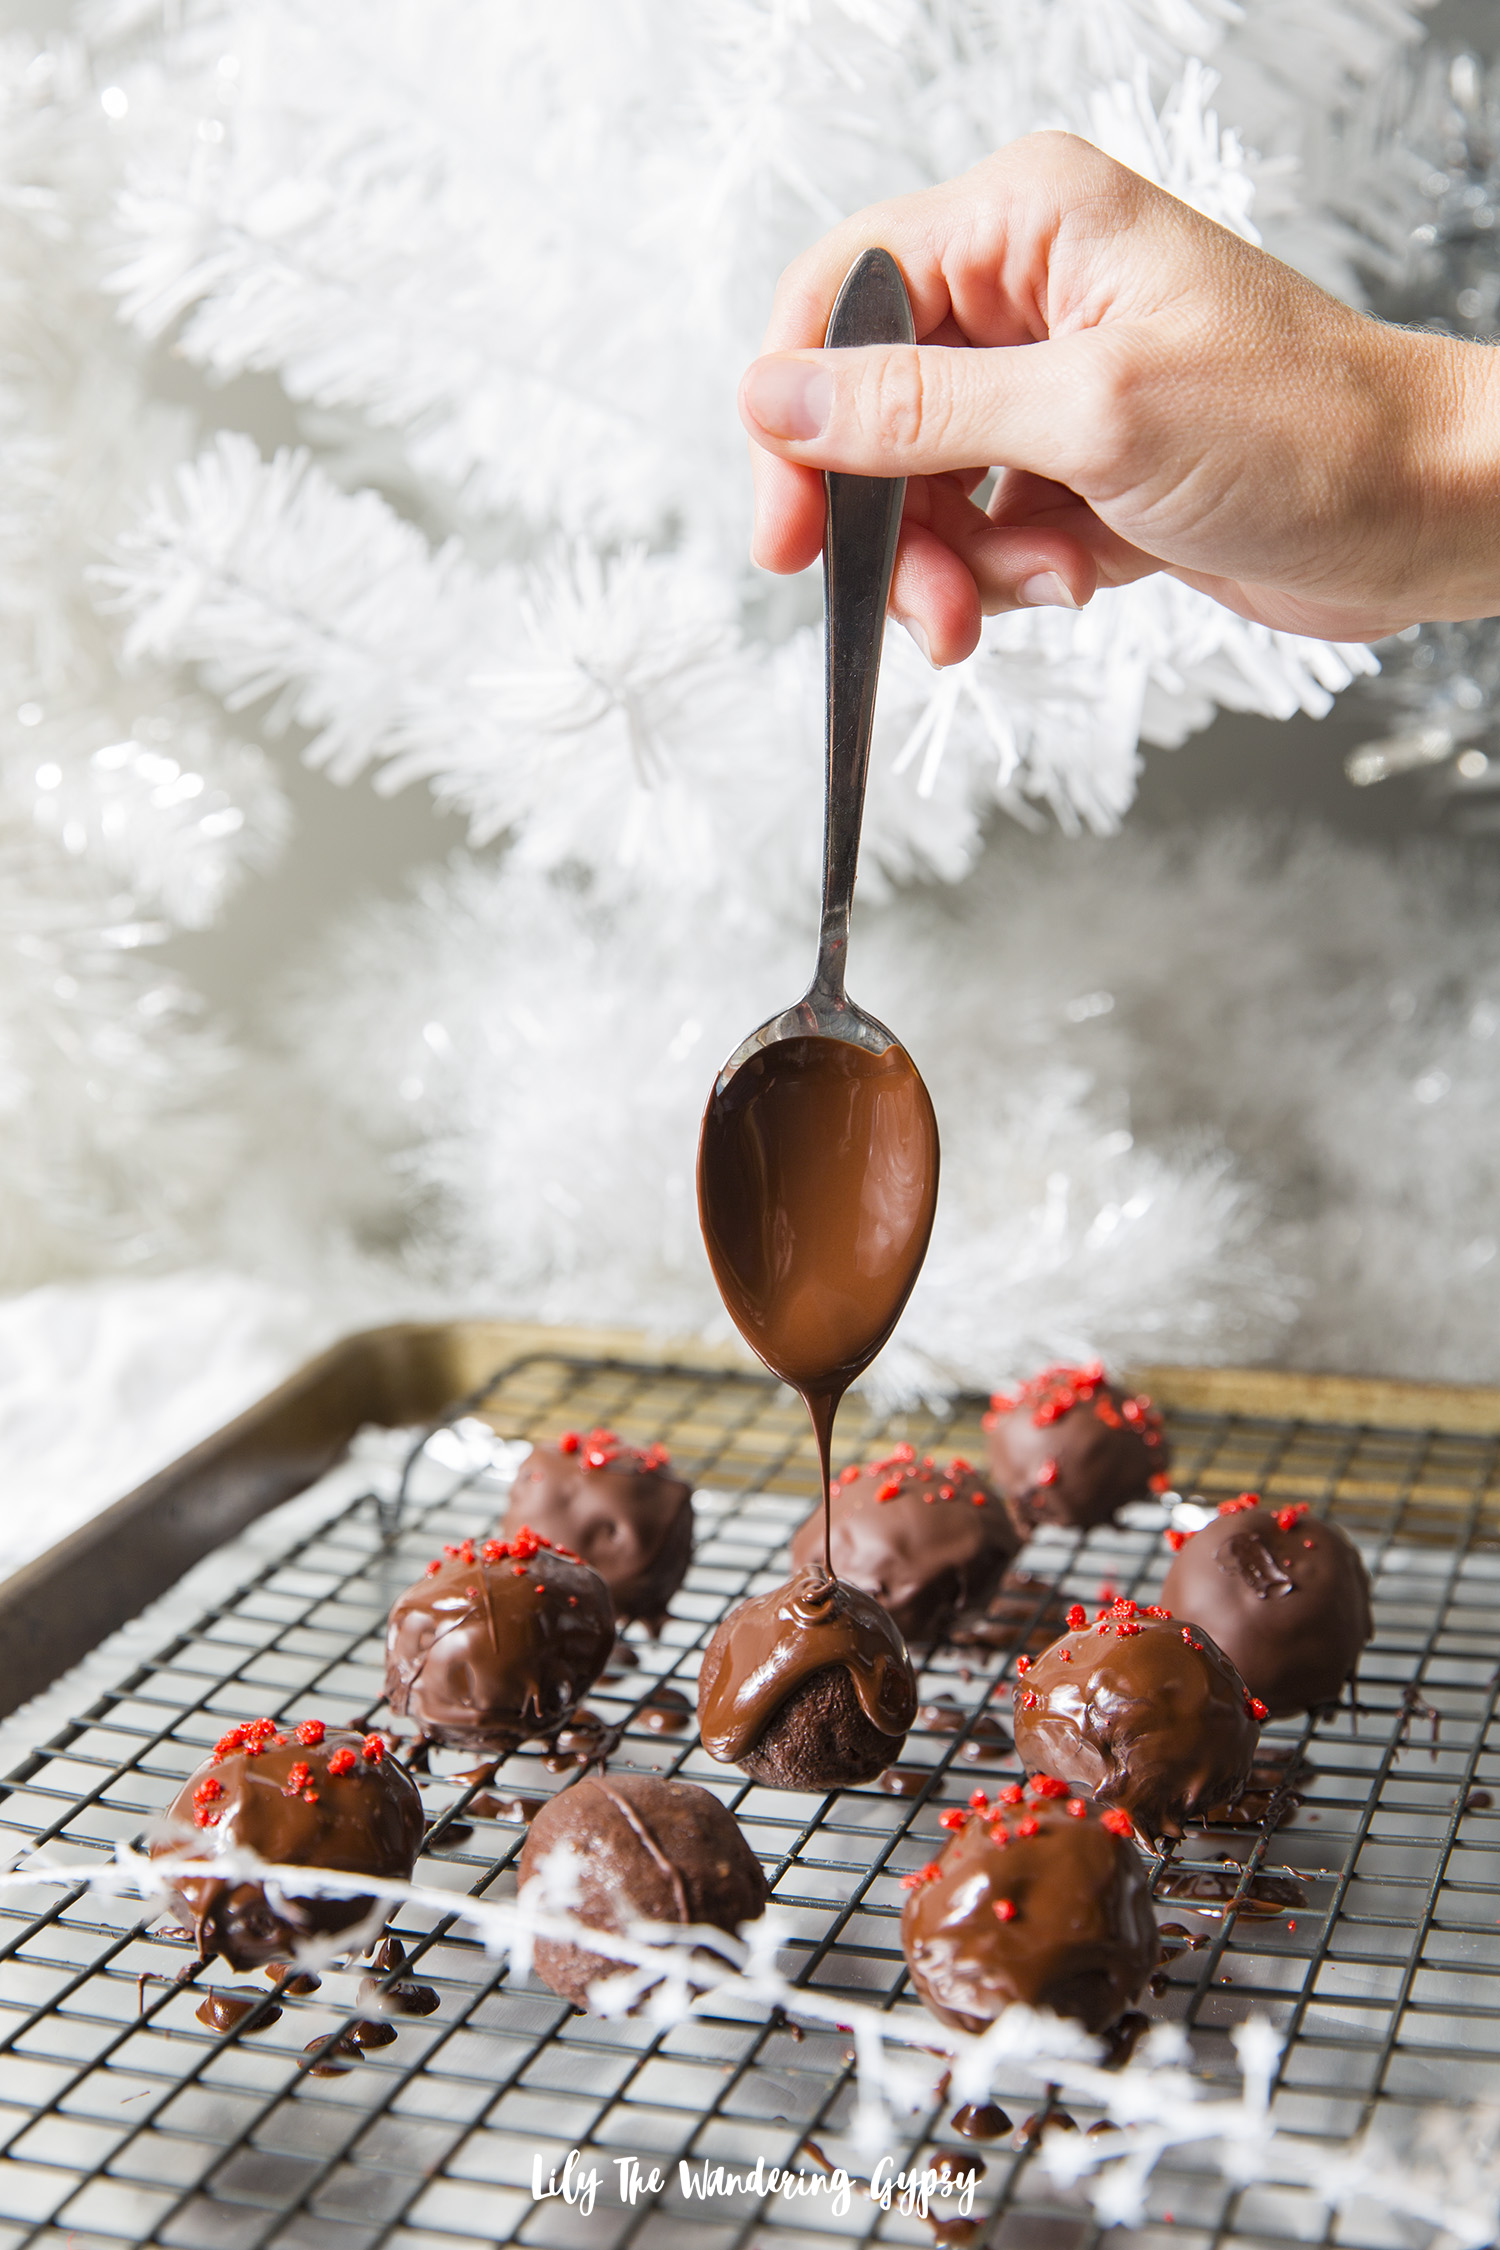
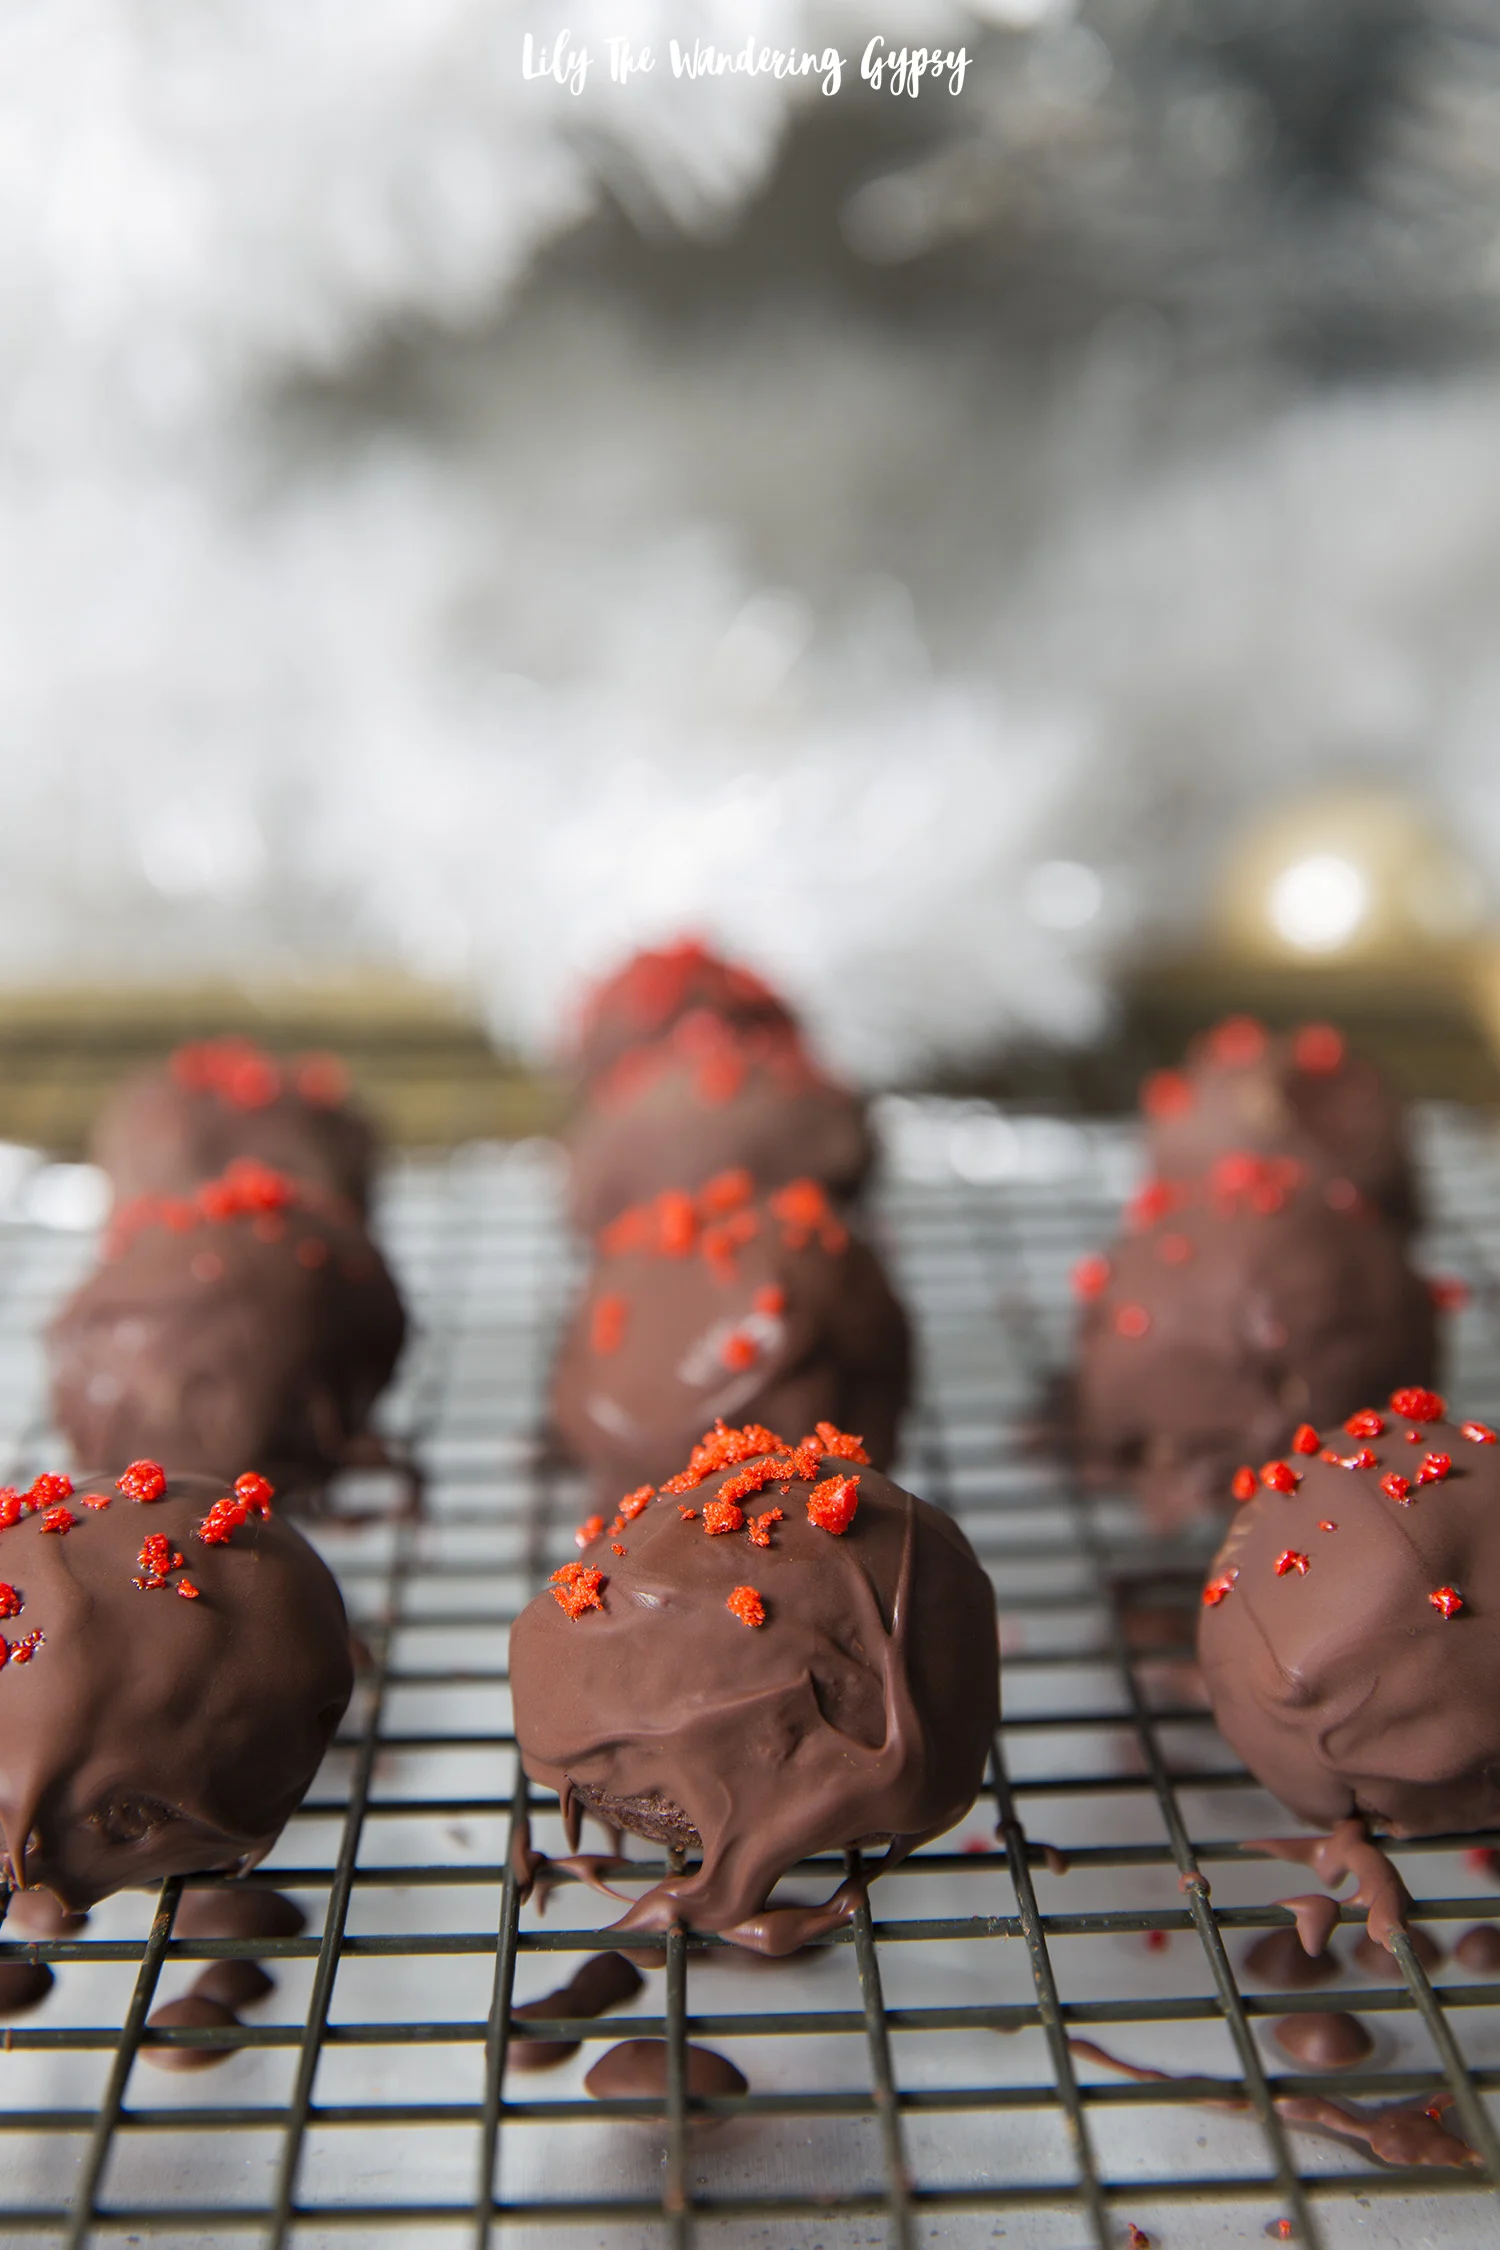
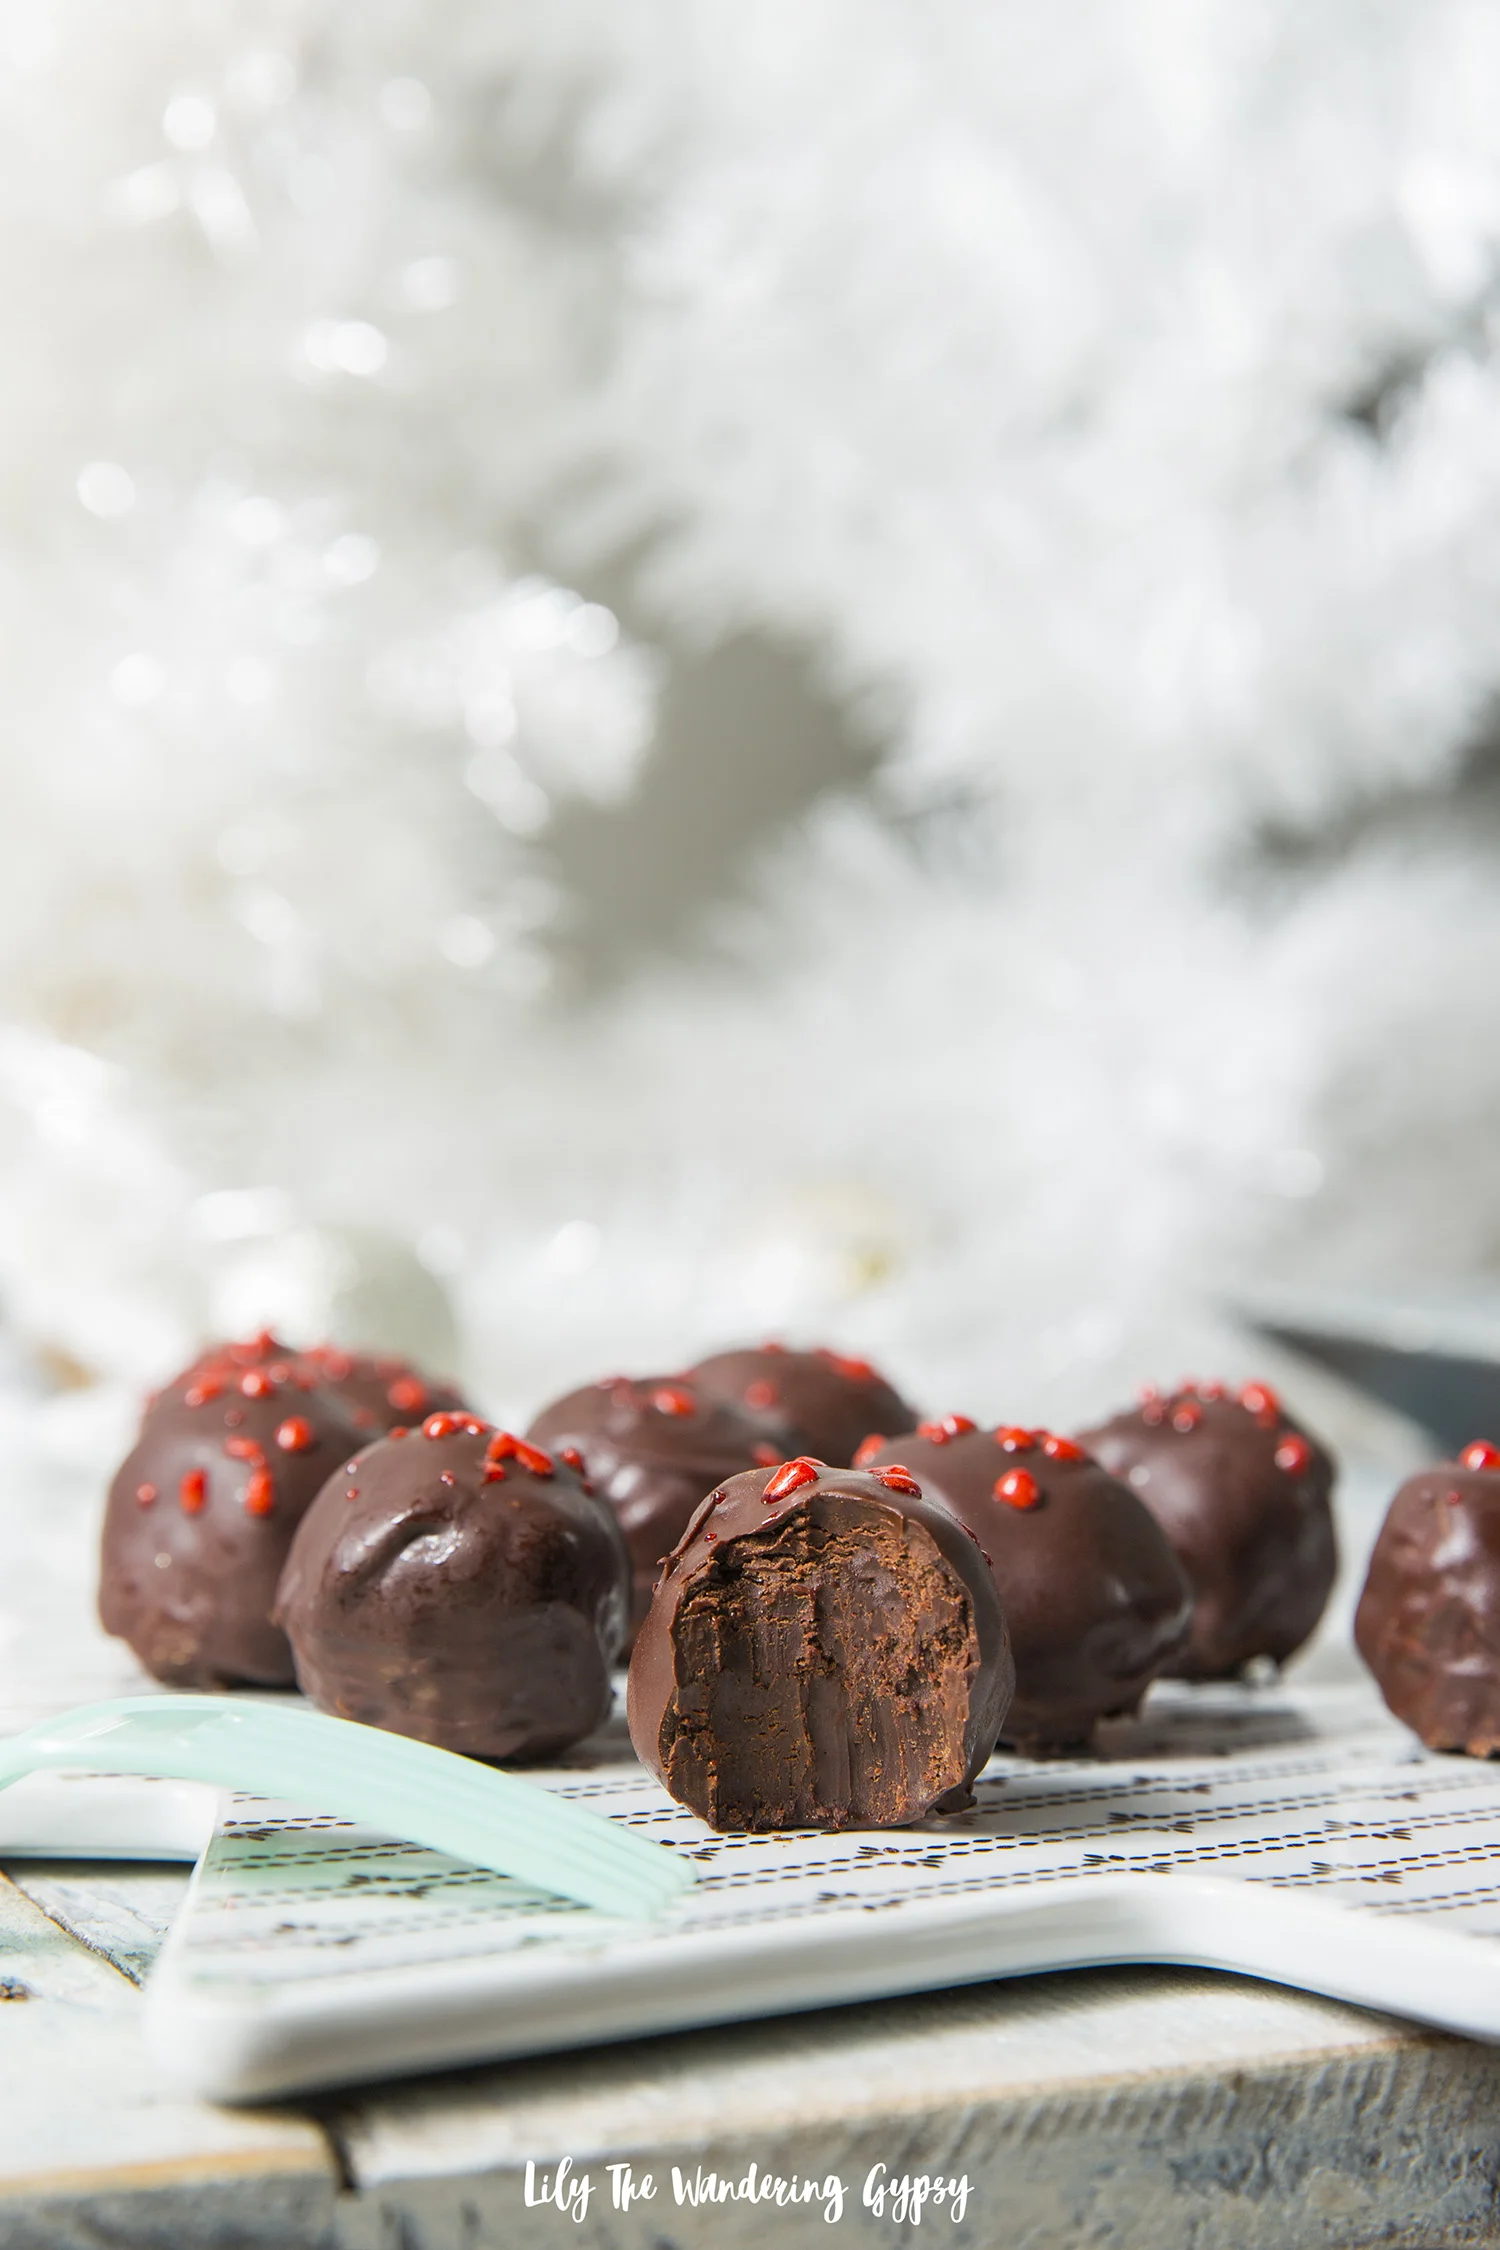
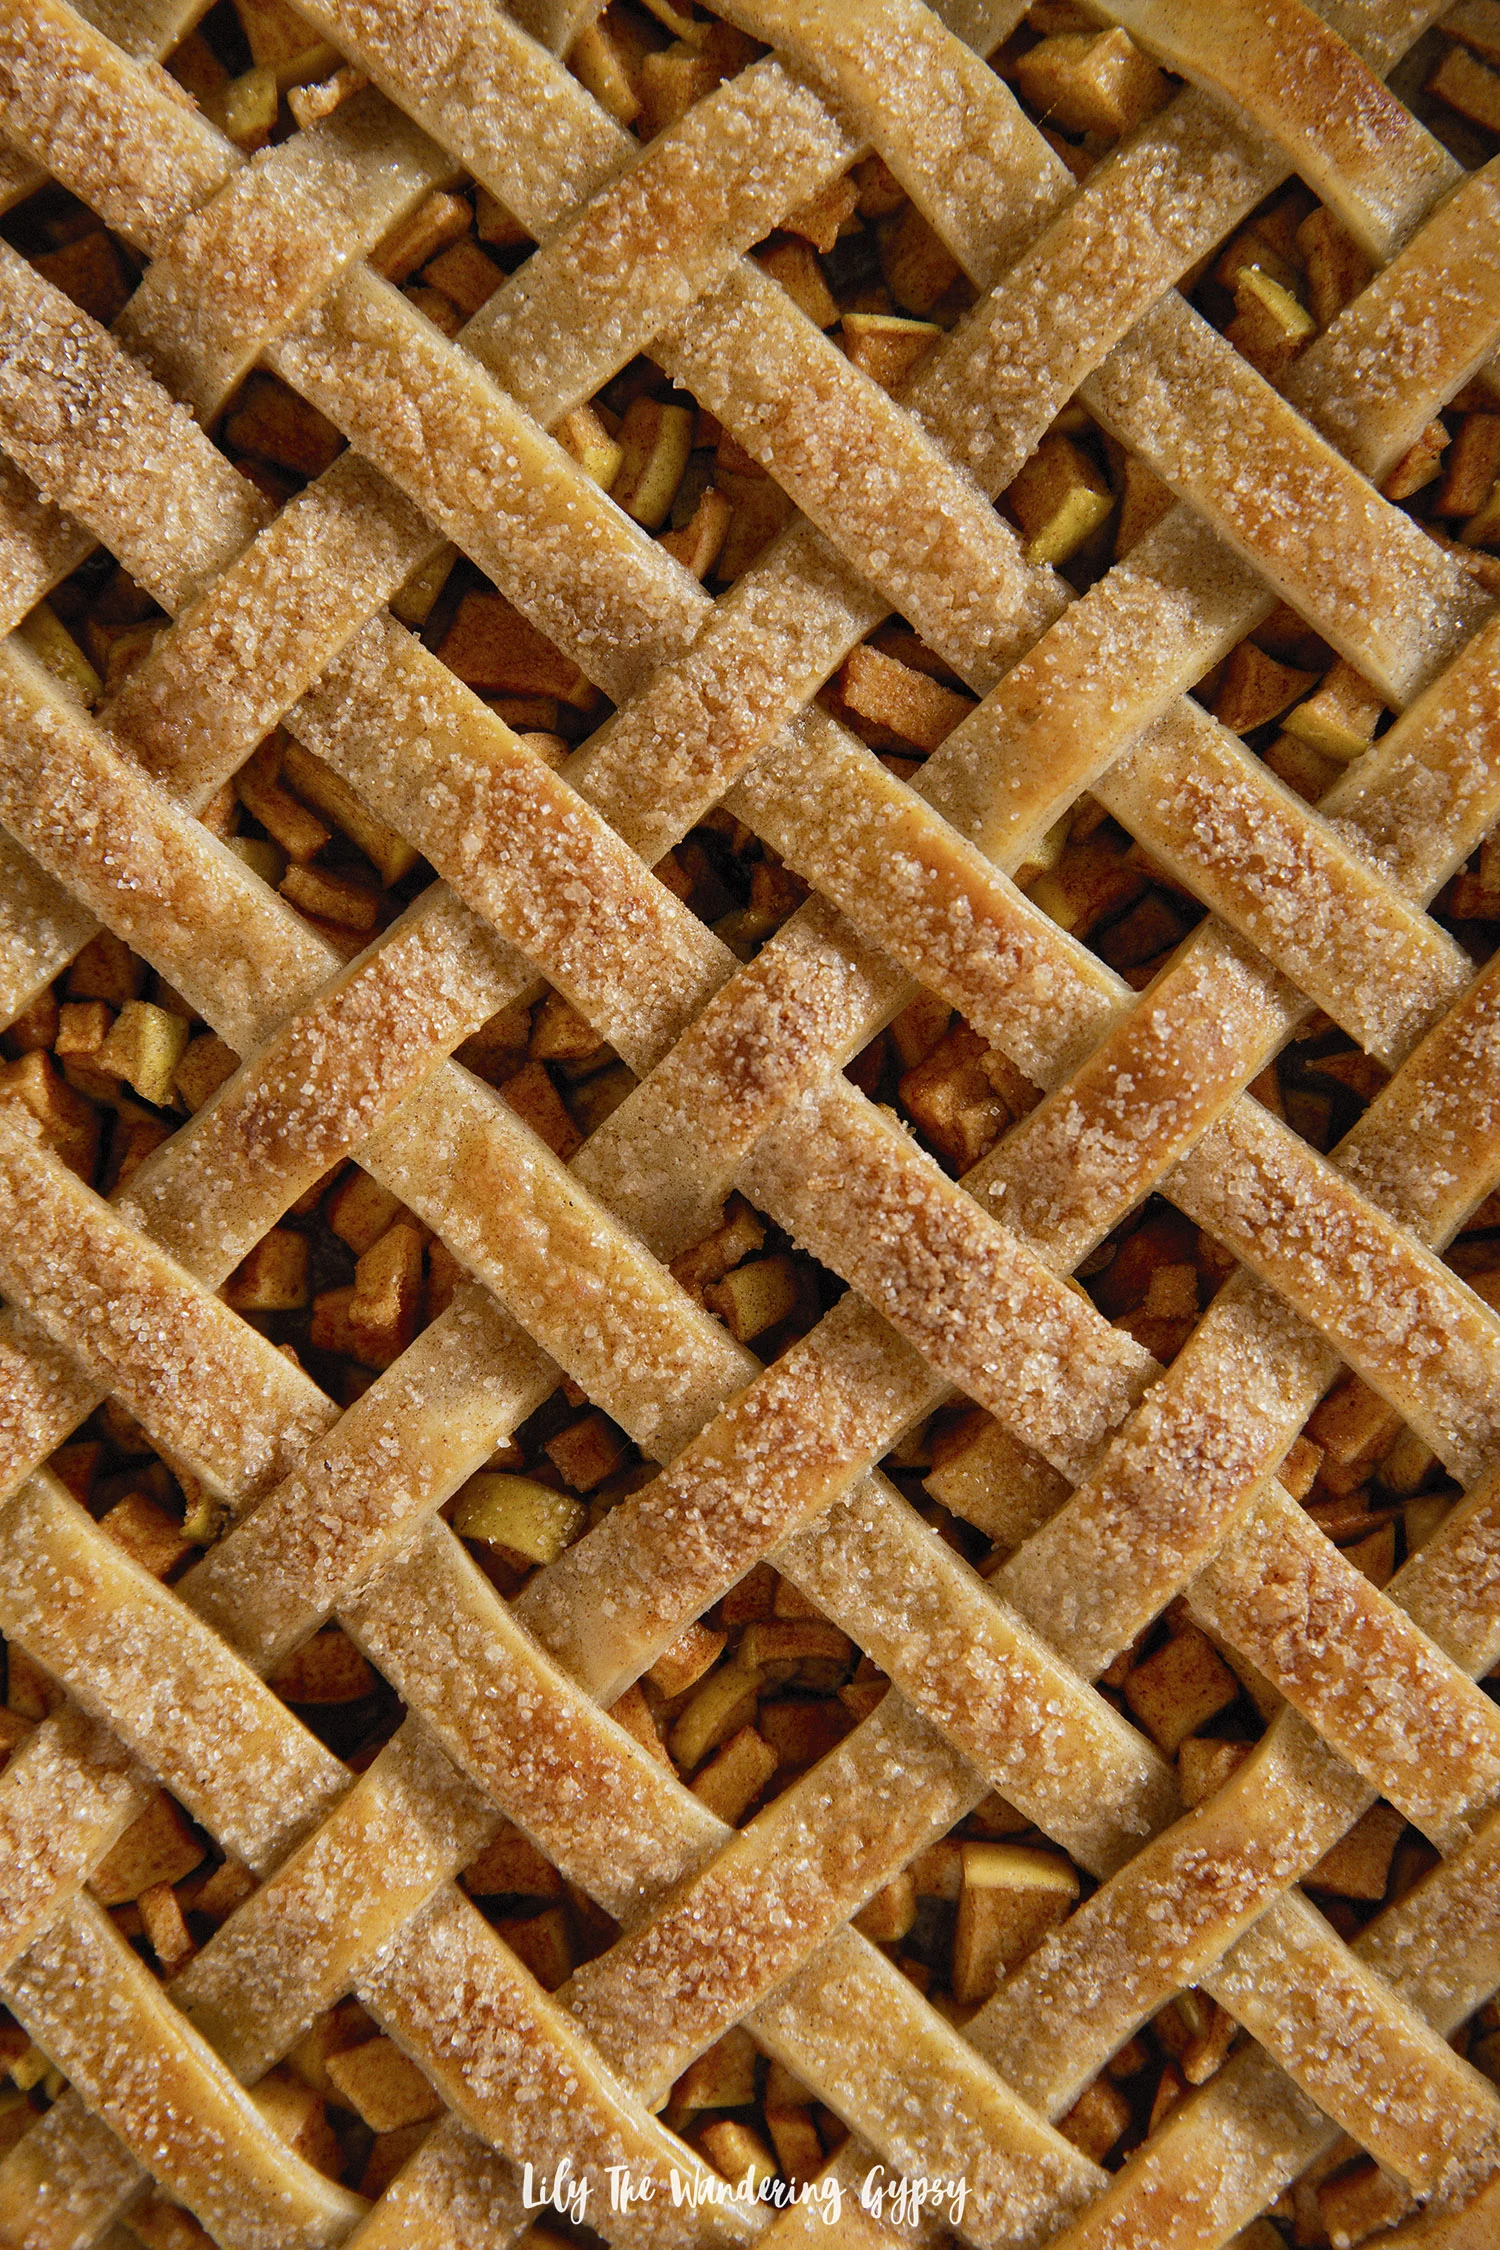
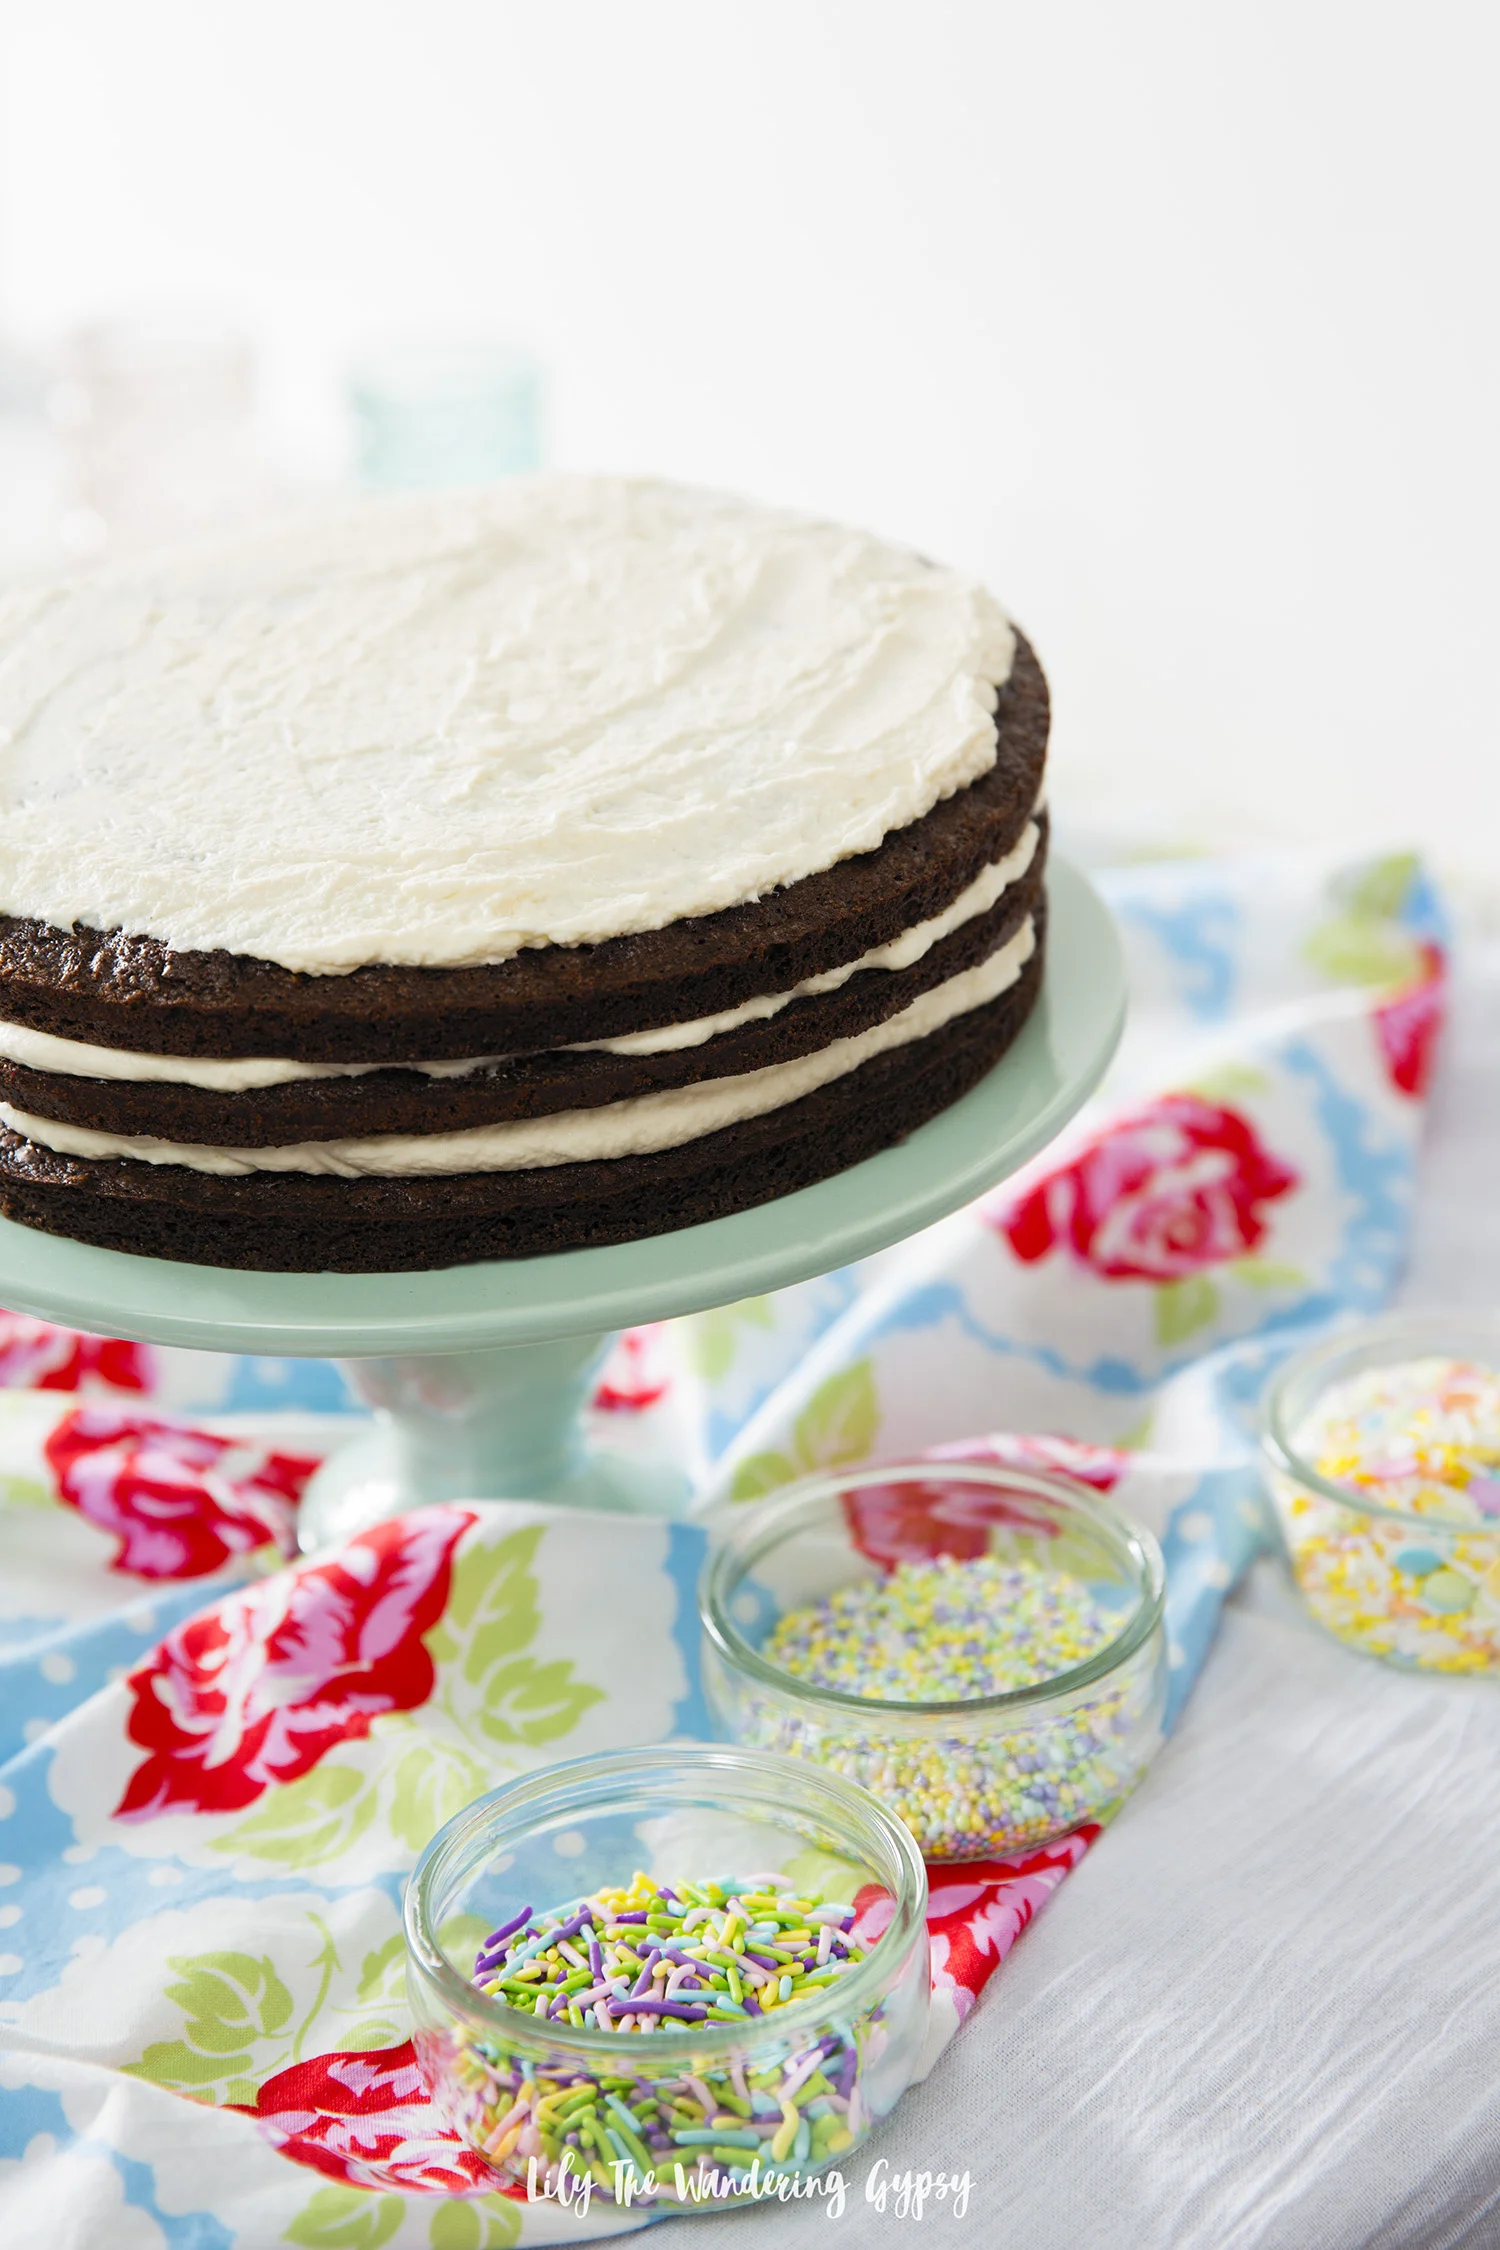
For the fondue, we melted 2 bags of 60% cacao chocolate chips + 2-3 tbsp heavy cream. We dipped in lots of foods we cut up ahead of time like strawberries, marshmallows, apples, graham crackers, and more!
Lower lighting also helps the strands of lights make an even more magical feeling for the evening. I had so much luck finding gold items in the holiday aisles at Target and Walmart and was so inspired by this year’s finds, as well as a few items I already had from years past.
I even found a couple of yellow trees to use in my decor, that closely matched the color of the globally recognized Kahlúa label. It was a great jumping off point and really made everyone smile.
Kahlúa goes great in so many cocktails, not only coffee-based drinks. It’s one of the most versatile liqueurs. It’s perfect for a casual night in, casual night out with friends, and even brunch, too! Sweet and refreshing to the last sip.

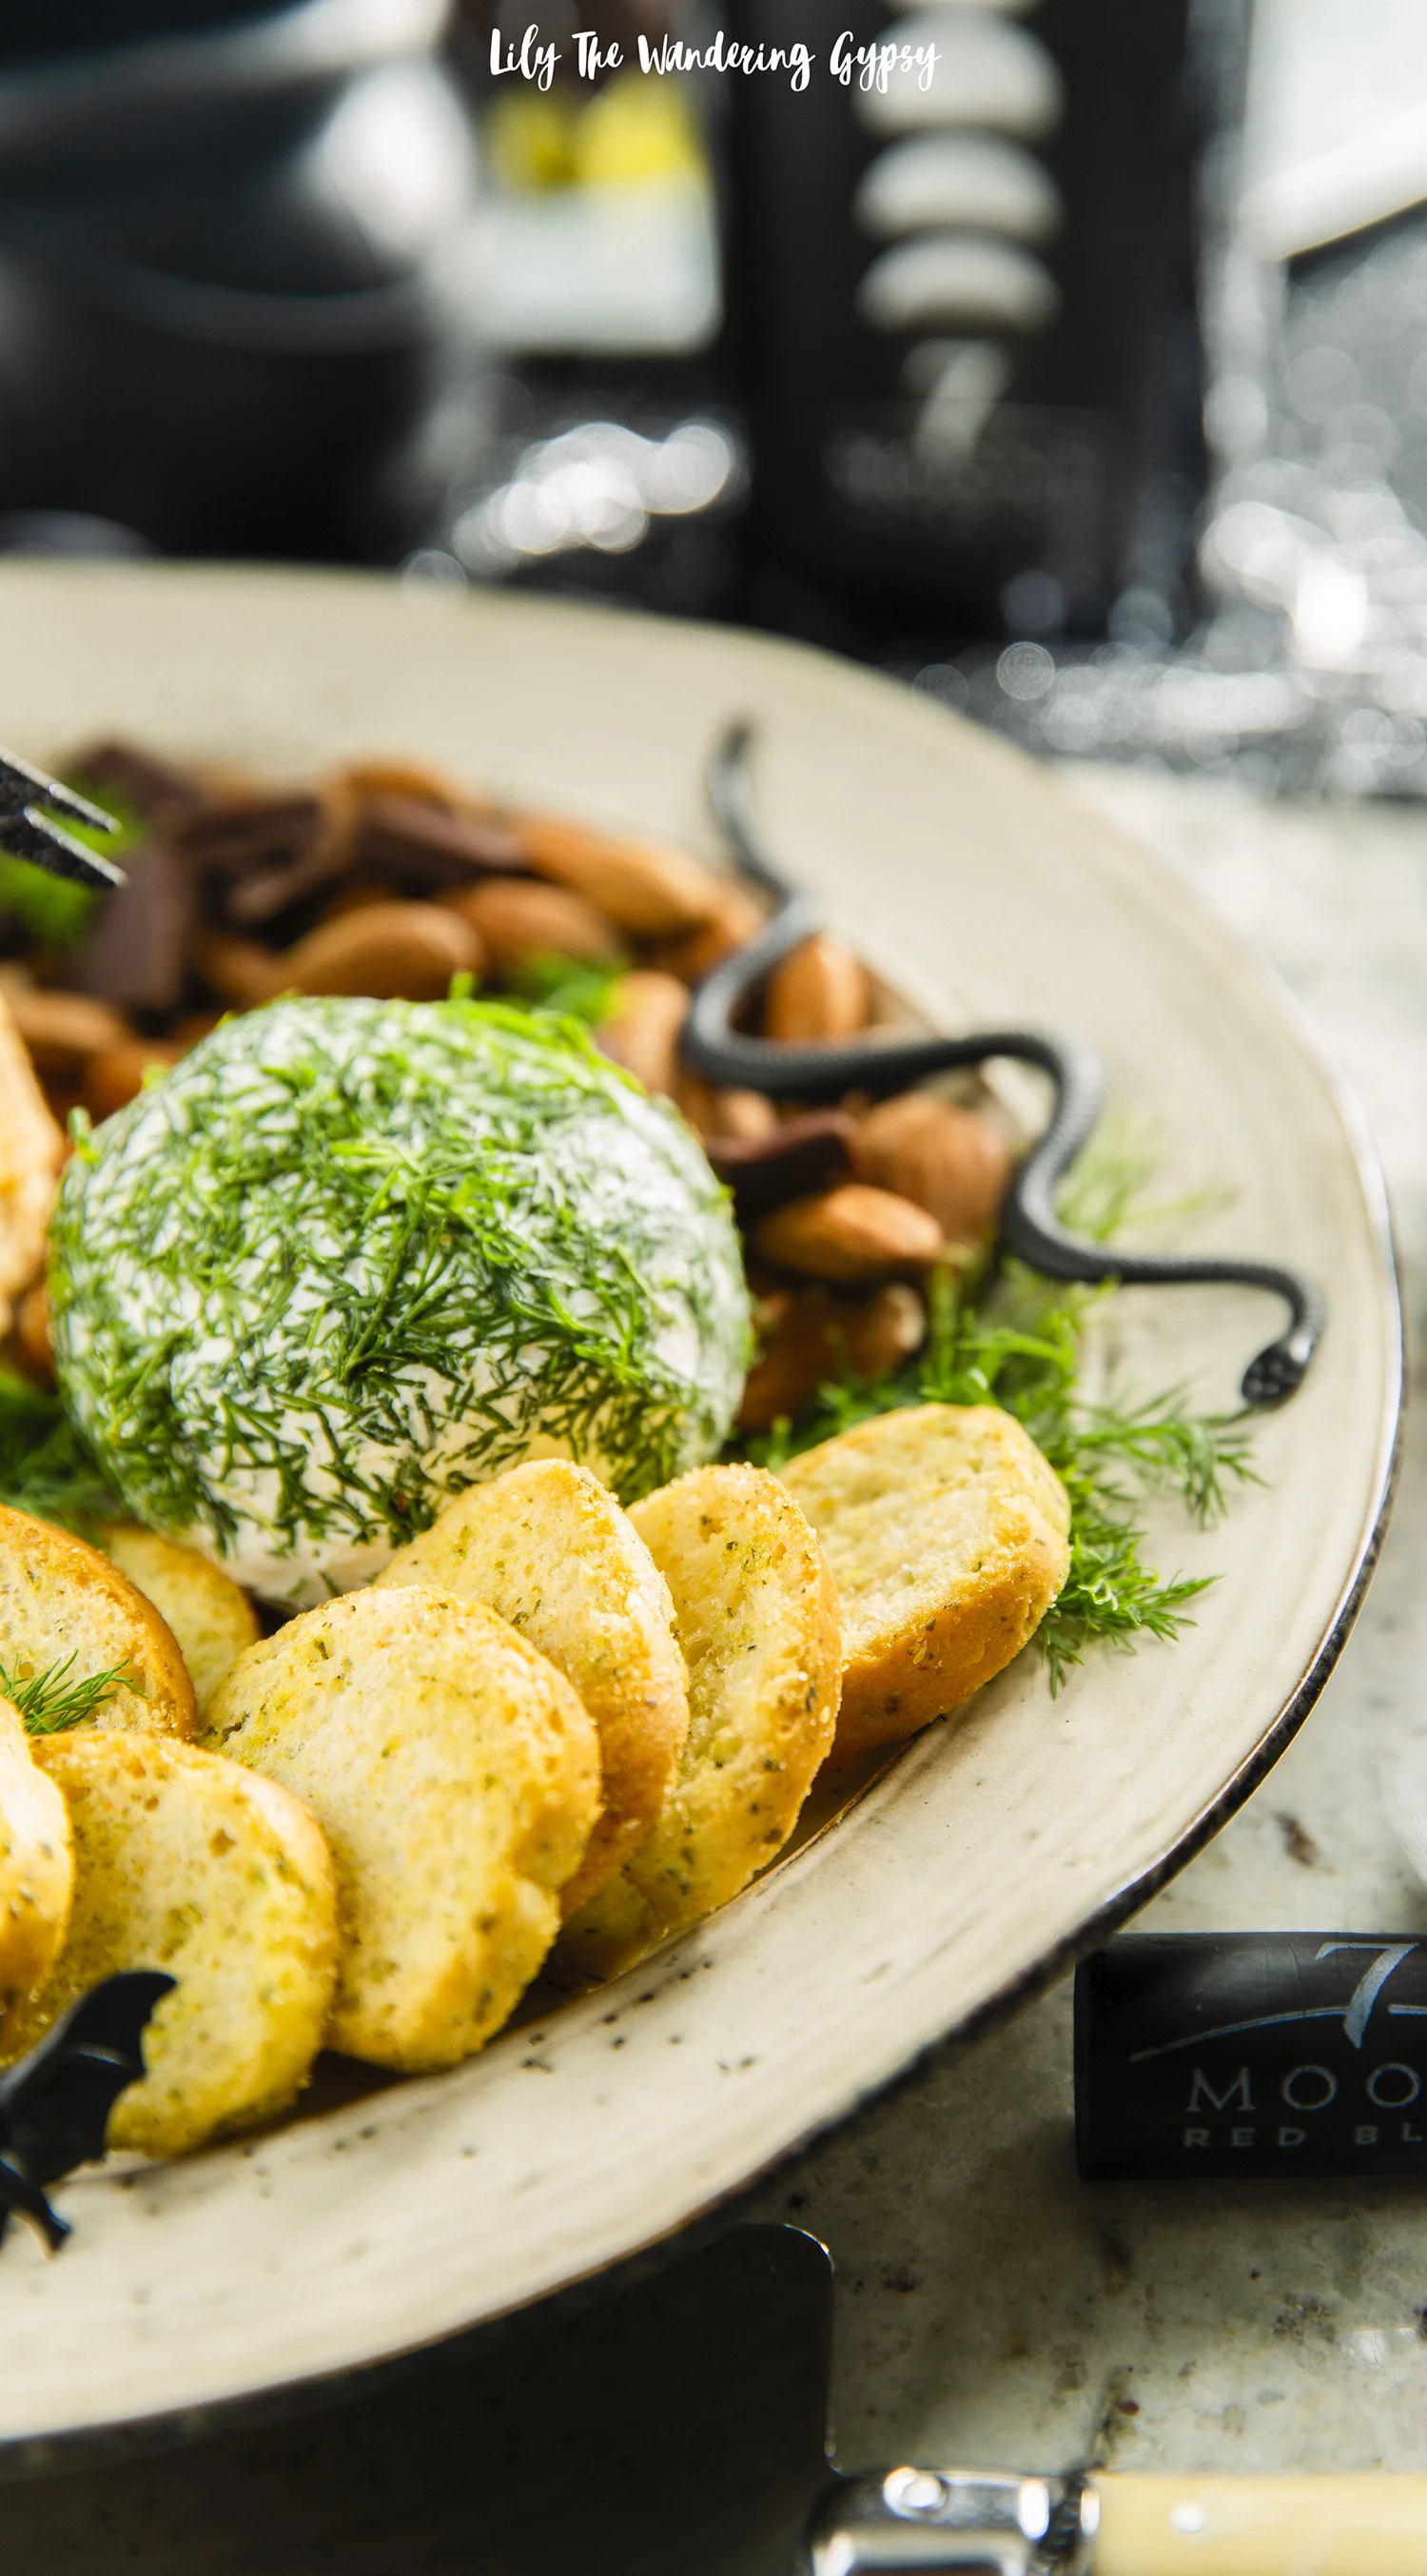
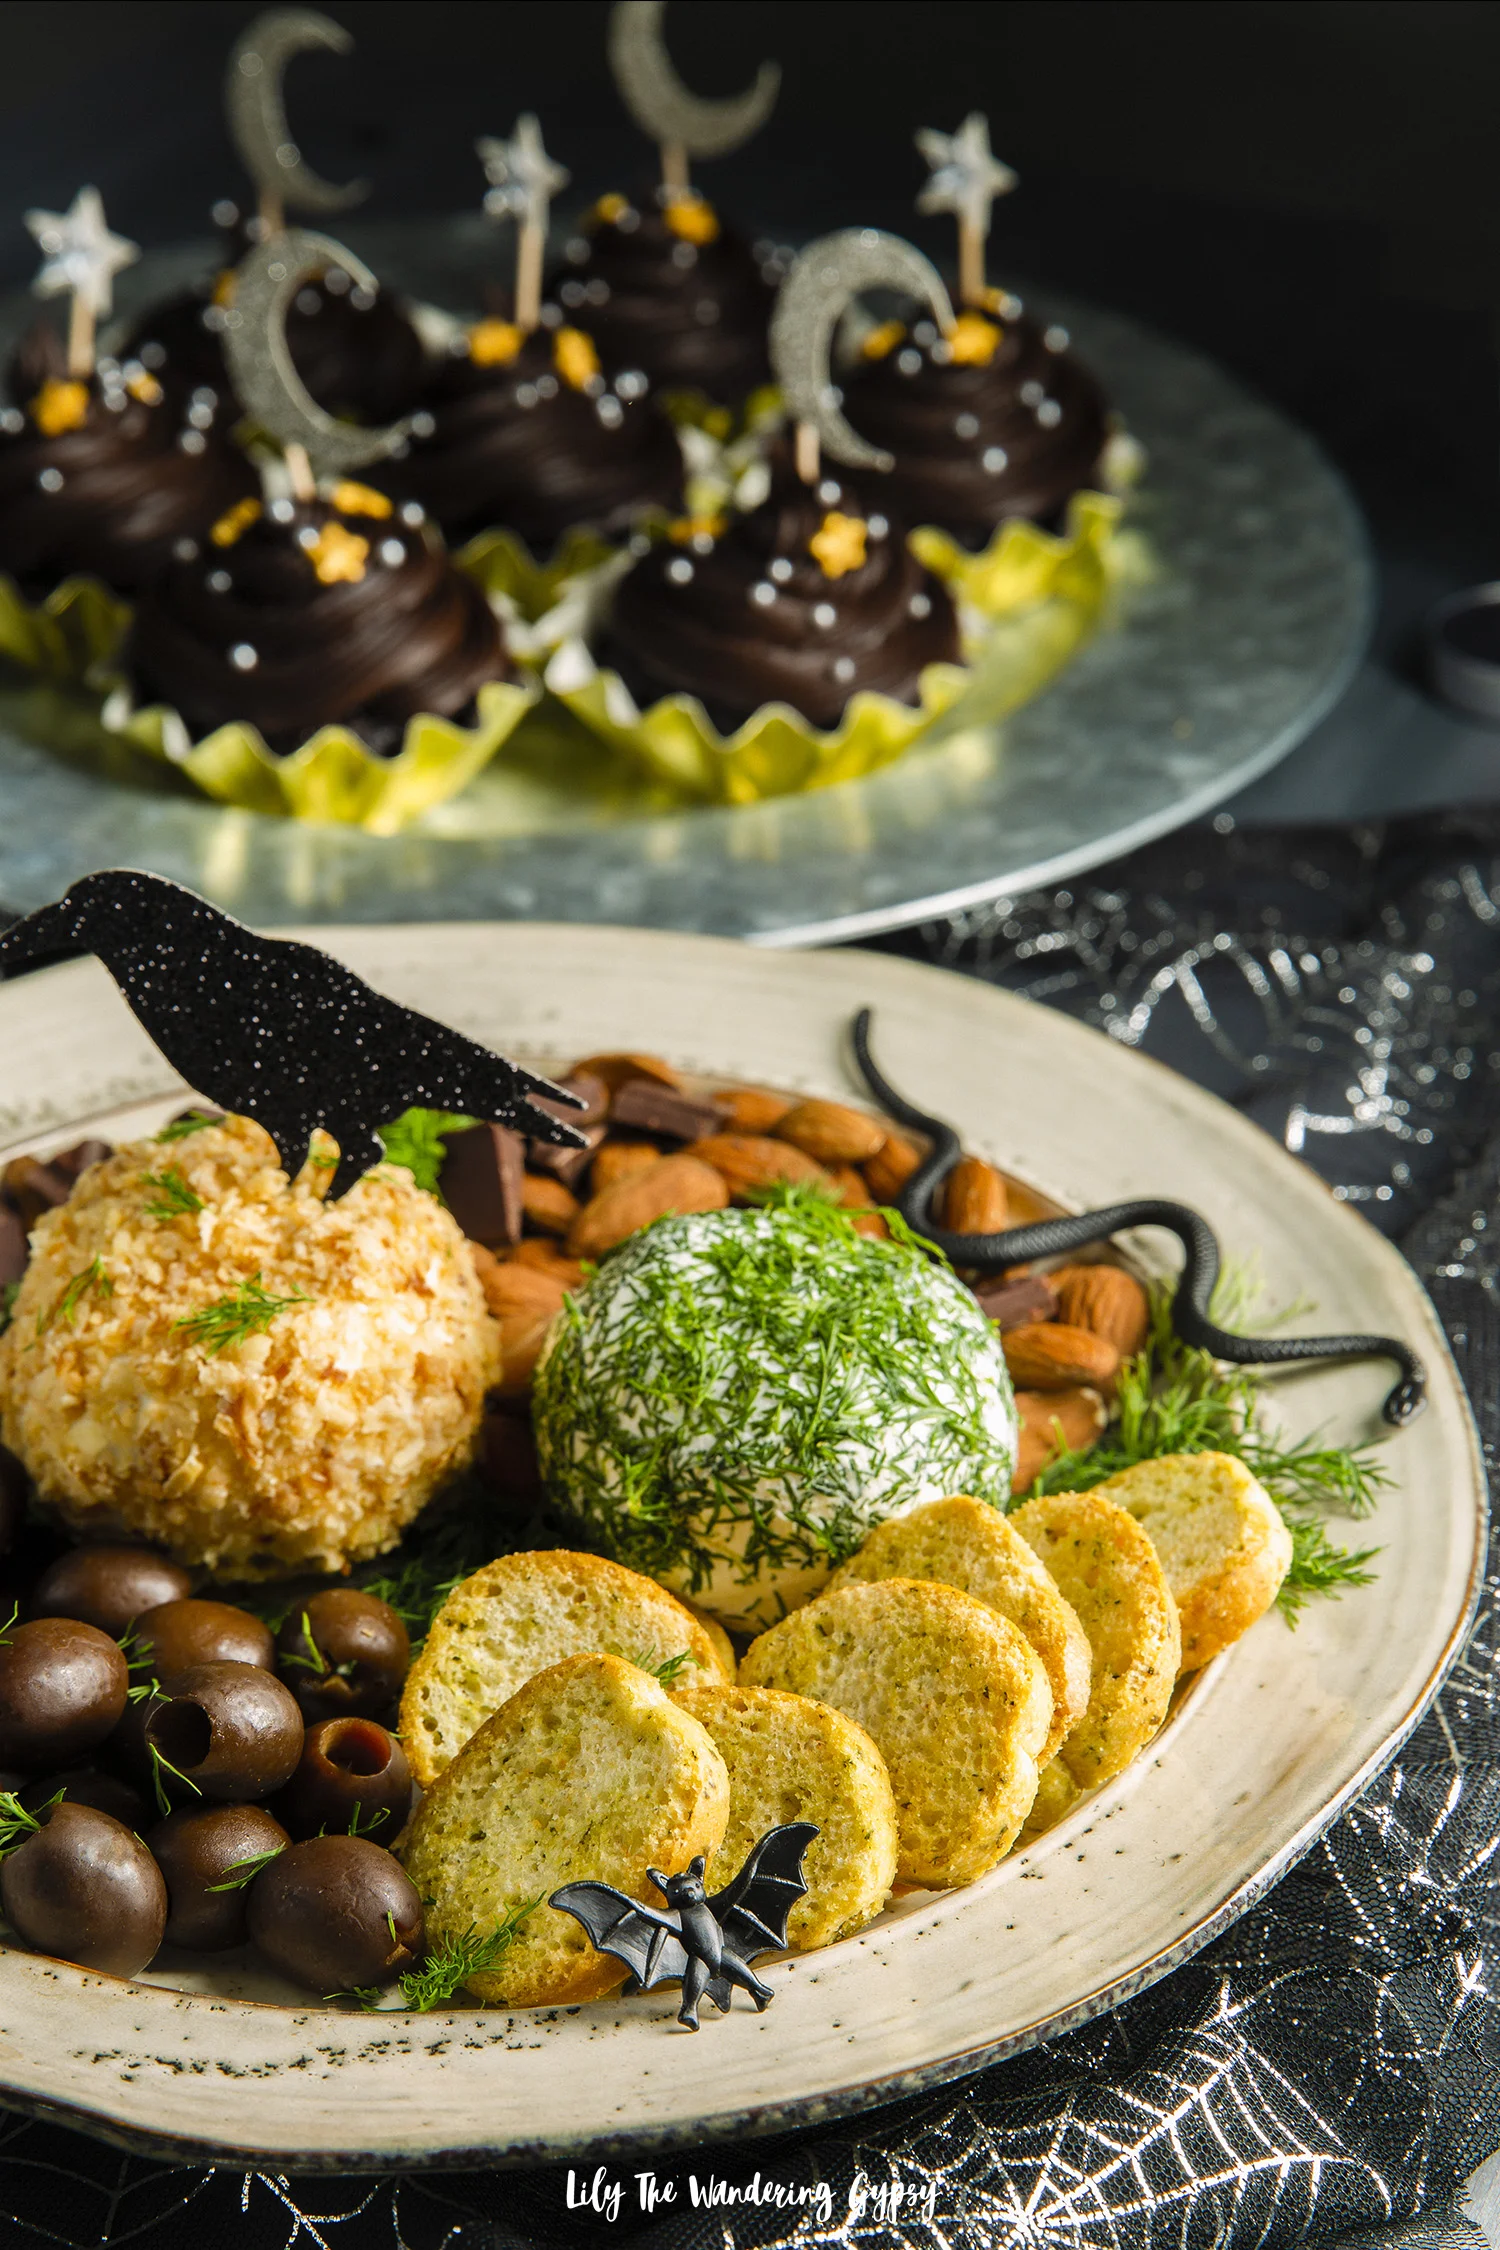
By placing cut fruits onto a holiday themed platter, the holiday mood was set instantly. Feel free to create a gorgeous spread of whatever items you want to dip.
BONUS! Looks like we are featured as the VERY TOP POST for this hashtag! Check us out :)