
The ultimate party dessert!
Read MorePacking Tips For Your Next Cruise
Heading out on a cruise or somewhere tropical this year? I have lots of ideas on how to pack better, so your vacation is better than you could even imagine!
Read MoreFreezer Fresh Ideas ~ Basil Chicken Broccoli Pasta ~ Quick and Easy Dinner Idea
A delicious and easy-to-prepare meal for those days when things couldn't be busier! Check out my latest recipe, inspired by Kroger.
Read MoreCherrybrook Premium Pet Supplies + The Doodle That Stole All The Treats
Learn all about these wonderful dog treats and toys from a really great website, Cherrybrook Pet Supplies!
Read MoreSt. Germain Margarita Cocktail Recipe
A twist on a classic cocktail, using Elderflower Liqueur
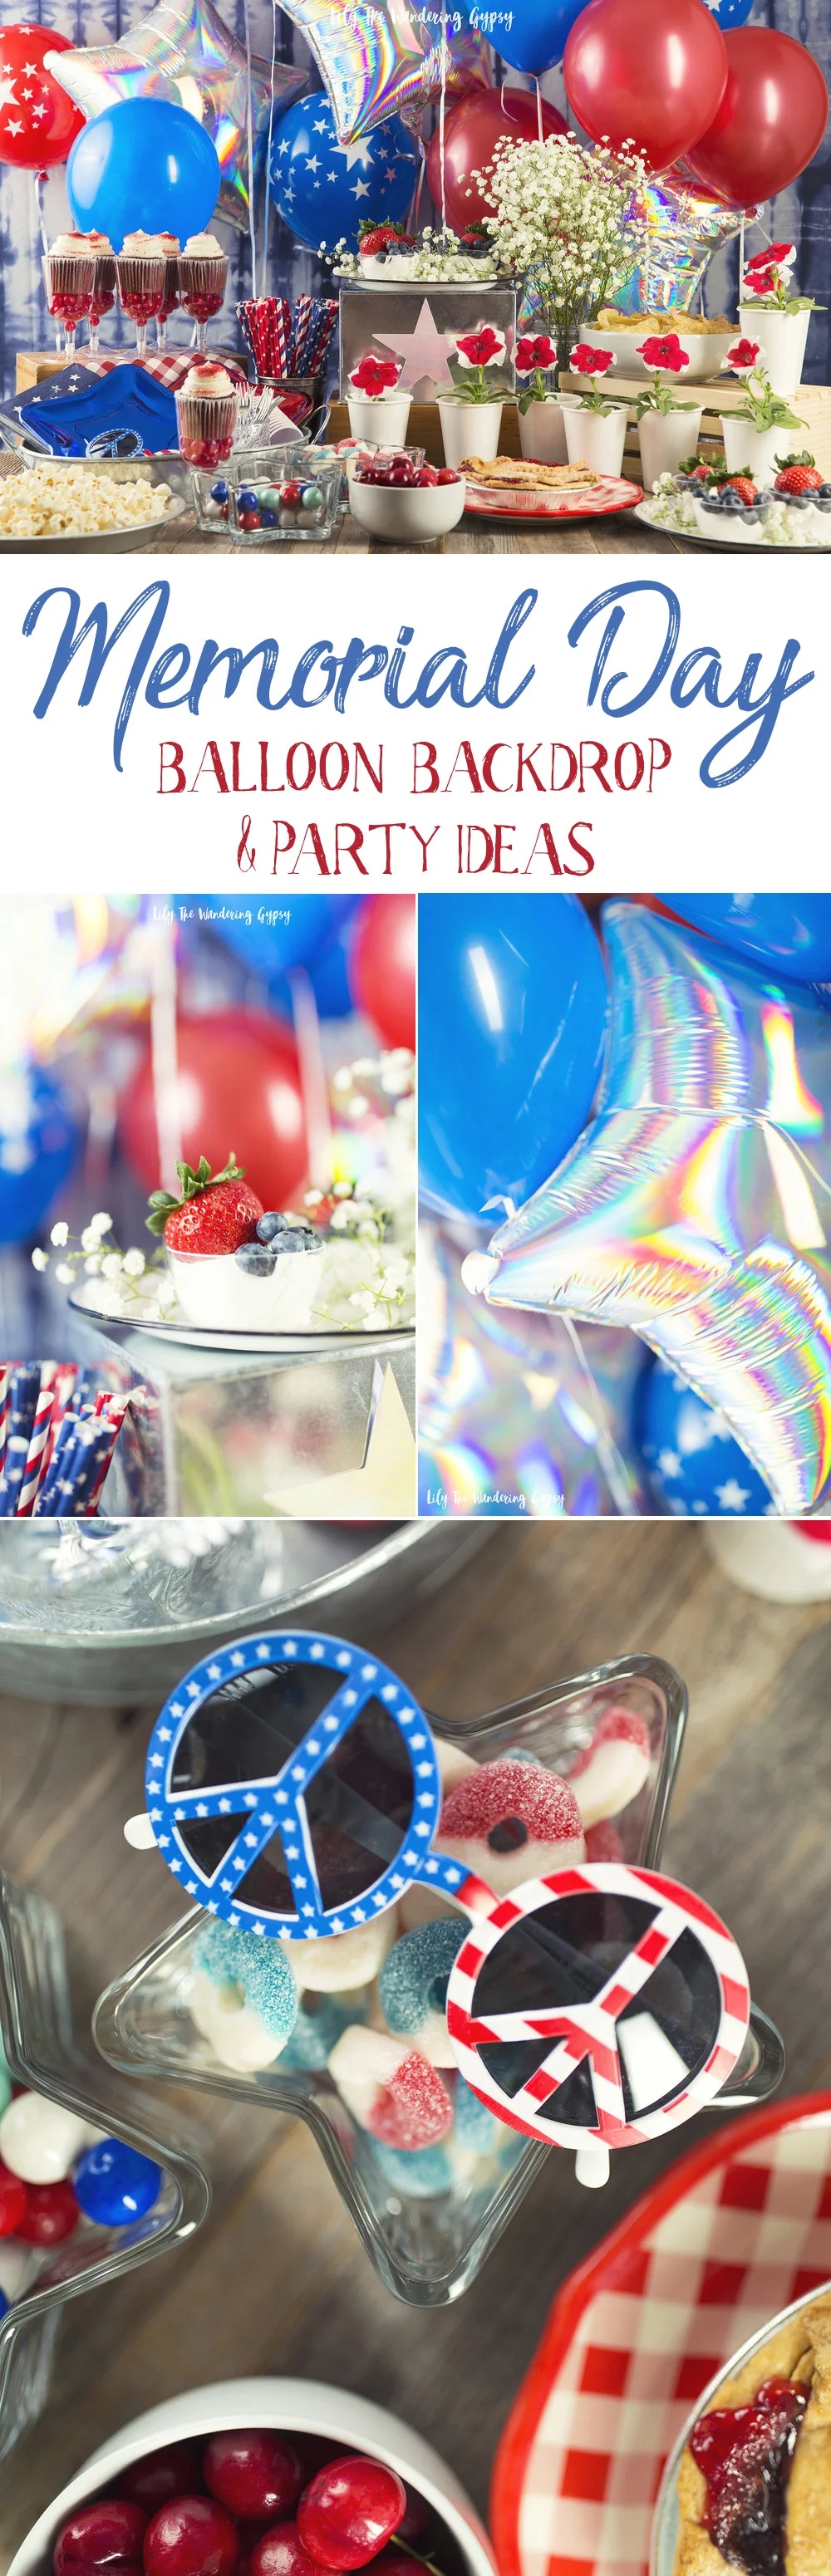
Read MoreA Memorial Day Party With Balloon Time! Get These Cute Recipes and Decor Ideas!
This is a sponsored conversation written by me on behalf of Balloon Time Helium Tanks. The opinions and text are all mine.
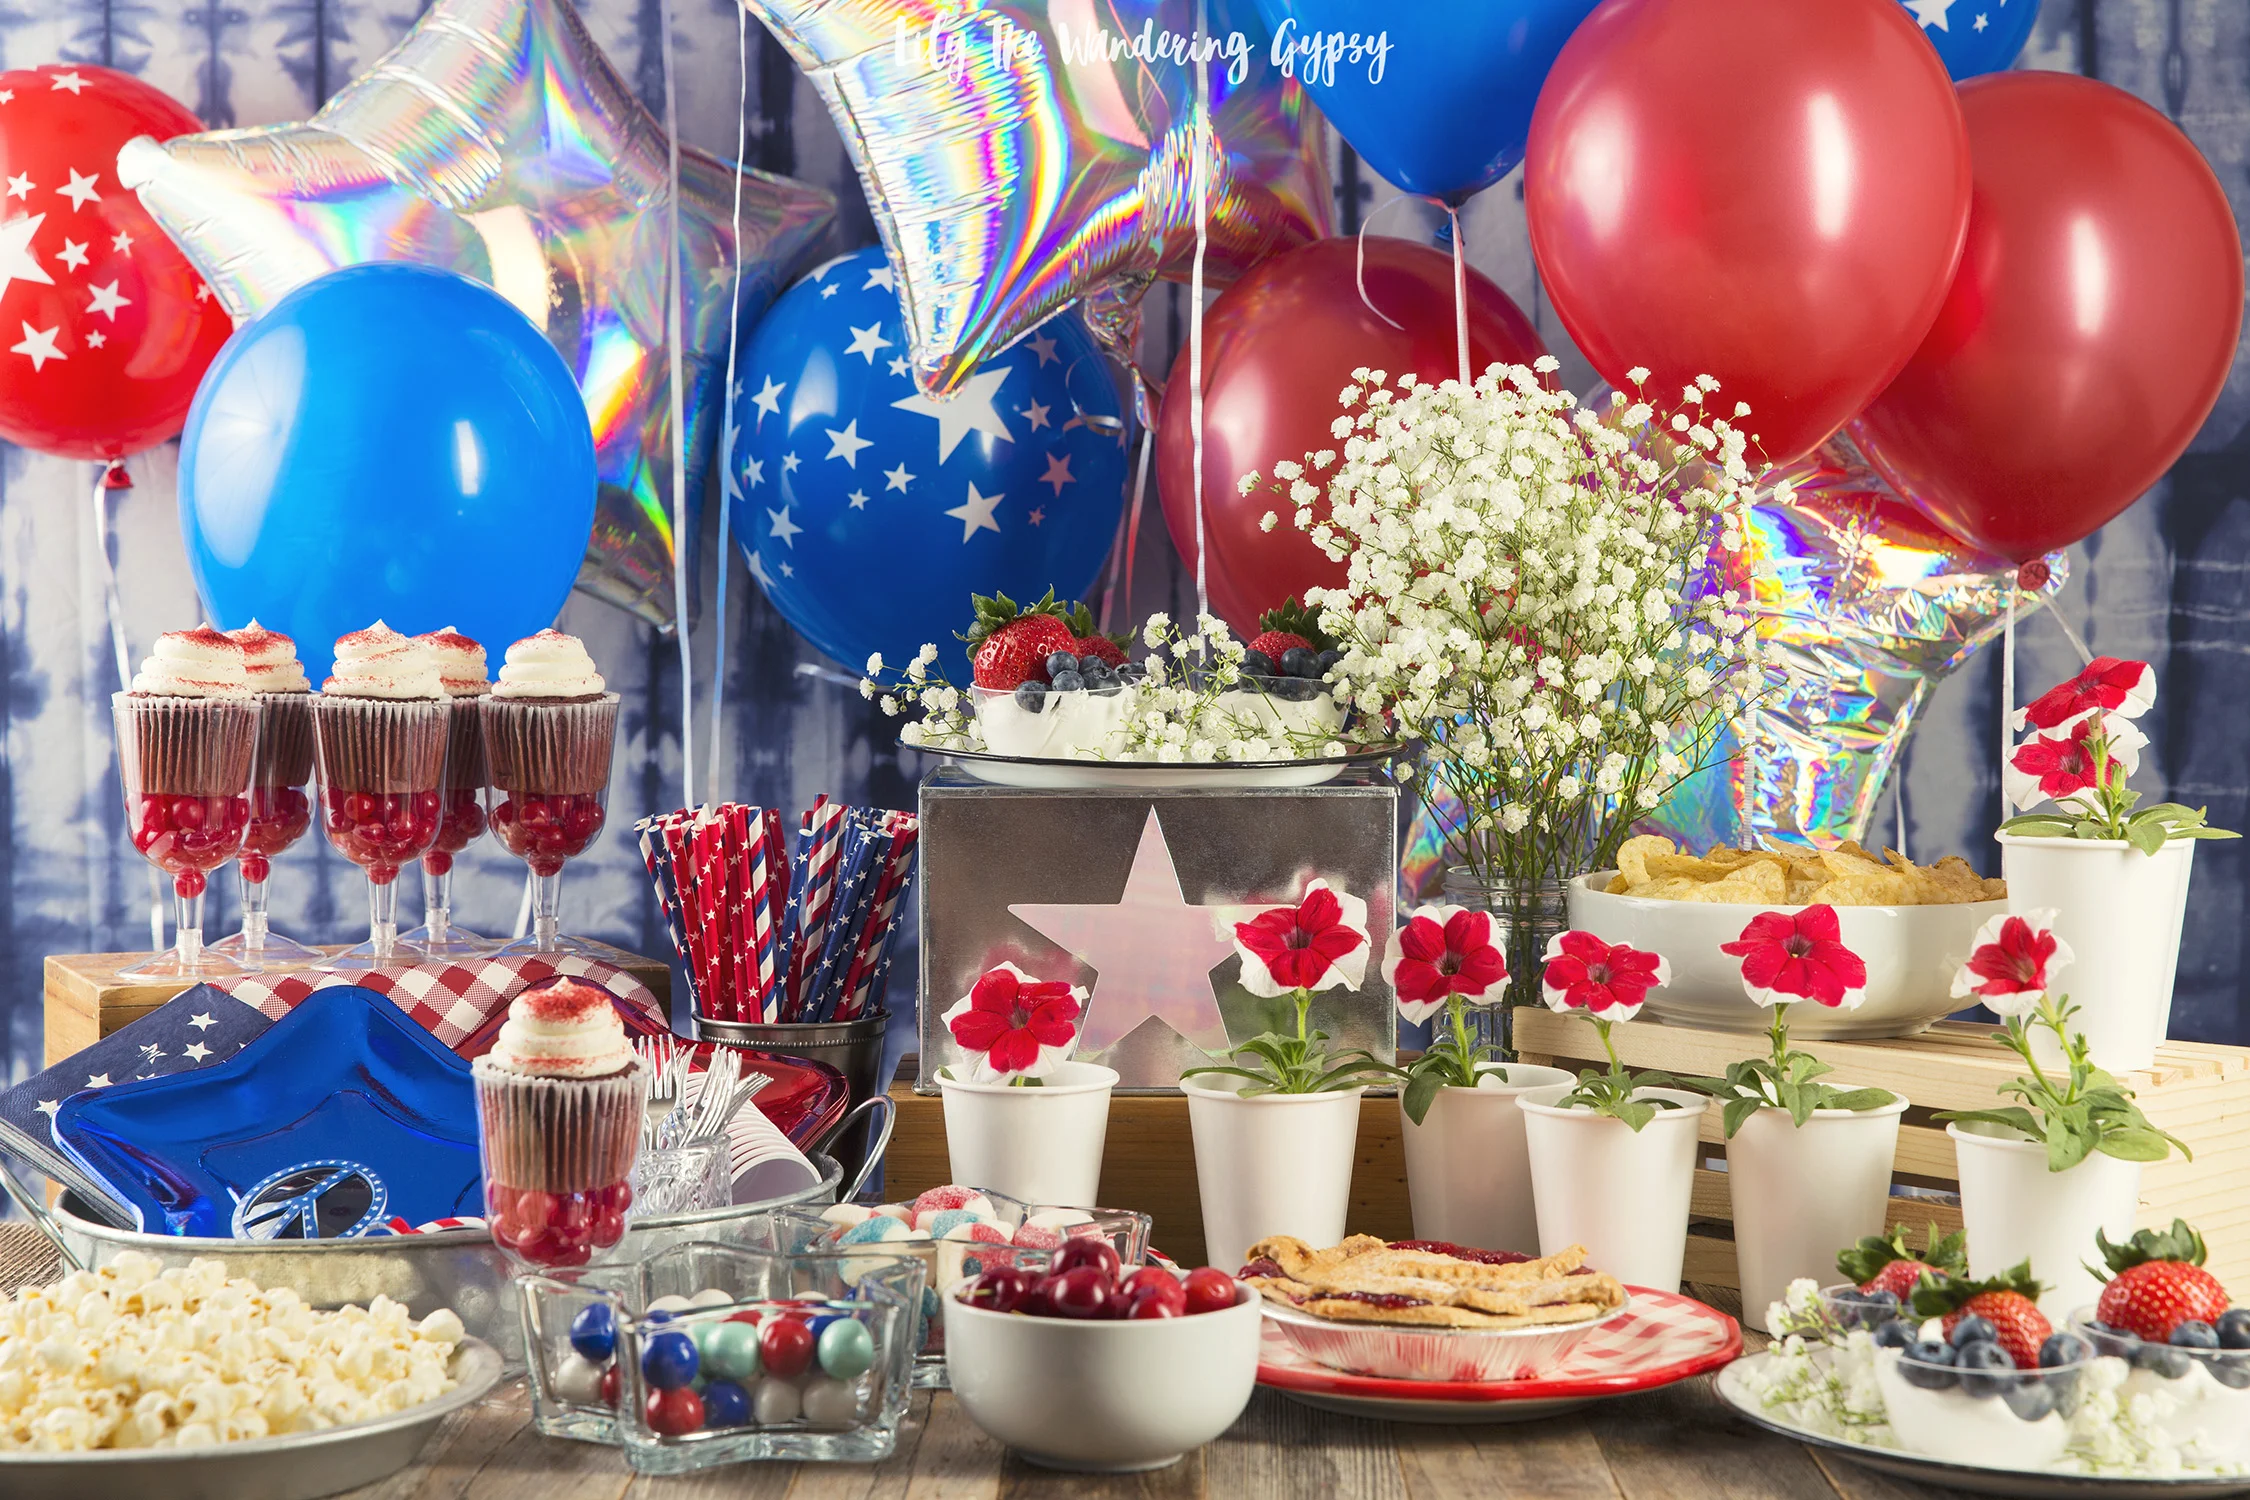
This party would be adorable for guests of any age, and feel free to add a bit more of your favorite food or drinks for your friends and family to enjoy while we celebrate Memorial Day, and other fun holidays in May and the upcoming summer months.


Tie Dyed Fabric In Indigo and White (See My DIY Here)
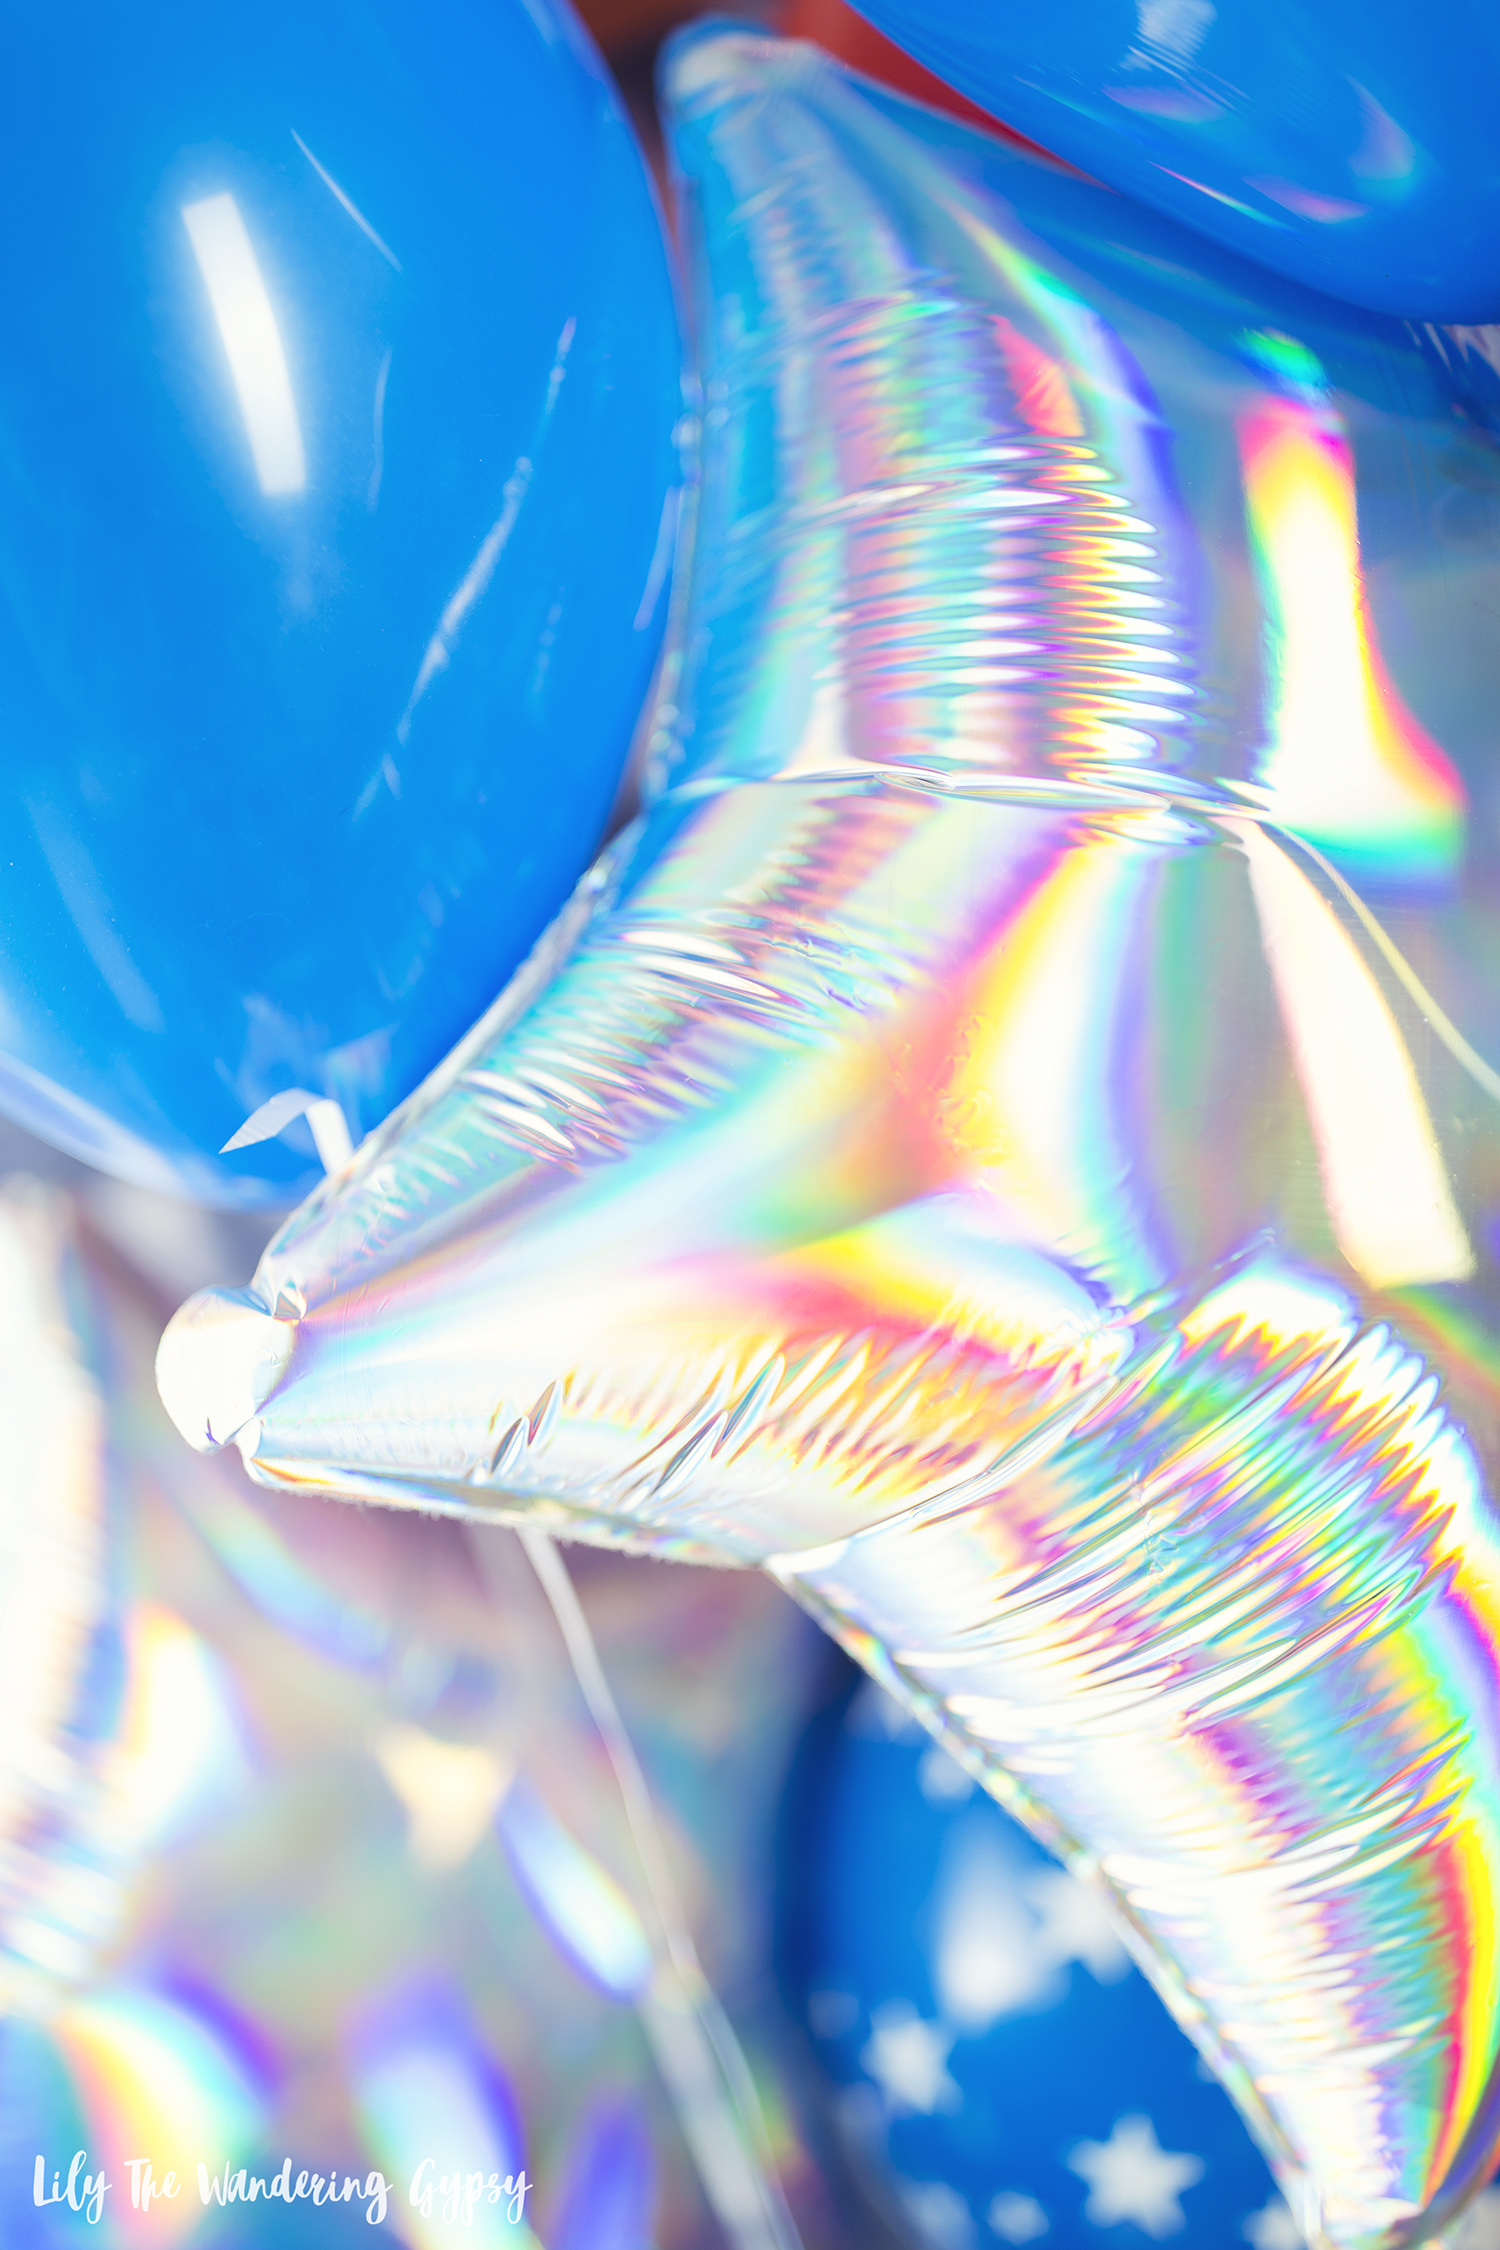
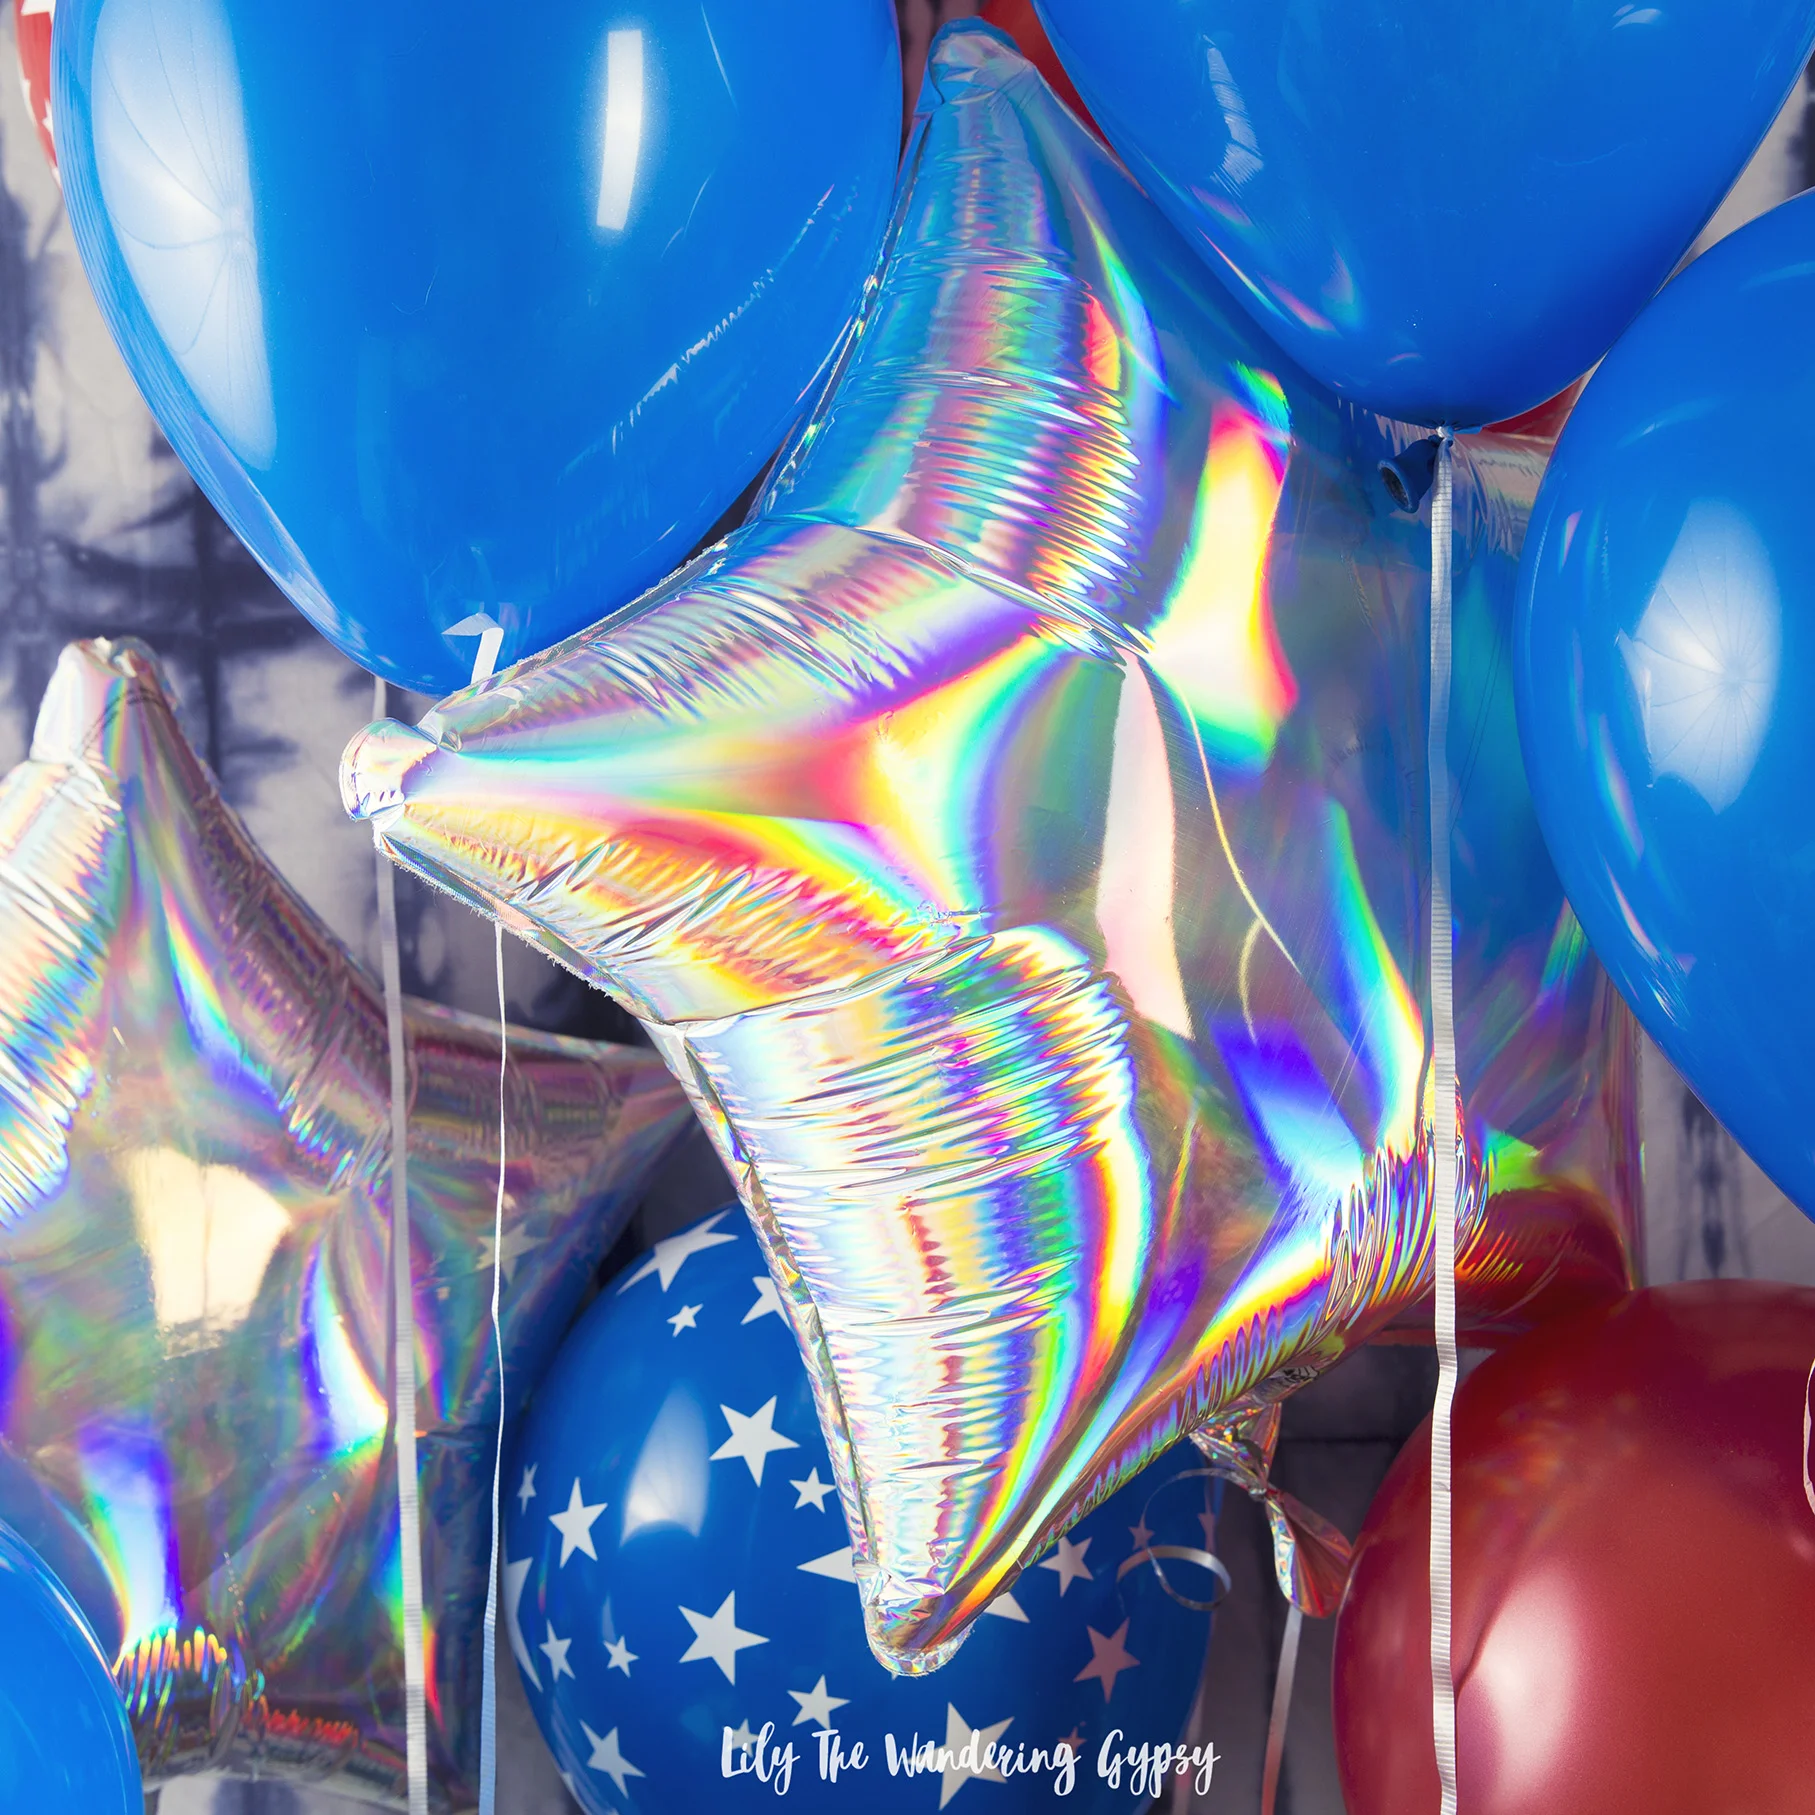
Helium-Safe Balloons (I used red, blue, and star-printed latex ones, and 3 holographic mylar ones in star shapes)
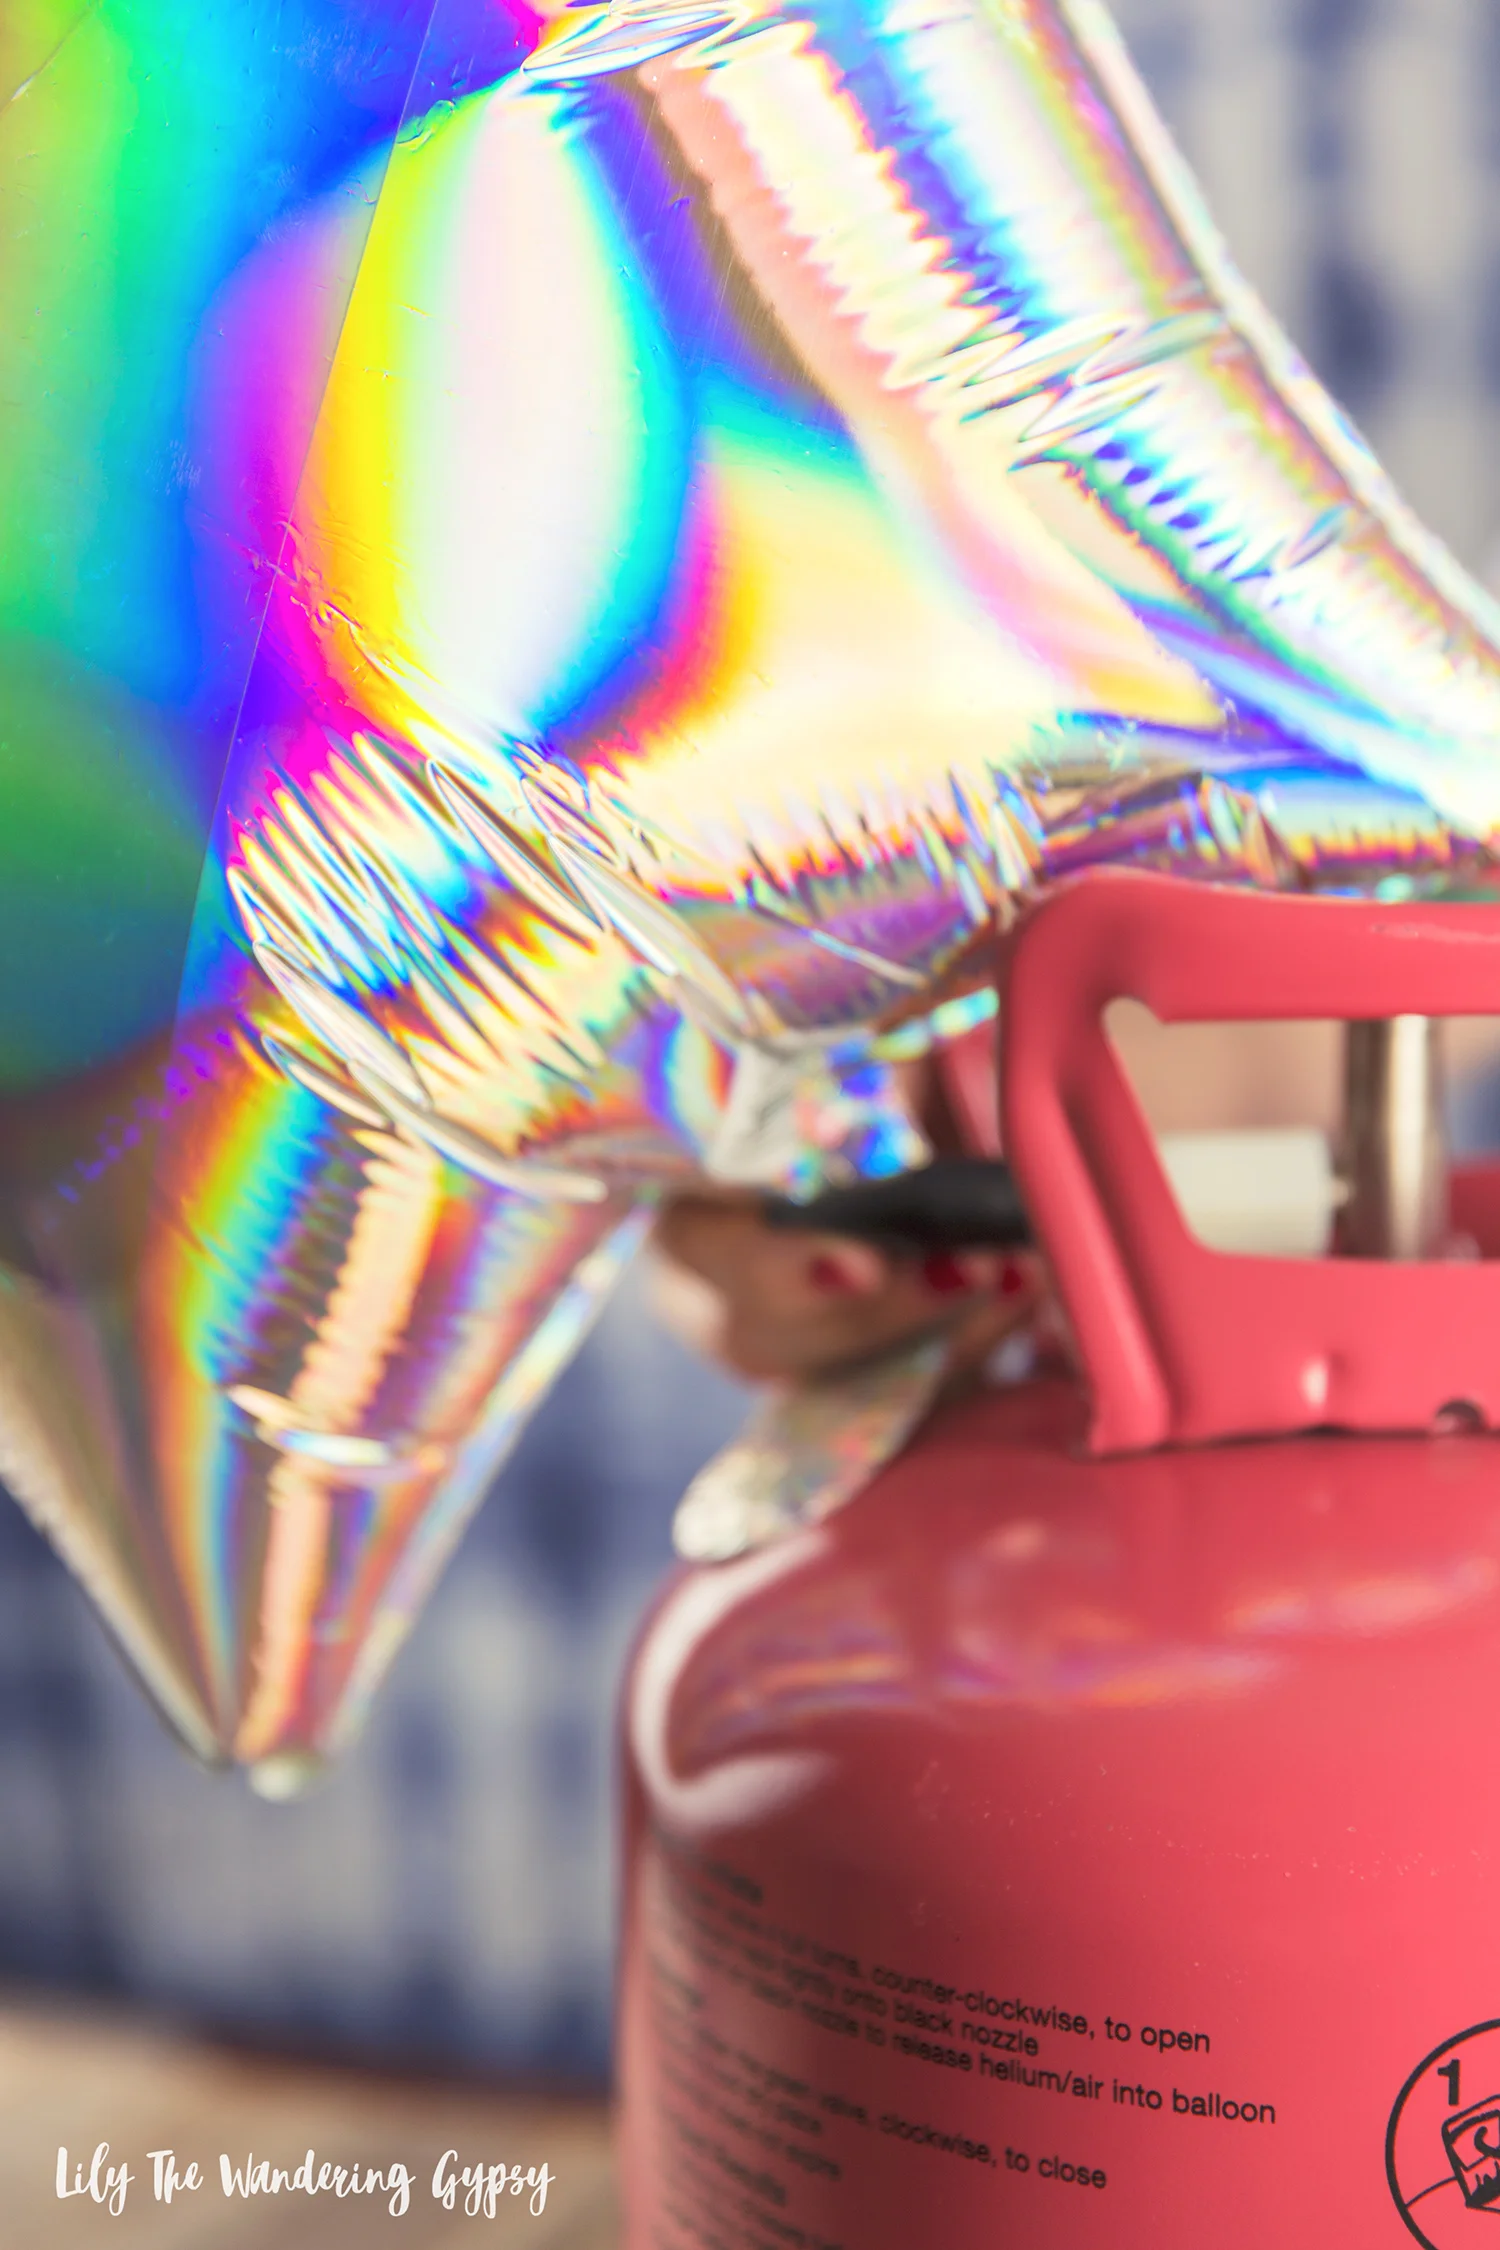
Helium Tank (I used one from Balloon Time)
Curling Ribbon included with helium tank
Weights for Balloons (these can be made from just about anything that is somewhat heavy. Or, tape to attach balloons to the back of your table


1.) Get acquainted with your Balloon Time Helium Tank. At first, I had a bit of trouble realizing that there are two steps to working the tank. FIRST, on your helium tab, you will find a green handle, that you turn about 4 times until it won't turn any longer. SECOND, insert your balloon onto the black nozzle, and push down to release the helium into your balloon. I did not realize to do the second part, and thought my tank was empty - oopsies! It was not :)
2.) Fill your three star balloons, and about 5-10 of each of the other colors, red and blue. Adding some white balloons would also be adorable! After filling each balloon, tie about 3-4 feet of ribbon to them, and attach them to your weights, so they won't float away :) I cut each ribbon to be a bit of a different length, so they would have a more layered effect, which I just loved!
3.) Put up your tie dyed back drop behind where your table will go, and then start filling the background with balloons! I started with my stars, then worked out from there, with the other balloons. Put your table in front of that, and begin styling the party!
4.) I love displaying food at different heights on the table, to create lots of visual interest. For this party setup, I used a mixture of wooden crates, galvanized metal boxes,
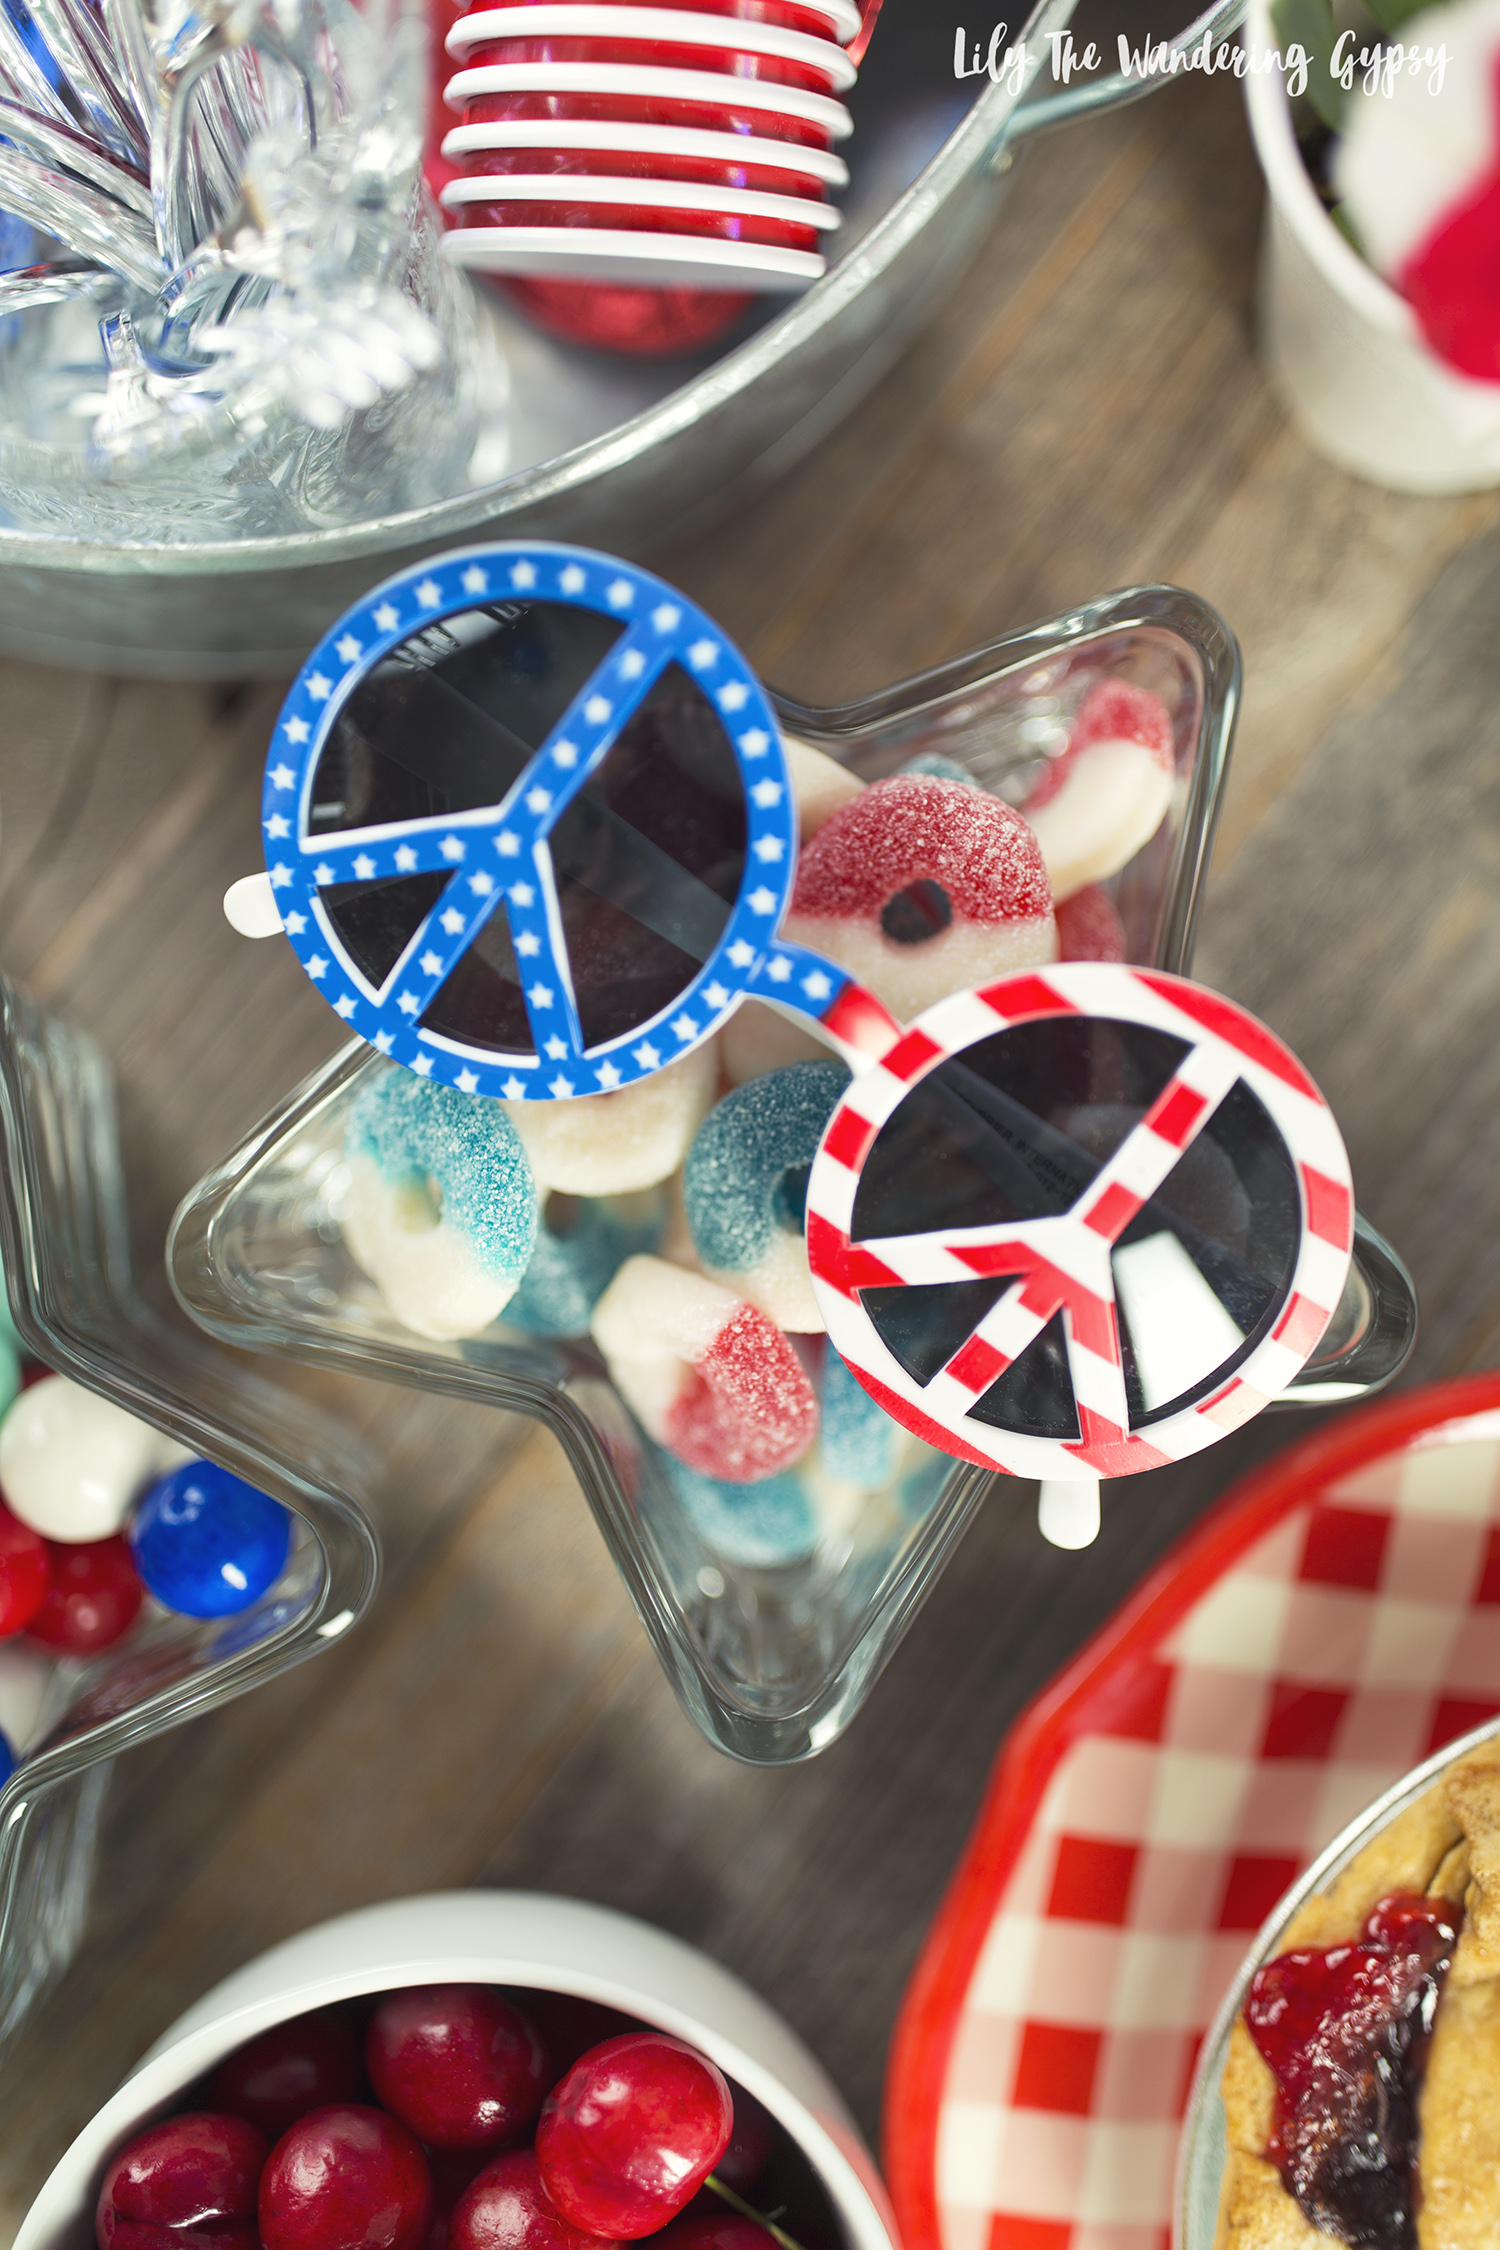
5.) Other cute items you might want to offer include patriotic-themed star plates, napkins, cute paper straws, cute sunglasses, and red/white/blue candies in star-shaped glass dishes.


When I first learned about this project with Balloon Time, I instantly went into research mode. That's how I start every post that I create, so I can learn more about the brands and the products I am about to work with. I also love seeing what other bloggers may have done with and for these brands before, and I was so excited and very honored to be chosen, because Balloon Time has enlisted the DIY and Party Skills of many amazing bloggers that I follow pretty regularly, like Studio DIY, Hostess With The Mostess, A Subtle Revelry, and Confetti Sunshine!
I wanted to put my own spin on this project and include lots of cute dessert ideas, too!

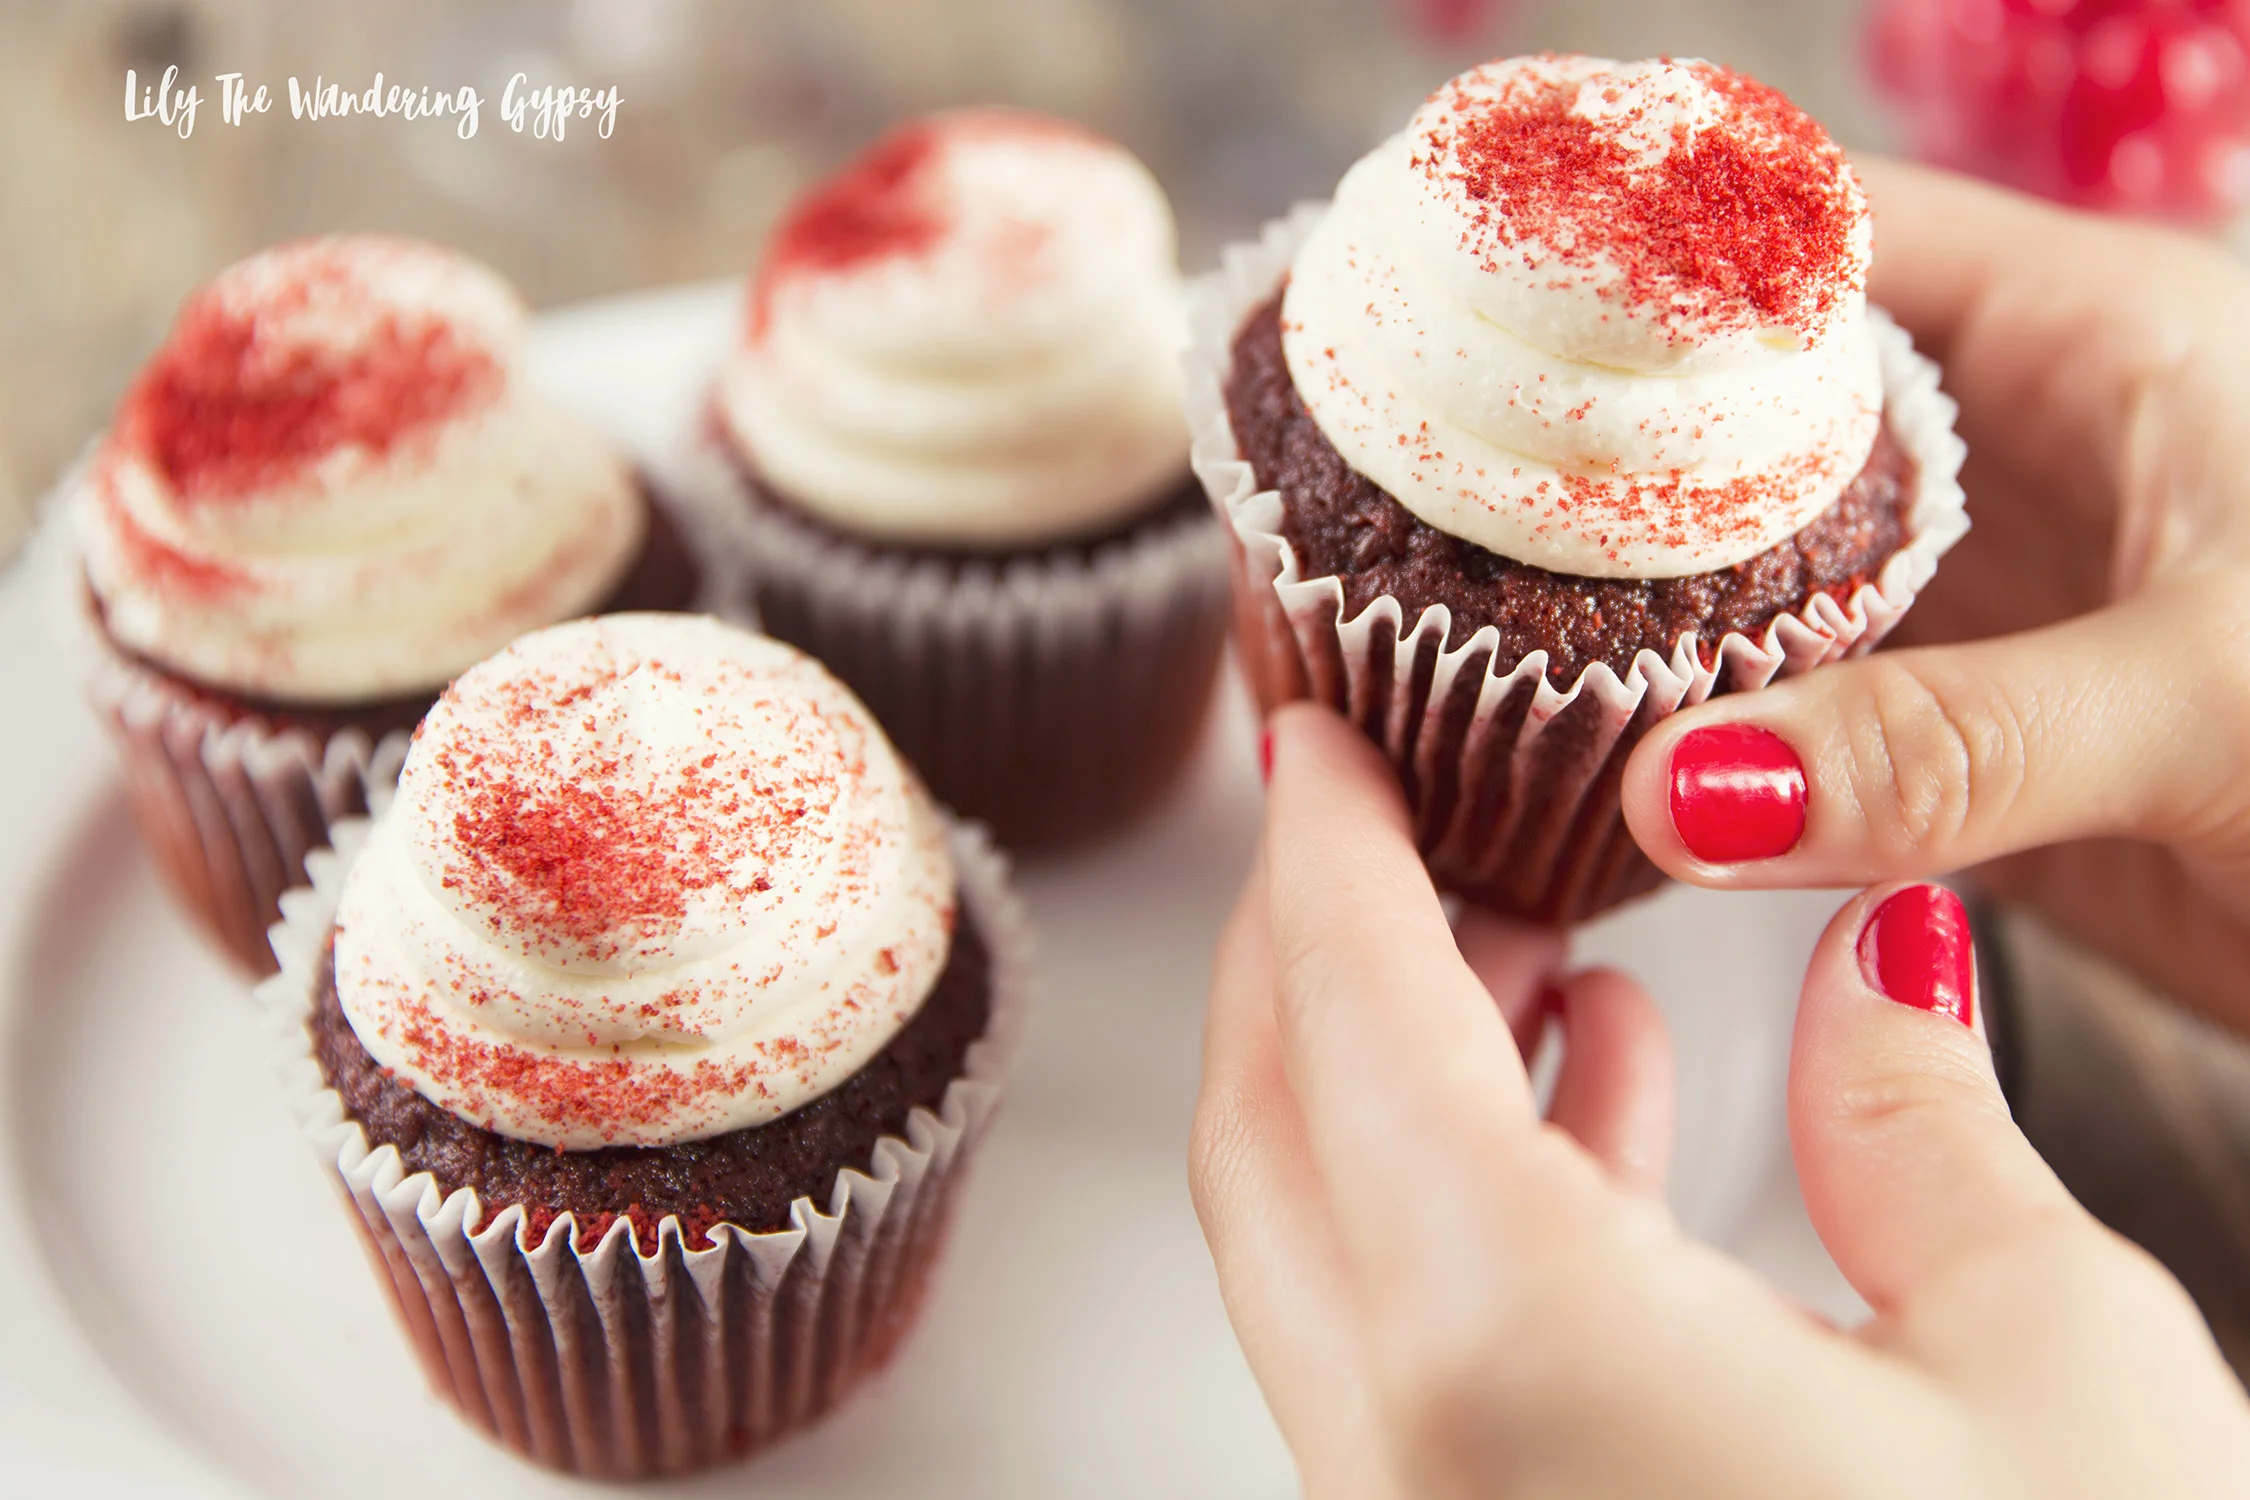
I love these delicious red velvet cupcakes from my local grocery store, which you could use in a pinch, or bake cupcakes from your own favorite recipe.
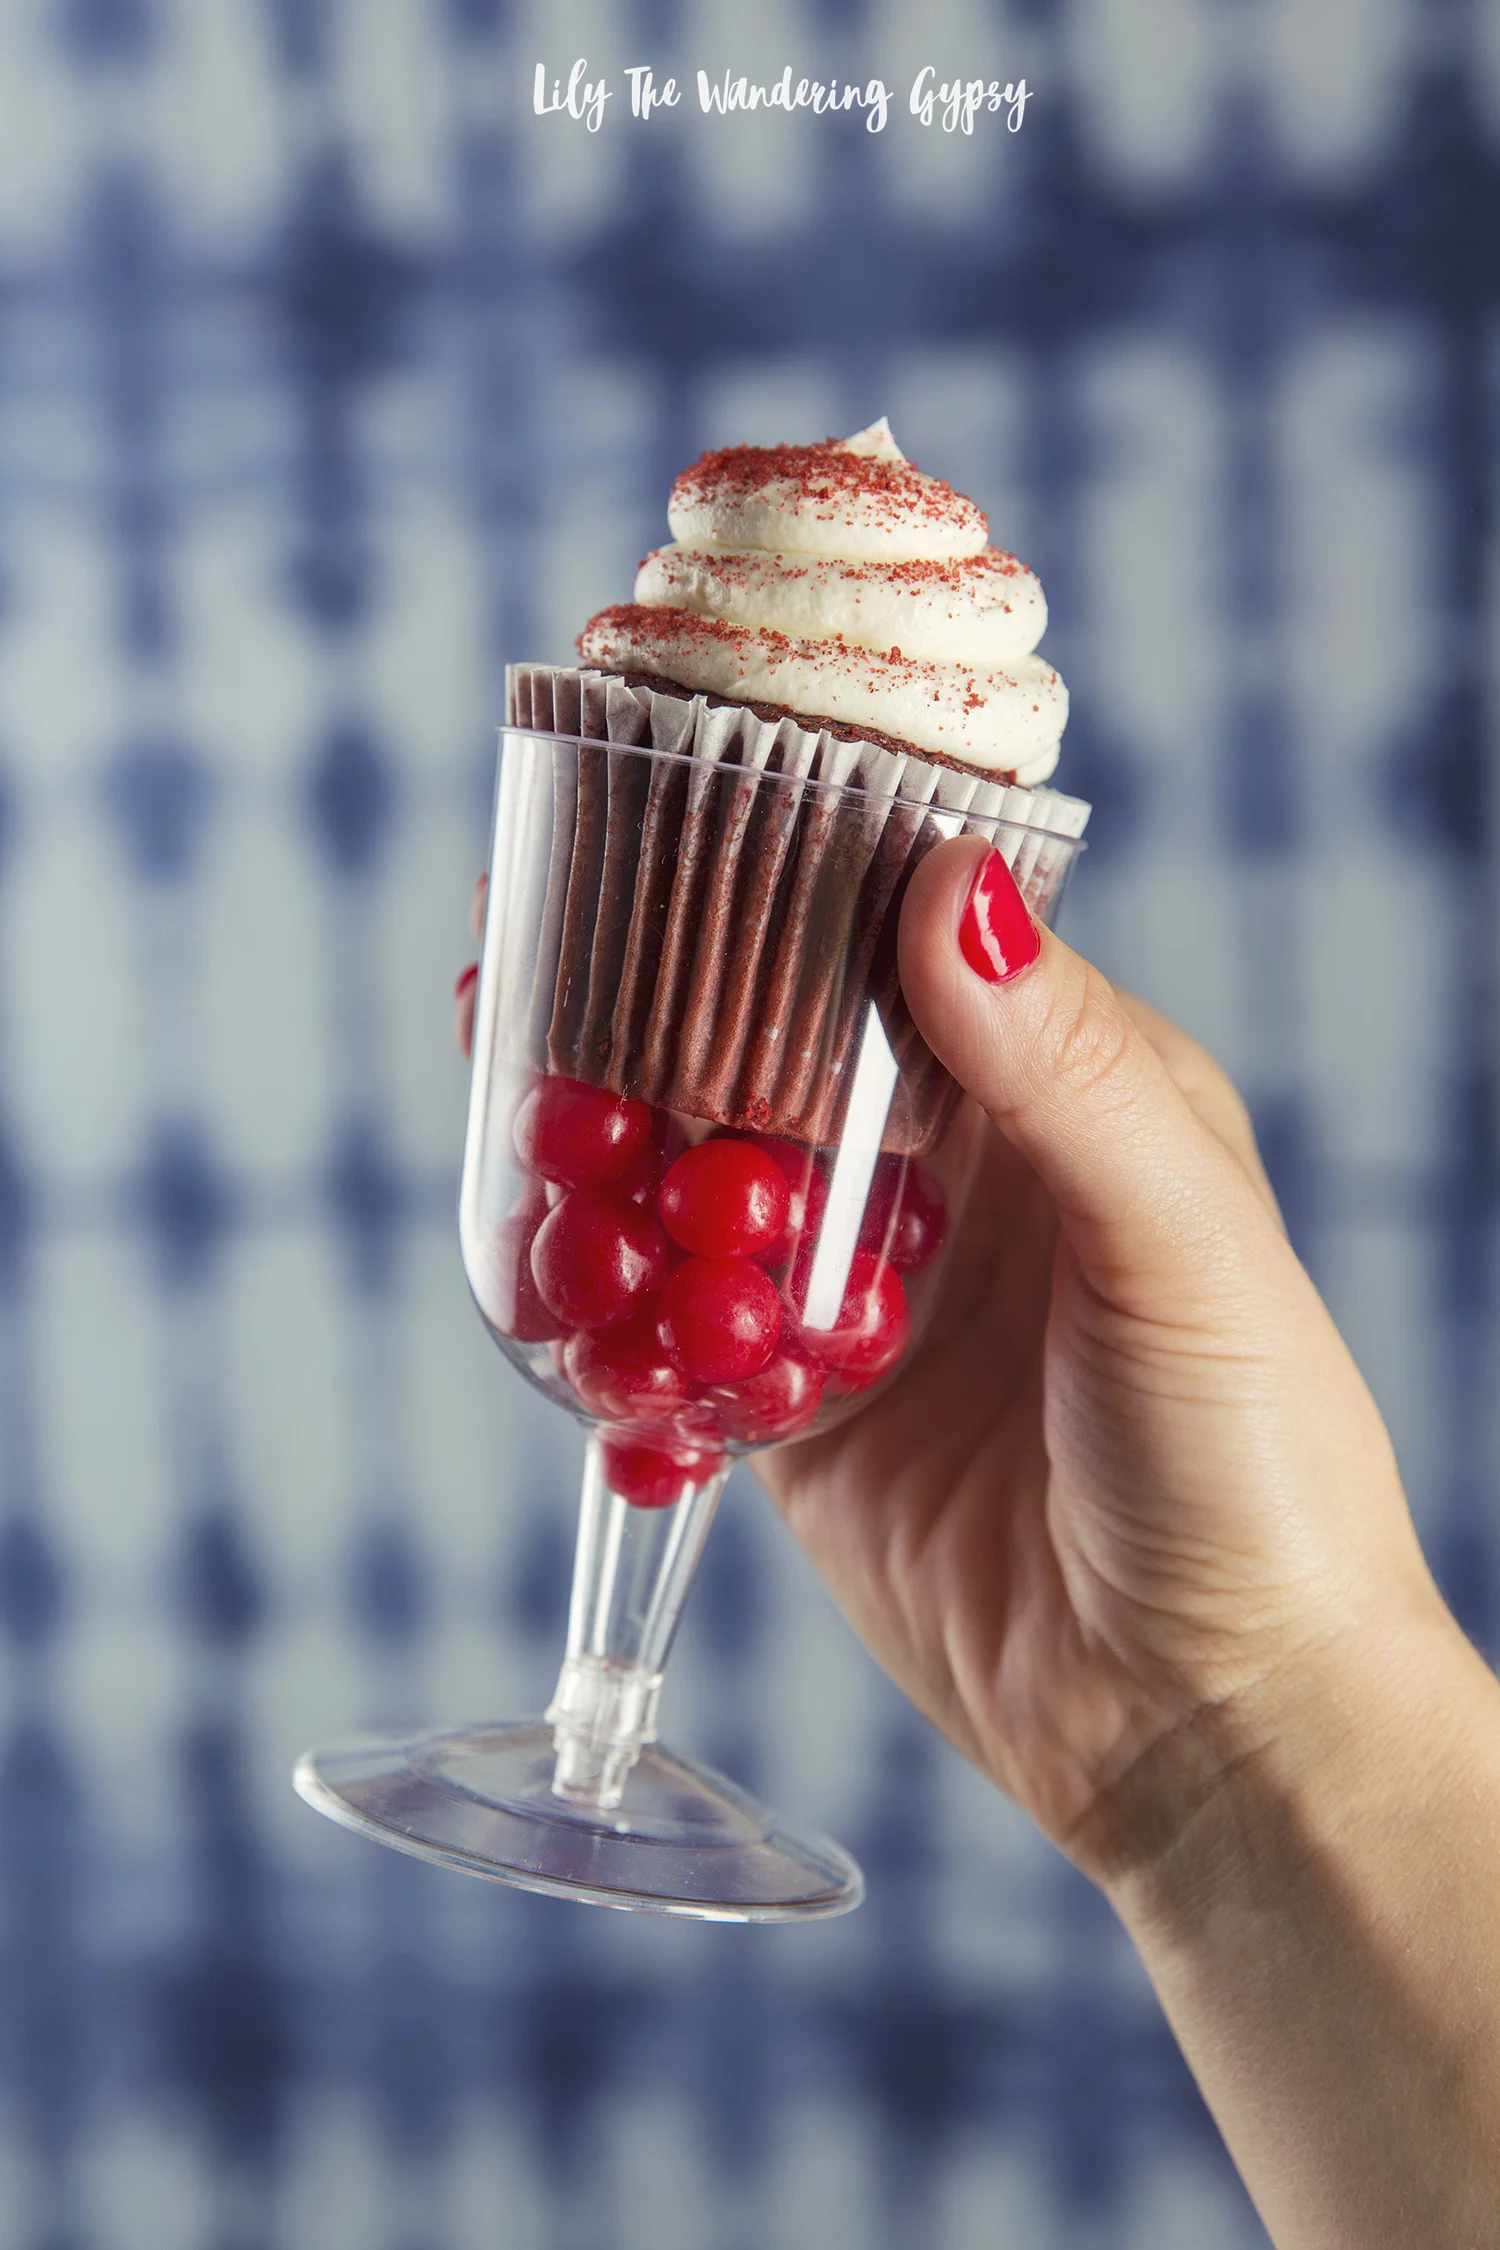
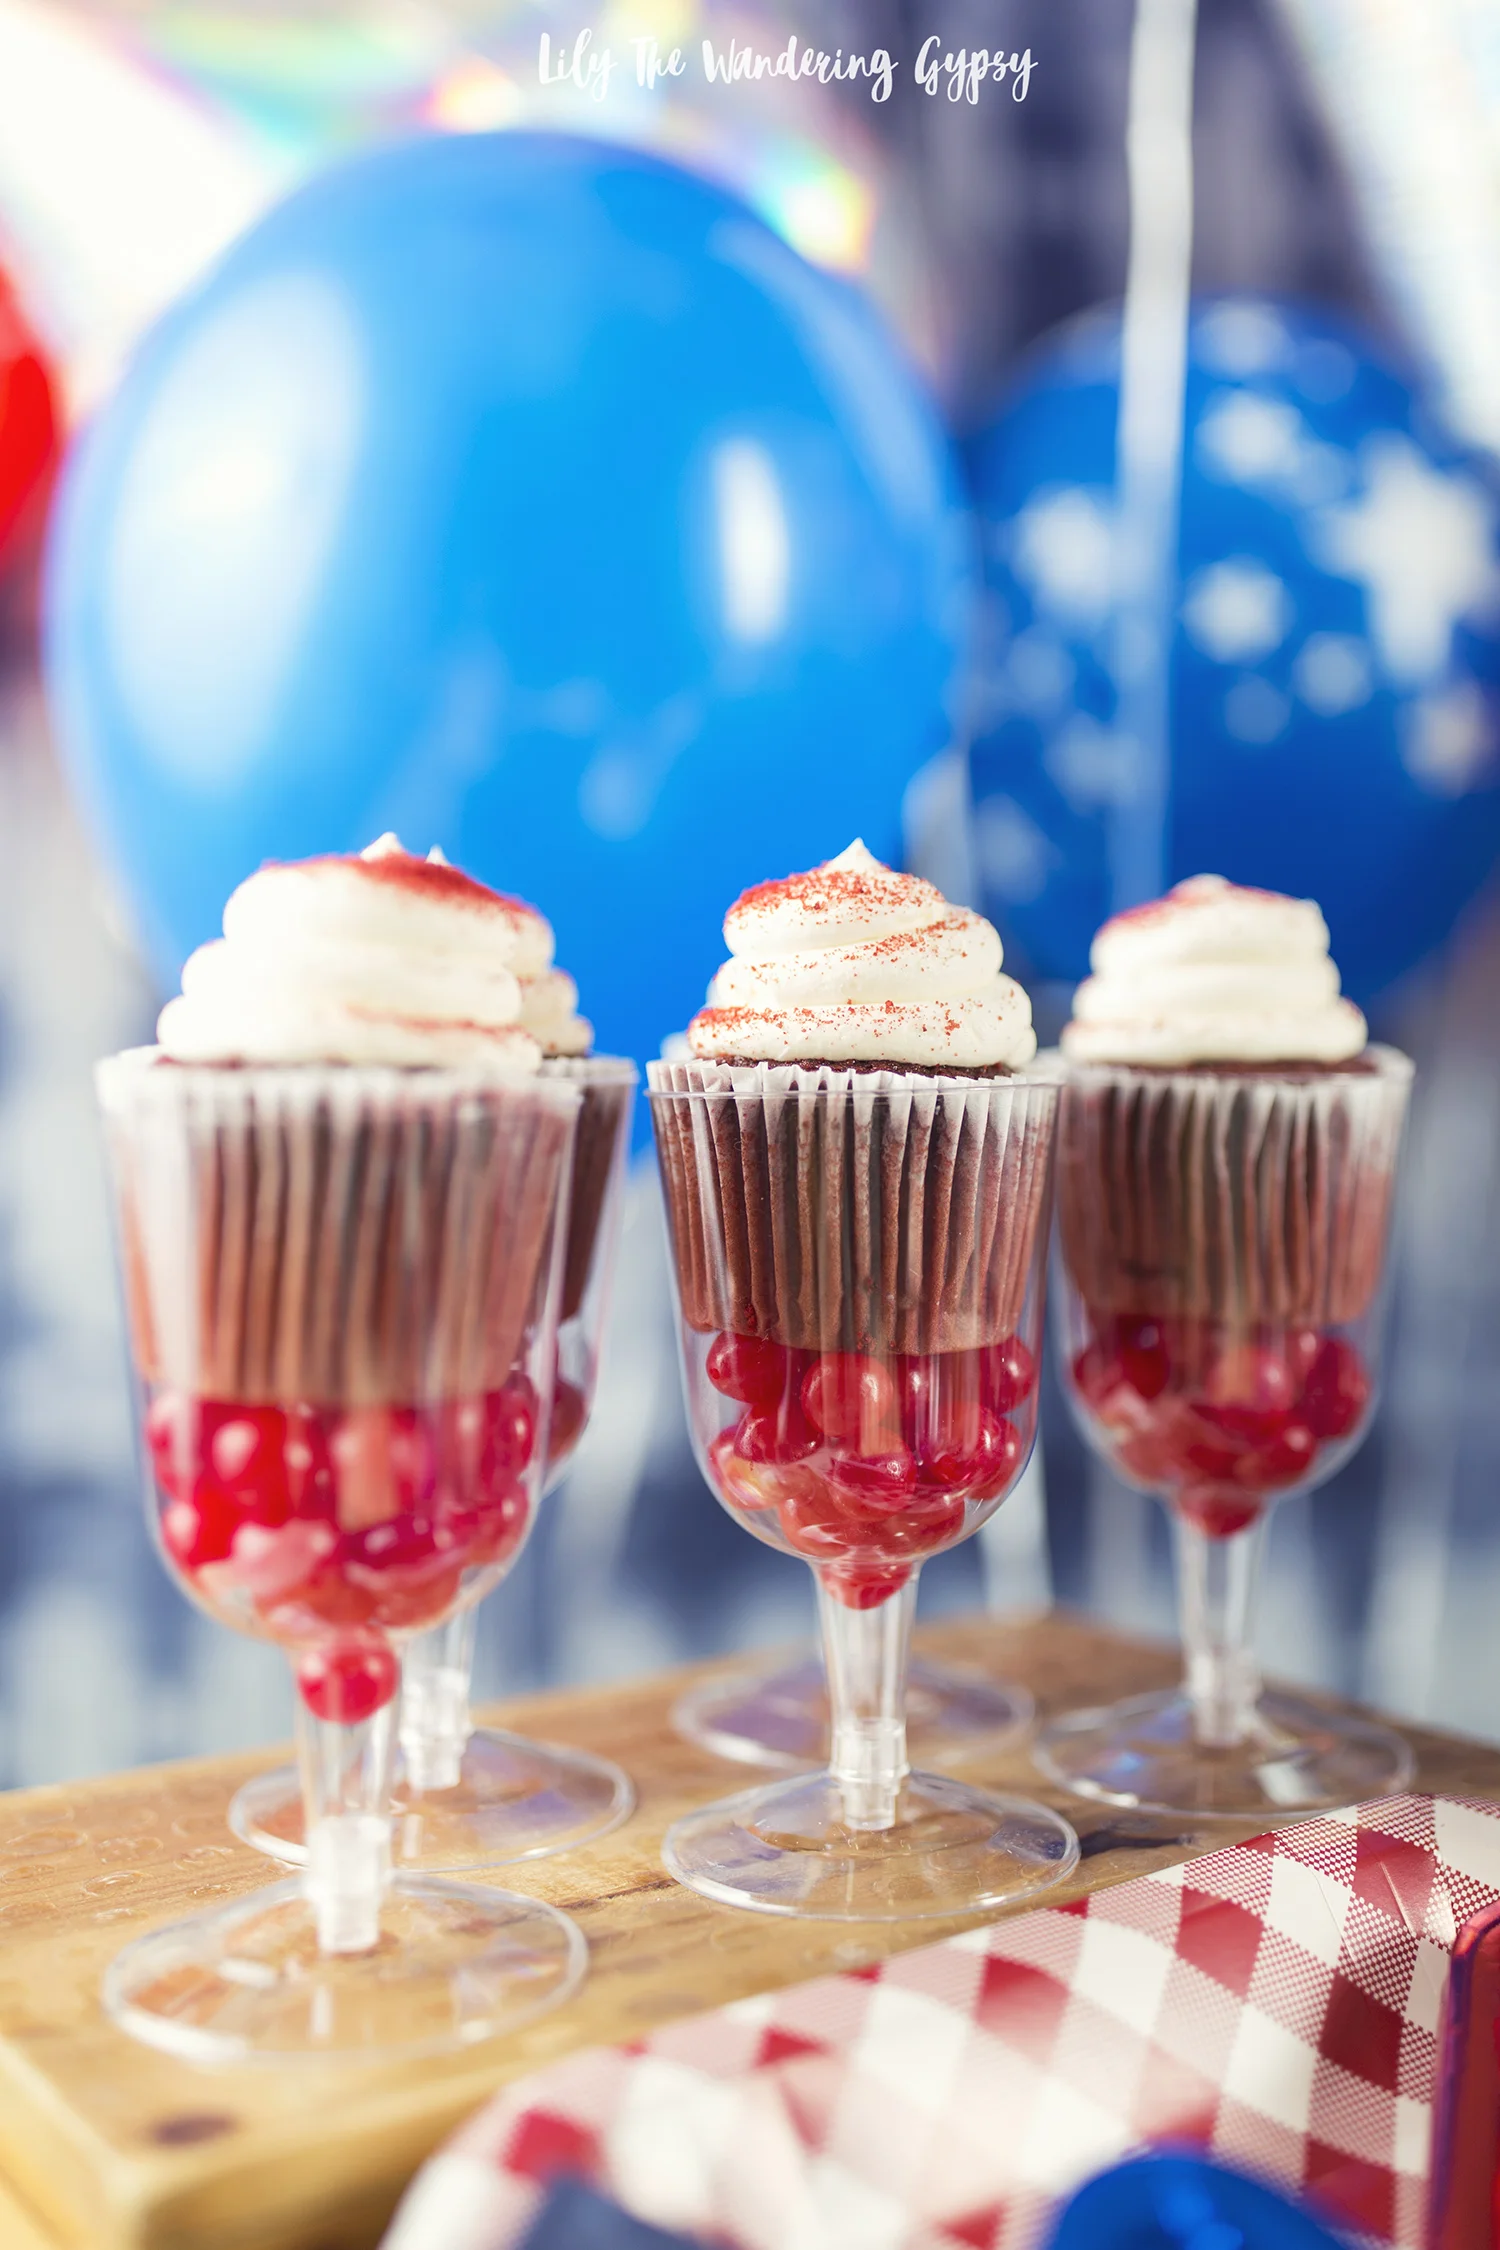
WHAT YOU NEED:
Red Velvet Cupcakes, Plastic Wine Glasses, Candies To Decorate
Simply fill glasses 1/3 full with colorful candies. Next, put the cupcake into each glass, and you have an elevated way to enjoy your cupcakes! This makes dessert very easy to carry around, too.
It's funny. The end of May in Illinois can offer gorgeous weather, chilly weather, rainy weather, or just plain HOT weather. Here in Illinois, we just come to enjoy those years when we get good weather for holidays, but it's never 100% for sure that we will even want to be outside. SO, I designed this party for an indoor OR outdoor gathering!

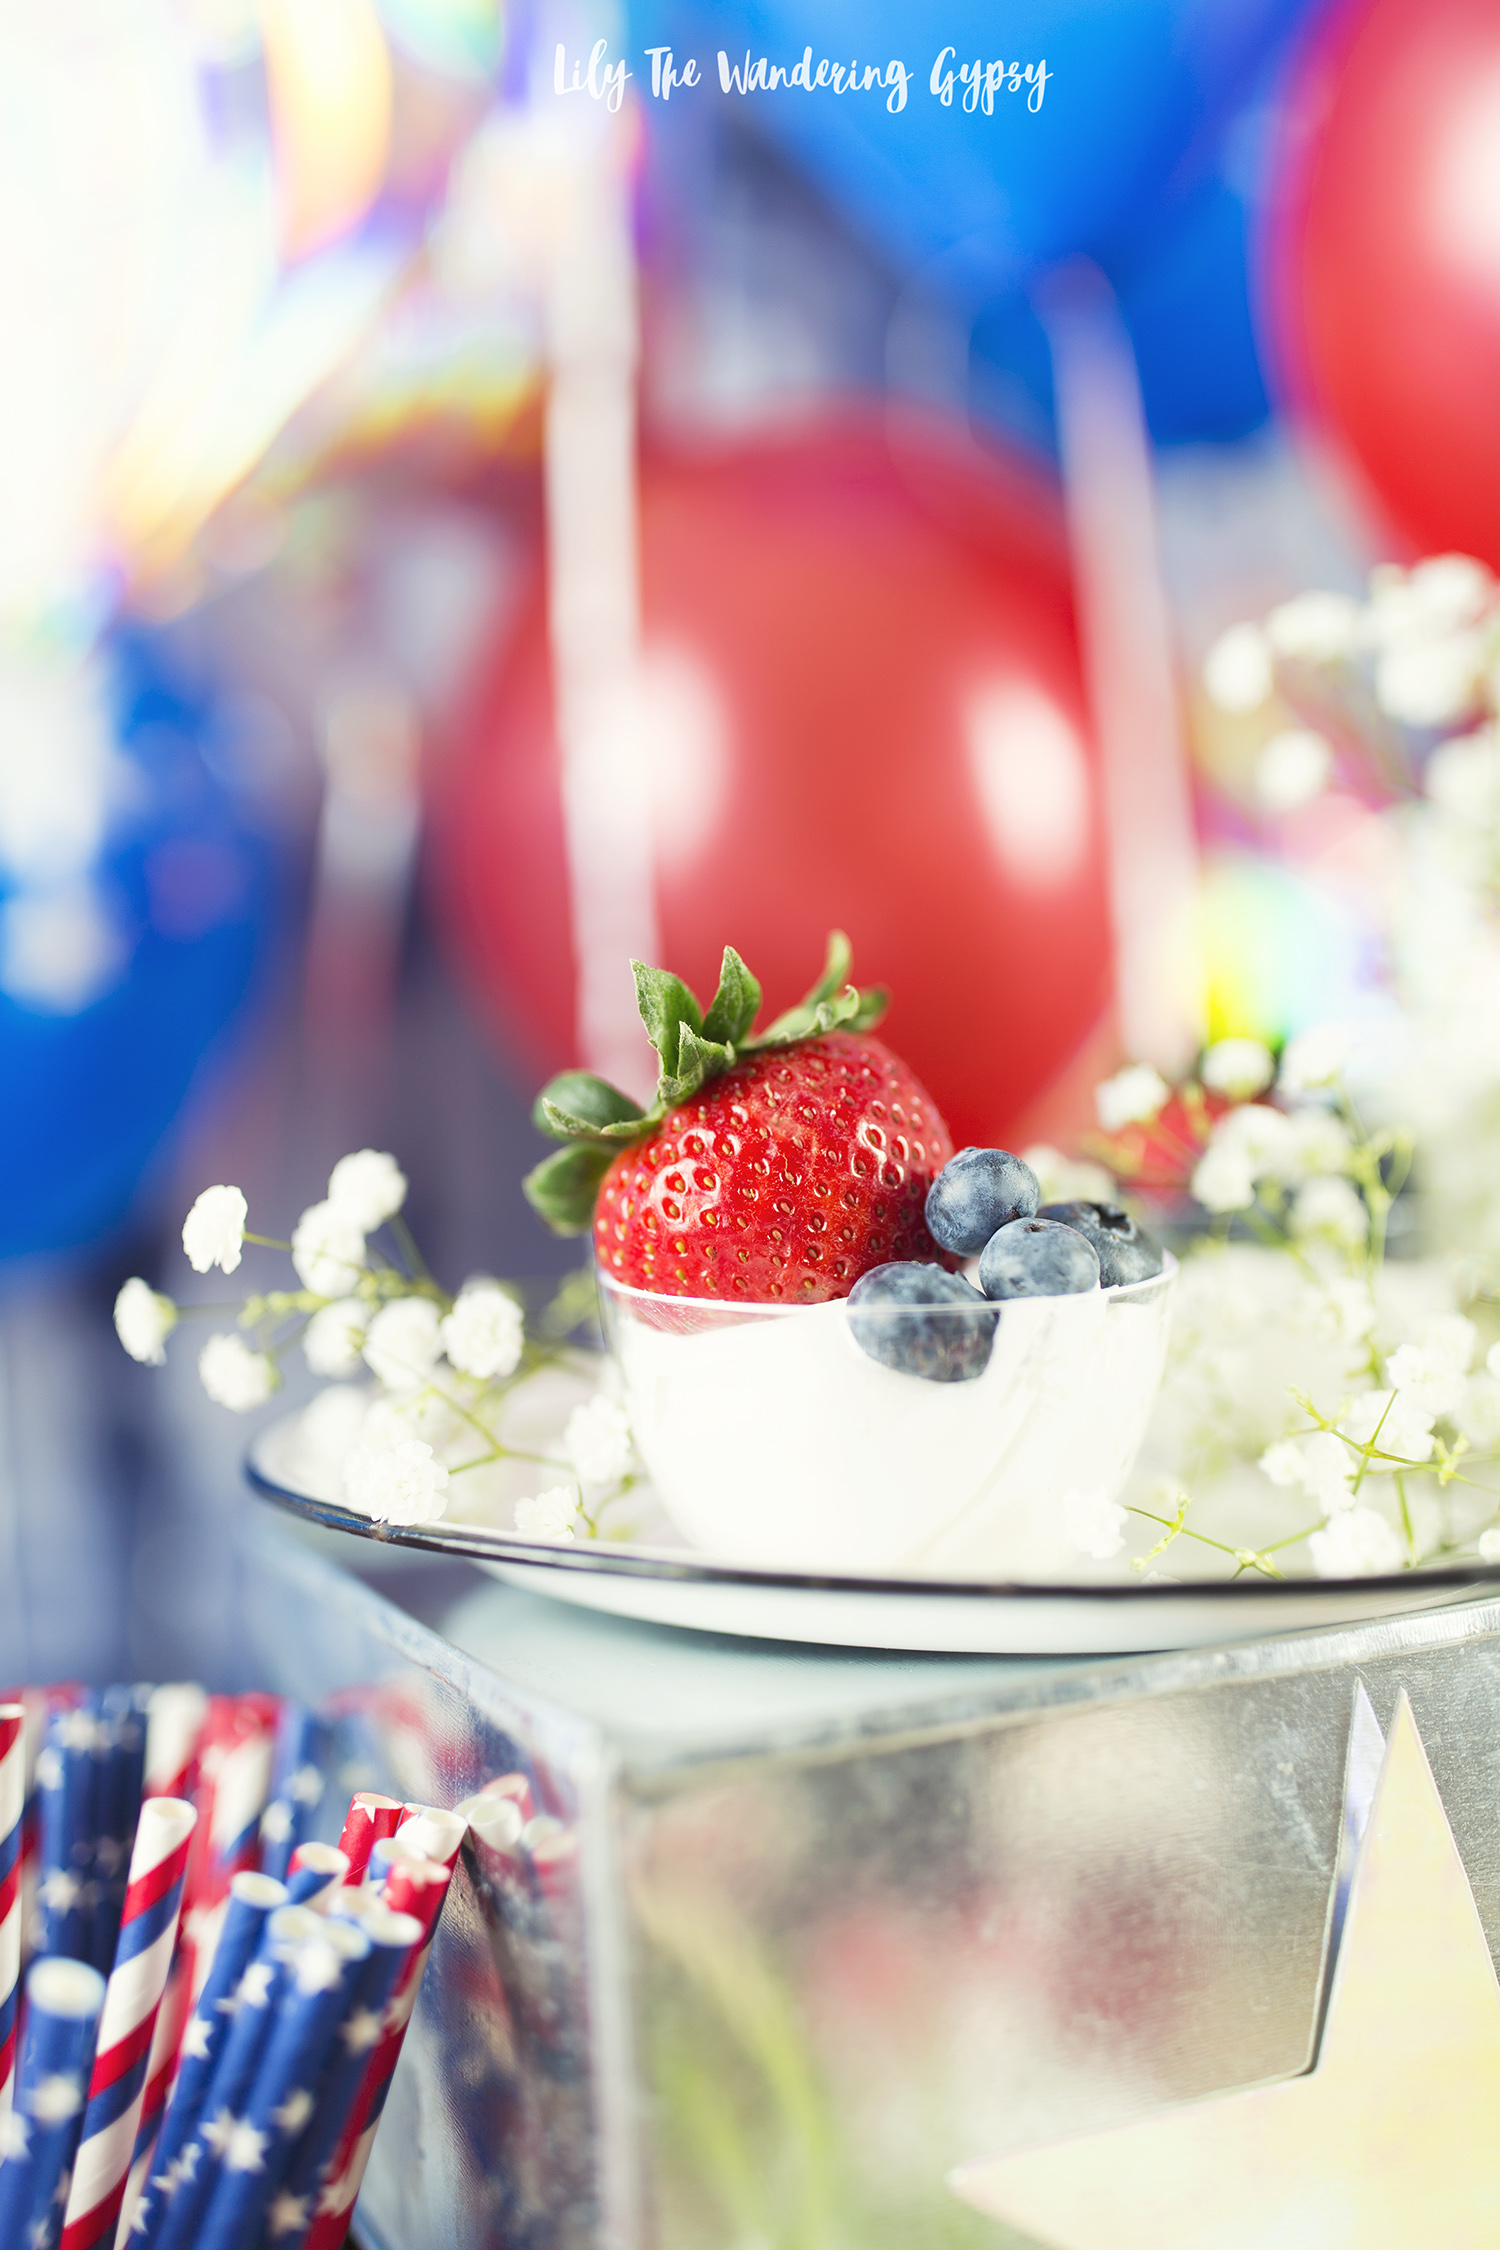
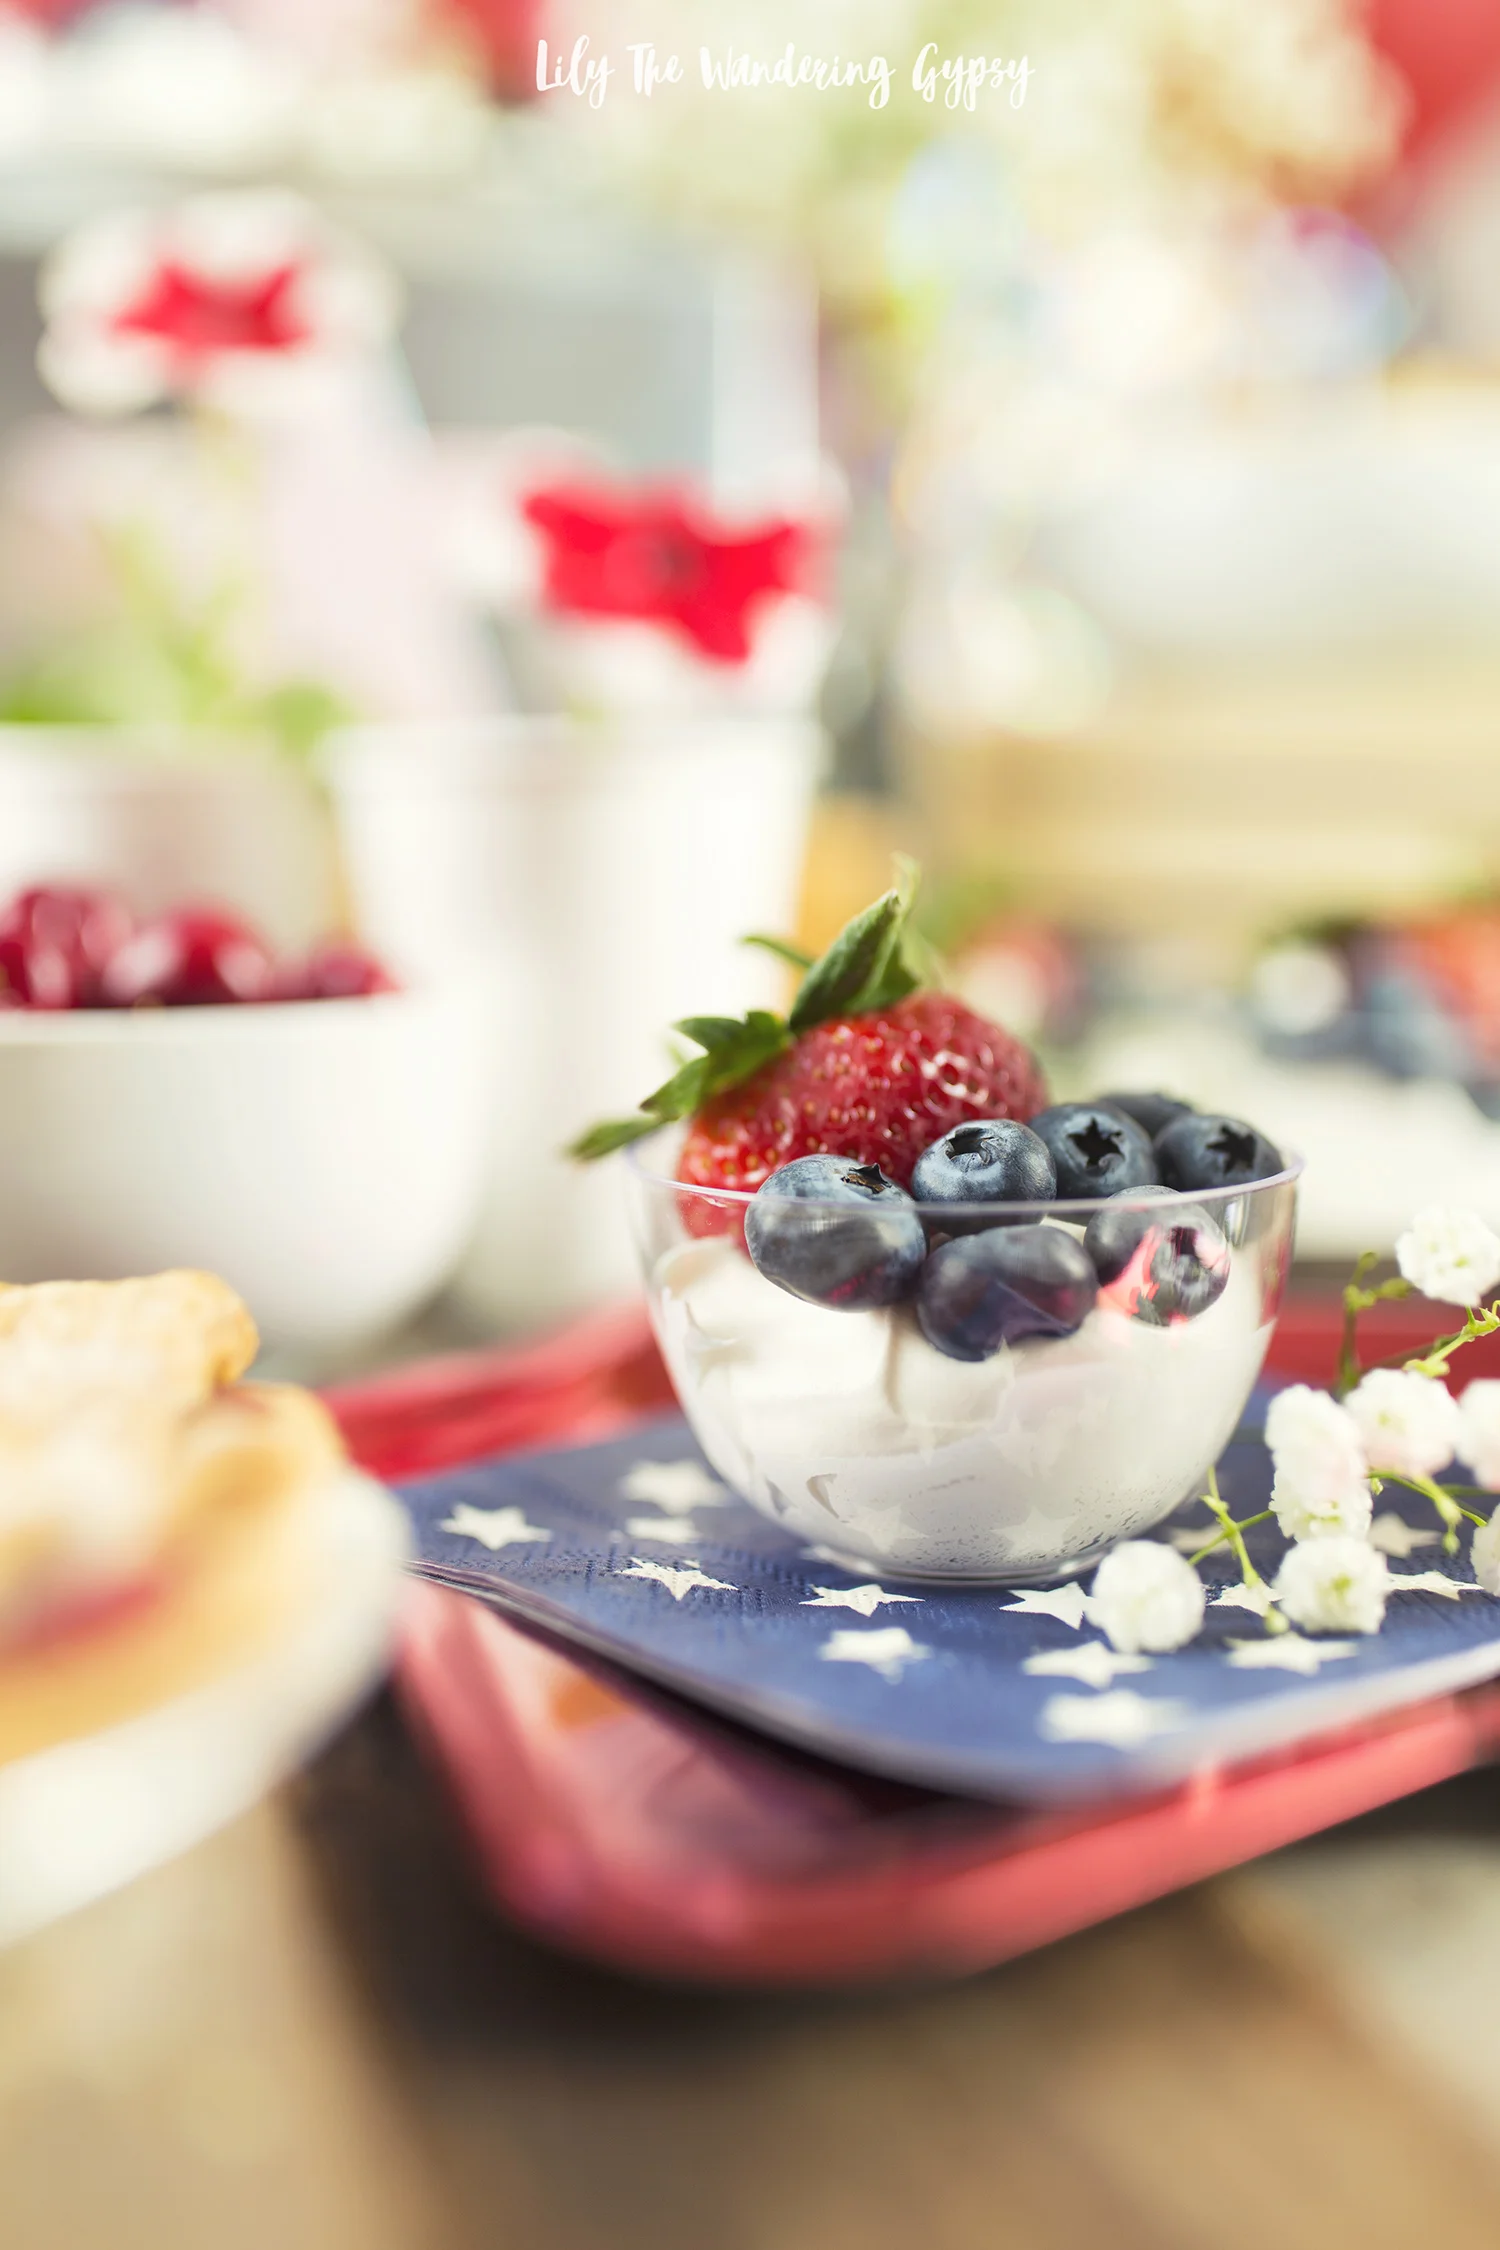
I found this pack of 6 tiny, plastic dessert bowls at the dollar store, and then, using an ice cream scoop, I added a scoop of cool whip to each bowl. Next, I added one full strawberry to each cup, and then about 6-8 blueberries to one side. These taste SO good, and will be easy for guests to enjoy. Also, I would only recommend making these about 30 minutes before serving, because the strawberries get mushy if you wait much longer. But, I love how these turned out so much!

Thanks so much for joining me to learn more about my latest party! I hope you have gotten lots of great party ideas too.

Enjoy!
This is a sponsored conversation written by me on behalf of Balloon Time. The opinions and text are all mine.
PIN IT FOR LATER:

A Pesto Chicken Salad Recipe You Will Love
If you're looking for the perfect summer recipe, this twist on a classic will surely be exactly what you're looking for!
Read MoreHoneysuckle Recipes {Roundup Post}
If you're noticing the intoxicating scent of honeysuckle in your city, here are some ways you can use the blooms in various food and drink recipes. Enjoy!
Read MoreMorning Sunshine Smoothie
Are you someone who loves tropical flavors and delicious smoothies? This one turned out SO well, and I know you're going to love it. Take a look at this Tropical Smoothie Recipe.
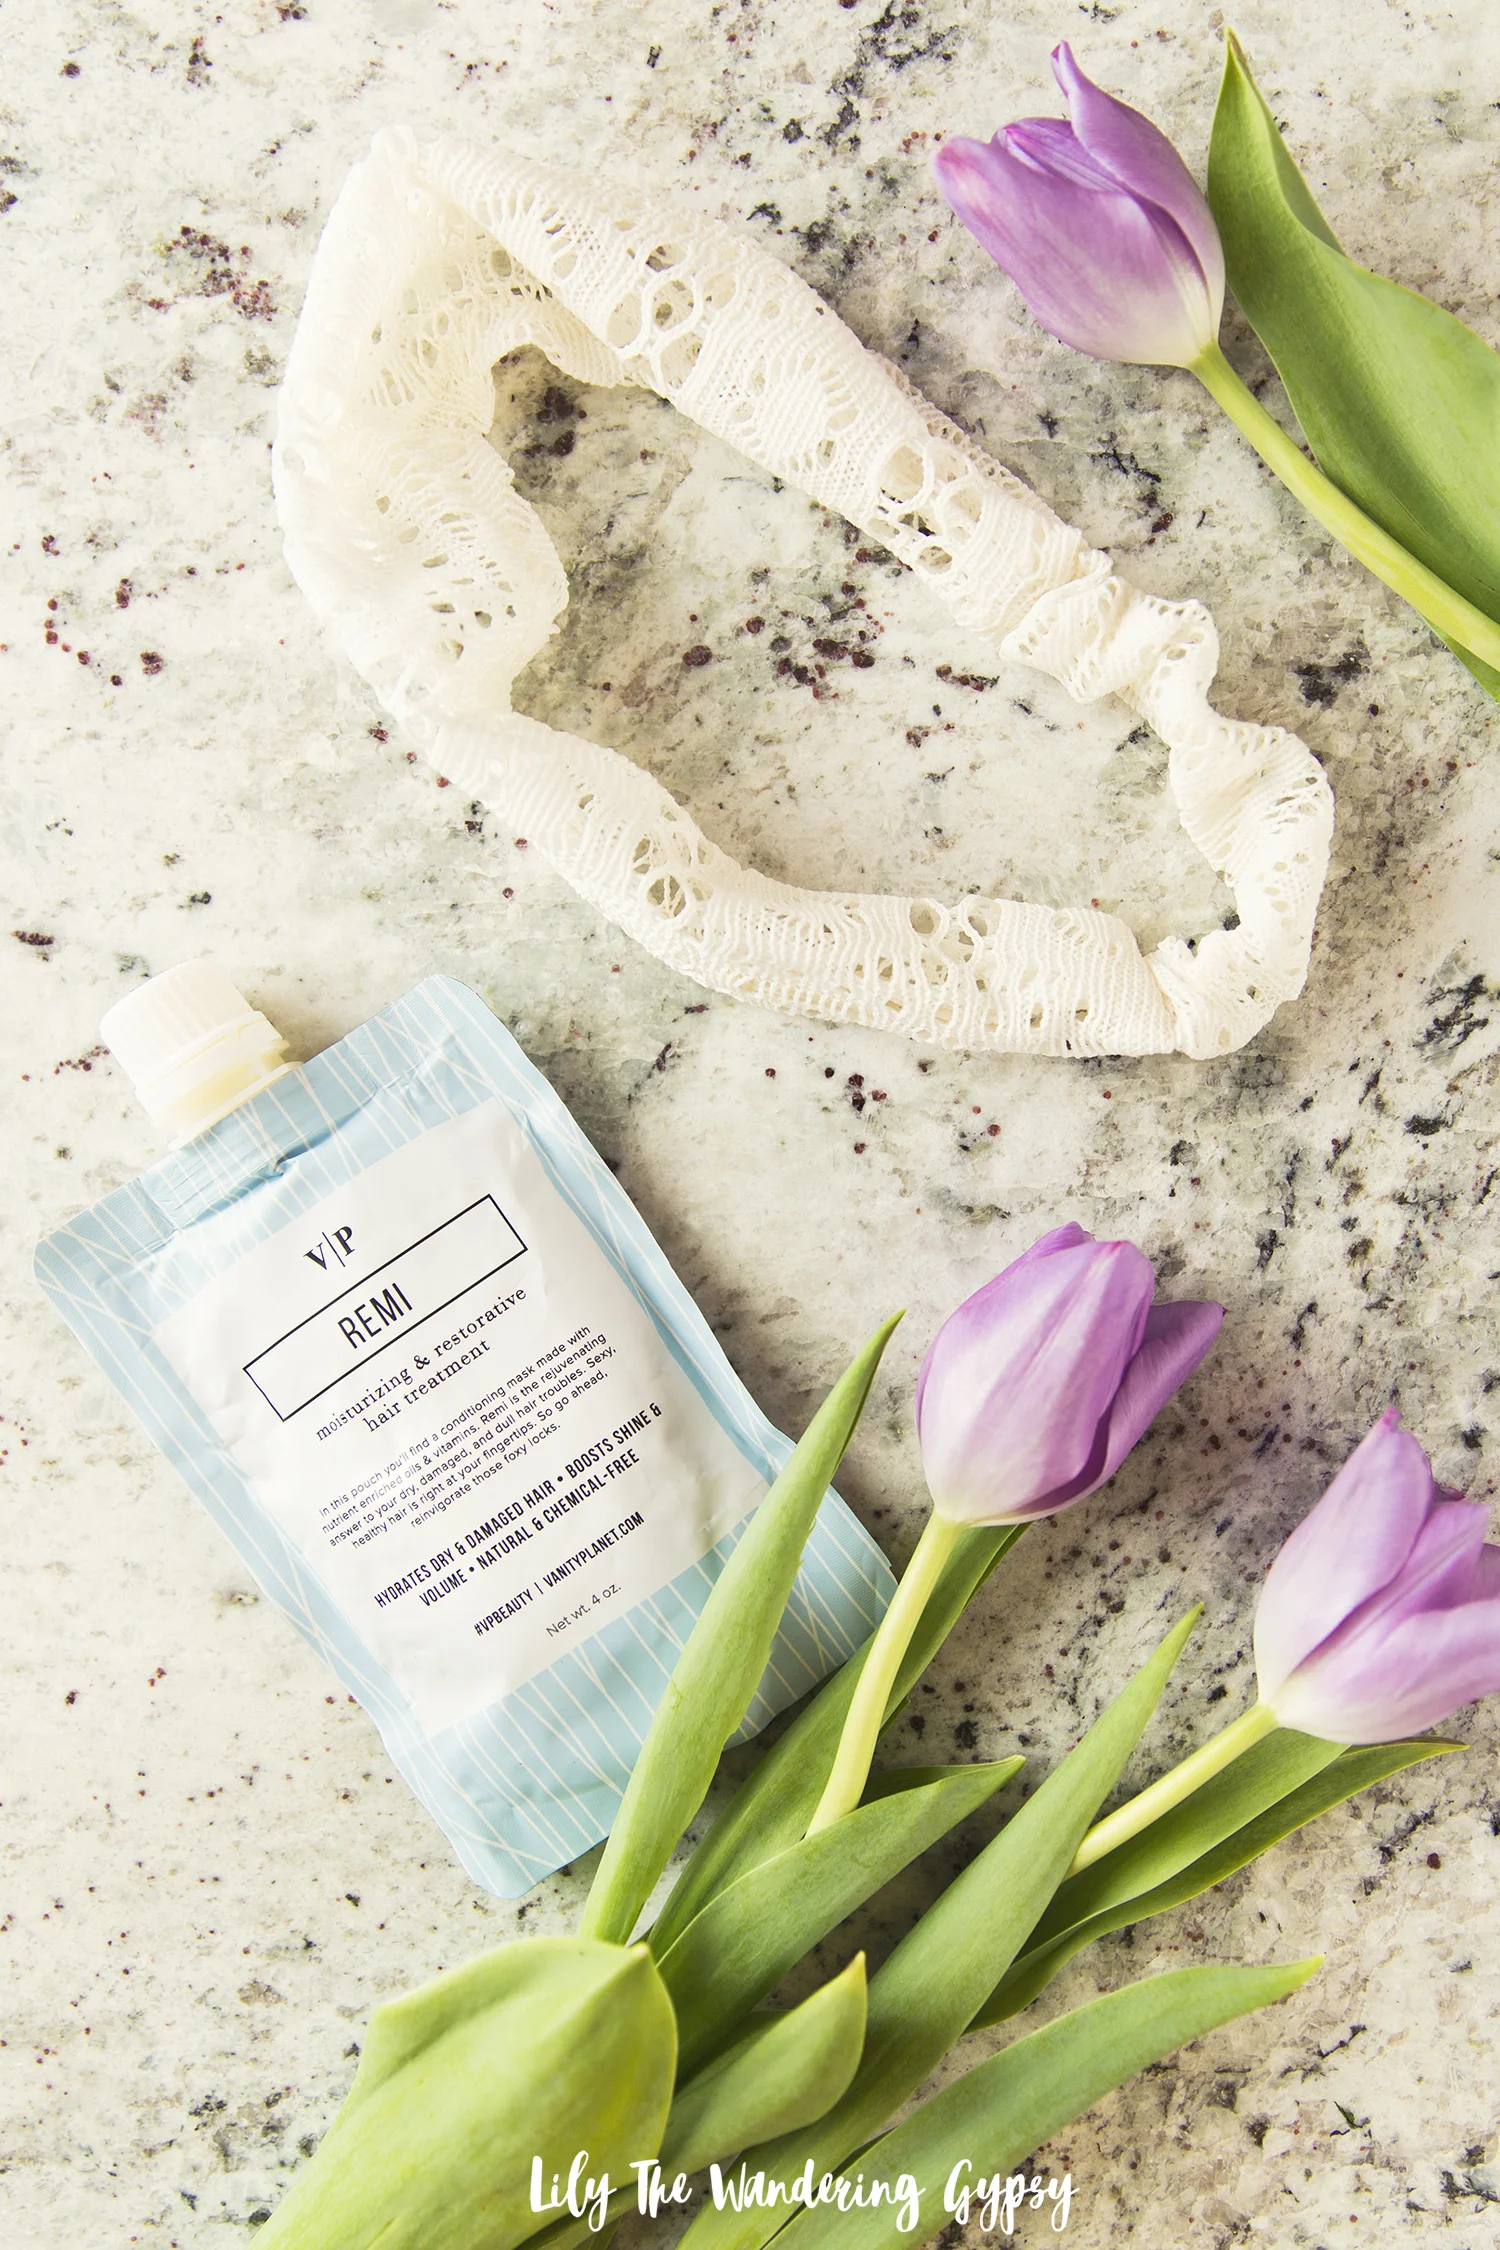
Read MoreTransform Your Hair With Vanity Planet + Learn How To Sew This Boho Fabric Headband!
Sponsored Post: This post is sponsored by Vanity Planet but the content and opinions expressed here are my own.
#VPbeauty #VPtransformsummer #VanityPlanet

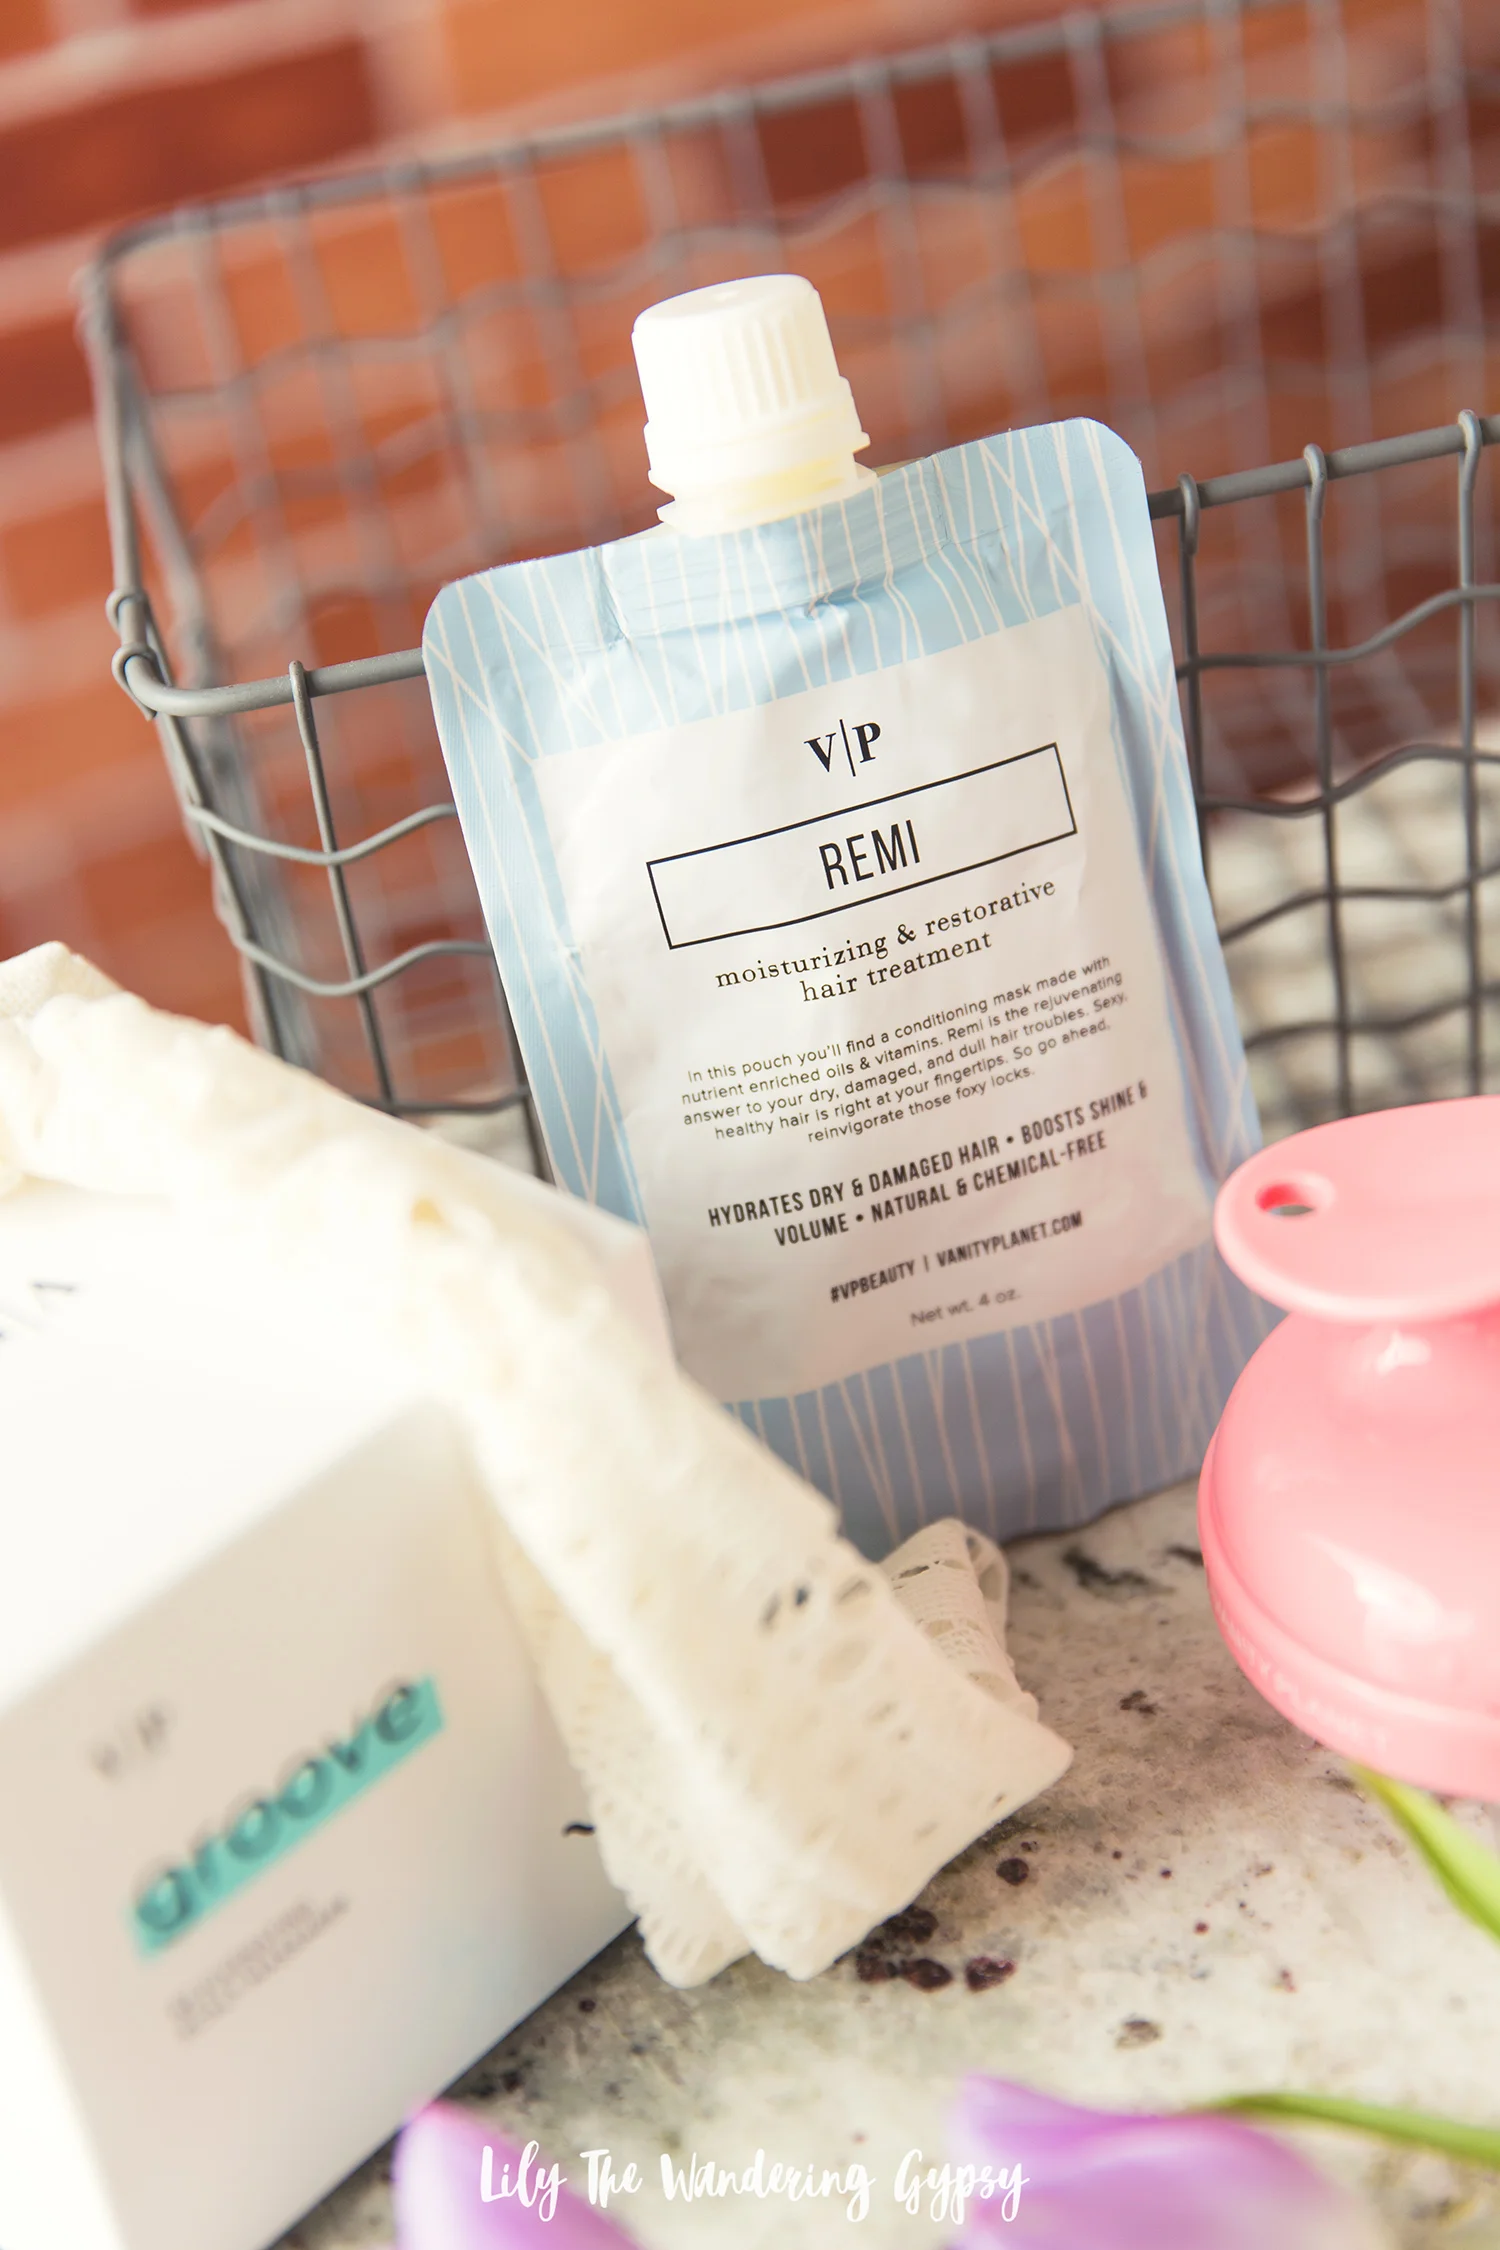
I have had this urge to refresh my routine lately, and I wanted to share a unique product from Vanity Planet, a company that I have loved for some time now. My hair has been a bit lackluster lately. I am not one to use a lot of heat on my hair, and I try to use sulfate free products whenever I can (mainly shampoo and conditioner). I am also one who washes my hair every single day. I have read so much about not doing this every day, but all of that dirt and oil that is in my hair each morning, makes it nearly impossible for me to miss a day of washing, no matter WHAT the experts say!
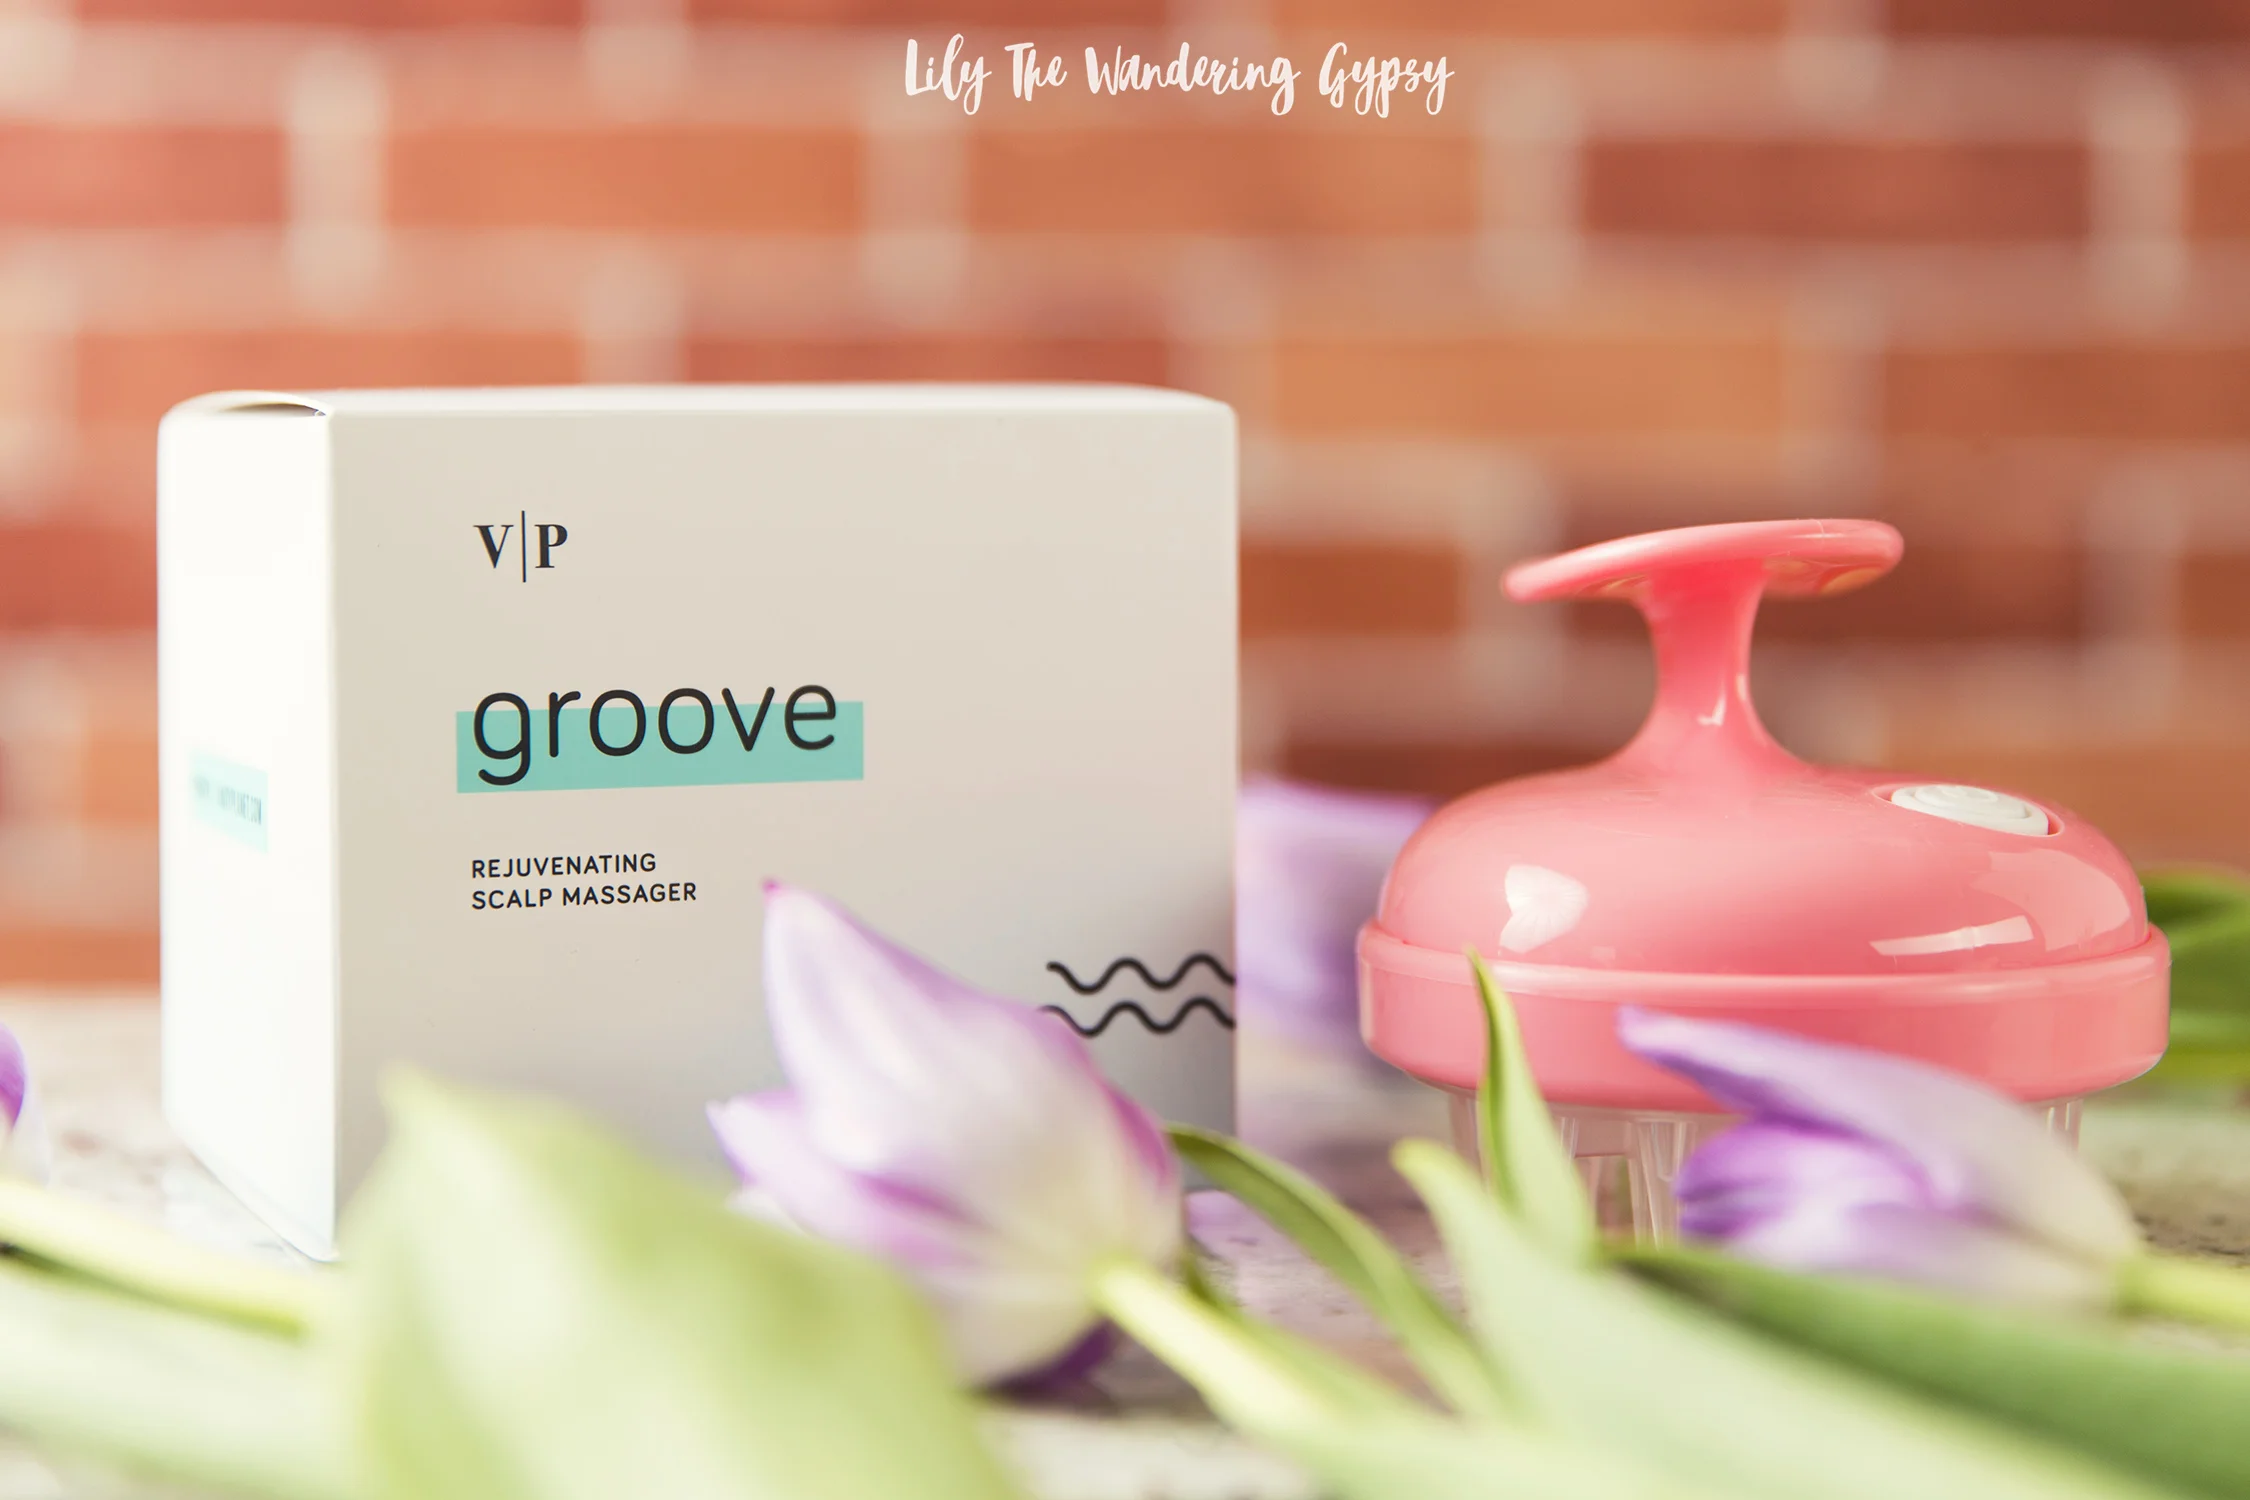
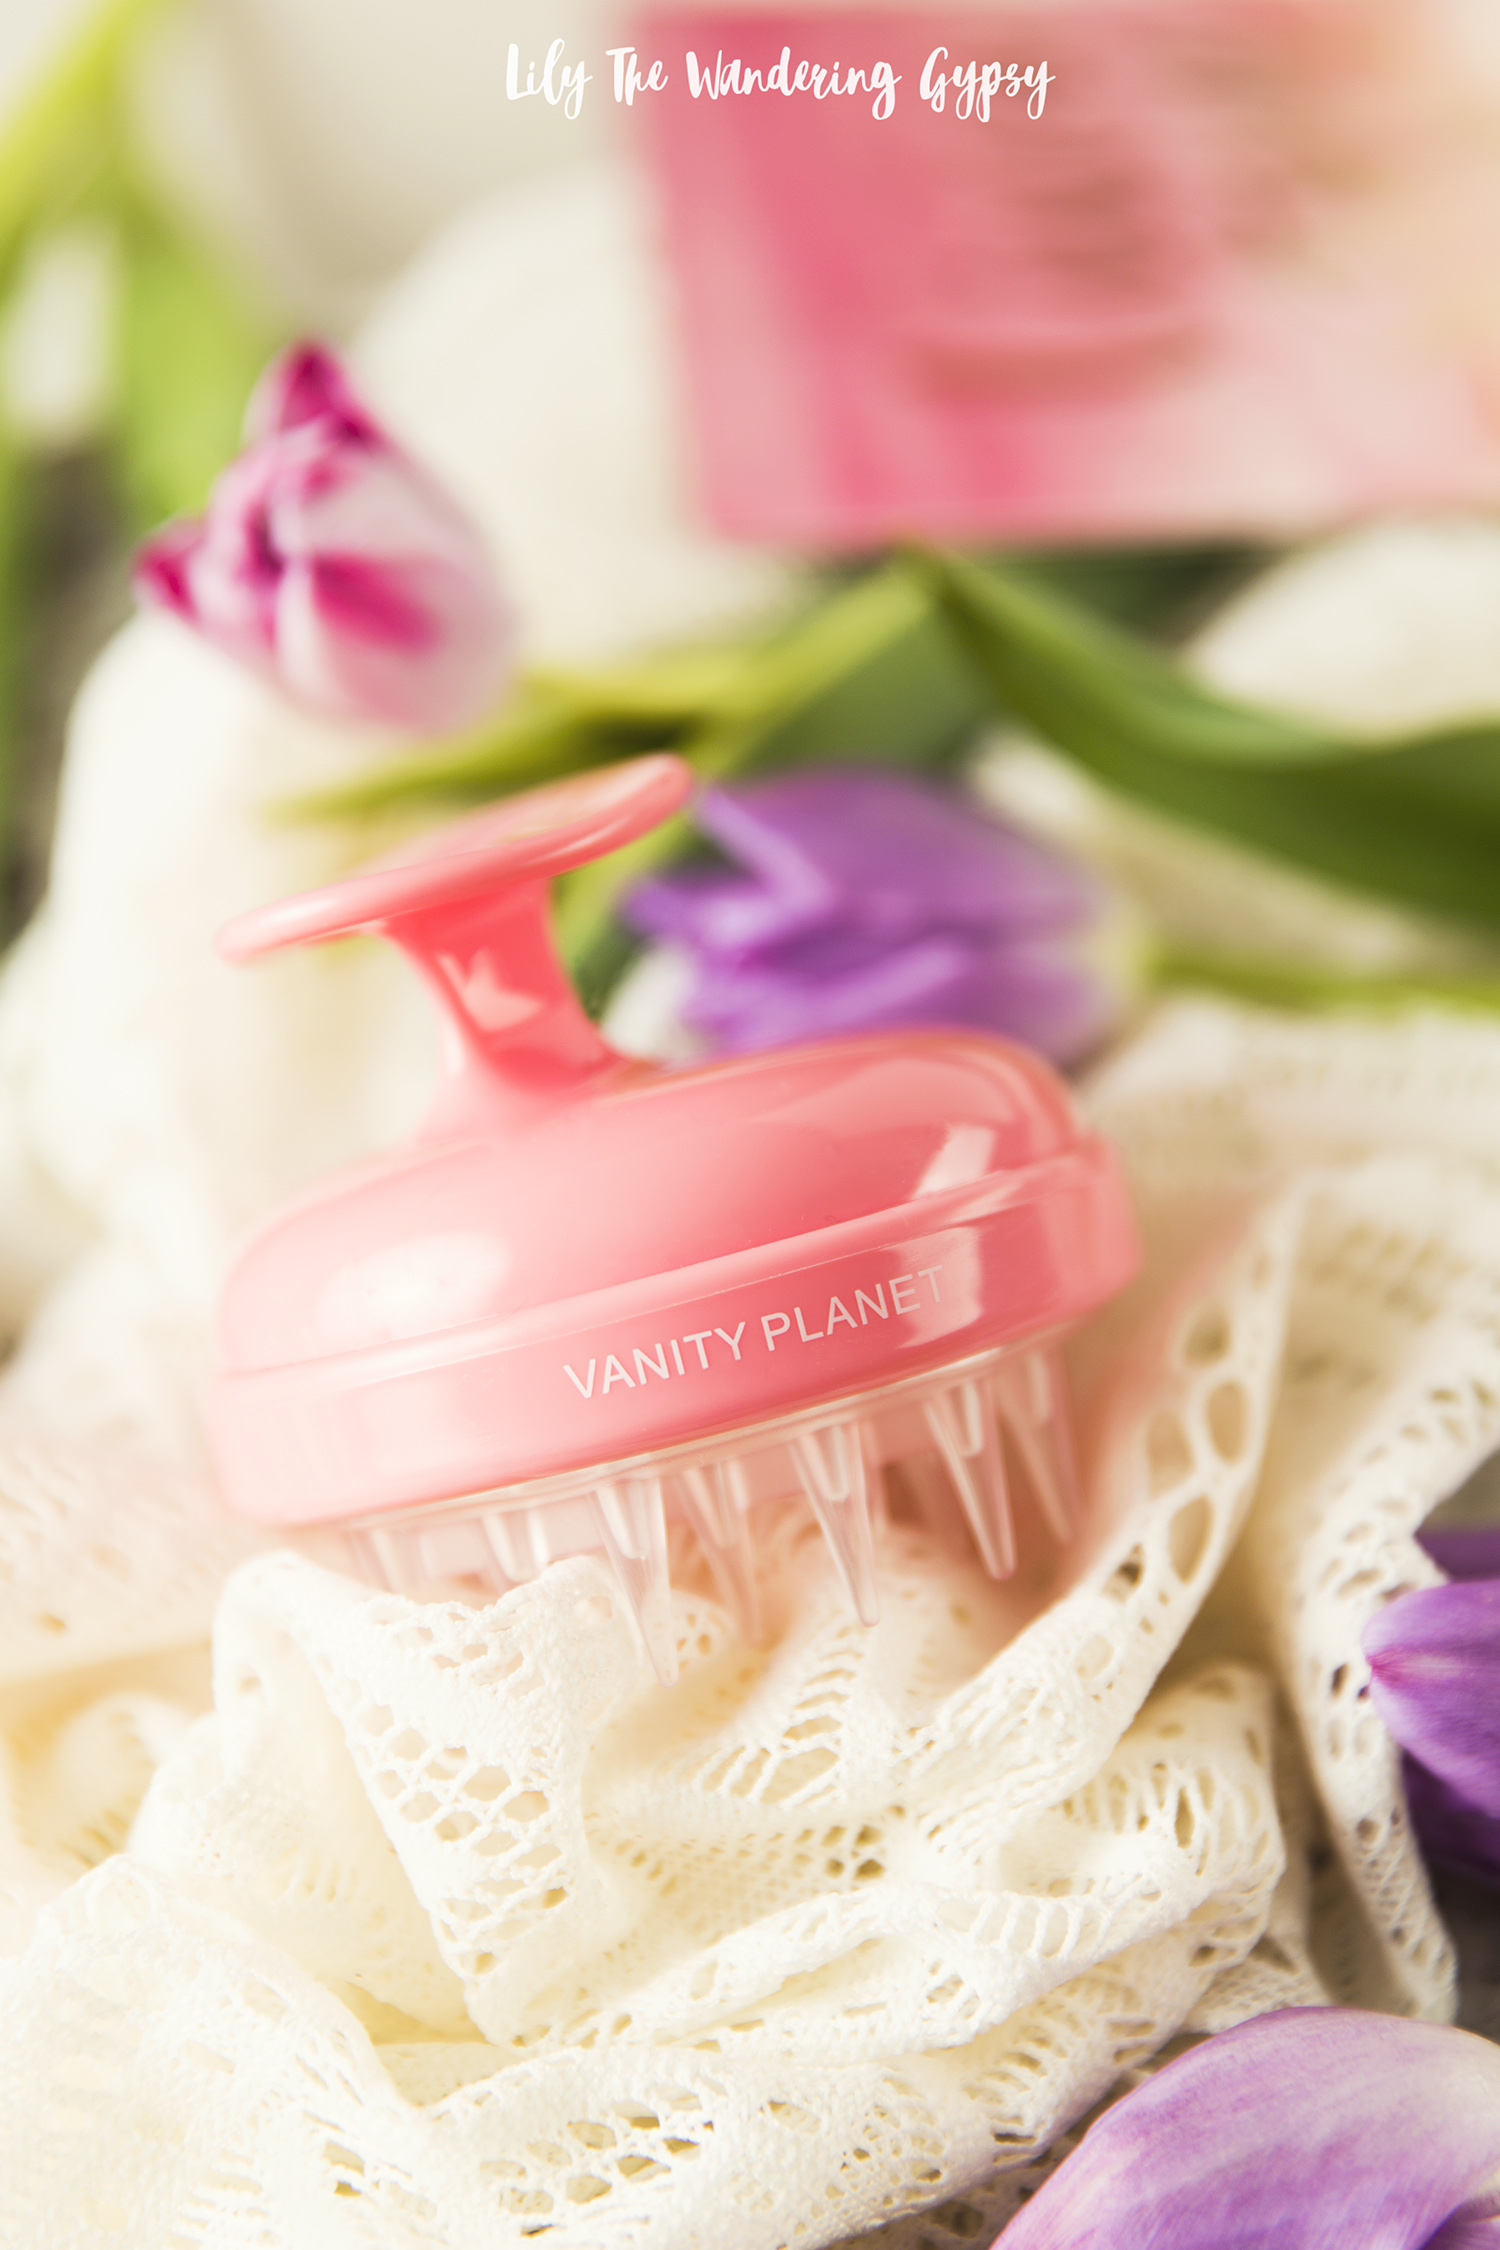
So, I am excited to try out this Moisturizing and Restorative Hair Treatment from Vanity Planet soon. The brand was so kind to send this hair treatment and also a neat product called the Groove (a scalp massager). I will also give this tool a try soon, which is supposed to help lather in the product. I have super long hair, and I am thinking this is going to be a helpful tool for someone with short hair, that would not tangle into it like longer hair could. My mom has short hair, so perhaps this could be a cute Mother's Day gift, too!
Also, I now you're going to love this super easy DIY Sewn Fabric Headband, because a good headband, that fist like a dream is hard to find. They're either too tight for me, or never fit just right. I used this fun Hair Treatment as inspiration for this post. See this awesome, DIY Fabric Headband in the photo, below.
Since it's already graduation season, and it's almost Mother's Day, I thought this would be a super cute, very thoughtful gift idea for a woman in your life!
I love having an army of headbands, just in case I need a cute way to keep my hair where it's supposed to be in the car on a road trip, or perhaps I just want my hair to be extra cute?! It gets so hot and humid here each summer, that my hair does what it wants when the temps rise. Also, I love being able to pull on a headband while I'm washing my face - I can't stand when my hair gets drenched while I'm at the sink!
I also figure that this adorable headband would be amazing for Festival Season! Pair it with jean shorts and a patterned, flowy tank top, or wear it with an adorable dress! Any camping trip would benefit from a cute headband or two.
Even better, Vanity Planet has TONS of sales going on right now, on products ranging across categories like 25% Off HAIR PRODUCTS, 70% Off SKINCARE, and 70% Off MAKEUP BRUSHES!


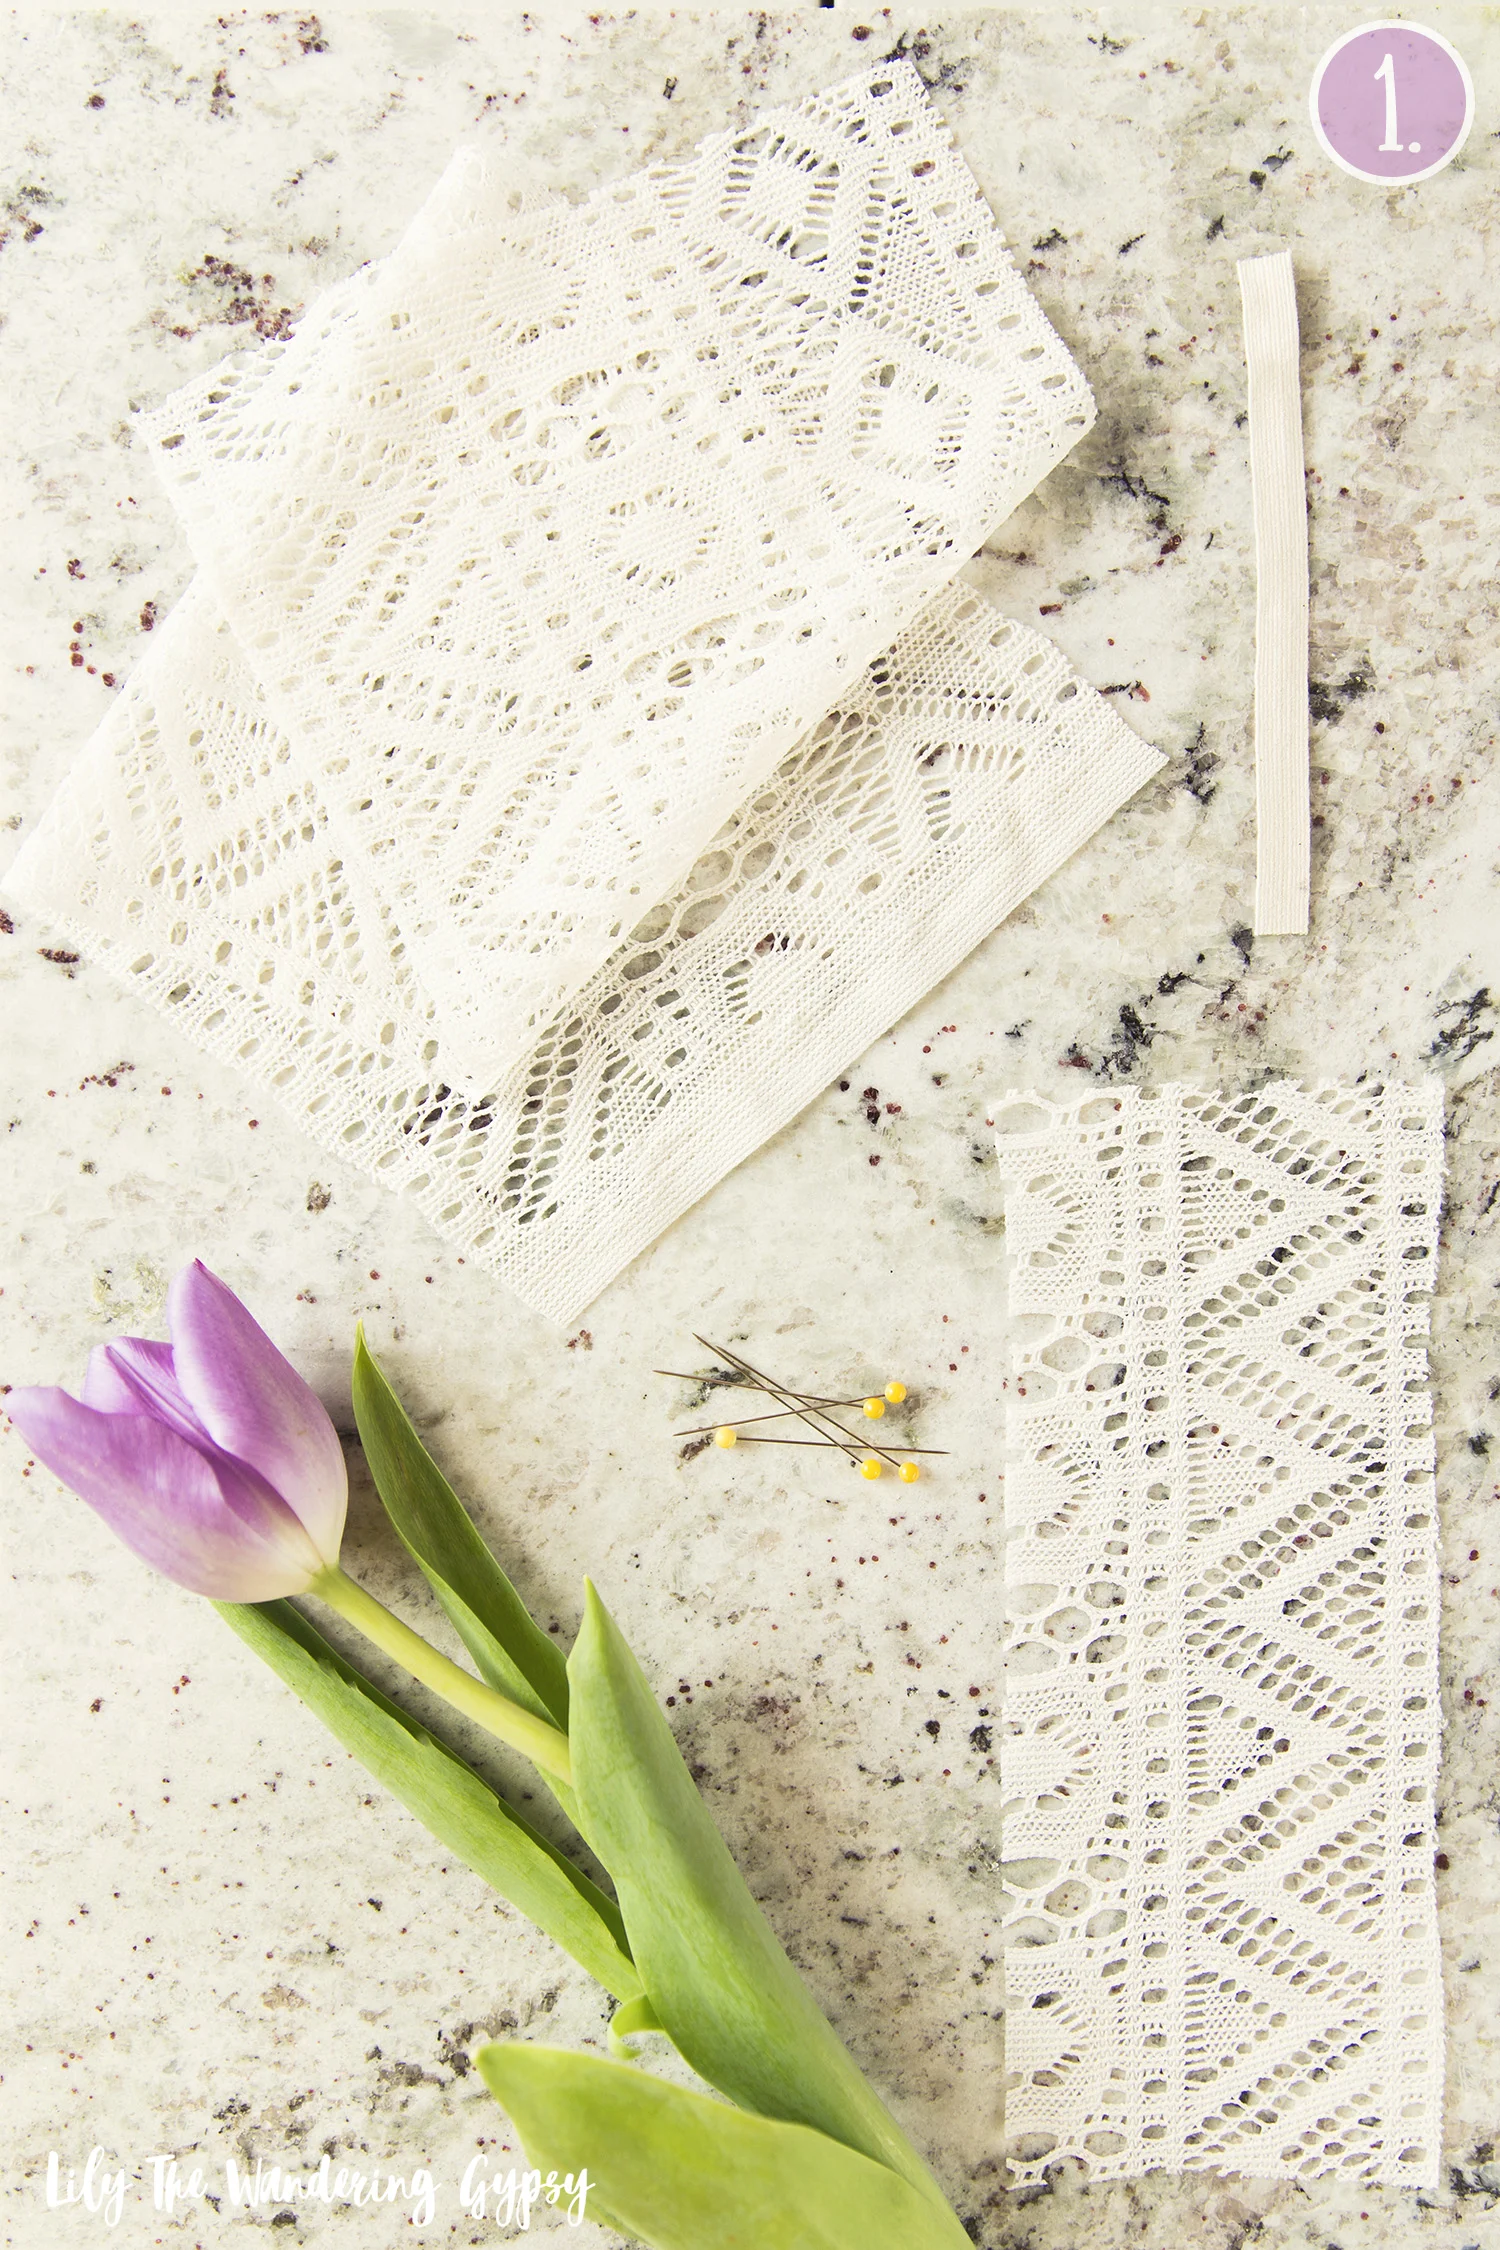
LET"S MAKE A HEADBAND!!
1.) Cut your materials: 1 Piece at 20" x 6.5", 1 piece st 8" x 3" and a piece of elastic at 5". I used a curtain-like material, that I loved so much! But, it was slightly difficult to sew. Instead, feel free to even use an old t-shirt, other jersey knit fabrics, or any sort of lightweight cotton or even seersucker material. I have made LOTS of these headbands in the past, and love each and every one!
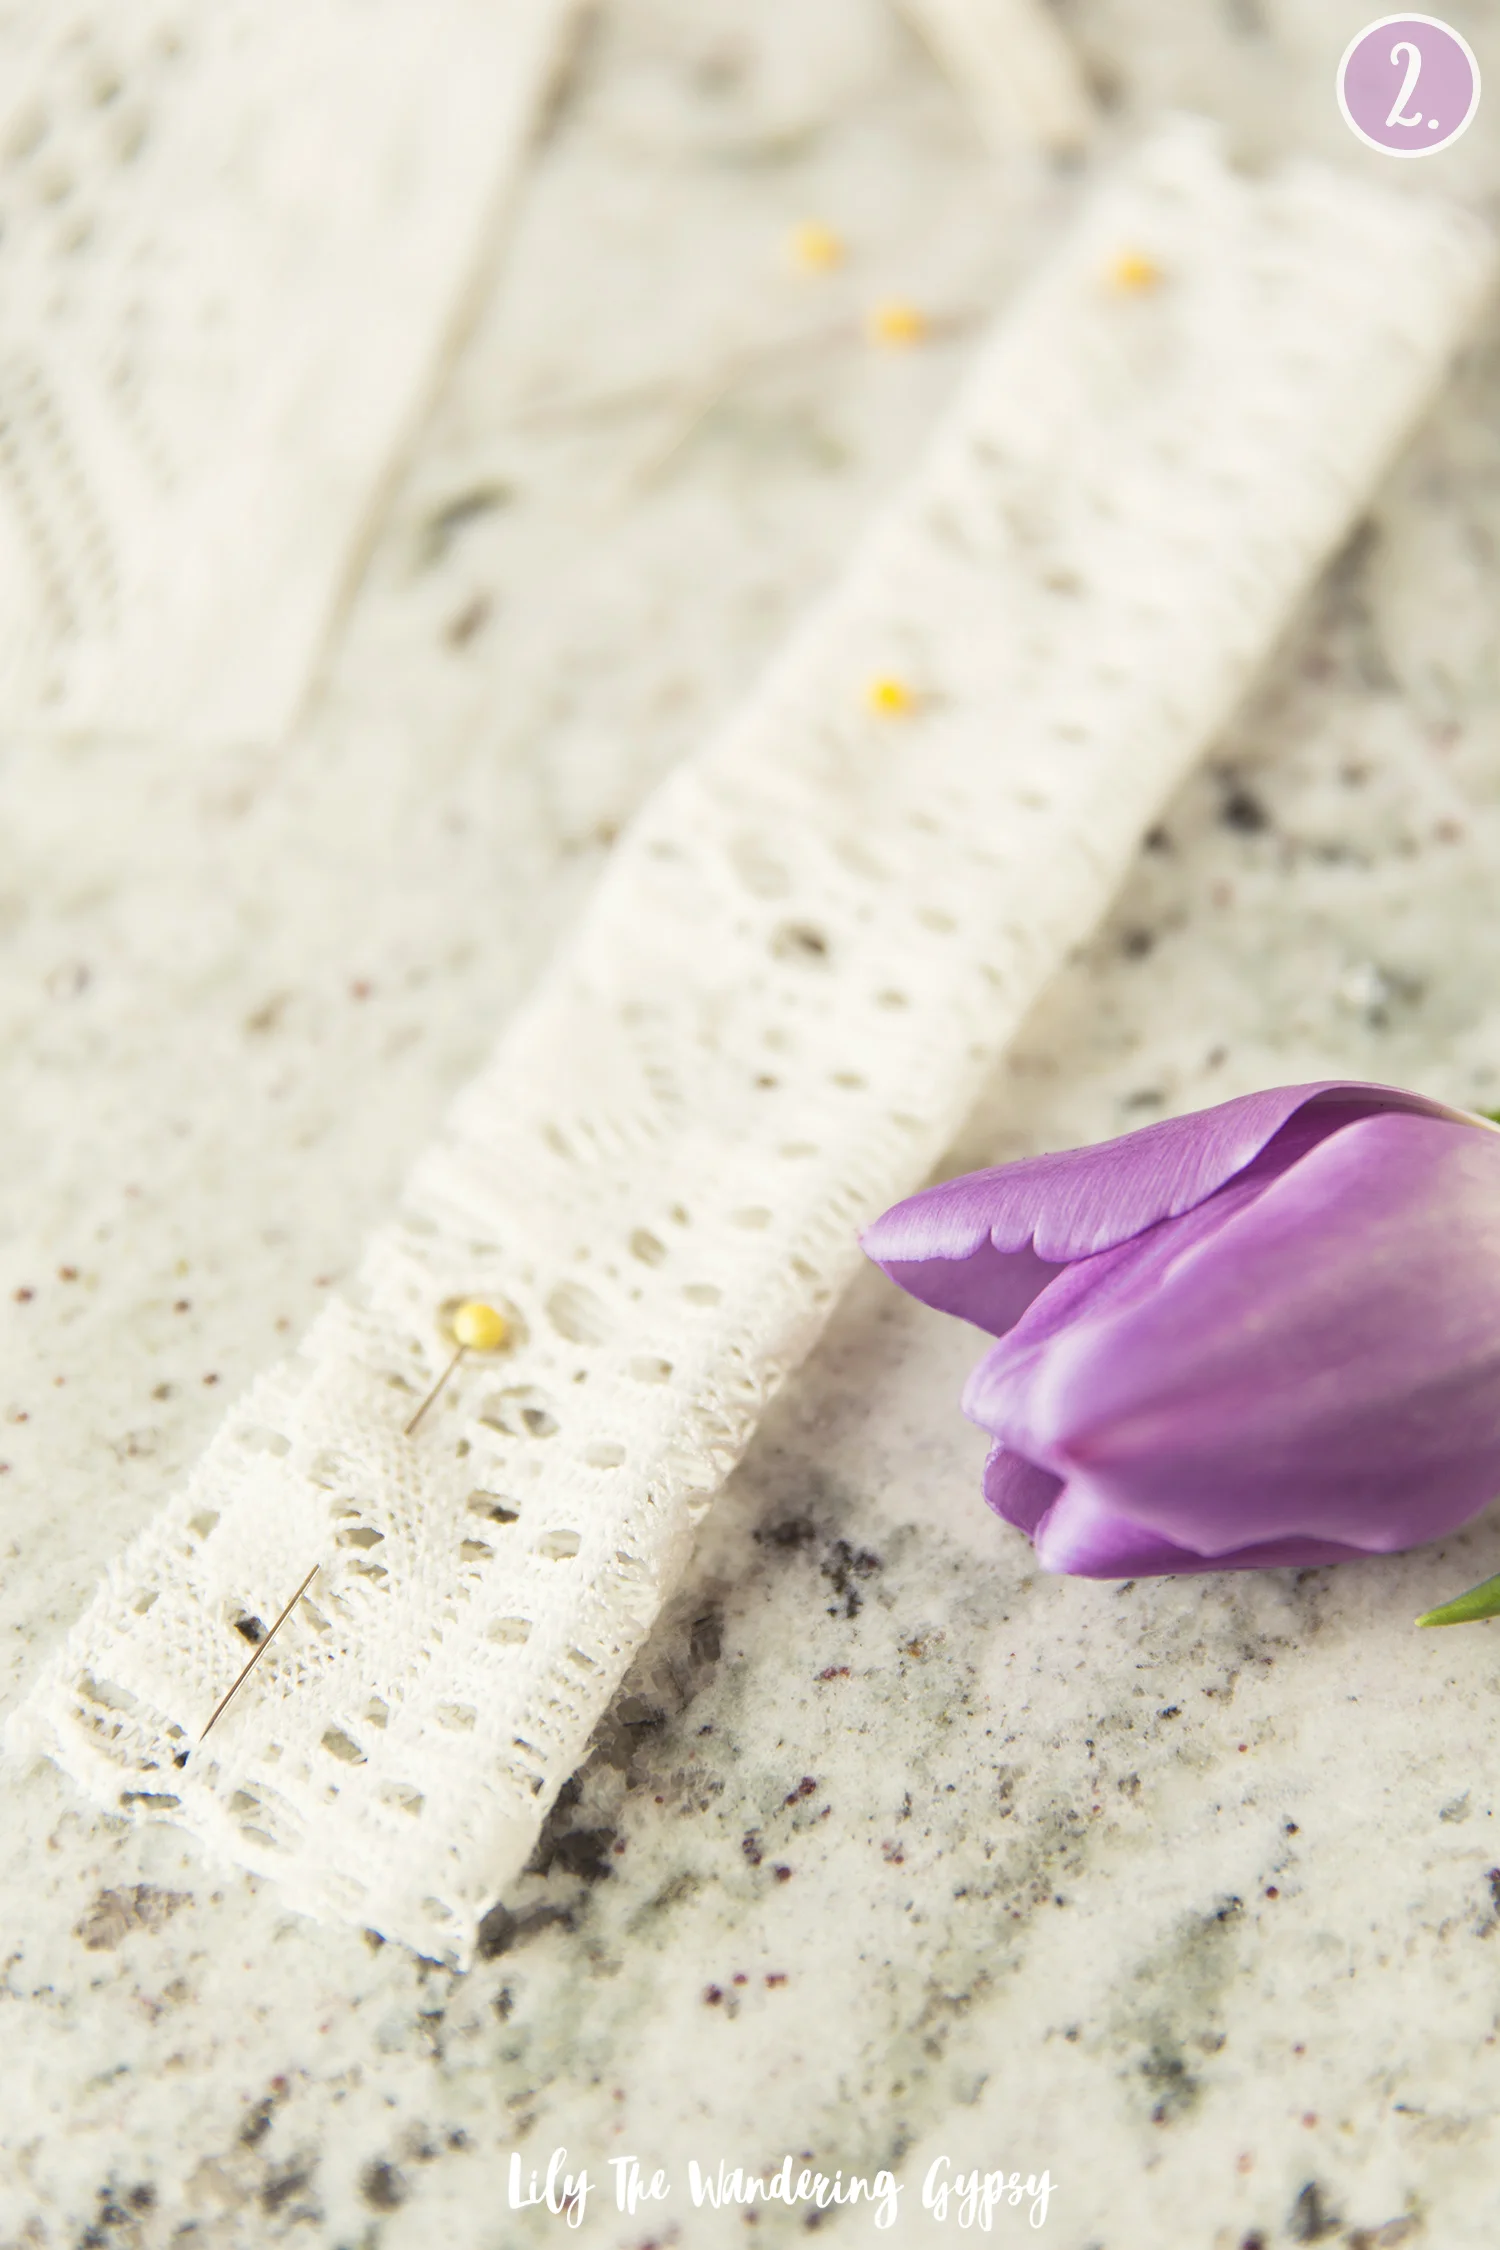
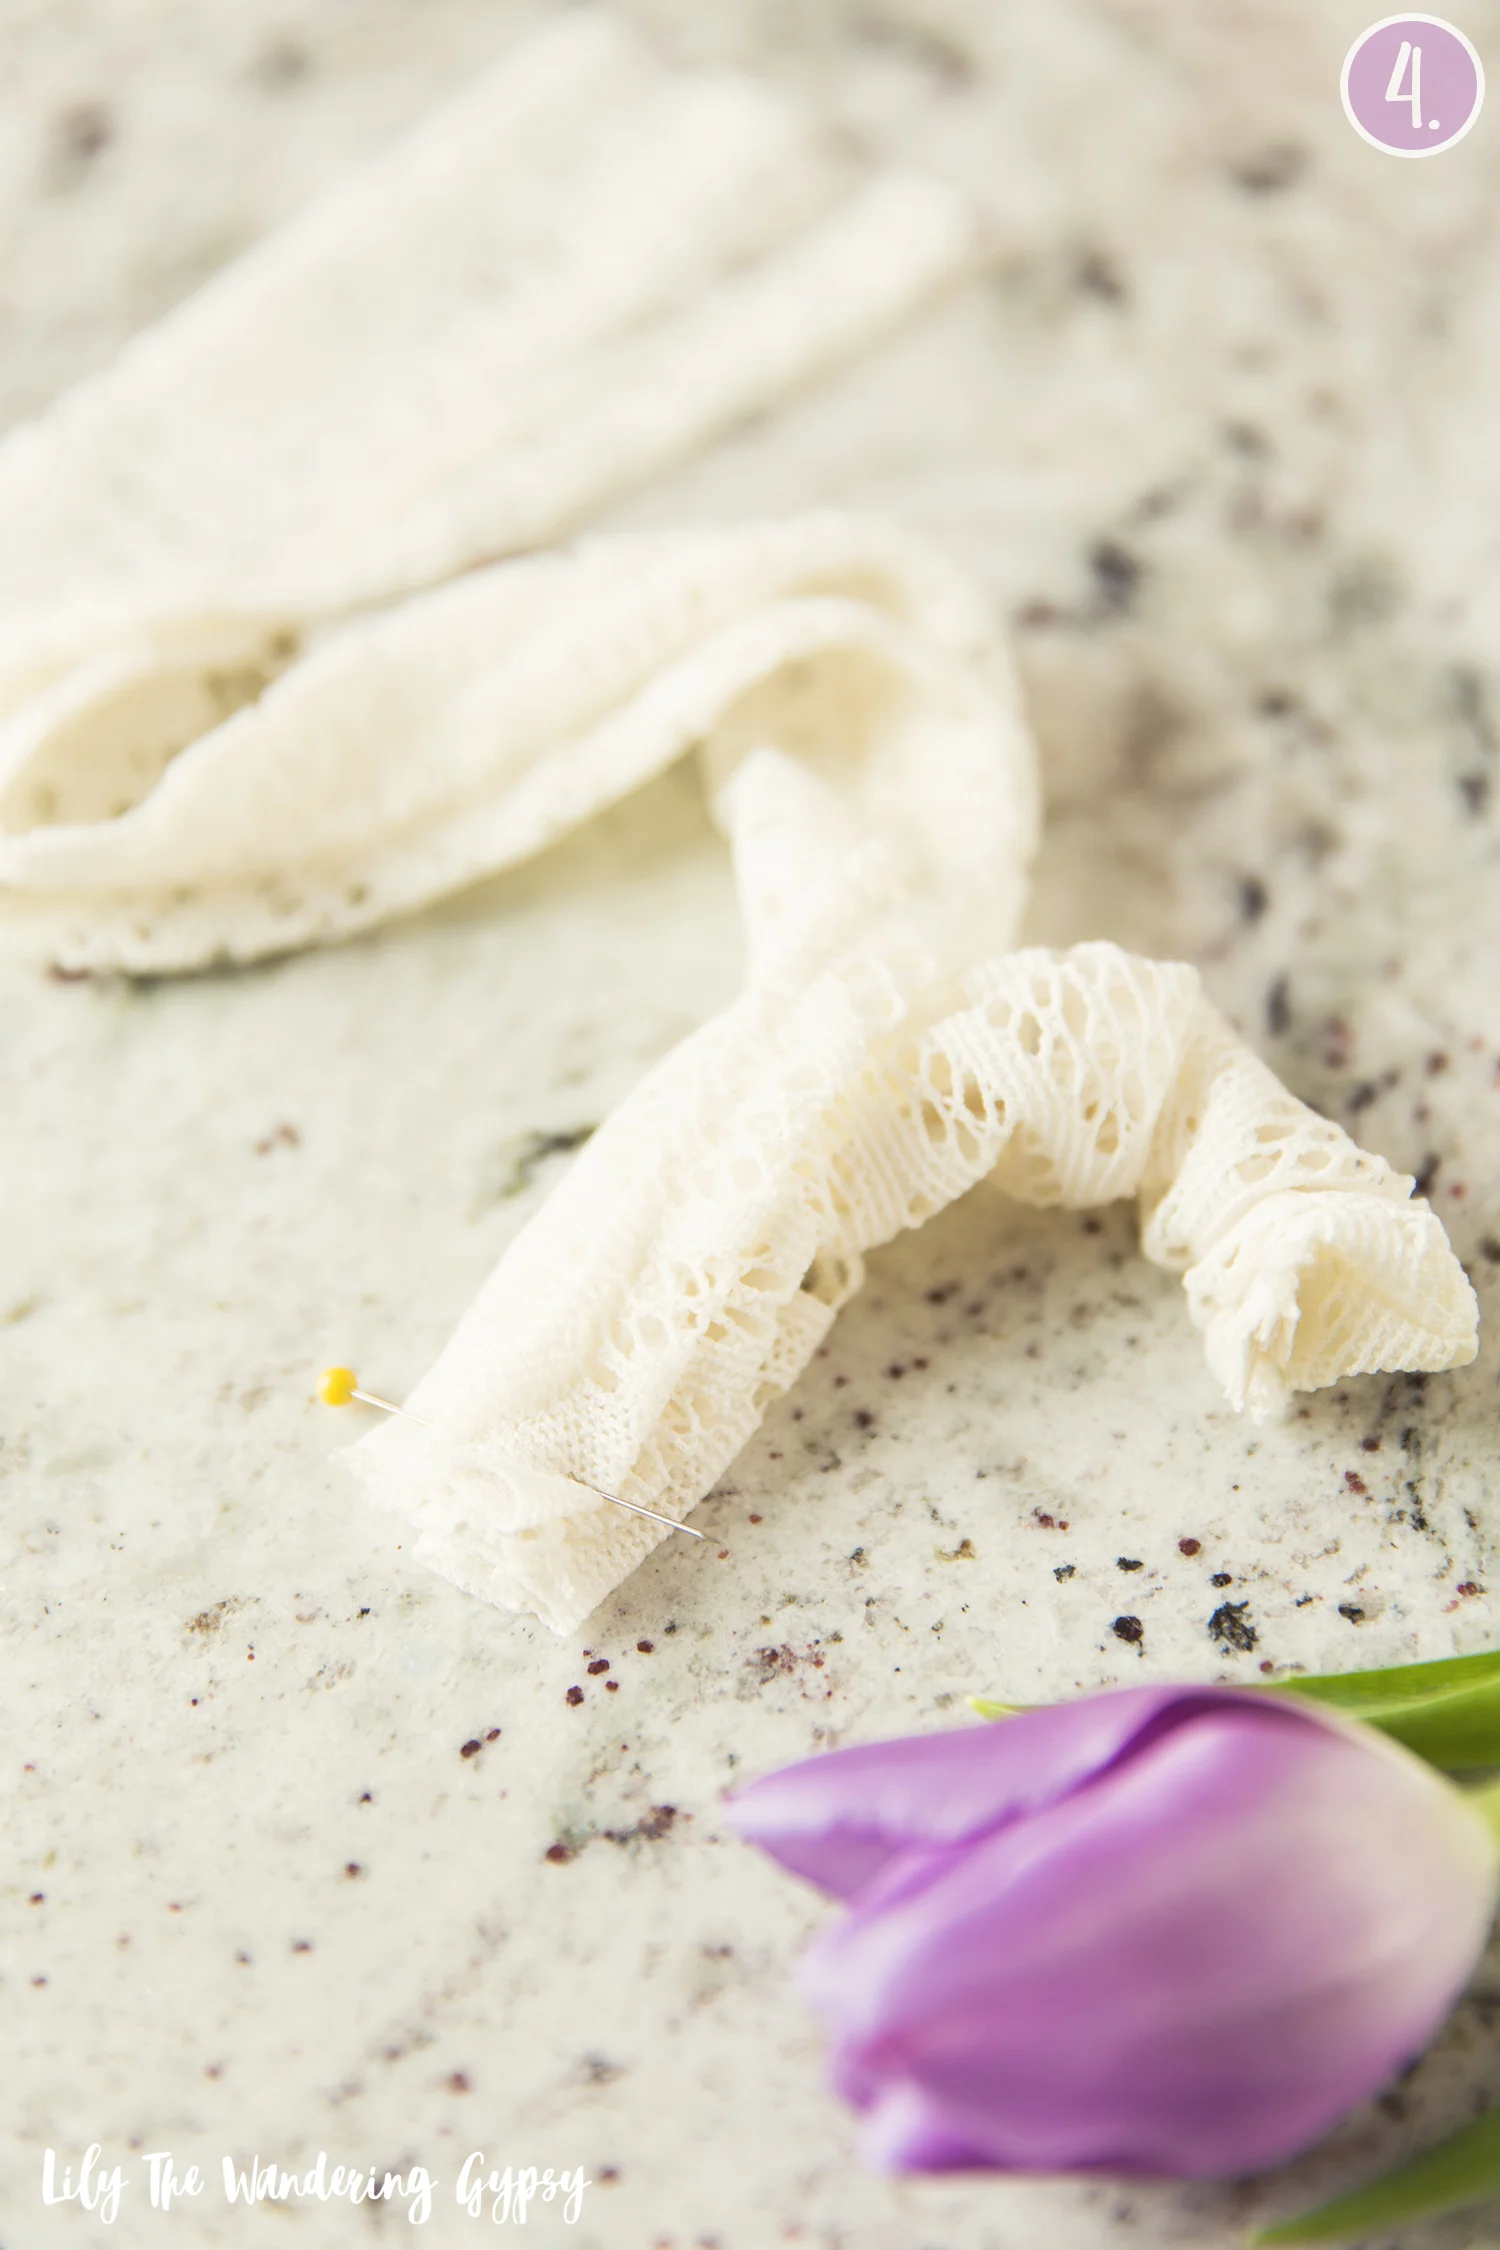
2.) Fold the 8"x3" piece in half, right sides together, and pin lengthwise. Sew this up to create a tube. Turn it right side out. Also, double fold down a small portion of the long sides of the 20" x 6.5" piece to hide raw edges. Use an iron to make flat folds, or just eye it.
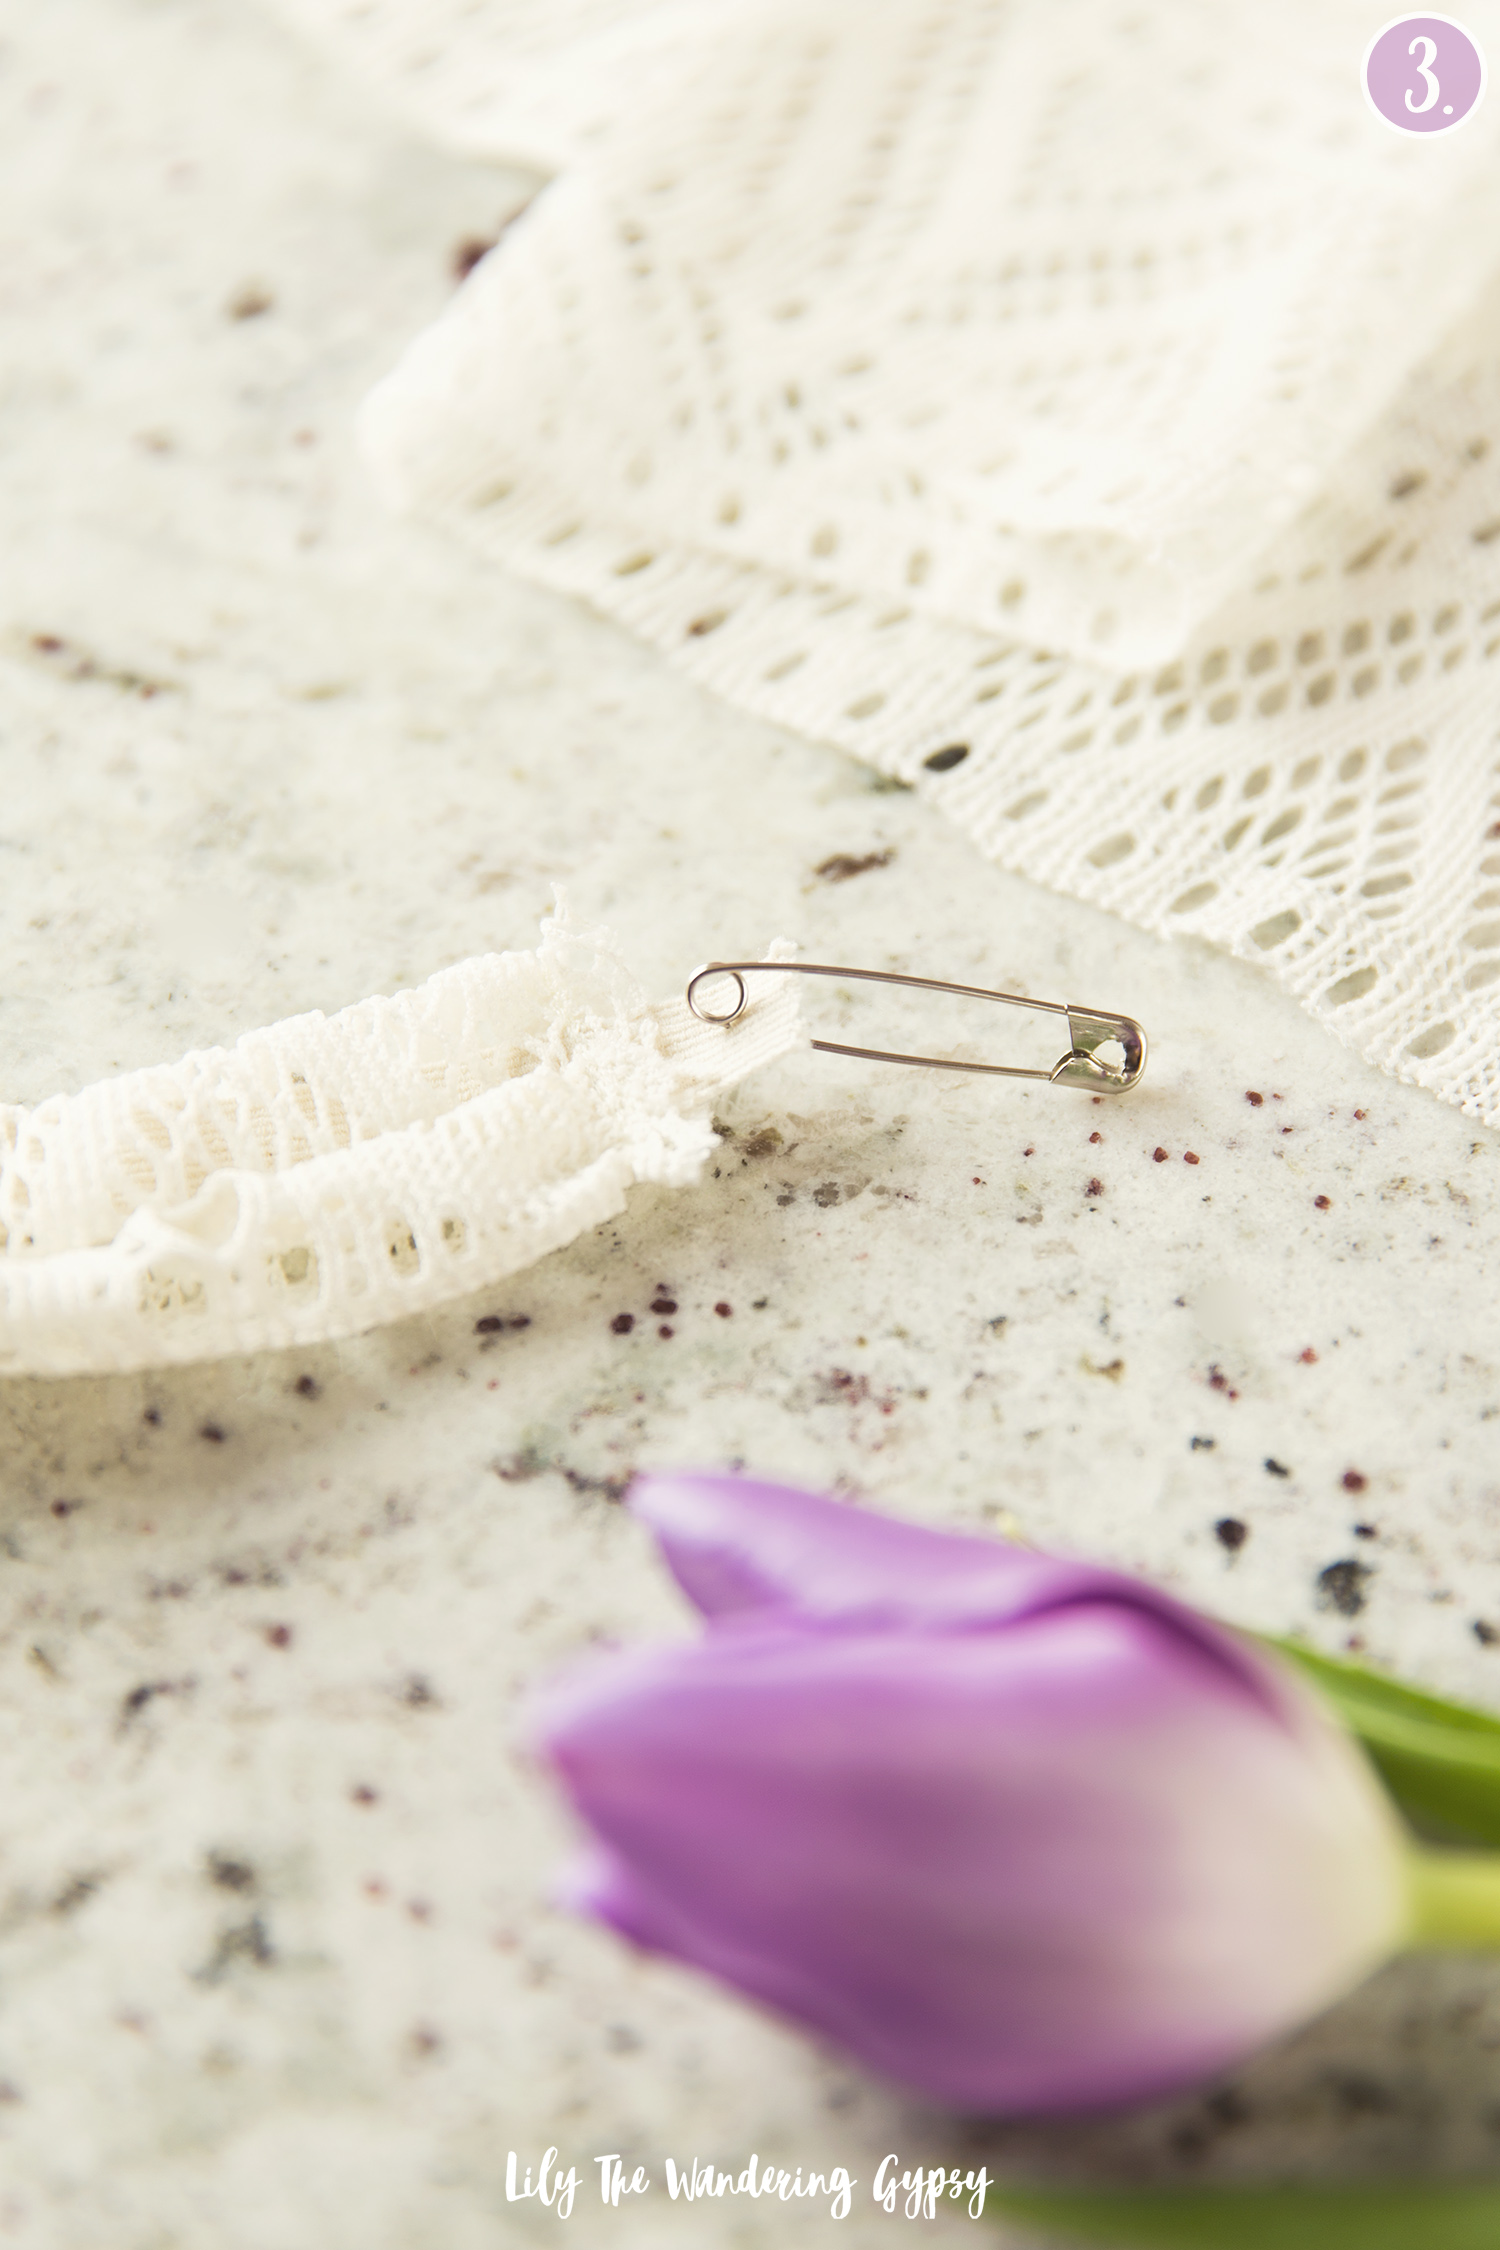
3.) Attach a large safety pin to one end of your elastic, and pull it through the tube you just created. Line the ends of the tube and the elastic up, and sew them together. Next, pull the safety pin all the way through, so the whole safety pin is out of the tubs. This will scrunch the tube a bit. While holding onto the safety pin for resistance, sew the other end of the elastic into the tube (sew across a few times so it's safe). Cut excess elastic and safety pin away and you have a scrunchy tube!
4.) Now, sew the scrunchy tube to the rest of the material. Place the scrunchy tube on top of the longer piece of fabric, right sides together. Place the scrunchy tube about 2/3 of the way into the bigger piece, and use an accordion fold to sandwich the scrunchy tube into the larger piece. Pin and sew across the fabrics to join them. Attach the scrunchy tube to the other side of the big piece of fabric, and again, sandwich the scrunchy tube into the other piece of fabric with an accordion fold. Cut off lose threads and turn right side out. Now, you're done!
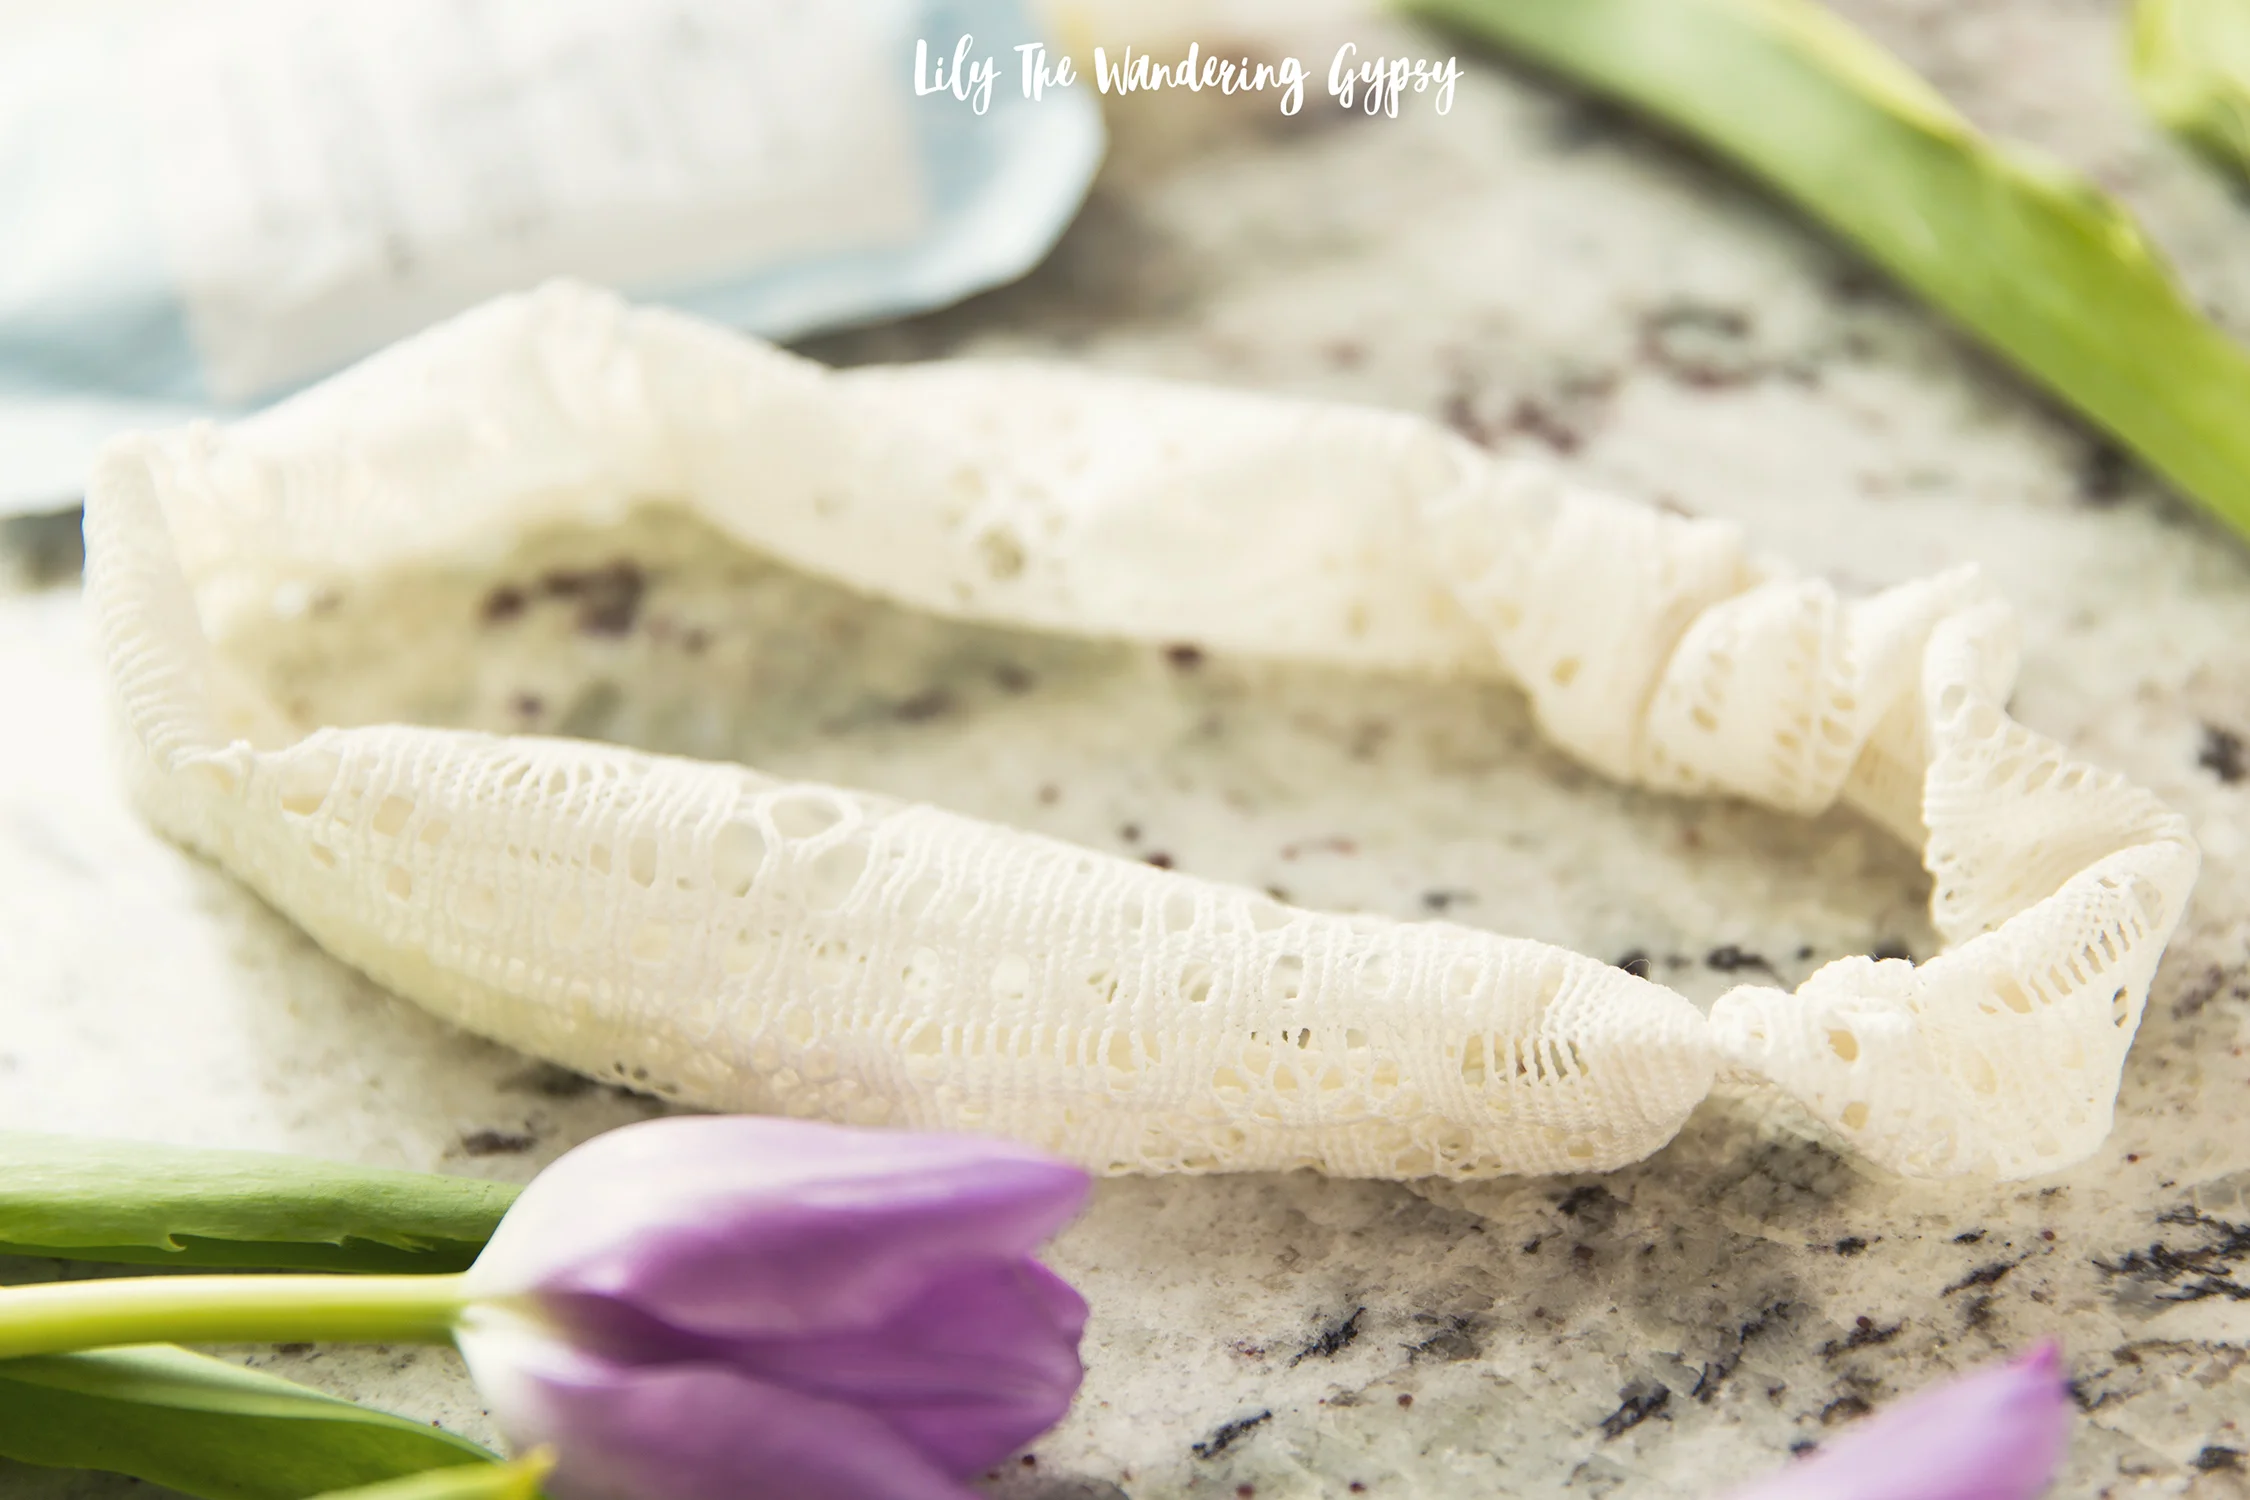
And, there you have it, the cutest headband around!
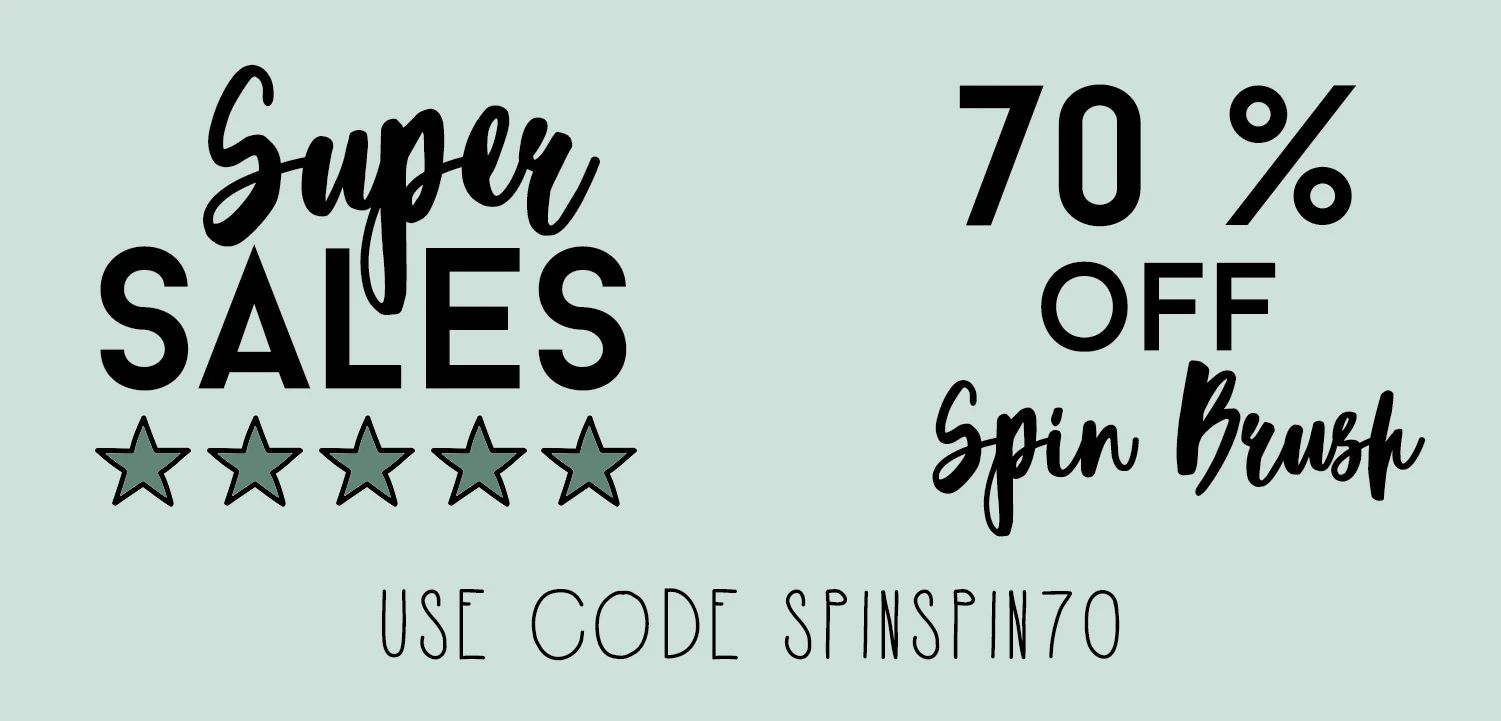
Also, I love my SpinBrush, that I got last year, It's very effective in getting dirt and oil off your face, as well as all those dead skin cells - perfect for rising summer temps. This is a great travel companion, too! Get 70% Off, by using code SpinSpring70 at checkout.
Also, Vanity Planet is offering a huge selection of new products like this set of Makeup Brushes, which you can try out at 70% off, by using code MakeupSpring70 at checkout, too!


#SoFabSpring Post Roundup
I've got a cute roundup of lots of amazing Spring Recipes!! Check them out here and get inspired.
Read MoreA Journey Into Probiotics
Probiotics are one of the best ways to make sure your insides feel as good as you want to look on the outside by providing us with good bacteria. If you are curious about these products, then check out this post.
Read MoreA Boho Festival-Inspired Wine Tasting Party
So excited to share this party, perfectly inspired by music festivals, good weather, and good friends! Read on to learn about tons of fun party ideas and what to serve your guests.
Read MoreDelicious Margaritas That You Will Want To Make Again and Again
Another deliciously balanced drink recipe - this time, it's got lots of fresh fruit and organic ingredients. Check out this fun recipe! What will you drink this summer?
Read MoreAdorable Mother's Day Gift Ideas with Hallmark
If you are looking for a thoughtful and perfect gift idea for Mother's Day, here are lots of great ideas, that you will likely be able to replicate in a short amount of time. Use one idea, or use them all, enjoy!
Read MoreSparkling Rosé Sangria Recipe
A Sparkling Rosé Sangria Recipe that is absolutely PERFECT for your next gathering or a wonderful weekend by yourself. As the temps get warmer, this seasonally fresh recipe will delight your tastebuds and really make the day a whole lot more fun!
Read MoreDIY Stamped Terra Cotta Coasters - Inspired By The New Brita Stream Pitcher
Learn how to create these unique and on-trend coasters. Make them as a gift, or make some for yourself!
Read MoreA Refreshing Pineapple Mojito Recipe
Looking for a deliciously refreshing drink that's perfect for summer? This drink reminds me of the ocean and the beaches!
Read MoreReset The Day with Snapple® Takes 2 to Mango™ Tea + A Garden Fresh Bruschetta Recipe
I am so excited about my garden this year. I am growing as many edible ingredients as possible, and here is one recipe for Garden Fresh Bruschetta, using basil from my very own garden! Inspired by the newest flavor of all-natural Snapple, Takes 2 To Mango, here is an all natural recipe and gardening ideas!
Read MoreDairy Free Dark Chocolate, Coconut, and Almond Popsicles Recipe
I am so happy with this delicious recipe! If you like chocolate flavor accompanied by almond and coconut, you're going to love this one. This recipe can even be made sugar free or low sugar, and contains only 2 ingredients, customize it however you want.
Read More